
Wedding nails initials are the request I get most from brides who want something personal but would never wear full nail art. One letter, a pair of initials or a tiny date can sit on almost any bridal base, from a micro French to milky white or a pearl chrome. What decides whether it looks refined or messy is scale and placement, not the font. Below are the twenty sets I’d show you at a consultation, with notes on where each one tends to go wrong and what I’d do about it.
Hand-Painted, Stamped or Decal Letters on a Nail Barely a Centimetre Wide
There are three ways an initial ends up on your nail, and they don’t look the same up close. I’d decide this before picking a design, because it changes what’s realistic.
- Hand-painted: I use a very fine liner brush and gel paint, cure it, then seal it under a no-wipe top coat. It gives the most natural script and can match any colour, but it depends entirely on the artist’s steady hand, so ask to see lettering in her portfolio, not just floral art.
- Stamped: a plate with an engraved letter transfers it in one press. Edges are crisp and every bridesmaid’s letter matches, but you’re limited to the fonts on the plate.
- Water-slide decal: printed letters slid onto the cured base, then encapsulated in gel. Very clean for block fonts. If it isn’t fully sealed, the edge lifts and catches on hair within a day.
Size is the other surprise. A ring-finger nail is often only around a centimetre across, sometimes less, so a monogram from a stationery suite won’t scale down without the loops filling in. When I letter, I keep each initial to a few millimetres tall and leave clear base around it. Bring a screenshot of the exact font you like and I’ll tell you honestly whether it survives at that size.
1. Wedding Nails With Initials On Ring Finger
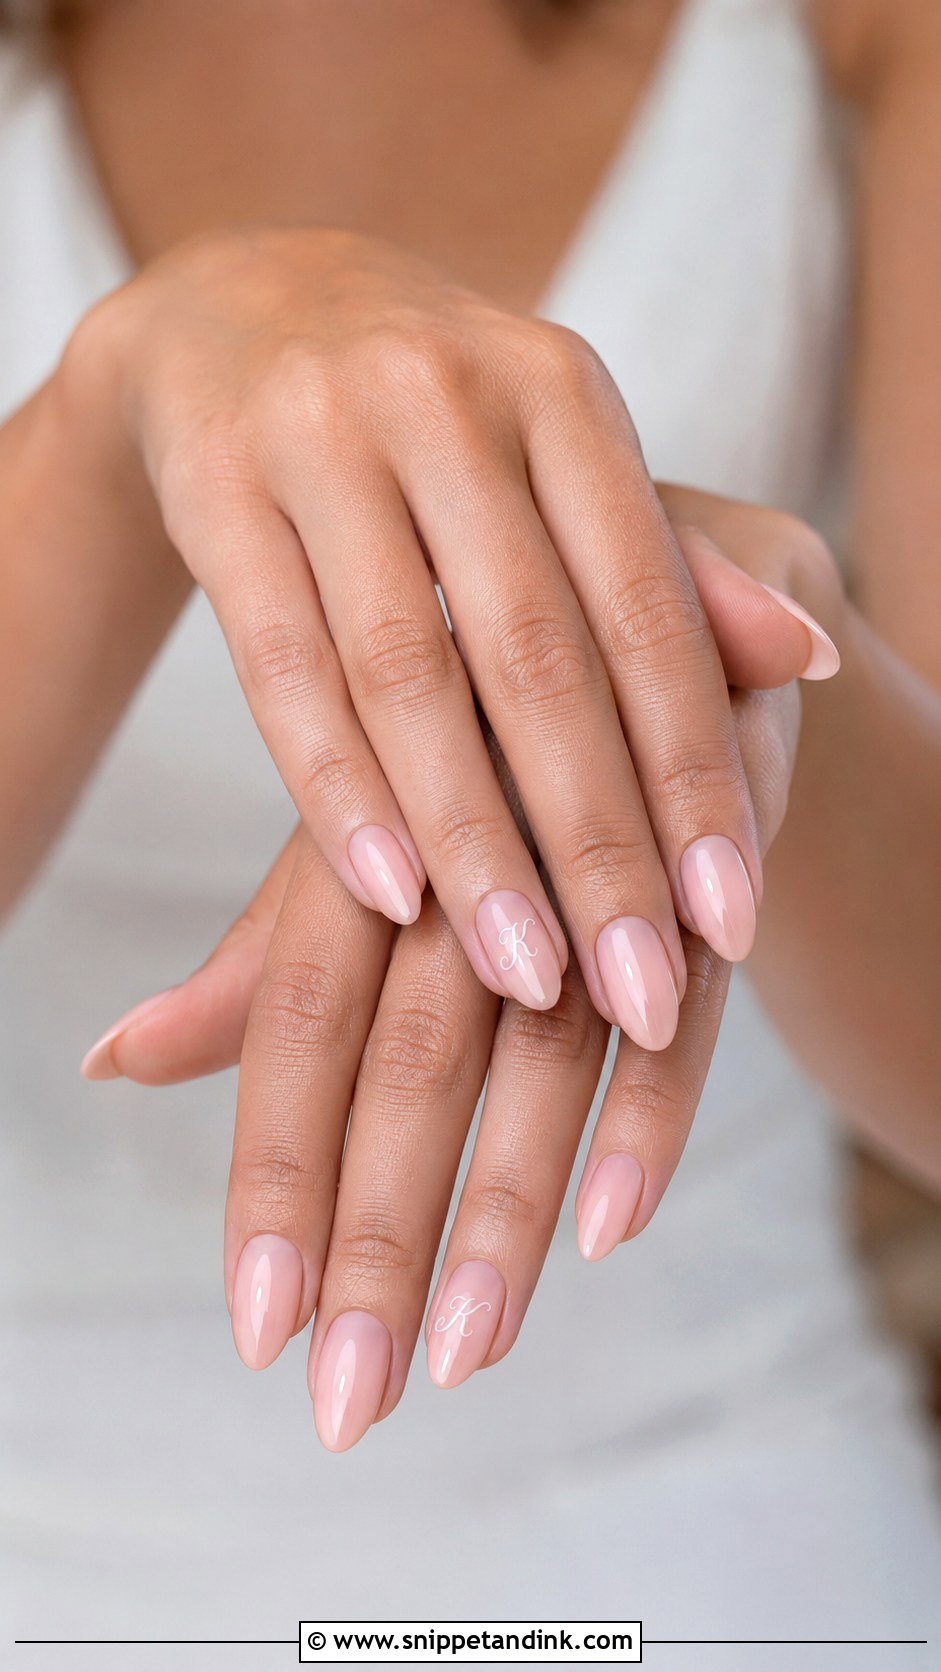
The ring finger is where I start most brides, because every ring photo frames that nail anyway. A sheer nude or milky base, then one small letter: your partner’s initial, your new surname initial, or both in fine script. On a short nail I keep the letter in the lower half so it doesn’t fight the band visually. Match the lettering to the metal of your rings, and leave the other nine nails glossy and plain so the detail reads as deliberate.
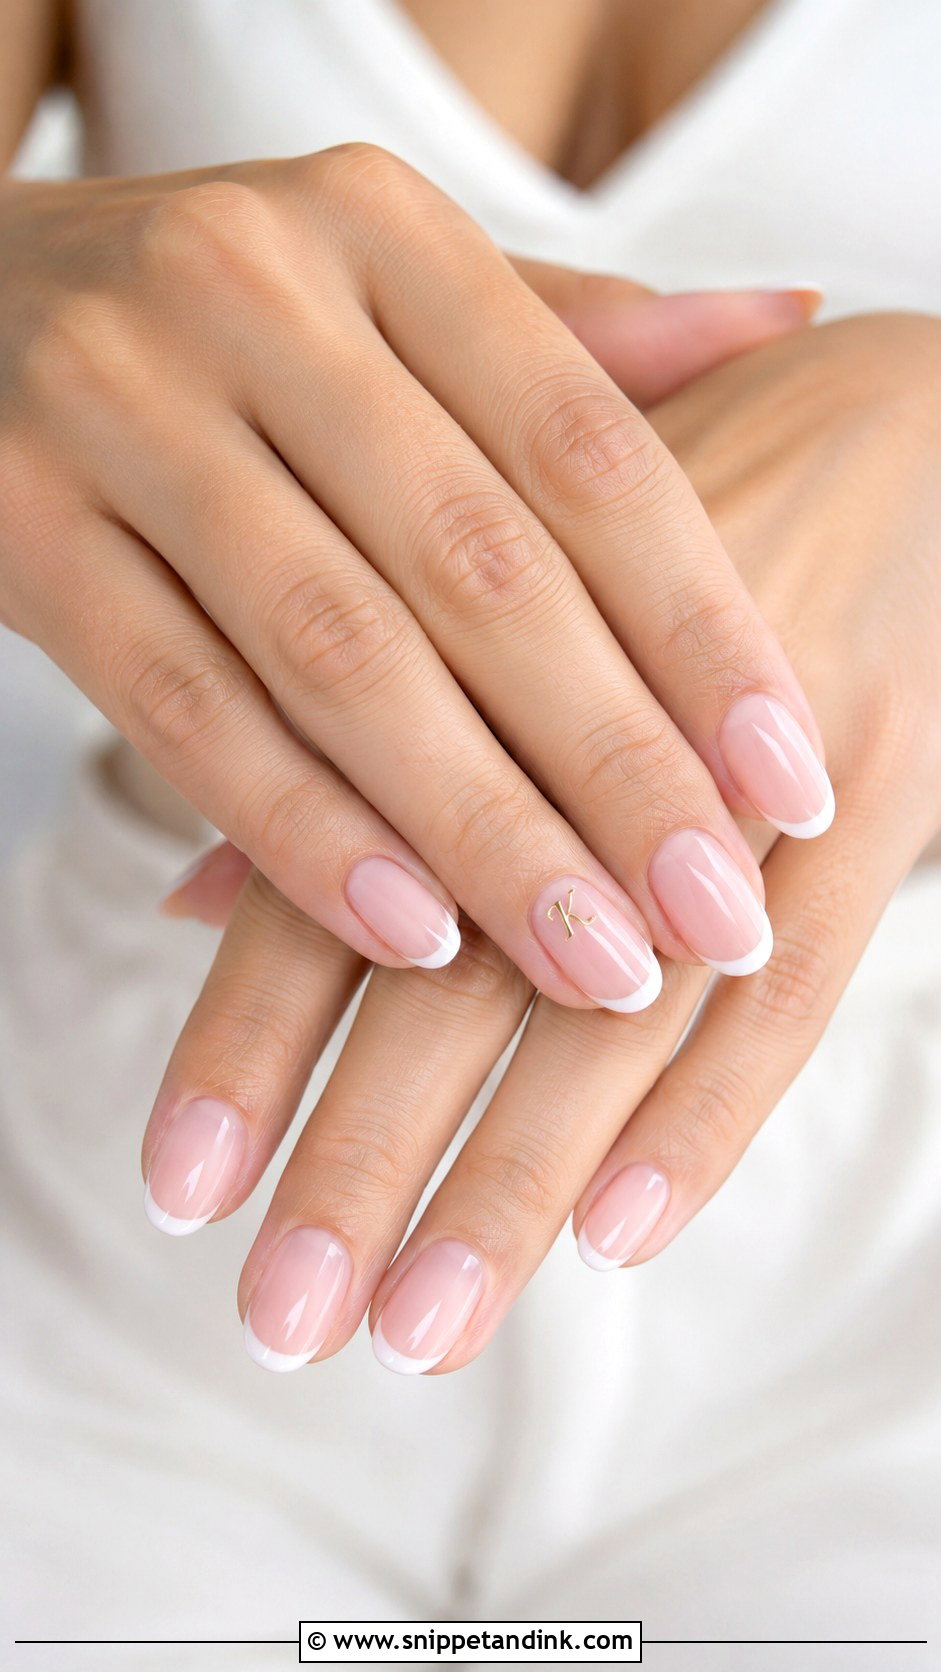
2. French Tip Wedding Nails With Initials
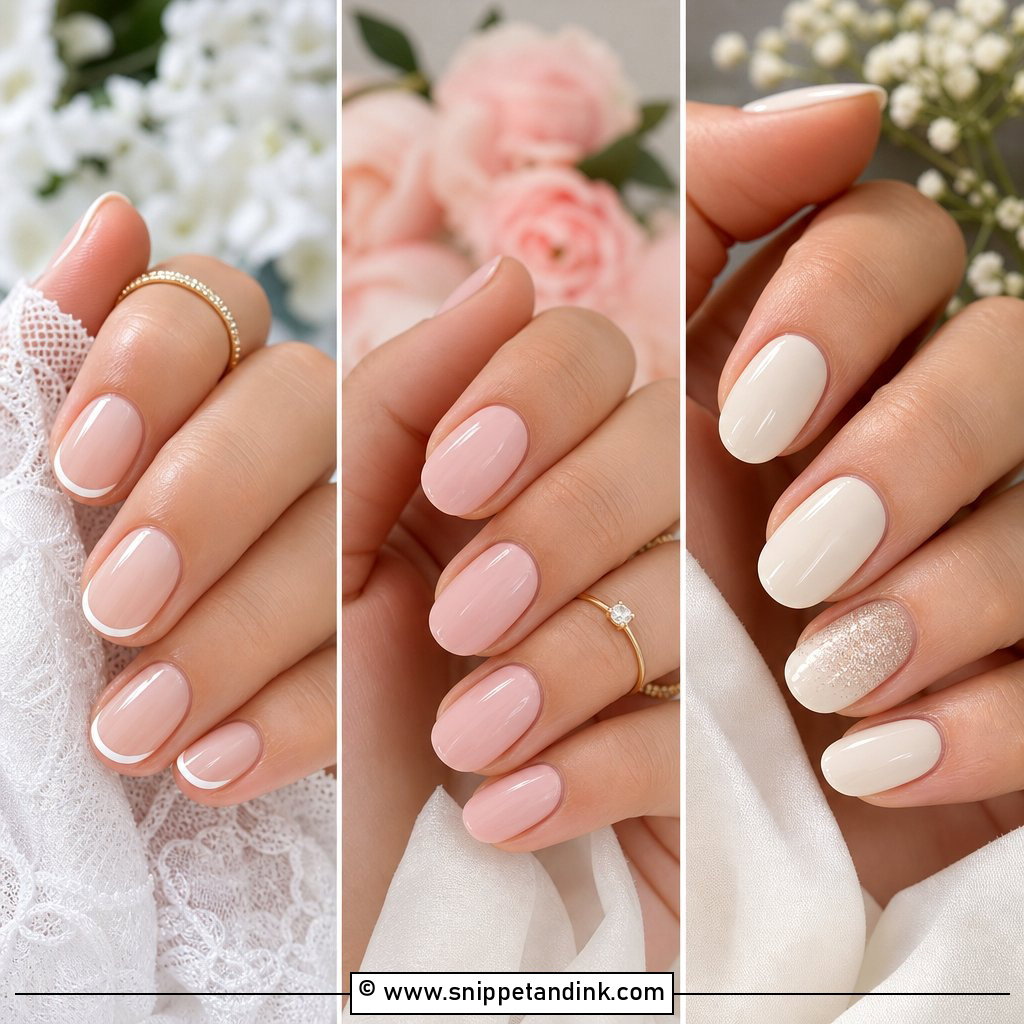
A micro French gives the letter more room than a thick tip does, so that’s what I’d book here. The initial can sit near the cuticle, on the sidewall, or just above the smile line on the ring finger. Gold reads well next to yellow gold jewelry; white or chrome lettering suits silver and pearls. Bridesmaids are easy with this one: same French base on everyone, each with her own letter, and it costs very little extra chair time.
3. Milky White Wedding Nails With Initials
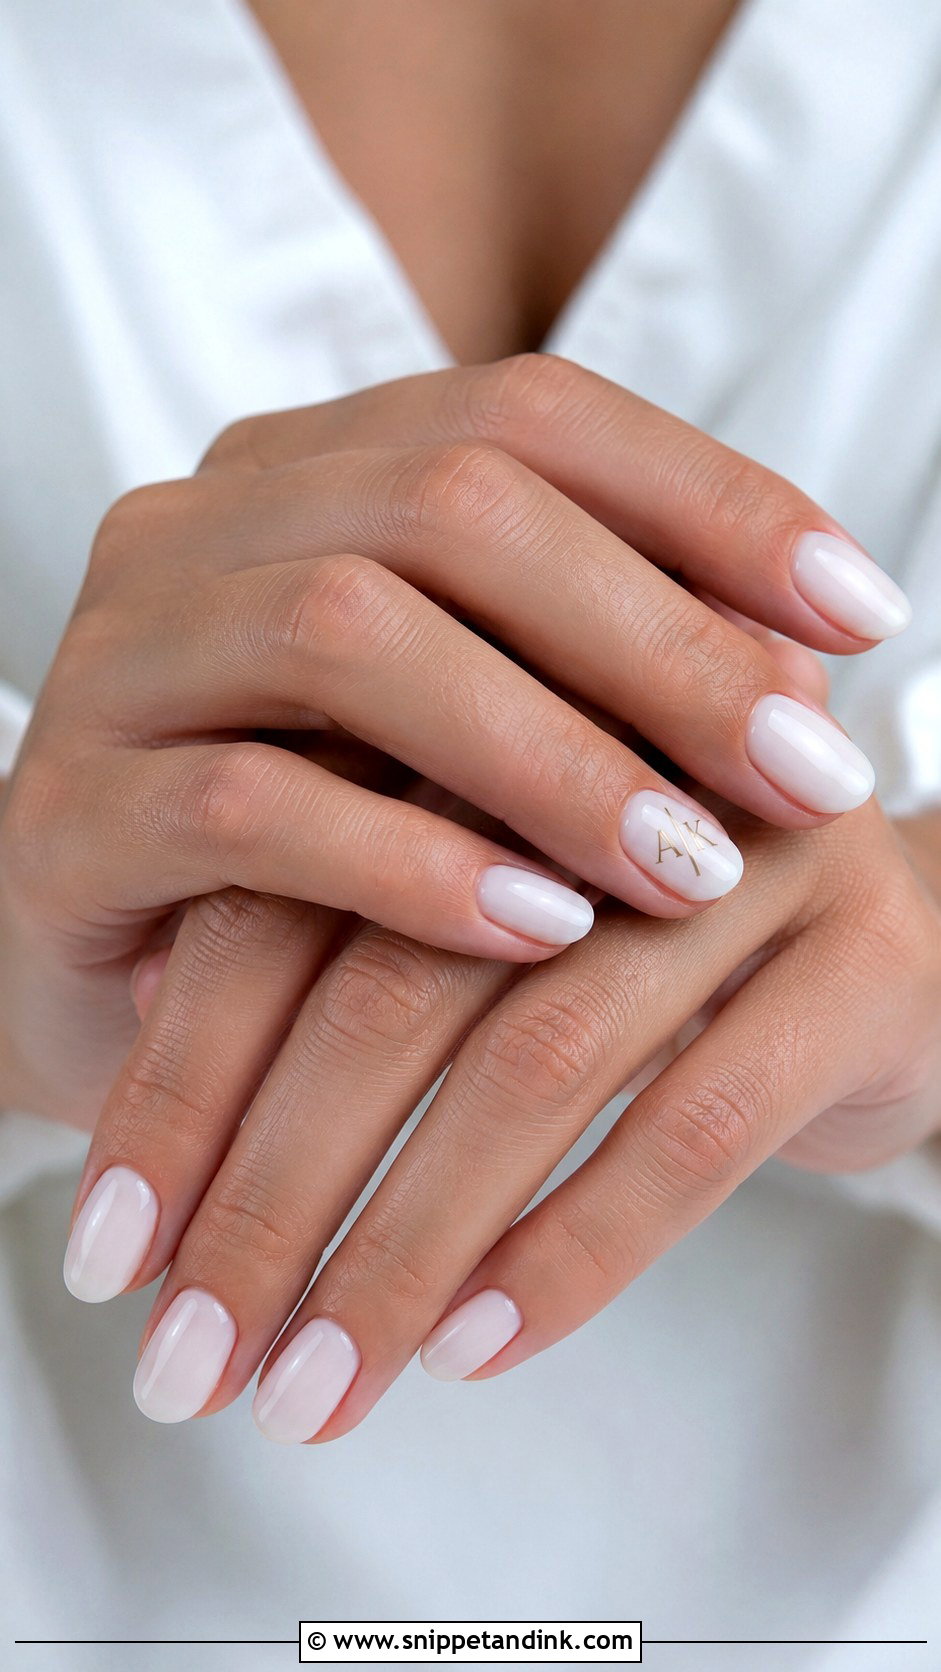
Milky white has enough opacity to hide the free edge but still lets the nail bed glow through, which is why it flatters close-ups. The catch is contrast. A pure white letter almost vanishes on it, so I paint the initial in champagne, pale gold or a slightly greyed white instead. Split two initials across both ring fingers if you’d rather not crowd one nail, and a whisper of pearl chrome over the top adds sheen without blurring the lines.
4. Nude Wedding Nails With Gold Initials
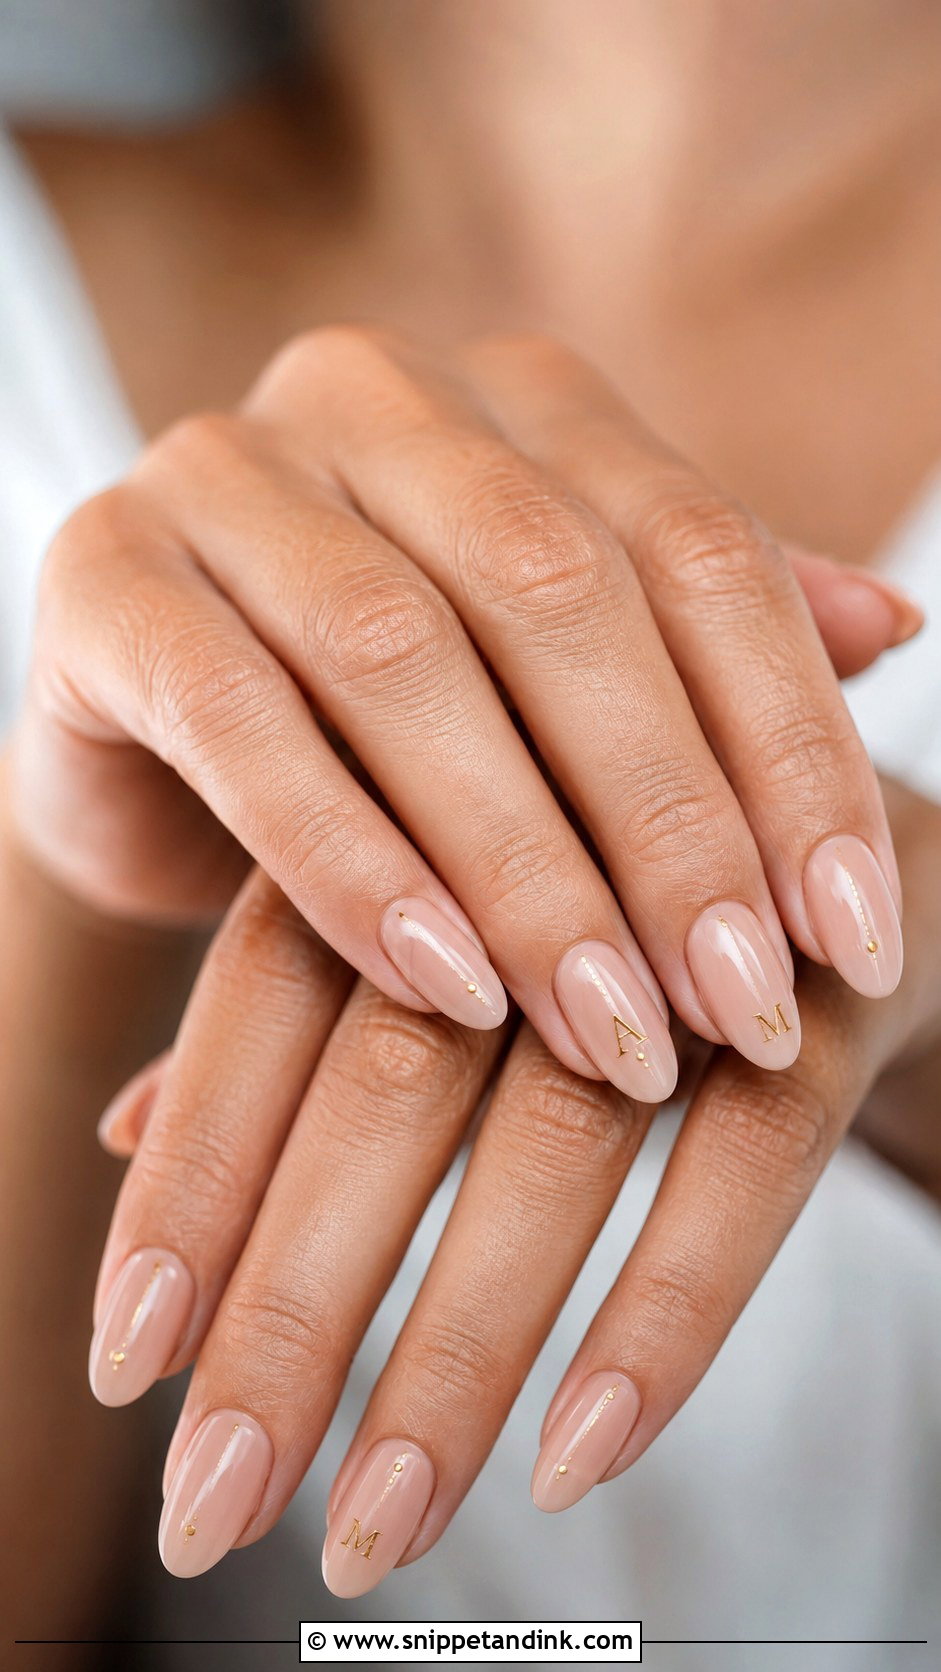
Gold lettering on nude is the closest thing to jewelry on a nail. The base shade matters more than people expect: I swatch beige, blush, caramel and taupe against your skin before deciding, because the wrong nude makes fingers look washed out next to a white dress. Keep the letter charm sized. If you want more, a single gold dot or a hairline of foil is plenty, and every other nail stays bare and shiny.
5. Blush Pink Wedding Nails With Initials
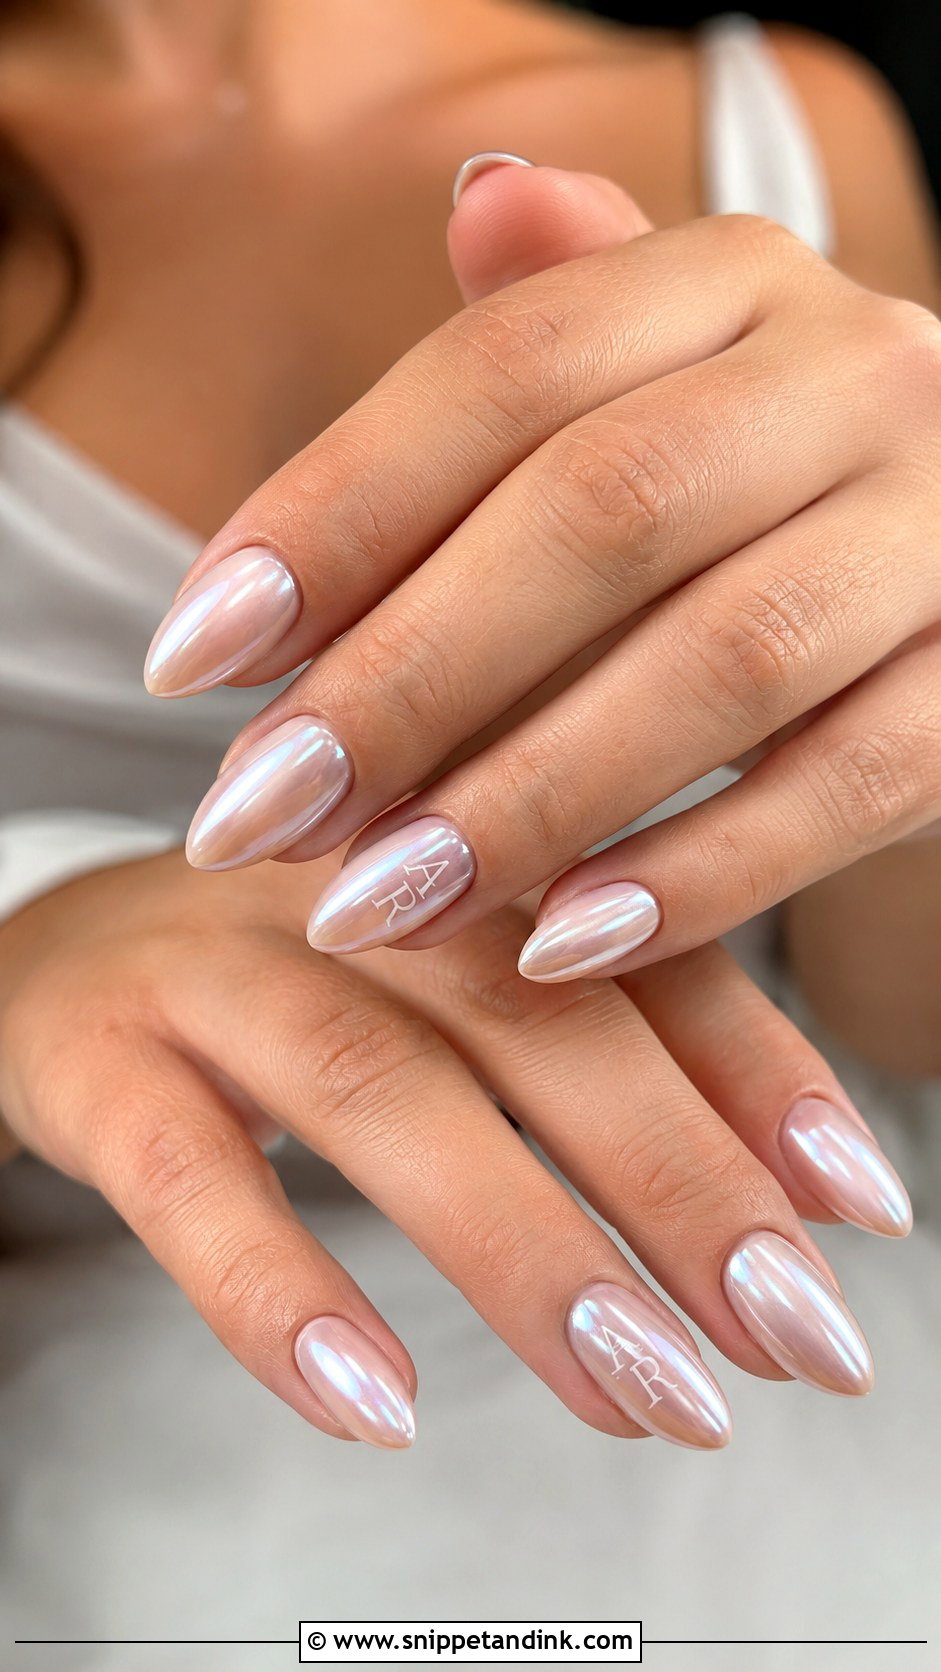
Blush works on almost every skin tone and nail length, and it hides minor ridges better than a sheer clear base. I usually suggest a jelly finish rather than a cream, since the translucency keeps it from looking like a child’s pink. A white or gold initial on the ring finger is enough. This one sits easily beside rose gold rings and floral bouquets, and the letter can be painted small enough that only you know it’s there.
6. Pearl Wedding Nails With Initials
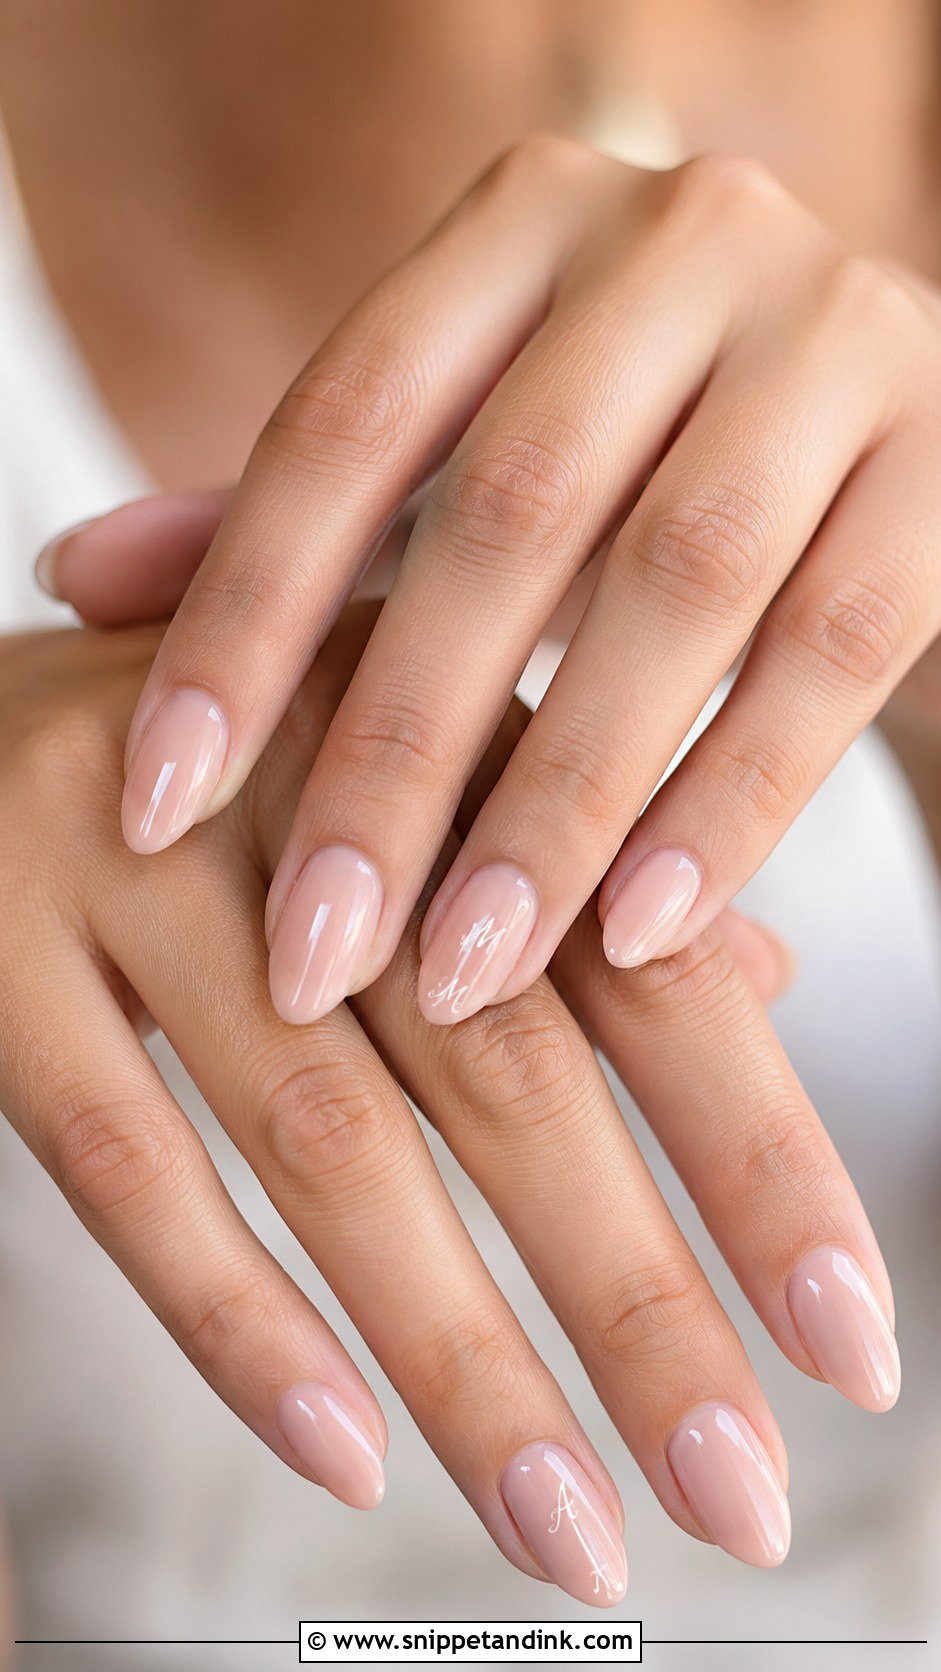
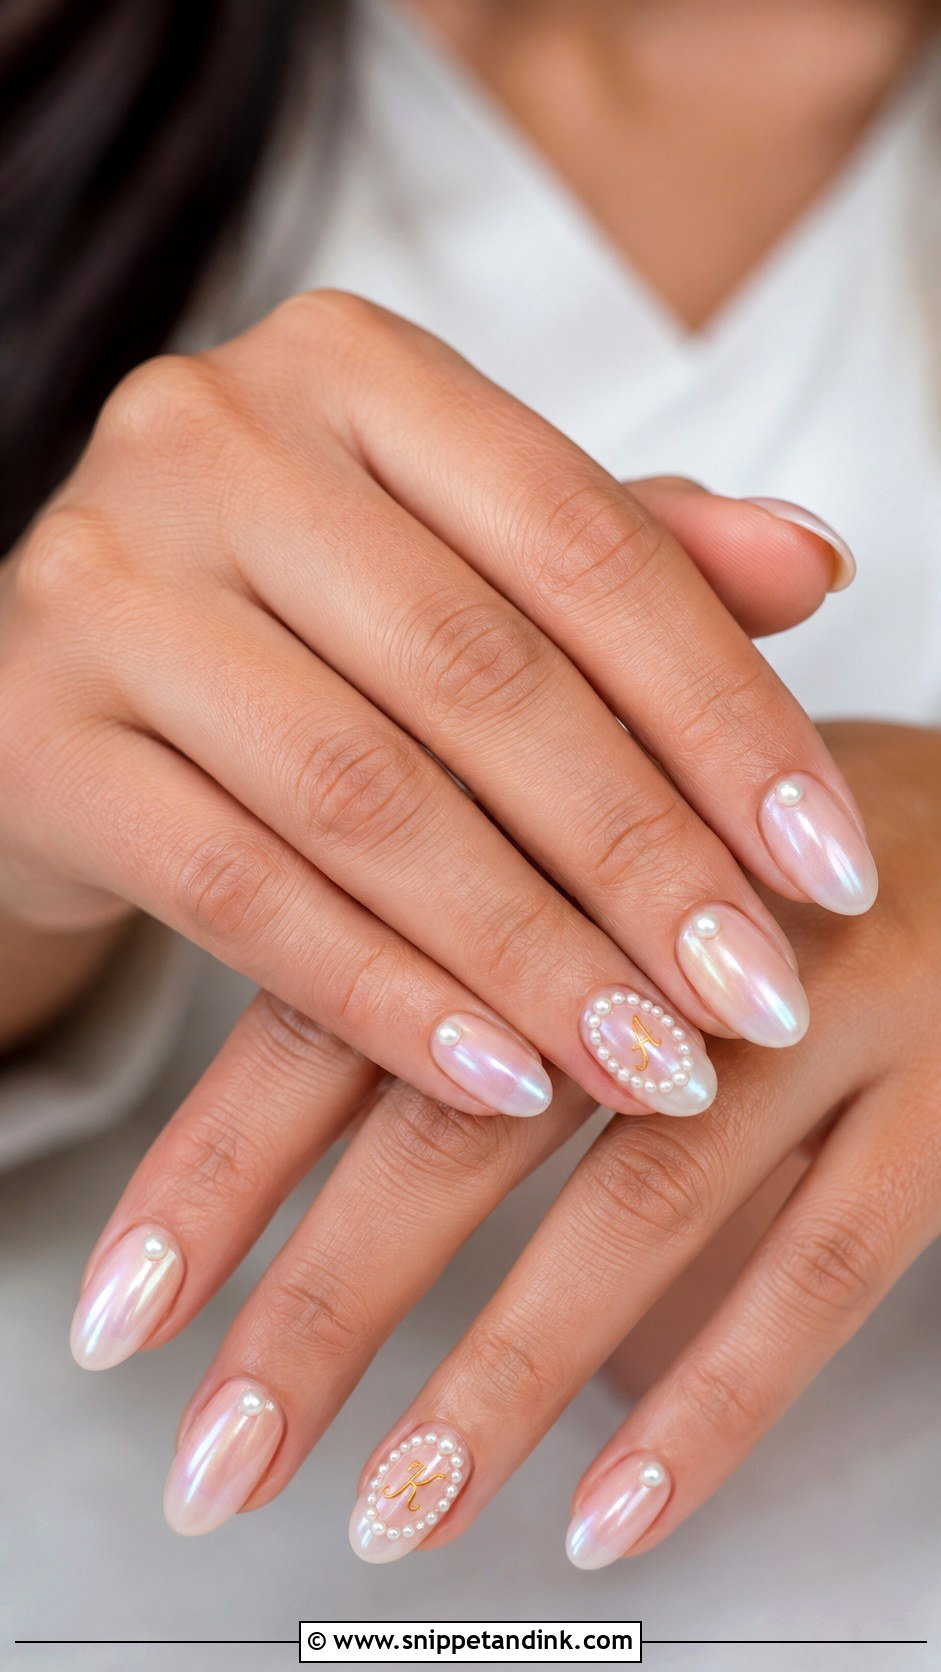
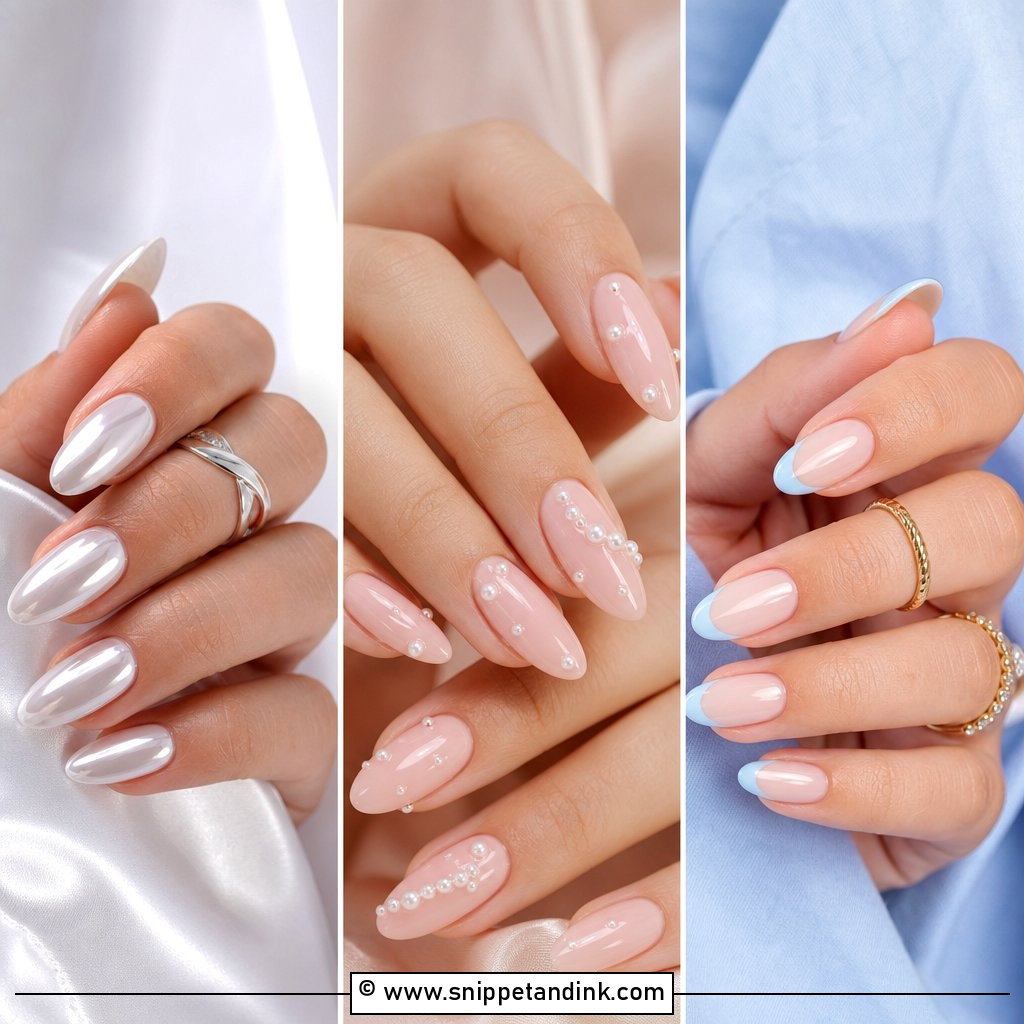
Pearls are where I see the most overcrowding. Tiny half pearls set around one initial, or a short row along the cuticle, look bridal; pearls on every nail plus lettering looks busy and snags on veil tulle. I seat them in builder gel and cure them so they don’t pop off when you’re hugging people all evening. Almond and oval shapes echo the round pearls, and the set pairs naturally with pearl earrings or a beaded bodice.
7. Chrome Wedding Nails With Initials
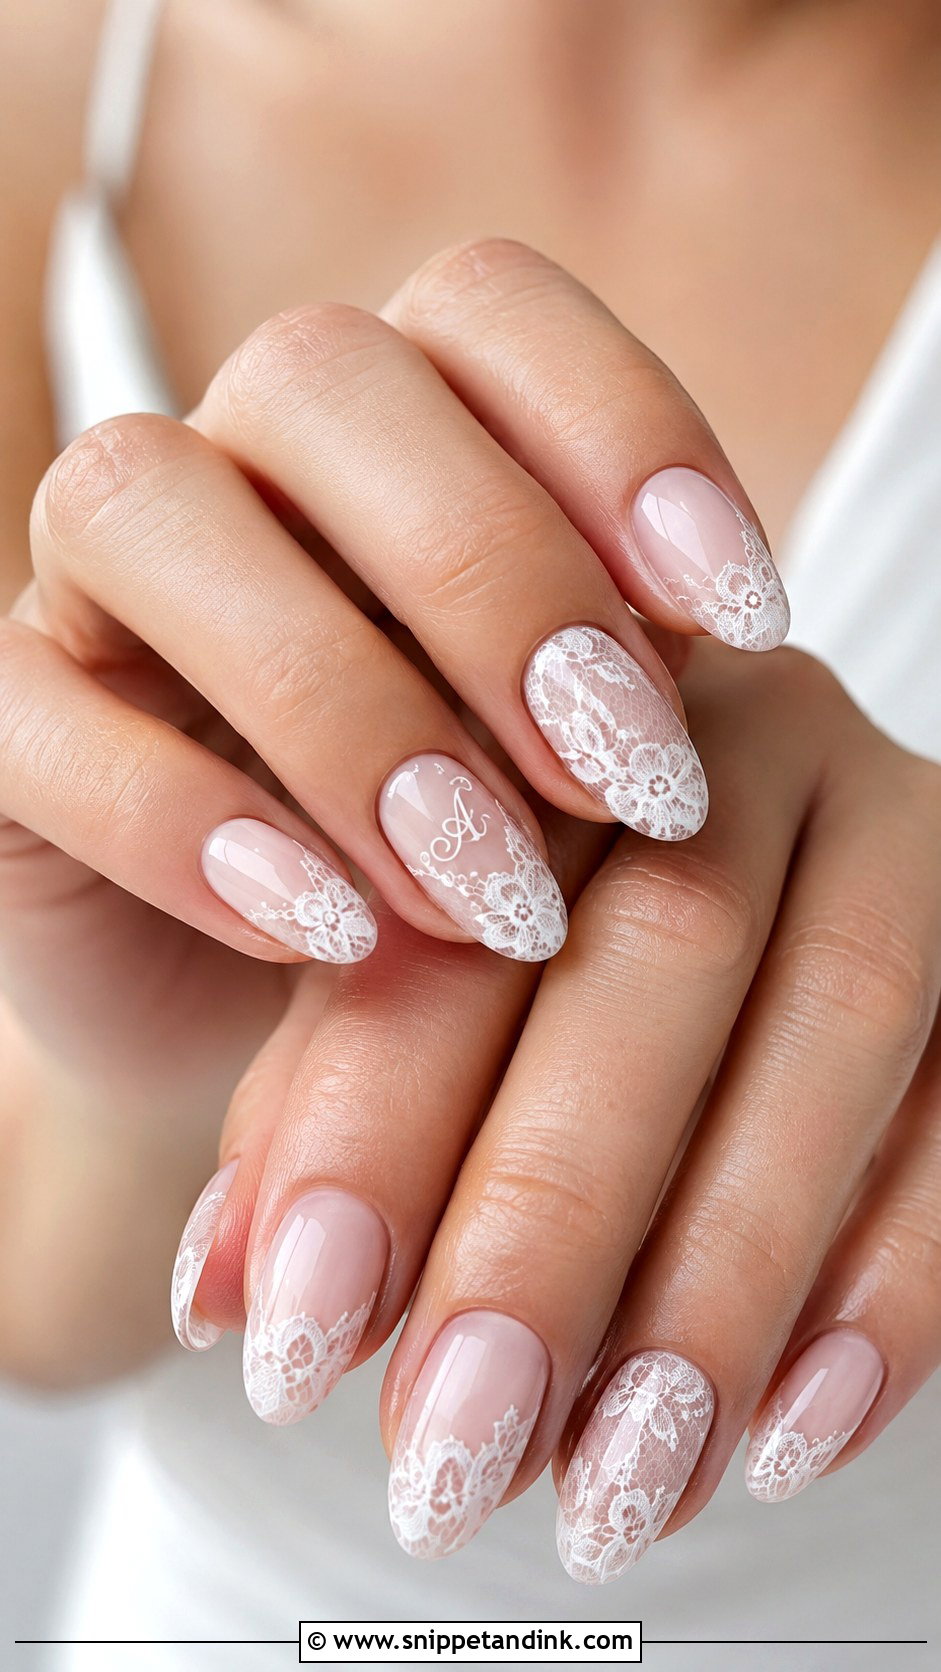
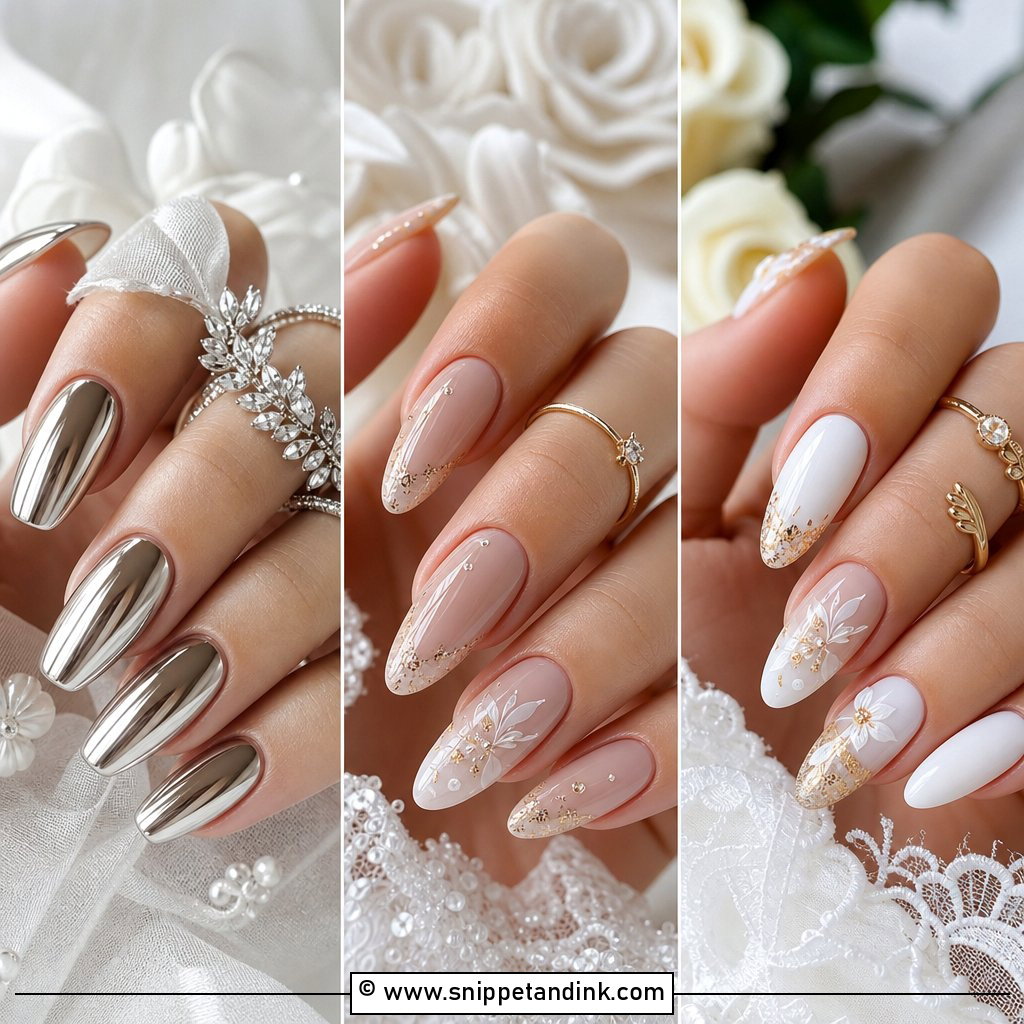
Chrome wedding nails with an initial need restraint, because the powder already gives you the shine. I rub a pearl or glazed chrome over nude, pink or milky white, seal it, and only then paint the letter on top, otherwise the chrome cracks around the lettering. Mirror chrome can bounce flash and swallow a small initial in photos, so I steer most brides to the softer glazed version. Medium almond, oval and coffin lengths carry this best.
8. White Lace Wedding Nails With Initials
Lace art is fine-line work, and the risk is that a letter gets lost inside the pattern. I leave a clear window of bare base around the initial on the ring finger or thumb, then let the lace lines run out from it. Script fits a lace gown; a small block letter looks cleaner if your dress is plain with only a lace veil. Airy lace with real negative space photographs better than dense coverage.
9. Ombre Wedding Nails With Initials
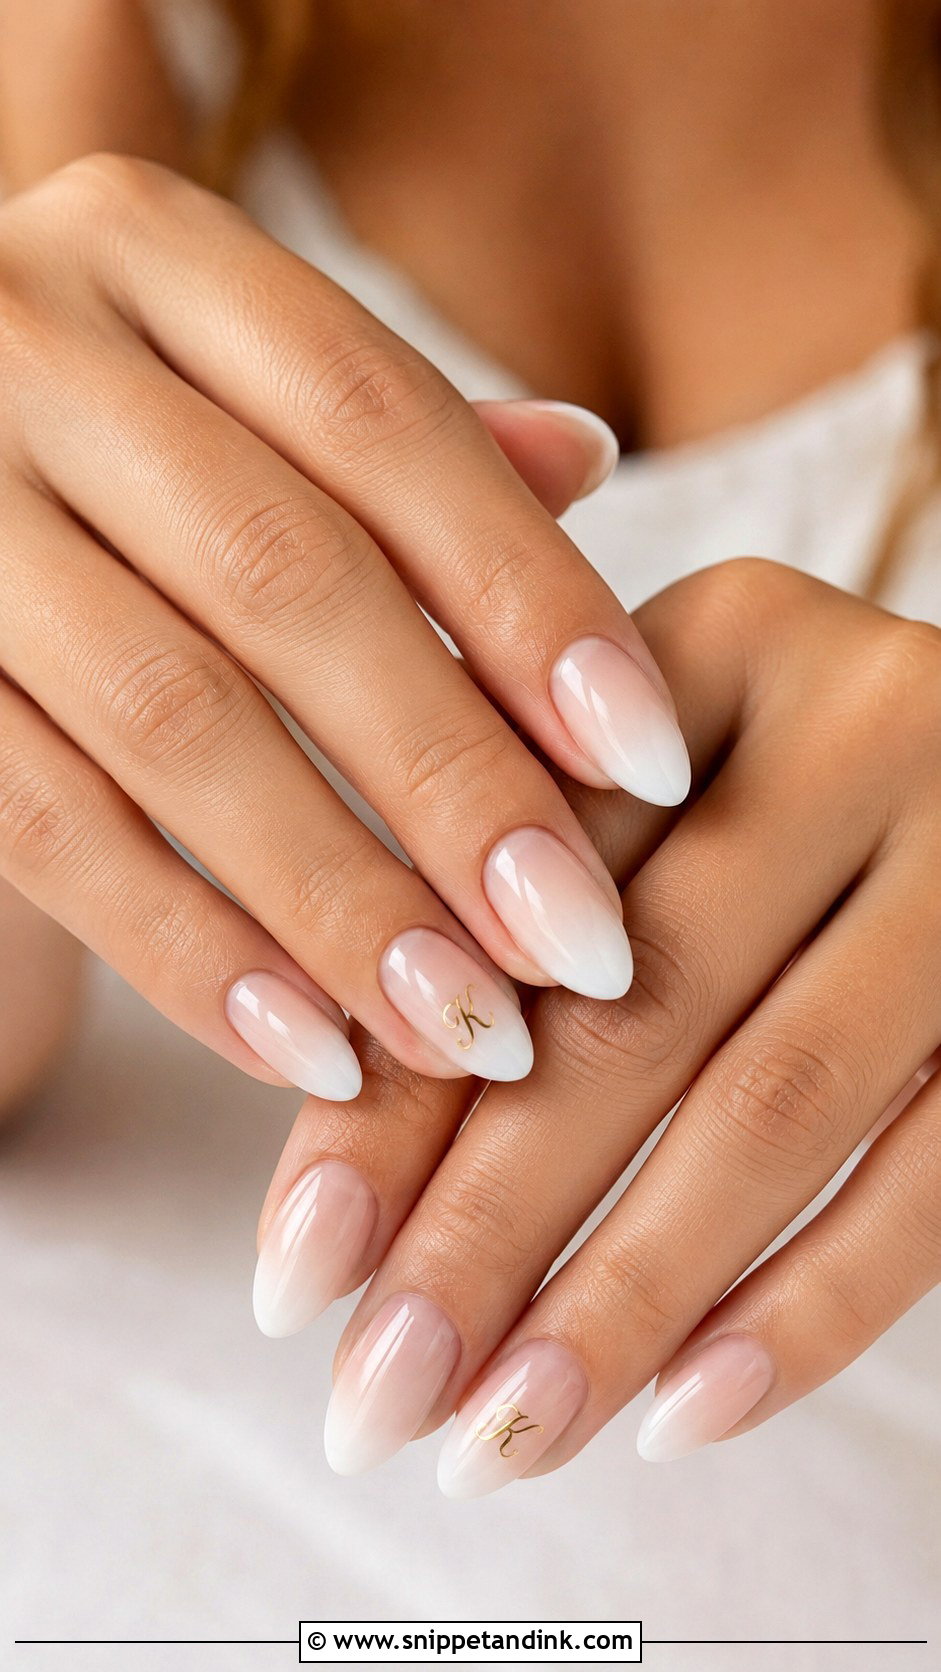
Ombre wedding nails soften regrowth, which is useful if your appointment is a few days before the wedding. Nude into white, blush into milky pink, or beige into cream all work. I place the initial over the lighter end of the fade, because a letter painted across the transition looks smudged even when it isn’t. Longer almond, coffin or ballerina shapes give the gradient room to actually show.
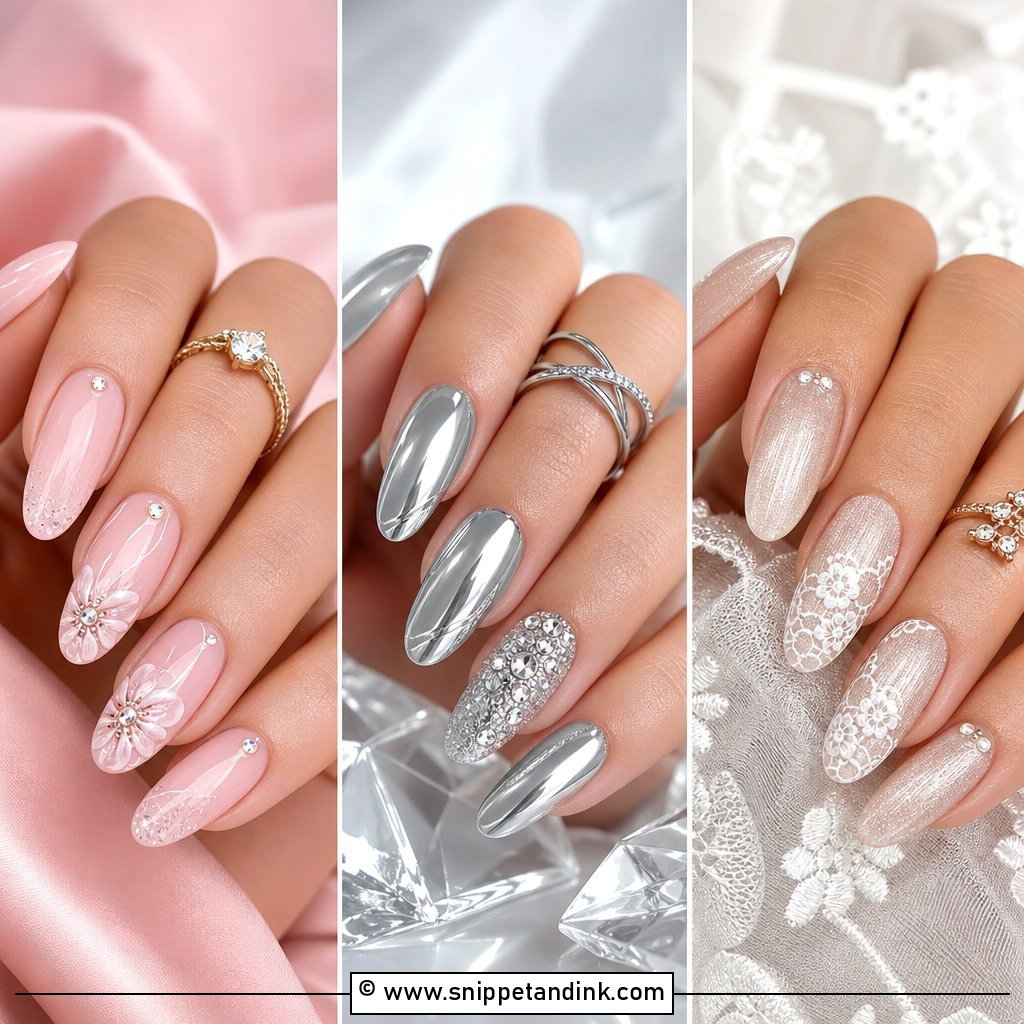
10. Short Wedding Nails With Initials
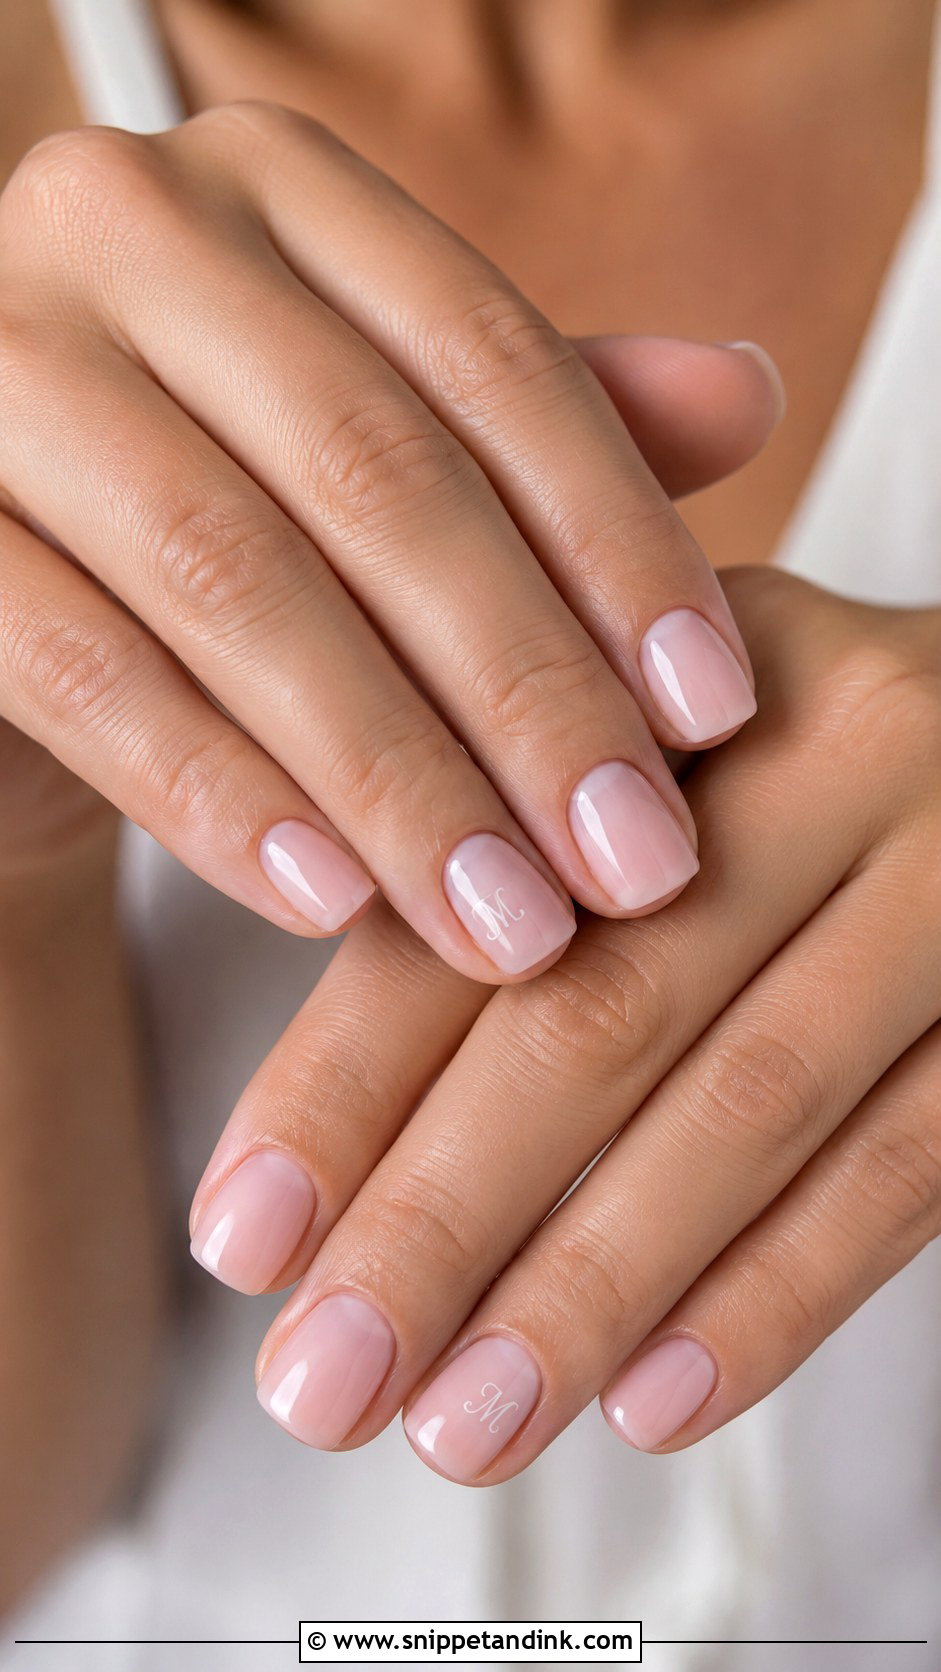
You don’t need extensions for this. On a short squoval or rounded nail I keep the base sheer and the letter tiny, a few millimetres at most, placed on the ring finger only. A large monogram on a short nail bed looks cramped and makes the nail seem shorter. If you never wear long nails, this is the set I’d recommend, since you won’t spend the reception fumbling with zips and earring backs.
11. Almond Wedding Nails With Initials
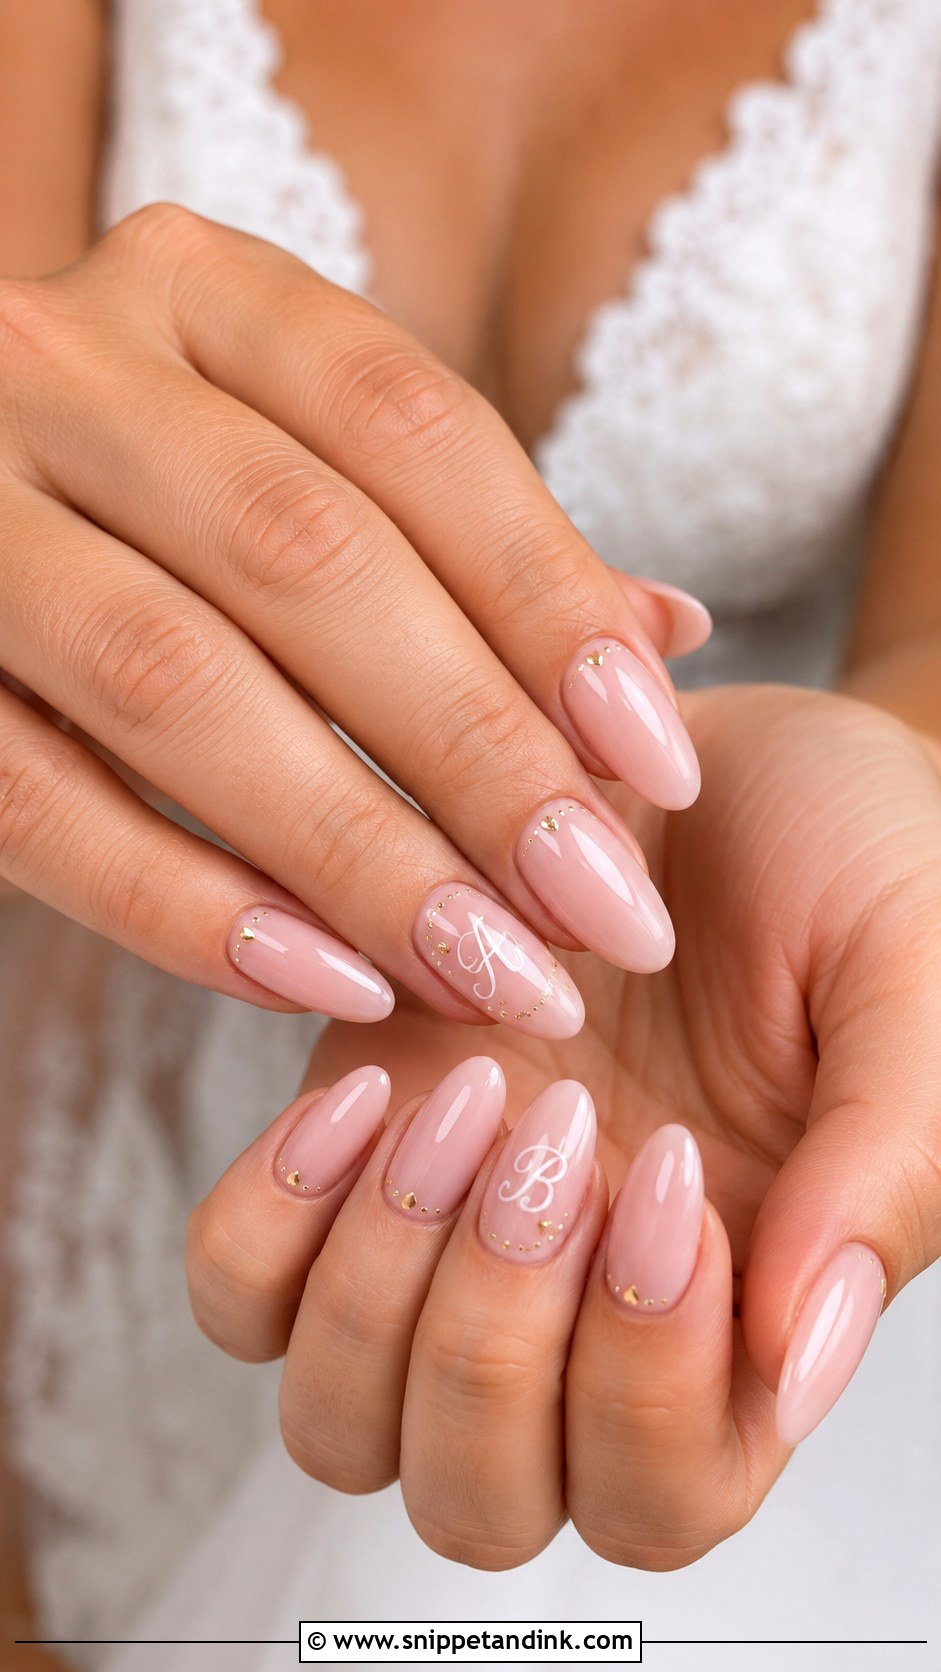
Almond tapers toward the tip, so it lengthens the finger in ring photos, but it also narrows the space where a letter can sit. I put the initial in the wider lower third, close to the cuticle, unless you want it centred and slightly larger. Sheer pink with white feels classic; nude with gold feels warmer. Keep the length one you can actually type and button with, because the close-up ring shots are taken after hours of wear.
12. Coffin Wedding Nails With Initials
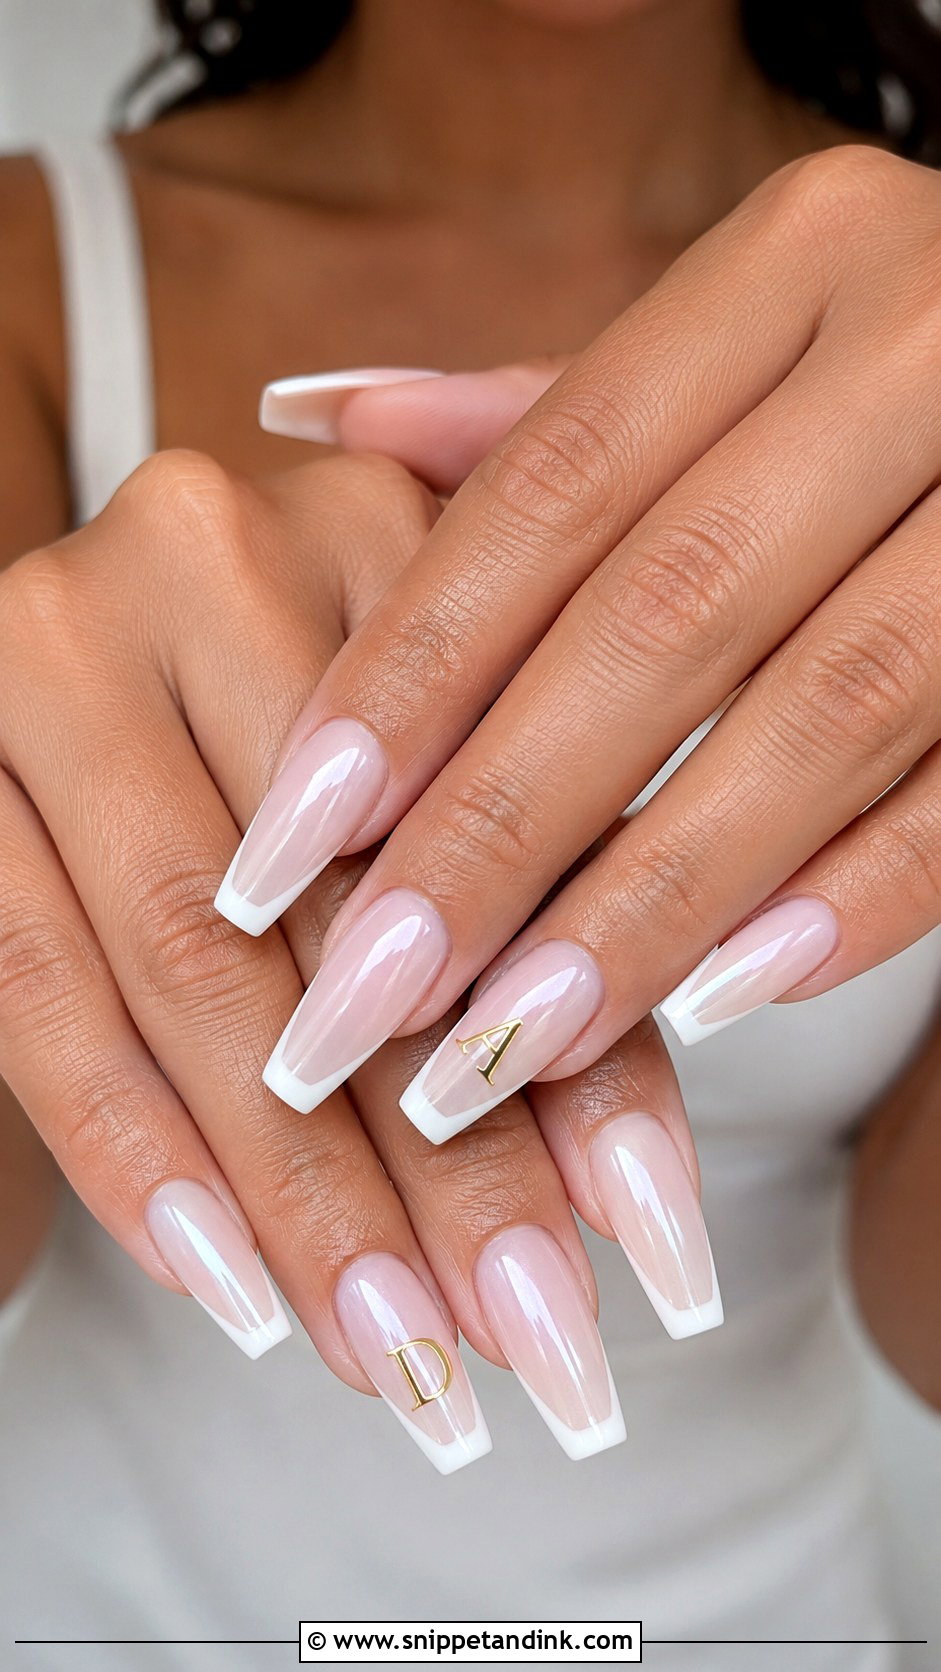
Coffin gives the flattest, widest tip of any shape here, so it’s where a mini monogram plus a heart or date actually fits. The danger is that long coffin plus lettering plus sparkle tips into costume. I balance it with simple companion nails in nude or milky white, and a French coffin with one gold initial is about as far as I’d push it before the letters stop being readable.
13. Square Wedding Nails With Initials
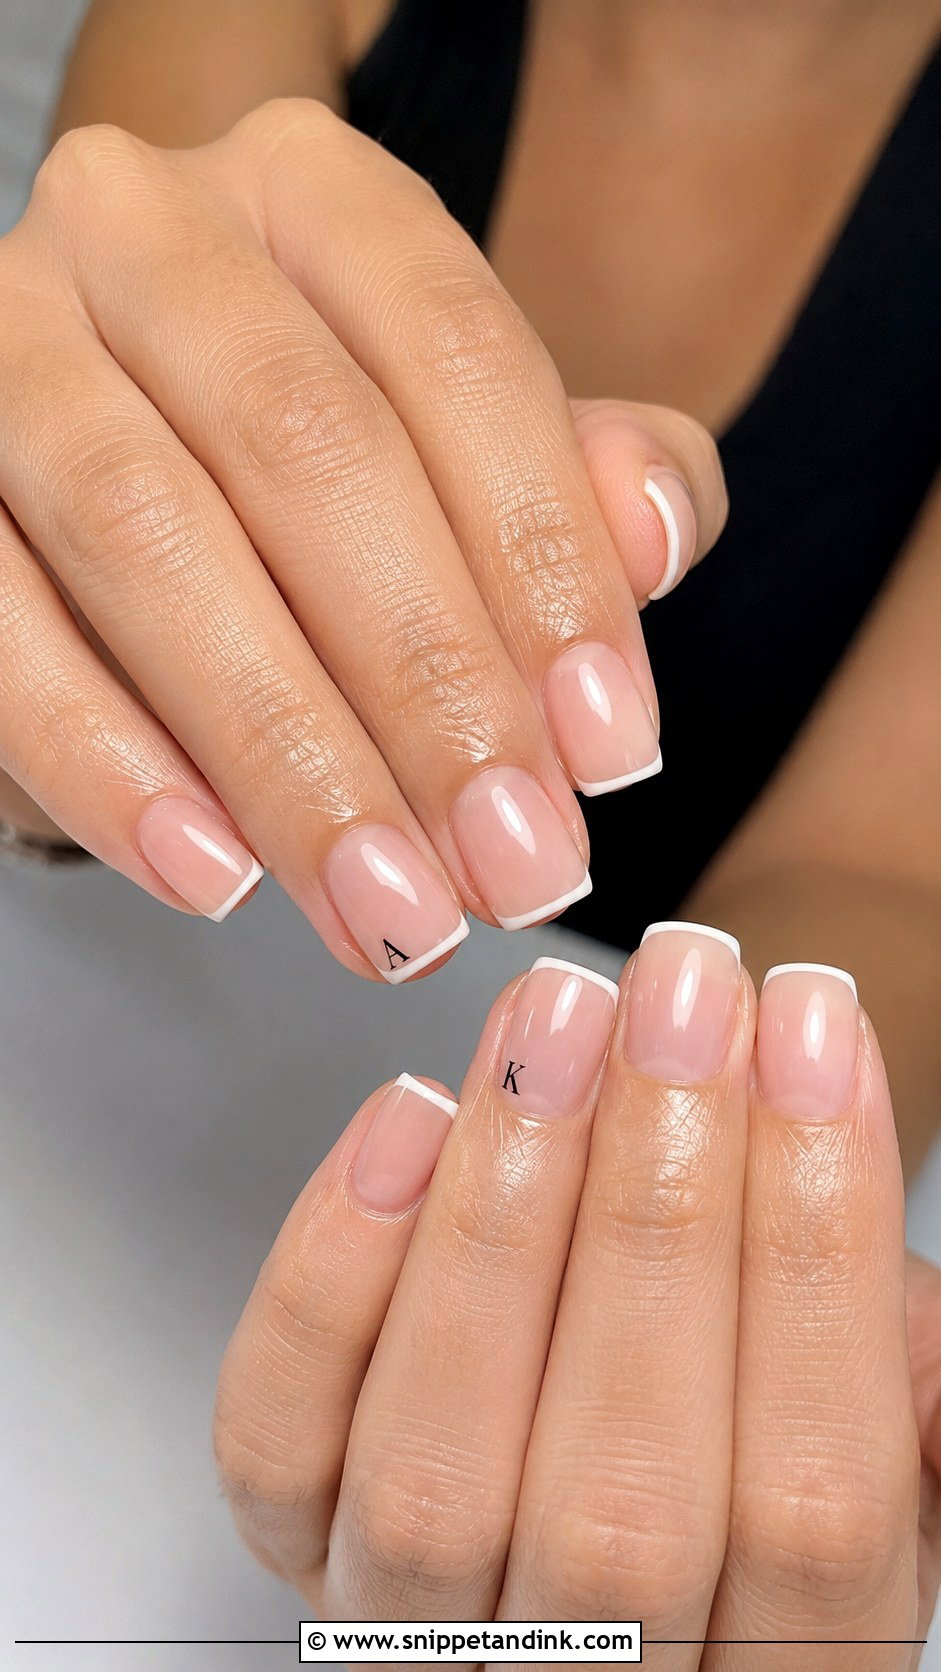
Square is the easiest shape to letter on, since the surface is even and the eye reads straight across it. I like the initial tucked in a lower corner, a bit like a designer stamp. Black or white micro lettering suits a minimal wedding; gold or rose gold warms it up. If square feels harsh on your hands, ask for softened corners. The nail still reads square in photos but catches less on fabric.
14. Floral Wedding Nails With Initials
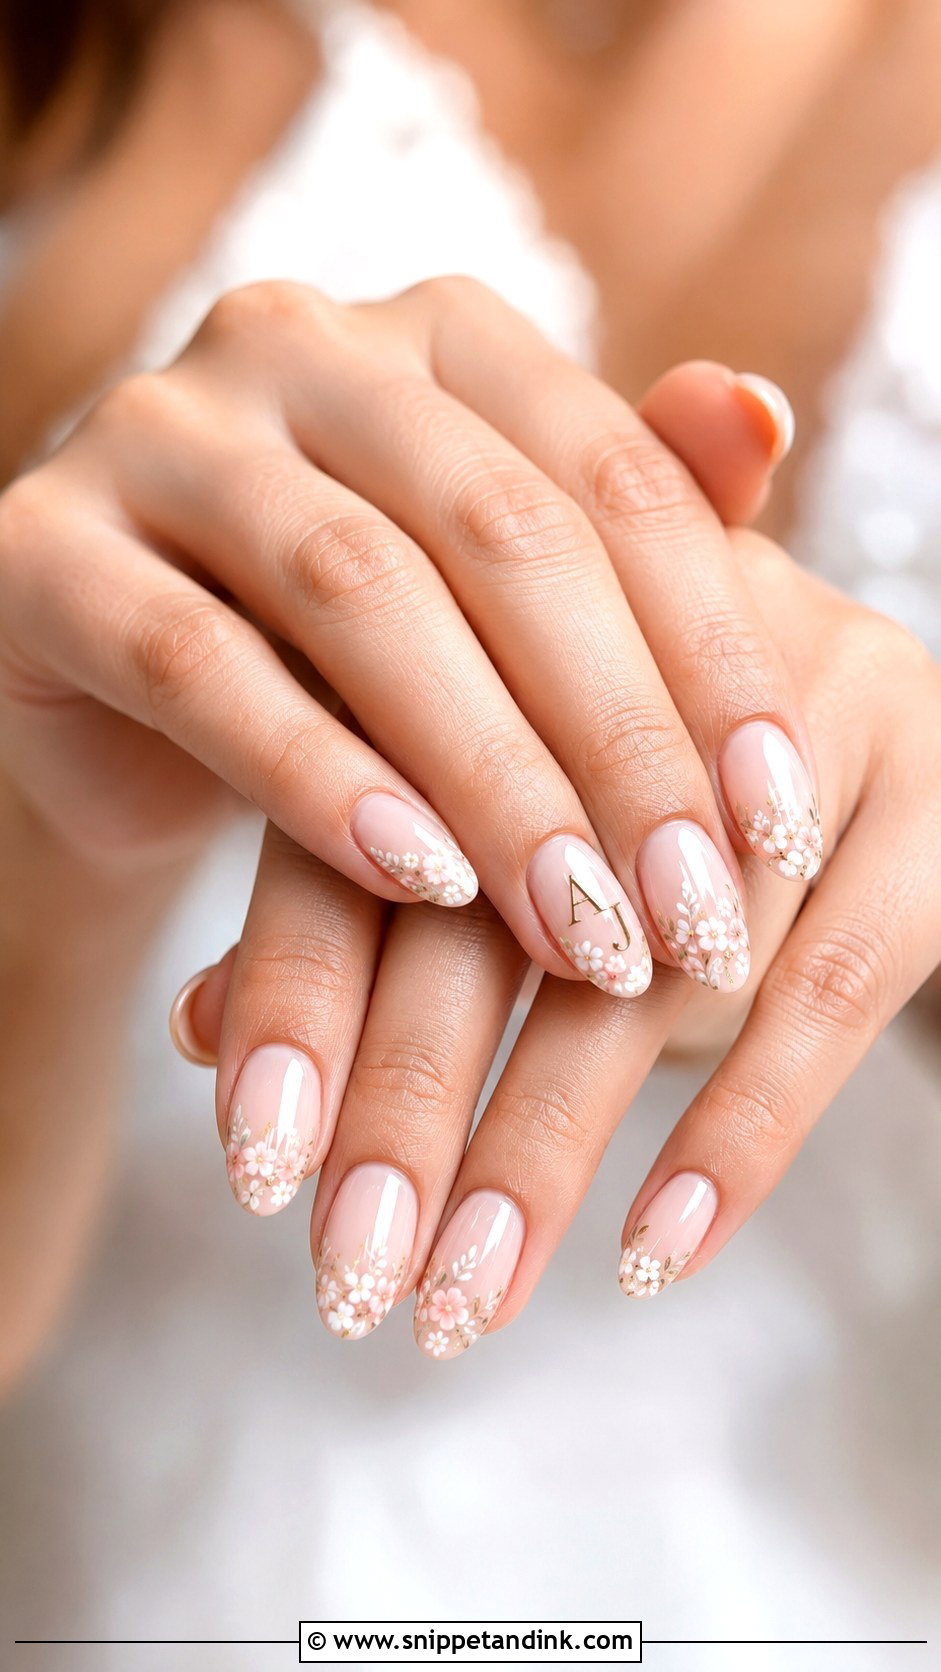
Florals and letters compete for the same small space, so I keep blooms tiny and spaced, and give the initial its own accent nail. Matching the flowers to your bouquet works well; copying an embroidered motif from the dress works even better, because it ties the hand to the gown in close shots. Large blooms on every nail are the most common mistake I see in inspiration photos. Glossy keeps the colours fresh, while a matte top coat makes the florals look painted on fabric.
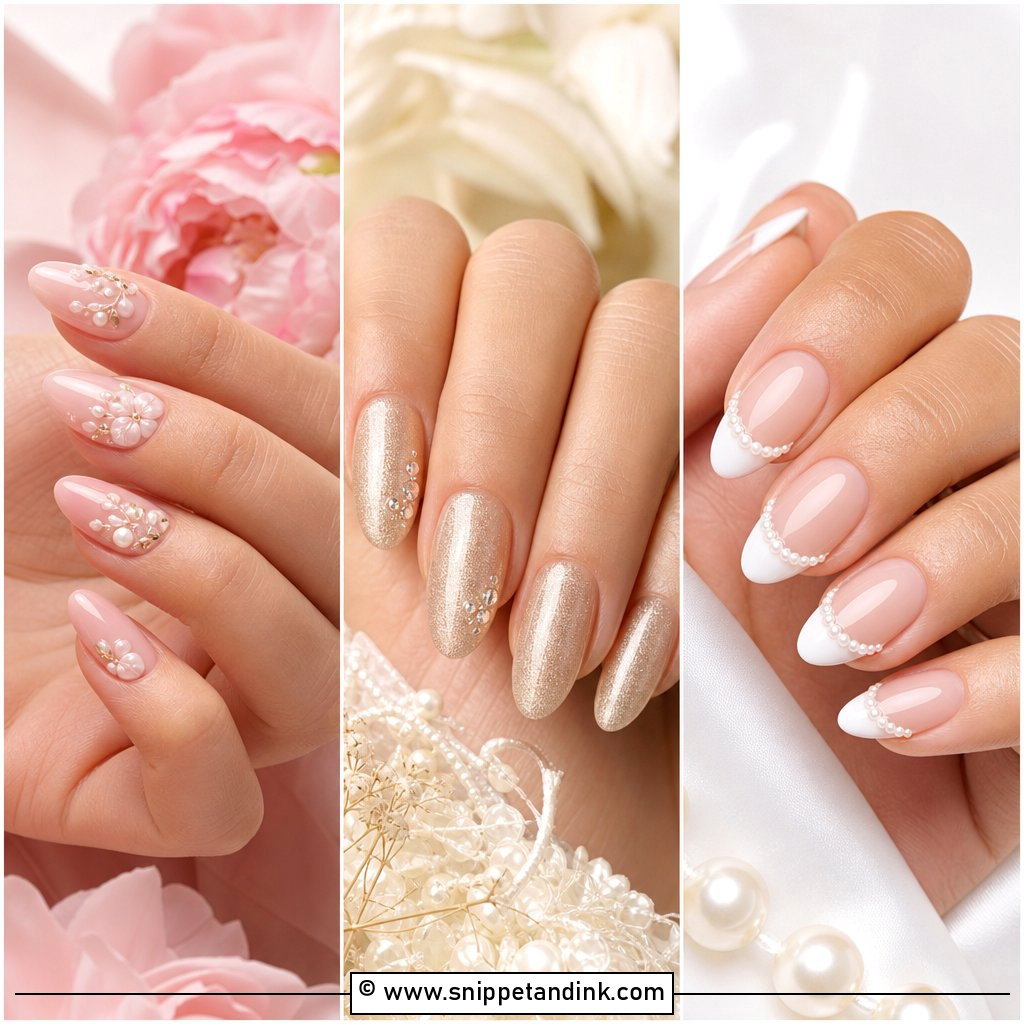
15. Glitter Wedding Nails With Initials
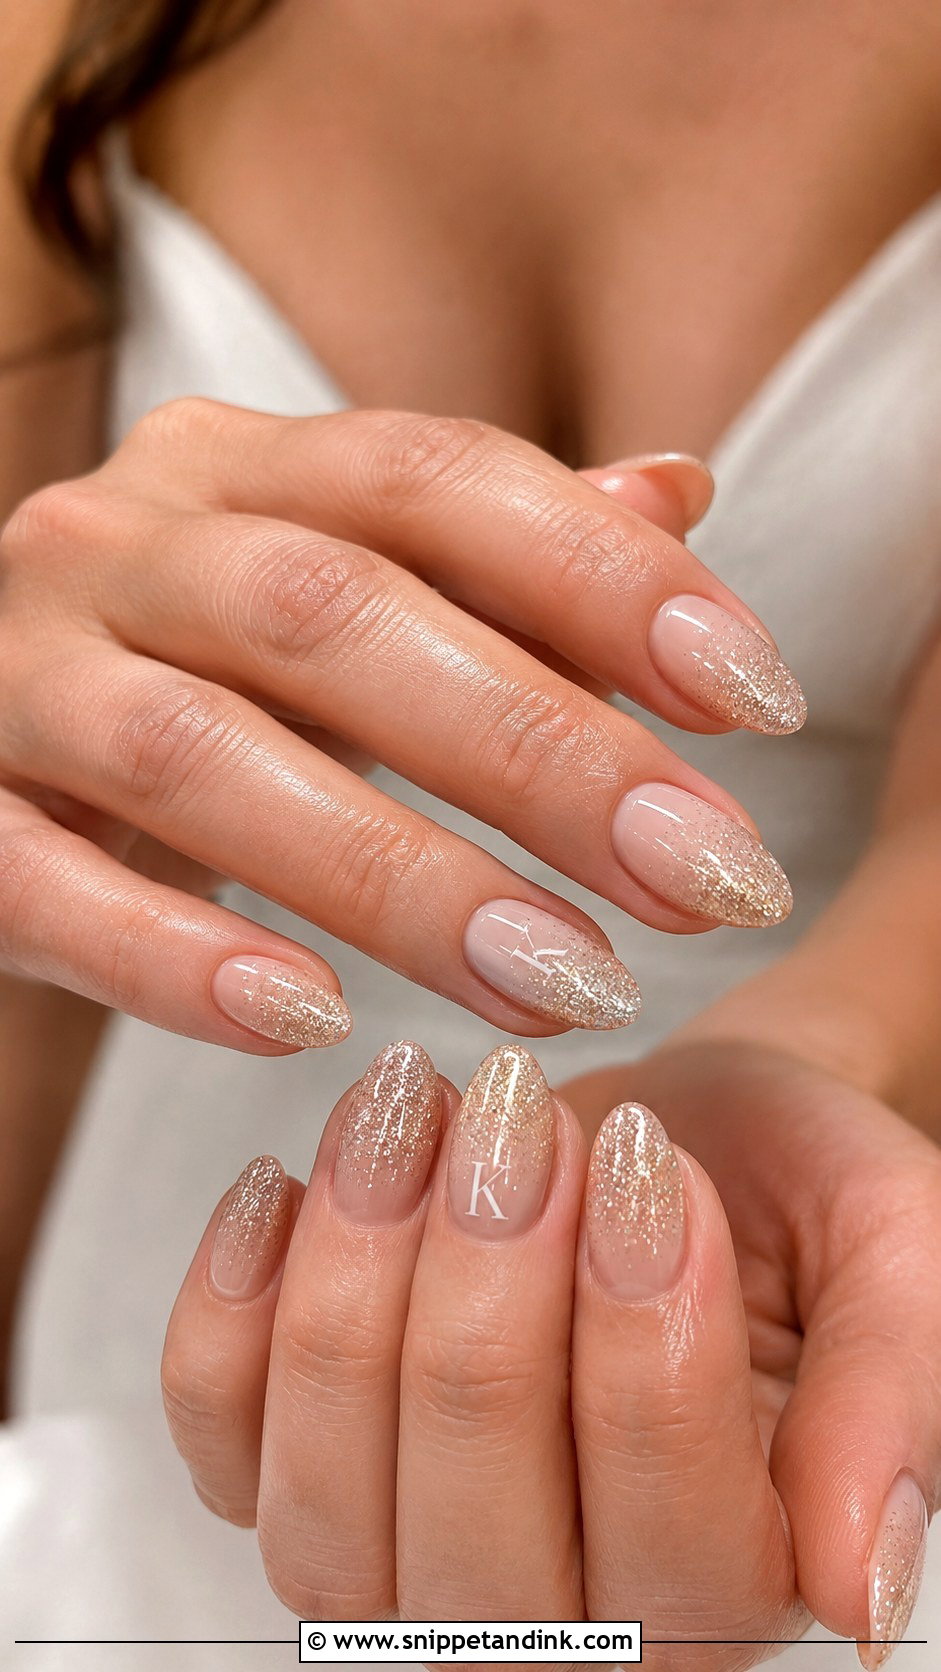
Fine shimmer, not chunky glitter. Chunky flakes create a bumpy surface and a lettering brush skips across it, so I never paint initials over them. Put the letter on a calm, non-glitter nail and let a nude-to-silver fade or a champagne shimmer sit on the others, matched to the metal of your rings. Sparkle under reception lighting is fun; sparkle behind a letter just makes the letter disappear.
16. Matte Wedding Nails With Initials
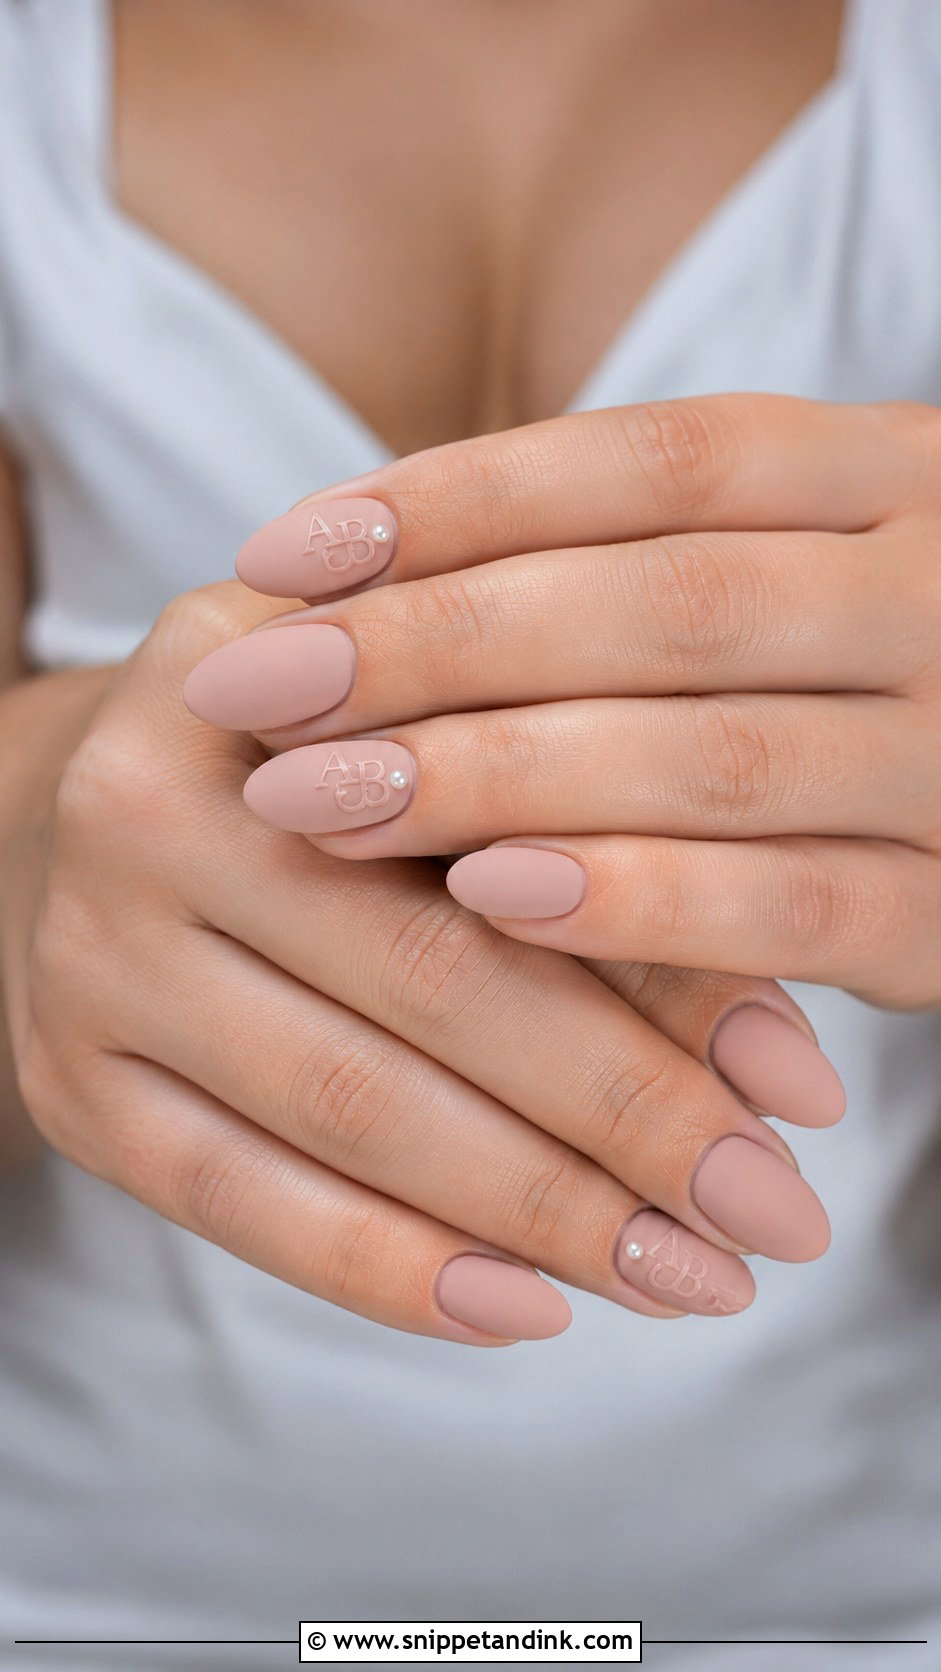
Matte nails show every bump in the base, so the prep has to be perfect: clean cuticles, a levelled builder layer, then the matte top coat. Glossy lettering on top of matte gives a tone-on-tone effect that looks expensive up close; metallic gold reads from further away. One honest warning: matte top coats pick up hand cream and makeup, and can look shiny in patches by the reception. A tiny pearl or one glossy line keeps the set from looking flat.
17. Wedding Nails With Both Initials
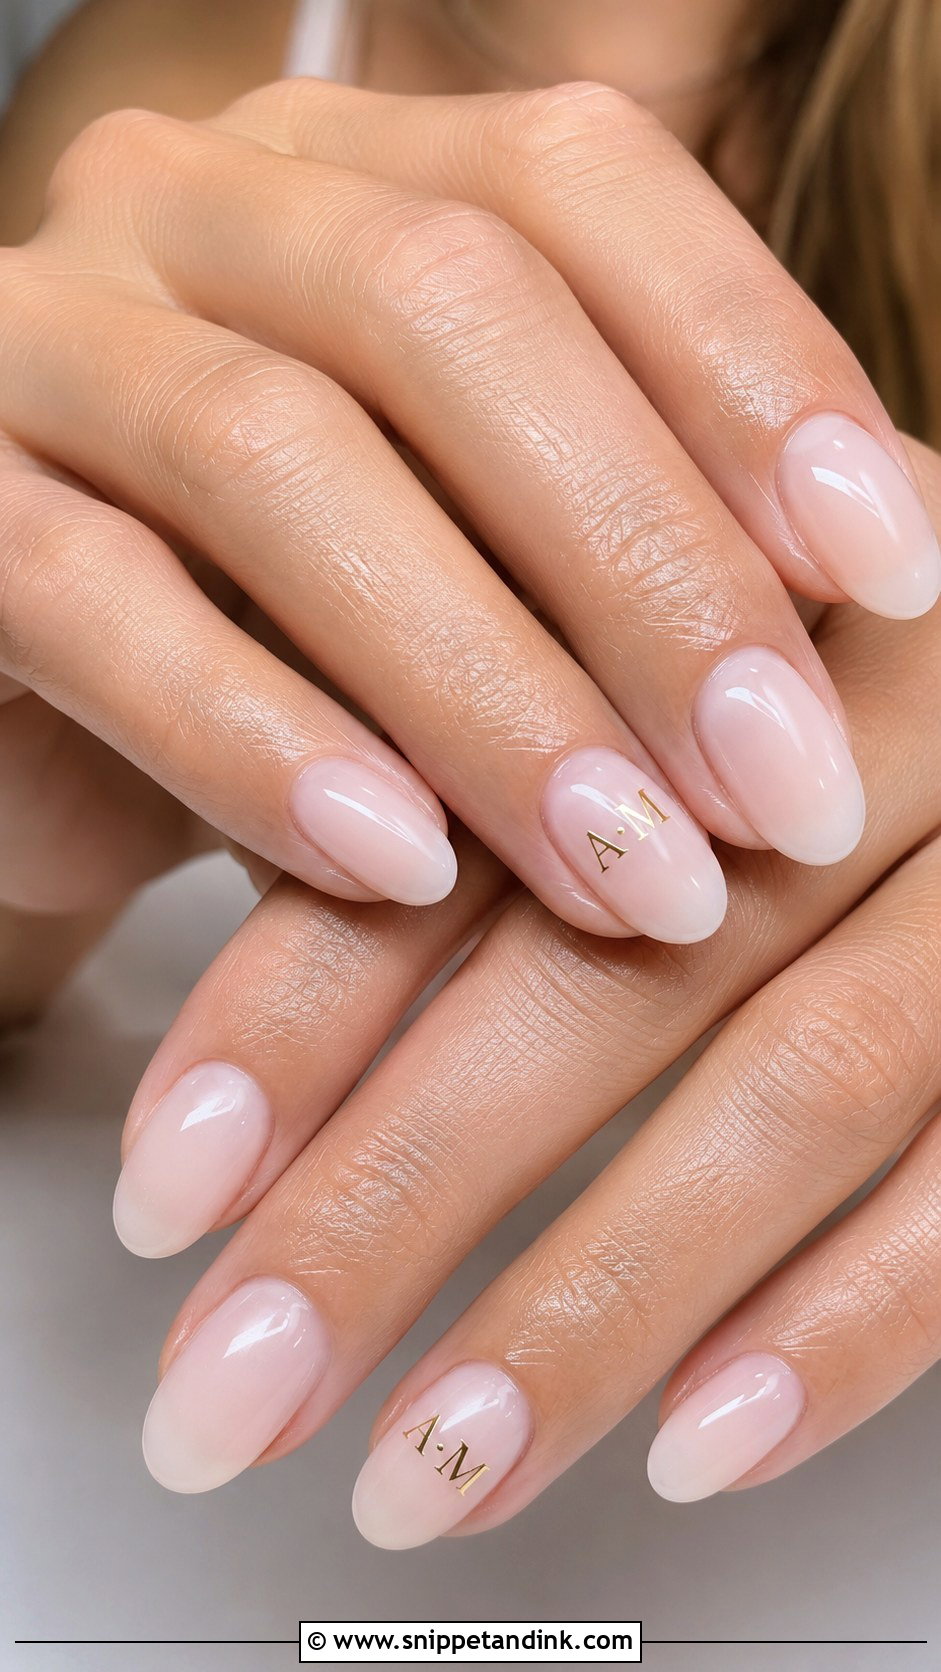
Both initials together tell the story of the two of you, and there are three ways I’d lay it out: one letter on each ring finger, two letters stacked on one nail, or two letters split by a dot, heart or tiny ampersand. Thin script ages well in photos; small block letters feel more current. I use the same layout for brides, grooms who wear polish, and the bridal party, which makes a nice detail shot of everyone’s hands together.
18. Wedding Date Nails With Initials
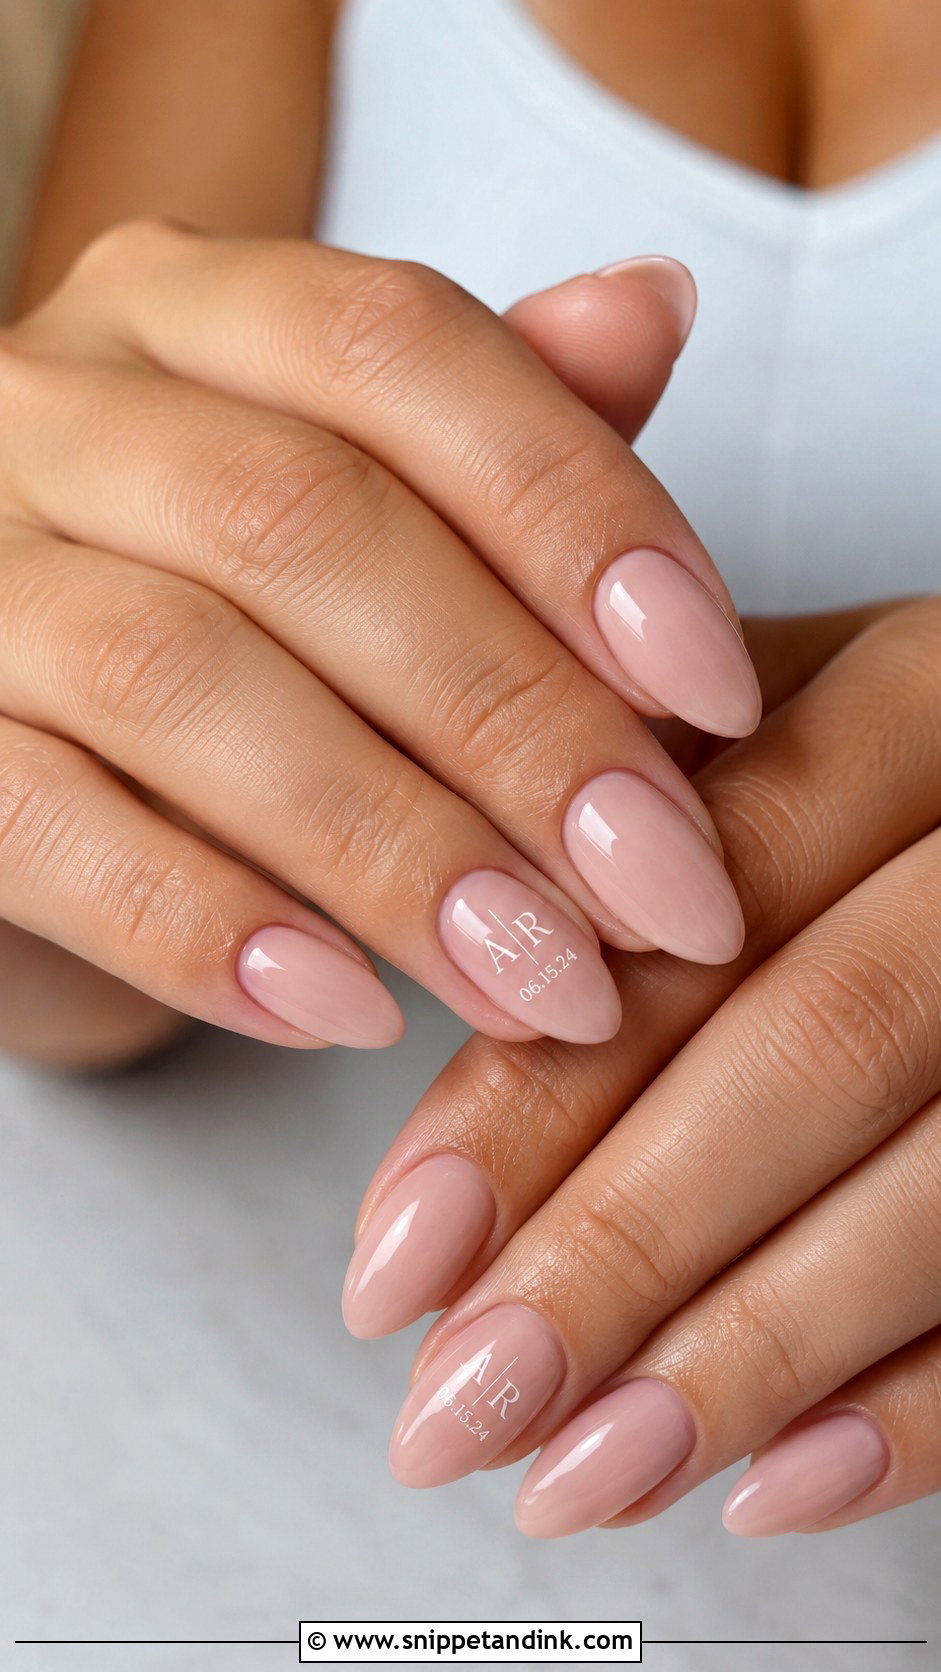
Numbers take more room than letters, so a full date rarely fits on one nail without looking cramped. I shorten it to day and month, or split it across two nails beside the initials. A sheer pink or nude base keeps the writing crisp. Medium almond, oval and coffin nails have the width for it; on short nails I’d drop the date and keep only the initial. Ask for the digits fine and evenly spaced, since lopsided numbers are very visible in a macro shot.
19. Blue Wedding Nails With Initials
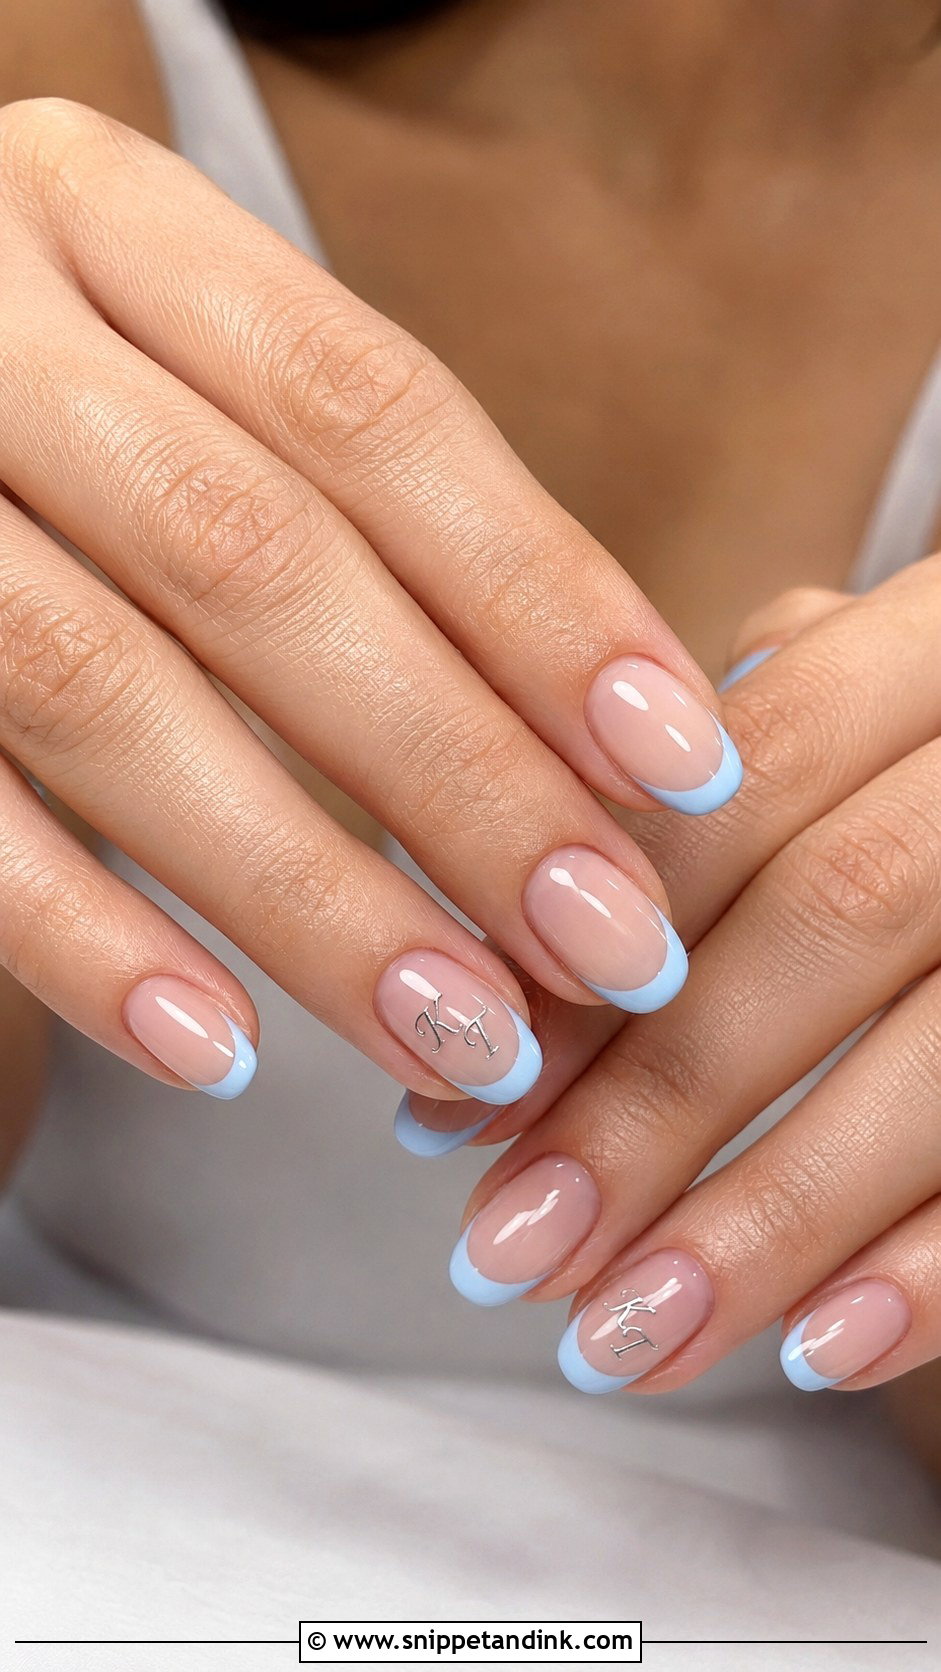
Blue wedding nails with an initial are a neat way to carry your something blue. Powder blue, a sheer blue tint or a blue French tip all stay soft enough for bridal wear. White, silver or pearl chrome lettering reads clearly on blue, whereas gold can look muddy on it. If you want the blue barely there, keep it to one accent nail and let the rest stay nude or milky. Coastal and summer weddings suit it best.
20. Red Wedding Nails With Initials
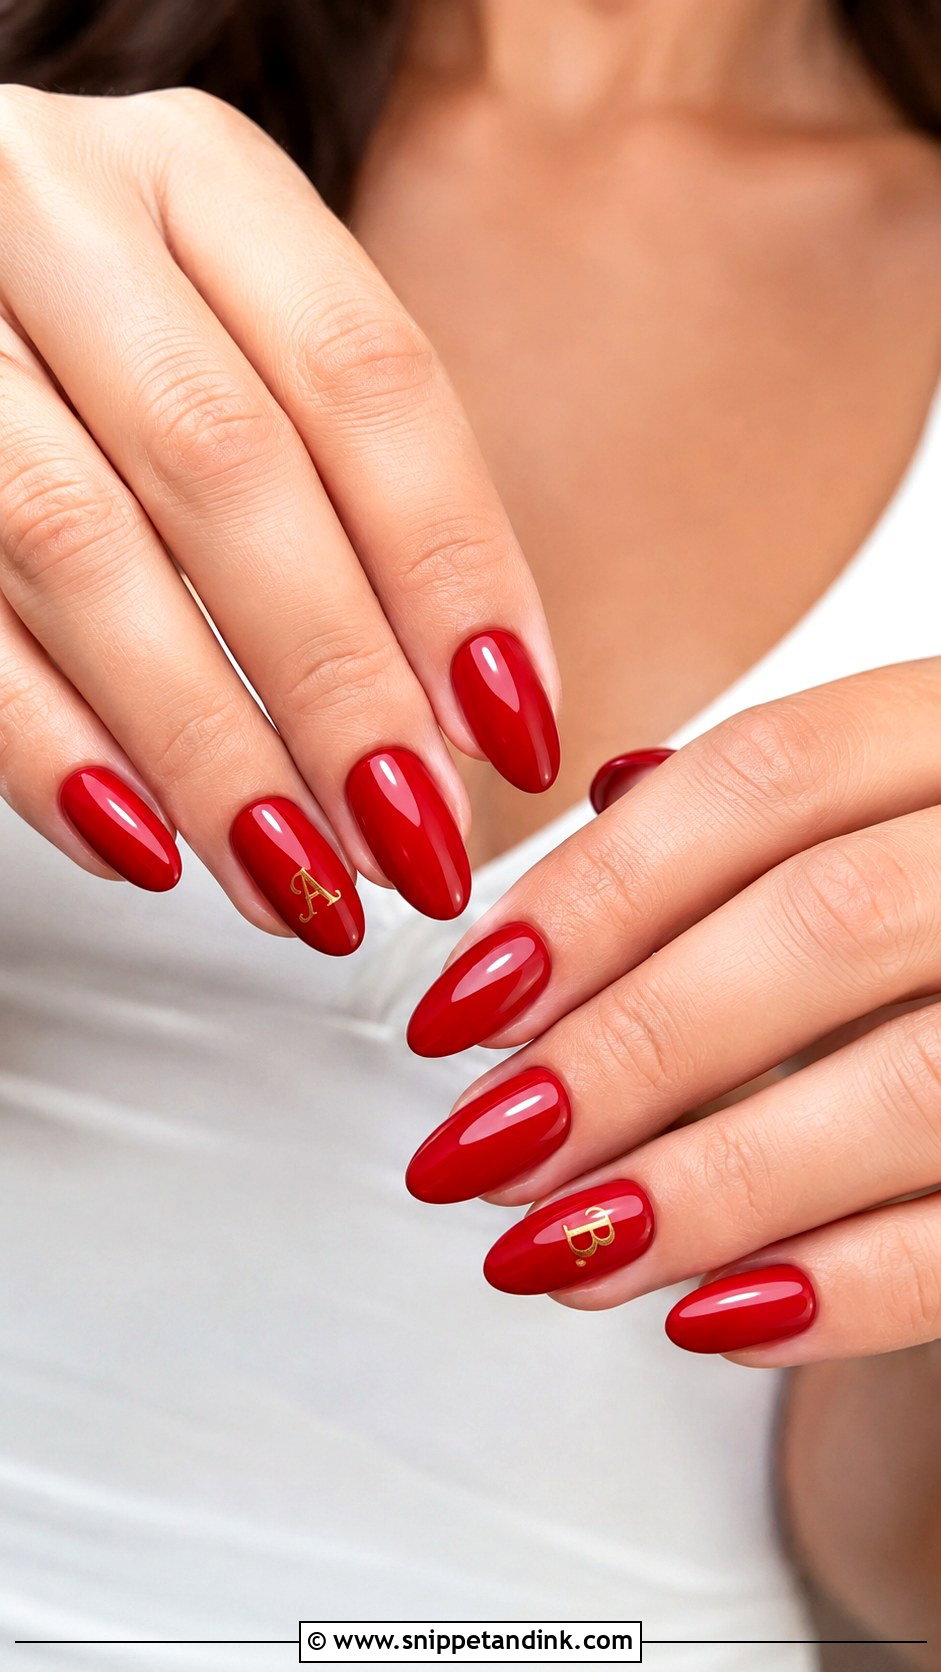
Red is confident, and it’s the one colour in this list where I’d skip any extra art. A cherry, ruby or true red with a glossy finish and one gold or white initial on a single nail is plenty. Red shows chips faster than any nude, so I’d book this one close to the date and pack a matching polish for touch-ups. Short square feels vintage; almond feels softer. It’s a natural fit if you wear red in your bouquet, shoes or cultural wedding attire.
Will a Tiny Initial Survive Champagne Flutes and Cake Cutting?
It will if it’s sealed properly and booked at the right time. Gel lettering under a cured top coat doesn’t rub off; what fails is the edge of the nail, where tips chip and seal lines lift. That’s why I cap the free edge carefully and finish with a thin, even top coat rather than a thick one.
When to book the appointment
For gel, one to three days before the wedding is the window I aim for. Any earlier and you’ll see a sliver of regrowth at the cuticle in ring photos; the same morning is too rushed, and a smudged letter can’t be fixed in ten minutes. If you want a trial, do it a few weeks out so you can see how the letter looks after a week of normal life.
If something goes wrong on the day
Pack a mini bottle of your base shade, a nail file and some cuticle oil. A small chip on a nude or milky base disappears under one coat of the colour. A chipped letter is harder, so if the initial nail is damaged, I’d rather you file the edge smooth and leave it than try to repaint script by hand at the venue. Oil on the cuticles just before photos makes everything look freshly done.
One Letter Where the Ring Shot Lands
My advice after doing a lot of these sets: pick the base you’d happily wear without any letter at all, then add the initial last and keep it smaller than you think. French, milky white, nude, blush, chrome or ombre all carry a monogram well. Match the lettering to your ring metal, think about how much room your nail shape actually has, and give the detail one nail to live on. A single small initial that stays sharp through the evening beats a crowded set that chips by the first dance.
You'll Like These Ideas:


Leave a Reply