
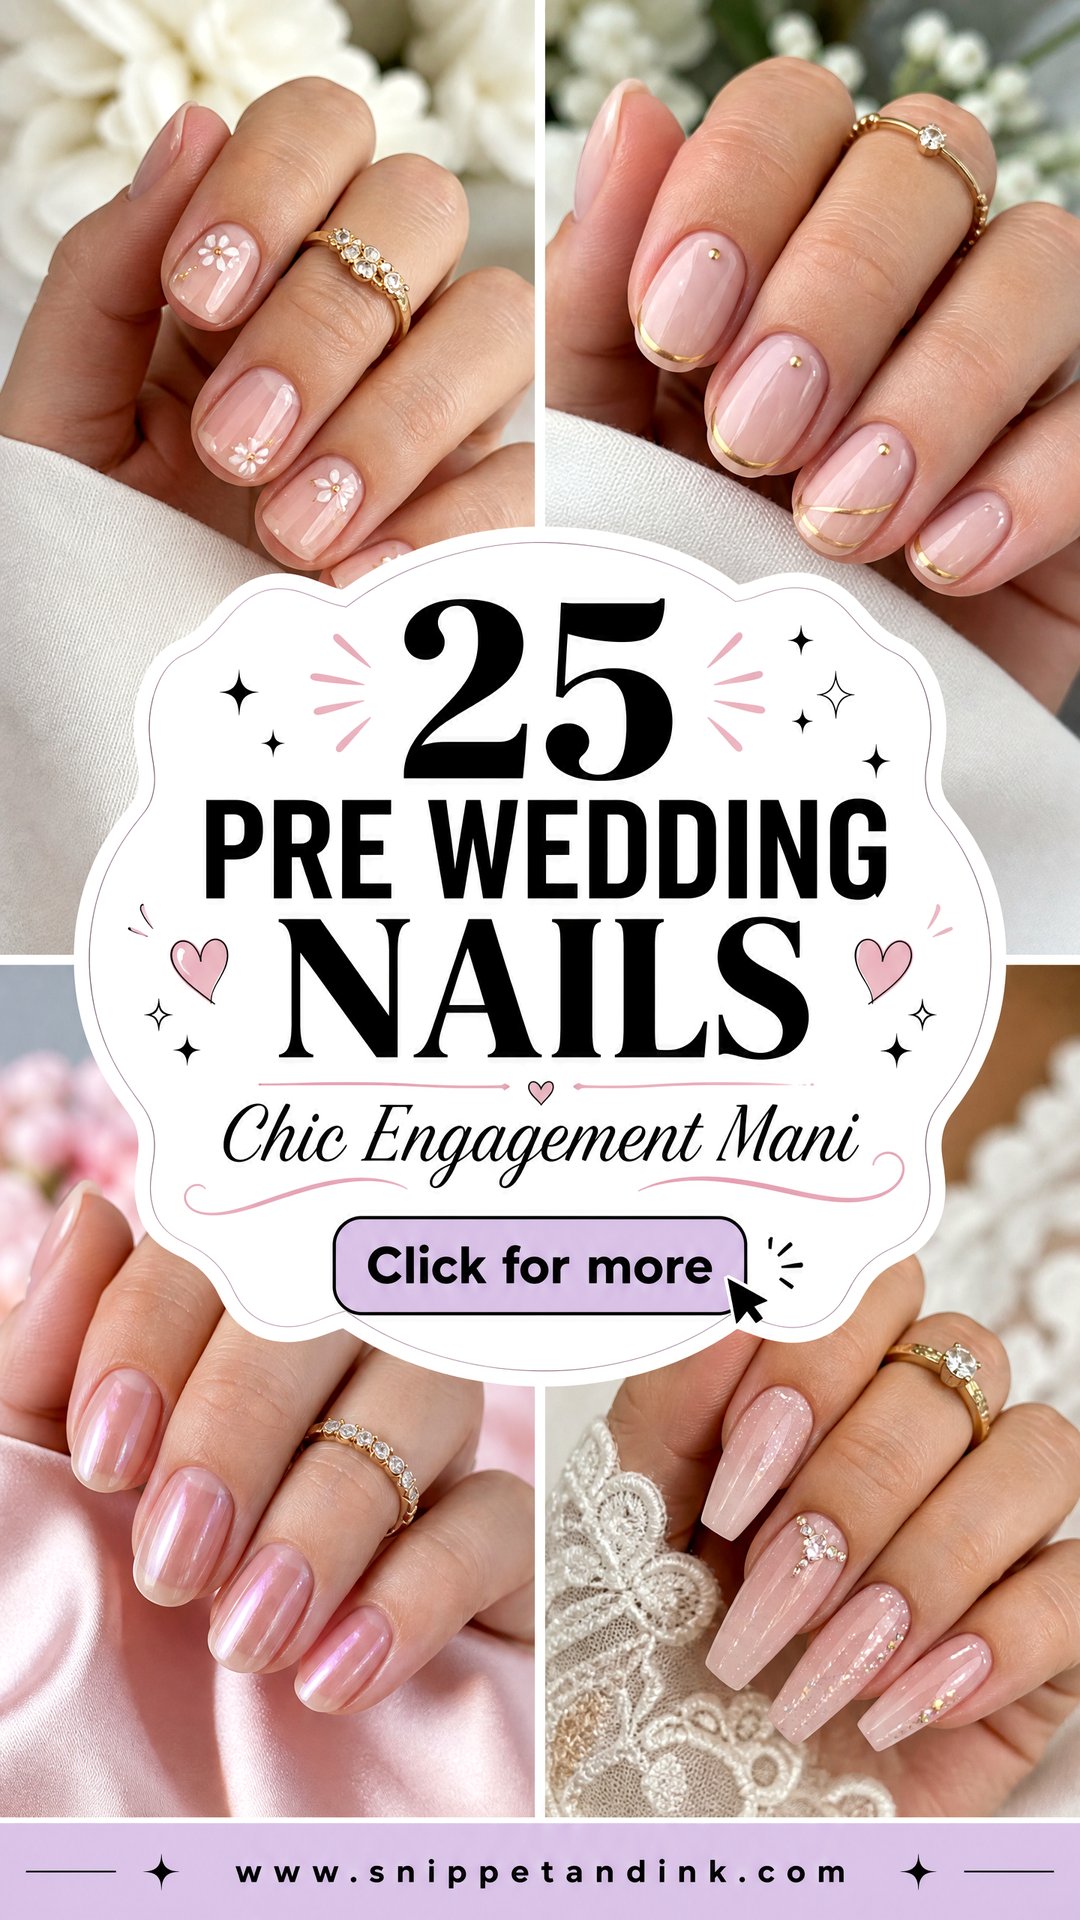
The months between the proposal and the wedding are when hands get photographed the most. There are engagement photos, shower pictures, the ring held up for every relative, and a run of dress fittings. Most brides I see in this stretch want a set that looks finished in a close-up but still survives errands, packing favors and three weeks between appointments. That rules out some designs and favors others. Below are 25 sets I’d happily put on a bride-to-be, with notes on how each one wears, who it suits and where it tends to fail.
Mapping Manicures Across Showers, Shoots and Fittings
A gel manicure usually looks fresh for about two to three weeks before the regrowth gap at the cuticle starts to show. That sounds like plenty, but engagement season tends to bunch events together, and the regrowth is exactly what a ring close-up exposes. So I plan sets backward from the dates that matter most.
- Your engagement shoot gets a fresh set one or two days before. Not the same day: gel and fresh cuticle work need a little time to settle, and any redness around the nails calms down.
- Showers and parties can usually share a set if they fall within ten days of each other.
- For dress fittings, choose a smooth design. Flat finishes won’t snag delicate fabric while you’re being pinned.
- Schedule the wedding manicure one to three days before the wedding, and plan the removal of the previous set by a professional at the same appointment.
I’d also be careful with constant soak-offs. Peeling or picking gel off strips the top layers of your natural nail, and thin nails then struggle to hold the wedding set. A proper soak-off, a strengthening builder layer and daily cuticle oil between appointments keep the nails strong through months of manicures.
1. Milky White Pre Wedding Nails
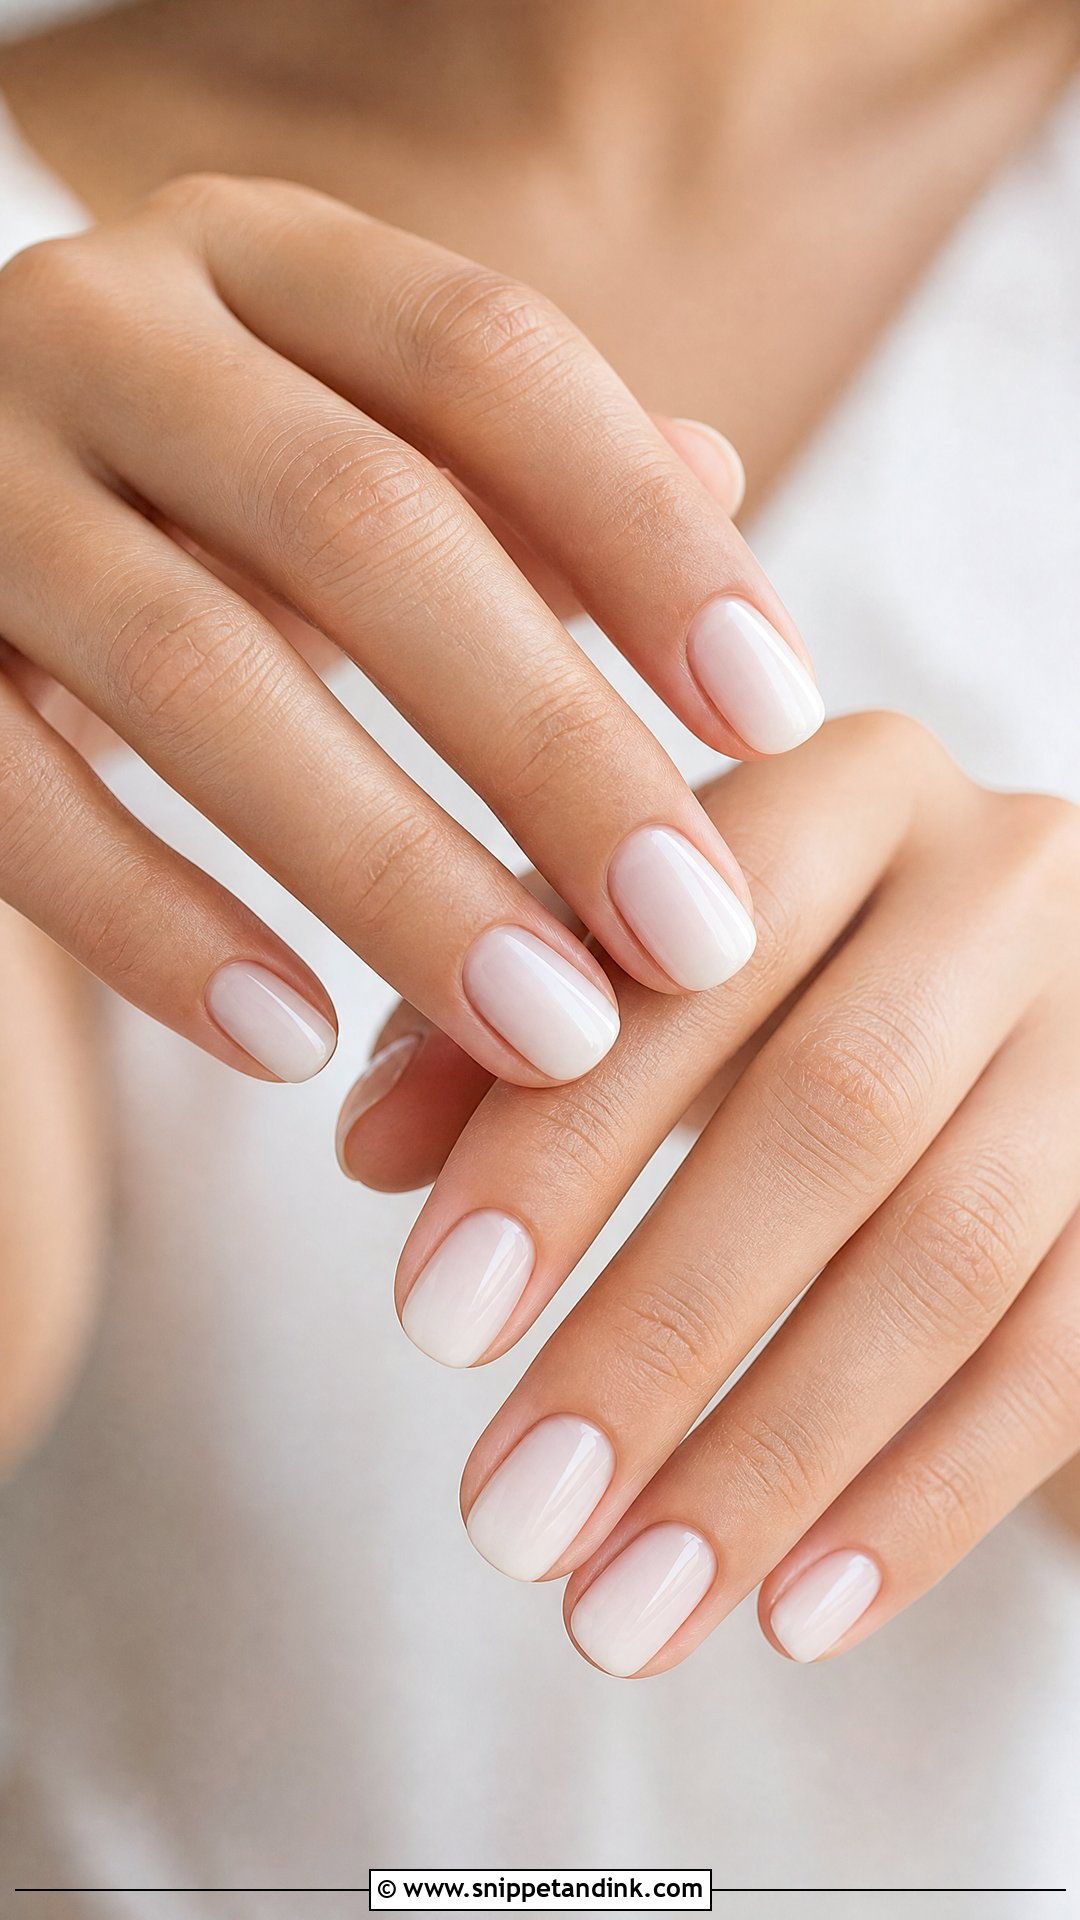
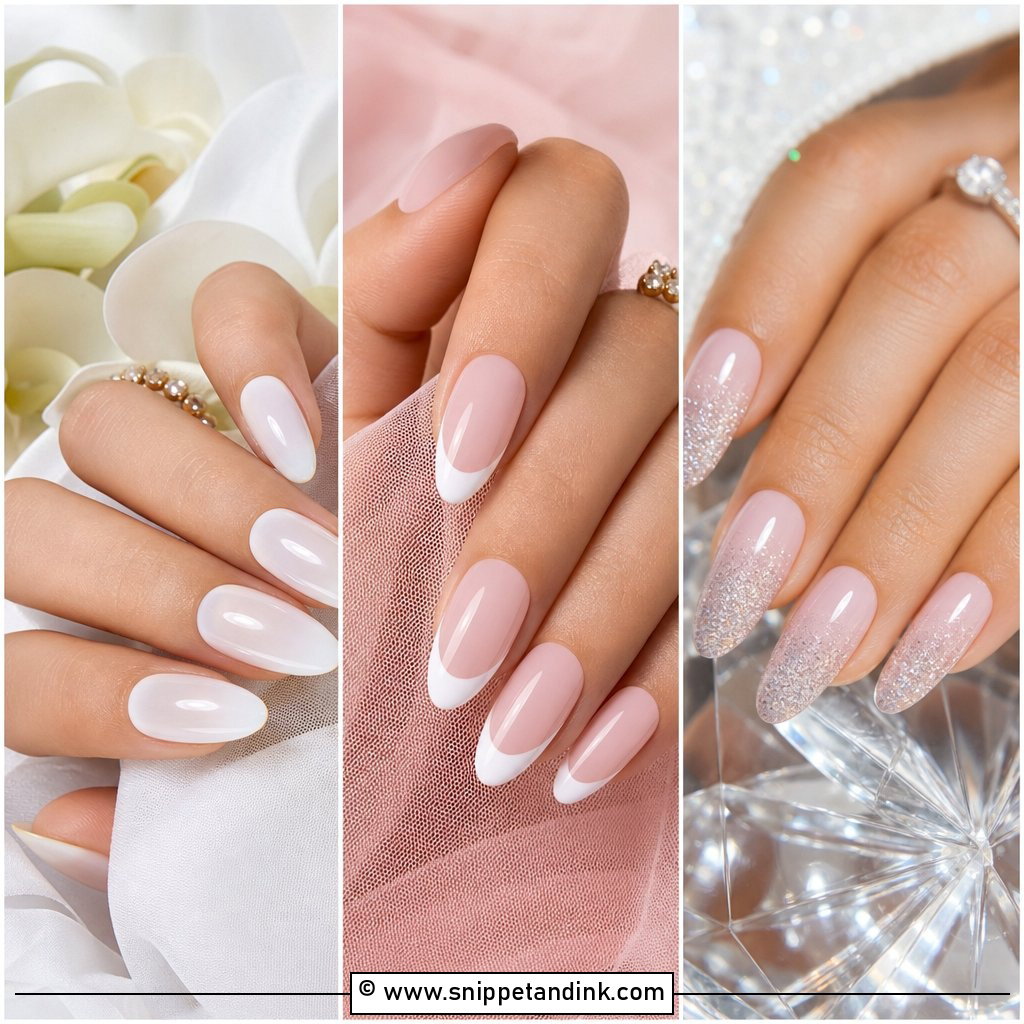
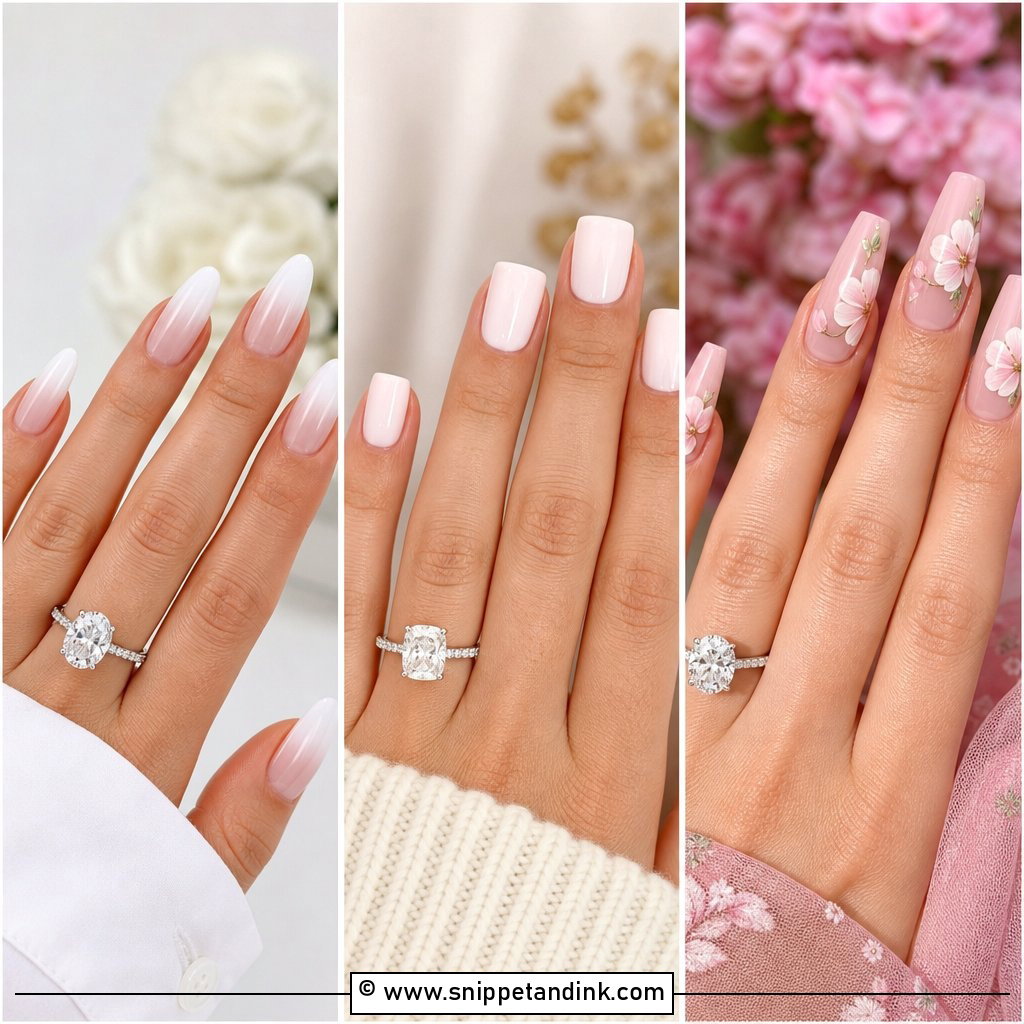
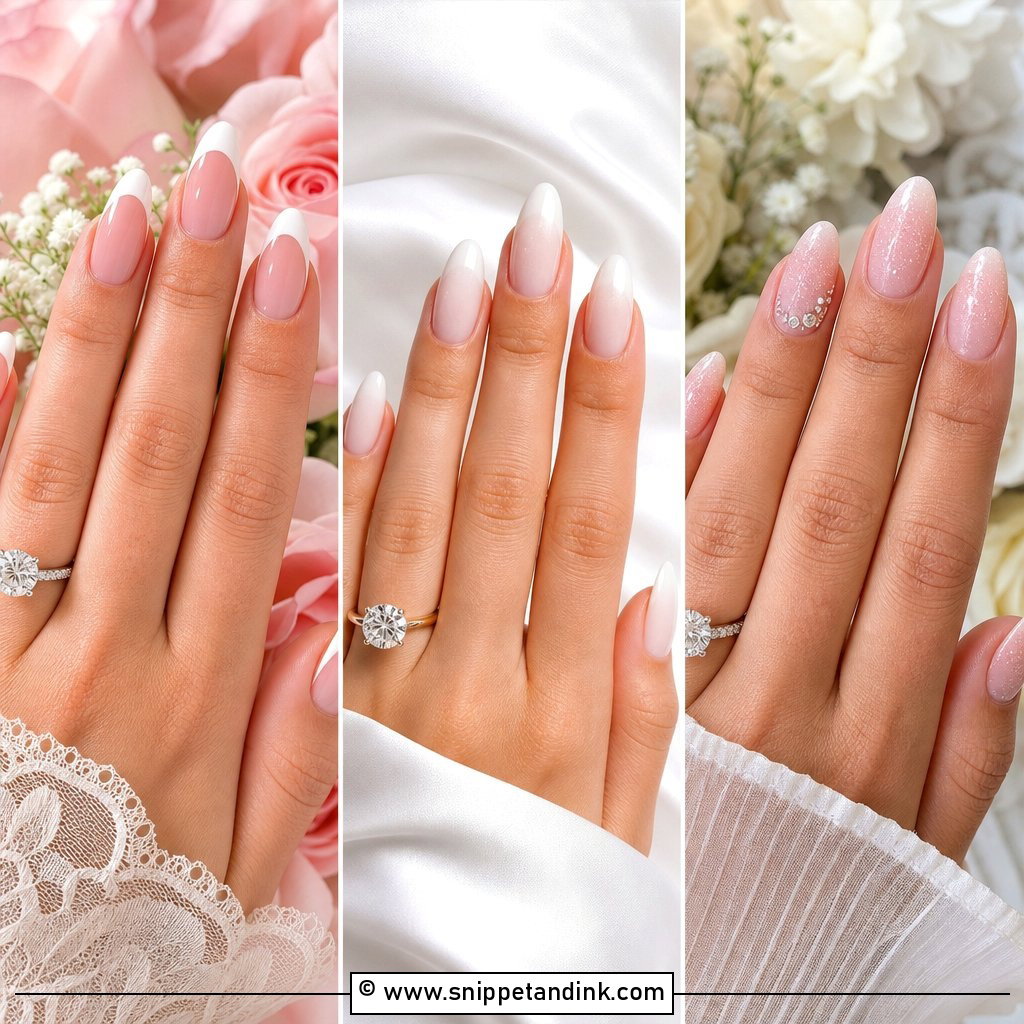
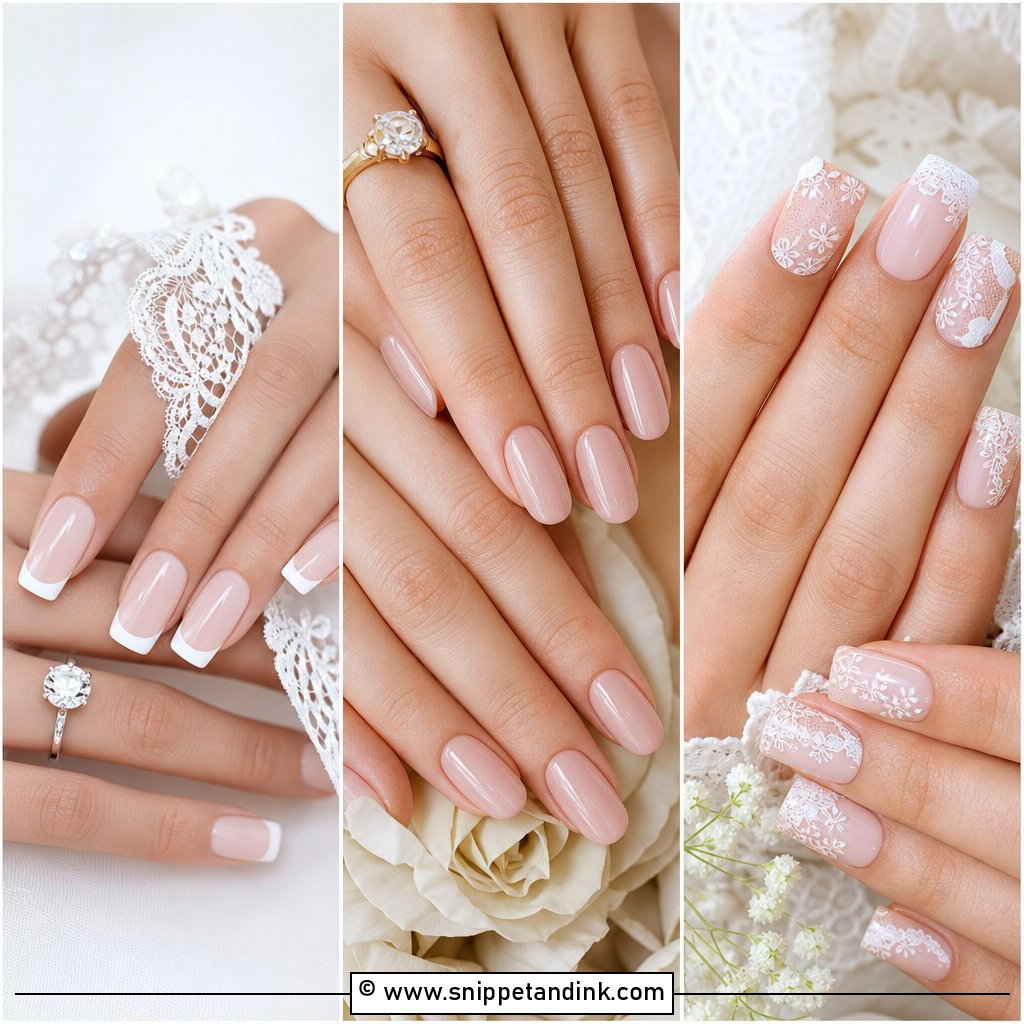
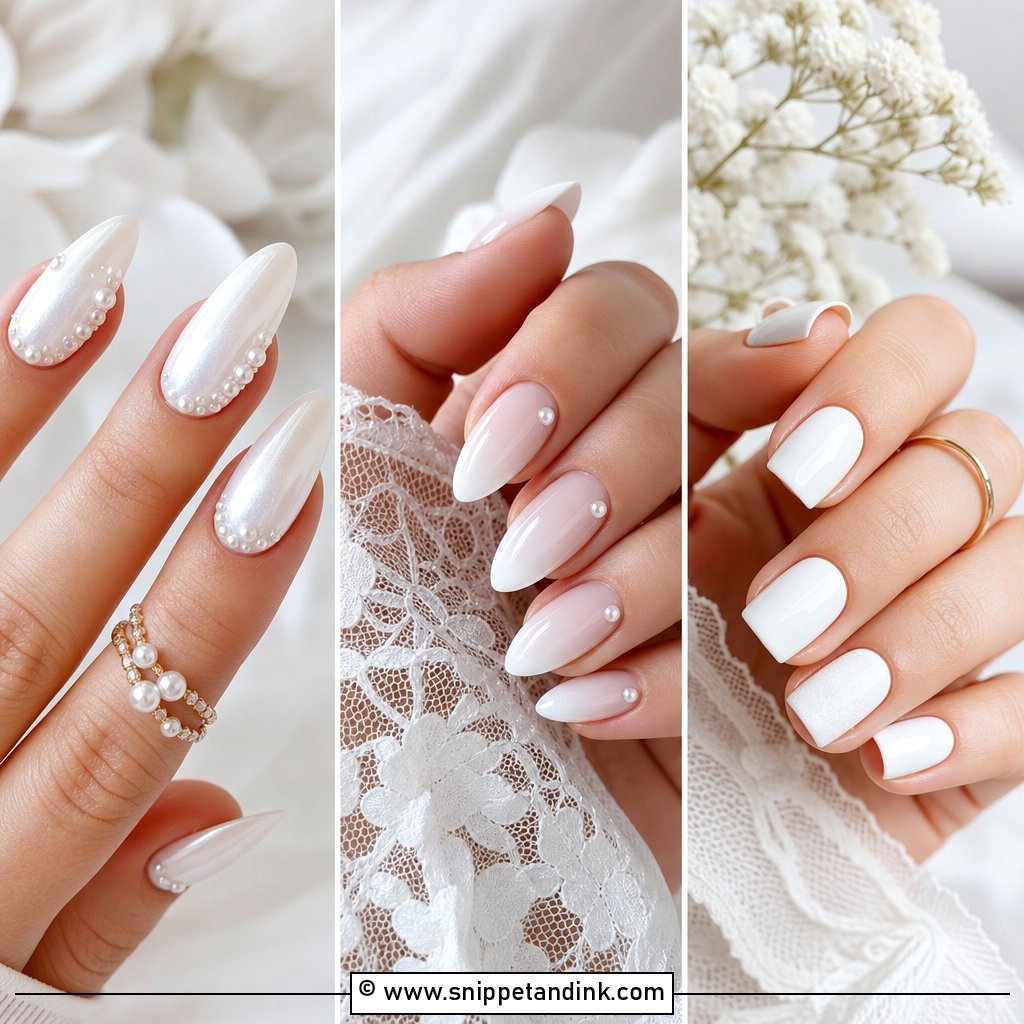
Milky white sits between sheer white and creamy nude, and getting that balance right is the whole job. Too opaque and it looks chalky and flat on camera; too sheer and every ridge on the nail shows. I usually build it in two thin coats rather than one thick one, which keeps the translucency even from cuticle to tip. It flatters nearly every skin tone and makes a diamond read brighter in a ring shot. A short oval keeps it natural, an almond gives a little more length.
2. French Tip Pre Wedding Nails
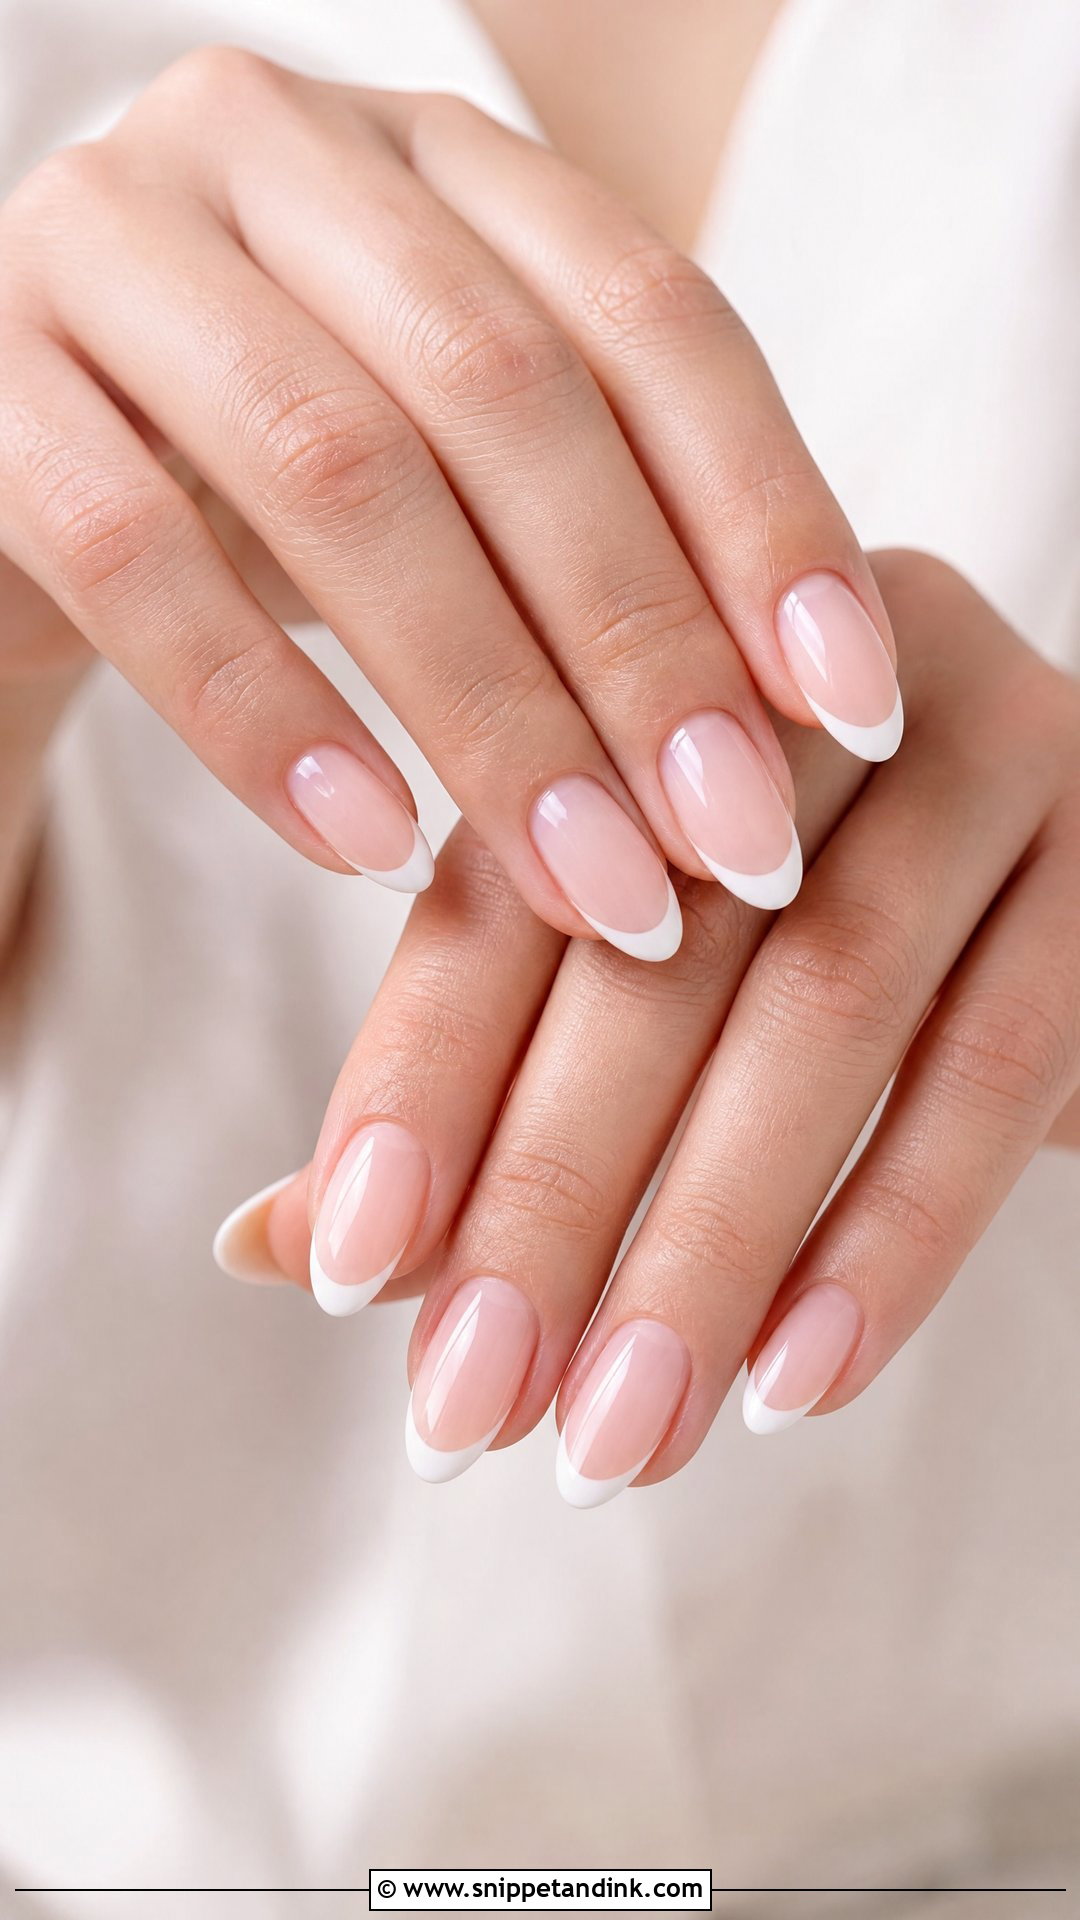
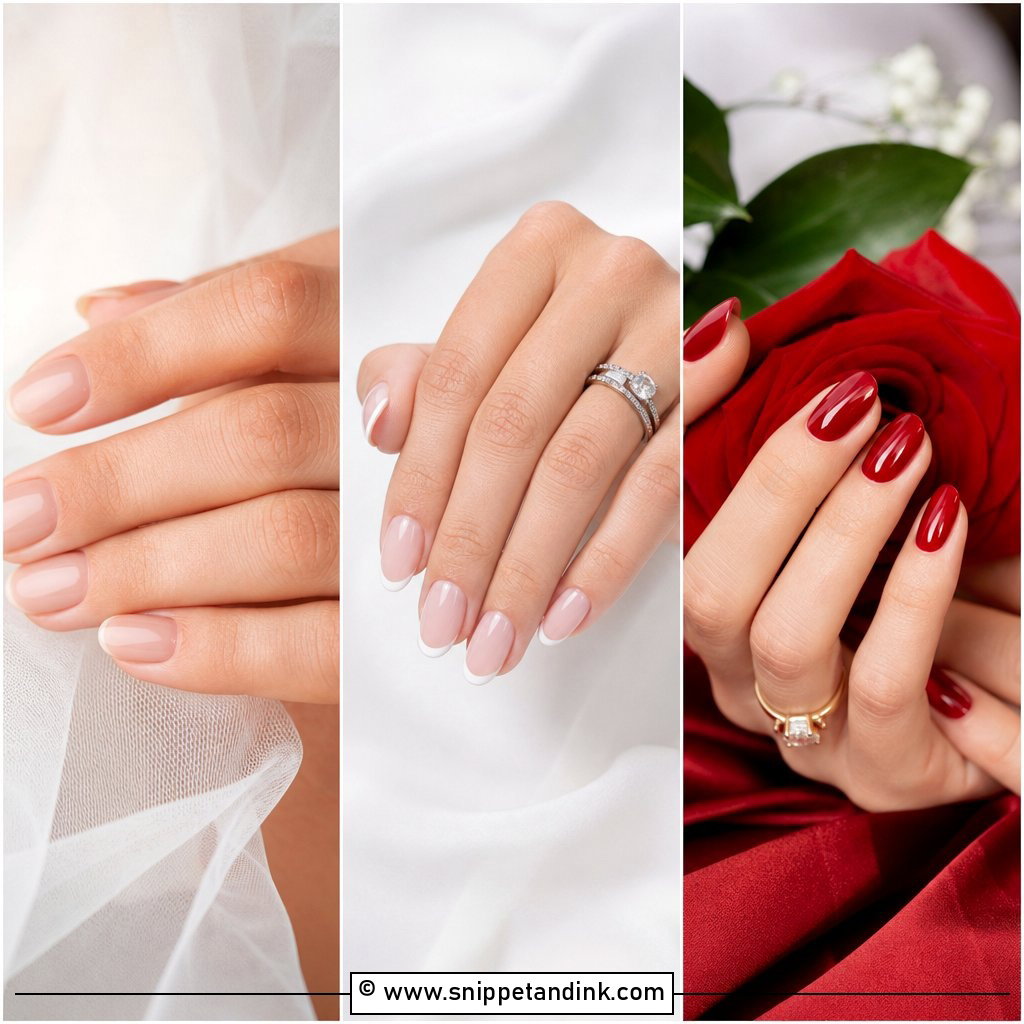
For a pre-wedding French, I keep the tip thin and let the smile line follow the natural curve of your free edge rather than painting a straight band. A thick white tip on a sheer pink base looks dated in close-ups and makes short nails look shorter. Almond, oval and short square shapes all take it. A wash of pearl chrome over the top is my favorite update: it softens the contrast between pink and white and catches light when you move your hand.
3. Pearl Chrome Pre Wedding Nails
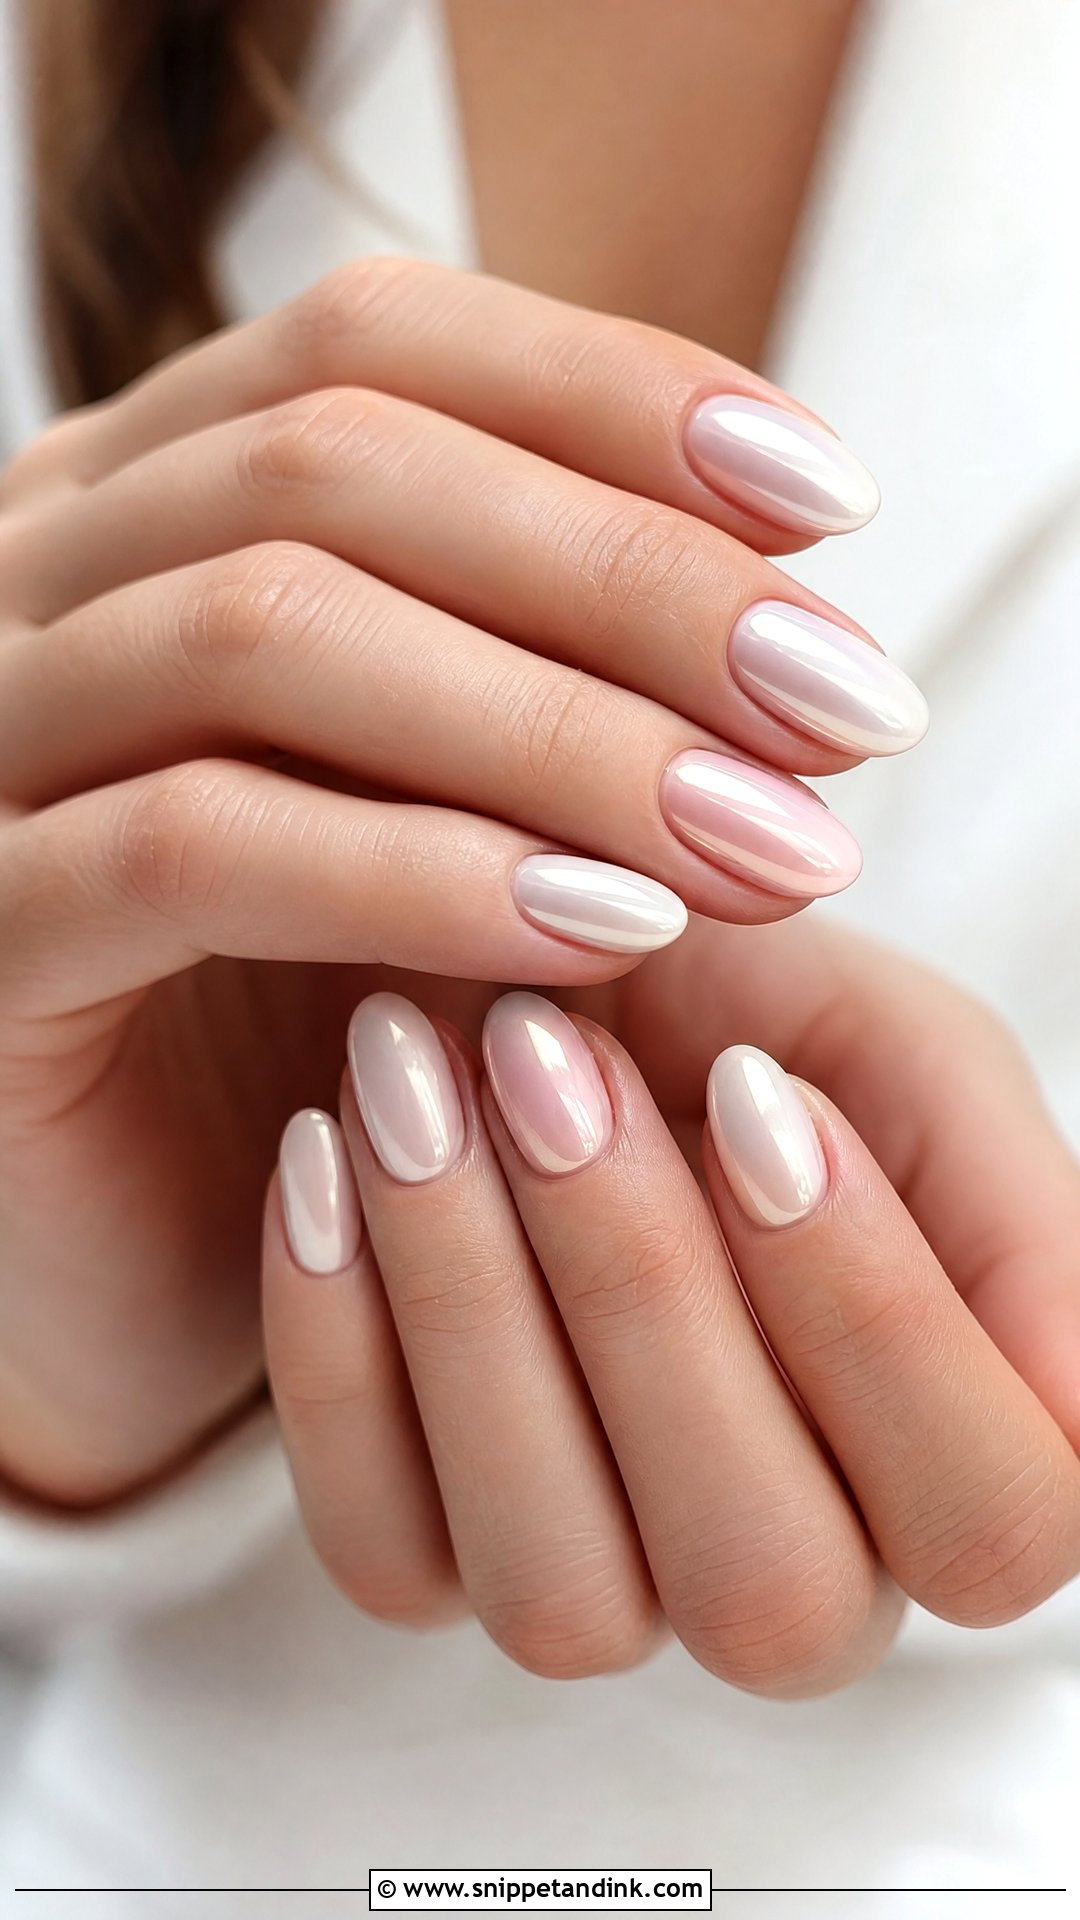
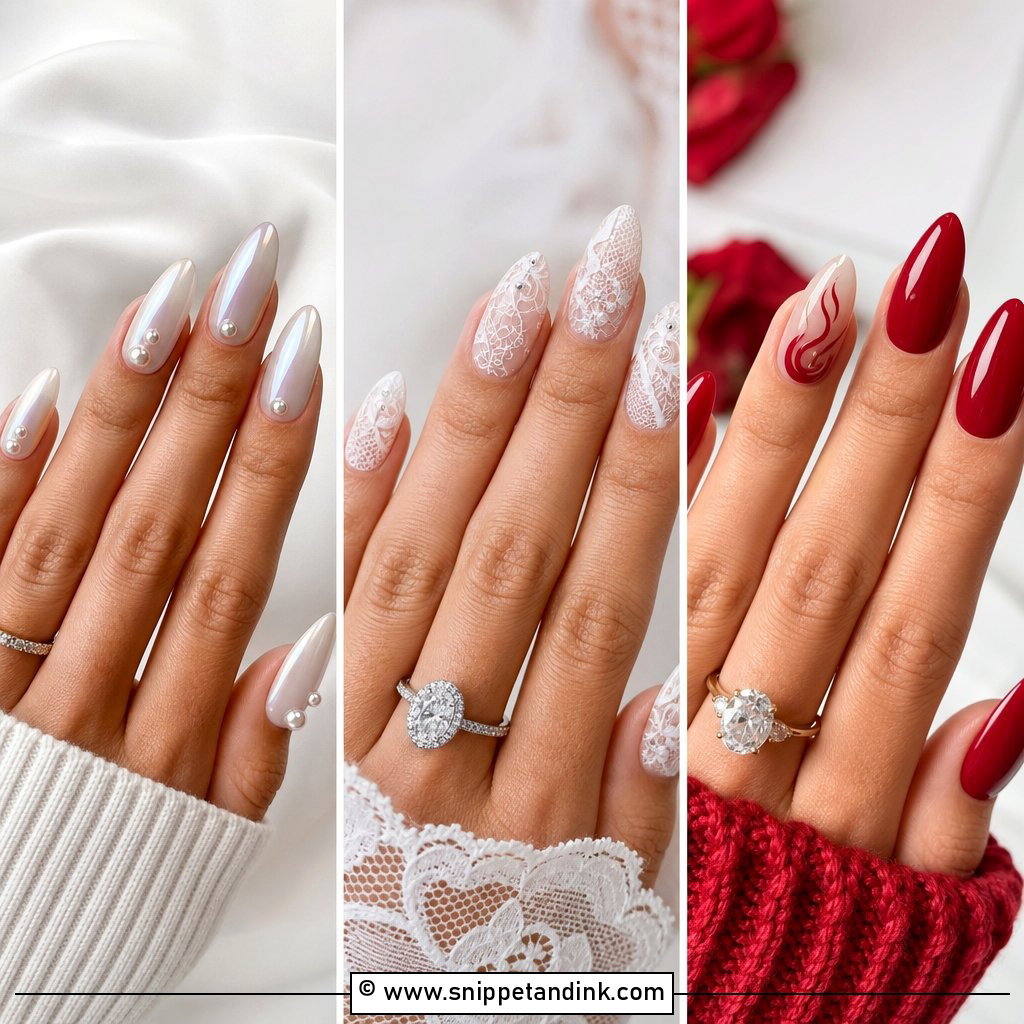
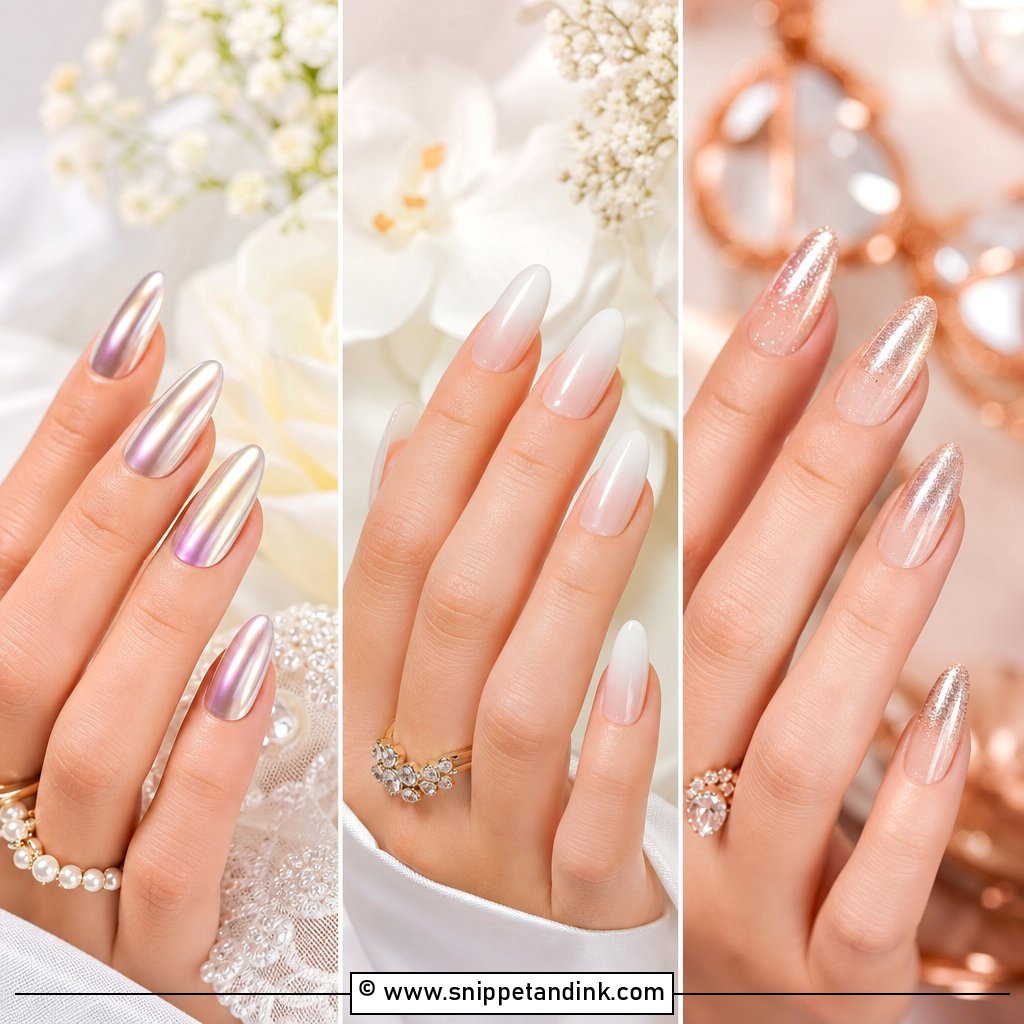
Pearl chrome is a fine powder rubbed into a cured gel layer, then sealed. On a milky, pale pink or nude base it gives a soft glow that looks great in ring shots, because it reflects light evenly instead of sparkling in spots like glitter. The one weakness is the free edge. Chrome rubs off at the tips first, usually around week two, especially if you type a lot. I cap the edge with topcoat to slow it down. It suits almond and oval nails and makes short nails look more finished.
4. Blush Pink Pre Wedding Nails
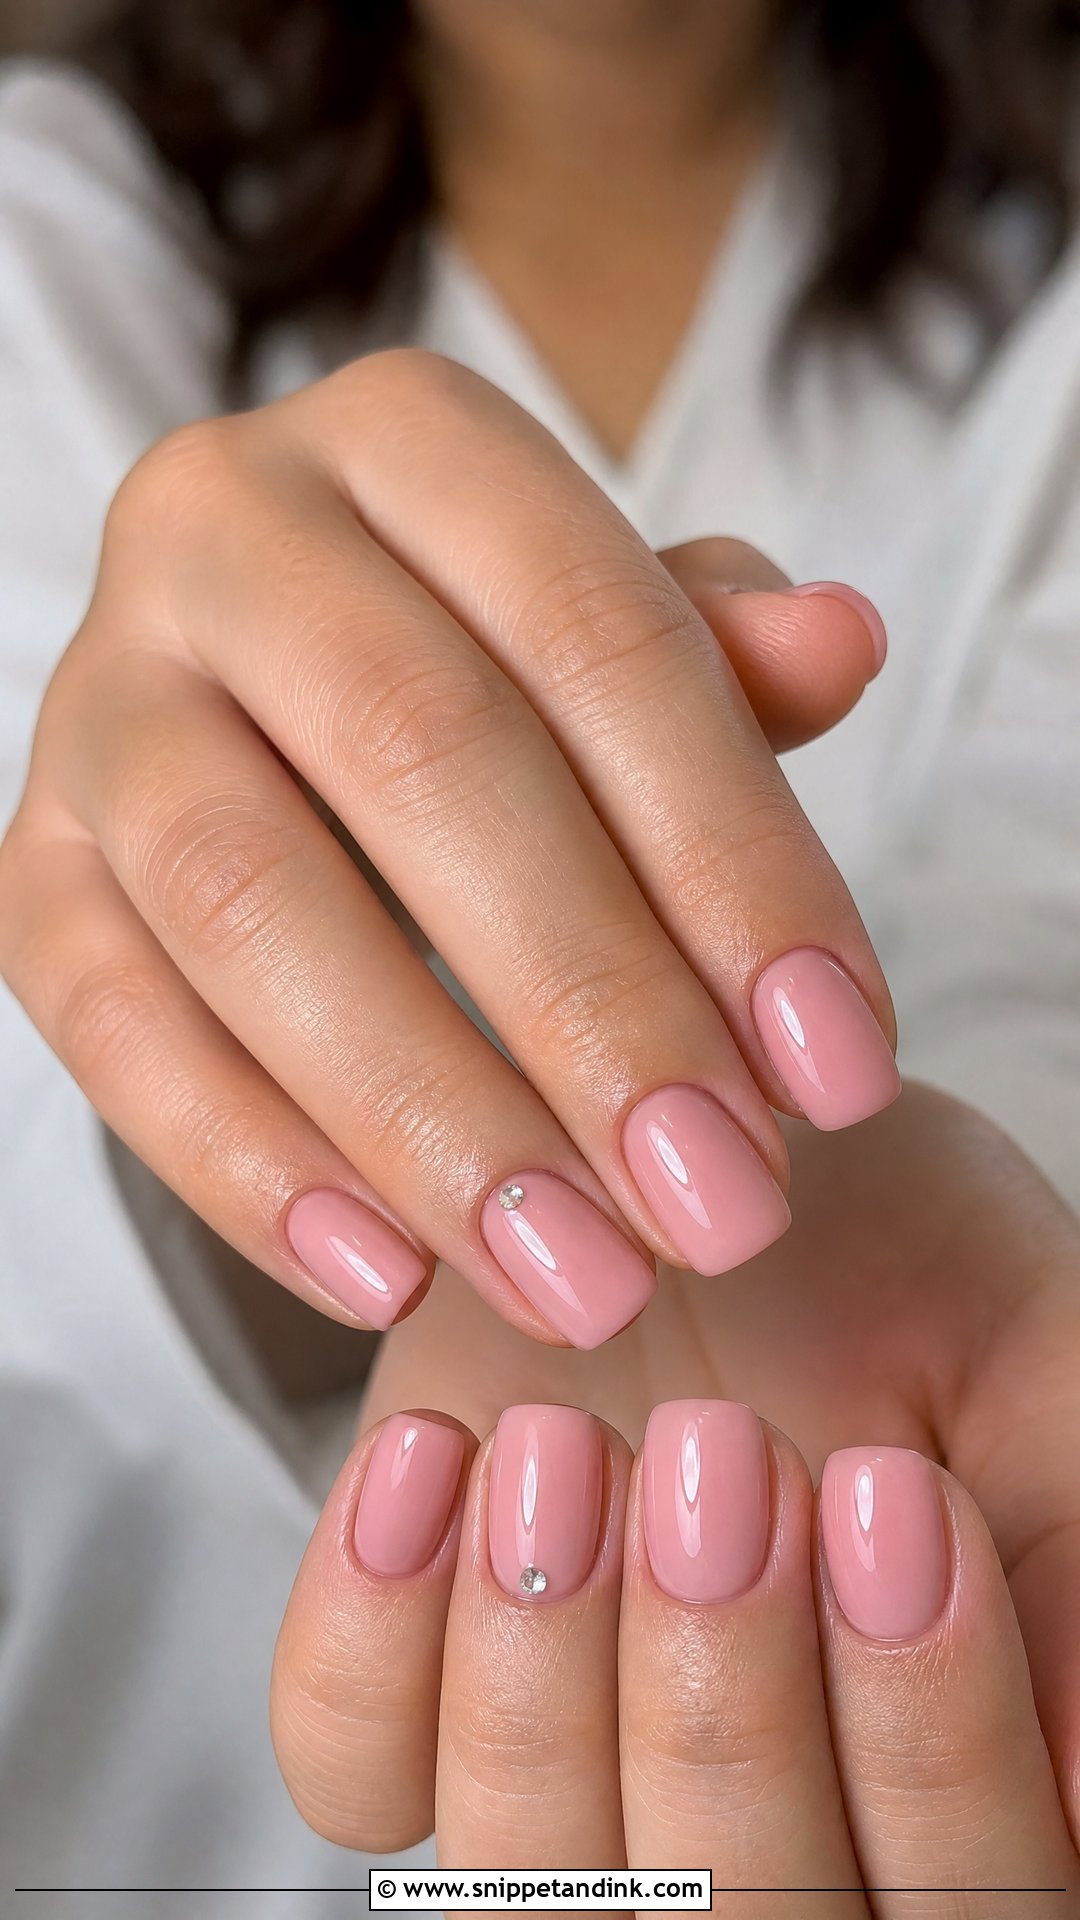
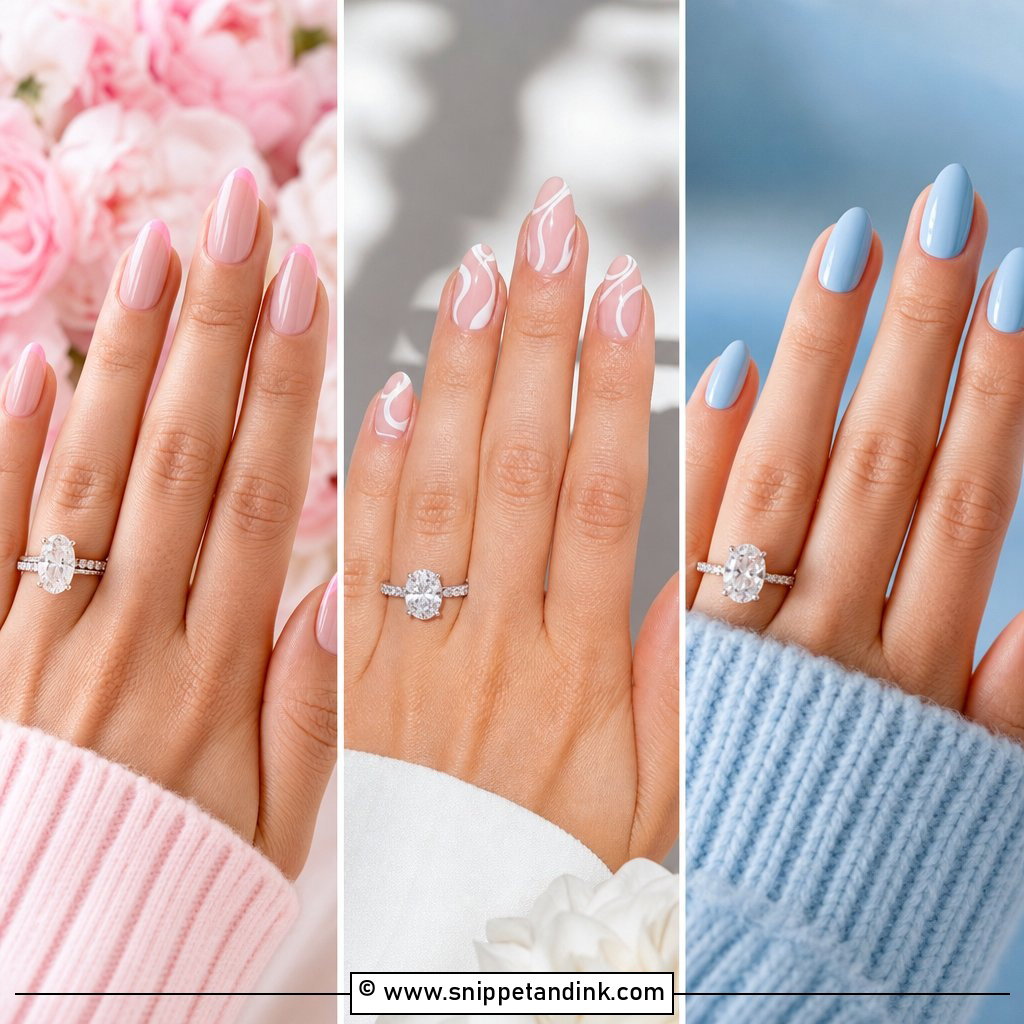
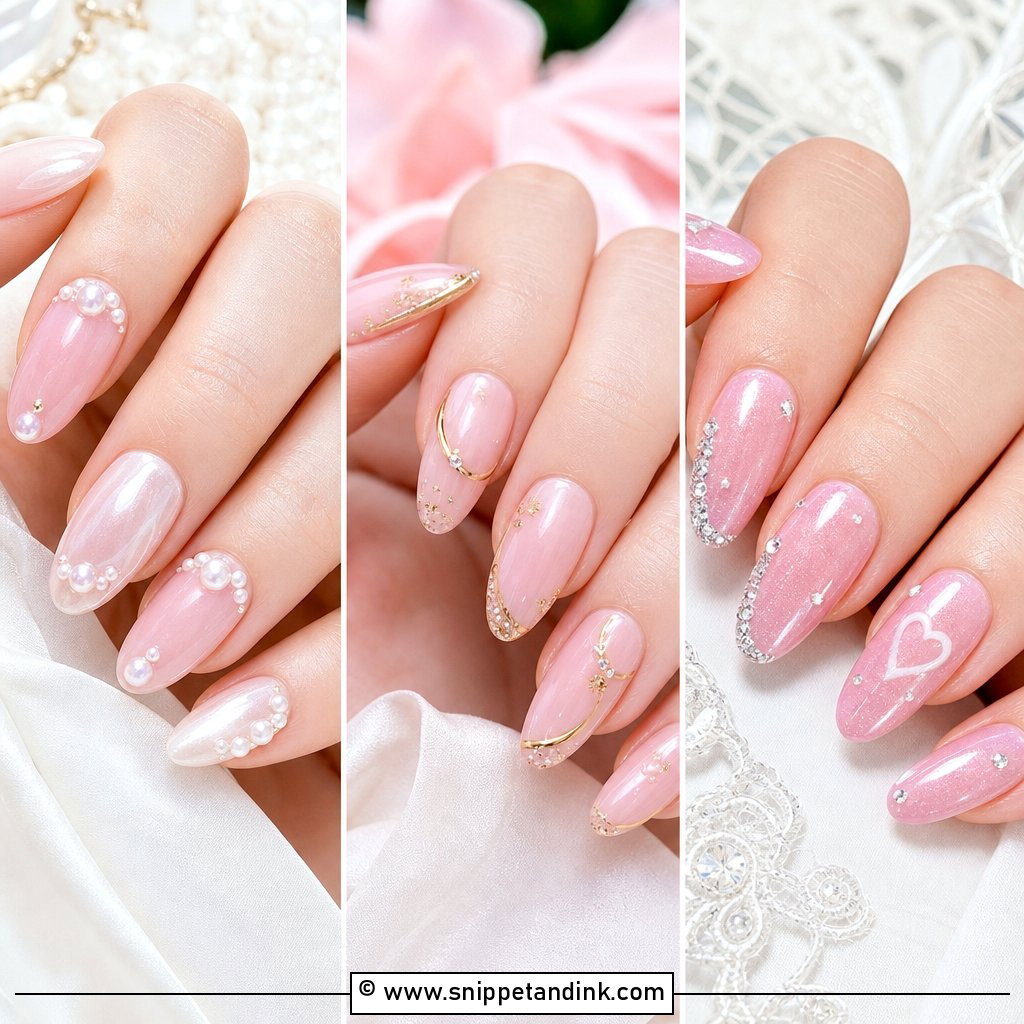
Blush pink is my answer for brides who don’t want white but want something light. A sheer blush is kinder to short round nails, because a solid pink on a short nail can look like a child’s polish. An opaque blush suits almond and square shapes better. One tiny crystal near the cuticle is plenty of detail. It’s warm, flattering on most skin tones, and comfortable for showers and family gatherings.
5. Nude Pre Wedding Nails
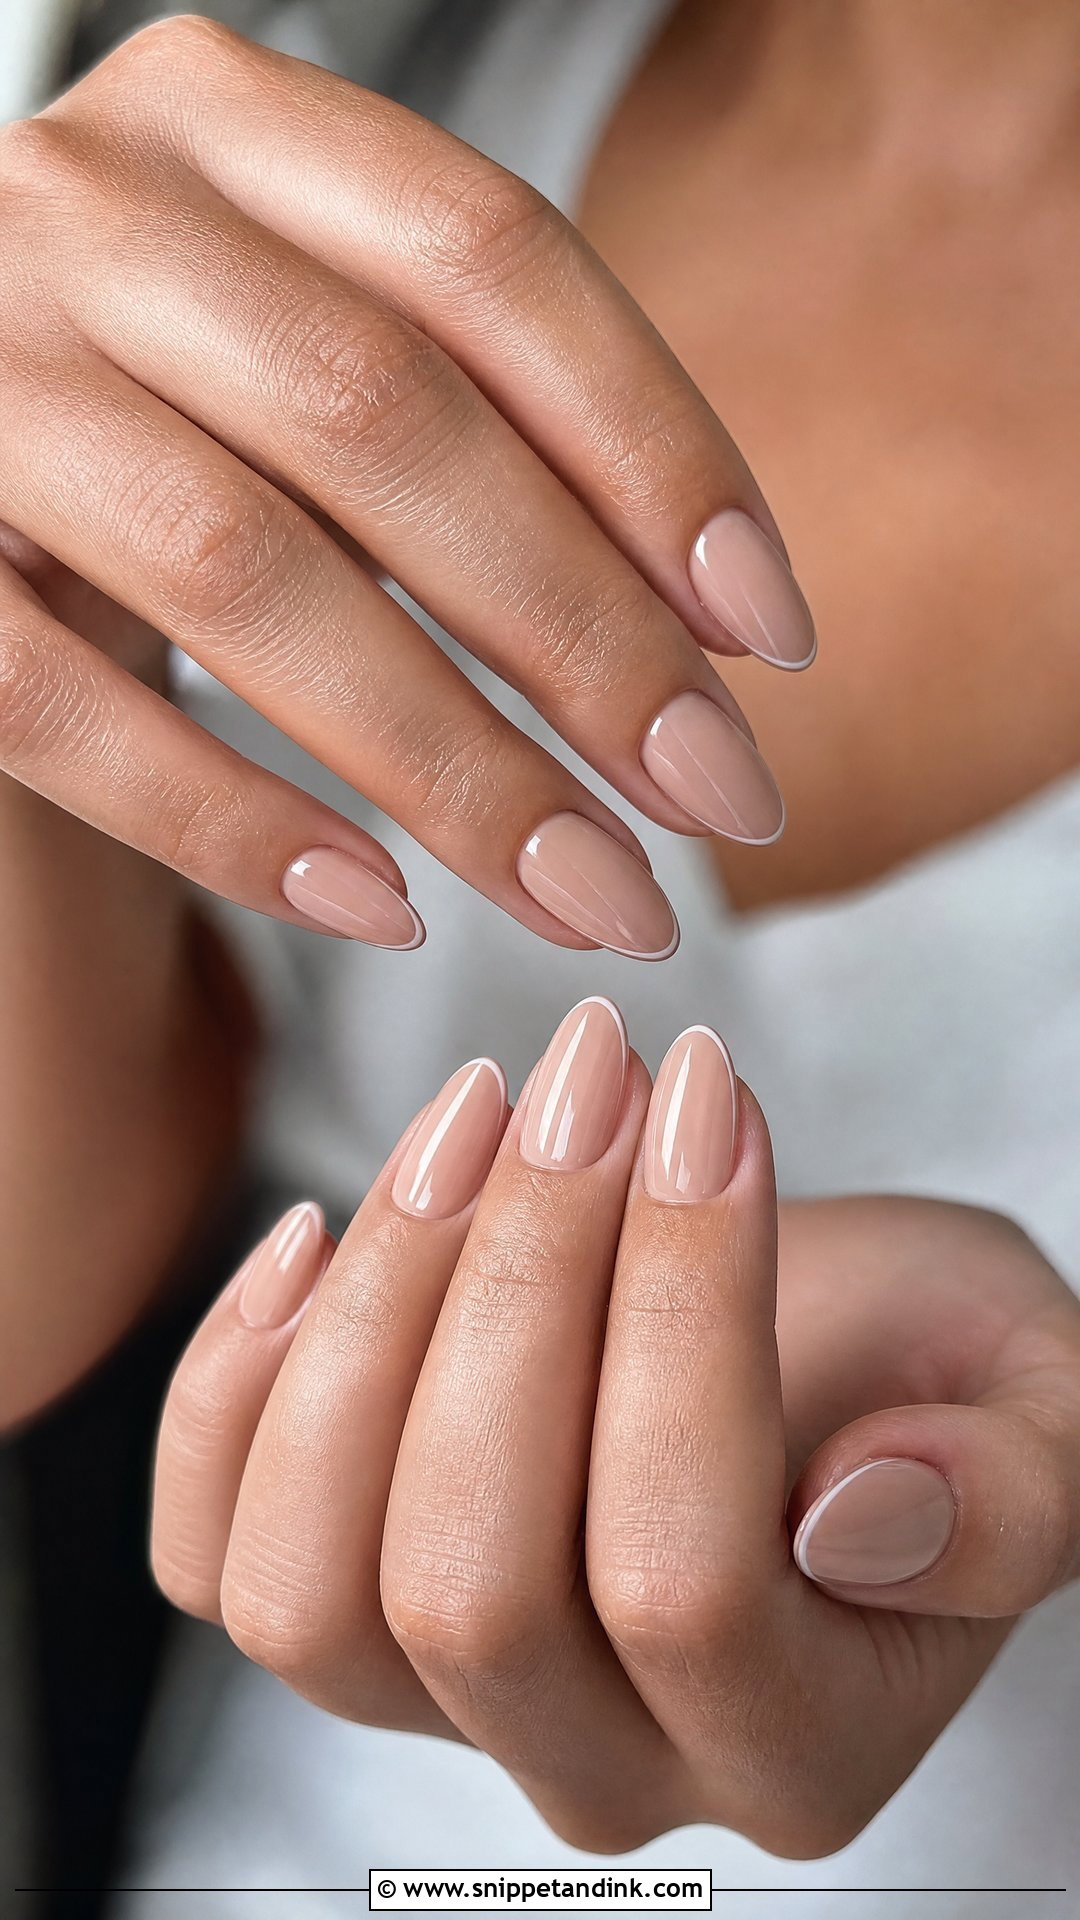
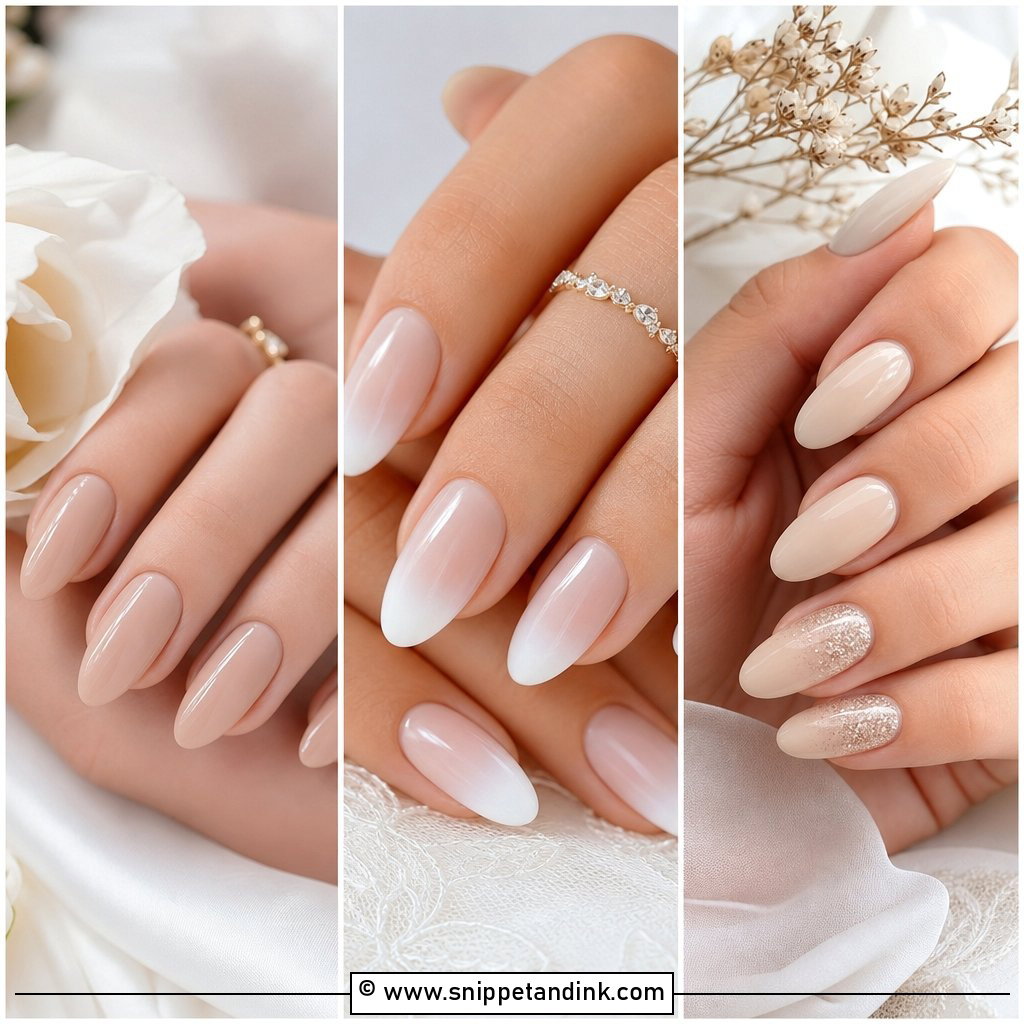
A nude that matches your undertone is what makes a plain manicure look expensive. I swatch two or three shades on the nail itself, not on the bottle cap: beige nudes usually suit warm skin, pinkier nudes suit cool tones, and caramel or soft cocoa shades suit deeper skin. The wrong nude makes fingers look grey or washed out next to the ring. It works at every length, and a thin white outline or micro French tip adds interest without changing the clean look.
6. Short Pre Wedding Nails
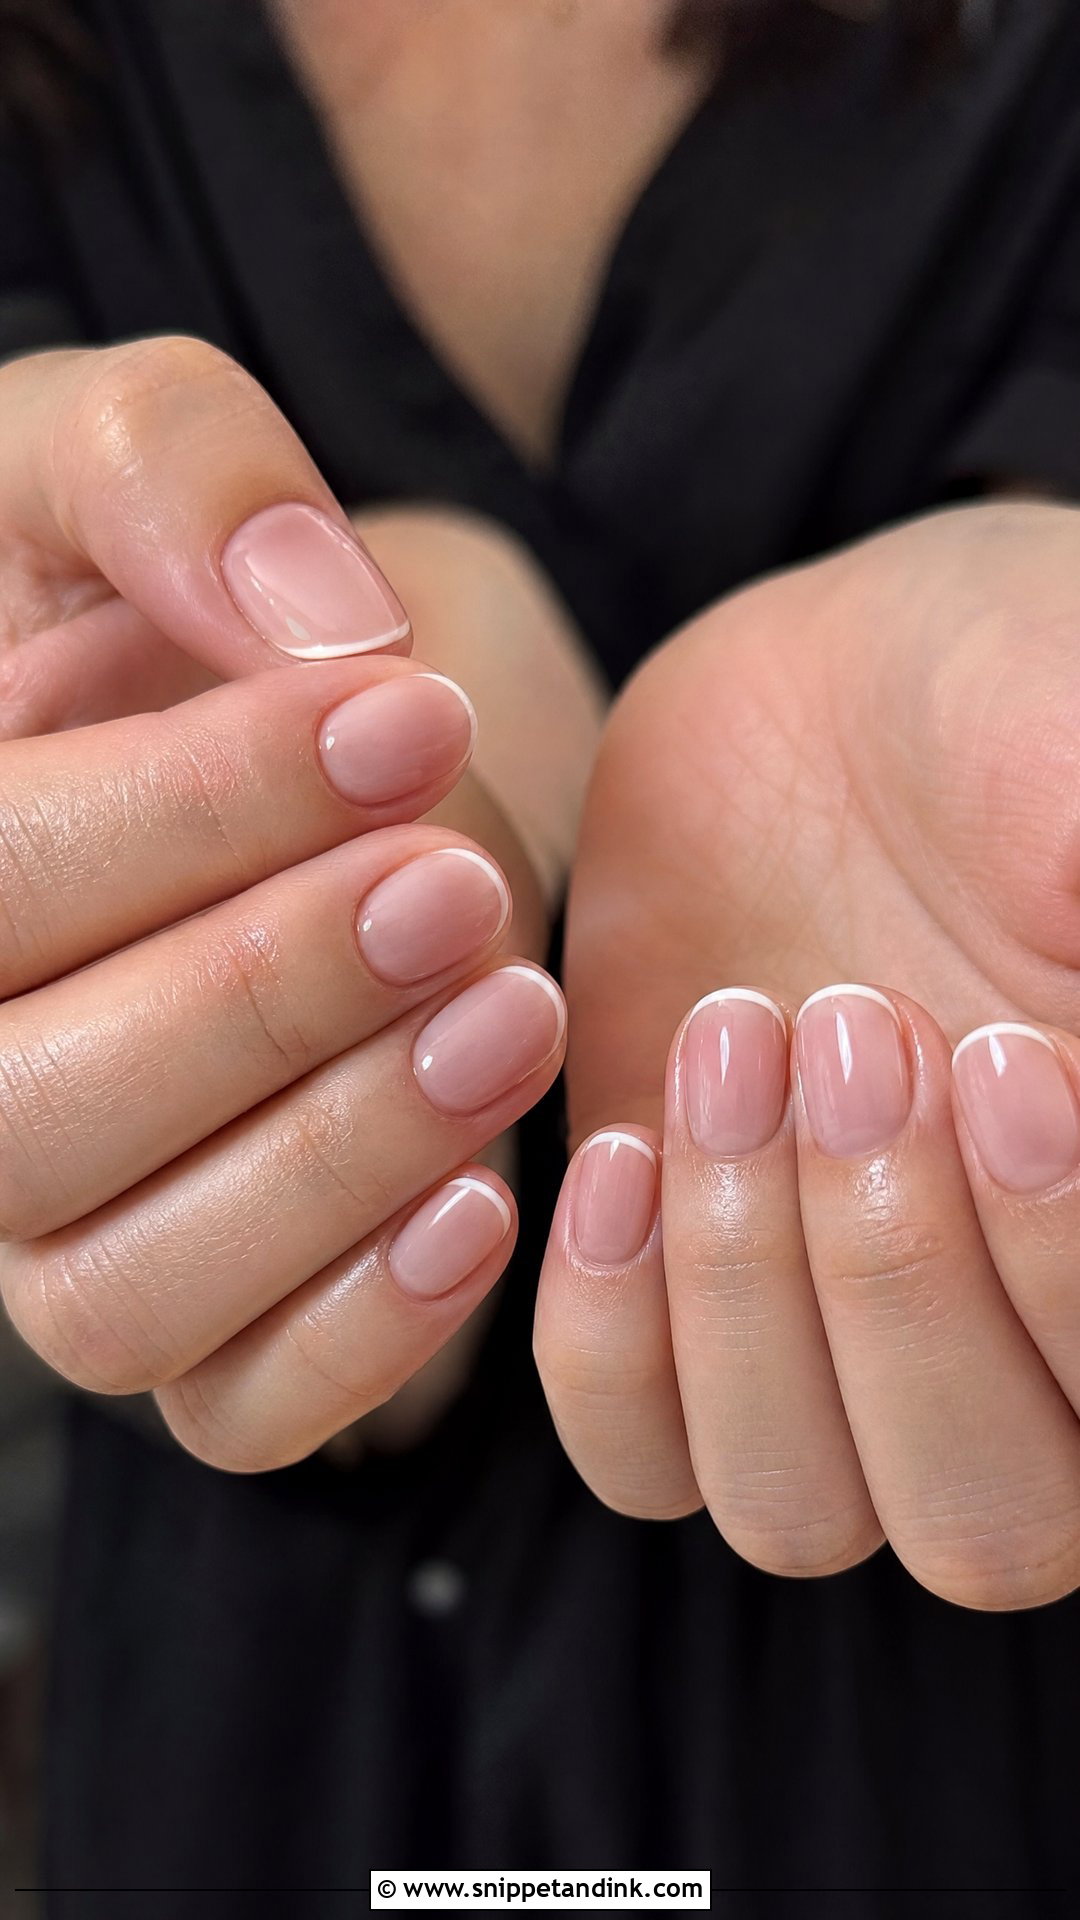
Short nails are what I’d recommend to anyone who works with their hands, has thin natural nails, or simply hates extensions. They break less, they don’t catch on fabric during fittings, and a regrowth gap looks less obvious on a short nail. Sheer pink, milky white, nude beige and pale peach all look fresh at this length. A soft oval or rounded square shape balances the fingers. Keep the detail tiny: a micro French or one pearl.
7. Almond Pre Wedding Nails
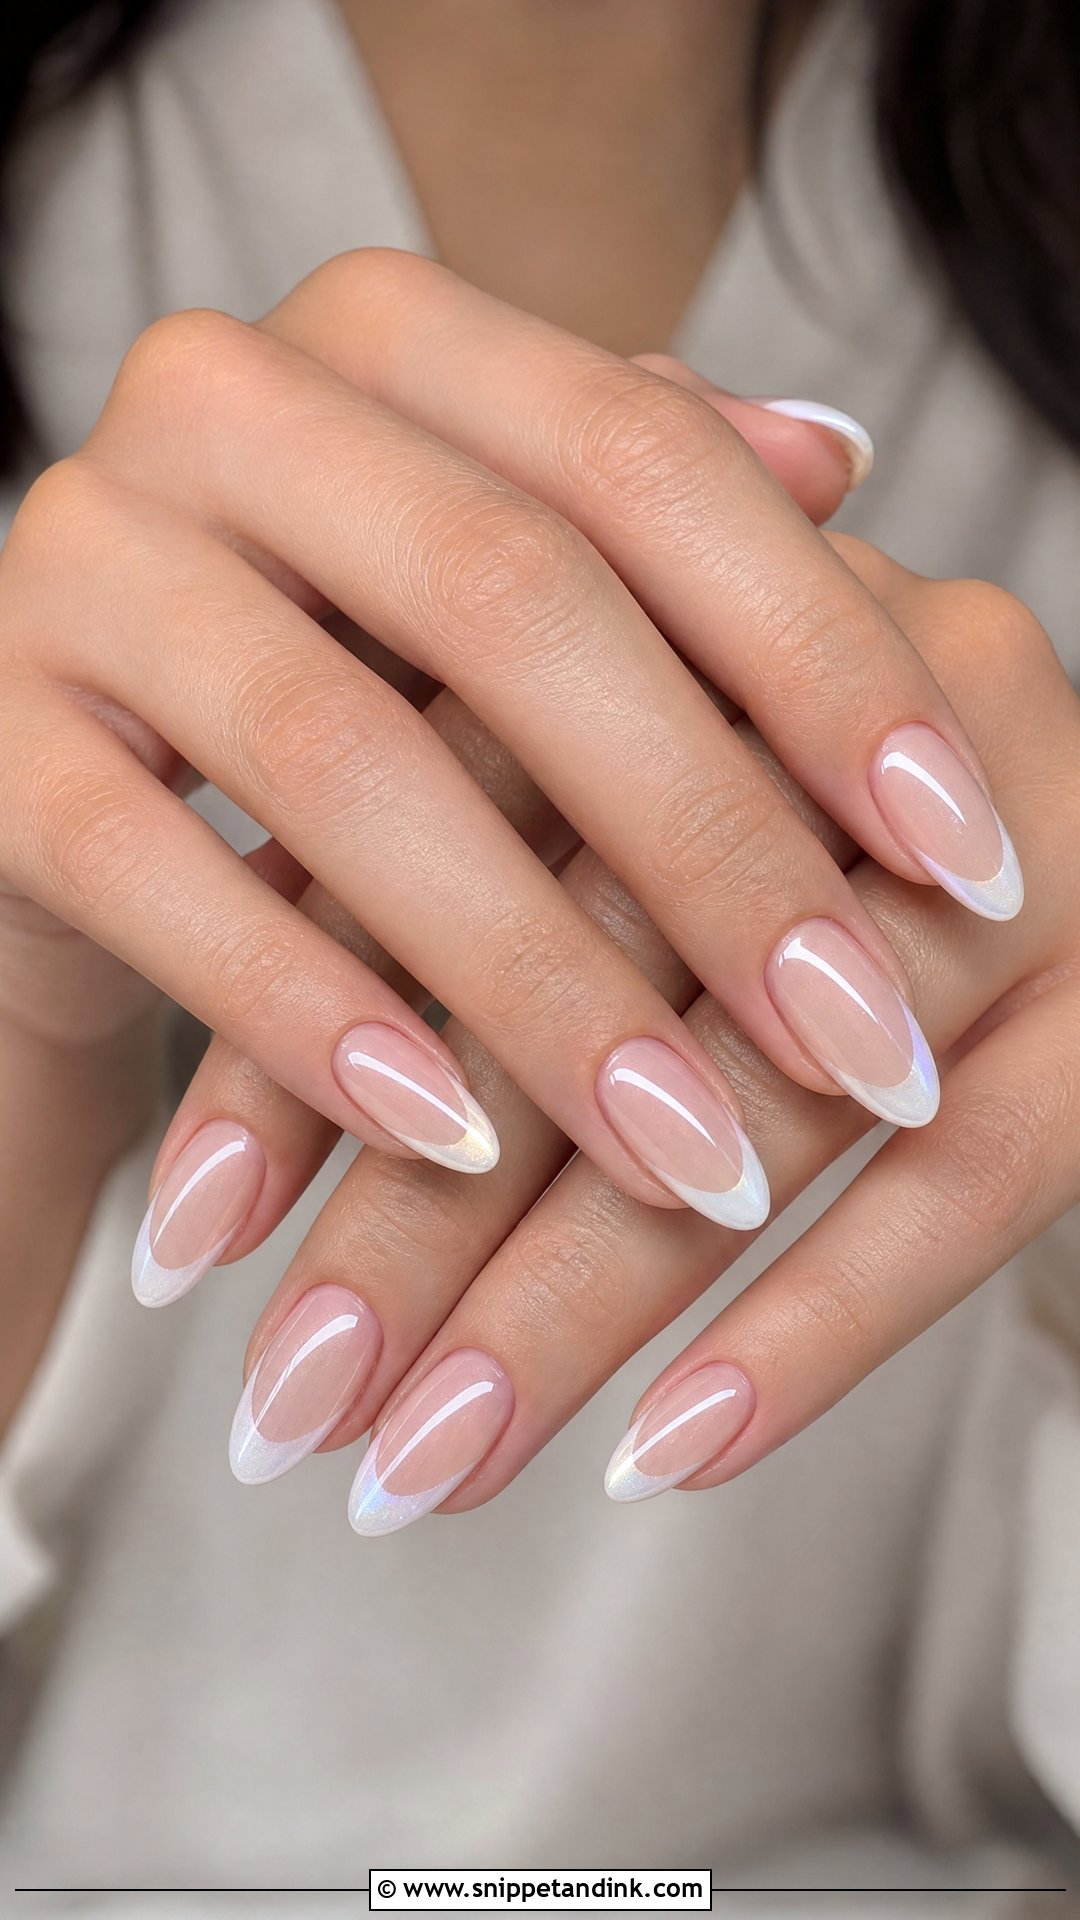
An almond shape makes fingers look longer, which is why it’s so popular for ring shots. The taper does weaken the sides, though. If your natural nails are thin, I’d add a builder gel layer for strength and keep the point soft rather than sharp, otherwise the tips snap. Medium length is the most practical for pre-wedding life. A sheer pink base with white tips is the classic version; glazed nude or soft white chrome is the modern one.
8. Ombre Pre Wedding Nails
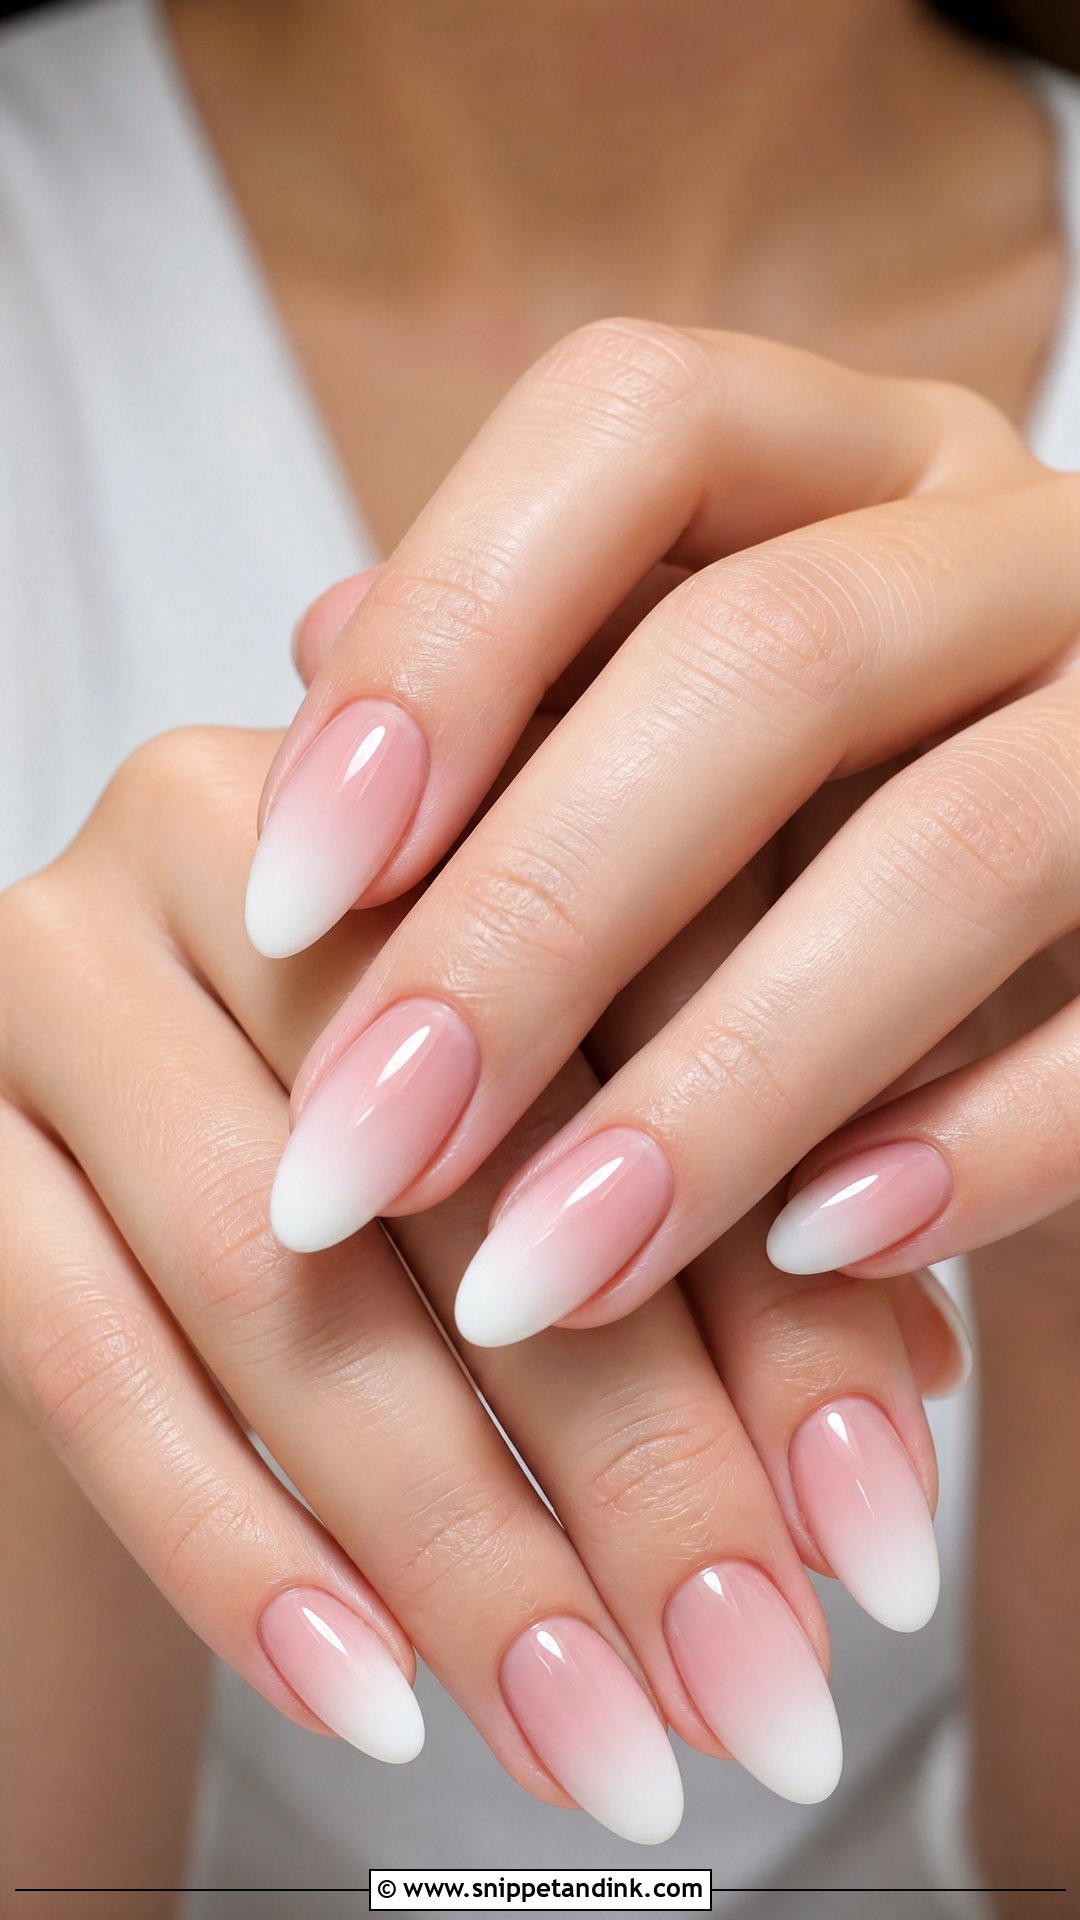
A soft gradient from a nude or pink base into a faded white tip has no hard line, which is why Ombre pre wedding nails look so smooth in close-up photos. Most people know this version as baby boomer nails. I blend the white with a sponge or a soft gel brush, and the trick is building the fade in thin passes so the middle doesn’t go cloudy. It suits almond, coffin, oval and square shapes and sits nicely between a French and a full white set.
9. White Chrome Pre Wedding Nails
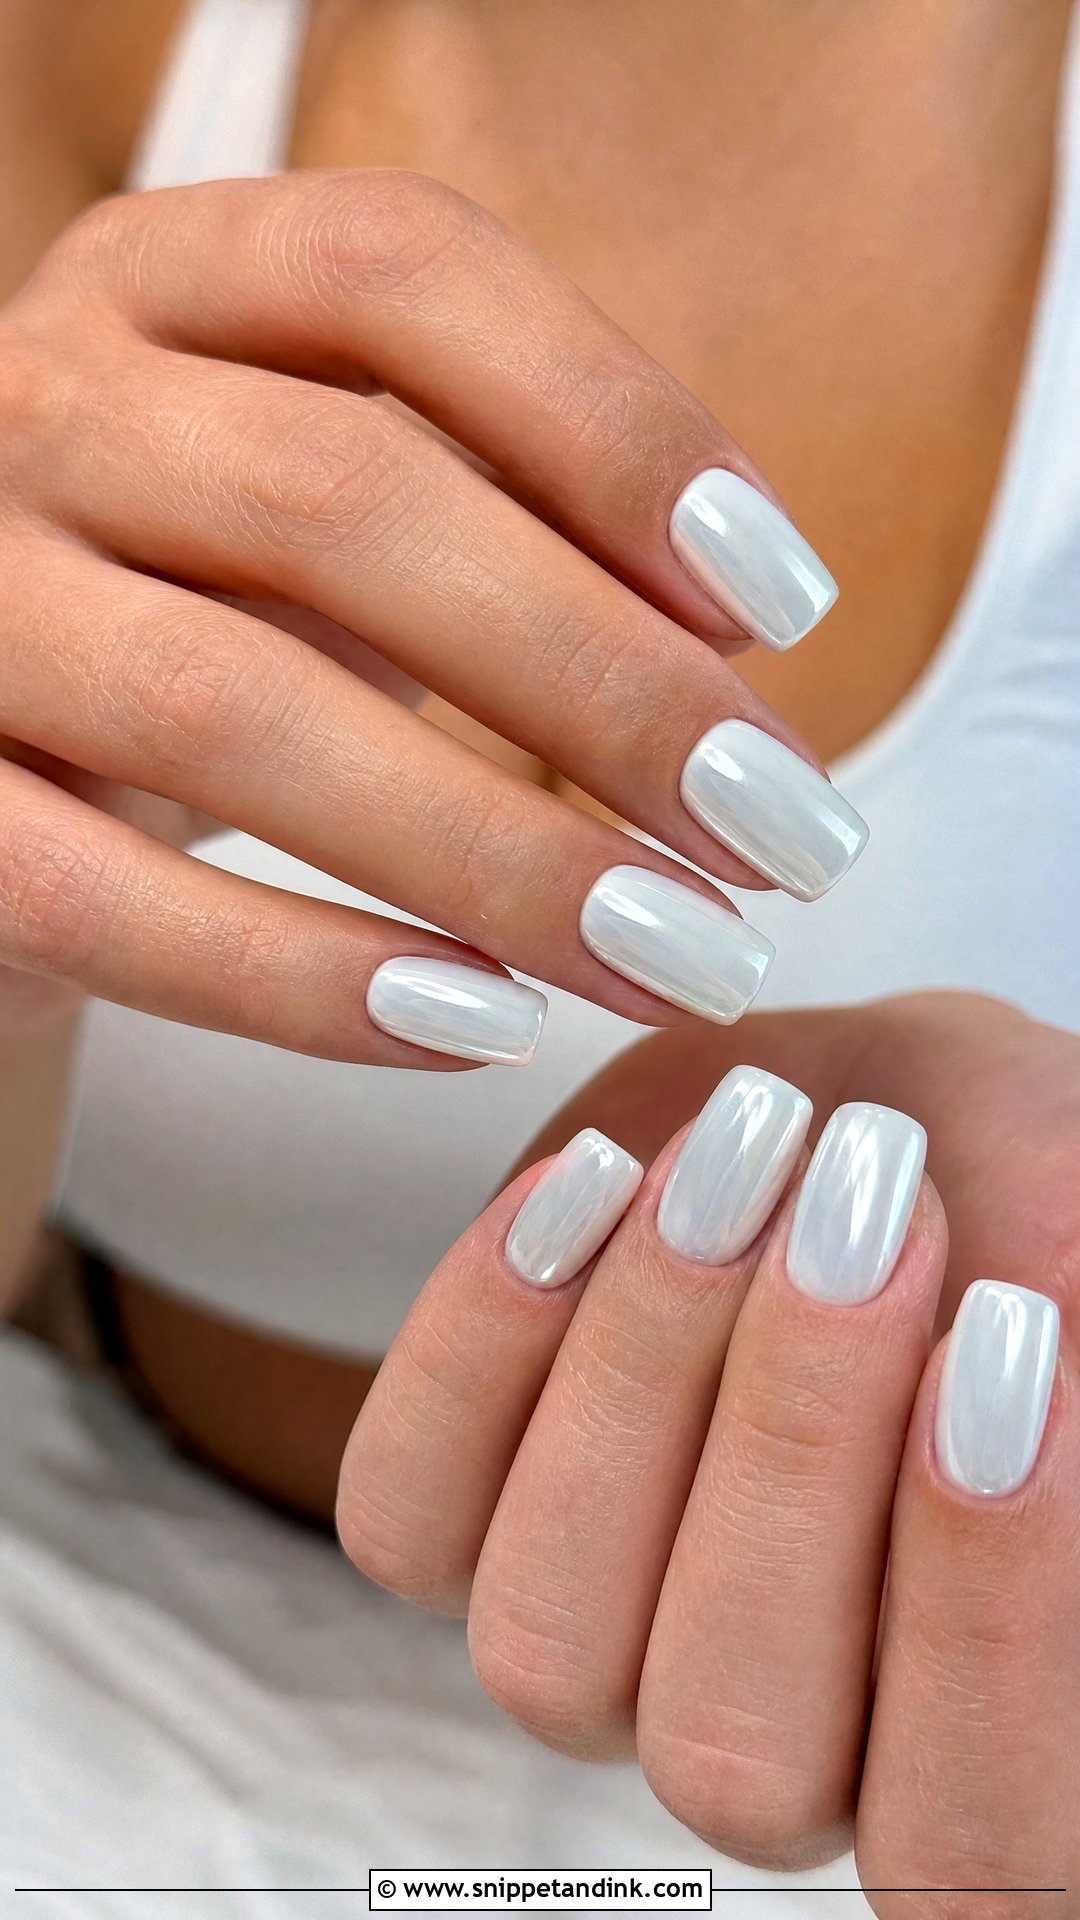
White chrome is brighter and cooler than pearl chrome. Over a stark white base it can look icy, so I put it over a milky or sheer white instead to keep it soft. It wears the same way as other chrome, rubbing at the free edge first. It looks best with silver jewelry, pearl accessories and satin fabrics, and short square nails make it look minimal and fresh. Keep the rest of the design plain so the finish stands out.
10. Floral Pre Wedding Nails
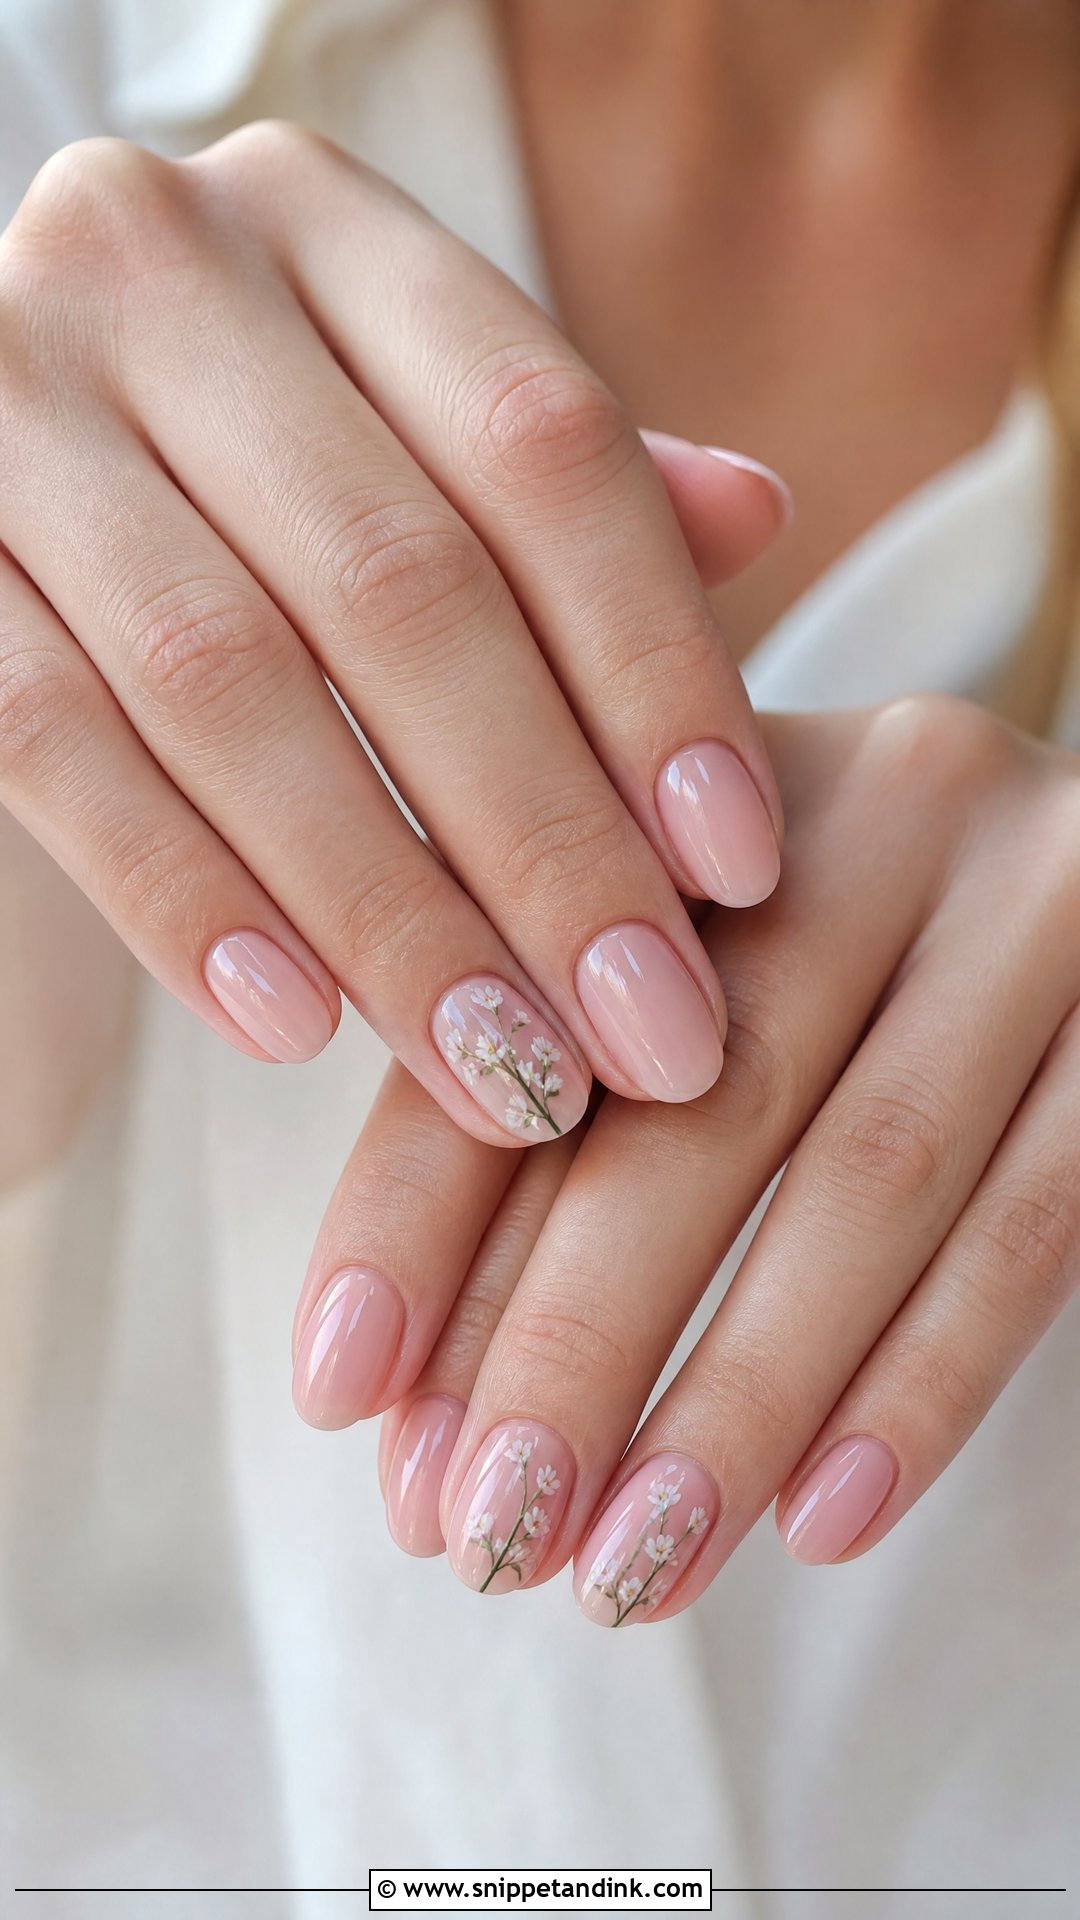
Floral nail art is hand-painted with a fine liner brush, so it’s slower than most designs and worth booking a longer appointment for. I keep the flowers on one or two nails, small and slightly off-center, over a nude, blush or milky base. White petals, pale pink blooms and thin green stems keep it light. Large flowers on every nail look busy in a ring photo and pull attention from the stone. It’s a sweet choice for a spring or garden engagement shoot.
11. Pearl Accent Pre Wedding Nails
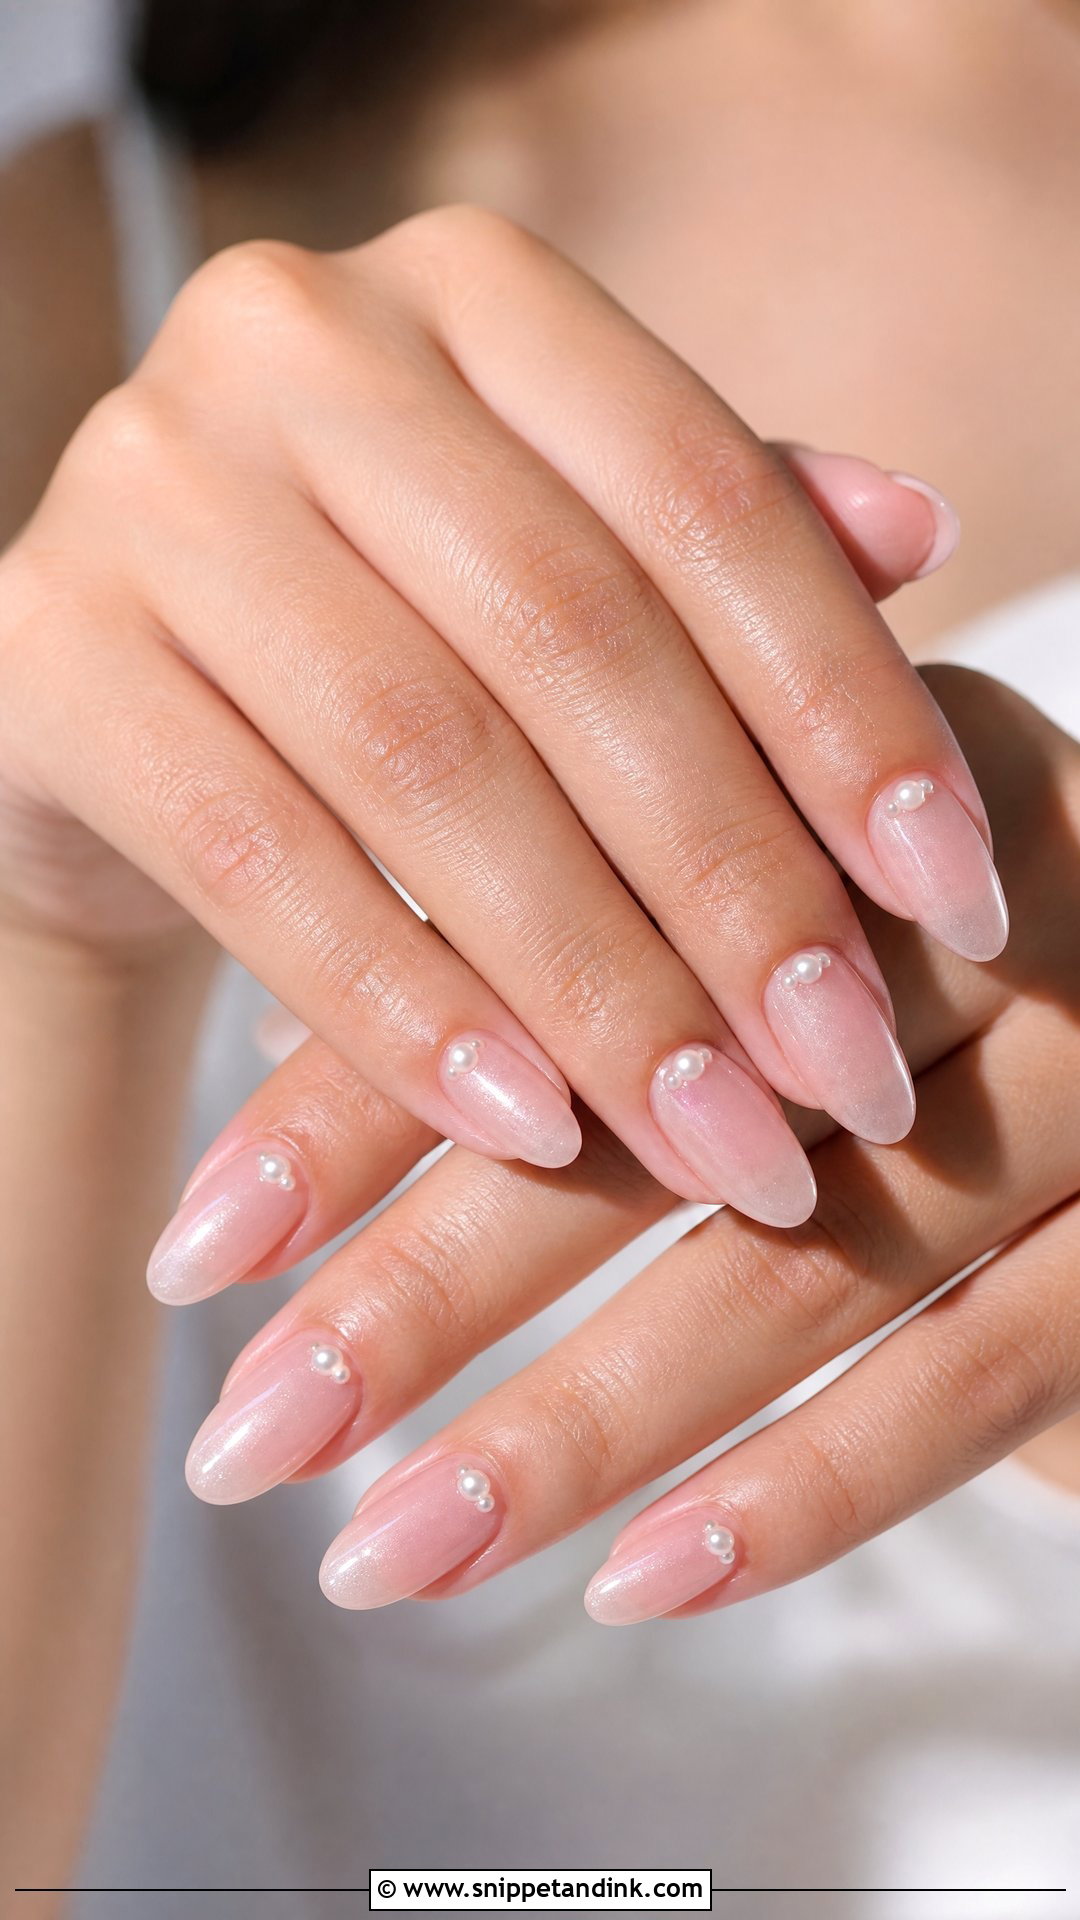
Tiny pearls are set into builder gel near the cuticle, along a French tip, or on one accent nail. Their weak point is snagging: 3D pearls catch on knits, hair and delicate fabrics, so I’d keep them flat and very small if you have dress fittings coming up. A milky white or sheer pink base lets them look natural. They echo classic bridal jewelry and show up well in close-up ring photos.
12. Glazed Donut Pre Wedding Nails
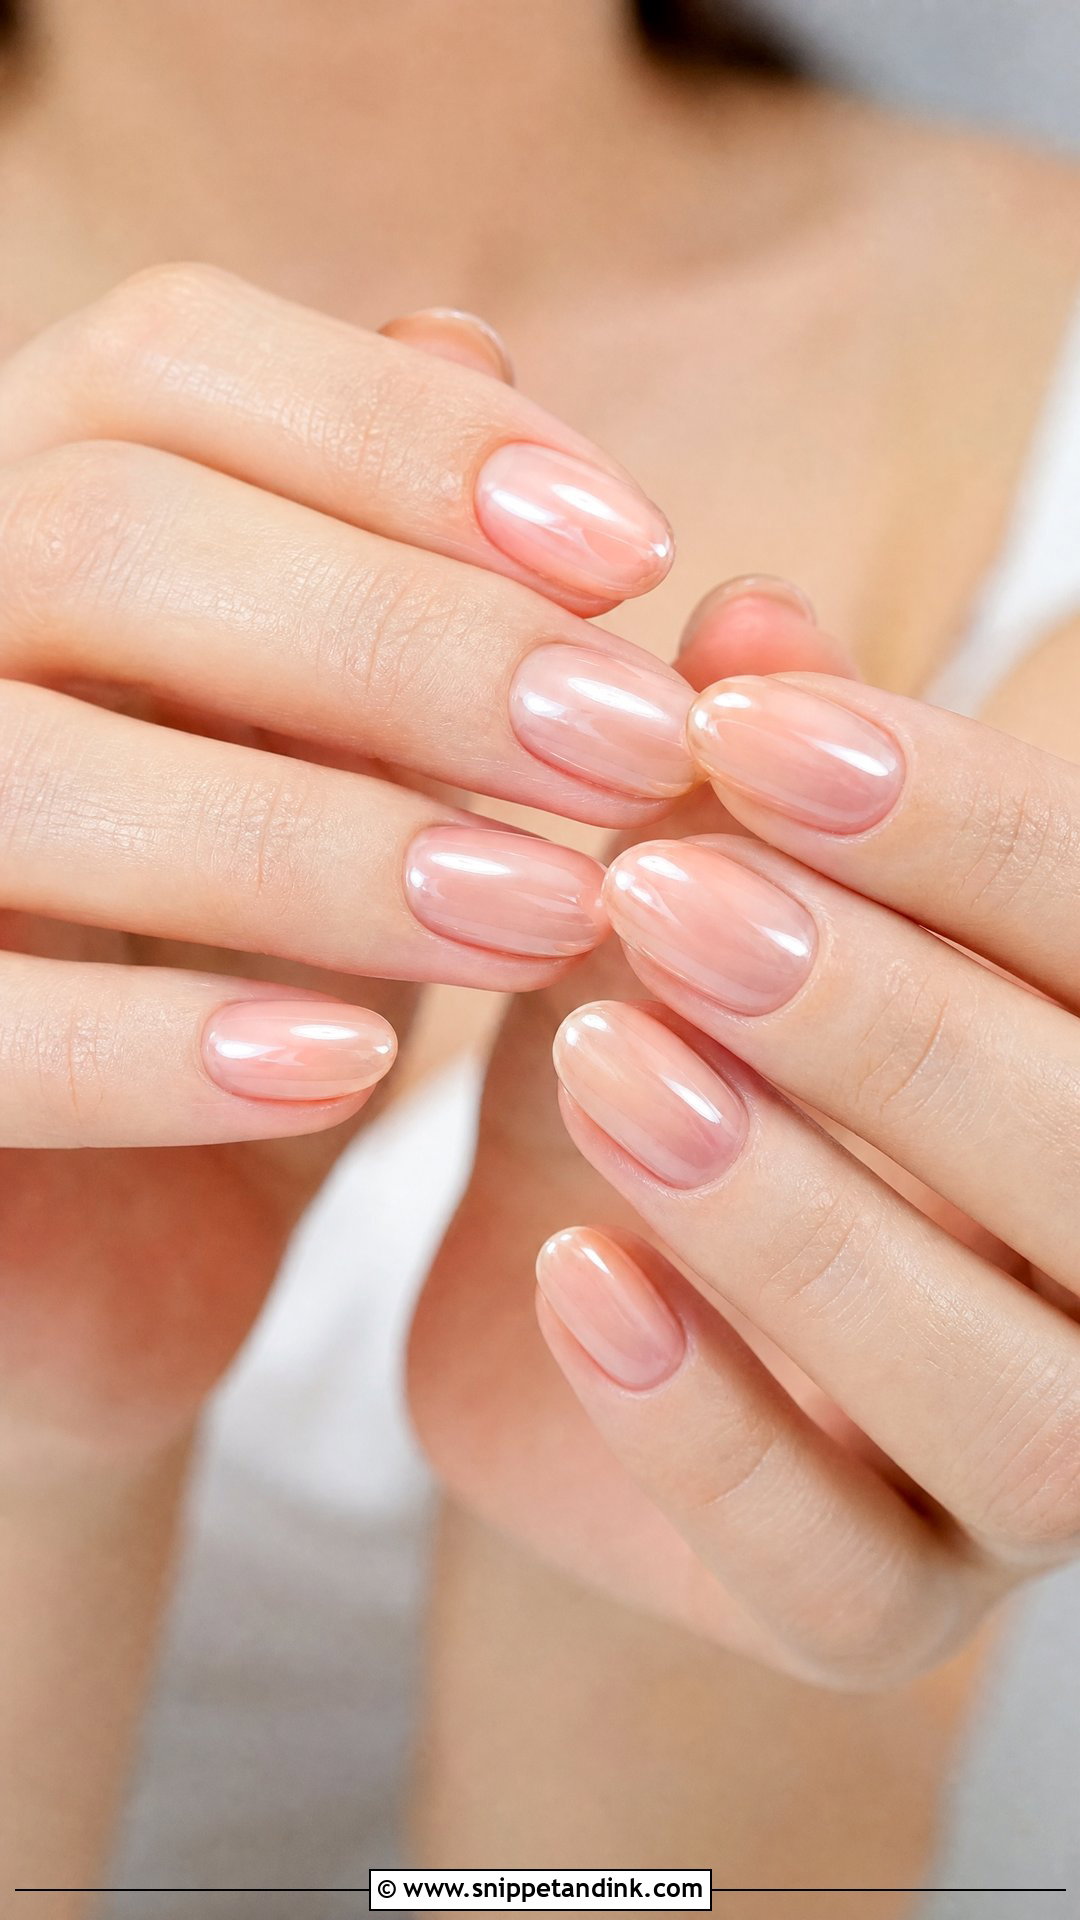
A glazed finish starts with a pale pink, nude or milky base, then gets a fine chrome powder buffed on until it looks like a sheer glossy glaze. Glazed donut pre wedding nails are subtle, and they look their best in natural daylight, which makes them a strong pick for an outdoor engagement session. Ask for a light chrome effect rather than a mirror finish so it stays soft. Oval, almond and short square shapes all work.
13. Baby Boomer Pre Wedding Nails
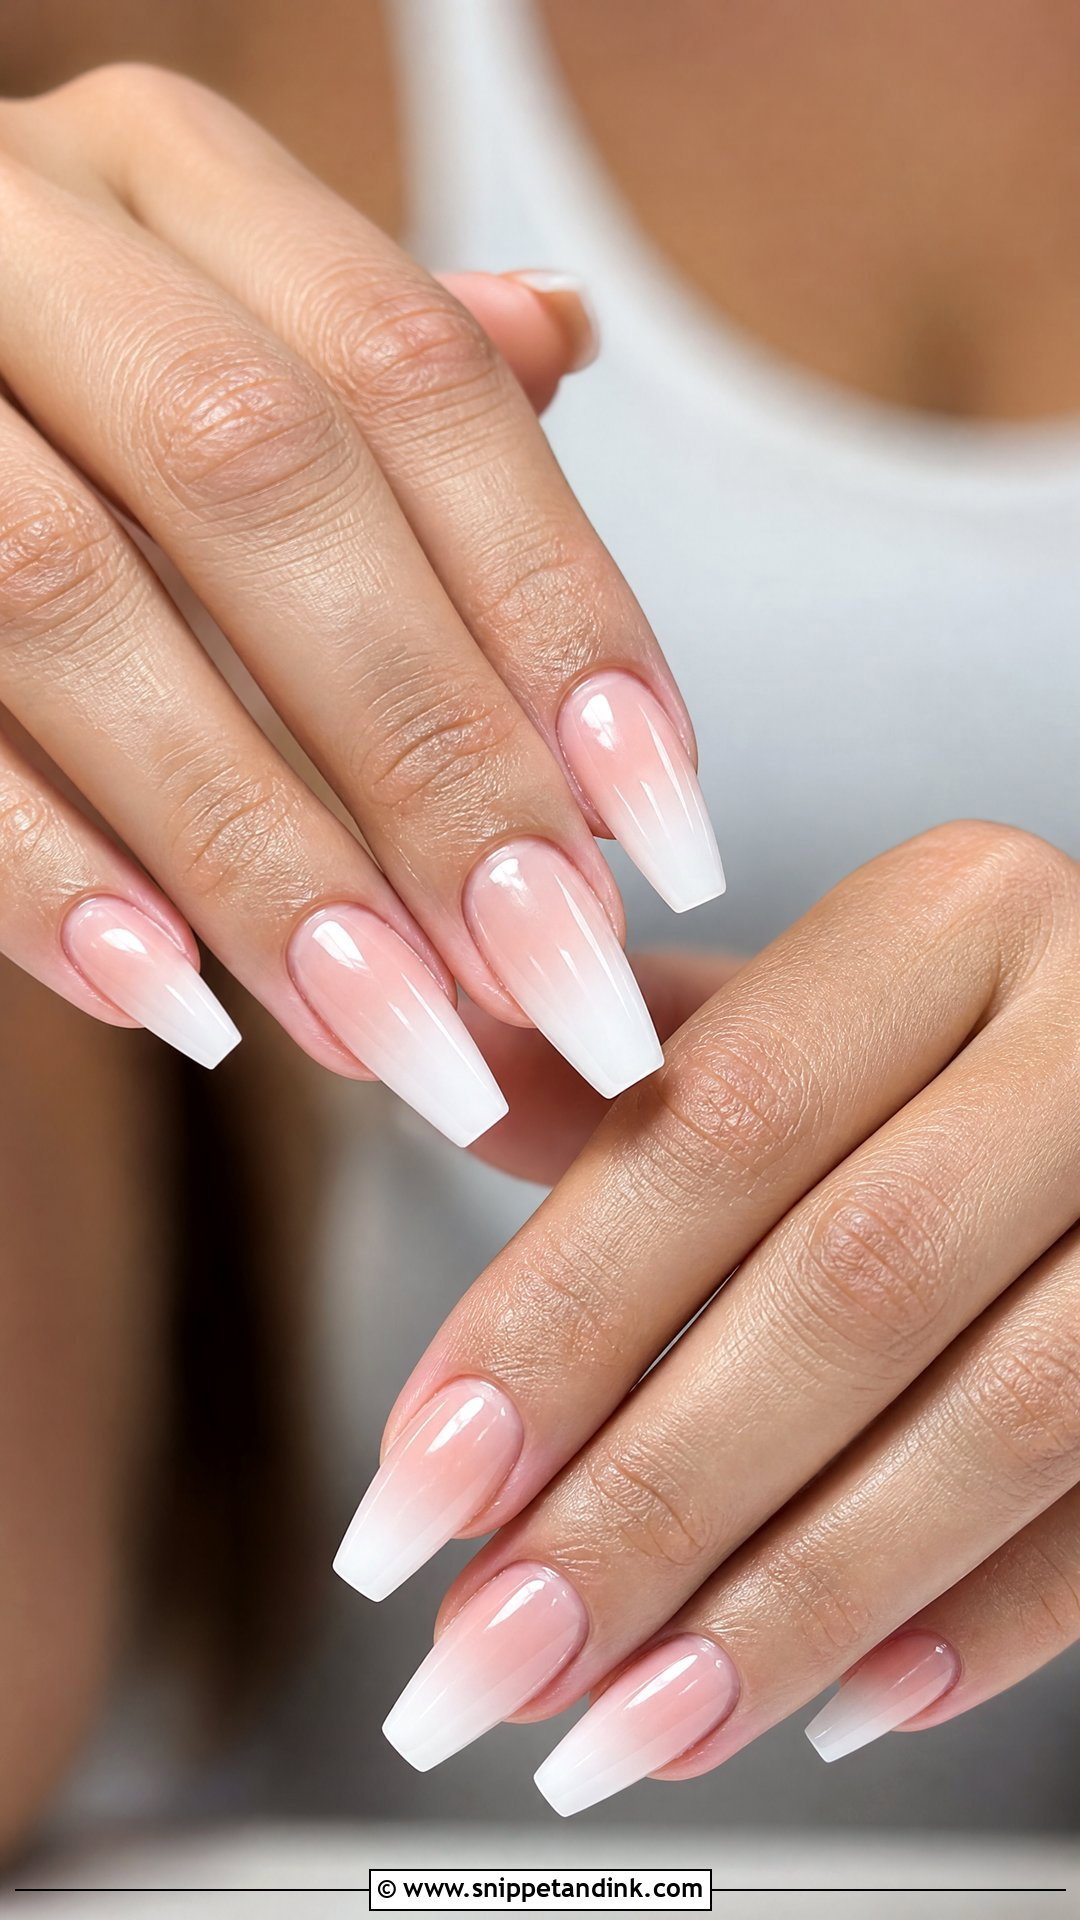
Baby boomer nails fade from a natural pink or nude base into a cloudy white end, with no visible line. They’re more forgiving than a French as they grow out, because the gap at the cuticle is less noticeable against a soft gradient. That makes them a practical choice for a busy month. Almond, coffin and oval shapes show the gradient best. A glossy topcoat keeps it classic, and a pearl shimmer makes it more modern.
14. Lace Pre Wedding Nails
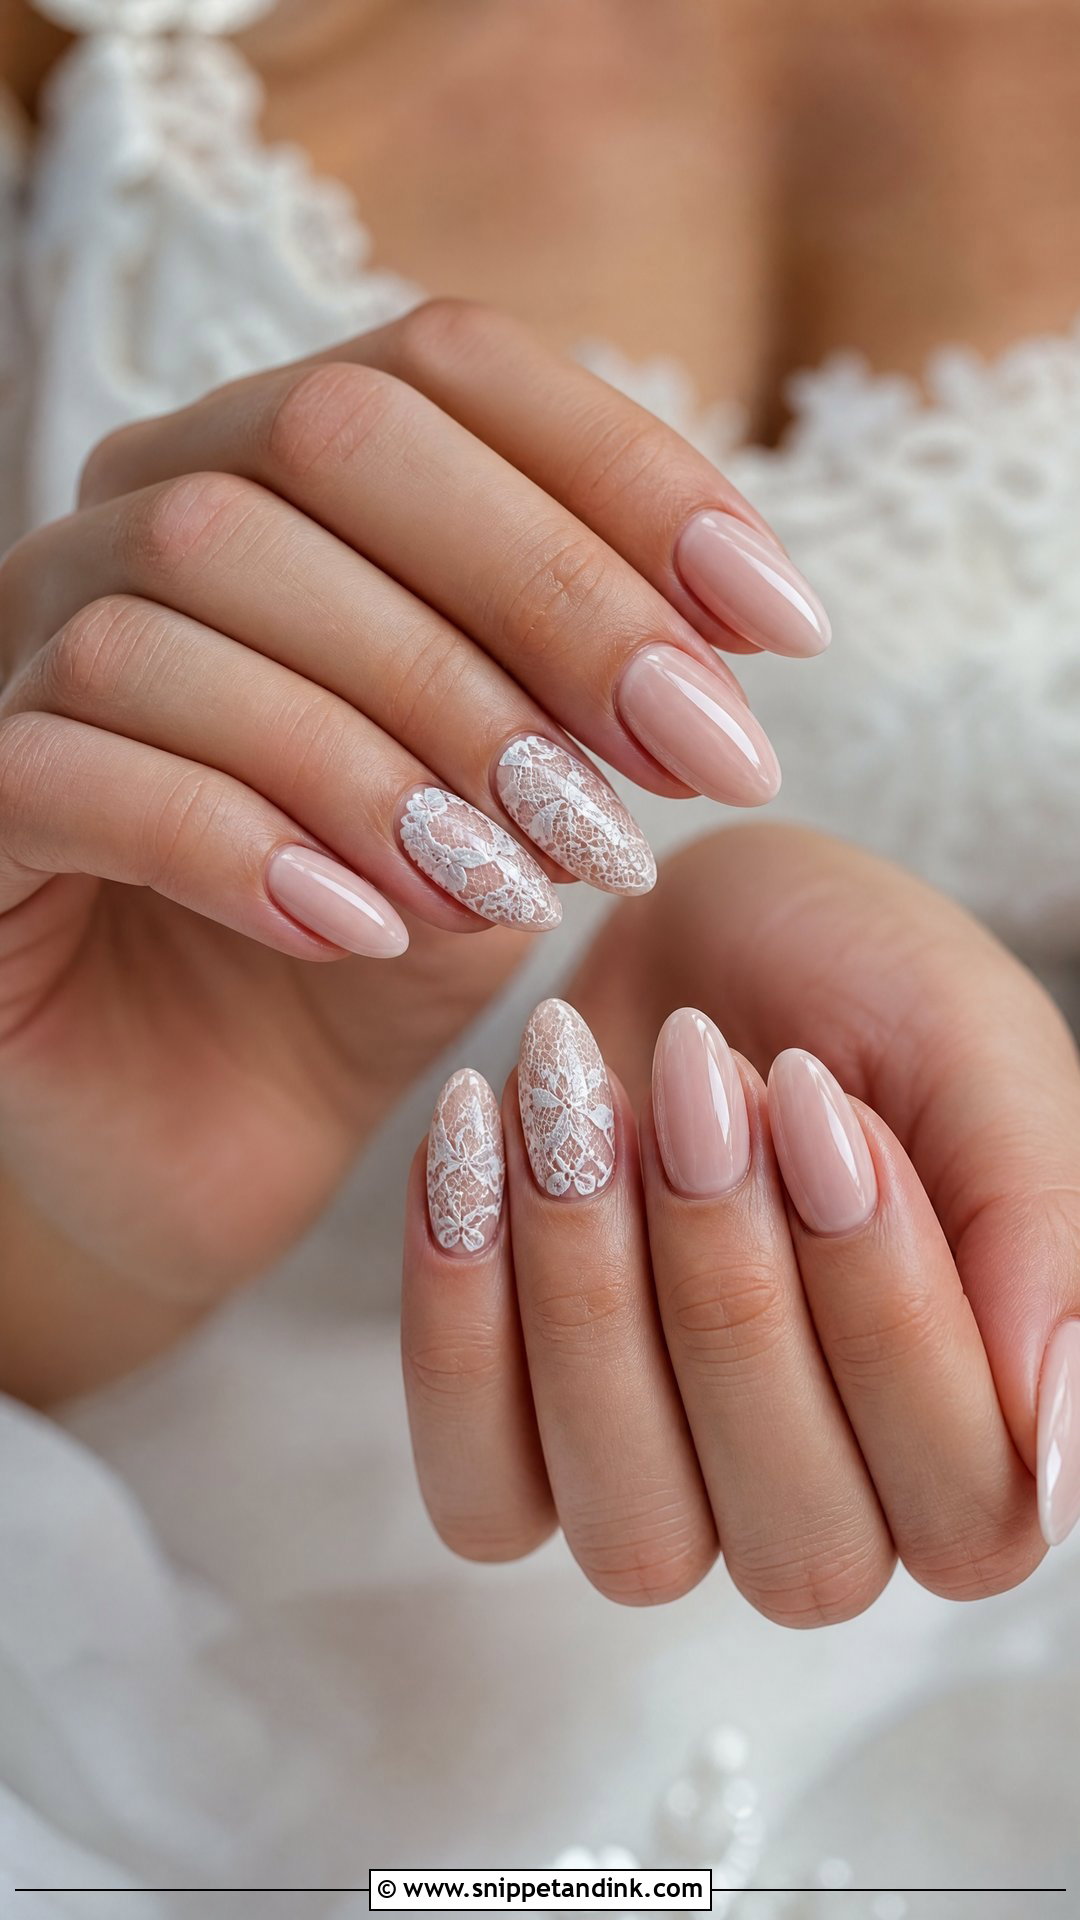
Lace nail art is either hand-painted with a very fine brush, stamped, or done with lace decals. Hand-painting gives the most delicate result and takes the longest. I keep lace to one or two nails over a sheer nude or pink base and pair them with plain nails or French tips, otherwise the whole hand looks crowded. A matte topcoat over the lace gives an almost fabric feel. It’s a natural match if your shower outfit or gown has lace or tulle details.
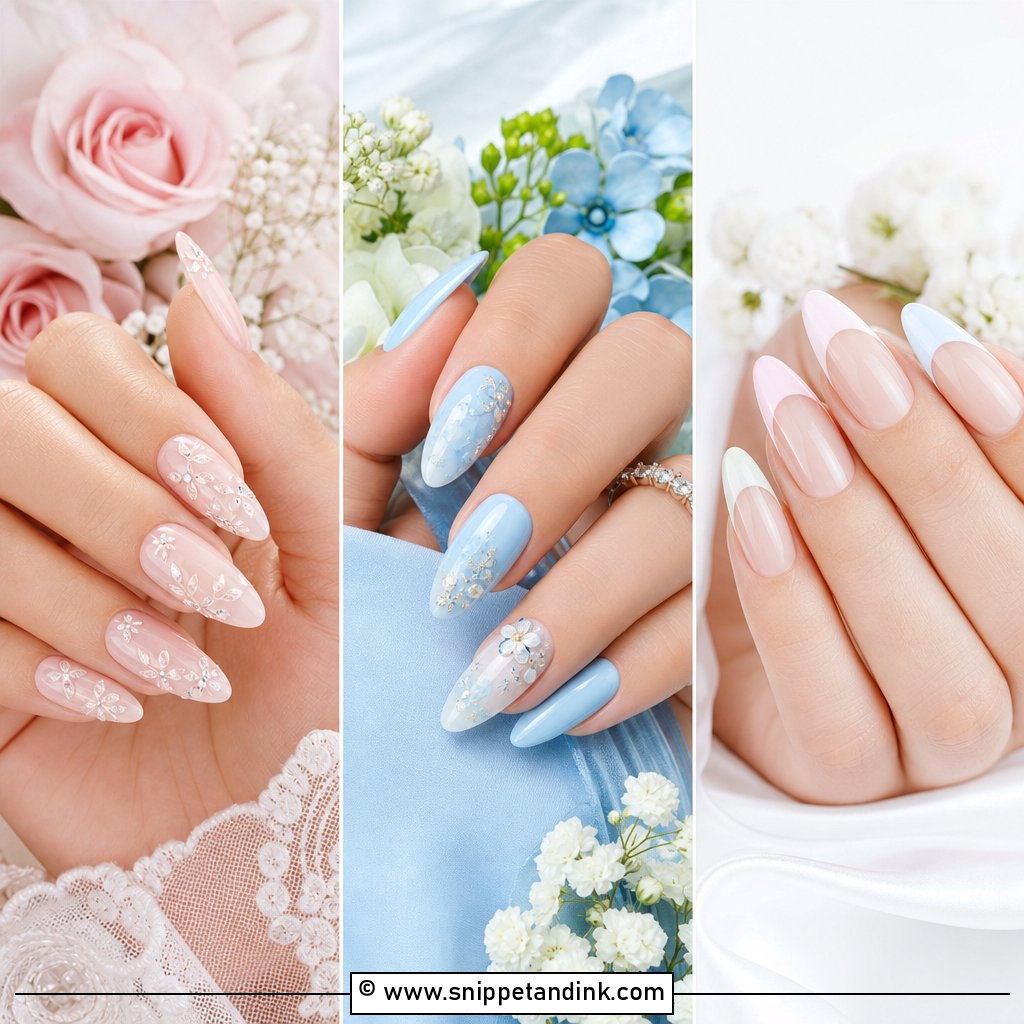
15. Minimal Pre Wedding Nails
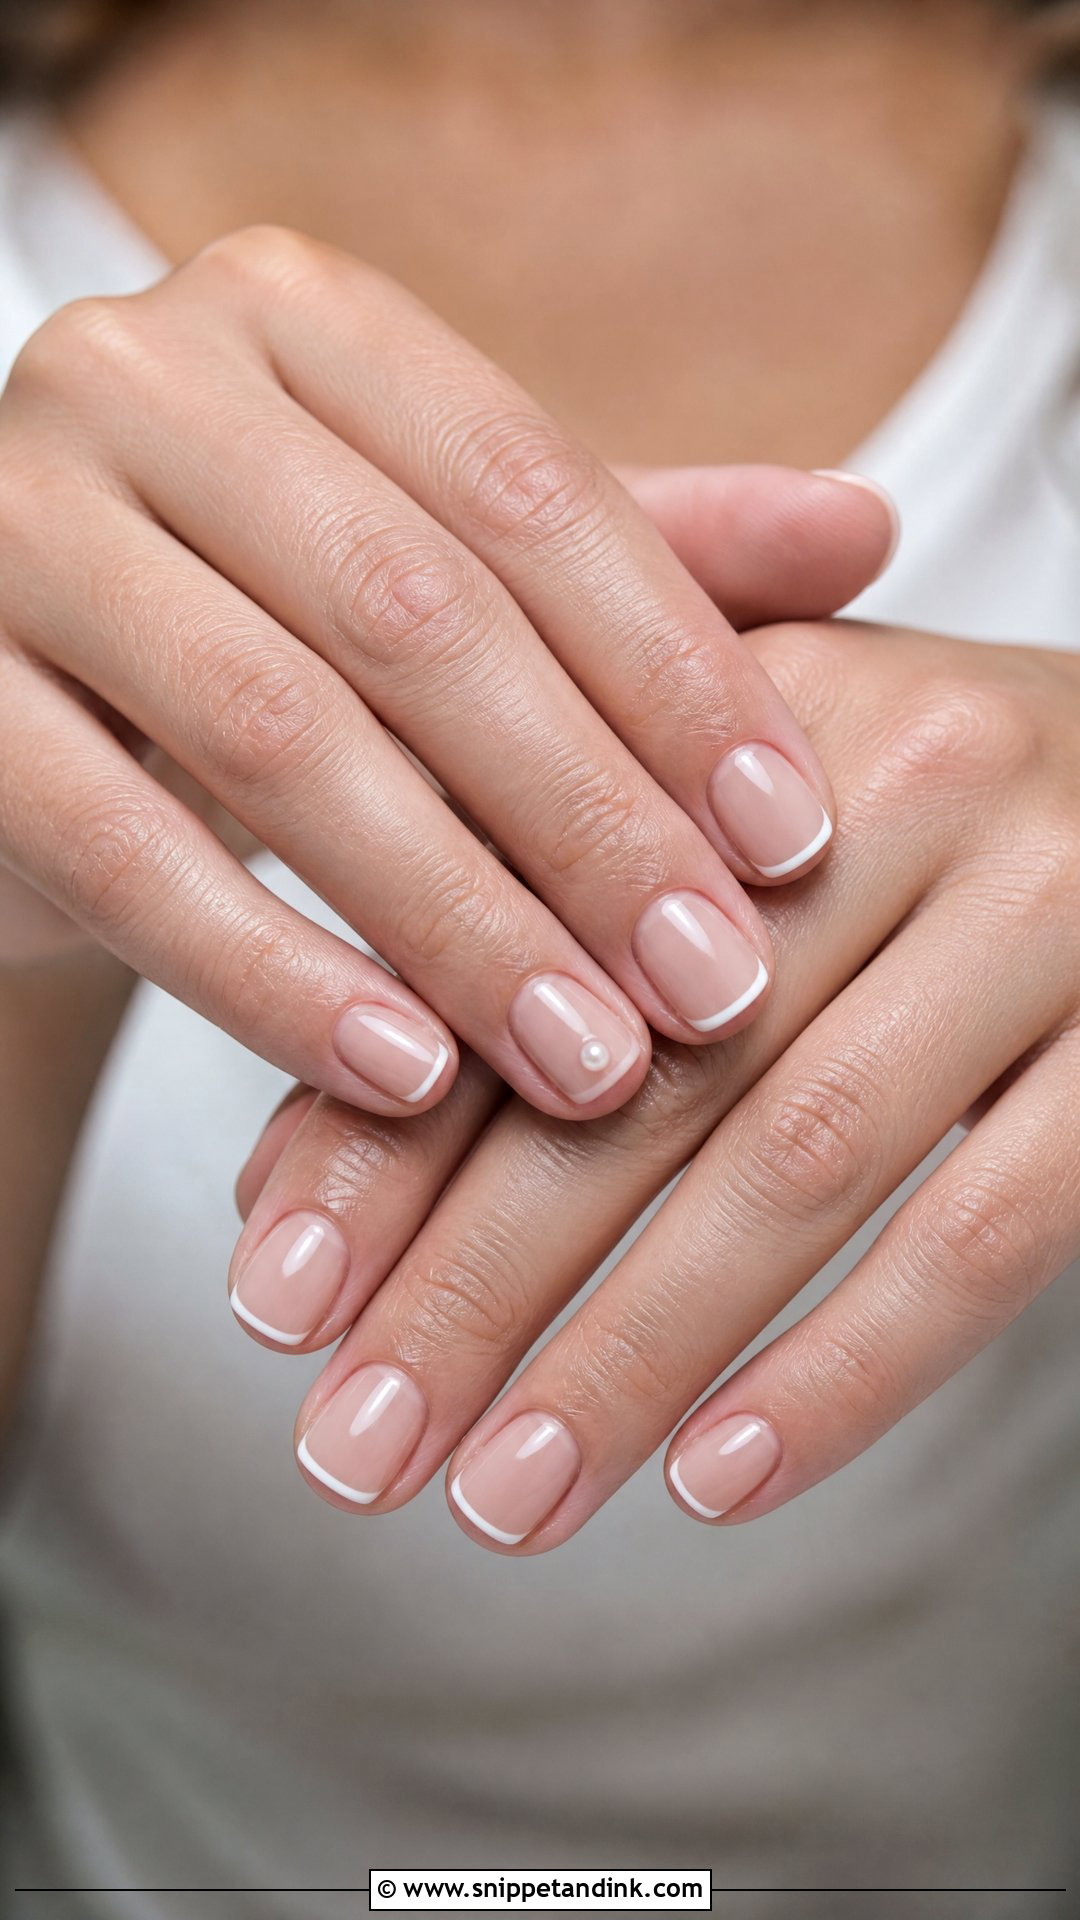
Minimal nails rely on prep more than polish. With so little design, every uneven cuticle and lopsided shape shows, so I spend most of the appointment on cuticle work and shaping. Sheer nude, soft pink and tiny white tips are the usual palette, on short oval, rounded square or soft almond shapes. A single pearl dot or slim chrome edge adds a touch of interest. It’s the set I’d suggest for a bride who doesn’t normally wear nail art.
16. Rhinestone Pre Wedding Nails
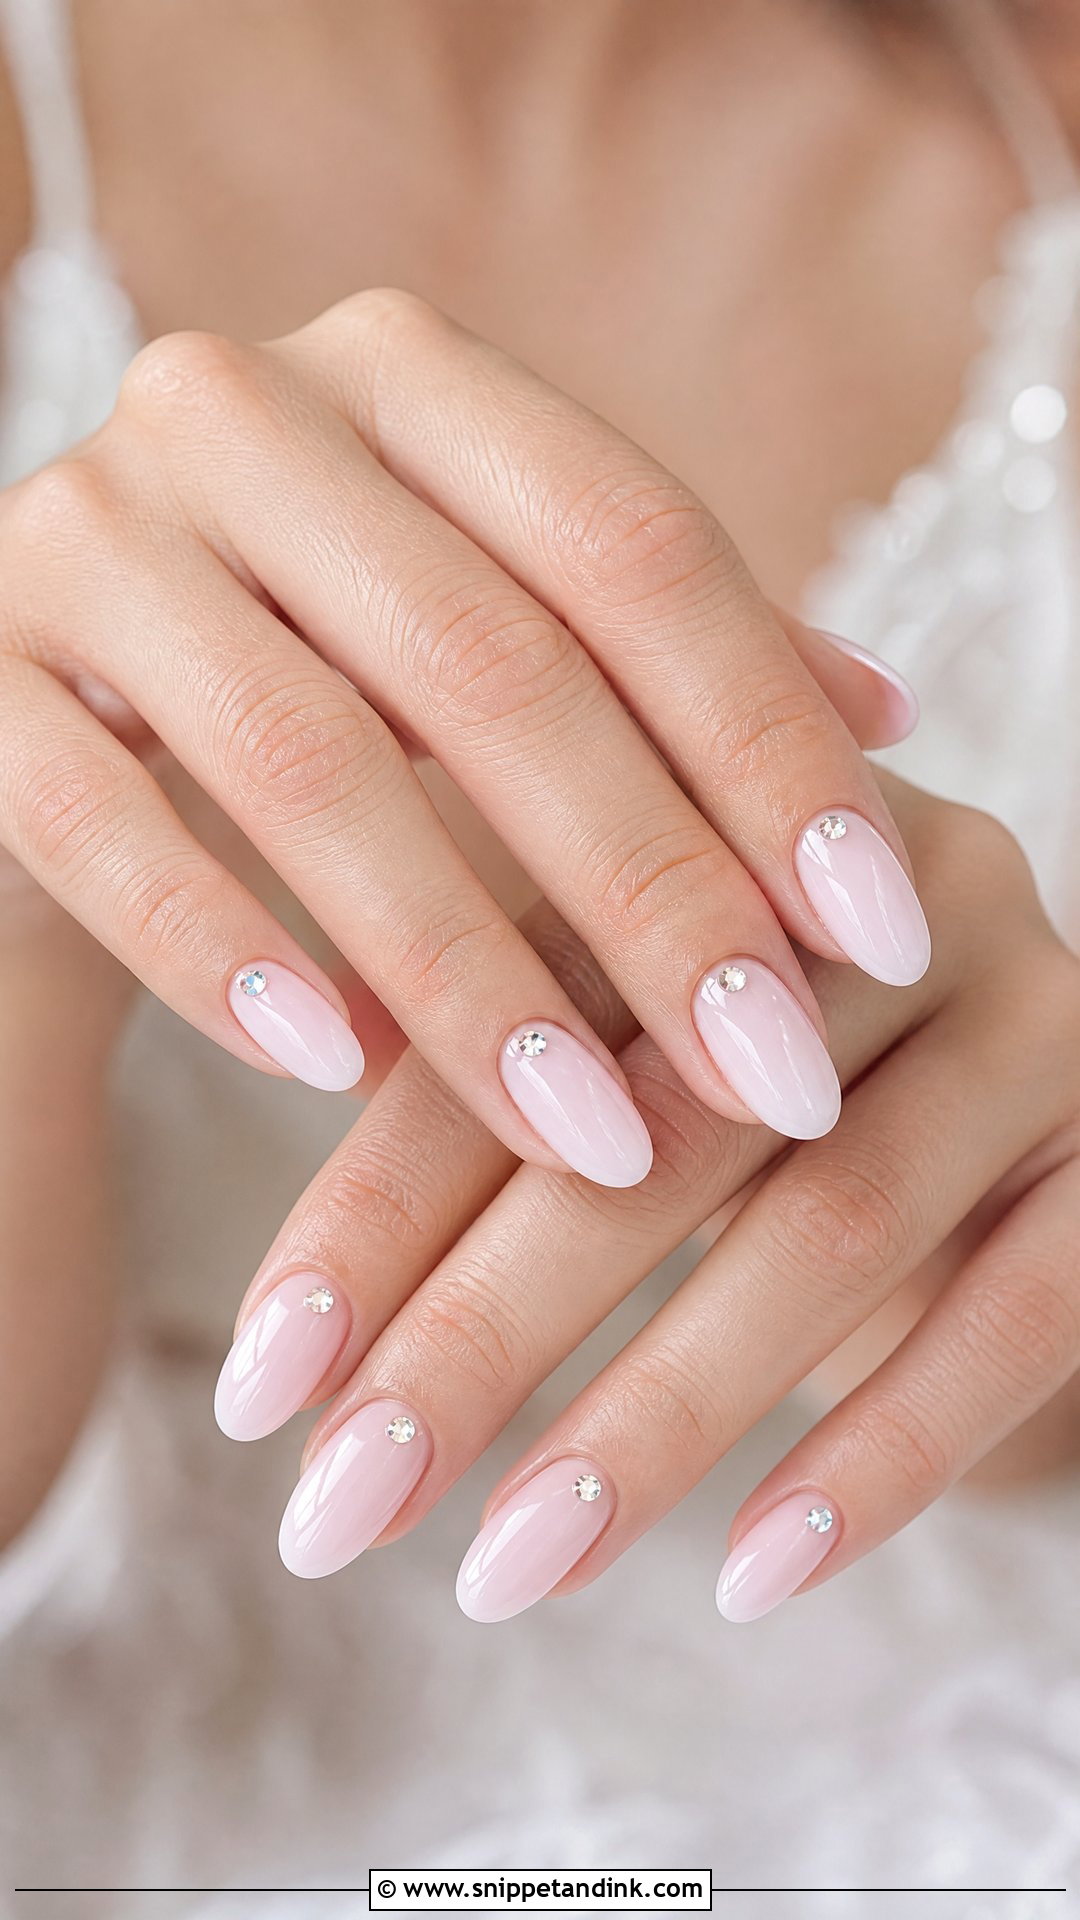
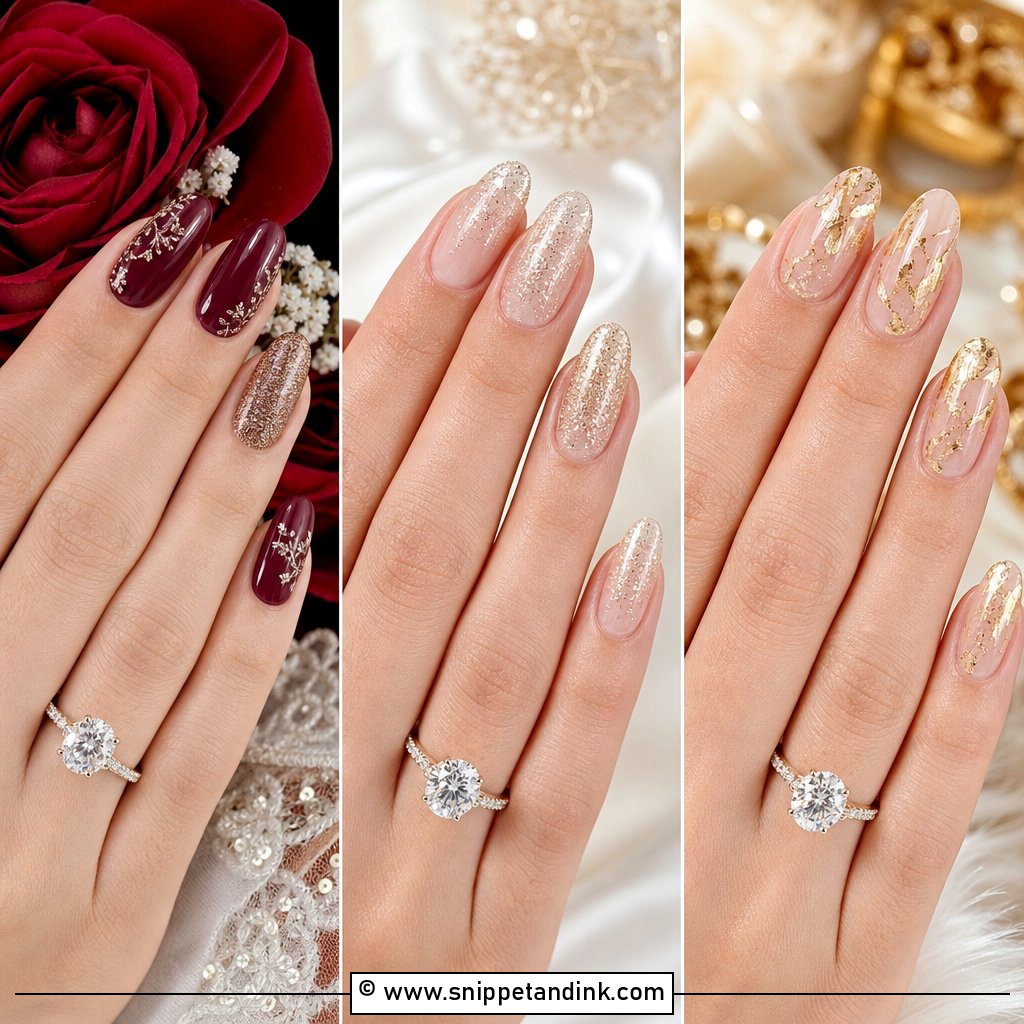
Small and intentional is the rule for rhinestones. I set tiny crystals with gel at the cuticle, along a French tip, or on one accent nail. Larger stones snag on hair, sweaters and tulle. Rhinestone pre wedding nails suit engagement parties and formal photos where a little shine is welcome. Almond and coffin shapes give the stones more room, but on short nails one tiny crystal per hand is enough.
17. Soft Square Pre Wedding Nails
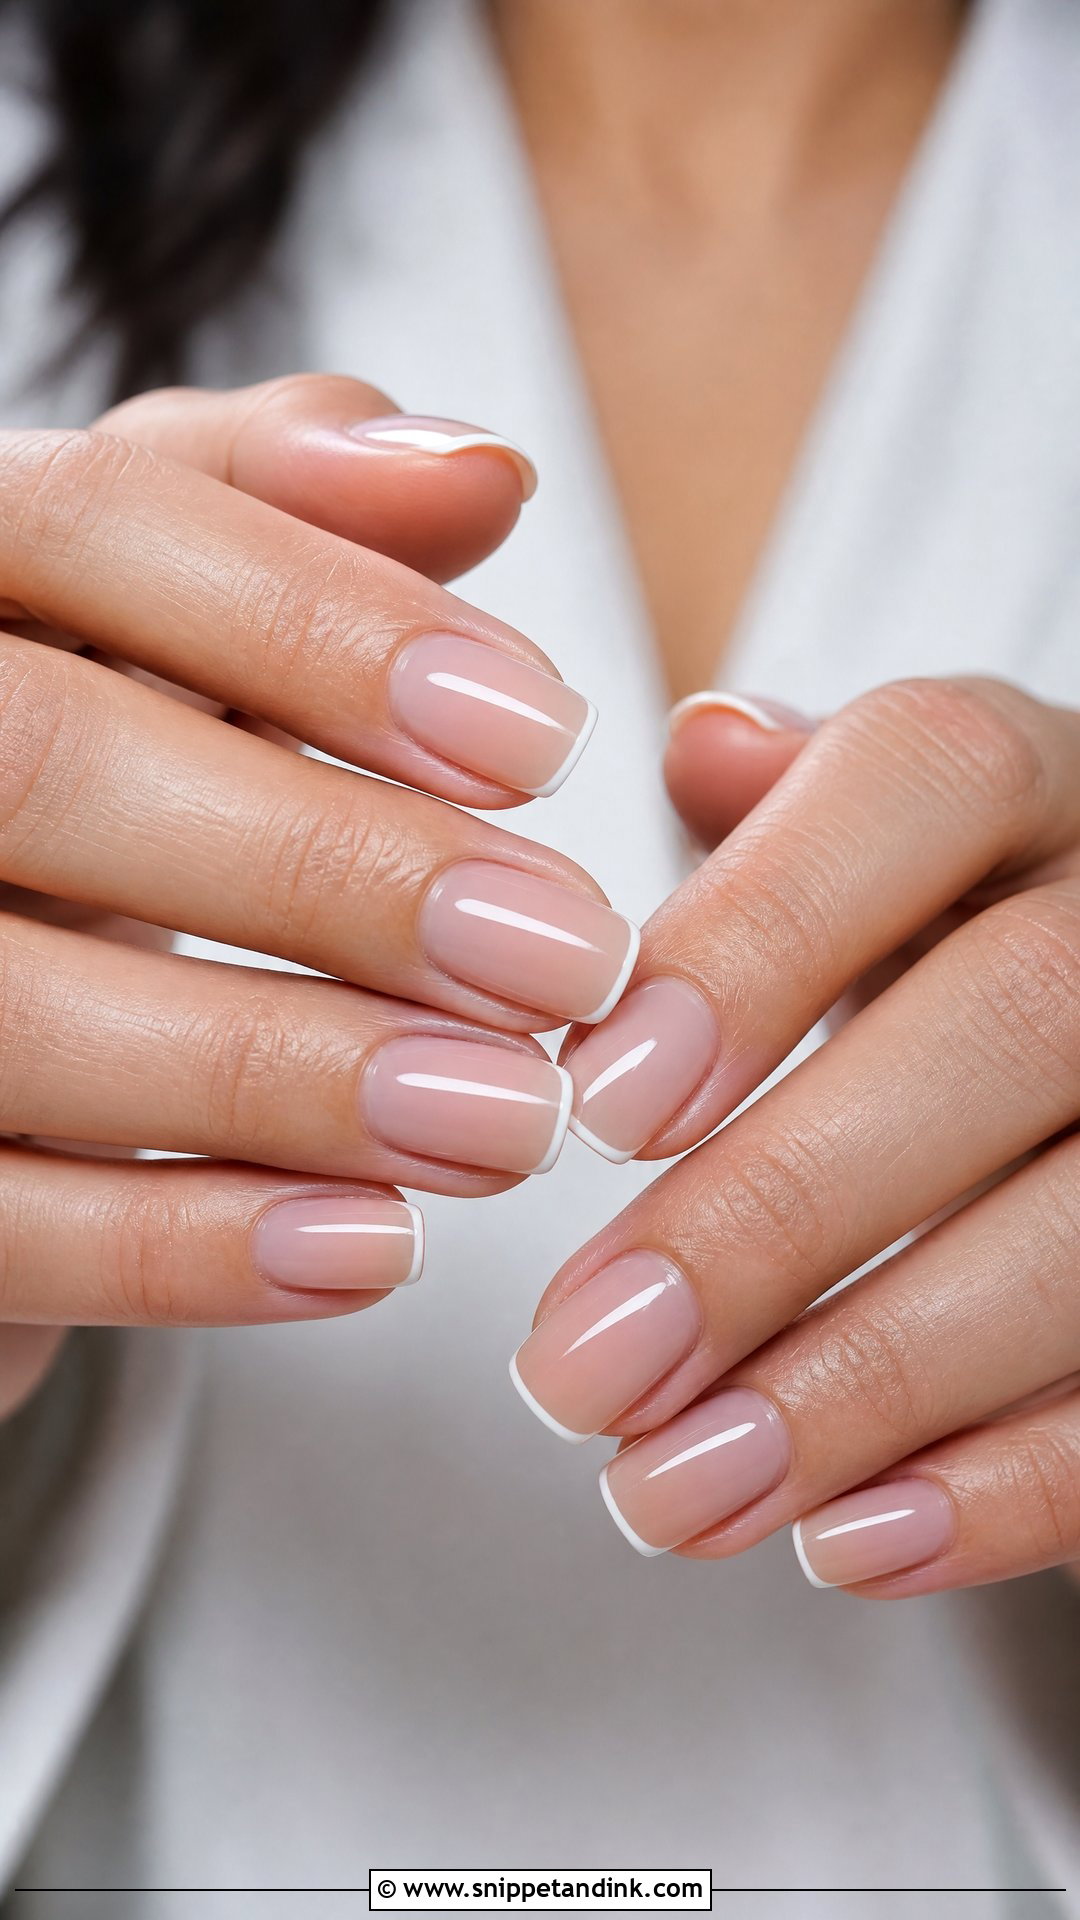
A soft square has straight sides and slightly rounded corners. Those rounded corners matter: sharp square corners chip first, especially on keyboards, and a chipped corner shows in every close-up. This shape grows out neatly and is easy to maintain between appointments. It pairs well with French tips, sheer nude, milky white and pale pink. For detail, a micro French or soft chrome topcoat is enough.
18. Rose Gold Pre Wedding Nails
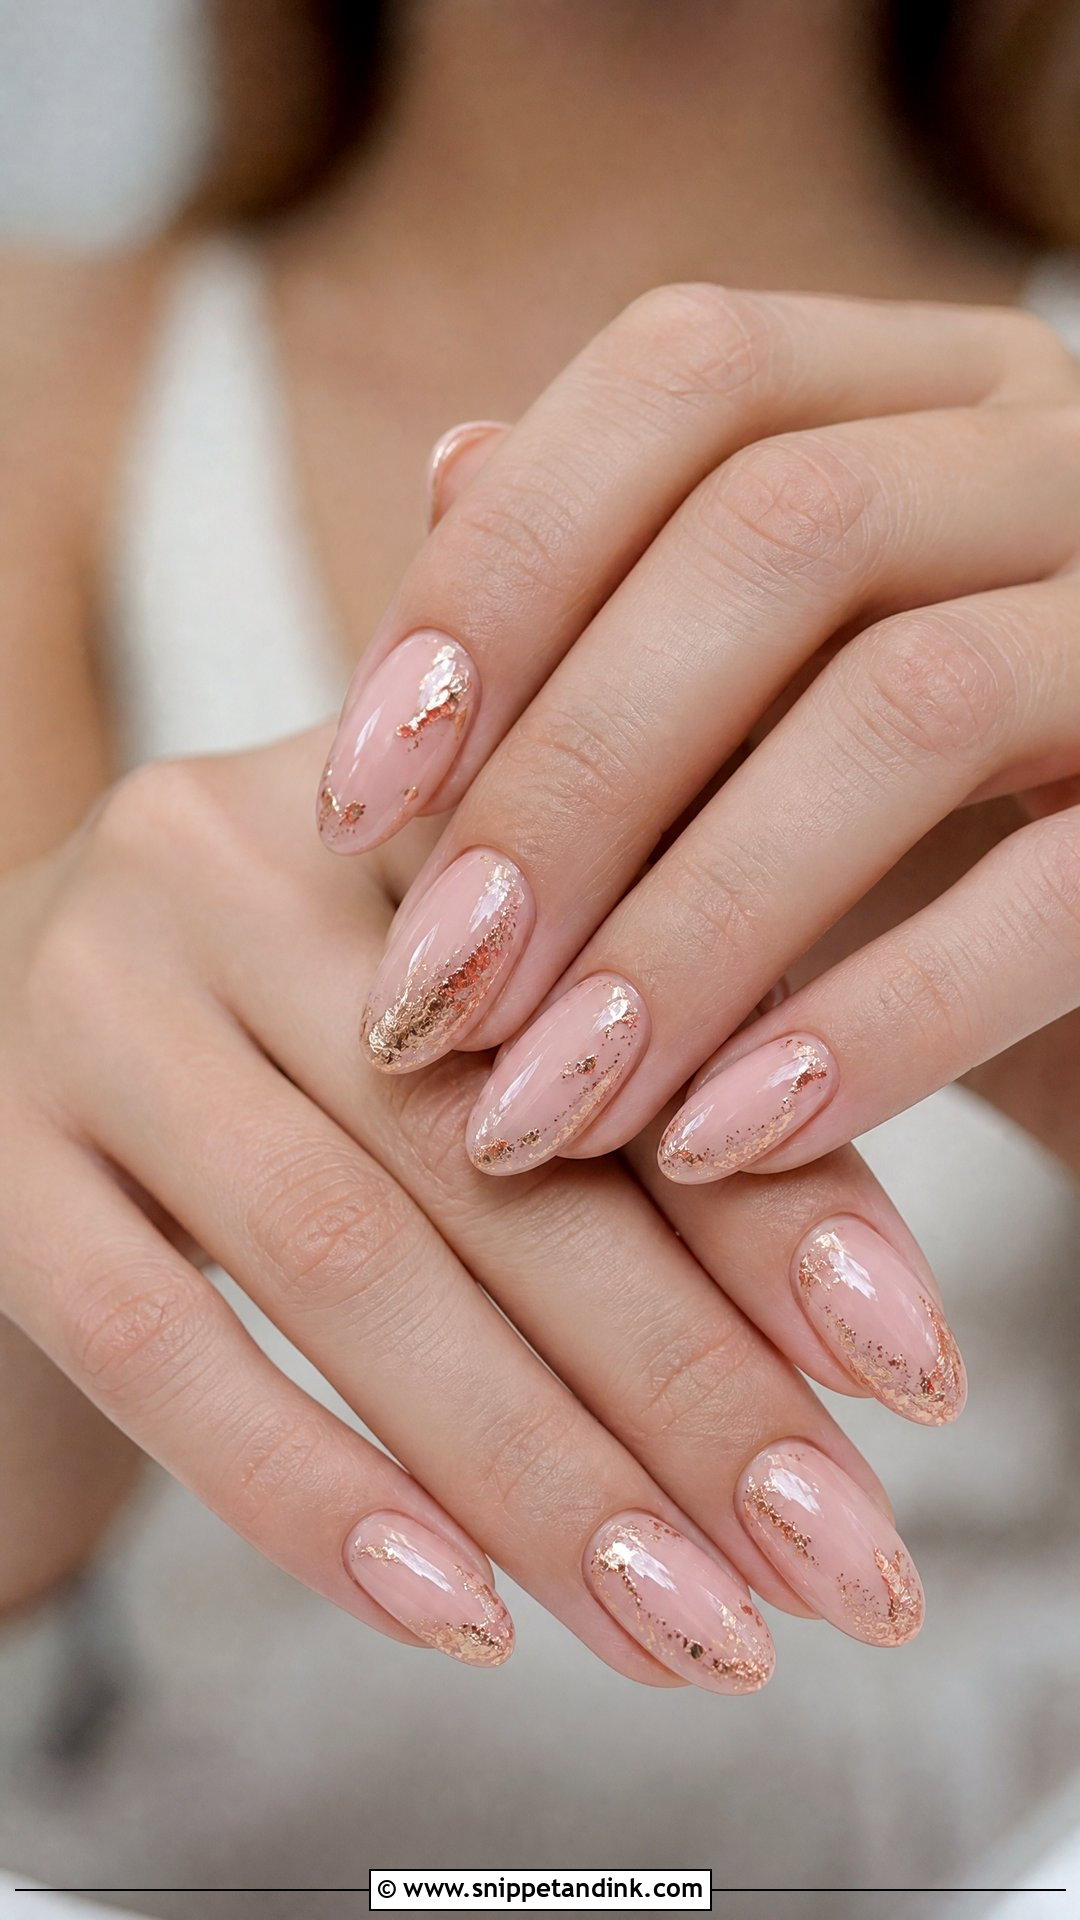
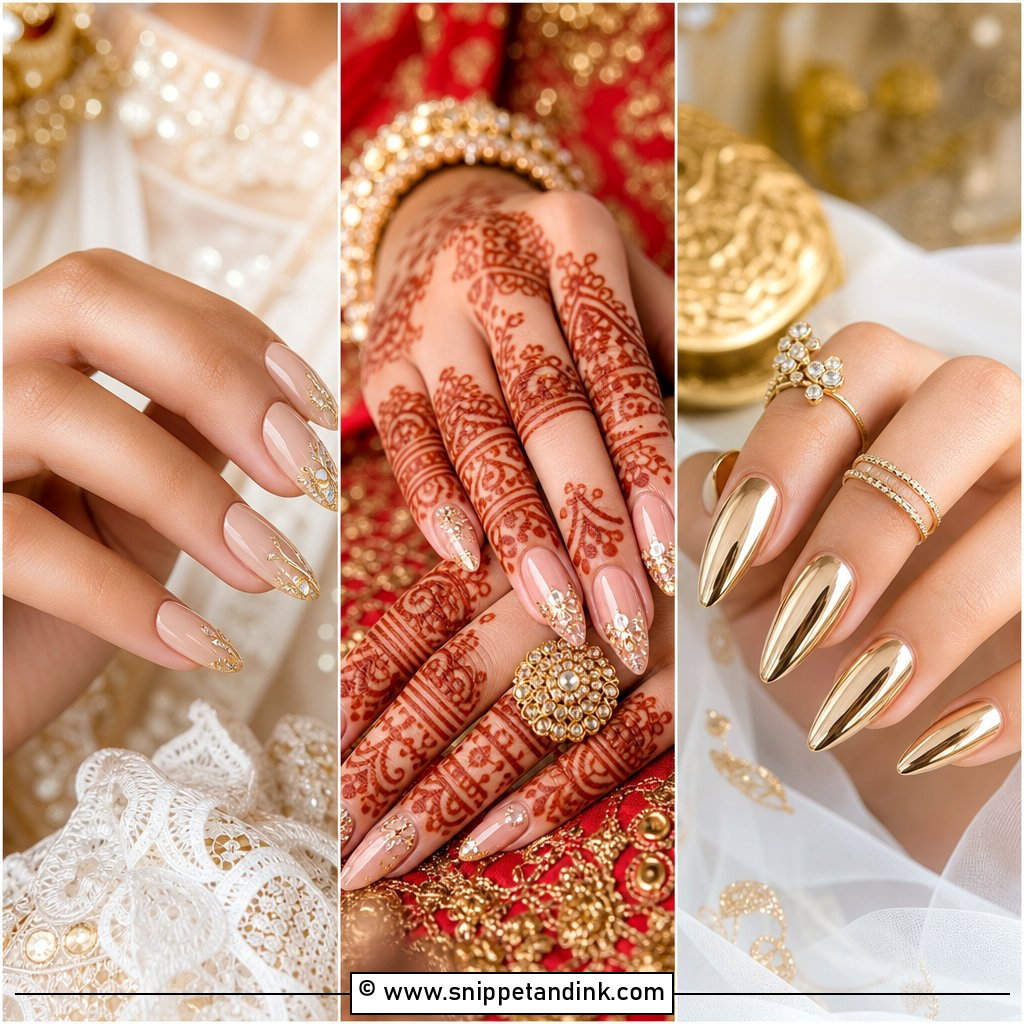
Rose gold flatters warm and neutral skin tones and looks warm next to blush dresses and gold jewelry. I usually apply it as foil pieces or a fine shimmer over a nude or pink base, kept to an accent nail or two. Full rose gold chrome on all ten nails can look brassy in indoor lighting. On cooler skin, a soft pink base under the metallic keeps it from clashing. Almond, oval and short square shapes all suit it.
19. Sheer Pink Pre Wedding Nails
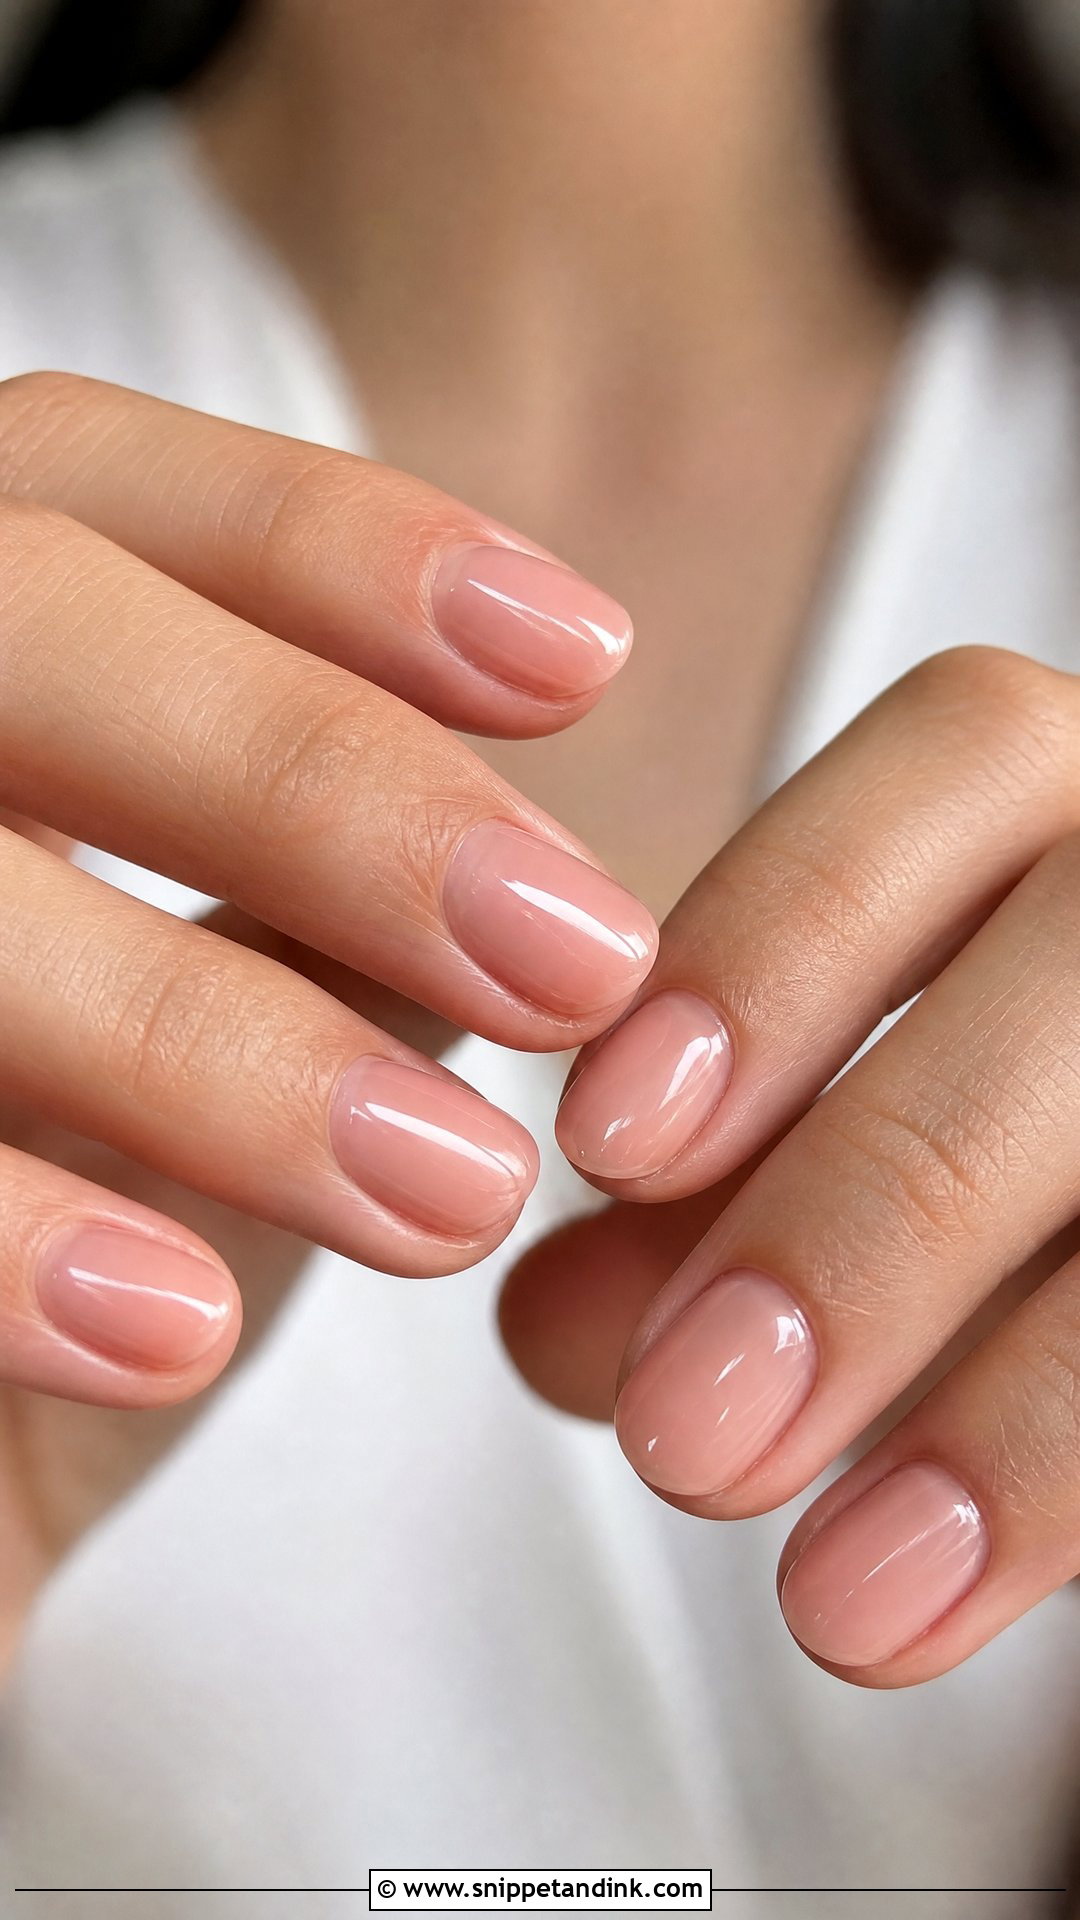
Sheer pink shows your natural nail through it, so it only looks healthy if the nail underneath is healthy. Ridges, white spots and staining all show. I’ll use a ridge-filling base coat first, then two thin coats of sheer pink with a high-gloss topcoat. It keeps the ring as the focus in engagement photos and works at any length, from short natural nails to almond extensions. A very thin white tip is the only detail I’d add.
20. Coffin Pre Wedding Nails
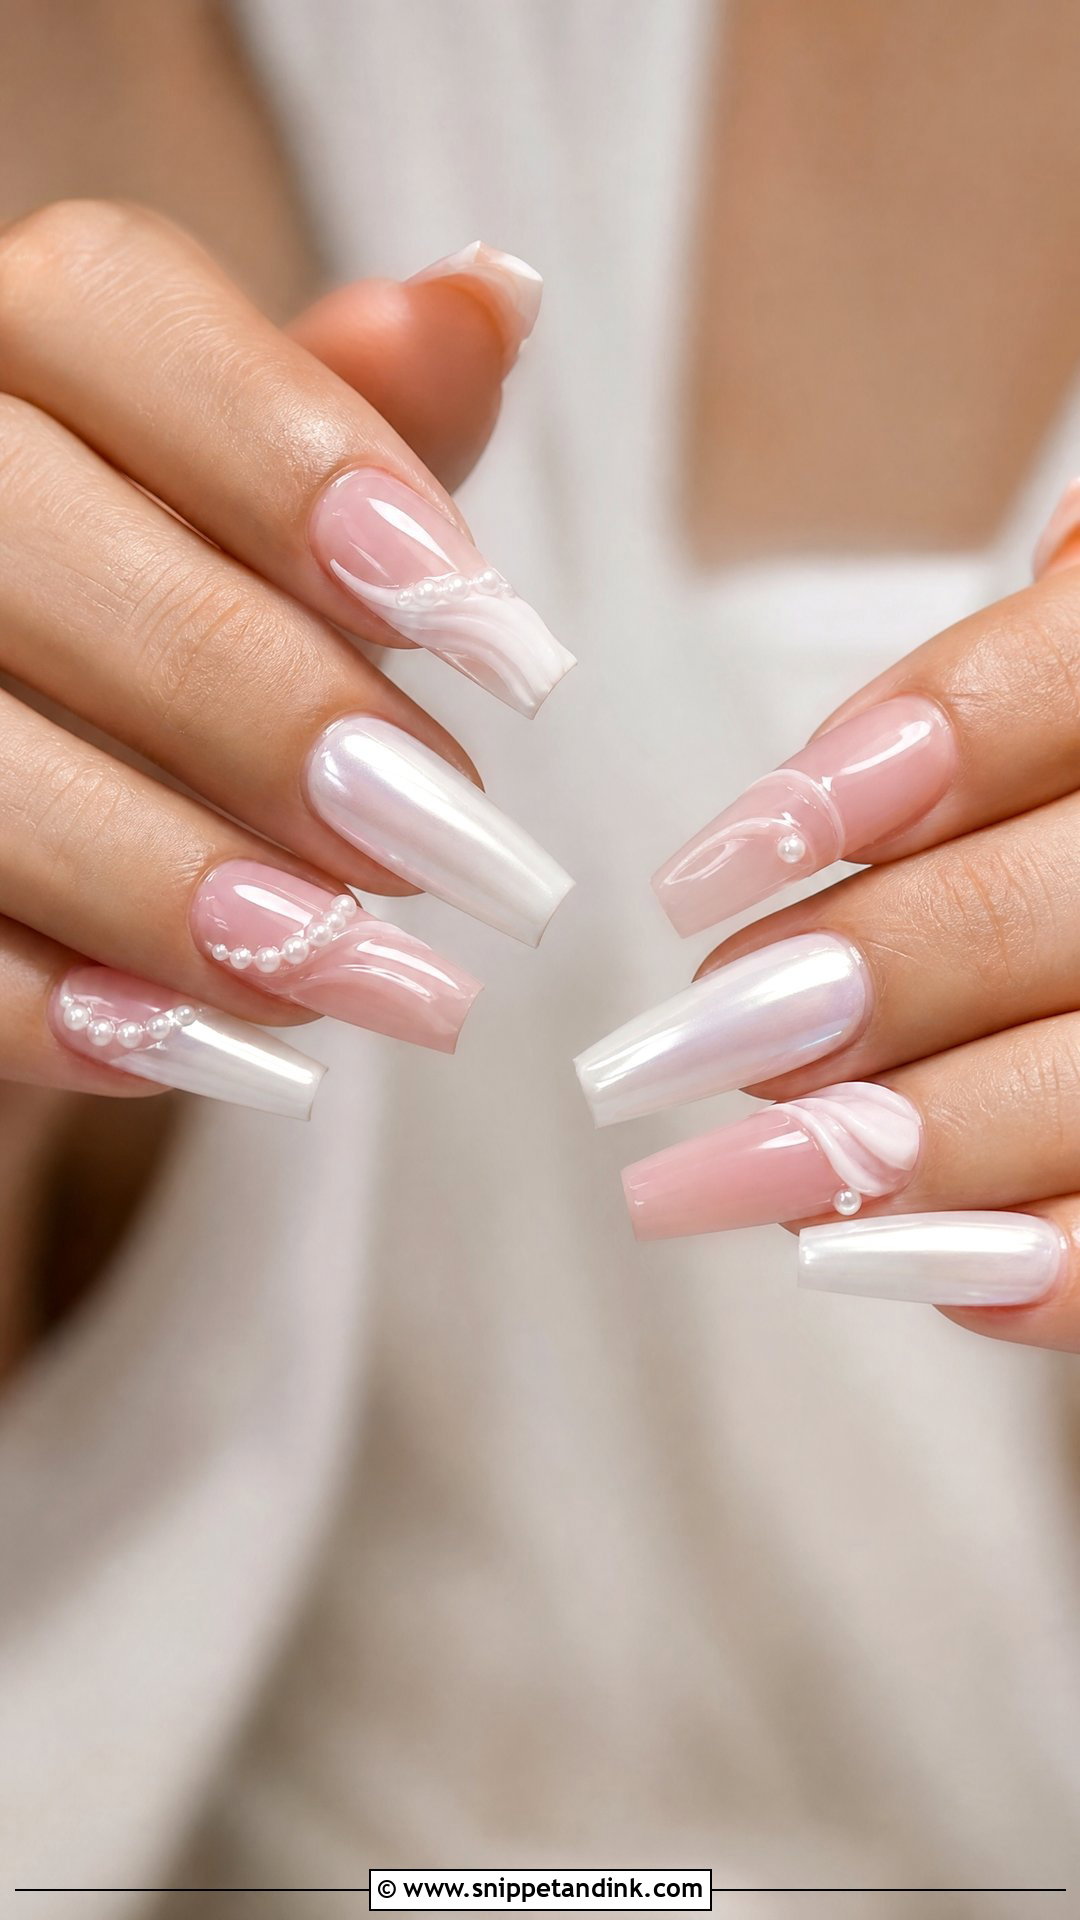
The coffin shape has tapered sides and a flat tip, so it looks sculpted and dramatic. It’s also the shape that breaks most often at the corners if it’s too long. I’d keep it medium for pre-wedding months and choose soft colors: milky white, nude pink, baby boomer ombre or pearl chrome. Coffin pre wedding nails have enough surface for pearls, lace or tiny crystals if you want a more glamorous set.
21. Gold Foil Pre Wedding Nails
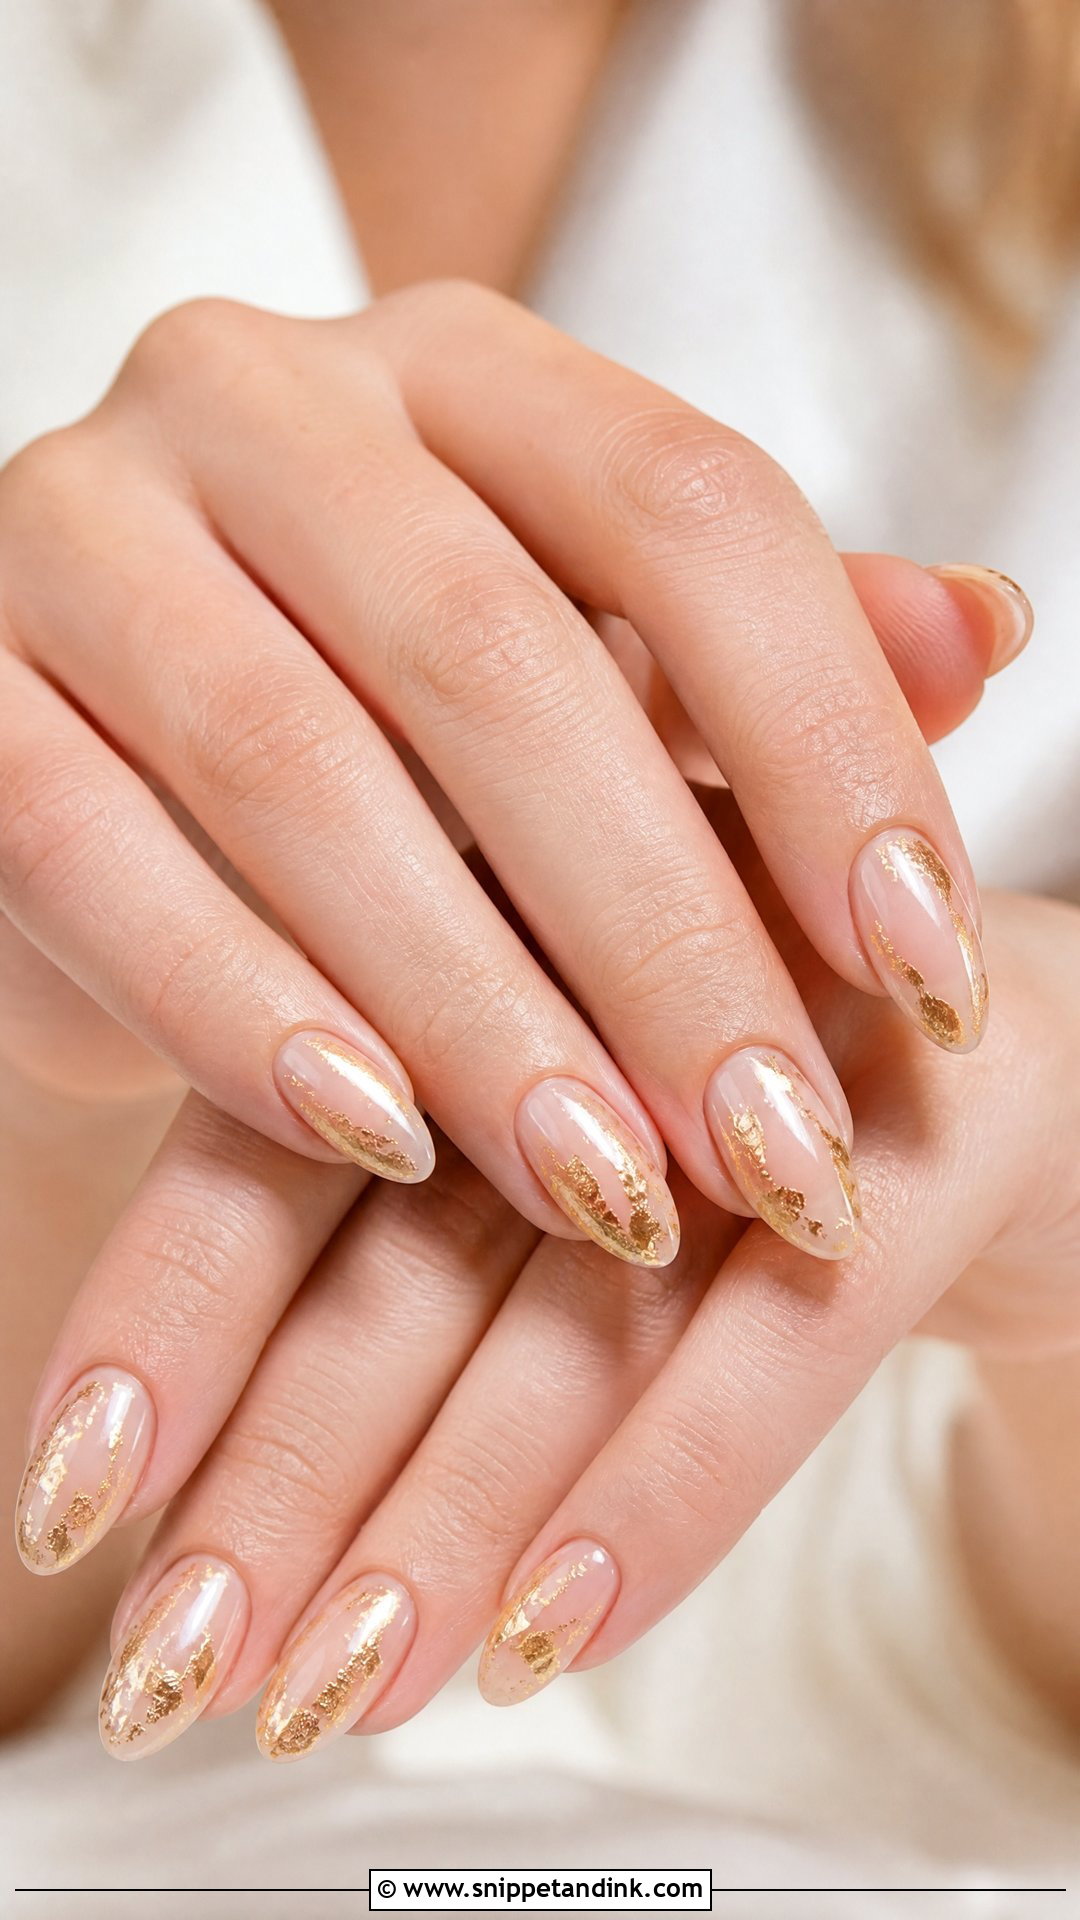
Gold foil looks best in small irregular pieces over sheer nude, blush pink or milky white. Large solid sheets look less delicate. The foil edges can lift if they’re not fully sealed, so I press them flat and cap them under a thick layer of topcoat. It pairs well with yellow gold rings and warm accessories. Keep it to a few nails for a refined finish.
22. Lavender Pre Wedding Nails
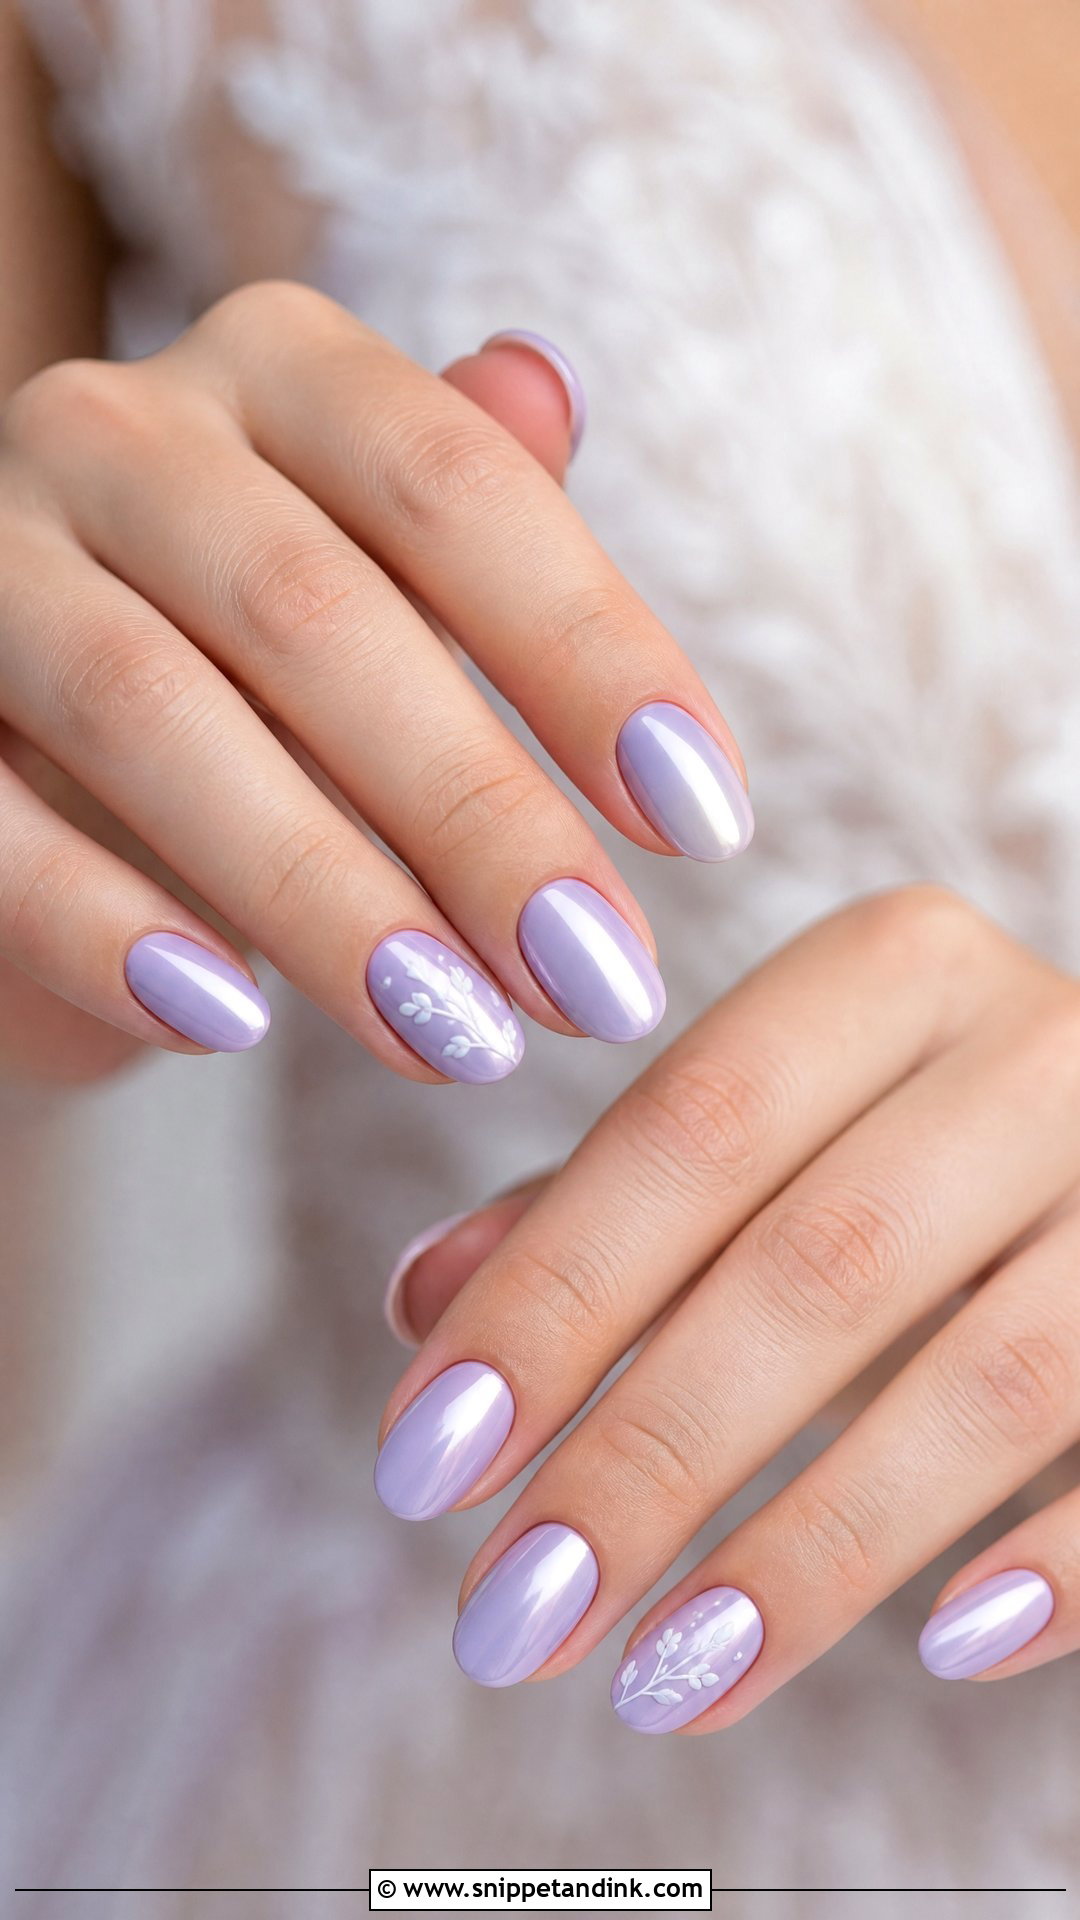
Pale lavender gives more personality than nude or white while still feeling soft. Pastels can be streaky, so it usually takes two or three thin coats for an even finish. A sheer lavender wash is subtler, a creamier shade more noticeable. Pearl chrome over lavender gives a gentle glow, and tiny white flowers suit a spring shower. Oval and almond shapes keep the color graceful.
23. Micro French Pre Wedding Nails
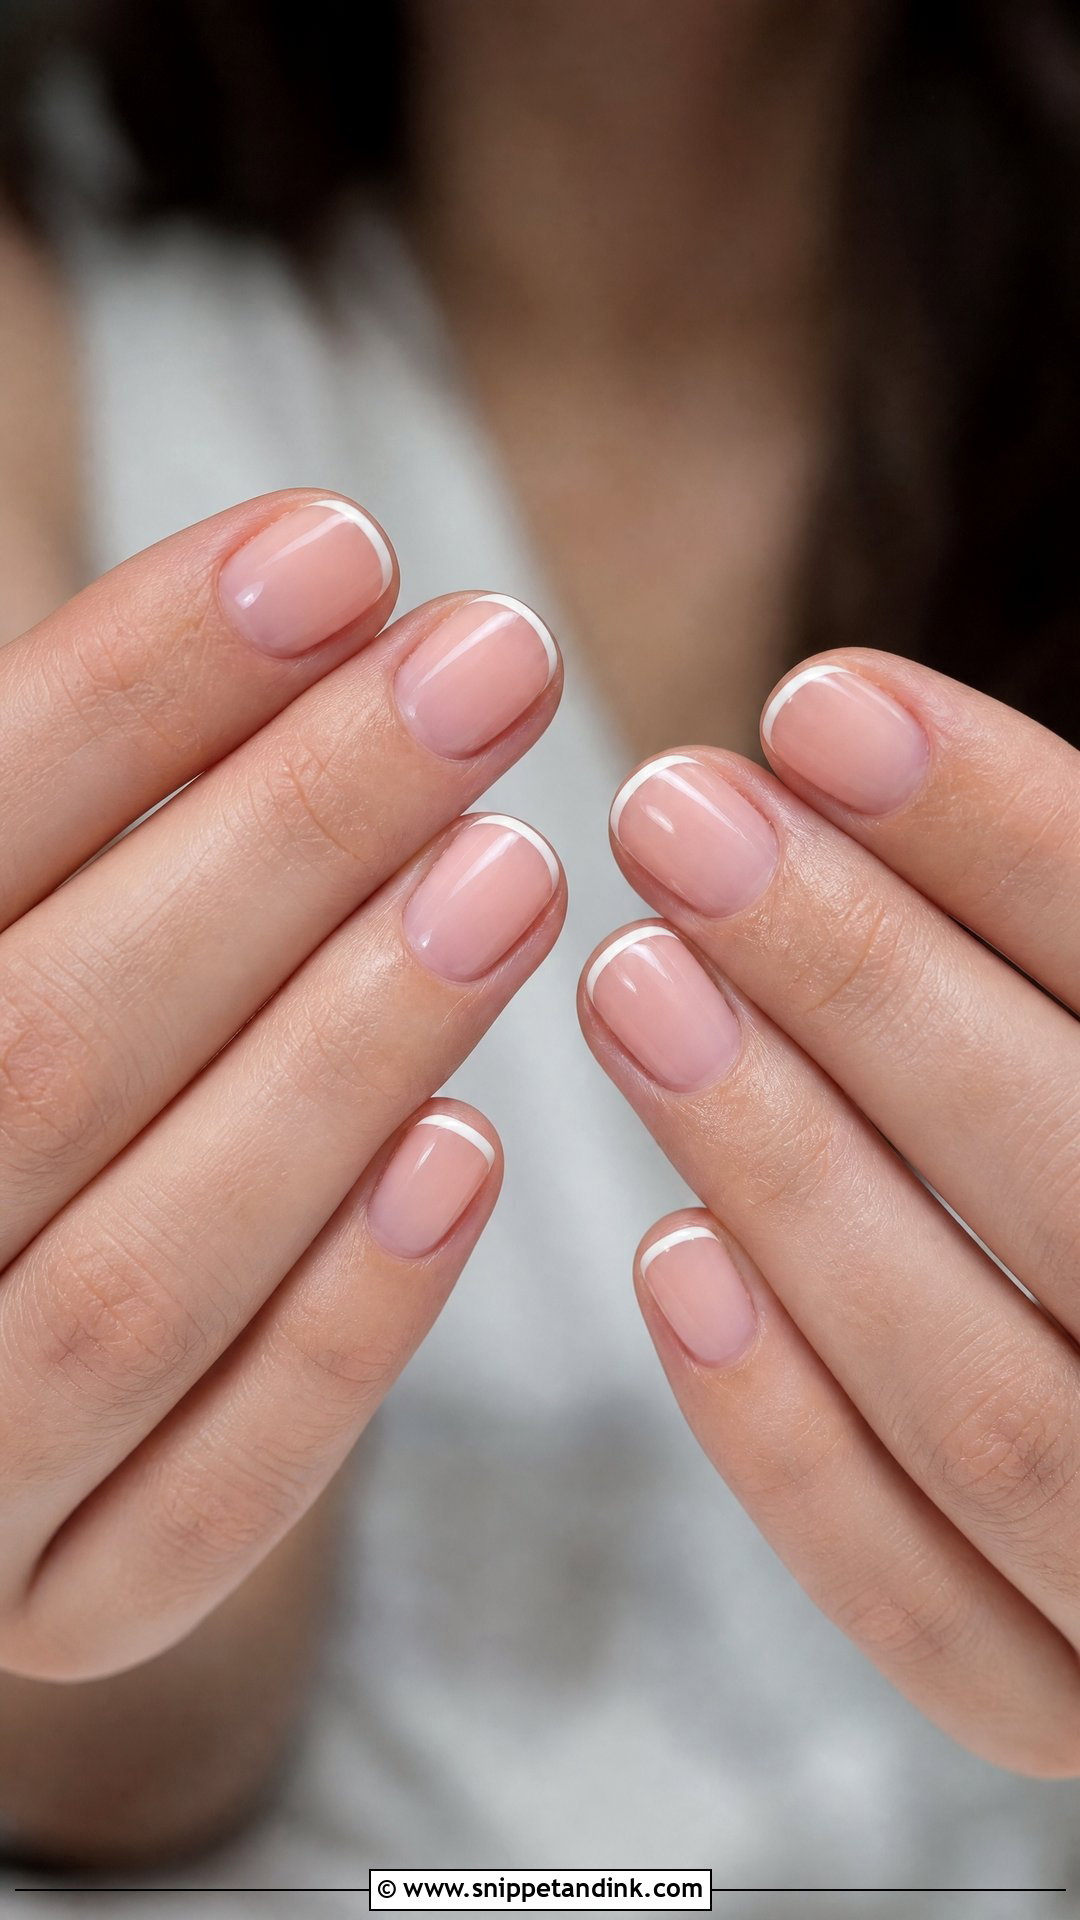
A micro French uses a very thin tip, sometimes no wider than a millimeter or two. On short nails it creates the look of length without extensions, which is why I recommend it more than any other French for natural nails. The thin line does demand a steady hand, as any wobble is obvious. A sheer pink, nude or milky base keeps it soft. An ivory tip instead of bright white is a subtle variation.
24. Matte Nude Pre Wedding Nails
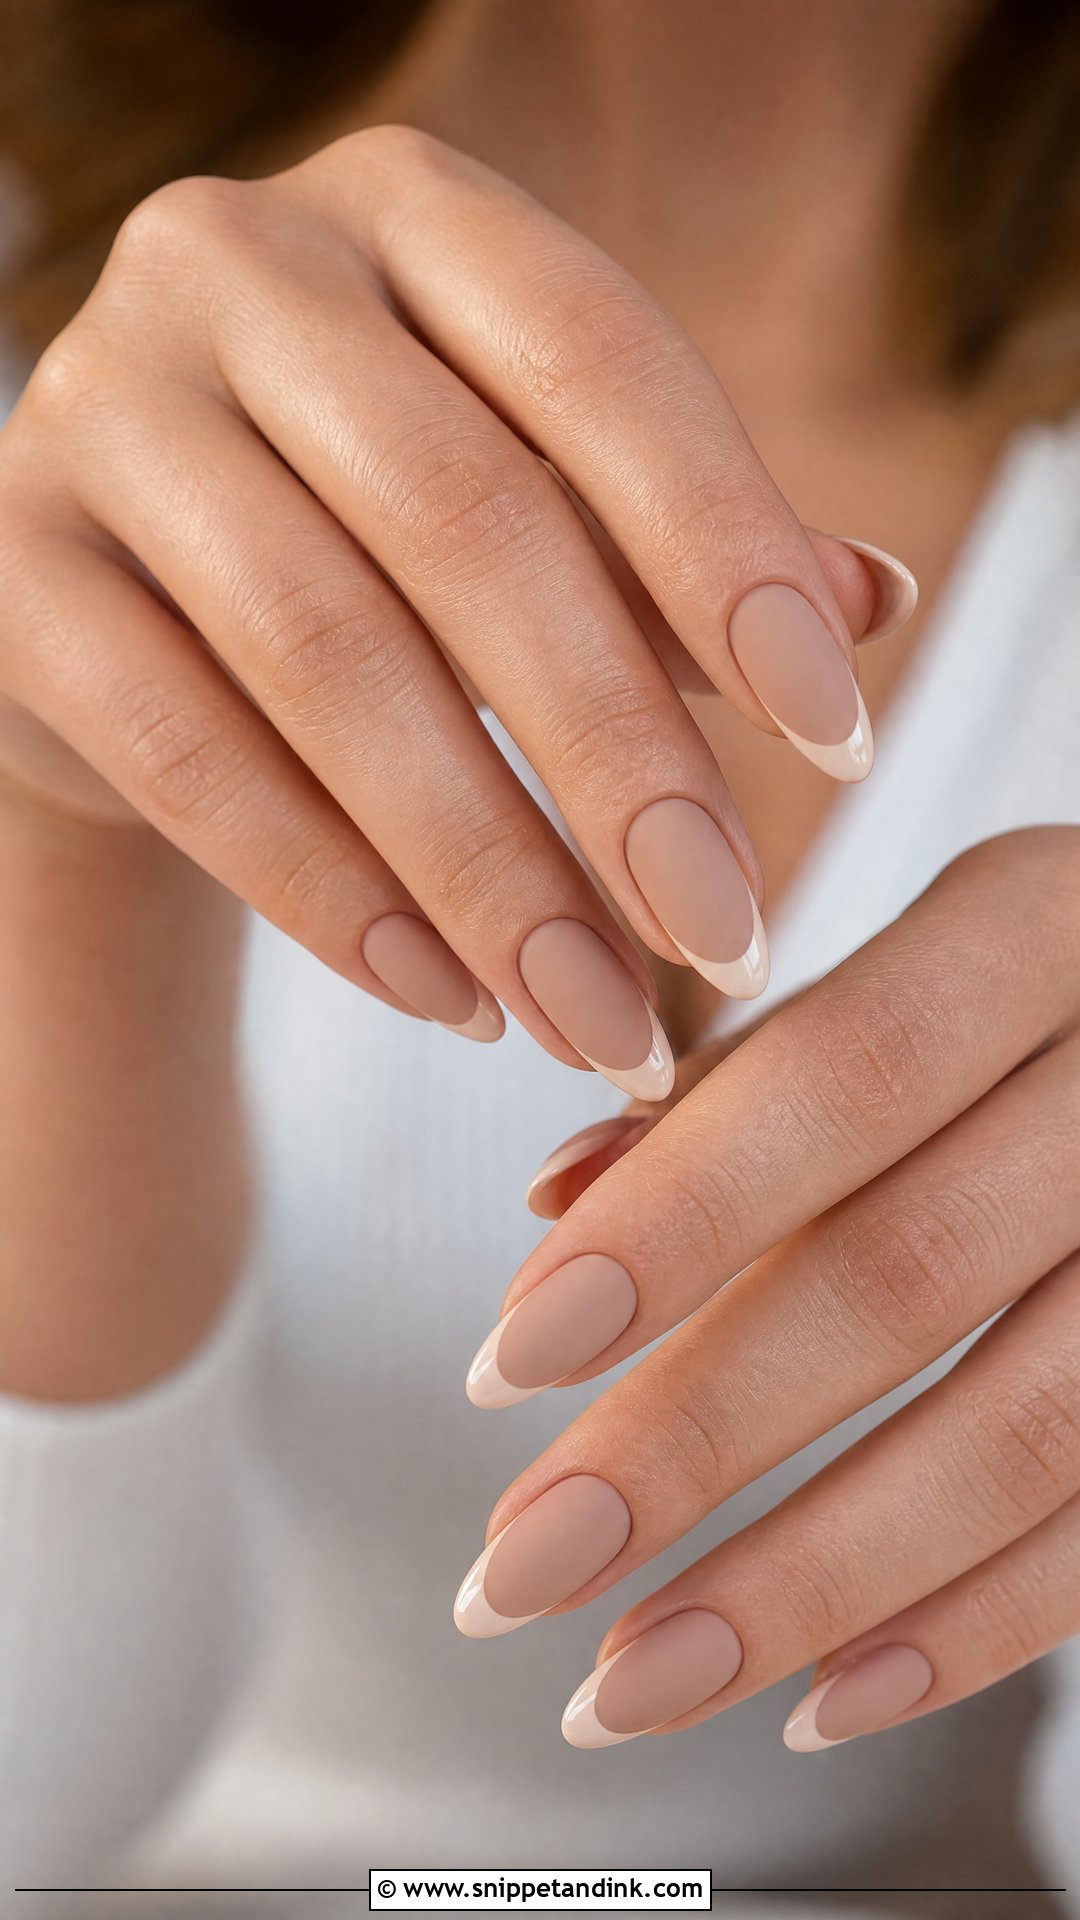
Matte nude looks velvety and modern, but it has a weakness I always mention: matte topcoat picks up stains. Self-tanner, hand cream, makeup and even denim dye can discolor it within days. That’s why I’d book it as close as possible to the event it’s for, ideally one or two days before. Choose a nude that suits your skin tone so it doesn’t look flat. A glossy French tip over matte is a nice contrast.
25. White French Ombre Pre Wedding Nails
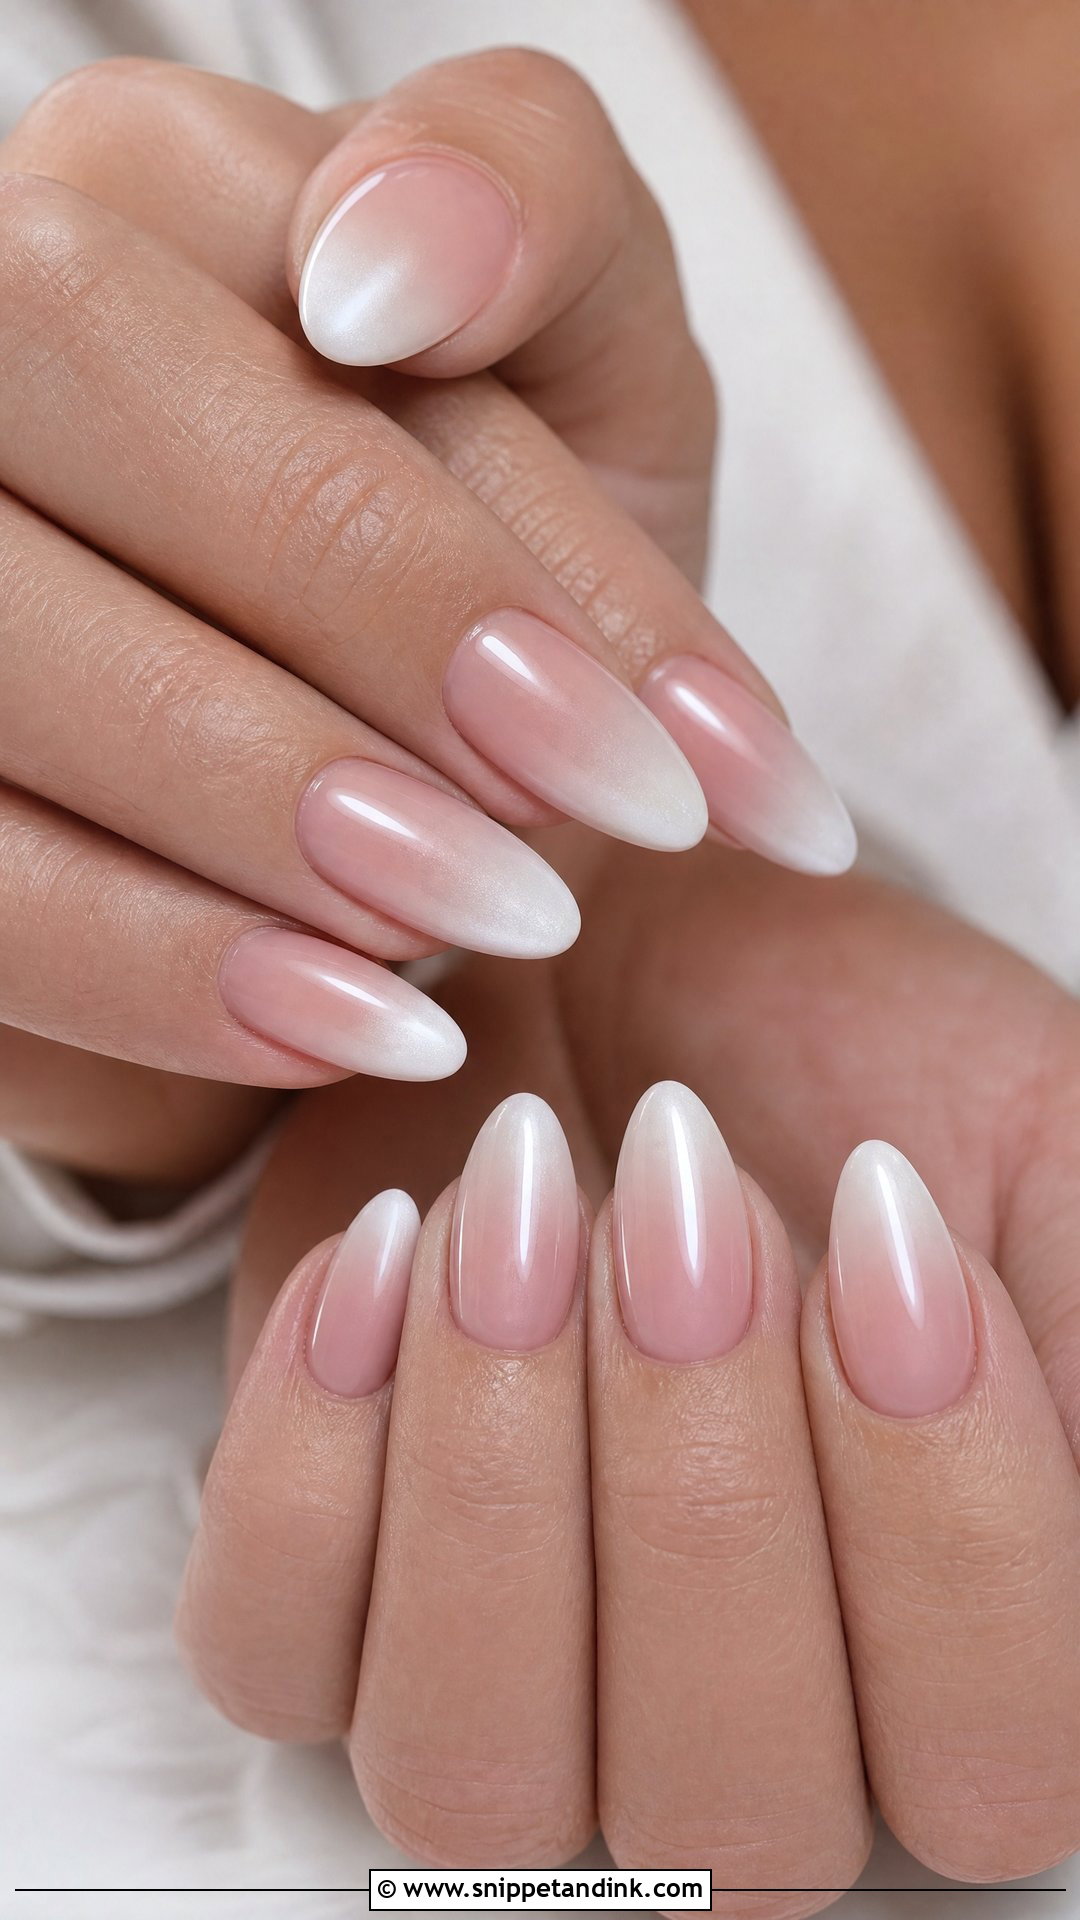
White French ombre is a French tip blended into a gradient, so the sheer pink or nude base fades into a smooth white end. With no sharp tip line, it matches most outfits and grows out gracefully. I’d suggest it to brides who want one set that covers several events in a row, like a shower and a fitting in the same fortnight. It suits almond, coffin and oval shapes. Glossy topcoat for a classic finish; a faint pearl chrome for extra glow.
Lace Gowns, Tulle and Raised Nail Art
One thing brides rarely think about at a nail appointment is what their hands will be touching. Bridal fittings mean handling lace, tulle and chiffon while a seamstress pins around you. Raised details like 3D pearls, larger rhinestones and textured gel catch threads and can pull a delicate fabric.
I do a simple test before a bride leaves: run the nails over a pair of tights or a silk scarf. If anything catches, I smooth it with more topcoat or swap the stone for a flatter one. For the fitting weeks I’d suggest flat designs: chrome, ombre, French tips or flat foil. Save the bigger stones for parties.
Getting Cuticles Ready for Ring Close-Ups
A ring shot is a macro photo, and a macro photo shows everything: dry cuticles, gel flooding into the skin, a hangnail. The design matters less than the skin around it.
- Apply cuticle oil every evening for two weeks before the shoot. One day of oil won’t fix dry skin.
- Avoid cutting cuticles yourself just before photos; small cuts look red on camera for a few days.
- Use a light hand cream an hour before, and wipe any residue off the nail surface so it doesn’t look greasy.
- If you’ve had a self-tan, apply it at least a day before your manicure and clean the cuticle area, since tan darkens in skin creases around the nails.
One Set That Covers Every Event This Season
Start with your calendar, not a photo of nails. Count the events, the dates of your engagement shoot and fittings, and how long a set needs to last between appointments. Then choose a shape that suits your natural nails and a finish that wears well. Classic French tips, milky white, sheer pink and nude are the safest. Pearl chrome, floral art, gold foil and tiny rhinestones add detail. Whatever you choose, healthy cuticles and an even shape will do more for your ring photos than any design.
You'll Like These Ideas:


Leave a Reply