
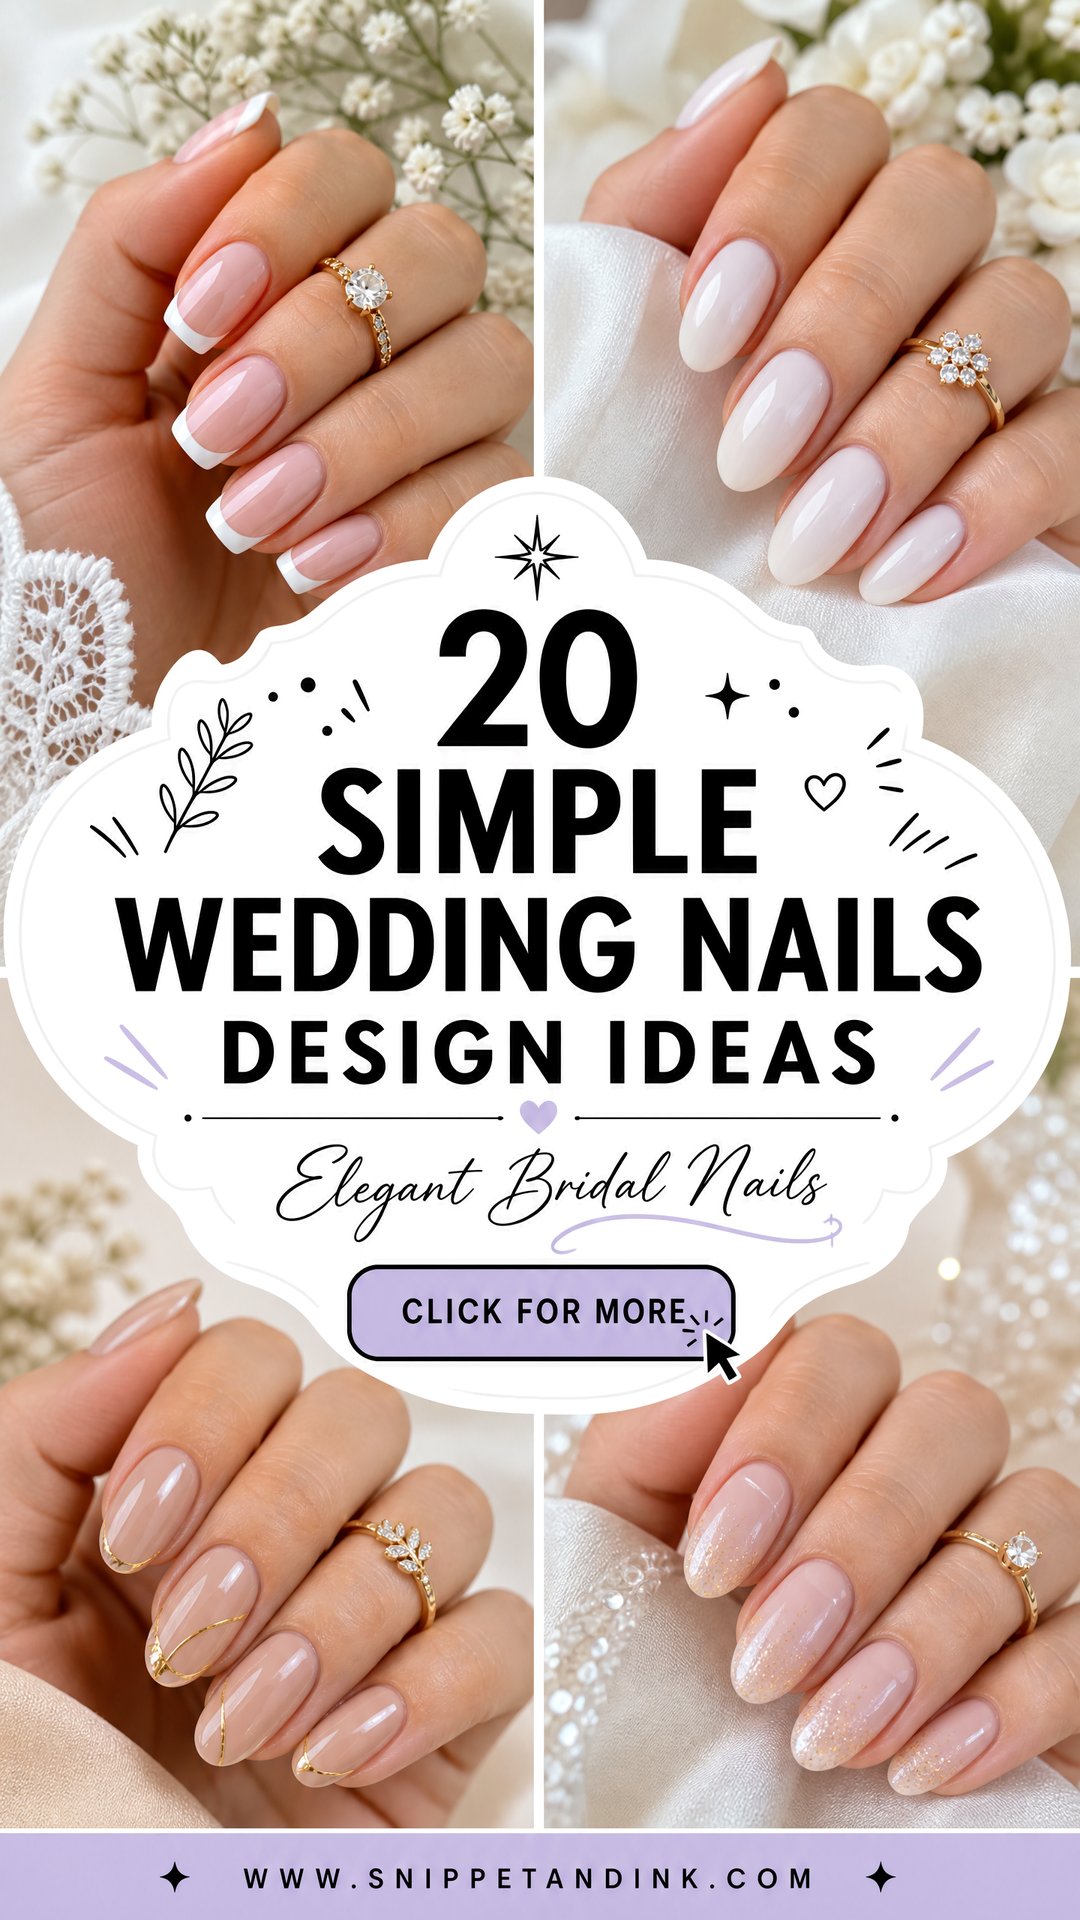
A simple bridal set has one job: make your hands look finished next to a ring without stealing the frame. The designs that do this best right now are quiet ones, like sheer pinks, milky whites, slim French tips, glazed finishes, a few small flowers and faint shimmer. They suit short natural nails just as well as almond extensions. What separates a good simple set from a plain one isn’t the color. It’s the shaping, the cuticle work and how evenly the product is laid down, and under each idea I’ve noted where those details make or break it.
Letting Your Nail Beds Decide the Shape
Most brides choose a shape from a photo, but the shape that flatters you depends on the nails you already have. Before I file anything, I look at how long the nail bed is, how wide it sits and how much it curves. Those details decide which of the sets below will work on your hands.
Short nail beds
Oval and almond shapes carry the eye past the fingertip and make a short bed look longer. A slim or micro French helps too. A deep French with a high smile line does the opposite and cuts the nail visually in half.
Wide or flat nails
Soft square or squoval follows the natural width. Filing a wide nail into a narrow almond usually leaves the side walls looking pinched, and the nail tends to break exactly where it narrows.
Nails that dip or lift at the tip
Nails that curve down or flick upward need structure. A thin layer of builder gel levels the arch, and a shorter length stops the curve from looking uneven when the photographer shoots your ring from the side.
Still unsure? Ask for one hand shaped two ways at your trial. Looking down at both hands side by side usually settles it within a minute.
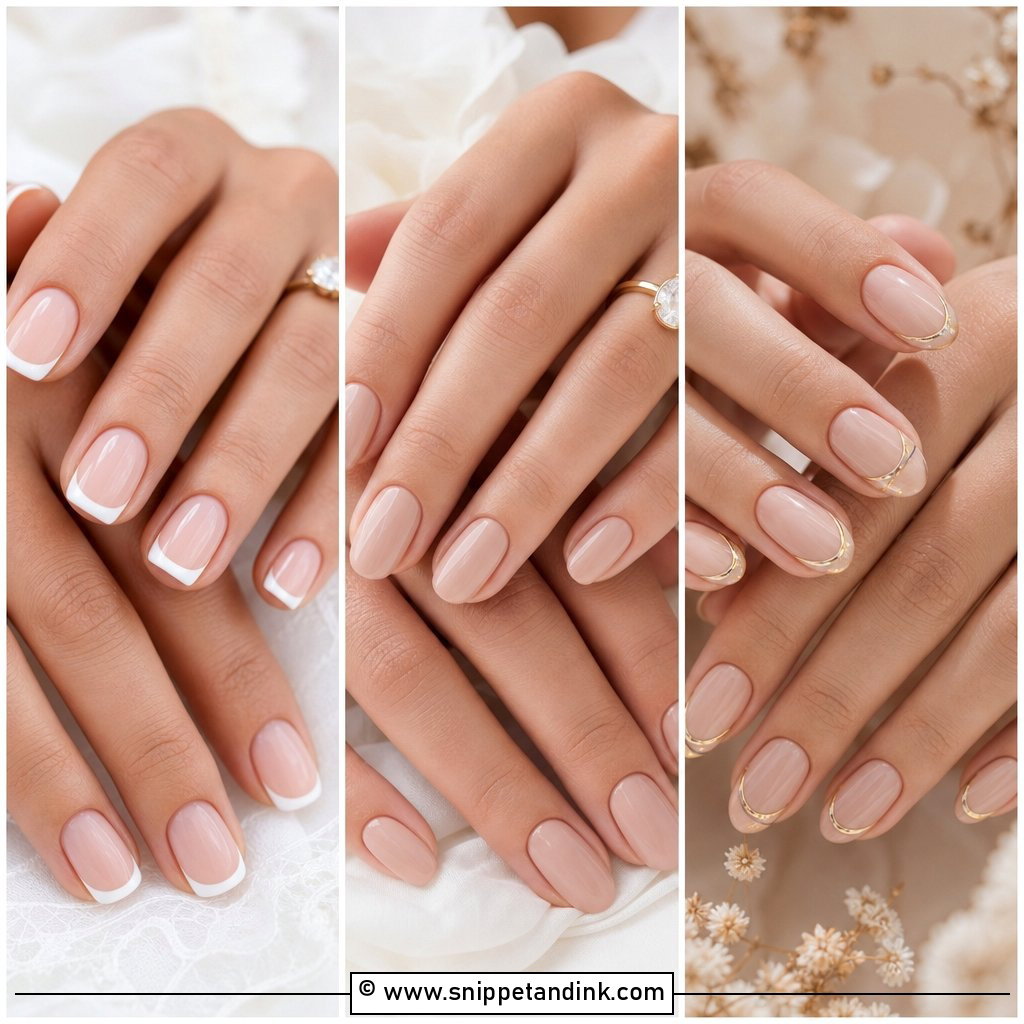
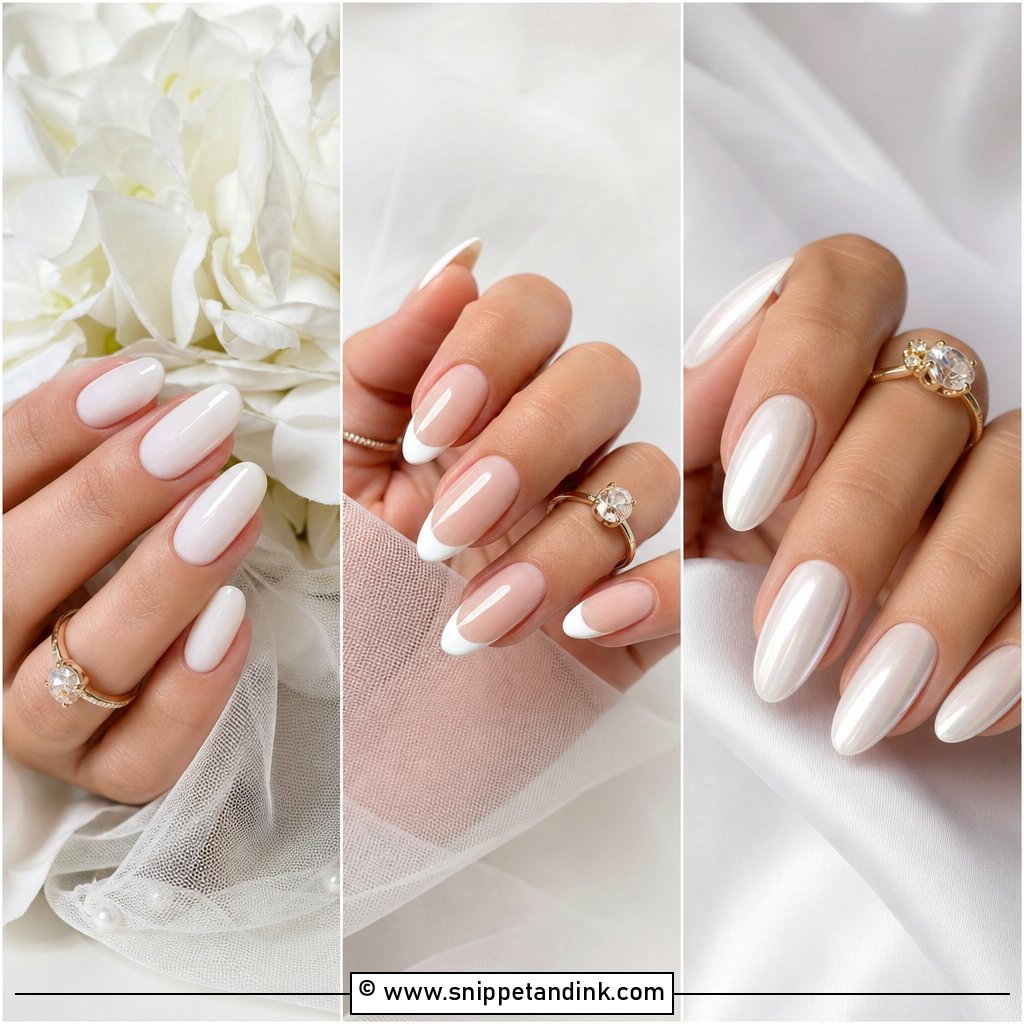
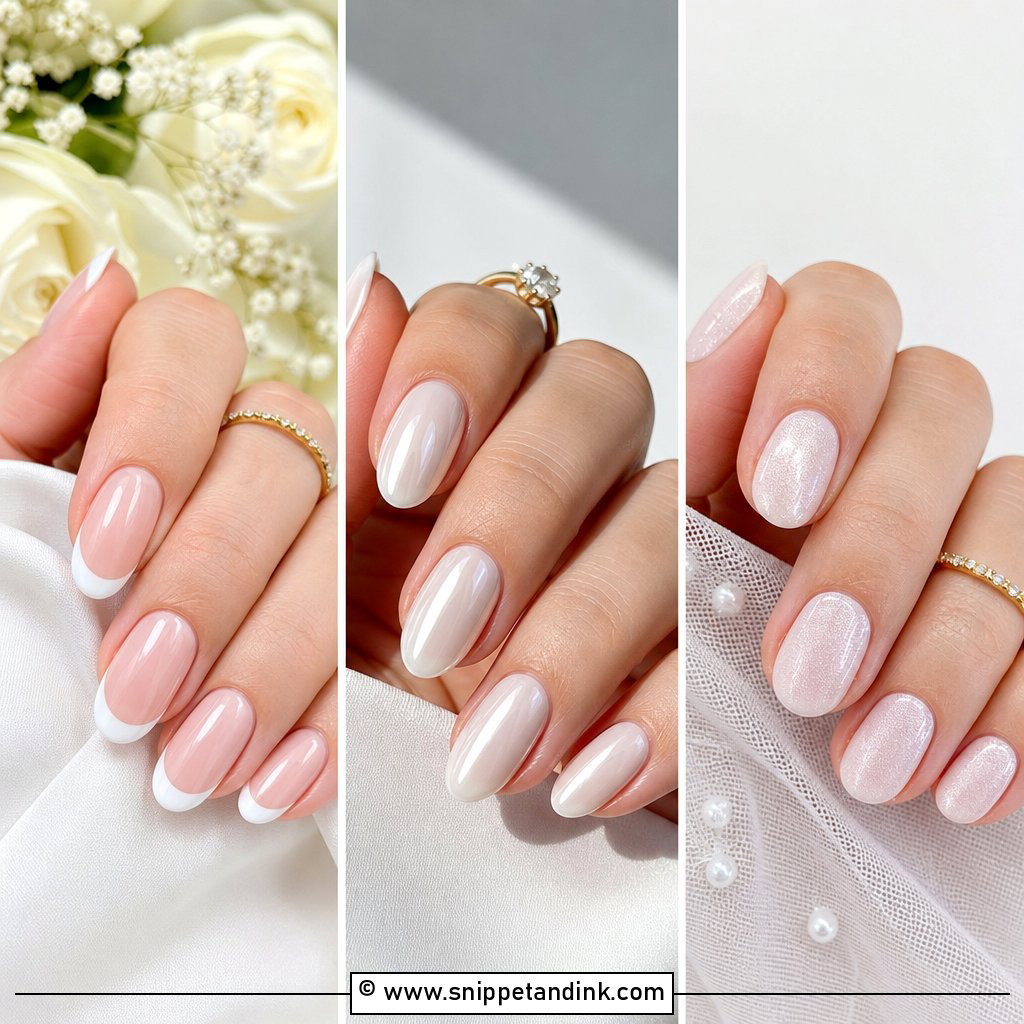
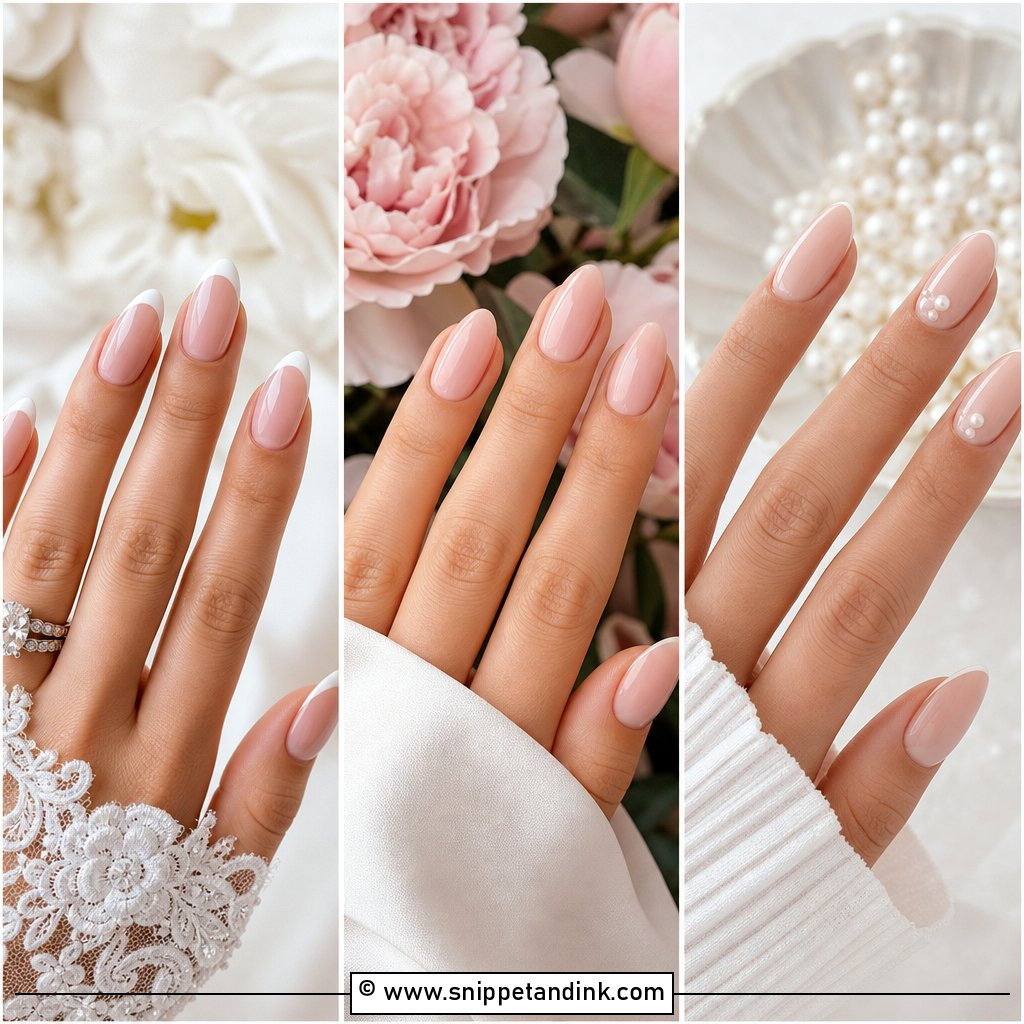
1. Simple French Tip Wedding Nails
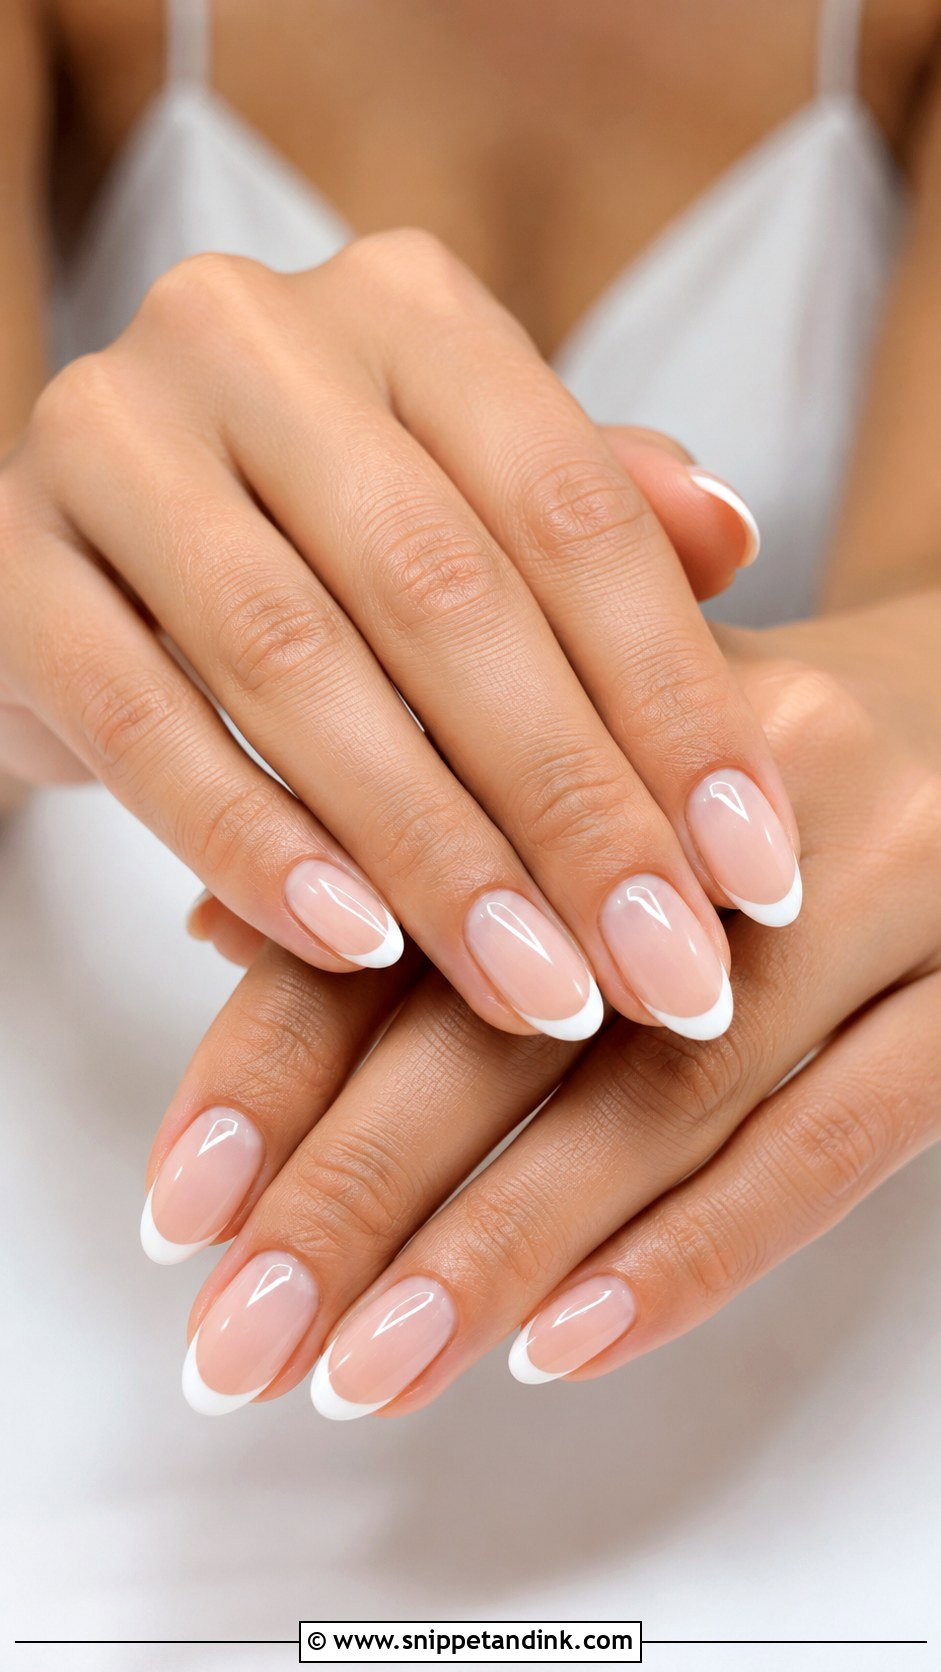
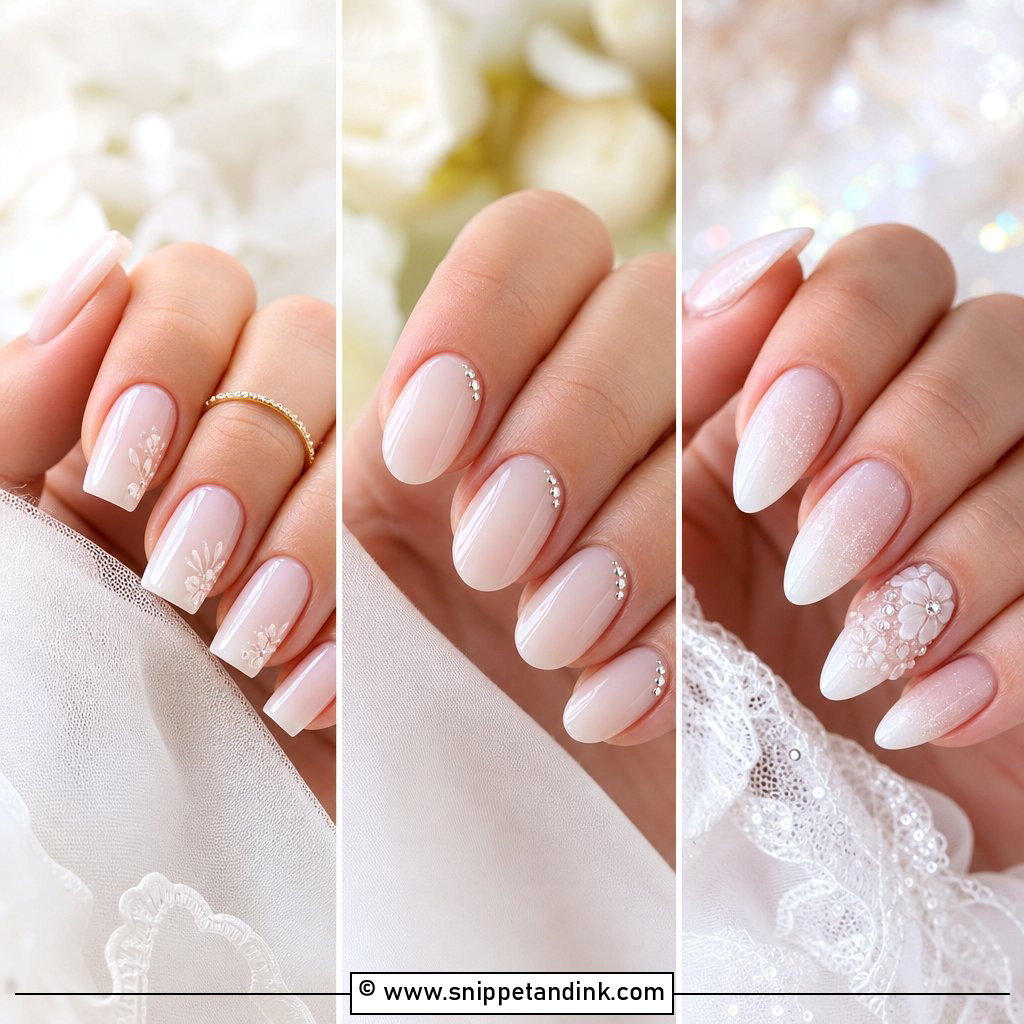
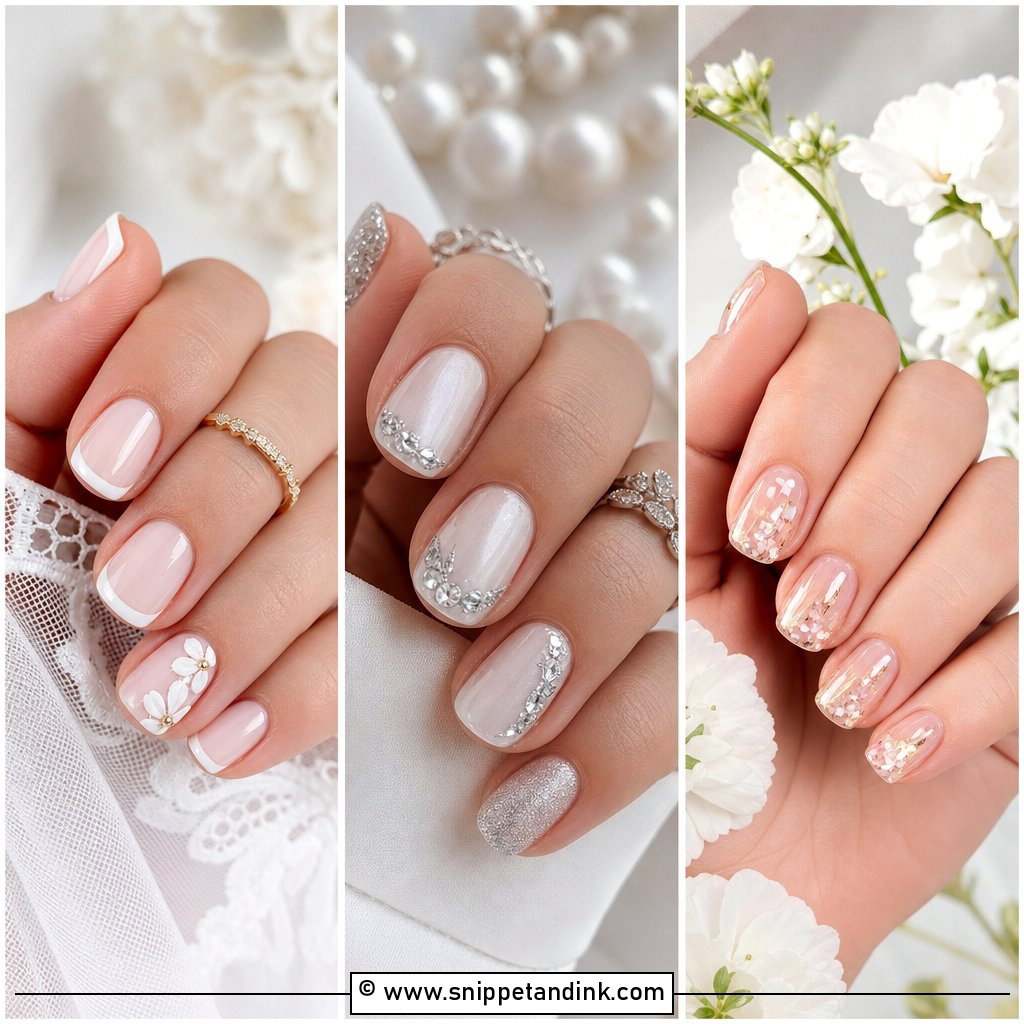
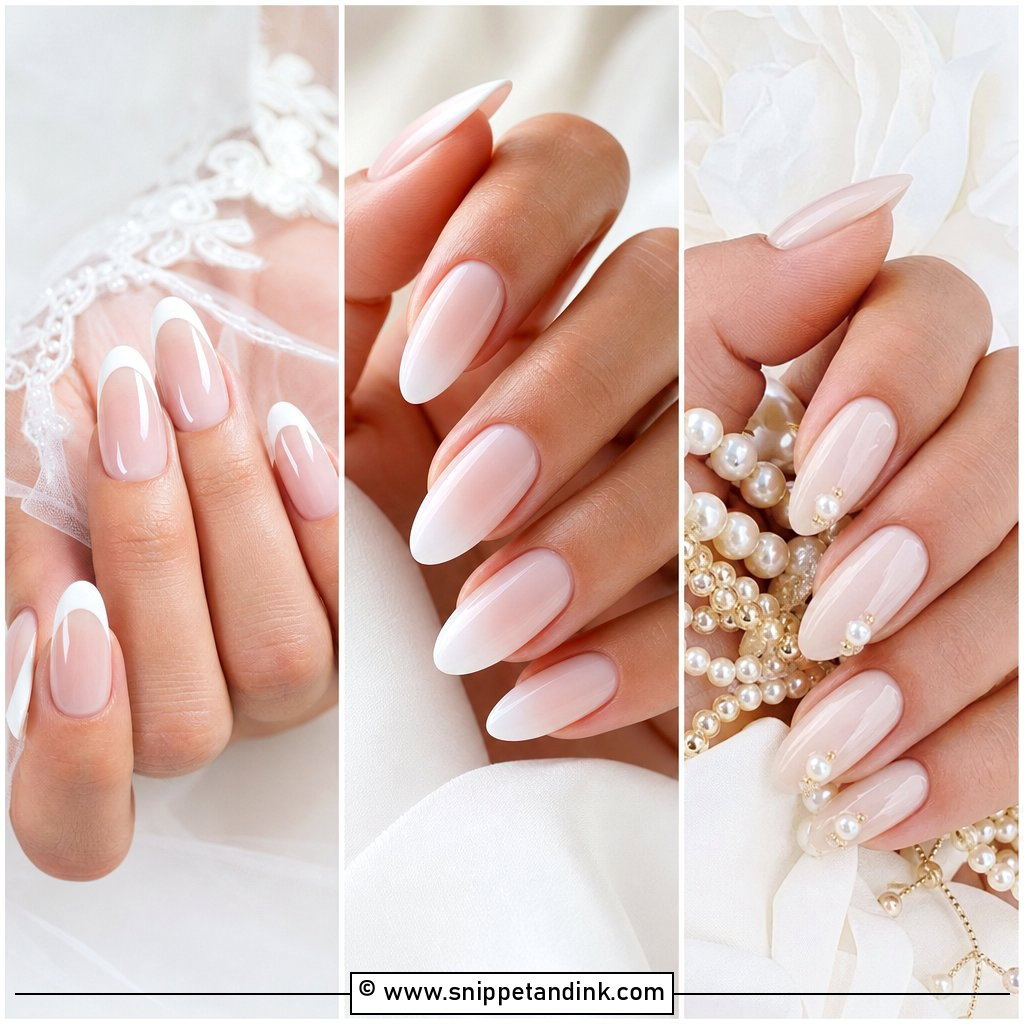
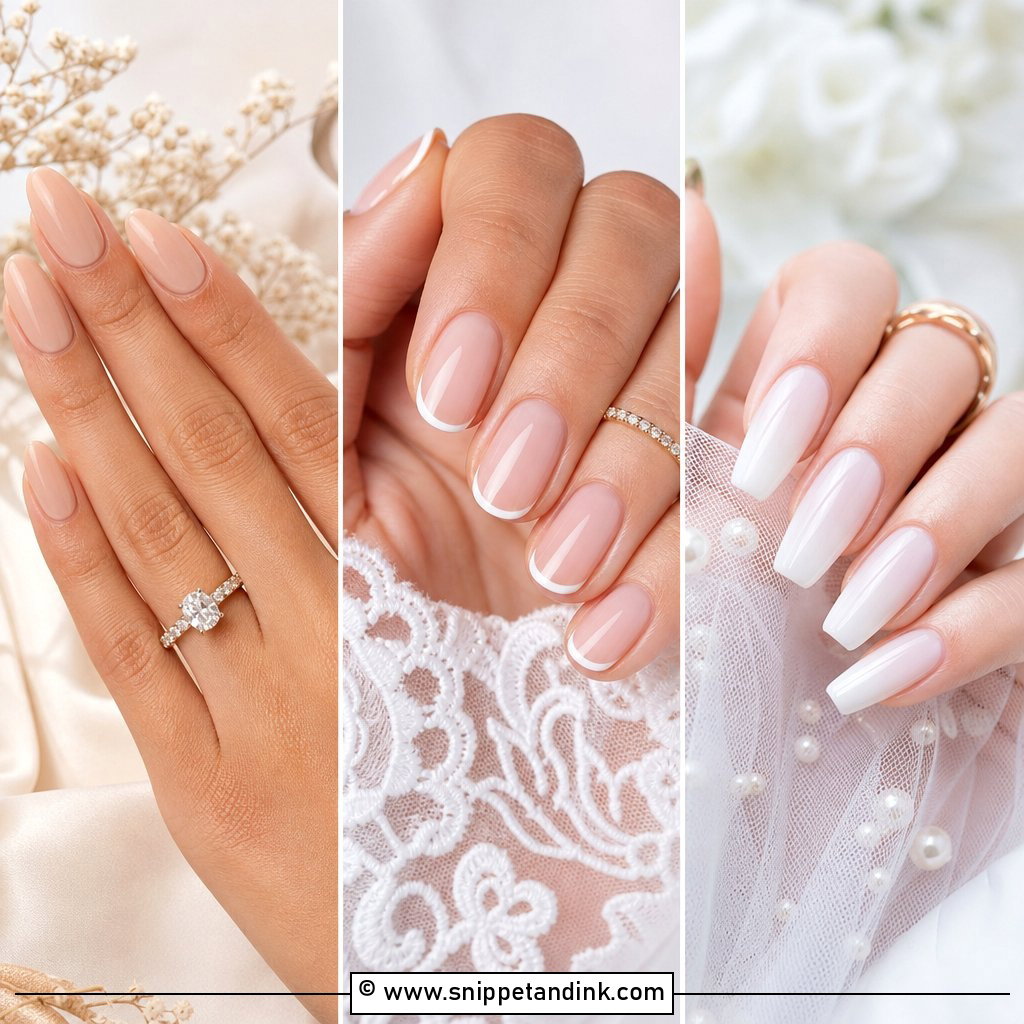
A slim French is still my most requested bridal set. I check the smile line from your eye level, not mine, because a line that looks even from across the desk can look lopsided when you glance down at your own hand. Over a sheer pink or nude, a thin tip gives definition without the chunky band people associate with older Frenches. A glossy top coat finishes it, and satin or lace gowns sit comfortably beside it.
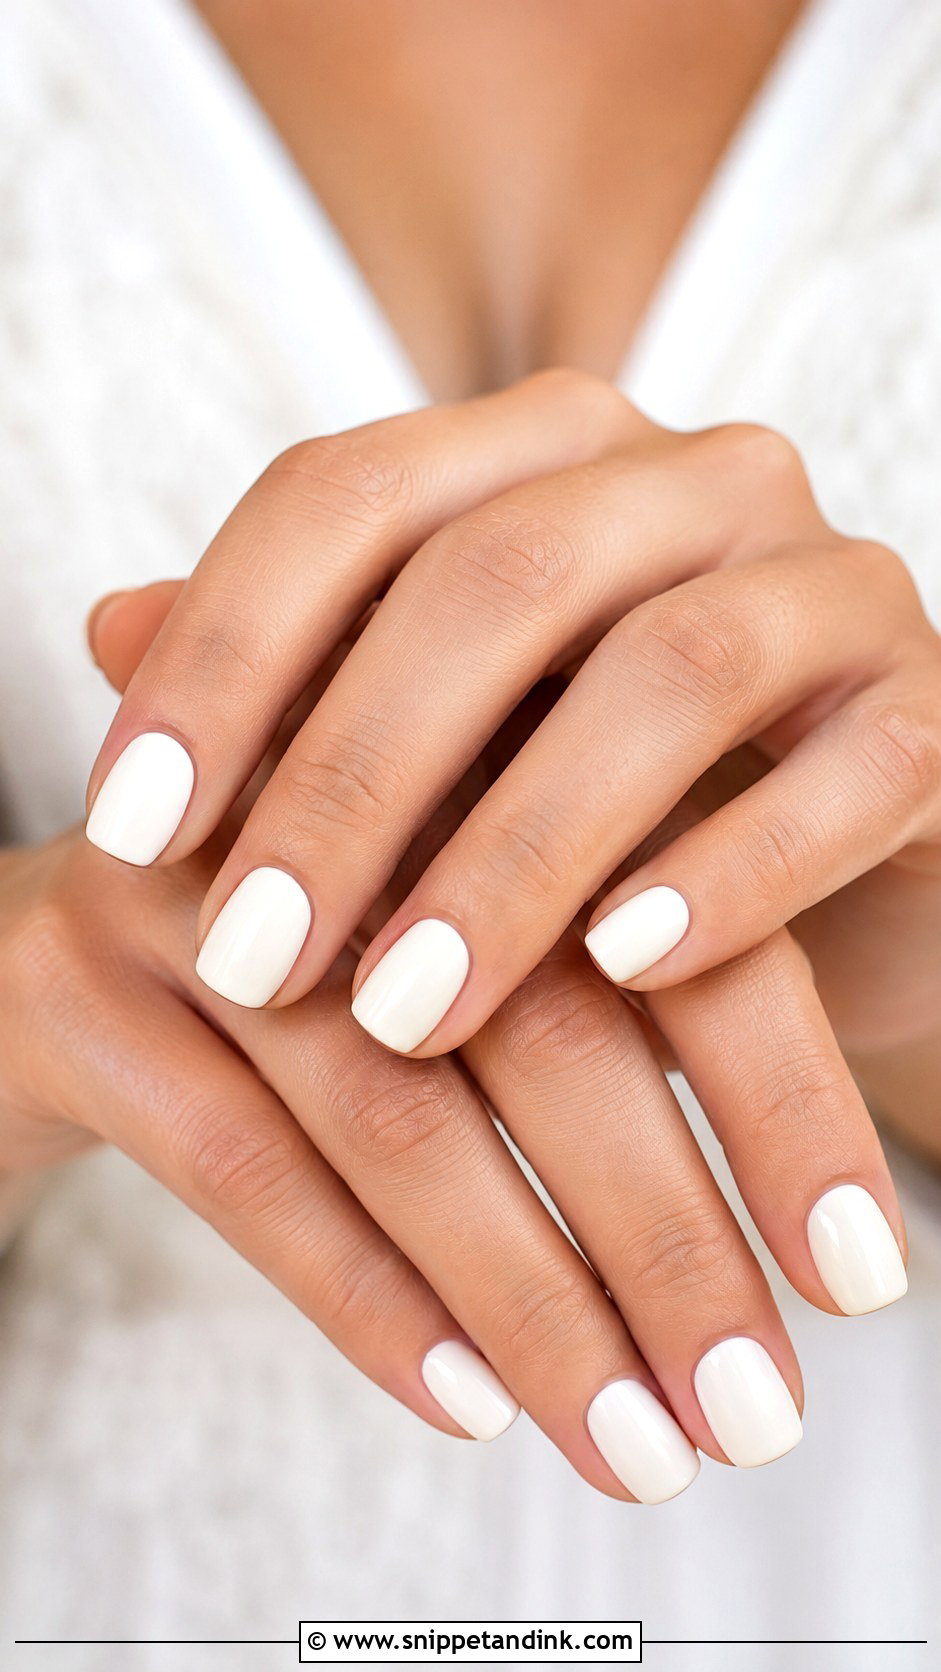
2. Milky White Wedding Nails
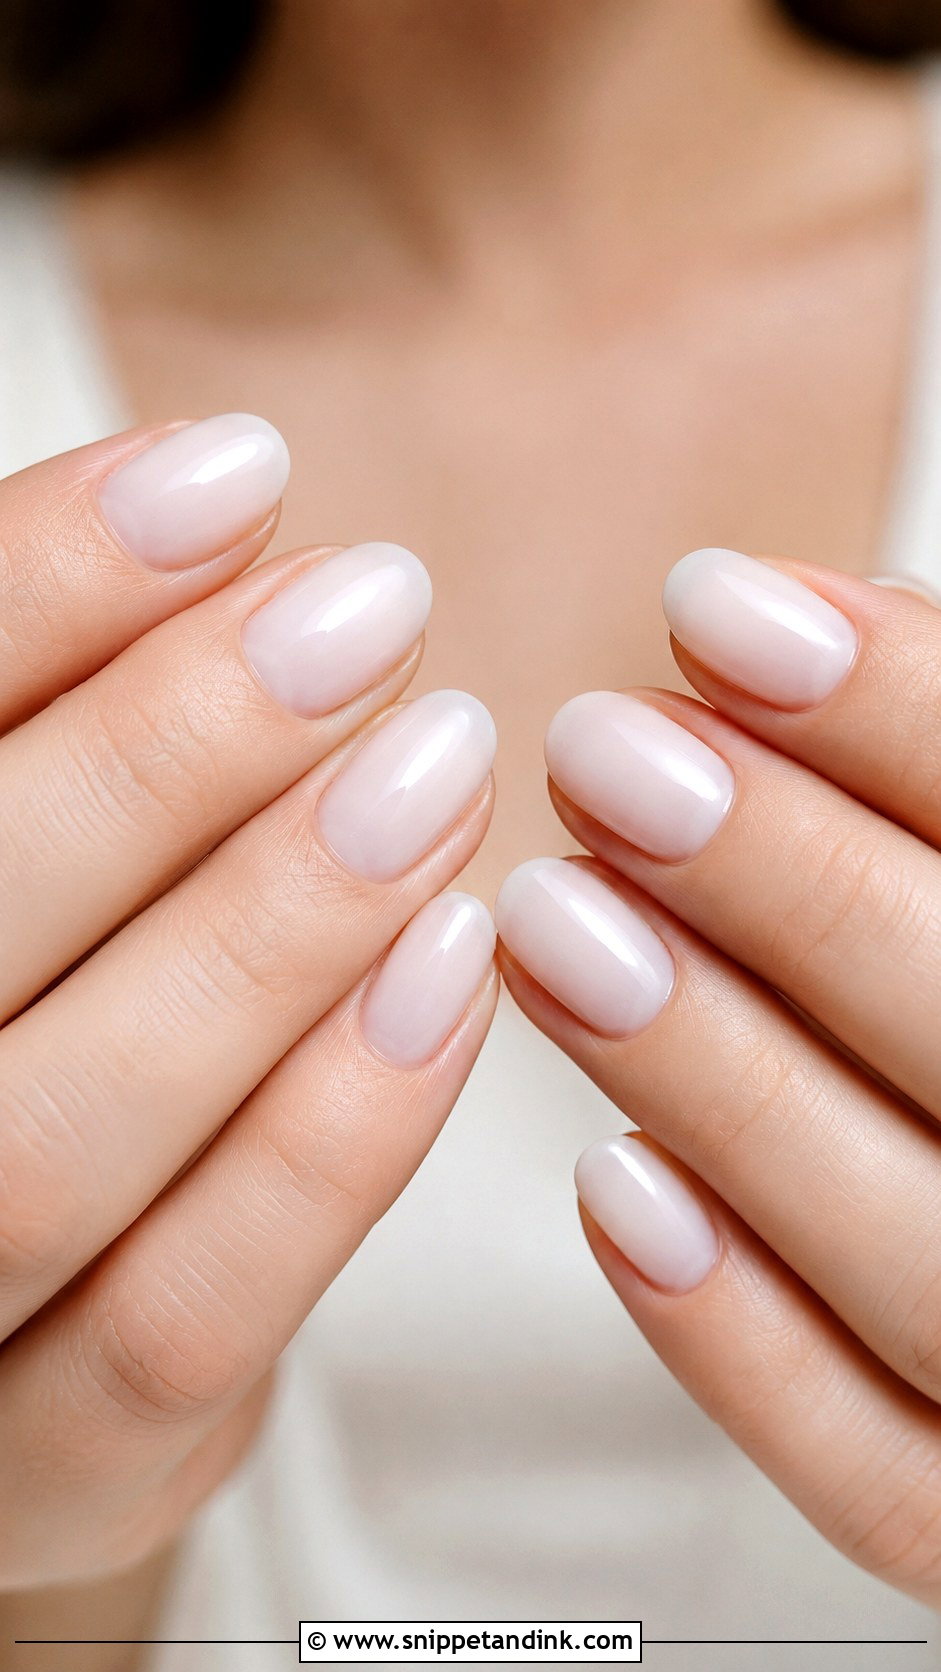
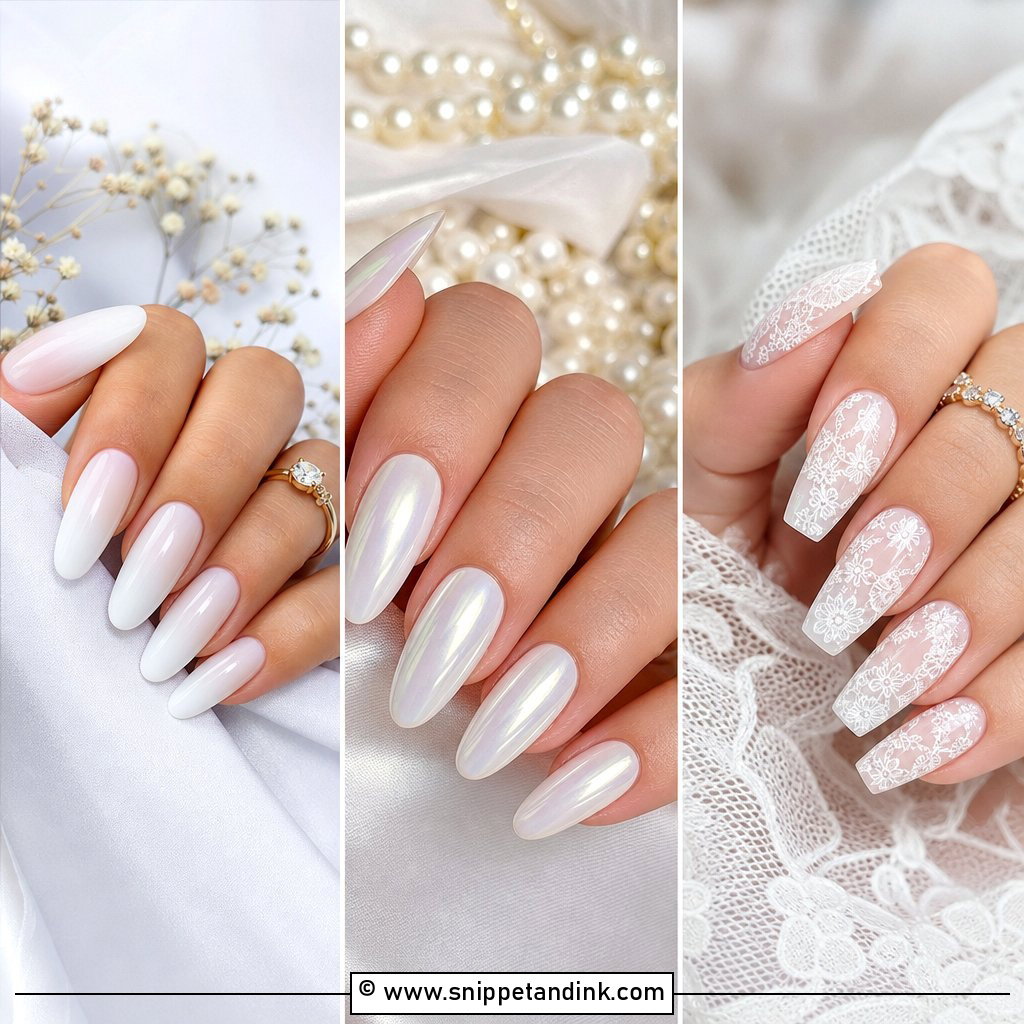
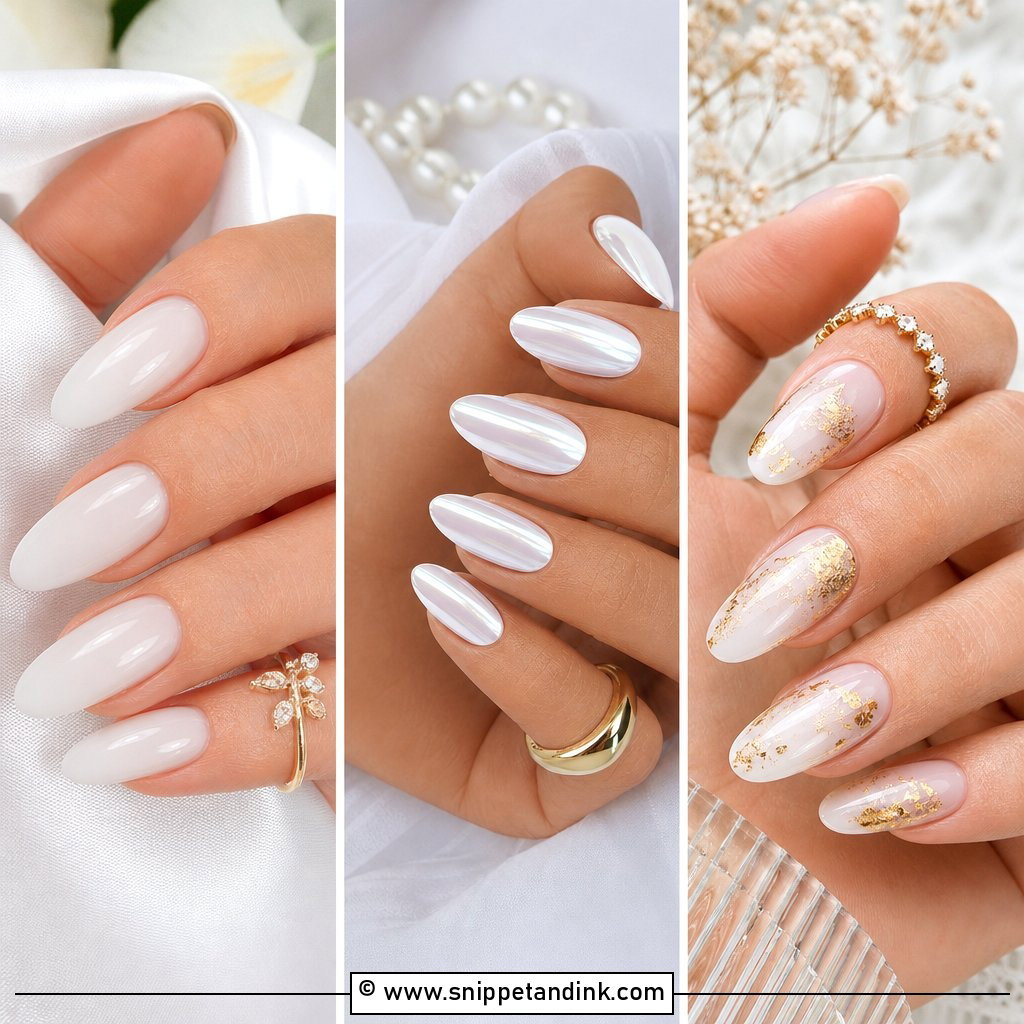
Milky white is semi-sheer, so a little of the natural nail glows through, and that’s what stops it looking stark. It’s a useful middle ground if you want more presence than nude but find bright white harsh against your skin. Application is the hard part. Milky gels settle unevenly, so I lay down thin coats and turn the hand under the light to catch patchy spots before curing. A faint pearl finish over the top is a gentle upgrade on short oval or almond nails.
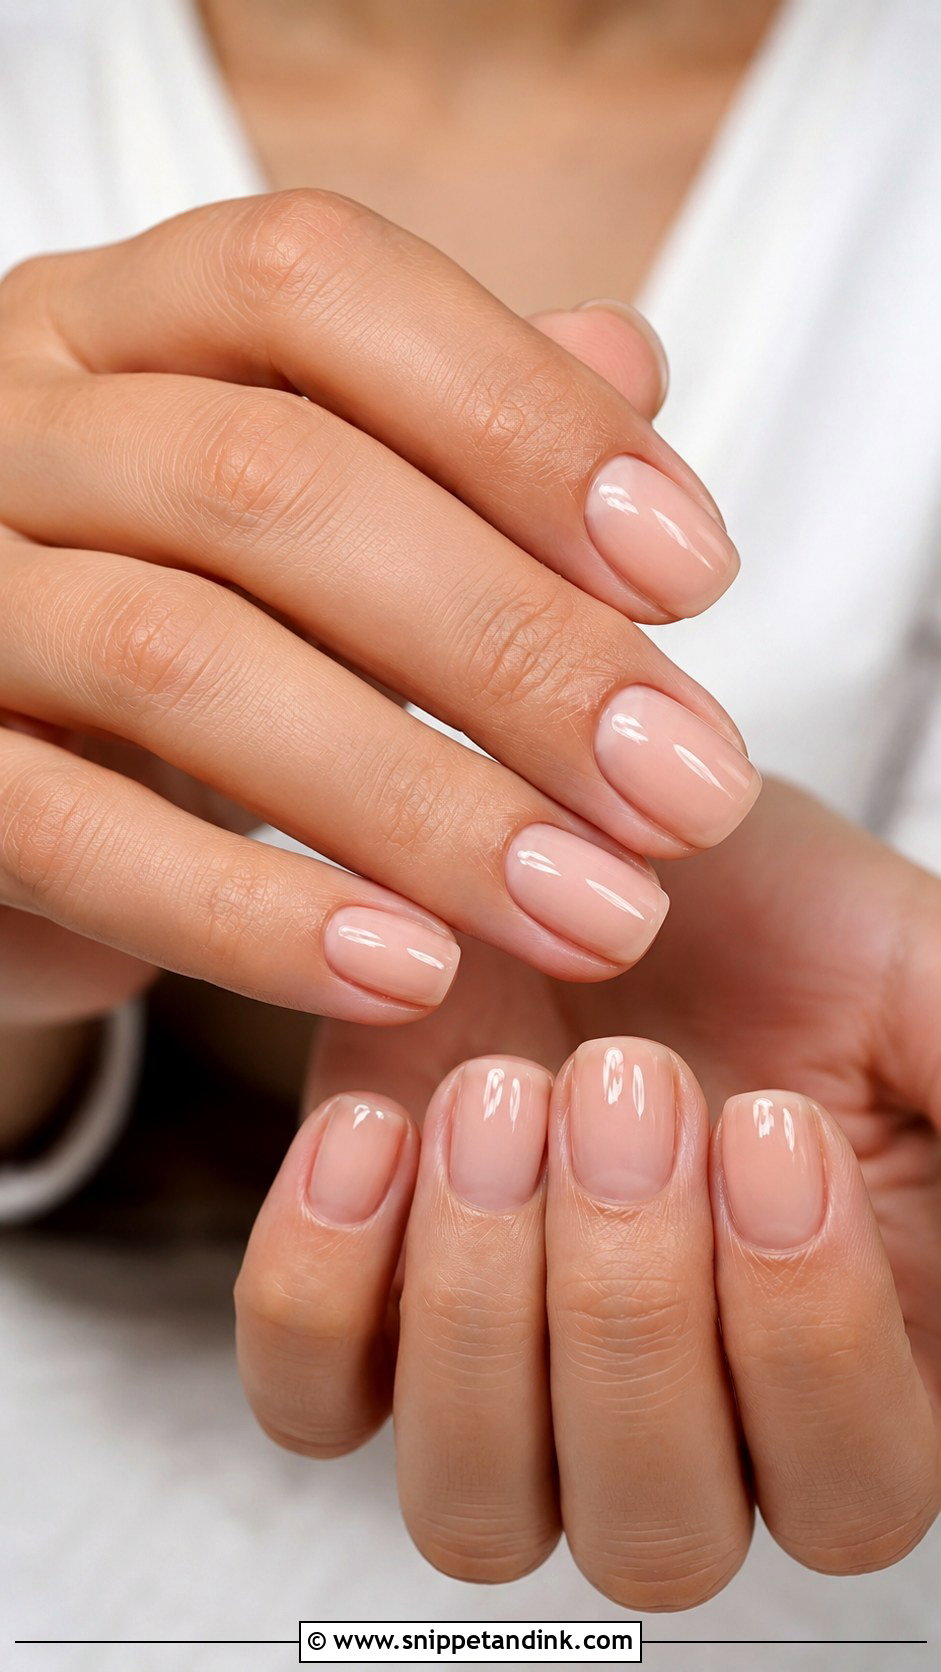
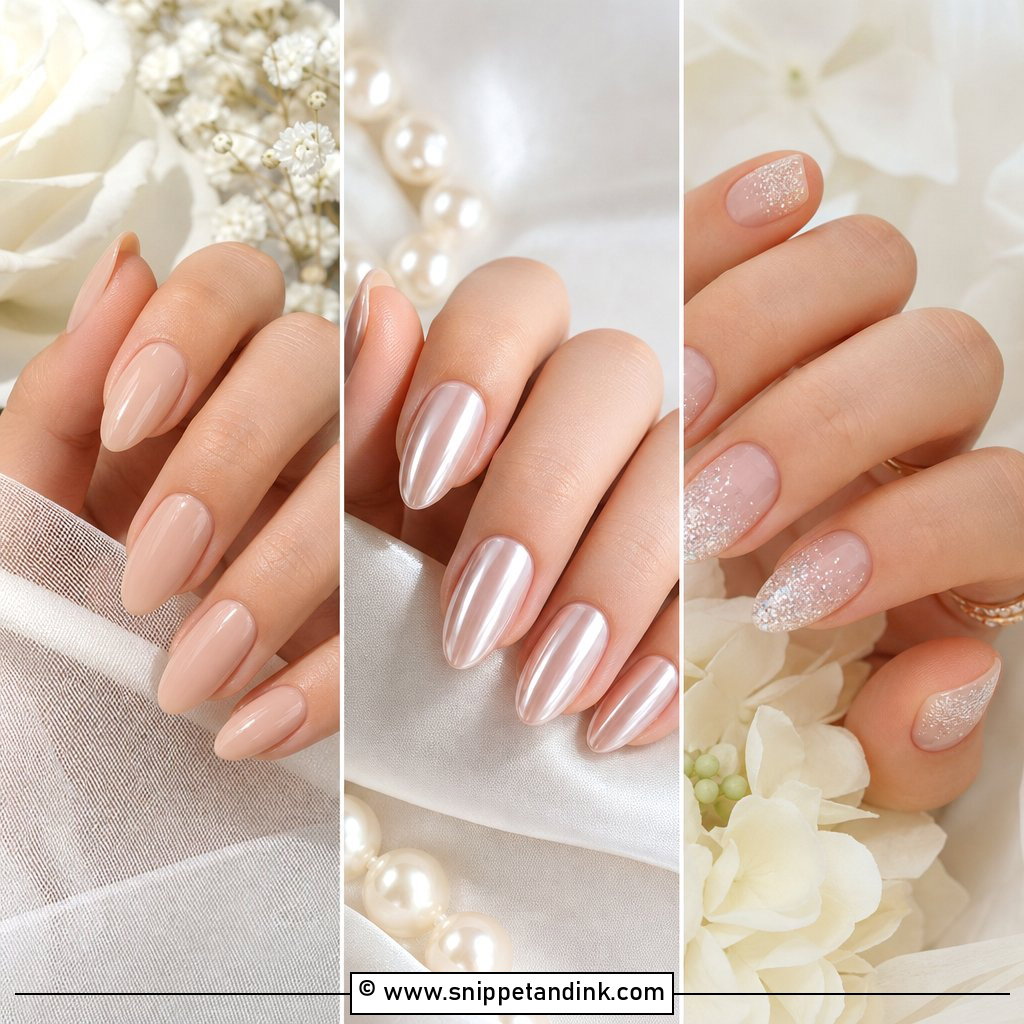
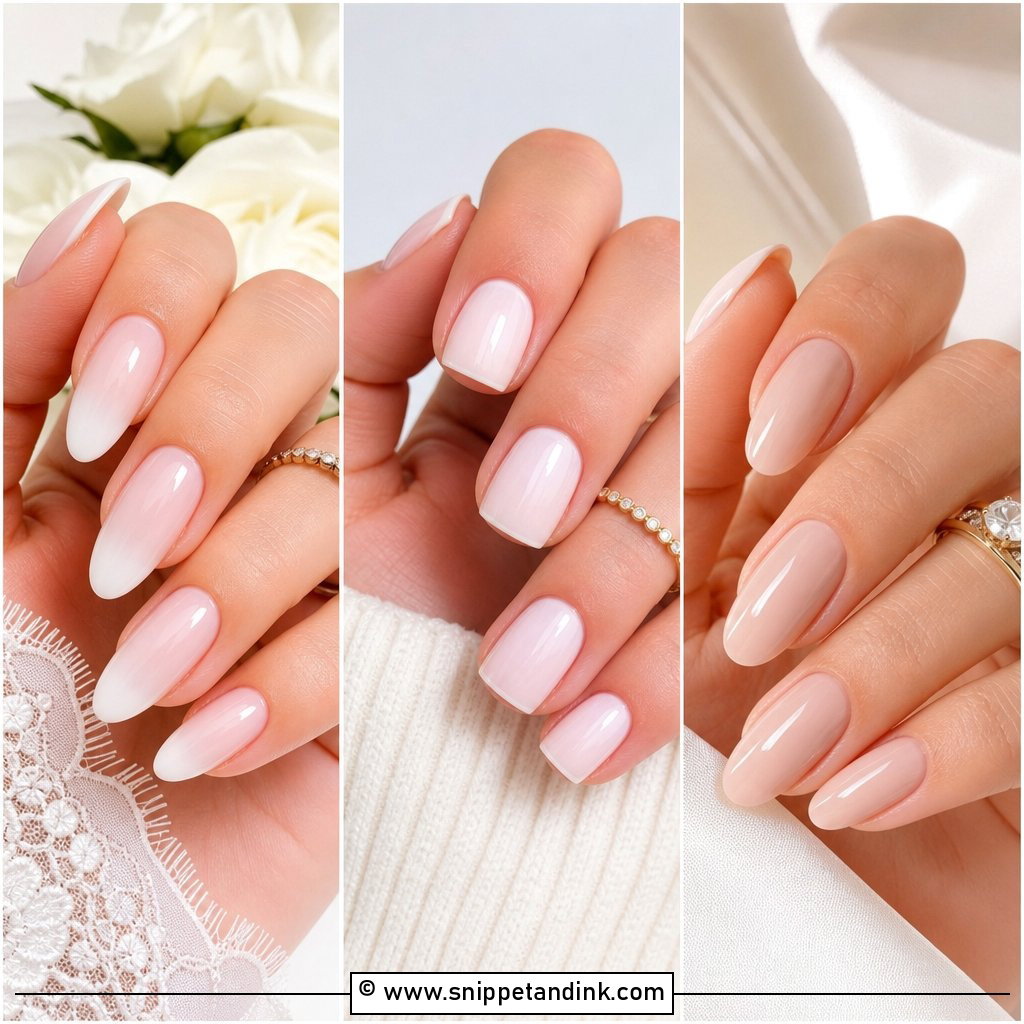
3. Sheer Pink Wedding Nails
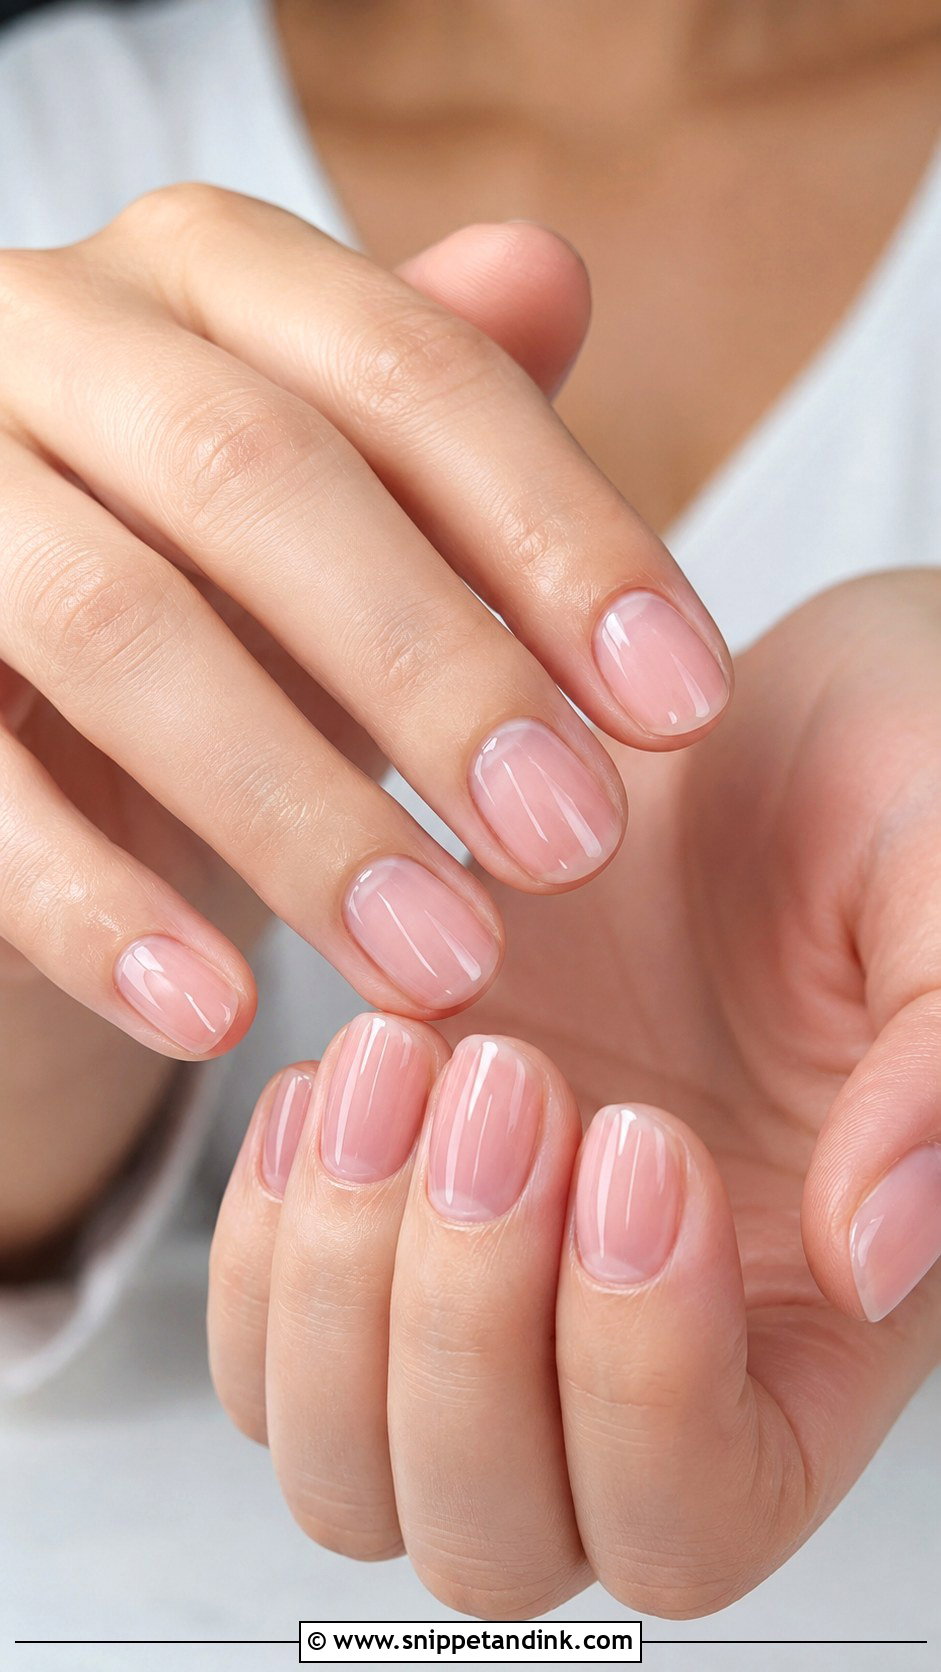
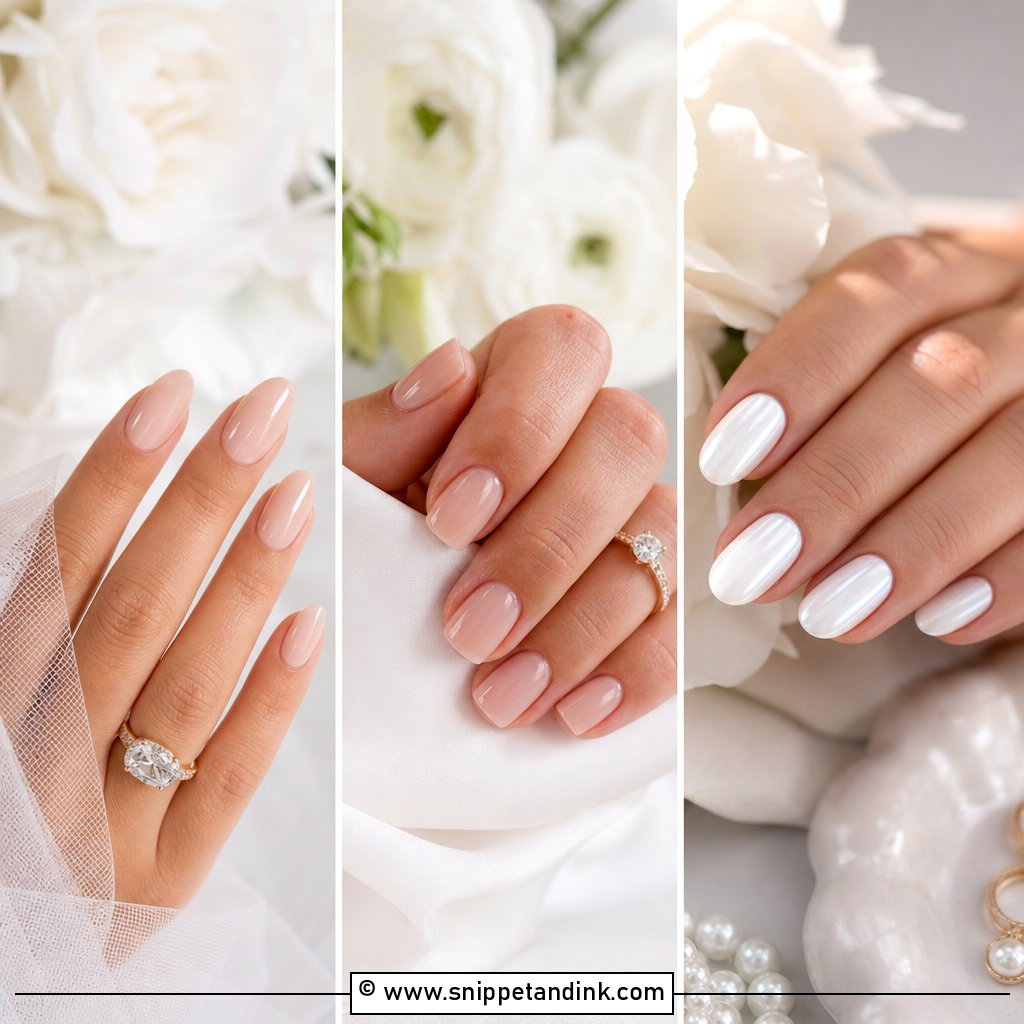
If your dress, veil or bouquet is already full of detail, I’d put your hands in sheer pink and leave them there. A transparent pink evens out the nail bed without covering it, and it suits every length. Because it’s so see-through, it shows shape more than color, so I spend longer filing than painting. Clean cuticles and identical lengths do most of the work.
4. Nude Almond Wedding Nails
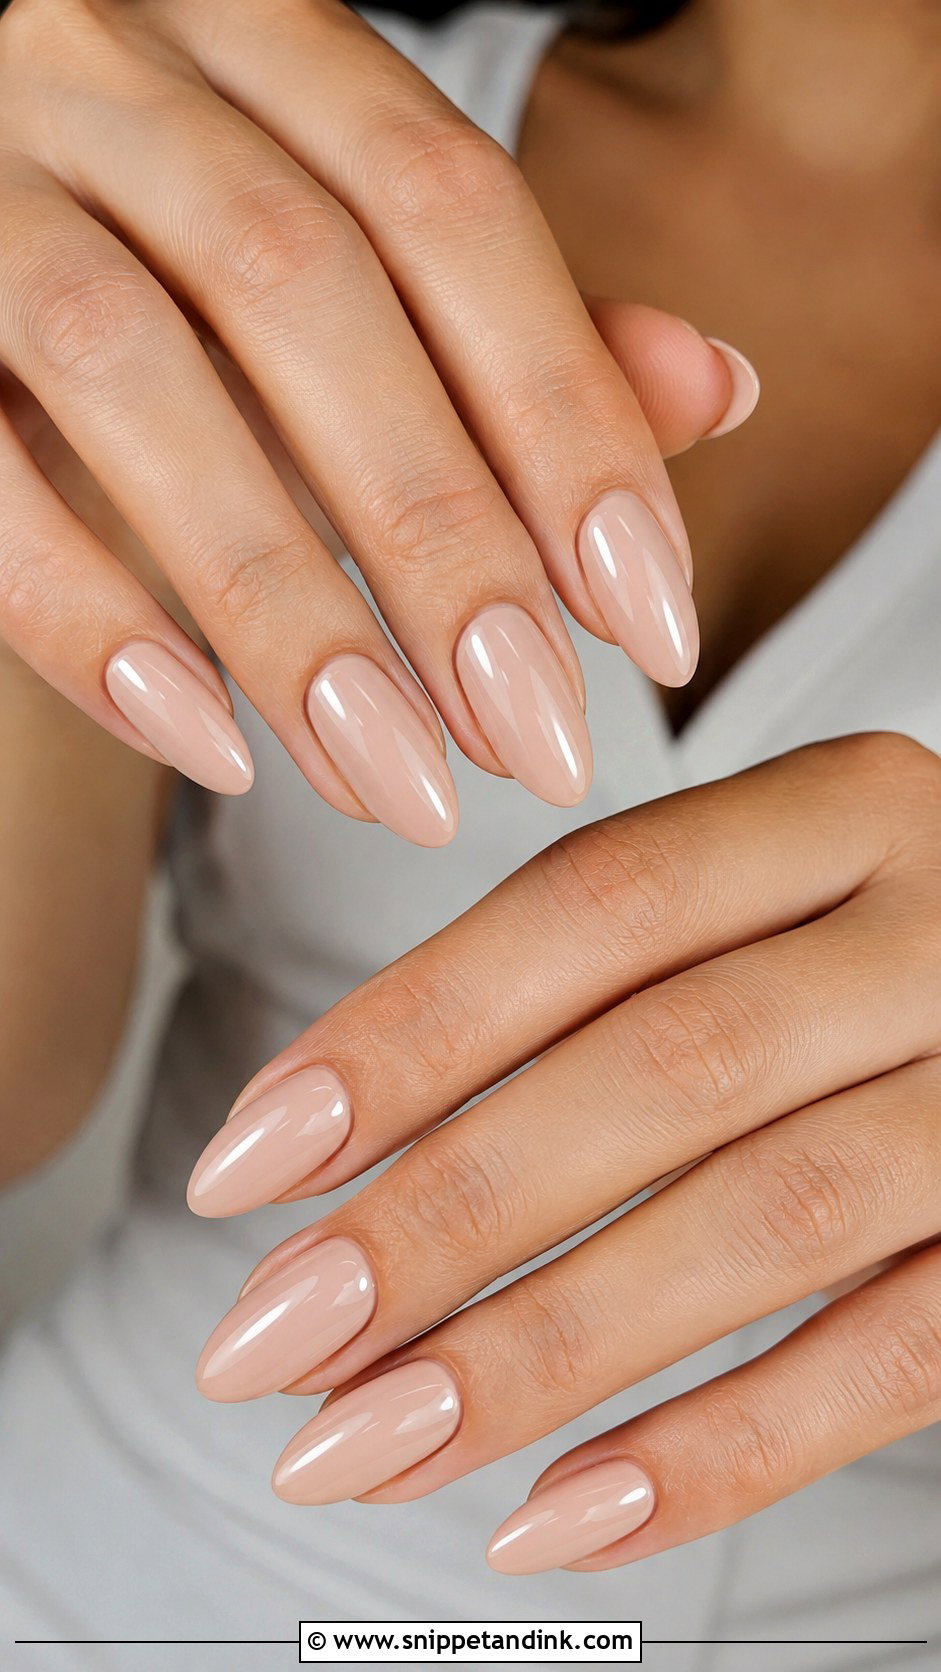
Nude is where I see the most mistakes, usually a shade picked from a photo of someone else’s hands. Your undertone decides it. If a beige makes your fingertips look grey, it’s too cool for you; if it reads orange, it’s too warm. A sheer taupe or pinky nude is a safe place to start for many brides. The almond shape lengthens the fingers, and swapping gloss for a satin top coat makes the set read more modern.
5. Short Square Wedding Nails
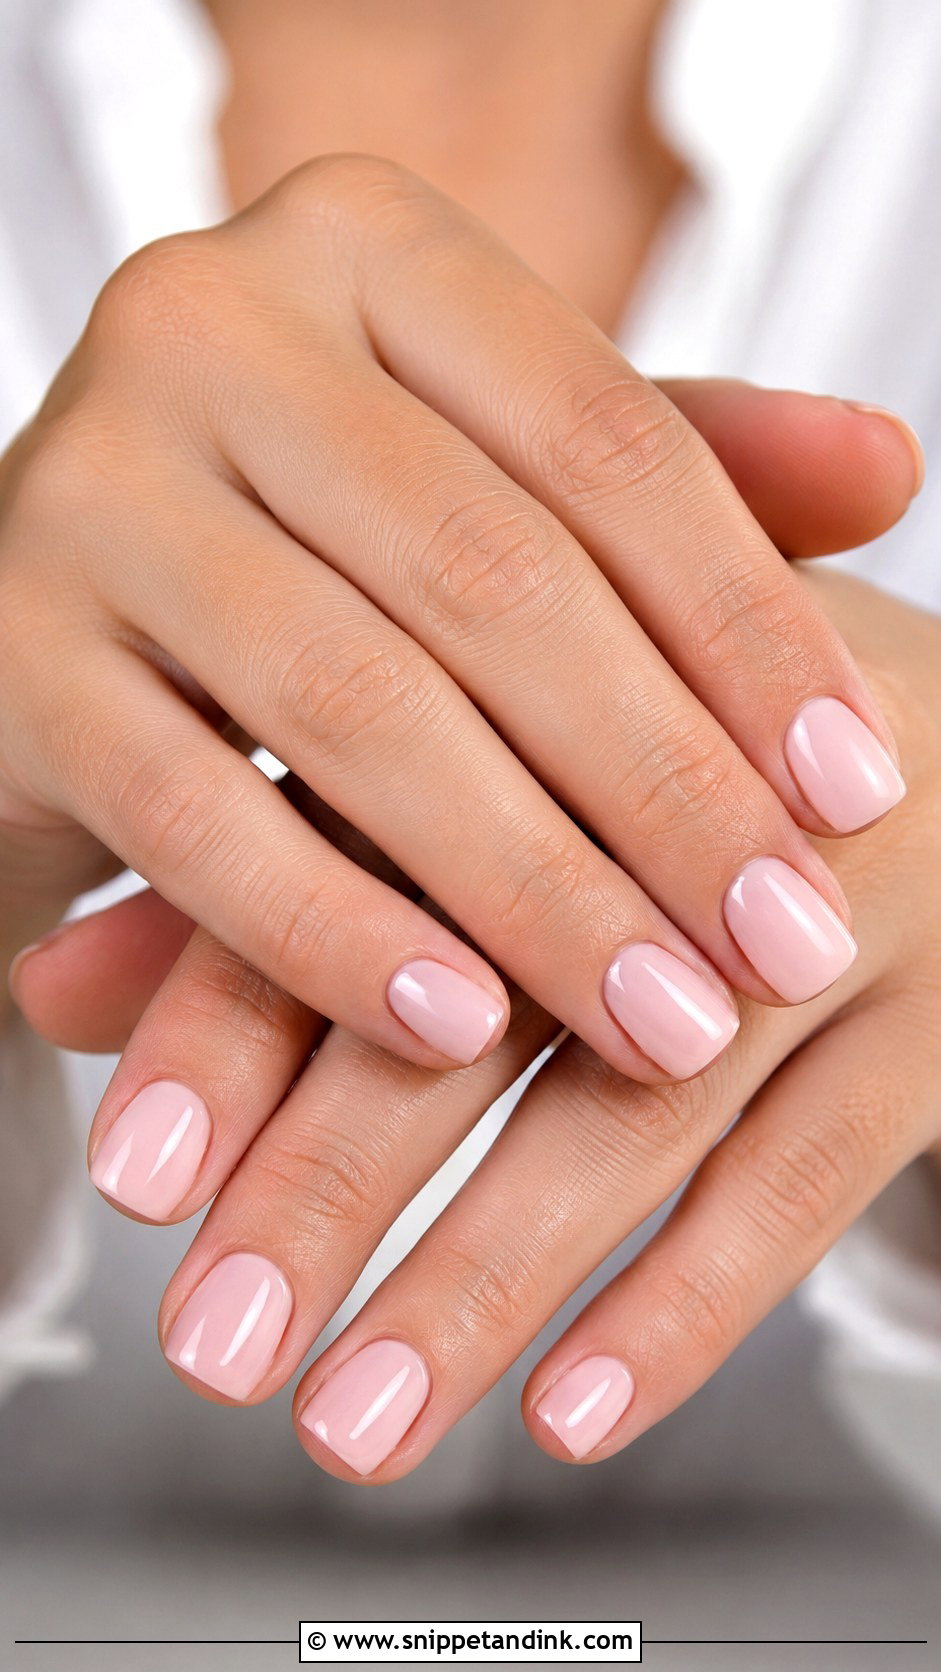
Short square is the practical bride’s shape, and I mean that as a compliment. The clean edge looks tidy in ring shots, and nothing catches on lace or buttons. My one adjustment is softening the corners slightly, since sharp corners on short nails chip first and can feel scratchy against skin. Sheer nude or milky white suit it, with a thin French tip if you want a little more structure.
6. Glazed Donut Wedding Nails
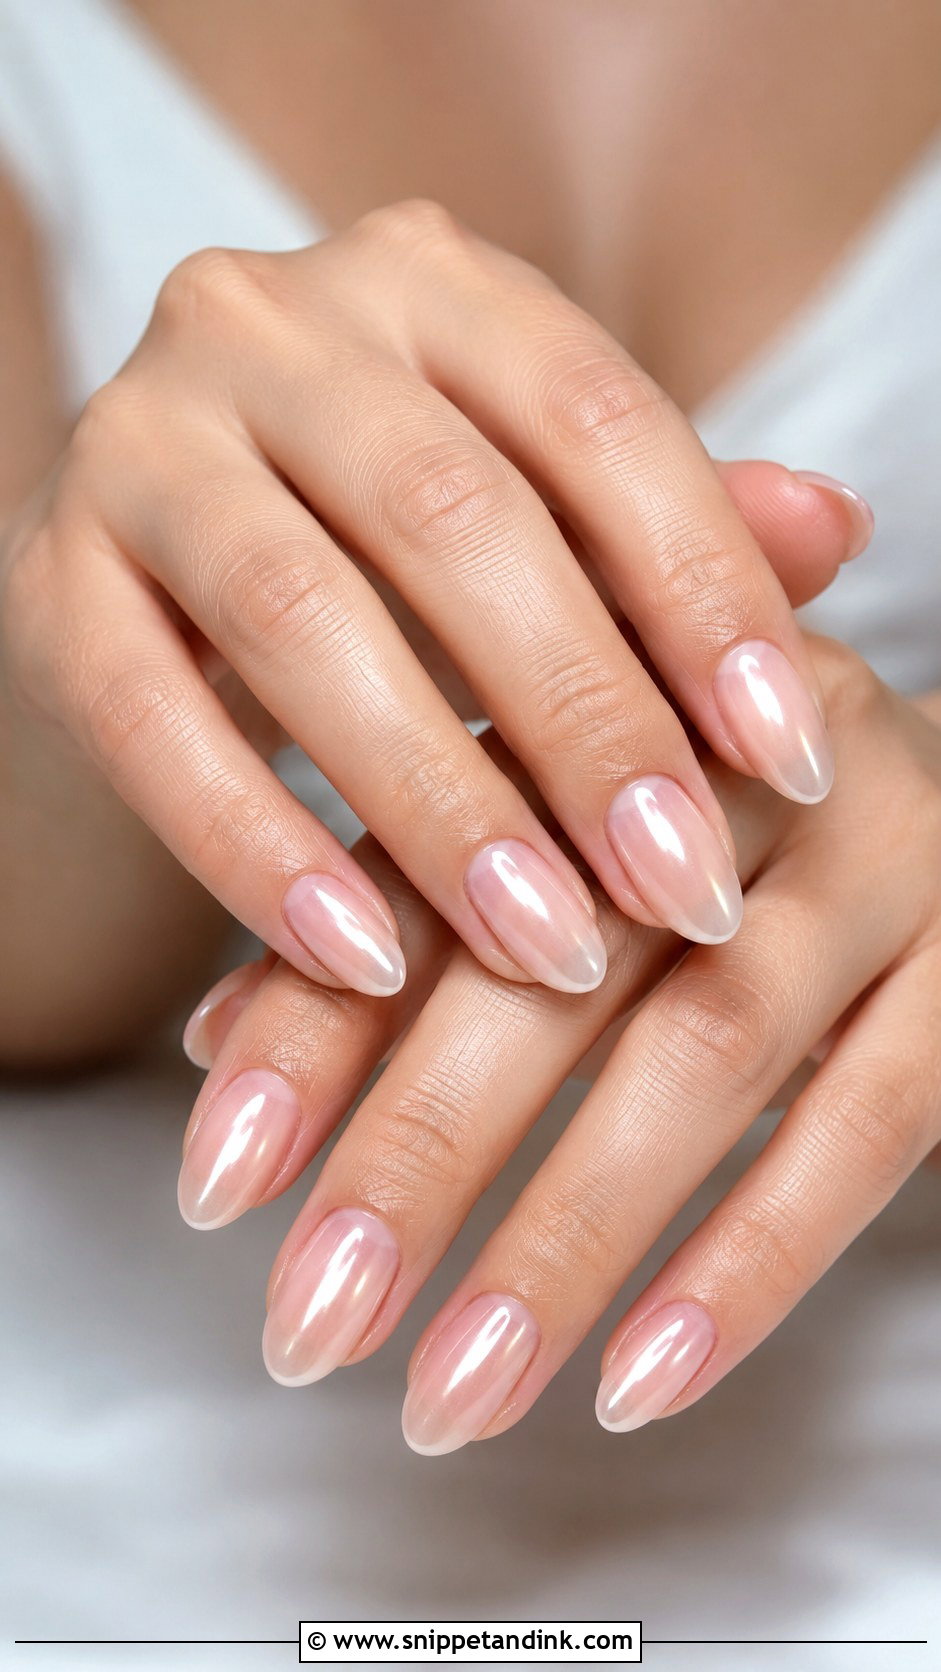
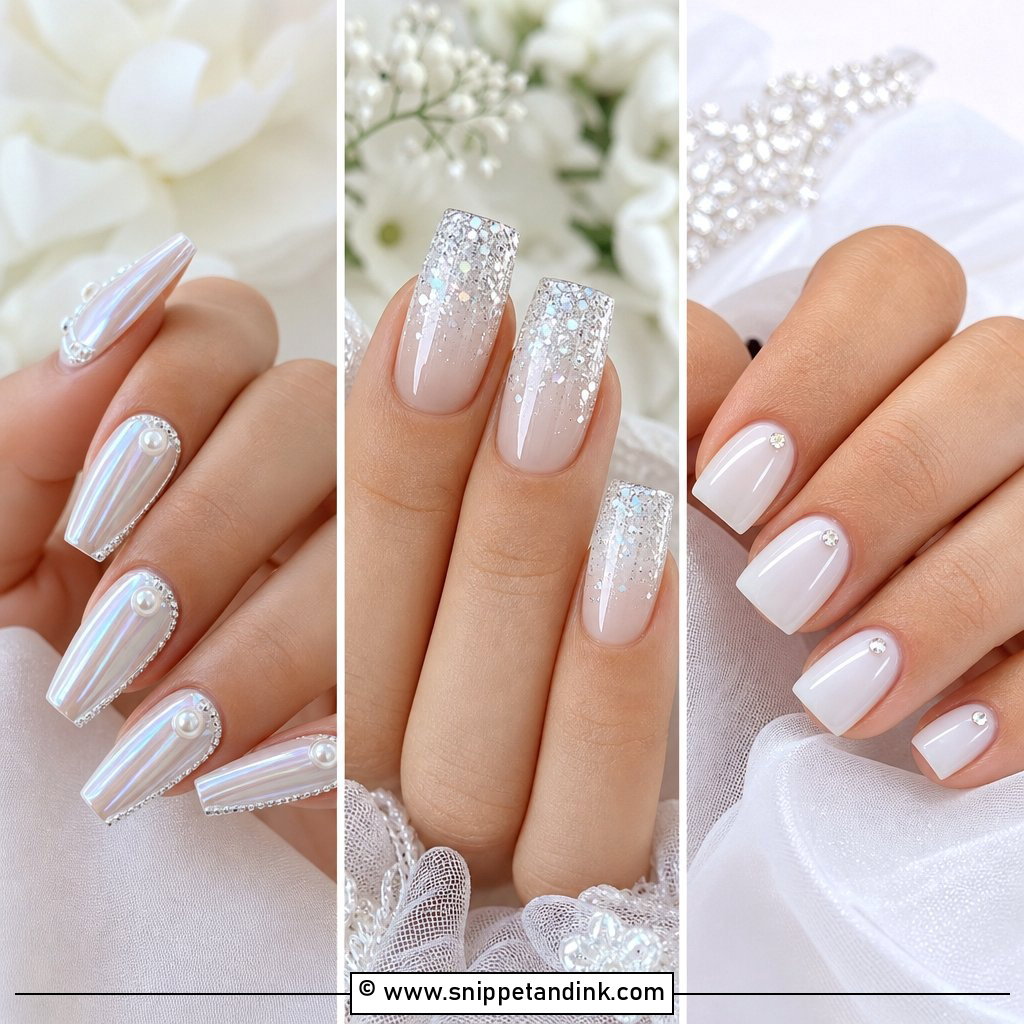
Glazed donut wedding nails are a pearly chrome powder rubbed over a sheer base. Done lightly they glow; done heavily they look metallic and lose their softness. I like a milky base for brides, because white under chrome gives that iced-glaze effect, and I seal the free edges carefully, since chrome is always the first thing to wear at the tips. Almond and oval shapes show the glaze off best.
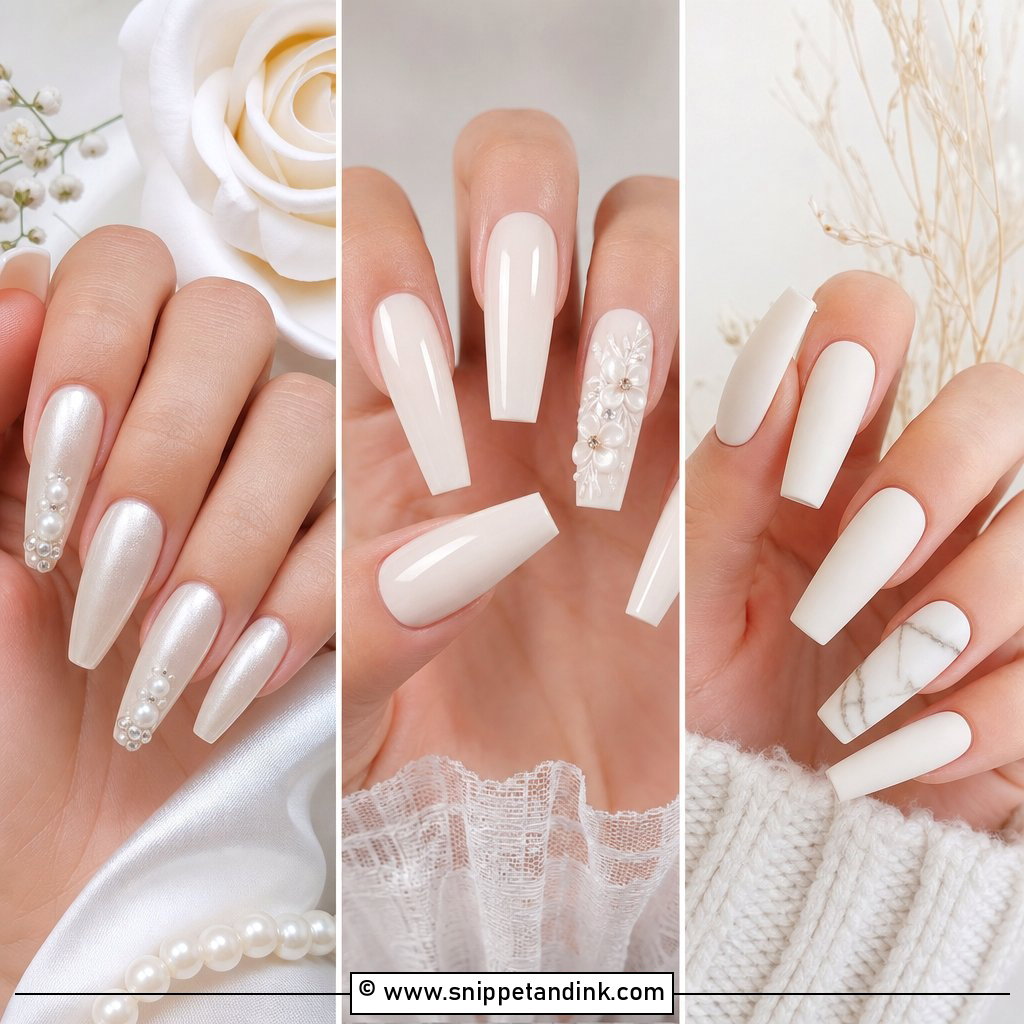
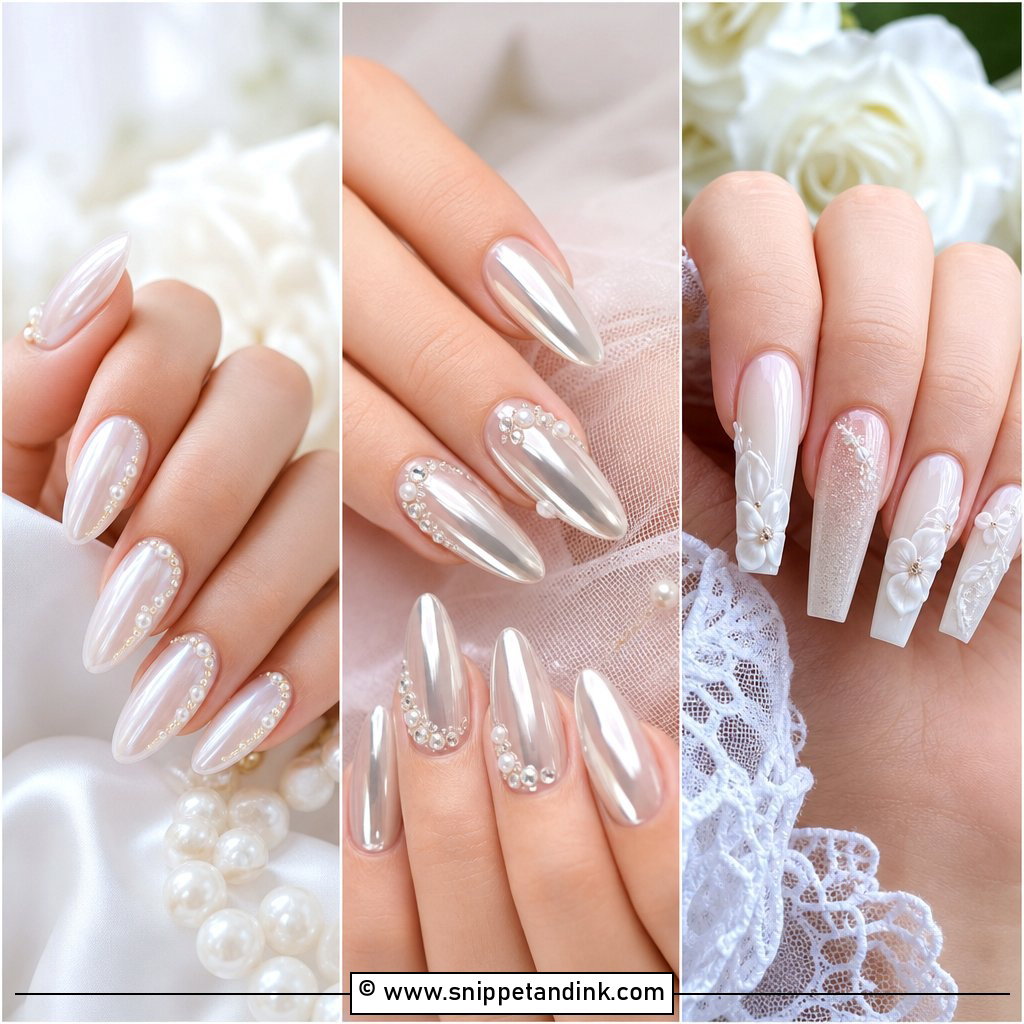
7. Pearl Chrome Wedding Nails
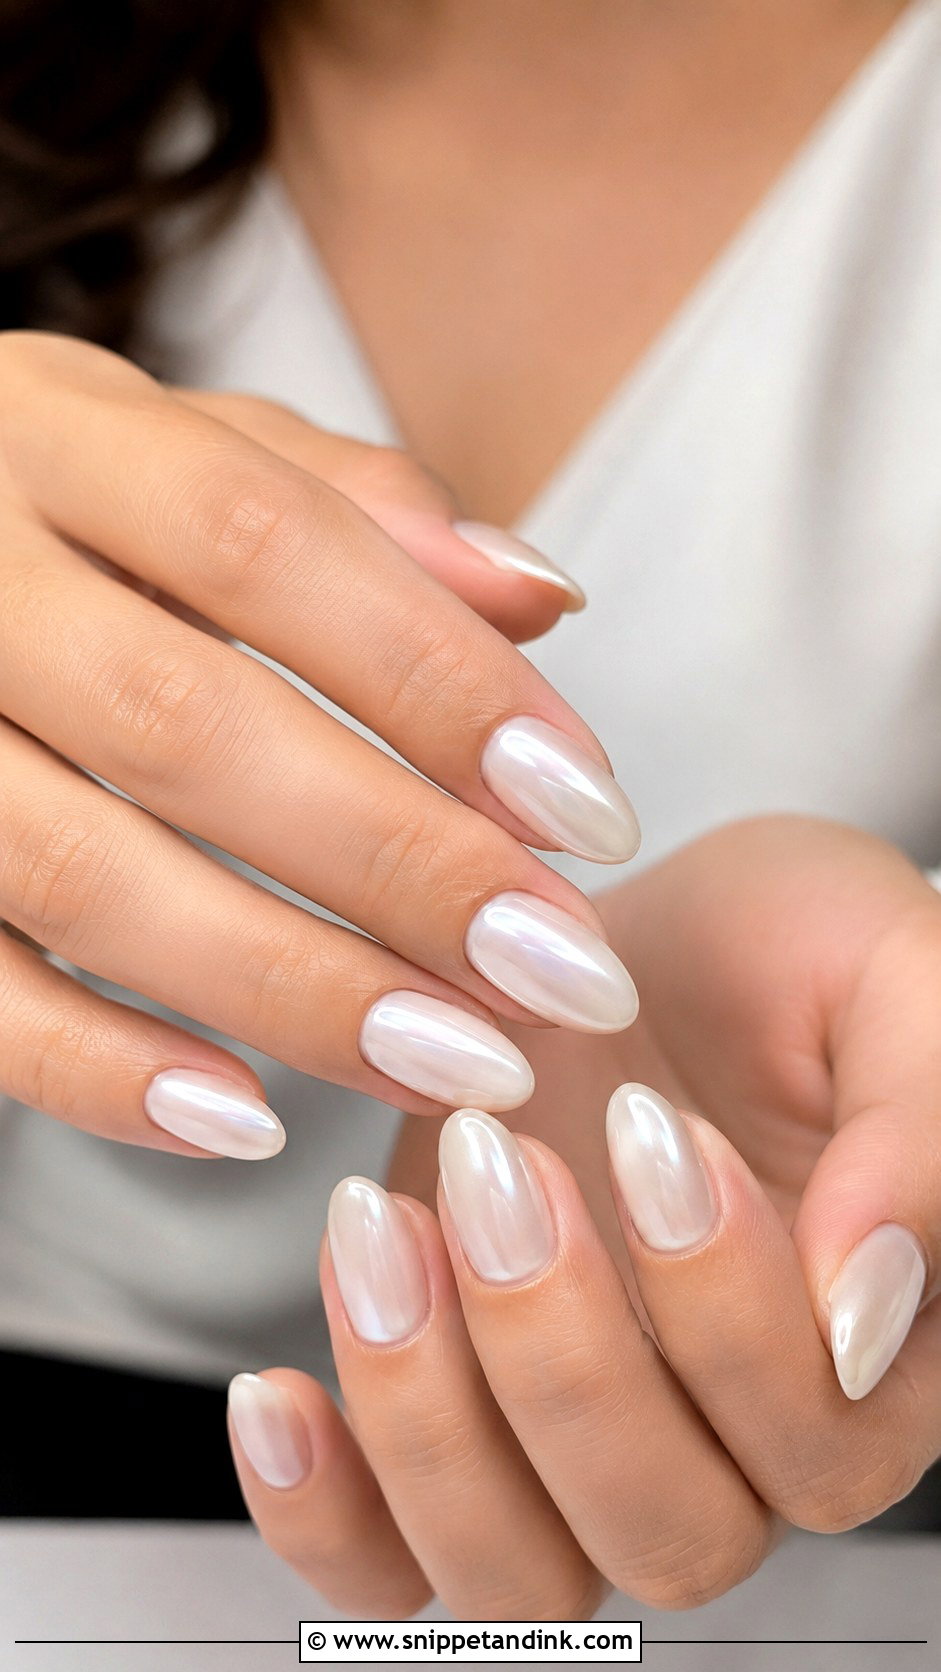
Pearl chrome sits close to the glazed look but reads whiter and more opalescent. A sheer white or ivory underneath gives the most even glow, while blush underneath warms it up. It suits medium almond nails and holds up on short round ones too. I’d pick this set if your gown is satin or your jewelry is pearl, because the finishes echo each other. If I see a silver flash in the shine, I’ve used too much powder, and I buff it back.
8. Baby Boomer Wedding Nails
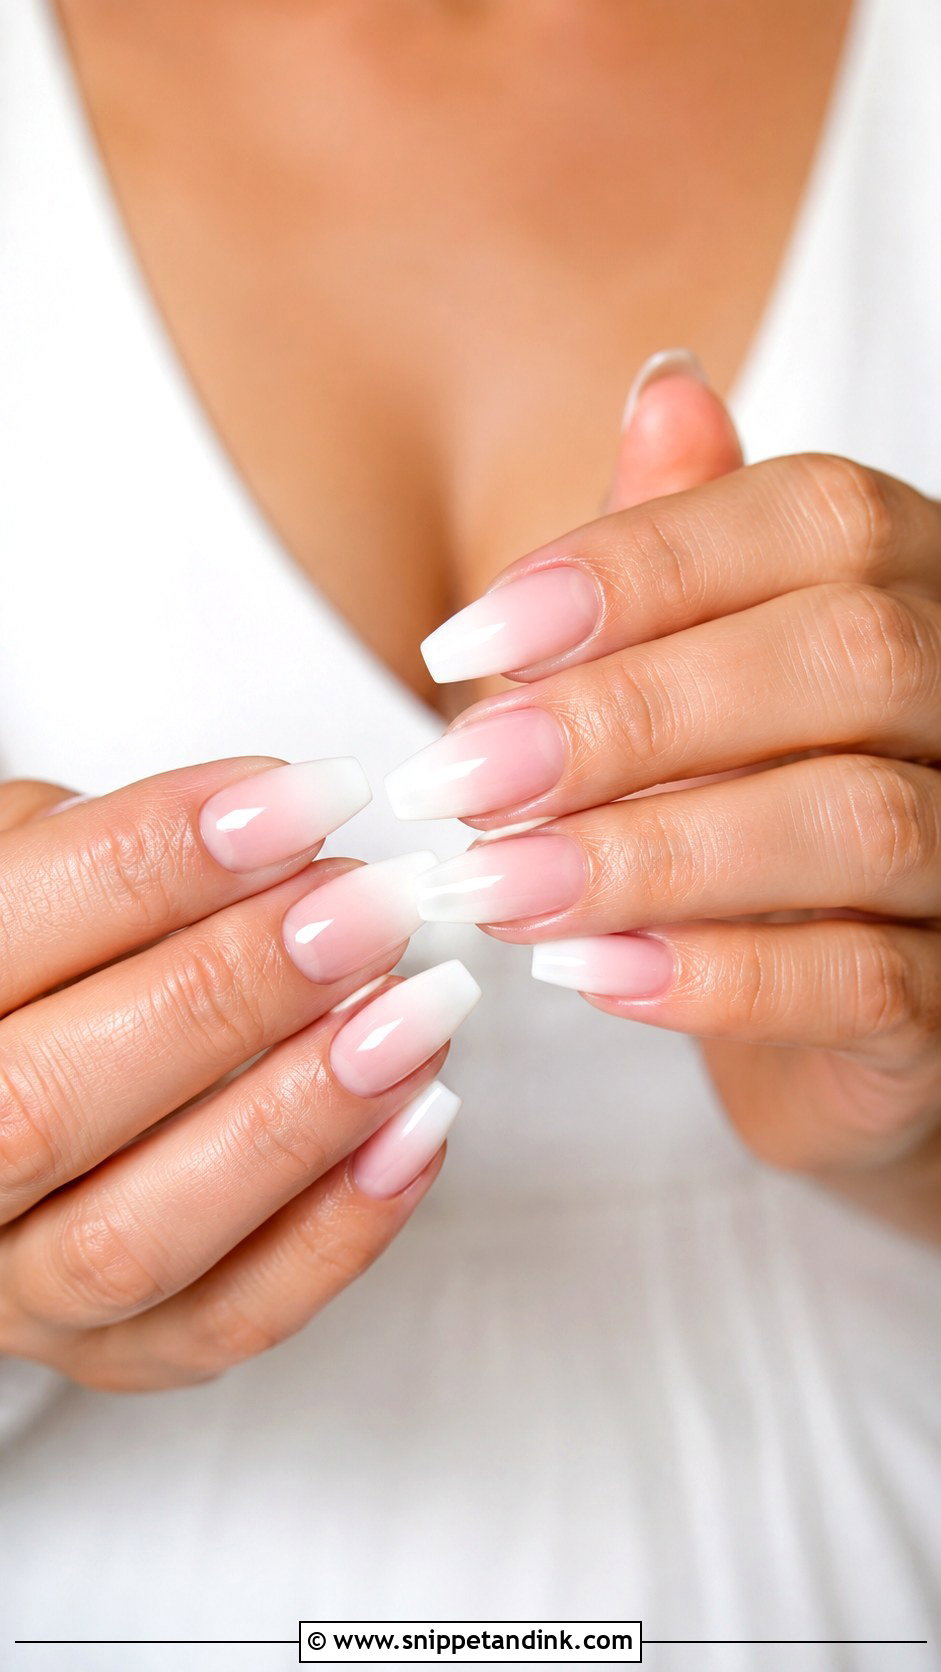
Baby boomer wedding nails blend natural pink at the cuticle into soft white at the tip, with no hard line between them. The airbrushed effect comes from patience: I sponge the white on in thin passes and cure between them so the fade never forms a ridge. It grows out more gracefully than a French, which helps when the wedding sits at the end of a long run of events. Short to medium lengths keep it classic.
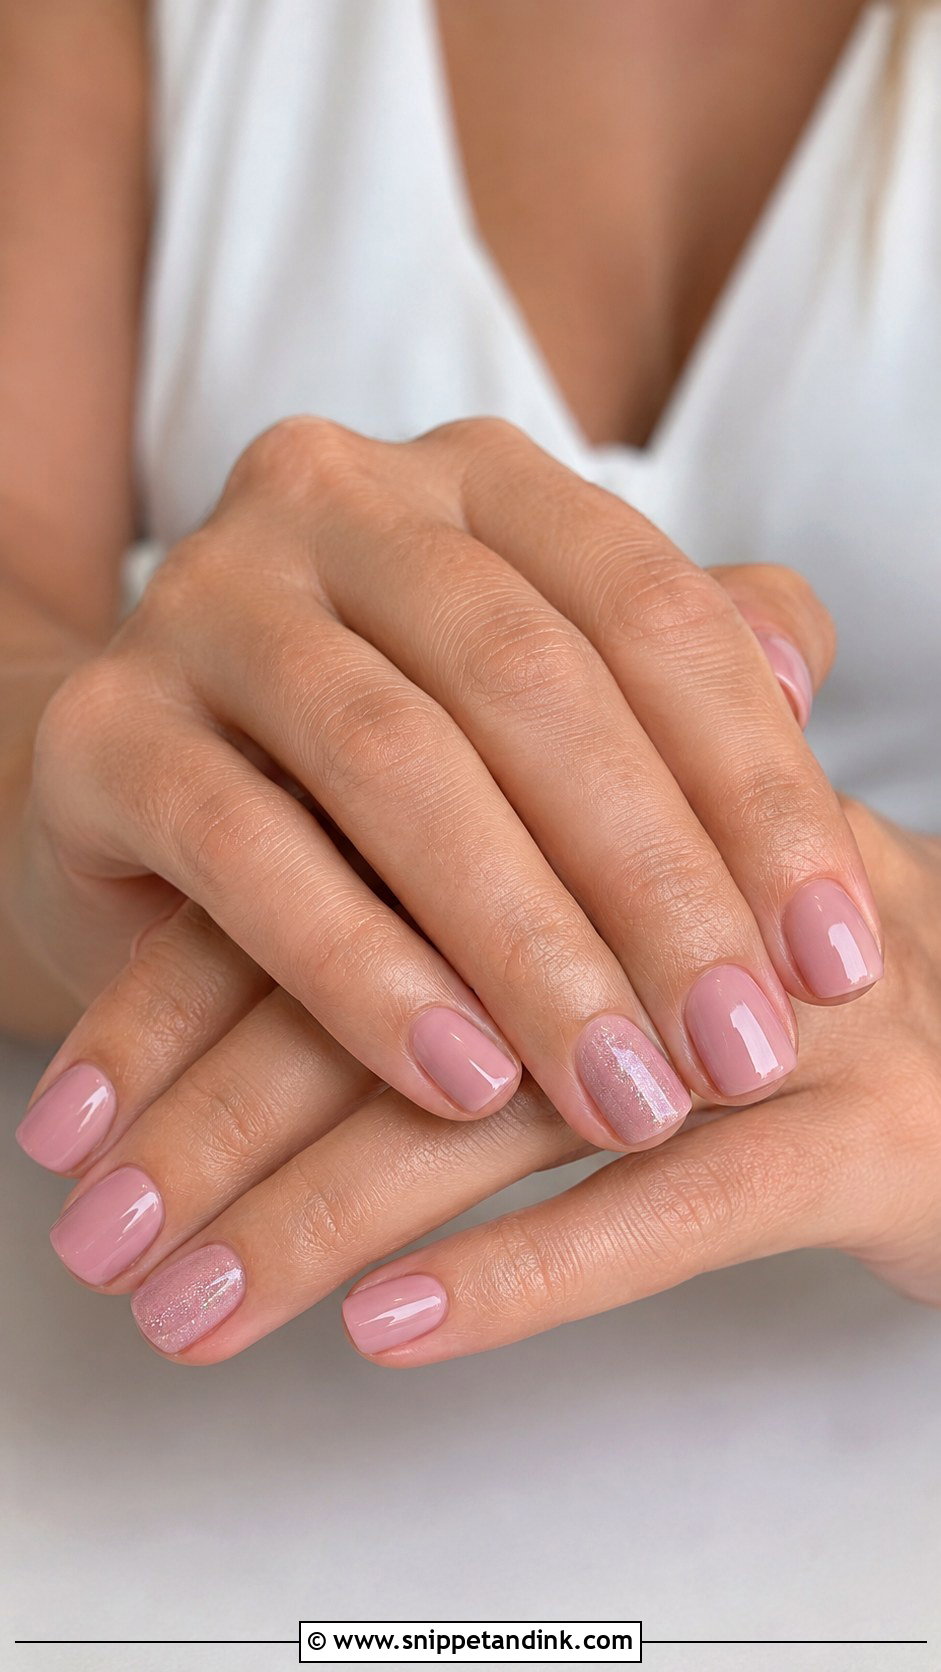
9. Blush Pink Wedding Nails
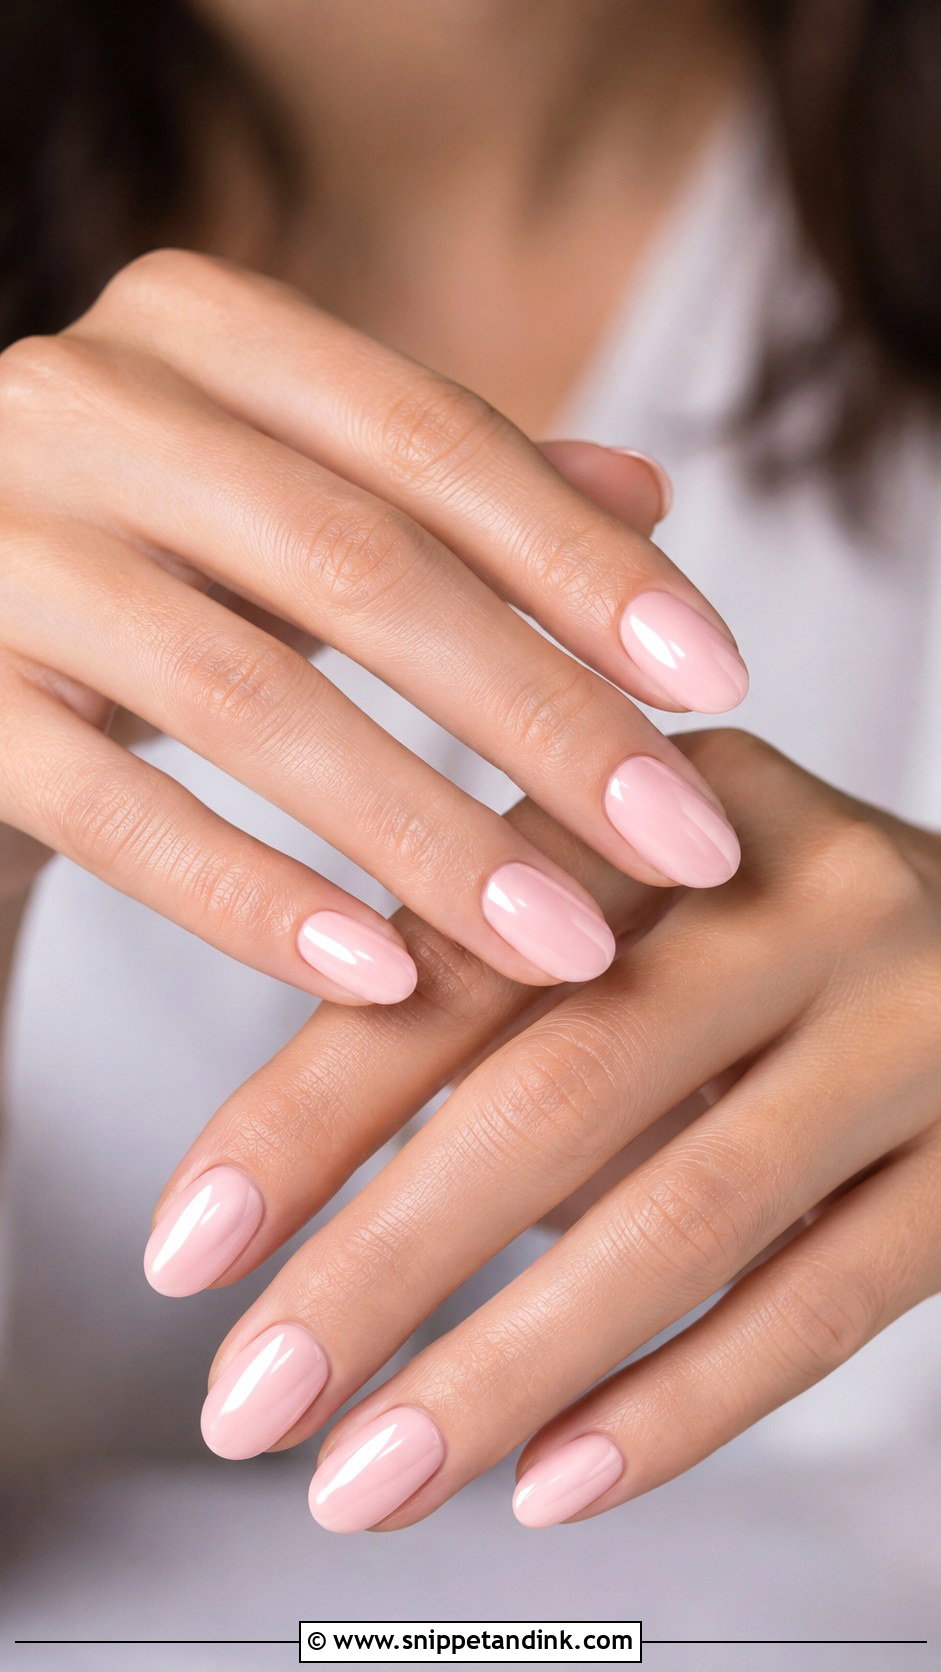
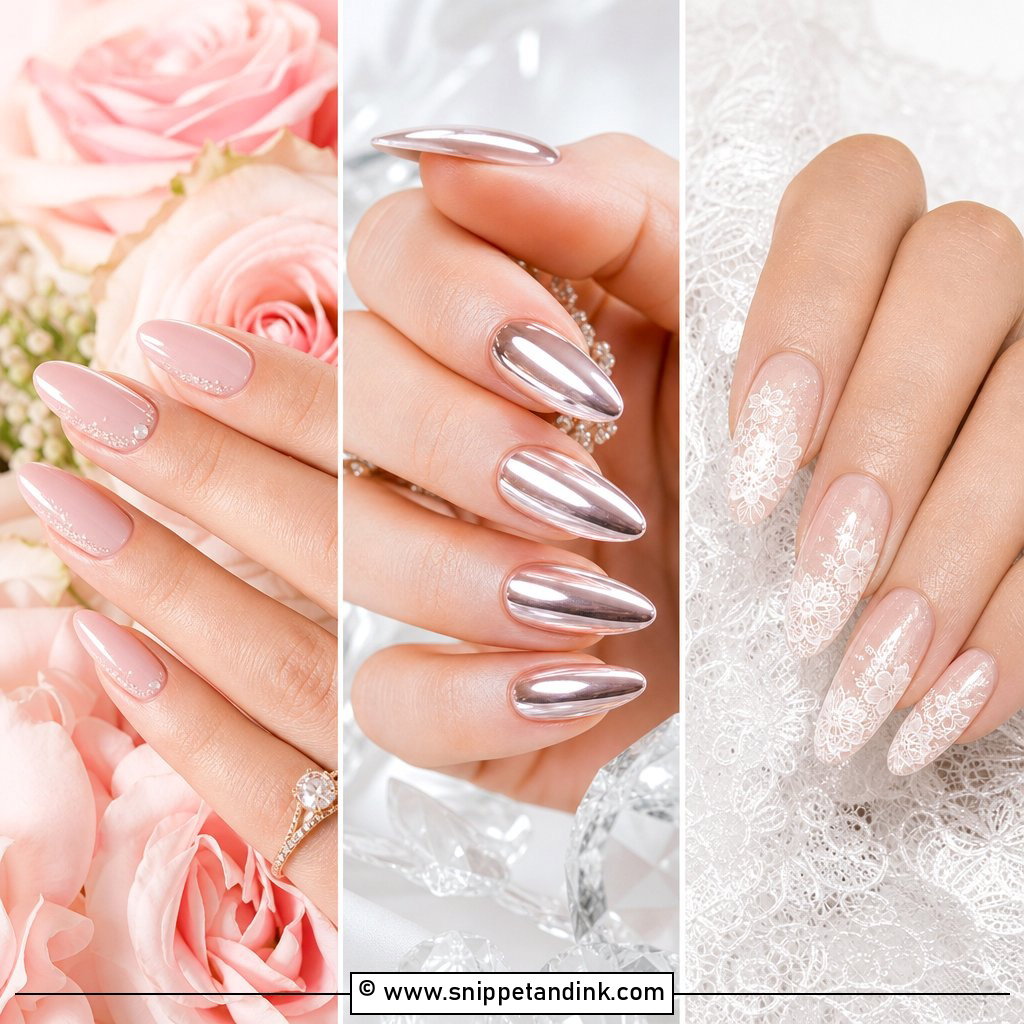
Blush is warmer and more opaque than sheer pink, so it reads clearly in photos without becoming a statement. A creamy formula covers well in two coats. Oval and squoval nails keep it gentle. I usually leave it plain with a high gloss. A shimmer top coat is possible, but over blush it can look a little frosted, so test it at your trial before deciding.
10. White Ombre Wedding Nails
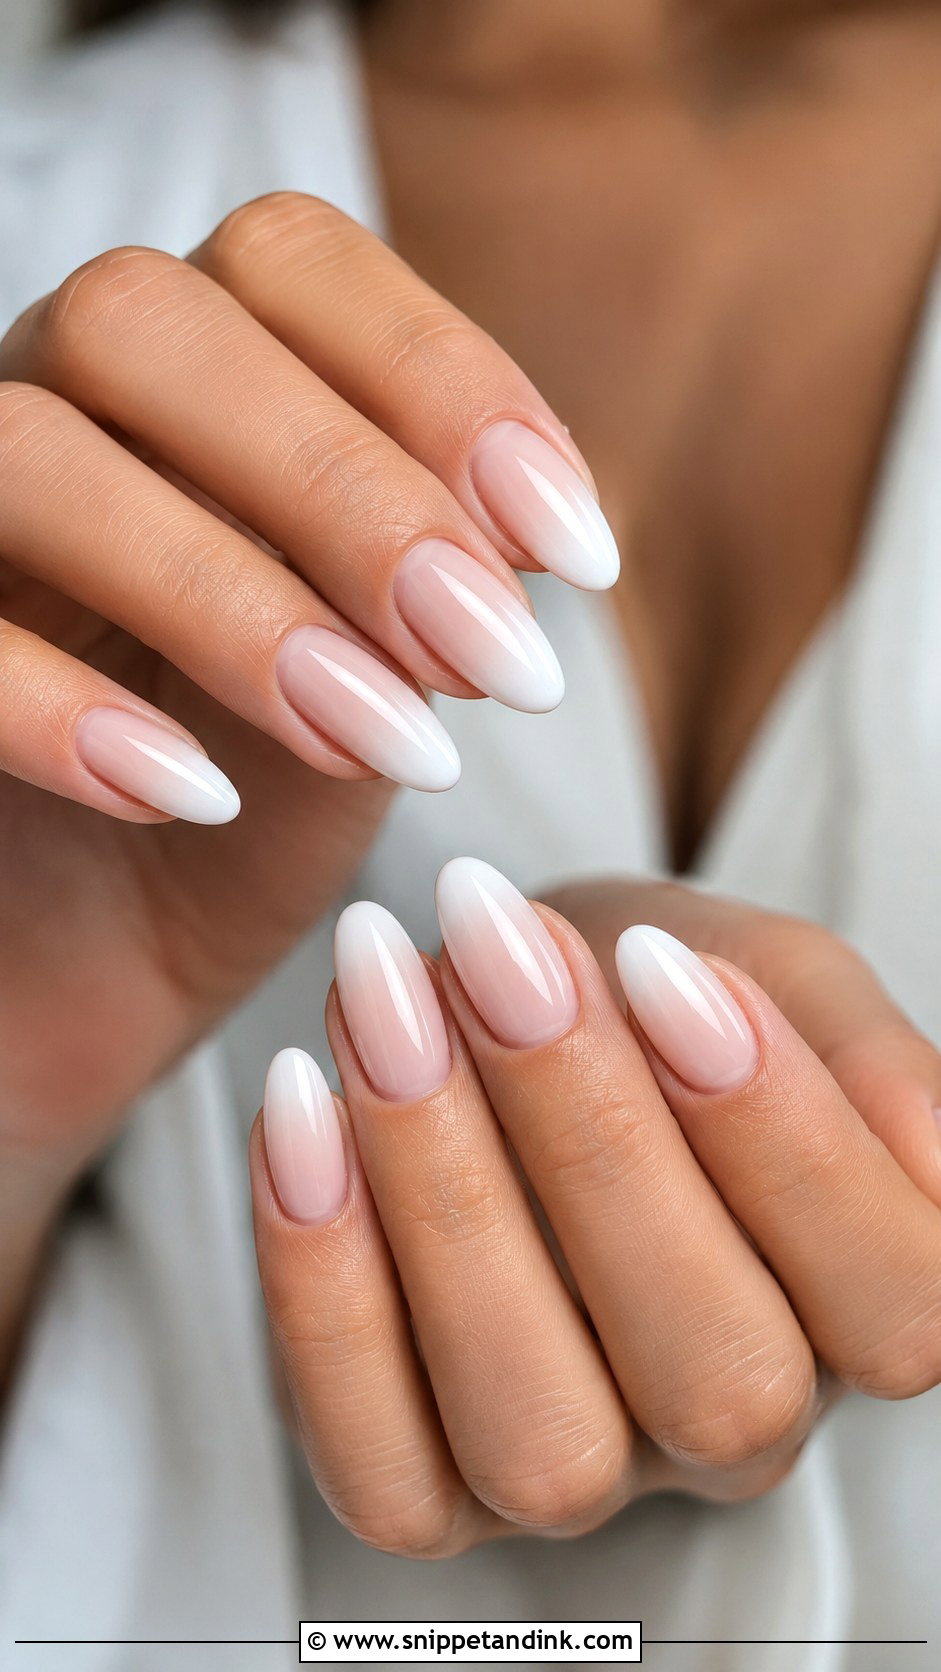
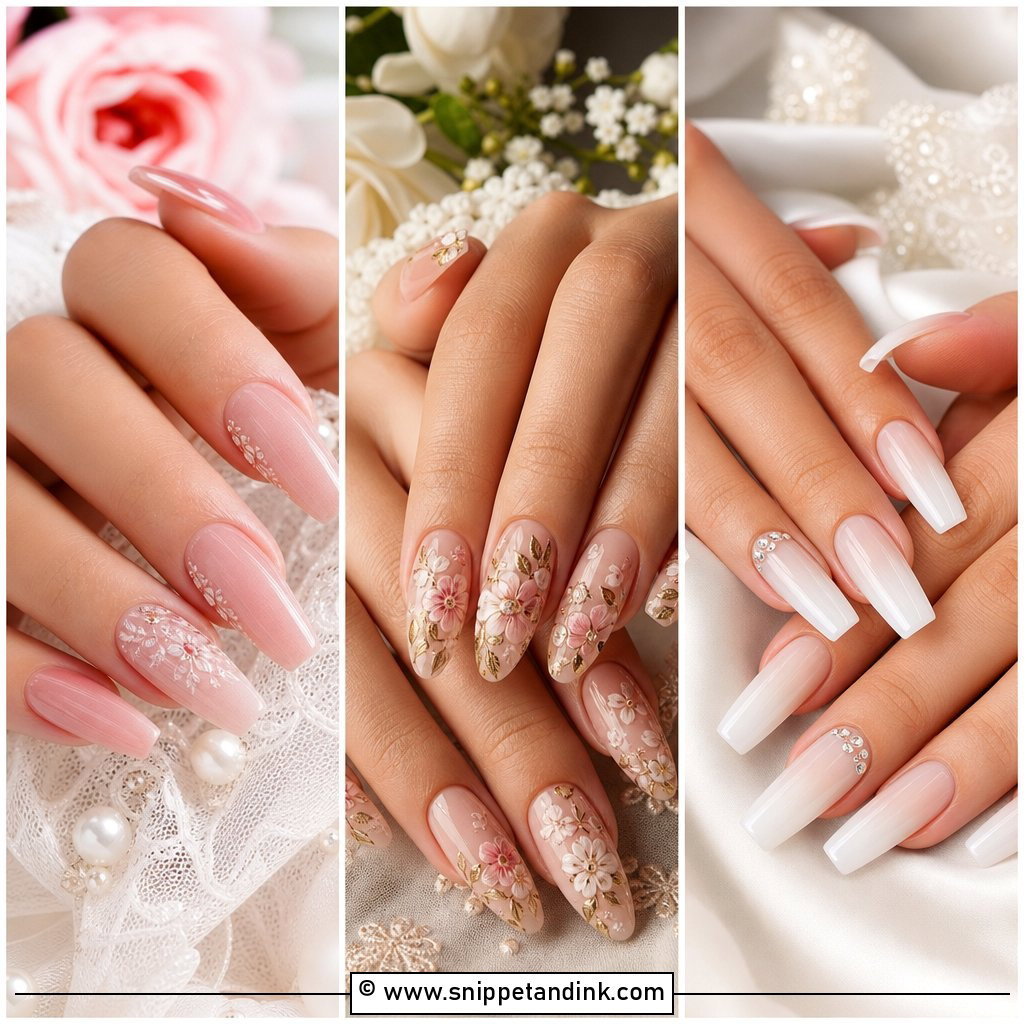
White ombre wedding nails carry the fade further up the nail than a baby boomer, so more of the nail ends up white. That needs length. On short nails the gradient gets squashed into a stripe, so I save this design for almond or coffin shapes where it has room to travel. Keep the blend creamy and skip the glitter; a thick glossy top coat softens any small unevenness in the fade.
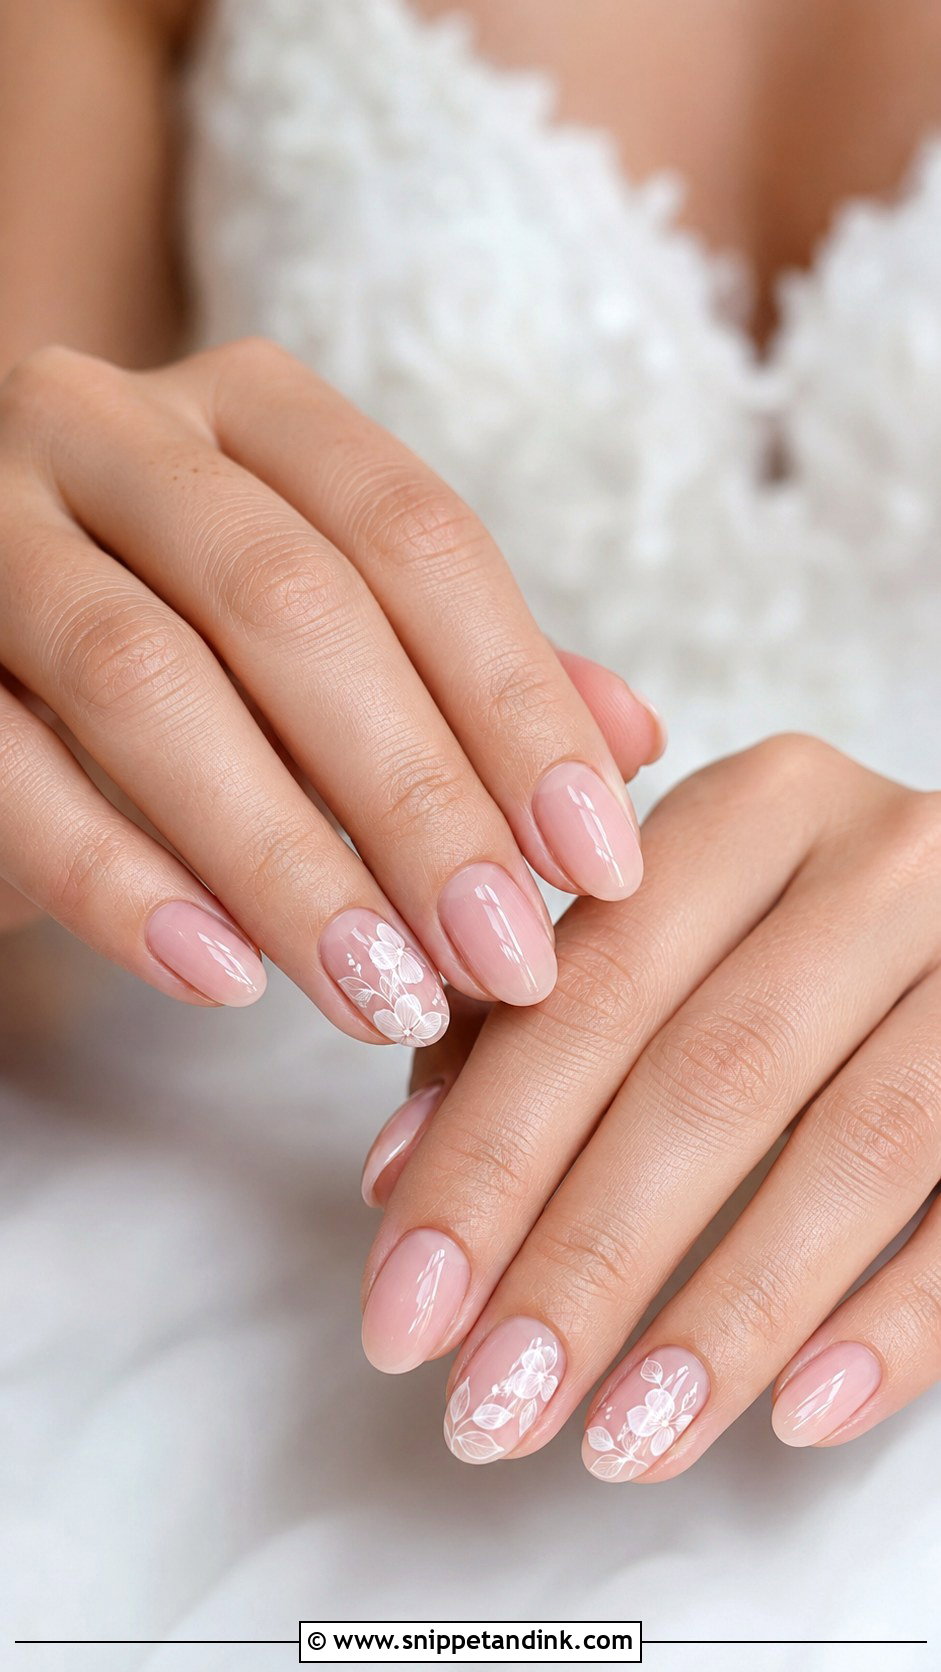
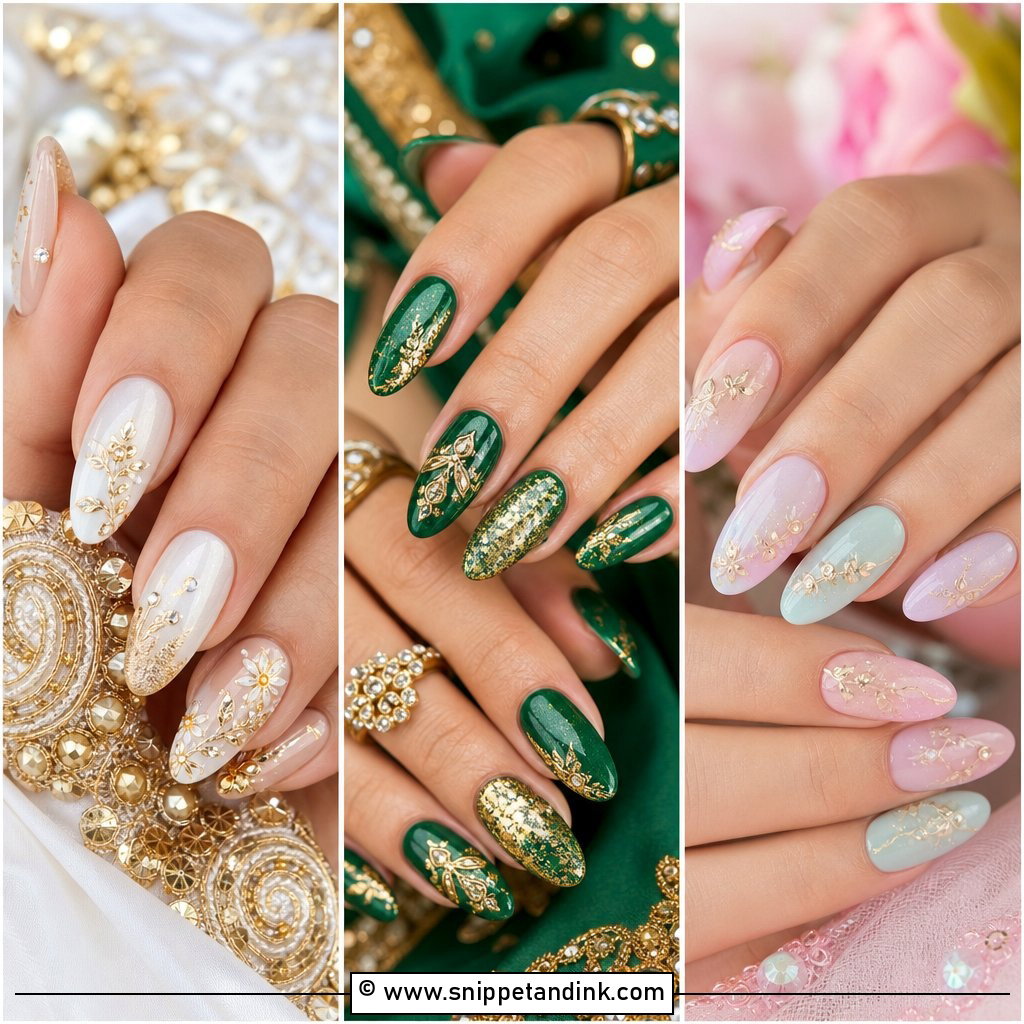
11. Simple Floral Wedding Nails
Florals stay simple only when they stay small. I paint single-stroke petals in white gel with a fine brush, usually on two accent nails over a sheer pink or milky base. Flowers on every nail can work too, but then they need to be tiny and widely spaced. Short oval and almond shapes give the petals breathing room, and garden ceremonies or lace gowns are where this design makes the most sense.
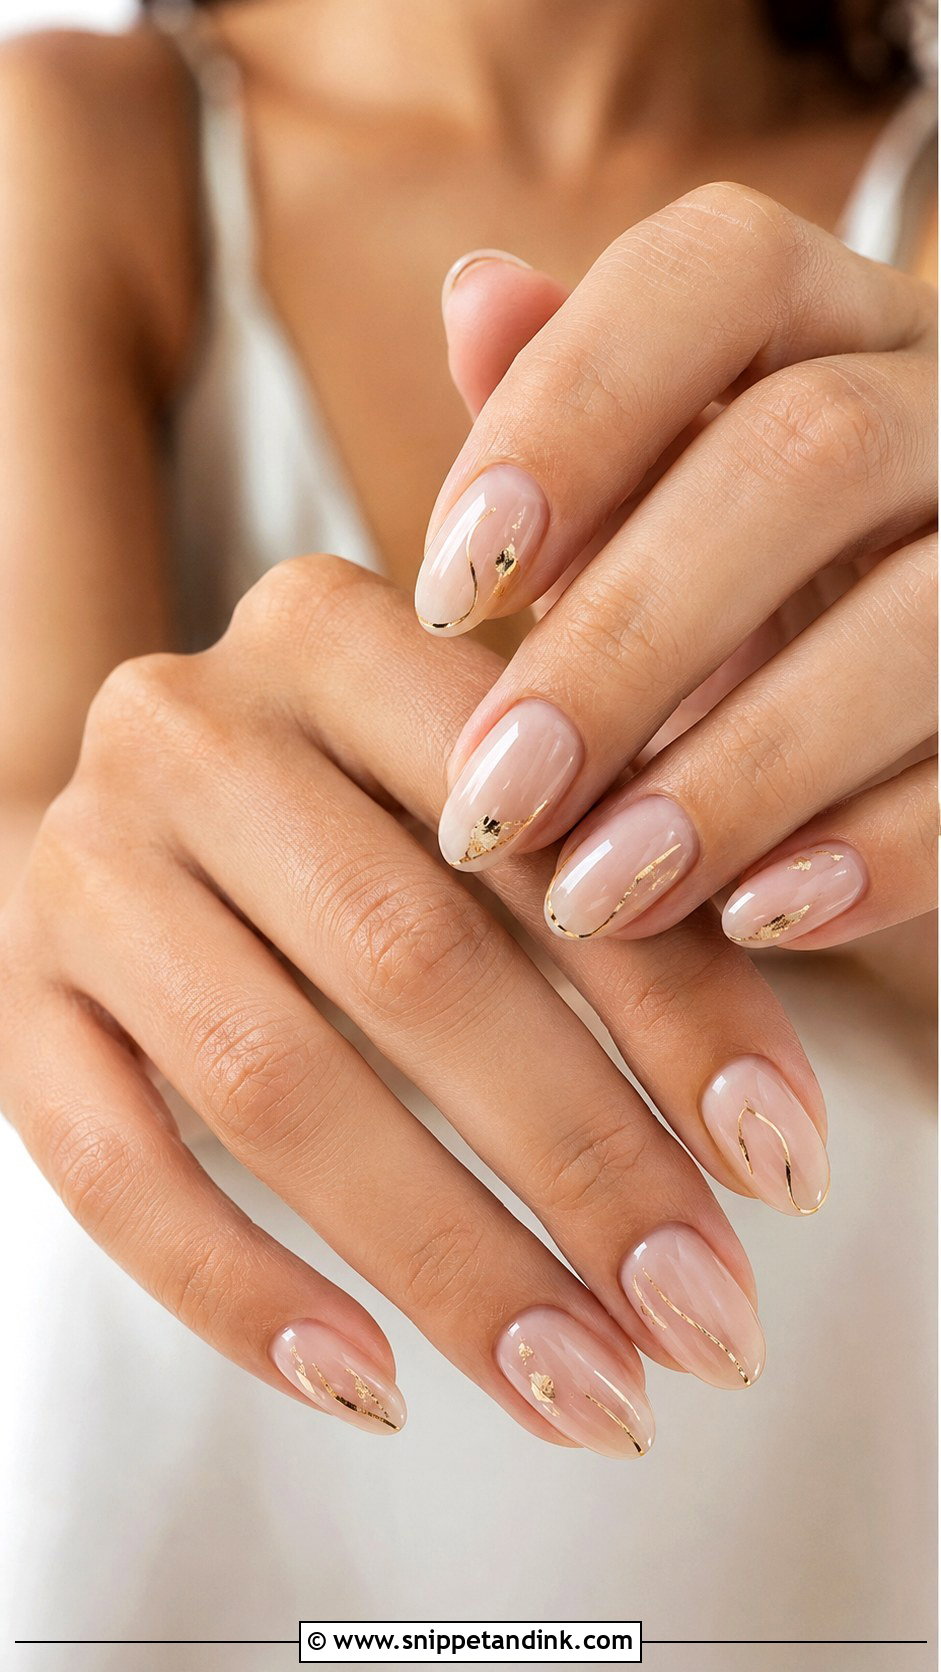
12. Nude Wedding Nails With Gold Detail
A small gold detail turns a nude set into something that looks considered: one thin line, a few flecks of foil, or a curve near the cuticle. Before choosing, I always ask whether your ring is yellow, rose or white gold, because yellow foil beside a platinum band looks like a mismatch in close-ups. Foil can lift at the edges if it isn’t fully capped, so I seal it under two layers of top coat.
13. Simple Lace Wedding Nails
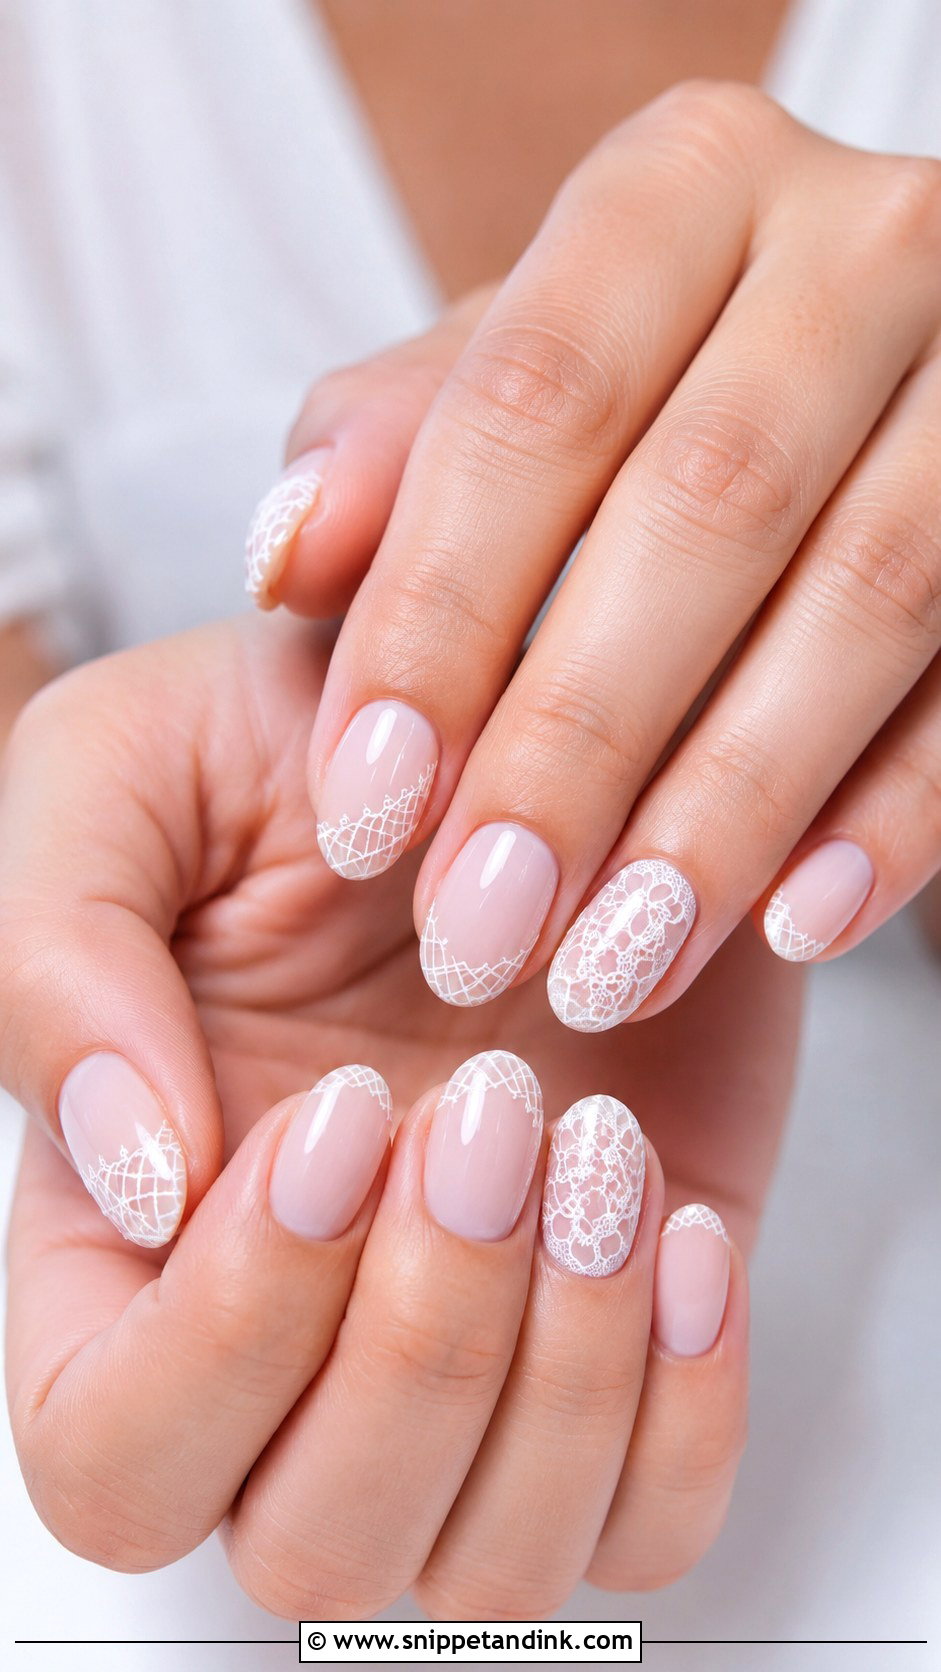
Lace on nails looks best when it’s airy. I build it from tiny dots and fine curves with a striping brush and leave plenty of bare sheer base between them, because the pattern looks denser once top coat floods into it. One or two nails per hand is usually right. Oval and almond shapes soften the effect, and it pairs naturally with a lace dress or a lace-trimmed veil.
14. Soft White Wedding Nails
Soft white swaps pure white for ivory or off-white, which matters more than people expect next to a wedding dress. A bright white nail beside an ivory gown can make the gown look yellow, so I hold the bottle against your fabric swatch before painting. Opaque whites need three thin coats to avoid streaks. On short square nails the color looks crisp, and a satin top coat softens it further if you prefer less shine.
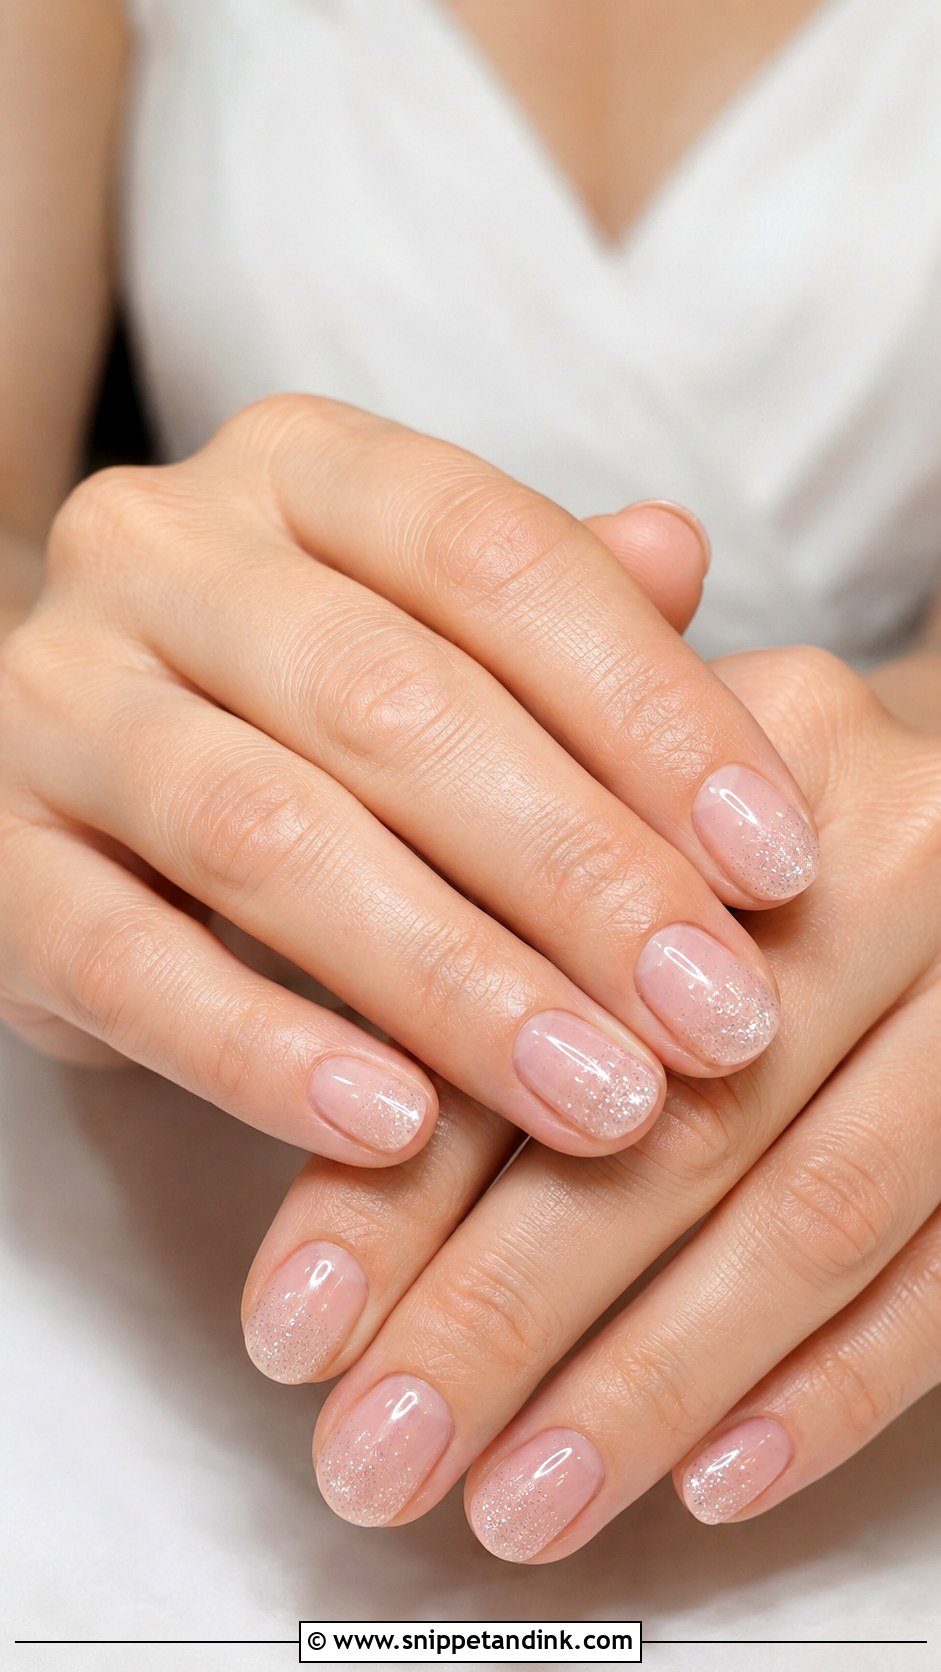
15. Minimal Glitter Wedding Nails
Minimal glitter wedding nails rely on a fine shimmer wash over a neutral base rather than heavy glitter. I mix the shimmer into clear gel and float it over the nail, which keeps the surface flat and easy to cap. It can sit at the tips or across the whole nail. Chunky flakes are what make a glitter manicure look less refined in photos, so ask for the finest particle your artist has.
16. Clean Girl Wedding Nails
This set is really a care appointment with a sheer coat at the end. A clear or pinkish-beige builder gel levels ridges and adds a little strength, and the shape stays short and soft. With no color to distract, the cuticles carry the whole look, so I’d suggest cuticle oil every night for a few weeks before. It’s the set I steer brides toward when they tell me they’ve never liked having anything on their nails.
17. Simple Matte Wedding Nails
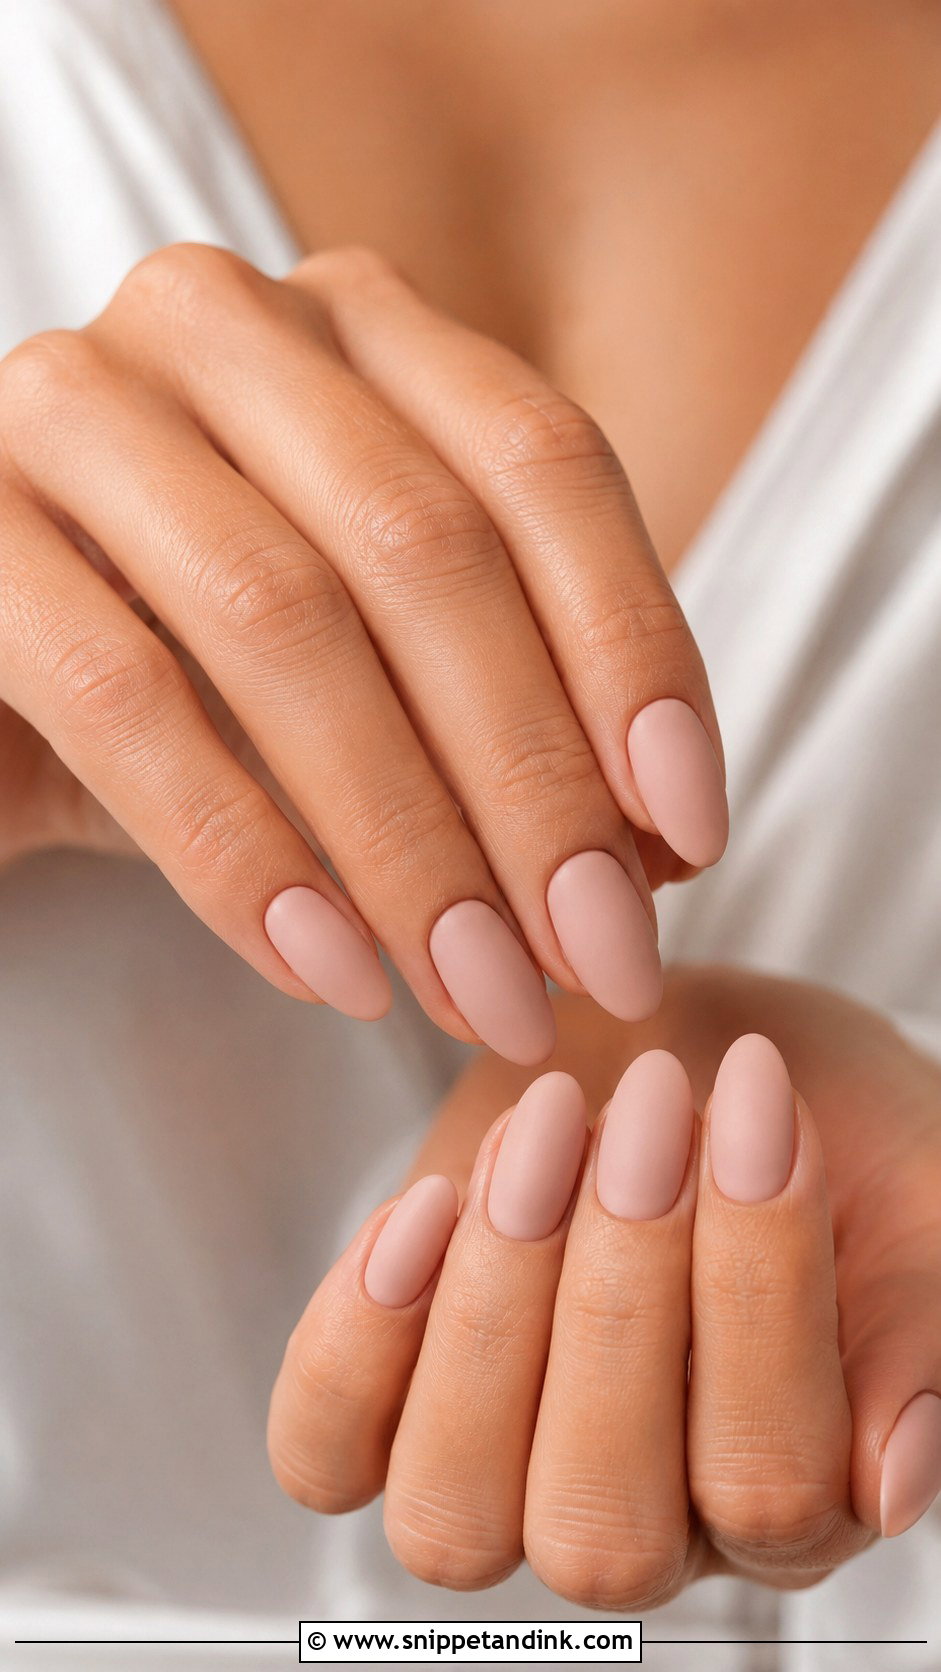
Matte looks modern, but I’m honest with brides about its trade-off. A matte top coat picks up oils, hand cream and makeup more easily than gloss, and it can shine up in patches by the end of a long day. Over nude, blush or milky white, a good matte top coat gives a velvety finish that suits minimal gowns, and short square nails carry matte nude especially well. Keep hand cream off the nail plate, and if a nail starts looking shiny, a quick wipe with an alcohol pad brings the matte back.
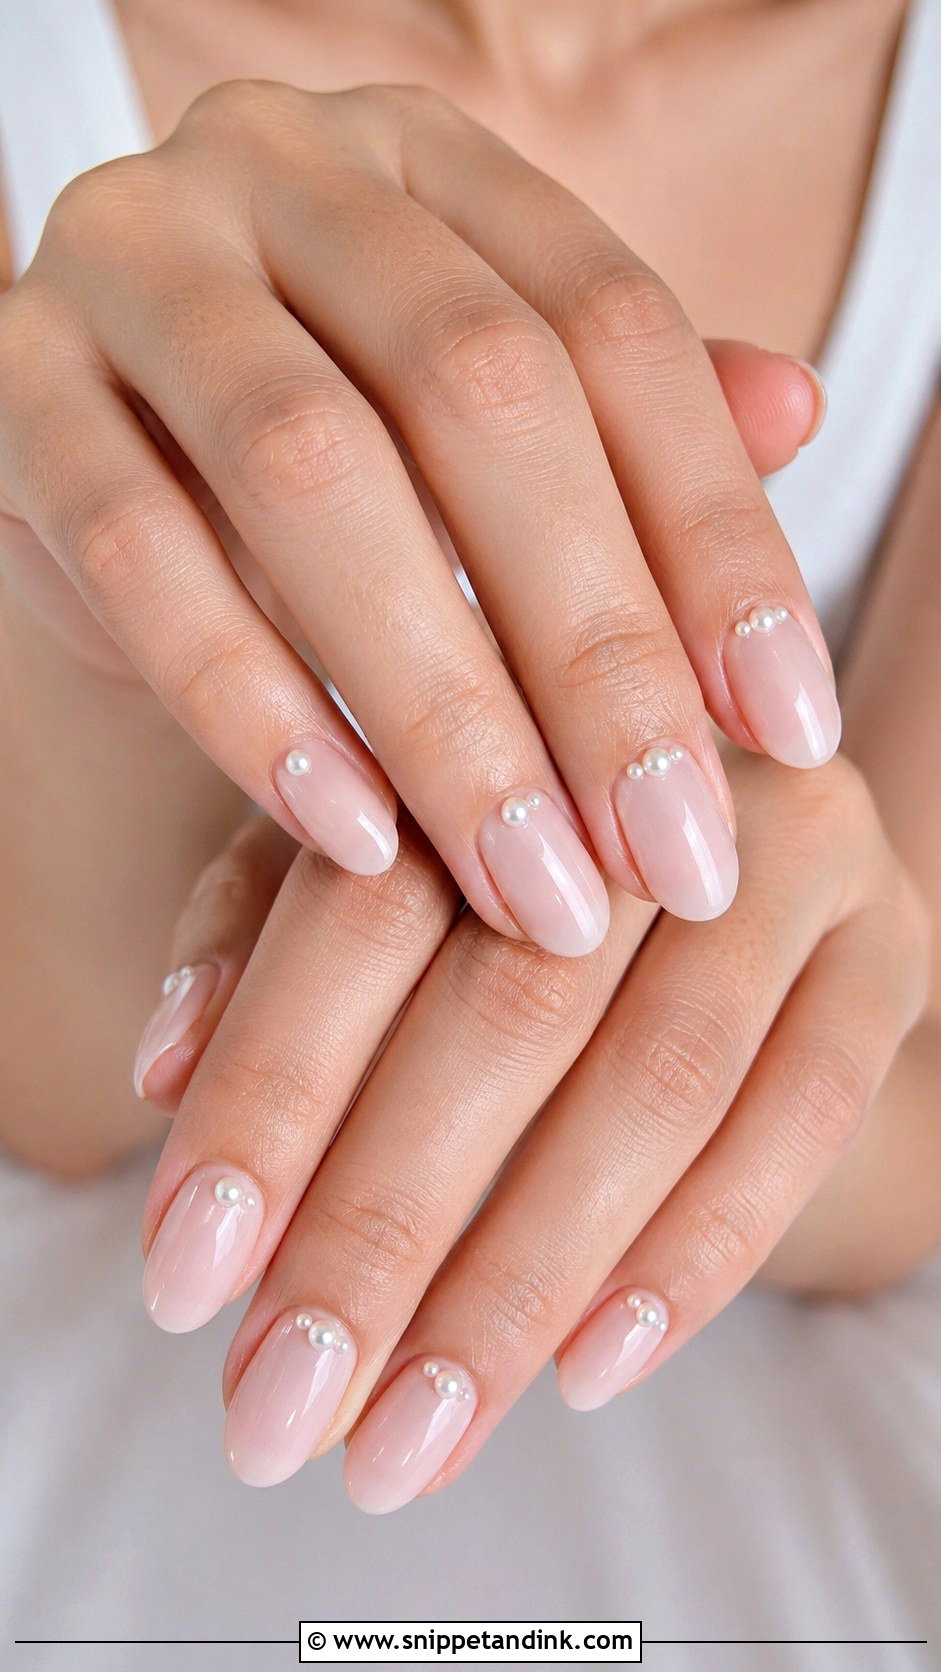
18. Tiny Pearl Wedding Nails
Pearls are where restraint pays. I set very small flat-back pearls near the cuticle or on one accent nail, embedded in gel so they don’t snag hair or knitwear. Oval and almond shapes frame them well. If you’re already wearing pearl earrings or pearl hairpins, keep the nail pearls fewer and smaller than the jewelry, so your hands don’t compete with your face.
19. Simple Wedding Nails With Initials
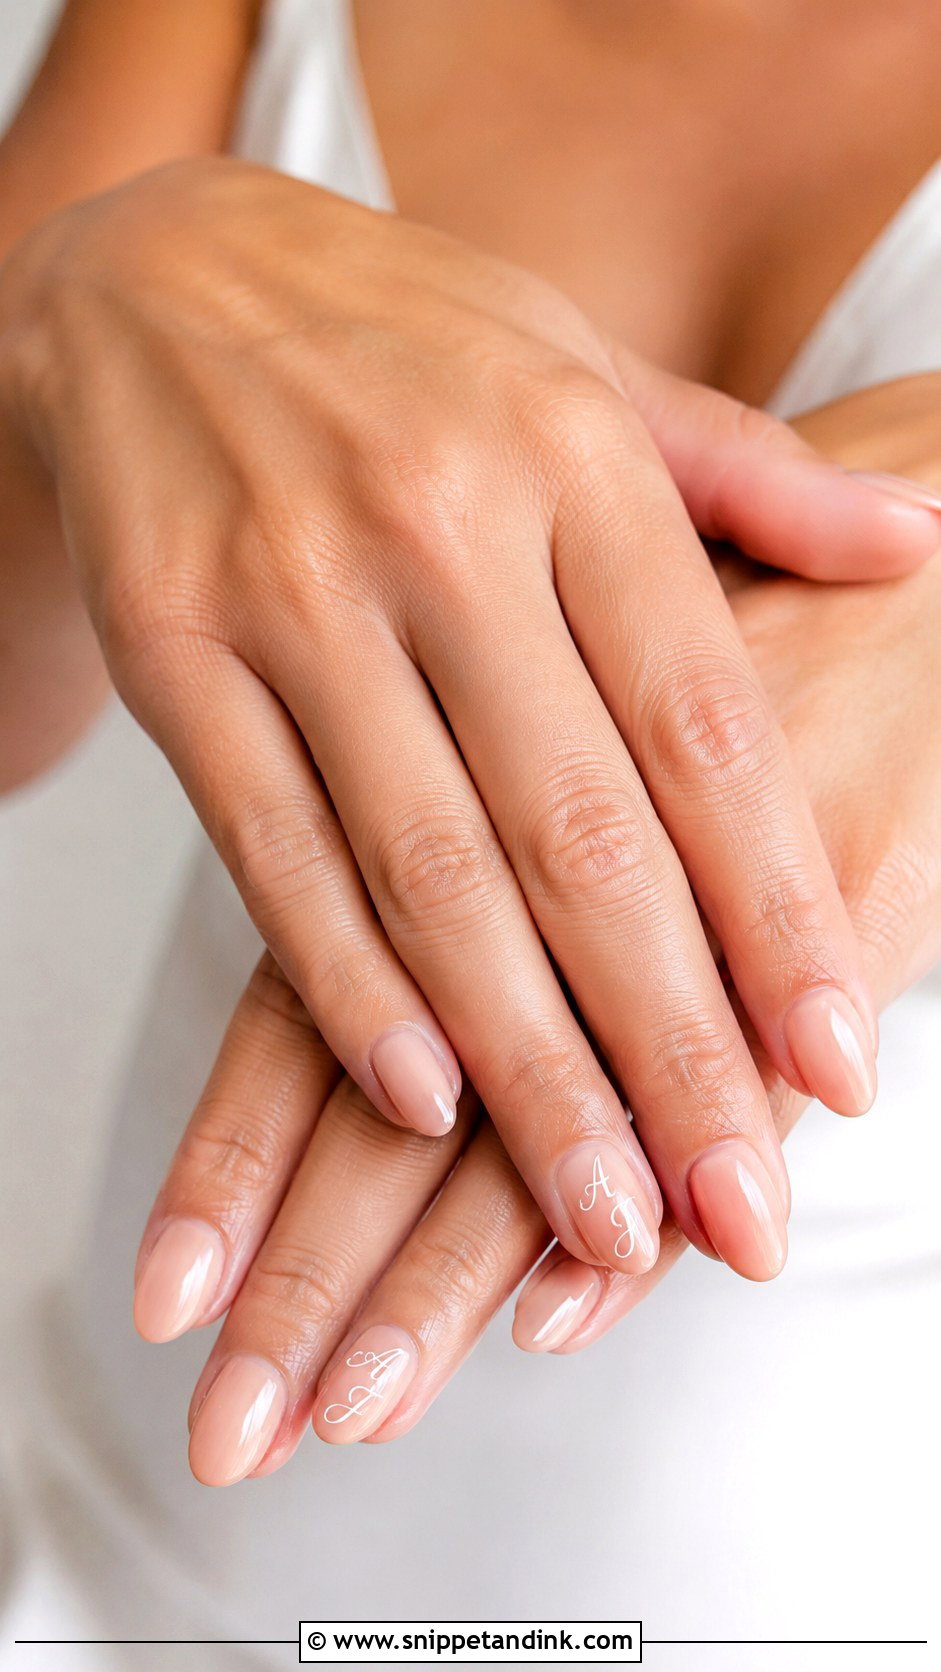
Simple wedding nails with initials work best when the letters are small enough that only you spot them at first. I paint them freehand with a fine liner in white, silver or gold, usually on the ring finger near the tip. Script letters need a bit of width to stay legible, so on very short nails I switch to a tiny block letter. It’s a private detail that still shows up in close-ups of the ring.
20. Simple Wedding Guest Nails
Guests have more freedom than the bride, but the same rule applies: nails should look finished, not loud. Soft nude, sheer mauve and a clean French fit most dress codes, and a fine shimmer or slim metallic line is all the detail you need. For a religious or very formal ceremony, I’d stay with neutrals. These shades also go with nearly any outfit, which helps if you’re attending several weddings in one season.
A Countdown for Your Own Nails Before the Wedding
Quiet sets show the nail underneath, so the health of your natural nails matters more here than with heavy art. This is the countdown I give brides who are wearing their own nails rather than extensions.
- Two months out: stop peeling off gel at home and leave your cuticles alone. Peeling lifts away layers of nail, and those thin patches take months to grow out.
- Six to eight weeks out: oil your cuticles every night and file with a glass file in one direction instead of sawing back and forth.
- About a month out: have your trial in the shape and shade you plan to wear, then live in it for a week and notice where it chips or lifts.
- The final week: no new products at home, and wear gloves for cleaning, gardening or any last-minute decor projects.
- Two to four days out: have the wedding set done, so any lifting shows up while there is still time for a fix.
- The night before: oil, then leave your hands alone. Skip a long hot bath, which softens the nail and can loosen gel at the edges.
If your nails are soft or peeling, a thin structured gel overlay gives you a sturdier surface for the wedding and protects the nail while it grows out afterward. It also gives a milky or sheer shade a smoother surface, which is exactly where simple sets look their best.
Soft Color Still Needs a Sharp Finish
A simple bridal set still asks you to decide on color, finish and shape, and those choices come down to your dress, your ring and how you use your hands. Soft French tips, milky whites, sheer pinks and glazed finishes all hold up well in person and on camera. If you want some personality, add a single detail such as pearls, initials or a fine gold line, and stop there. Then have a trial about a month out and wear it for a week, so you know exactly what to book.
You'll Like These Ideas:


Leave a Reply