
Confirmation hair has a different job from wedding hair. It needs to look neat from behind in a pew, stay put through standing, sitting and kneeling, and feel like the person wearing it, who is often a young teenager with strong opinions. Long hair, a sleek bob and natural curls can all work. Most of the 25 styles below can be done at home by a parent or older sibling with a curling iron, a pack of pins and one practice run, and I’ve added notes on where each one tends to struggle.
Keep the Forehead Clear for the Anointing
In a Catholic confirmation, the bishop traces a cross on the forehead with chrism oil. Any style with heavy bangs or long front pieces hanging across the forehead gets in the way, and oil on the fringe looks greasy for the rest of the day. Sweep bangs to the side and pin them, or clip them back with a small barrette.
There are a few more things the ceremony asks of a hairstyle that a wedding doesn’t:
- The congregation sees the back of your head for most of the service. The back should look as neat as the front.
- A sponsor usually stands behind with a hand on the candidate’s shoulder. Long loose hair can get caught, so half up or pinned styles are easier.
- Some parishes have candidates wear robes with collars. Hair worn down tends to tangle with the collar. Updos and ponytails sit better.
- There’s a lot of standing, sitting and kneeling. Styles with heavy accessories or loose pins can shift.
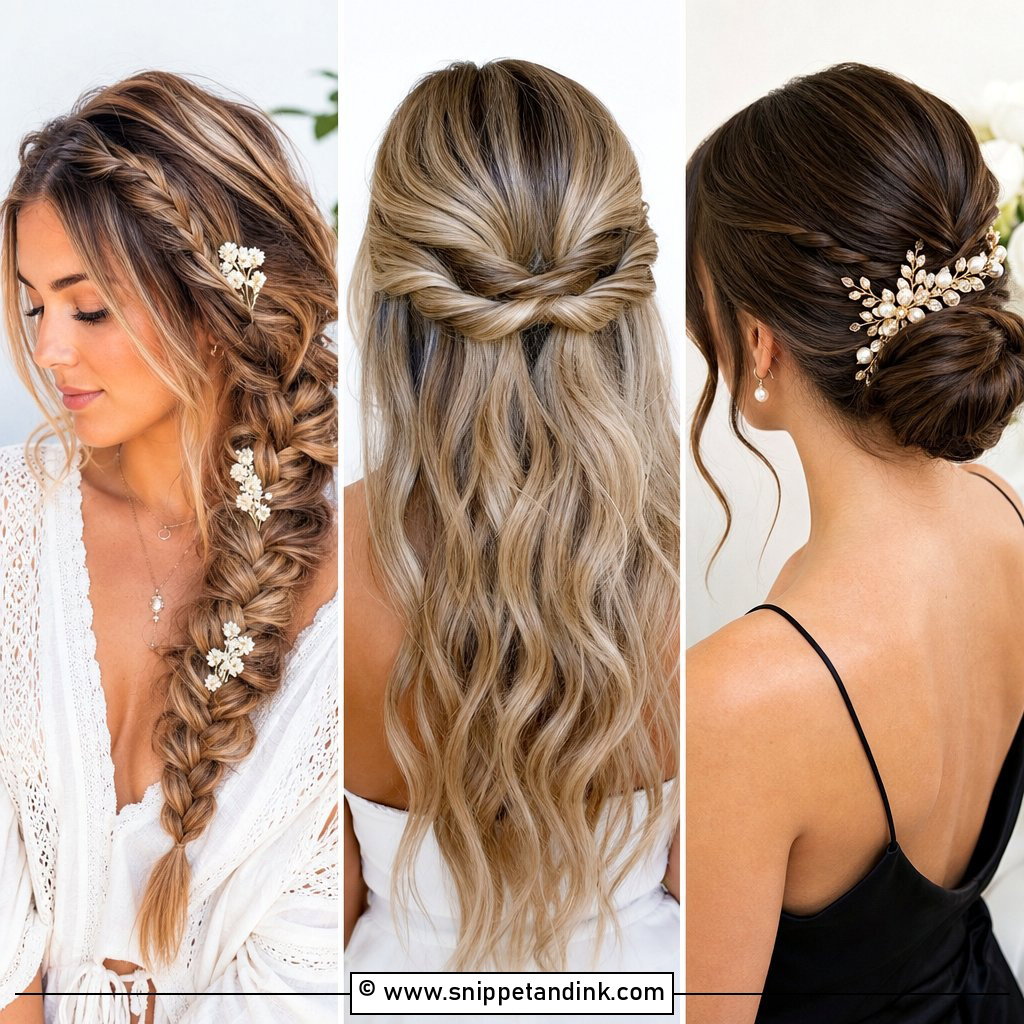
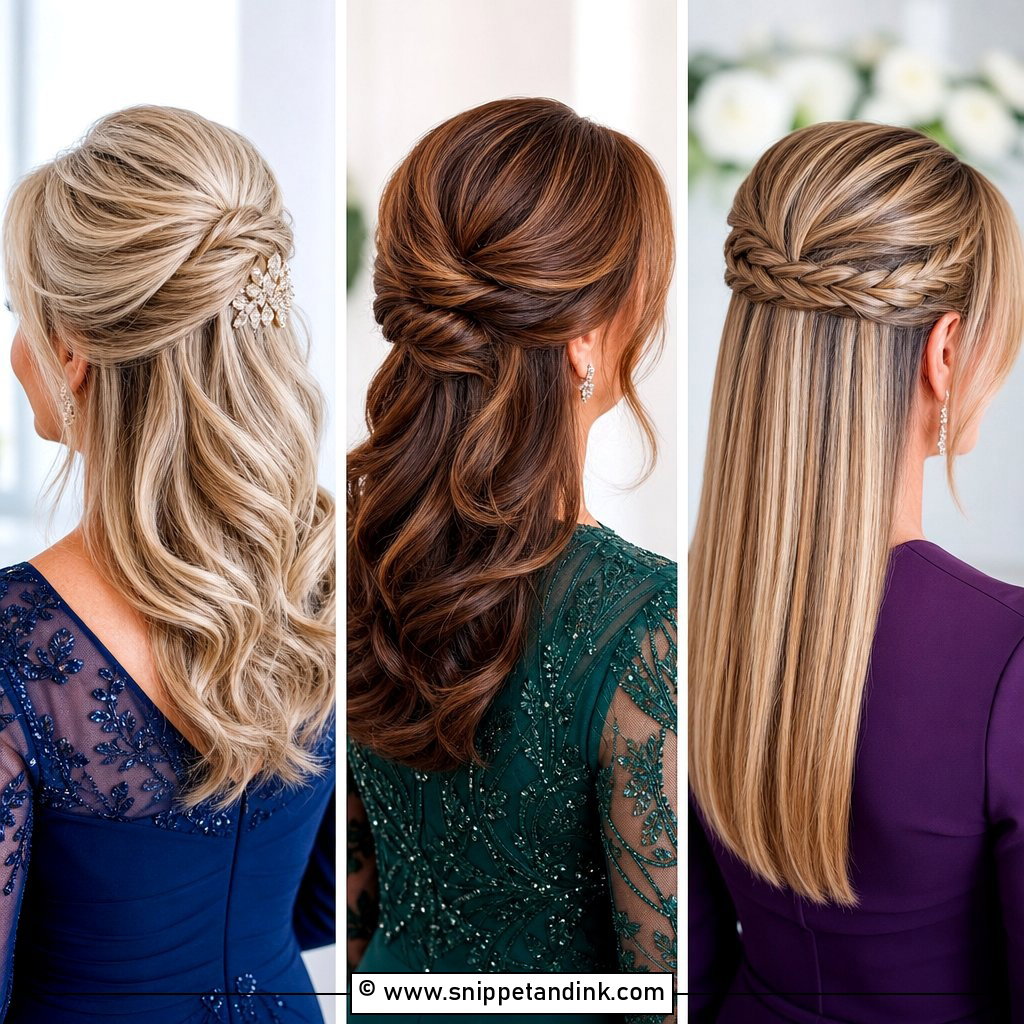
1. Half Up Half Down With Curls
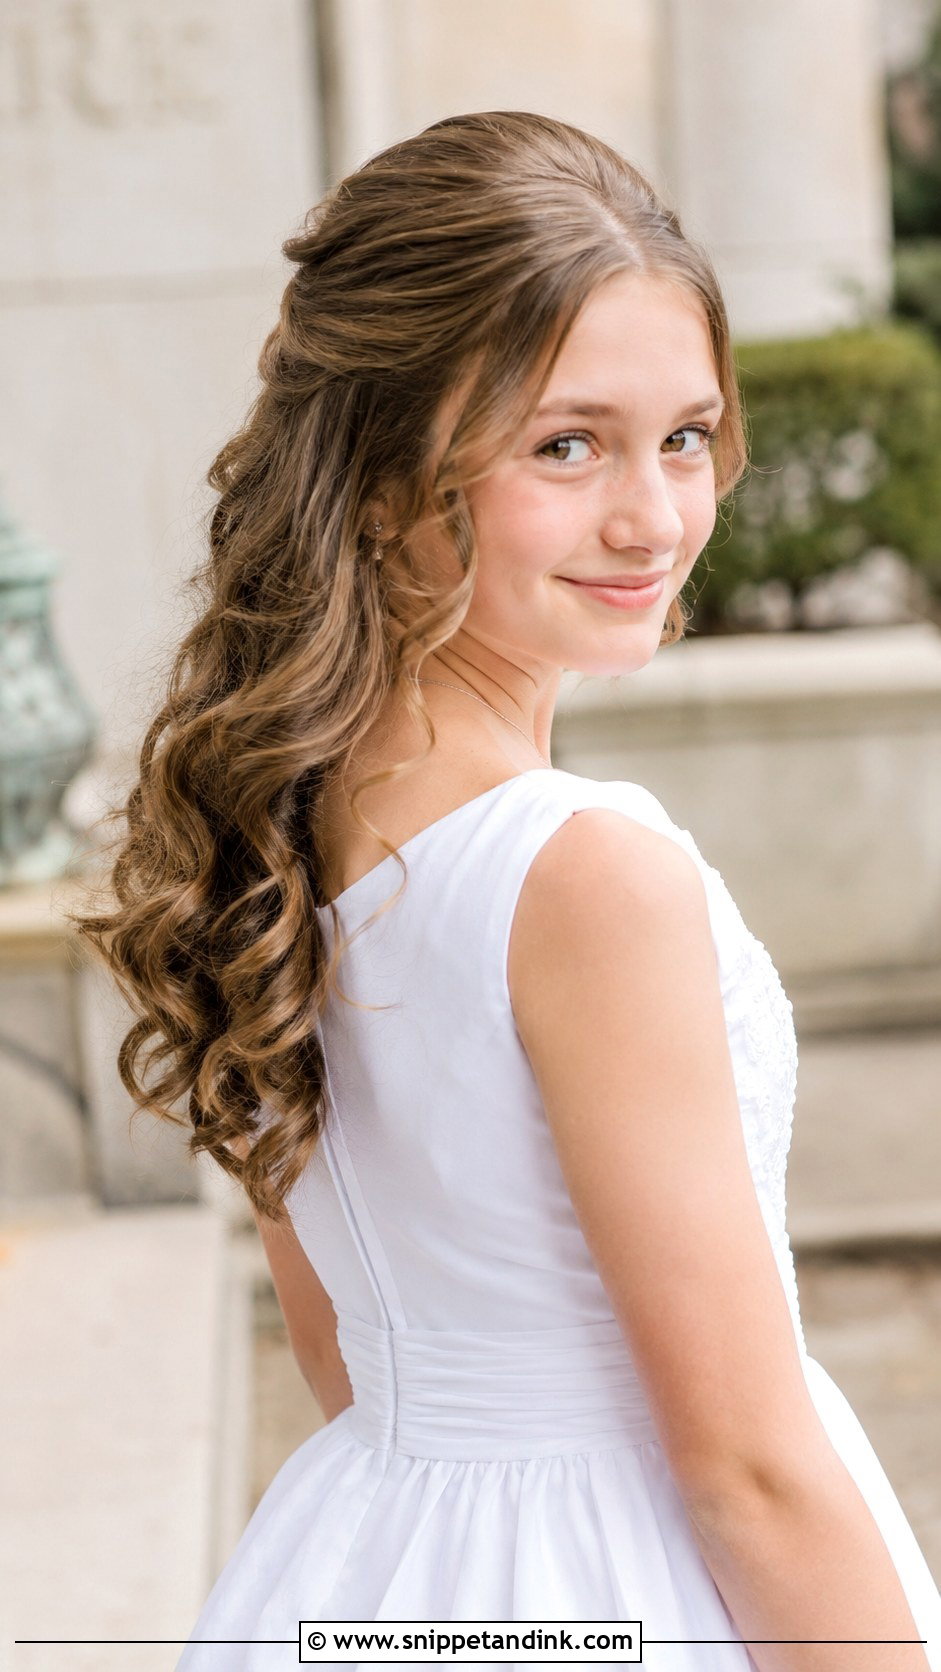
Half up with curls is the style I’d suggest first if you’re unsure, because it keeps hair off the face without the commitment of an updo. Take the top section from the temples back and secure it with a small clear elastic, then hide that with a pearl clip or a thin braid wrapped around it. Curl the lengths with a medium barrel and let them cool before brushing out, or the curls drop within the hour. On very fine or slippery hair, a little texture spray at the crown stops the half-up section from sliding down.
2. Braided Crown Updo
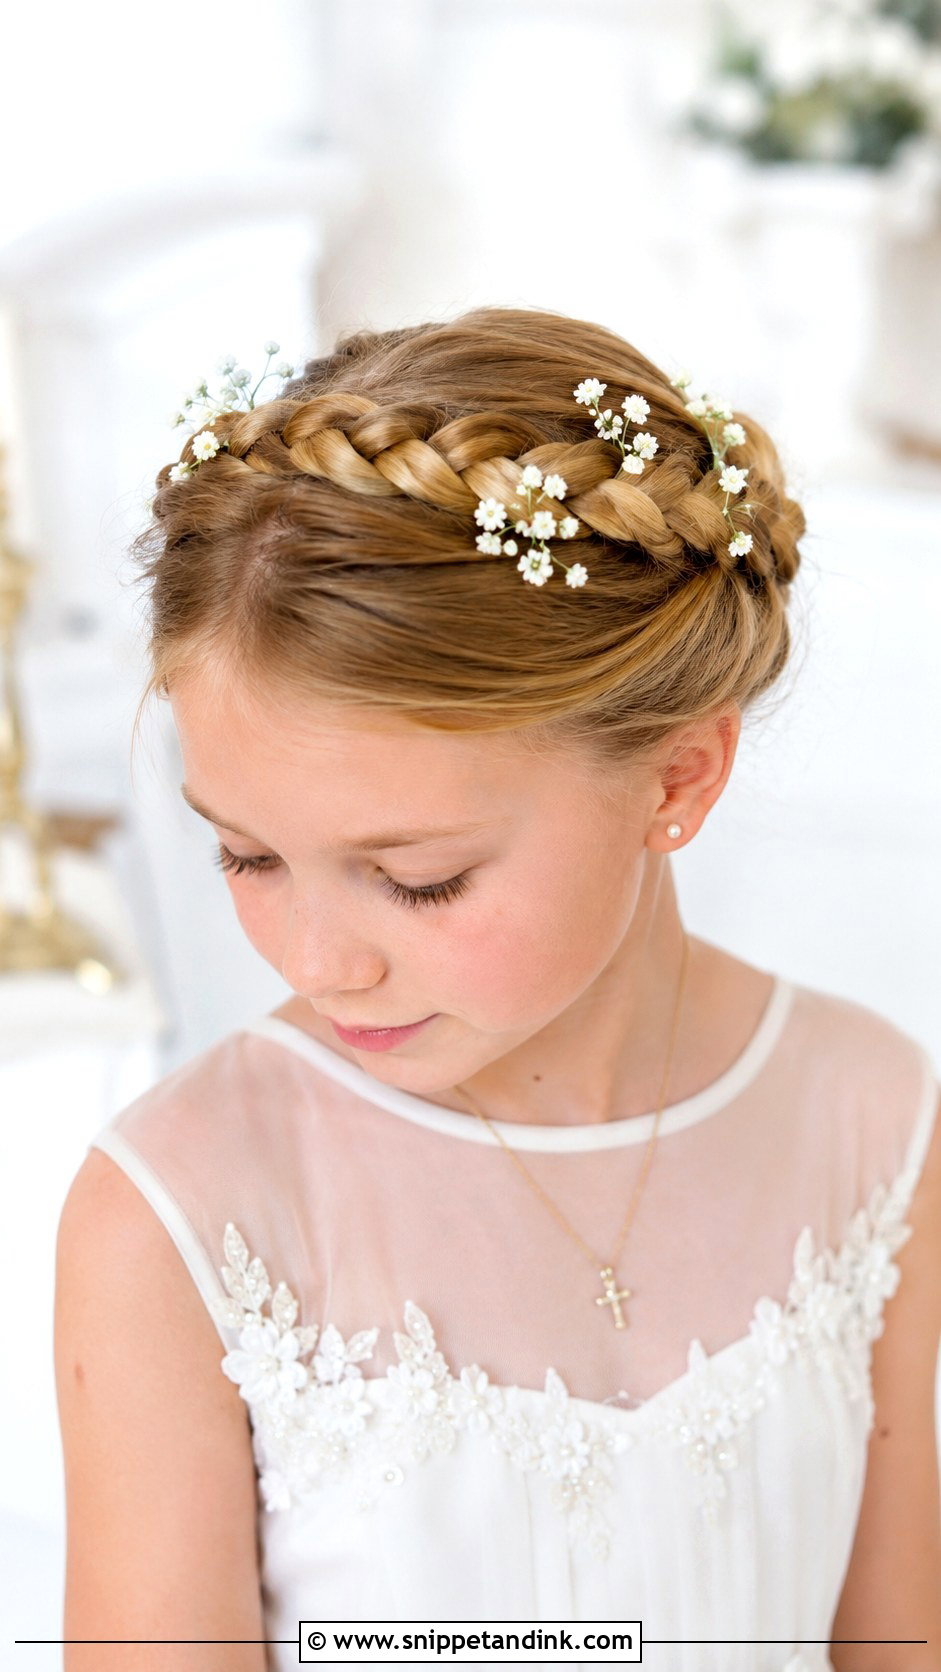
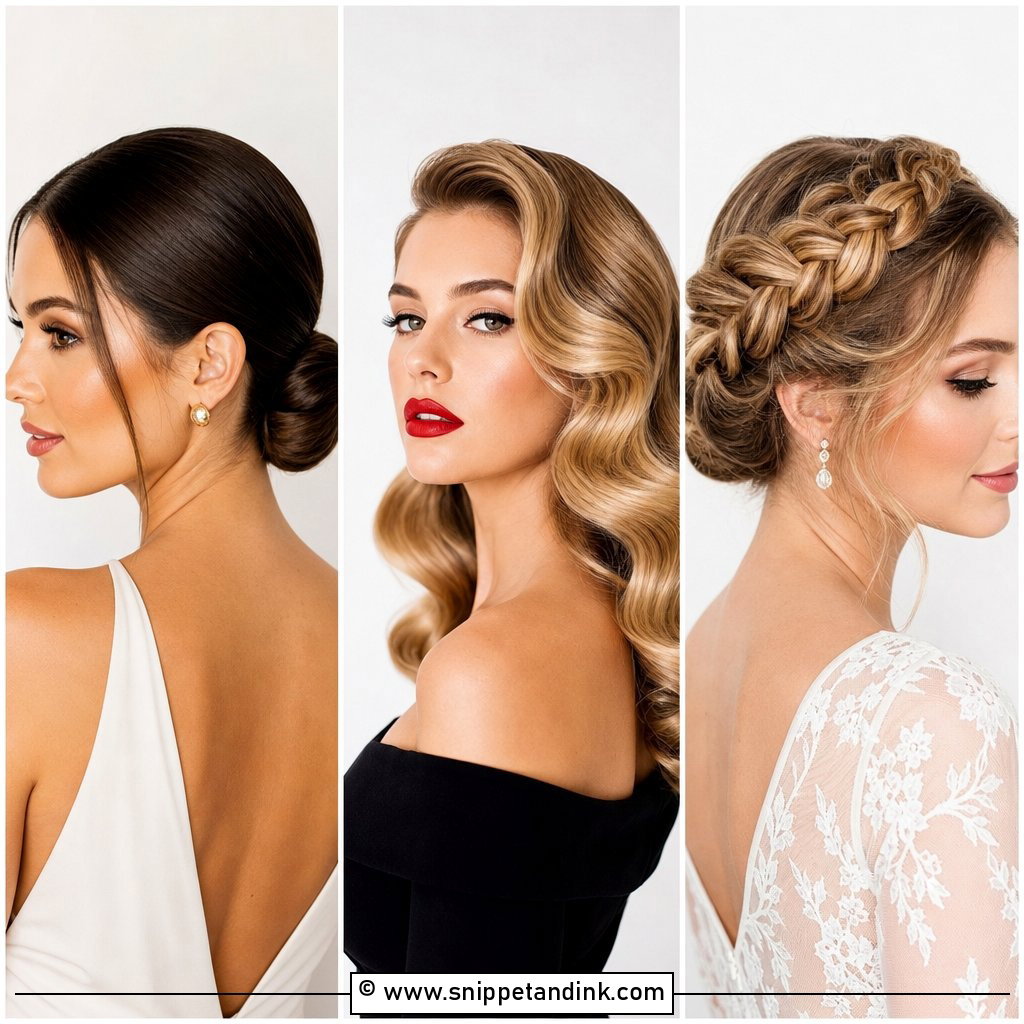
A braided crown circles the head and pins in place, so the neck stays cool in a warm church. It’s built from two Dutch or French braids started behind the ears and crossed over the top, then pinned along the hairline with bobby pins that match the hair colour. Shoulder length is about the minimum; shorter hair won’t reach around. I’d pancake the braids gently, pulling the outer loops wider, which makes fine hair look thicker. Done with enough pins, it lasts until bedtime.
3. Low Bun With Face-Framing Pieces
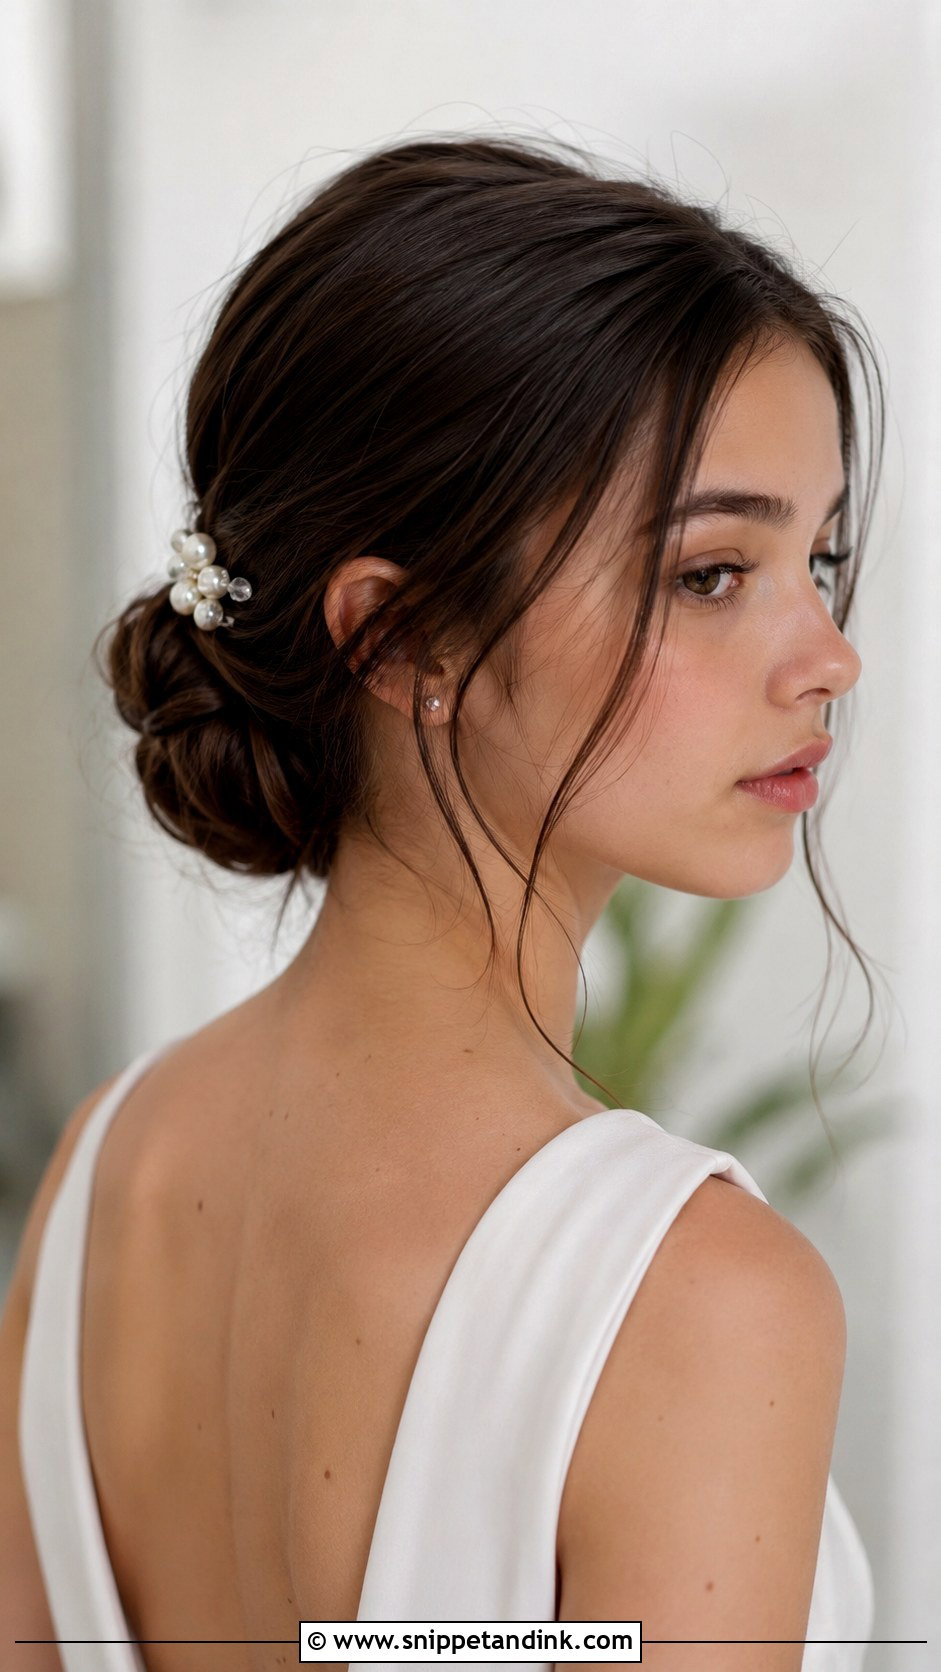
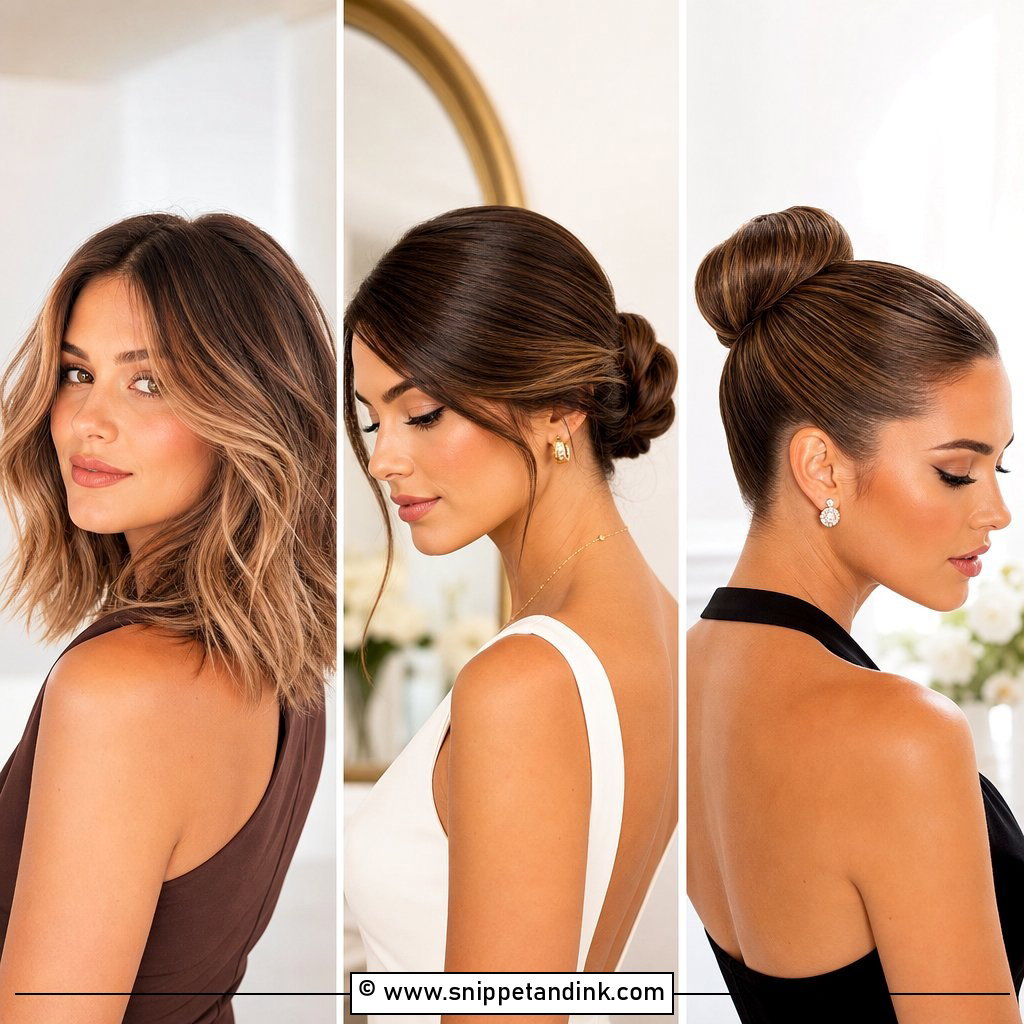
A smooth low bun suits almost every neckline, and it’s one of the easiest styles to get right at home. Gather the hair at the nape, twist it into a bun and pin it with U-shaped pins pushed in toward the centre rather than bobby pins, which grip less on a bun. Leave a couple of fine pieces around the face so it doesn’t look severe on a younger face. It’s equally at home on younger girls and older teens, and a thin ribbon or pearl pin is enough decoration.
4. Waterfall Braid With Loose Waves
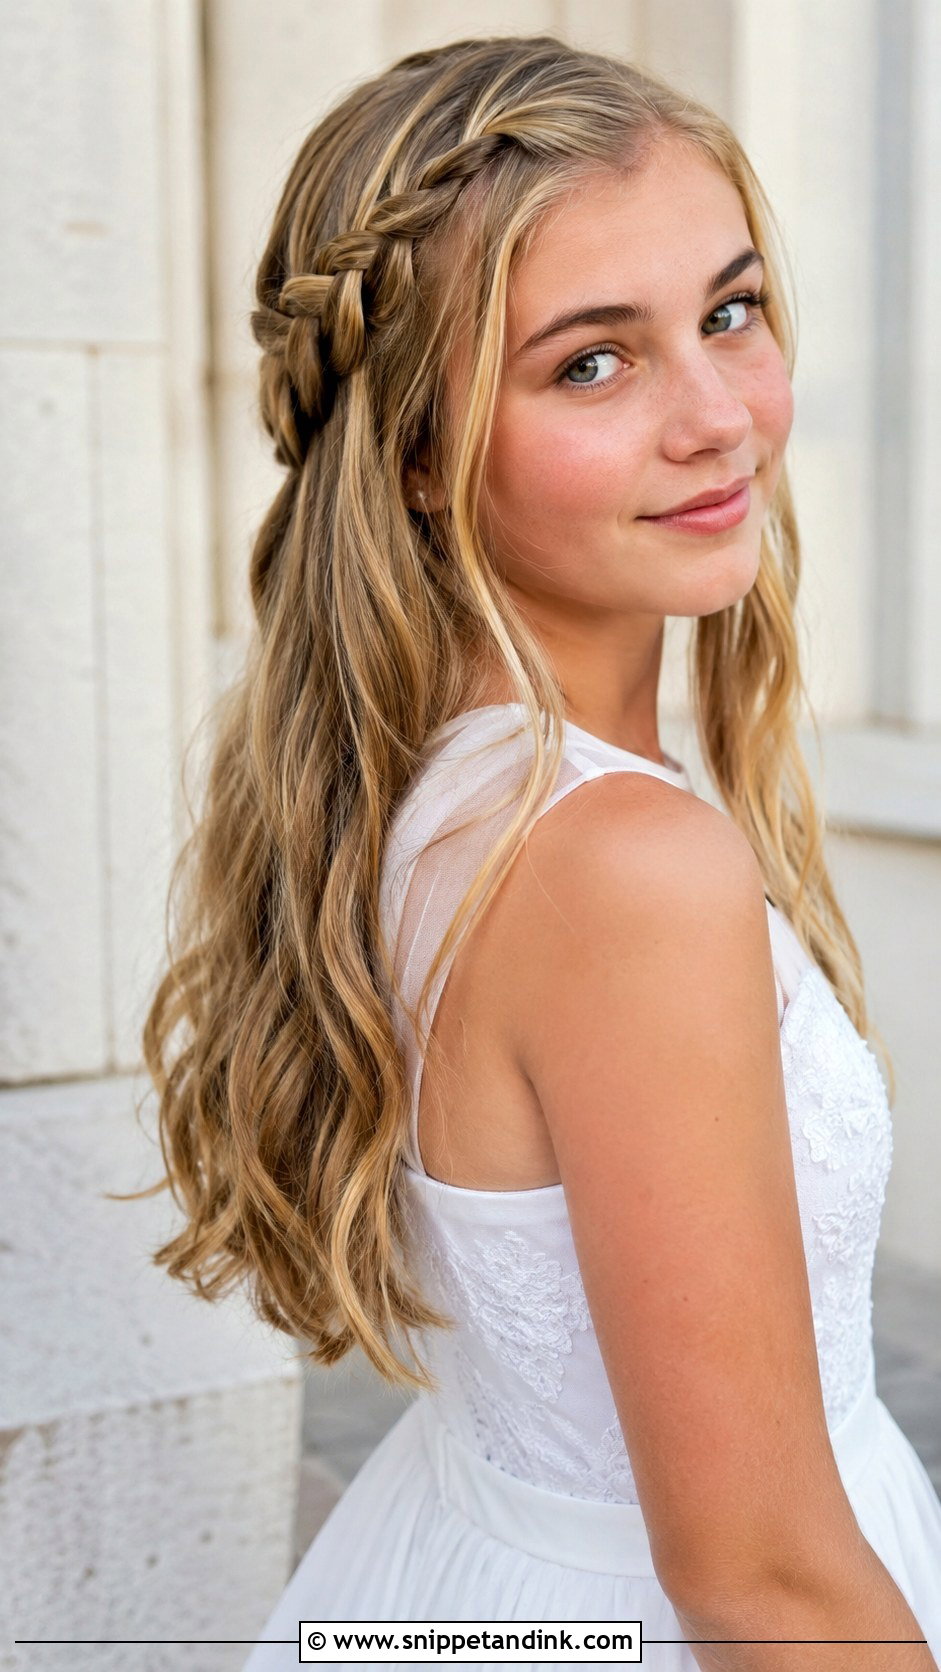
A waterfall braid runs across the head while strands drop through it, so it looks intricate but leaves most of the hair down. The technique is a French braid where you release the top strand after each crossing and pick up a fresh one. It’s harder to do on yourself than it looks, so I’d recommend a practice session. Very layered hair is the main problem: short pieces poke out of the braid. A light wax on your fingers while braiding helps those pieces stay tucked.
5. Sleek High Ponytail
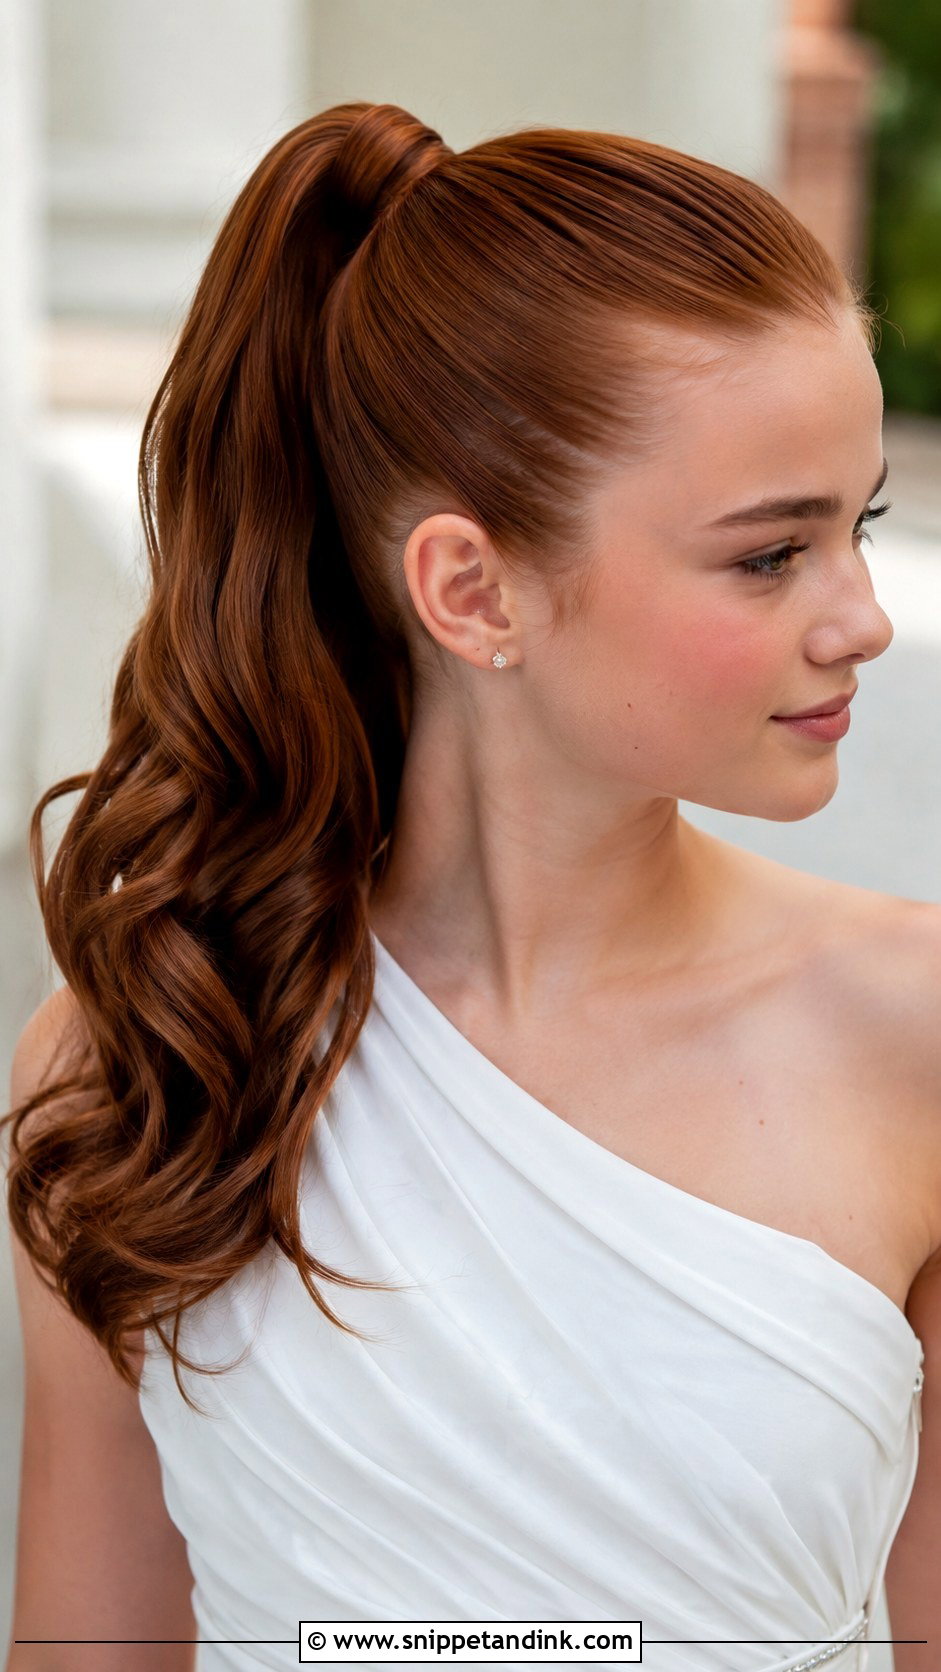
A high ponytail looks smooth and modern, and it’s very secure through a long service. Brush the hair up while your head is tipped slightly back, which avoids bumps at the nape. Hide the elastic by wrapping a small section around the base and pinning it underneath. One thing to watch: a very high, heavy ponytail can give a headache by the afternoon, so on thick hair I’d place it a little lower, around the crown. Gentle curls through the tail stop it from looking too sporty.
6. Soft Curls With a Pearl Headband
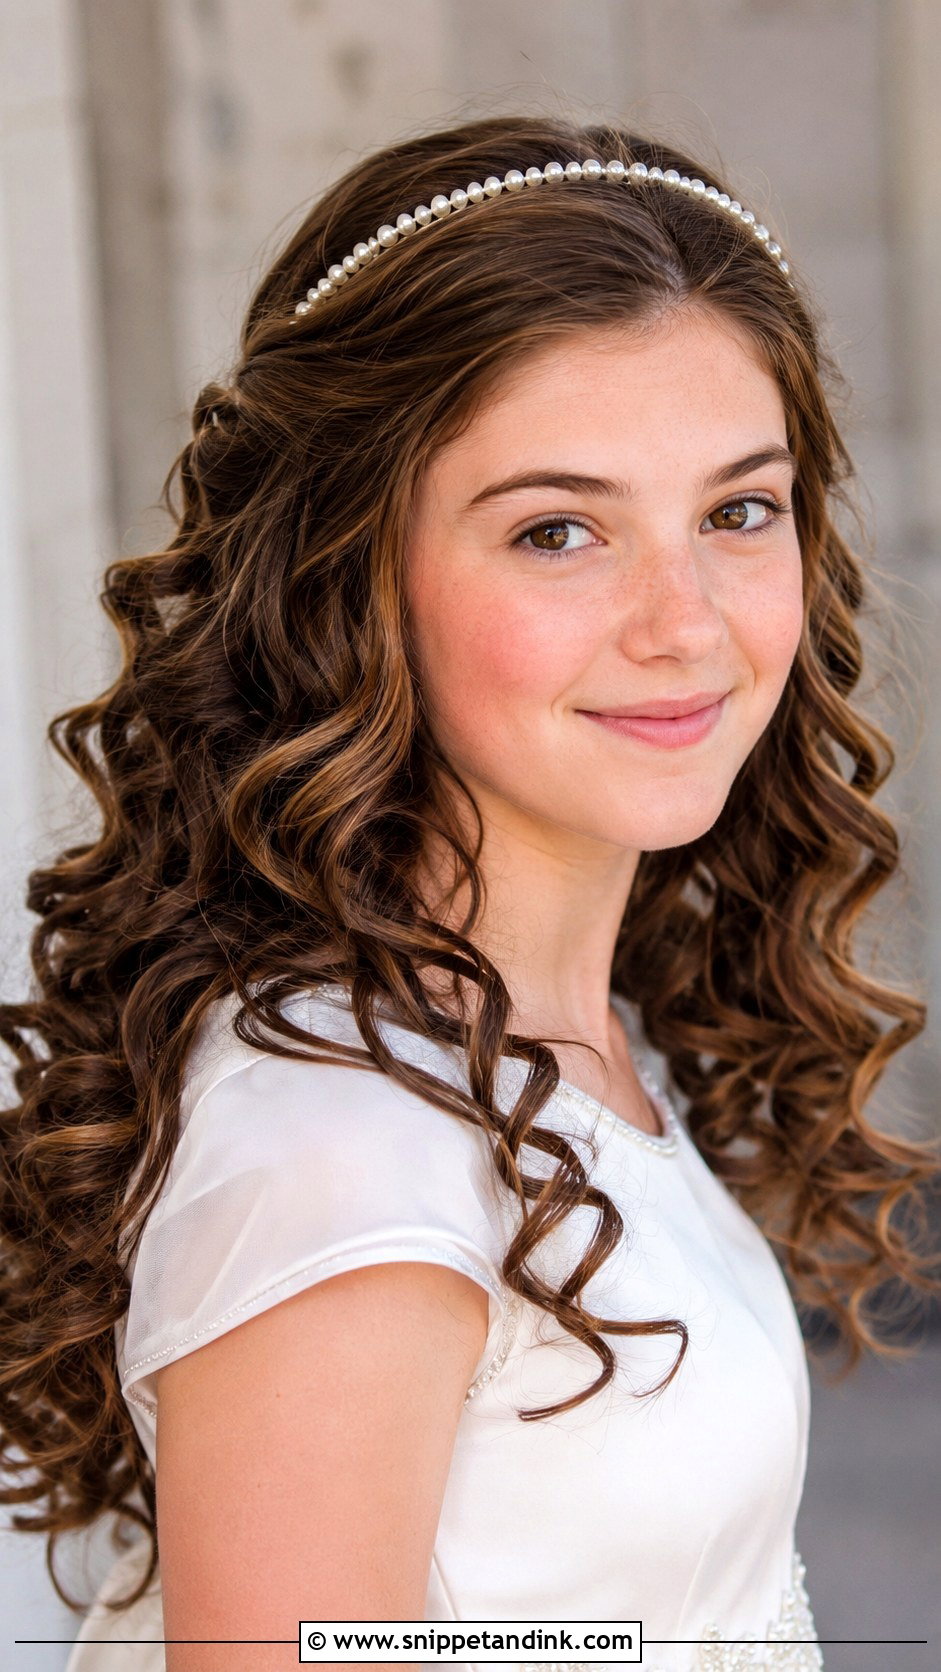
Loose curls with a pearl headband is the simplest style on this list that still looks properly dressed up. Curl the hair, let it cool, then brush through lightly with fingers. Put the headband on last and slide it back about an inch from the hairline; pushed too far forward it starts to pinch behind the ears within an hour. Choose a band with a soft, padded or fabric-wrapped interior if it’s going to be worn all day.
7. Twisted Half Updo
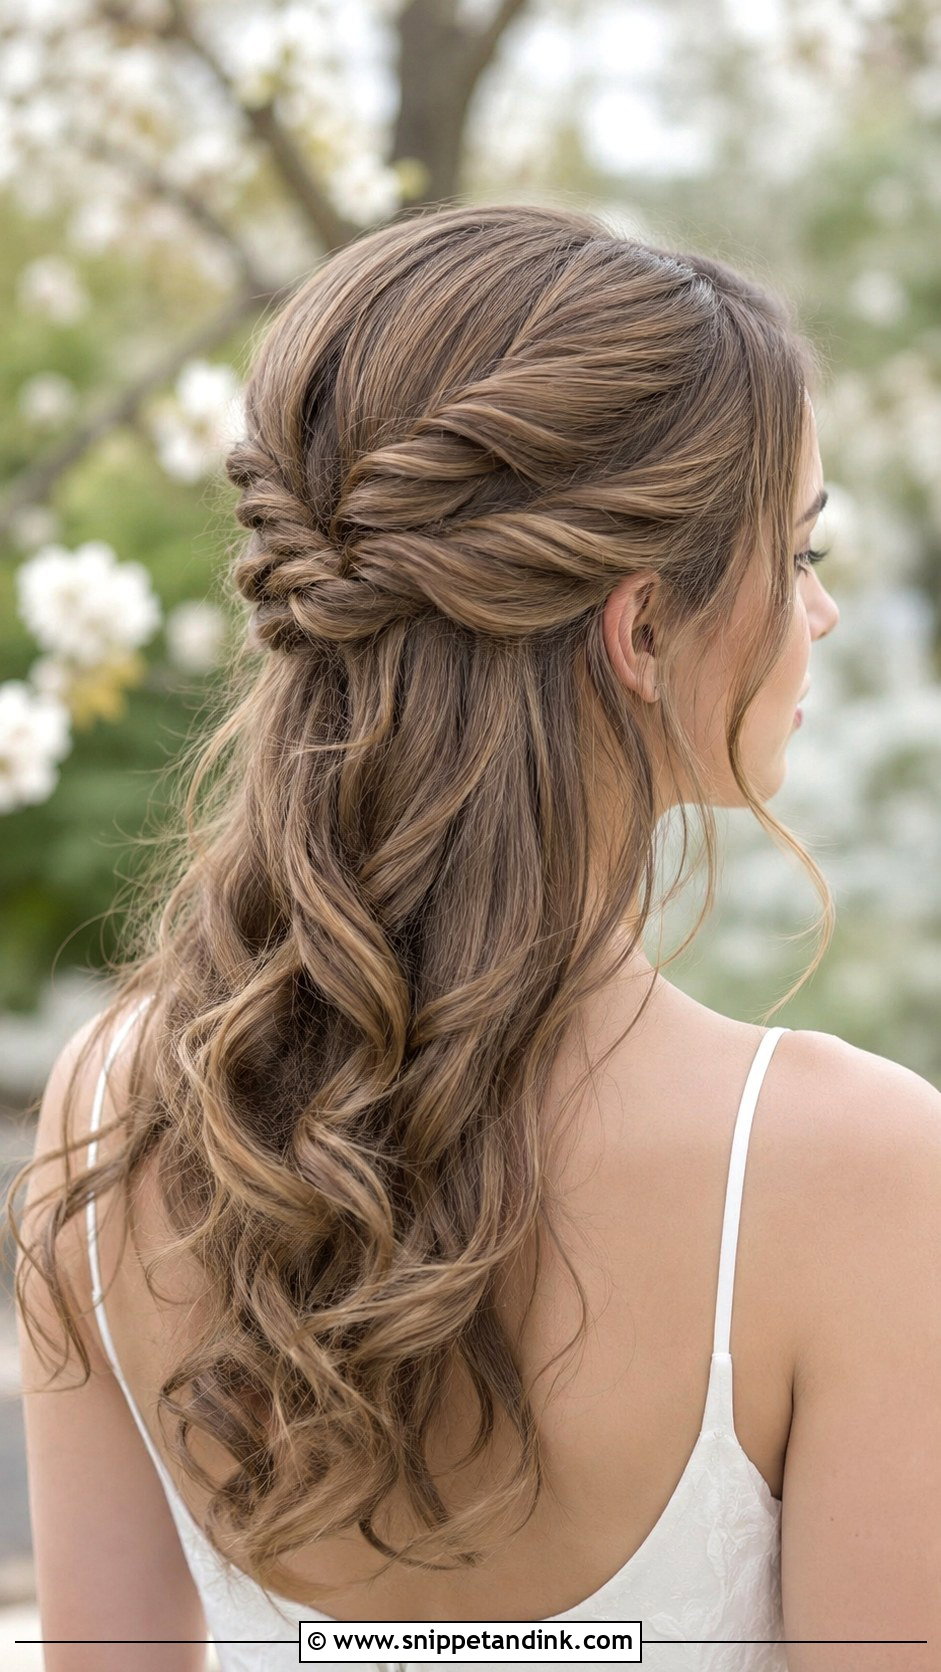
A twisted half updo takes two sections from the temples, twists each one back and pins them where they meet at the back of the head. It looks more involved than a simple half up but takes about five minutes once you’ve practised. Twist away from the face, and pin each twist with two bobby pins crossed in an X, which holds much better than a single pin. The rest stays down in waves. On thick hair, keep the twisted sections small or they become heavy and pull loose.
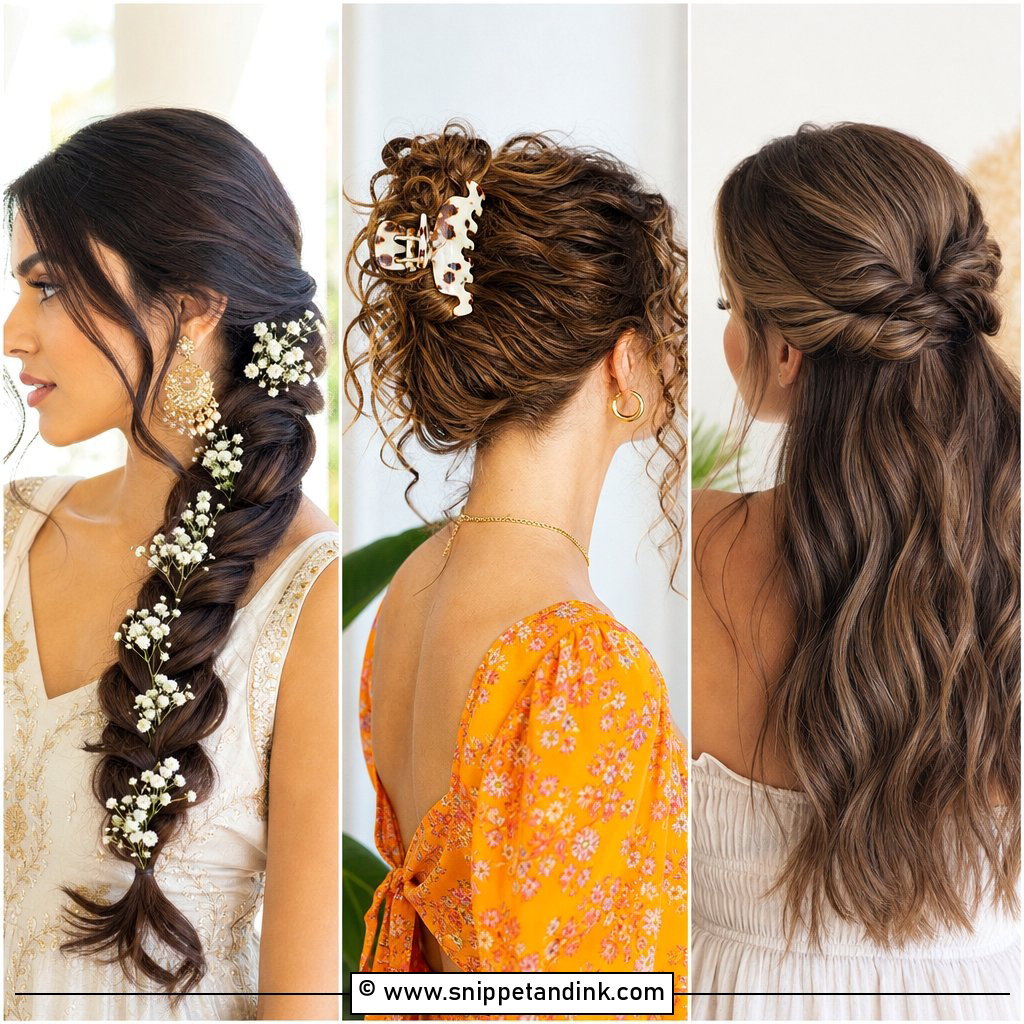
8. Boho Braids With Flowers
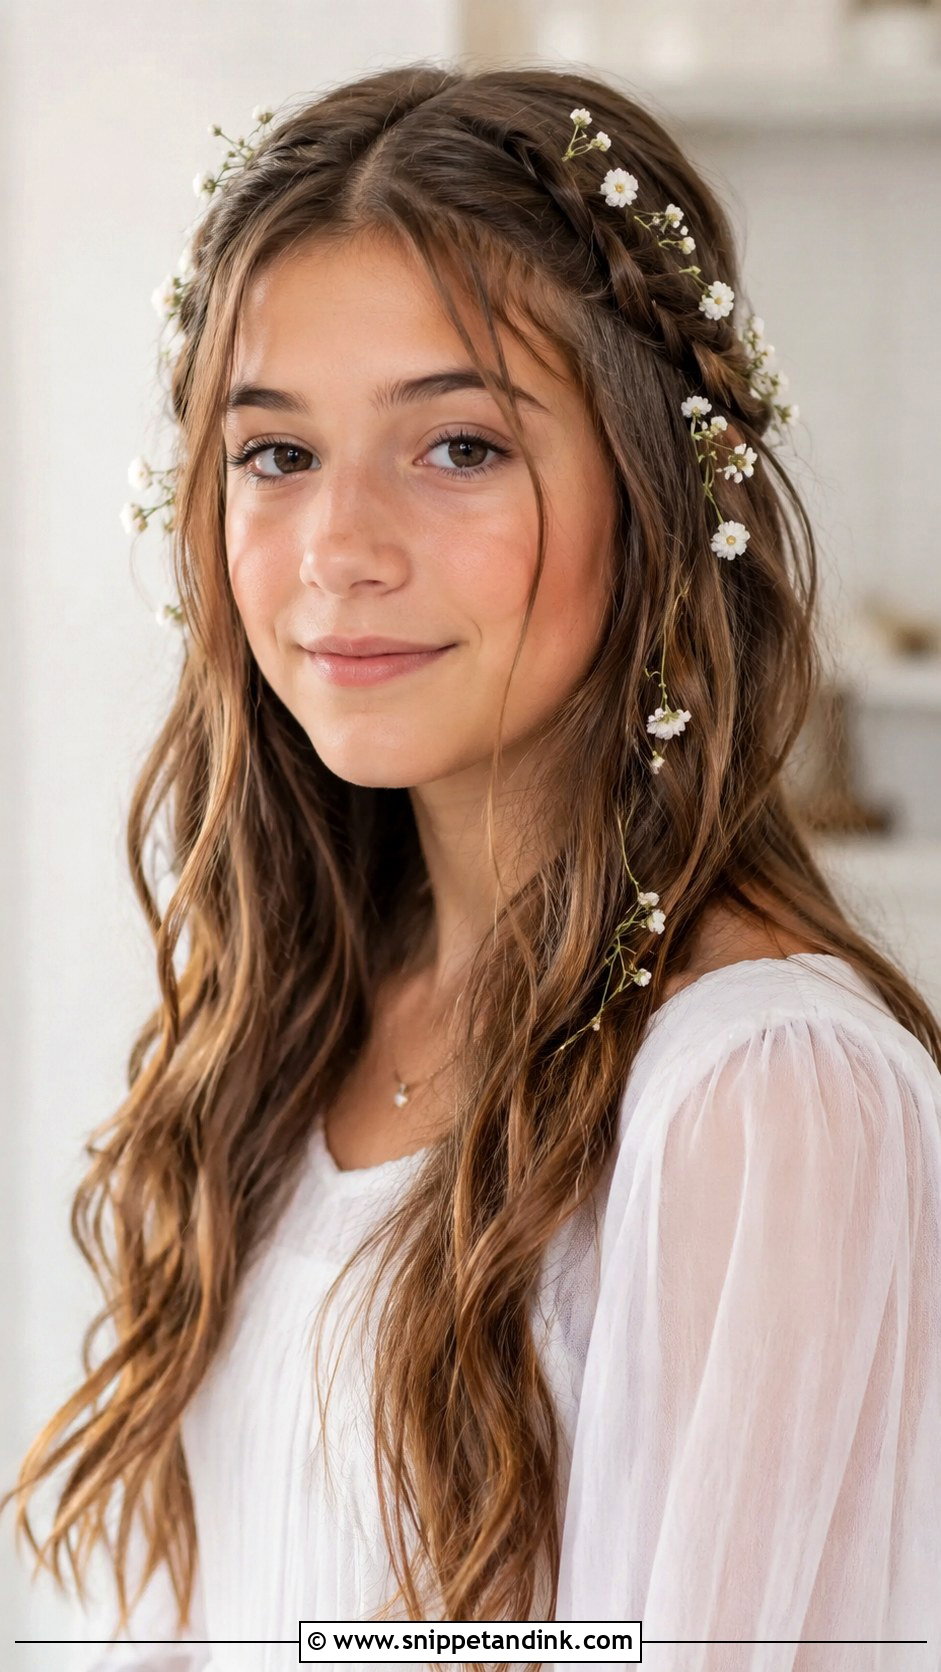
Loose, slightly undone braids feel relaxed, and they’re a good match for a flowing dress and a spring ceremony. The softness comes from braiding fairly tight and then pulling the loops out gently, not from braiding loosely, which just falls apart. Fresh flowers wilt quickly when pinned into hair, so I’d use small faux flowers or sturdy fresh ones like baby’s breath. Tuck the stems into the braid, not just against it.
9. Classic Chignon
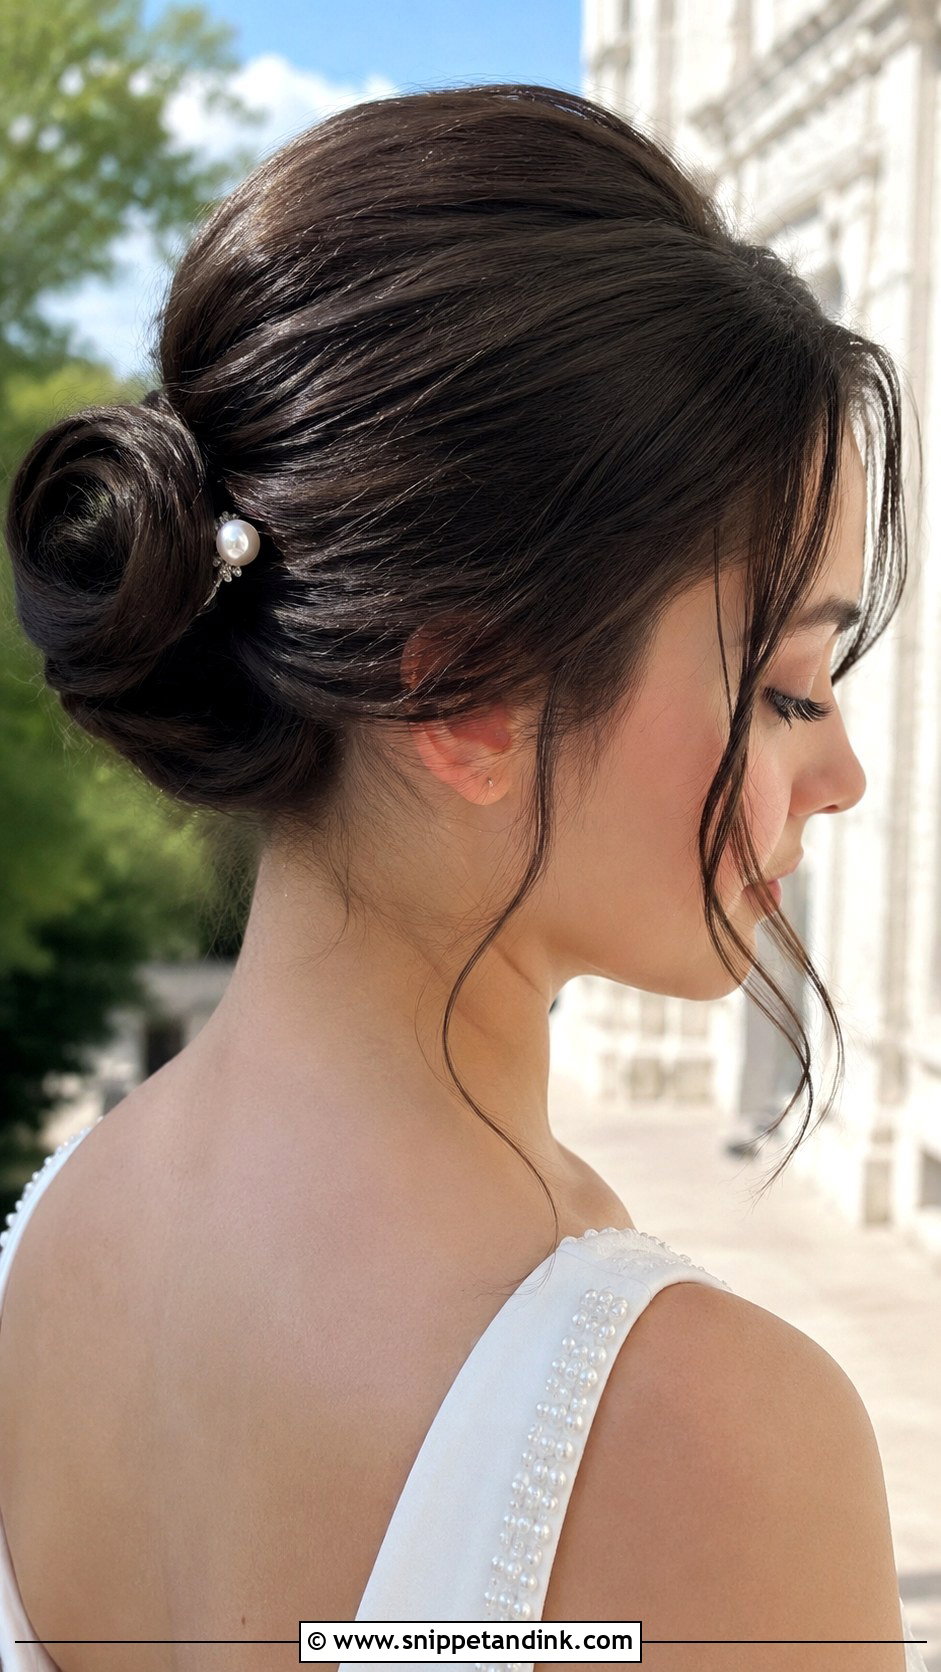
A chignon rolls the hair into a smooth, low knot at the back of the head, and it’s the most formal style here. I build it on a small foam donut or by rolling the hair over two fingers, then pin it with U-pins. Smoothness depends on prep: a little smoothing cream before brushing it back stops flyaways. It suits older teens with medium to long hair. On very young girls it can look a bit grown-up; softer pieces left around the face help.
10. Curly Hair Half-Up Style
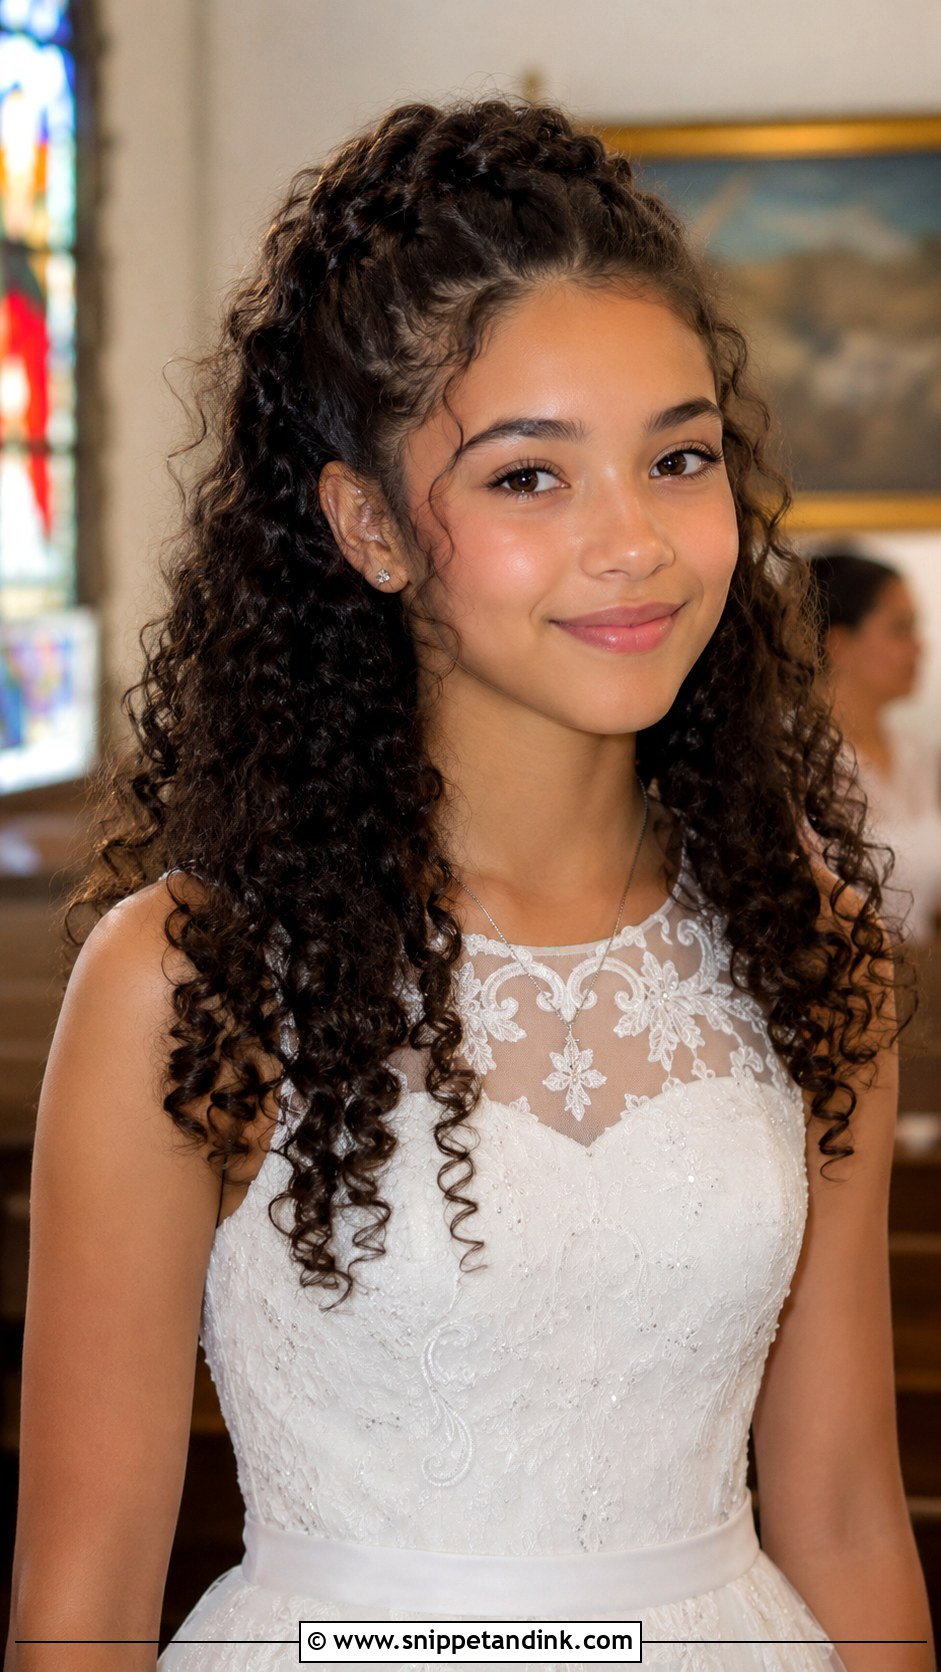
Natural curls look their best when they’re defined, not brushed out. I’d style curly hair while it’s damp with the products she already uses, gather the top section with a soft scrunchie or claw clip, and let the rest dry undisturbed. Don’t brush curly hair dry on the morning; it turns to frizz. A few pins at the crown keep the half-up section in place. This style is comfortable, quick on the day and lets the texture show as it is.
11. French Braid Into a Bun
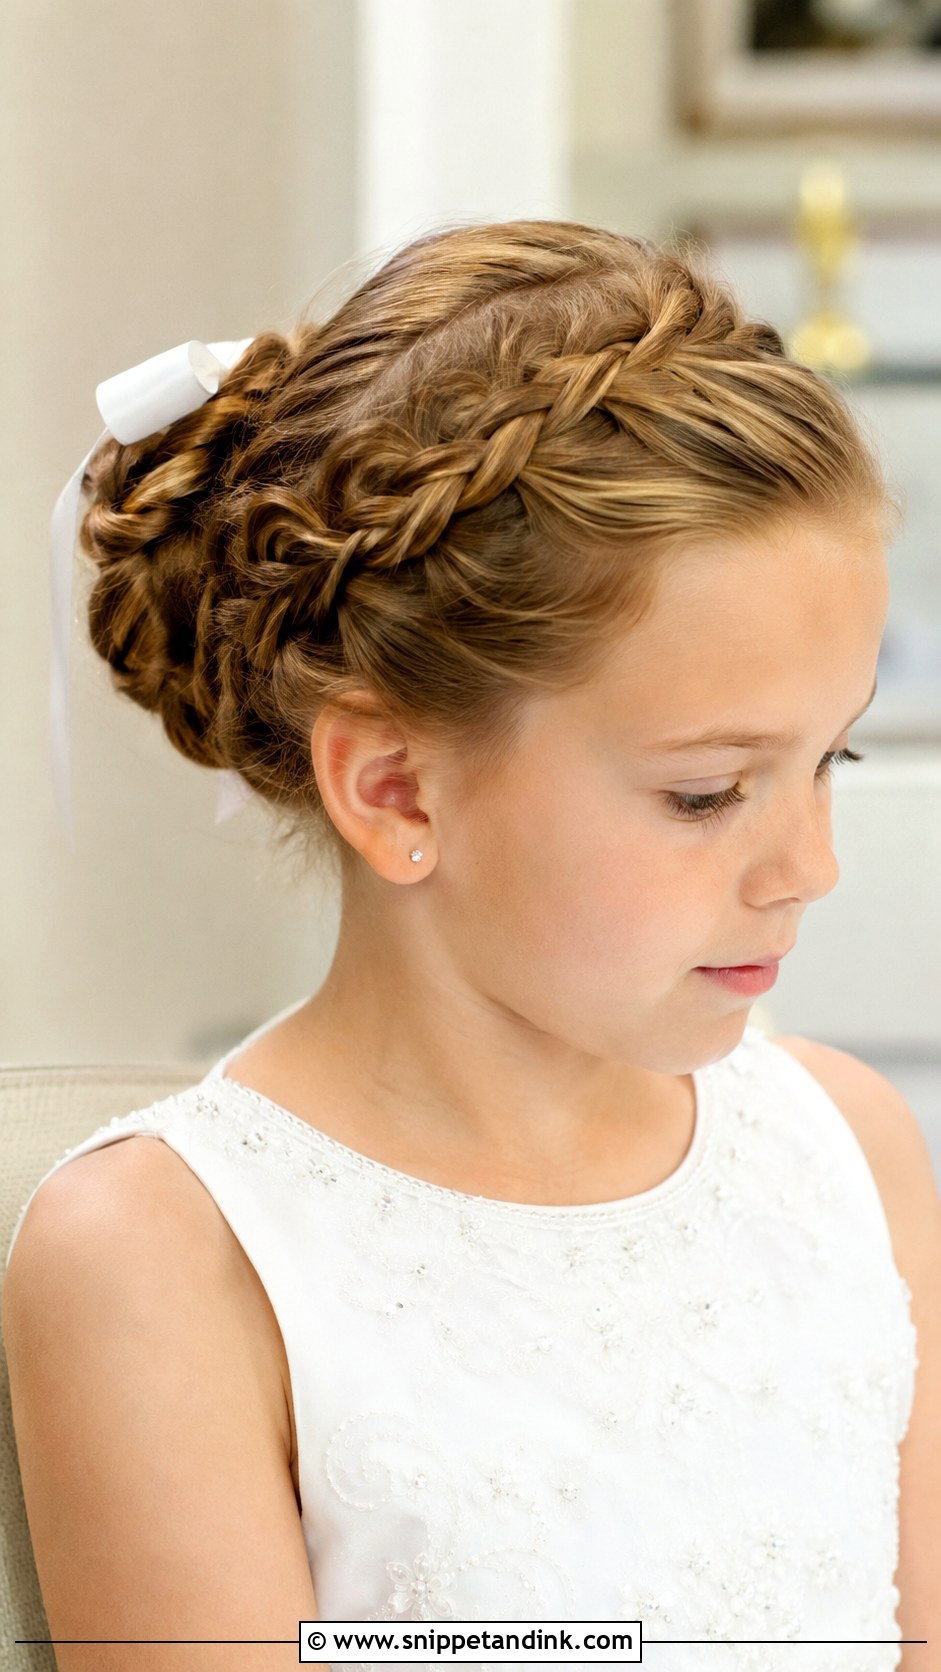
A French braid into a bun is practically indestructible, which is why I recommend it for younger girls who won’t sit still. Braid from the hairline down to the nape, then wrap the tail into a bun and pin it. Any hair that’s too short for the braid at the nape can be tucked up with a small comb. You can thread a ribbon woven into the braid by tying it in with the first strand and braiding it as part of one section. It will still look neat after a family lunch and an afternoon in the garden.
12. Loose Waves With a Side Part
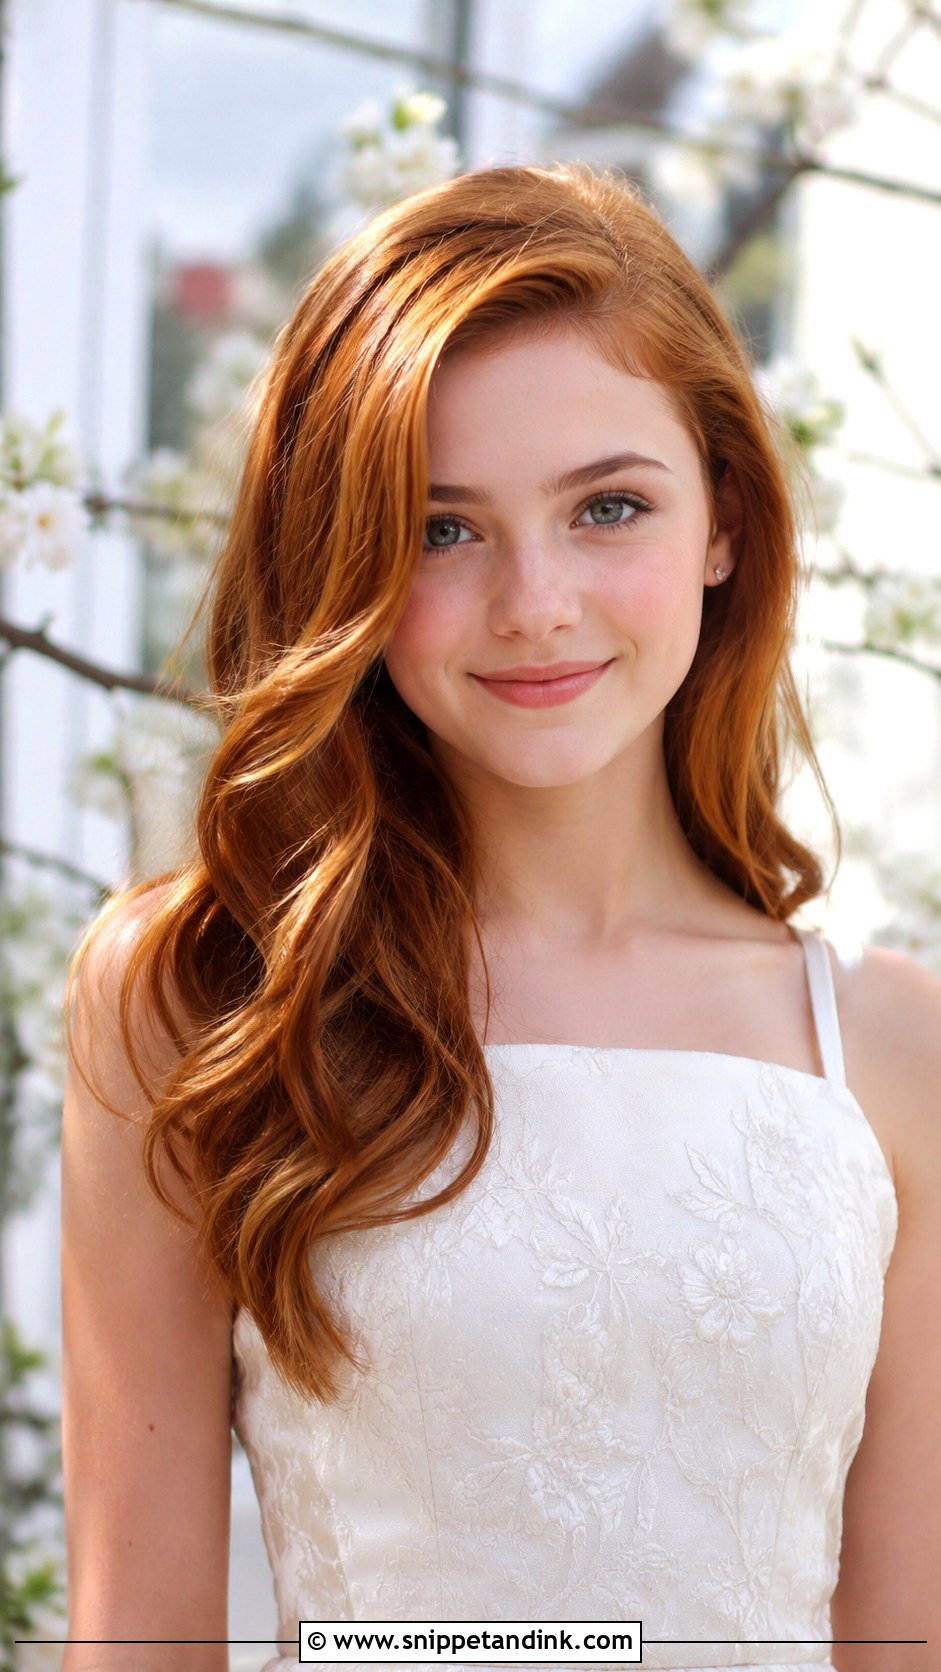
For hair worn down, waves and a deep side part are the easiest way to look dressed up. Curl in alternating directions with a wand, let it cool, then brush lightly. The part should be set while the hair is still slightly damp or heated, otherwise it falls back to its usual place during the service. A tiny pin behind the ear on the heavy side holds it. Humid weather is this style’s weakness; a flexible-hold spray helps keep the waves for longer.
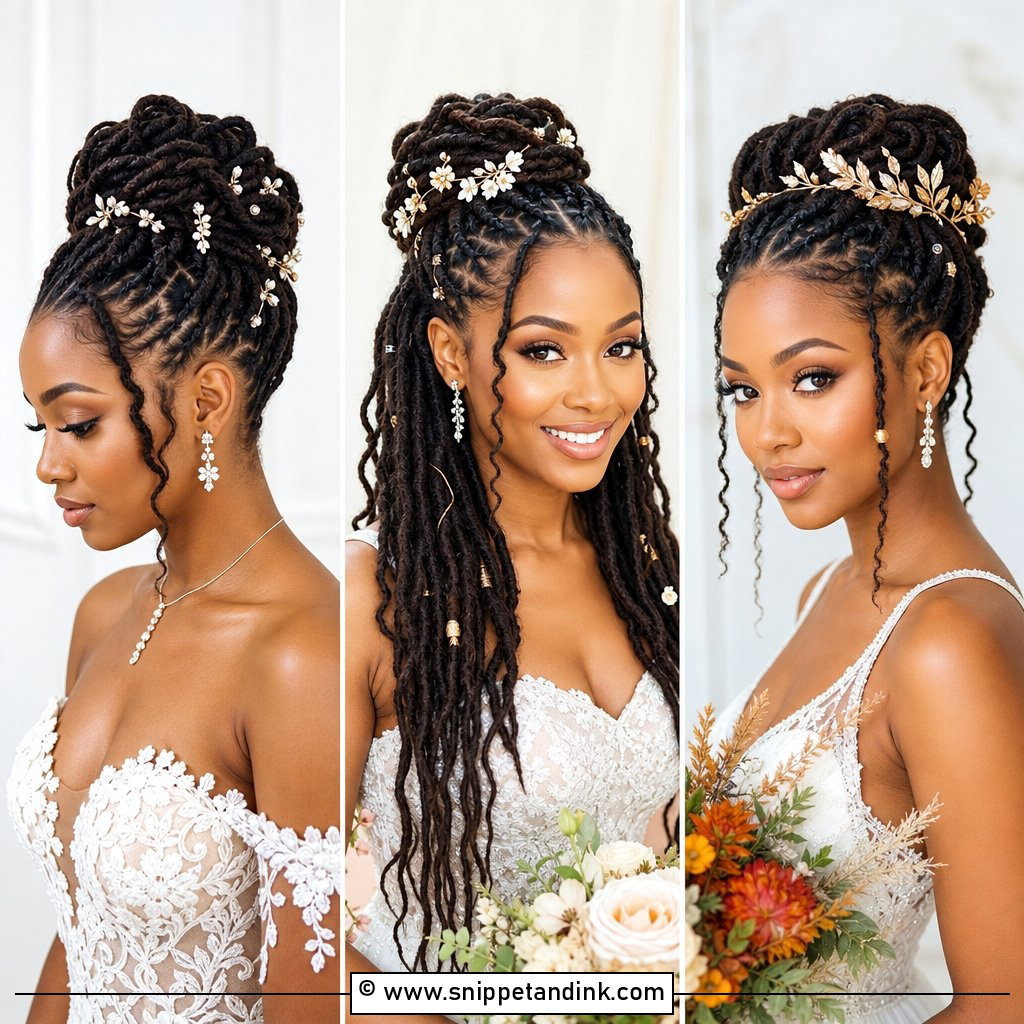
13. Top Knot With Braided Detail
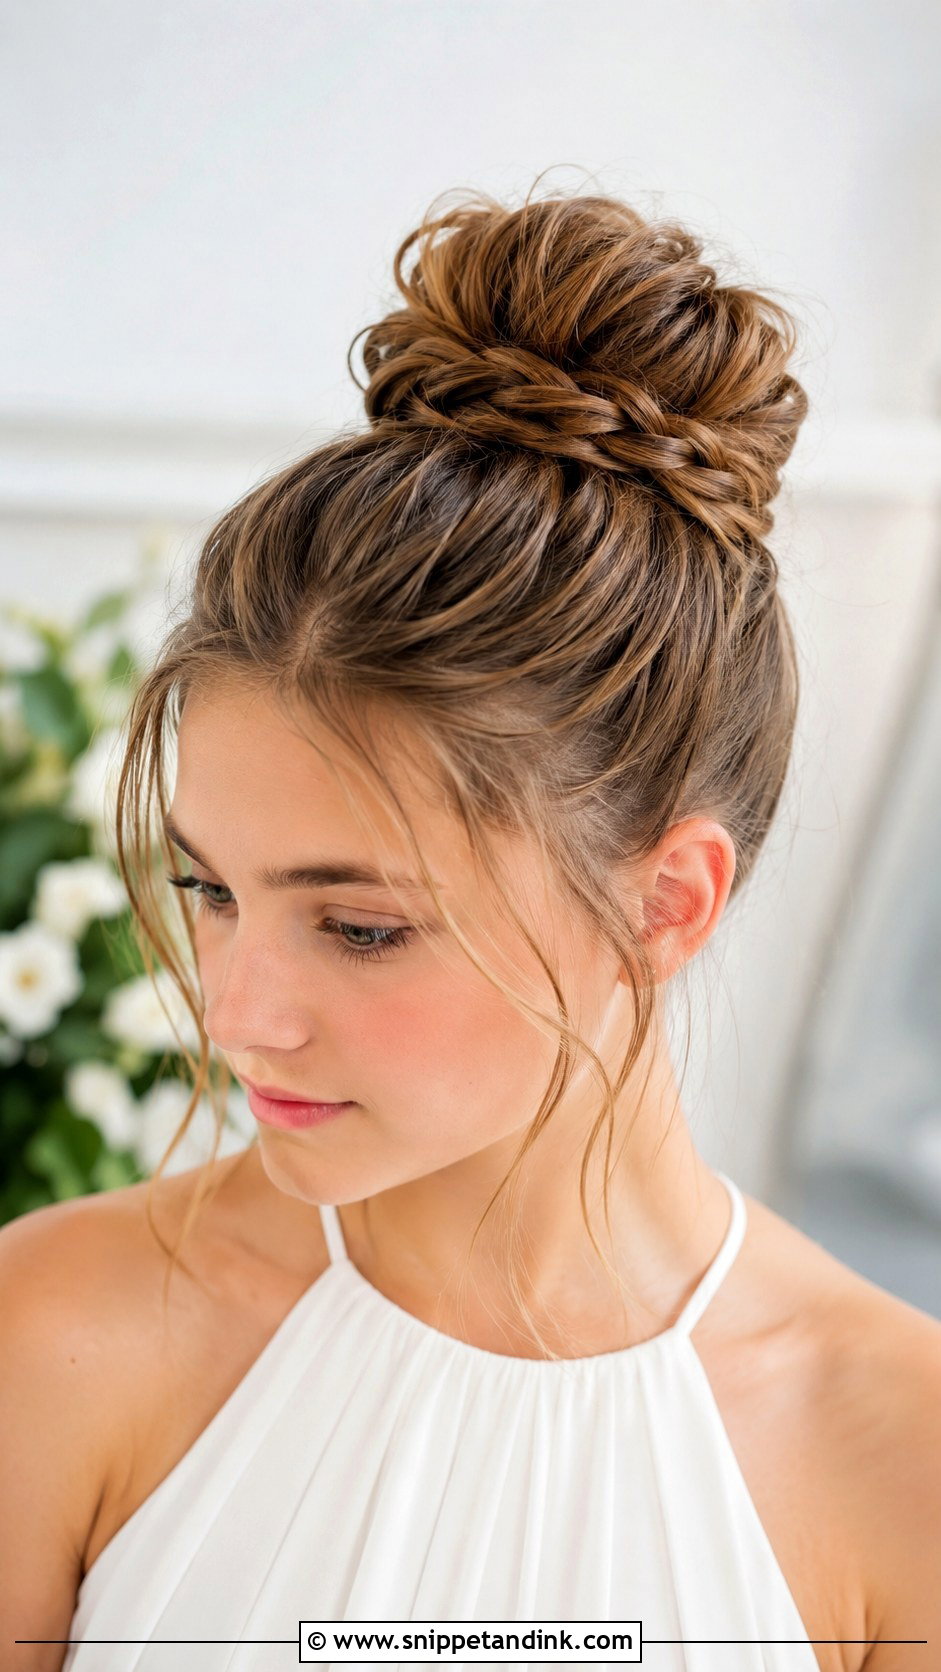
A top knot sits high, keeping the neck and shoulders completely clear. A braid along the side or around the base gives it a dressier look. I’d use a sock bun or donut on thin hair to give it size, and a strong elastic before pinning. One practical note for confirmation: in some churches the minister lays a hand on the candidate’s head. A very high, large knot can get in the way, so if that’s part of your rite, a slightly lower bun is more comfortable.
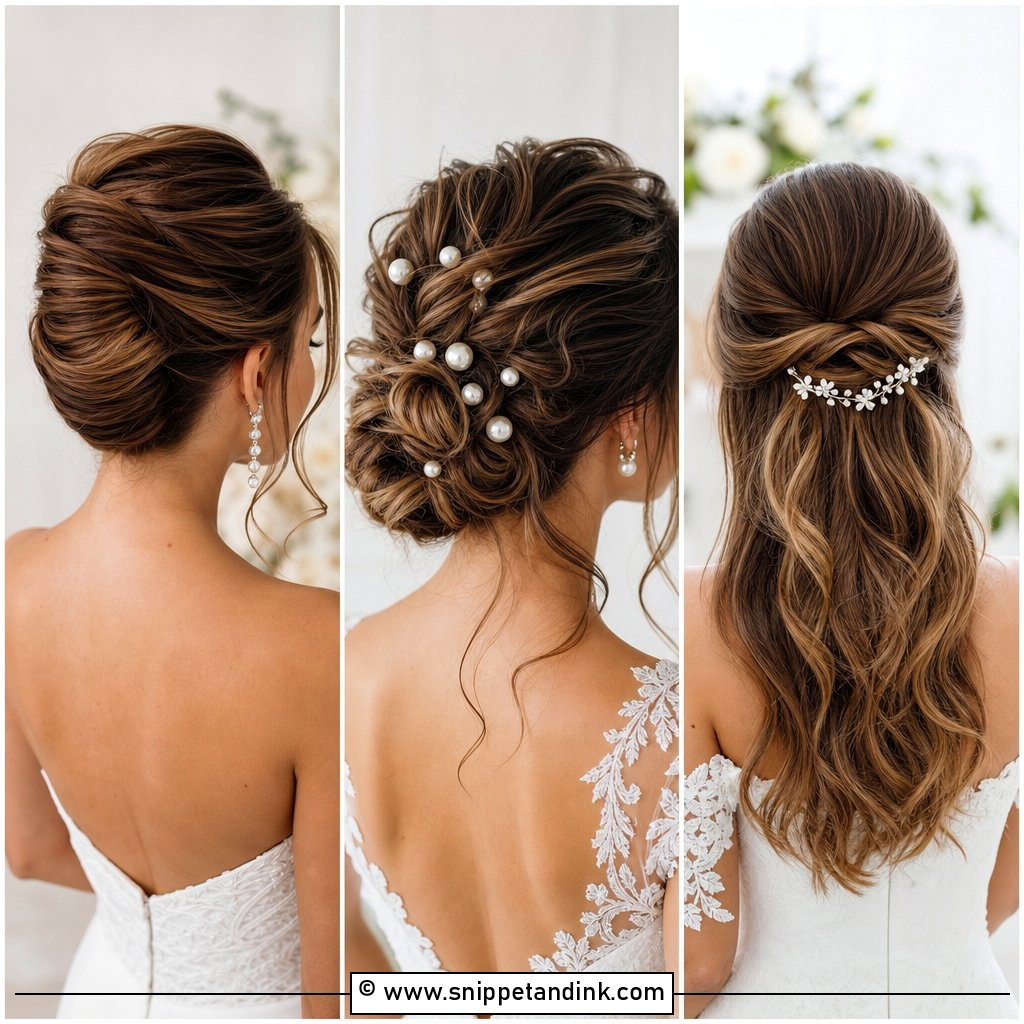
14. Romantic Updo With Curls
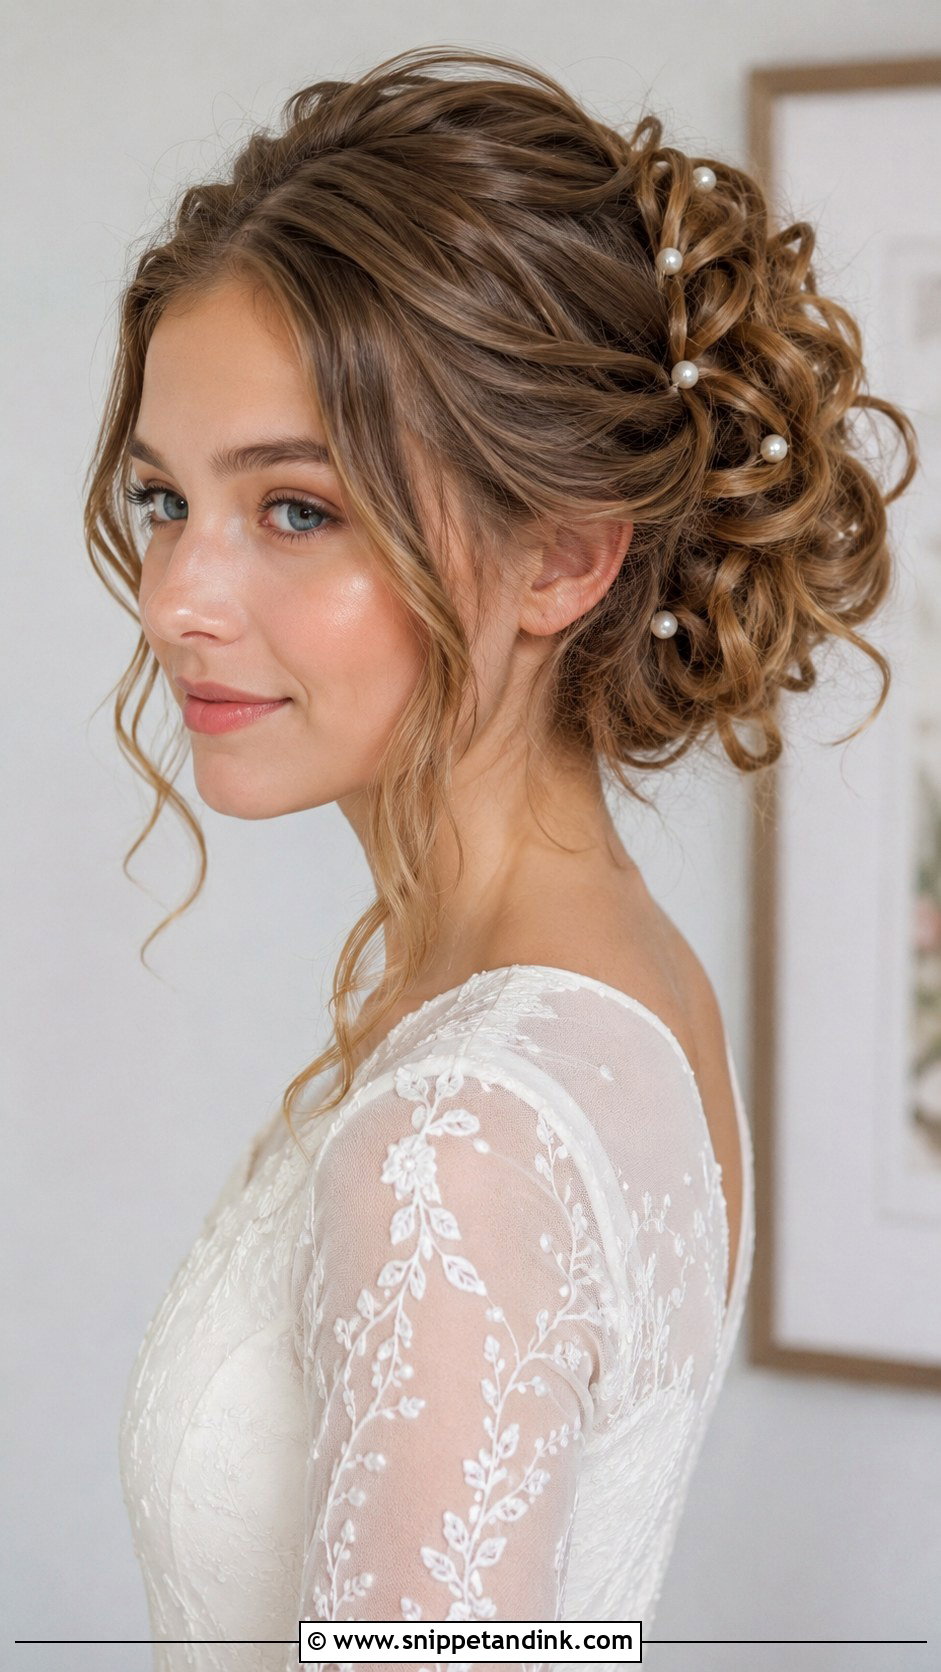
A romantic updo pins loose curls up into an airy shape. The structure comes from small hidden pins, not tight sections. Curl the hair first and let it cool fully, then pin the curls one by one loosely around a small base ponytail. On fine hair it may need backcombing at the crown for volume. A few small gems or pearls work, but keep them low so they don’t catch on clothing when hugging relatives.
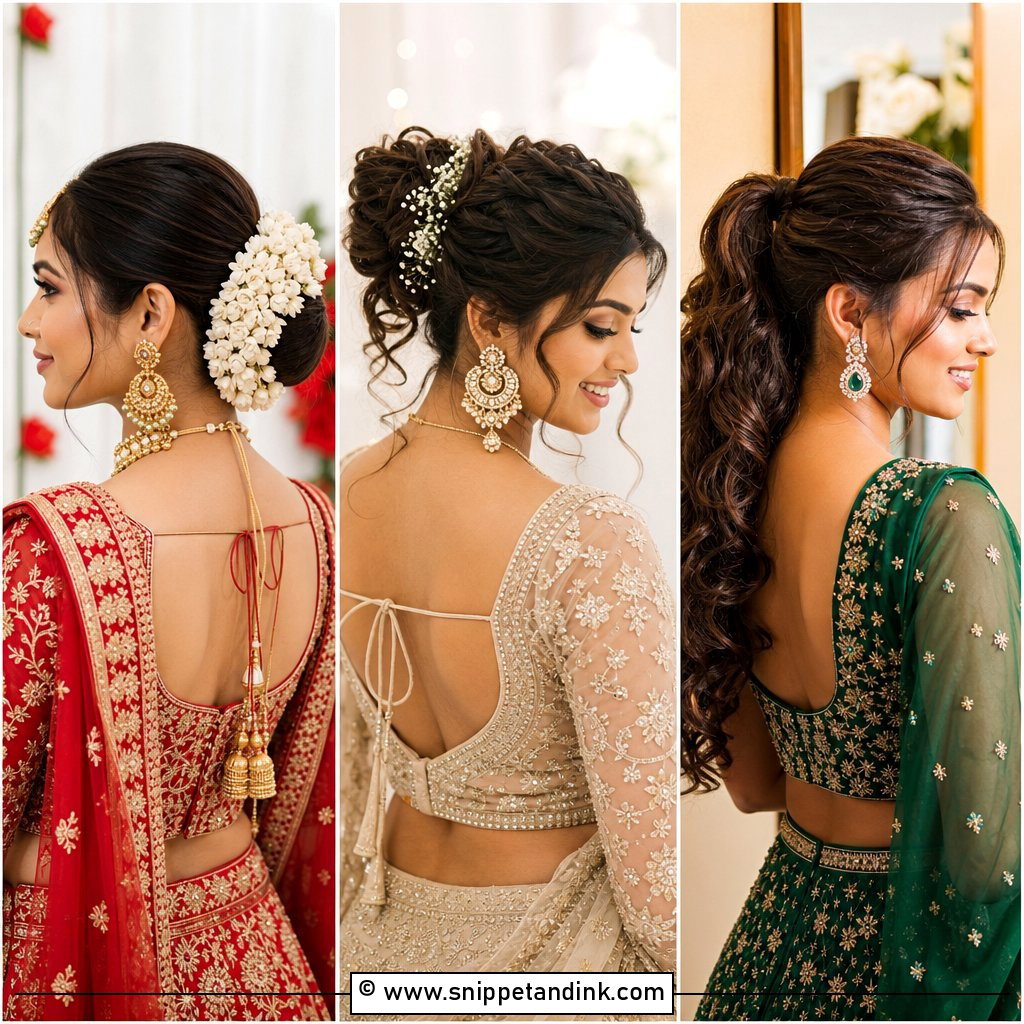
15. Dutch Braid Pigtails
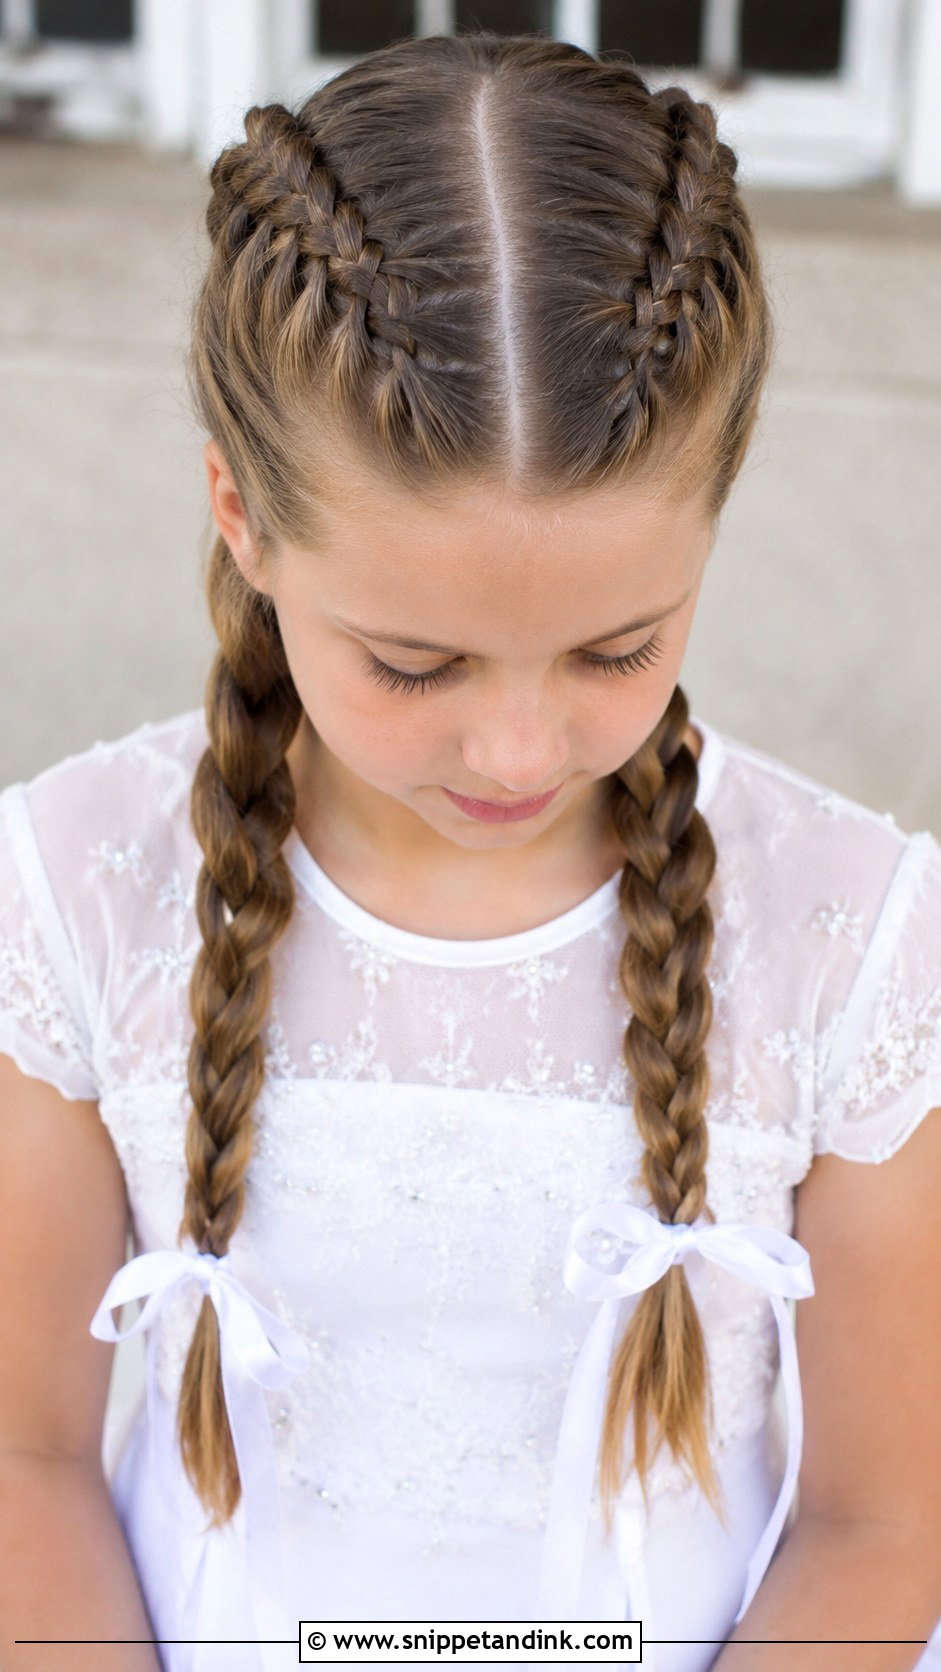
Dutch braids are braided underhand, so they sit raised on the head instead of flat. Two of them from front to back keep hair neat for an active child all day. Divide the hair with a clean centre part using the tail of a comb; a wobbly part shows more than you’d think in photos. Tight braids look tidy for longer; looser ones look softer but frizz sooner. Tie the ends with ribbons in the dress colour.
16. Side Swept Curls
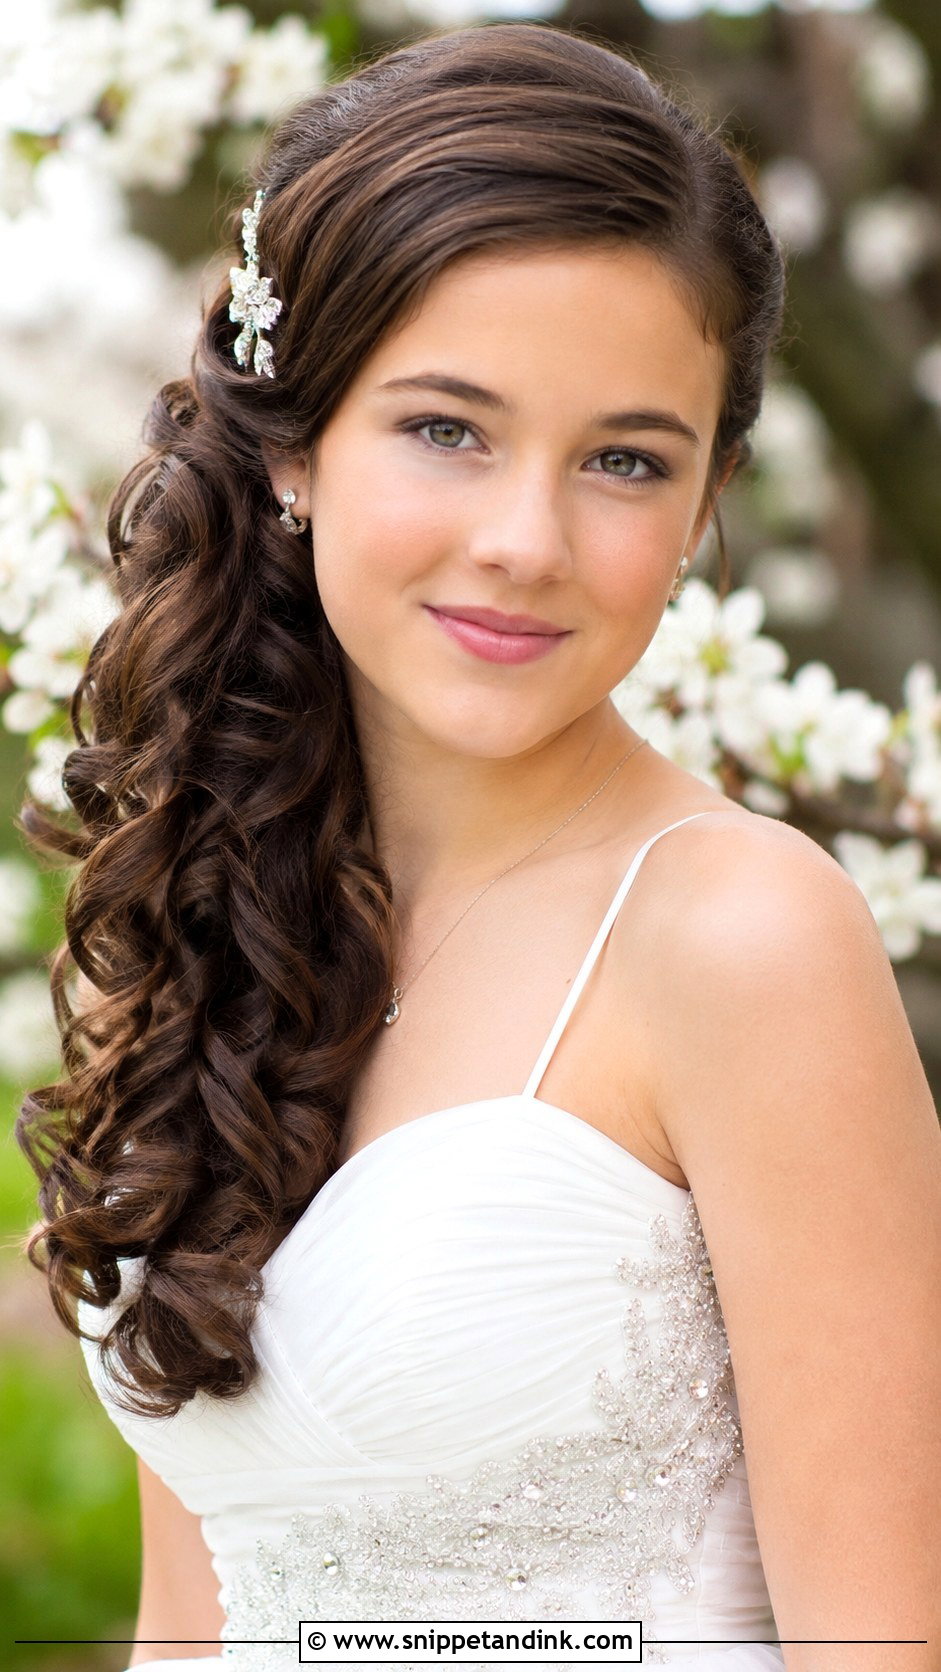
Sweeping curls over one shoulder draws attention to the face and neckline. Pin the hair on the opposite side behind the ear with two crossed pins, and let the curls fall on the other side. It needs long, thick hair that holds a curl well; fine hair loses its shape quickly. A sparkly clip over the pins finishes it. For an older teen who wants something polished, it photographs particularly well from the front.
17. Braided Headband Style
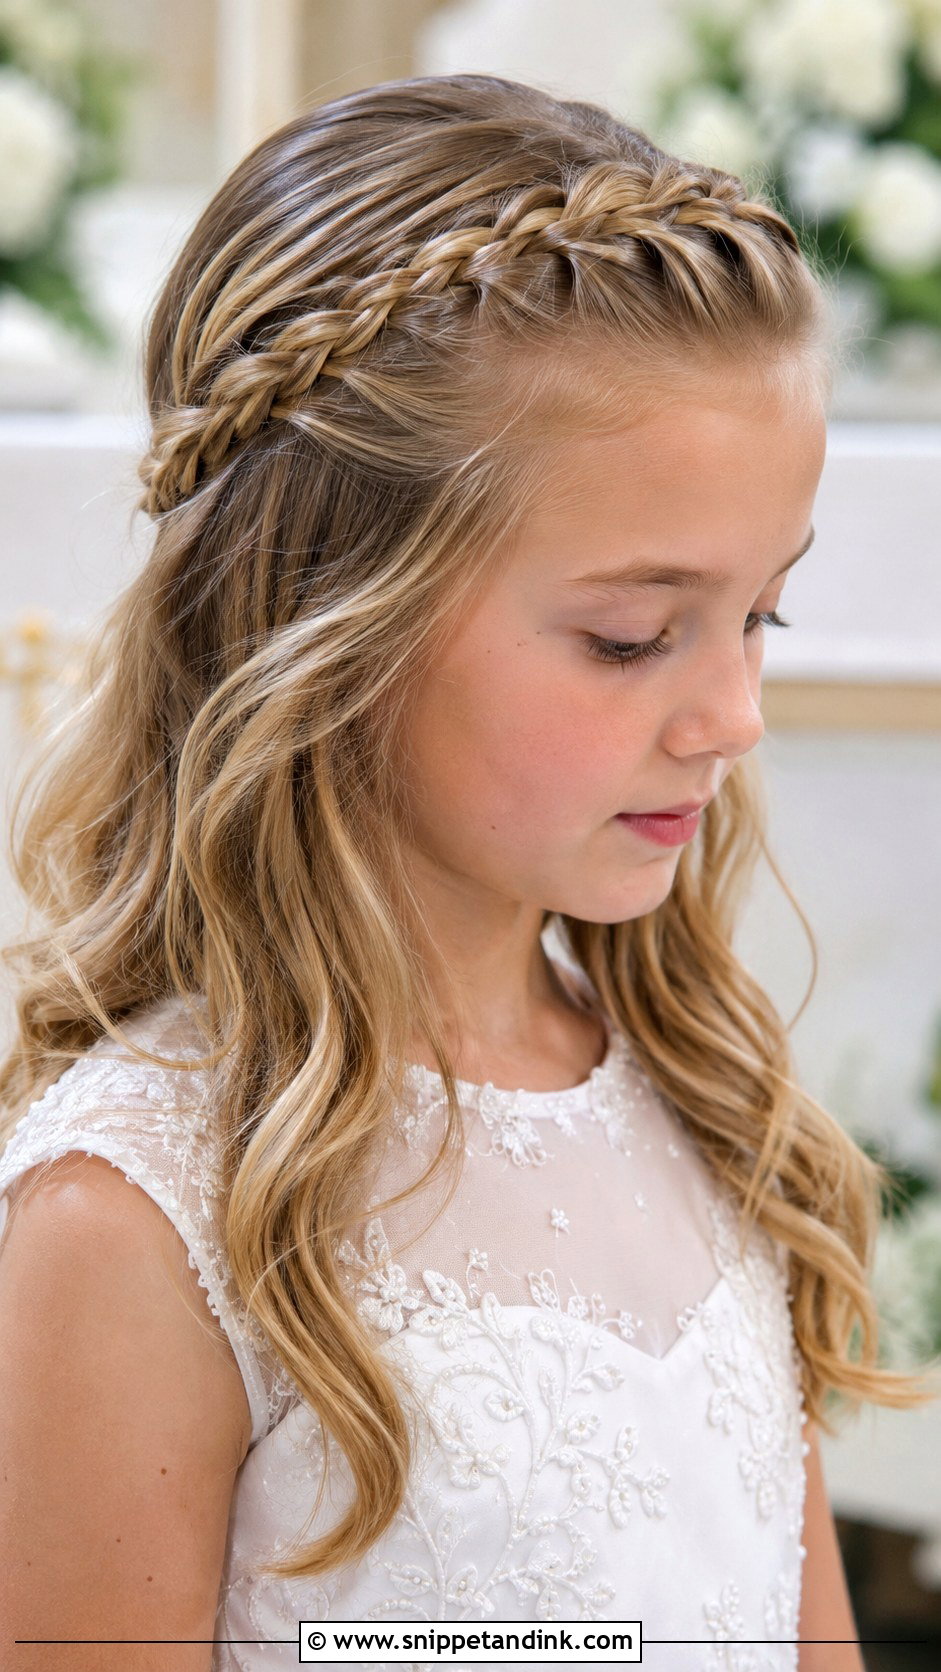
A braided headband uses a thin braid laid across the head from ear to ear, a bit behind the hairline. It keeps hair off the face without an accessory that might pinch. Make the braid from a section just behind the ear on one side and pin it on the other side, under the hair. Shoulder-length hair works; very short layers may slip out. The rest of the hair can be waved or left straight.
18. Sleek Straight Hair With Center Part
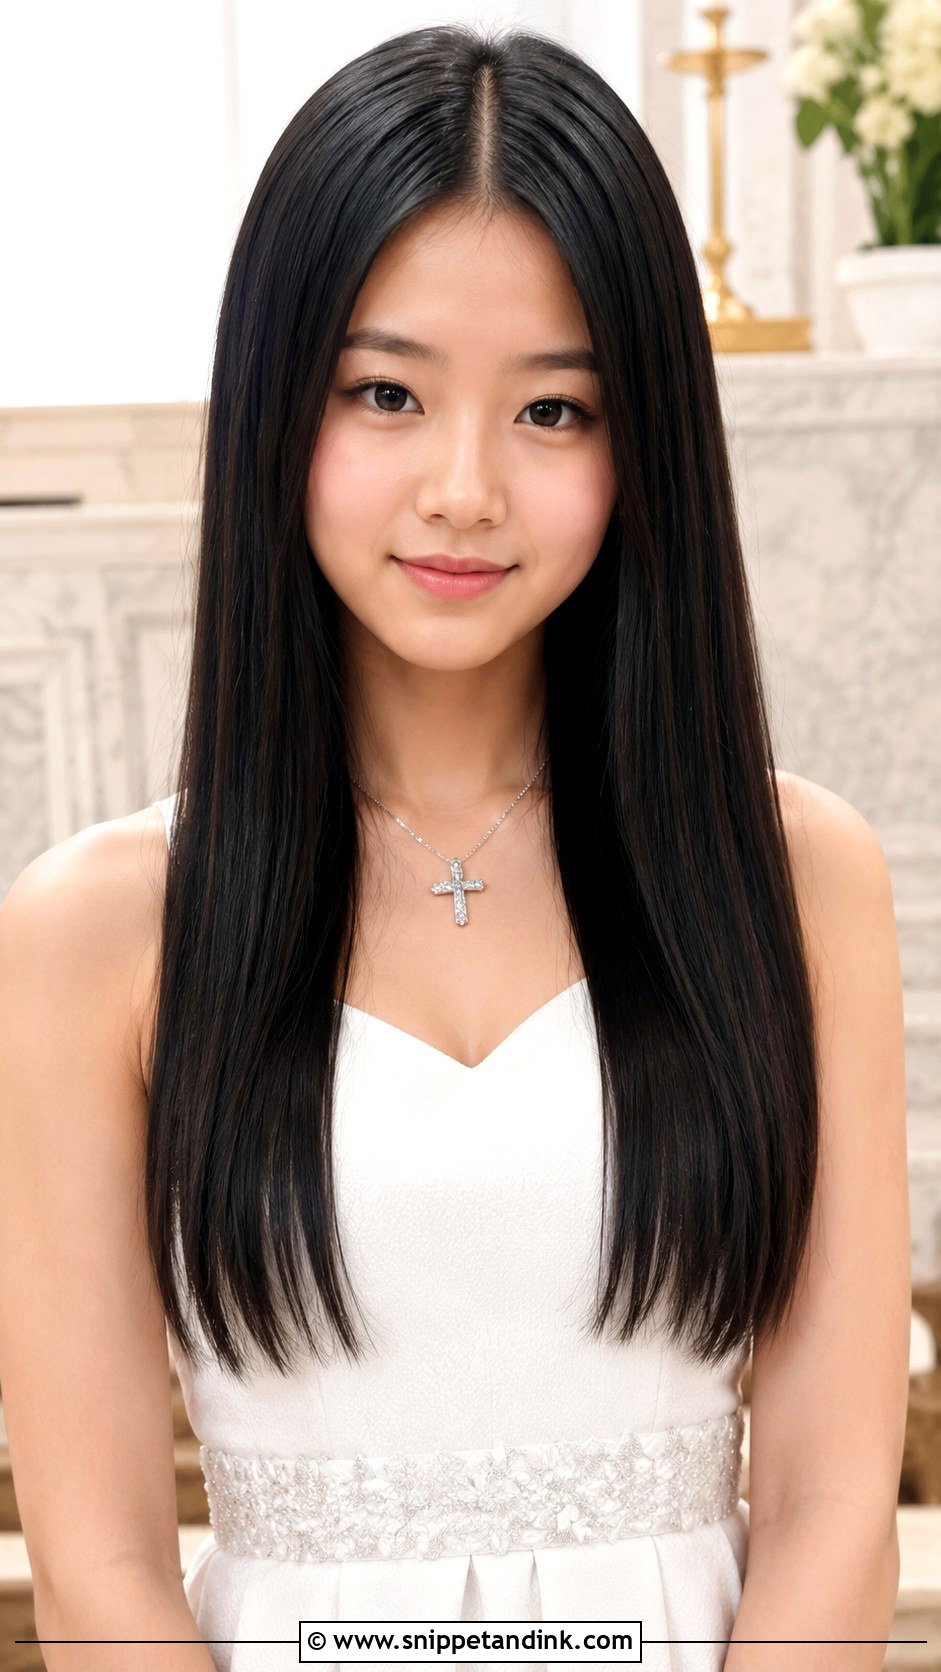
Straight hair with a centre part only works when the hair is in good condition, since every frizz and split end shows. A flat iron on a moderate heat setting with a heat protectant, then a light shine spray, gives that glassy finish. Use a comb to set the part exactly in the centre. It suits long, healthy hair, and it’s the style I’d suggest for a teen who wants something understated and modern. A thin headband or a small clip adds a little detail.
19. Half-Up Bun With Curls
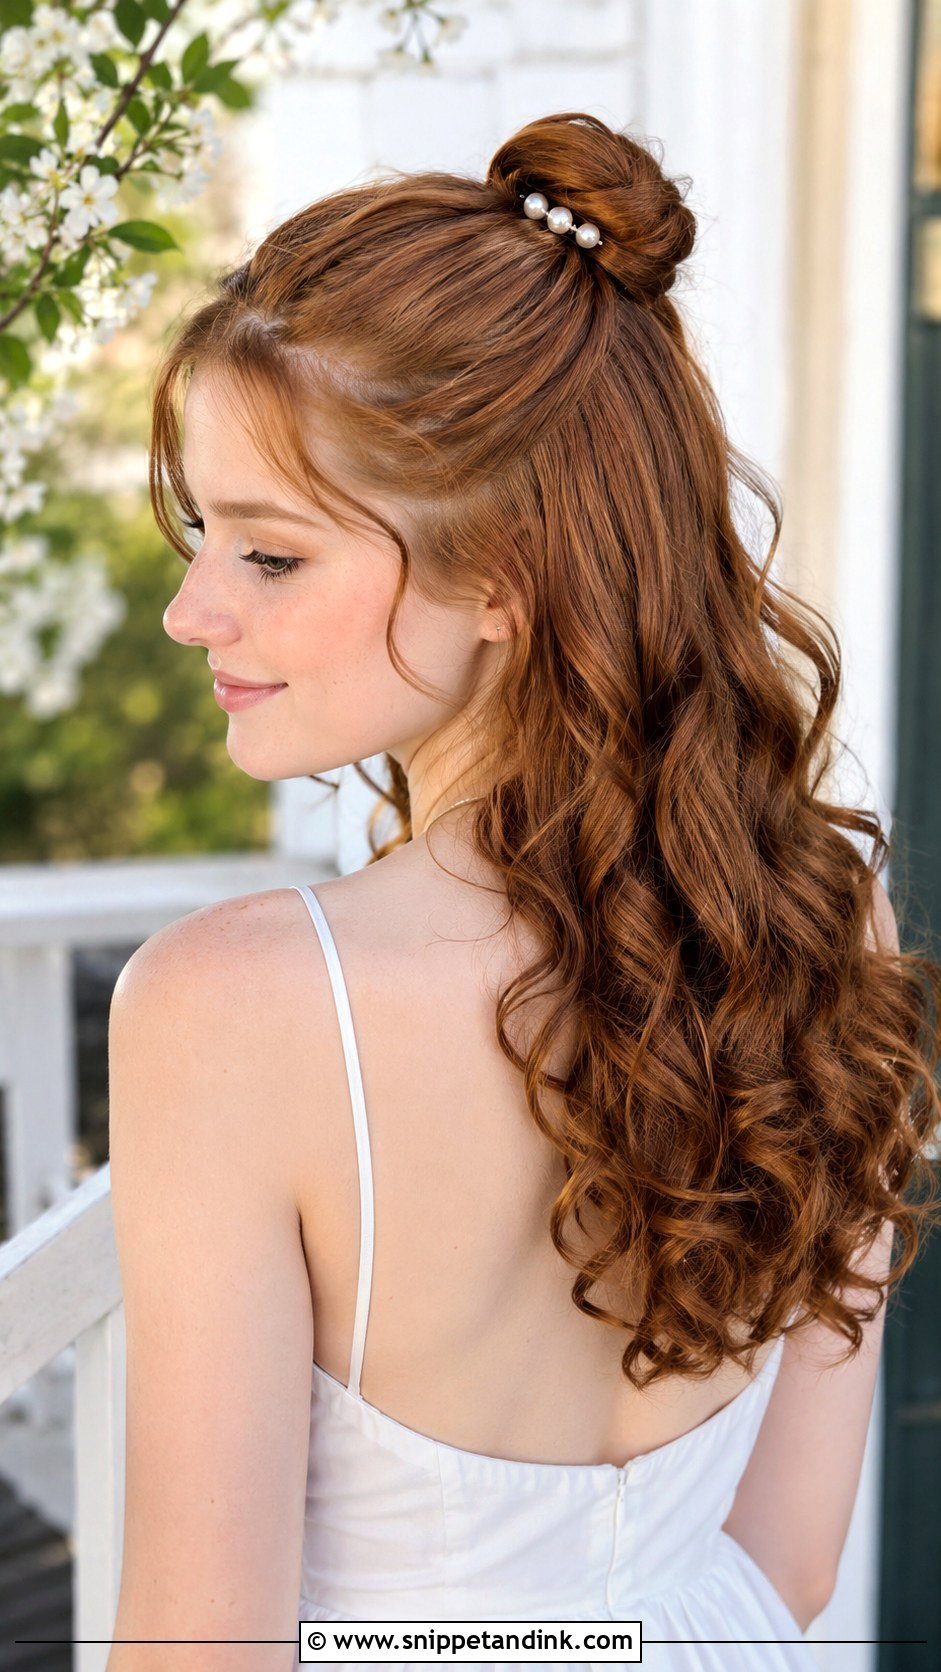
A half-up bun twists the top section into a small knot, with curls below. It’s a slightly playful option that still looks put together. Gather the top section, twist it into a small bun and pin it, then curl the rest. Sleek suits a smart dress, a messier bun suits a casual one. It works on medium to long hair, and it’s quick to fix if it loosens; just re-twist and re-pin.
20. Twisted Updo With Pearls
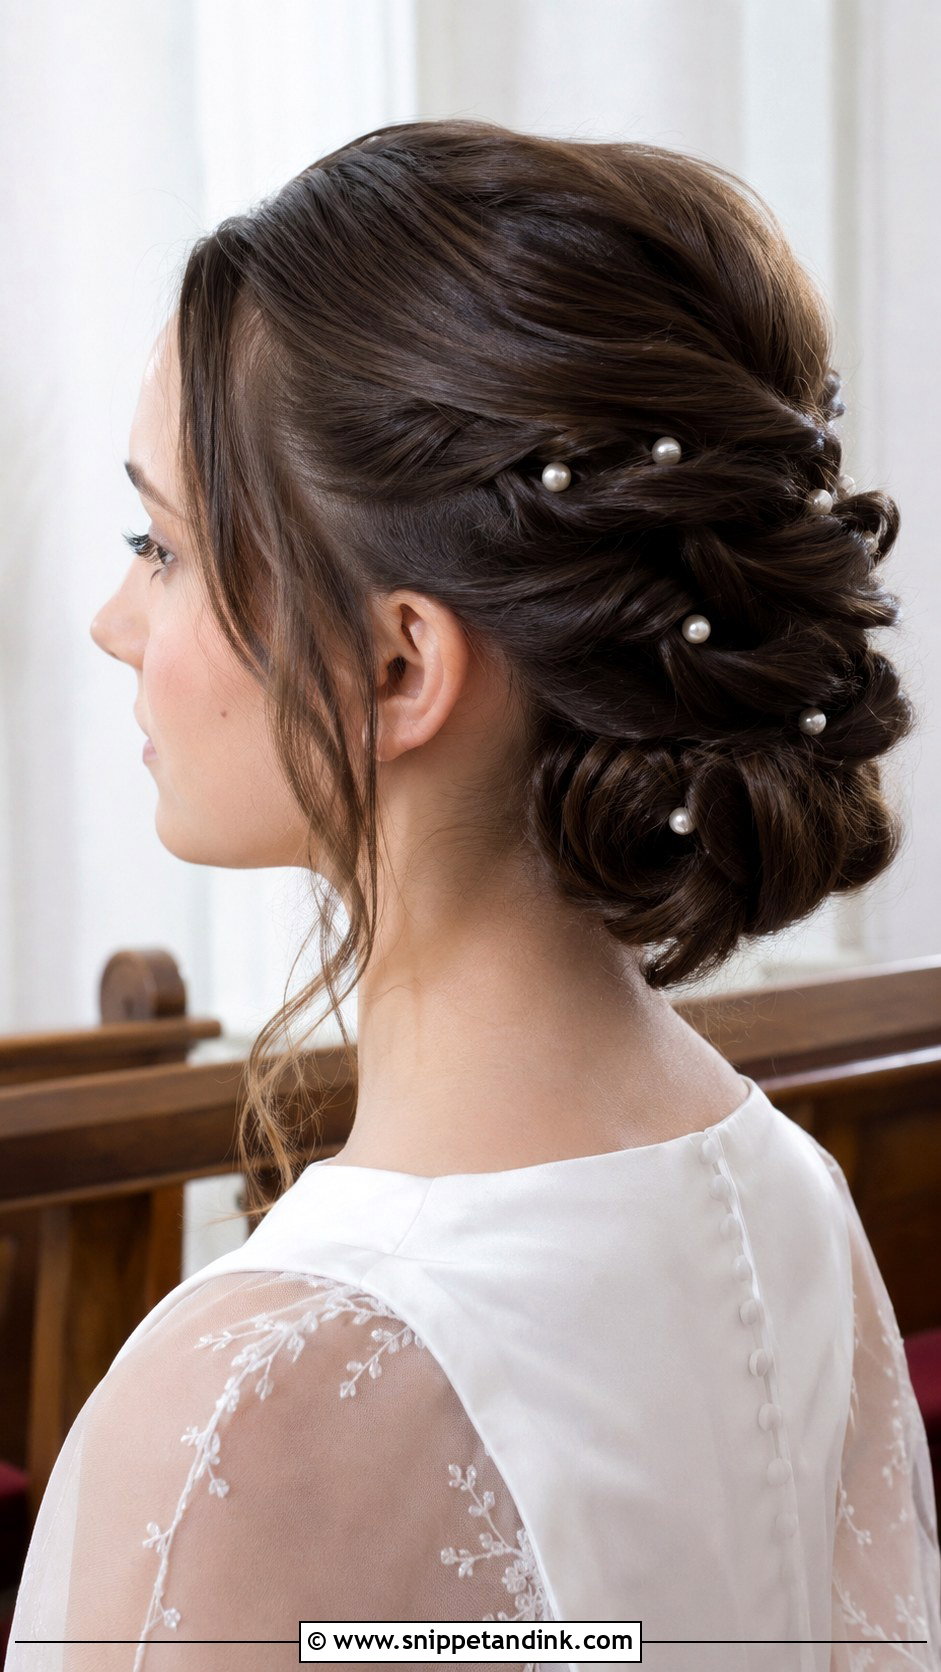
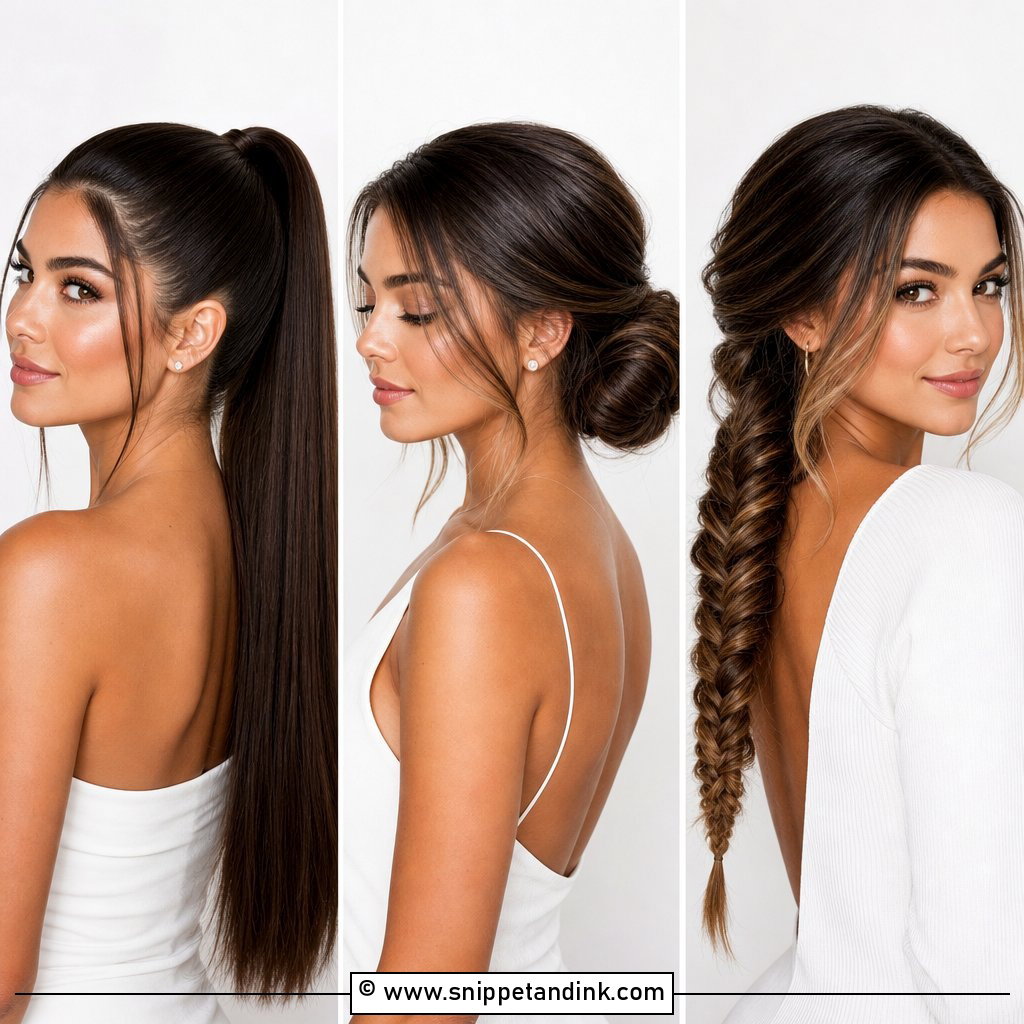
A twisted updo gathers rope twists and pins them up, keeping hair entirely off the shoulders. Pearl pins dotted through it give a little shine. Twist each section firmly in one direction and pin it in place before moving to the next; if you twist and wrap at the same time, the twists unwind. It suits older teens with medium to long hair who want something formal.
21. Loose Fishtail Braid
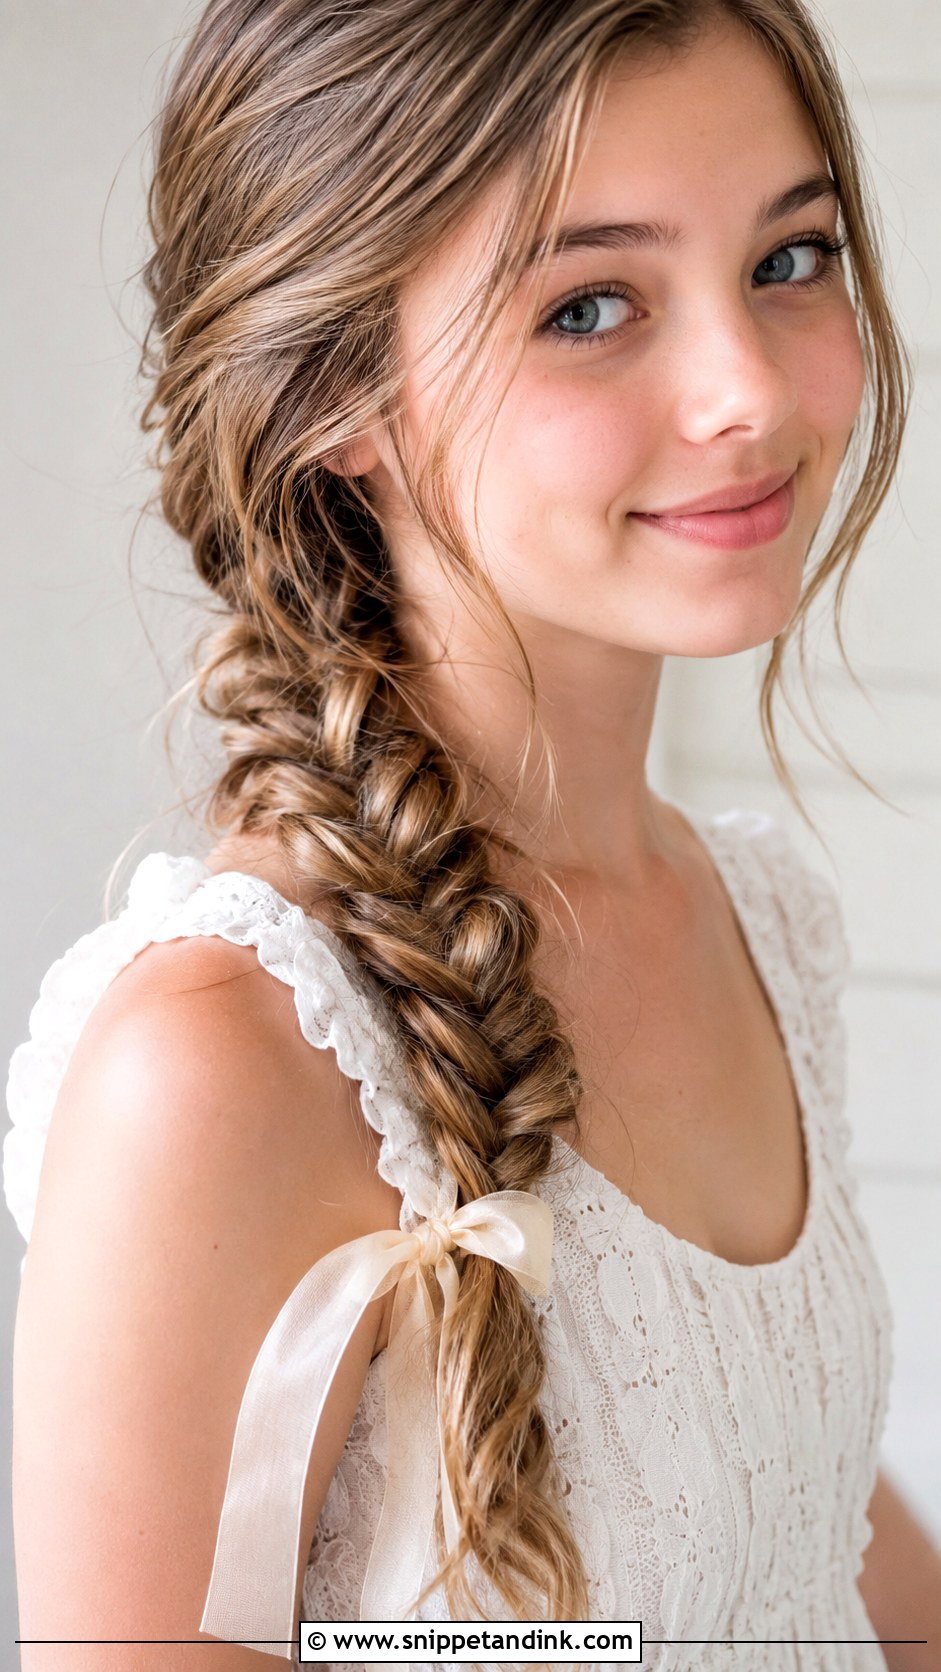
A fishtail braid looks complicated, but it’s just two sections and small strands crossed from the outside in. Worn over one shoulder, it shows off the pattern. Pull the edges loose after braiding for softness. It needs long hair; the pattern only shows over a good length. A ribbon tied at the end matched to the dress finishes it, and it keeps everything secure through a long day.
22. Curled Bob Styling
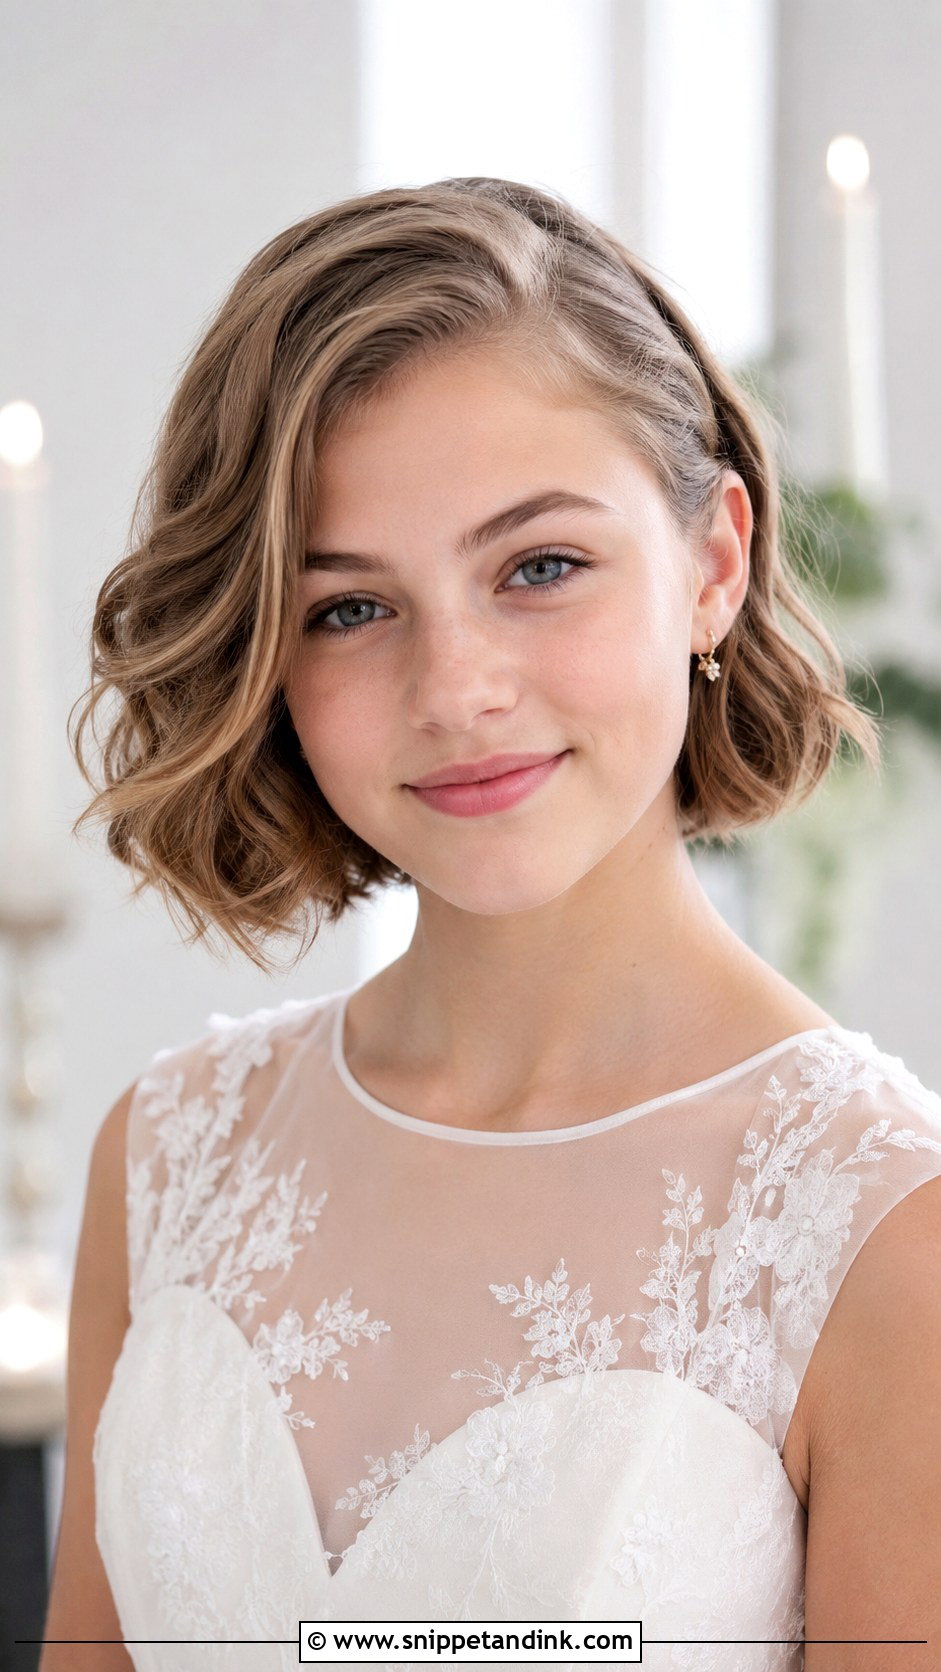
Short hair can look just as polished with curls or waves added to a bob. Use a small barrel iron and curl only the middle and ends so the bob doesn’t look puffy at the roots. Tuck one side behind the ear and secure it with a small clip. A curled bob is quick, comfortable and suits girls who love their short cut and don’t want to fake length.
23. Crown Braid With Loose Curls
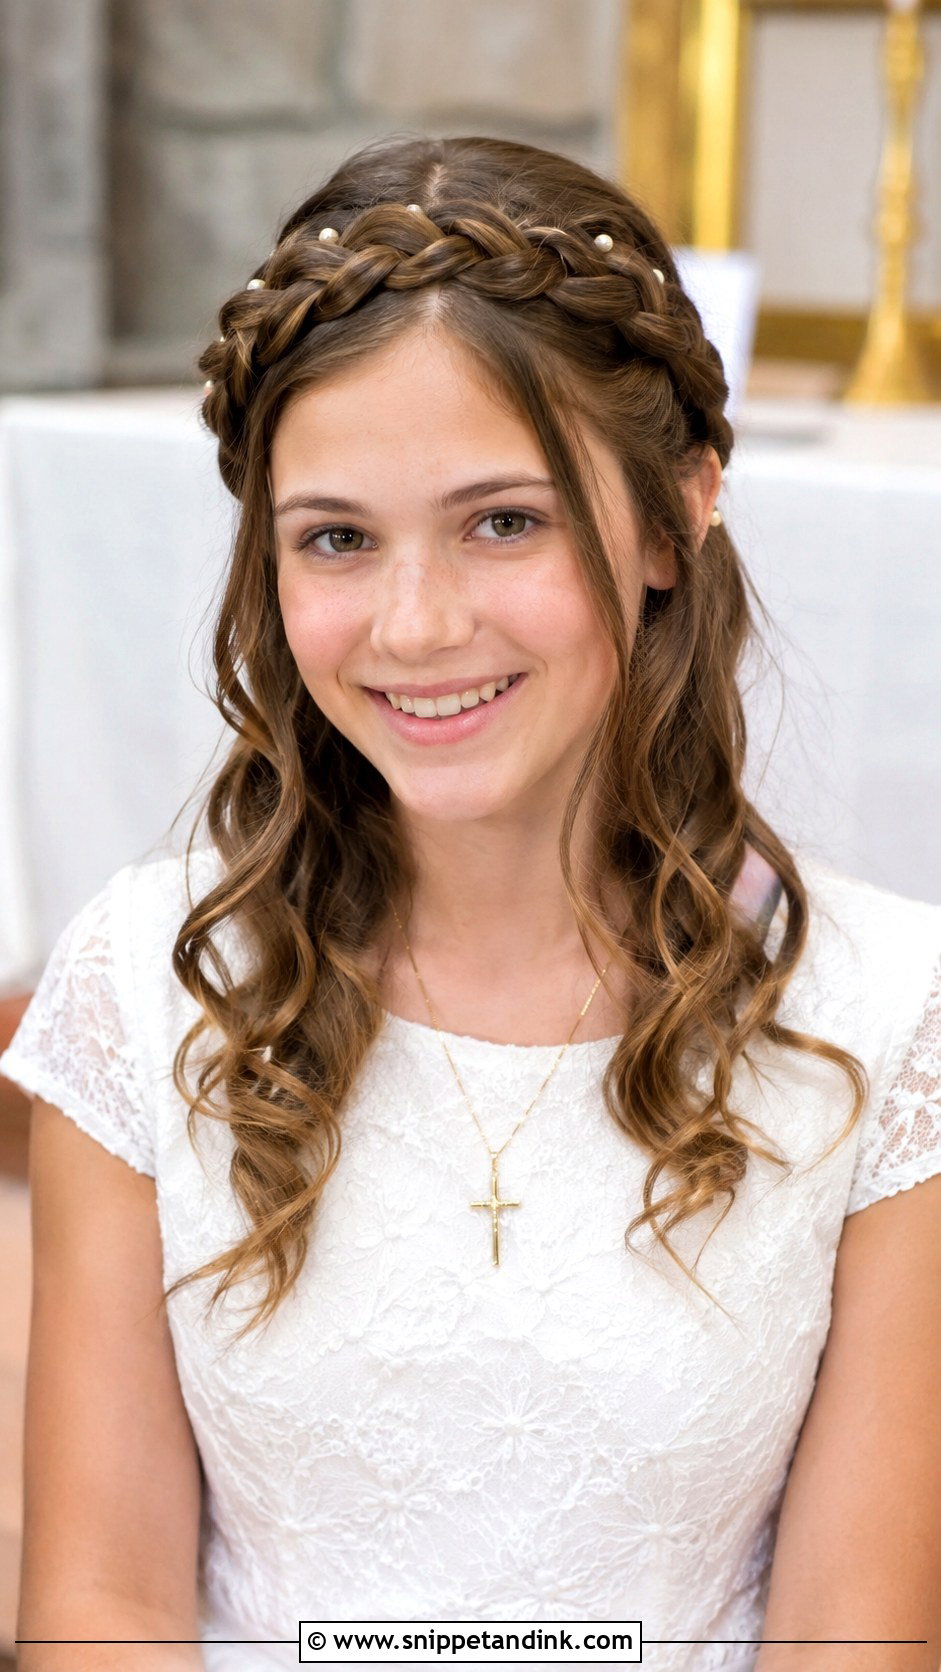
A crown braid with loose curls wraps a braid around the top of the head like a headband, with curls flowing below. The braid keeps hair off the face; the curls bring movement. Start the braid behind one ear and work it across the head, pinning at the opposite ear. Small flowers or pearls can be tucked in. It suits medium to long hair and most textures, and it’s one of the more forgiving styles for a first try at home.
24. Bubble Ponytail
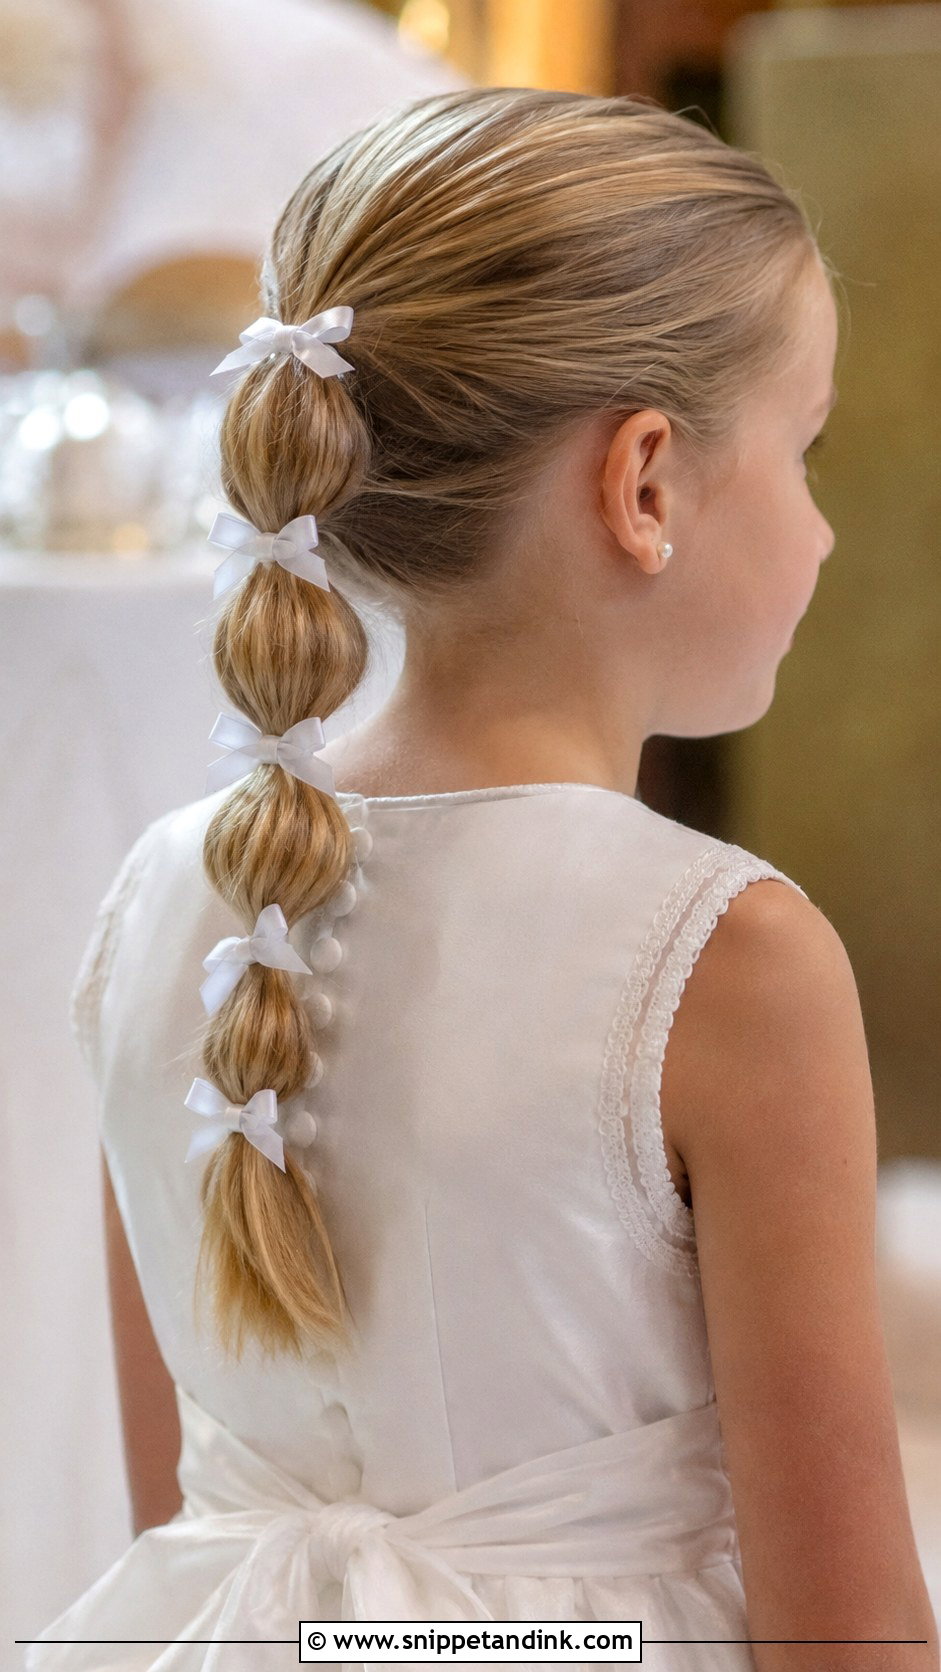
The bubble ponytail is made by tying small elastics down the length of a ponytail and pulling each section out into a rounded bubble. Younger girls love it, and it holds up through running around after the ceremony. Use clear elastics so the bubbles look neat, and space them evenly. Small ribbons between the bubbles add colour. It’s one of the easiest styles here to recreate at home.
25. Elegant Low Side Bun
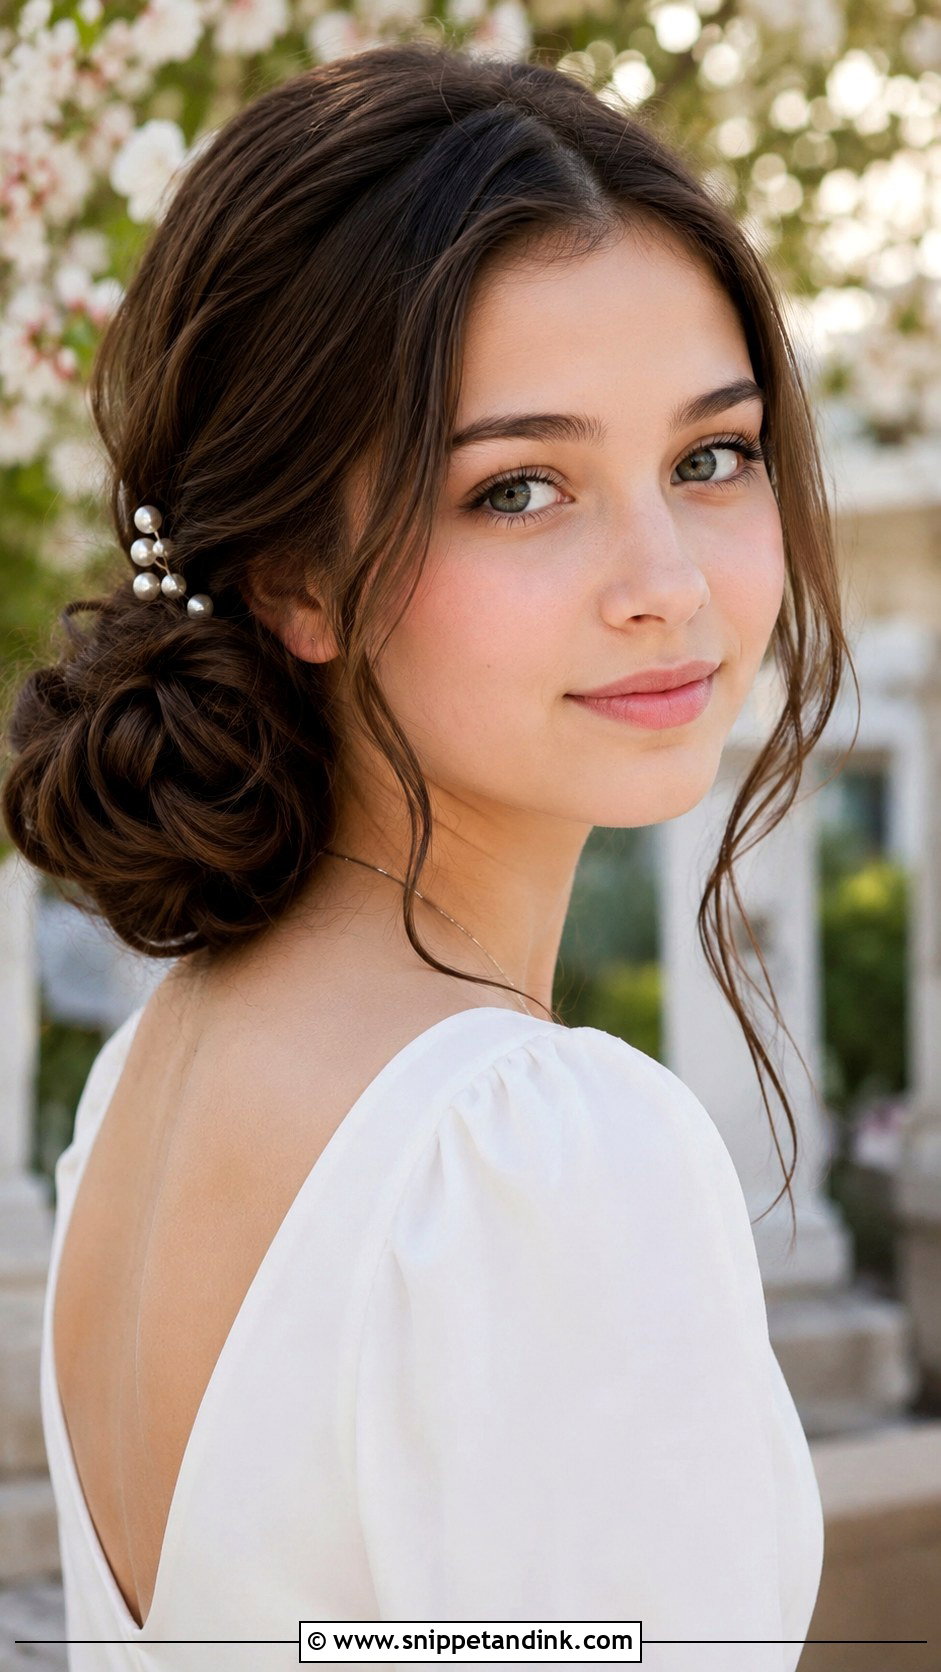
A low side bun sits just below and behind one ear. Gather the hair to the side, twist it into a bun and pin it securely, then leave a few pieces loose around the face. Off-centre buns need more pins than centred ones since gravity pulls them toward the middle. Pearls or a small ribbon finish it. It suits medium to long hair and stays secure through a long ceremony.
A Practice Run at Home Saves the Morning
If a parent or older sibling is doing the hair, try the style once, a week or two before the ceremony. You’ll find out how long it takes, whether you have enough pins, and whether the person wearing it actually likes it. Time it, then add twenty minutes on the morning.
Small kit for the day
- Bobby pins matched to the hair colour, and U-shaped pins for buns.
- Clear elastics, which disappear in braids and ponytails.
- A flexible-hold hairspray. Strong hold makes young hair look stiff.
- A small brush or comb and a few spare pins in a bag for after the service.
For curls without heat, braid damp hair the night before and take the braids out in the morning, or use soft rollers. Heatless waves last well on hair that drops curl from an iron. Wash hair the day before rather than the morning of, as slightly second-day hair holds pins and braids much better than freshly washed hair.
Younger children often have tender scalps, and a style that pulls will be taken apart in the car. When you practise, ask whether anything feels tight after ten minutes. Loosen the base of a ponytail or move a pin that digs in, rather than hoping it settles.
Let Her Pick the Style She Won’t Keep Touching
The right confirmation hairstyle is the one that stays neat and comfortable from the first hymn to the family lunch. A braided crown, a low bun or simple curls can all work depending on hair type and length. Small touches like pearls or ribbons are enough. Most of these can be done at home with a bit of practice. The most important thing is that the person wearing it feels like herself; someone who loves her hair won’t fidget with it all through the service.
You'll Like These Ideas:


Leave a Reply