
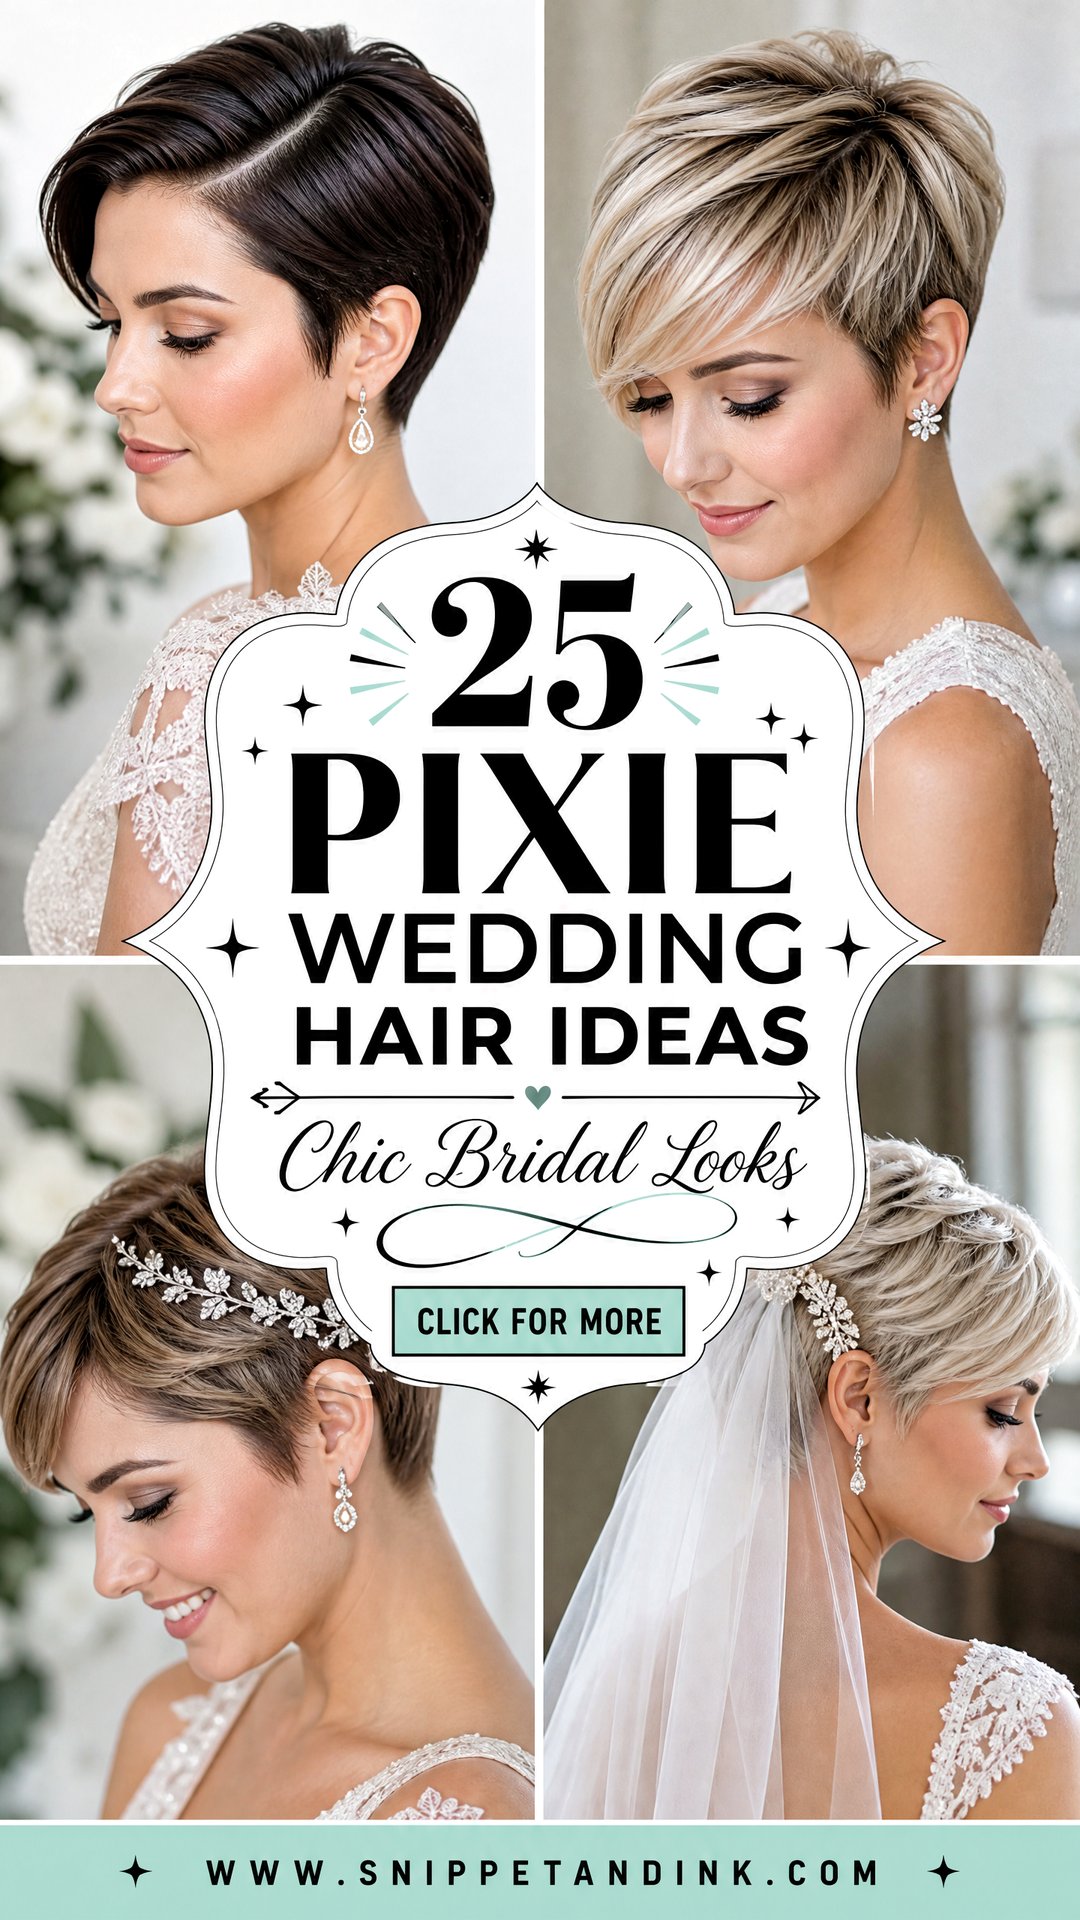
Most pixie brides I style arrive half expecting me to talk them into extensions. I almost never do. A short cut puts the attention on your face, your earrings and your neckline, and it leaves nothing to drop or frizz out of an updo by the first dance. The work is different, though: with so little length, every choice about product, parting and how an accessory is anchored shows. Below are 25 ways I’d approach a pixie for a wedding, with notes on what each one needs from your hair and where it tends to struggle.
Scheduling the Last Cut So Your Nape Looks Crisp in Photos
Pixie hair changes shape faster than any other length. A cut that looks perfect on day one has softened around the ears and nape by week four, and the back is exactly what guests and your photographer see during the ceremony. So the most important appointment isn’t the trial, it’s the last trim.
I recommend the final cut about a week before the wedding. That leaves time for any blunt freshly cut lines to soften, and if the barber or stylist takes a little too much, there’s still a week of growth to even it out. A cut the day before leaves no room for mistakes.
- Book your trial after a trim, not before one, so the style is tested on the length you’ll actually have.
- If you’re growing a pixie out for a half-up twist or braid, tell your cutter months ahead so the top is left long while the sides are kept neat.
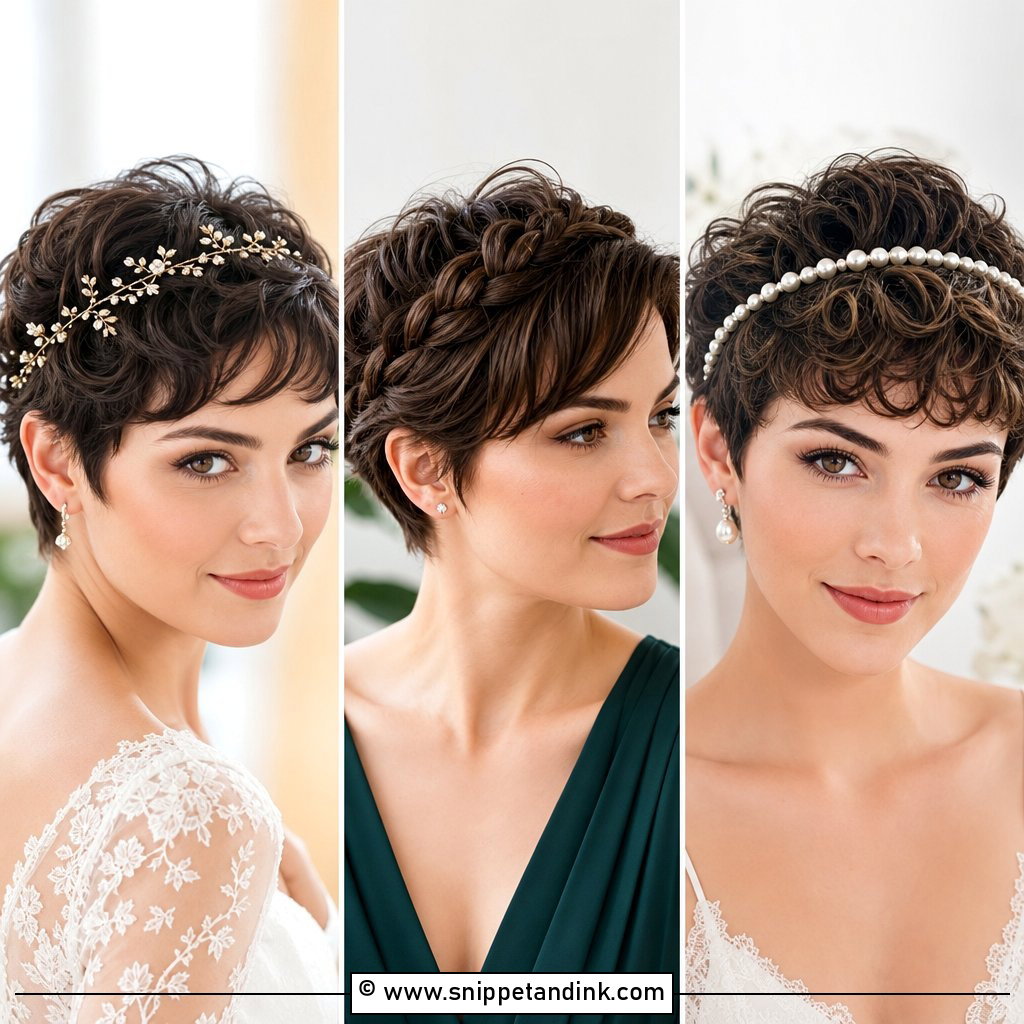
- Bring every accessory to the trial: the veil comb, tiara, pins and headpiece. Short hair needs each one anchored differently.
- Ask for the neckline to be tapered rather than squared if you want the cut to look clean for longer.
1. Sleek Pixie With Side Part
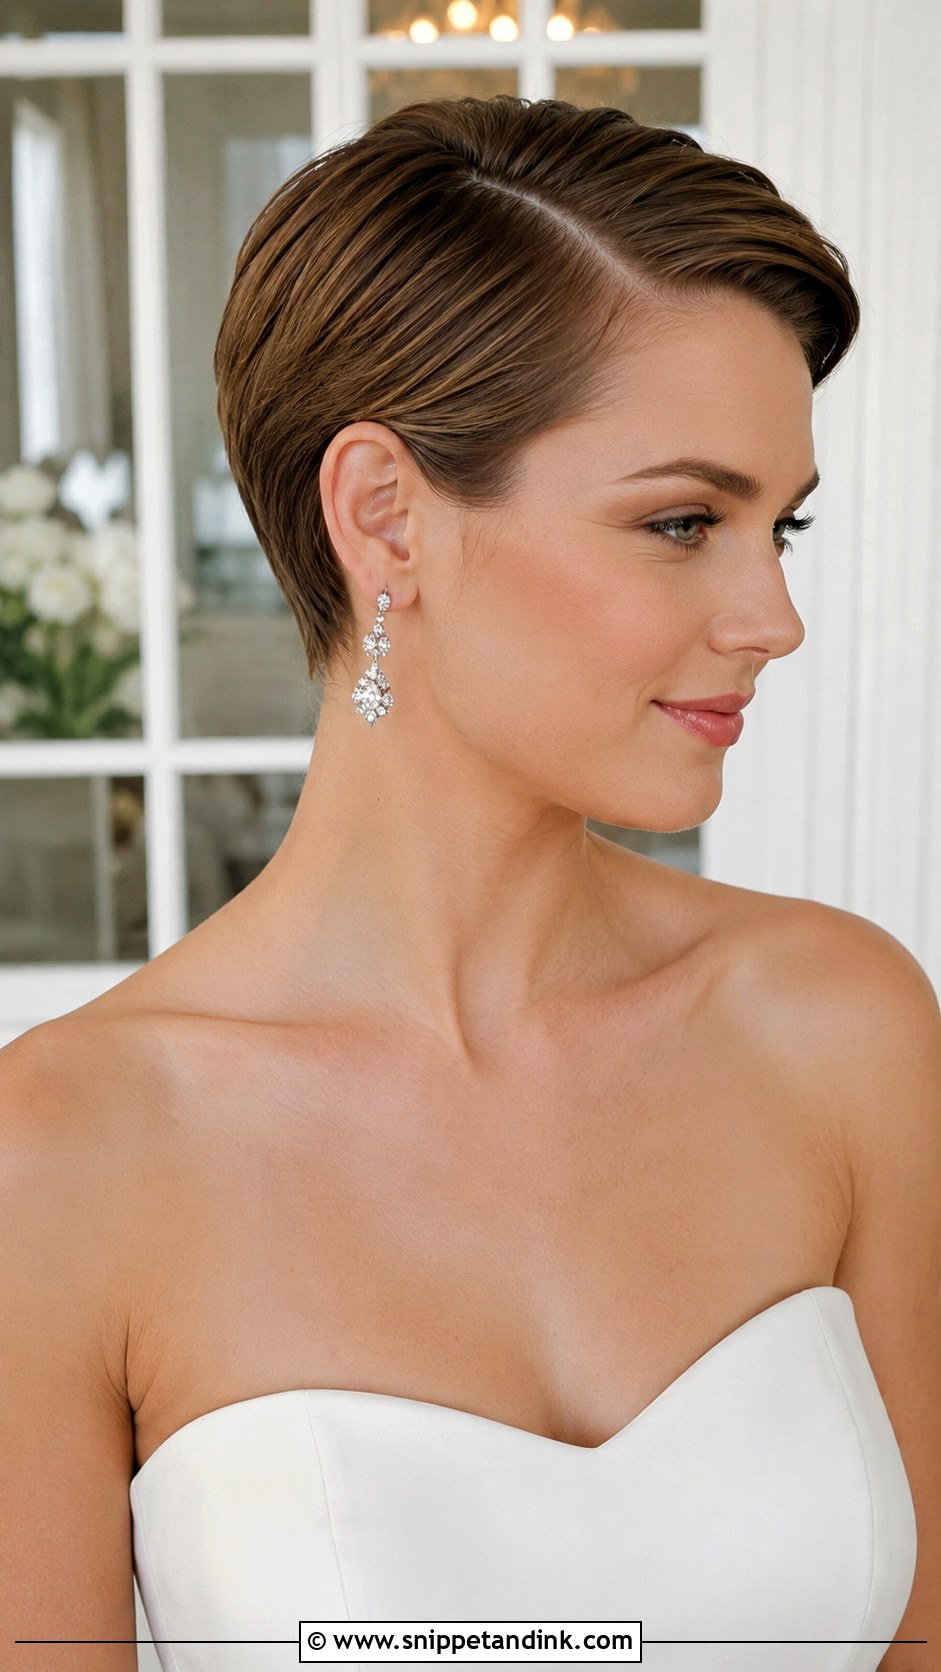
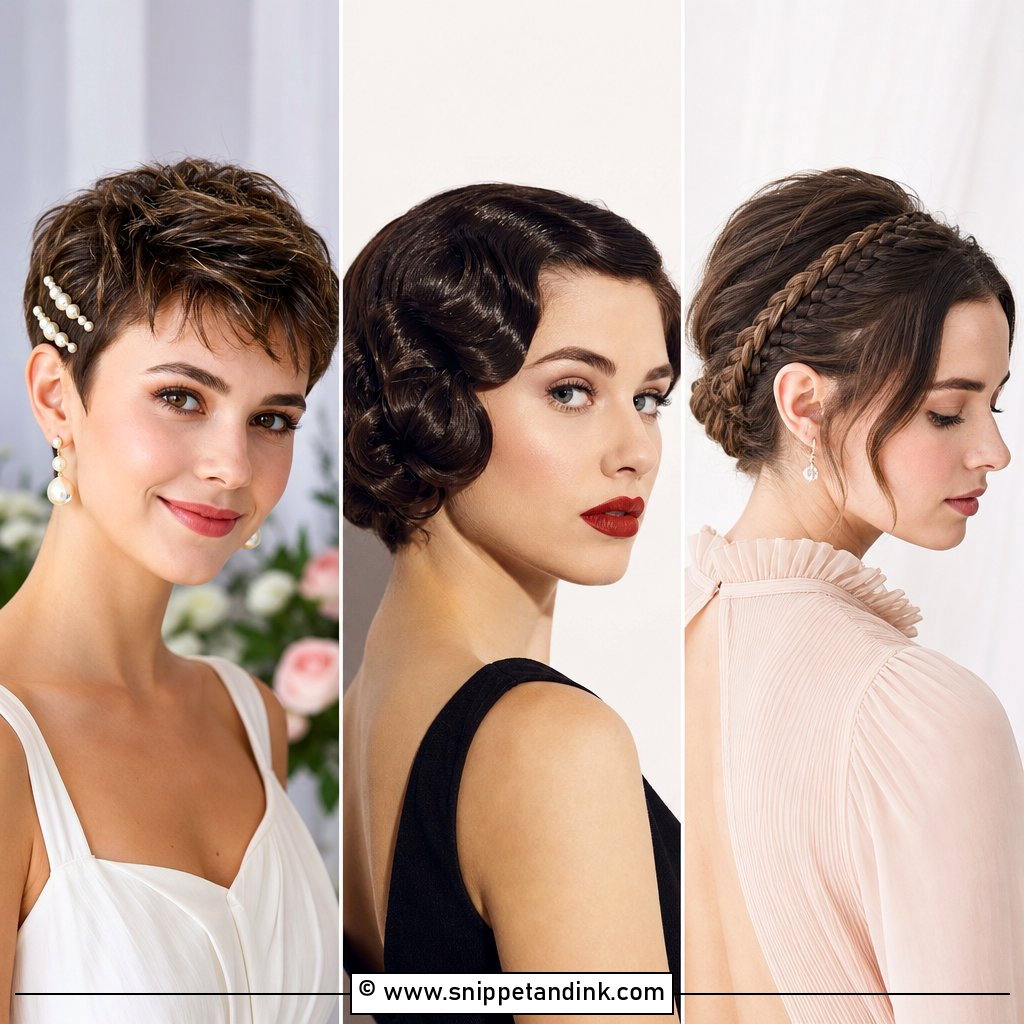
A deep side part is the most forgiving place to start. I find the natural part first, then shift it about a finger’s width deeper so the heavier side lies flat over the ear instead of springing up. A pea-sized amount of light pomade, warmed in the palms and pressed rather than combed through, gives a glossy finish without that crunchy line along the part. A small jeweled clip near the parting works here, but keep it to one; two clips on a pixie start to look busy from the side.
2. Tousled Pixie With Soft Waves
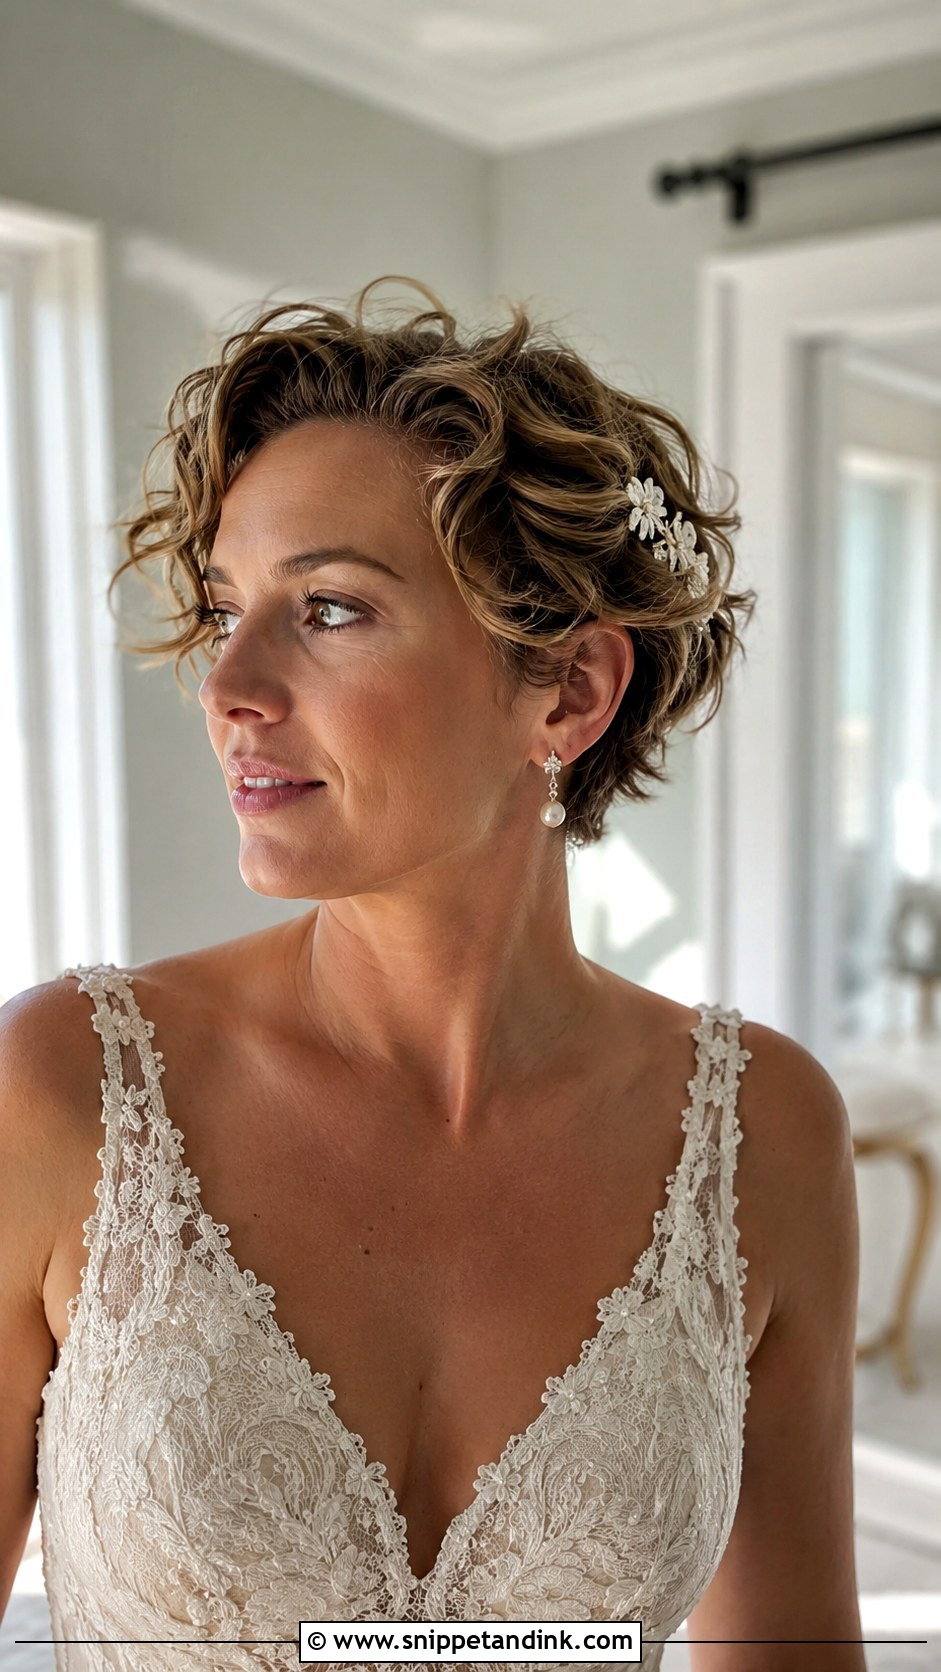
Soft waves on a pixie are made with a small barrel, usually 3/4 inch or smaller, and only on the top and fringe. The sides and nape are too short to take a curl and just kink. I wrap each section away from the face, let them cool completely, then break them up with fingertips and a dry texture spray. Skip a heavy cream here: short waves collapse under weight long before they drop from heat. A tiny floral pin behind one ear is plenty.
3. Pixie With Birdcage Veil
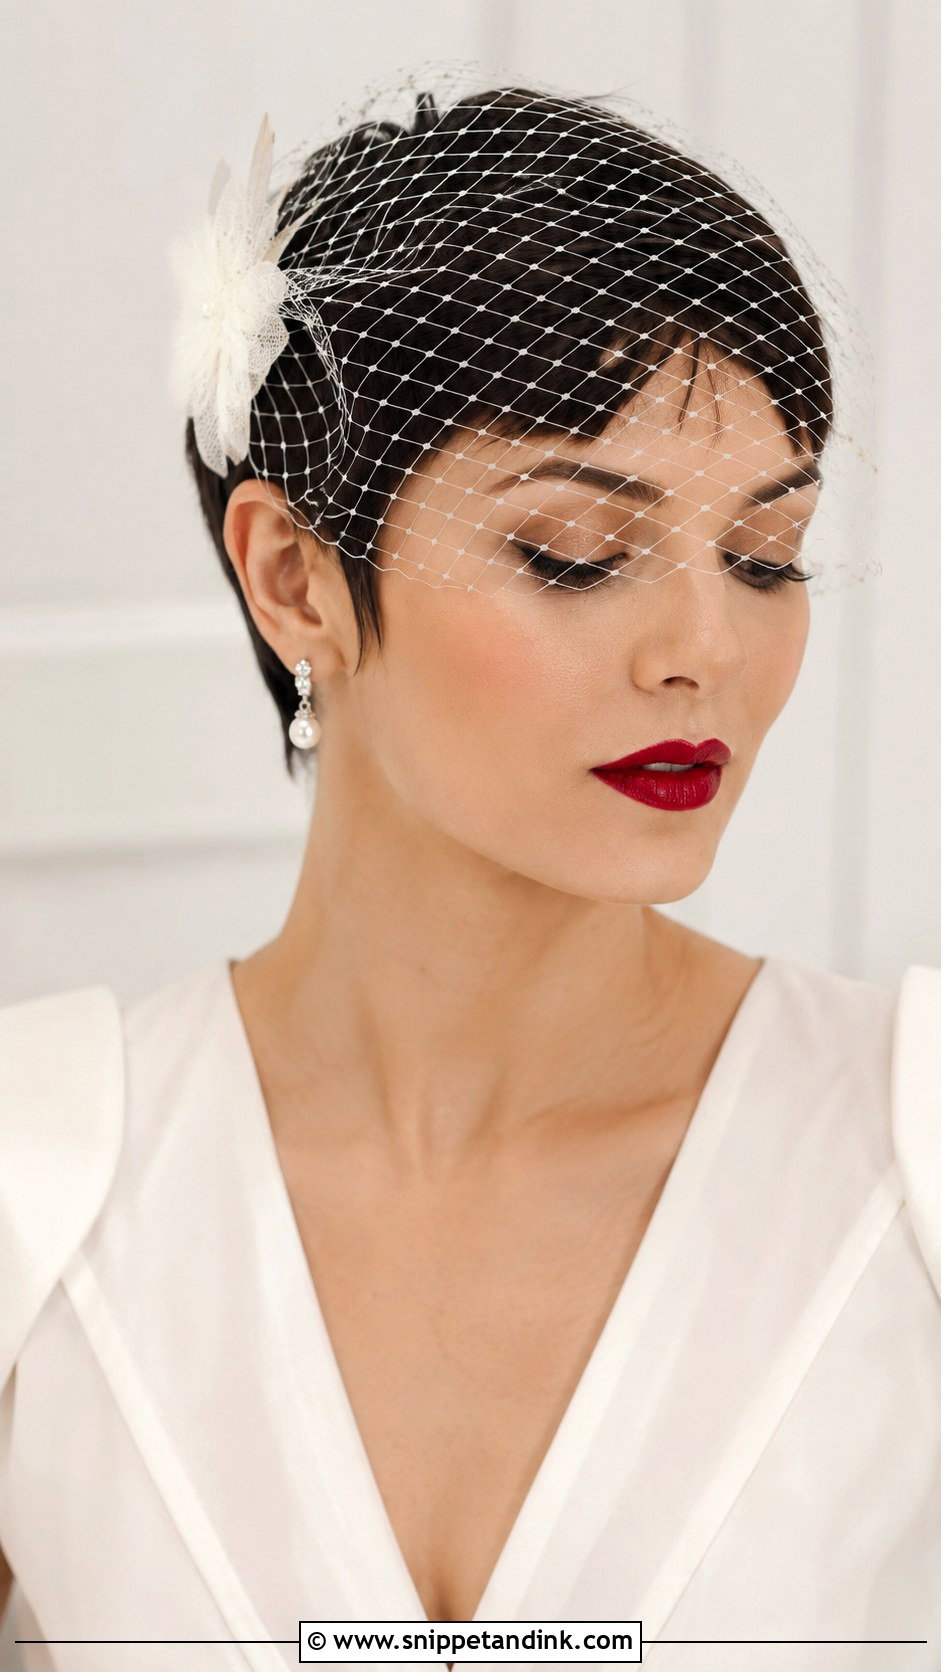
Few pairings suit a short cut as well as a vintage birdcage veil. The netting sits forward over one eye and needs very little hair to hold onto, which is exactly why it was designed for short 1920s and 1950s styles. Most birdcages are mounted on a small comb or a slim headband. On a pixie I’d choose the headband version, or build a pin anchor under the comb so the net doesn’t tilt by the time you reach the altar. A strong red lip finishes the period look.
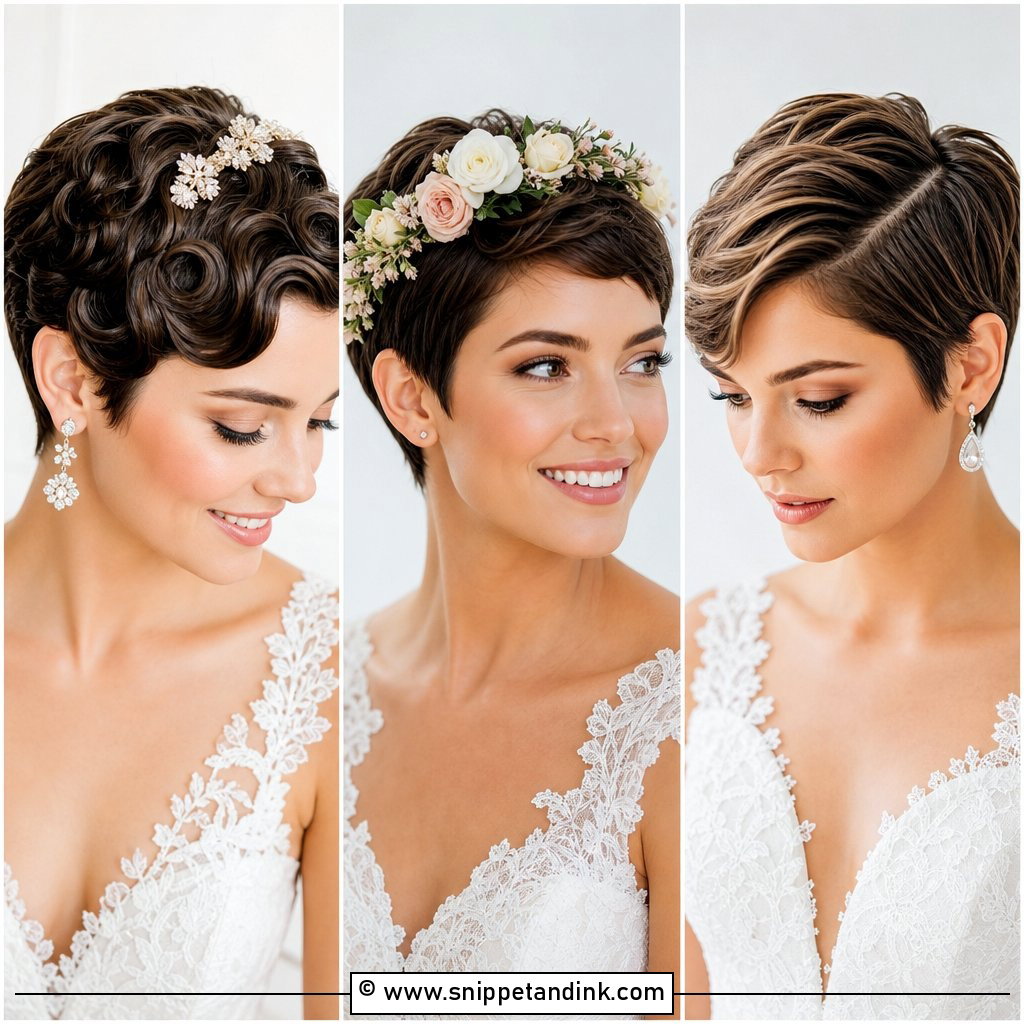
4. Pixie With Flower Crown
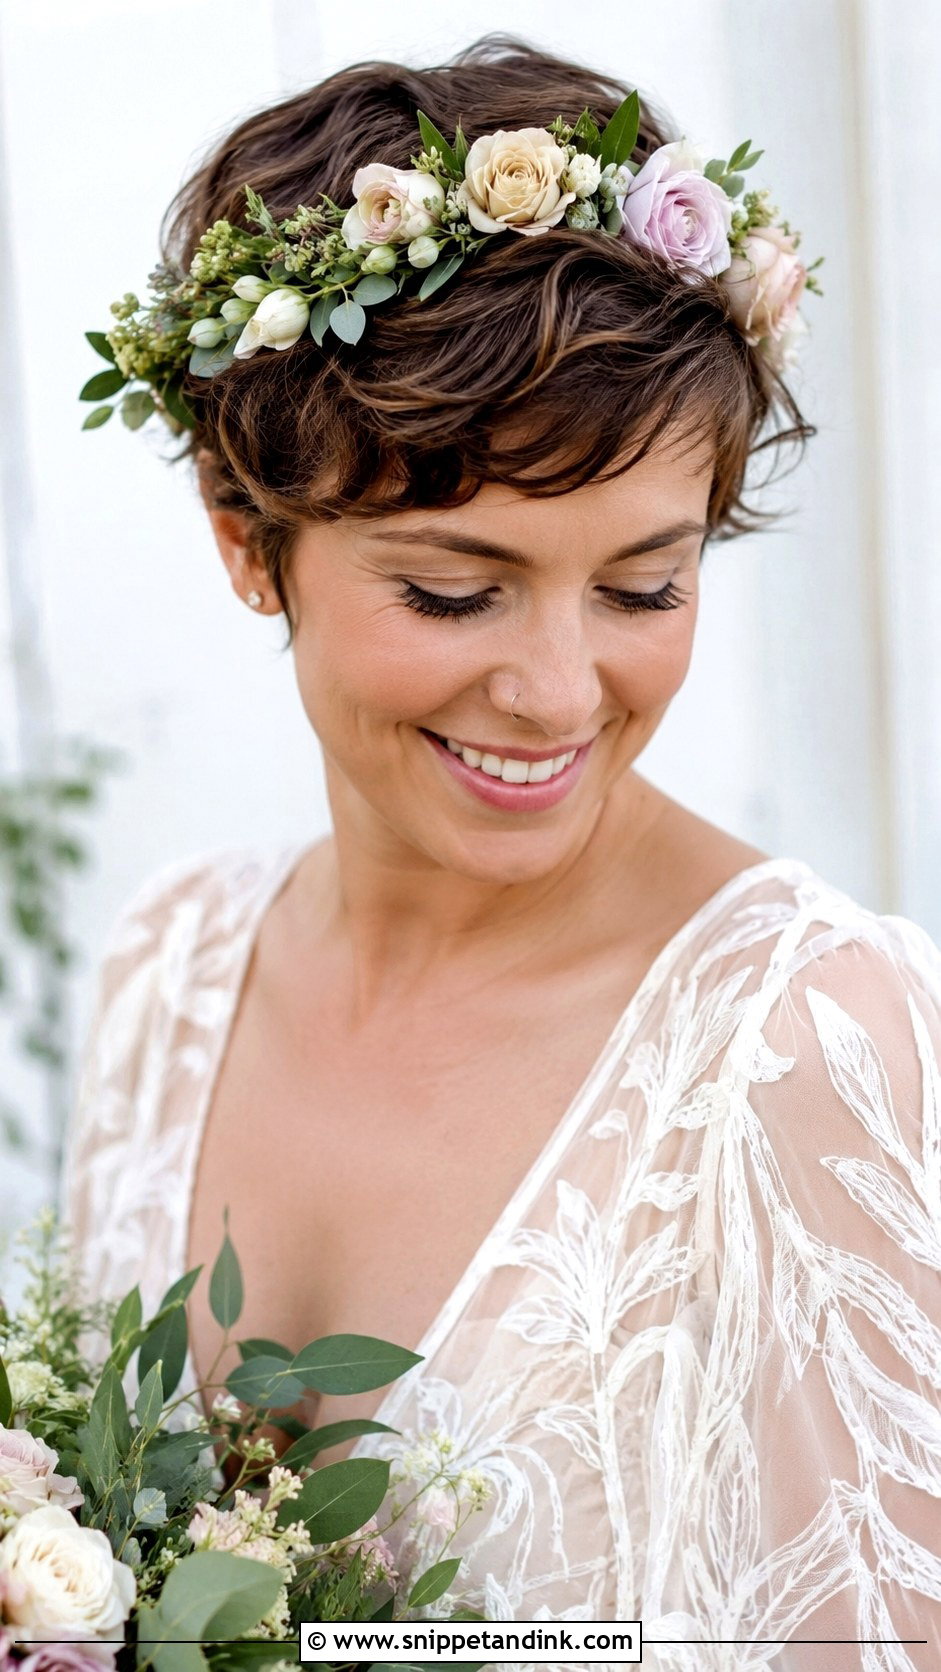
A full flower crown on a pixie sits on almost bare scalp, so it has nothing to rest against and tends to slide toward the back of the head. I size the wire base to sit just above the ears and pin it through its own loops at four points. Choose hardy blooms: spray roses, waxflower and small greenery last for hours, while baby’s breath starts to brown at the edges by the evening in a warm room. Kept slim, the crown adds height without swamping a small, short shape.
5. Slicked-Back Pixie
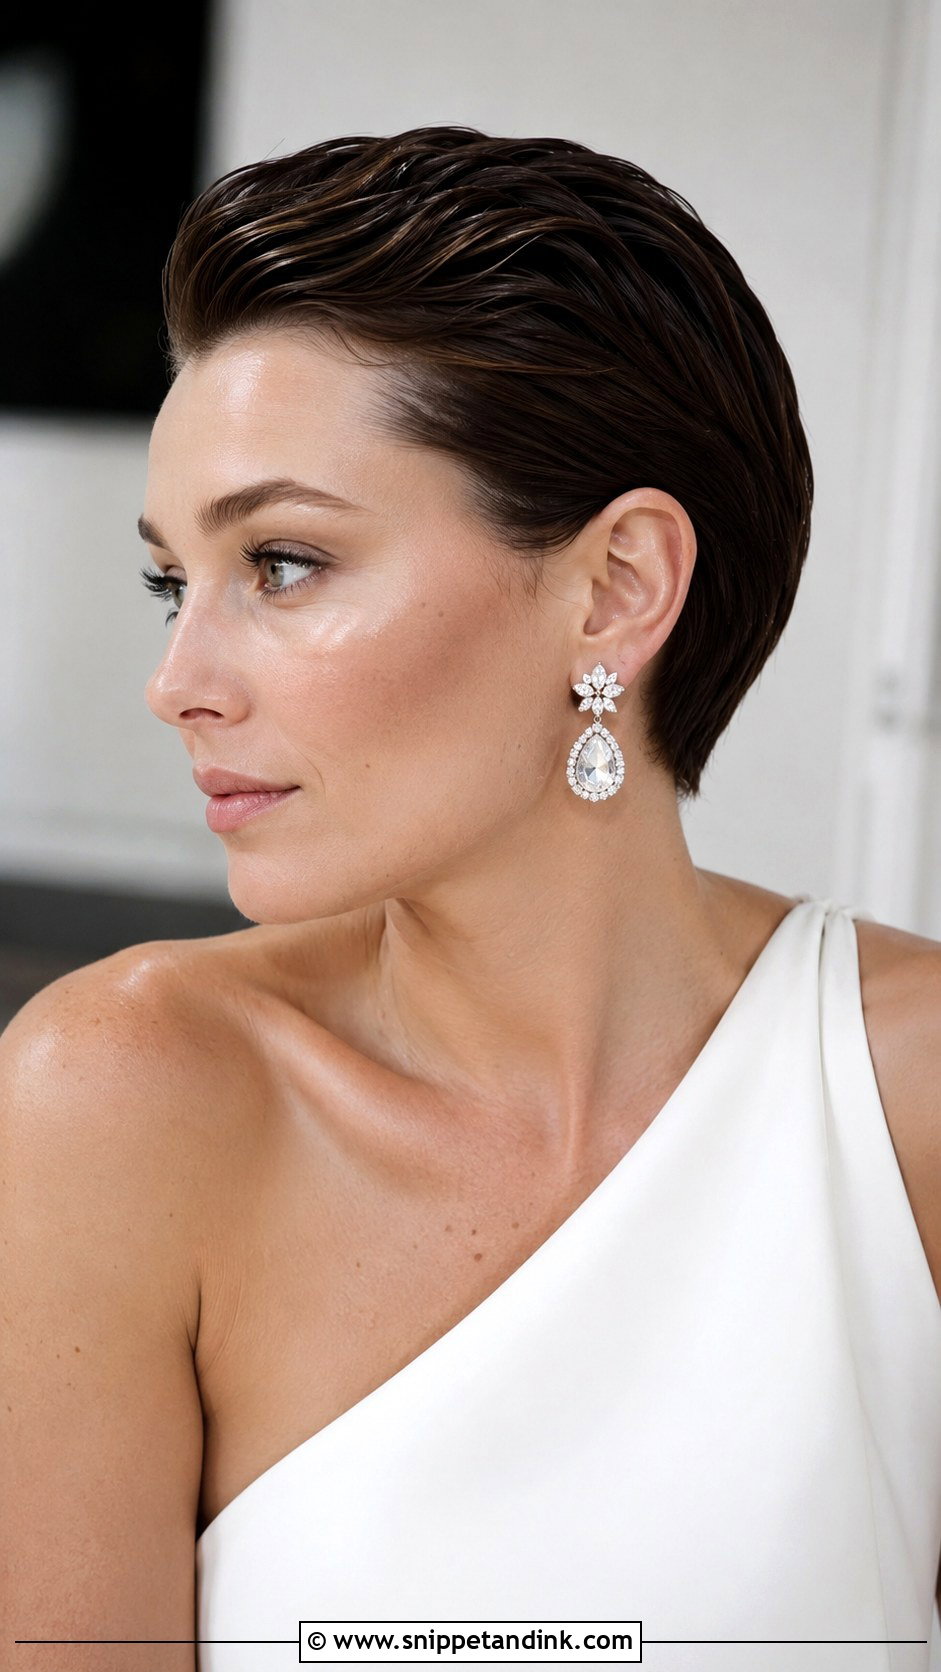
A slicked-back pixie shows your bone structure more than any other style here, so it rewards strong brows and a confident jawline and is unforgiving of a cut that’s grown out. I comb a firm gel through damp hair, direct everything back with a wide-tooth comb, then seal the surface with a drop of oil so it reads glossy, not crispy. The finish gets very modern and editorial results in a clean, minimal setting. Once it’s set, keep your hands off it; touching a set gel is what makes it flake.
6. Pixie With Delicate Hair Vine
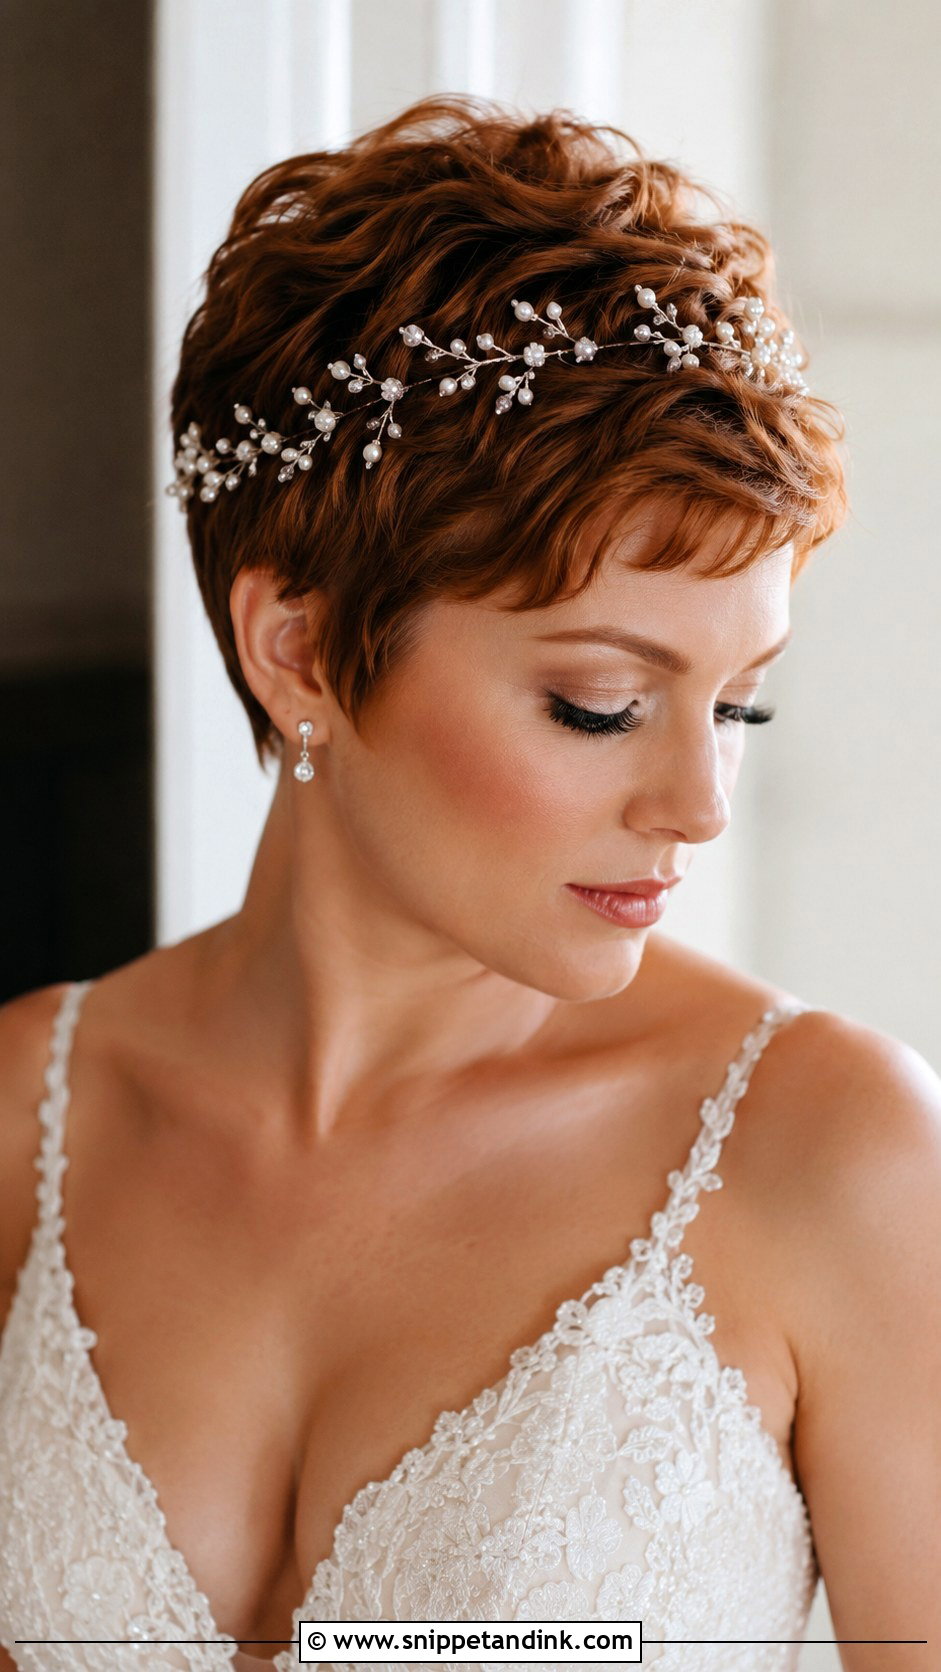
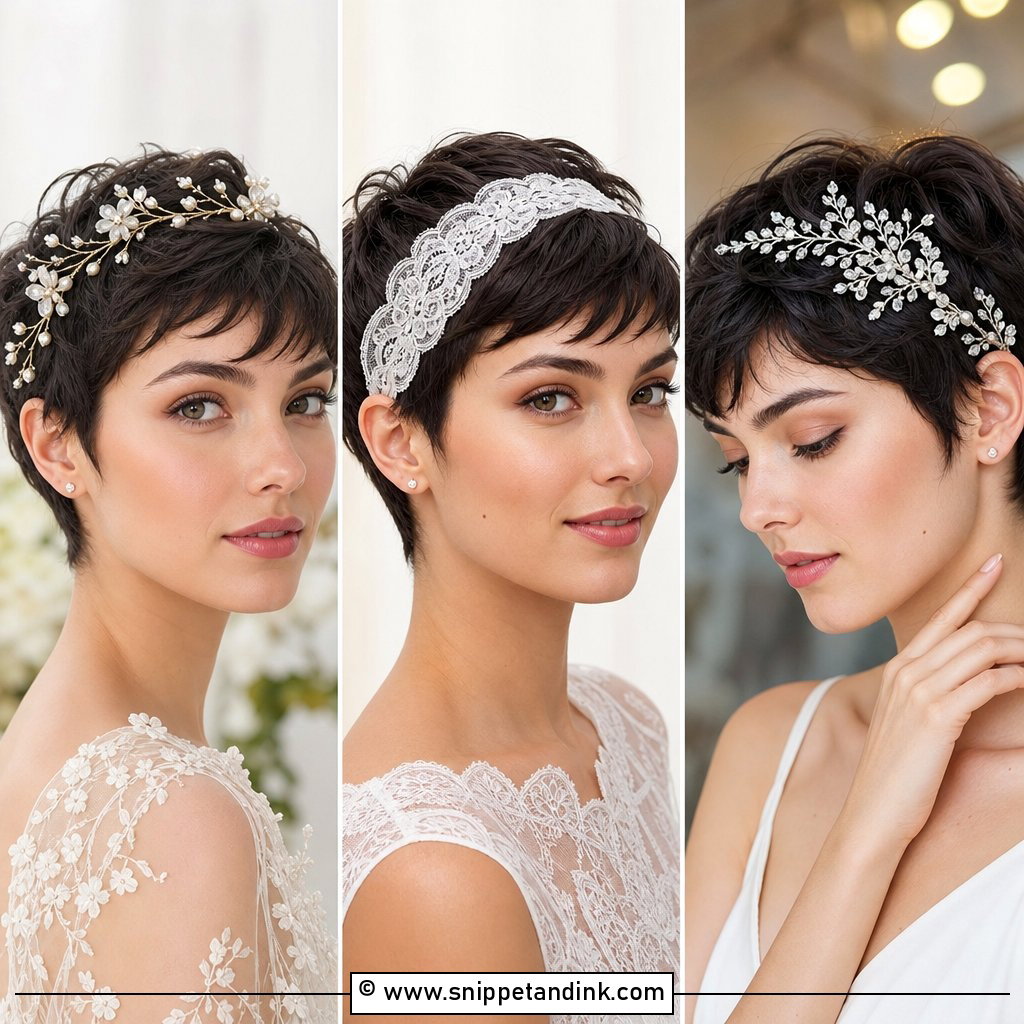
A hair vine is wired, which makes it ideal for short hair: you can bend it to follow the curve of your head rather than relying on hair to hold it. I shape it on the client first, then secure it through the small loops at each end with bobby pins slid in the direction the hair grows. Pearl and crystal vines catch light along the hairline or above one ear. Avoid long trailing ends on a pixie, as they sit awkwardly against a bare neck.
7. Pixie With Side-Swept Bangs
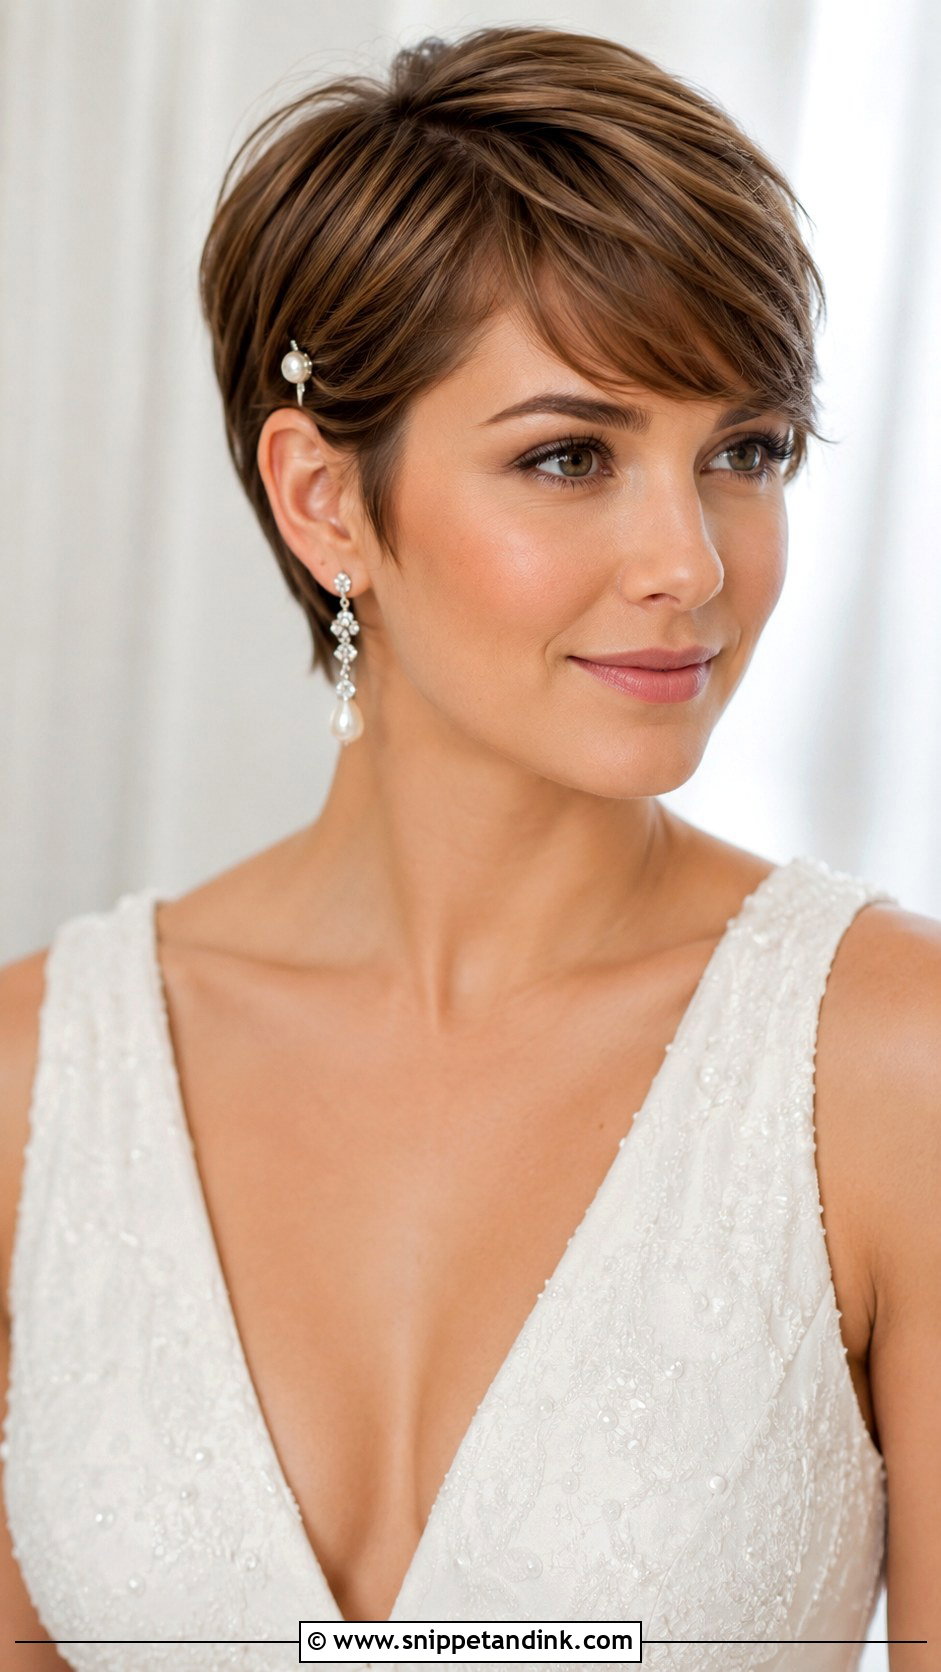
Side-swept bangs soften a pixie quickly, and they’re the detail I spend the most time blow-drying. If there’s a cowlick at the hairline, I dry the fringe the wrong way first, then flip it over to the side so the root lies flat. A small amount of shine serum on the ends keeps it smooth. A pearl pin on the opposite side balances the asymmetry and gives the eye somewhere to rest.
8. Pixie With Fingertip Veil
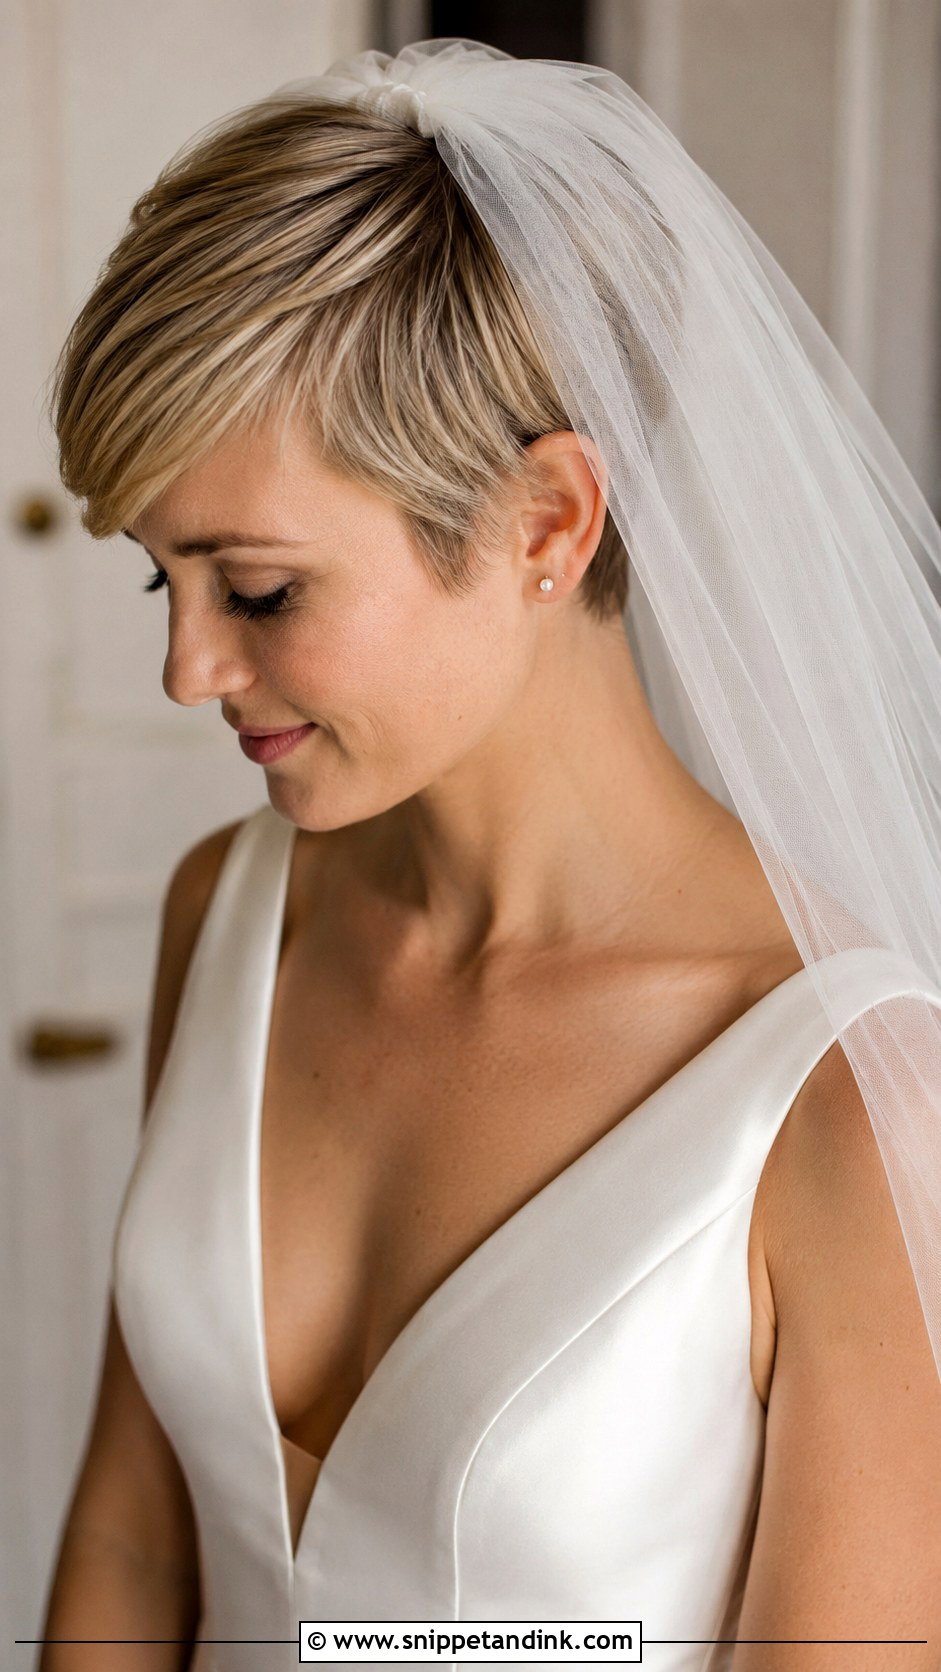
A fingertip veil falls past the shoulders and balances the proportions of a short cut well. The weight is manageable, but it still needs a proper anchor. I build one at the crown with two bobby pins crossed in an X, then slide the veil comb over the cross or swap the comb for an alligator clip sewn onto the veil. It comes out easily after the ceremony, which is when most pixie brides want it gone for dancing. Sleek or softly waved hair underneath both work.
9. Pixie With Pearl Pins
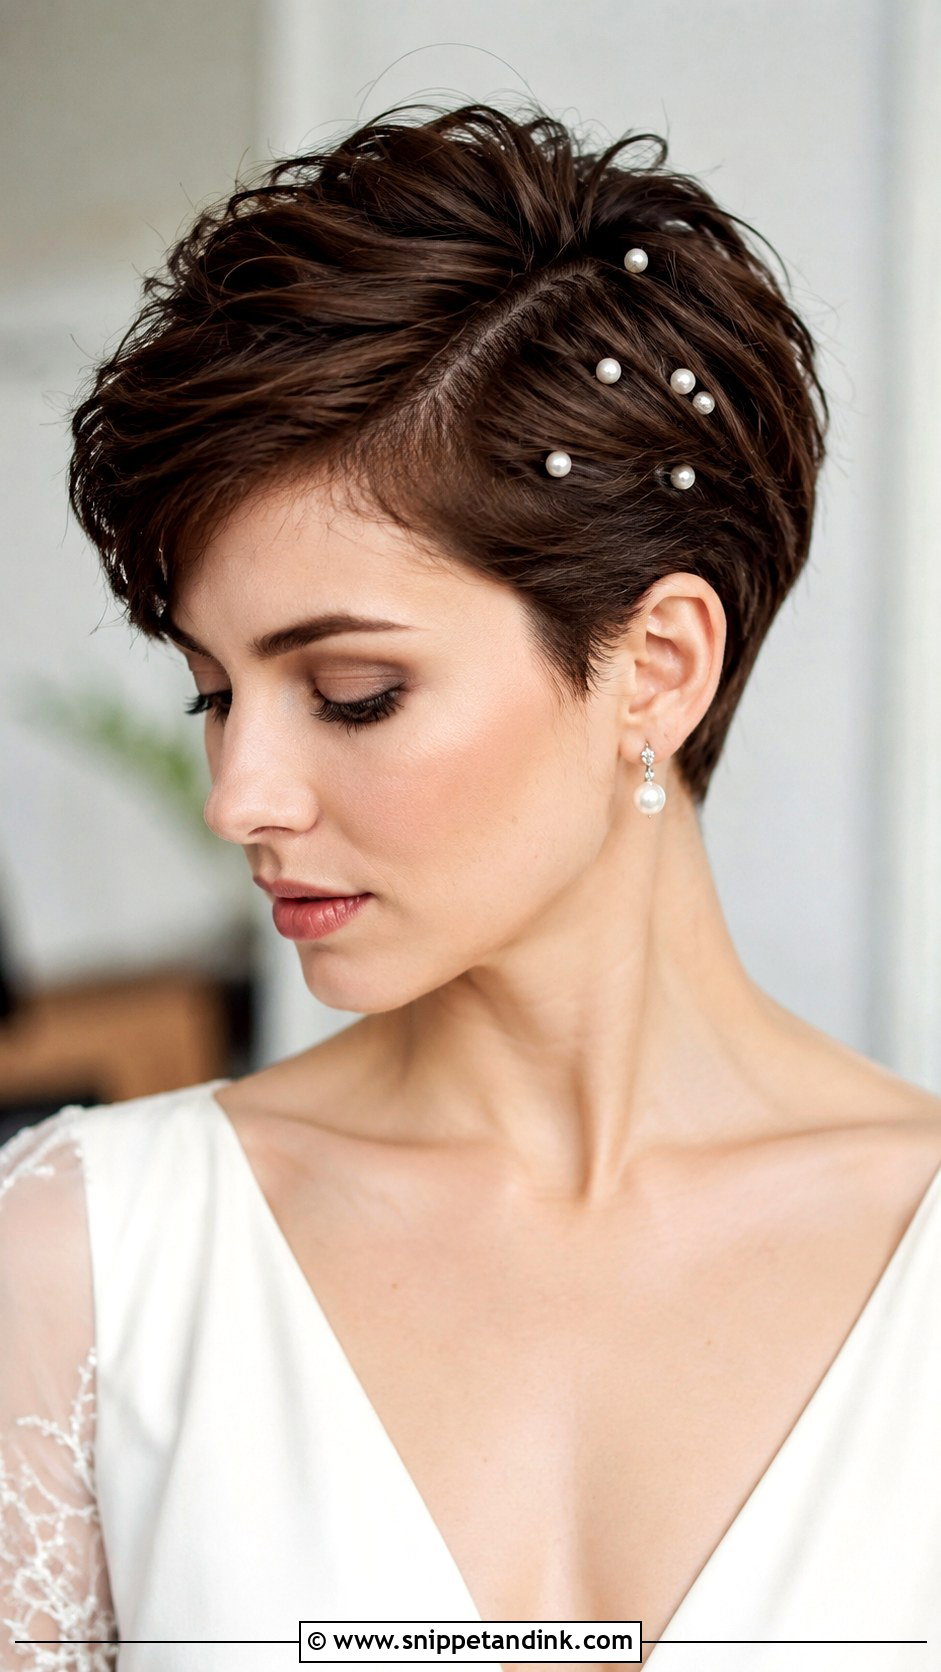
Scattered pearl pins are a quiet way to make a pixie look finished. The catch is grip: smooth pearl pins slide out of short, fine hair within an hour. I mist the spot with hairspray first, slide each pin against the direction of growth, and usually tuck a plain bobby pin underneath as a hidden lock. Odd numbers clustered near the part look more natural than a neat row. Pearl studs tie it together without a second accessory competing.
10. Curly Pixie With Floral Pins
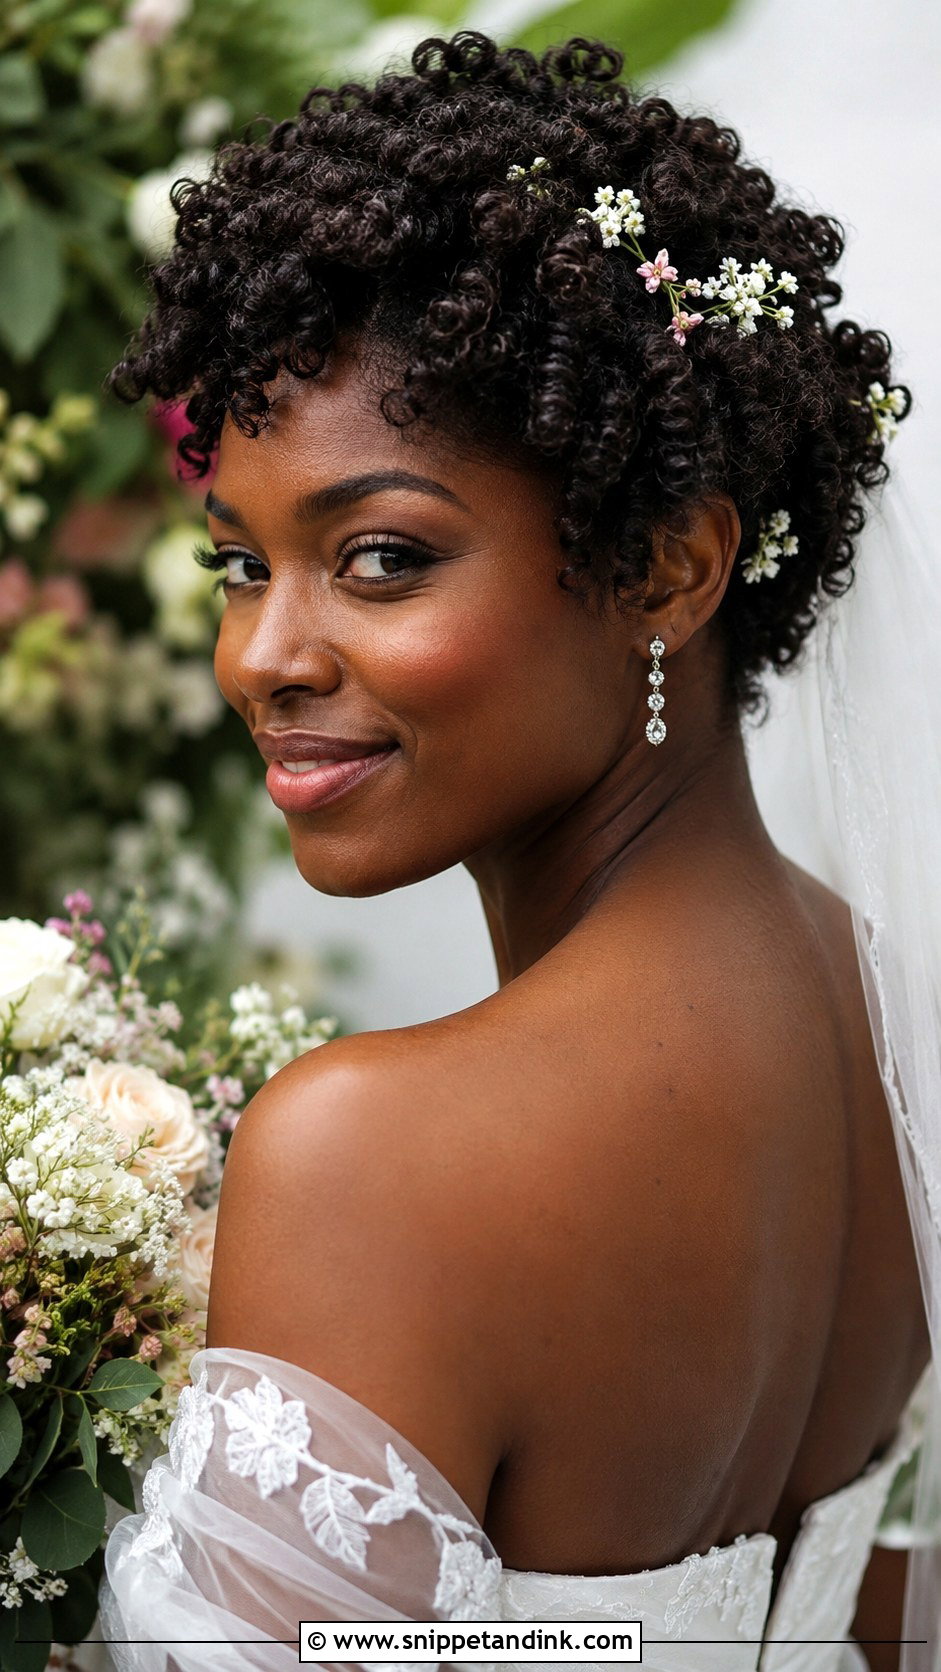
Natural curls on a pixie are best left to do what they do. I apply a light curl cream to soaking wet hair, scrunch, and diffuse on low heat without touching the curls until they’re fully dry. Brushing afterwards turns them into frizz. Small floral pins tuck between the coils without flattening the volume, which is the main reason I prefer pins to a band on curly short hair. This one celebrates your own texture and needs very little heat on the day.
11. Pixie With Jeweled Headband
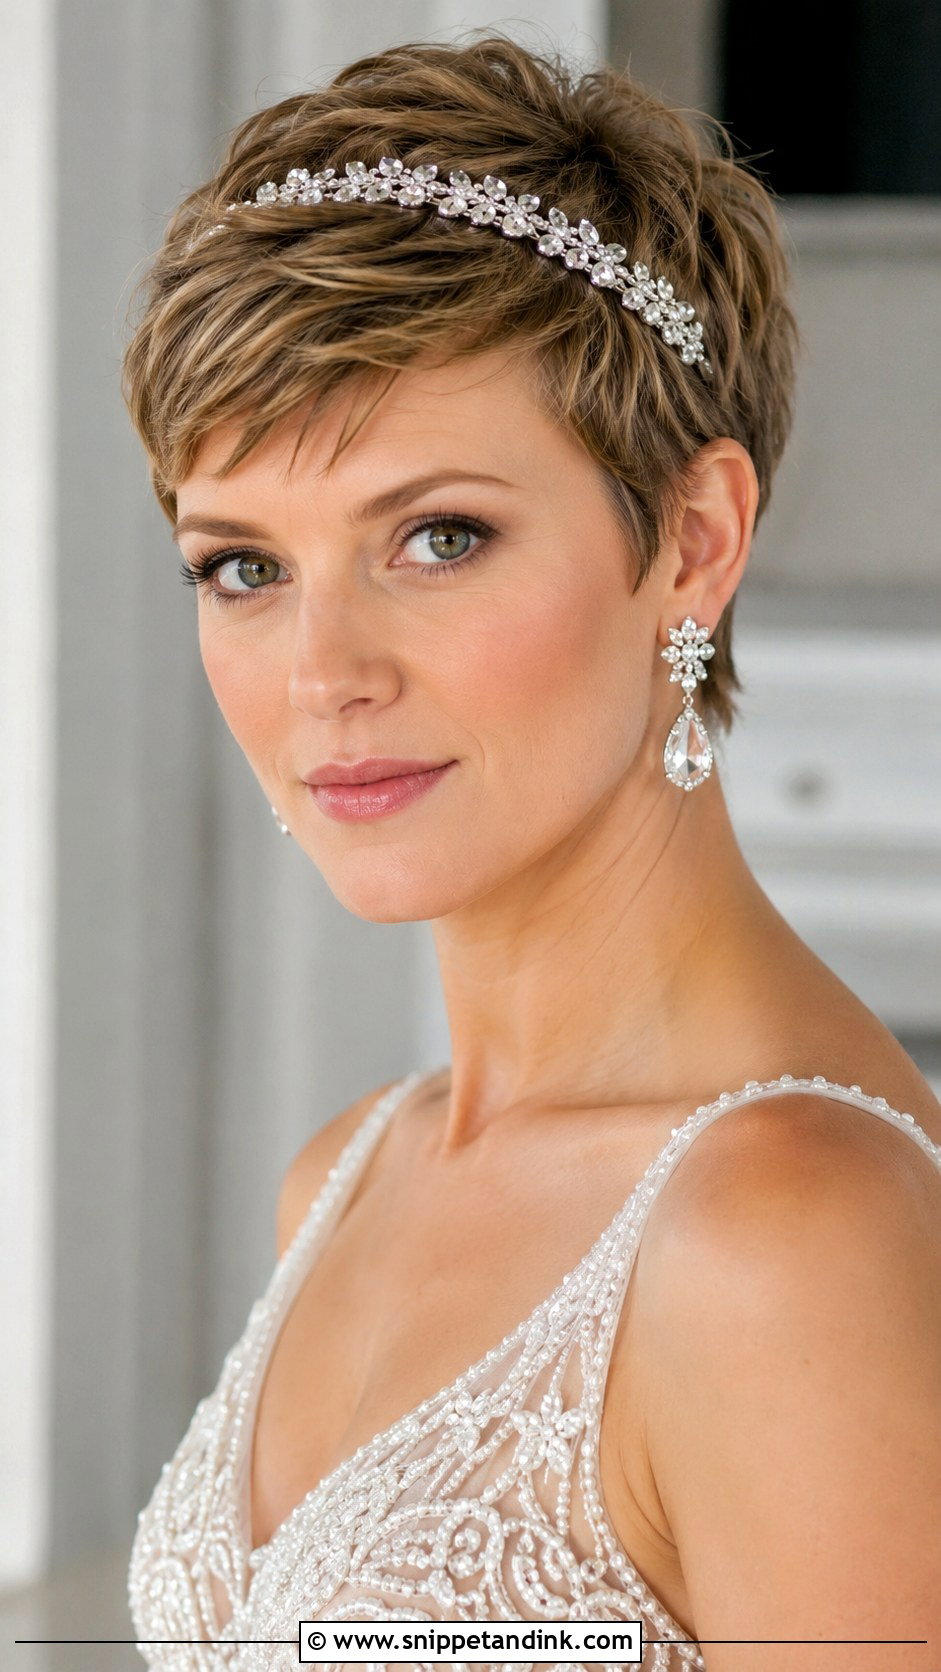
A jeweled headband gives a pixie wedding hairstyle structure and holds flyaways in place at the same time. Headbands can pinch behind the ears after a few hours, and on short hair there’s nothing to cushion them. I always ask brides to wear theirs for a full afternoon before the wedding. A band with a little flex in the metal, positioned about an inch back from the hairline, is far more comfortable than one pushed tight against the forehead. It suits formal ballroom receptions particularly well.
12. Vintage Finger-Wave Pixie
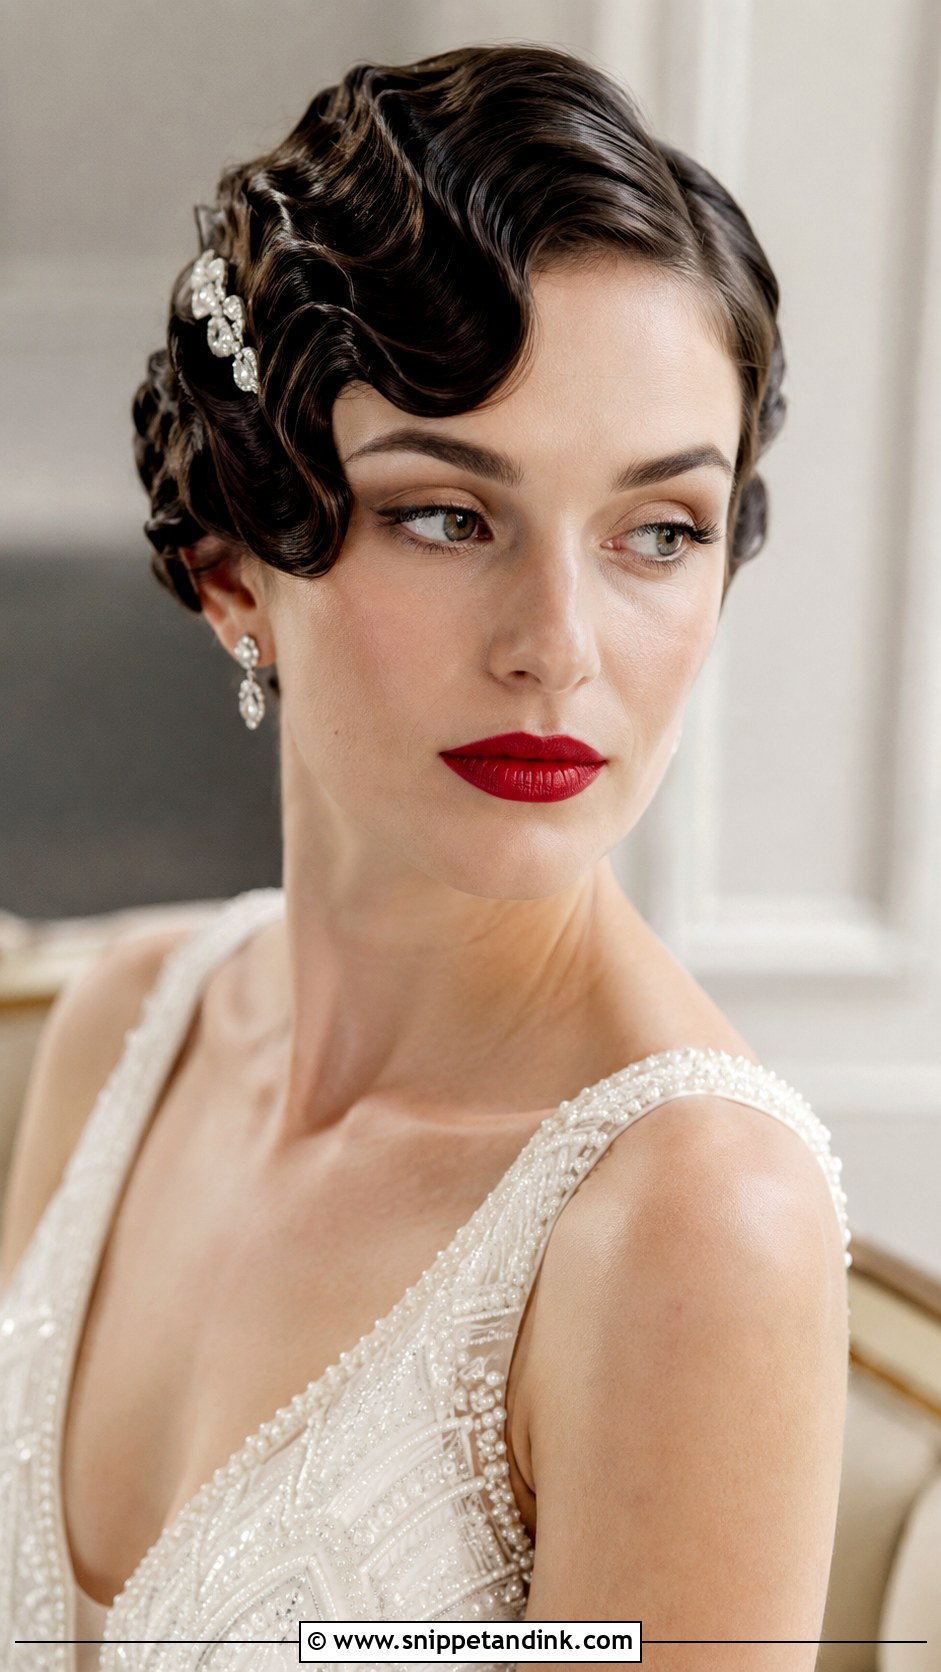
A vintage finger-wave pixie is a real technique, not a curling-iron shortcut. I sculpt the S-shapes into wet hair with a strong gel, a fine comb and two fingers holding each ridge, then let it dry fully before touching it, either under a hooded dryer or with a diffuser on low. You need roughly two to three inches on top for the ridges to form. Done right, it holds all day and suits an art deco or 1920s theme with a red lip and a single jeweled clip.
13. Pixie With Greenery Accents
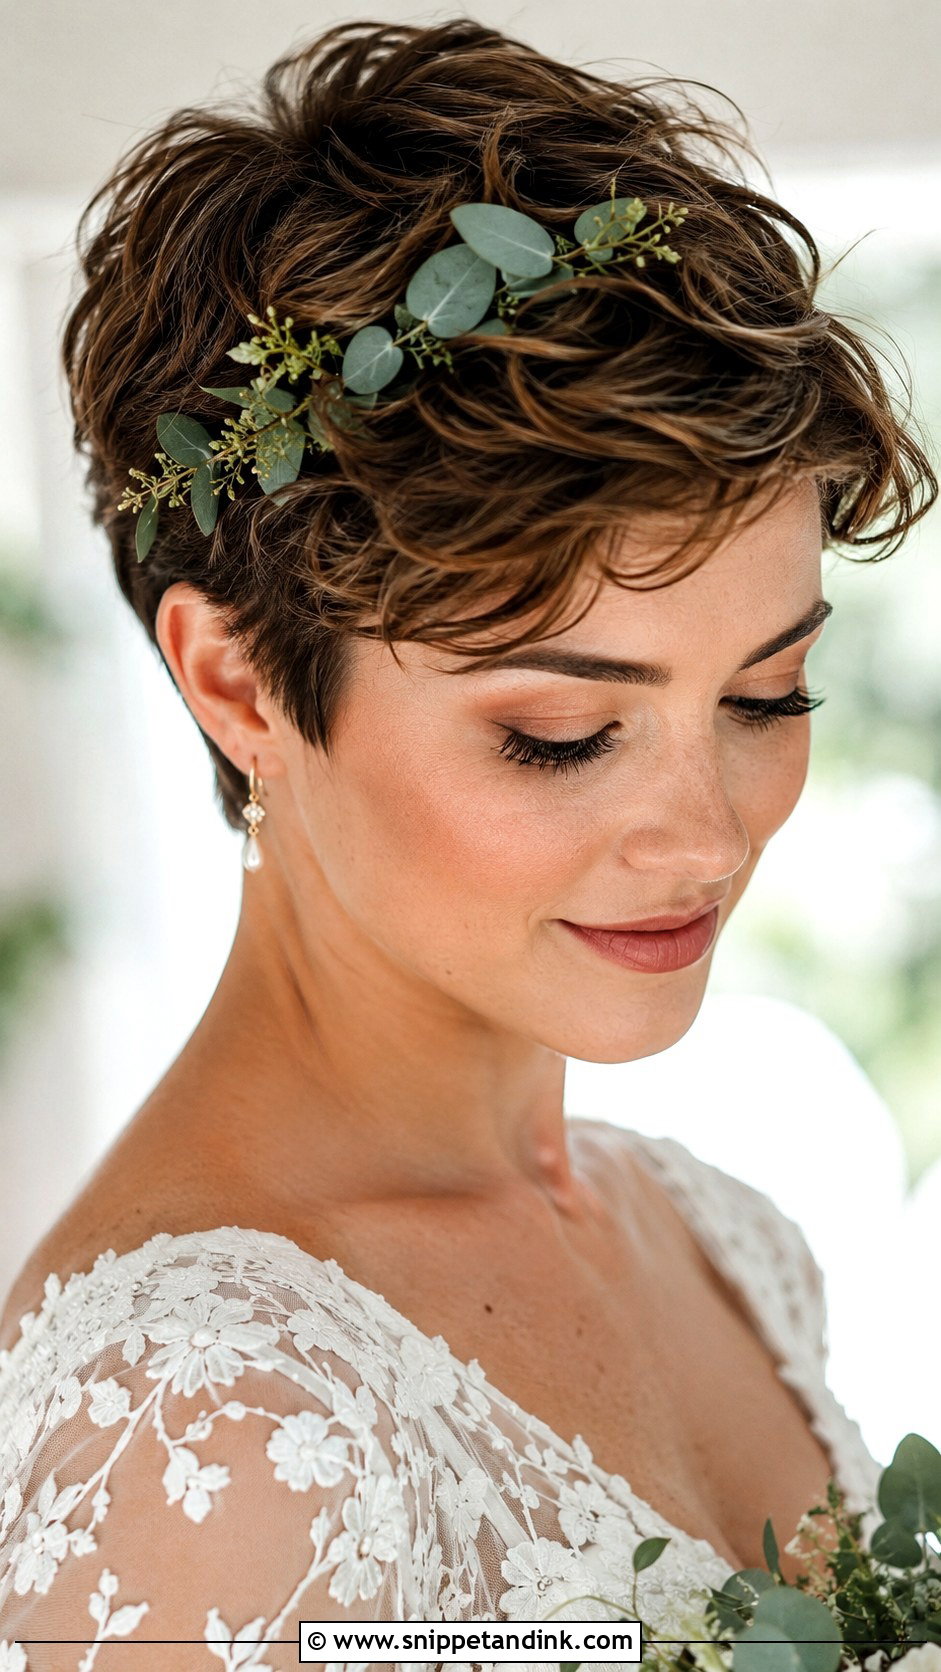
Greenery holds up better than most flowers in short hair. Eucalyptus and olive stay fresh-looking for hours without water, while ferns can curl at the edges in sun. I wire small sprigs into a mini cluster and pin the wire, not the stems, along the hairline or above one ear. Before committing, rub a leaf on your wrist; eucalyptus has a strong scent that bothers some brides. It suits garden, forest and rustic settings.
14. Pixie With Cathedral Veil
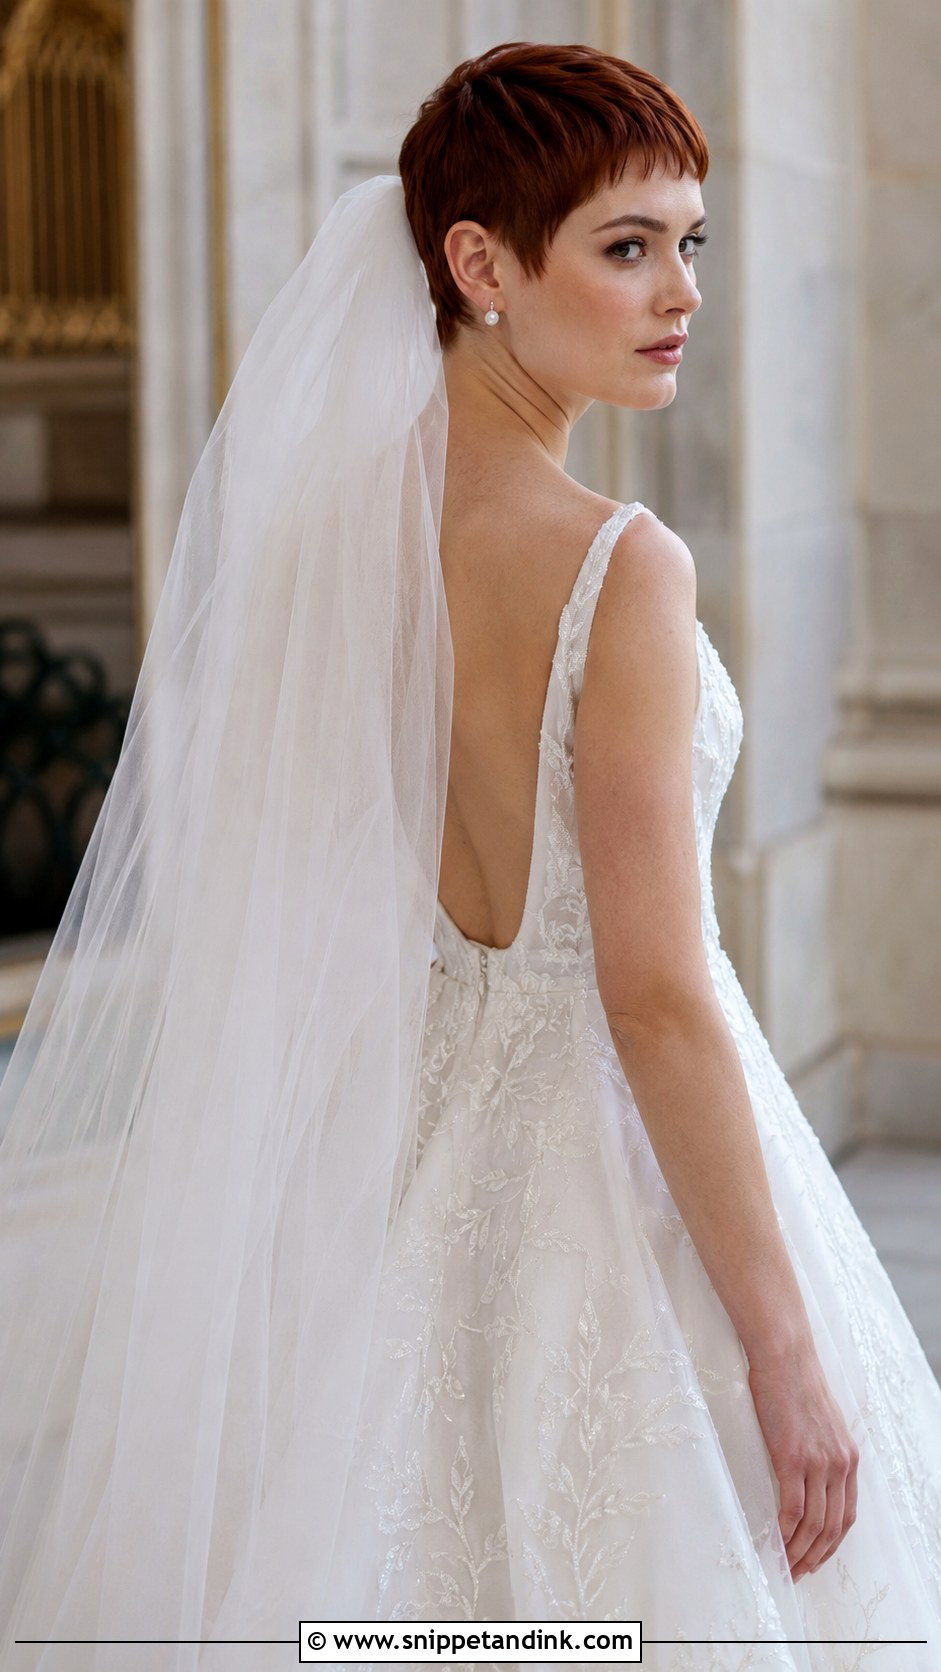
Yes, a cathedral veil can work with a pixie. The difficulty is weight: a long length of tulle pulls backward hard, and short hair gives a comb almost nothing to bite into. I secure it with two strong alligator clips gripping from both sides of the crown, set over a crossed-pin anchor, and I’d suggest a lightweight single layer rather than a heavy edged veil. In a grand church or estate the contrast between short hair and a floor-sweeping veil is memorable. Plan for someone to unclip it before photos at the reception.
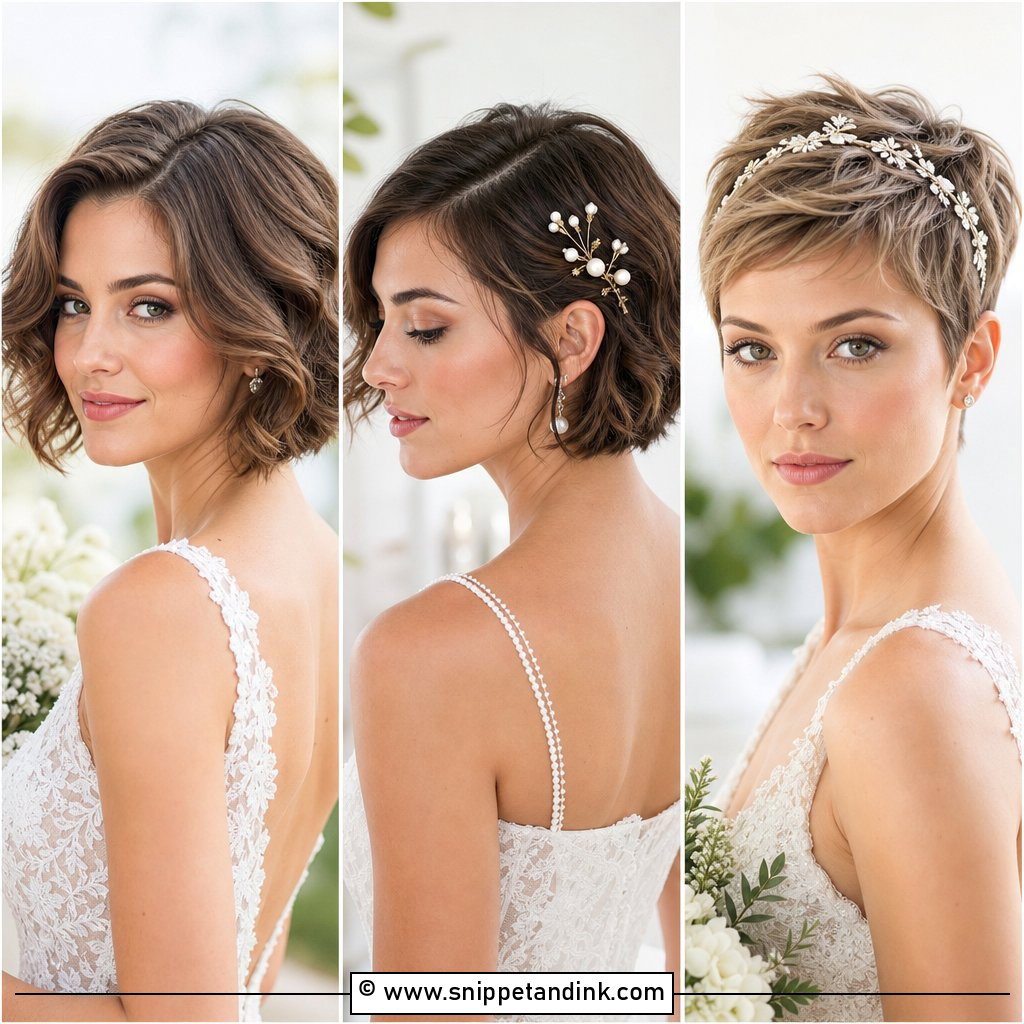
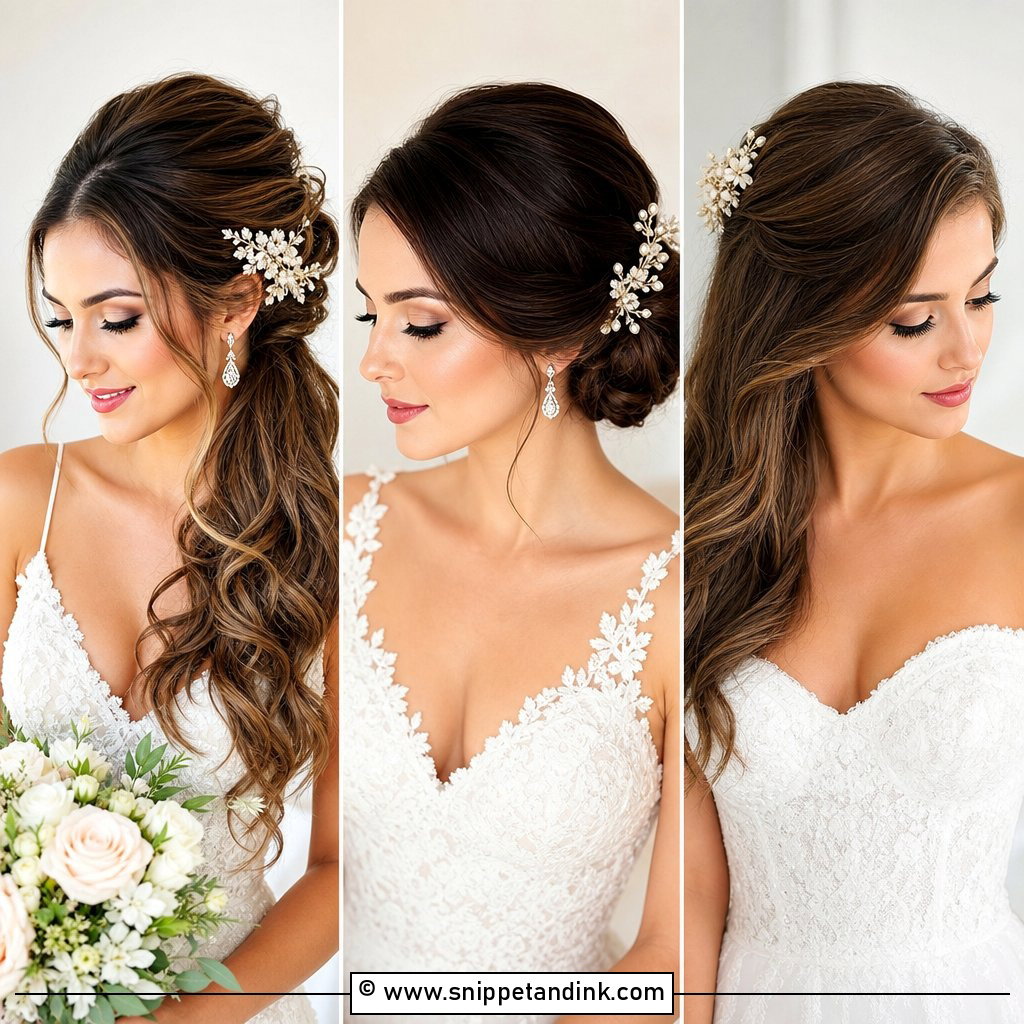
15. Pixie With Deep Side Sweep
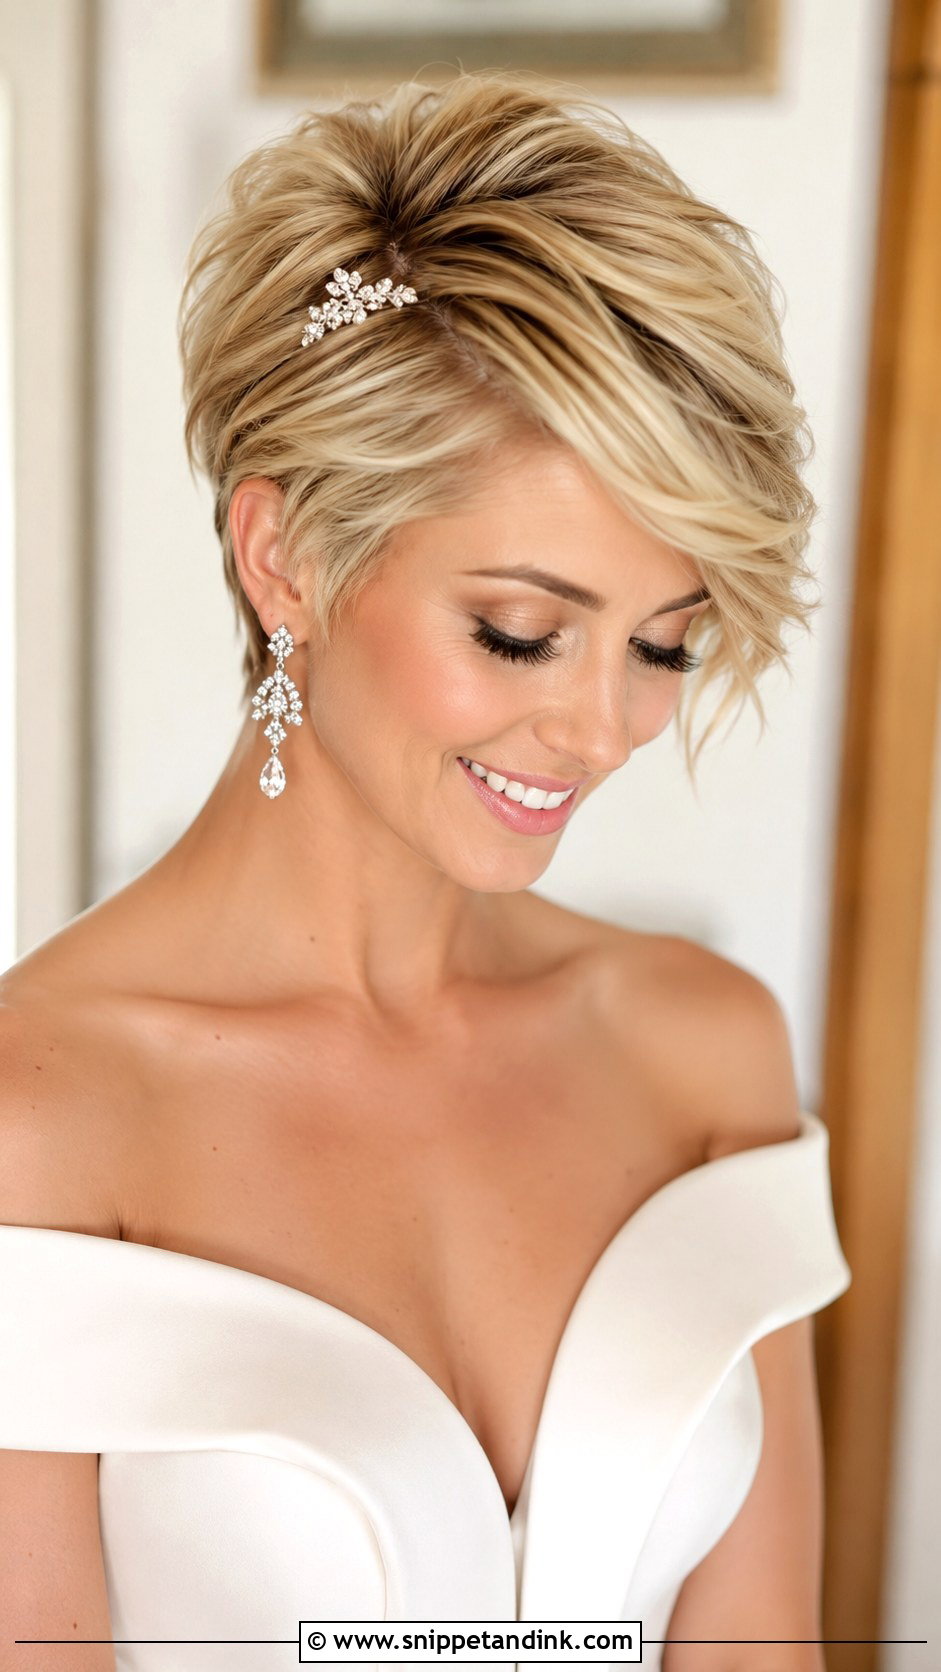
A deep side sweep is about height at the crown, not just direction. I blow-dry the top section up and over with a round brush, then use a light mousse at the root so the lift survives the evening. The asymmetrical line is flattering on round faces because it adds height and a diagonal. One sparkly pin at the point where the sweep starts anchors it and hides the place where the hair is most likely to separate.
16. Pixie With Tiara
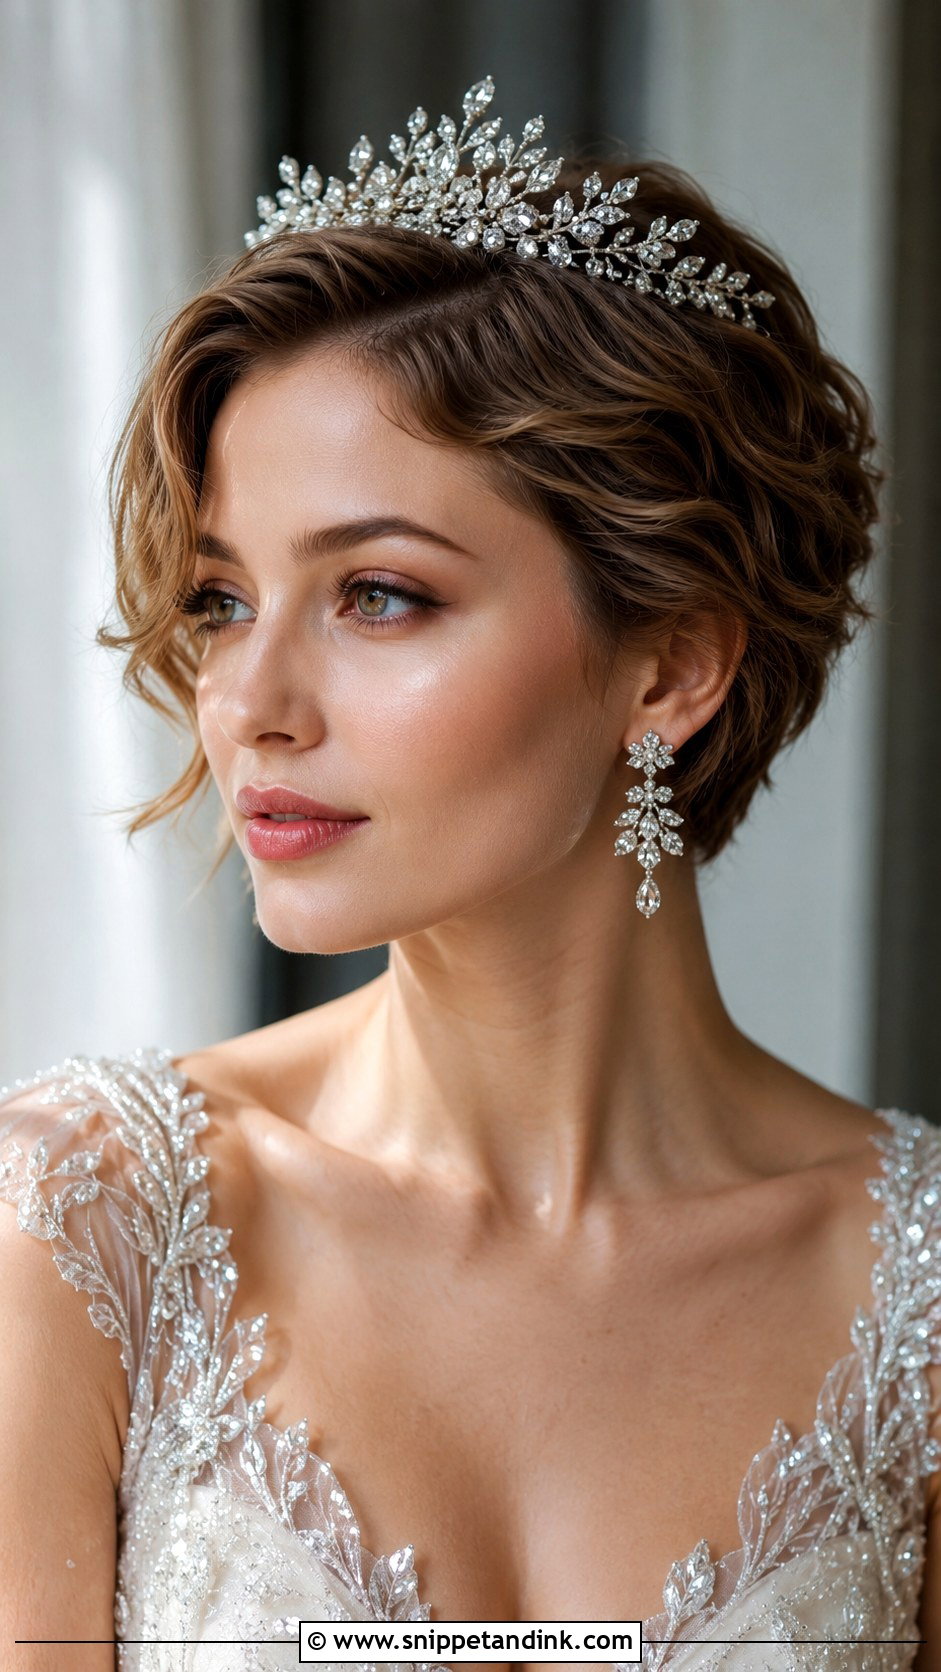
A tiara on a pixie looks regal, but it’s usually designed for longer hair, with combs at each end expecting a thick base to grip. On a short cut I pin through the small loops at the tiara’s ends instead of relying on the combs, and I place it at the crown rather than forward on the forehead, where it feels heavy and slips. A delicate crystal or pearl tiara suits short proportions better than a tall one. Under reception lighting it’ll give plenty of sparkle.
17. Textured Pixie With Volume
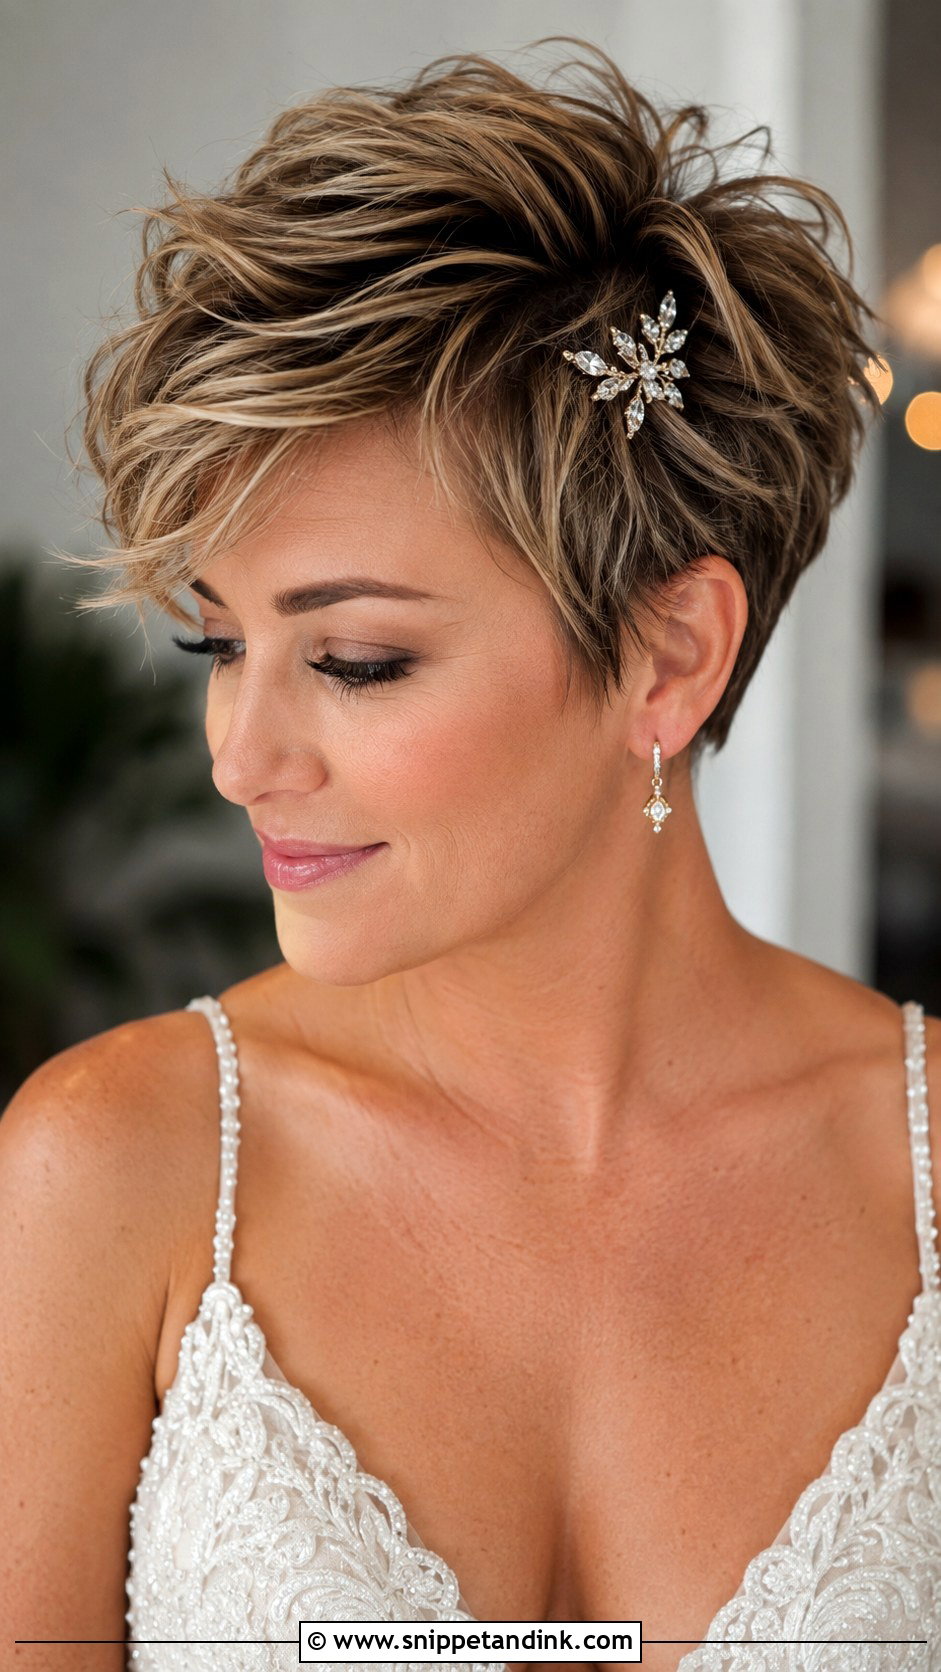
A textured pixie with volume is built with mousse at the root and a dry texture spray at the ends, then lifted with fingers rather than a brush. The risk is humidity: lift on short hair collapses fast in a muggy room, so I set the volume with a blast of cool air and a light flexible spray. A small jeweled pin or a short veil keeps it bridal. It’s the most forgiving style here if your cut is a few weeks past its last trim.
18. Pixie With Half-Up Twist
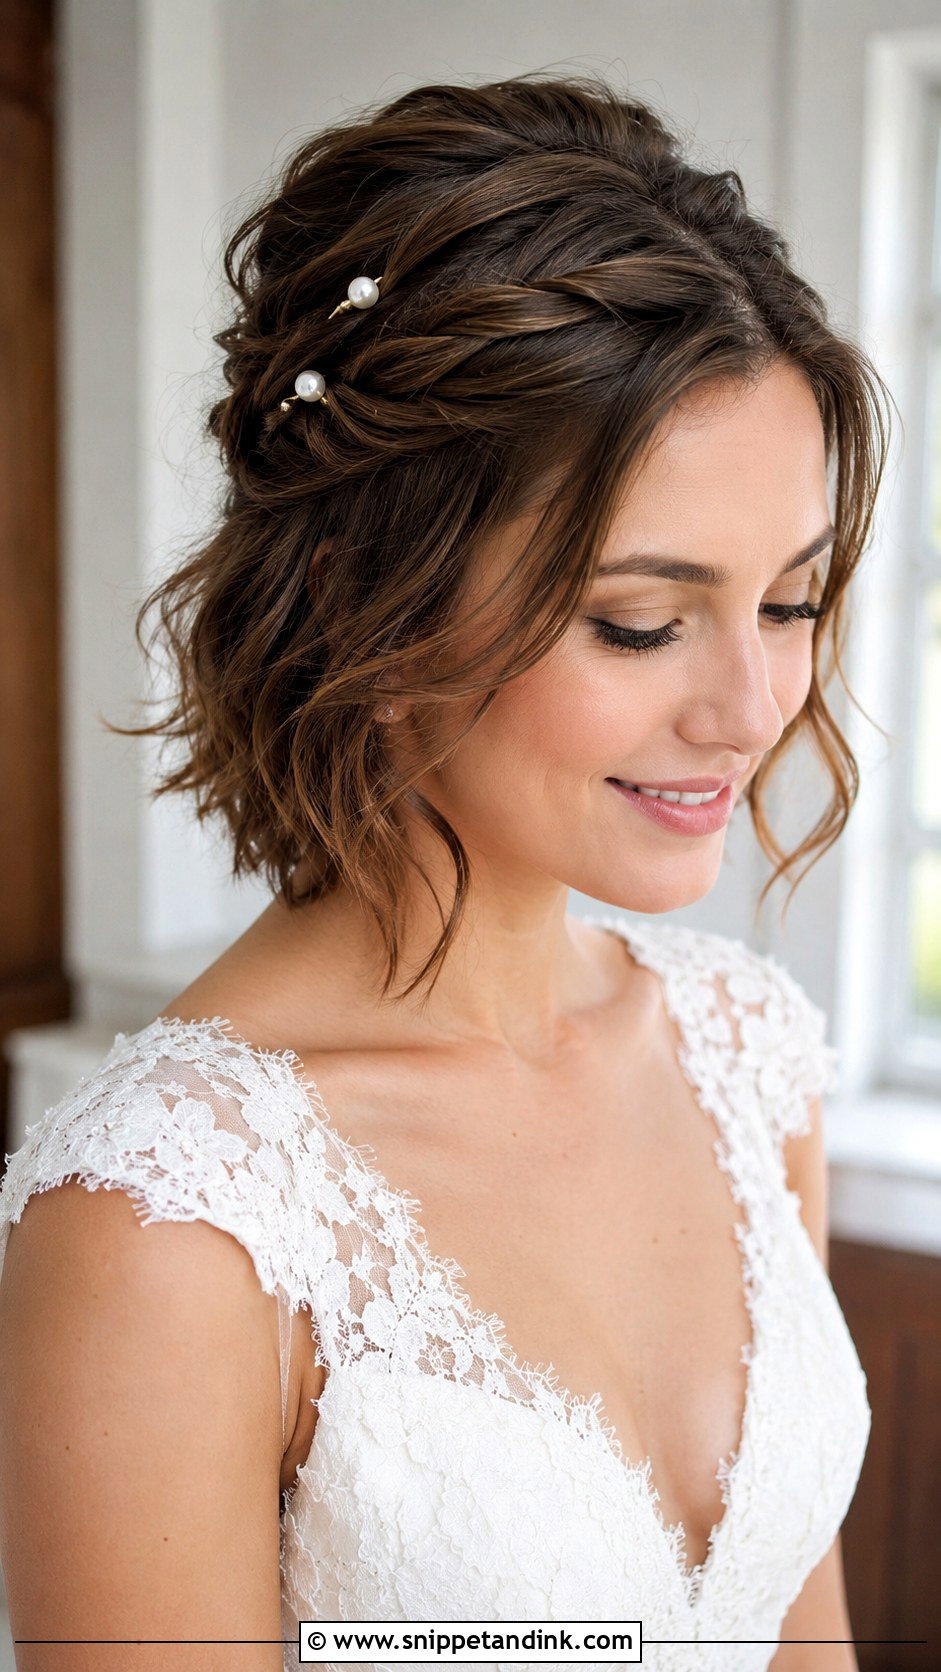
A half-up twist needs length, so this is one for a longer pixie with at least three to four inches on top. I take the top section back, twist it once, and lock the twist with two pins crossed underneath before adding any decorative pin on top. Shorter hair simply pops out of the twist by the evening. Soft pieces left loose around the face keep it from looking severe. Small florals or pearl pins along the twist add the detail.
19. Pixie With Bold Color
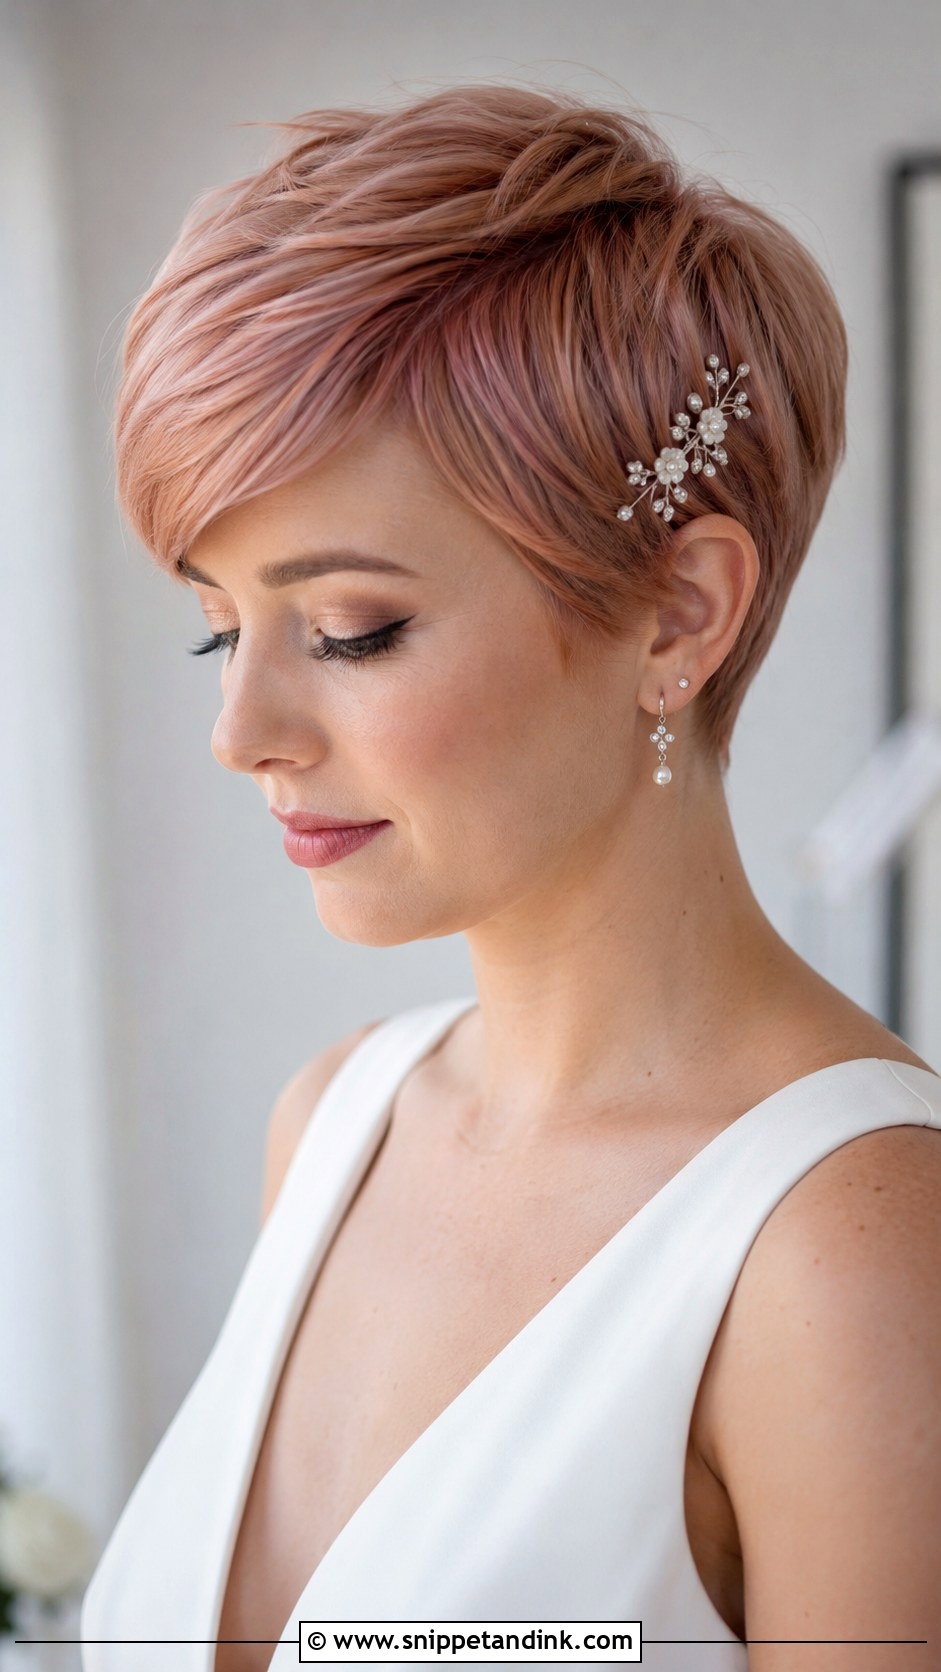
Bold color on a pixie shows every shade, because there’s no length hiding it. Icy platinum, rose gold and rich copper all look vivid in photos, but they fade at different rates. I’d book the color refresh one to two weeks before the wedding so any harsh fresh tone settles and the roots are still clean. Platinum needs a purple shampoo routine leading up to it, or it can drift yellow under warm venue lighting. Keep the accessories simple so the color stays the focus.
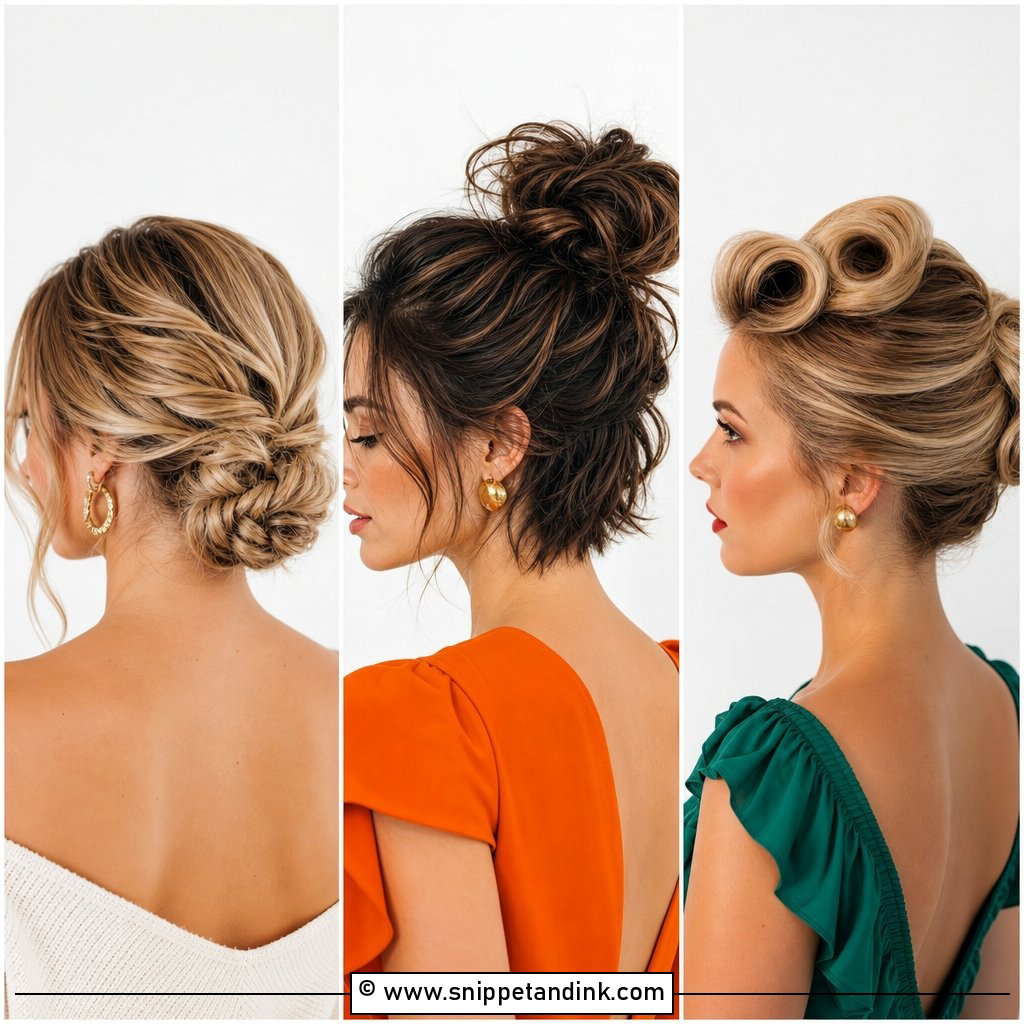
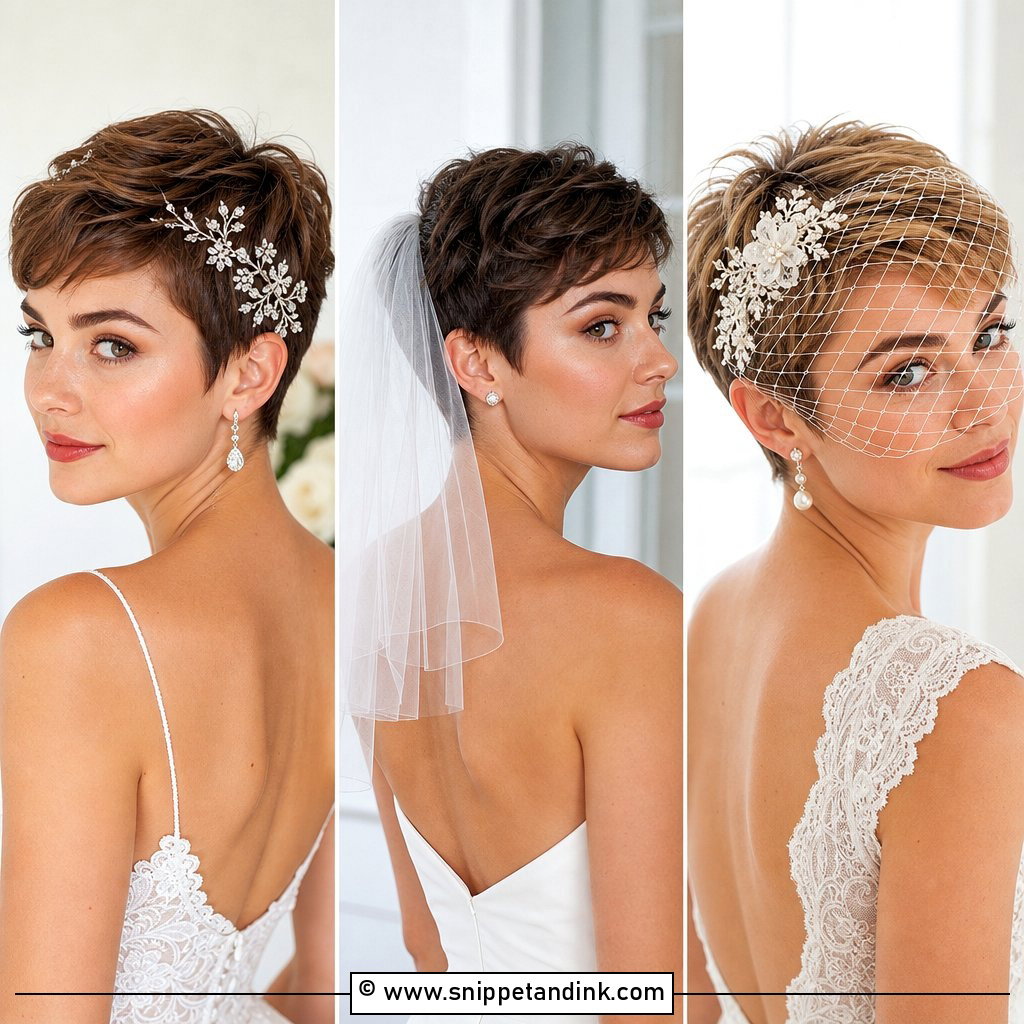
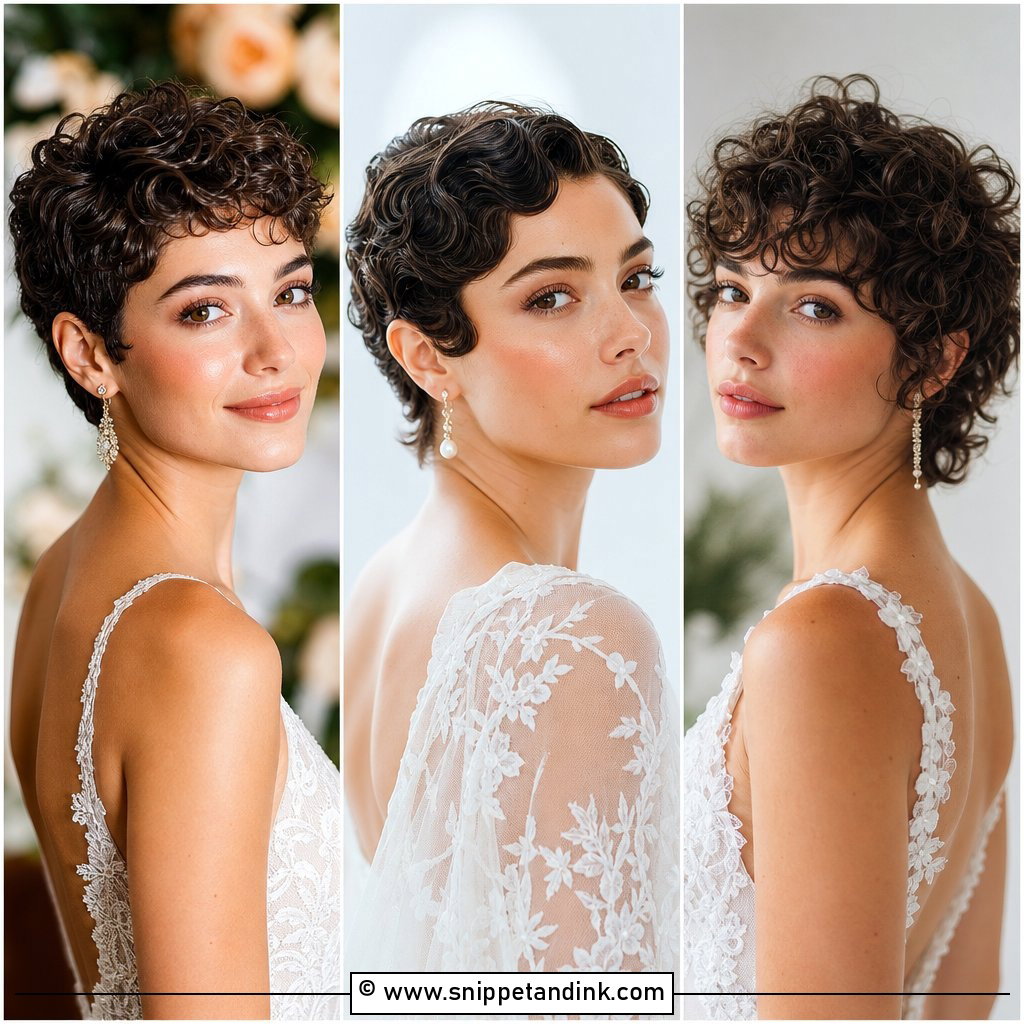
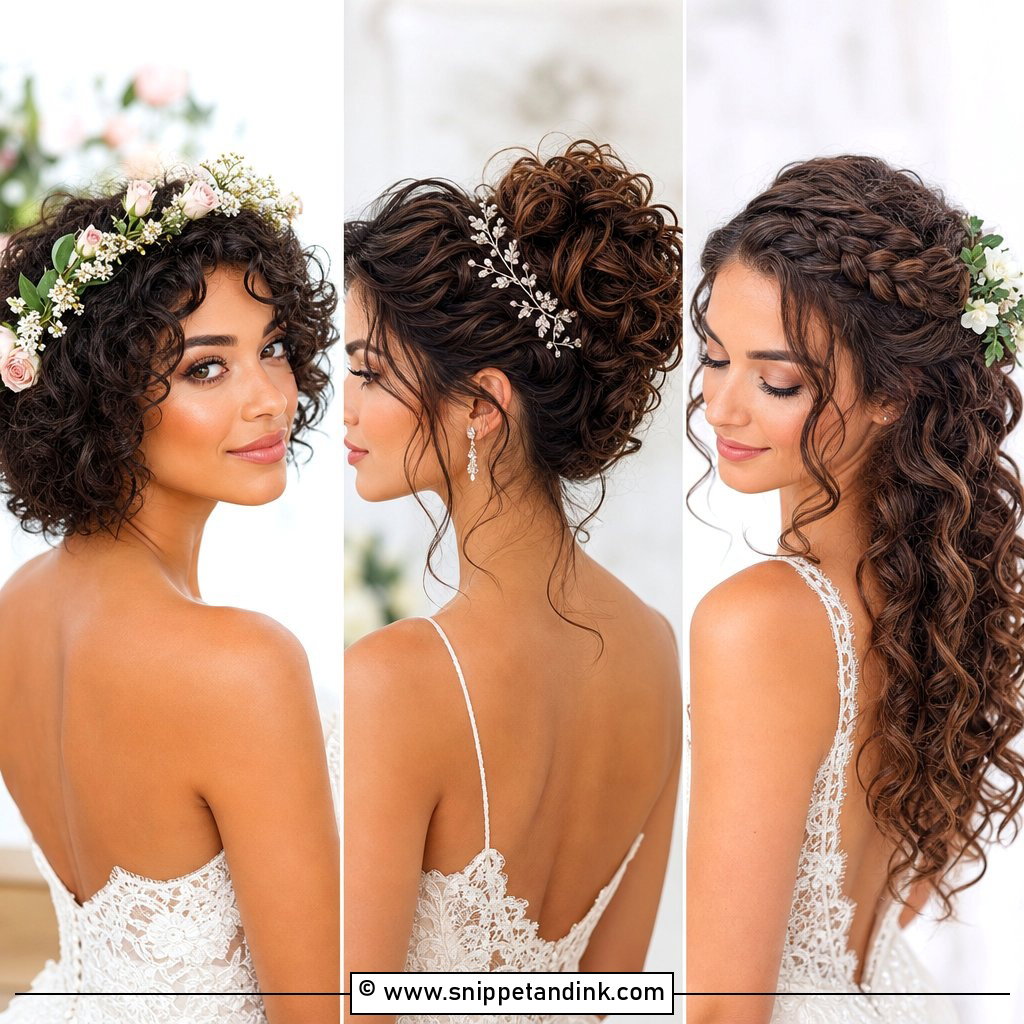
20. Pixie With Braided Detail
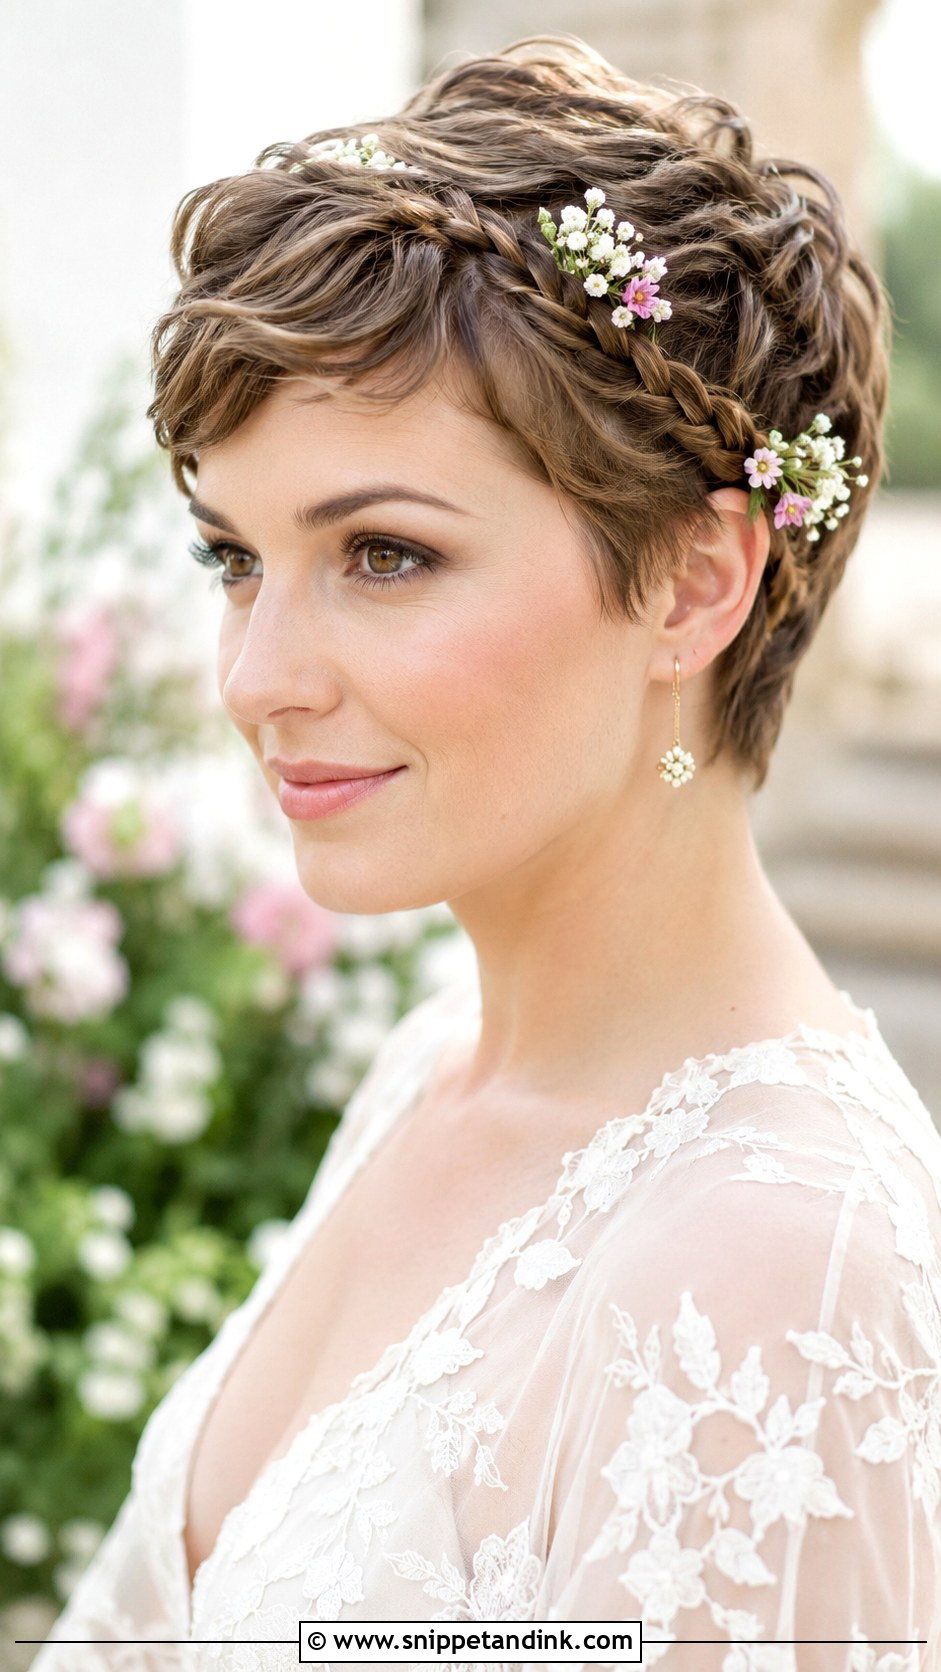
A tiny braid along the hairline is possible on a pixie, but only where the hair is at least a few inches long, usually the fringe or the top of one side. I braid it tight to the scalp with a little texture spray for grip, secure the end with a clear elastic, and hide it under the next section. Combined with soft waves and a couple of florals, it gives the braided detail many brides want without needing an updo.
21. Pixie With Pinned-Back Sides
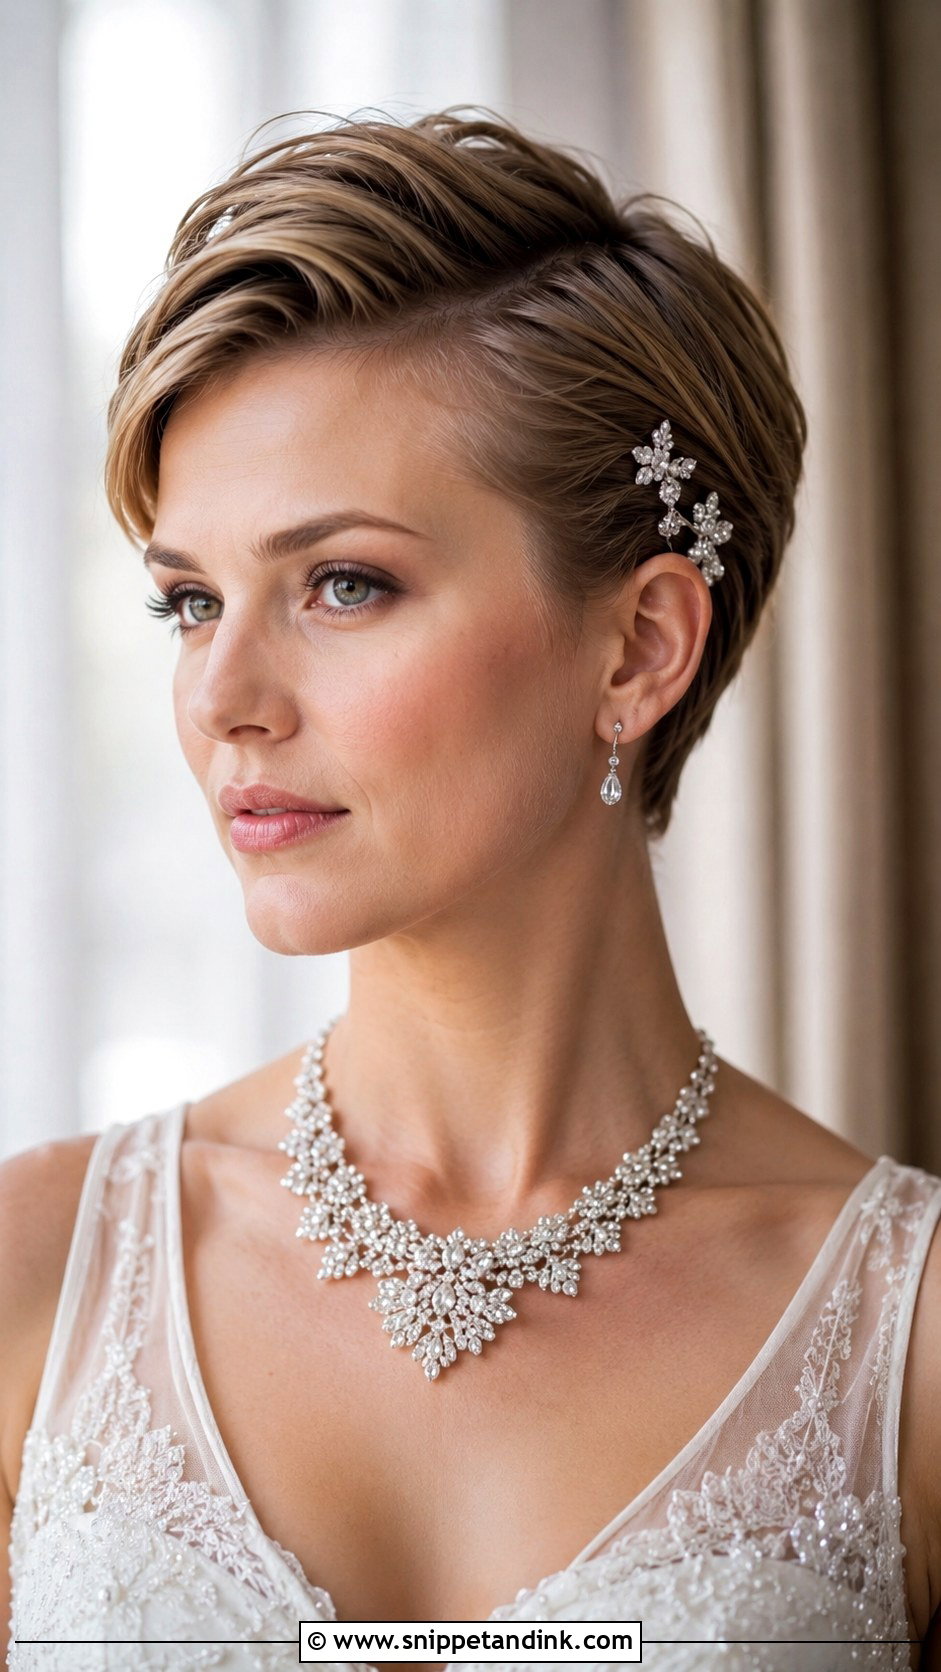
Pinning the sides back opens your face and makes earrings the focal point. On a pixie, the temple hair is often the shortest and springiest, so I flatten it first with a little gel and a small brush, then pin it pointing back toward the crown. The decorative pins sit just above, covering the anchors. It pairs comfortably with a veil or tiara because the sides are already controlled.
22. Edgy Spiked Pixie
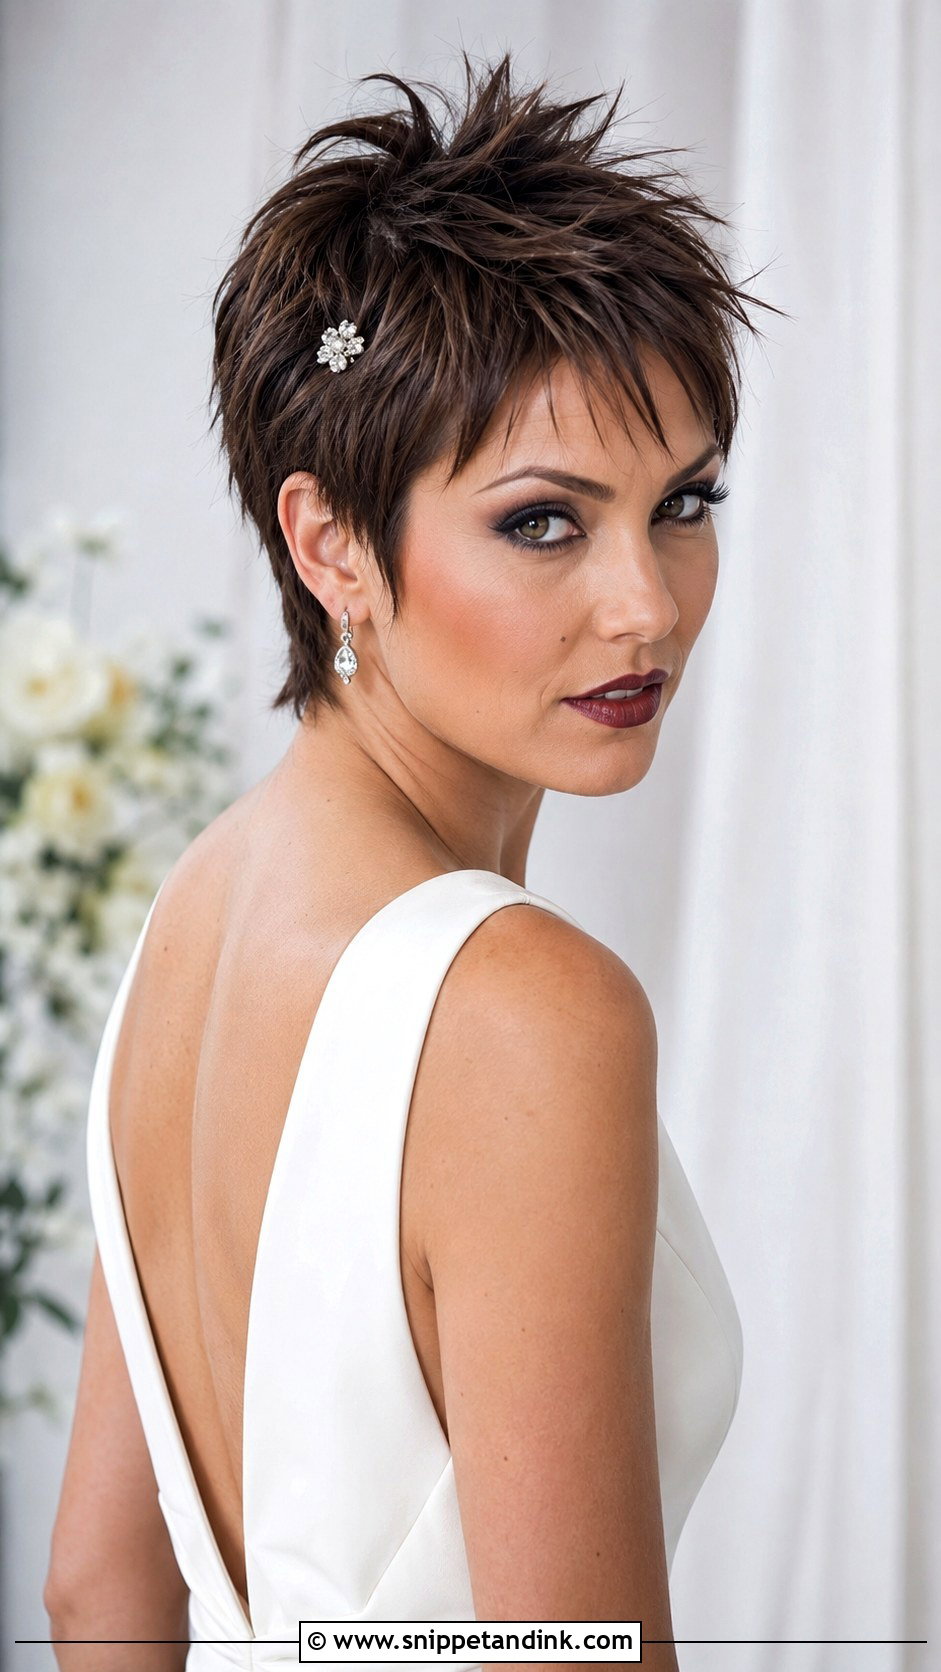
An edgy spiked pixie needs a matte paste or fiber cream, not gel. Gel spikes look shiny and hard in close-ups, and they flatten into clumps as the day goes on. I work the paste into dry hair and pinch the ends into points, then spray from a distance. A small jeweled pin or thin headband adds a bridal note without softening the edge. For a city wedding with a sleek gown, it reads modern and confident.
23. Pixie With Lace Headpiece
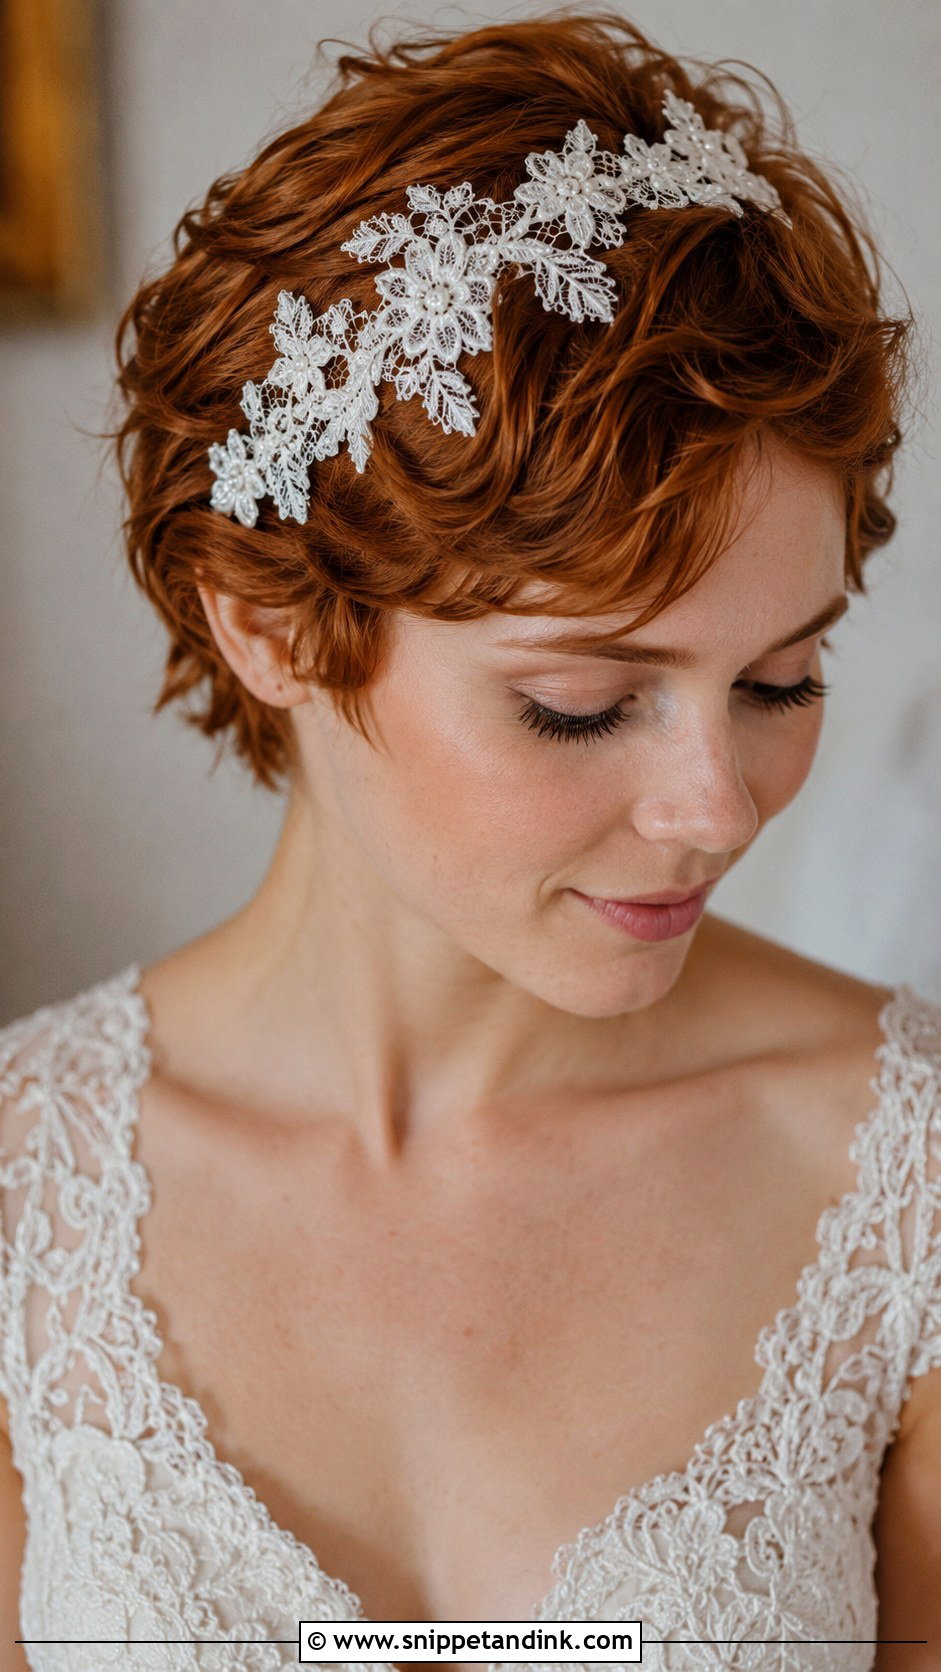
A lace headpiece sits directly against short hair and partly against skin, so comfort matters. Soft Chantilly or embroidered tulle is lighter and less scratchy than a stiff guipure. I tack it in place with small pins at each end and one at the center so it doesn’t lift when you turn your head. It suits vintage and rustic weddings and pairs nicely with soft waves. Try it on for an hour before the wedding to check that the edges don’t itch around the ears.
24. Glossy Wet-Look Pixie
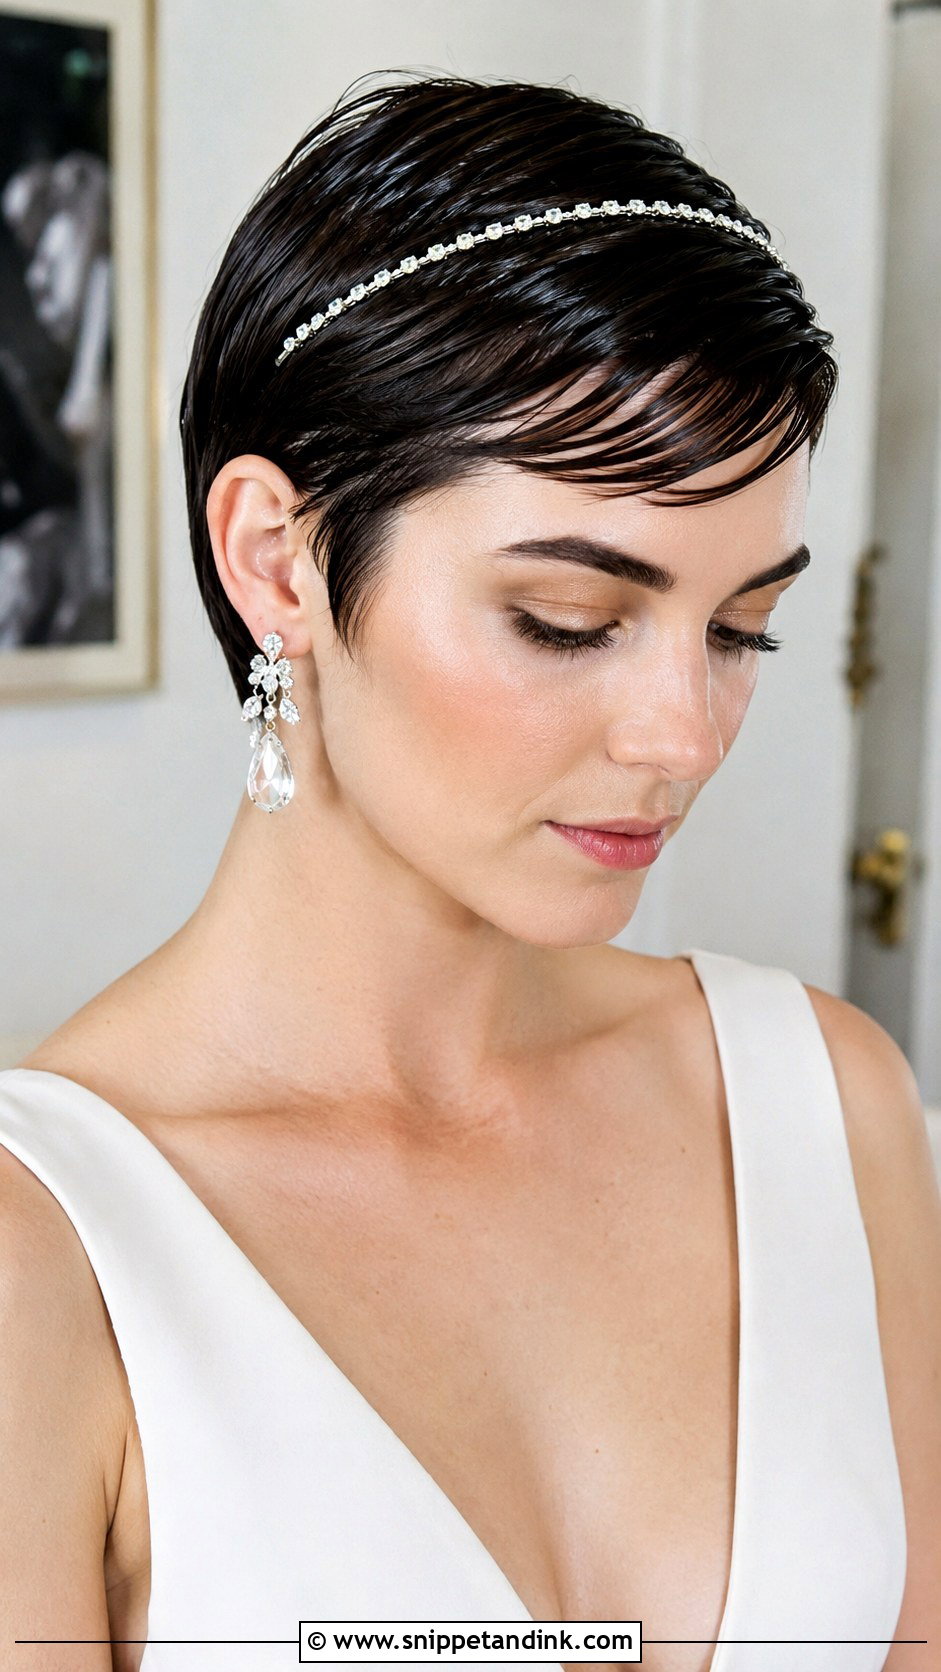
A glossy wet-look pixie is the slicked-back style taken further: more product, a reflective finish and hair molded close to the head. I use a shine gel on damp hair, then press a drop of oil over the top so the shine looks wet rather than sticky. It’s dramatic and editorial, and I’d avoid it in a hot outdoor setting, where gel softens and can drip at the hairline. Statement earrings and a thin crystal headband are all it needs.
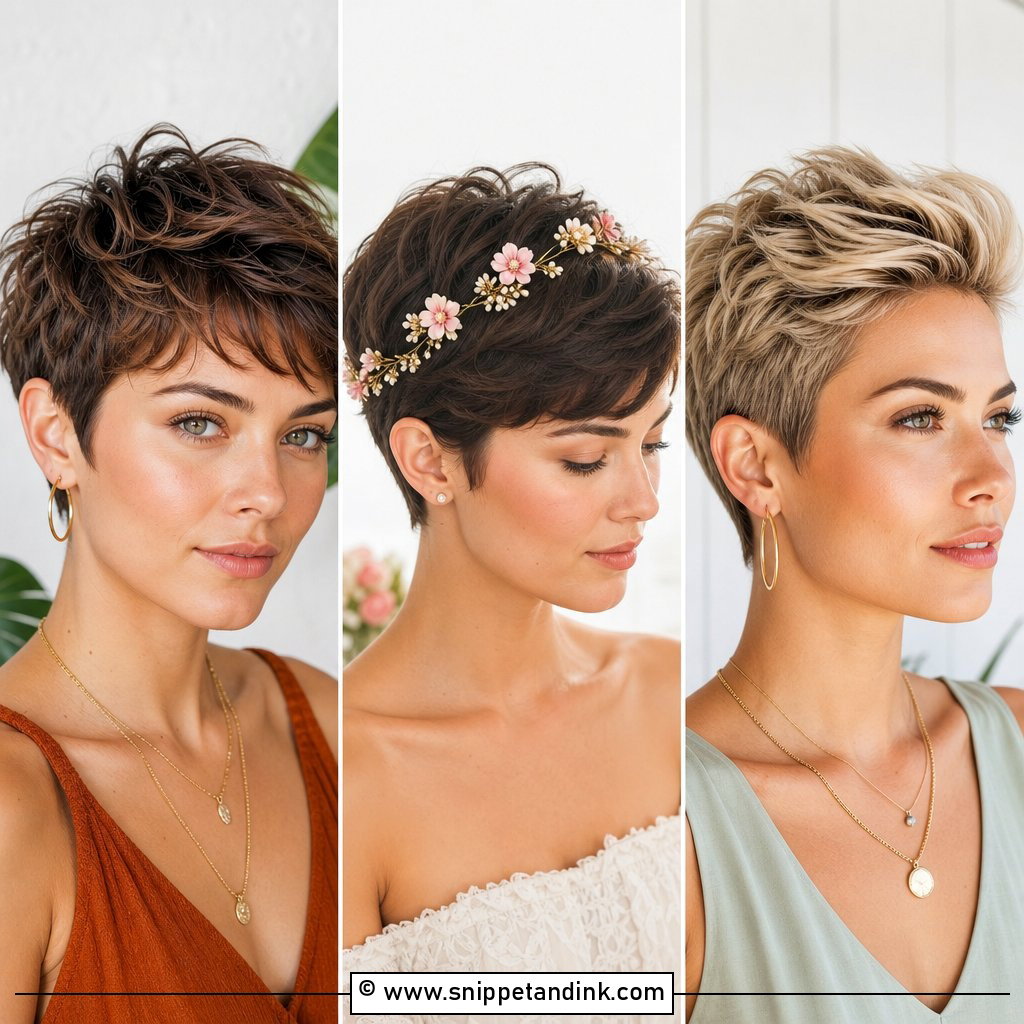
25. Pixie With Floral Crown Accents
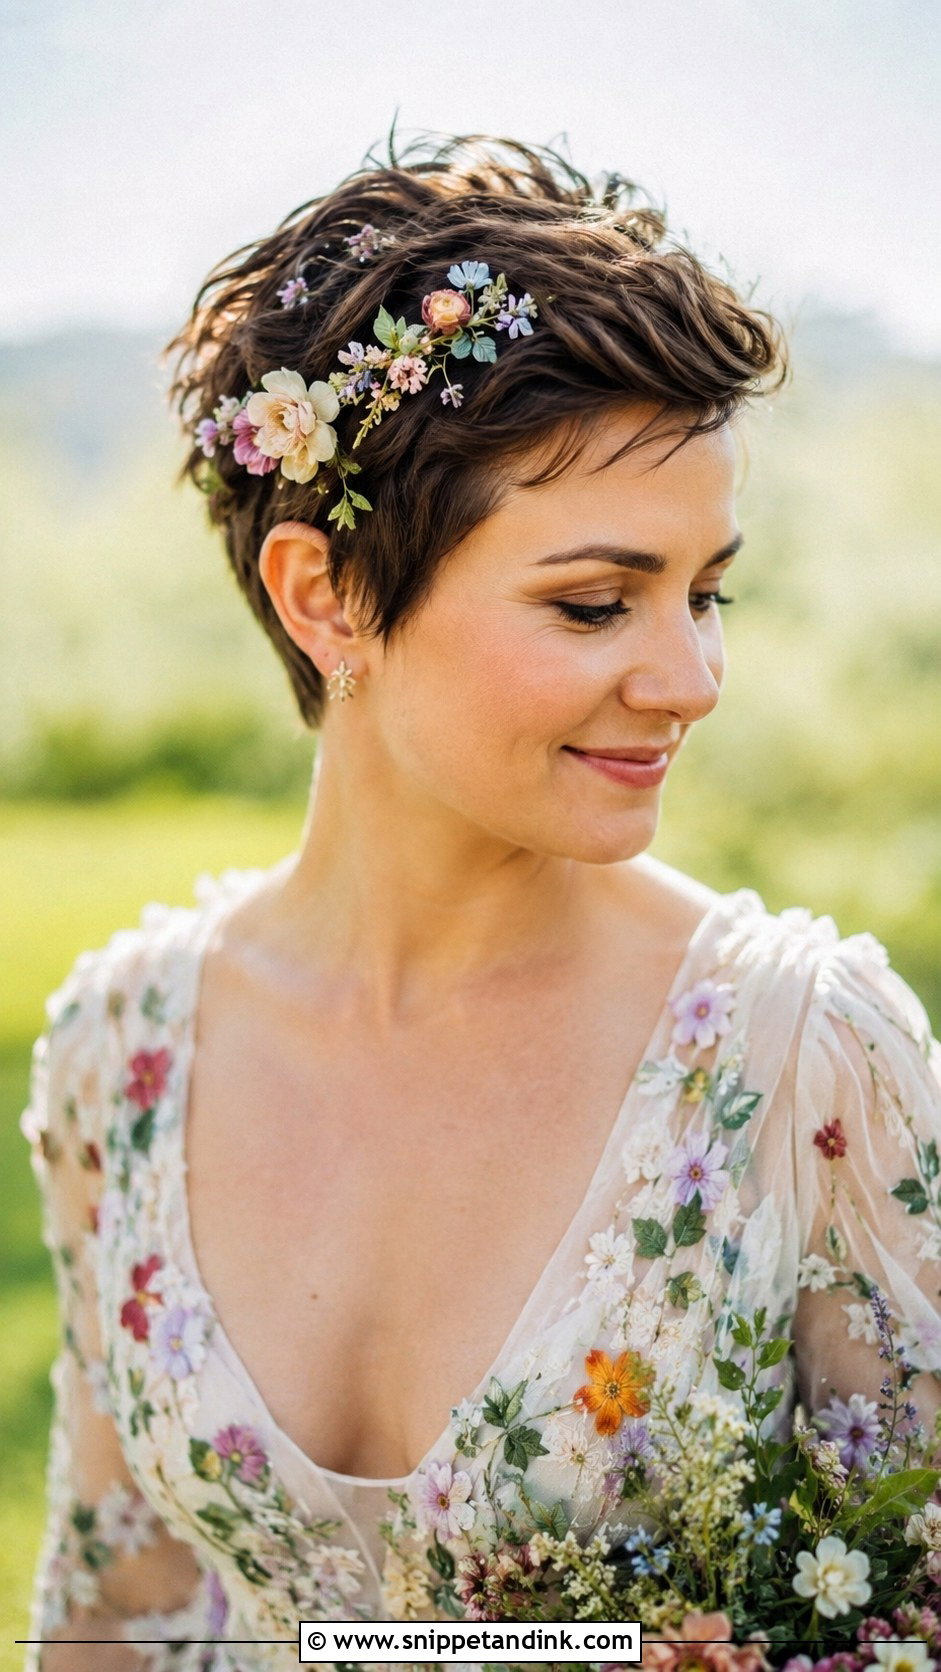
Soft floral accents scattered through a pixie are lighter and easier to wear than a full crown. I wire each small bloom individually and pin them in an uneven pattern, usually heavier on one side, so it looks gathered rather than placed. Pastel spray roses and waxflower hold up well; I’d skip anything with soft petals that bruise when you hug guests. It suits spring and garden weddings and leaves the shape of the cut visible.
Giving Combs and Clips Something to Grip
The biggest technical problem with a pixie is not the style but the accessories. Most veil combs and tiaras are made for a bun or a thick section of hair. On a short cut I create the base myself before anything decorative goes in.
The crossed-pin anchor
Two bobby pins slid in from opposite directions to form an X create a small, firm platform. A comb slid through the X holds far better than one pushed into loose hair. A light mist of texture spray beforehand gives the pins more grip on fine or slippery hair.
Swap combs for clips when you can
Many veil makers will sew small alligator clips onto the veil instead of a comb if you ask when you order. Clips grip short sections well and come out quickly without dragging the style.
How a Pixie Holds Up Between Ceremony and Last Dance
Short hair doesn’t fall down, but it does change. Volume flattens under a veil, the fringe separates in humidity, and gel styles dull after hours of hugs. None of this needs a stylist on call; a small pouch in your bridesmaid’s bag is enough.
- A fine-tooth comb and a travel pomade or paste to reshape the fringe after the veil comes out.
- A few spare bobby pins in your hair color for loose accessories.
- Blotting papers, because a shiny forehead under a sleek pixie is more obvious than under long hair.
- For slicked or wet looks, a dab of oil on fingertips to restore shine without adding more gel.
I’d also check the veil removal at the trial. Unclipping a cathedral veil can pull the crown flat, so practice lifting it out straight upward rather than pulling it back.
A Short Cut Asks Less of You on the Day
A pixie gives you a lot of freedom on the wedding day: no updo to collapse, no curls to drop, and far fewer pins pressing into your head by midnight. The trade-off is that every accessory needs a proper anchor and every product choice shows. Pick the style that matches your cut’s current length and texture, test your accessories at the trial, and book that final trim so the edges are crisp in photos. Then let your face and your happiness carry the look.
You'll Like These Ideas:


Leave a Reply