
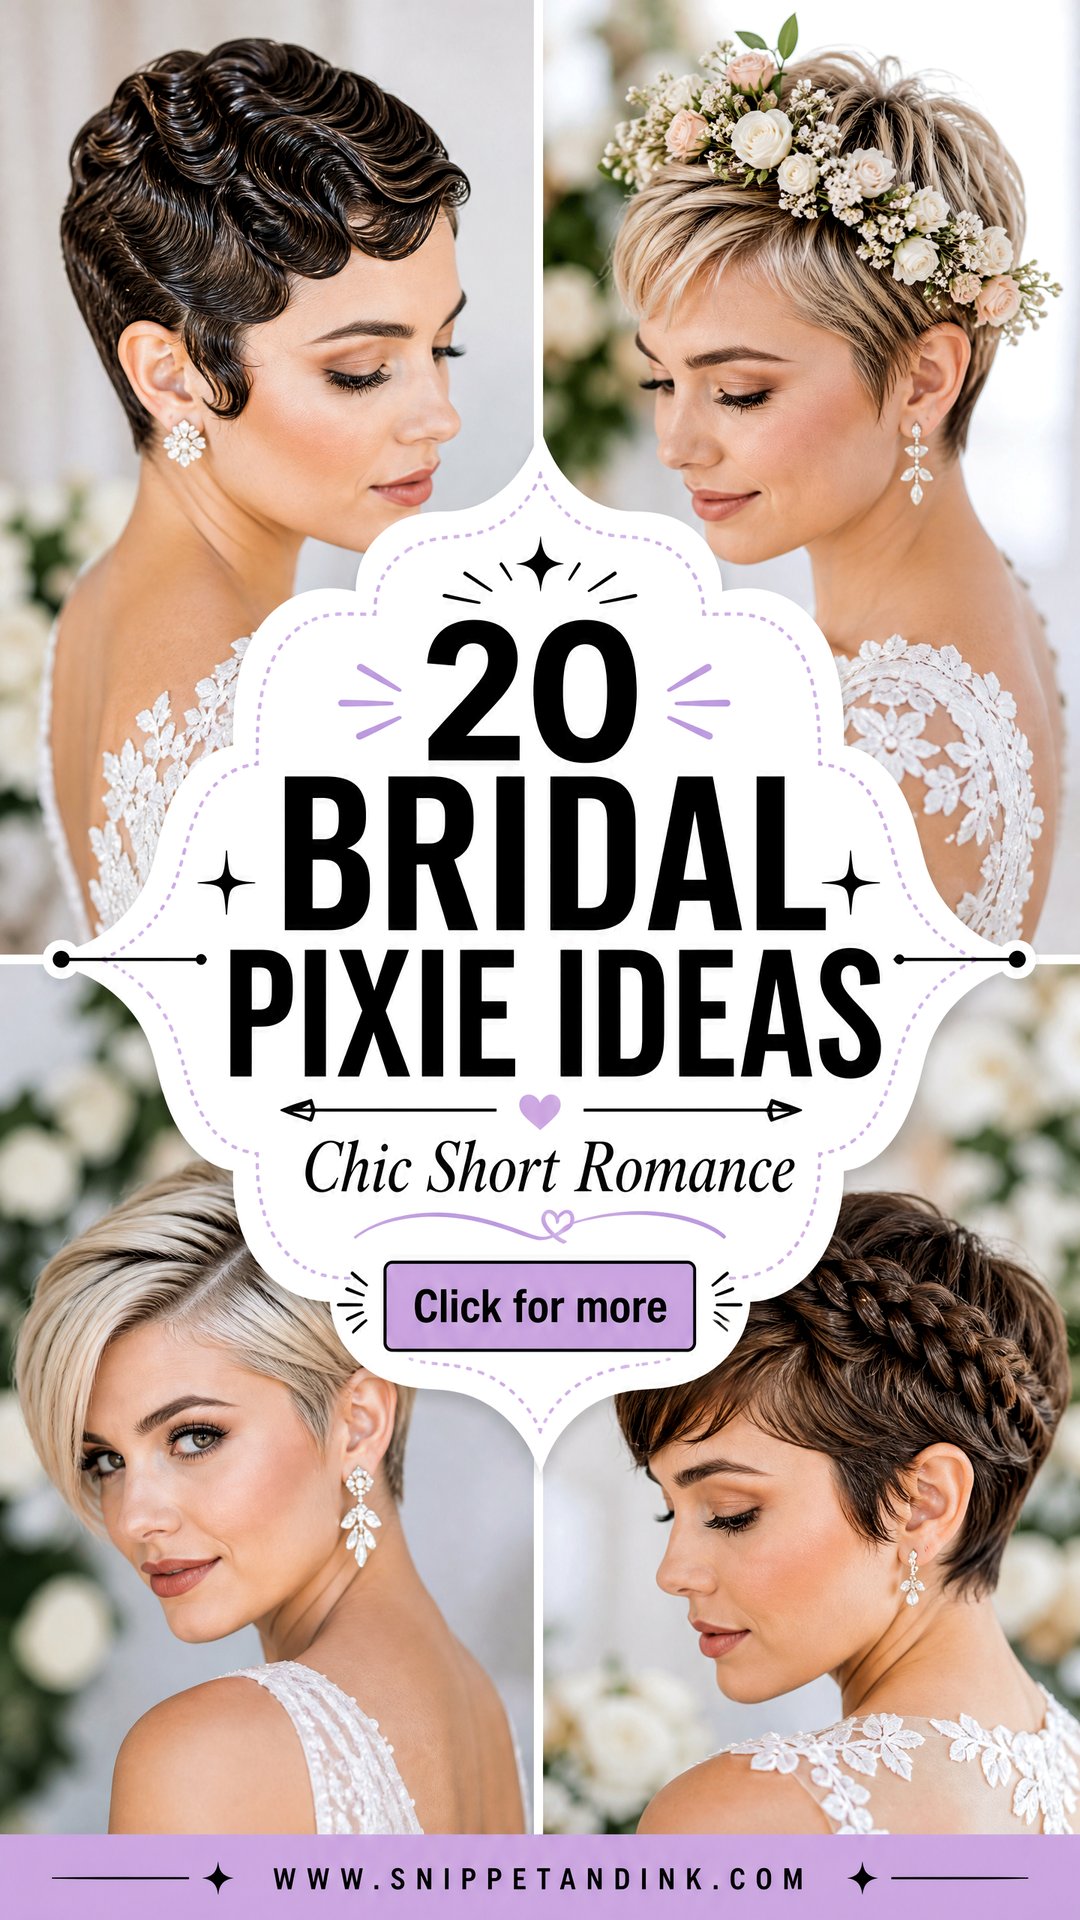
Short-haired brides often arrive at my chair apologising, as if a pixie gives me nothing to work with. It’s the opposite. With two or three inches of hair, every decision shows: where the part sits, how much lift the crown gets, which accessory carries the look. The cut also hands the spotlight to your eyes, your earrings and your neckline, so the styling has to agree with all three. Below are twenty ways I’d finish a pixie for a wedding, from glossy side parts to natural curls, with notes on what holds, what slips and who each one actually suits.
When Your Pixie Should Get Its Final Cut
A pixie grows out faster than people expect, and the shape changes noticeably within a month. I usually suggest the last cut about one to two weeks before the wedding. That gives the edges time to soften, so you don’t look freshly shorn in photos, while the overall shape still reads as deliberate.
If you’re planning to colour, do it a few days before the cut, not after, so the stylist can trim away any dry ends from the process. And resist the urge to try a new length right before the wedding. A crop that’s one inch shorter than you’re used to behaves very differently, especially around a cowlick or at the nape.
- Six to eight weeks out: decide if you’ll keep your current length or let it grow slightly for more styling options.
- Two to three weeks out: trial with your accessories, veil and earrings.
- One to two weeks out: final cut, ideally with the same person who did your trial.
- The night before: wash and dry it into the shape you’ll wear, so the root direction is already trained.
1. Bridal Pixie With Veil
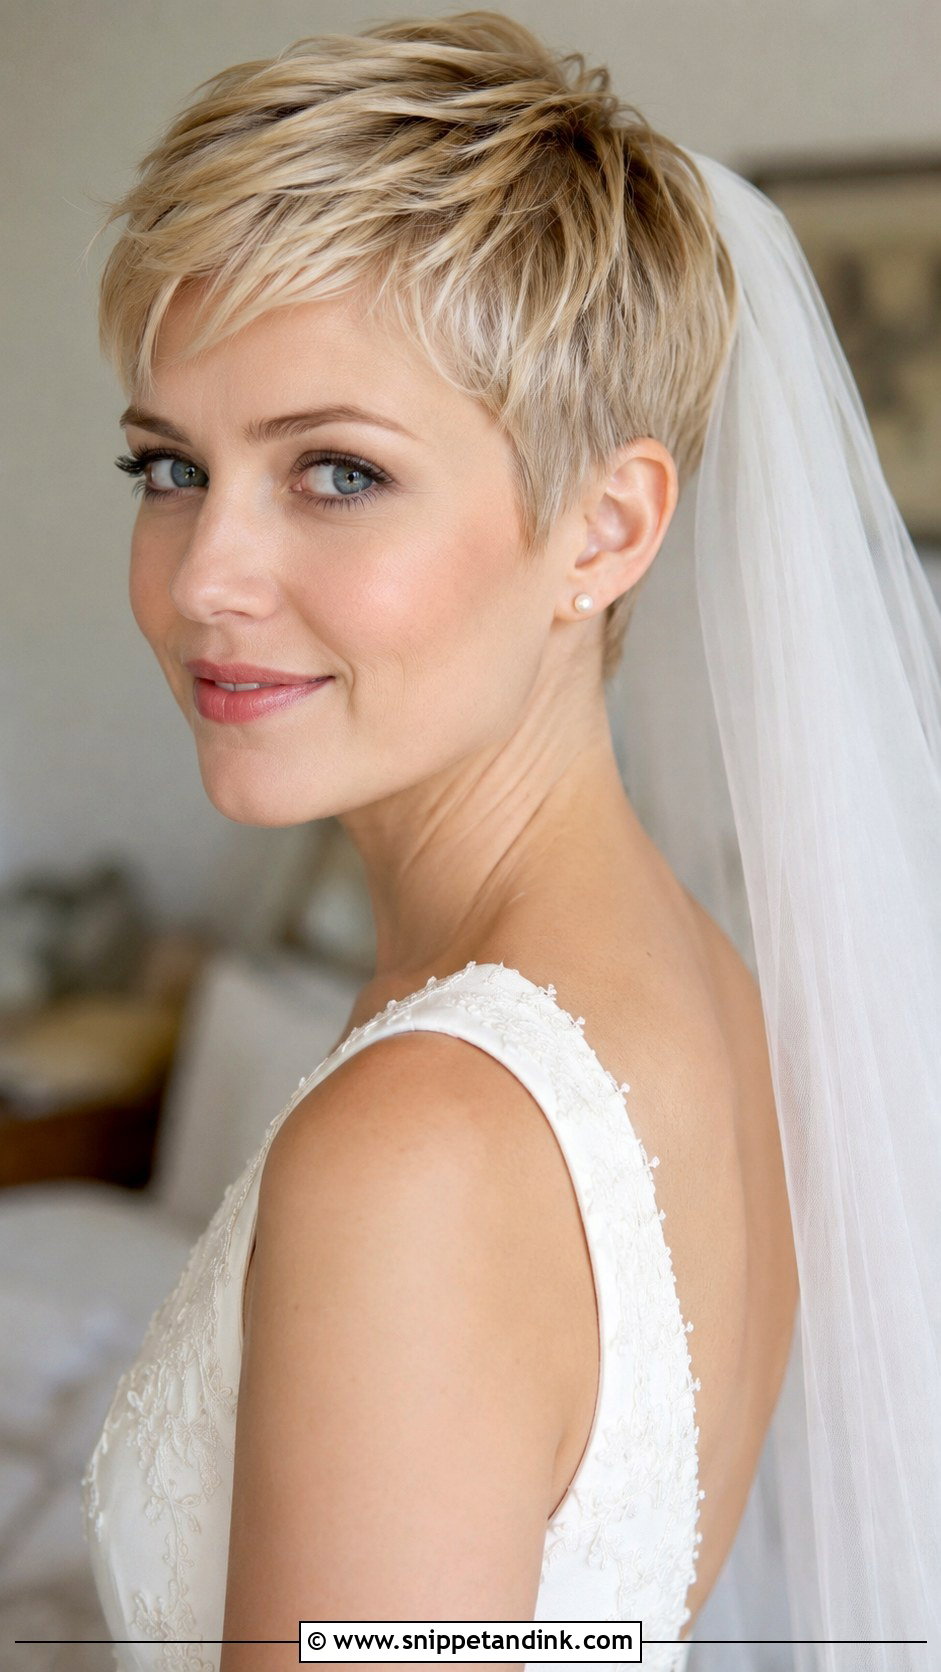
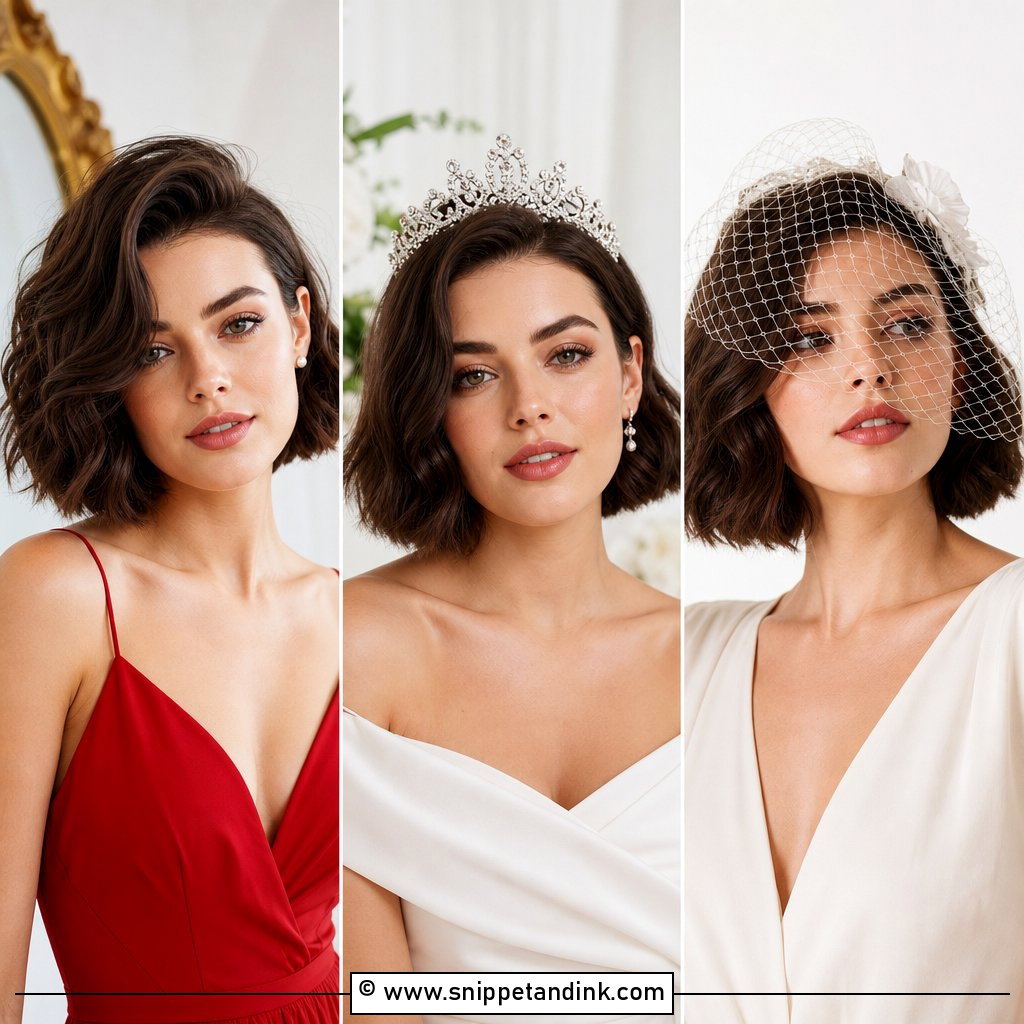
A bridal pixie with veil is entirely possible, but the comb that comes sewn onto most veils was designed for a bun, not for cropped hair. On a pixie I build an anchor first: two bobby pins crossed into an X at the crown, with a little backcombing underneath, and the comb slides in over that. Lighter veils behave better here, so fingertip and shoulder lengths are kinder than cathedral. Keep the front smooth or swept to one side so the face stays open under the tulle.
2. Bridal Pixie With Pearl Headband
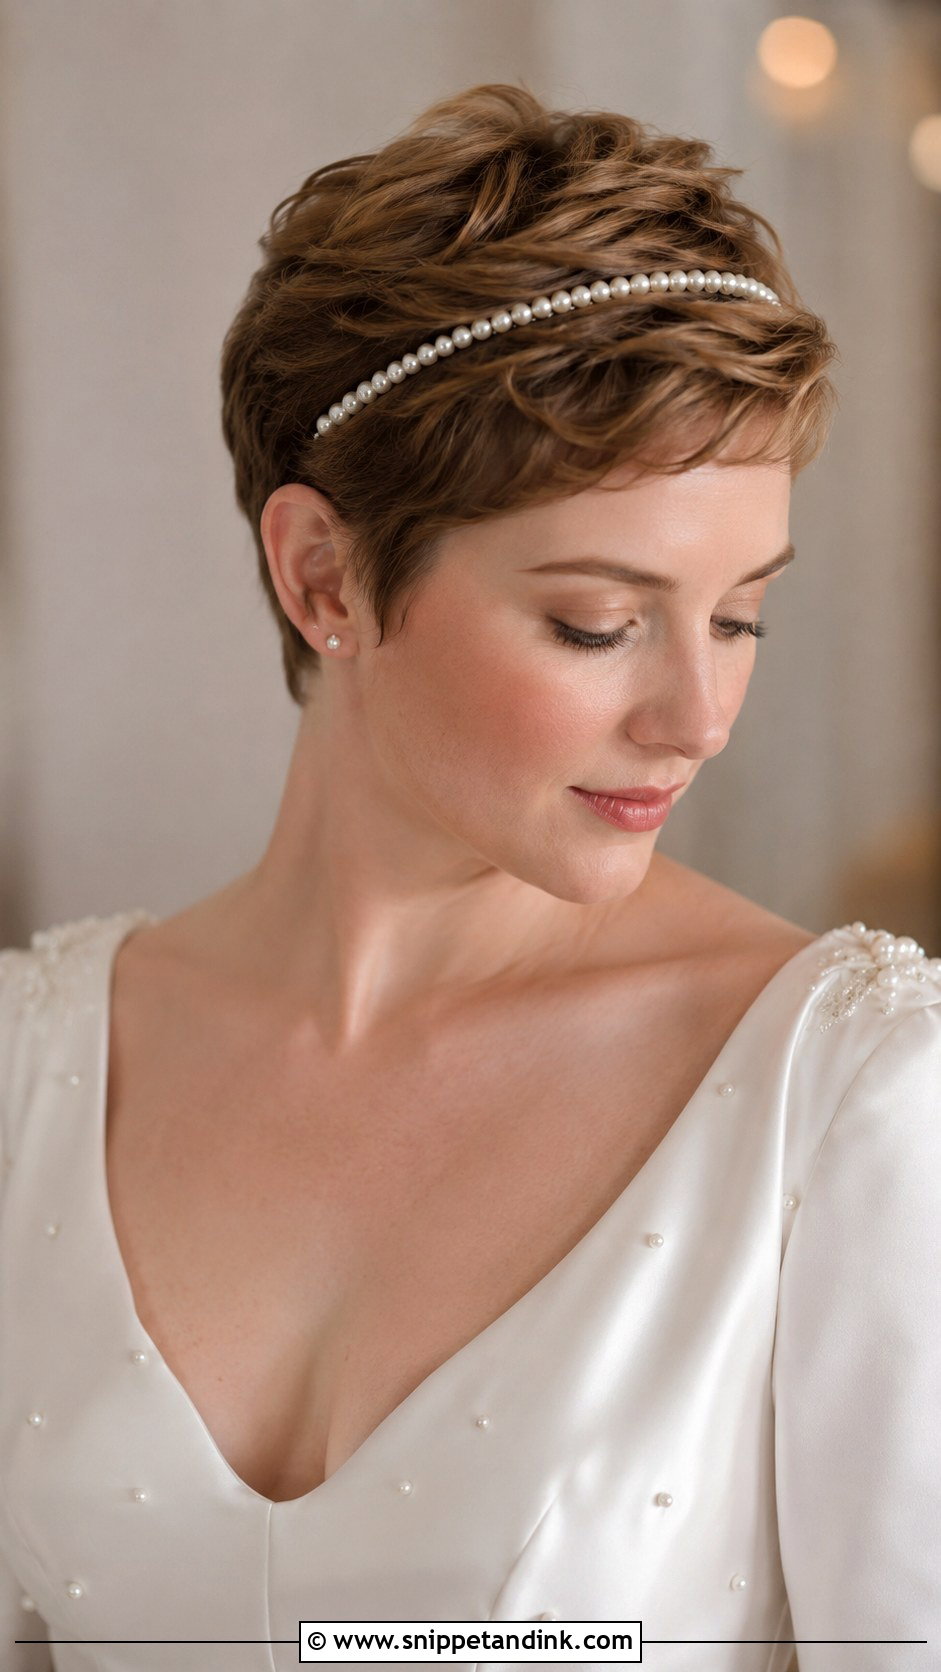
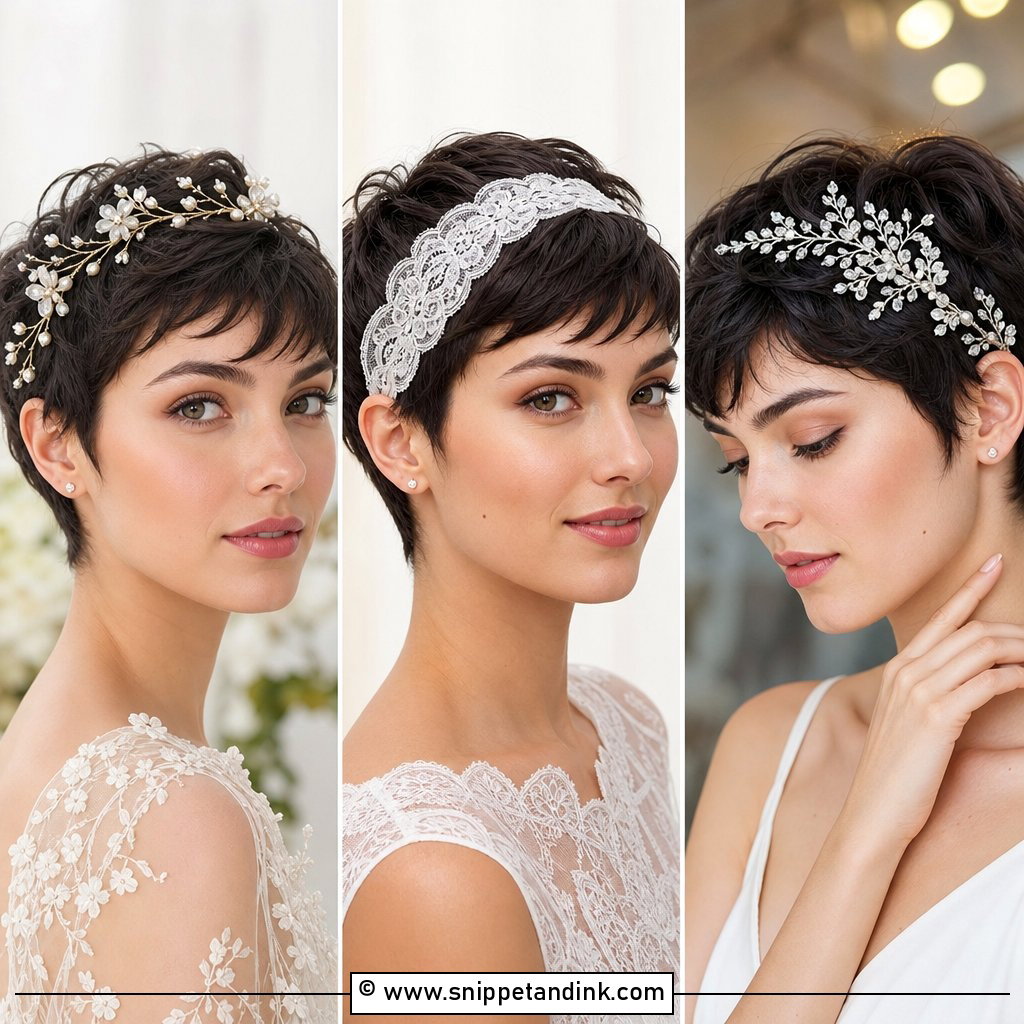
A pearl headband is the accessory I reach for most with pixie brides, because it grips the head rather than the hair. That matters when there isn’t much hair to hold. A slim band sits quietly with a plain crepe gown; a padded one has enough presence to stand up to heavy satin or structured lace. I lift the crown slightly before the band goes on so it sits on volume instead of flattening it. Try it on for a full hour before the day, since a band that’s comfortable for five minutes can press behind the ears by the third.
3. Bridal Pixie With Side Swept Bangs
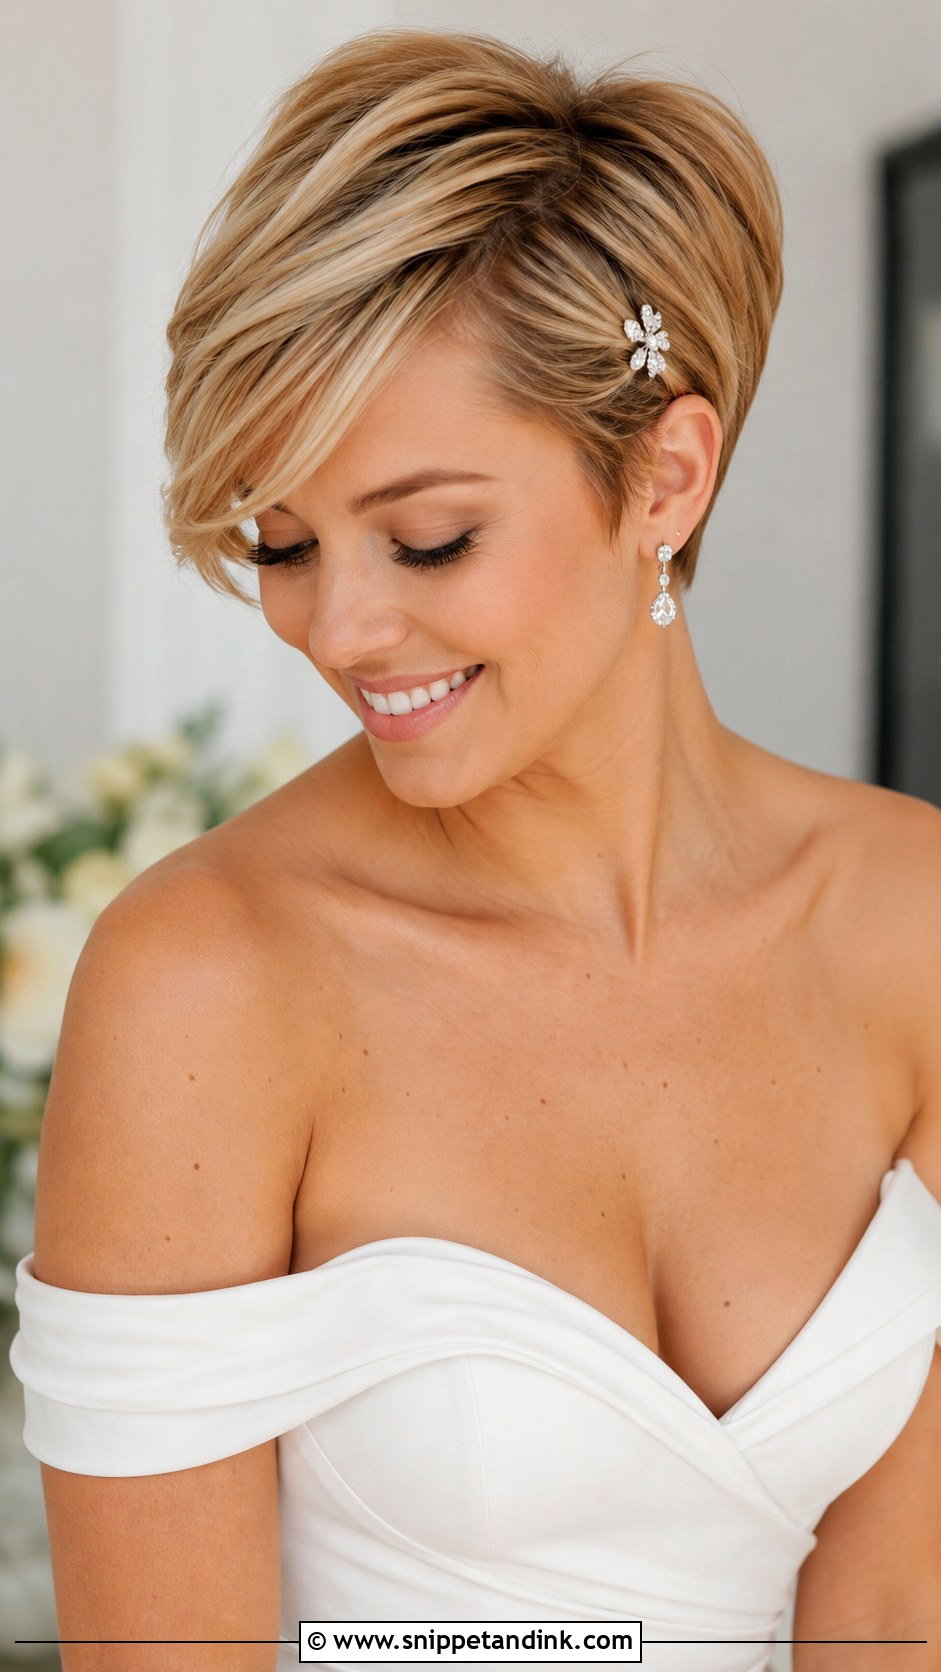
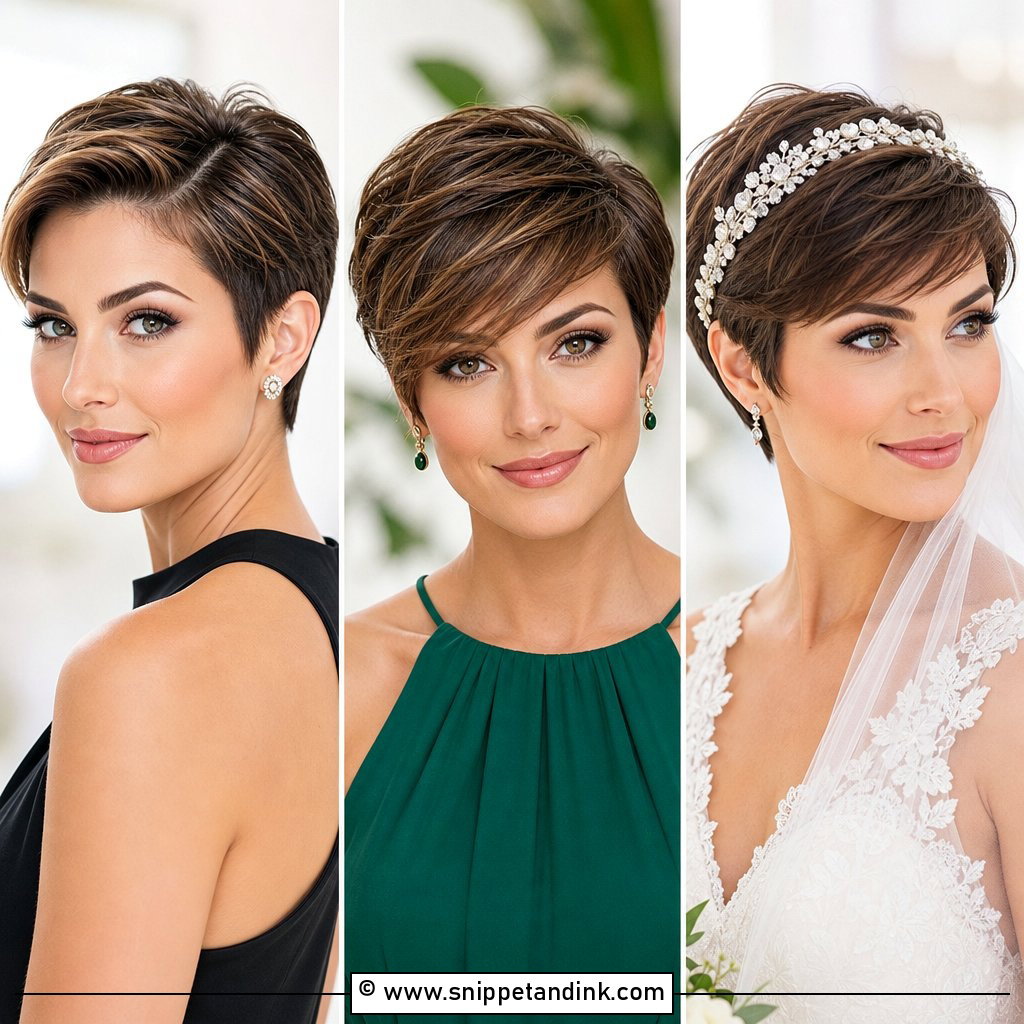
Angled fringe pieces soften a crop more than almost anything else, and a bridal pixie with side swept bangs photographs well from the side profile during the vows. The catch is that a fringe trained to fall forward will fight you if you suddenly sweep it the other way on the morning. I ask brides to start drying it in the wedding direction a week or two ahead. Finish sleek with a shine spray or leave it airy, and a single pearl pin at the part is usually all the decoration it needs.
4. Bridal Pixie With Finger Waves
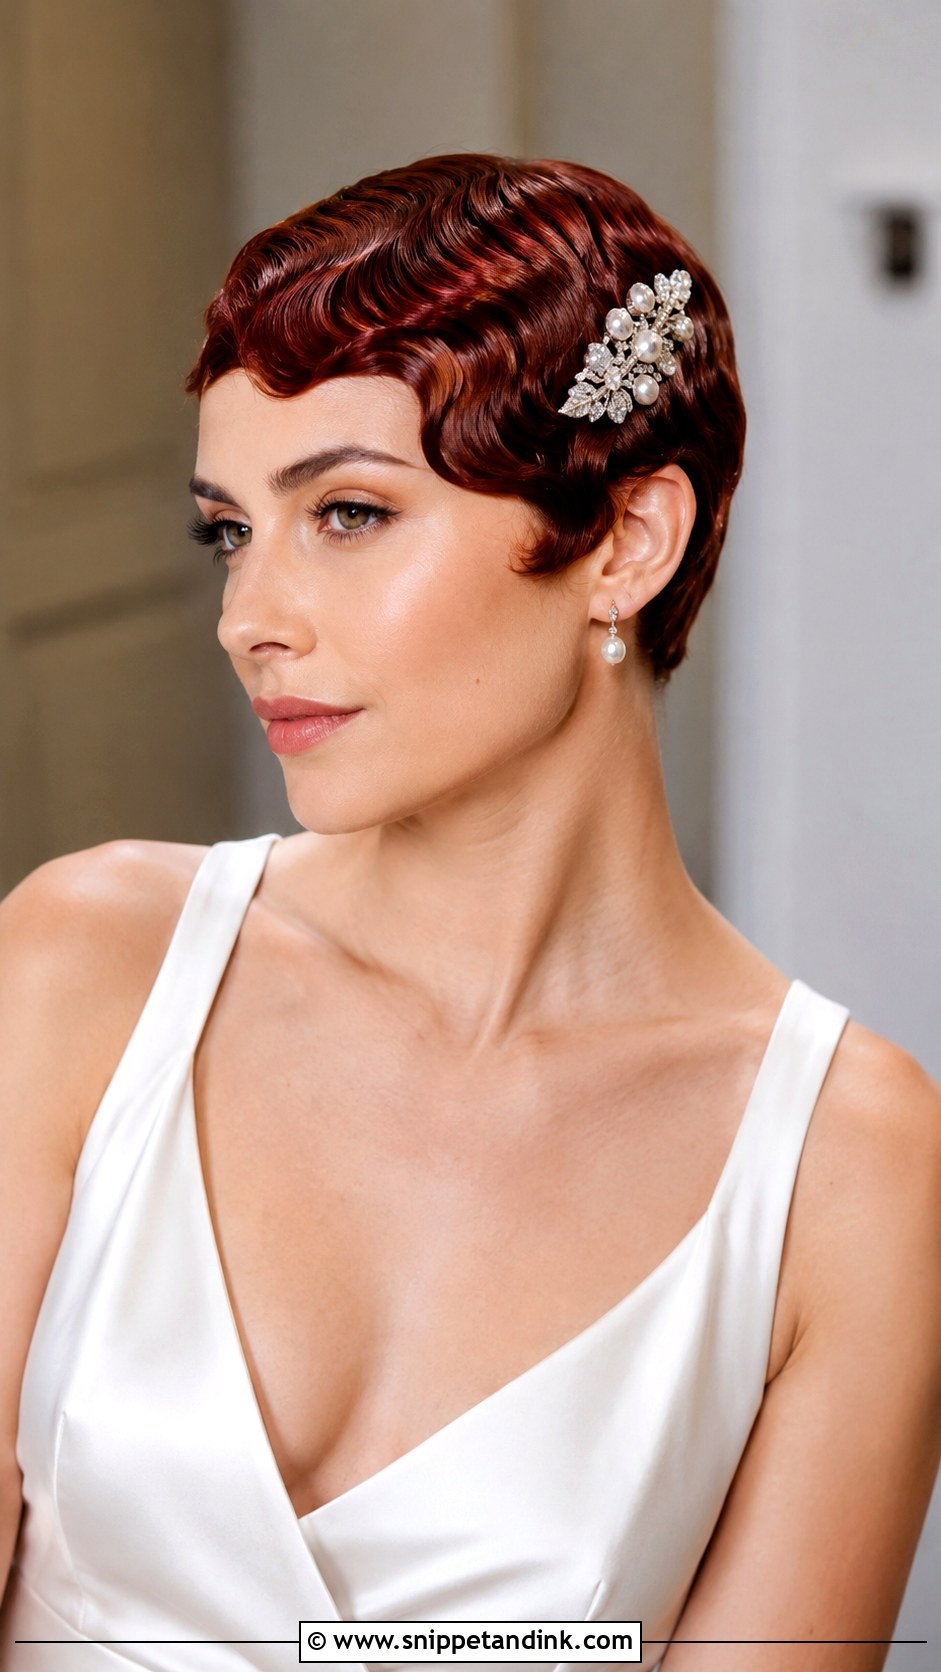
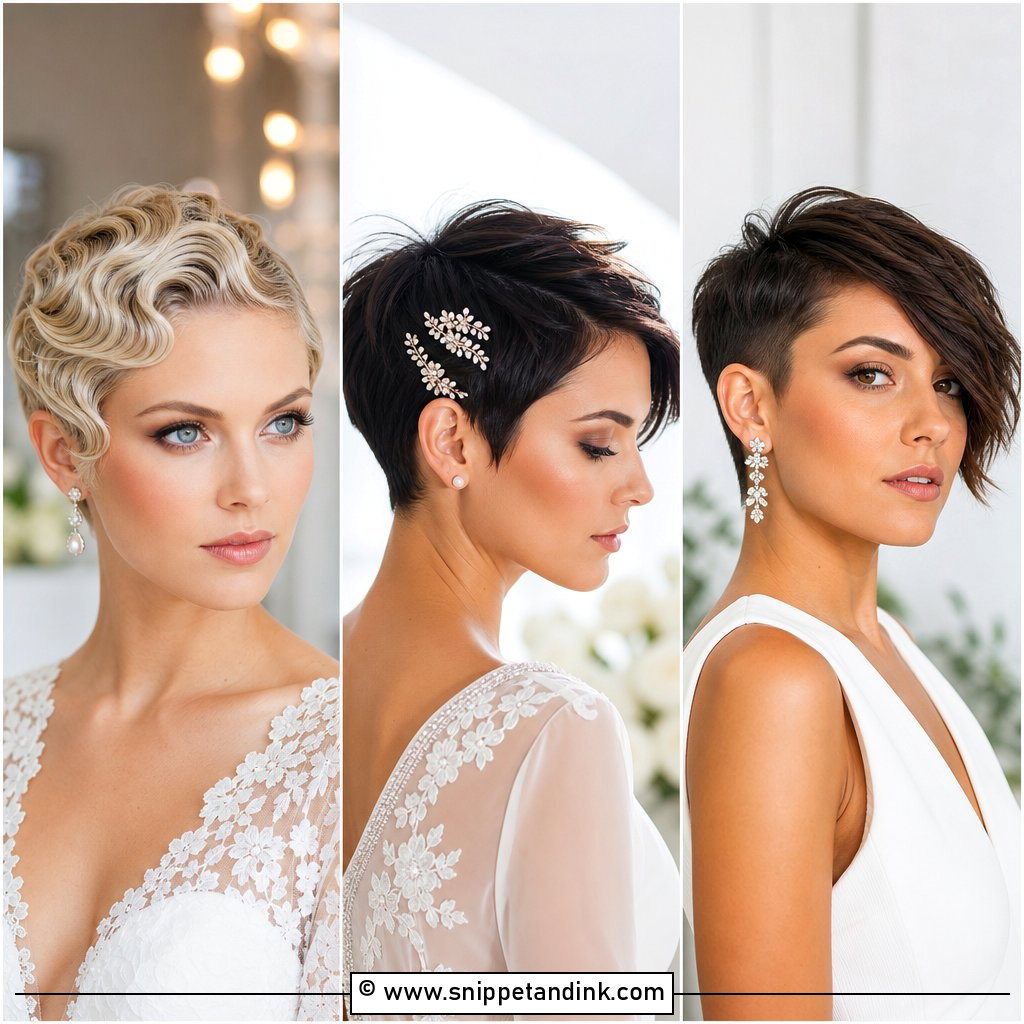
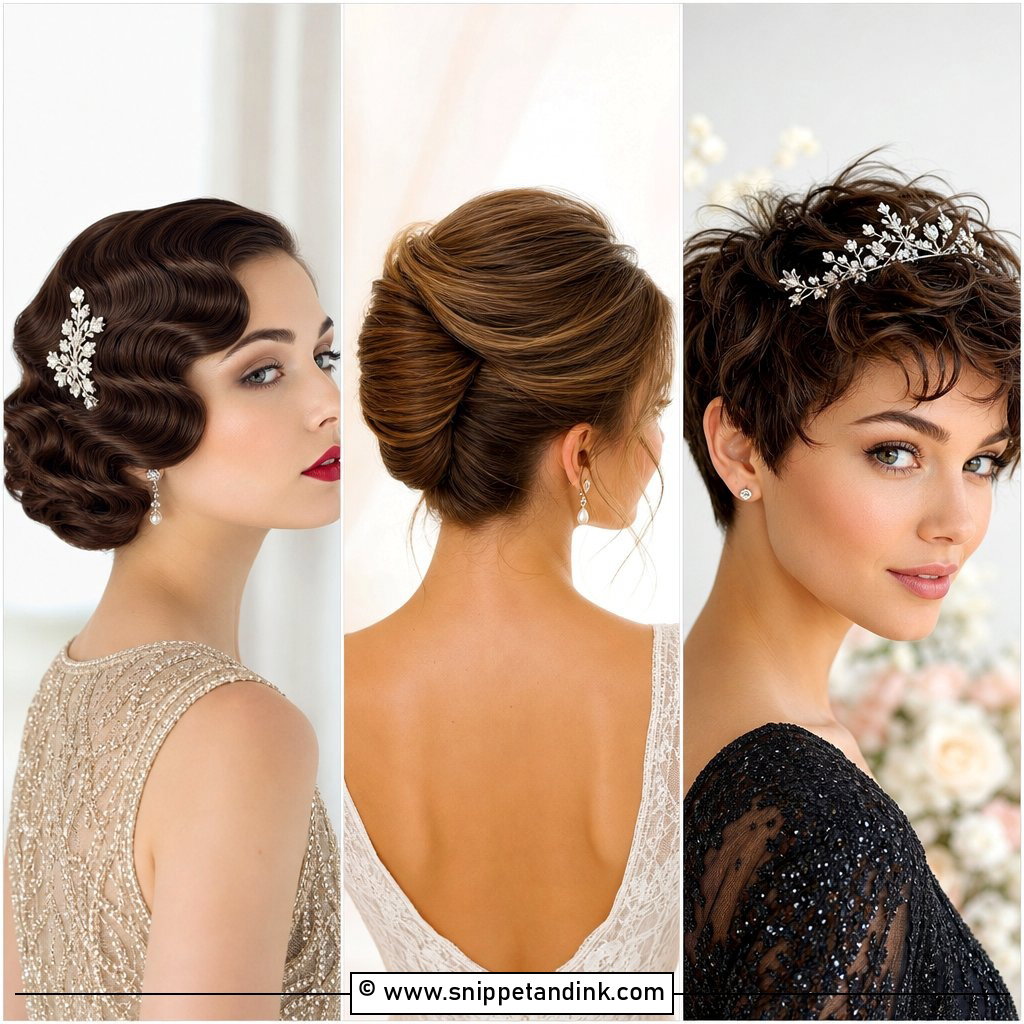
Finger waves are sculpted with a comb, fingers and a wet-set gel, and they only hold if the product dries completely before anyone touches them. On a bridal pixie with finger waves I allow extra time for that drying, often under a hood dryer or with a diffuser on low. Fine hair takes the pattern well; very coarse or springy hair can resist it. Once set, a light oil buffed over the surface removes the crispy look without breaking the ridges. Pair it with a birdcage veil or a small jeweled comb and red lipstick, and keep the dress satin rather than boho so the period feel stays consistent.
5. Bridal Pixie With Flower Crown
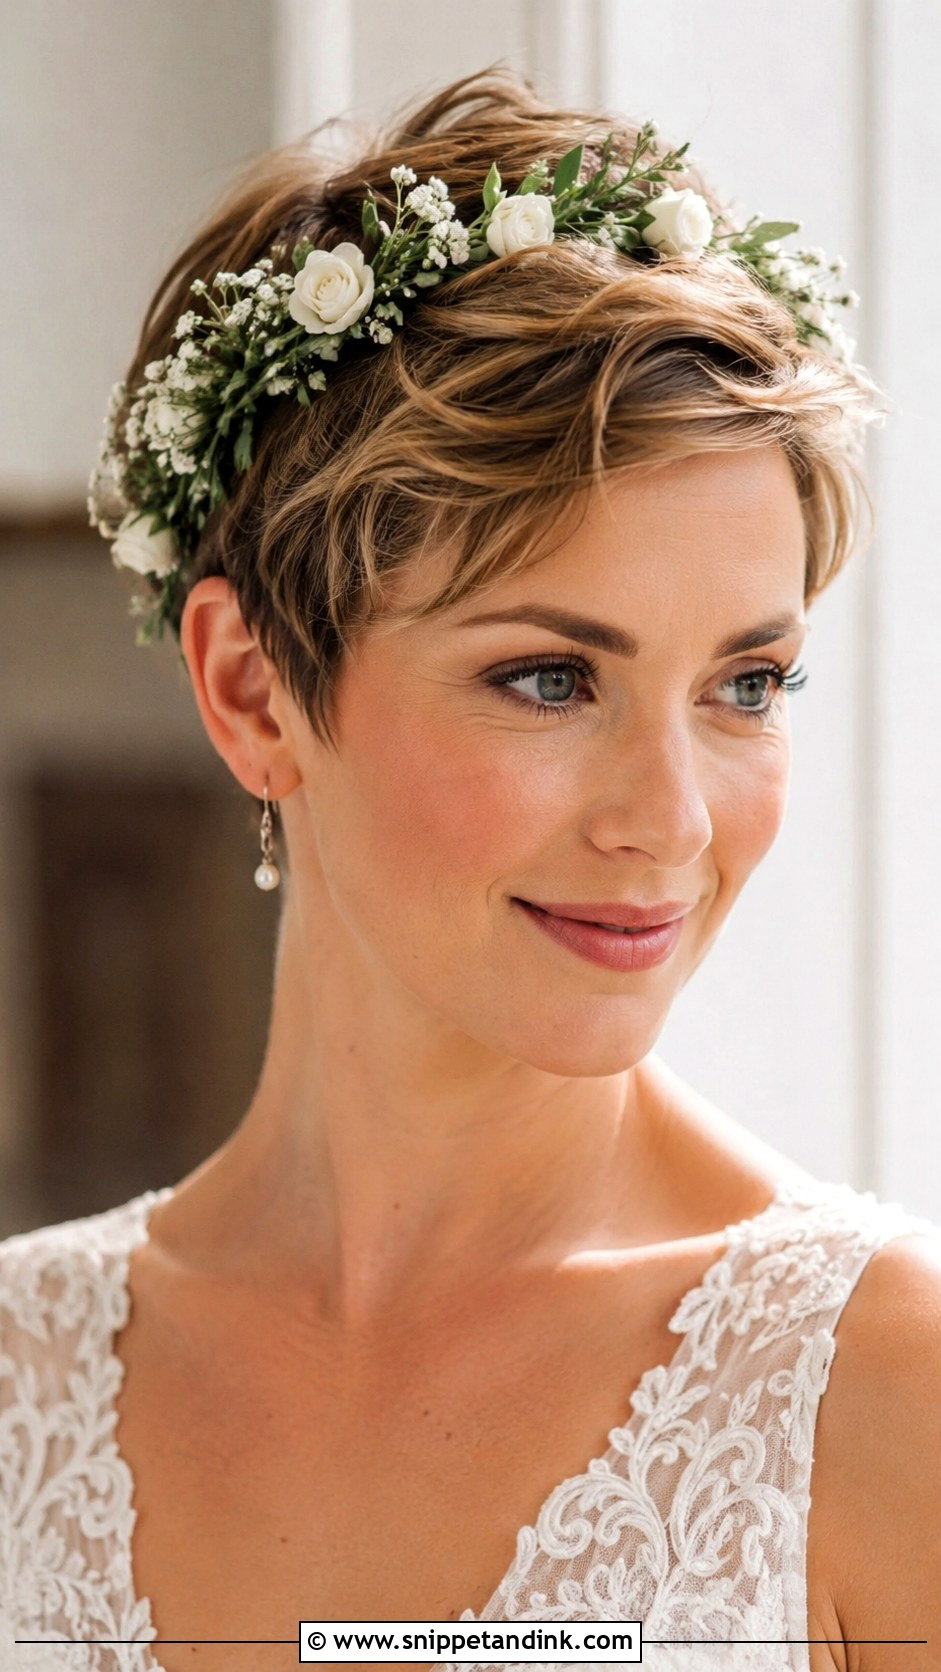
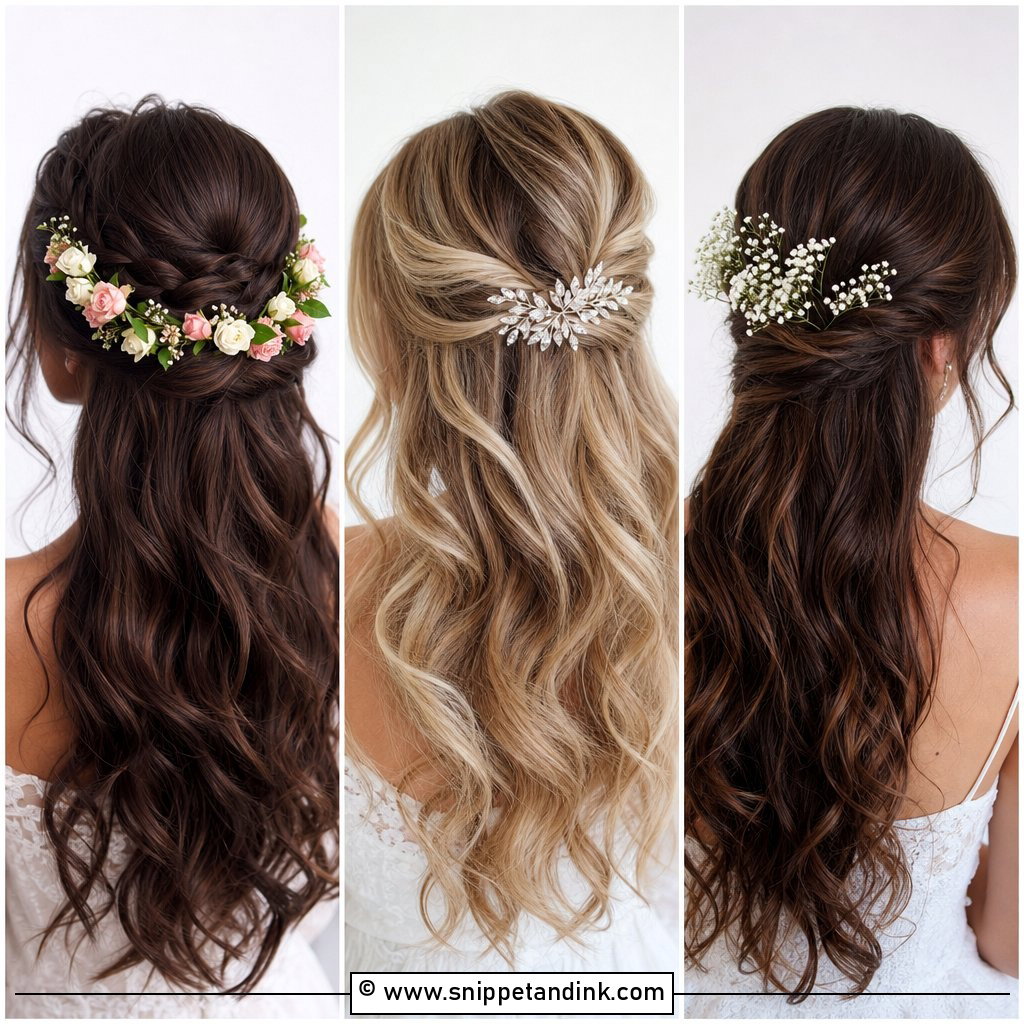
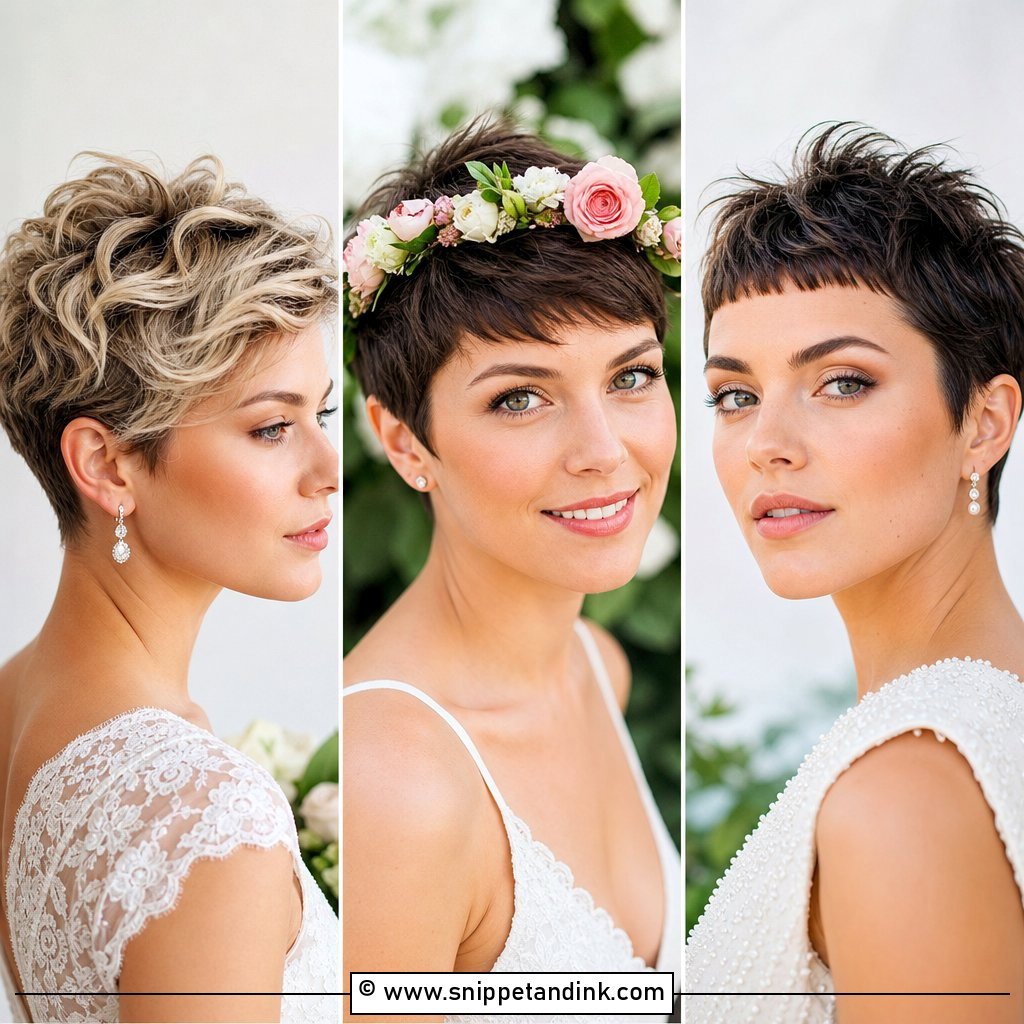
A flower crown on cropped hair has one structural problem: there’s no bun or braid to wire it to. I tie it on with thin elastic that runs under the nape, hidden by the hairline, then secure each side with a pin through the base. Small blooms, sprigs of greenery and gypsophila sit naturally on a pixie; big garden roses tend to swamp the cut. Ask your florist to make it the day before and keep it chilled, and avoid flowers that wilt fast out of water if your ceremony is outdoors in summer.
6. Bridal Pixie With Tiara
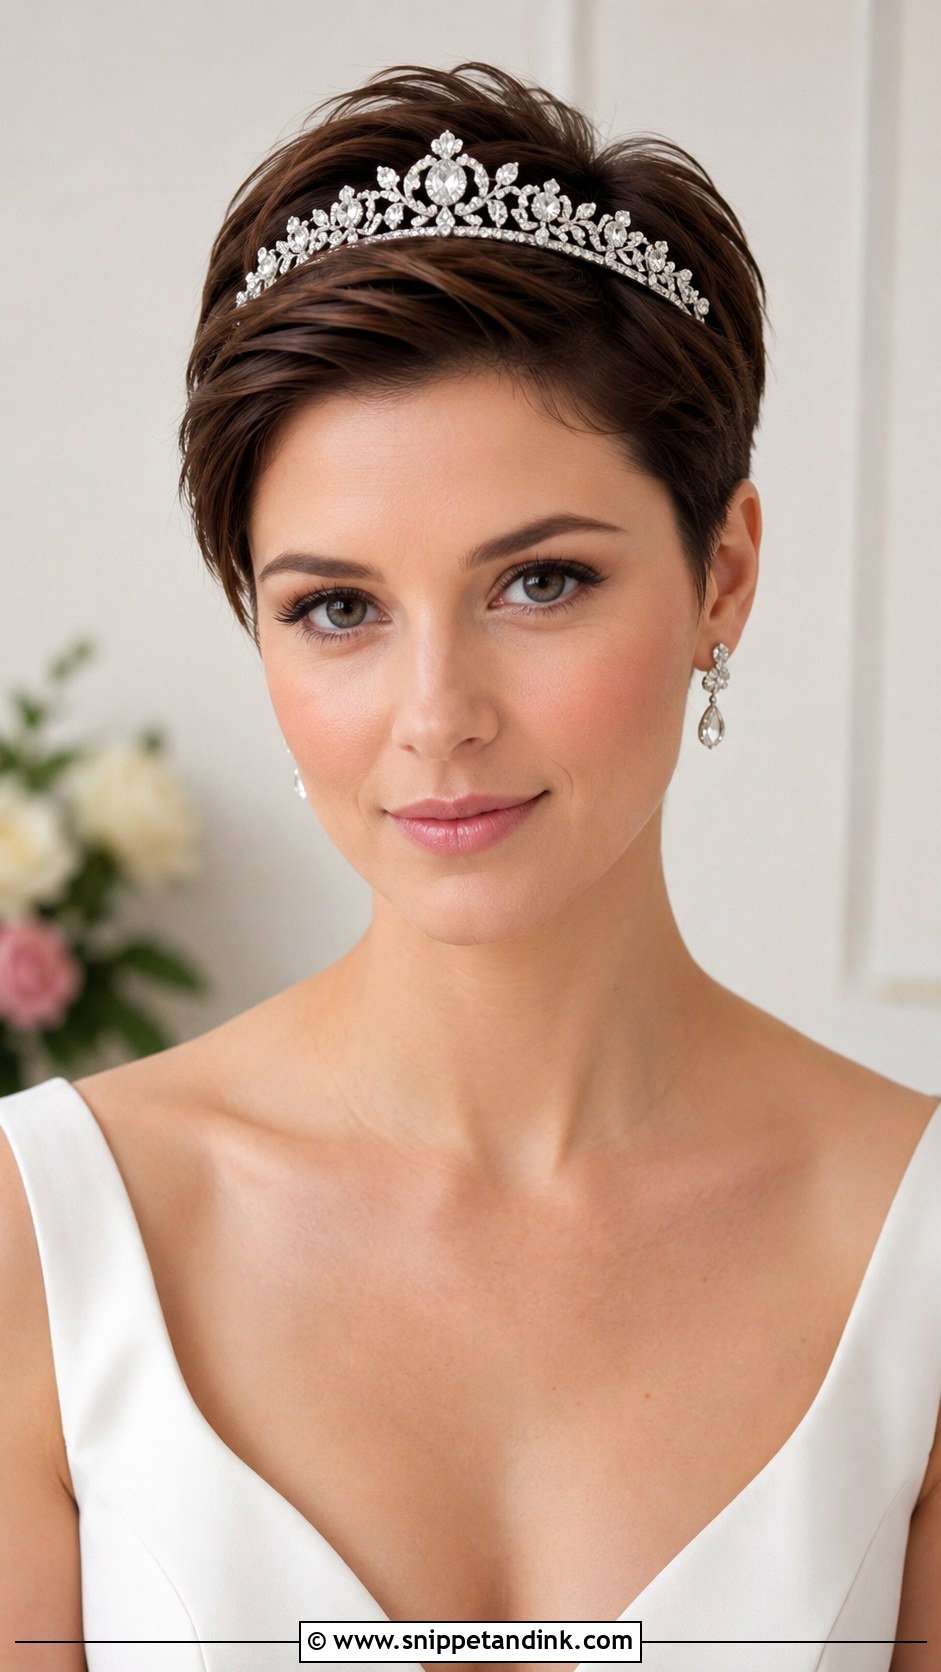
With a tiara, scale is everything. On a very short crop I choose something under an inch high, because a taller piece reads like a costume when there’s no hair around it. Longer pixies with crown volume can carry more height. Tiaras with side loops are easier to secure, since I can sew pins through them into the hair at the temples. Smooth the sides, give the crown a little lift, and save this for formal venues and ball gowns where a regal note actually belongs.
7. Bridal Pixie With Crystal Hair Pins
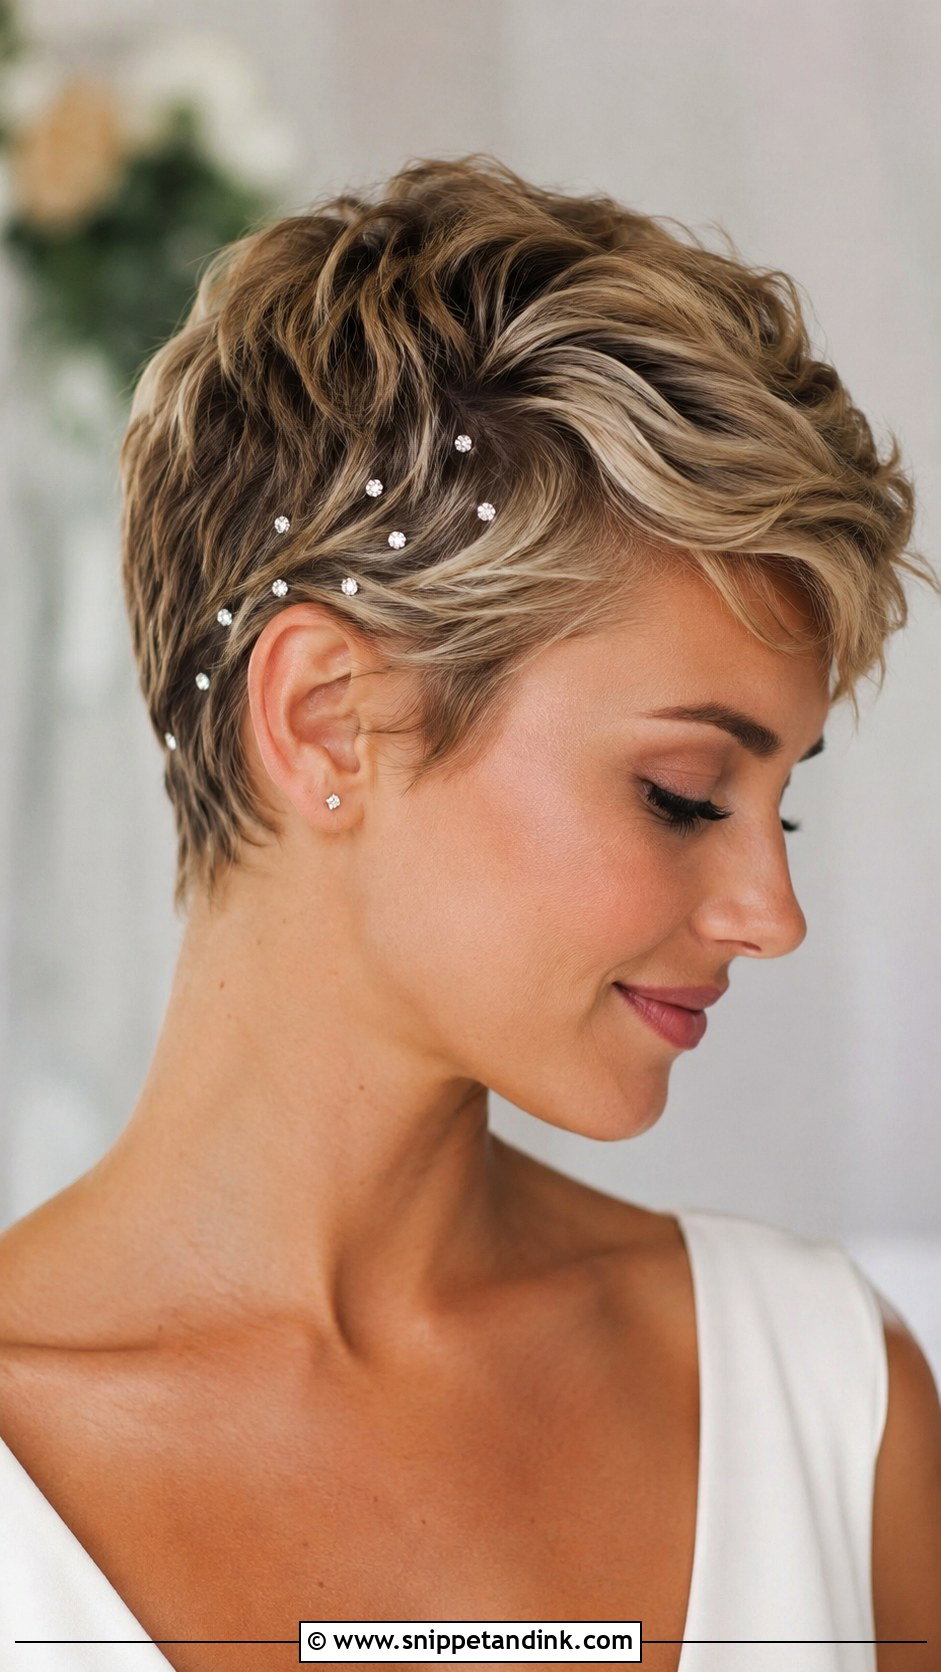
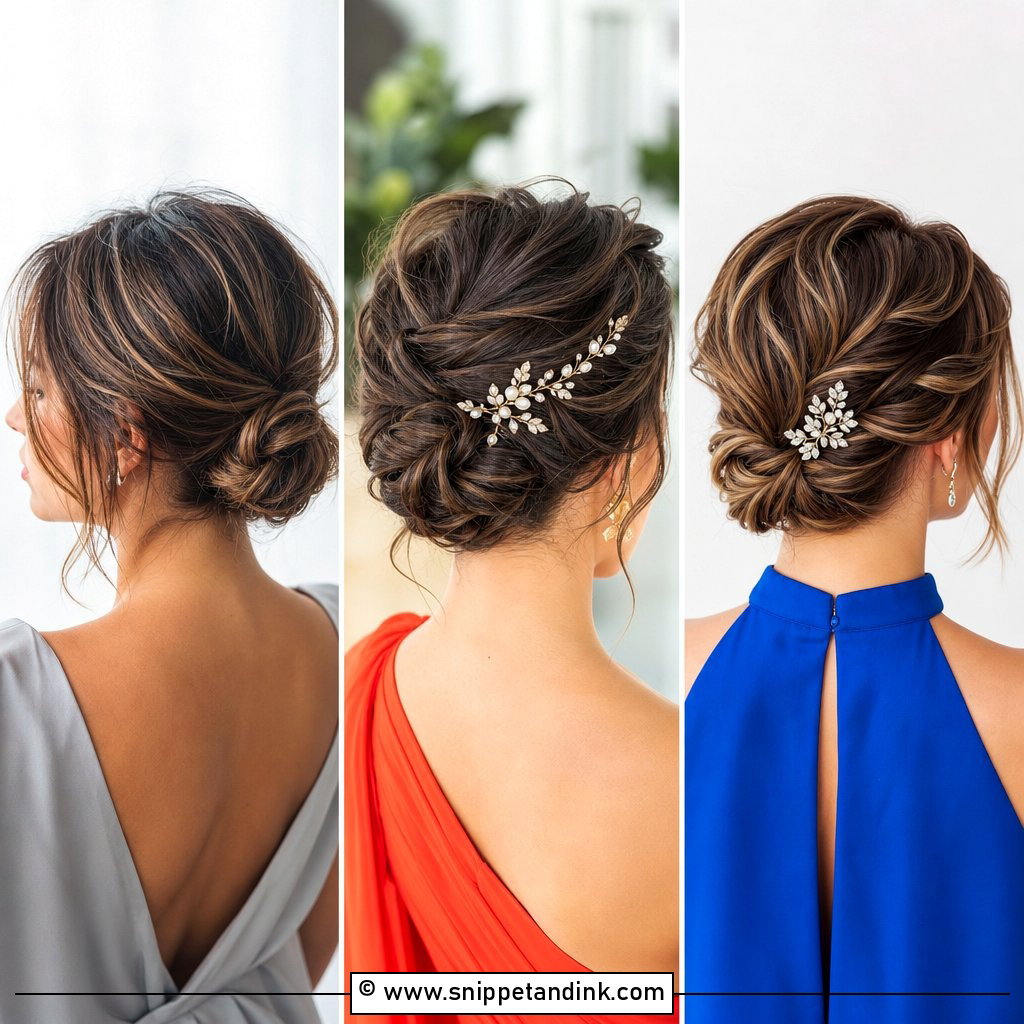
Crystal pins look simple, but on a sleek pixie they slide straight out unless the hair has some grip. I mist dry texture spray where they’ll go and set each pin against the direction of growth, so the hair pushes back on it. Line three or four along a side part, or cluster them behind one ear. They’re light enough that you forget they’re there by the reception, which is the main reason I recommend them to brides who hate the feeling of a headband.
8. Bridal Pixie With Soft Curls
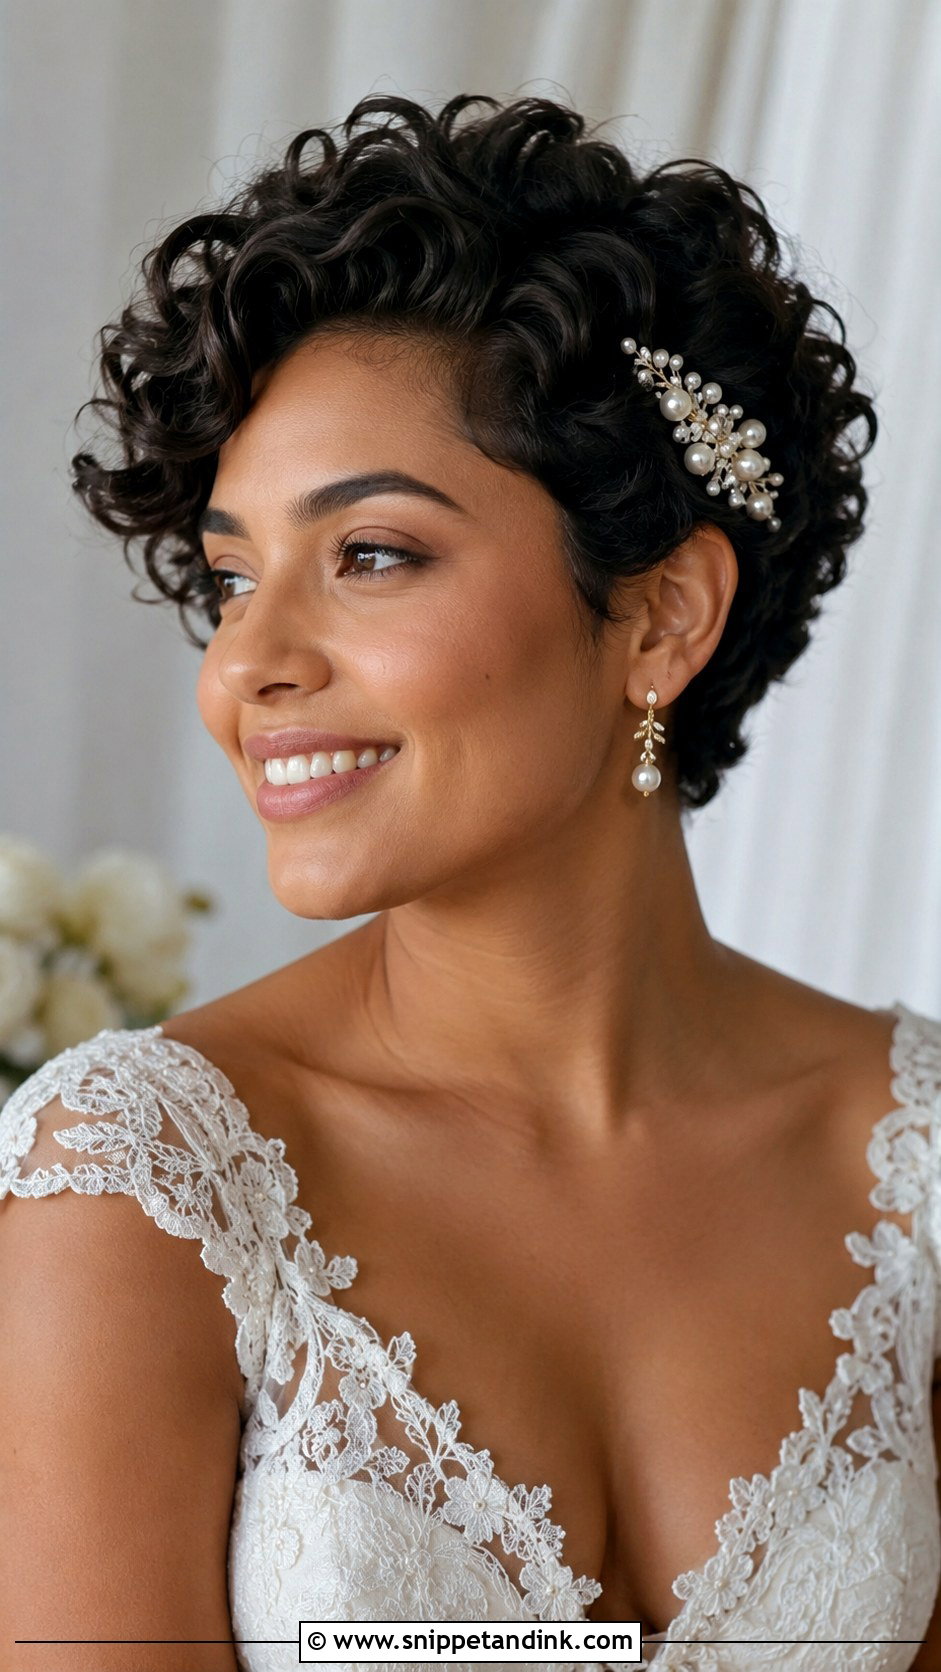
Natural wave in a pixie gives soft curls their best chance, because I’m enhancing what the hair already does rather than forcing a shape. I’ll scrunch in a light curl cream, set a few pieces with a small barrel iron, then break them up with fingers so nothing looks like a ringlet. On dead-straight hair the curls fall faster, especially in humidity, so I’d use a stronger setting spray and keep a touch-up iron nearby. A slim headband or a single floral pin finishes it without hiding the movement.
9. Bridal Pixie With Slicked Back Hair
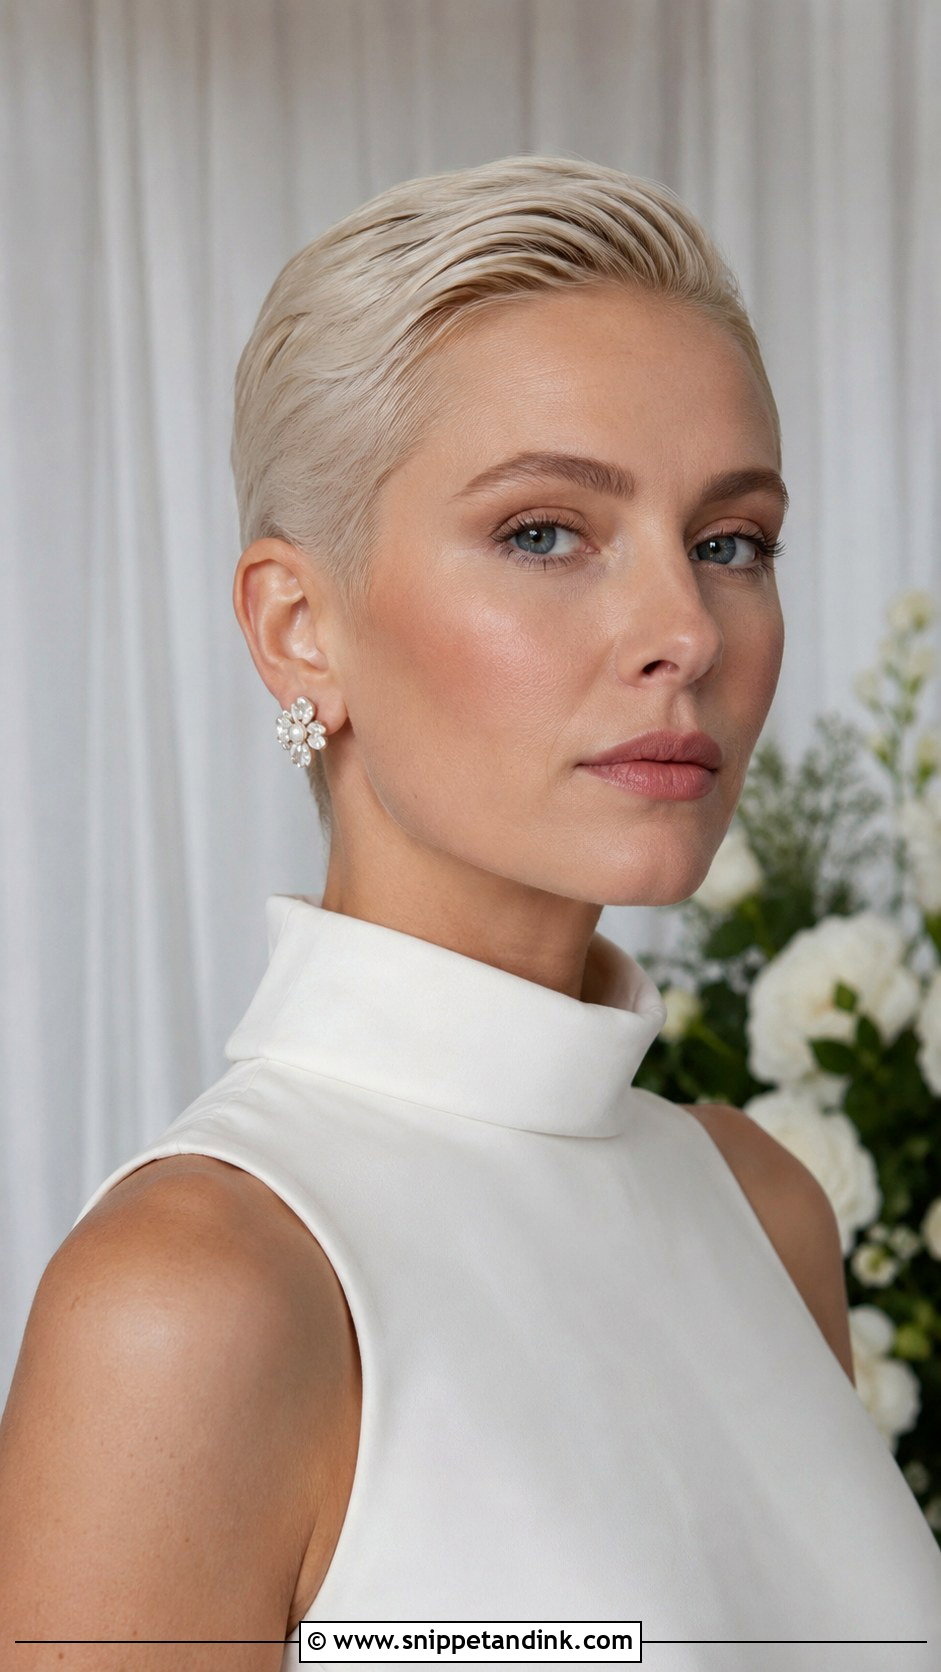
A slicked-back crop is the boldest option here, and it shows everything: hairline, cheekbones, ears. I’d steer you away from it if you’re uneasy about your forehead or tend to tug at your hair when nervous, because once that shine is disturbed it’s hard to fix without a comb and more product. A flexible gel worked through damp hair, then brushed back and left to set, stays glossy without crunching. It suits high necks, strapless gowns and tailored suits, and a sculptural headband or a short veil at the back adds contrast.
10. Bridal Pixie With Long Bangs
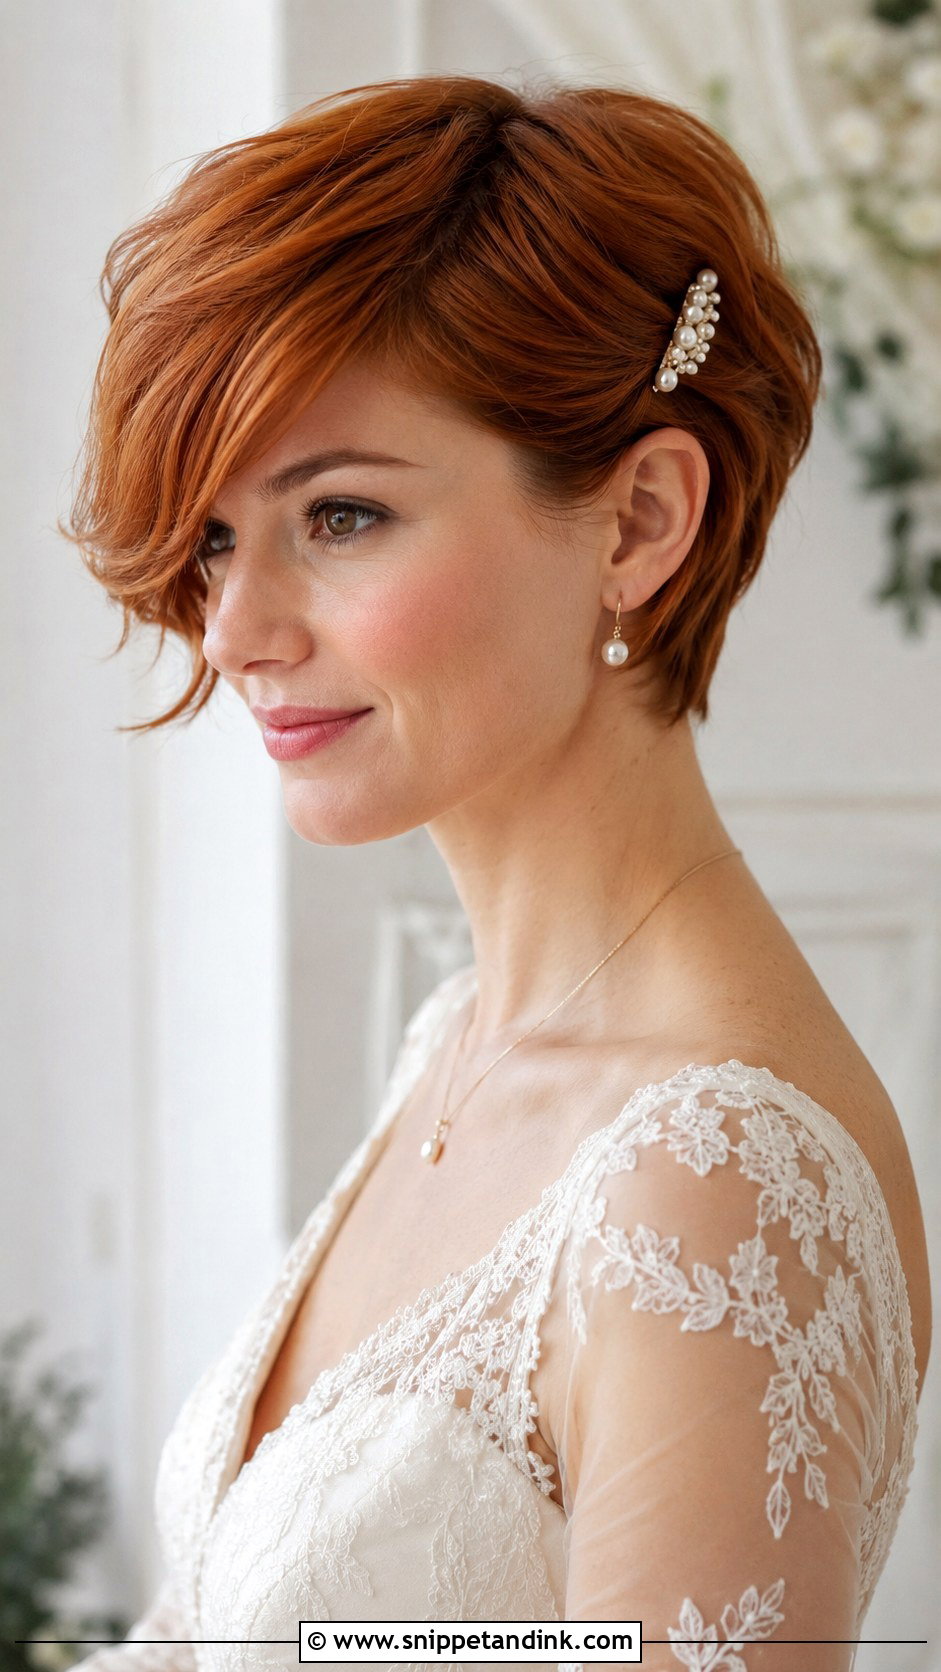
Long front pieces give a pixie options that a shorter crop doesn’t have. They can be curled, swept, tucked or waved, and the extra length softens a strong jaw or high cheekbones. The question I ask at the trial is which way you’ll push your hair when you’re laughing, because that’s the direction it’ll end up by the speeches. Style it to fall that way and the look survives the day. Keep the back tidy and short so the front stays the focal point.
11. Bridal Pixie With Birdcage Veil
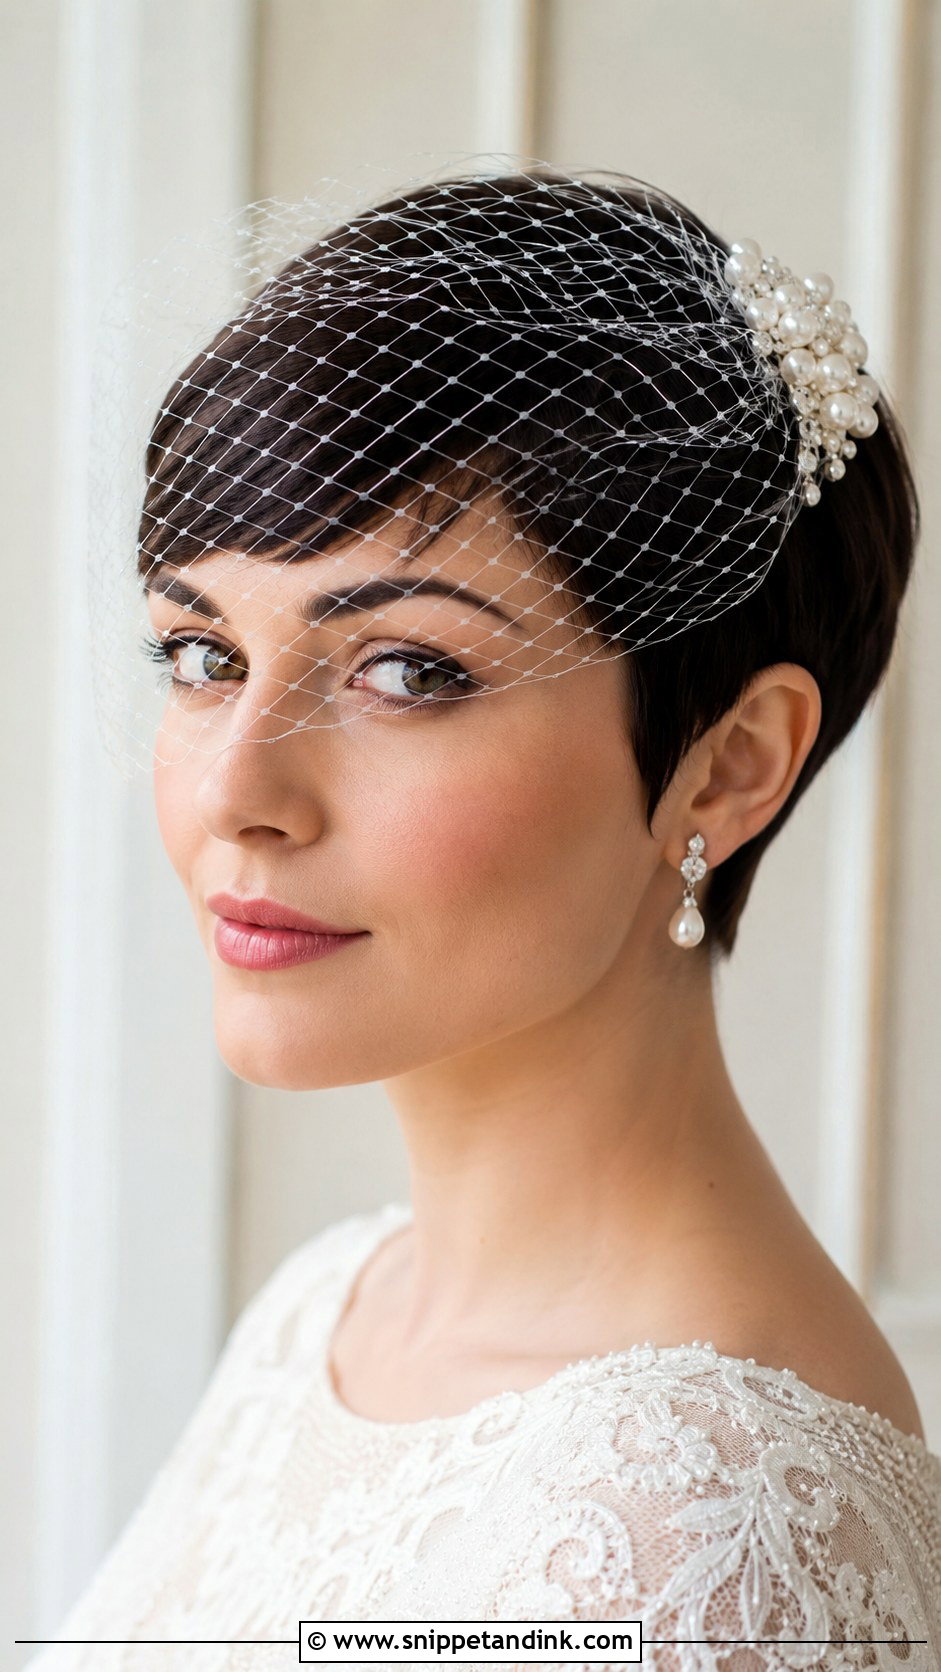
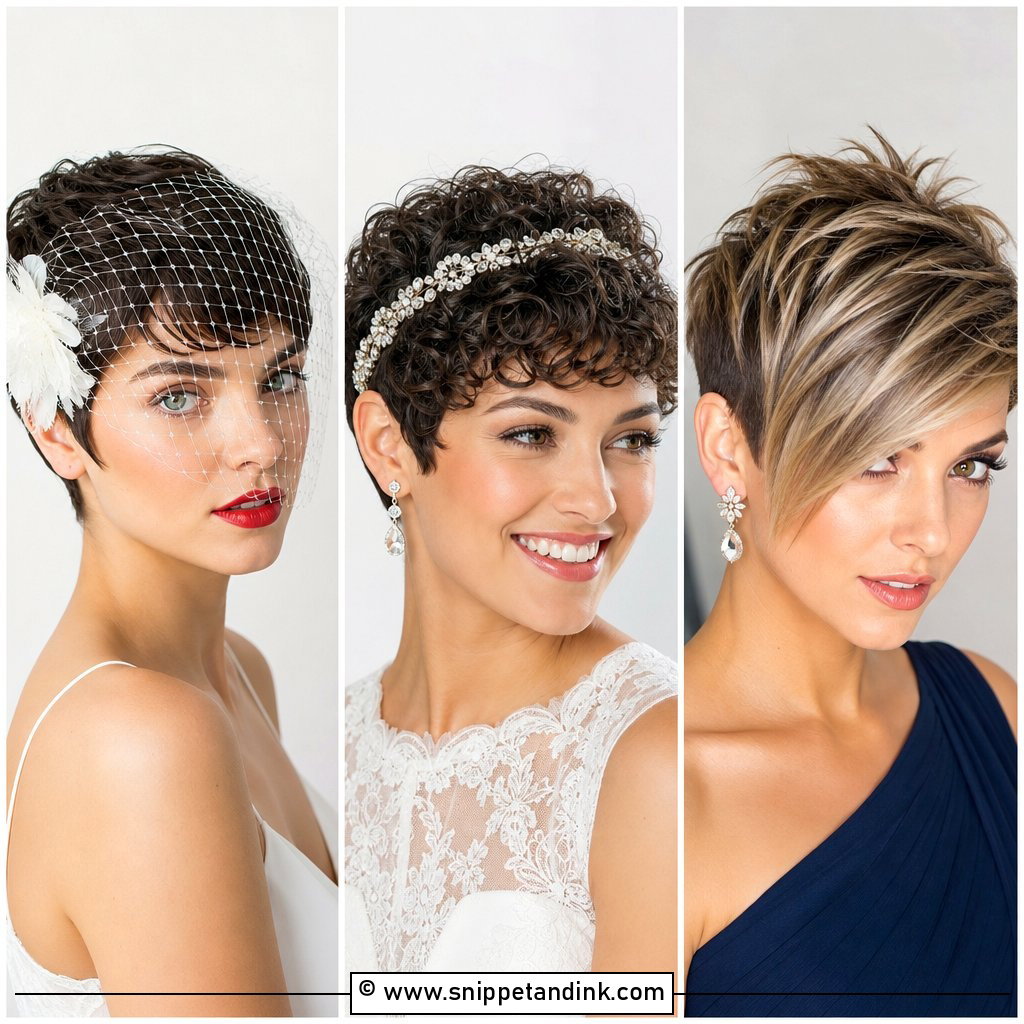
Birdcage veils were practically made for short hair. The netting attaches to a comb, clip or small fascinator base, so a bridal pixie with birdcage veil doesn’t need the length a cathedral veil would. I place the base slightly off-centre and angle the net to just below the eye or the cheekbone, depending on how much of the face you want covered. Russian netting is stiffer and holds its shape; softer tulle droops in humidity. Vintage dresses, tea-length gowns and a courthouse ceremony all suit it.
12. Bridal Pixie With Floral Hair Comb
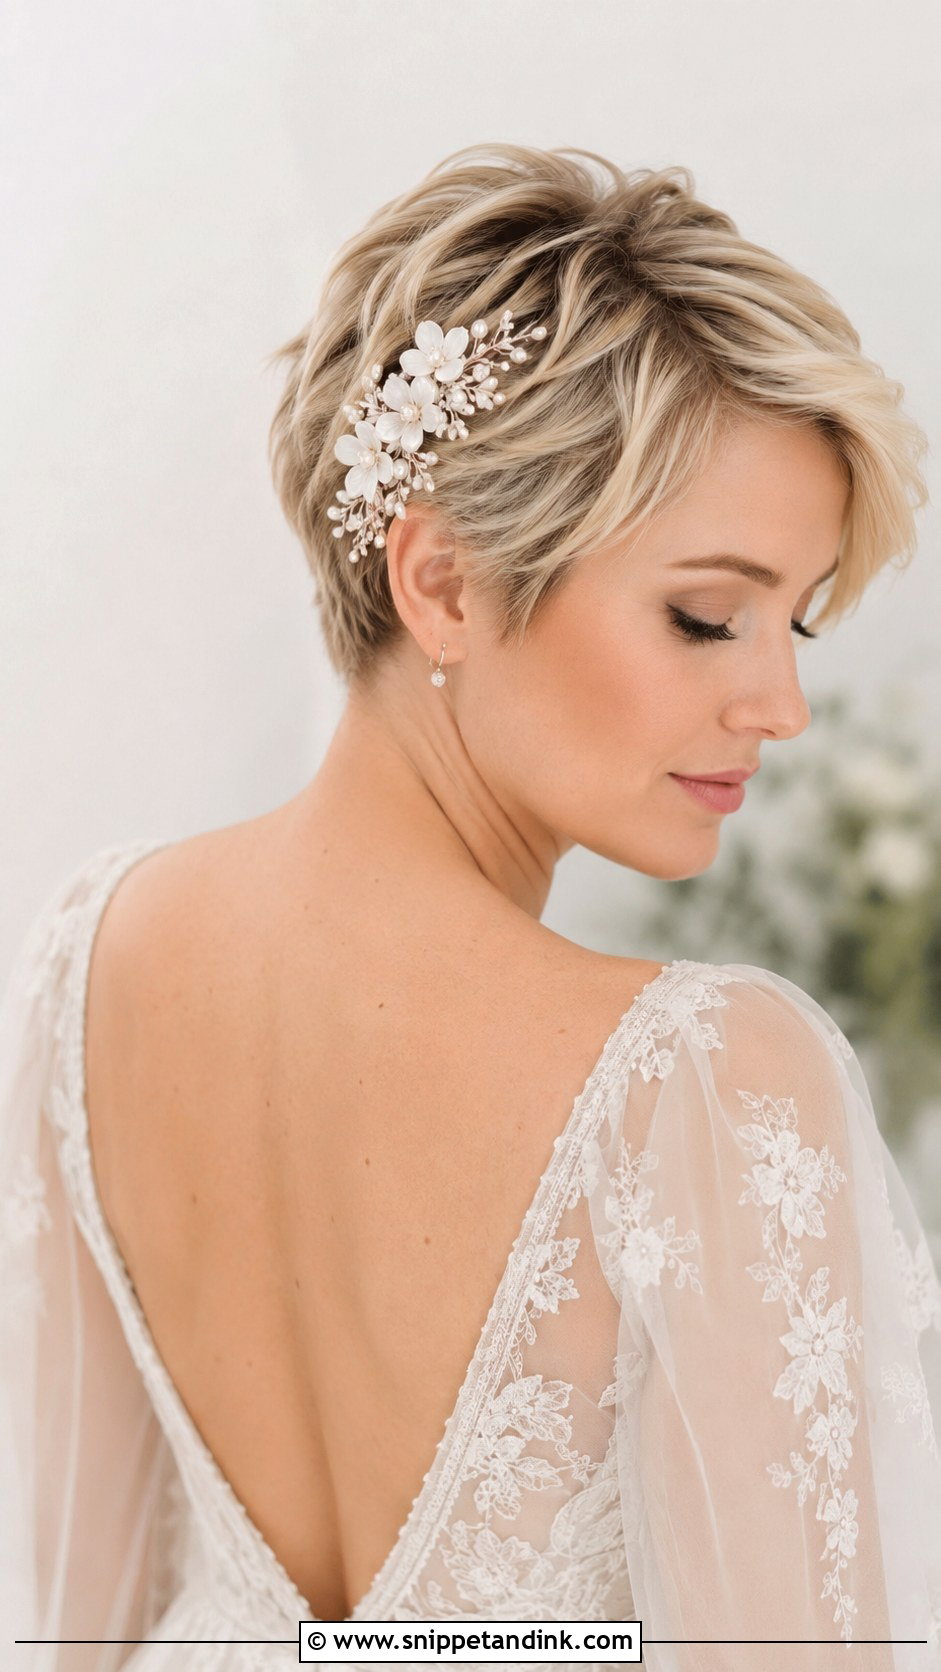
A floral comb sits above one ear, at the back of the crown or along a deep part. Porcelain, silk and crystal petals all work; I’d pick based on the dress fabric, because shiny ceramic flowers look odd next to matte crepe. Combs need hair to bite into, and that’s where pixies struggle. If your hair is fine, I backcomb a small patch at the root, cross two pins over it and slide the comb’s teeth under the pins so they hold it like a rail.
13. Bridal Pixie With Deep Side Part
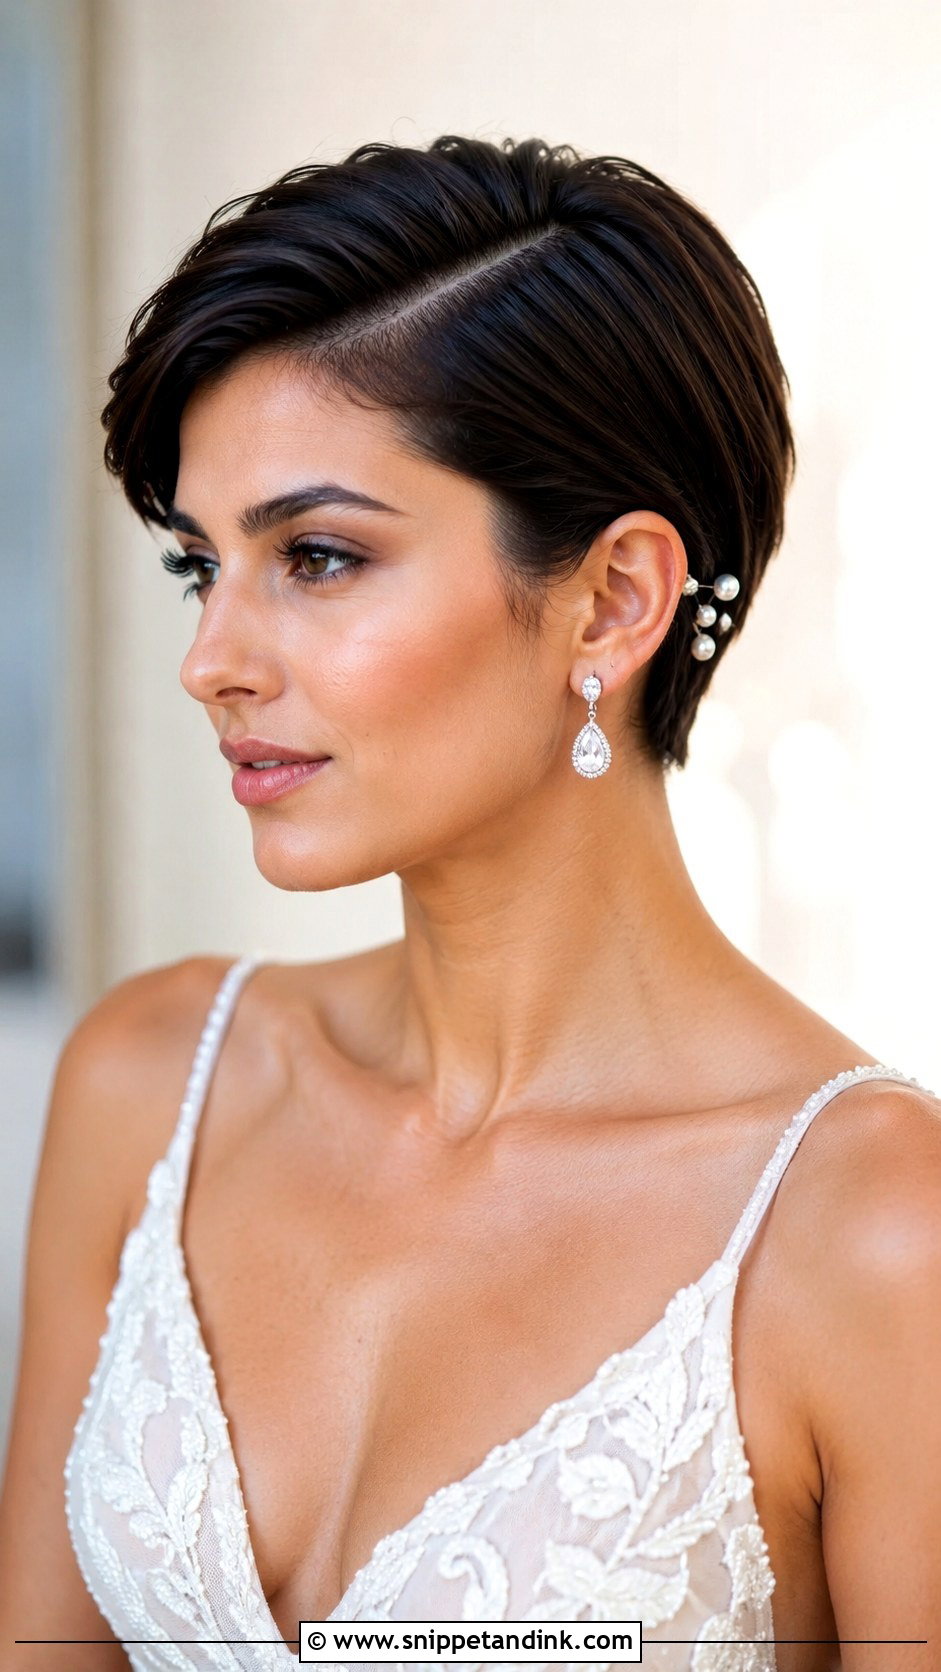
Moving the part two or three centimetres lower than usual changes a pixie more than any accessory. A deep side part gives the crop structure on one side and a sweep across the forehead on the other, and the short side is the natural place to show off an earring. Cowlicks are the usual problem. I blow-dry the root against its growth first, then back the way I want it, which flattens the lift that would otherwise pop up by midday. A slim comb or pearl barrette on the lower side finishes it.
14. Bridal Pixie With Messy Texture
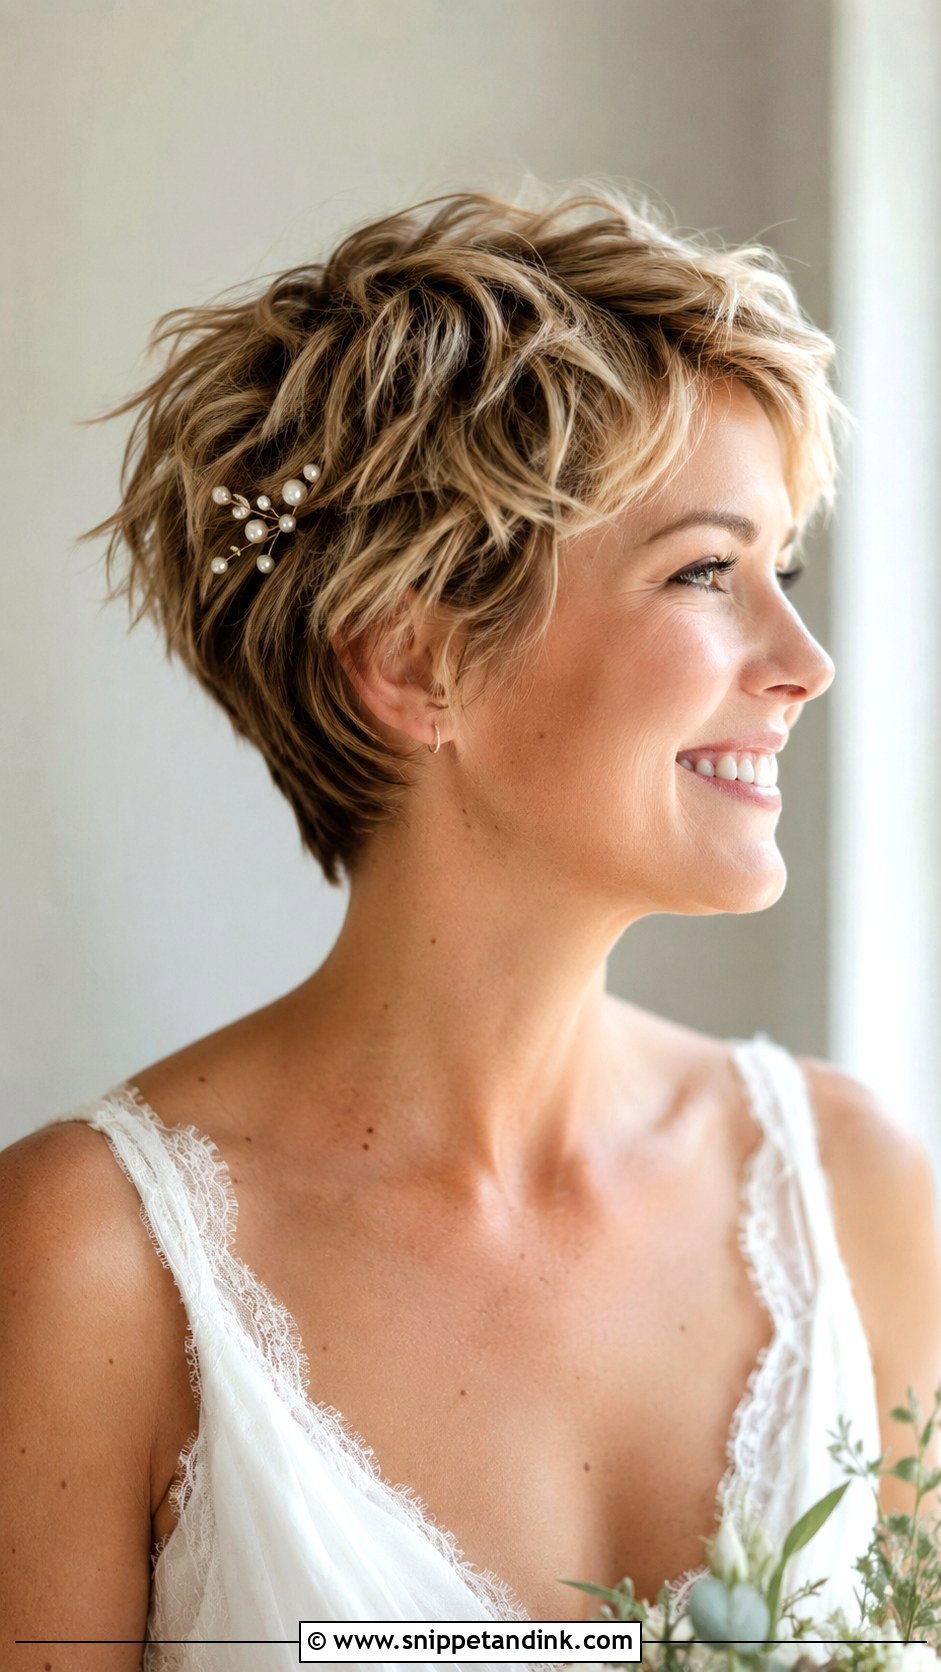
Messy texture is harder to get right than it looks. The aim is separation, not frizz, so I use a lightweight paste rubbed between my palms until it’s almost invisible, then pinch the ends into pieces. Too much product and it reads as greasy by the evening. This finish feels at home at an outdoor wedding, with a bridal suit or a plain gown, and it’s the most forgiving style here for dancing because it’s meant to move. A tiny veil or a single pearl pin keeps it from looking like an ordinary weekend.
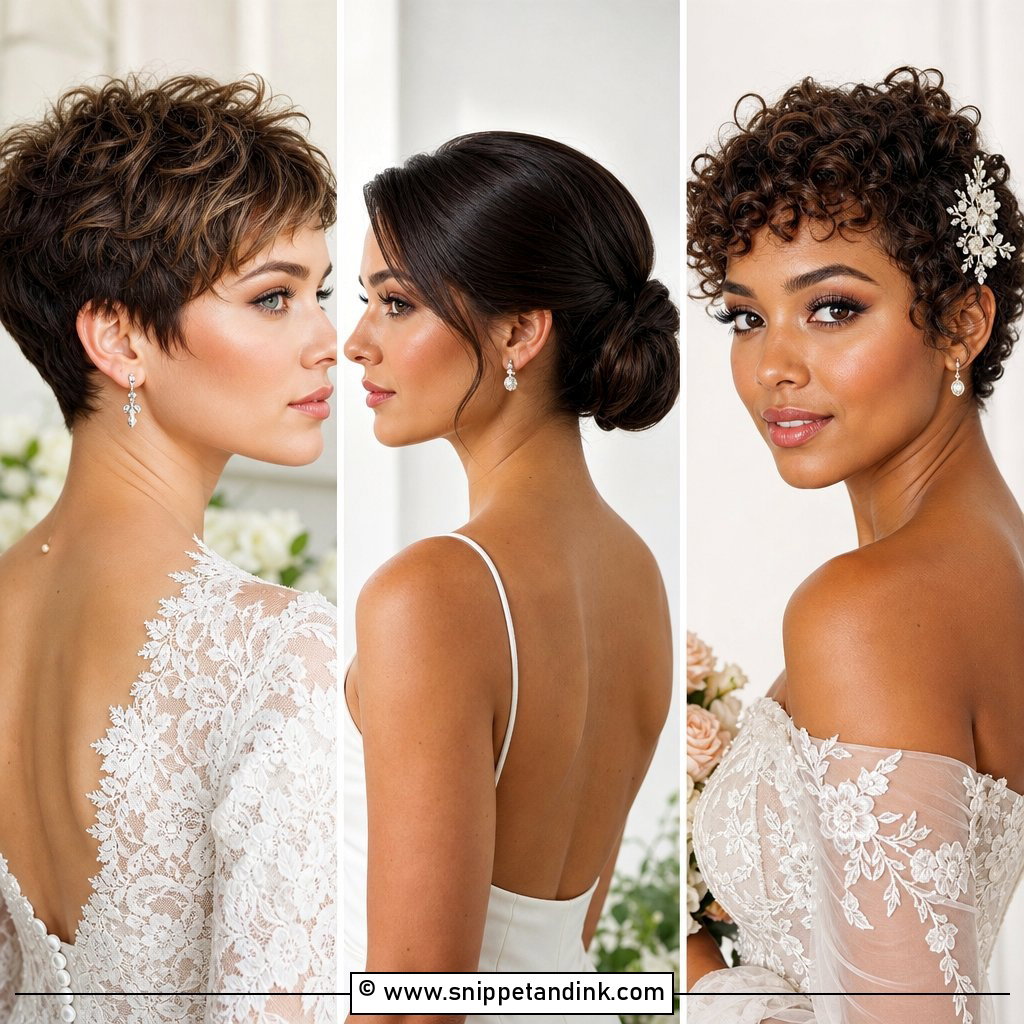
15. Bridal Pixie With Jeweled Headband
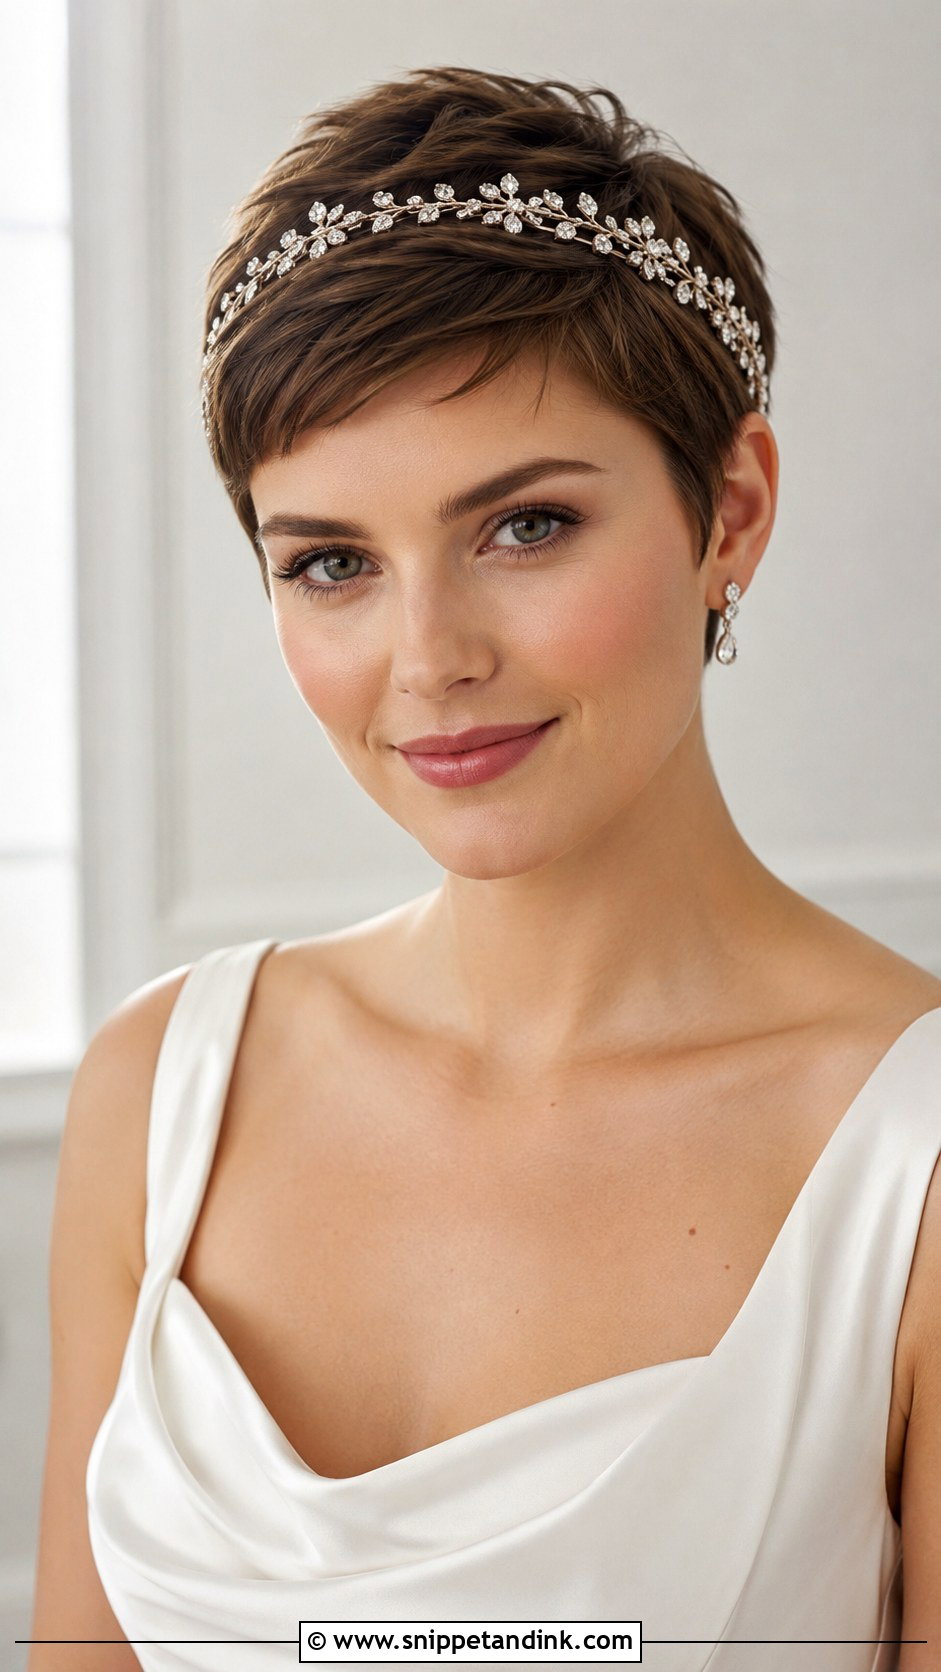
A jeweled headband does the work that an updo would do on longer hair: it gives the eye a focal point. On a jeweled headband style I check the fit first, since a band that’s too wide pinches behind the ears and one that’s too loose rides forward when you look down. A strip of thin velvet ribbon or a silicone grip glued inside the band helps. Crystals throw light in flash photos, pearls stay softer, and mixed stones are the most dramatic. Plain dresses are the best canvas for it.
16. Bridal Pixie With Curly Texture
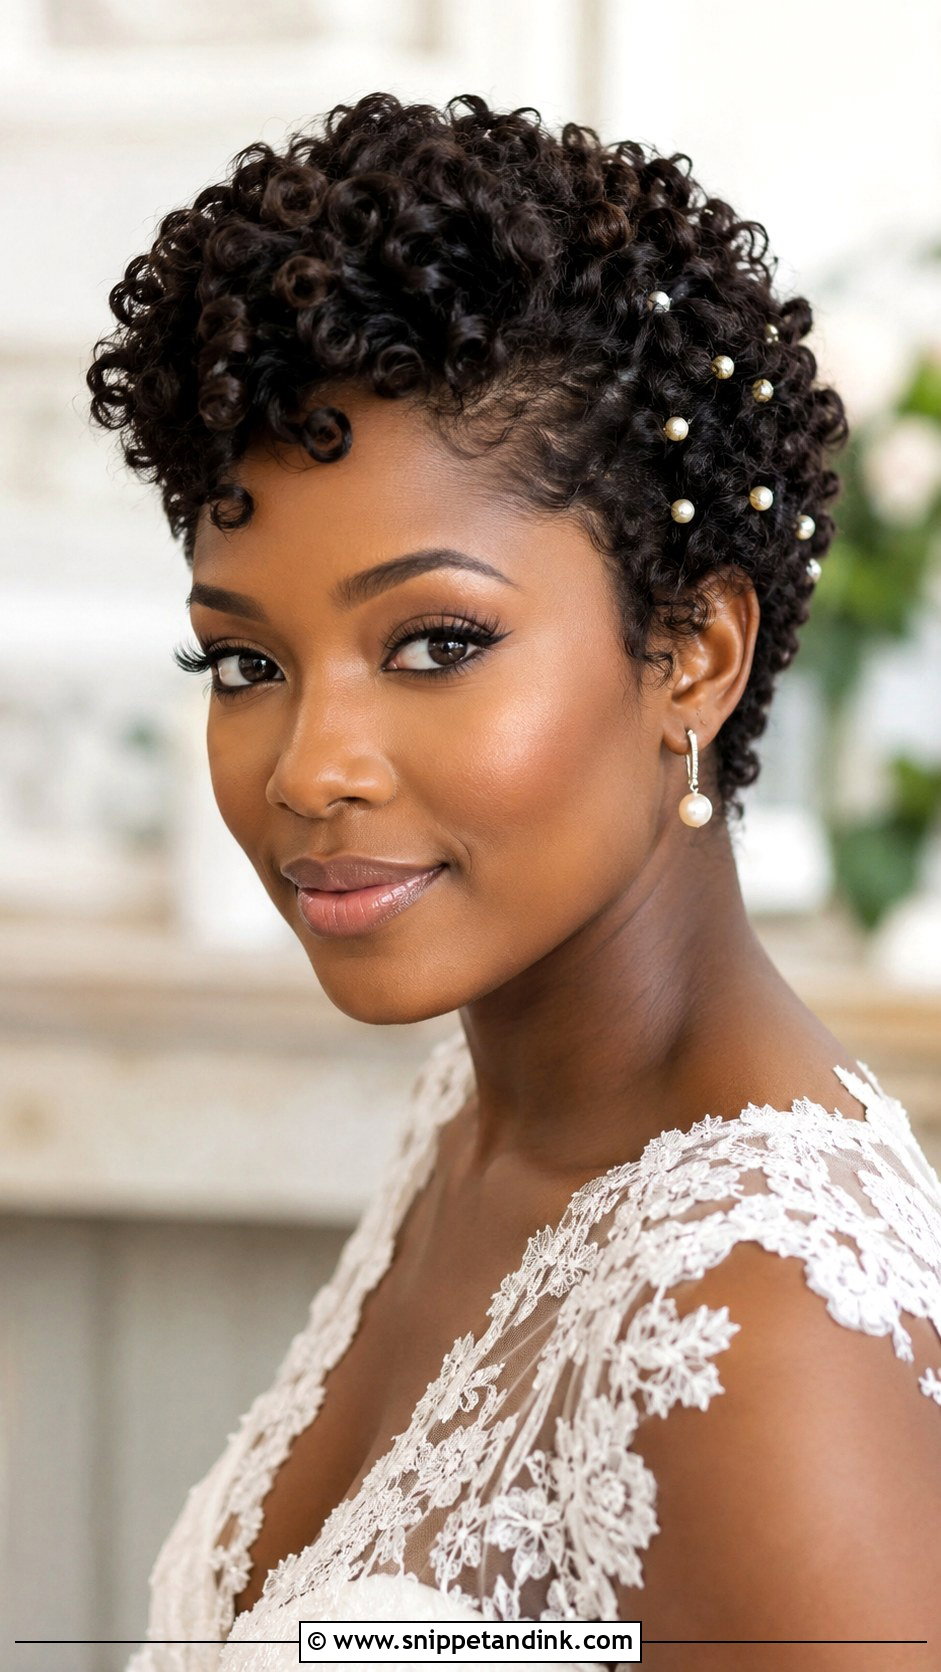
Curly pixies are the ones I’m happiest to leave alone. I don’t try to smooth anything; I refresh the pattern with water and a curl cream, add a light-hold gel, and let it dry without touching. Diffusing on low keeps the curl intact if you’re short on time. Accessories should sit on top of the curls rather than flatten them, so a narrow headband, a few small flowers or pearl pins are better than a heavy comb. You end up looking like yourself, just more finished.
17. Bridal Pixie With Lace Headband
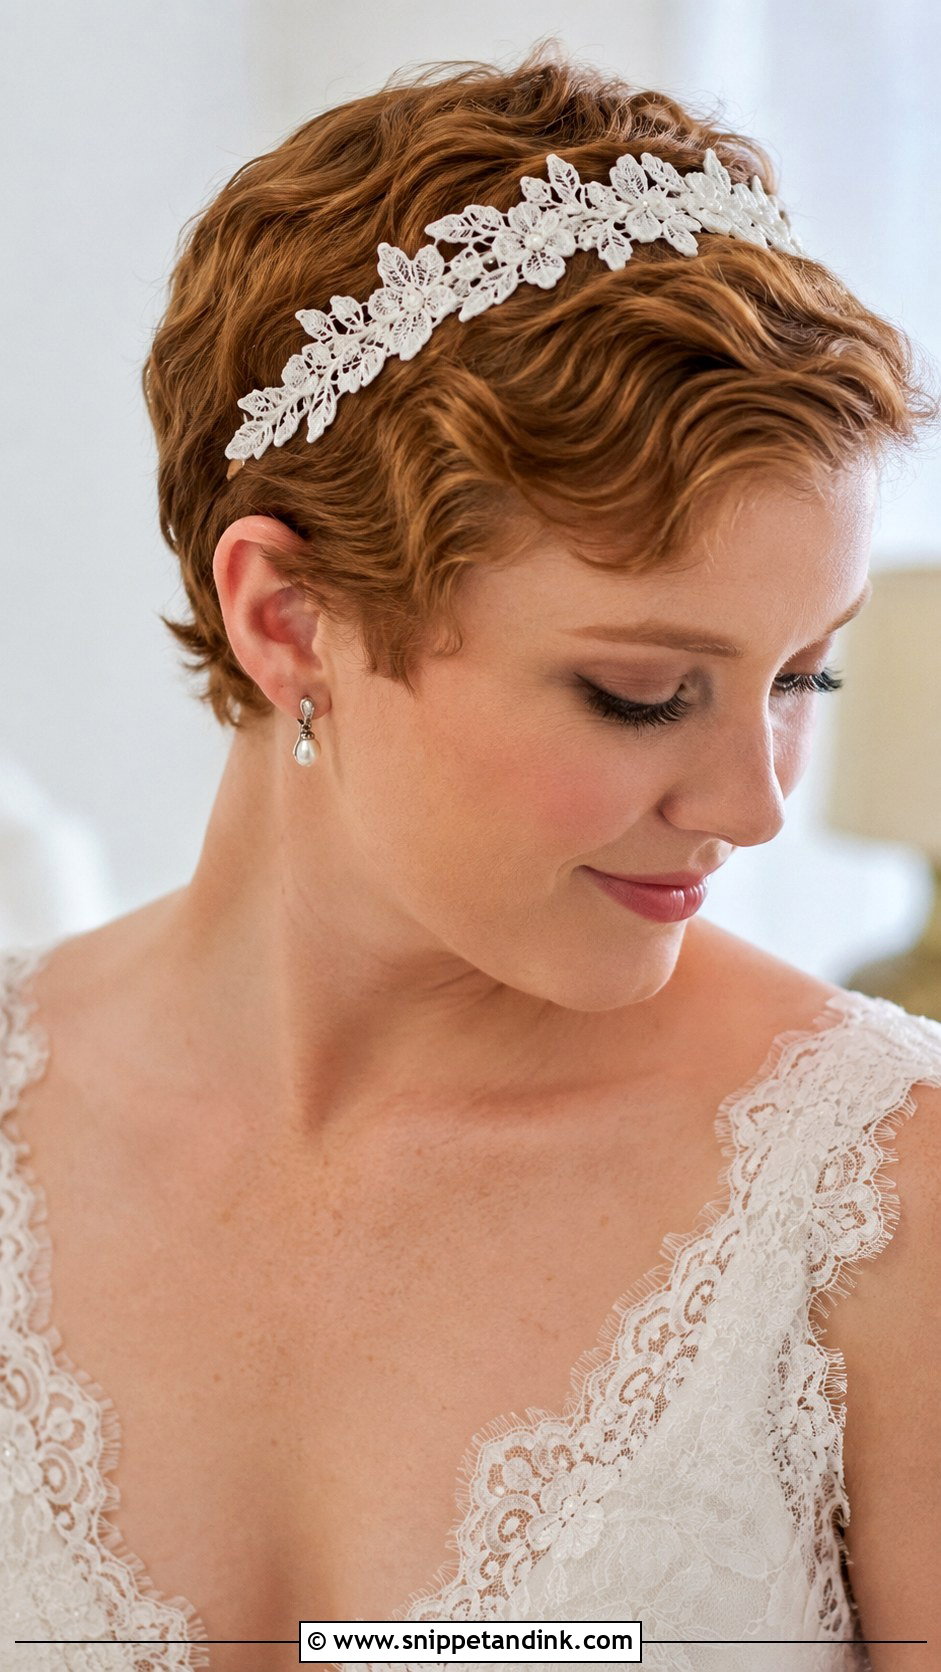
Lace headbands connect the hair to the dress, so I’d only choose one when the gown has lace sleeves, a lace bodice or matching embroidery. Ask the bridal shop for an offcut if they have one, and a milliner or seamstress can mount it on a band. Narrow lace stays subtle; wide lace leans vintage. Lace sits flat and can look severe on a sleek crop, so I add a bit of texture at the crown underneath. It’s light enough to wear all evening, which makes it a good substitute for a veil at an outdoor ceremony.
18. Bridal Pixie With Statement Earrings
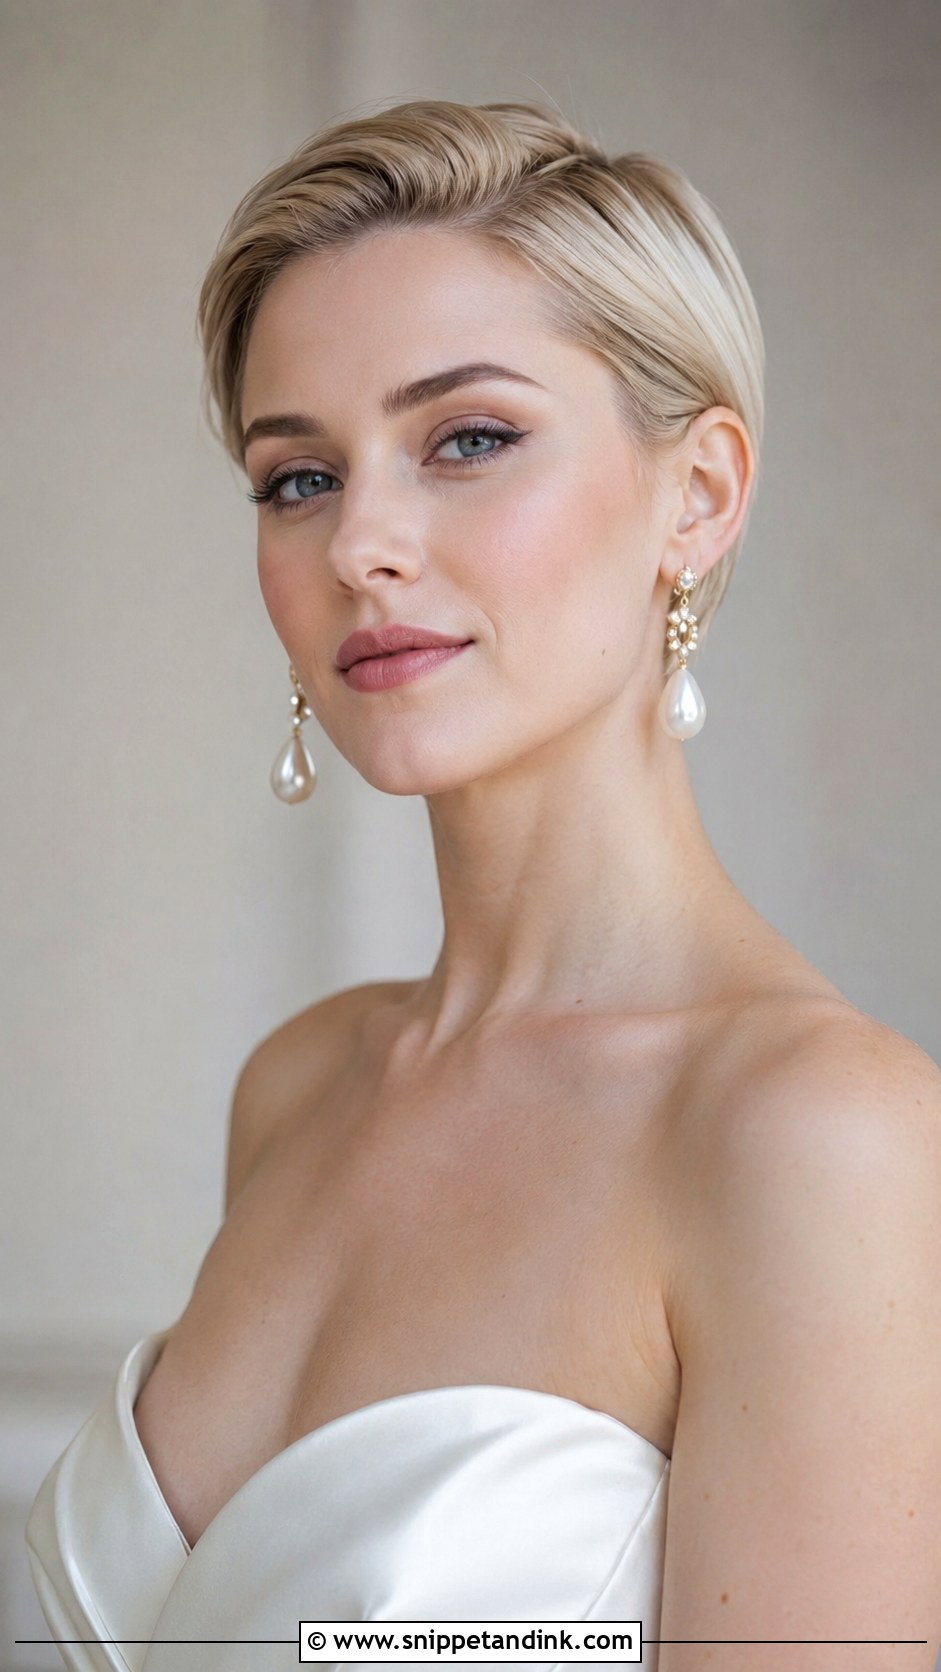
With so little hair around the face, earrings become part of the hairstyle. I always ask brides to bring their earrings to the trial, because a chandelier drop changes how much hair I leave over the ears. Long crystal or pearl drops look best when the hair is tucked behind one ear or kept sleek; sculptural hoops can handle a bit more texture. If you’d rather wear nothing in your hair at all, this is the honest option, and it suits a strapless or off-shoulder neckline especially well.
19. Bridal Pixie With Mini Fascinator
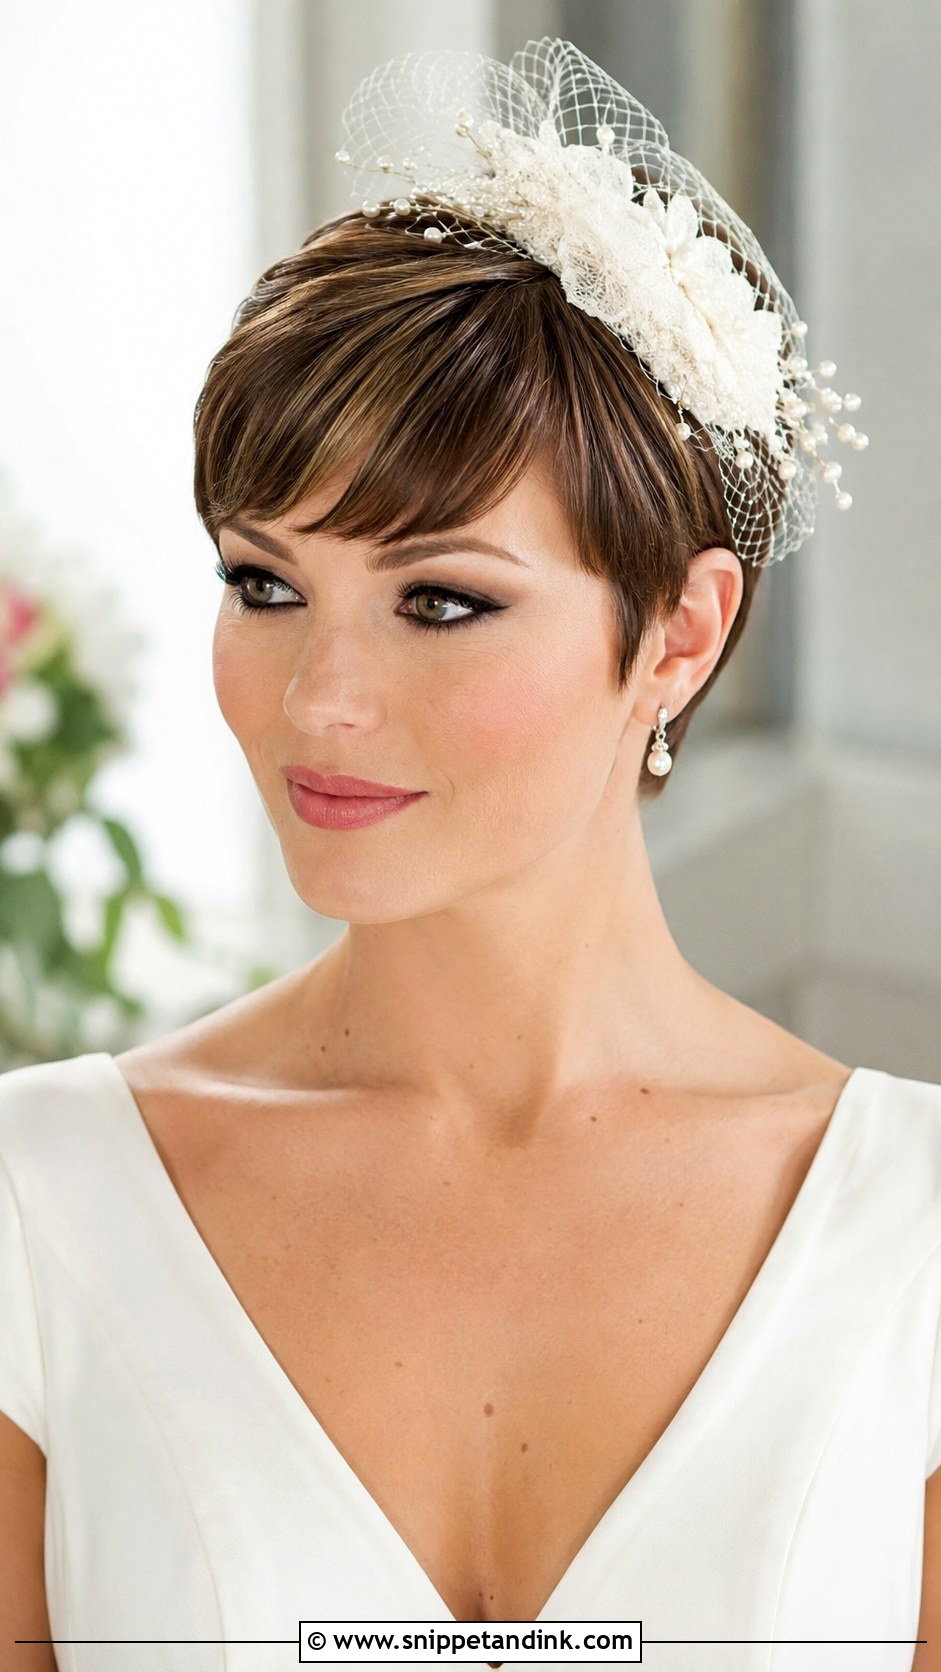
A mini fascinator on a pixie needs to stay in proportion with the cut: anything wider than your palm will overwhelm it. I place it slightly to one side, usually above the brow on the side opposite the part, and secure it with its own clip plus a pin through the base. Netting, feathers, silk flowers and pearls all work. It’s at its best at a city or courthouse ceremony, or with a vintage dress, where something smaller than a veil but larger than a clip feels right.
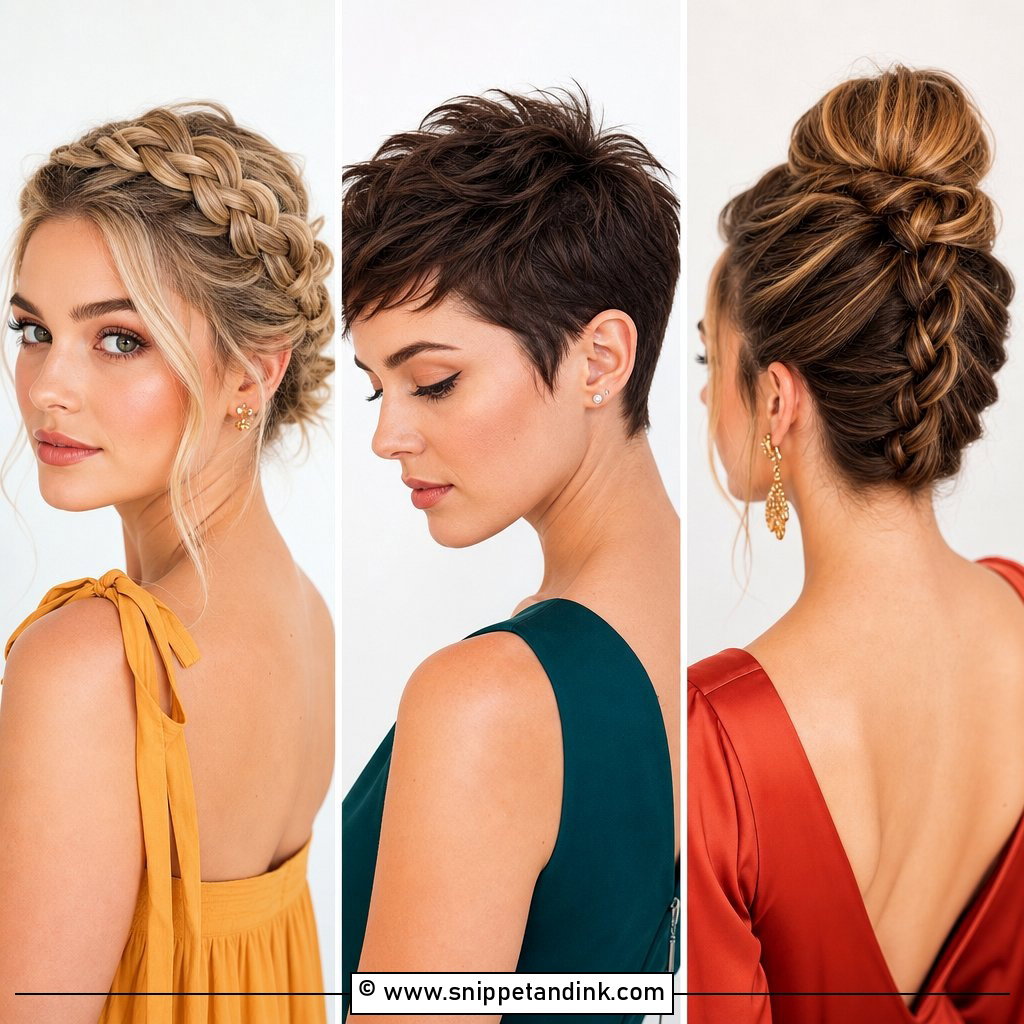
20. Bridal Pixie With Crown Braid Detail
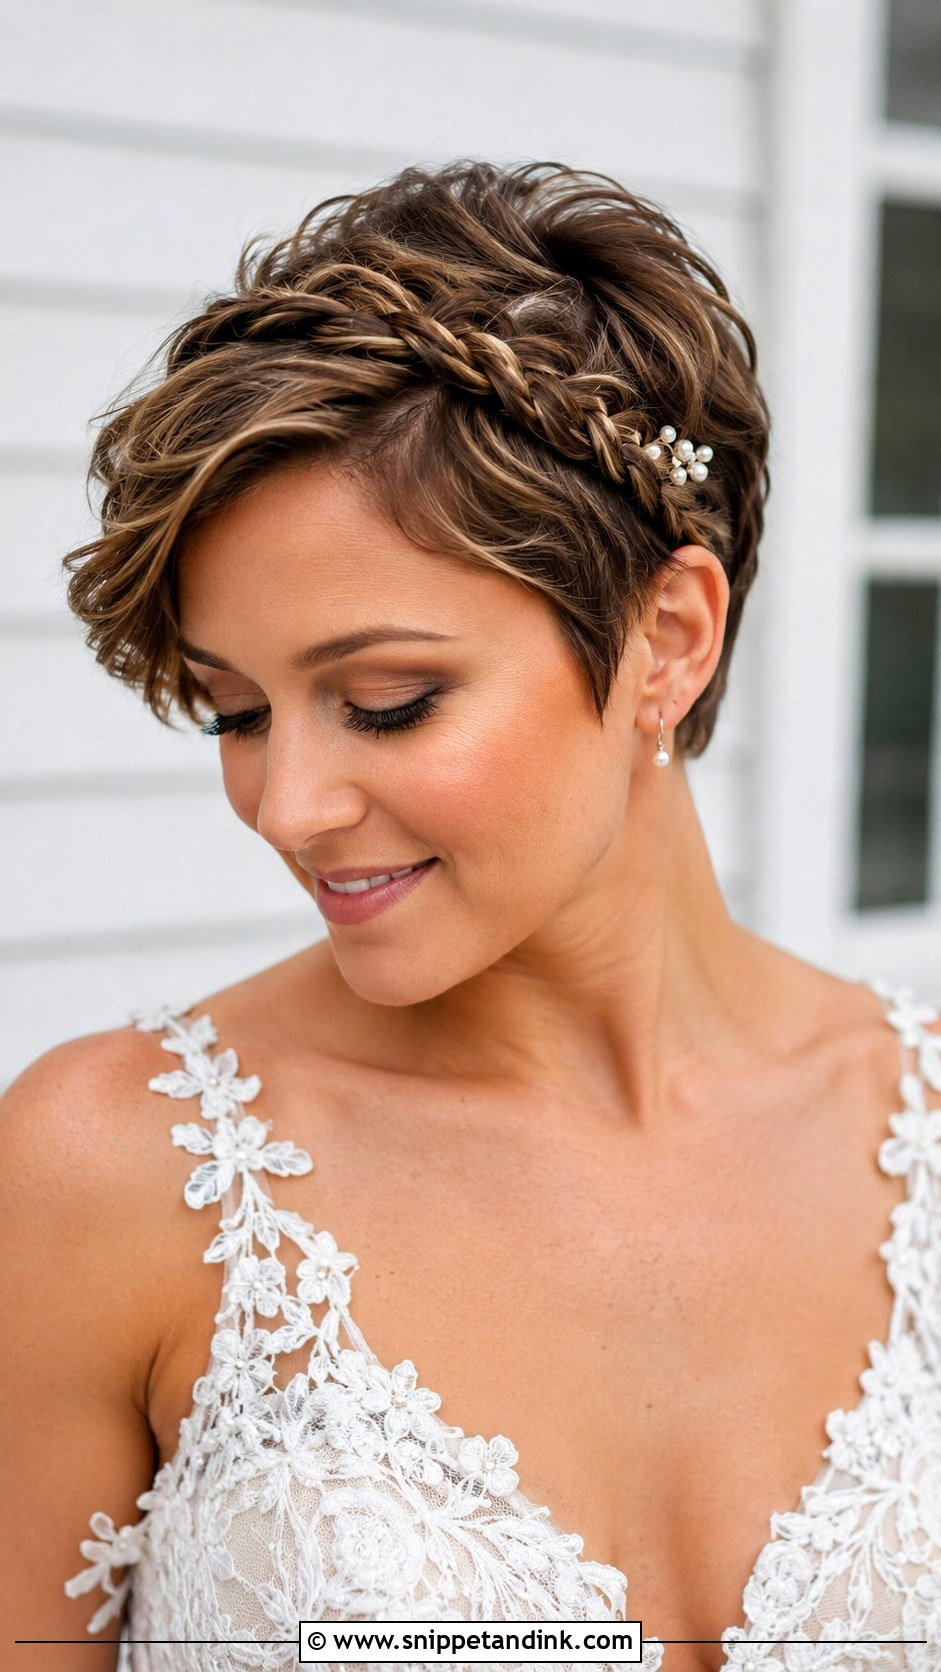
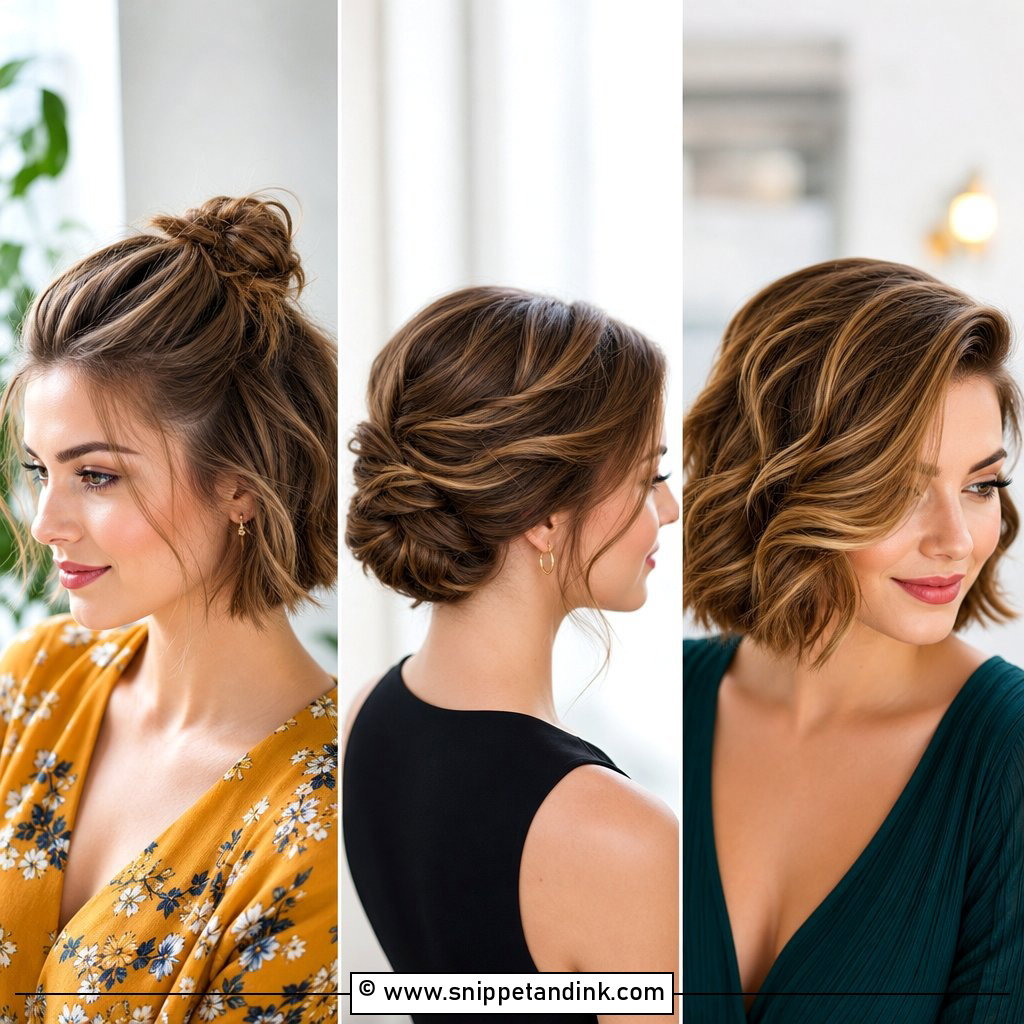
Braiding a pixie only works once the front or side pieces are at least three inches long. I use a tiny three-strand or a twist along the hairline, pinned flat at the temple, and it gives the impression of more styling than the cut actually allows. Mini braids loosen faster than full ones, so I lightly spray each pass and pin both ends. Small pearl pins or tiny flowers tucked into the braid suit romantic gowns and outdoor weddings.
Securing Accessories When There Is Almost Nothing to Pin
The most common pixie panic I see is an accessory sliding out halfway through the ceremony. It almost always happens because the pins went into smooth, freshly washed hair with nothing to grip. A few habits fix most of it.
Build grip before anything goes in
I wash the day before, not the morning of. Then I add dry texture spray at the roots where pins will go, and backcomb a small section underneath so it’s hidden. Matte bobby pins hold better than shiny ones because the coating grips.
Cross pins to make a base
Two pins crossed in an X make a small anchor that combs, veils and fascinator clips can hook onto. On very short hair I may sew a comb onto a thin elastic or a matching band so it’s held by the head rather than by the hair.
A small kit for the evening
Give your maid of honour a little bag with spare matte pins, a pocket comb, a travel pomade or wax and a mini hairspray. Pixies get flat at the crown and damp at the nape as the evening heats up, and a fingertip of product lifts it back in seconds.
A Pixie Gets More Out of a Single Accessory
A crop rewards restraint. One well-placed accessory, a deliberate part and the right finish will do more for you than layering a veil, a headband and pins all at once. Start from your hair’s natural texture and your dress, then test everything at a trial with real movement: turn your head, hug someone, sit down and stand up. Short hair needs secure placement, but nothing should feel tight. When the anchor is right, a pixie stays in place far better than long curls ever do.
You'll Like These Ideas:


Leave a Reply