
Your hands end up in more wedding photos than almost anything except your face: the ring exchange, the bouquet, a hand on a shoulder during portraits. The designs below are complete bridal nail designs I’d happily put on a bride, from sheer milky bases and micro French tips to pearl chrome, lace linework, tiny crystals and a hidden something blue. For each one I’ve added what I watch for at the table: which shapes carry it, where it tends to chip, and who I’d talk out of it. Bring a photo of your ring and dress neckline to your trial and use these as a starting point, not a script.
Gel Polish, Structured Gel or Acrylic for a Wedding Set
Before we talk designs, it helps to know what the design will sit on, because that decides whether it lasts. Plain gel polish over your own nails is thin and flexible. It suits short natural nails and minimal looks, but on soft or bendy nails it can lift at the free edge within a week.
Structured gel, sometimes called a builder overlay, adds a thicker layer with an apex over the stress point of the nail. That is what I put on most brides, because it stops the nail flexing and keeps chrome and linework from cracking. Acrylic or soft gel extensions are the choice if you want length you don’t have; they need a fill if the wedding is more than two to three weeks after application.
- Short, healthy nails and a sheer design: gel polish is usually enough.
- Nails that peel or bend, or any chrome, 3D or crystal work: ask for a structured gel base.
- Length you don’t naturally have: extensions, done at the trial so you can practise living with them.
- Sensitive skin or a past reaction to gel: tell your nail artist before the trial, not on the day.
Time the final set two to four days before the wedding. That leaves room to fix a chip, lets any redness around the cuticle settle, and still gets you through the honeymoon with very little growth showing.
1. Milky White Bridal Nails
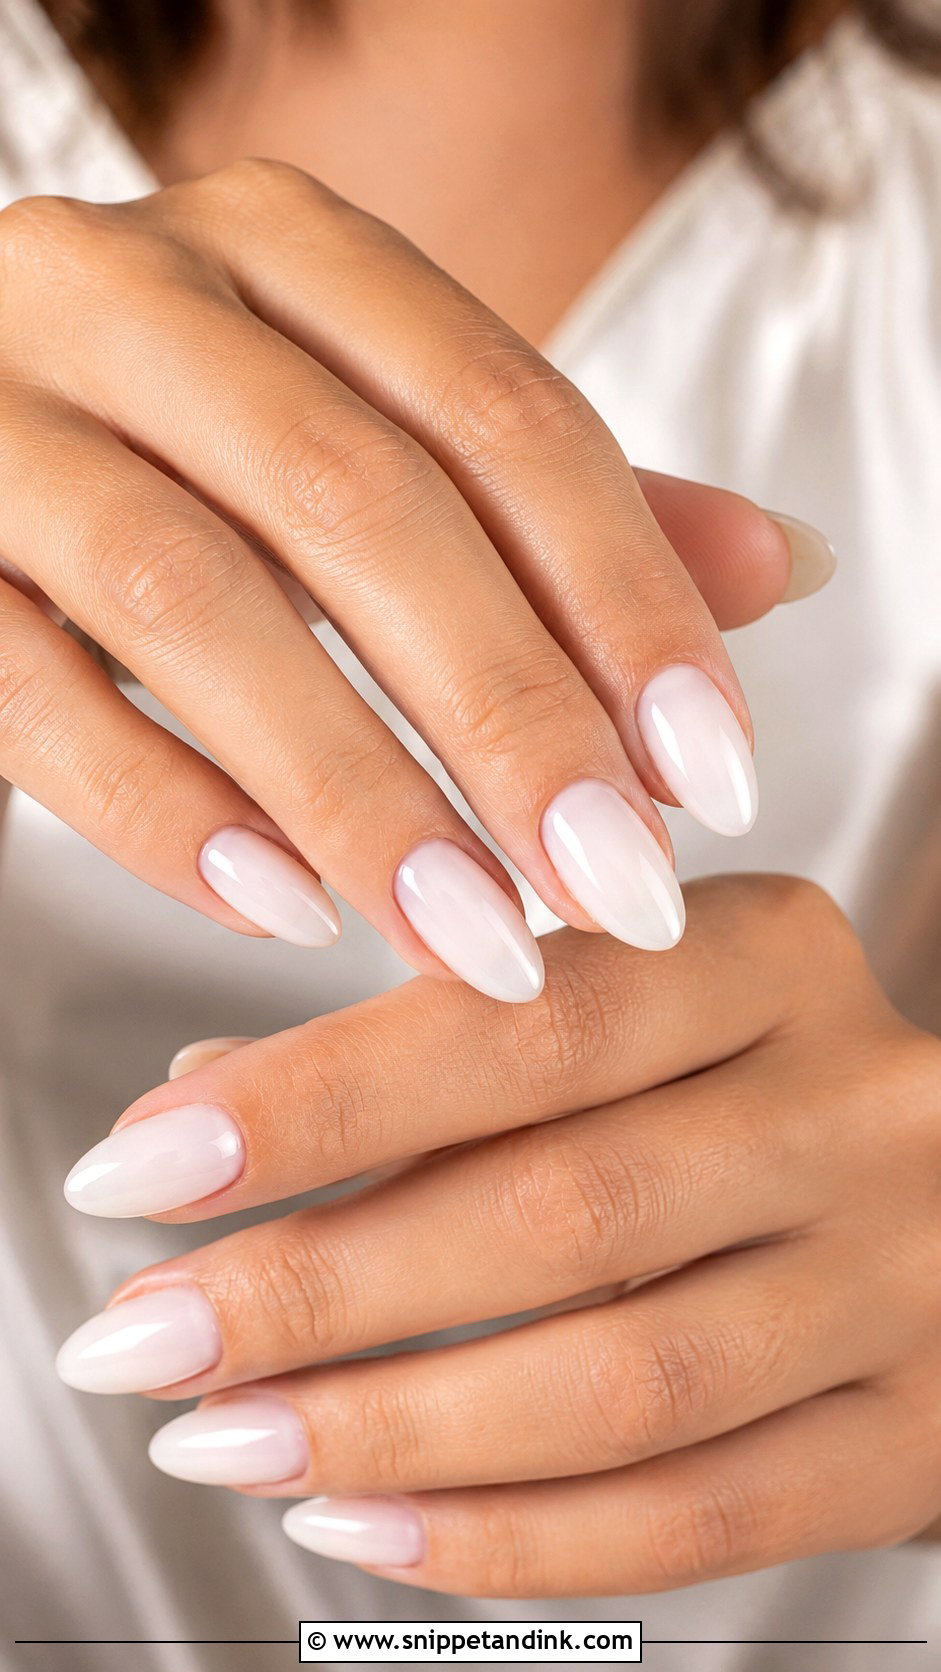
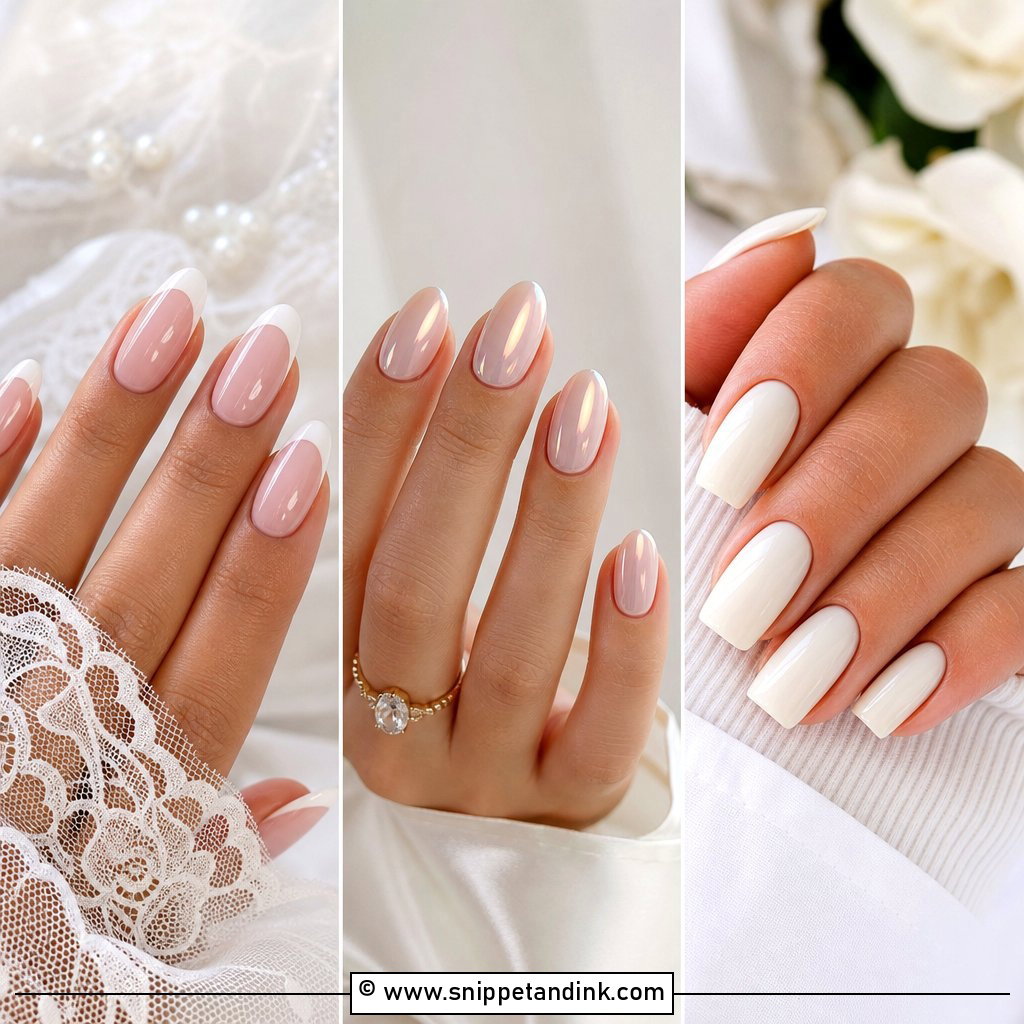
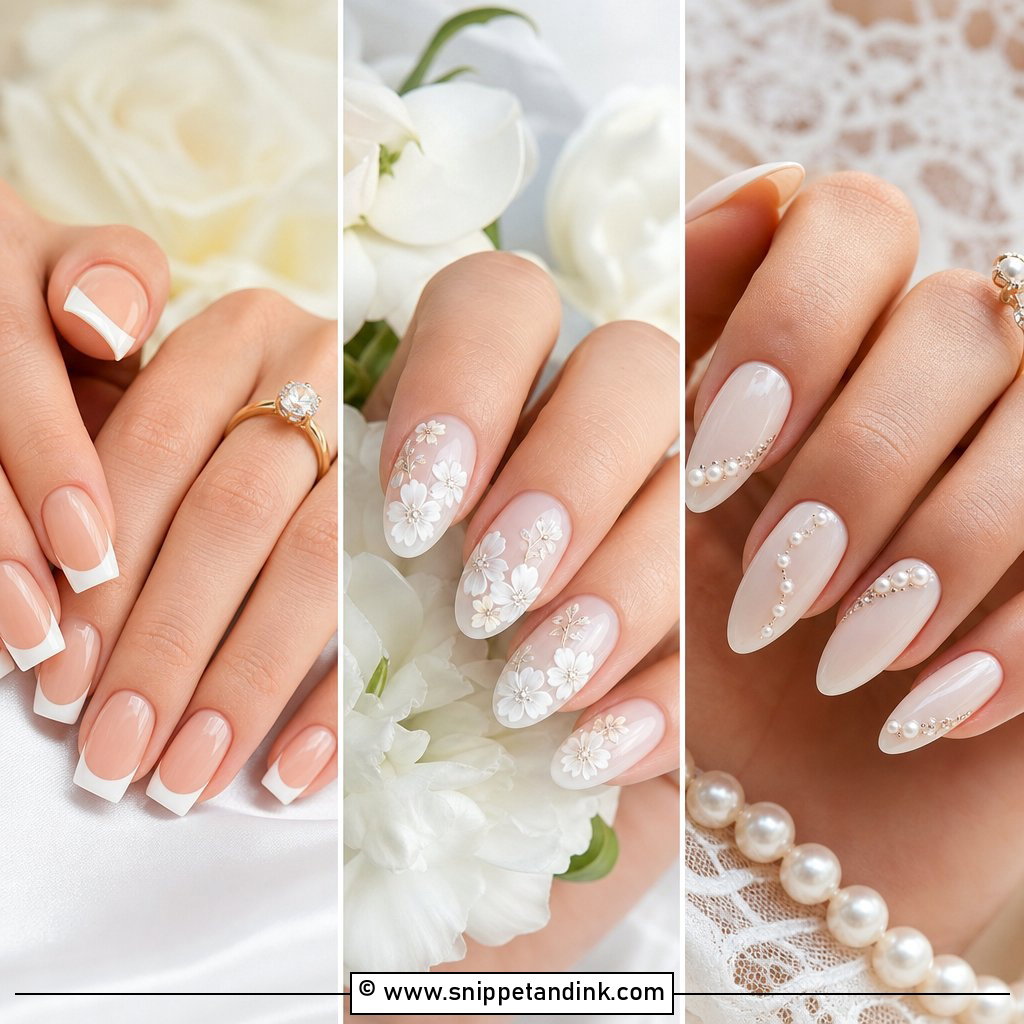
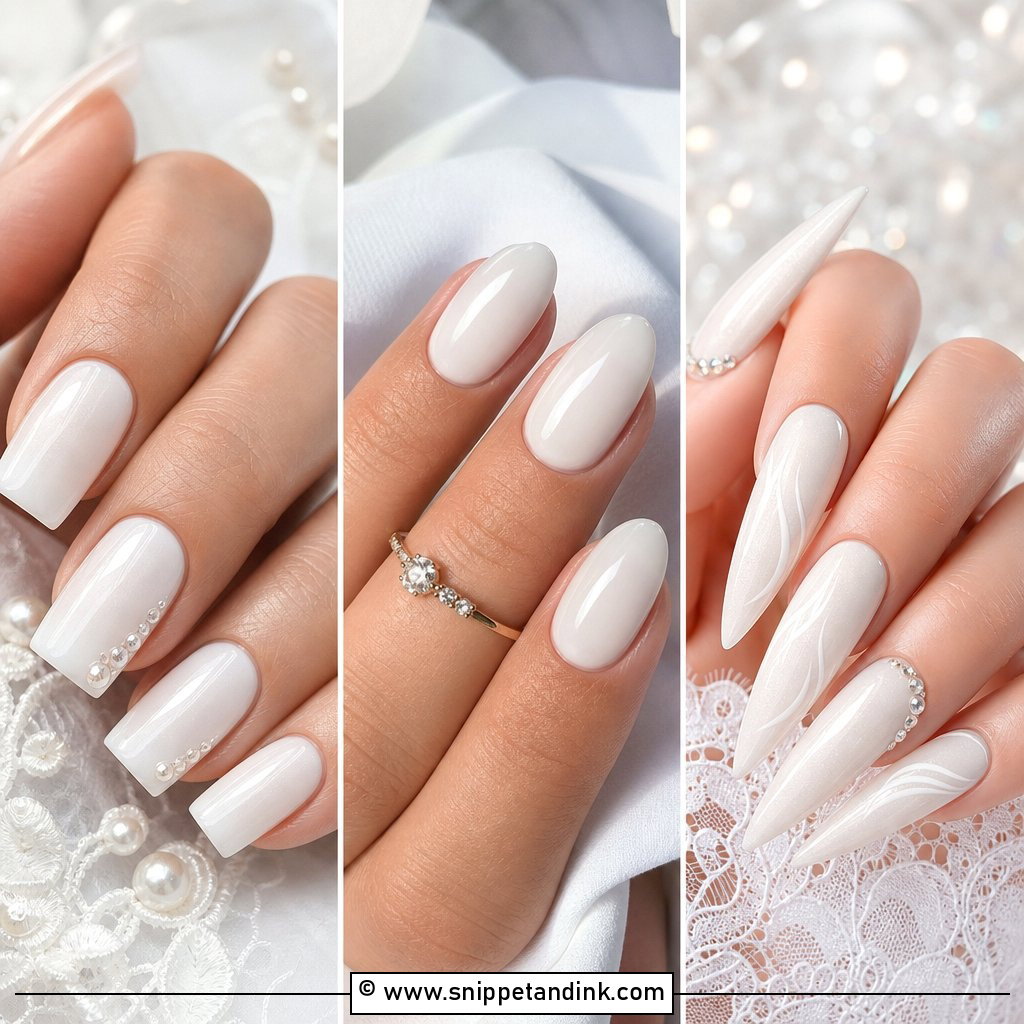
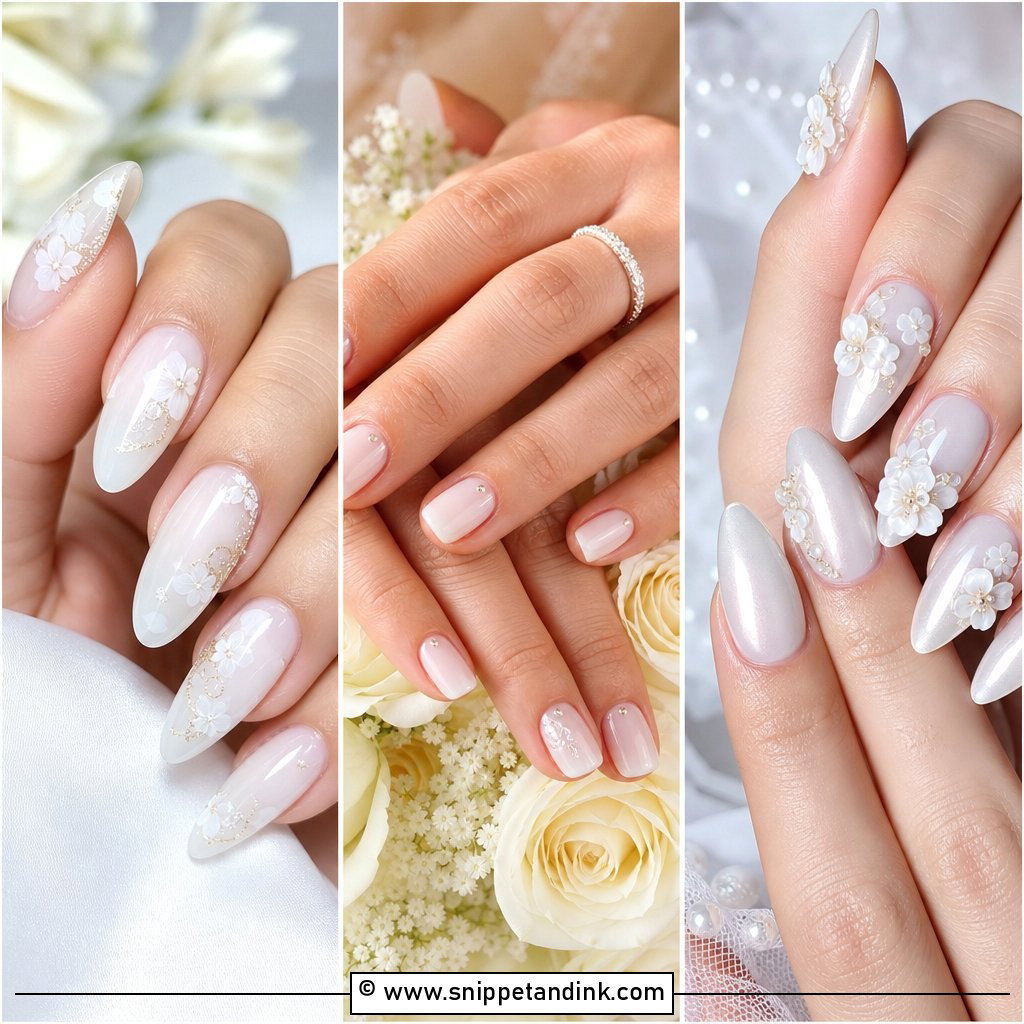
Milky white is the set I’m asked for most, and it’s harder to get right than it looks. The base needs to be translucent enough that your nail bed still reads faintly pink; one coat too many and it turns flat and correction-fluid white under flash. I build it in thin layers and check against the free edge in daylight before curing the last one. Short and medium lengths carry it best, and almond or oval keeps it soft. A plain high-gloss top coat is usually all it needs, though a whisper of pearl works next to satin and pearl earrings.
2. Soft Pink French Bridal Nails
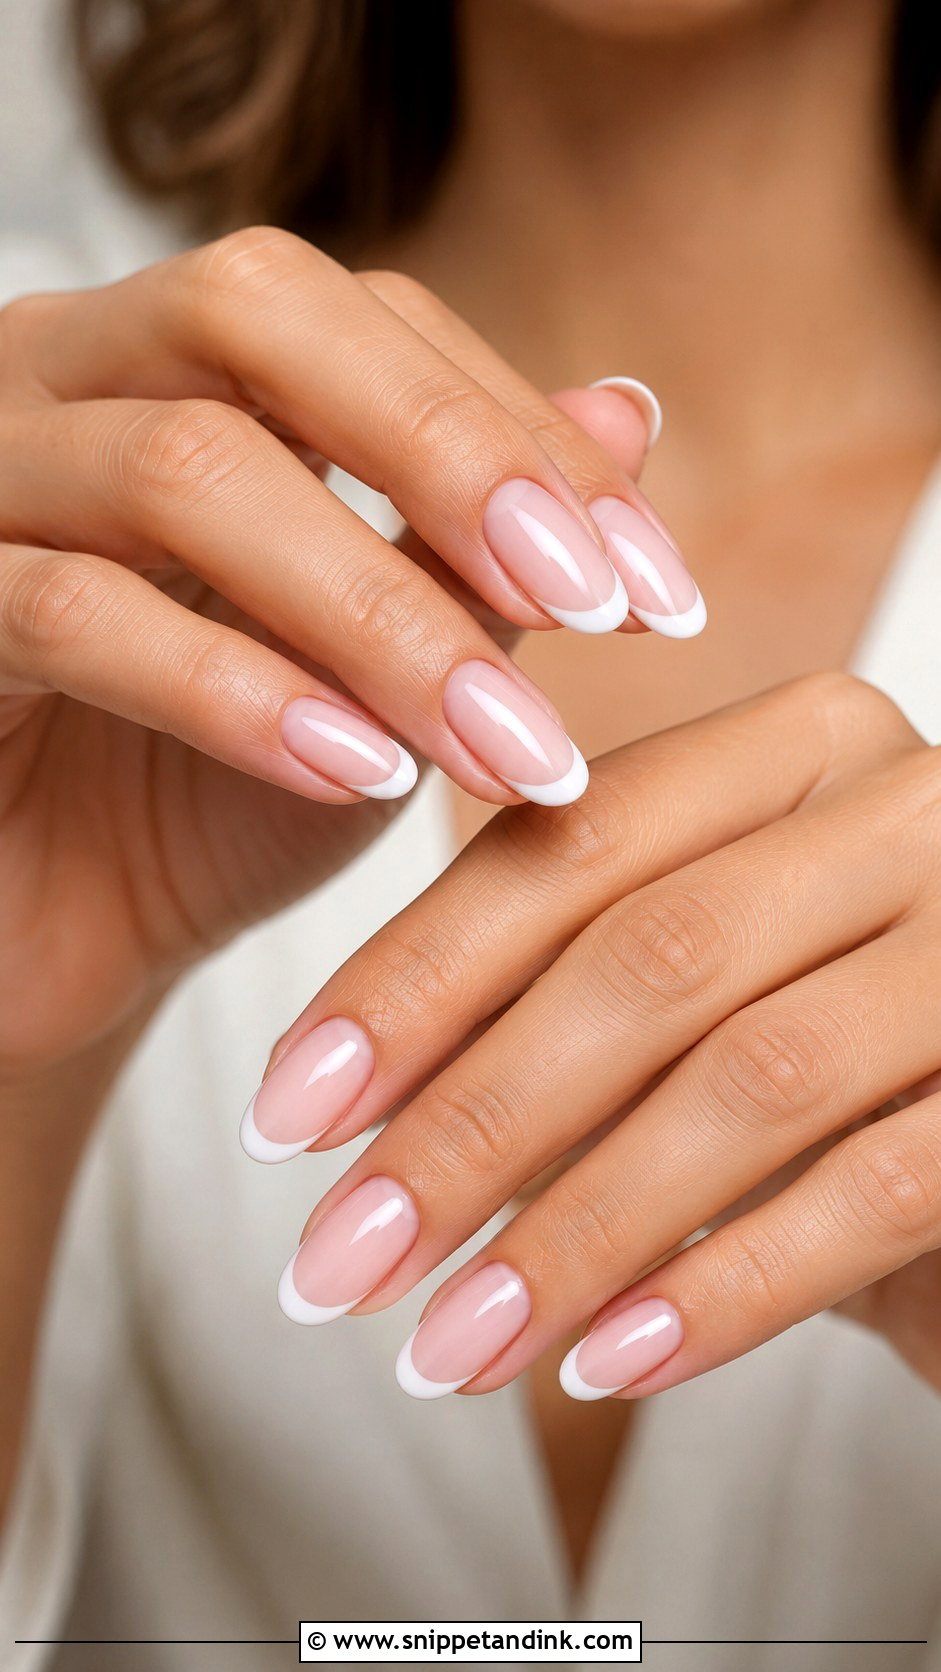
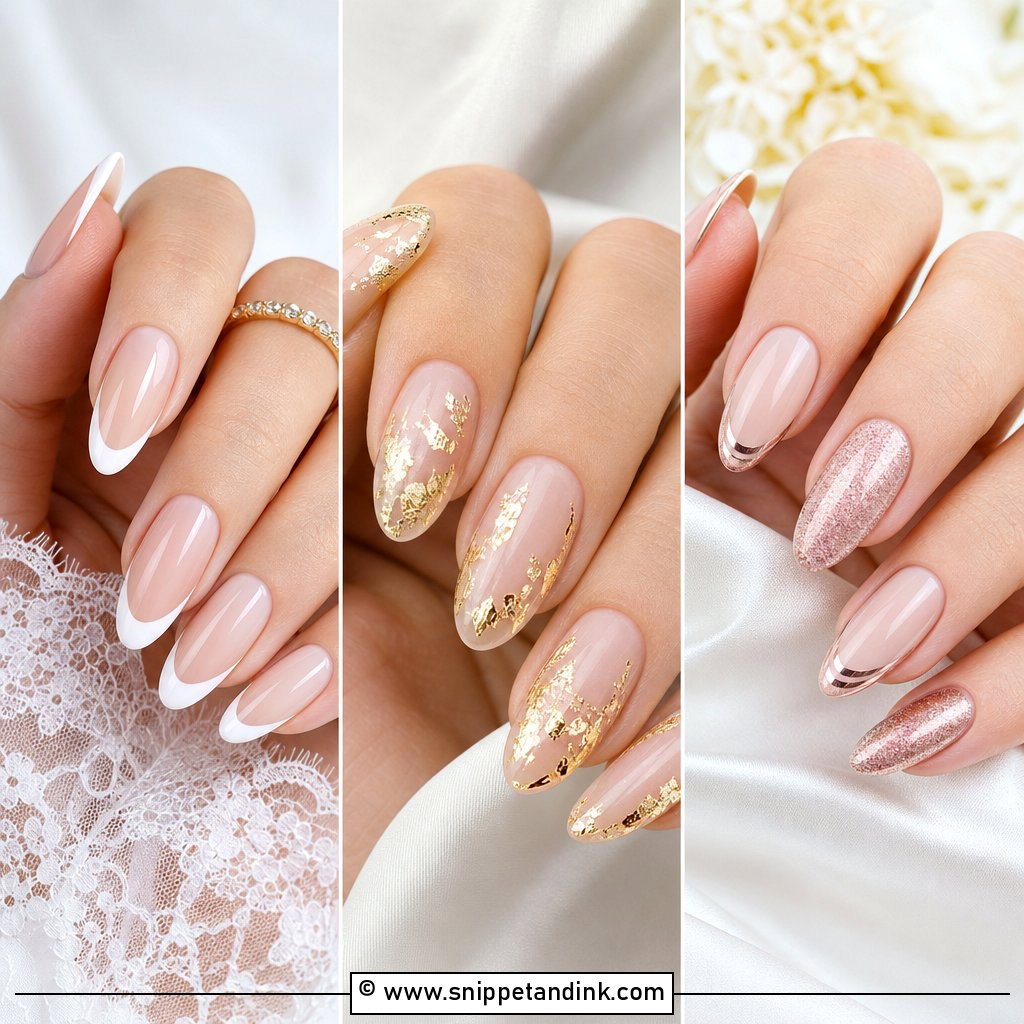
A blush French swaps the old bright-white formula for a rosy sheer base and a cream or ivory tip, which is far kinder to warm and olive skin. The thing I adjust most is the smile line: on a short nail I keep it low and shallow so the nail doesn’t look stubby. It sits well on almond, squoval, or short round nails. If you want a little more glow, I’ll rub a pearl chrome over the whole set after the tips are cured, which softens the line between tip and base.
3. Pearl Chrome Bridal Nails
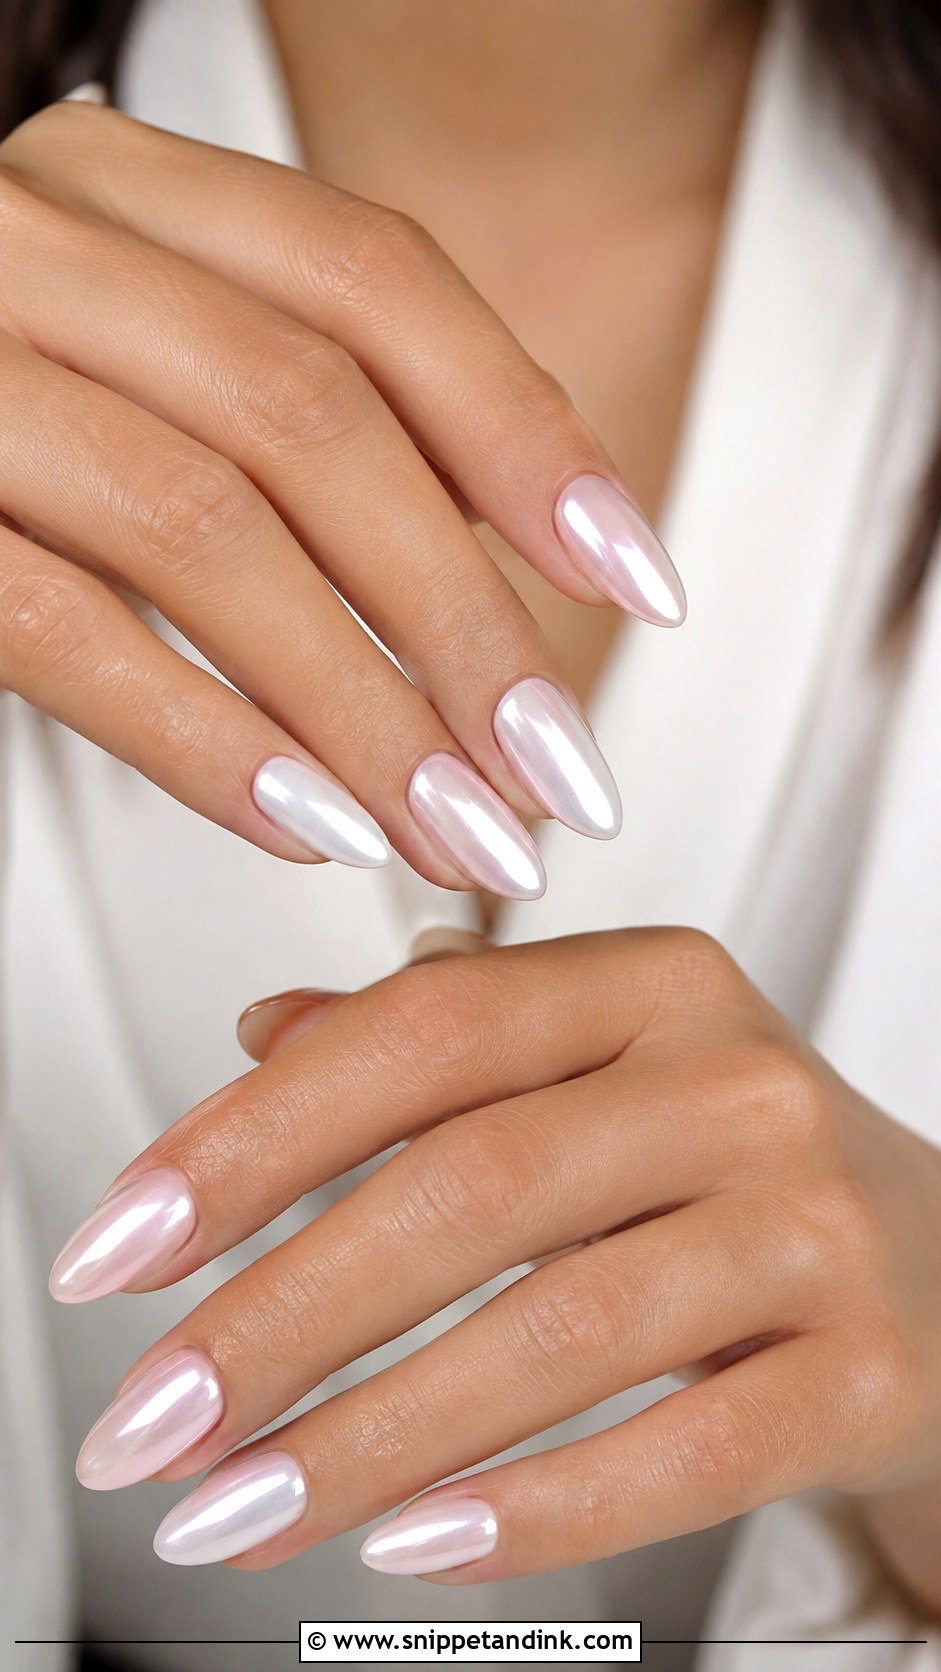
Pearl chrome is a powder rubbed onto a no-wipe top coat, and the base underneath decides the result. Over sheer white it reads like the inside of a shell; over nude it goes warmer and more golden. I seal the edges carefully because chrome is the first thing to wear off at the tips, usually by day four or five if the free edge isn’t capped. Keep the shape soft, almond, oval or a rounded square, and pair it with pearl earrings or beading rather than heavy gold, which can fight the cool sheen.
4. Micro French Bridal Nails
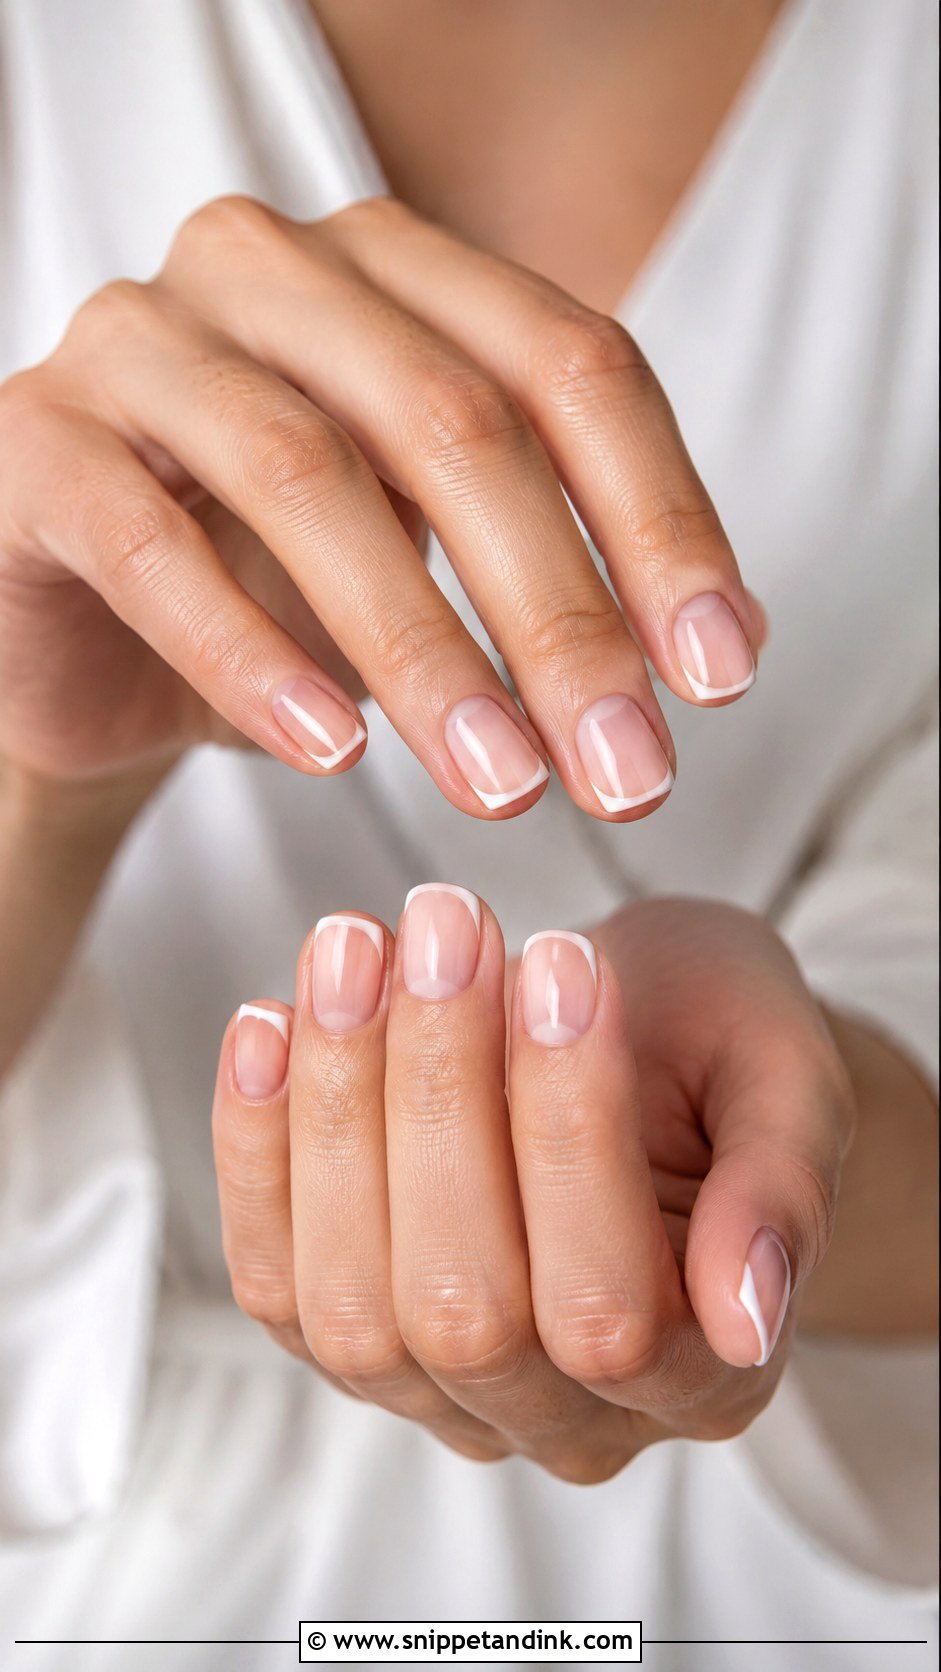
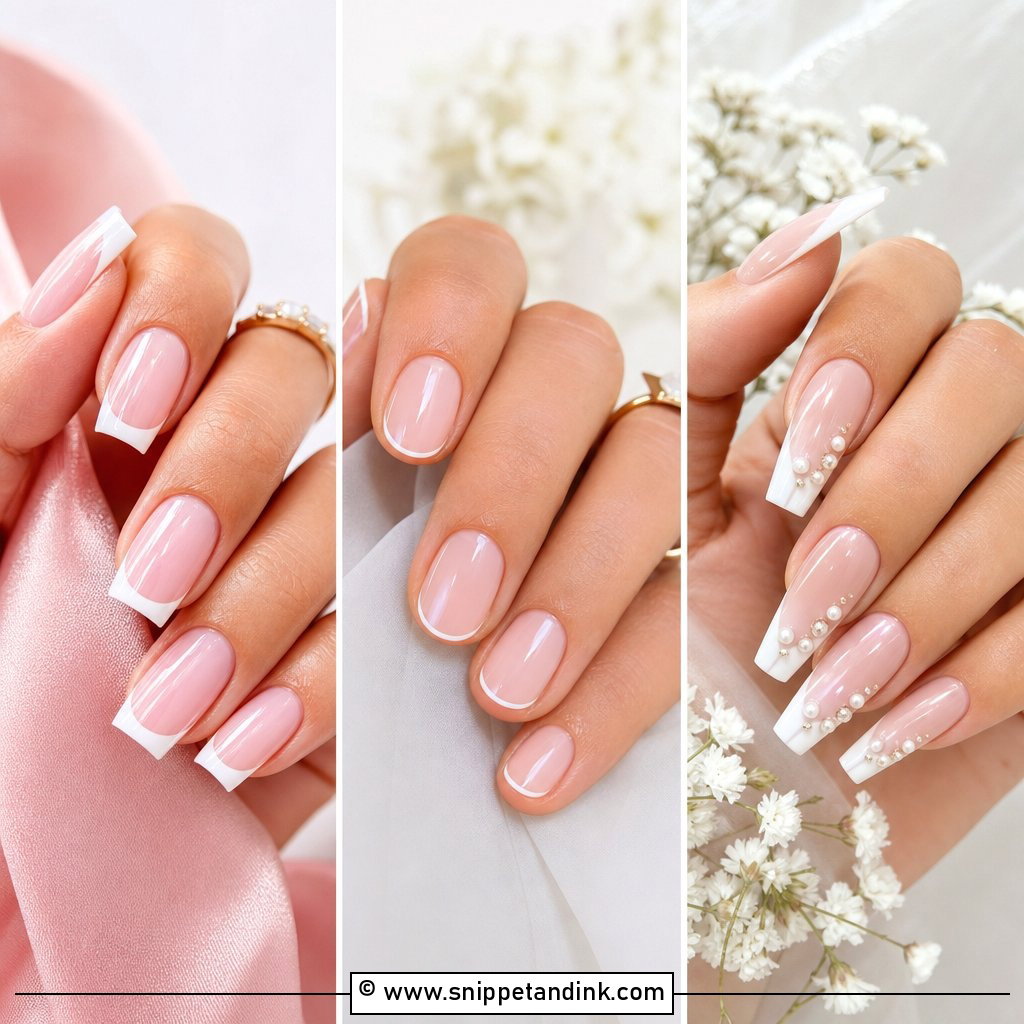
The micro French is my go-to for short natural nails. The tip is barely a millimetre, painted with a fine liner brush, so it adds definition without shortening the nail visually the way a thick white band does. The catch is that a wobbly line is very obvious at this width, so I’d only book it with someone who does a lot of linework. Over a sheer nude or milky base with a glossy top, it looks crisp at a courthouse ceremony and just as right with a structured modern gown. A subtle chrome over the top softens it if crisp feels too sharp for you.
5. Glazed Donut Bridal Nails
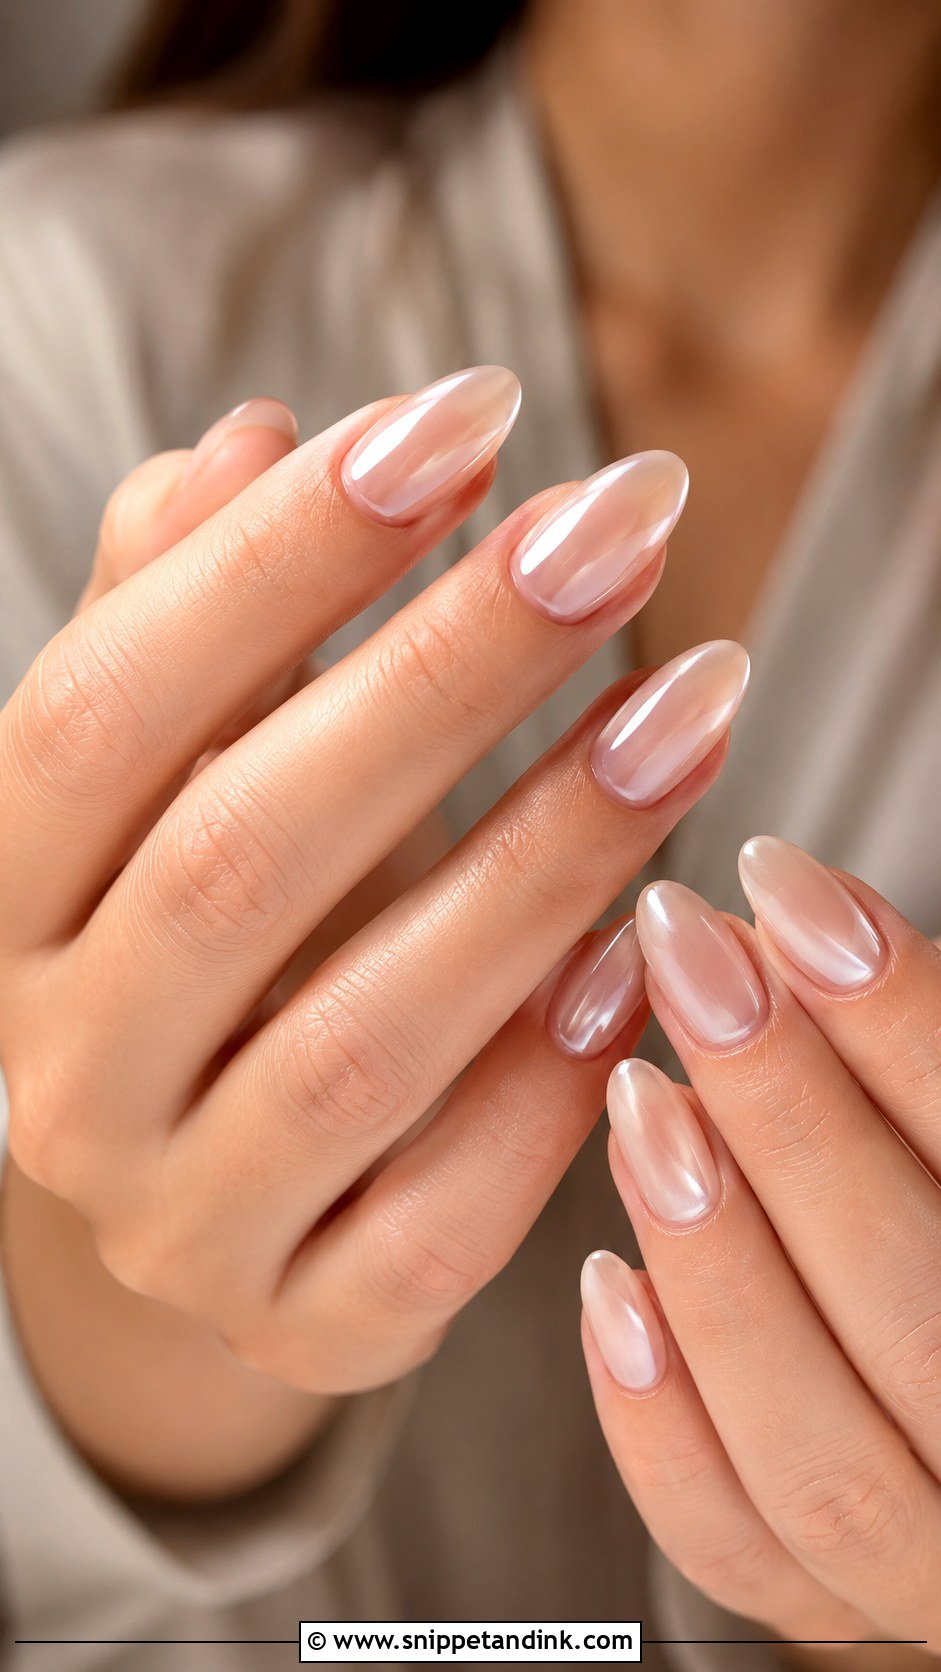
Glazed donut bridal nails are a sheer base with a fine white or pearl chrome buffed over the top, giving that glassy, almost wet shine. It’s the finish that behaves best in ring close-ups, because it reflects light evenly instead of throwing glitter sparkle back at the lens. I keep the base pale; a strong pink underneath turns it candy-like and dates quickly. Almond and oval shapes show the glow along the curve. It doesn’t care much about dress style, which makes it a safe pick if you’re still deciding.
6. Nude Bridal Nails With White Flowers
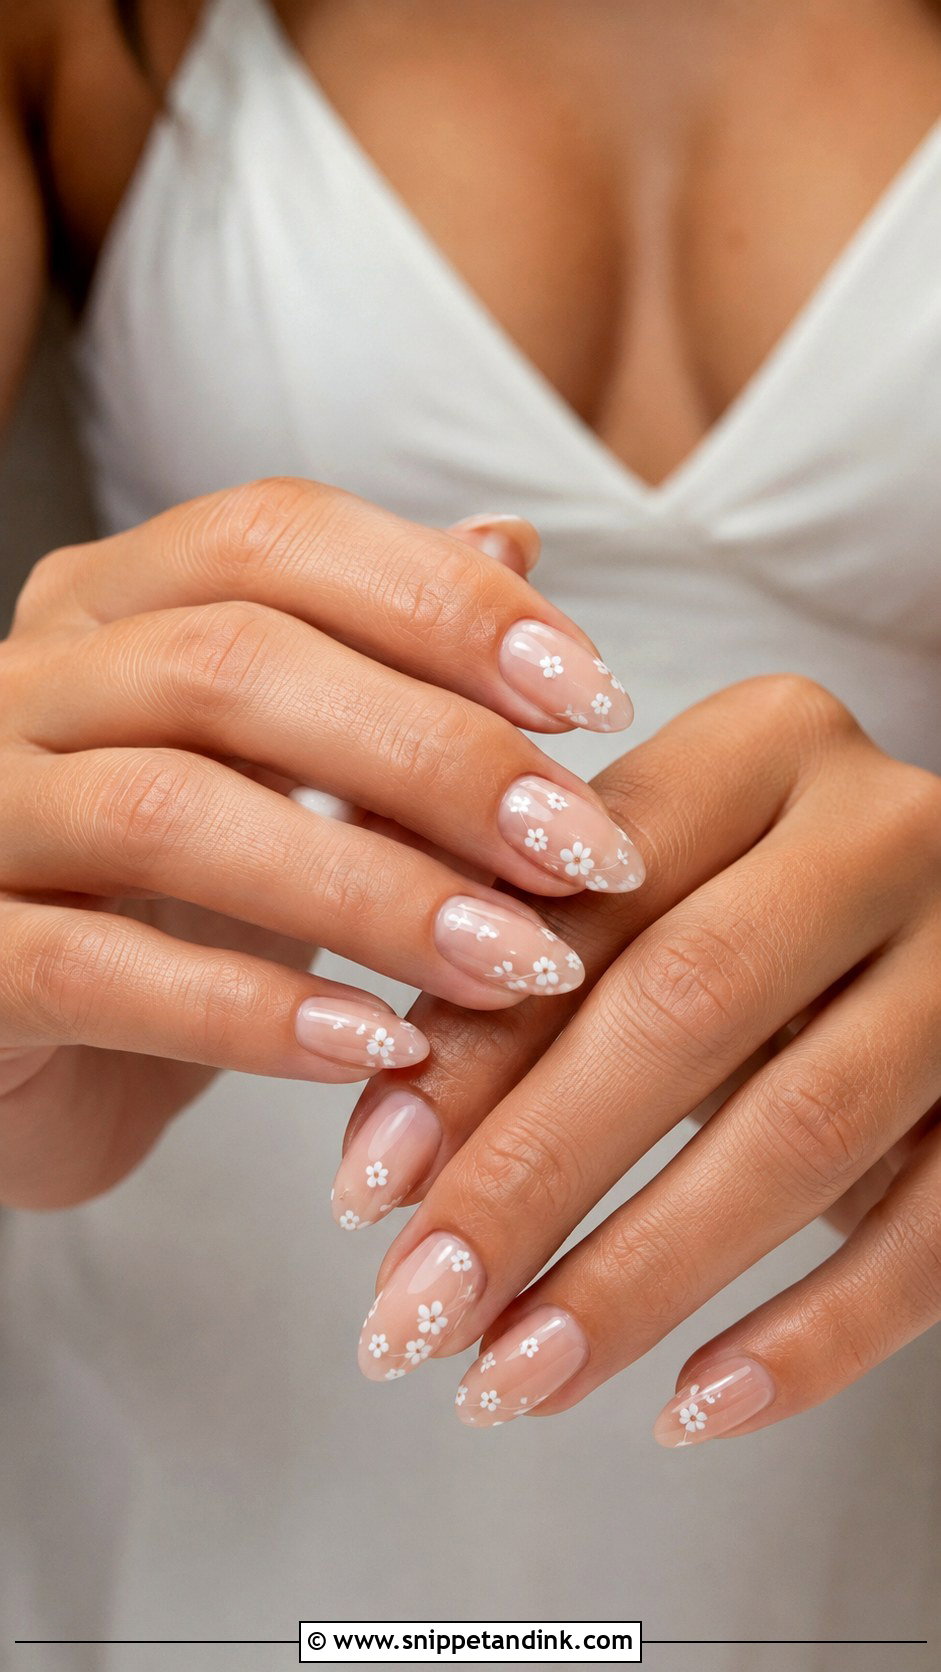
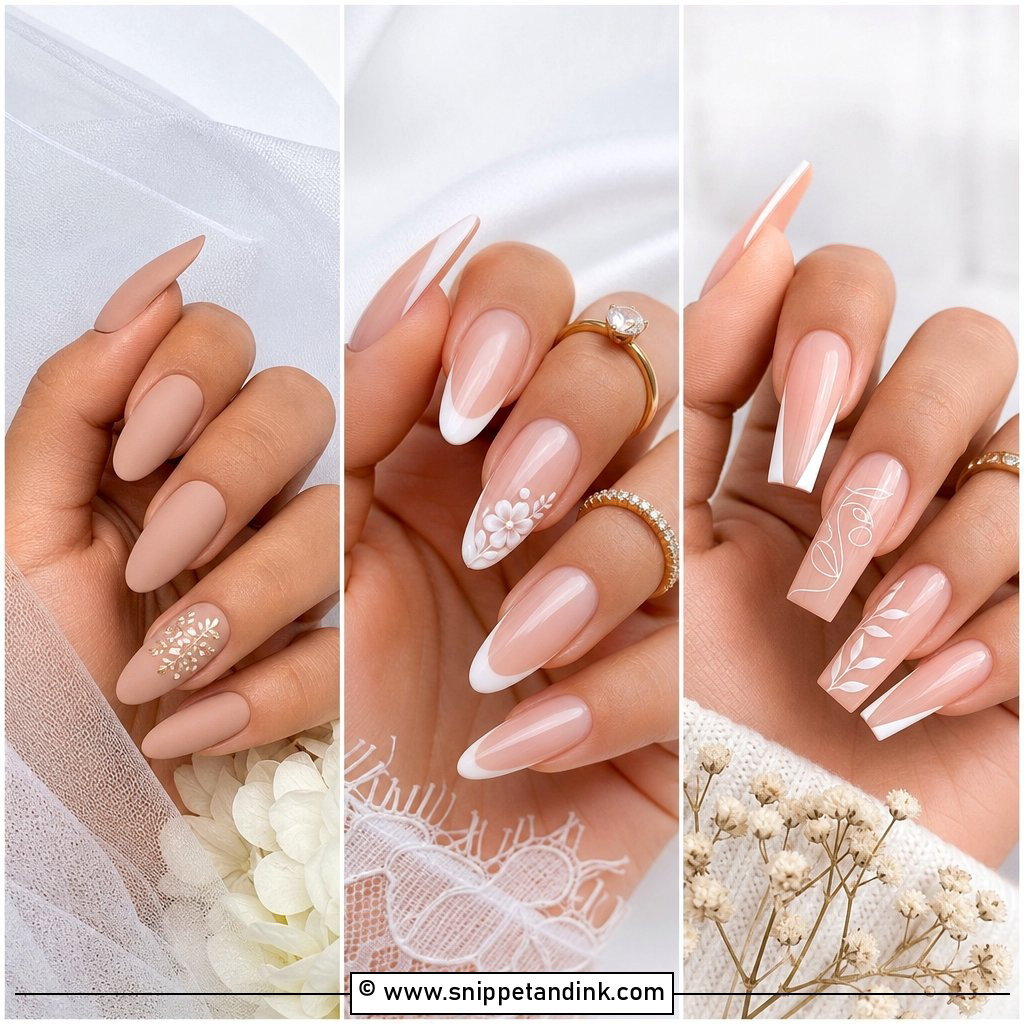
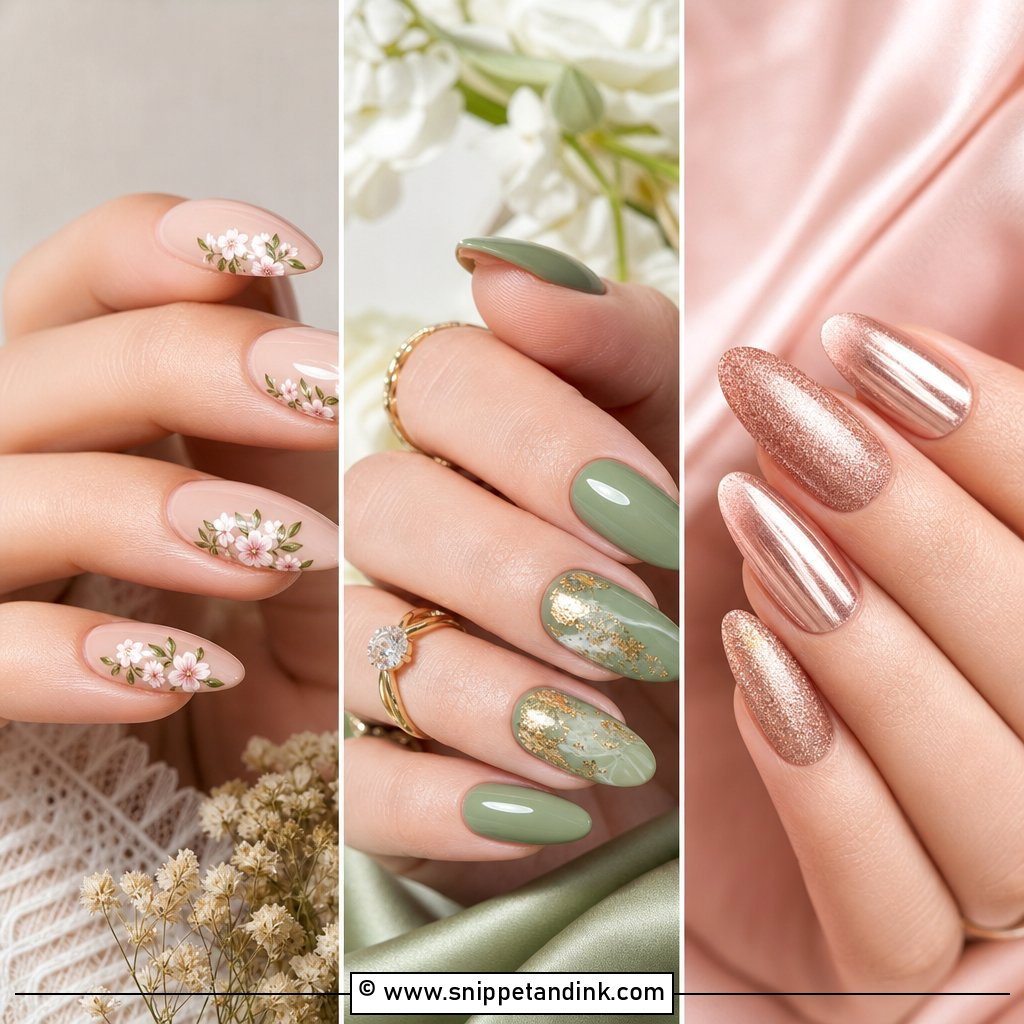
Tiny white flowers over a nude, beige or sheer pink base give you romantic nail art that still looks wearable at the office the week after. I paint them with a dotting tool and a fine brush, five dots and a centre, and I place them on two or three nails rather than all ten so the set doesn’t look busy in a bouquet shot. Almond, oval or coffin shapes give enough room for the petals. If your gown has floral embroidery, bring a close-up photo and I’ll copy the flower shape rather than inventing one.
7. Lace Bridal Nails
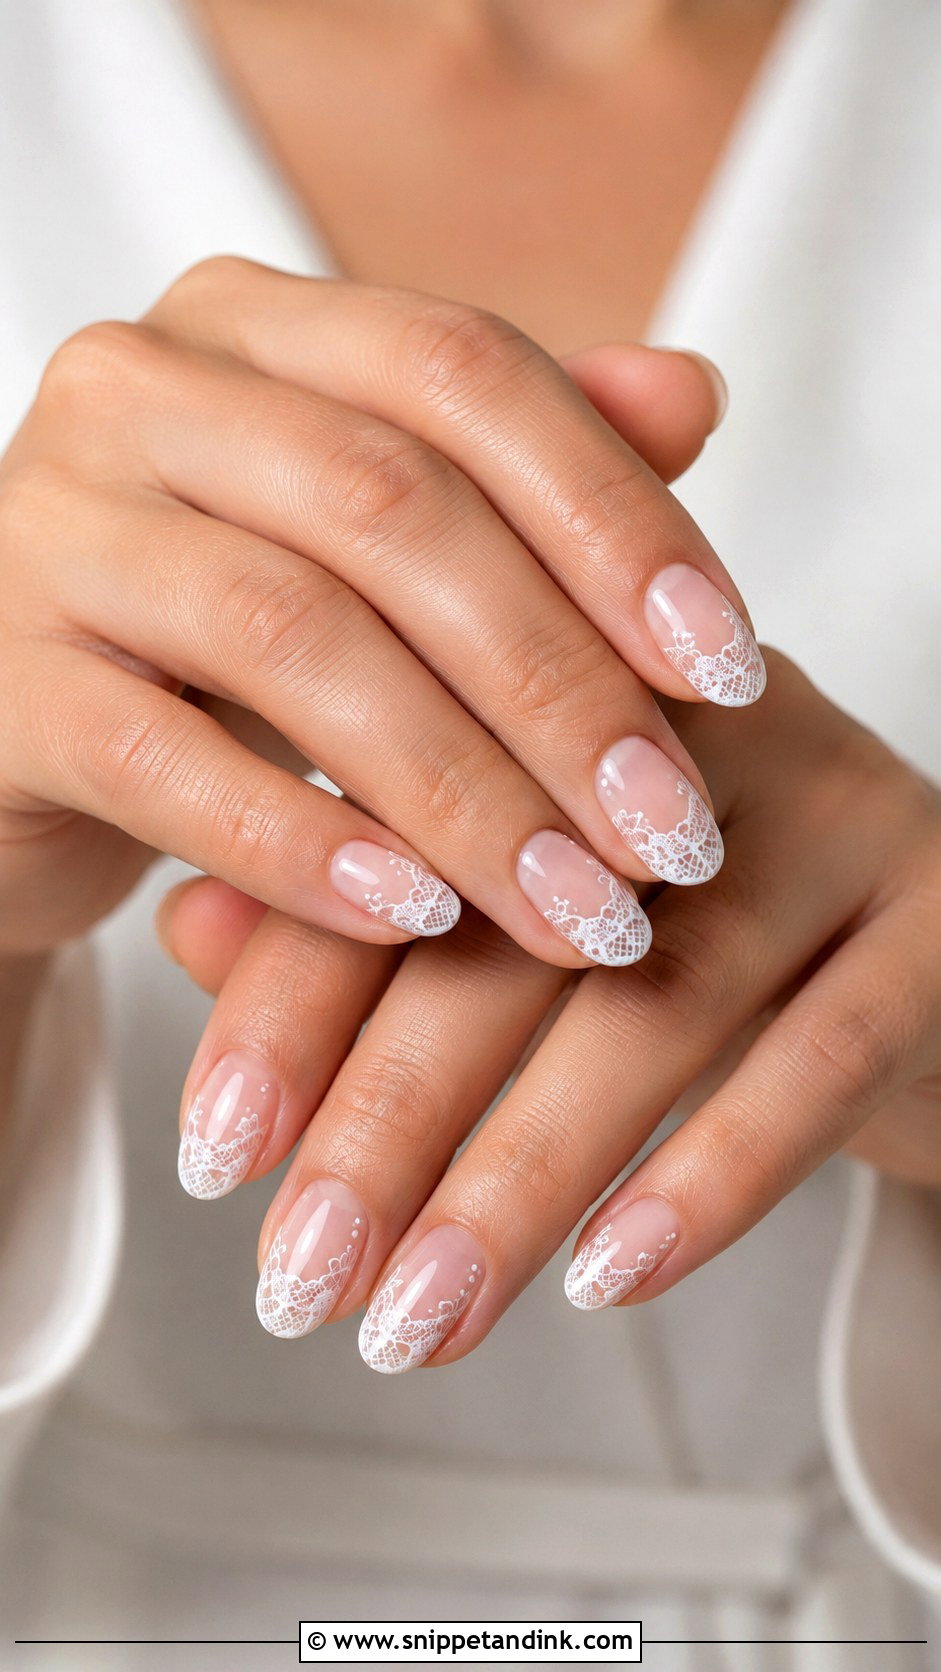
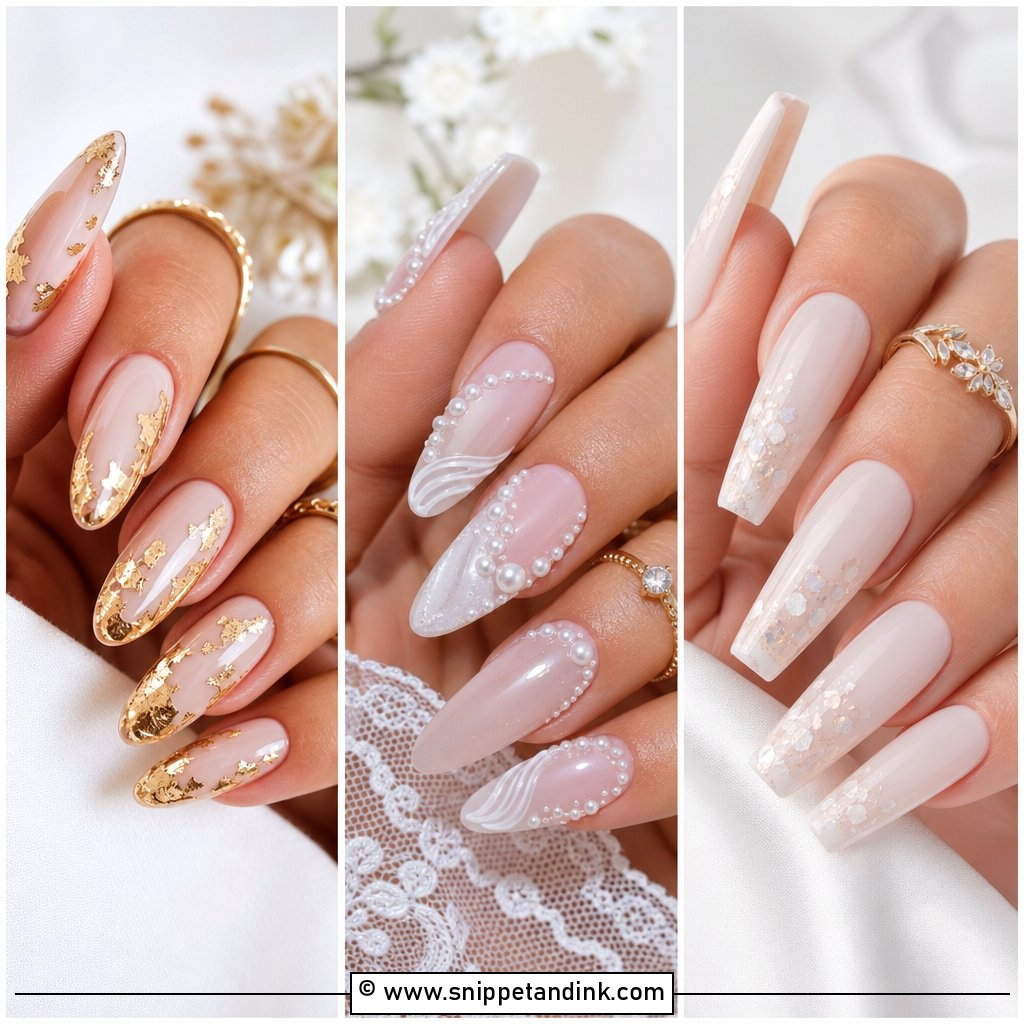
Lace nails are freehand linework: fine scallops, dots and netting in white over a sheer base, usually on two or three accent nails with the rest left plain and glossy. Stamping plates exist, but stamped lace often looks flat next to real lace in close-ups, so I paint it. I’d steer you toward this if your sleeves or veil edging are lace, because the echo is noticeable in hand-on-dress photos. On very short nails there isn’t room for the pattern to read, so almond or oval at a medium length is where it works.
8. White Ombre Bridal Nails
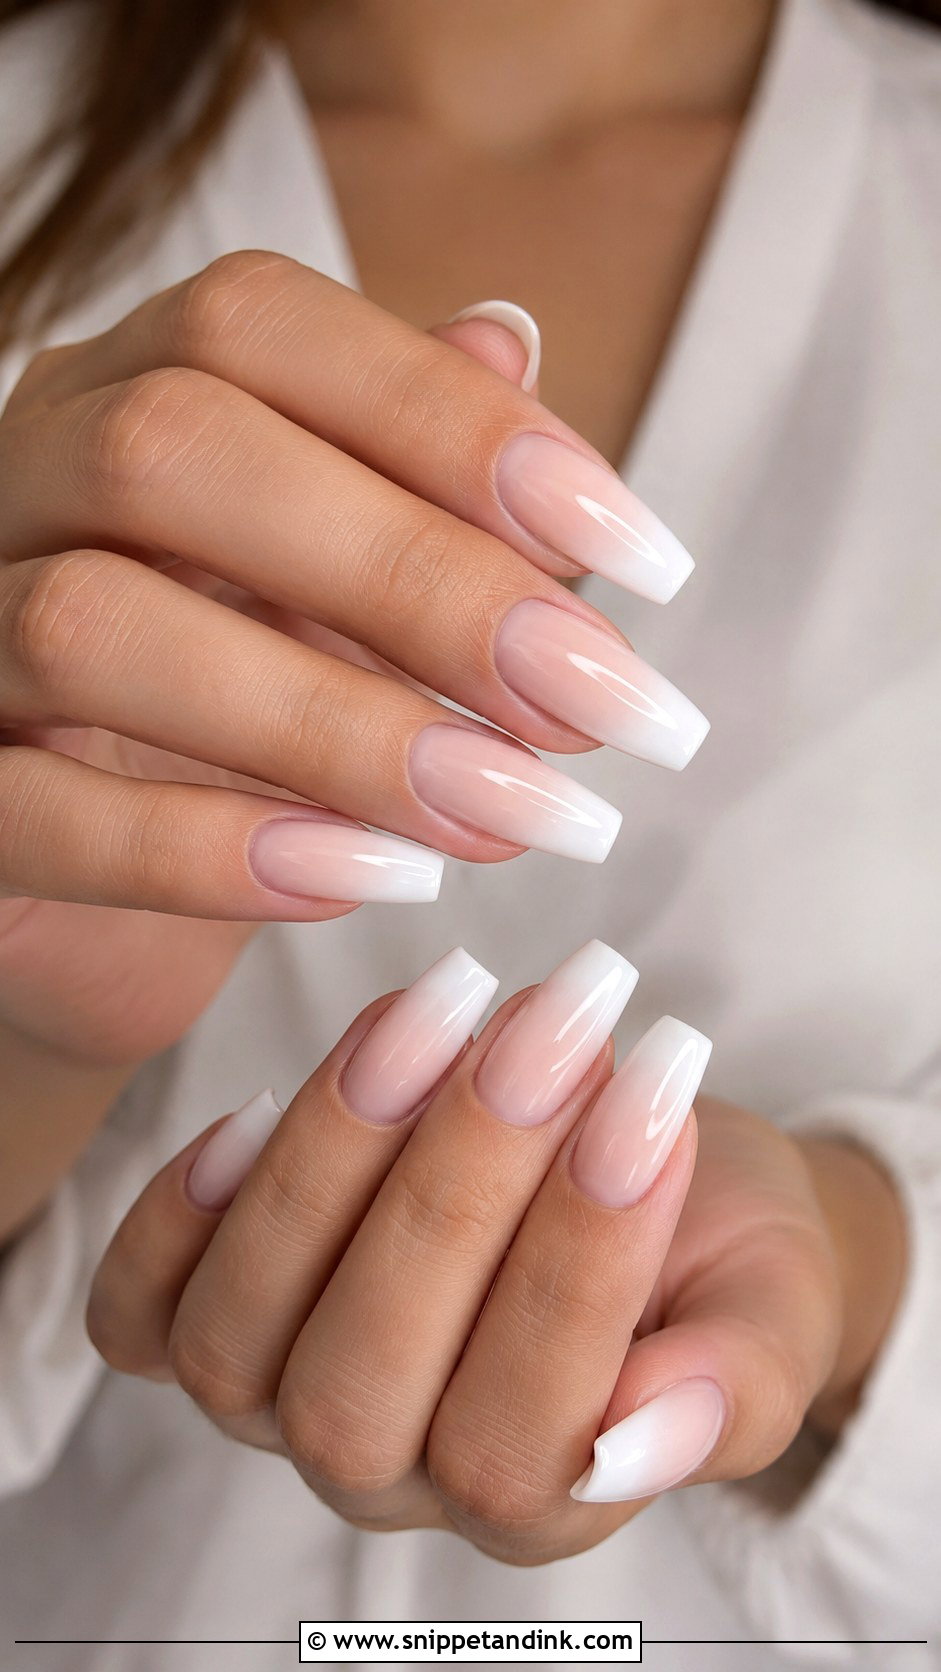
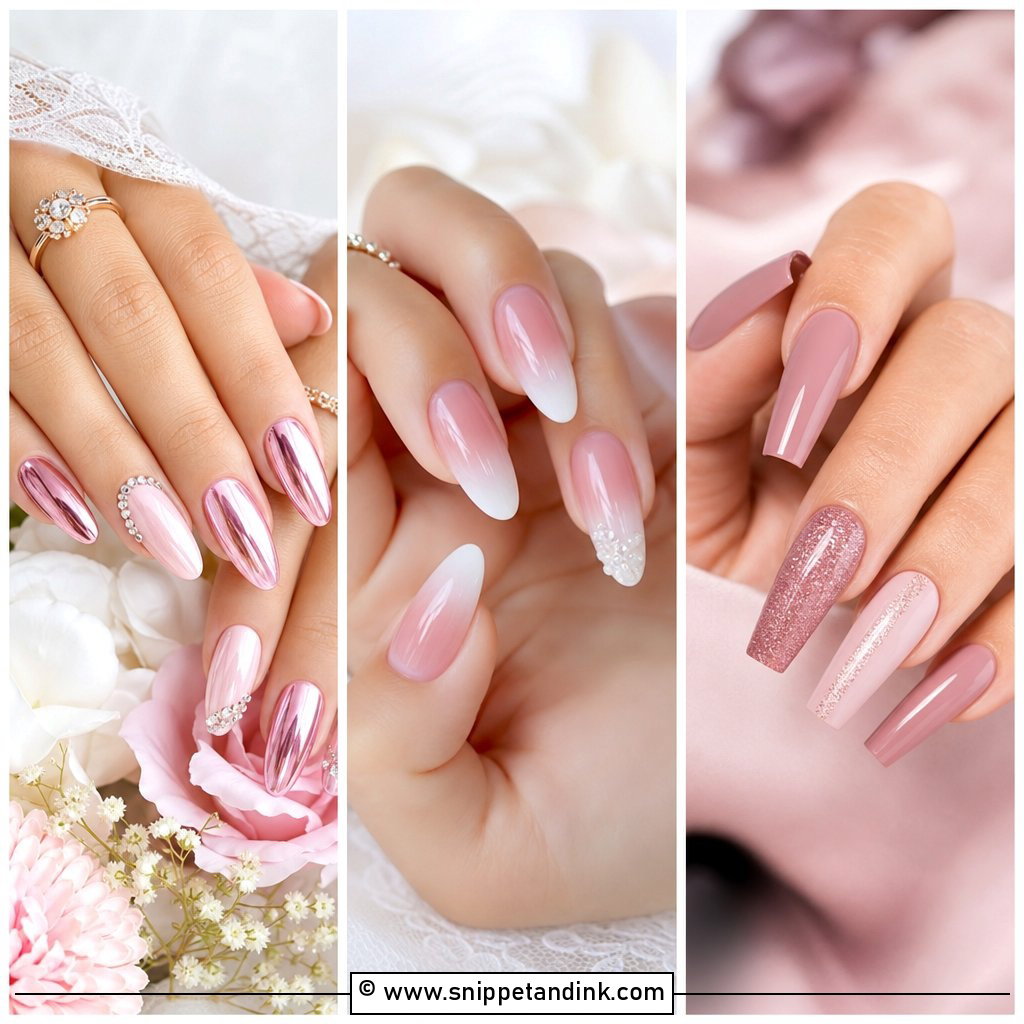
White ombre bridal nails, often called baby boomer nails, blend a nude or blush base into a soft white tip with no hard line. I sponge or airbrush the white and then cap it with a builder layer so the blend sits smooth under the top coat; done carelessly, you get a chalky band halfway up the nail. The fade makes nails look longer, which is why it suits coffin, almond, oval and squoval alike. It’s one of the most forgiving designs if a nail grows out a little before the honeymoon.
9. Blush Pink Bridal Nails With Pearls
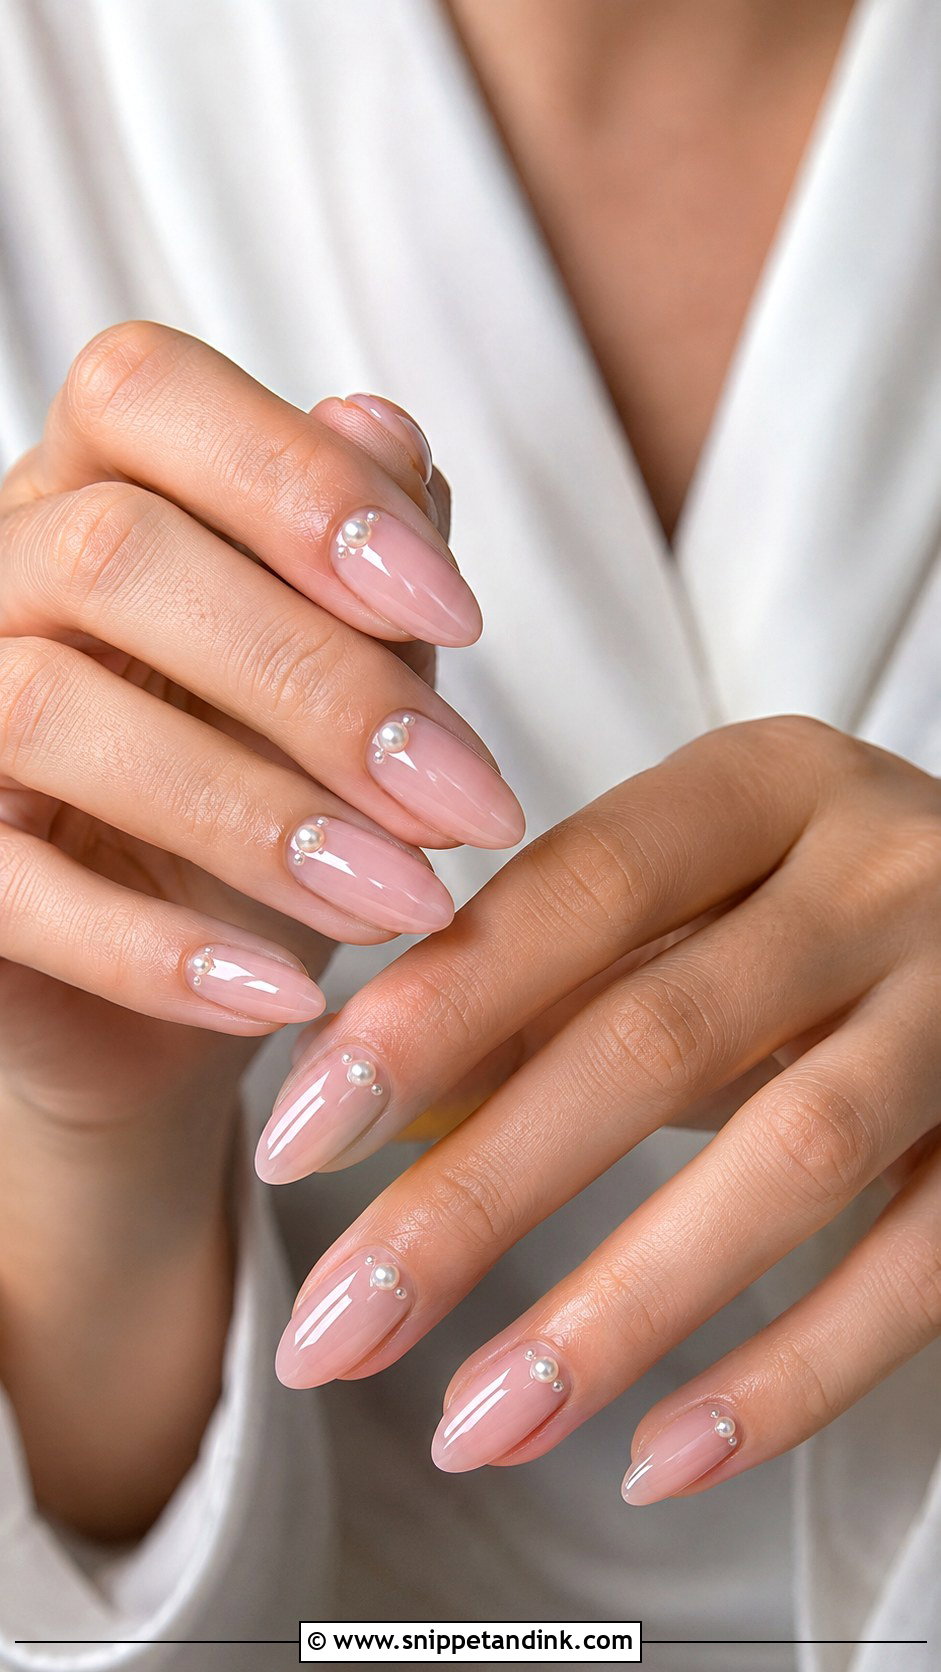
Pearls on a blush base are lovely in person but they need placing with care. I use flat-backed half pearls, tiny ones, set into gel at the cuticle or along a French tip on one or two nails. Large pearls snag on lace, tulle and hair, and that’s the complaint I hear most after weddings. The base is usually a sheer ballet pink or pink nude, and almond, oval or short square shapes all carry it. If you’re wearing a pearl veil or pearl earrings, this is the set that ties them together.
10. Gold French Tip Bridal Nails
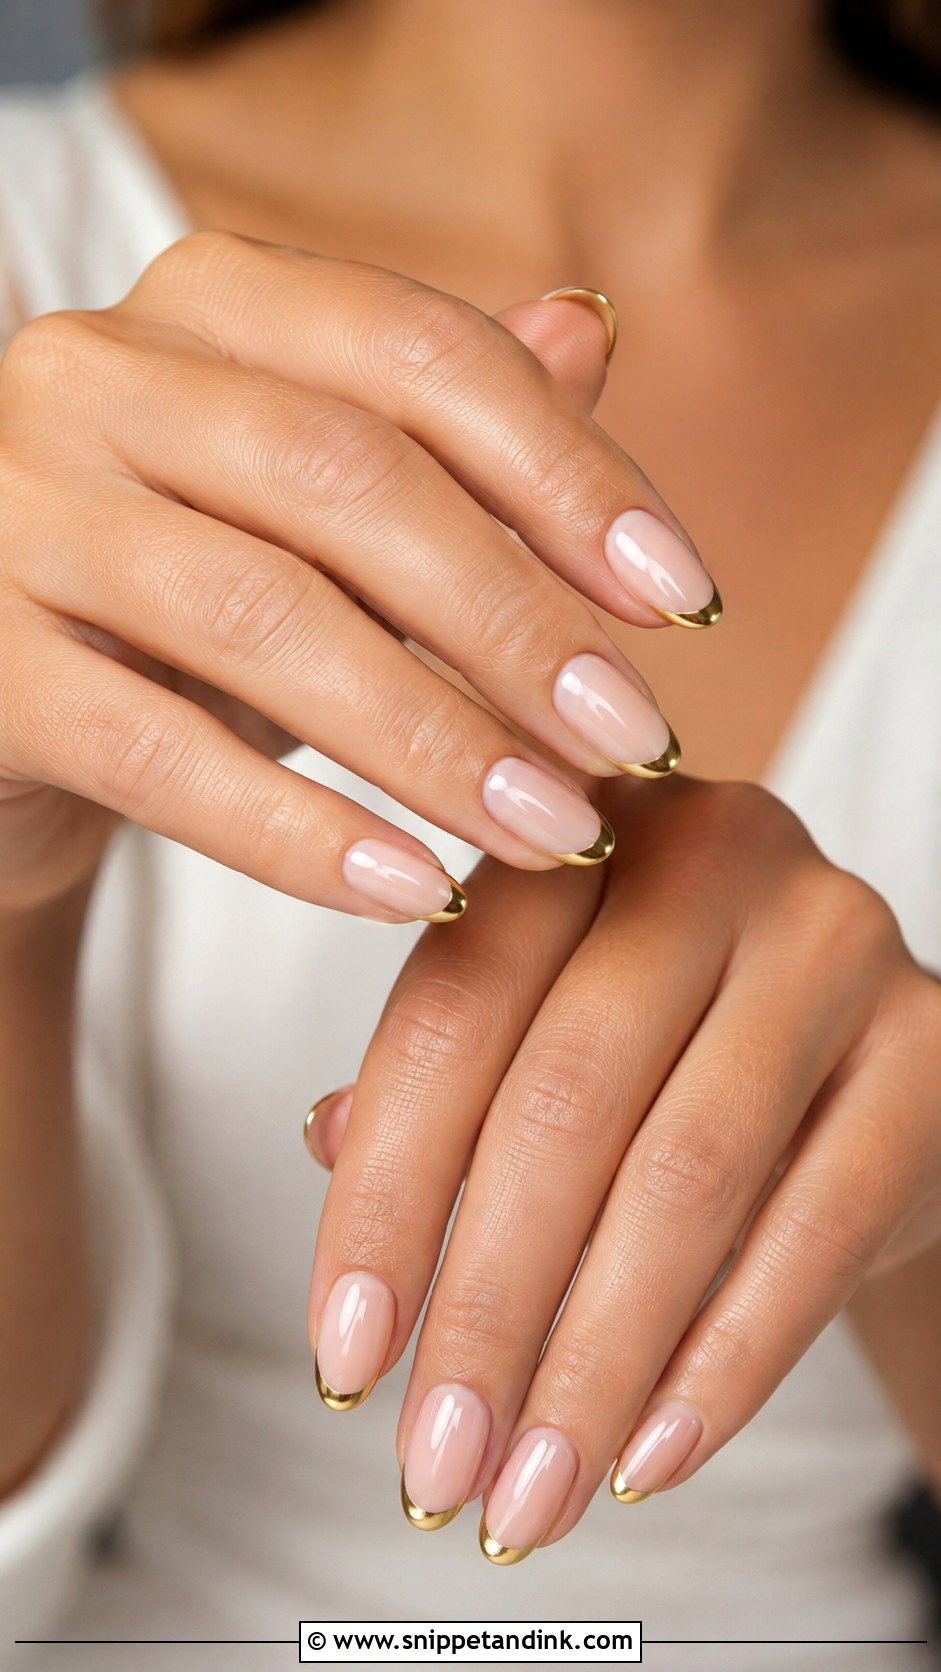
A thin gold tip over a sheer nude, blush or milky base picks up a yellow gold band without competing with it. I do the line in gold chrome or foil rather than gold polish, which tends to look brassy and streaky in photos. Keep it slim; a thick gold tip starts to look like costume jewelry next to a real ring. Evening receptions suit it particularly well, since warm lighting makes the metal glow. Almond, oval and square shapes all work, so pick whichever you normally wear.
11. Silver Chrome Bridal Nails
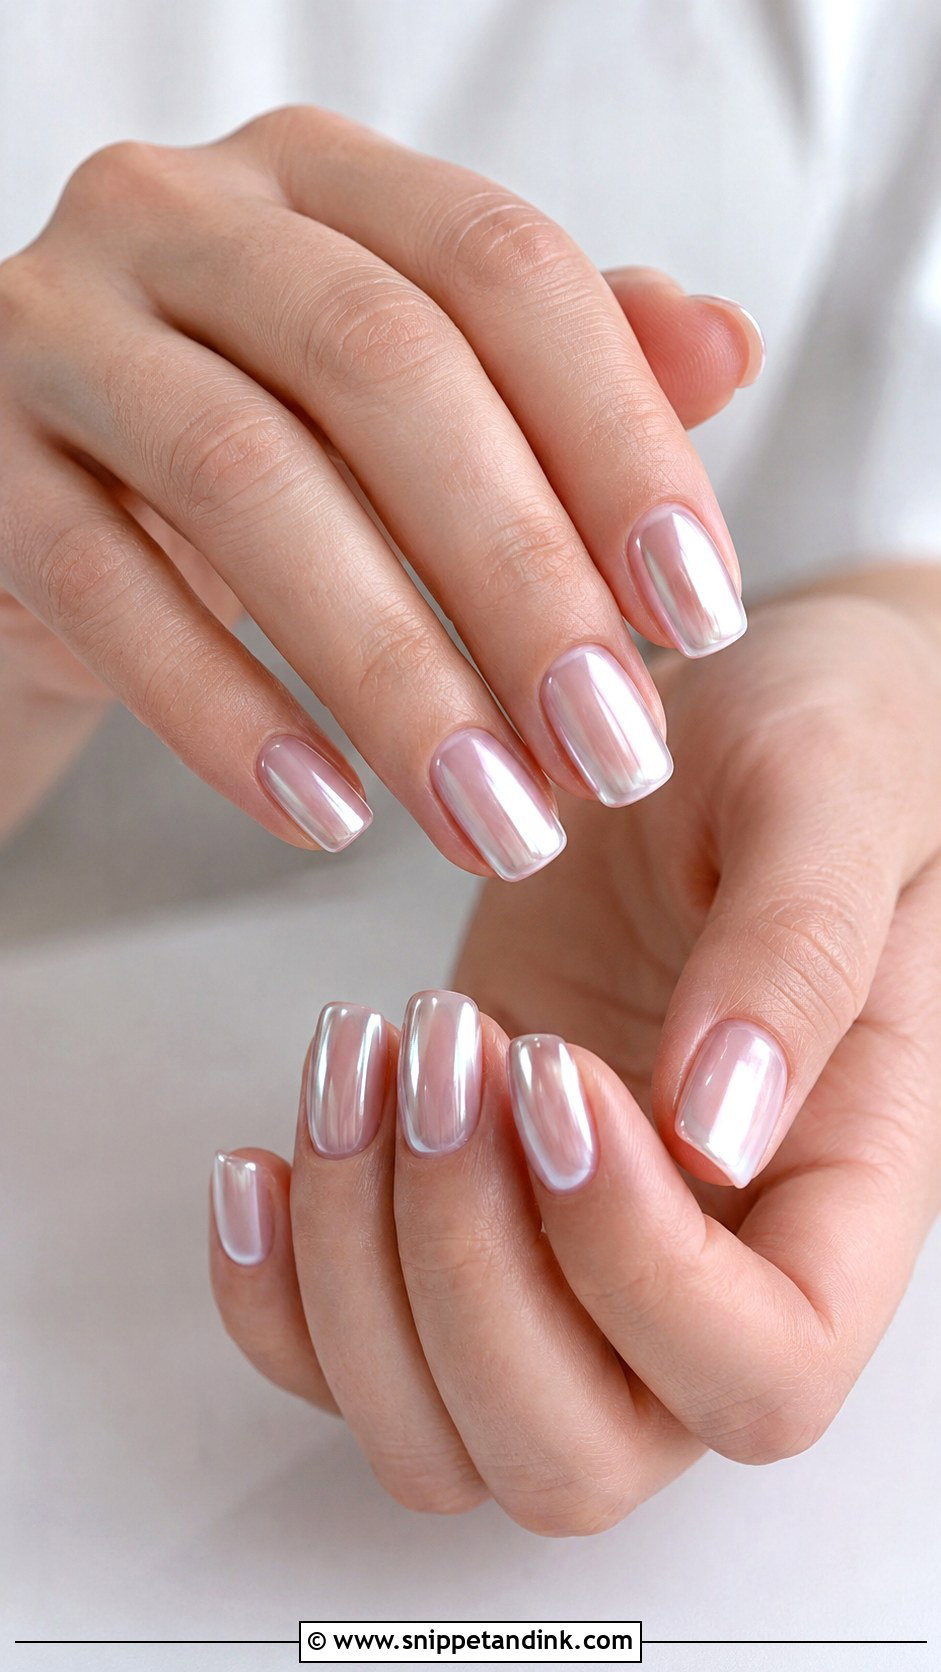
Silver chrome goes with platinum, white gold and crystal, and the trick is restraint. Full mirror chrome can look harsh against a white dress, so I tone it down by using a softer silver powder over sheer pink or nude, or by putting it only on the tips. In winter and in city venues with cool lighting, it looks especially clean. One practical note: chrome shows every bump in the nail plate, so I spend longer on prep and a smooth builder base before the powder goes on. Almond or squoval keeps the reflections neat.
12. Sheer Pink Bridal Nails
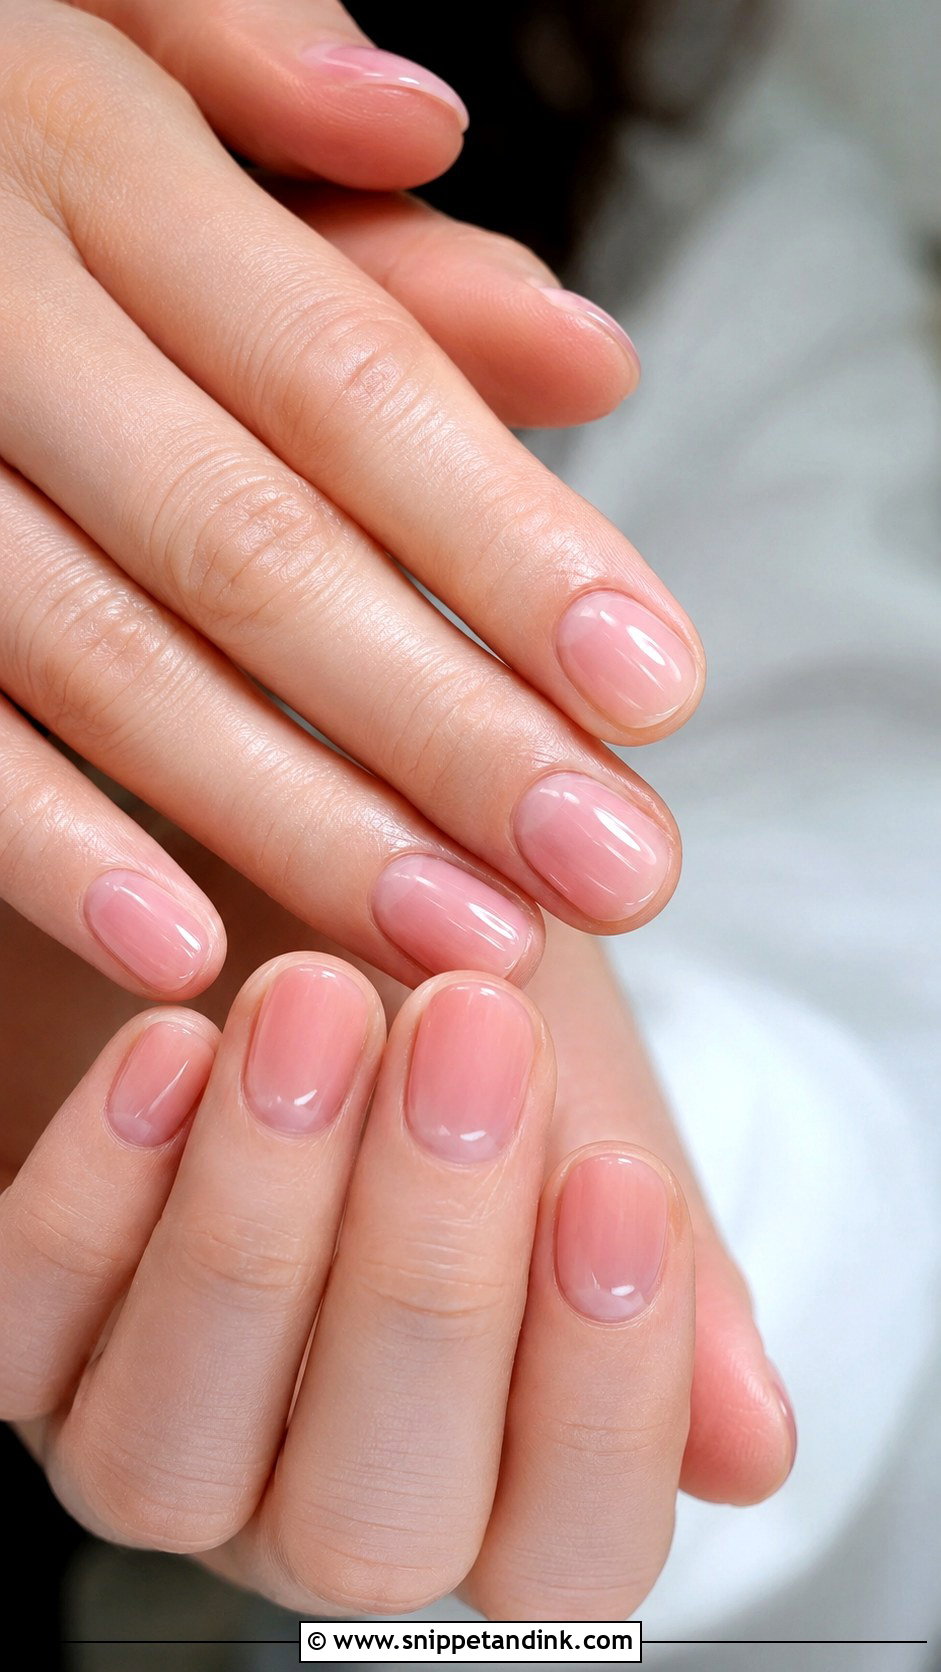
Sheer pink is the set I recommend most often to brides who never wear nail art, because it simply looks like very healthy nails. A translucent pink evens out the nail bed without the coverage of a cream polish, so it won’t fight your dress, flowers or rings. It works at every length, from bitten-short to long almond extensions. The prep matters more than the colour here: tidy cuticles, a smooth plate and a high-gloss top coat. If it feels too plain, a micro shimmer top coat lifts it without changing the look.
13. White Floral French Bridal Nails
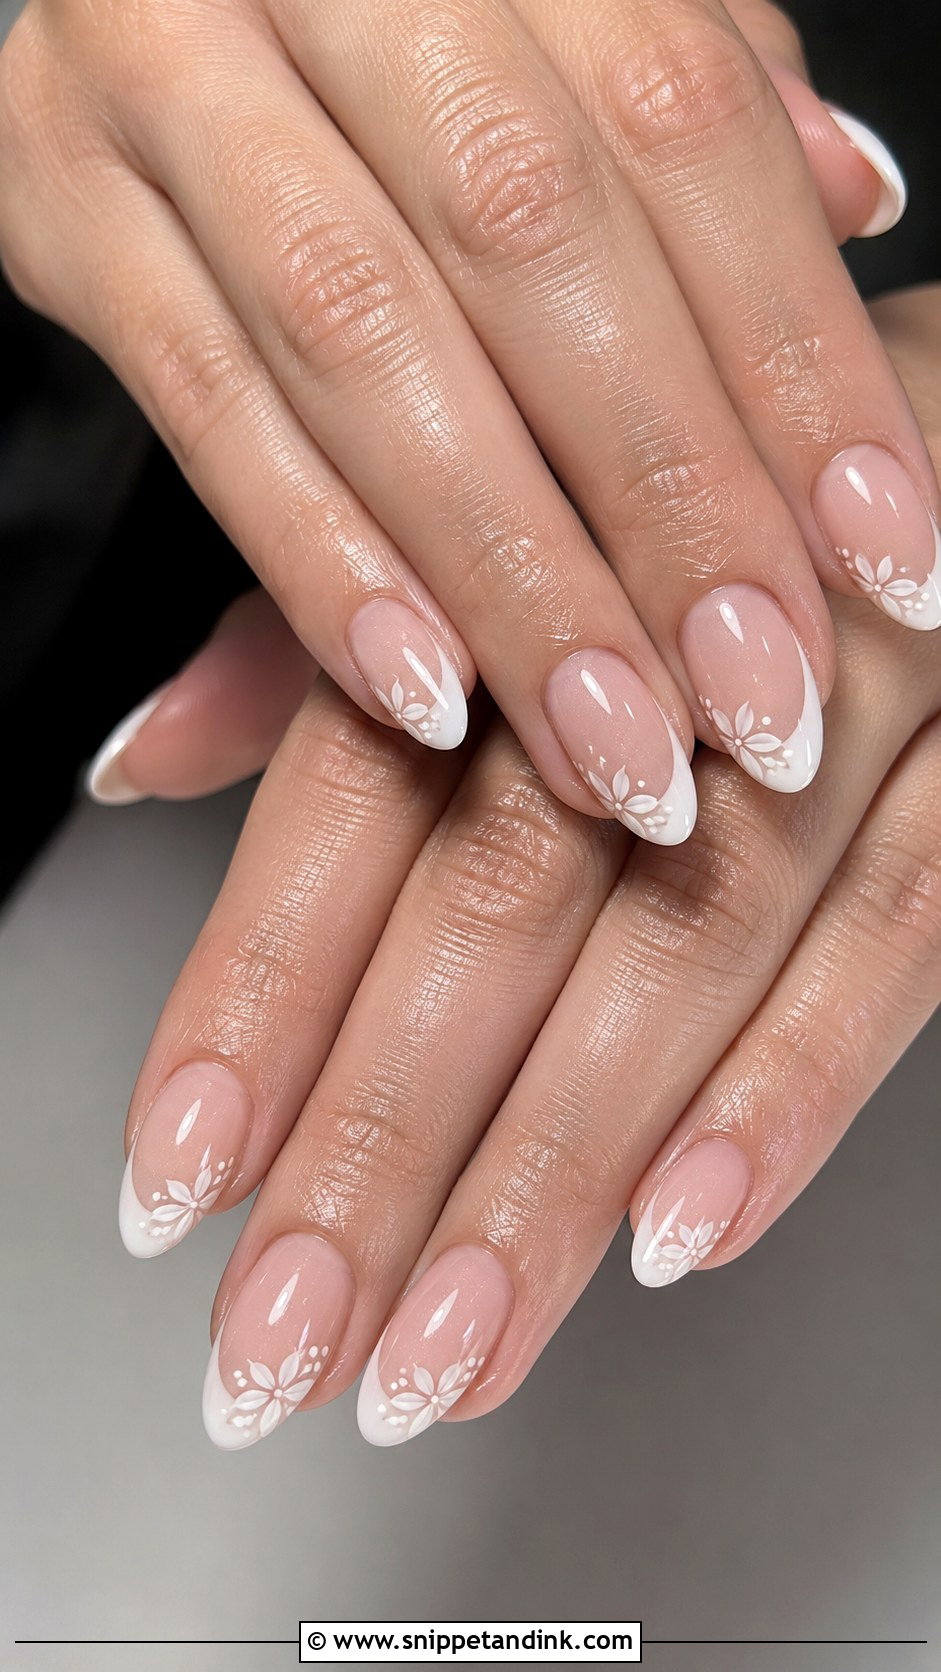
A white floral French combines a soft white tip with small painted flowers near the tip, along one side, or across a single accent nail. Small and airy is the key; when the flowers are too large, they crowd the smile line and the French tip disappears. I usually leave the thumb and pinky plain. Garden weddings, spring ceremonies and floral lace gowns are the natural match. Almond, oval or medium square nails give the flowers enough space.
14. Champagne Glitter Bridal Nails
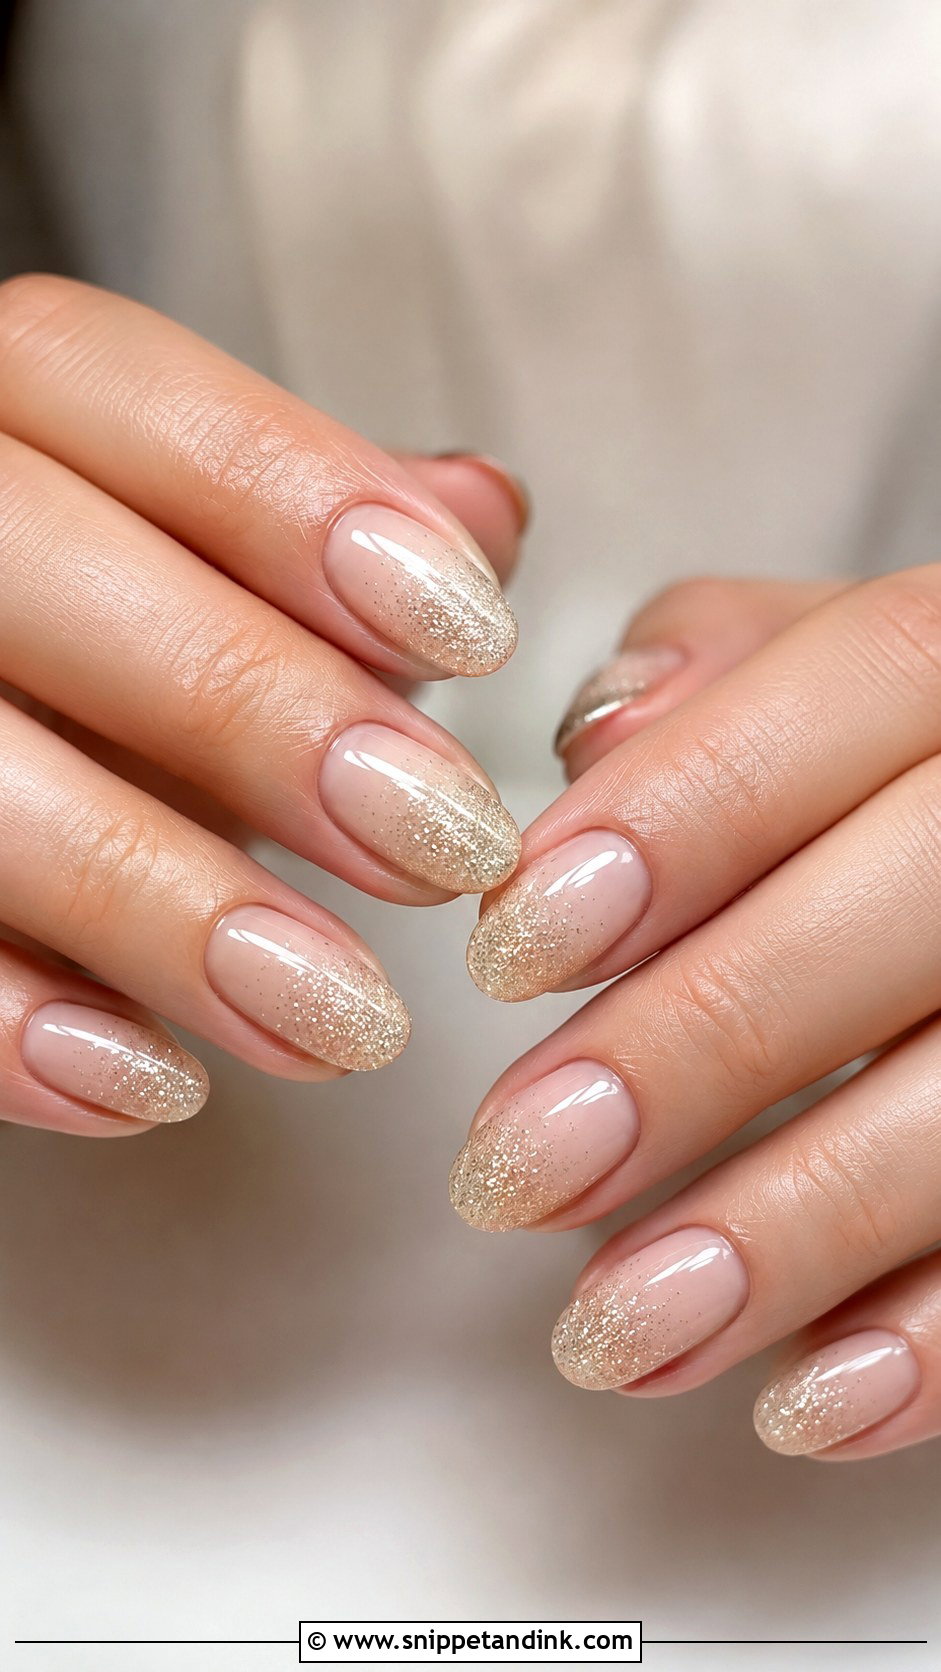
Champagne glitter is the sparkle I’ll suggest to someone nervous about sparkle. It’s a fine, warm shimmer rather than chunky flakes, so it catches candlelight at the reception without looking like a party set. I like it as a glitter ombre fading from the tip down toward the centre, over nude, blush, ivory or sheer pink. Gold jewelry and warm makeup sit well beside it. One honest warning: glitter gel is harder to remove than plain colour, so plan for a longer soak-off appointment after the honeymoon. Almond, oval and coffin shapes show the fade best.
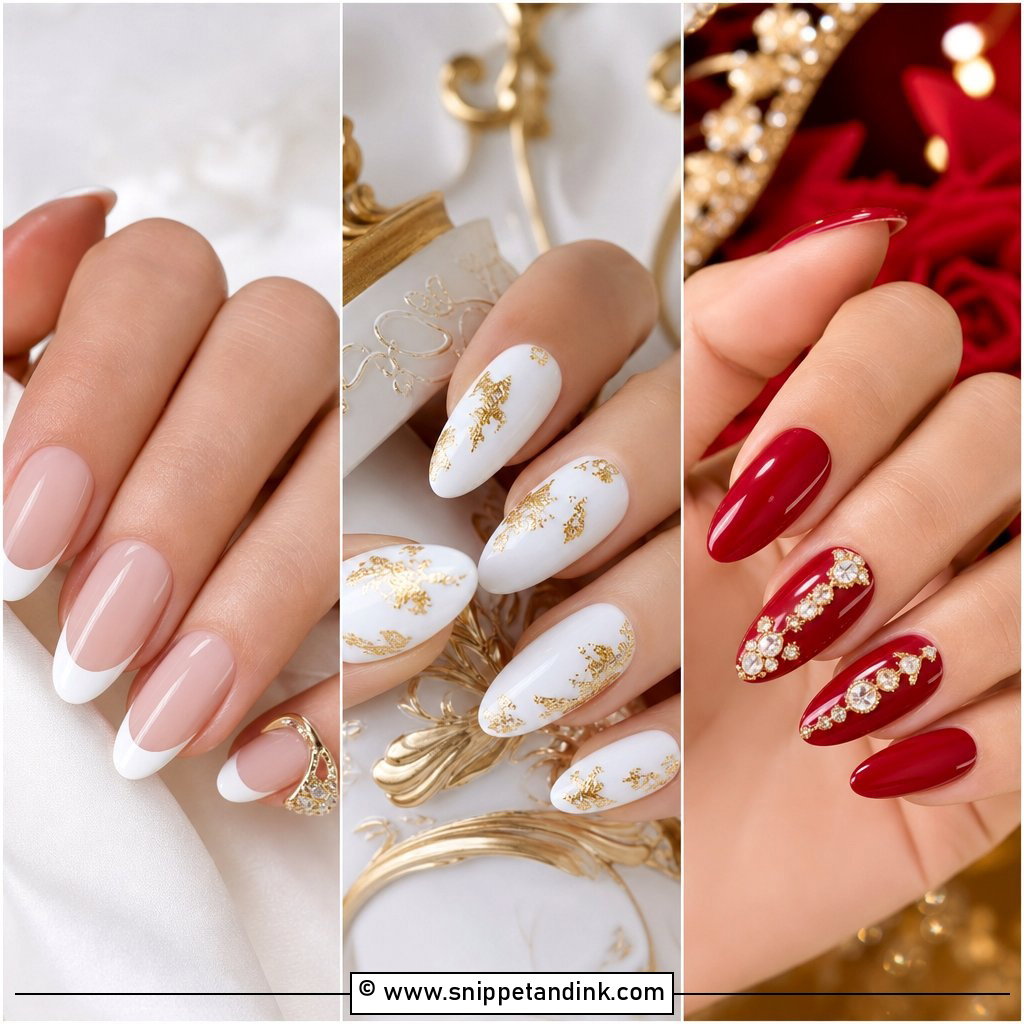
15. Minimal Bridal Nails With Tiny Crystals
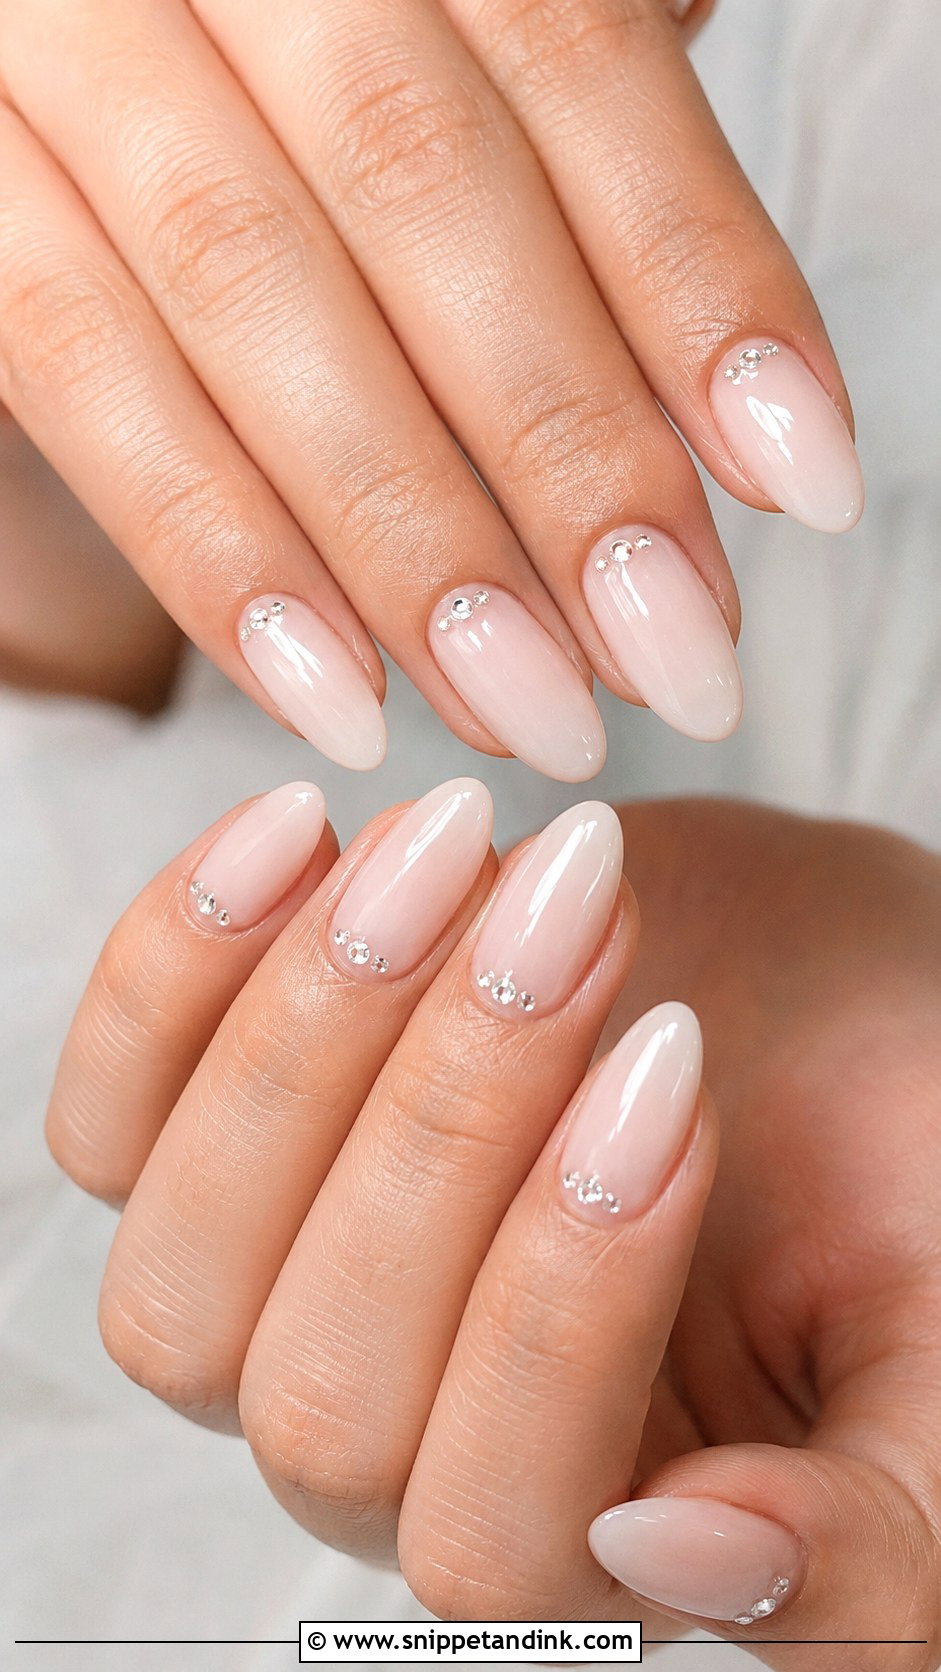
Minimal bridal nails with tiny crystals rely on restraint. Over a sheer nude, milky white or blush base, I set a few small flat-backed crystals at the cuticle, down the side of one nail, or at the centre of a French tip, and that’s it. Two or three well-placed stones look more expensive than a fully jeweled set, and they’re far less likely to catch on your veil. I embed each one in a gel adhesive and run top coat around the edge, not over the facets, so it stays sparkly and stays put through a long day of hugging.
16. Ivory Bridal Nails With 3D Flowers
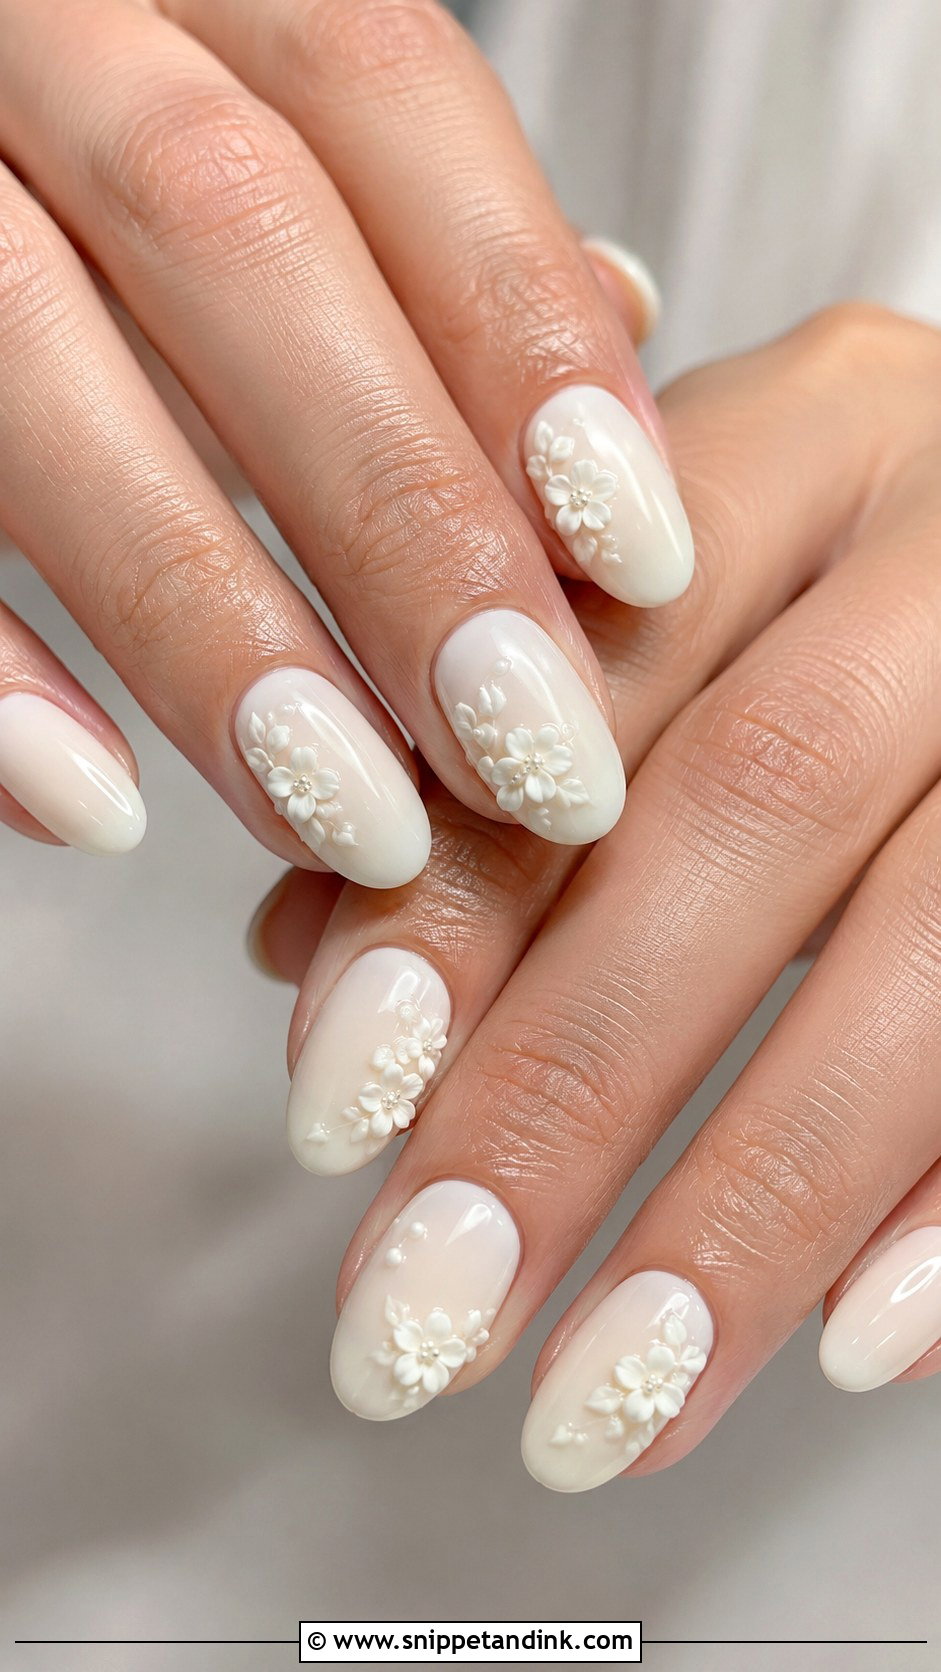
3D flowers are sculpted from a thick gel, so they sit raised off the nail. Over ivory or sheer cream they look like appliqué lace, which is why I’d suggest them if your gown has 3D floral detail. The downside is height: if the petals are too tall they catch on tulle and hair, so I keep them low and limit them to one or two accent nails. Almond or oval gives them a balanced frame. Ask your nail artist to show you the height at the trial before committing to a full set.
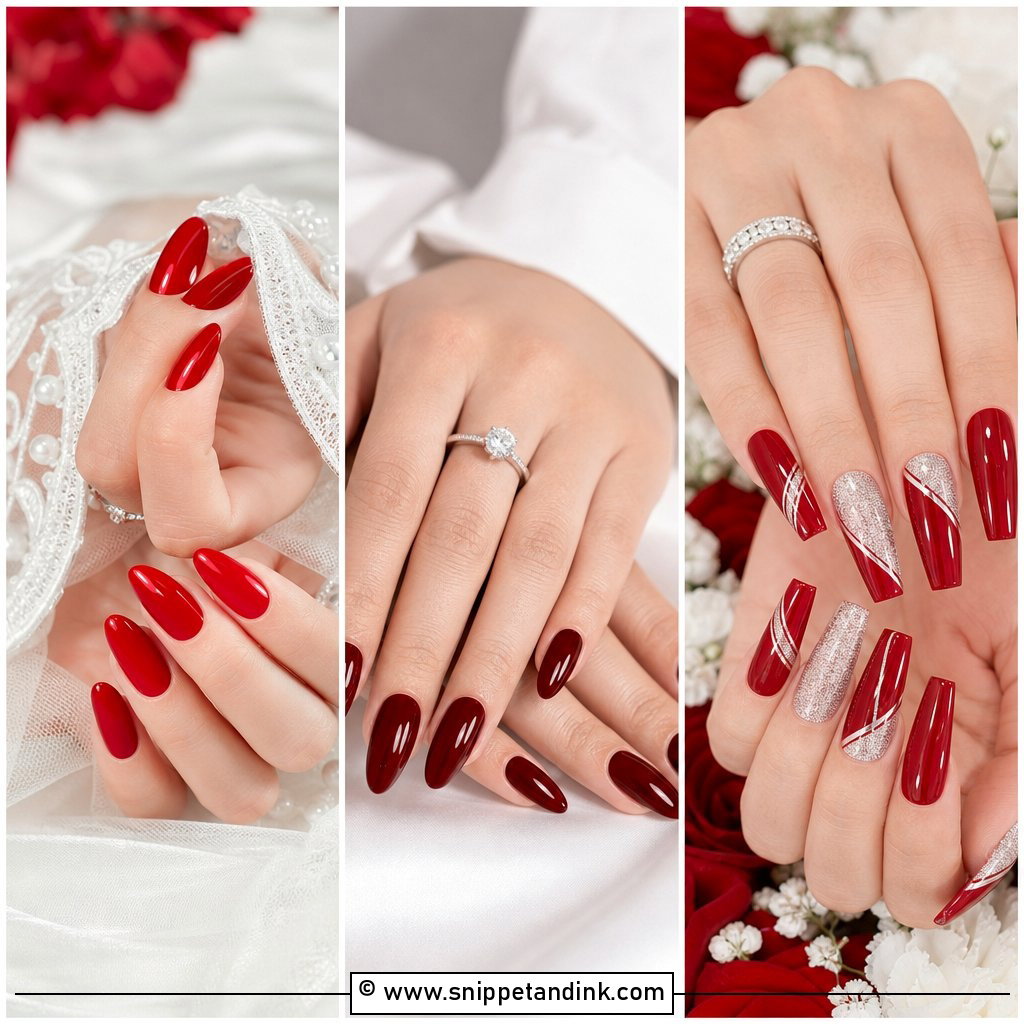
17. Rose Gold Bridal Nails
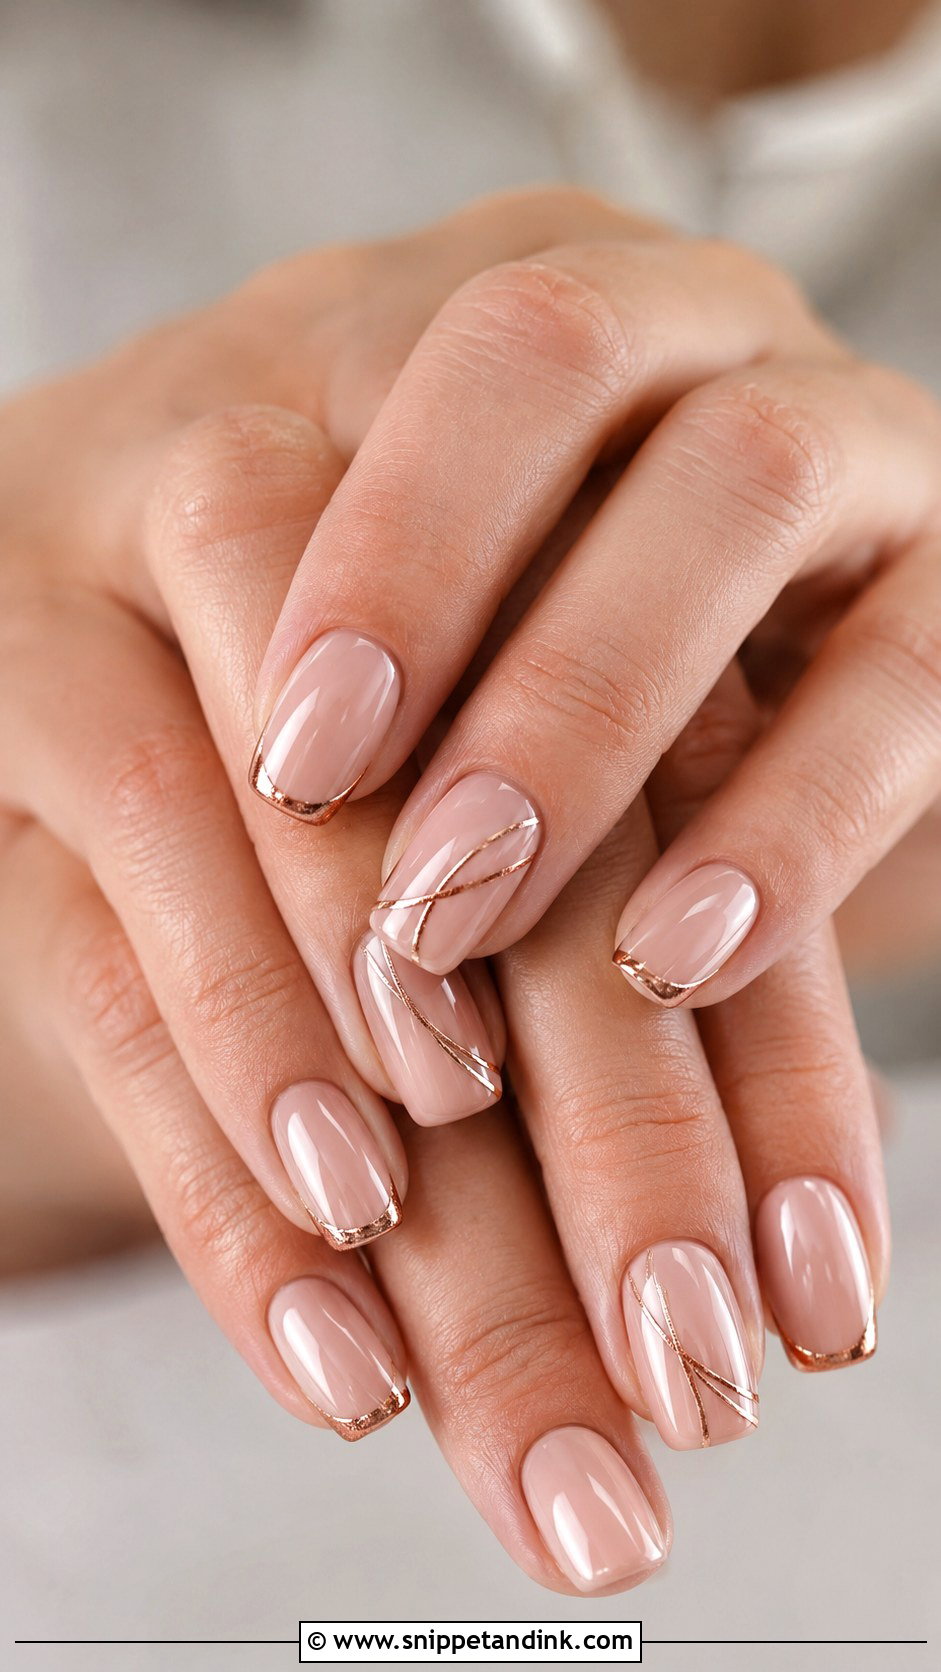
Rose gold sits between yellow gold and silver, and it flatters a wide range of skin tones because of the pink in it. I use it as an accent, a thin French line, a fine stripe or a chrome tip, rather than covering whole nails in metallic, which can look heavy in close-ups. It’s a natural match for a rose gold band, a blush dress or pink bouquets. A sheer pink or beige base keeps it soft, and almond or squoval shapes keep it current.
18. Classic French Bridal Nails
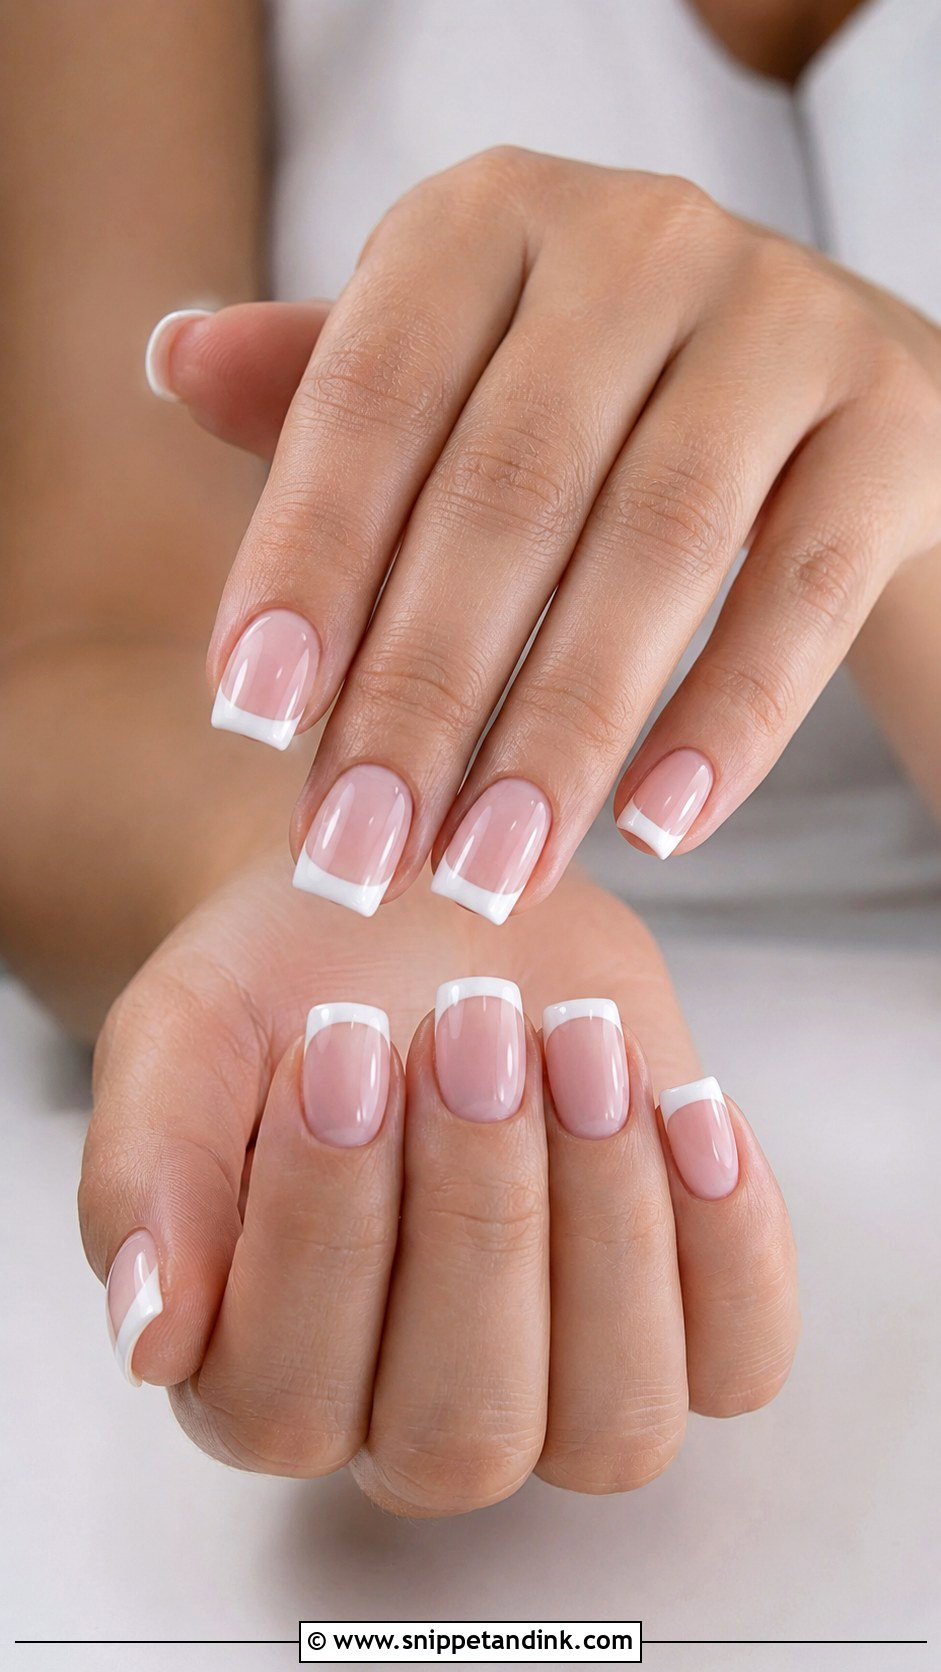
The classic French still earns its place because it suits every gown, from plain satin to dramatic lace. My update is small: a thinner tip and a sheer glossy base instead of the opaque pink that made the 2000s version look heavy. On short square nails it looks neat; on almond it’s softer. If you’re unsure about everything else on this list, this is the set that will never look out of place in your photos twenty years from now.
19. Bridal Nails With Bow Details
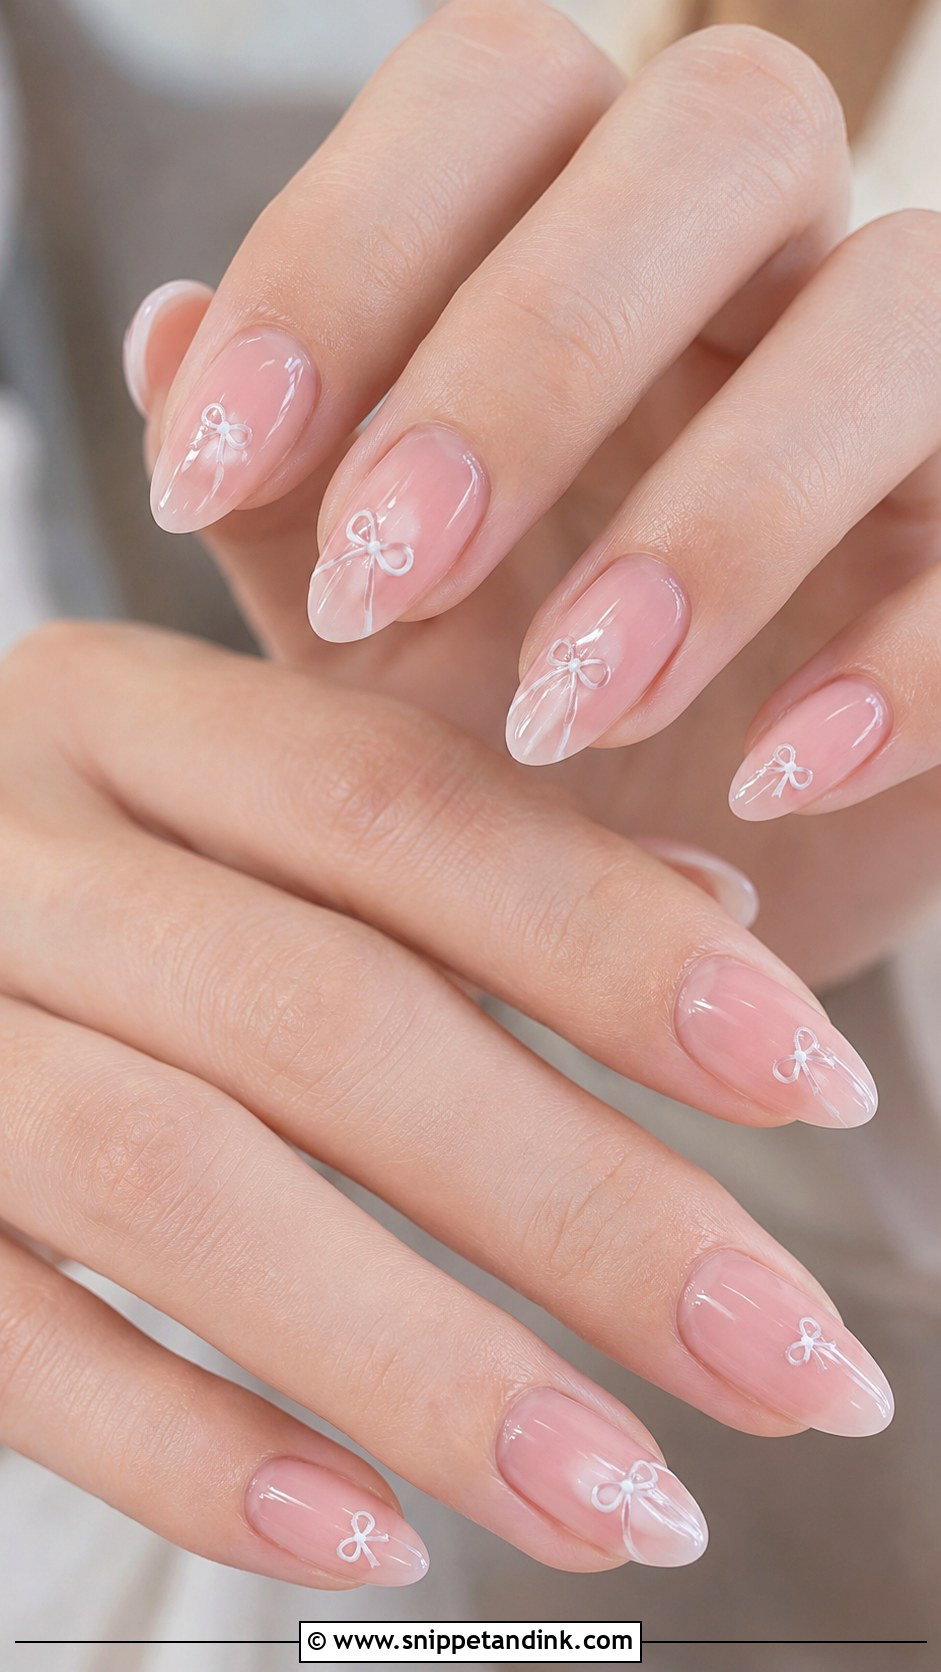
Tiny bows are having a moment, and on a bride they work best painted flat in white over a sheer pink, nude or milky base, on one or two nails only. I paint them with a fine liner because sculpted bows add height and snag fabric. A small bow near the cuticle reads as subtle; one at the tip looks more playful. They pair naturally with ribbon veils, bow-back dresses and soft updos. Keep the lines fine, since thick bows quickly look childish in a close-up.
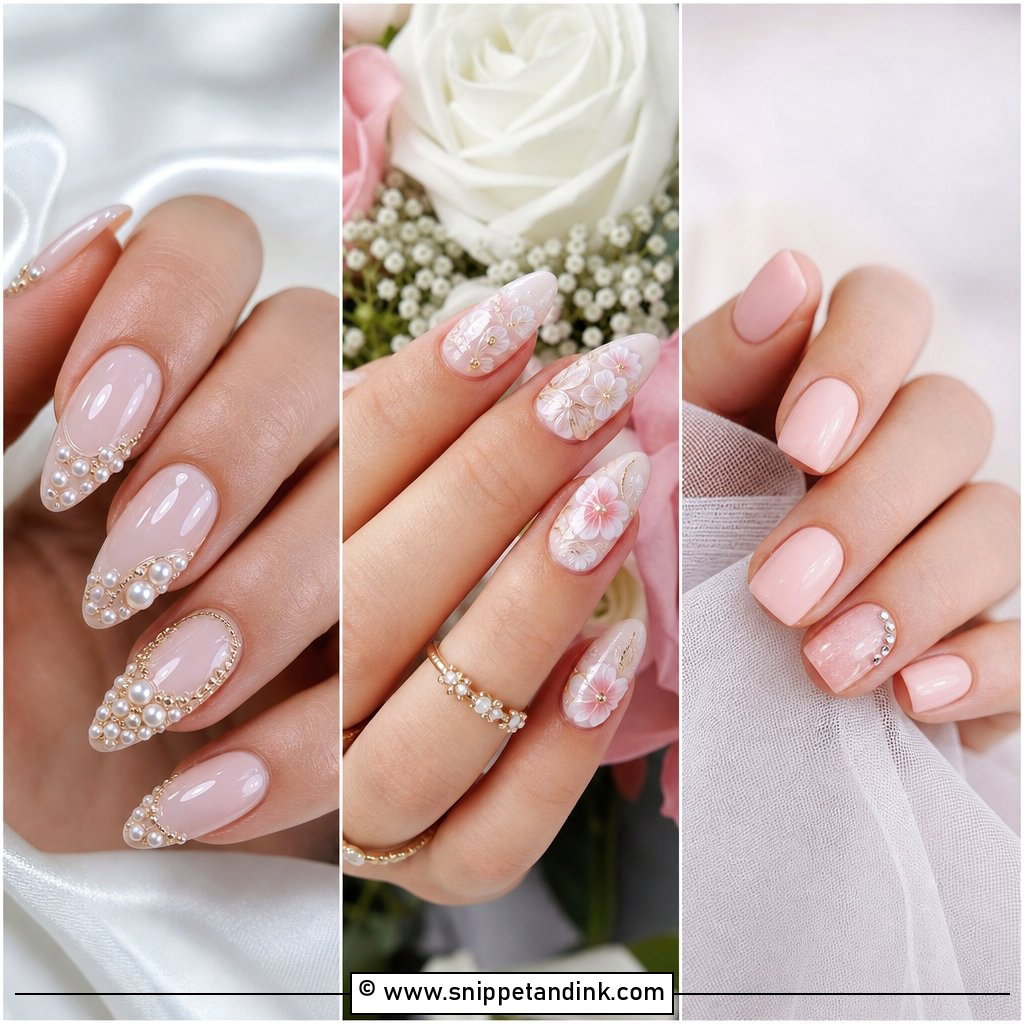
20. Something Blue Bridal Nails
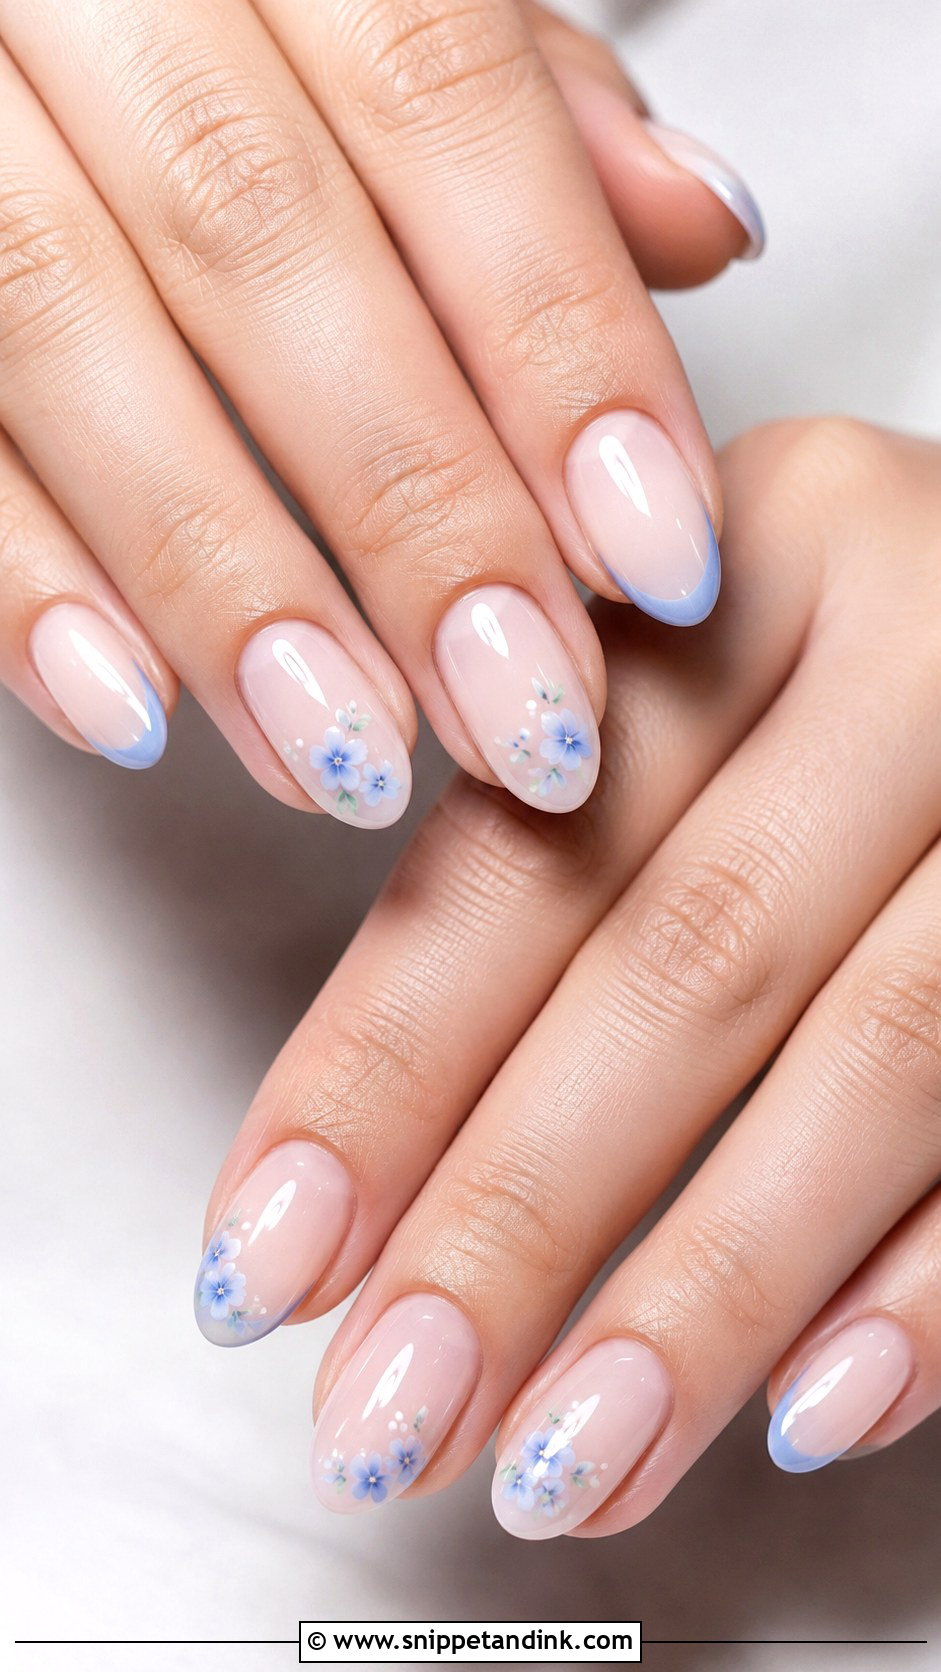
A blue accent is the easiest way to wear your something blue without it showing in every photo. Over a sheer nude or milky base, I’ll paint tiny powder-blue flowers, soft blue tips, or a single blue detail on the ring finger. Pale, icy blues stay bridal; a mid-blue starts to look like a summer pedicure. Coastal, spring and garden weddings suit it, and if you’d like it to stay private, I can put it on the inside of a nail where only you’ll notice. A glossy or light pearl finish ties it to the rest of the set.
What a Ring Close-Up Shows That a Mirror Doesn’t
Your photographer will shoot your hands with a macro lens, often from a few centimetres away. At that distance, the colour matters less than the skin around it. Dry cuticles, a ridge in the nail plate or a flood of gel onto the skin all show more clearly than the design itself.
So my bridal prep is mostly invisible. I push back and tidy the cuticles at the final appointment, not the day before, so any redness has gone by the ceremony. I smooth the plate with a builder layer, and I keep a clean gap between product and skin. Here is what I’d ask you to do at home:
- Cuticle oil twice a day for the two weeks before the wedding, and the morning of, wiped off before photos.
- Hand cream every night, especially if your hands get dry in cold weather.
- Skip self-tan on your hands in the final 48 hours; it collects in the cuticle lines and stains the free edge.
- Avoid harsh cleaning sprays and hot water without gloves in the last few days.
A Chipped Nail on the Morning Itself
It happens: a car door, a stuck zip, a box of favours. Don’t pick at it or file it. A small chip on the free edge can usually be sealed with a clear top coat and a quick cure under a portable lamp, which most bridal nail artists will carry if you book them for the morning. If you’re on your own, a regular clear polish in your bag will smooth the edge and keep it from catching on lace.
Ask your nail artist for the exact shade name of your base and a small bottle of matching regular polish. If a nail breaks outright, a press-on in the same shade, cut and filed to match, will get you through the photos and can be removed after the reception.
Bring Your Ring to the Nail Trial
Most of these sets come down to three decisions: how sheer the base is, how much detail goes on how many nails, and which metal your ring is. Book a trial if you can, and bring photos of your dress, ring, bouquet and jewelry so we can match the shade, shape and finish together. Wear the trial set for a few days to see how it handles your work and your hands. Then the final appointment is about polish and prep, not guesswork.
You'll Like These Ideas:


Leave a Reply