
Pearls are the embellishment I’m asked for most at bridal appointments, and for good reason: they add texture without the glare of rhinestones, and they sit naturally next to milky whites, sheer pinks, French tips, chrome and fine lace or floral art. Next to a ring or against satin they read as a soft highlight rather than bling. The range is wide, too. A single micro pearl per nail, a raised cluster on the ring finger and an all-over pearly glaze are all pearl manicures. Below are 25 of them, with what I’d consider before setting each one.
Half Pearls, Full Pearls and Which Sizes Sit Comfortably
Nail pearls aren’t real pearls. They’re lightweight plastic beads with a pearly coating, and they come in two main forms. Flat-back half pearls are domed on top and flat underneath, so they sit low and grip the gel well. Full round pearls look more realistic but sit higher, and the smaller contact point means they need more gel built up around them.
Size makes a bigger difference than people expect. On a nail, even a pearl a few millimeters wide looks large.
- Micro pearls, around 1mm, are the caviar-like beads used for cuticle lines and borders. They feel almost flat.
- Small pearls, roughly 2 to 3mm, are what I use for single accents and clusters.
- Anything larger I keep to one accent nail, and only on brides who don’t mind the extra height.
Color varies too, from bright white to ivory and blush-tinted. I try to match the pearl to your dress fabric rather than to the polish, because the pearl is what the eye compares to the gown in a close-up.
1. Pearl French Tip Wedding Nails
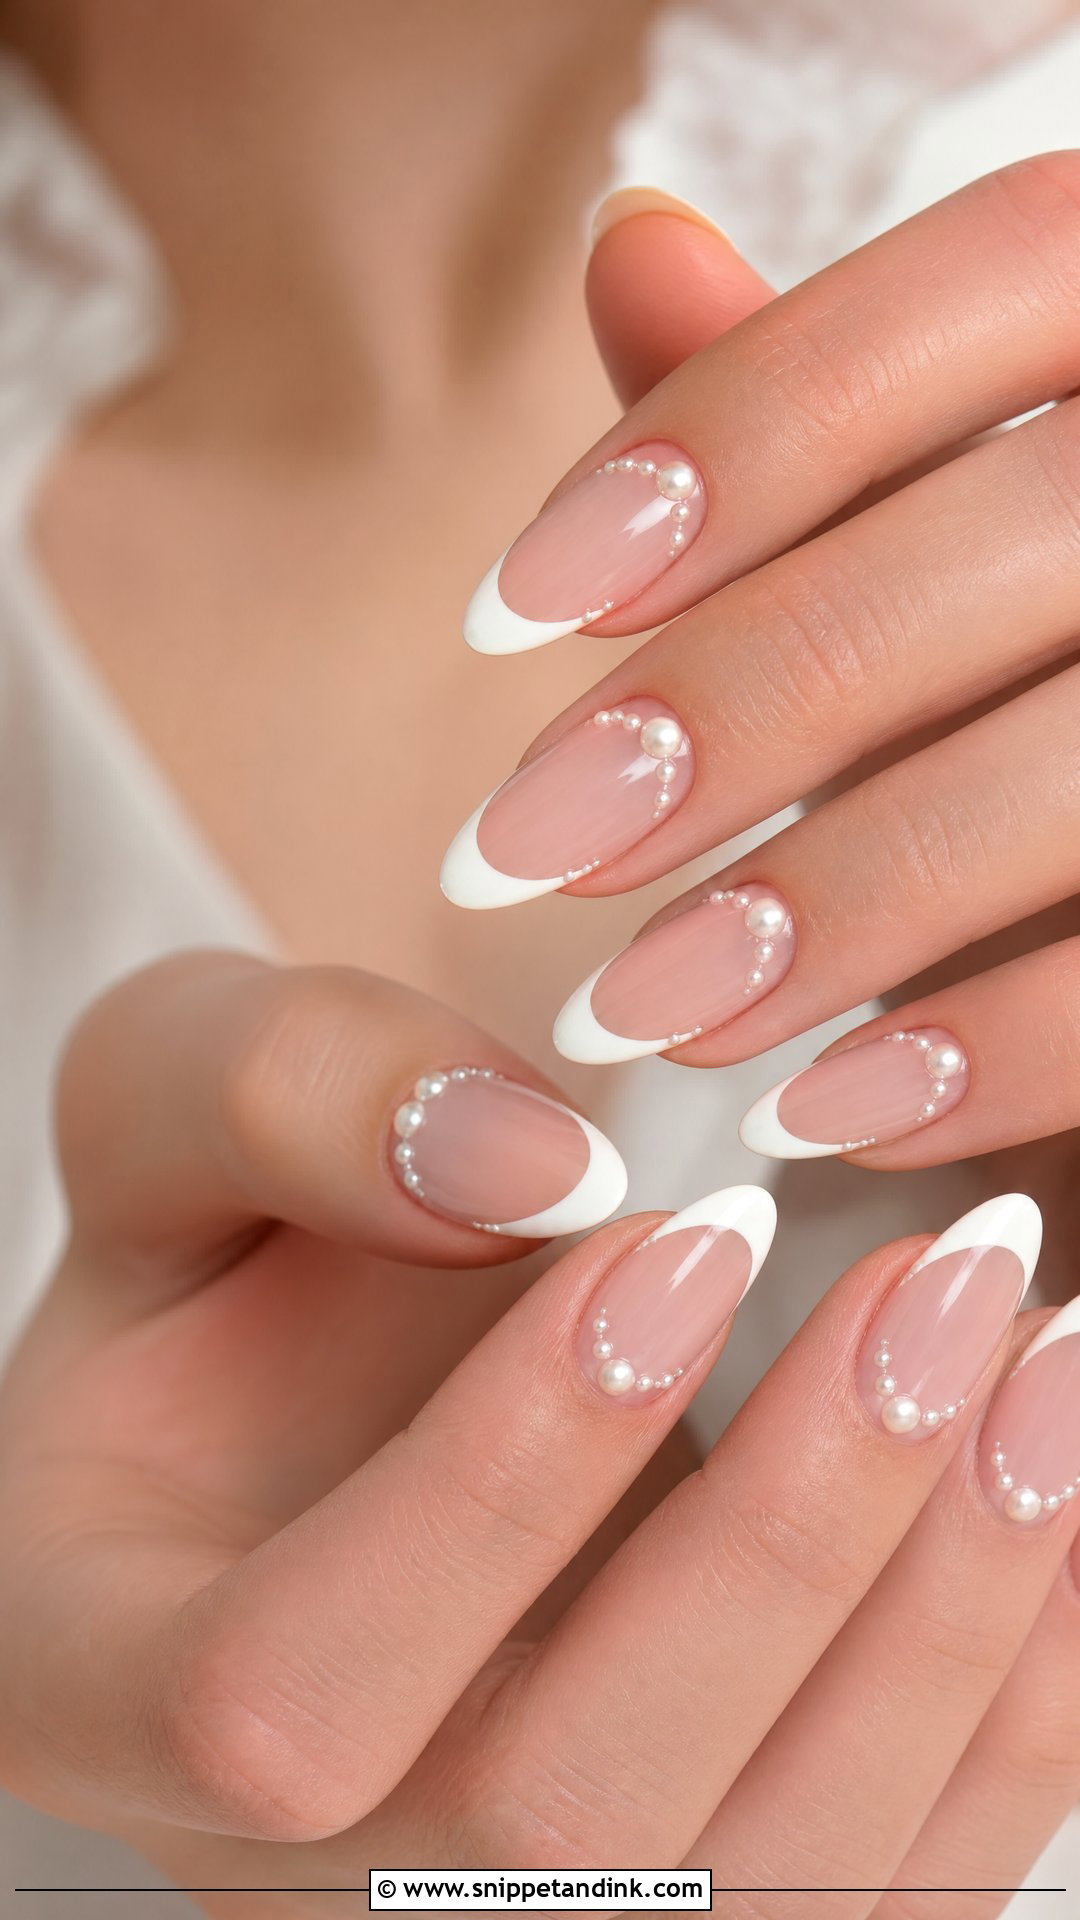
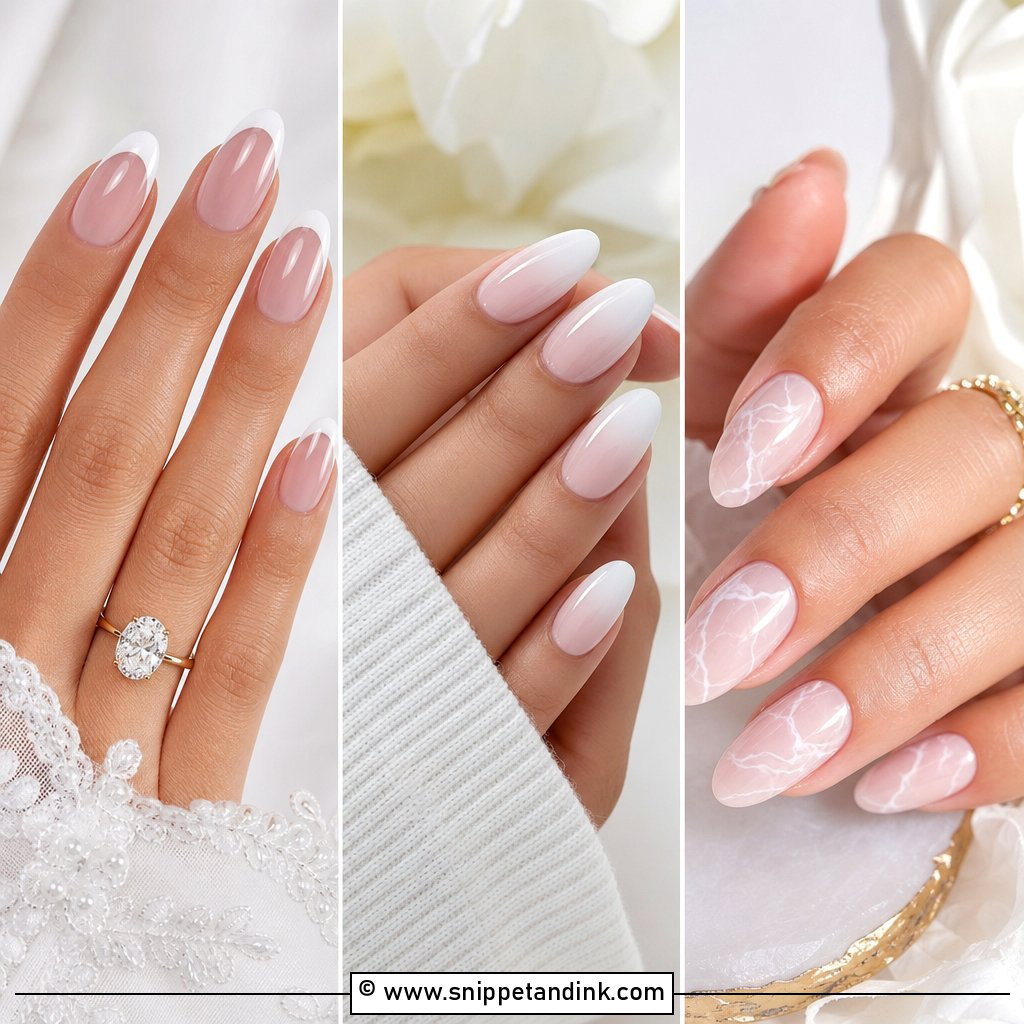
A pearl French starts with a sheer pink or nude base, a clean white tip and tiny pearls set either along the smile line or at the cuticle. Along the smile line looks more decorative; at the cuticle it grows out better, since the pearls move away from the tip rather than toward it. I use the smallest pearls I have here, because the French line already gives the nail structure. Almond, oval and square all suit it, and a glossy top coat ties the pearls into the surface.
2. Milky White Pearl Wedding Nails
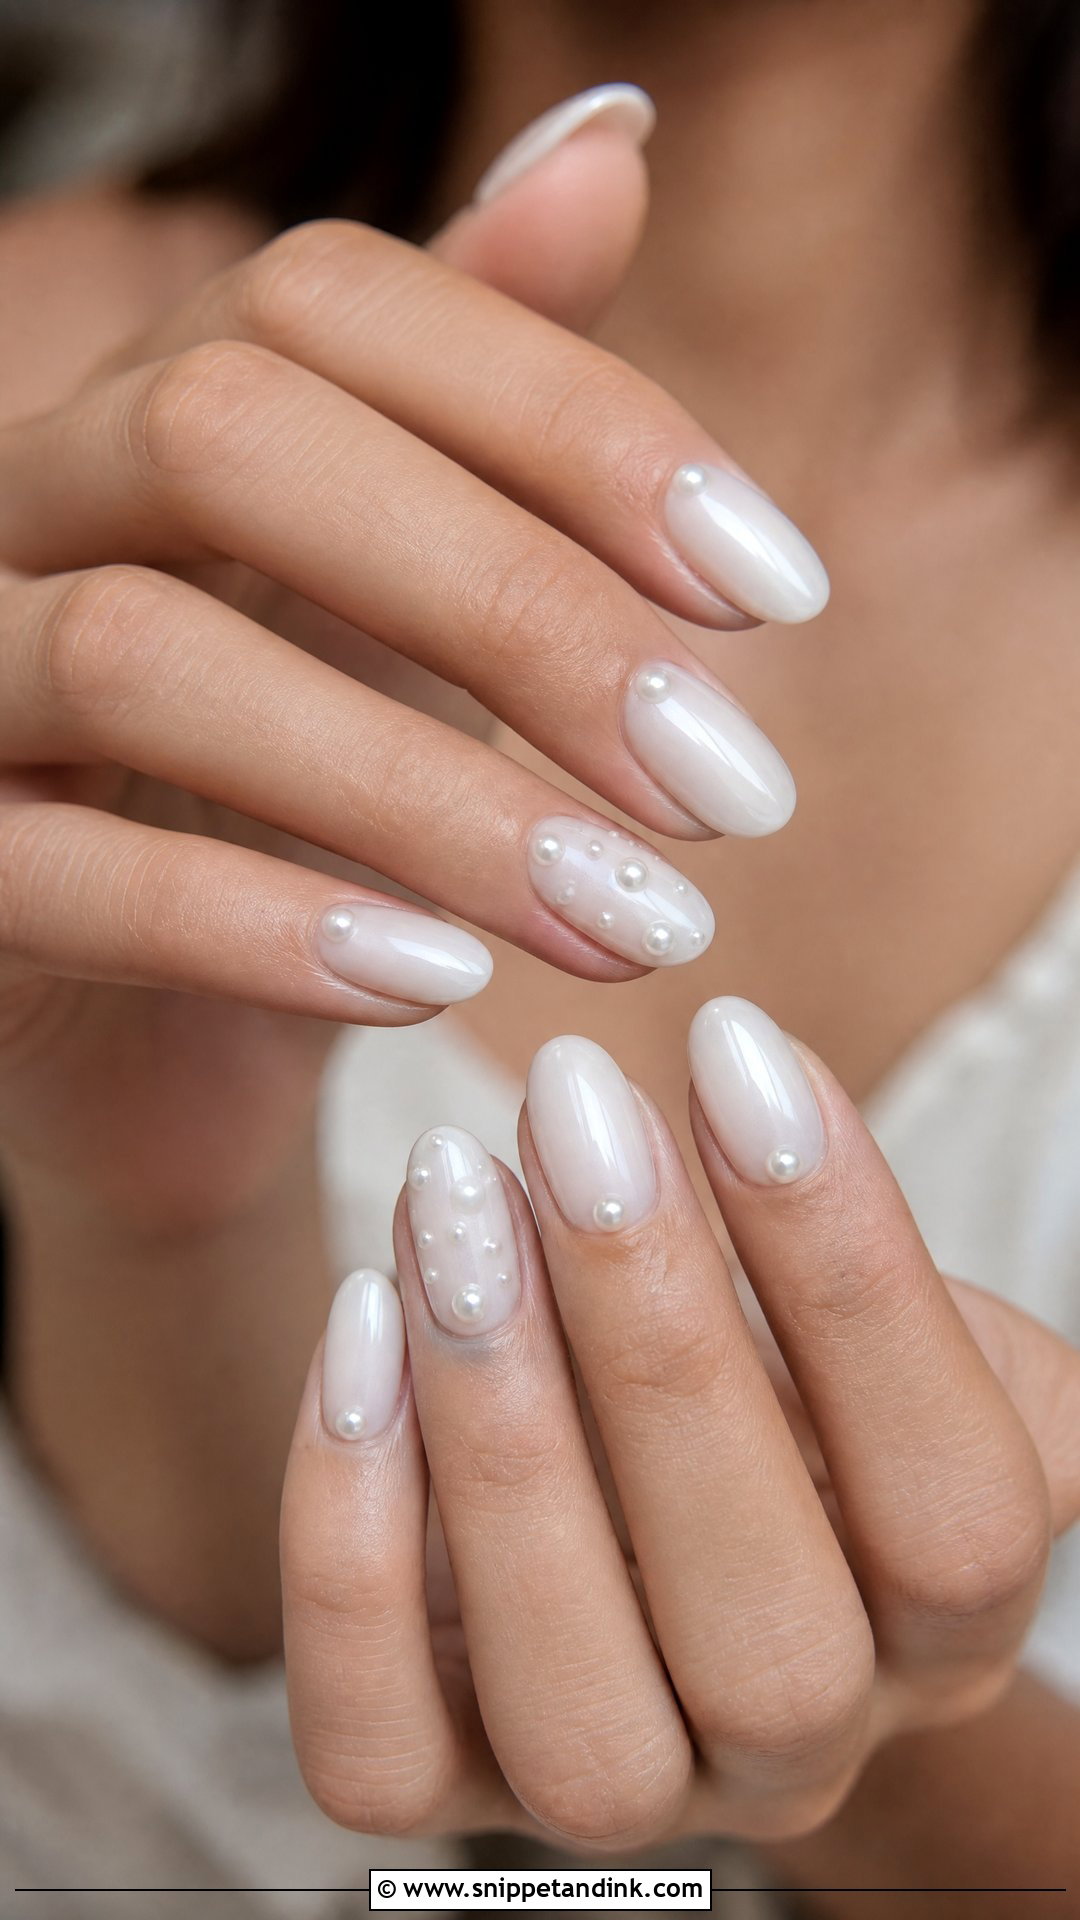
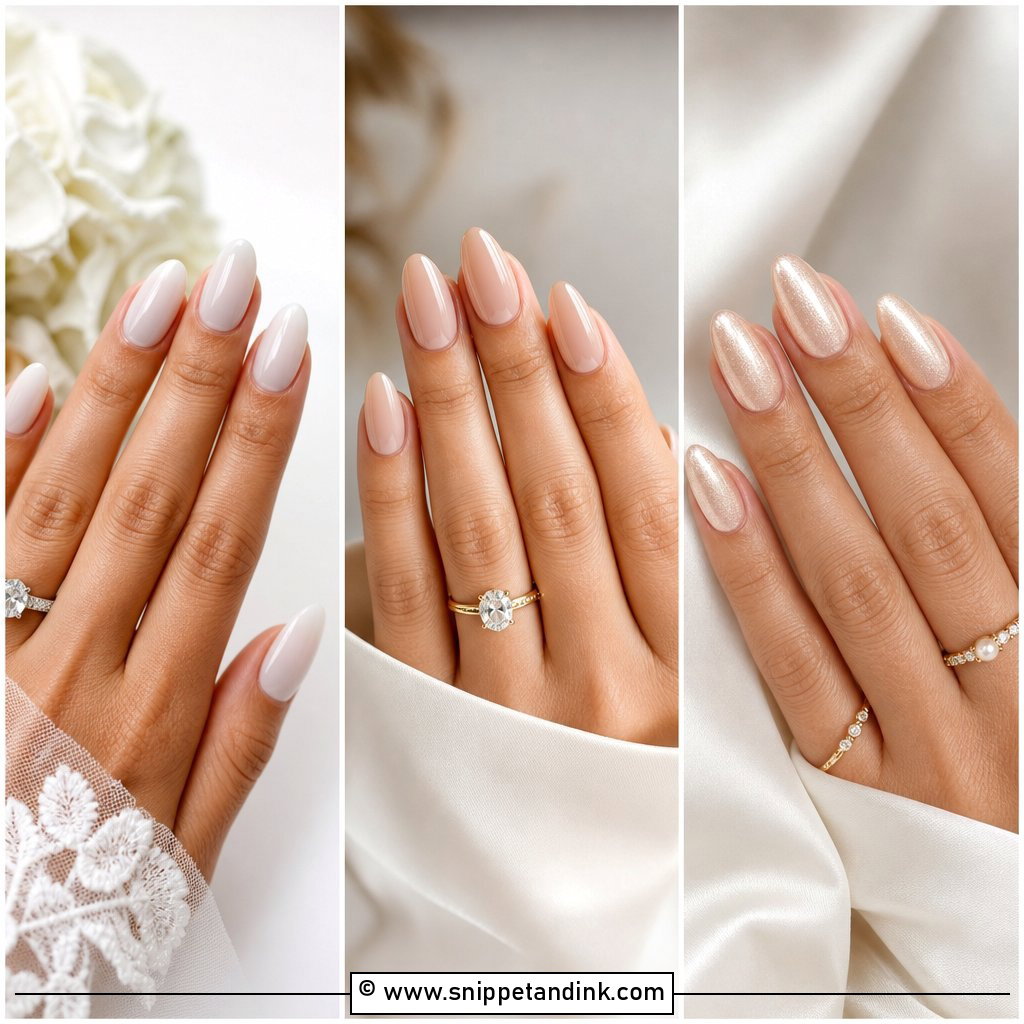
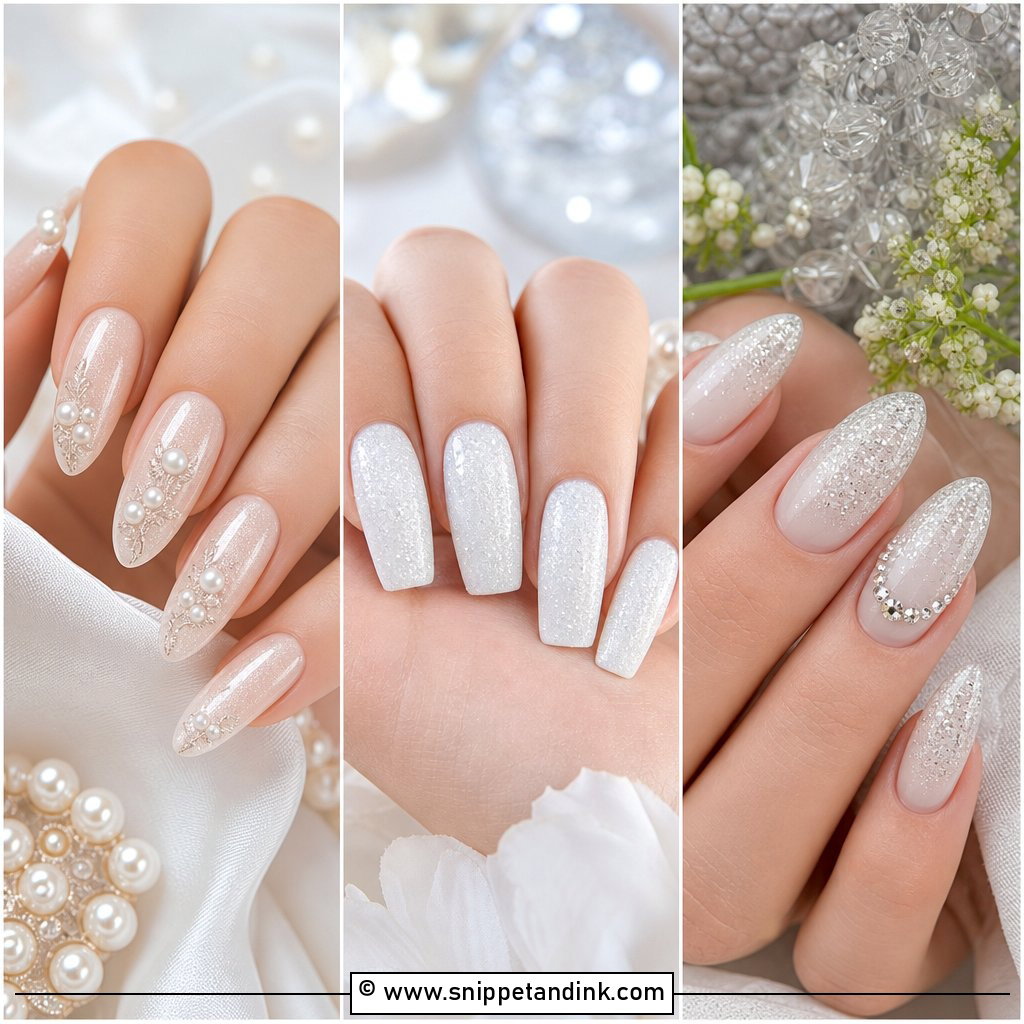
The milky base on this set is semi-sheer, so a hint of the natural nail shows through and it looks soft rather than painted. I add the pearls near the cuticle, scattered on accent nails or in a gentle curved line. White pearls on a white base can disappear, so I sometimes use pearls with a faint ivory or pink tone for a bit of contrast. It sits well with satin, chiffon, tulle and lace, and suits anyone who finds opaque white too stark. Keep the pearls sparing and let the base lead.
3. Nude Pearl Wedding Nails
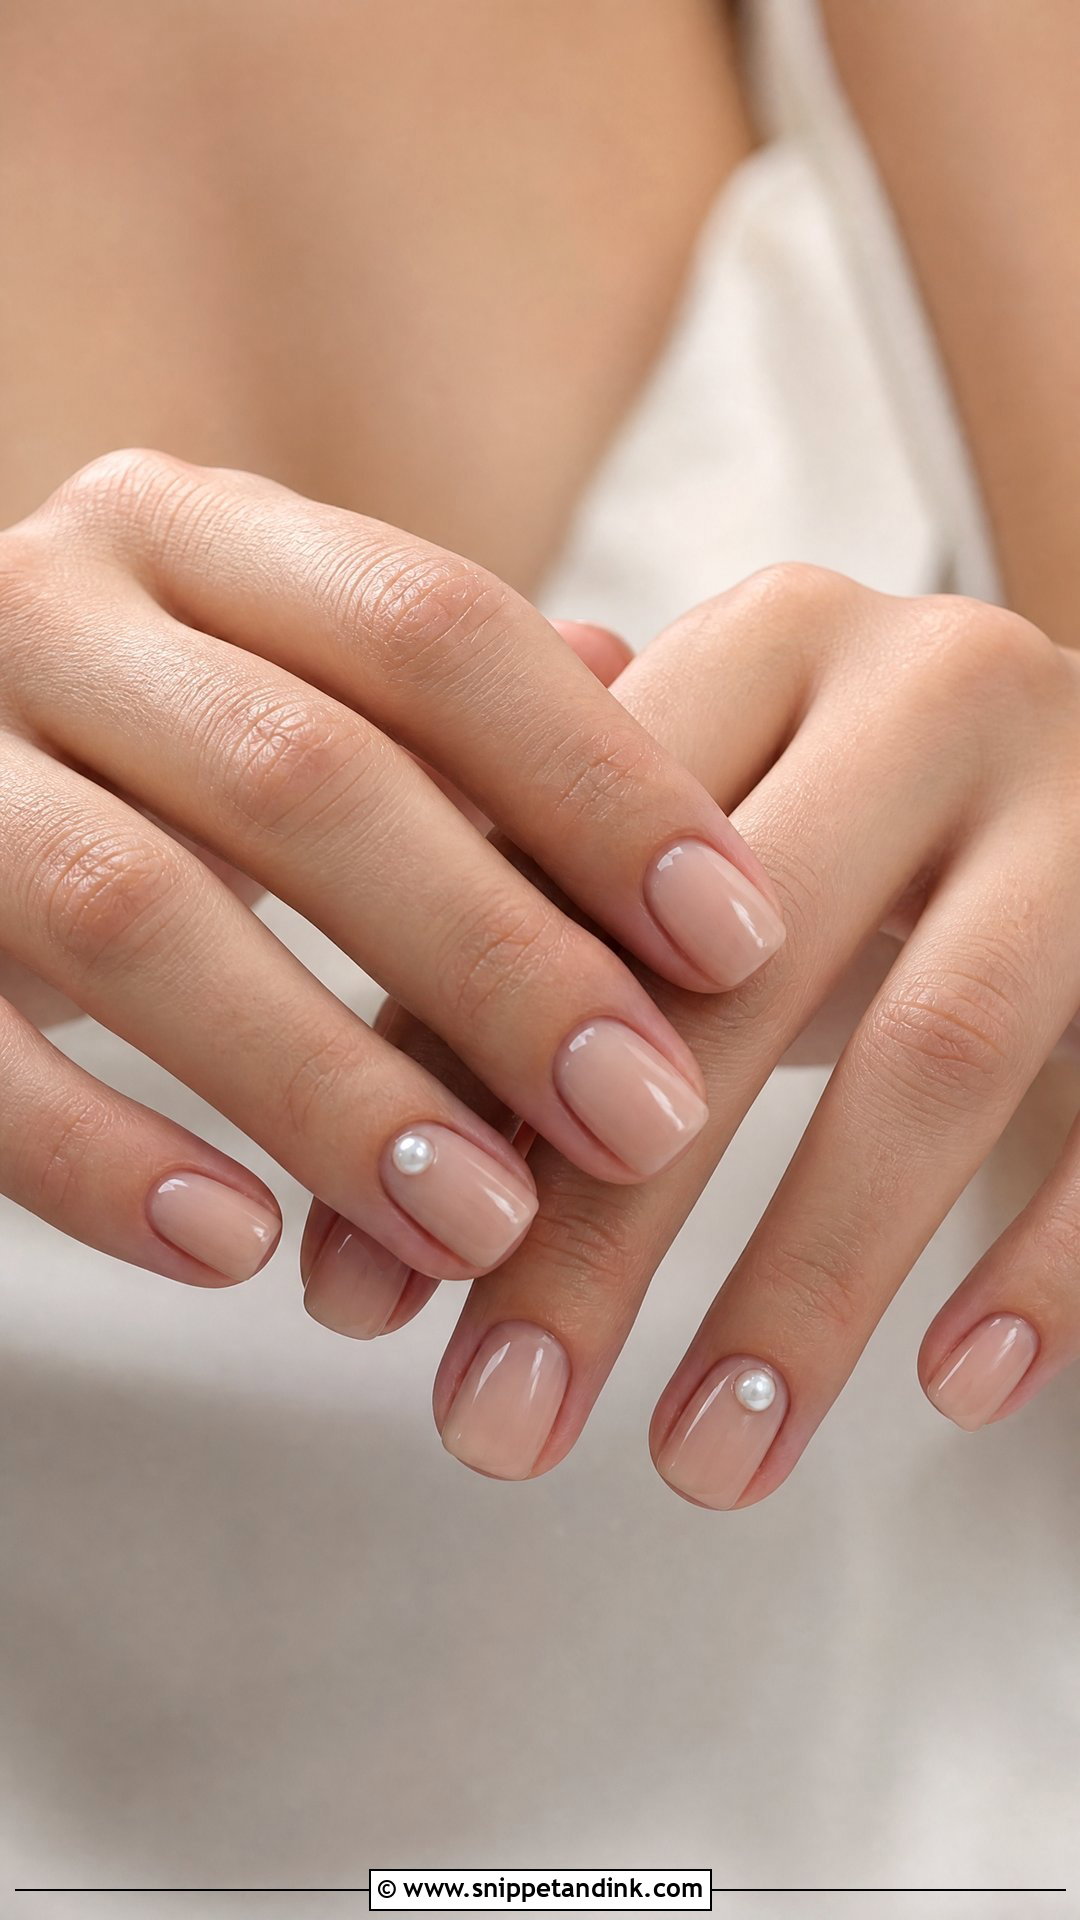
The nude has to match your skin, not the photo you saved. Beige, soft tan, peach, pink nude and warm caramel all exist for a reason, and I swatch two or three before deciding. With the shade right, tiny pearls on one or two nails per hand are plenty. A nude that matches your skin makes shorter nails look longer, which is why I recommend this for short nail beds. Pearls placed close to the cuticle look tidier as the nail grows, so you can have this done a few days early.
4. Pink Pearl Wedding Nails
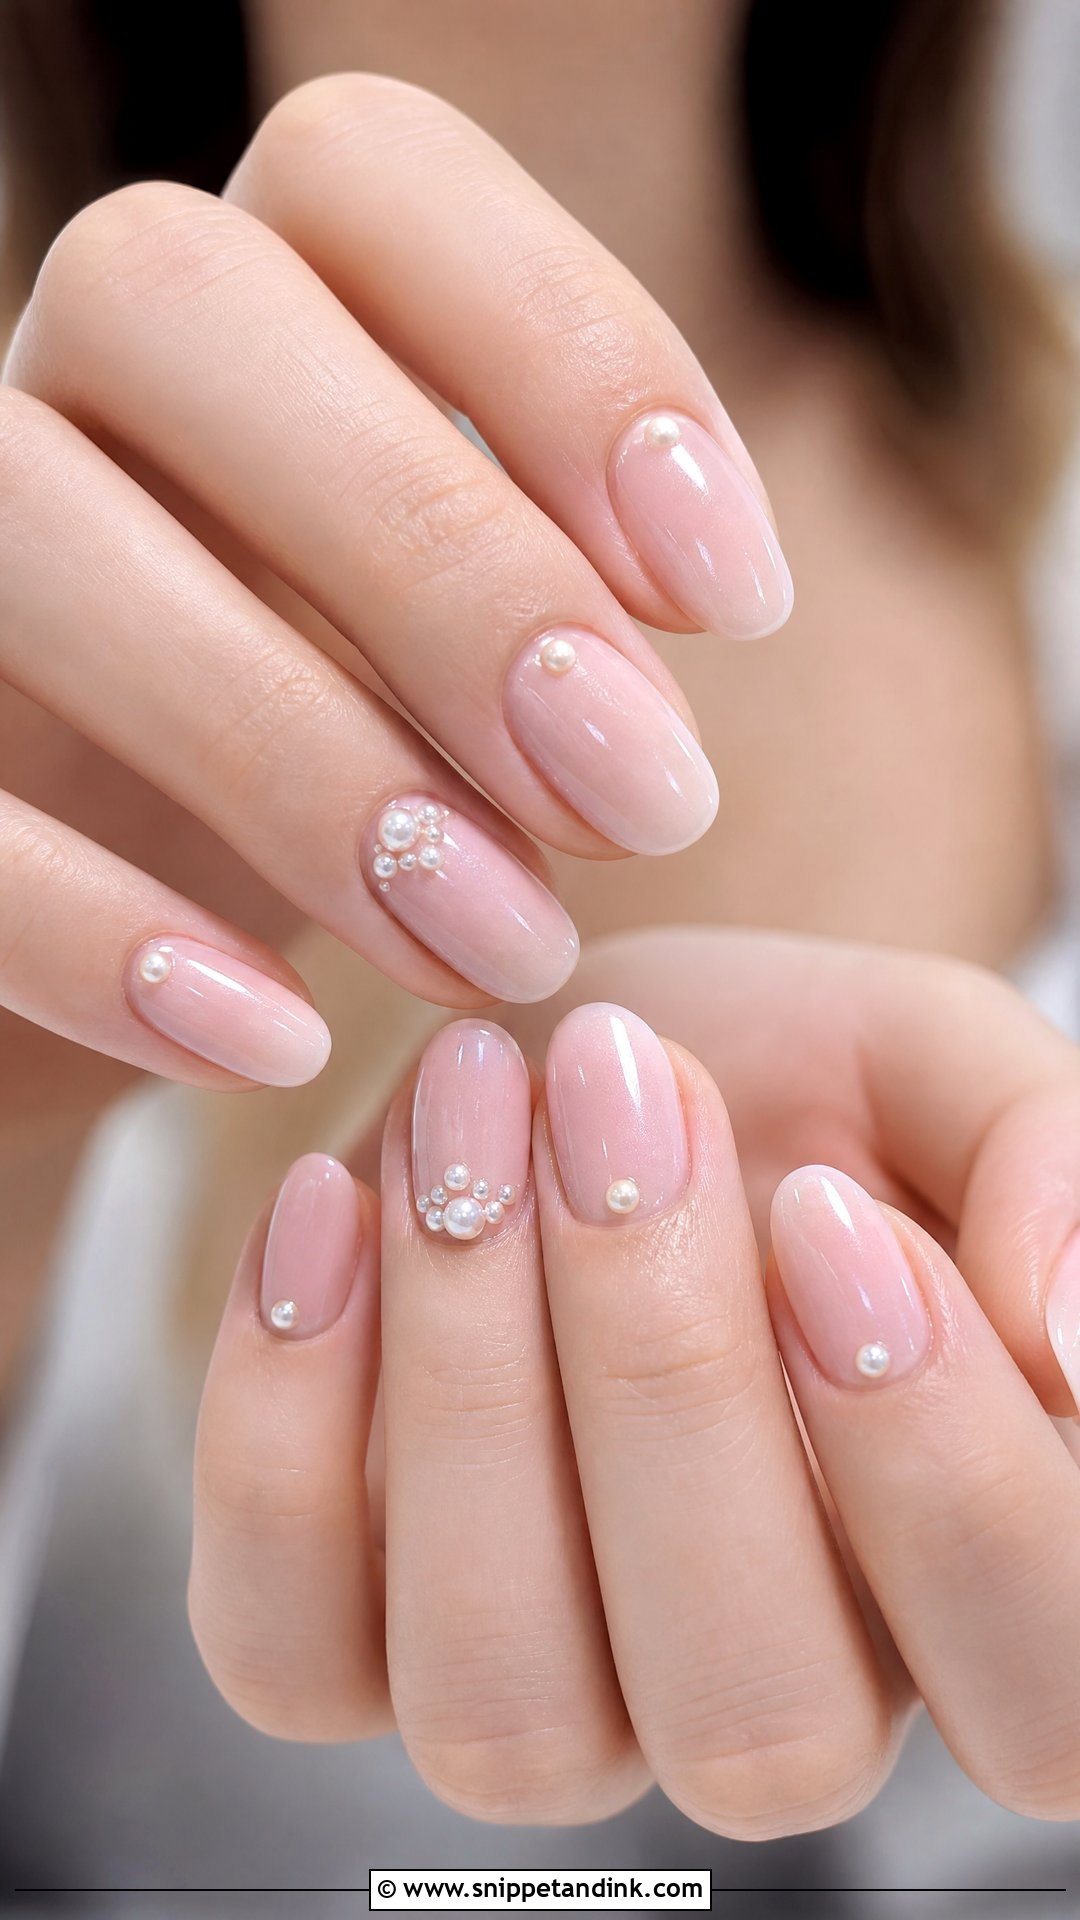
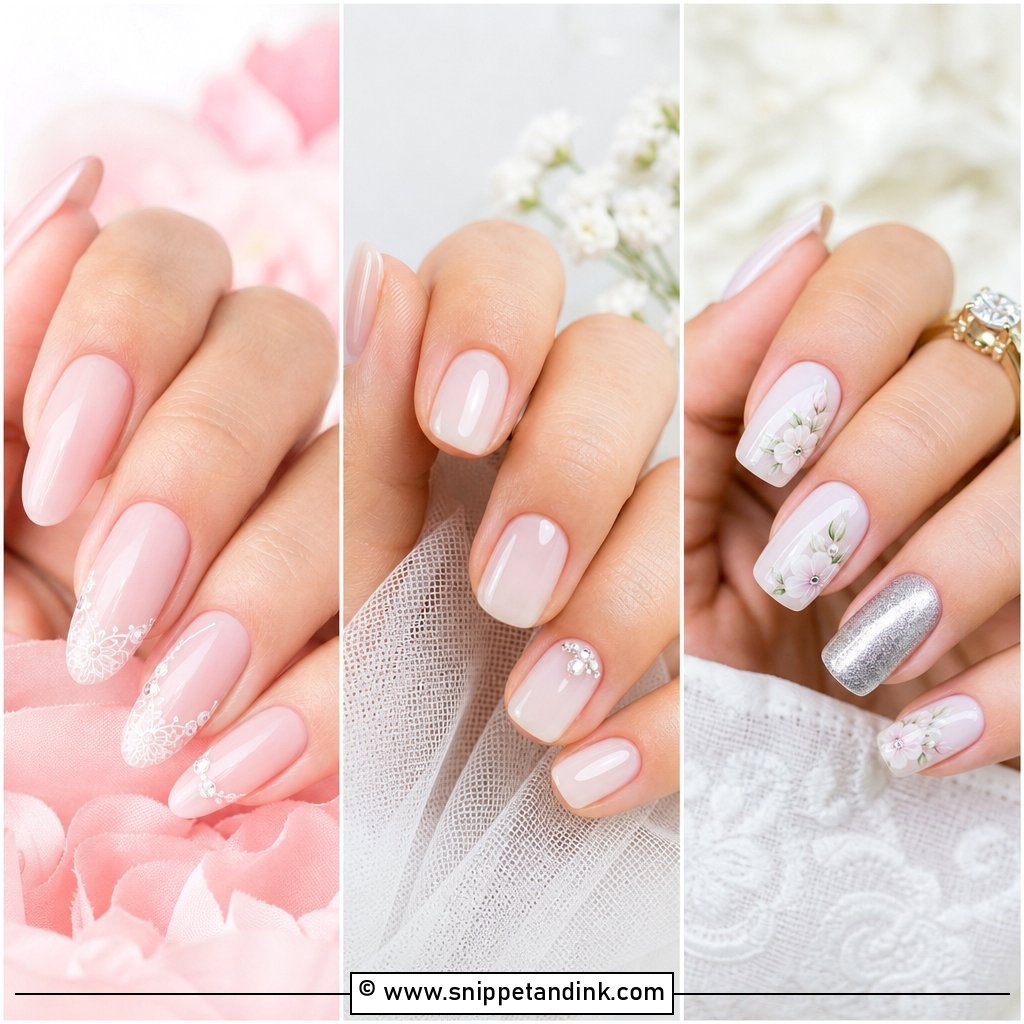
A sheer blush base gives the nail a healthy flush, and pearls add a bit of texture against it. You can wear one pearl at each cuticle, a cluster on accent nails or a fine border of micro pearls around the nail edge. That border looks pretty but takes time and catches more easily, so I keep it for brides who are happy to be careful. Oval and almond shapes suit it. It’s a good alternative if bright white nails feel too much; keep the pink sheer for a clean, current finish.
5. Pearl Chrome Wedding Nails
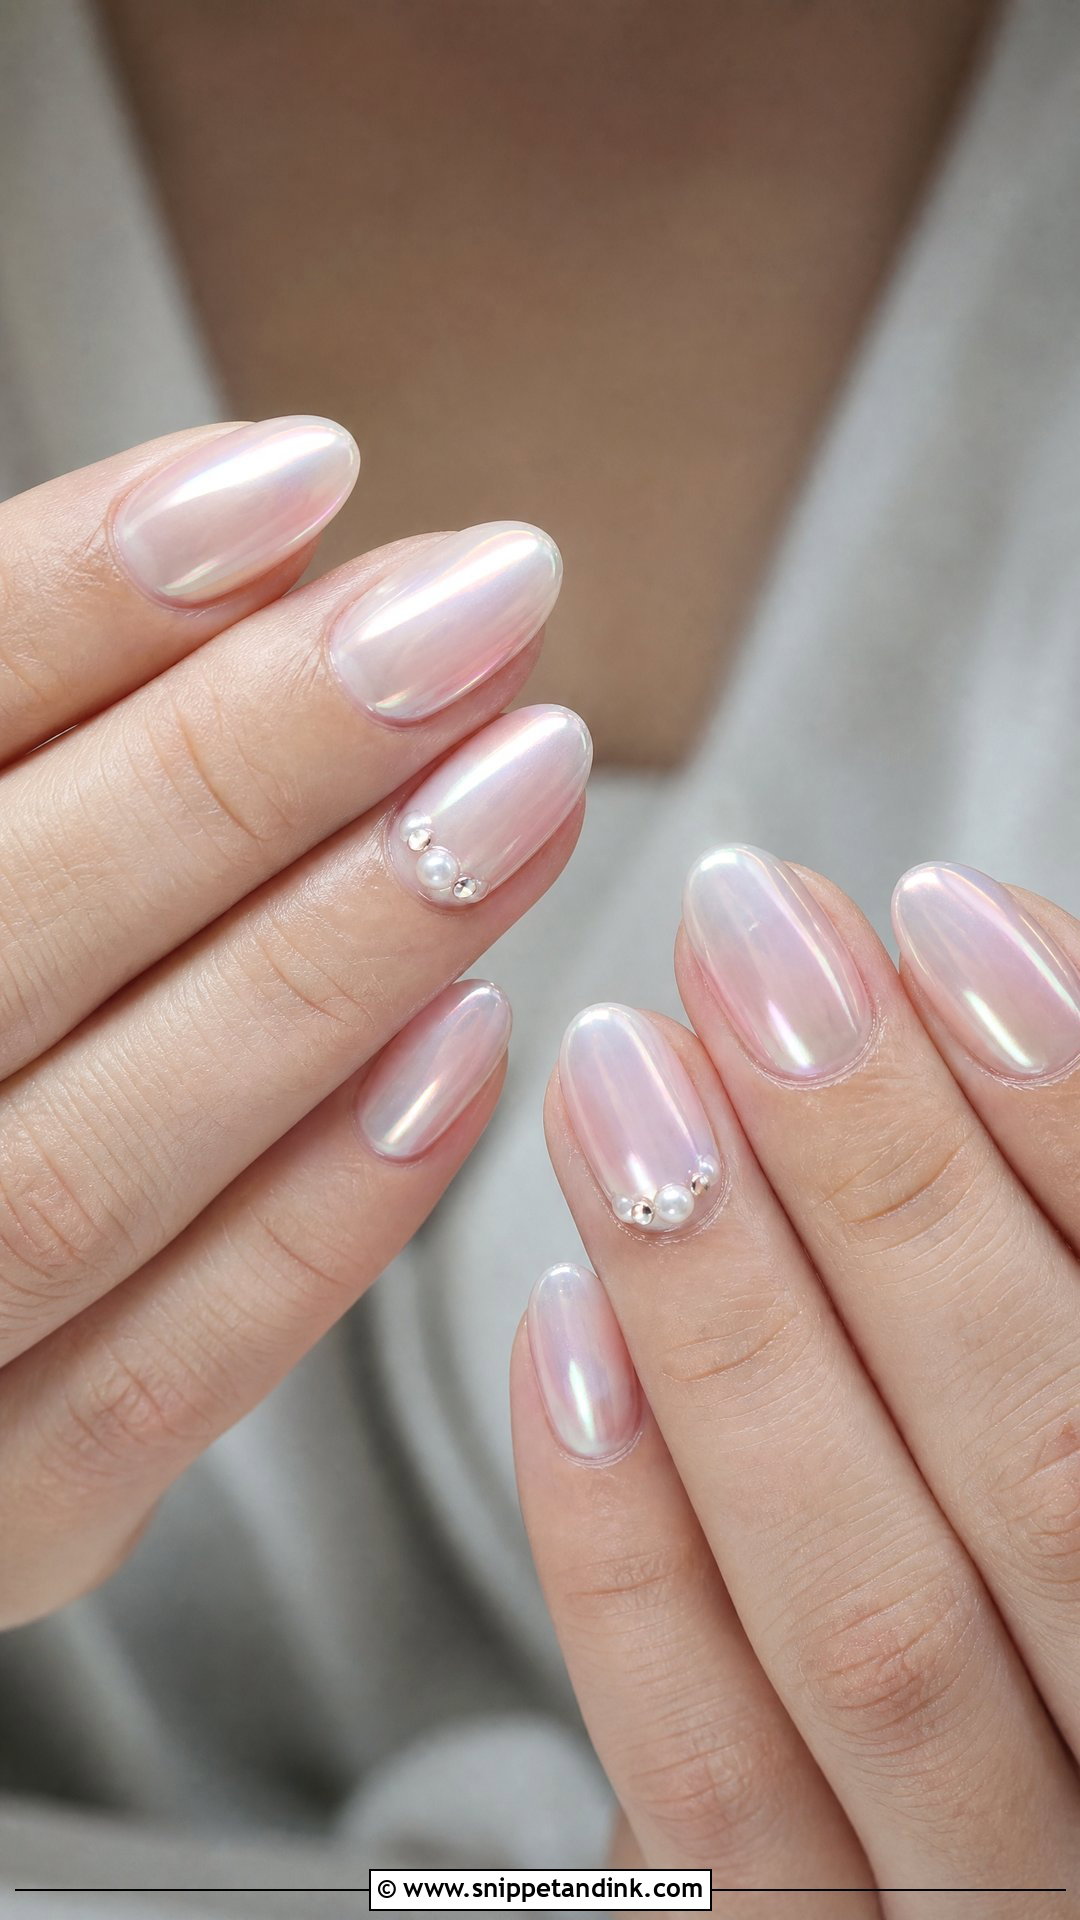
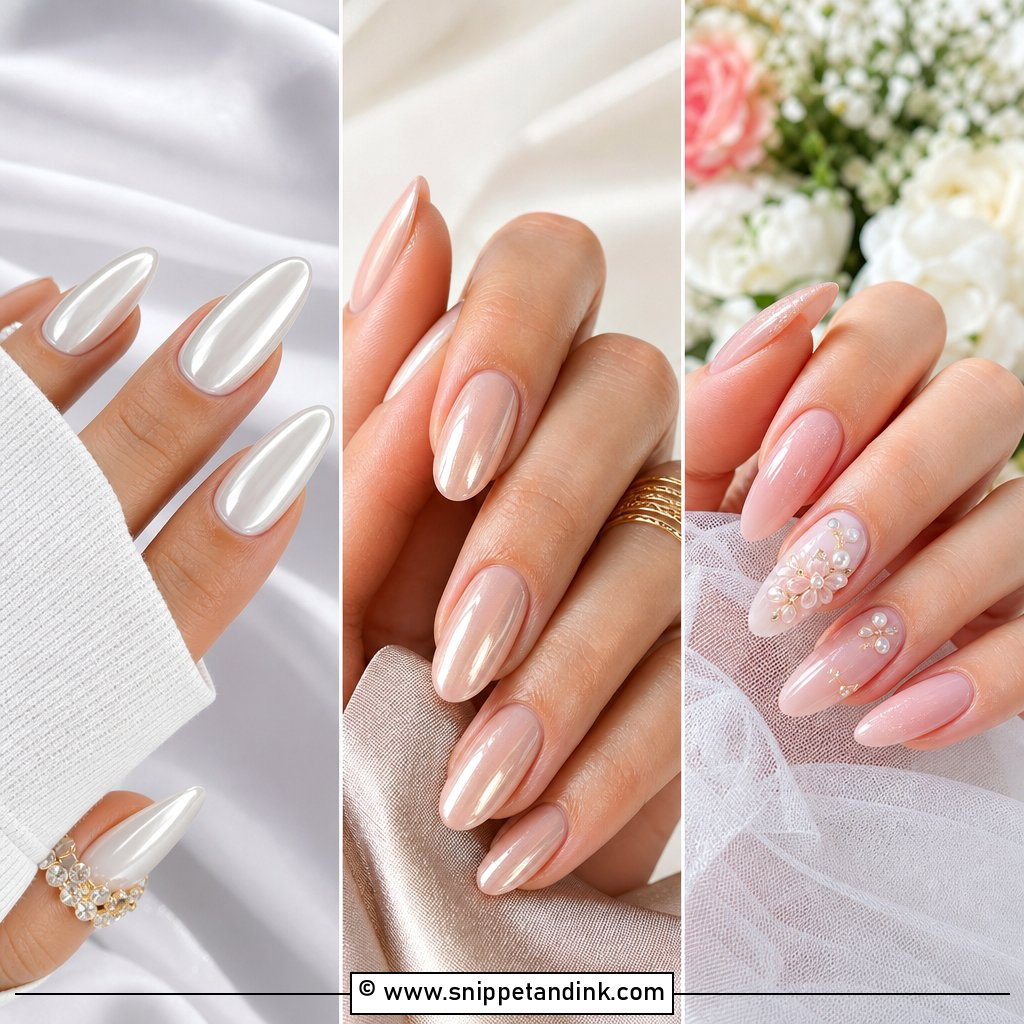
Pearl chrome wedding nails get their glow from a soft pearl powder buffed over a milky white, sheer pink or nude base, rather than a strong mirror chrome. One thing to know: chrome powder has to go on before any 3D pearls, since pearls block the powder and you’d get bare patches around them. So I apply the chrome, seal it, then set a few pearls on one or two accent nails. Almond and oval show the iridescent shift best, especially when your hands move.
6. White Pearl Accent Wedding Nails
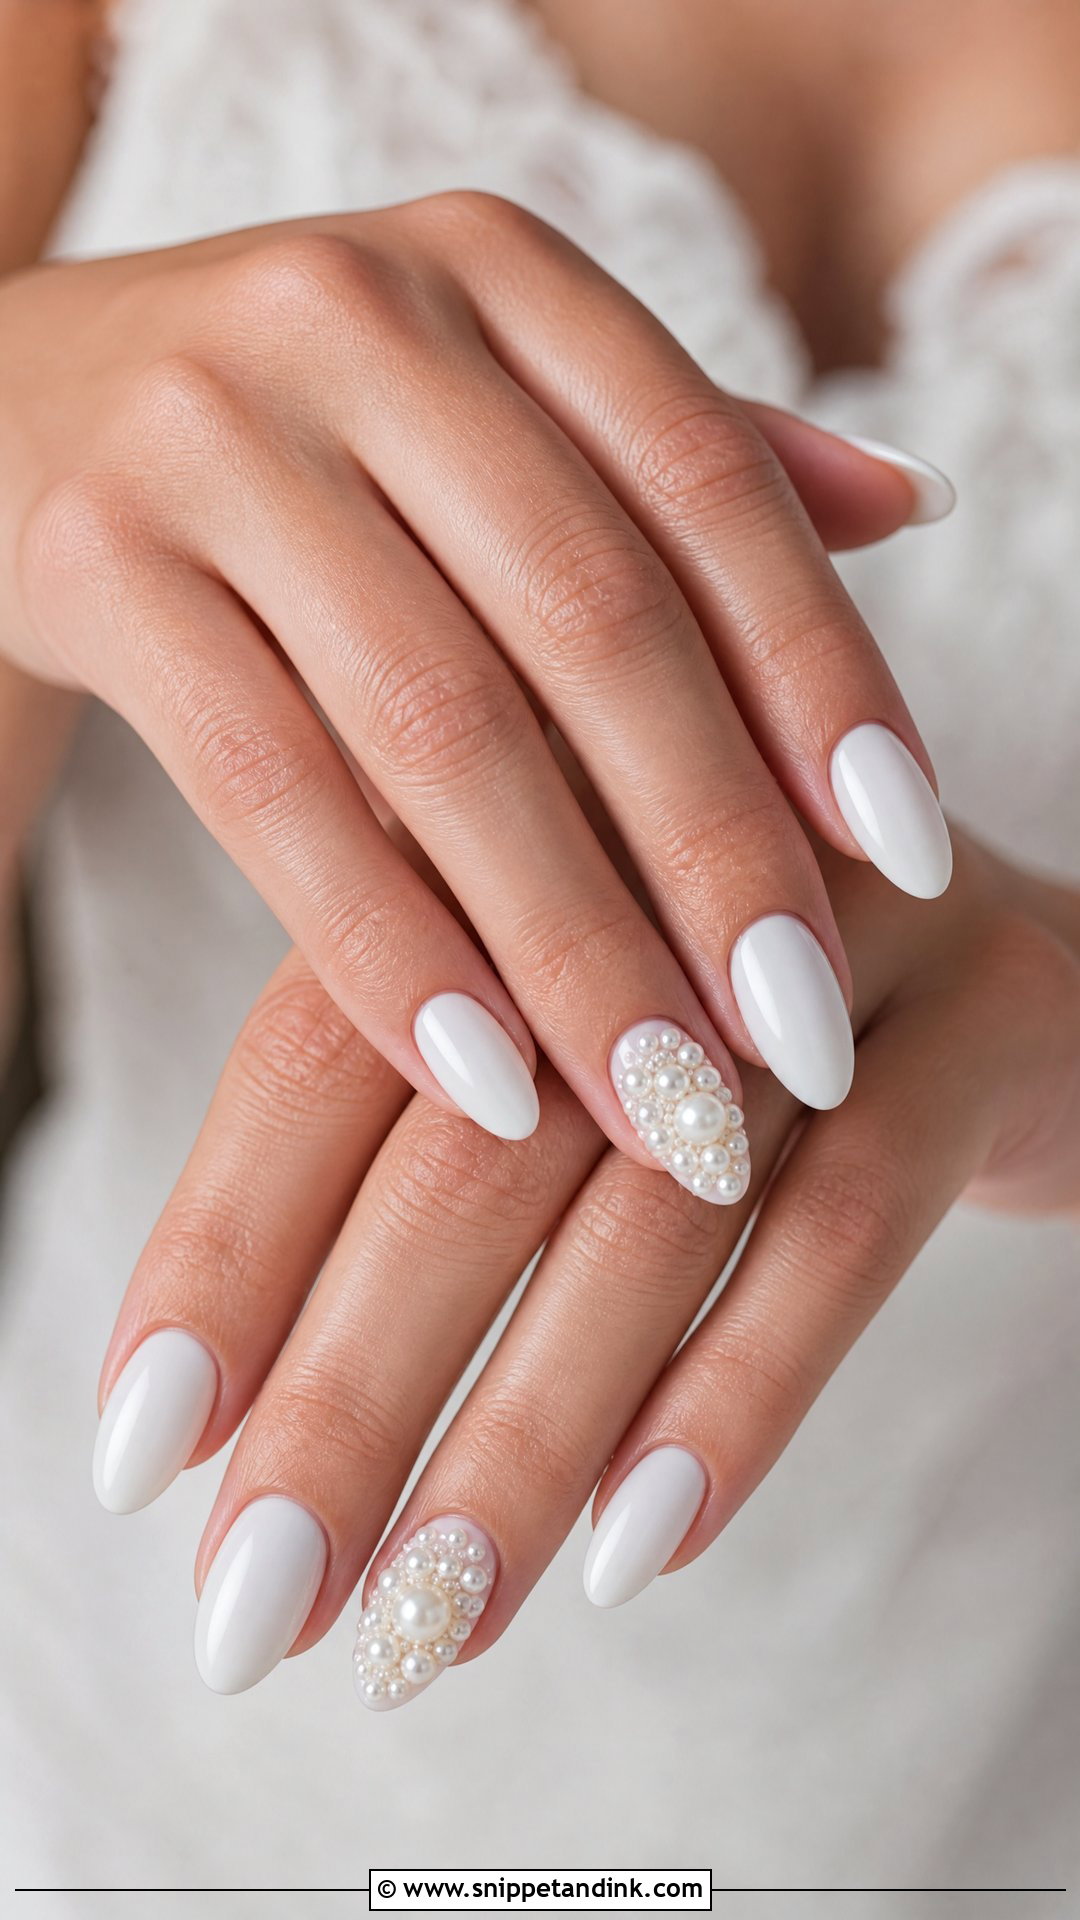
Pearls on accent nails only, with the rest of the set kept plain white, milky white or sheer nude, is the version I’d recommend to most brides. A common layout is a cluster on each ring finger with glossy nails elsewhere. Mixing one larger pearl with several micro pearls gives the cluster depth. The trick is to build the cluster in a slight curve that follows the cuticle line, which looks deliberate. And practically, two decorated nails means two nails to worry about instead of ten.
7. Almond Pearl Wedding Nails
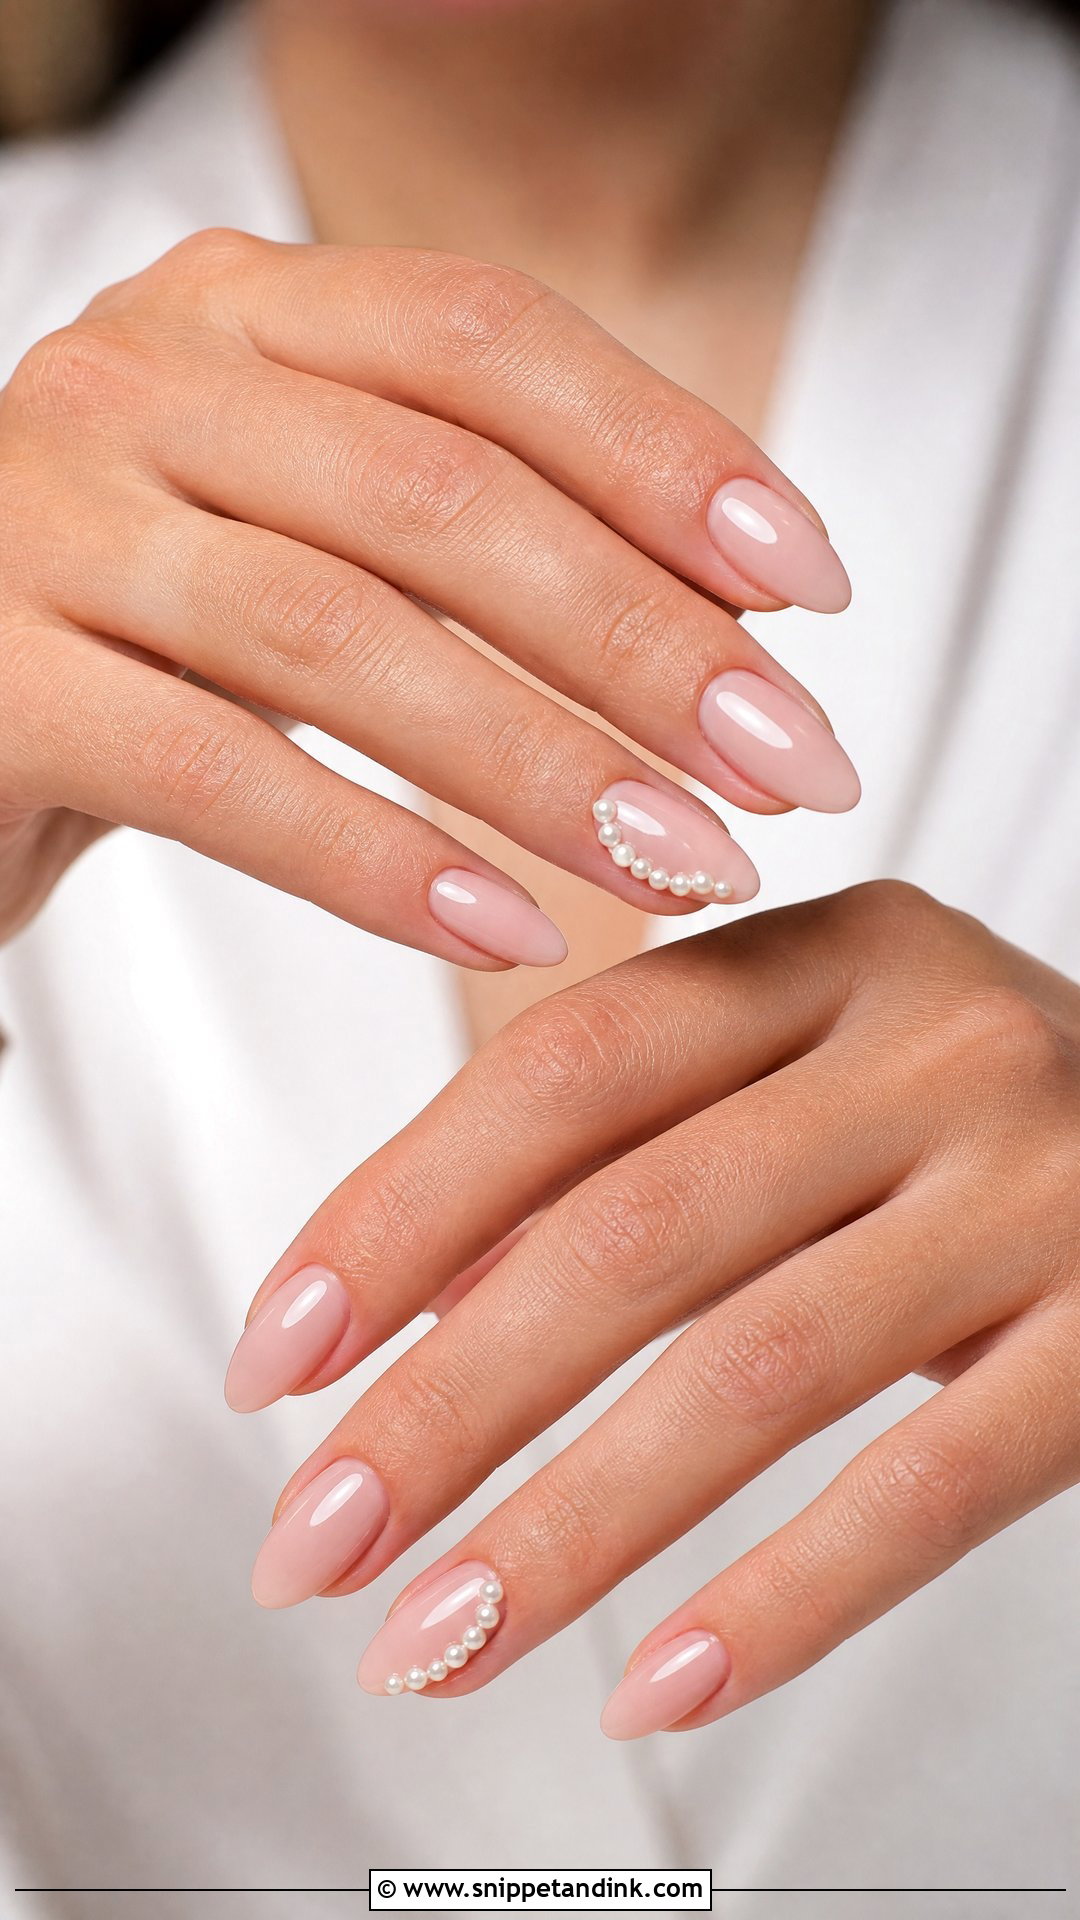
Almond pearl wedding nails start with a shape that lengthens the fingers, so the pearls only need to add detail. They can run in a curve down one side of the nail, sit near the cuticle or form a small cluster on accent nails, over French tips, milky polish, nude or soft chrome. Medium length gives enough surface without looking dramatic. I set almond pearls slightly off center toward the outer edge, which follows the nail’s taper. Small pearls in a strong gel keep them on through the celebration.
8. Short Pearl Wedding Nails
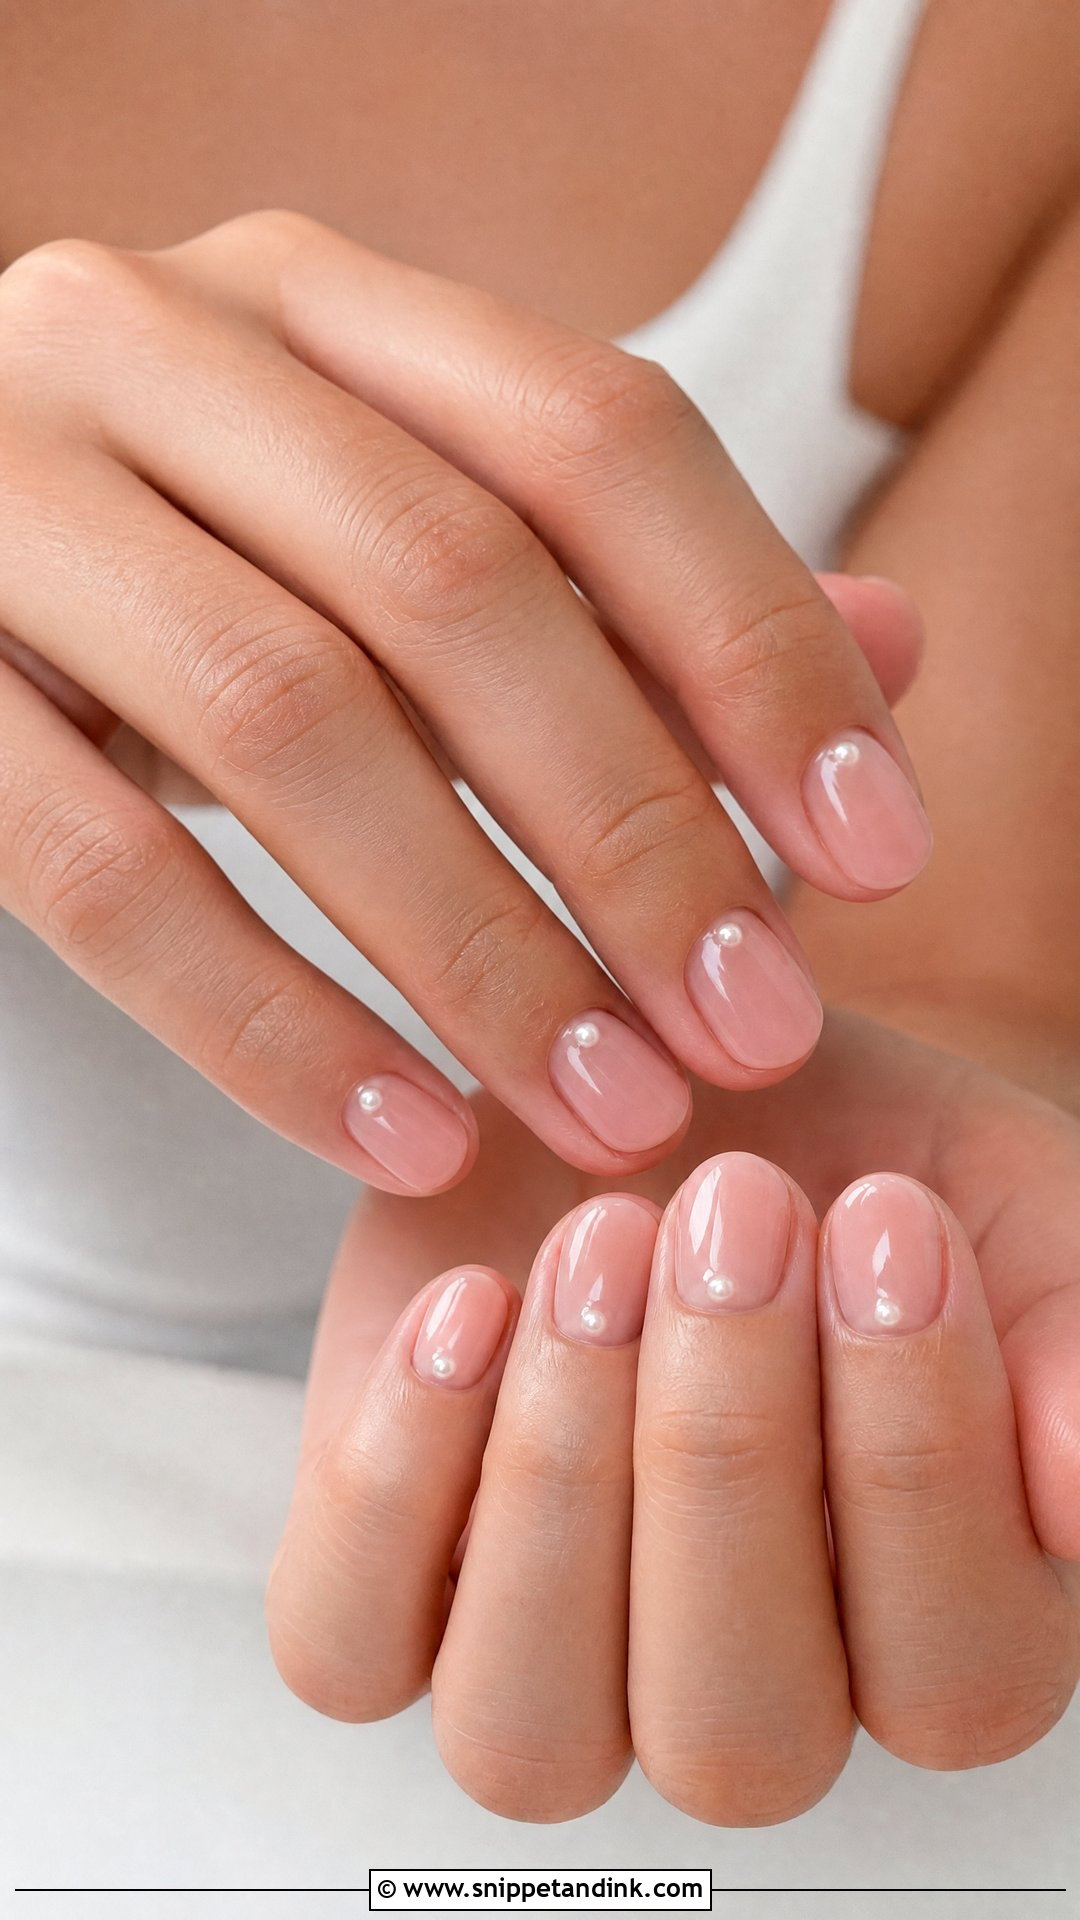
On a short nail the pearl has to be small, or it overwhelms the nail and starts to look like a sticker. A sheer pink, nude or milky white base keeps the hands neat, and one tiny pearl at the cuticle of each nail or on the ring fingers is enough. Squoval or soft round shapes look most balanced. I’d suggest this to anyone who works with their hands or hates the feel of length. It also helps that short nails take far less impact, so the pearls are less likely to knock loose.
9. Square Pearl Wedding Nails
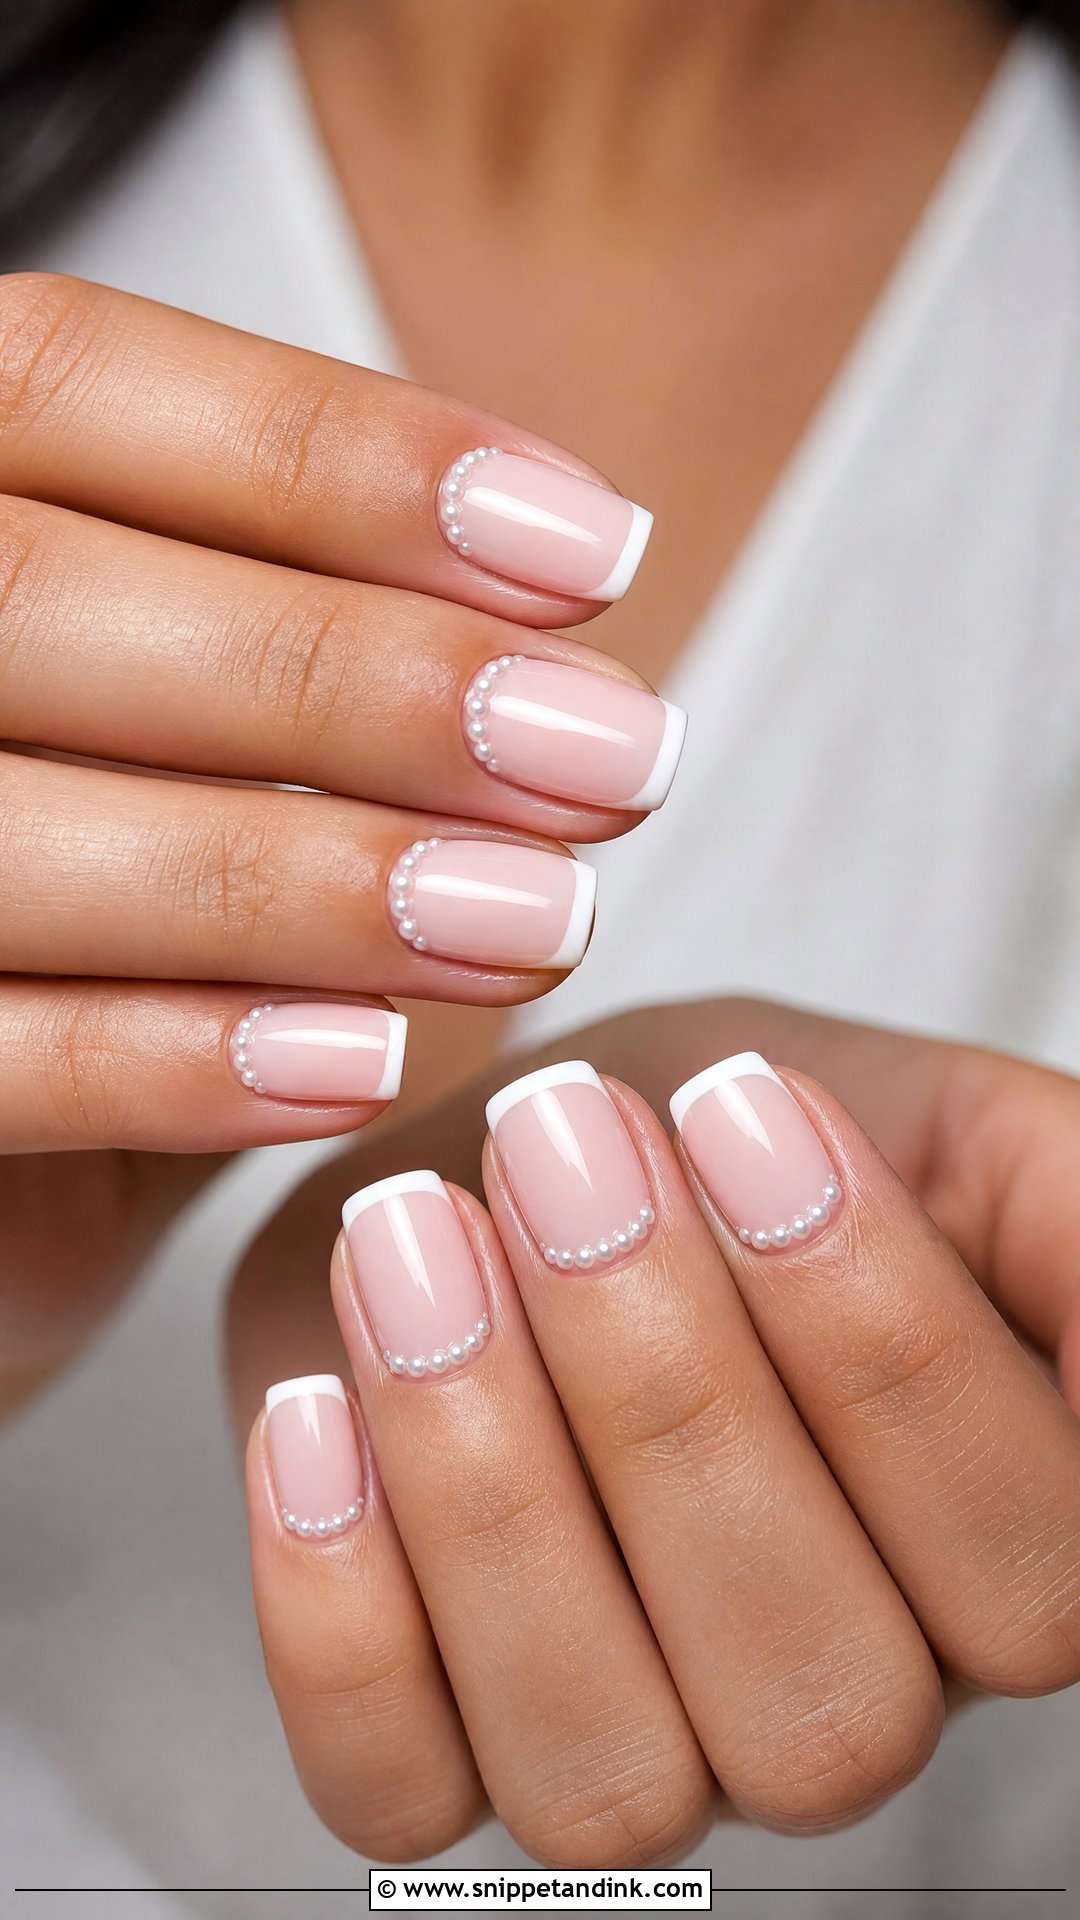
Square nails give pearls a neat, structured frame. A thin white tip with small pearls at the base of each nail looks classic; a milky pink base with pearls only on the ring fingers looks softer. If your natural nails are short, a short square or squoval is easier to live with. I always soften the corners slightly, partly for comfort and partly because sharp square corners are what catch on fabric, and you don’t want that combined with raised pearls.
10. Coffin Pearl Wedding Nails
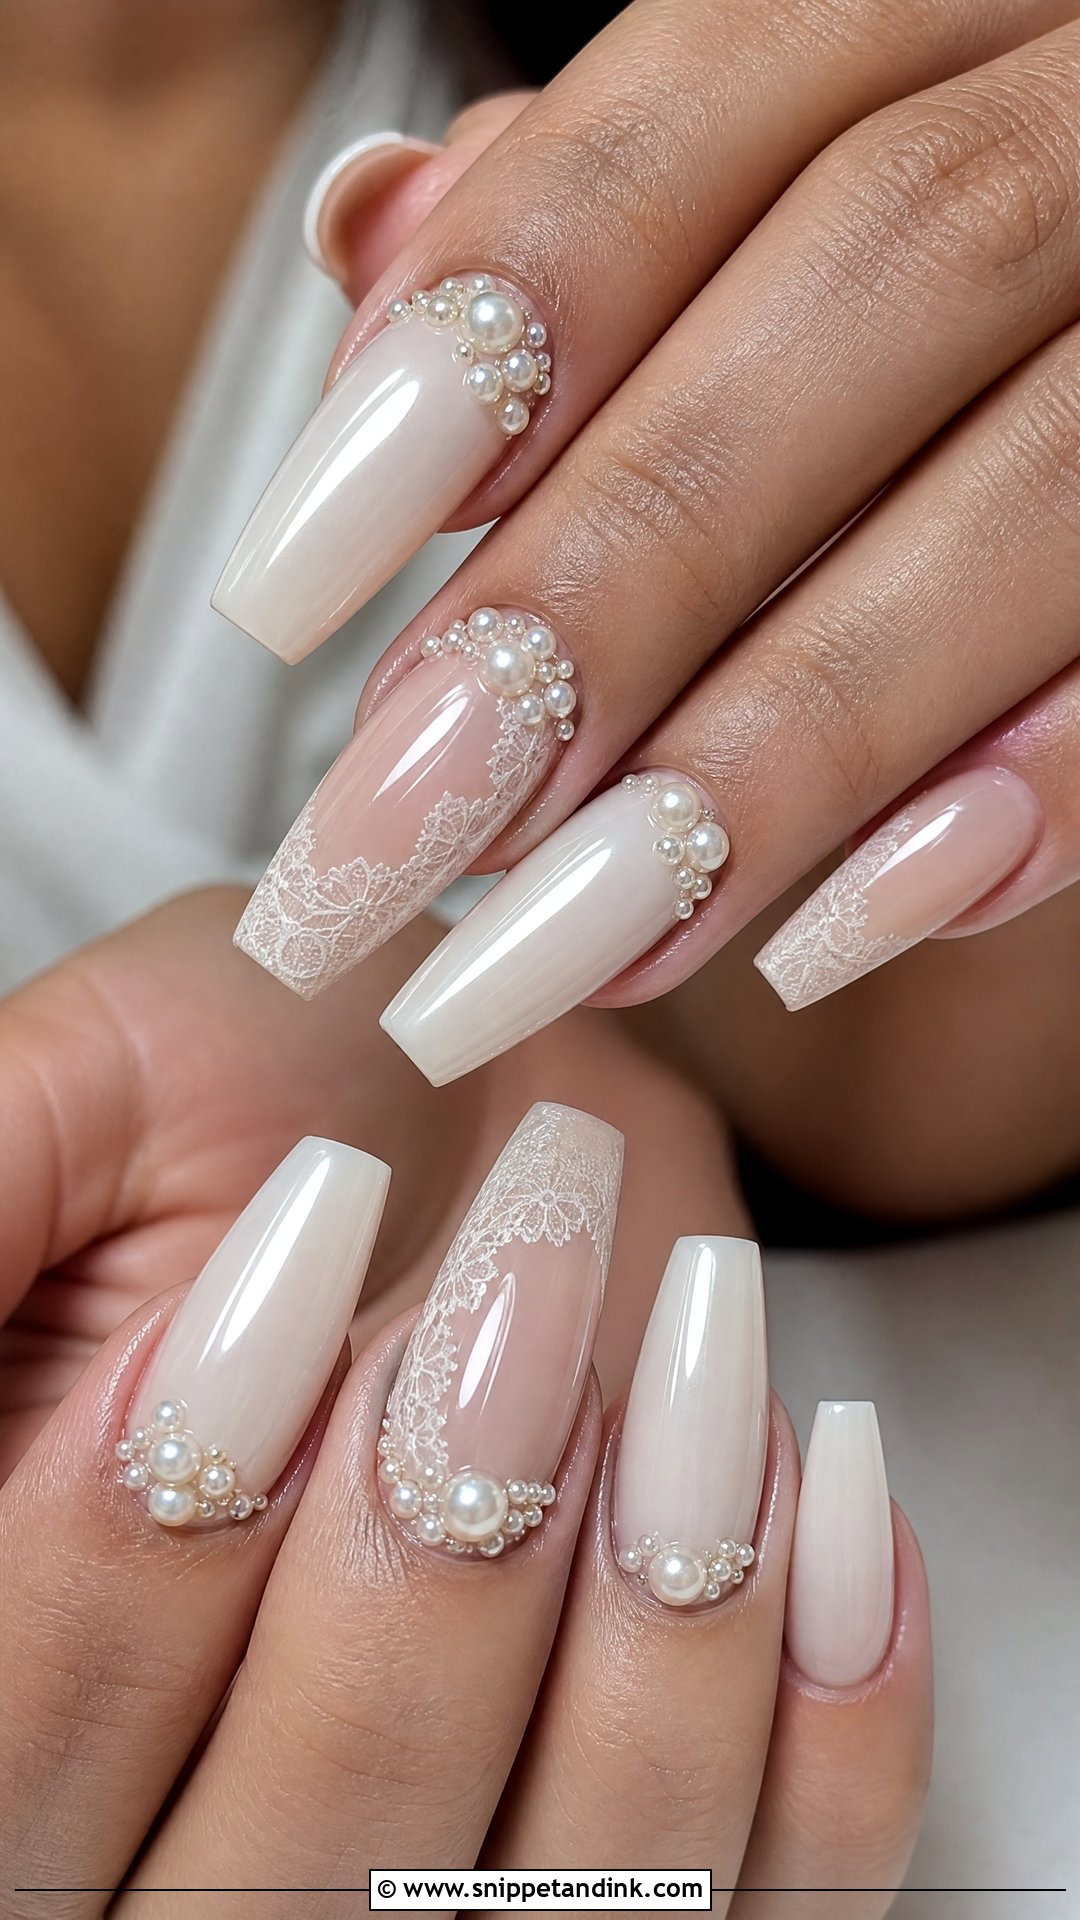
Coffin shapes already draw the eye, so the color should stay soft: milky white, sheer blush, nude or pearl chrome. Pearls can follow the cuticle line, sit in small clusters or join some subtle lace art. Avoid lots of large pearls on long coffins; the extra height plus the length makes the nails feel heavy and more likely to snag. Medium length strikes the right balance between glamour and comfort. If this will be your first set of extensions, try it out a few weeks ahead.
11. Pearl Ombre Wedding Nails
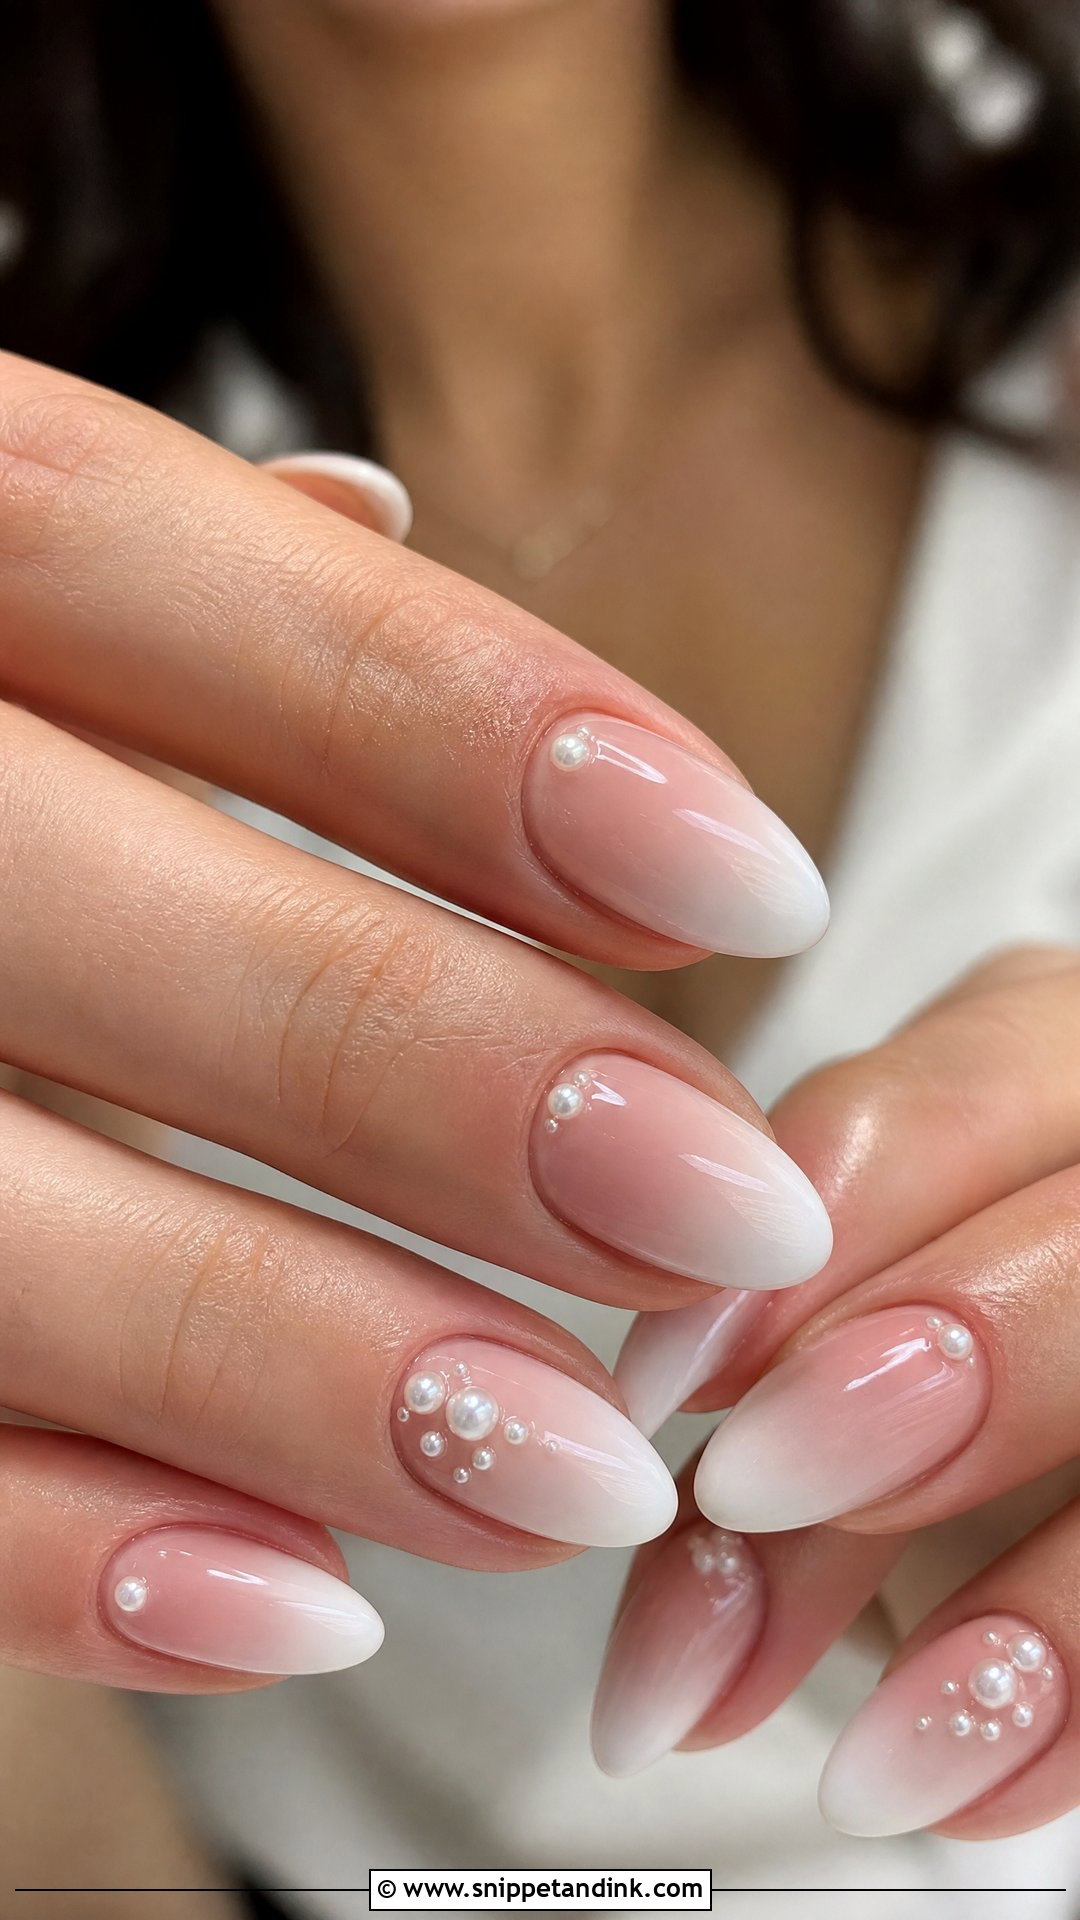
Pearl ombre wedding nails fade from nude or pink at the base into white at the tip, with small pearls at the cuticle or on accent nails. With no sharp line between colors, it’s a softer option than a French. I place the pearls on the nude part of the gradient, not the white, so they have contrast. Almond and coffin show the fade well, and short oval keeps it natural. A glossy top coat over both fade and pearls makes them look like one design.
12. Pearl Lace Wedding Nails
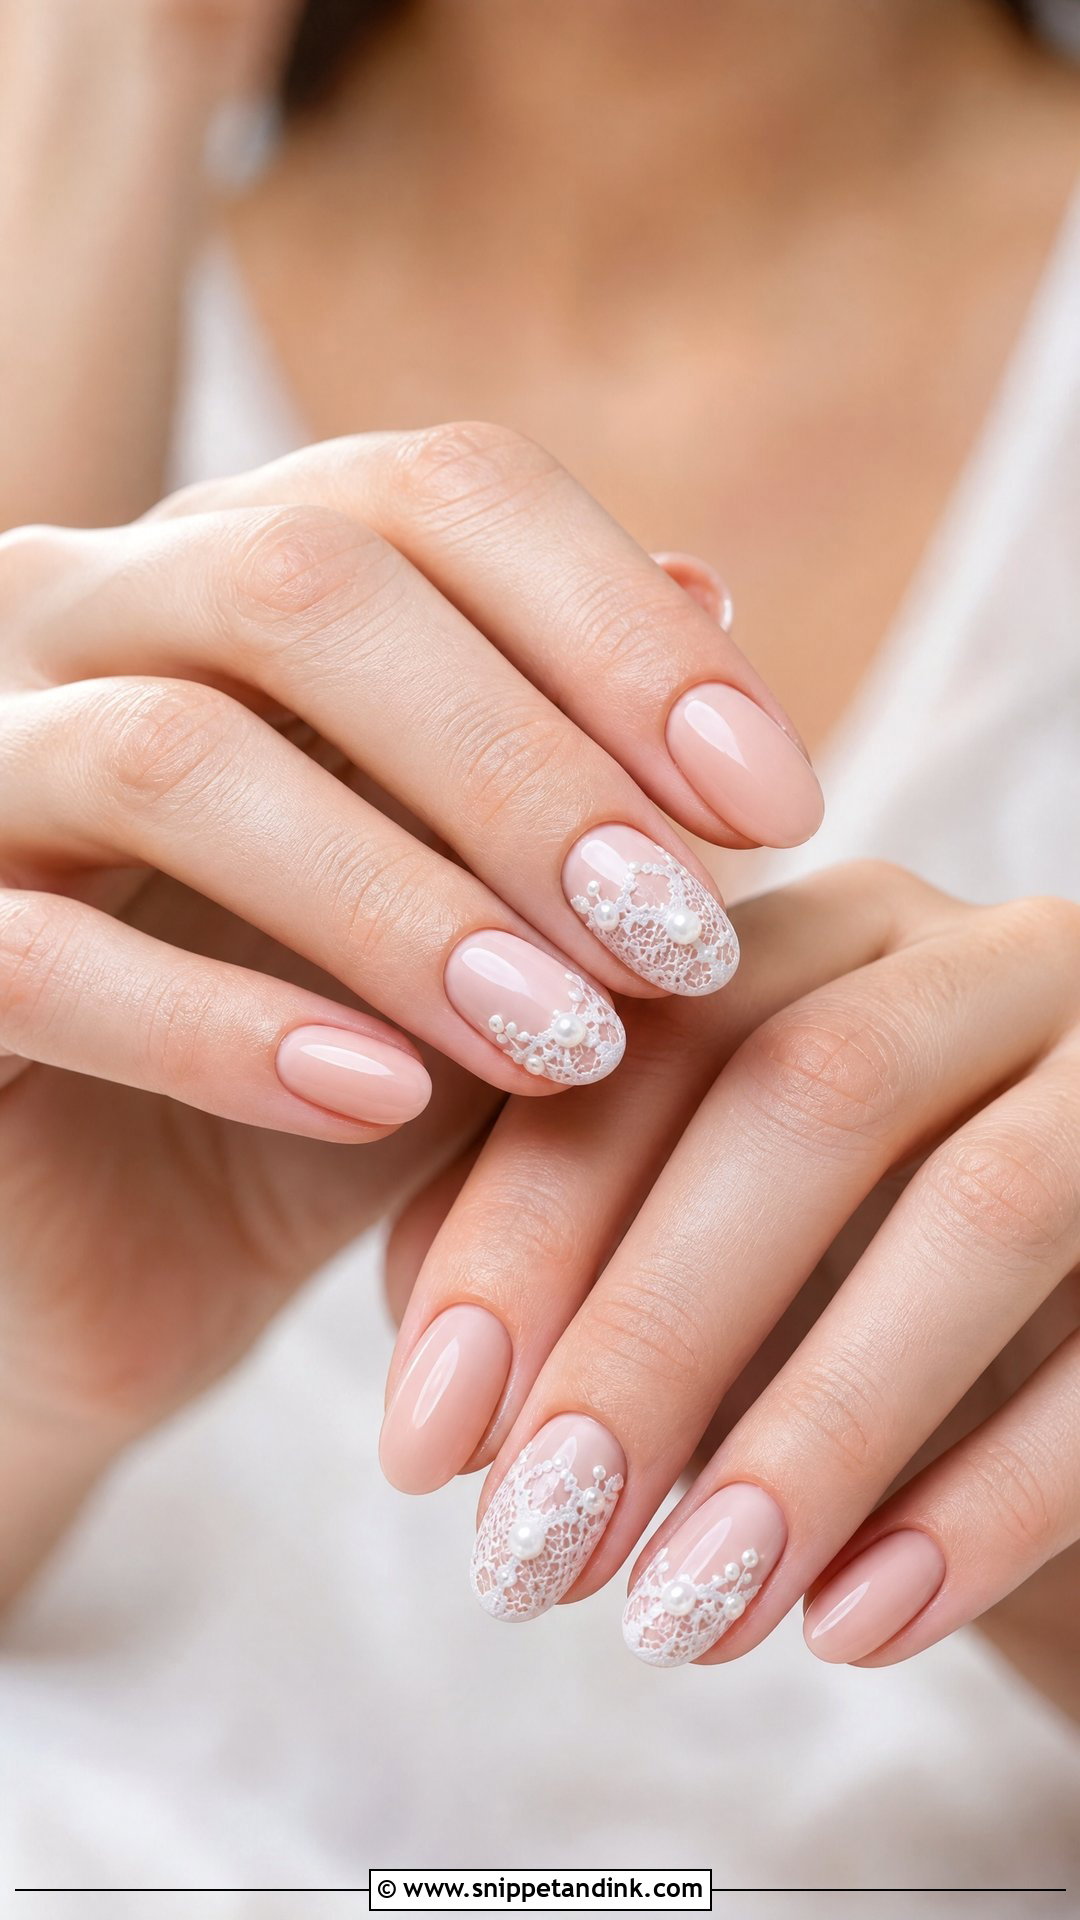
If your dress has lace sleeves, floral lace or embroidery, I’d look at it before painting, and copy one motif rather than inventing a pattern. On a sheer nude, blush or milky white base, I paint fine white lace lines on one or two nails and add micro pearls where the lace would naturally have beading. Thin lines keep it refined. It suits almond, oval and medium square nails. If you’d like the rest of the set to stay quiet, ask for lace on accent nails only.
13. Pearl Flower Wedding Nails
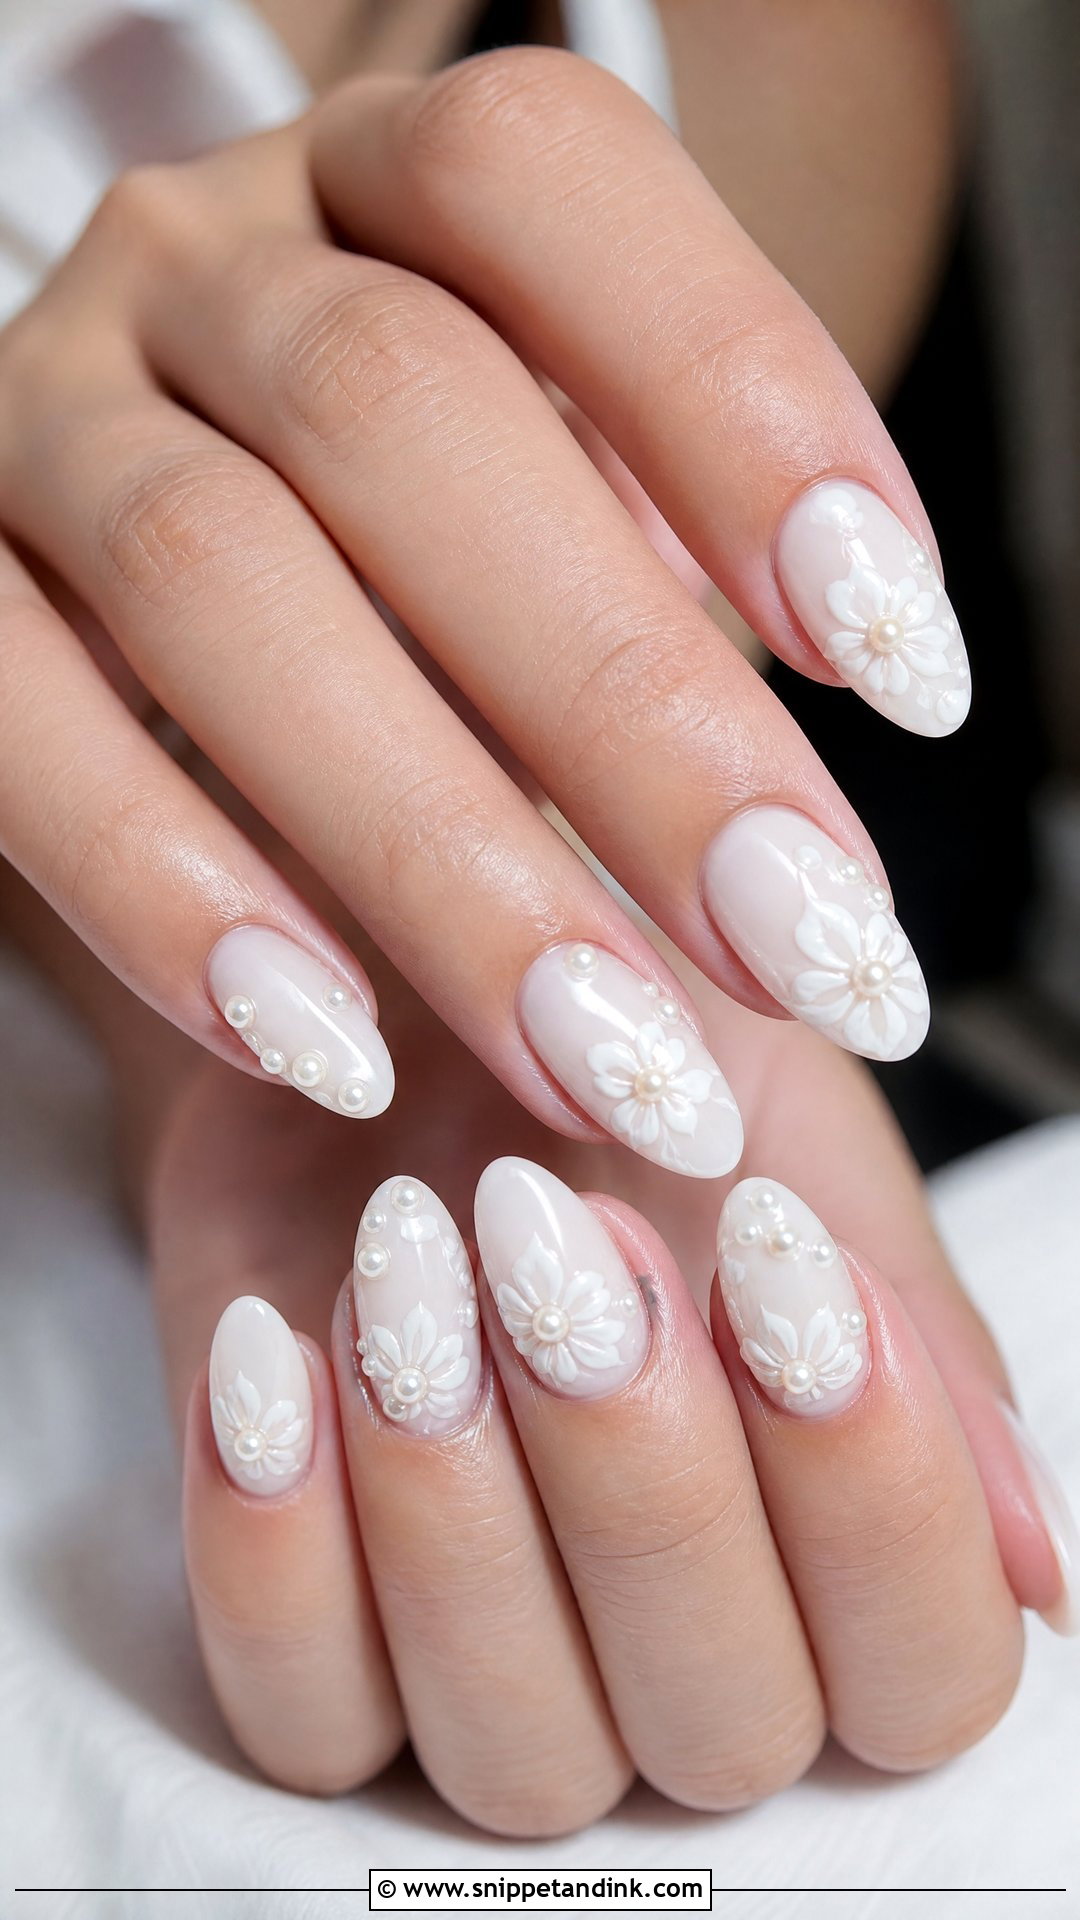
Painted flowers in white, blush or sheer nude with a tiny pearl at the center of each bloom look sweet and delicate. Another approach is to build 3D flowers with gel and ring them with micro pearls, which is more dimensional but sits higher off the nail. Almond and oval nails echo the rounded petals. Keep the flowers small. A milky or nude base lets the pearls stand out, and I’d stop at one bloom per decorated nail to keep it from looking crowded.
14. Pearl And Rhinestone Wedding Nails
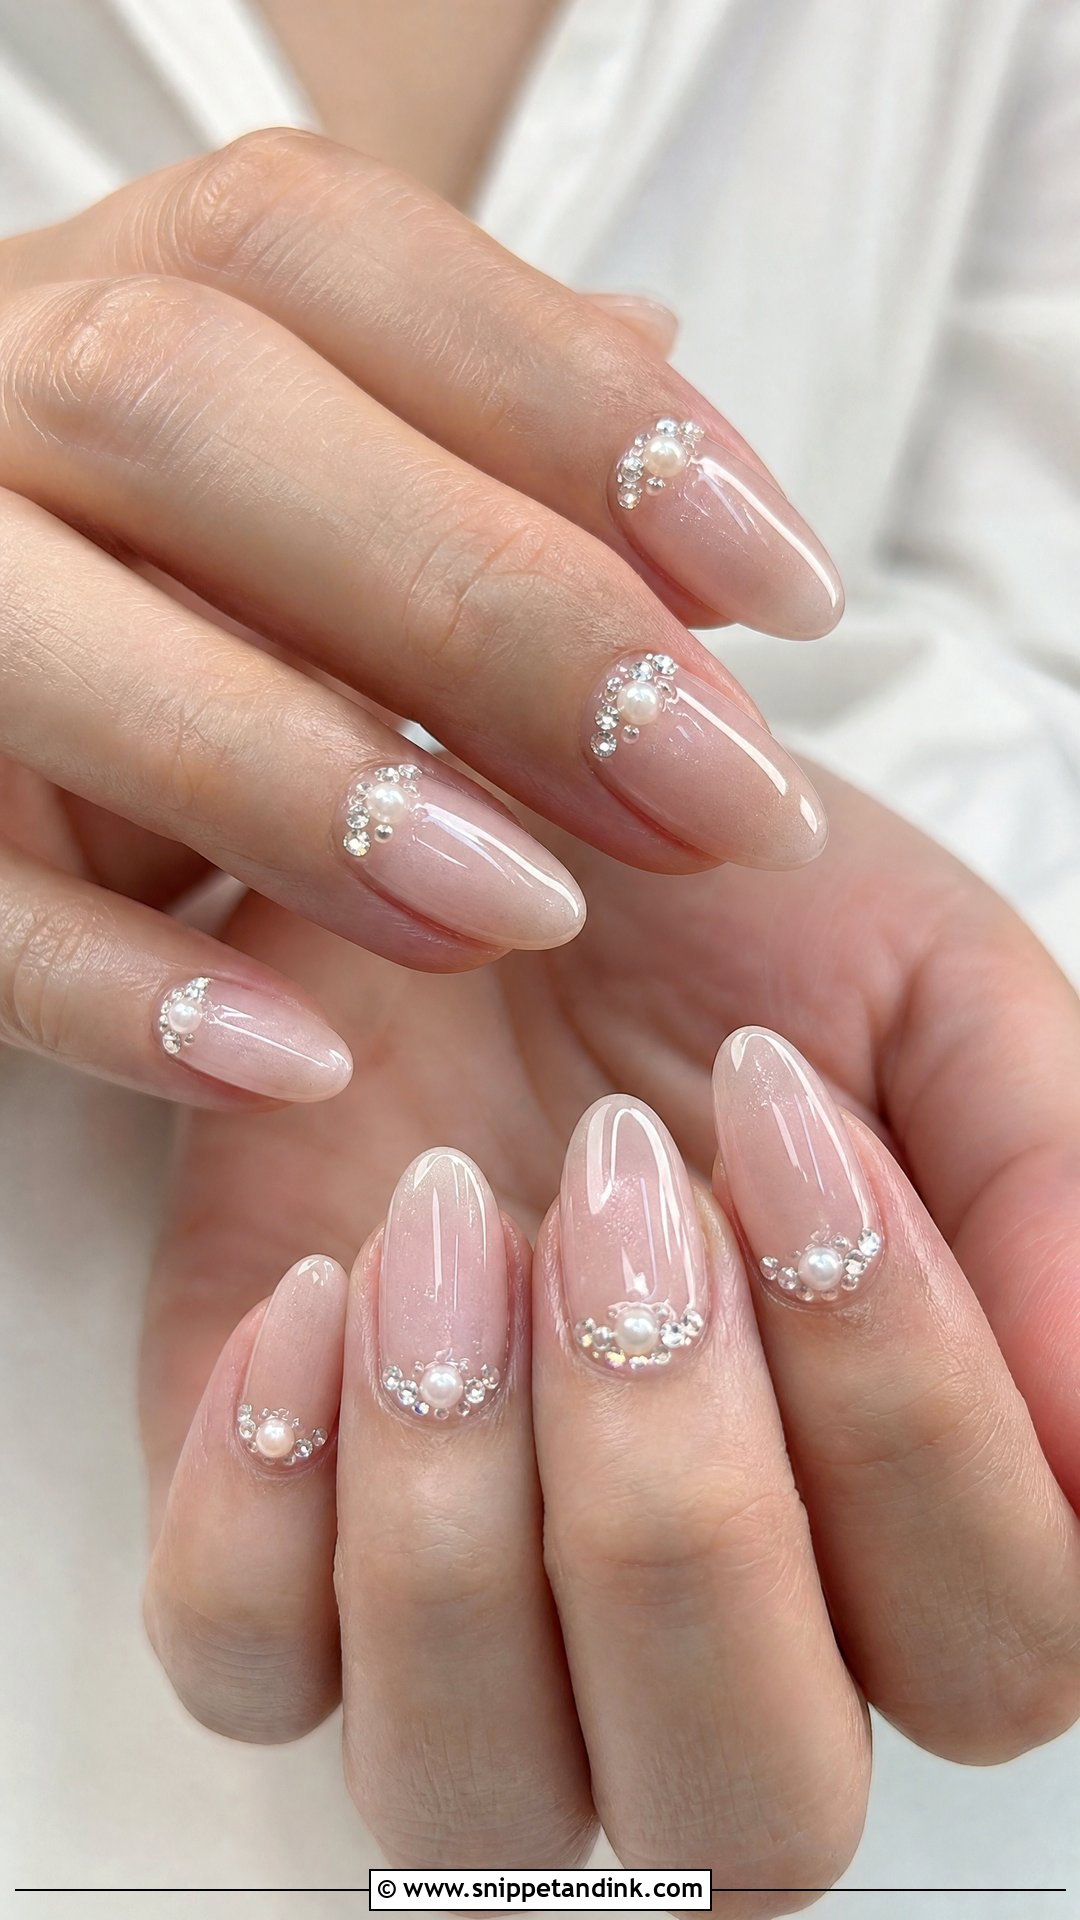
Mixing pearls and rhinestones gives both a creamy texture and real sparkle, so it’s for the bride who wants a little of each. Keep the base simple, sheer pink, nude or milky white, and group the stones and pearls in small clusters on accent nails or line them neatly along the cuticle. Rhinestones have sharp pointed backs and facets, so they need more gel around them than pearls do. Covering every nail tips it into costume territory. Tiny stones look more graceful and echo the ring rather than competing with it.
15. Pearl Glitter Wedding Nails
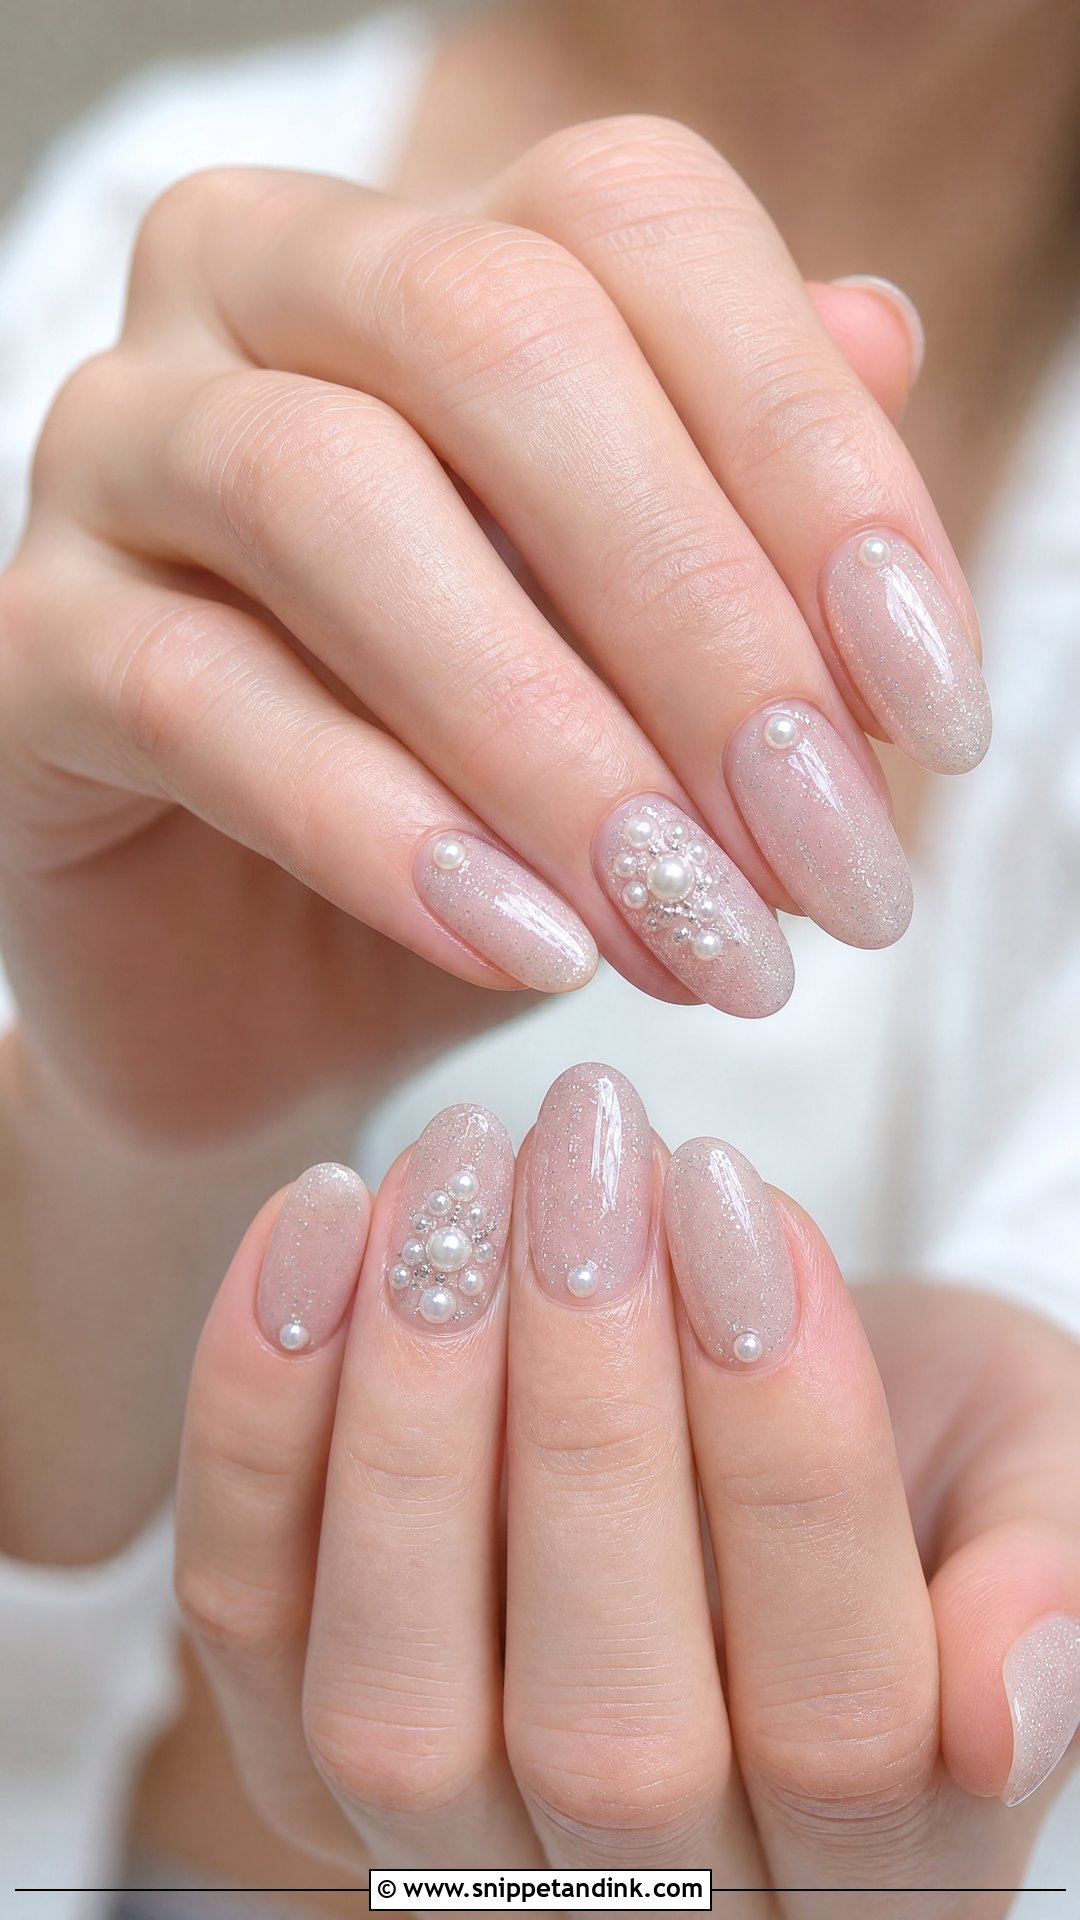
Fine shimmer or a sheer glitter over a nude, blush or milky base gives a soft sparkle, and pearls added at the cuticle, on accent nails or along a French tip keep it bridal. Fine glitter beats chunky every time for weddings: it lies flat under top coat and looks smooth in photos, while chunky pieces can leave the surface bumpy. It suits evening receptions and ballroom settings. Keep the glitter subtle so the pearls are still the main detail.
16. Pearl Cuticle Wedding Nails
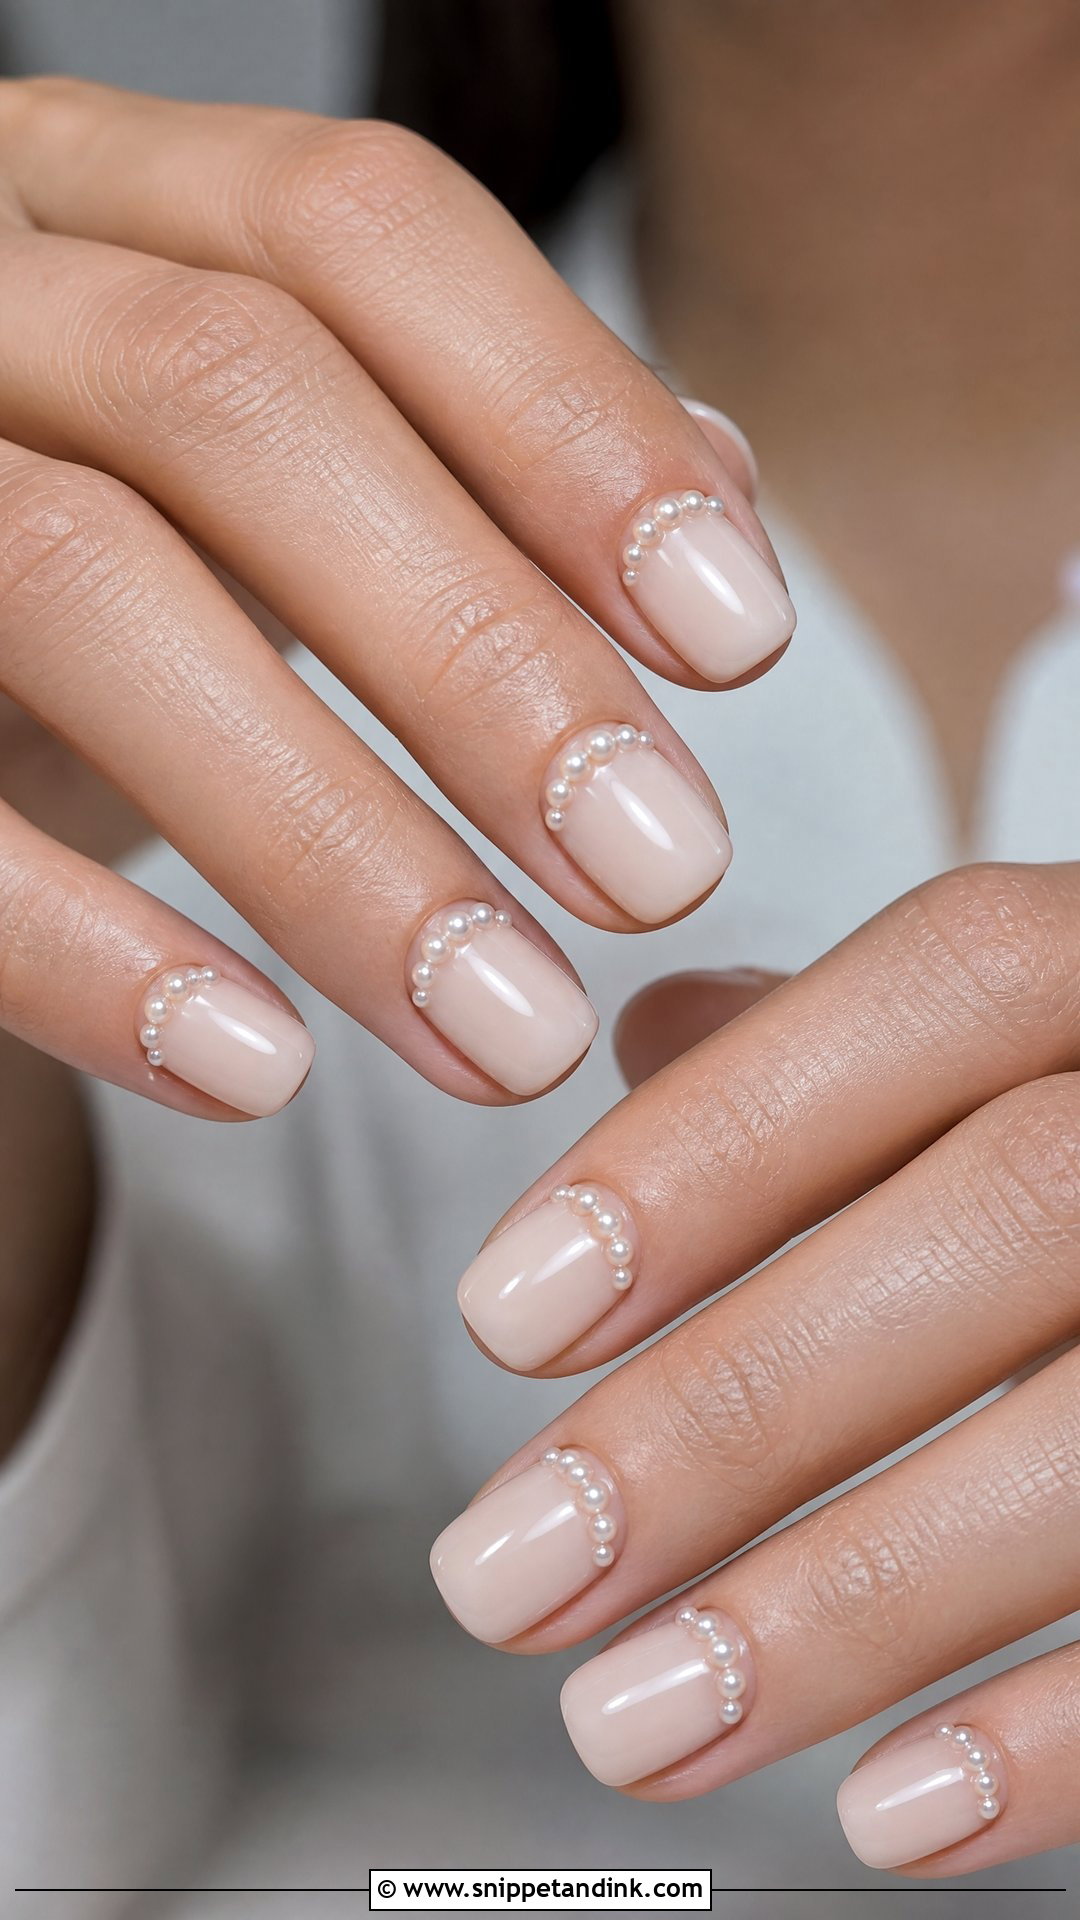
Tiny pearls lined along the cuticle, like a little necklace, are the most wearable placement I know. Most of the nail stays clean, so the set looks fresh, and the pearls sit in the part of the nail that bends least. It works over sheer pink, nude, white, milky white or pearl chrome, and on short, oval, almond and square shapes. Micro pearls are the comfortable choice here. The only drawback is grow-out: after about two weeks a gap appears behind them, so time it close to the wedding.
17. Pearl Swirl Wedding Nails
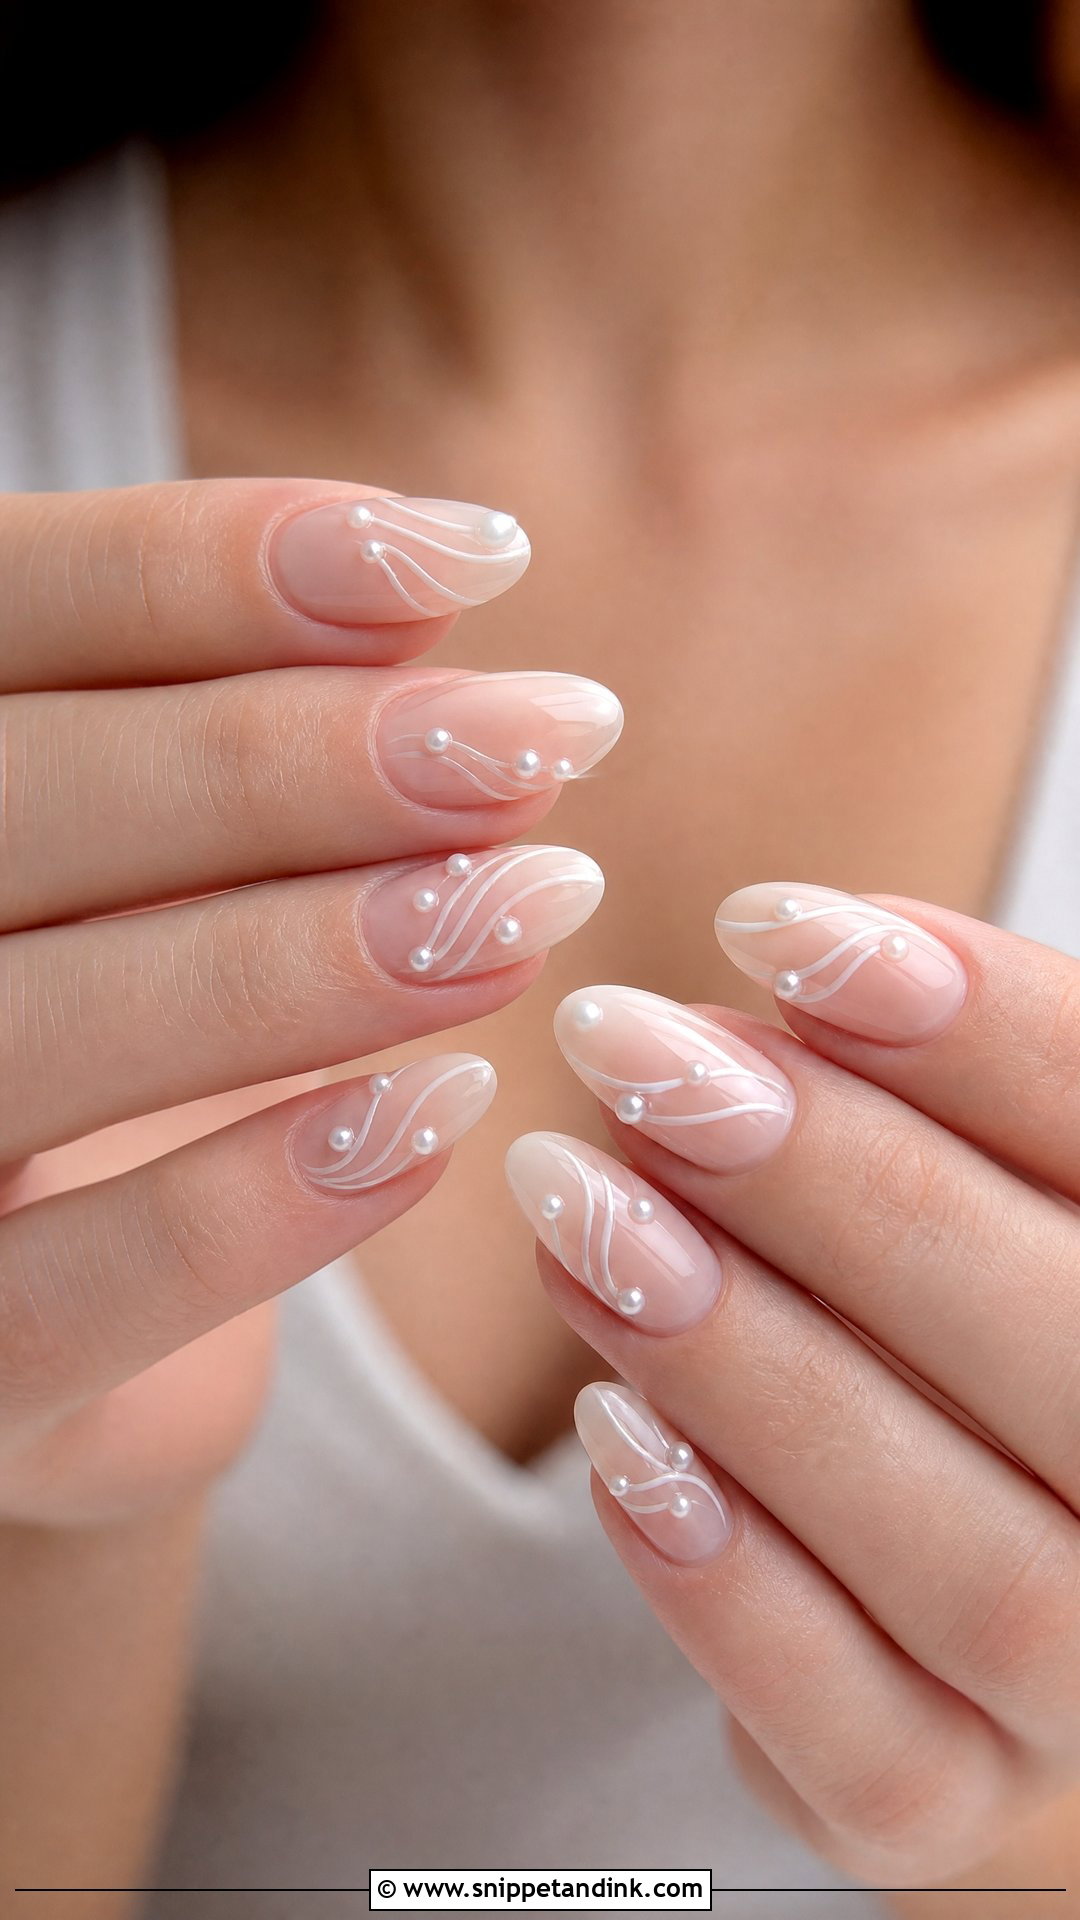
Thin white or pearl-colored swirls over a sheer nude, milky white or pale pink base give movement, and a few micro pearls along the curves add dimension. I let the lines flow off the edge of the nail instead of closing them, which keeps the design airy. Almond, coffin and oval nails give the swirls room. For a subtler version, put swirls on two accent nails and keep the rest glossy. It’s a nice option for brides who like the idea of nail art but not literal motifs.
18. Pearl Marble Wedding Nails
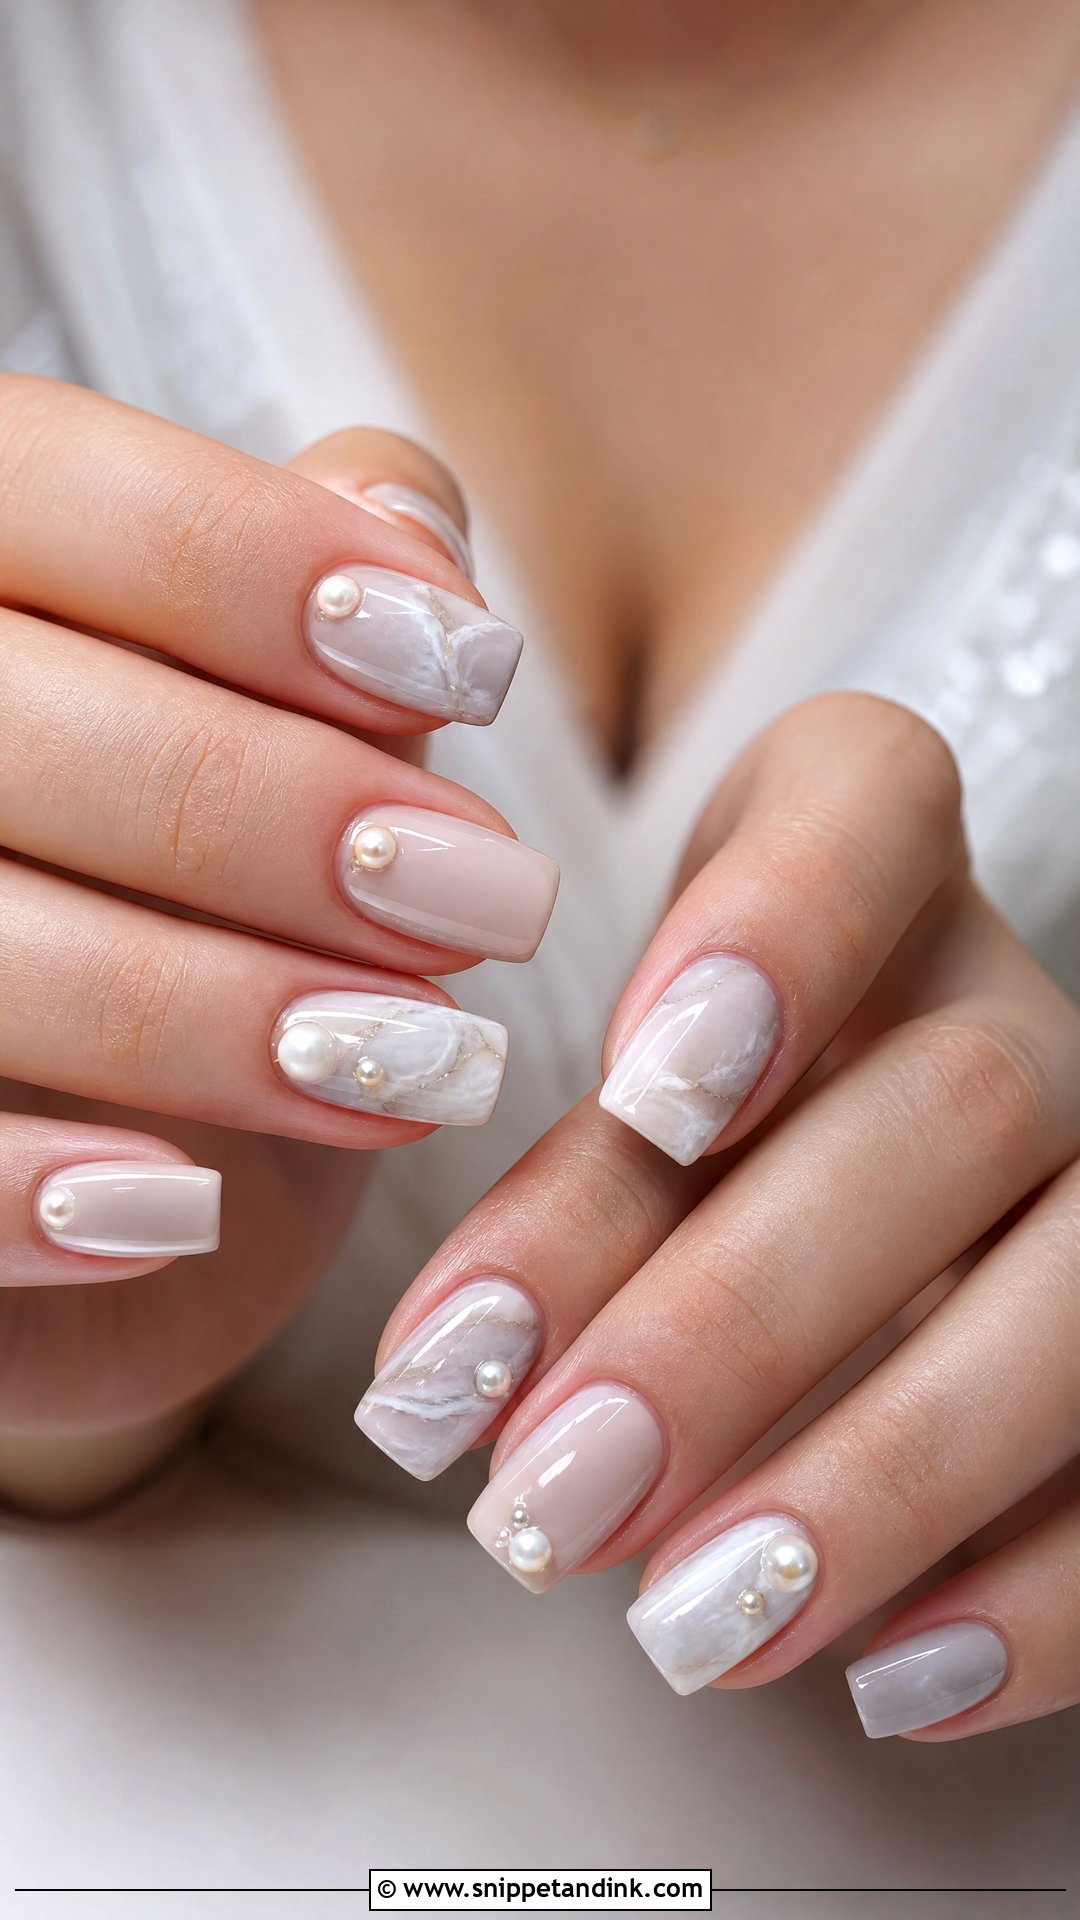
Marble on a wedding set should be pale and cloudy, not veined and dark. I blend white, nude and a touch of pale grey with a thin brush and a bit of alcohol to diffuse the edges, then add pearls near the cuticle or on accent nails. It has a cool, stone-like feel that suits silver jewelry, white dresses and modern venues. Almond or square both work. Glossy top coat makes the marble look polished, while the pearls bring texture.
19. Pearl Blush Wedding Nails
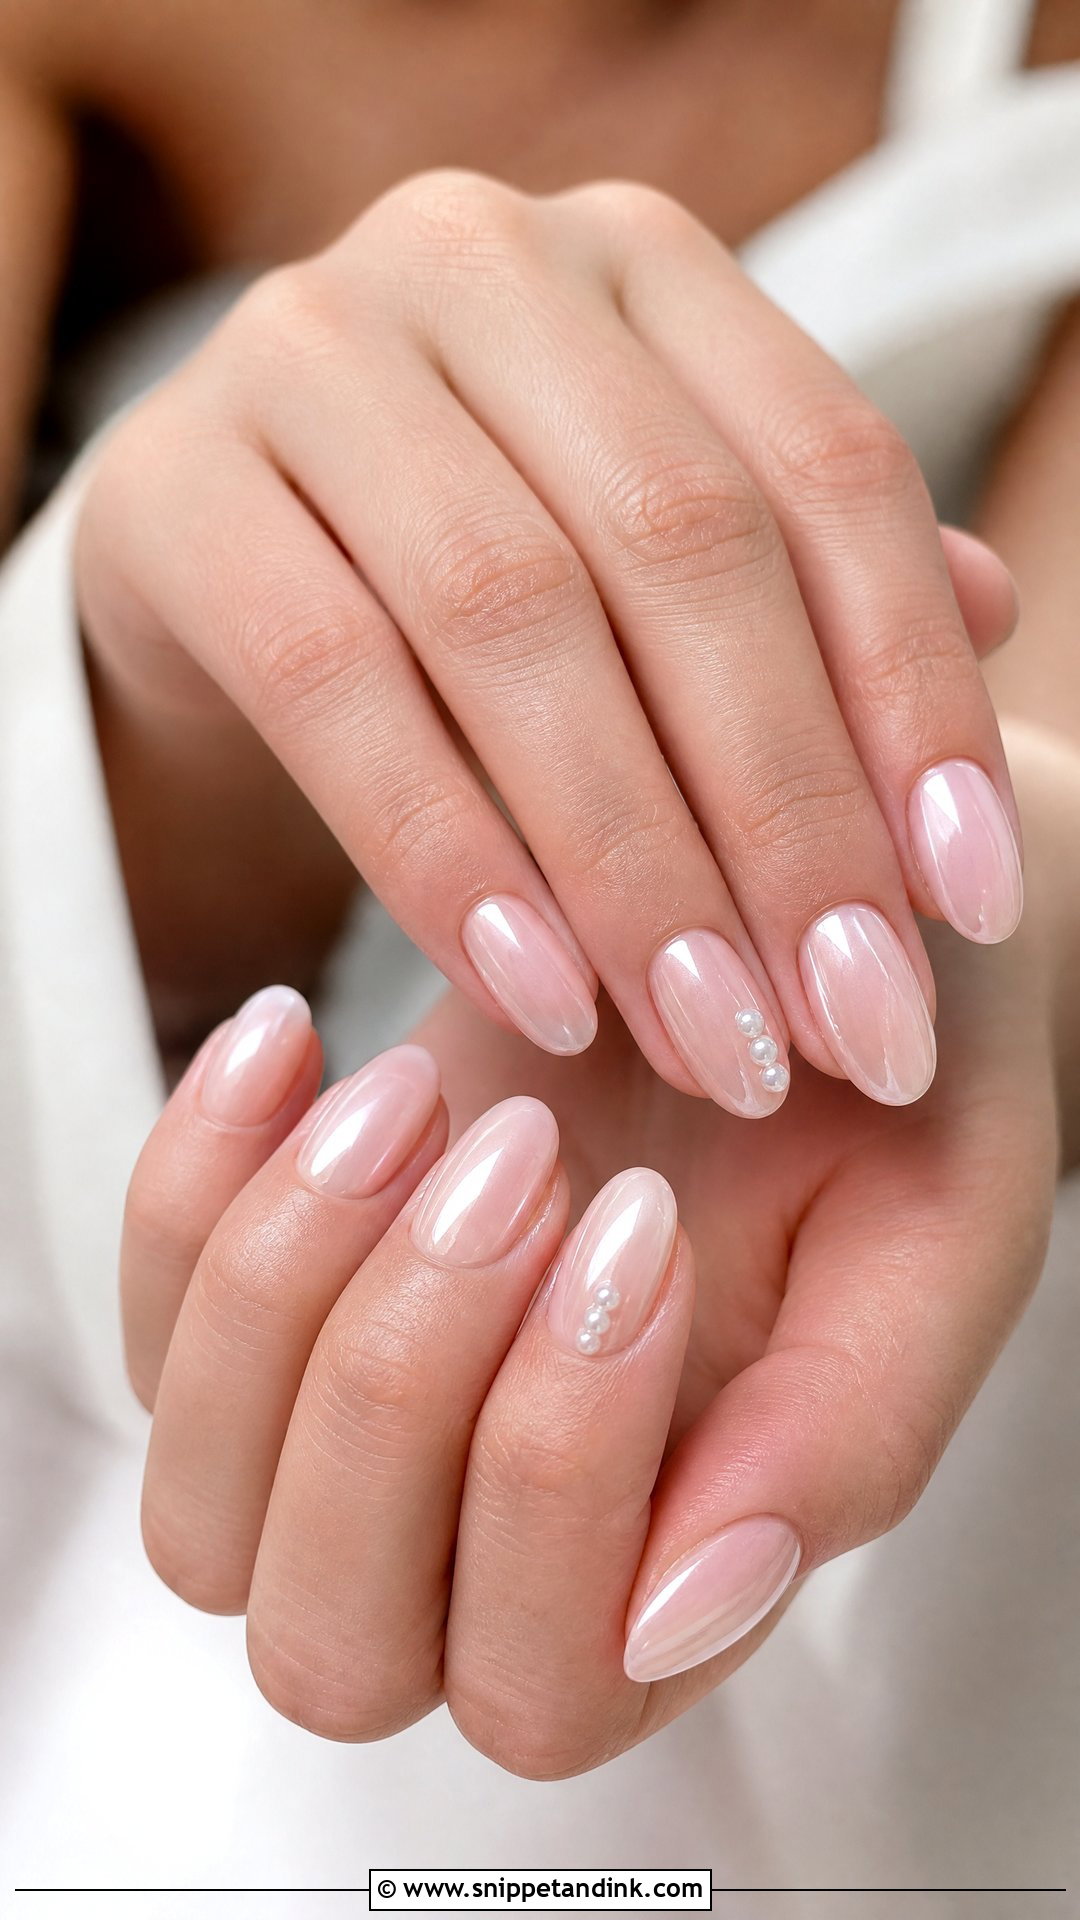
Blush flatters a wide range of skin tones, and here it can be sheer, creamy or slightly jelly. A jelly blush has a translucent, glassy look that suits pearls particularly well, since both have depth. Pearls go on sparingly. It suits a bride after a little color who still wants a classic bridal hand, and it ties in with rosy cheeks and pink lips. Finish with gloss or a whisper of pearl chrome. Oval and almond make the blush look graceful.
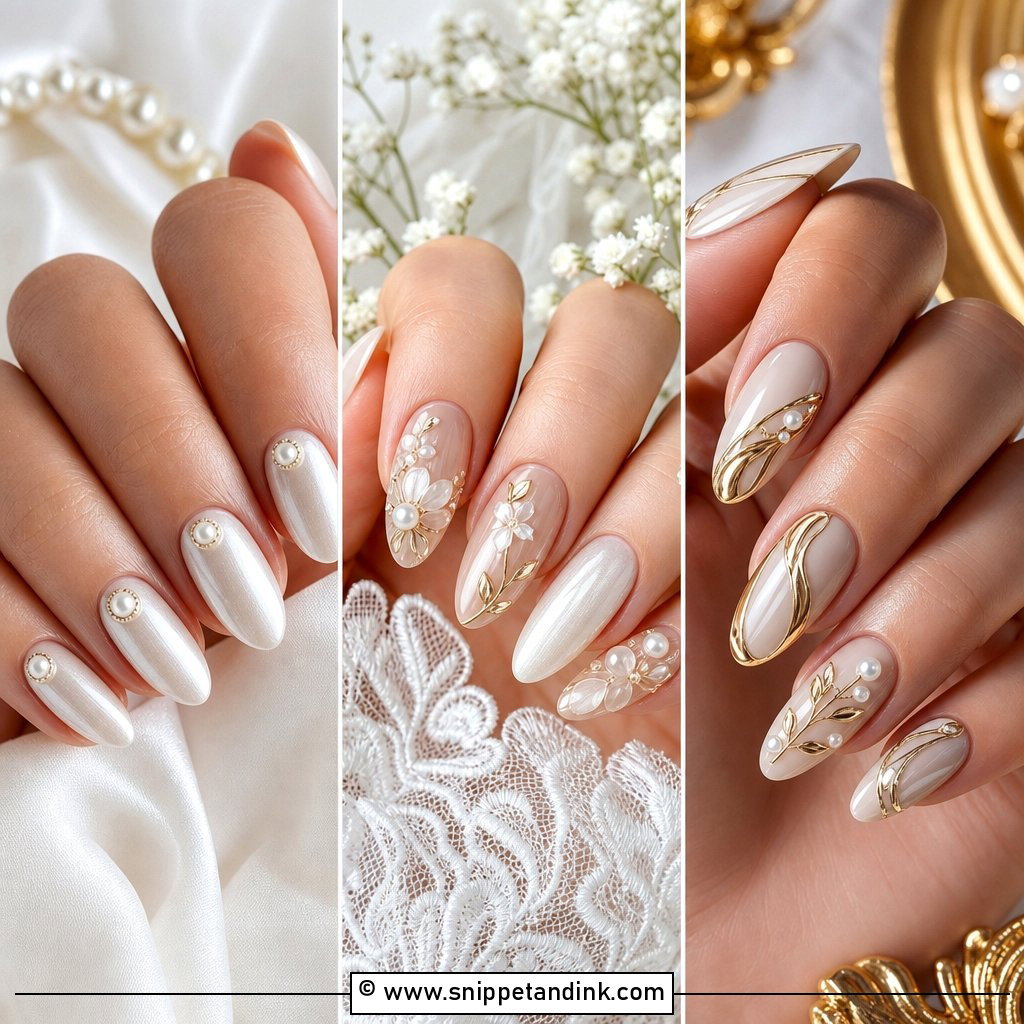
20. Pearl Gold Wedding Nails
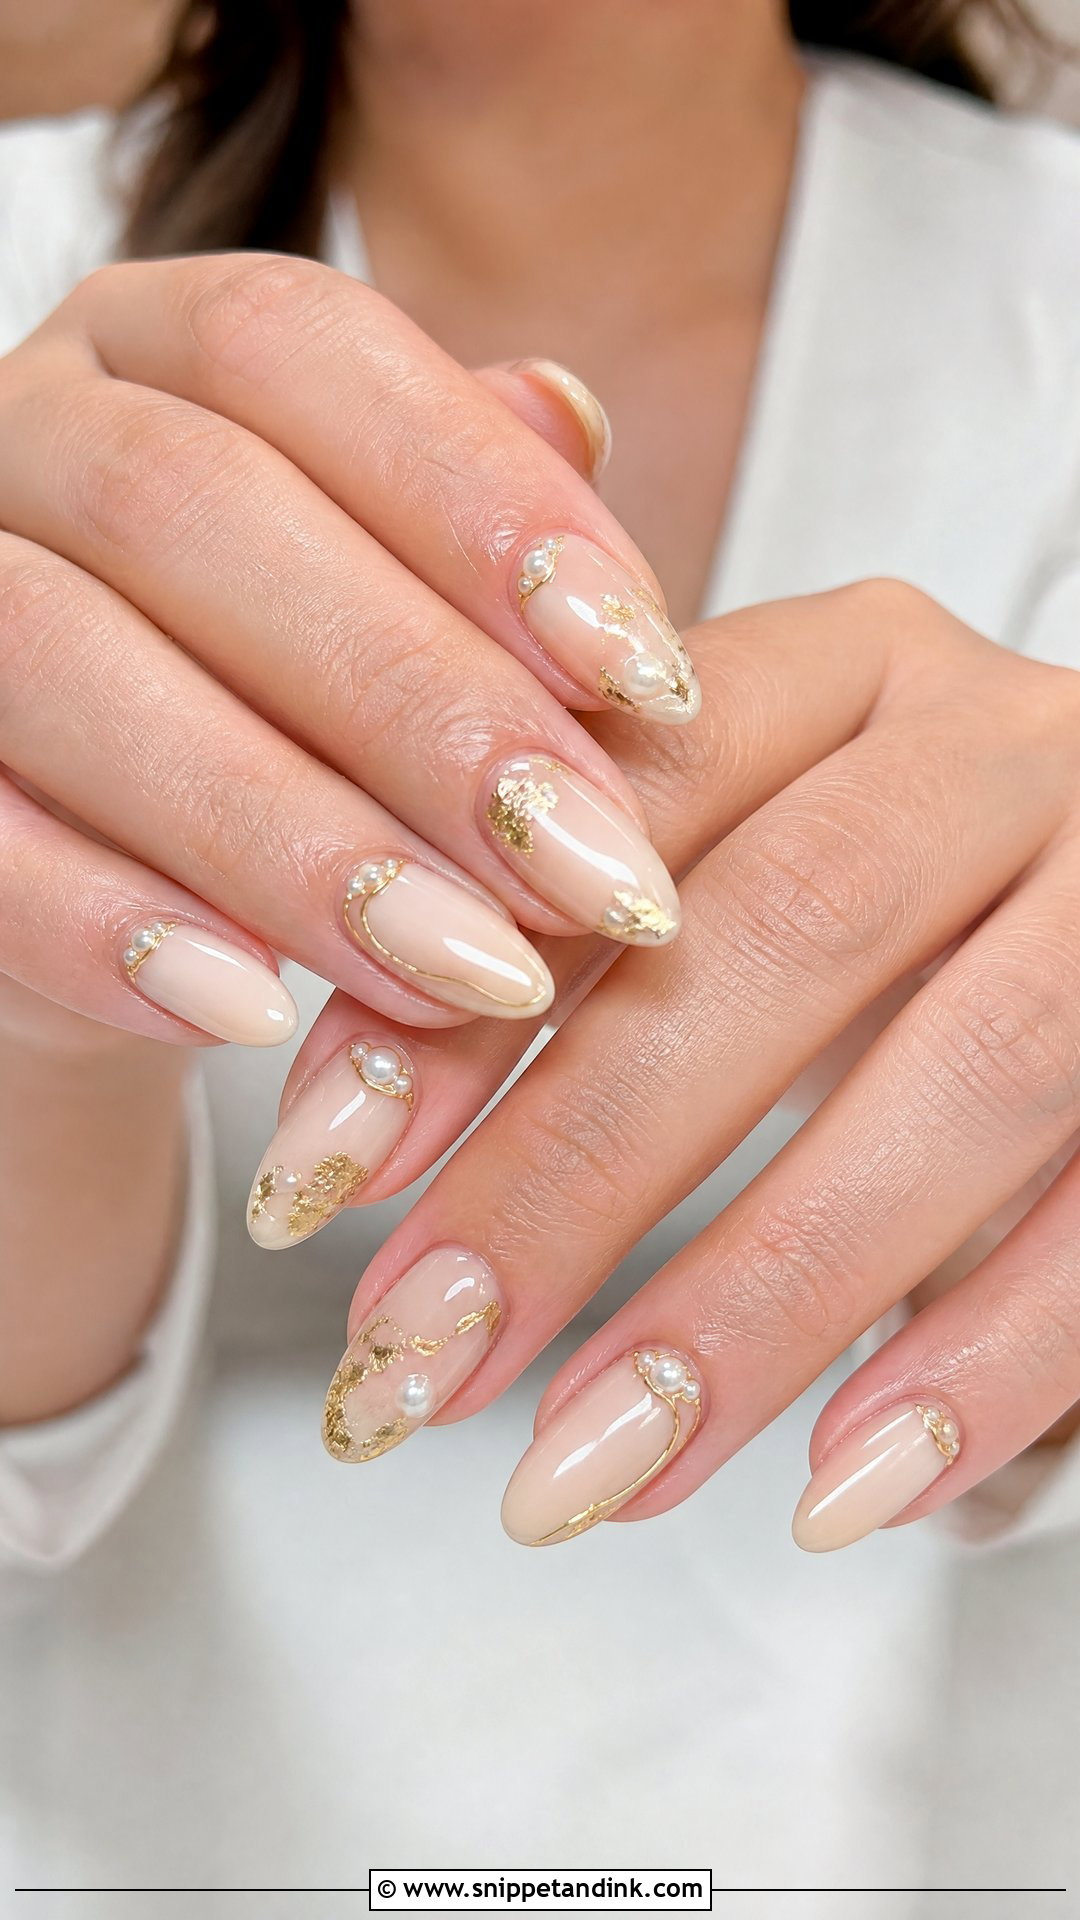
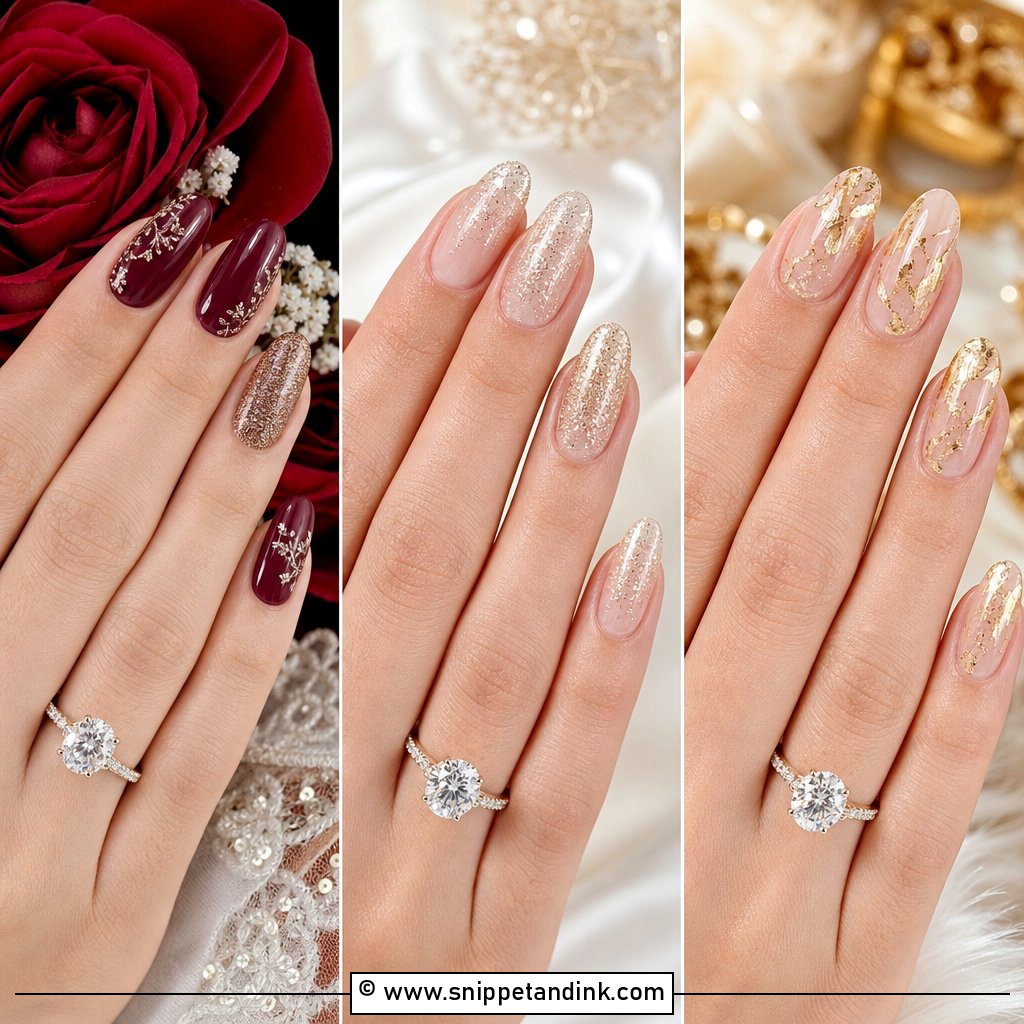
Pearl gold wedding nails borrow from jewelry: gold foil, fine gold lines or tiny metallic studs paired with pearls over a nude, milky white, sheer pink or soft beige base. With a yellow gold ring it looks very tied together. Balance is everything. Thin gold lines read like a setting around the pearls; thick metallic blocks drown them. Almond, oval and coffin all work, and a glossy top coat makes the gold glow and protects the foil edges from lifting.
21. Pearl Silver Wedding Nails
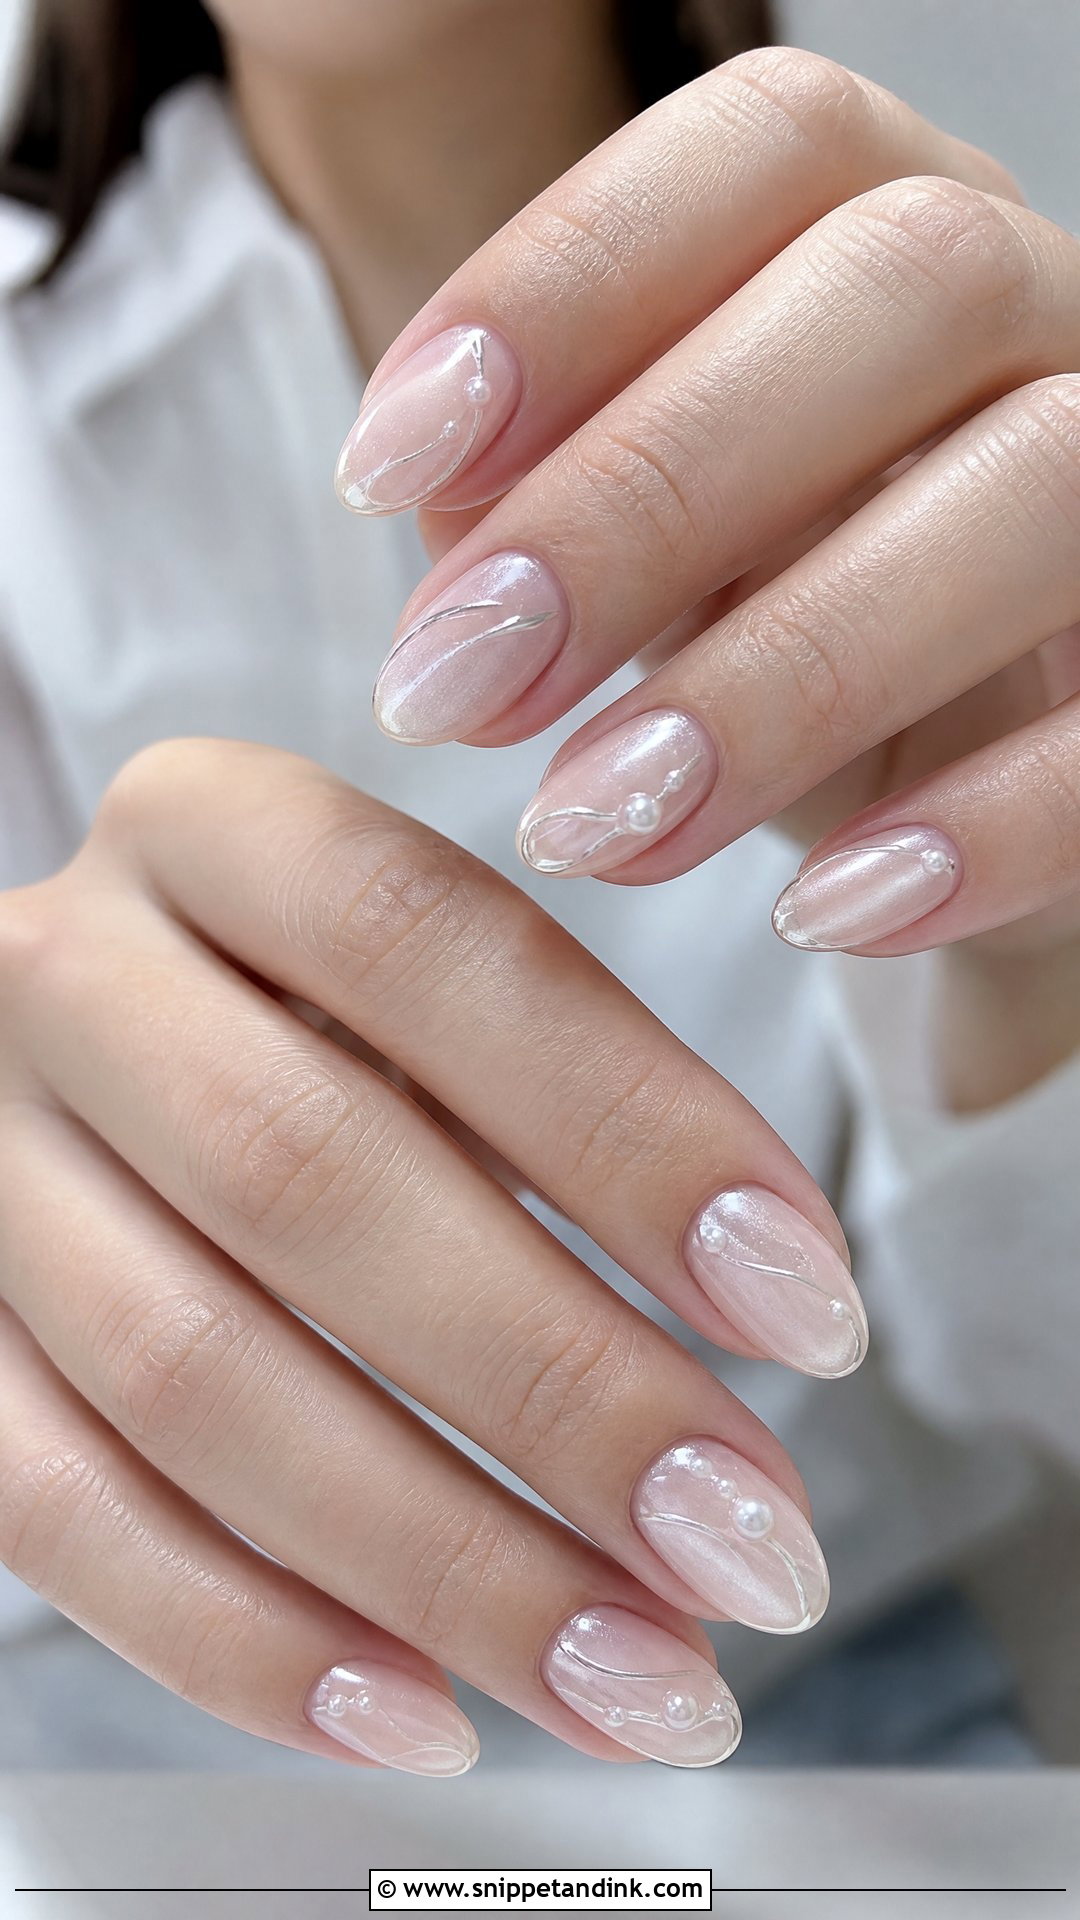
Silver and pearls look crisp together and suit platinum, white gold and silver jewelry. On a sheer white, pale pink or cool nude base, I add tiny pearls with silver foil or fine silver lines, or finish with a soft pearl chrome. Square, almond and oval nails all carry it. Placing silver and pearl accents on just one or two nails per hand keeps it polished rather than flashy. If your skin is very warm, I’d test the cool base against your hand first; it can look slightly grey.
22. Pearl 3D Wedding Nails
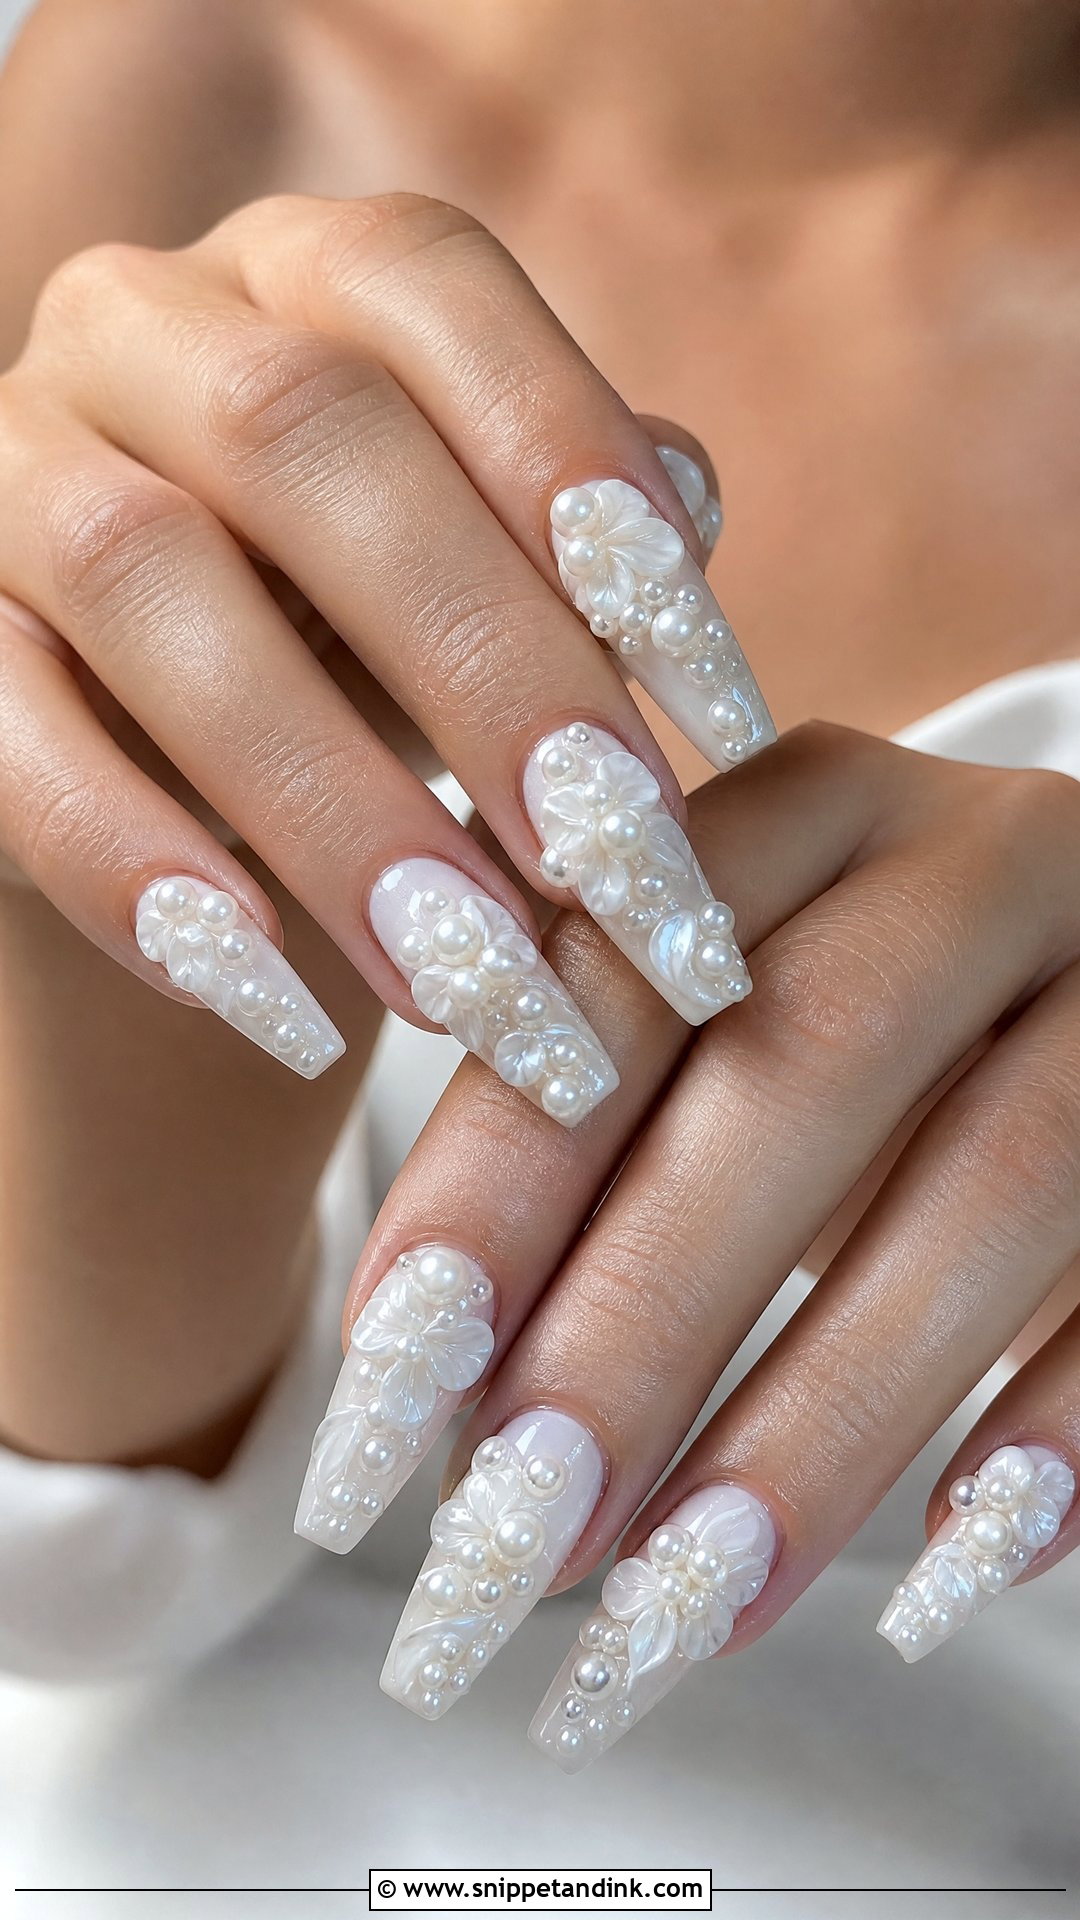
This is the statement end of pearl nails: raised pearls, gel flowers, shell-like pieces and sculpted details for real dimension. I keep the colors soft, white, nude, blush or milky pink, and reserve the strongest 3D work for accent nails. 3D work sits high, so it catches hair, veils and knitwear more than flat art. Medium almond or coffin give enough surface. Each piece has to be fully encased at the base in gel, or it will pop off the first time you bump it on a car door.
23. Pearl Bow Wedding Nails
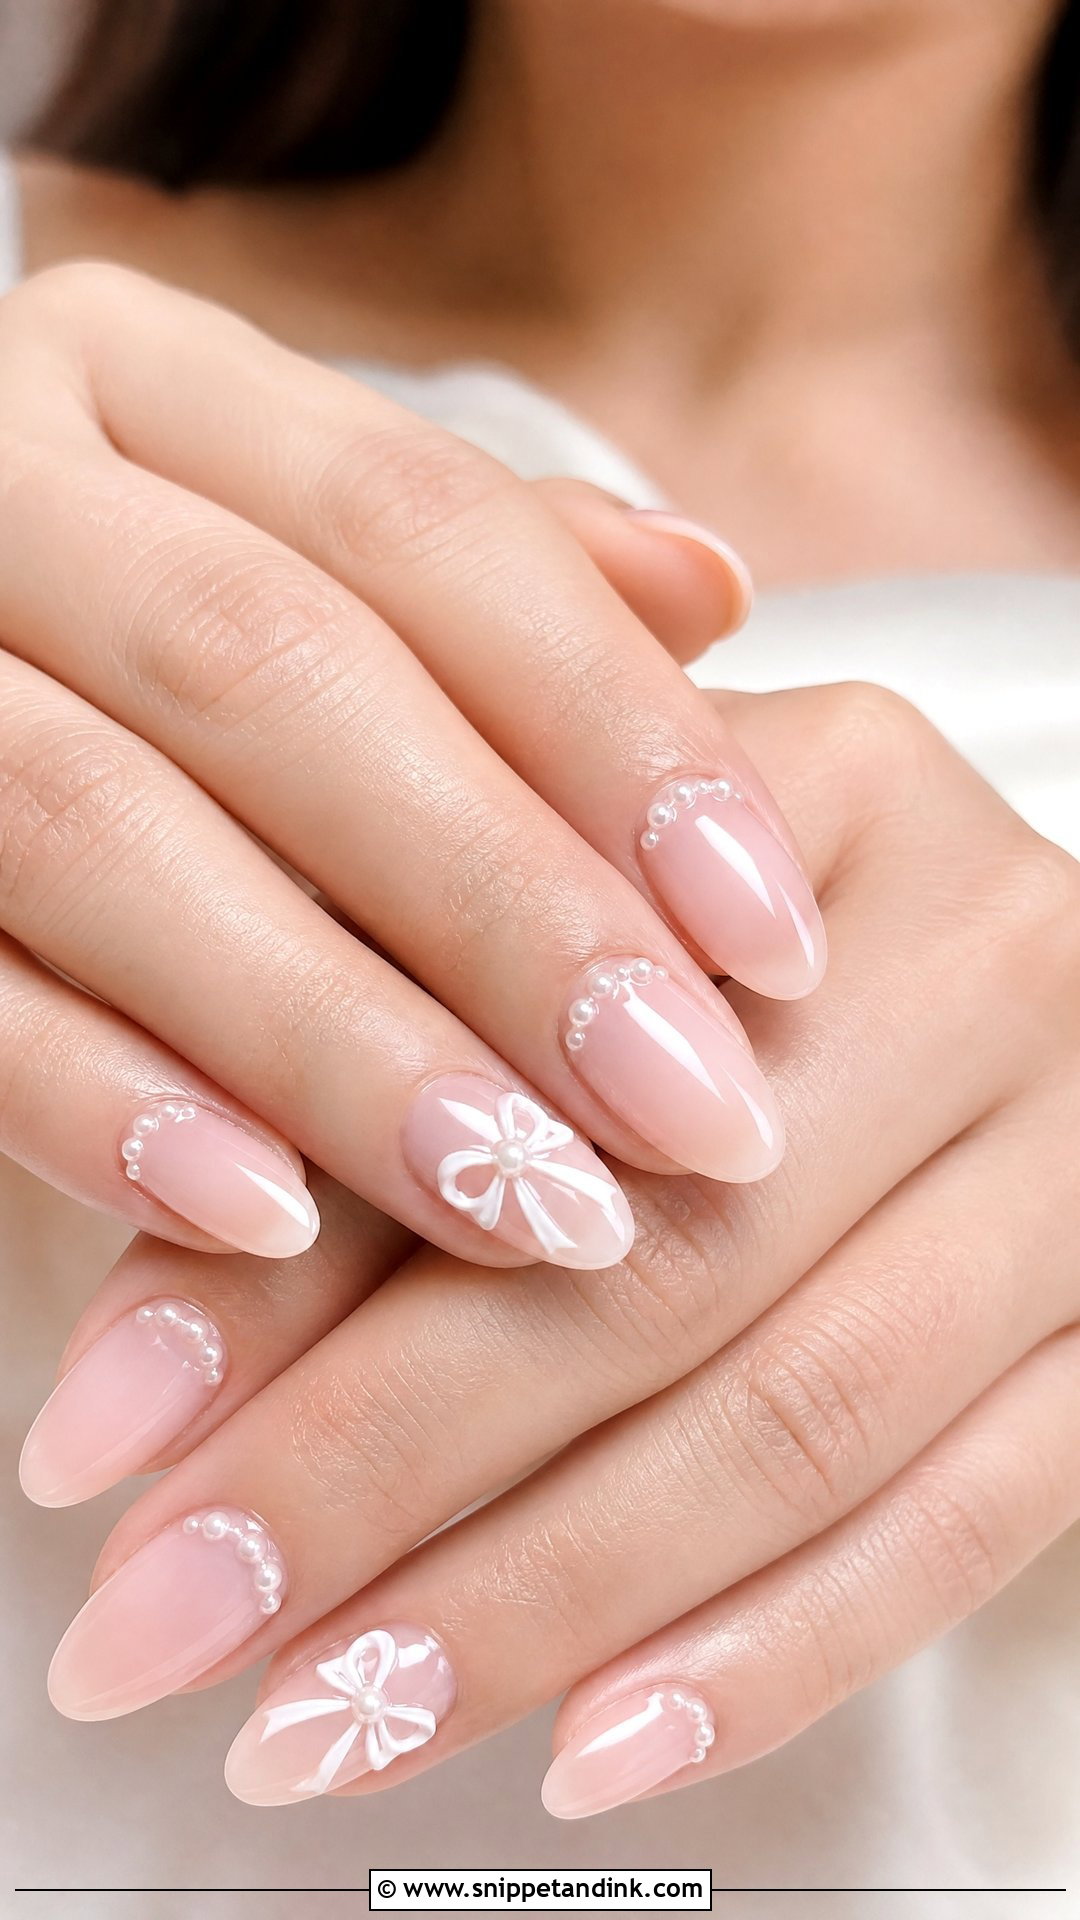
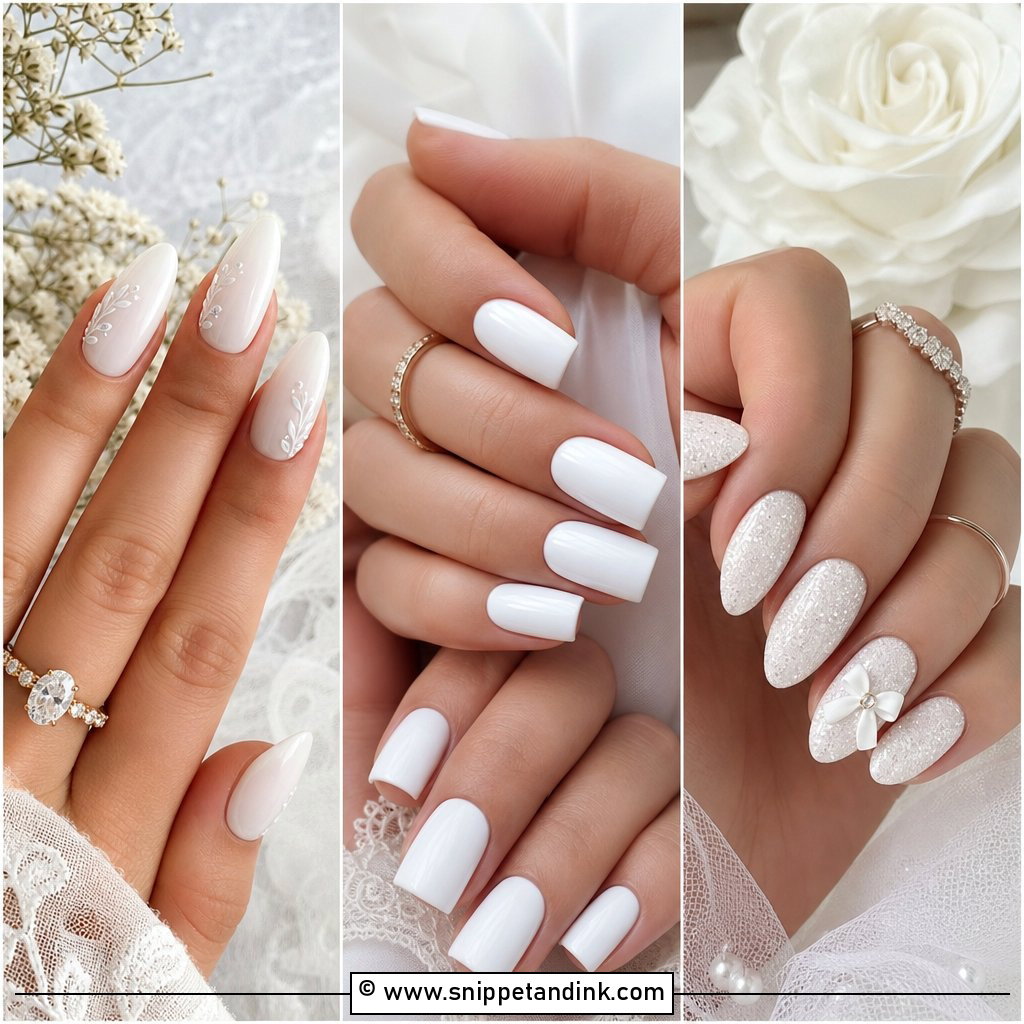
Tiny white bows, painted or sculpted, on a nude or milky base give a sweet, playful touch, and a pearl can sit at each bow’s knot or line the cuticle. I’d keep the bows small and limited to accent nails; large bows make the set look more costume than bridal. Short oval keeps it subtle, while medium almond dresses it up. Painted bows are flatter and more practical; sculpted ones look cuter but sit higher. A glossy top coat finishes it.
24. Pearl Cat Eye Wedding Nails
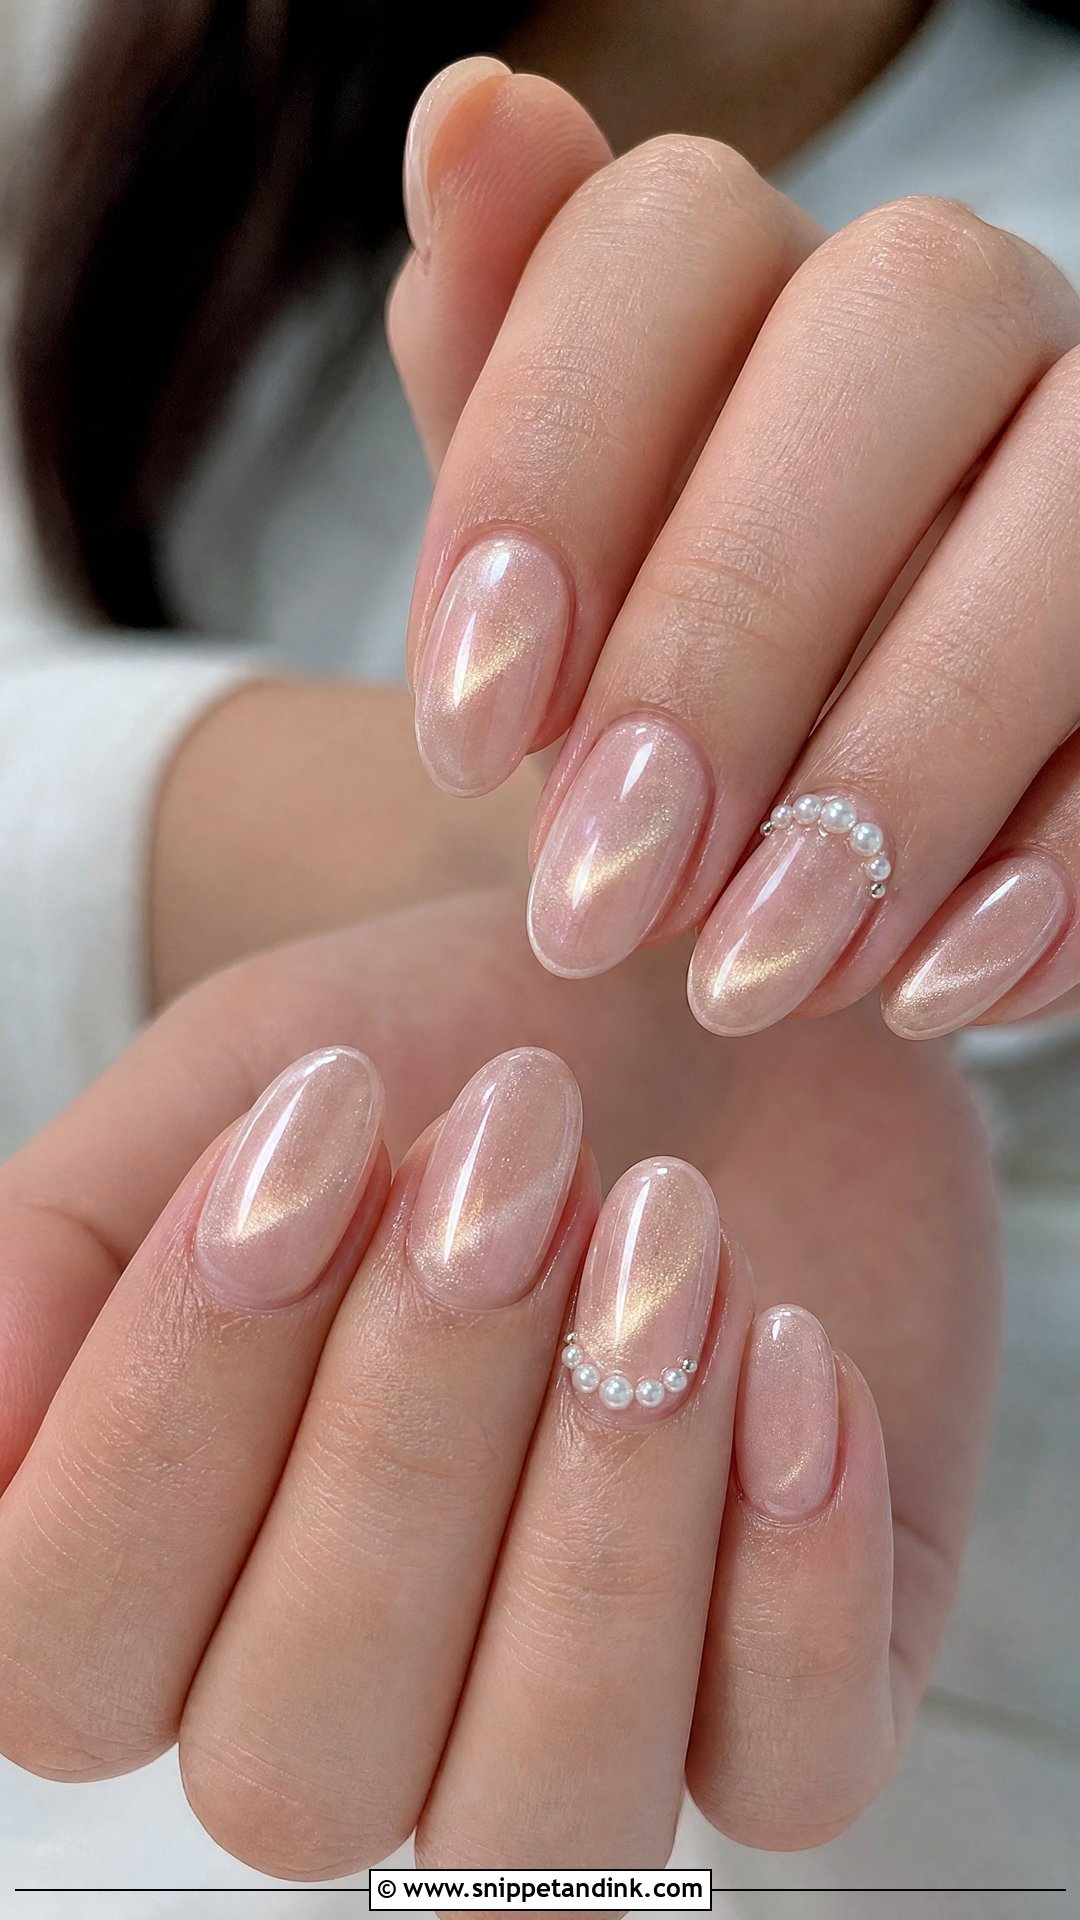
Cat eye nails use magnetic polish: a magnet pulls the metallic particles into a light line that shifts as your hands move, while pearls keep it bridal. For weddings, I’d stay with champagne, pale pink, ivory or soft beige rather than dark shades. Pearls go on after the magnetic layer is cured, either at the cuticle or on one accent nail per hand, so they don’t interfere with the effect. Almond and oval show the glow most flatteringly. It’s a good choice if classic French or milky nails feel too expected.
25. Pearl Minimal Wedding Nails
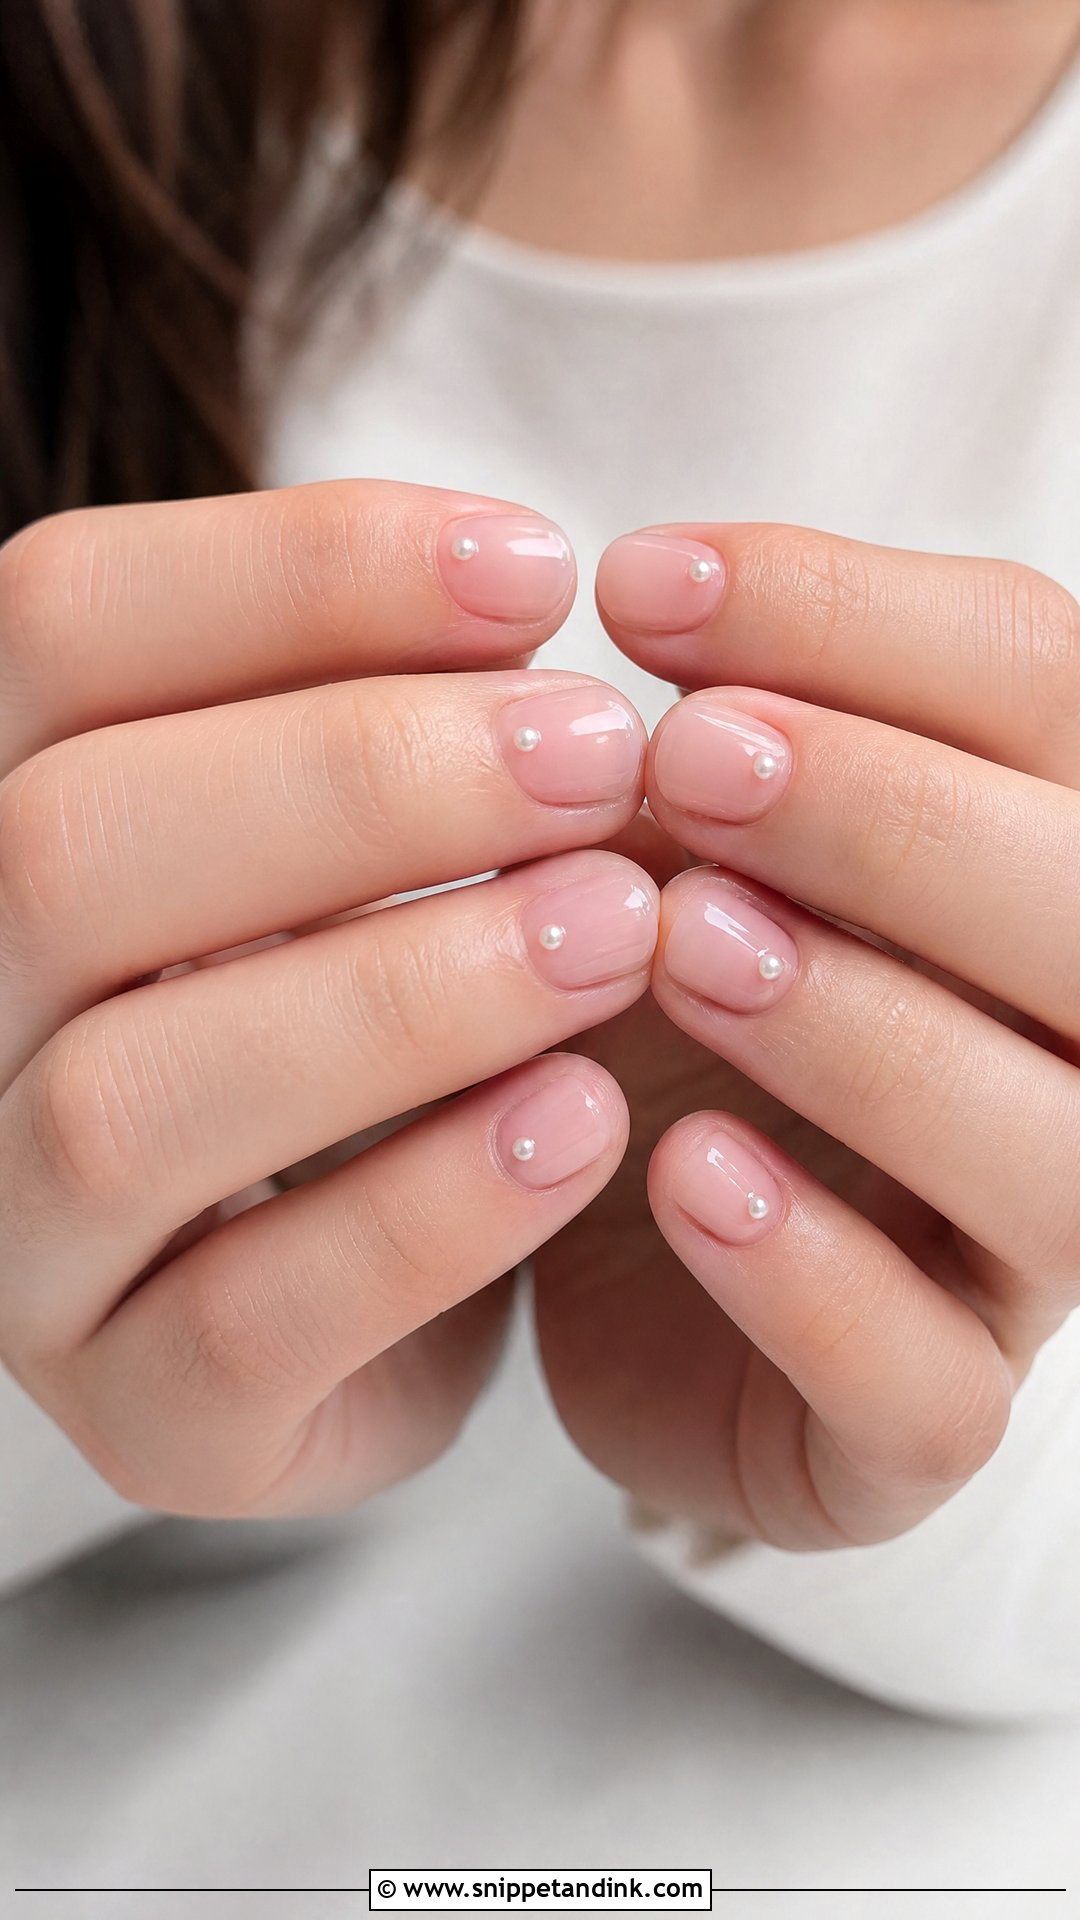
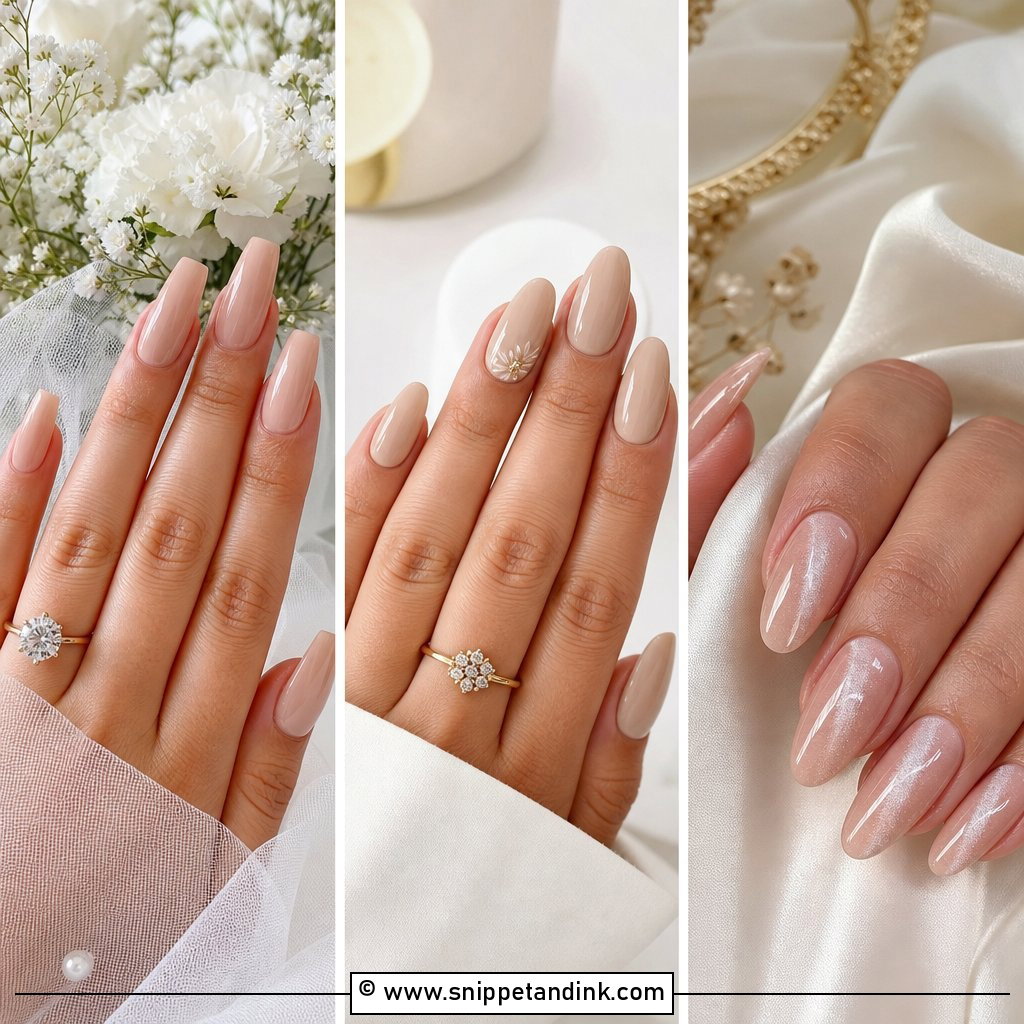
One tiny pearl per nail, near the cuticle or slightly off center, on a clear, sheer pink, nude or milky white base. That’s all, and it’s often the set brides are happiest with by the end of the week. There are fewer raised details to catch, so it’s the most practical option here, and it works at every length. With so little decoration, the basics show: clean cuticles, even shaping and a high-gloss finish are what make the single pearl look deliberate.
Getting Pearls Off Without Peeling Your Nails
The worst damage I see from pearl sets happens after the wedding, when someone pries a loose pearl off with a fingernail and takes a layer of natural nail with it. If a pearl lifts during the honeymoon, leave the gel underneath alone and book a removal, or at least wait until you can soak it off properly.
At removal I file down the top coat and most of the gel around each pearl first, so the acetone can get underneath. Then I soak, and the pearls and softened gel lift away with a gentle push. Builder gel takes longer to come off and is usually filed down rather than soaked. Afterward, a few days of cuticle oil and a break from embellishments help the nail recover.
Making them last until then
Wear gloves for washing up and cleaning, avoid opening cans or peeling labels with your nails, and be a little careful pulling on tights or zipping a dress. If you’re heading somewhere with lots of swimming, a full-coverage gel design will last longer than raised pearls, which are more exposed to knocks.
Pearls Look Best When the Base Stays Quiet
Pearl nails can be classic, modern, romantic or highly detailed, depending on placement and how many you use. For something timeless, pearl French tips, milky white pearls or nude pearl accents are safe. For more glow, pearl chrome, cat eye, glitter, or gold details lift the set. For texture, 3D pearls, lace art, flowers and bows add dimension. Match the design to your dress, your ring, your nail length and how much you’ll use your hands that week. Small, well-secured pearls on a soft base are what I’d recommend to most brides.
You'll Like These Ideas:


Leave a Reply