
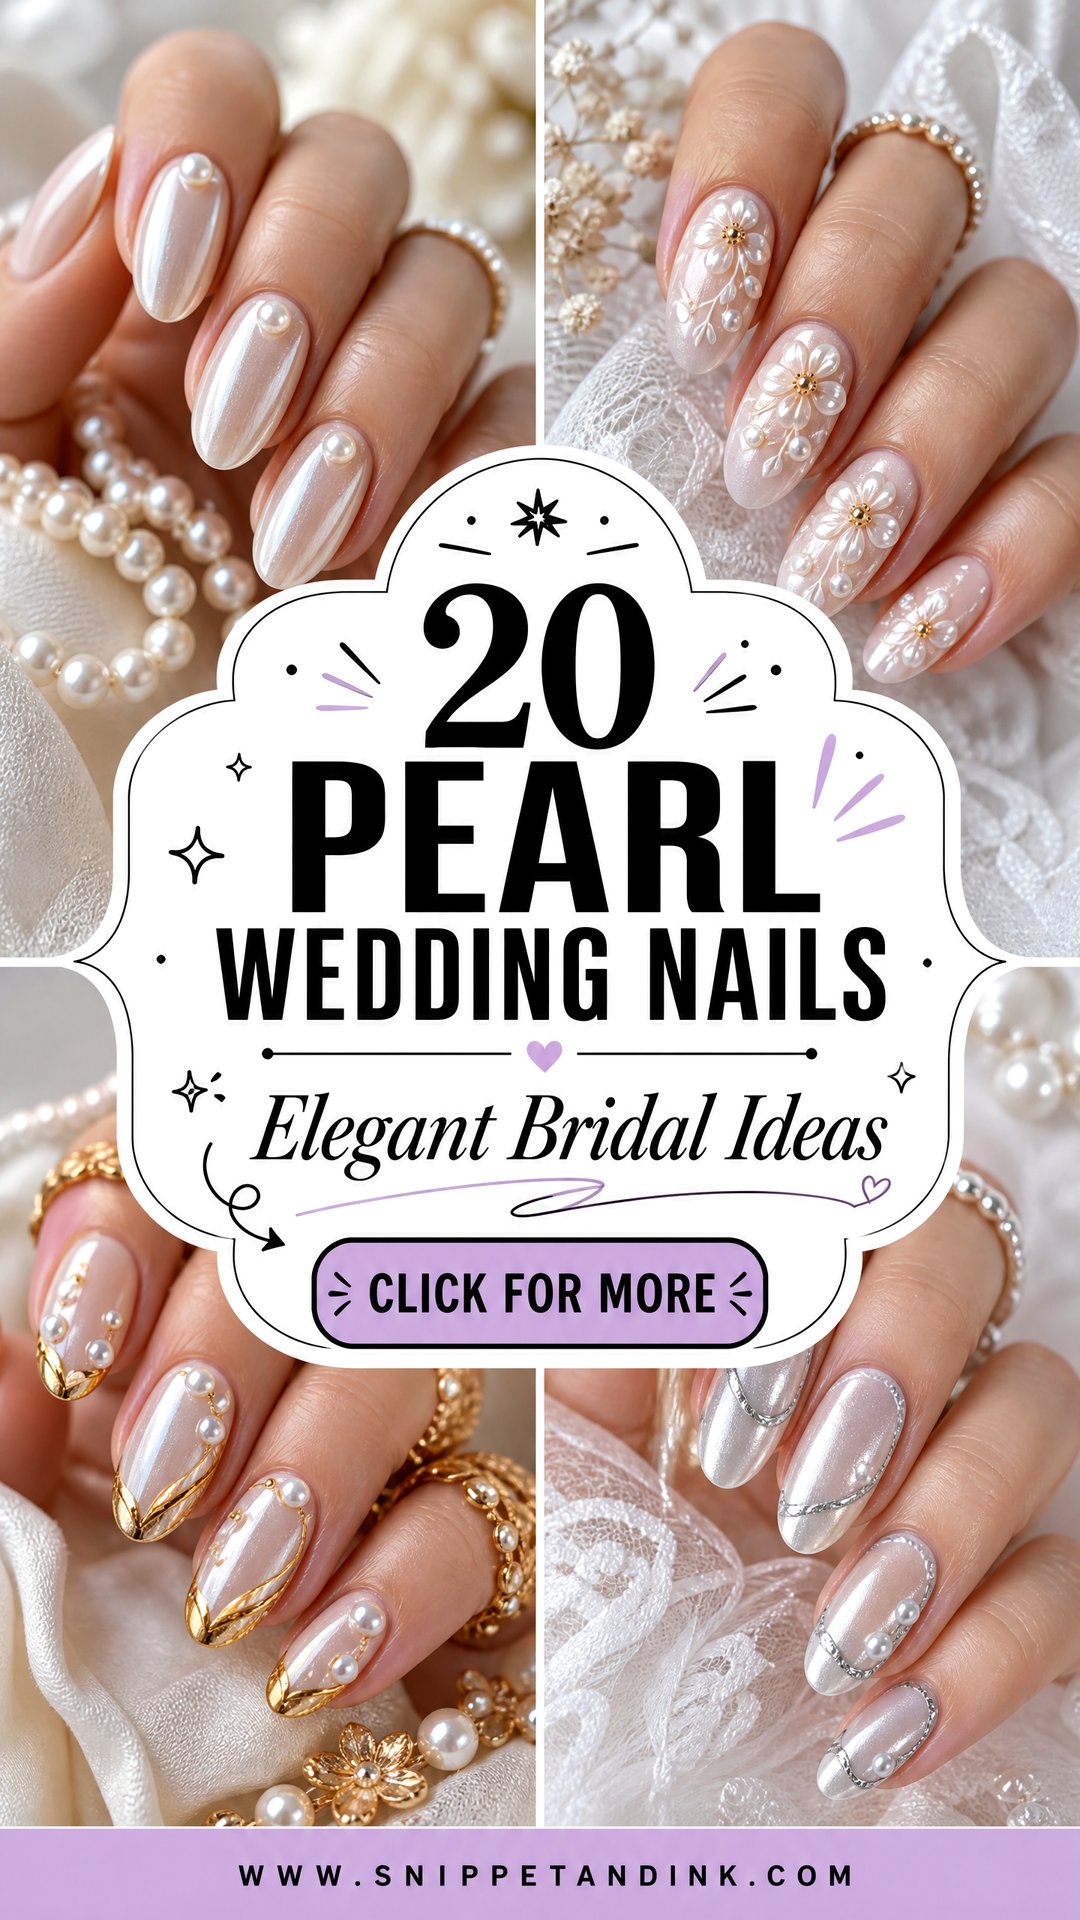
Pearls are the one nail detail I can put on almost any bride without worrying it will fight her dress. They sit happily on sheer pink, milky white, nude, chrome, French tips and lace art, and they read as quiet in person but catch light properly in a ring shot. What changes the result is scale and placement: three tiny pearls at a cuticle look like jewelry, while a full pearl chrome coat gives a soft glow with nothing raised at all. These pearl bridal nail designs run from short natural nails to longer almond and square sets, and I’ve added notes on how each one actually wears.
How a Pearl Actually Stays on a Gel Nail
Almost every pearl that falls off does so because it was stuck on with top coat alone. Top coat is thin; it holds the pearl at one tiny contact point and lets everything around it lift. When I set pearls, I use flat-backed ones, put a small bead of thick builder or adhesive gel where the pearl will go, press the pearl in so the gel rises slightly around its edge, and cure it. Then I run top coat around the base, not over the top, so the pearl keeps its sheen.
Size matters as much as the glue. For bridal work I mostly use pearls between 1.5mm and 3mm. Bigger than that and they catch on hair, lace and jumper sleeves, and they look clumsy on short nails.
Real pearls or nail pearls?
Nail pearls are usually resin or acrylic with a pearly coating. They’re light, flat-backed and cheap to replace. Genuine pearls are heavier and rounded, which makes them harder to anchor and more likely to pop off, so I don’t recommend them on nails, however nice the idea sounds.
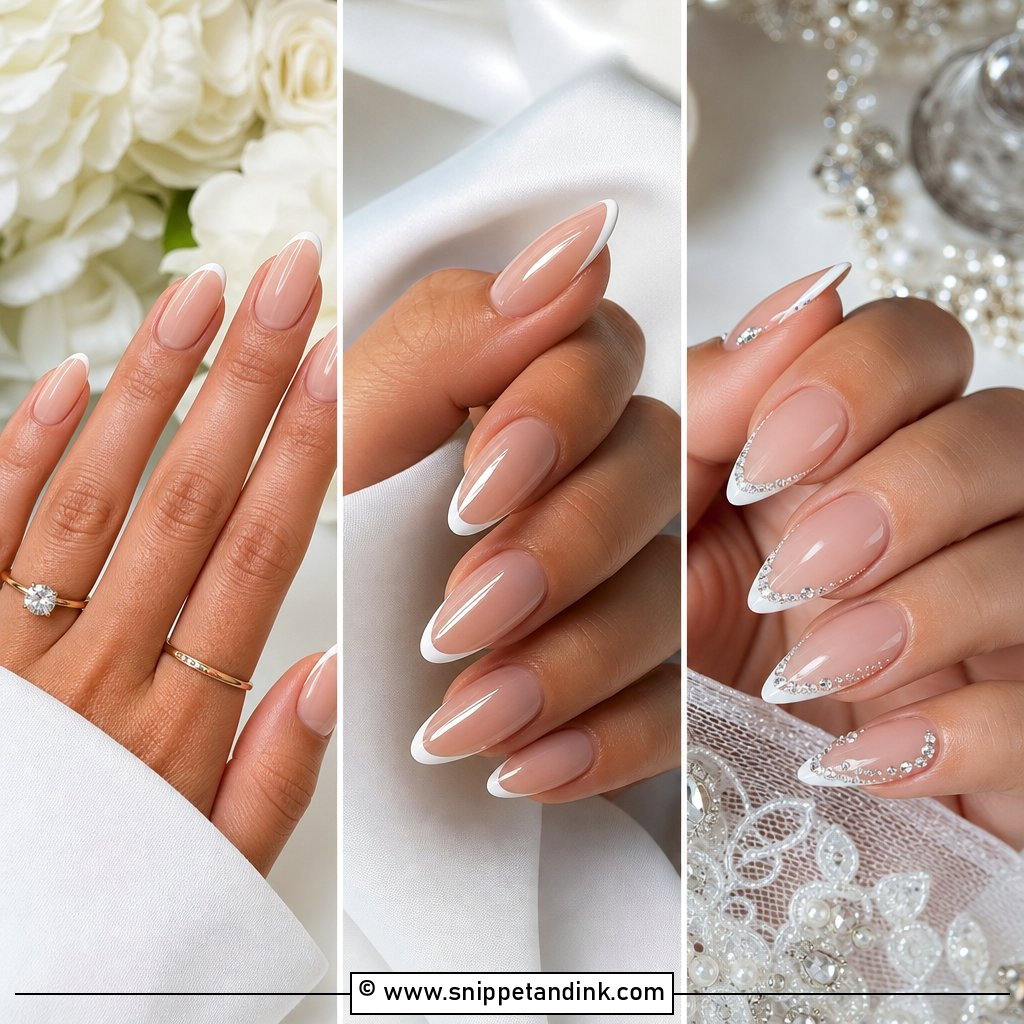
1. Pearl French Tip Wedding Nails
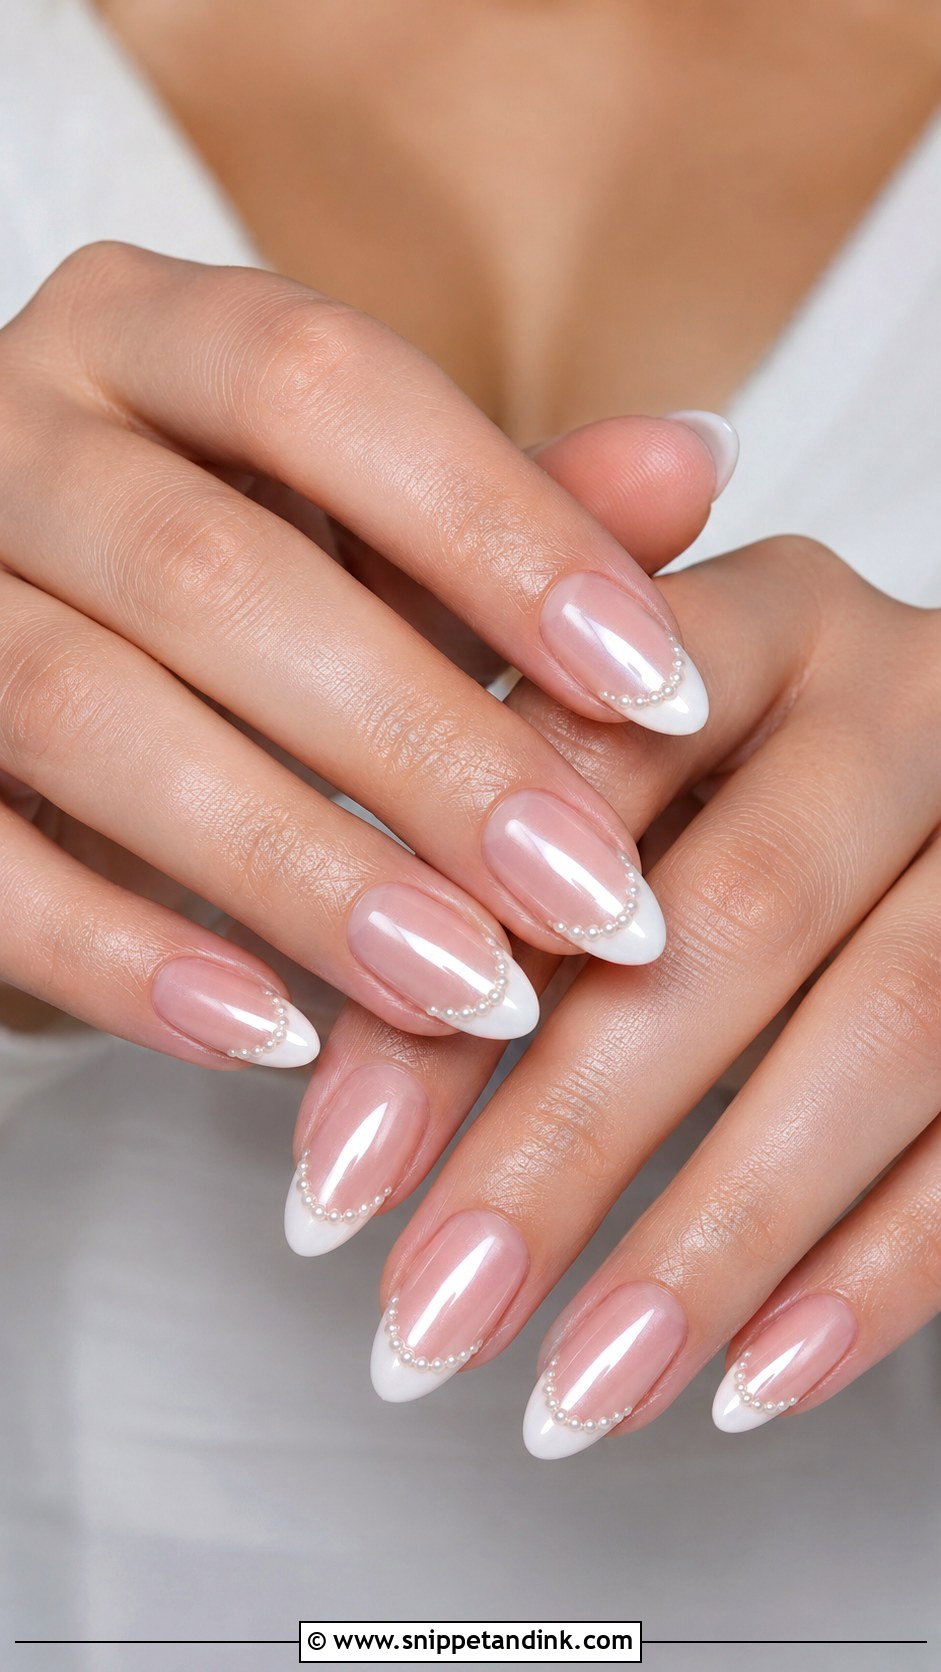
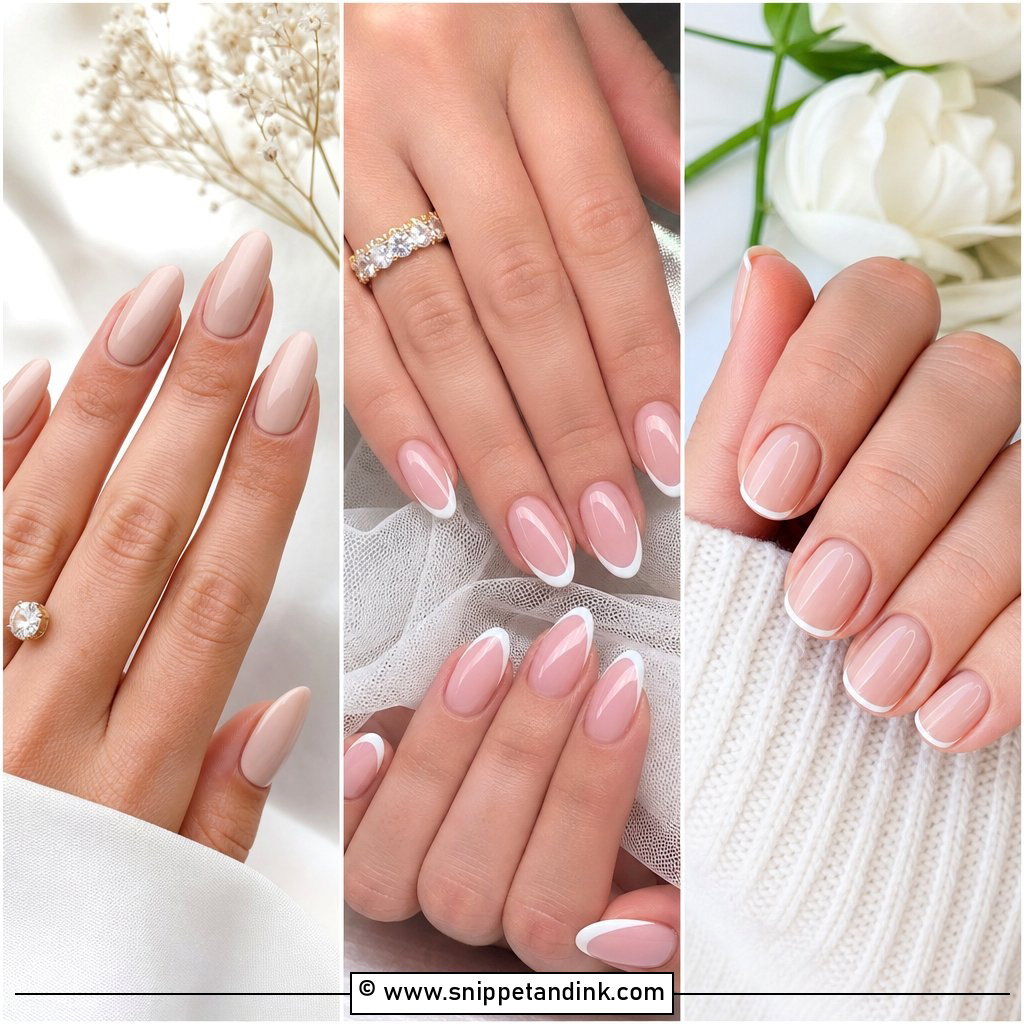
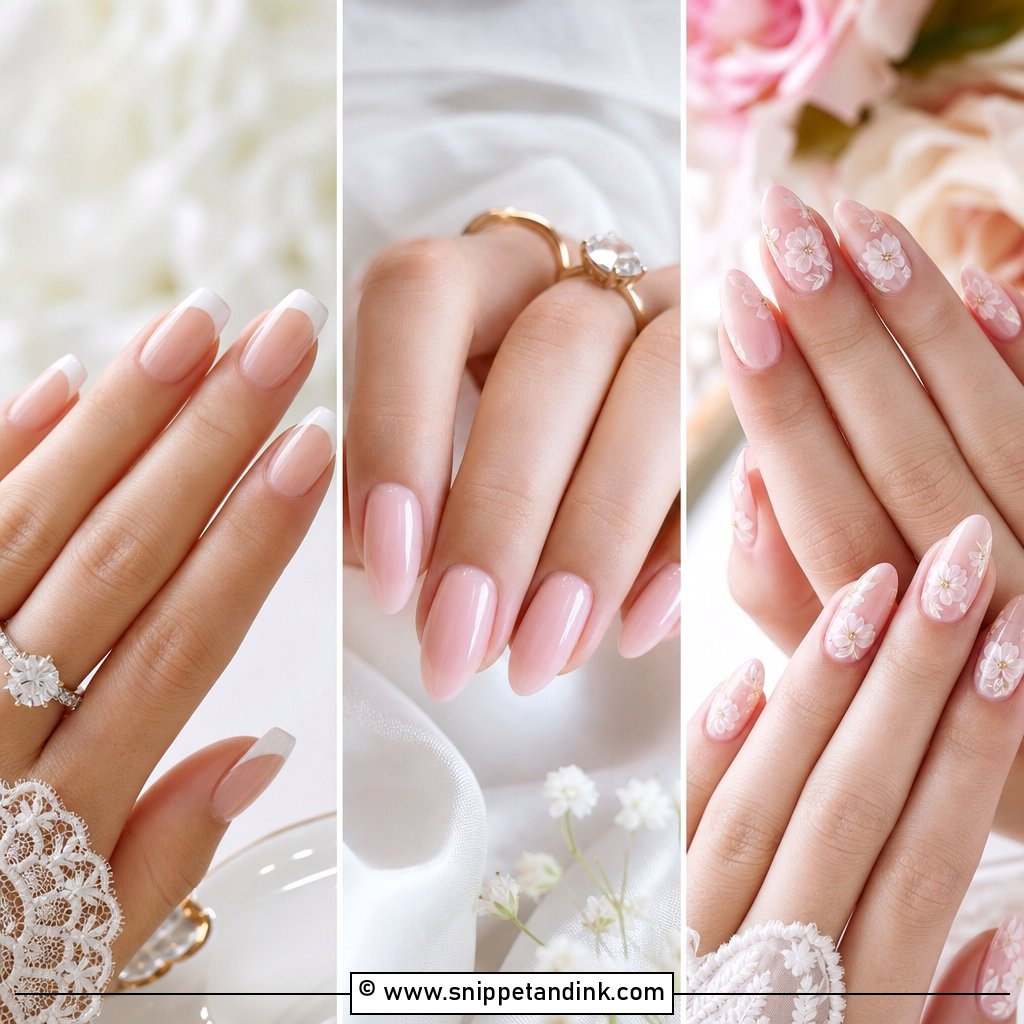
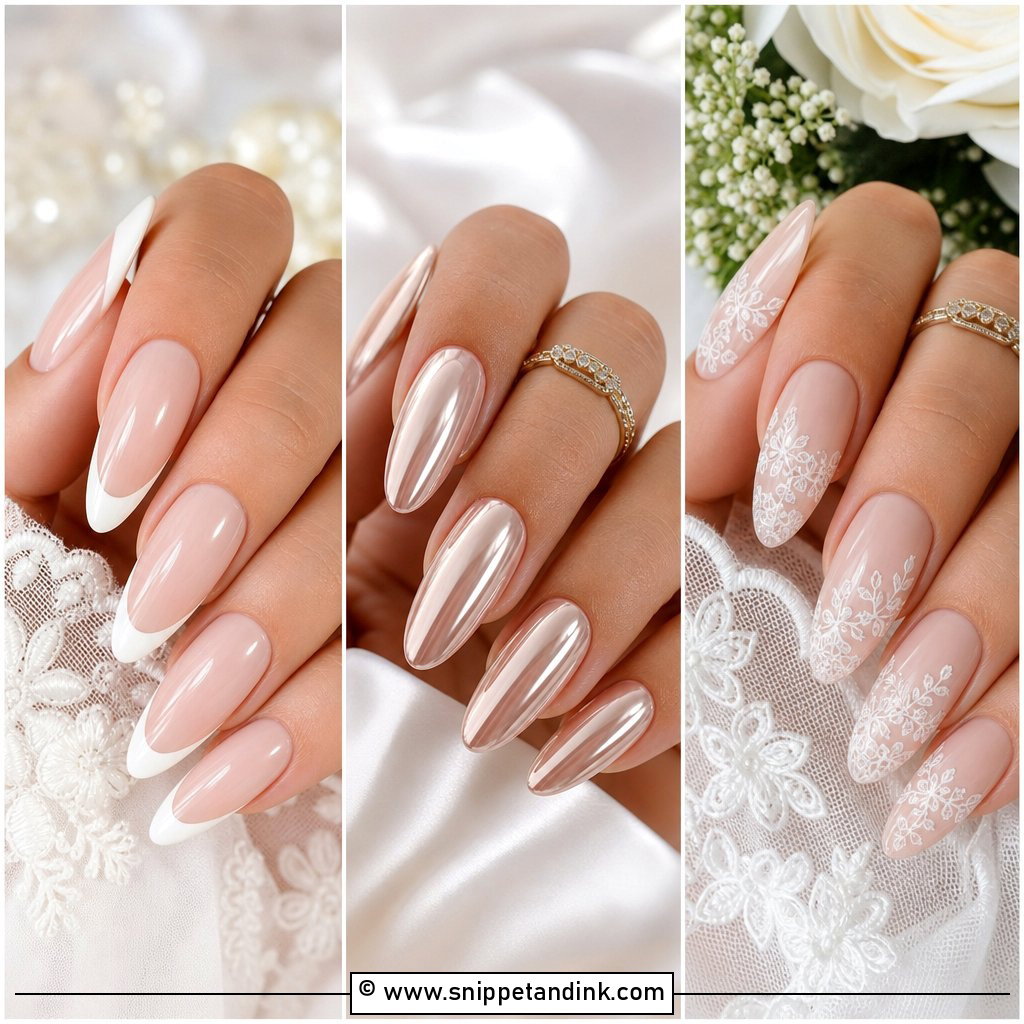
I paint the base first in a sheer nude or pale pink, then run the white tip and buff a pearl chrome over only the tip so the smile line shimmers while the bed stays clear. Tiny pearls can sit along that smile line or at the cuticle. On almond and oval nails the French tip lengthens the fingers; on a short square it shortens them slightly, so I keep the tip thinner there. Stick to pearls of 2mm or less. Anything bigger along a tip edge gets knocked every time you pick something up.
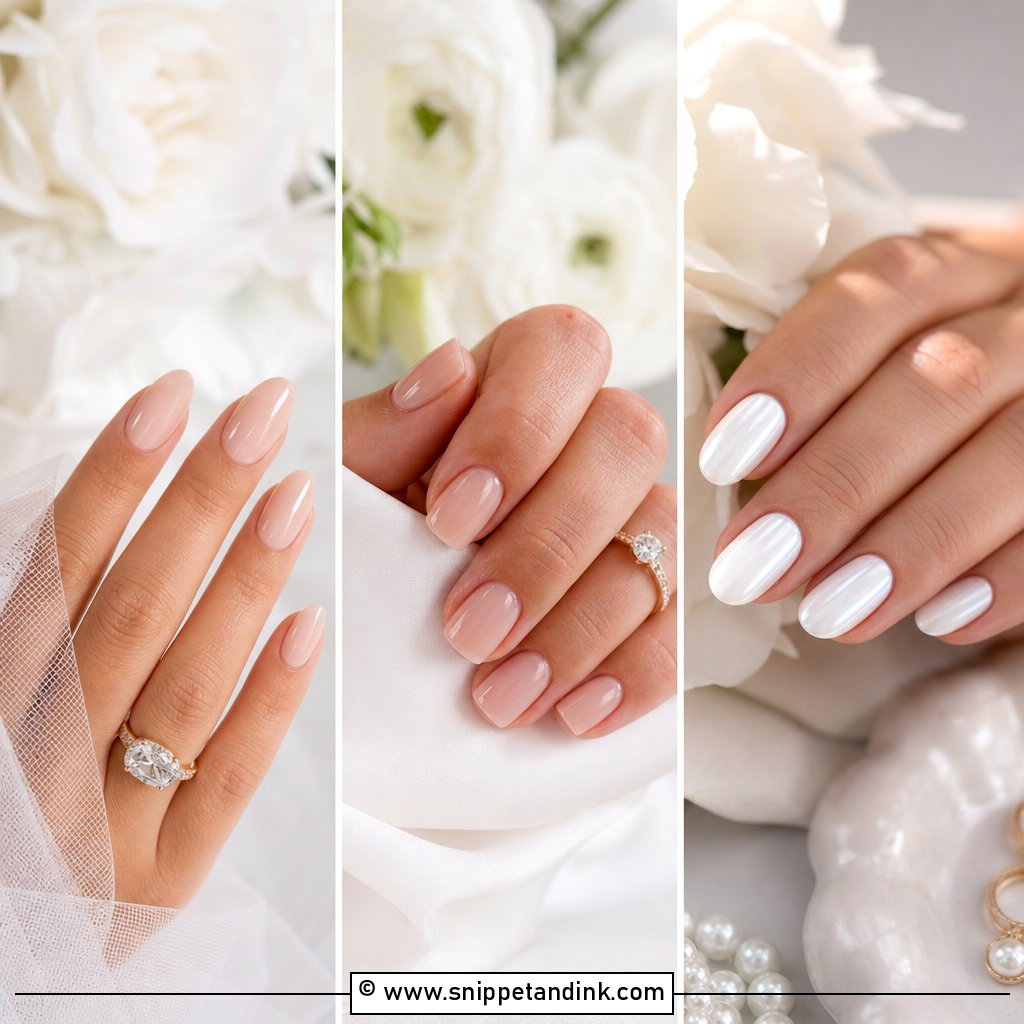
2. Milky White Pearl Wedding Nails
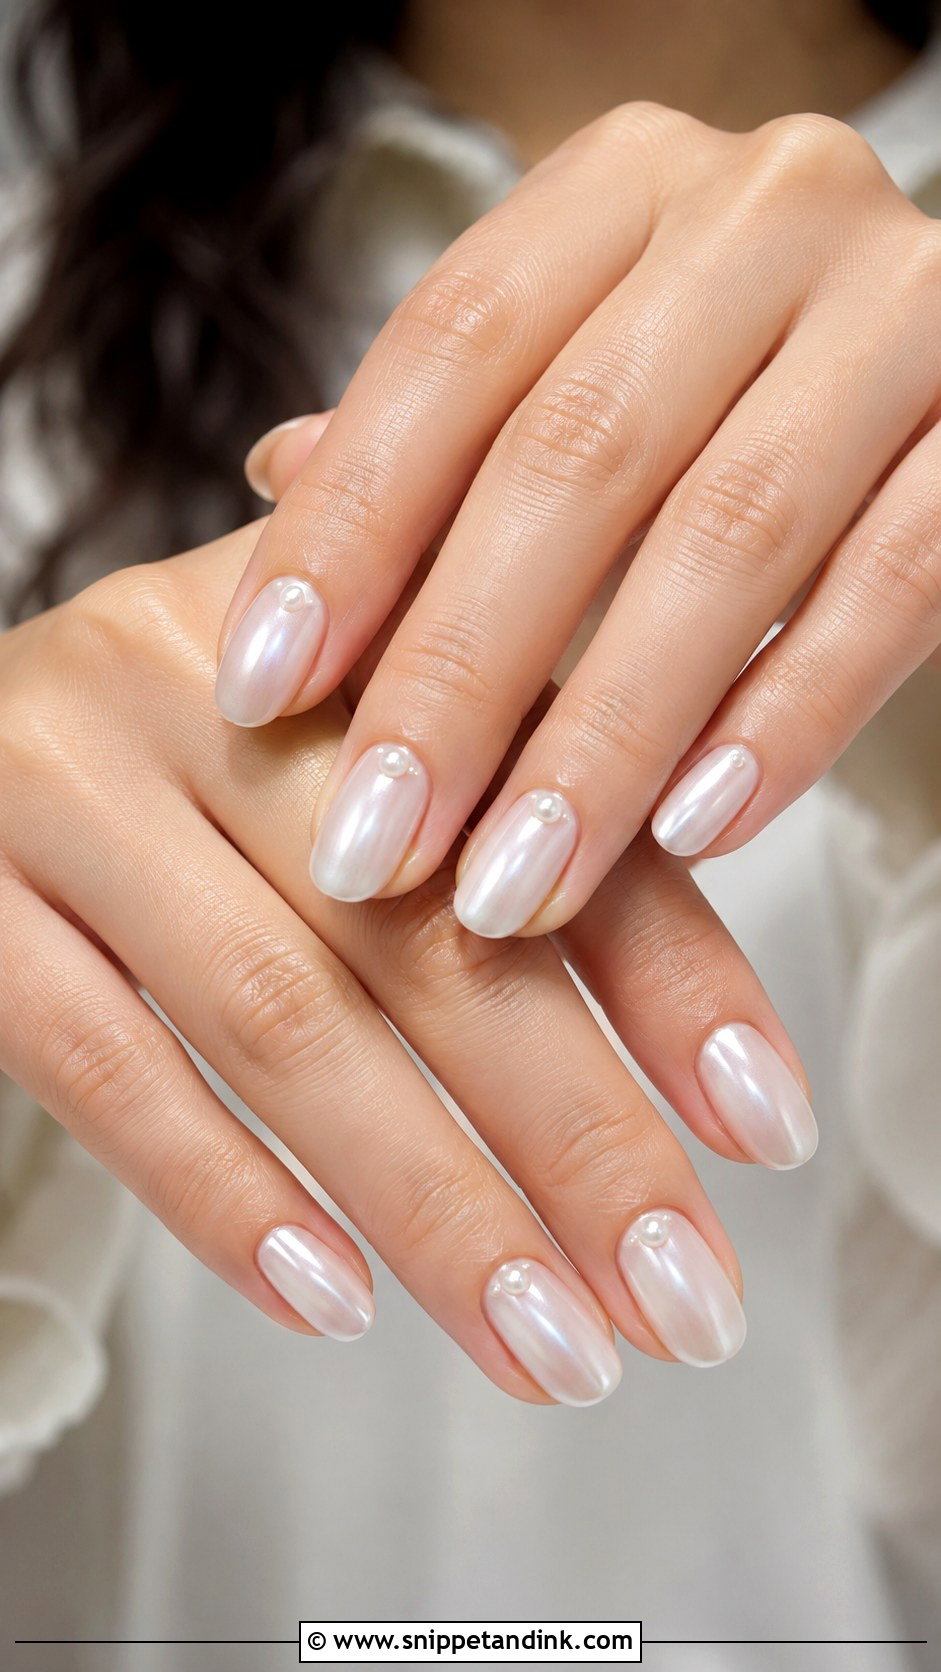
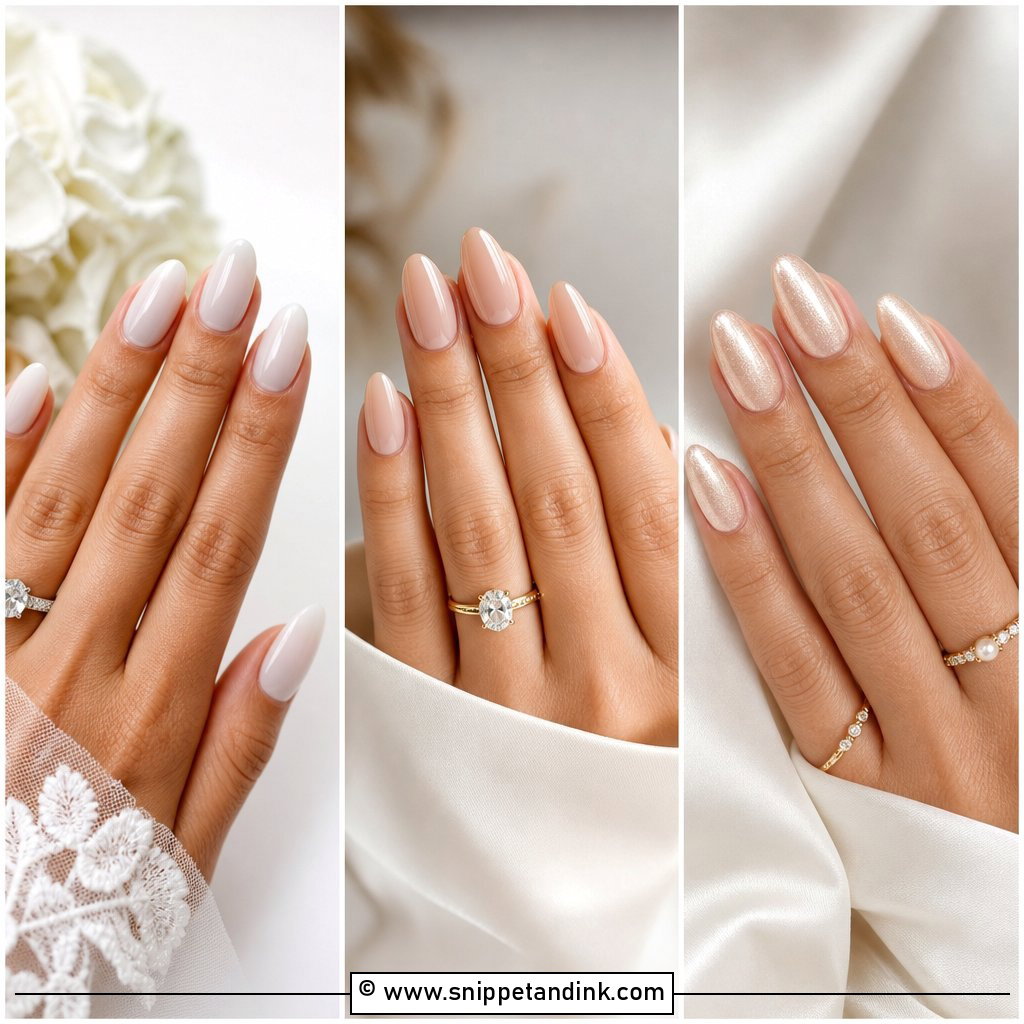
A semi-sheer white is harder to apply evenly than people expect. Two thin coats look milky; three start to look like correction fluid, so I stop at two and let a pearlescent powder over the top do the brightening. A few small pearls at the cuticle give dimension. Because the base is translucent, regrowth at the cuticle is barely noticeable, which matters if your nails were done a few days early. It sits well next to satin, silk and lace alike.
3. Blush Pink Pearl Wedding Nails
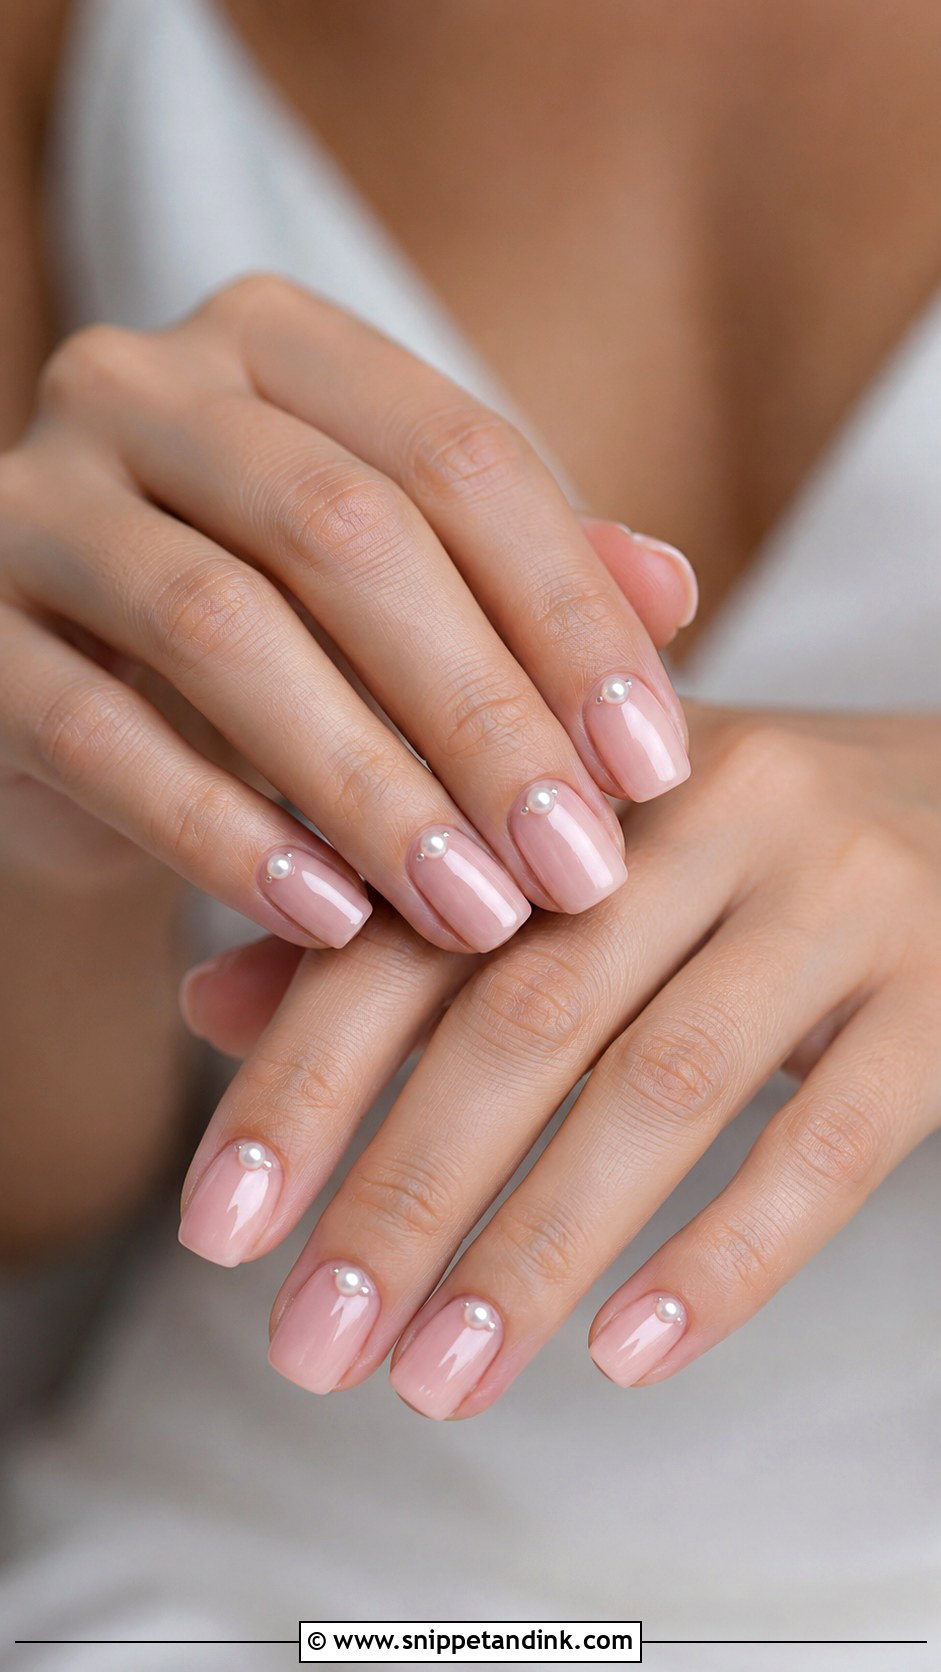
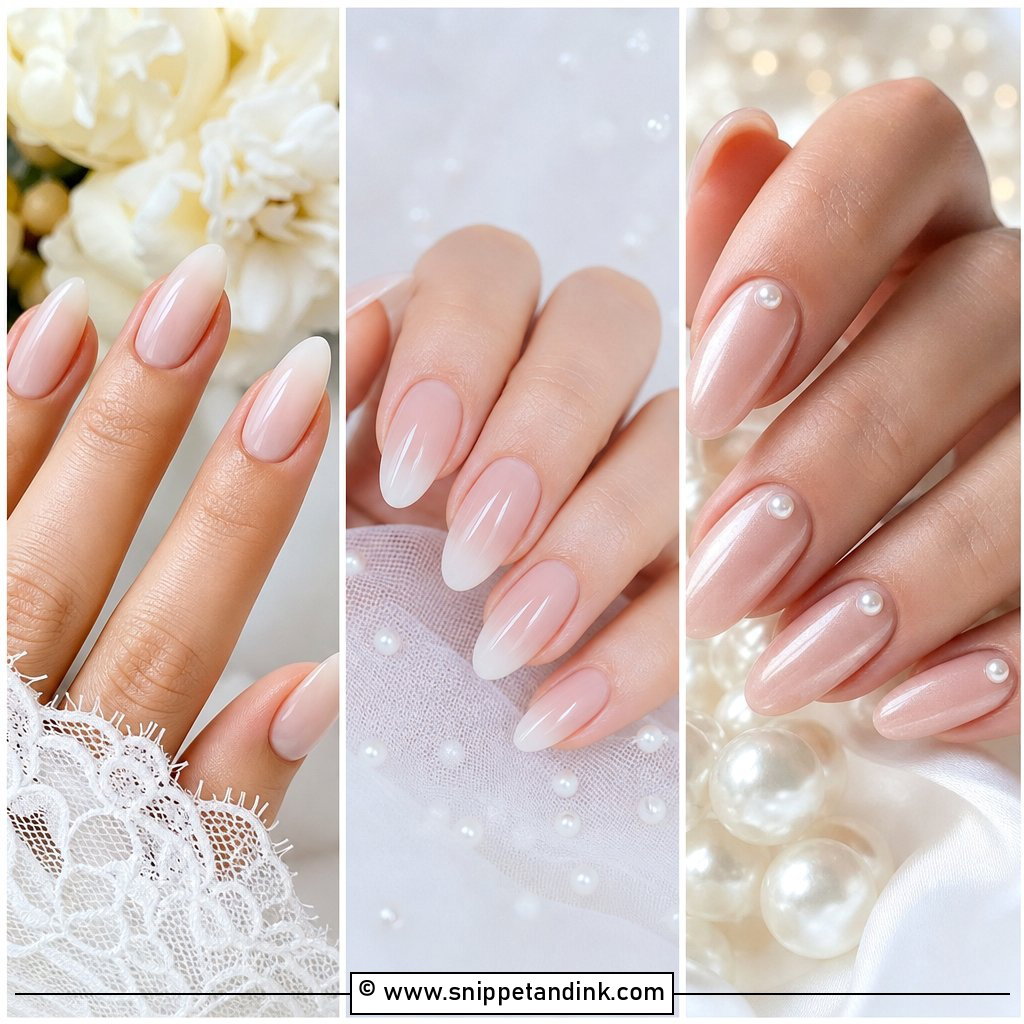
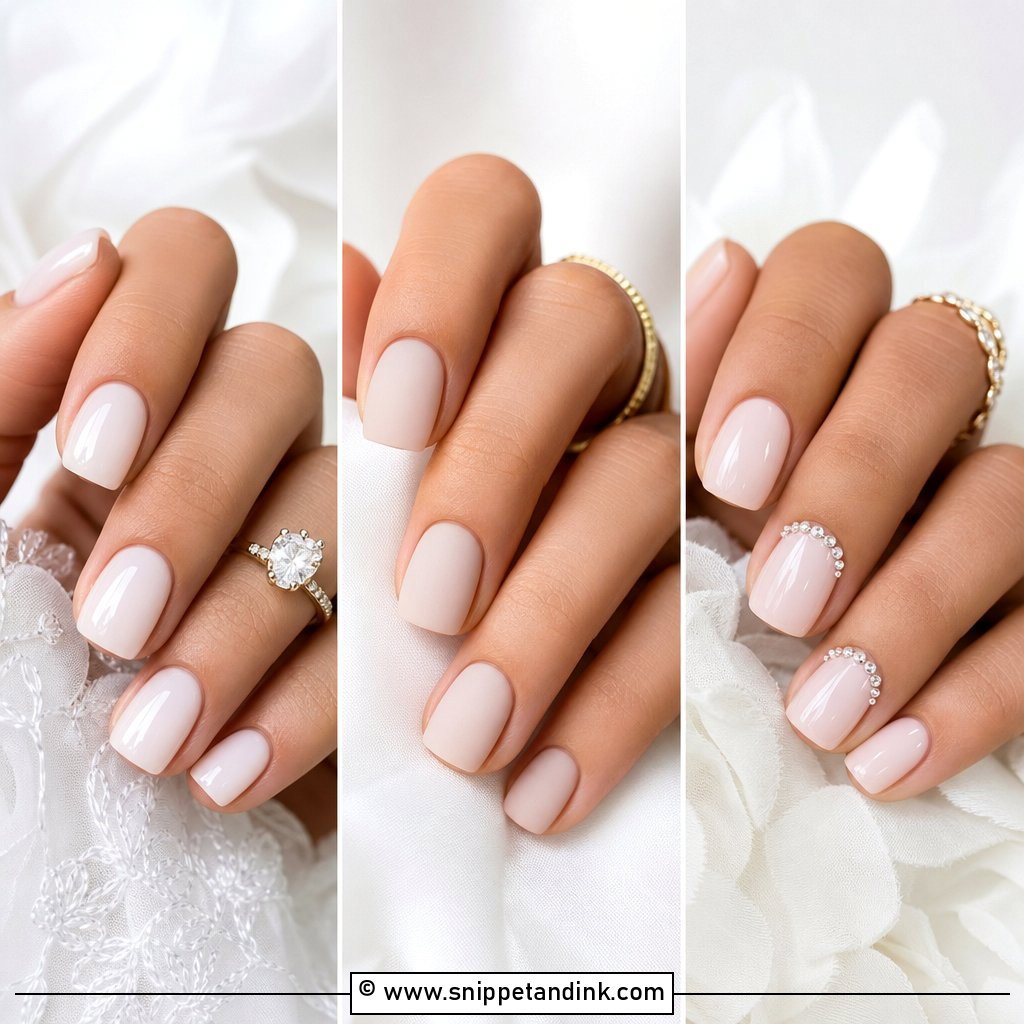
Blush is the shade I adjust most at the table. On fair skin I lean toward a cool pink, on olive and deep skin I warm it with a little peach so the nails don’t look chalky against the hand. One tiny pearl at the base of each nail, or a small cluster on one or two accents, keeps it natural from across the room and detailed when someone takes your hand to see the ring. A high-gloss top coat is what makes it look fresh in daylight.
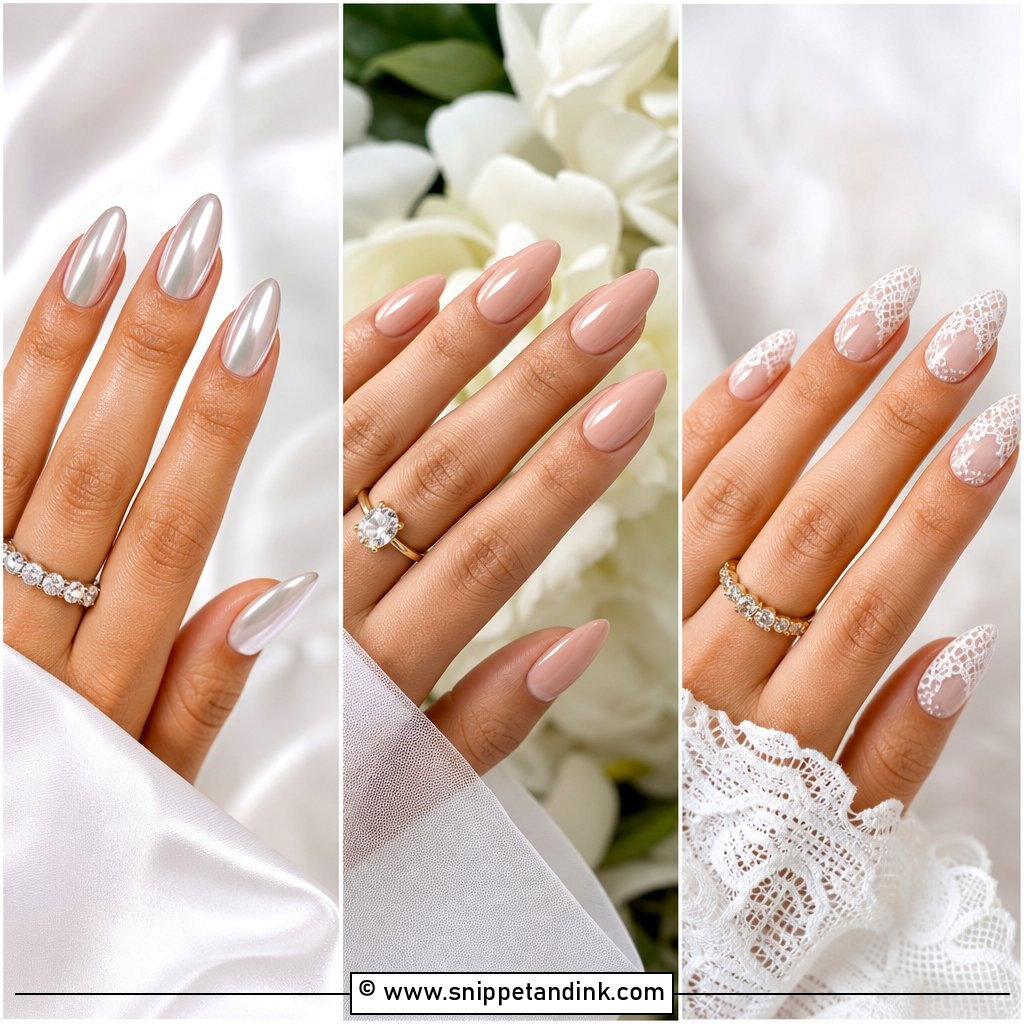
4. Pearl Chrome Wedding Nails
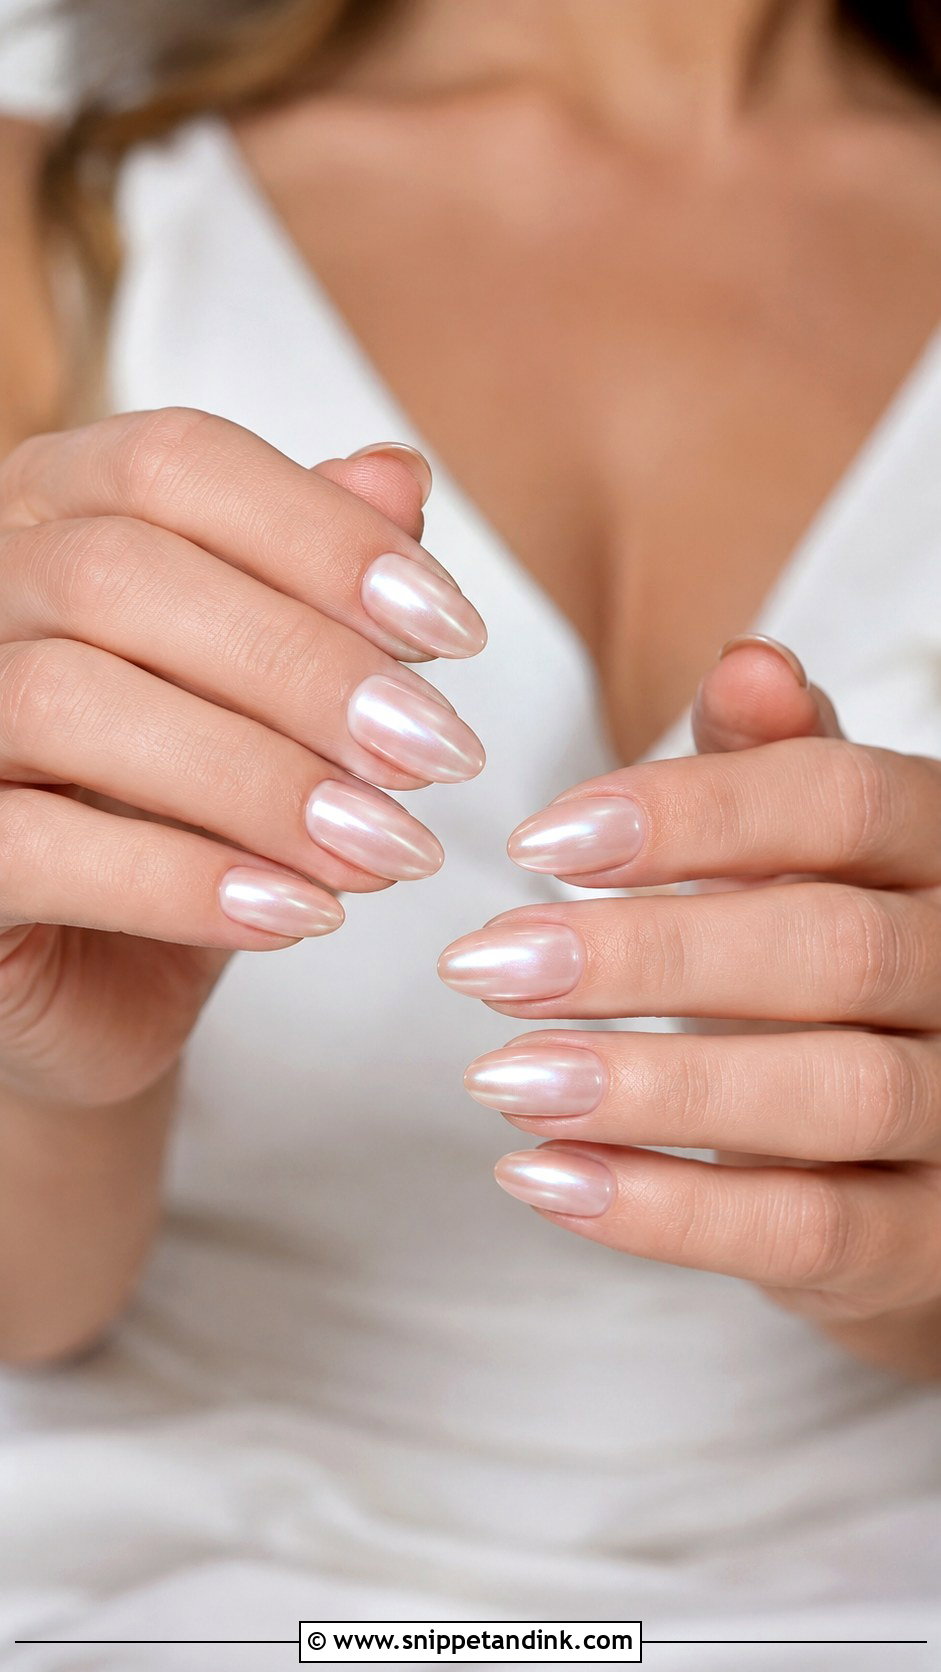
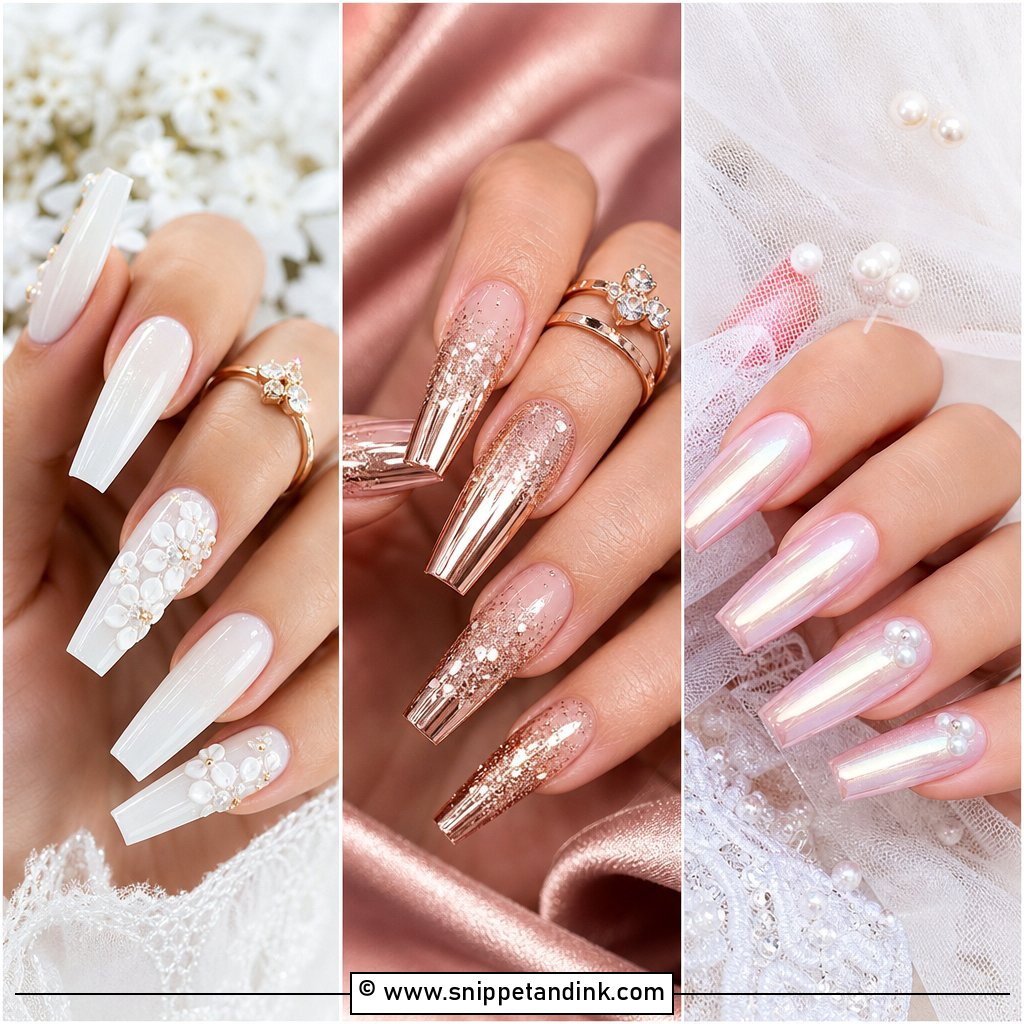
Chrome powder shows every ridge and bump underneath it, so the prep is the real work here. I build the nail with builder gel or structured gel, file it completely smooth, then rub the pearl chrome over a no-wipe top coat until it looks like the inside of a shell. Over sheer white it reads icy; over nude or pink it’s warmer. Almond and oval keep it soft. A coffin shape makes the reflection more dramatic, which some brides love and others find too much for a daytime ceremony.
5. Nude Pearl Wedding Nails
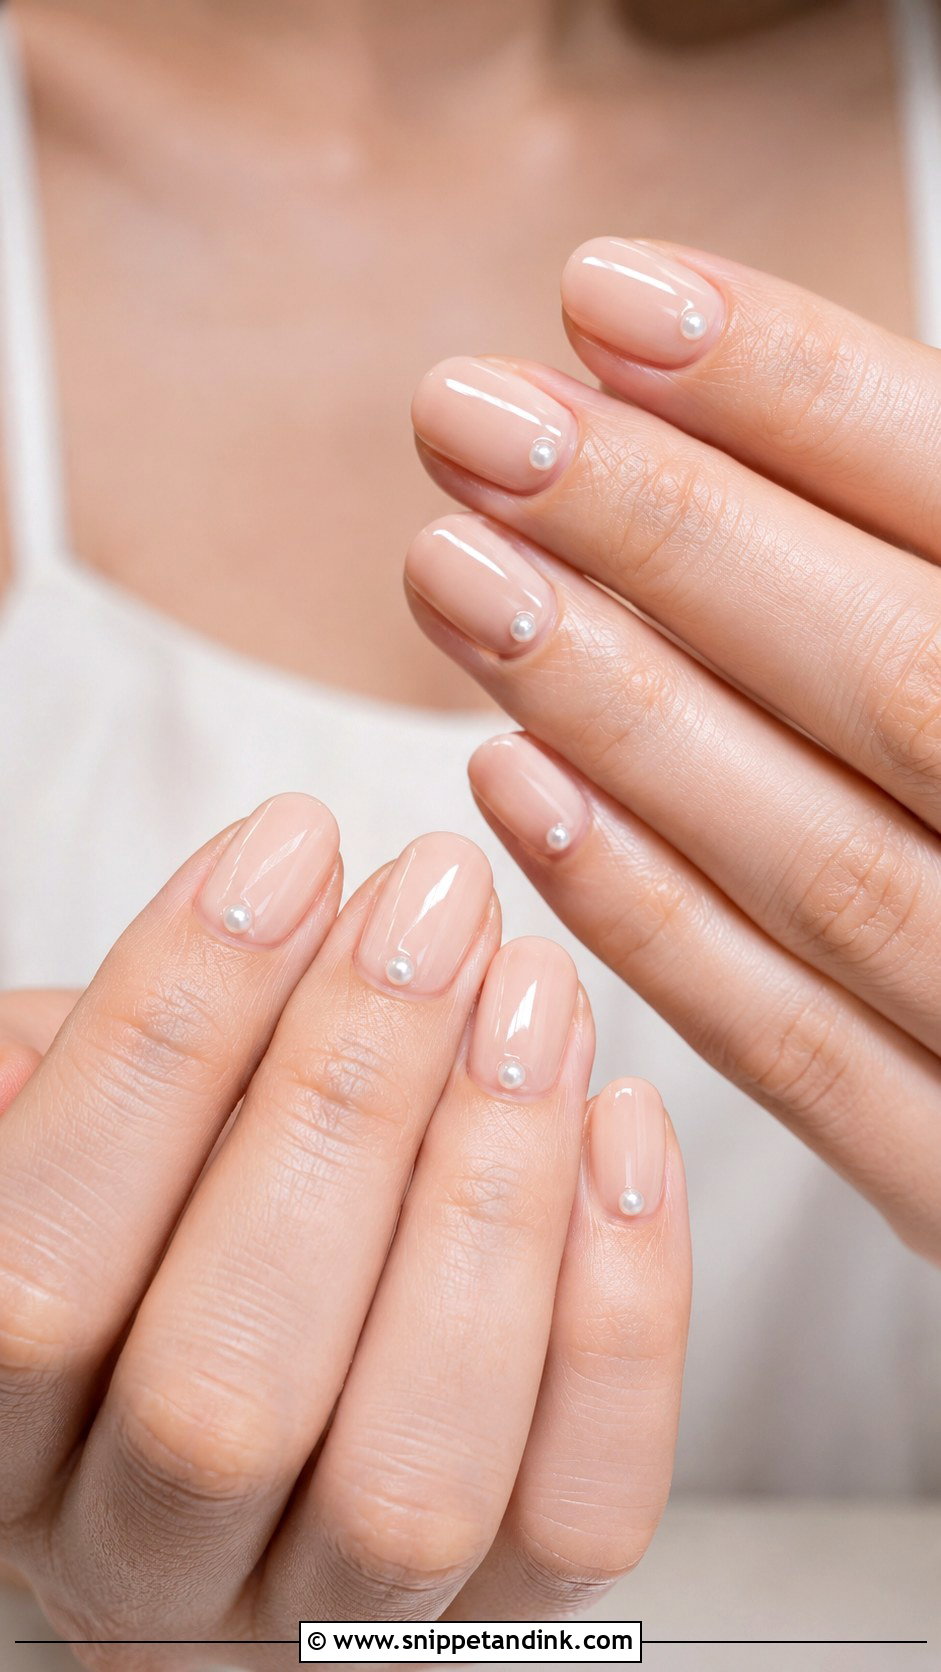
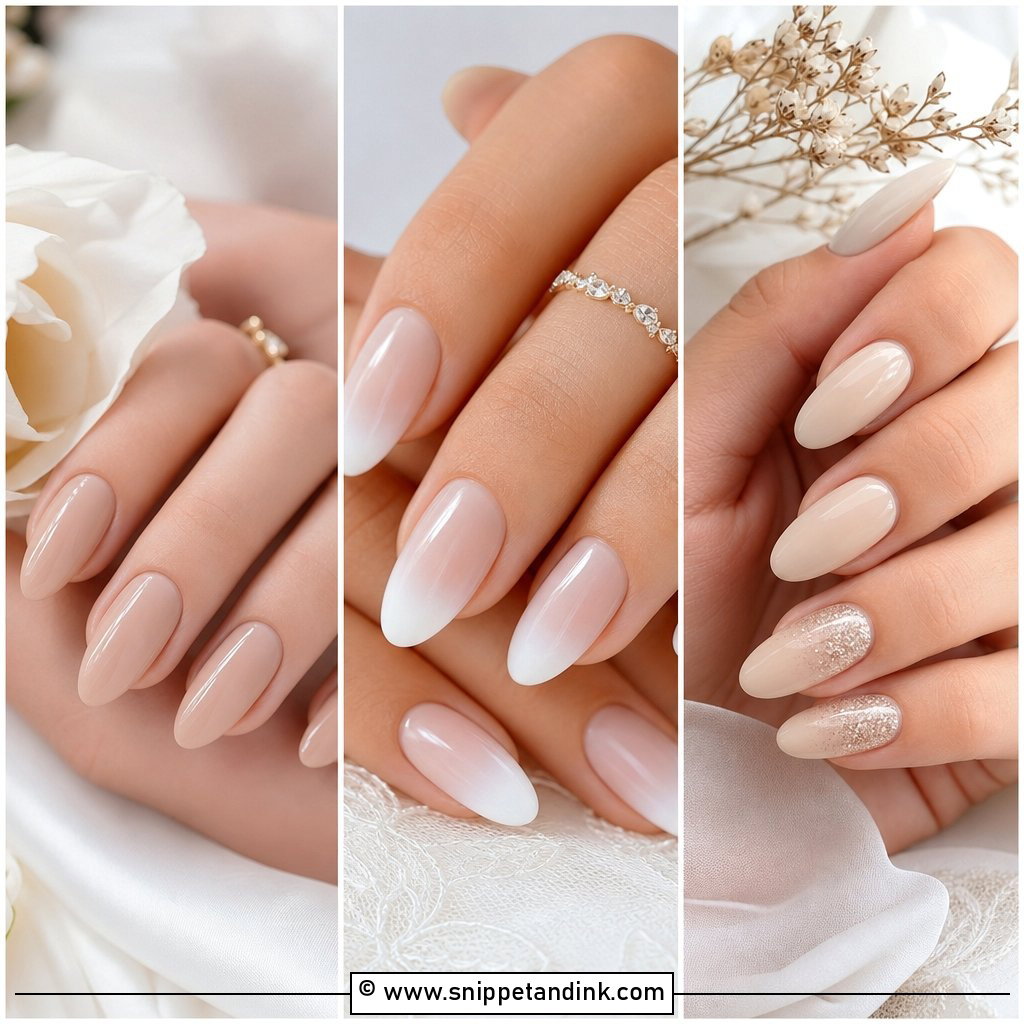
The nude has to match or sit one shade lighter than your skin, never darker, or the nails look dirty in photos. I swatch two or three on the actual nail before committing. Then tiny pearls go at the cuticle or along one side wall. I suggest this one most often when the gown already has heavy beading, dense lace or big earrings, because the hands then don’t add another busy area to the frame. Short oval, soft square and almond all suit it.
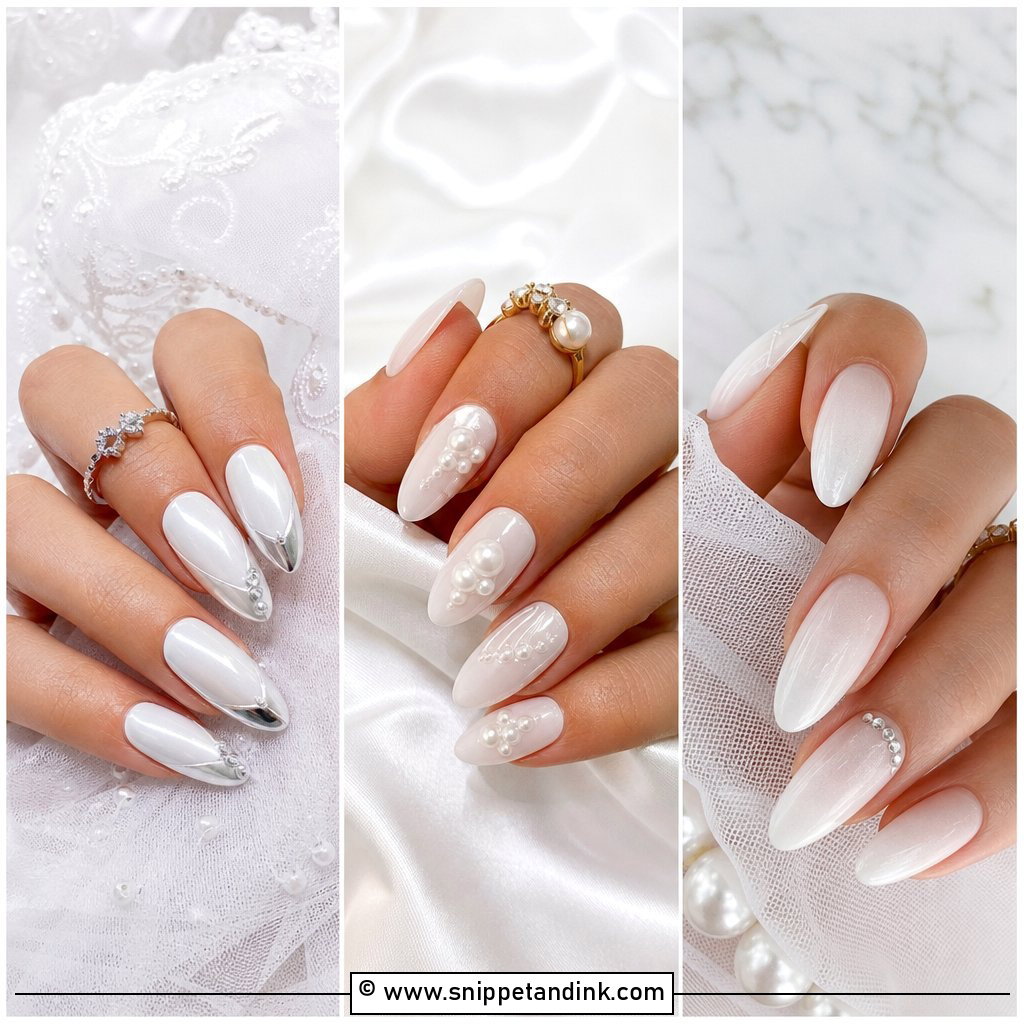
6. Pearl Accent Wedding Nails
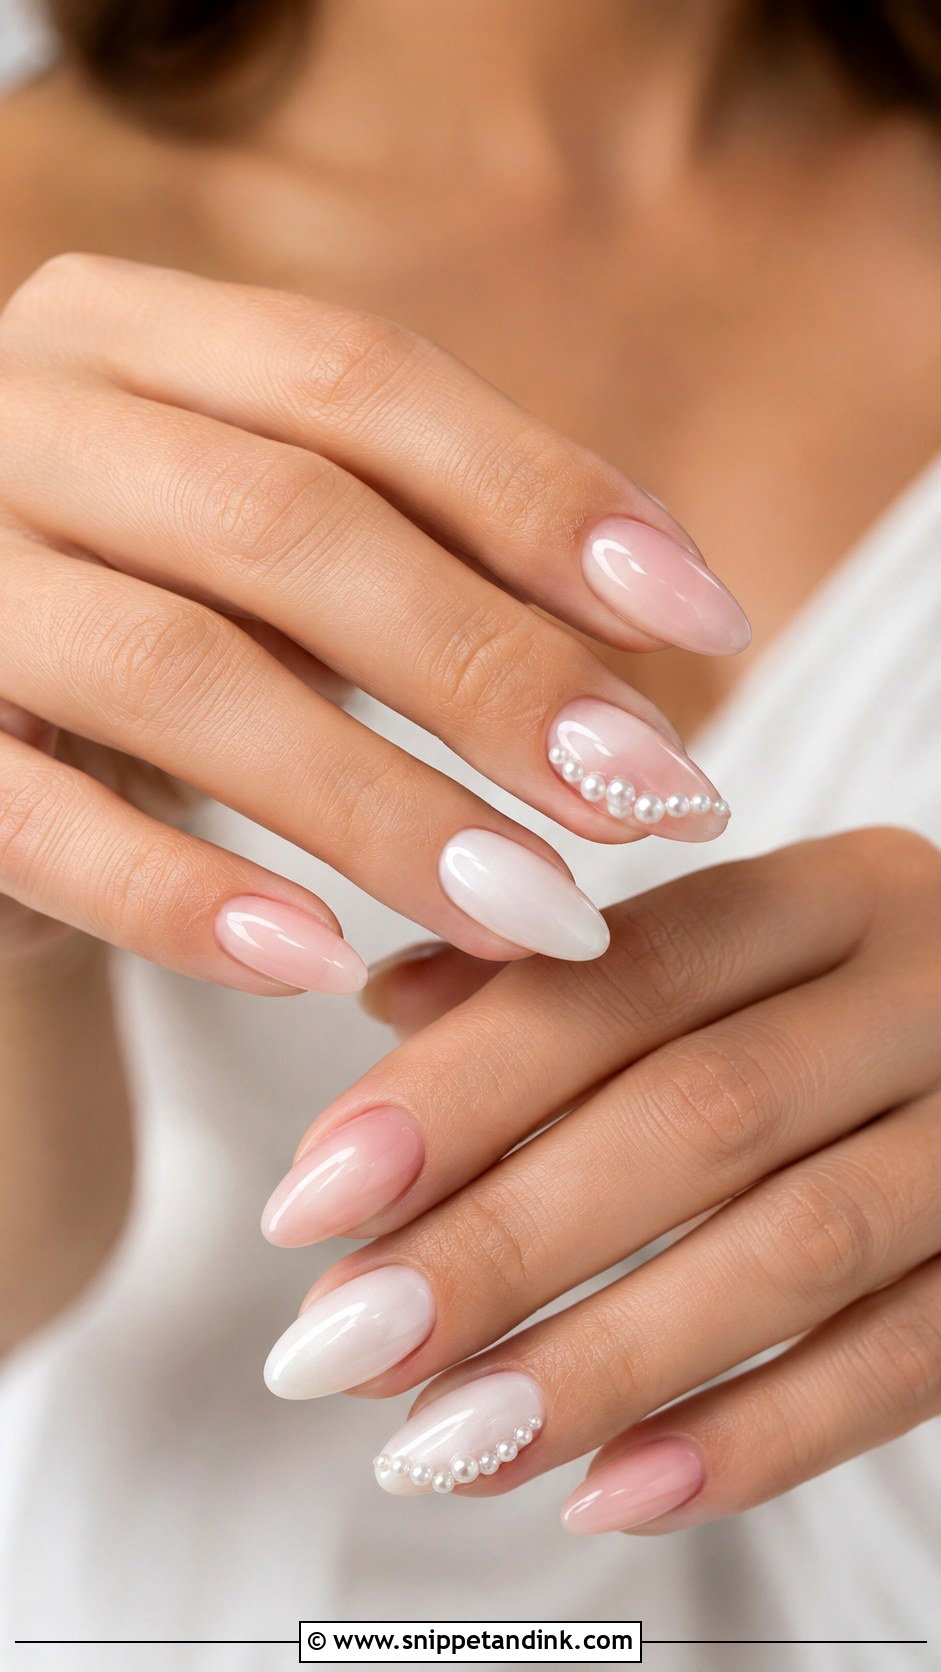
Here most nails stay plain sheer pink, nude or milky white, and only one or two carry pearls in a curve, a cluster or a cuticle line. I usually put them on the ring finger and maybe the middle finger, not the thumb or index, which take the most knocks from zips, buttons and clutch clasps. Each pearl gets pressed into a bead of gel, cured, then capped with top coat around its base so nothing can get under it. That’s how they survive the ceremony, the dinner and the send-off.
7. Short Pearl Wedding Nails
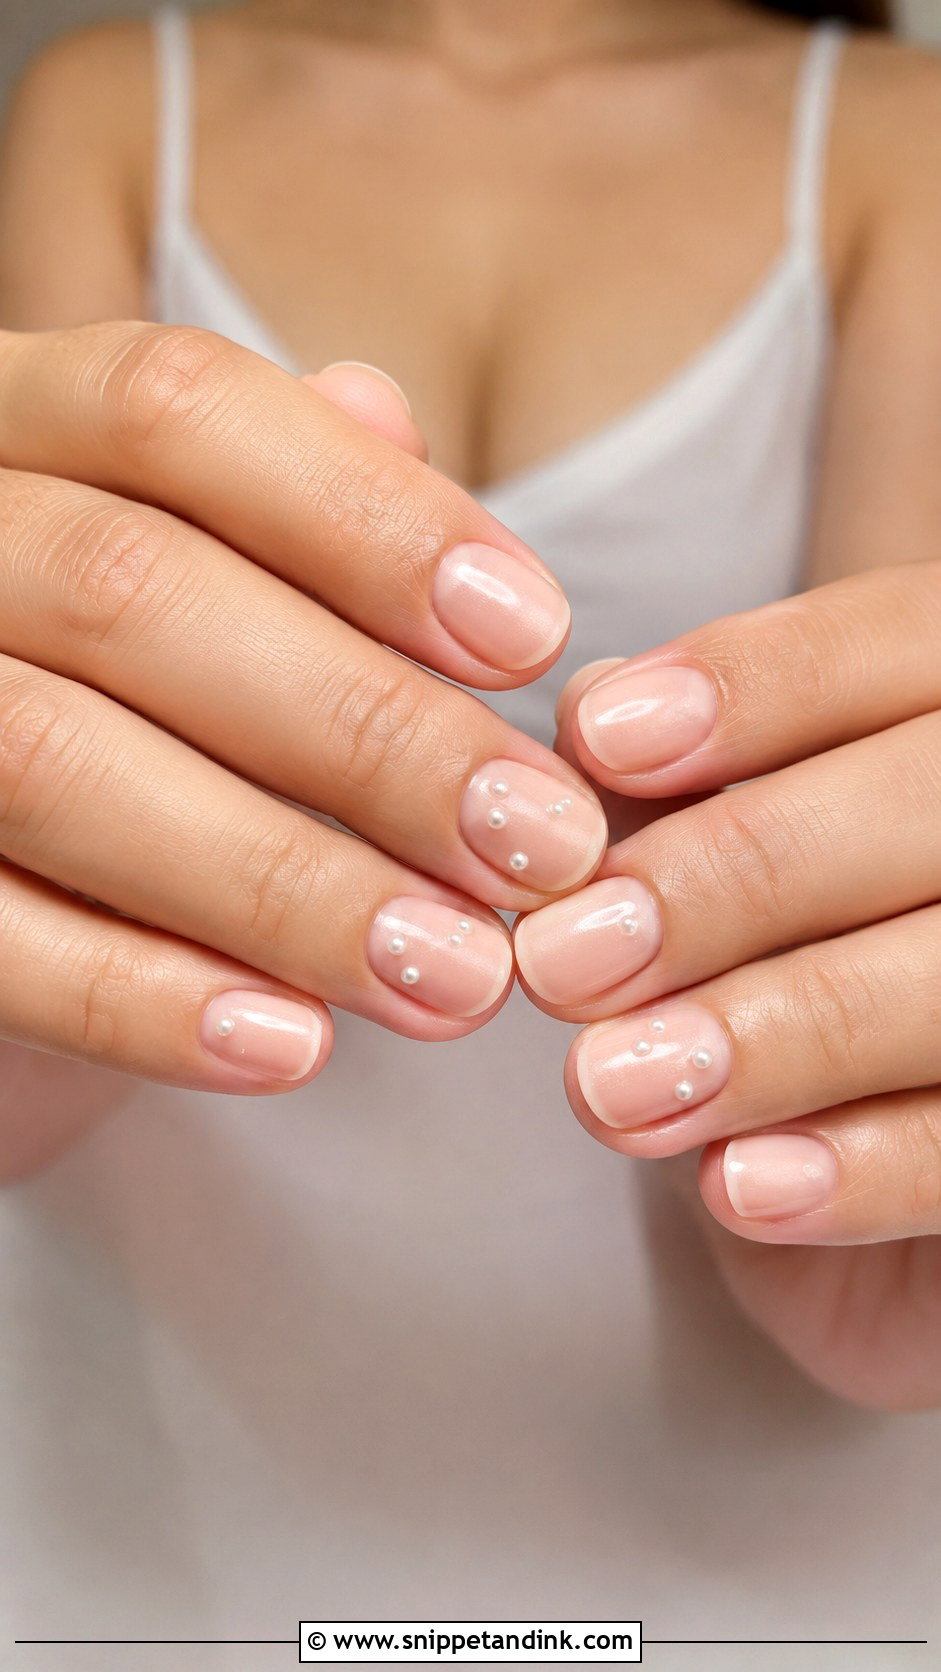
Short nails look completely bridal when the shape is even across all ten. I round them softly, use a sheer nude or pink so the nail bed looks healthy, and add flat-back pearls of about 1.5mm near the cuticle, or skip raised detail and use a pearly top coat instead. Honestly, if you don’t normally wear length, this is the set I’d recommend: you’ll hold flowers, do up buttons and handle your ring without thinking about your nails. Big pearls crowd a short bed, so keep them small and spaced.
8. Almond Pearl Wedding Nails
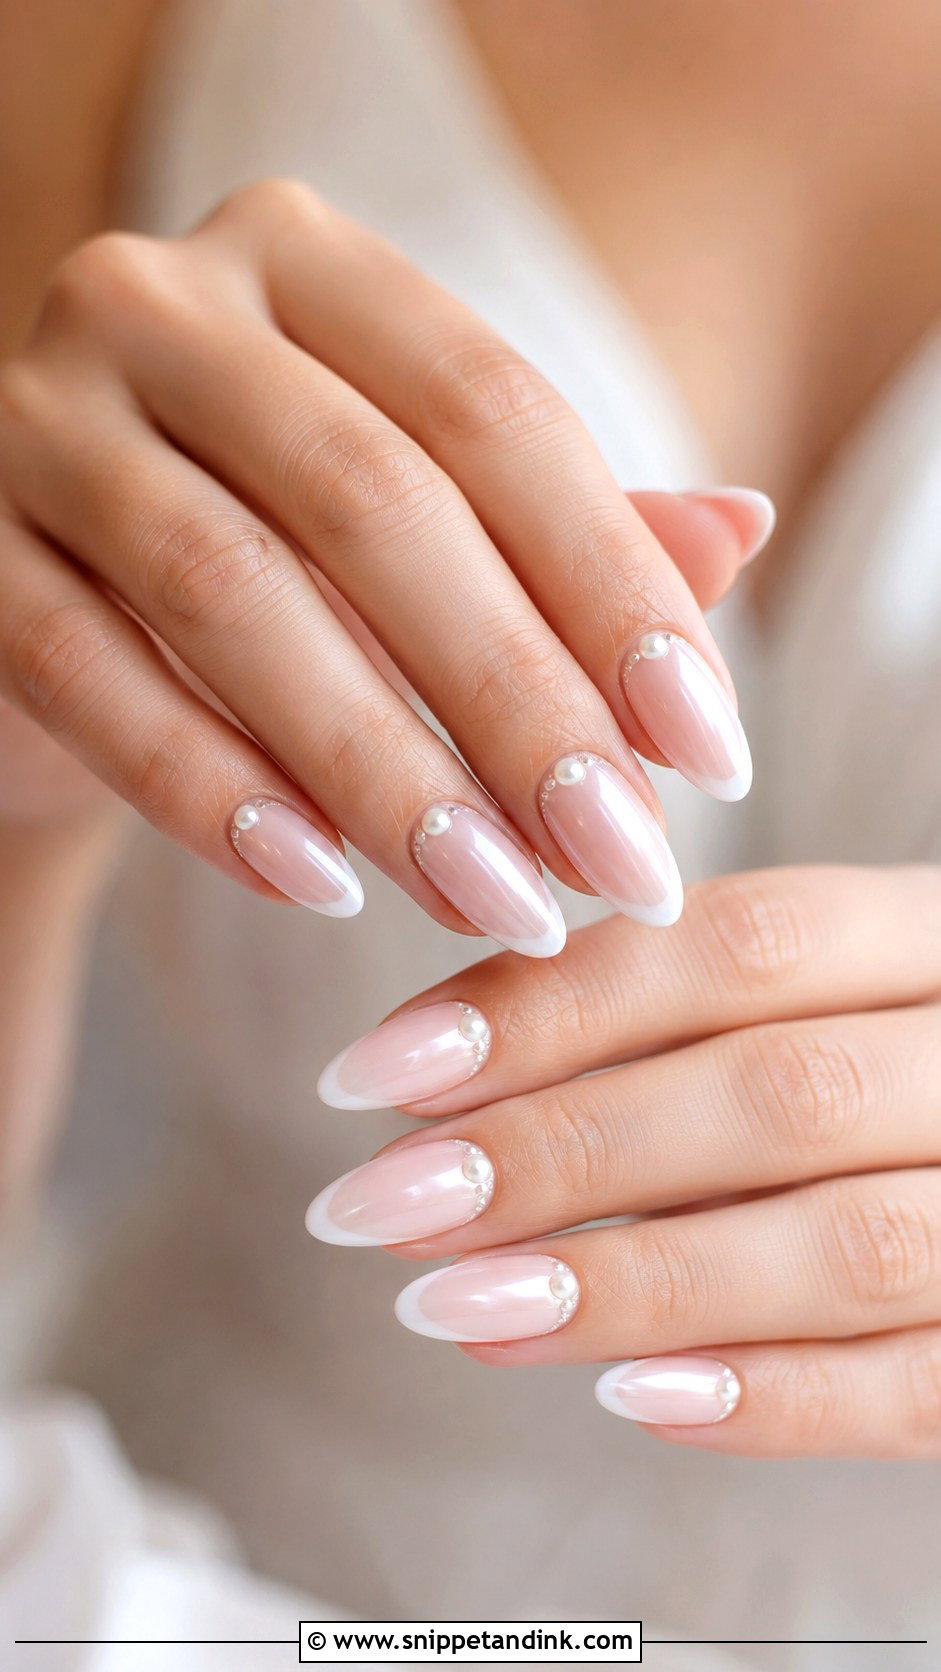
Almond is the shape I file most for weddings because it slims the fingers without the sharp point of a stiletto. The taper suits pearl chrome, French tips and small 3D pearls equally. For a classic version I’d do a sheer pink base, white tips and a few pearls at the cuticle; for a modern one, pearl chrome on every nail and nothing raised. Keep it at medium length. Long almonds are fragile at the sides and can crack when you grip a car door or a heavy bouquet stem.
9. Square Pearl Wedding Nails
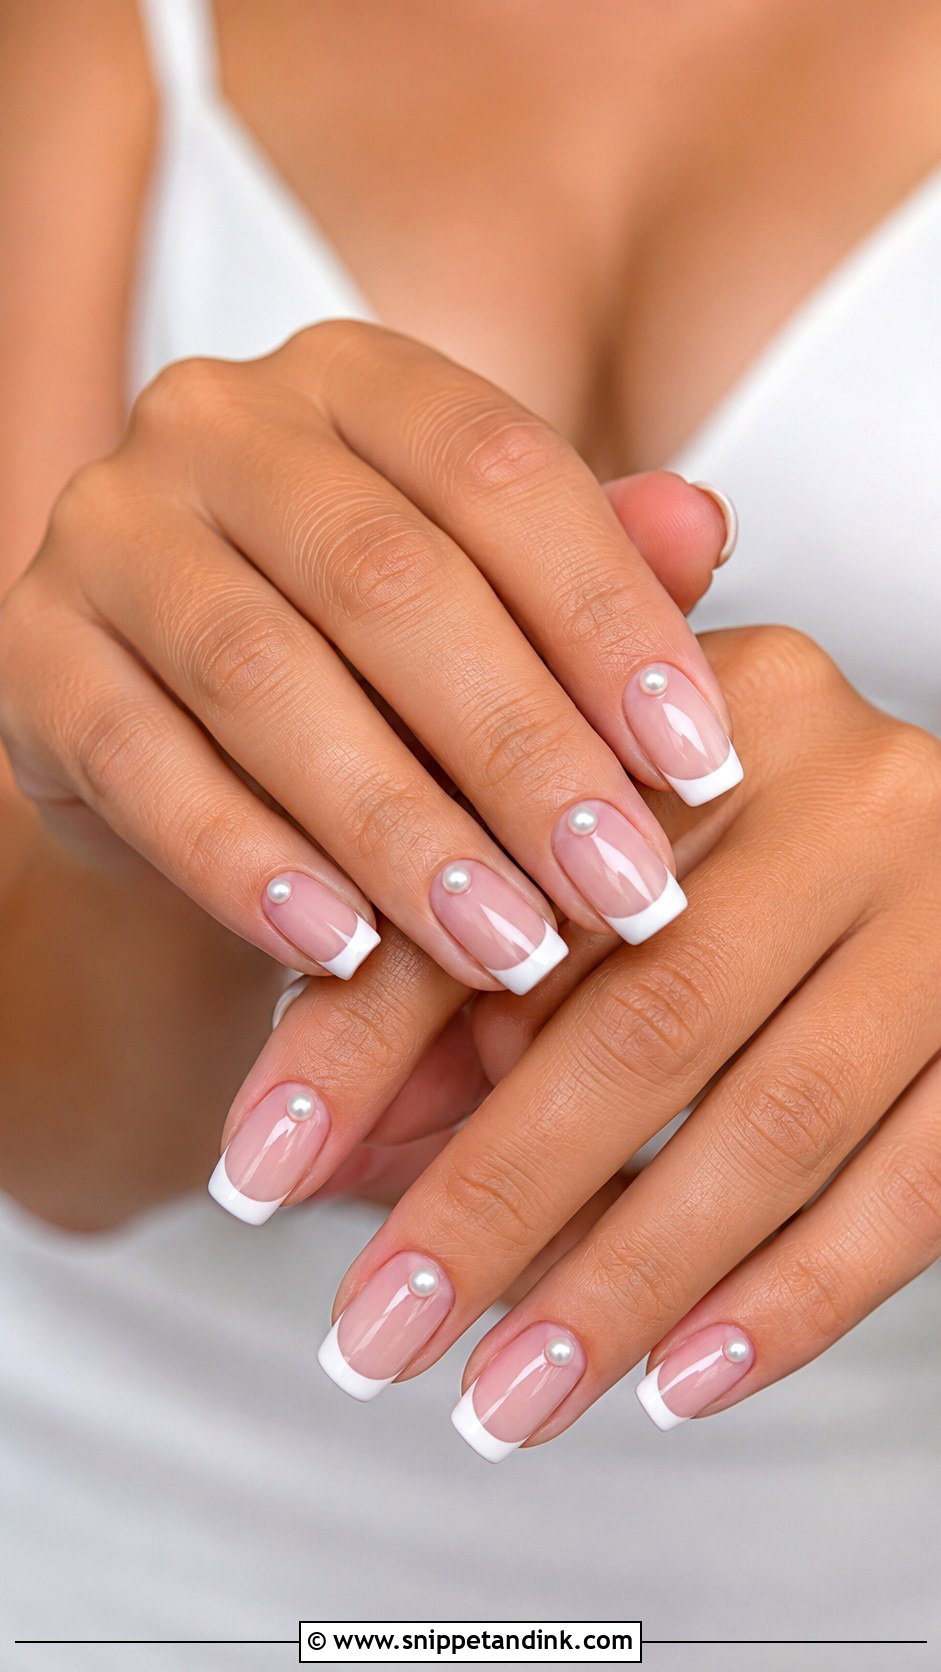
The straight free edge gives pearls something structured to sit against, so the set looks crisp rather than sugary. A soft square French with a pearly finish is the classic here, or a sheer nude with one tiny pearl centred at each cuticle. I always soften the corners slightly. A sharp square corner snags tights and lace and chips first, and it looks harsher in close-up ring photos. This shape is at its best short to medium.
10. Oval Pearl Wedding Nails
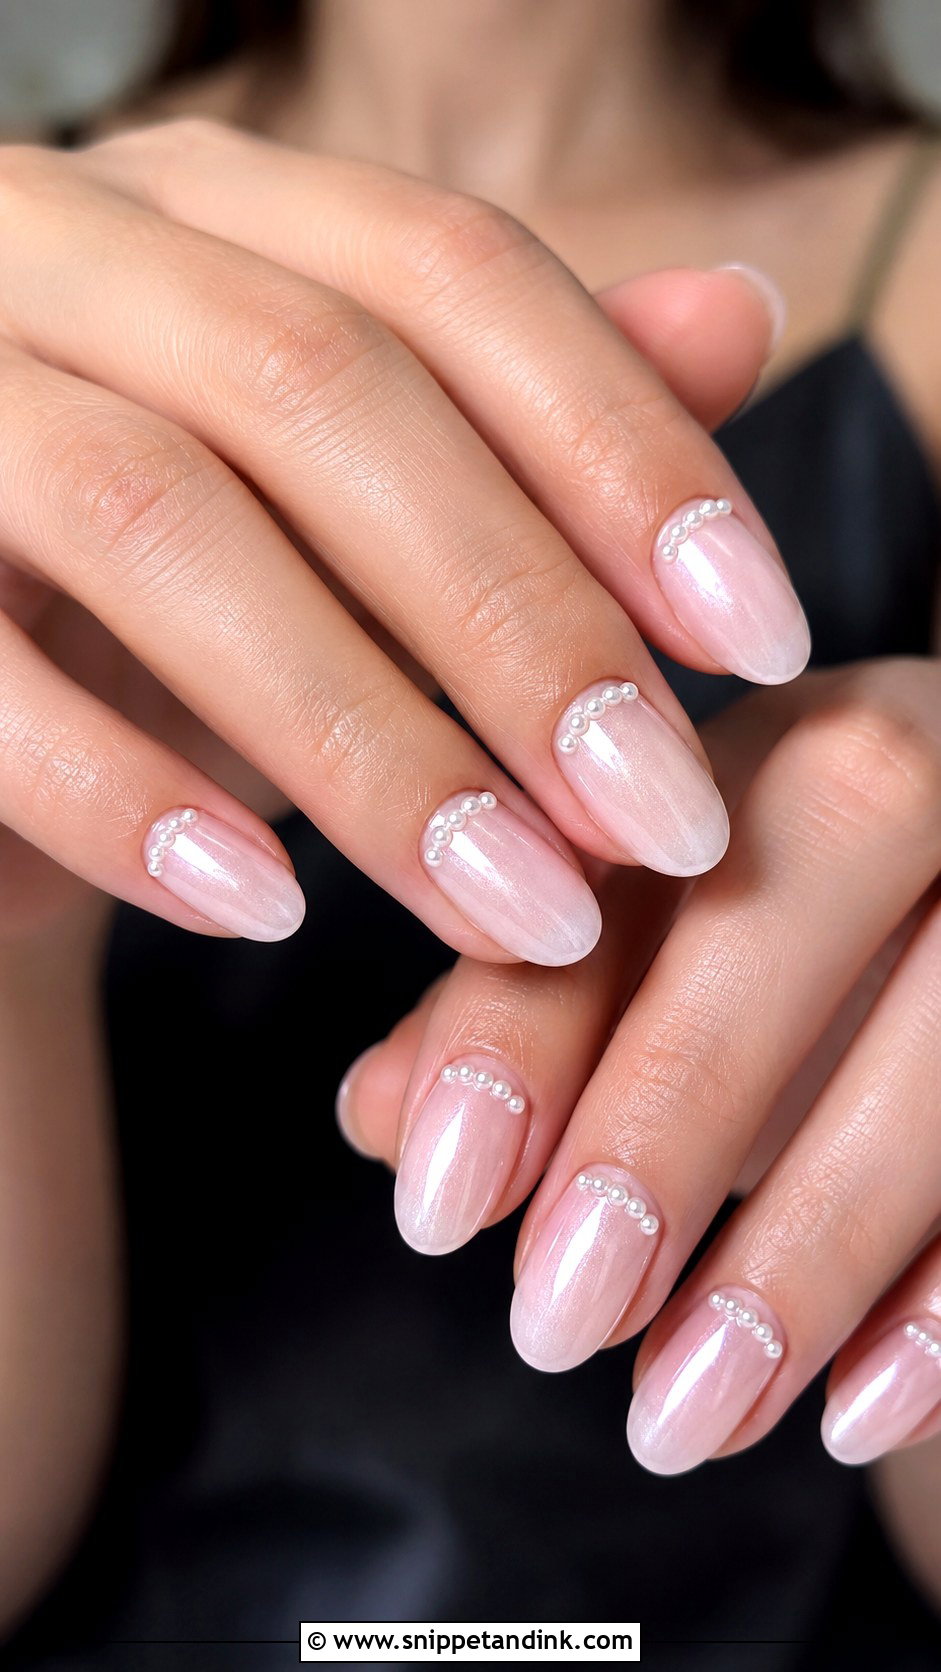
Oval is the friendliest shape for natural nails because it follows the curve of the fingertip and doesn’t need an extension to look finished. A sheer milky base with pearl shimmer catches light gently along that curve. If you want art, I’ll place small pearls in a half-moon at the cuticle or pair them with thin white swirls. It suits a minimal gown as well as a romantic one, so it’s my default suggestion when a bride can’t decide.
11. Pearl Ombre Wedding Nails
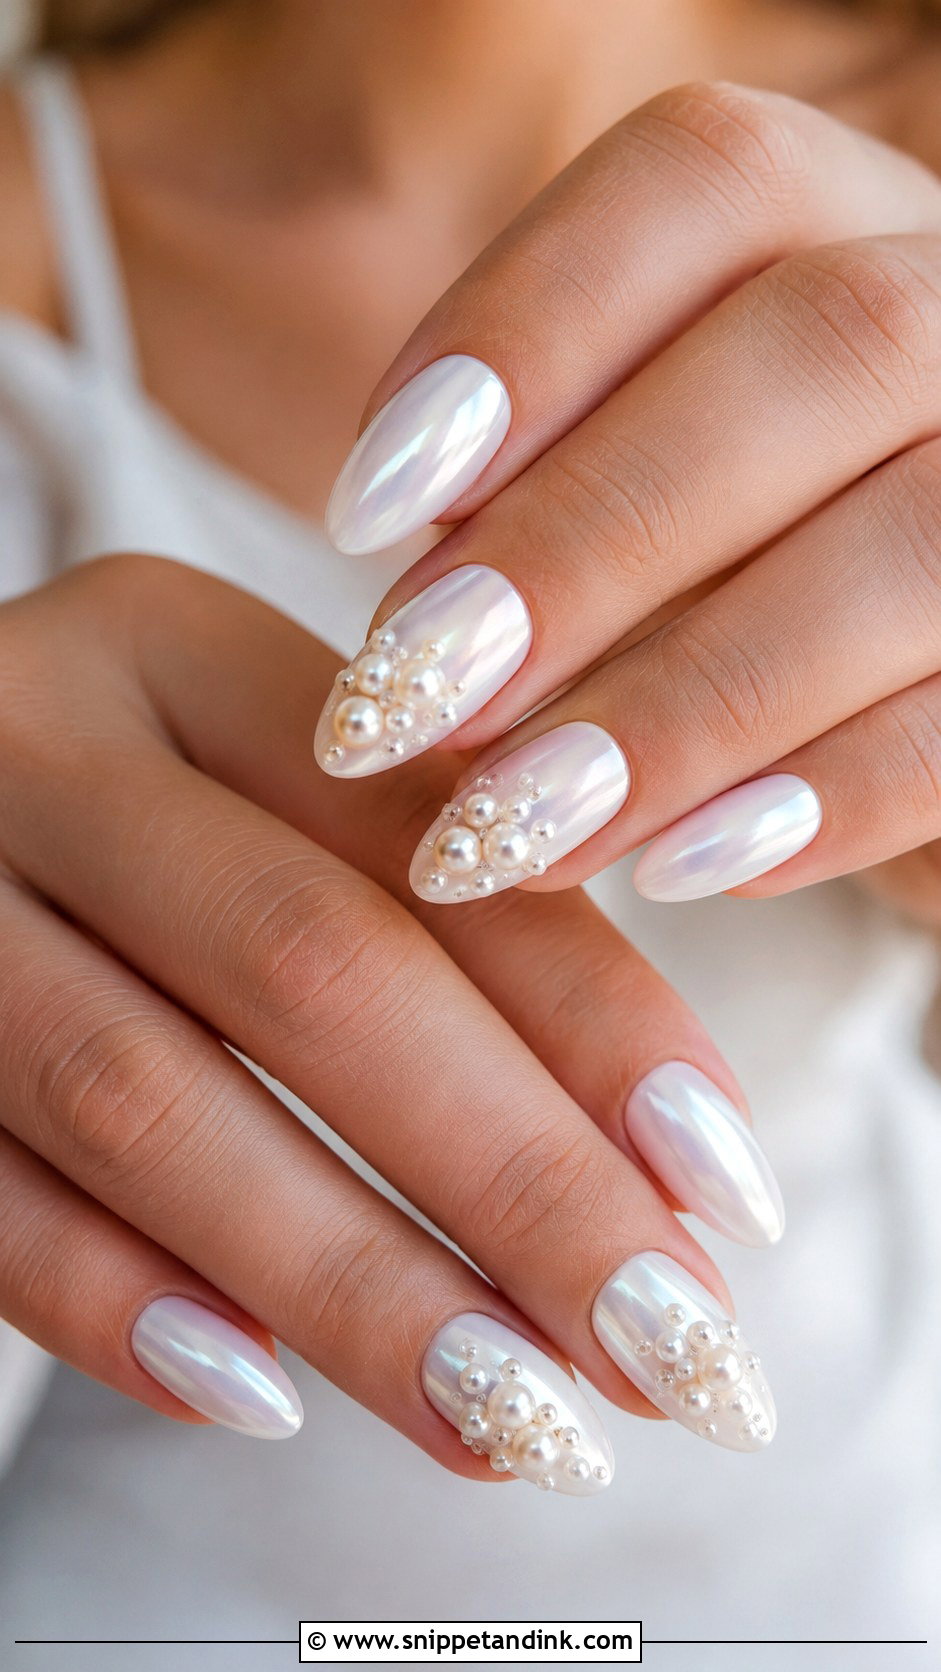
I sponge or brush-blend the gradient from nude or blush at the base into milky white at the tip, then finish with a pearl sheen. The soft fade makes nails look longer and hides small unevenness in the free edge better than a crisp French line. Pearls should stay sparing, at the cuticle or on one accent. Almond, coffin and oval give the fade enough length to blend; on very short nails there isn’t room and it can look smudged.
12. Lace Pearl Wedding Nails
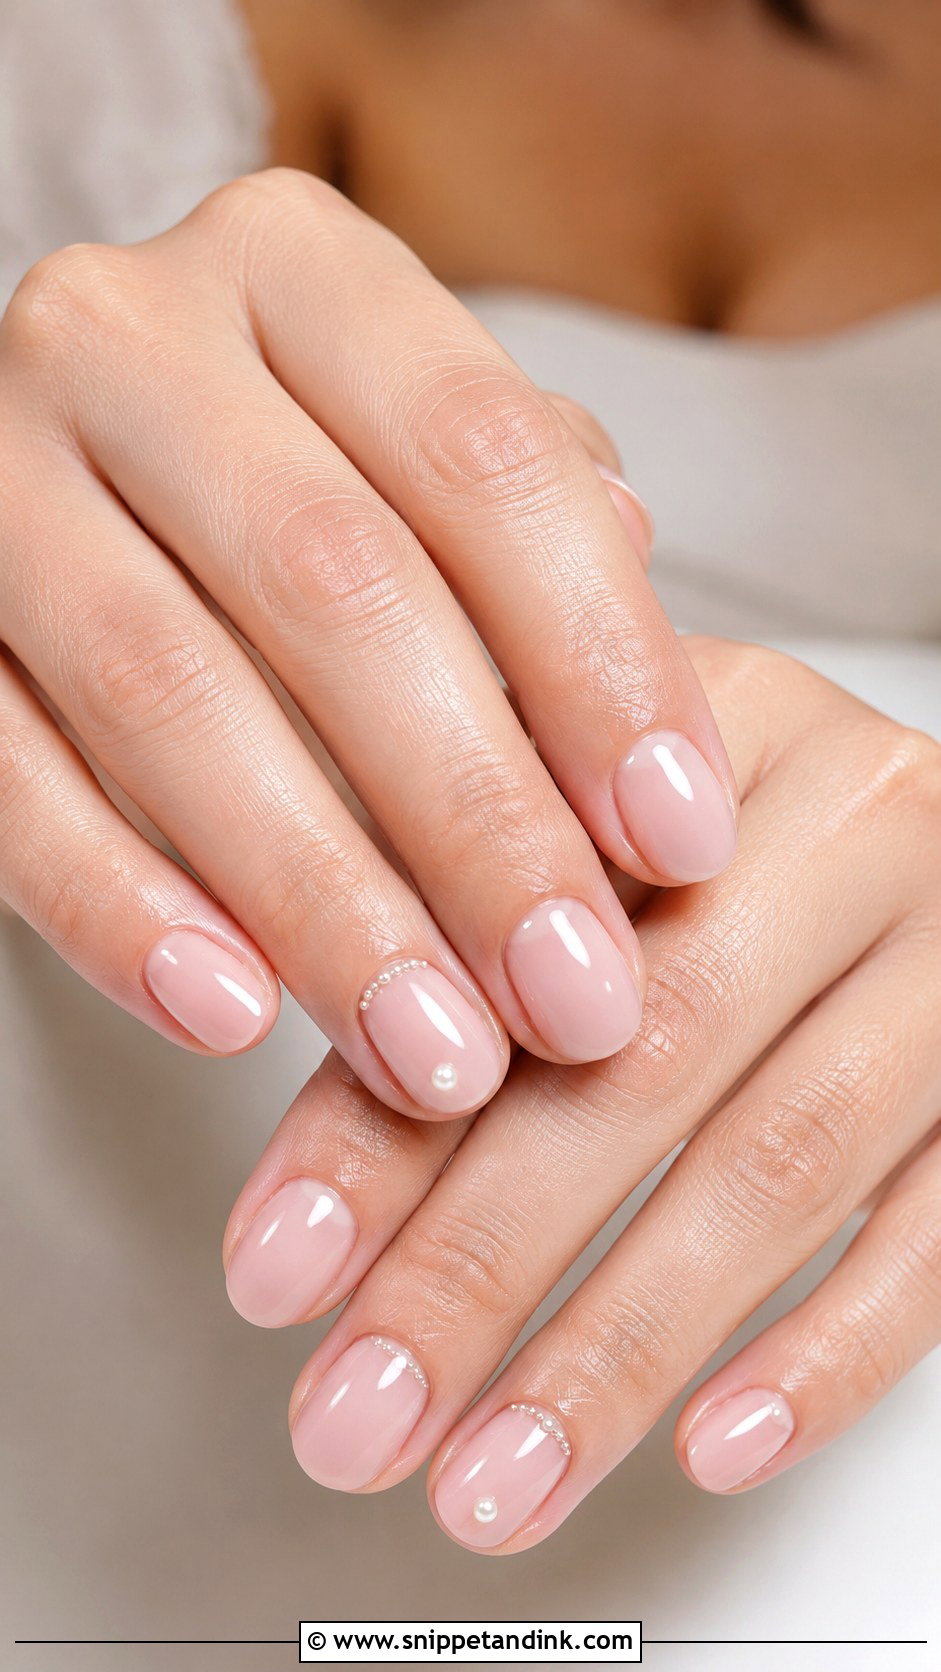
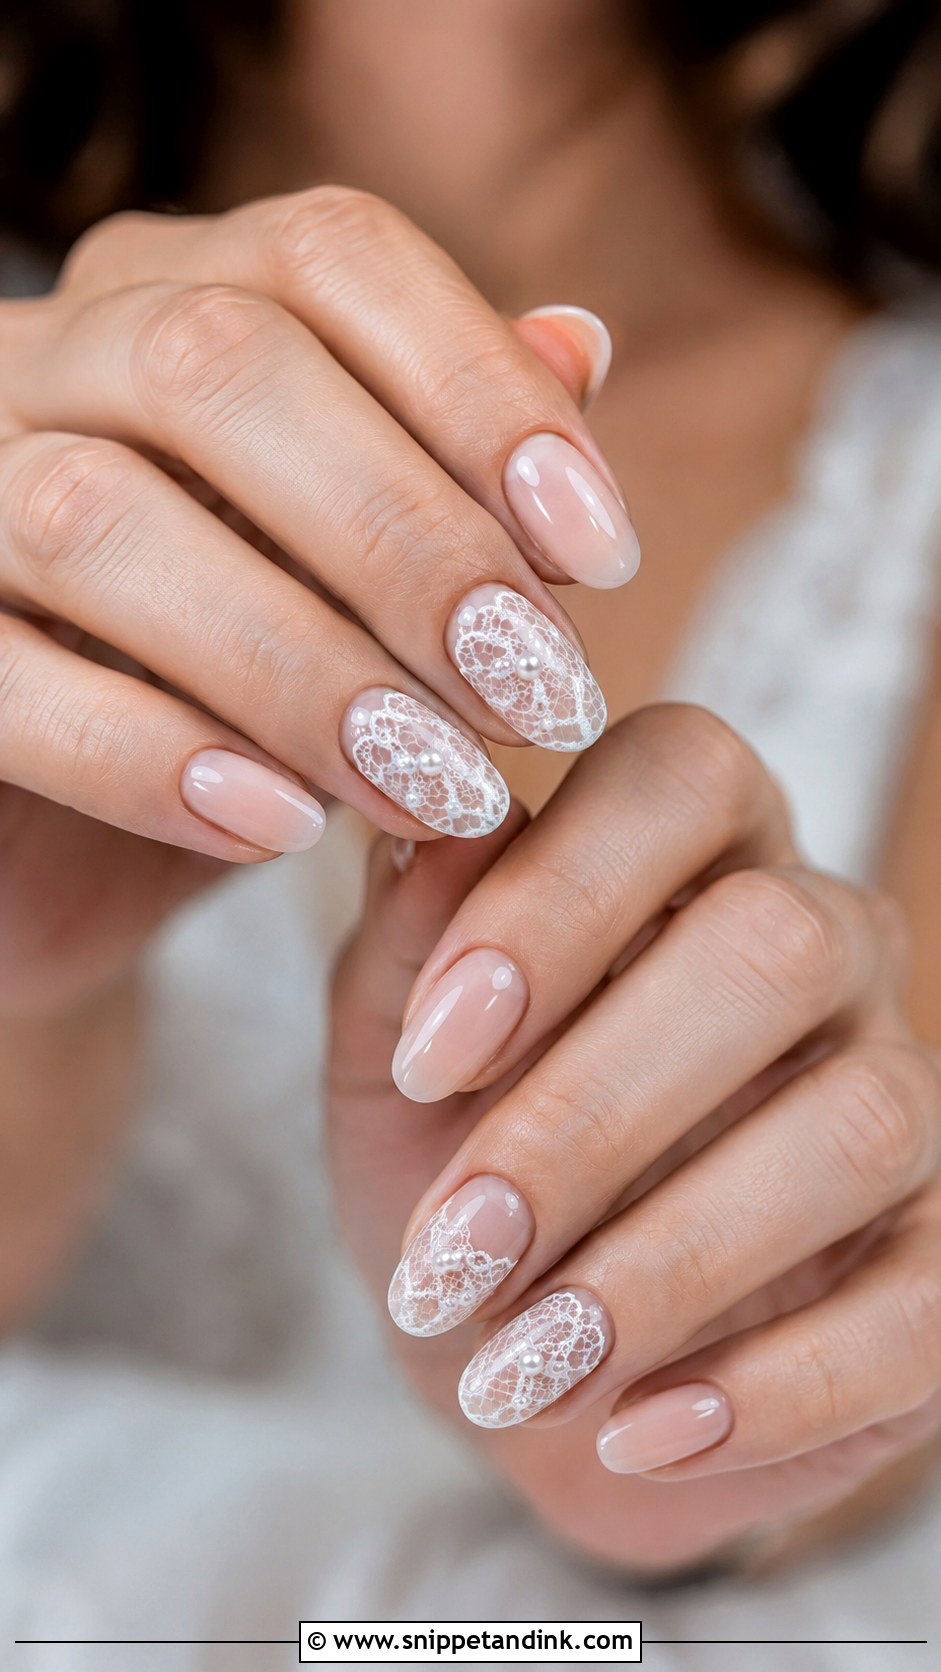
This one is for gowns with lace sleeves, embroidery or a vintage feel. I either hand-paint the lace with a fine liner or stamp it, and I’ll be honest that stamped lace is crisper while painted lace looks softer and more like the real fabric. Tiny pearls set into the pattern tie it to the dress. Keep the lace on one or two nails only and coat the rest in pearl chrome or plain milky gel. Bring a photo of your actual lace so the pattern scale matches.
13. Pearl Floral Wedding Nails
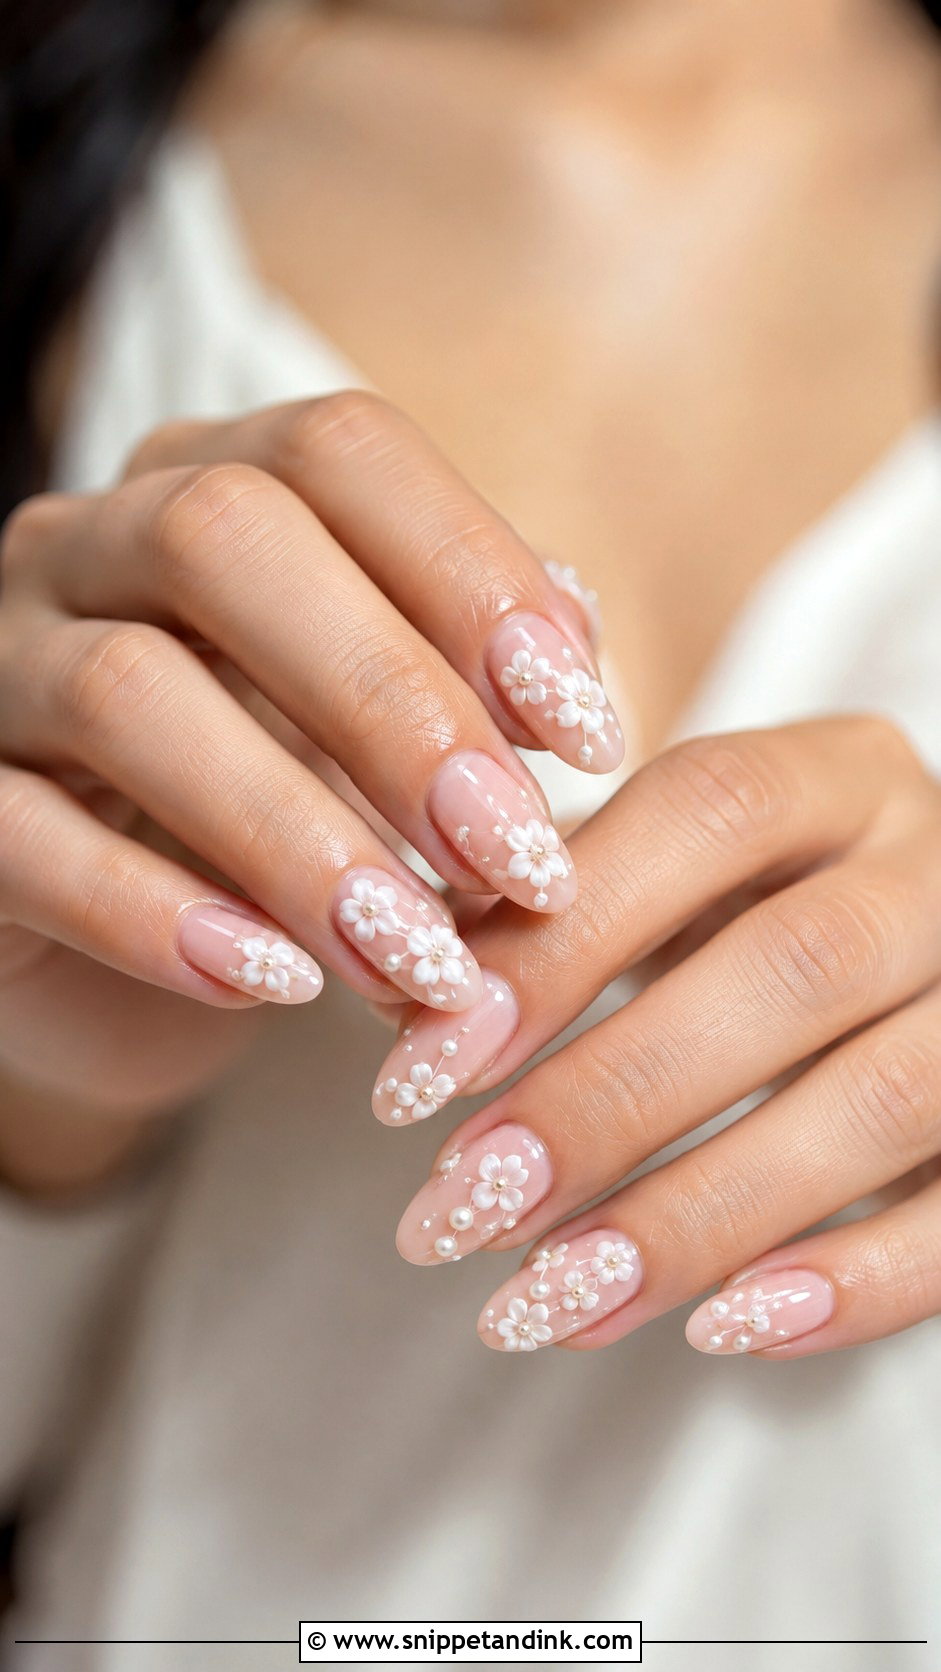
Small white flowers, sheer pink petals or tiny raised blooms with a pearl in the centre give a garden feel without bright colour. The mistake I see is flowers that are too large; on a nail, a bloom wider than about a third of the nail starts to look like a sticker. Keep them airy and leave plenty of the milky nude or blush base showing. It suits spring and summer most naturally, but in neutral shades it’s fine year-round, especially on oval and almond shapes.
14. Pearl Swirl Wedding Nails
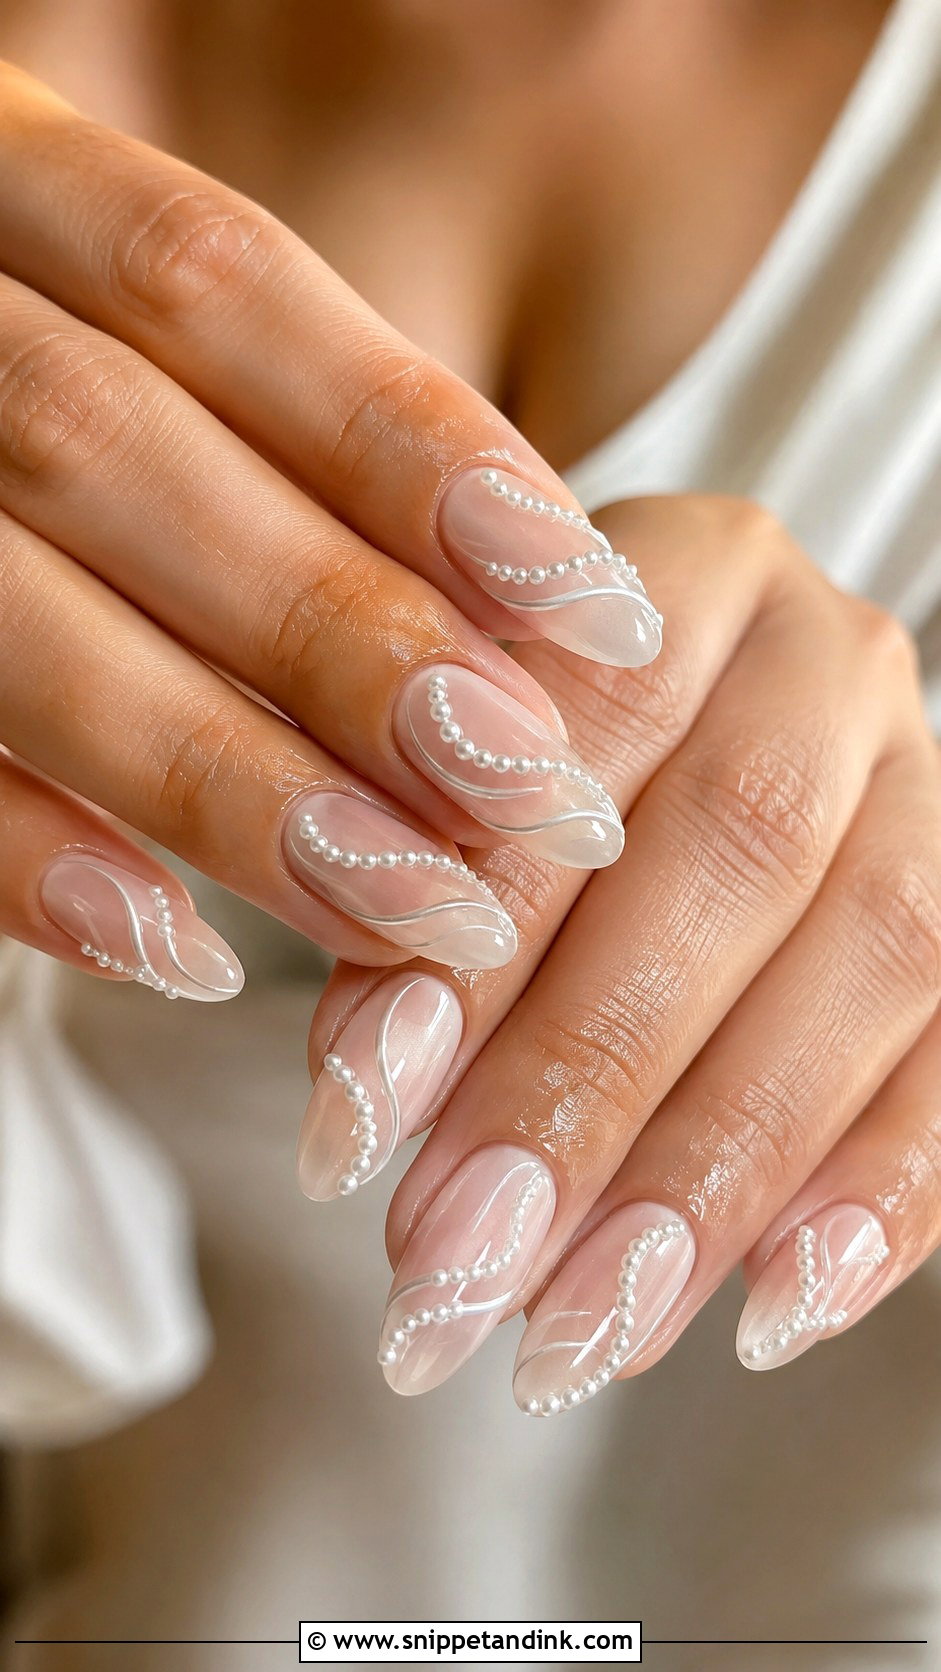
Thin white or champagne swirl lines over a sheer base give movement without florals or glitter. The line has to be really fine, so I use a long liner brush and gel paint thinned slightly; thick swirls look heavy and wobble on curved nails. Tiny pearls can follow part of a swirl or sit at the cuticle. Almond and oval suit it best because the curves echo the nail shape. Keep the palette soft and leave some nails plain.
15. Gold And Pearl Wedding Nails
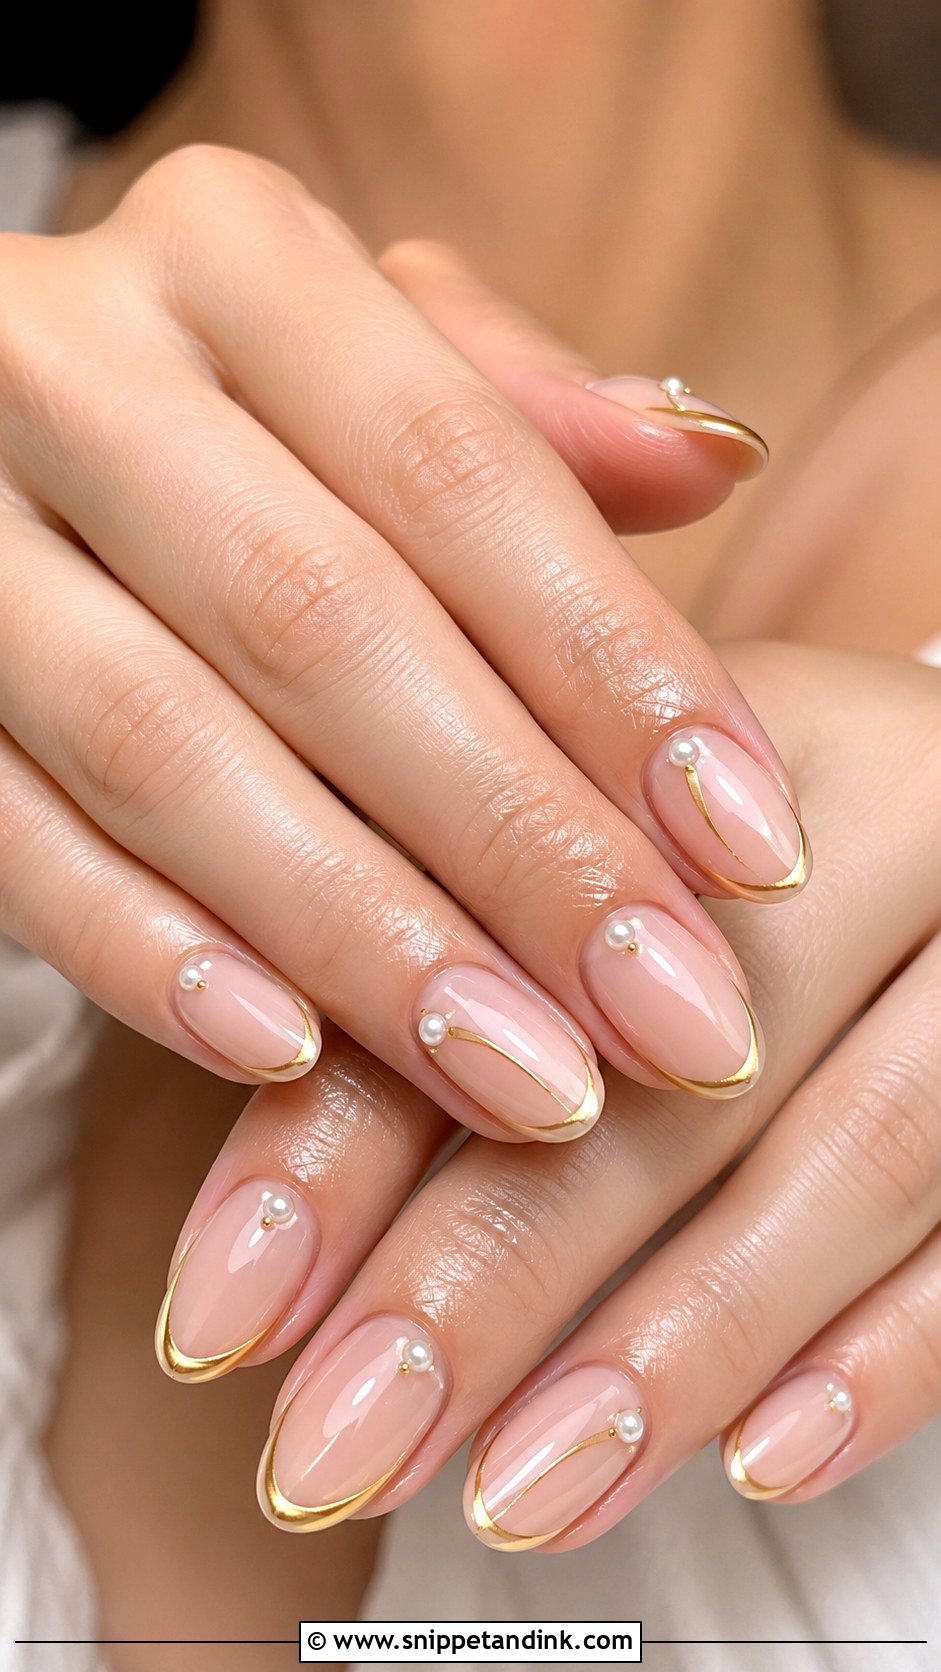
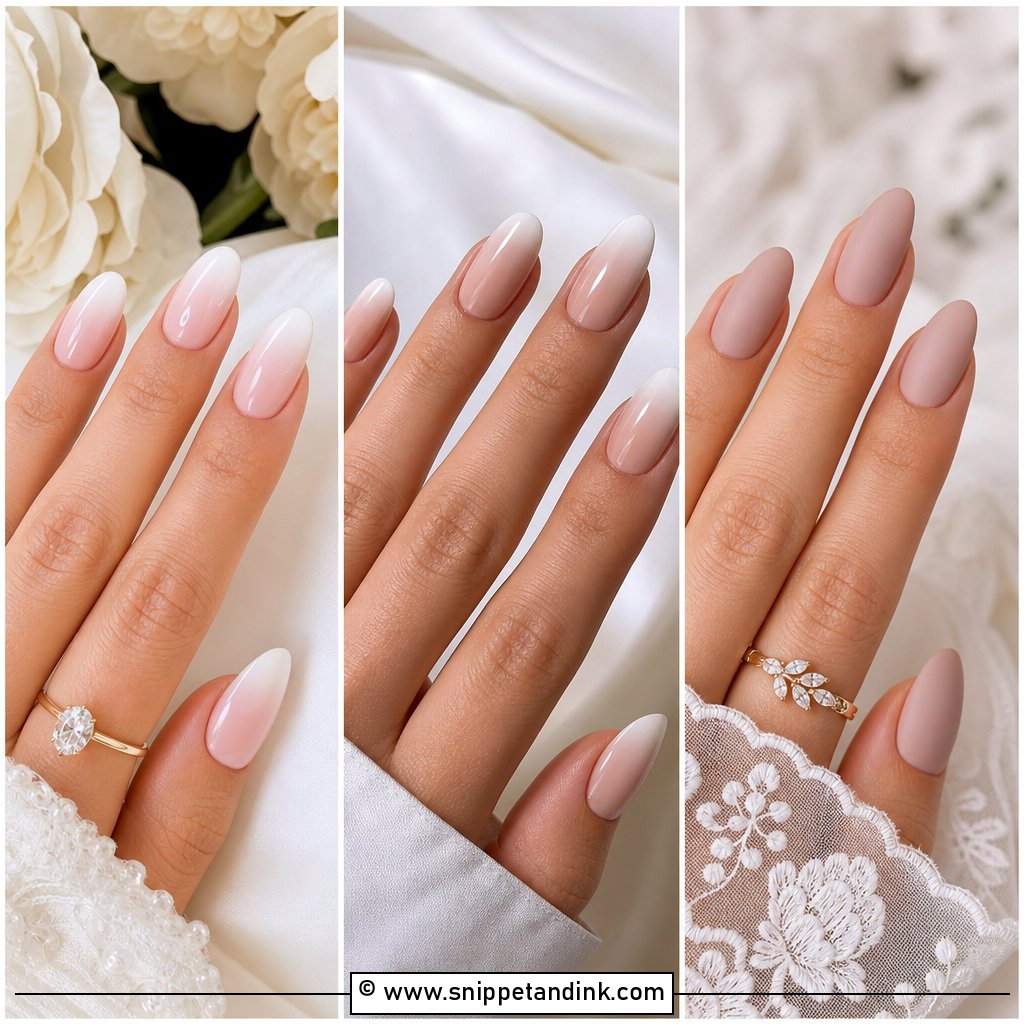
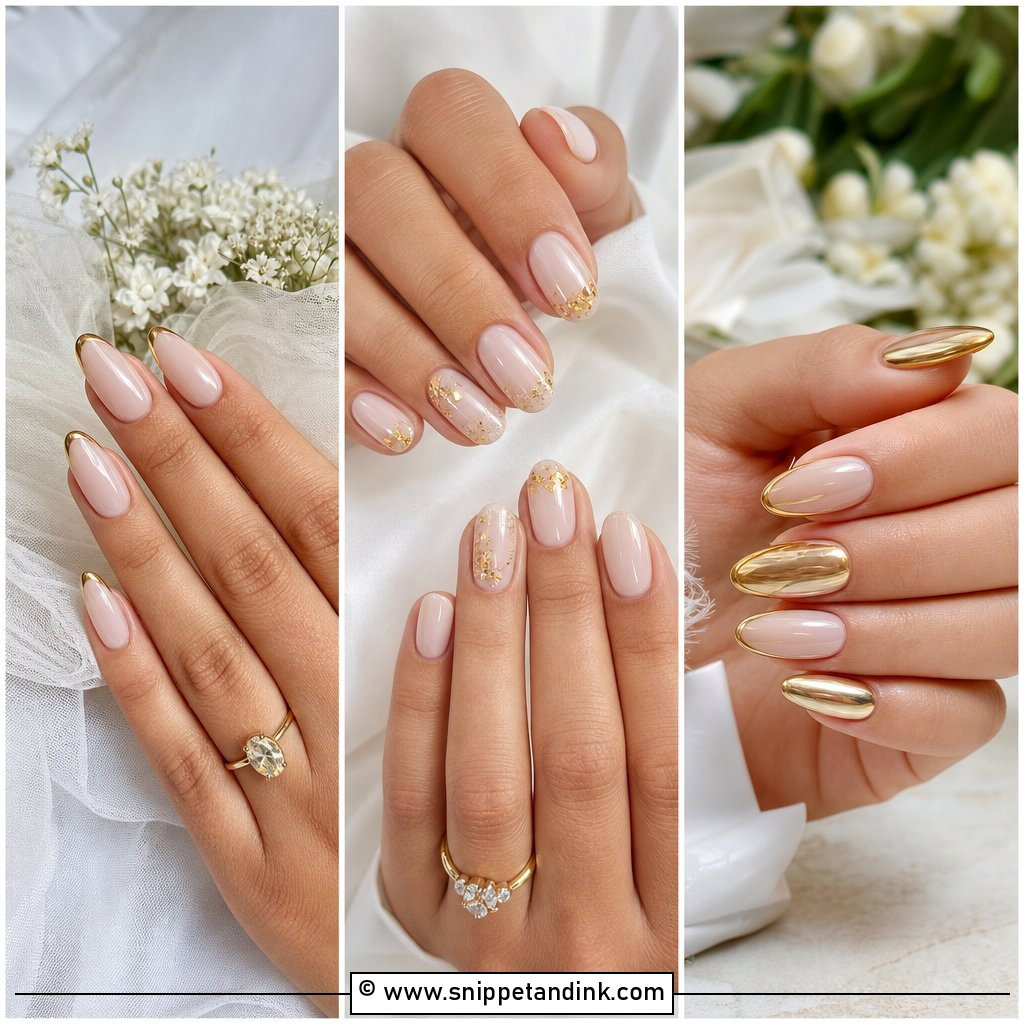
Gold and pearl wedding nails make sense when you’re wearing gold jewellery, a champagne gown or warm accessories. On a nude, blush or milky base I add thin gold lines, a little foil or a micro gold French tip, then soften it with tiny pearls. Gold should frame the pearls, not take over, so I limit it to a fine line per nail. If your engagement ring is yellow gold, matching the metal tone makes the hand shots look deliberate. Finish glossy.
16. Silver And Pearl Wedding Nails
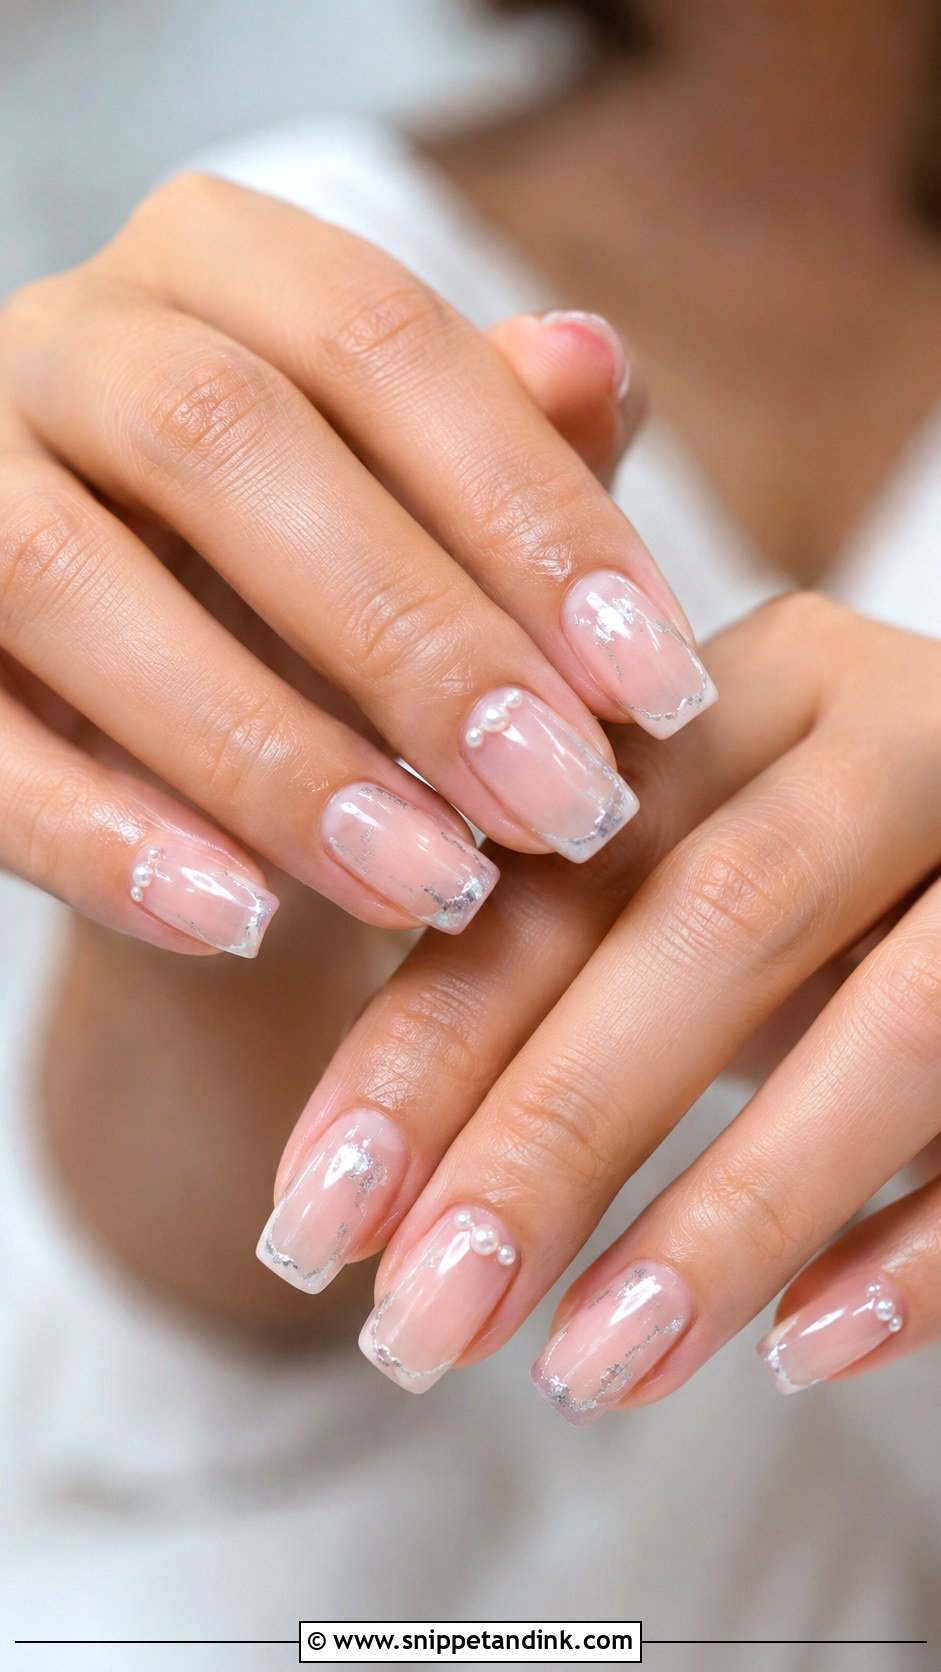
Silver is the match for platinum, white gold or silver jewellery, and it pairs naturally with pearls over a sheer pink or icy milky base. A fine silver micro French with tiny pearls at the cuticle is my usual version, or soft silver foil on one accent. It gives shine without chunky glitter, which can look rough under flash. It’s well suited to winter weddings and formal venues. Almond and oval keep the metal soft; square makes it more contemporary.
17. 3D Pearl Wedding Nails
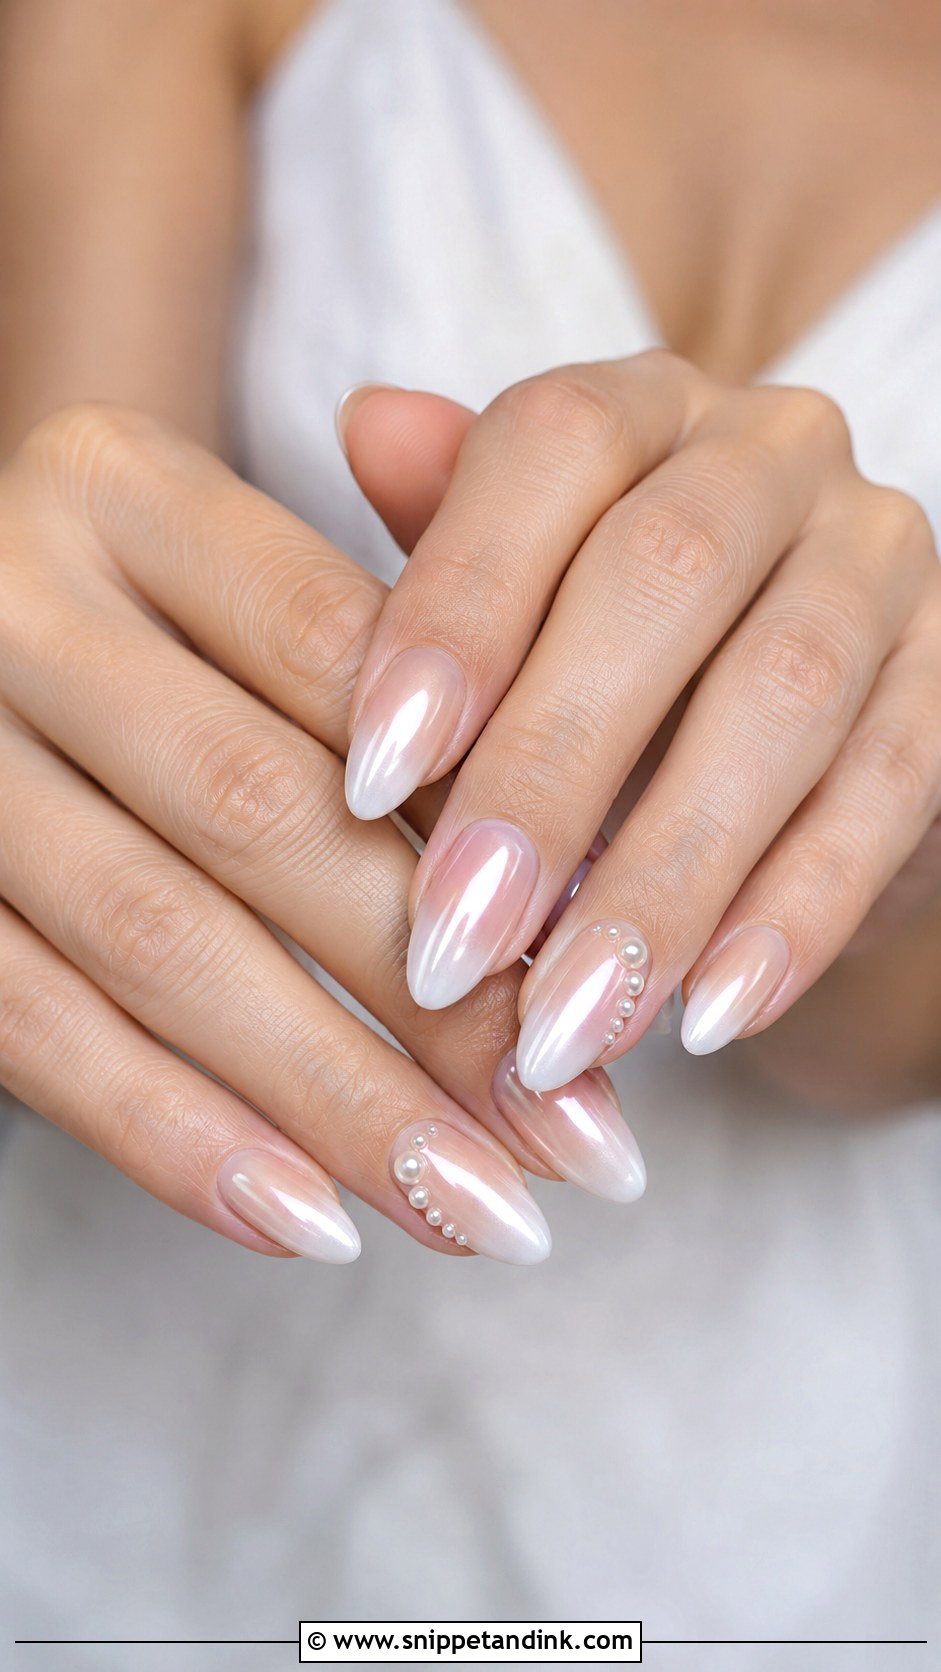
Raised pearls turn the manicure into something closer to jewellery, and they need the most careful application. I use flat-back pearls only, set each one into builder gel rather than just top coat, cure, then seal around the base. Rounded pearls sitting proud of the nail are the ones that pop off. Keep the base simple so the pearls carry the design, and limit them to the cuticle, a side wall or a cluster on accents. If your gown is tulle or fine lace, I’d use fewer and smaller pearls, since raised edges can pull threads.
18. Minimal Pearl Wedding Nails
One tiny pearl on each ring finger, or one at every cuticle over a milky pink. That’s the whole design. It’s the set I suggest to brides who never get nail art and don’t want hands that feel unfamiliar on the day. It works at any length, even very short natural nails. Placement is everything with so little detail: I measure each pearl to sit in the same spot on every nail, because one slightly off-centre looks like a mistake rather than a choice.
19. Pearl Coffin Wedding Nails
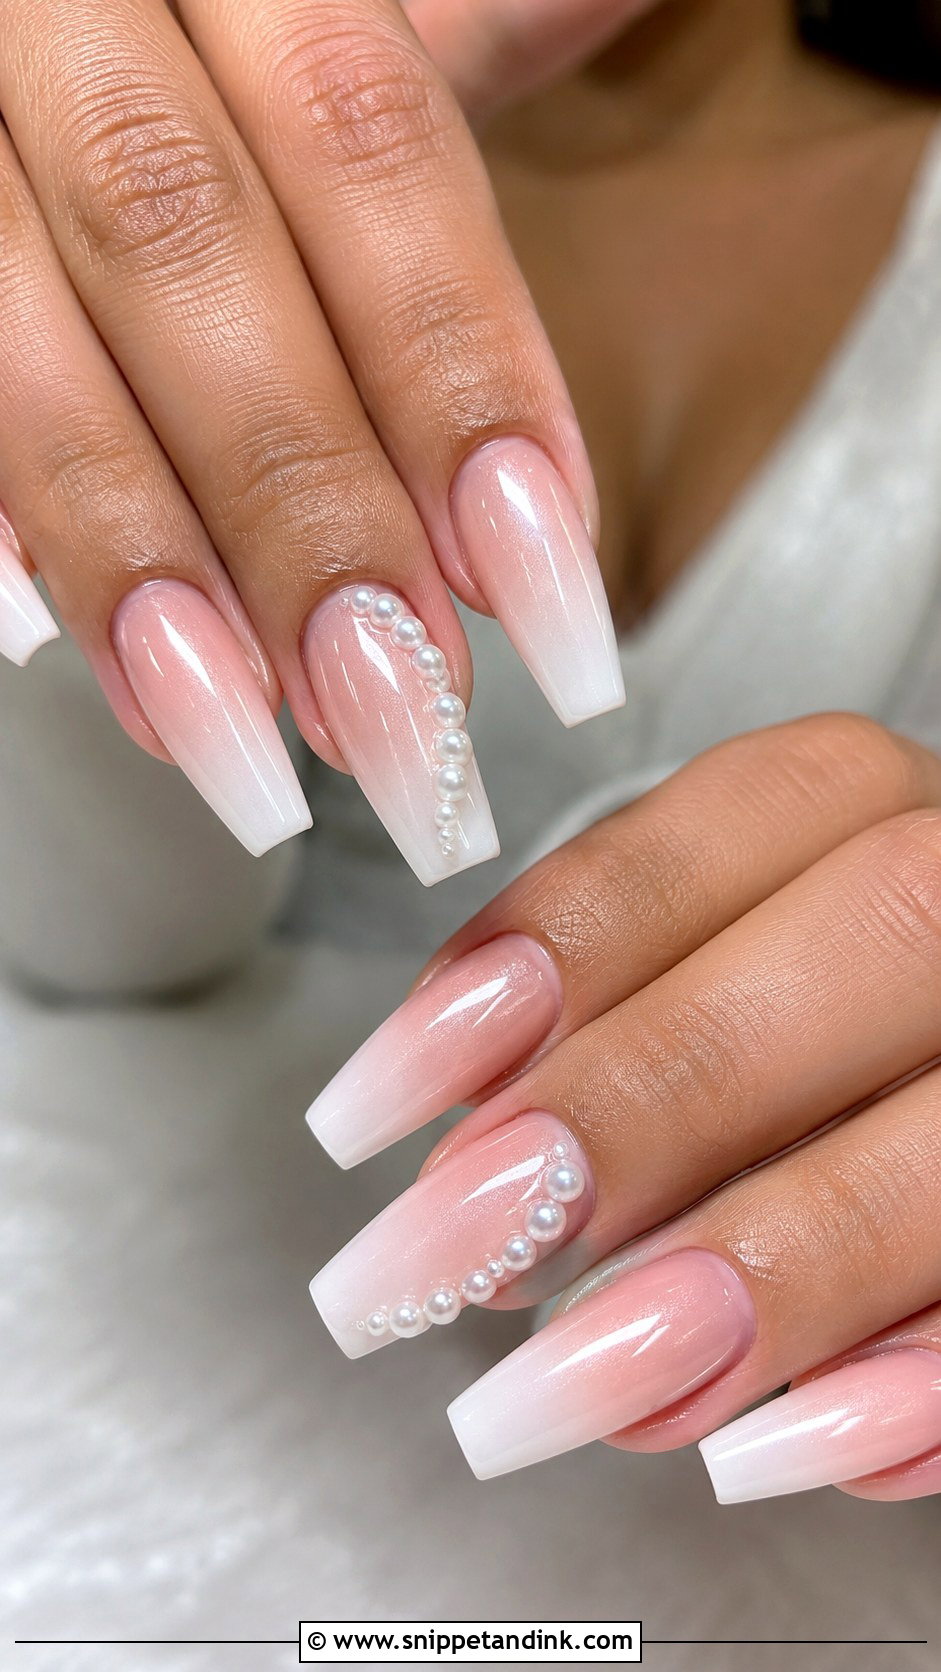
Coffin gives more surface for pearl chrome, a French tip or an ombre fade, and it reads more glamorous while the colours stay neutral. For a wedding I’d do a sheer pink base fading to milky white, with tiny pearls down one side of the accent nails. Medium length is the sensible limit. Extra-long coffins are easy to break at the stress point where the nail leaves the finger, and you’ll be using your hands constantly. Next to a sleek, simple dress this shape adds the detail the outfit lacks.
20. Pearl Cat Eye Wedding Nails
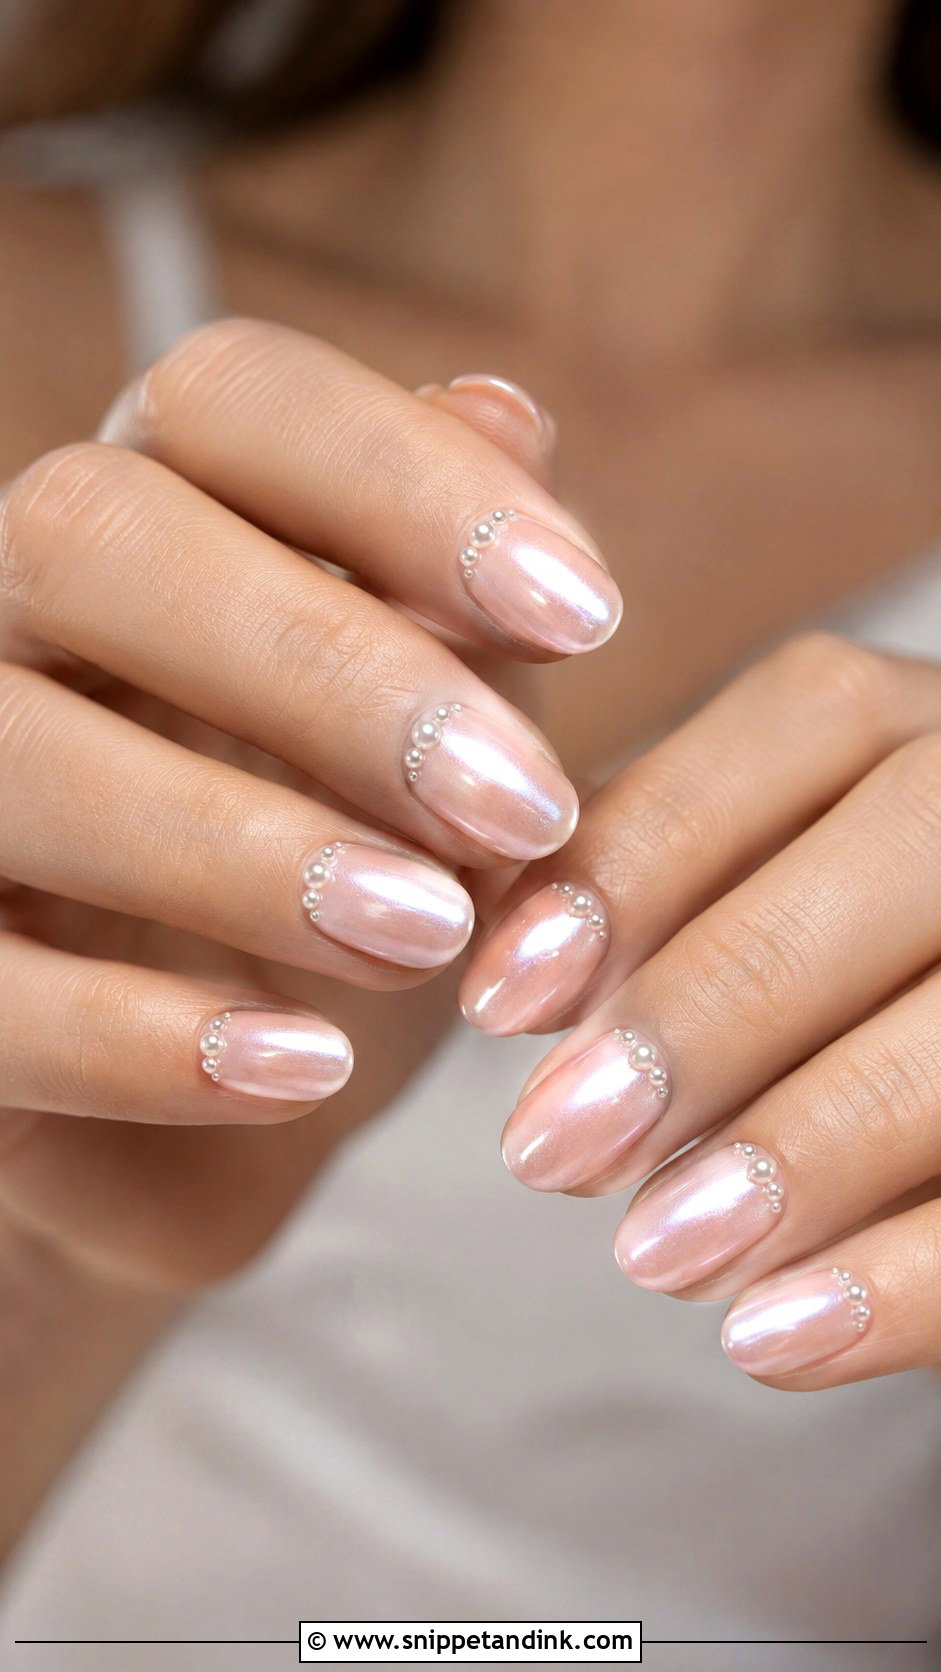
Magnetic cat eye gel doesn’t have to be dark. In soft white, champagne, nude or blush cat eye gel, the magnet pulls the shimmer into a glowing band that shifts as your hand moves. I hold the magnet over each nail before curing and cure each one quickly, because the line starts to soften within seconds. It looks best under evening and candle light. Keep pearls small and to the cuticle or one accent so they don’t break up the glow.
If a Pearl Pops Off Between the Vows and the Cake
It can happen, usually on a thumb or index finger after someone has been wrestling with a dress zip or a stubborn champagne cork. A missing pearl on one nail is rarely visible in photos, so nobody has to rush anything. Still, I give my brides a small kit for the day.
- Two or three spare pearls in the same size, in a little bag in the bridesmaid’s clutch.
- A tiny tube of nail glue, which holds a pearl well enough for an evening.
- A clear top coat pen to smooth any rough spot that might snag lace or tights.
- A cuticle oil pen, so the skin around raised detail looks soft in ring shots.
Two or Three Days Before Is the Sweet Spot
I like to apply the final set two or three days before the wedding. Any pearl that wasn’t seated properly tends to show itself in the first day or so, which gives us time to fix it, and there’s still almost no regrowth at the cuticle by the ceremony. Doing them the morning of the wedding leaves no margin if something lifts. Doing them a week early means visible growth on a sheer base. If you’re travelling for a destination wedding, plan the appointment around the flight, not the other way round, and avoid hot tubs and long swims for the first day.
Which Pearl Set Suits Your Dress and Your Hands
Pearls adapt to almost every bridal look, so start from your dress, your metal and how much length you can live with. If you want something classic, a pearl French, milky white or blush set is hard to get wrong. If you want detail, lace, florals, swirls, gold lines or raised pearls give you more to look at. Book a trial a few weeks ahead and bring a photo of your gown and ring, then sit the final set two or three days before the wedding so it looks fresh in every close-up.
You'll Like These Ideas:


Leave a Reply