
Most brides who sit in my chair asking for an updo don’t want the stiff, sprayed helmet they remember from older weddings. They want something that looks soft and moves a little, yet still sits exactly where I put it after a hug line, a windy portrait session and three hours of dancing. That balance is the whole craft of a wedding updo: the part you see is loose, and the part you don’t see is pinned like scaffolding. The twenty styles below cover buns, twists, braids, curls and natural textures, and for each one I’ve noted what it needs underneath, who it suits and where it tends to fail. Save the ones you like from the back and the side, not just the front, and bring them to your trial.
Nape, Crown or In Between, Read From the Neckline
Before I talk about texture or braids, I decide how high the updo should sit, and I decide it by looking at the dress, not the hair. Placement changes how the whole silhouette reads in photos.
Low at the nape
Best for open backs, illusion lace and plunging backs, where you want the bun to sit above the detail without hiding it. Low placement is also the easiest for a long veil and the most comfortable when you lean back in a chair or car seat.
Mid-height, at the back of the head
My default for strapless and sweetheart necklines. It balances the bare shoulders and still leaves room above it for a veil comb.
High at the crown
Works with high necks, halters and collars, which would crowd a low bun. It adds height, which helps petite brides, but it limits veil options and puts more strain on the scalp.
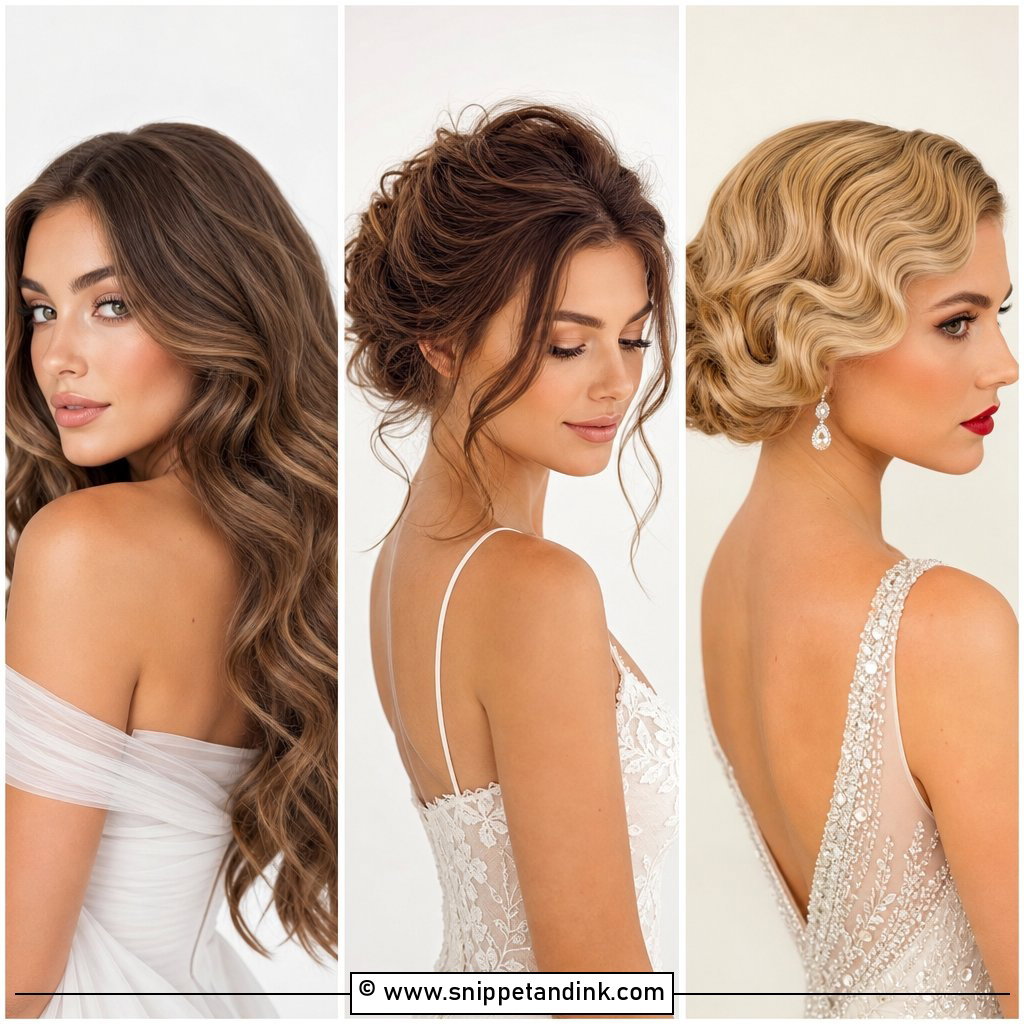
Turn sideways in a mirror with your hair held up at each height. Your profile will usually tell you within a few seconds.
1. Wedding Low Bun Updo
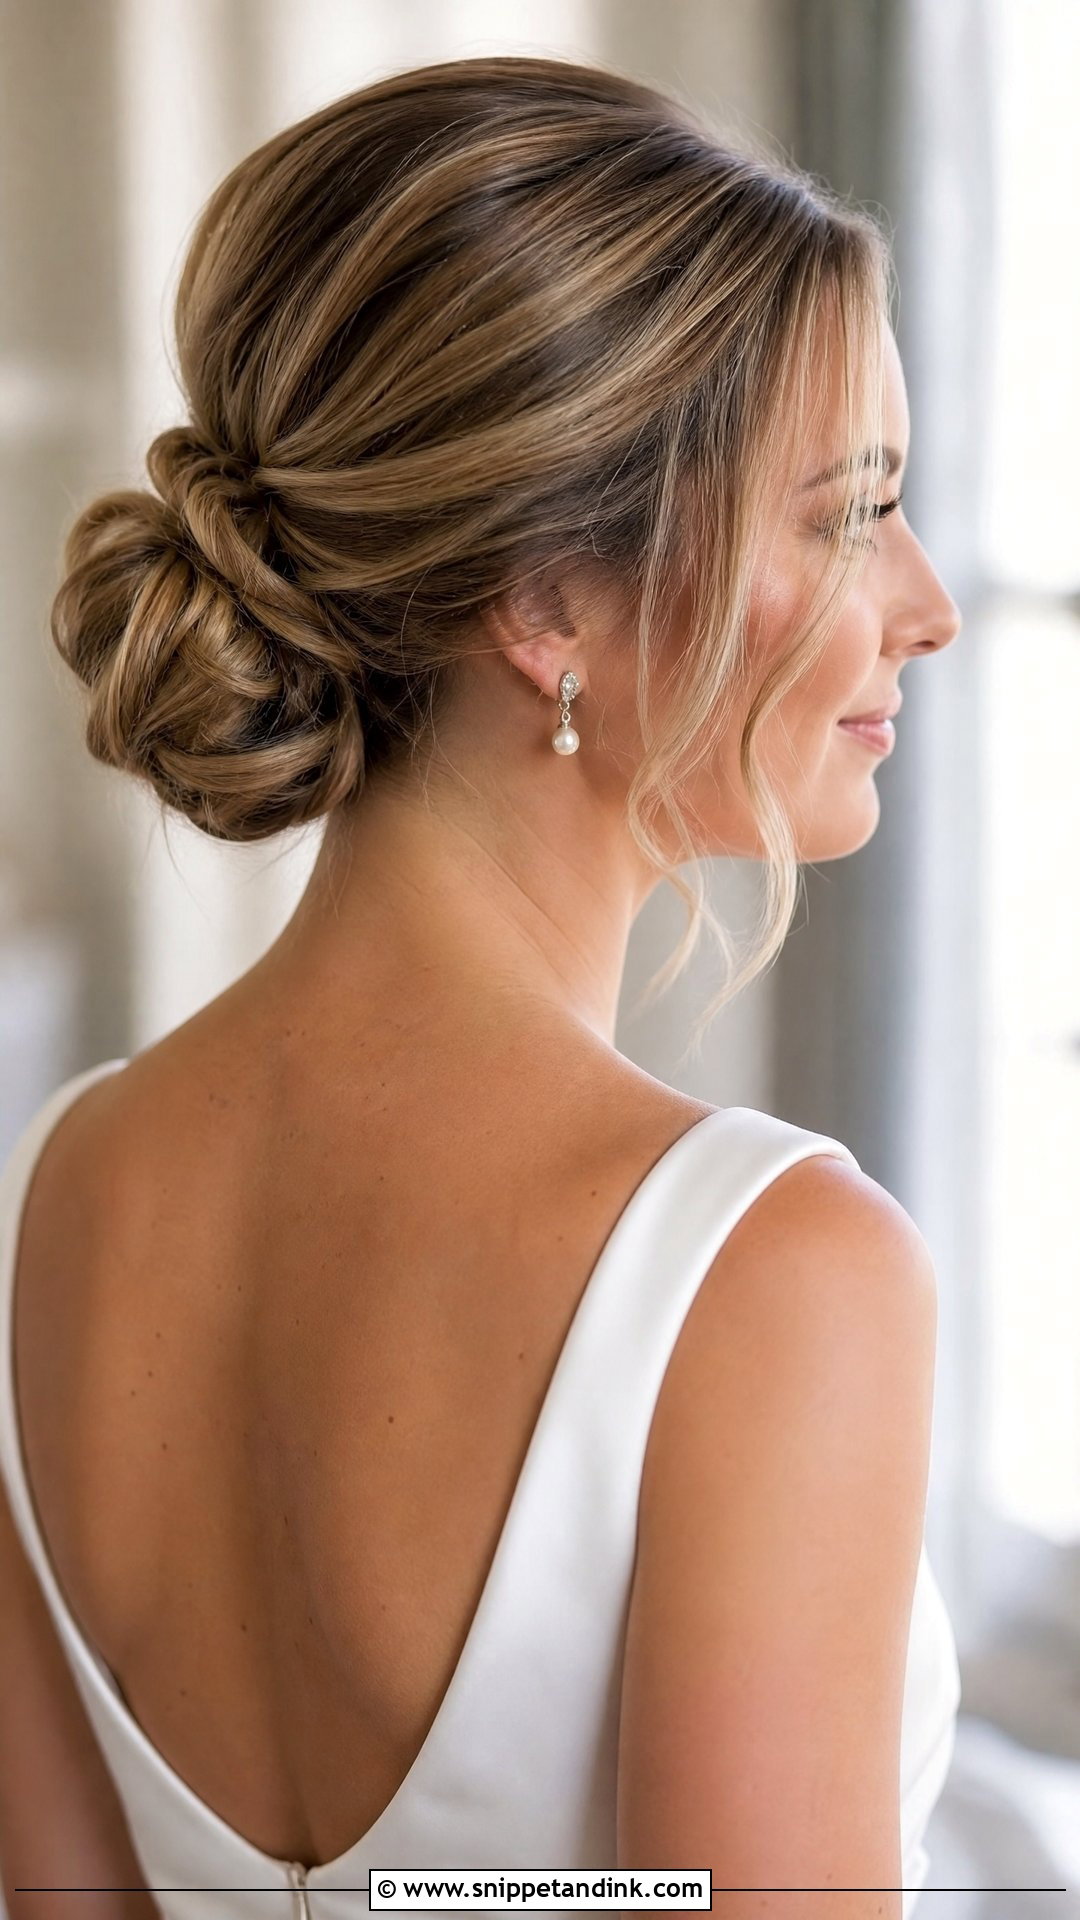
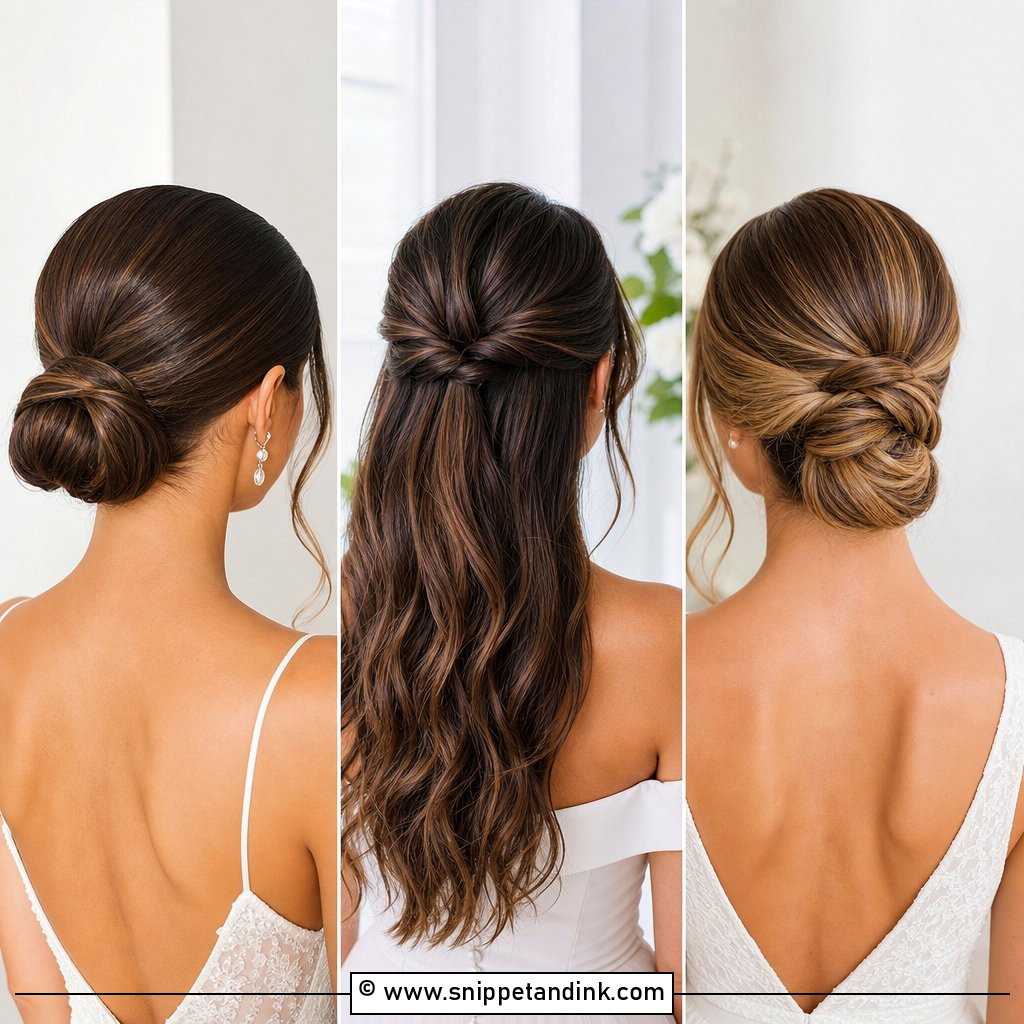
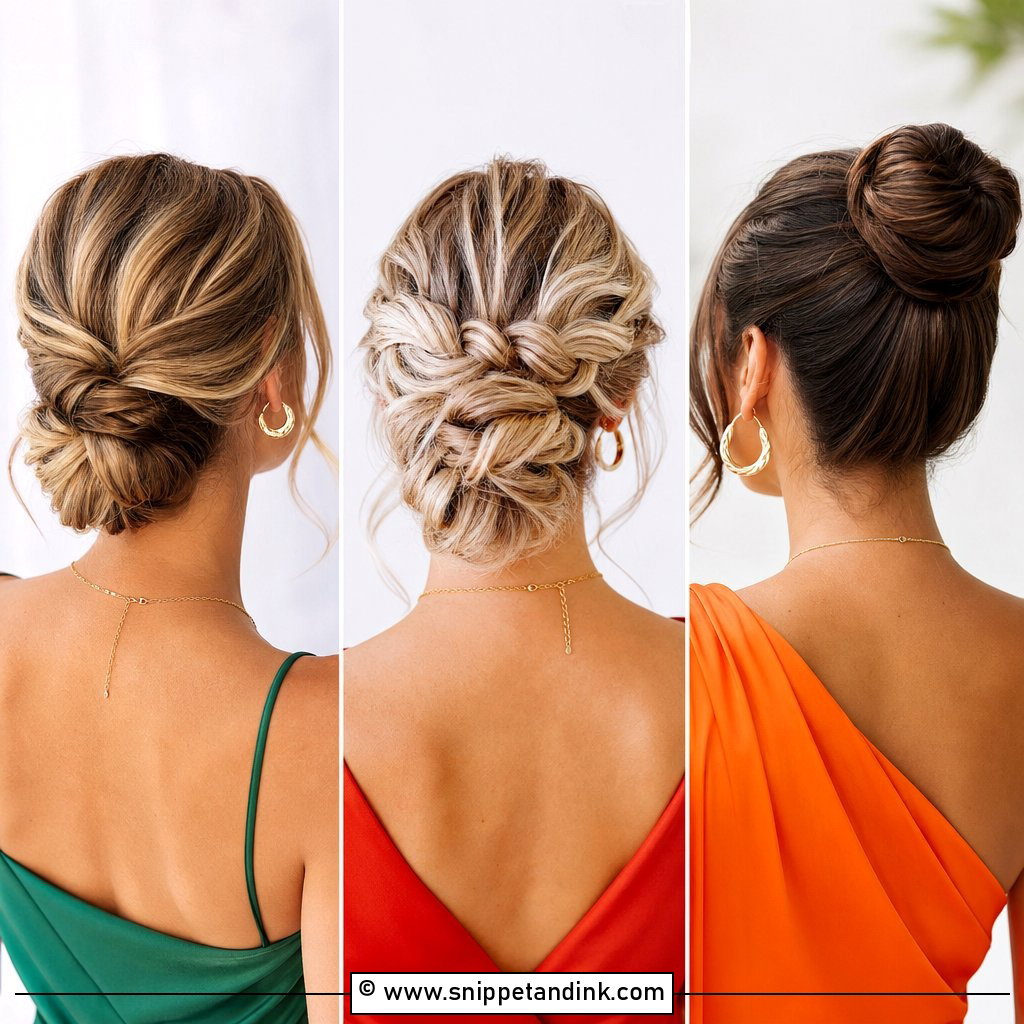
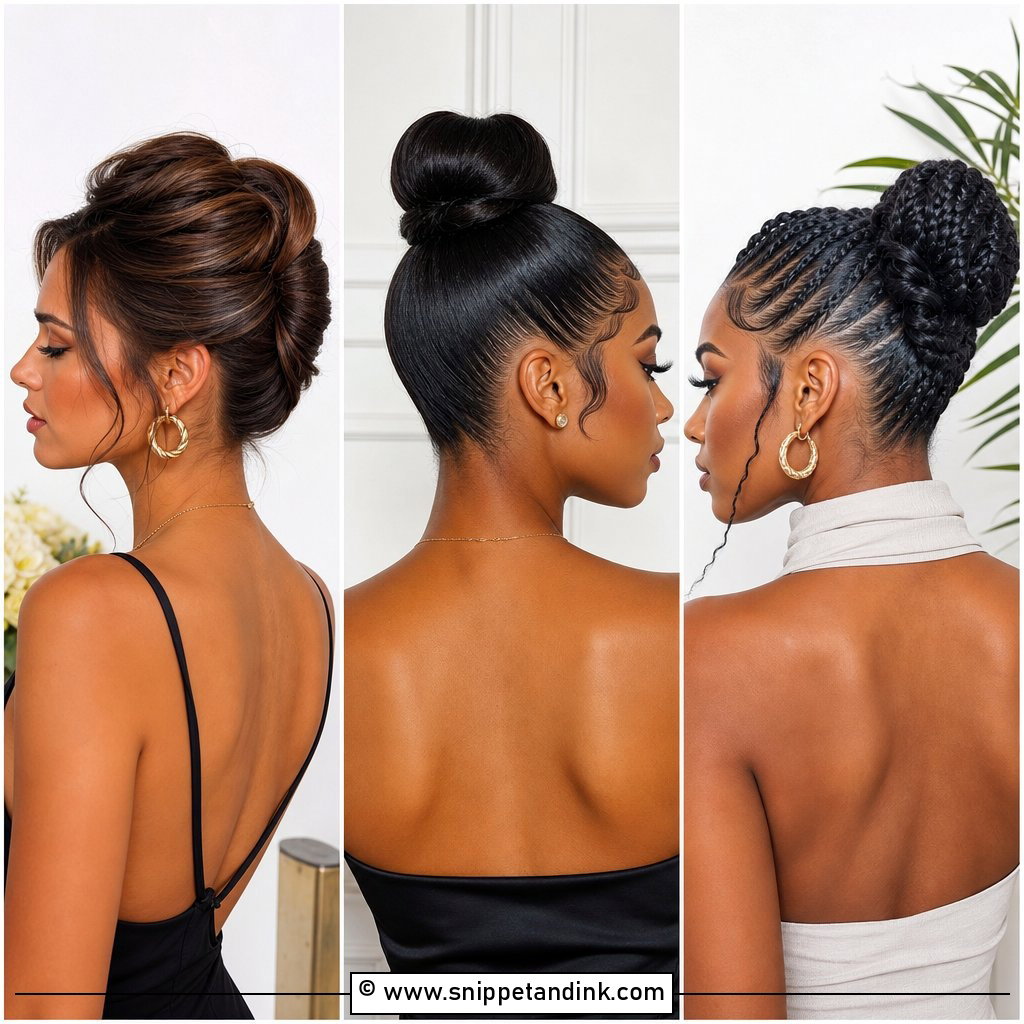
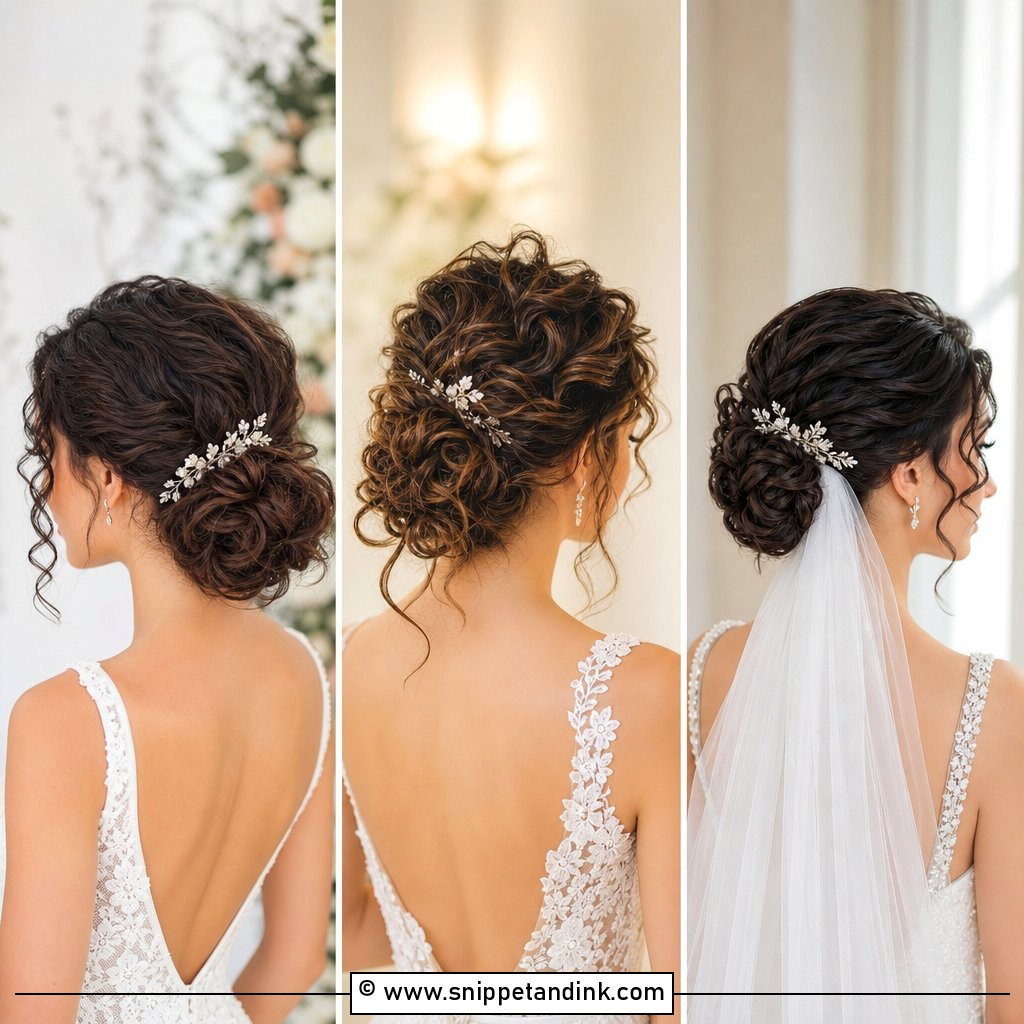
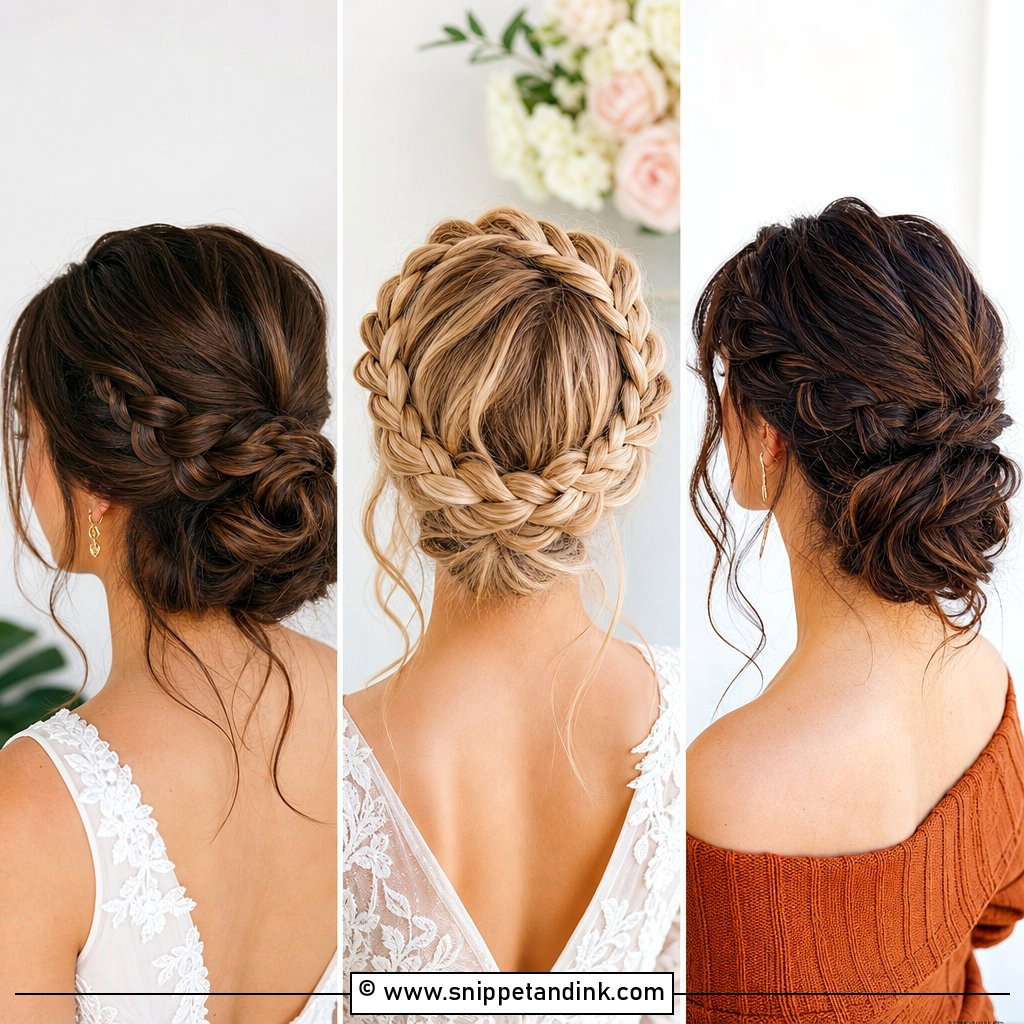
The low bun is the updo I do most, and for good reason. It sits at the nape, so it’s comfortable through a long ceremony, and it leaves the crown free for a veil comb. What keeps it from looking plain is a little lift at the crown and a couple of soft pieces at the face. I build it on a small elastic base, then pin the bun into that rather than into loose hair, which is why it doesn’t sag by evening. Ask for a flexible hold. A crunchy finish looks hard in close-ups and cracks when you touch it.
2. Wedding Textured Bun Updo
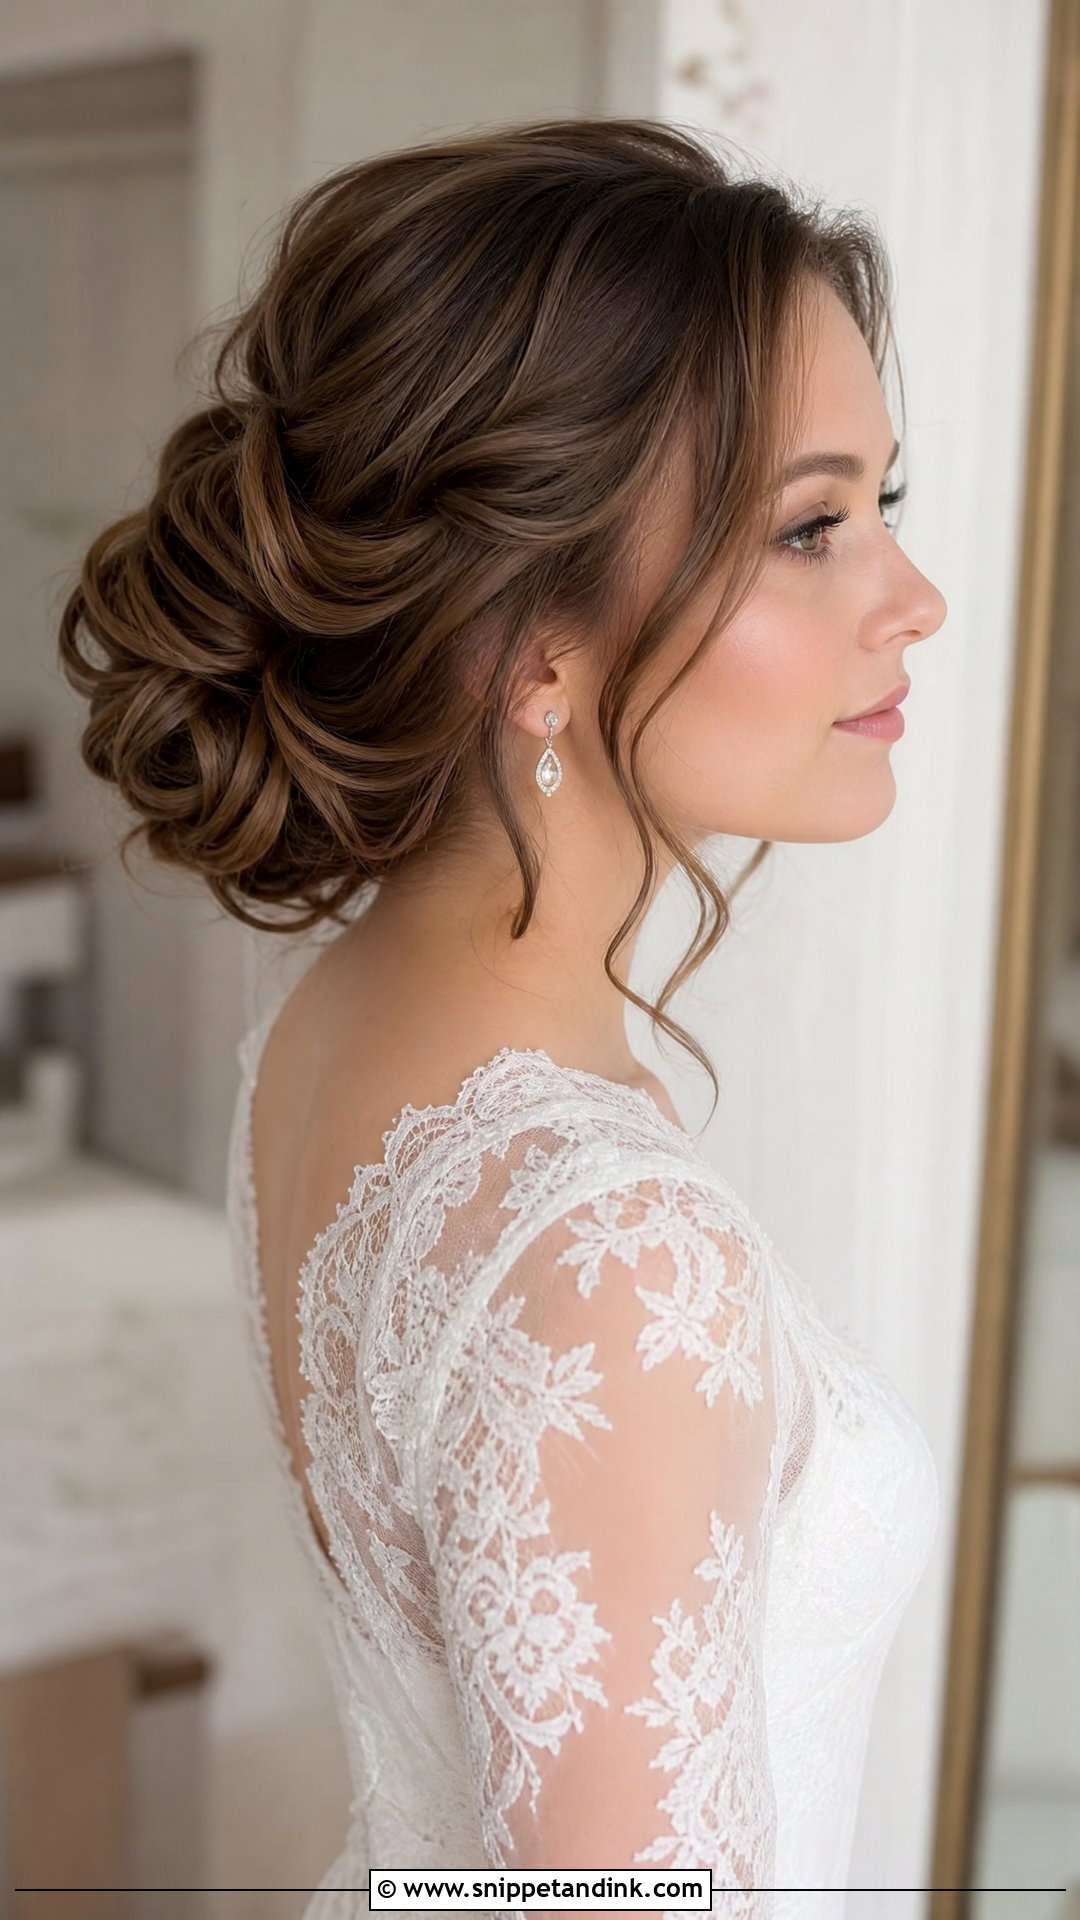
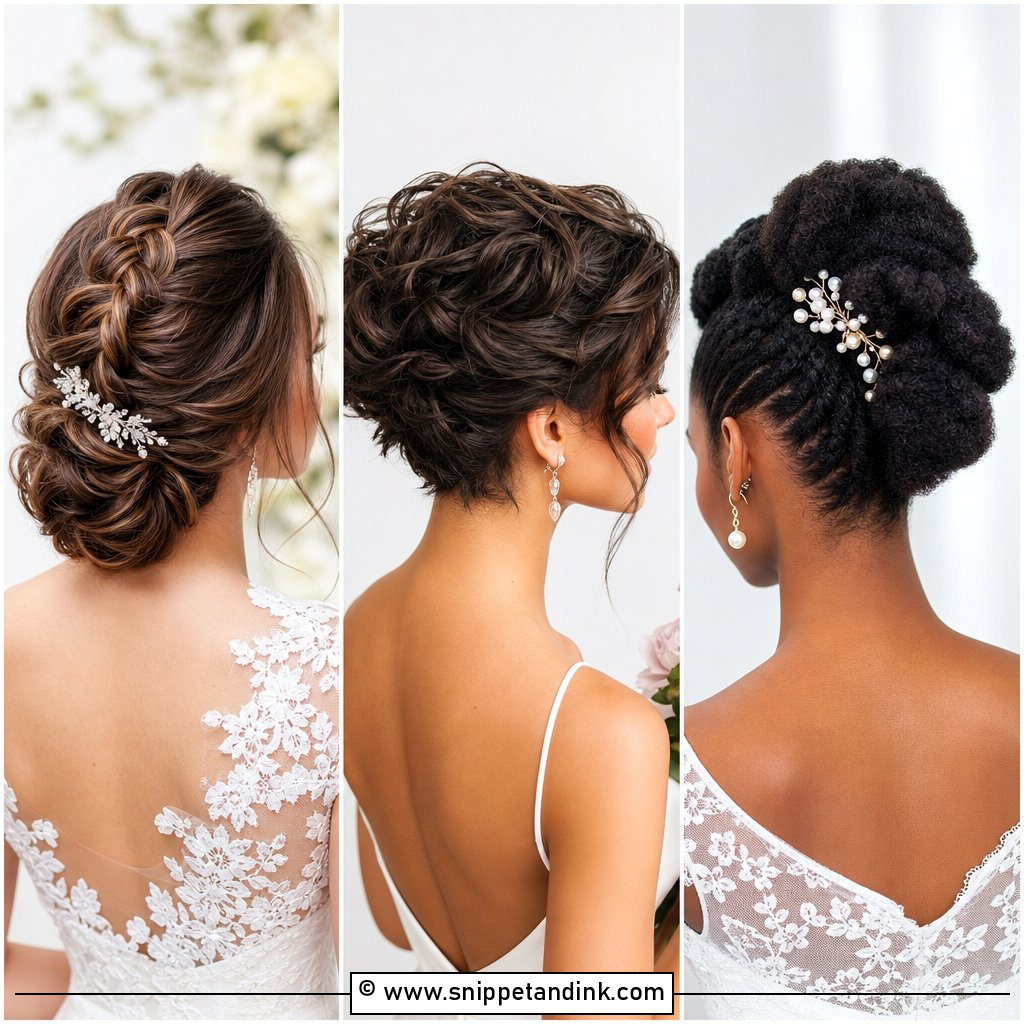
A textured bun is a classic bun with the polish taken off: loose bends, open pinning and pieces pulled slightly apart for volume. It’s flattering on fine hair because the separation makes it look thicker, and it softens very heavy hair. The prep decides whether it works. Freshly washed, silky hair won’t hold texture, so I curl the hair first and use a texture spray before I start pinning. If you can, come to the appointment with hair washed the day before. It suits garden settings and soft veils.
3. Wedding Sleek Bun Updo
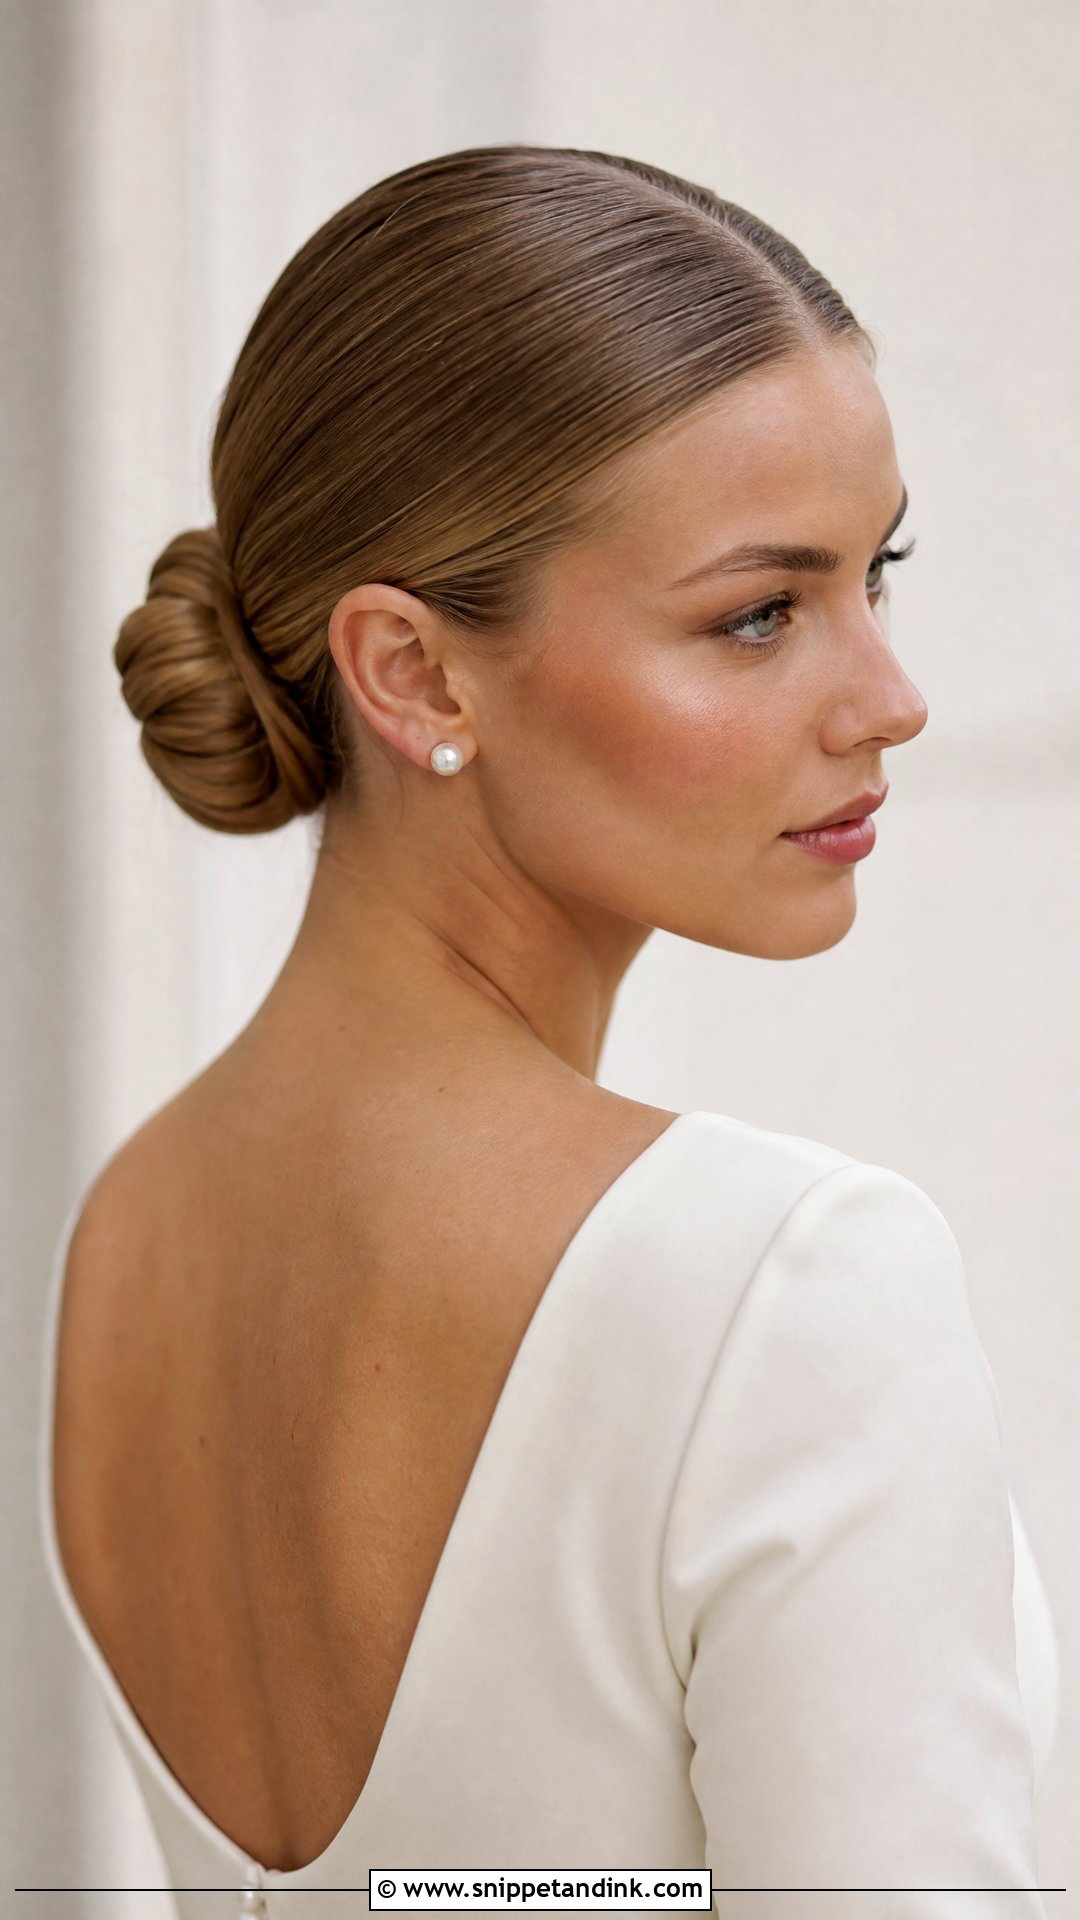
Sleek buns are the least forgiving style here, because every bump in the base shows. I smooth the hair back with a firm brush and a little gel or cream, secure it with a strong elastic, then wrap and pin the bun tightly. It’s the updo I suggest for high necklines, structured gowns and bold earrings, since nothing competes with the face. It’s also my first suggestion for a humid wedding: there are no loose pieces to frizz. The trade-off is that a very tight pull can give some brides a headache by the reception, so tell me at the trial if anything pulls.
4. Wedding Chignon Updo
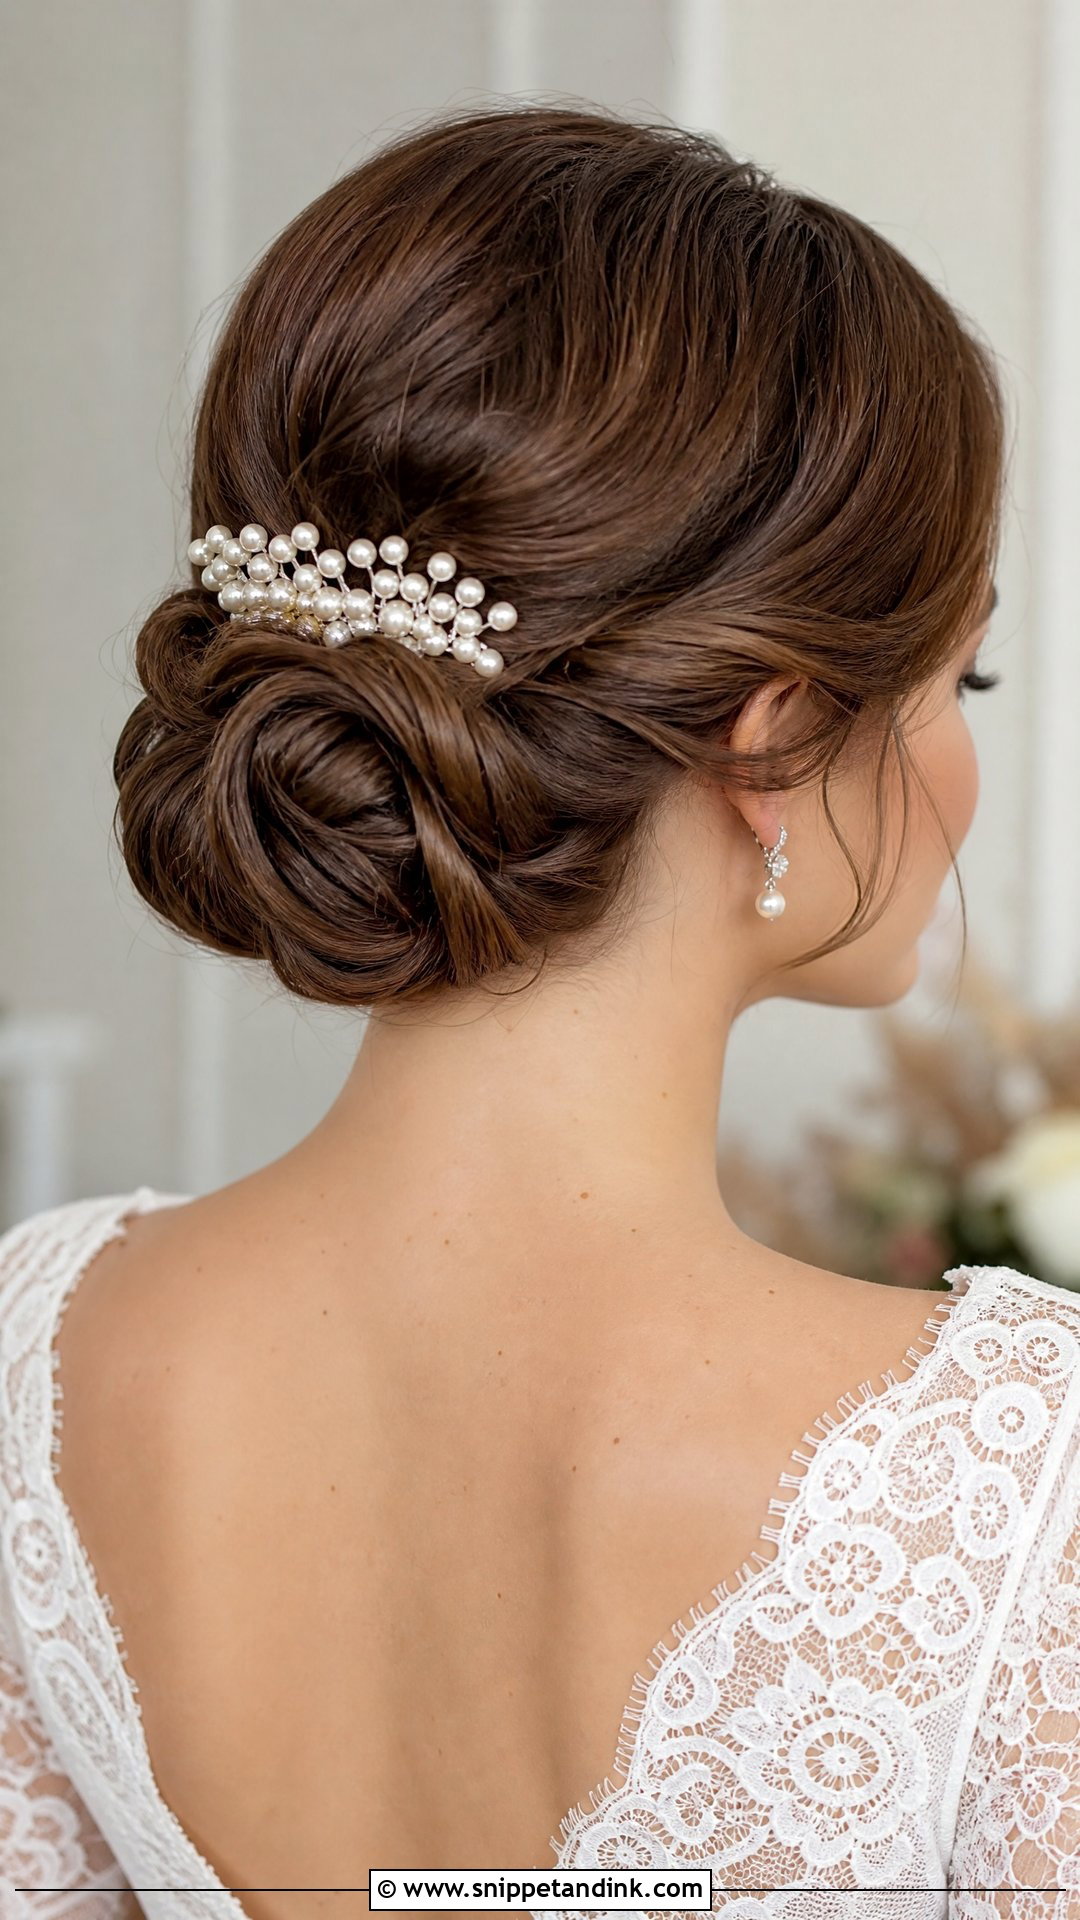
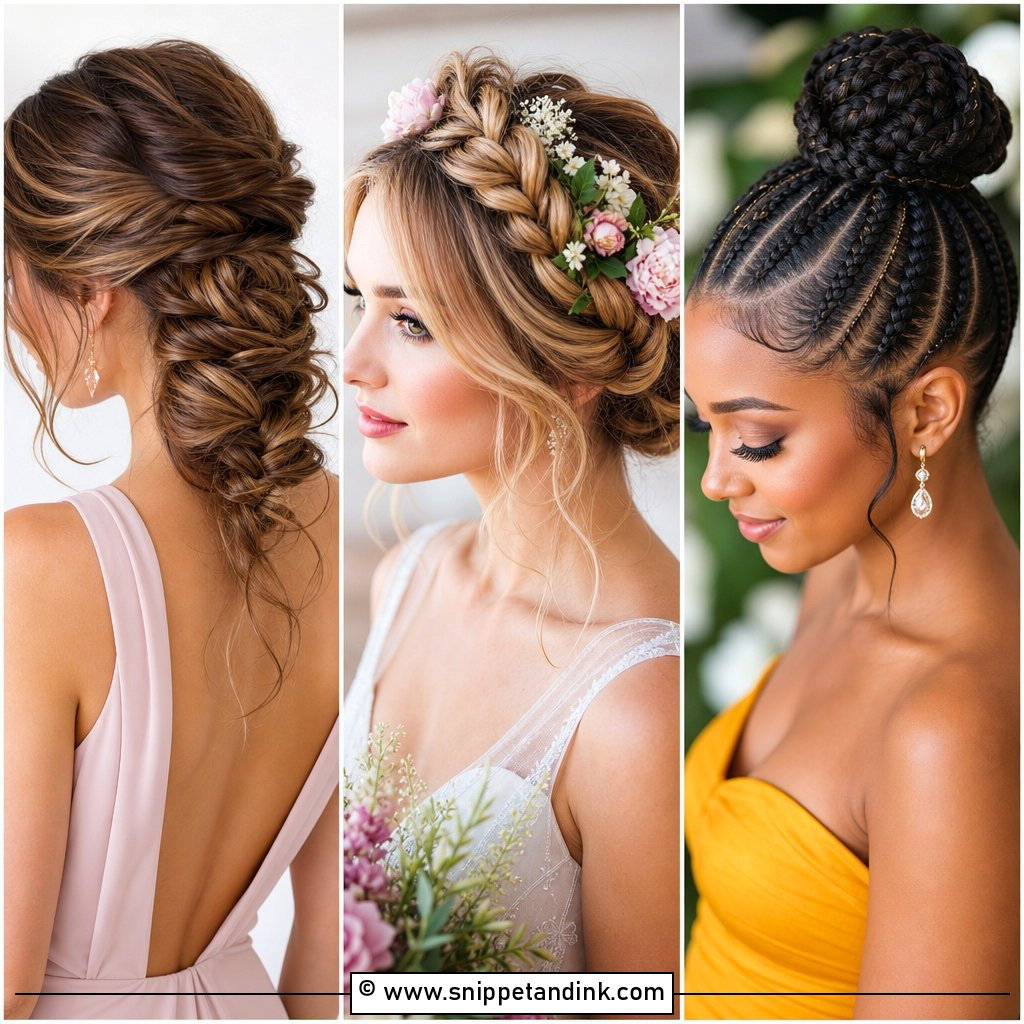
A chignon is gathered low and tucked into a roll or a soft knot at the nape. It can be sleek or softly textured, and I shape it to suit the dress and the length of the neck. Medium to long hair gives the most secure result. On shorter hair, I add a small padding piece matched to the hair color to give the roll body. It sits comfortably under a cathedral veil or a pearl comb, and because it’s tucked rather than wrapped, it holds its shape well in wind.
5. Wedding Braided Bun Updo
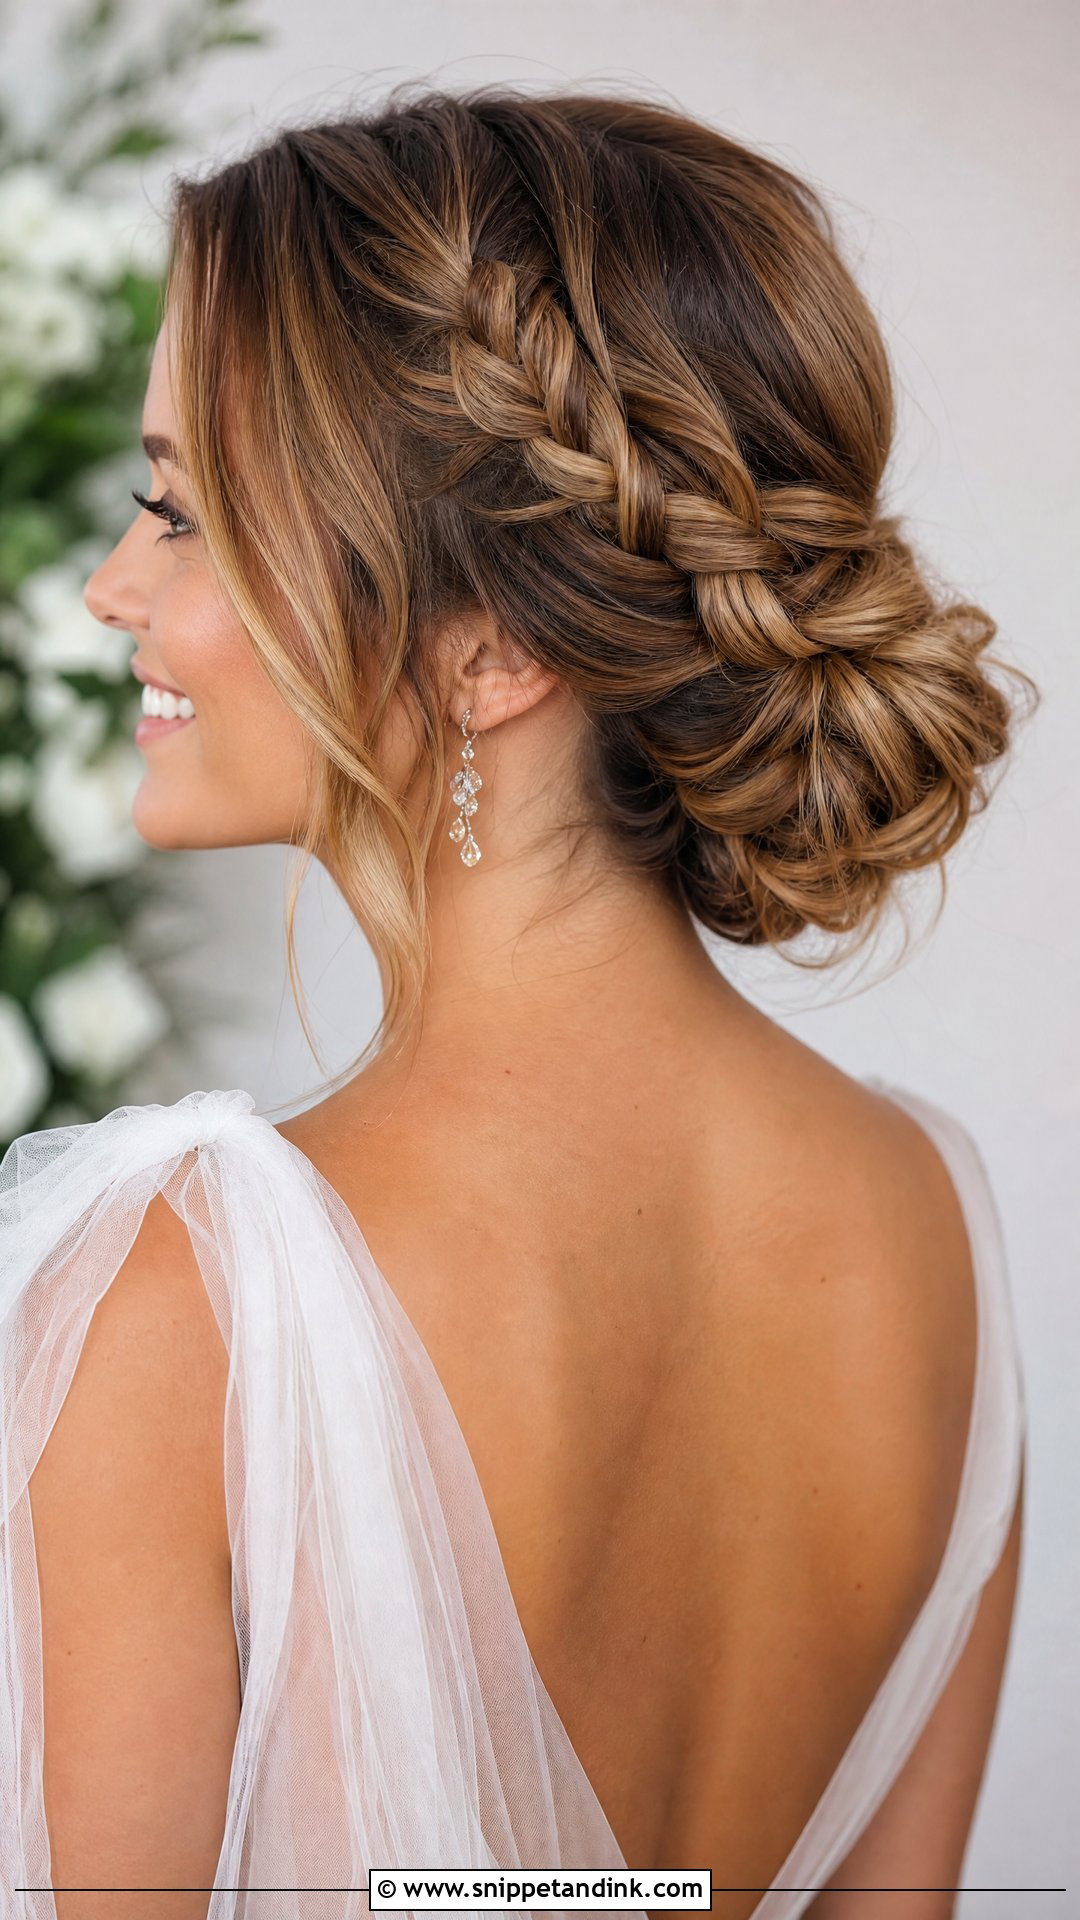
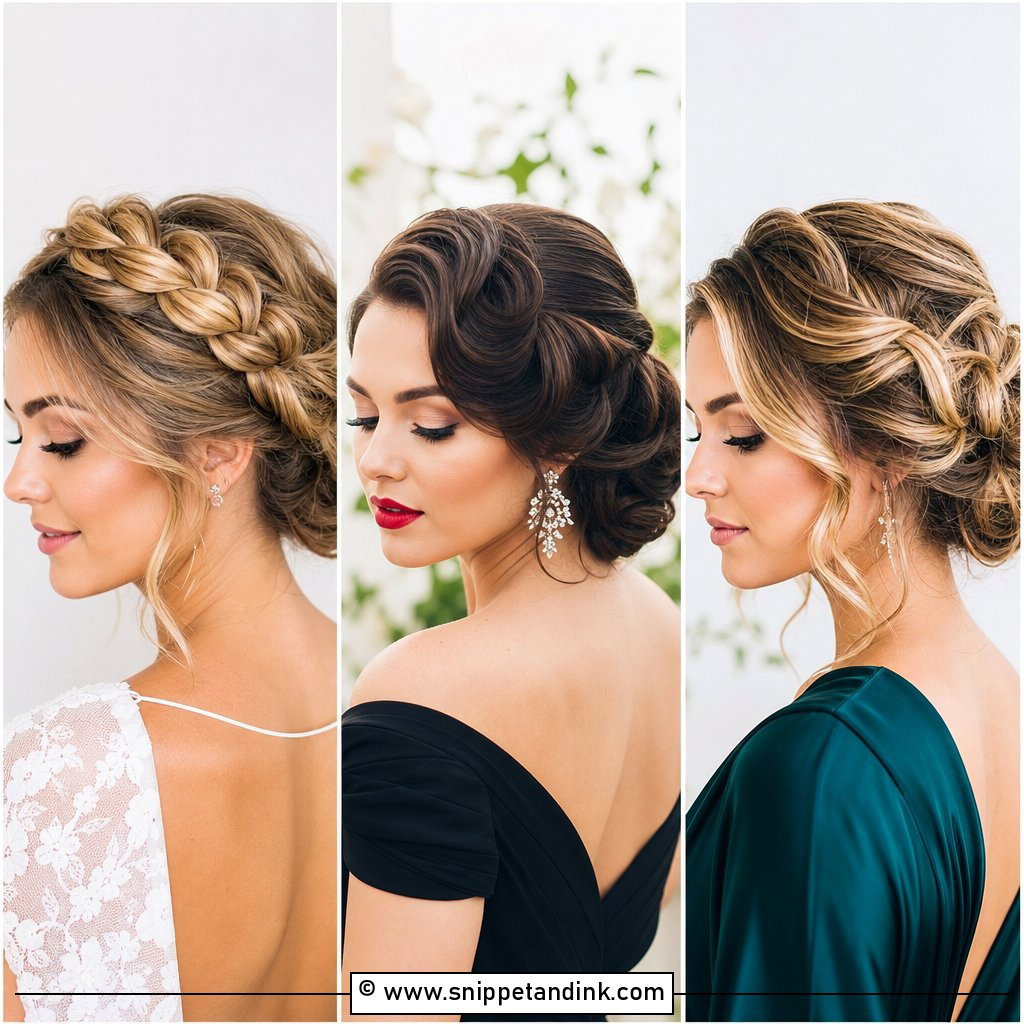
Adding a braid to a bun gives detail without making the style fussy. The braid can wrap around the bun, run into it, or sit along one side. Braids show color well, so this one suits balayage, highlights and dimensional brunette tones, where the woven sections catch the different shades. I braid it tight first and then gently pull the edges out to soften it. Pancaking a loose braid makes it fall apart. A few pearl pins along the braid finish it.
6. Wedding French Twist Updo
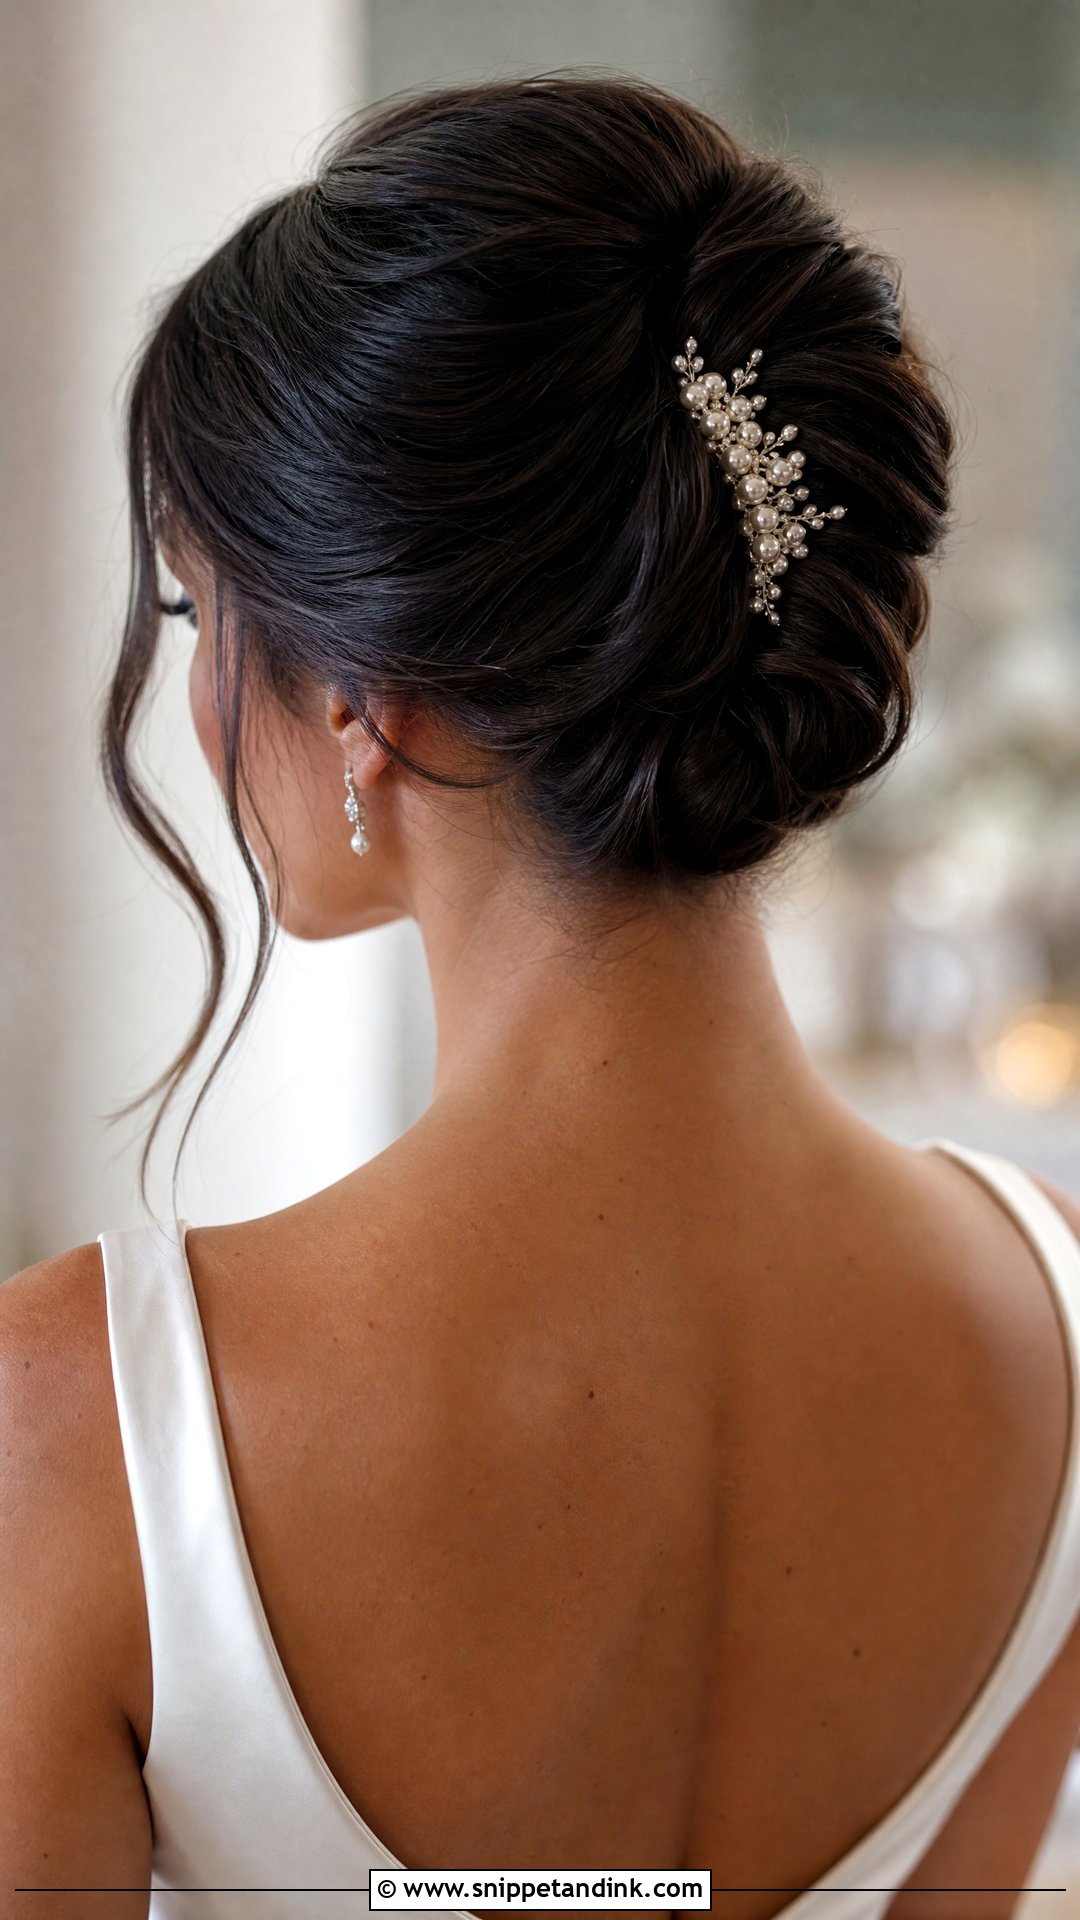
A French twist lifts the hair vertically into a smooth roll, so the shape runs long from the neck upward. It’s the updo I’d pair with strapless dresses, bateau necklines and vintage gowns, because it shows the whole neck and back. Modern versions are softer than the old formal twist, with a little crown volume and a few loose face pieces. It needs medium to long hair and a sturdy foundation of crossed pins along the seam. Very thick hair can be too bulky for a neat roll, and I may thin it out underneath by twisting a section separately first.
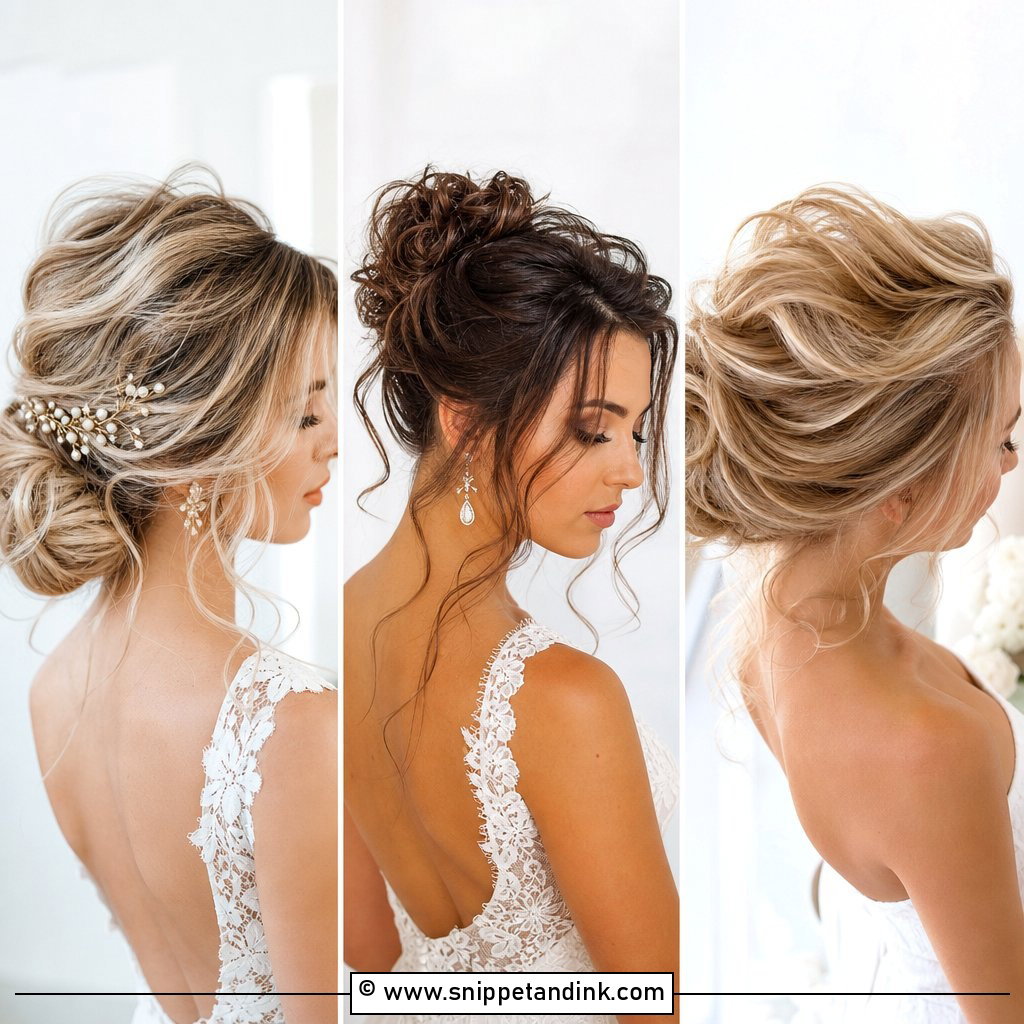
7. Wedding Messy Bun Updo
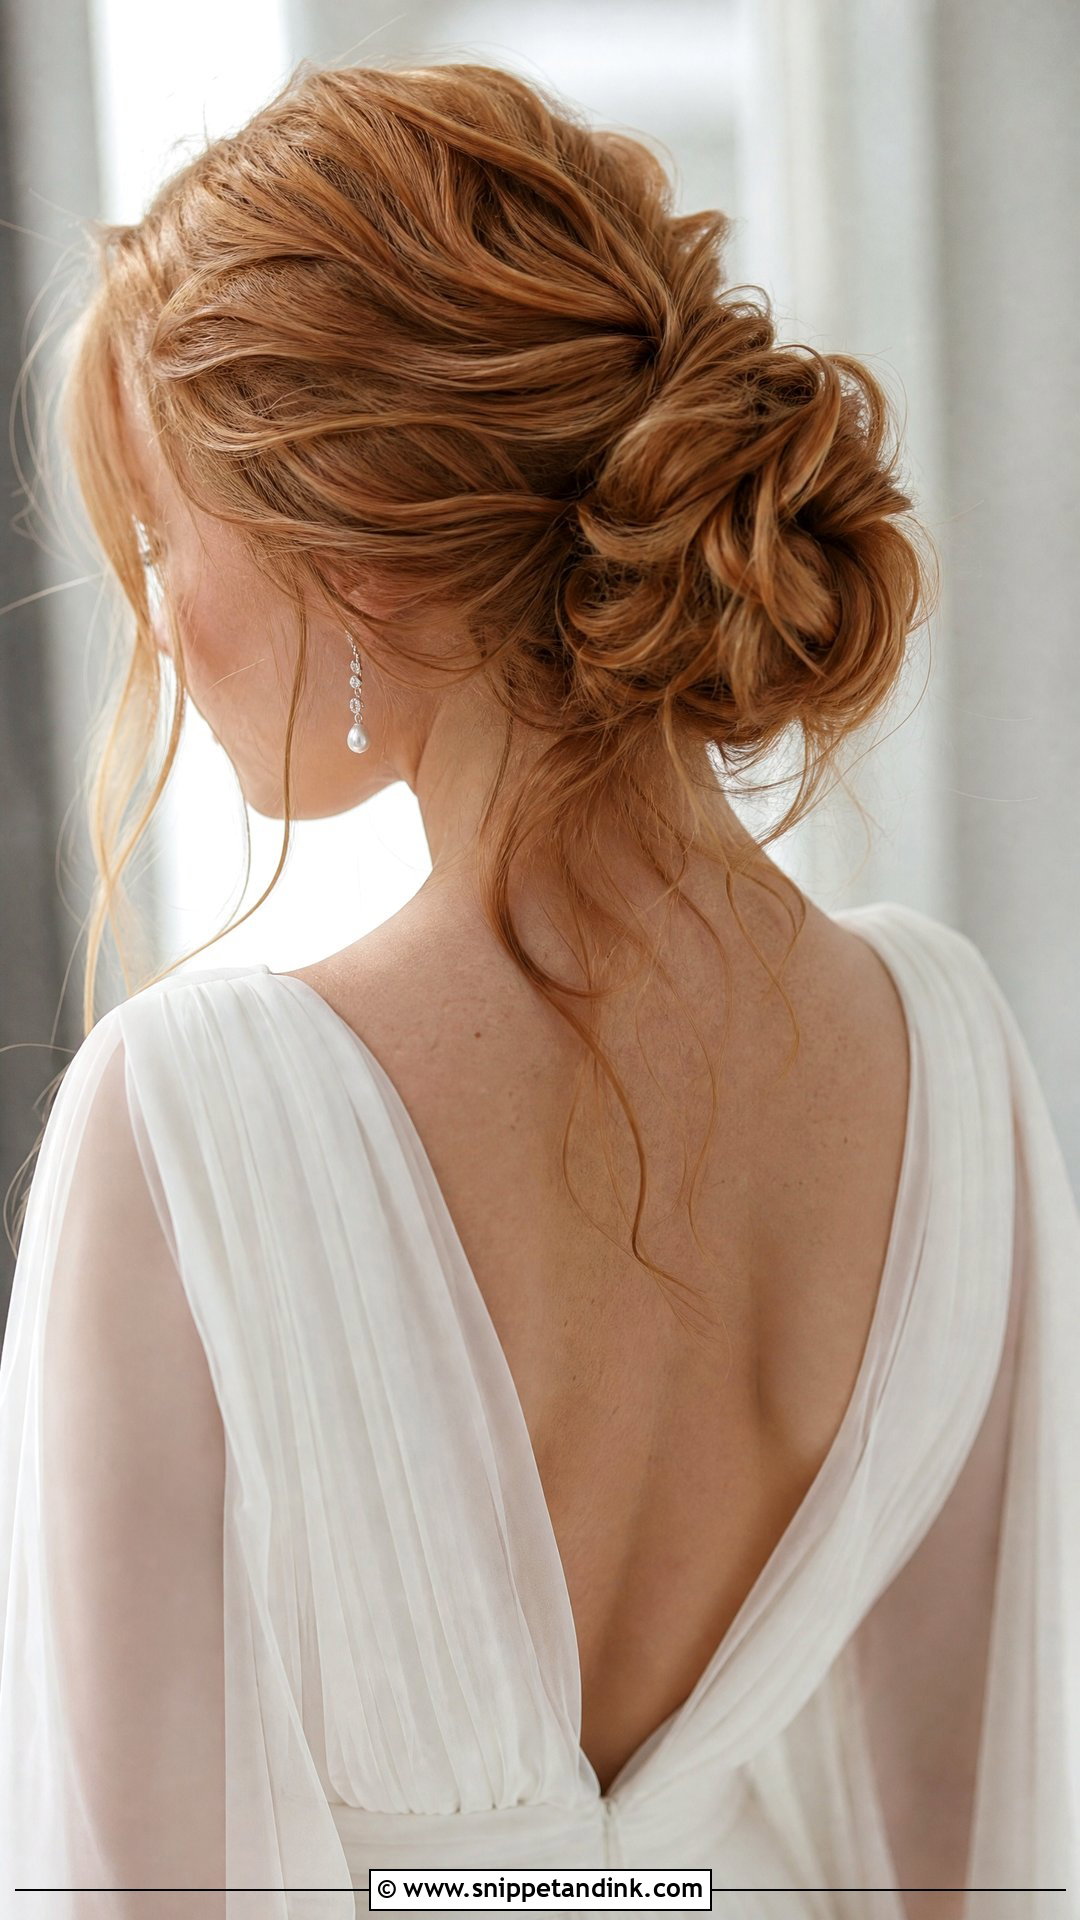
A messy bun at a wedding is the most structured style I do, despite how it looks. Under the loose waves and face-framing pieces there’s a tight base and a lot of pins. Without that base, a relaxed bun slides down within an hour, especially on smooth hair. It fits outdoor weddings, barns and flowing dresses. The balance to watch is that too little hold collapses and too much hairspray looks stiff, so I spray the base heavily and leave the surface lighter.
8. Wedding High Bun Updo
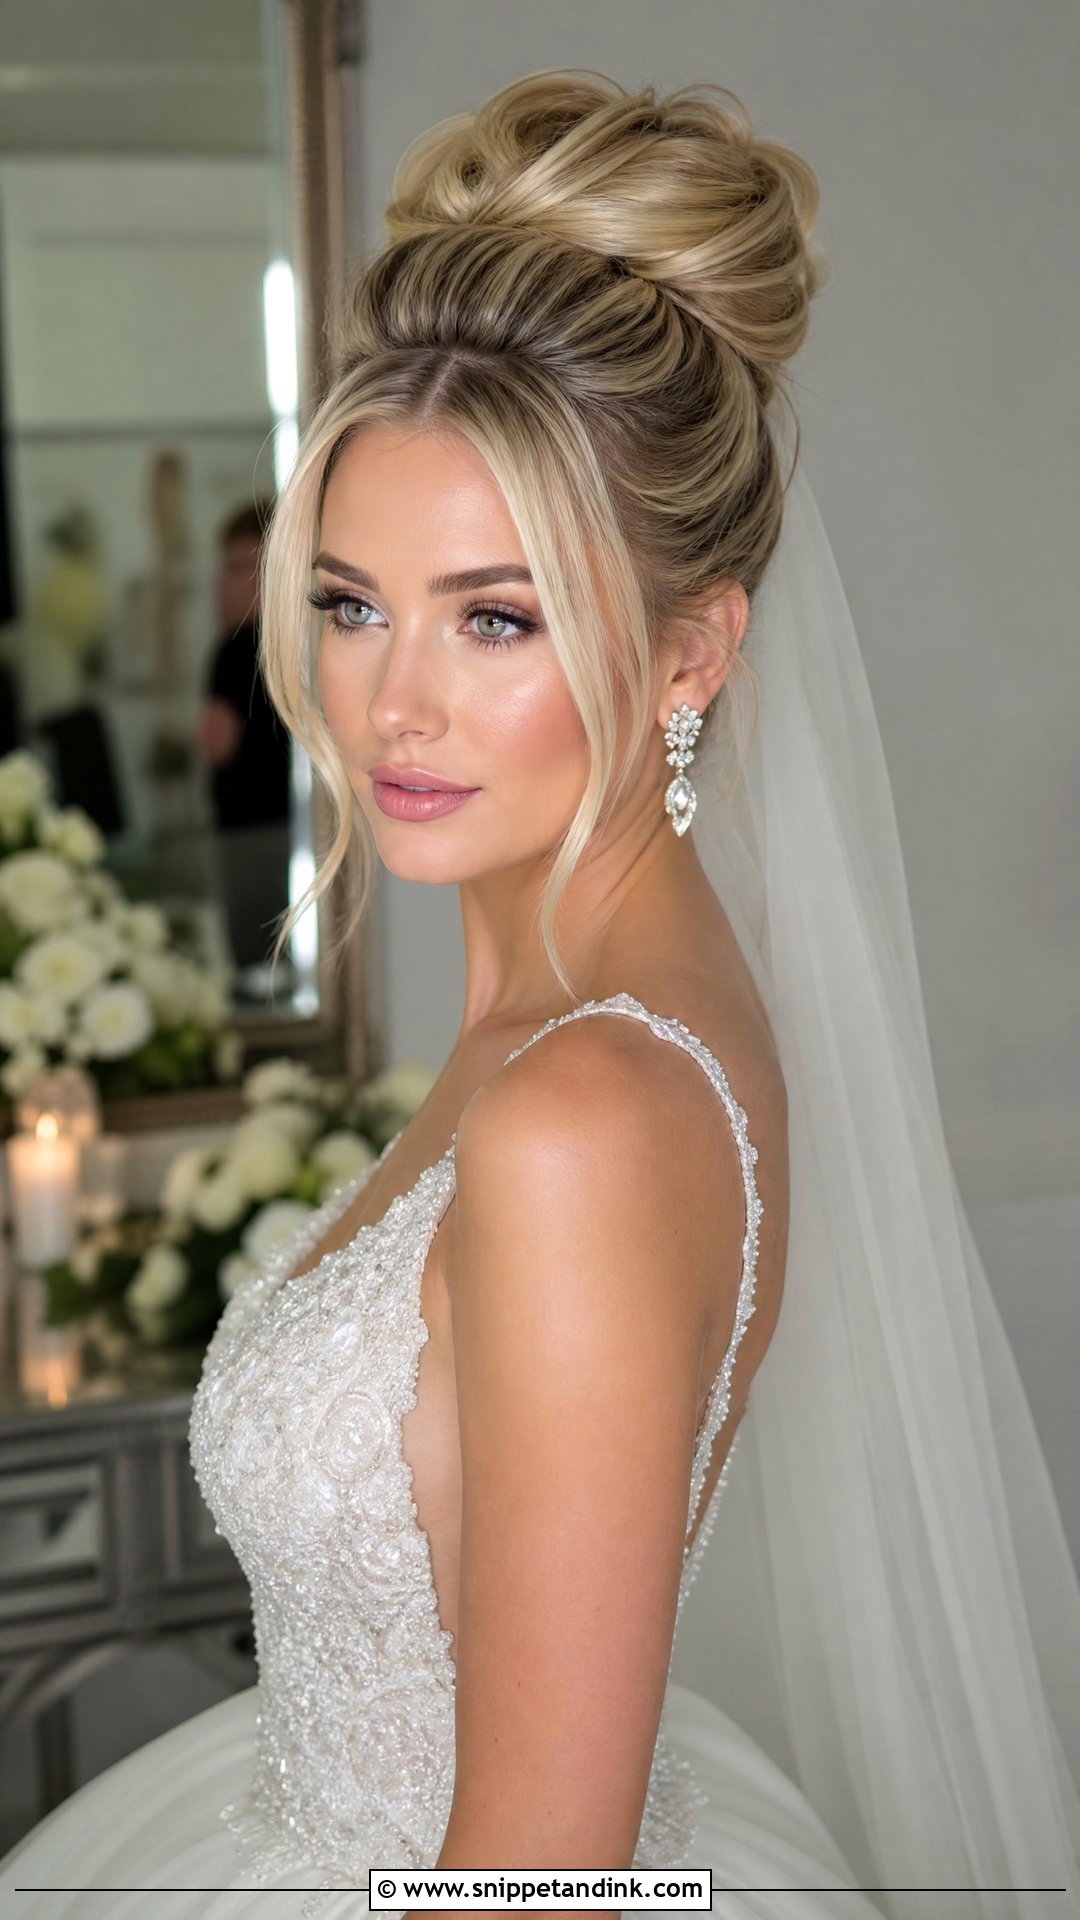
A high bun near the crown gives height and lengthens the neck. It suits ball gowns, high necklines and statement earrings, and it can be sleek or softly textured. The veil goes underneath it, inserted below the bun rather than on top. Size matters here. A bun too large for your face and frame looks top-heavy, so I’d judge it in a mirror from the side at the trial. Heavy, long hair in a high bun also pulls on the scalp all day, which some brides find tiring by evening.
9. Wedding Curly Updo
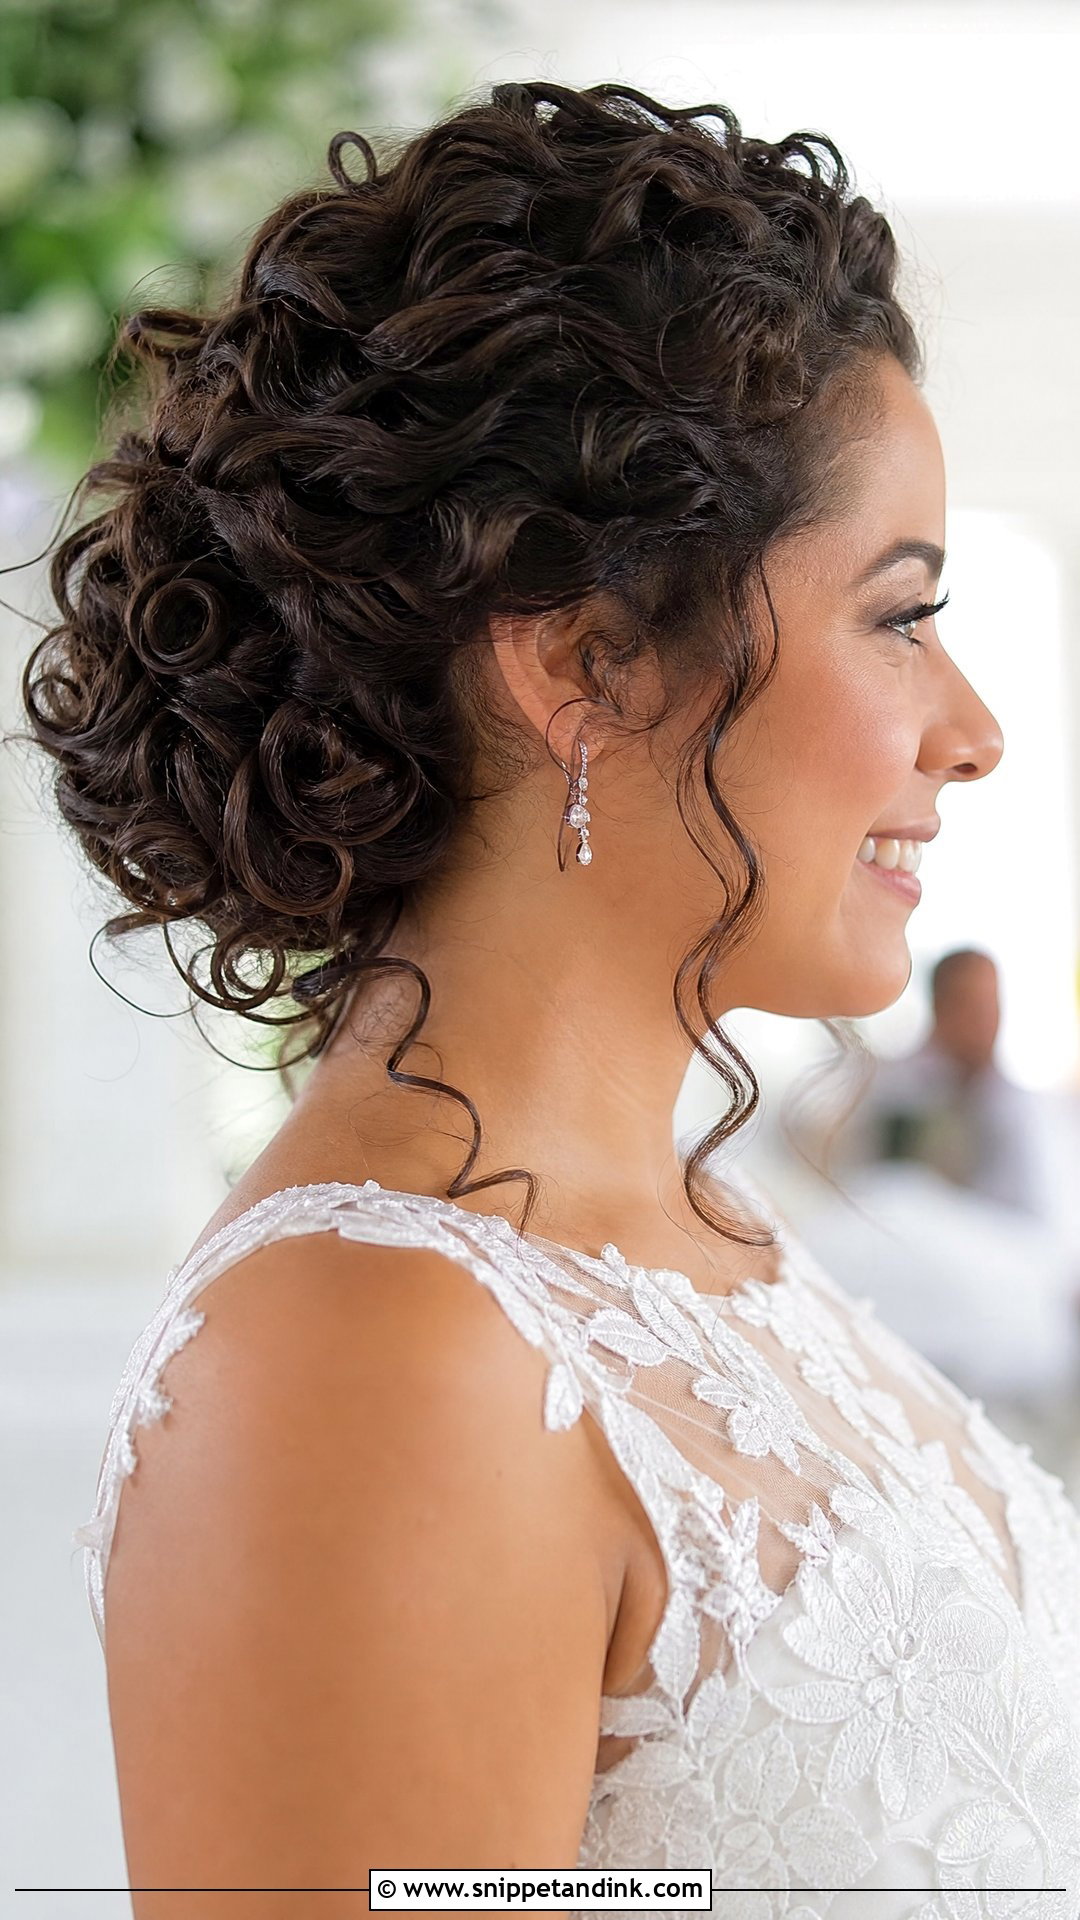
With curly hair, the curls are the texture, so I don’t need heavy teasing for volume. The curls can be pinned loosely into a bun, gathered at the crown or shaped low with face-framing pieces. A trial is essential, because I need to see your curl pattern, shrinkage and density before planning the shape. Hydrated curls hold better and look more defined, so a curl cream and a flexible hold product go in first. I avoid brushing through dry curls, which turns them into frizz you can’t undo on the day.
10. Wedding Natural Hair Updo
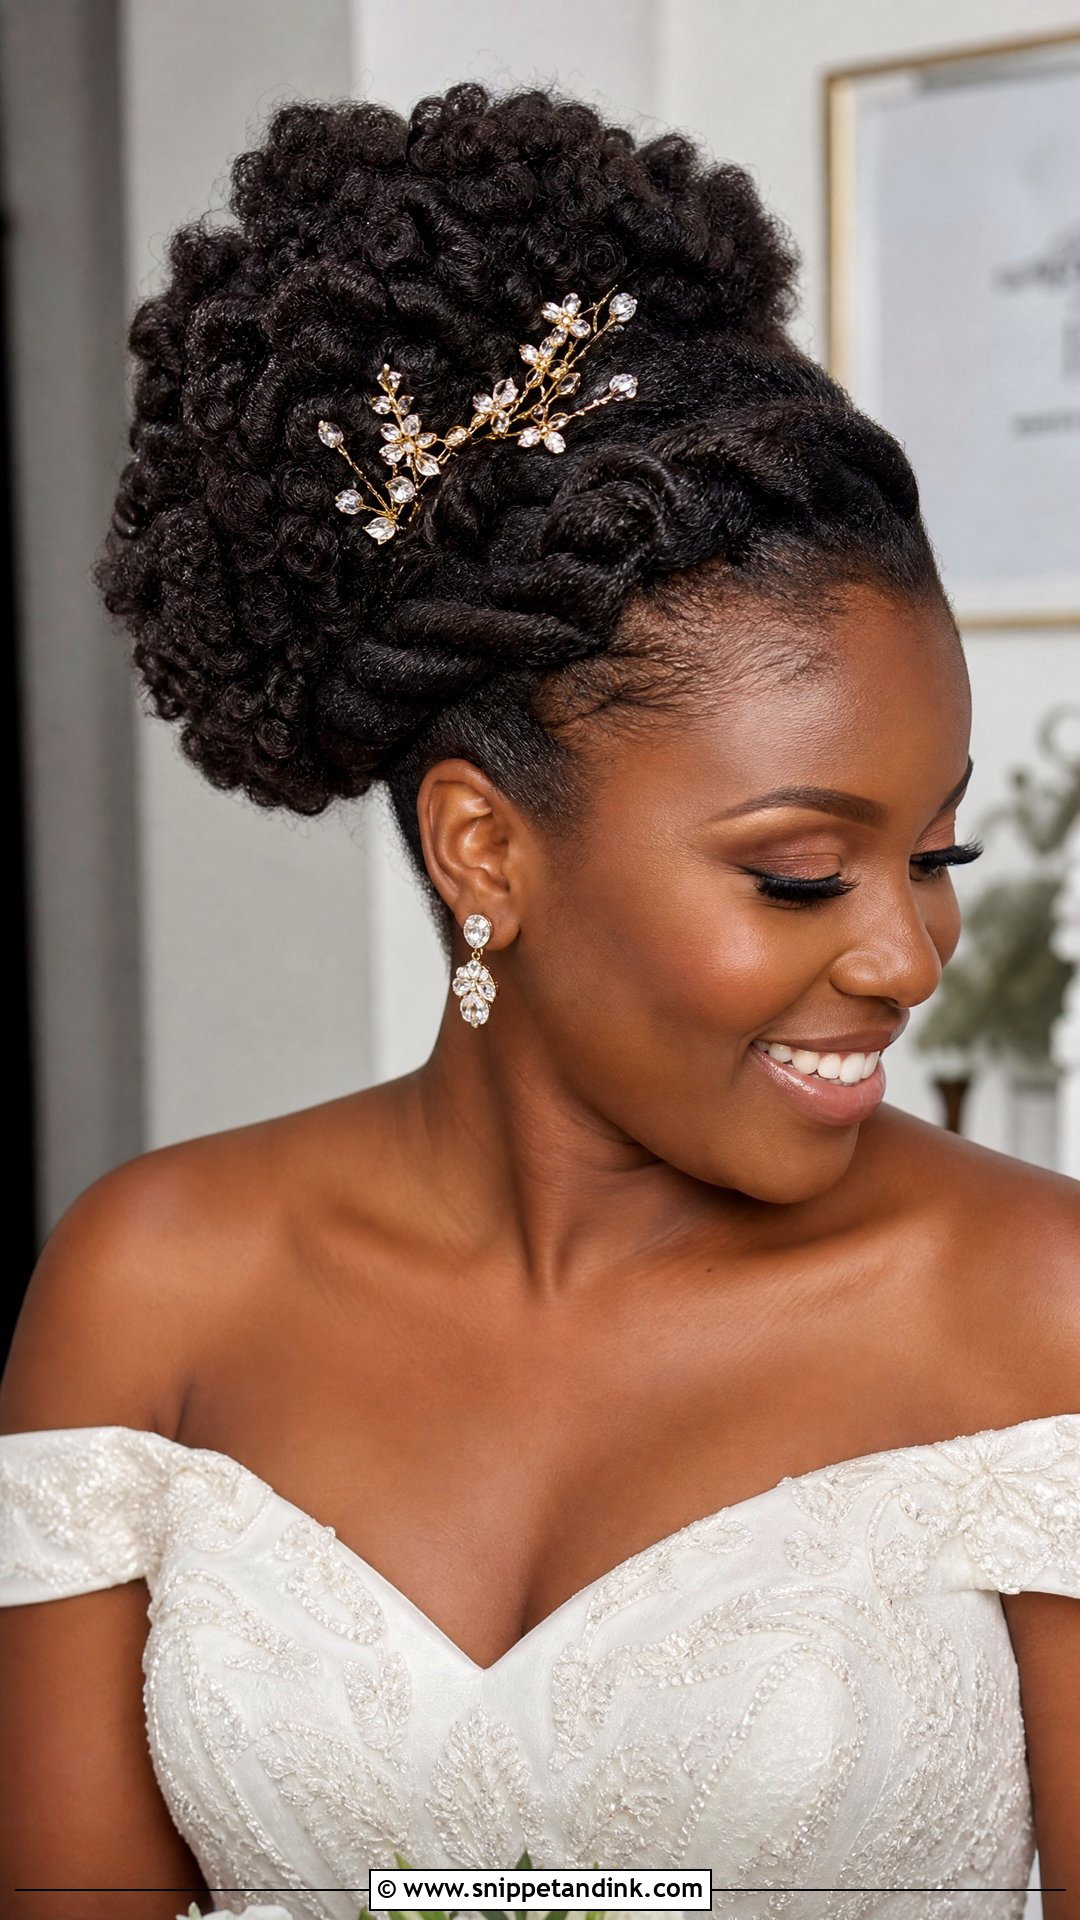
A natural hair updo can be a textured puff, pinned coils, flat twists, sculpted curls or a low bun with soft detail. Moisture and gentle handling come first, especially for a long day, since dry coils break and frizz. Flat twists done the day before can save time in the morning and help with definition. Choose a stylist who works with textured hair regularly; the techniques for securing coils are different from those for straight hair, and pins placed the wrong way can snag. Gold pins, pearls or a simple veil sit well on these shapes.
11. Wedding Twisted Updo
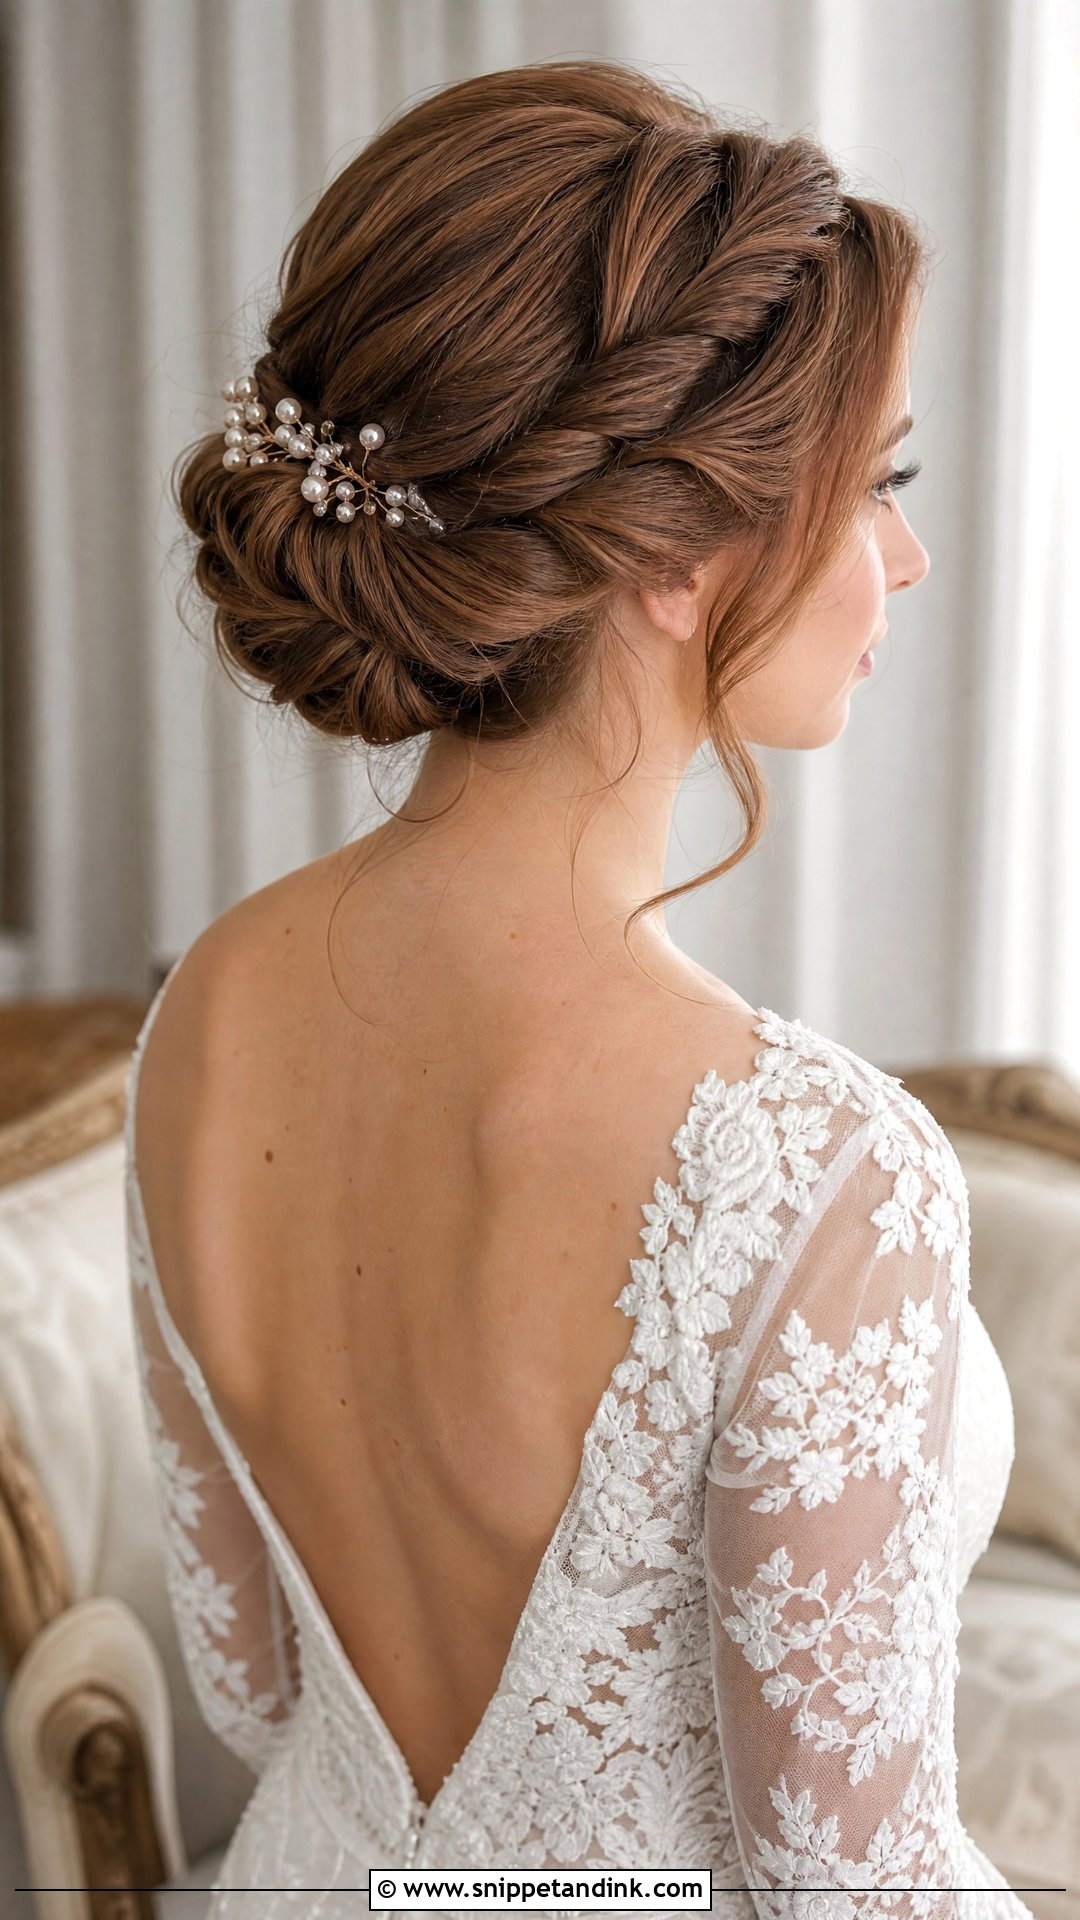
Twists give movement with a smoother finish than braids. I twist sections and pin them around the bun or along the back of the head, and the method adapts easily to different lengths. On fine hair, twists add fullness; on thick hair, they keep things controlled without the bulk of braids. Highlights look especially good here, because each twist turns the color toward the light. A few small pearl pins along the twists are enough decoration.
12. Wedding Updo With Veil
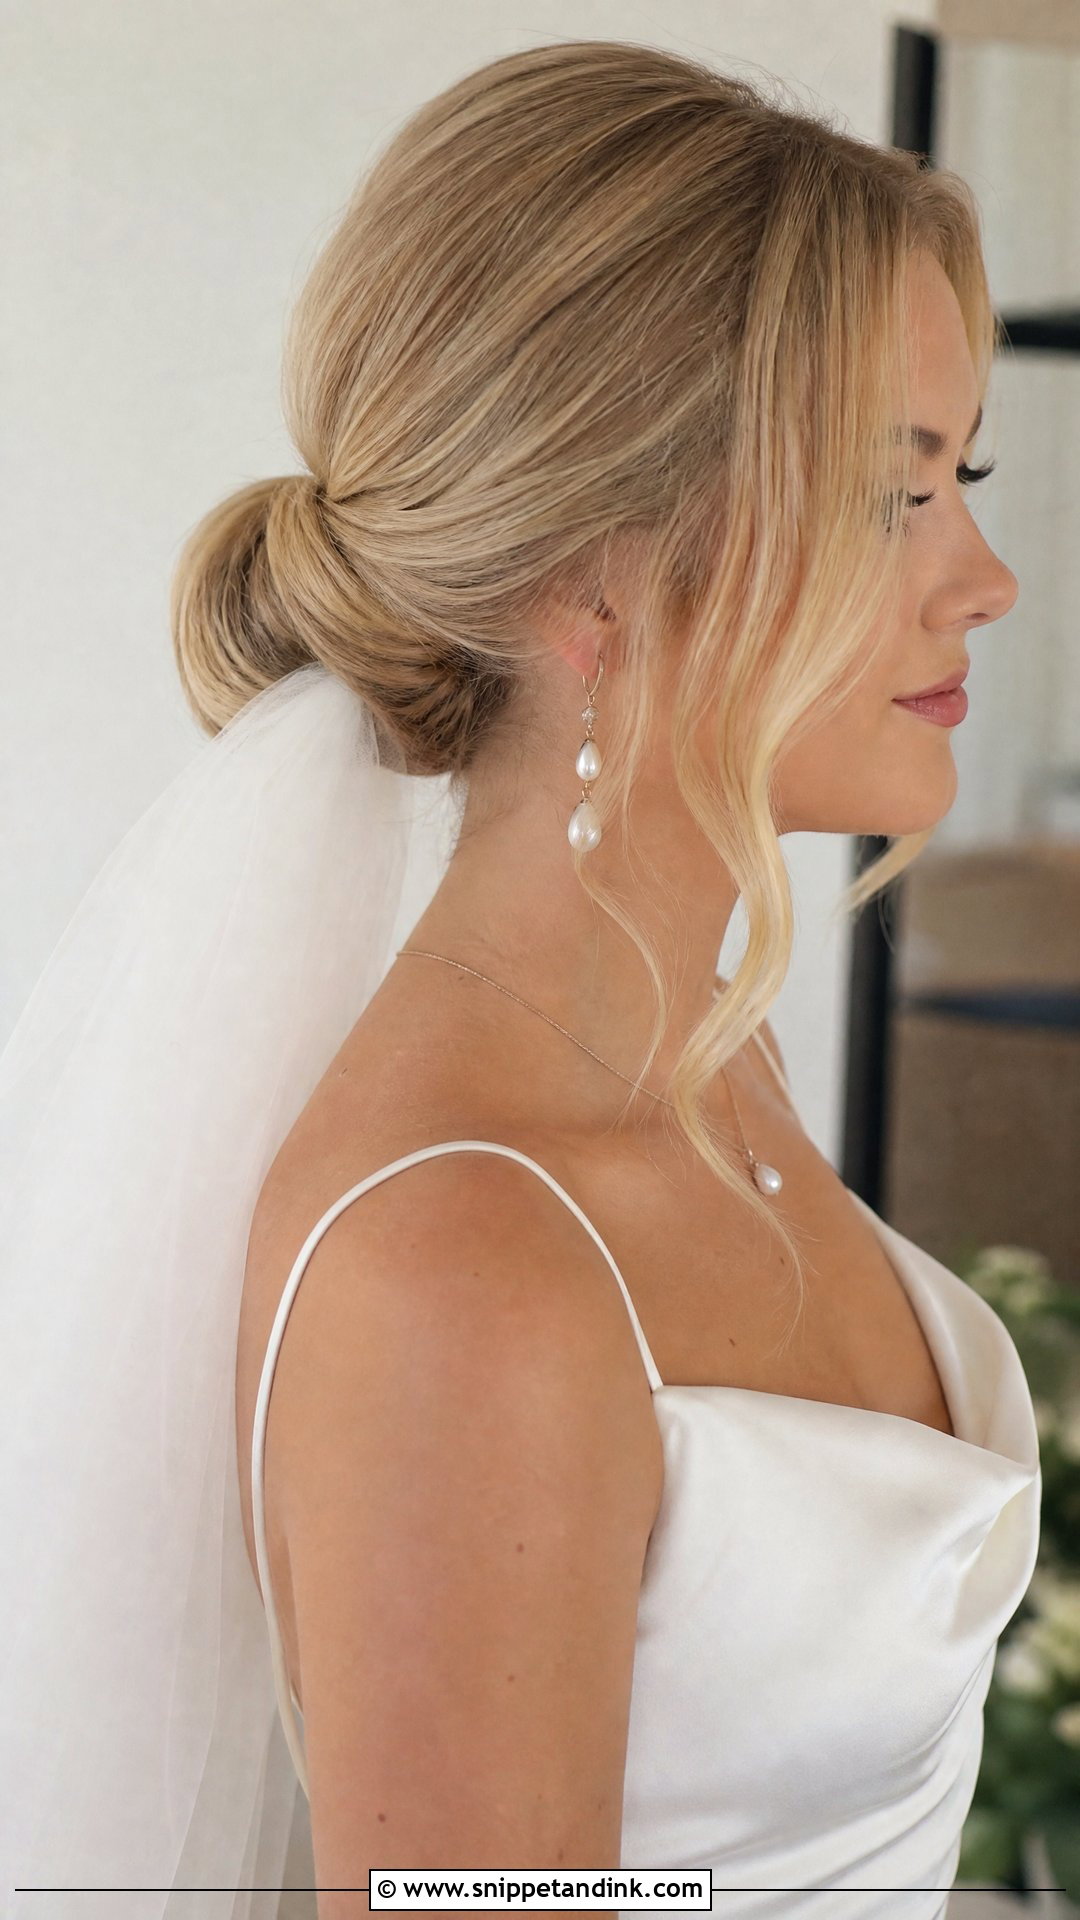
Veil placement needs to be planned before the morning, ideally at the trial with the actual veil. Low buns and chignons can take a veil above or below the bun; a high bun nearly always needs it underneath. I build a small anchor of crossed pins where the comb will sit, so the veil’s weight goes into that anchor instead of pulling on the style. If you plan to remove the veil after the ceremony, tell me, and I’ll set it so it comes out without dragging pins and hair with it.
13. Wedding Updo With Pearl Pins
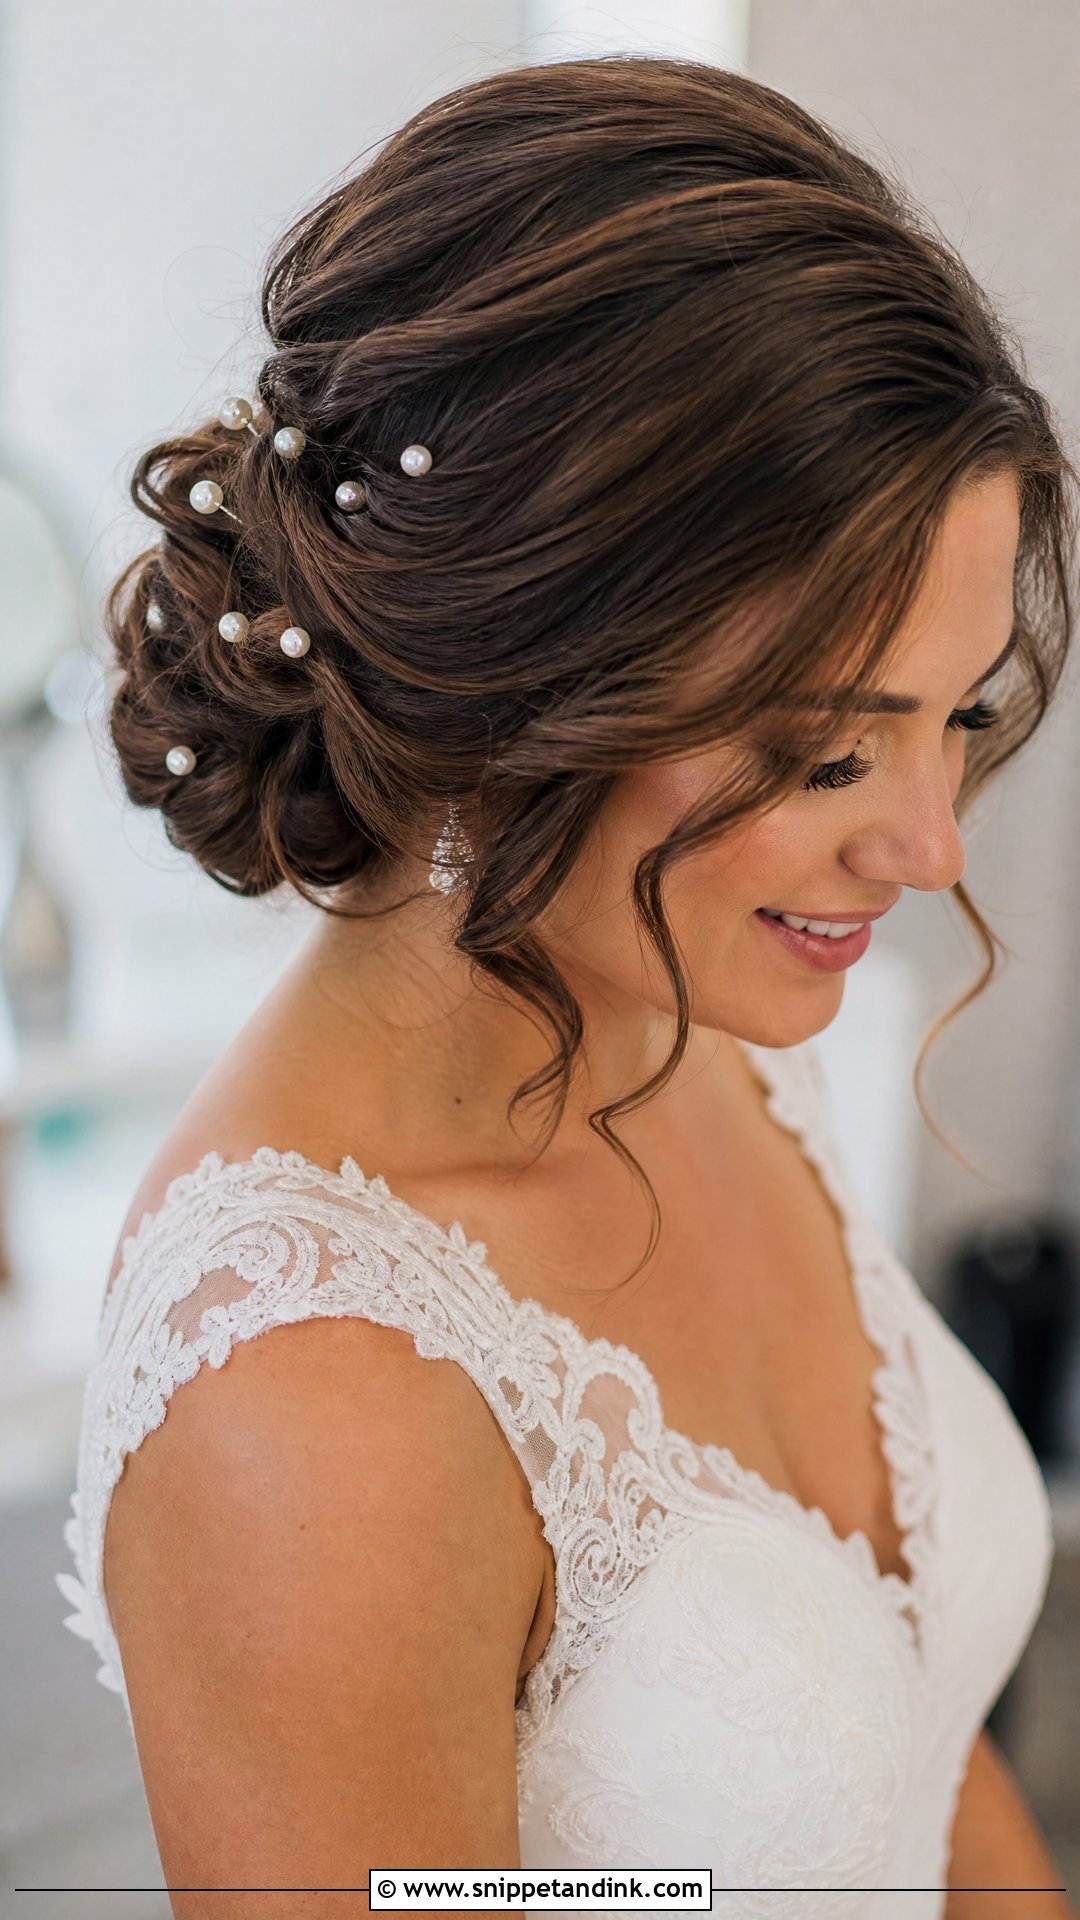
Pearl pins work best on a simple base, where they have room to show. I scatter them through a textured bun, along a twist or around a chignon. Uneven placement looks more natural than perfect symmetry, so I set them in loose clusters rather than a neat line. Pick pins whose metal matches your jewelry. Pearl pins also hold a little weight, so on very fine hair I add a bobby pin behind each one to stop it sliding out.
14. Wedding Updo With Flowers
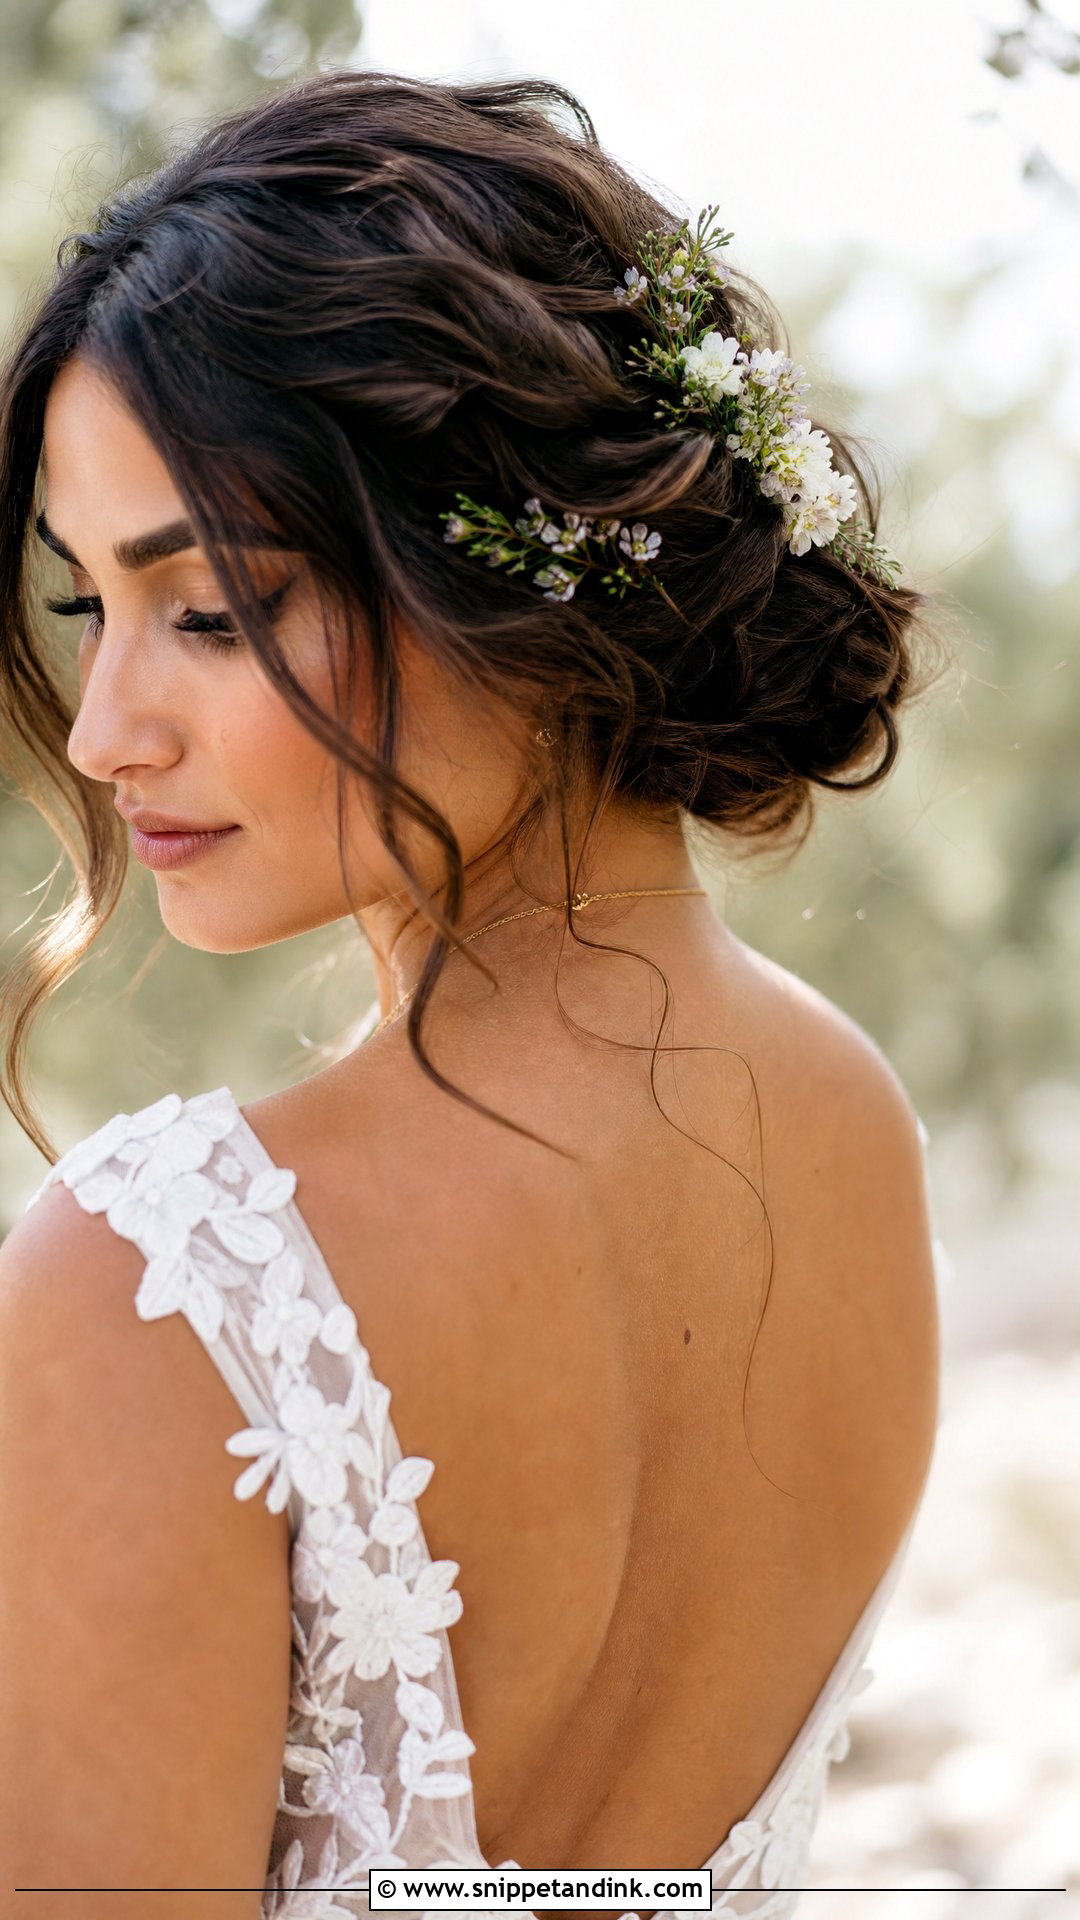
A wedding updo with flowers needs coordination between your florist and me. Fresh blooms can go into a low bun, along a braid or as a cluster beside a soft chignon. Smaller flowers usually look better than big ones, which can overwhelm the shape. Tough flowers like orchids, spray roses and baby’s breath hold up far better than soft ones that wilt within hours out of water. I ask the florist to wire and tape the stems and deliver them before I start, so I can pin them in as I go rather than at the end.
15. Wedding Updo For Long Hair
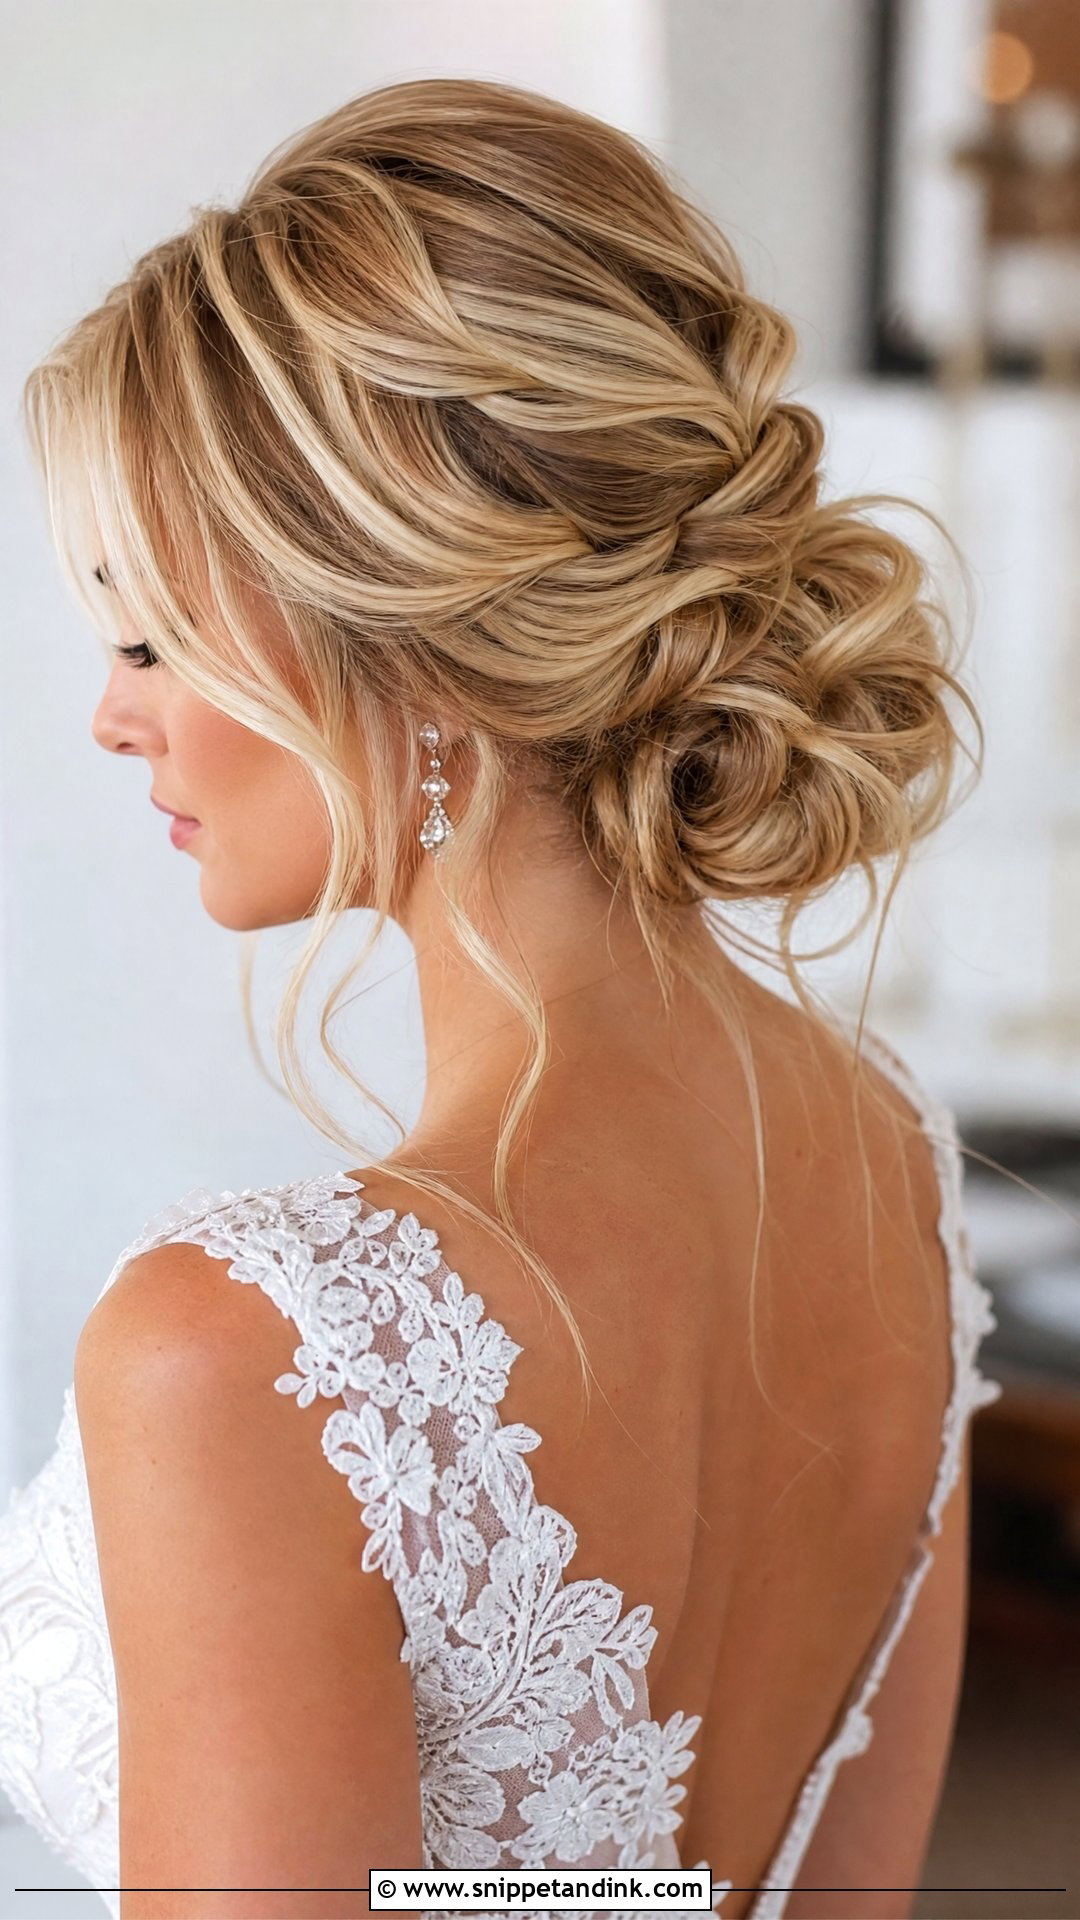
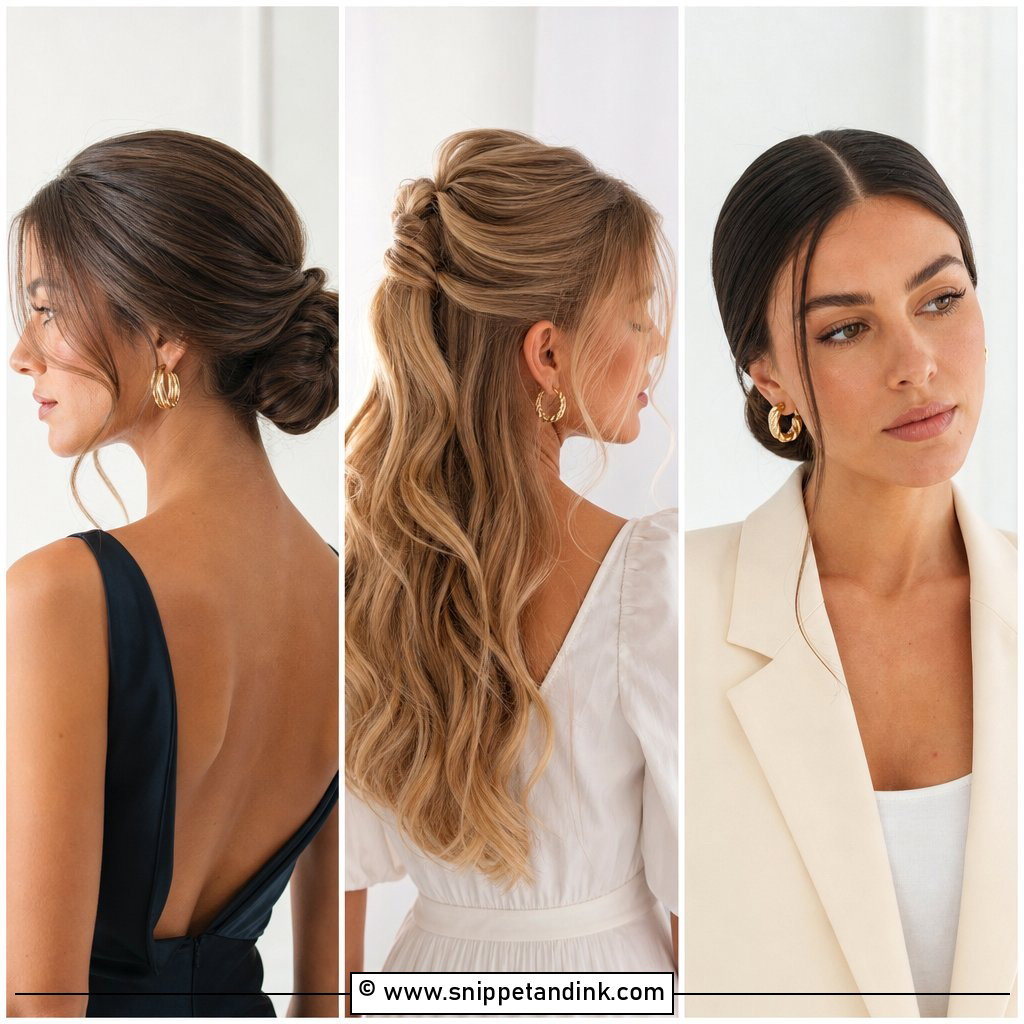
Long hair gives you the most options and the most weight to manage. Low textured buns, full chignons, braided updos and high buns all work. The challenge is building a secure foundation, because a heavy updo slides if it’s only pinned into loose hair. I use hidden elastics and section the pinning in layers. Very silky long hair often needs curling first for grip. If your hair reaches your waist, plan for a slightly longer appointment and a lower placement, which takes strain off the scalp.
16. Wedding Updo For Medium Hair
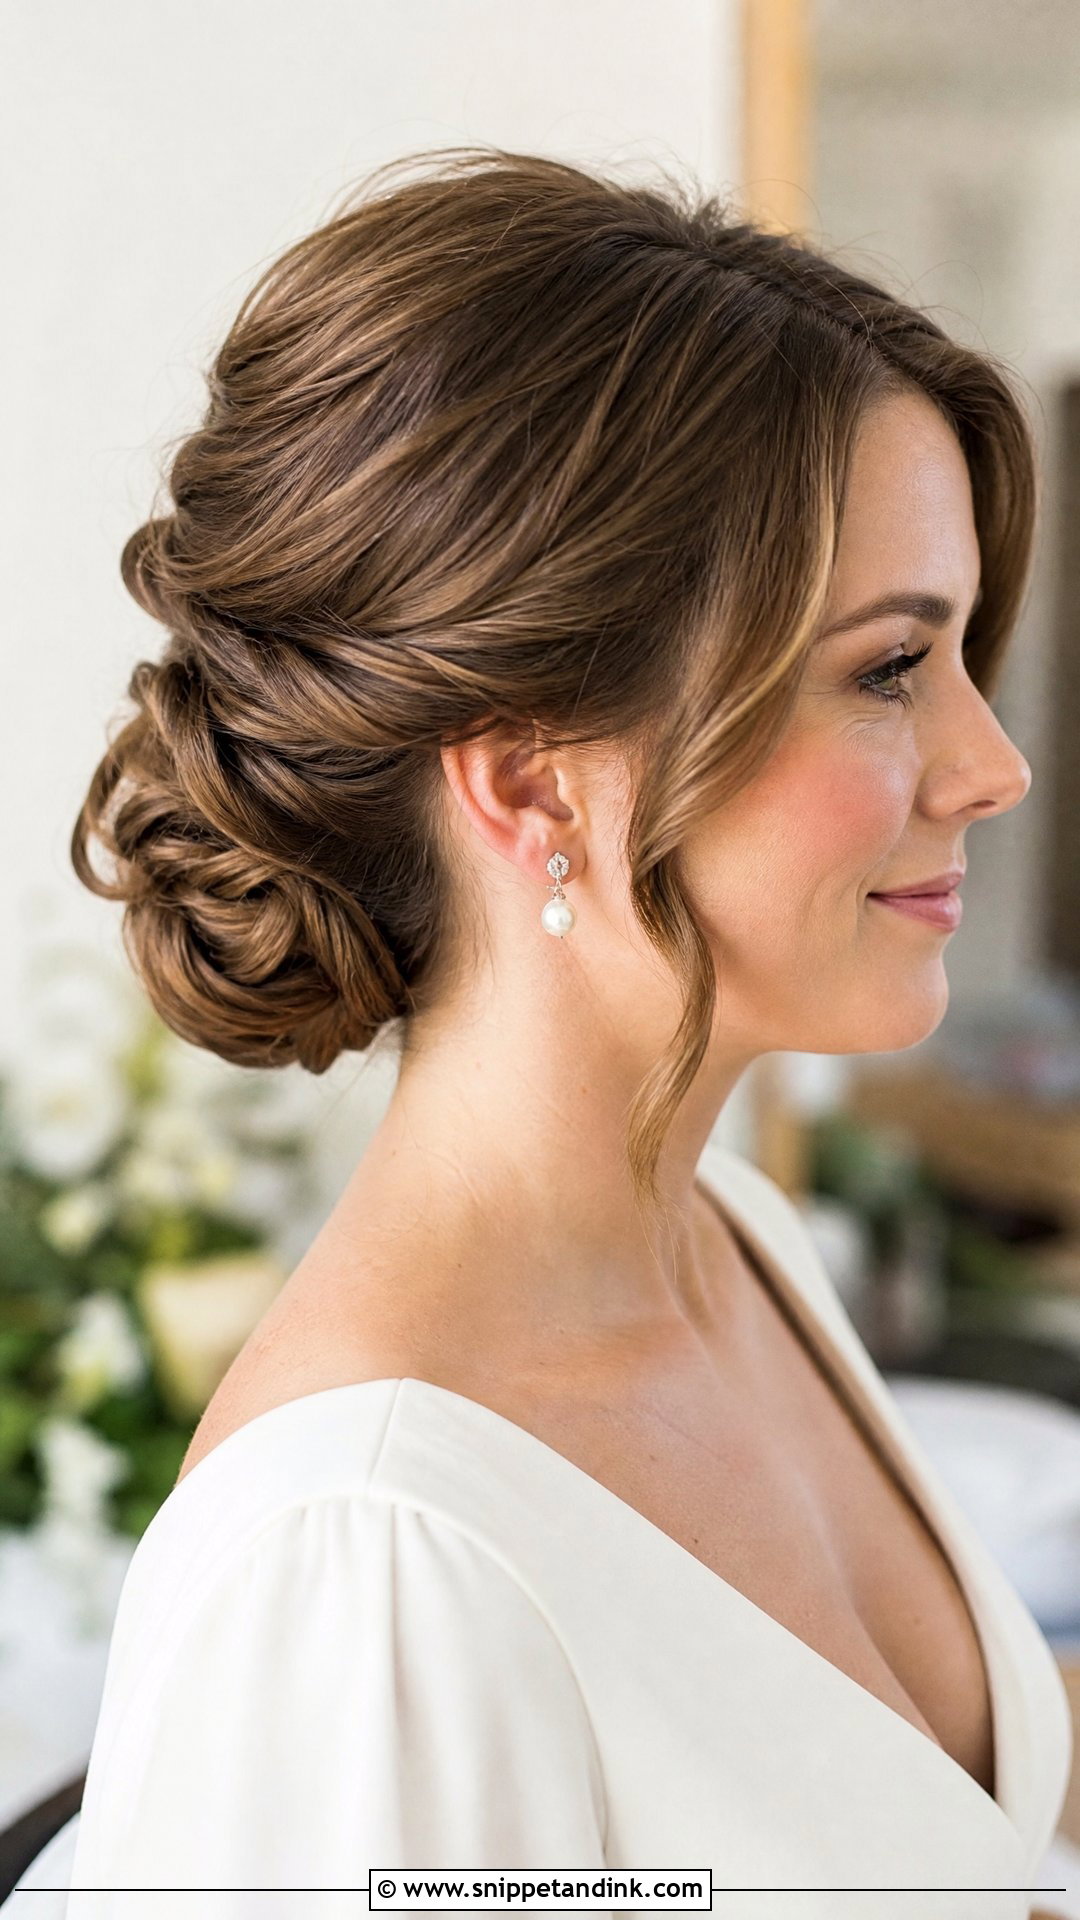
Medium hair, roughly shoulder to collarbone length, holds an updo better than people expect. Low buns, tucked chignons, twisted styles and soft braids all sit well. The shorter layers at the back of the head are the usual trouble spot; they spring out of a bun by evening, so I pin them flat in small sections. If you want more volume, padding or a few clip-in pieces add fullness, though many medium updos look best kept to their natural size. They’re also lighter, which makes them more comfortable for a long day.
17. Wedding Updo For Short Hair
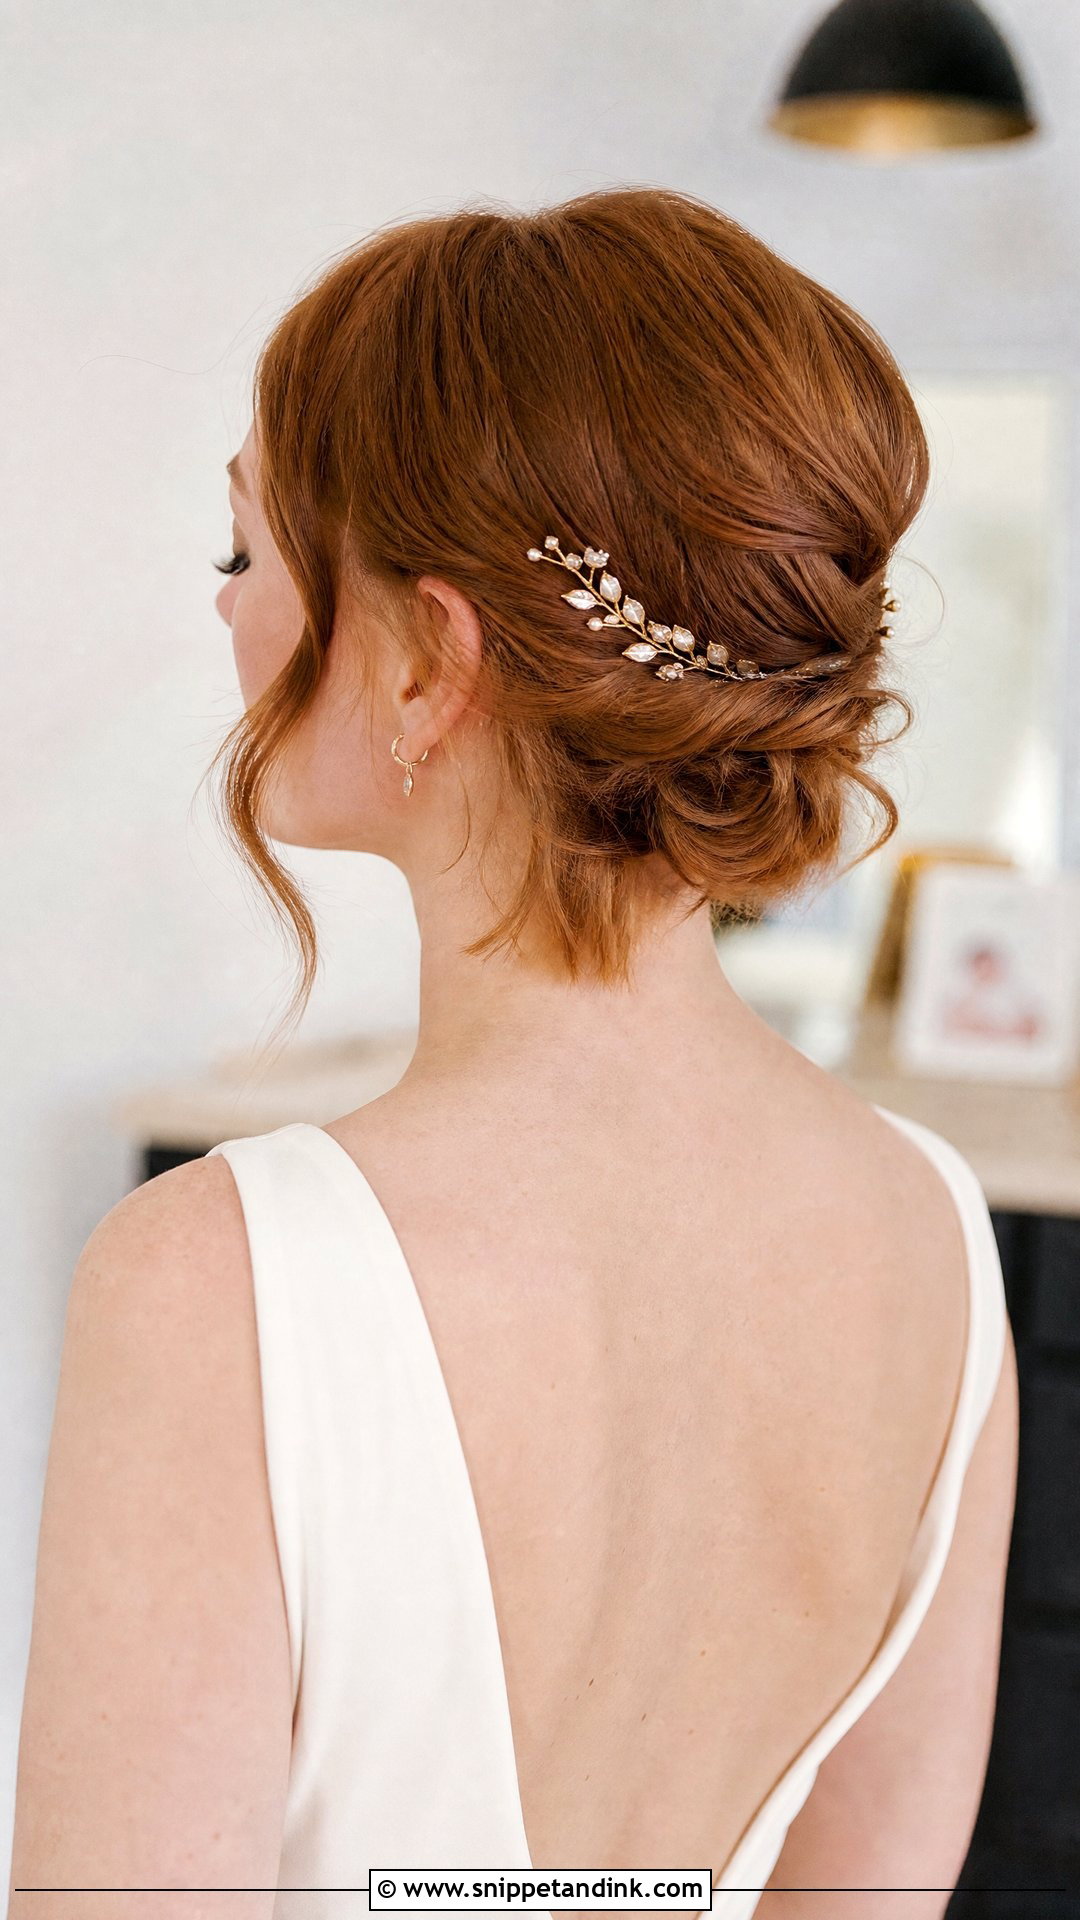
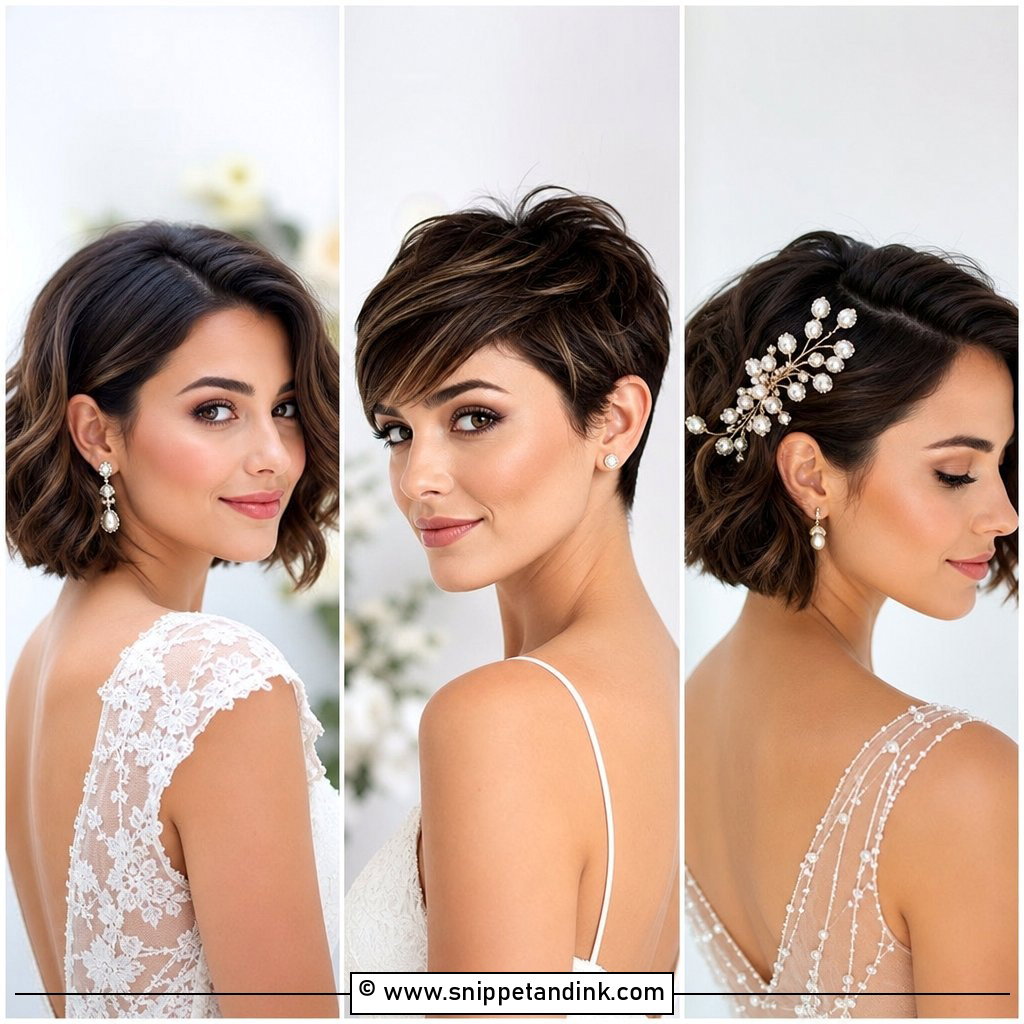
Short hair can still go up, as long as the plan is realistic. A bob can usually be pinned into a small chignon, a low twisted style or a textured tuck. The shortest pieces at the nape won’t reach, and that’s fine; I let them frame the neck instead of forcing them. Accessories do more work on short hair, so a pearl pin, a slim comb or a delicate headband often finishes the look. Have a trial with your exact length, ideally near the wedding date, because a trim in between can change what’s possible.
18. Wedding Updo With Curtain Bangs
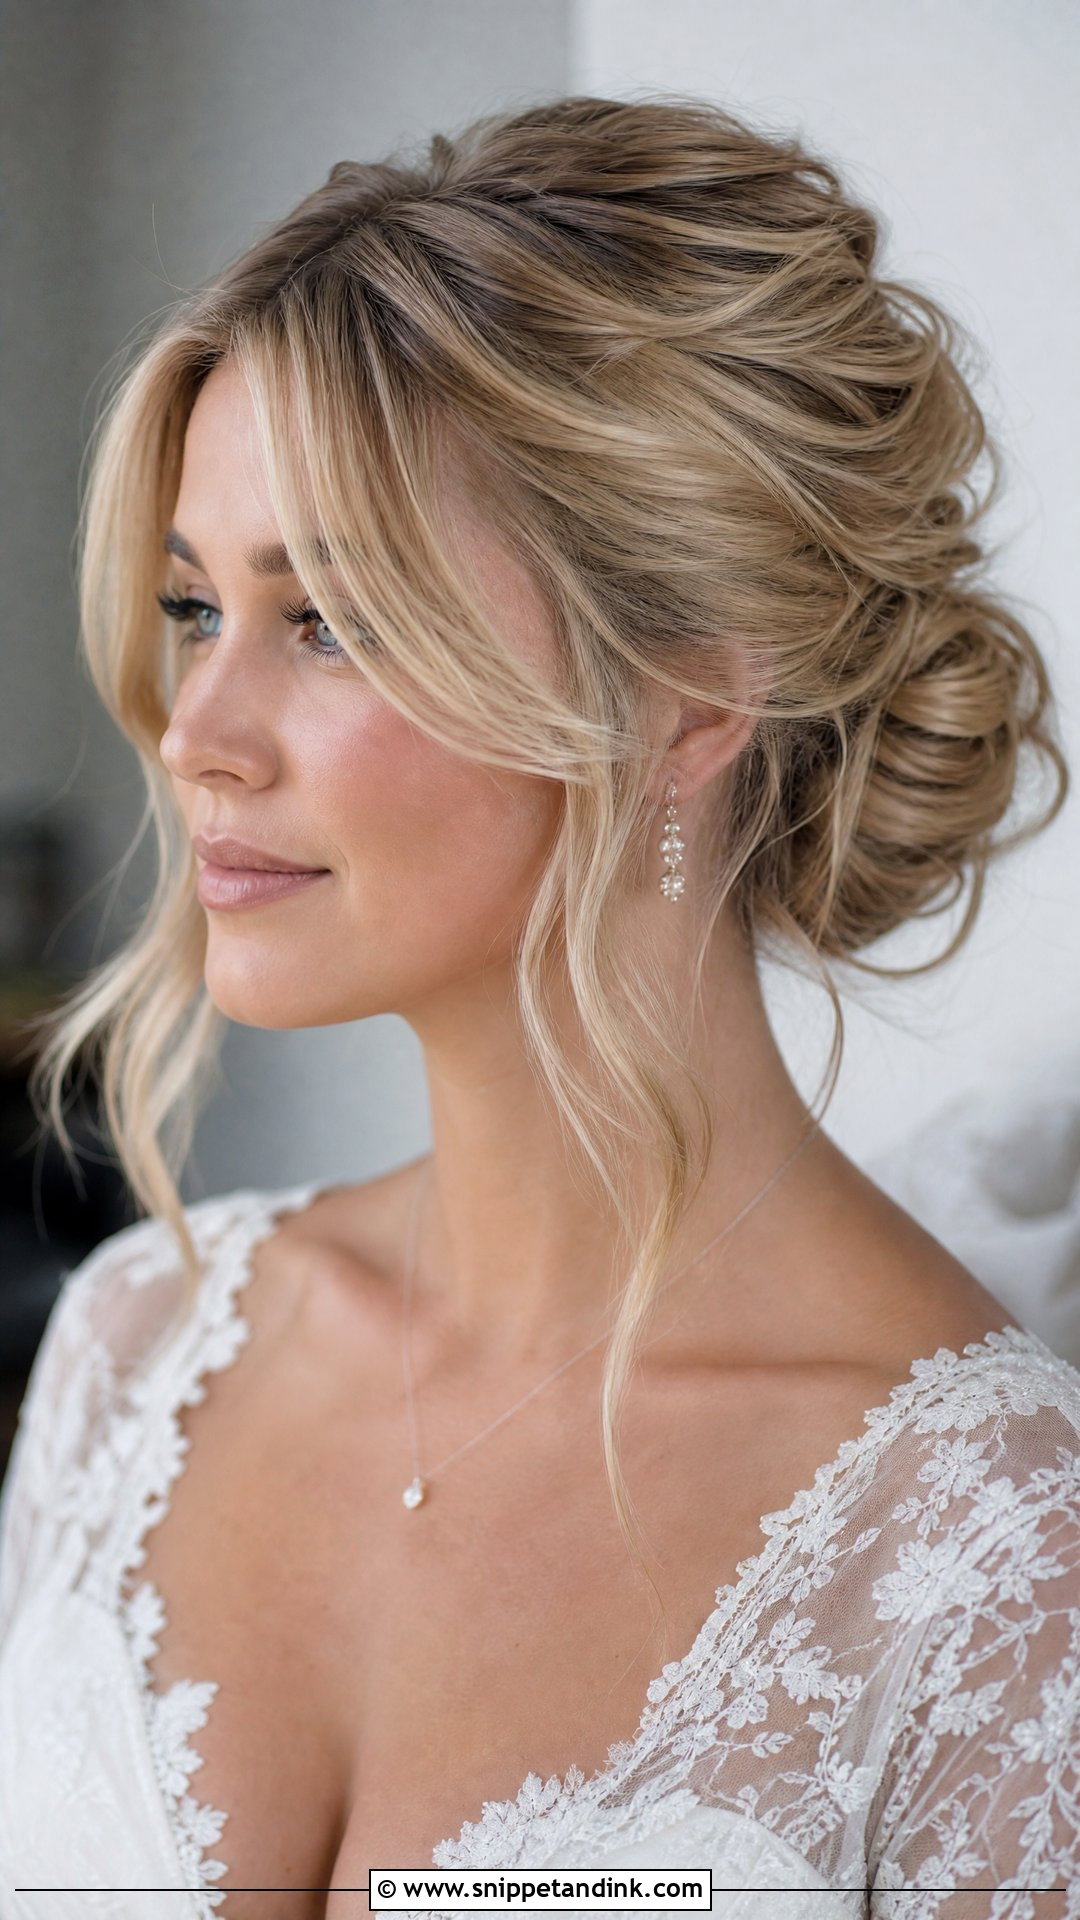
A wedding updo with curtain bangs keeps a soft frame around the face while the rest is lifted. The bangs can be parted in the center or swept to one side. It’s the version I suggest for brides who usually wear face-framing layers and feel exposed with everything pulled back. Bangs fall flat fastest, especially in humidity or after crying, so I set them with a round brush or a light bend from a curling iron and flexible spray. A small travel brush in your bag helps.
19. Wedding Side Bun Updo
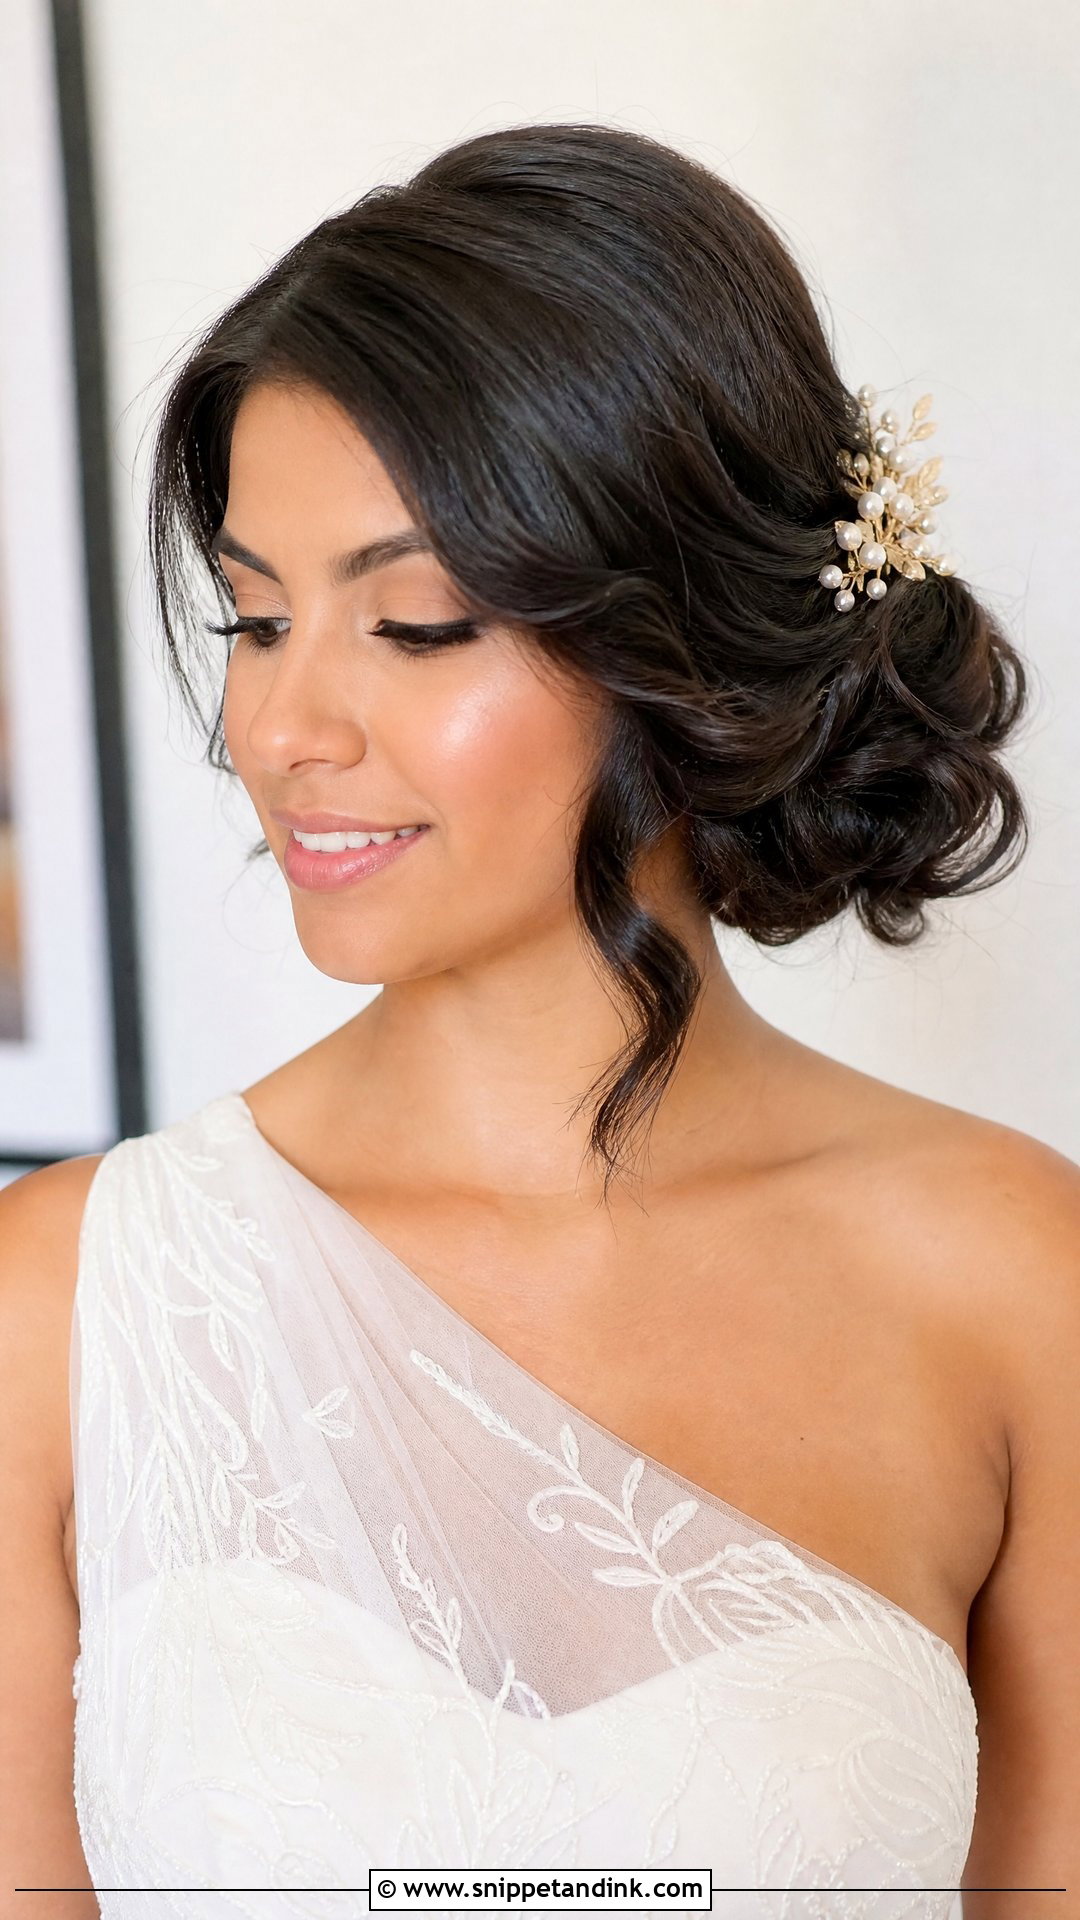
A side bun sits low and slightly off-center, which suits one-shoulder gowns, asymmetrical necklines and side parts. It shows up in front-facing portraits without you having to turn, which is handy for photos. It can be sleek, braided, curly or textured. I keep the offset subtle; a bun pushed far to one side reads as a costume. Place the part and the bun on your better side, and put a small comb or flower above the bun.
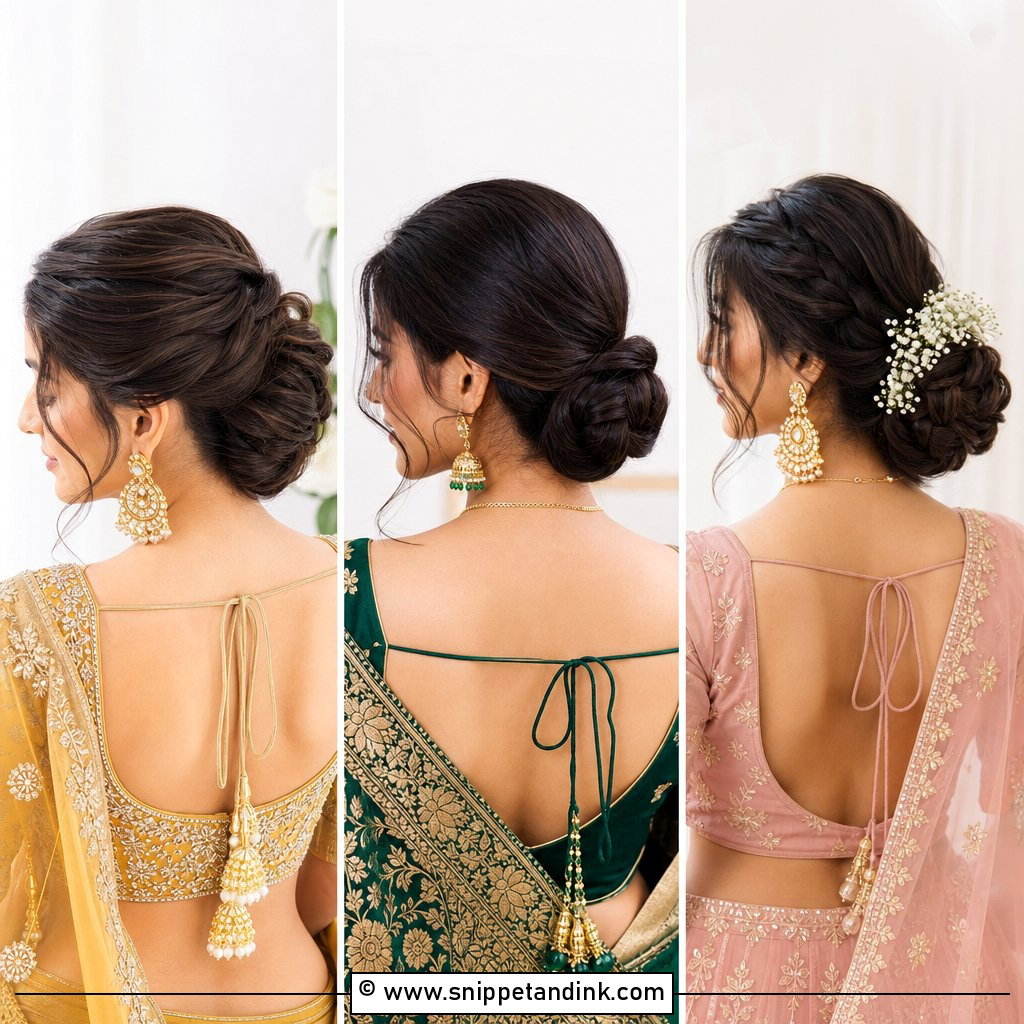
20. Wedding Boho Updo
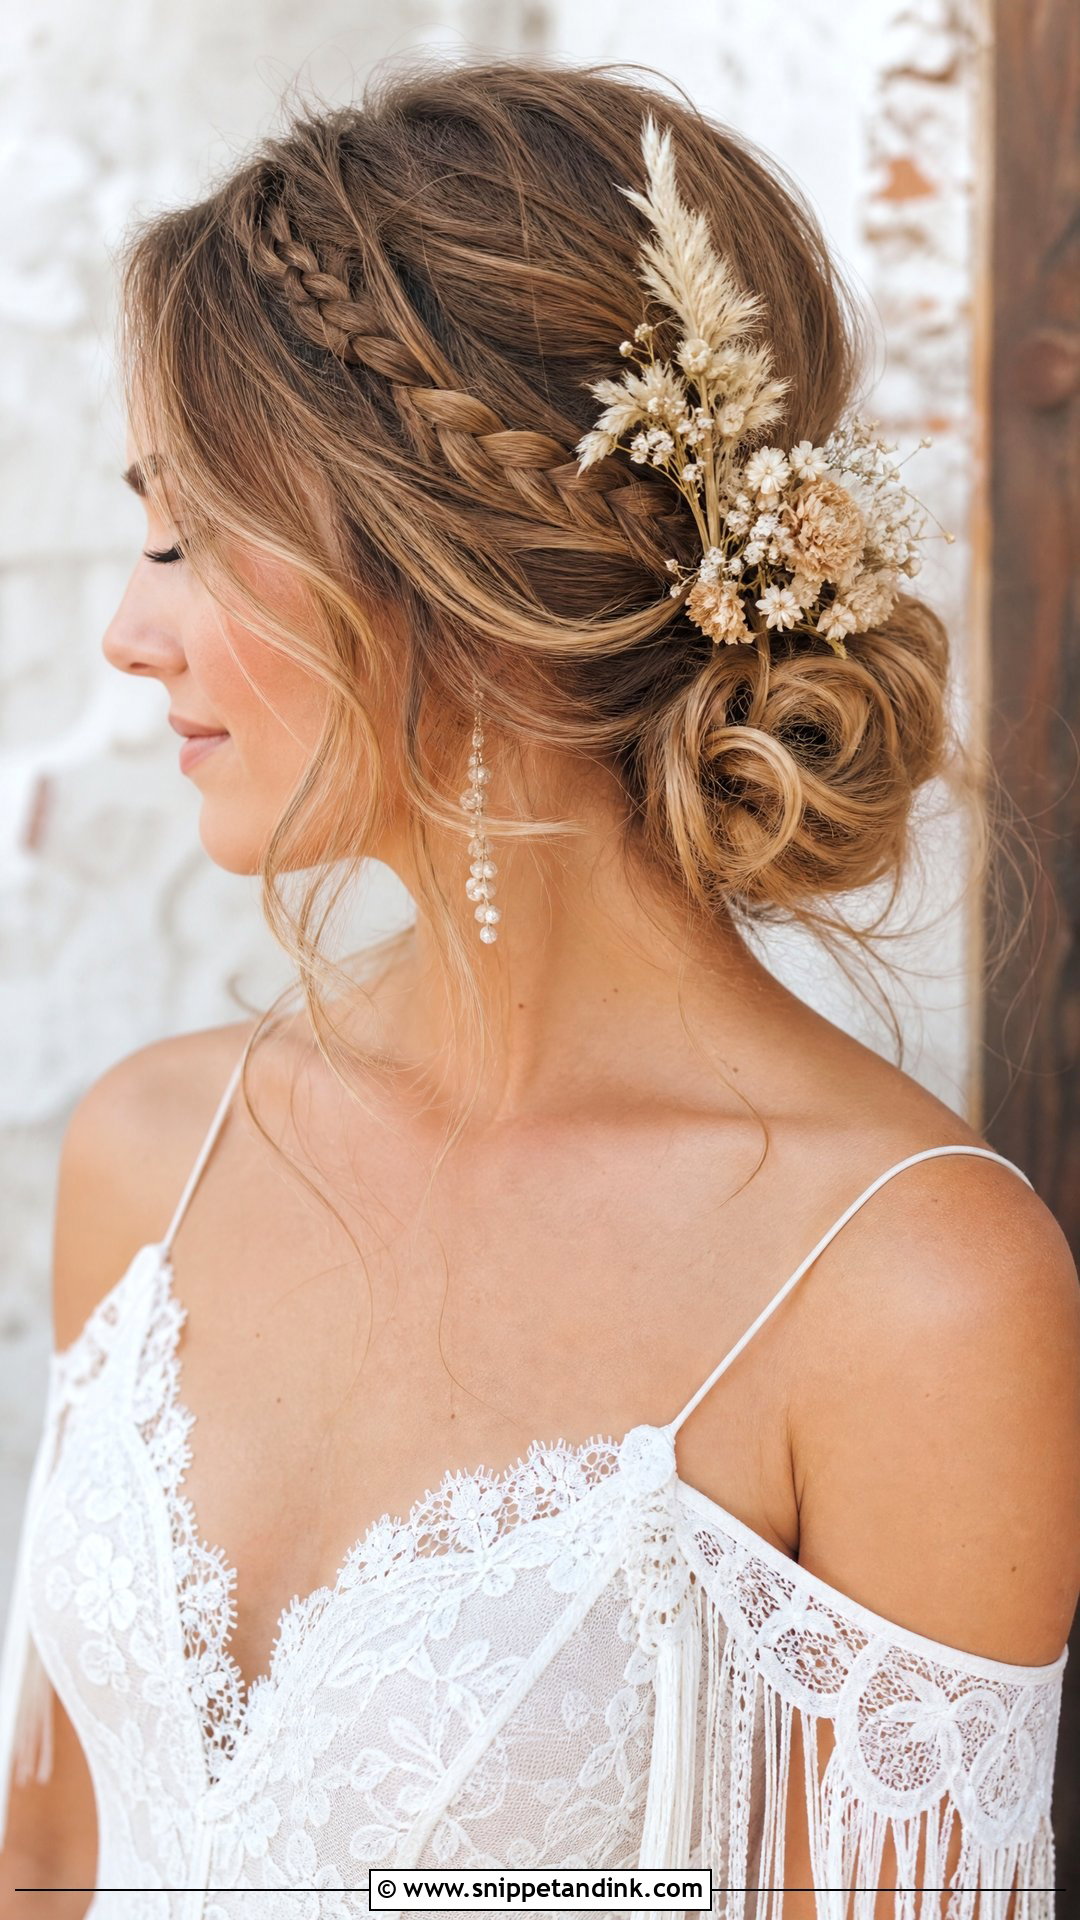
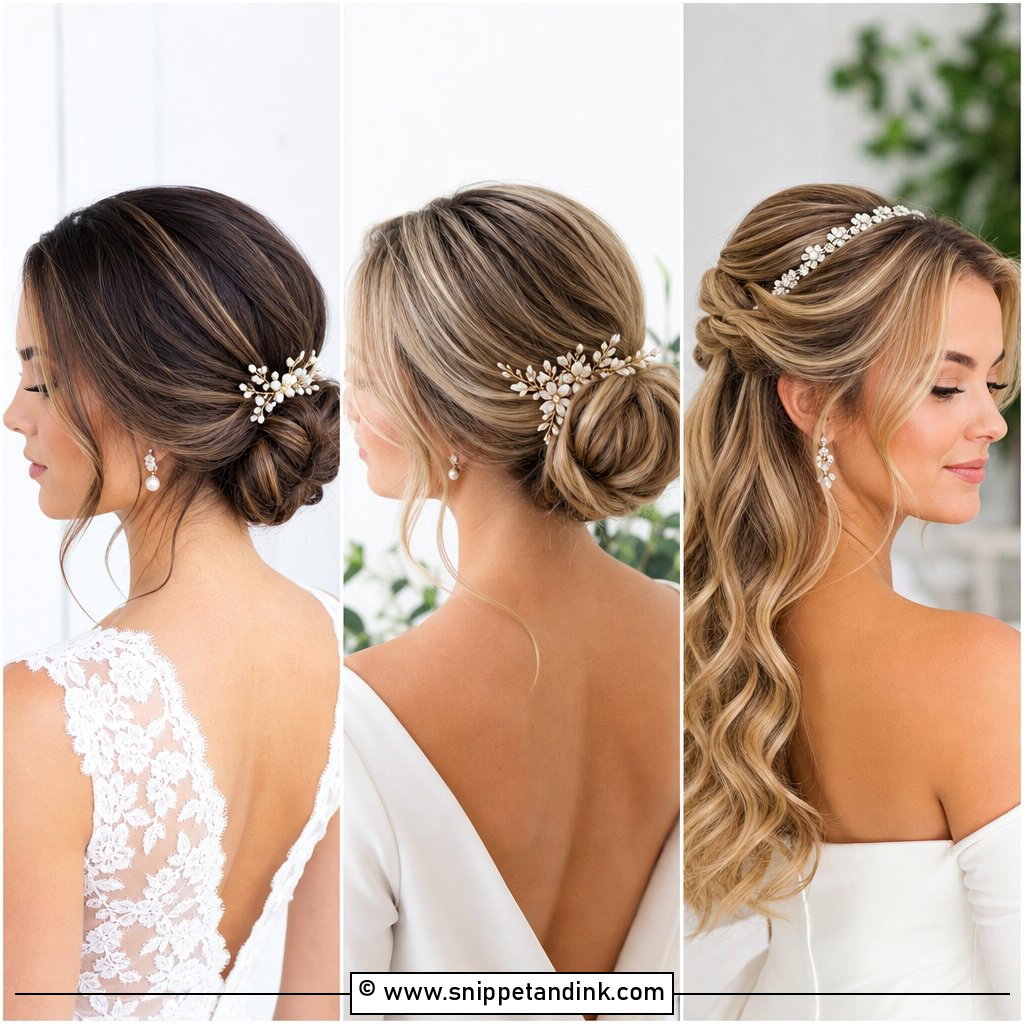
A boho updo combines loose waves, small braids, a low bun and face-framing tendrils, and it fits outdoor ceremonies, rustic venues and flowing dresses. It should look light, but the base needs to be firmly pinned, or the whole thing drifts apart by the reception. Accessories like dried flowers, small pearl pins or a simple veil suit it. Messy is the trap. I pull out only a few tendrils on purpose and keep everything else under control, which looks relaxed in photos without looking undone.
The Pins Holding It Up, and Why Your Head Might Ache by Nine
An updo that lasts all day is built from the inside out. I start with a small base, usually an elastic or a section of crossed bobby pins, and pin the visible style into that. Two bobby pins crossed in an X hold far better than a dozen pushed in straight. For buns, I use U-shaped pins and spiral pins, which grip more hair with less pressure.
The most common complaint I hear late in the evening is a headache. It usually comes from weight sitting in one spot, a pin pressing on the scalp, or hair pulled too tight at the hairline. At your trial, wear the style for a few hours afterward, ideally through a meal and some time sitting back in a chair. If something pinches or pulls, tell your stylist, because it can be fixed with a different pin angle or a lighter base.
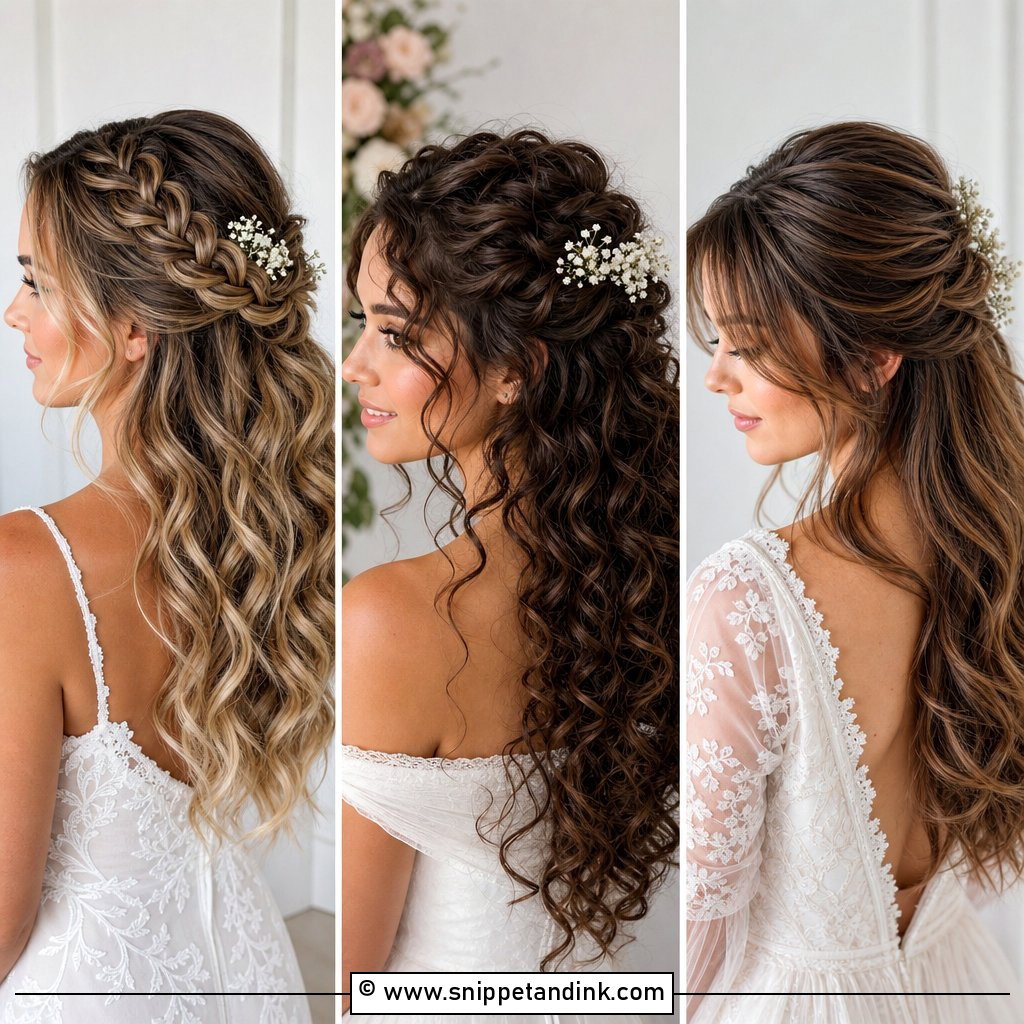
If you want to wear it down for the dancing
Ask at the trial. Some updos, like a twist or a loose low bun built over curls, can come down into soft waves. A sleek bun, or any style built on gel and tight elastics, will come down kinked and stiff. Pack a wide-tooth comb and take the pins out slowly from the top down, rather than pulling the bun loose.
Bring Photos of the Back of the Dress
When I plan an updo, the dress back, the neckline and the veil decide more than any inspiration photo. A sleek bun suits a structured dress, a textured bun softens a romantic one, and braids, twists, pearls and flowers can make the same basic shape feel very different. Book a trial and bring your veil, your accessories and pictures from the front, side and back. Wear a top with a similar neckline. And pay attention to how it feels after a couple of hours, because comfort matters as much as the look.
You'll Like These Ideas:


Leave a Reply