
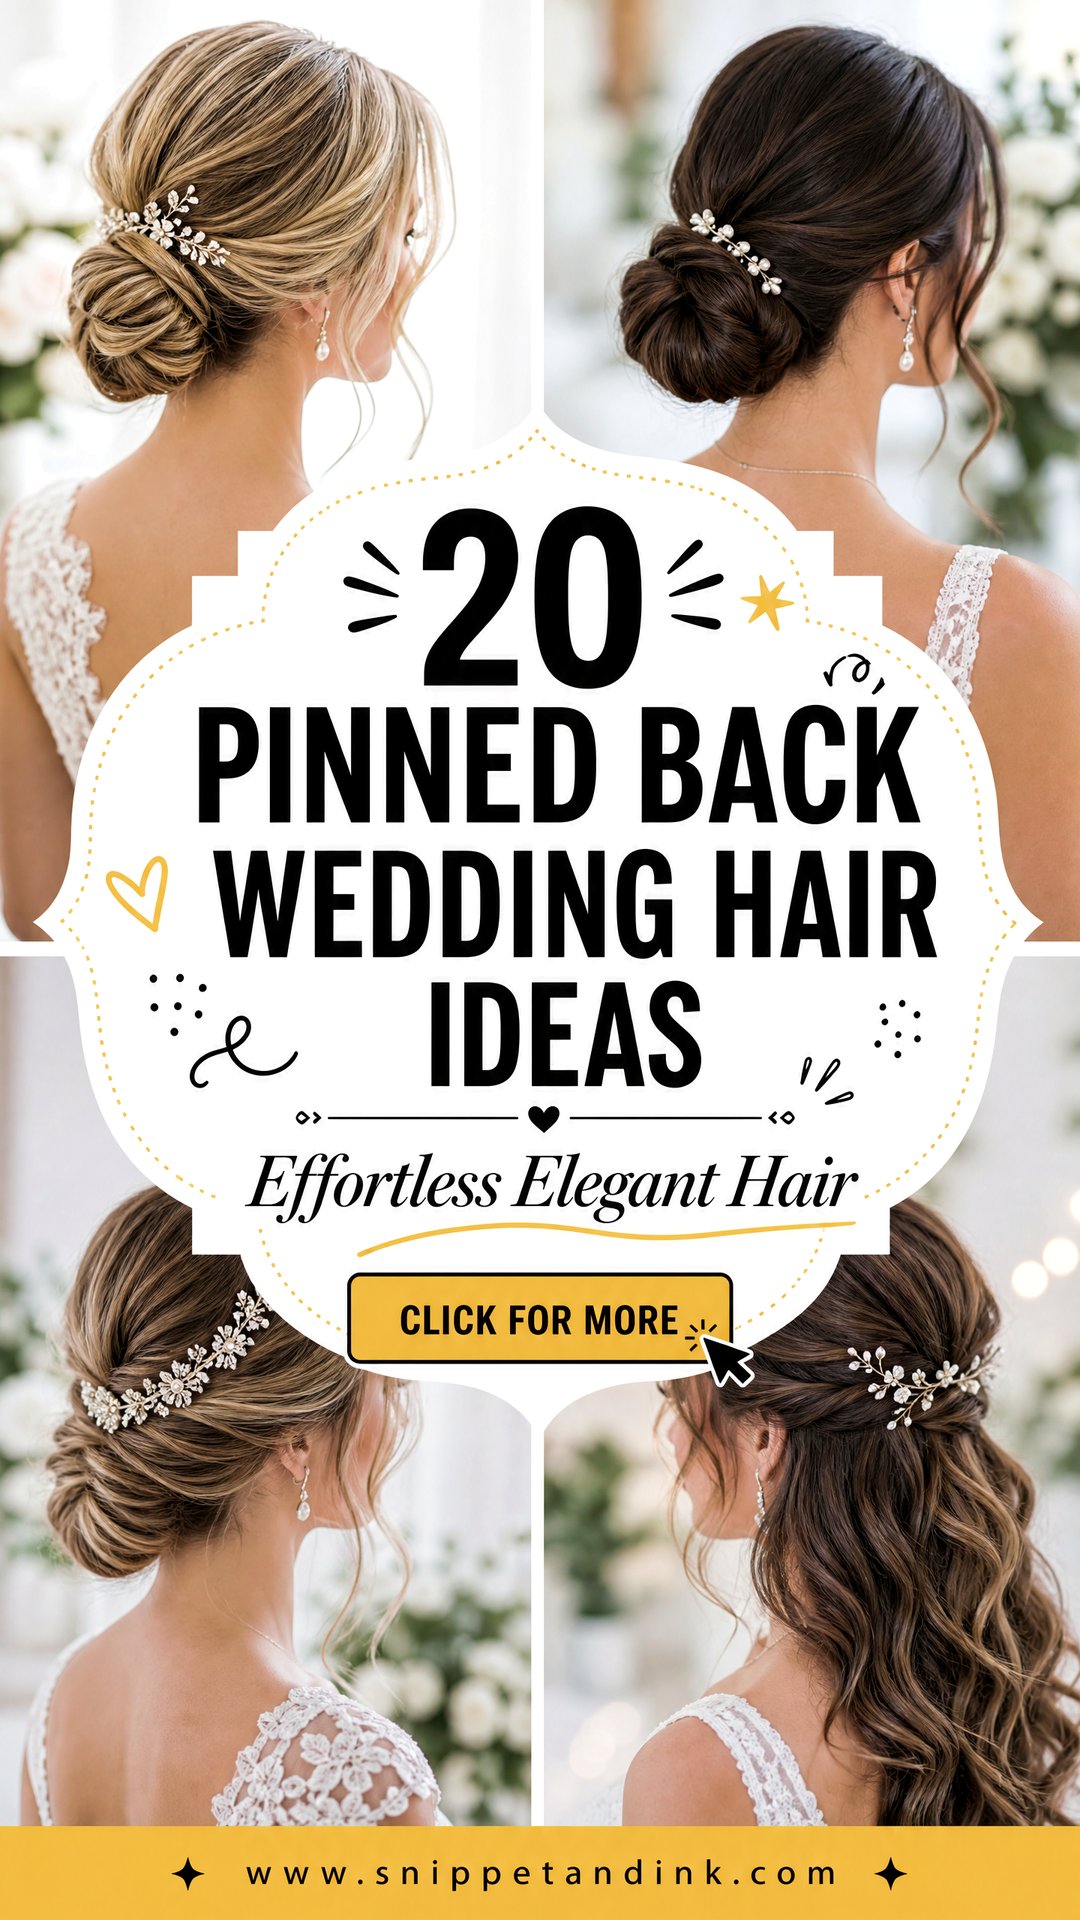
Most brides who come to me asking for an updo really want one thing: hair that’s off their face and still looks right at midnight. Pinned back styles do that without the full commitment of an updo. They clear the face, show the earrings and neckline, and give a veil or headpiece somewhere secure to sit. They range from sleek and polished to soft and undone, and nearly all of them can be adapted for short, medium or long hair and for fine, thick or curly textures. Below are twenty I’d happily create for a bride, from low chignons to half-up twists and side-swept waves, with notes on how each one is built and where it tends to fall apart.
Why Pinned Styles Slip by the First Dance
When a pinned style collapses, it’s almost never the pins’ fault. It’s usually the hair underneath. Here’s what I do before a single pin goes in.
- Wash the day before, not that morning. Very clean, silky hair is slippery. Second-day hair, or freshly washed hair with dry shampoo or texture spray worked through, gives pins something to grip.
- Set curls and let them cool. Hair holds the shape it cools in. I pin each curl up while it’s warm and release it only once it’s cold.
- Build an anchor. A small hidden ponytail or braid at the back gives pins, combs and veils a solid base instead of loose hair to slide through.
- Cross the pins. Two bobby pins crossed in an X lock against each other. One pin on its own works loose as you move.
It also helps to know your pins. Bobby pins hold flat sections close to the head; open U-shaped hairpins secure buns and knots without flattening them. A good stylist uses both.
1. Low Chignon Wedding Hair
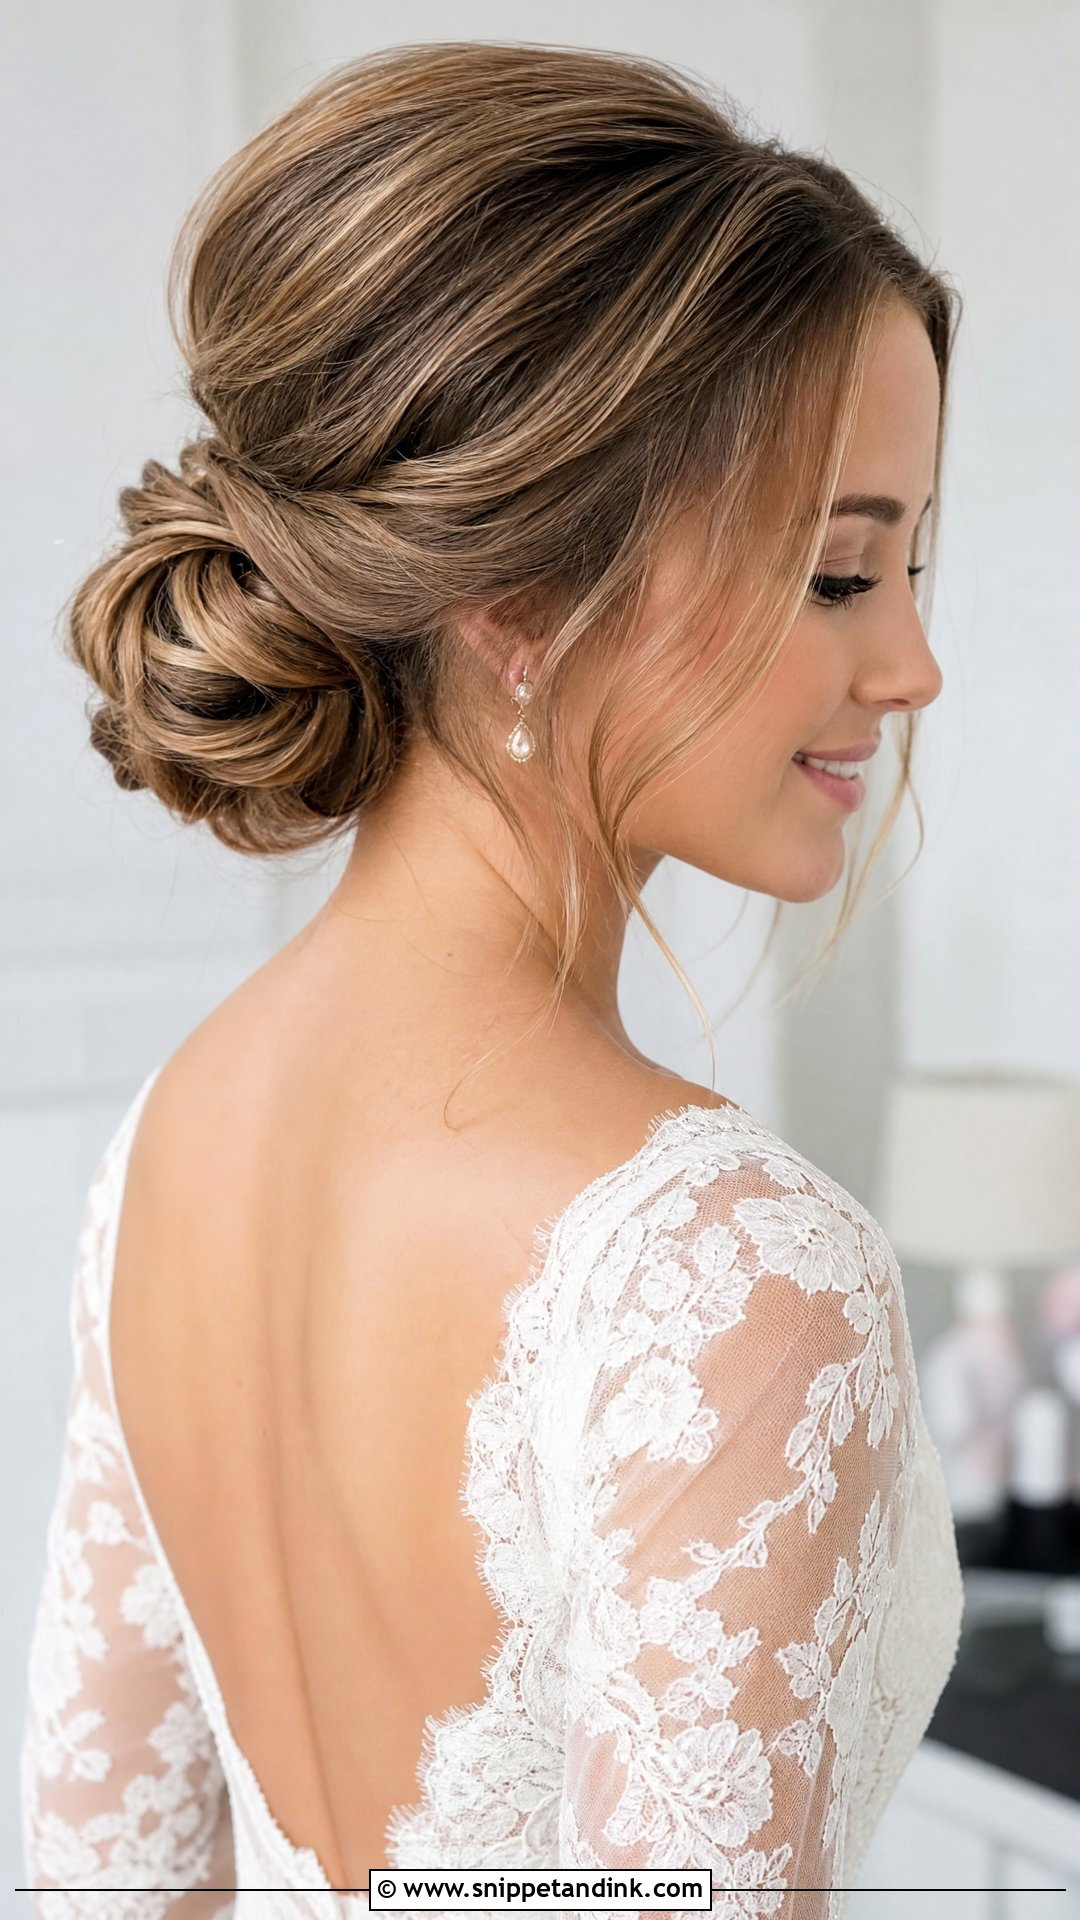
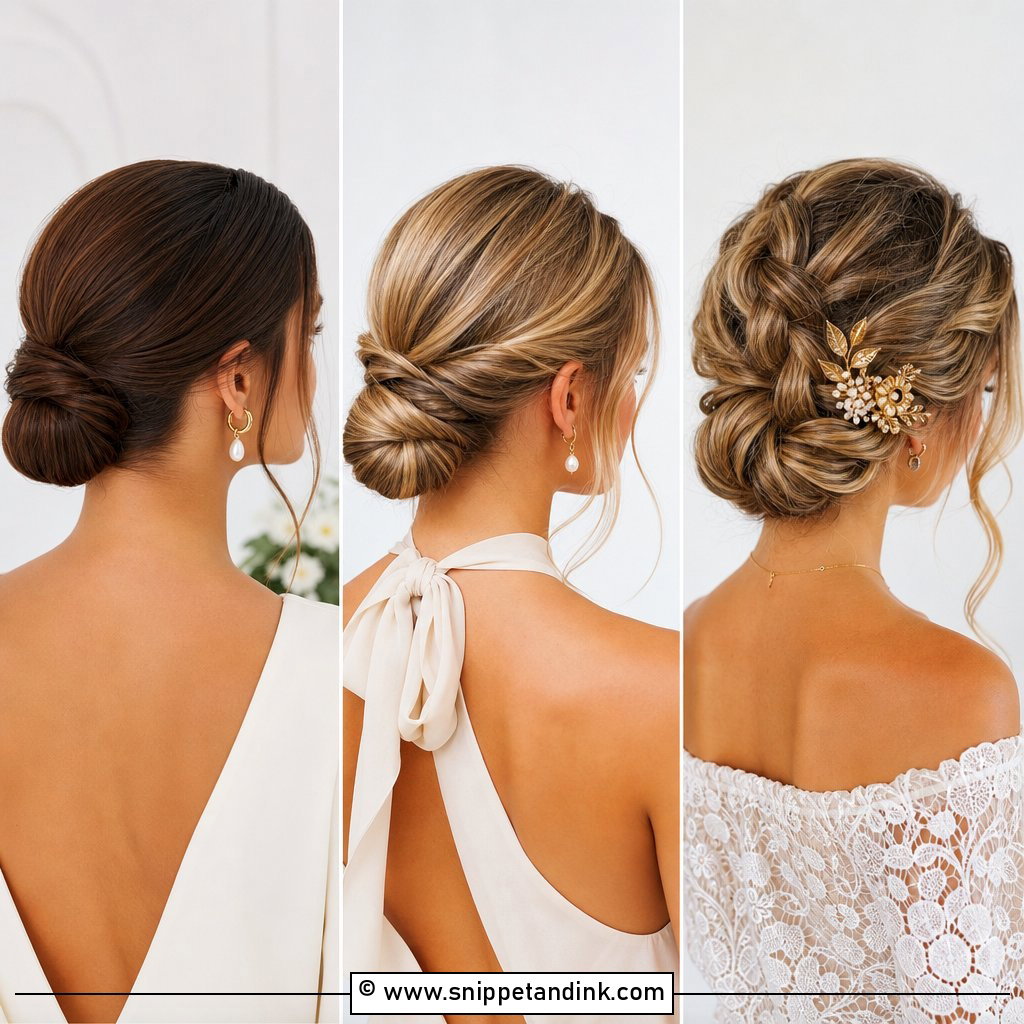
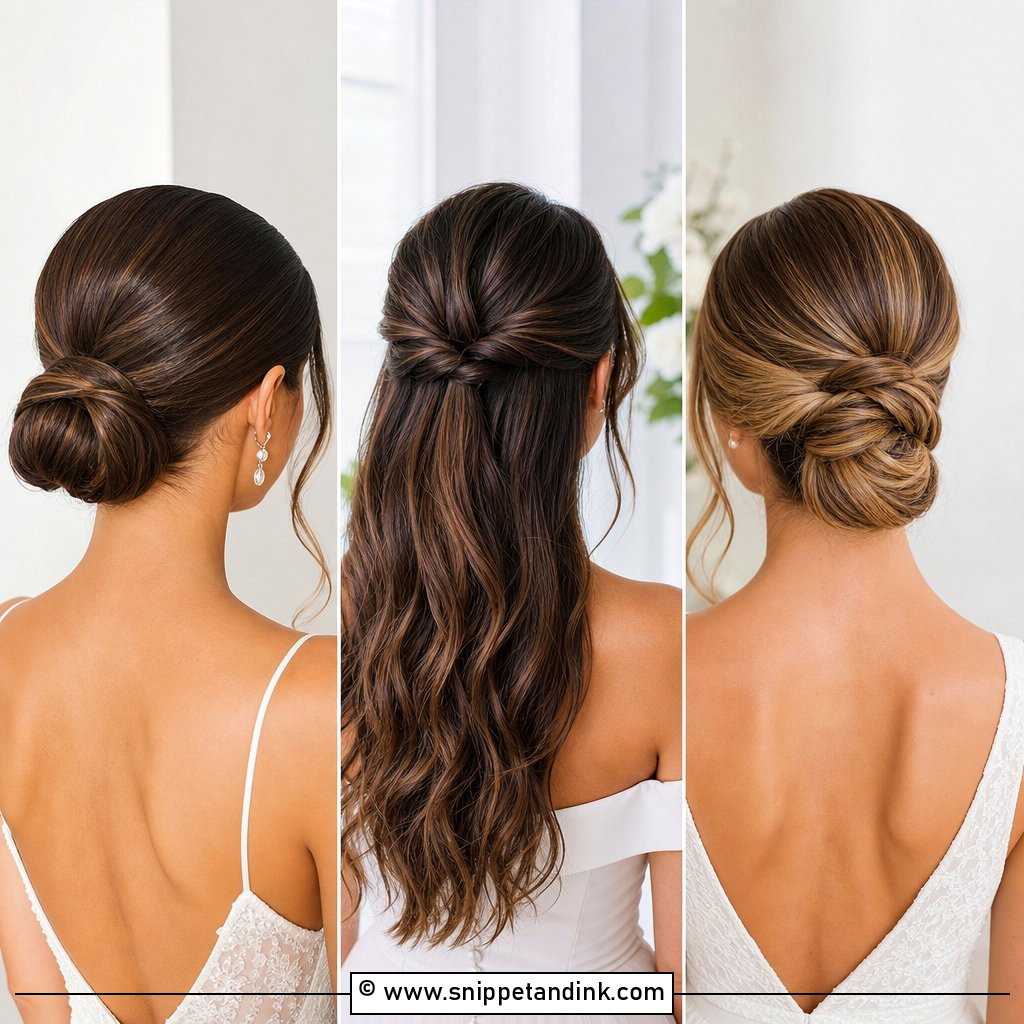
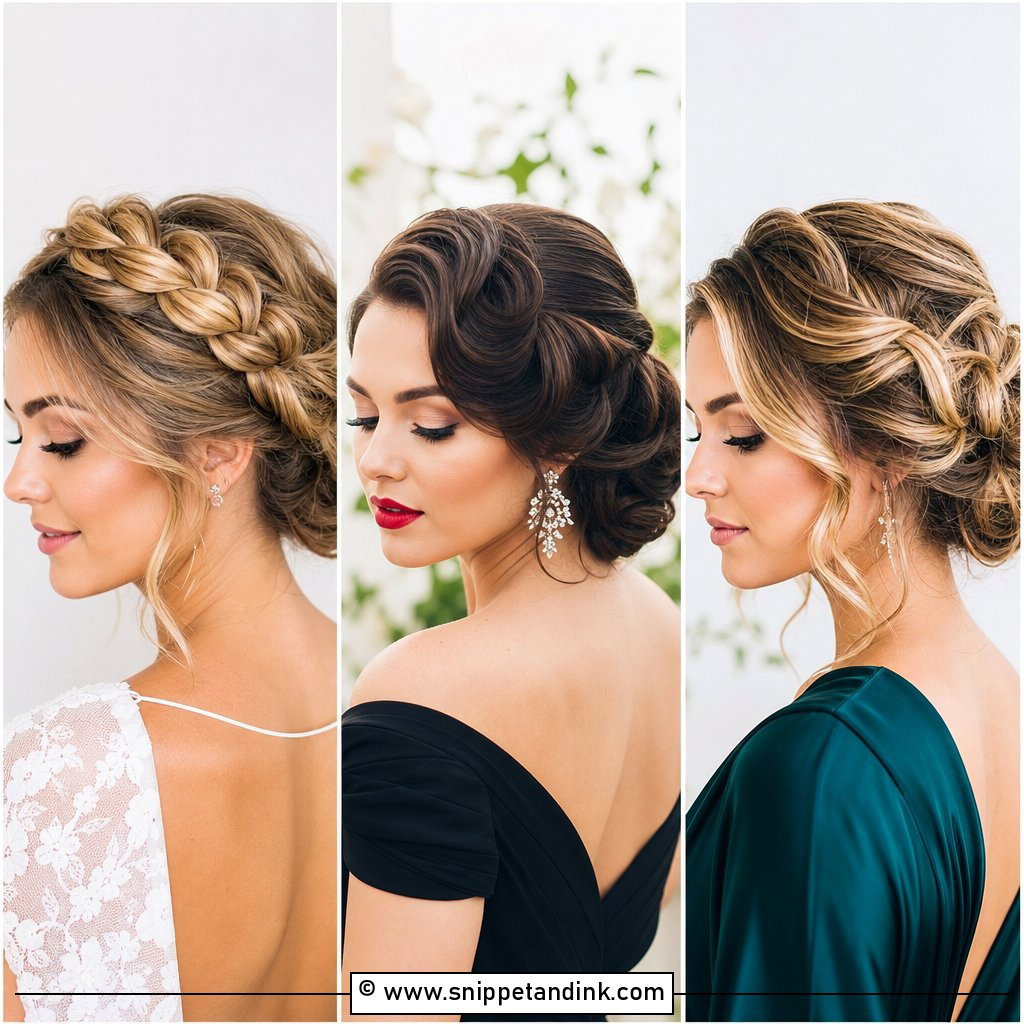
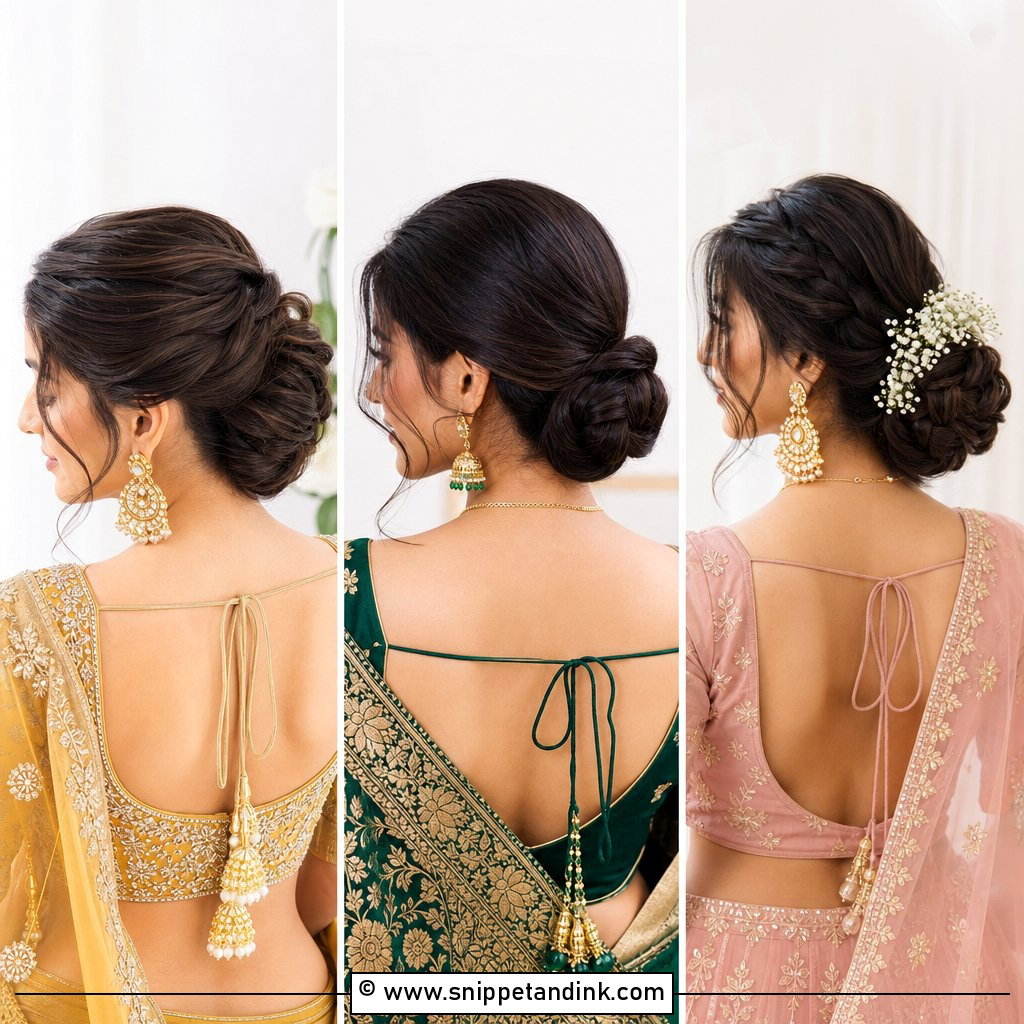
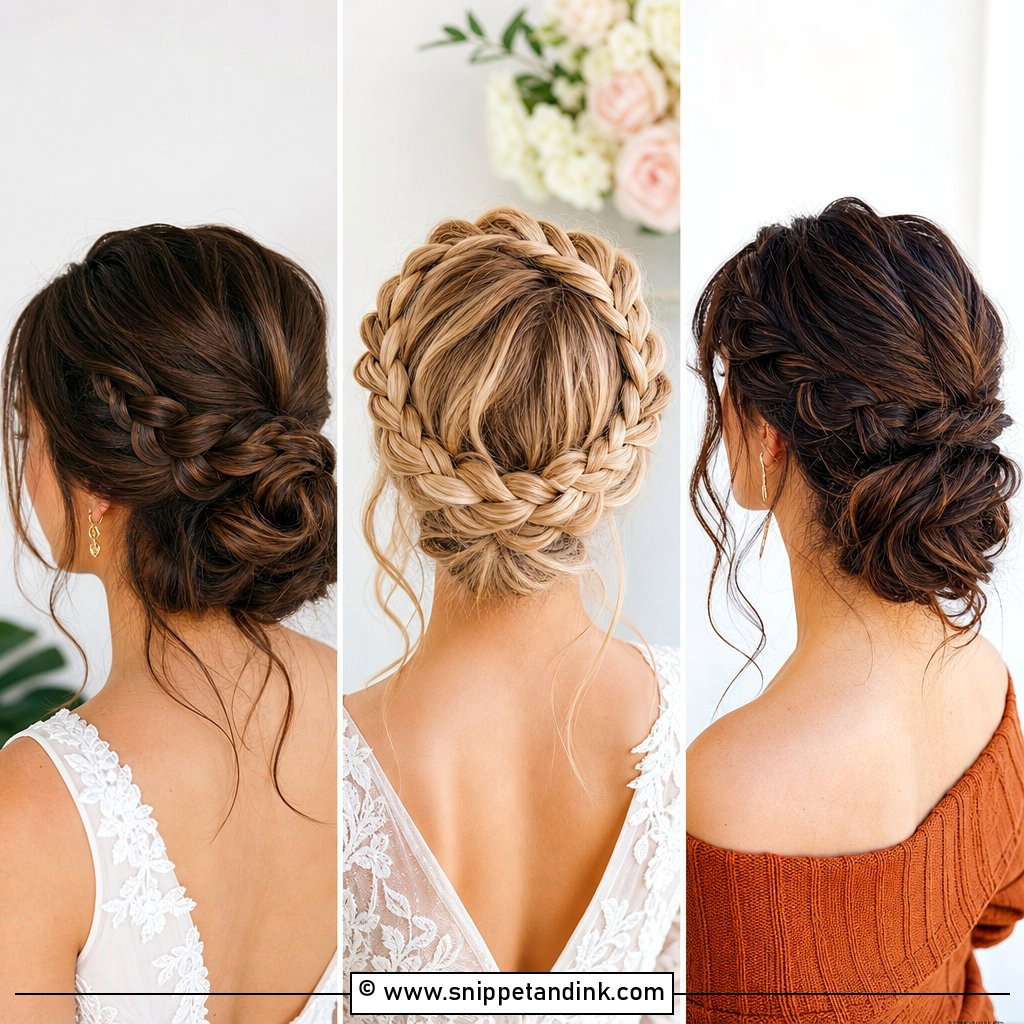
If I had to pick one pinned style that survives everything a wedding day throws at it, it would be this. The hair is brushed back smoothly and coiled into a soft knot at the nape, secured with U-shaped hairpins pushed into the base so the weight sits on the pins, not the knot. A little backcombing at the crown keeps the head shape from looking flat in profile. It suits nearly every face, takes a veil or statement earrings, and holds through ceremony, dinner and dancing. On shoulder-length hair I sometimes add a small padding piece so the knot has enough body. Pull a few face-framing pieces loose if you want it softer.
2. Half-Up Half-Down Wedding Hair
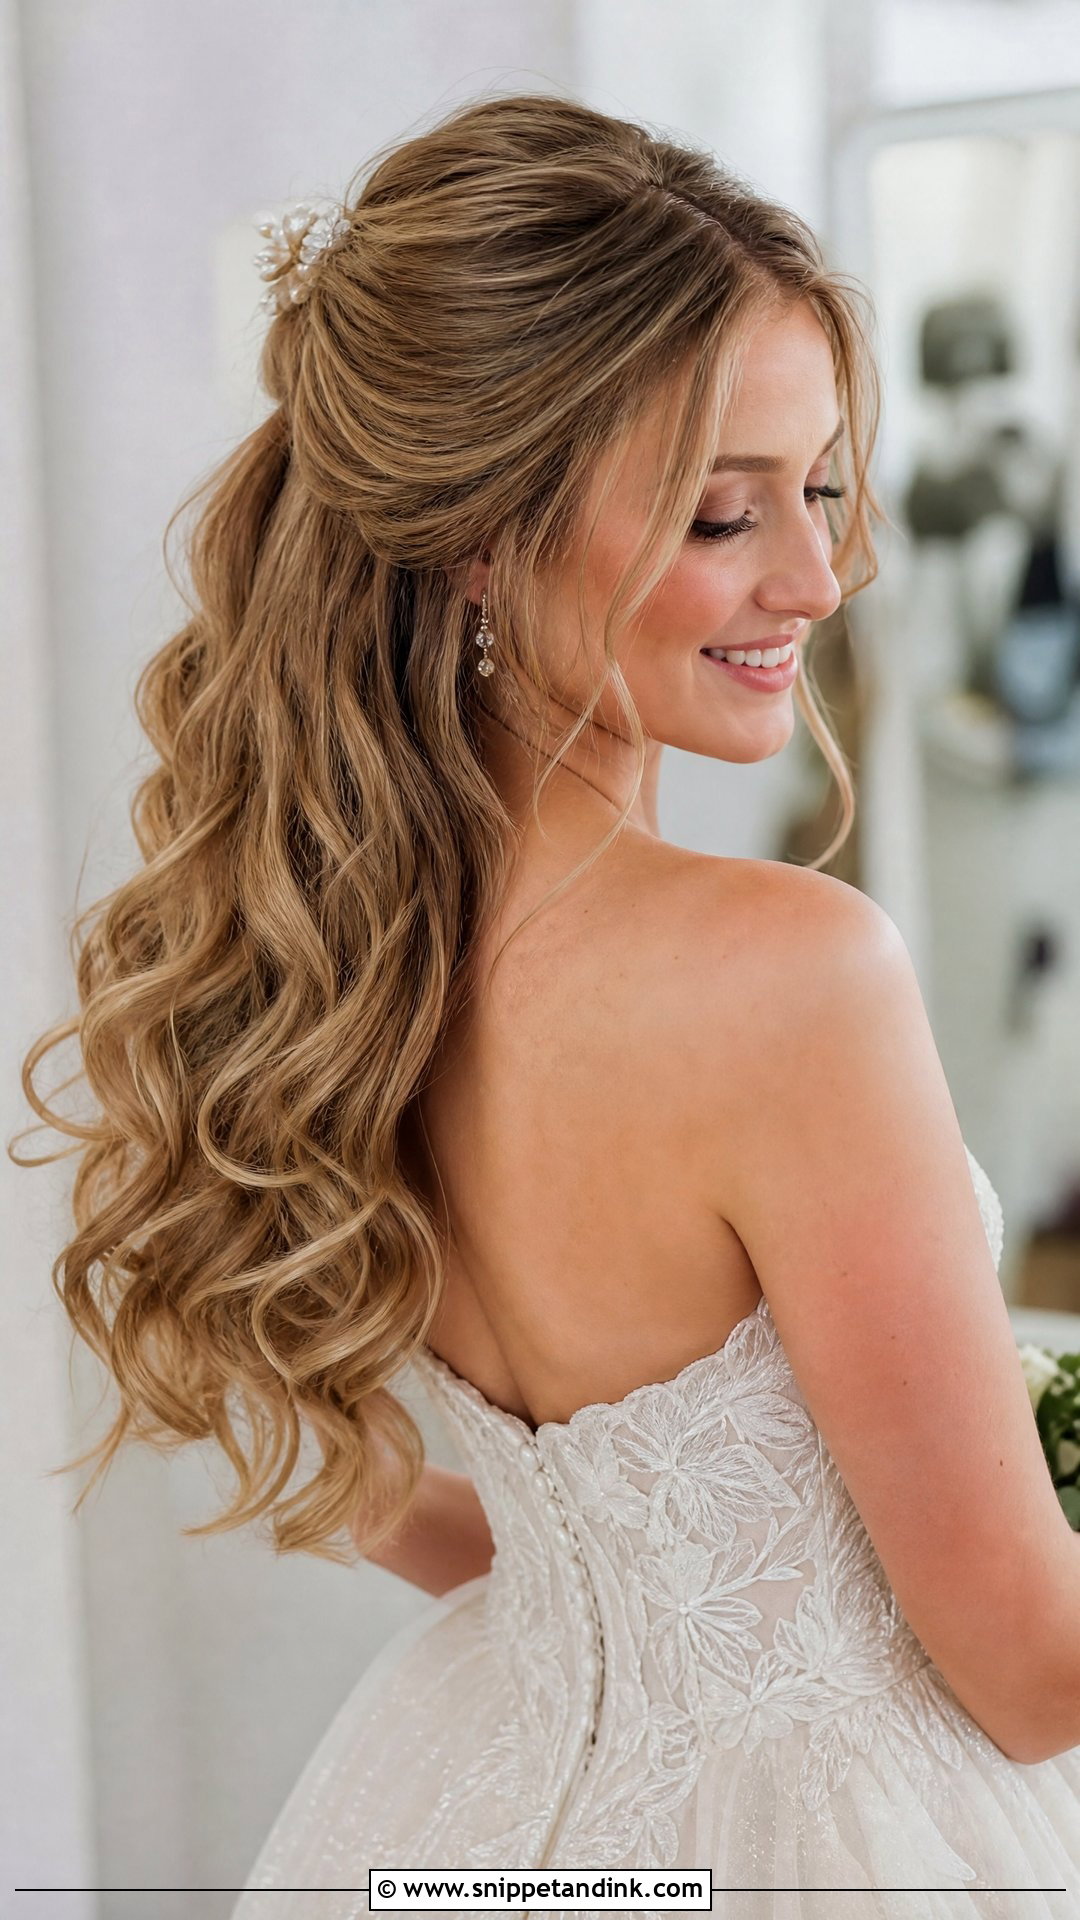
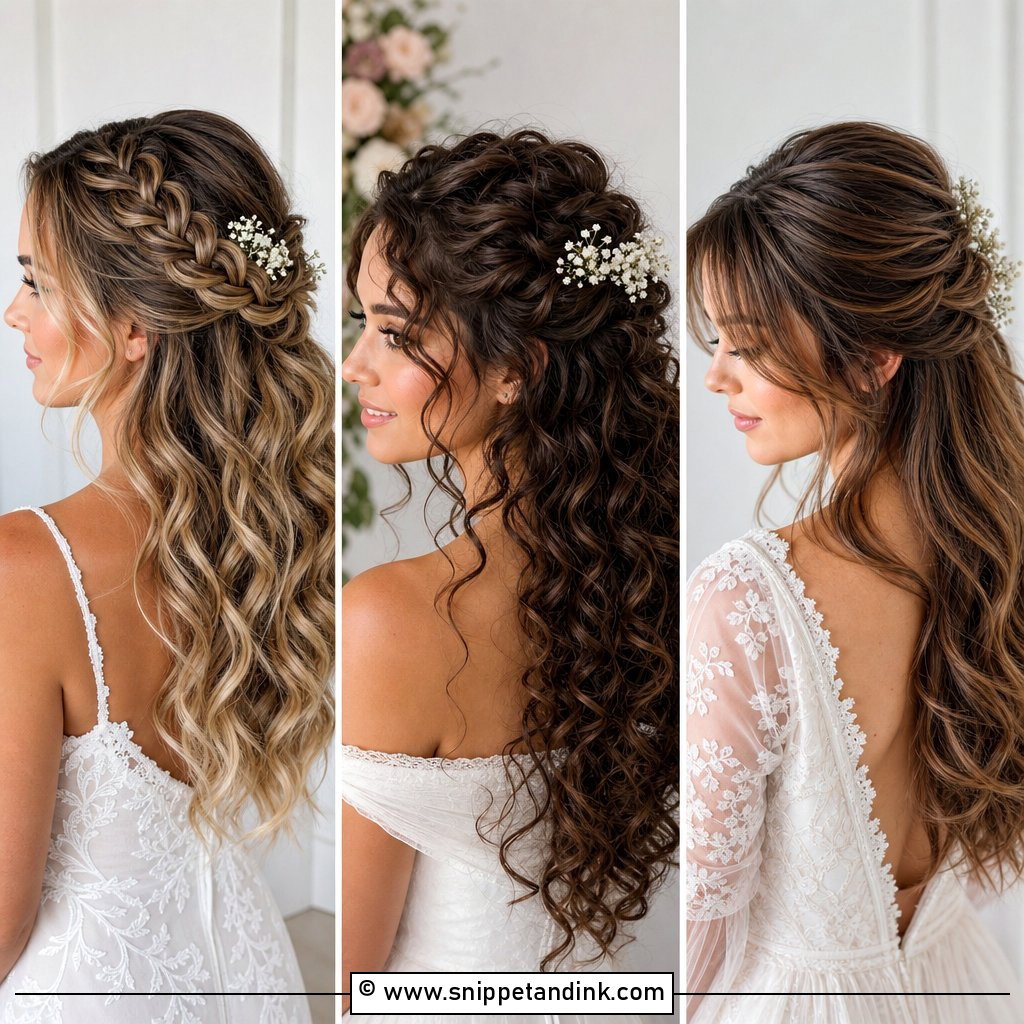
Half-up looks are the most requested and the most likely to drop, because the loose lengths pull down on the pinned section all day. I anchor the top with a small hidden elastic or a pair of crossed pins before adding any decoration. The curls underneath need a proper set, curled and cooled in pin curls, or they relax into waves by the reception. It frames the face and shows off length, and works with floral clips, pearl pins or a delicate tiara. In serious heat, the lower lengths can be gathered into a quick ponytail later without redoing the top.
3. Pinned Back Curls Wedding Hair
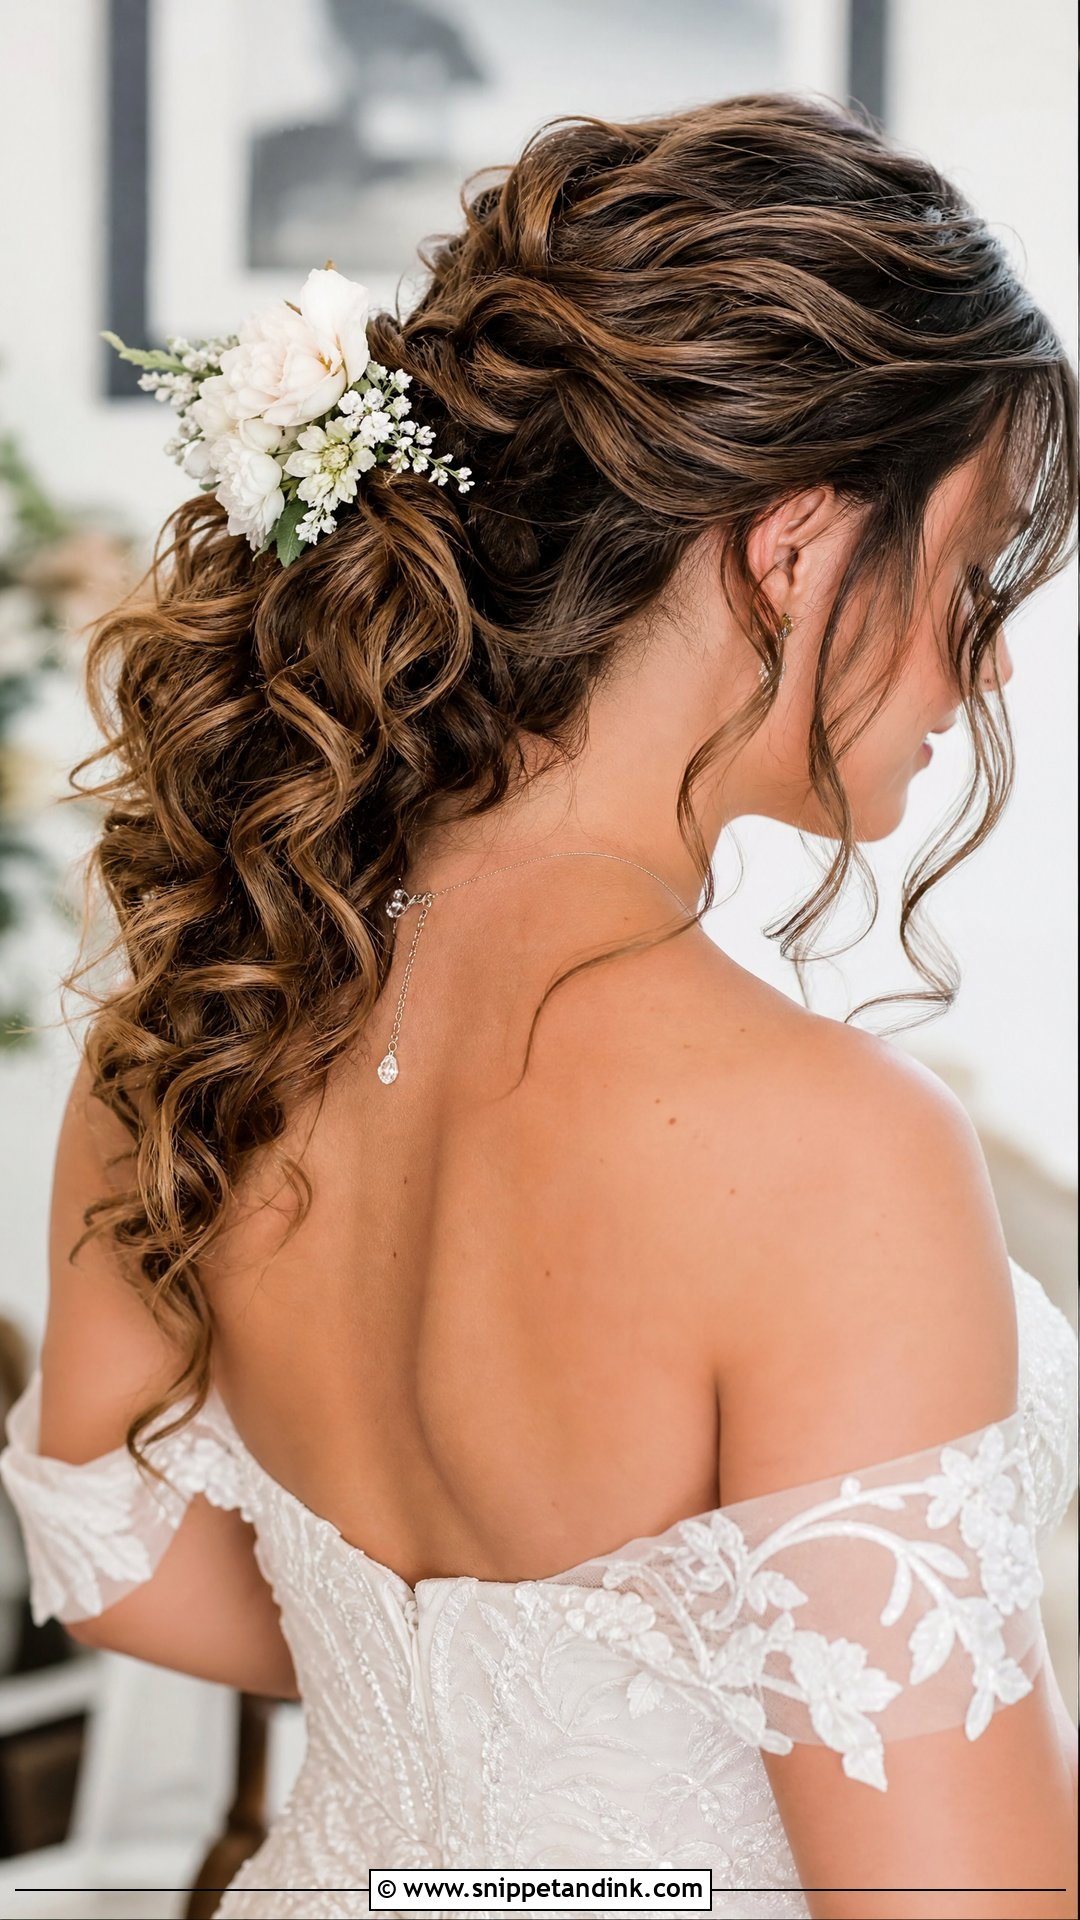
Bouncy curls with the front pinned away keep the volume visible while clearing your face. I curl with a wand, let every curl cool fully, then take two front sections back and secure them behind the crown with a barrette or floral clip over hidden pins. The pins do the holding; the clip is decoration. A few tendrils loose near the ears soften it. Medium to long hair suits it best. One caution: curls on fine, freshly washed hair can drop in an hour outdoors, so this is a style where prep products and a trial matter.
4. Side-Swept Wedding Hair
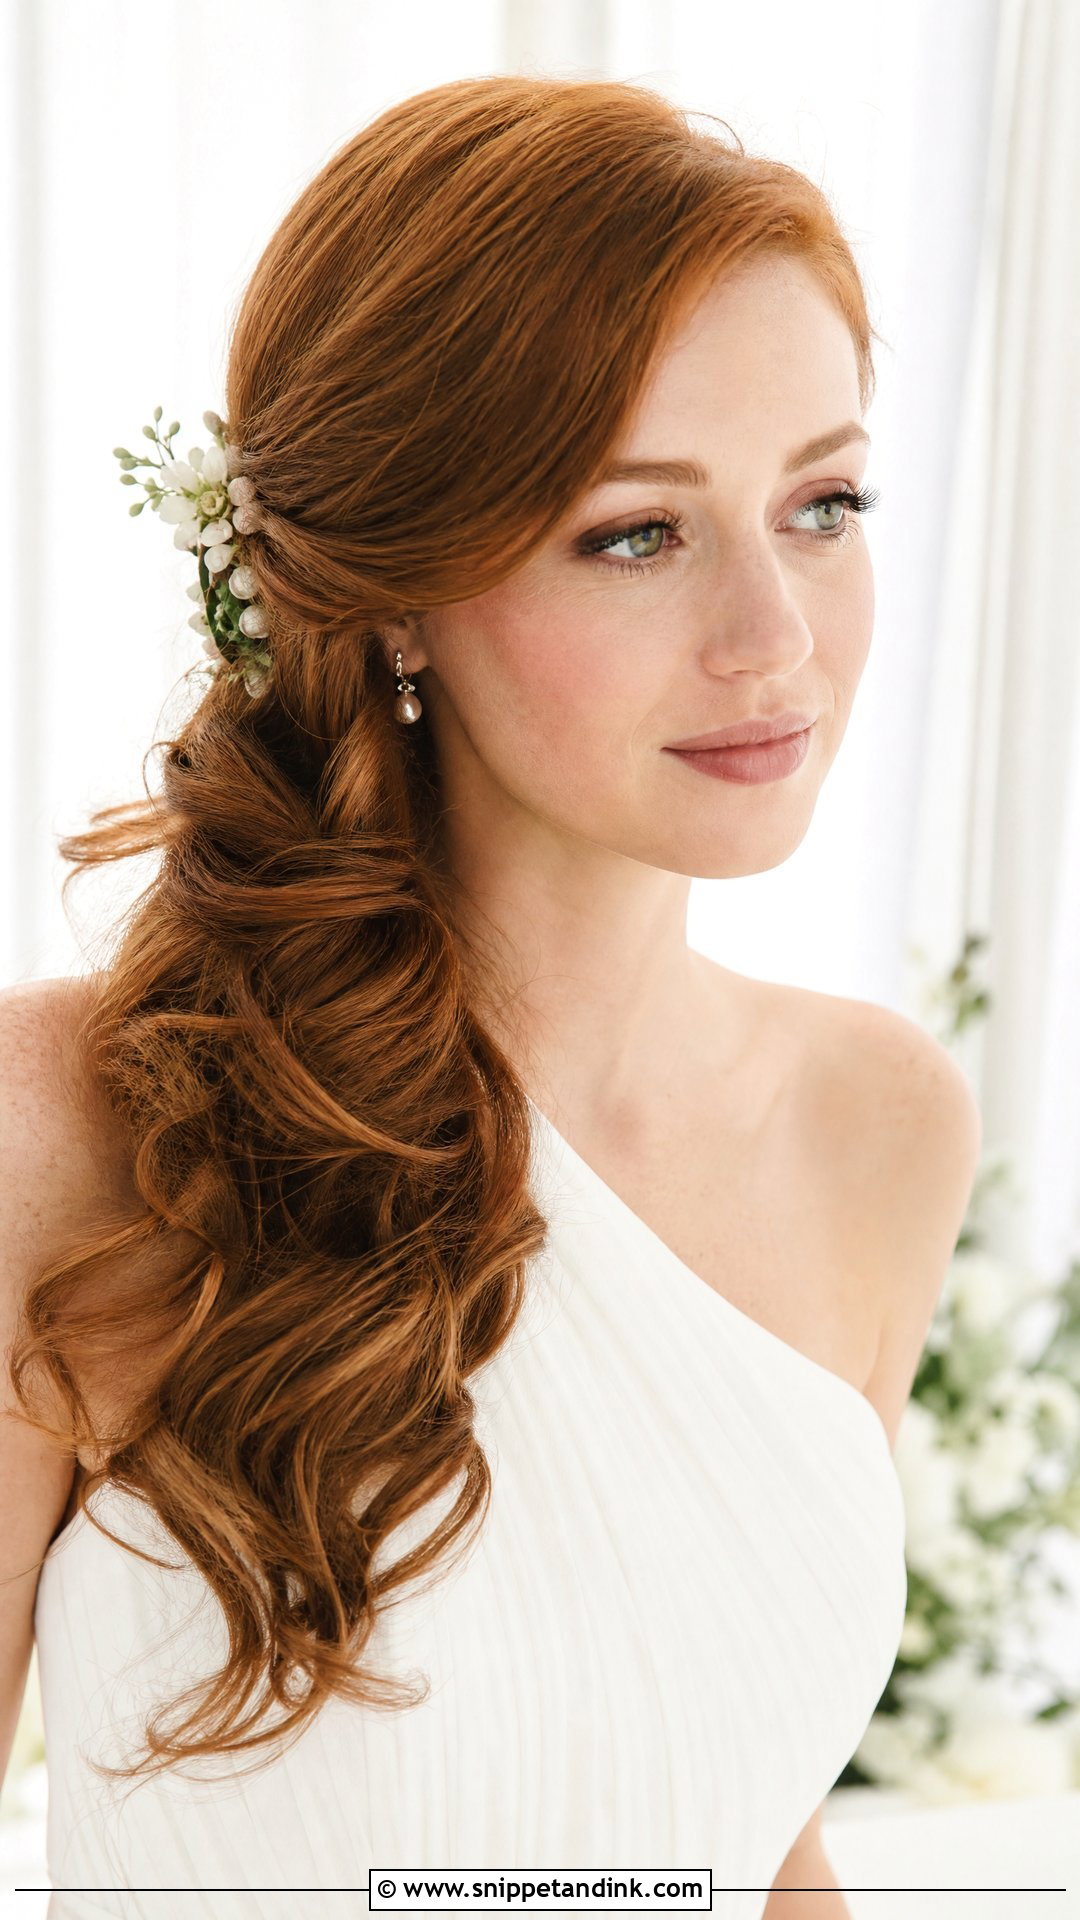
Sweeping everything over one shoulder has an old Hollywood quality, and it really comes into its own with one-shoulder or off-the-shoulder gowns. The trick is hidden structure. I build a row of crossed pins running down the back of the head, behind the ear on the side the hair falls away from, so the sweep can’t slide back to center. Waves on top catch the light. Thick, long hair holds this best; on fine hair I add a small braid underneath as the anchor. A floral pin at the gathering point tidies the finish.
5. Pinned Back Wedding Hair With Veil
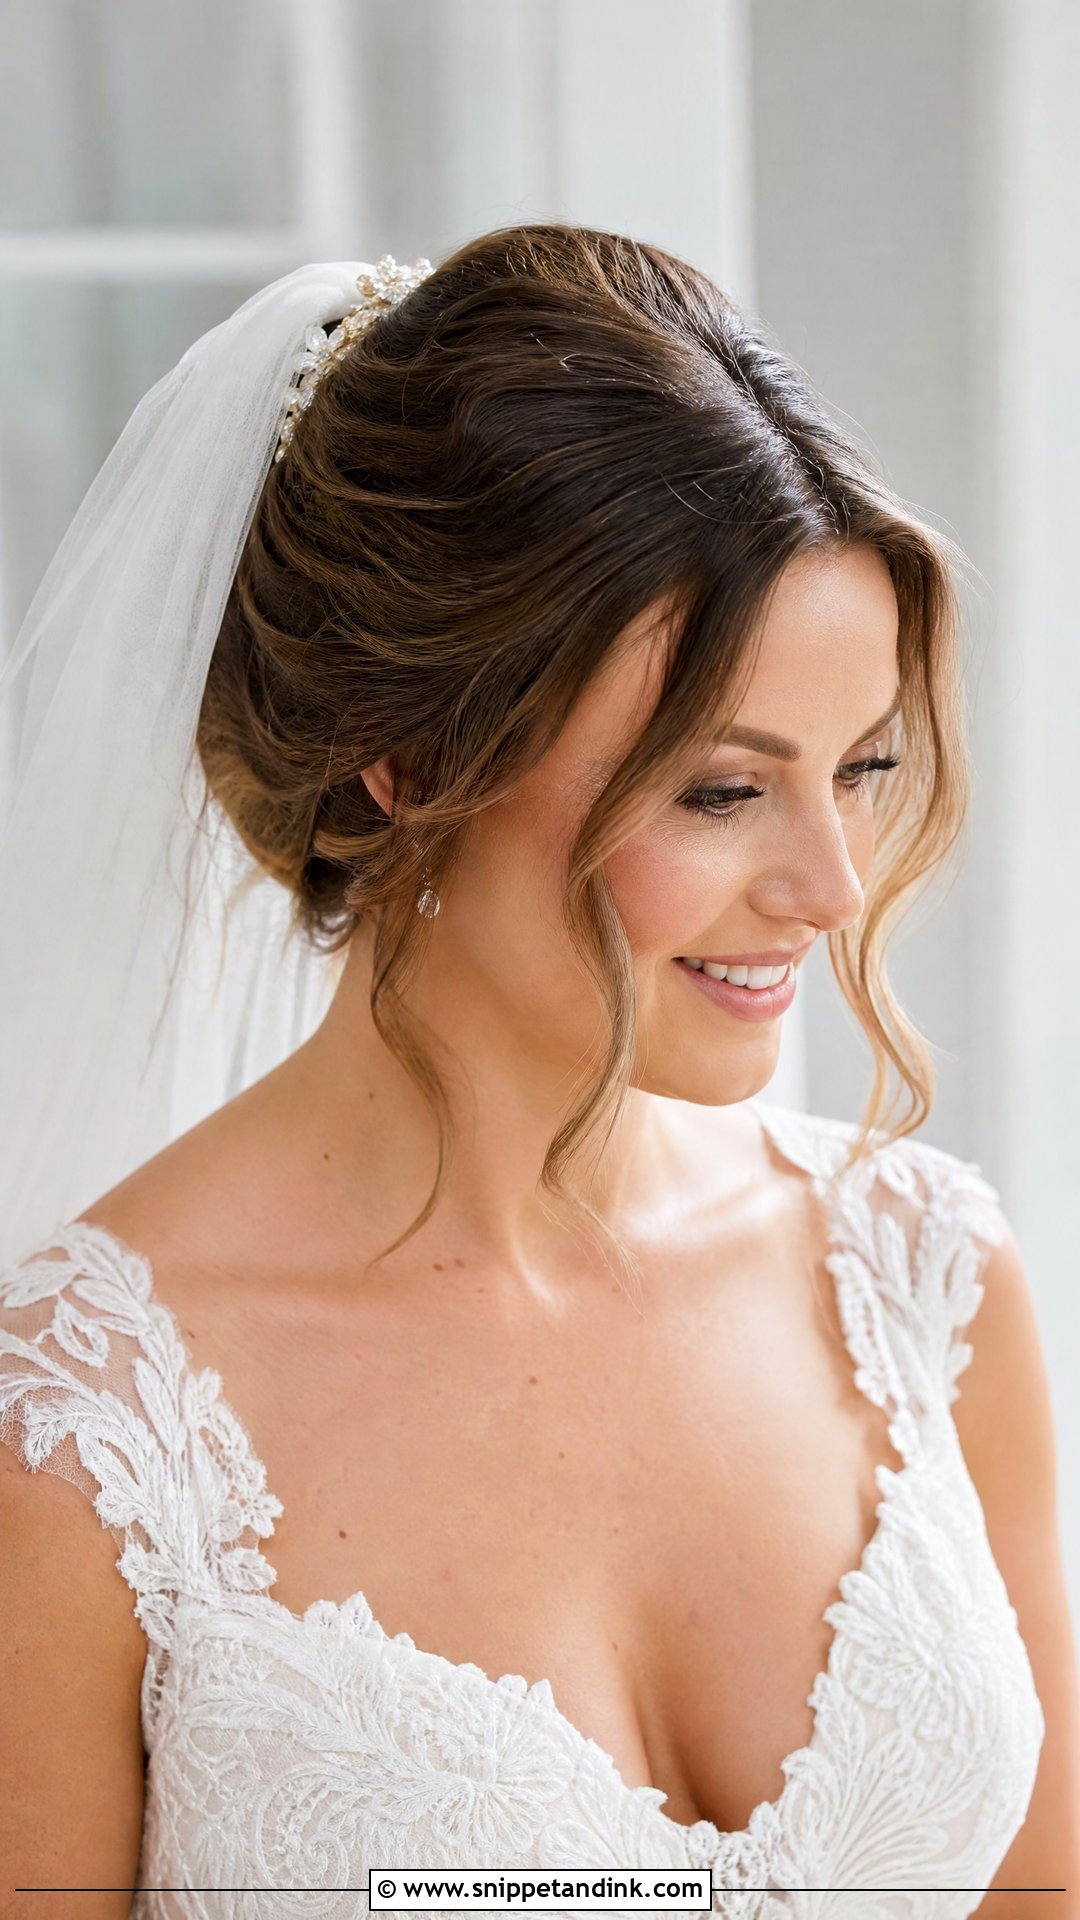
Veils are heavier than they look, especially cathedral lengths, and a comb pushed into loose hair will start creeping backward within minutes. I pin the hair back first, then slide the comb in just above the pinned section so its teeth have something firm to grip, and I usually add two crossed bobby pins over the comb teeth too. After the ceremony the veil comes off and the style underneath stays intact. Loose waves or a low knot both sit well beneath it. A few soft pieces at the face stop the overall look feeling stiff.
6. Twisted Pinned Back Wedding Hair
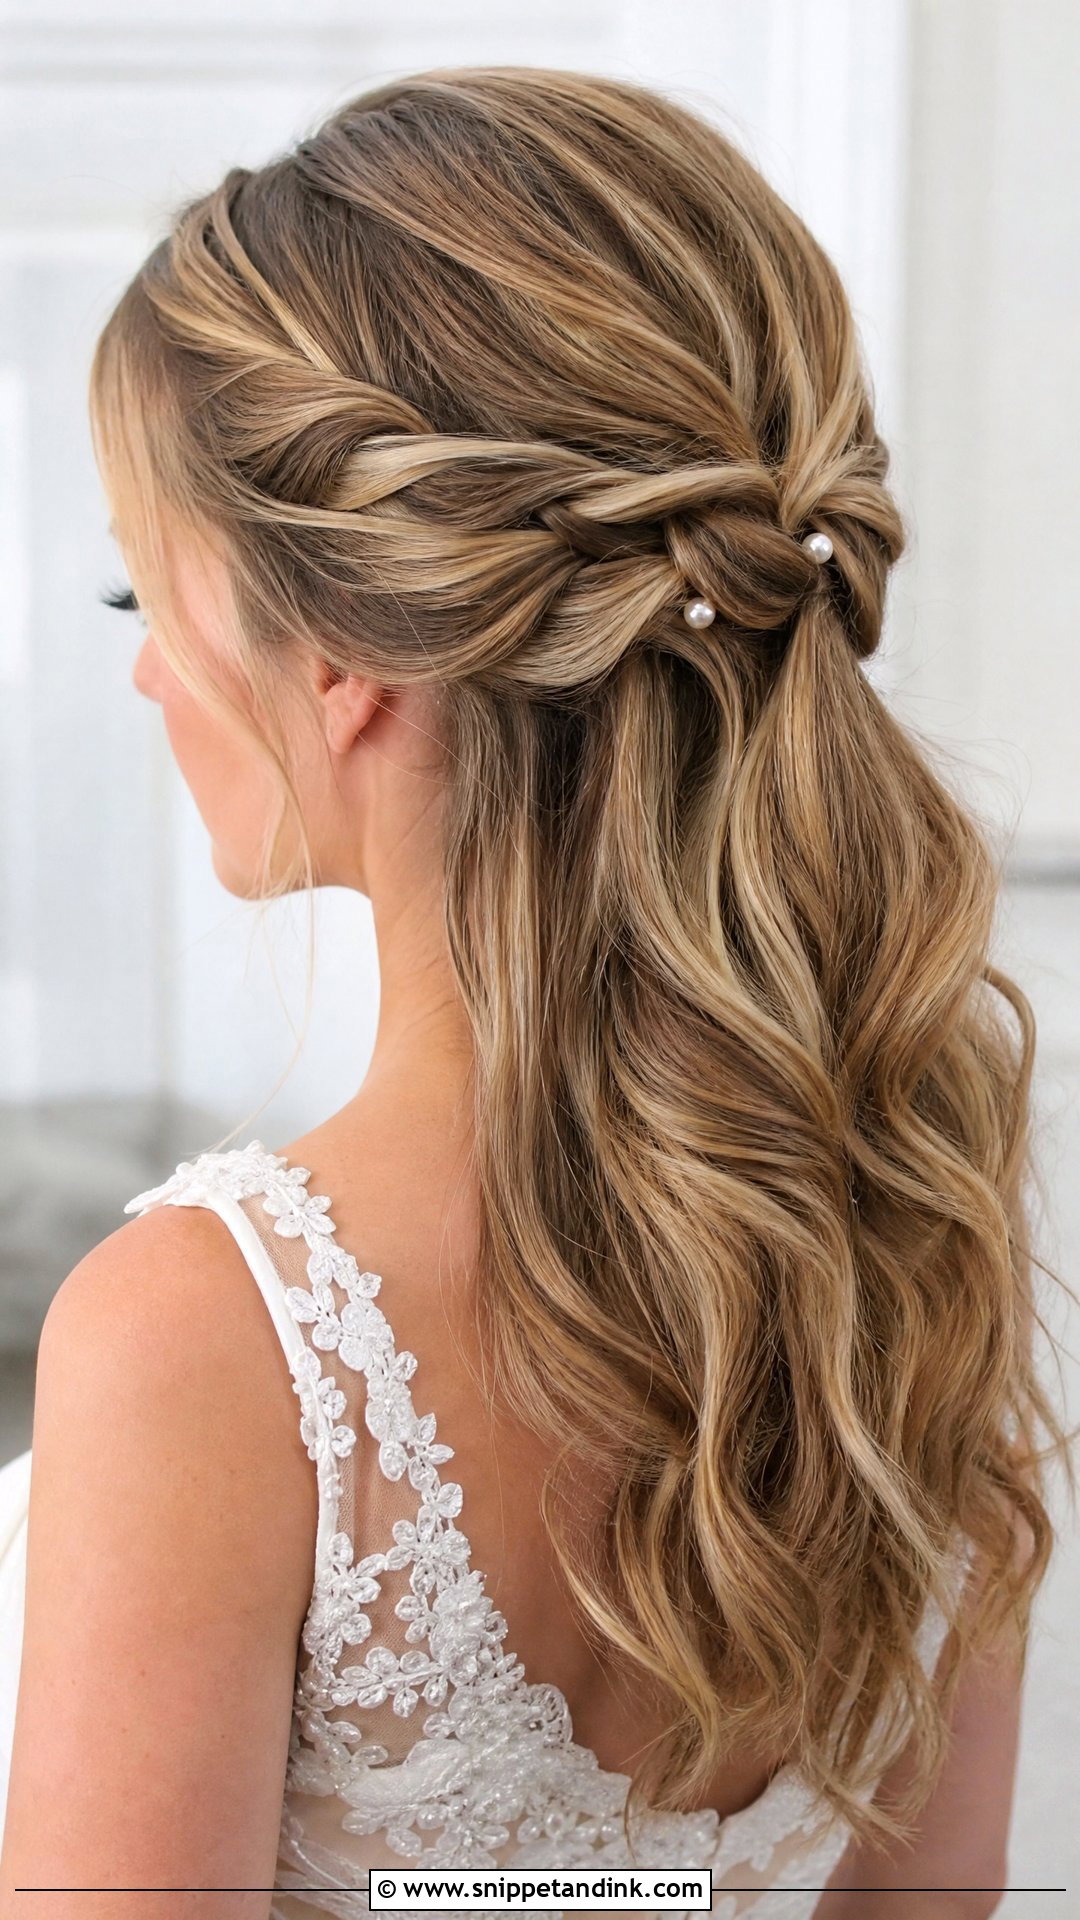
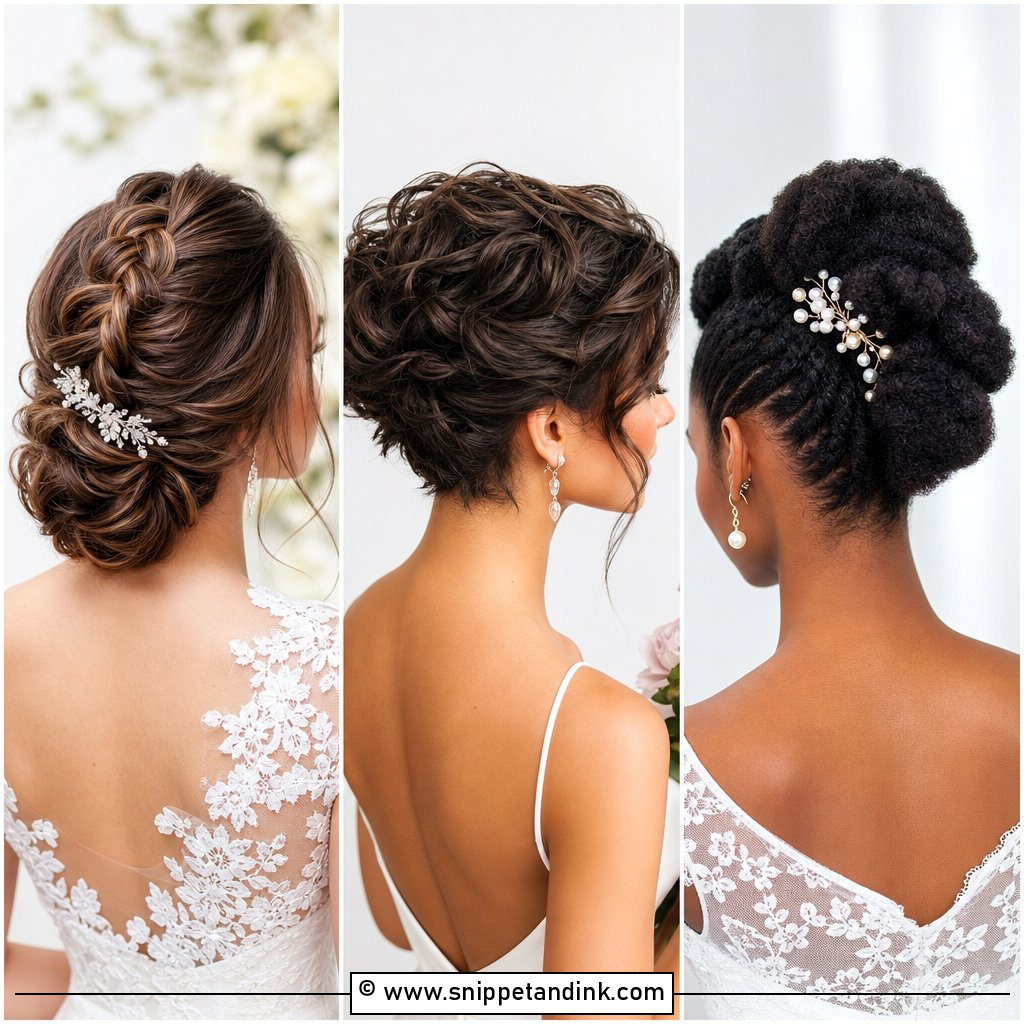
Twisted sections give texture without the time a braid takes. I take small sections from each side, twist them toward the back and pin each one with the pin sliding into the twist itself, so it’s invisible. The front pieces alone give a light touch; working twists around the crown looks more intricate. Twists hold curls or waves underneath nicely, and the ridges catch the light in close-ups. Small pearl pins along the twists add detail. Very short layers can pop out of a twist, so I’d use a bit of texture paste to keep ends tucked.
7. Pinned Back Wedding Hair With Braids
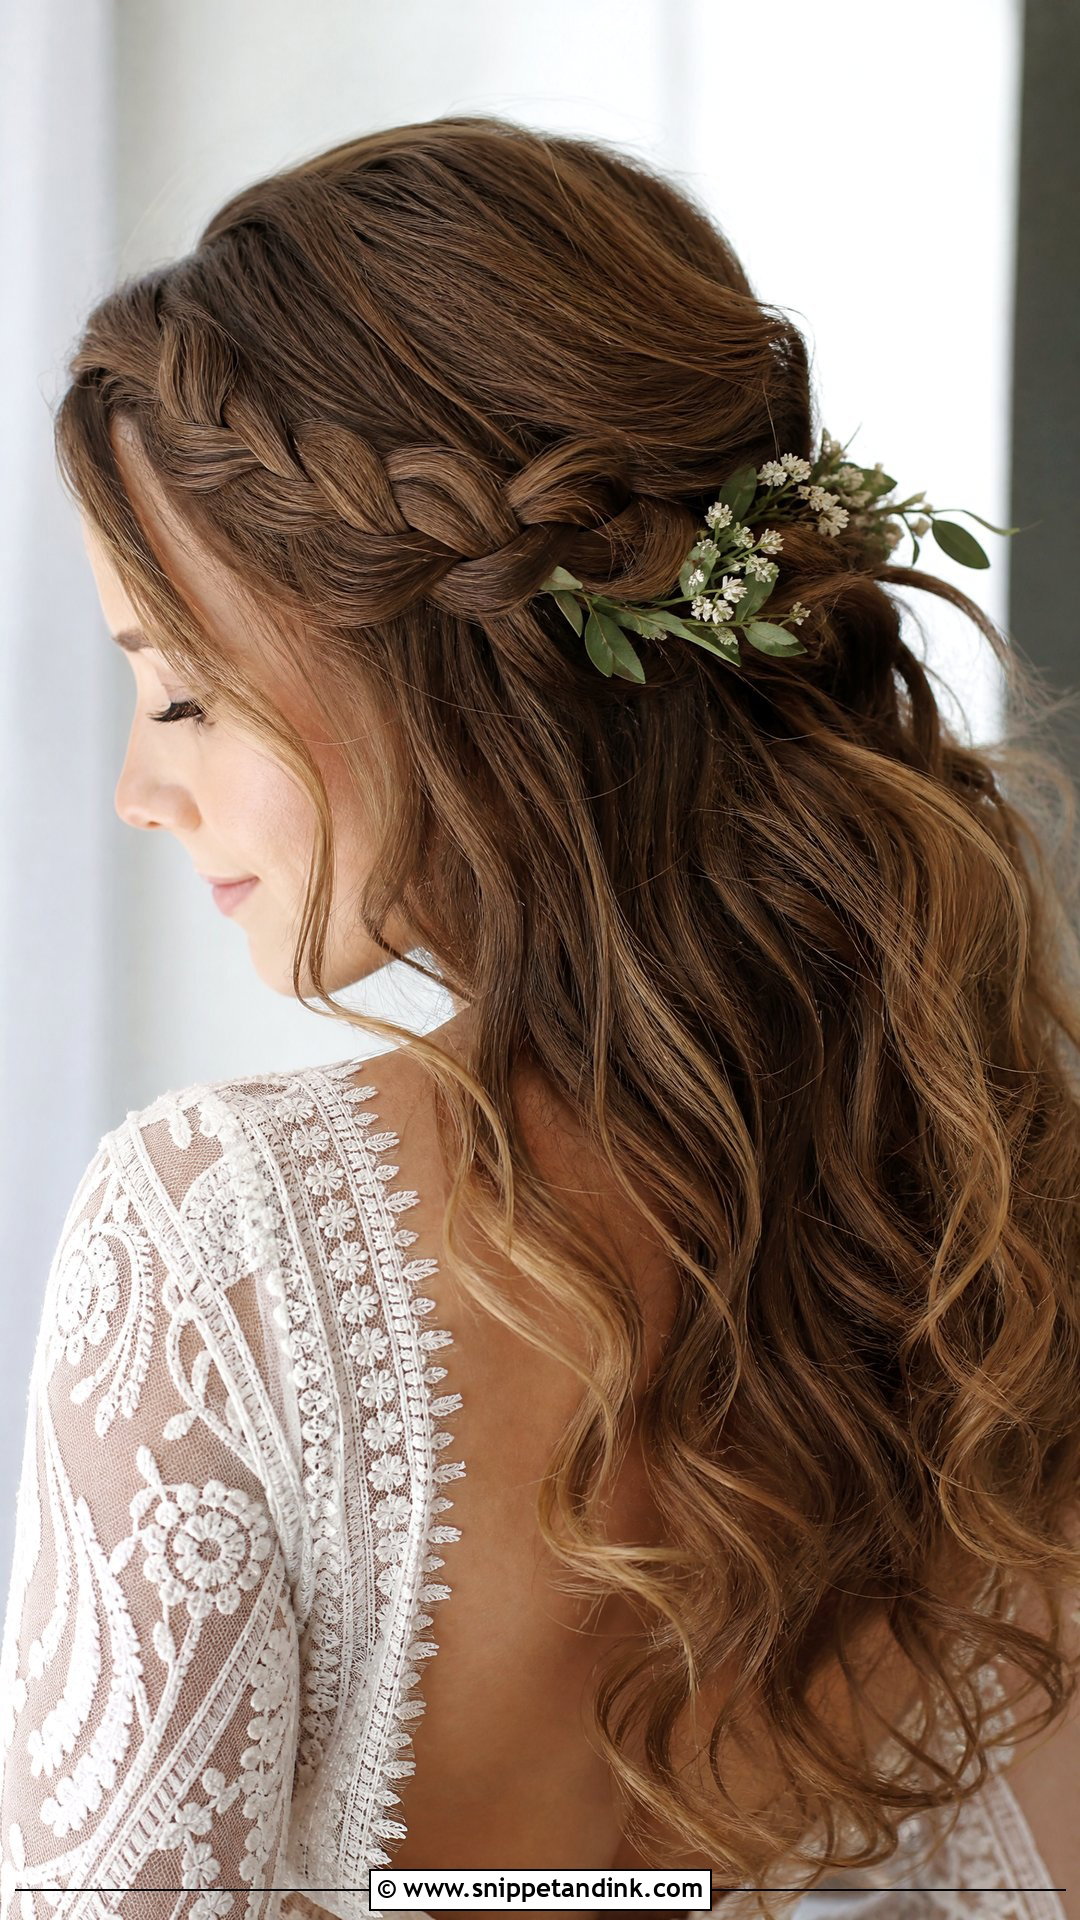
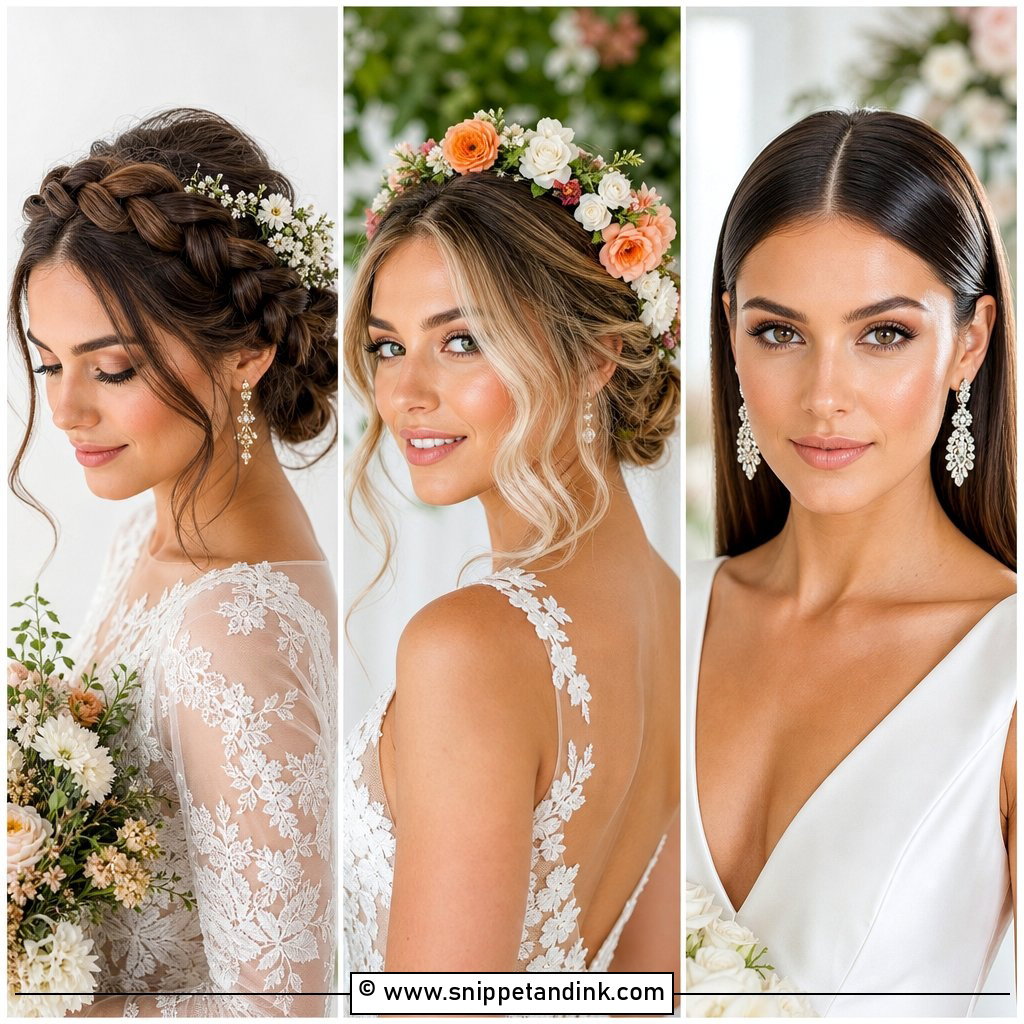
Braids add texture and a slightly bohemian softness. I braid loosely along one side or across the crown, then pancake the braid by gently pulling the edges to make it wider before pinning it back. A braid also doubles as a strong anchor point for flowers, pins or a veil, which is why I use them even when they’re hidden. Leave the rest in waves or tuck it into a low base. Garden, beach and rustic weddings suit it, with small flowers or greenery tucked in. Very short hair can usually manage a small front braid even if the full crown version isn’t possible.
8. Sleek Pinned Back Wedding Hair
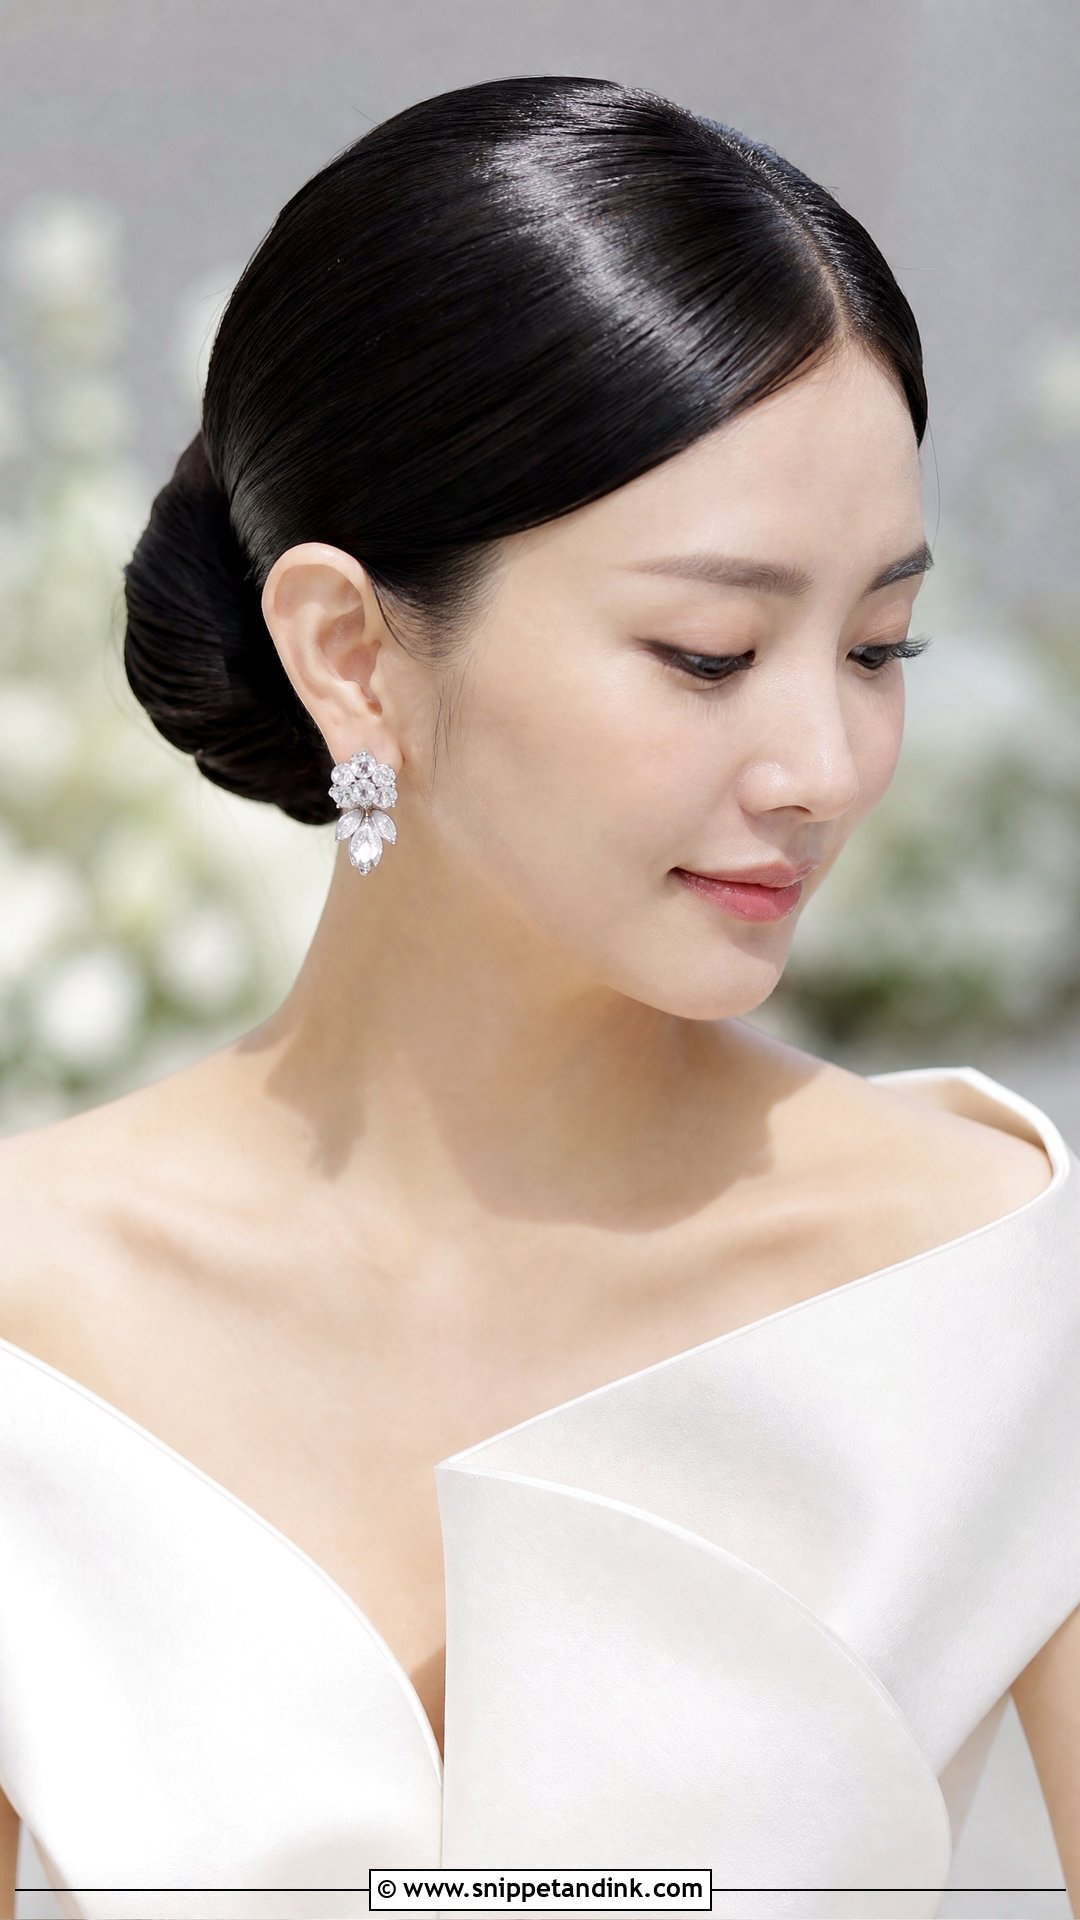
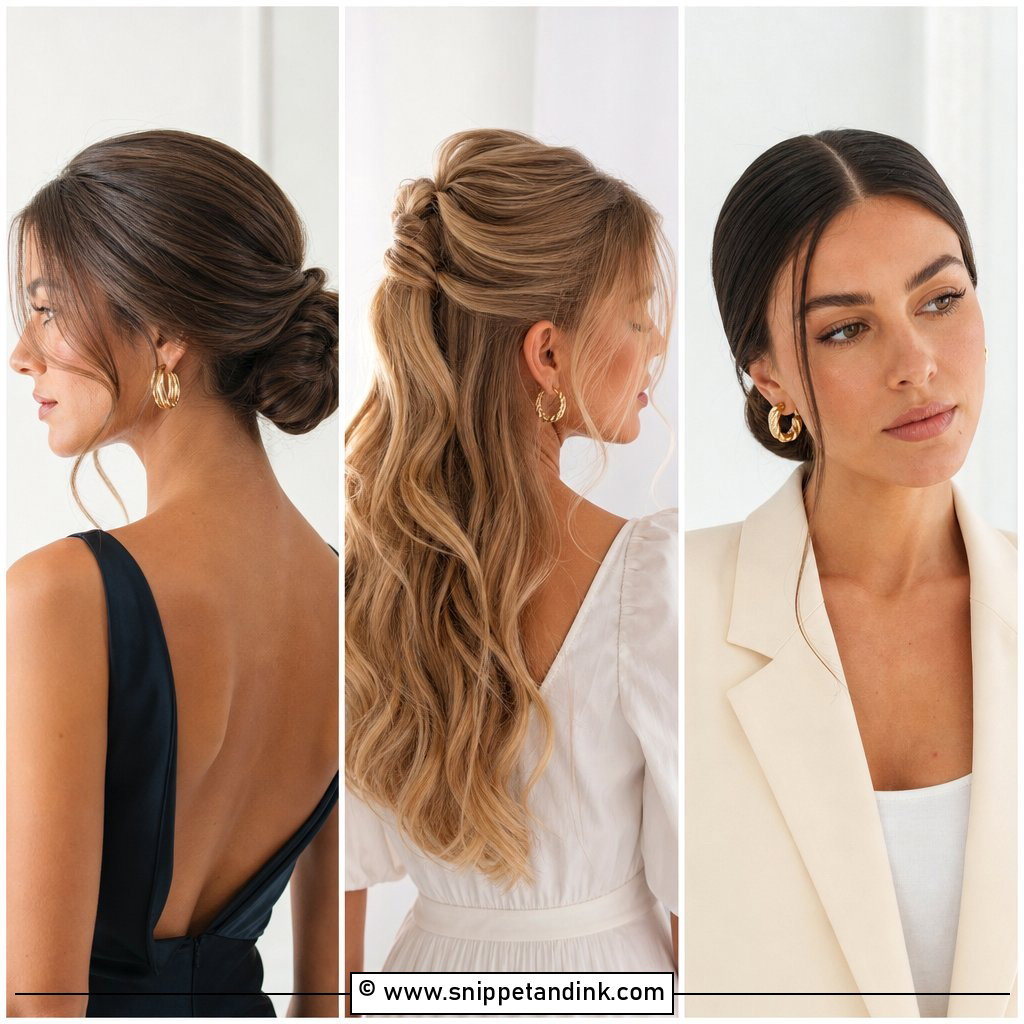
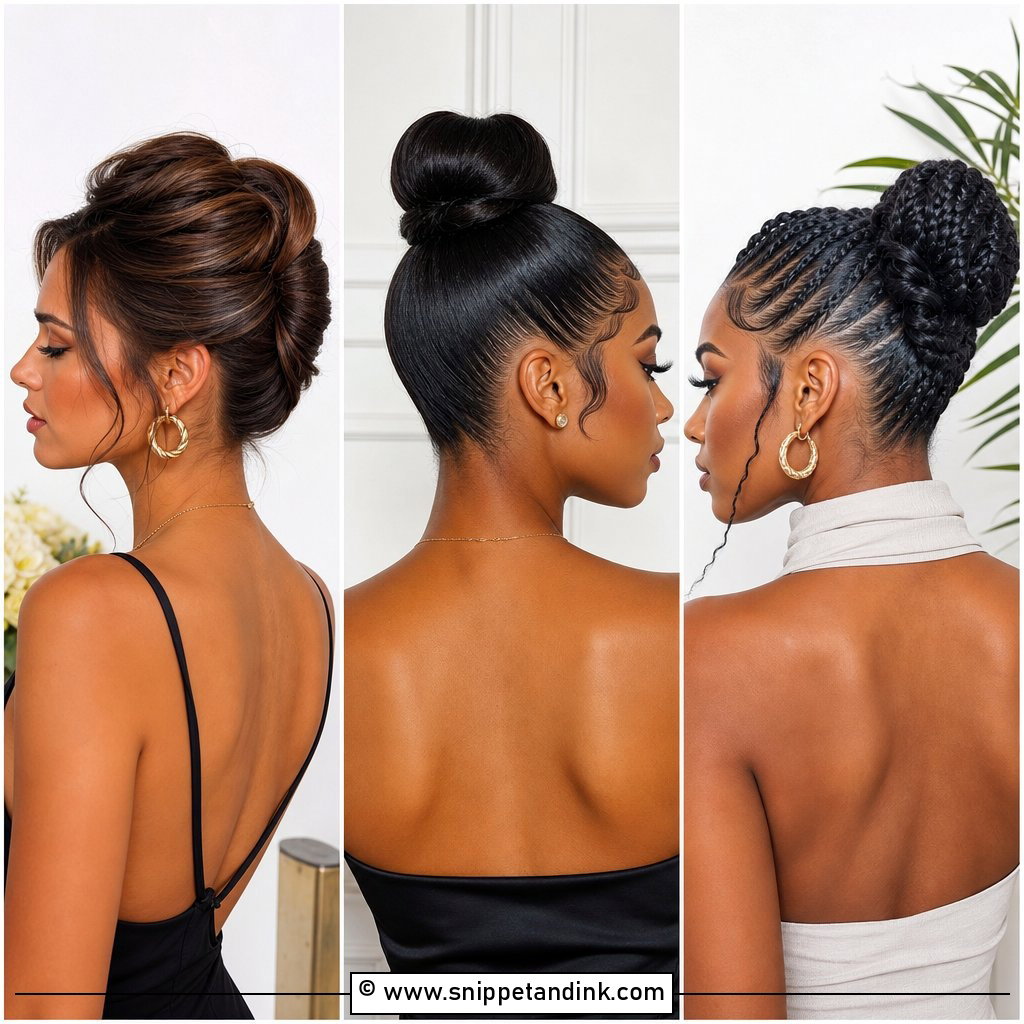
Sleek hair is the least forgiving style here, and also one of the most striking. I blow-dry the hair smooth first, then brush it flat against the head with a little shine serum and set any flyaways with a fine-tooth comb and hairspray. Every bump shows, so the parting and the pin placement have to be precise. It looks modern and editorial and puts all the attention on your face, bold earrings or a structured gown. Finish it in a low bun or a ponytail. In humid weather, frizzy or curly hair can puff by evening, so this one is best for cooler or air-conditioned venues.
9. Pinned Back Wedding Hair For Short Hair
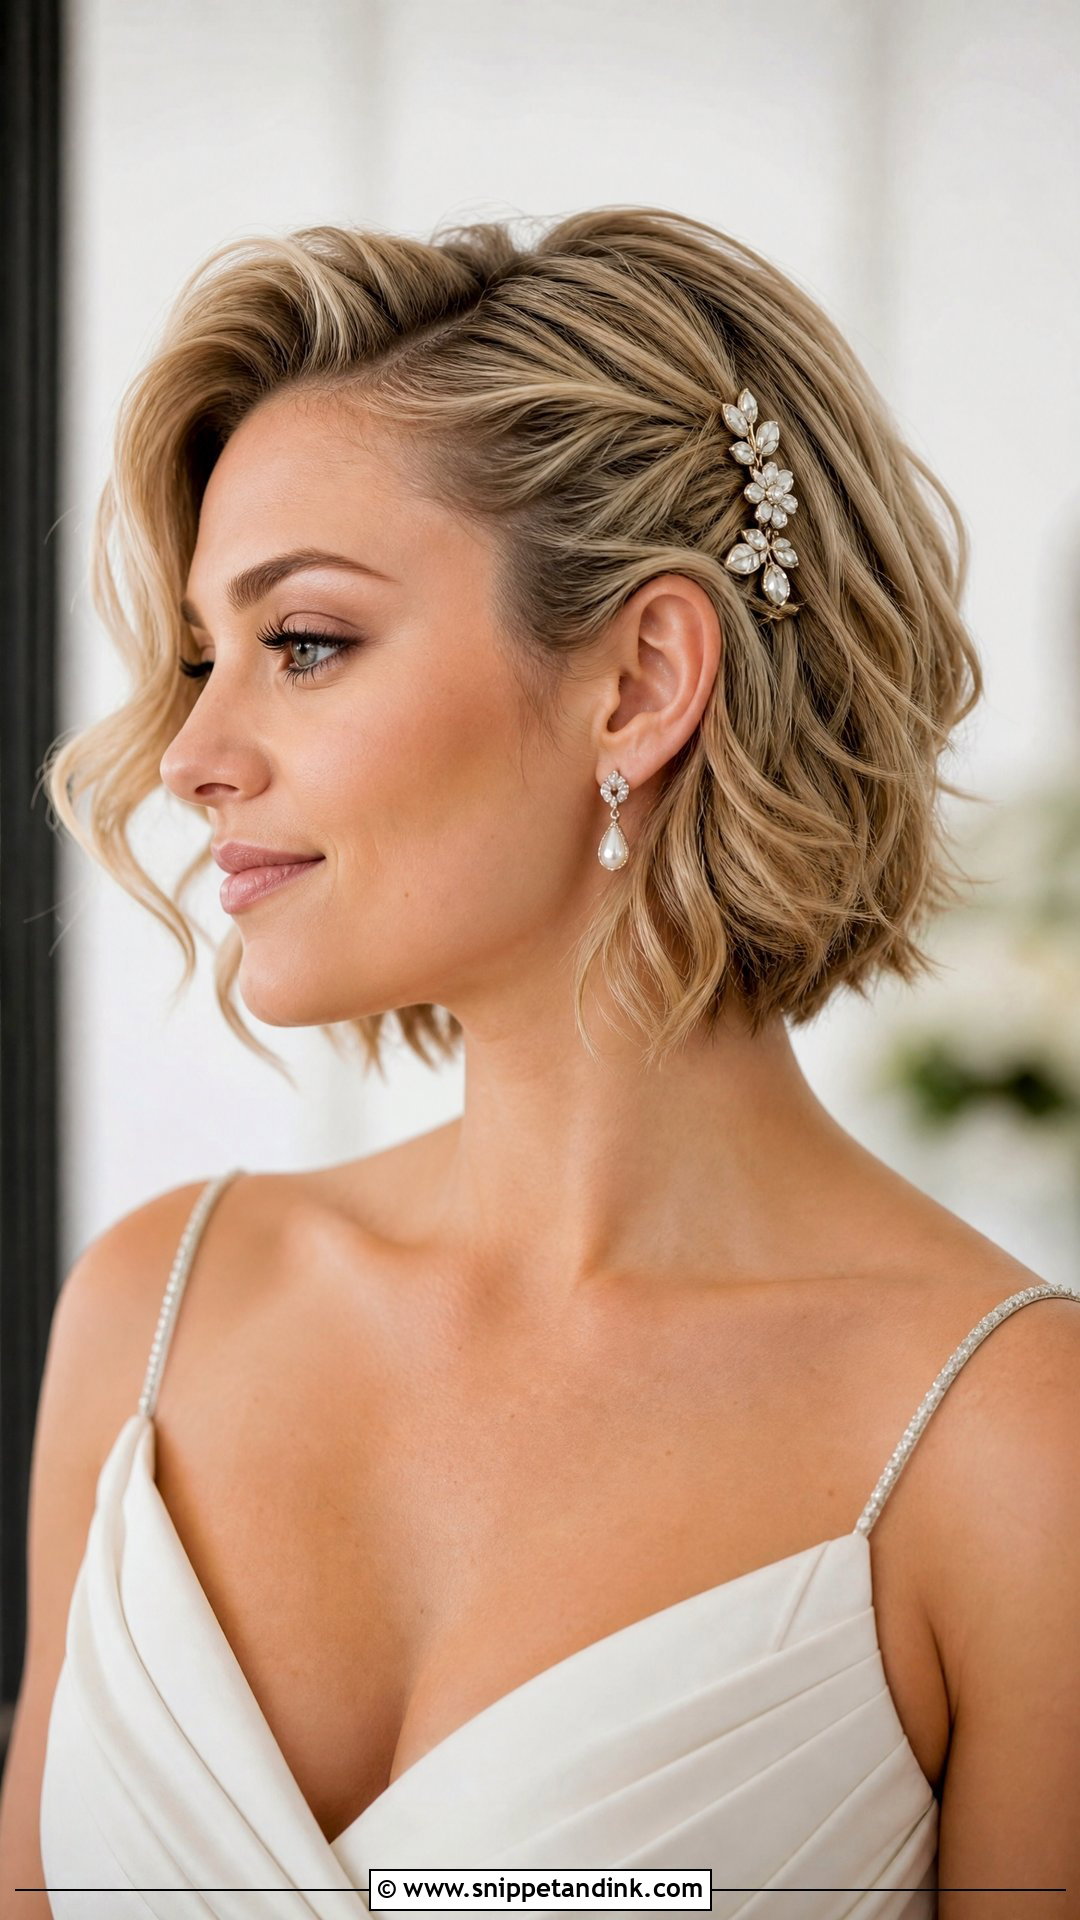
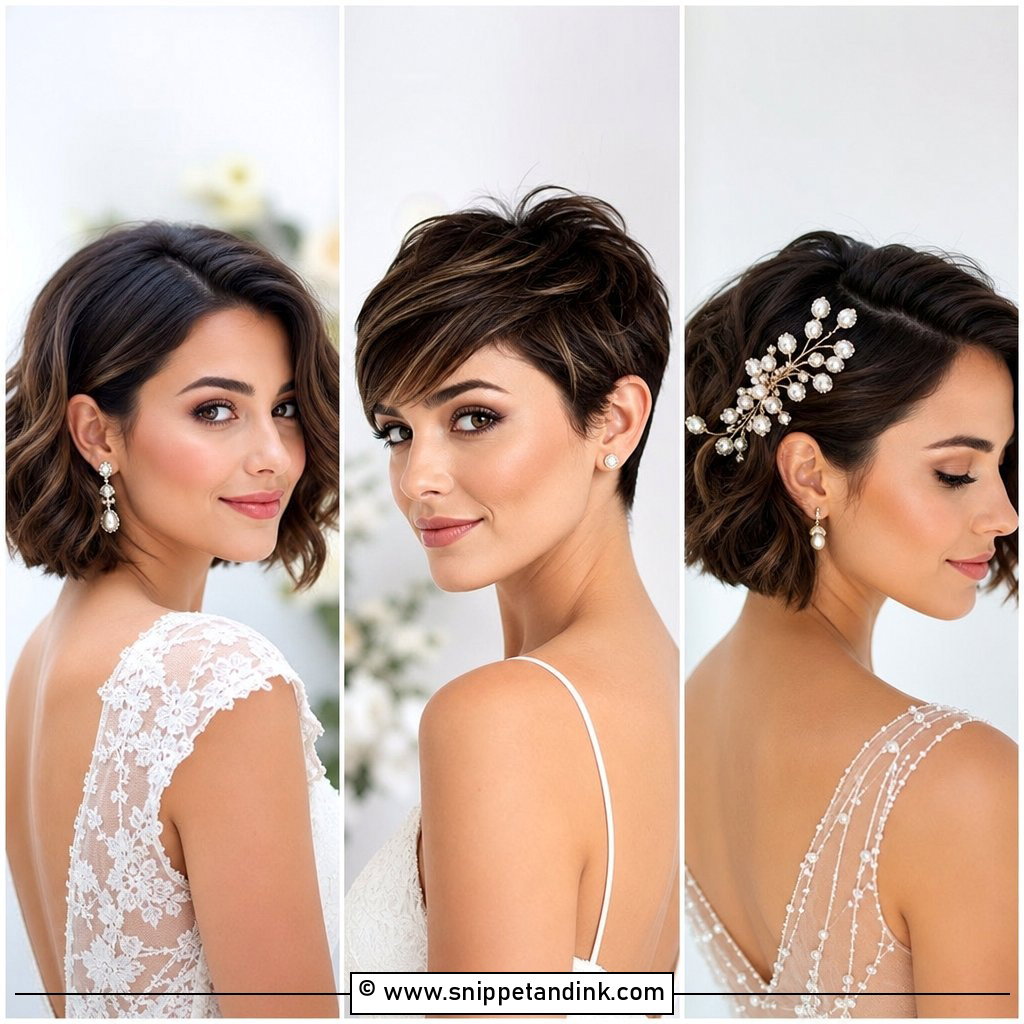
Short hair can look every bit as bridal pinned back. I texture it first with a small curling iron or flat iron waves, which gives the pins something to grip; very blunt, silky short hair will push pins straight out. Then a decorative clip goes right above one ear, sweeping that side back. It opens the face and shows off your accessories. Bobs, lobs and pixie-length cuts all work with decorative pins, small combs or floral clips. A light texture spray holds the shape through the evening.
10. Low Bun Wedding Hair
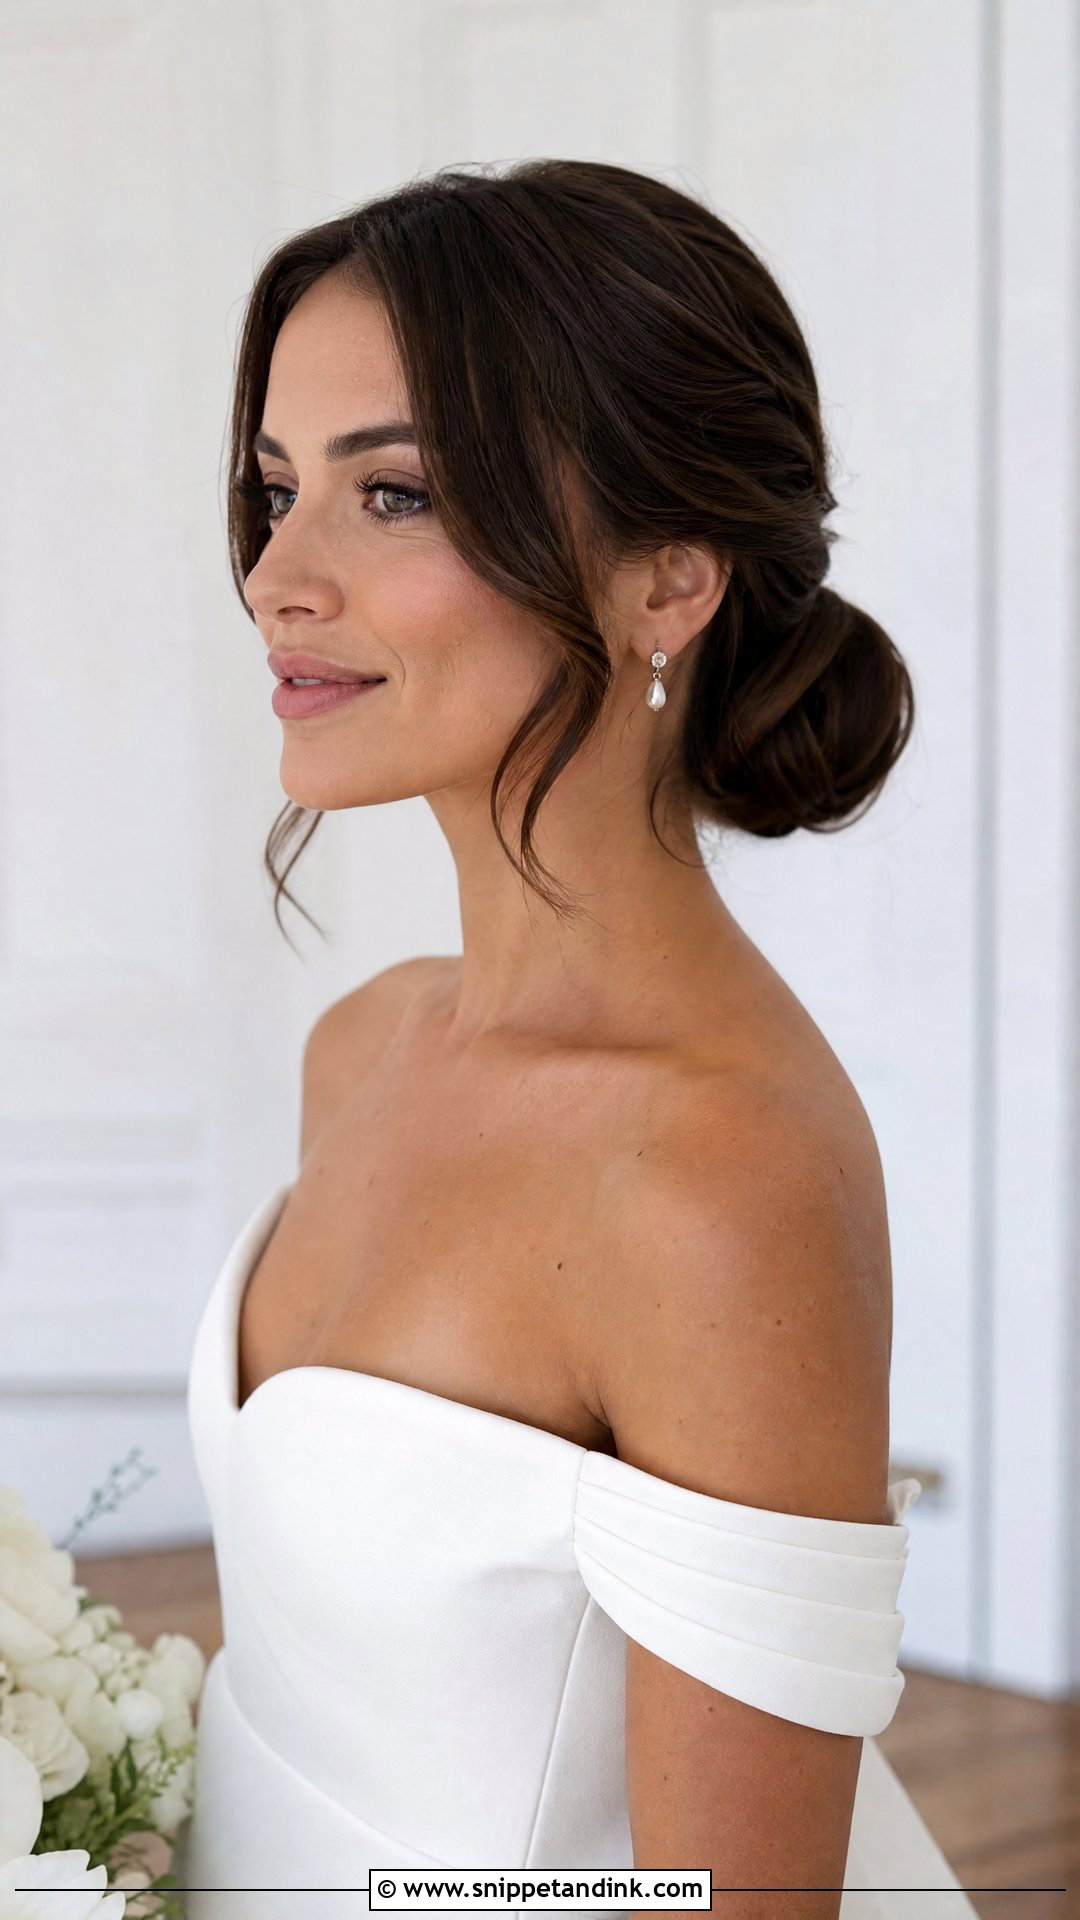
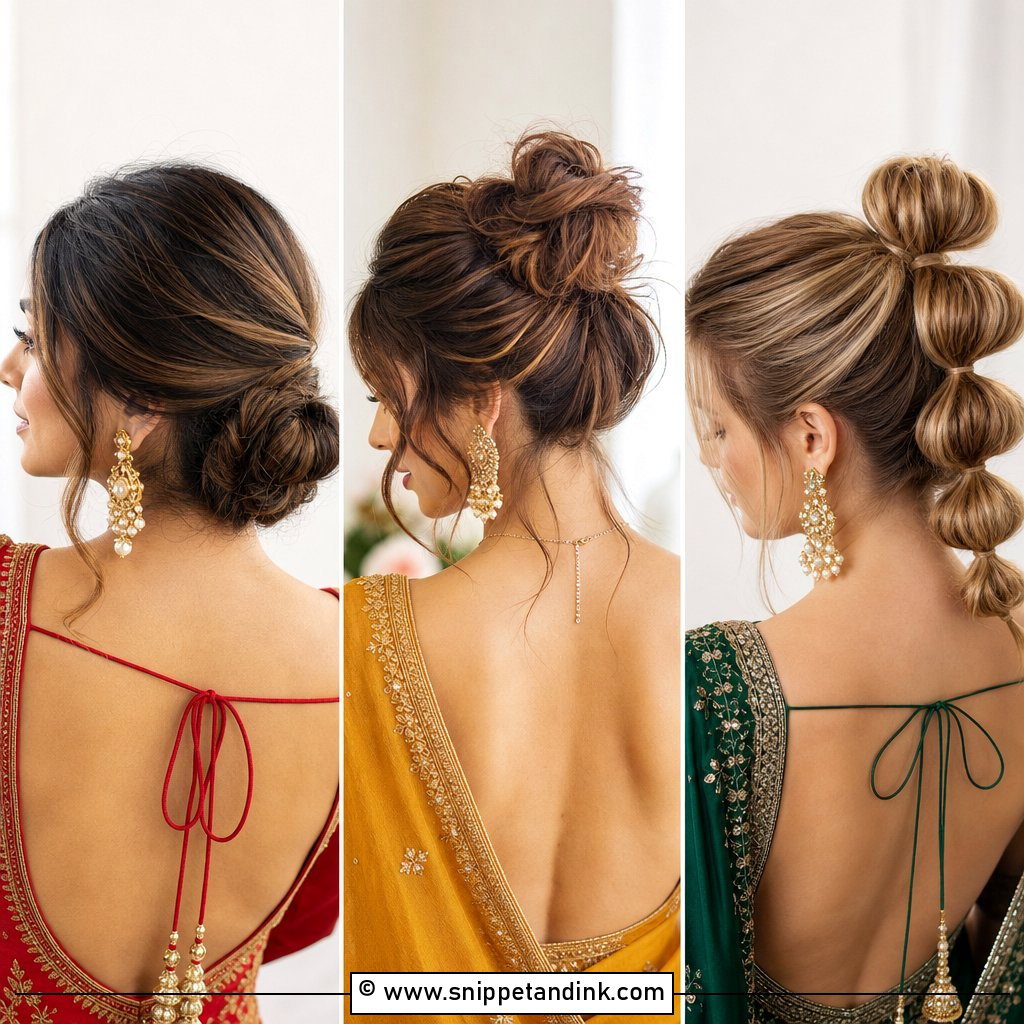
A low bun is the quieter cousin of the chignon: gathered at the nape, twisted into a smooth rounded shape and held with pins and a touch of hairspray. I secure the base with an elastic first, then pin the bun around it, which gives it a much firmer hold. It shows off the neckline and earrings and suits any theme. Keep it sleek or pull out a few soft pieces. Veils and headpieces sit easily above it. Medium to long hair works best; on fine hair I build the bun around a small padding piece to give it size.
11. Pinned Back Wedding Hair With Flowers
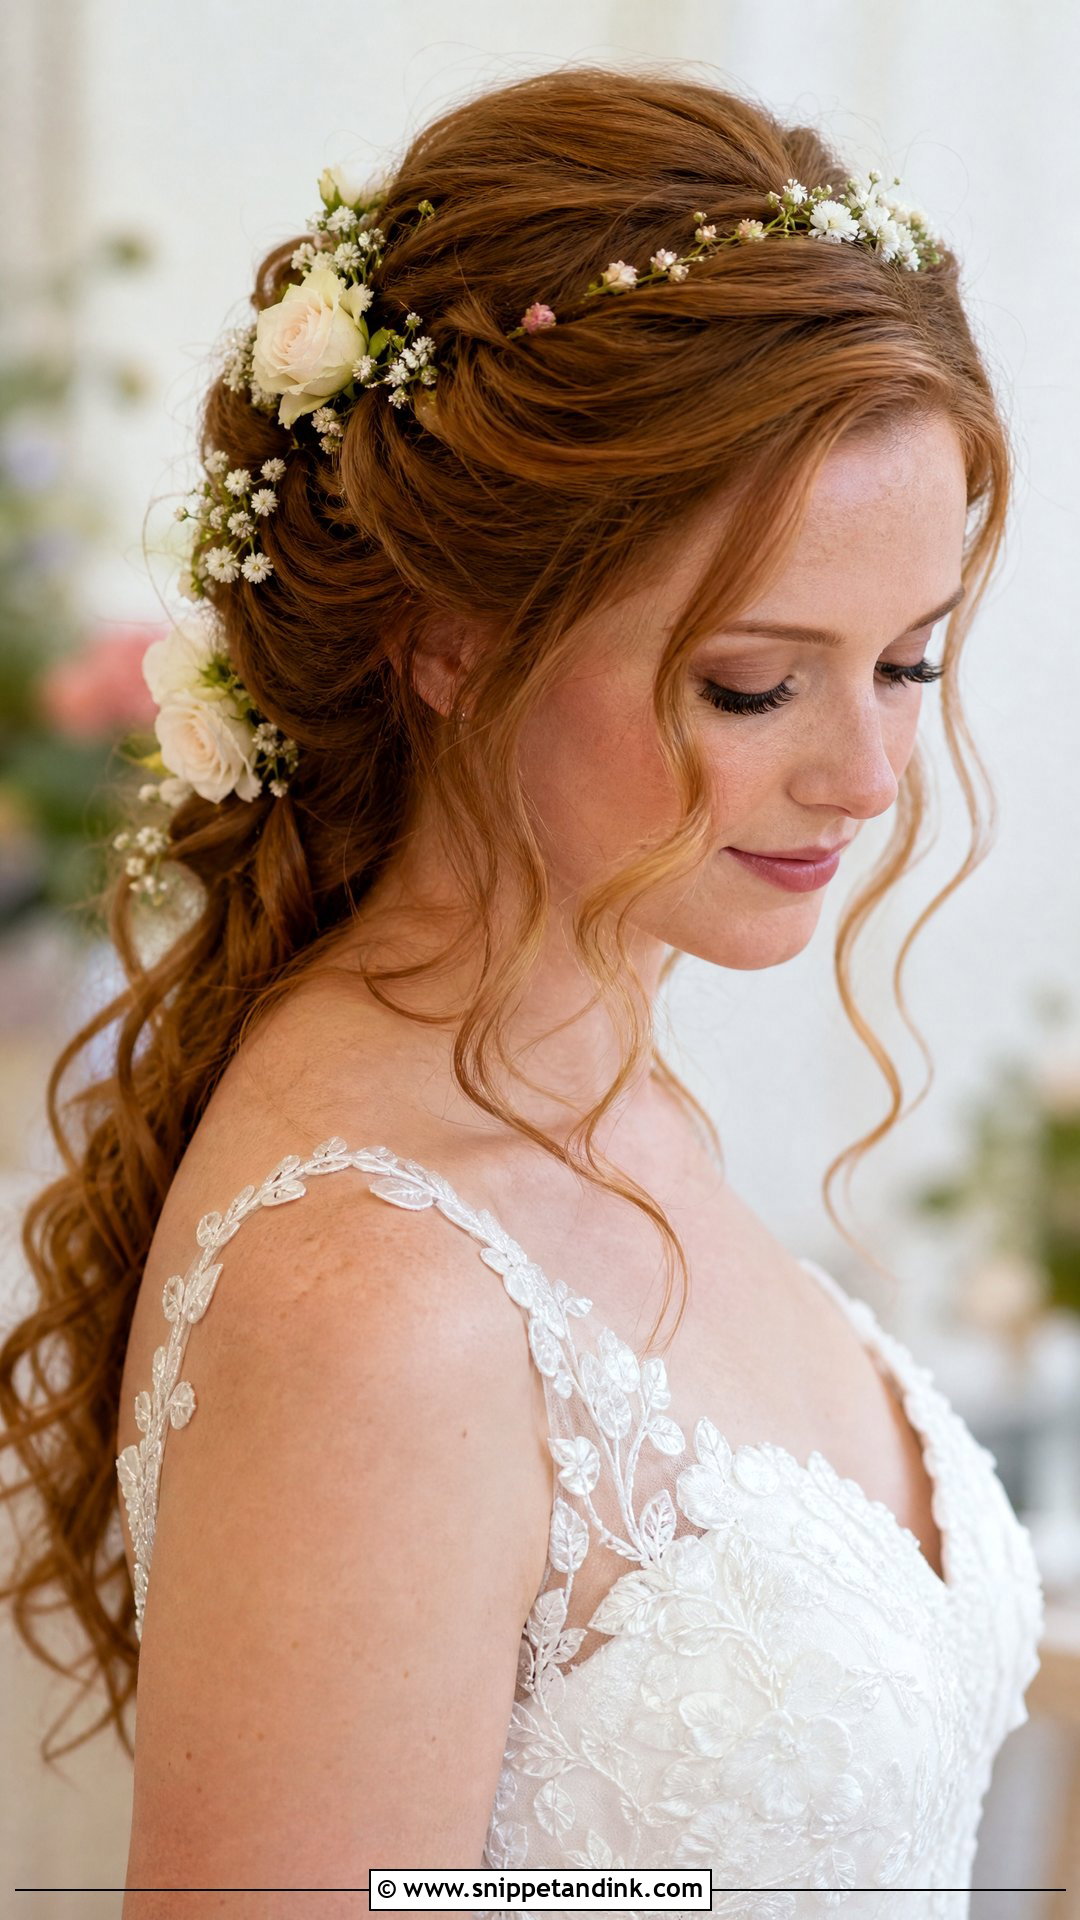
Flowers bring color and softness to pinned hair, but fresh ones wilt quickly without water. I choose hardy blooms like spray roses, baby’s breath or sturdy greenery, wire them in small clusters and pin them along the gathered section near the end of the styling. Matching them to your bouquet ties things together. Delicate petals like gardenias brown fast from handling, so I’d either skip them or use silk versions. Spring and summer outdoor weddings are where this looks most natural. Flowers can be scattered or clustered on one side, over curls, waves or a smooth base.
12. Pinned Back Wedding Hair With Tiara
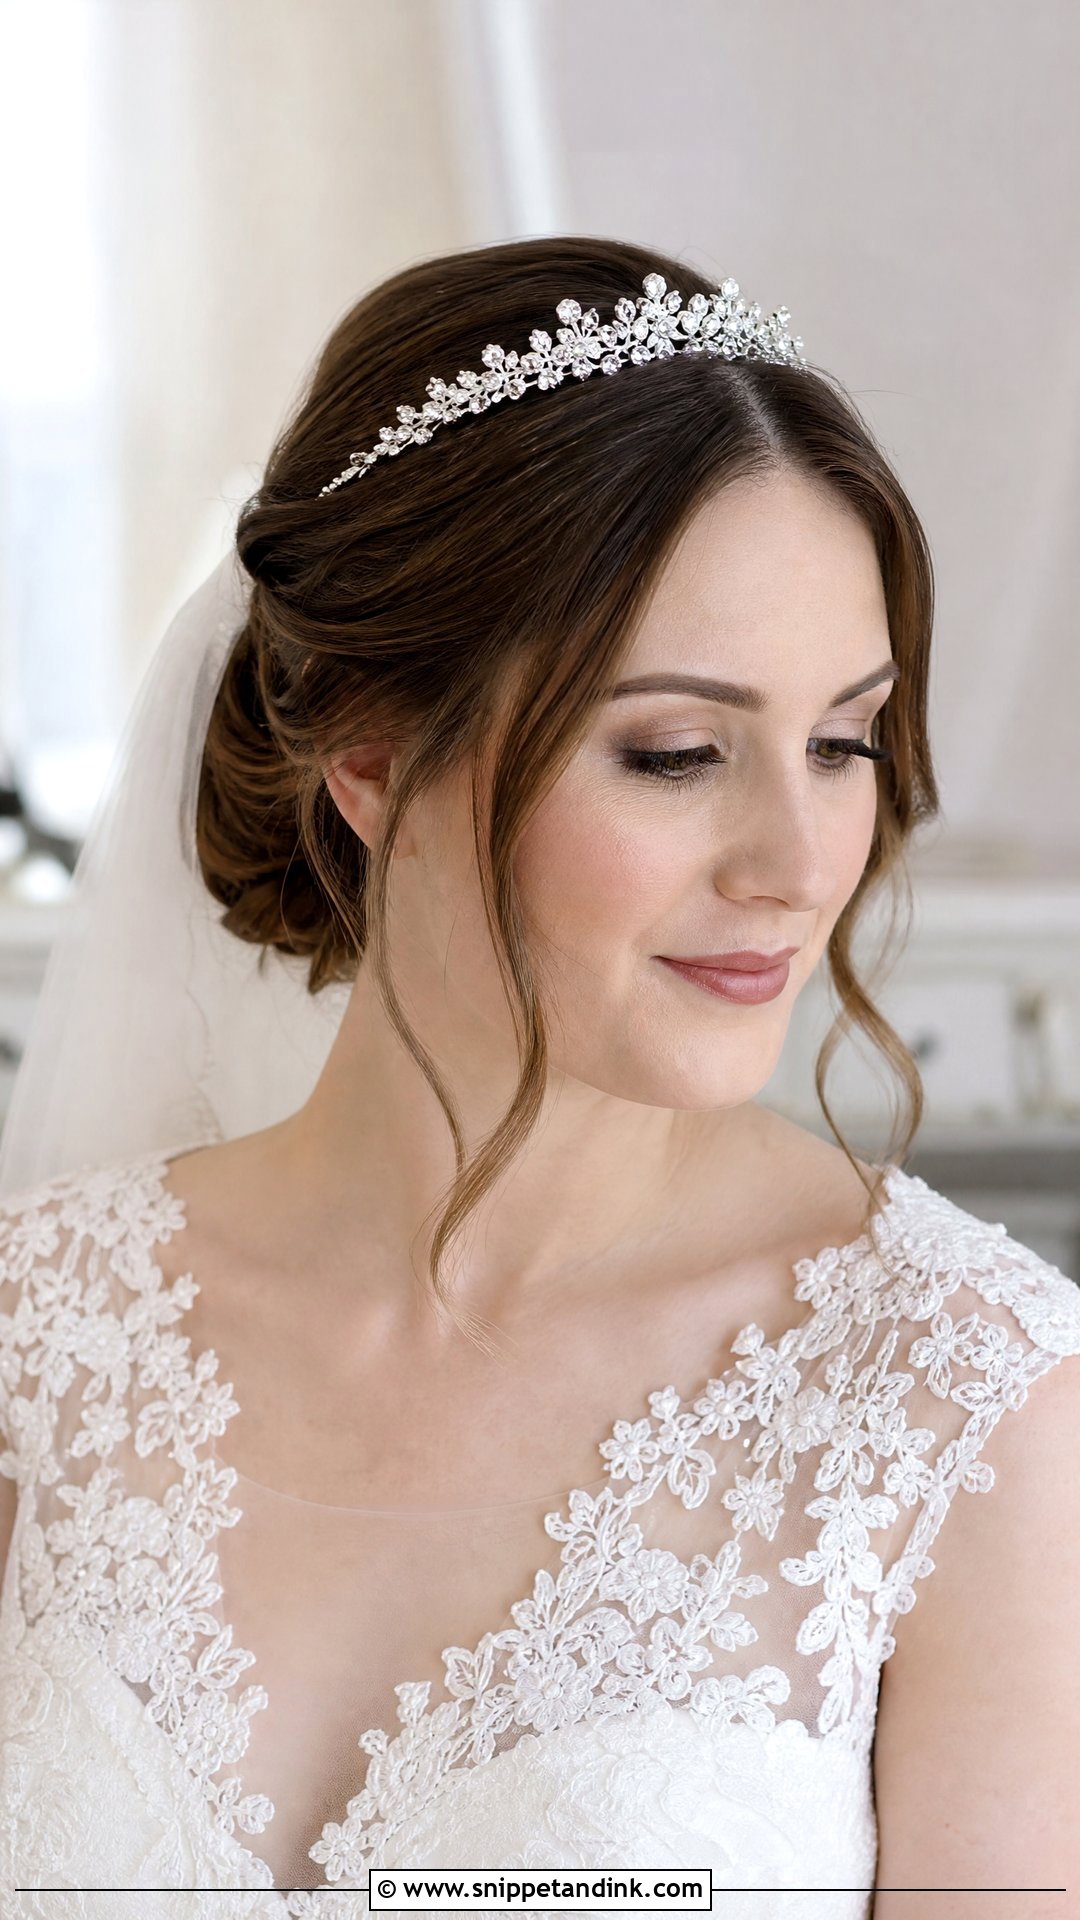
Tiaras slip when there’s nothing underneath to hold them. I tease a small cushion at the crown, pin the hair back over it, then nestle the tiara into the crown and secure each end with bobby pins crossed through the side loops. A low updo or soft waves left down both work beneath it, and a veil can be layered just behind. A delicate band gives a hint of sparkle; a bigger piece suits a formal ballroom. Hold your tiara at the trial so we can test it with your parting.
13. Messy Pinned Back Wedding Hair
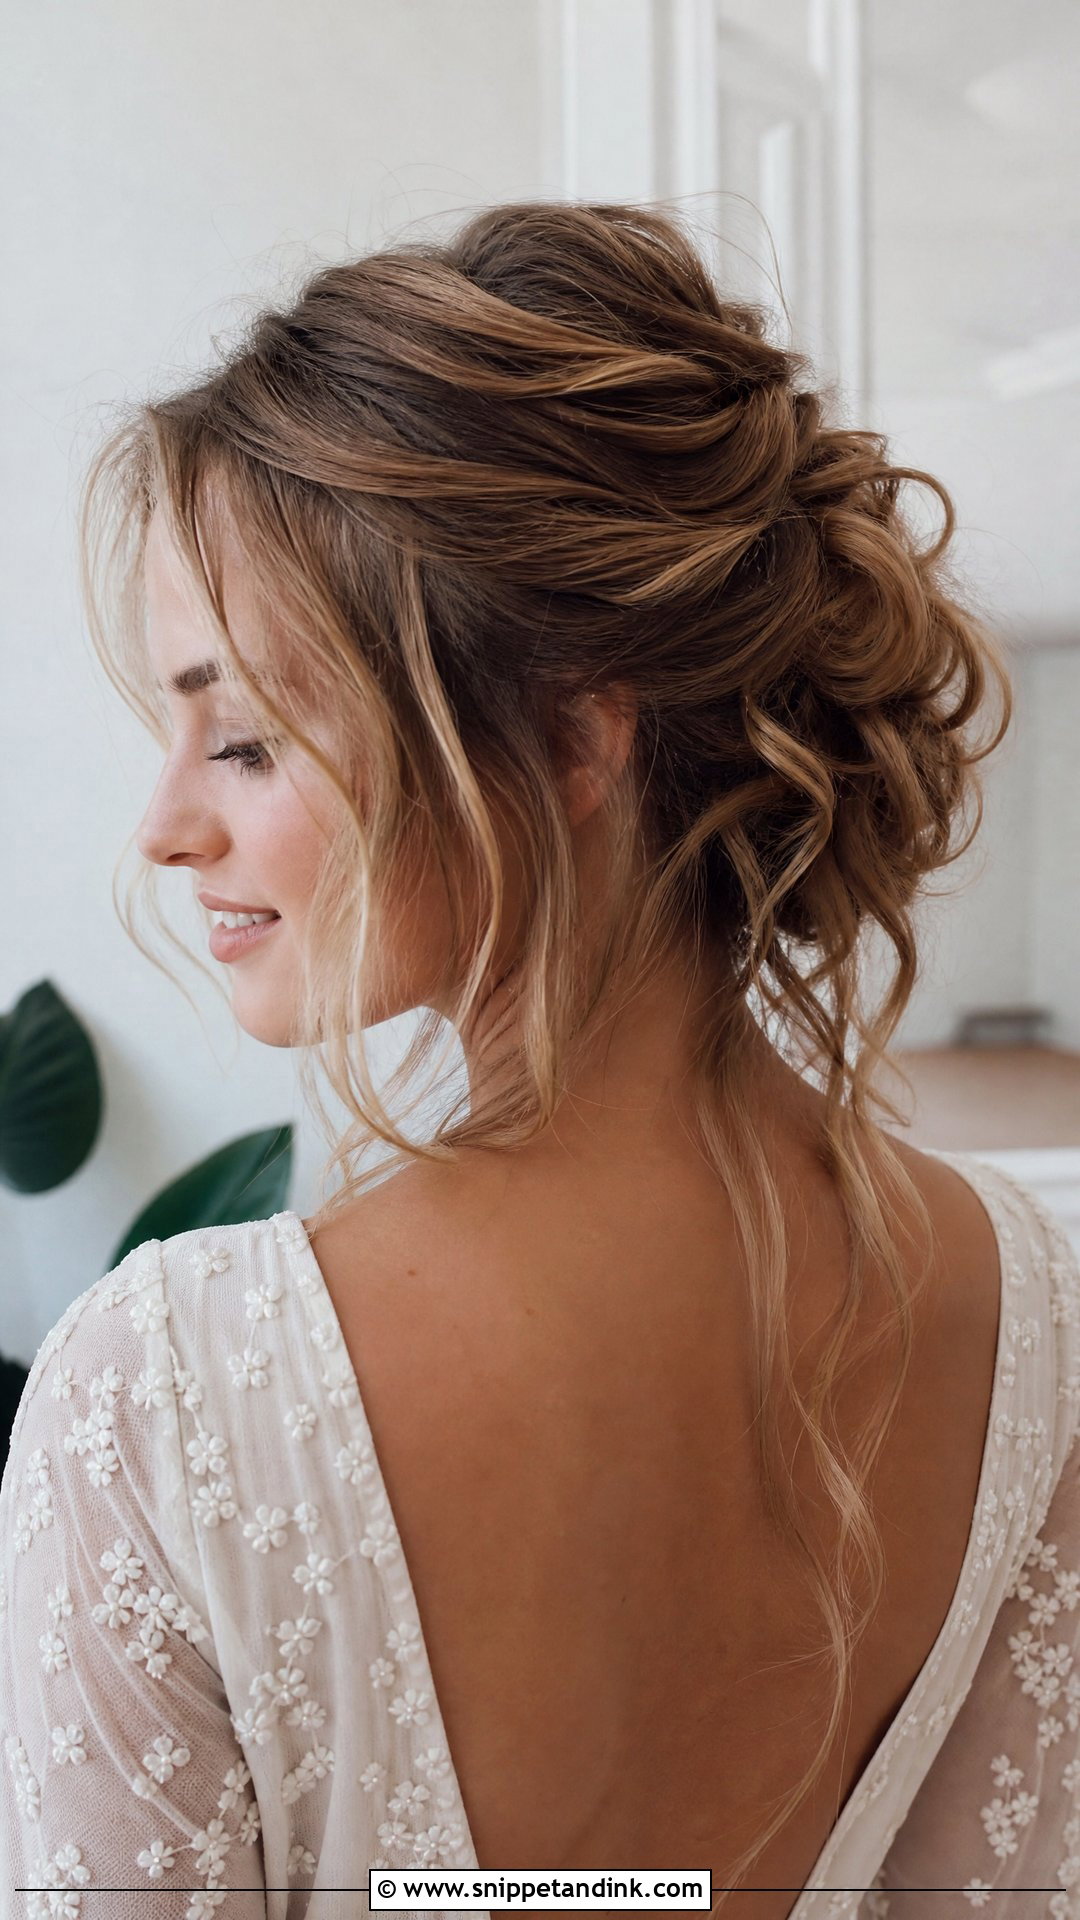
Undone hair still needs structure, or it just looks unfinished by evening. I tease the crown gently for volume, pin the sides back loosely with pins hidden underneath, then pull out pieces around the face on purpose rather than leaving them to fall. That way the messiness is controlled. Boho and outdoor weddings suit it, alongside loose waves and natural makeup. A few delicate pins or tiny flowers make it look intentional. Very straight, silky hair needs texture spray to stay in this shape.
14. Pinned Back Wedding Hair With Curtain Bangs
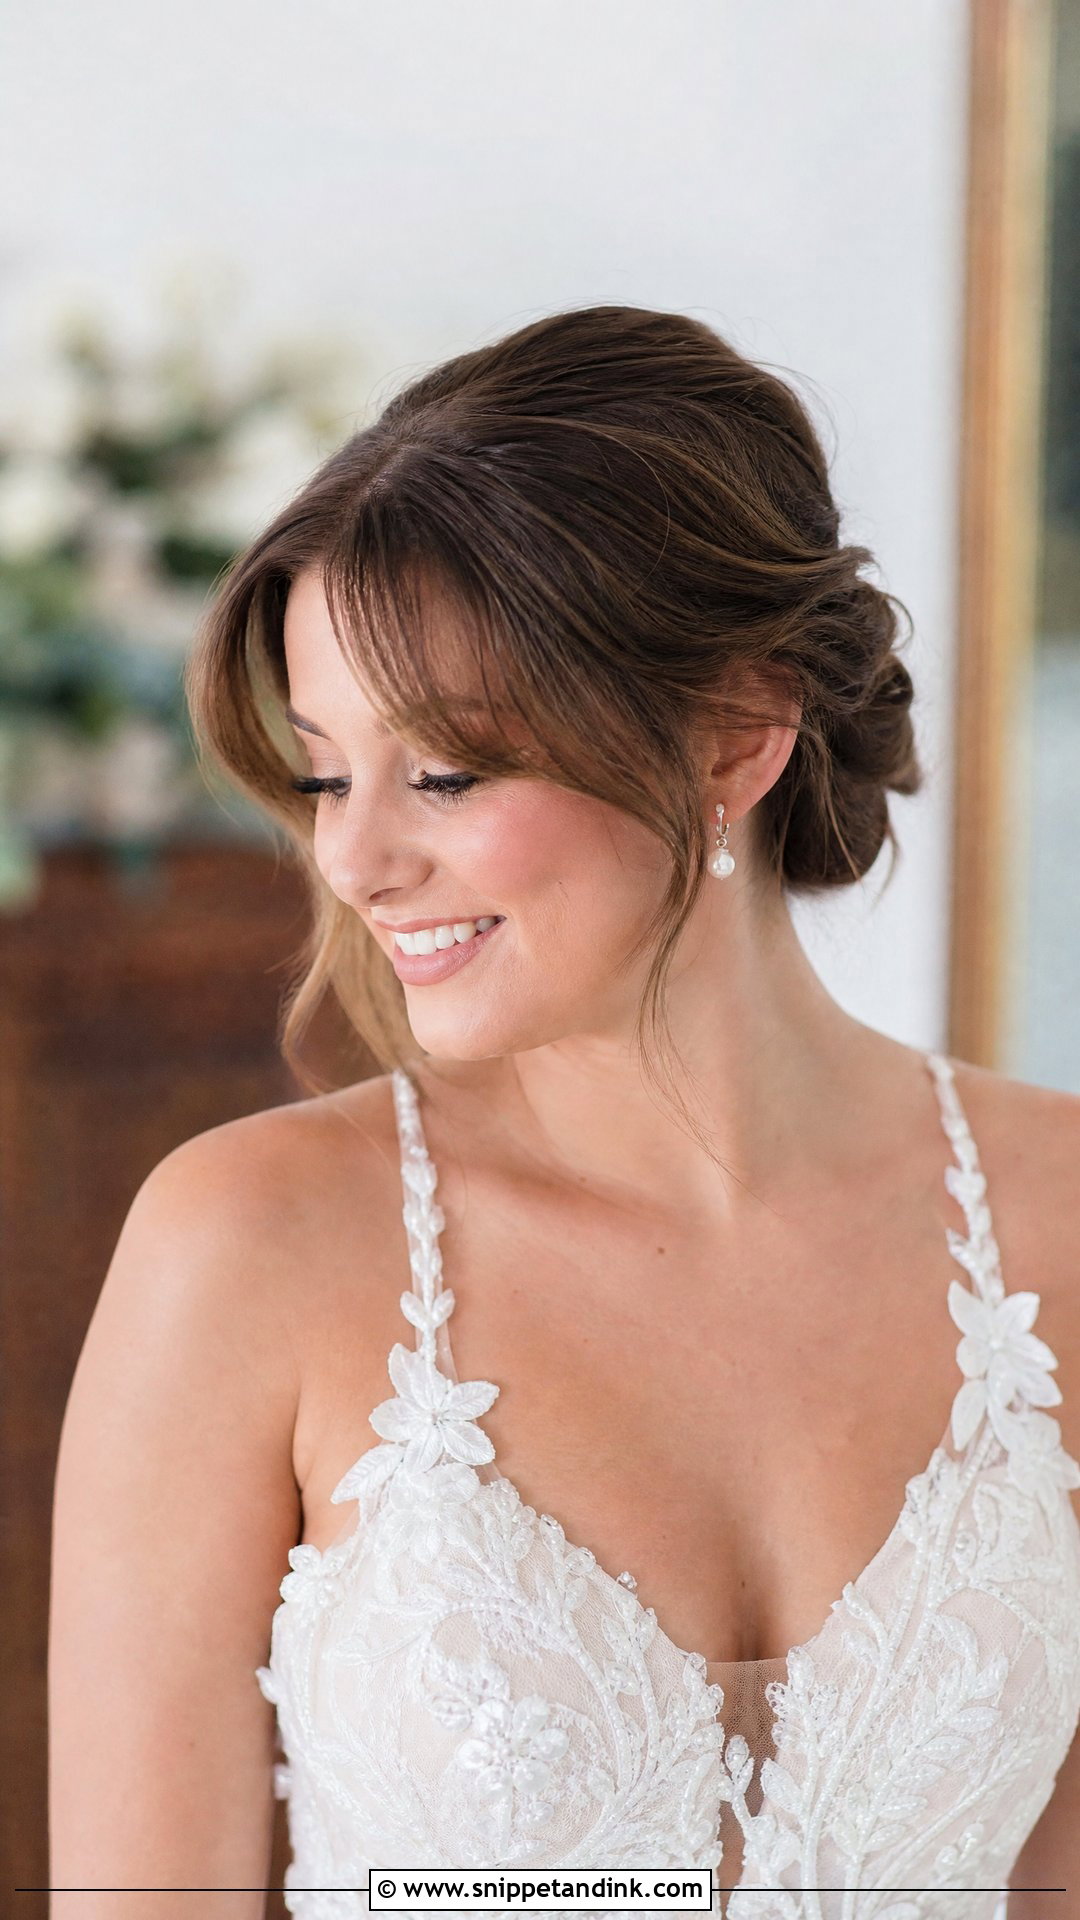
Curtain bangs frame the face while everything else stays pinned back. I curl the bangs away from the face with a round brush or a large barrel, then sweep the back and sides behind them into loose waves or a low bun. This suits brides who already wear curtain bangs every day. If you’re thinking of cutting them for the wedding, do it at least a few weeks ahead, so they’ve settled and you know how they fall. Fresh bangs can sit too short and awkward for a week or two.
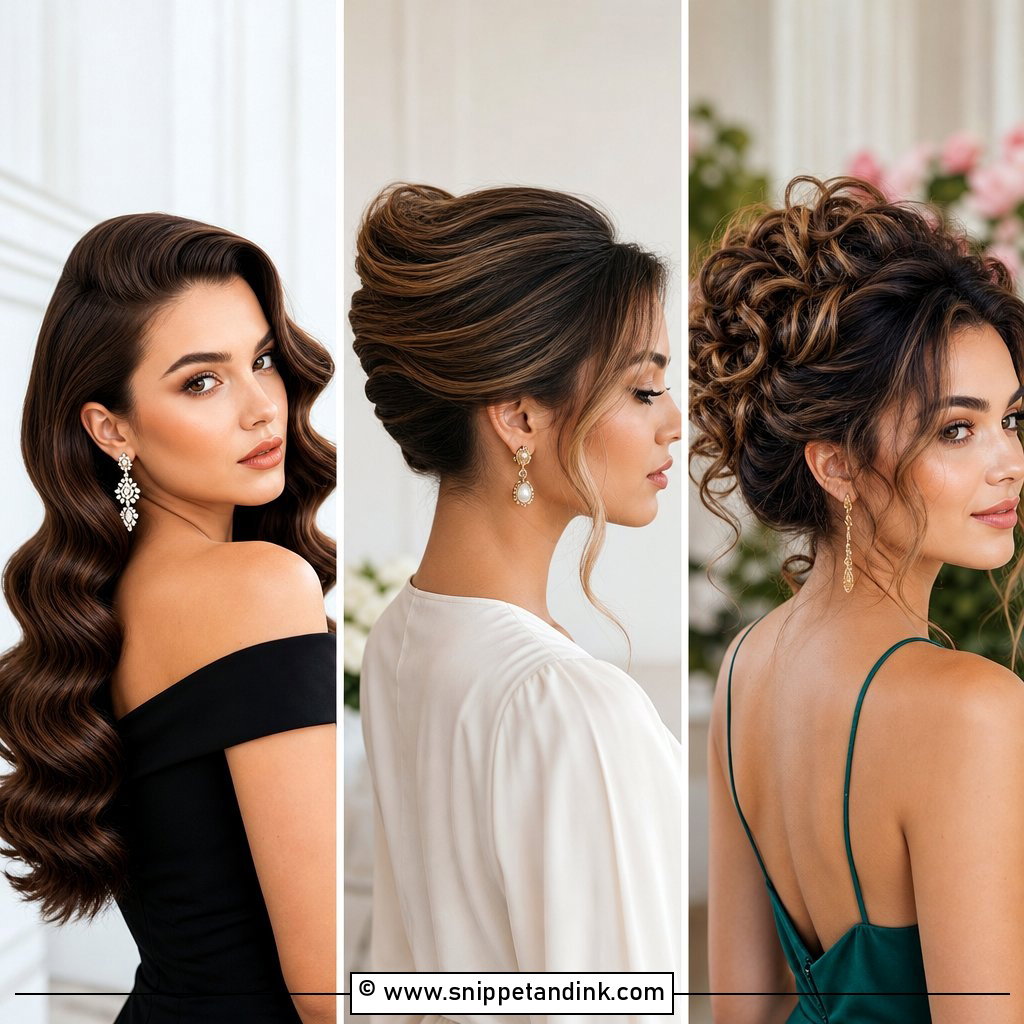
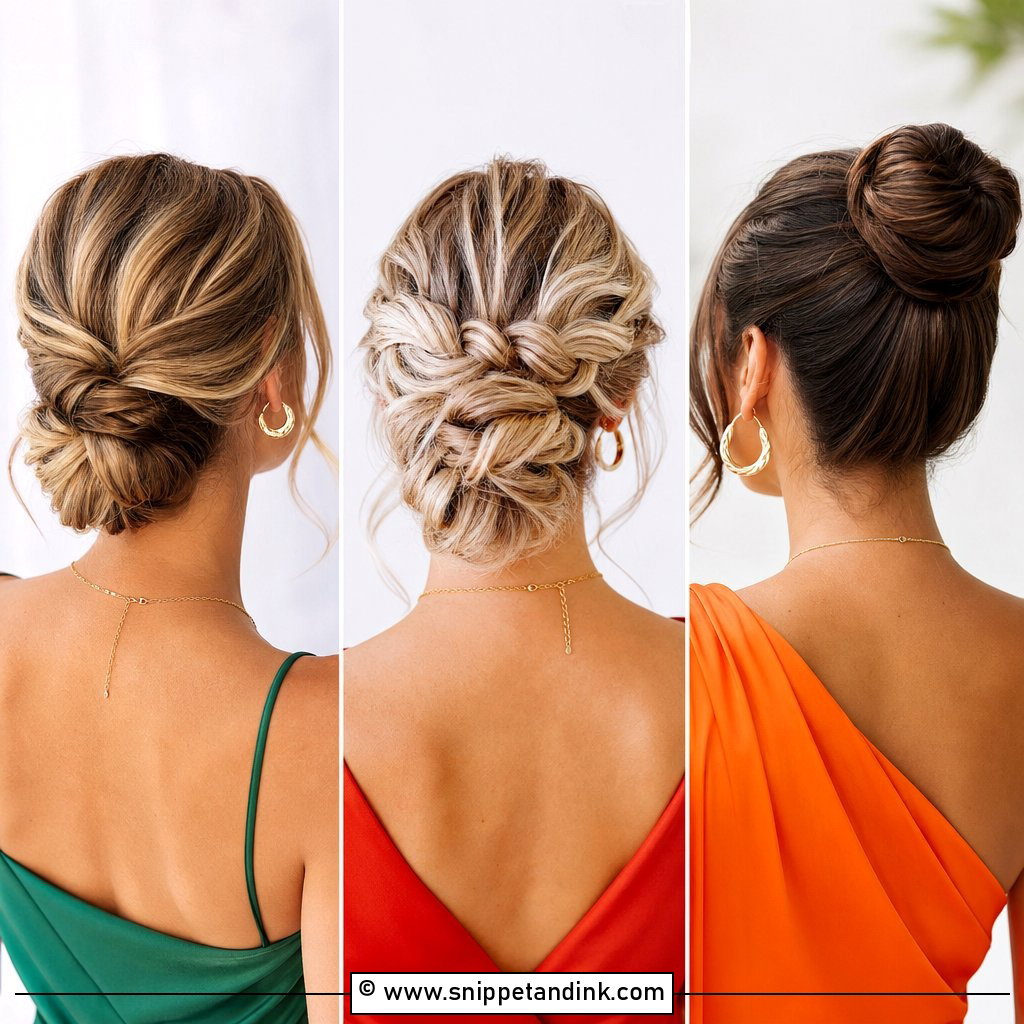
15. Pinned Back Wedding Hair For Long Hair
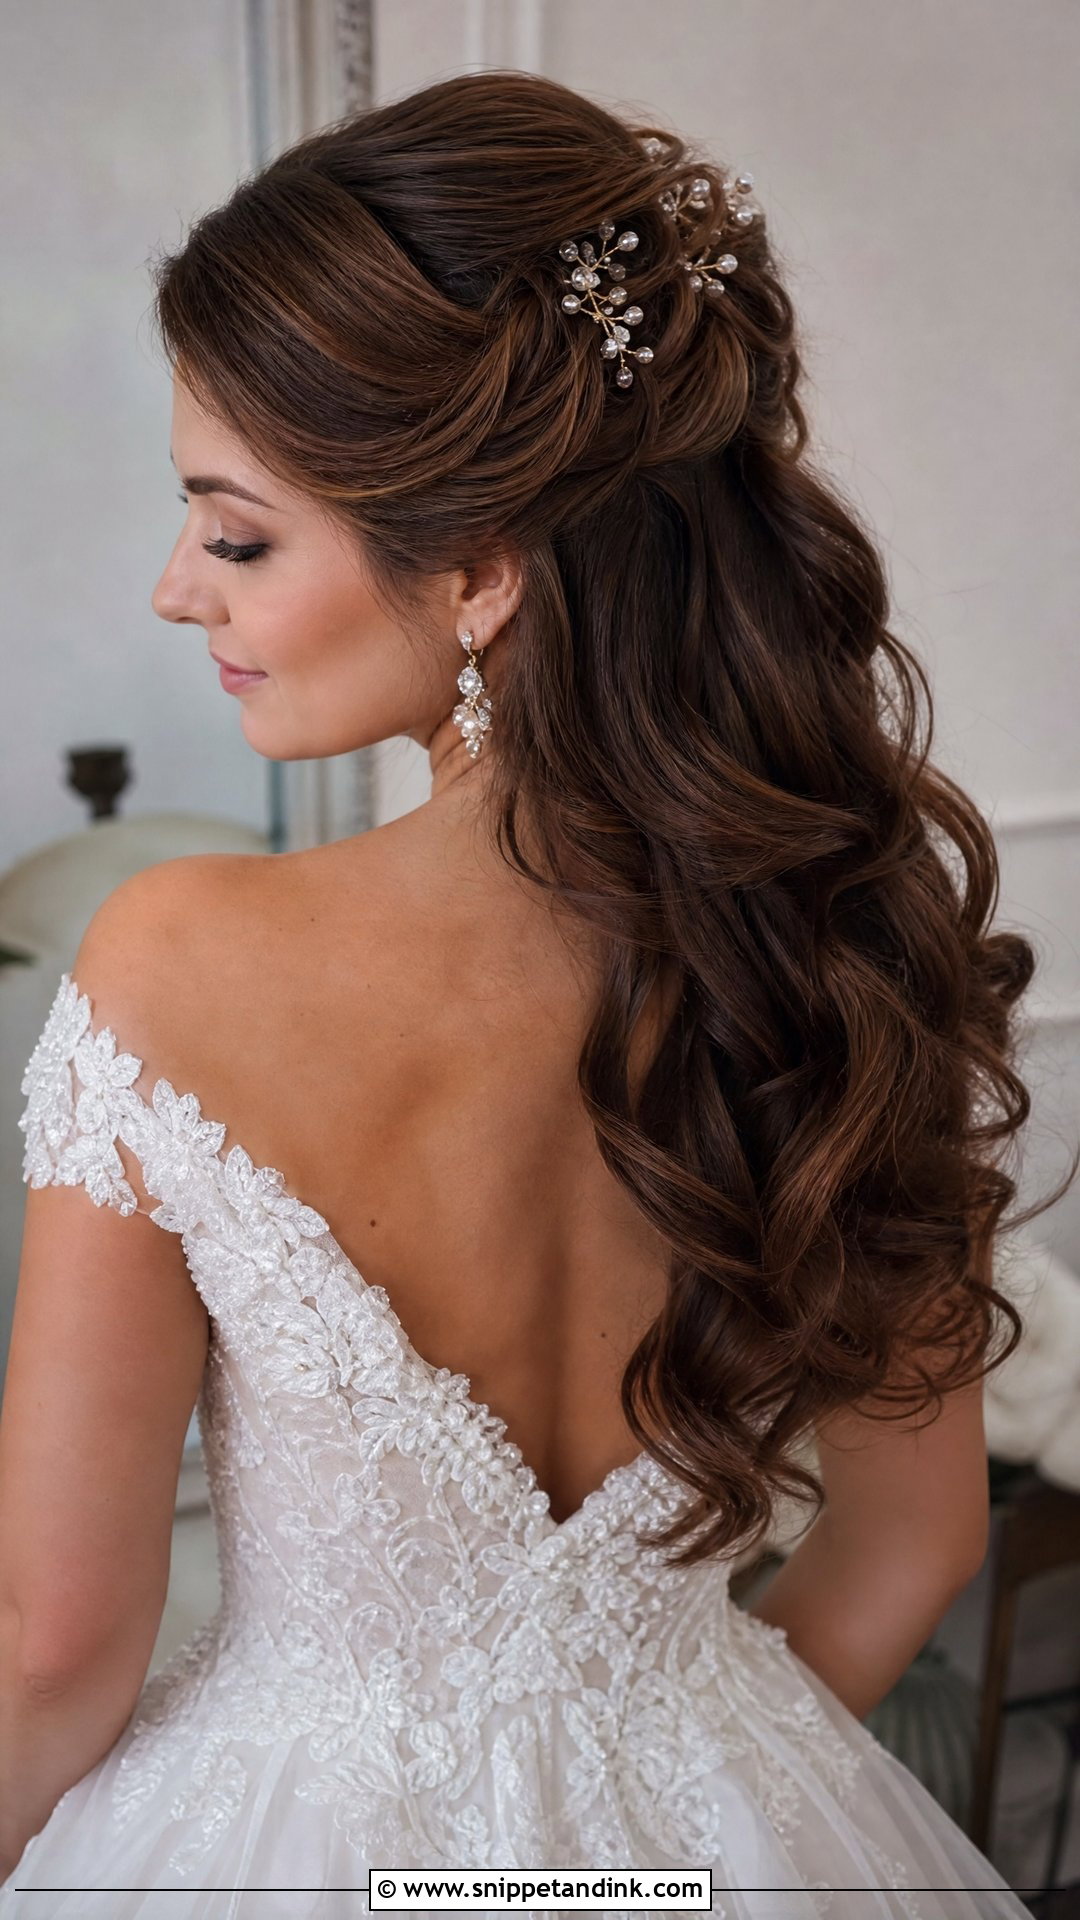
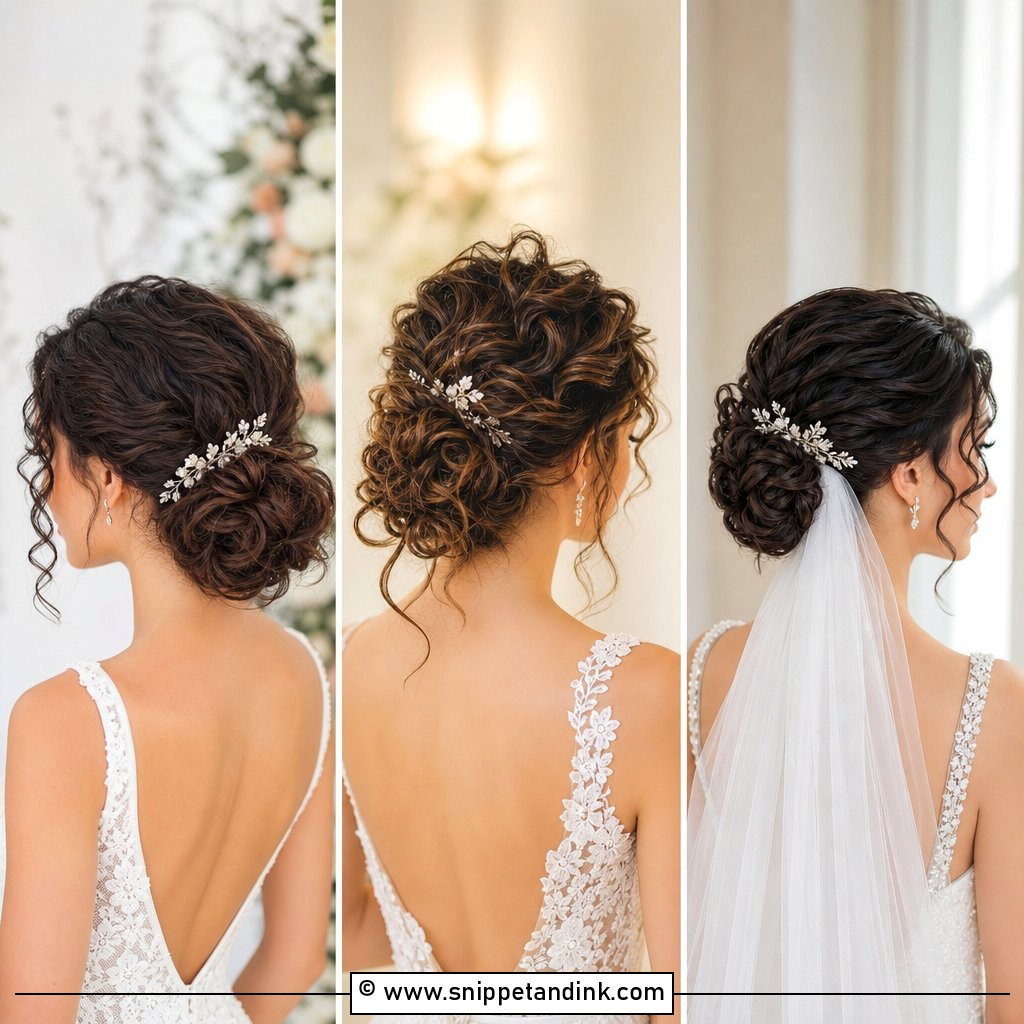
Long hair gives the most options, and it’s also the heaviest to pin. I pin the top and sides back with crossed pins on both sides to spread the load, then curl or wave the lengths to show movement. The pinned section keeps the face clear while the length does the work. Veils, flowers or sparkly pins all sit well, and a small braid or twist adds detail. Very long, thick hair can make the scalp ache by evening when it’s pulled back tightly, so I keep the tension light and use more pins rather than tighter ones.
16. Pinned Back Wedding Hair With Pearls
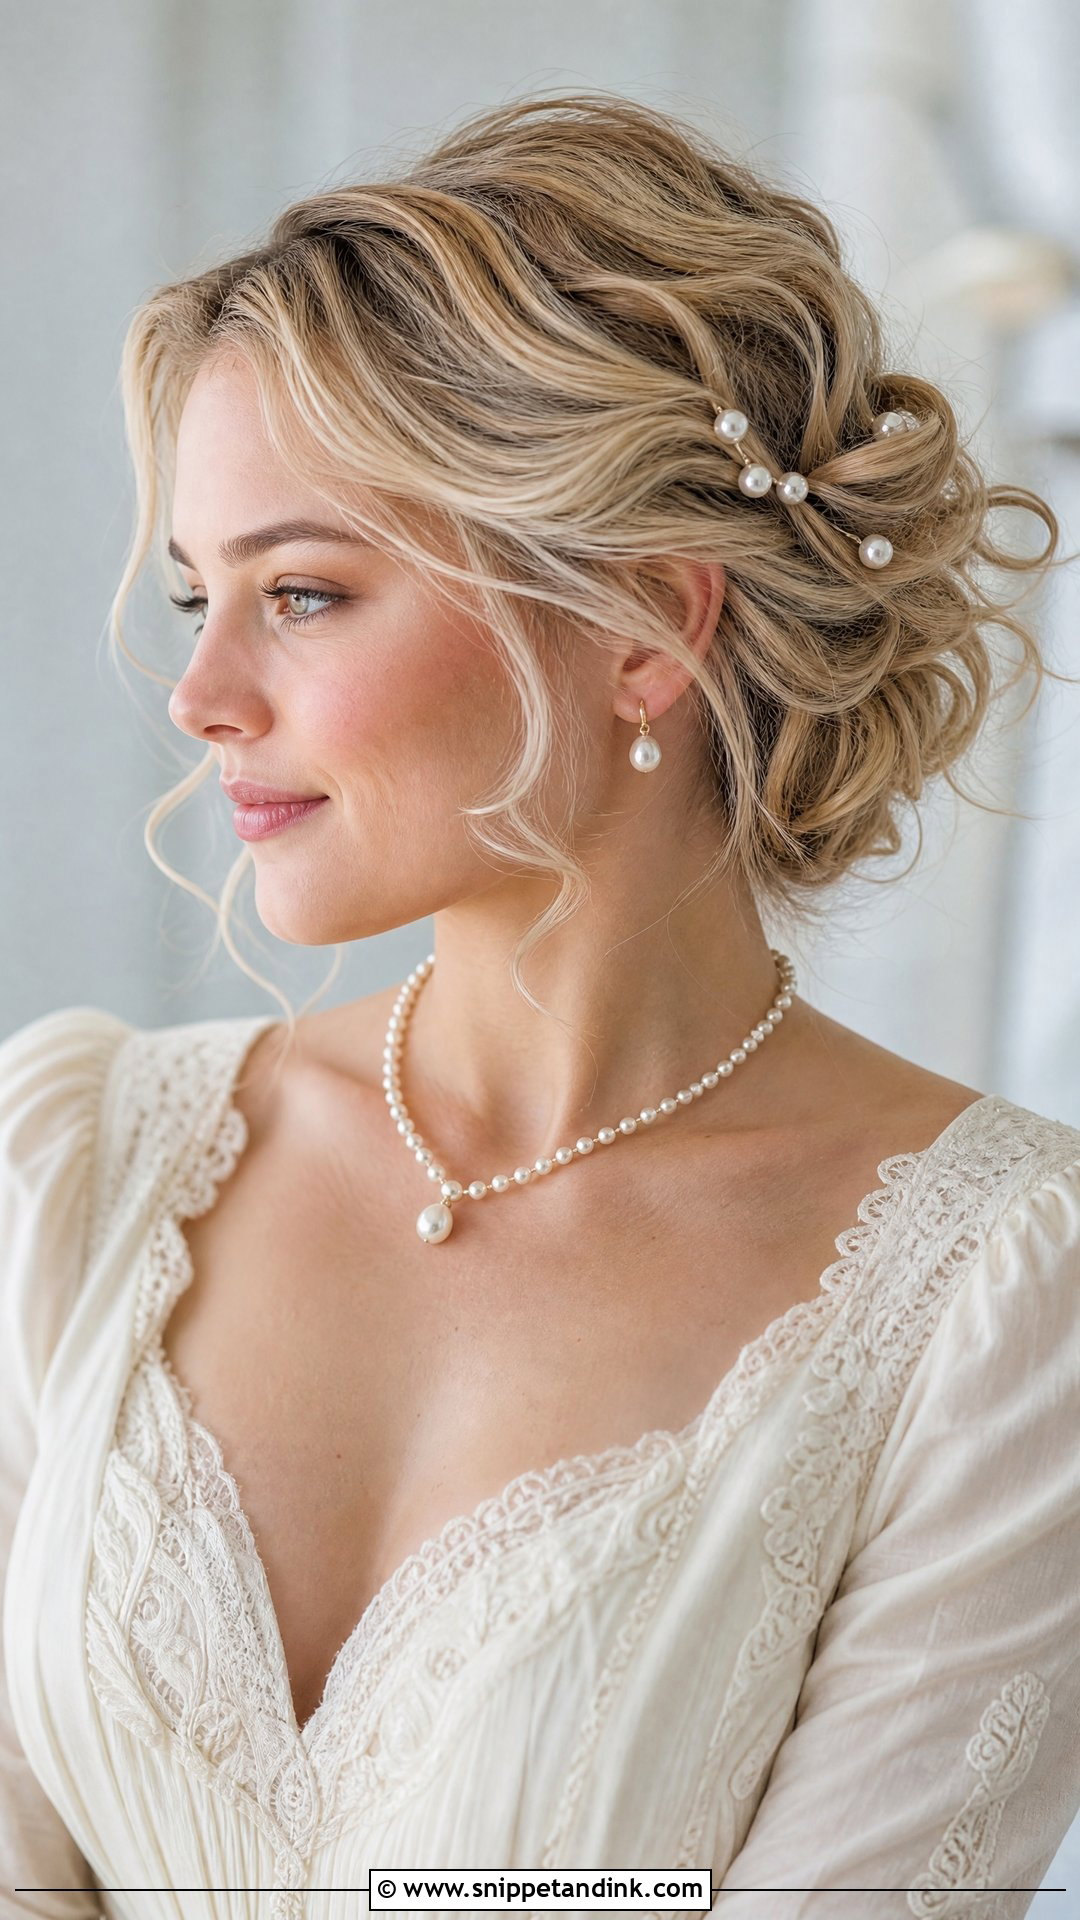
Pearl pins add a soft shine that suits classic and vintage-inspired weddings. Once the hair is pinned back, I dot pearl pins along the gathered sections, either clustered on one side or spaced evenly. They work over curls, waves, low buns or sleek styles and match pearl jewelry and beaded gowns. Decorative pearl pins are often not strong enough to hold hair on their own, so I place them over a hidden bobby pin that does the actual work. Small touches like this read beautifully up close.
17. Pinned Back Wedding Hair With Headband
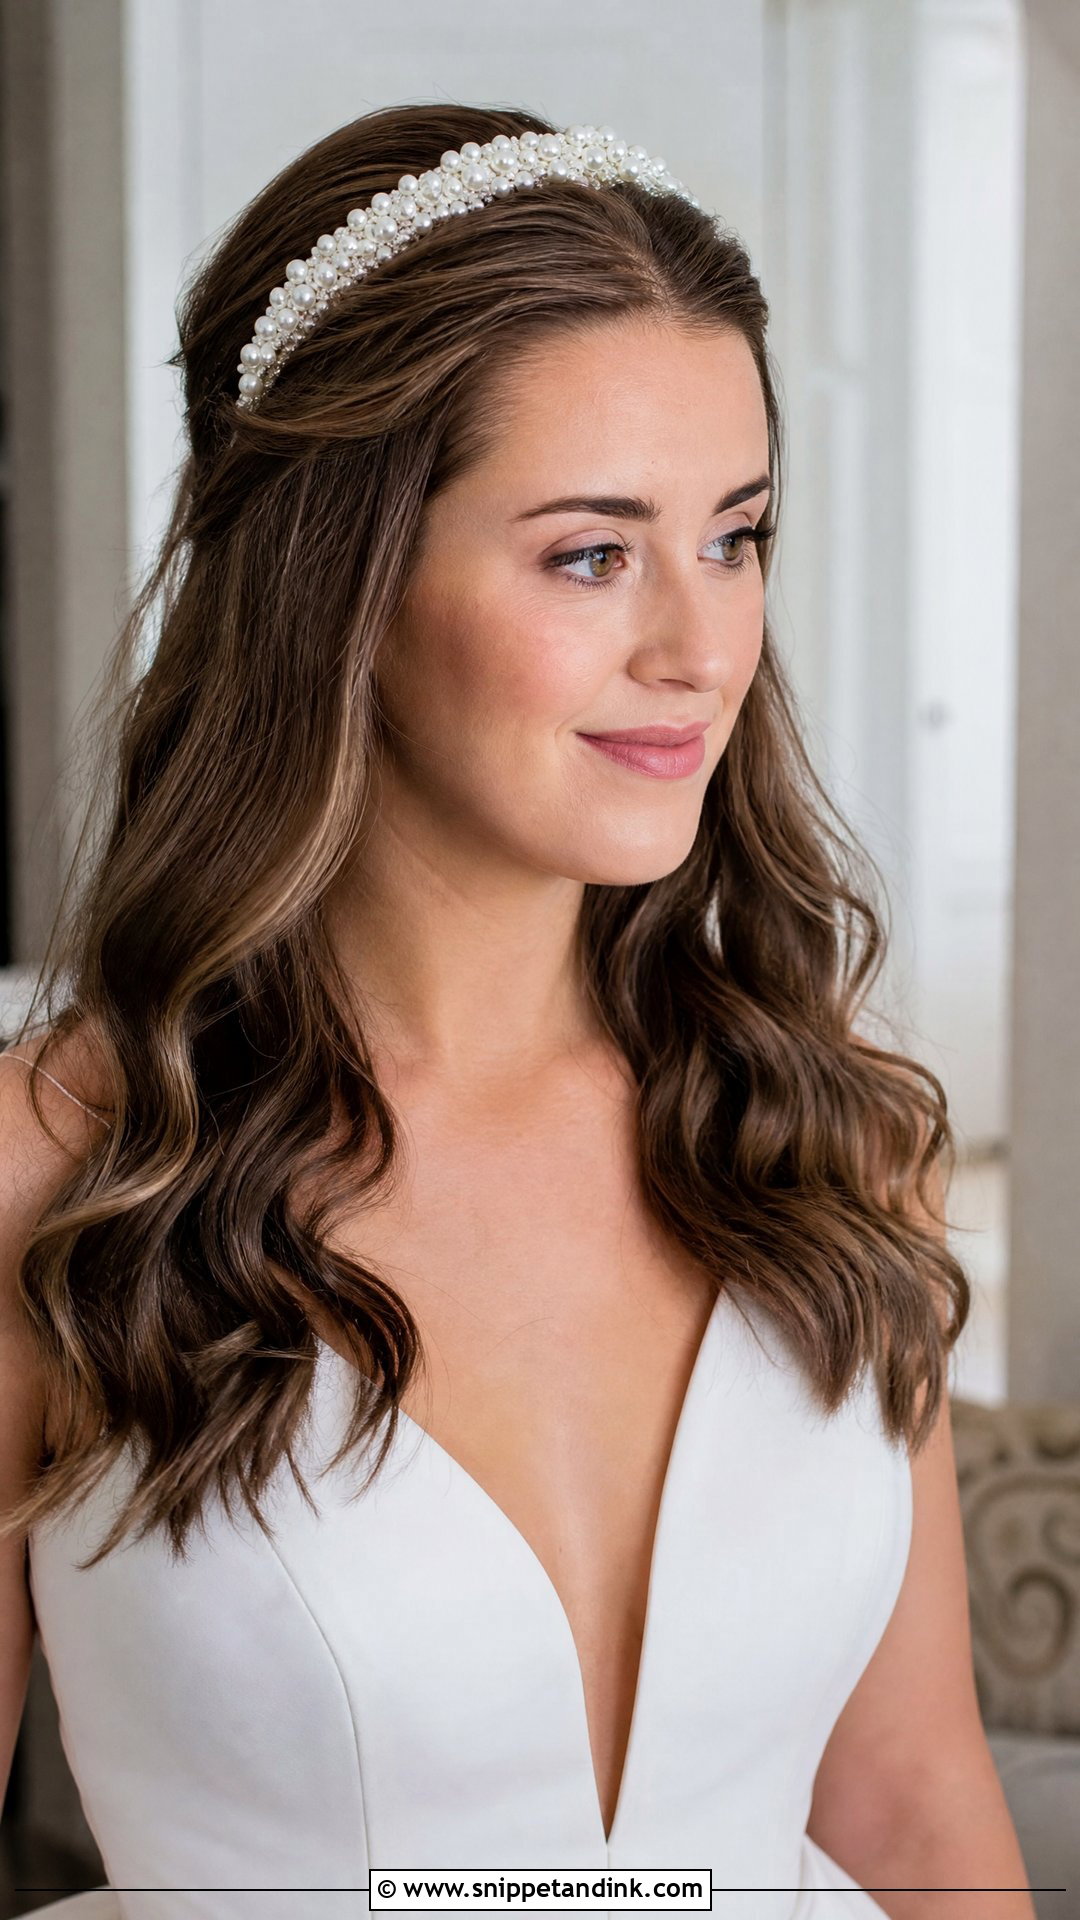
A decorative headband lifts pinned hair with very little effort. I pin the hair away from the face, slide a beaded, pearl or floral band over the top and secure it behind the ears with a bobby pin on each side so it can’t creep forward. It keeps stray pieces in place all day and works with half-up styles or loose waves. A veil can be tucked in just behind the band. Rigid metal headbands can press behind the ears after a few hours, so wear it for an afternoon before the wedding to check it’s comfortable.
18. Pinned Back Wedding Hair With Waves
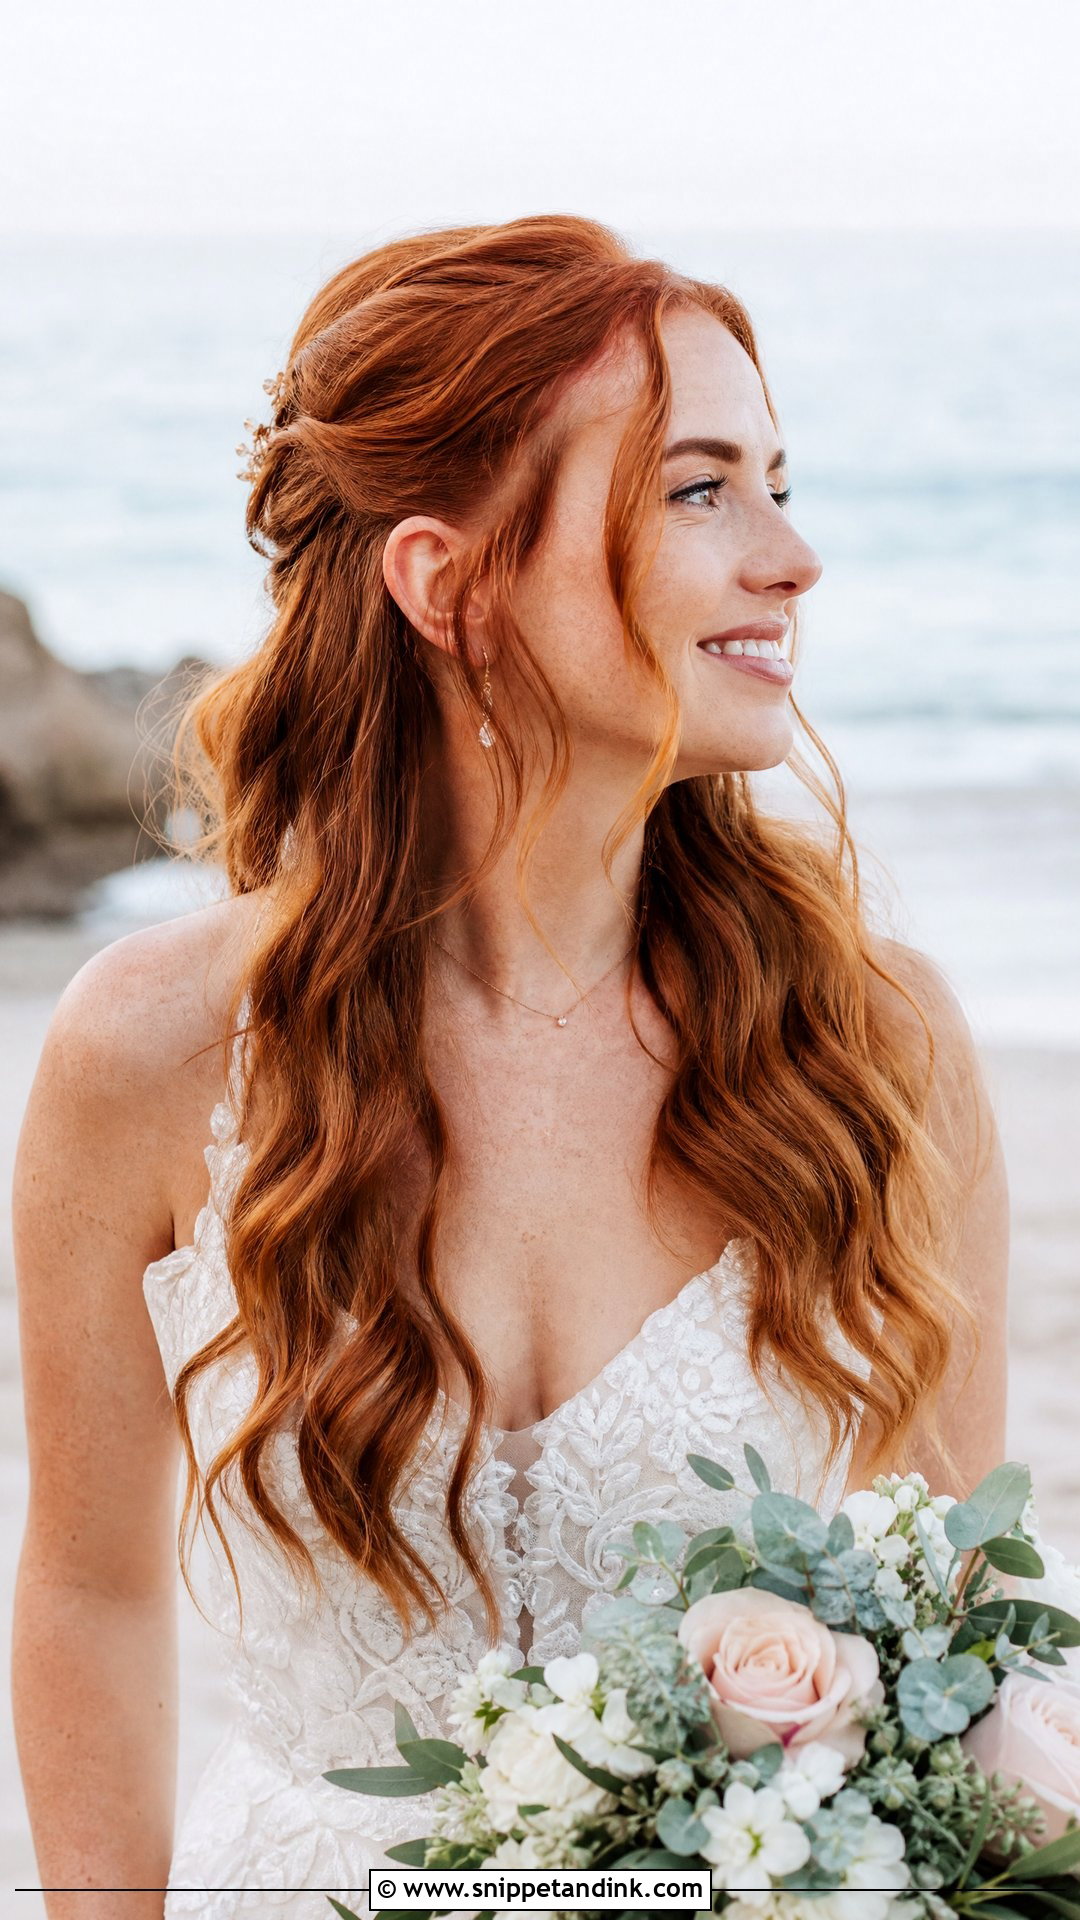
Soft waves with the front pinned away are the classic romantic look. I curl in loose, flowing waves, let them cool, then brush through gently and pin the front sections back. The face stays clear while the texture shows. A veil, flowers or delicate pins all work, and a few face-framing pieces soften it further. Beach, garden and indoor weddings all suit it. On fine hair at a beach ceremony, waves will relax in salt air and humidity, so I’d set them firmer than feels natural that morning.
19. Pinned Back Wedding Hair Updo
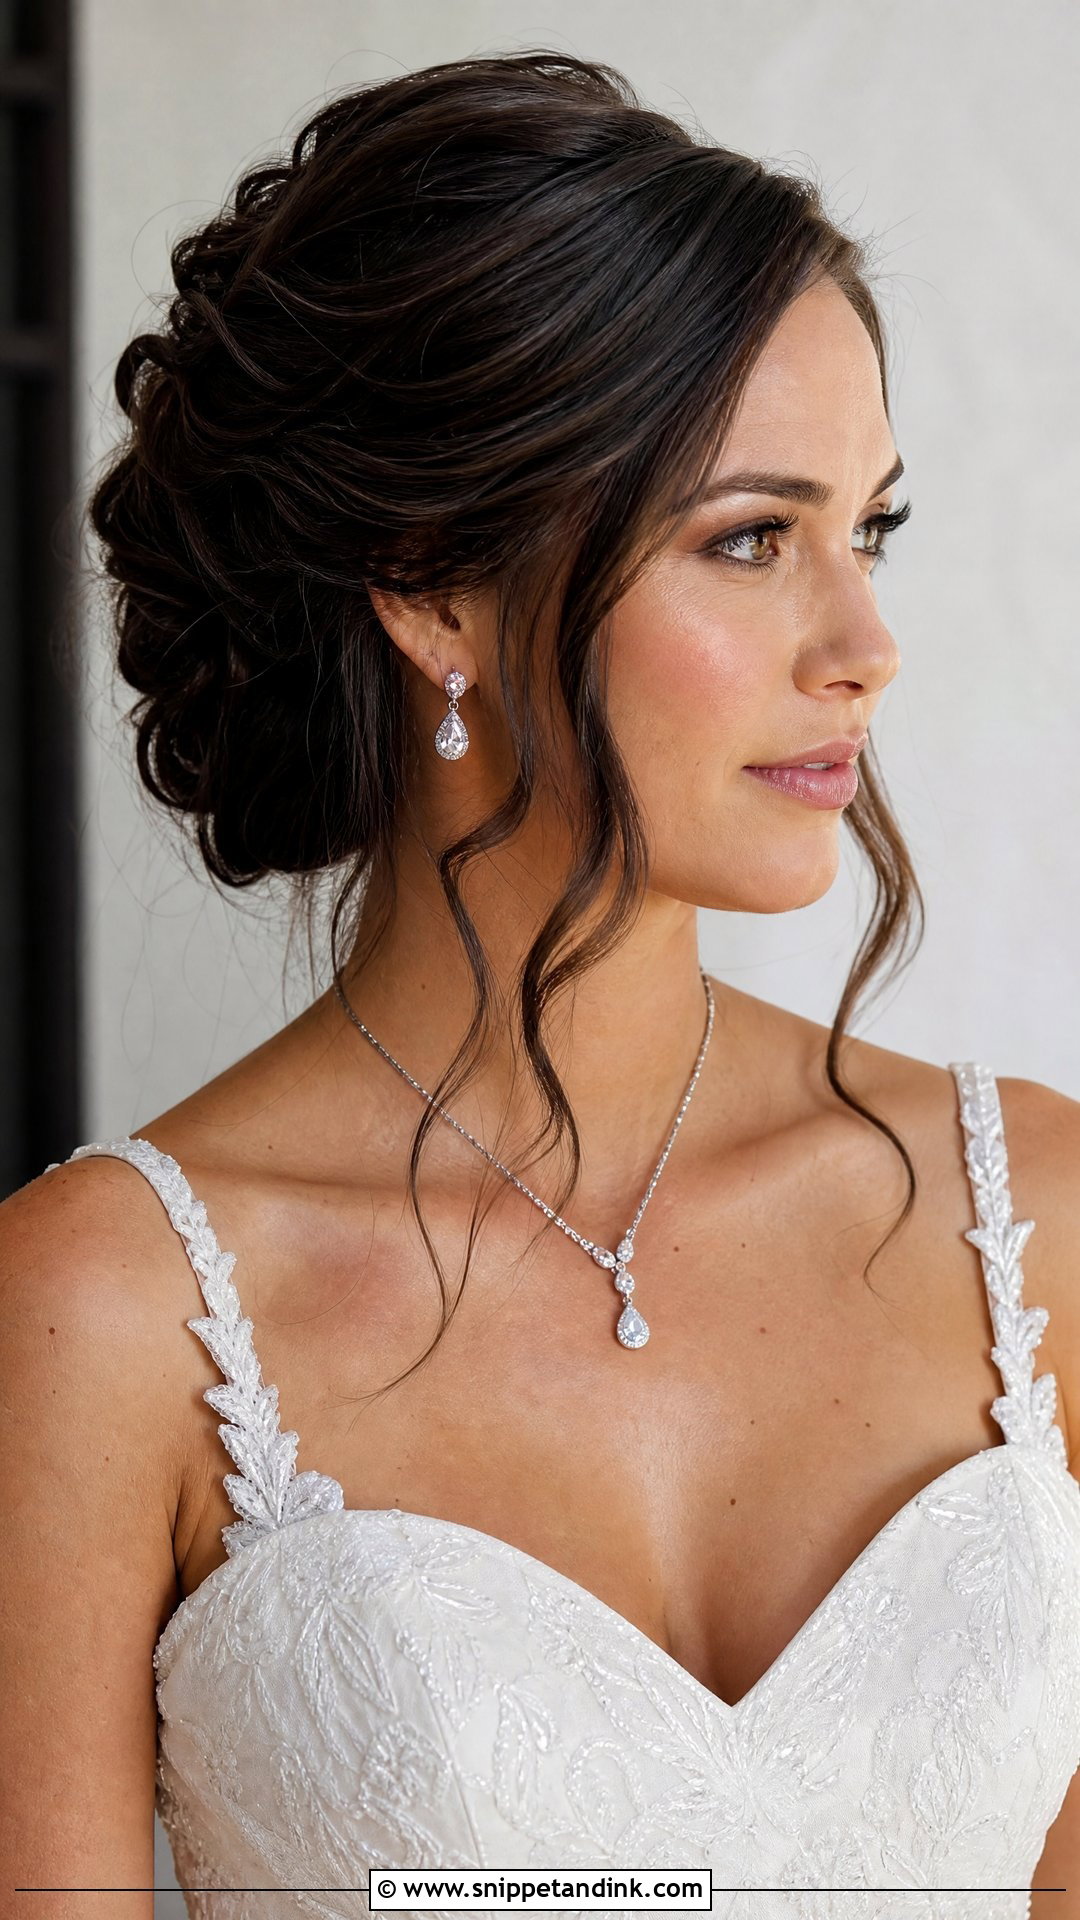
A full updo with pinned back detailing is the most formal option on this list. All the hair goes up and back into a structured shape, built in sections and locked with crossed pins so it holds through every dance. It shows the neckline, shoulders and statement jewelry, and suits traditional weddings. Keep it sleek or soften it with volume, and add a veil, tiara or floral accents. If your scalp is sensitive, tell your stylist; a heavy updo pinned too tightly can give you a headache by dinner.
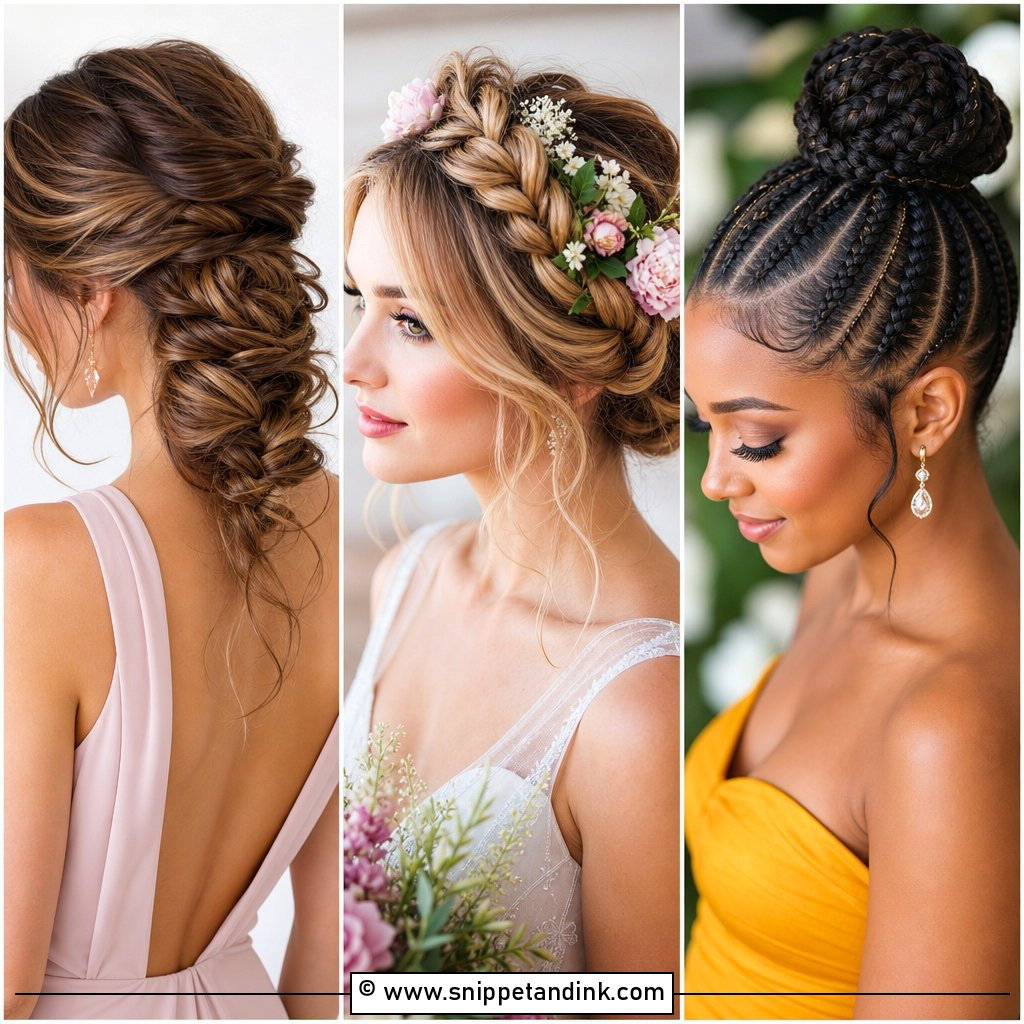
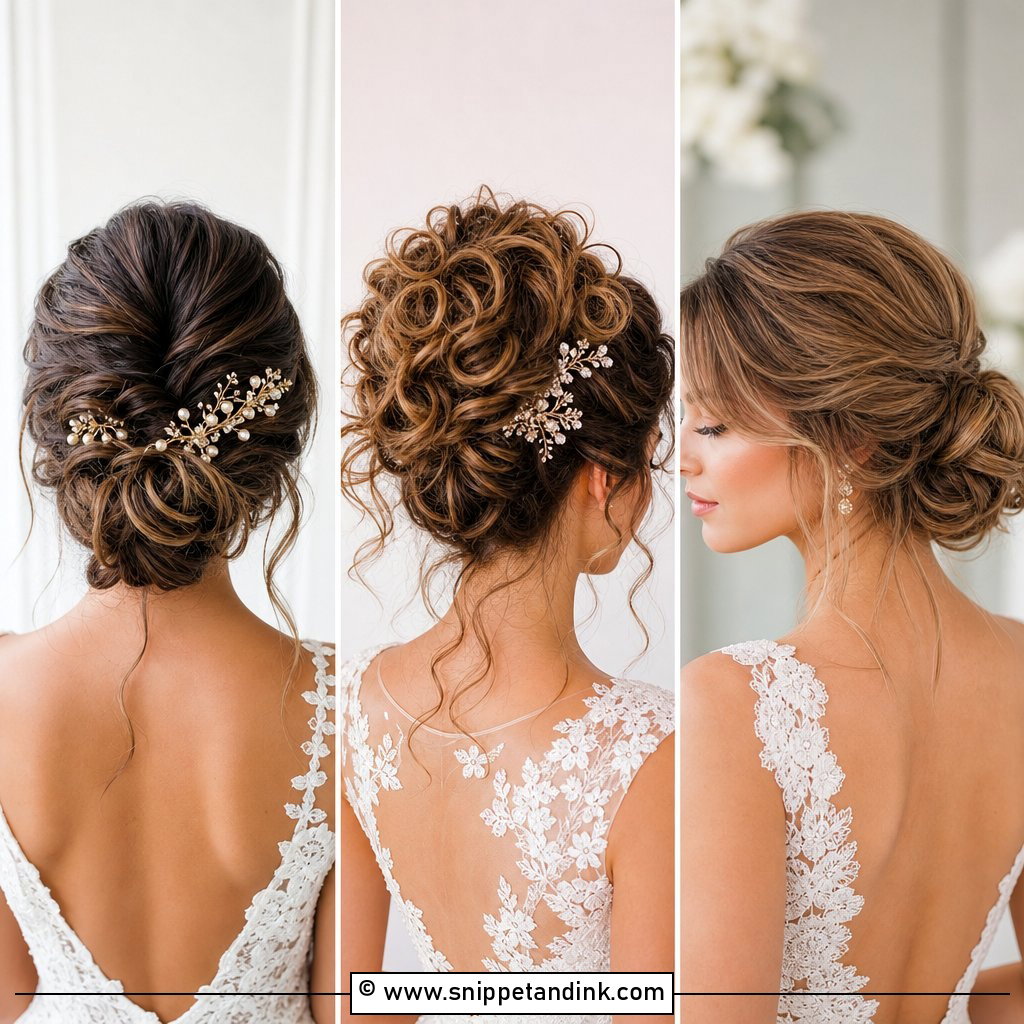
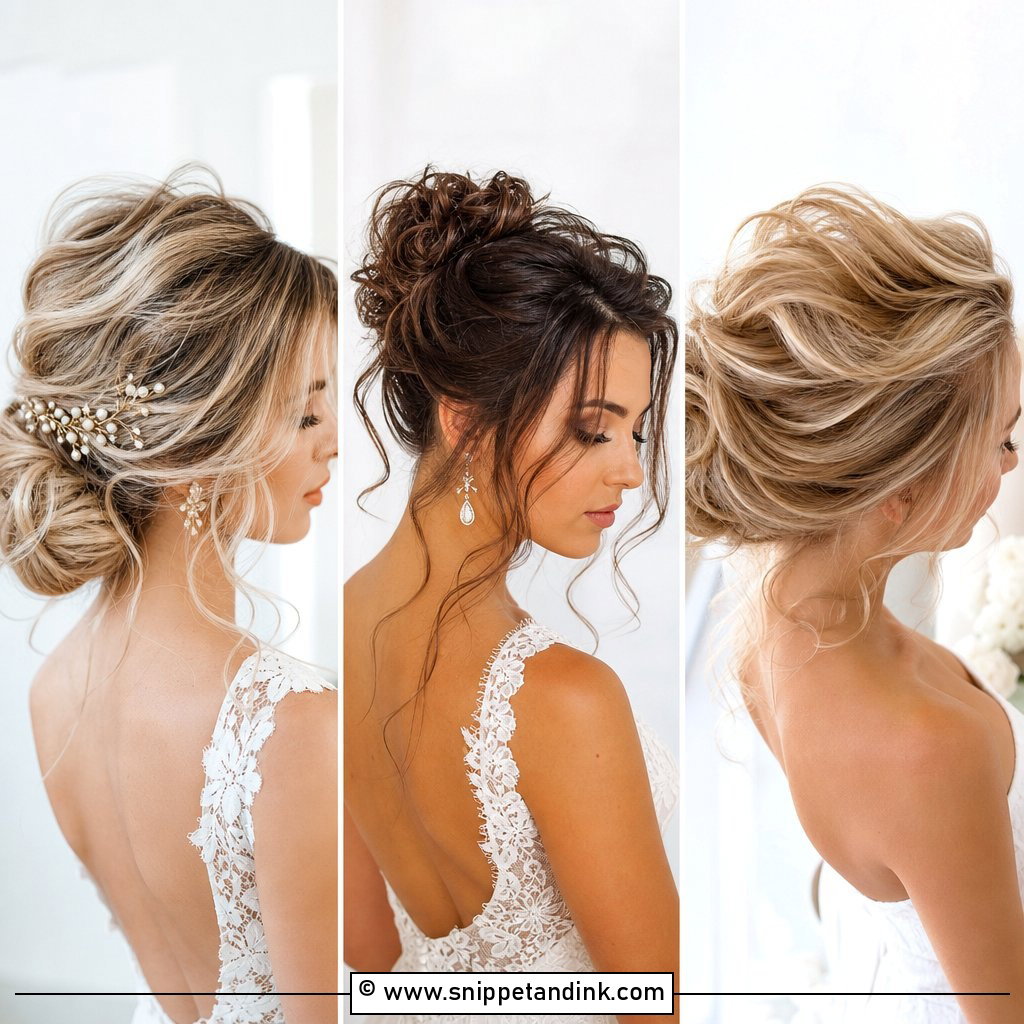
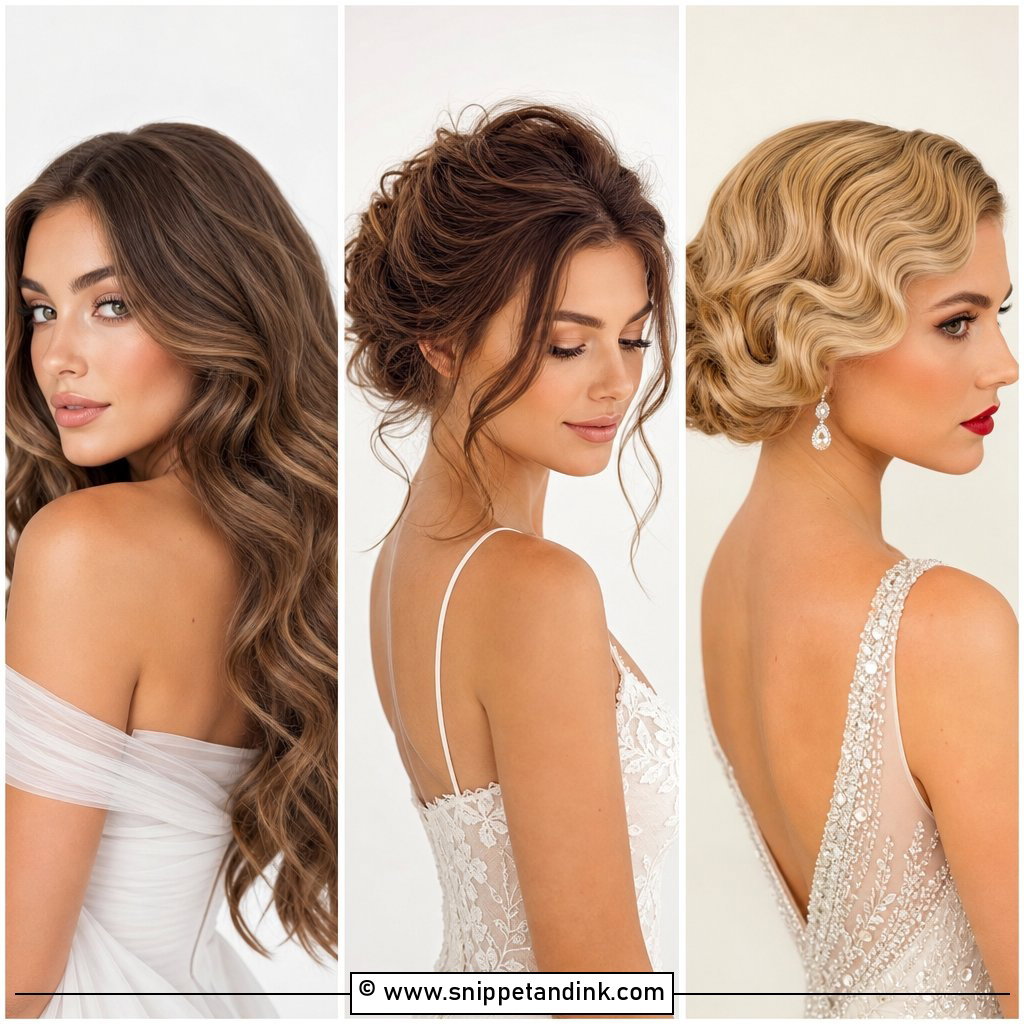
20. Pinned Back Wedding Hair With Loose Tendrils
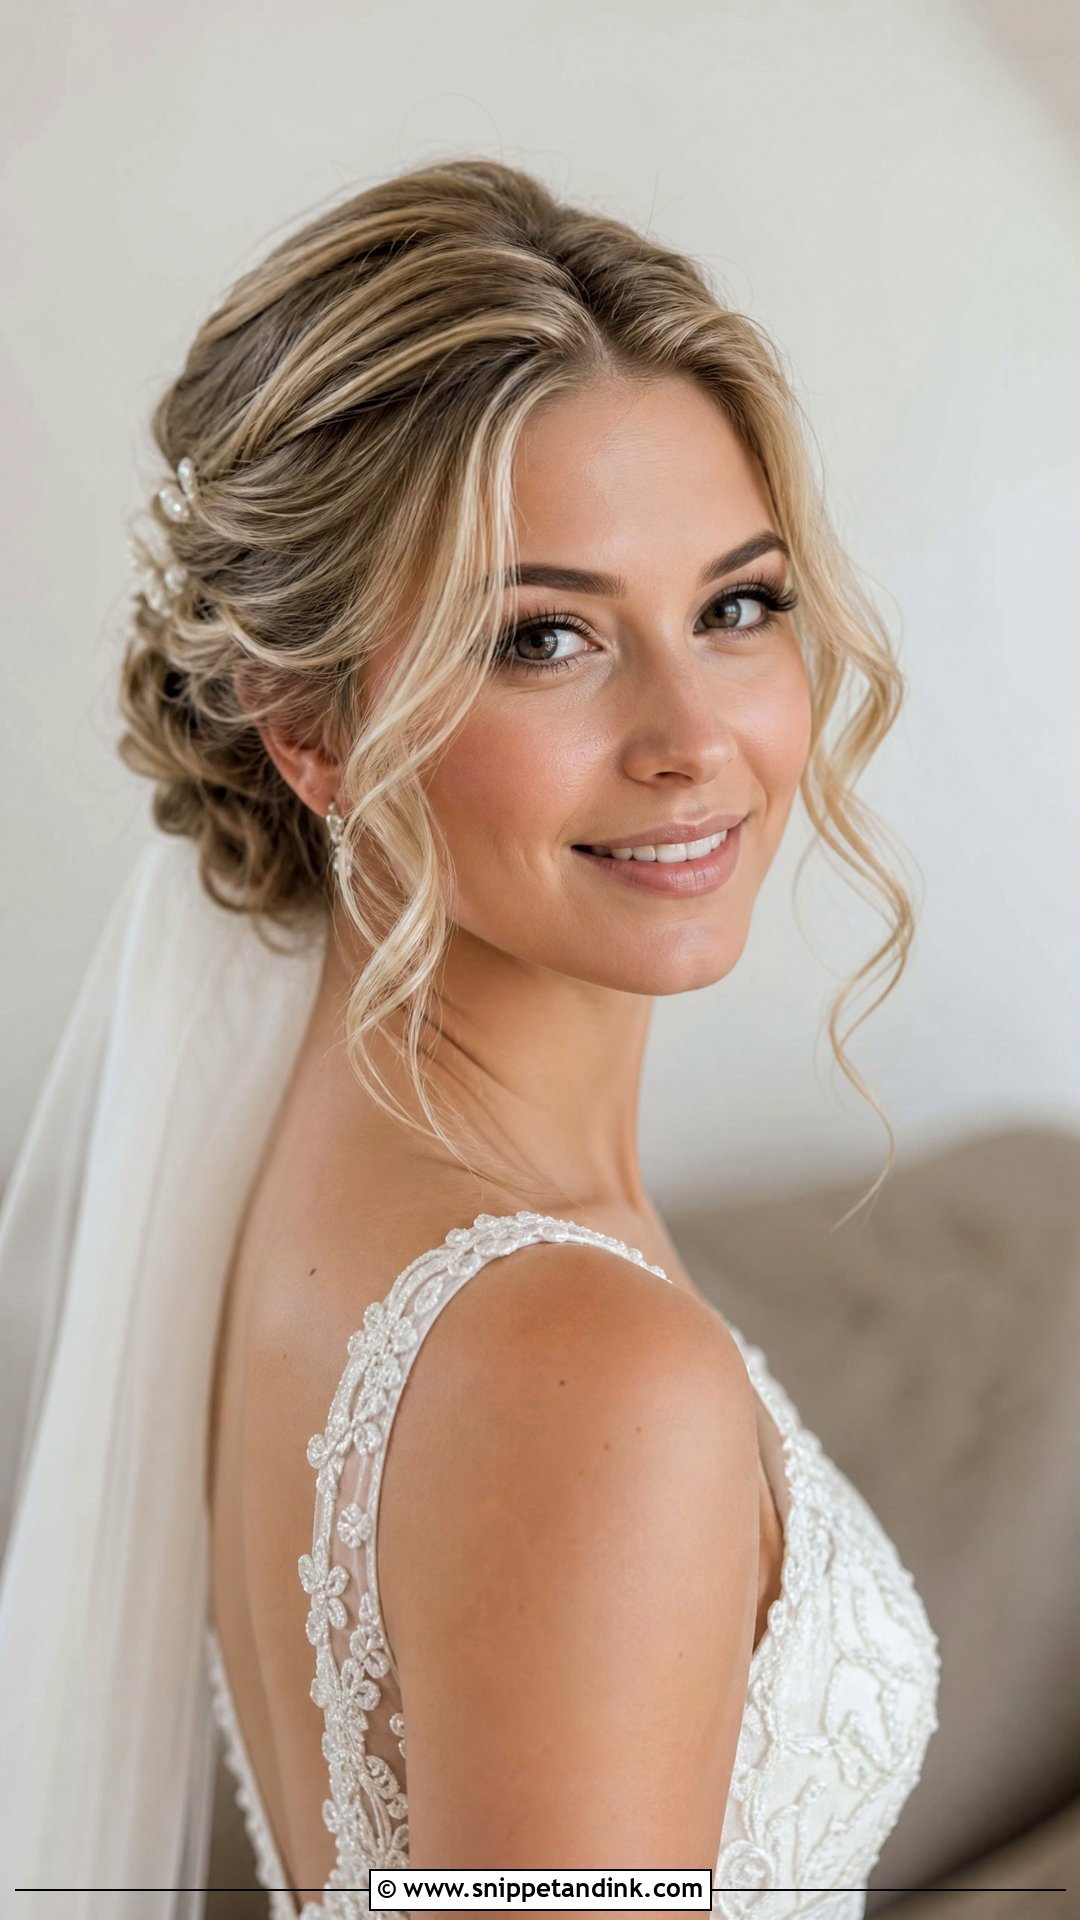
Tendrils are what keep a pinned style from looking stiff, but they’re also the first thing to go limp. I pull them out after the main style is finished, curl them separately with a small barrel, and mist them with hairspray once they’ve cooled. They frame the cheeks and work with updos, half-up styles and low buns. Too many tendrils, though, and the style starts to look like it’s falling down; two or three per side is usually enough. Nearly every face shape and length suits them.
Adapting Pinned Back Hair to Your Texture
The same photo can need a completely different method depending on whose head it’s on.
Fine or thin hair
Backcomb lightly at the roots for grip, use small matte pins that match your hair color, and consider a padding piece or a few clip-in wefts for bulk in buns. Fine curls drop fastest in humidity, so set them tightly.
Thick or heavy hair
Use larger, sturdier pins and more of them. Thin the bulk by sectioning, so you’re pinning several smaller pieces rather than one heavy mass, which is also kinder to your scalp.
Curly and coily hair
Natural texture already grips pins well, so you rarely need teasing. I’d stretch or set the hair in a way that suits your curl pattern, smooth only the edges you want polished, and lean into styles that celebrate the curl instead of fighting it. Moisture matters more than heat here.
Heavily layered cuts
Short layers poke out of twists and buns. A little texture paste on the ends and tiny pins tucked along the layer lines keep the shape neat.
Bring Your Veil and Earrings to the Trial
Pinned back styles keep hair neat, show off your features and last through a long day, from sleek low chignons to soft waves with loose tendrils. There’s a version for short, medium or long hair, and flowers, pearls, a tiara or a veil can make it yours. At your trial, bring the actual veil, headpiece and earrings, plus a photo of your neckline, because the right pin placement depends on all of them. Wear the style for a few hours afterward and notice what moves. That’s the information your stylist needs to make it hold on the day.
You'll Like These Ideas:


Leave a Reply