
A fringe does more to frame a bride’s face than any accessory I can pin in. It points straight at the eyes, softens a strong forehead, and changes how a veil or earrings read in close-up. Most fringes I style on wedding mornings are ones brides already wear, from curtain bangs and wispy fringes to side-swept and full brow-length cuts, and my job is to make them behave for twelve hours. The fifteen looks below pair each fringe with the bridal style I’d build around it, plus what tends to go wrong with each and how I head it off.
A First-Ever Fringe Weeks Before the Wedding Is a Gamble
When a bride without bangs asks me to cut some shortly before her wedding, I slow the conversation down. A new fringe needs time: you have to learn how it falls, discover any cowlick at the hairline, and find out whether you actually like styling it every morning. None of that is obvious on day one.
If you want to try one, cut it several months out. That gives you time to grow it back toward the cheek if it isn’t for you, since a fringe that’s too short can’t be fixed with scissors. Cutting longer than the final length and taking it shorter over a couple of appointments is much safer than one bold cut.
- Cowlicks at the front hairline will push a full fringe up or sideways; curtain or side-swept styles handle them better.
- Very oily skin on the forehead makes full fringes separate faster through a long day.
- A clip-in fringe matched to your colour is a low-risk way to test the look for a day, or to wear for the wedding itself.
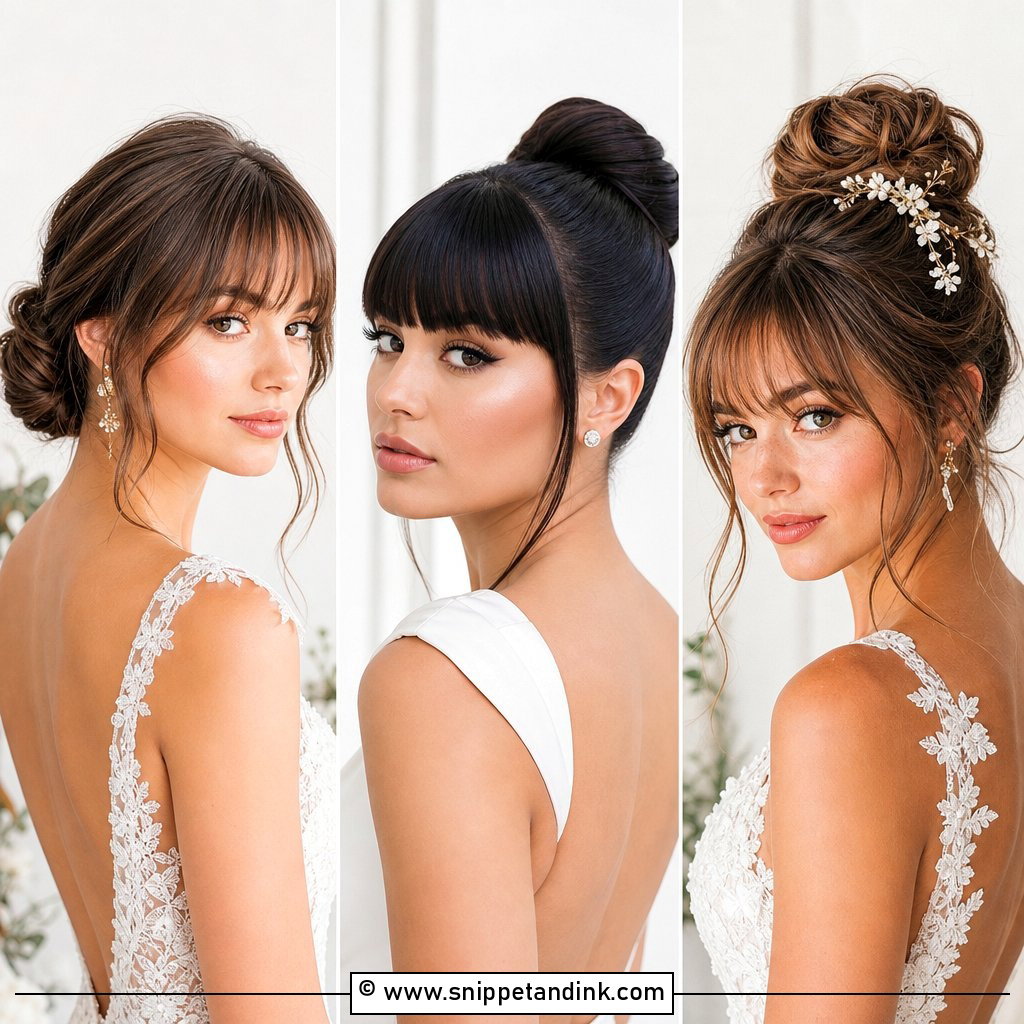
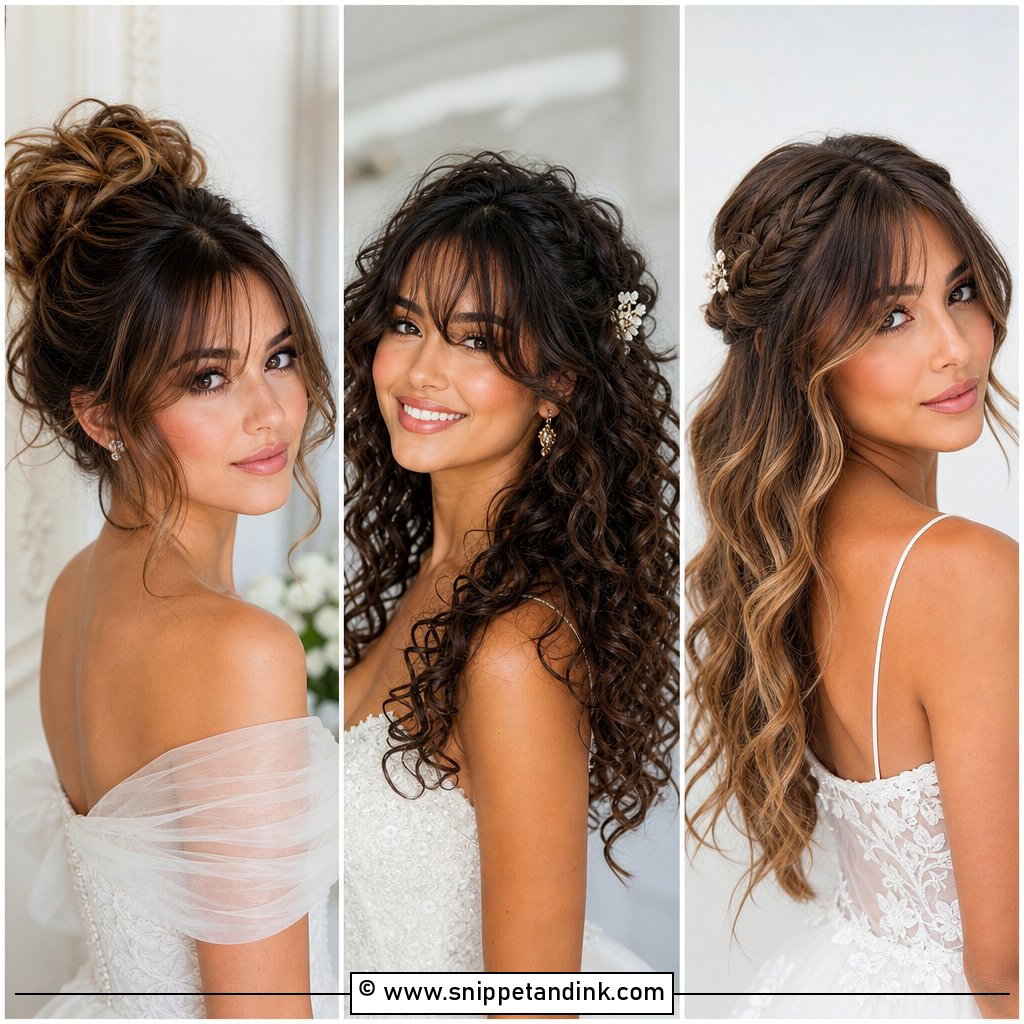
1. Bride Curtain Bangs With Low Bun
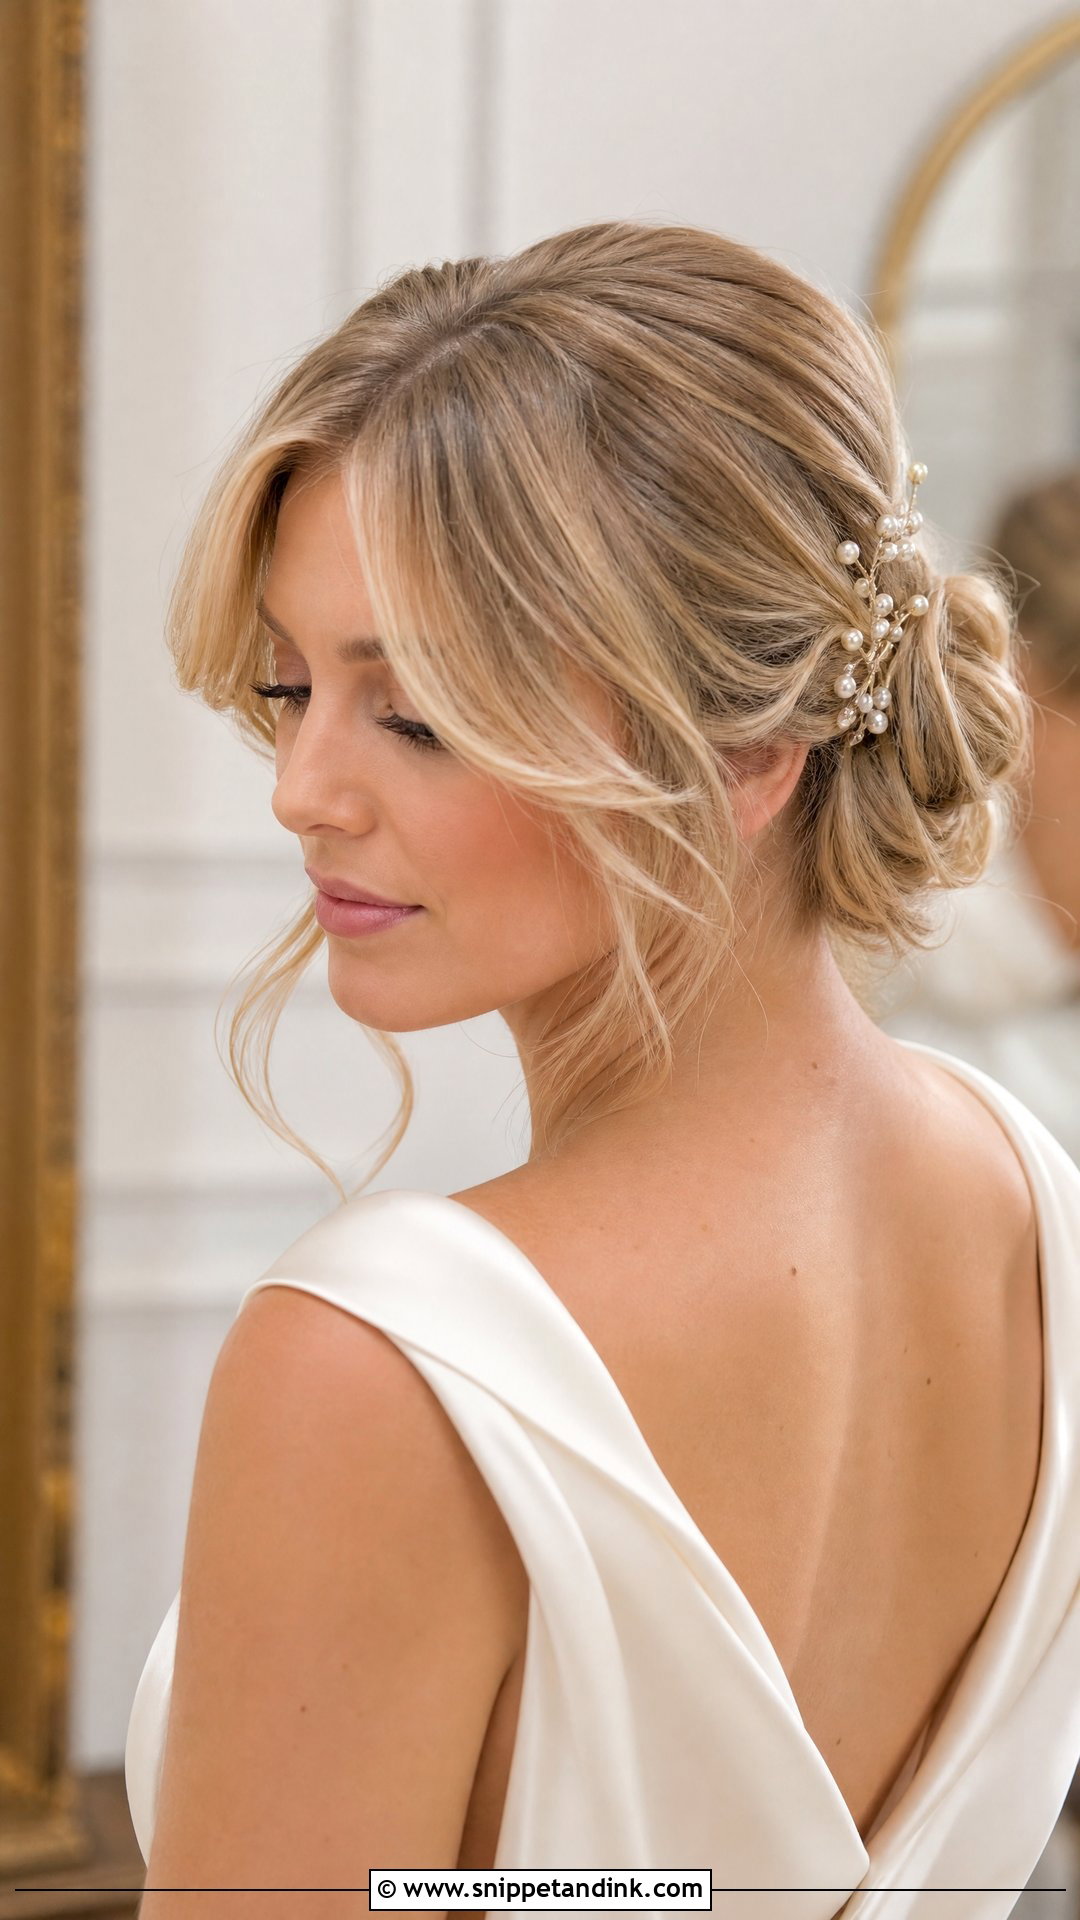
This pairing is the one I suggest when a bride is nervous about her fringe on the day, because it’s so forgiving. Bride curtain bangs part in the centre and fall to either cheek, so if they misbehave they can be tucked back into the low bun without anyone noticing. I blow-dry each side away from the face with a medium round brush, then let them cool before the bun goes in. Keep the fringe long enough to reach the cheekbone; anything shorter won’t tuck. A smooth bun keeps it classic, a textured one relaxes it.
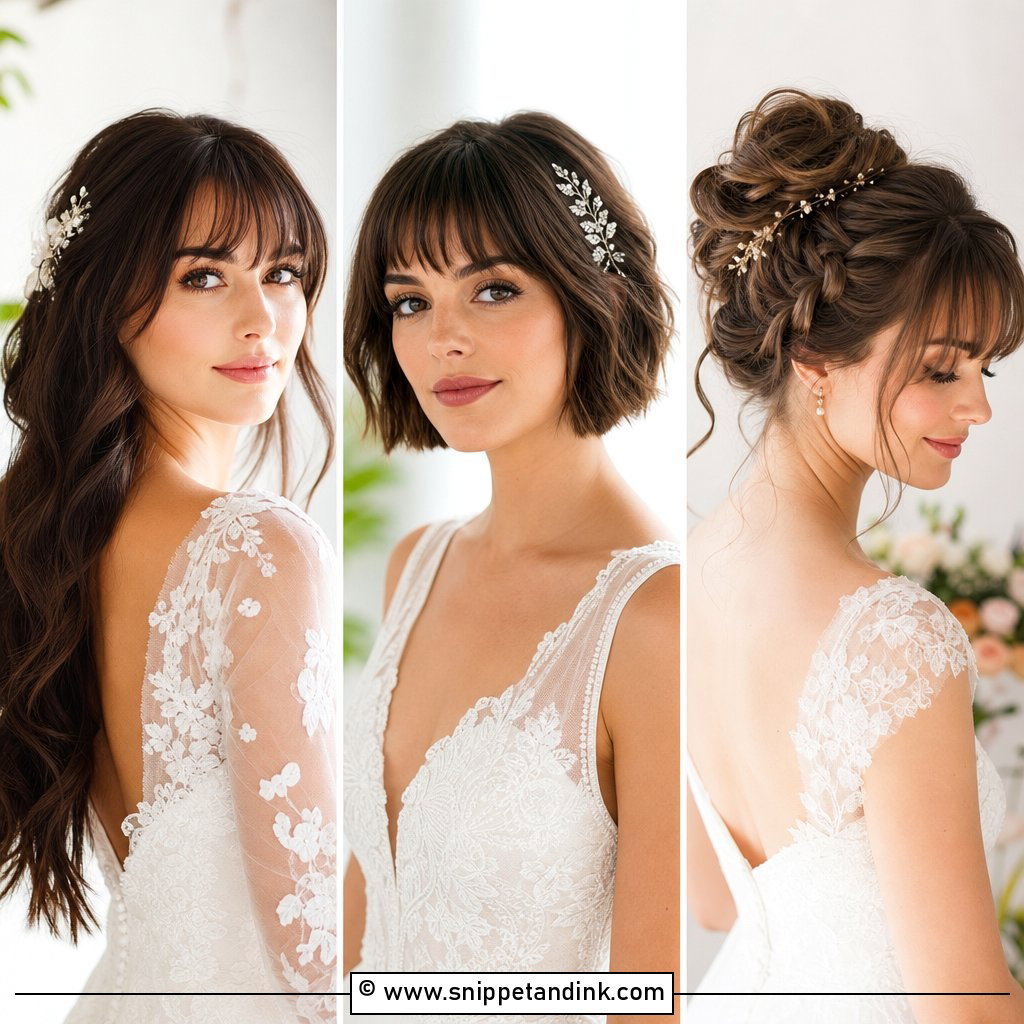
2. Bride Wispy Bangs With Loose Waves
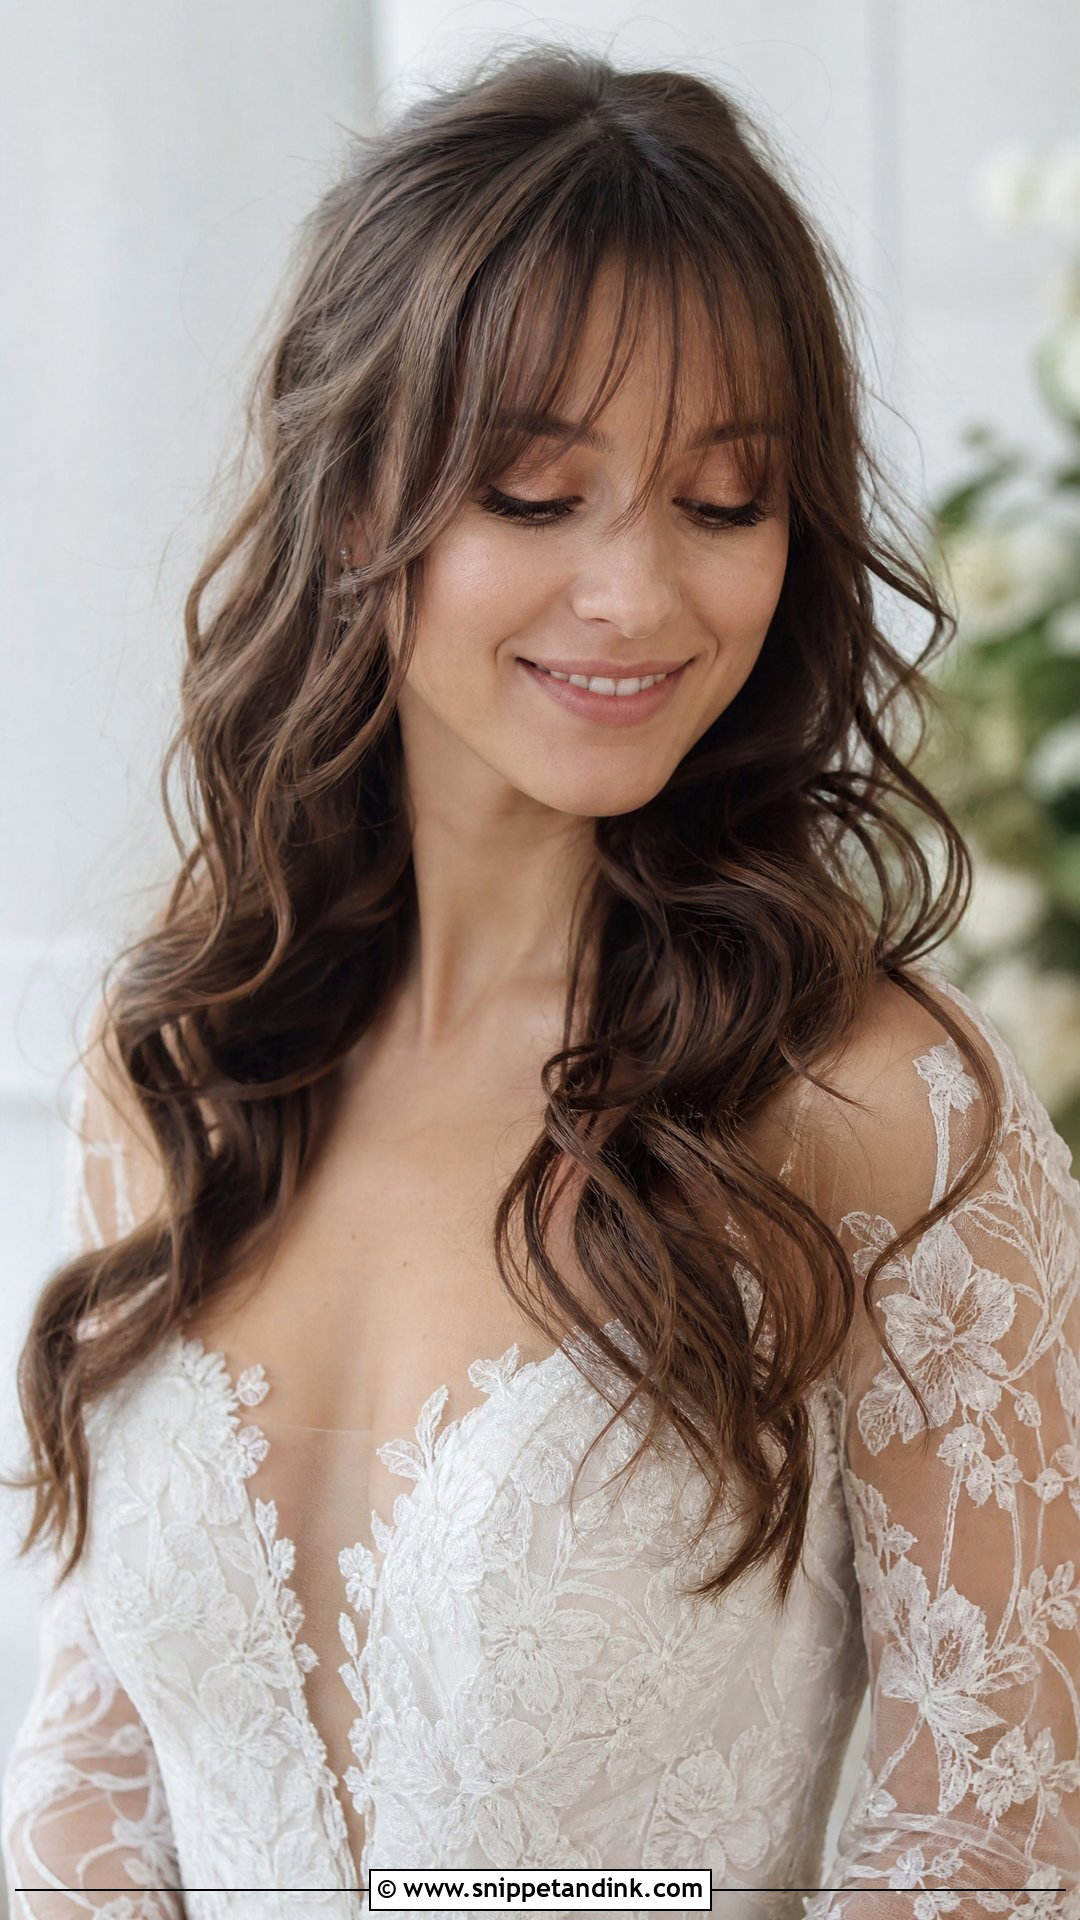
Wispy fringes are thin by design, which is their charm and their weakness. The fine fringe softens the forehead without looking heavy, but a light fringe also separates the quickest once your skin warms up. I style it with a small round brush and almost no product, then set loose waves through the lengths so the fringe has something to blend into. Strapless gowns and lace sleeves both suit it. Finish with a flexible spray held well back from the face; sprayed close up, wisps clump into strands.
3. Bride Side Bangs With Chignon
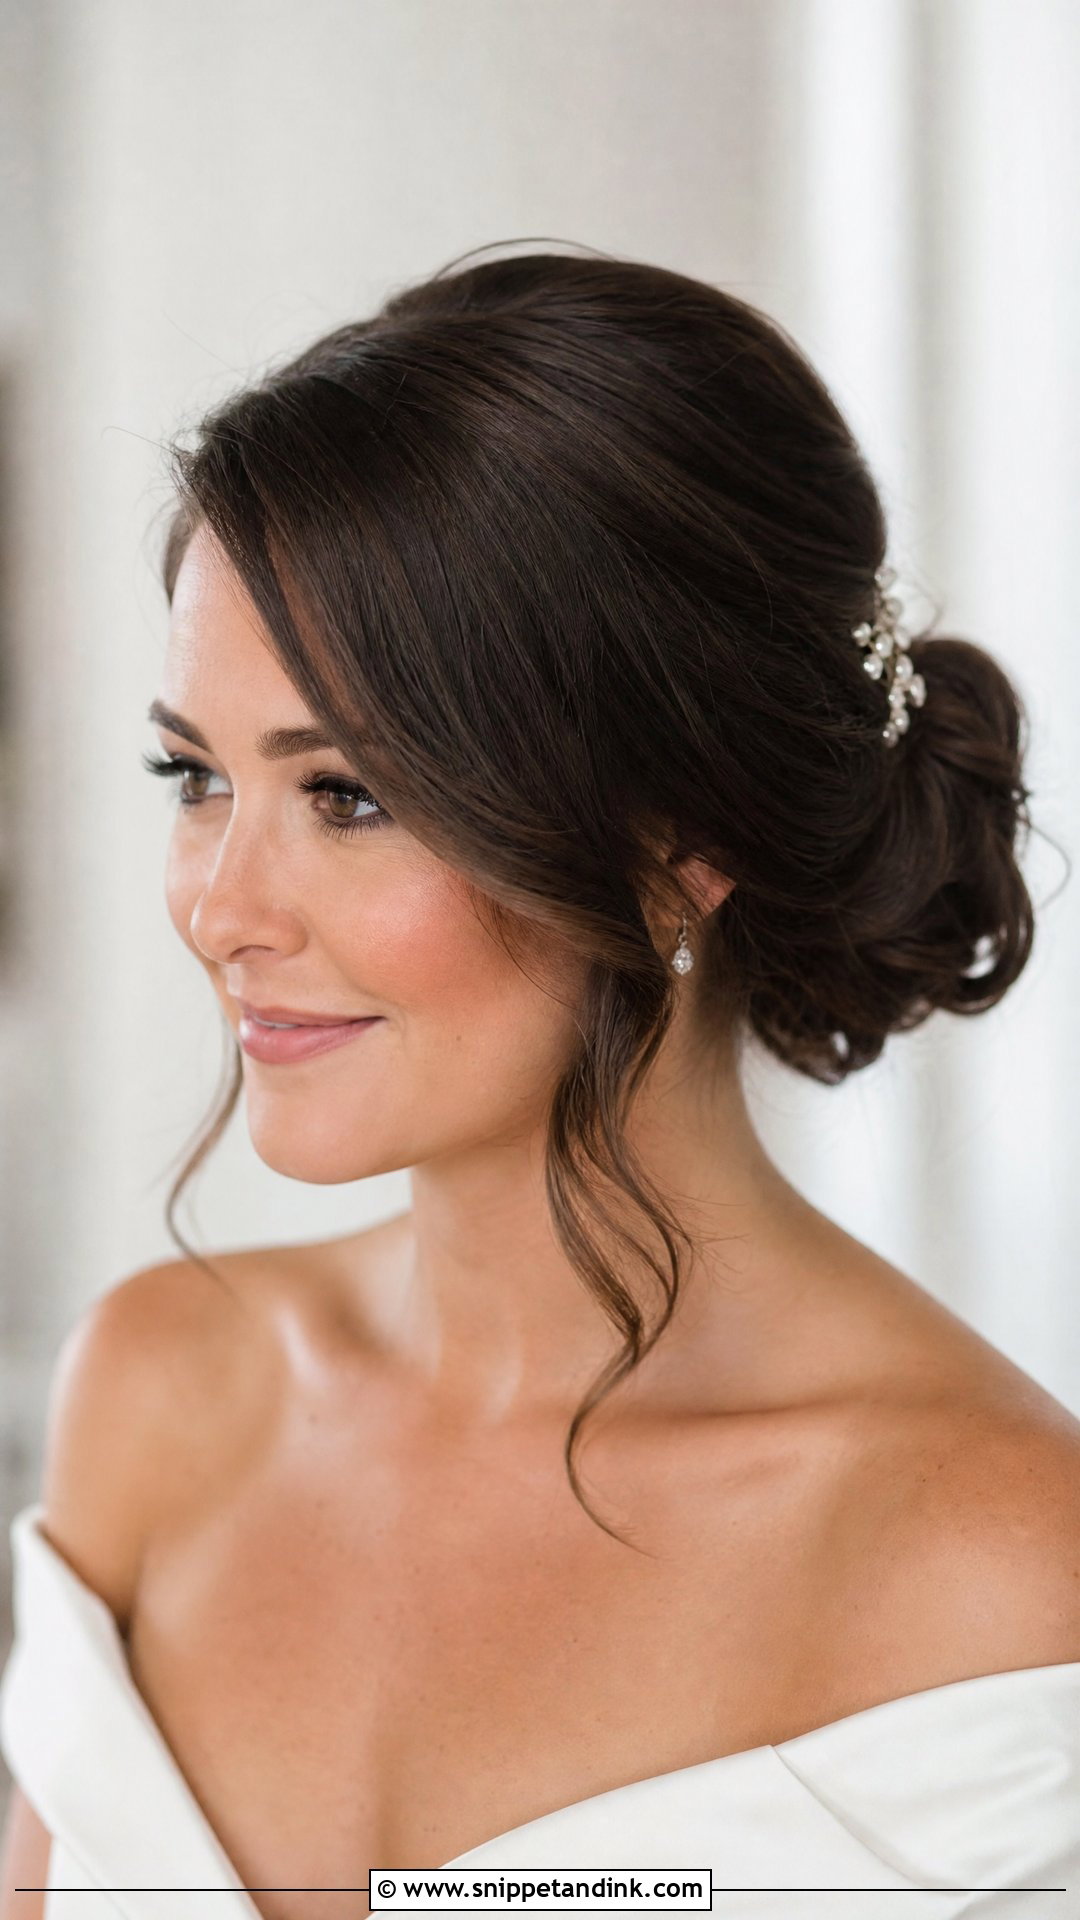
A side-swept fringe with a low chignon has a little old-Hollywood about it. The fringe cuts a diagonal line across the forehead, which tends to flatter round, square and heart-shaped faces because it breaks up width. The trick I use is to dry the fringe the opposite way first, then flip it to the side it’ll sit on; it gains lift at the root and doesn’t lie flat against the skin. The chignon can be sleek for a formal gown or textured for something softer. What I watch for is a gap between fringe and updo. The fringe should flow into the sweep of the side hair, not stop abruptly.
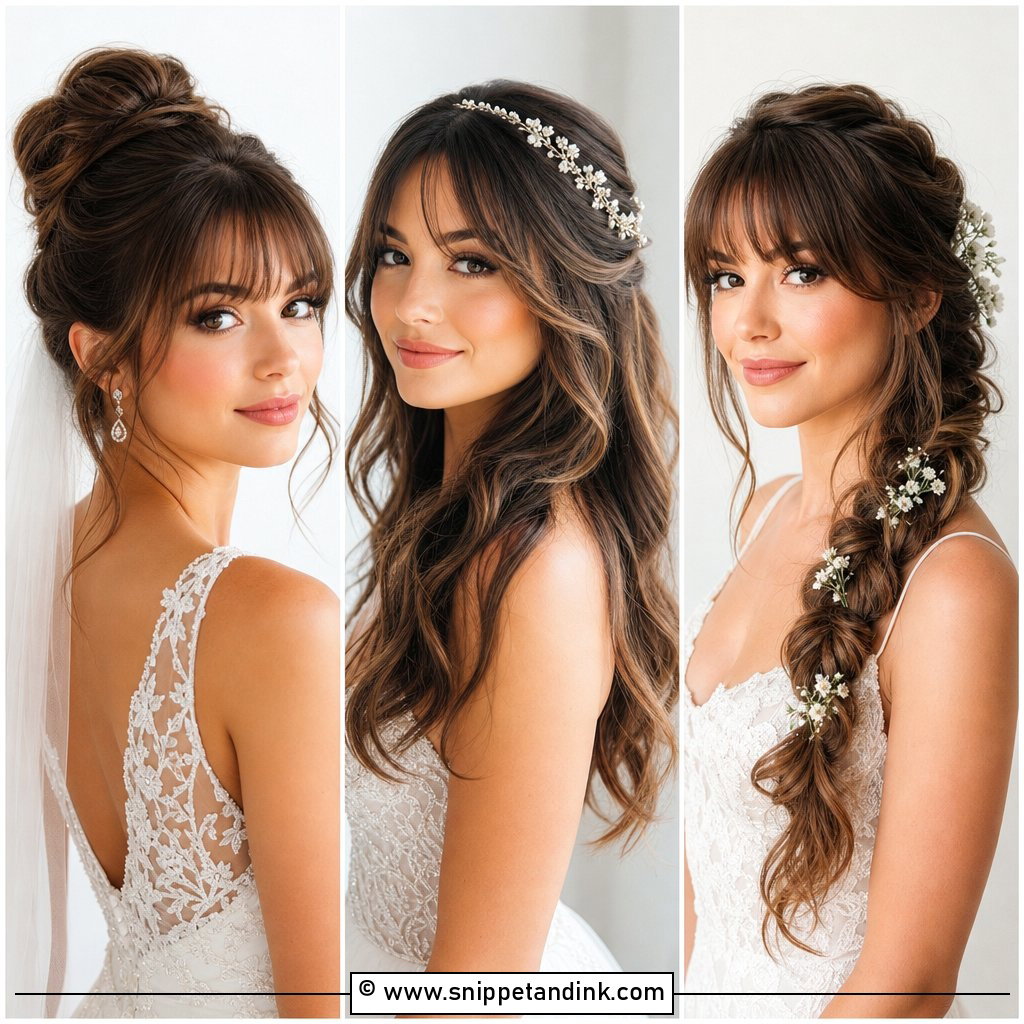
4. Bride Full Bangs With Half Up Hair
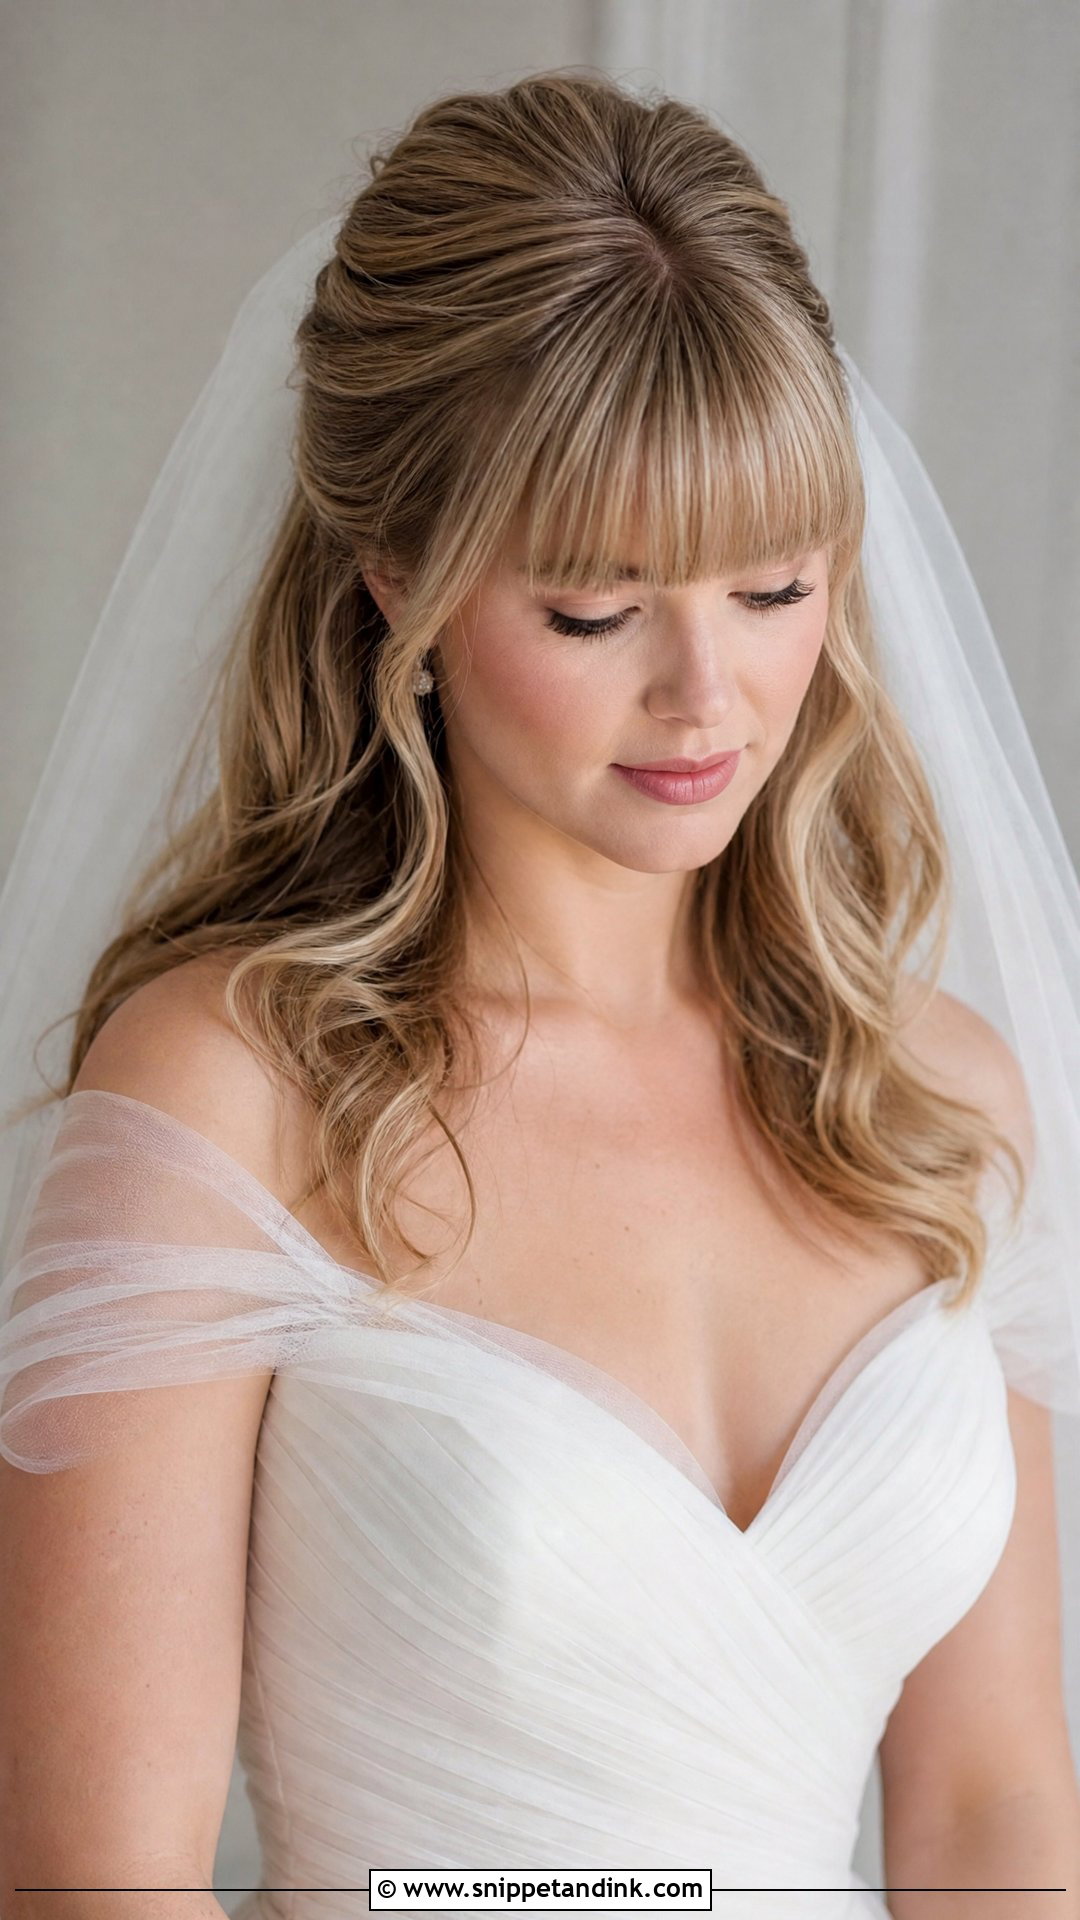
Full fringes and half-up hair are a natural match: the fringe gives you the frame, the half-up section gives your veil comb or clip something solid to hold. I like a full fringe sitting just at or slightly above the brow for this; any longer and it brushes your lashes and you’ll touch it all day. Soft curls through the lengths stop the overall look from feeling blunt. One thing I’d flag if you’re wearing lash extensions or heavy mascara: a fringe that rests on the lashes will pick up product, so we style it a touch higher.
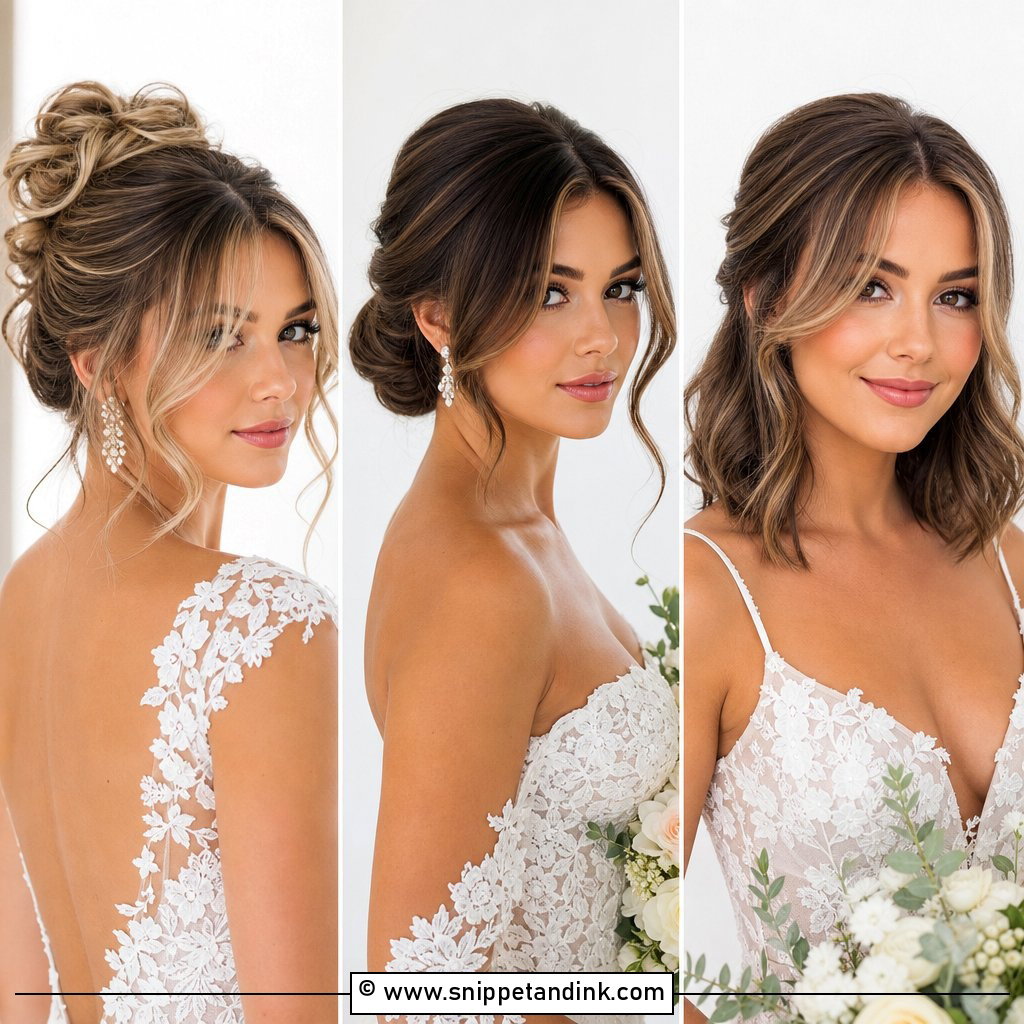
5. Bride Bottleneck Bangs With Textured Updo
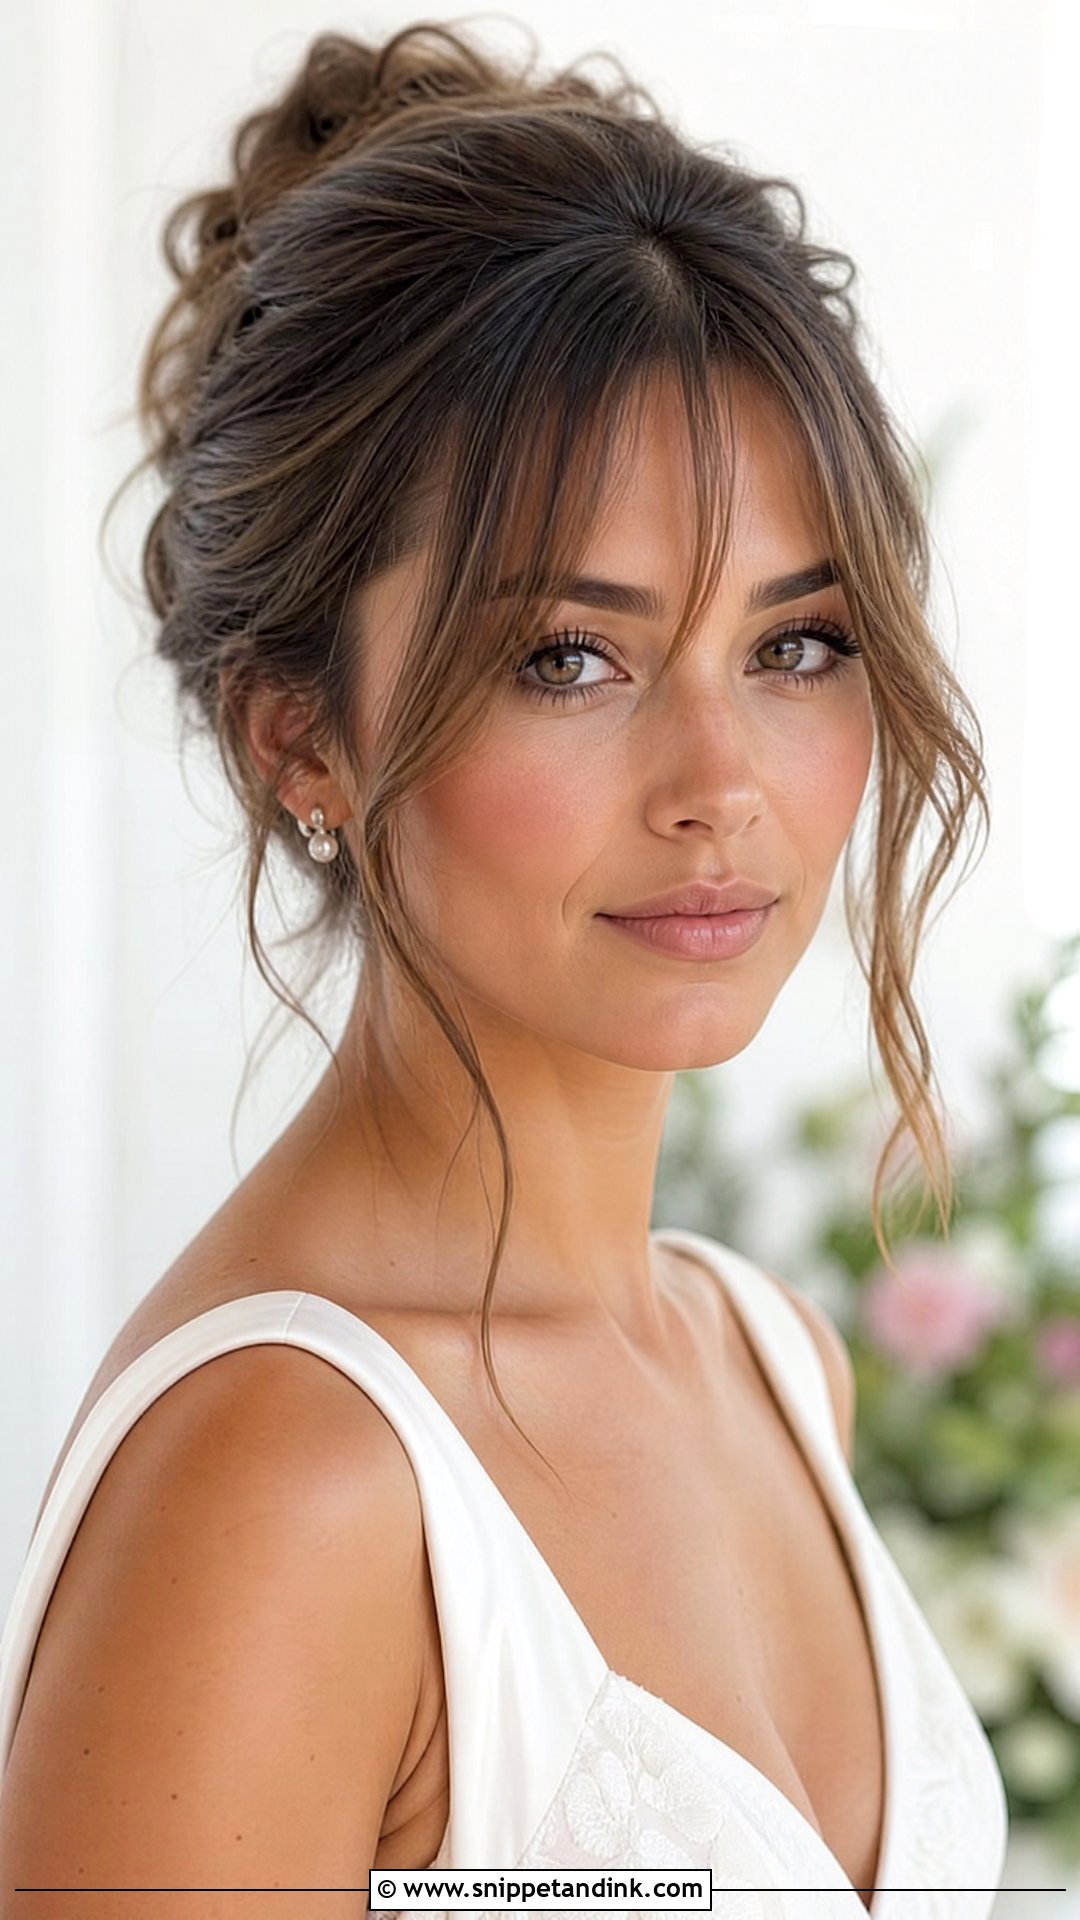
Bottleneck bangs are short and narrow at the centre, then widen and lengthen toward the cheeks, like the neck of a bottle. They frame without covering much forehead, so they don’t feel heavy. With a textured updo, I curl the side pieces away from the face so they follow the curve of the cheekbones and lead back to the hair. Dimensional colour helps here, because the layers show off different tones as they move. Leave the updo slightly loose at the crown and nape; a very tight updo makes this soft fringe look out of place.
6. Bride Long Bangs With Hollywood Waves
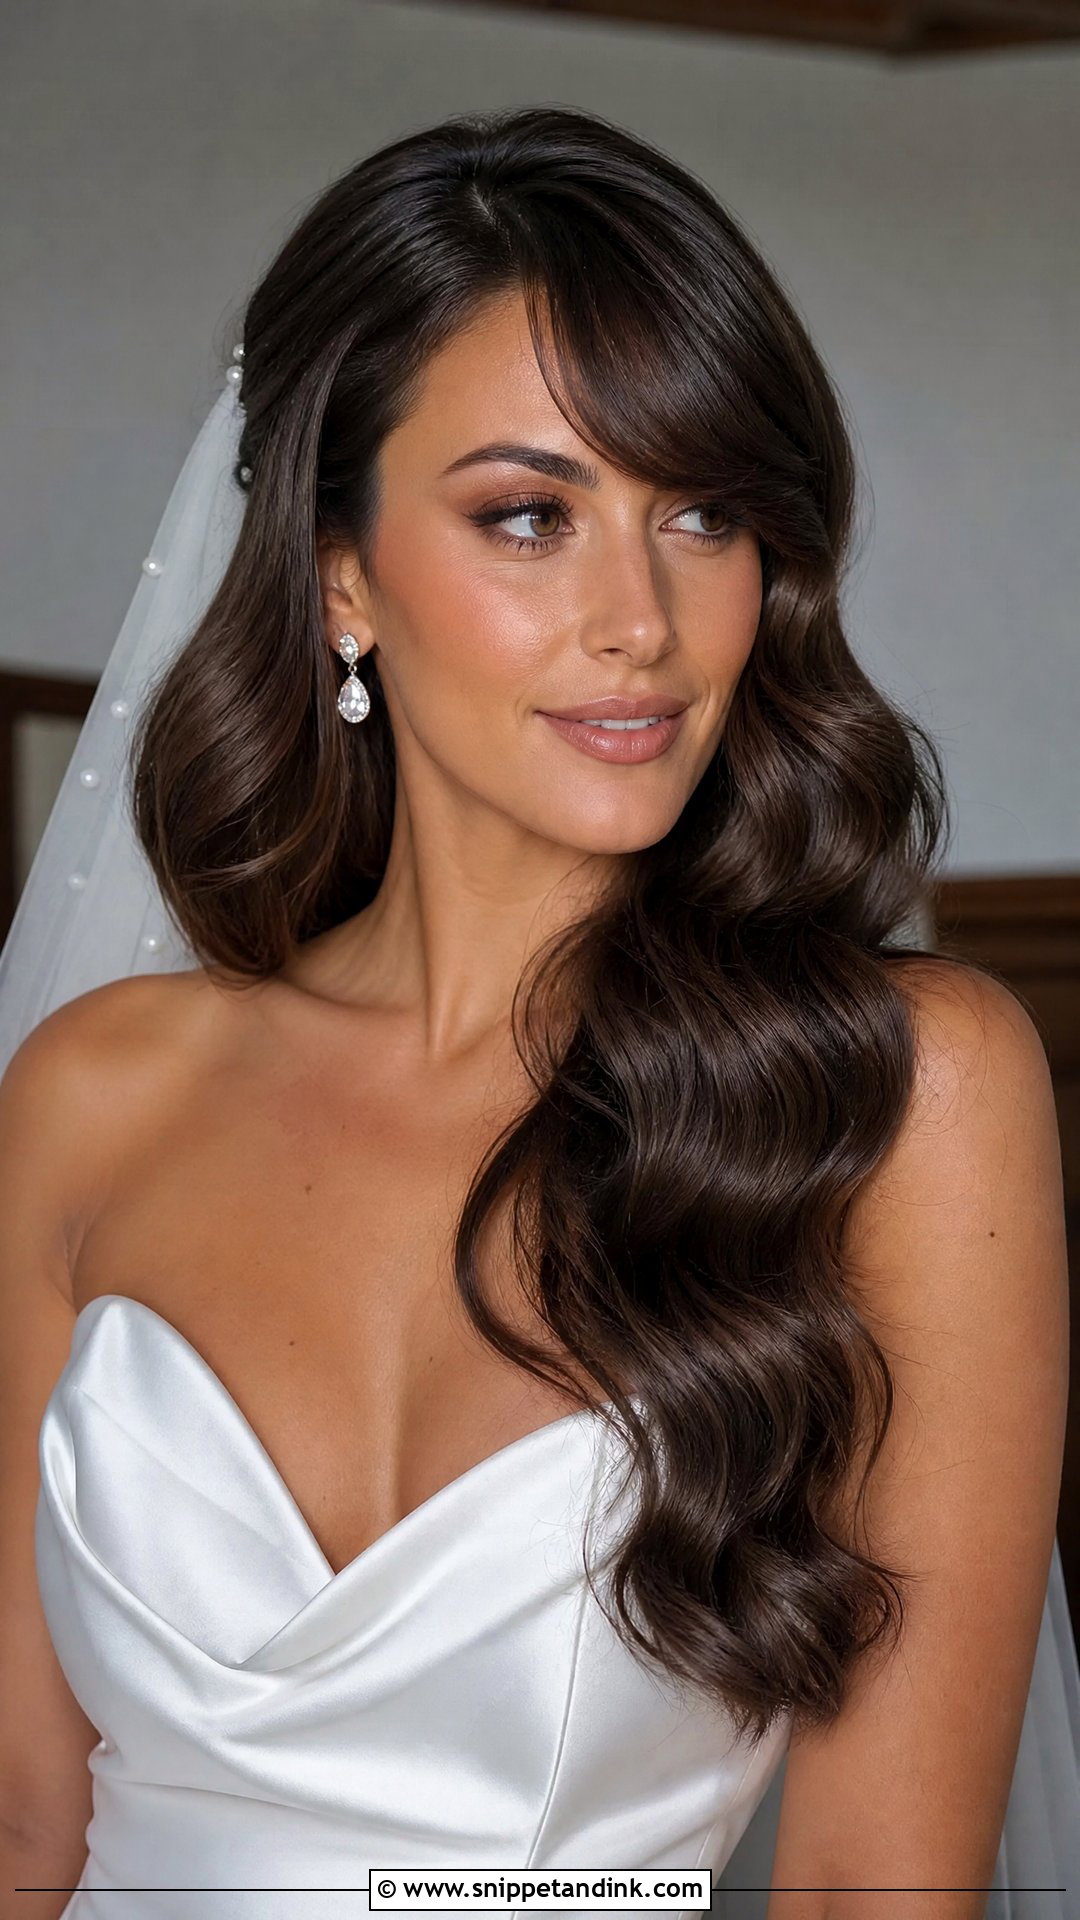
Long fringes are often grown-out bangs, and Hollywood waves are one of the best ways to wear them on the day. Instead of fighting the awkward length, I fold it into the first wave so it frames the face as part of the curve. It works especially well with a deep side-parted style and a fitted gown. The waves are set in the same direction, clipped while cooling, then brushed through with a boar bristle brush. If you’re mid grow-out, this is the style I’d point you toward before anything else.
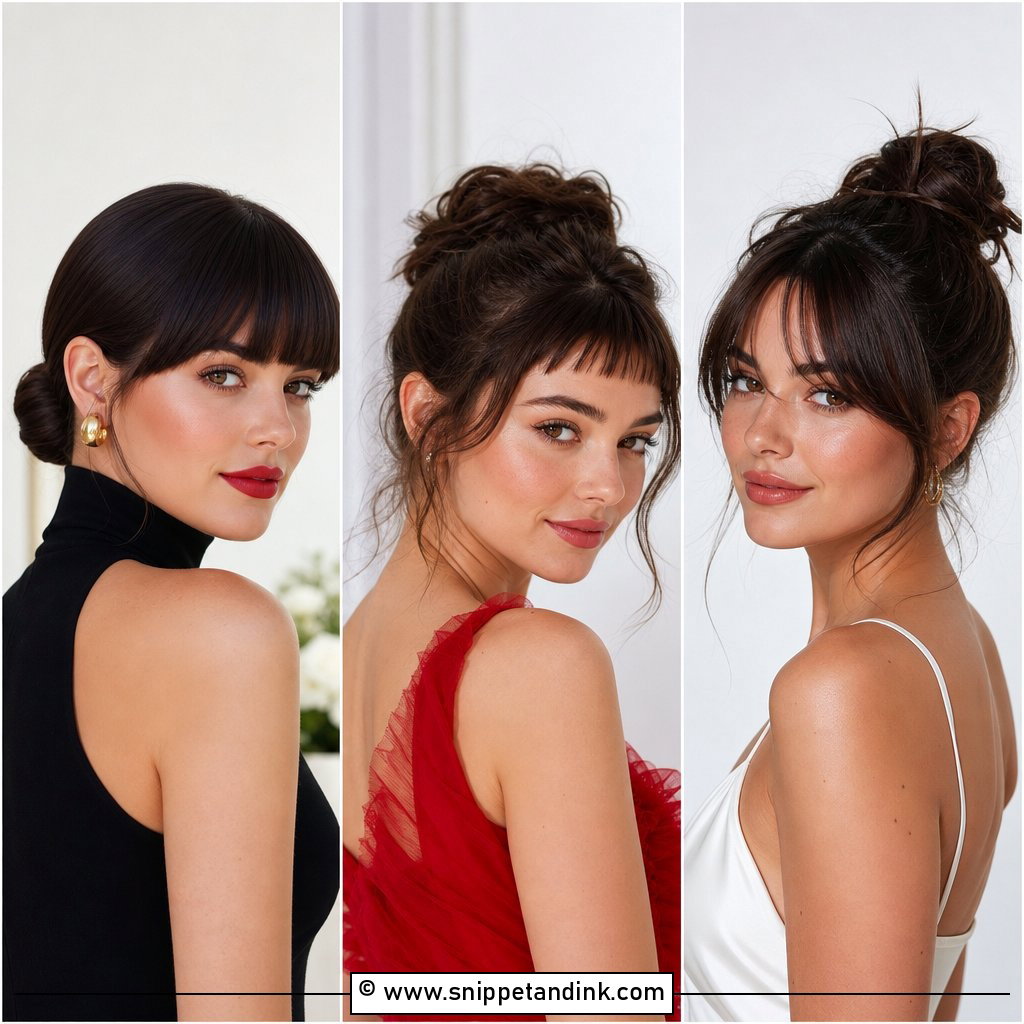
7. Bride Bardot Bangs With High Bun
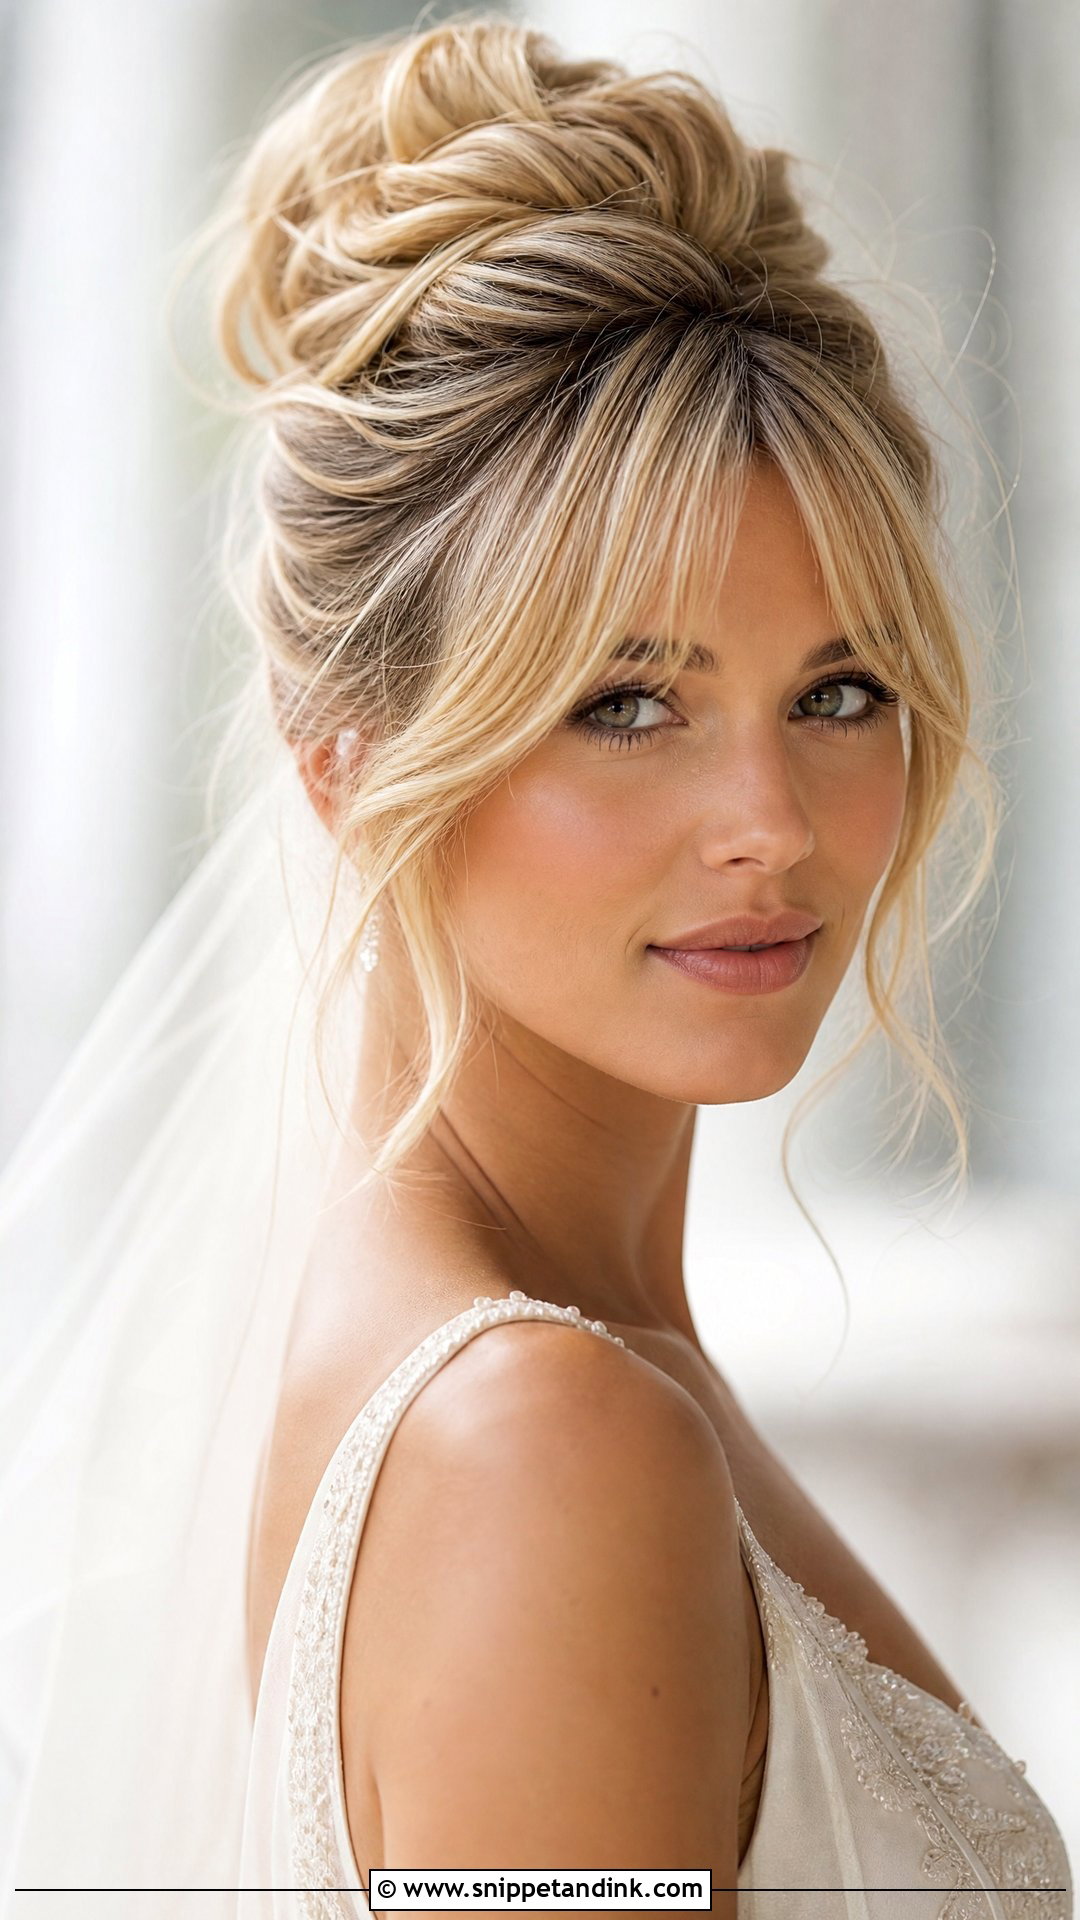
Bardot bangs sit fuller in the centre and sweep longer at the sides, which gives a high bun the softness it can otherwise lack. Without them, a top knot can look severe. I round-brush the fringe for volume at the root so it looks airy rather than flat, then build the bun at or just below the crown. Smooth or slightly undone both work. If you’re adding a veil, I’d place it behind the bun; above, it tends to crowd the fringe and makes the whole shape top-heavy in photos.
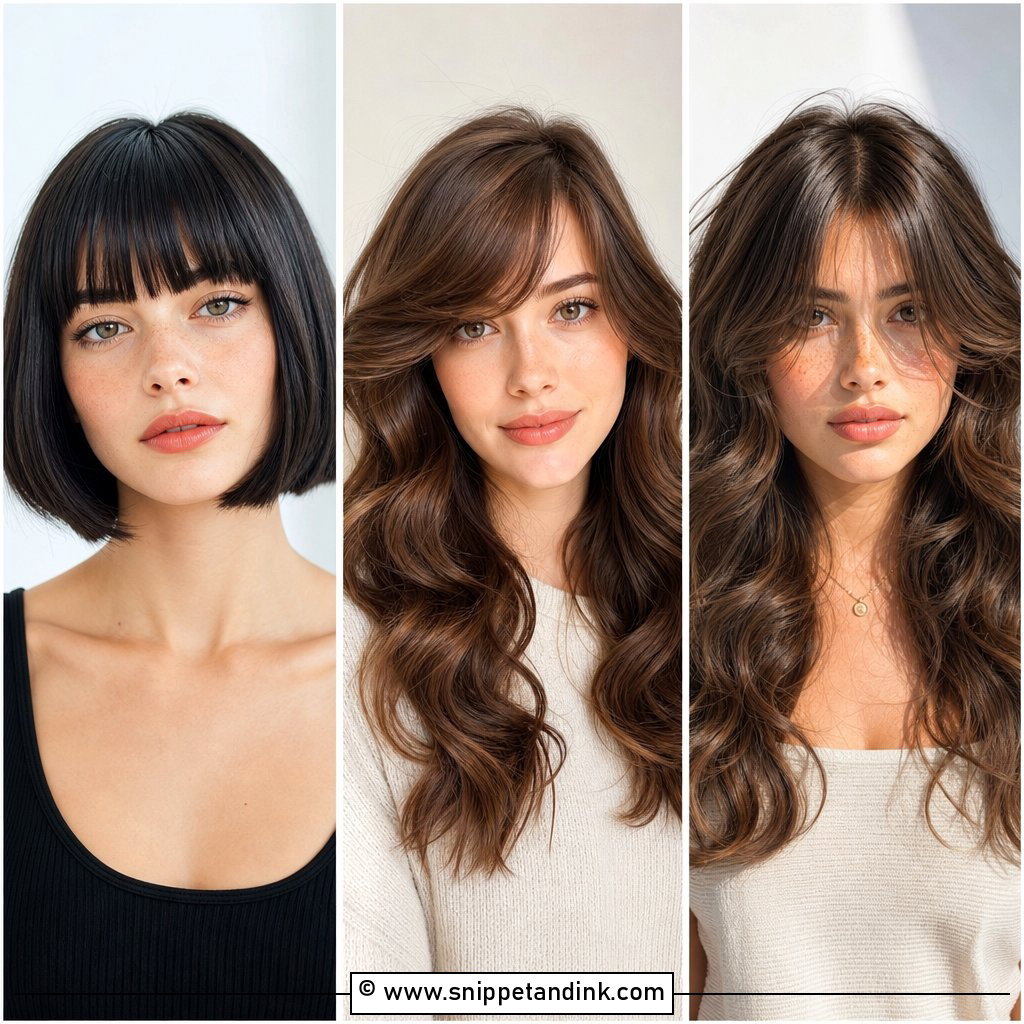
8. Bride Micro Bangs With Sleek Bob
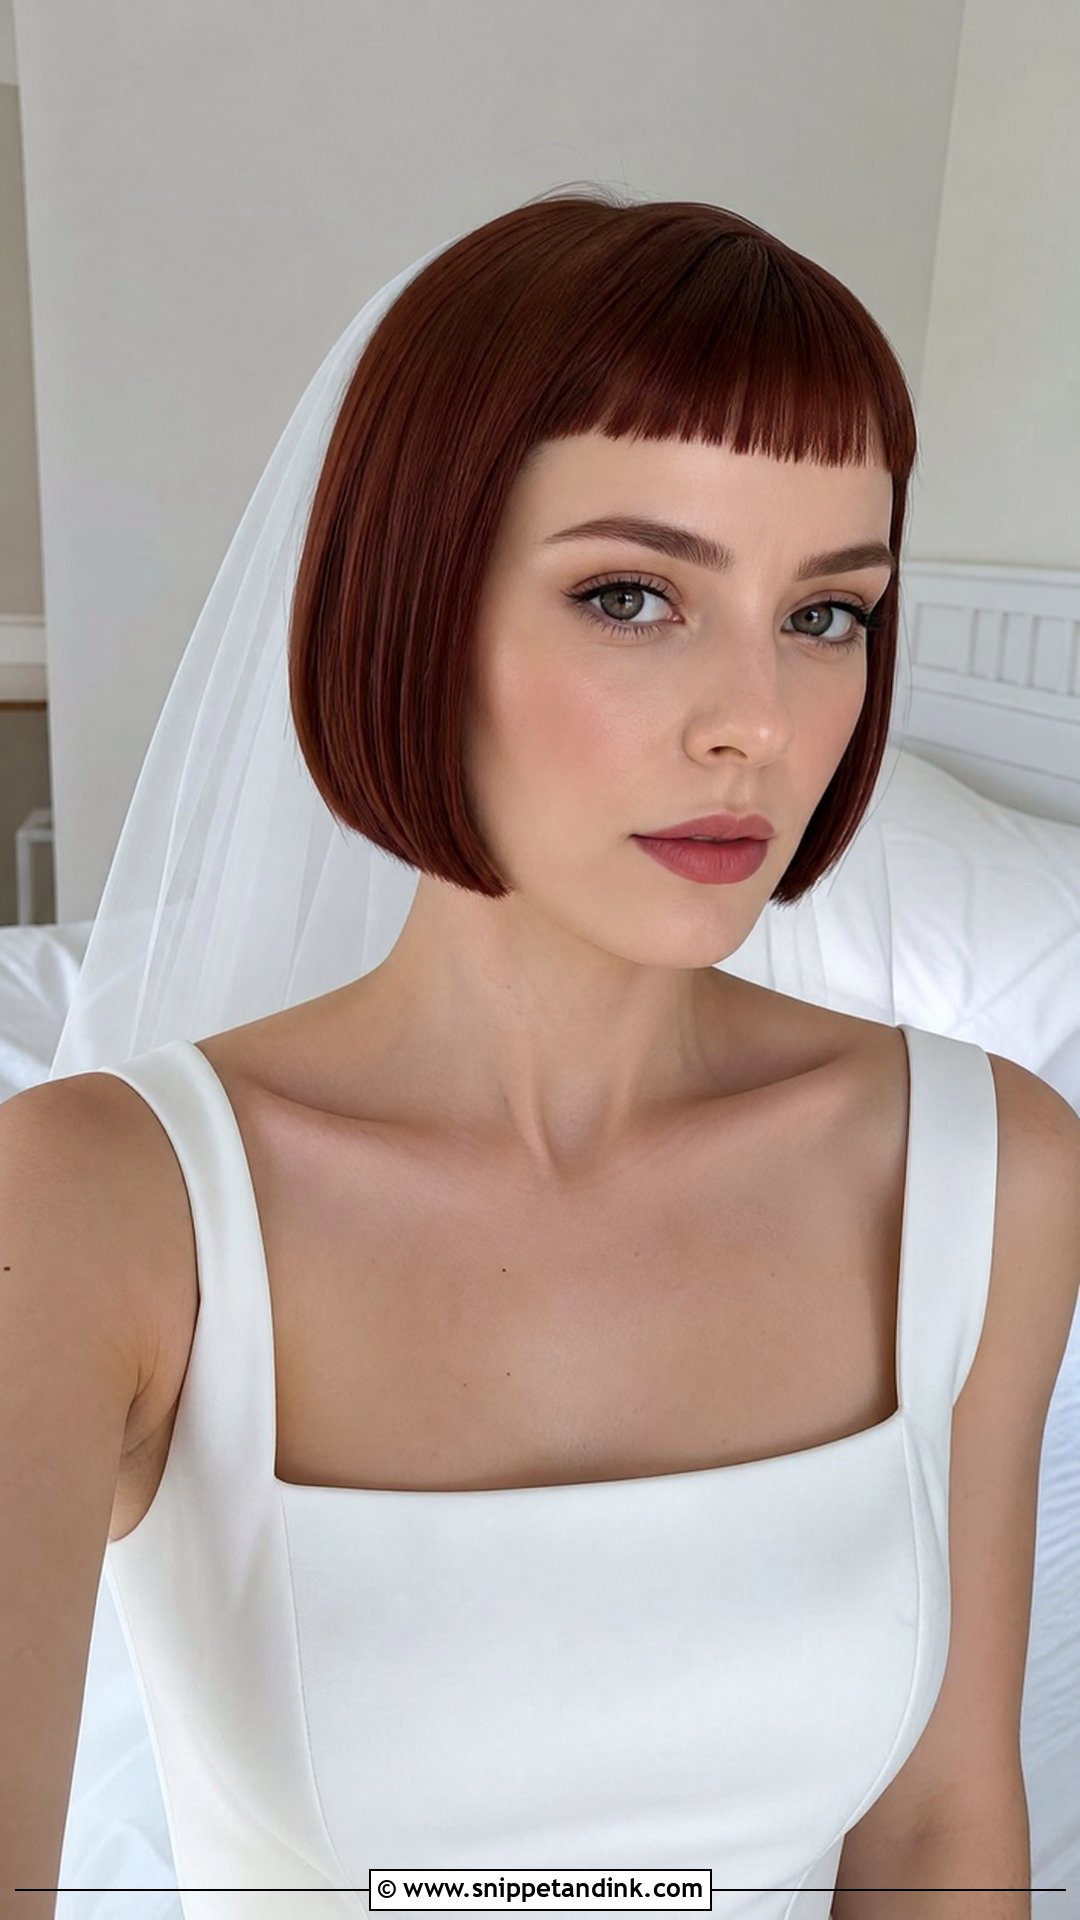
Micro bangs sit well above the brow, and they are not a look I’d suggest anyone tries for the first time near a wedding. They grow out awkwardly and there’s no way to hide them. If you already wear them, though, they look sharp with a sleek bob. Precision is everything: I’d book the trim a few days before, not the night before, so the cut line has softened slightly. A centre part reads graphic and a slight side part softens it. Minimal accessories keep the attention on the cut.
9. Bride Curly Bangs With Natural Curls
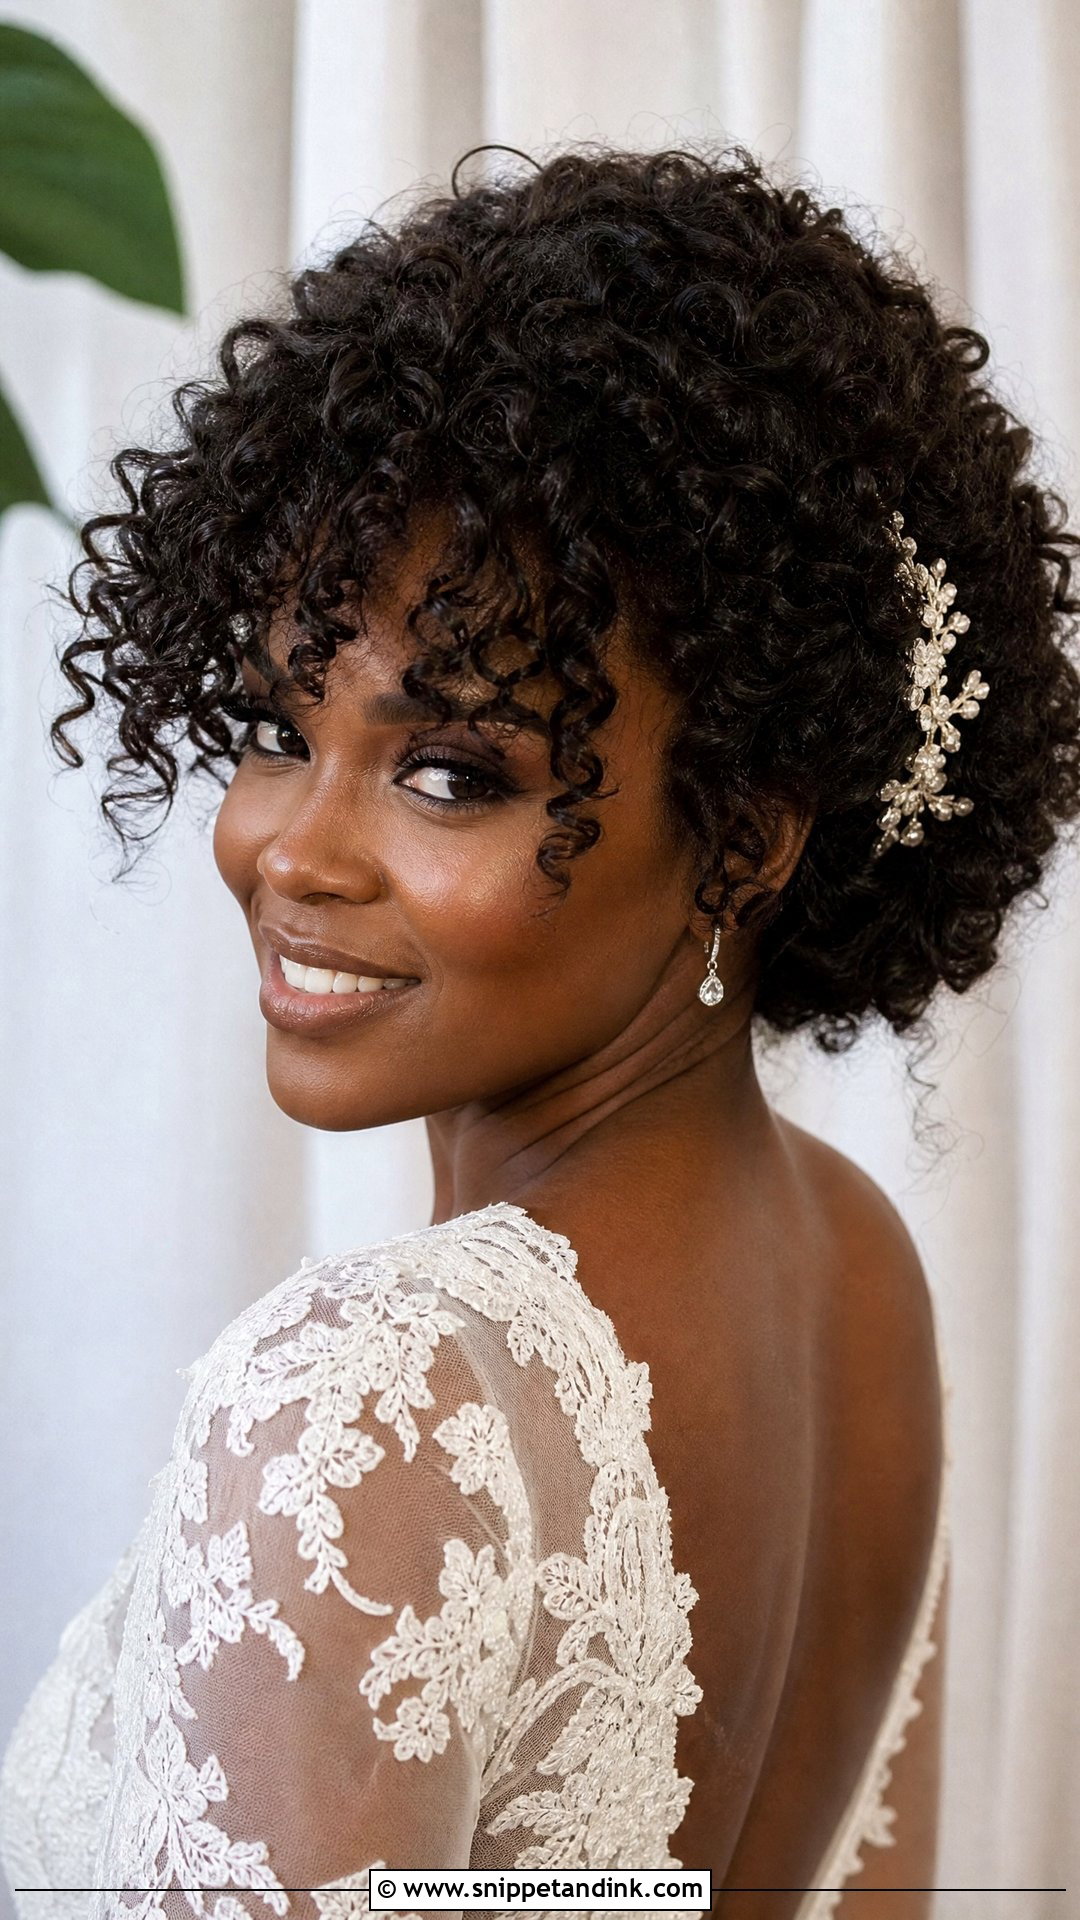
A curly fringe has to follow the curl pattern, never be blown straight for the day, or it’ll revert the moment you step outside. I define it damp with a curl cream or gel, diffuse it dry, and leave it alone. If you need a trim before the wedding, have it cut dry and curly, because curls shrink once they dry and a wet cut can leave the fringe much shorter than planned. The rest of the hair can be a rounded curly shape, pinned-back sides or a soft half-up style.
10. Bride Blunt Bangs With Sleek Updo
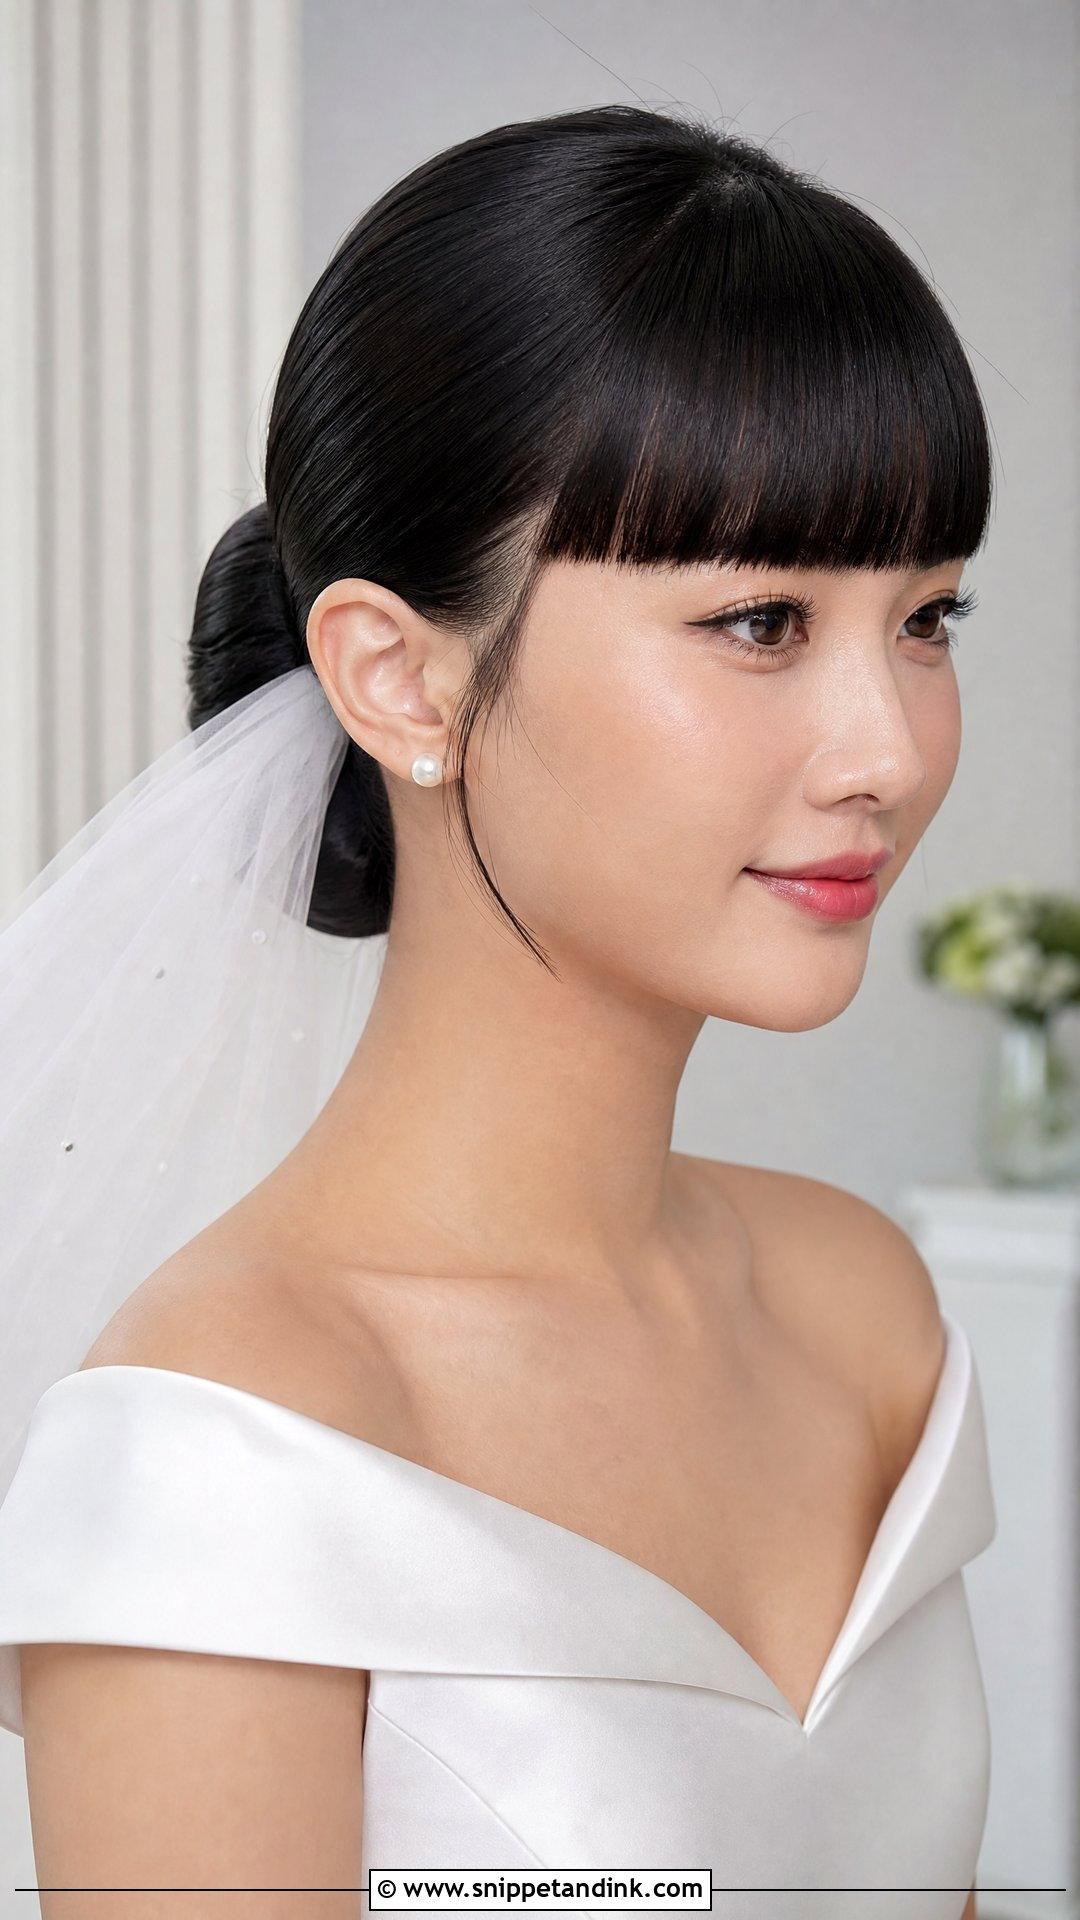
Blunt bangs show every mistake, so I style them first and check them in a mirror at eye level, not from above. I dry them with a flat paddle brush, pushing the root side to side to break any cowlick before brushing them straight down. They need a sleek updo to balance them; a loose updo next to a sharp straight-across line looks unfinished. A low sleek bun, twisted bun or wrapped knot all work. A tiny amount of shine spray, misted onto a brush rather than the hair, keeps the fringe from going greasy by evening.
11. Bride Feathered Bangs With Soft Ponytail
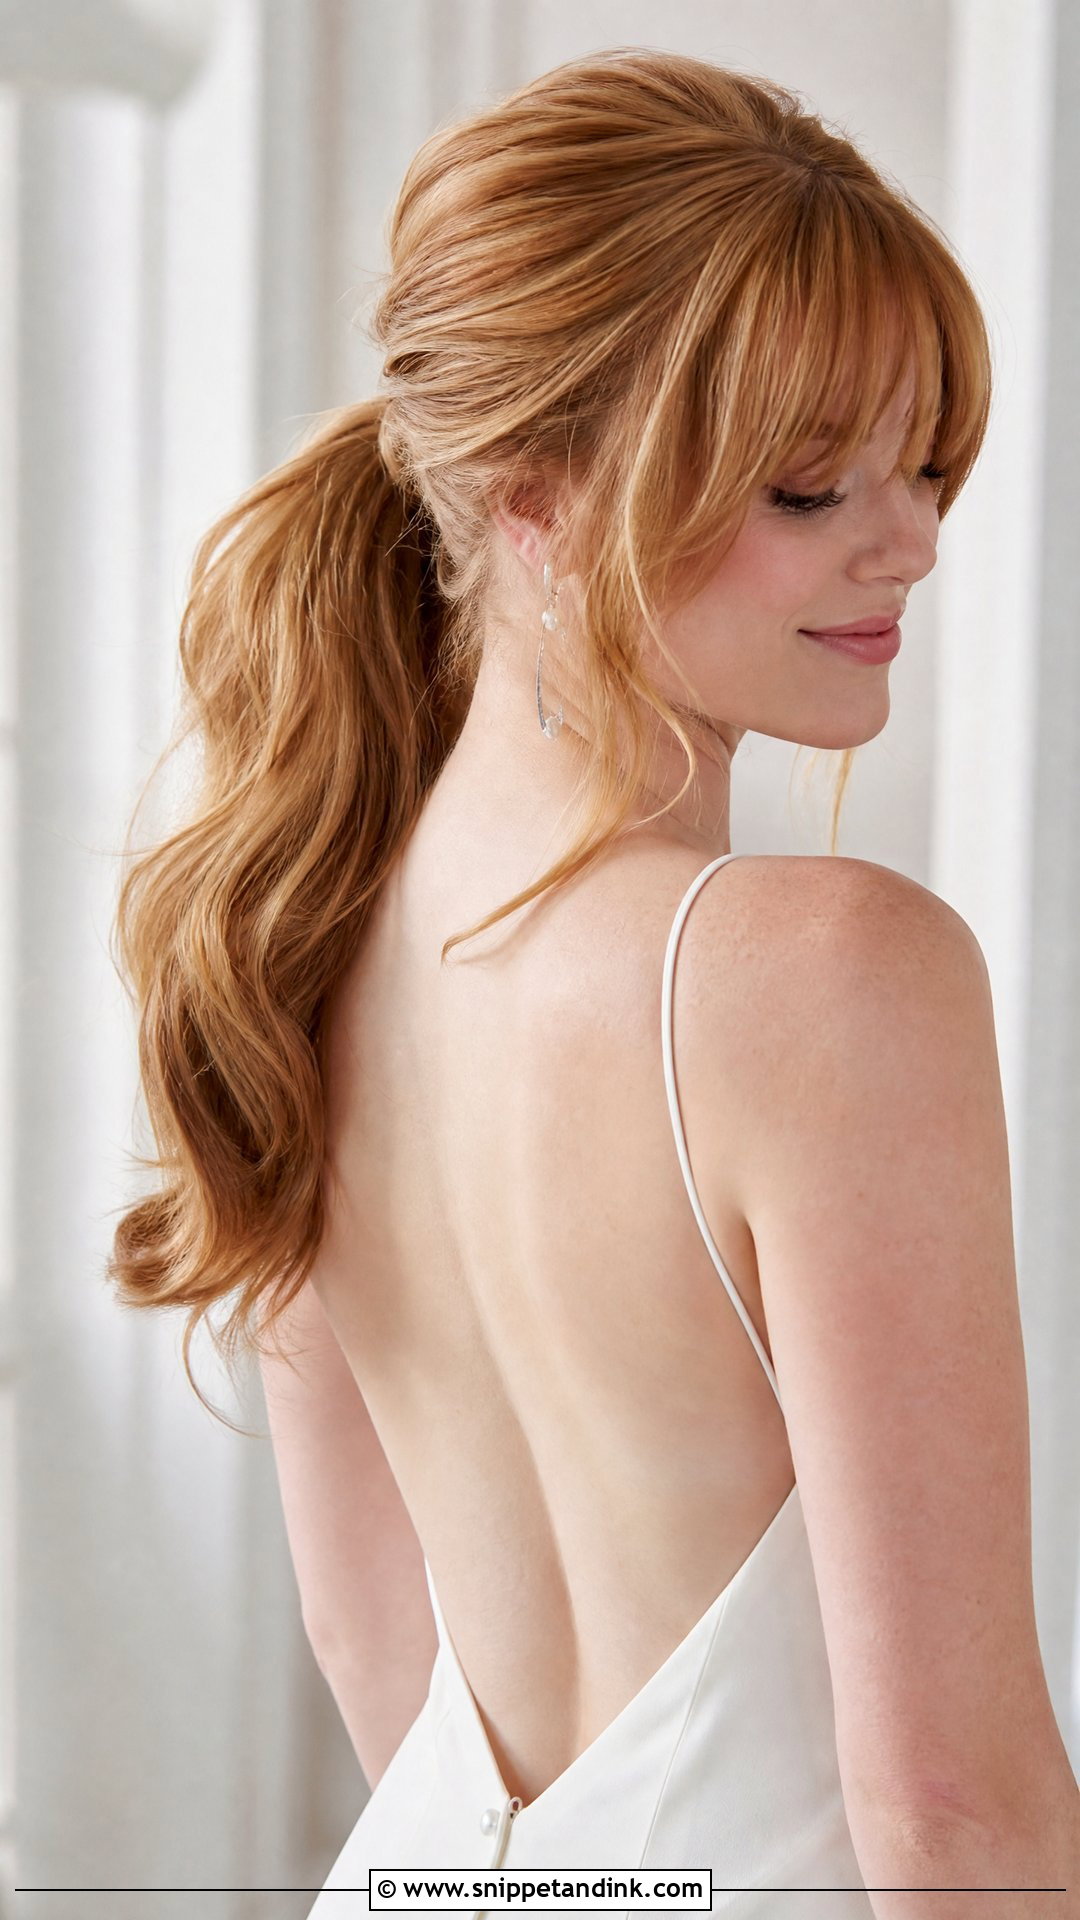
If your day is long and full of dancing, a ponytail with a feathered fringe is one of the most comfortable bridal styles I do. The fringe moves with you, and the ponytail keeps everything off the neck. I add waves through the lengths for fullness and wrap a small section around the base to hide the elastic. Feathered bangs should curve gently away from the face, not stand stiffly; I set them with a velcro roller while I work on the ponytail. Open-back gowns and outdoor venues suit it well.
12. Bride Korean Bangs With Low Ponytail
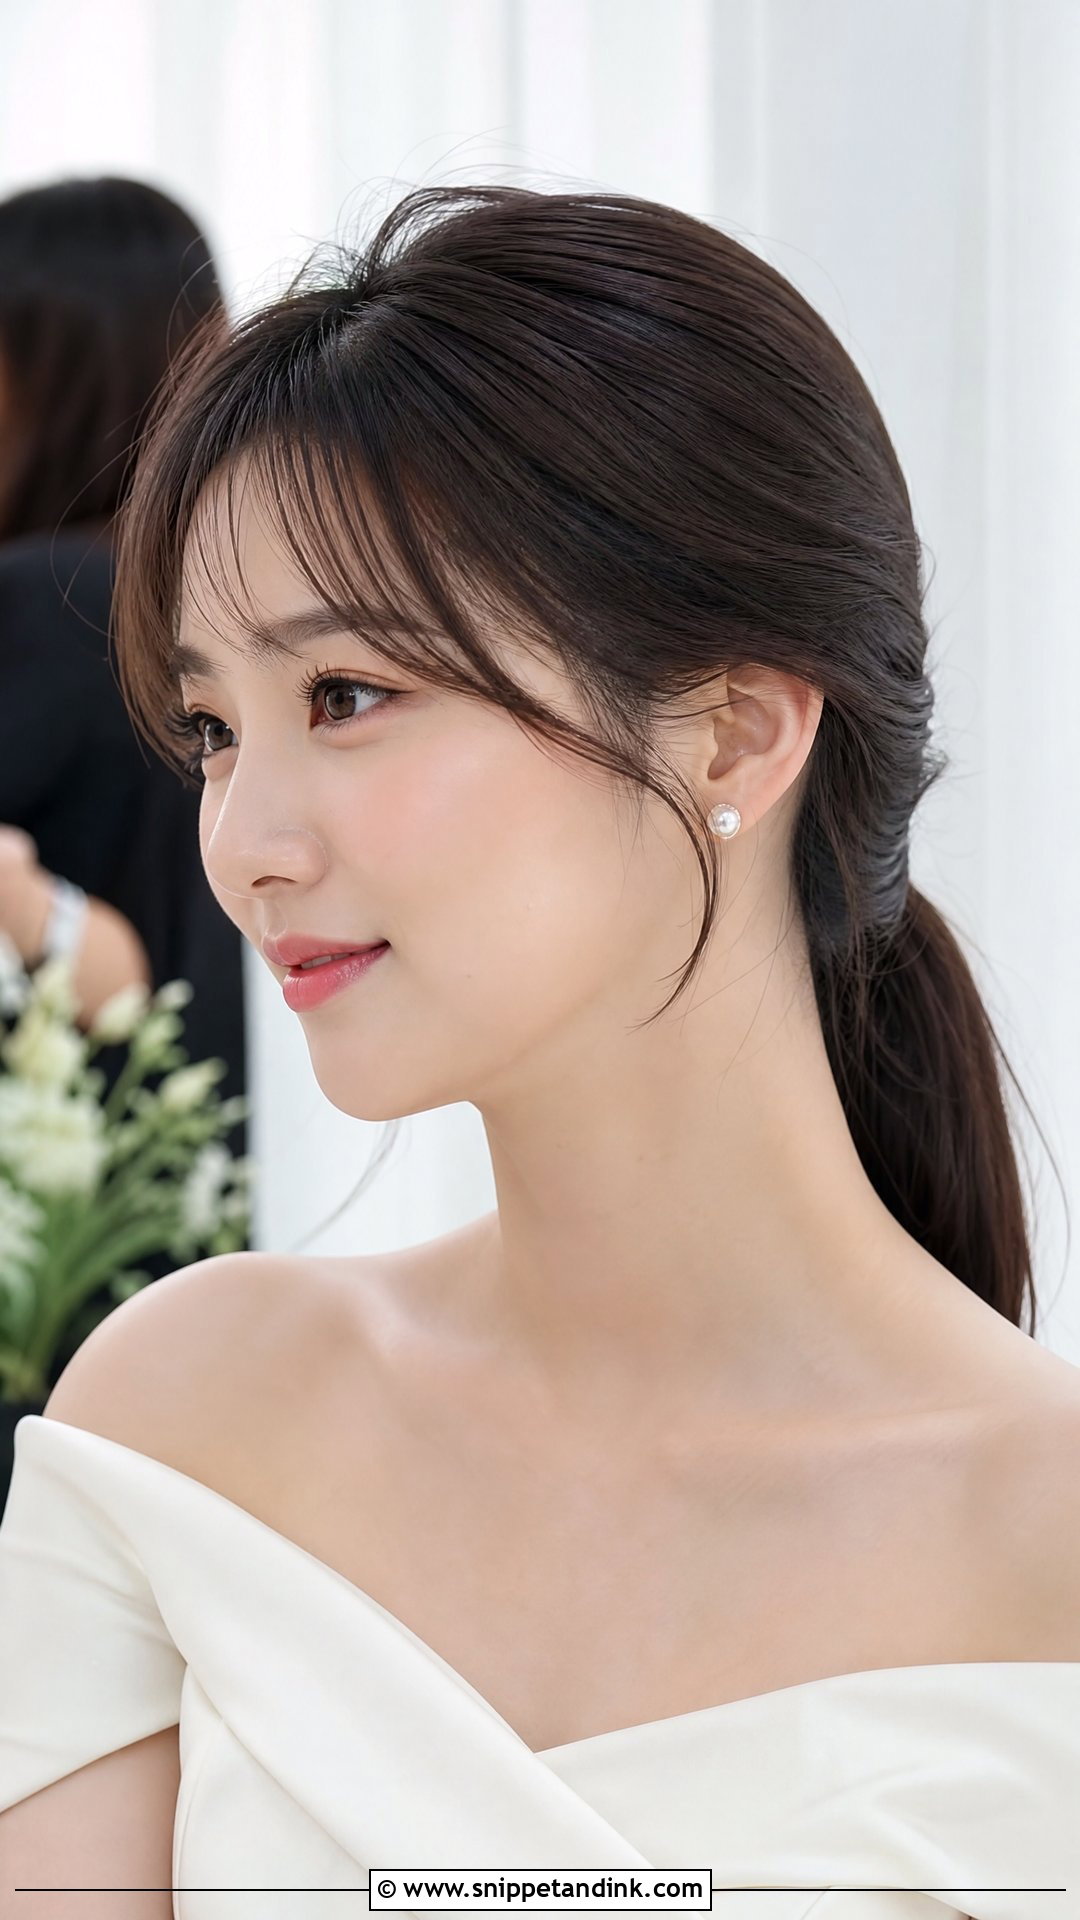
Bride Korean bangs are deliberately see-through, so the forehead shows between strands. That airy quality disappears quickly with heavy product, so I use only a little lightweight mousse at the root and set the fringe on a medium roller. A sleek or gently waved low ponytail completes the look. Subtle makeup and pearl studs or a simple ribbon suit it. The main risk here is oil from the forehead weighing the strands together, so this fringe needs blotting more than most.
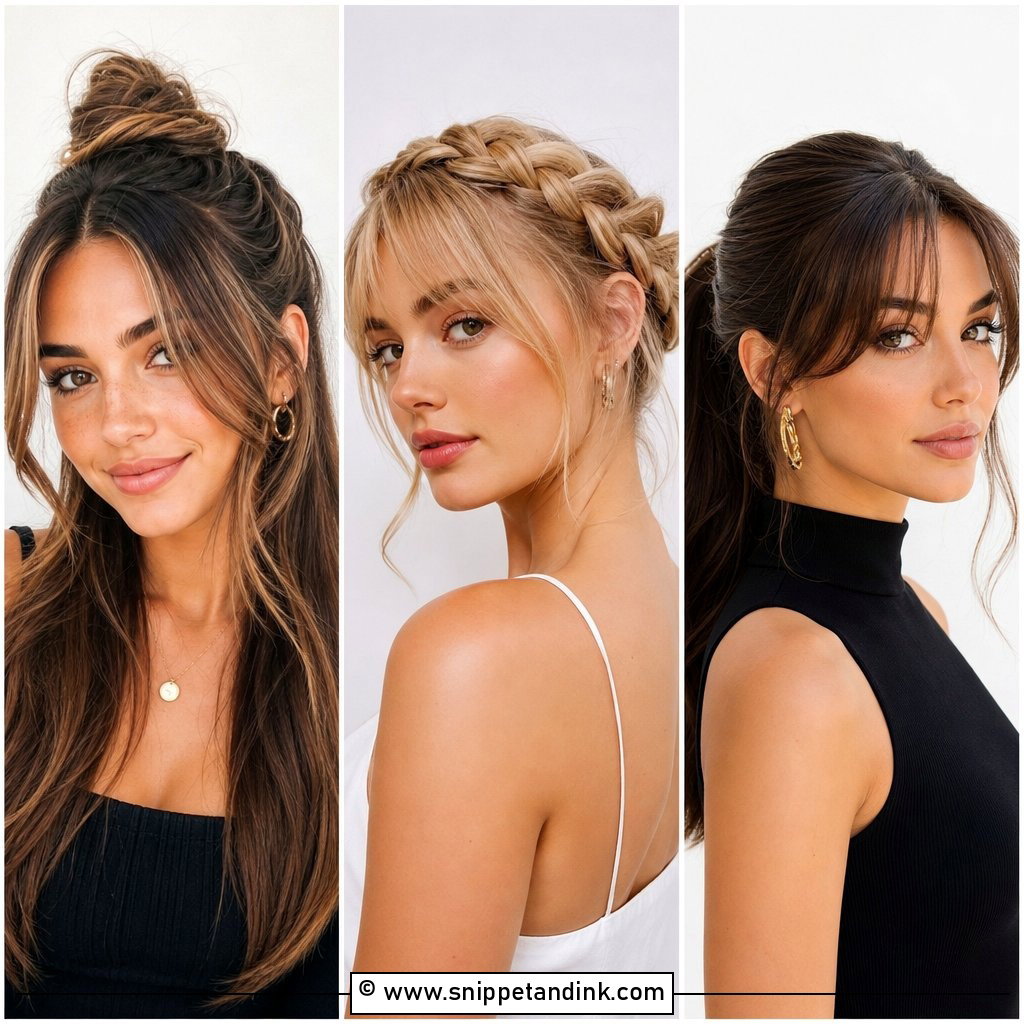
13. Bride Face Framing Bangs With Braided Crown
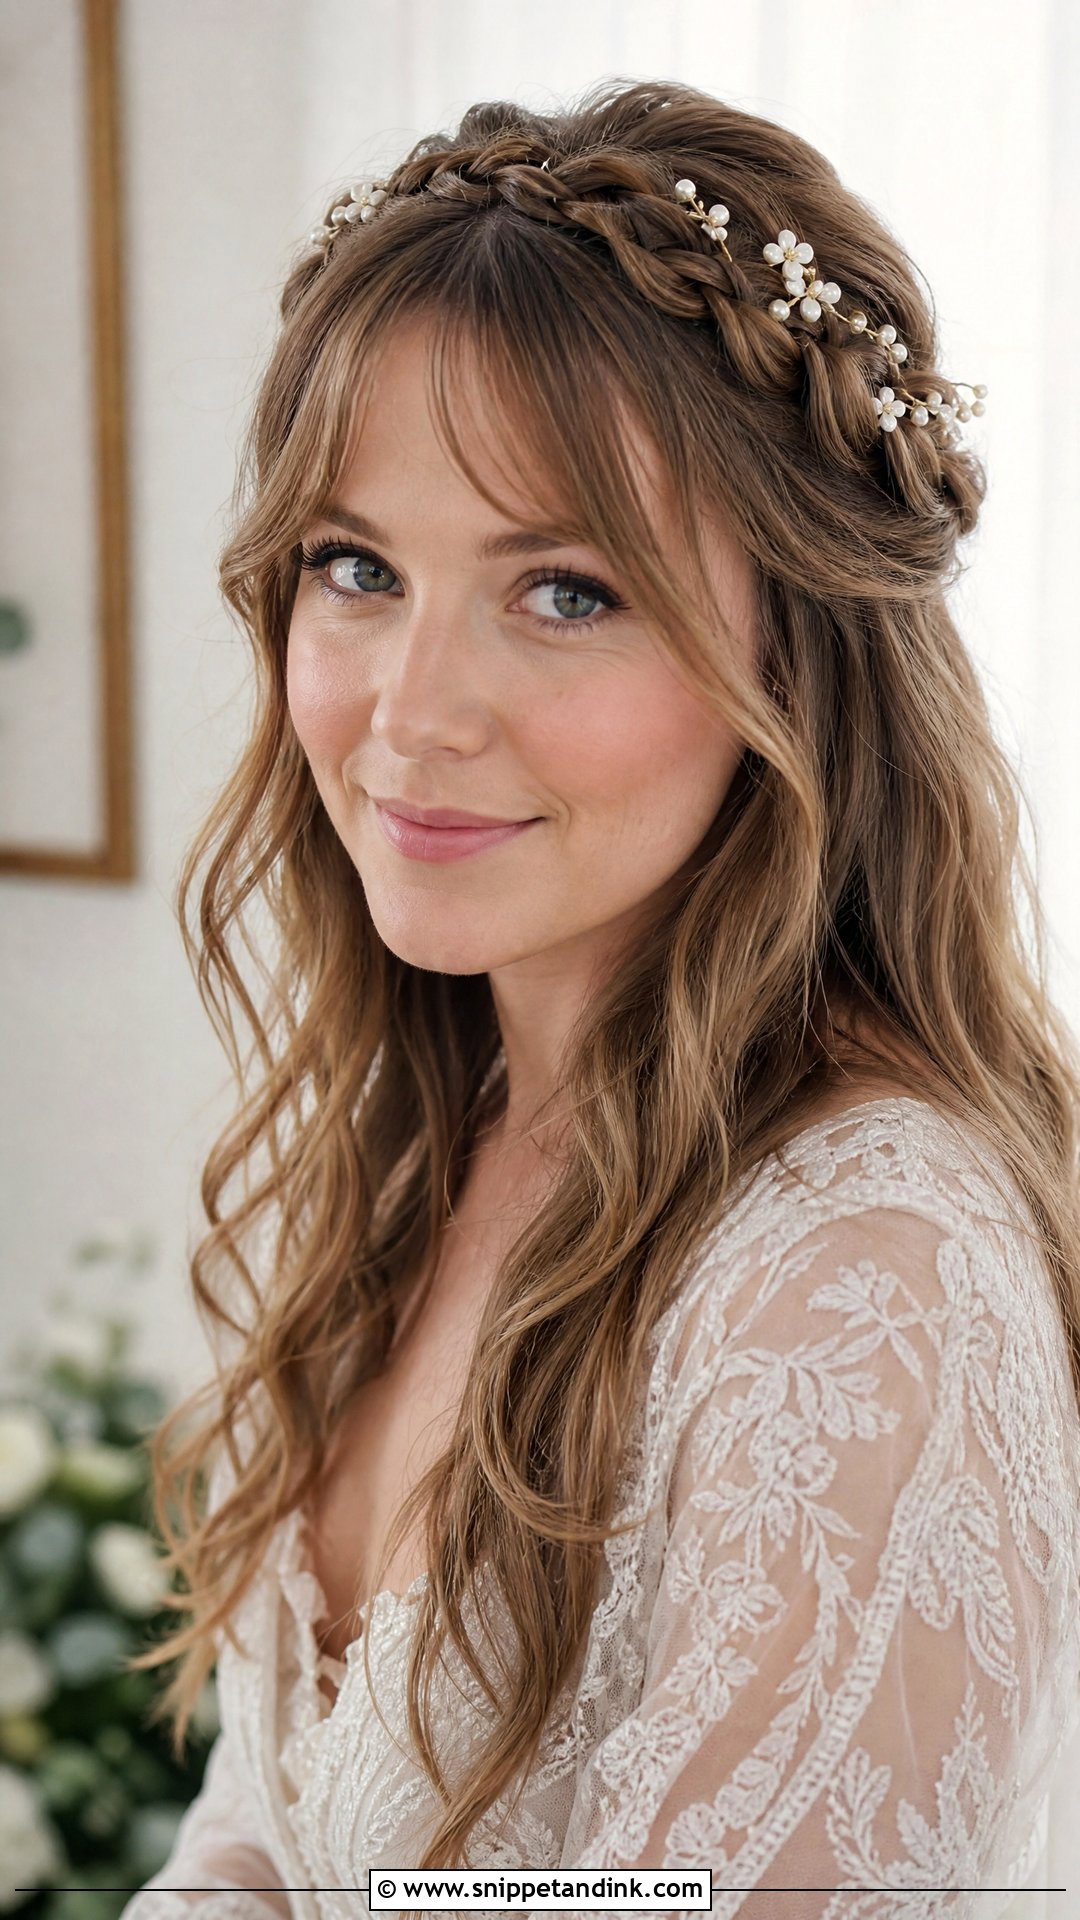
Face-framing pieces with a braided crown give you two layers of softness: loose strands at the cheeks and texture at the top. I braid the crown first, then shape the front pieces with a curling wand so they curve backward and lead the eye toward the braid. Medium to long hair is best, with waves through the lengths. Small floral pins or pearls can go along the braid. If your face-framing layers are shorter than chin length, they may drop out of the braid, so tell your stylist where they sit before the trial.
14. Bride Shaggy Bangs With Layered Hair
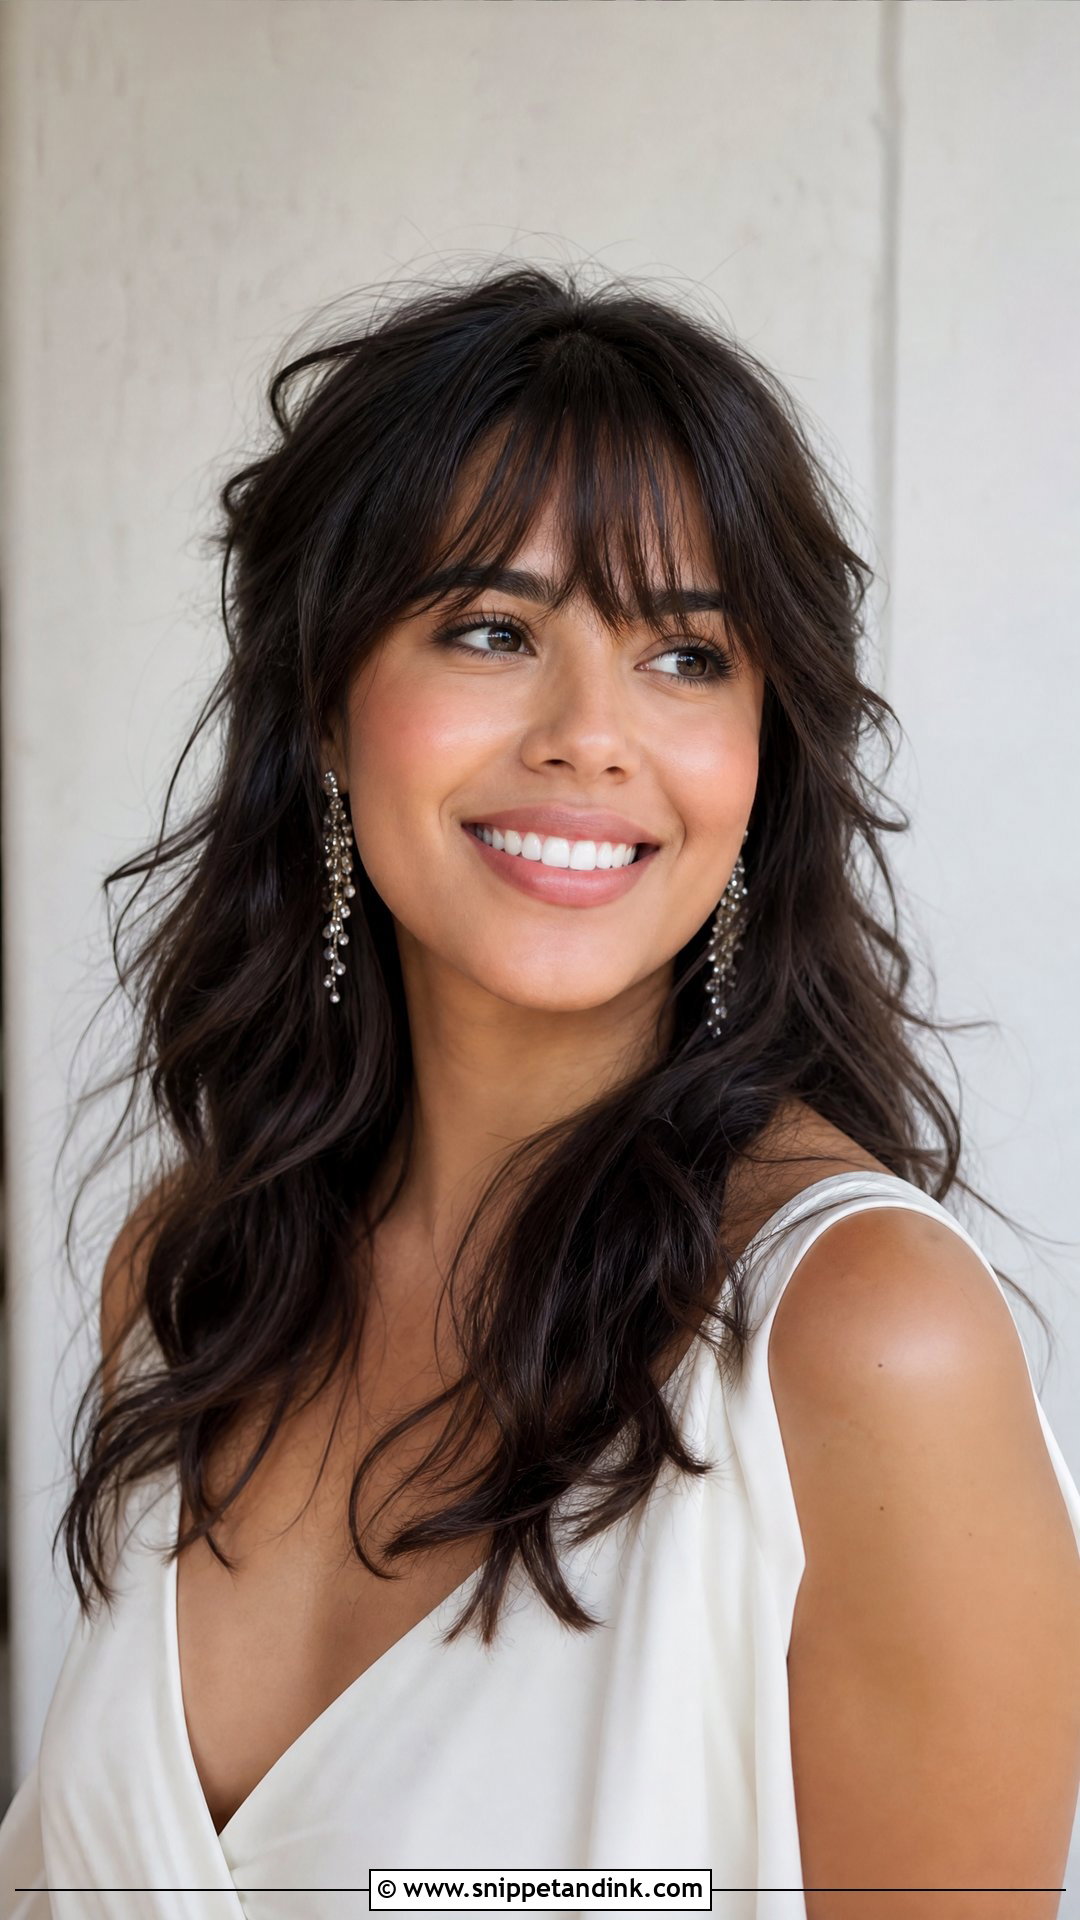
Shaggy bangs are cut to look piecey, and they need texture to look intentional rather than overgrown. I scrunch in a little texture spray and twist a few pieces around my finger instead of using a brush. Layered hair worn down or half-up suits it, with small pinned sections at the temples if you want the face clearer. It’s a great fit for relaxed and creative weddings. I’d skip it if you’re planning a very polished, formal look; the shag will fight a sleek updo all day.
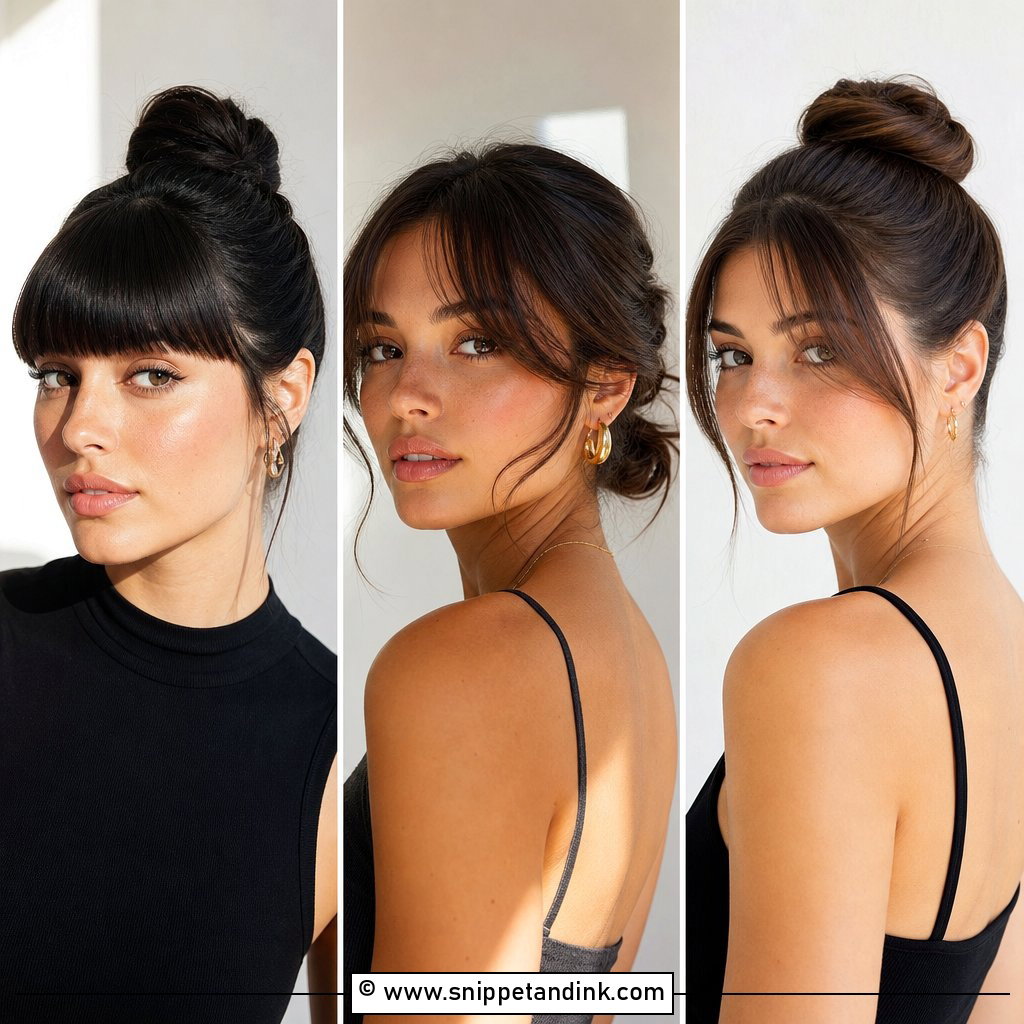
15. Bride Butterfly Bangs With Voluminous Blowout
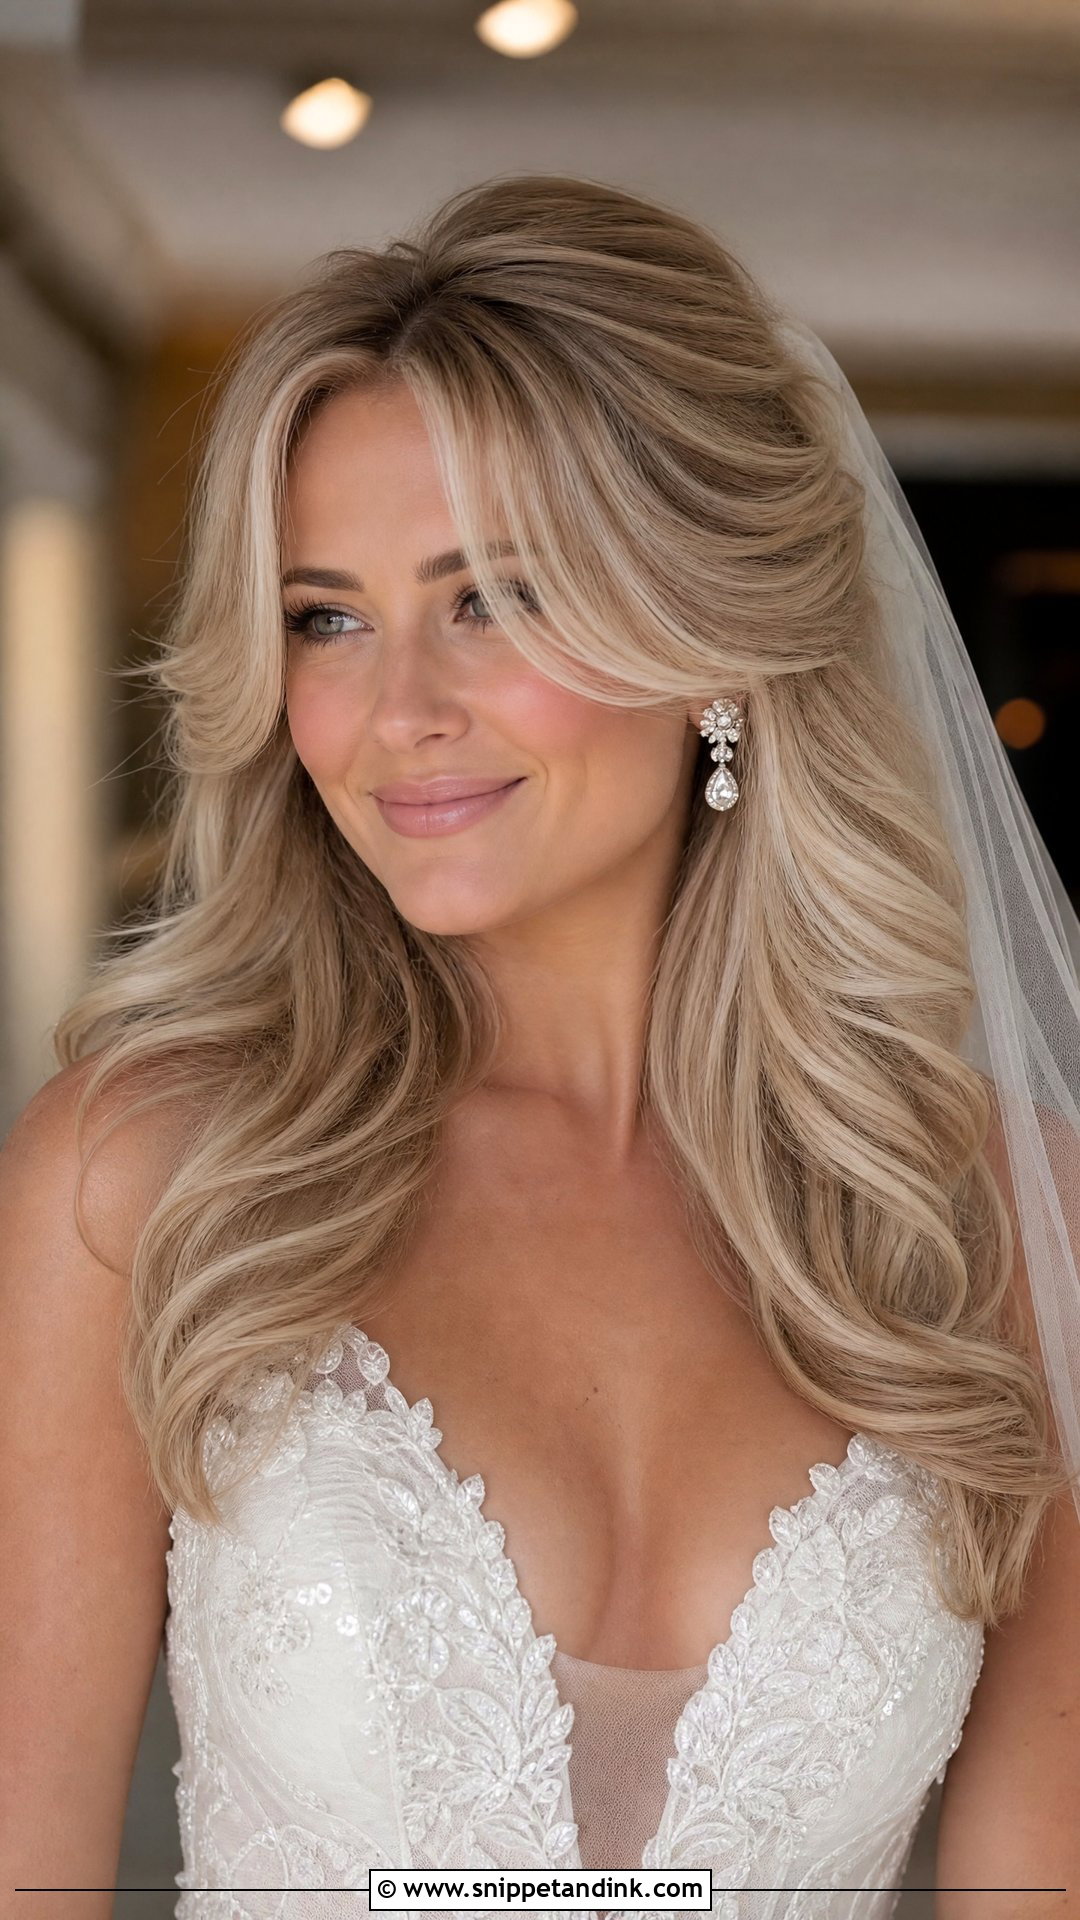
Butterfly bangs blend into long face-framing layers, so they work best with hair worn down. With a voluminous blowout, I set the fringe and front layers on large rollers pointed away from the face, let them cool fully, then brush out gently for that lifted, curved shape. Smooth roots and curved ends give it polish. Volume drops in humidity, so for an outdoor summer wedding I’d add a little more root lift than you think you’ll need.
Trim It About a Week Out, Not the Night Before
Freshly cut bangs always look a little too blunt and a little too short for the first few days. The ends need time to soften and the fringe needs time to settle into its natural fall. I suggest a final fringe trim roughly five to seven days before the wedding, with your usual stylist, and ask them to take off less than they normally would.
Please don’t trim it yourself the night before. Wedding-week nerves, kitchen scissors and bathroom lighting are a bad mix, and a fringe cut too high can’t be undone in time.
Sweat, Foundation and a Fringe That Splits by the Speeches
The most common bridal fringe problem isn’t the cut. It’s the forehead underneath. Skin oil, warmth and foundation make the fringe stick together into separate strands by mid-afternoon.
Prep the skin under the fringe
I ask your makeup artist to keep foundation light and well set across the forehead and to powder that zone more than usual. Before styling, I mist a little dry shampoo on the underside of the fringe, close to the root. It absorbs oil before it reaches the hair.
What to pack for touch-ups
- Blotting papers, pressed onto the forehead, not the hair.
- A travel-size dry shampoo for the underside of the fringe.
- A small round brush or a cordless mini straightener to reshape it.
- A couple of flat clips to hold it back while you eat or freshen up.
Build the Look Around the Fringe You Already Have
A fringe can tip a wedding look toward romantic, sleek or bold, and the cut you already wear is usually the right starting point. If you have bangs, plan the style around them instead of hiding them. Bring your veil and earrings to the trial so we can see how the fringe sits with both, and tell your stylist which way it falls on a normal day, because that’s the way it’ll want to fall on the wedding day too. Comfort matters most: a fringe you aren’t touching all evening is the one that still looks right in the last photos.
You'll Like These Ideas:


Leave a Reply