
Curls do something in wedding photos that straight hair rarely manages: they catch light, they move when you turn, and they soften the frame around your face. That holds for the bride, for a bridesmaid, or for a guest who wants to look more dressed up than usual. The catch, and the thing I spend most of a trial on, is that a curl has to survive a long day. Some people in my chair want them loose down the back; others need a bun or ponytail that won’t give way during hugs and dancing. Below are fifteen shapes I actually build, with notes on where each one tends to fail and what I do about it.
How I Set Curls So They Last Past the Speeches
Most heat-set wedding curls fall out for one reason: they were brushed or touched before they cooled. A curl takes its shape as the hair cools, not while it’s hot. So I wrap each section, release it into my palm, and pin it in a coil against the head until the whole set is done. Only then do I brush it out. It looks odd for twenty minutes, and it’s the difference between curls at the cake cutting and limp waves by dinner.
- Wash the day before, not the morning of. Squeaky-clean, silky hair is slippery and drops curl faster.
- I put a light mousse or setting spray through damp hair before any heat touches it. That gives the curl something to grip; heavy oils do the opposite.
- Barrel size matters more than people expect. A thicker barrel gives a looser, glossier wave that relaxes gently; a thin one gives tight curls that look stiff at first and settle by the ceremony.
- Brush out with a wide paddle brush or fingers only, and save the final spray until the shape is exactly where you want it.
If your curls are natural
The rules change. I’m not setting a shape with heat, I’m defining one that already exists, so the work happens on wash day: a curl cream or gel applied to soaking-wet hair, left to dry into a cast, then scrunched out once fully dry. Wash the day before and let it dry overnight or under a hooded dryer. Rushing natural curls on the wedding morning is how they end up puffy at the roots and stringy at the ends.
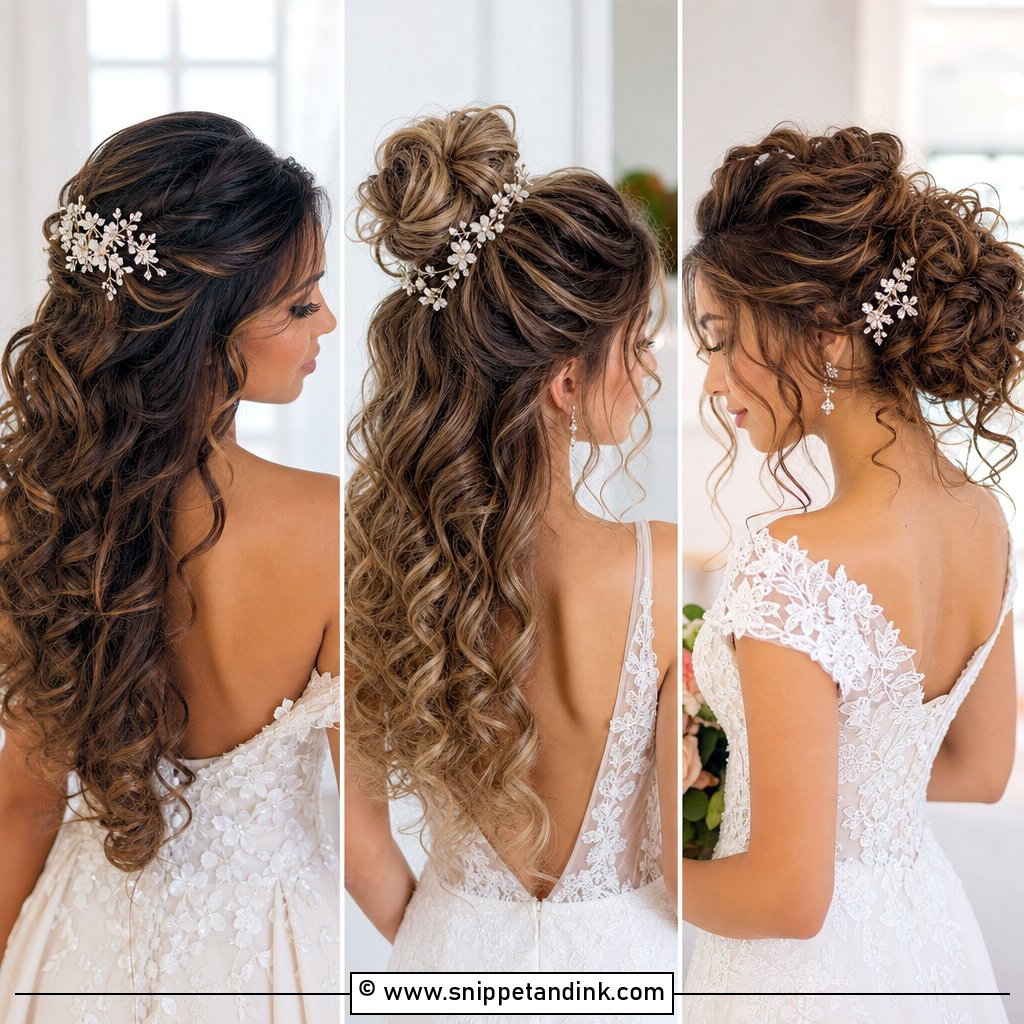
1. Half Up Curly Wedding Hair
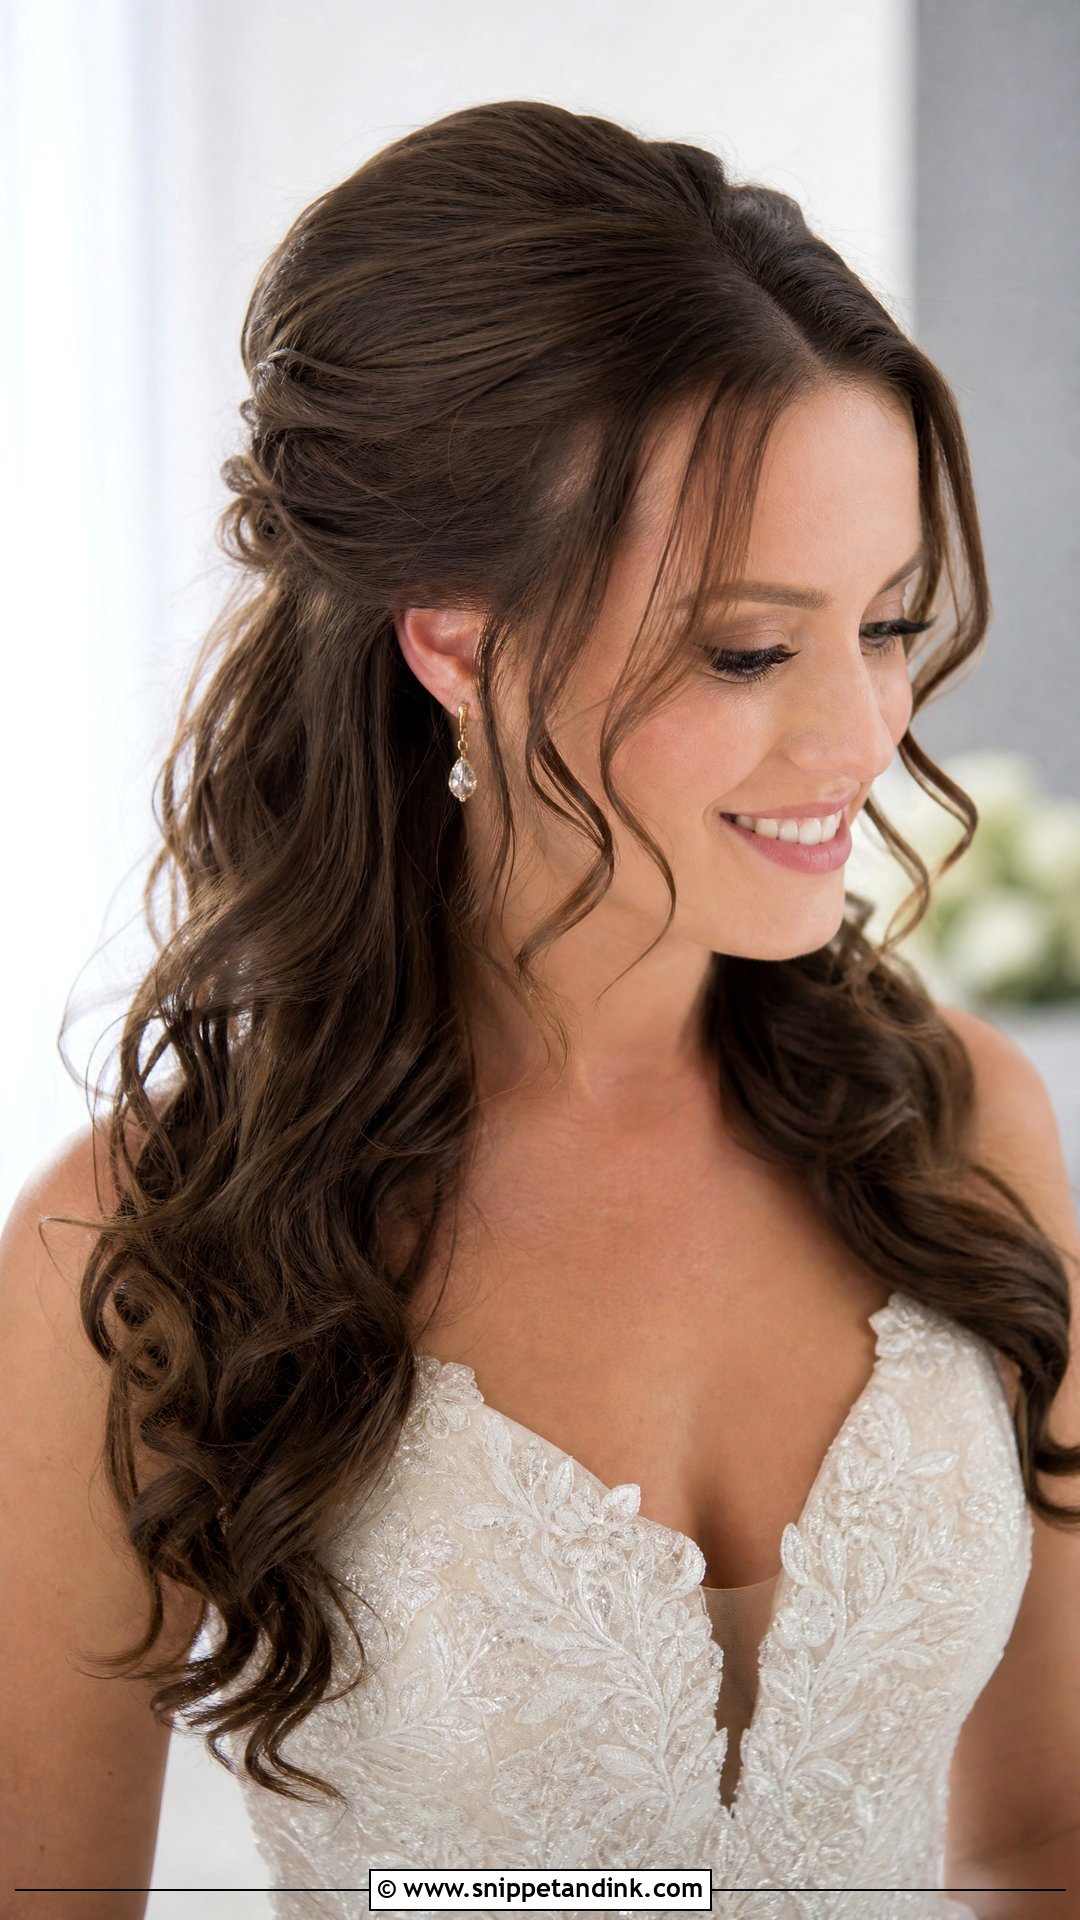
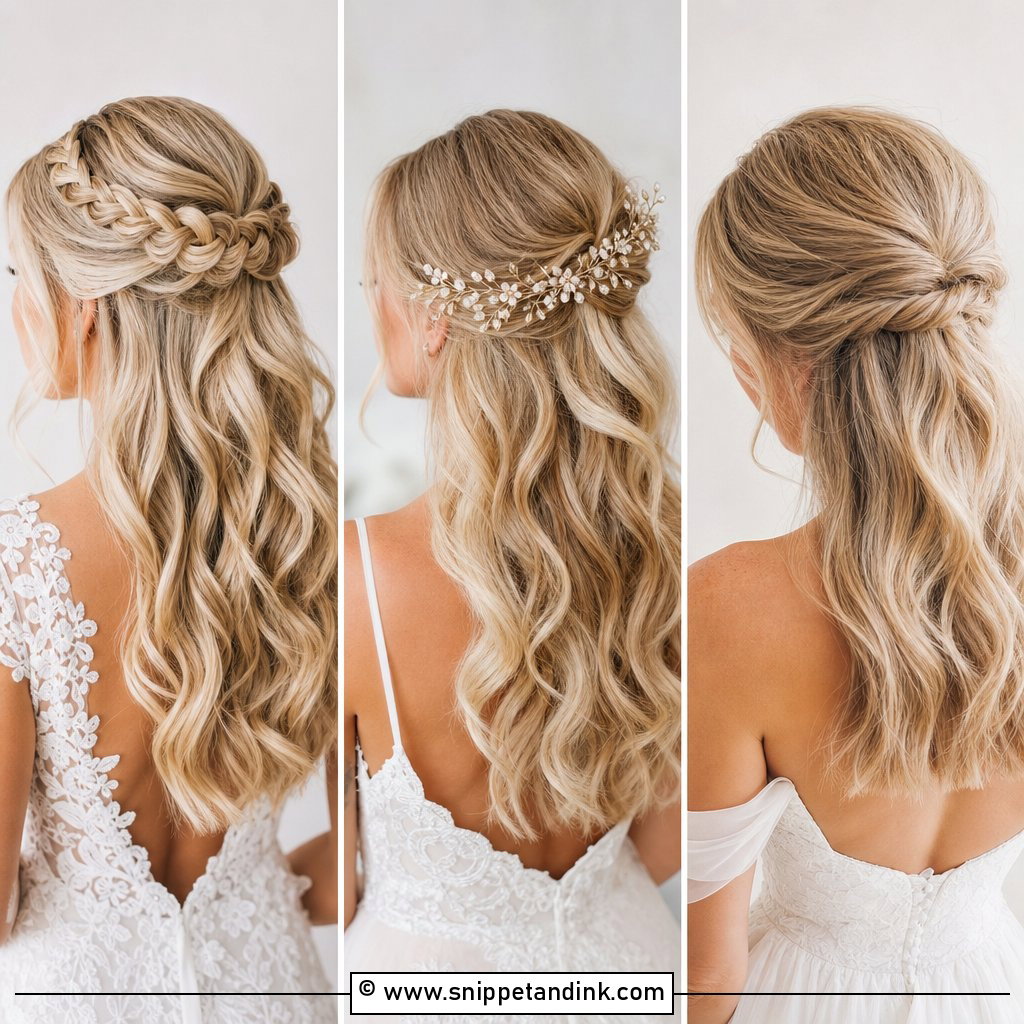
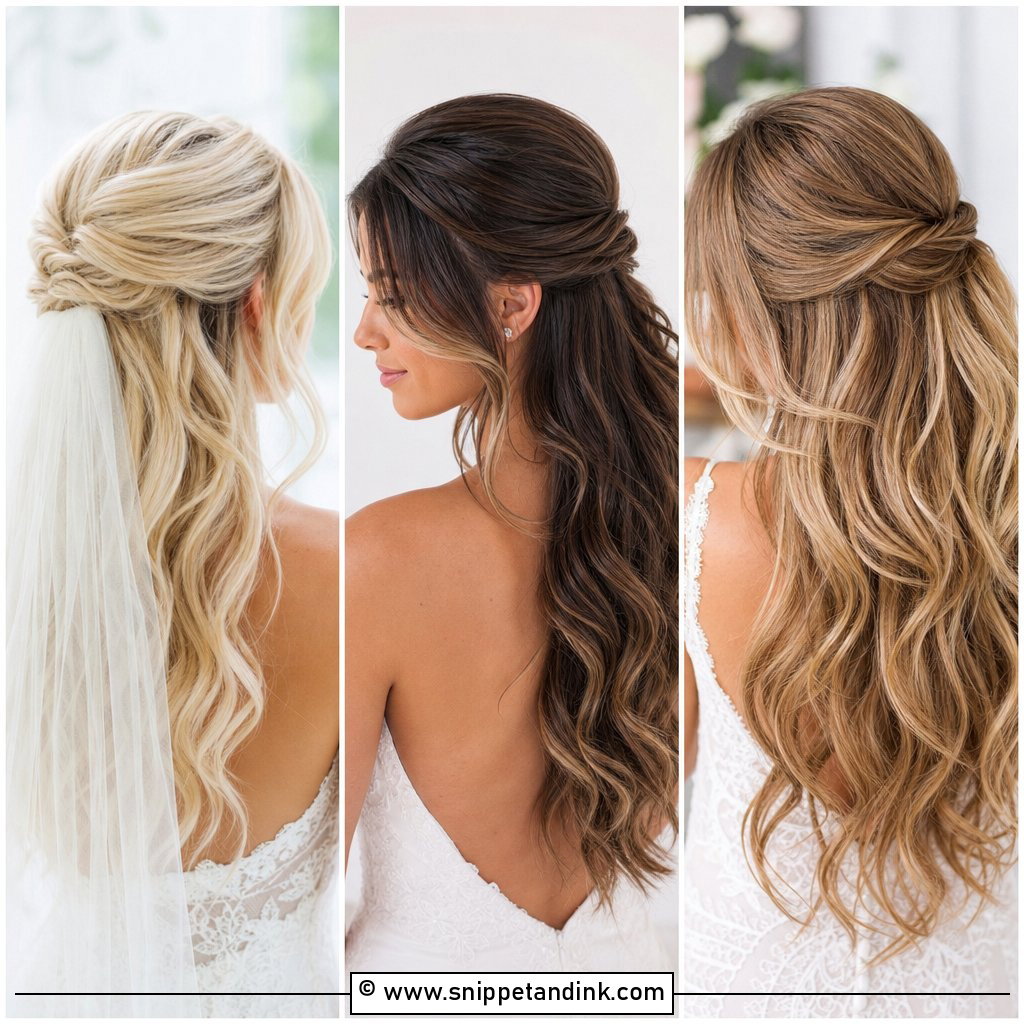
The half-up shape is the one I reach for most when someone wants their curls on show but needs the front off the face. The lift at the crown does the bridal work, so the ends can stay loose and move. I anchor the crown section with two crossed bobby pins under a small twist rather than an elastic, because an elastic leaves a dent if you ever take the style down. That anchor is also where a comb, pearl pins or a veil can sit without crushing the curl pattern below. Ask for the front pieces left soft; tightly pulled temples are what make this style look dated in close-ups.
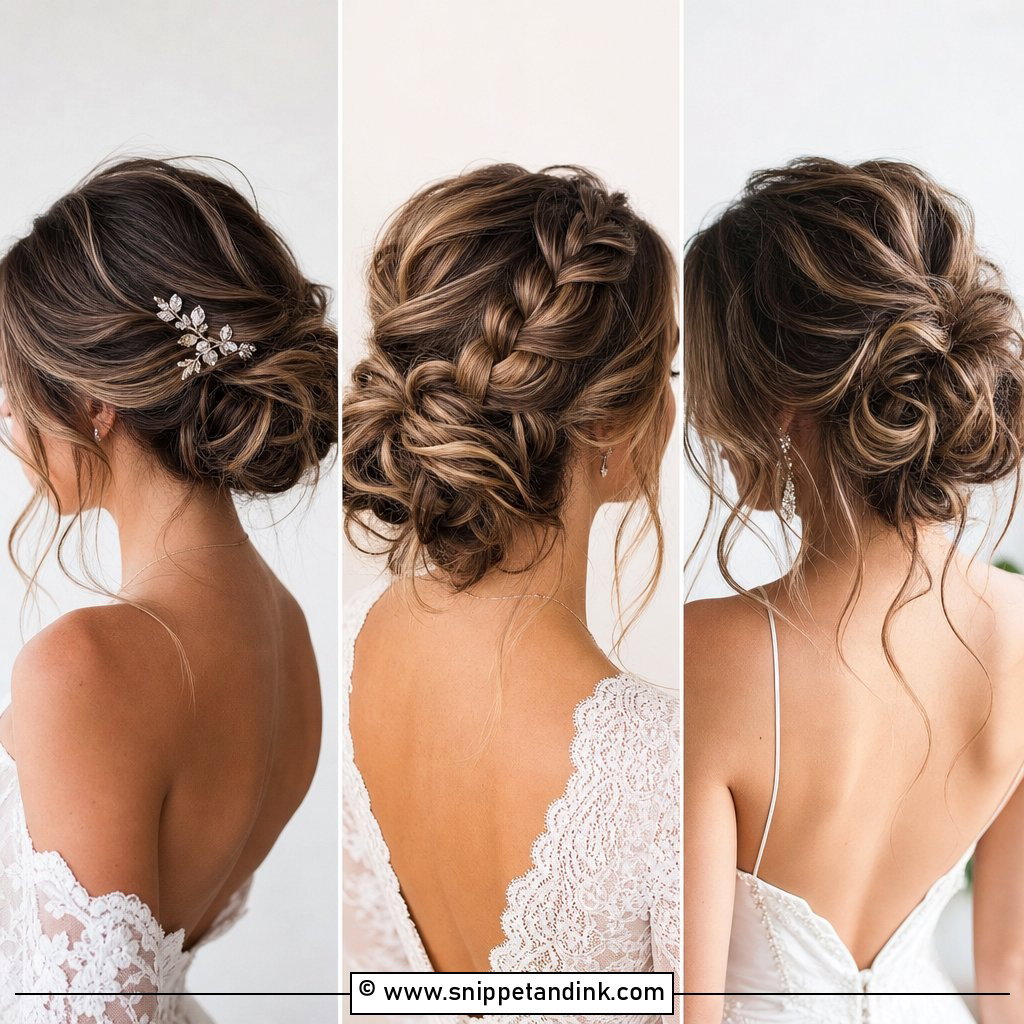
2. Low Bun Curly Wedding Hair
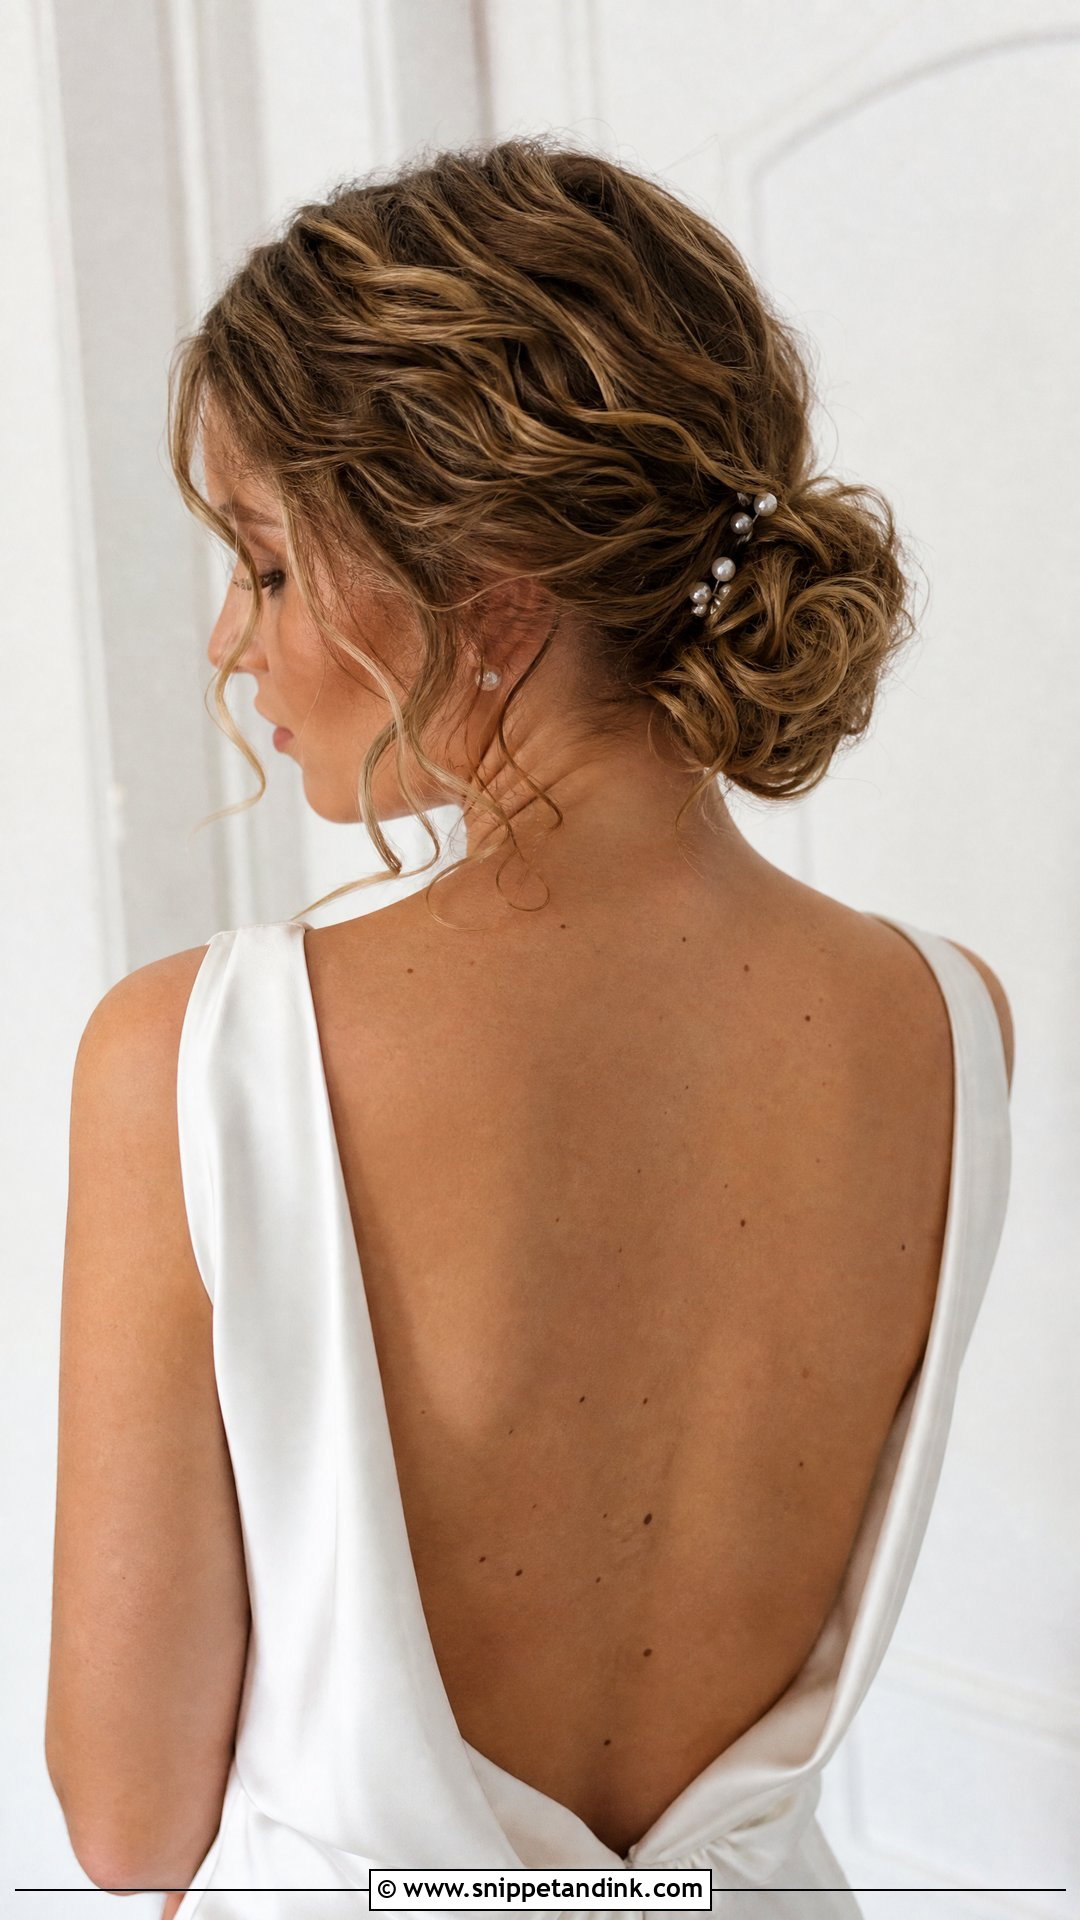
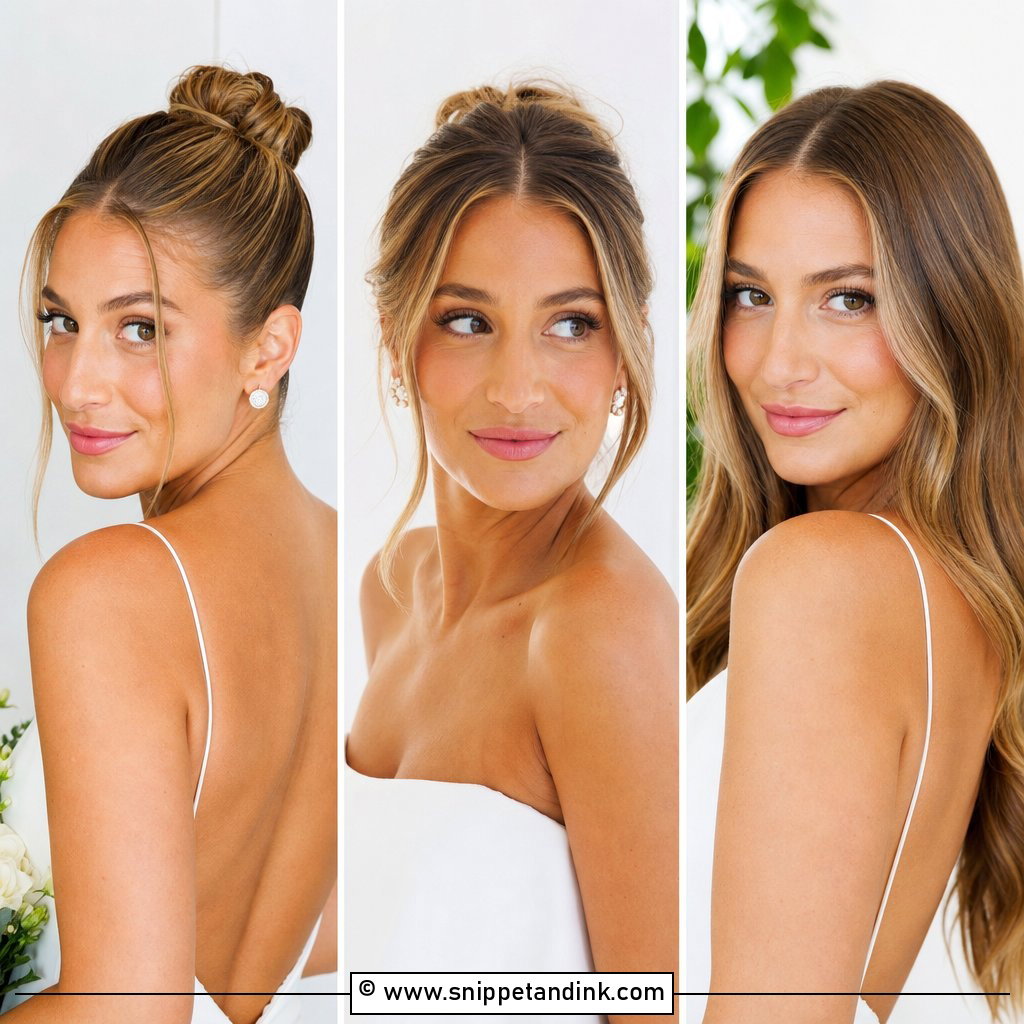
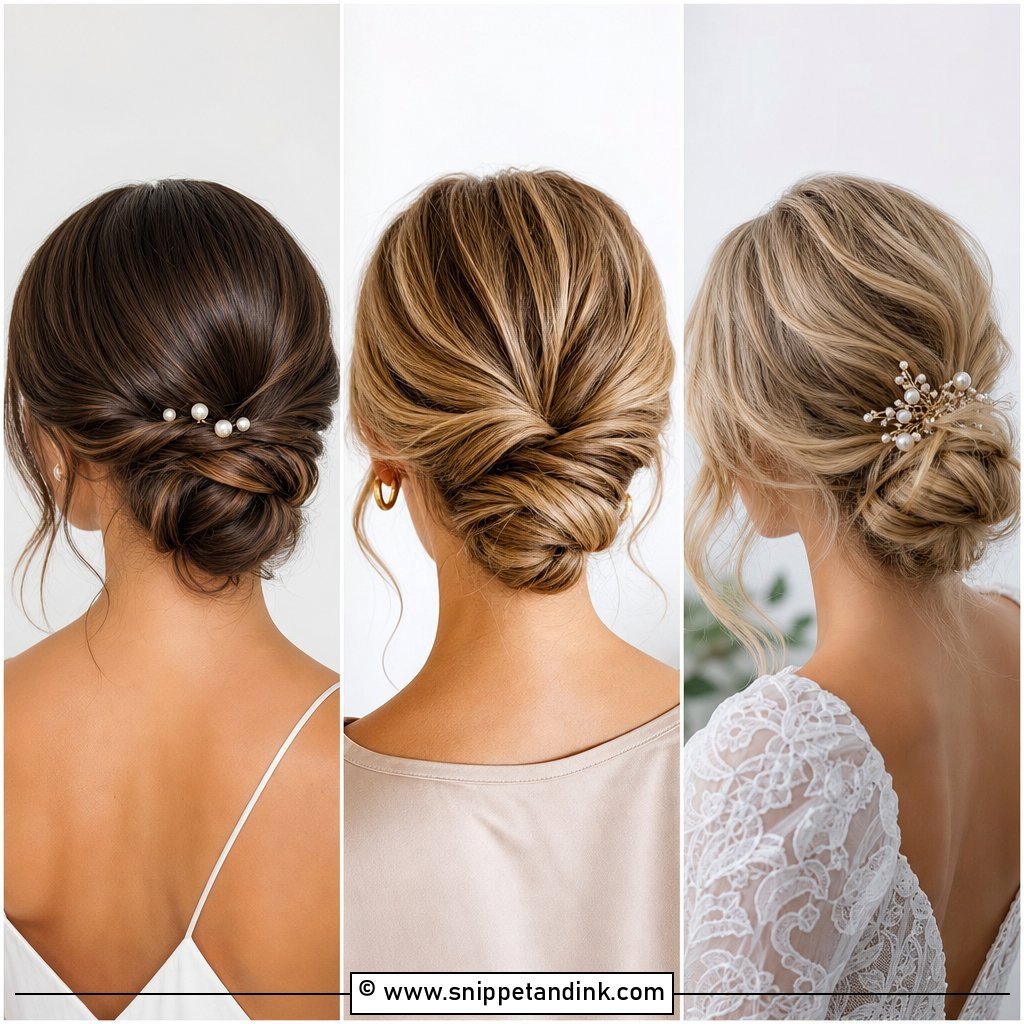
A curled low bun is my default when a bride tells me she’ll be outside for hours, or her dress has a back she wants seen. The curls give the bun texture, so it never reads as a flat, formal knot. On naturally curly hair I don’t brush the texture out before pinning. I gather it in sections and pin each one separately, which holds better and looks like your hair rather than a bun form. Leave a couple of tendrils at the face, but keep them thin: thick tendrils on a humid day turn into two damp ropes by dinner.
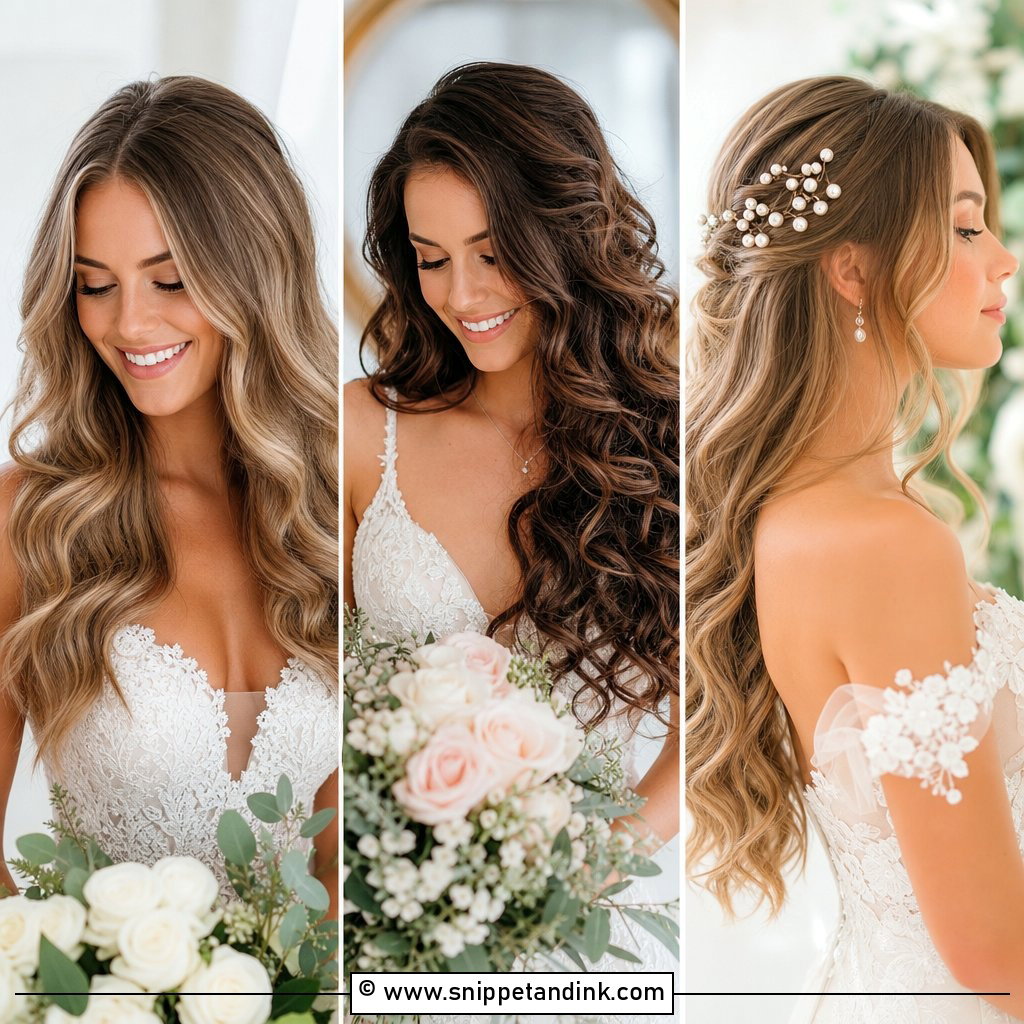
3. Loose Curl Wedding Hair Down
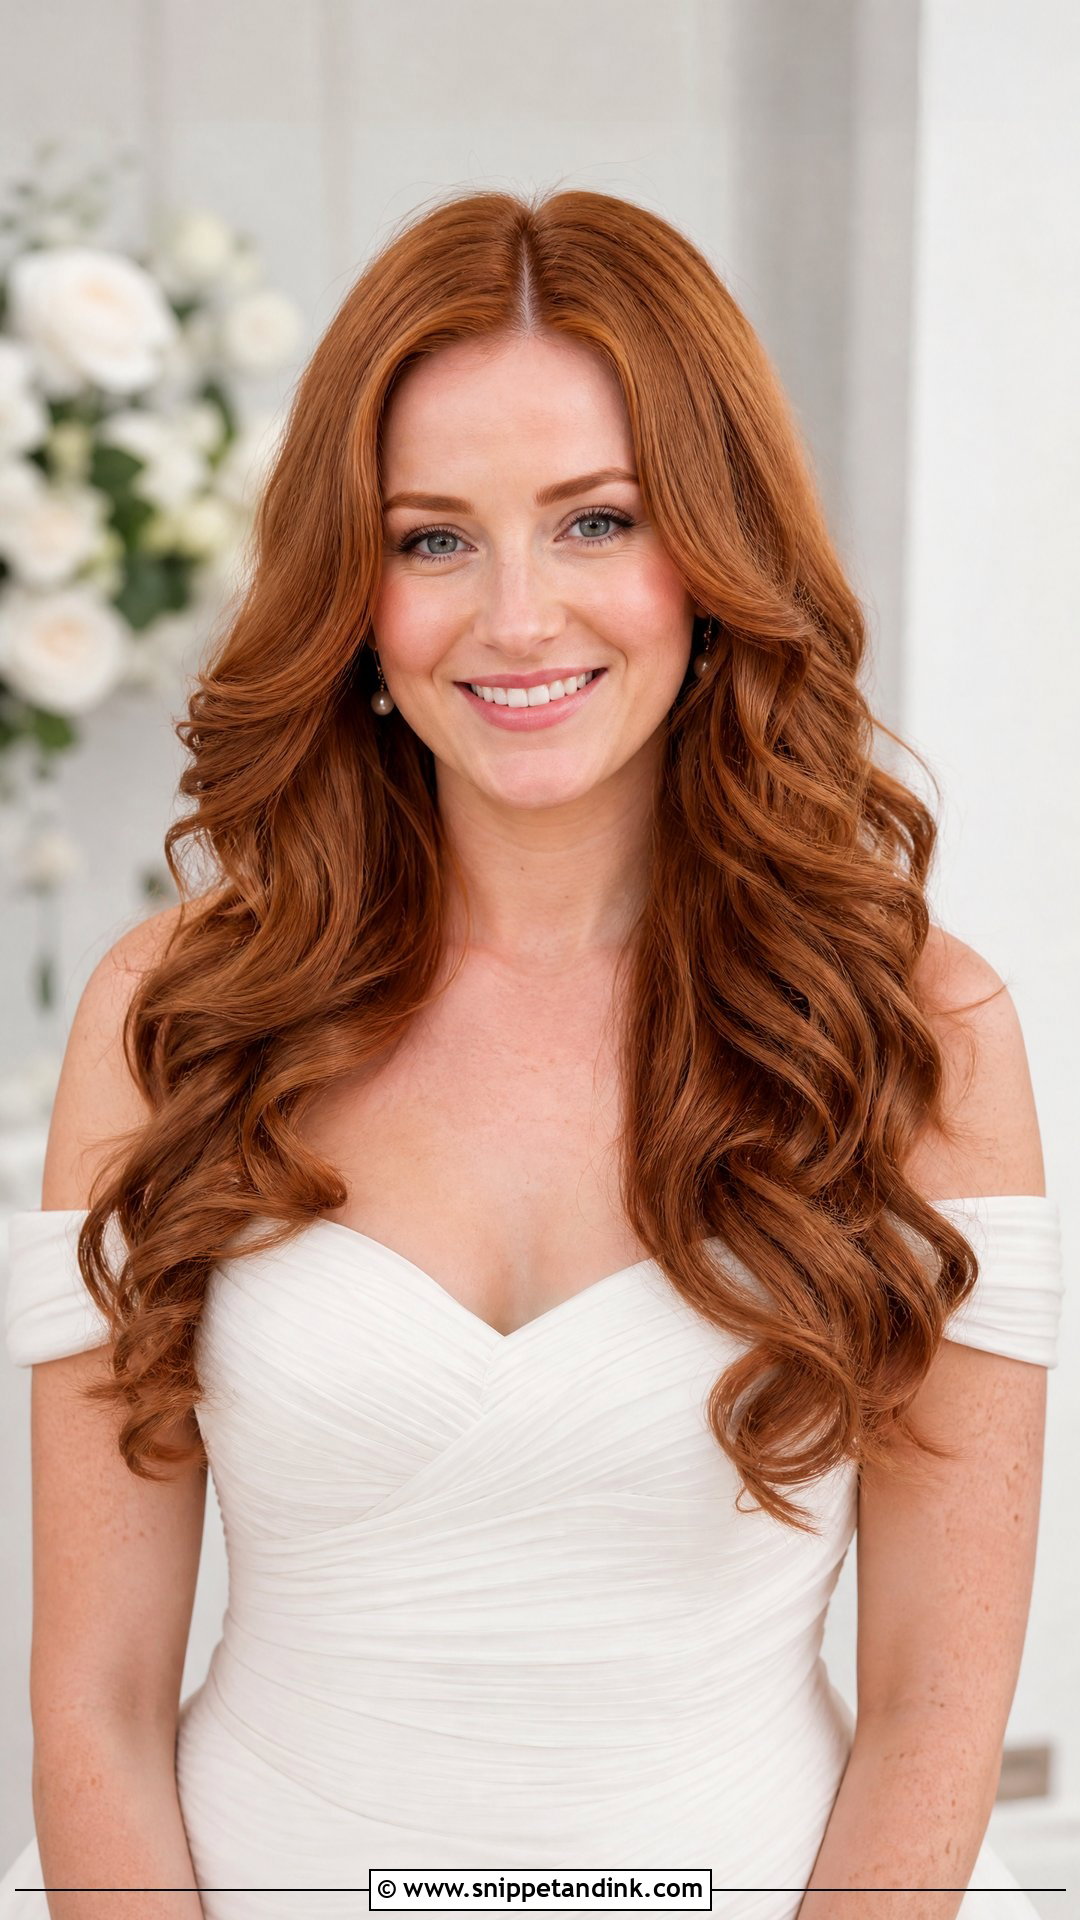
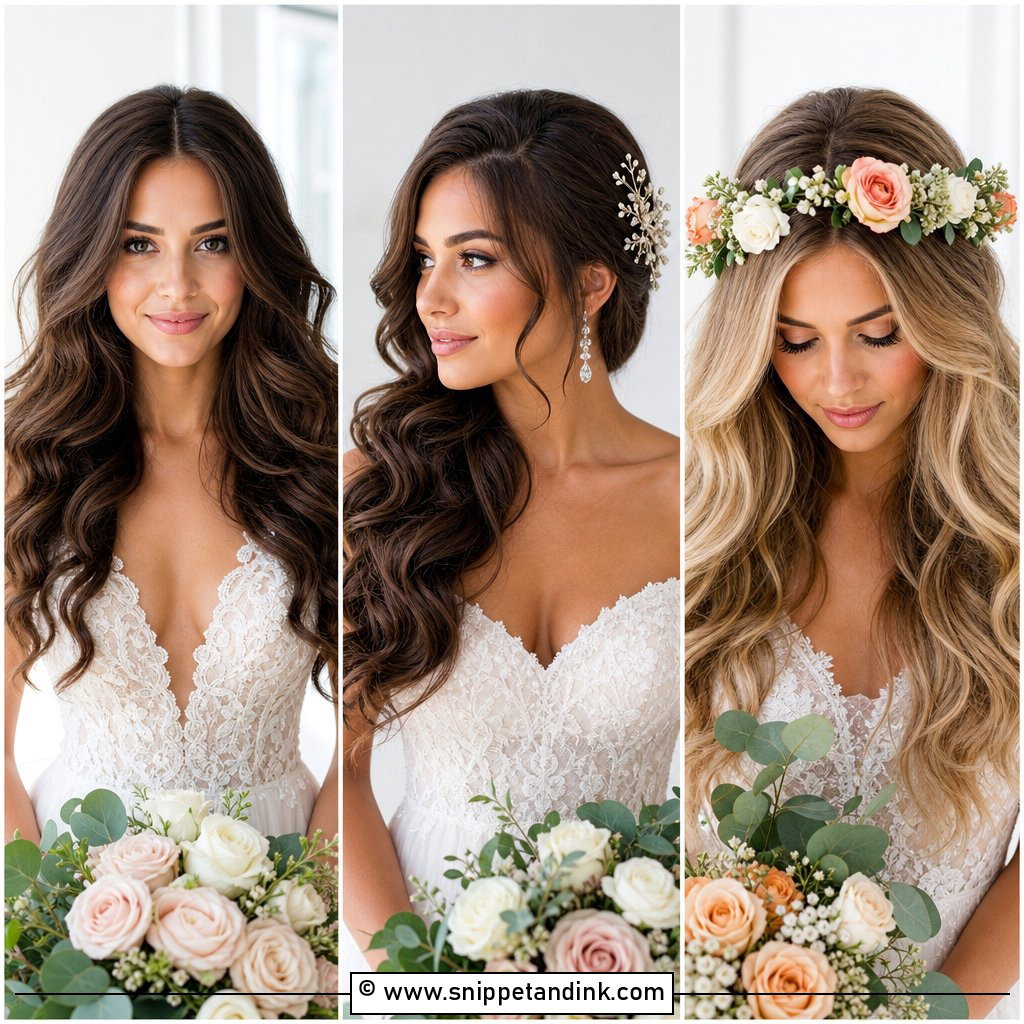
Worn down, curls have nothing holding them except their own set, so this is the style I’m most careful about recommending. It needs hair with some grip, and it needs long layers; one-length hair stacks all its weight at the bottom and the curls go triangular. A center part reads more current, a side part more classic. With a strapless or off-the-shoulder gown the curls become the neckline. If you’re marrying somewhere humid, though, I’d want a backup clip in your bag so you can sweep them up later.
4. Curly Wedding Ponytail
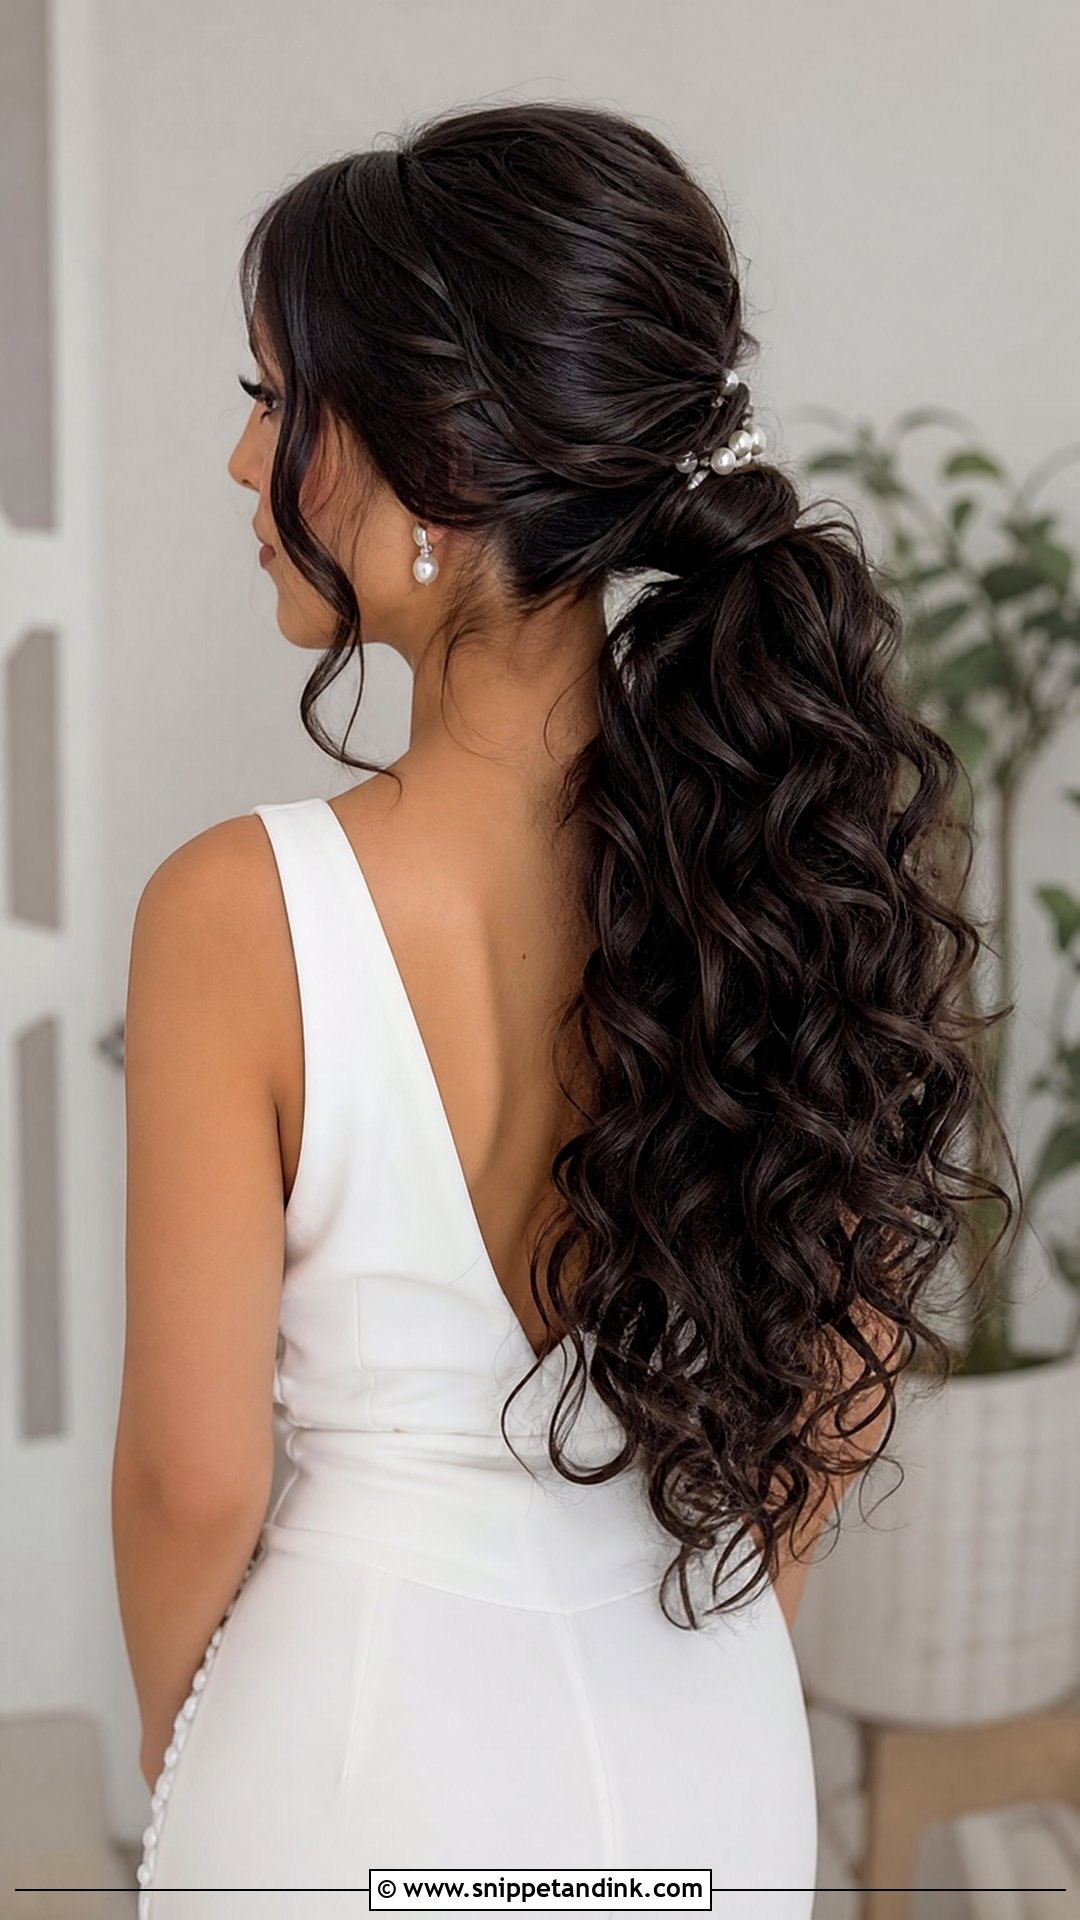
A curled ponytail is the most practical glam style I do. Set the base low for something softer, or at the crown for height and swing. With the front pulled back, your makeup and earrings get the attention and you never spend the reception pushing hair off your face. I secure the base with two stacked elastics, then wrap a strand of hair around them and pin it underneath so no band shows. Pearl pins, a bow, or a slim comb at the base makes it ceremony-worthy. One warning: a heavy ponytail on a high base gives some people a headache by evening, so wear it for a few hours after your trial.
5. Natural Curly Wedding Hair
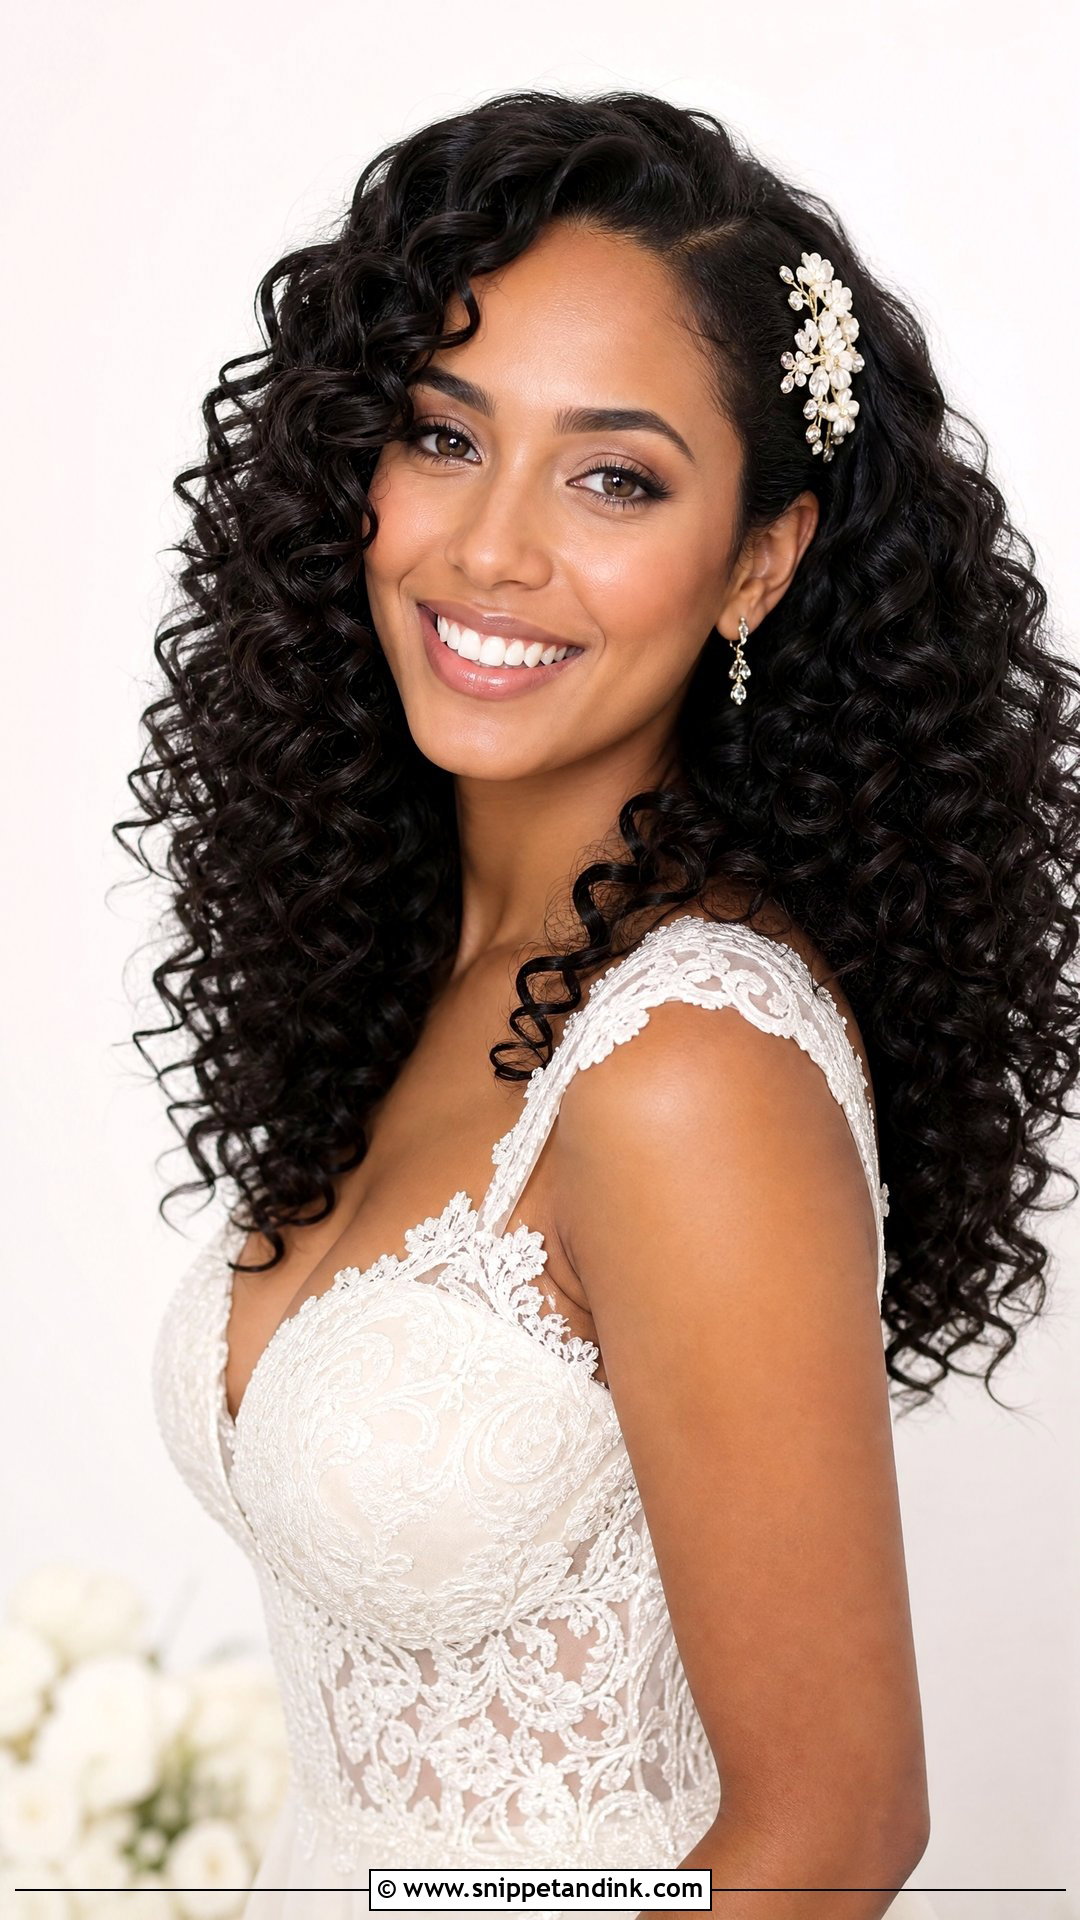
Natural curls are the one case where my job is mostly to stay out of the way. Definition comes from moisture and product applied to soaking-wet hair, not from tools on the morning. I’d book your curl specialist for a shaping cut two to three weeks out, so the ends have settled and the shape sits right with your part and veil. Pick a gel or cream that dries to a cast you can scrunch out once fully dry; that’s how you get hold without crunch. If you can, schedule the trial on a day with weather like the one you expect.
6. Curly Wedding Updo
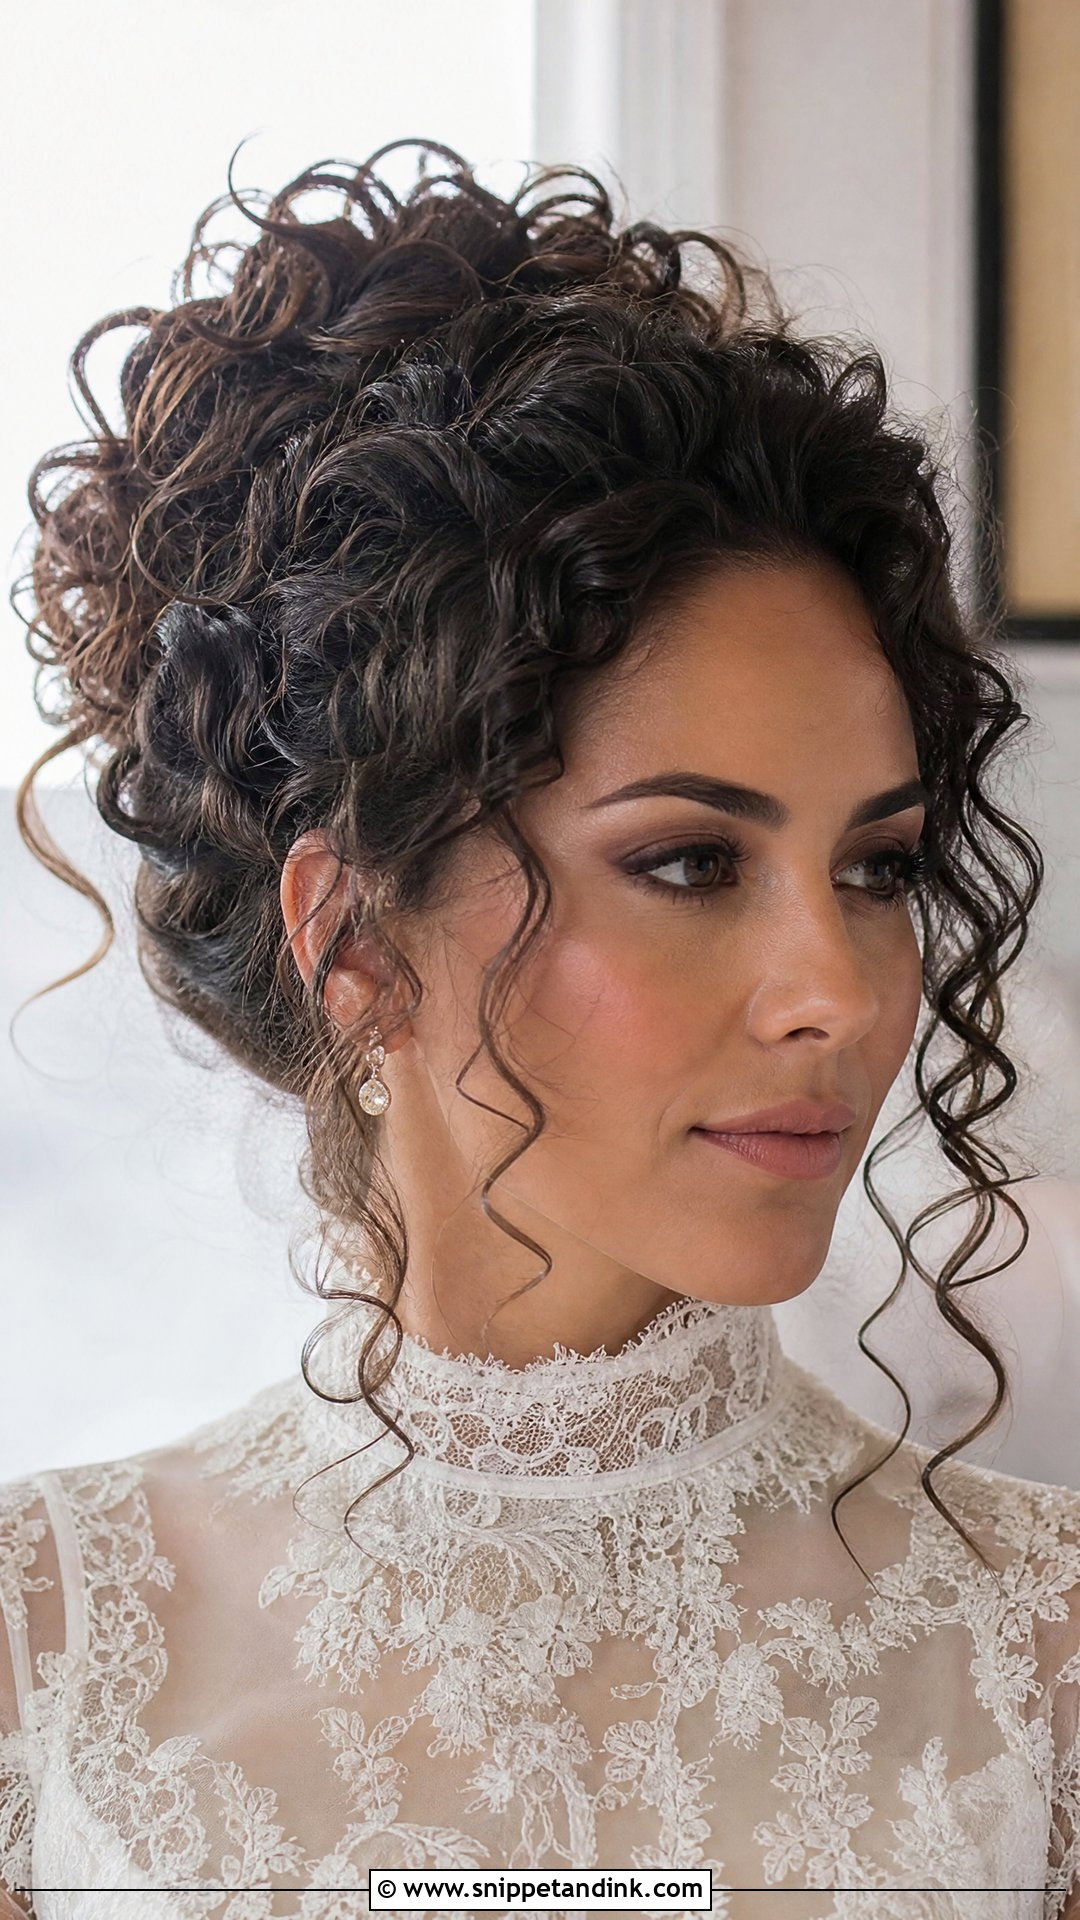
For a curled updo I build volume from the curl texture itself instead of teasing everything and smoothing over it. Pinned curls interlock with each other, which is why this shape holds so well under a long veil or with a high neckline. I slide each pin through the base of a curl and into the anchor beneath it, so the pin grips the foundation and not just the curl. Face-framing pieces keep it from looking severe. I’d steer you elsewhere if the hair at your nape is very short and fine; those wisps escape by the end of the night.
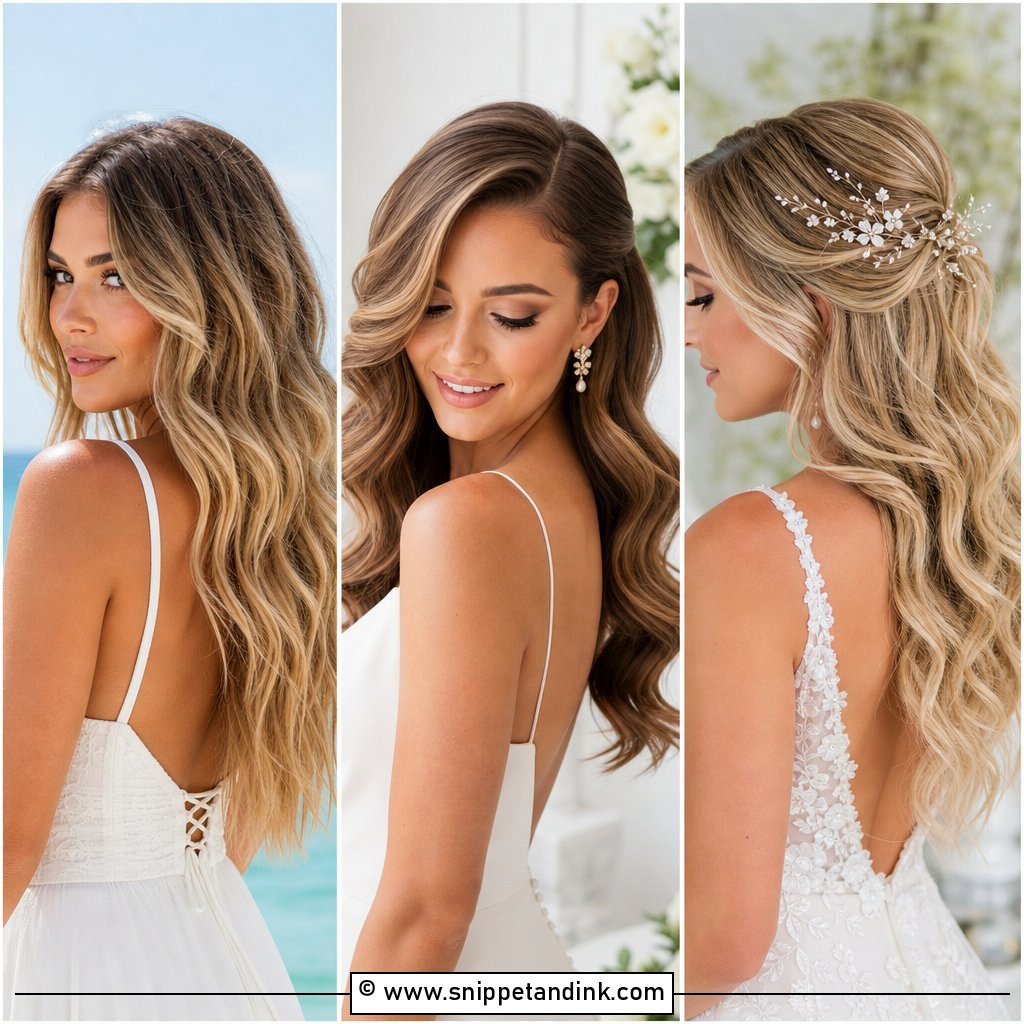
7. Side Swept Curly Wedding Hair
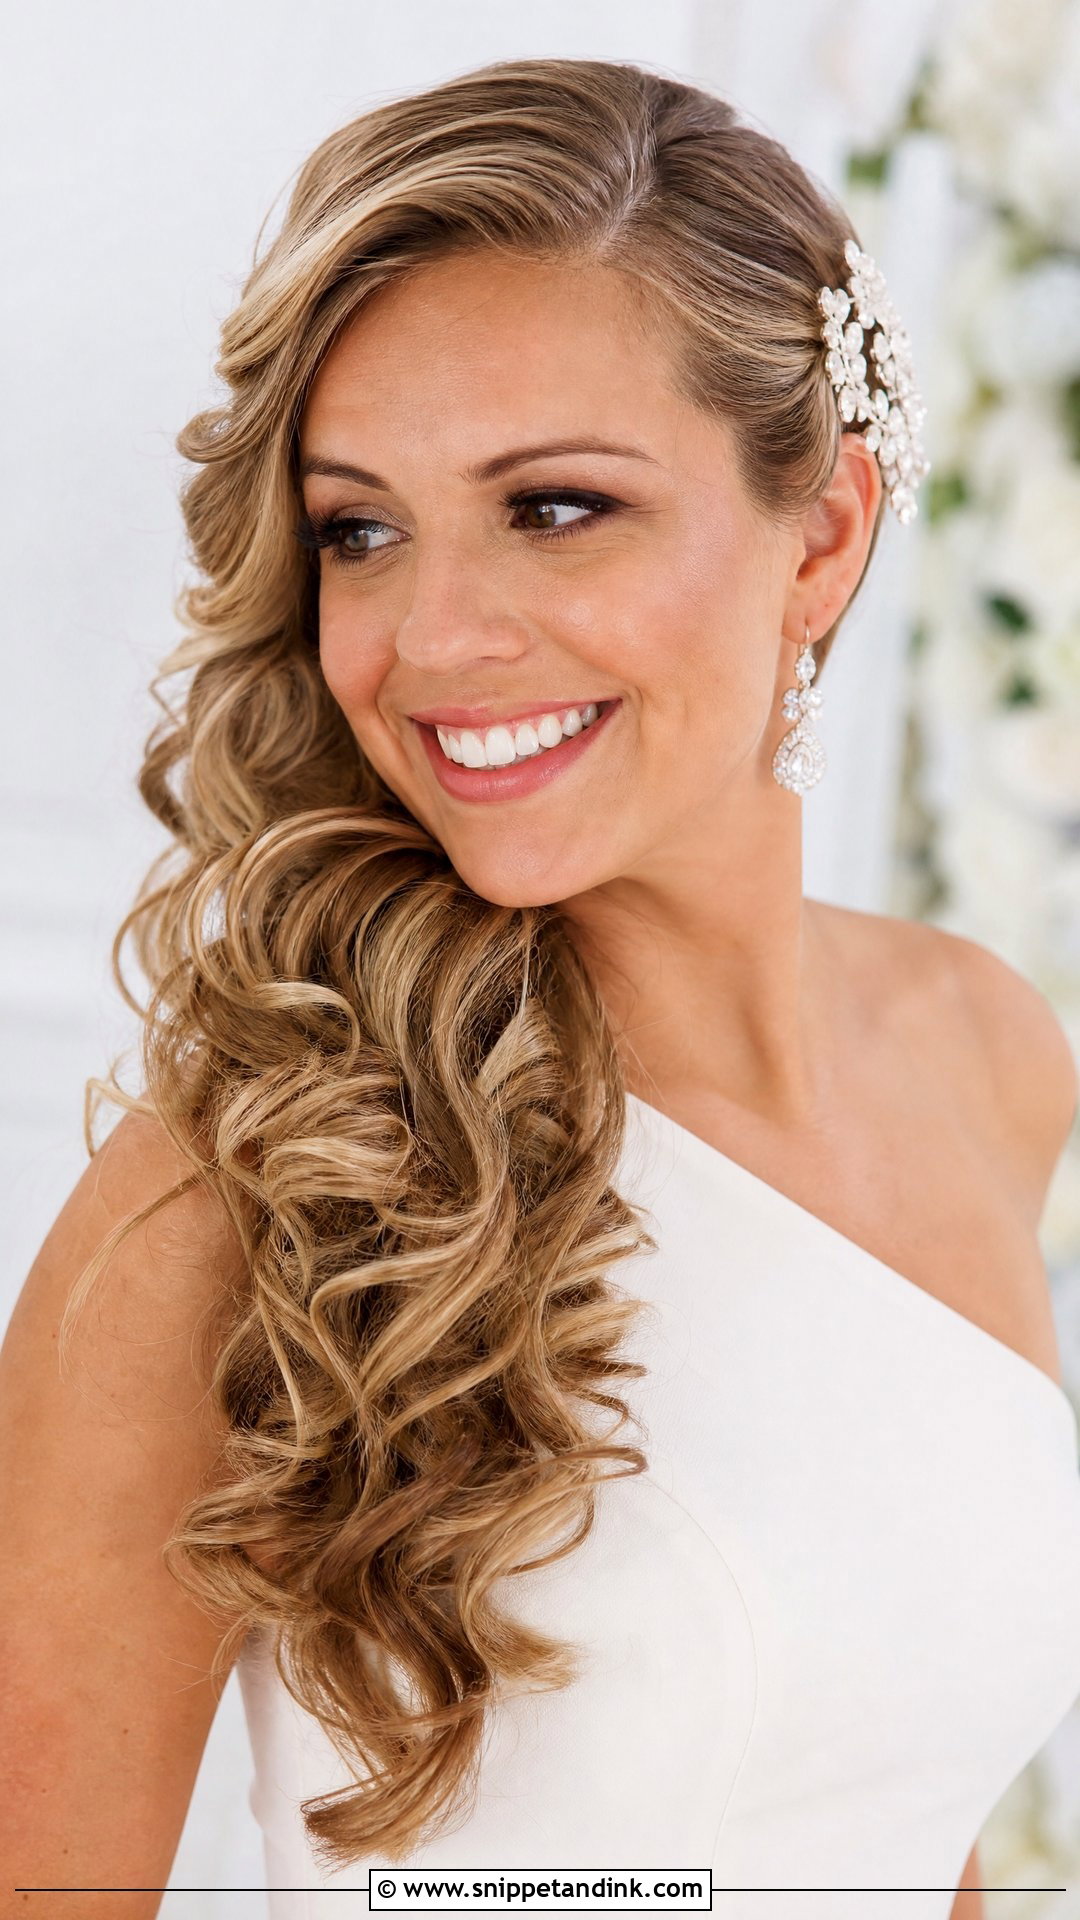
Sweeping curls to one side shows off the neckline and earrings together, which is why I suggest it for one-shoulder and sweetheart gowns. The real work is on the hidden side: I pin a small braid or a row of crossed pins behind the ear so the weight of the curls has something to hang from. Without that, the whole side slides forward by the first dance. Loose waves, defined ringlets or brushed-out curls all suit it on medium or long hair. A jeweled clip above the ear on the bare side balances the weight visually.
8. Curly Wedding Hair With Veil
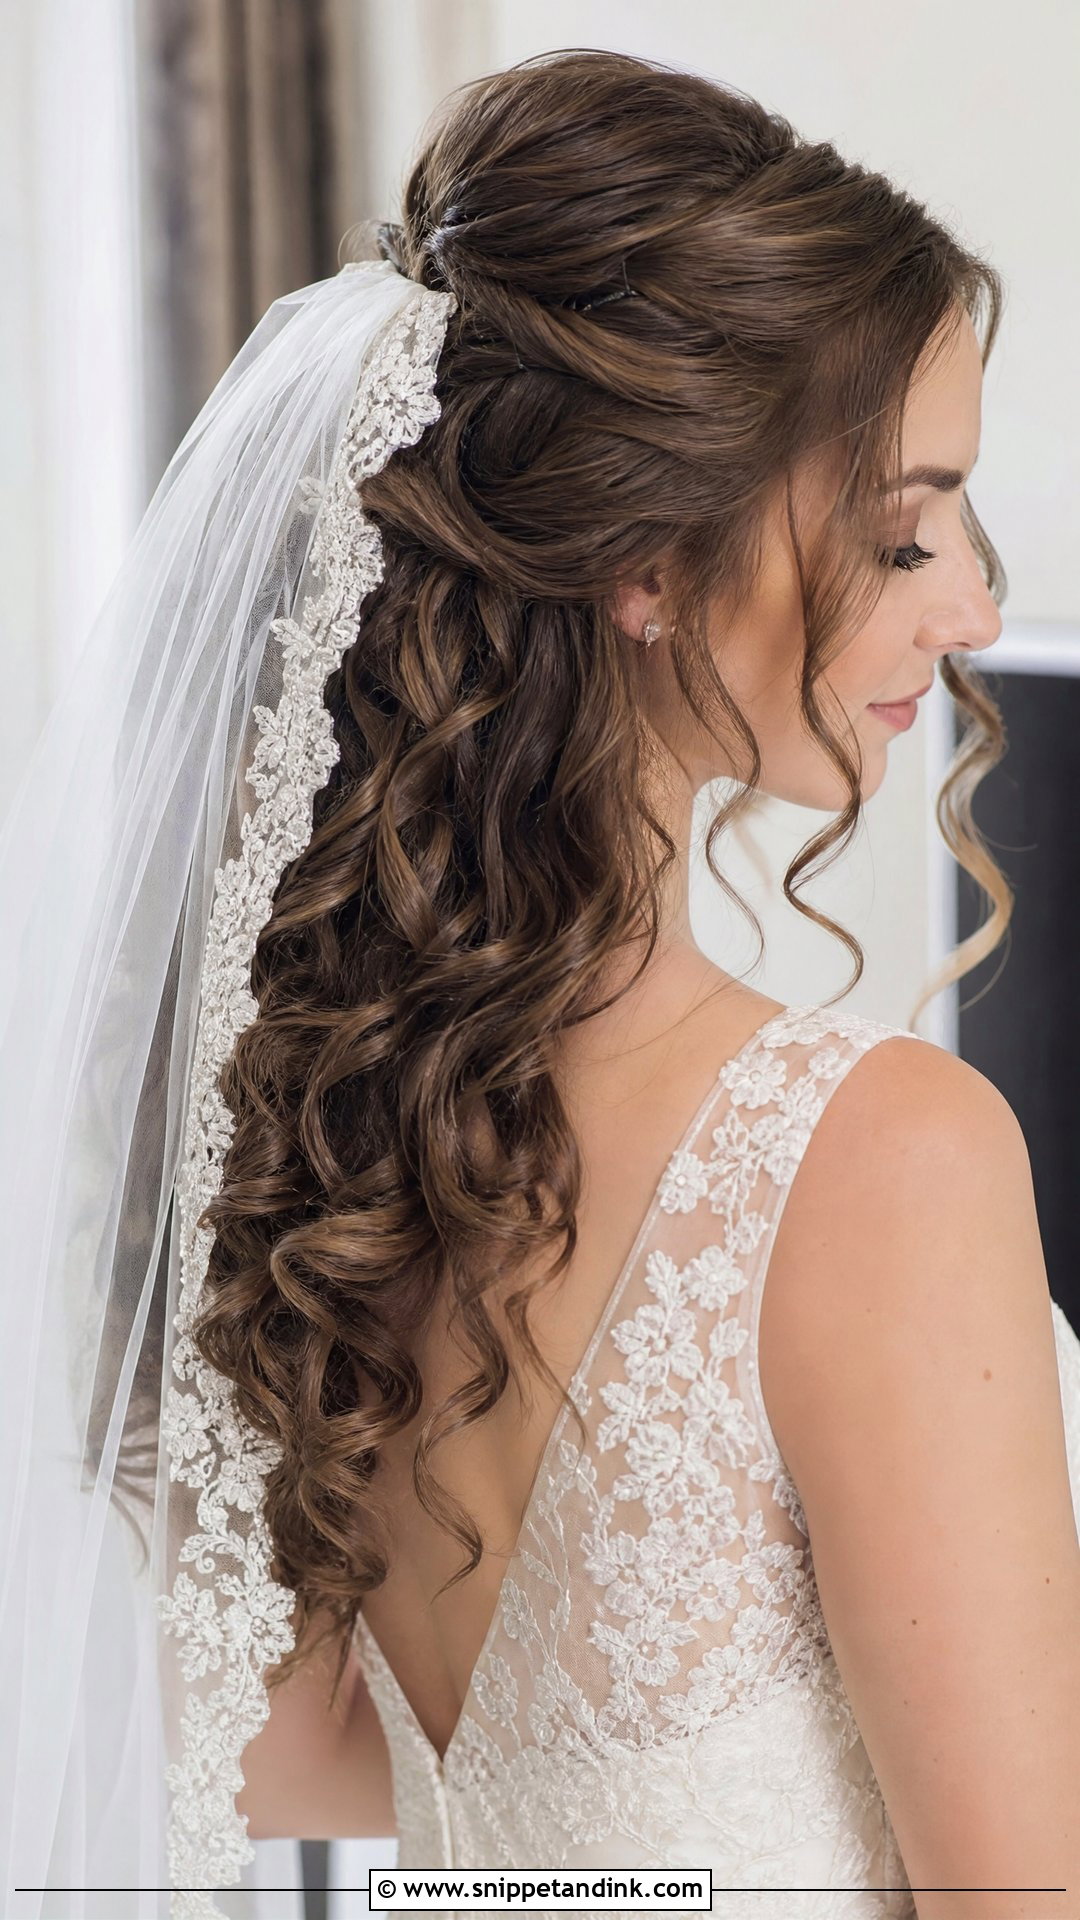
The veil is usually what breaks a curled style, not the weather. A comb pushed straight into loose curls has nothing to grip, so it slides and drags the curls flat as it goes. I always build a base first: a small half-up twist, a mini braid, or a pinned anchor of crossed bobby pins exactly where the comb will sit. On natural curls, don’t let anyone brush the crown smooth for the veil, since a comb grips textured hair better than slick hair anyway. When the veil comes off after the ceremony, the curls underneath should still be there.
9. Curly Wedding Hair With Flowers
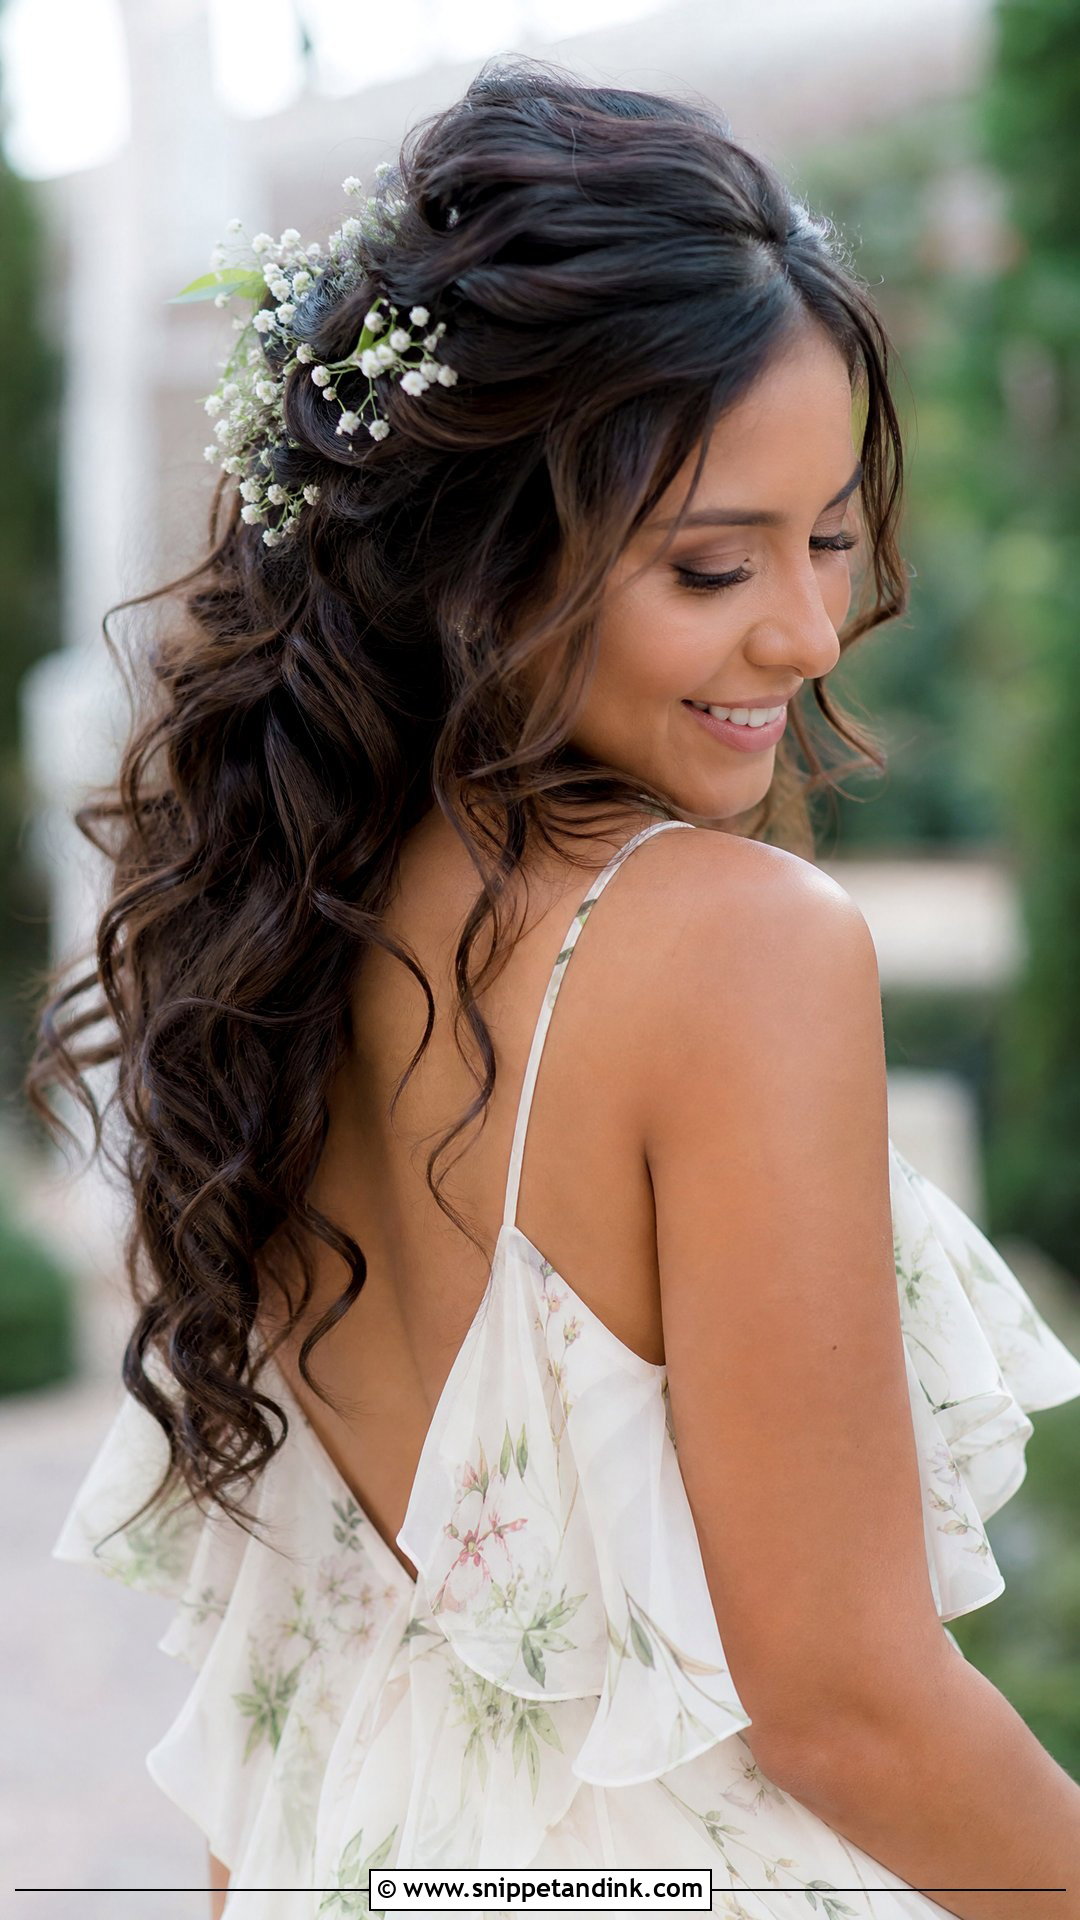
Real flowers in curls look fresh for a few hours, and then they start to wilt against warm skin and hair. That’s why I ask the florist for small, hardy stems wired and taped before they reach me: baby’s breath, spray roses, orchids. Big blooms are heavy and pull curls down. I tuck the stems into the pinned base, never into a loose curl, so they sit inside the style instead of balancing on top of it. For a long garden or beach day, keep a couple of spare stems chilled for the reception.
10. Short Curly Wedding Hair
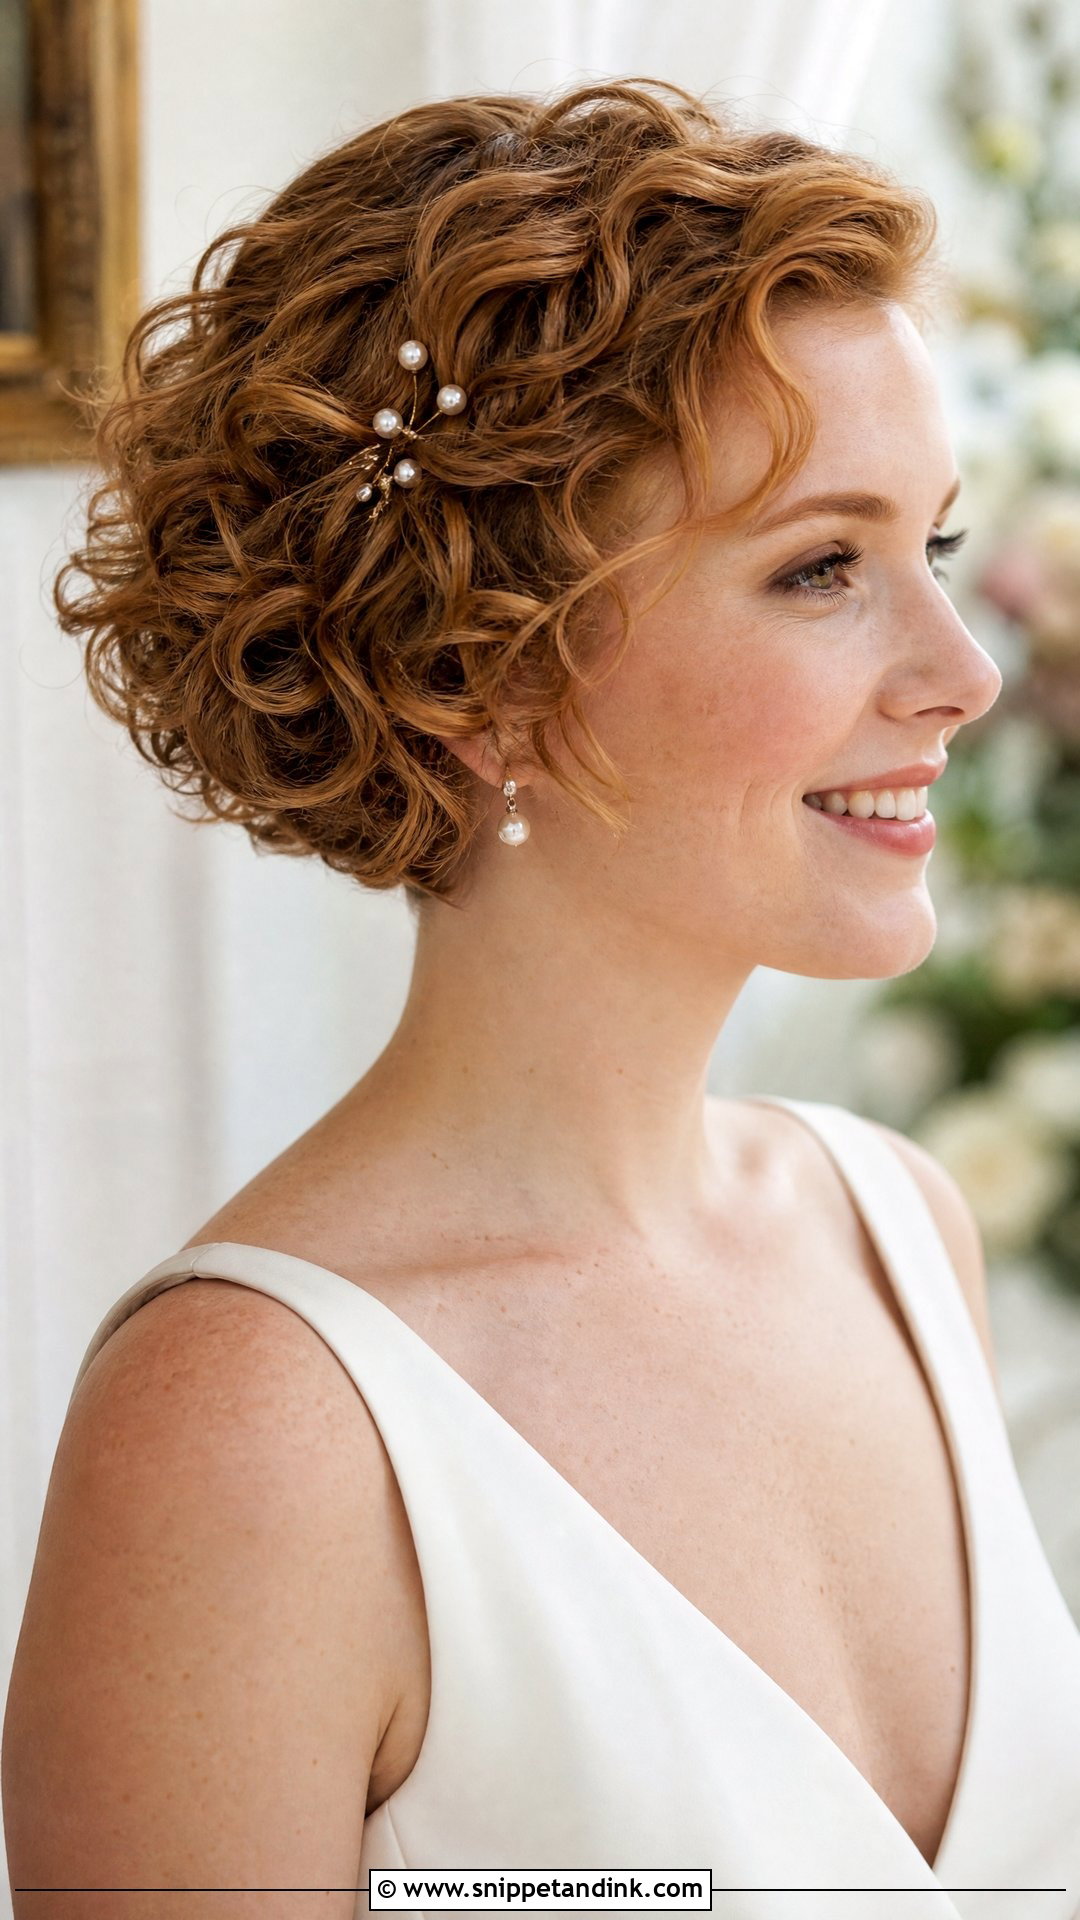
Short curls look completely bridal when the shape is deliberate. A curly bob, cropped curls, or a soft pixie needs curl cream, a little gel and finger styling far more than it needs an iron. What I watch with short hair is accessory placement. There’s less hair for a pin to bite into, so I use small snap clips or pins crossed in pairs, and anchor a short veil right at the crown where the hair is densest. Have your last trim at least ten days before the wedding so the line doesn’t look freshly cut.
11. Long Curly Wedding Hair
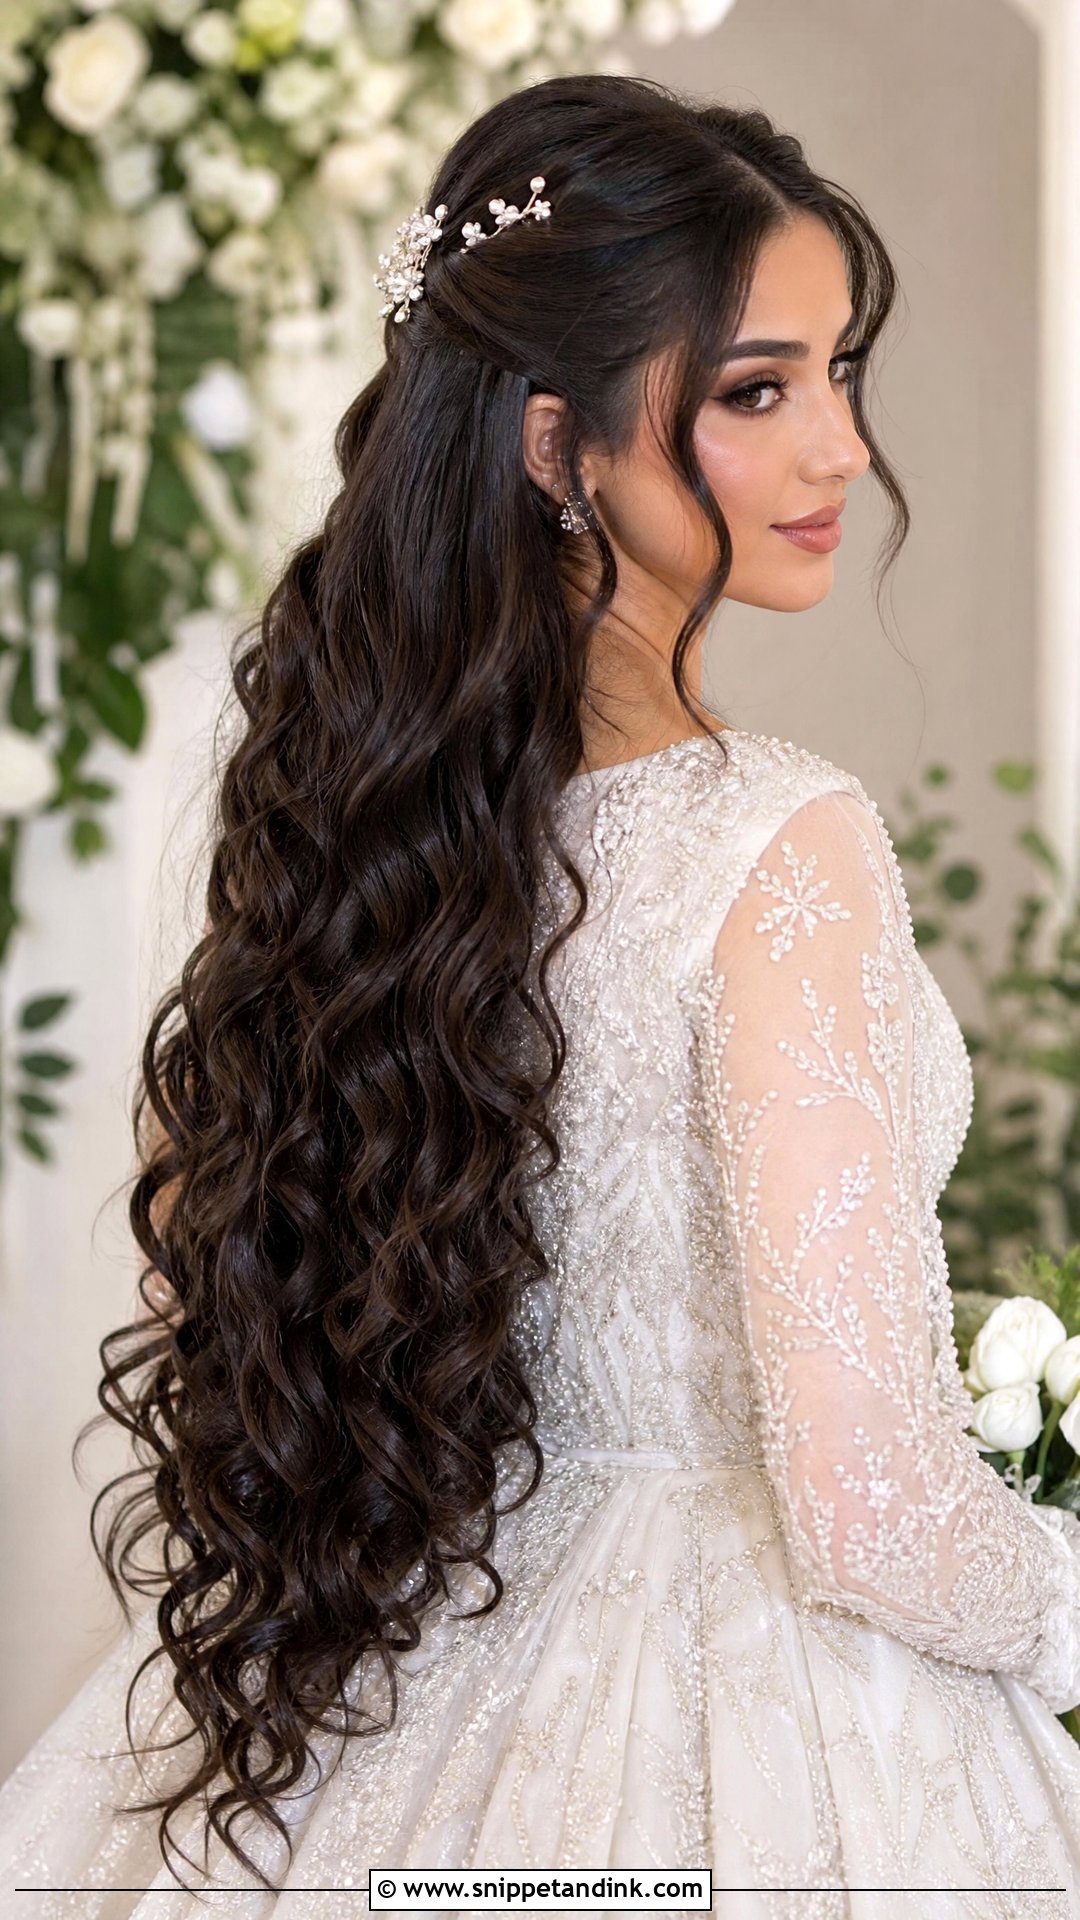
Very long curls are heavy, and weight is what pulls them out. Layers matter more here than any product, because they stop the curls stacking at the ends and give the top sections room to move. On long hair I set the top layer in tighter curls than the lengths, so the crown still reads as curly even after the bottom relaxes a little. It sits well against an open back or a simple gown. A light flexible spray controls frizz. Anything strong enough to feel crisp in your hand will look crisp in close-up photos.
12. Curly Wedding Hair With Braids
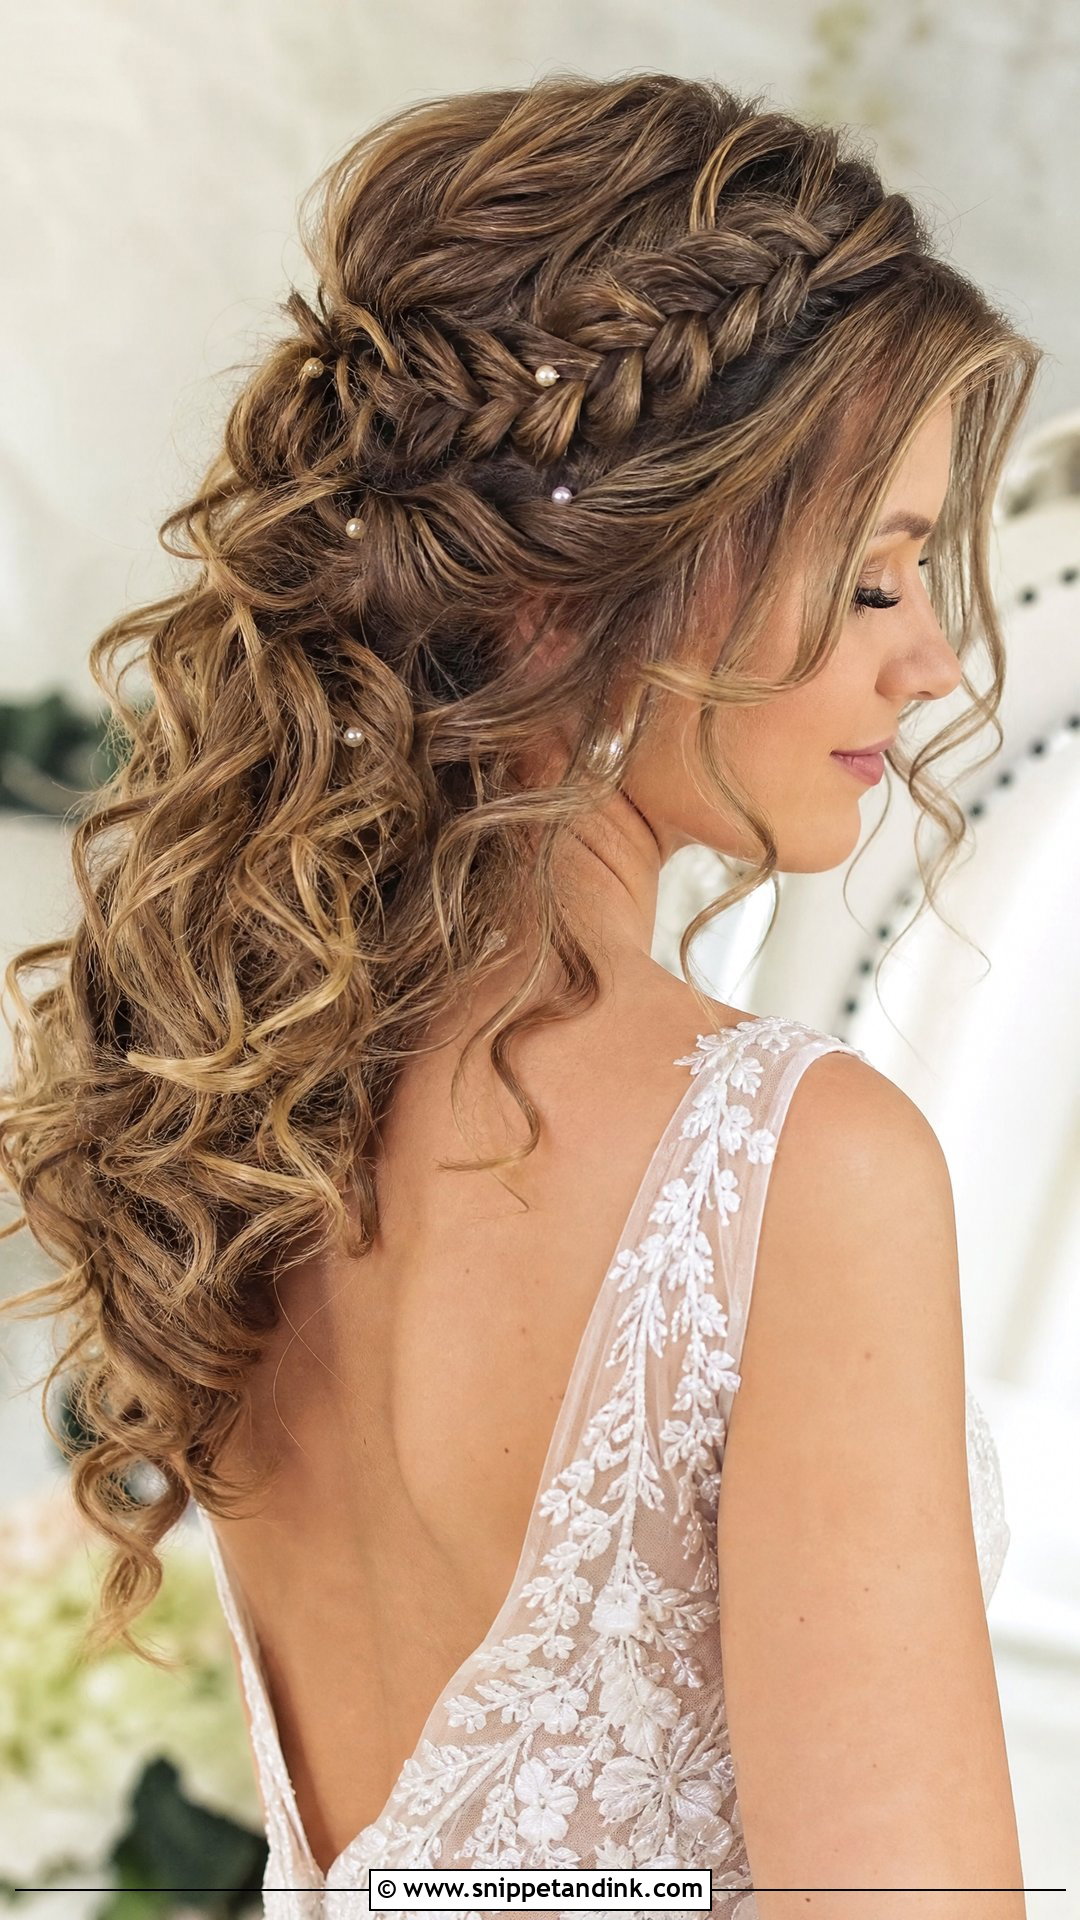
Adding a braid is my favorite way to give a curly style structure without hiding the texture. The braid takes care of the hair nearest your face, which is the part people touch and the wind finds first. I braid loosely, then gently pull the edges out so it melts into the curls instead of sitting on them like a cord. It can frame the crown, wrap a bun or form the half-up base. Pins and small flowers set into a braid stay put far better than ones pushed into loose curls.
13. Curly Wedding Bob
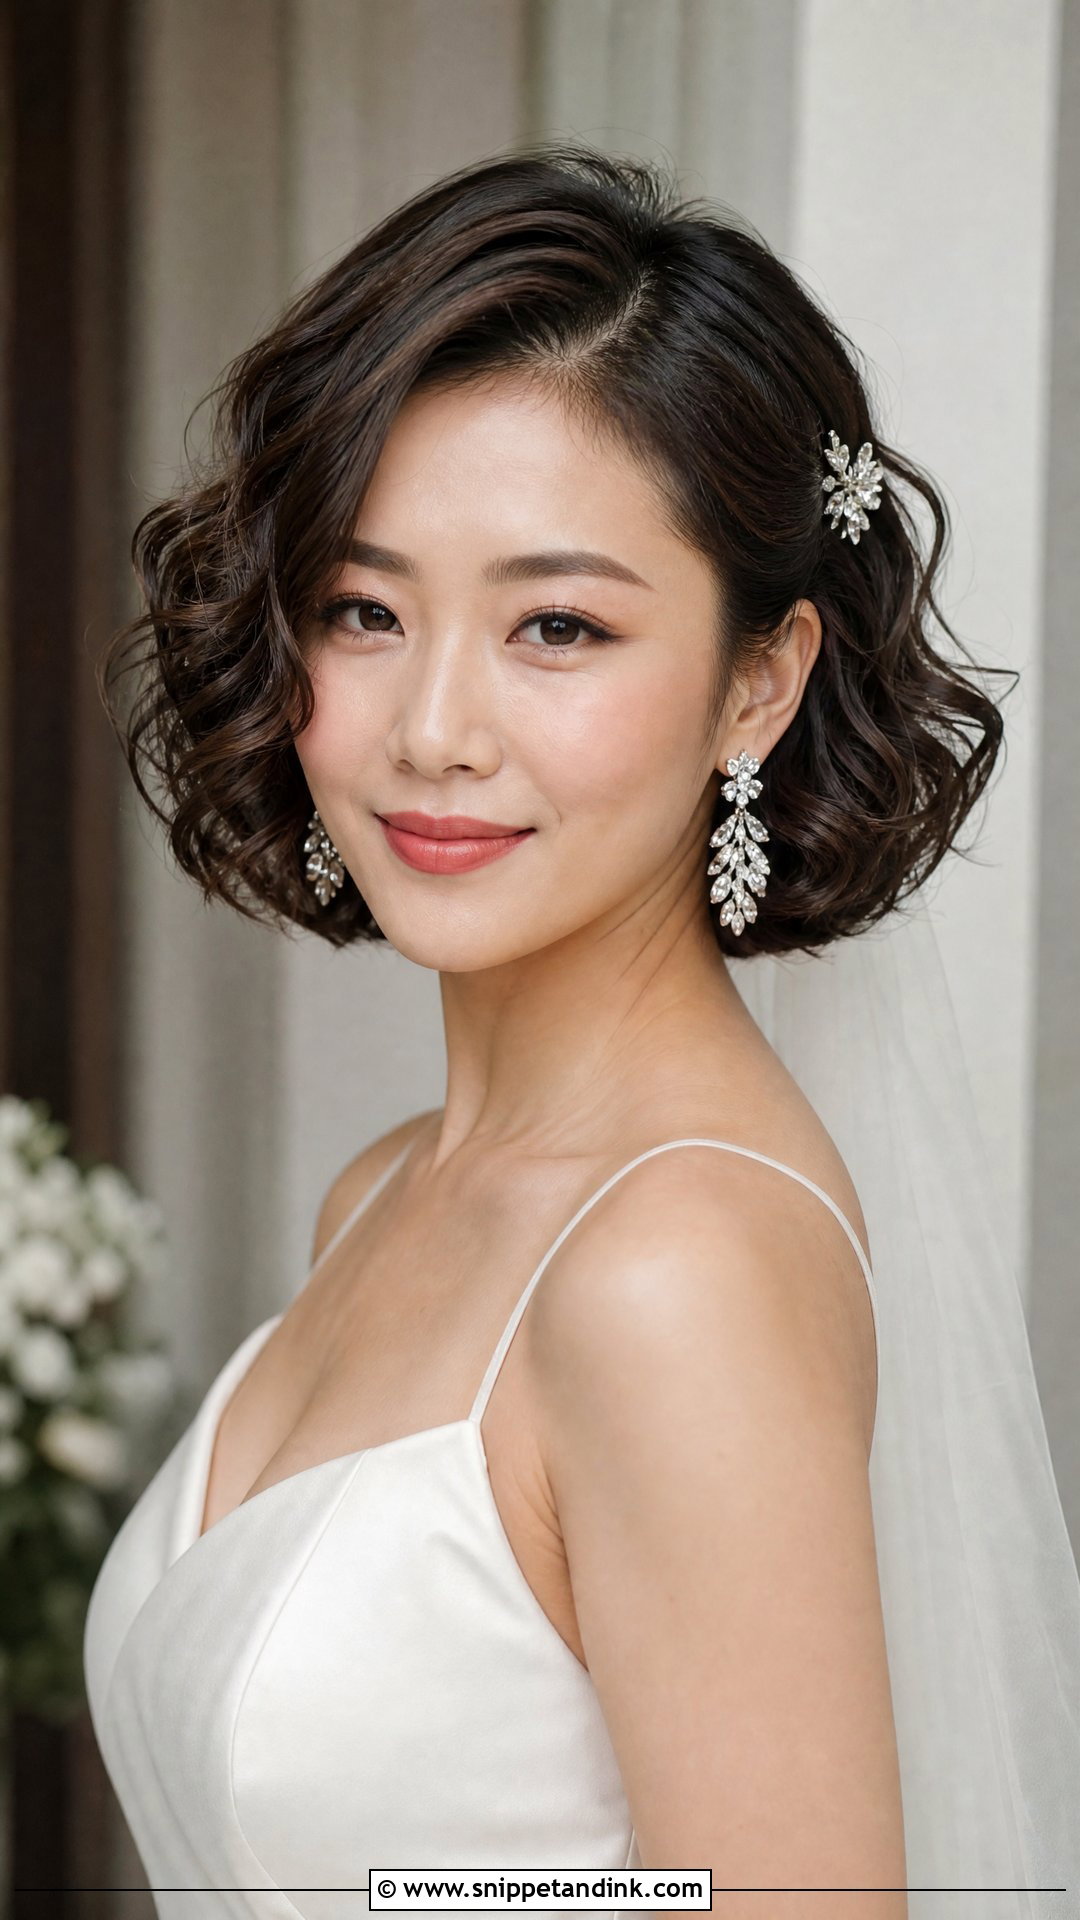
A curly wedding bob already gets its shape from the cut, so I spend the time on definition and shine rather than volume. A side part reads classic; a center part looks cleaner and more current. Tucking one side behind the ear with a small clip gives you a place to show off an earring. The thing that trips up bob brides is the veil: anchored low, it has nothing to hold on to, so I place it at the crown. It’s also the easiest length to refresh before the reception, with a spritz of water and a quick scrunch.
14. Old Hollywood Curl Wedding Hair
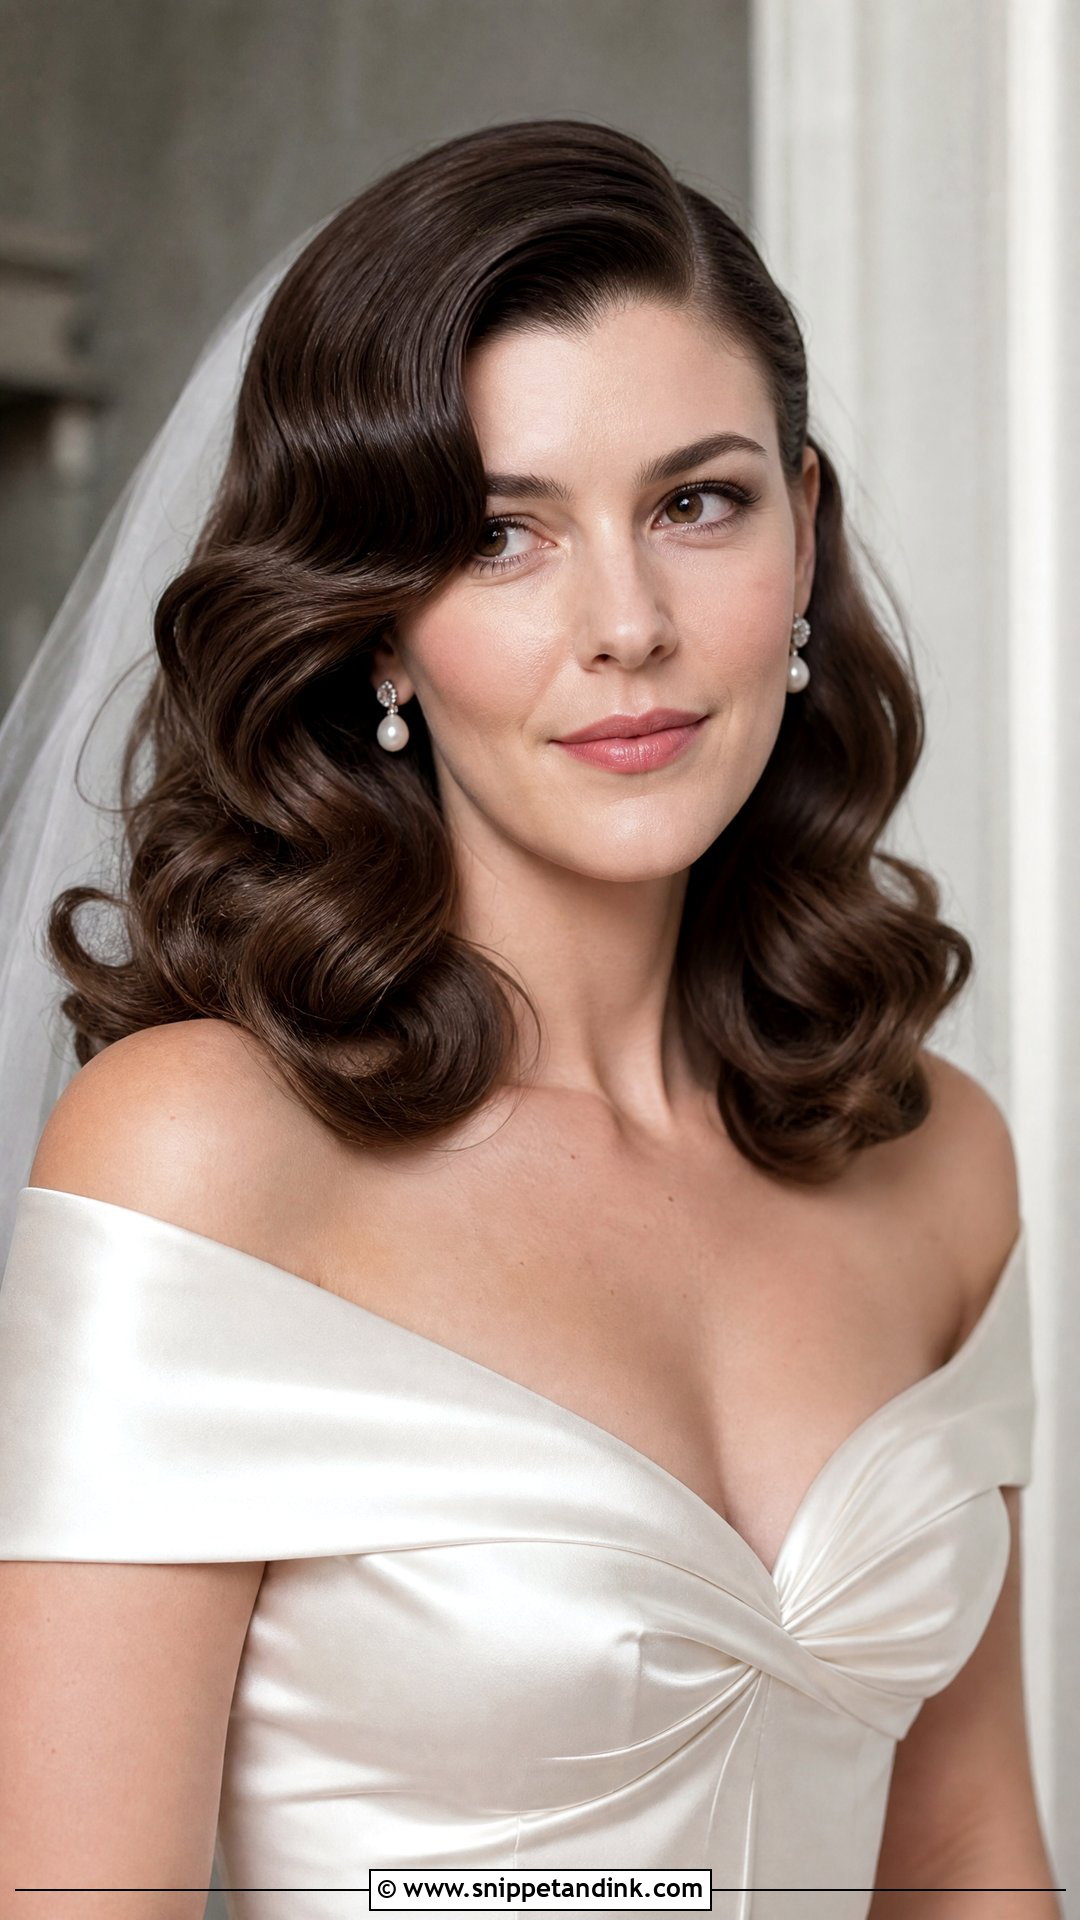
Old Hollywood waves are sculpted, not loose, and they take longer than most brides expect. I set every curl in the same direction, pin them to cool, then brush them out into one continuous wave and press the ridges with flat clips while the spray sets. Shine is the whole effect, so this is the one look where I don’t want a volumizing shampoo the day before. It belongs with a deep side part, satin and pearls. Ask for the waves soft enough to move, otherwise the result reads helmet rather than vintage.
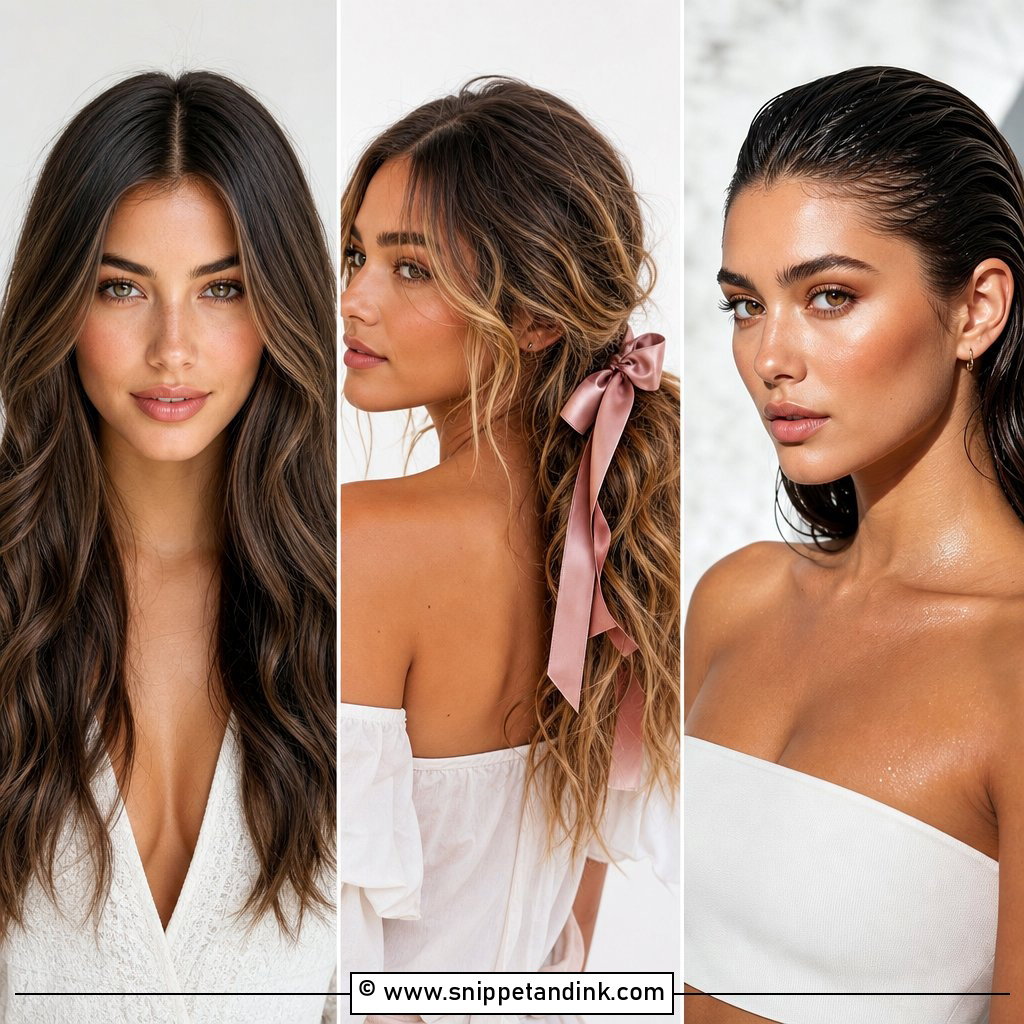
15. Curly Wedding Hair With Headband
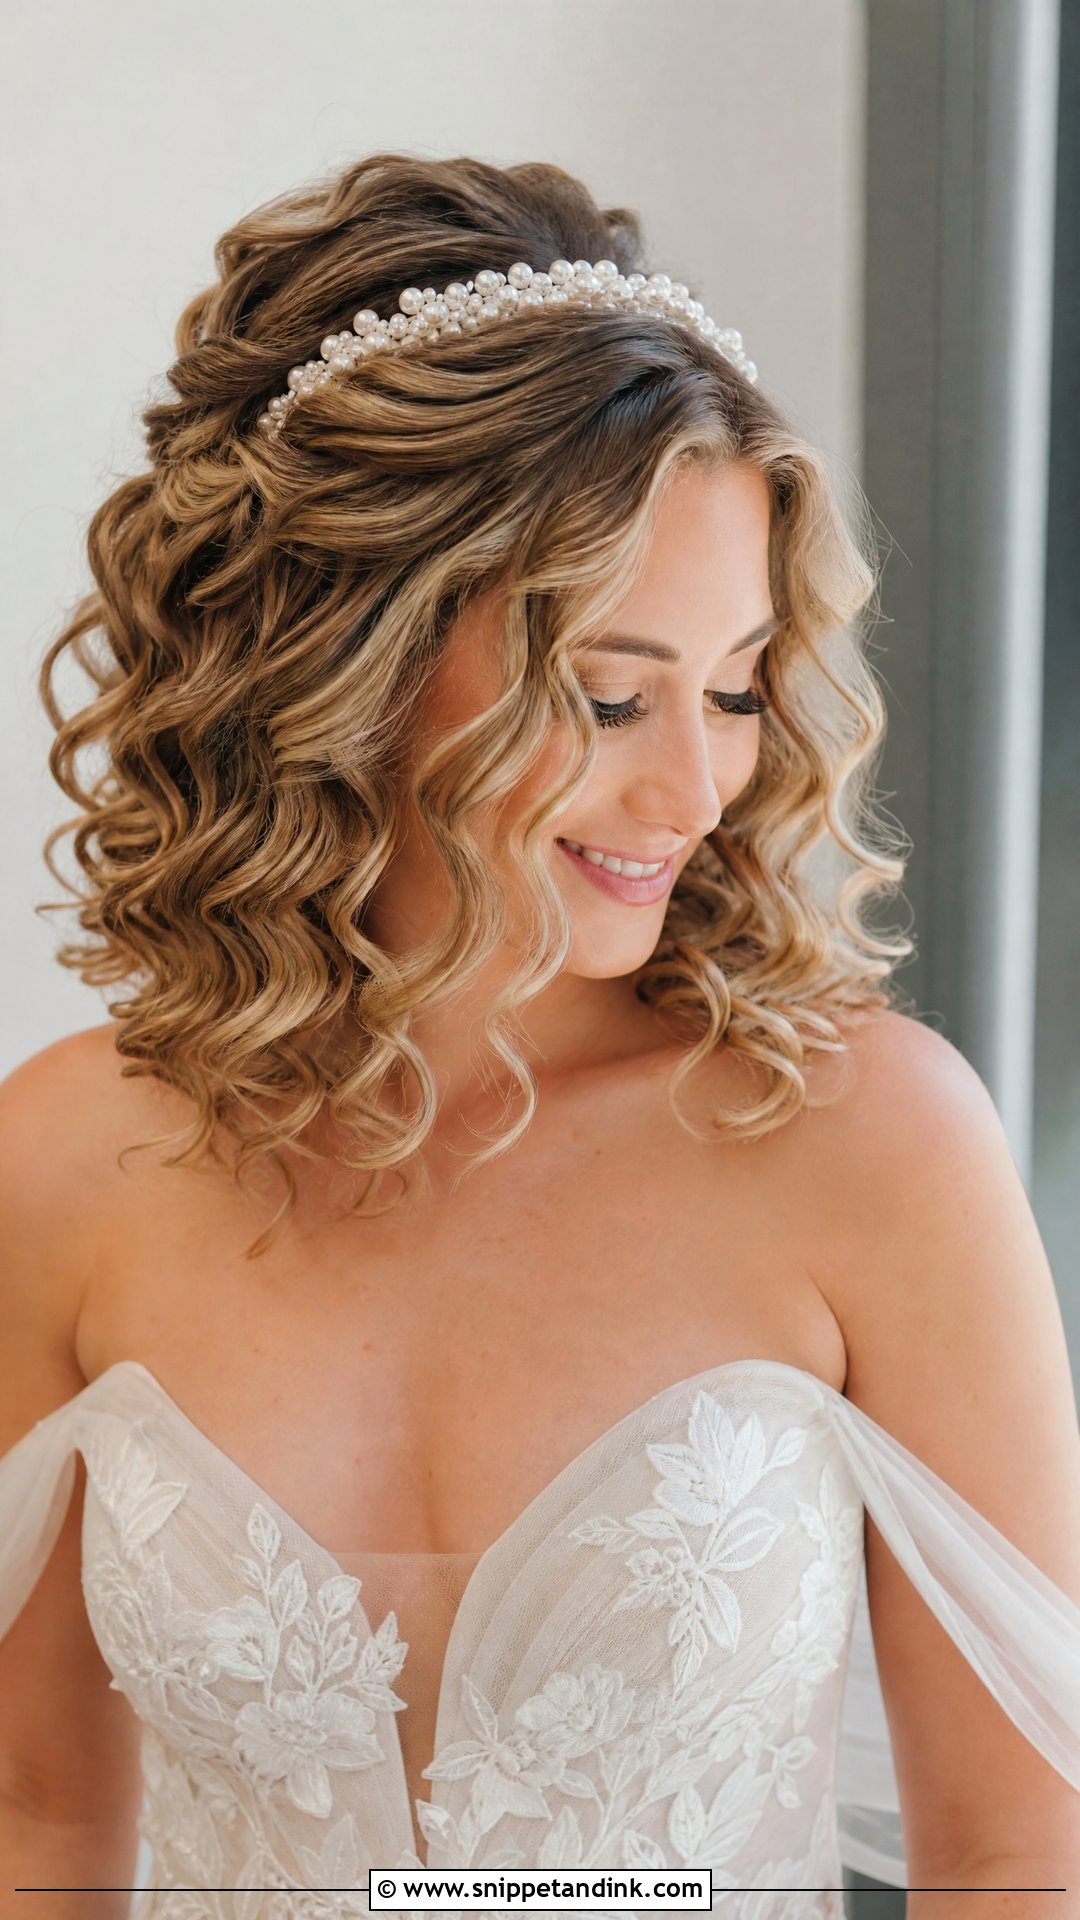
A headband adds detail with very little styling, and it controls the front while the back stays full. It can sit over loose curls, behind face-framing pieces or above a low bun. Pearl, crystal, satin and floral headbands each set a different mood, so match the band to the dress fabric rather than to the theme. The mistake I see most is a band pushed onto curls before they’re finished, which squashes the crown flat. I build a little lift at the crown first, slide the band on last, and hide a bobby pin behind each ear so it doesn’t creep back.
Humidity, Sweat and Rain on a Curly Wedding Day
Weather treats curls very differently depending on where they came from. Heat-set curls on straight hair relax and lengthen in damp air, so a loose wave at two in the afternoon can be nearly straight by sunset at a coastal or tented venue. Natural curls go the other way and swell, getting bigger and frizzier rather than falling.
If the forecast looks muggy, I’ll push heat-set curls toward an updo or half-up shape, because pins hold the structure even when the curl softens. For natural curls, a firmer gel cast and an anti-humidity spray on the finished style help more than any amount of smoothing serum. Either way, settle your humidity plan at the trial, and tell your stylist the venue type so she can build for it.
A small fix-it bag for the reception
- Six or eight spare bobby pins in your hair color
- A travel-size flexible hairspray, or a tiny pot of curl cream for natural hair
- A clean scrunchie or claw clip in case you want everything up for dancing
- A few blotting papers, so you don’t press damp hands into the curls around your face
Hand the bag to a bridesmaid. You won’t remember where you put it.
Let Your Own Curl Pattern Have the Last Word
Every look here can work, but not every look works on every head of hair. If your curls are your own, bring your stylist photos of someone with a similar pattern and density, because a tight ringlet will never behave like a heat-set wave and it shouldn’t have to. If your curls come from an iron, the trial is where you learn how long they last on you, so keep the style in for the rest of that day and notice when it starts to give. Half up, low bun, ponytail, bob or full Old Hollywood: the right one is whichever still feels like you at the end of the night.
You'll Like These Ideas:


Leave a Reply