
Waves are the most requested bridal look in my chair, and the reason is simple: they work with almost any dress, from a slip to a full ballgown, and they still look like you. What surprises brides is how differently the same wave behaves on different hair, and how much of the finish depends on the hour before the curling iron comes out. These 20 ideas run from polished Hollywood ridges to loose beach texture, with half-up, ponytail and bun versions in between. Under each one I’ve added what I’d actually do at the trial and where each style tends to fail.
Most Wave Photos Hide Extensions and a Fresh Set
Before you pick a favorite, look at the inspiration photo the way I do. A lot of the long, thick waves you see online are shot minutes after styling, often with clip-in extensions, under flattering light. That doesn’t make them unrealistic. It just means you need to compare like with like.
- Check the length against your own. If the hair in the photo reaches the waist and yours sits at the shoulder blades, the waves will look tighter and bouncier on you.
- Look at the density at the ends. Full, blunt ends usually mean extensions or very thick hair. If your ends are thin, clip-ins can be added, and I’d rather plan that at the trial than discover it on the morning.
- Notice where the curl starts. Waves that begin at the cheekbone look polished; waves from the root look more voluminous and vintage.
- Find the part. Center, side or deep side changes the whole face, and it’s the easiest thing to test in front of a mirror at home.
Bring the photo and a picture of your dress to the trial. I’ll usually tell you within minutes whether your hair can do it as it is, needs some help, or would look better in a neighboring style.
1. Loose Hollywood Waves for Long Hair
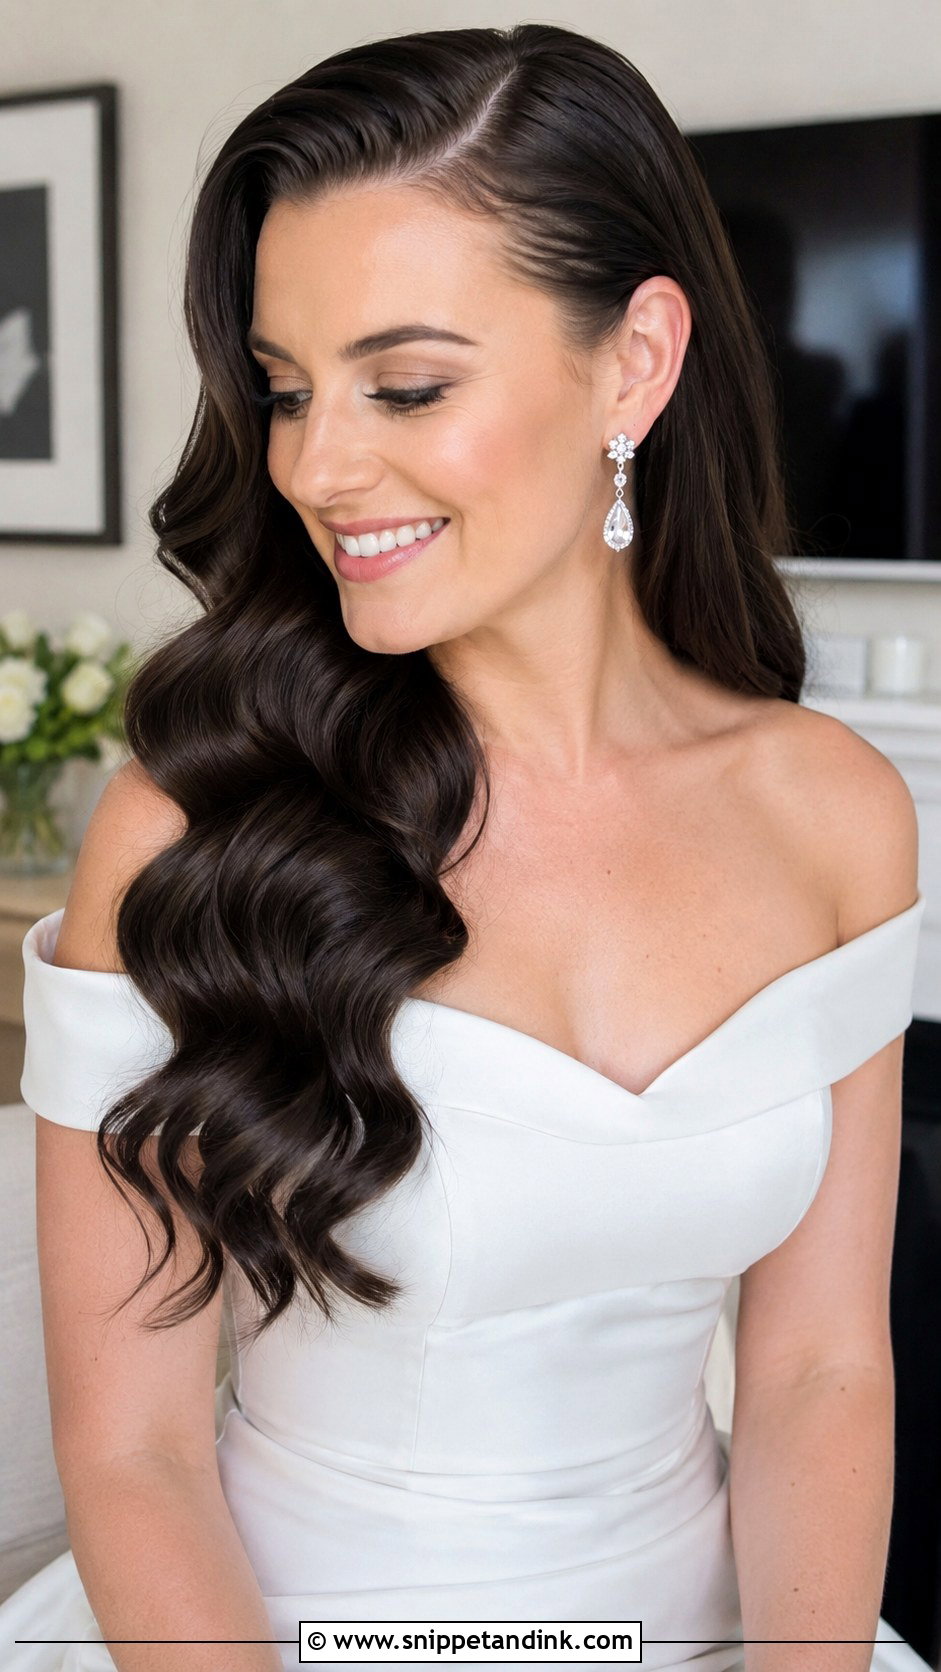
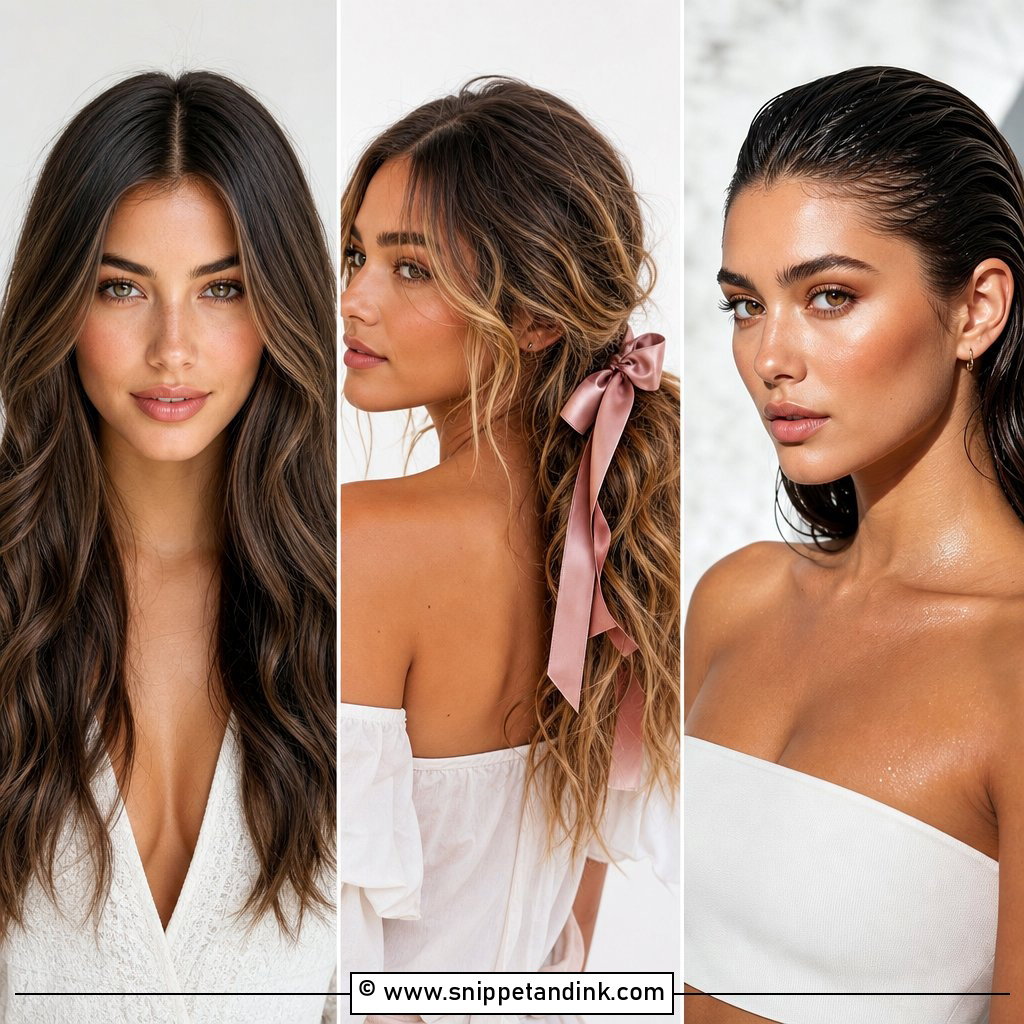
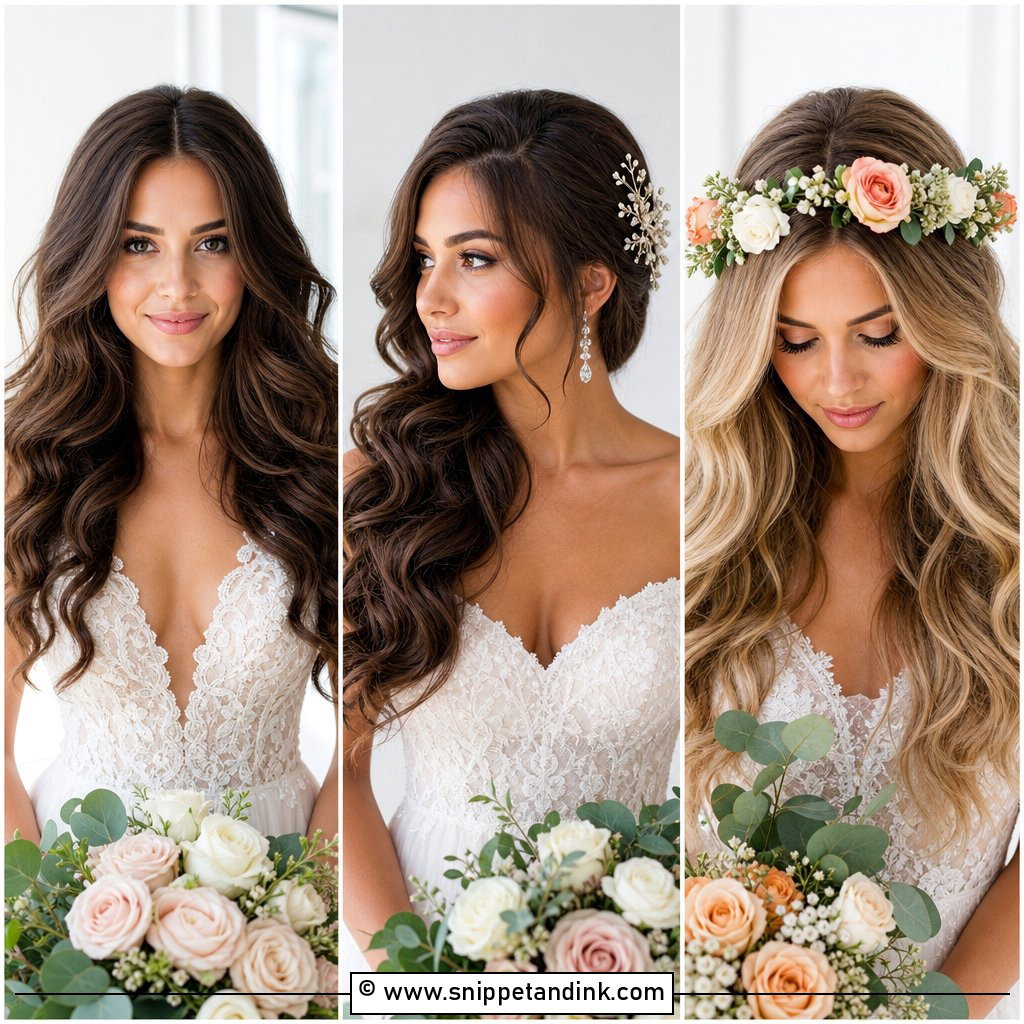
These are the waves that look expensive, and they take patience. I set the hair with a large-barrel iron, curling every section in the same direction, then brush once and pin the ridges into place with flat clips while they cool. The clips are the secret; take them out too early and the S-curve softens into ordinary curls. A drop of glossing serum on the brush, not on the hair, gives that mirror shine without weighing it down. Pair them with statement earrings and a fitted gown. On a breezy rooftop, I’d think twice.
2. Half Up Half Down Waves With Twist
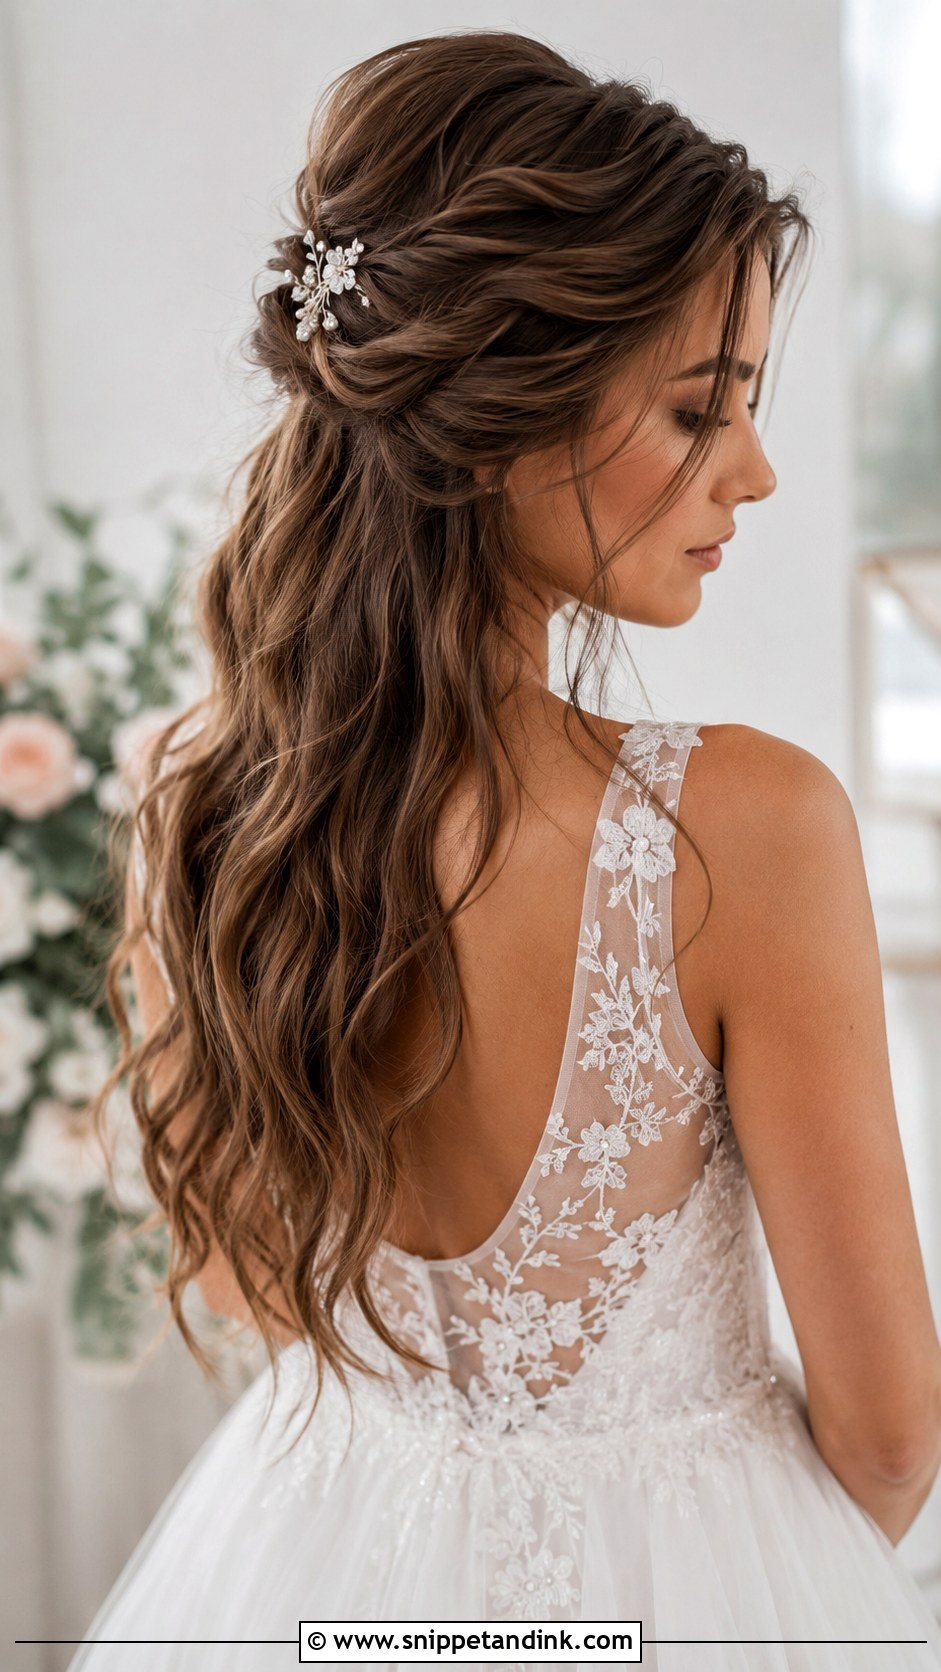
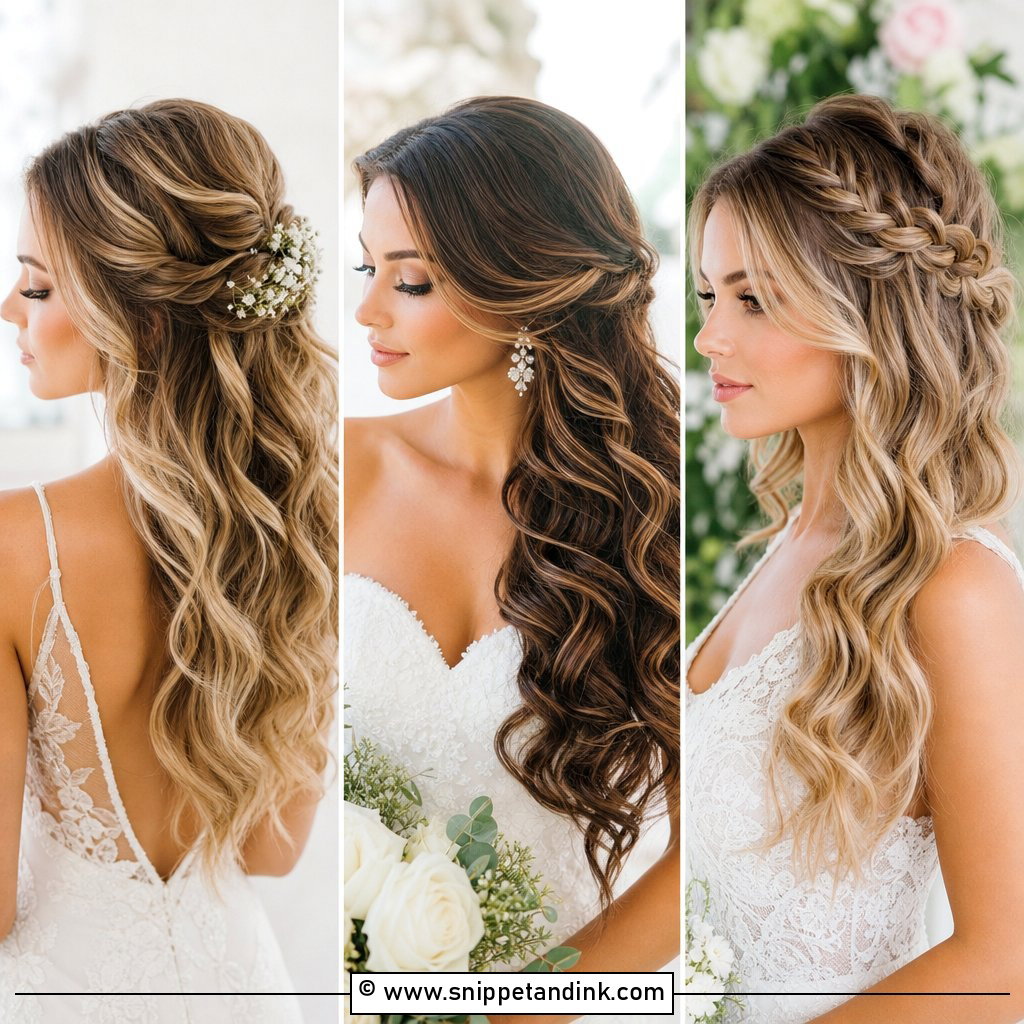
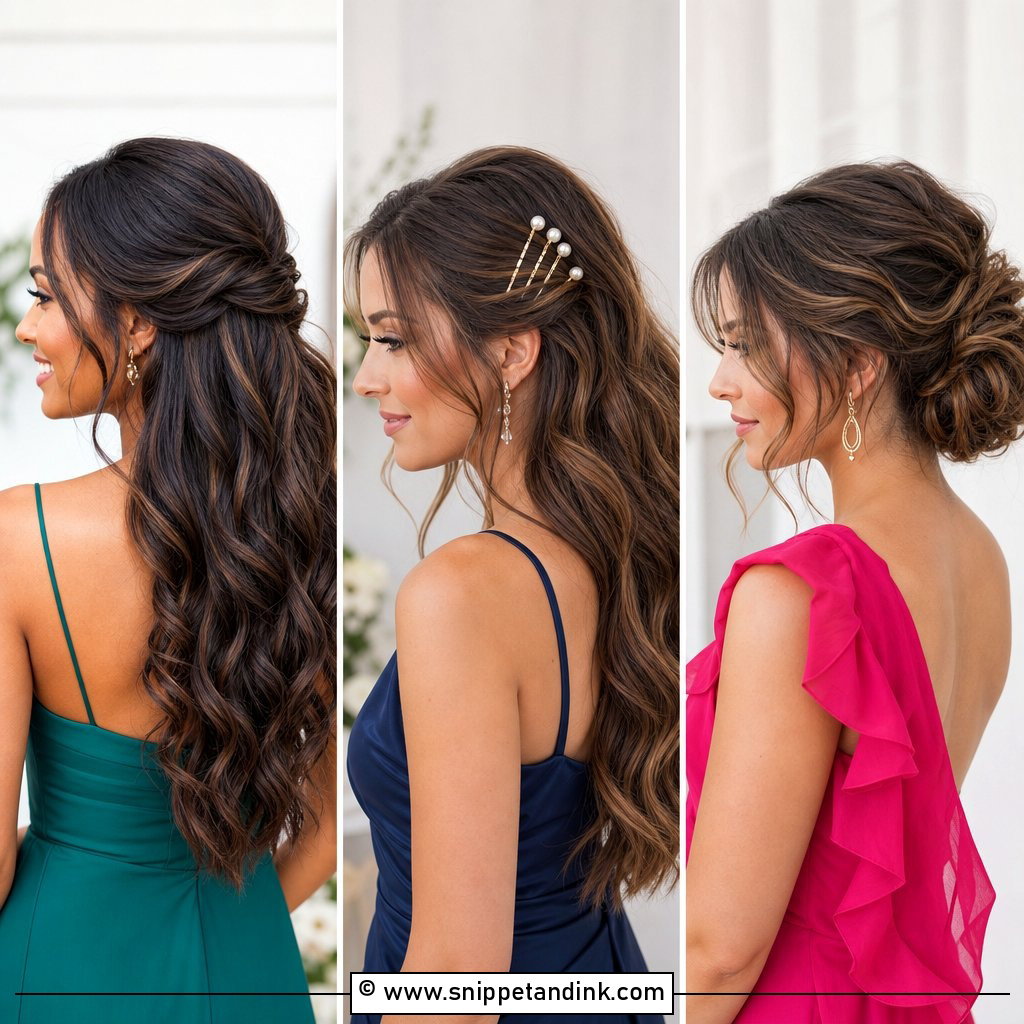
Polish on top, movement below. I backcomb a small section at the crown for height first, then twist or knot the top hair over it and pin it from underneath so the pins disappear. The lengths stay in loose waves. This works especially well at garden weddings, and the gathered section gives a veil comb or floral pins something firm to sit in. On very straight hair, I curl before twisting, not after, since curling around a finished twist means pulling at it.
3. Center Part Waves for a Modern Bride
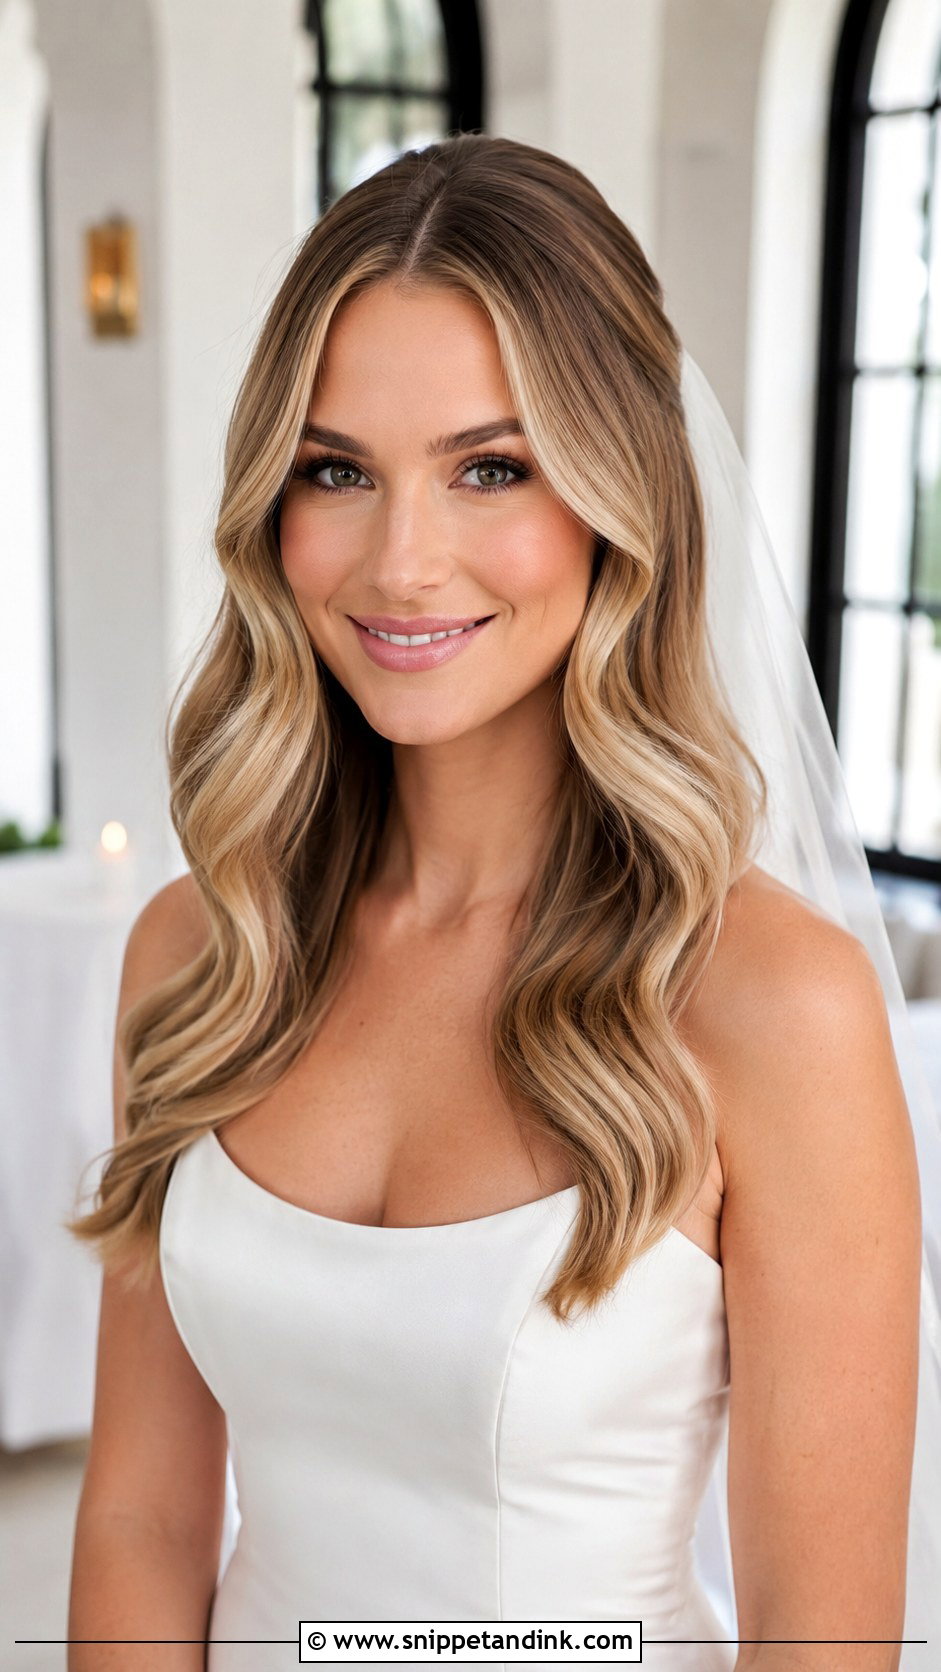
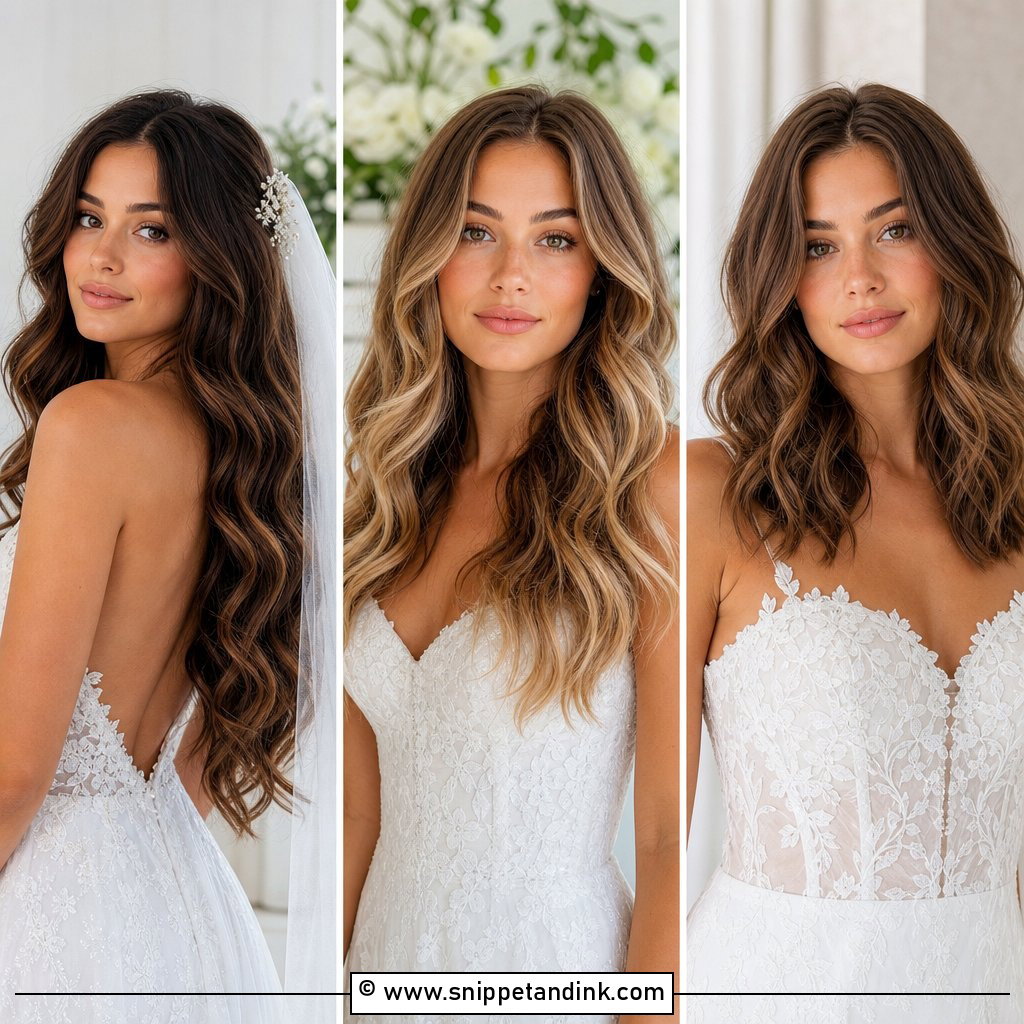
A center part is the least forgiving part, and I say that kindly. It shows any natural cowlick and any asymmetry in the hairline, so I always try it at the trial alongside a slight off-center version. When it works, it’s very modern: waves curled away from the face on both sides, mirroring each other. I blow-dry the roots flat in both directions first so the part sits straight down rather than kinking. A light texture mist keeps it touchable, and simple jewelry and a sleek satin gown suit it best.
4. Beachy Waves With Hair Down
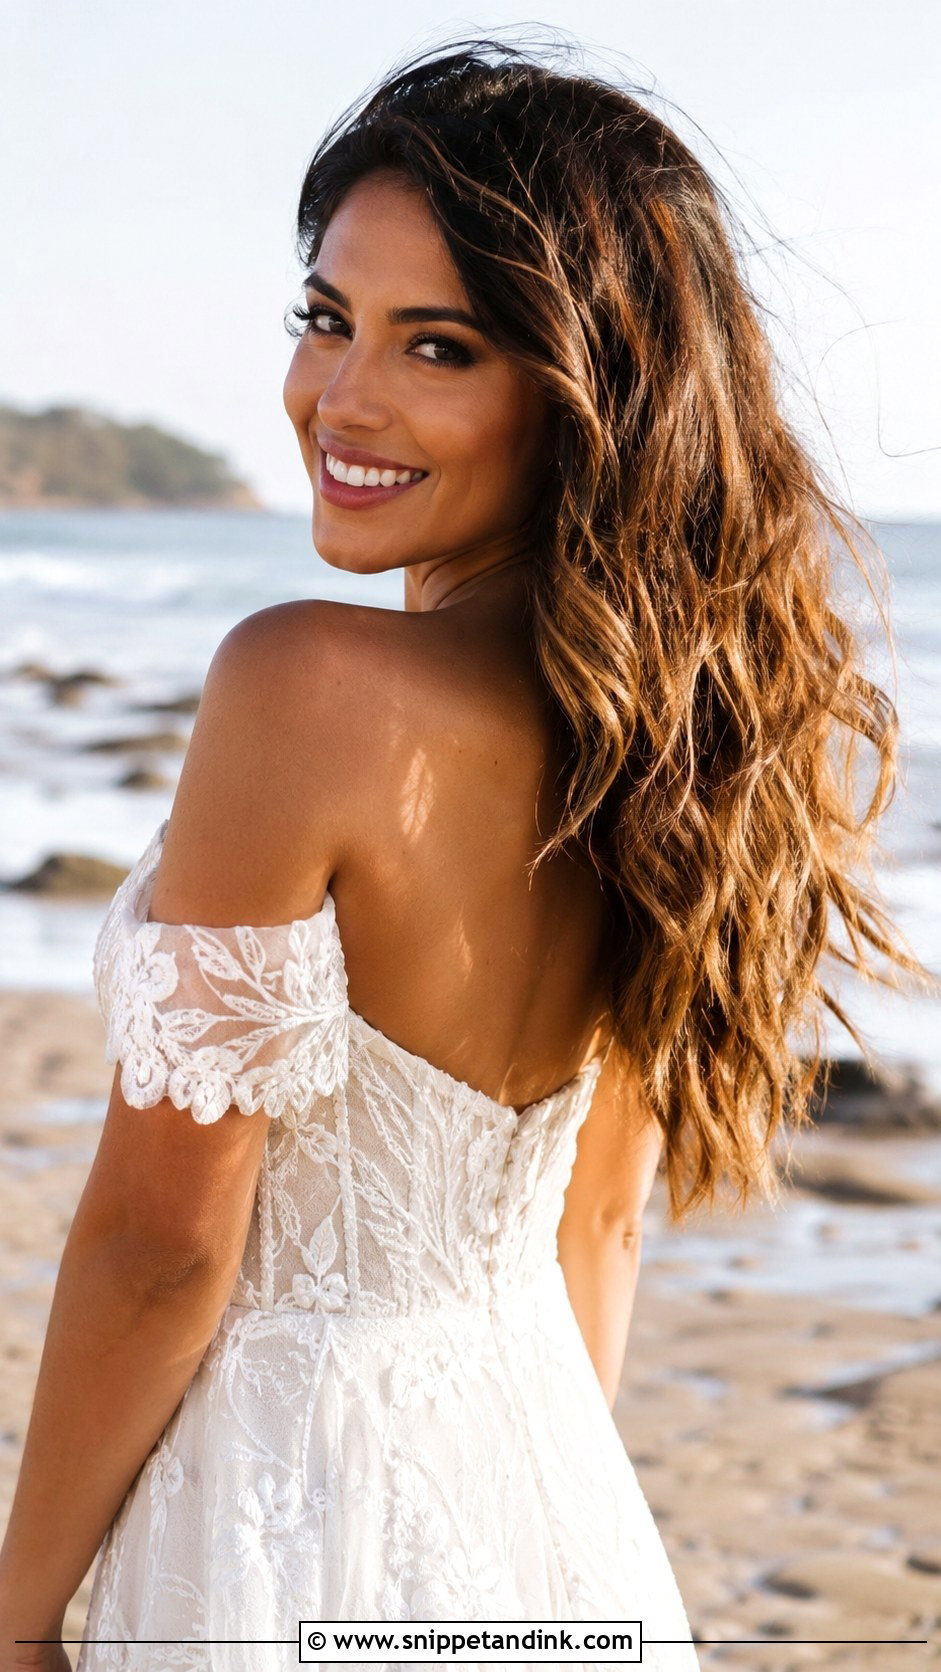
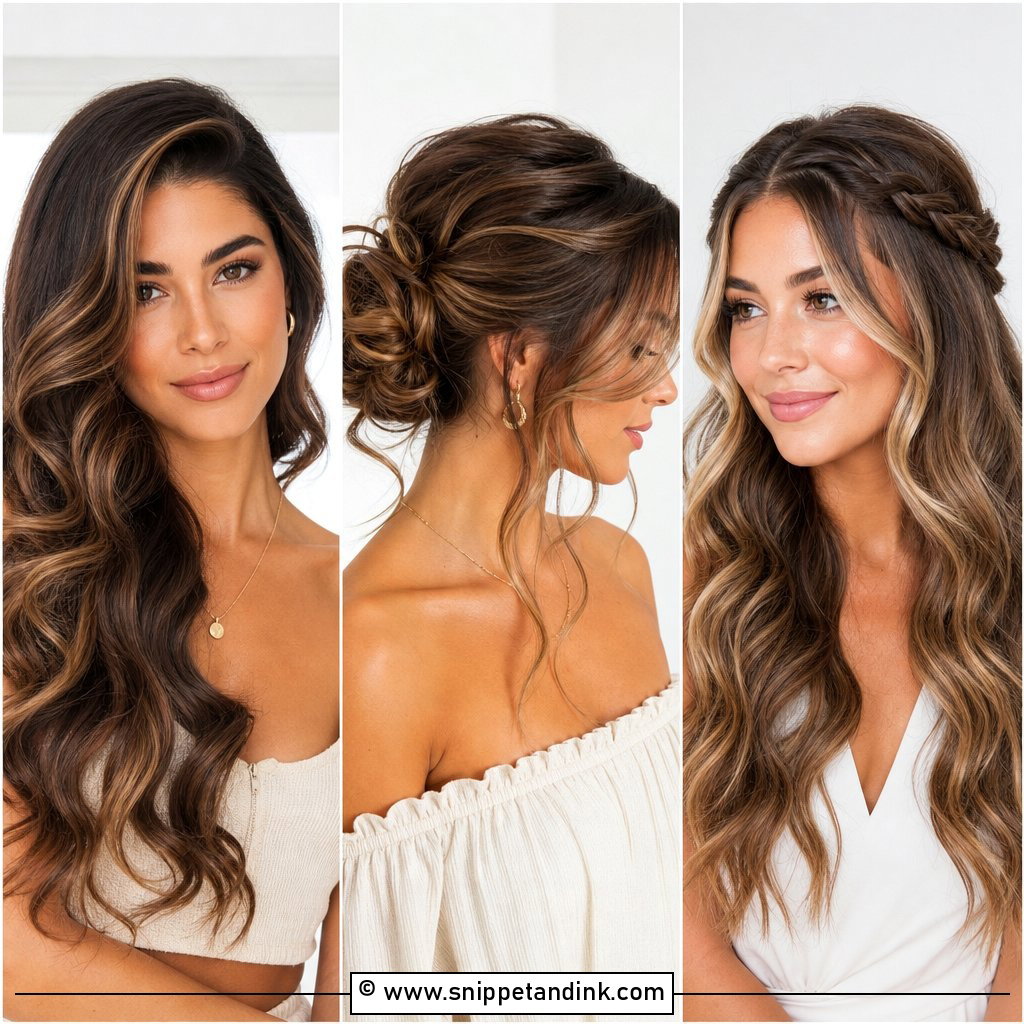
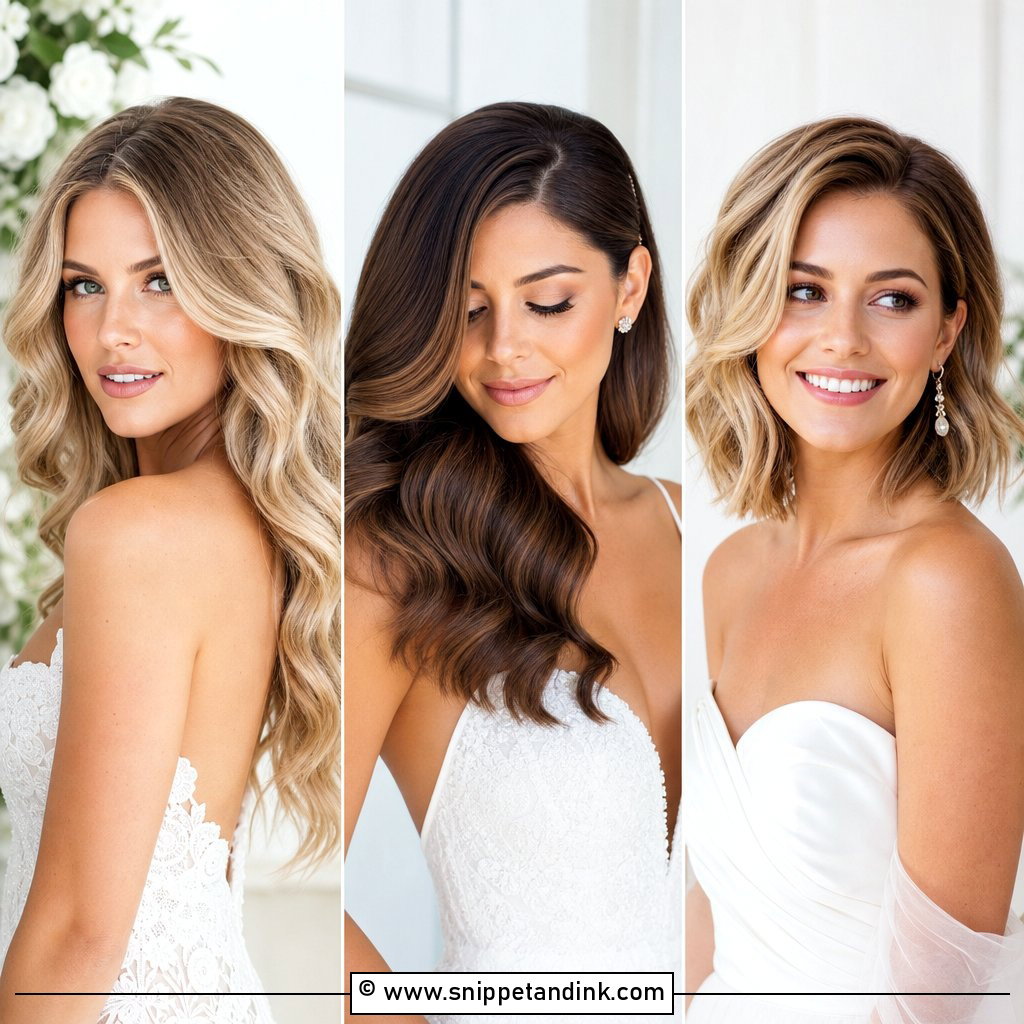
Loose, slightly imperfect beachy waves are the closest thing to wearing your hair the way you would on holiday. Twisting damp hair and letting it air-dry gives the most natural bend, though on the wedding morning I usually fake it with a flat iron, which is faster and more predictable. Then I loosen everything with texture spray and my fingers. Expect some drop by evening, especially by the sea. That’s part of the look, but if your hair is very silky I’d set it a little tighter. Tuck one side behind your ear to show an earring.
5. Low Wavy Ponytail for Brides
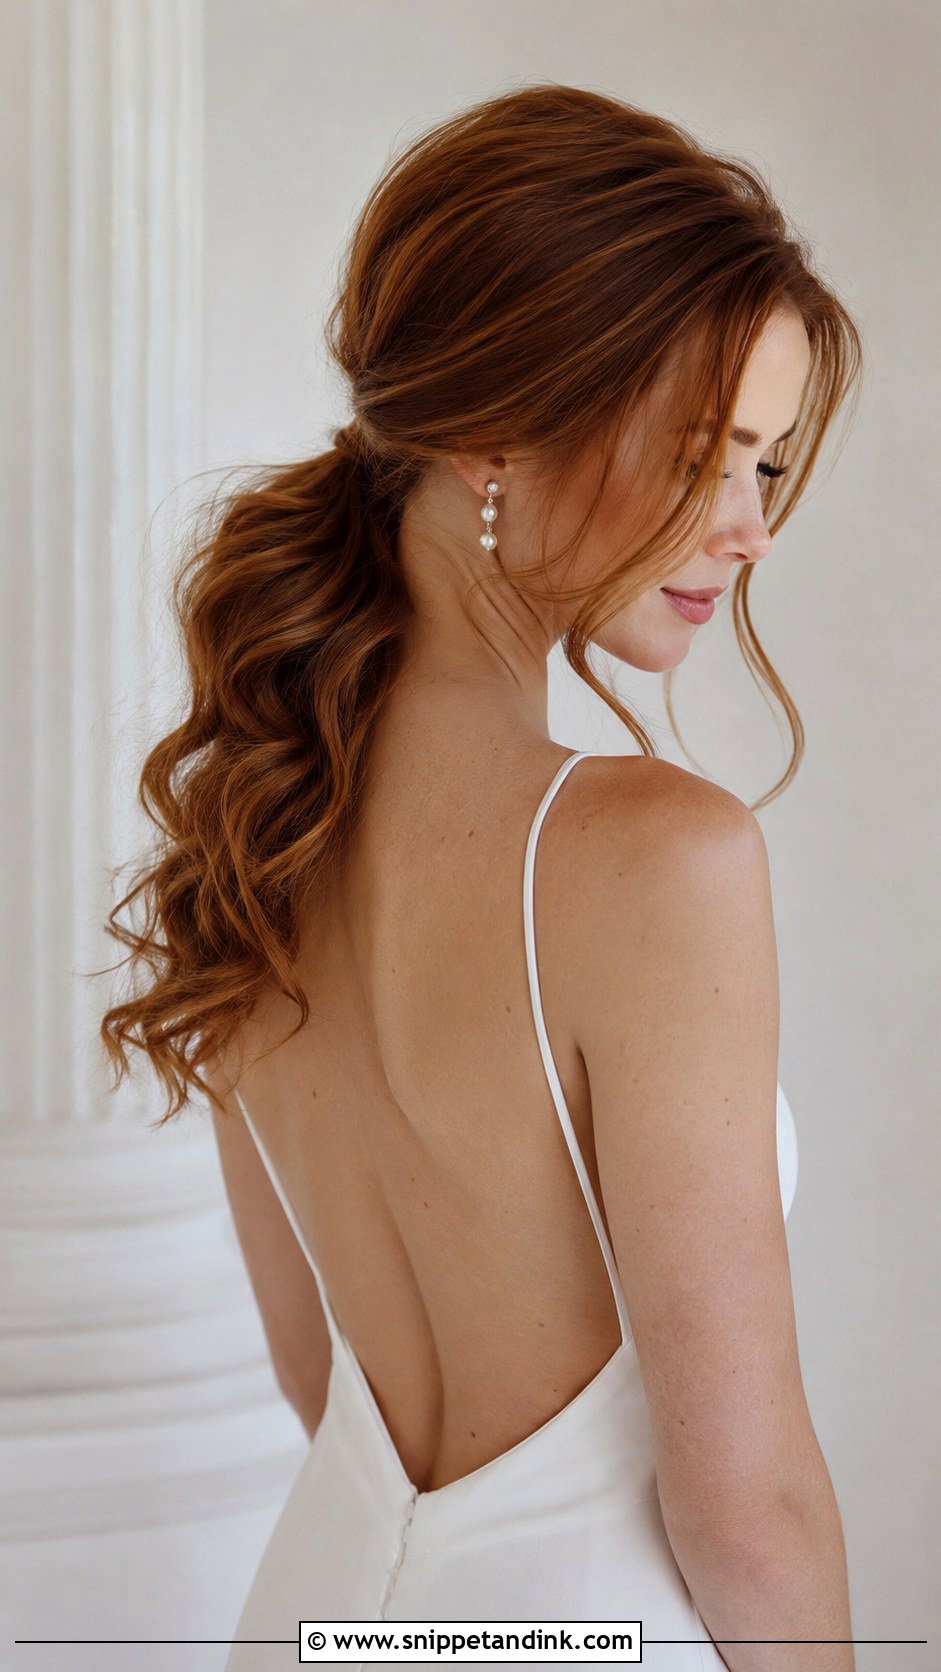
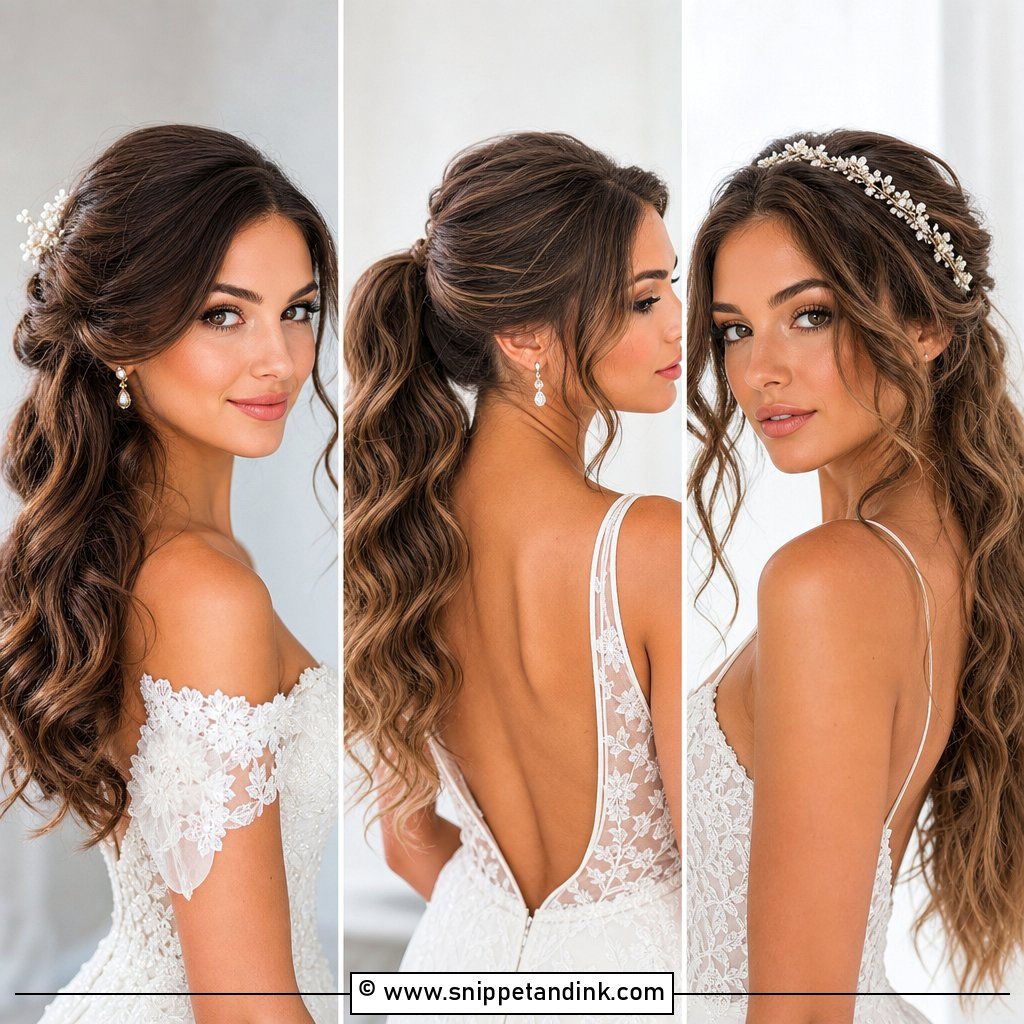
A low ponytail becomes wedding hair once the tail has real texture in it. I curl the lengths before gathering them at the nape, so the elastic doesn’t flatten the waves, and then wrap a small strand around the band and pin it underneath. A couple of pieces left loose at the front stop it reading as severe. It’s my go-to for brides who plan to dance hard, since nothing can collapse. An open-back gown shows well with it, because the tail draws the eye down the spine.
6. Boho Waves With Braided Crown
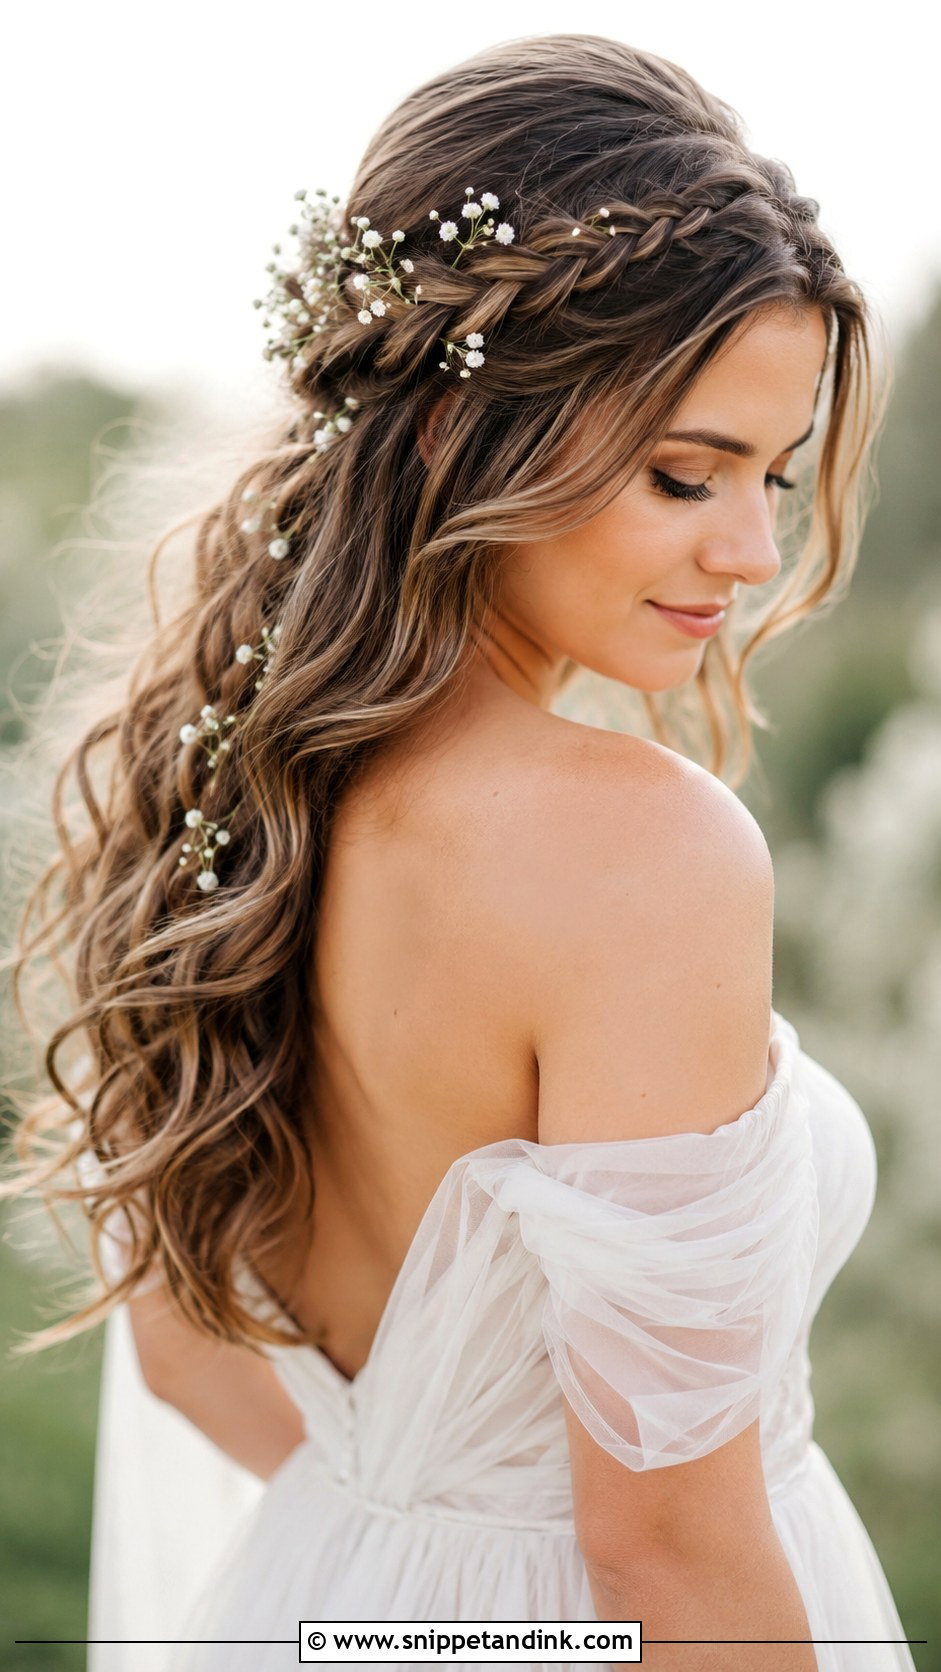
The braid that circles the crown is what holds this style together on a windy day. I braid from one temple across the top to the other side and pin it under the opposite ear, then pull the loops wider so it reads from a distance. The waves below stay loose. Baby’s breath or tiny flowers tuck into the braid well. One warning: if your hair is short at the front, the braid will look thin over the forehead, so I sometimes start it slightly further back. Chiffon gowns and bare shoulders suit it.
7. Side Swept Waves Over One Shoulder
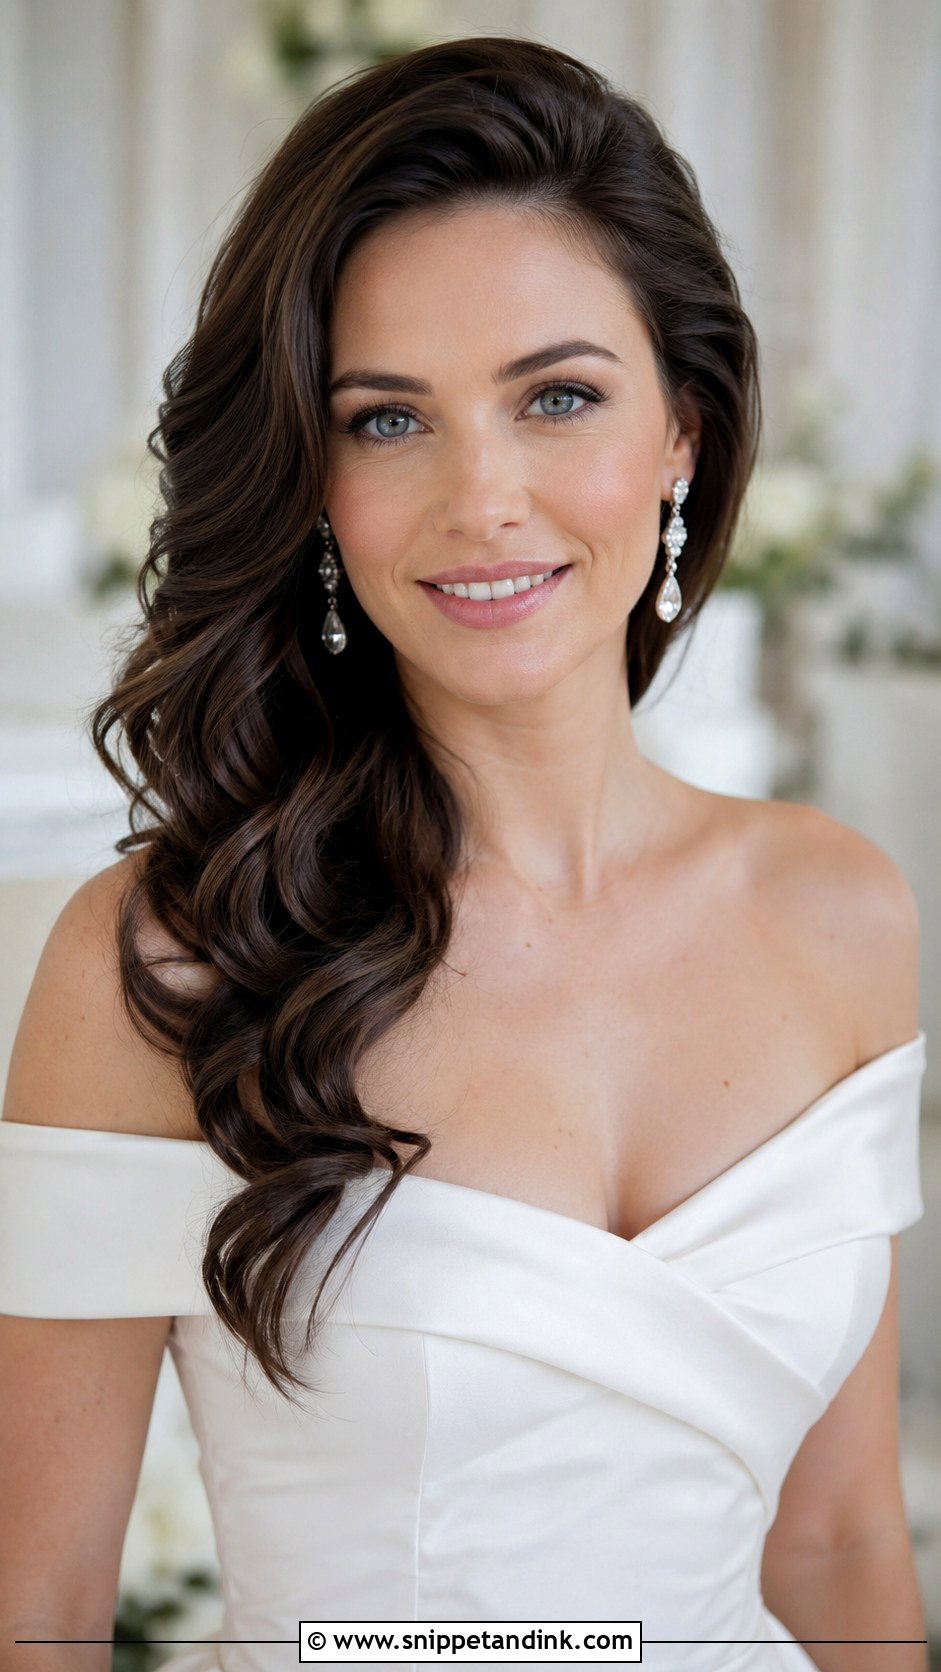
Every wave goes over one shoulder here, leaving the other side of the neck bare. Holding that shape is all about the pins behind the ear, which I cross in an X so they lock instead of sliding out. A touch of volume at the crown keeps the head from looking lopsided once all the weight sits on one side. The bare side shows the collarbone and an earring, which makes it a natural fit for one-shoulder or off-the-shoulder gowns. You’ll find yourself flicking it back all day, so ask for a light hold spray at the roots.
8. Wavy Hair With Floral Hairpins
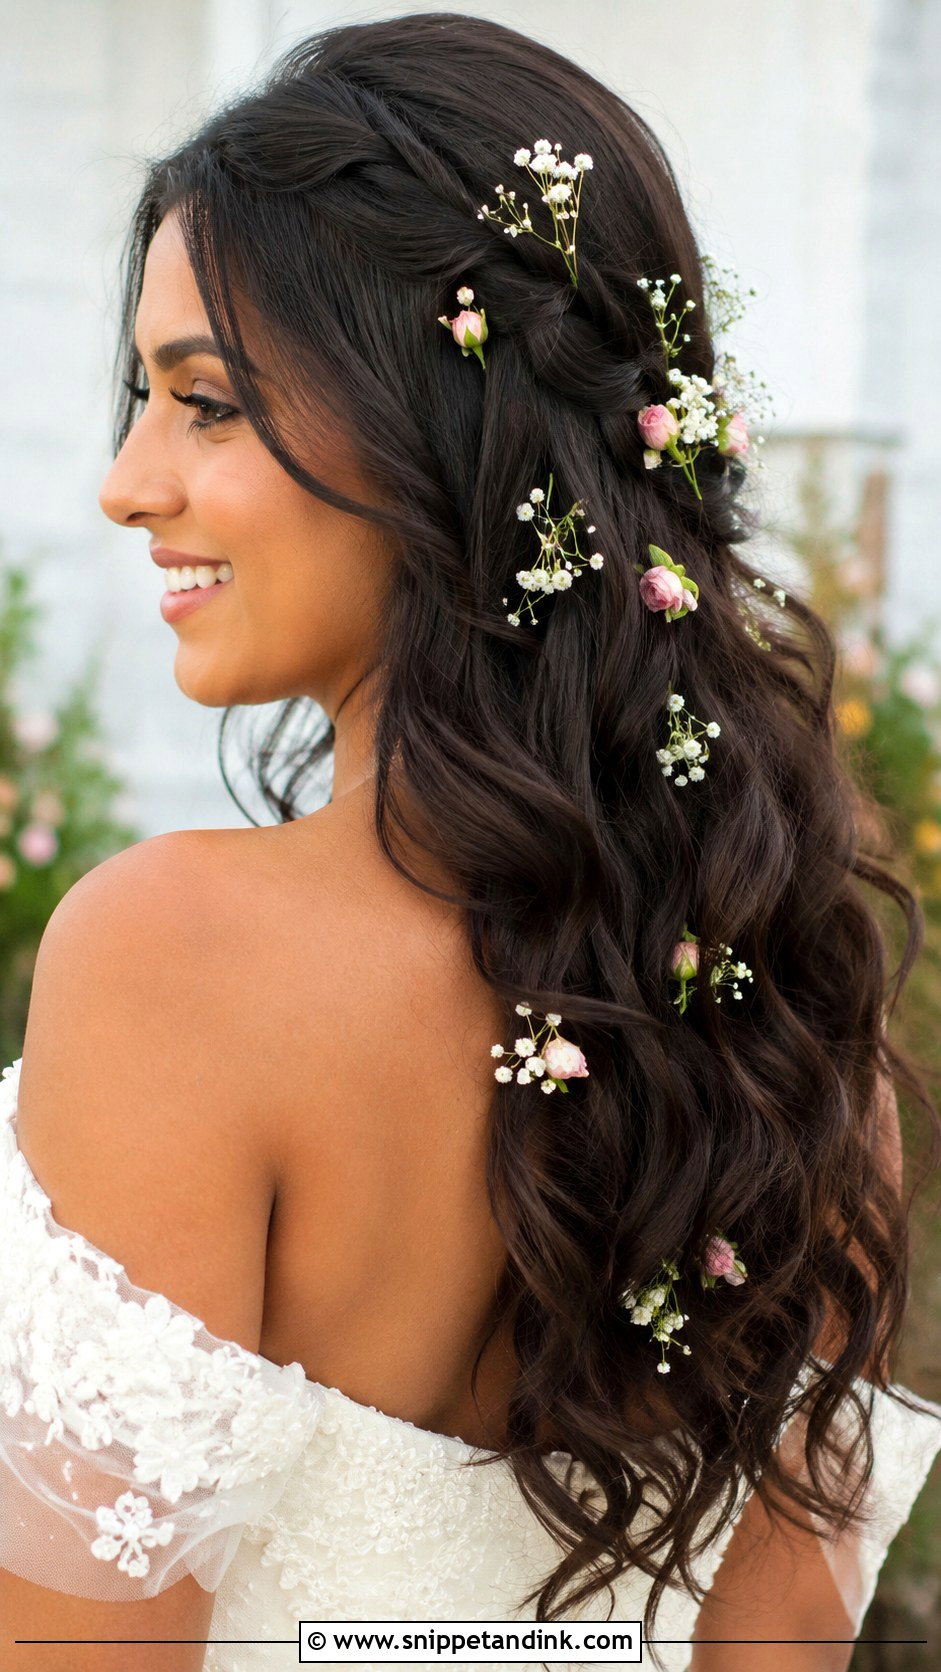
Flower pins bring color into the hair, and they look best scattered loosely instead of lined up. Baby’s breath and spray roses are the easiest; they’re small, light and survive a few hours out of water. Large, soft-petalled flowers bruise and droop on a warm day, so for summer I often suggest silk versions or a few fresh stems mixed with faux ones. Ask your florist to make the pins from the same flowers as your bouquet. I push each pin in at an angle under a curl so the stem is hidden.
9. Wavy Half Up With Veil
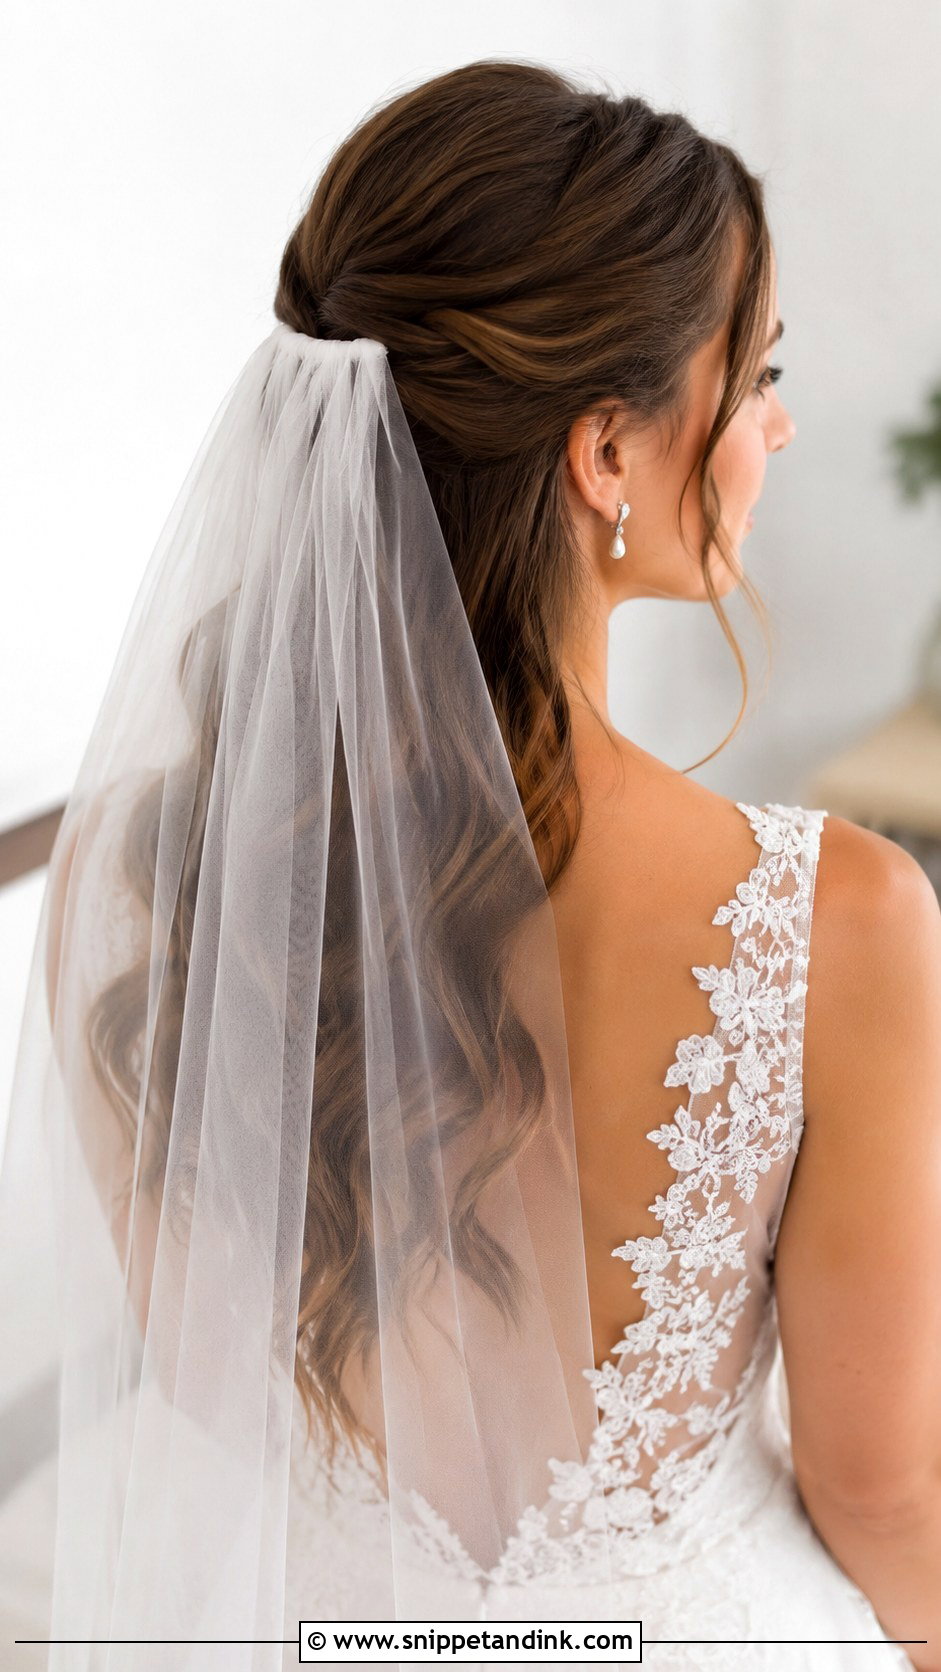
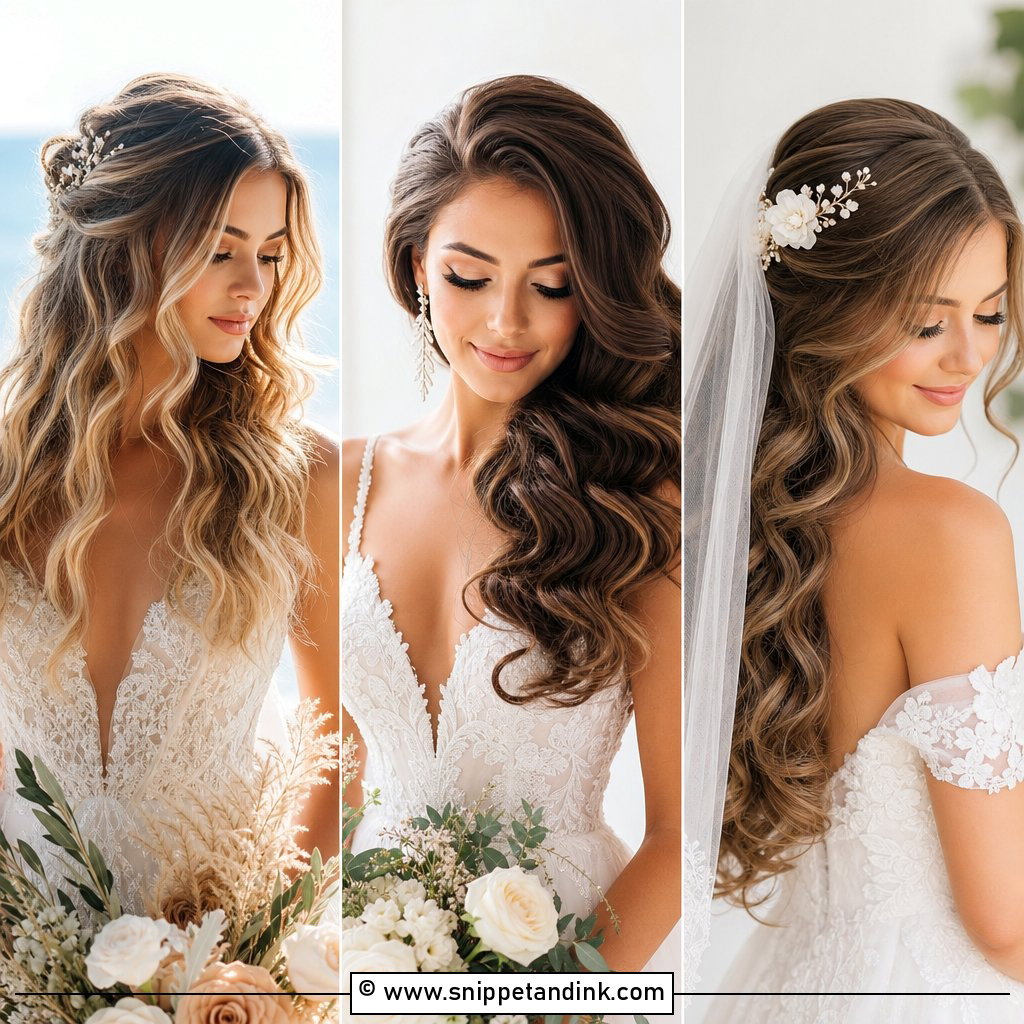
If you’re wearing a veil, half-up waves are the most secure option I know. The pinned top section gives the veil comb a solid base, so I slide the comb in just beneath it and cross two bobby pins over the teeth. The waves below stay free and frame the tulle. During vows the hair stays off your face, which matters more than you think when you’re crying. When the veil comes off for the reception, the half-up section is still intact, and a quick finger-shake brings the lengths back.
10. Tousled Waves With Center Part
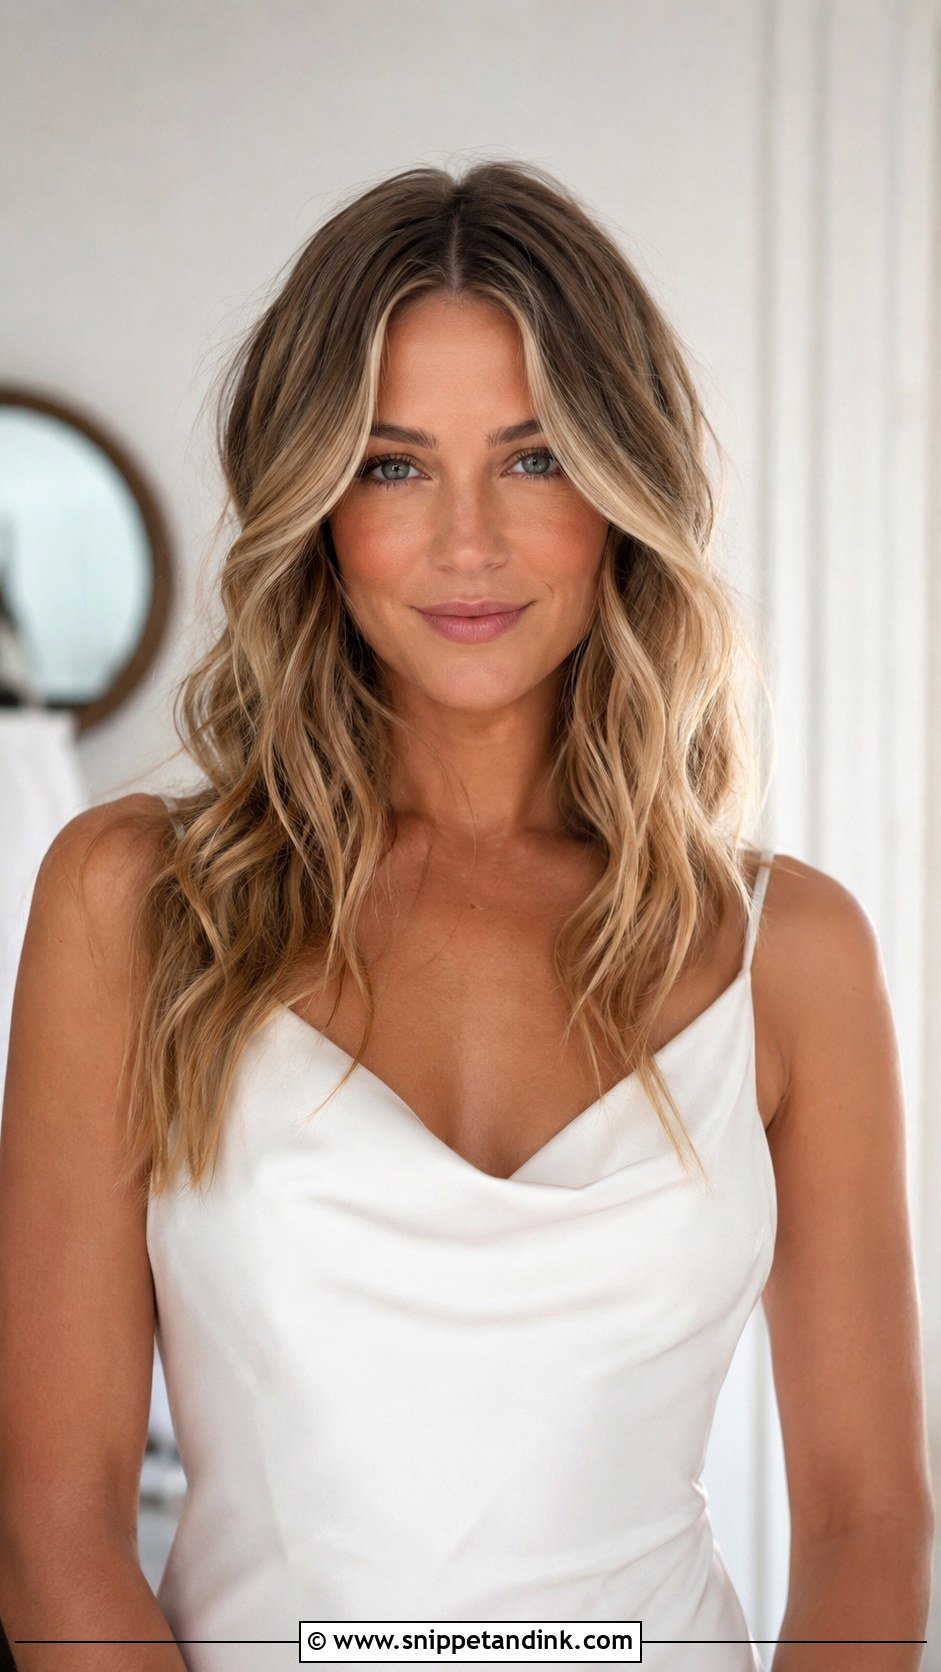
Tousled waves with a center part look like your everyday hair on its best day. I make loose bends with a flat iron, twisting it half a turn as I glide down, then break them apart with my fingers and texture spray. No brush. The style works at intimate, city-hall or relaxed weddings, and it suits brides who feel overdressed in a formal set. Because the waves are loose, there’s not much to go wrong, but very fine hair will look flat by evening without a root lift spray at the start.
11. Glamorous Voluminous Waves
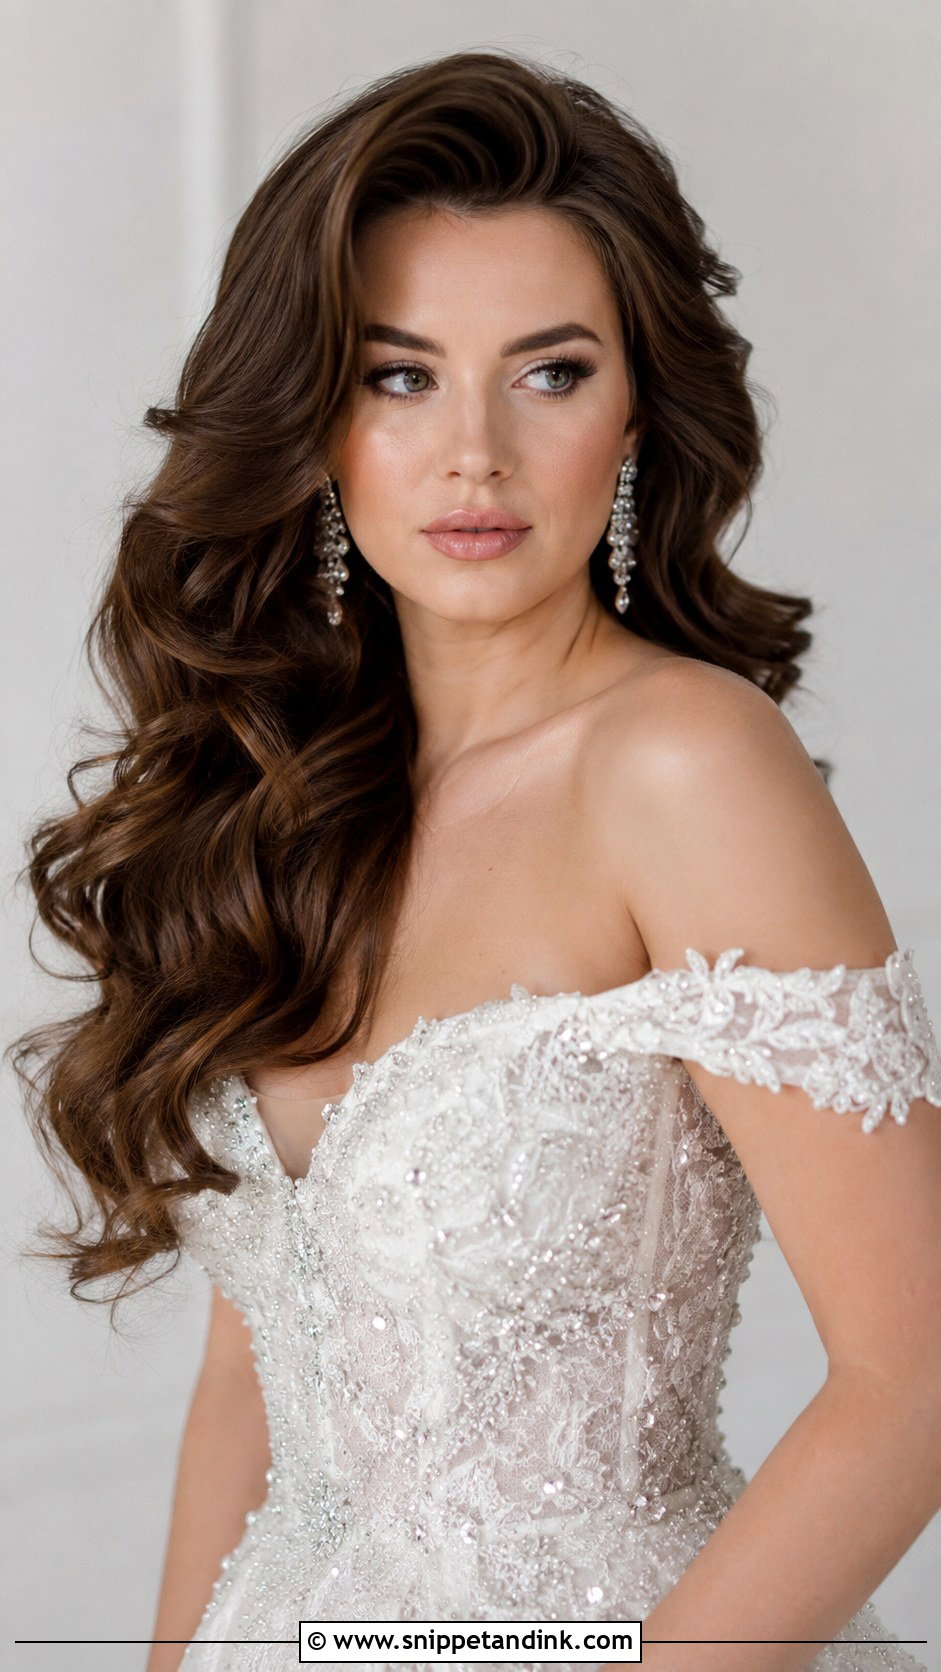
Maximum body takes the longest. I start with a round-brush blowout, set the hair in velcro rollers to cool, and only then curl and brush the waves out, adding texture powder at the roots for lift. The rollers do most of the work; curling alone never gives that height. This one belongs in a ballroom with a dramatic gown. Under a heavy veil, the crown flattens quickly, so I’d keep the veil light or skip it after the ceremony.
12. Wavy Hair With Pearl Accessories
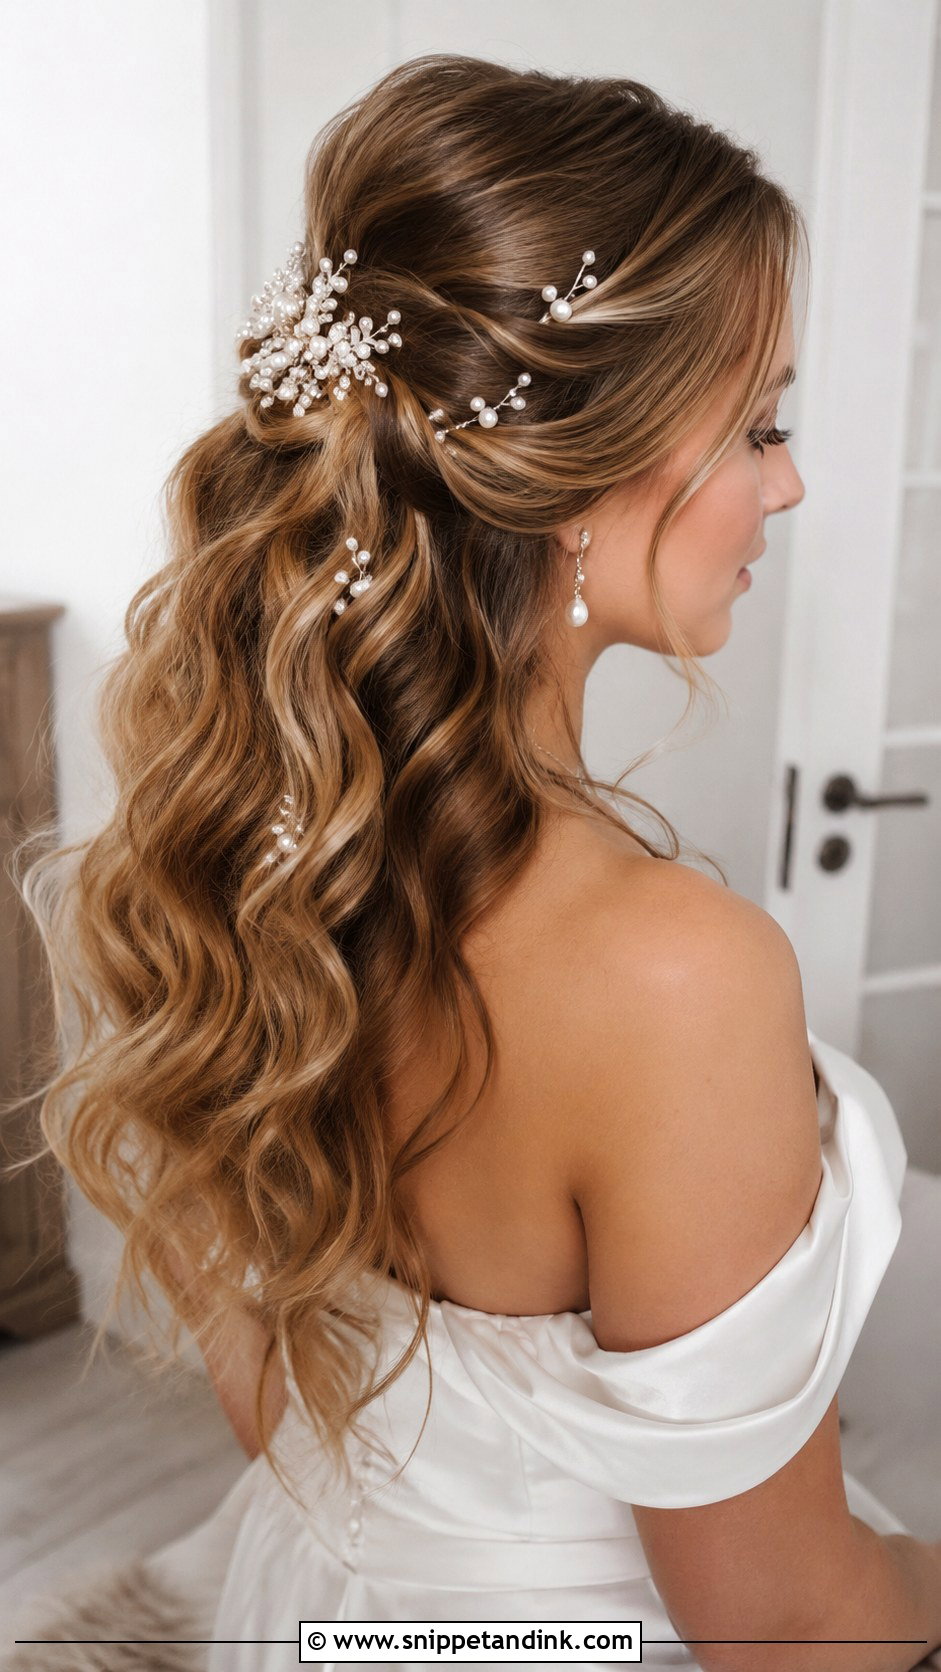
Pearls sit nicely on waves because their soft shine doesn’t fight with the movement of the hair. You can use scattered pins, a comb, or a delicate pearl headpiece along the crown or where the hair sweeps back. On slippery hair, I spray a little texture where each pin goes so it grips. Small pearls in odd numbers look relaxed; a perfectly even row looks stiff. They work with most gowns and skin tones, which is why I keep them in my kit.
13. Romantic Waves With Side Part
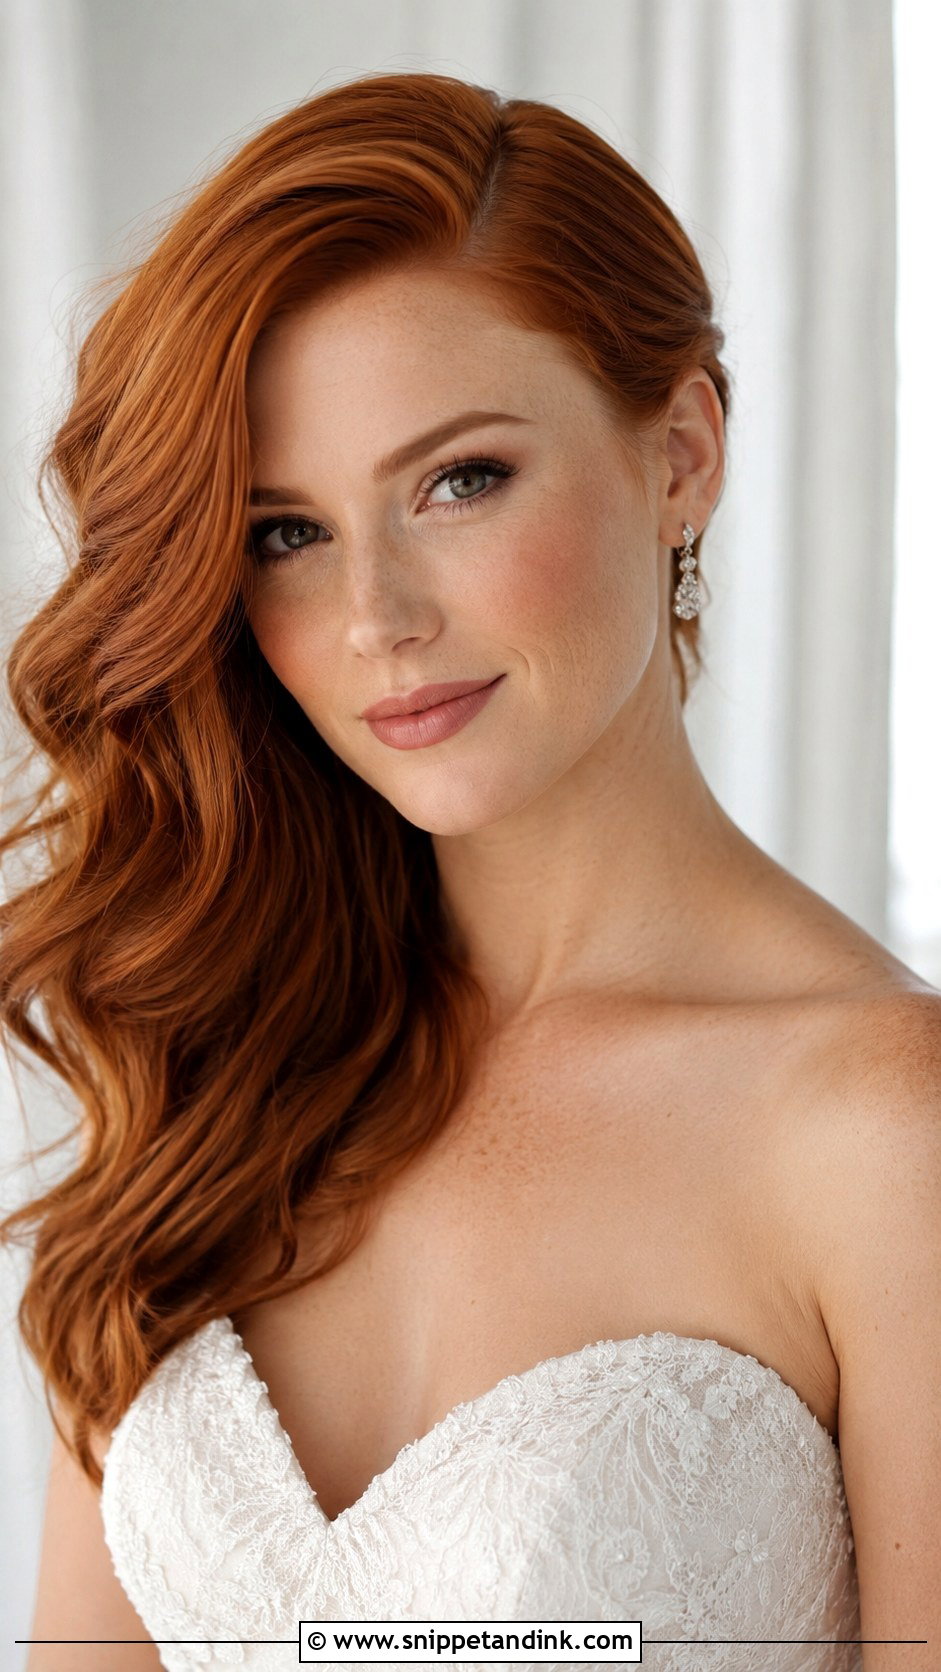
Moving the part deep to one side gives volume on the full side and a soft sweep over the forehead. I create defined waves with a curling iron and brush them out once for softness. The part itself needs setting at the root while the hair is damp, or it springs back to its natural position by mid-afternoon. A little hairspray on a comb keeps it in place. It’s flattering on most face shapes and works with modern or traditional gowns.
14. Boho Waves With Loose Tendrils
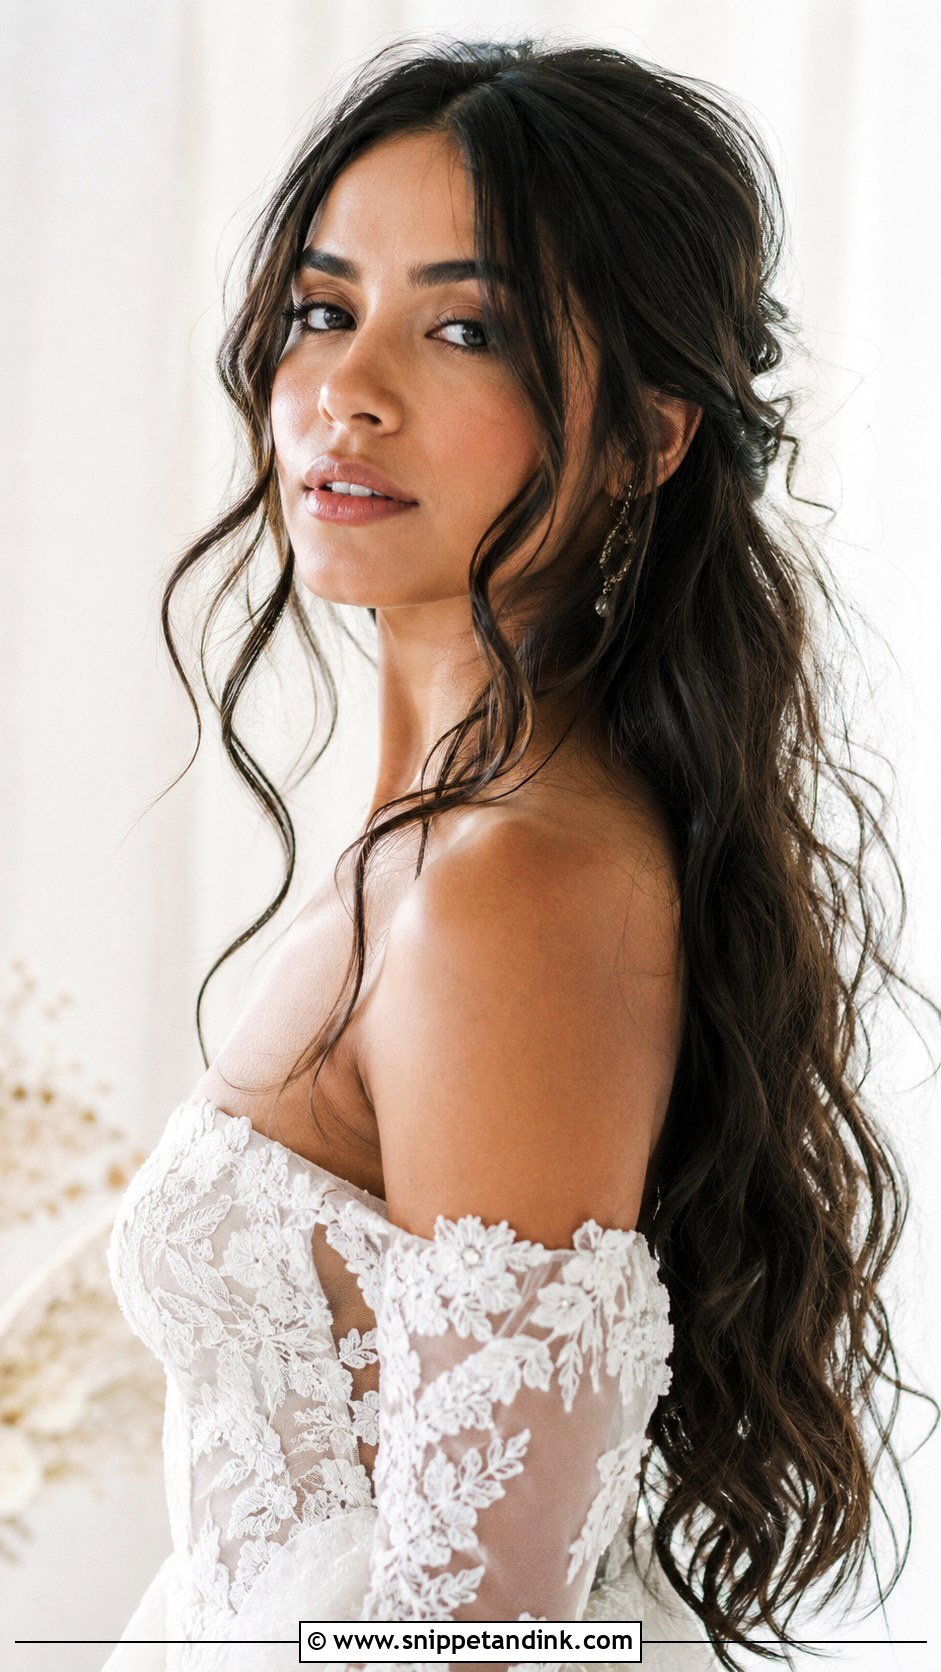
Leaving out face-framing tendrils softens the whole look, but choosing them is a skill. I take them from right at the hairline near the temples, not from the top, and curl them separately so they bend away from the face. Pieces that are too thin look accidental; too thick and they cover the eyes. Keep the rest of the hair airy and undone. This one sits well at a garden or outdoor wedding, but humid air can turn tendrils frizzy, so a smoothing cream on just those pieces helps.
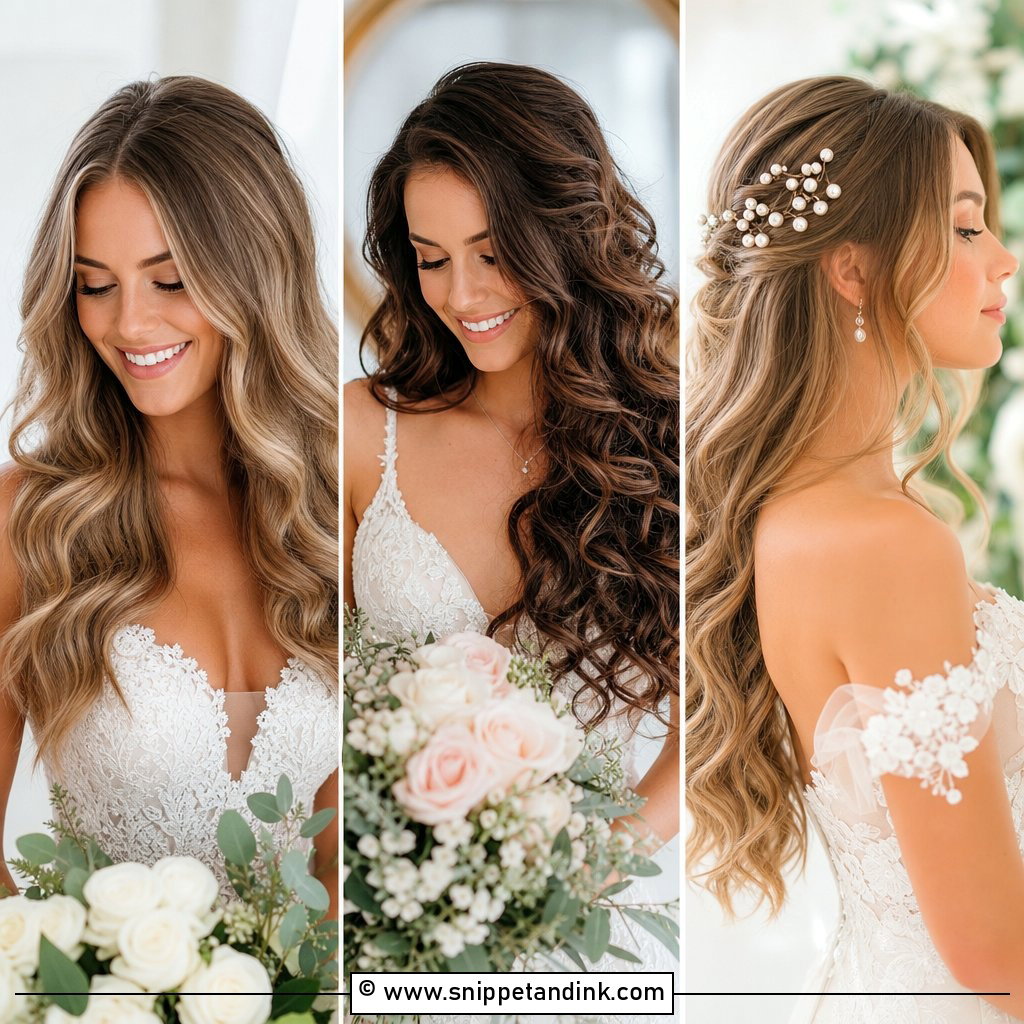
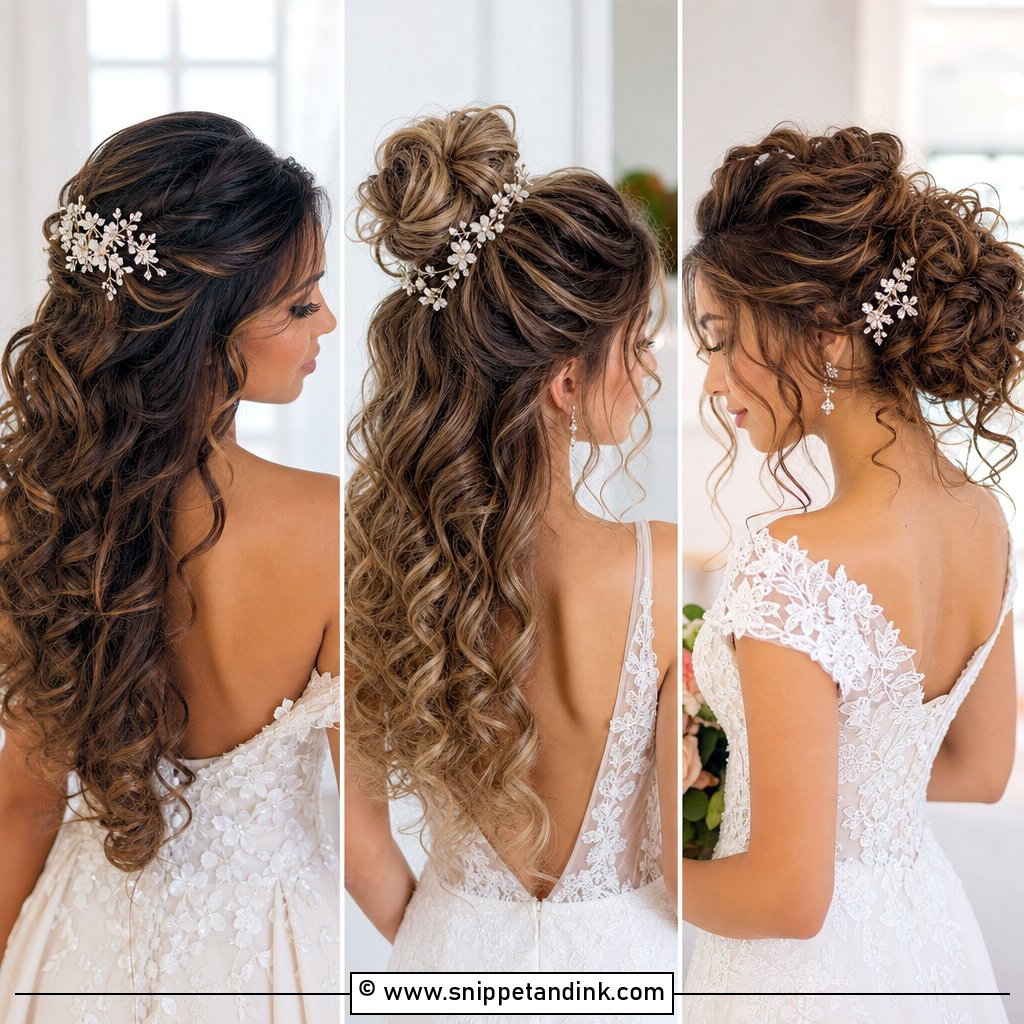
15. Wavy Low Bun With Face Framing Waves
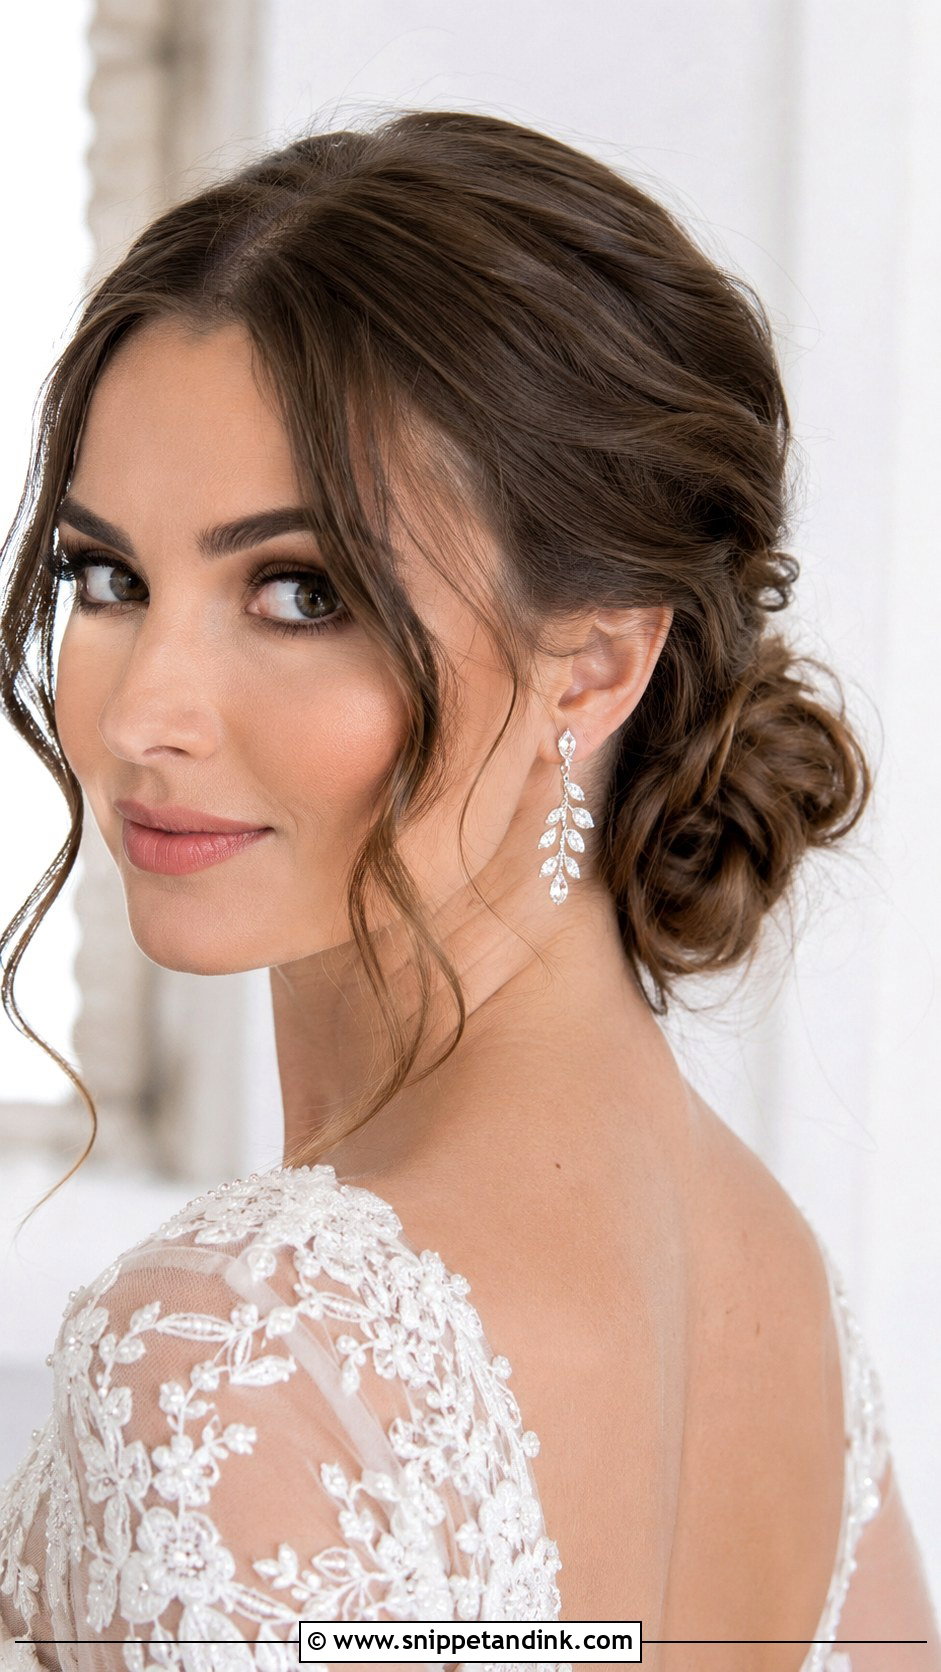
A low bun at the nape with waves left around the face is the formal version of loose hair. I curl everything first, gather most of it into a textured bun, and pin it criss-cross so it stays put through dancing. The front pieces are lightly waved and left free. The contrast between the neat bun and the soft front reads as intentional. It keeps the neck clear and shows off statement earrings and an elegant neckline.
16. Mermaid Waves for Long Hair
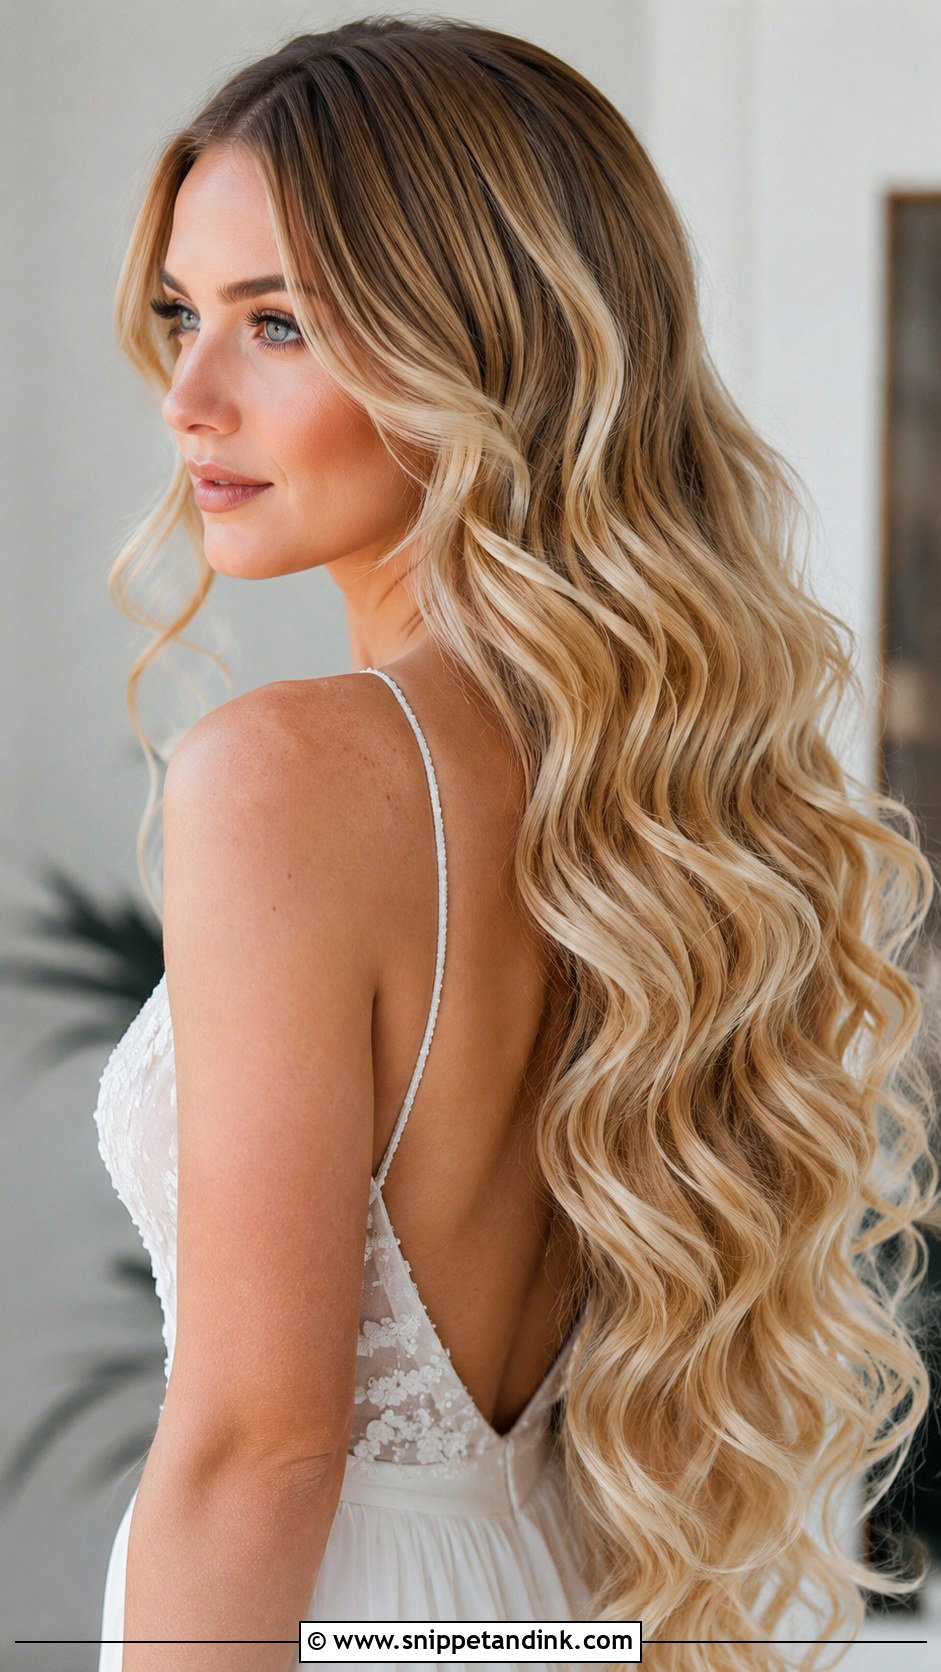
Long mermaid waves need real length, usually well past the shoulder blades. The waves are ribbon-like and even from root to tip, made with a wand in consistent sections and then loosened with the fingers. Very long hair is heavy, which means these drop faster than shorter waves, so the setting time matters. A shine serum gives the glossy finish. Keep the accessories minimal and the gown flowing, and let the length do the talking.
17. Wavy Hair With Sparkly Hair Vine
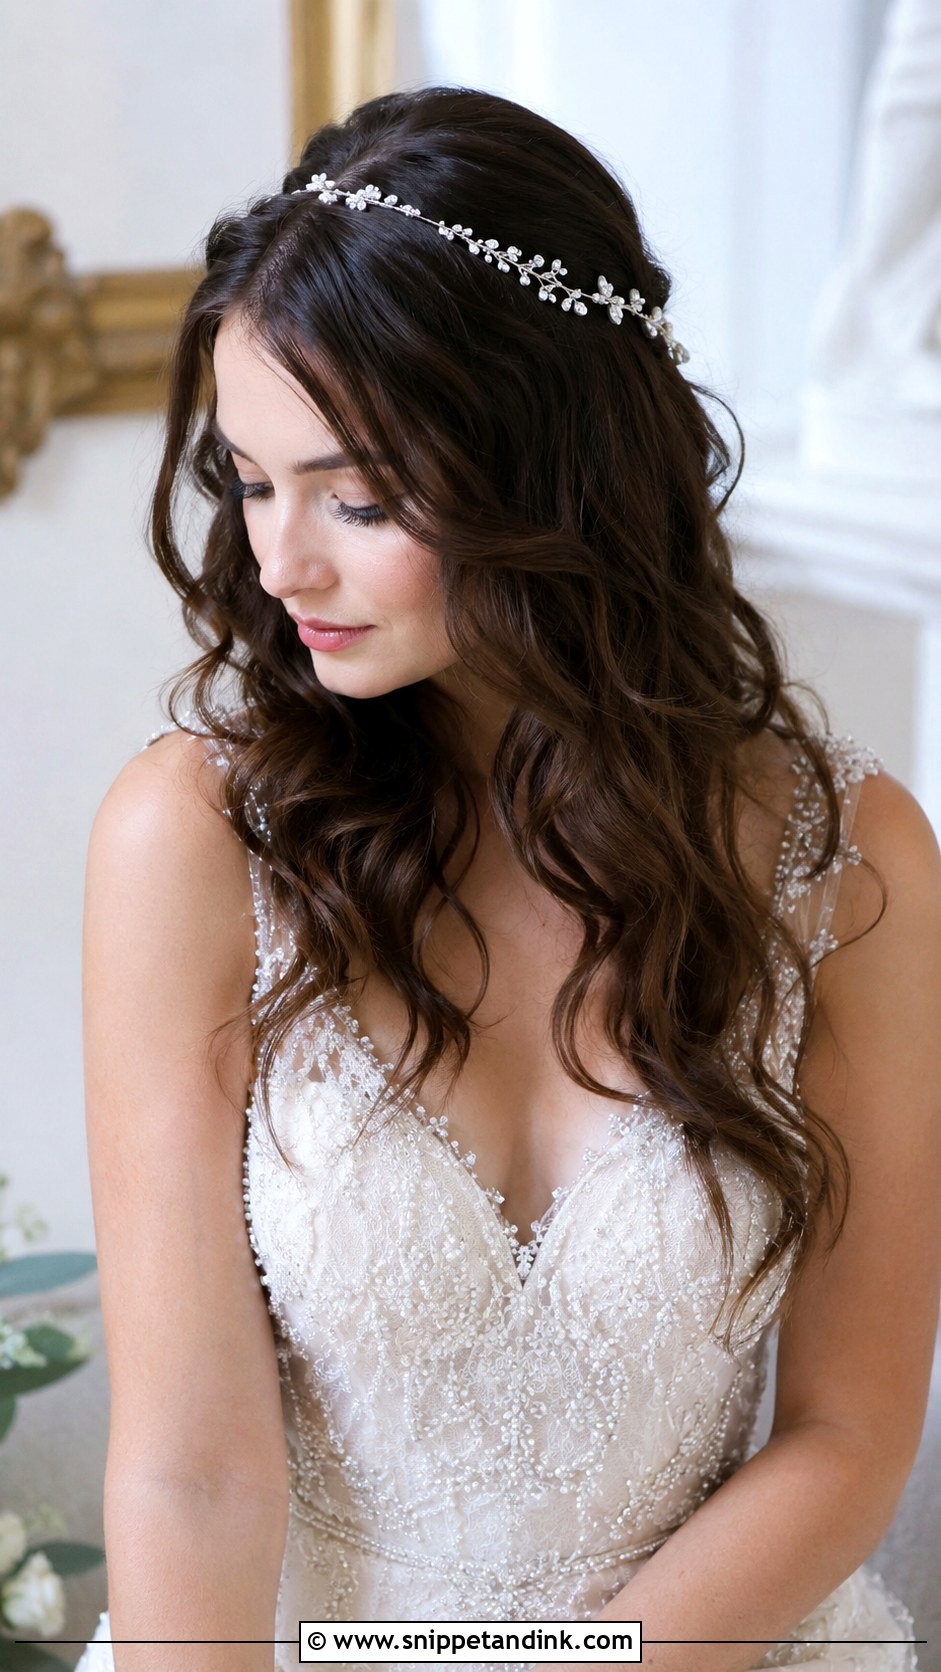
A thin, jeweled vine threaded along the crown or wrapped around a half-up section adds a little shimmer without the weight of a tiara. Shape the wire to your head before the day, because a vine straight from the box sticks out at the ends. I pin it at both ends and at two points in between. Crystals or pearls that match the beading on your gown tie everything together. Keep the waves loose so the vine looks as if it grew there.
18. Soft Waves With Deep Side Sweep
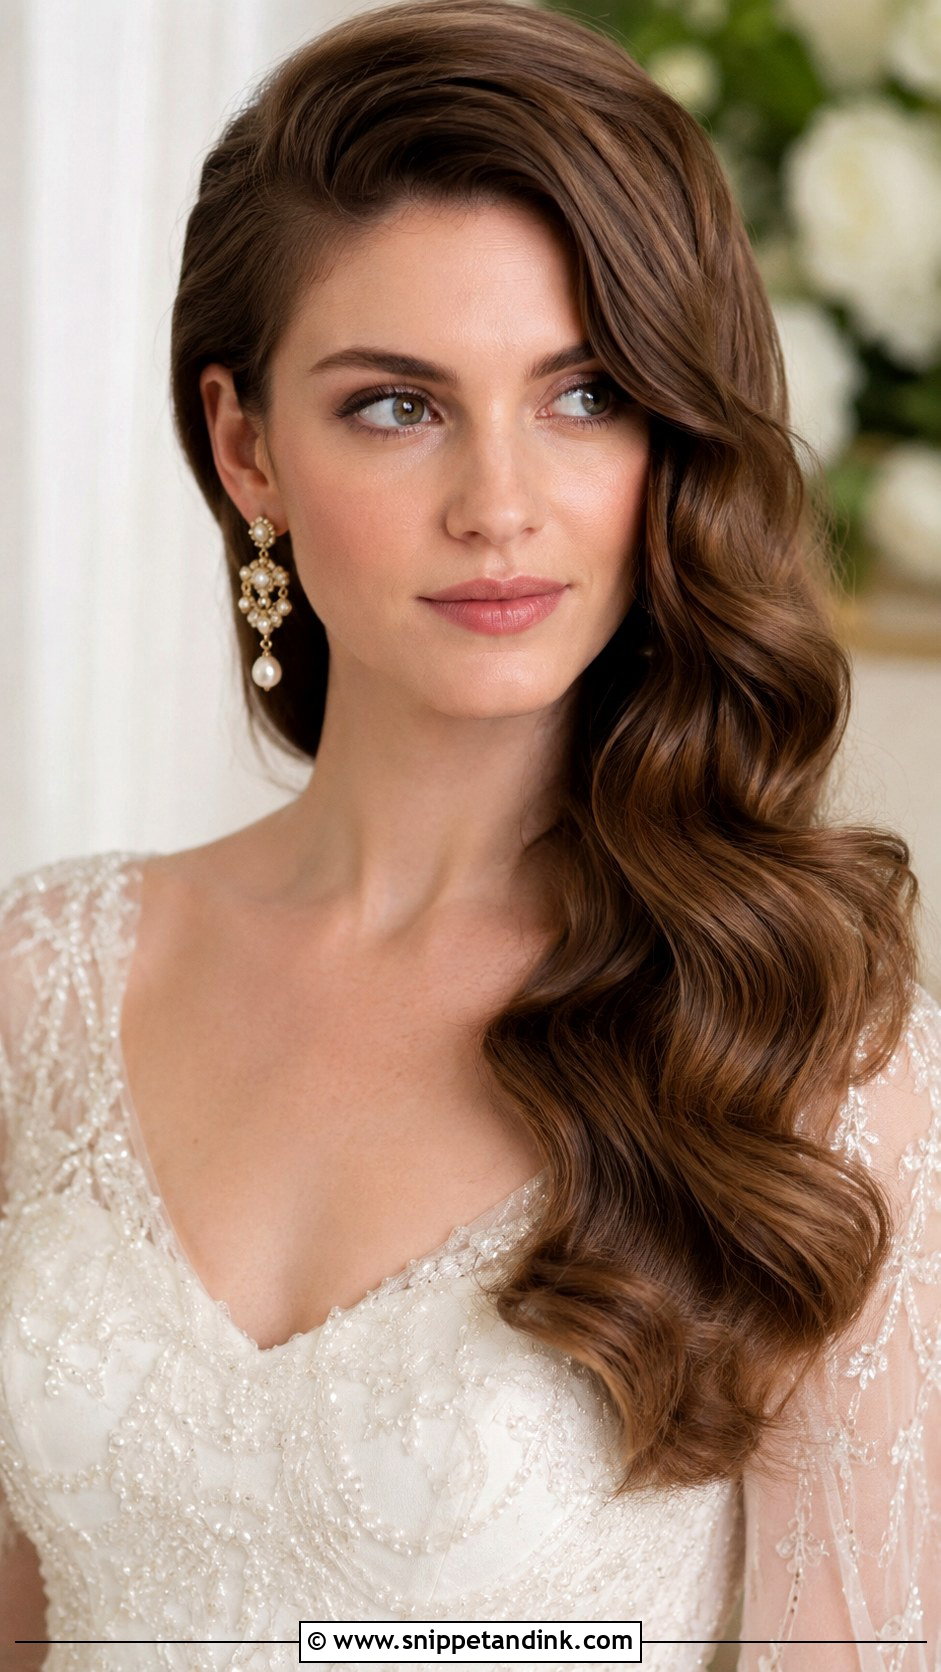
This is a deeper, more deliberate sweep than the over-the-shoulder look: one side is tucked back smooth and the waves pool on the other. The tucked side is the hard part. I smooth it back with a little cream and pin it in a hidden line under the hair, so it lies flat against the head all evening. Brush the waves out softly for the finish. It shows the jawline and neckline and pairs well with statement earrings.
19. Wavy Hair With Boho Headband
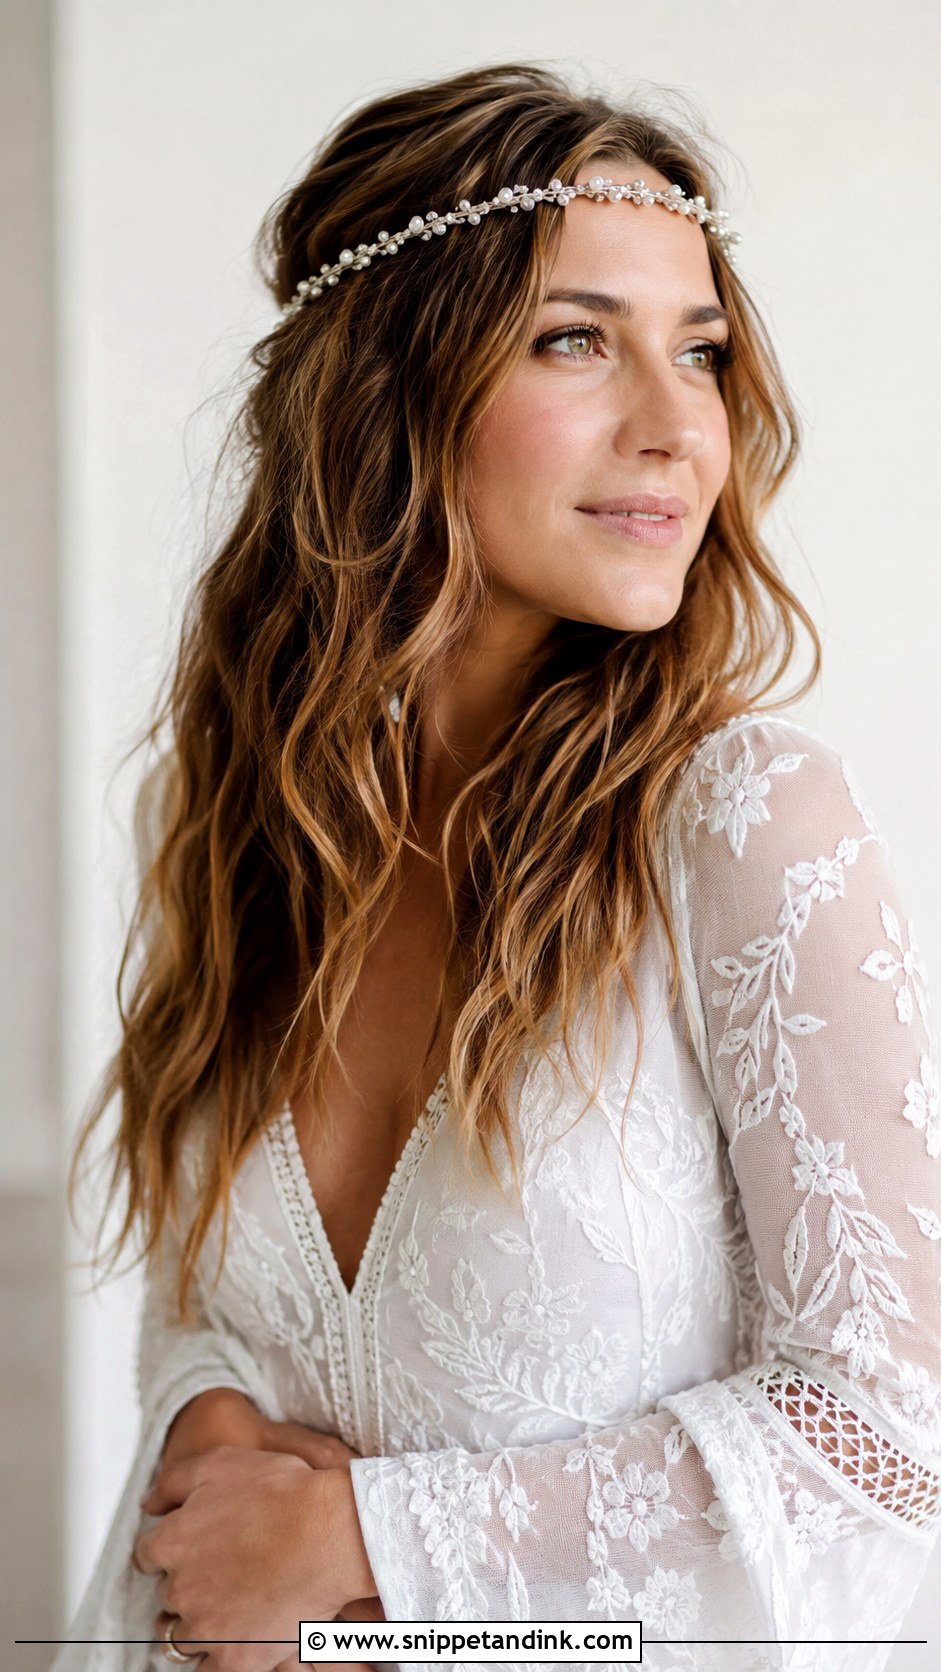
A pretty headband over flowing waves gives a relaxed, festival-ish feel. A braided band, a beaded one or a jeweled piece all work; the key is fit. Headbands that grip too hard give a headache by the reception, and ones that are too loose slide back. I add a little backcombing where it sits and secure it behind each ear with a bobby pin. Choose one that echoes something in your gown, then keep the waves loose and tousled.
20. Vintage Finger Waves Meet Loose Curls
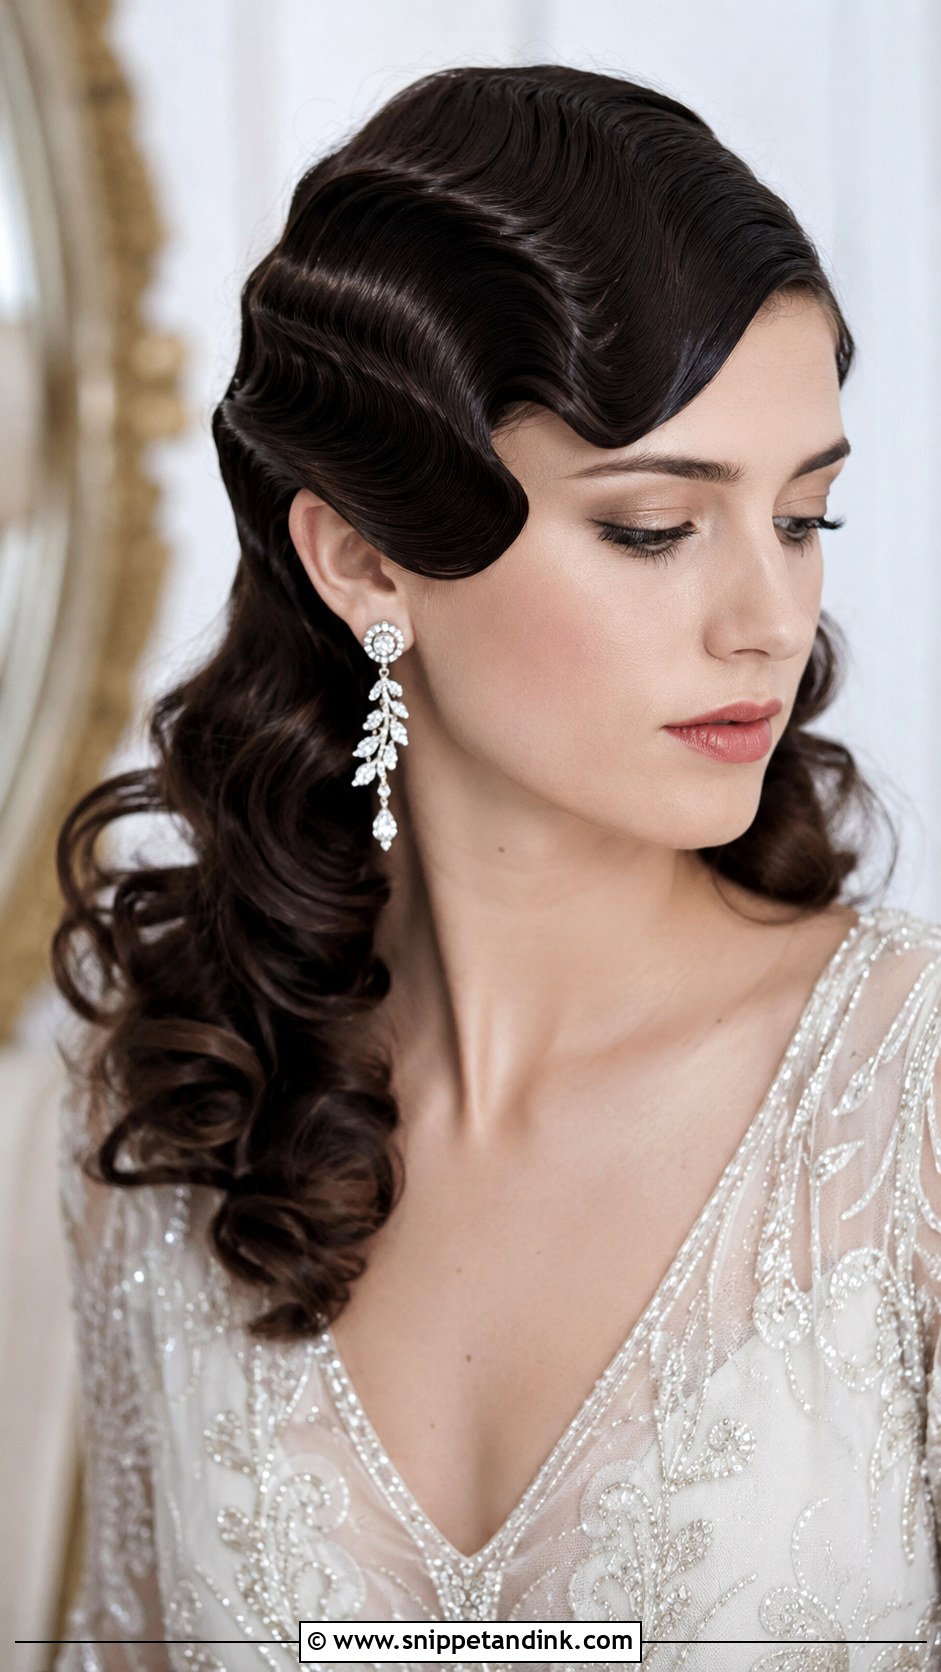
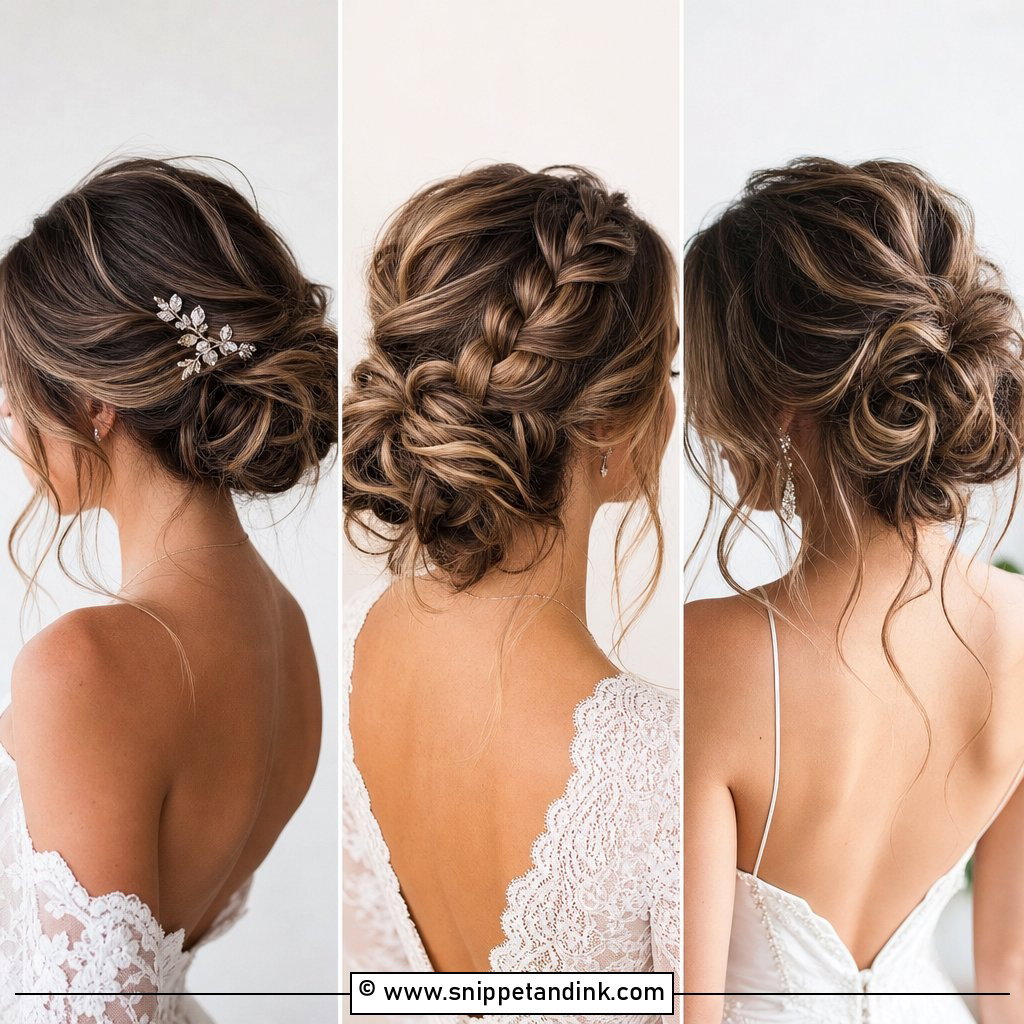
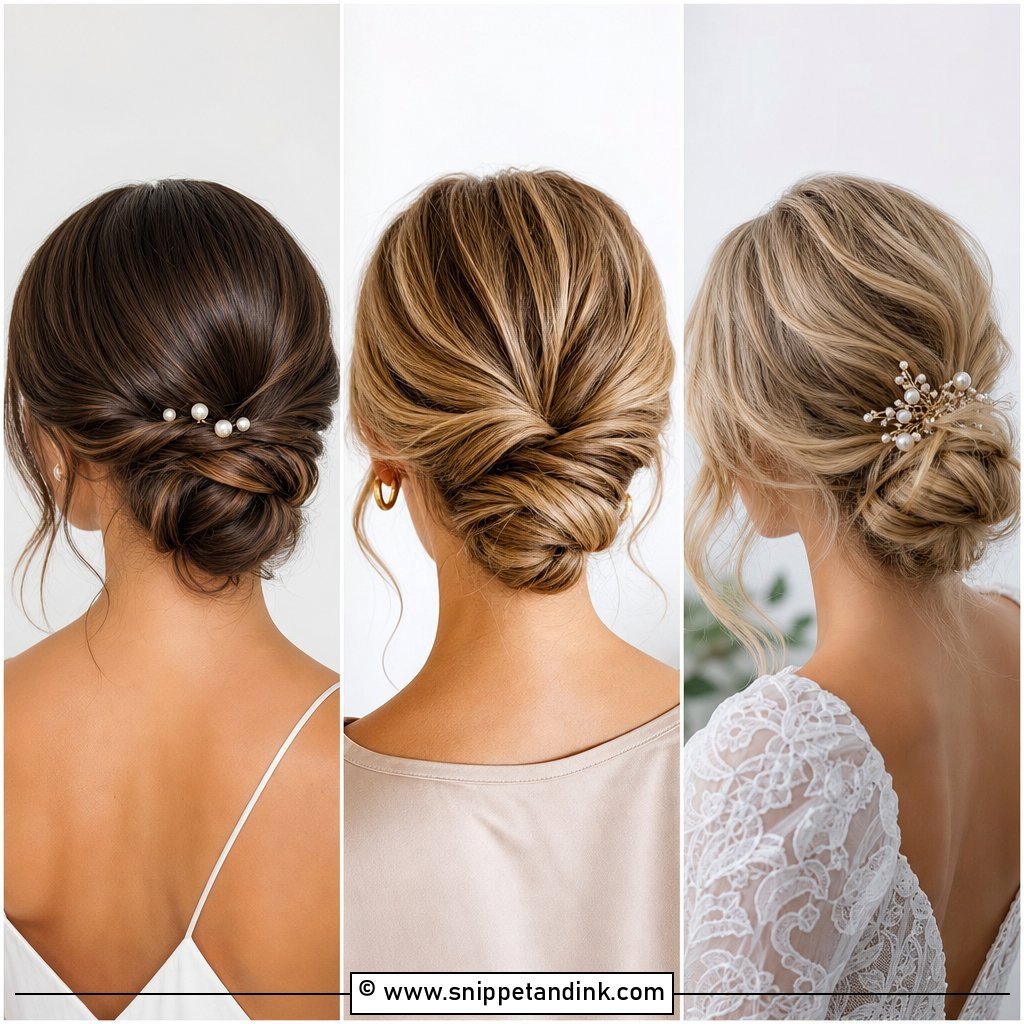
Sculpted finger waves at the crown with loose curls below is the most unusual style here, and it suits an Art Deco or vintage theme. The finger waves are set with gel and clips and need to dry fully before the clips come out, so build in extra time. Then I curl the lengths for softness and finish with a glossy spray. It’s a lot of structure, which means it holds remarkably well. I’d only suggest it if you’re comfortable with a look that feels like a costume nod; it pairs best with an embellished gown and strong jewelry.
Rescuing Waves Between the Ceremony and the Last Dance
Waves will change over the day. They loosen, they relax and they move. That’s normal. The goal is that they still look intentional in the evening photos, and a few small habits make the difference.
What goes in the touch-up bag
A travel-size flexible hairspray, a handful of bobby pins in your hair color, a small clip, and a few blotting papers. If you’re having flowers in your hair, ask for a spare pin or two. Hand the bag to a bridesmaid, not to yourself.
Hands off, mostly
Running your fingers through the waves all day is what kills them, because the warmth and oil from your hands relax the curl. If a section falls, twist it around a finger and hold it for a few seconds, rather than brushing it.
When to switch it up
If it’s hot, or the waves have dropped more than you’d like by the reception, a quick change looks planned rather than defeated. Loose waves can be twisted into a low bun or a side pony in two minutes. I sometimes show the bridesmaid how to do it at the end of the trial, so there’s someone who knows the plan.
Same Waves, Twenty Different Finishes
What changes from one style to the next is not the wave itself but the setting, the part and how much hair you take up. Glamorous Hollywood ridges, a relaxed half-up and long mermaid lengths all start from waves that have been curled in small sections and allowed to cool. Think about your dress, how long you’ll be wearing your hair, and what the weather will do at your venue. Then bring two or three photos to a trial, wear the style for a few hours afterwards, and see which one you still love in the evening.
You'll Like These Ideas:


Leave a Reply