
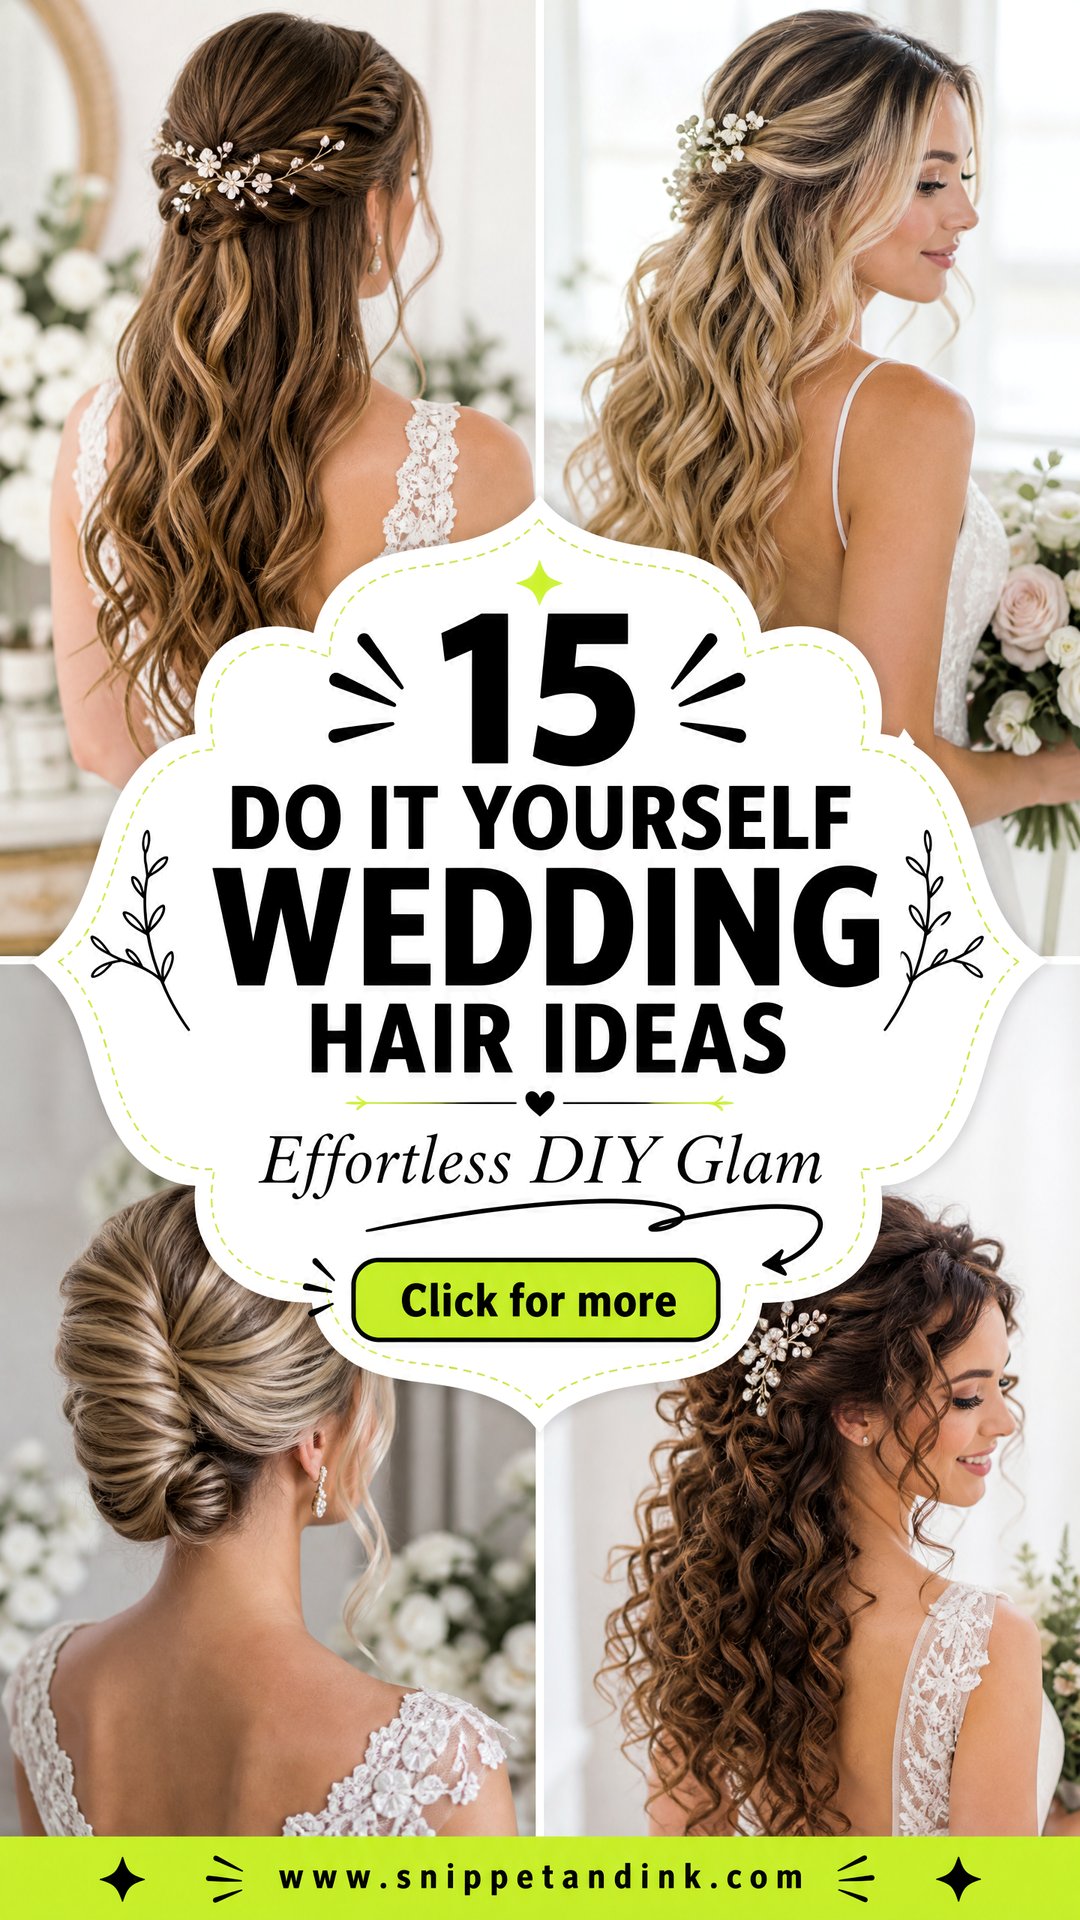
I’ll say this as someone who does wedding hair for a living: plenty of brides can do their own, and do it well. The trick is picking a style that matches your actual skill, your texture, your dress and the venue, not the most complicated photo you’ve saved. The best DIY looks are the ones you can practice, pin securely and then forget about without checking a mirror every ten minutes. Soft waves, low buns, half-up looks, ponytails, braids and twists all read as bridal once the finish is tidy. Below are fifteen, with the step most people get wrong on each.
Three Practice Runs and What Each One Is For
One practice is a guess. Three is a plan. I’d spread them over the month or two before the wedding and give each one a separate job.
- The learning run. Go slowly with a tutorial open and no time pressure. Count how many pins it really takes and note which section fights you.
- The wear test. Do it in the morning and go about your day: walk outside, hug someone, sit in a car. Check after five or six hours to see what slips and what frizzes.
- The dress rehearsal. Time yourself, wear a button-up top so you can change without crushing anything, add the veil or accessory, and take photos in daylight and in a dim room.
Wash your hair each time the way you will before the wedding. Freshly washed hair is slippier than second-day hair, and you need to know which version you’re pinning. If you color or trim, do it a week or two before the final run.
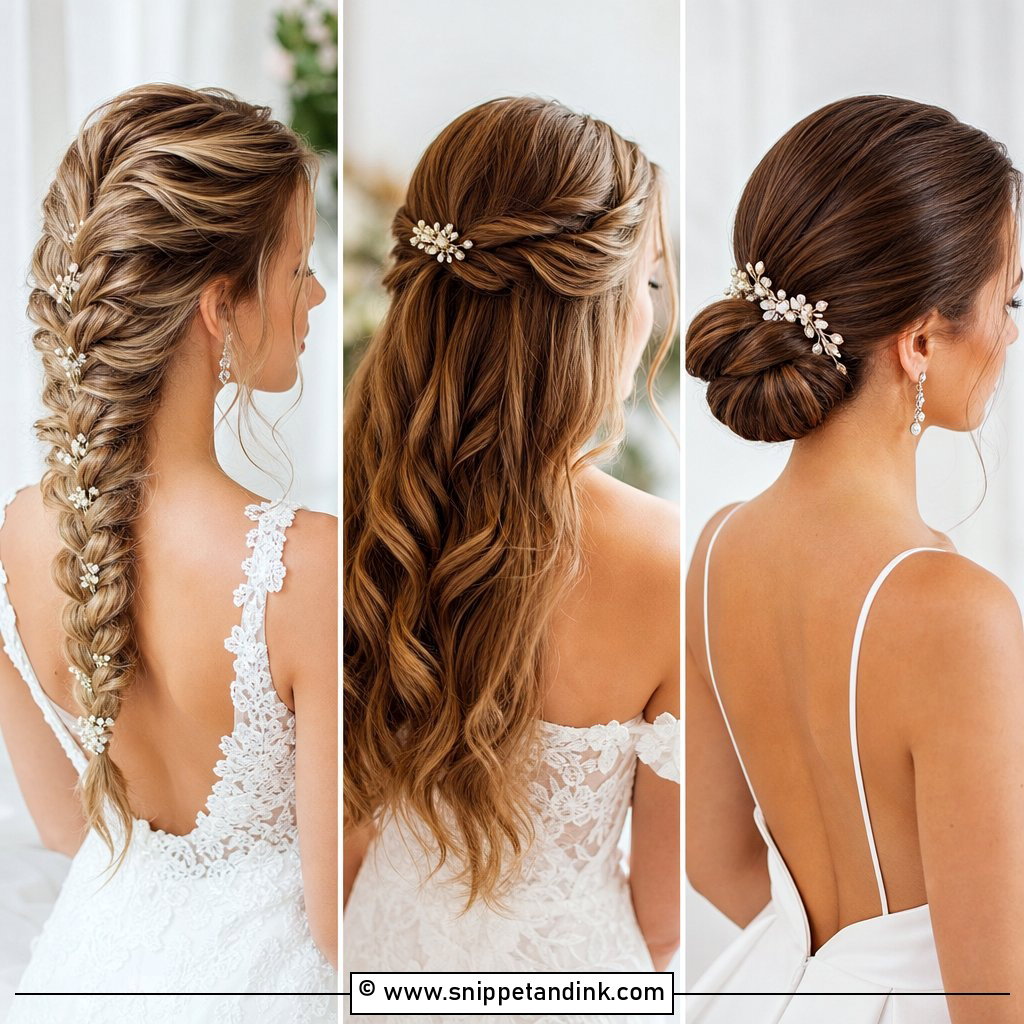
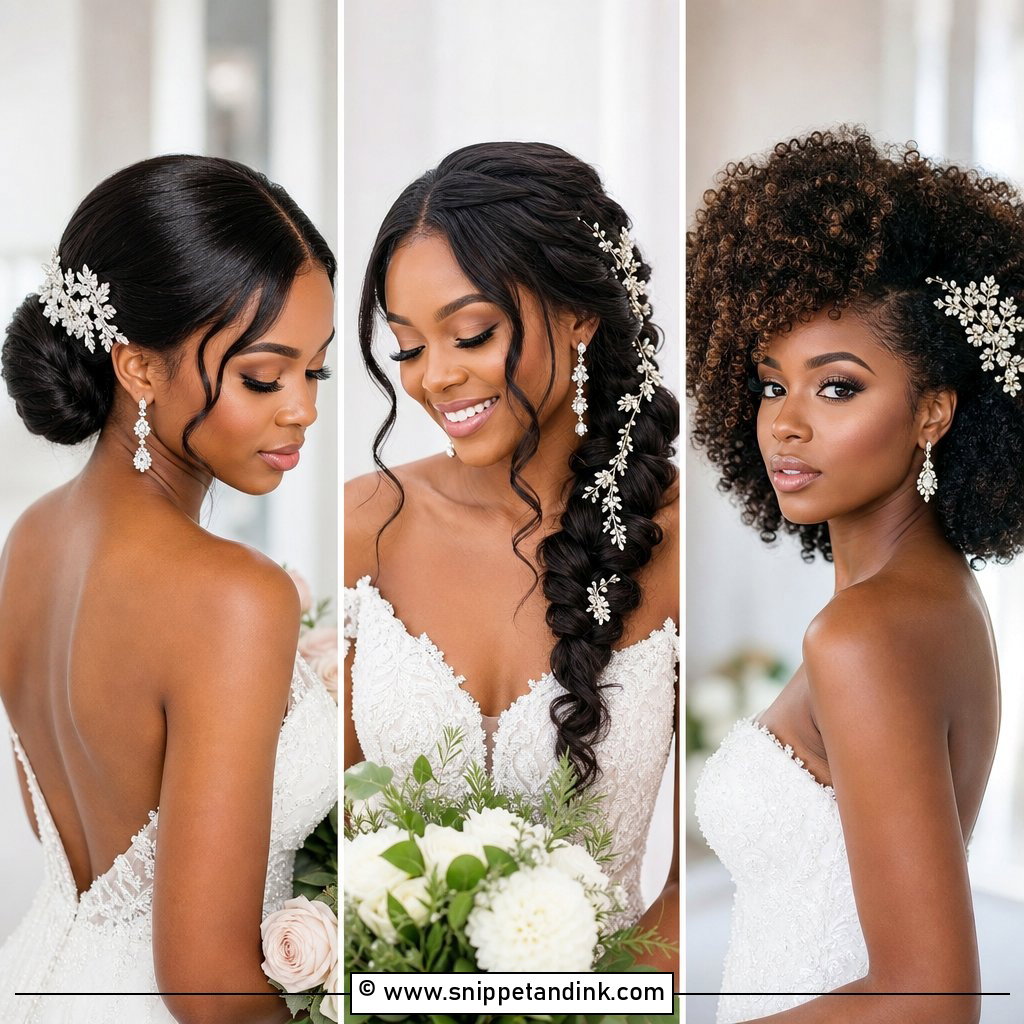
1. Low Bun Wedding Hair
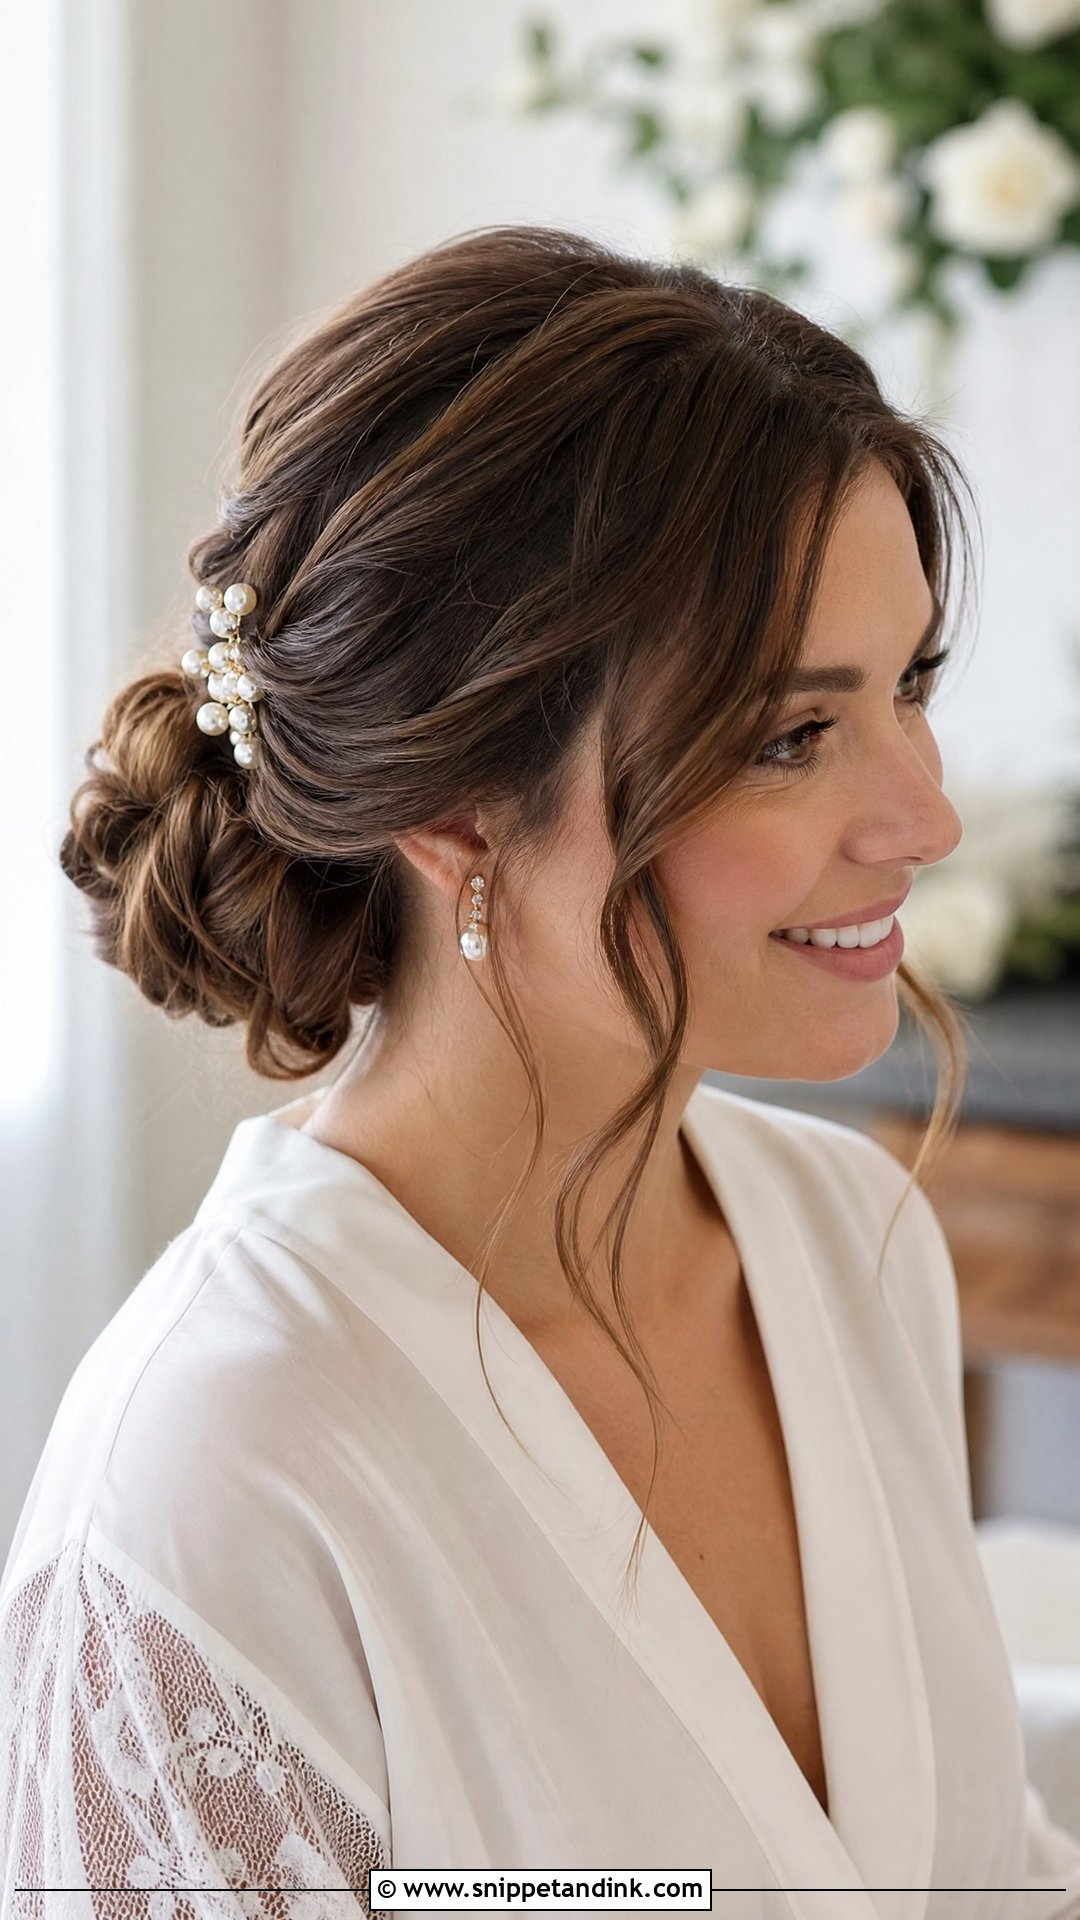
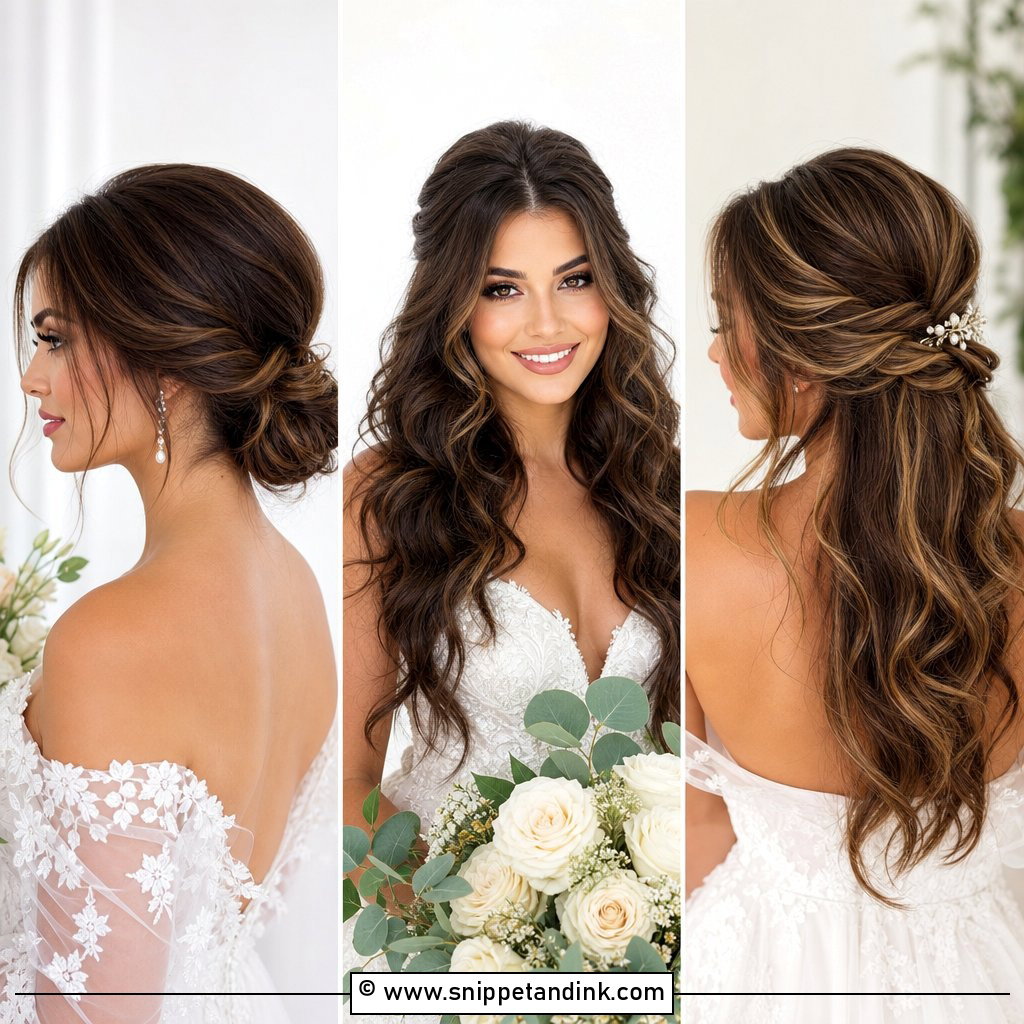
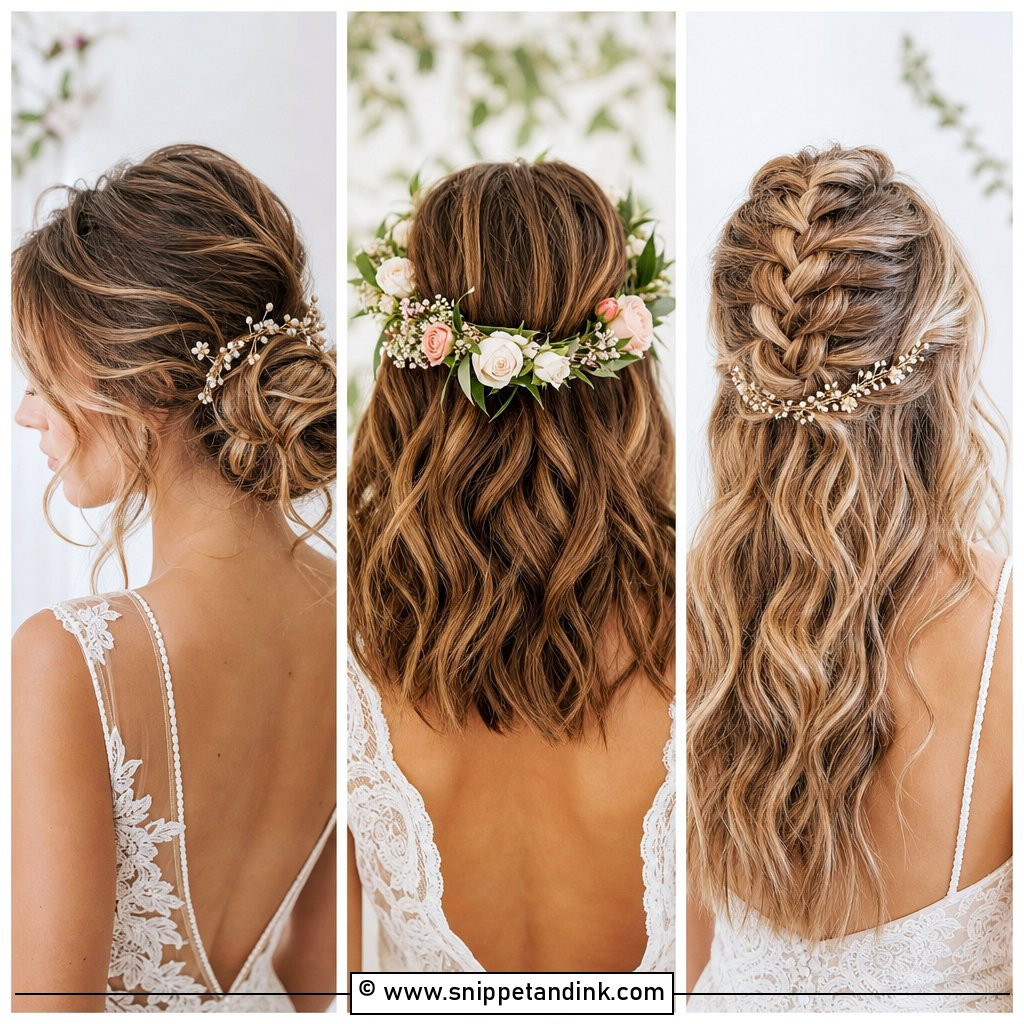
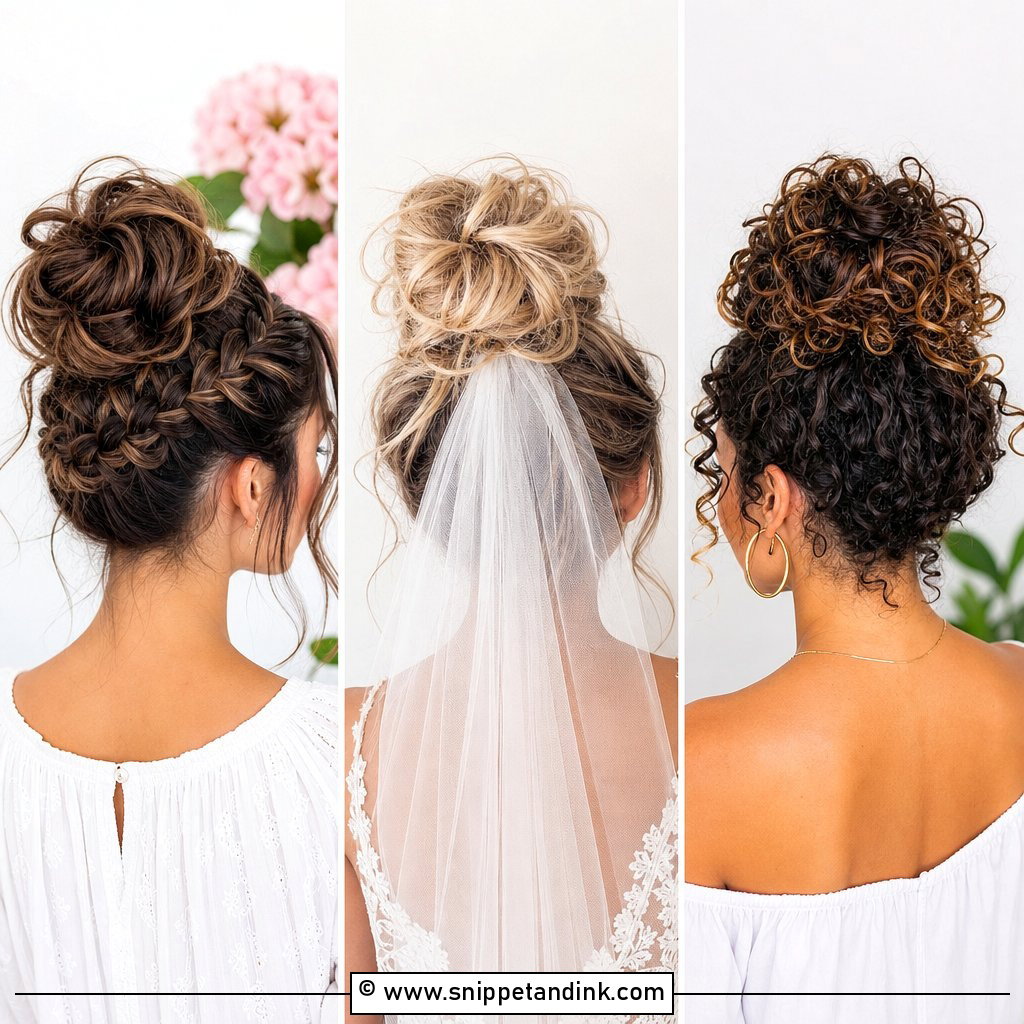
Start a low bun with lightly curled or waved hair; straight hair makes a flat, slippery bun that loosens within hours. Part where you normally do, gather at the nape, twist and pin. The mistake I see most is pinning from one direction only. Push pins in from the top, both sides and underneath so the bun is held like a pincushion. Pull a few face-framing pieces loose if you like. It sits well under a veil or comb and stays neat outdoors.
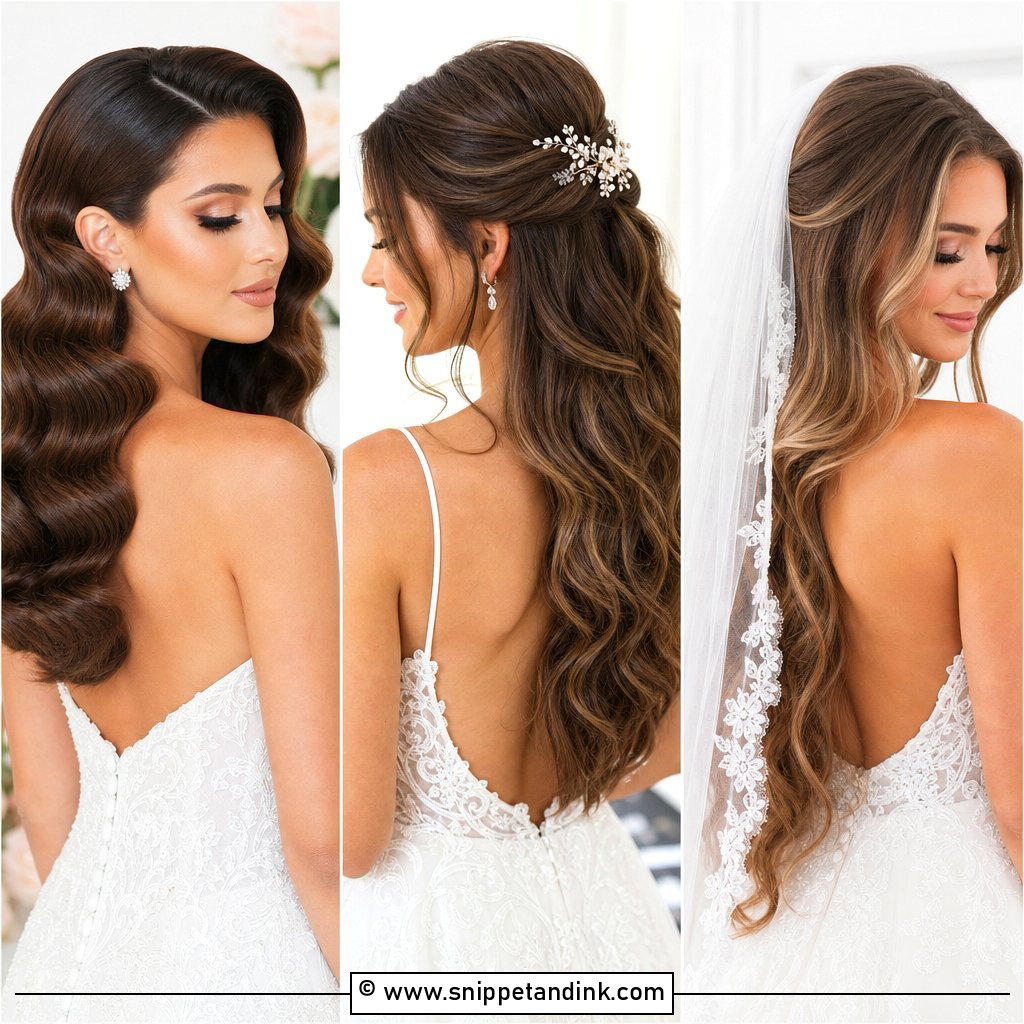
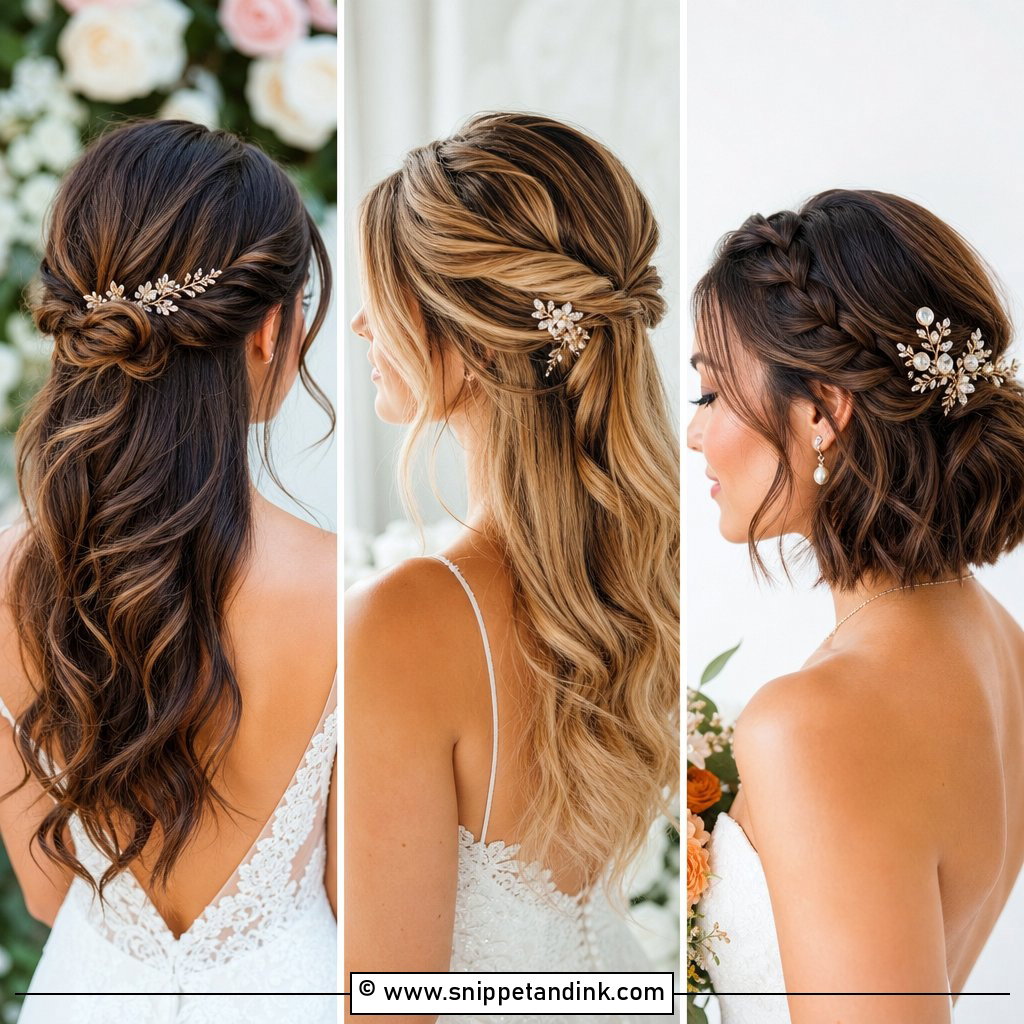
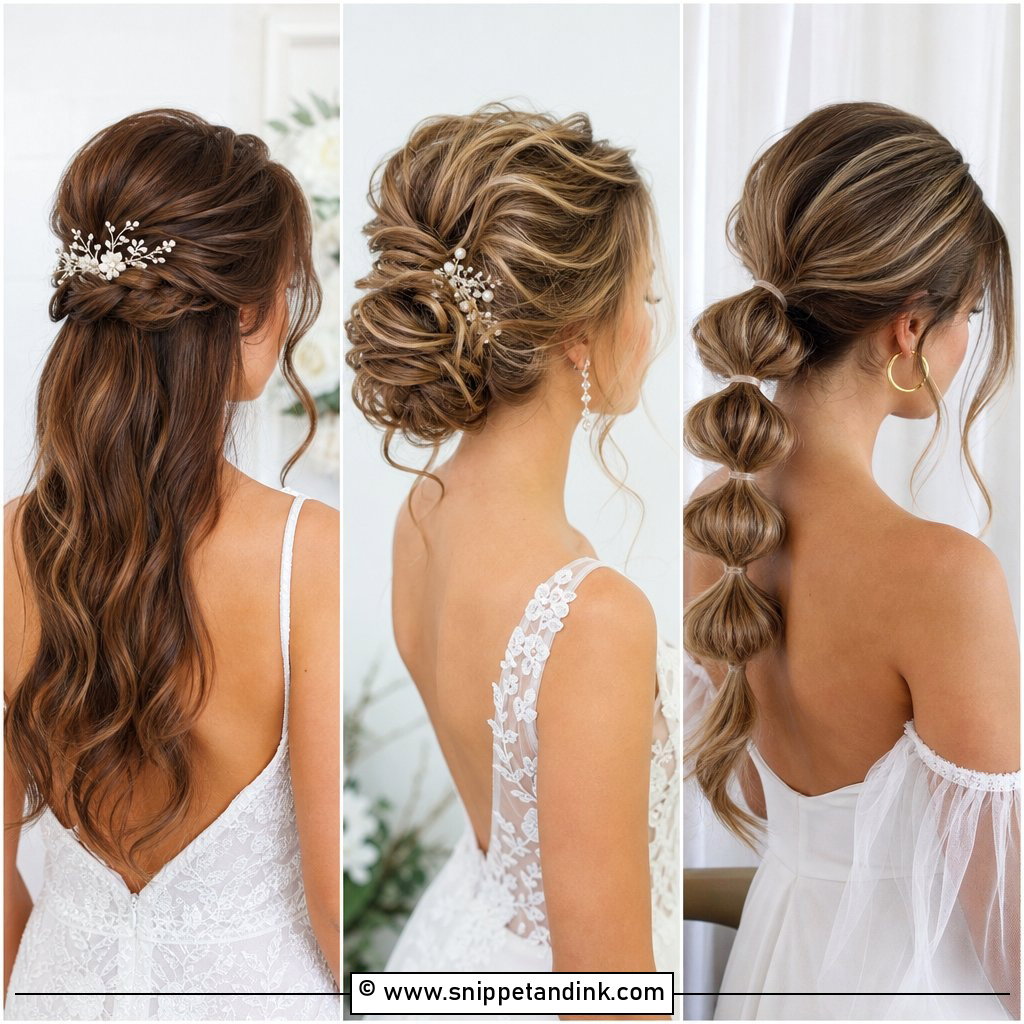
2. Half Up Half Down Wedding Hair
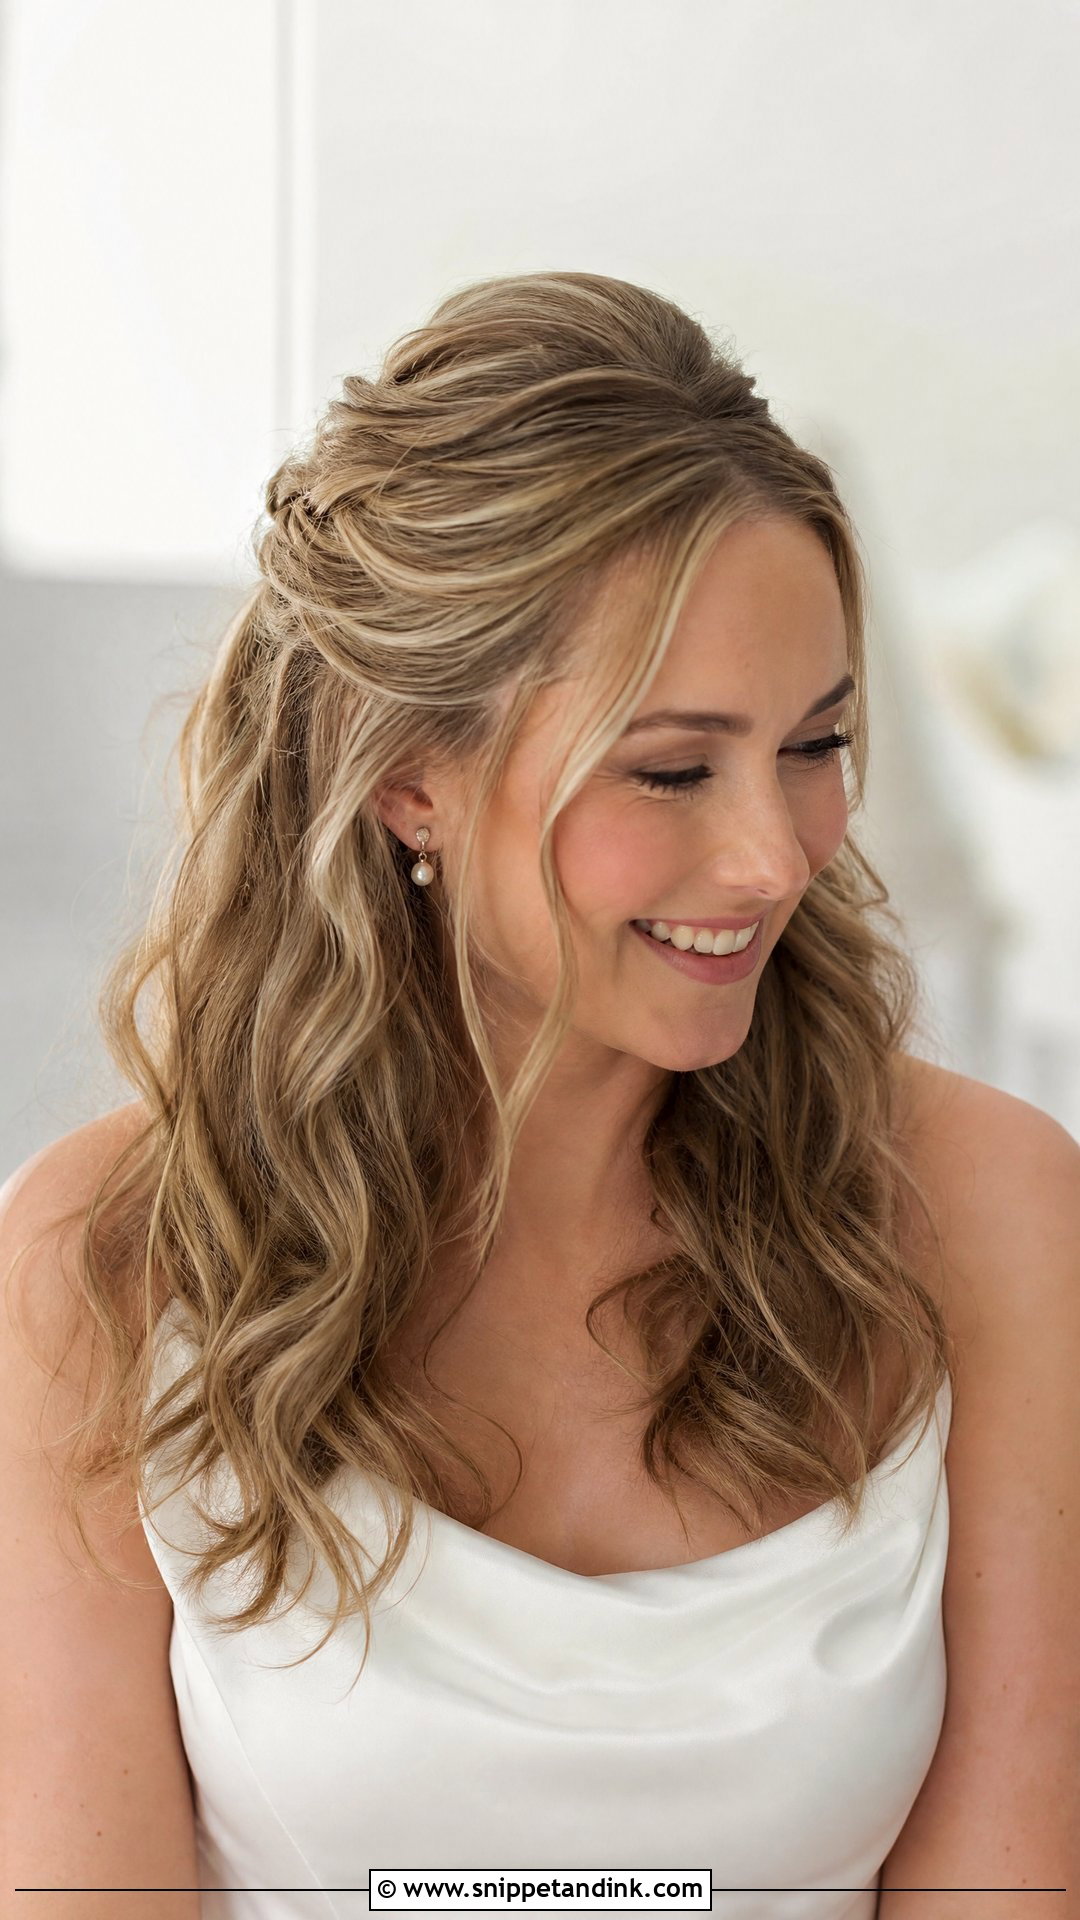
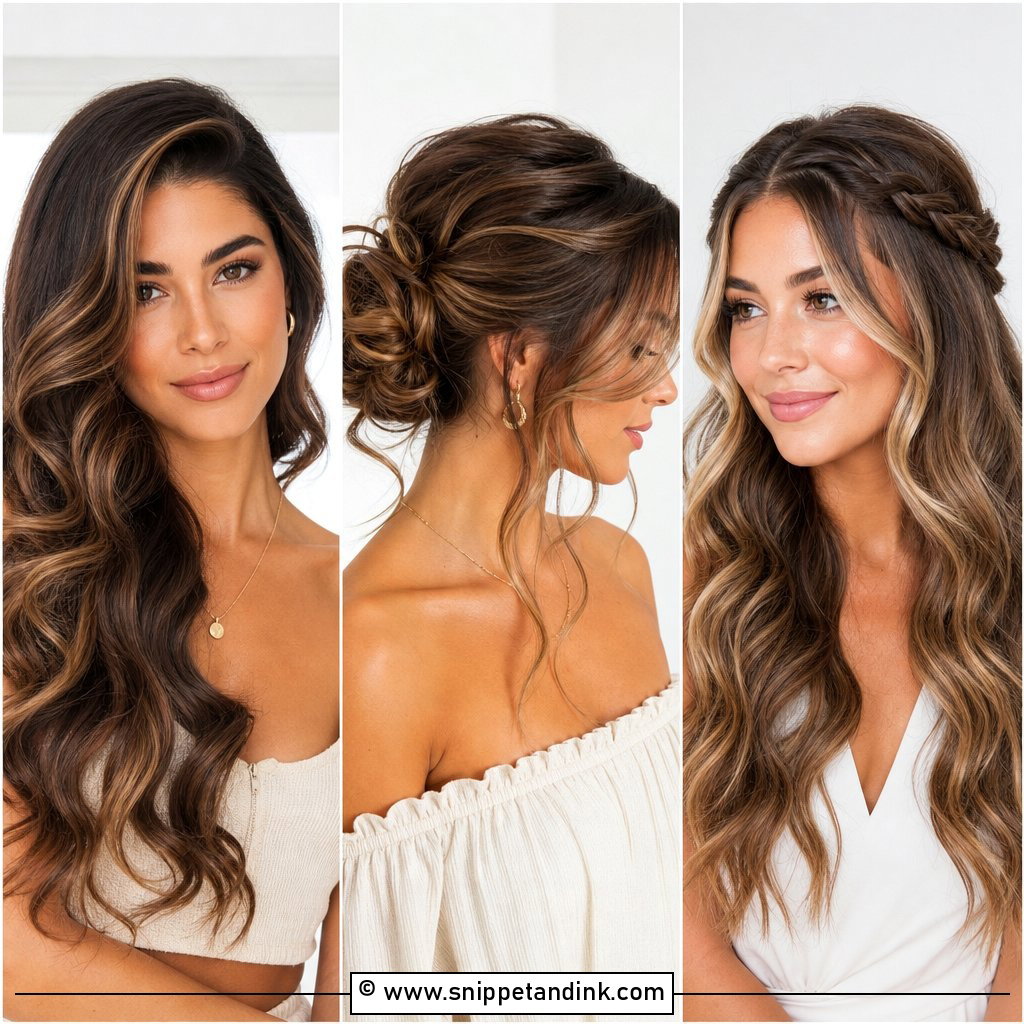
Curl everything first, then bring two front sections back toward the crown and twist, braid or simply clip them together. Tease the crown gently before you pin, not after, or you’ll knock the top out of shape. Medium and long hair suit this best. If you have face-framing layers, let them fall loose rather than forcing them into the pinned section, where they’ll poke out by lunchtime anyway.
3. Loose Waves Wedding Hair
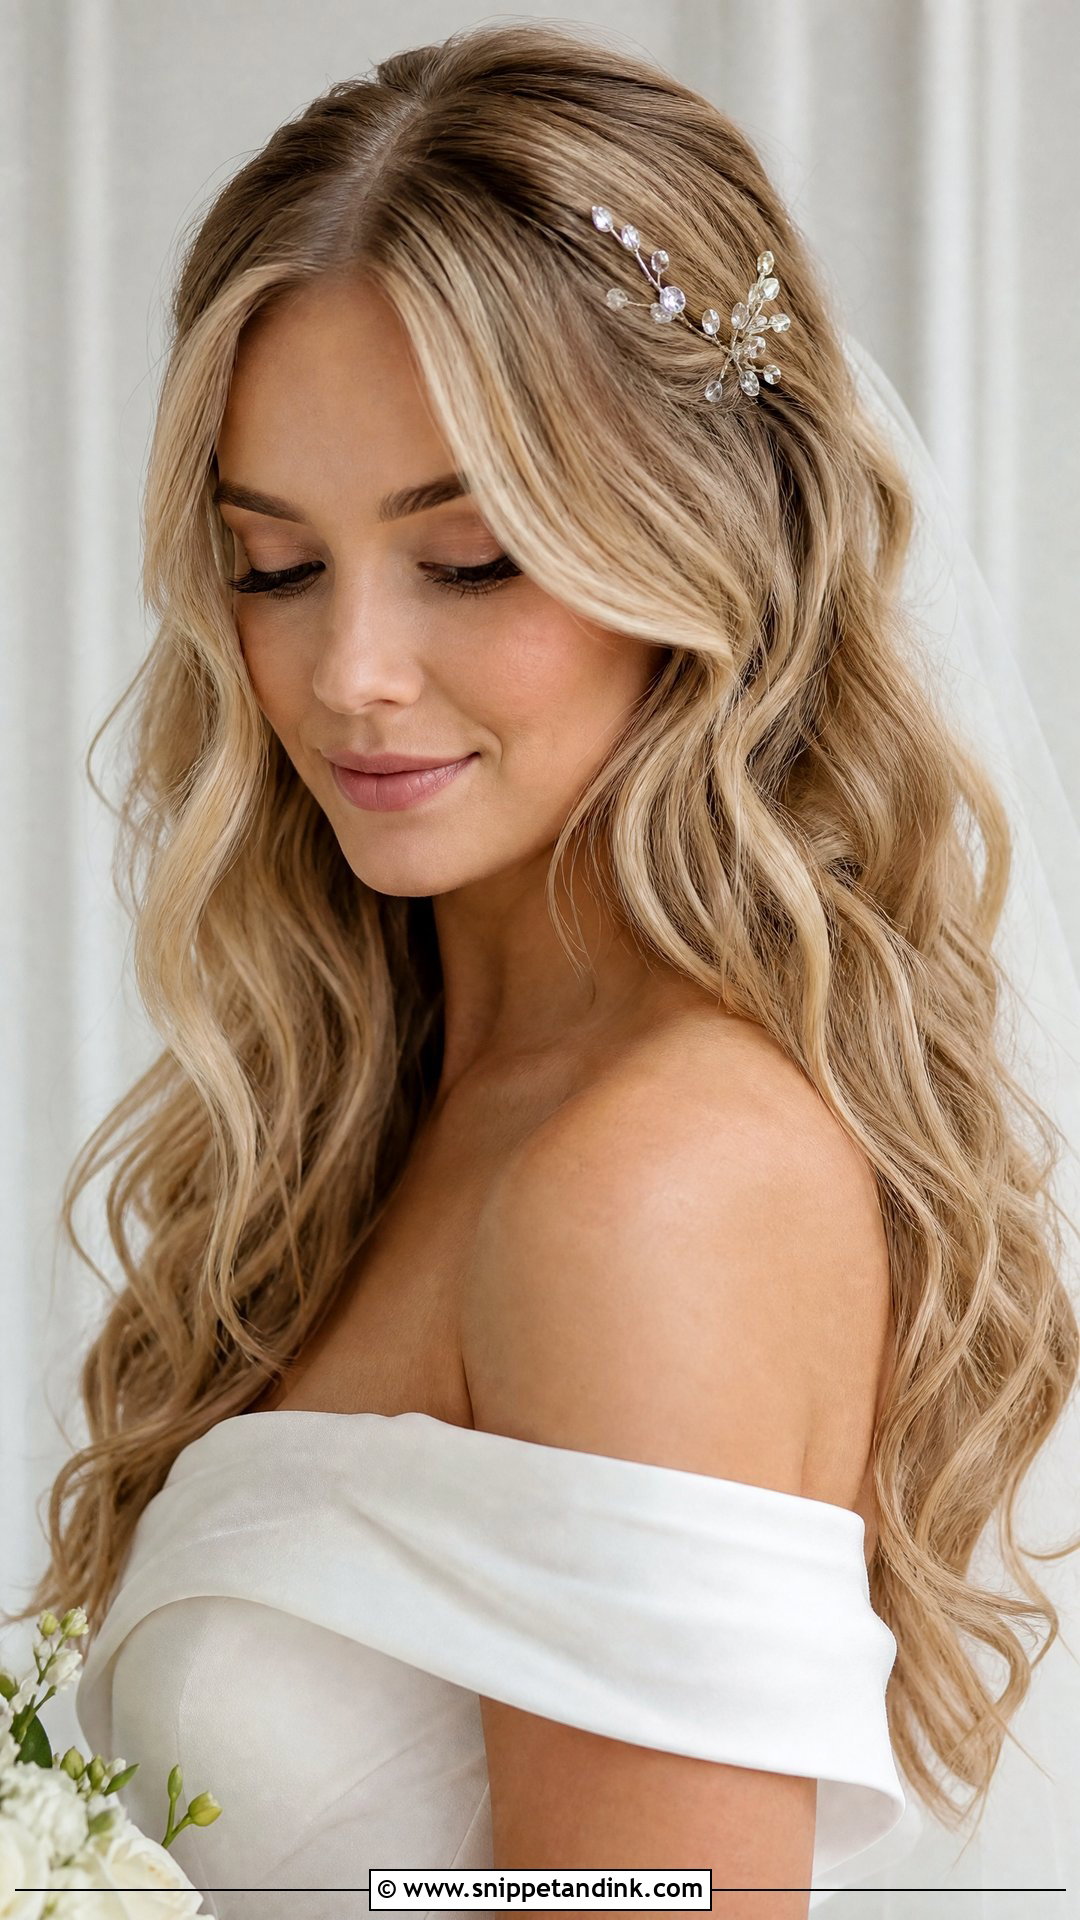
Loose waves are the right DIY choice if you wear your hair down every day. Curl sections away from your face with an iron or wand, and here’s the step everyone skips: let each curl cool completely before brushing. Hot curls brushed out drop to nothing within the hour. A middle part reads modern, a side part softer. Finish with a flexible spray so the hair still moves, and pair it with simple dresses, beach ceremonies or delicate pins.
4. French Twist Wedding Hair
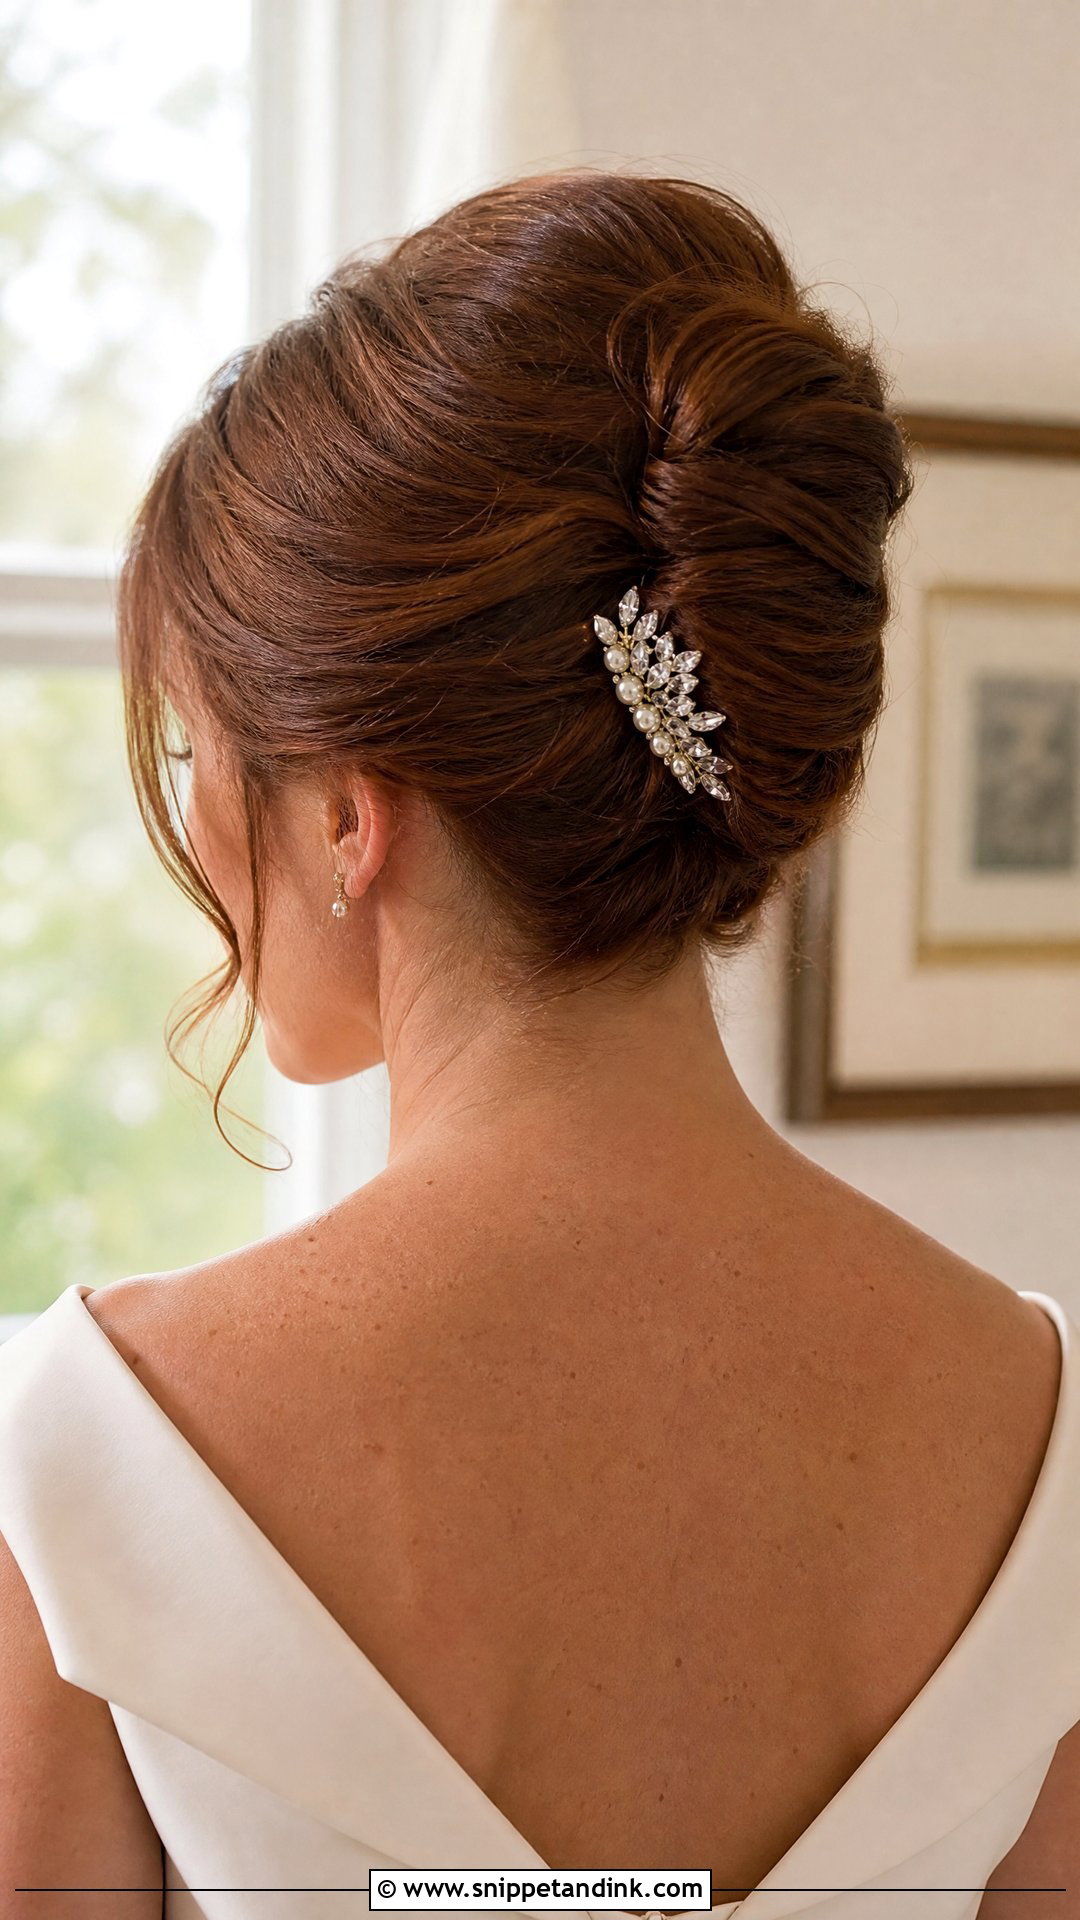
A French twist looks harder than it is, though it does need practice. Clean, silky hair is your enemy here, so I always add dry shampoo or texture spray first. Gather the hair low, twist upward and tuck the ends inside the roll, then secure with strong bobby pins or U-shaped French pins along the seam. A slightly soft, imperfect twist looks modern rather than messy. Set a comb, pearls or the veil at the base.
5. Braided Crown Wedding Hair
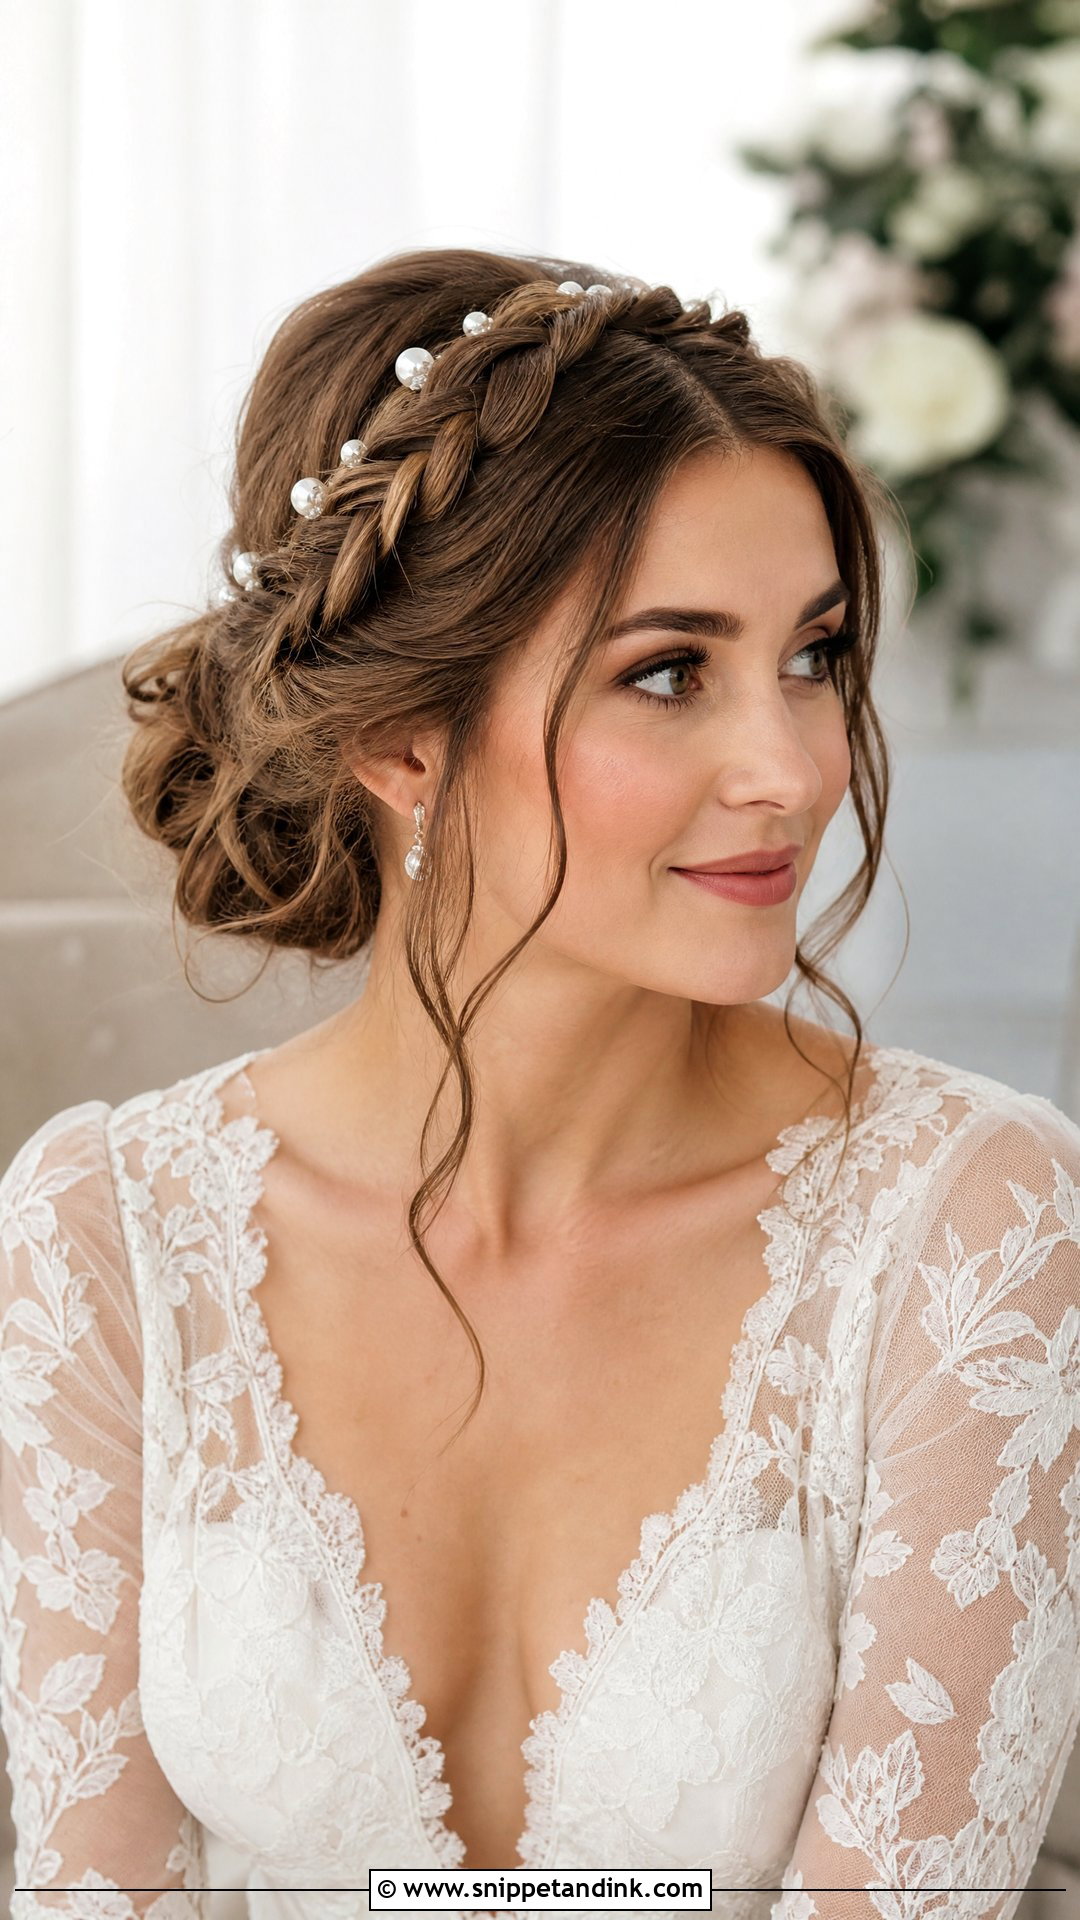
No heat needed for this one, which makes it a calm choice for a bride, a bridesmaid or a guest who wants hair off the face. Braid two loose plaits, one from each side, wrap them across the crown and pin. Pancake the braid by pulling the outer edges wider; it looks thicker straight away. If your hair is shoulder length the braids may not meet, so pin them at the back under a few curls instead. Outdoor weddings and cottage-inspired dresses suit it.
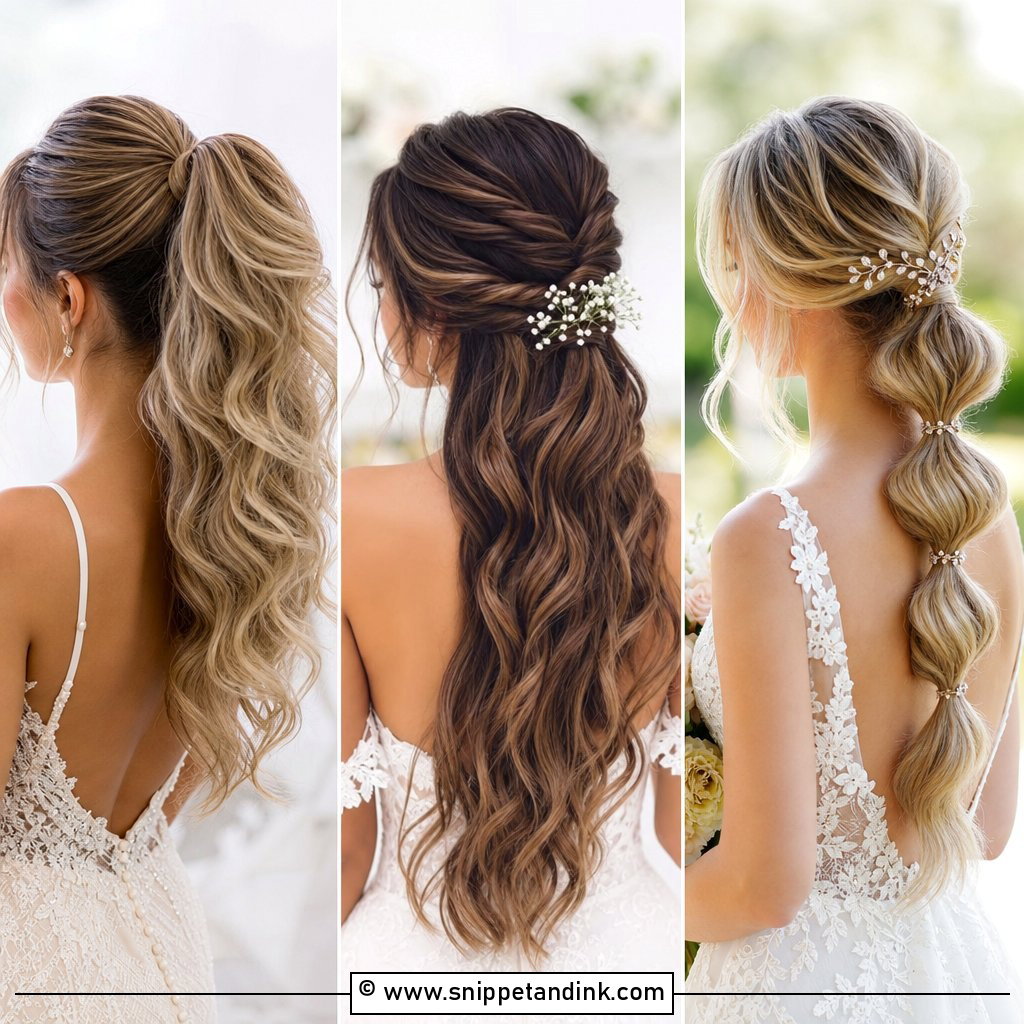
6. Sleek Ponytail Wedding Hair
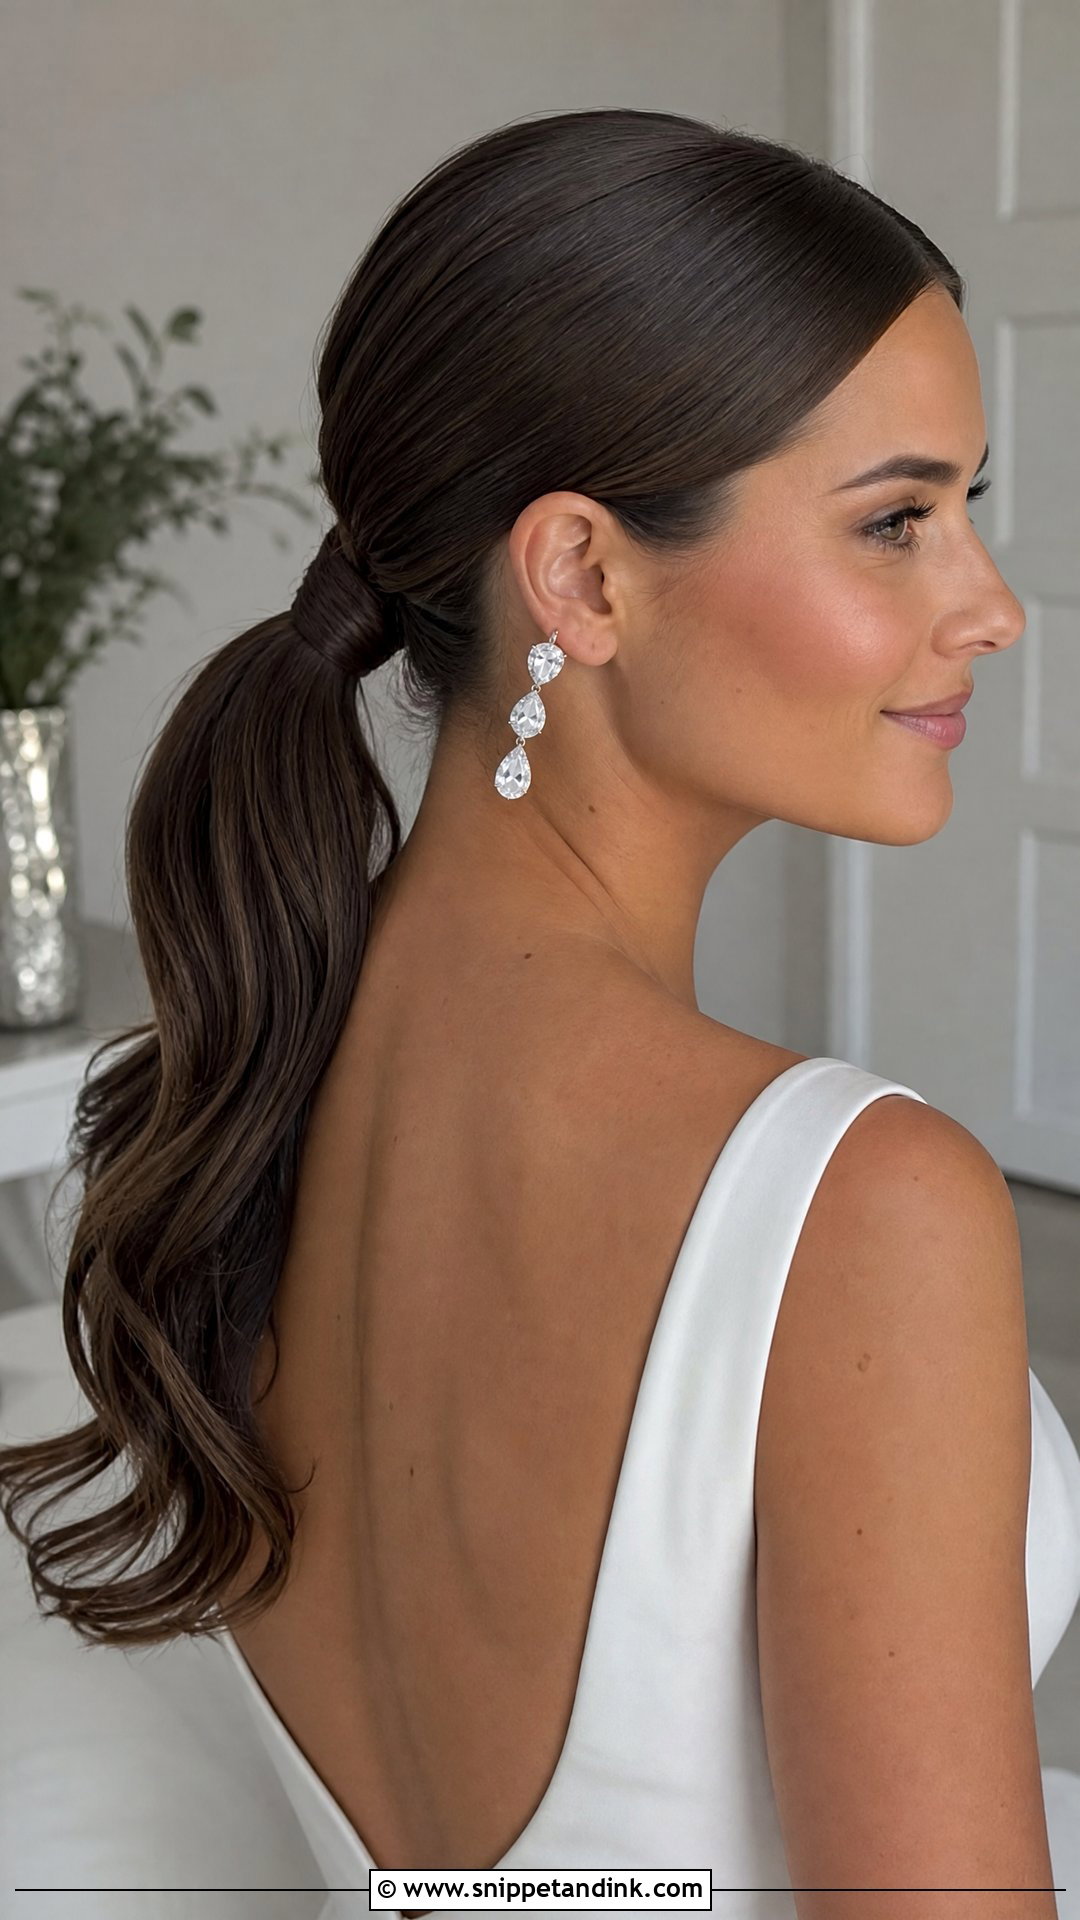
A sleek ponytail looks bridal only if the finish is clean. Start with straightened hair or brushed-out waves and a small amount of styling cream along the hairline. Gather the hair and secure tightly, then wrap a section around the elastic and pin it underneath. Brush the hair into the band while your head is tilted slightly forward; that stops the bubble at the nape that ruins most home ponytails. Statement earrings and high necklines go well with it, and it survives dancing.
7. Messy Bun Wedding Hair
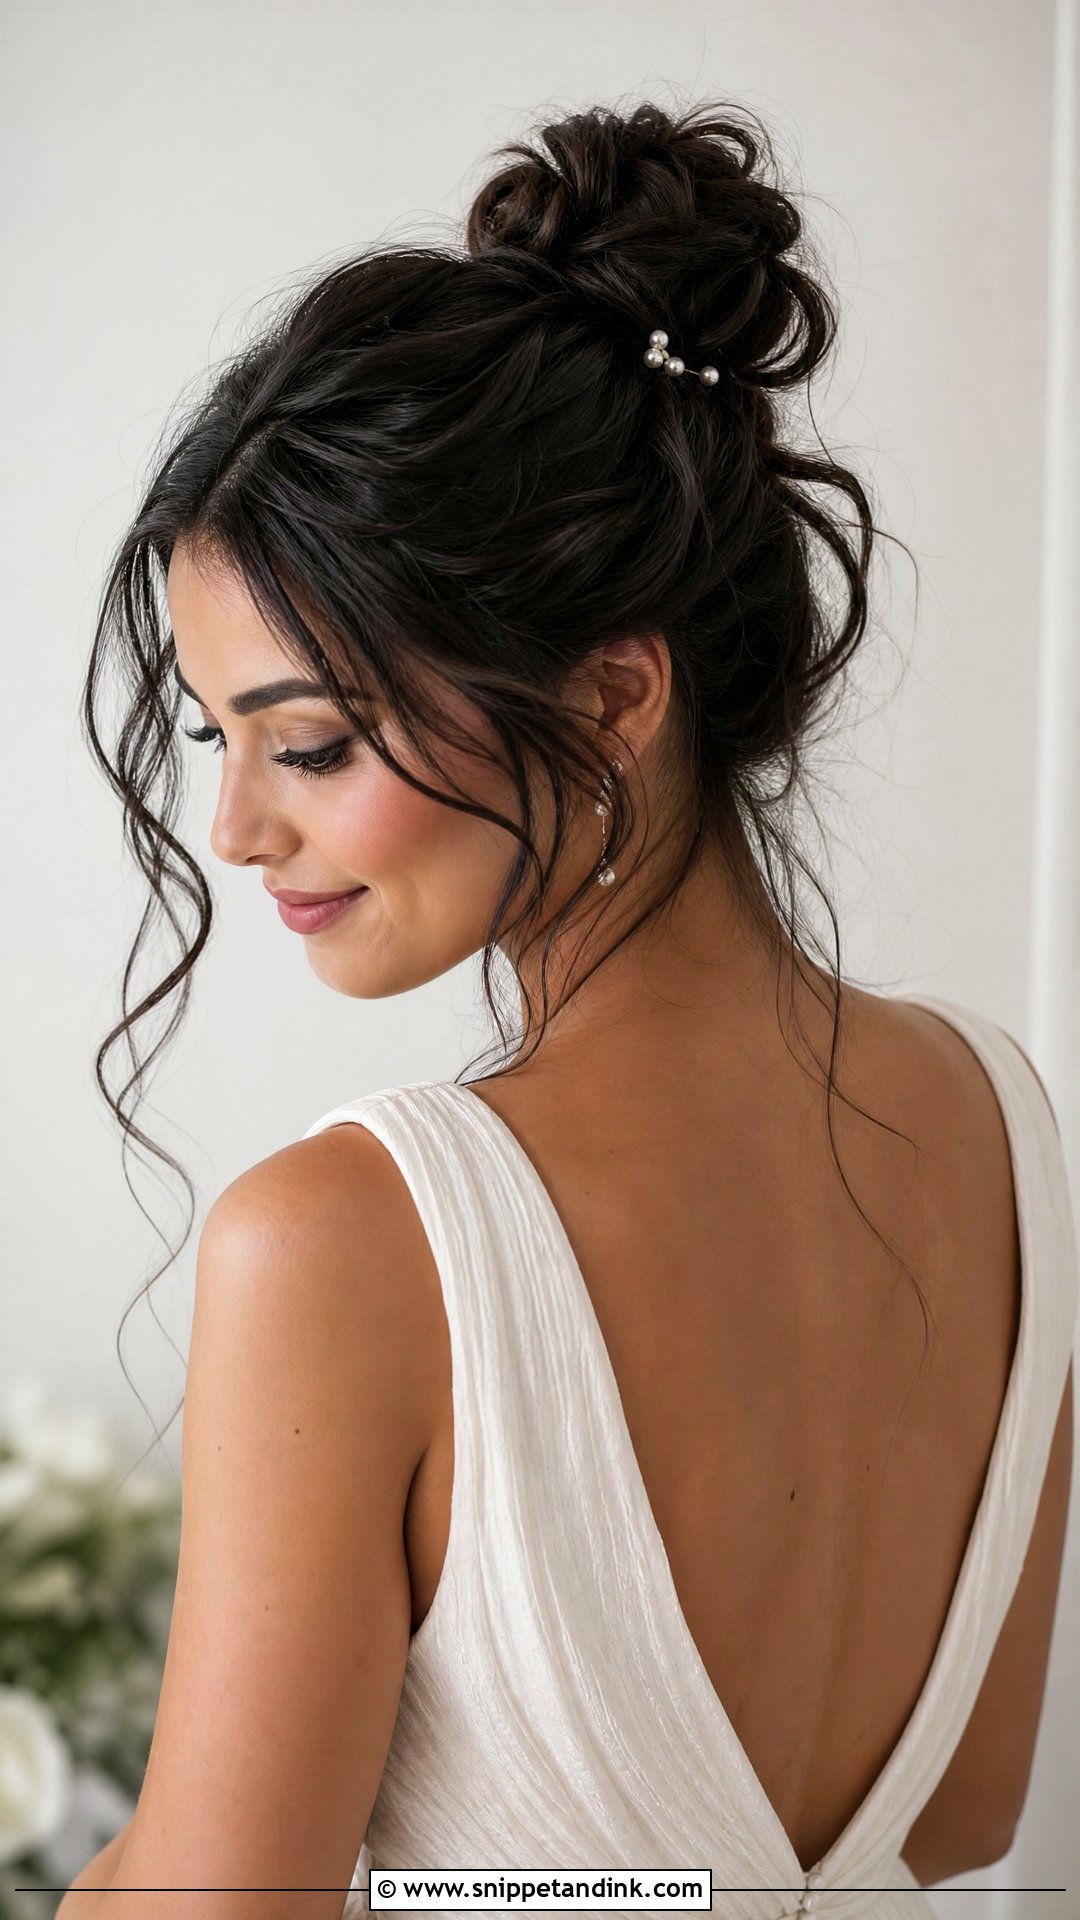
A messy bun has to be pinned with intention. Curl the hair, gather it into a loose ponytail, then twist small sections into the bun one at a time, pinning each as you go. Wrapping all the hair at once gives a flat doughnut; section by section gives depth. Pull a few pieces loose at the face and neckline, and use spray without making it crunchy. Relaxed ceremonies and backyard weddings are its natural home.
8. Side Braid Wedding Hair
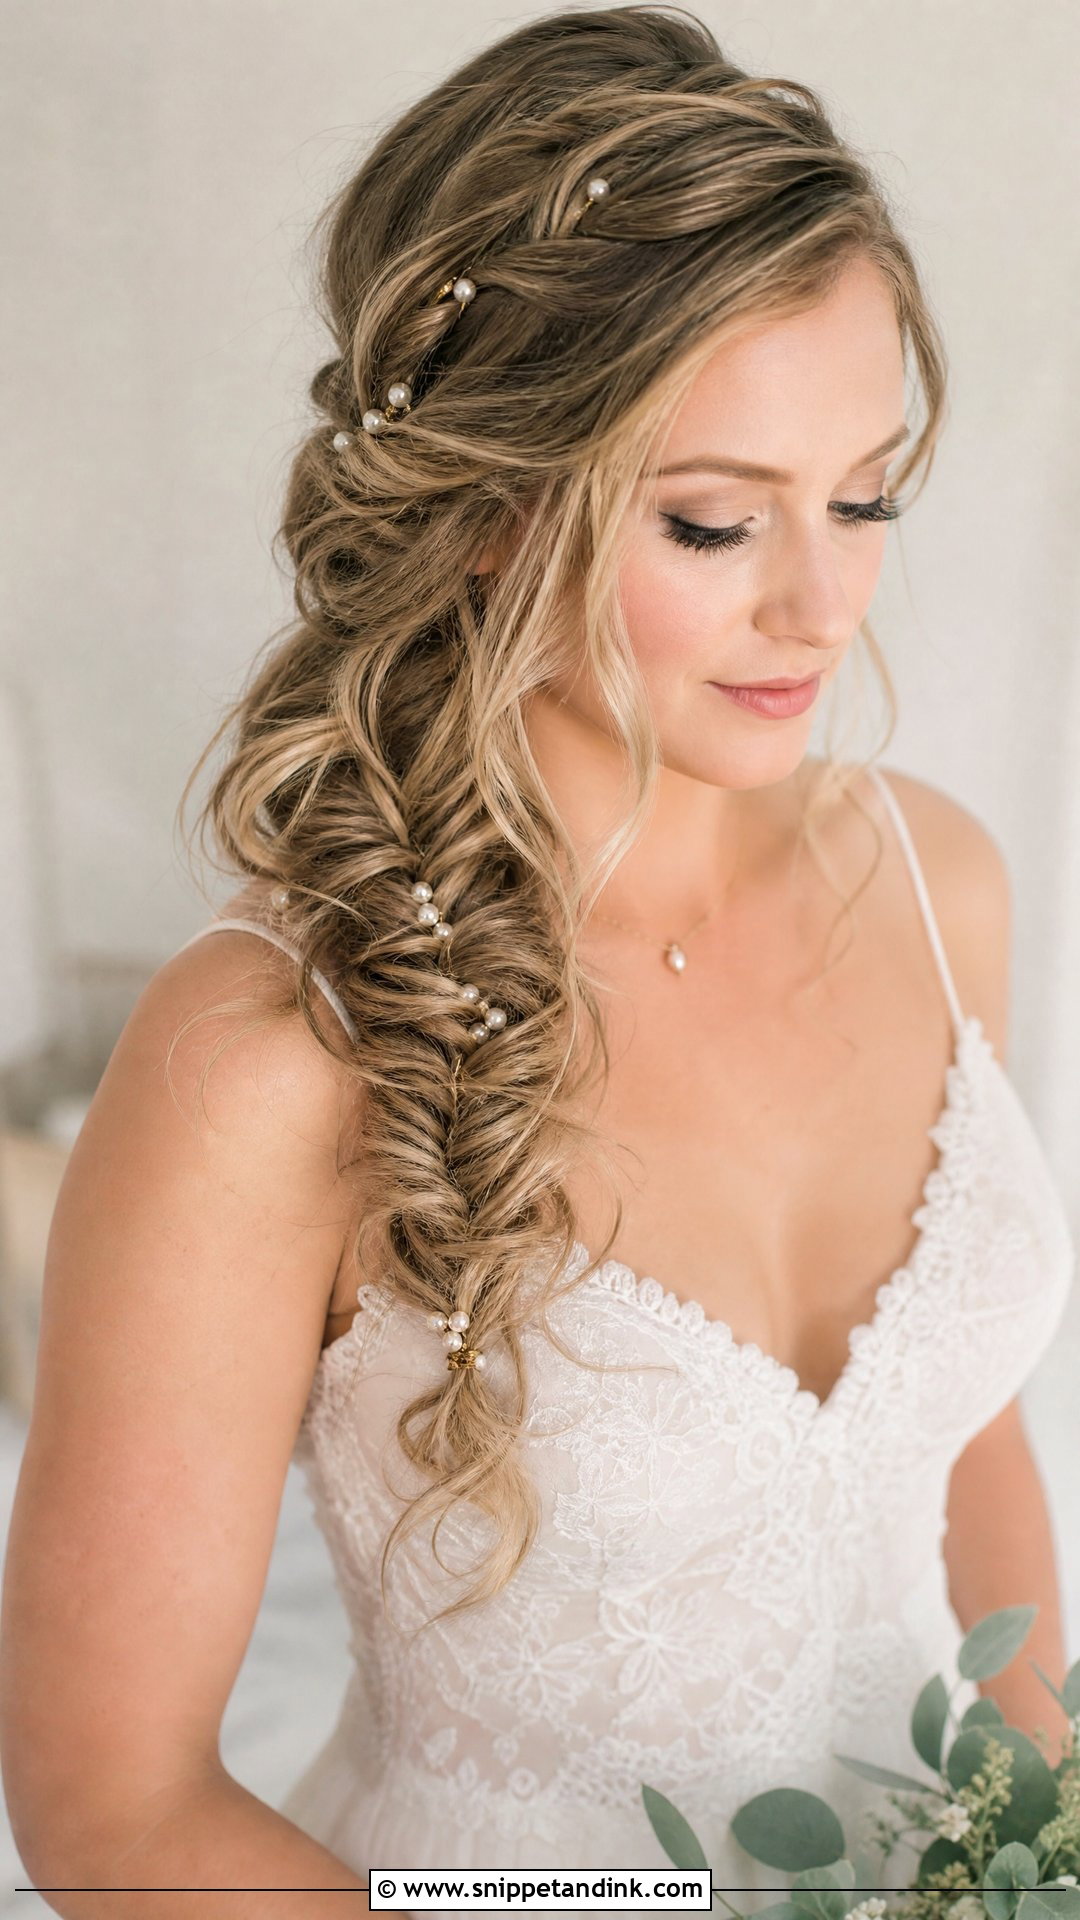
A side braid stays put, which is why I suggest it to brides nervous about pins. Sweep the hair to one side and do a loose three-strand, fishtail or Dutch braid, then pull it apart slightly for fullness. Hide a couple of pins behind the ear on the braid side, because the weight of the braid drags the hair off that side of the head by evening. Long and textured hair give it the most body. A ribbon or small pins make it feel more bridal.
9. Low Ponytail Wedding Hair
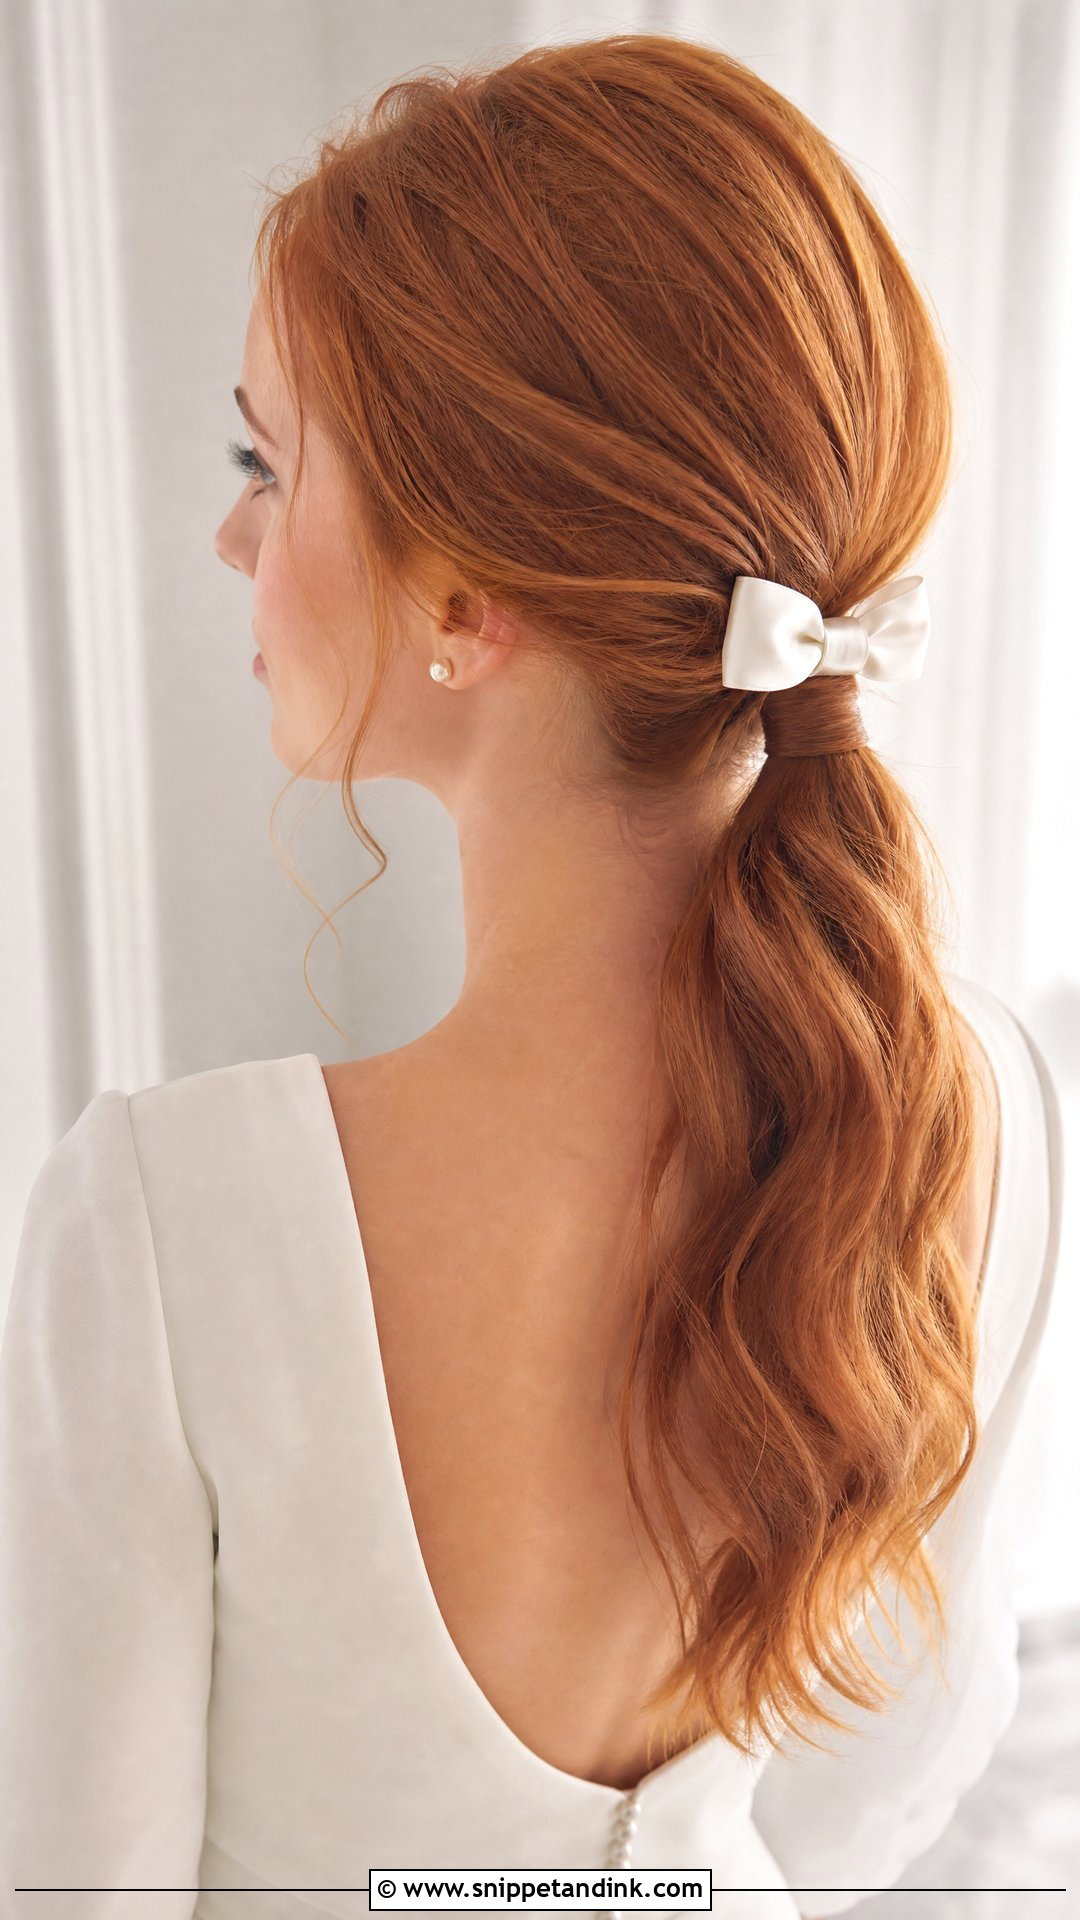
The low ponytail is underrated. Curl or wave the hair first, gather it at the nape and keep the crown slightly lifted rather than tight. Wrap hair around the elastic. A bow, pearl clip or minimalist barrette above the ponytail gives it a finished look. In humid weather it’s one of the safest DIY choices, since everything is gathered and there’s little to frizz. A veil comb slides in just above the band.
10. Twisted Updo Wedding Hair
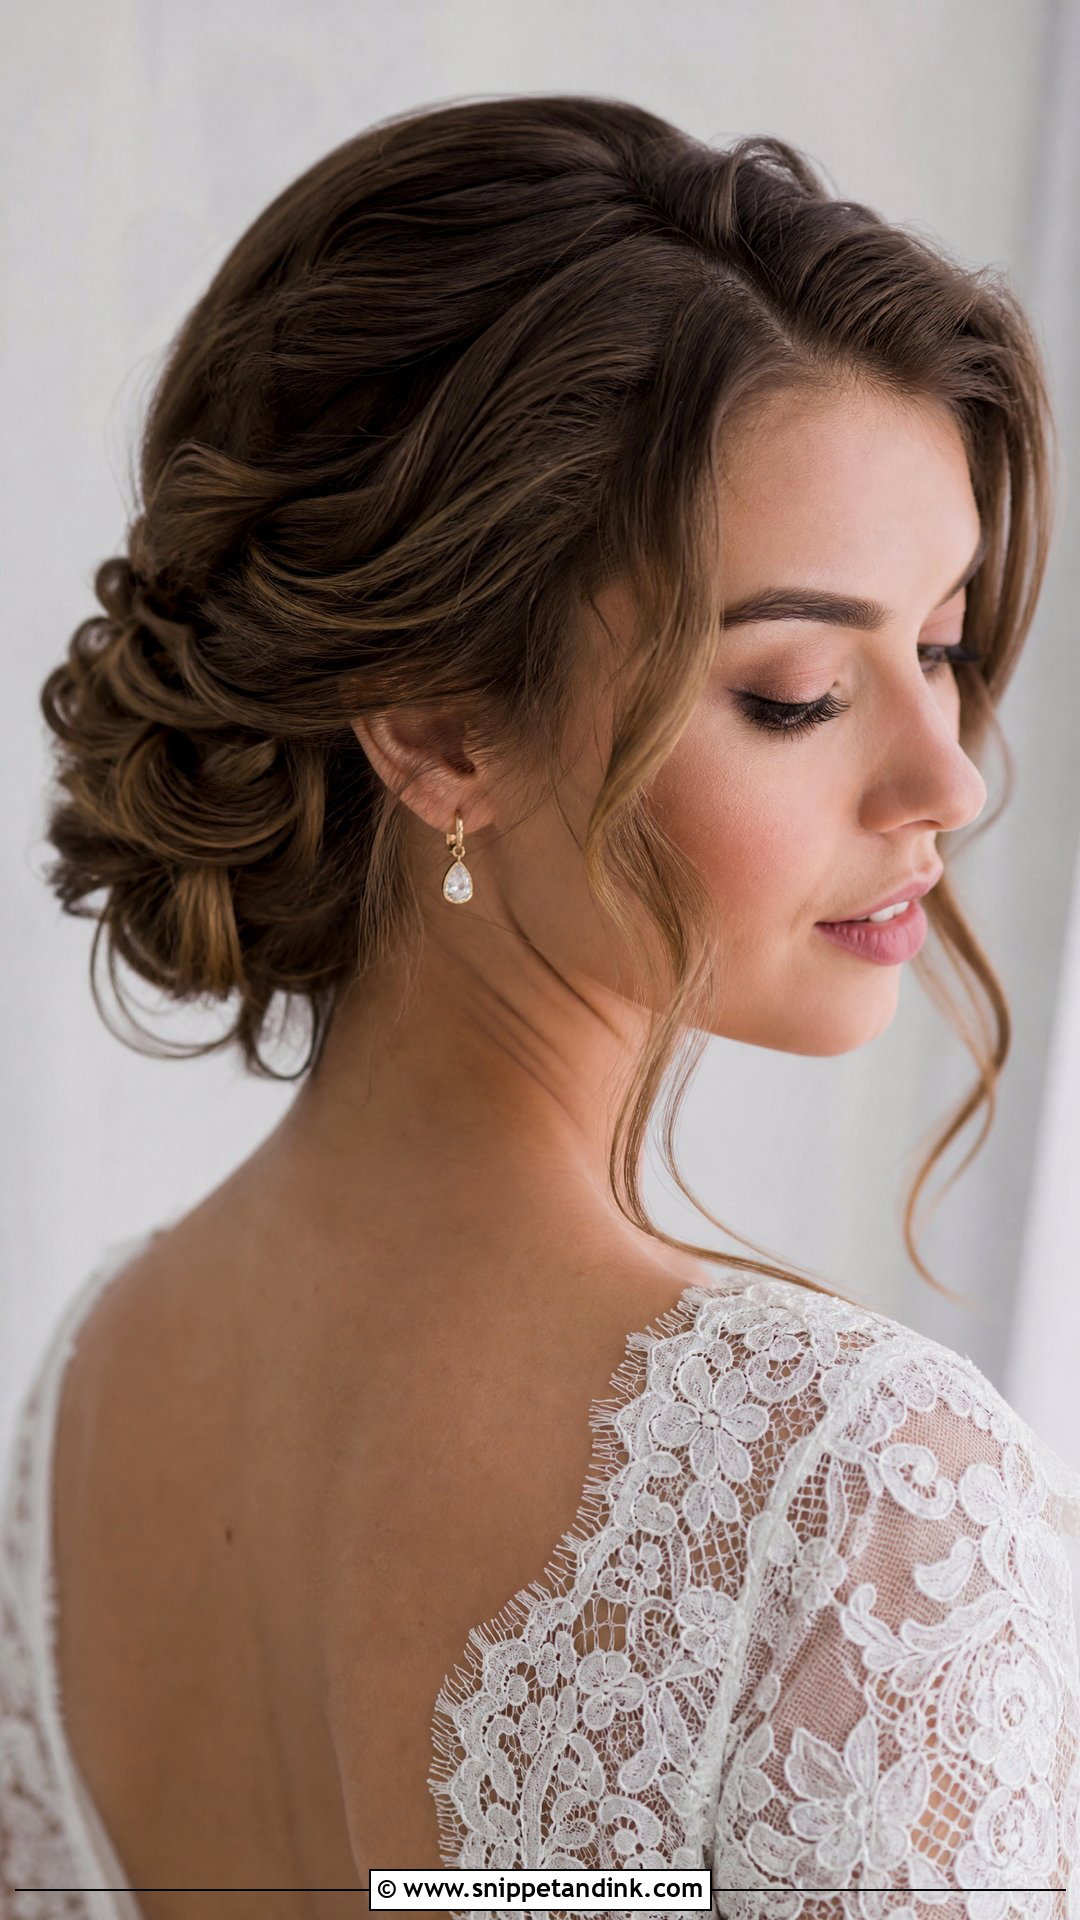
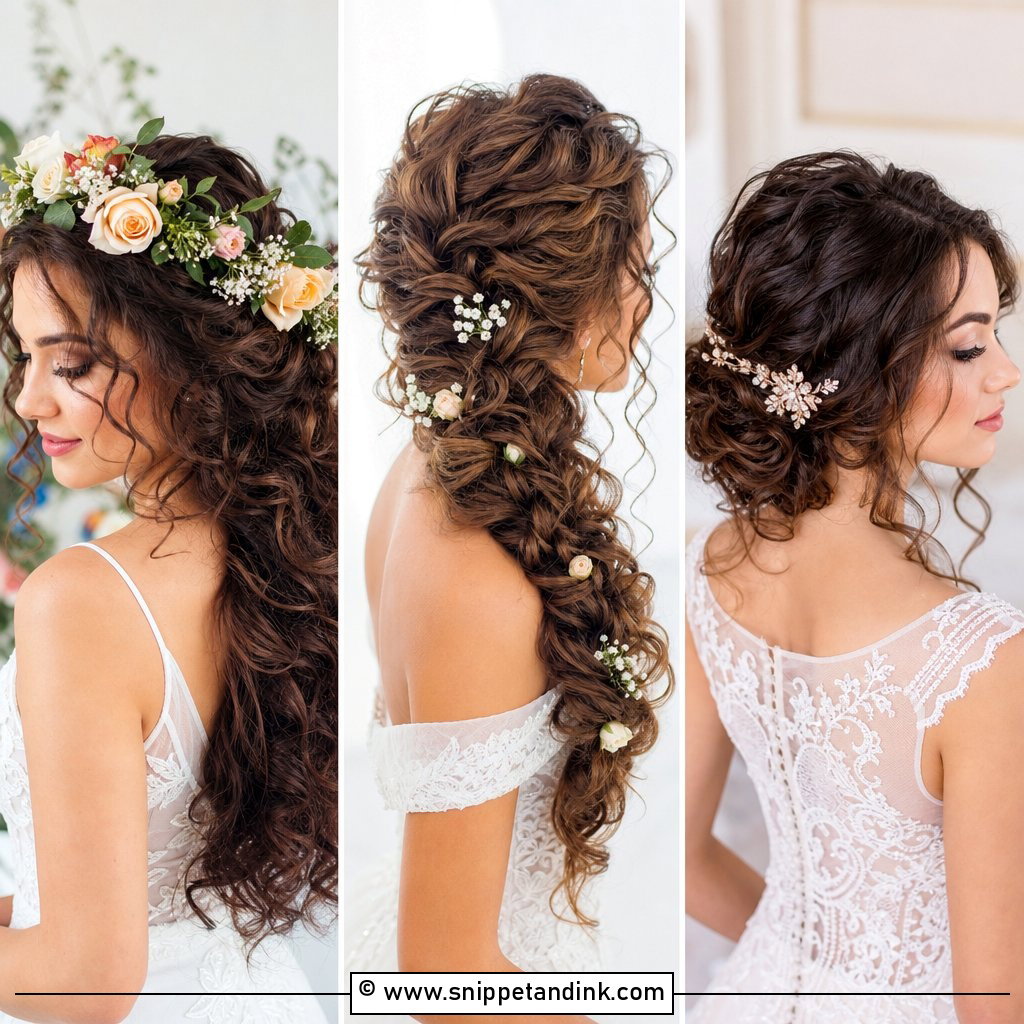
If braiding makes you want to cry, twists are your friend. Curl the hair, divide it into sections, twist each one back and pin it into a low shape at the nape, building until everything is tucked. Work from the bottom sections upward so later twists cover the pins of earlier ones. It looks more complex than it is. Layered and medium hair handle it well, since short pieces disappear into the twists.
11. Hollywood Waves Wedding Hair
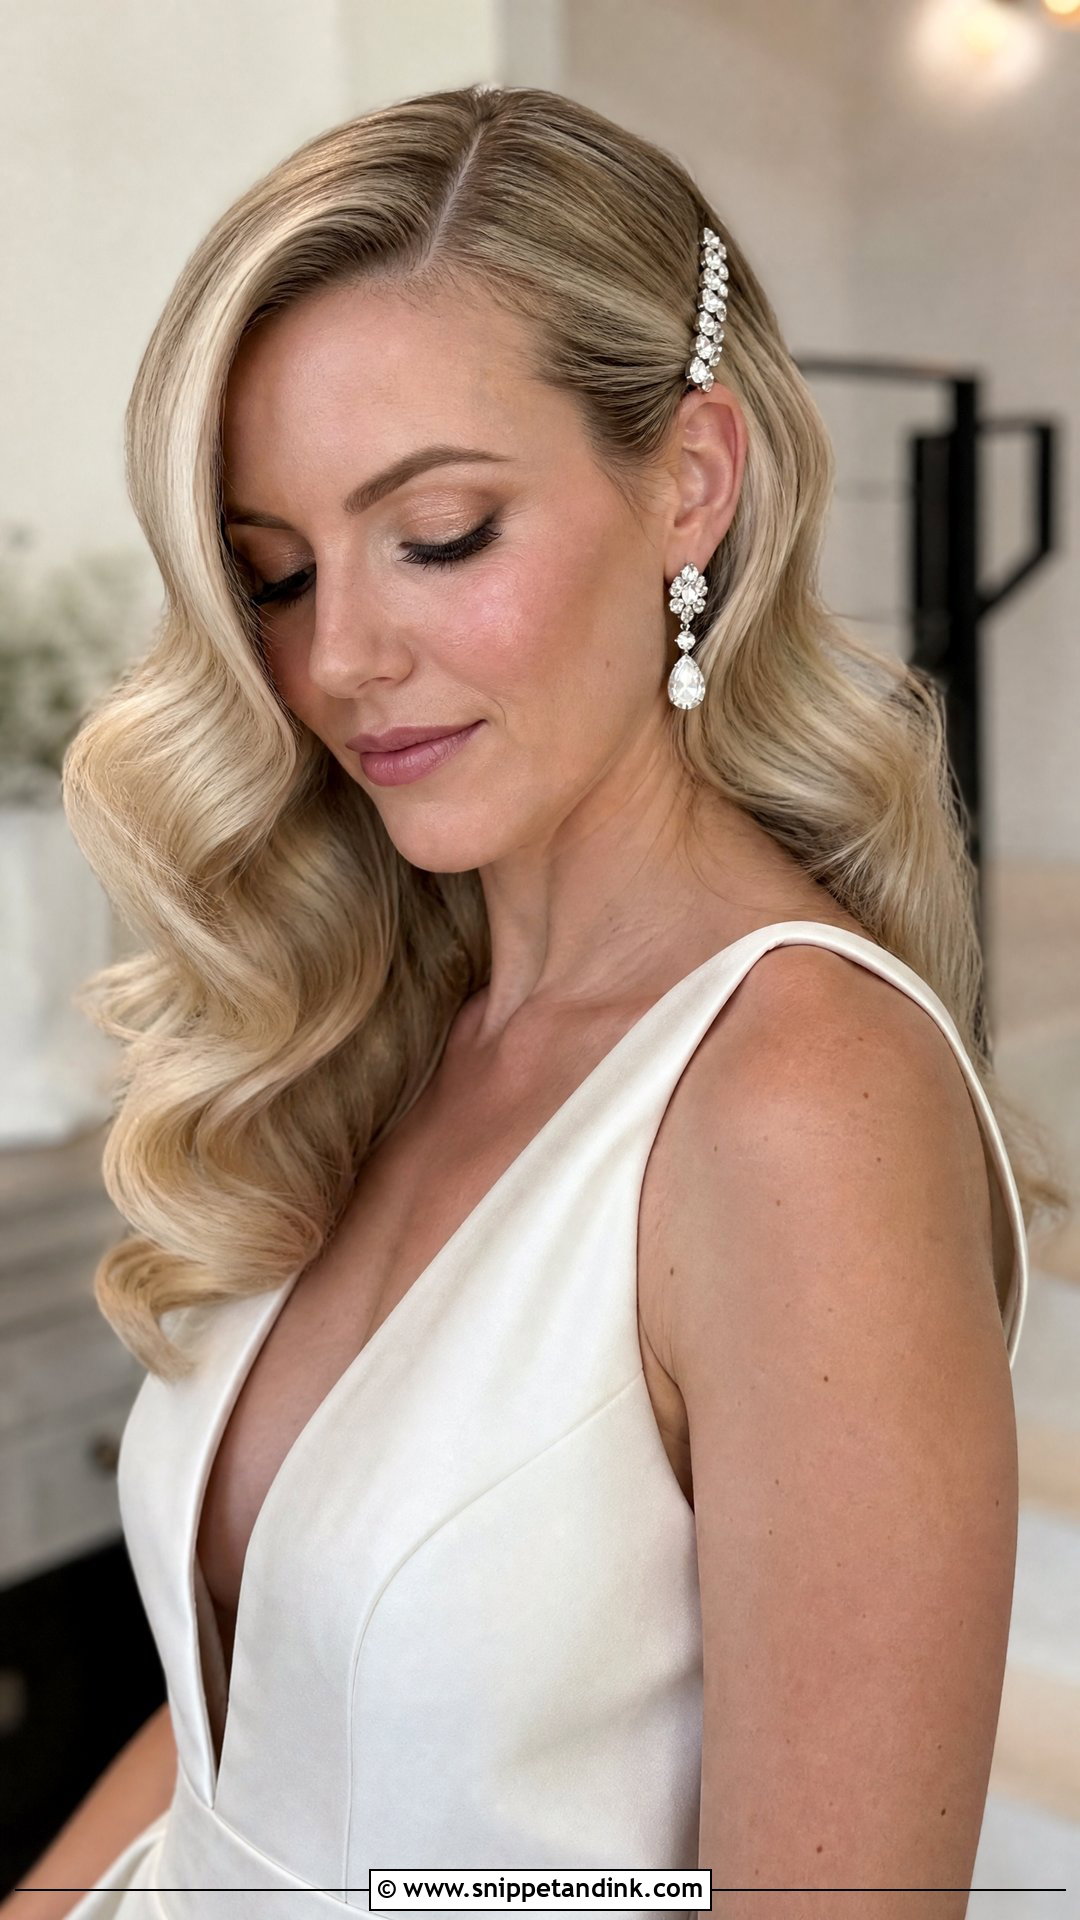
Hollywood waves can be simplified at home if you’re patient. Curl every section in the same direction with the same barrel, clip each curl while it cools, and only brush once the hair is completely cold. Brush slowly with a soft bristle brush until the waves link up. A deep side part gives the classic shape; tuck one side behind the ear with a clip if it keeps falling forward. A light shine spray finishes it. Satin dresses and vintage gowns suit it.
12. Curly Wedding Hair
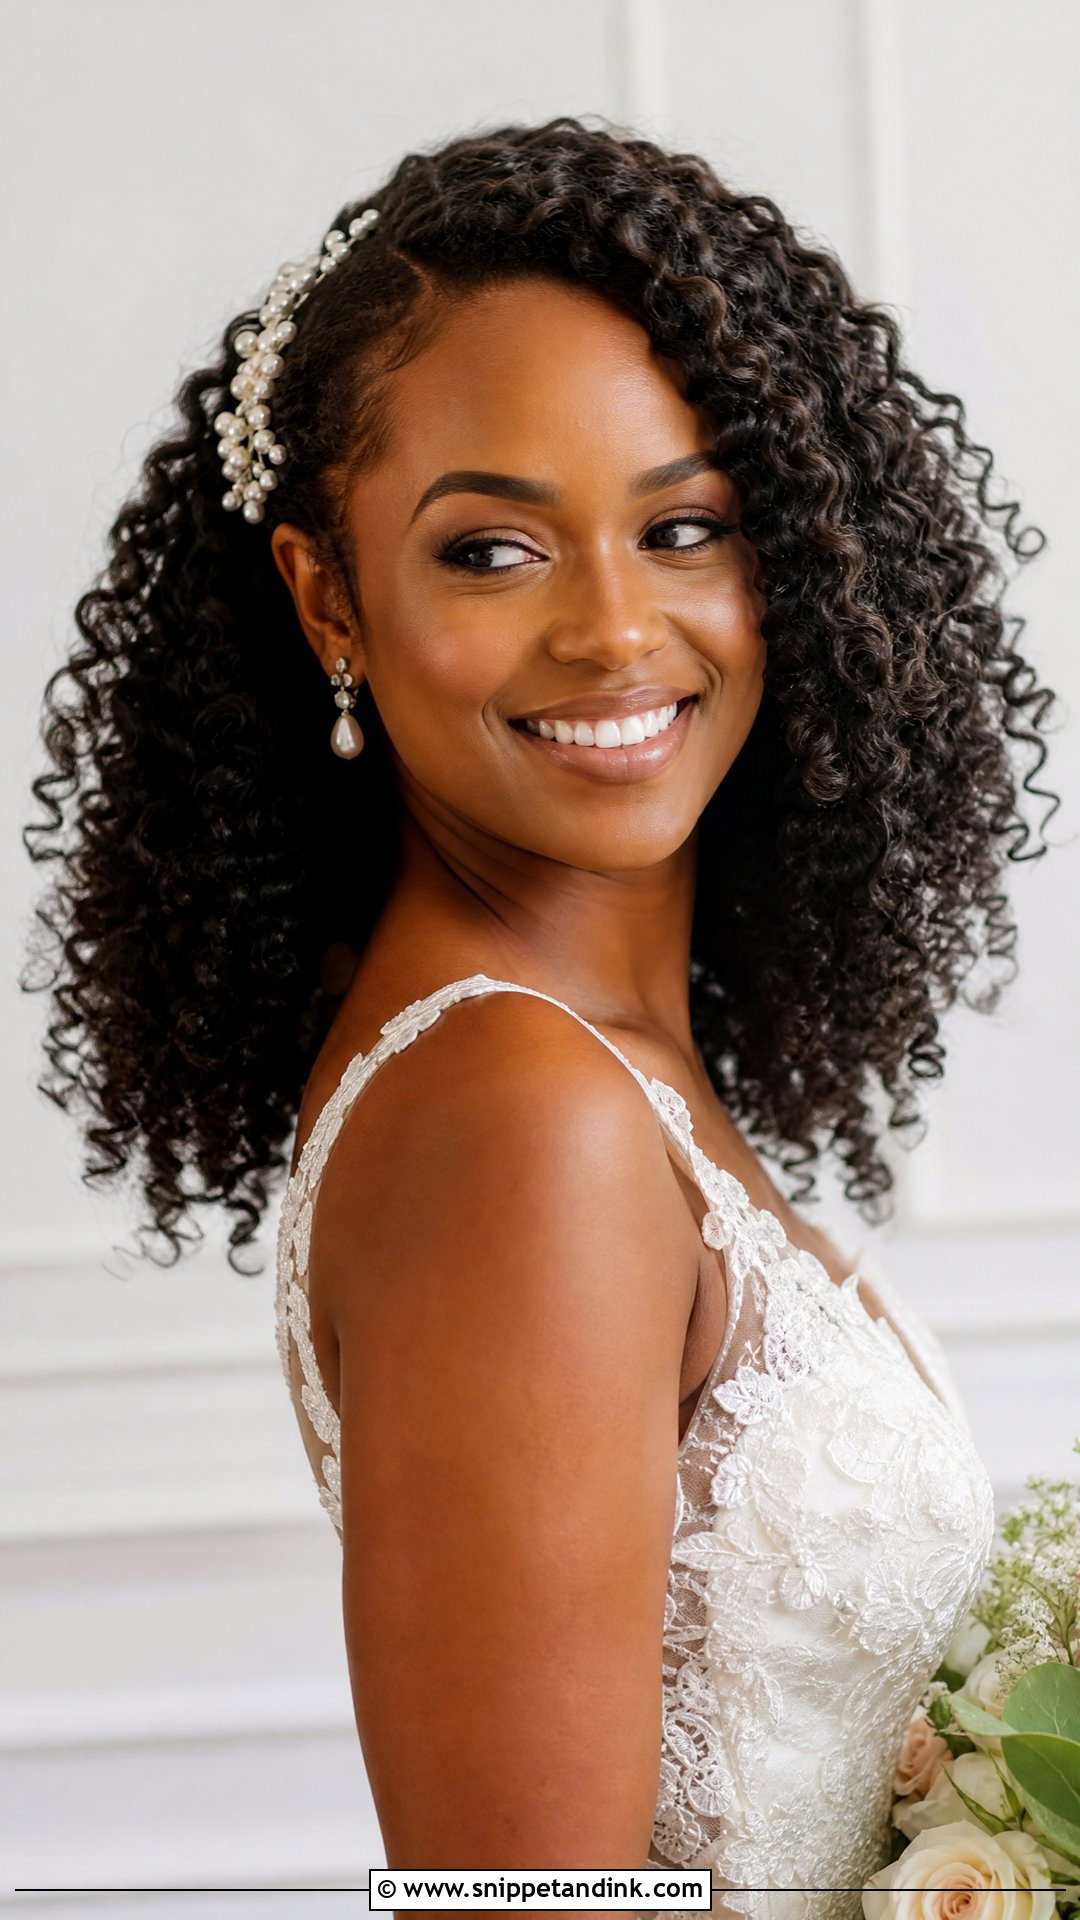
Work with your curl pattern rather than against it. Define hydrated curls with your usual cream, gel or mousse, then leave the hair to dry fully before touching it, since touching damp curls is what creates frizz. Once dry, lift the roots gently with a pick. Wear them down, pin one side back or gather the top into a soft half-up. Small pearl pins or a comb make it bridal. It’s comfortable and moves well.
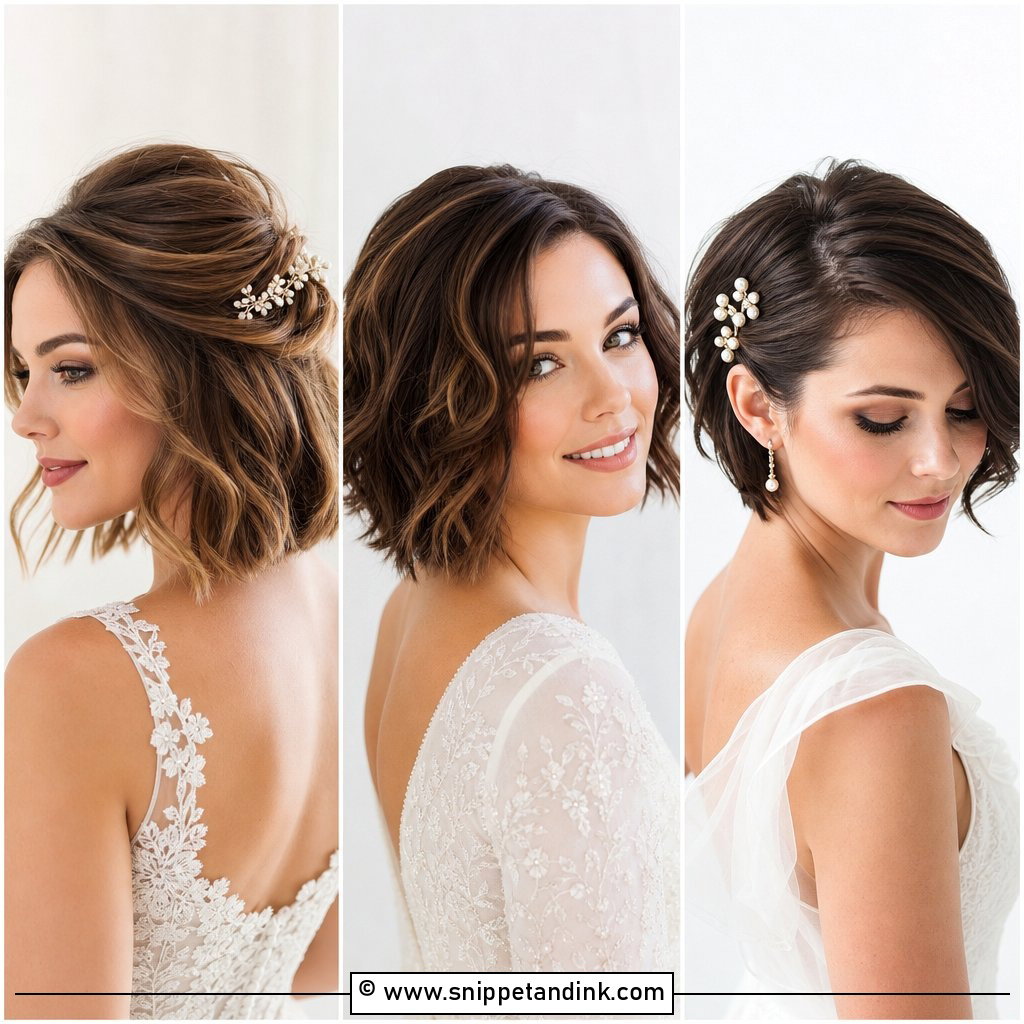
13. Short Bob Wedding Hair
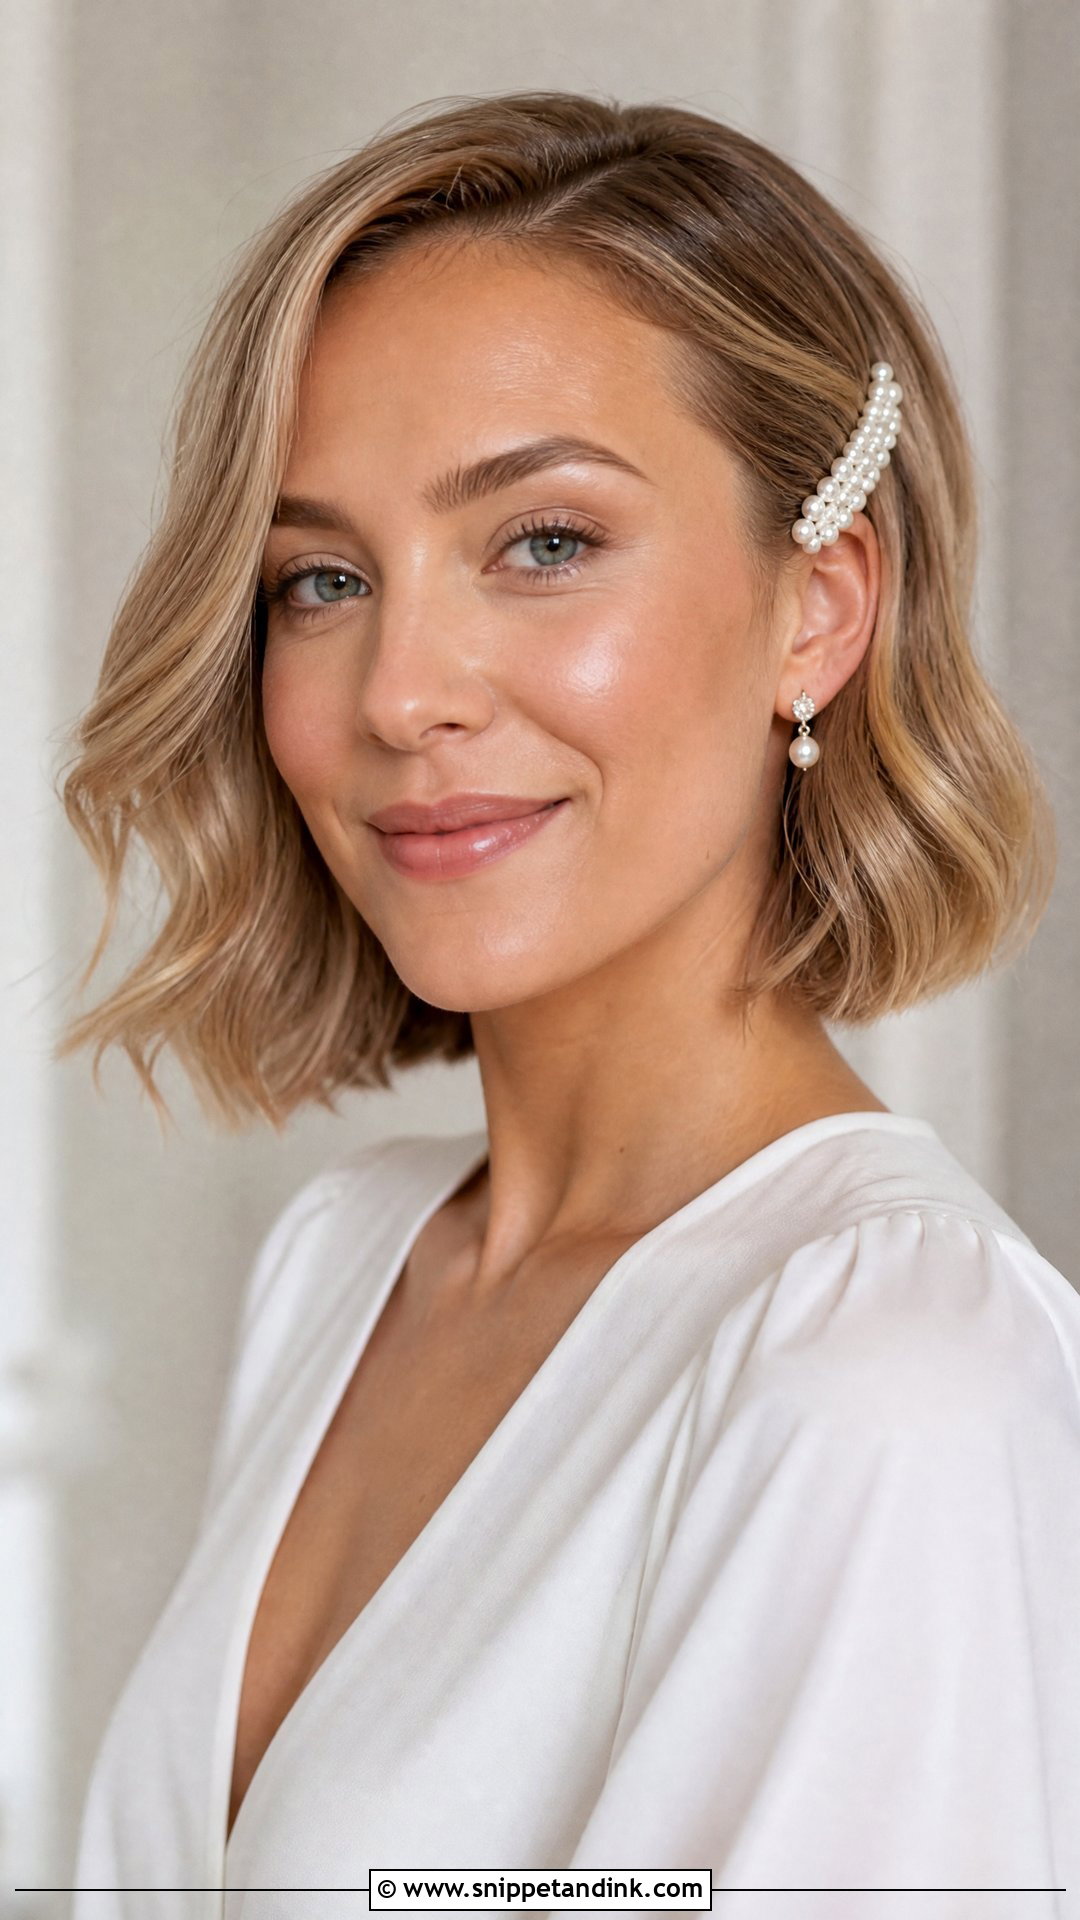
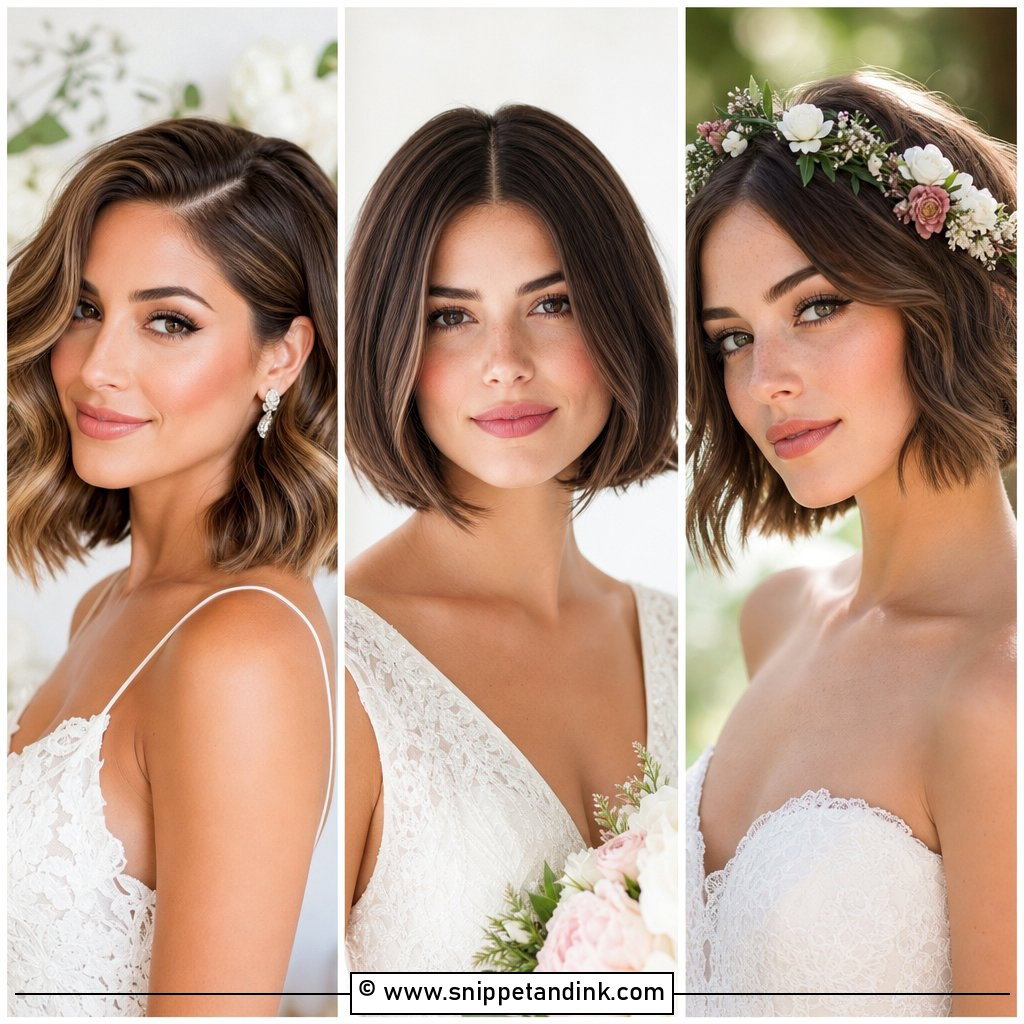
Short bob wedding hair doesn’t need an updo. Focus on shine, shape and one polished detail: sleek with tucked sides, softly waved, or curved under. A side part dresses it up; a center part feels modern. Add a pearl barrette, headband or tiny veil. Book your trim about two weeks before the wedding rather than the day before, so the ends have settled and the line doesn’t look freshly chopped in photos.
14. Claw Clip Wedding Hair
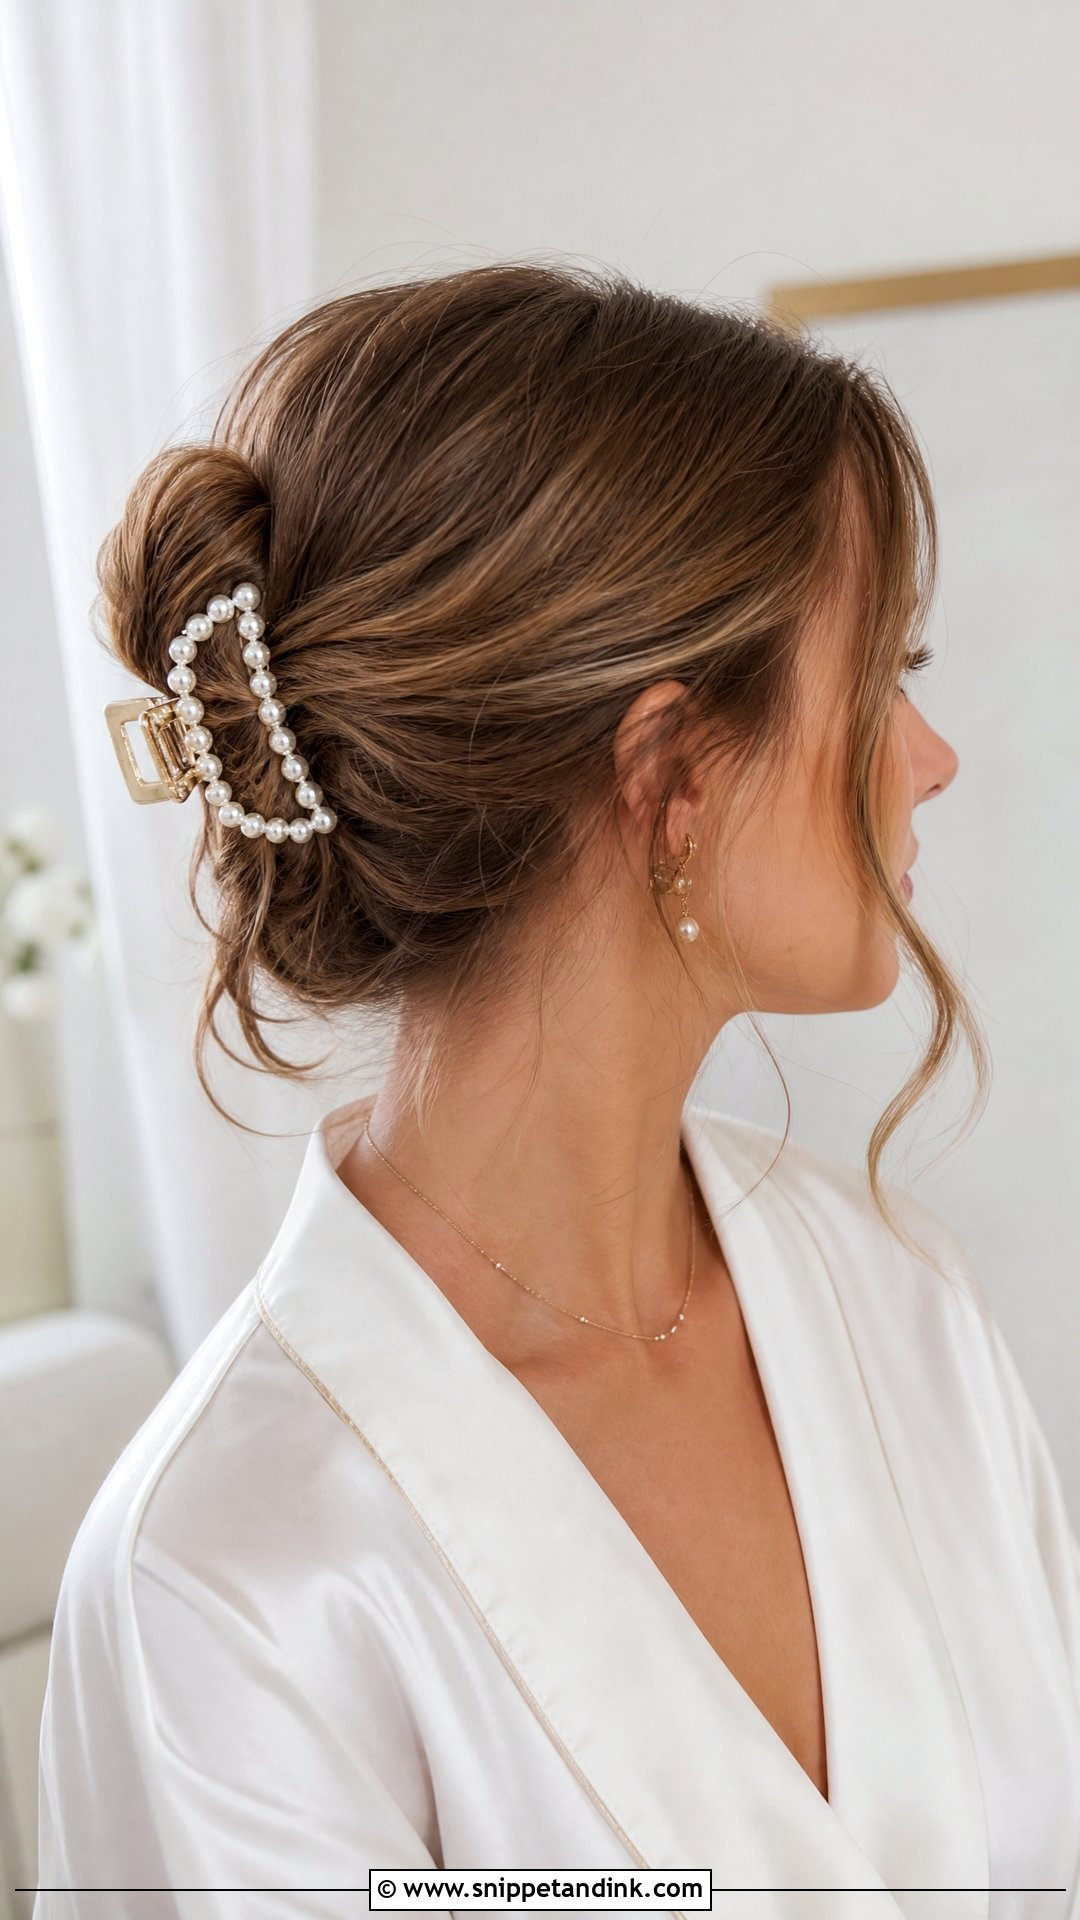
A claw clip wedding hairstyle works when the clip itself is special: pearl, gold, tortoiseshell or satin finish rather than your everyday plastic one. Twist the hair upward, secure it and let the ends fan over the top. Check the clip holds your hair’s weight by wearing it for an afternoon first; thick hair can make a small clip slide down by mid-ceremony. Curl the ends for romance, loosen the crown slightly, and it suits courthouse ceremonies and reception changes.
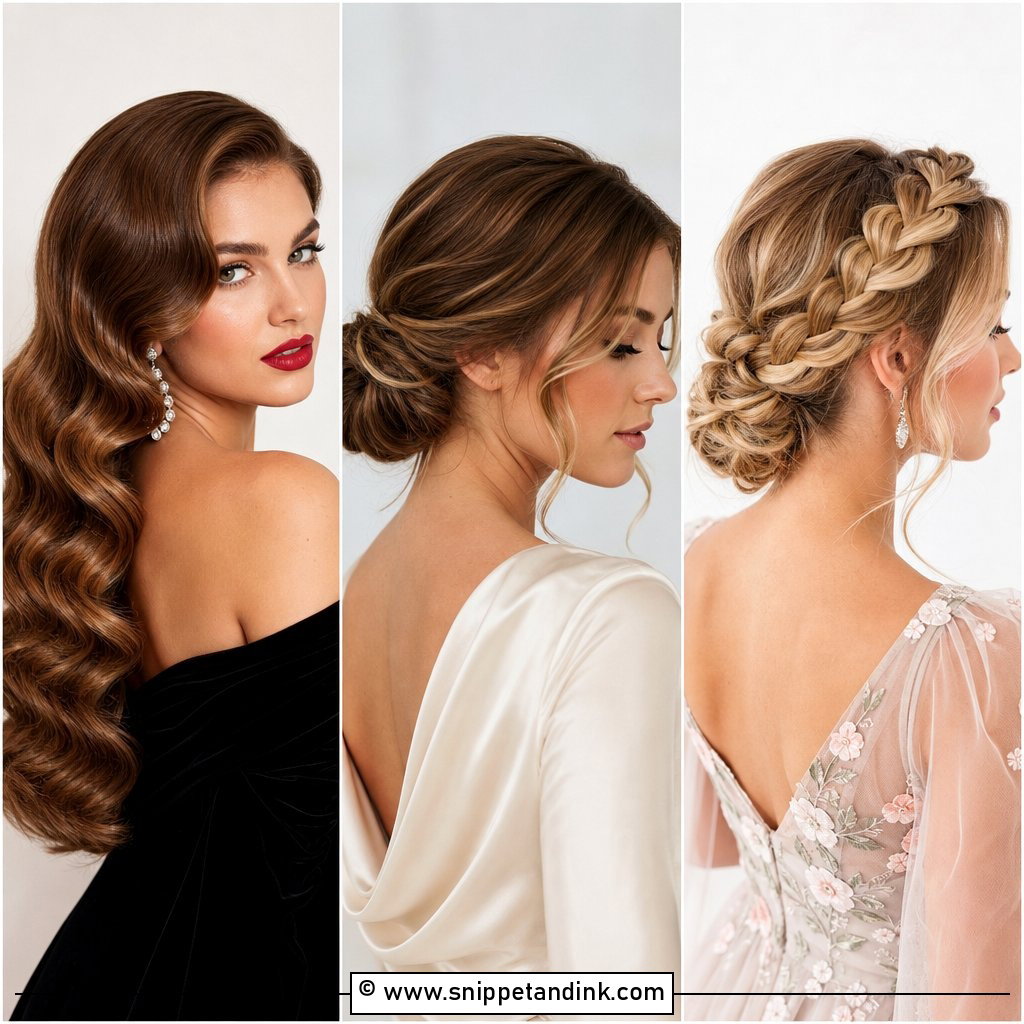
15. Simple Veil Wedding Hair
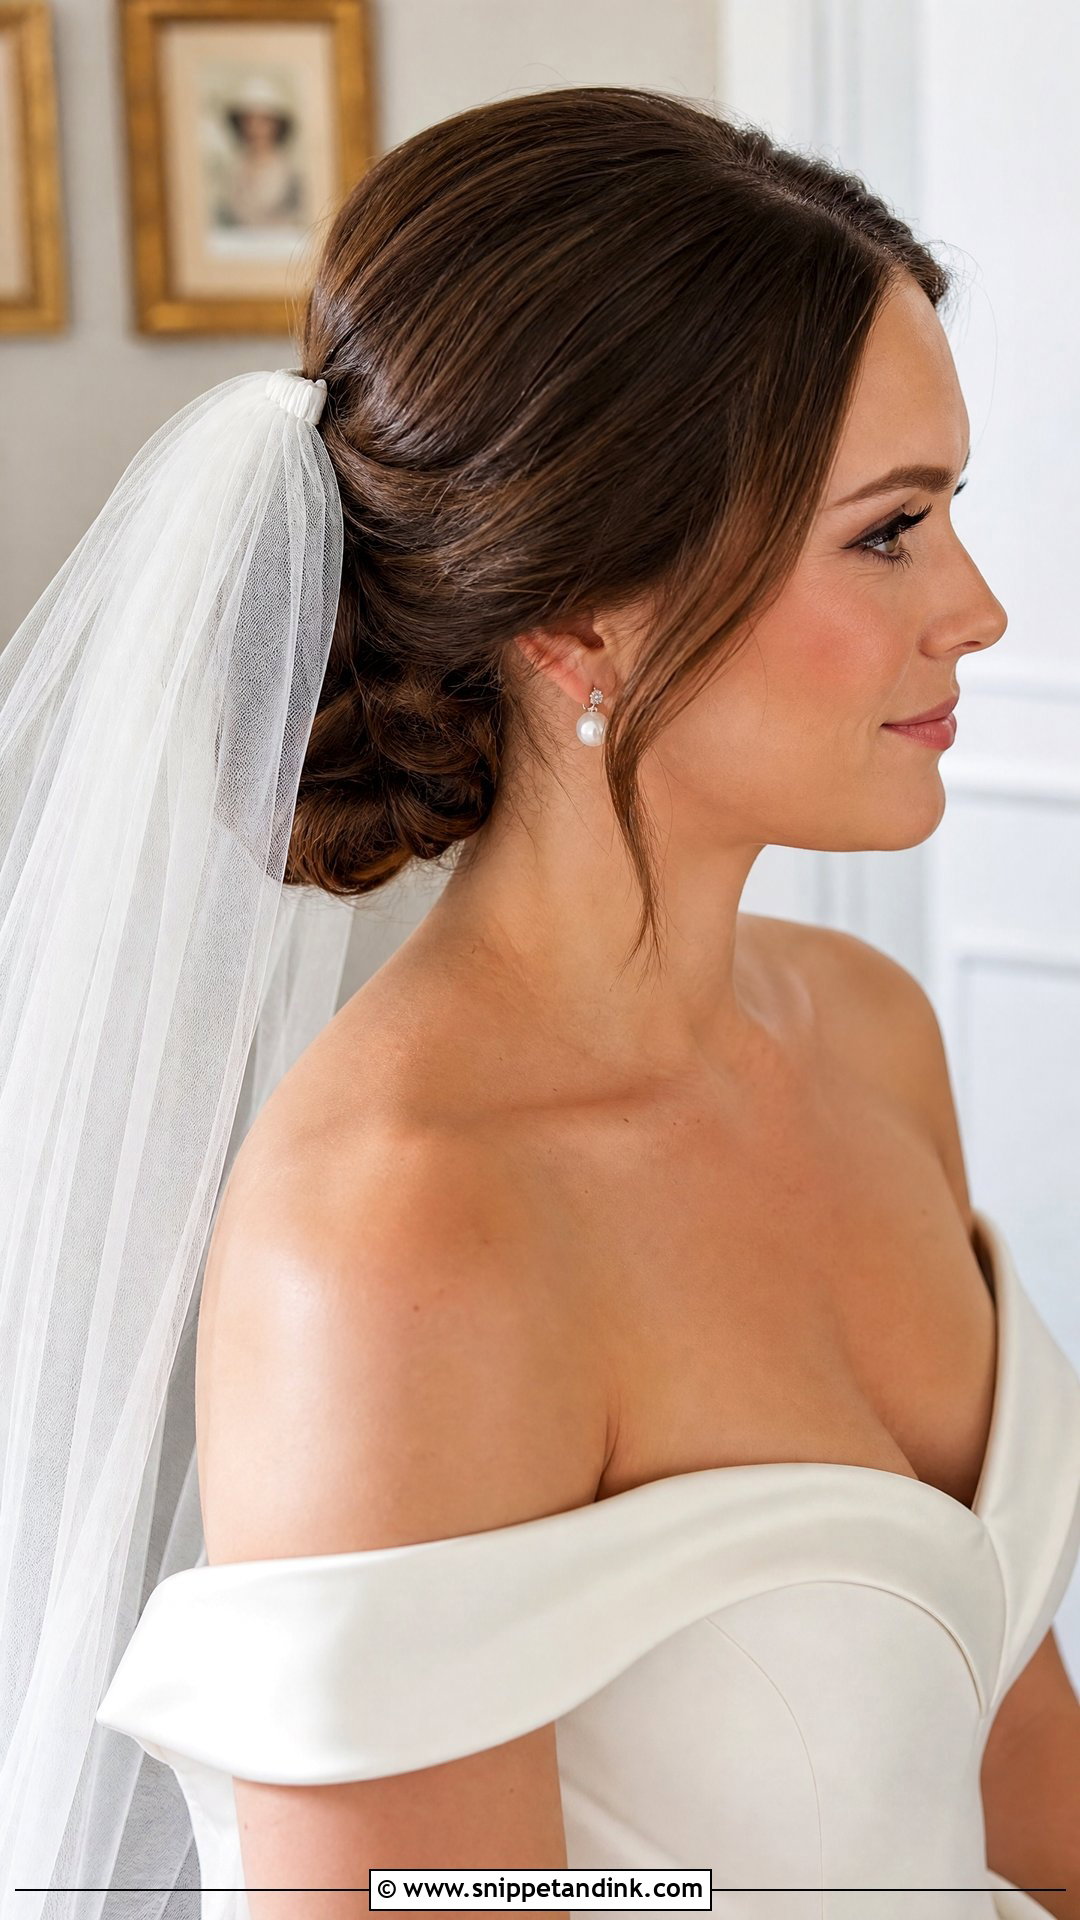
Any of the base styles here can take a veil, a low bun, half-up, loose waves or a low ponytail. What matters is the anchor. Tease a small hidden section where the comb will sit, mist it with spray and slide the comb in against the direction of the tease. If it still feels loose, cross two bobby pins in an X over the comb teeth. Keep the crown smooth so the tulle lies flat. You can manage all of this alone with a hand mirror.
Packing the Dresser Kit the Night Before
On the morning you won’t want to hunt for a tail comb under the bed. I lay tools out in the order they’re used: heat protectant, the right barrel, sectioning clips, texture spray or dry shampoo, a tail comb, a soft brush, elastics and pins in your hair color, flexible hairspray, then the accessory or veil.
Add two things people forget: a hand mirror to see the back, and a friend with a phone who can show you the back of your head while you pin. A clean scarf loosely over the hair protects the style as you step into the dress.
Plan B for a Bun That Won’t Behave
Decide your fallback before the day. A low ponytail or a soft half-up twist works well, because both can be built from a failed bun or waves that have dropped.
If the first attempt isn’t working after fifteen or twenty minutes, stop. Brush it out, mist some texture spray and switch to the backup instead of re-pinning the same bun for an hour. Nobody at the ceremony knows what you meant to do. They only see whether you look relaxed.
Your Own Hands, Two Practice Runs and a Backup Ponytail
DIY wedding hair succeeds when it’s realistic and secure, not complicated. A low bun, soft waves, half-up, a sleek ponytail or a simple veil style will look every bit as bridal as a salon updo when it suits your dress and the way you move. Practice at least twice. Photograph it from the front, side and back so you know how the camera sees it. Lay out tools, pins, spray and accessories the night before, and your DIY wedding hair will feel calm rather than rushed on the morning.
You'll Like These Ideas:


Leave a Reply