
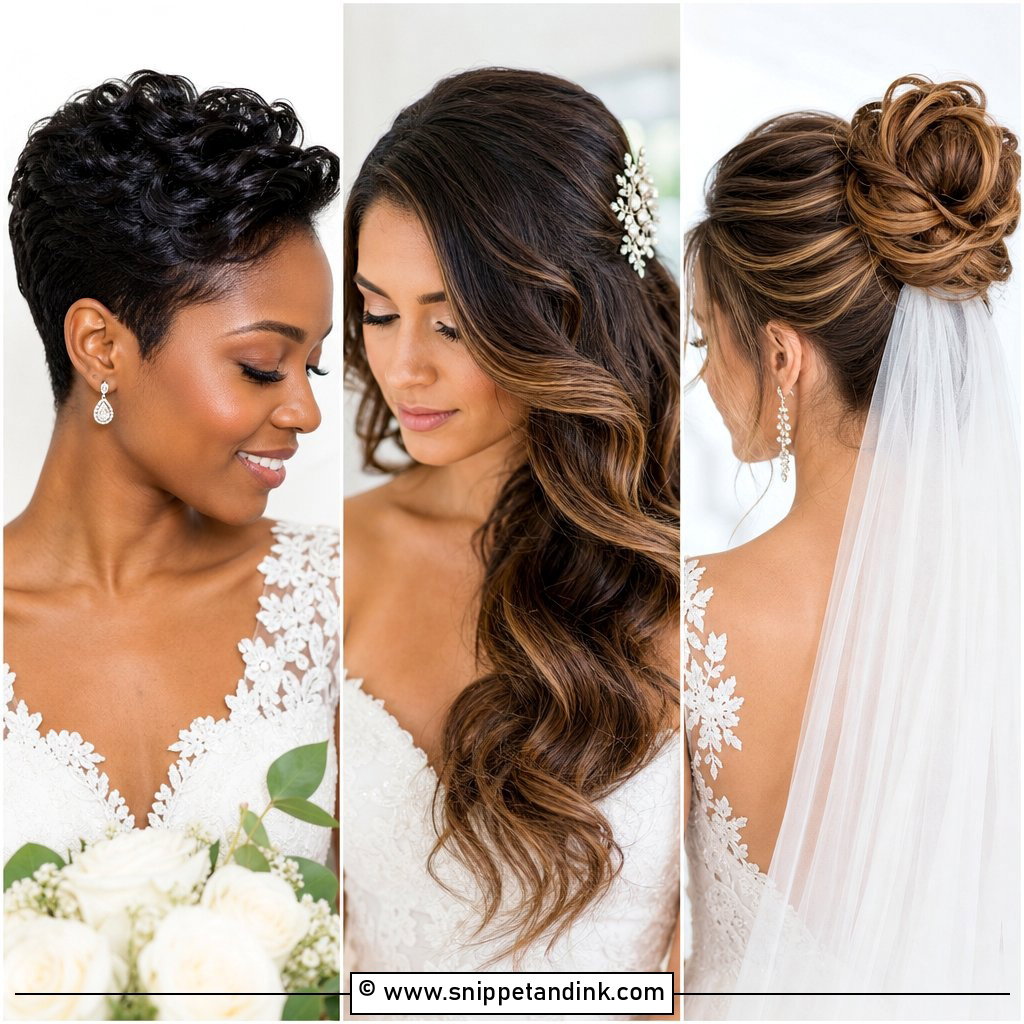
Plenty of brides do their own hair, or hand the job to a sister or a handy friend, and most of the updos I build in a salon chair can be learned at home with enough repetition. What separates a style that lasts from one that slips by the speeches is rarely talent. It’s pin placement, hair prep and having practiced the exact steps with your arms behind your head more than once. These twenty updos range from a five-minute chignon to a couple that genuinely need a second pair of hands, and for each one I’ve included the steps along with the spot where people usually go wrong.
Bobby Pins Versus U-Pins, and the Rest of a Home Practice Kit
Half of the DIY updos that fall apart do so because of the tools, not the technique. You don’t need much, but each item has a job.
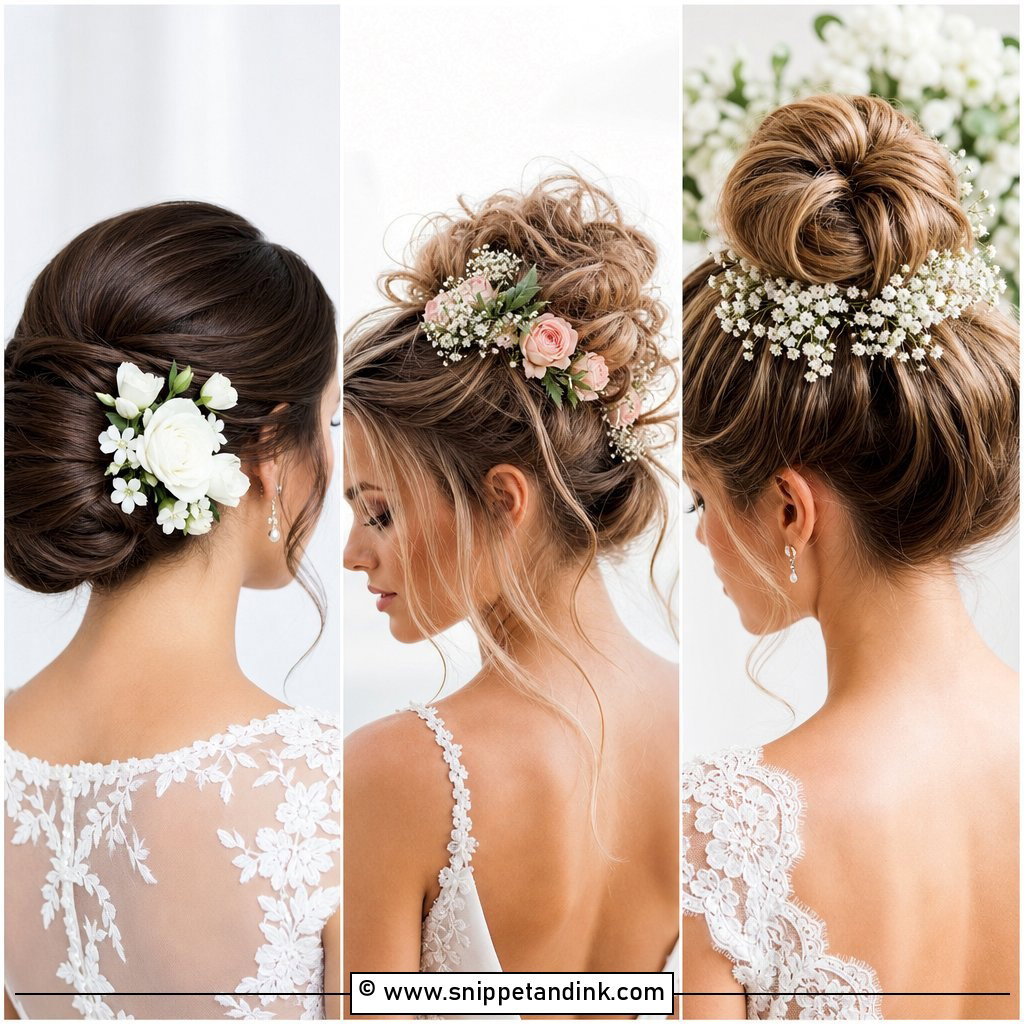
- Bobby pins grip, so they’re for anchoring. Use them with the ridged side facing down against the scalp.
- U-pins (also called hairpins) don’t grip; they shape. Use them to tack the outside of a bun or twist where you want it soft.
- Small clear elastics for anchoring ponytails and braid ends.
- A fine-tooth tail comb for clean parts and sections.
- A texture spray for the base and a flexible hairspray for the finish.
- A hand mirror, so you can check the back against a larger mirror.
Buy pins that match your hair color, and buy more than you think you need. They vanish across a bathroom floor.
One habit I’d build from the very first session: practise on hair prepped exactly as it will be on the morning. Hair washed an hour before behaves nothing like second-day hair, and a style you’ve only ever pinned into dirty hair can slide straight out of clean, conditioned lengths.
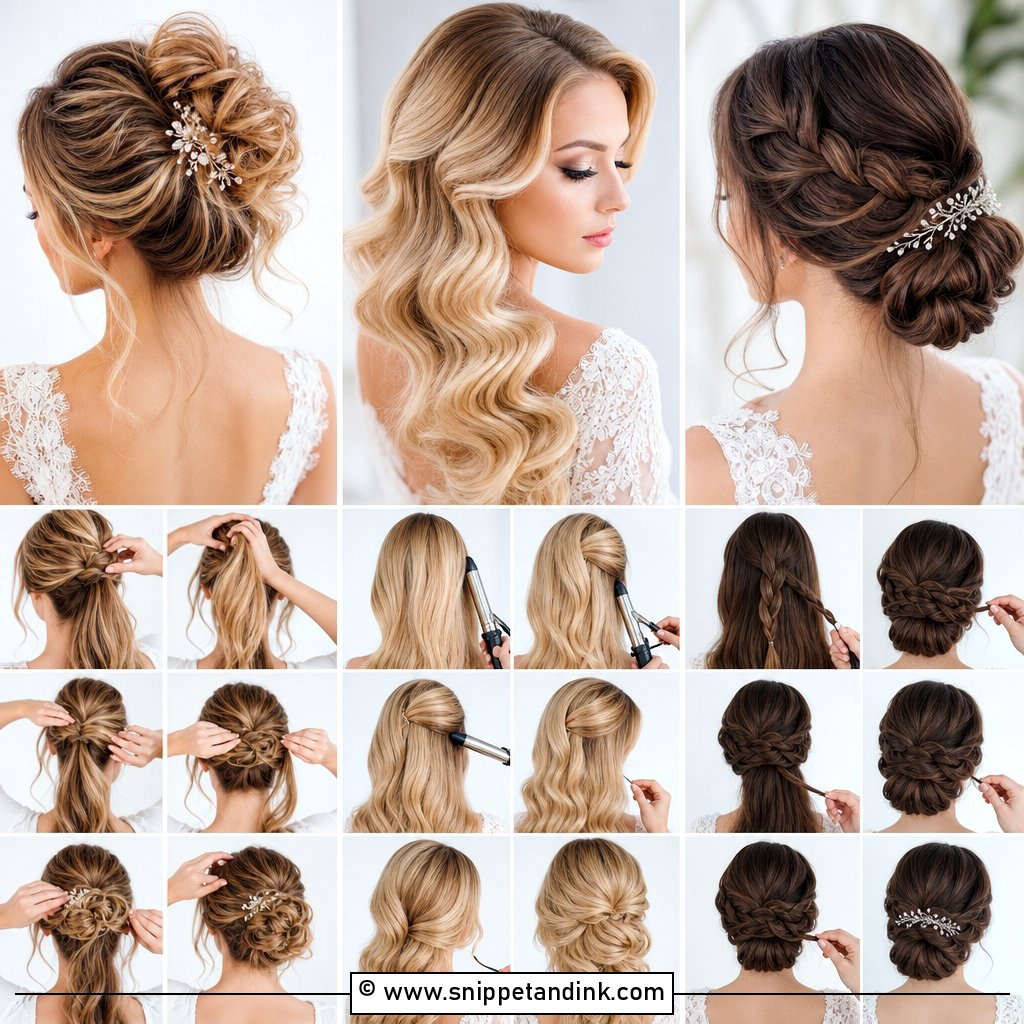
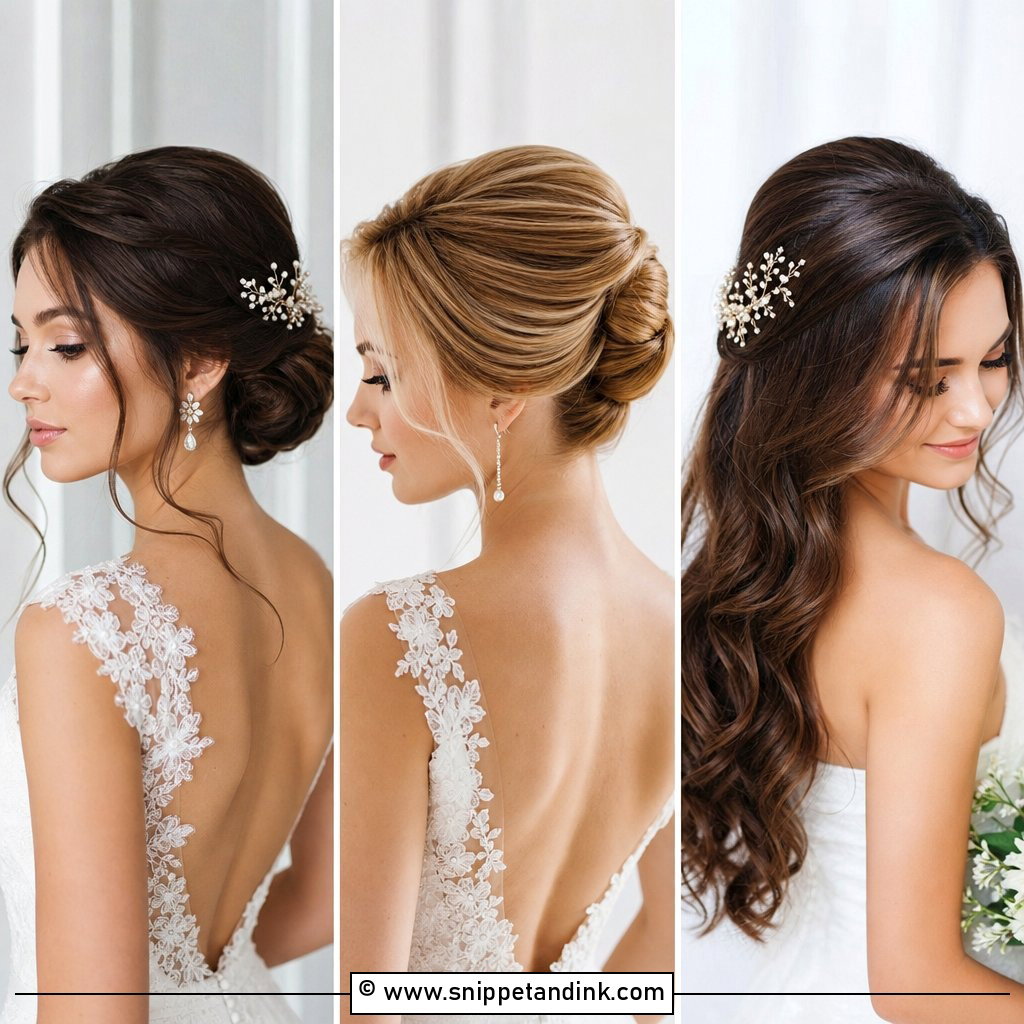
1. Low Chignon Wedding Updo
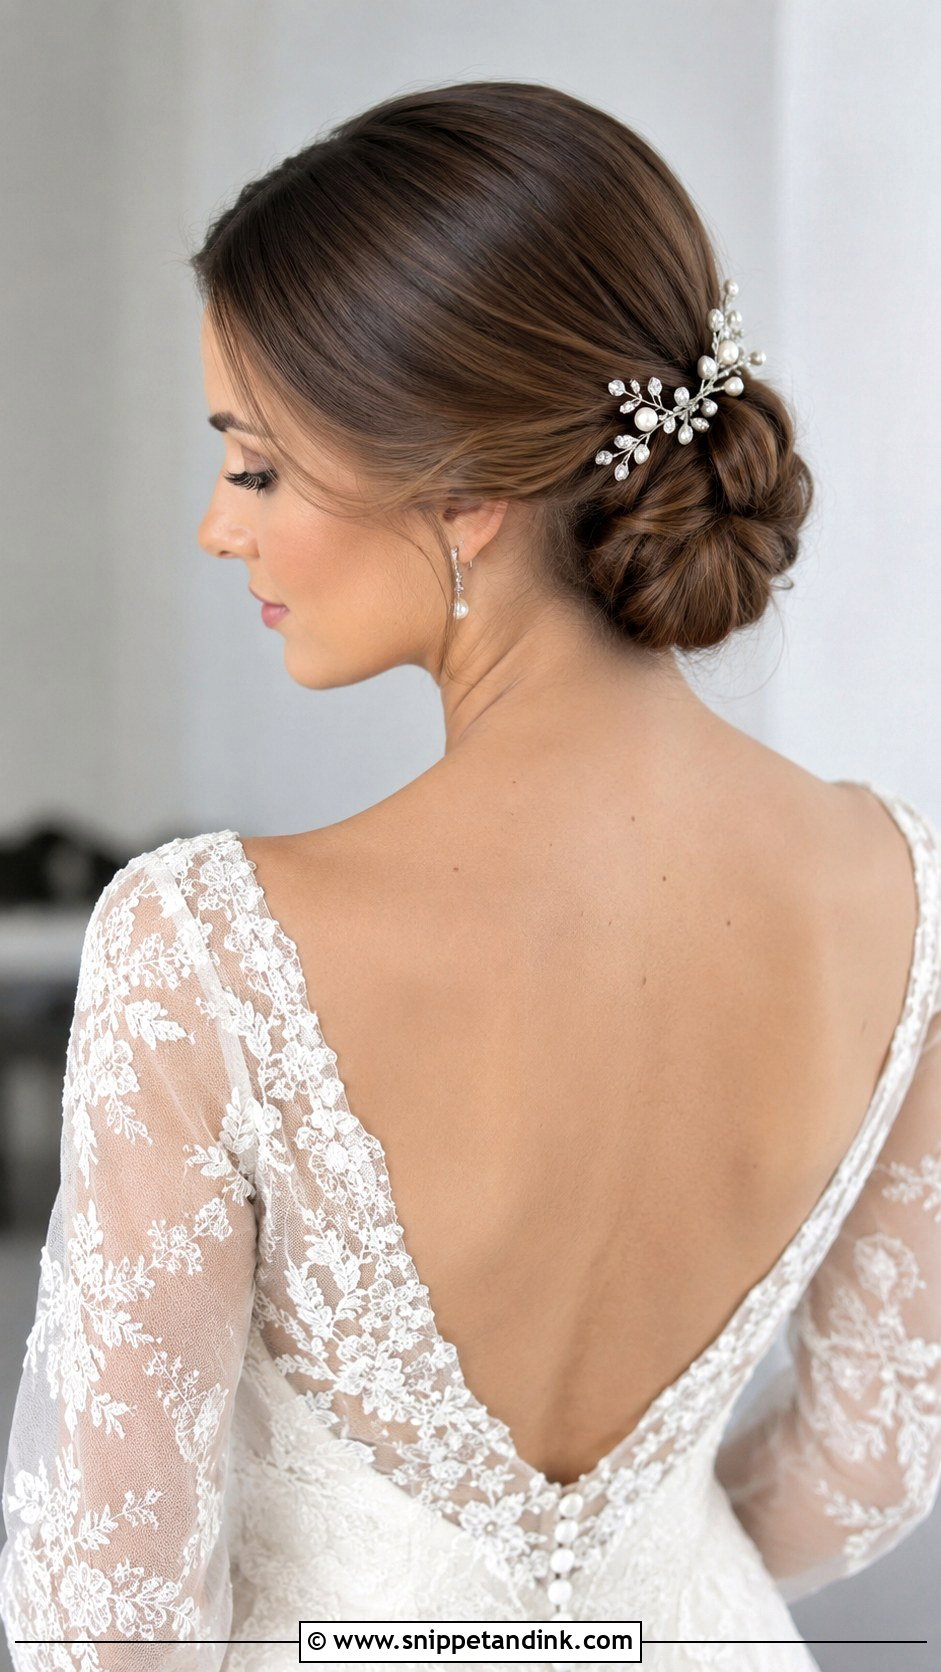
If you only learn one updo, make it this one. Part in the middle, gather everything at the nape and twist it into a smooth bun, then tuck the ends underneath and pin. Smooth flyaways with a light hairspray or a drop of serum. The beginner mistake I see most is pinning straight in; slide each pin in against the twist, then turn it and push it back the other way so it locks into the bun. It sits low enough for a veil and works on medium to long hair.
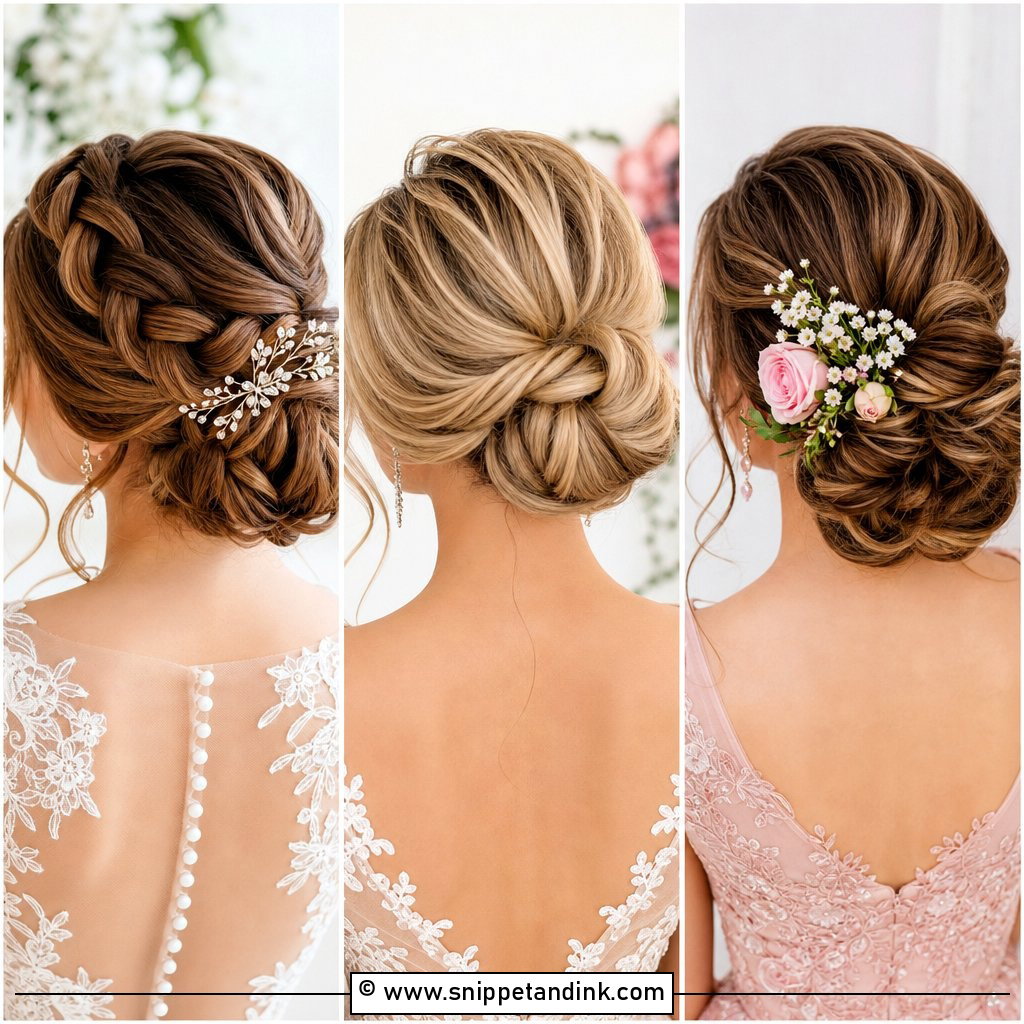
2. Braided Bun Updo for Brides
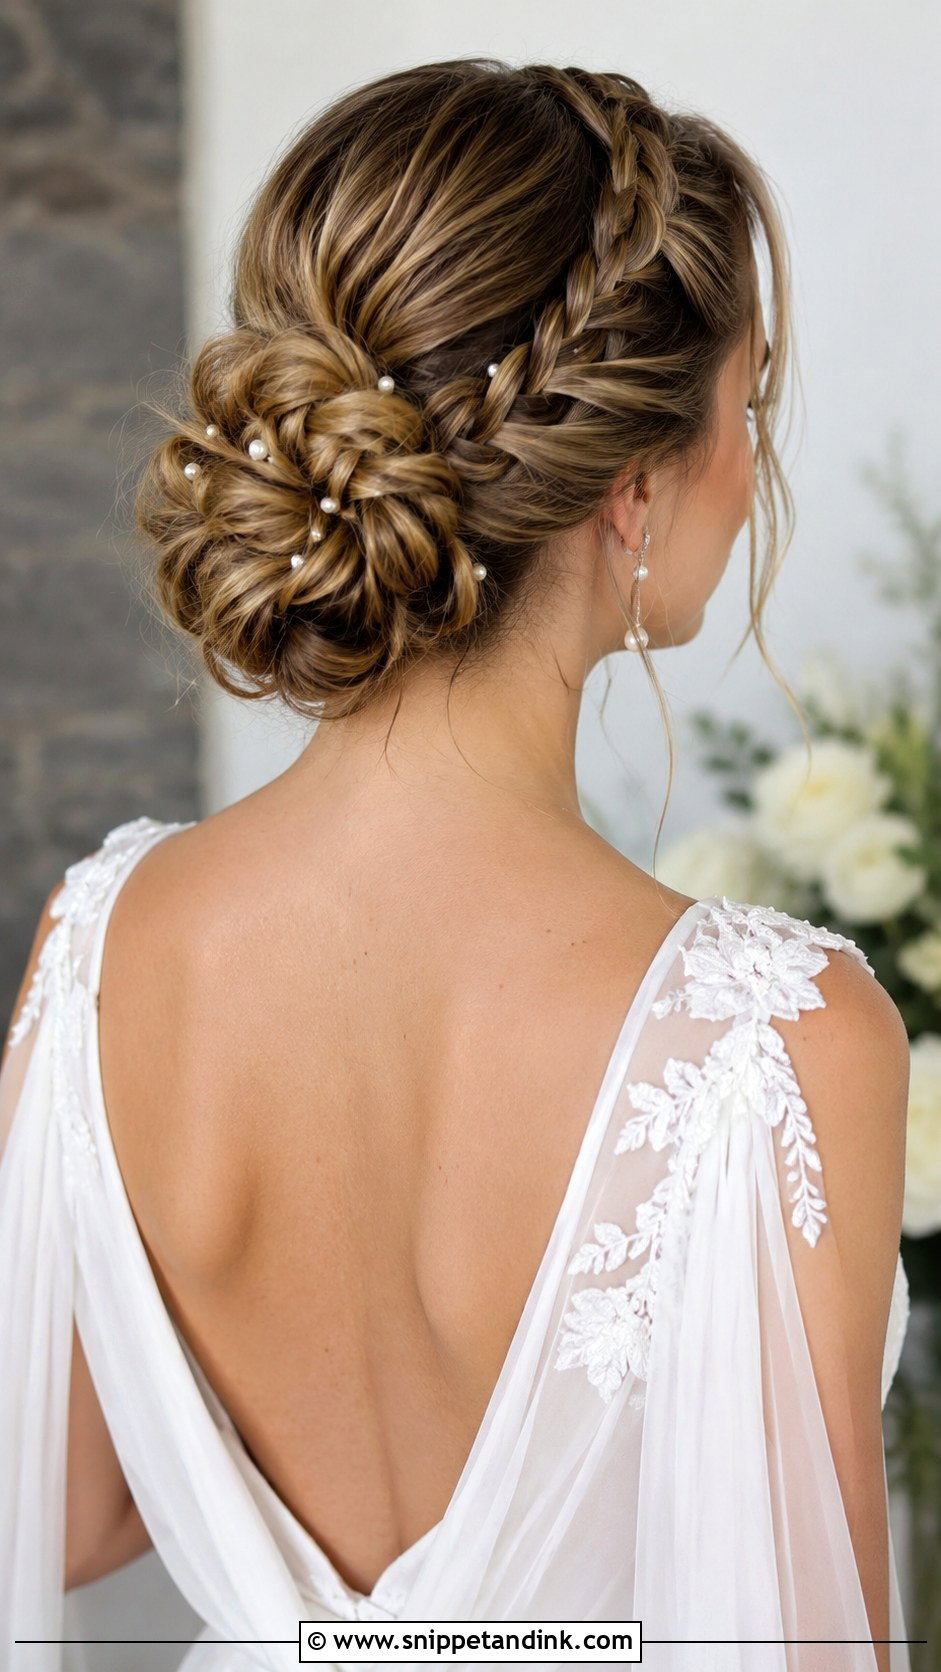
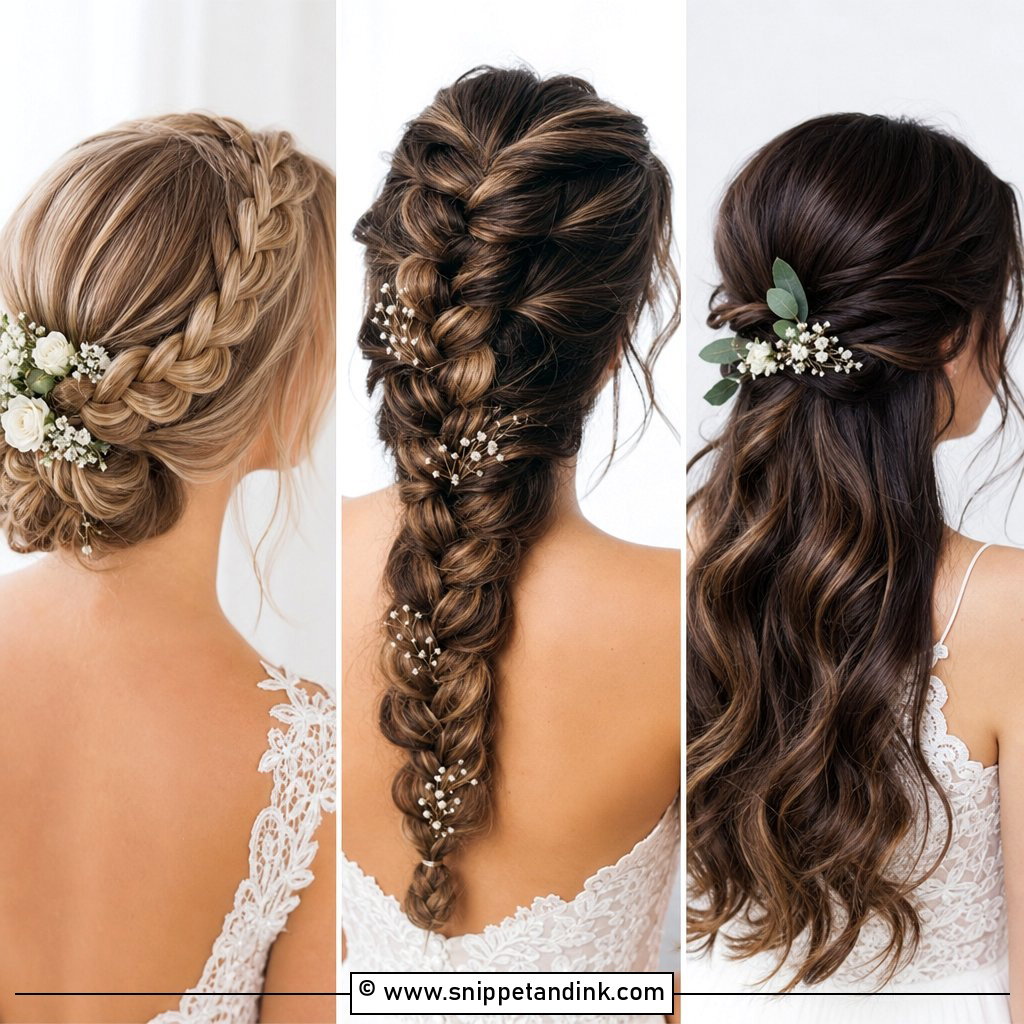
Plait a loose braid, three-strand or fishtail, down the back of your head, pull its edges out a little for width, then coil it into a bun at the nape or crown and pin the tail underneath. On your own head the hard part is keeping the braid centred when you can’t see it. Practice with two mirrors, one in front and a hand mirror behind, until you can feel the middle without looking. A hair vine or scattered pearl pins suit it, and once coiled it’s very secure for dancing.
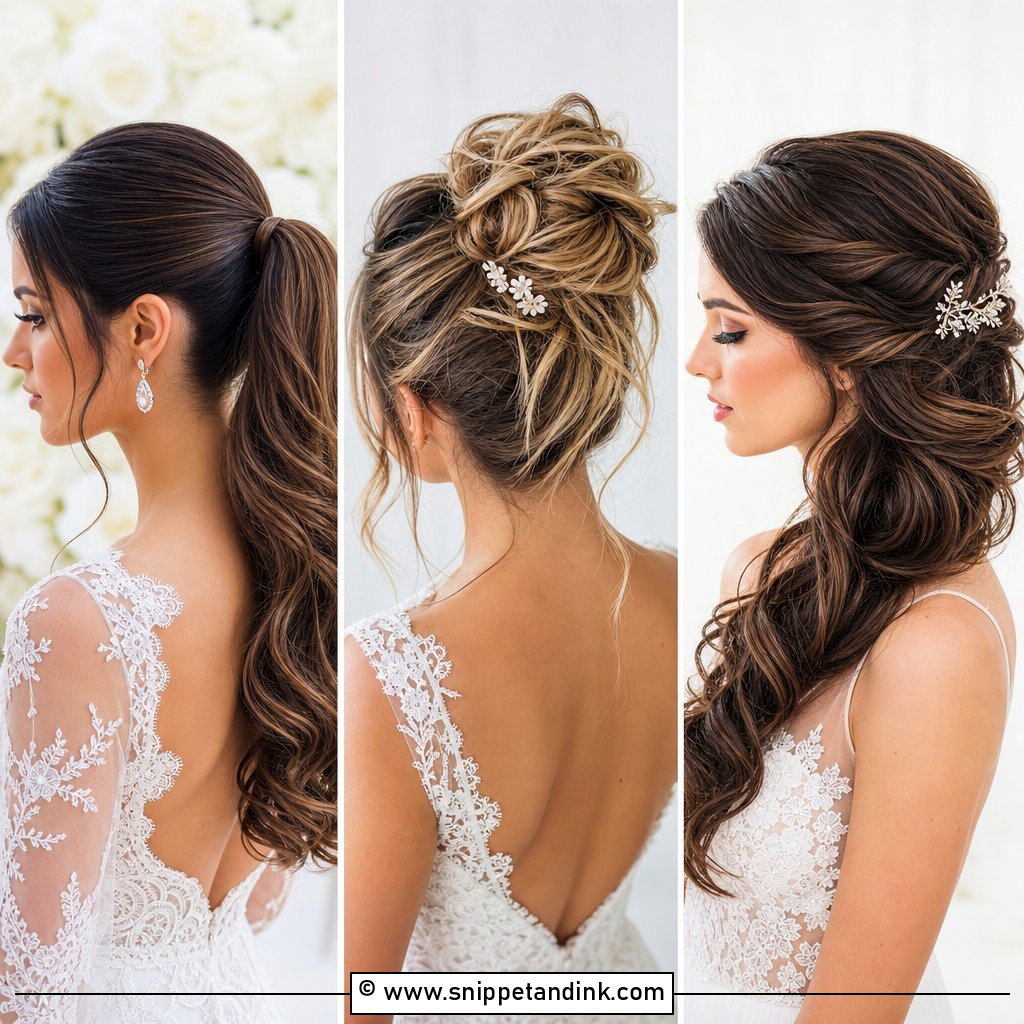
3. Sleek High Bun Wedding Updo
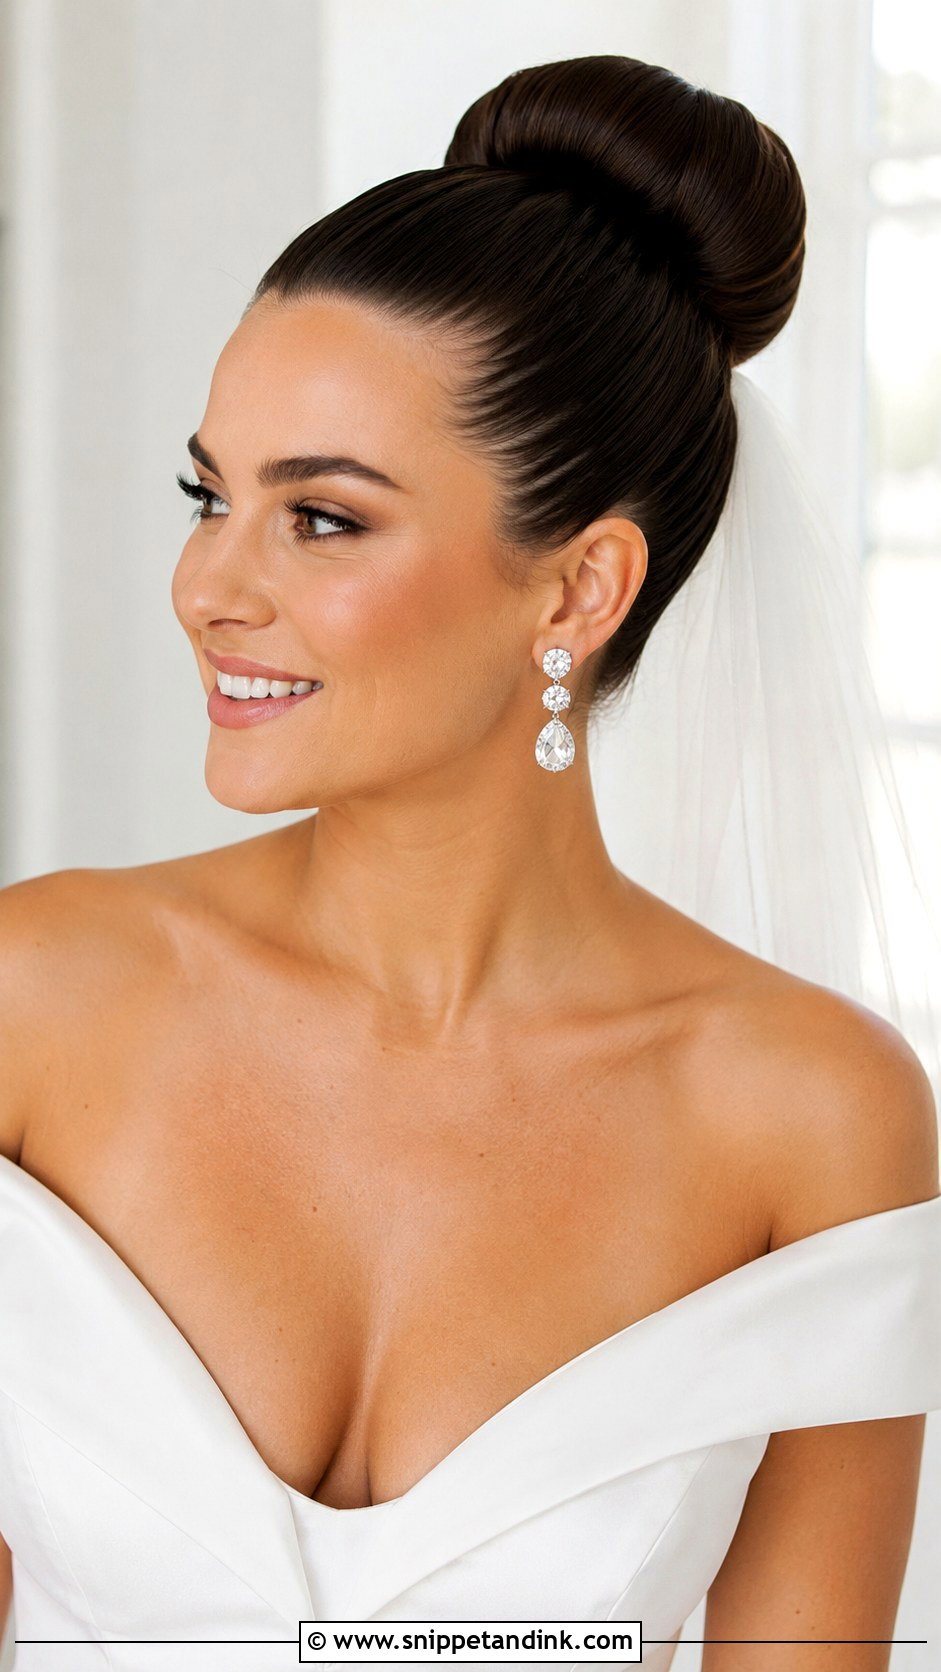
Brush everything back firmly into a high ponytail at the crown, using a little gel to flatten bumps as you go. Twist the ponytail round its base into a tight bun and secure it with pins plus a second elastic. This ballerina-inspired style is known for lasting all evening, and it leaves earrings and an open neckline fully on show. I always warn brides that a very tight high pony can ache after several hours, so I make it a touch looser than you’d think, and the shape still holds.
4. Messy Romantic Bun Updo
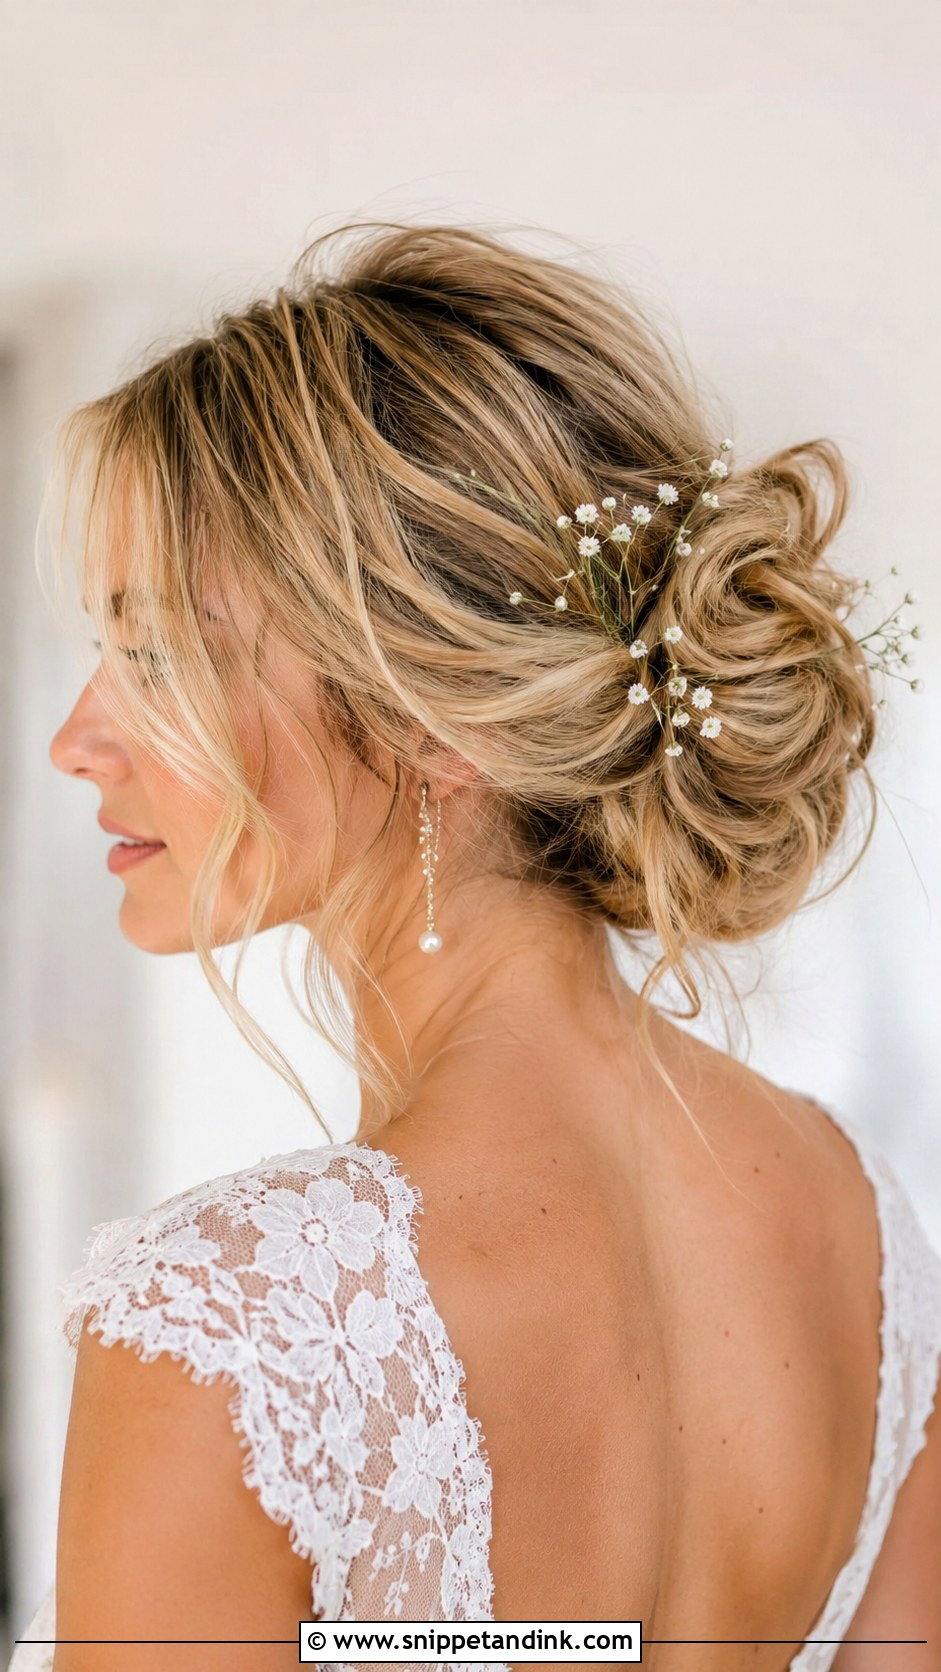
Undone hair is easier to recreate than sleek hair, but only on textured hair. Curl first, gather everything into a loose ponytail low at the neck, then twist and pin small sections round the base to build an airy shape. Leave a few face-framing pieces out. The trick I teach is to pin each section in the same direction, clockwise for example, so the bun looks messy on purpose rather than accidental. Wavy or textured hair suits it best; tiny flowers or pearl pins add a finish.
5. French Twist Bridal Updo
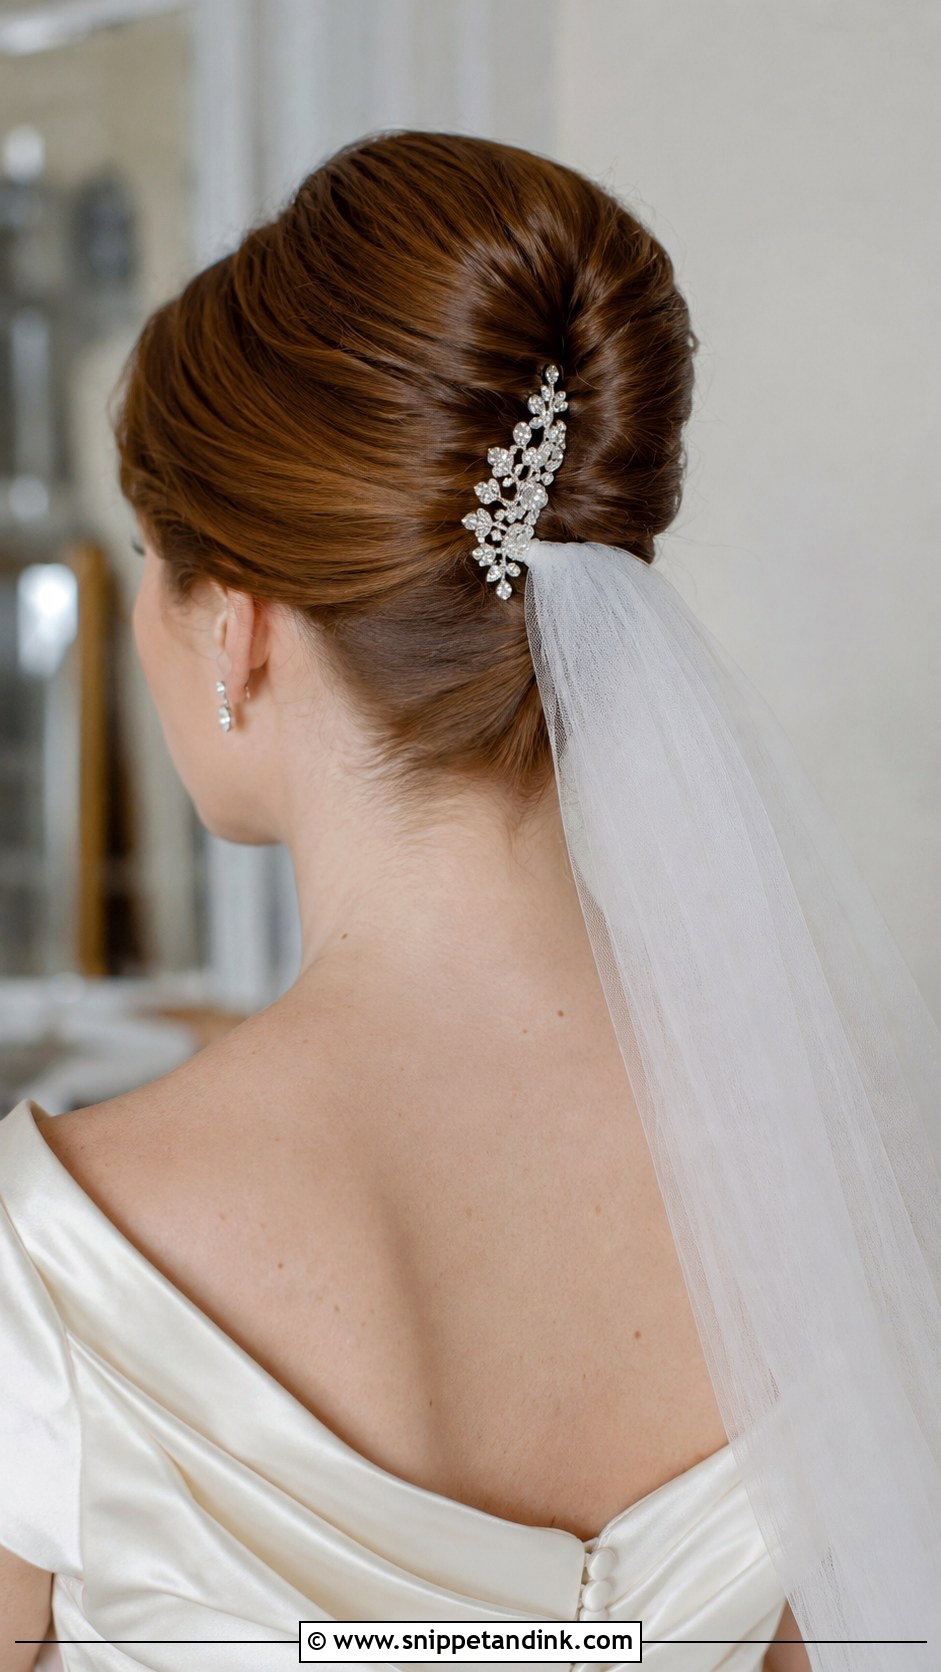
Sweep all the hair to one side, twist it vertically up the back of the head and roll it inward into a smooth tube. Tuck the ends inside and pin along the seam, hiding each pin inside the roll. This is the hardest updo here to do on yourself, because the twist happens exactly where you can’t see. I’d learn it on a friend first, then on your own head. A veil slides underneath the twist, and a sparkling comb suits formal and ballroom settings.
6. Twisted Halo Crown Updo
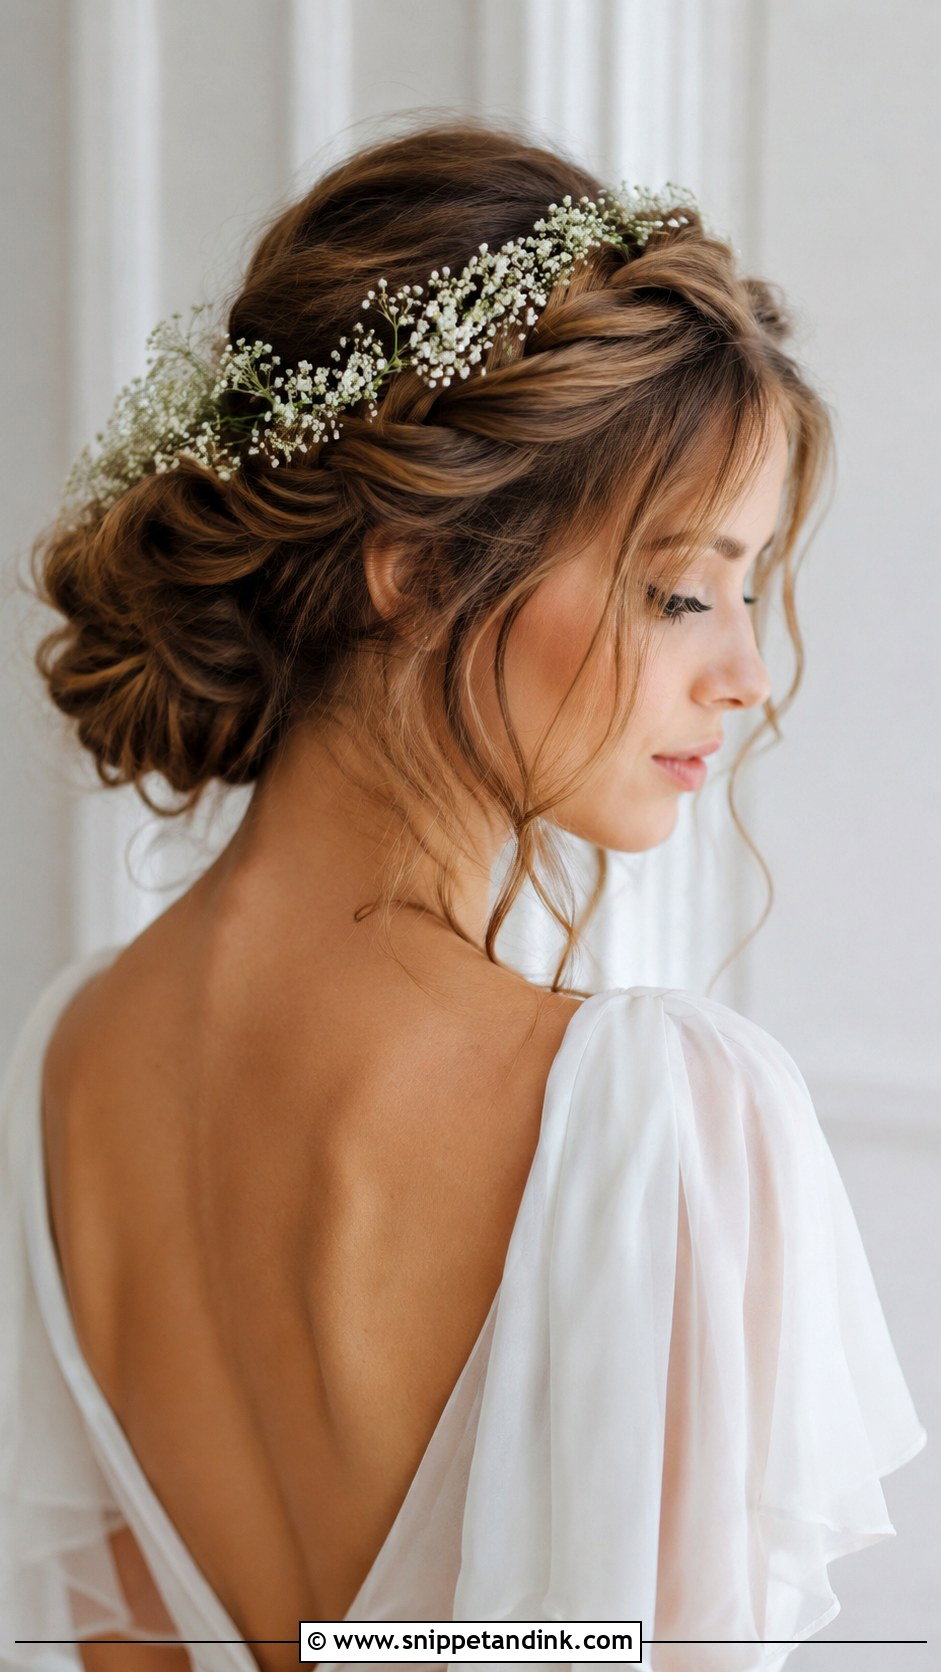
The twisted halo crown starts with the hair split into two sections at the back. Twist each one gently, wrap them round the head in opposite directions and pin as you go, hiding the ends underneath. Then loosen the twists a little. Twist toward your face rather than away from it, or the twists unwind as you wrap them. Small flowers or baby’s breath tucked into the twists suit a garden setting.
7. Side Swept Updo for Wedding
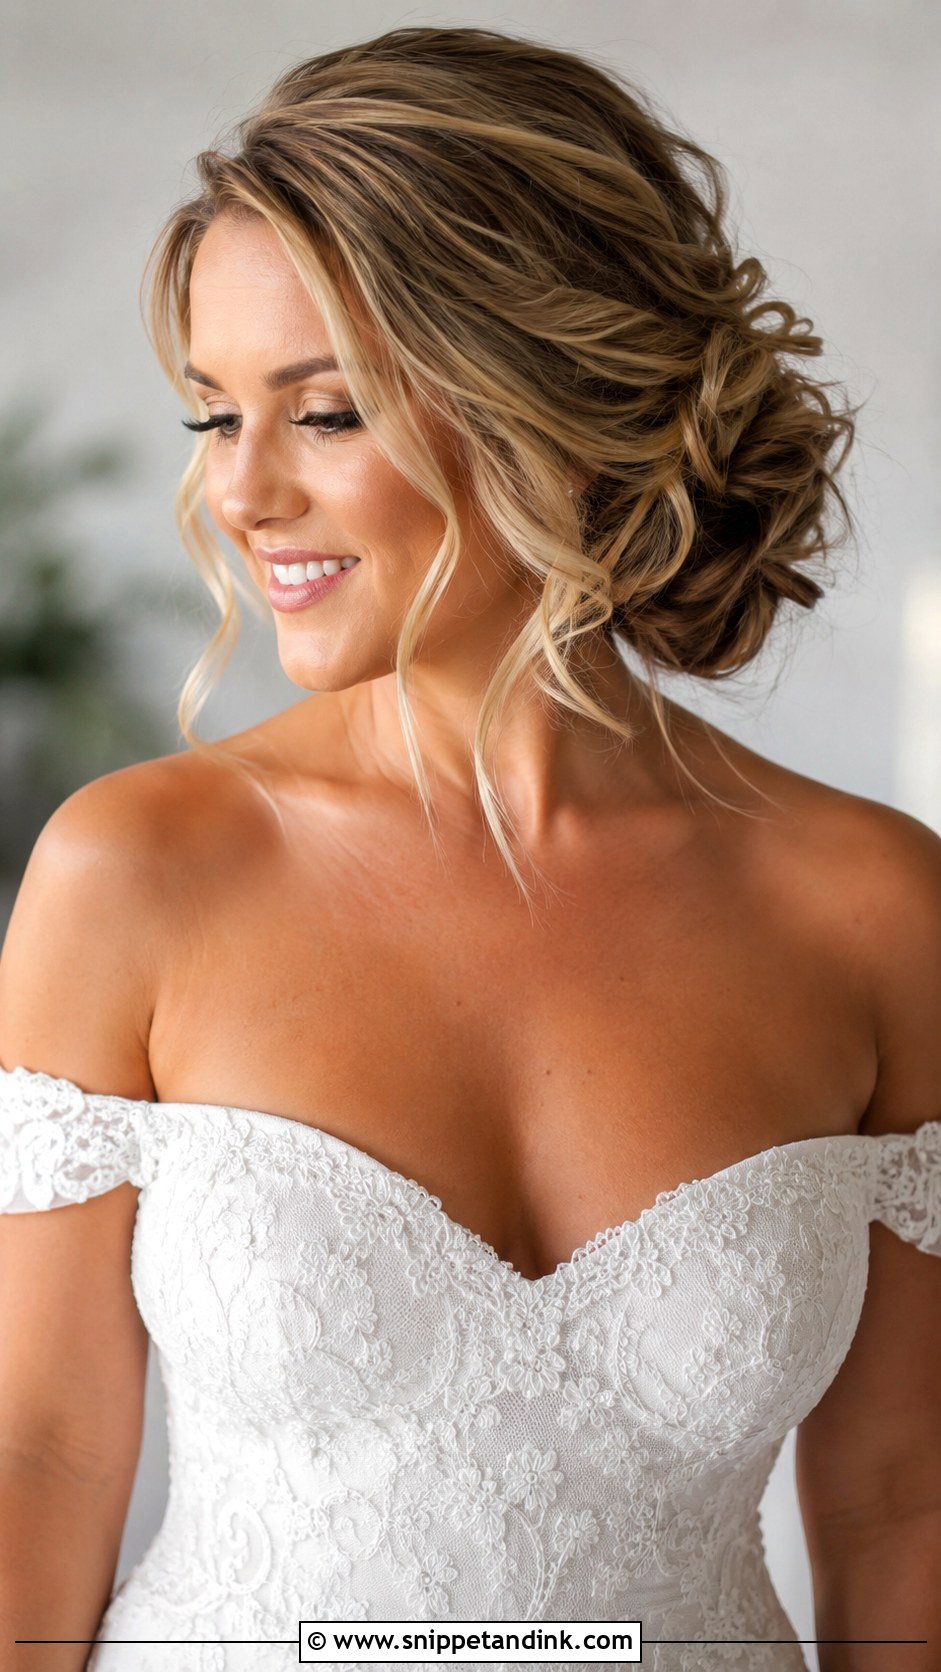
Curl or wave the hair first, sweep it all over one shoulder, then pin it into a loose bun or twisted shape on that side. A few tendrils left by the cheekbones finish it. Before pinning, decide which side the photographer will mostly see during the ceremony, because the bun should face the guests. It shows off one earring and suits off-shoulder or sweetheart necklines. Make sure the anchor pins go into the hair behind the ear, not just the loose bun, or it drifts toward your shoulder.
8. Curly Updo for Natural Hair Brides
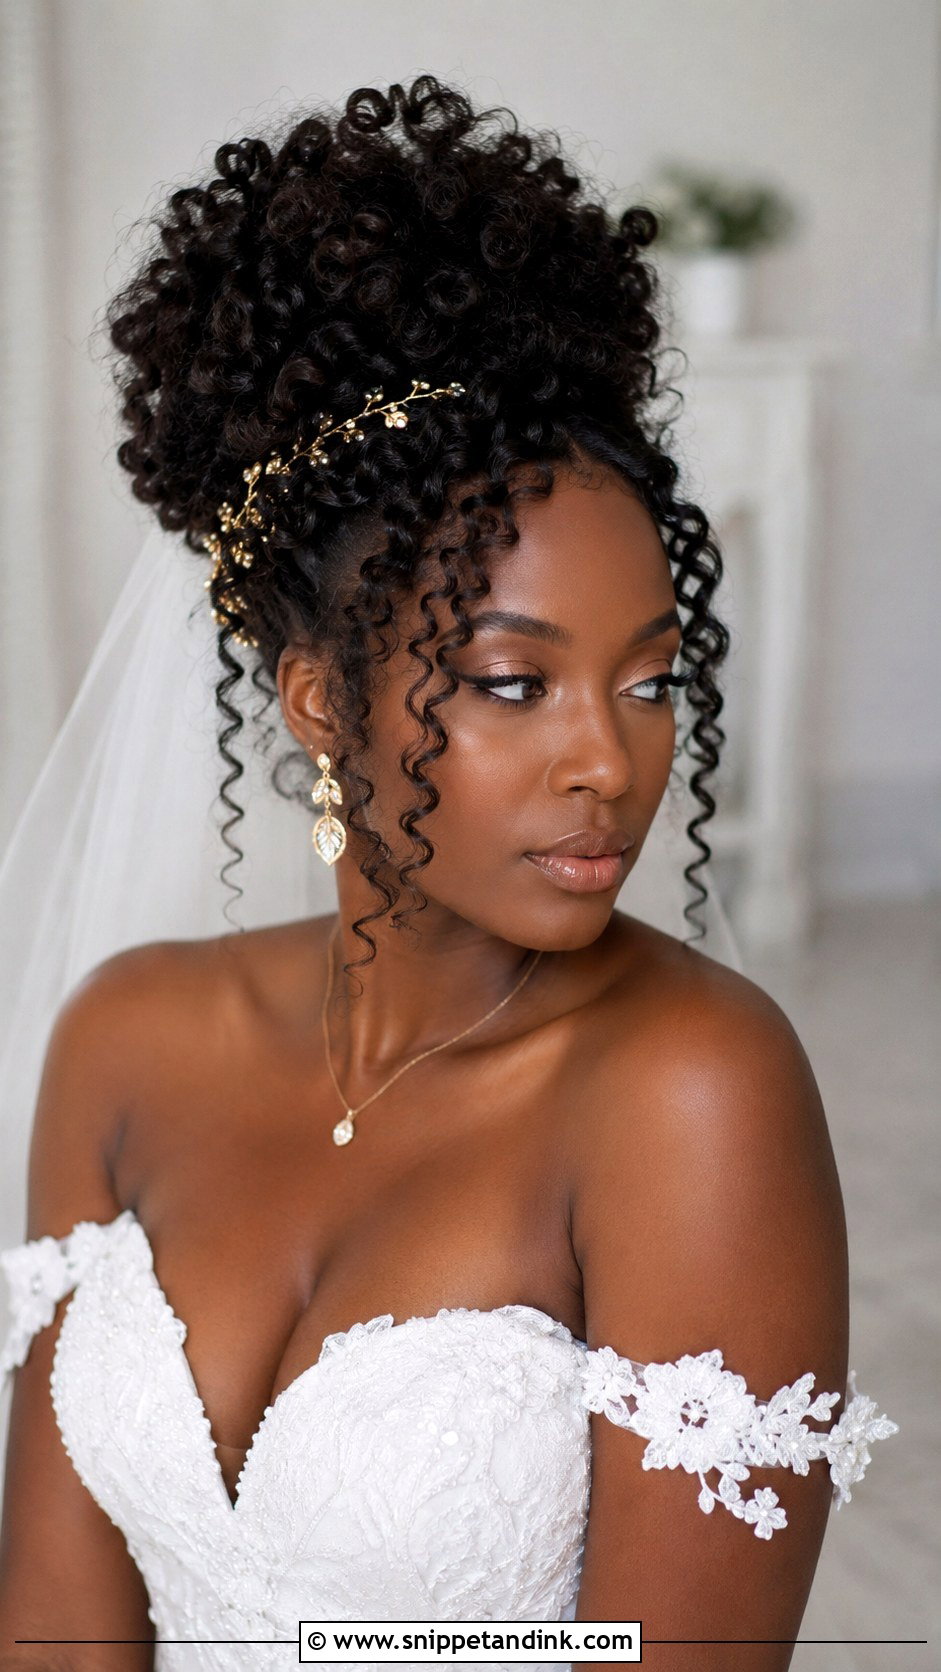
Start with well-moisturised, defined curls, ideally set a day or two before so the pattern has settled. Gather them upward and pin into a full shape at the crown or back, leaving a few curls loose around the face, using pins matched to your hair color. Don’t brush the curls once they’re defined; use your fingers to lift and place them. Coily and kinky textures suit this especially well. A gold cuff, pearls or fresh flowers can be pinned straight into the volume.
9. Dutch Braid Updo Wedding Style
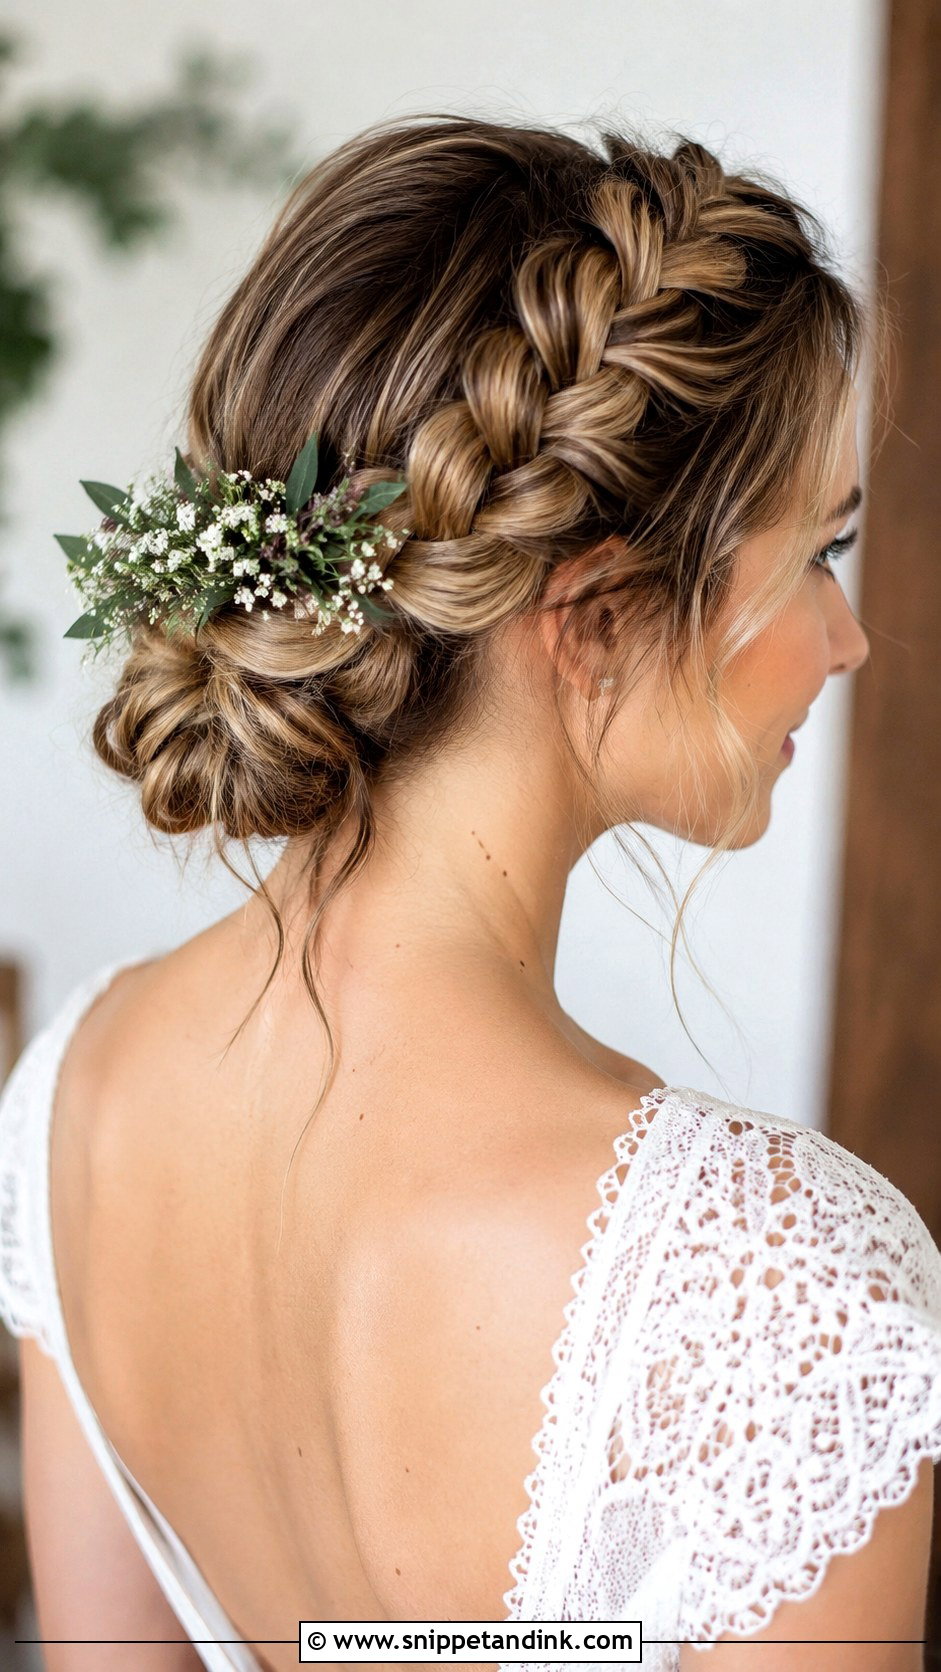
Braid from the hairline back, crossing each section under instead of over, which pushes the braid out so it stands proud of the head. Carry it to the back, tuck the end into a low bun and gently pull the edges wider. Braiding underhand behind your own head feels awkward for the first few attempts, so set aside a couple of evenings just for the braid. Once mastered, it holds through a long ceremony and a busy reception. Small flowers along it work well.
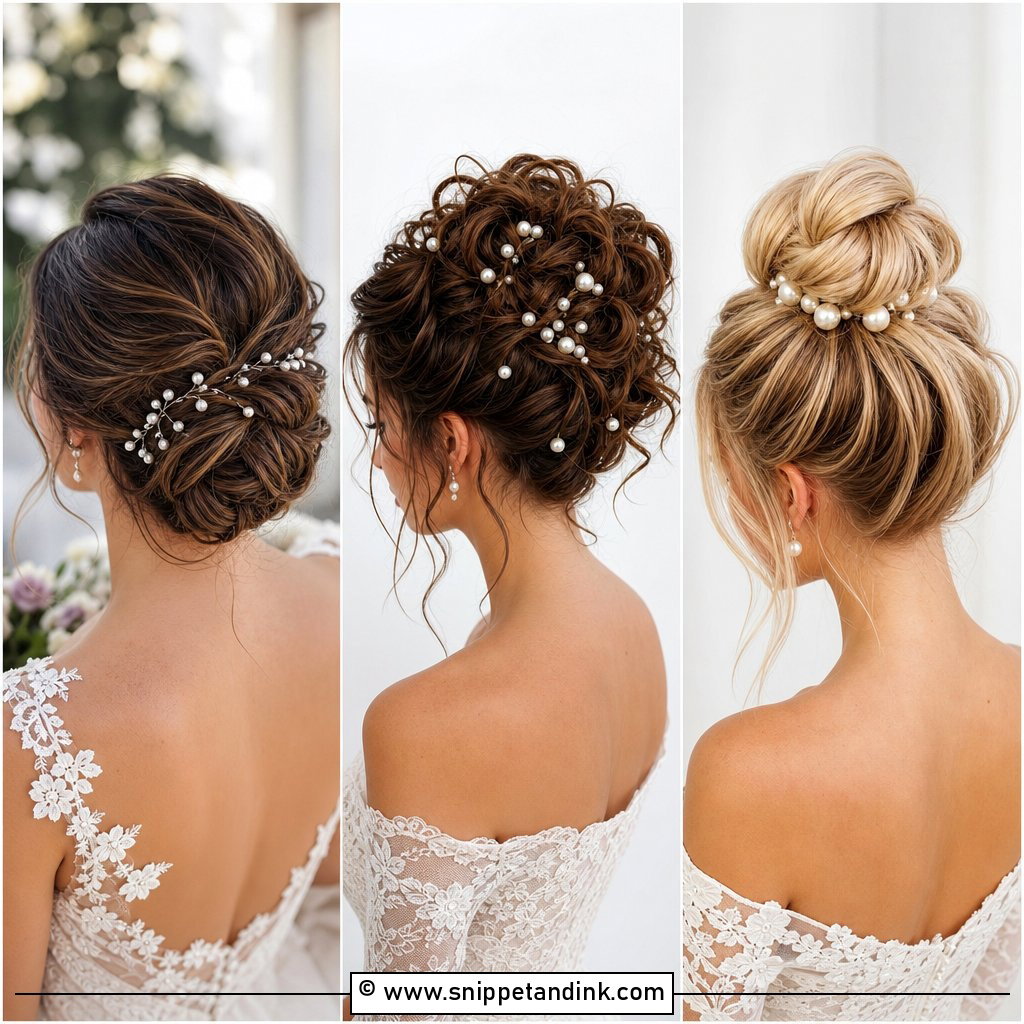
10. Pearl Embellished Bridal Updo
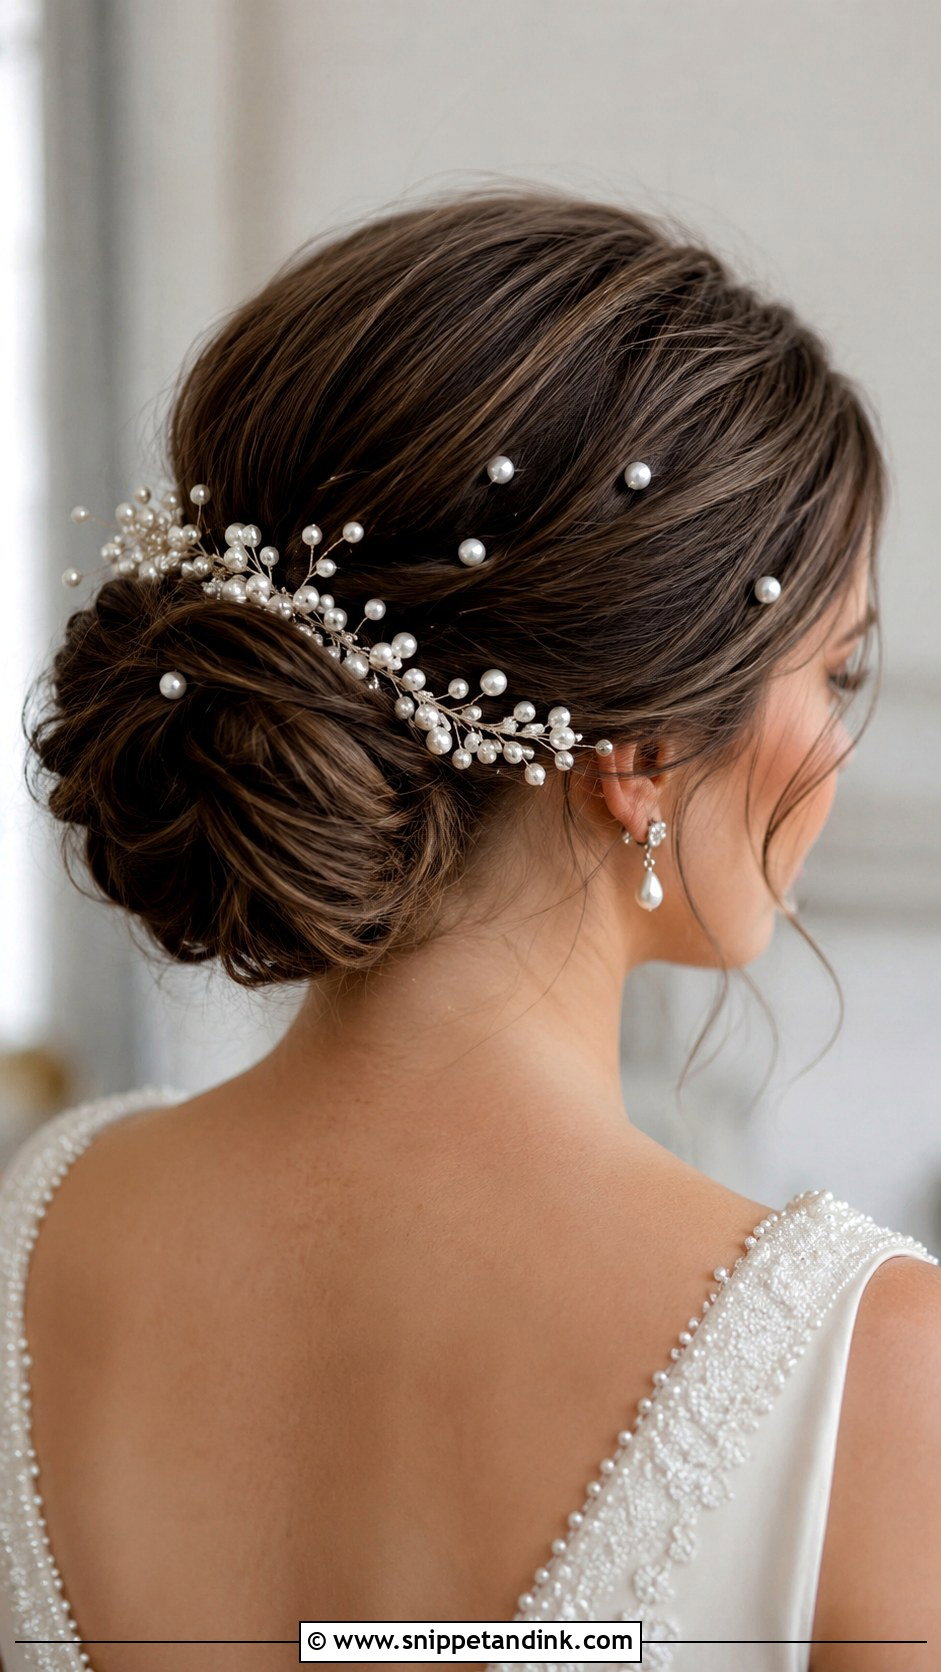
Pearls are a finish, not a style, so get the base right first, a low bun or chignon secured properly. Then add pearl pins, either scattered evenly or grouped into one cluster, or weave a pearl vine along twists or braids. The sheen picks up light in photos and turns a plain bun into a bridal one. When I place pearls, I push each pin in at an angle into a bit of solid hair; pins sitting on the surface of a smooth bun tend to slide out within an hour.
11. Twisted Low Bun Updo
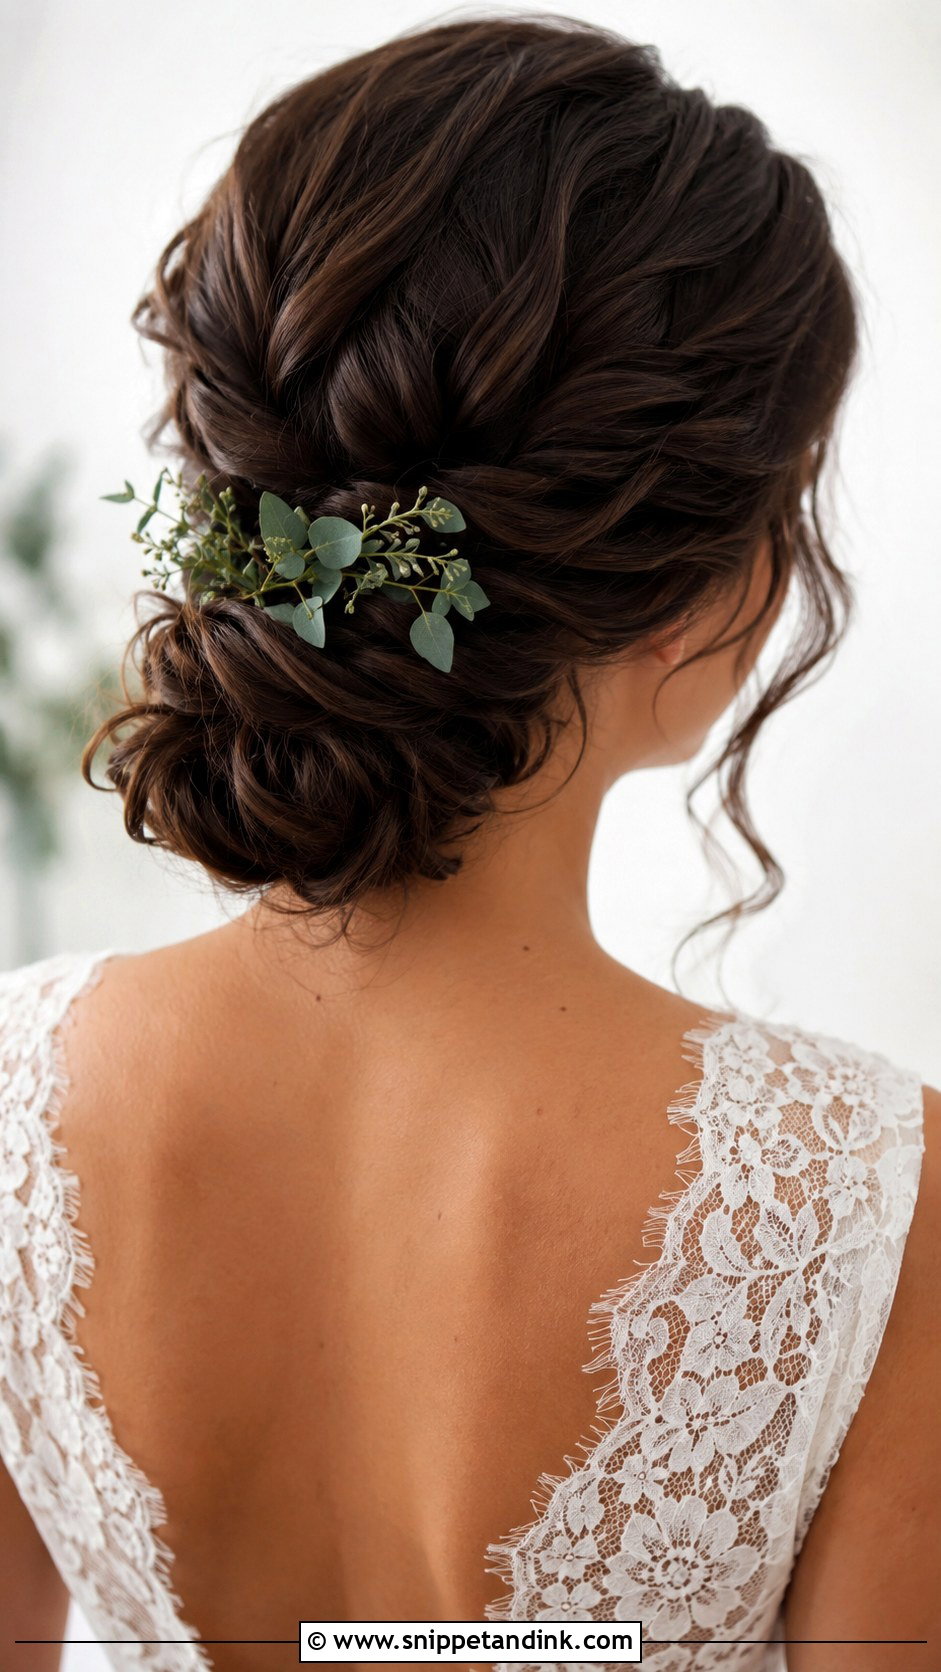
Divide the hair into three or four sections at the back, twist each one separately, then gather and pin the twists into a loose bun at the nape. Pull a few strands out to soften it. Because each twist is pinned on its own, the bun holds even if one section loosens, which makes it a forgiving style for a first-time DIY bride. It suits medium to long hair and takes a comb or a sprig of greenery easily.
12. Vintage Roll Updo for Brides
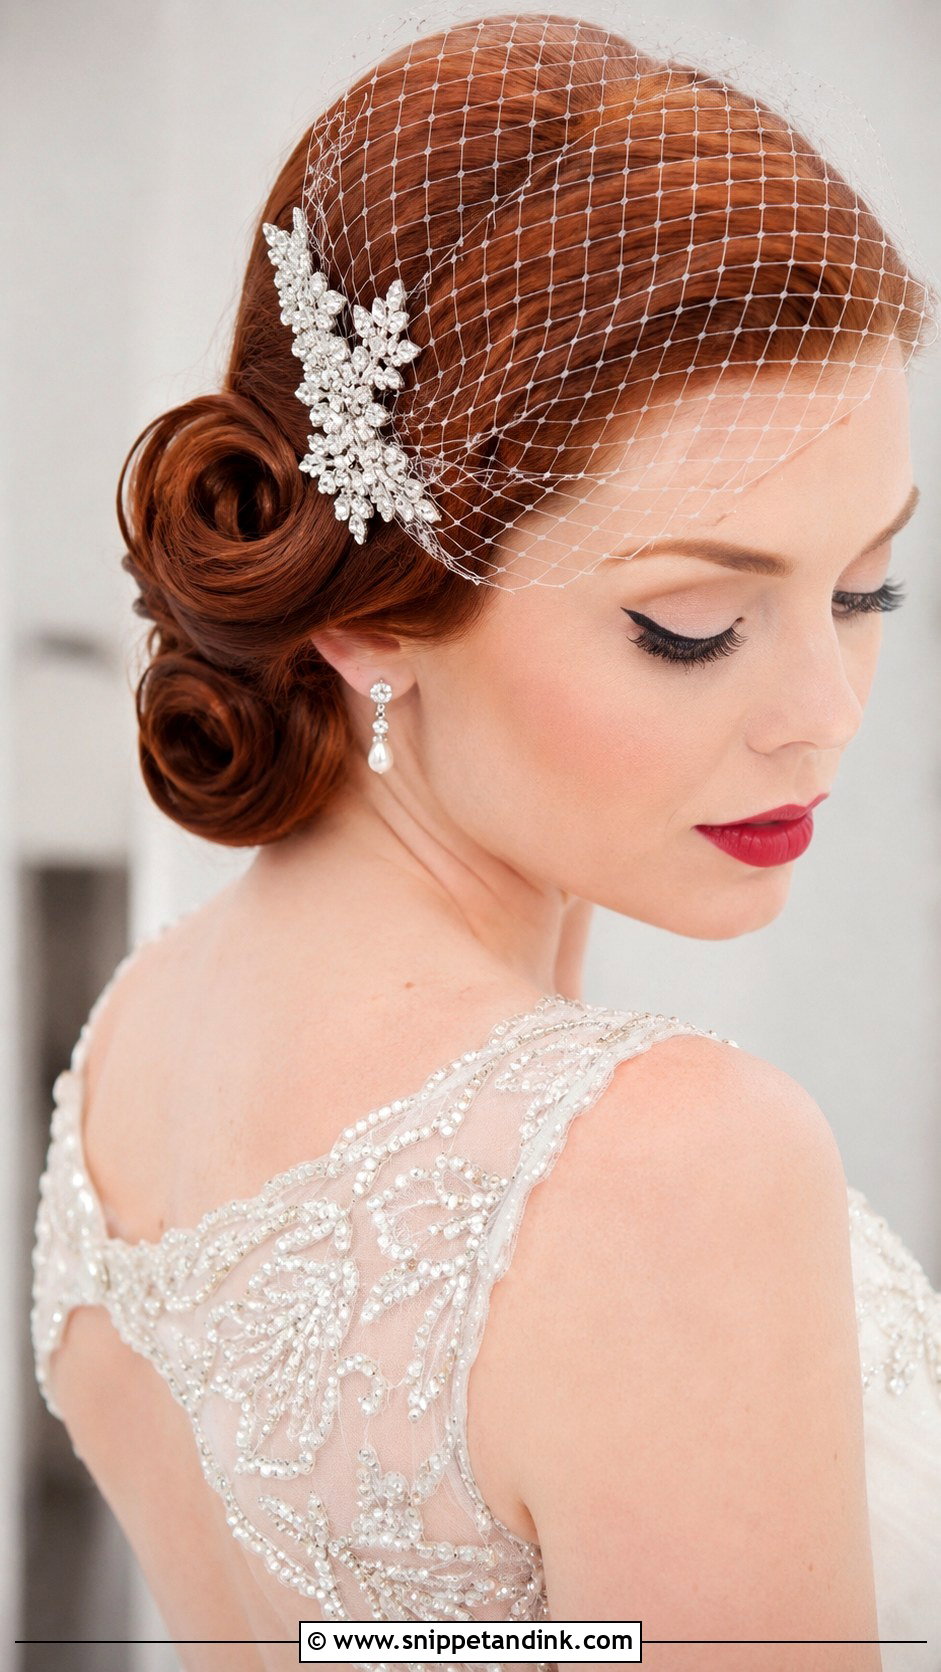
A vintage roll updo uses smooth pinned rolls along the back and sides, each one kept sleek with a fine-tooth comb and locked with hidden pins. Honestly, this is the style here I’d least advise learning in a few weeks. Rolls depend on setting the hair first, usually with hot rollers, and they collapse on hair that’s too soft or freshly washed. If it’s your look, book a professional or give yourself months of practice. It pairs well with a birdcage veil and photographs especially well in black and white.
13. Boho Braided Crown Updo
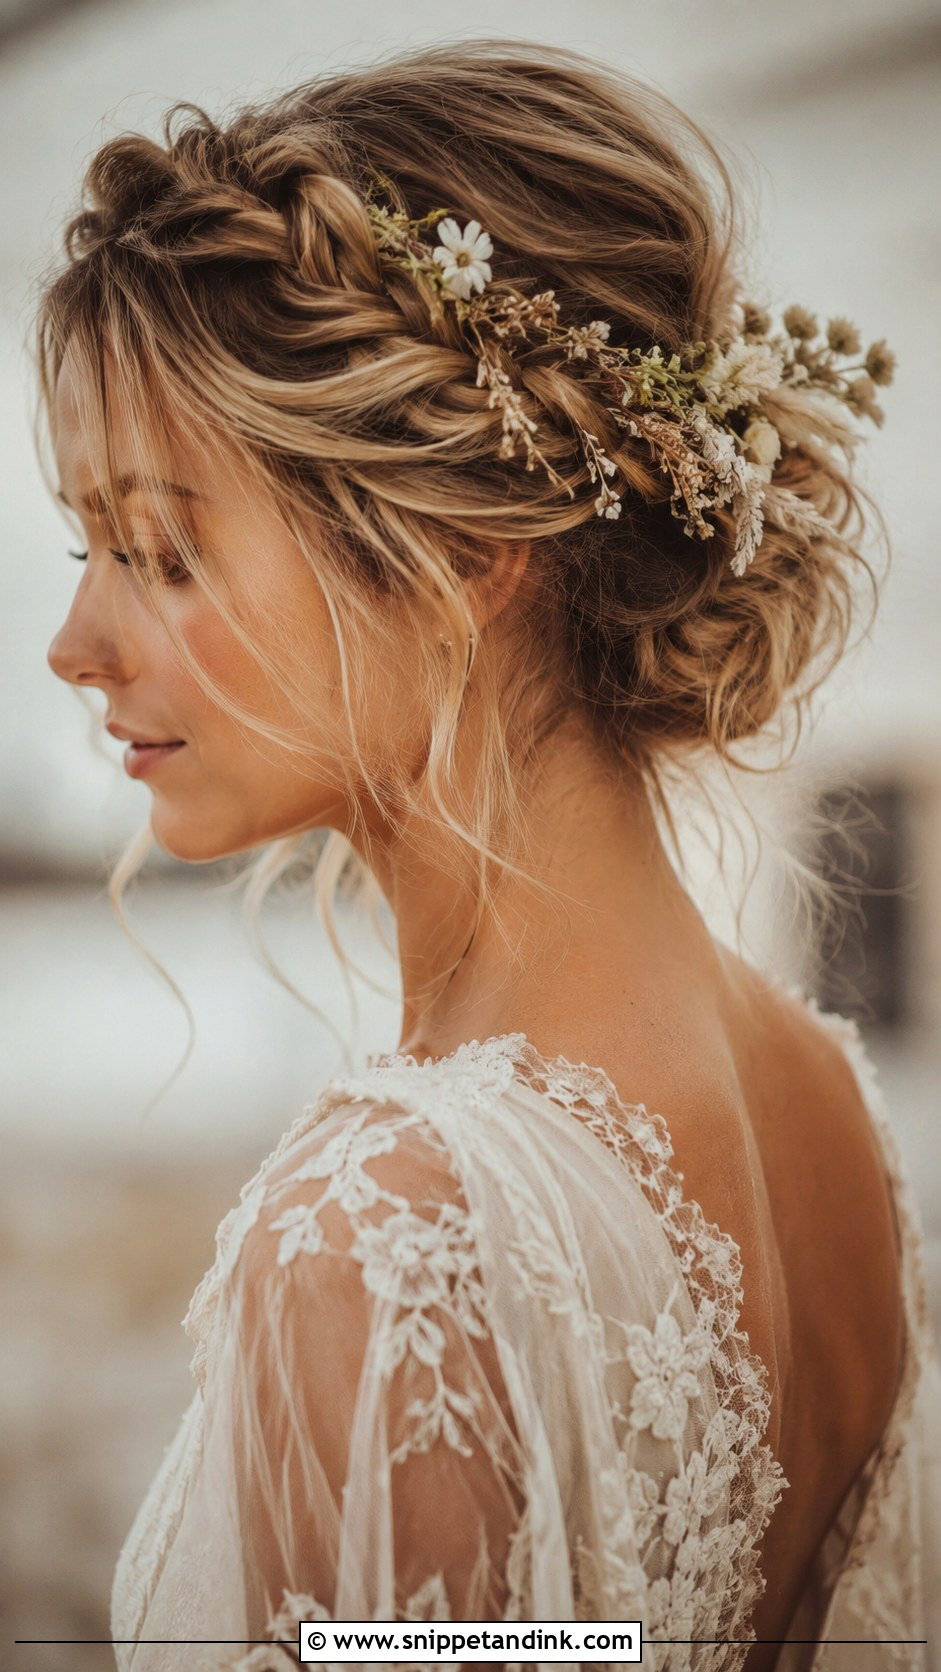
Make two braids starting near the temples, wrap them across the top of the head like a crown and pin them where they meet at the back. Pull the braids loose and leave wavy tendrils at the face. The problem I’m usually called in to fix is the braids drooping down toward the forehead by evening. Pin each braid every few inches along its whole length, not only at the ends. Wildflowers, eucalyptus or baby’s breath tucked in suit outdoor ceremonies.
14. Sculptural Knot Updo Wedding Look
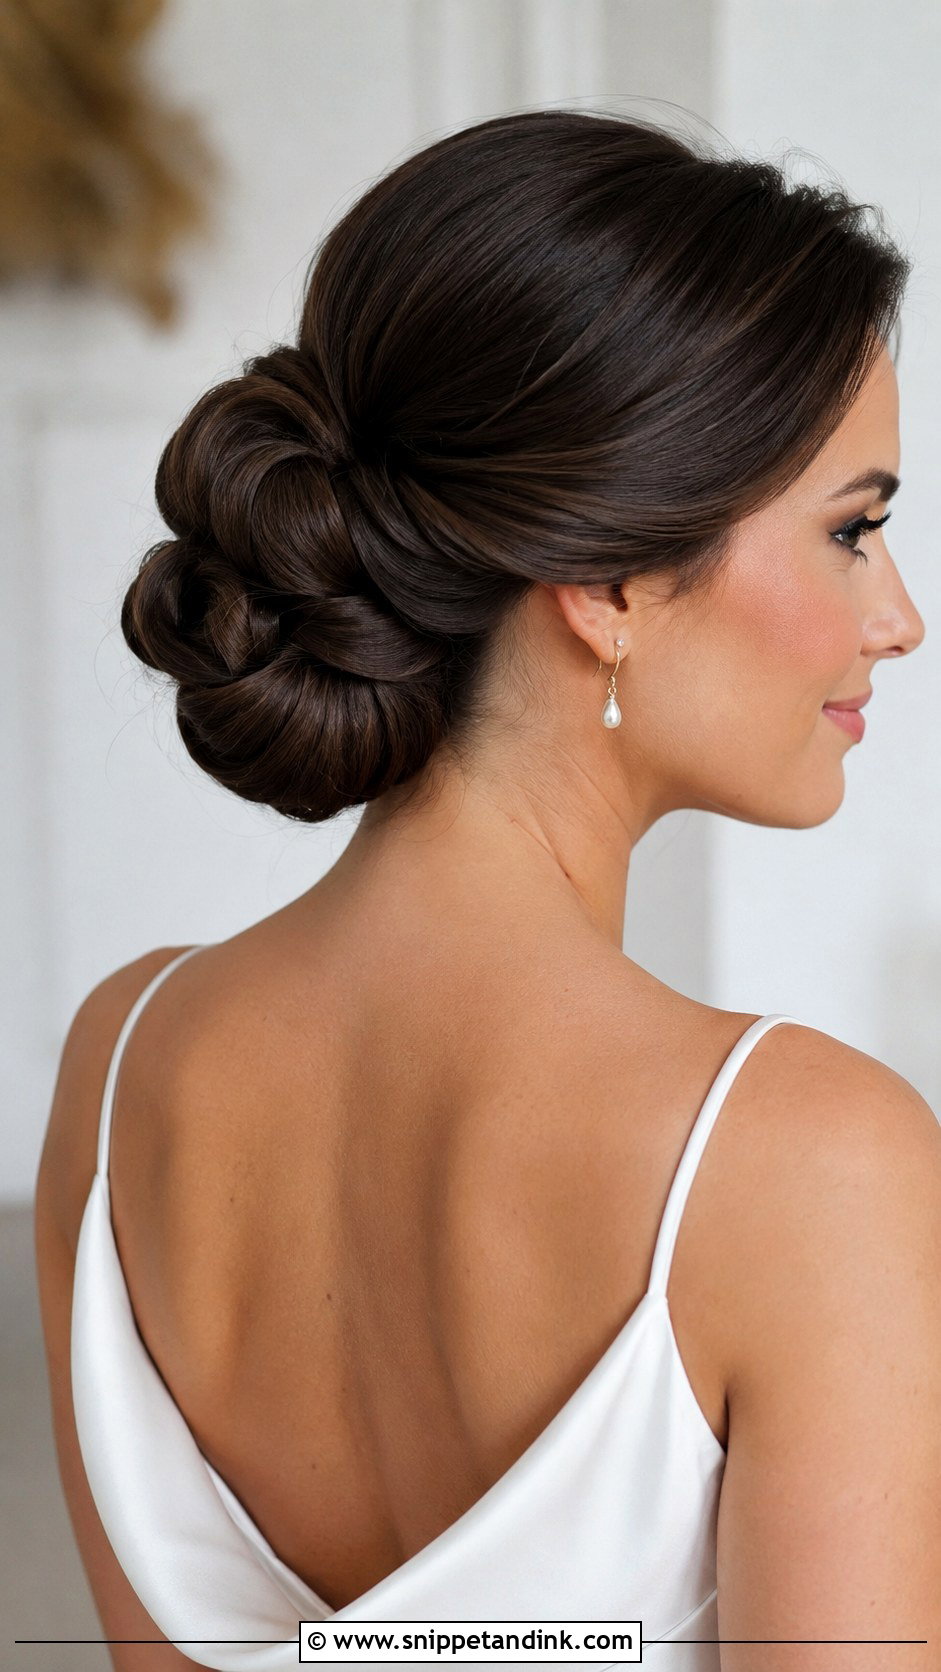
This one is about shape rather than volume. Gather the hair and fold and twist it into deliberate, defined sections, each one shaped to hold its own form, then secure the knots with strong pins. Clean lines are what makes it read as editorial, so any lumps show. Use a smoothing cream before you start, and practice on hair the same texture it’ll be on the day. Pair it with bold earrings and a streamlined gown.
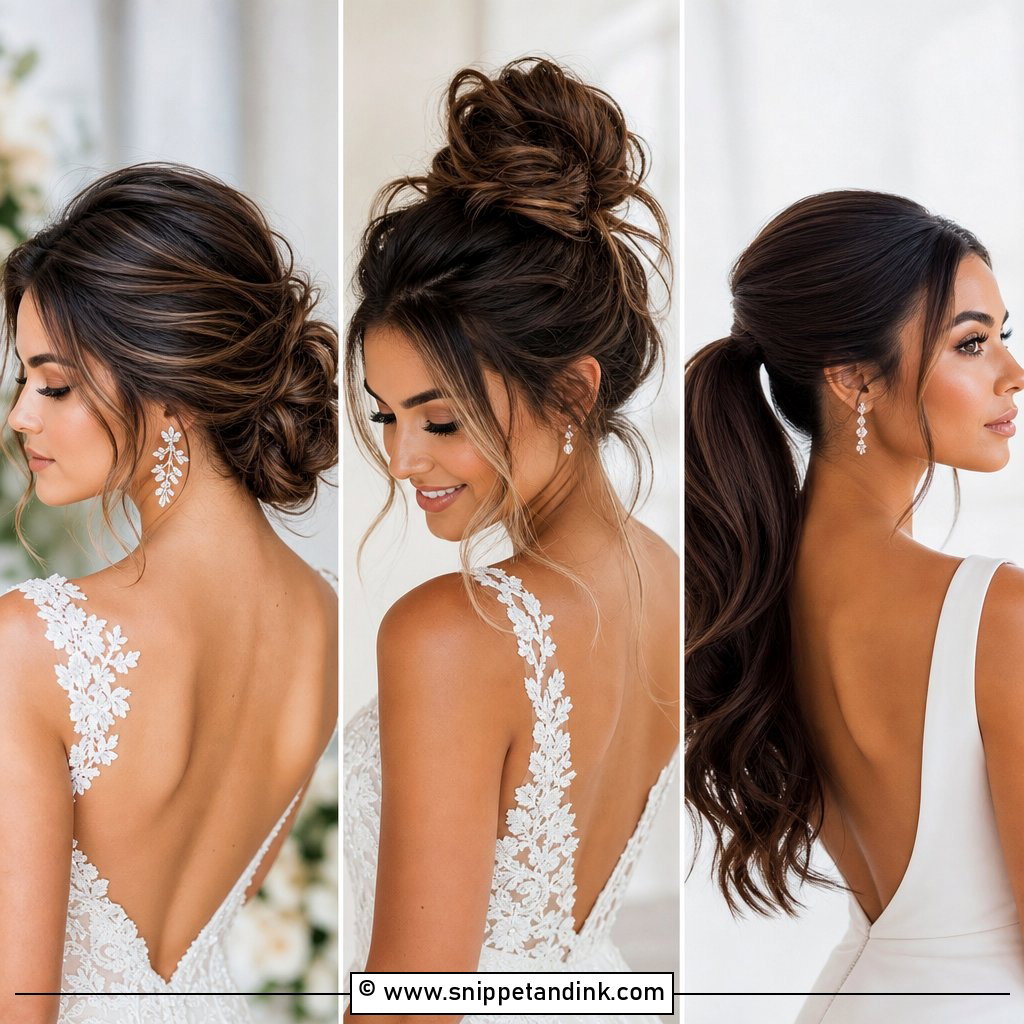
15. Low Knotted Updo With Tendrils
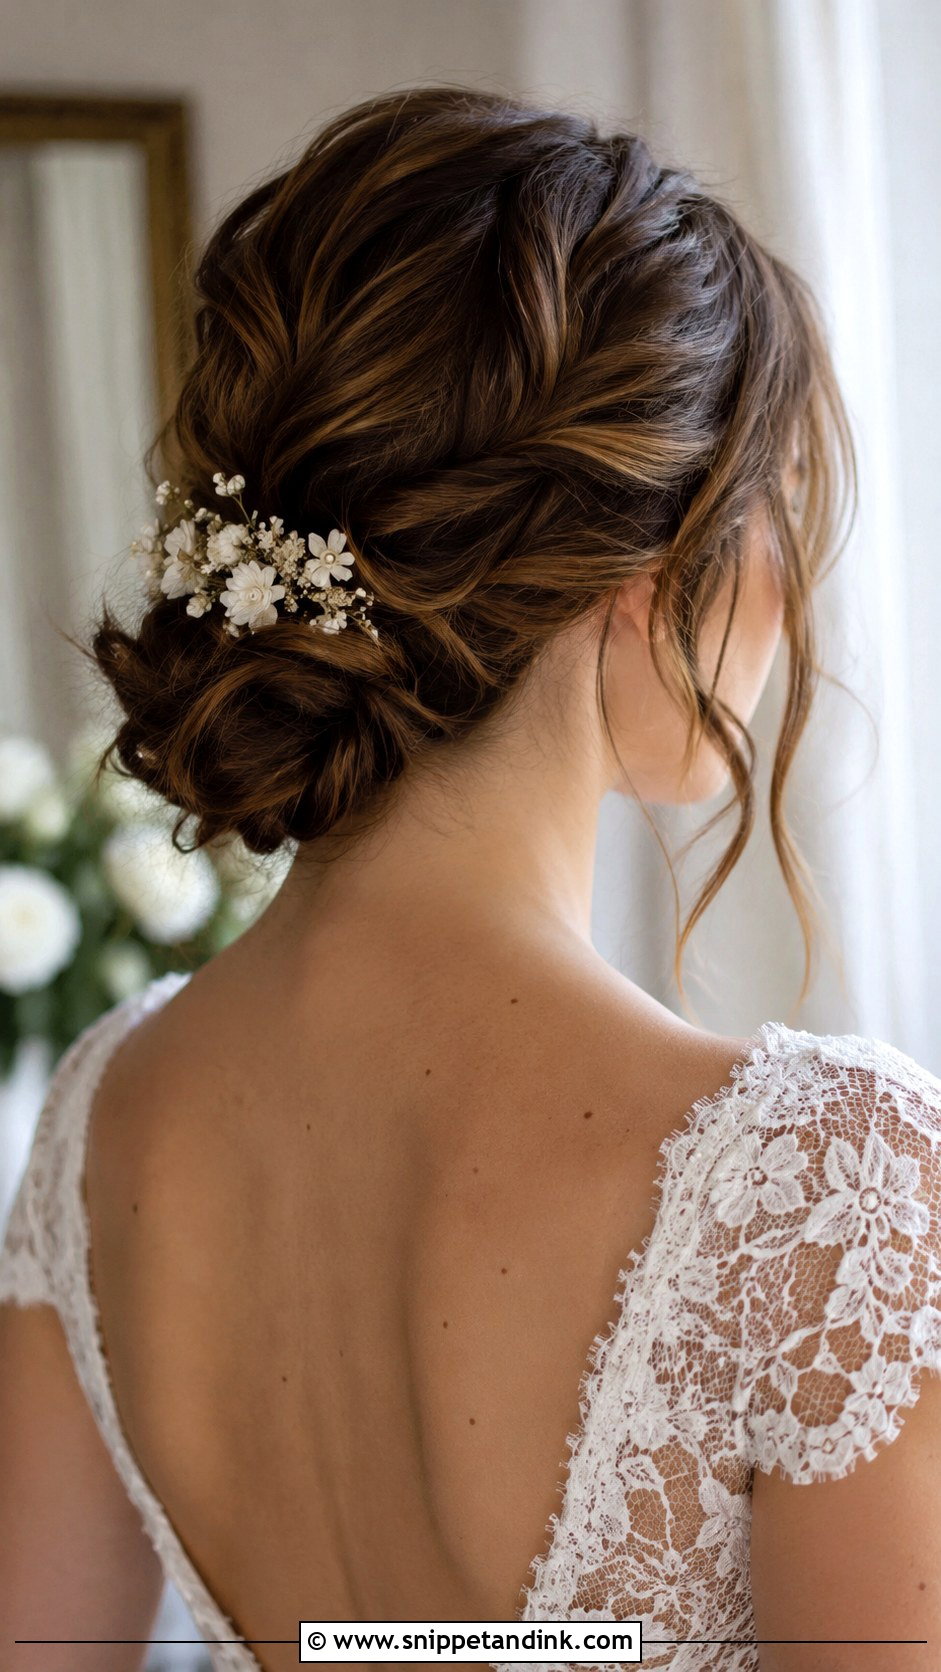
The low knotted updo starts with loosely curled hair gathered low at the nape and tied into a soft knot. Wrap and pin the ends into a relaxed bun, then pull out a few tendrils around the face and ears. Curl those tendrils separately at the end, since the ones pulled from the bun come out flat. It sits comfortably under a veil and next to a statement necklace.
16. Fishtail Braid Updo for Wedding
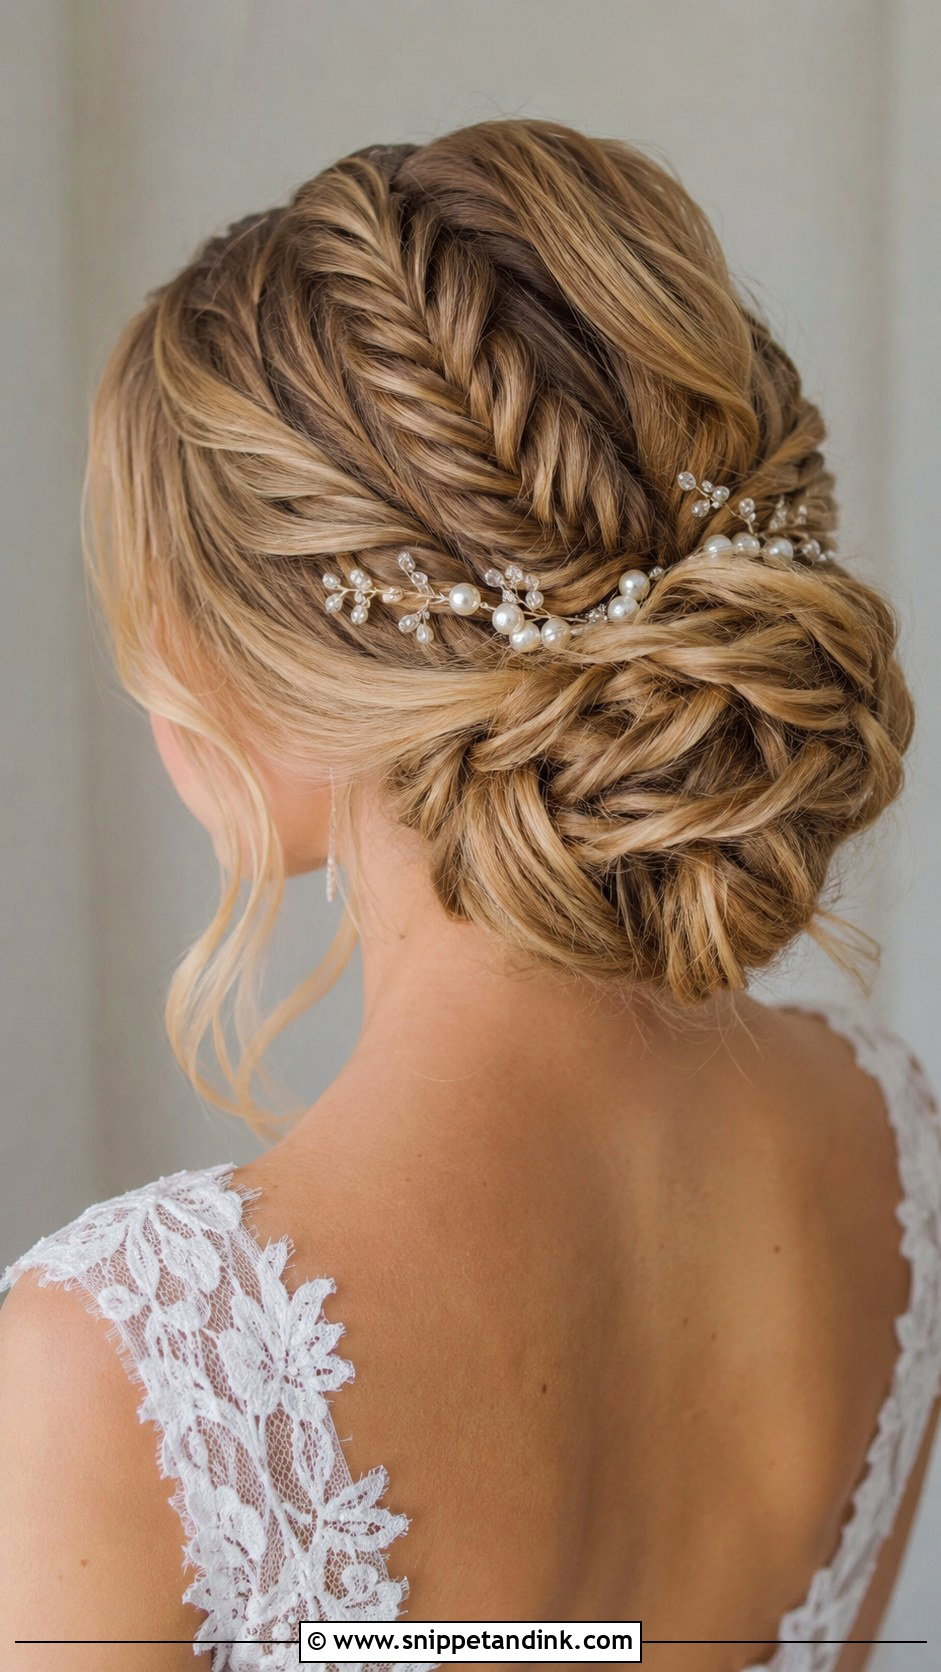
Plait a fishtail down the back of the head by passing small pieces from each side across to the centre, then pull the edges to widen it. Coil the finished braid into a low bun or twist it upward and pin, tucking the ends under. A fishtail takes longer than a regular braid and is easy to lose count on when your arms tire. Practice it in front of the television a few nights running and it becomes automatic. Tiny flowers or pearls can be added along the braid.
17. Half Up Half Down Updo Style
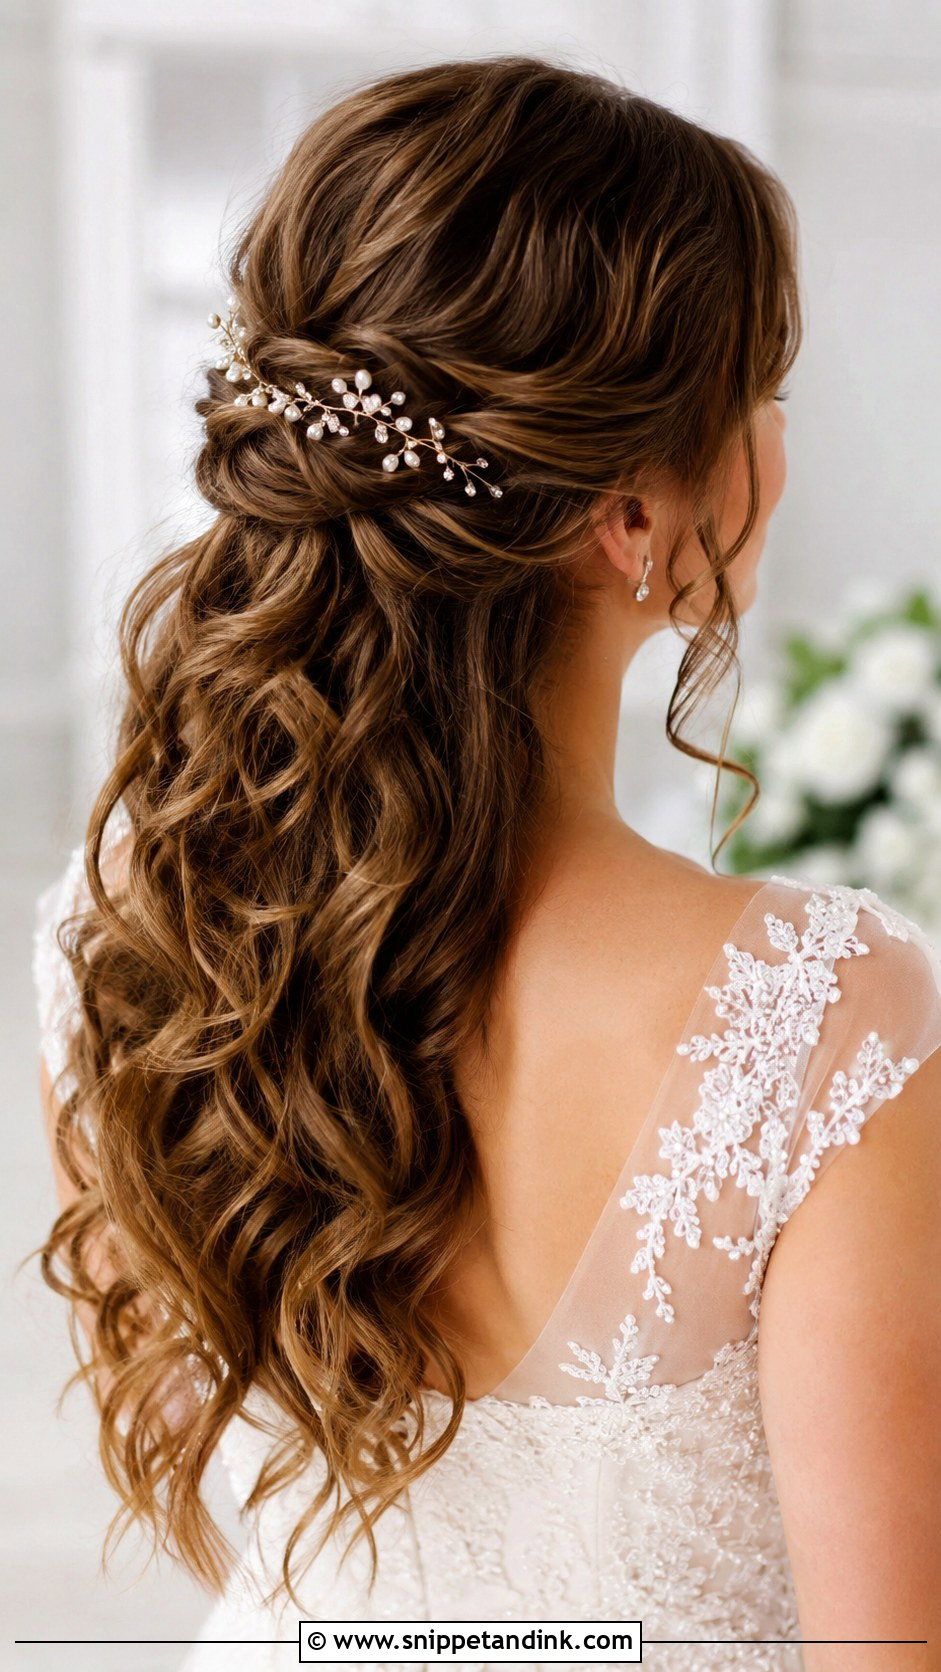
Can’t decide between up and down? Gather the top section, twist or braid it and pin it back, leaving the lower half in soft curls or waves. It keeps hair off the face while showing length. The weak spot is the down half, which drops faster than any updo. Set the curls with a firm-hold mousse before curling, pin them up in loops to cool, and only release them just before you leave. A veil sits under the pinned section.
18. Floral Accented Bridal Updo
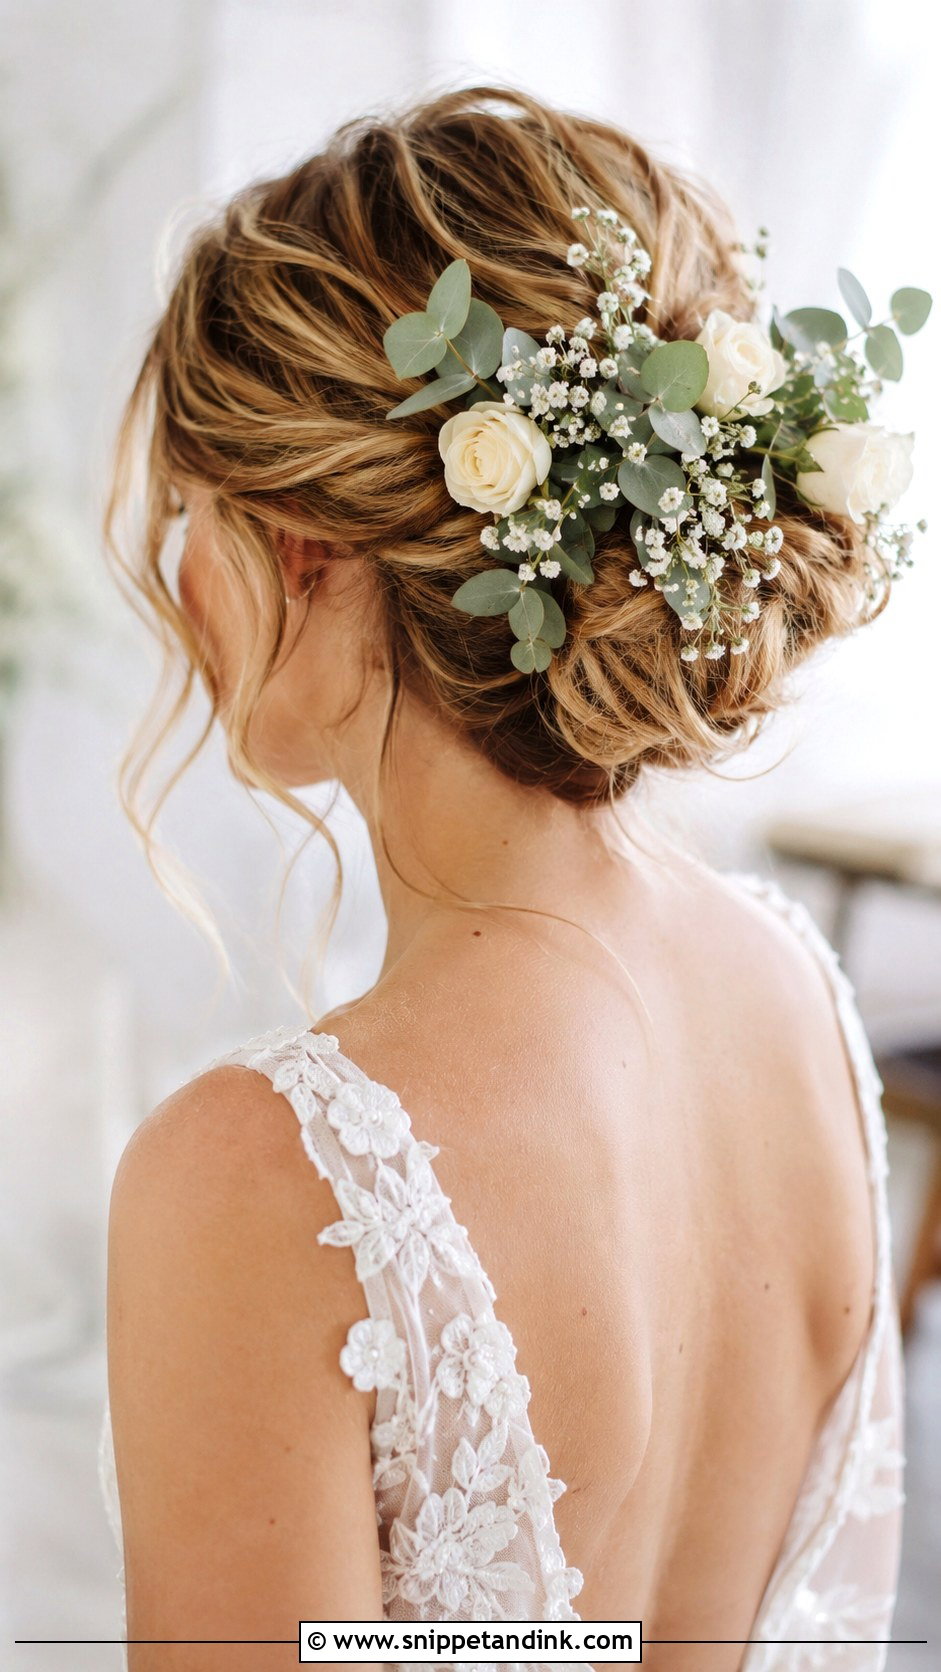
Fresh flowers turn an ordinary bun or twist into something romantic. Once the base is secure, tuck small blooms through it, matched to your bouquet. Roses, baby’s breath, and eucalyptus all hold up well. Cluster them or scatter them, and wire each stem so it stays put. I ask the florist for spares of sturdier flowers; delicate petals wilt fast in the warmth of your hair and the sun, so add flowers last.
19. Wrapped Ponytail Updo for Brides
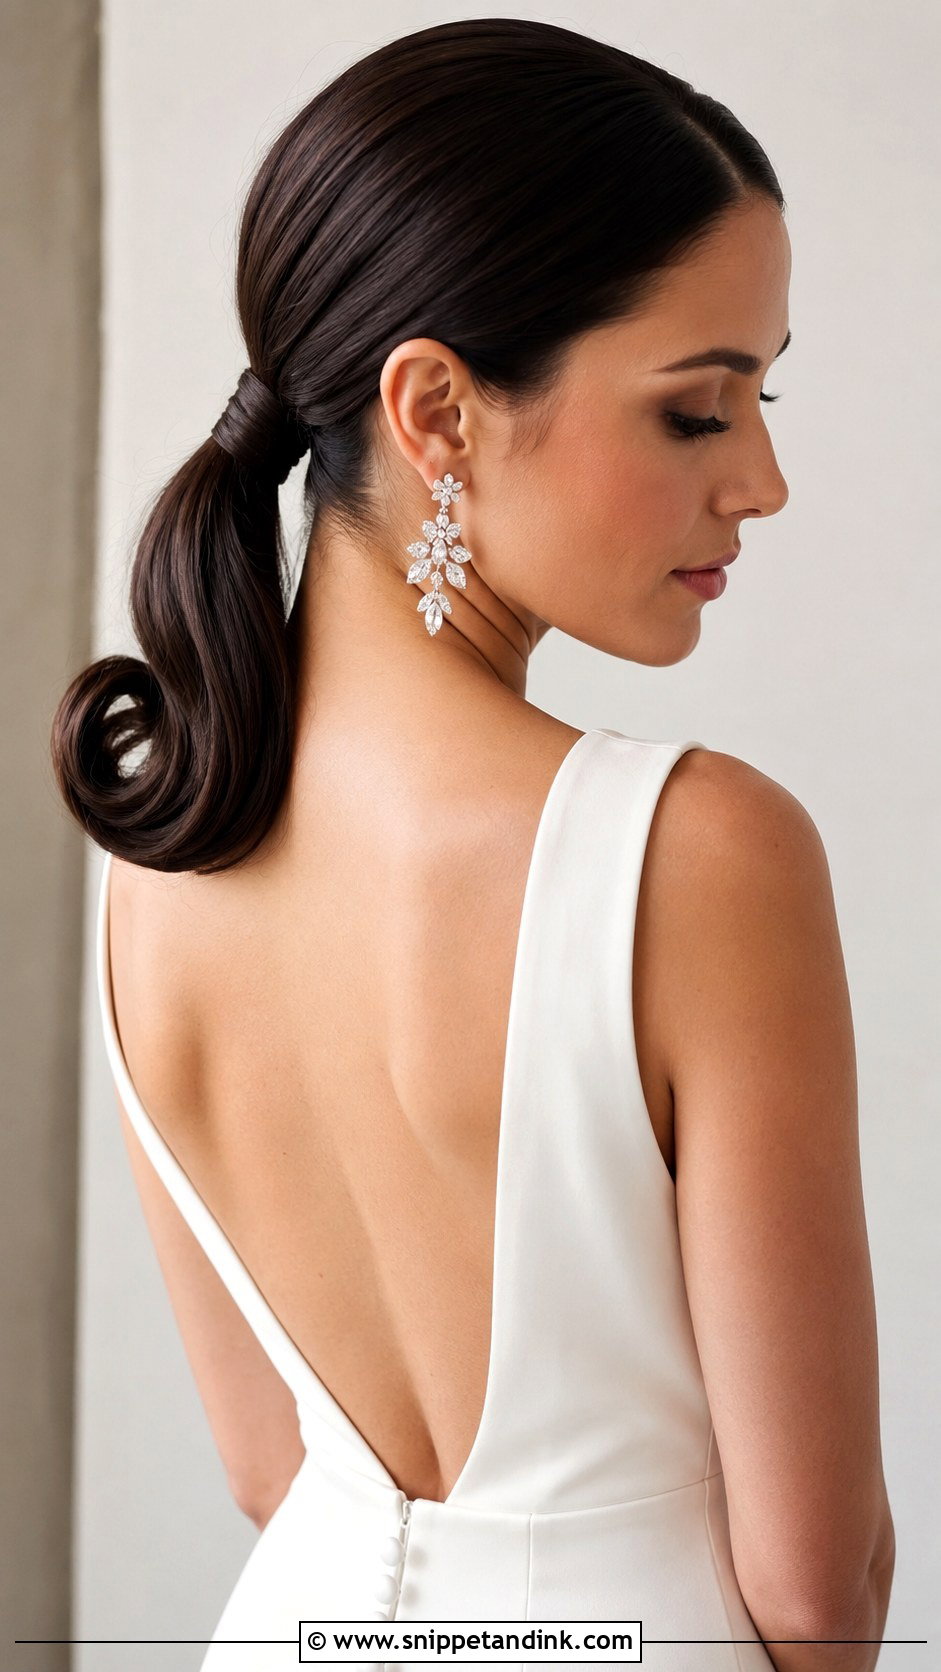
Gather the hair into a low or mid ponytail, take a small section from underneath and wrap it round the elastic to hide the band, pinning the end. Smooth the surface with a brush and a little serum. For an updo version, loop the ponytail up and pin it. A wrapped section on fine hair can unwind; a tiny elastic on the end of the wrapping piece, tucked under, stops it. It suits minimalist dresses and statement earrings.
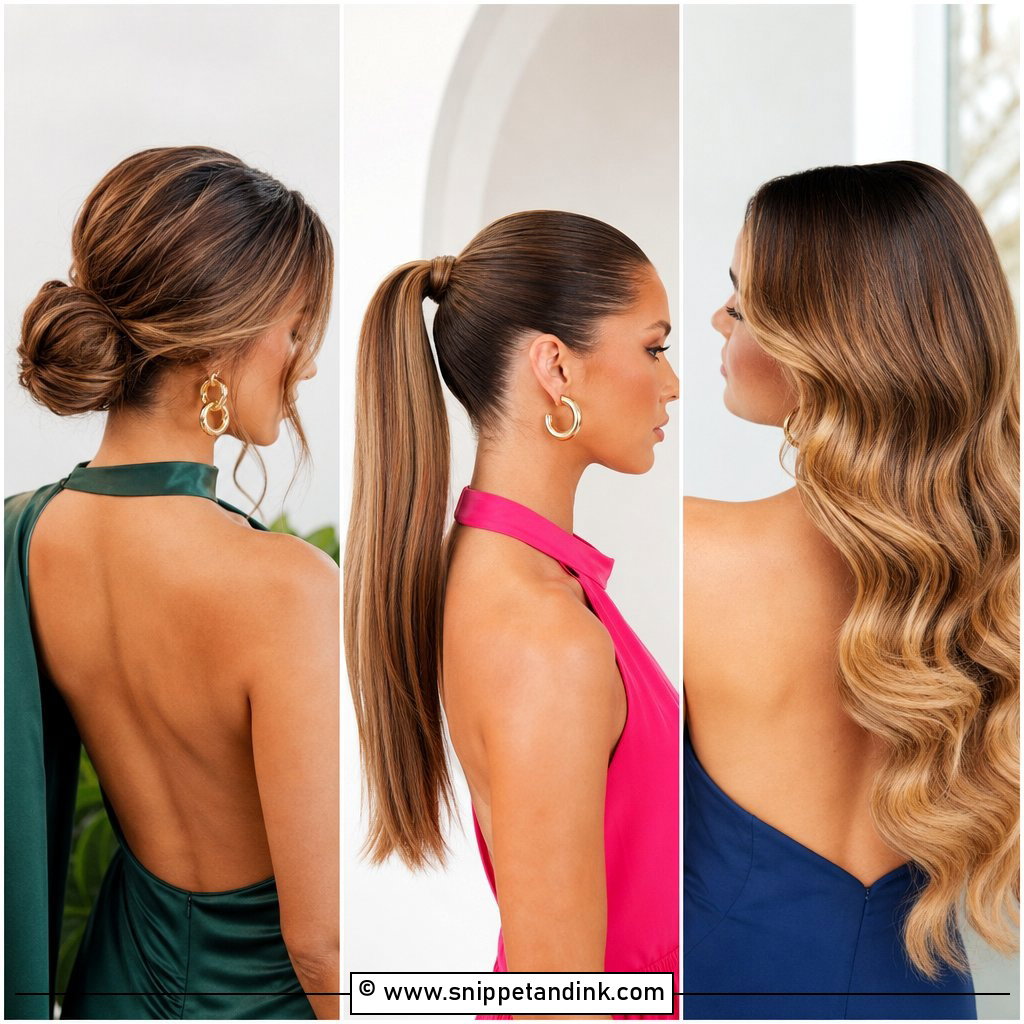
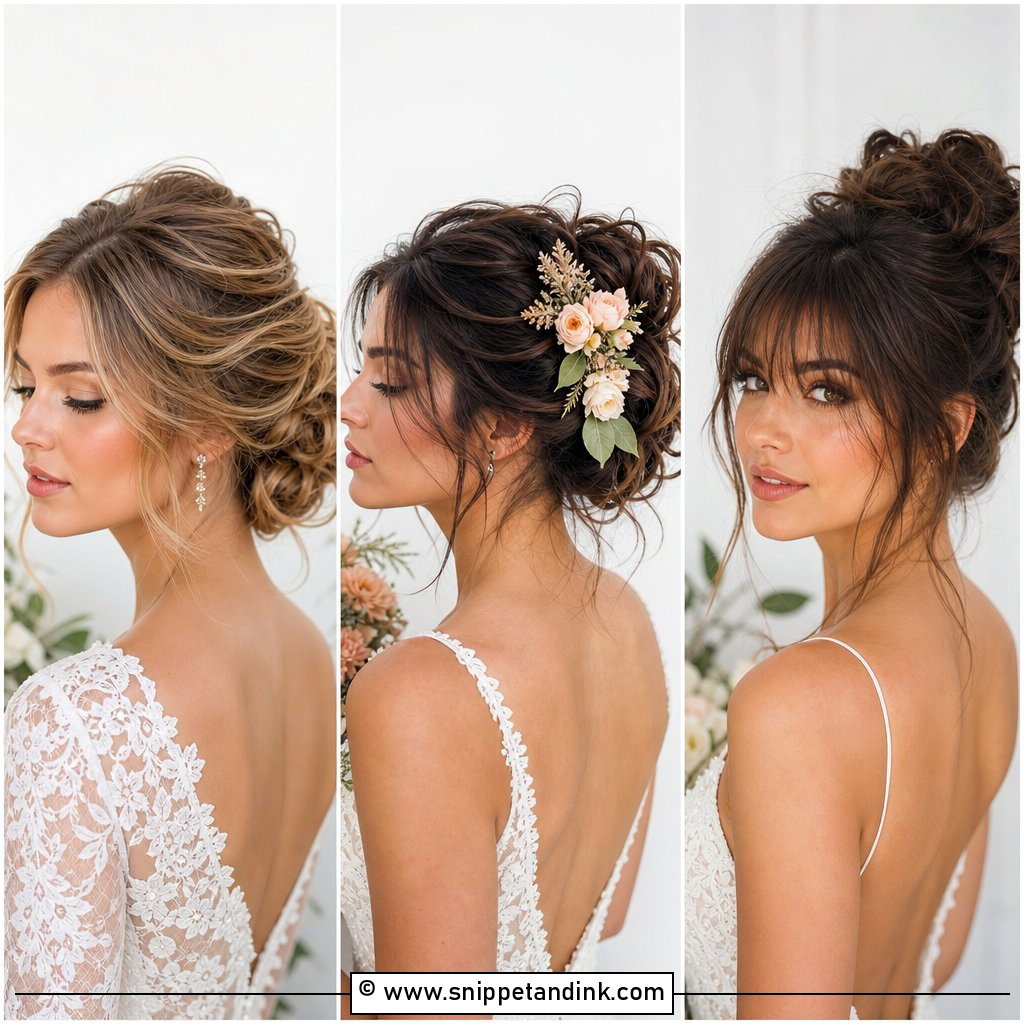
20. Voluminous Top Knot Wedding Updo
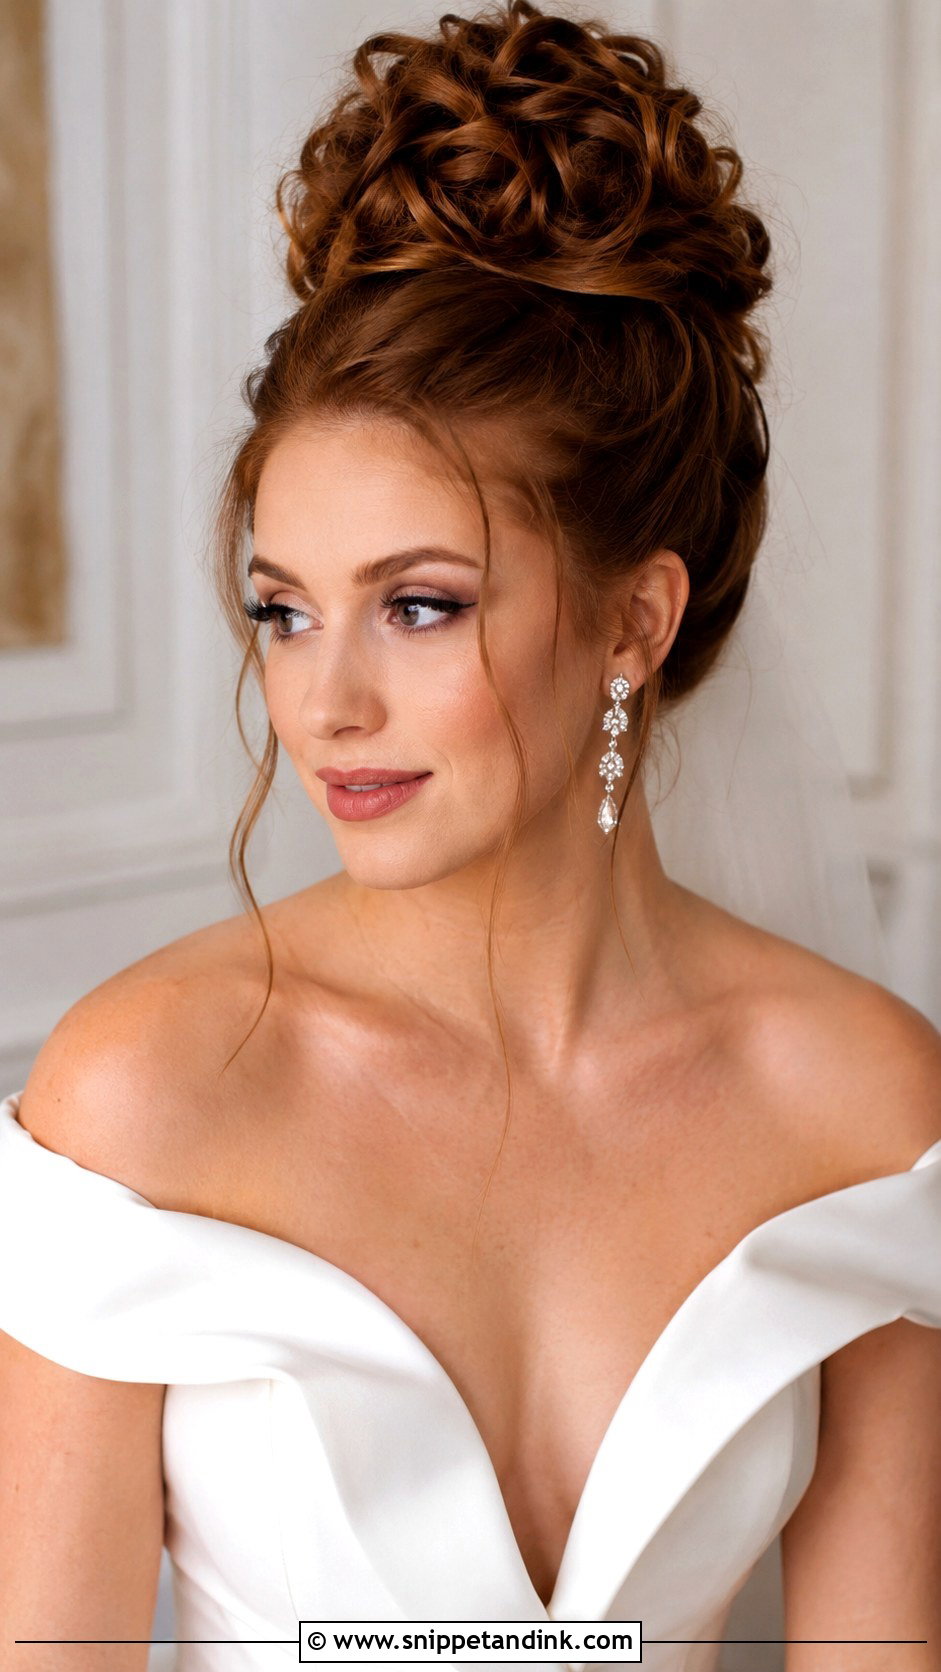
Brush the hair up to the crown of the head, tease the roots lightly for height, then twist it into a full, rounded voluminous top knot and secure it with pins and a hidden elastic. Keep the shape full rather than tight. Practice tease placement carefully: backcomb only the underside so the surface stays smooth. Chandelier earrings and a strong neckline suit it, and with the hair off your neck it’s cool through an evening reception.
A Rehearsal Schedule for Learning an Updo on Your Own Head
Teaching yourself something behind your own head takes longer than a tutorial suggests. This rough plan works for most of the styles above.
- About two months out, try three or four styles once each and keep the one that suits your hair best.
- Over the next few weeks, practise that style weekly, timing yourself each round.
- A few weeks out, do a full dress rehearsal: hair washed when it will be, the veil and accessories in, and wear it for several hours.
- In the final week, do it once more, then stop. Leave yourself a spare twenty minutes on the morning.
When a Friend Should Pin the Back for You
The French twist, vintage rolls and sculptural knots are honestly two-person jobs. If you’re leaning on a friend, have her practise on you at least twice, not only on her own hair, because the angles are completely different. Agree in advance who holds the mirror and who places the veil comb.
Your Third Practice Run Will Look Nothing Like Your First
Learning an updo is mostly muscle memory, so the first attempt nearly always looks lopsided and the third usually doesn’t. Pick one main style and one simpler backup, and practise both on hair prepped the way it’ll be on the morning. If you’re booking a stylist anyway, a trial is still worth it. Either way, pins in the right direction and properly dry hair will carry you from the ceremony to the last dance.
You'll Like These Ideas:


Leave a Reply