
Wedding hair has two jobs, and only one of them happens in photos. It has to look graceful at the altar, then survive hugs, a veil going on and off, wind on the church steps and a few hours of dancing. Right now bridal hair trends sit between polished and soft: low buns, sculpted waves, half-up shapes, braids and natural texture are what I’m asked for most. What I’m always chasing is grace without stiffness. Brides, bridesmaids, mothers and guests can all borrow from the looks below, and I’ve noted where each one struggles so you can rule things out early.
Your Dress Back Decides More Than Your Face Shape
Most brides pick a style by studying the front of their face in a mirror. Guests, though, spend the whole ceremony looking at the back of you. When a bride sends me inspiration photos, the first thing I ask for is a picture of the dress from behind.
- Low or open backs: an updo or low bun keeps the line of the back visible. Long loose waves hide the detail you paid for.
- Buttons, lace or a keyhole: I go for something sitting above the detail, like a chignon or French twist, so hair isn’t rubbing across fragile lace all night.
- High necks and halters: height works best. A high bun or sleek ponytail stops the neckline and the hair from crowding each other.
- Strapless and off-the-shoulder: these leave room for half-up, side-swept or full waves, since there’s skin to frame rather than detail to protect.
Then the veil. A cathedral veil anchored under a low bun needs a firm base to grip, while a short blusher at the crown suits half-up styles. I always settle the veil position first, then build the hairstyle around it.
1. Elegant Low Bun Wedding Hair
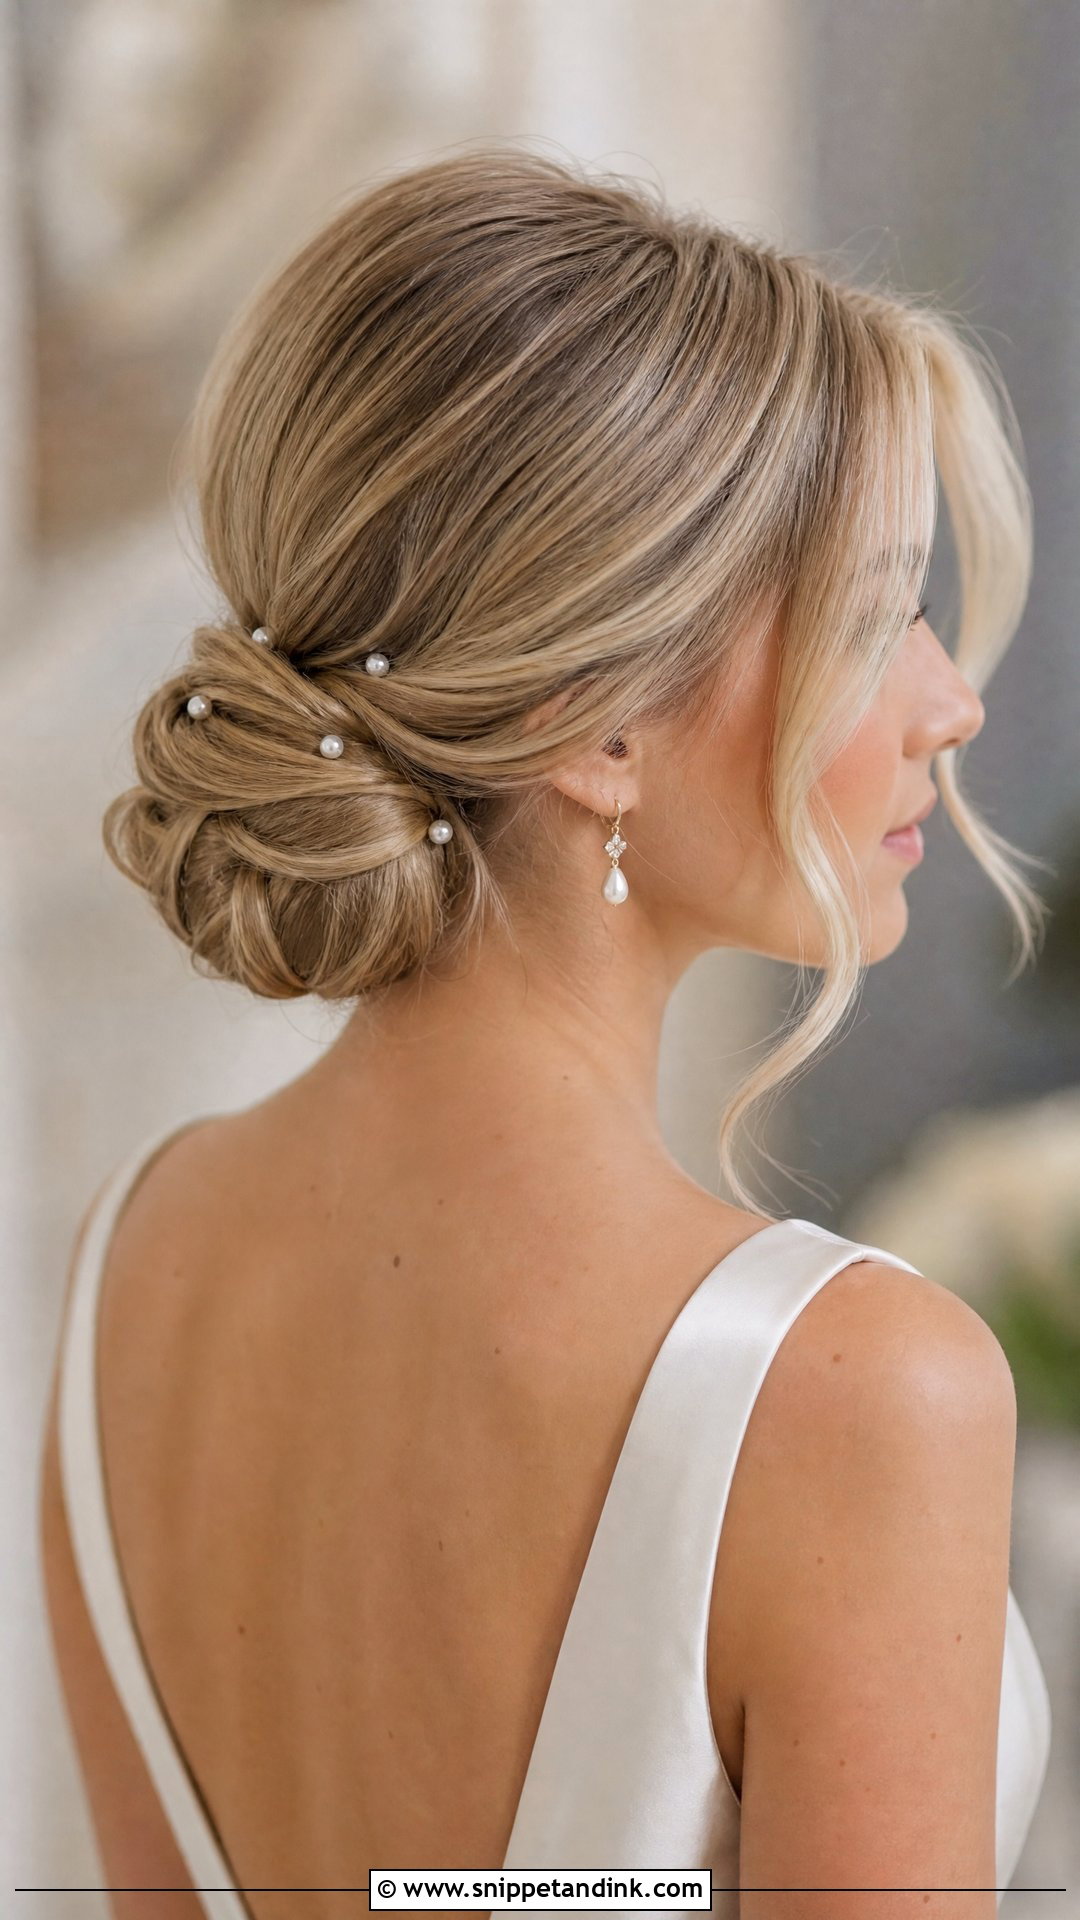
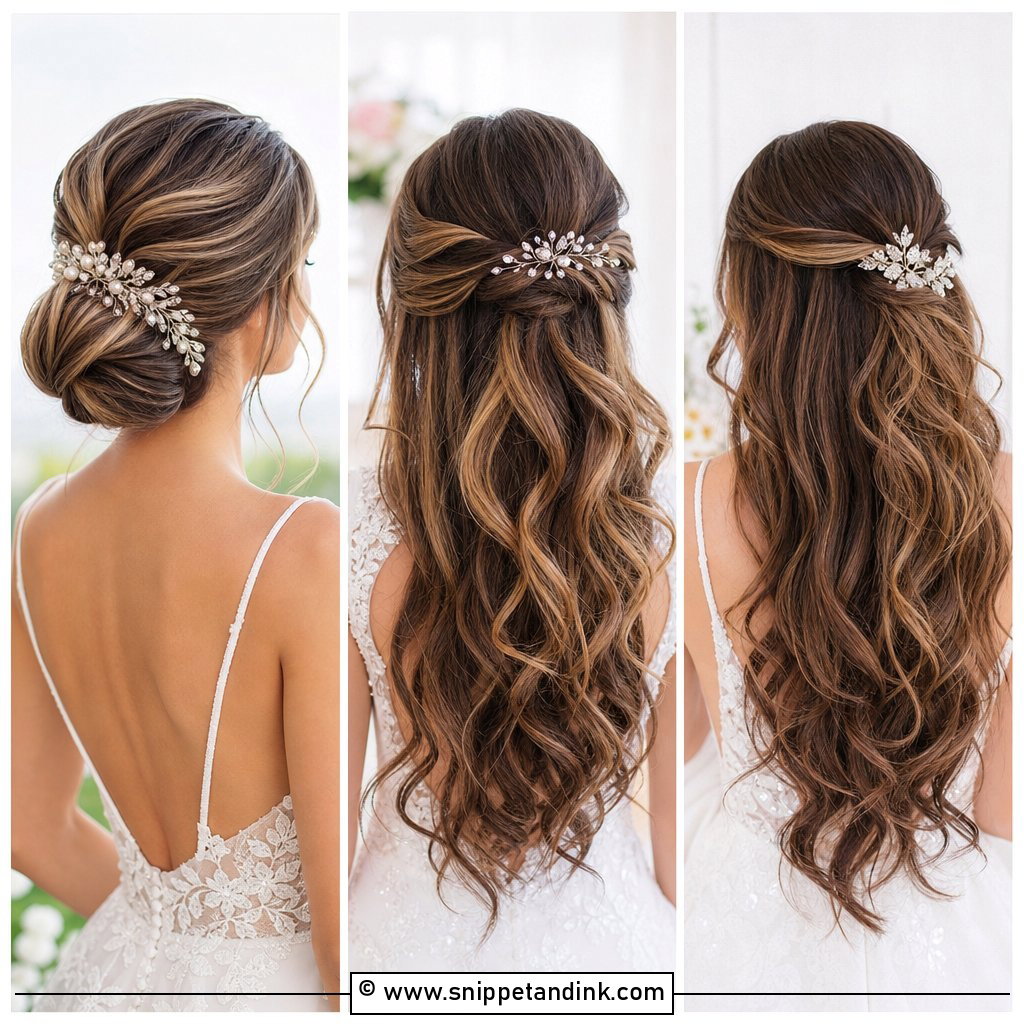
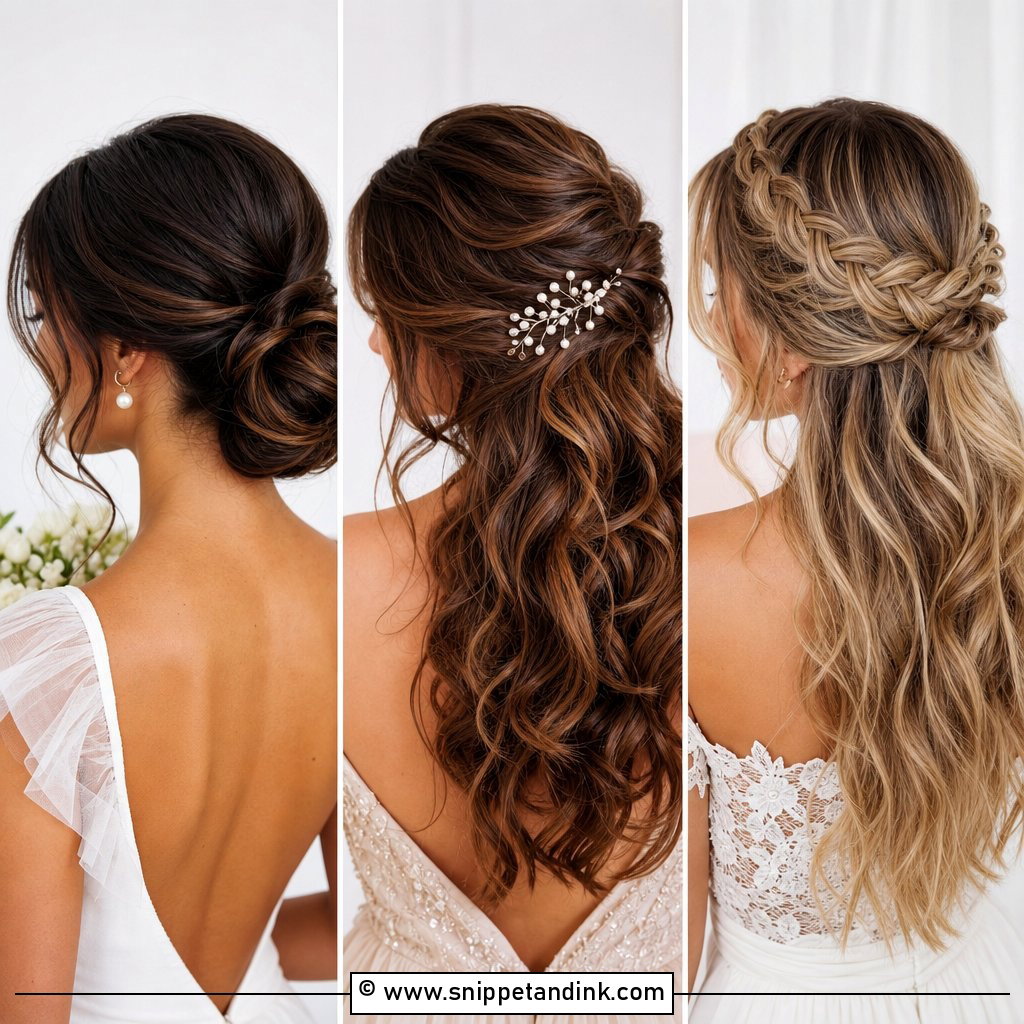
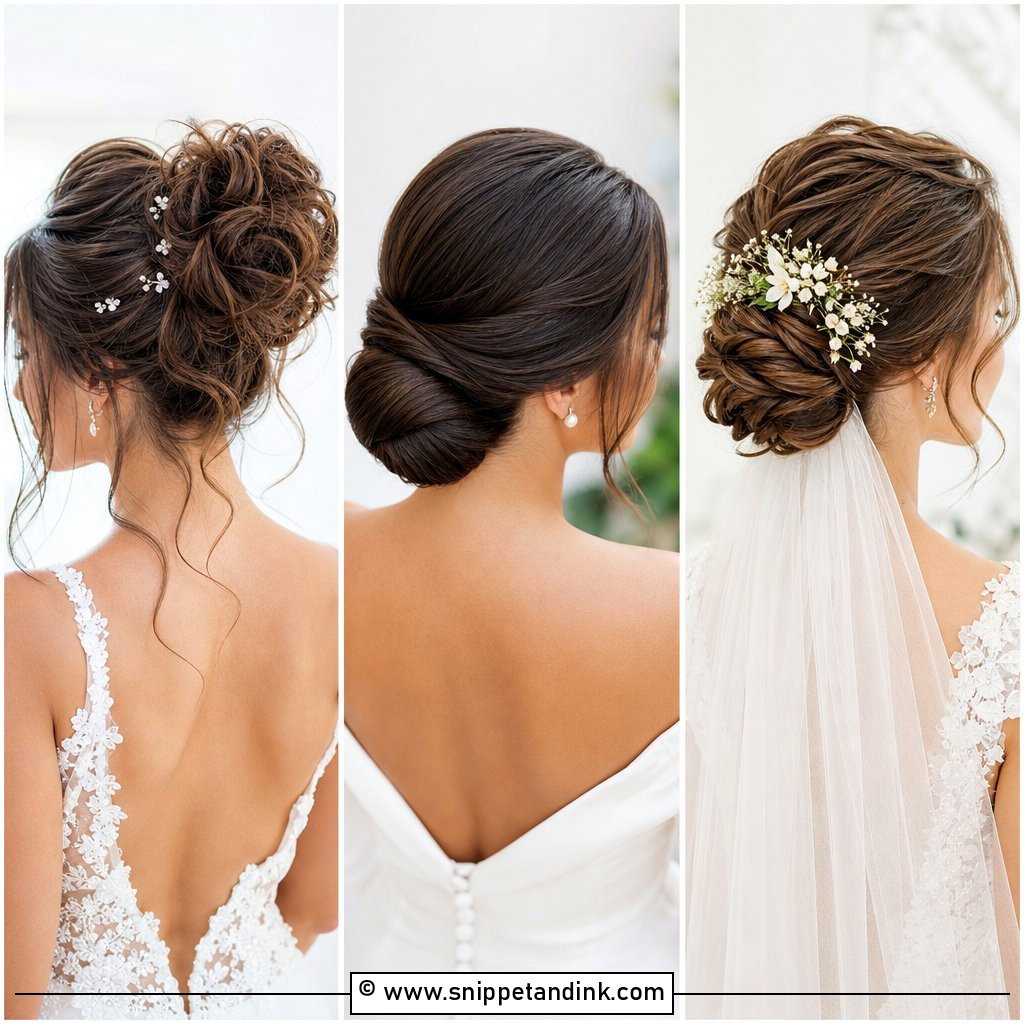
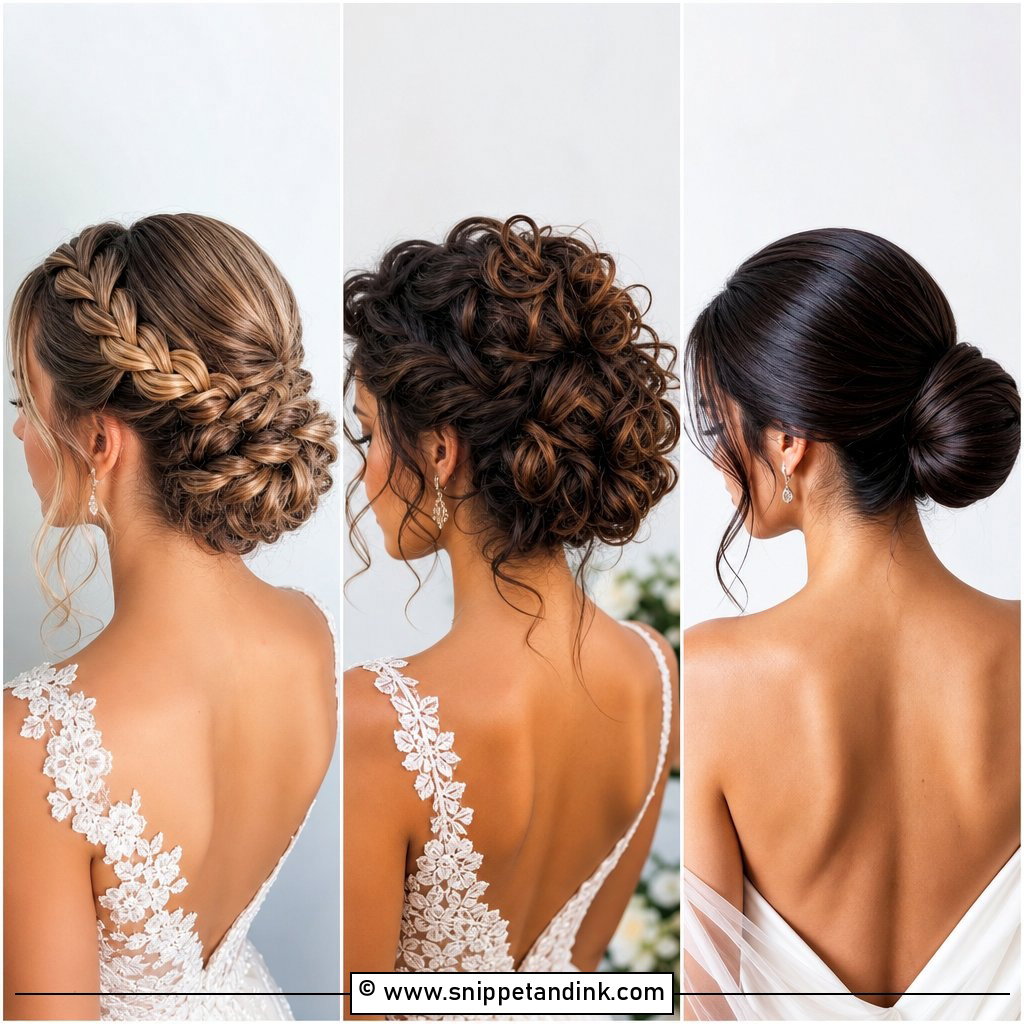
The low bun is the style I trust most on a long day, because it sits at the nape where it’s protected and gives a veil comb something solid to grip. I build it on a hidden ponytail or a pair of crossed pins rather than pinning loose hair straight into a knot, which is what lets it last into the evening. Keep a little lift at the crown so it doesn’t read flat from the front, and leave out only two face pieces. More than that and they become a job to manage. Smooth suits a classic gown; a looser, textured bun suits a relaxed dress.
2. Half Up Half Down Wedding Hair
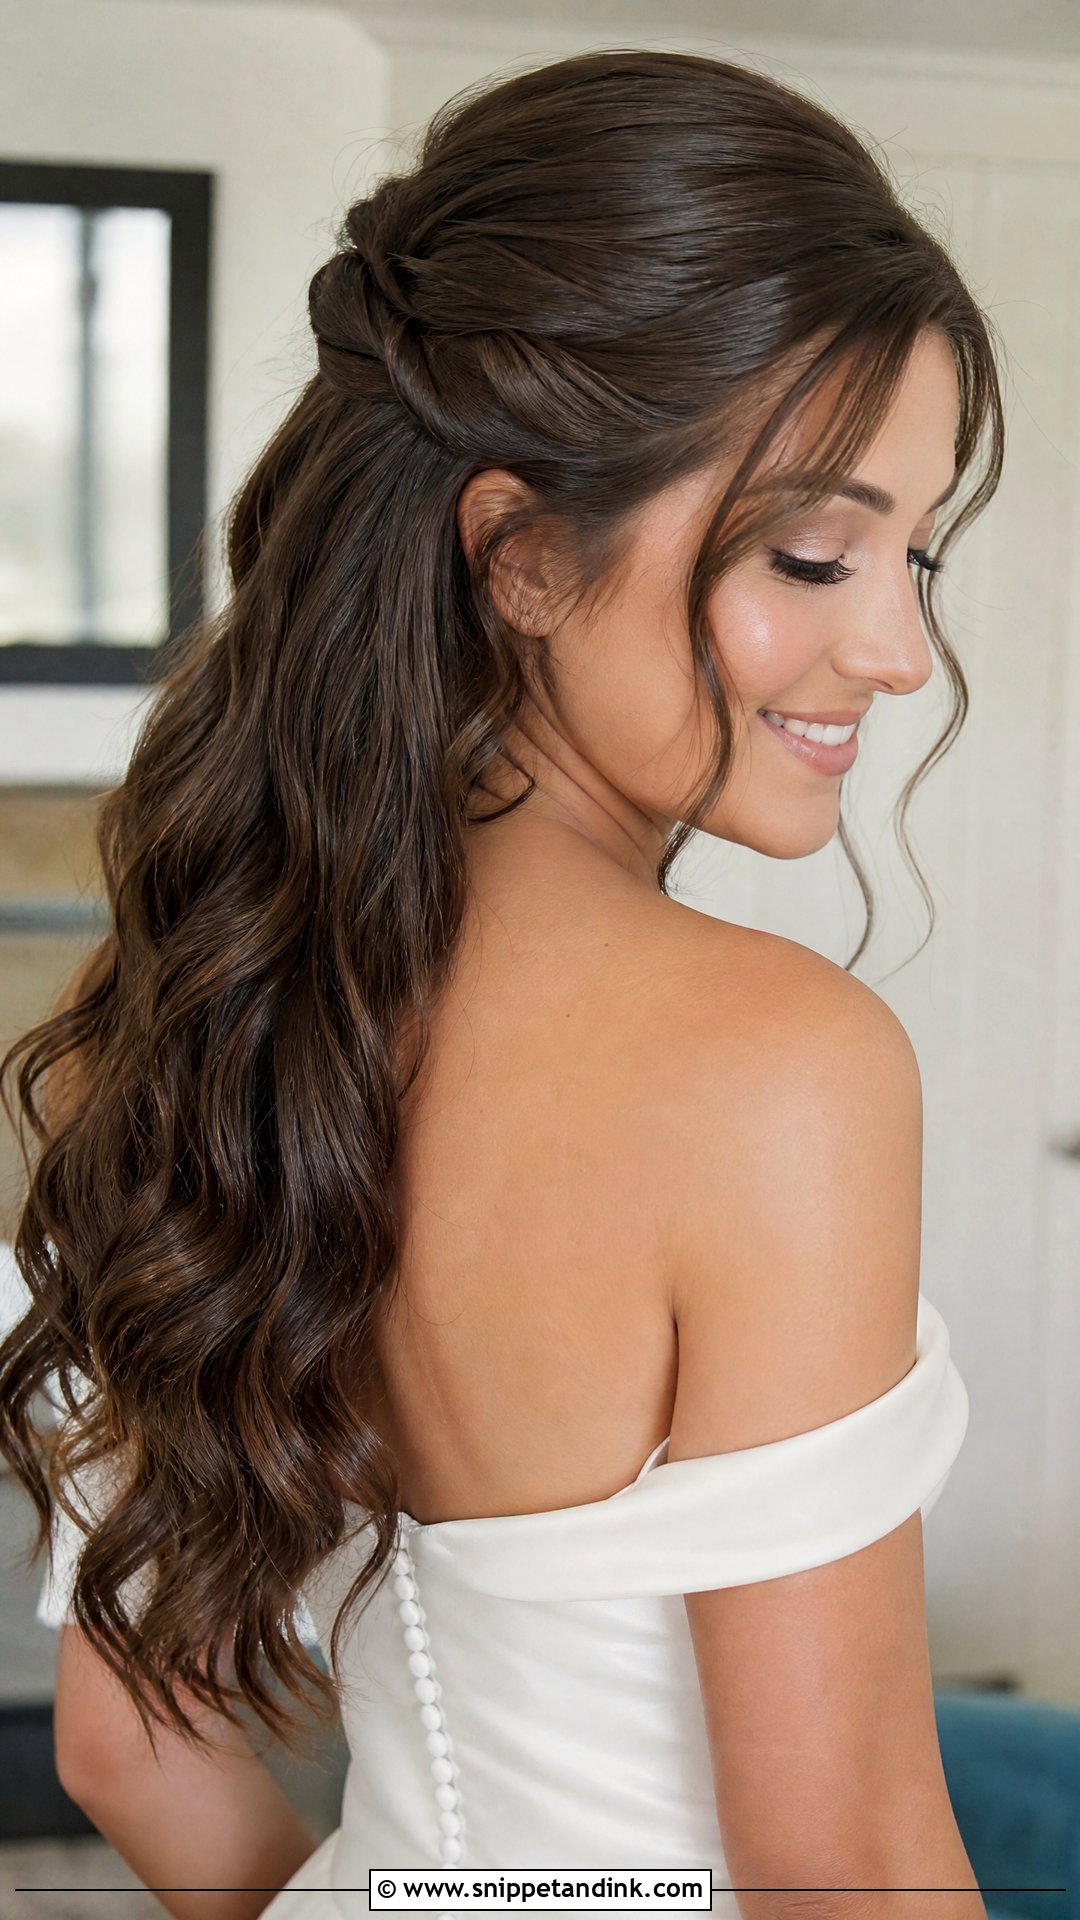
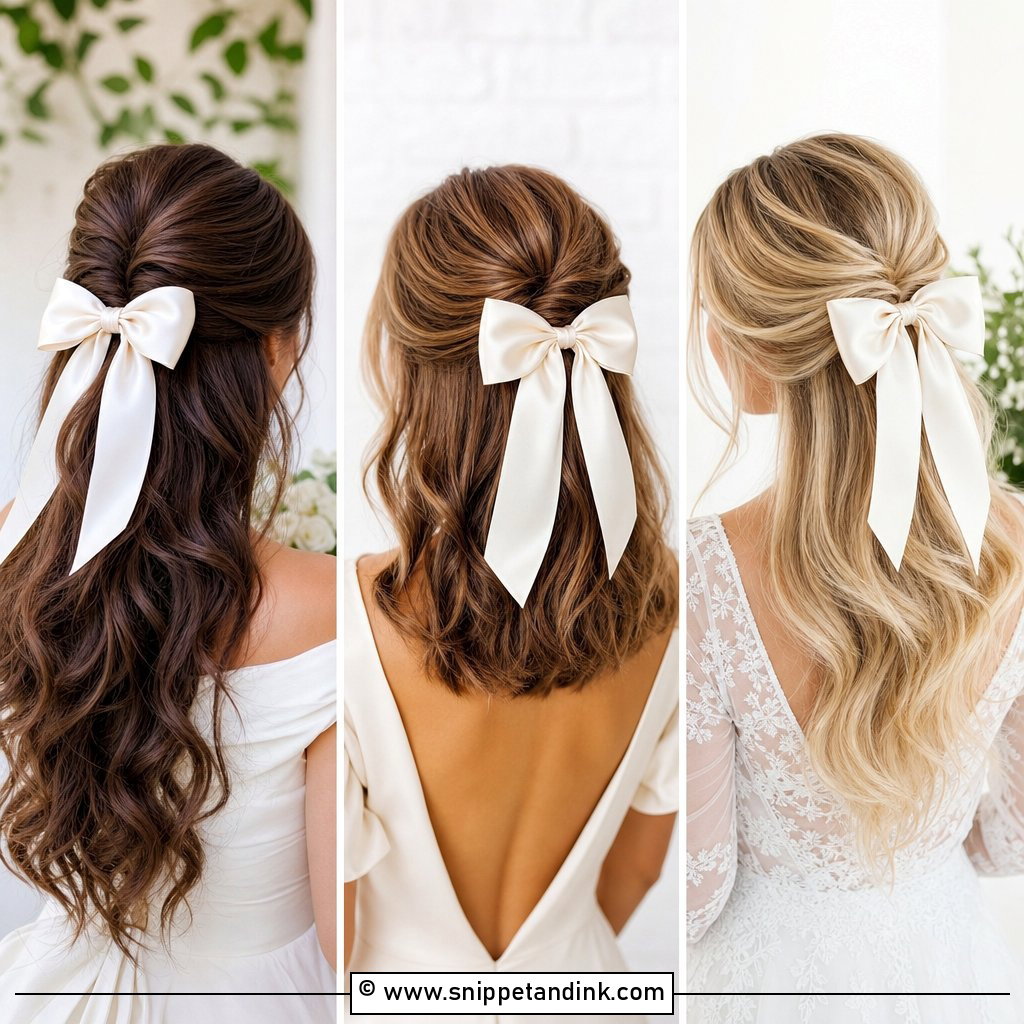
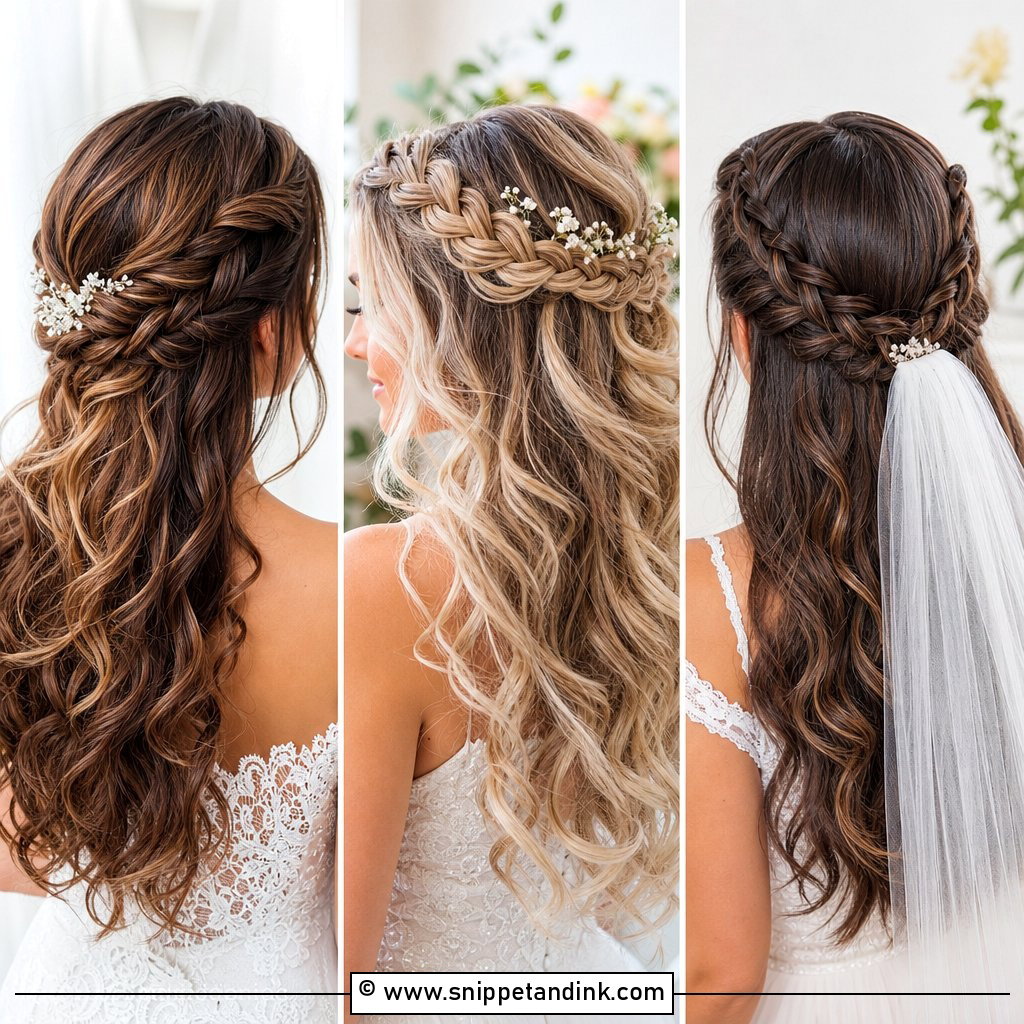
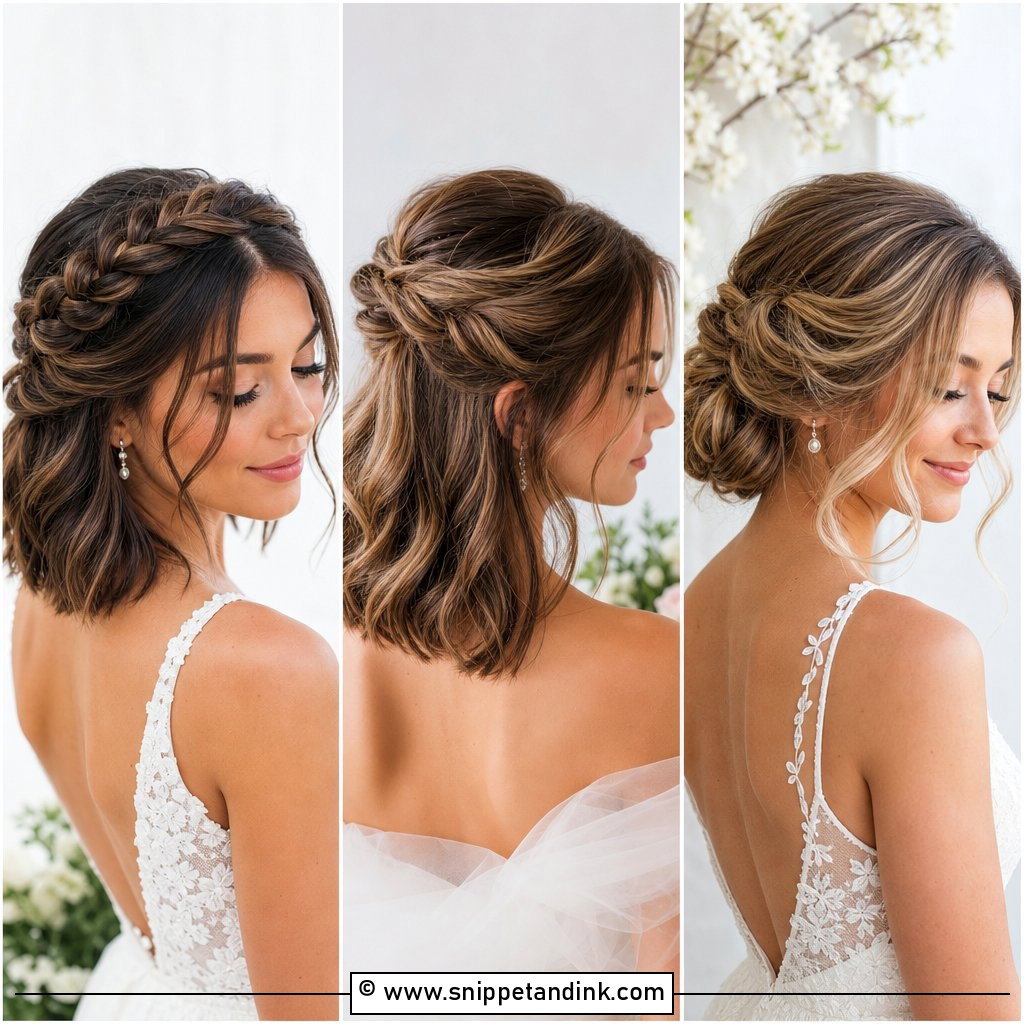
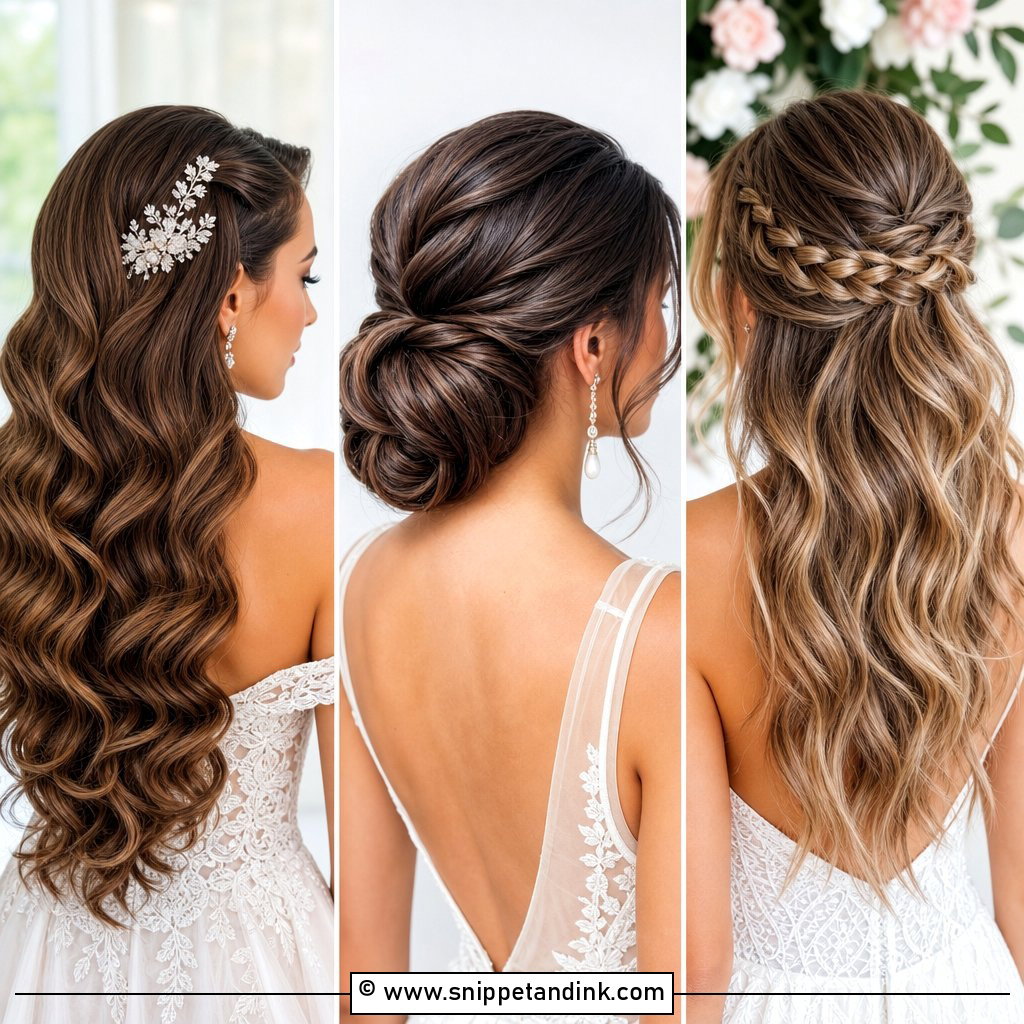
Half up, half down gives you movement around the shoulders with some security at the top. The weak point is always the lower half: loose curls drop faster than anything pinned, so I curl tighter than the finished look and brush them out just before photos. I anchor the top section with crossed pins under a small twist, which holds better than a single clip. It frames strapless, sweetheart and off-the-shoulder necklines well. For bridesmaids it reads dressed up without competing with the bride.
3. Hollywood Waves Wedding Hair
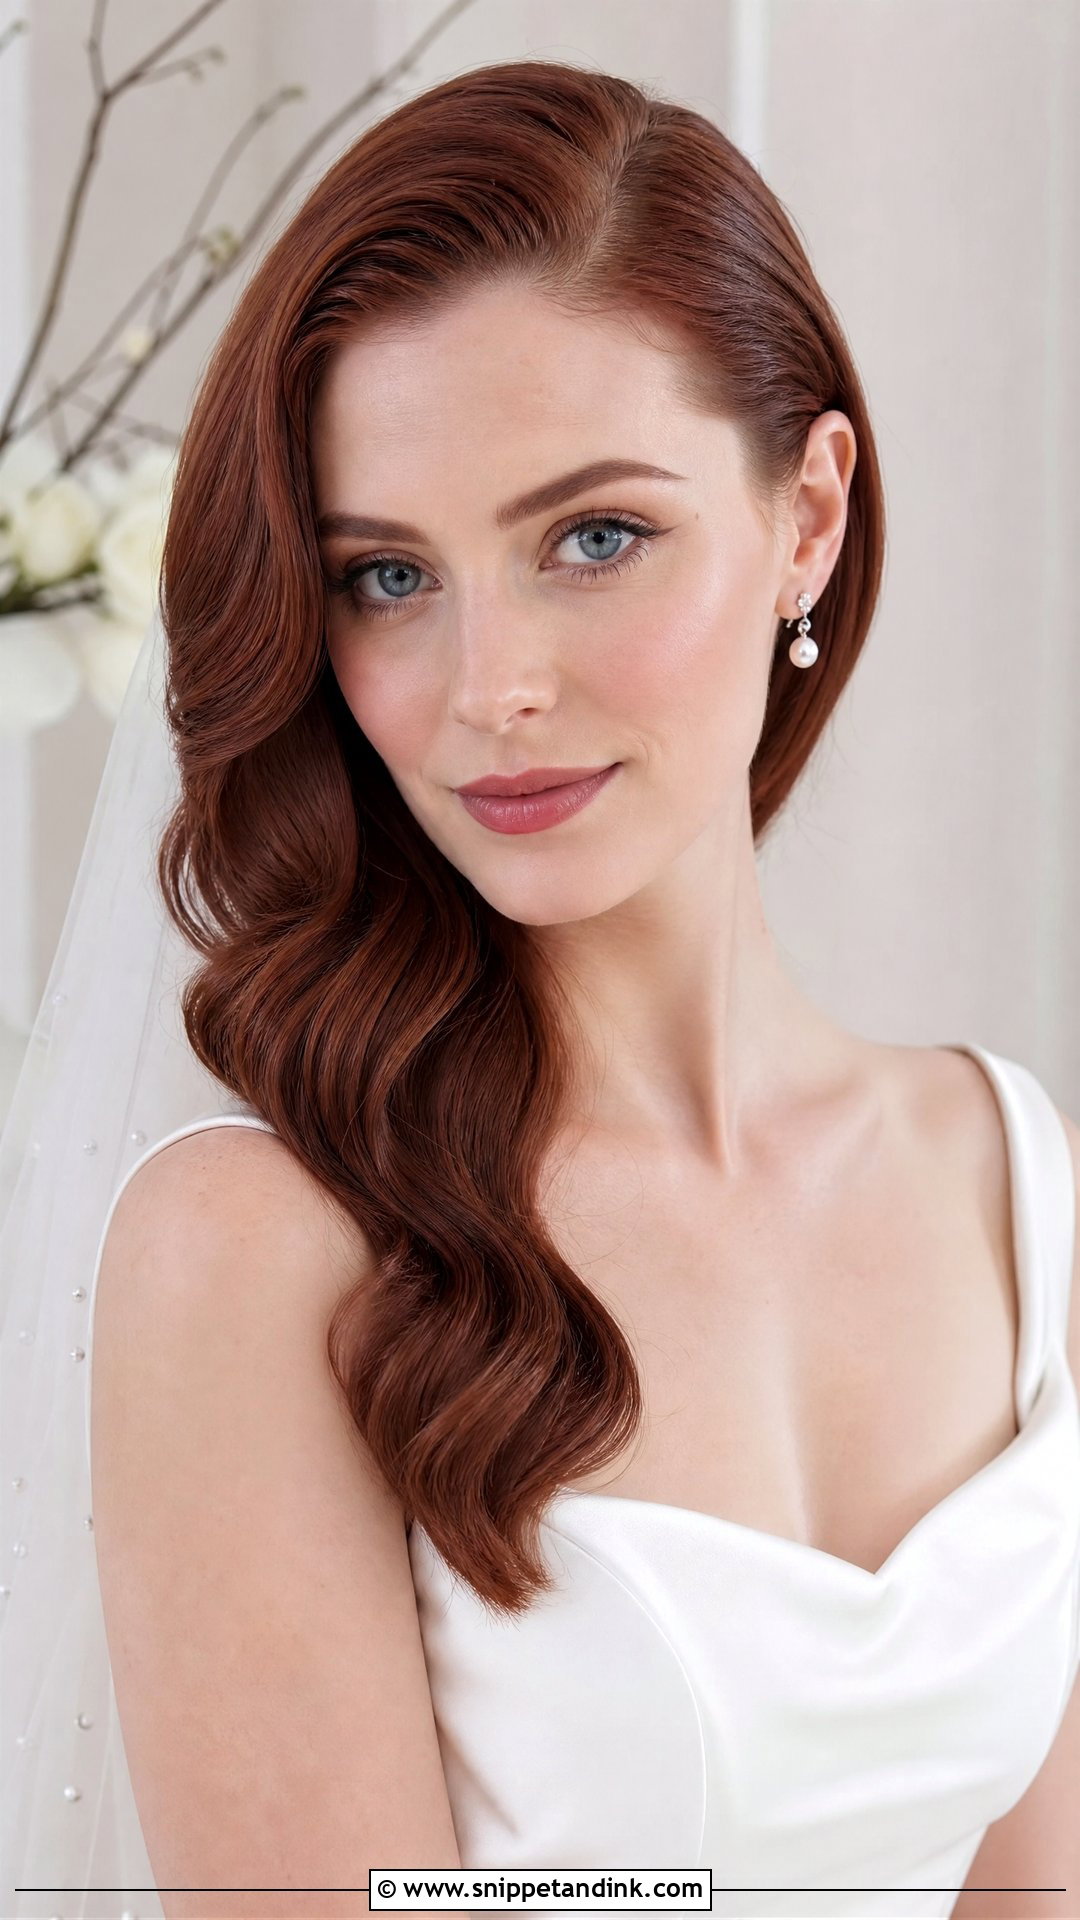
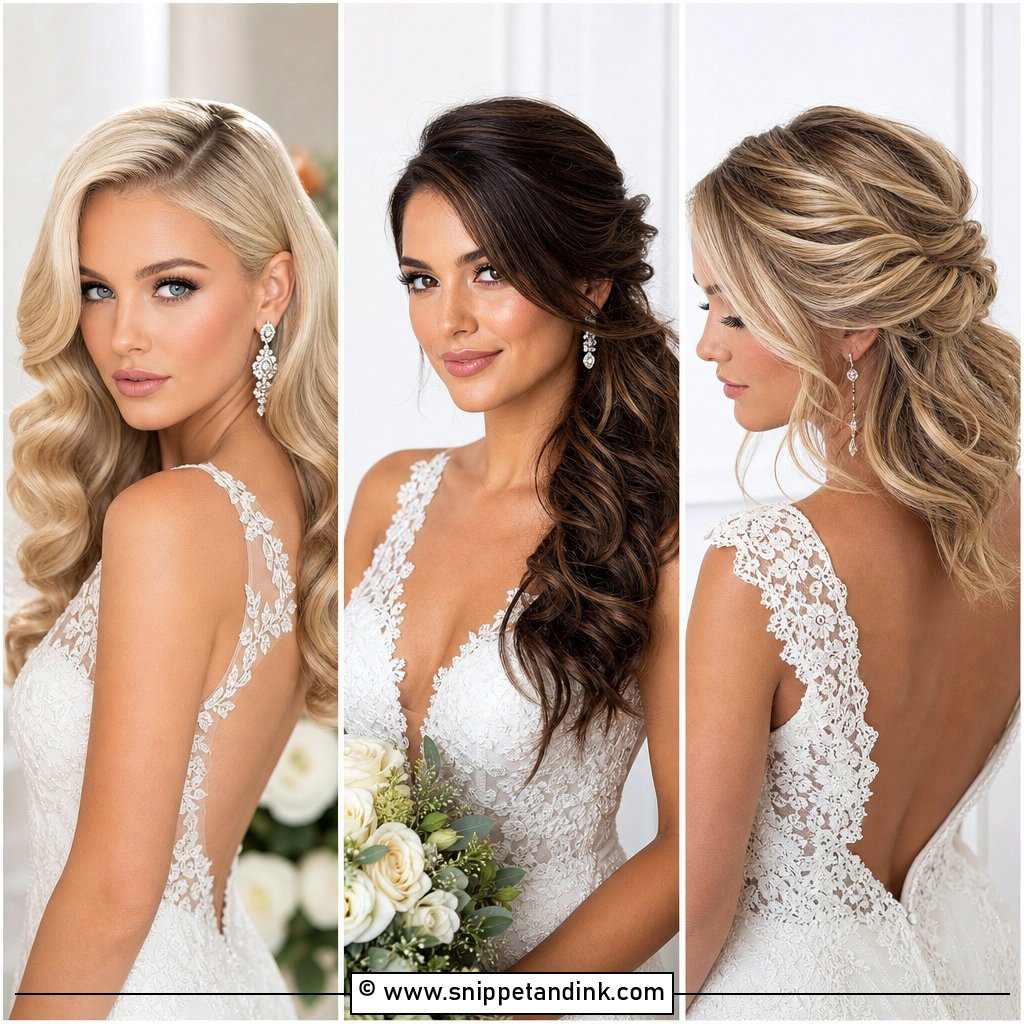
Hollywood waves are one brushed-out shape, not a head of separate curls. I set every section in the same direction, pin each curl to cool, then brush the whole lot together until the ridges join. That last step is where most home attempts go wrong; people stop at ringlets. This needs medium to long hair with real density, because fine hair tends to collapse into a flat ripple by mid-afternoon. A deep side part reads vintage, a center part reads current. I’d keep jewelry simple, since the hair is already the statement, and finish with a firm spray plus a light shine mist.
4. Sleek Bun Wedding Hair
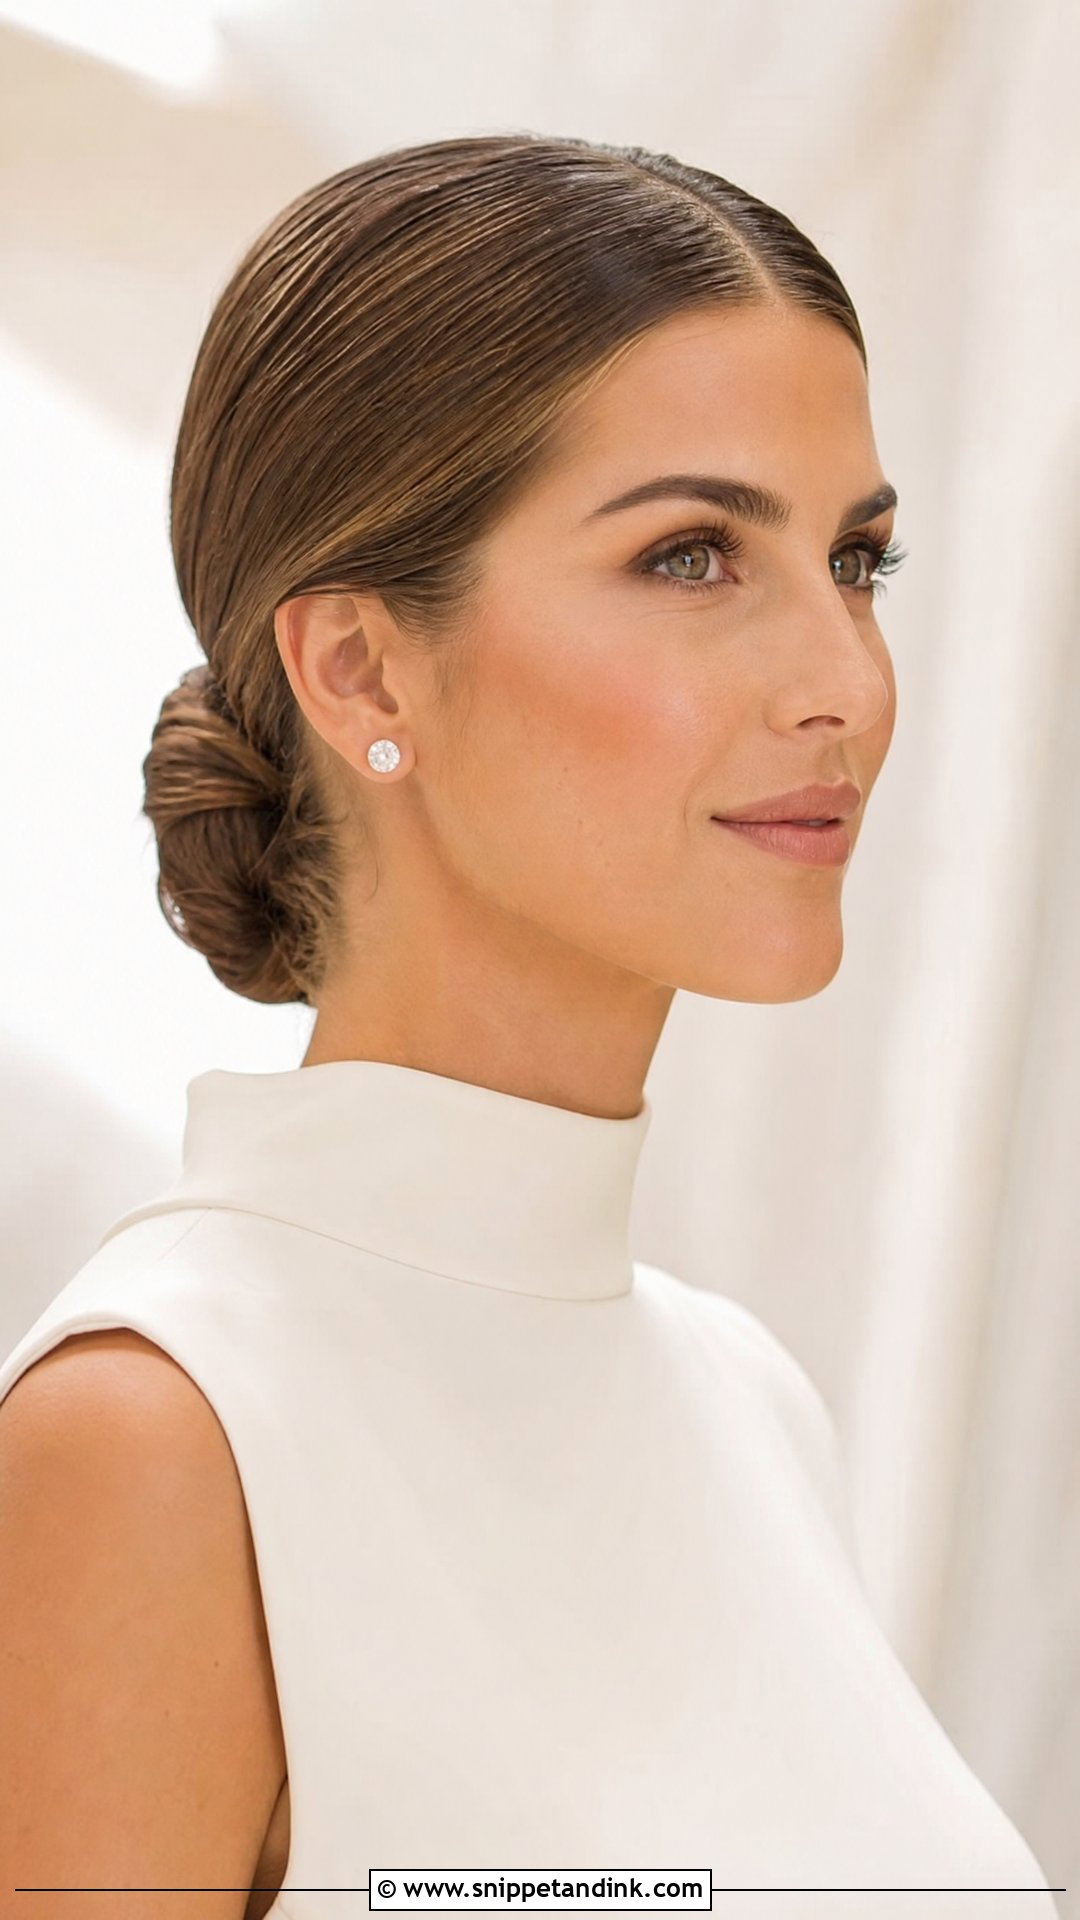
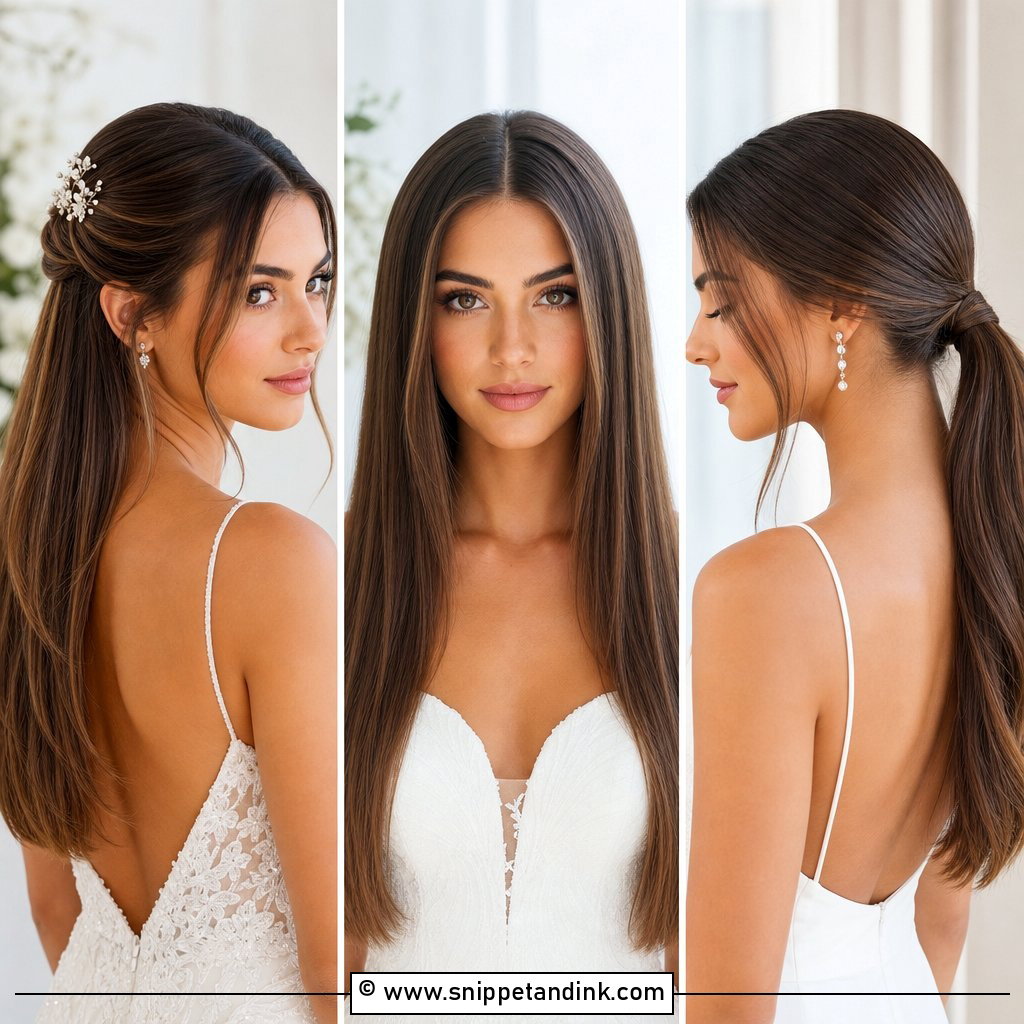
A sleek bun puts all the attention on the face and the makeup, so it pairs well with minimalist gowns and high necklines. Height is negotiable: I place it low, mid or higher depending on the profile and where the veil comb needs to go. The honest catch is that it shows everything. A crooked part or a bump at the crown is visible from across the room, so I spend most of the time on the base, not the bun. In humidity it’s one of the safest choices you can make, because there are no curls to drop. A slim comb or a few pearl pins is plenty of decoration.
5. Textured Updo Wedding Hair
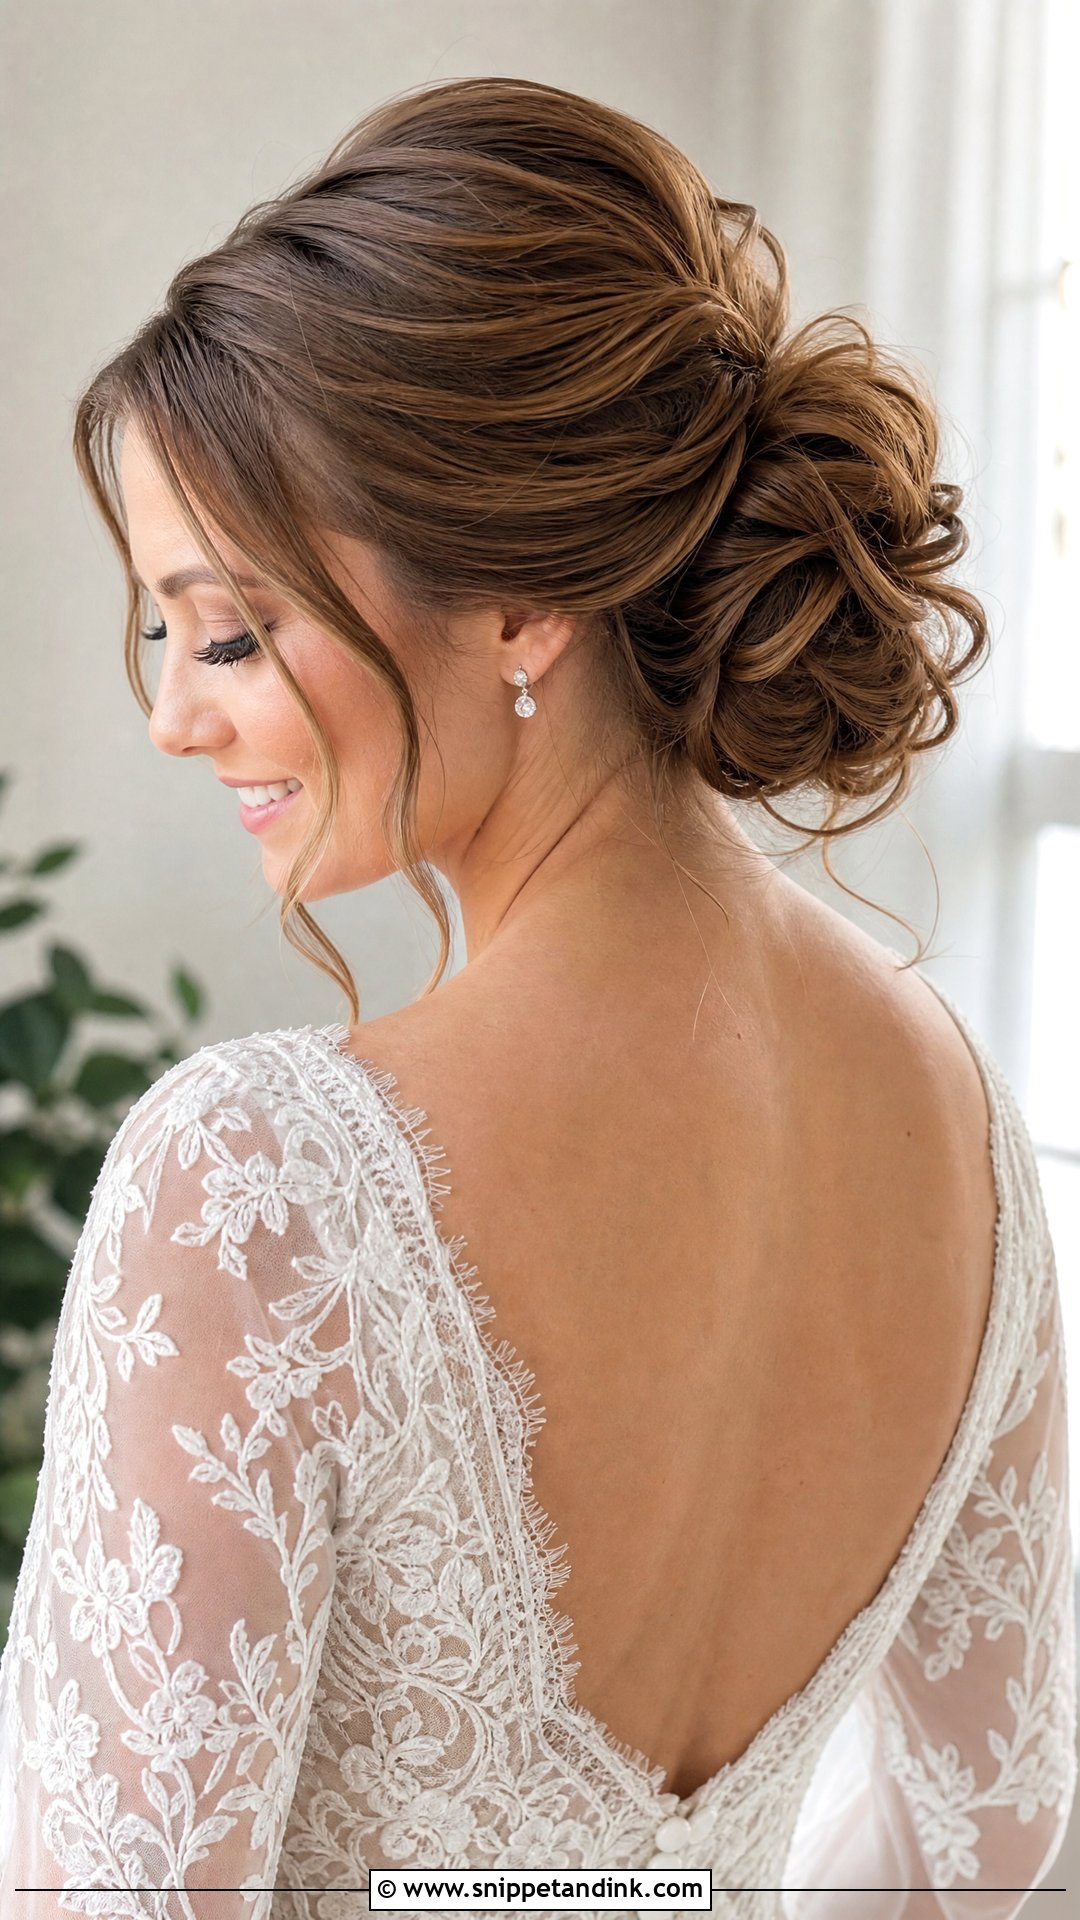
Textured updos are where pin work matters most. Each section is bent or loosely twisted, then pinned into the shape so the crown and bun have movement, and on medium hair that texture fakes a fullness the hair doesn’t naturally have. The balance is tricky: too loose and pieces fall out by the reception, too much spray and it looks crunchy. I prep with a dry texture spray before curling, which gives grip without stiffness. Lace gowns and garden venues suit it, and it’s forgiving if a strand slips, which a sleek style is not.
6. Braided Updo Wedding Hair
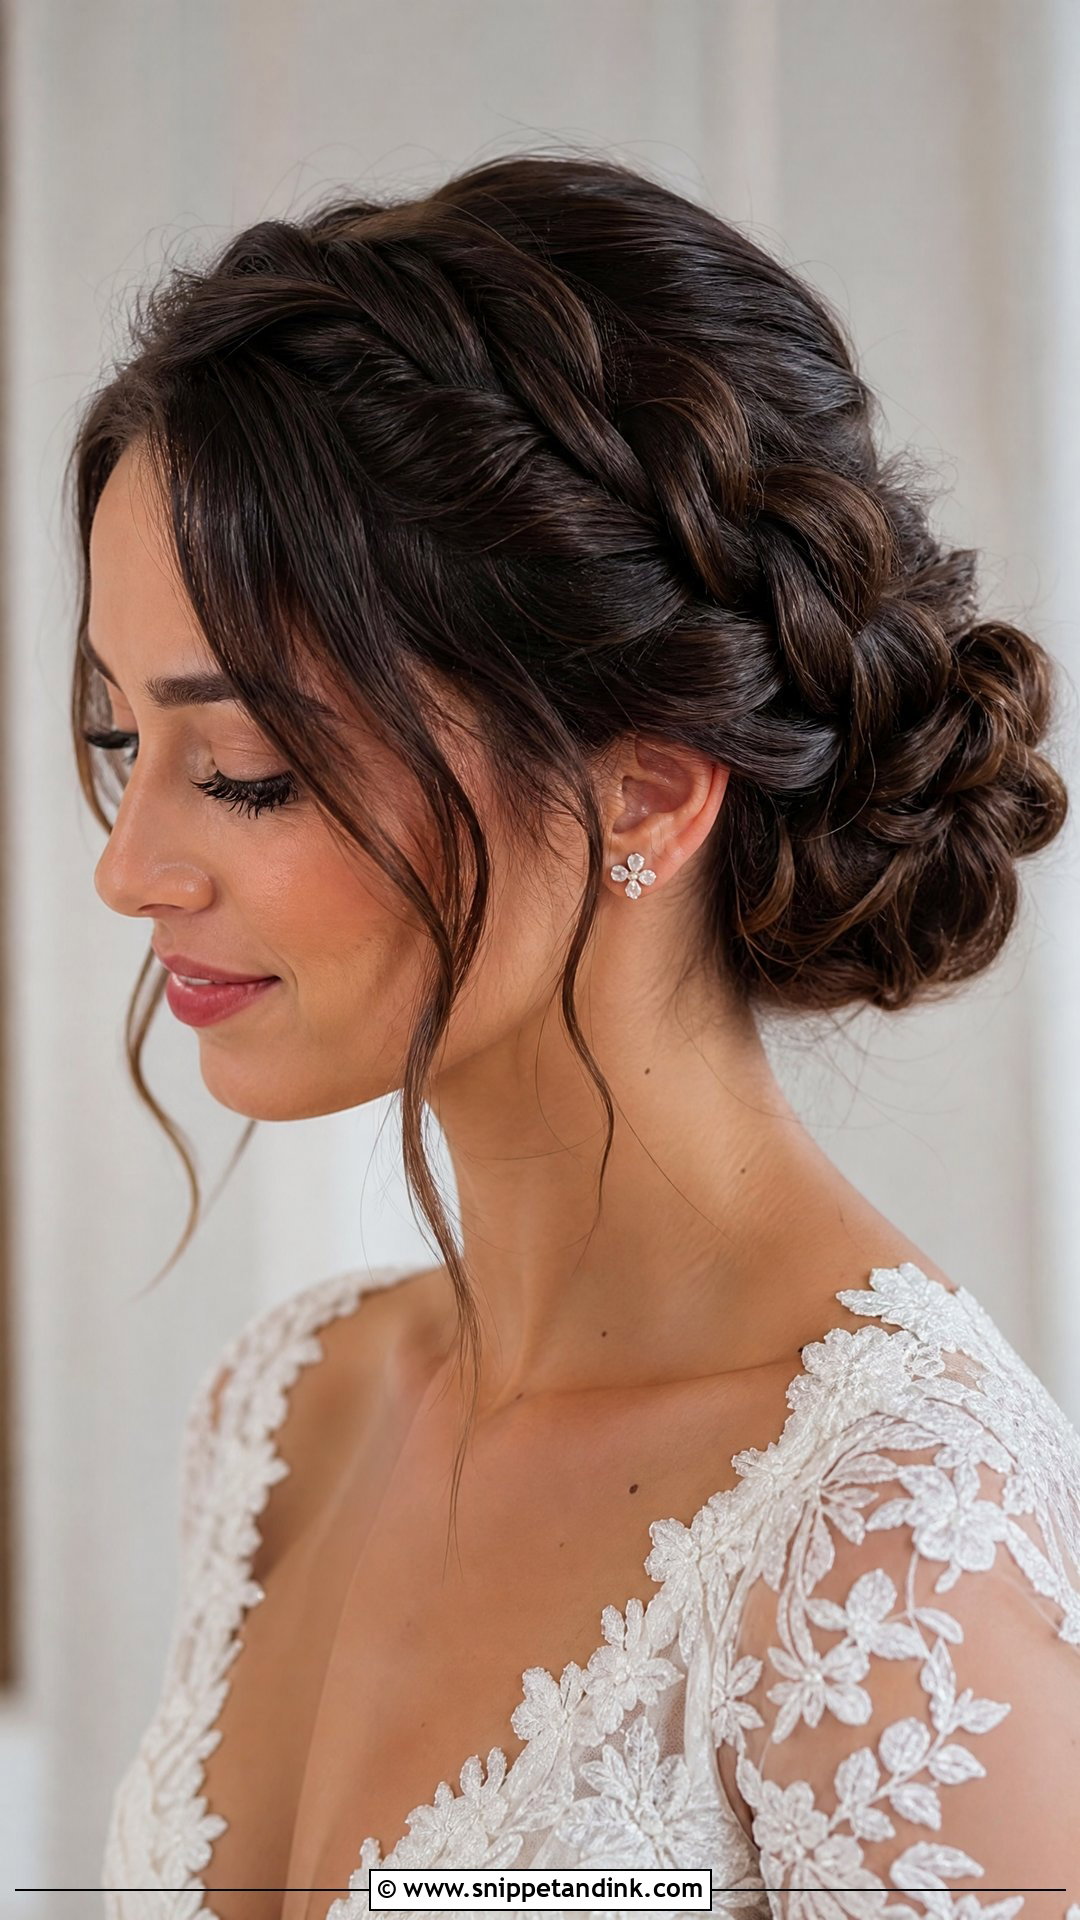
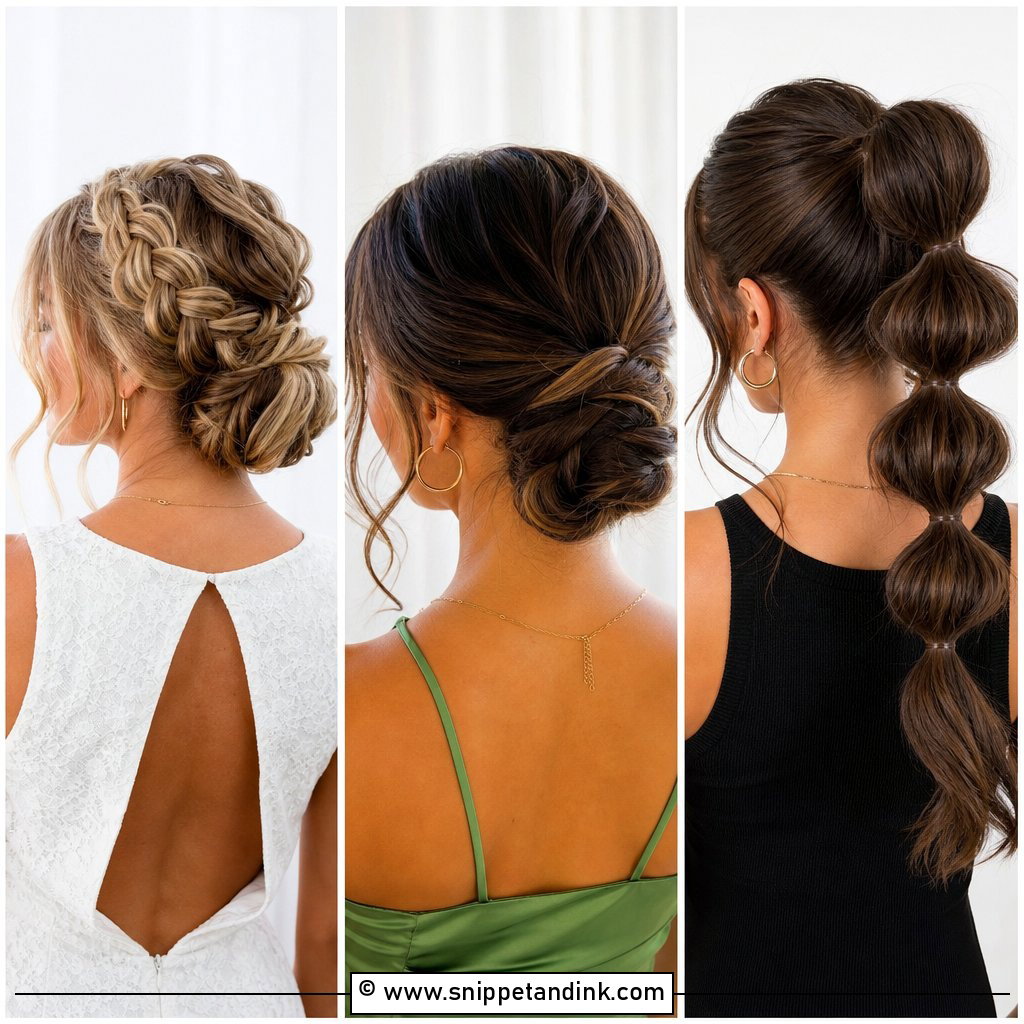
A braid wrapped into a bun, laid across the crown or blended into twists gives the back and side of the head real detail, which matters because guests watch the back of you throughout the ceremony. Thick hair is a good candidate; braiding absorbs volume that would otherwise make a bun huge. After braiding I gently pull the edges wider, a step called pancaking, so it looks bridal rather than gym-ready. Very fine or layered hair can show short ends poking out of the braid, so I’d test that at the trial. Pins, fresh flowers or a veil tuck neatly around it.
7. Loose Waves Wedding Hair
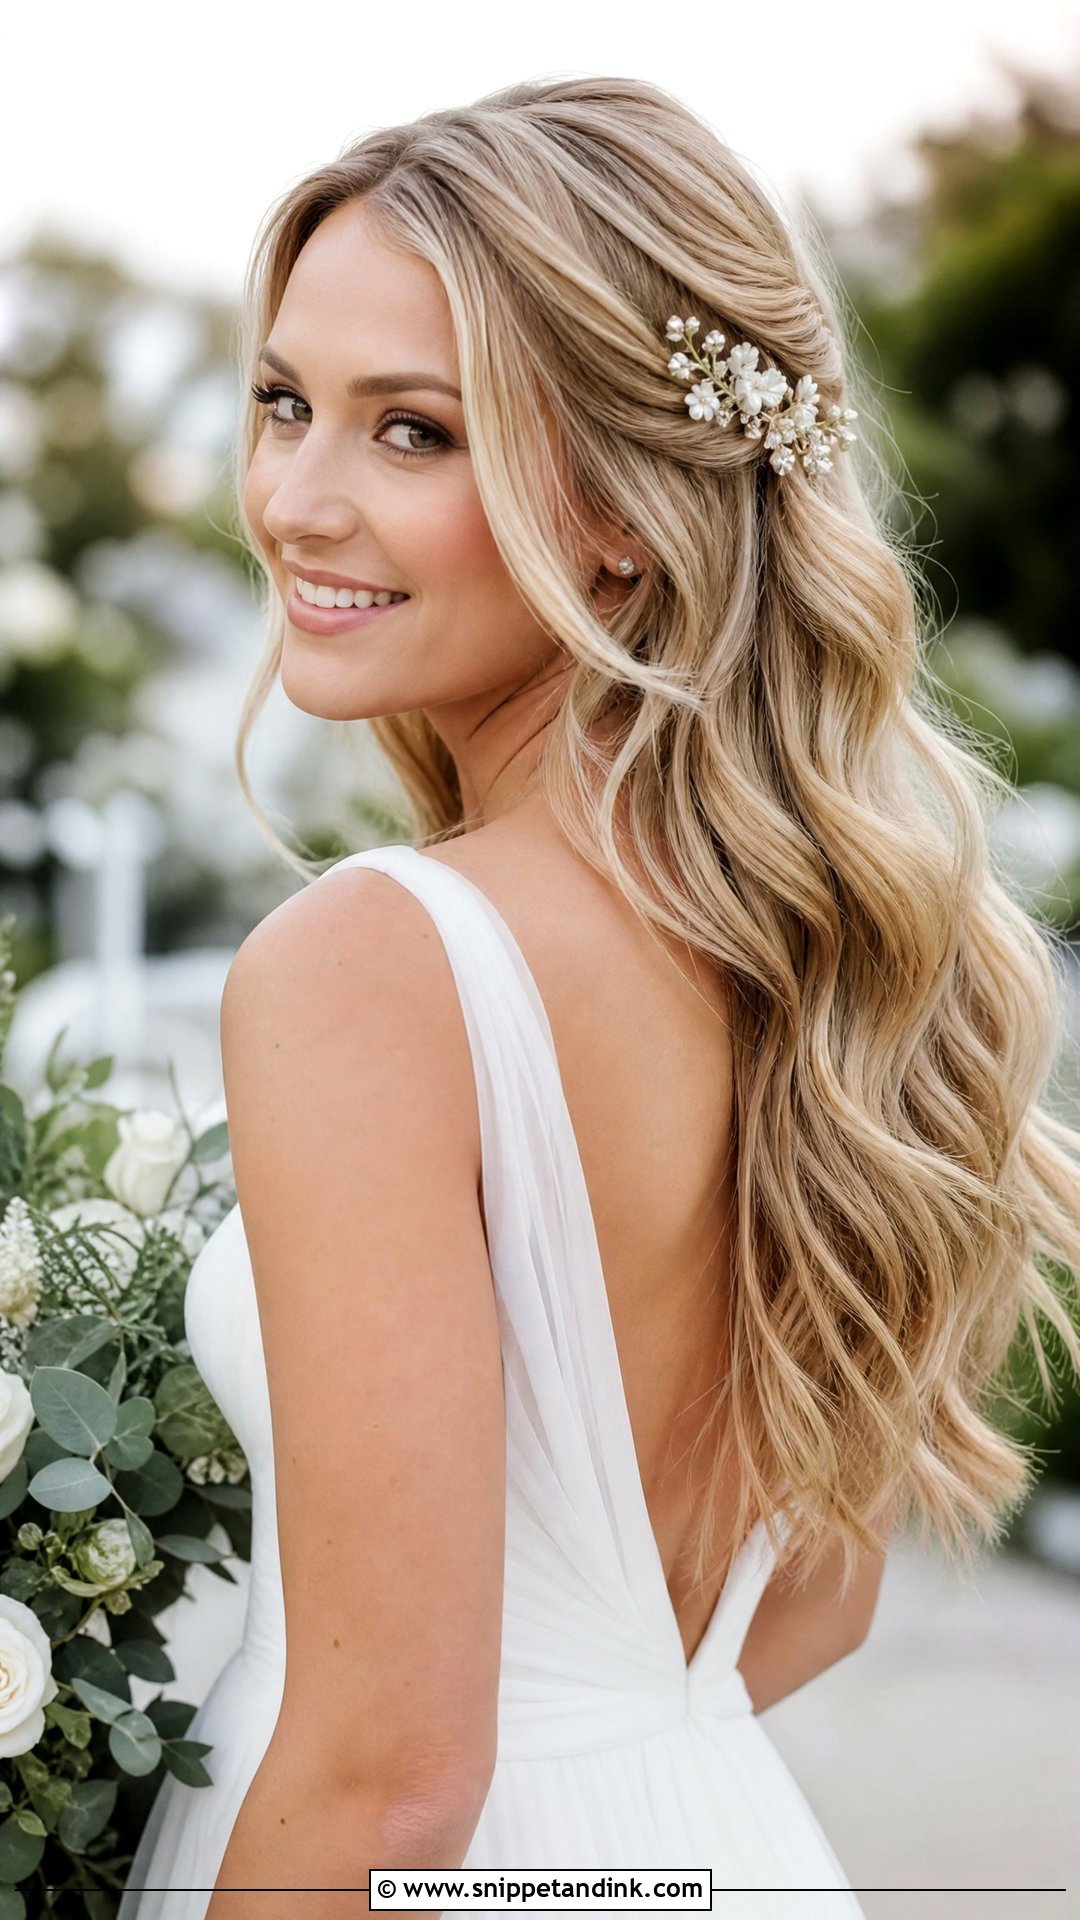
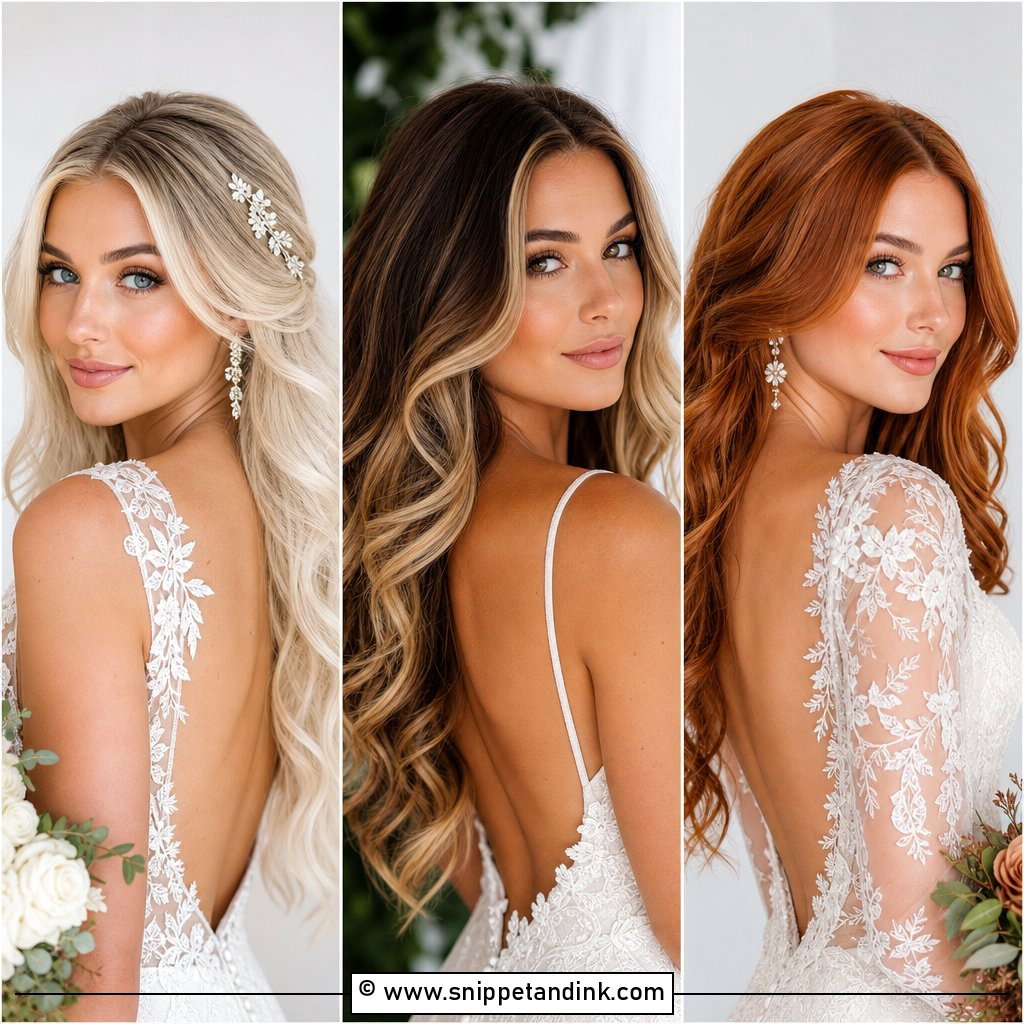
Loose waves look simple, which is exactly why they’re the hardest to keep. Down hair has nothing holding it except the curl itself, so I use a heat protectant with some hold, curl in small sections and let every curl cool fully before touching it. Ask for smooth roots, a bit of crown volume and waves that open the cheekbones rather than covering them. Floral clips and simple hairpins sit well in them. On a beach or in a humid garden, I’d honestly steer you toward pinning half of it up, because fully loose waves often relax into a straight-ish bend by the speeches.
8. French Twist Wedding Hair
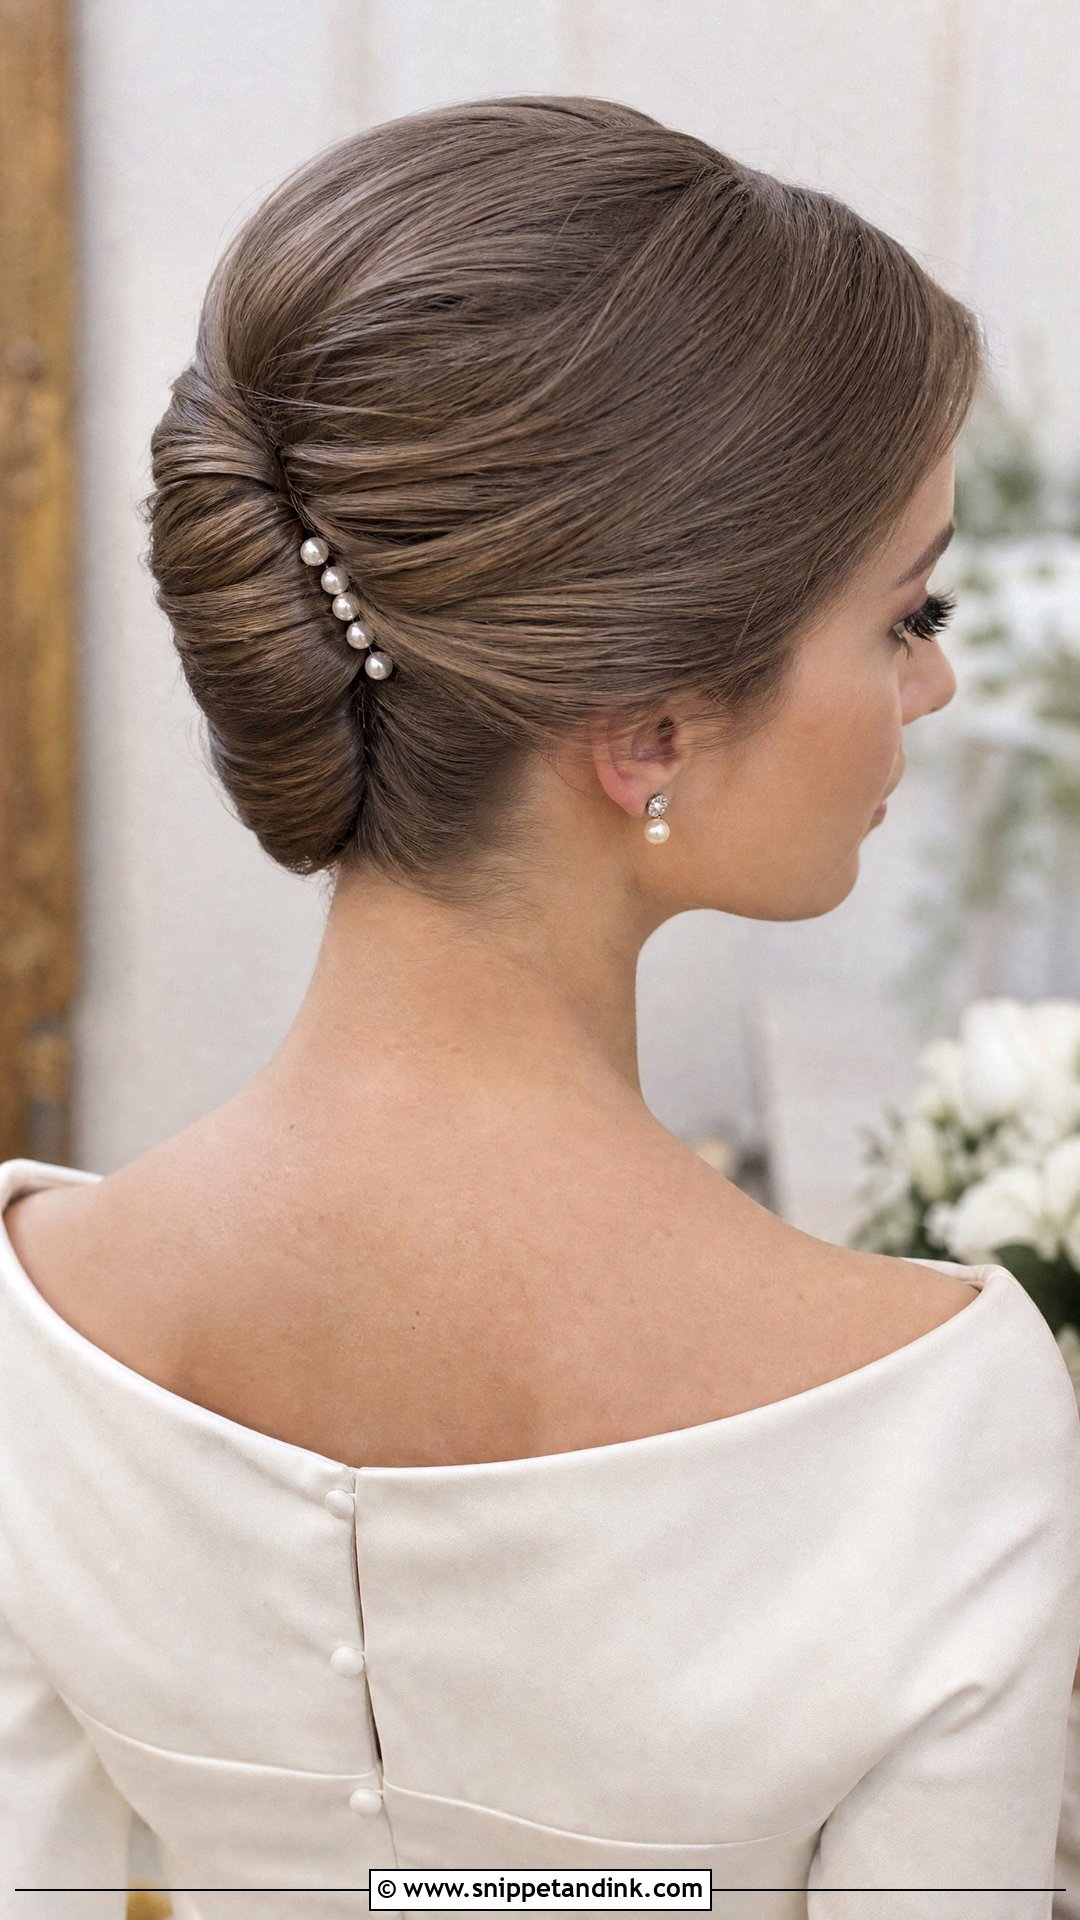
The French twist rolls the hair upward and inward into one clean vertical seam at the back. It’s one of my go-to looks for medium-length hair, because a shoulder-length cut can fill out a twist that would never make a decent bun. The secret is backcombing the inside lightly so the pins have something to bite; smooth hair alone slides. A polished twist suits a formal evening or a vintage gown, and a slightly loosened one feels more current. Very short layers at the nape can escape, so I keep a few small pins ready for that.
9. Curly Updo Wedding Hair
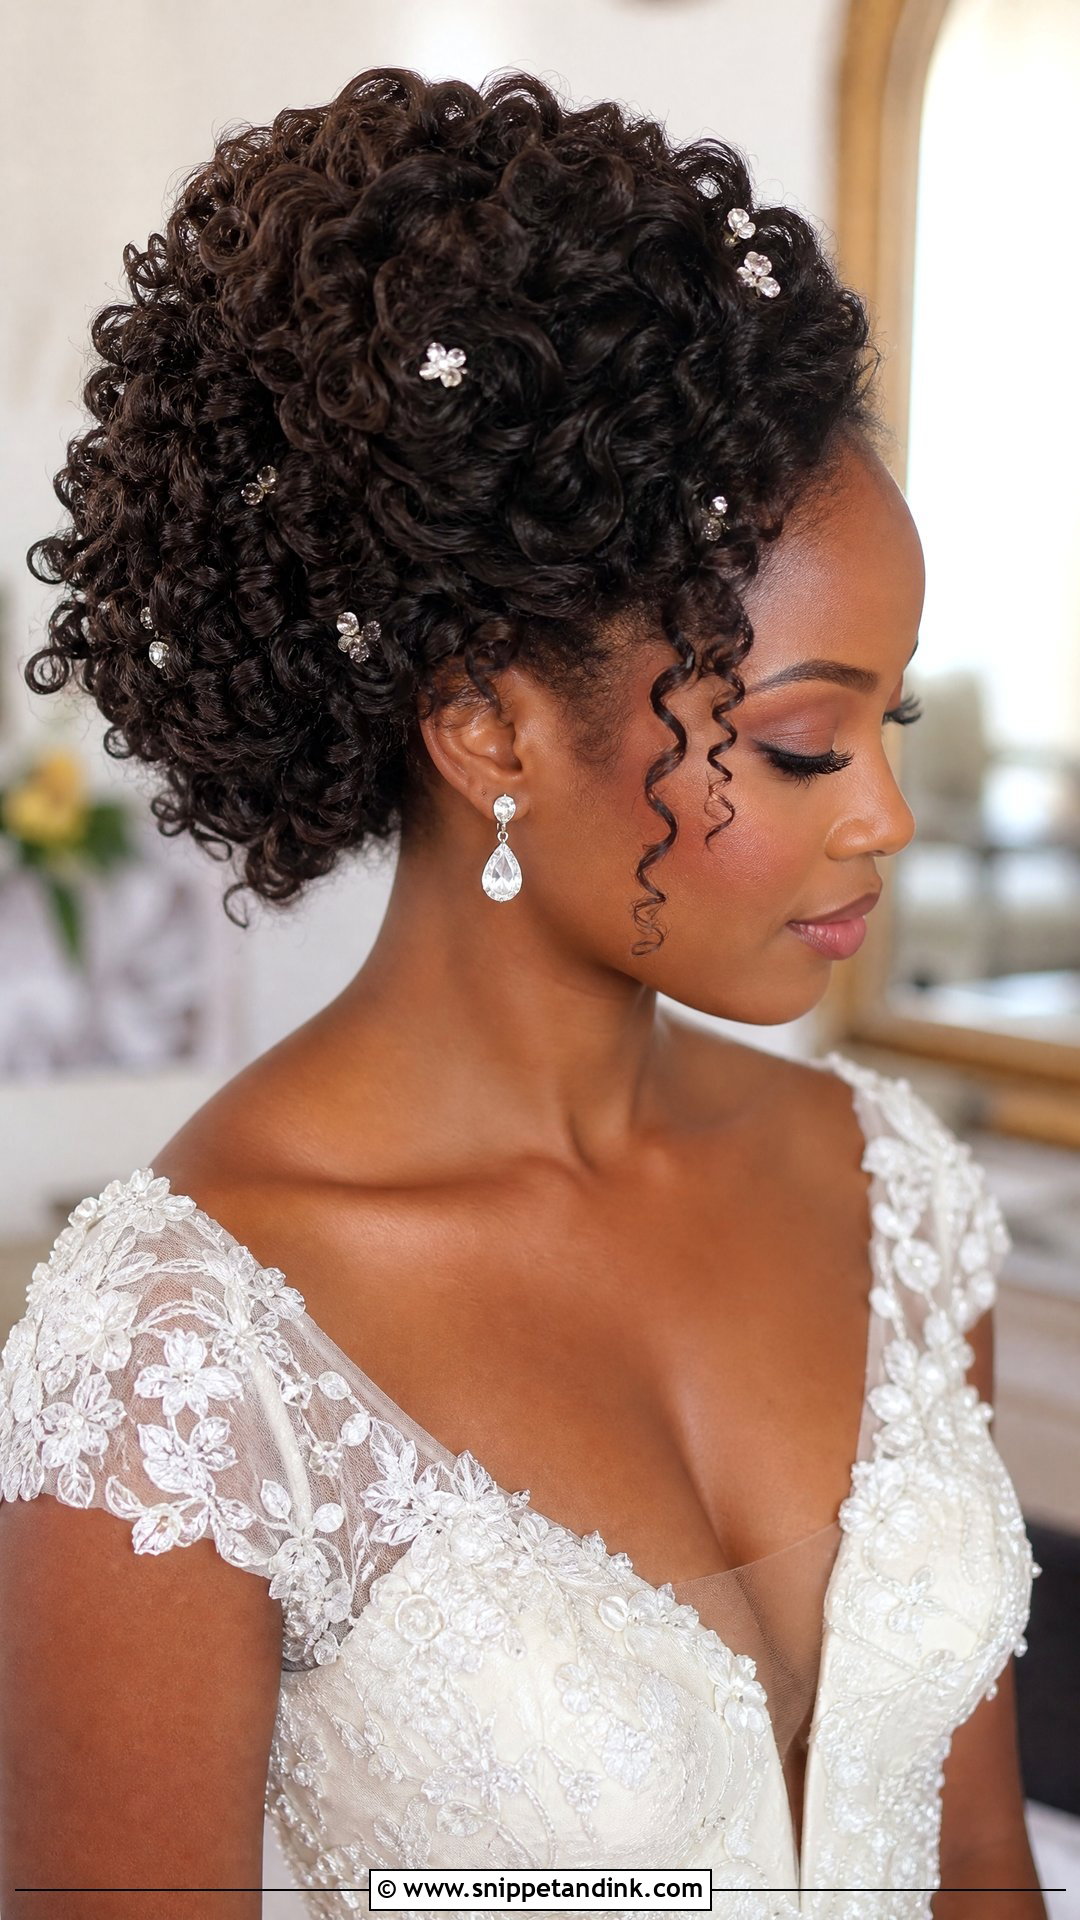
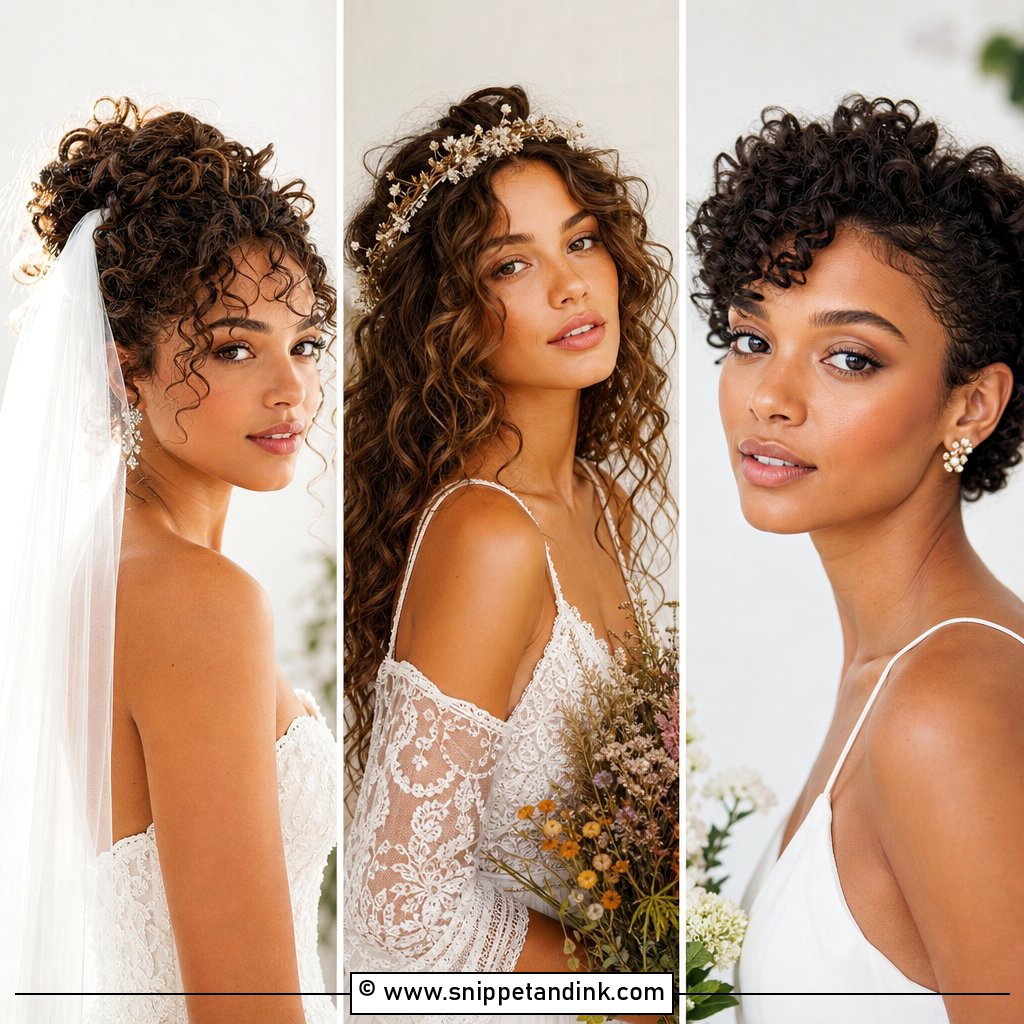
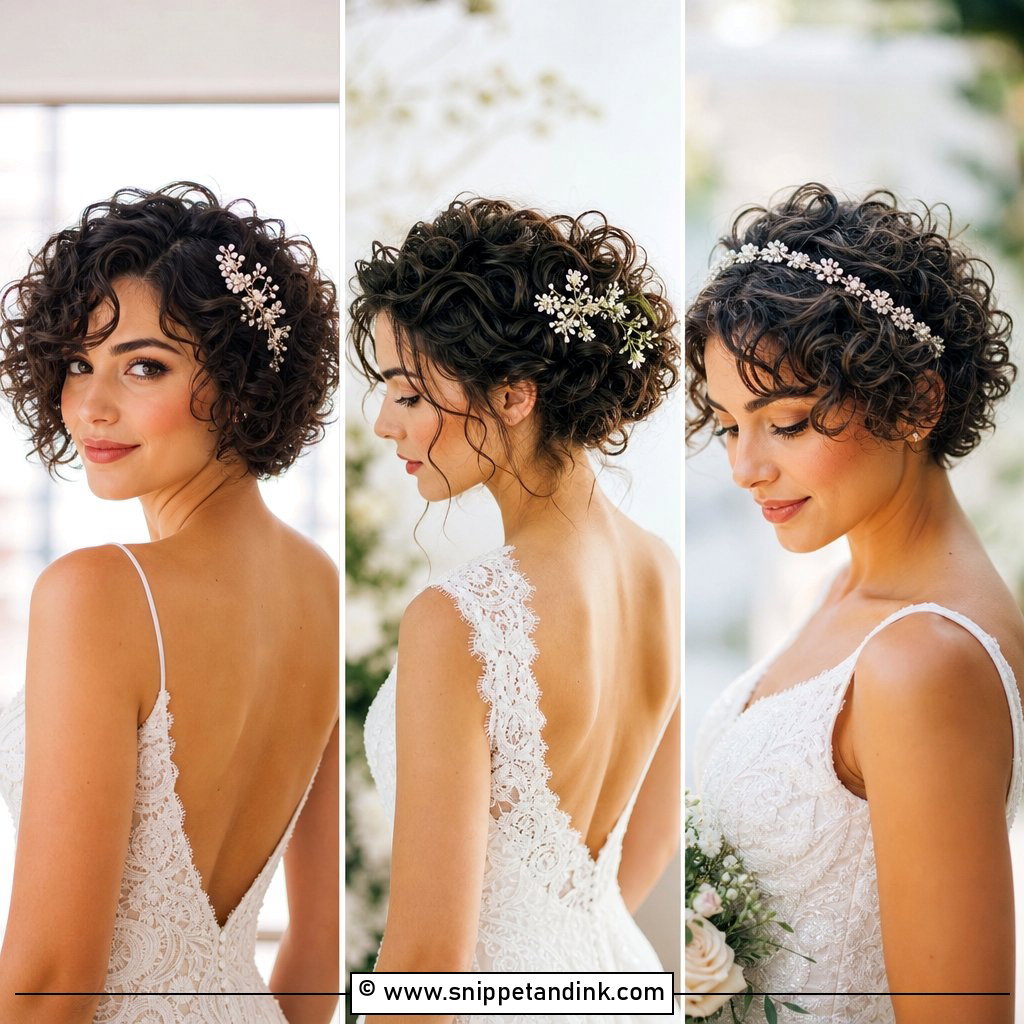
With a curly updo I work with the curl pattern instead of brushing it out. Curls are gathered and pinned in clusters so the definition stays visible, and the shape can sit high, low or off to one side. Prep is half the job: hair should be moisturized and defined a day or two before, because heavy product on the morning makes curls clump and weigh the shape down. I use open pins and U-pins rather than tight bobby pins, which crush curls and snag. Small flowers or crystal pins look right here, and a veil comb slides neatly under the base.
10. Side Swept Wedding Hair
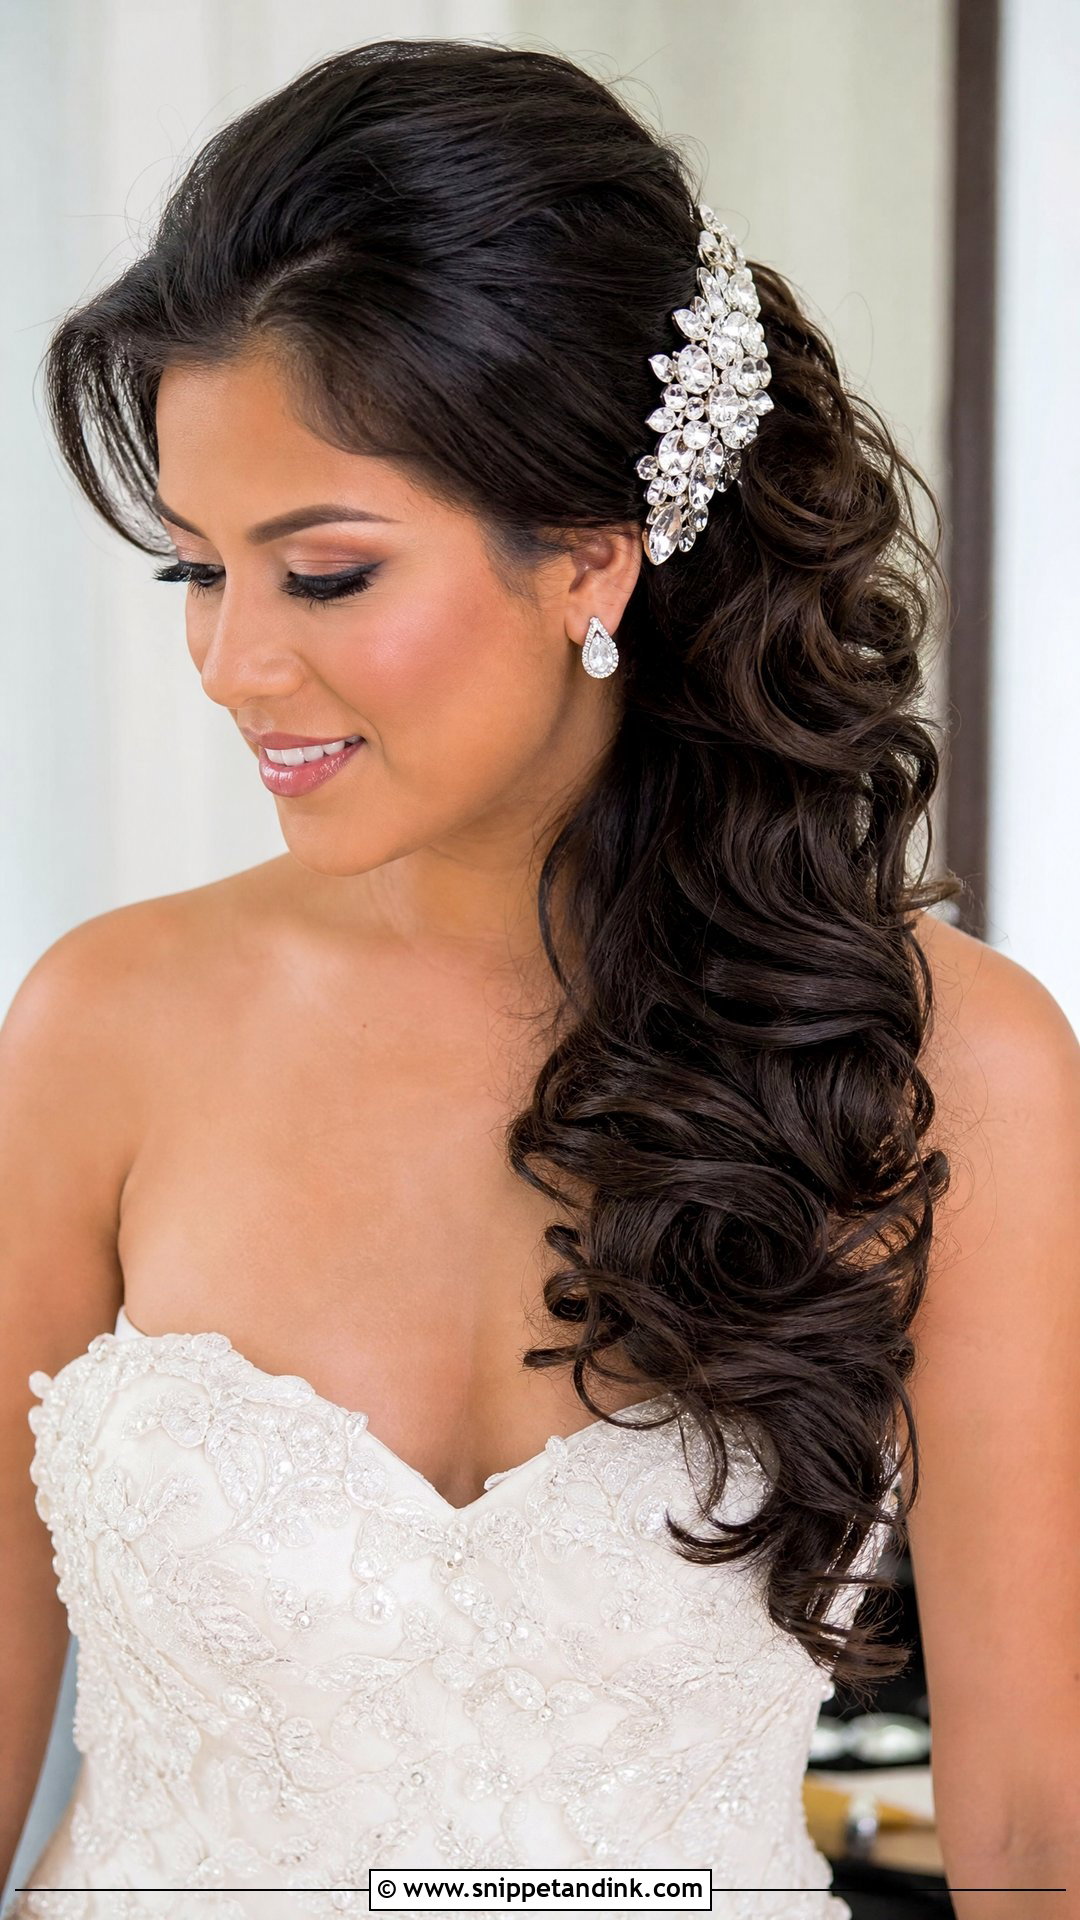
A side-swept style is curled, then gathered over one shoulder with the pins hidden behind the opposite ear. The weight all leans one way, so the anchor point matters: if it isn’t secured to a firm base, the whole thing drifts to the back within a couple of hours. It balances one-shoulder dresses, strapless gowns and big earrings nicely. Long hair shows off best here. I’d skip it if you’ll be hugging a lot of people on that side, because it gets crushed, and that does happen at receptions.
11. High Bun Wedding Hair
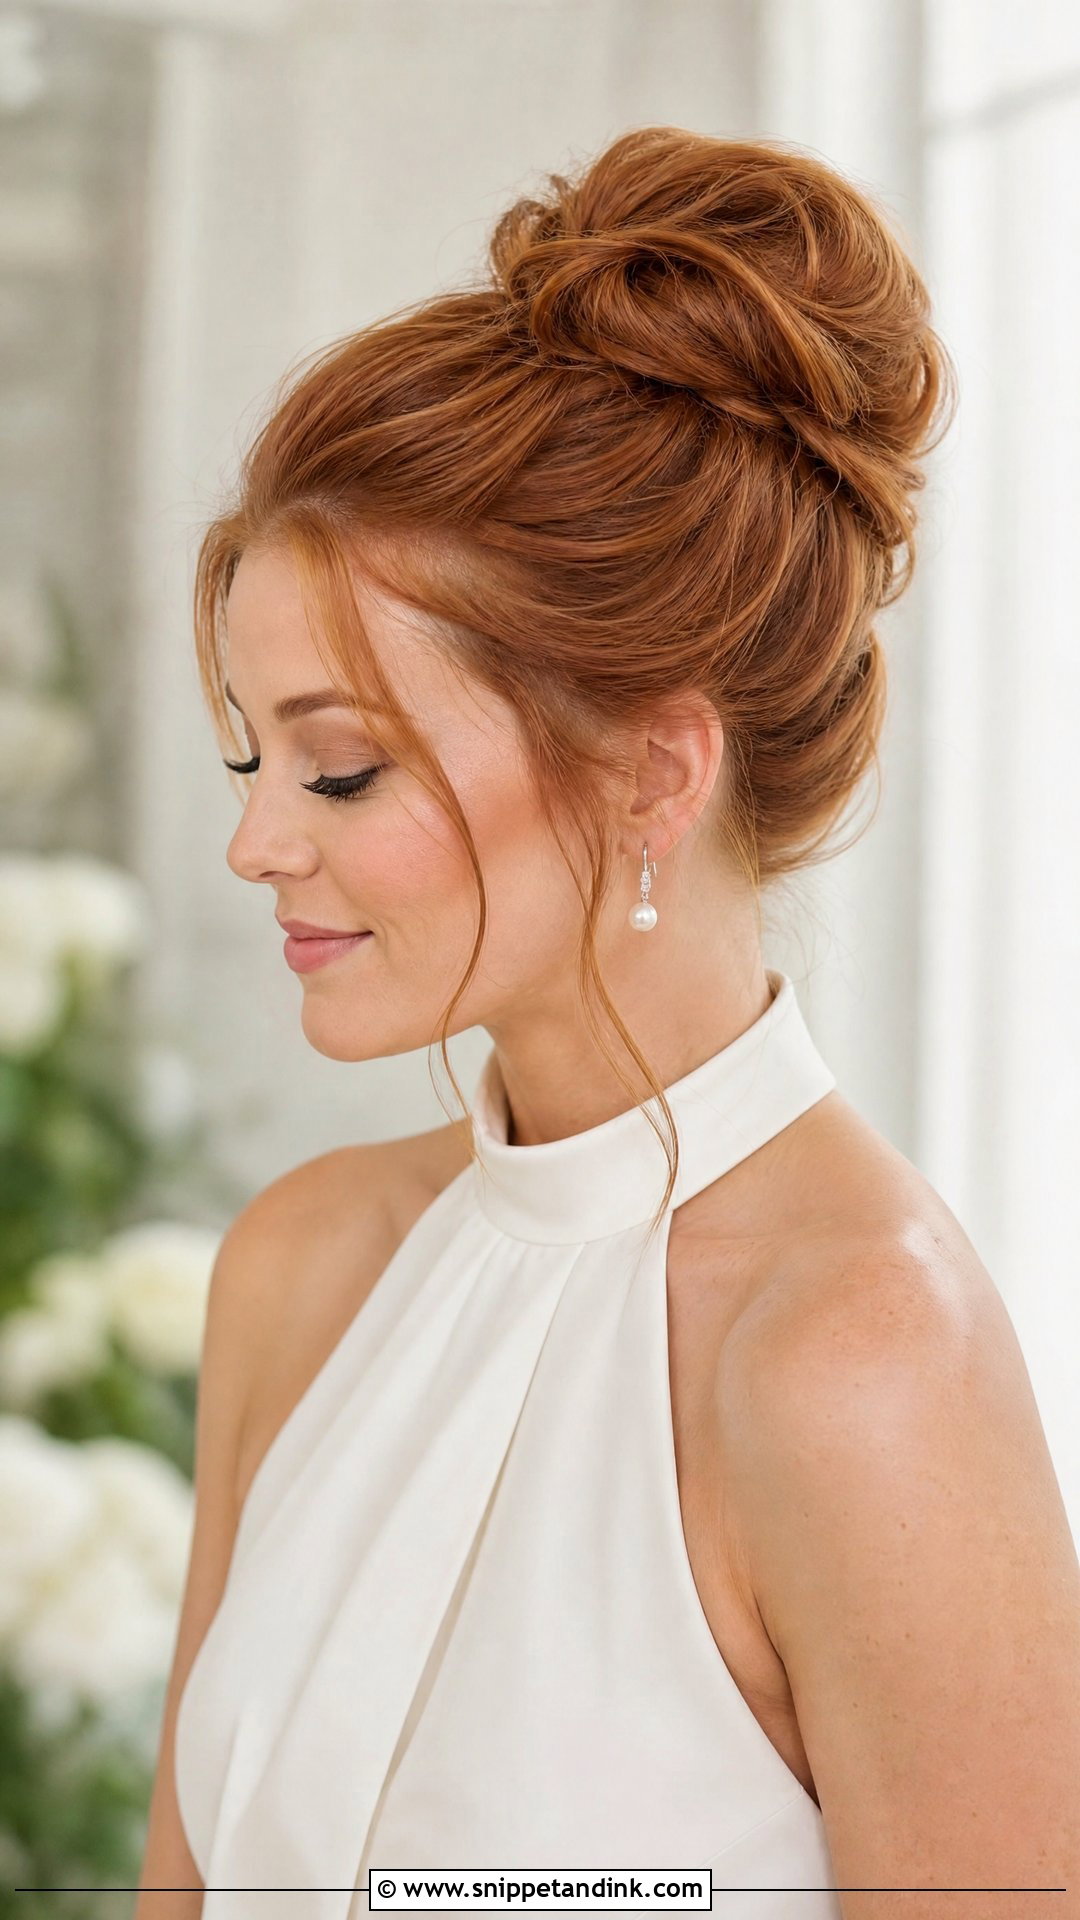
A high bun lengthens the neck and leaves the shoulders bare, which suits high necks, halters and open backs. Placement makes or breaks it. Too far forward and it looks like a topknot; too low and it loses the lift. I usually mark the spot by tracing a line from the cheekbone up past the top of the ear. It’s also cool to wear in summer. Heavy hair needs a solid ponytail base with a doubled elastic, otherwise the weight pulls on the scalp by evening, and I’d add a couple of loose face pieces so it doesn’t look severe.
12. Ponytail Wedding Hair
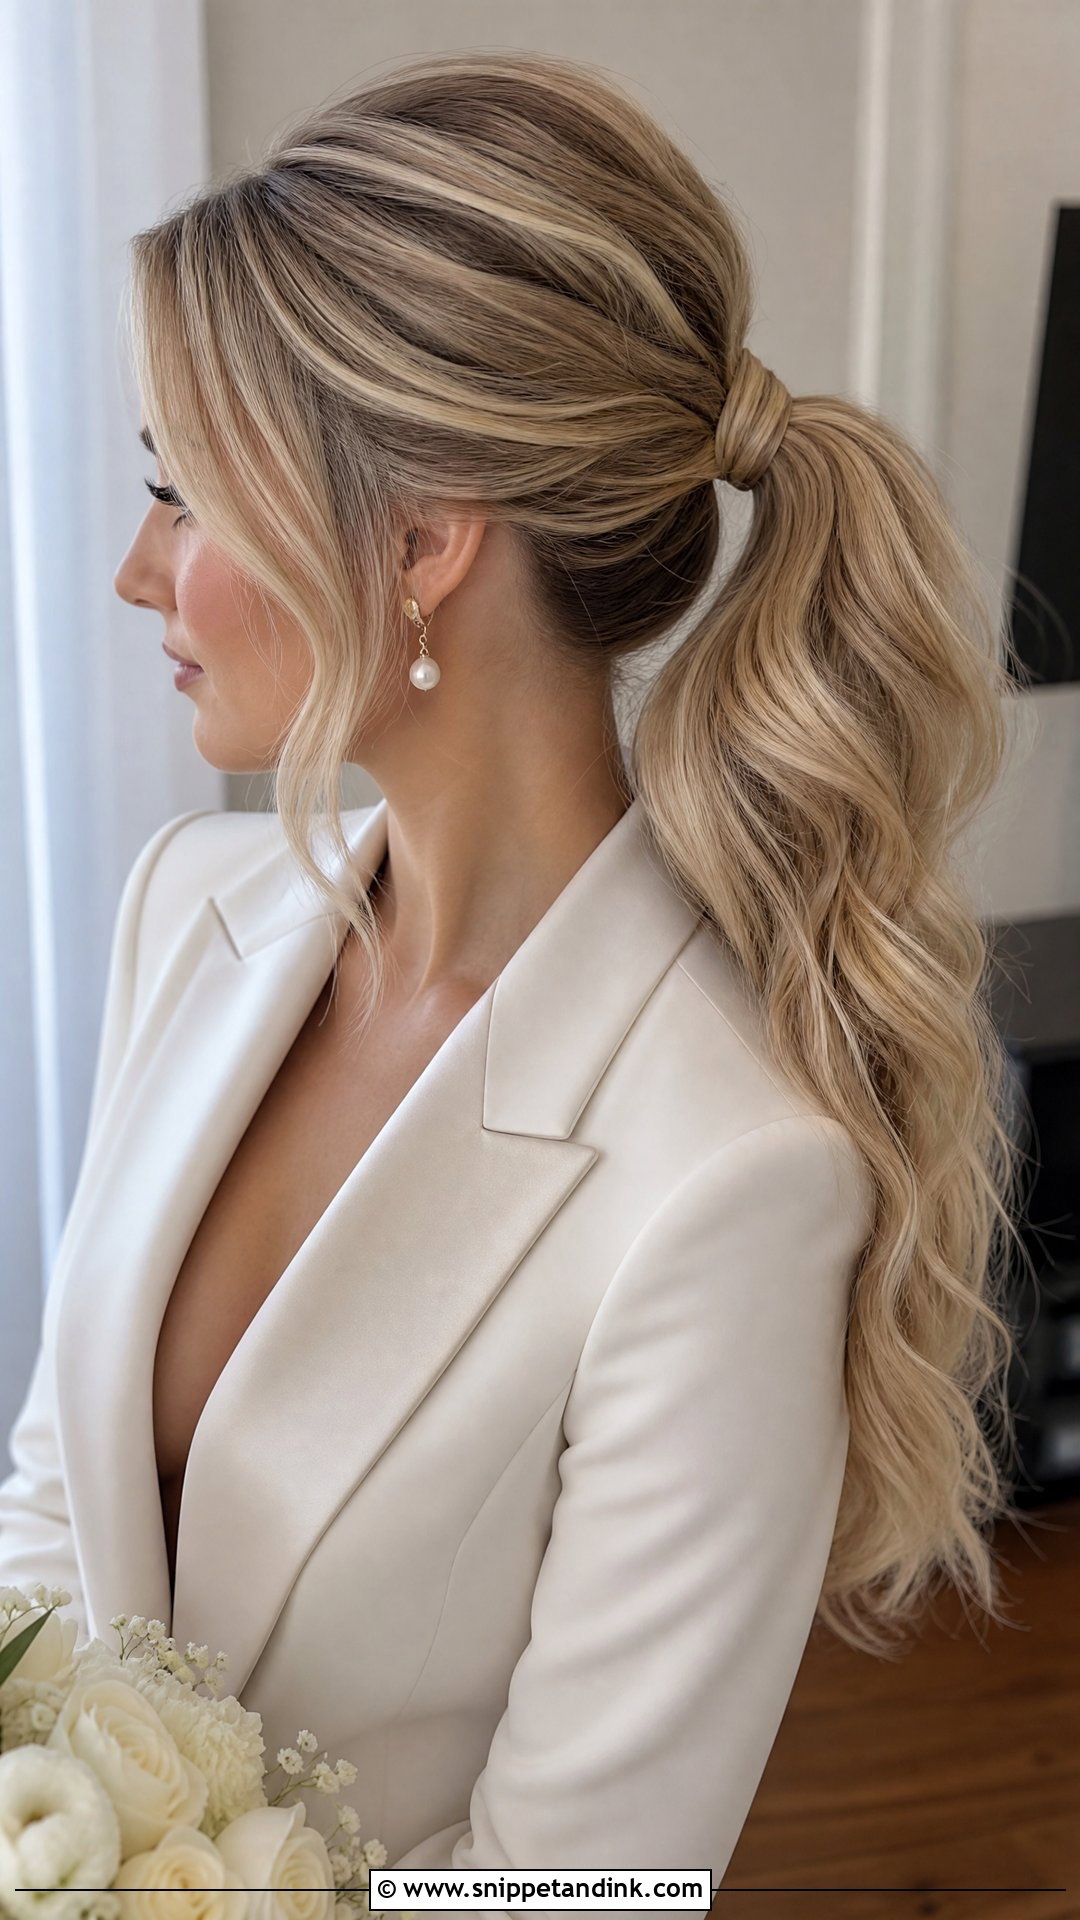
A ponytail can be as formal as a bun if the base is clean. I wrap a section of hair around the elastic and pin it underneath, then add a bit of lift at the crown so the top isn’t plastered down. A low pony feels classic; mid or high feels more fashion-led. It’s a good match for simple gowns, bridal suits and bridesmaids. The thing to know is that long, heavy ponytails can give some people a headache after a few hours, so I place a hidden second elastic to share the weight. A bow, a pearl clip or a veil completes it.
13. Short Wedding Hair
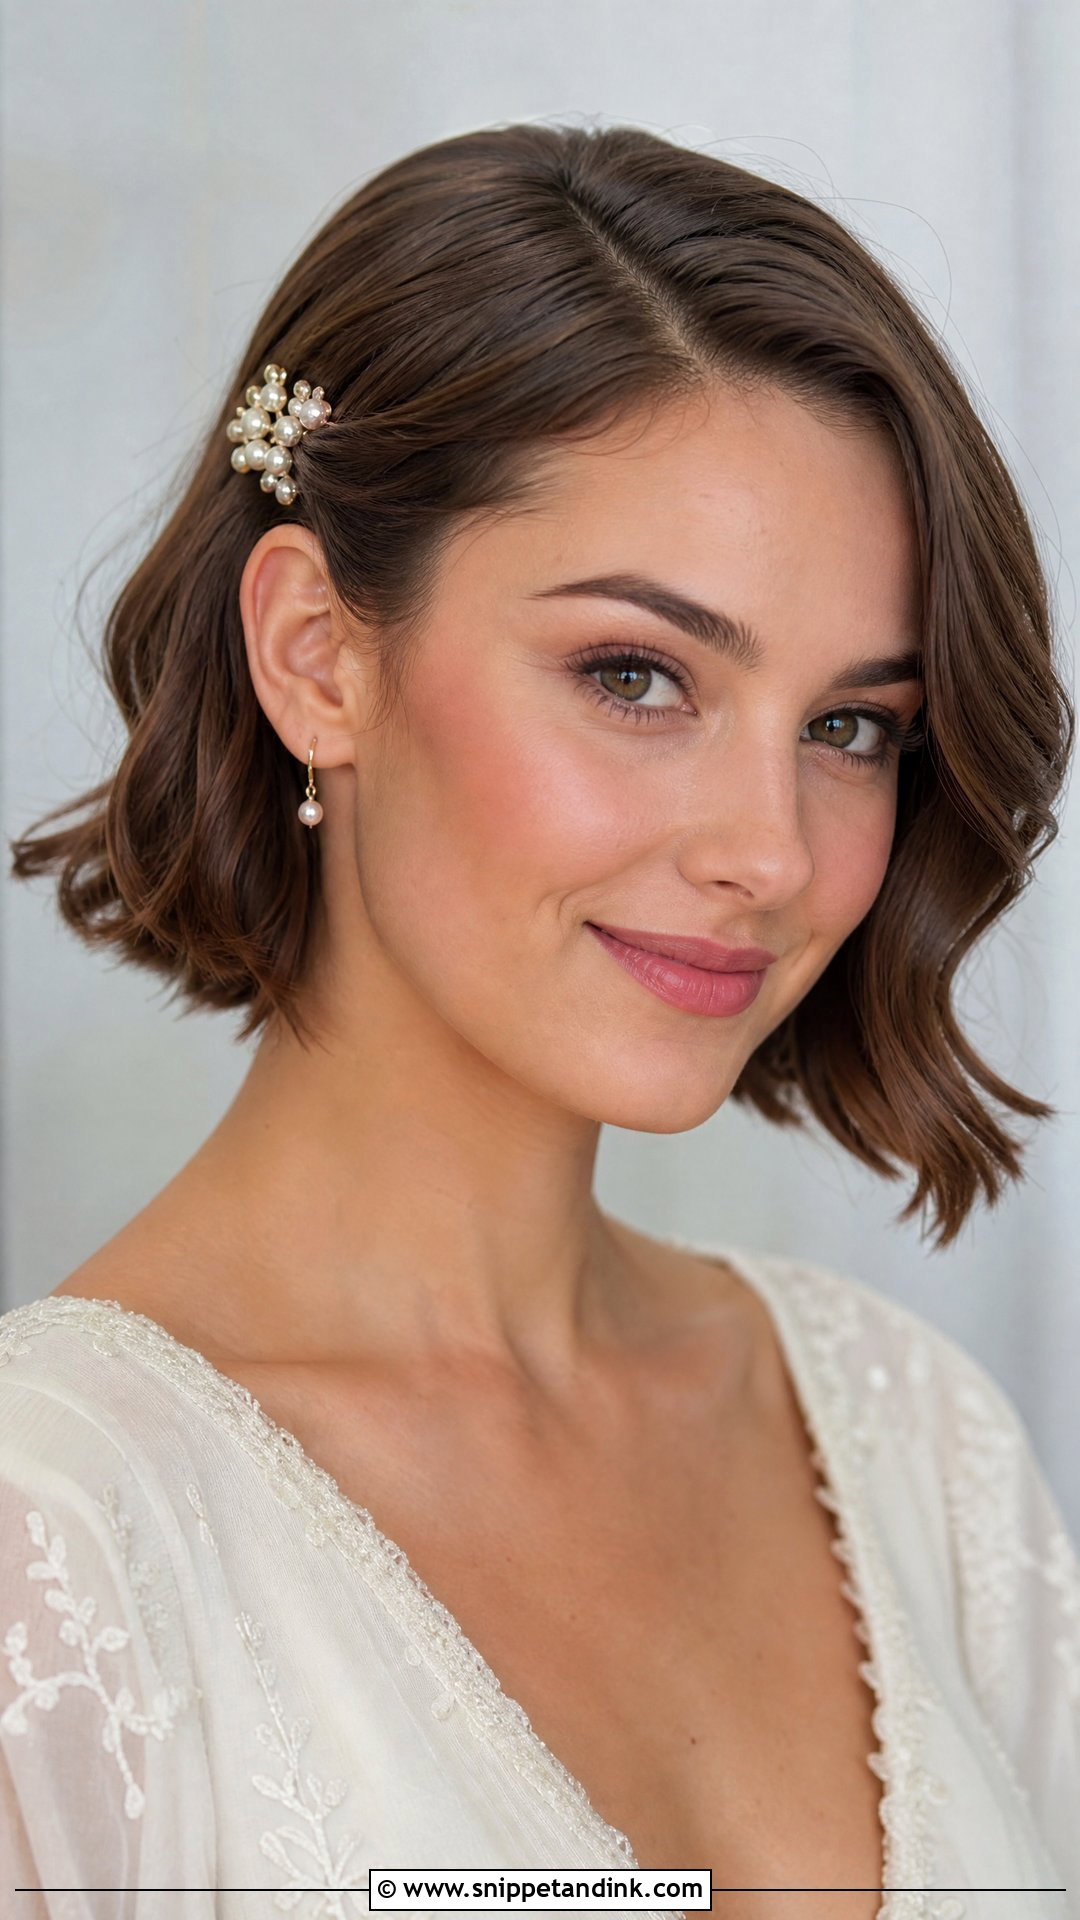
Short hair doesn’t need to pretend to be long. The aim is to make the cut look deliberate. A bob, lob, pixie or cropped cut can take smooth bends, a sharp side part or tucked pieces. With a bob I add flat-iron bends and shine; with a pixie I define the texture and lift the crown. Timing a trim matters more here than for any other length, so I’d book your cut about two weeks before the wedding so the edges have softened. Combs, pins and headbands just need to be scaled to the cut, because something sized for long hair swamps a crop.
14. Natural Wedding Hair
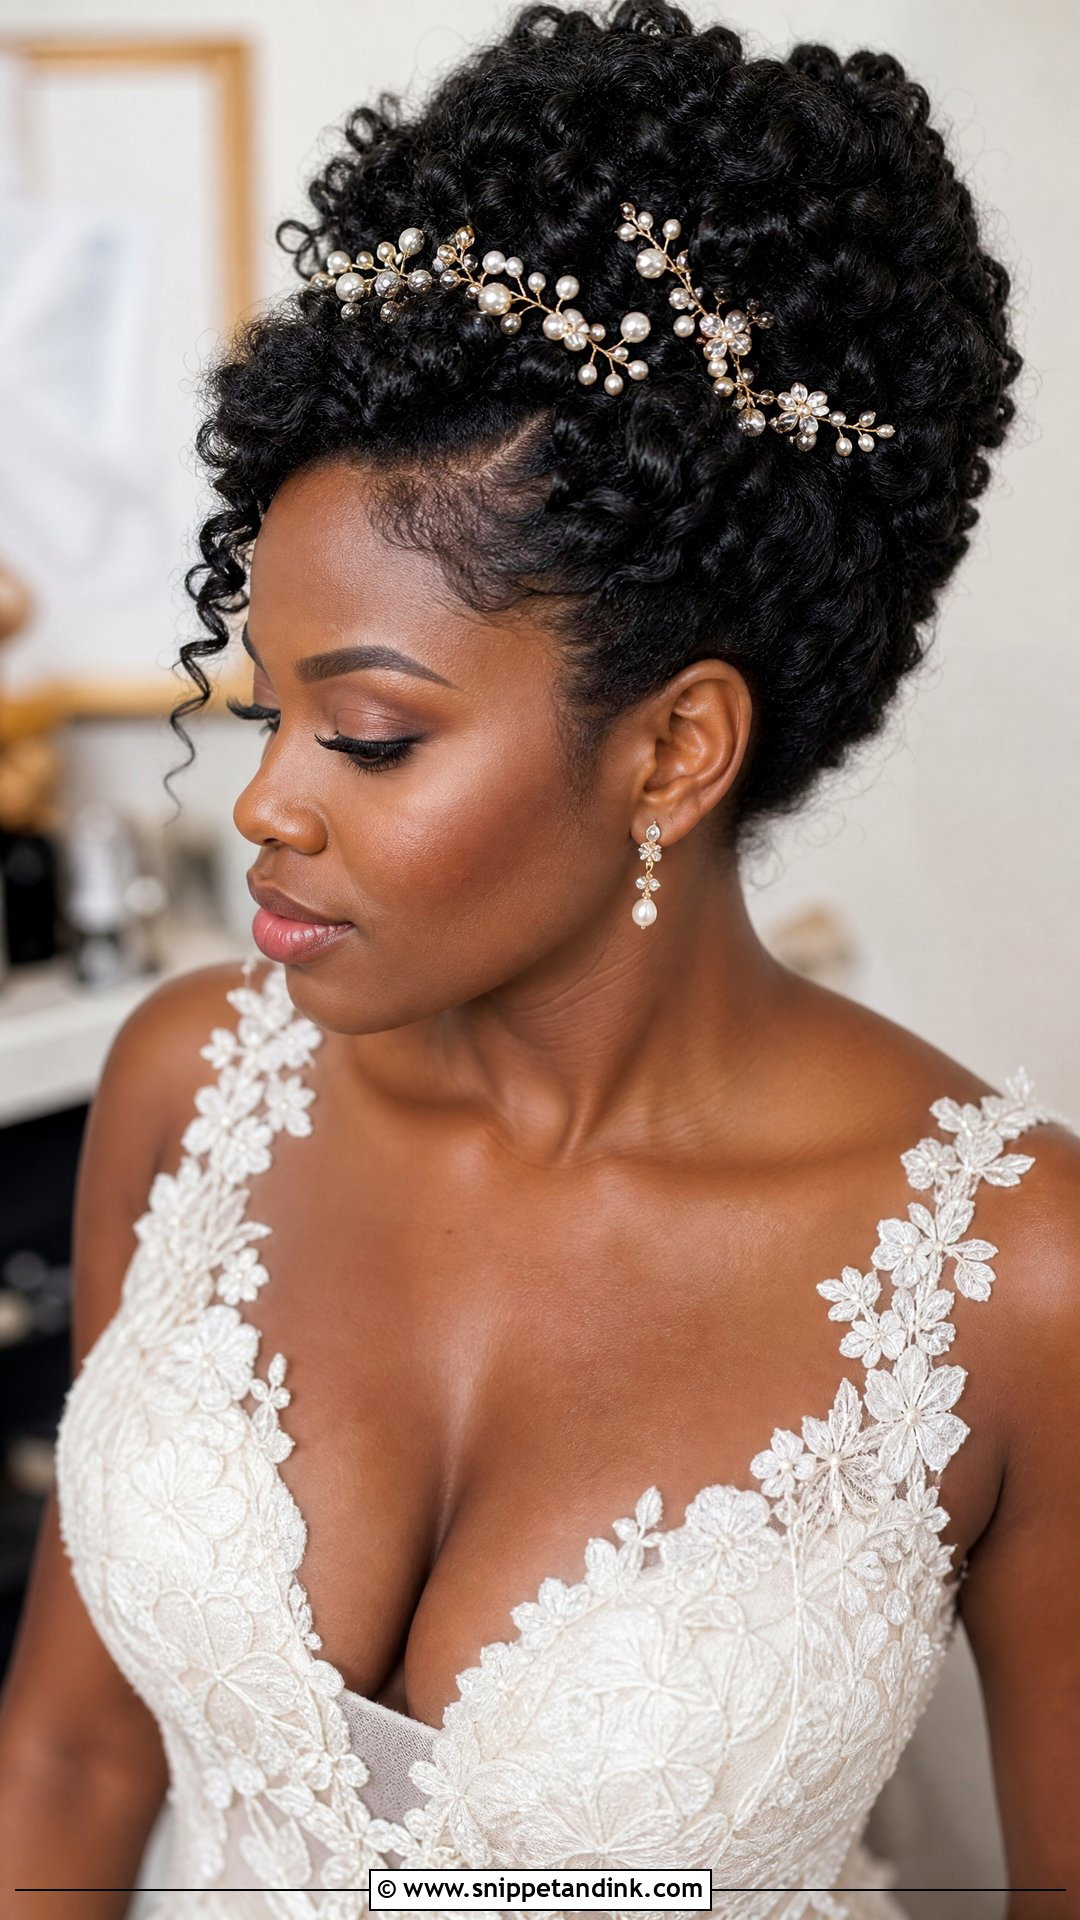
Natural hair needs shape and hydration more than it needs heat. A defined twist-out, a soft afro, pinned curls, a flat-twist crown or a textured puff are all options, and the right one depends on curl pattern, density, the forecast and the neckline. I check the silhouette from the front, both sides and the back, because cameras will catch every angle. Wash, condition and set the style a day or two ahead, so the definition has settled by the morning. Gold pins, pearls or flowers suit it, and a veil comb holds well in textured hair.
15. Pearl Wedding Hair
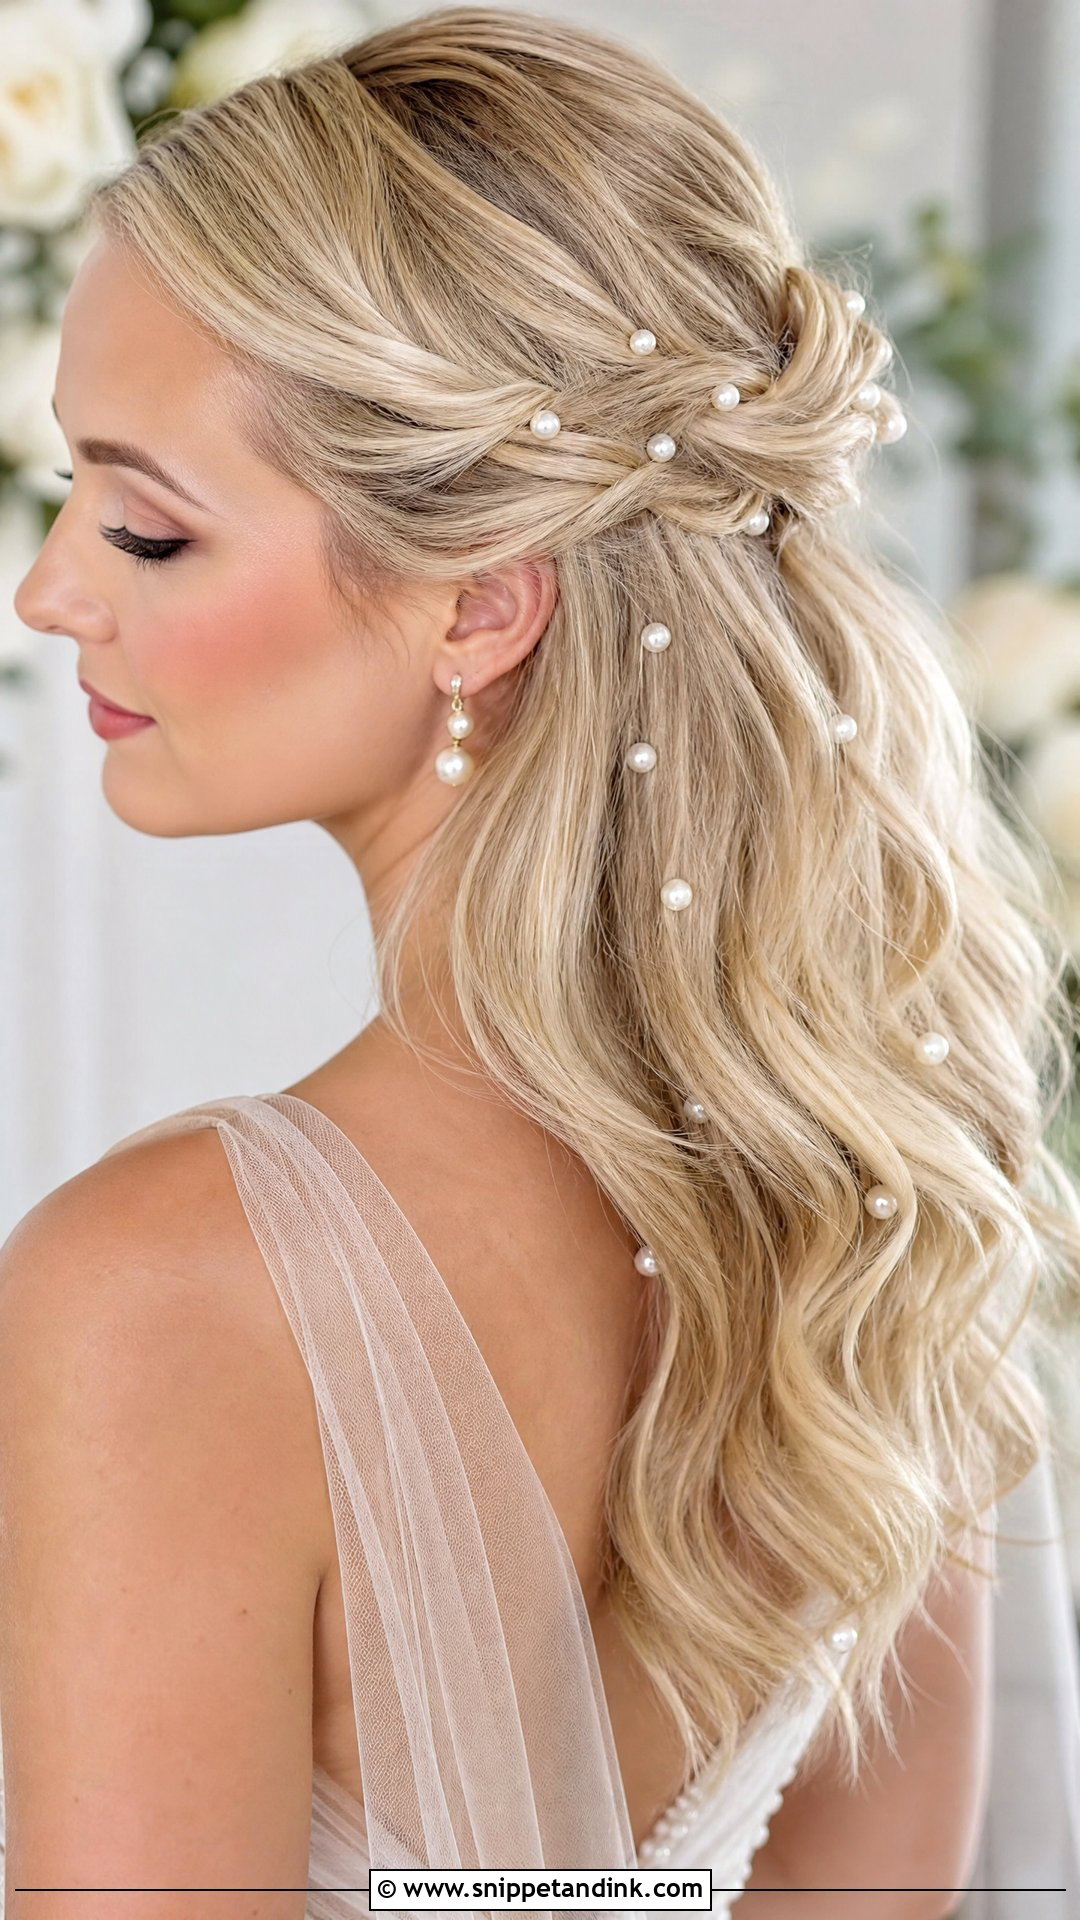
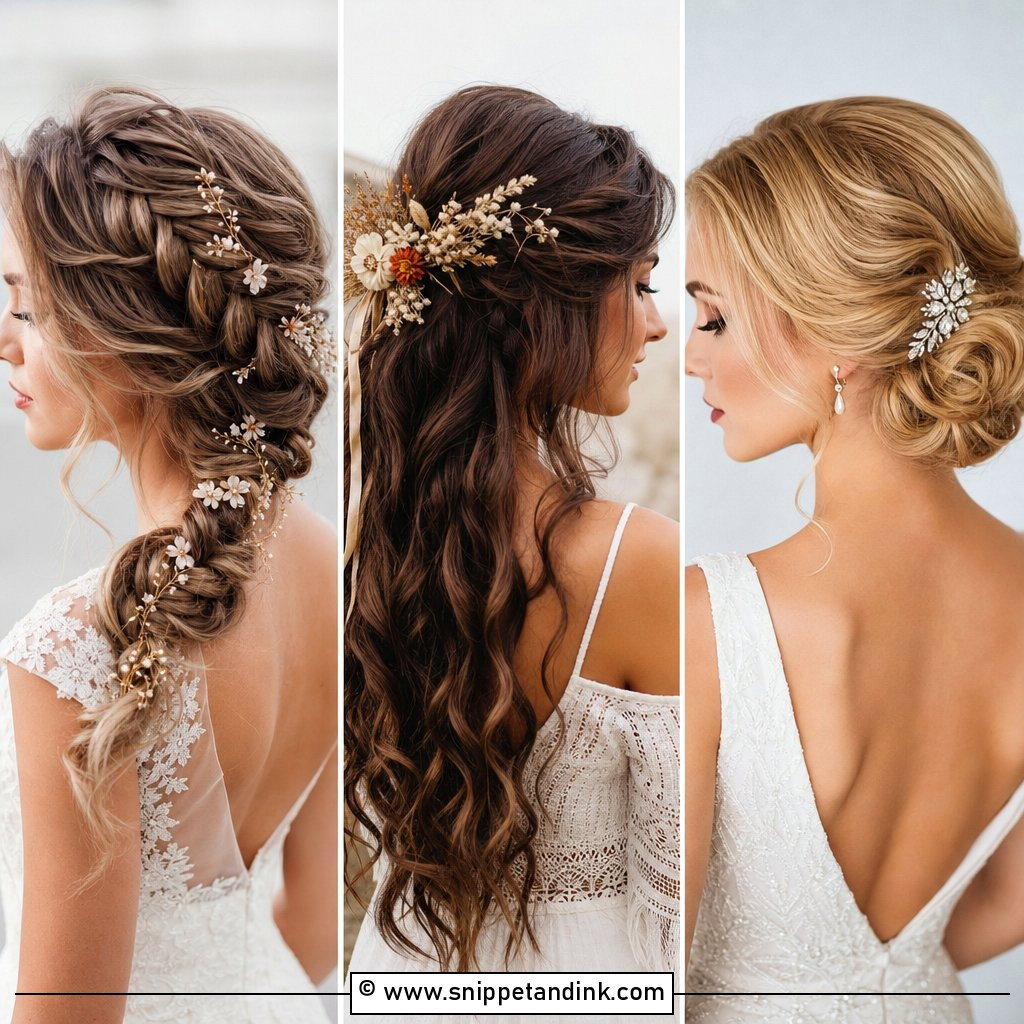
Pearls work best as a few deliberate points rather than a sprinkle everywhere. I scatter them through a low bun, tuck them along a braid or line them across a half-up twist, then step back and usually take one or two out. Too many reads busy in photos. Satin, lace, tulle and plain gowns all take pearls well, and I’d match the pearl tone to your earrings, since ivory and bright white side by side look off. Pearls on clips or U-pins hold far better in fine hair than the glued-on kind.
A Trial Run Worth Paying For
A trial isn’t a pamper session. It’s the one chance to see how a style behaves on your particular hair, so I treat it as a test and I’d ask you to do the same.
- Arrive with your hair prepped the way it will be on the day, which for most styles means washed the day before, not that morning.
- Wear a top with a neckline close to your dress and bring the veil, comb or pins you plan to use.
- Take photos from the side and back, with and without flash. Flash shows flyaways and gaps that daylight forgives.
- Keep the style in for the rest of the day. Walk, sit in the car, hug someone, then note what has moved by evening.
- Ask your stylist to write down the products and pin count so the day-of version matches what you approved.
From First Look to Last Dance
Even a well-pinned style shifts. Waves loosen first, usually around the speeches, and face-framing pieces drop sooner in humid weather. Buns hold their shape but can sag if a heavy veil stays in through dinner, so I suggest taking it out before the reception starts.
Give a bridesmaid a tiny kit: bobby pins in your hair colour, a travel-size flexible spray, a tail comb and two clear elastics. Five quiet minutes with it before the first dance fixes most problems. A touch-up visit between ceremony and reception is worth booking for loose styles and rarely needed for sleek ones.
Elegance Mostly Comes Down to Fit
Nothing on this list needs to be complicated to look elegant. What makes a style right is how it suits your dress, your hair’s texture, the venue and how many hours you’ll wear it. In my experience a sleek bun looks at home in a city ballroom, while loose waves or a braided updo sit more naturally in a garden. Half-up is a good middle ground, and natural texture looks wonderful when it’s shaped with care. Book a trial, bring photos from the front, side and back, and pick the version you forget you’re wearing.
You'll Like These Ideas:


Leave a Reply