
Doing your own engagement hair is very doable, but it’s a different job from styling for a normal night out. The hair has to survive hugs, a dupatta or veil being adjusted, someone fixing your earring, and hours of photos where the back of your head shows up as often as the front. So each look below comes with the steps I’d actually walk a client through, not just a picture. Treat it as a tutorial guide you work through with a brush in hand. Pick two styles, try both a couple of weeks ahead, and keep the one your hands genuinely manage.
Laying Out Your Kit the Night Before
Half the stress of DIY engagement hair is hunting for a pin with wet nails. I always tell clients doing their own hair to set everything out the evening before, in the order they’ll use it.
- Heat: a 1 to 1.25 inch curling iron for most waves, a flat iron for sleek looks and bends in short hair, and heat protectant.
- Grip: texture spray or dry shampoo. Freshly washed, silky hair is the hardest to pin, so many people get better hold washing the day before.
- Hold: bobby pins that match your hair colour, a handful of U-shaped pins for buns, clear elastics, and a flexible hairspray rather than a stiff one.
- Shaping: a paddle brush, a fine-tooth tail comb for parts and sectioning, and duckbill clips for setting curls while they cool.
- Seeing the back: a hand mirror, or your phone propped up on a timer. A ten-second video of the back of your head is the easiest check there is.
Put your accessories on the same tray. Clips and combs that look small in the box can feel heavy once they’re in, so decide where they sit during the practice run, not on the morning.
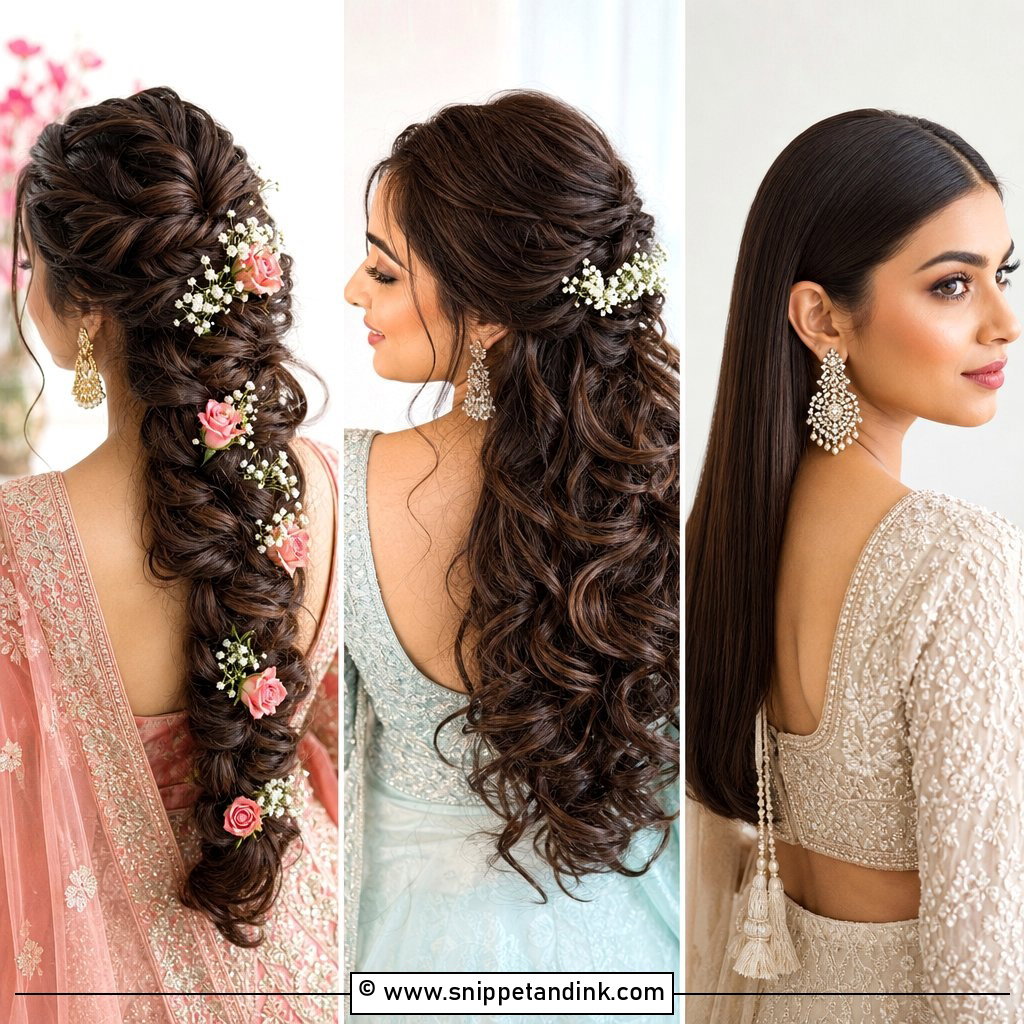
1. Engagement Soft Waves
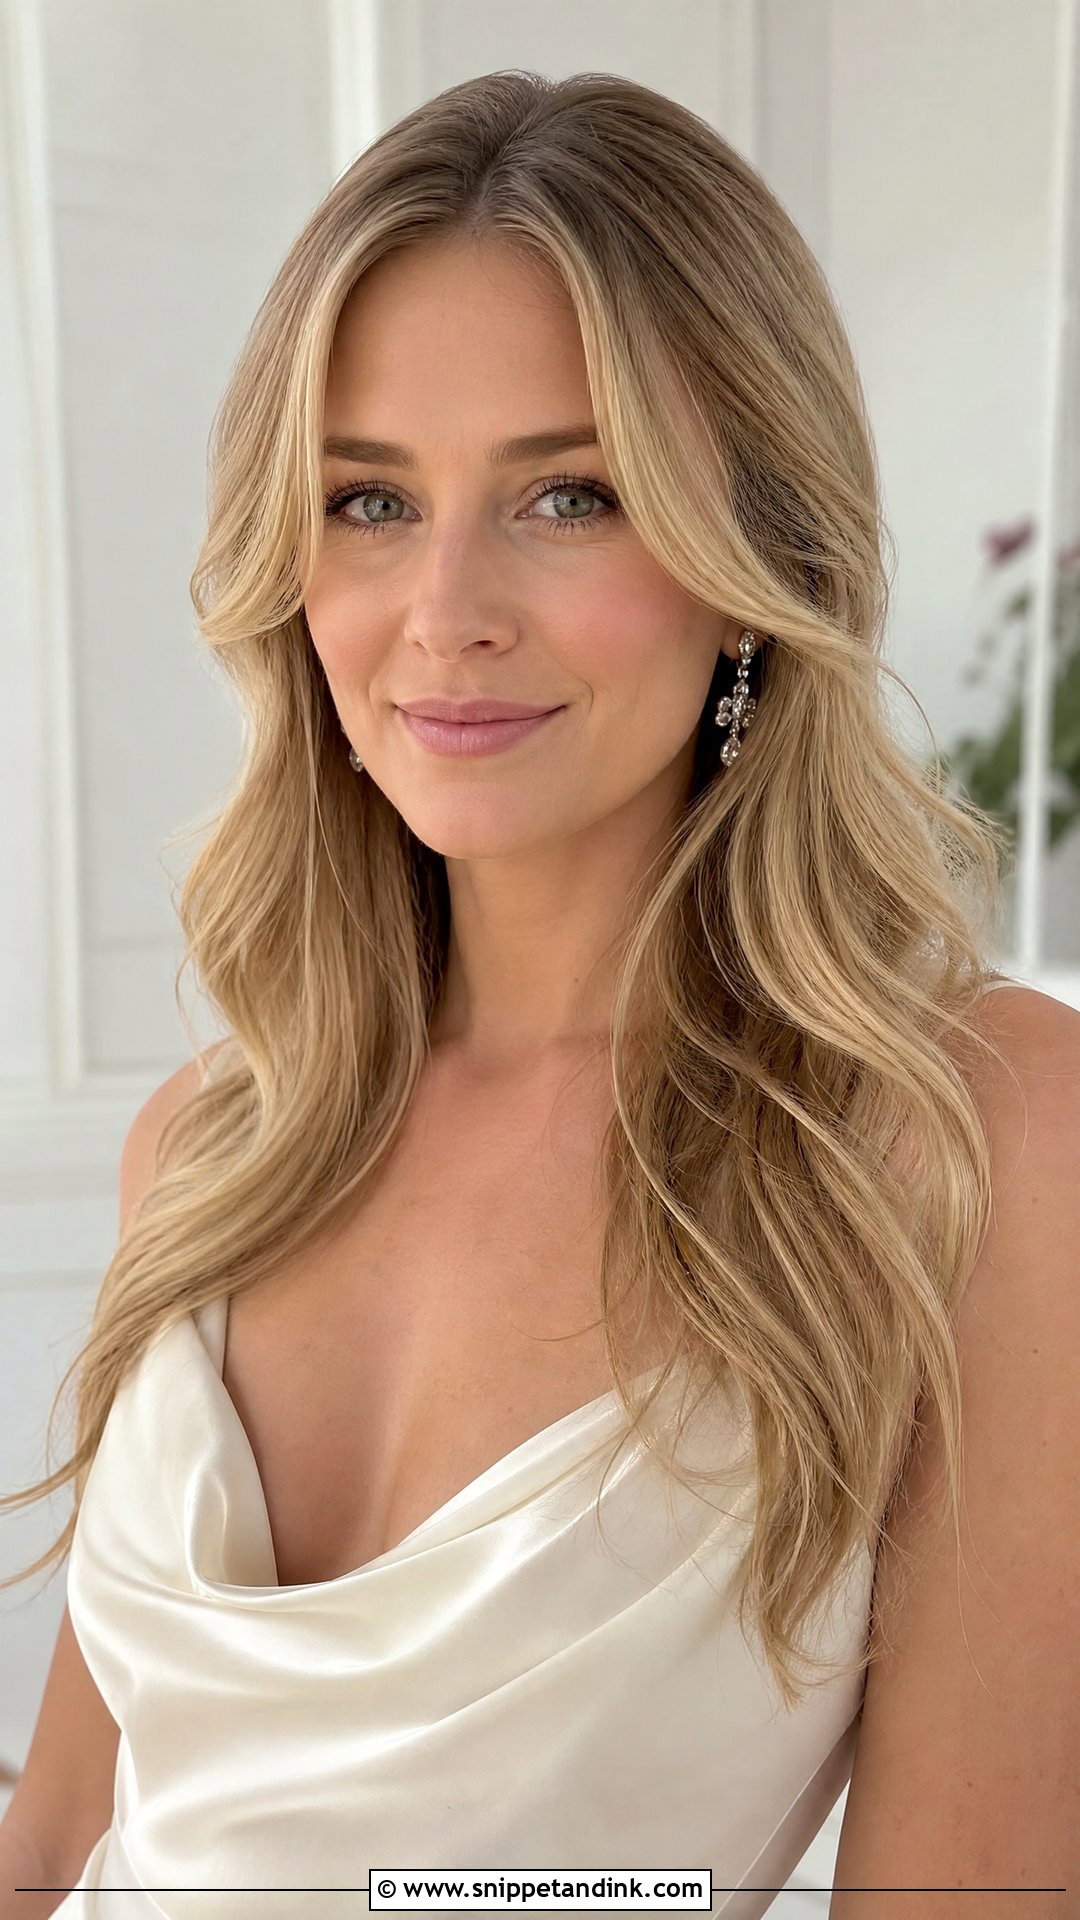
Soft waves rely on one habit more than any tool: letting each curl cool before you touch it. Start on clean, dry hair with heat protectant through the mid-lengths and ends, set your part, then curl one-inch sections away from your face with a medium iron. Warm hair is still soft and will drop under its own weight, so I hold each curl in my palm or clip it until it’s cold. Then brush through with a wide paddle brush. Tuck one side behind the ear if your earrings deserve to be seen.
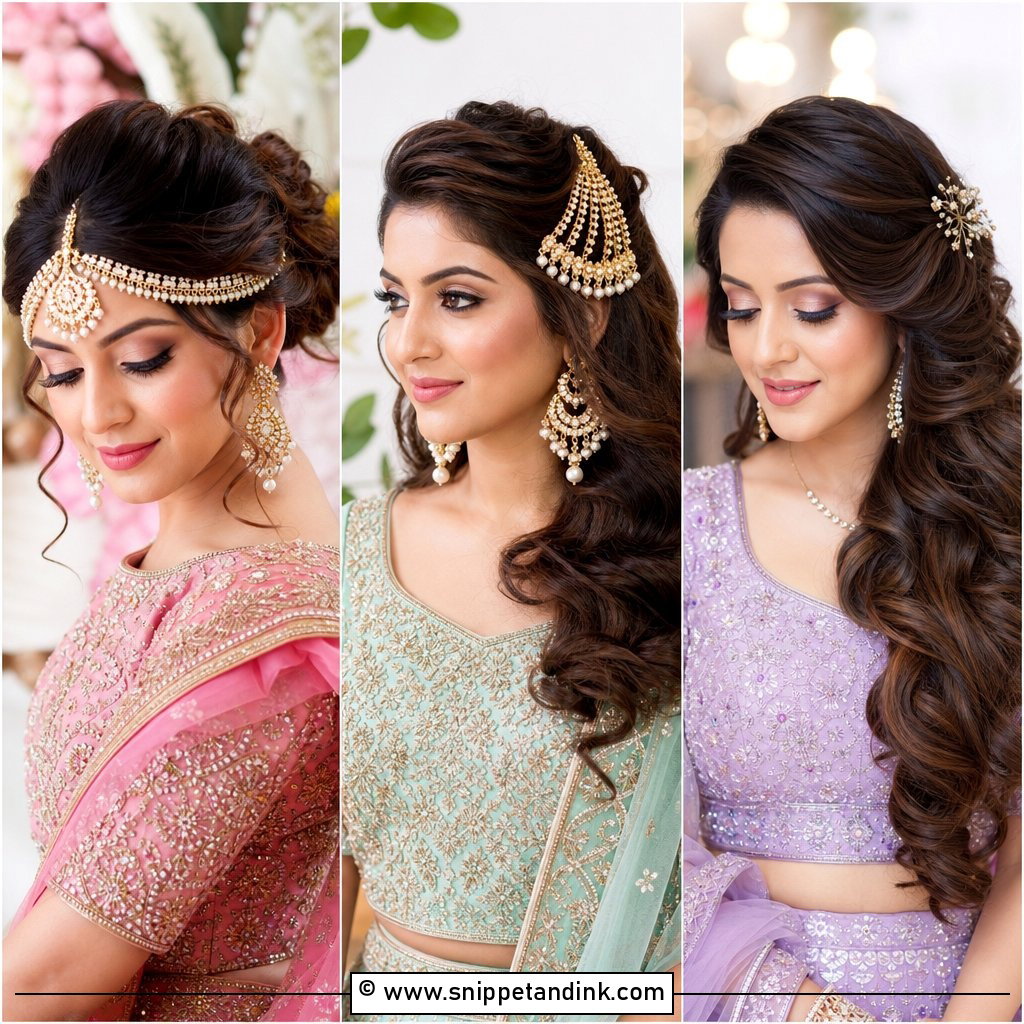
2. Engagement Half Up Half Down Waves
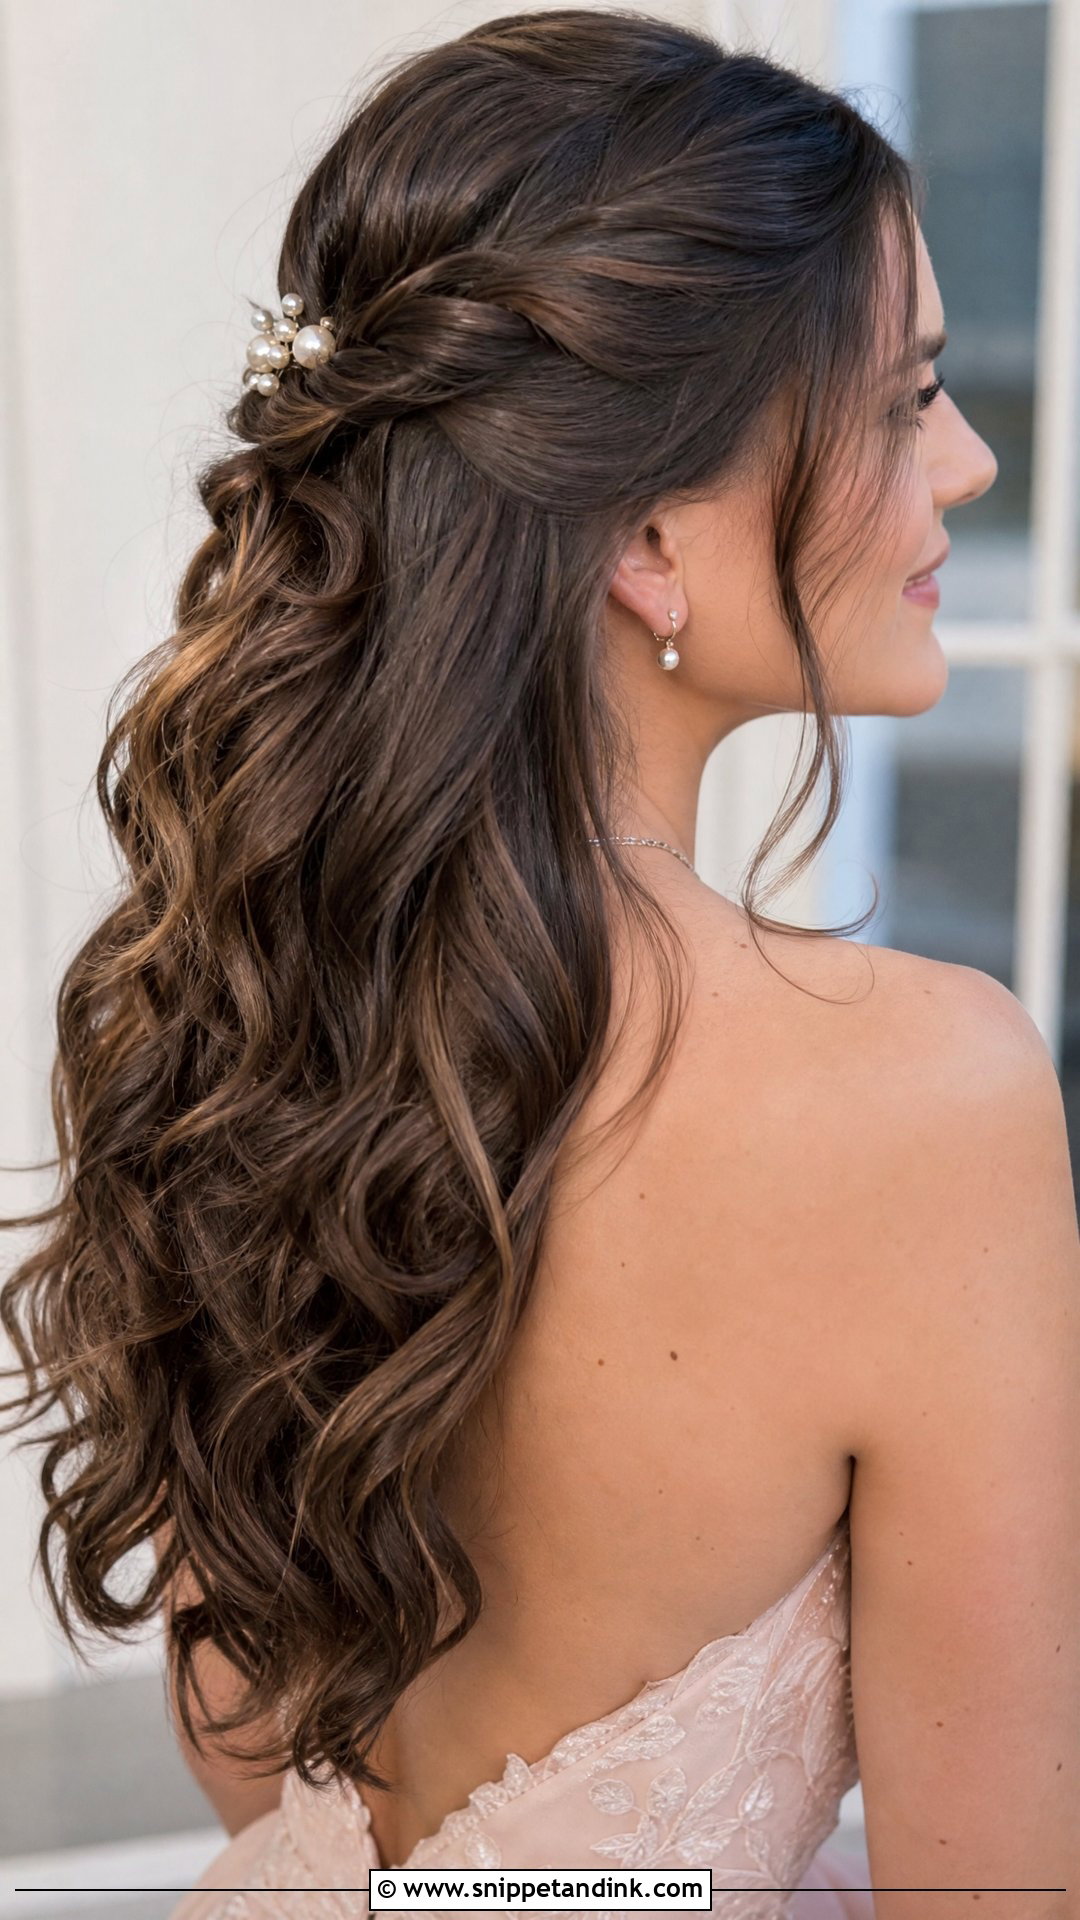
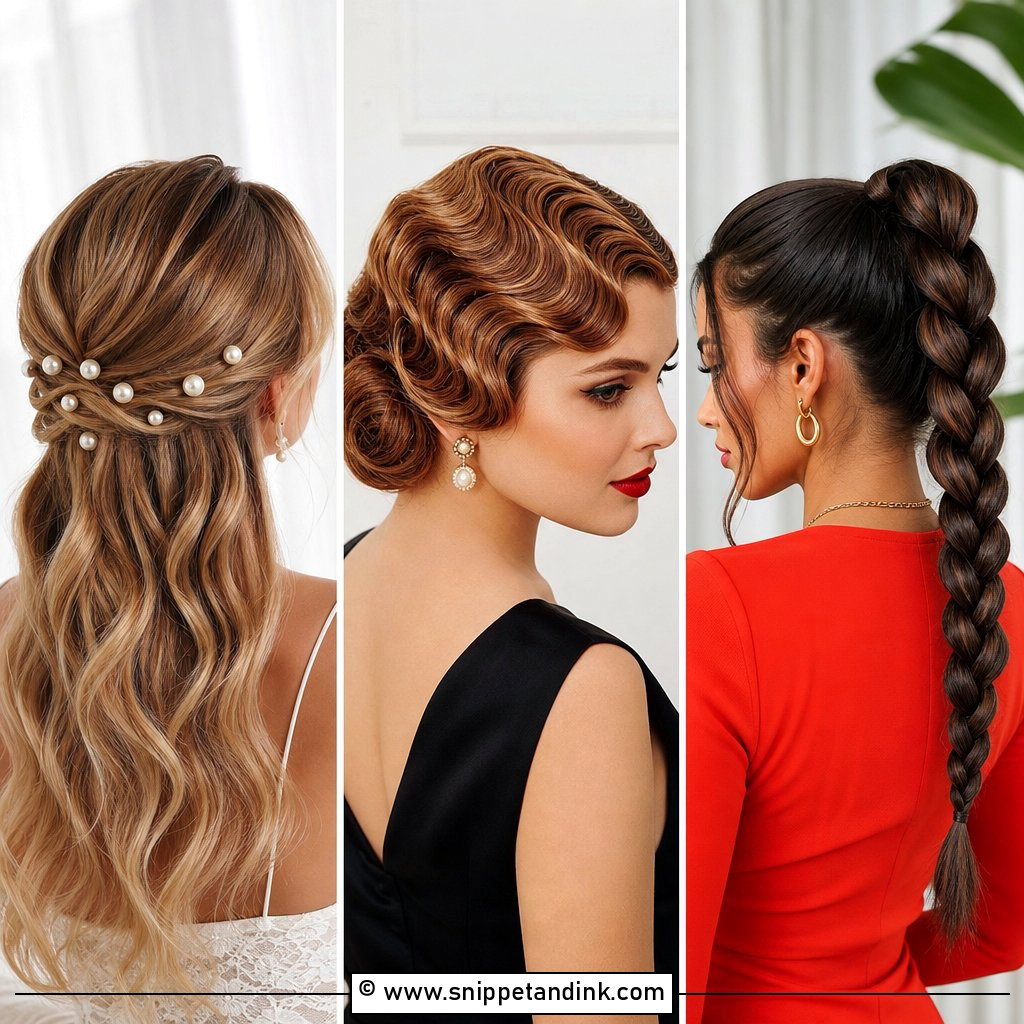
Half up, half down gives you loose hair with a secure anchor at the back. Curl the whole head first and brush the waves out. Take a section from above each ear, twist both gently toward the back and pin them together at the crown with pins that match your hair colour. I tease the crown lightly before pinning, because the twists flatten the top as they pull back. The common mistake at home is pinning too low, which makes the half-up section disappear in front-facing photos. Aim for the point where the head starts to curve down. Pearl pins or a small clip can cover the join.
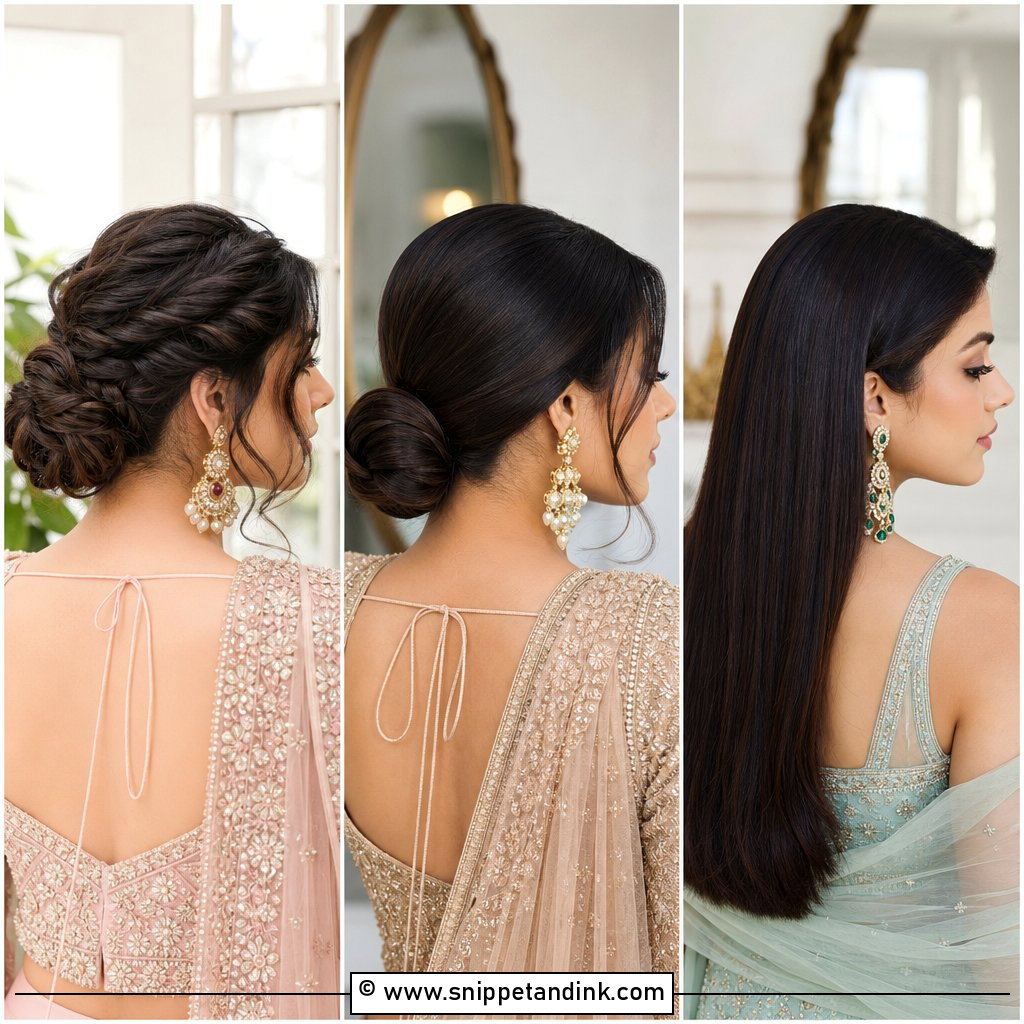
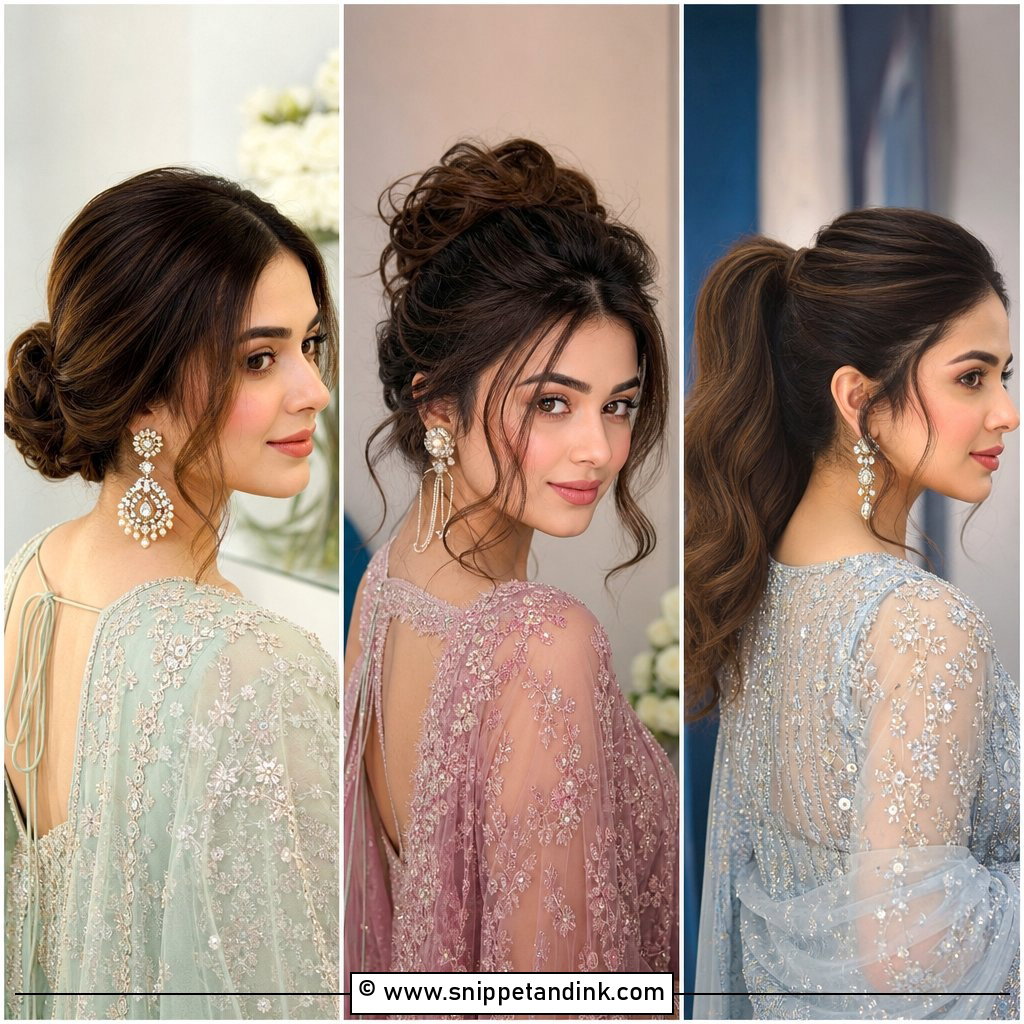
3. Engagement Low Bun
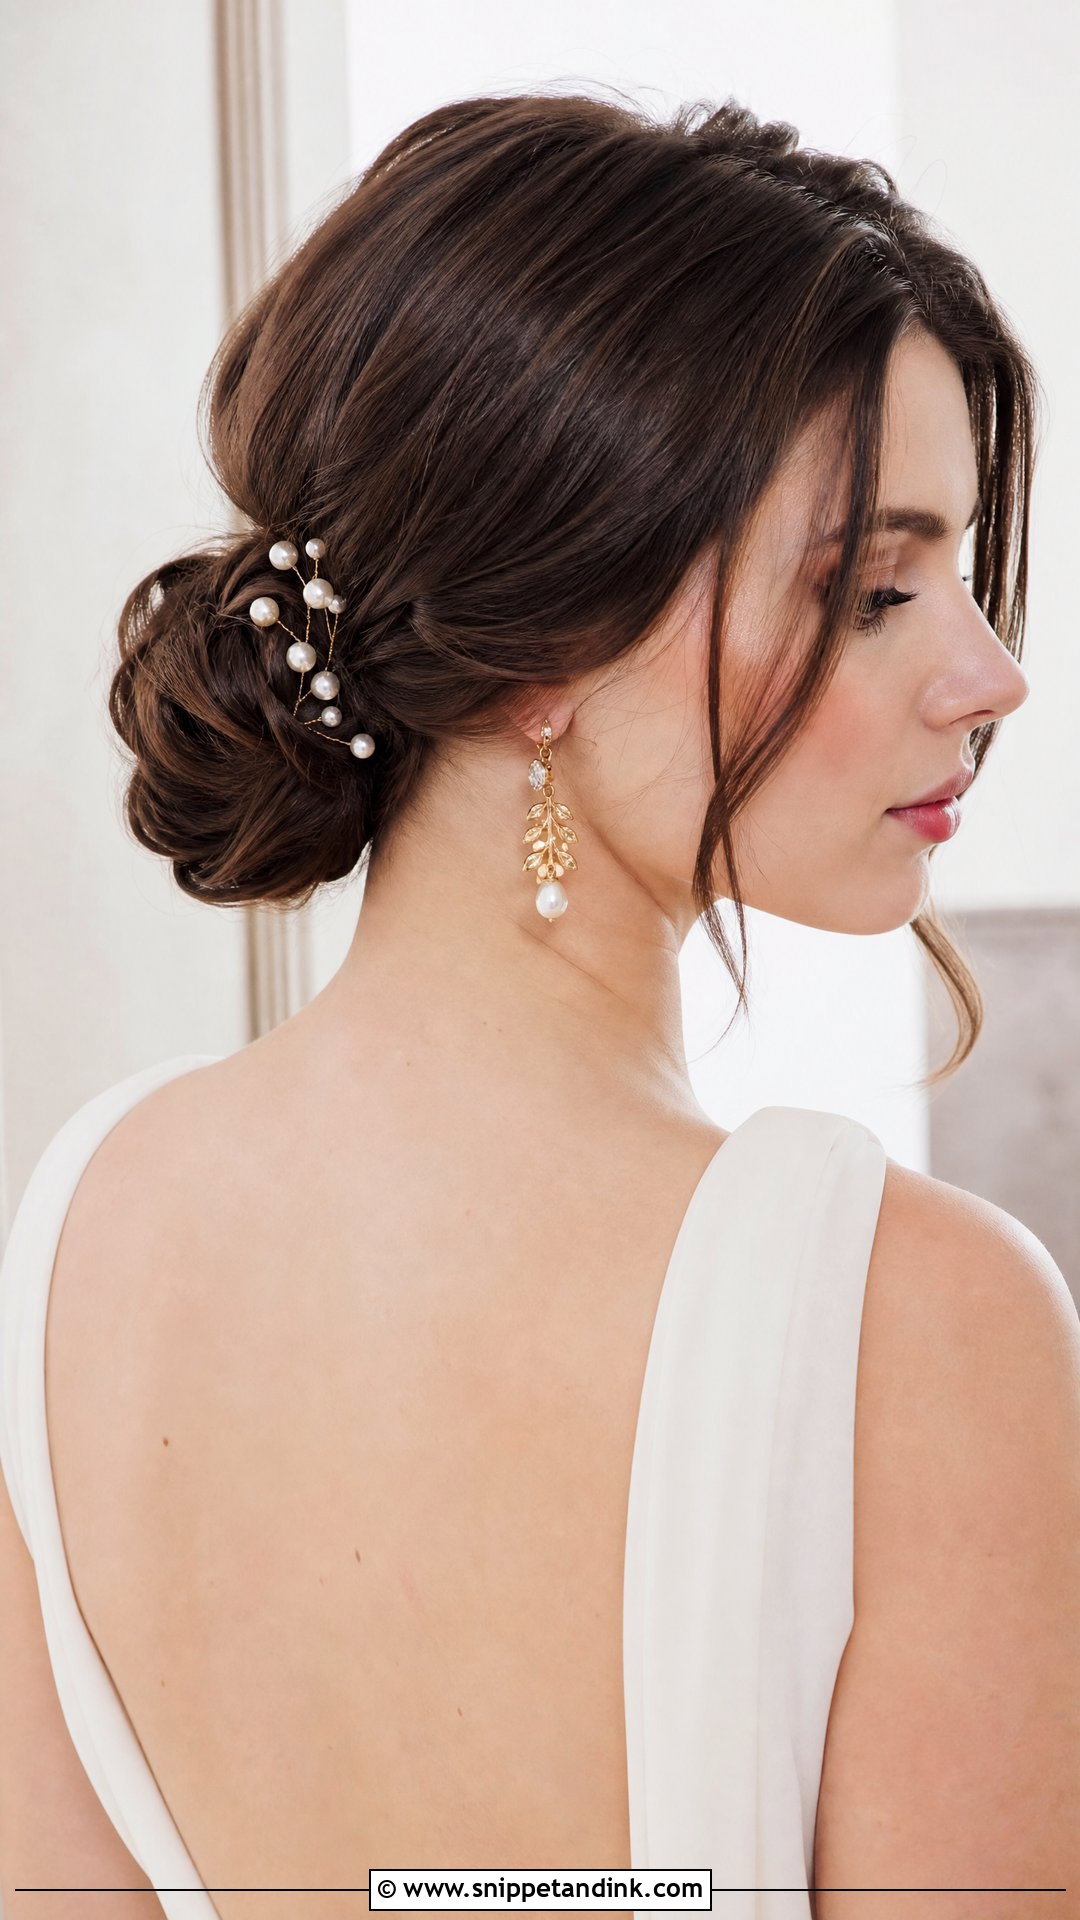
A low bun is the style I’d recommend most to someone nervous about doing their own hair, because it’s hard to get badly wrong. Smooth the hair into a low ponytail at the nape, leaving two small front pieces out if you like a softer frame. Twist the ponytail loosely, wrap it into a bun and pin it from several directions, not just one side. Then pull gently at the edges so it looks fuller. A dab of styling cream on top tames flyaways. Finish with a flexible hairspray so it stays put but doesn’t feel helmet-hard against detailed necklines.
4. Engagement Messy Bun
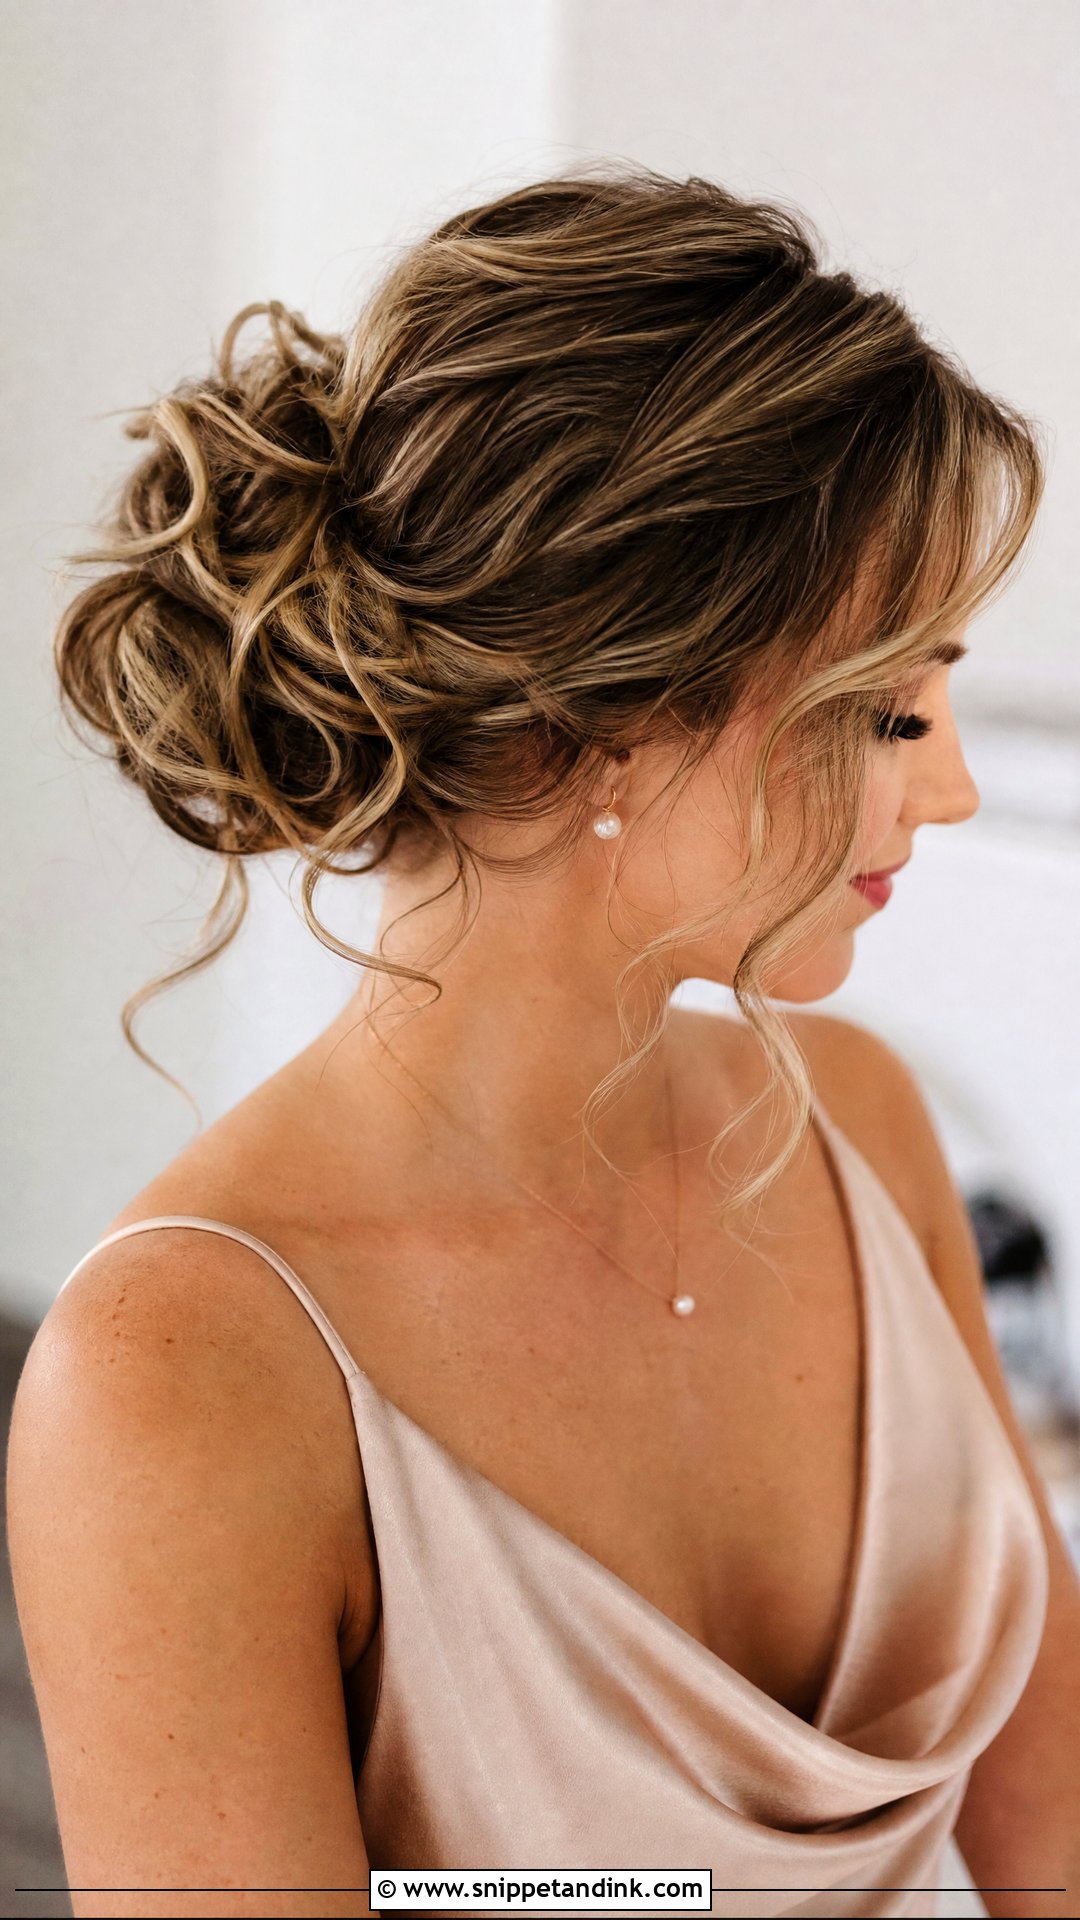
Messy buns fail at home for one reason: the hair is too clean and silky to hold texture. Spray texture spray or dry shampoo through dry hair first, especially if it’s fine. Curl the ends lightly so the loose pieces look deliberate. Gather a low or mid-height ponytail, then twist and pin smaller sections around the base instead of making one tight coil. I pull out tiny strands at the temples and nape last, after the bun is secure. Texture is the goal. Frizz or a collapsing shape means the sections were too big.
5. Engagement Sleek Low Ponytail
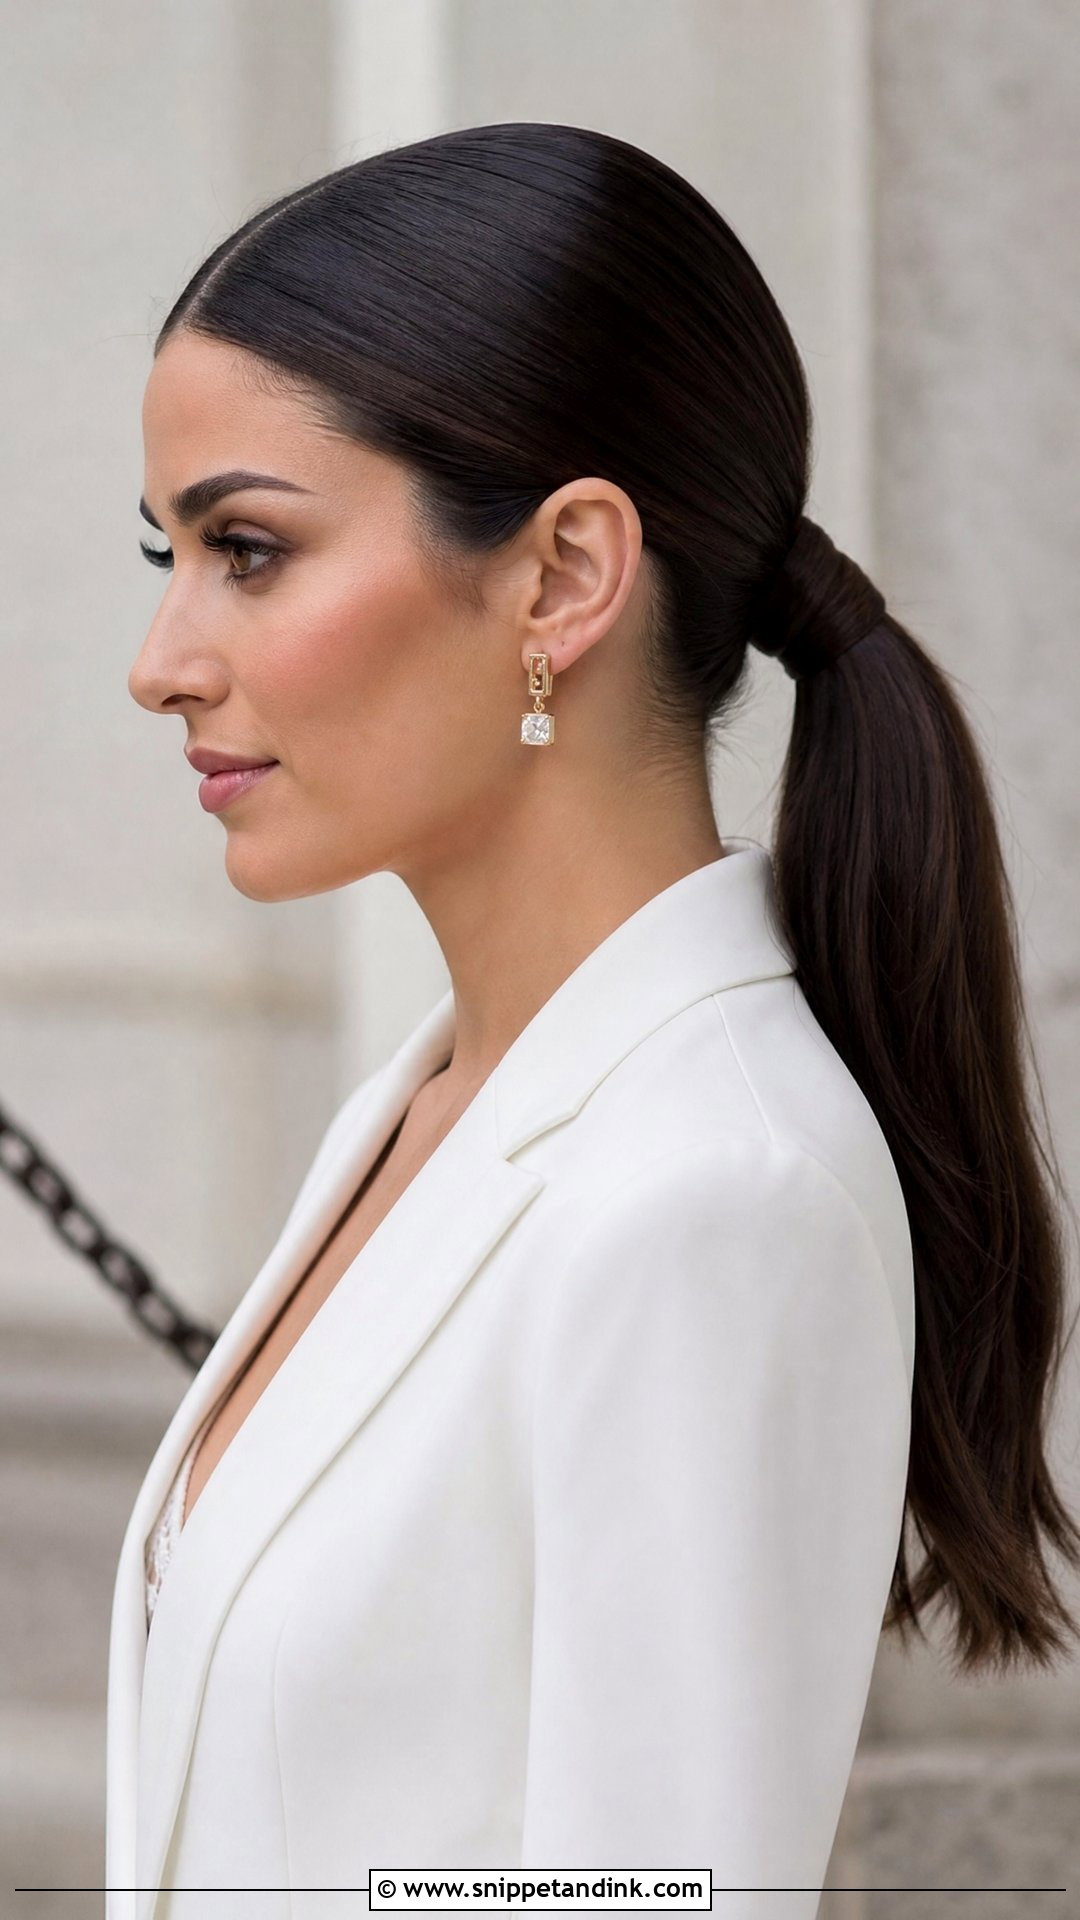
An engagement sleek low ponytail lives or dies on smoothness, so start with a proper blowout or straighten the hair first. Make a sharp middle part or a deep side part. Brush back to a low ponytail at the nape and secure it tightly, then wrap a small strand around the base and pin it underneath to hide the elastic. Use serum only on the surface and ends. I’ve seen a lot of DIY sleek looks go greasy by the evening because the serum went on at the roots. It pairs well with bold makeup and structured outfits.
6. Engagement High Ponytail
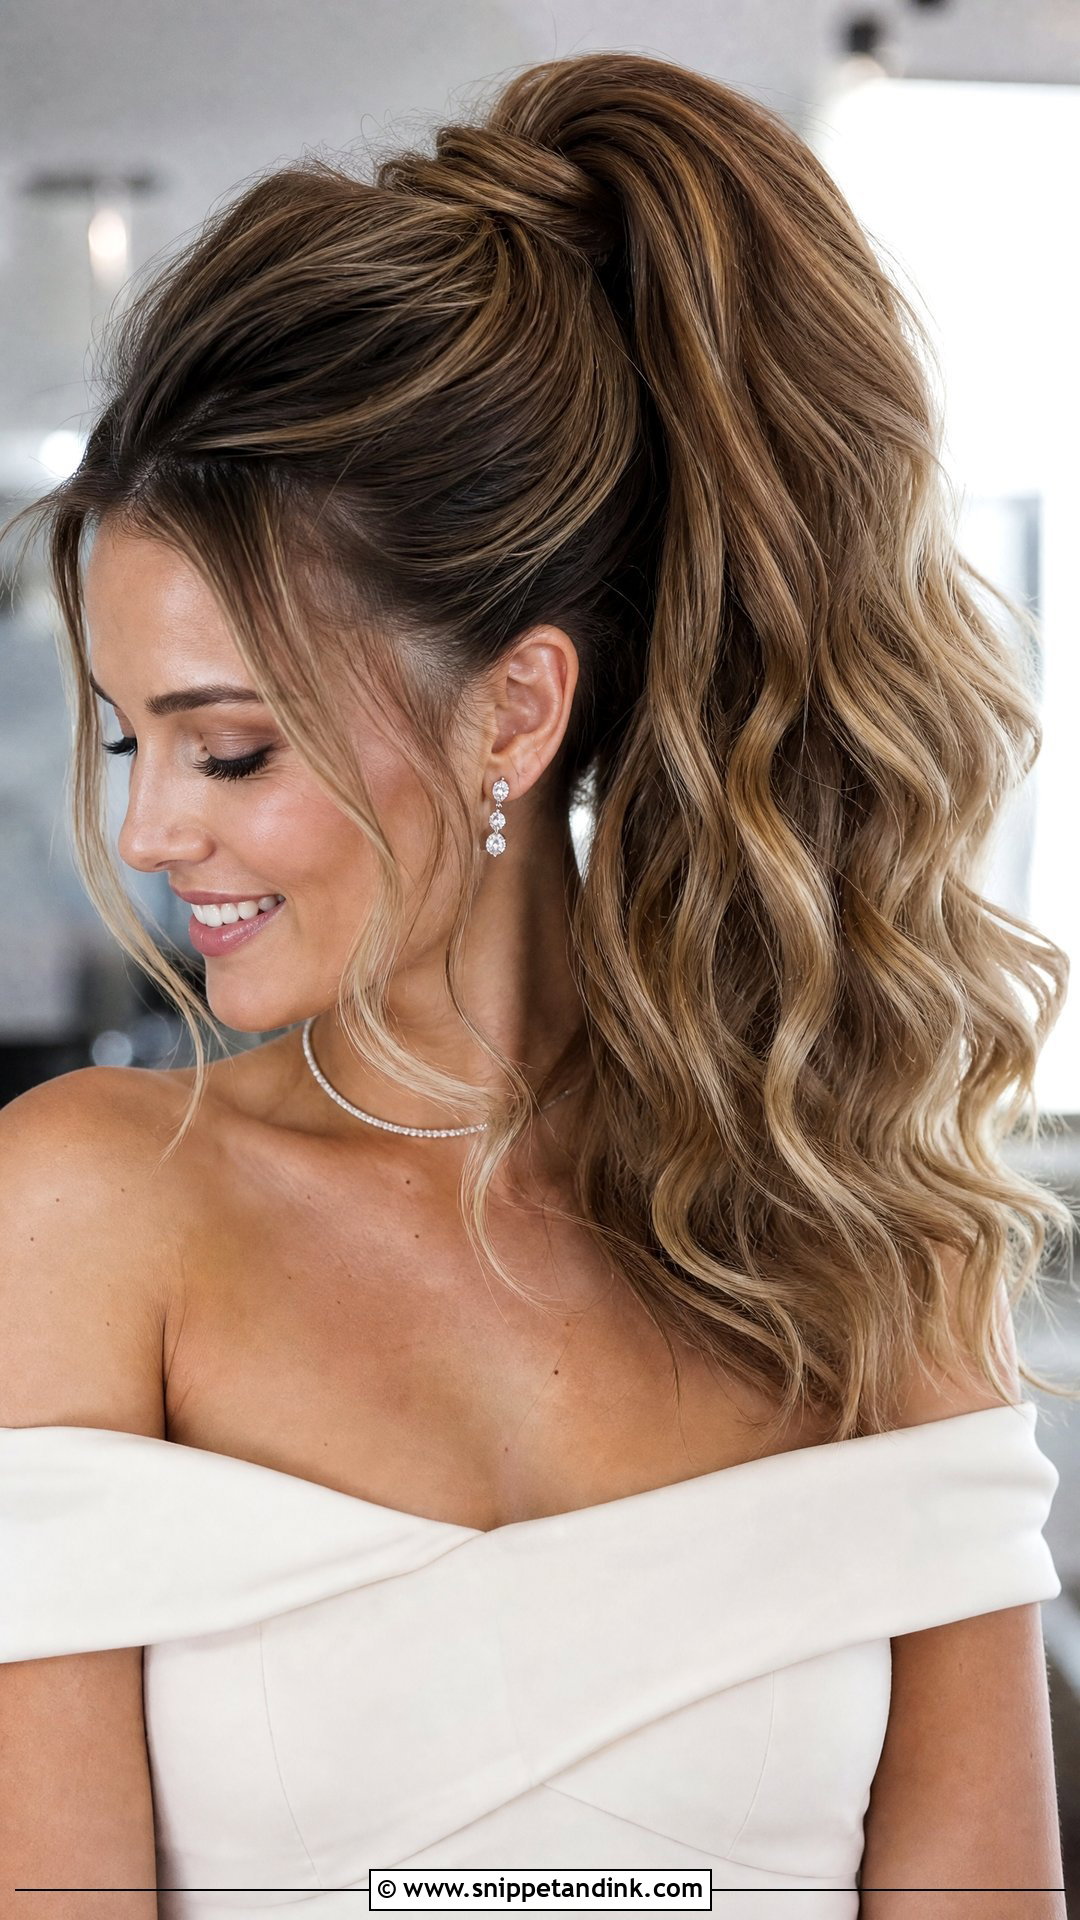
High ponytails look effortless in pictures but need firm groundwork. Curl the hair loosely first for body. Tip your head slightly forward and brush everything up to a point near the crown, then secure it firmly and wrap a strand around the elastic. Tease the underside of the ponytail and smooth the top layer over it. Thin hair benefits from a clip-in ponytail extension. My trick for preventing a heavy ponytail from sagging is to slide two pins in from underneath, crossing at the base, so they carry the weight instead of the elastic alone.
7. Engagement Side Swept Curls
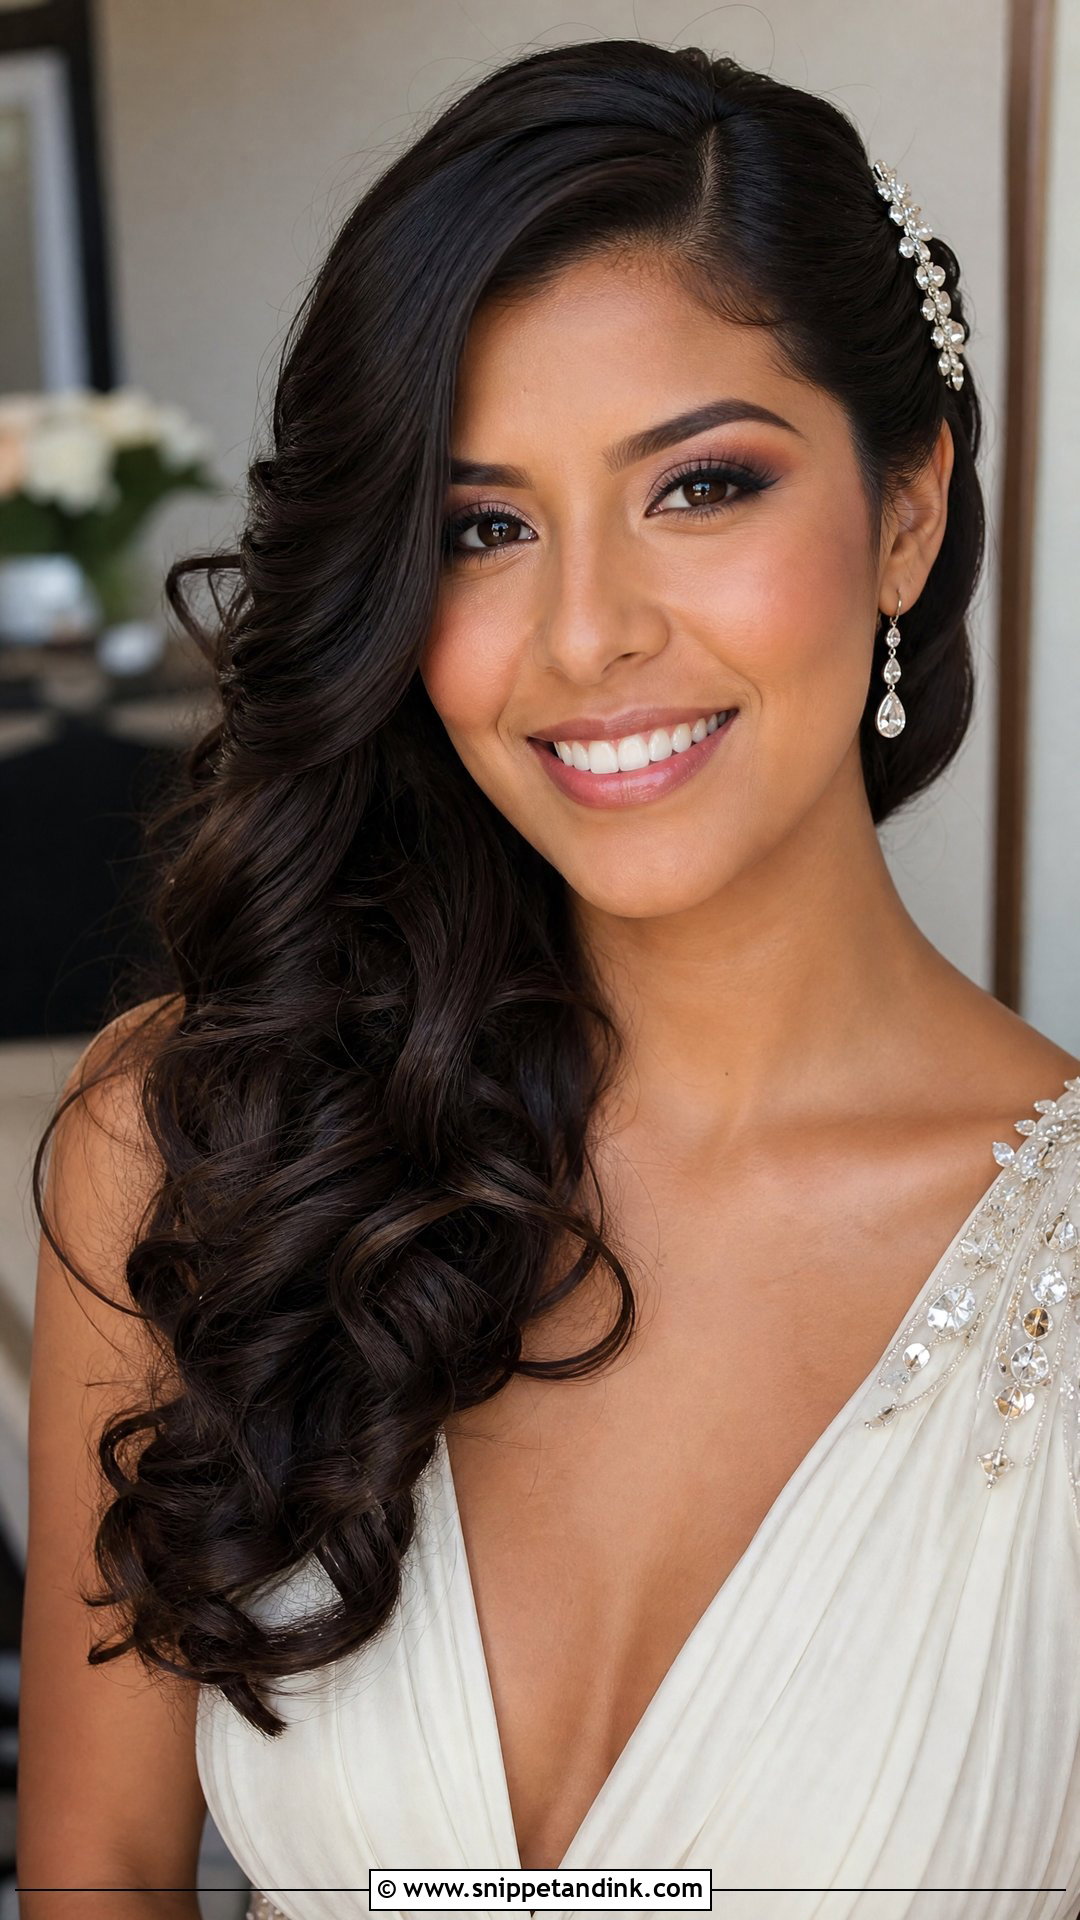
Side swept curls start with a deep side part and every section curled in the same direction, so the waves link into one smooth shape when brushed. Sweep the fuller side over one shoulder. The other side is the tricky part at home: pin it behind the ear or at the nape with pins that slide in toward the back, hidden under the top layer. Without those, the hair creeps back across during photos. A comb or pearl clip on the pinned side finishes it. It’s best on long hair and with one-shoulder or sweetheart necklines.
8. Engagement Braided Bun
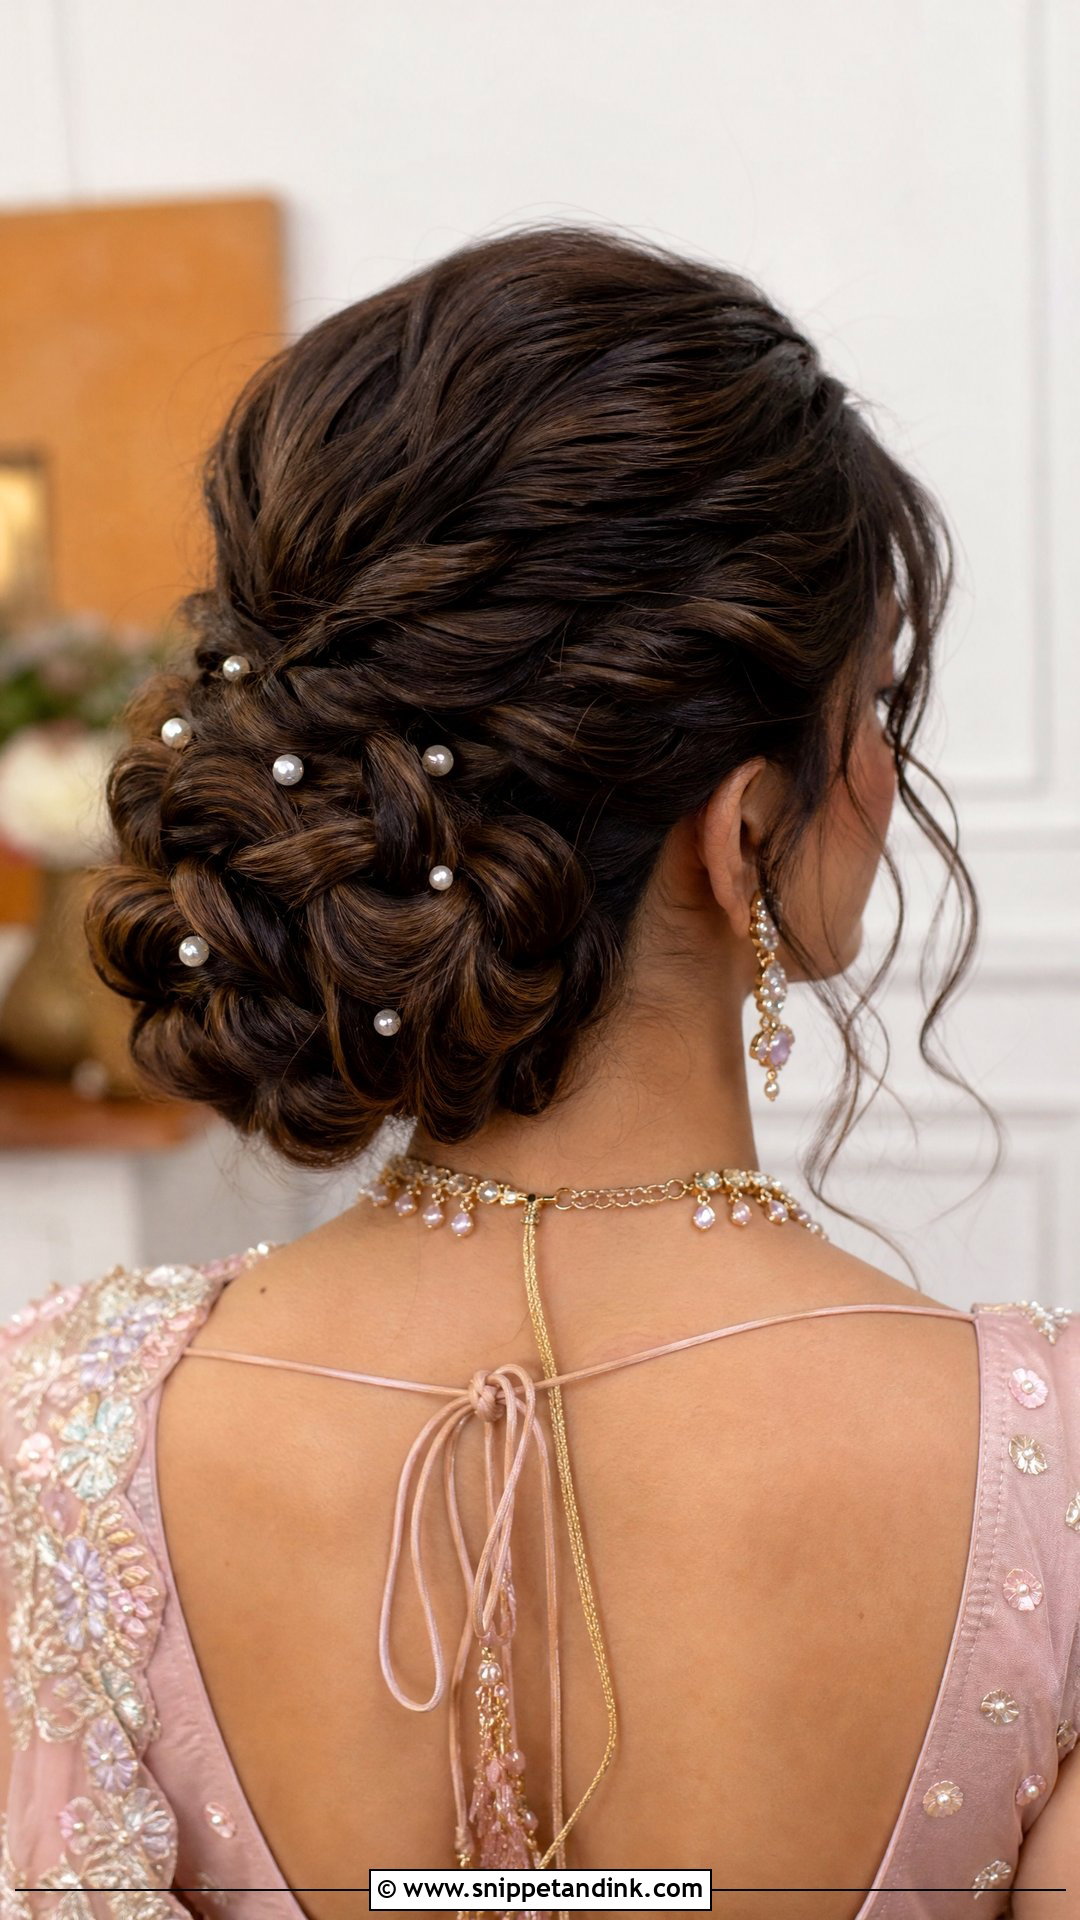
A braided bun controls thick hair better than any other updo here. Start with a low ponytail and divide it into two or three sections. Braid each one loosely, then pull the edges of the braids to widen them before you wrap anything. Coil the braids around the base one at a time and pin them into a rounded shape. If your hair is thick, I’d use U-pins rather than bobby pins for the wrapping; they grip more hair and sit flatter. It sits comfortably under veils and dupattas.
9. Engagement Fishtail Braid
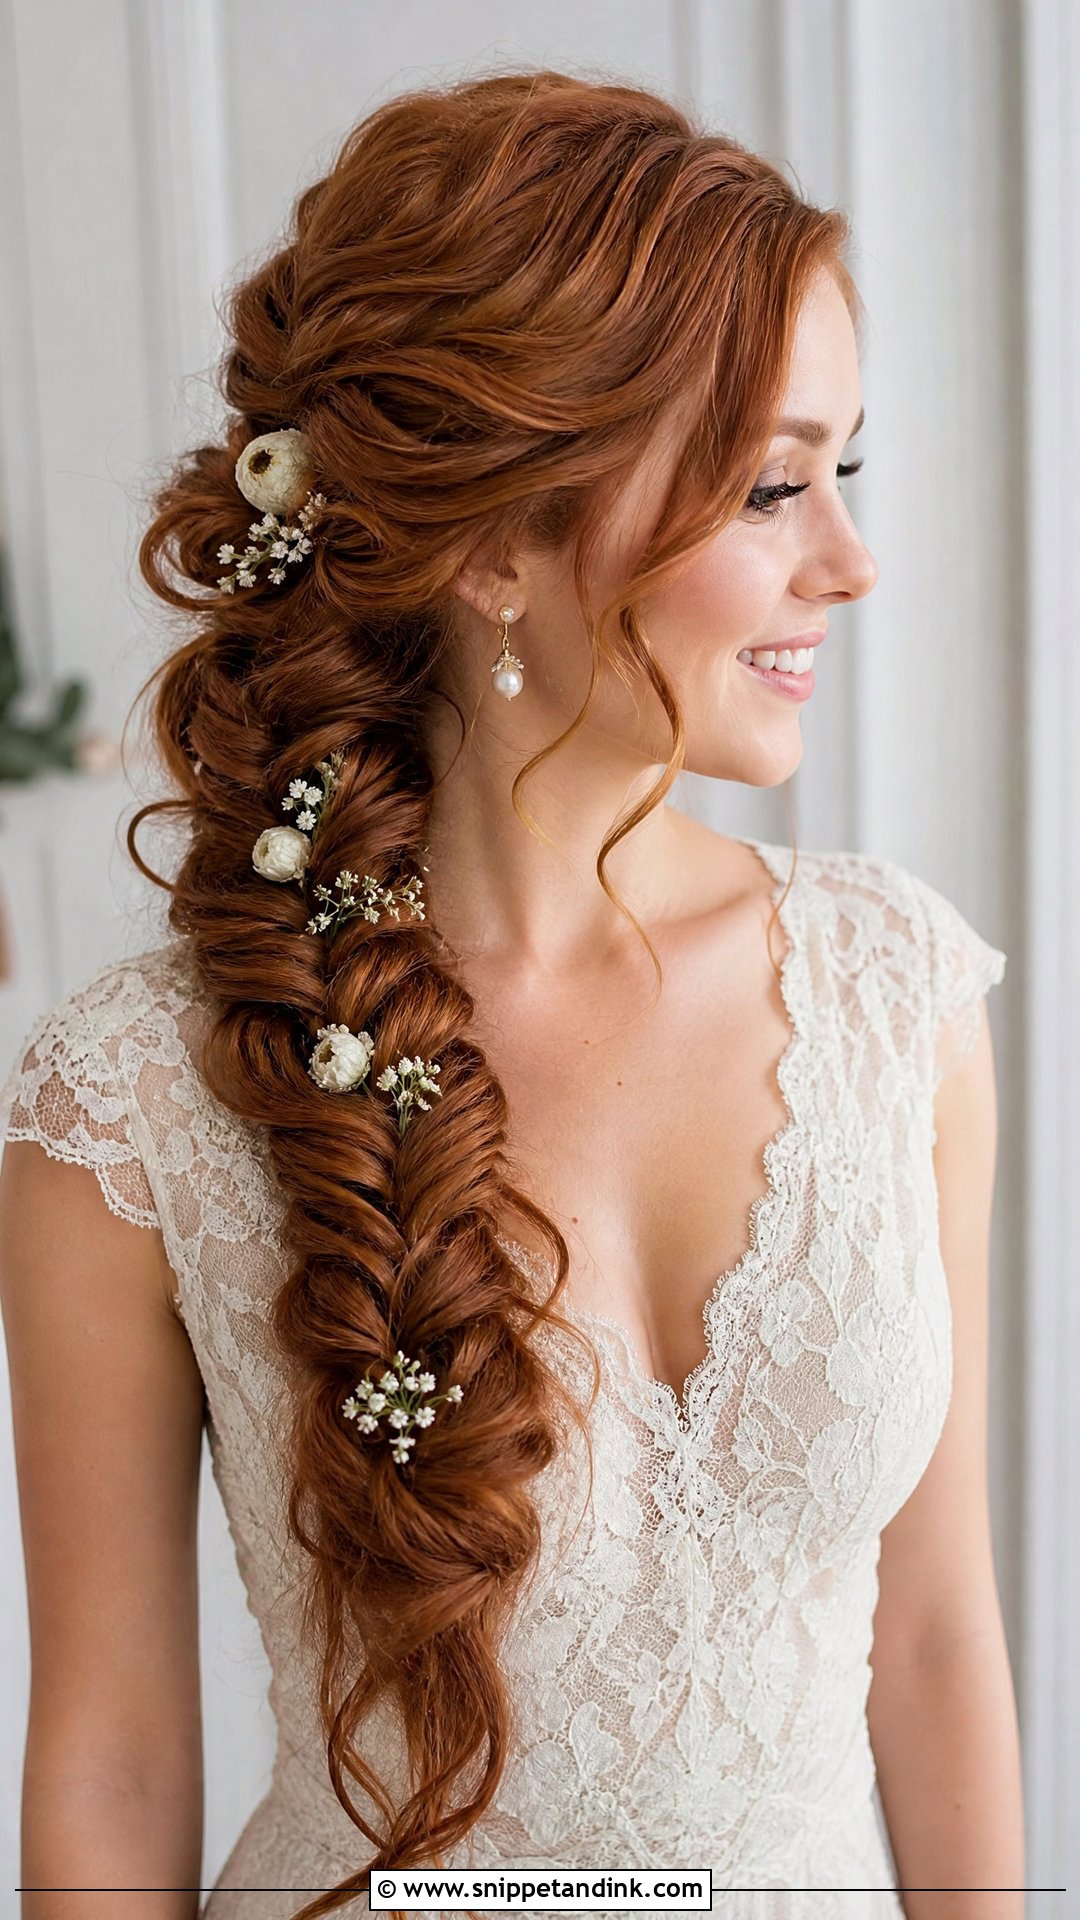
Fishtails look complicated and are actually quite repetitive once your fingers learn the move. Curl the hair loosely first for grip. Gather it to one side or keep it centred, split it into two sections, then cross a small piece from the outer edge of one into the other. Repeat on both sides to the ends. Secure with a clear elastic and gently pull the braid apart so it widens. The smaller the pieces you cross, the more detailed it looks, but also the longer it takes, so practise once with a timer. Small pins or fresh flowers can be tucked along it.
10. Engagement Waterfall Braid
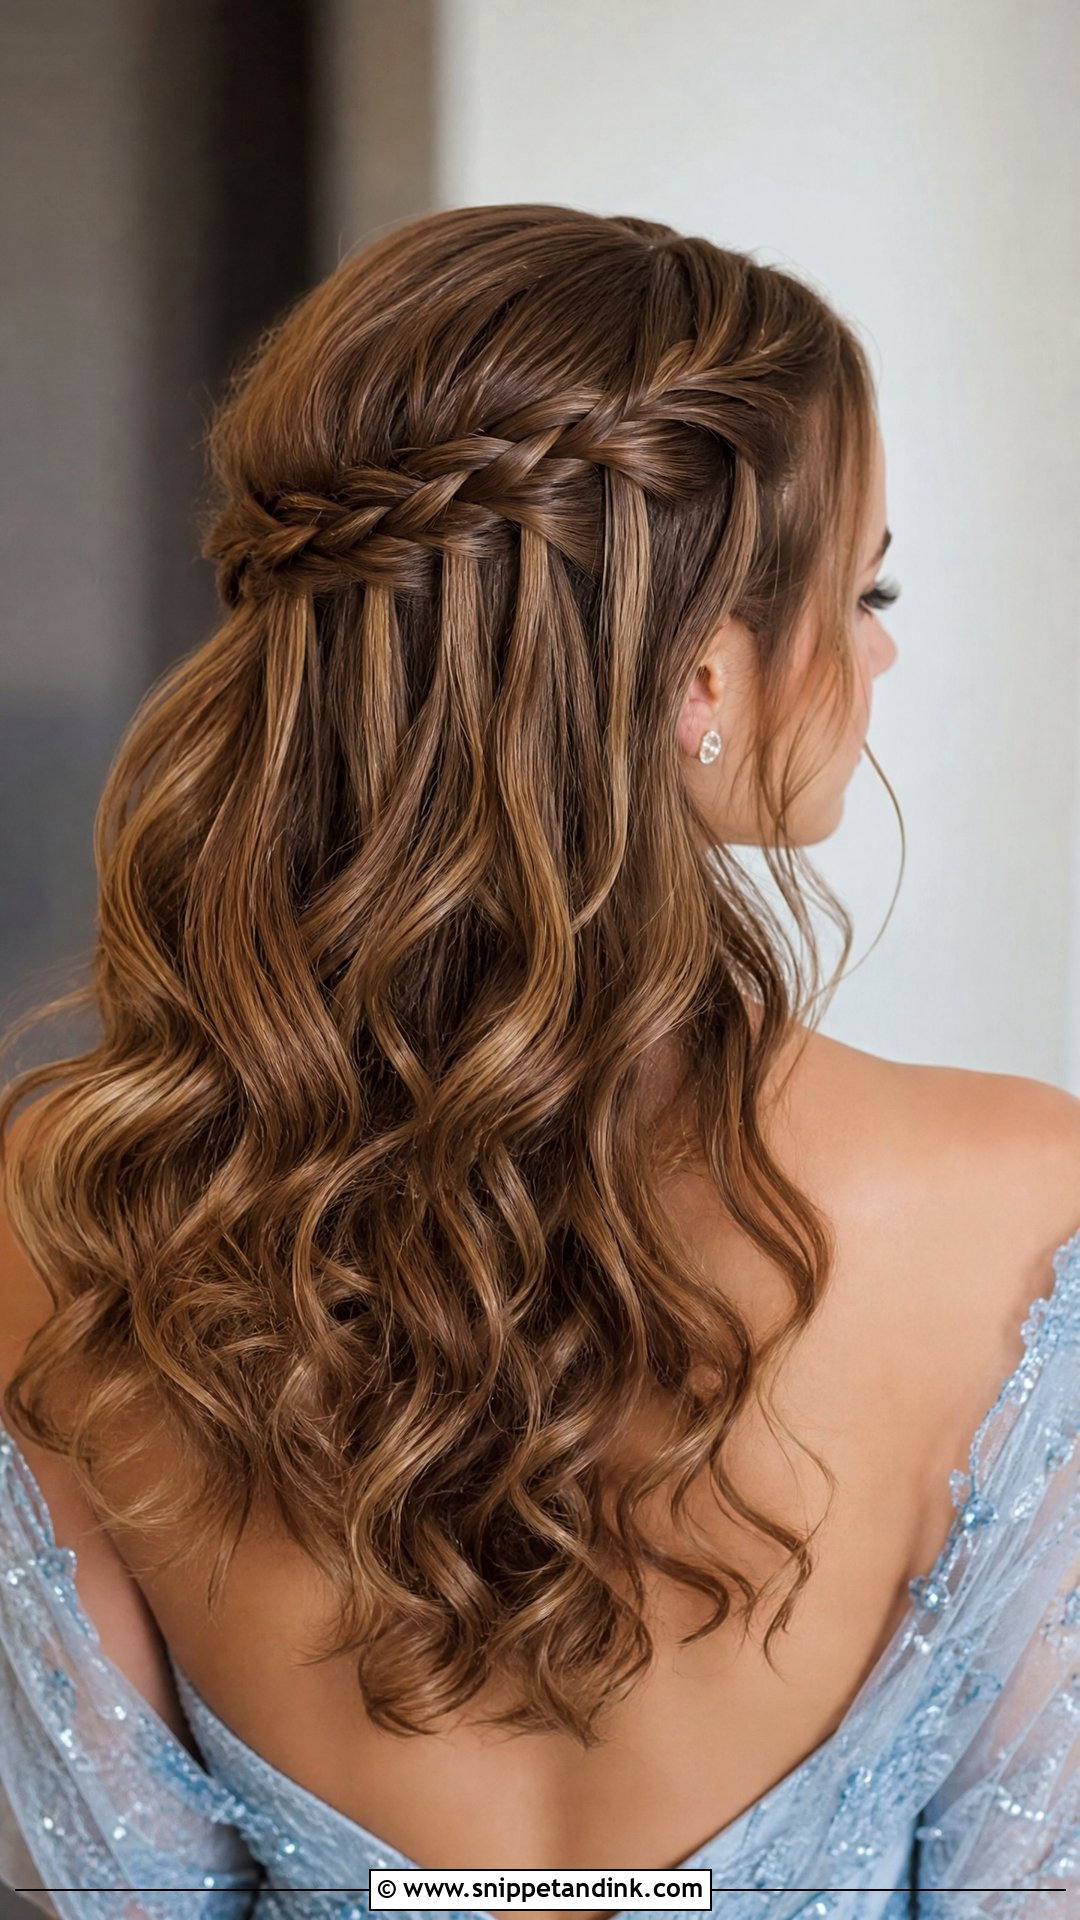
An engagement waterfall braid keeps the hair down with a ribbon of detail across the back. Start a three-strand braid near the front hairline on one side. Each time you cross over, drop the lower strand and pick up a fresh section from underneath; that dropped strand is the waterfall. Continue toward the other side and pin the end under the loose hair. Curl the lengths so the braid blends in. Slippery hair is the main hurdle, so I always spray texture before braiding. It works best on medium to long hair.
11. Engagement Crown Braid
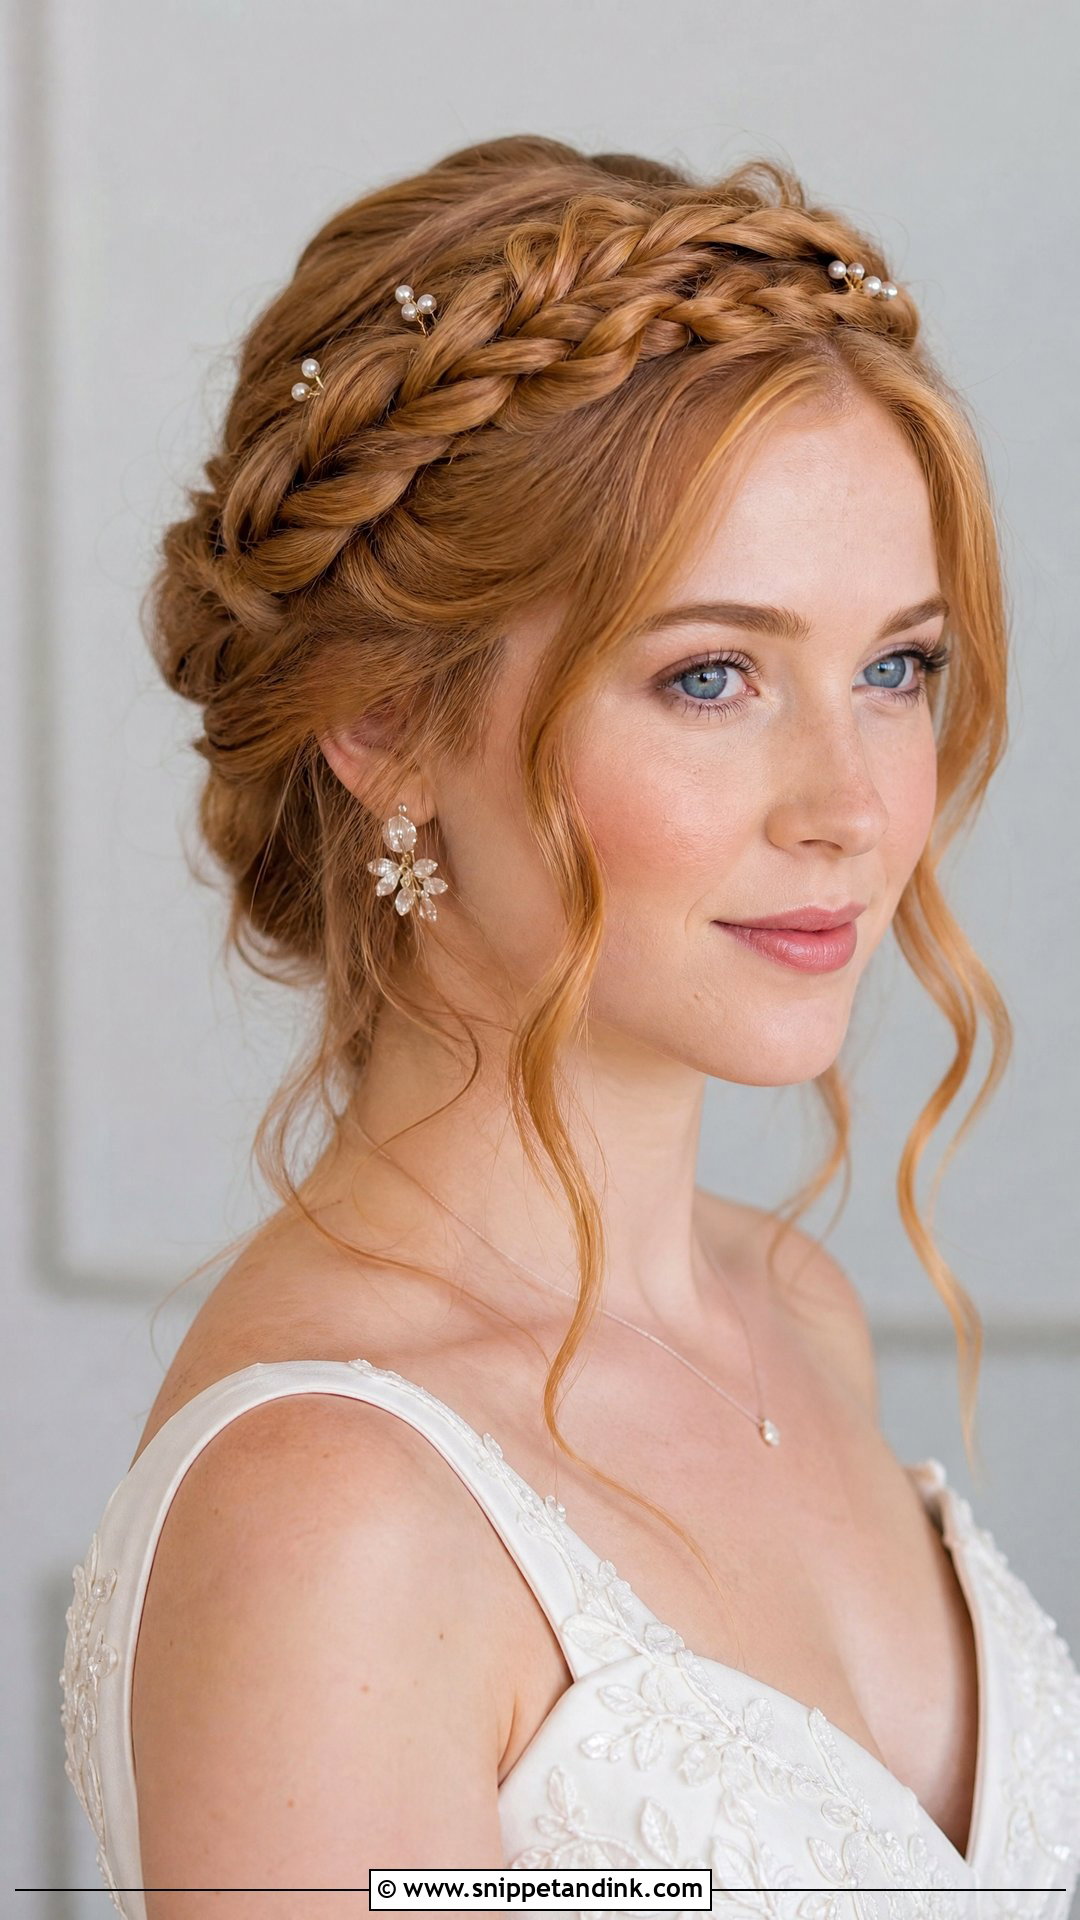
A crown braid keeps hair completely off the face and holds well outdoors. Part slightly off centre and make two loose braids, one starting at each temple. Wrap one across the top like a headband and pin it behind the opposite ear, then wrap the second and tuck its ends under the first. Pull the braid edges for fullness. Shoulder-length hair often isn’t long enough to meet across the top, so I’d check the reach in a practice run. Pearl pins or tiny flowers dress it up.
12. Engagement Hollywood Waves
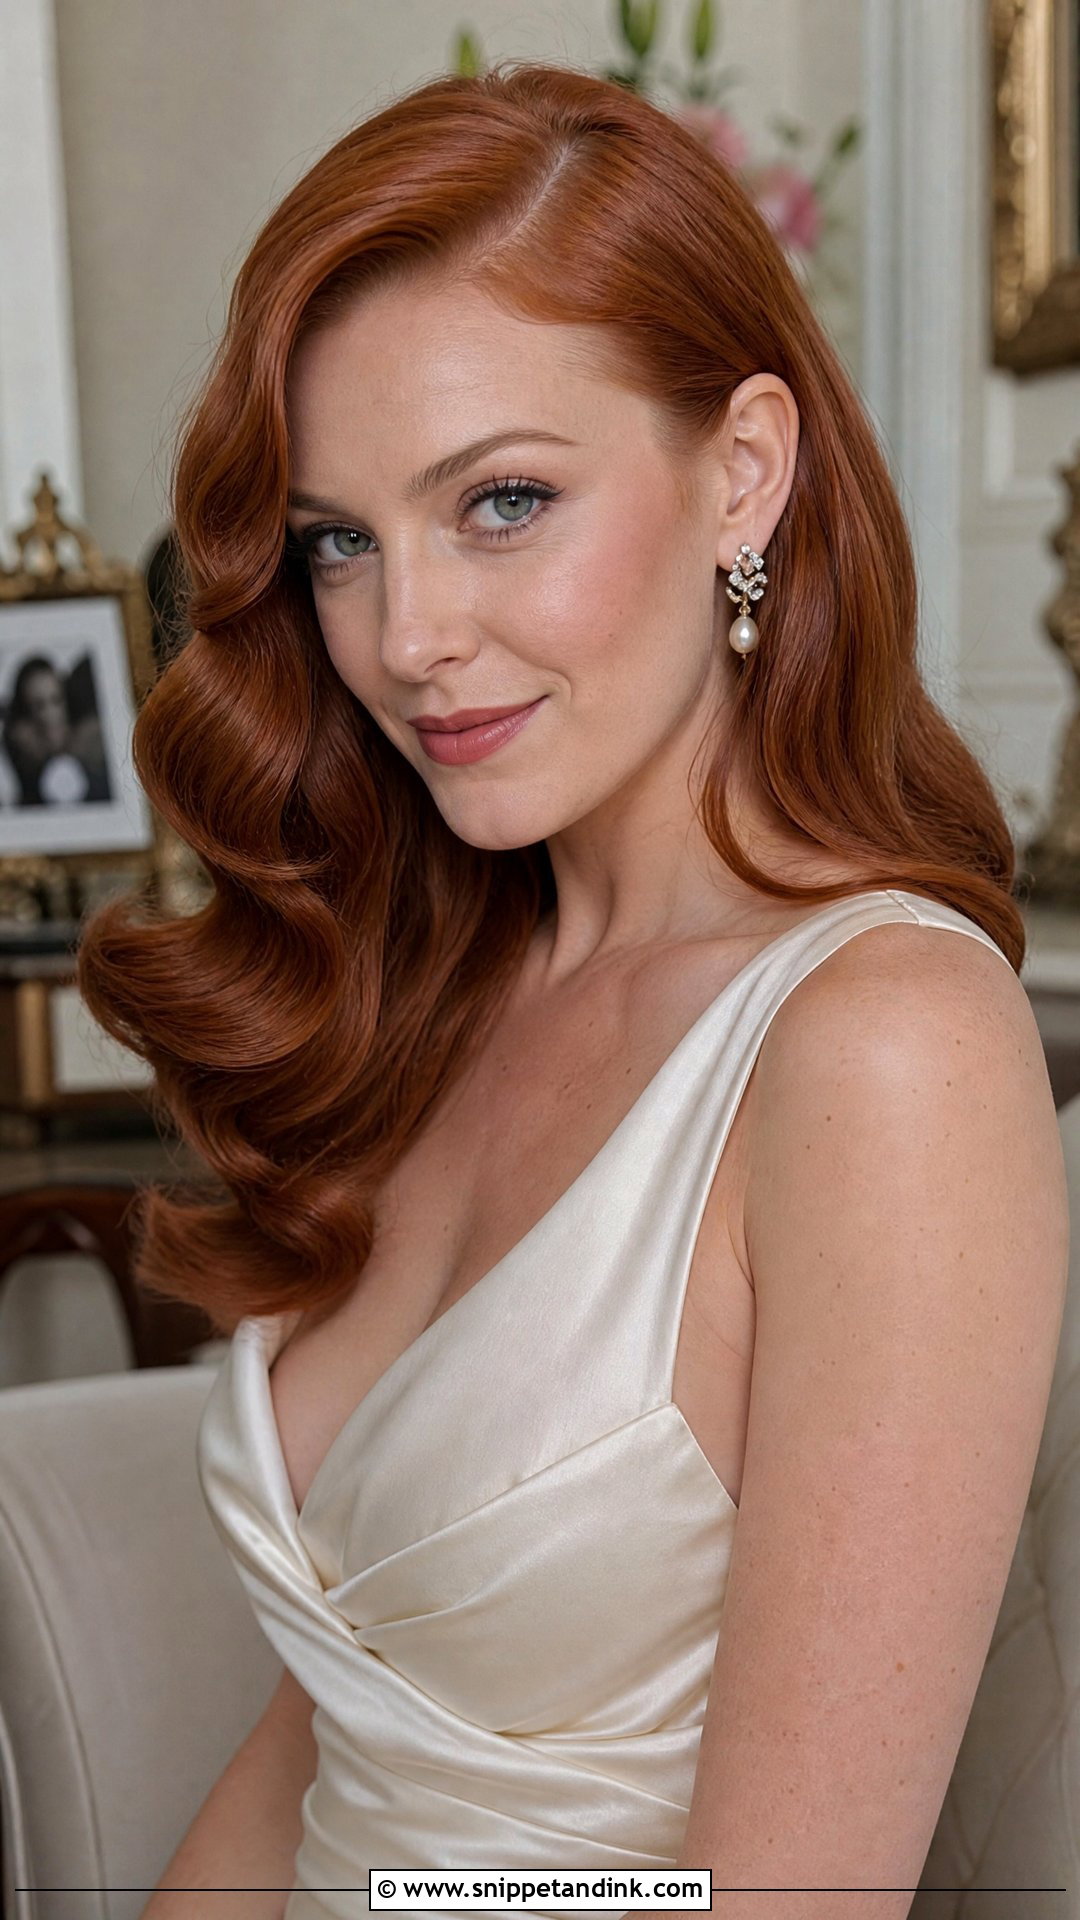
Hollywood waves are the most technical look on this list, and the brush-out is where most home attempts go wrong. Use a deep side part, heat protectant, and a medium or large barrel, curling every section in the same direction. Pin each curl while it cools. Once the hair is completely cold, remove the pins and brush through with a soft bristle brush until the curls merge into waves. Push the bends into place with your fingers, clip each ridge, mist lightly with spray and remove the clips after a few minutes. Shine spray on smooth ends finishes it.
13. Engagement Straight Hair
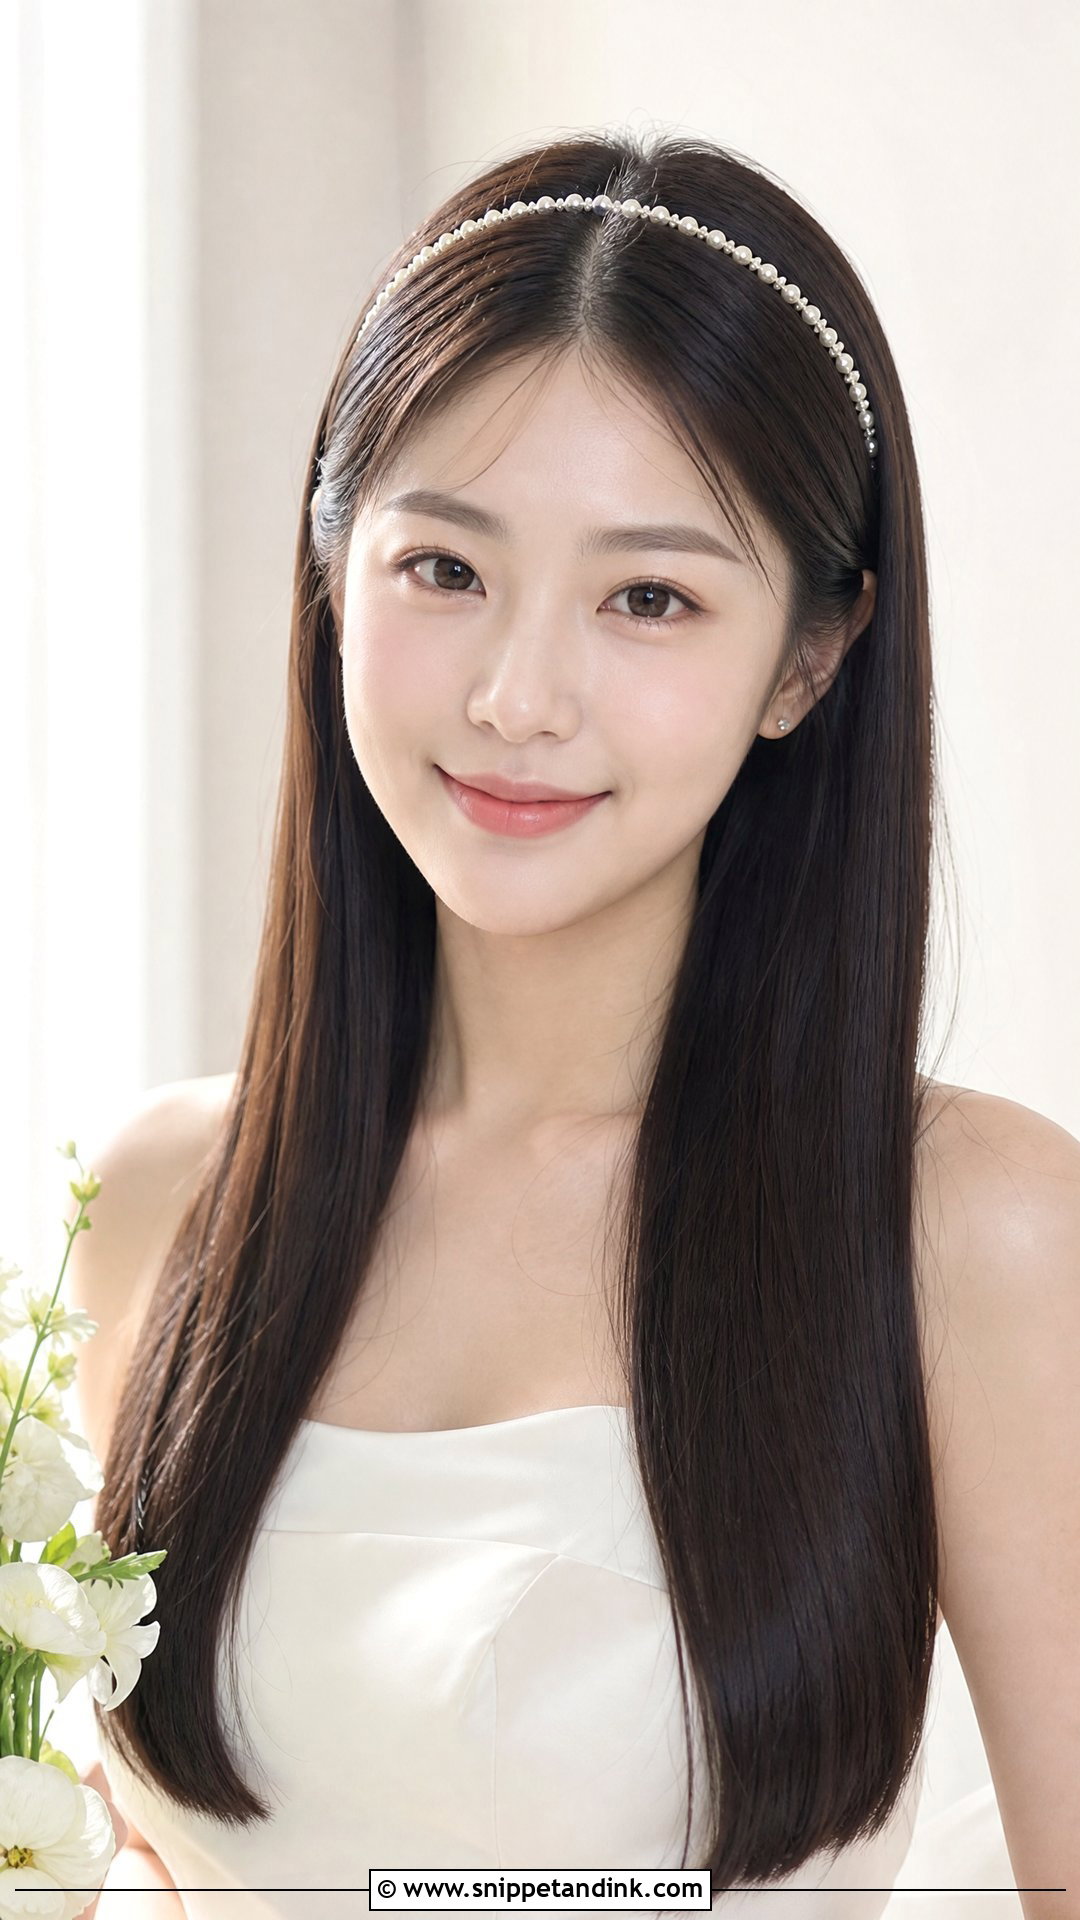
Straight hair seems the simplest choice, but it shows every frizzy patch and uneven section in photos. Prep with a smoothing shampoo or blow-dry cream. Blow-dry downward with a round or paddle brush, then flat iron in small sections so the finish is even. I’d keep the iron moving rather than clamping it; holding it still on one spot leaves a crimp. Choose a clean middle part for a modern feel or a soft side part. Serum goes on the ends only. A delicate headband adds detail if tucking both sides behind the ears feels too plain.
14. Engagement Natural Curls
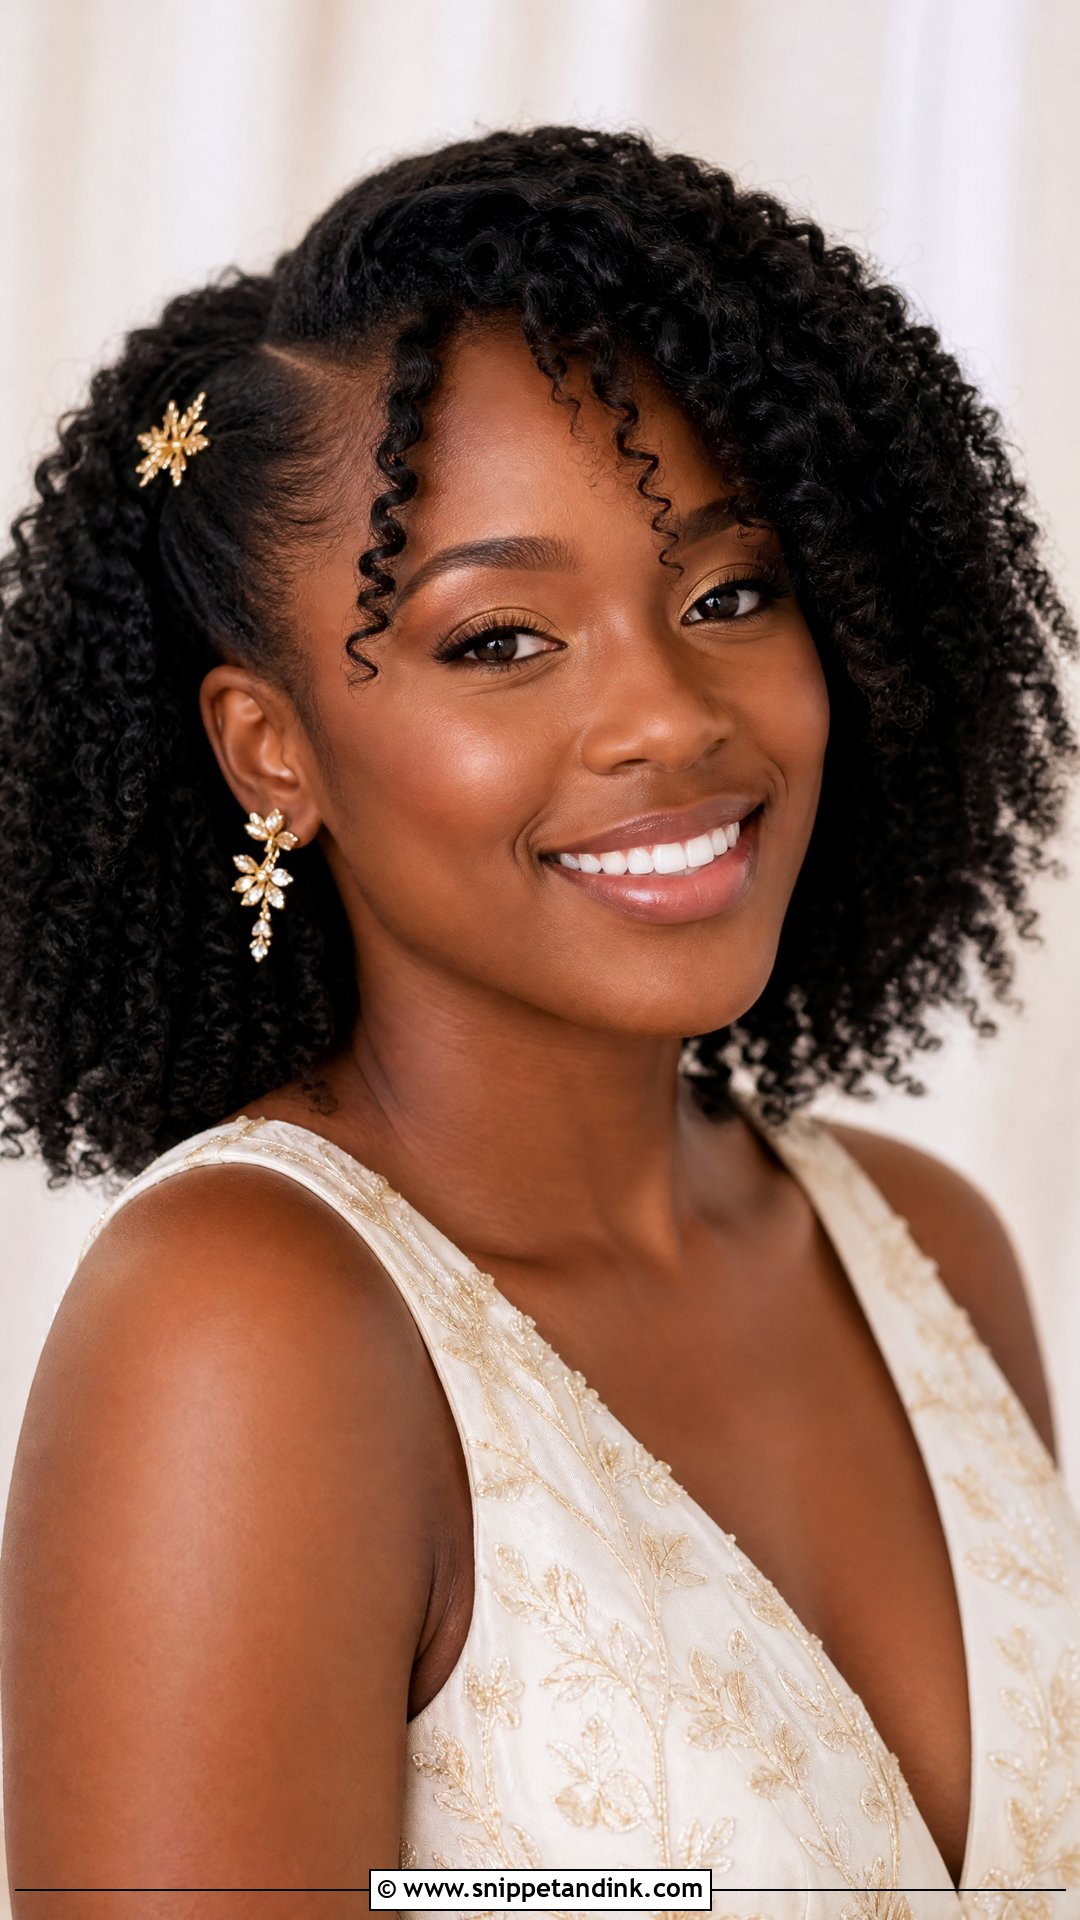
Natural curls look their best when they’re defined, hydrated and shaped on purpose. Start on freshly washed or refreshed hair with a leave-in conditioner, then curl cream or gel worked through small sections so every curl gets product. Finger coil a few curls around the face for definition. Diffuse on low heat or let the hair air-dry fully before you touch it; handling damp curls is what causes frizz. Pick the roots gently for volume and leave the ends alone. A decorative clip on one side makes it more formal without hiding the texture.
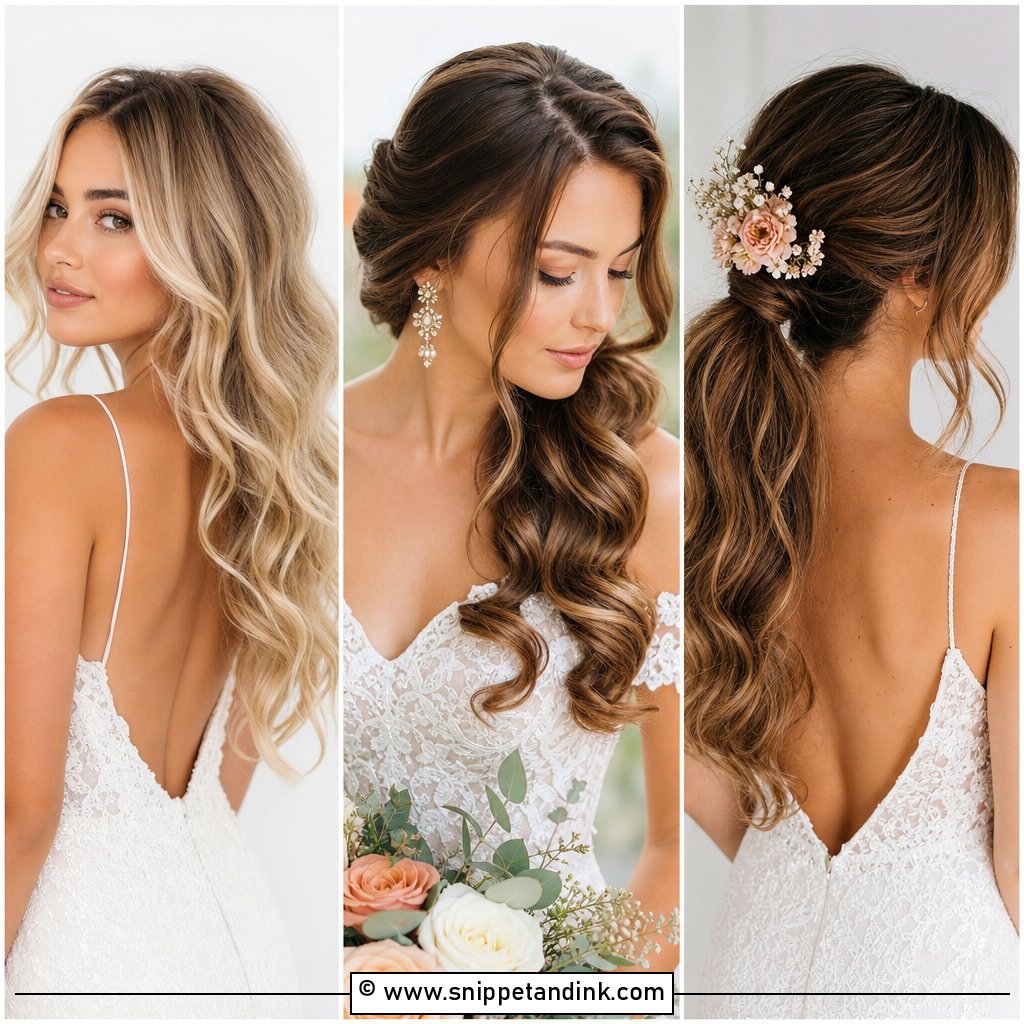
15. Engagement Short Hair
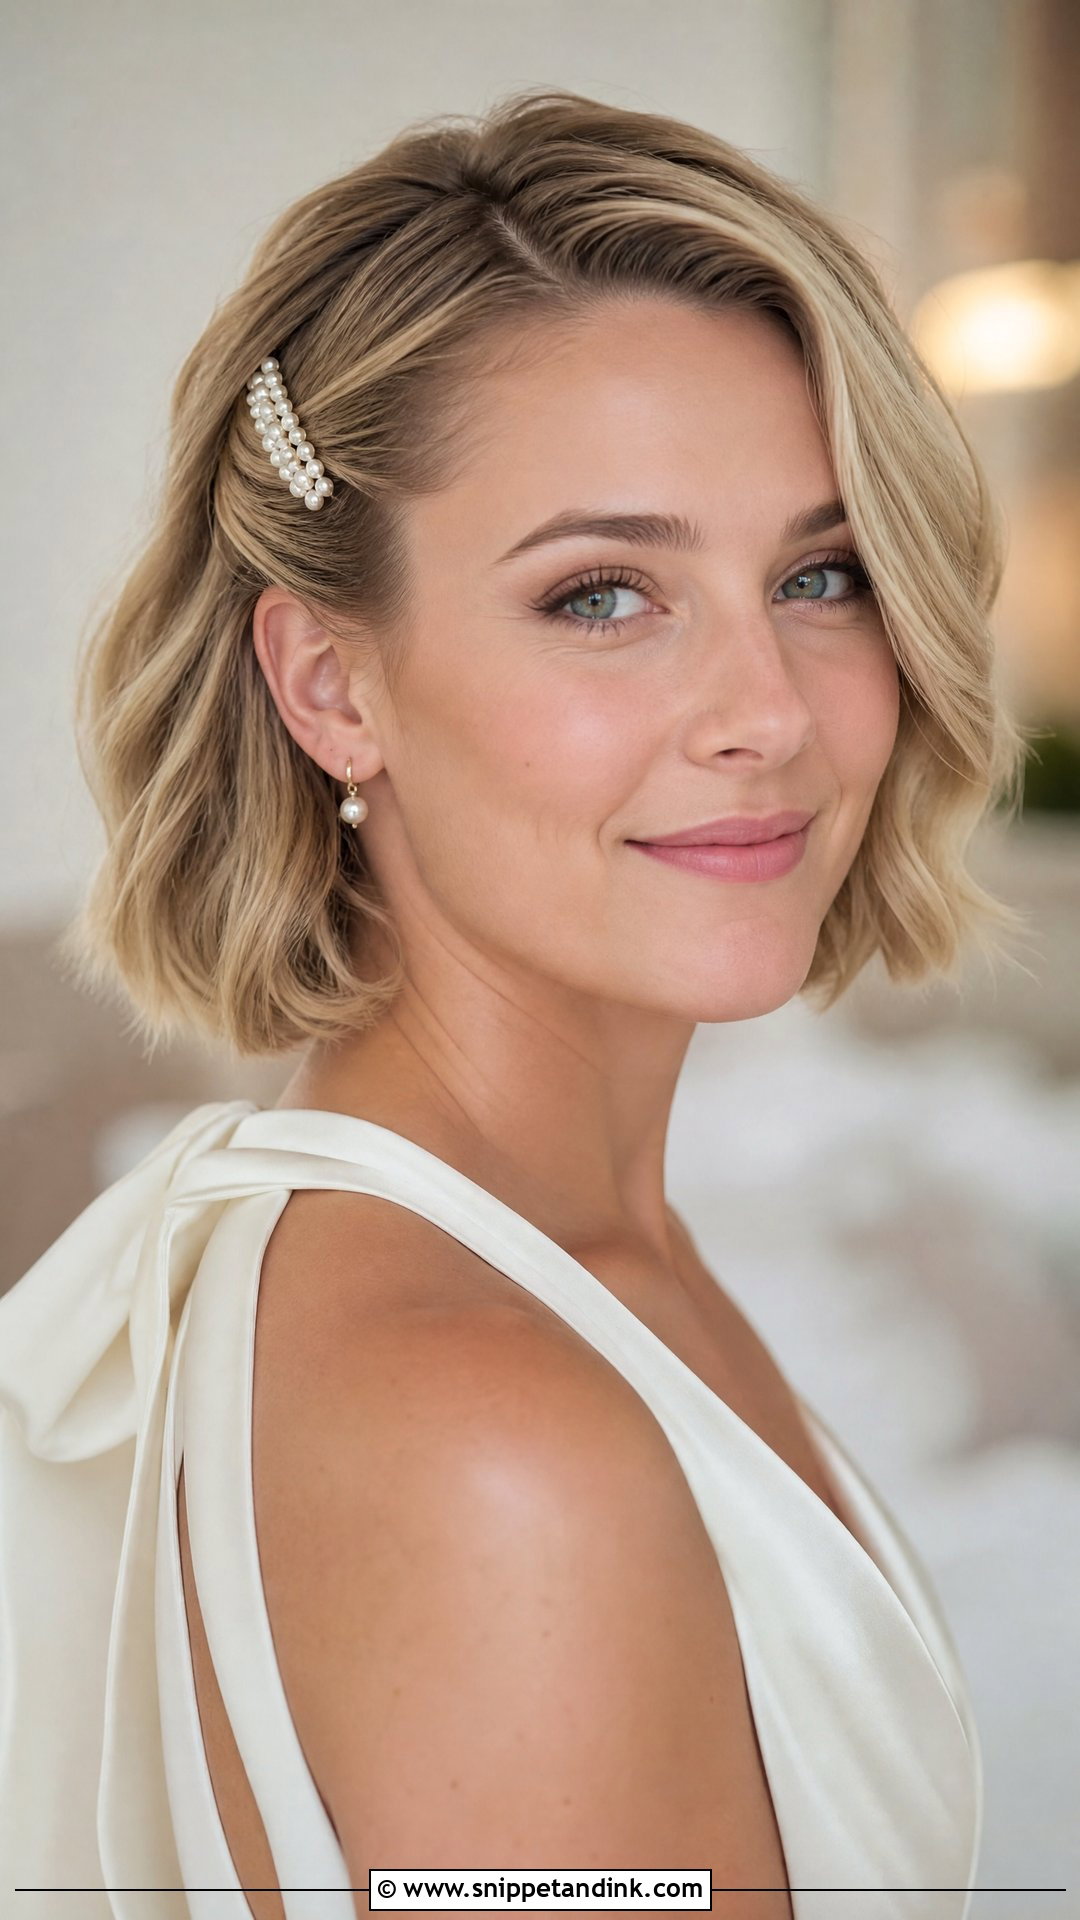
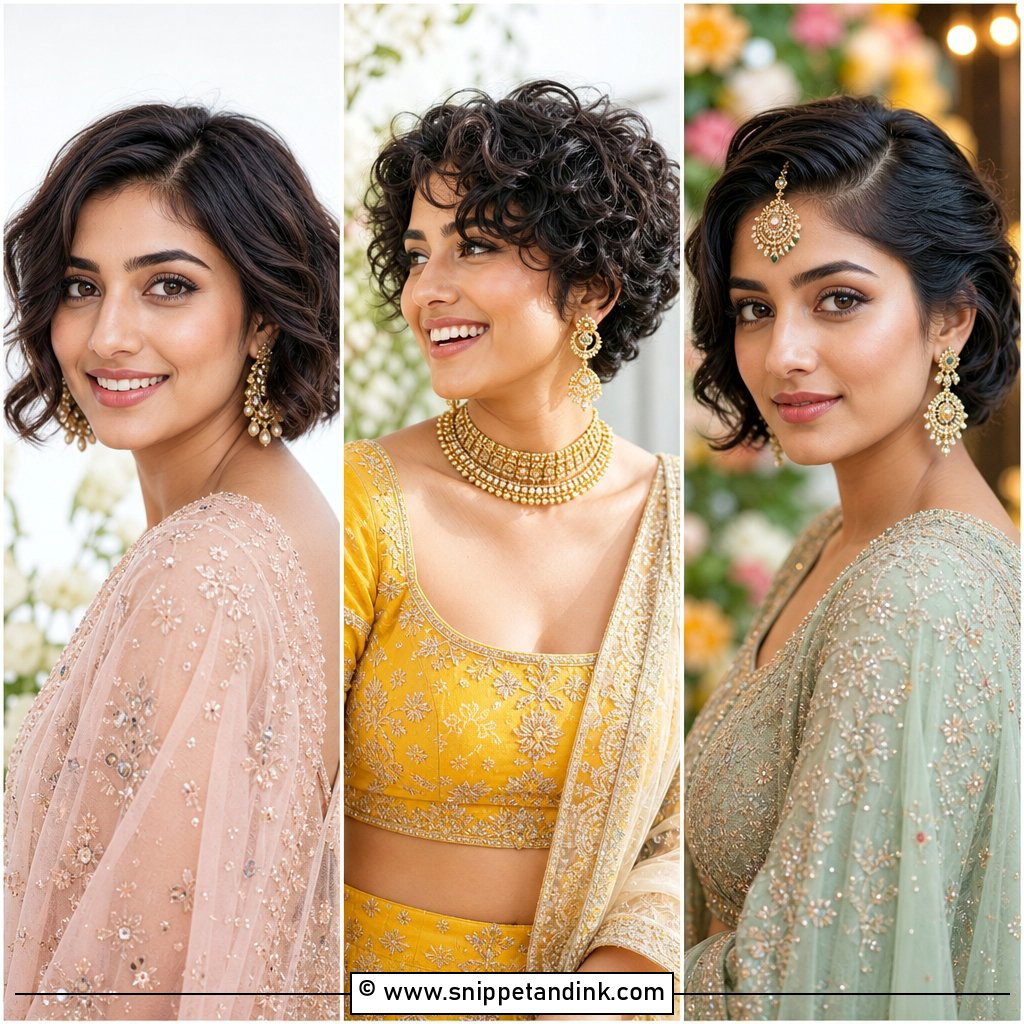
Engagement short hair needs shape rather than length to feel dressed up. For a bob, make soft bends with a flat iron or wand and brush them out. For a pixie, a light styling paste defines the layers and adds shine. Chin-length hair can have one side tucked behind the ear with a pearl clip or slim barrette. Keep some lift at the crown so it doesn’t go flat in photos. I’d skip heavy hairspray on short hair; it shows as stiff, separated pieces at close range.
When a DIY Style Starts Falling Apart
Even a good practice run can wobble on the day. Most problems have a quick fix once you know what’s causing them.
Curls drooping within an hour
Usually the curls were brushed out while still warm. Next time, pin each curl in a loop or let it cool fully before releasing it. On the day, a light mist of hairspray and a minute with the iron on the front pieces only is enough to revive them before photos.
Pins sliding out of a bun
A pin needs something to grab. Open it slightly, catch a little hair at the base of the bun, then turn it and push it inward toward the elastic. Two pins crossed in an X hold far better than five more straight ones.
Braids that look thin in photos
Pull the outer loops gently after securing the braid, working from the bottom up. If your hair is fine, a clip-in weft hidden under the top layer before you braid adds real bulk.
Keep a tiny touch-up pouch with your outfit: four pins, a travel hairspray, a clear elastic and a small comb. It’s the difference between fixing a loose section in the bathroom and spending the evening holding it in place.
Your Second Attempt Will Look Better Than Your First
Nobody gets a waterfall braid or a set of Hollywood waves right the first time, and that’s fine. What matters is that you’ve done your chosen look at least twice before the day, once with the outfit and jewellery on. If your hair won’t hold a curl, lean toward a textured bun, braid or ponytail. If you love movement, waves or a half-up style will feel more like you. Get your pins, products, and practice sorted early, give yourself more time than you think you need, and the result will look relaxed in photos instead of rushed.
You'll Like These Ideas:


Leave a Reply