
Planning your wedding hair can feel exciting and a little overwhelming, especially when every saved photo looks beautiful in a different way. The best bride hair tutorial is not just pretty from the front. It should hold through hugs, photos, weather, dancing, and veil changes. A great bridal hairstyle also needs to match your dress neckline, hair texture, face shape, and comfort level. These bride hair tutorial looks focus on real, wearable styles you can practice, show your stylist, or adapt for a DIY wedding morning. From soft buns to polished ponytails, each look gives you a clear direction and a photo-ready finish.
1. Bride Low Bun Tutorial
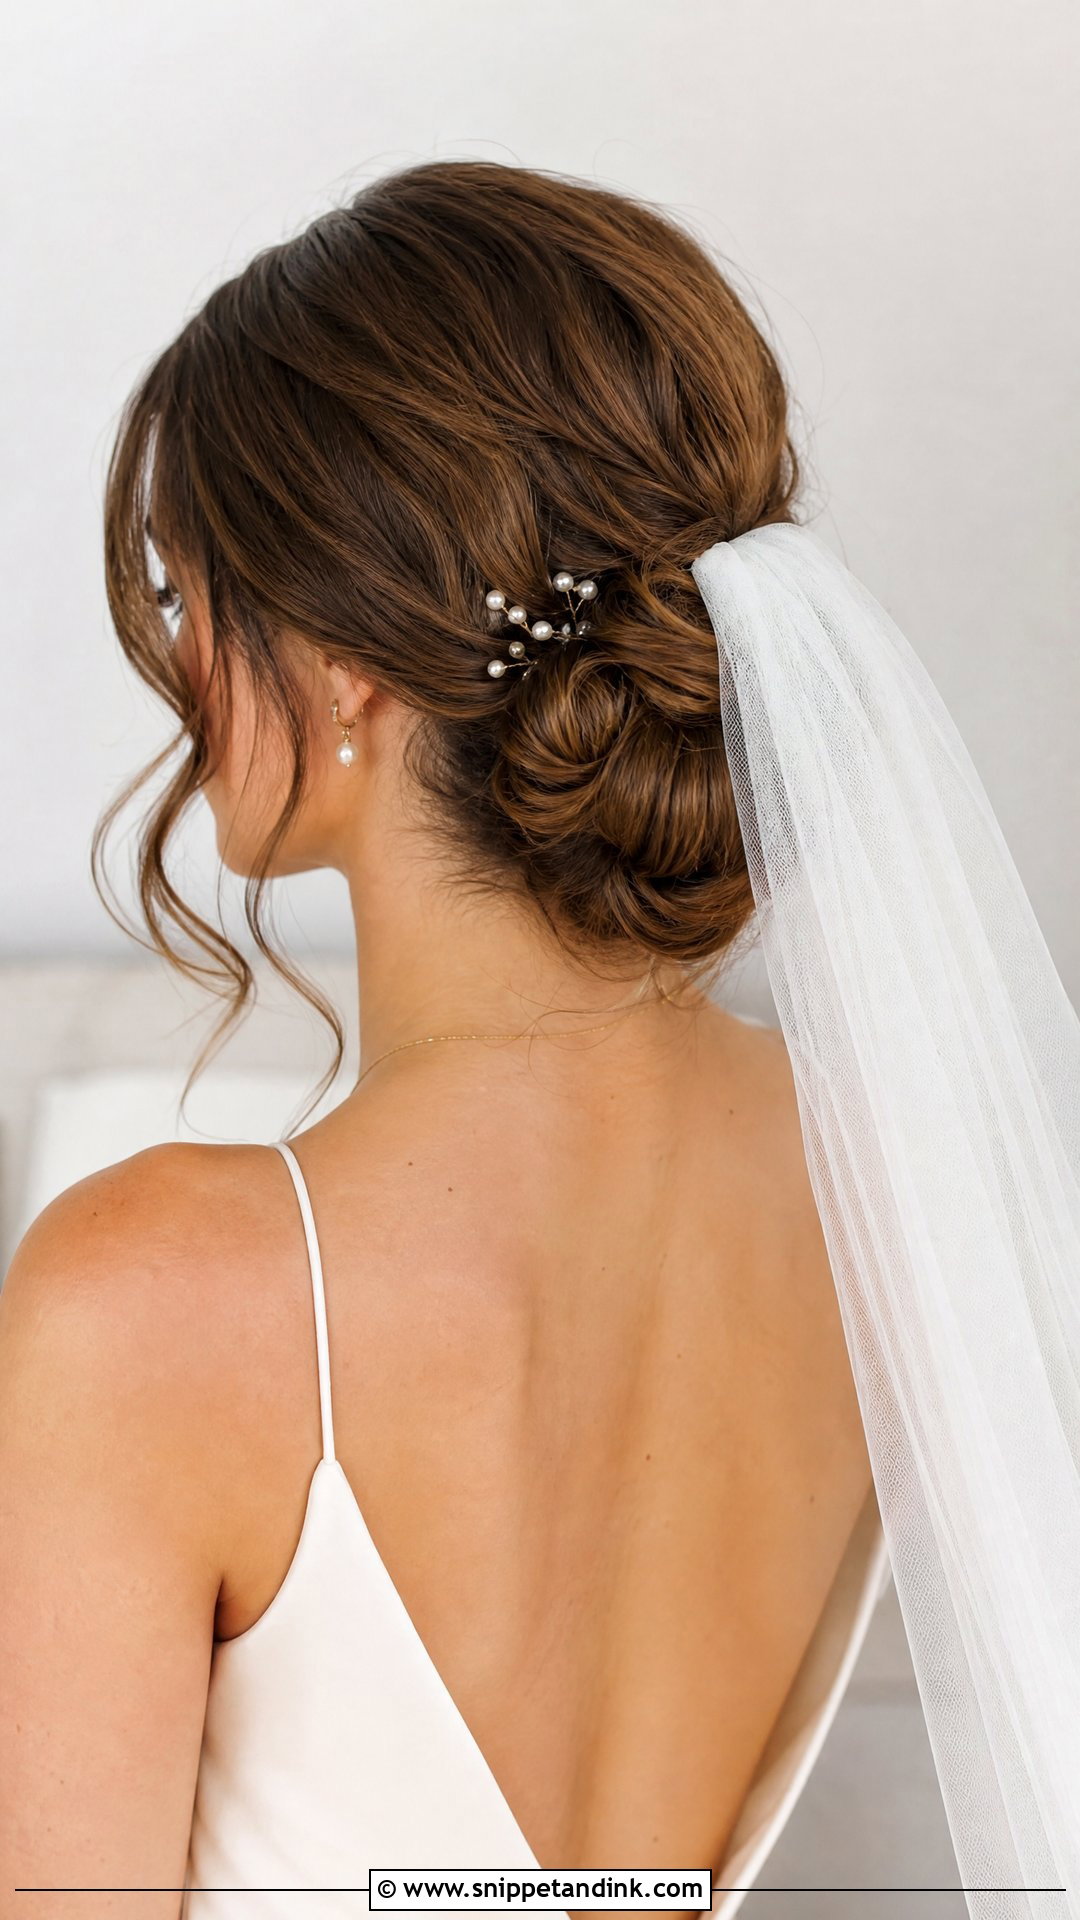
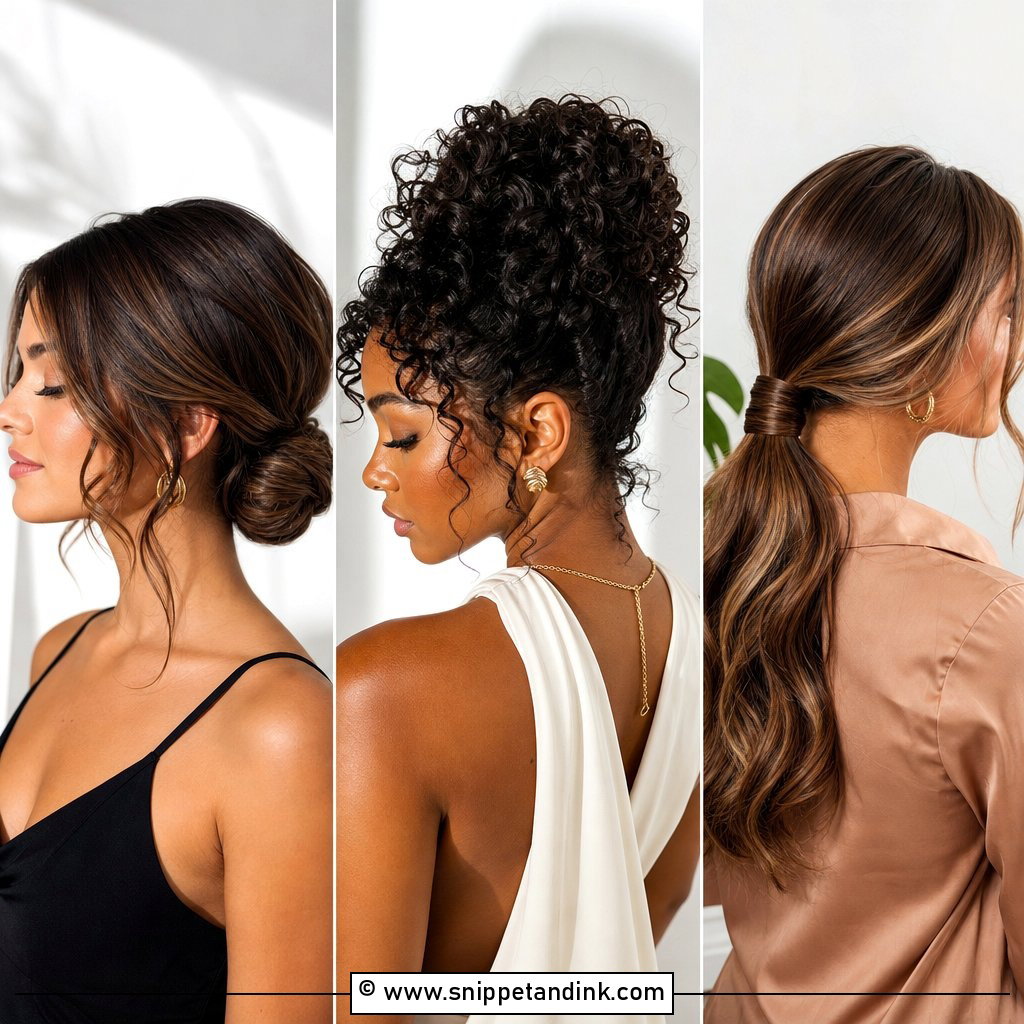
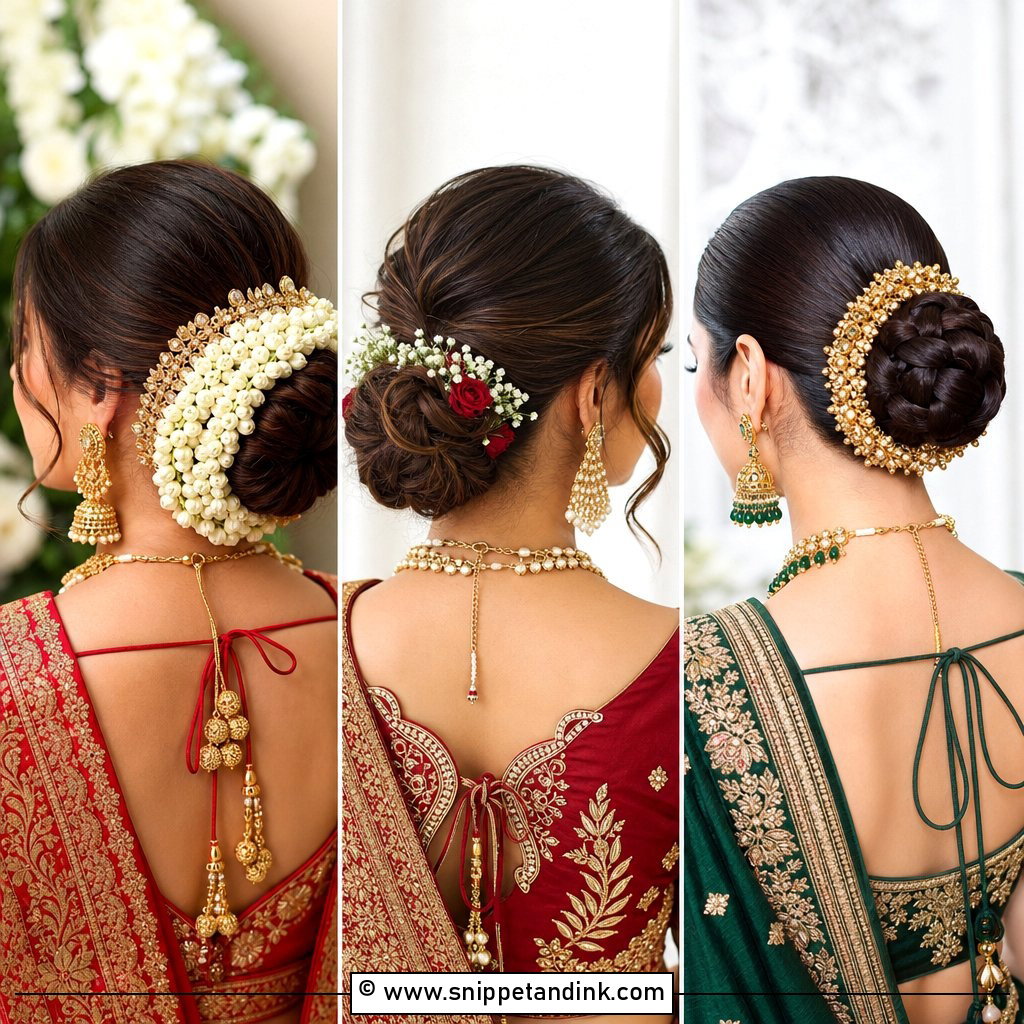
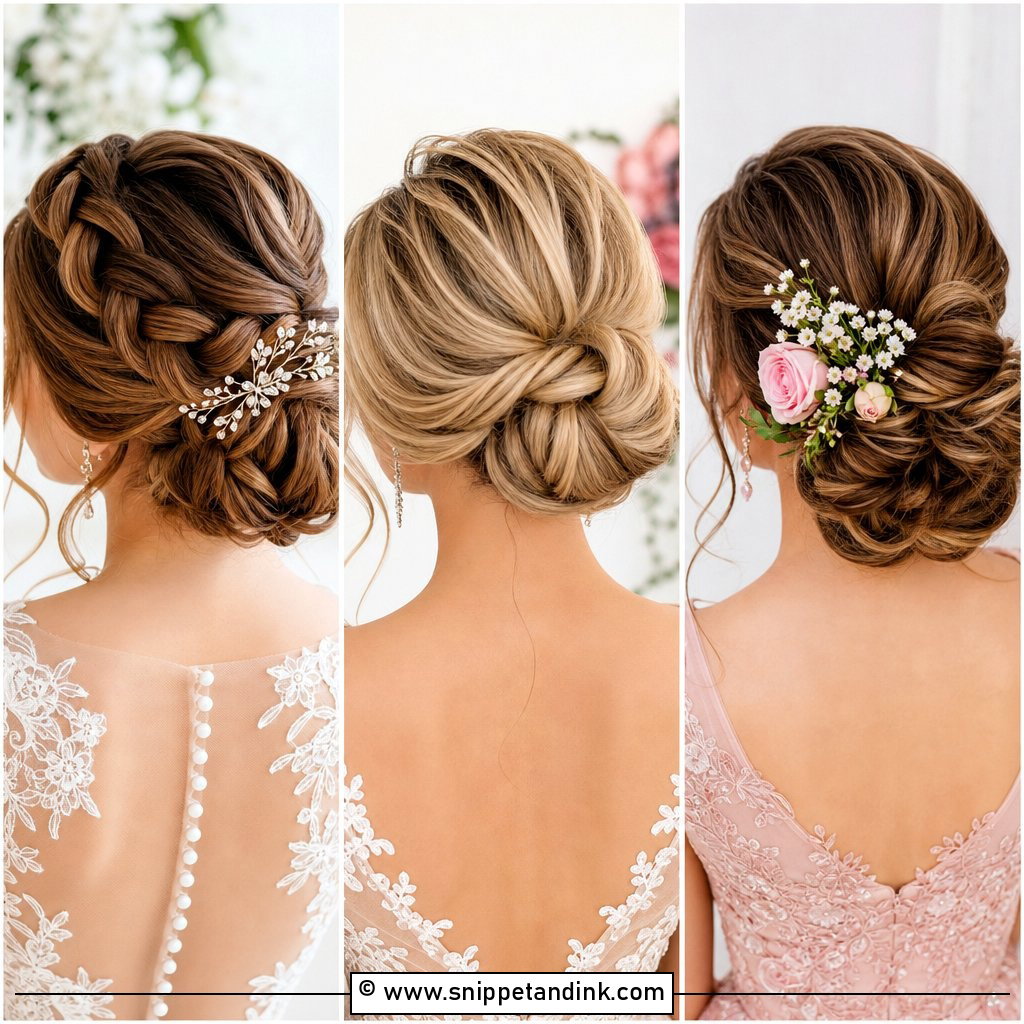
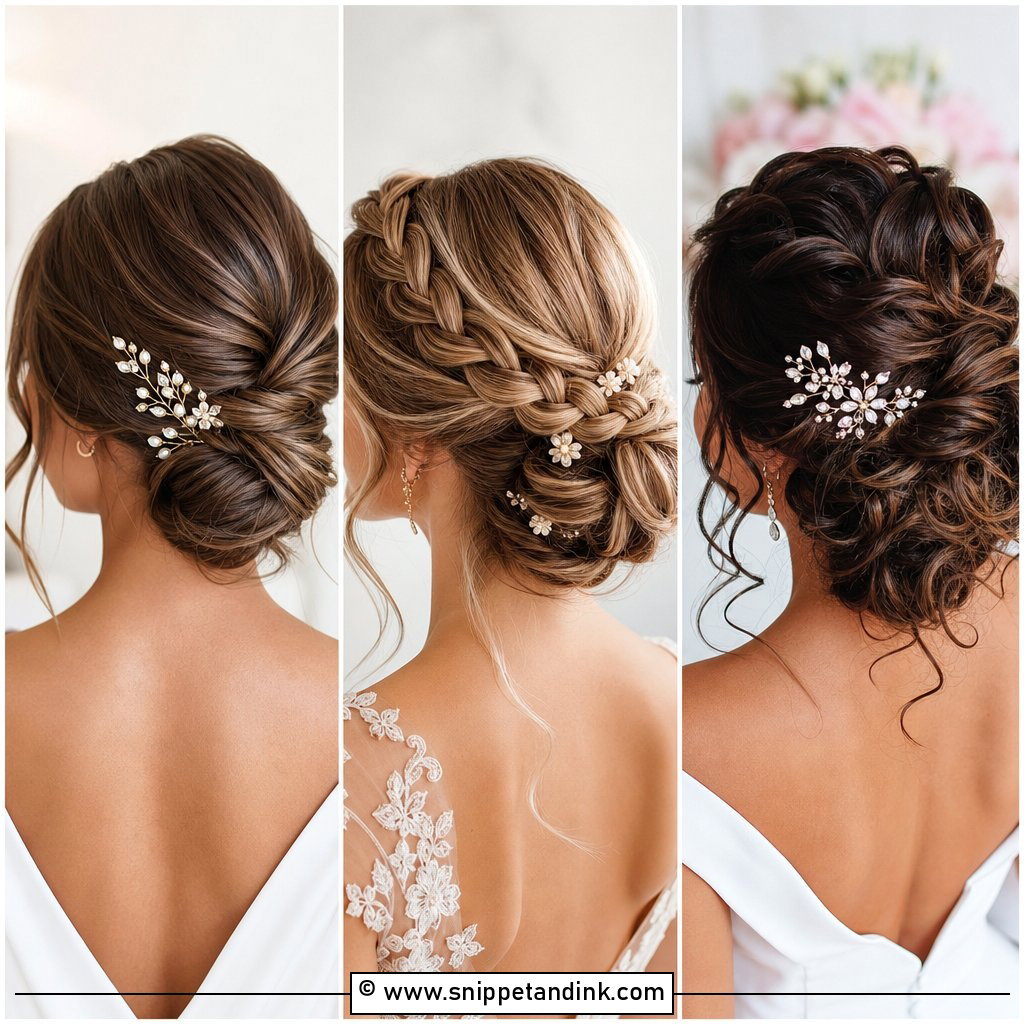
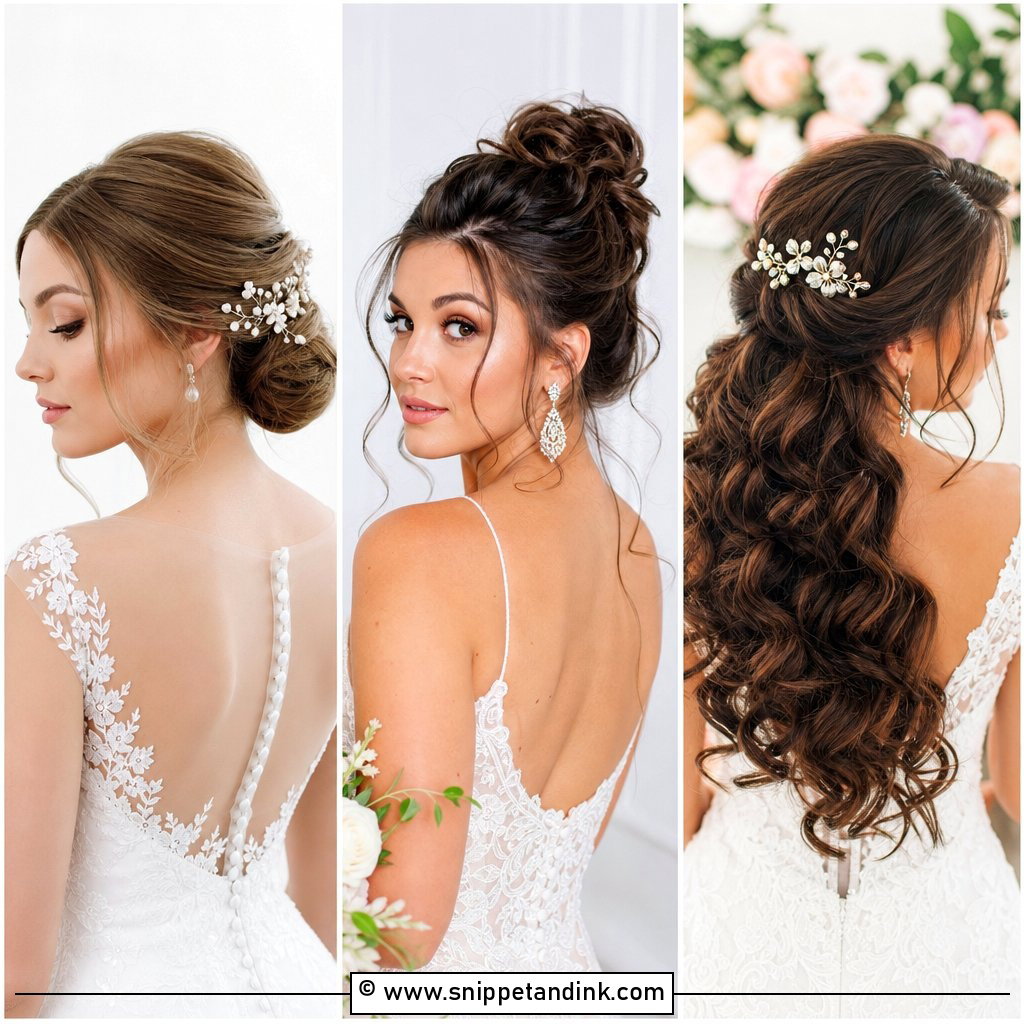
A bride low bun is one of the safest choices when you want elegance without too much fuss. Start by prepping the hair with a smoothing cream or light mousse, then create soft waves for grip and shape. Part the hair in the middle or slightly off-center, depending on what flatters your face. Gather the hair at the nape, twist it into a loose bun, and pin small sections instead of forcing one large coil. Leave a few soft face-framing pieces if you want a romantic effect. This tutorial works well with veils, pearl pins, combs, and dresses with open backs or detailed necklines.
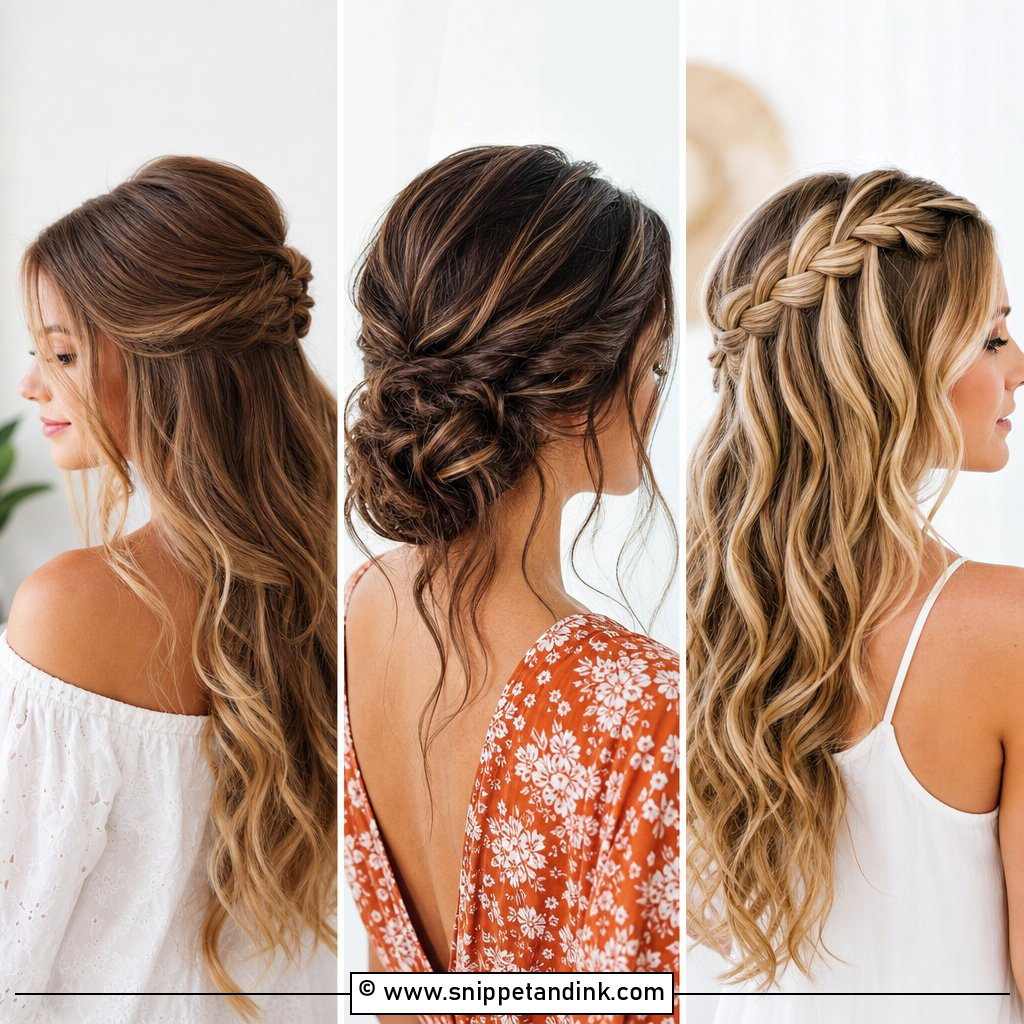
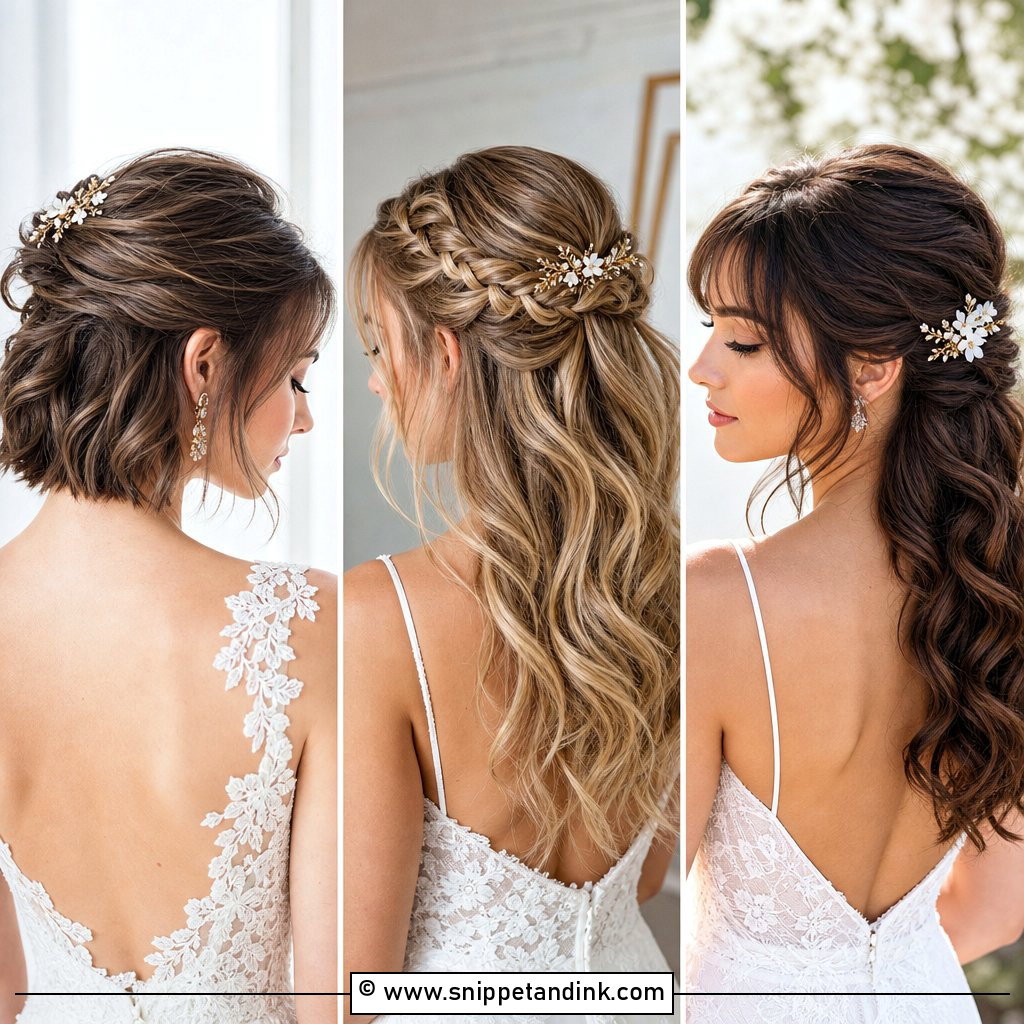
2. Bride Half Up Half Down Tutorial
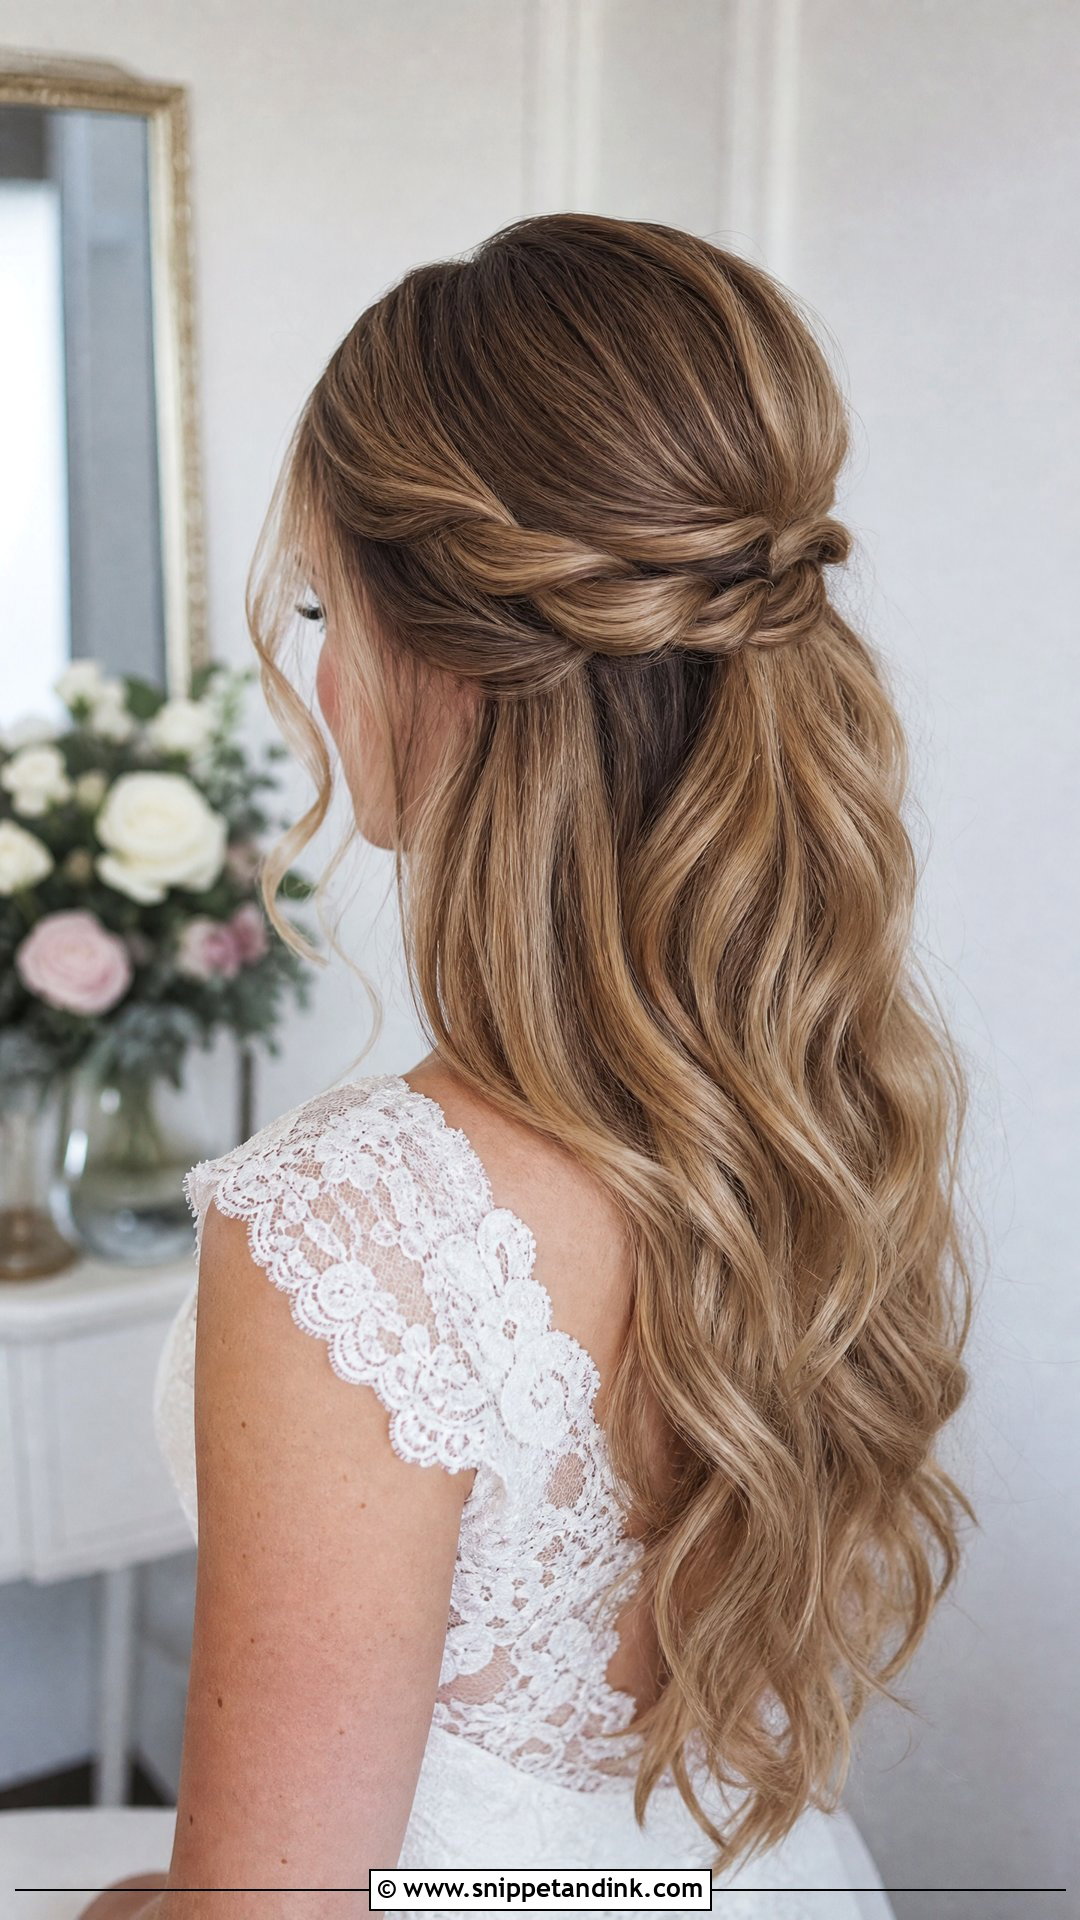
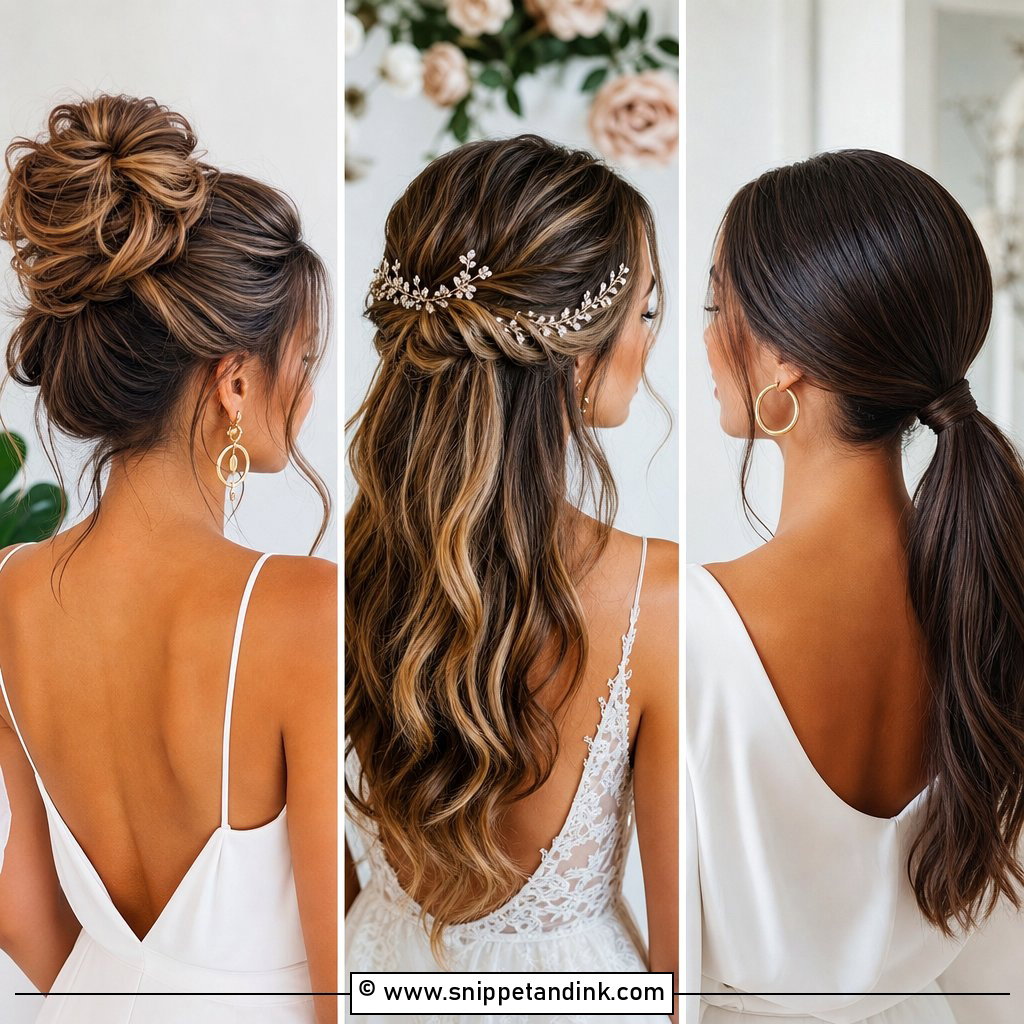
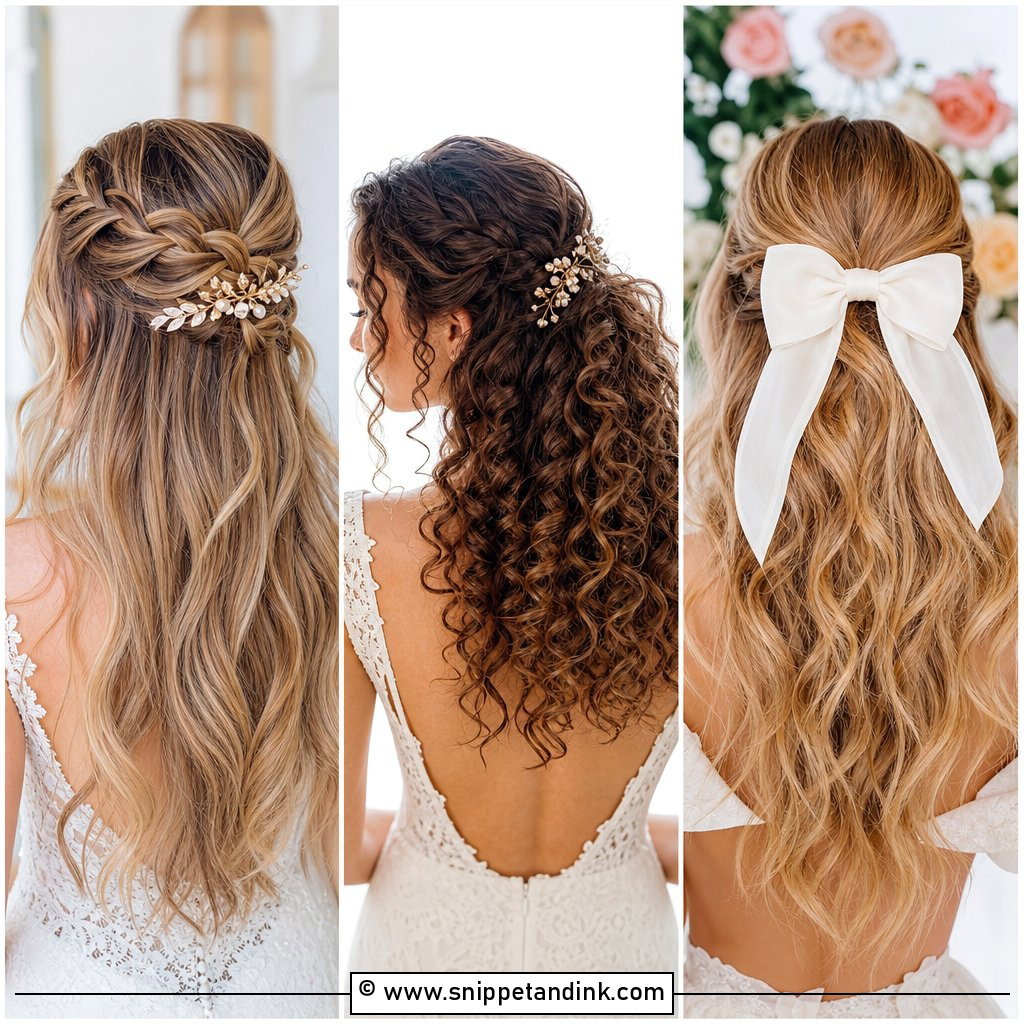
A bride half up half down hairstyle gives you the best of both worlds. You get lift and structure at the crown while still keeping long hair soft and visible. Begin by curling the hair away from the face, then let the curls cool before brushing them into smooth waves. Take two front sections, twist or lightly tease the crown, and secure the top half with pins or a small clear elastic. Hide the elastic with a wrapped strand for a polished finish. This look is perfect for brides who want movement in photos but still need the front pieces controlled during the ceremony.
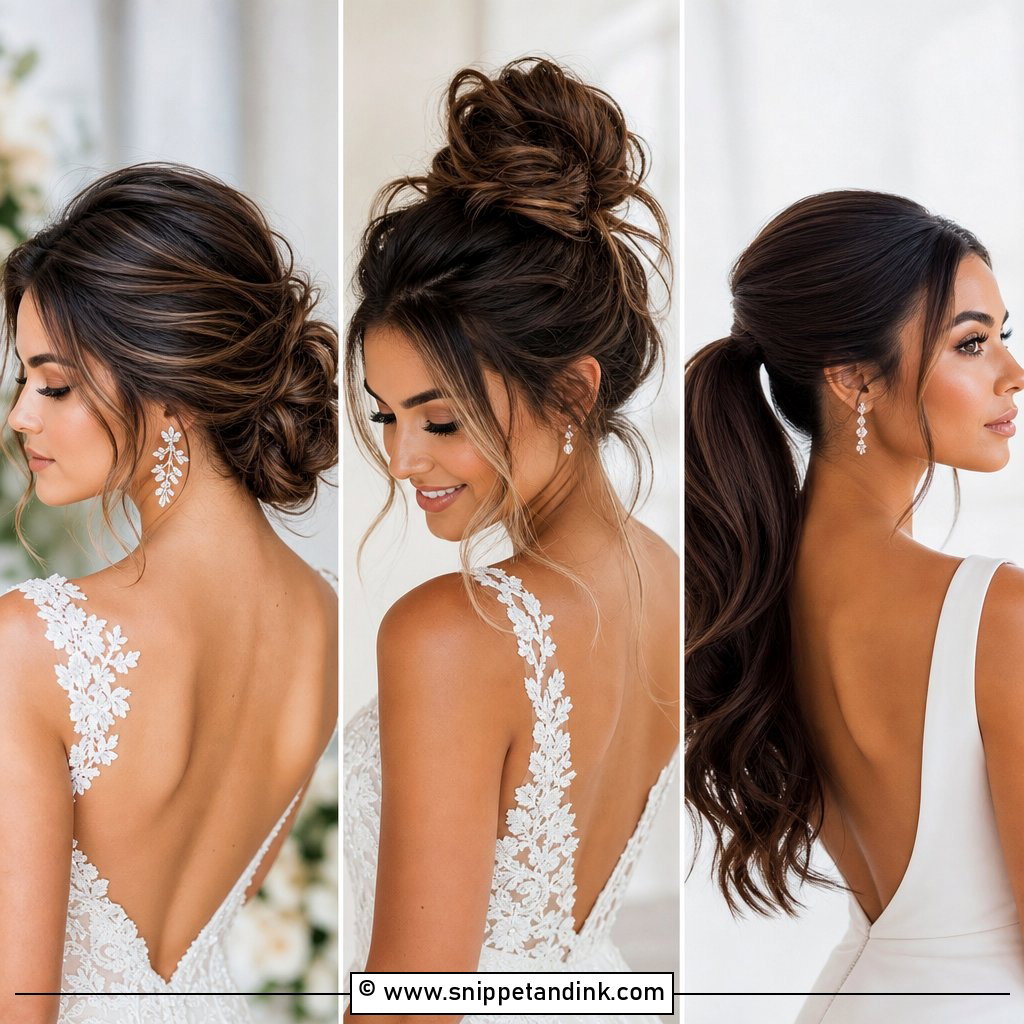
3. Bride Sleek Chignon Tutorial
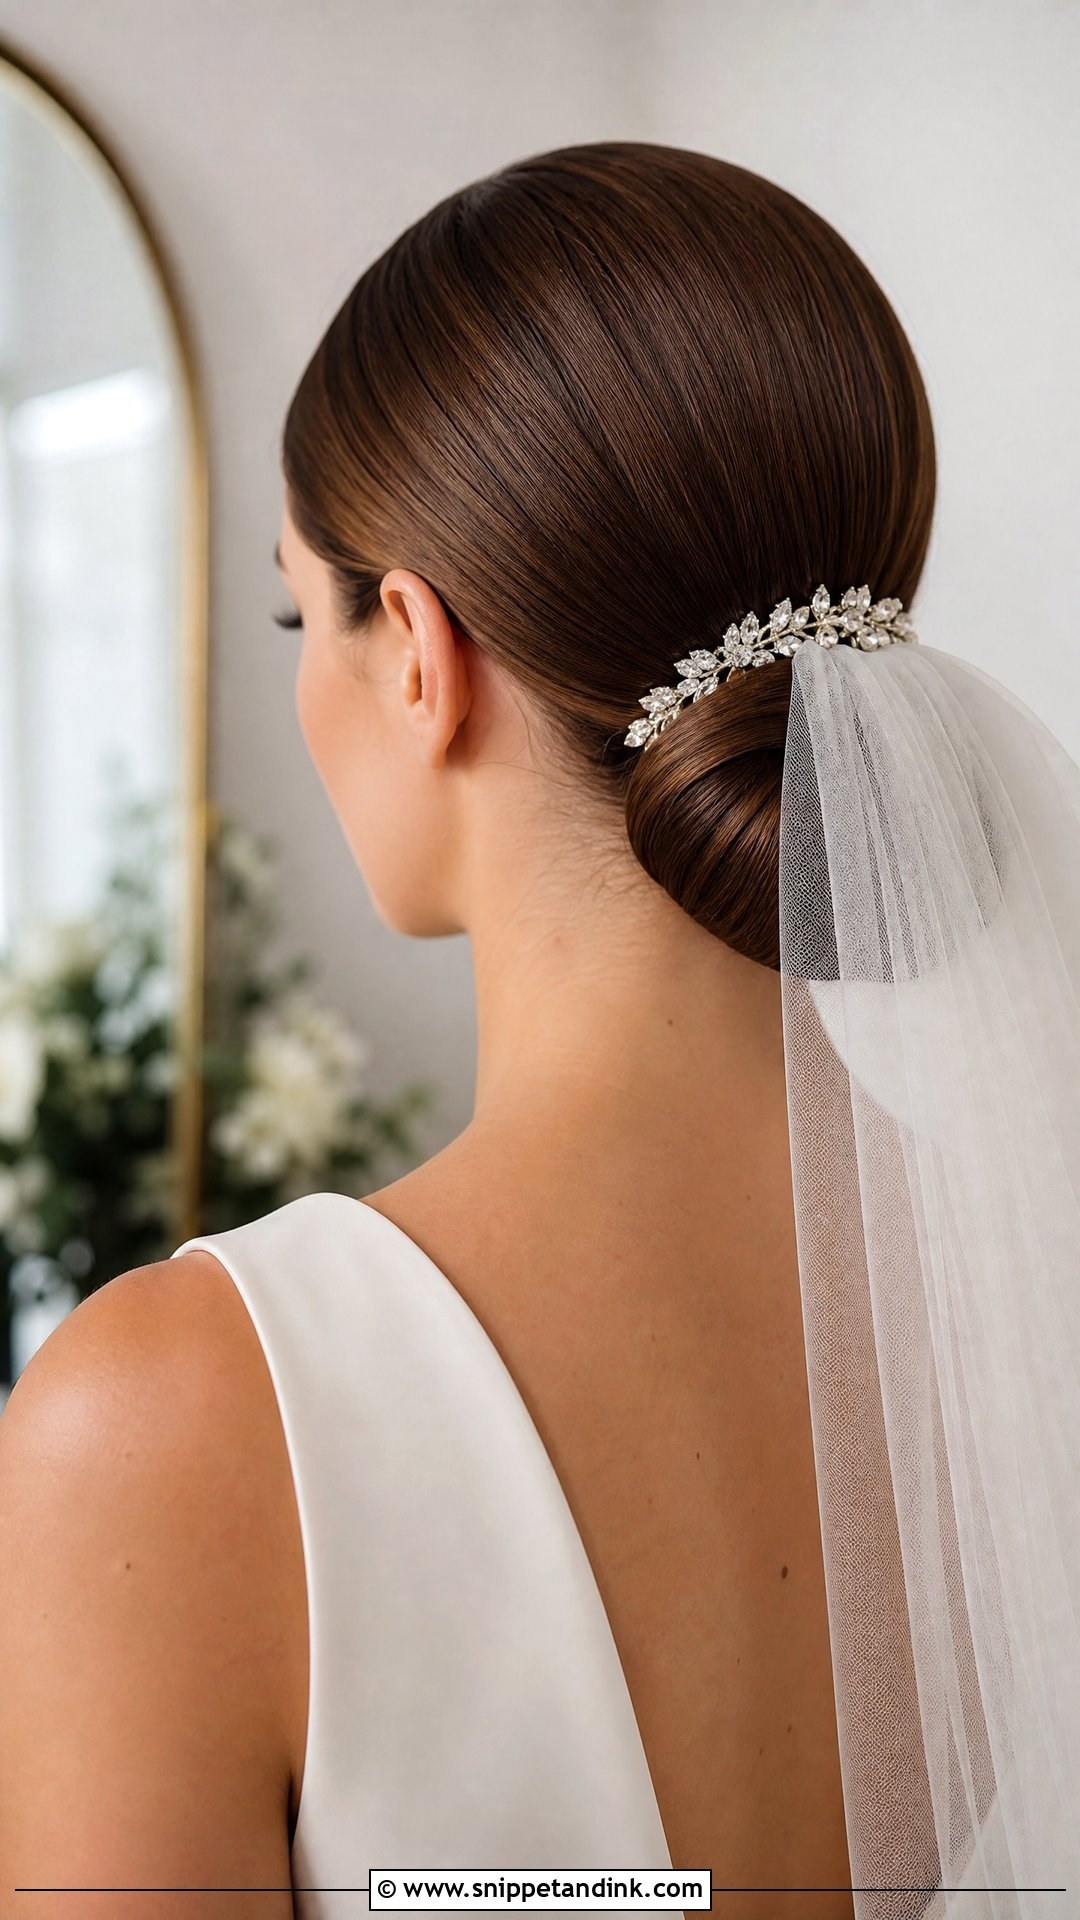
A sleek chignon feels clean, modern, and timeless, especially with satin dresses, minimalist gowns, and high necklines. Start with straightened or smooth blow-dried hair, then apply a small amount of shine serum from mid-lengths to ends. Create a sharp middle part or soft side part, brush the hair low, and secure it tightly at the nape. Twist the ponytail into a compact chignon and pin it flat against the head. Use a toothbrush with hairspray to smooth flyaways around the hairline. This tutorial is best for brides who love a polished bridal look that stays neat from first look to final dance.
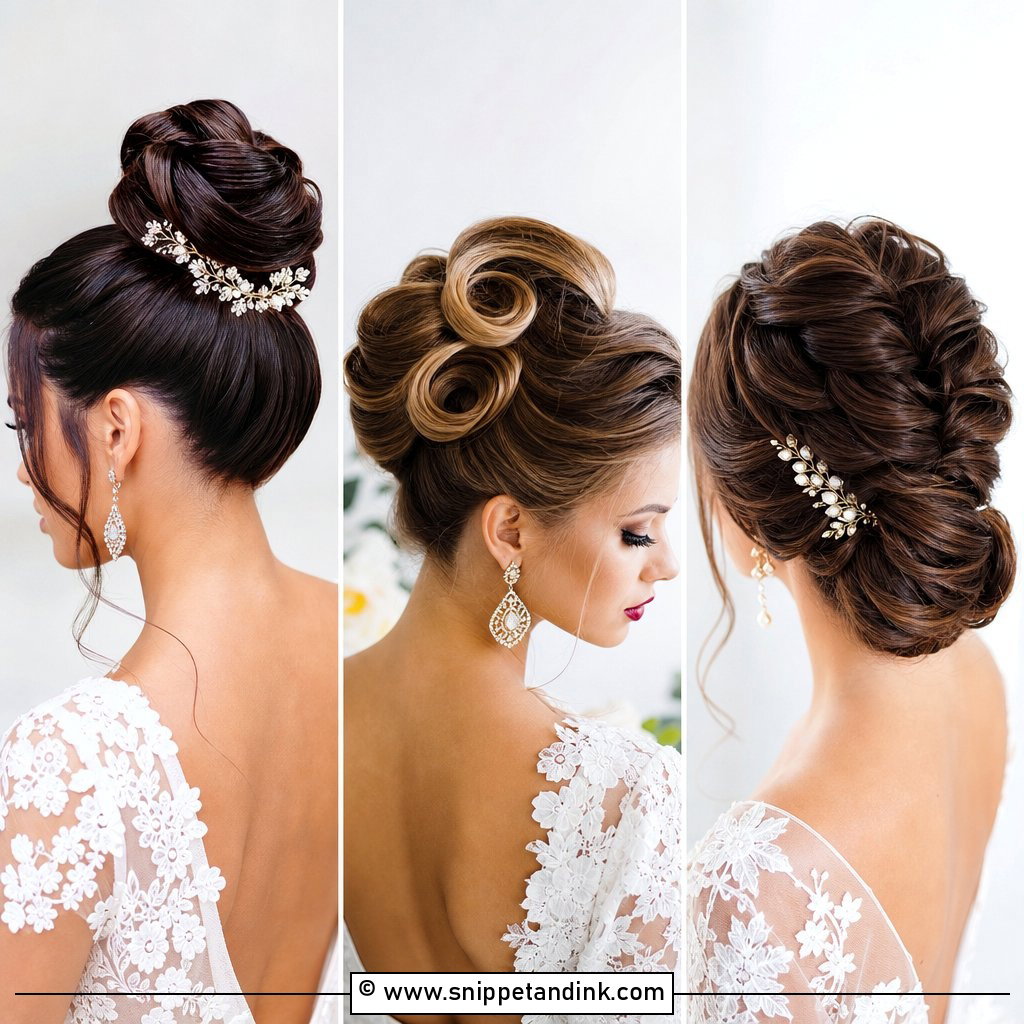
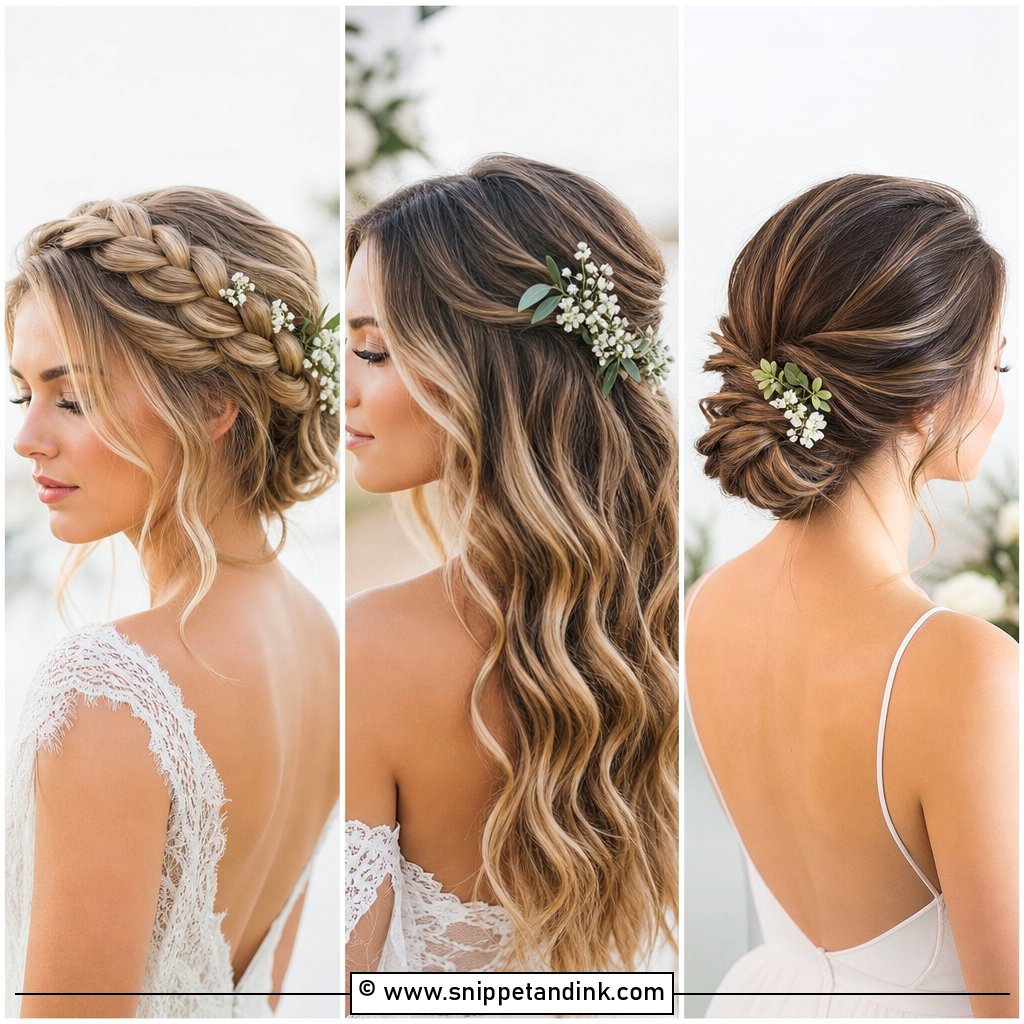
4. Bride Textured Updo Tutorial
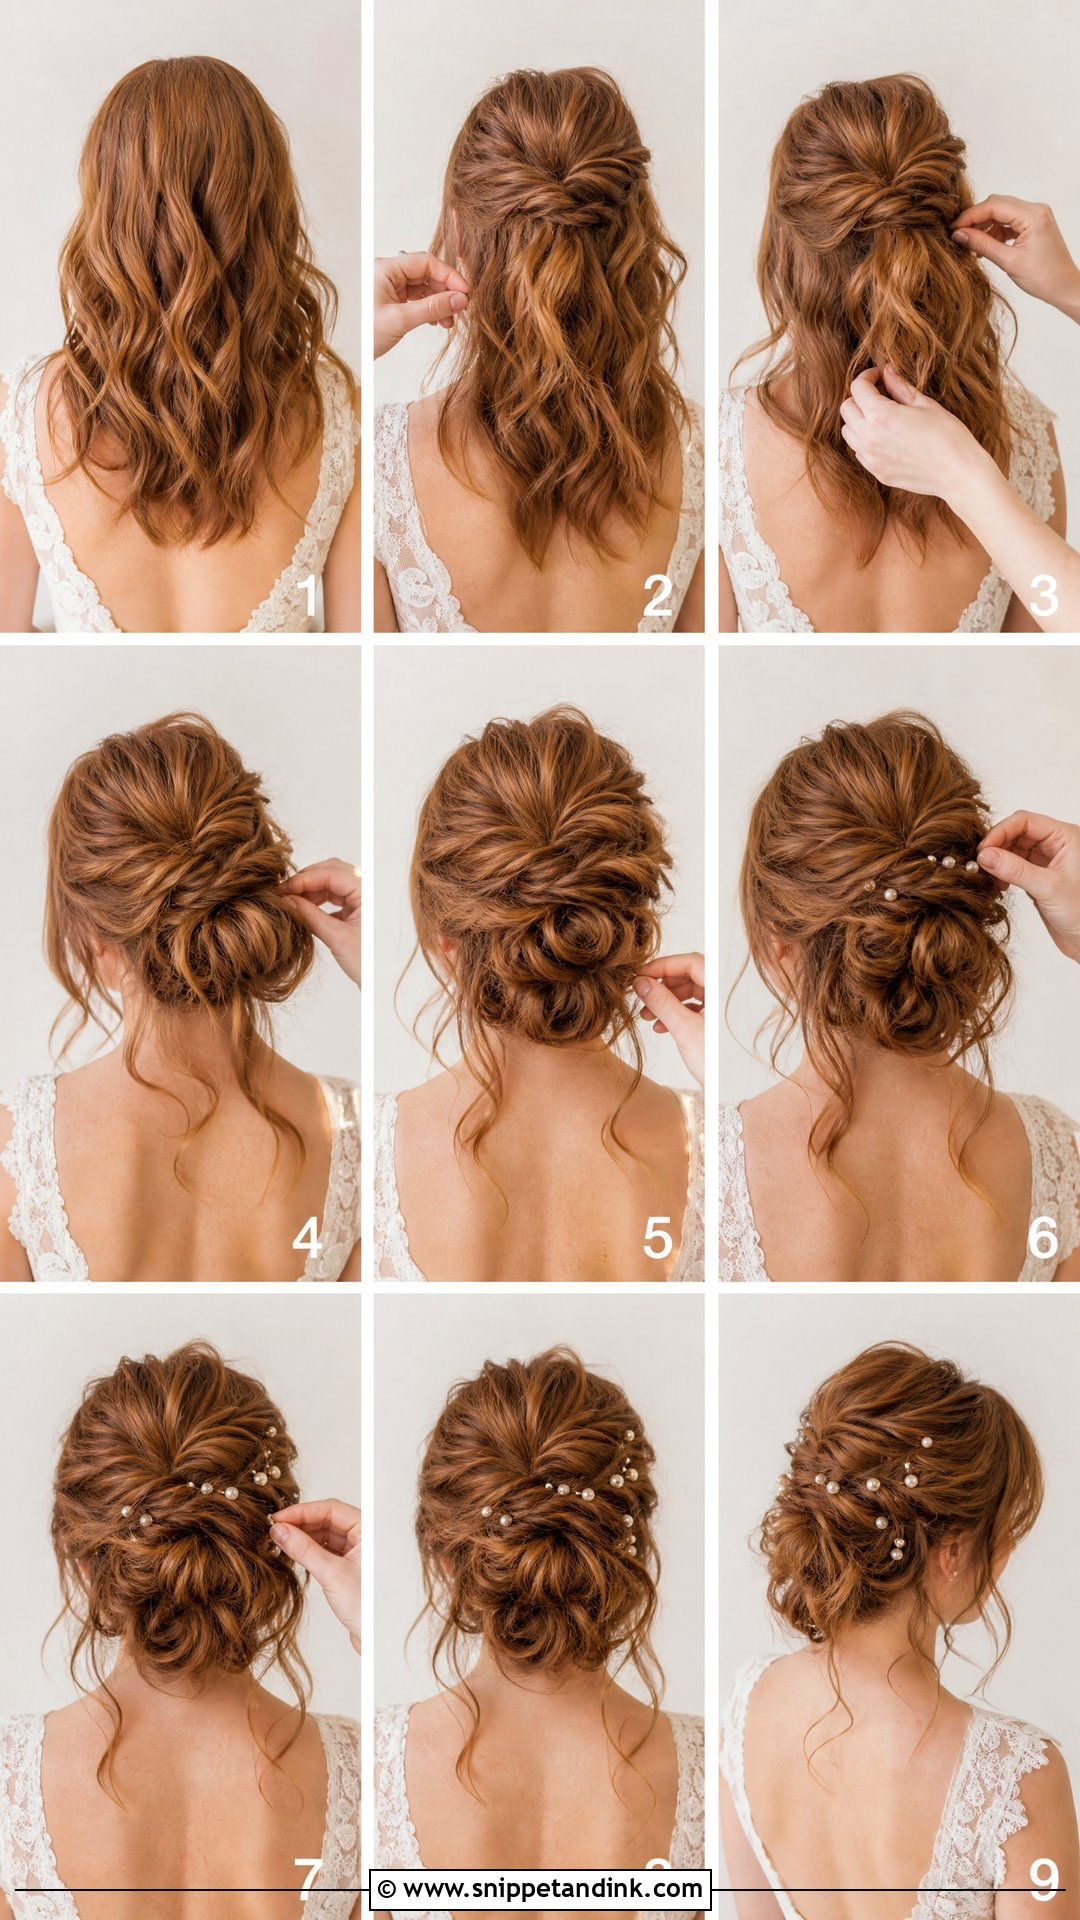
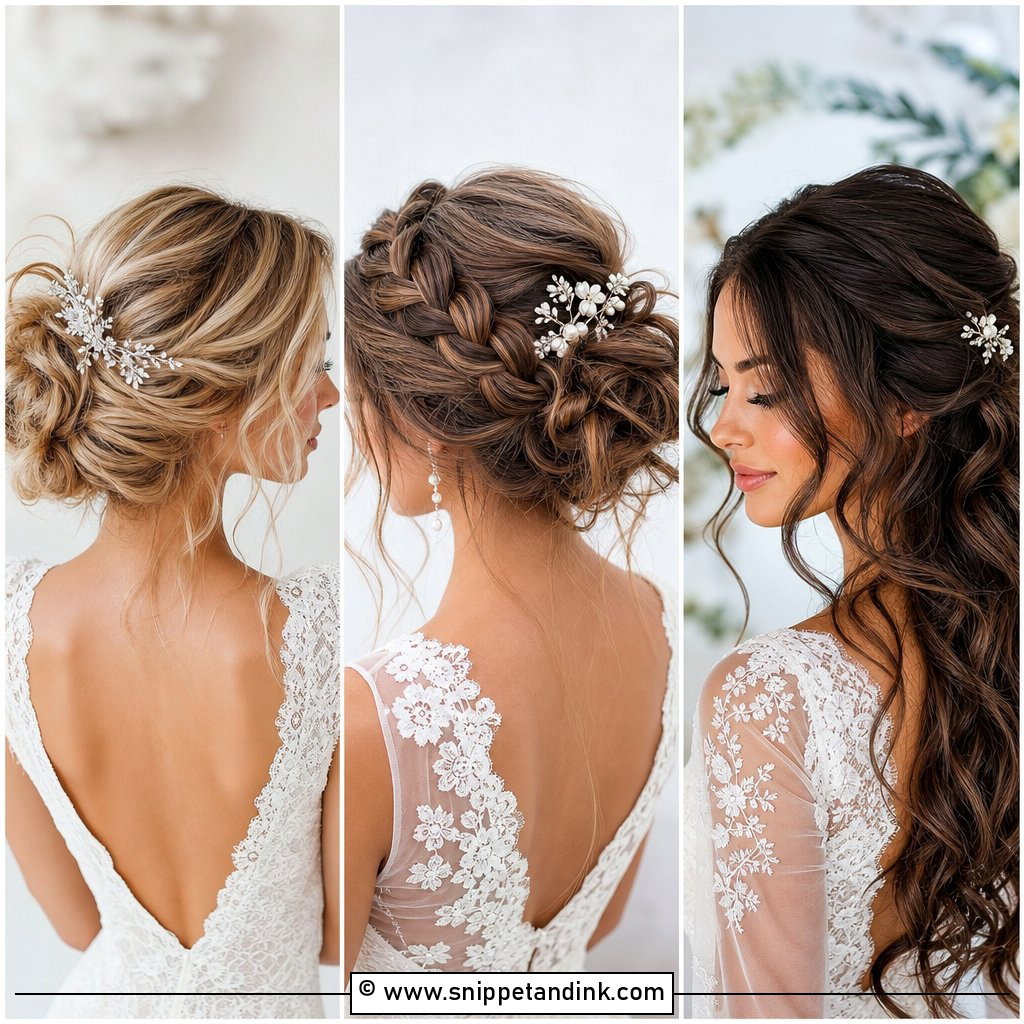
A bride textured updo is ideal when you want a soft, romantic shape that still feels secure. Start by adding loose curls throughout the hair, then spray with a flexible hold texture spray. Lightly tease the crown so the updo does not sit too flat. Pull the hair back in sections, crossing and pinning pieces near the nape instead of making one tight bun. Let a few curled pieces fall naturally around the face and ears. The beauty of this tutorial is that it does not need to look perfect. It works beautifully for outdoor weddings, garden ceremonies, lace gowns, and soft veils.
5. Bride French Twist Tutorial
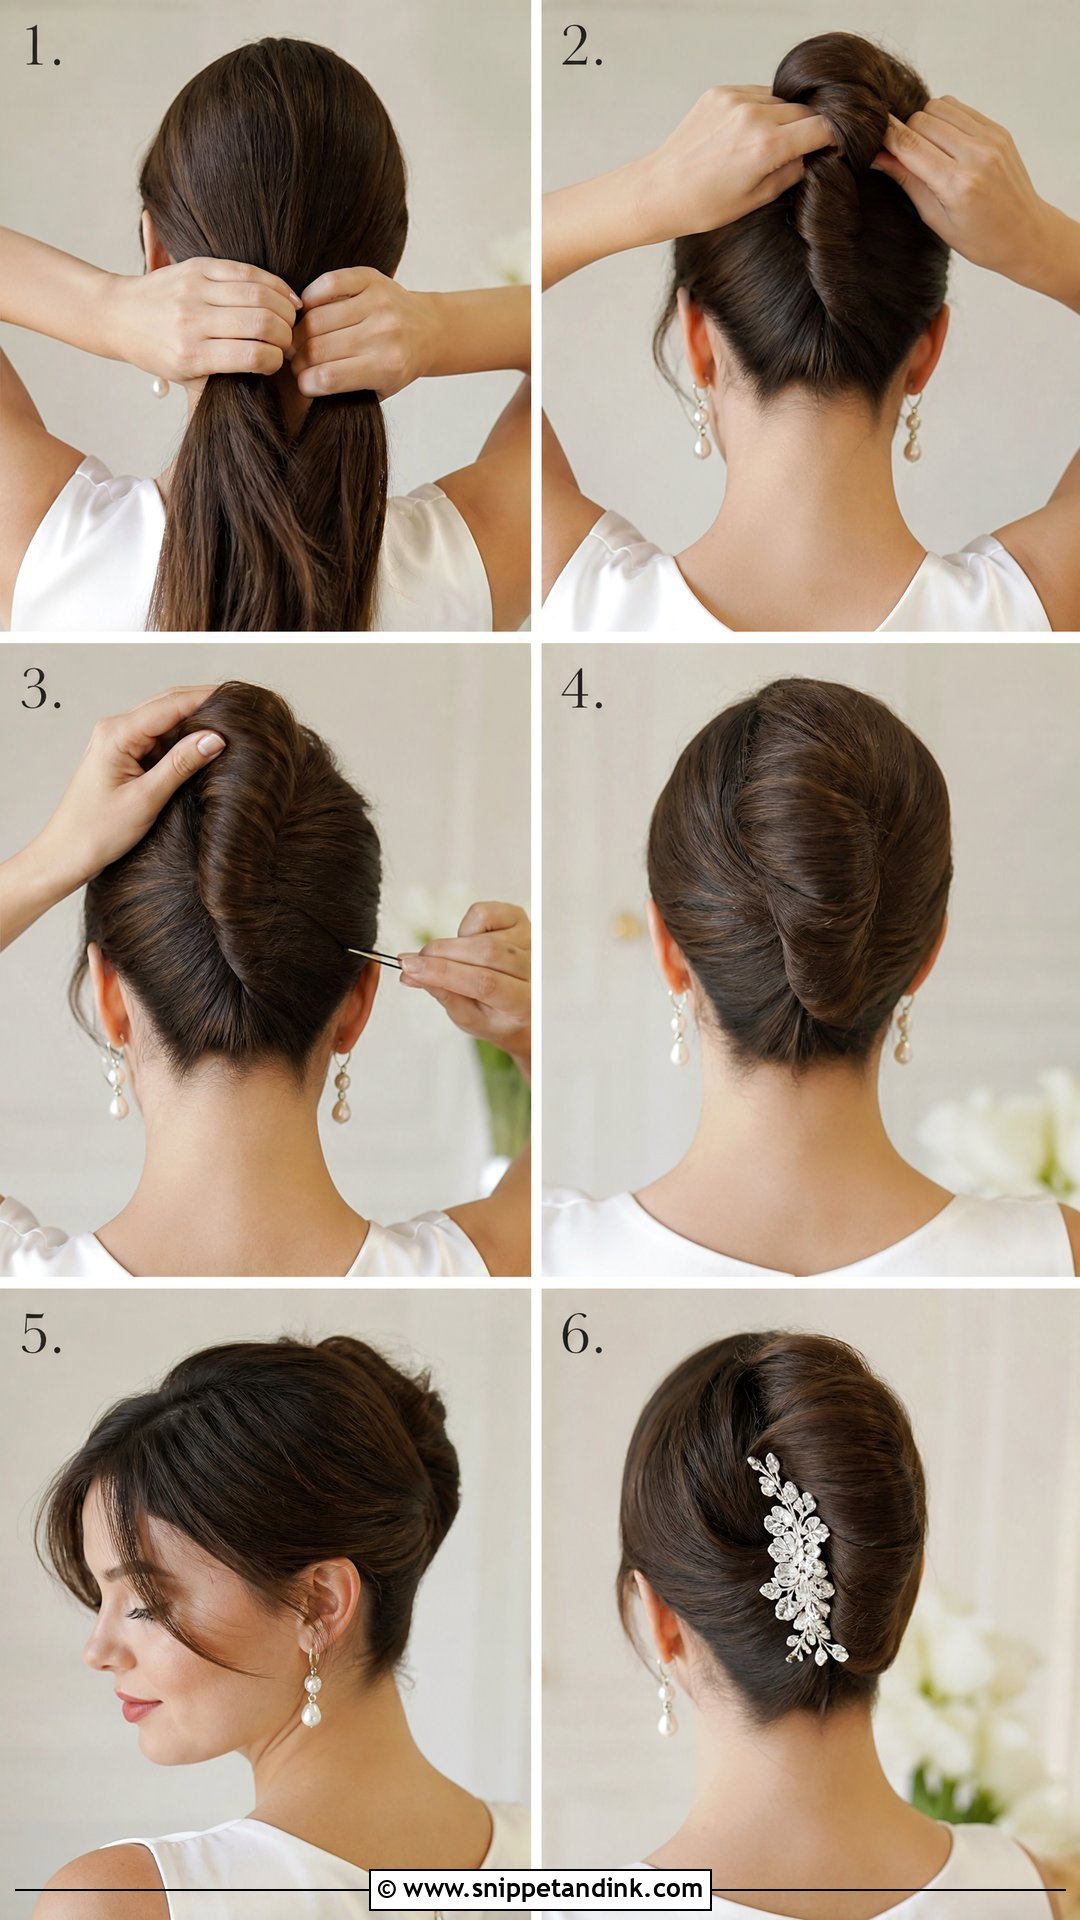
A bride French twist is graceful, polished, and surprisingly flexible. It can look classic, modern, or softly undone depending on how tightly you style it. Begin by smoothing the hair and adding light texture spray for grip. Sweep all hair to one side, place pins vertically along the center back, then roll the lengths inward to create the twist. Secure the roll with long pins tucked inside, keeping the shape tall and clean. You can leave the ends hidden for a classic finish or softly curled at the top for a relaxed bridal feel. This tutorial suits veils, combs, and statement earrings beautifully.
6. Bride Braided Bun Tutorial
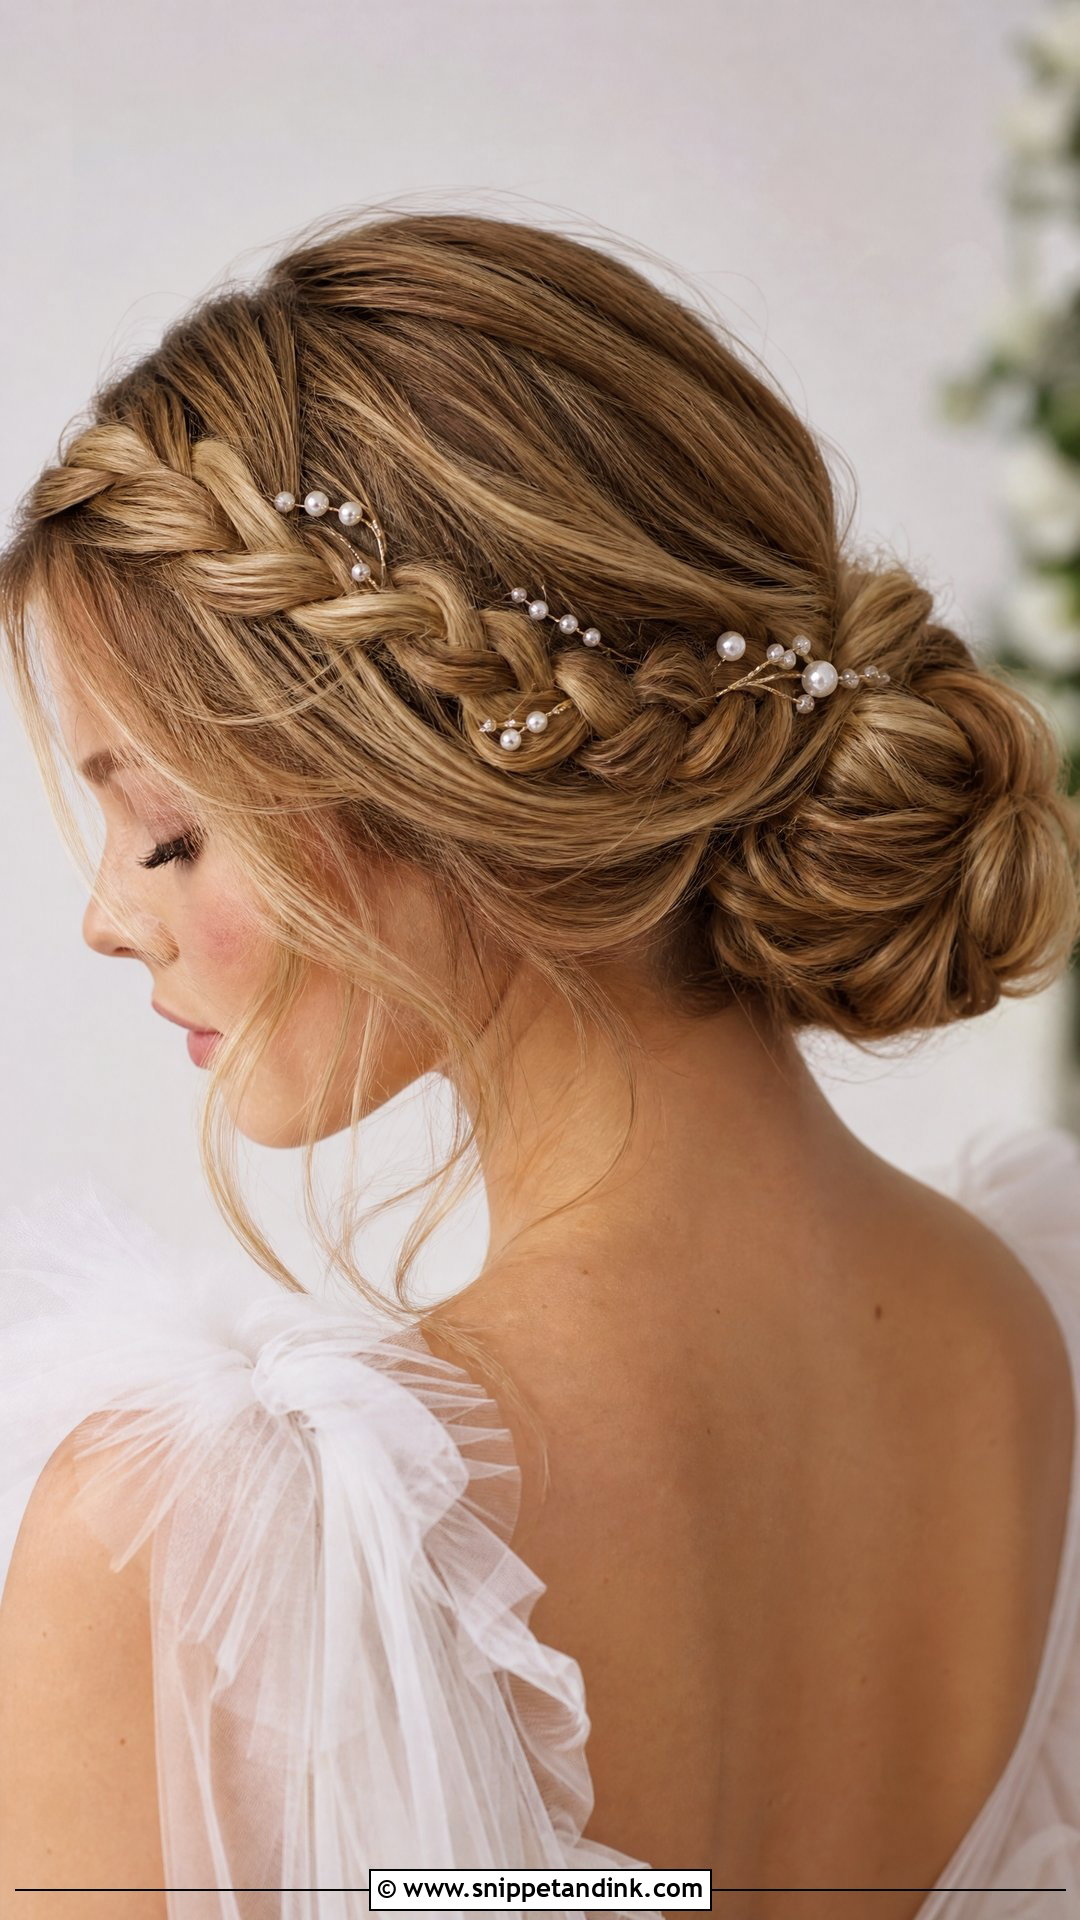
A bride braided bun adds detail without making the hairstyle feel too busy. Start by curling the hair lightly, then create one or two loose braids on each side of the head. Gather the remaining hair into a low ponytail, twist it into a bun, and pin it at the nape. Wrap the braids around the bun or cross them over the back for a woven finish. Gently pull the braid edges apart to make them fuller and softer. This tutorial is perfect for brides who want a romantic look that feels secure, especially for long ceremonies, outdoor venues, or dancing-heavy receptions.
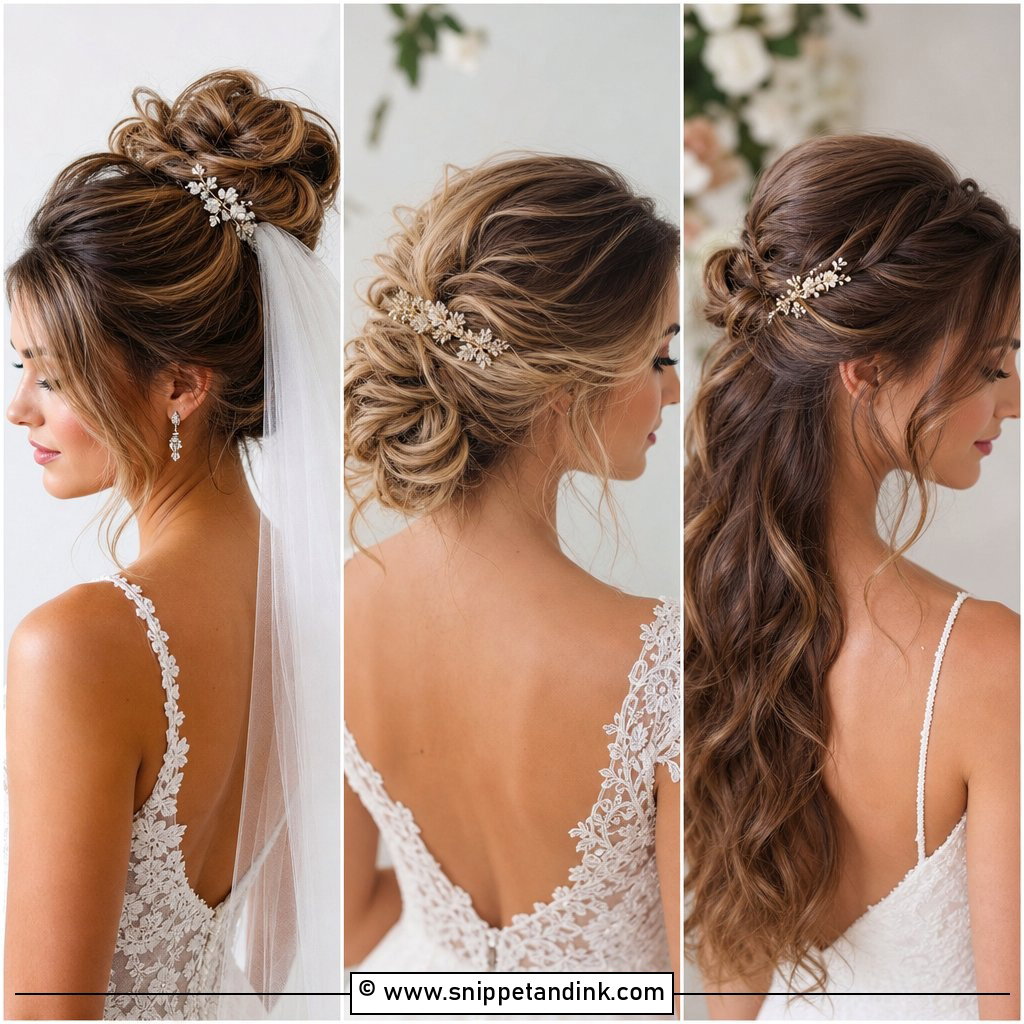
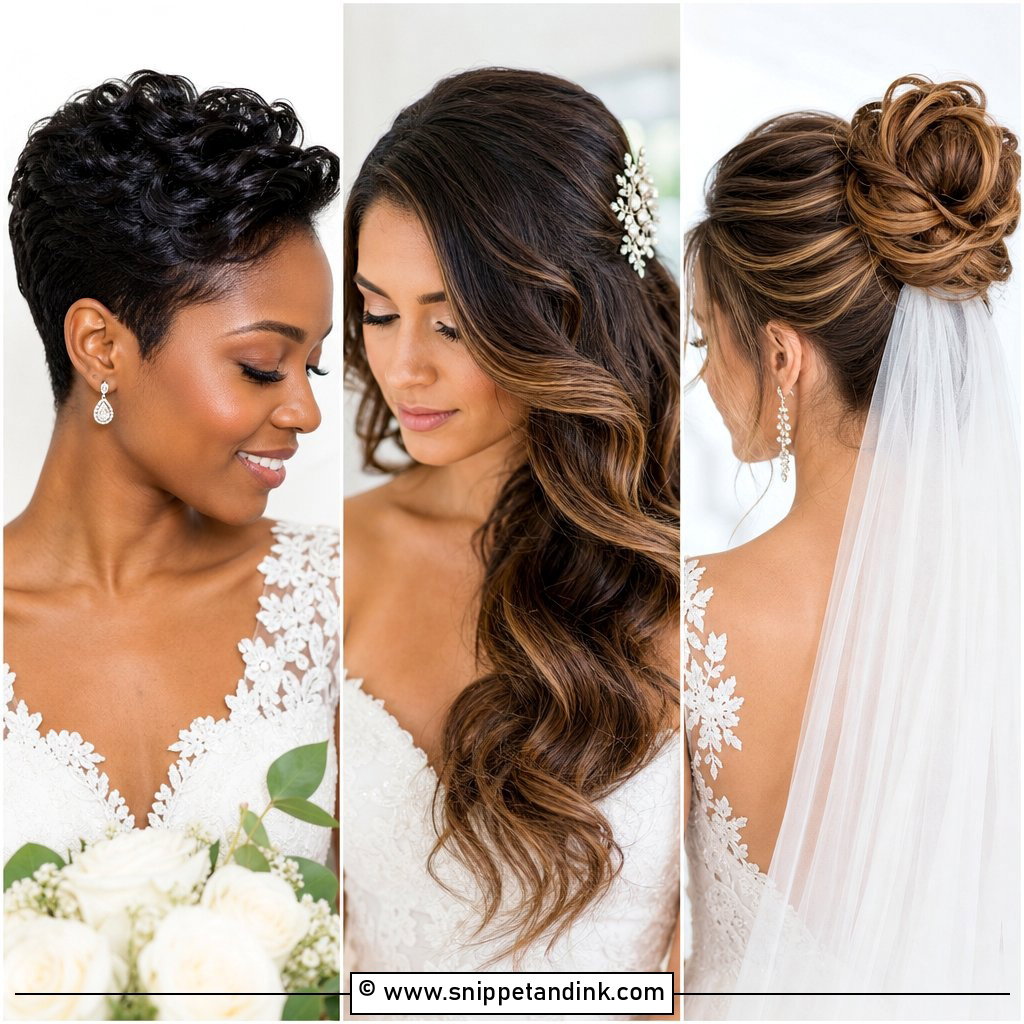
7. Bride High Bun Tutorial
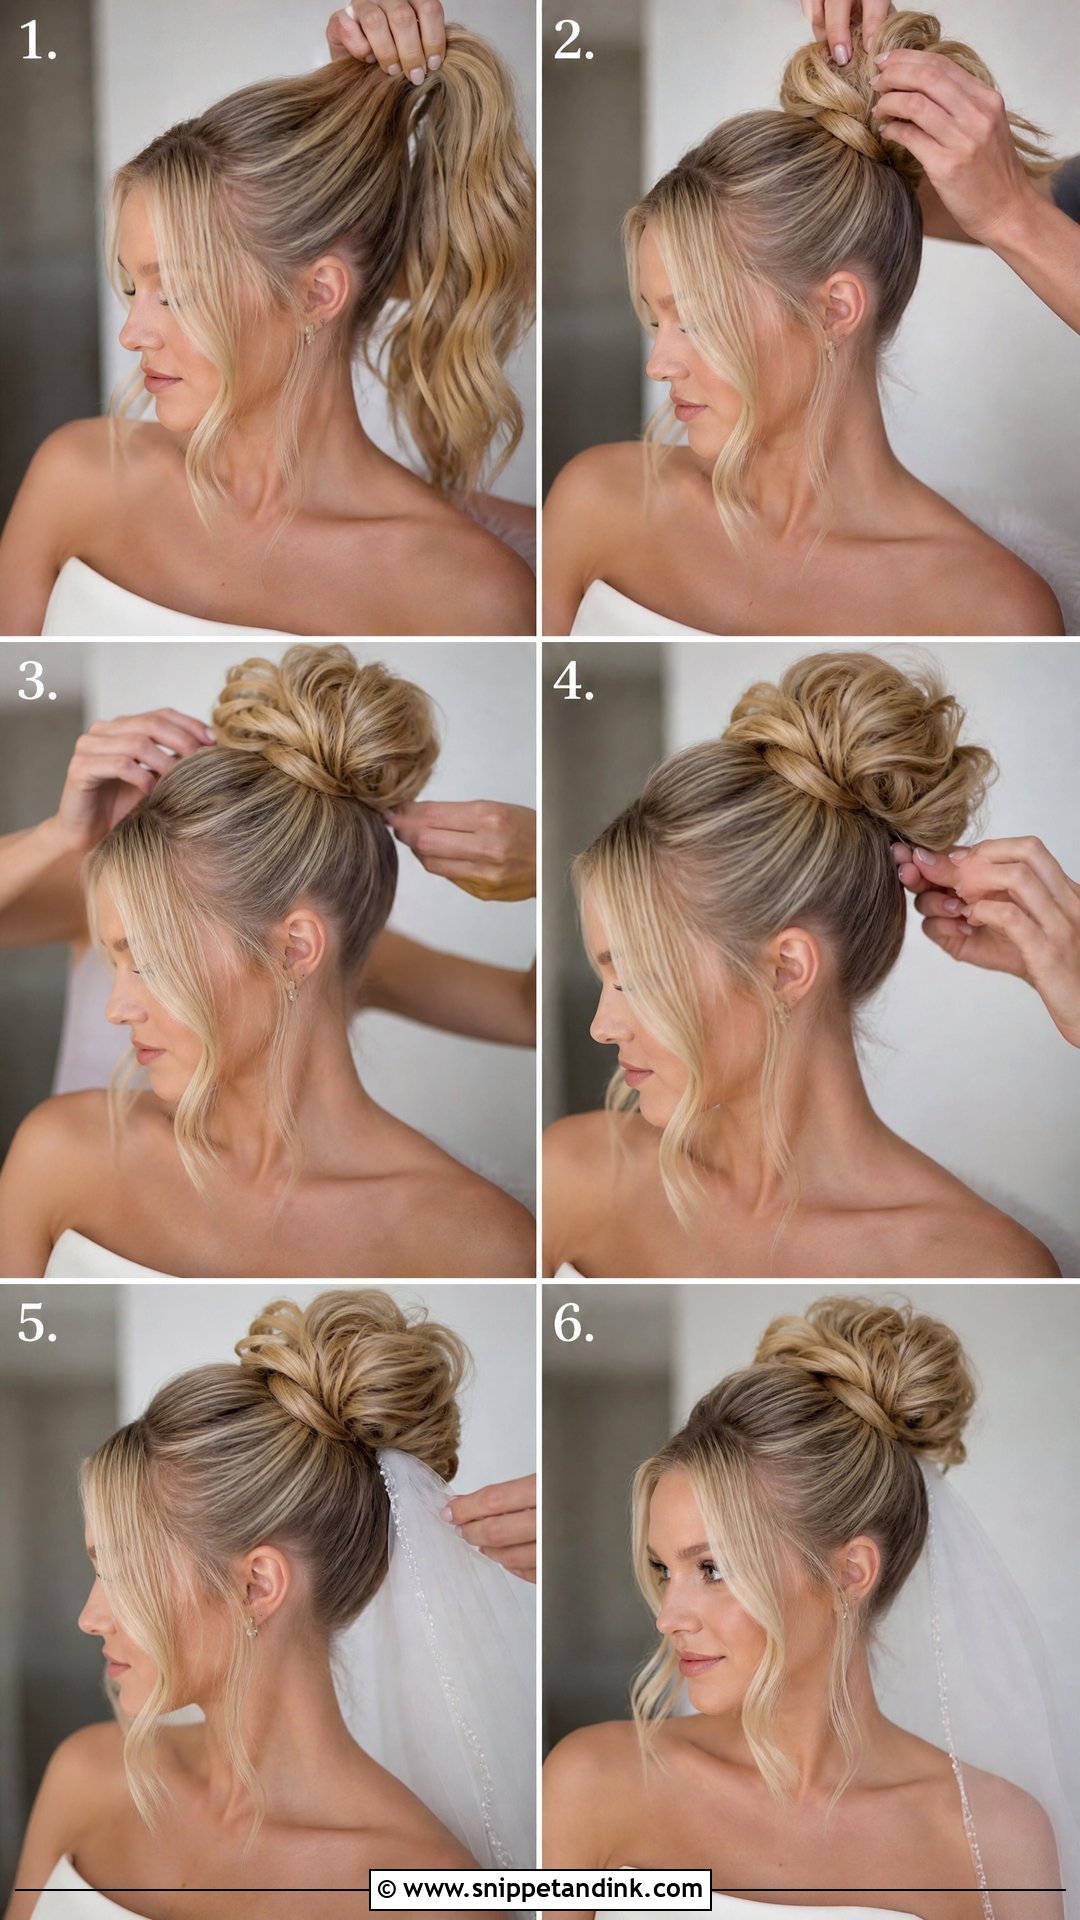
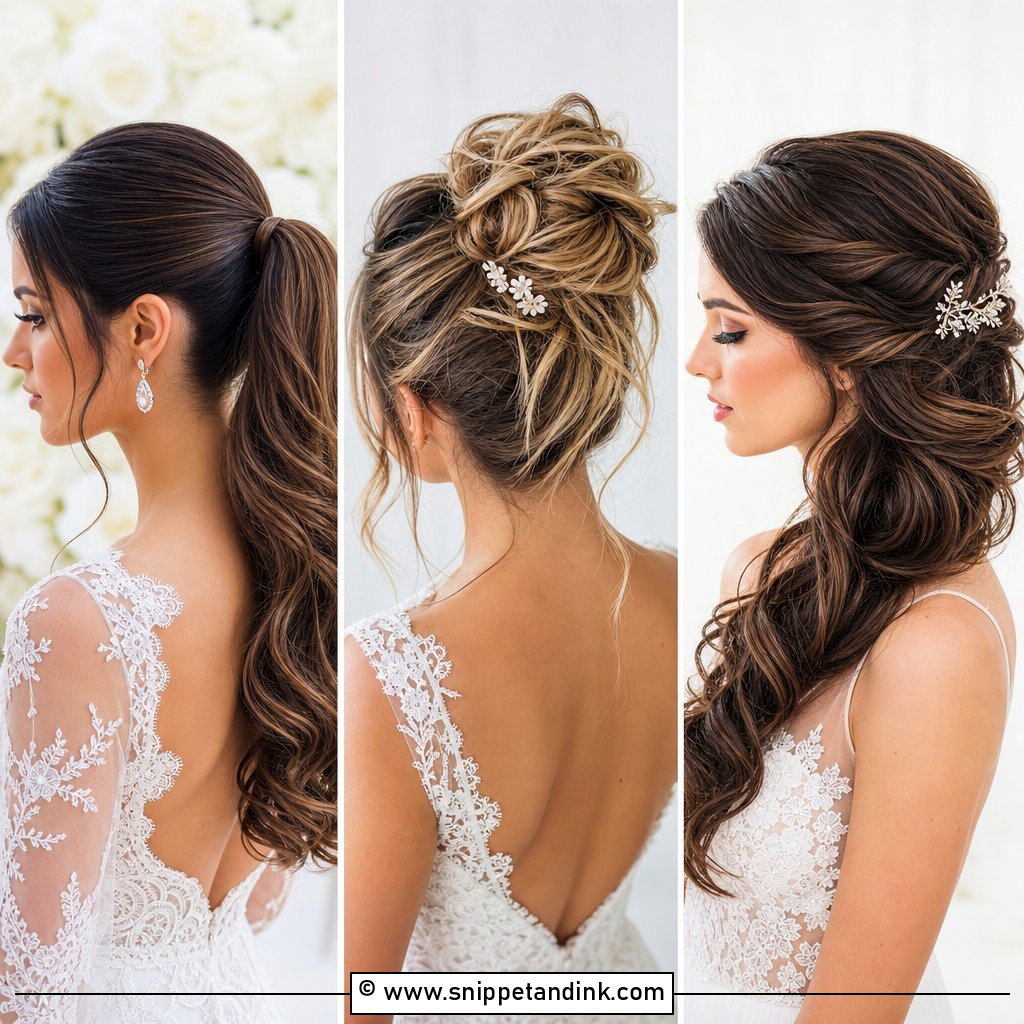
A bride high bun creates instant lift and makes the neck, shoulders, and dress details stand out. Start by brushing the hair upward into a high ponytail, keeping the front smooth or softly parted. Add texture by curling the ponytail or lightly backcombing it before wrapping it into a bun. Pin the bun in sections so it feels balanced and not too heavy. For a softer look, loosen the hair at the crown and pull out a few delicate face-framing pieces. This tutorial works well with strapless gowns, high collars, dramatic earrings, and veils placed underneath the bun for extra height.
8. Bride Low Ponytail Tutorial
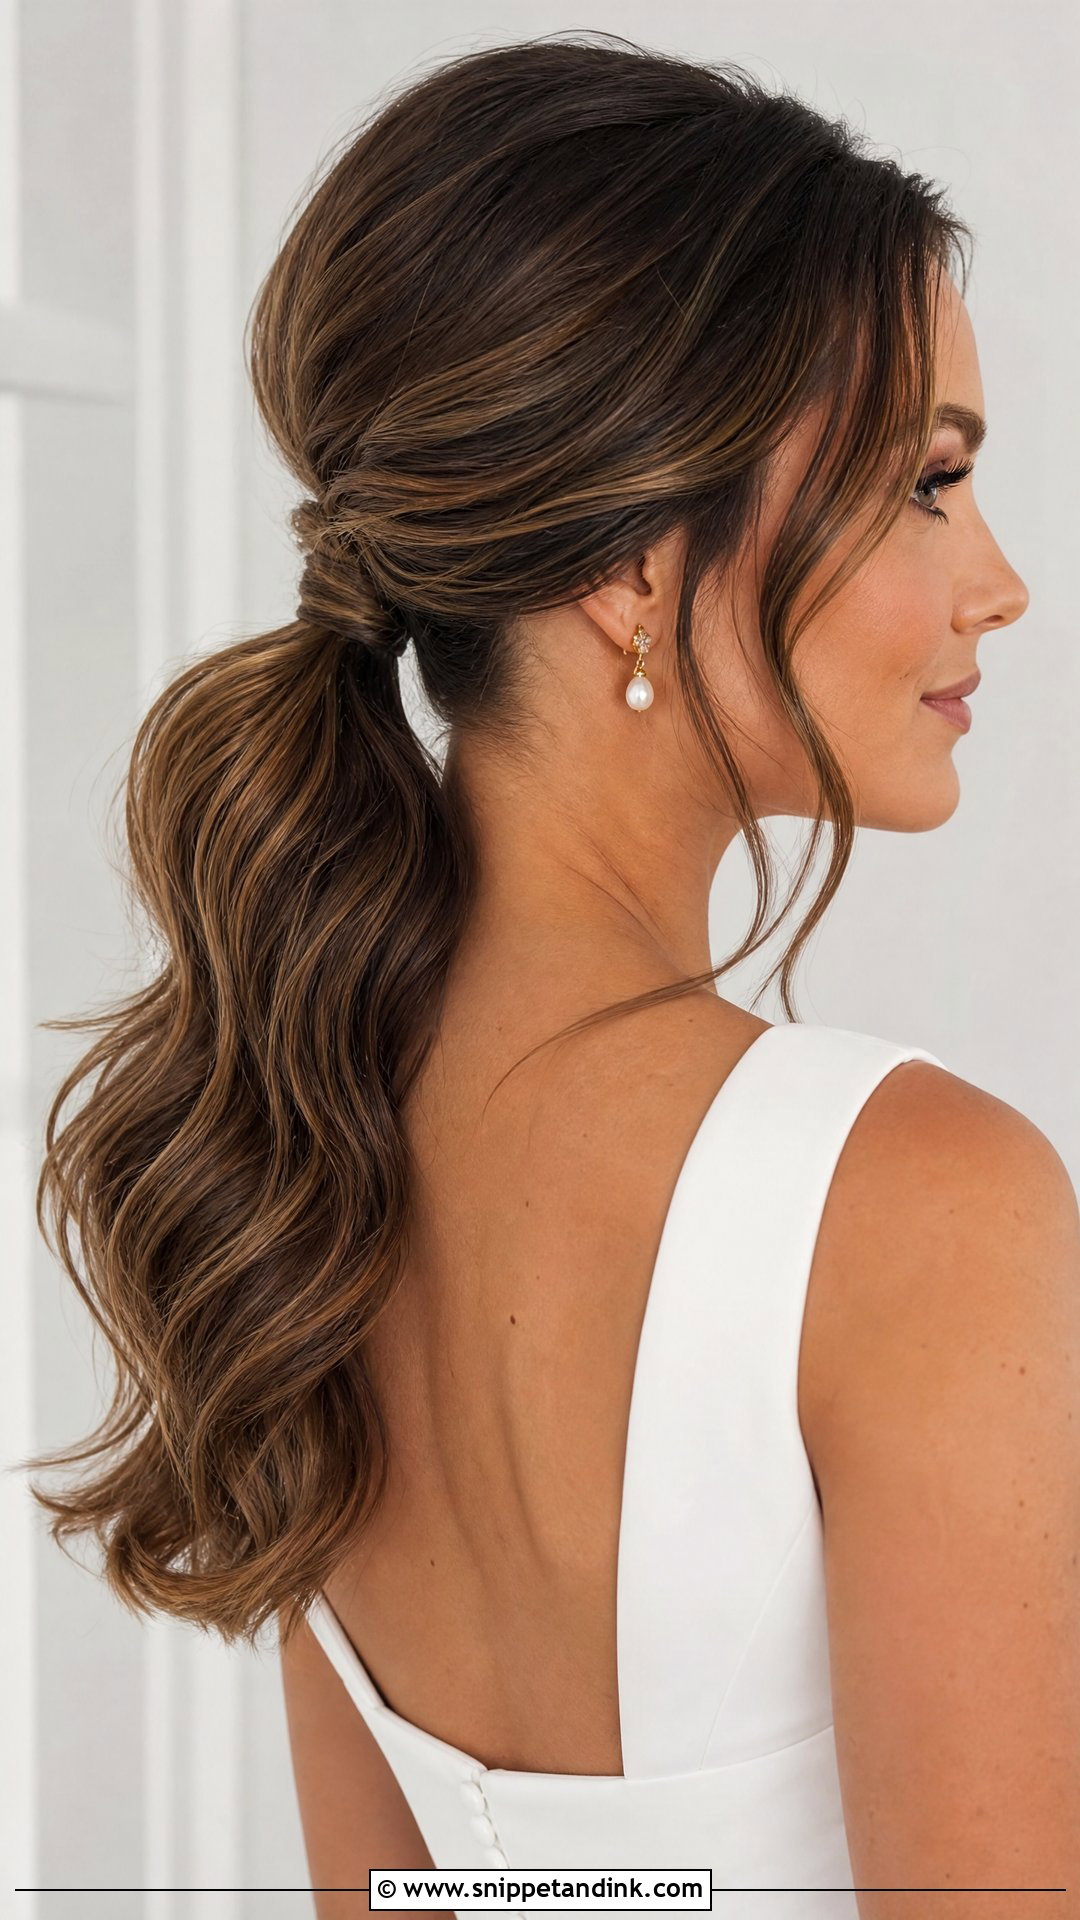
A bride low ponytail is simple, chic, and very wearable for modern weddings. Start with smooth waves or a soft blowout, then create a center part or deep side part. Brush the hair back gently and secure it low at the nape with a strong elastic. Take a small section of hair from the ponytail, wrap it around the elastic, and pin it underneath. Add soft bends to the ponytail for movement and finish with shine spray. This tutorial is a great choice for brides who want their hair away from the face while still showing length, color, and soft texture.
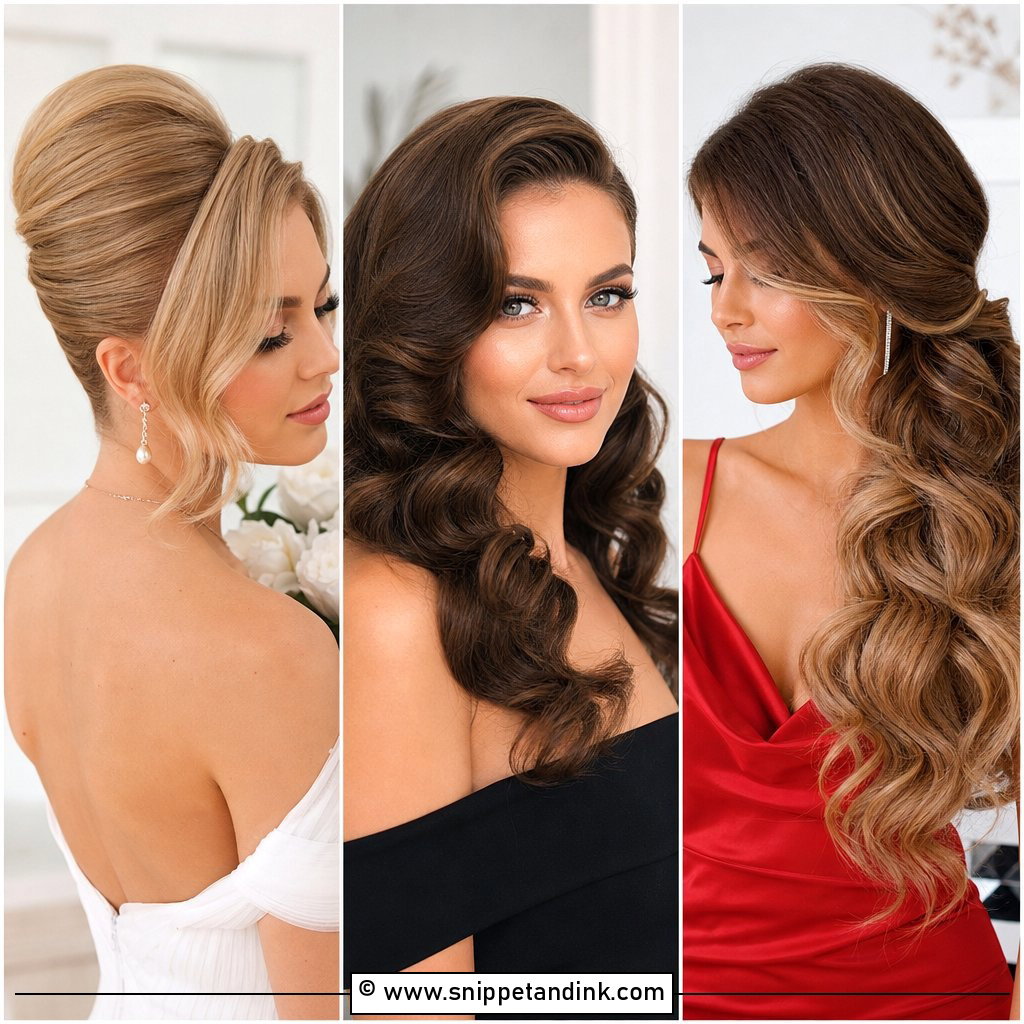
9. Bride Hollywood Waves Tutorial

Bride Hollywood waves are perfect if you want glamorous hair that looks smooth, shiny, and camera-ready. Start with a strong heat protectant, then curl all sections in the same direction using a medium barrel iron. Pin each curl while it cools so the wave pattern sets properly. Once cooled, brush through gently with a soft bristle brush until the waves connect into one flowing shape. Tuck one side behind the ear and secure it with hidden pins or a decorative comb. This tutorial works best for brides who want hair down but still need structure, polish, and a defined shape for photos.
10. Bride Soft Curl Down Tutorial
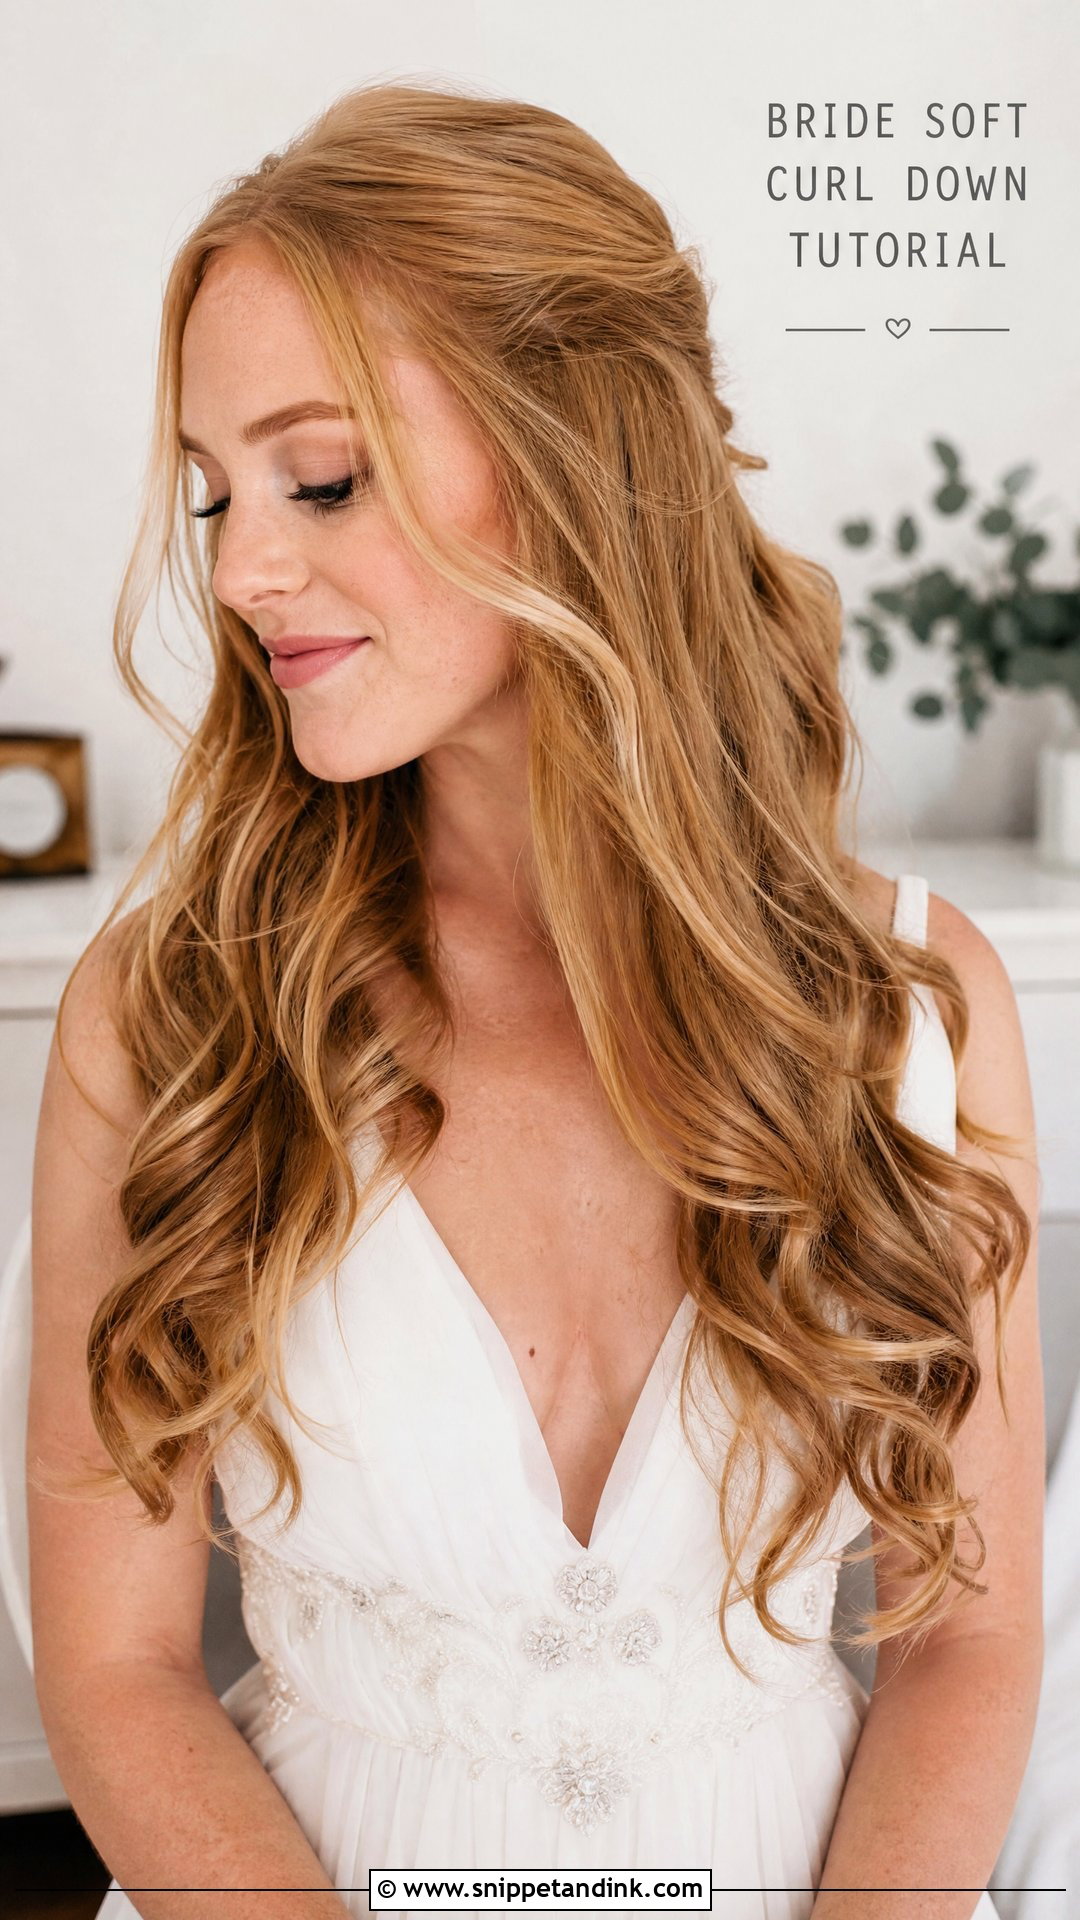
A bride soft curl down hairstyle feels natural, feminine, and easy to personalize. Begin by blow-drying the hair with volume at the roots, then curl sections in alternating directions for a relaxed finish. Let the curls cool fully before finger-combing them into loose waves. Add a small amount of texture spray through the lengths and a light shine mist on top. Keep the front pieces softly swept away from the face so the look stays bridal and not casual. This tutorial is lovely for beach weddings, garden venues, simple gowns, and brides who feel most confident with their hair worn down.
11. Bride Side Swept Curls Tutorial
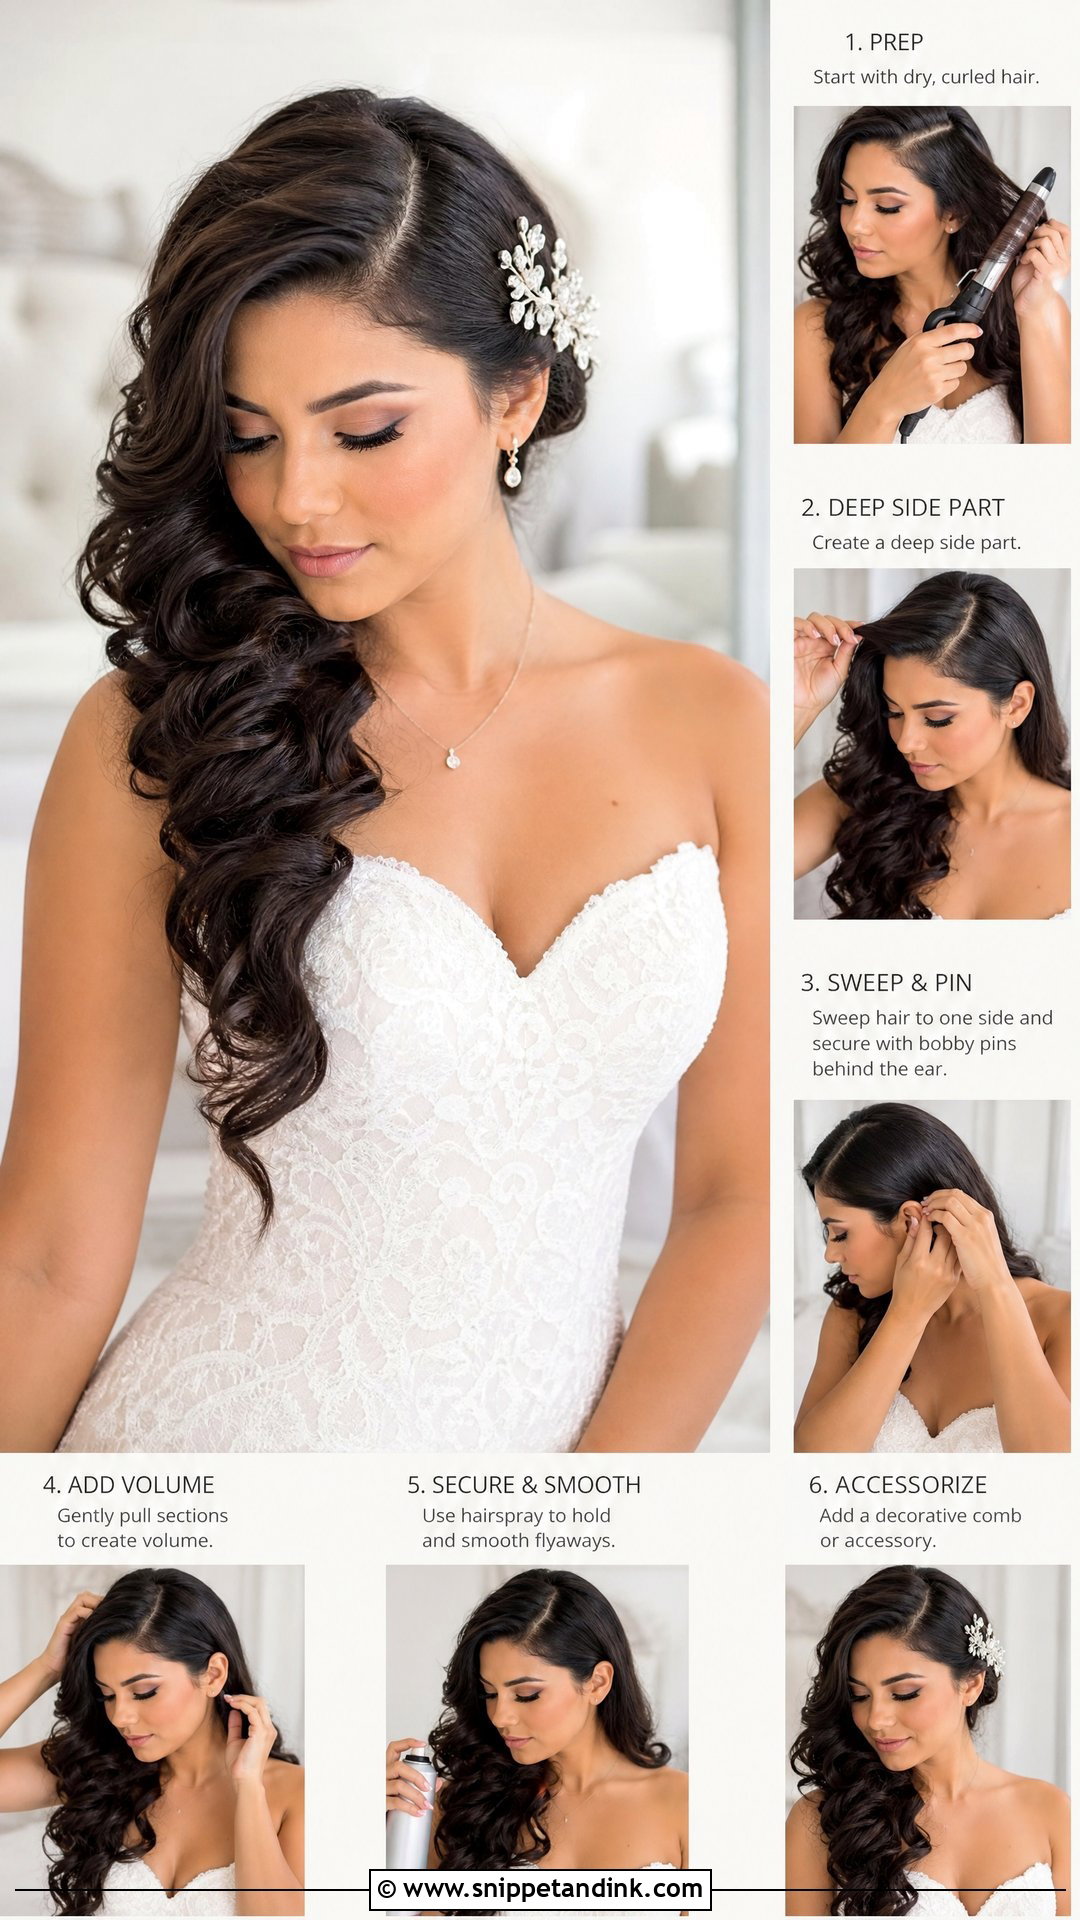
Bride side swept curls bring a soft, romantic shape that works beautifully with one-shoulder gowns, strapless dresses, and statement earrings. Start by curling the hair in medium sections, then brush the curls together for a smooth finish. Create a deep side part and sweep the heavier side over one shoulder. On the opposite side, secure the hair with hidden pins behind the ear or add a delicate bridal comb. Use light hairspray so the curls stay touchable but controlled. This tutorial is especially helpful for brides who want a down hairstyle that still feels styled, intentional, and secure during photos.
12. Bride Crown Braid Tutorial
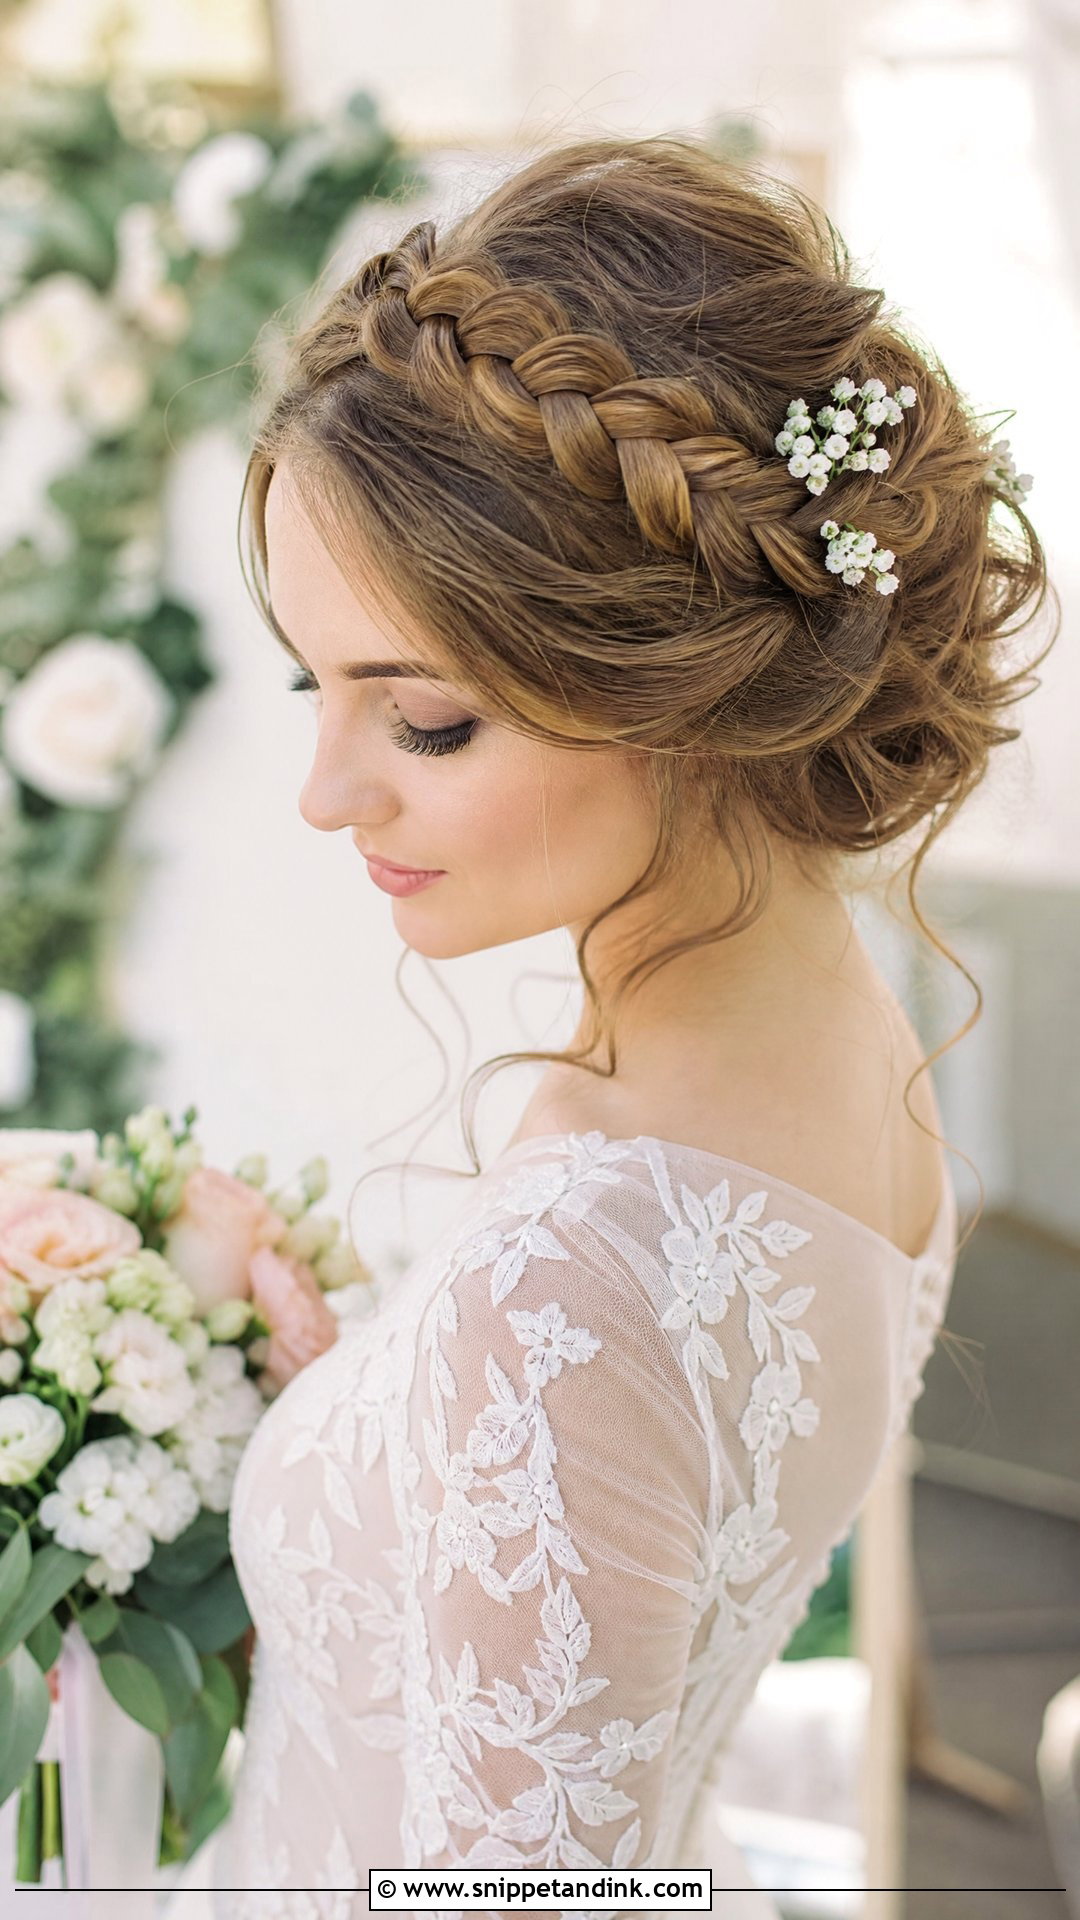
A bride crown braid creates a romantic, fairytale-like finish while keeping the hair controlled. Start by adding waves or texture spray so the braid has enough grip. Create a loose braid along the hairline or around the back of the head, depending on your hair length and thickness. Pin the braid securely as you shape it, then gently pull the edges wider for softness. The remaining hair can be tucked into a low bun or left in loose curls. This tutorial works beautifully with floral pins, pearl details, and outdoor ceremonies. It is also a smart option for windy or warm wedding days.
13. Bride Bubble Ponytail Tutorial
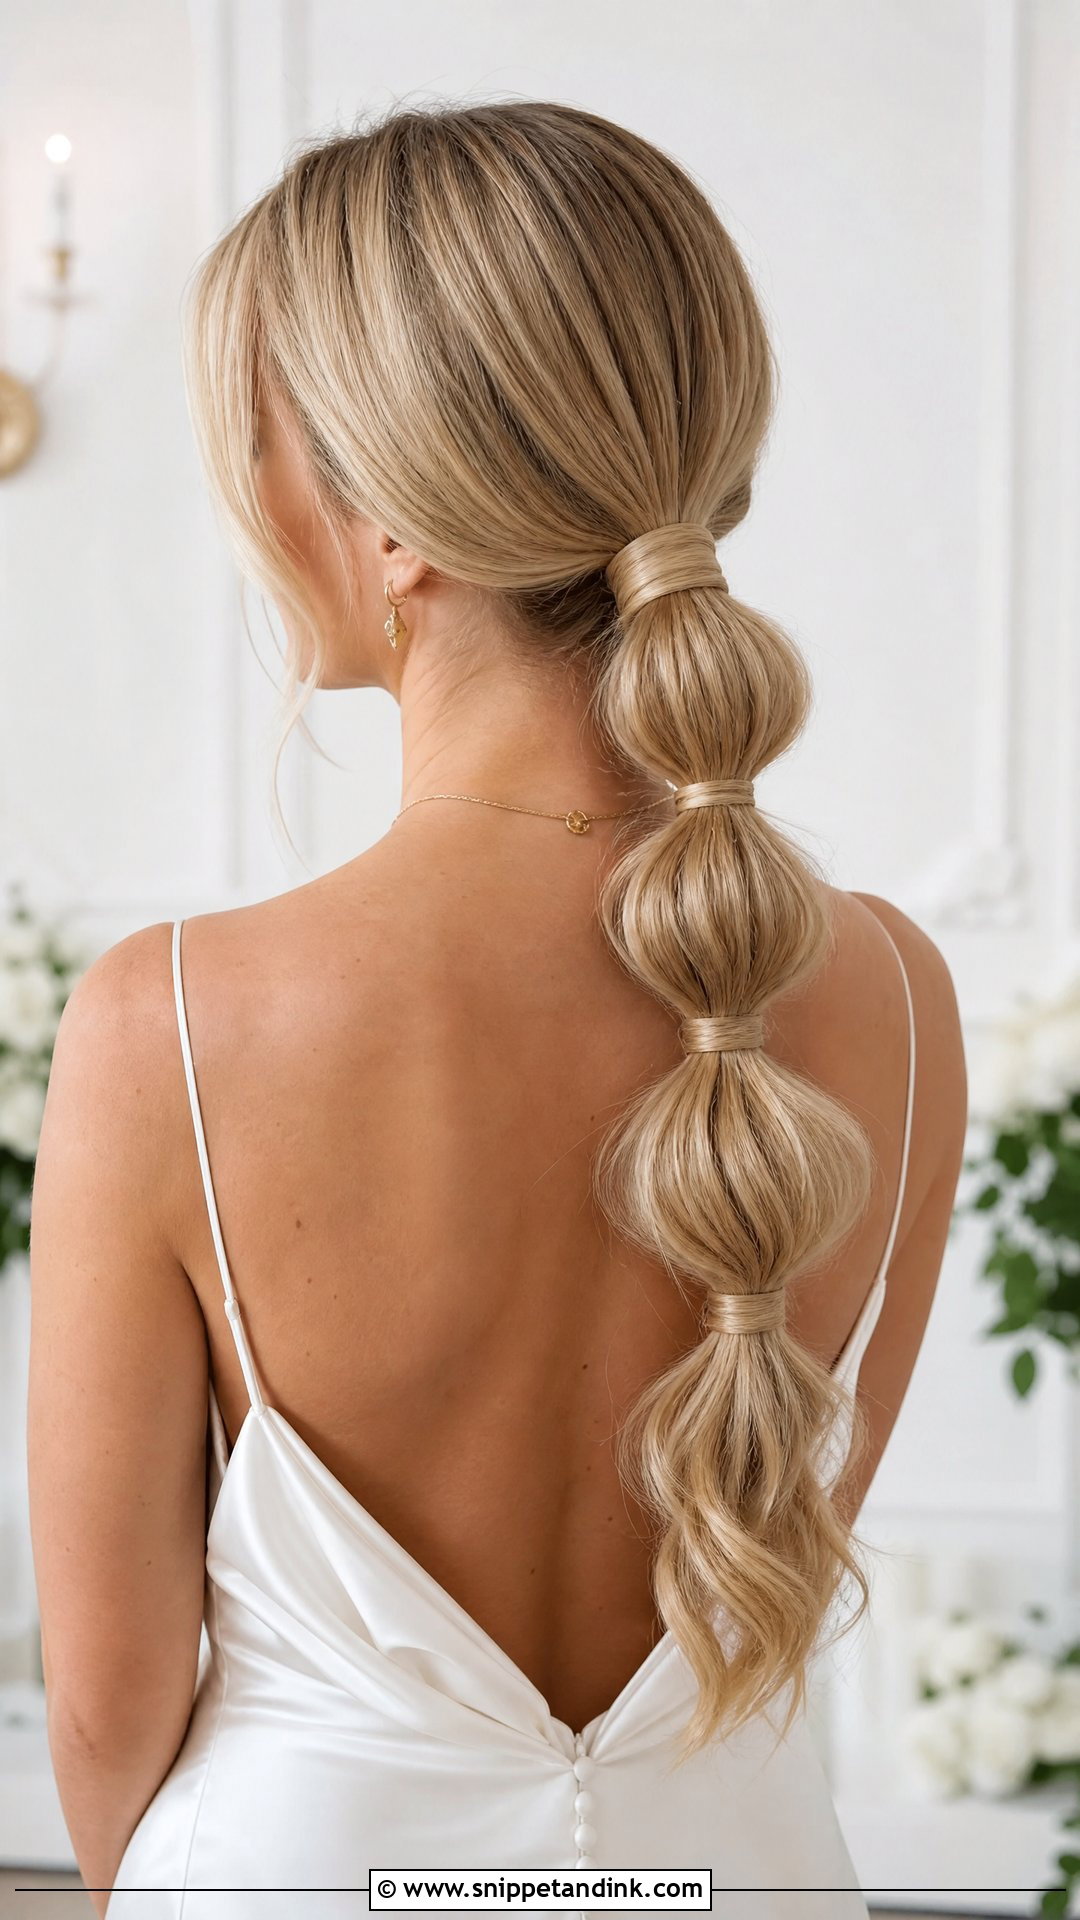
A bride bubble ponytail feels modern, playful, and polished when styled with the right finish. Start by smoothing the crown and securing the hair into a low or mid ponytail. Add clear elastics every few inches down the length, then gently pull each section outward to create rounded bubbles. Wrap small strands around each elastic if you want a cleaner bridal look. Add soft face-framing pieces or keep the front sleek for a more editorial finish. This tutorial is great for brides with long hair or extensions who want something different from a bun, but still want the hair controlled all day.
14. Bride Curly Updo Tutorial
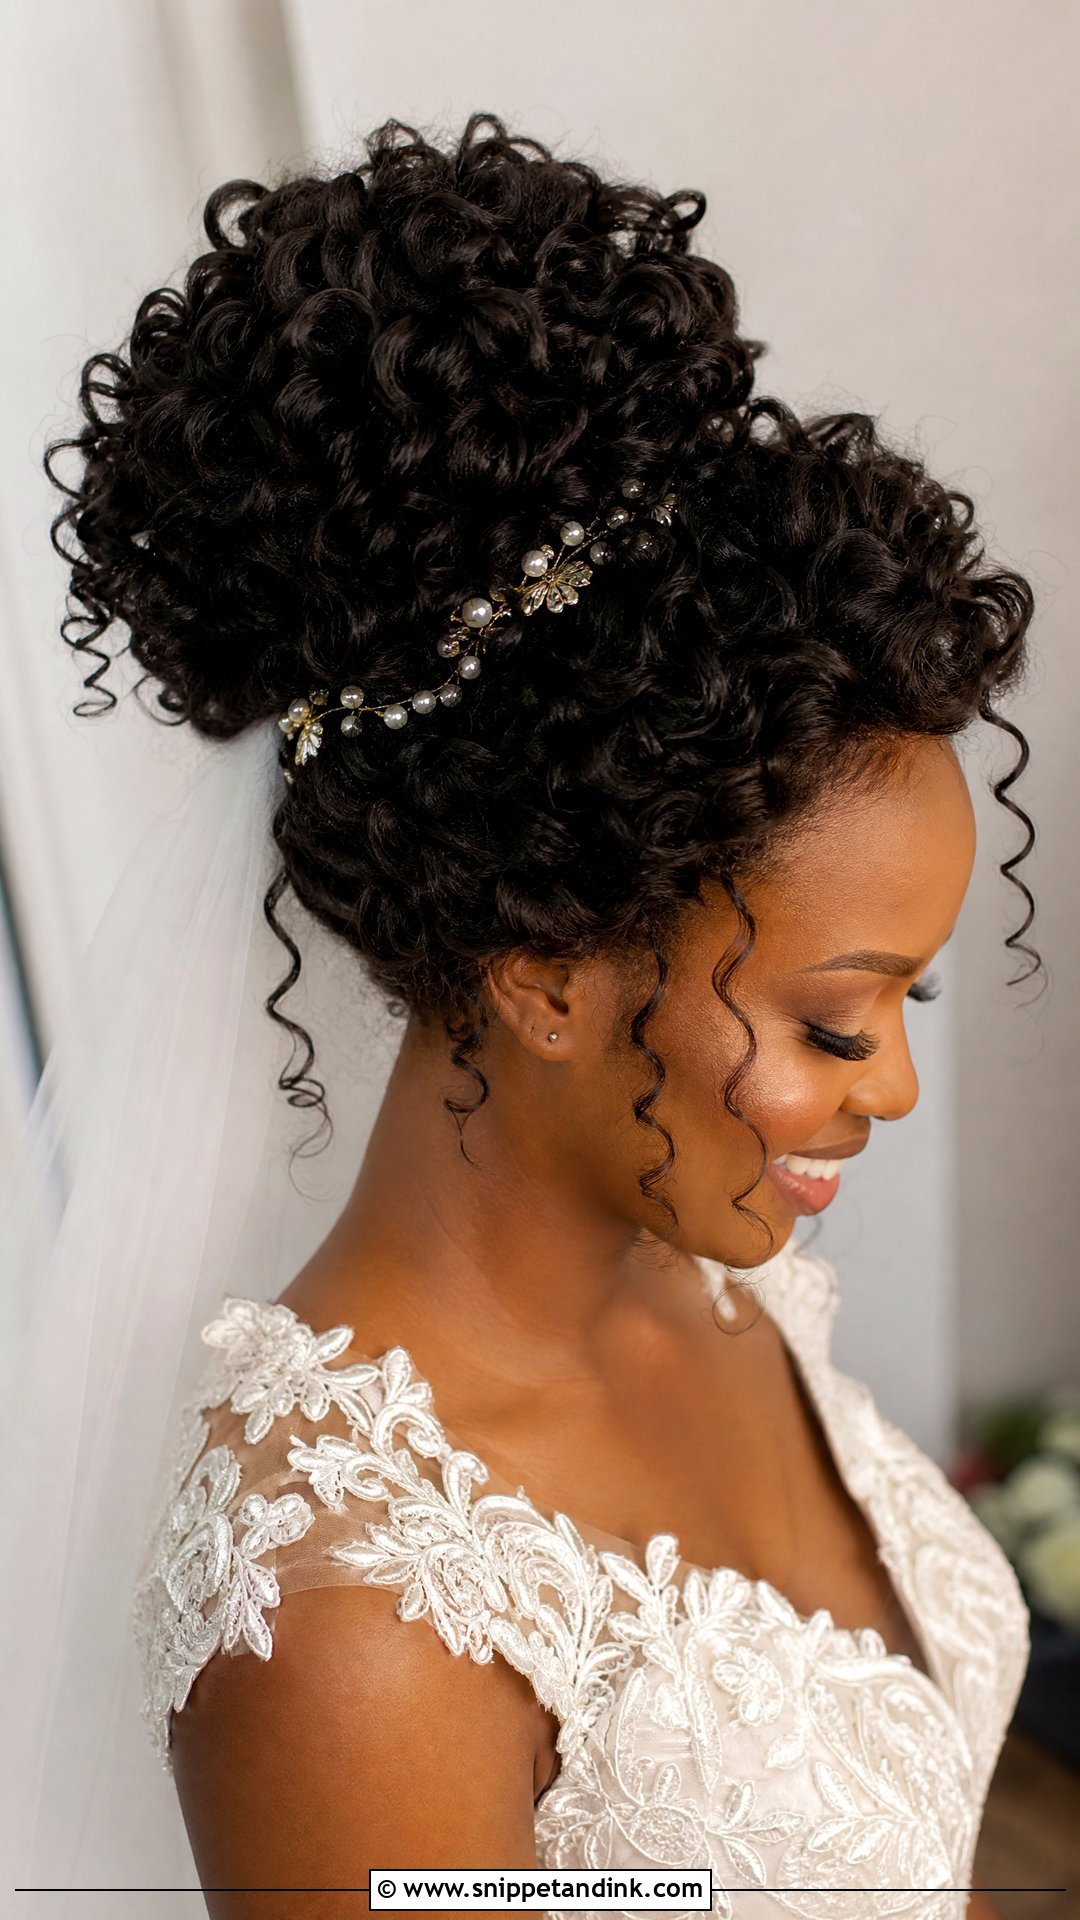
A bride curly updo celebrates natural texture while giving the hair shape and security. Start with well-moisturized curls and define them with curl cream or gel before drying. Once the curls are fully set, gather them loosely toward the crown or nape, depending on the shape you like best. Pin curl clusters instead of brushing them out, so the pattern stays visible. Leave a few curls around the face for softness and balance. This tutorial is ideal for curly-haired brides who want volume, personality, and hold without hiding their texture. Add pearl pins or a veil comb for a bridal finish.

15. Bride Short Hair Tutorial
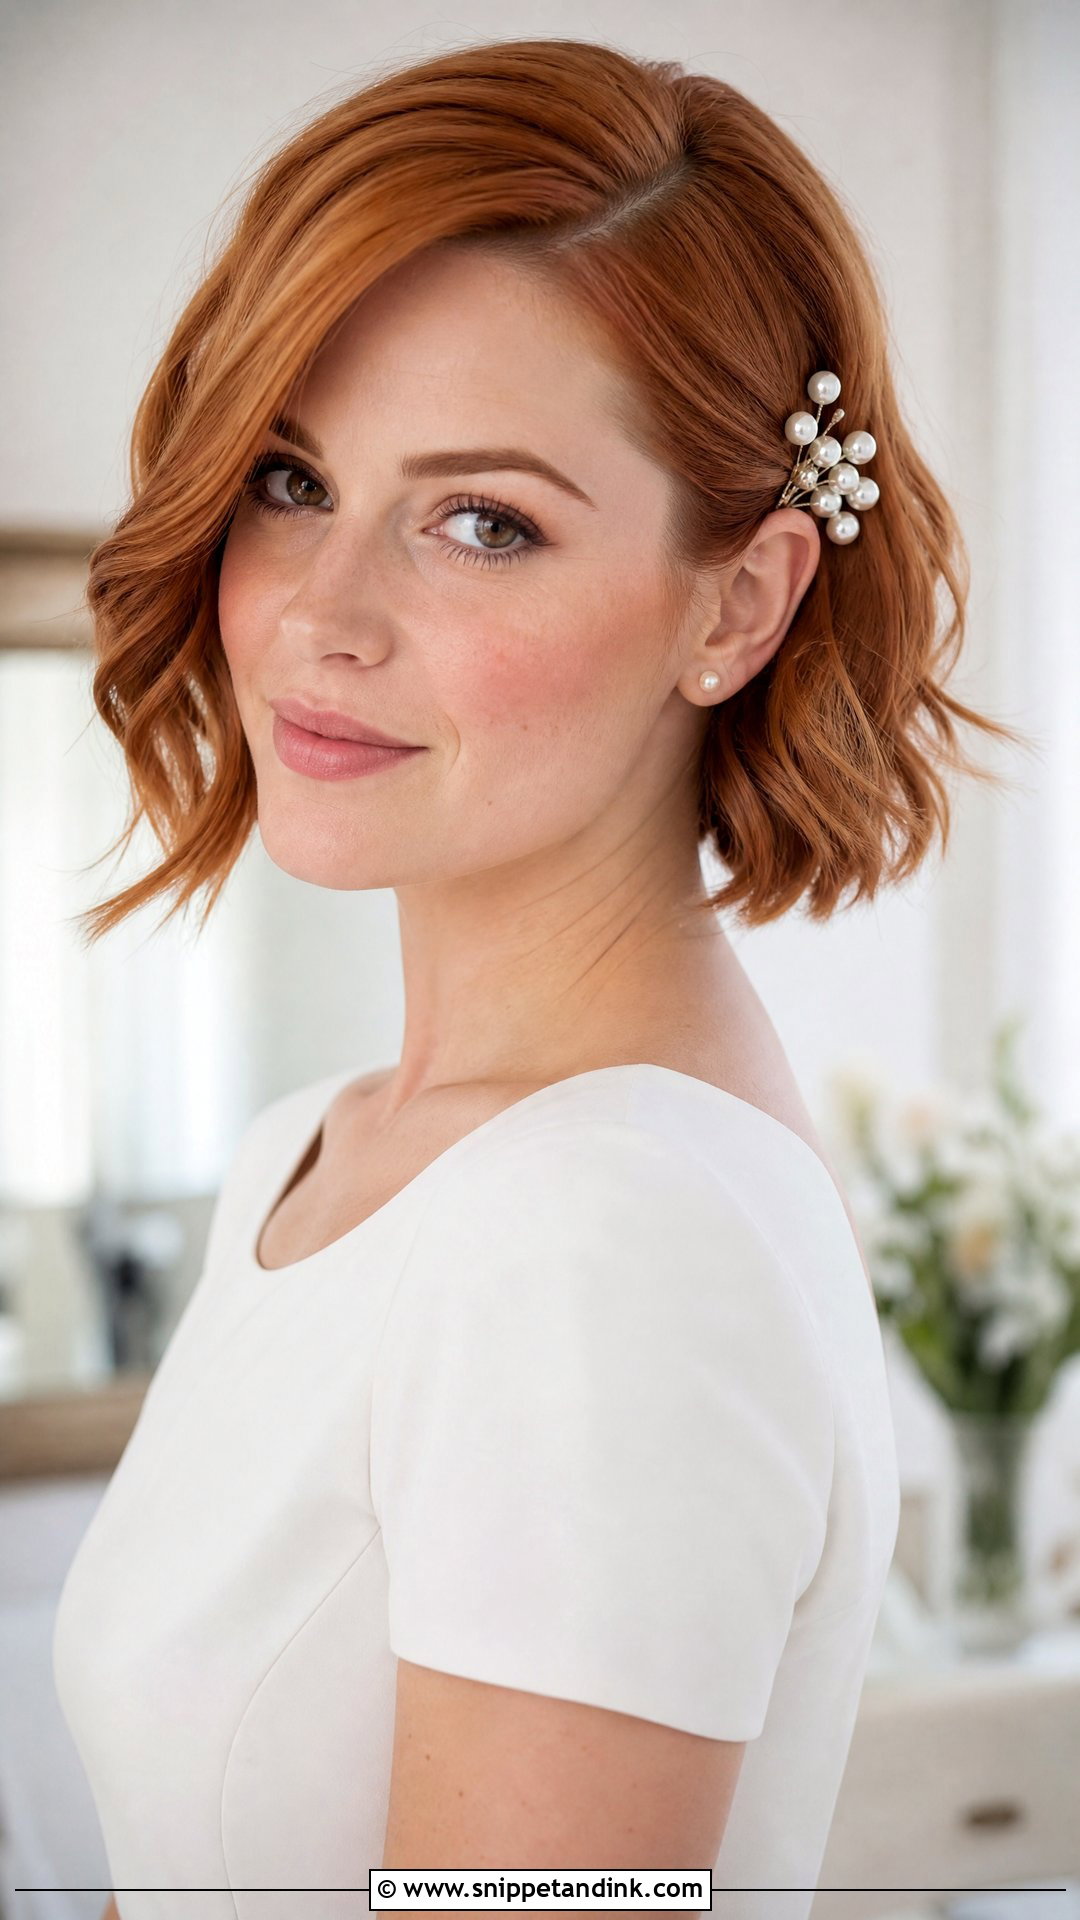
A bride short hair tutorial can be just as beautiful as a long updo. Start by choosing your shape: soft waves, a sleek tucked bob, or a pinned-back pixie. Add volume at the roots with mousse or texture spray, then use a small iron to create bends or defined waves. Tuck one side behind the ear and secure it with decorative pins, a comb, or a delicate headband. Keep the finish polished with light hairspray and shine spray. This tutorial works especially well for brides with bobs, lobs, and pixie cuts who want a bridal look that feels special but still true to them.
Conclusion:
The best bride hair tutorial is the one that makes you feel comfortable, beautiful, and secure from the ceremony to the last song. Before choosing, think about your dress neckline, veil placement, weather, hair thickness, and how much movement you want around your face. Practice your favorite look before the wedding day, even if a stylist will do the final version. This helps you see how the style holds and how it photographs. Whether you choose a sleek chignon, soft curls, a braided bun, or a modern ponytail, the goal is simple. Your wedding hair should feel like an elevated version of you.
You'll Like These Ideas:

Leave a Reply