
Engagement hair has a harder job than people expect. It has to survive wind on a hillside, a partner’s hands, a second outfit and two or three hours of close-up photos, and it has to look like you rather than like a wedding. These engagement hair ideas are the ones I’d actually put on a client for a shoot or a party: glossy waves, low buns, braids, ponytails and a few short-hair options. With each, I’ve added what it needs to hold, which hair it suits, and where it tends to fall apart.
Wind, Golden Hour and a Second Outfit
Before I suggest a style for an engagement shoot, I ask three things: where you’re shooting, at what time, and if there’s a change of clothes halfway through. Those answers rule out more styles than hair type does.
- Beaches, cliffs and rooftops are windy. Loose waves will cross your face in most frames, so a half-up style, a low bun or a braid saves the shoot.
- Golden hour backlight glows through the hair around your head. It’s flattering, but it shows every flyaway on a sleek style, so soft textured looks hide more.
- An outfit change is a chance to change the hair. Start with loose waves for the casual look, then pin them into a low bun or pony for the dressier one in five minutes.
- Humidity drops curls on fine hair quickly. On a muggy day I choose an up style or set curls tighter than you want, knowing they’ll relax.
Wash your hair the day before rather than the morning of. Second-day hair holds pins and curls far better, and a little dry shampoo at the roots gives extra grip if your hair is very fine.
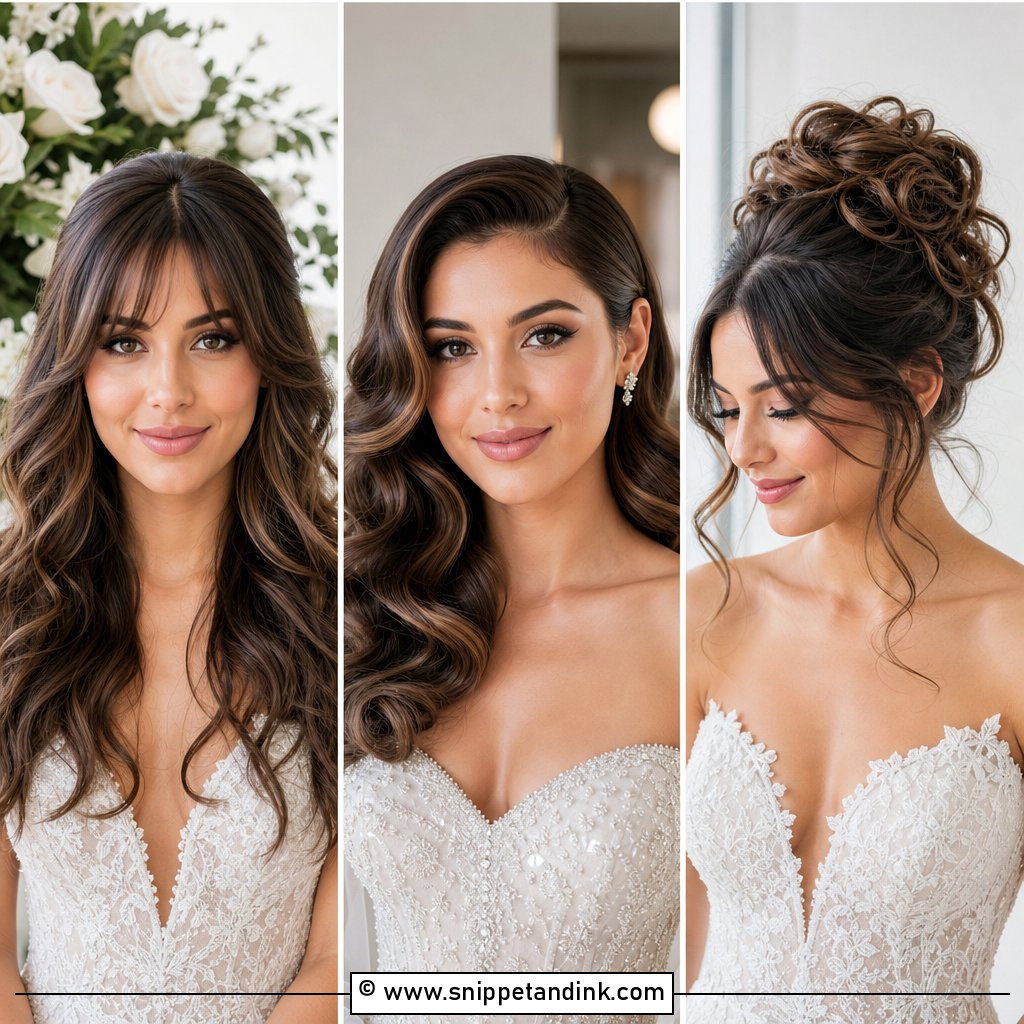
1. Soft Hollywood Waves
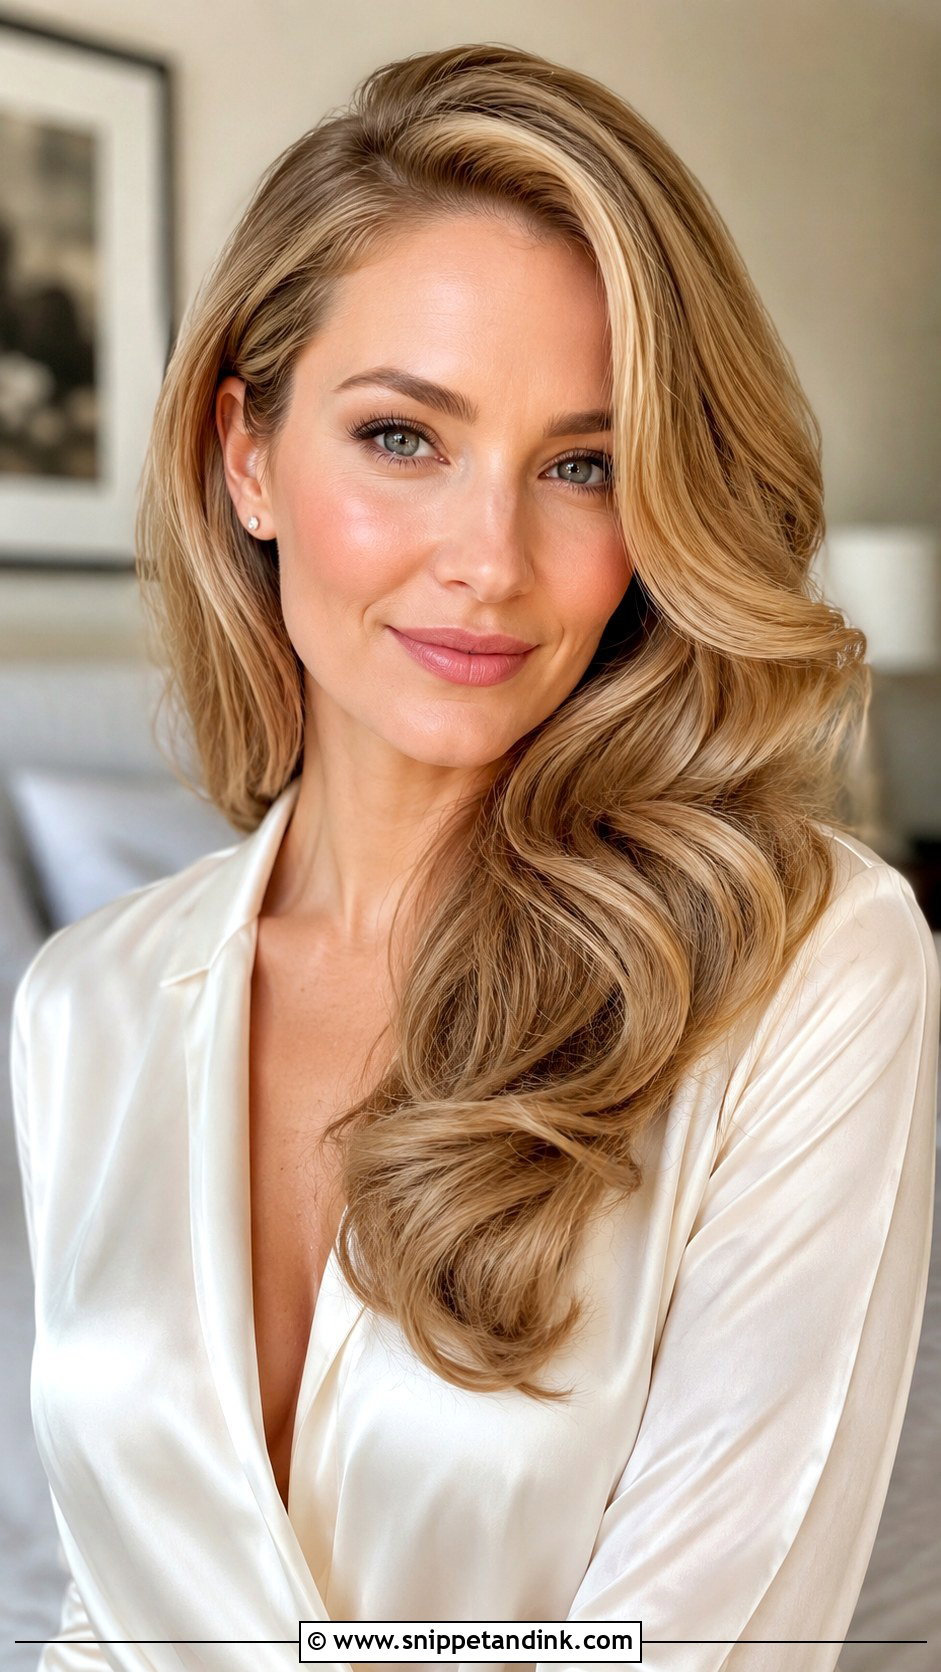
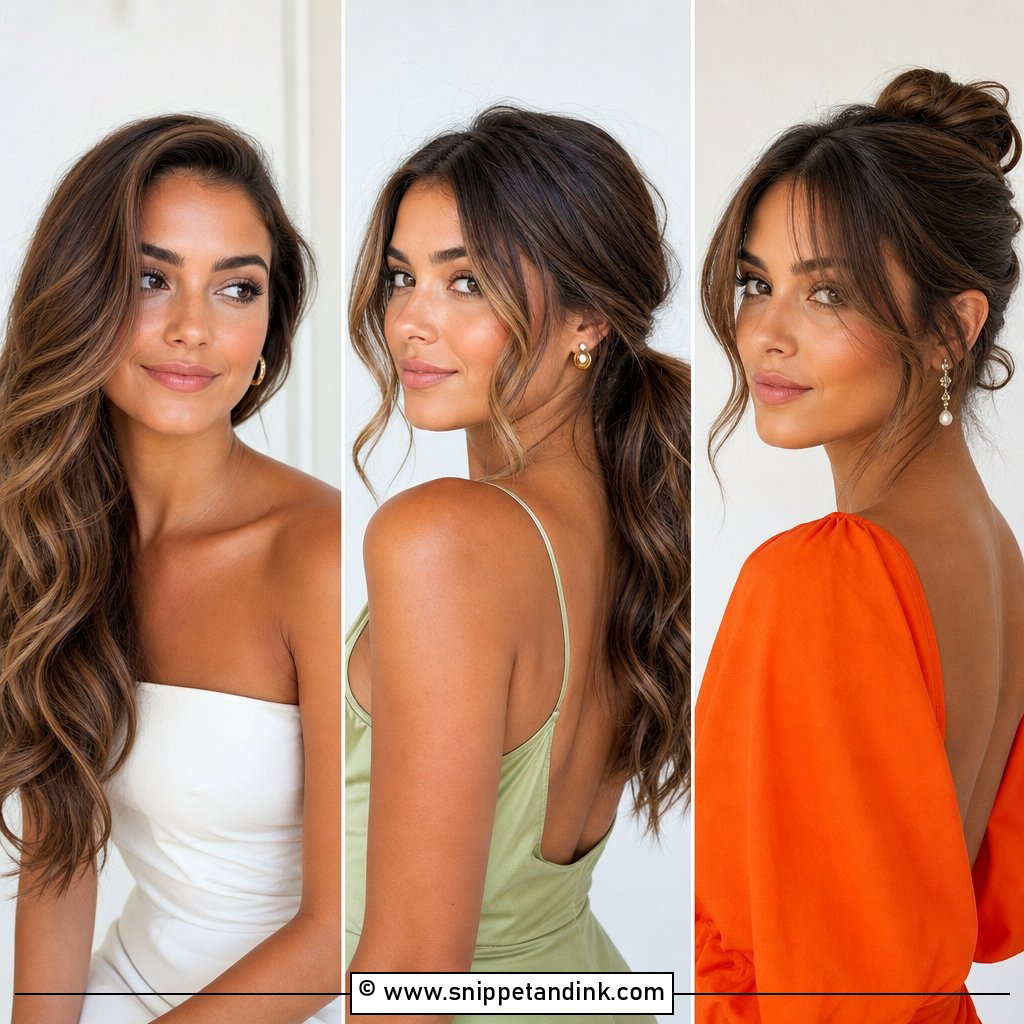
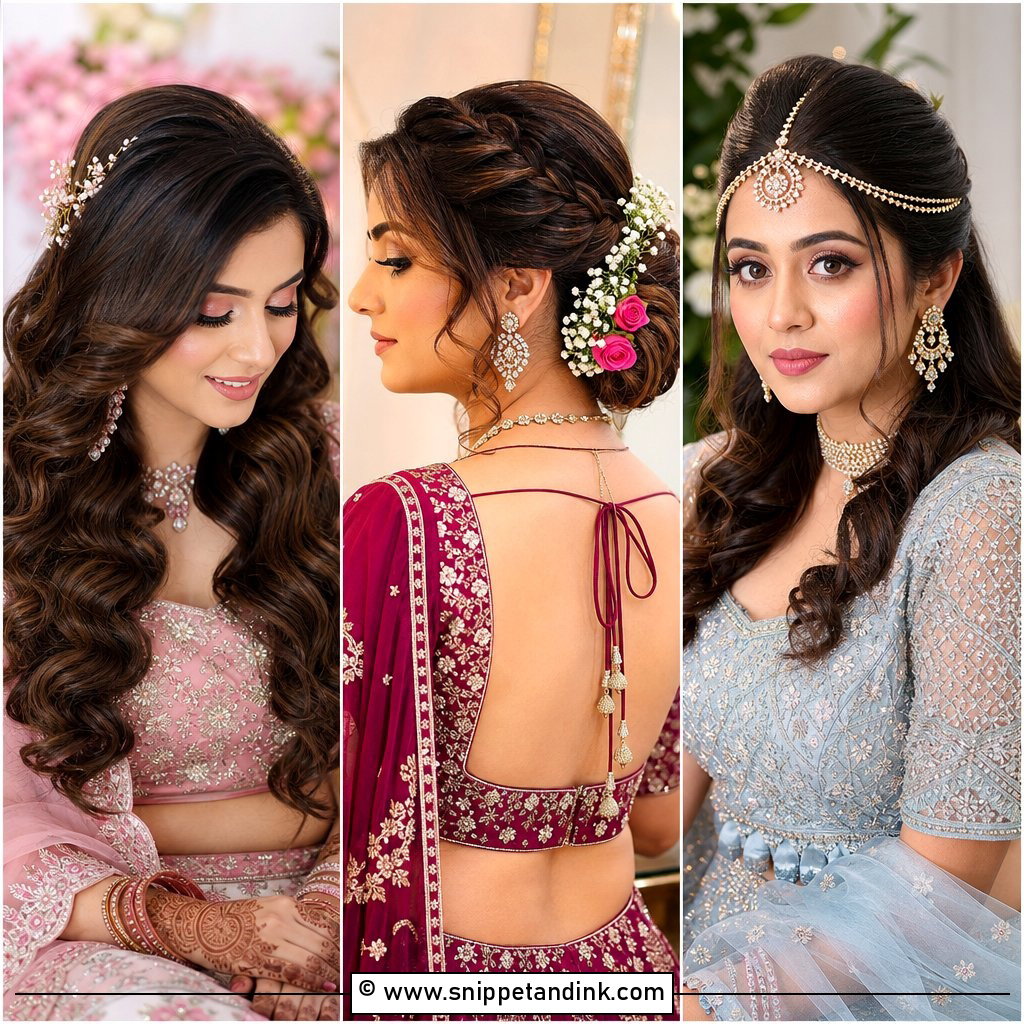
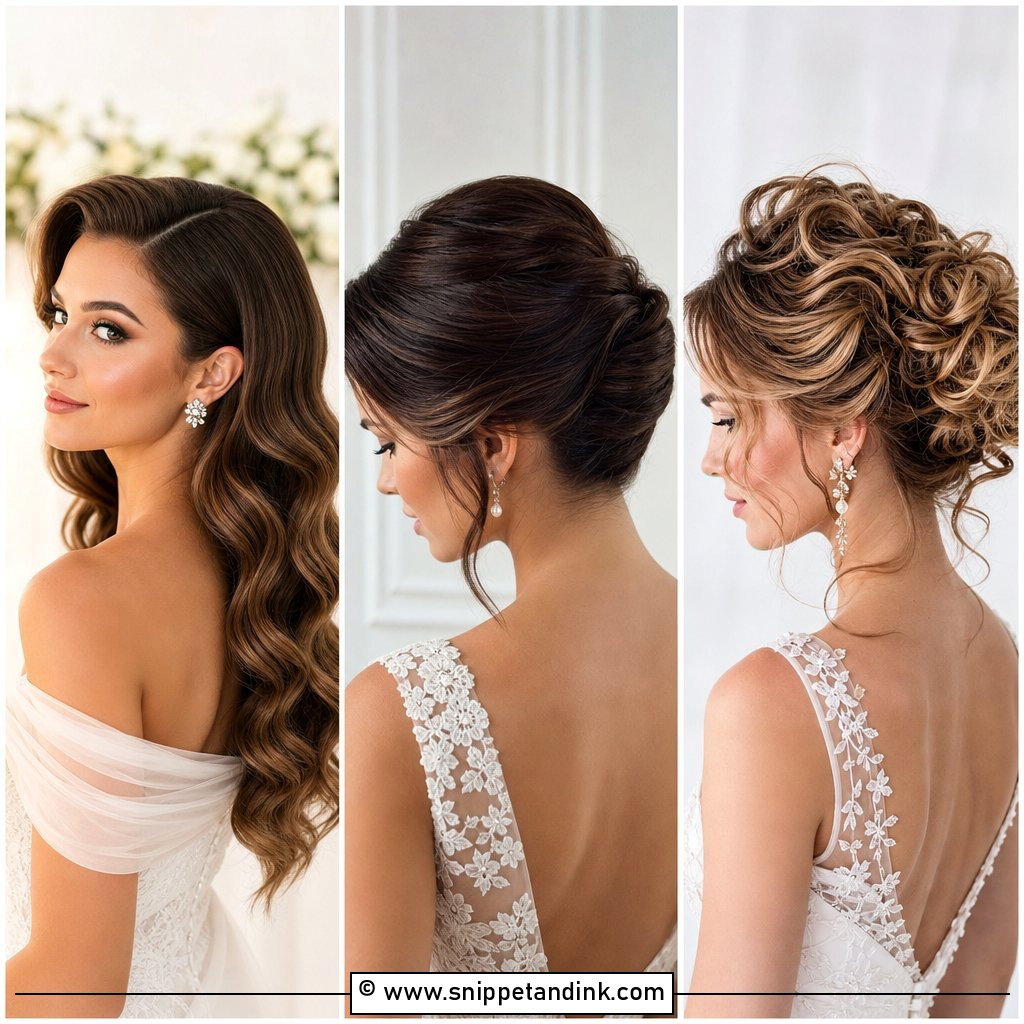
Old-Hollywood waves start as curls, not waves. I set them with a large barrel iron, pin each curl while it cools, then brush them out into one continuous S-shape and smooth the surface with a little shine spray. Skipping the cooling step is why so many versions drop flat within an hour. Medium to long hair carries it best, swept over one shoulder for close-ups. It’s polished enough for a party and soft enough for a shoot.
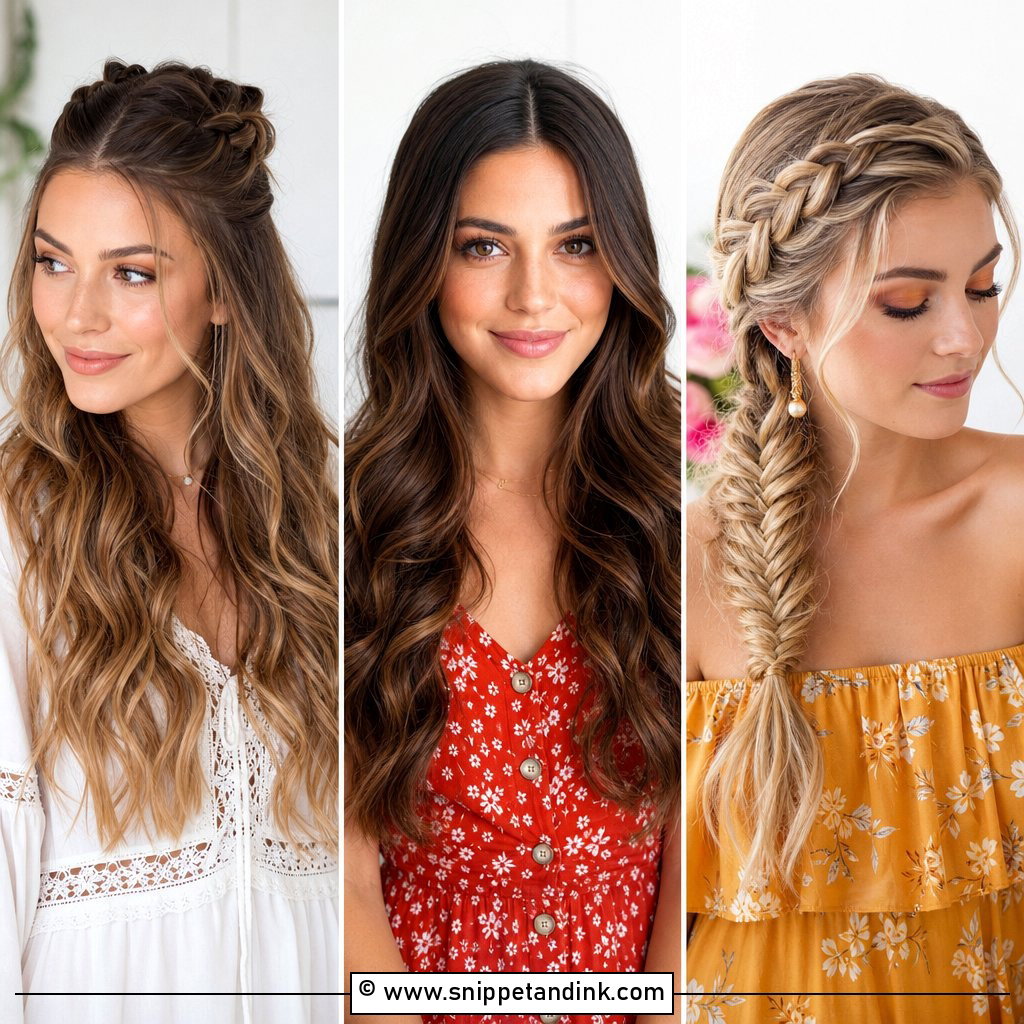
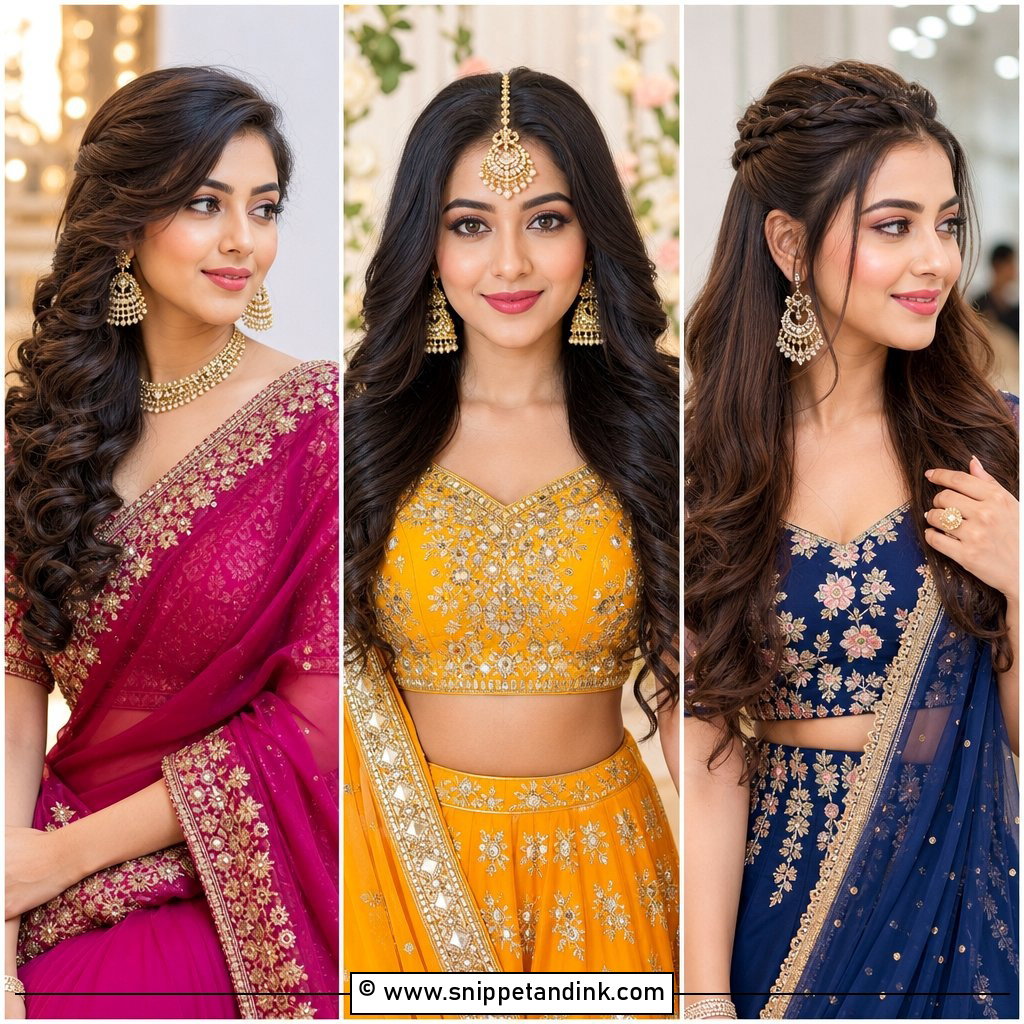
2. Half-Up Half-Down With Waves
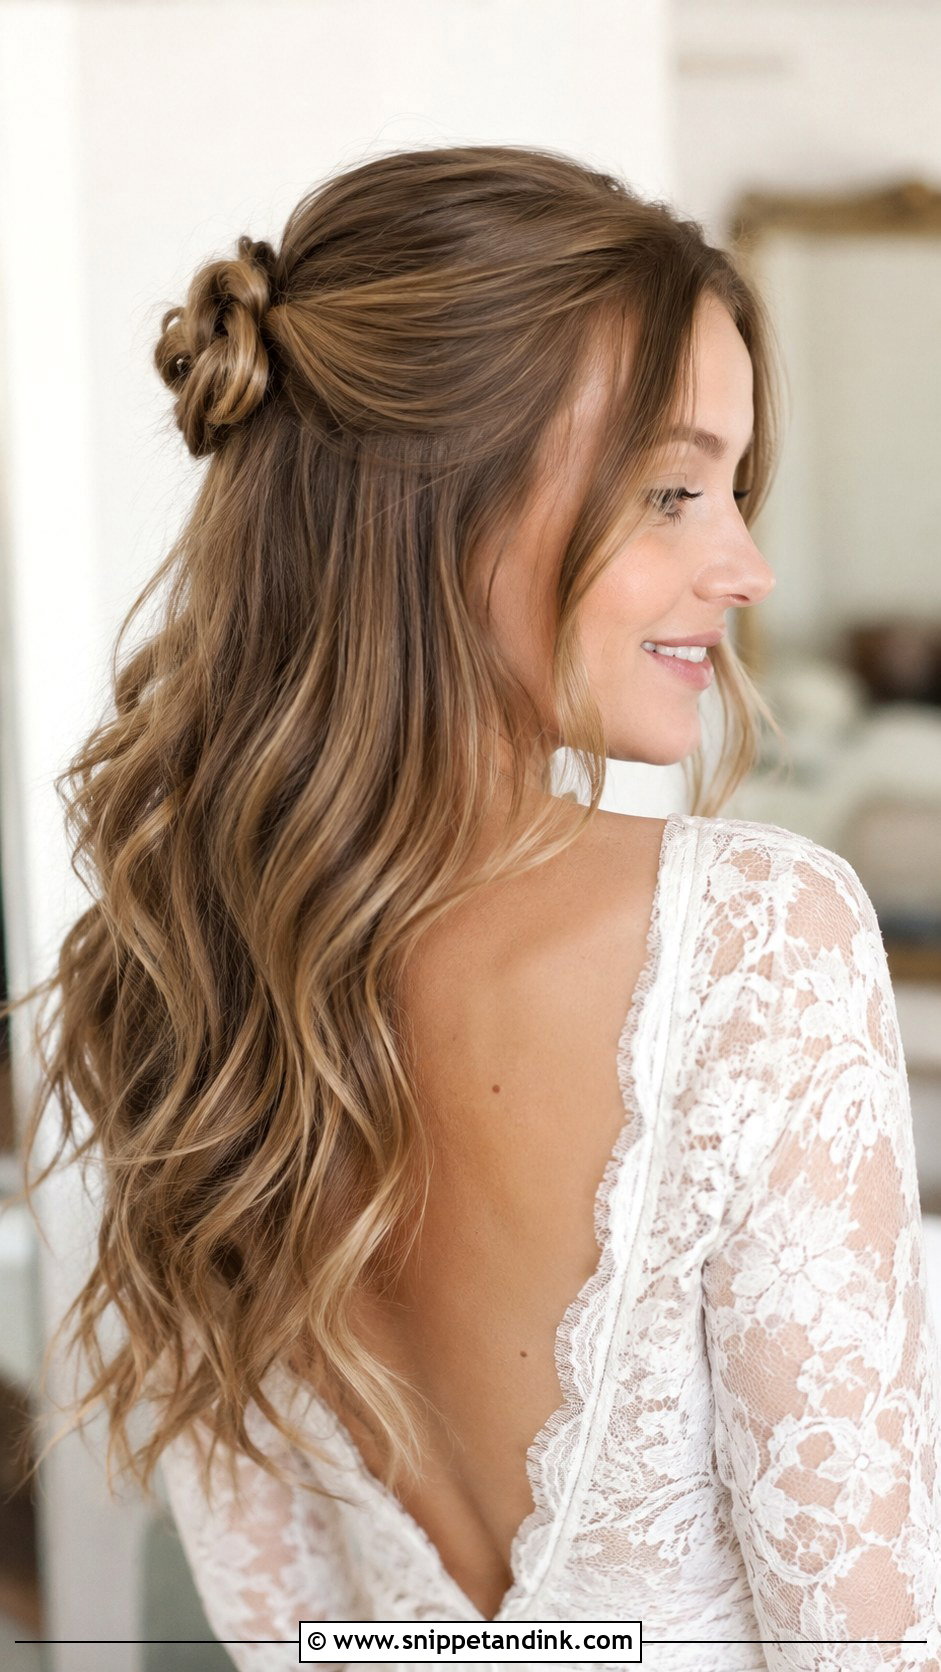
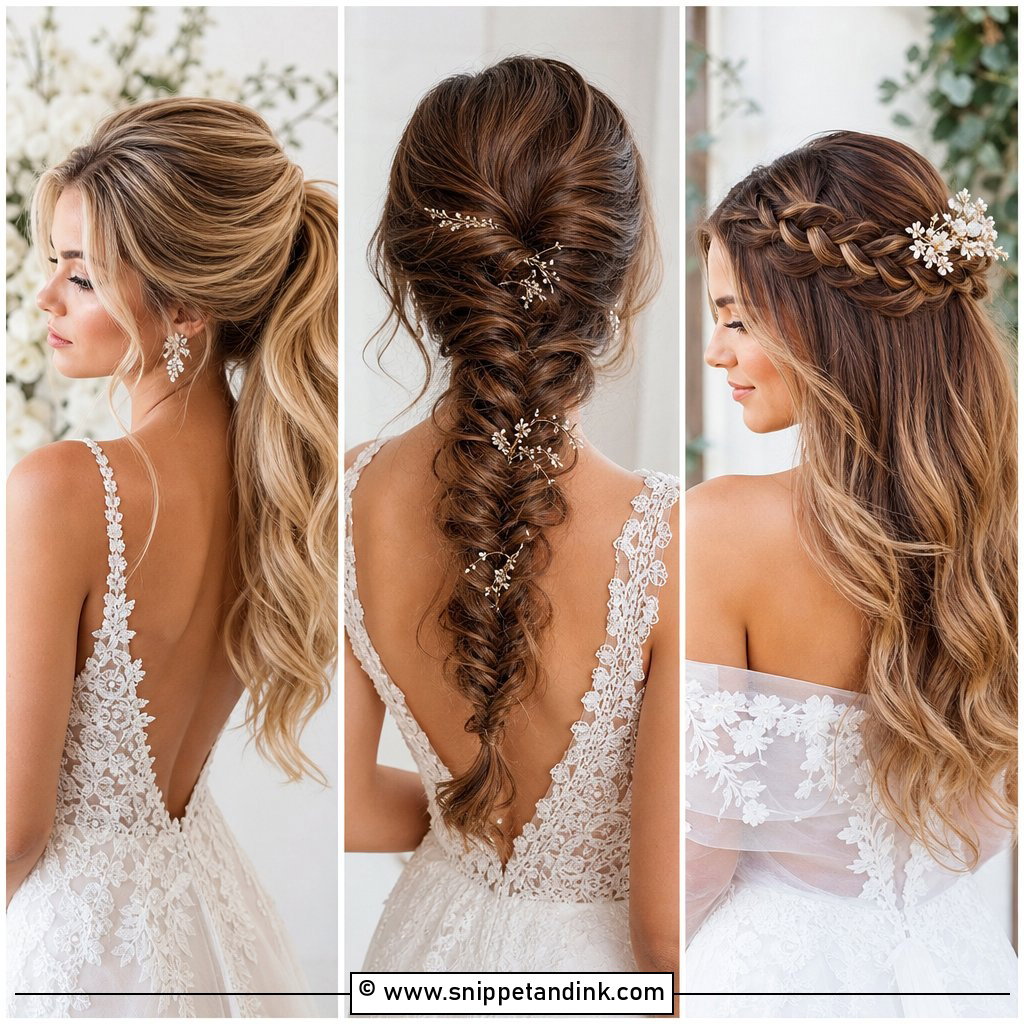
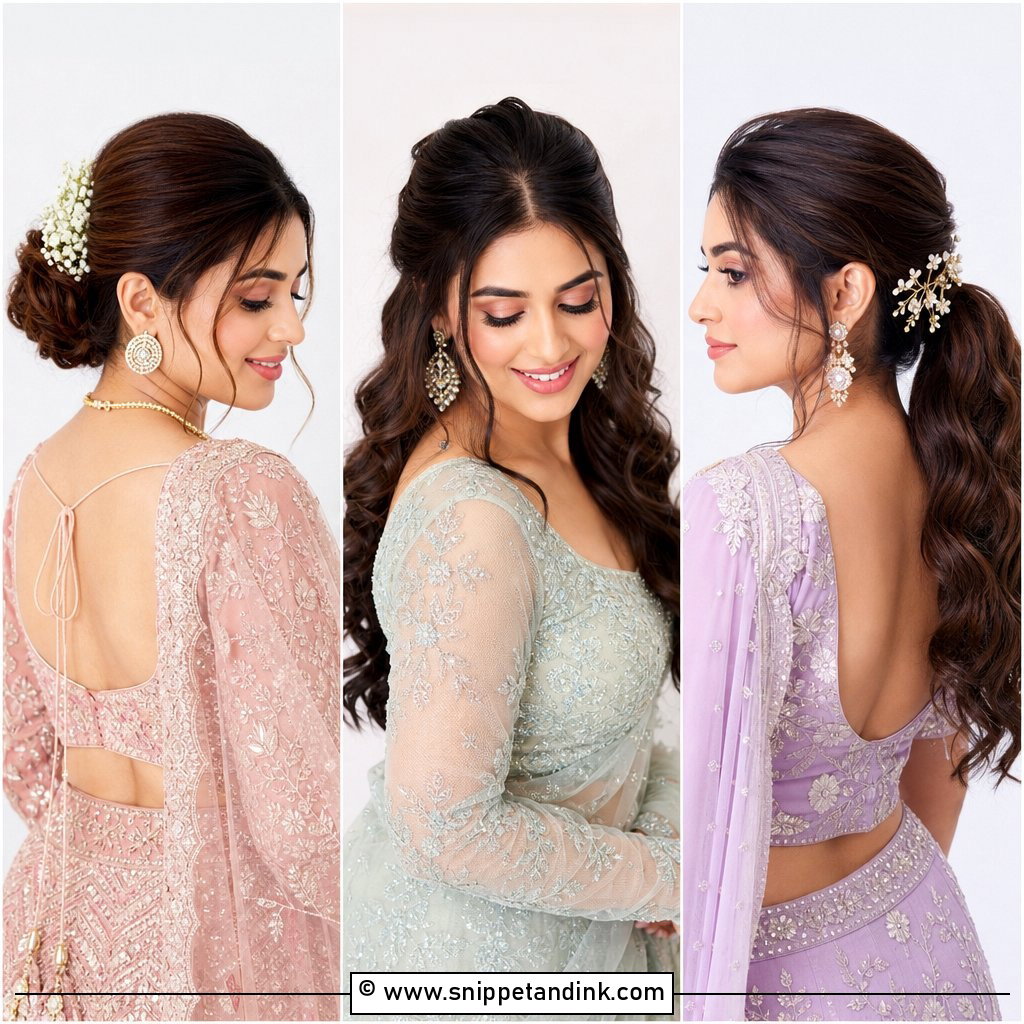
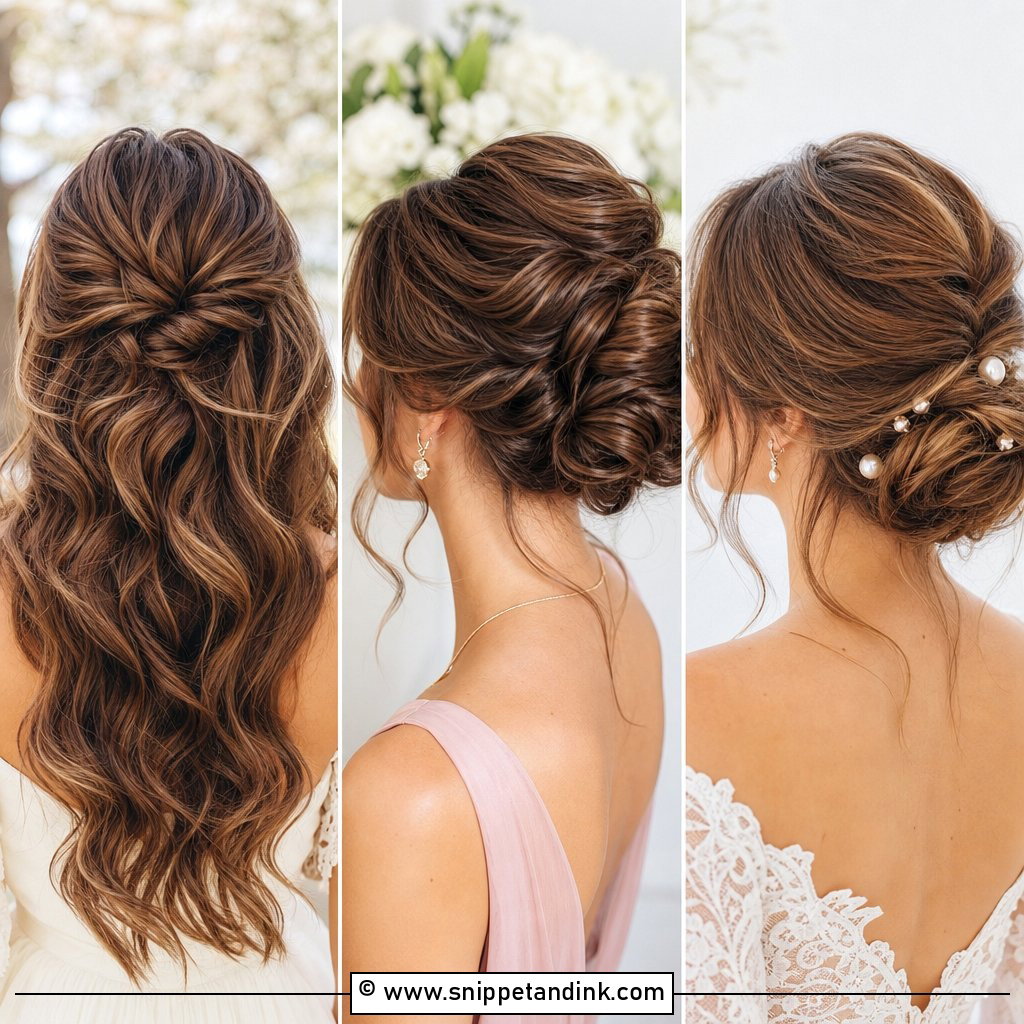
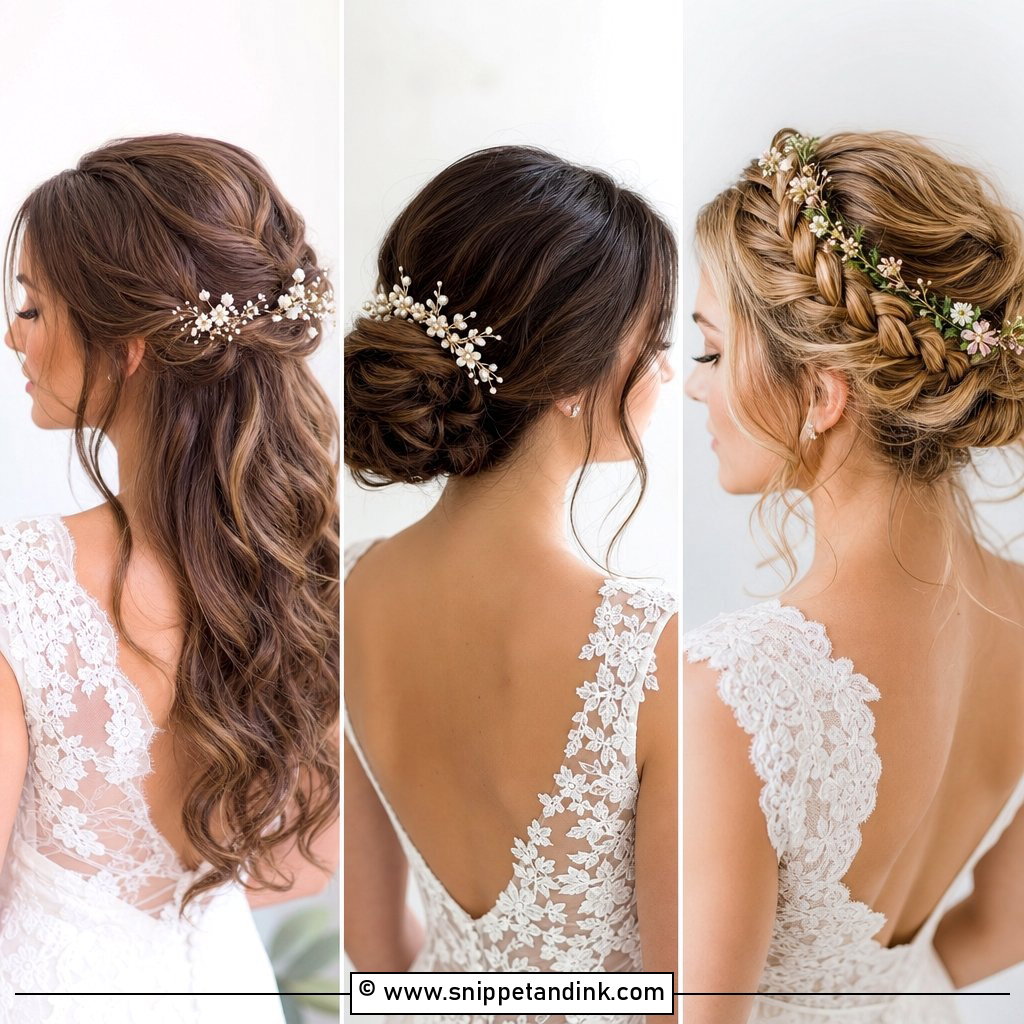
Half up is my answer for clients who can’t decide, because it keeps the face clear while the length and texture still show in the back. I twist the top section into a small knot or gather it loosely, then anchor it with two crossed bobby pins under the section so it can’t slide. Waves through the lengths finish it. It handles a light breeze better than fully loose hair, which makes it a safe bet outdoors, and it works on shoulder length and longer.
3. Sleek Low Bun
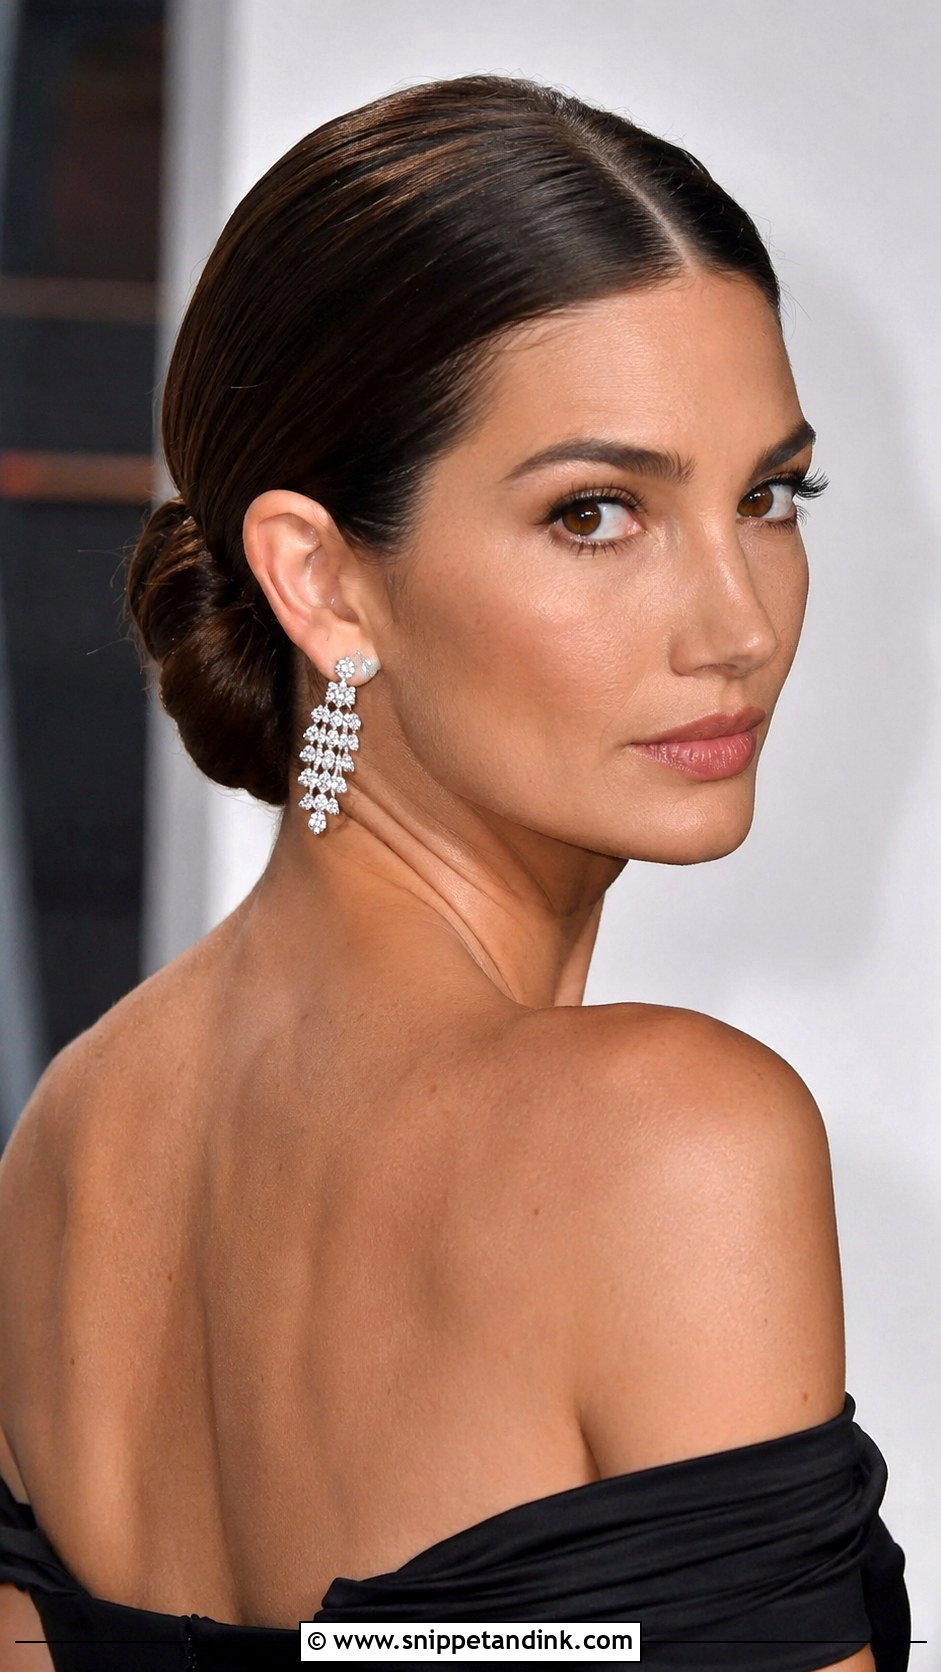
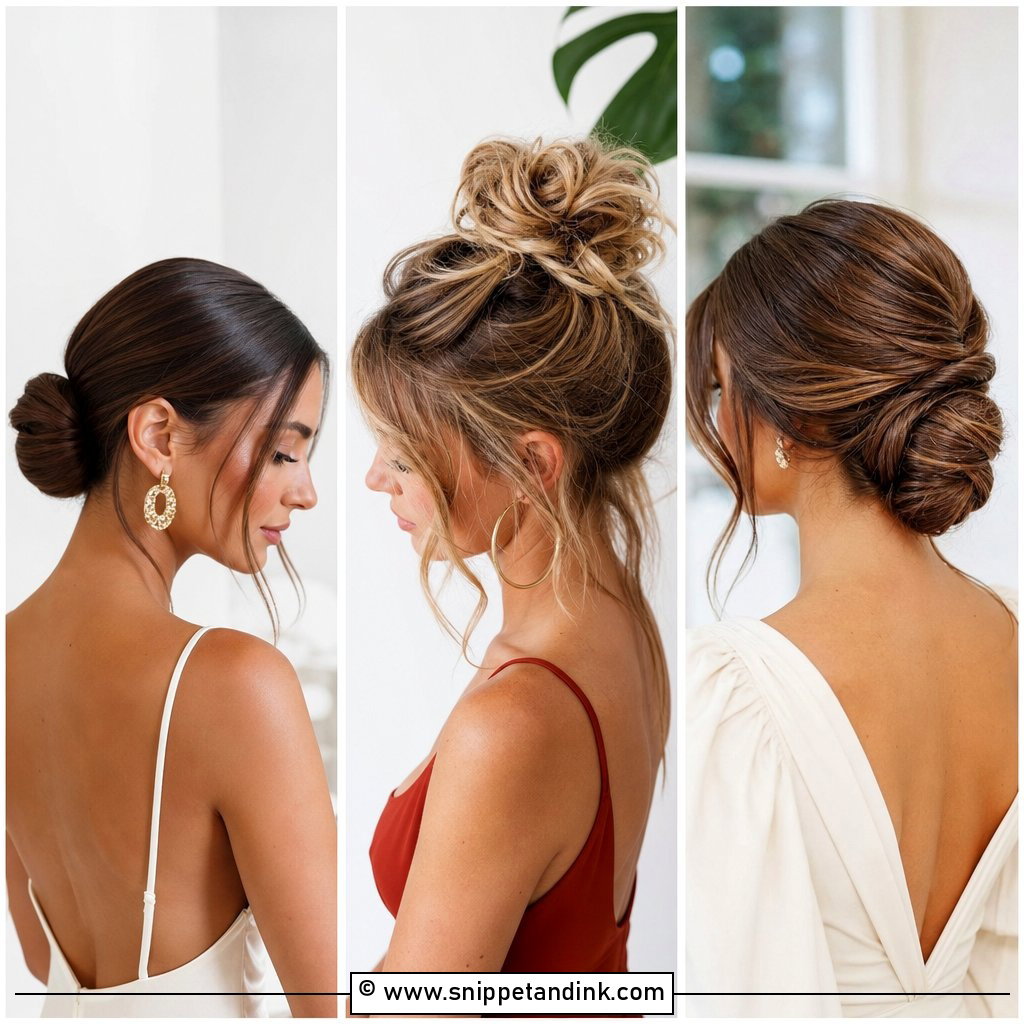
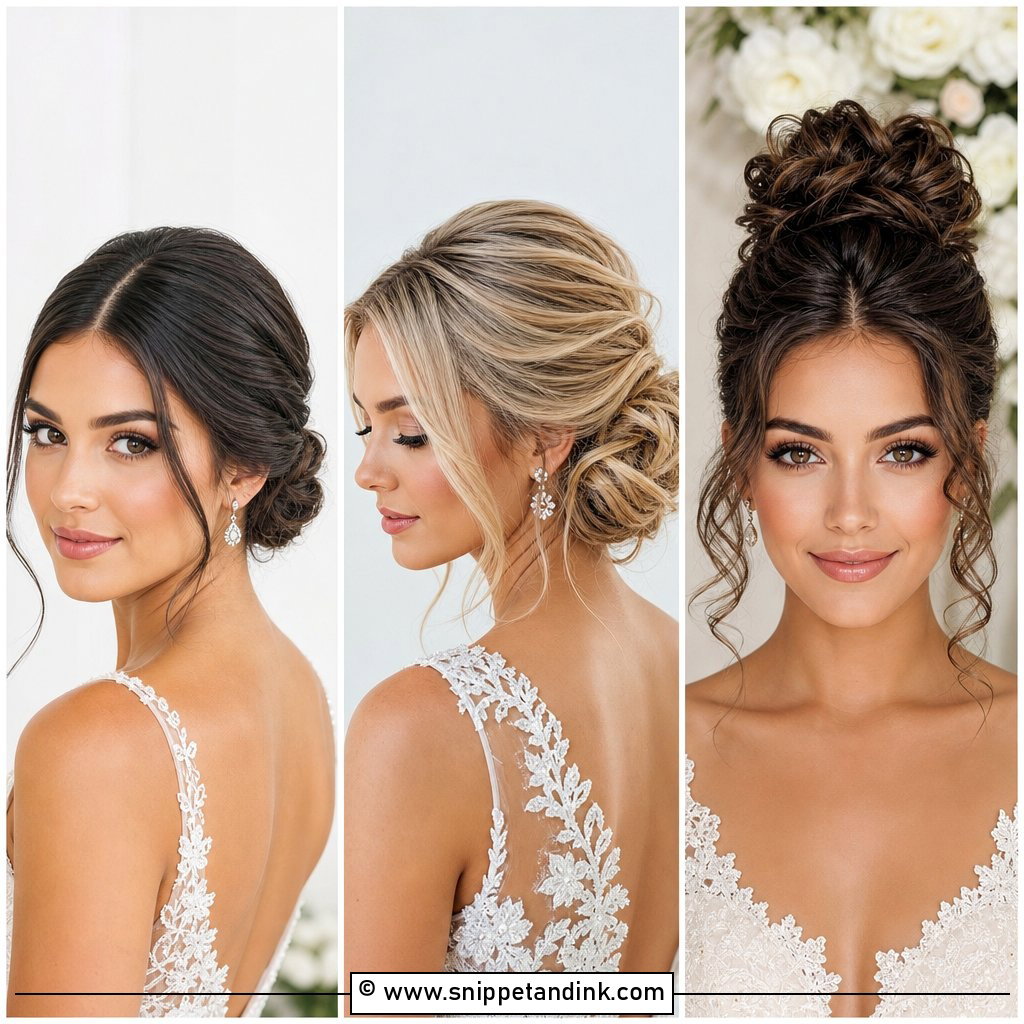
A low, glossy bun shows off your face, earrings and neckline with nothing in the way. The finish depends on prep: I smooth the hair with a strong-hold gel or cream while it’s slightly damp, brush it back with a boar bristle brush and secure the ponytail before wrapping the bun. Middle or side part is your call. Watch for backlight, though; sunset photos show every flyaway around a sleek style, so I finish with a little wax on a toothbrush along the hairline. Formal parties and city shoots suit it.
4. Romantic Loose Curls
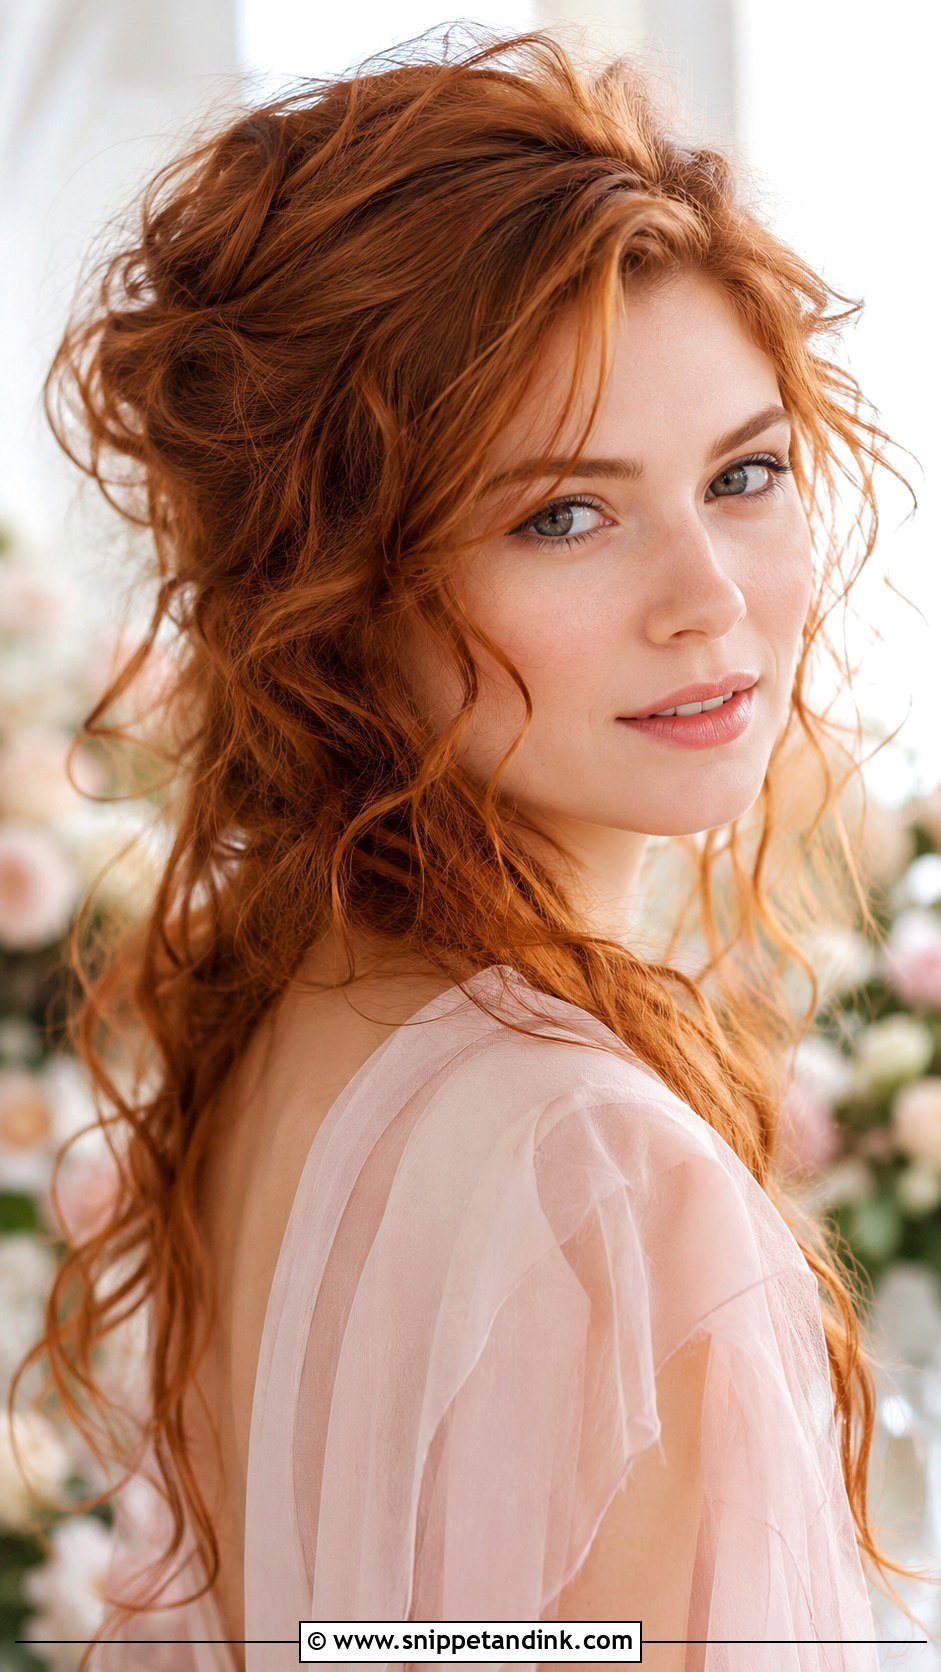
Loose curls are the easiest way to look like yourself on a good hair day. I curl with a wand, alternating direction, then break them apart with my fingers and a light texture spray so they look lived-in rather than set. They suit lobs through long hair. Fine hair loses these quickly in humid air, so for an outdoor summer shoot I prep with mousse at the roots and carry a small wand to refresh the front pieces halfway through.
5. Classic Chignon
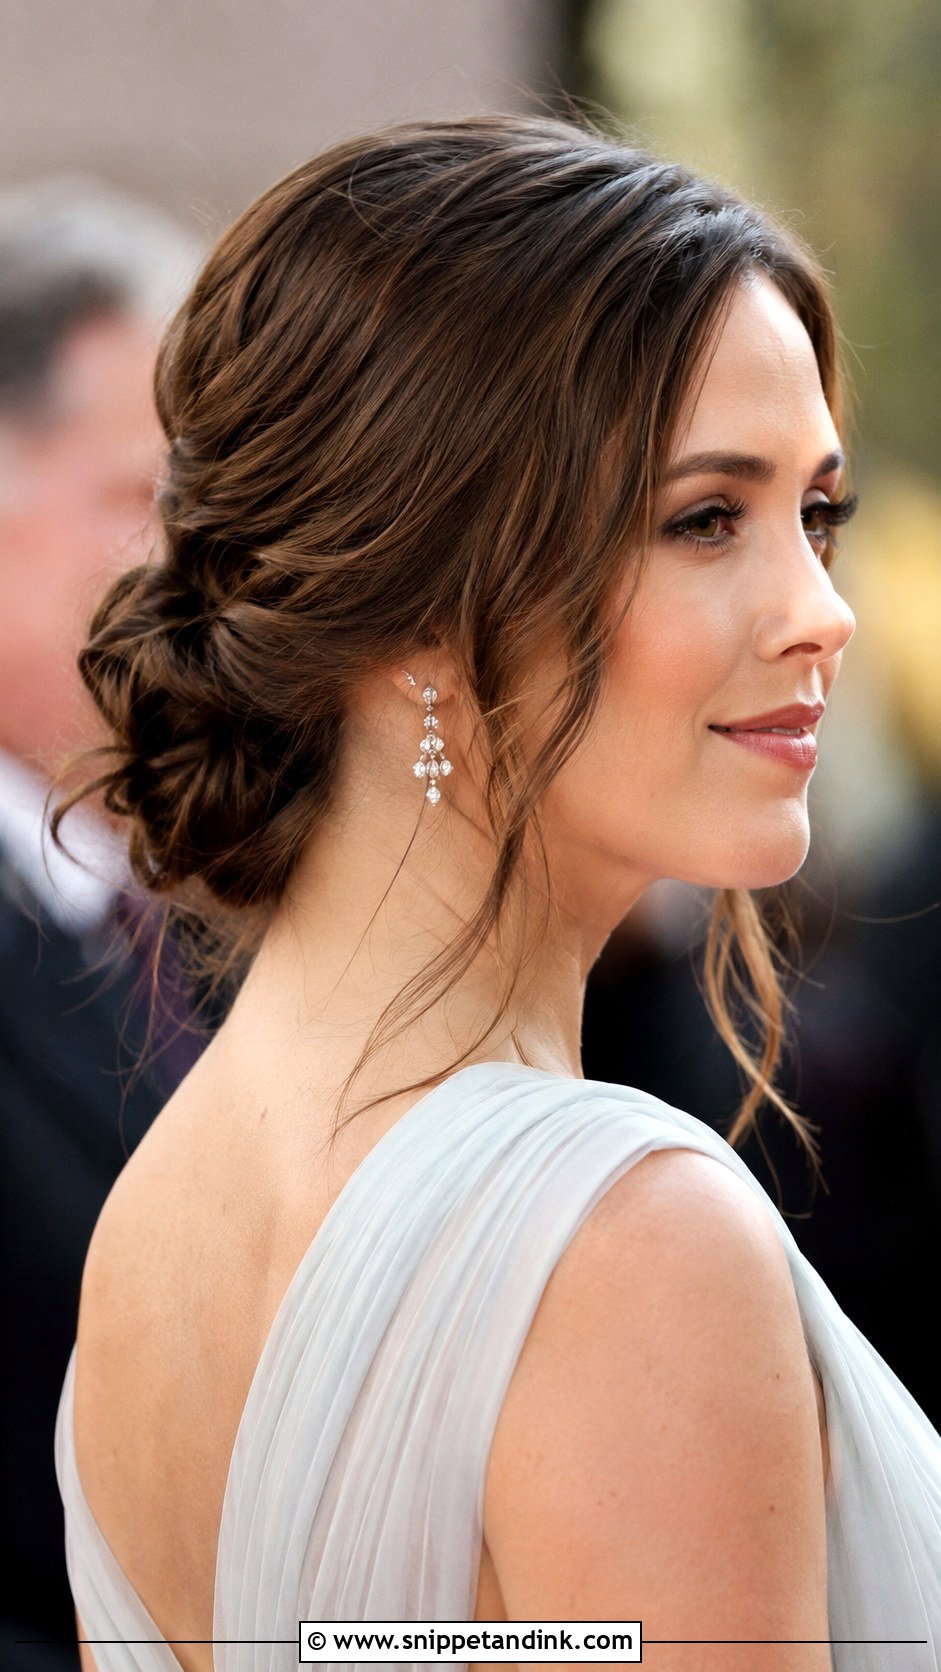
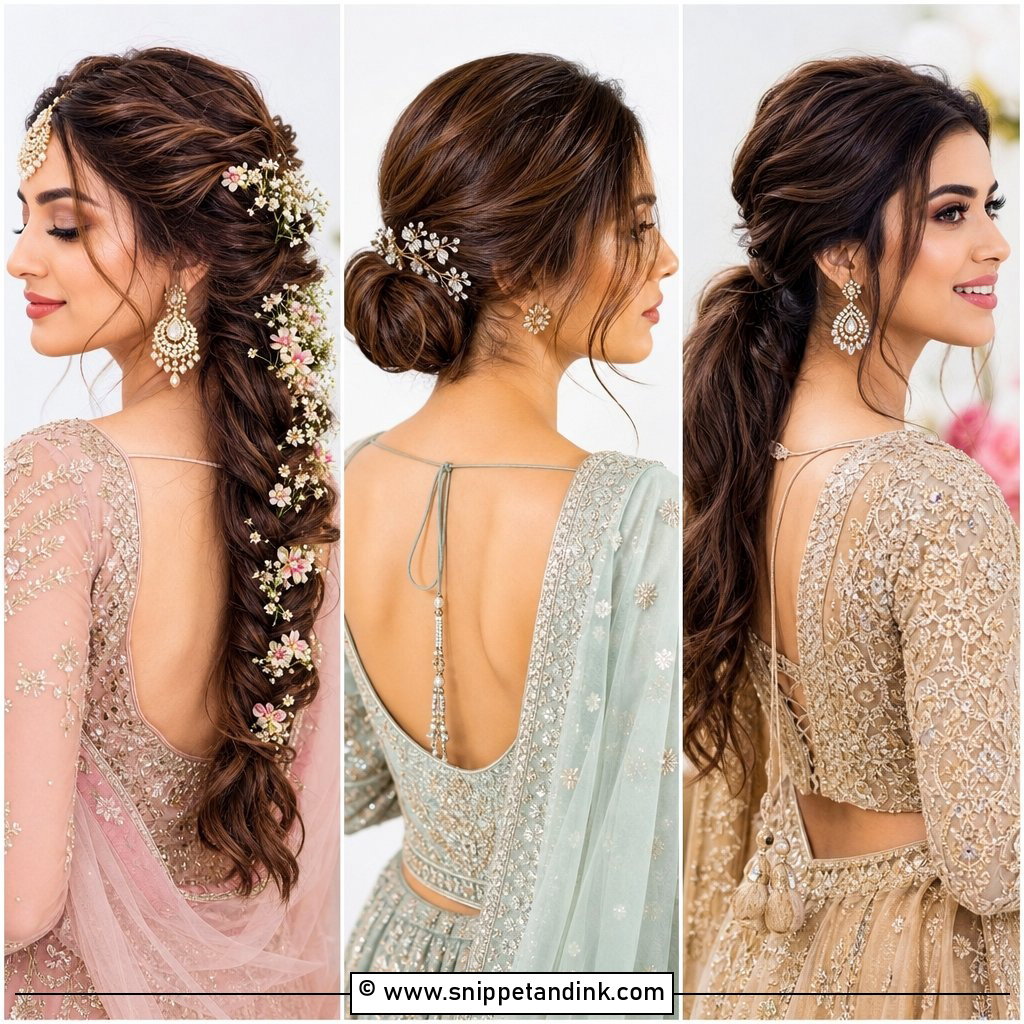
A chignon is softer and lower than a classic bun, rolled or gathered loosely at the nape with a few pieces left around the face. I build it on a base ponytail or a hidden pinned section so the softness on the outside doesn’t mean it slips. Medium to long hair works; very short layers poke out, and those I curl and leave as tendrils on purpose. A few small pins or one jeweled clip add detail, and it keeps hair off your face all day.
6. Fishtail Braid
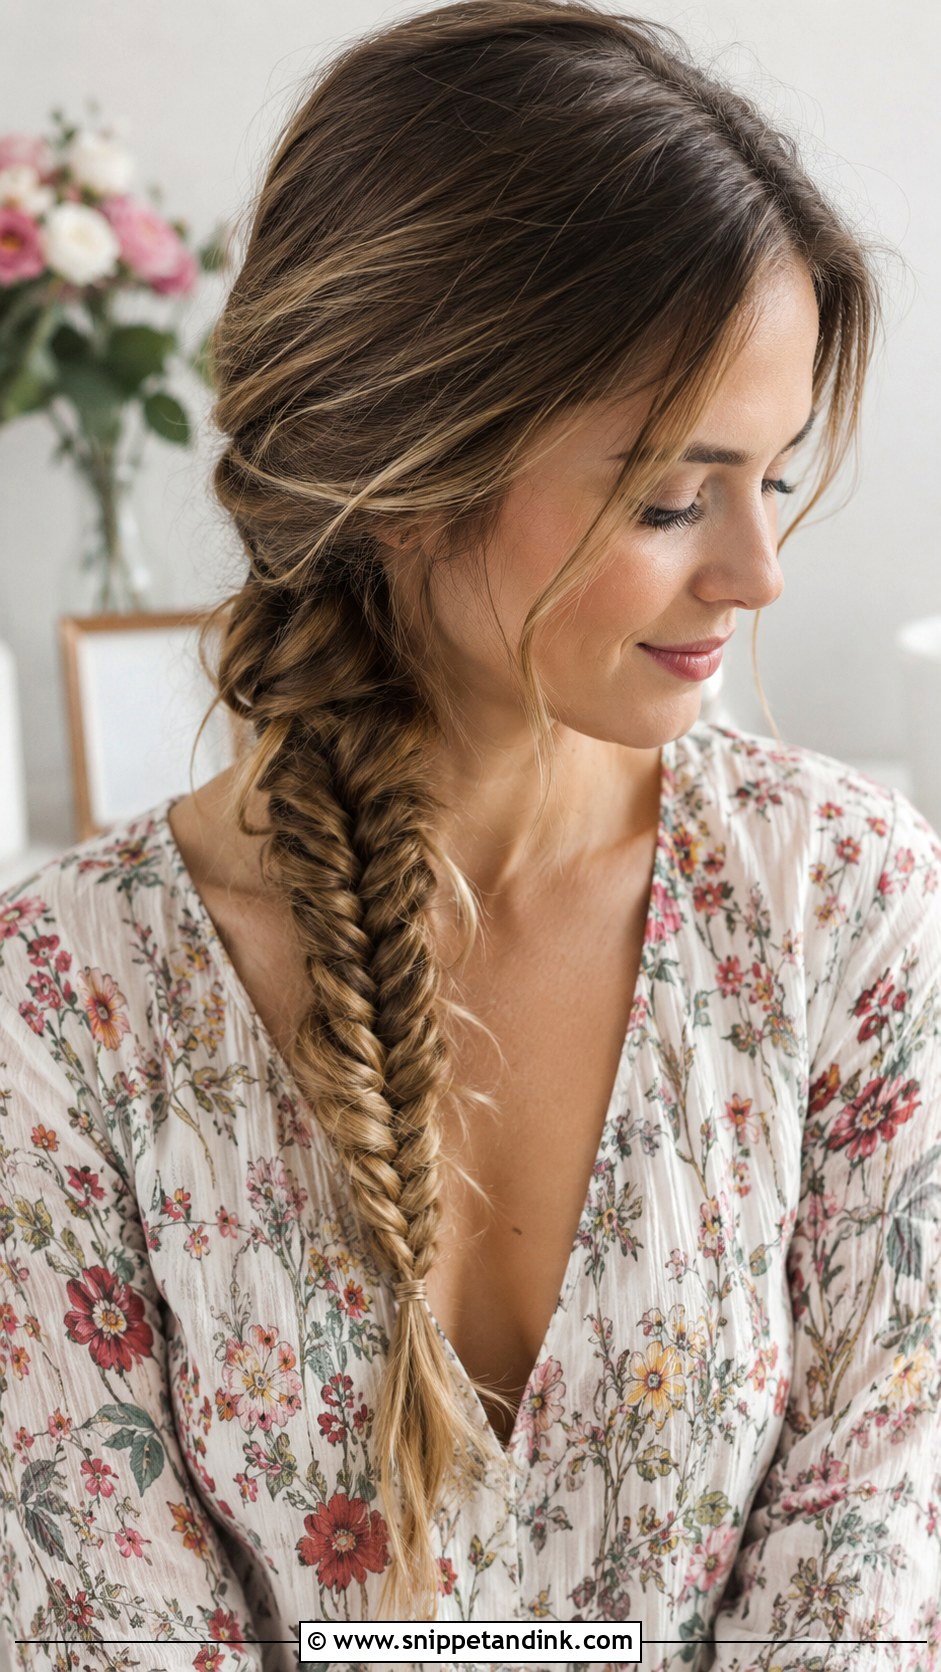
Fishtails look complicated but use just two strands, crossing a thin piece from the outside of one to the other, over and over. The thinner the pieces, the more intricate it looks and the longer it takes. I pull at the edges once it’s done to widen it, which also hides any uneven sections. Wear it over one shoulder or work it into a half-up style. It needs length, ideally past the shoulders, and it suits gardens and fields where a casual texture fits the setting.
7. Halo Braid Crown
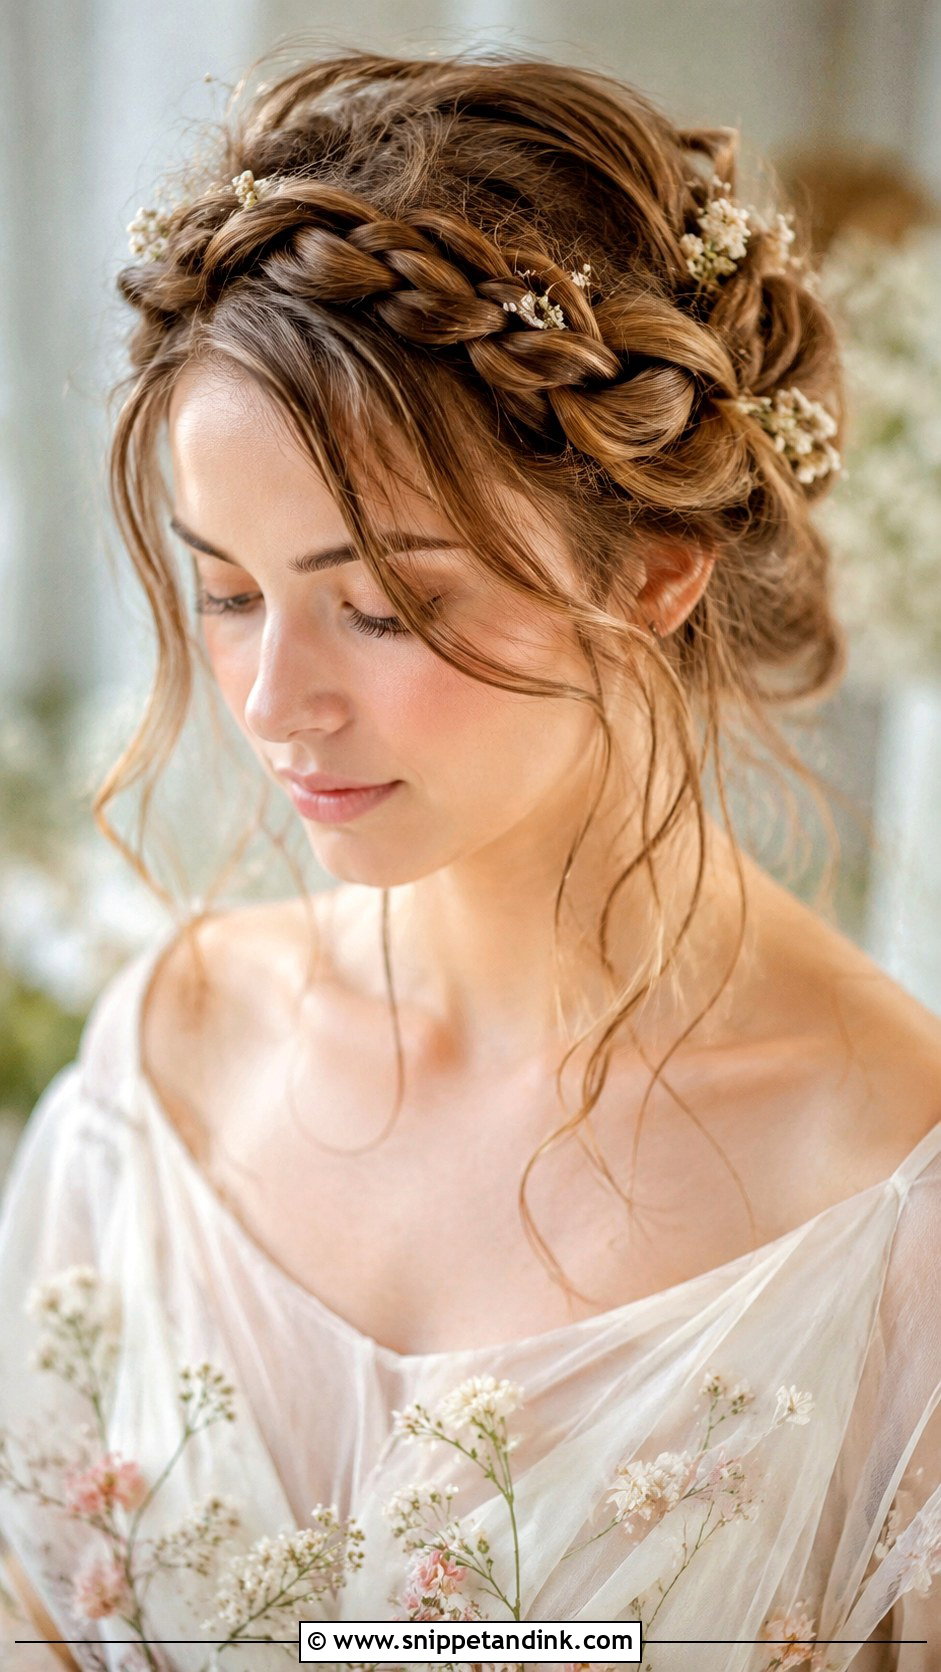
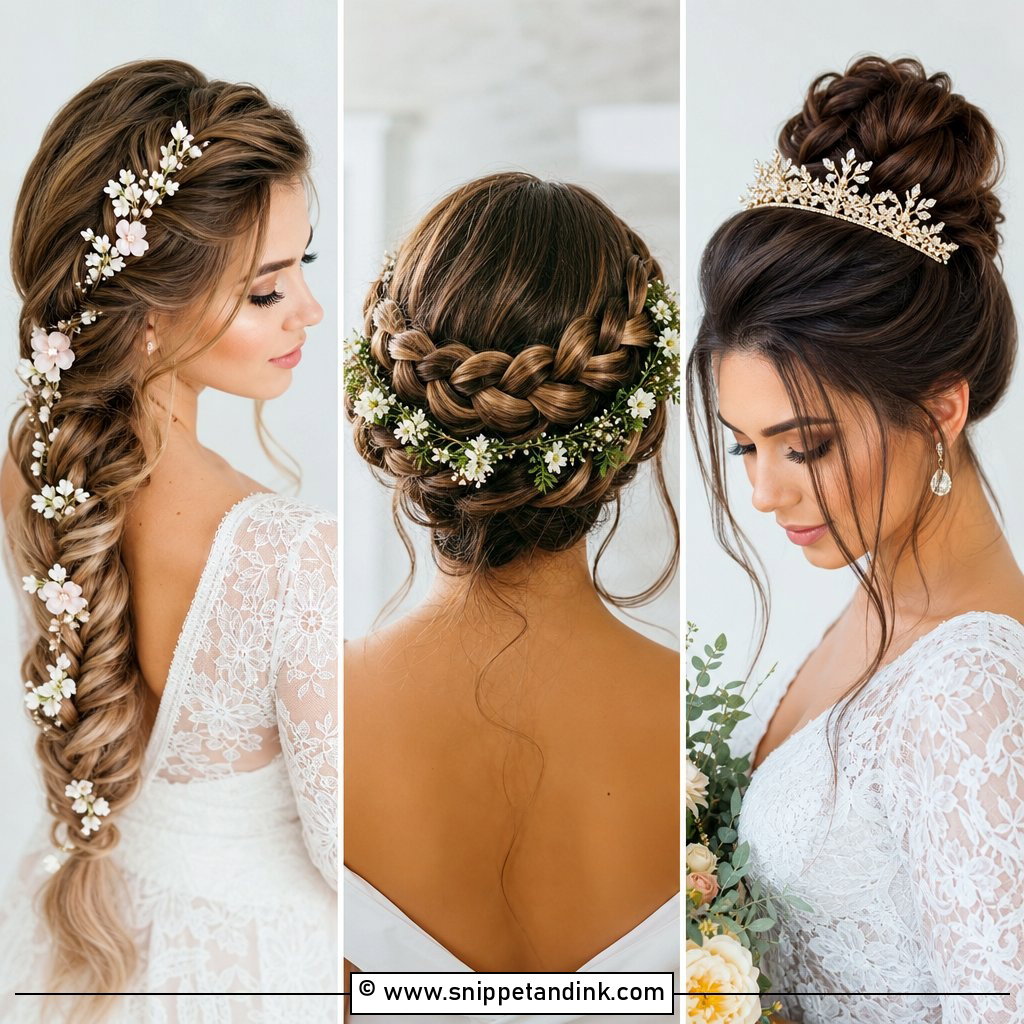
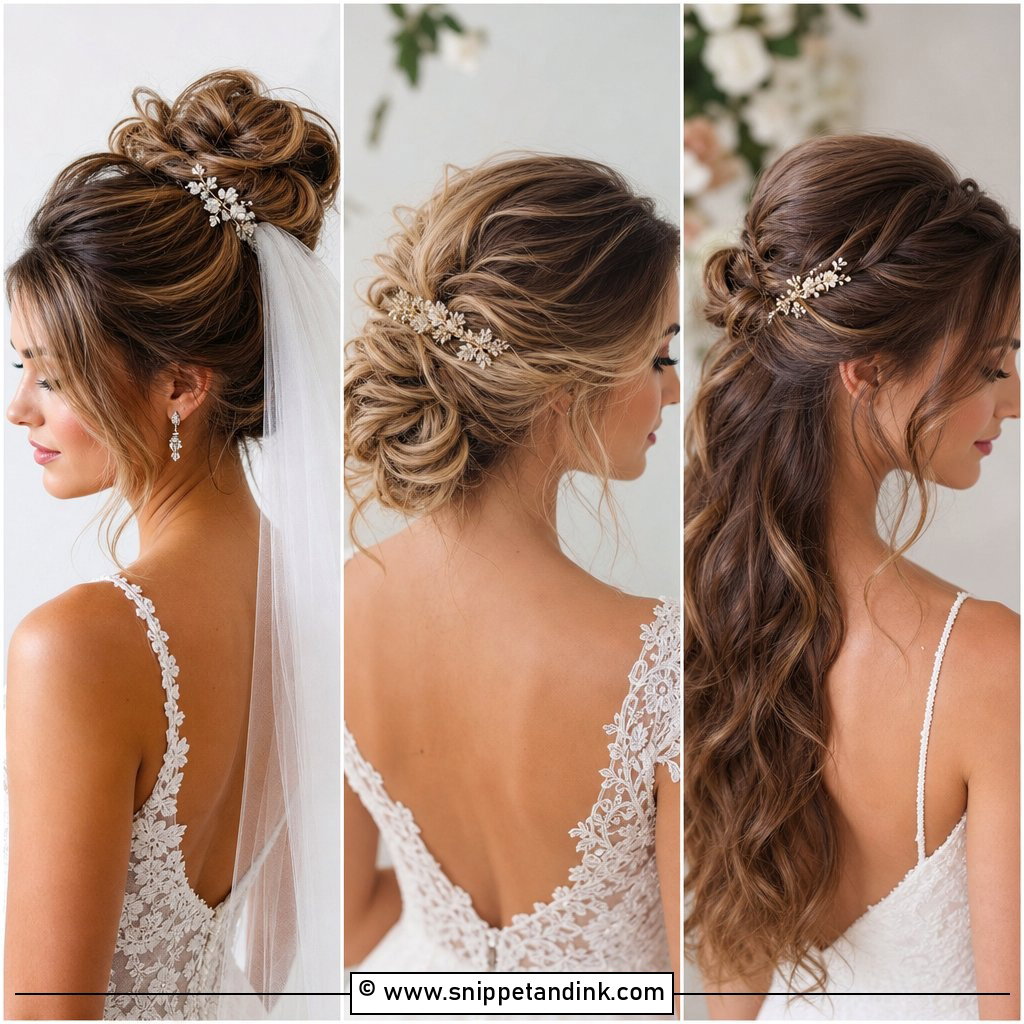
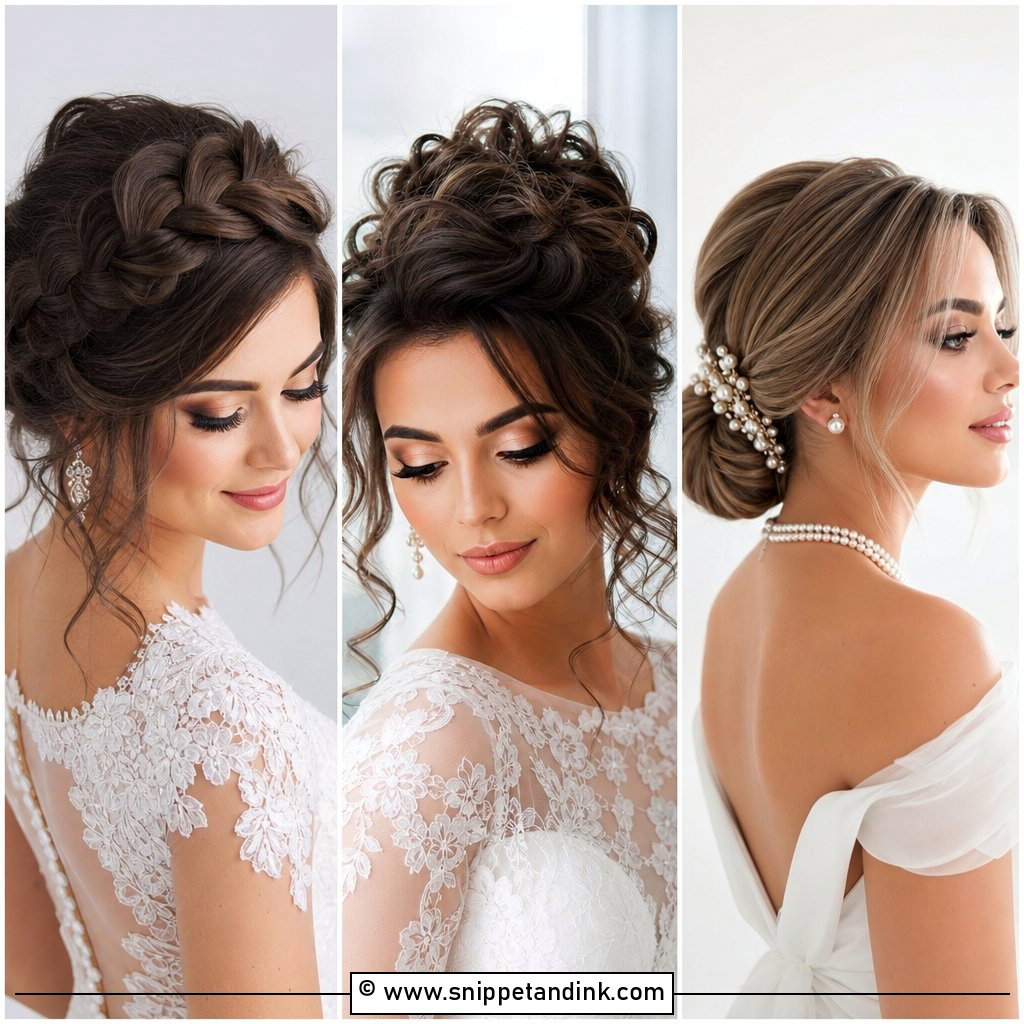
A halo braid circles the head like a crown and keeps every strand off your face, which makes it great for hot days or an active shoot. It needs enough length to wrap around; hair past the shoulders can do one long braid, while shoulder-length hair works better as two Dutch braids pinned to meet at the back. I leave a few tendrils loose so it doesn’t look severe. Small flowers or pins tucked into the braid add detail.
8. Top Knot Bun
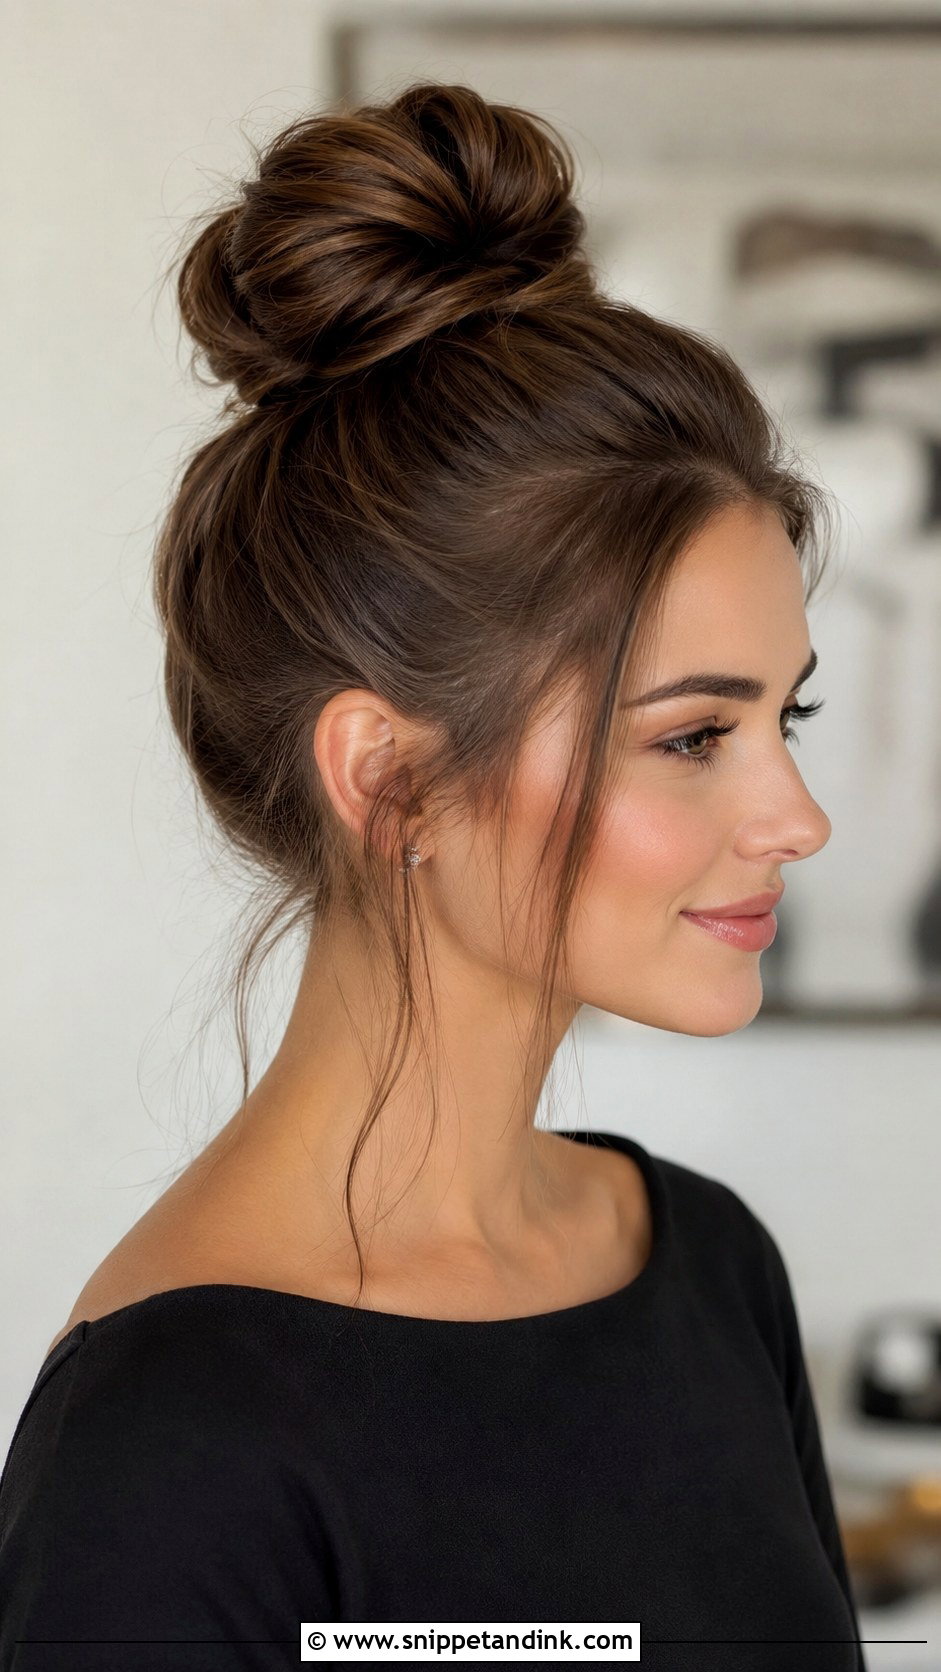
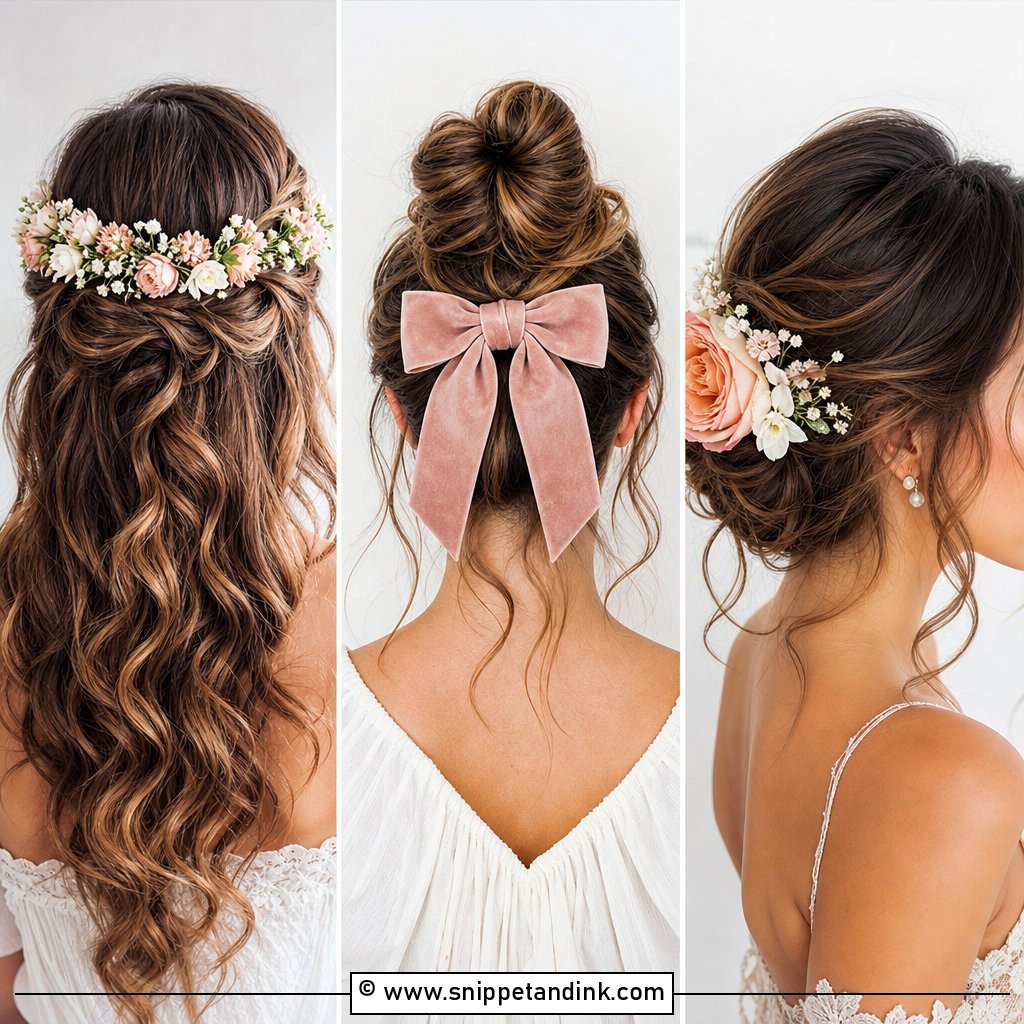
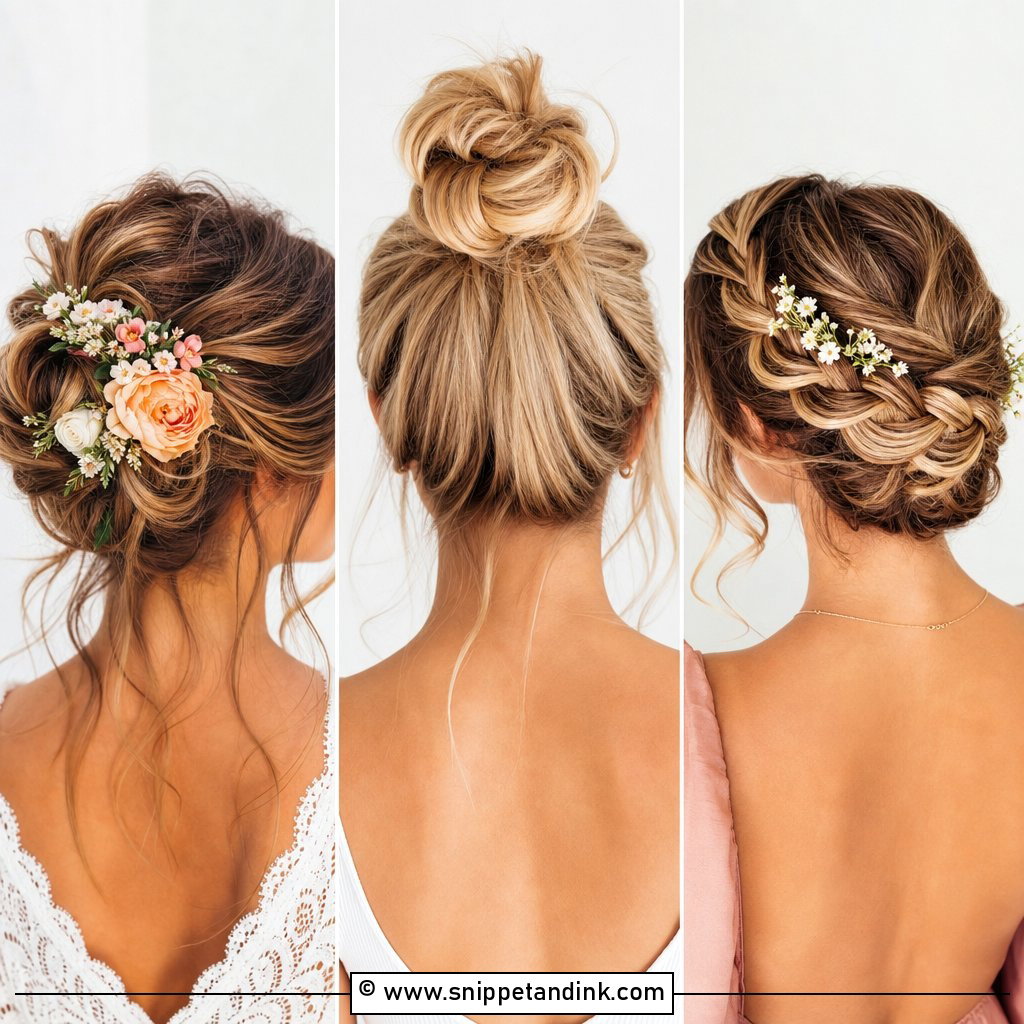
A high top knot lifts everything off the face and lengthens the neck. Sleek reads modern; pulled-out pieces read relaxed. Very thick or heavy hair can drag a high knot sideways and give you a headache after a few hours, so I split the ponytail in two and secure each half separately, or use a bun form for support. It holds up well in wind, and it suits parties and casual shoots alike.
9. Braided Bun
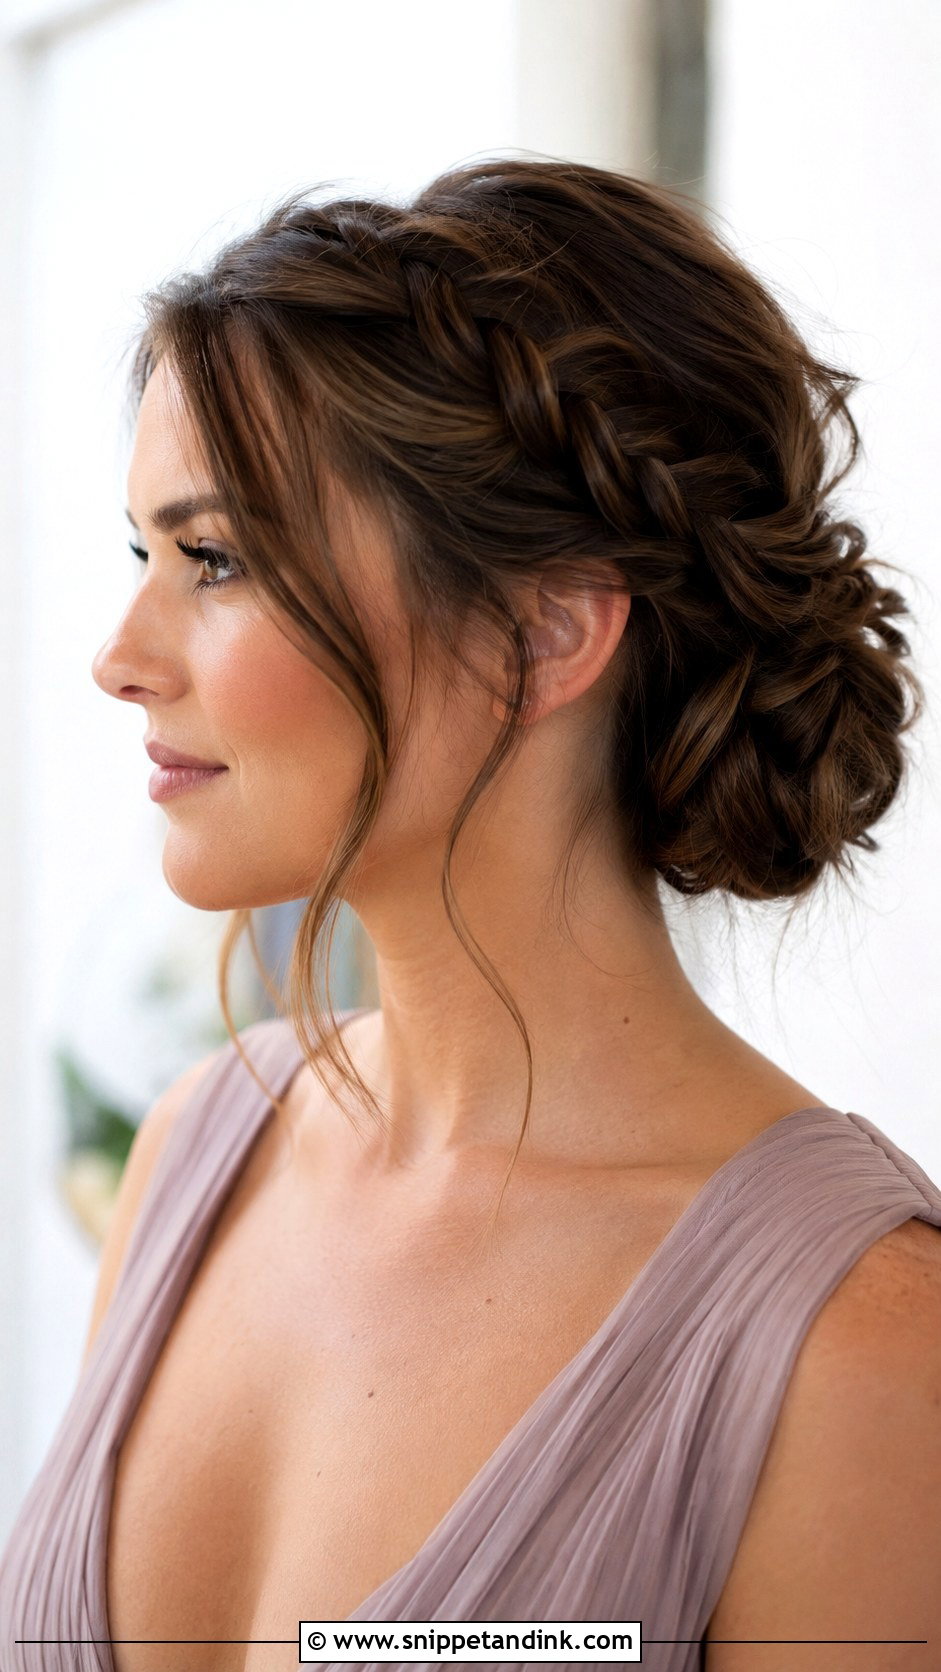
Braids wrapped into a low or mid bun give dimension that reads clearly in photos, especially from behind. One braid wrapped around the bun is quick; several braids pinned together look more dramatic. I braid the hair while it still has a bit of texture from a curling iron, since squeaky-clean hair makes slippery braids that loosen. Medium to long hair suits it. Leave a few face-framing pieces loose and it’s comfortable all day.
10. Side-Swept Curls
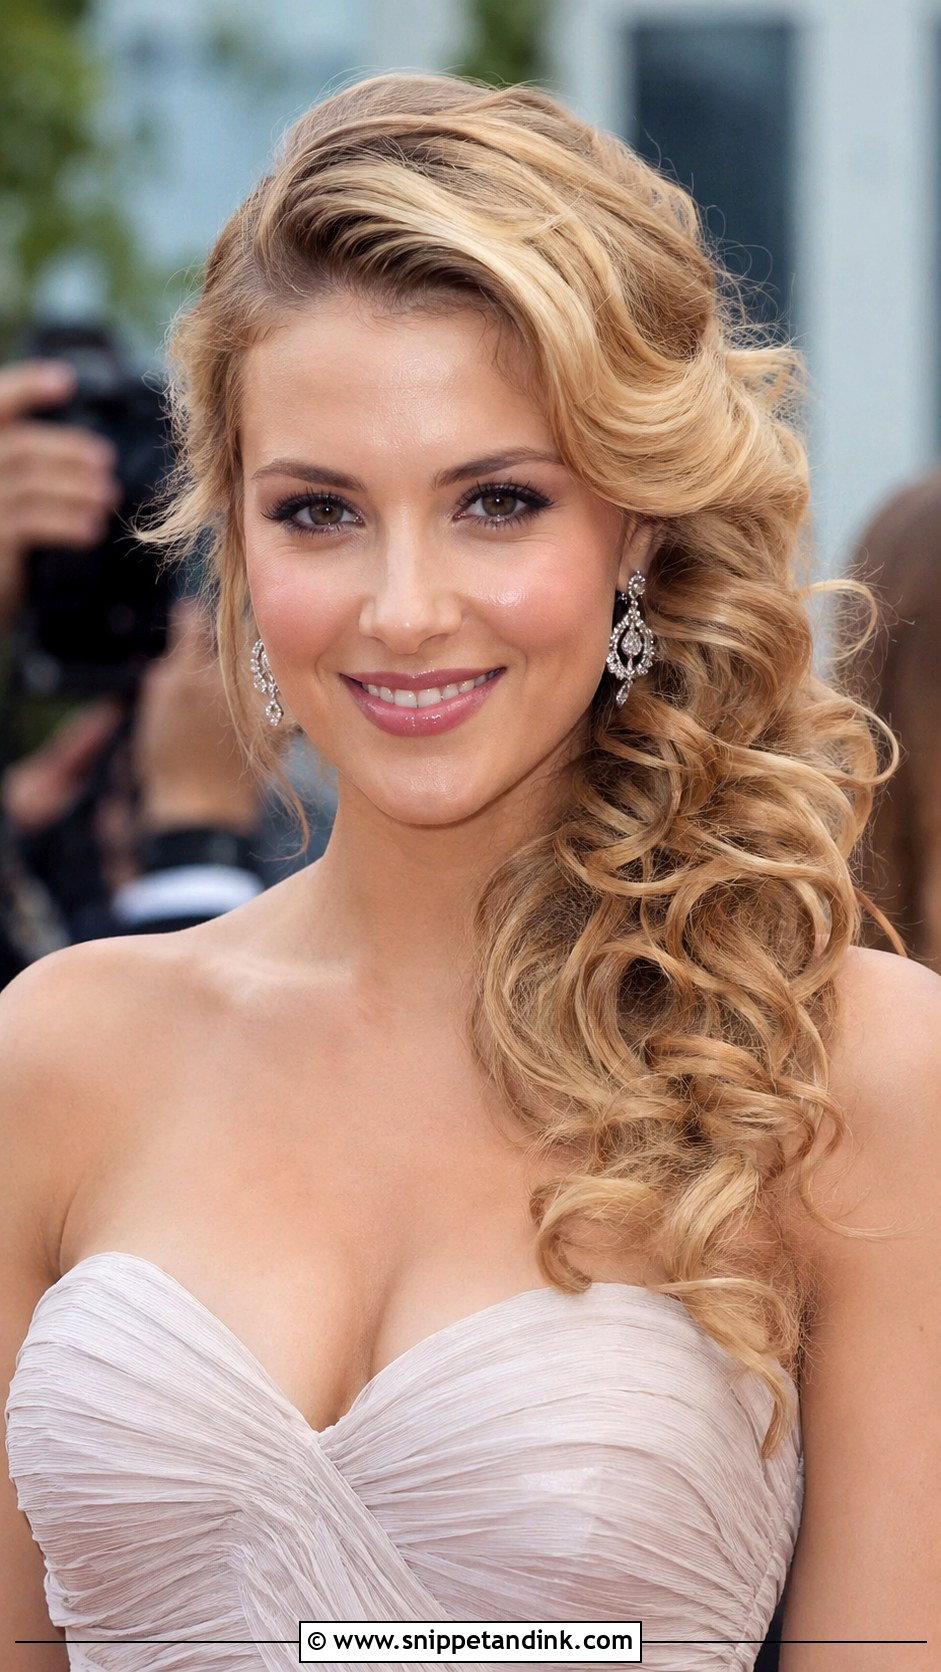
Sweeping everything over one shoulder creates an asymmetrical shape that’s flattering from your best side. I curl first, then secure the hair behind the opposite ear with crossed pins hidden under a curl, so the bouncy, voluminous curls all fall on one side without dragging back. It shows off an earring on the open side, and a sparkly clip covers the pins. Medium to long hair works. Before the shoot, check which side your partner will usually stand on, so the curls aren’t trapped between you.
11. Textured Low Ponytail
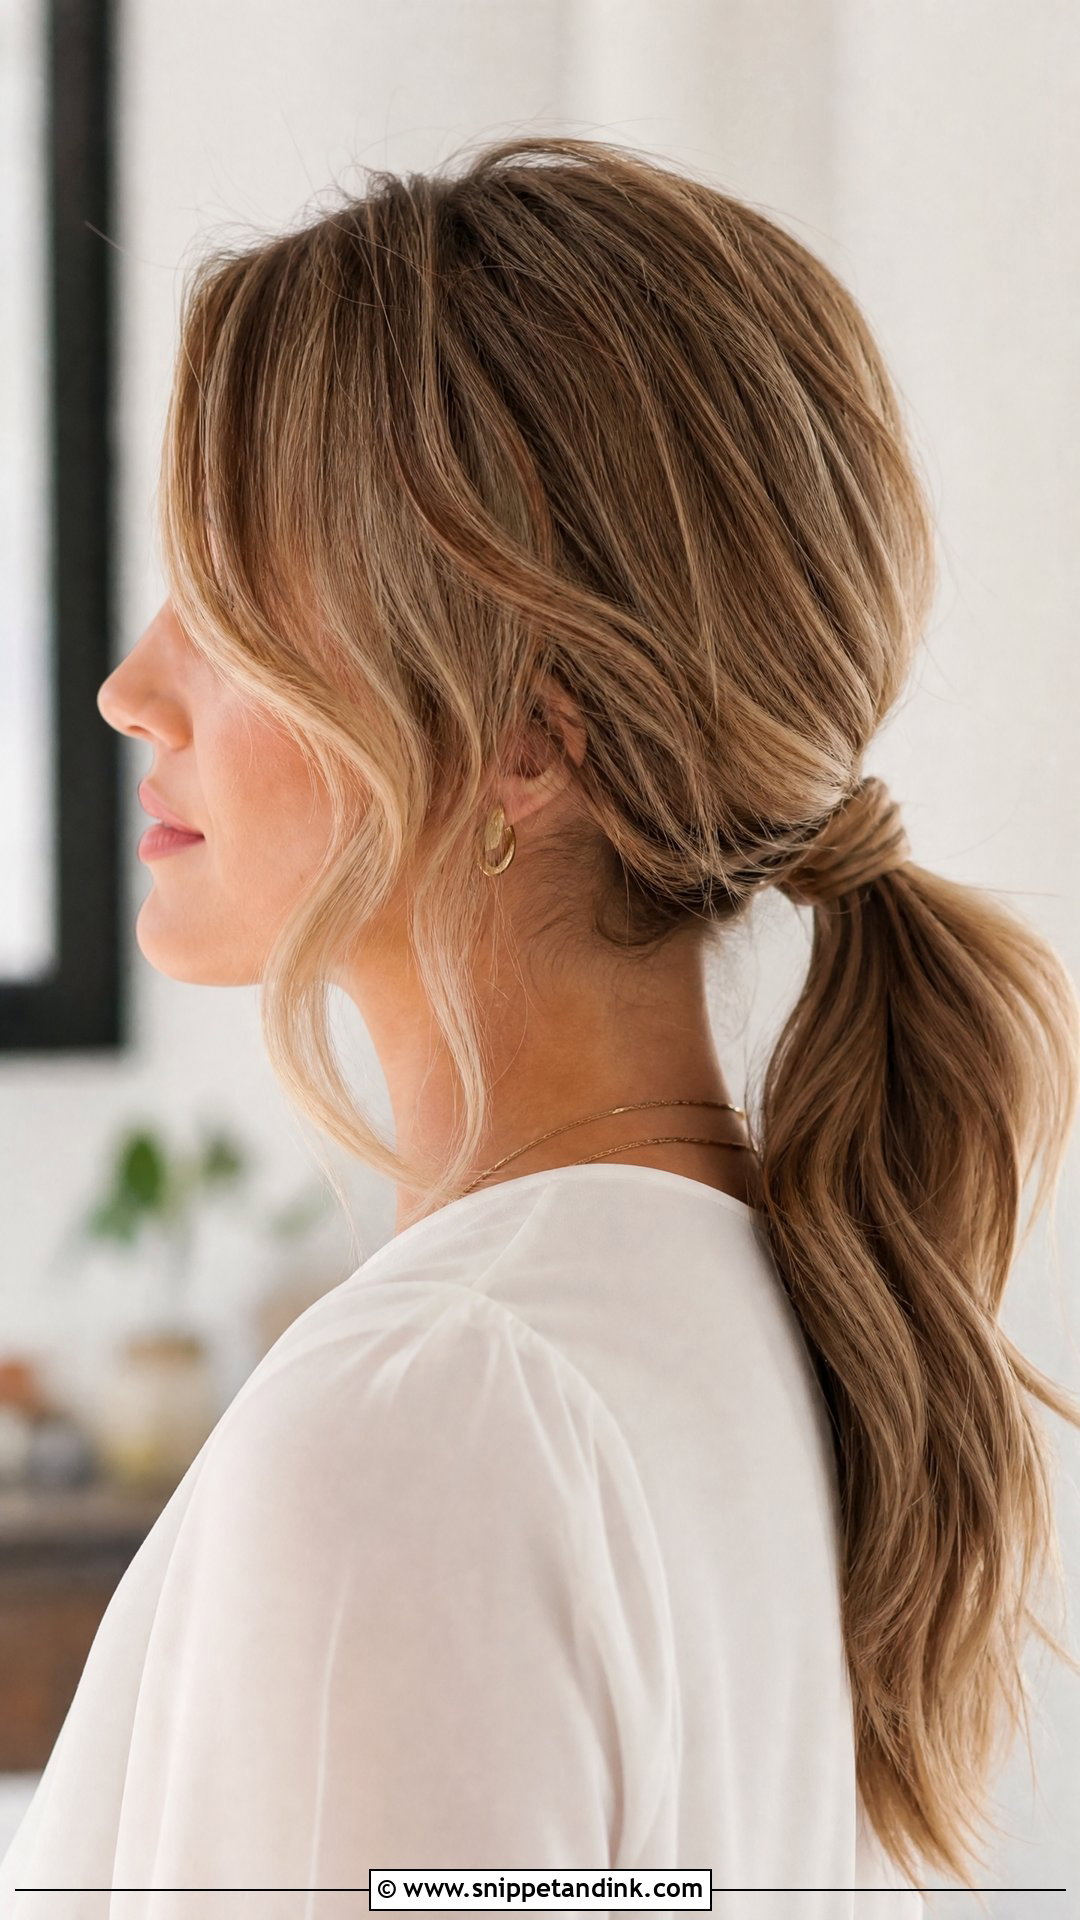
A low ponytail can look as dressed-up as an updo if the texture and finish are right. I add waves first, gather the hair at the nape with soft pieces left loose, then wrap a small section around the elastic and pin it underneath. A textured pony forgives a little wind, unlike a sleek one. It works on most lengths that reach the nape, keeps hair off your face and feels comfortable for a long shoot.
12. Curtain Bangs With Waves
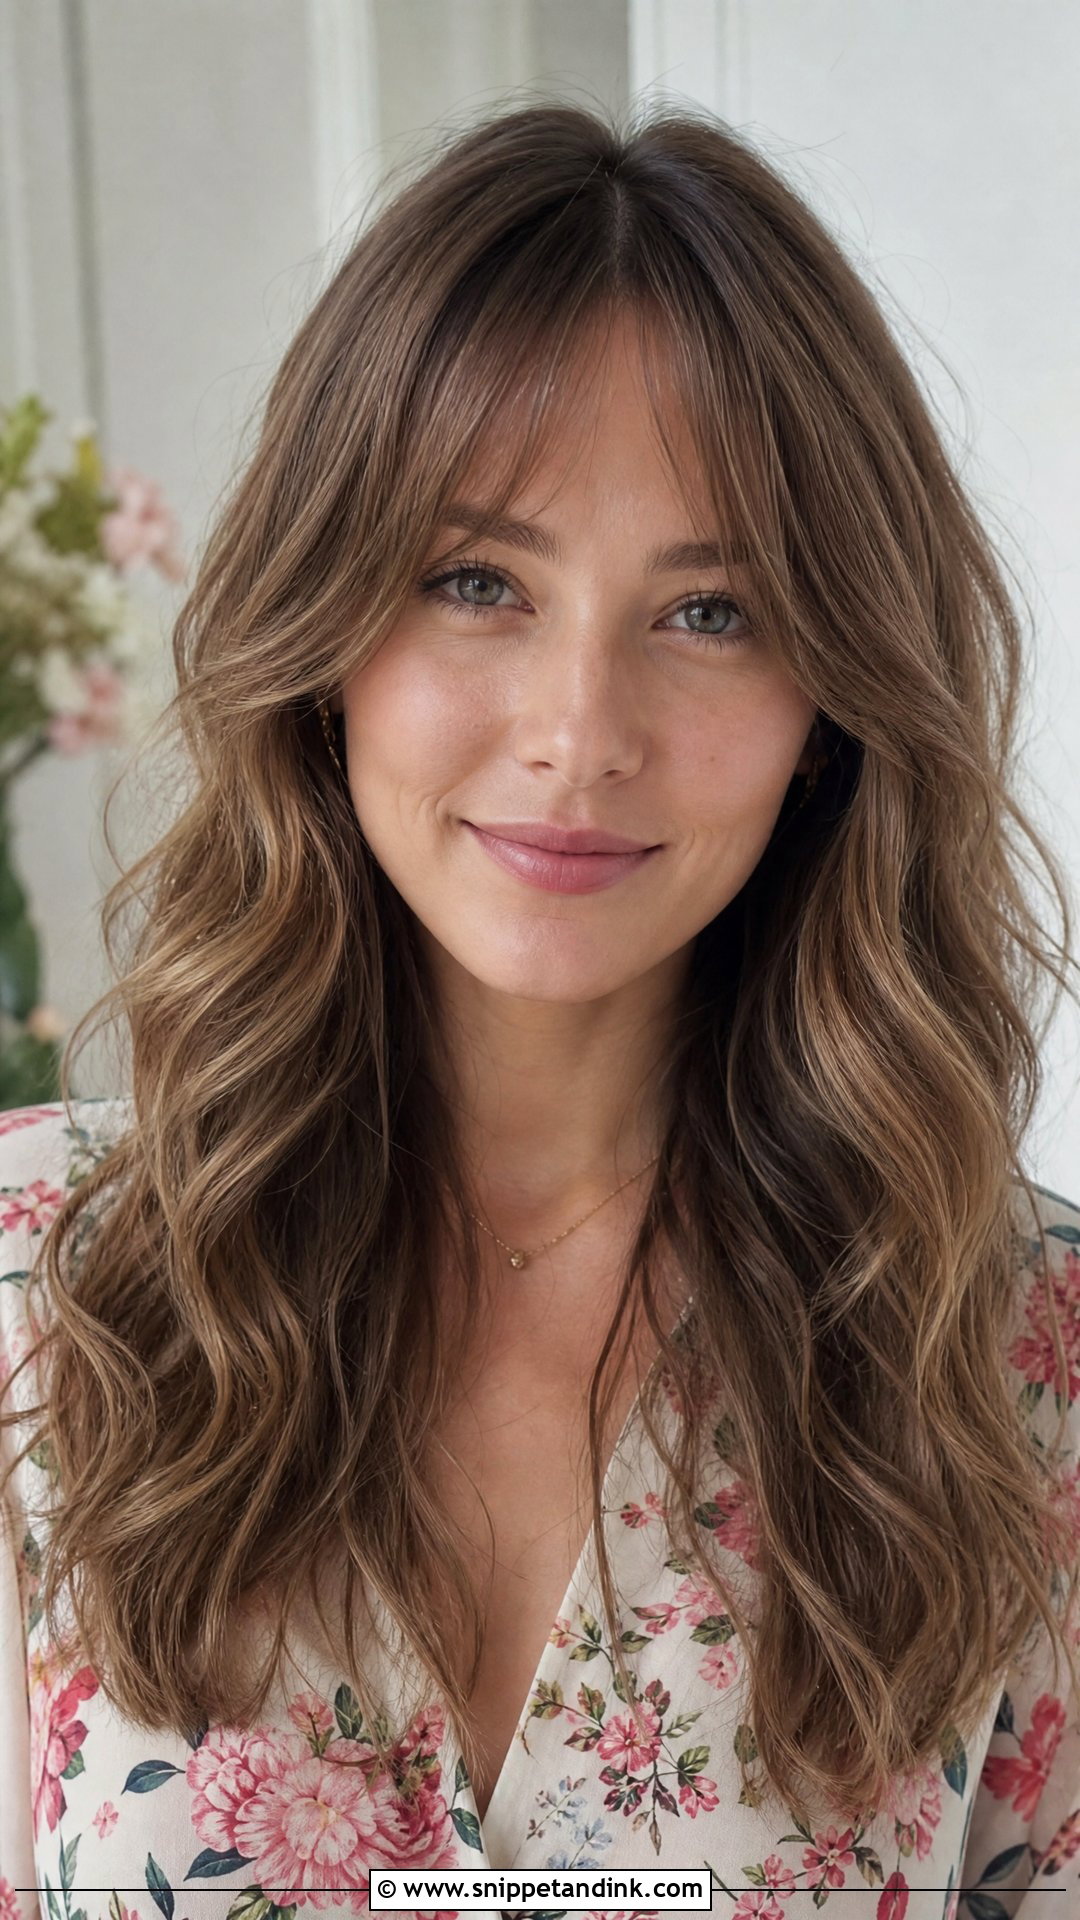
Curtain bangs frame the eyes and cheekbones in close-ups and blend into waves on either side. If you’re getting them cut for the shoot, do it a week or two ahead so they’ve settled and you’ve learned to style them; fresh bangs often sit too short and stiff. I blow them with a round brush, pulling out and away from the face. They suit most face shapes and can be worn with short or long hair, though very curly hair needs a curly-specialist cut to get the same shape.
13. French Twist
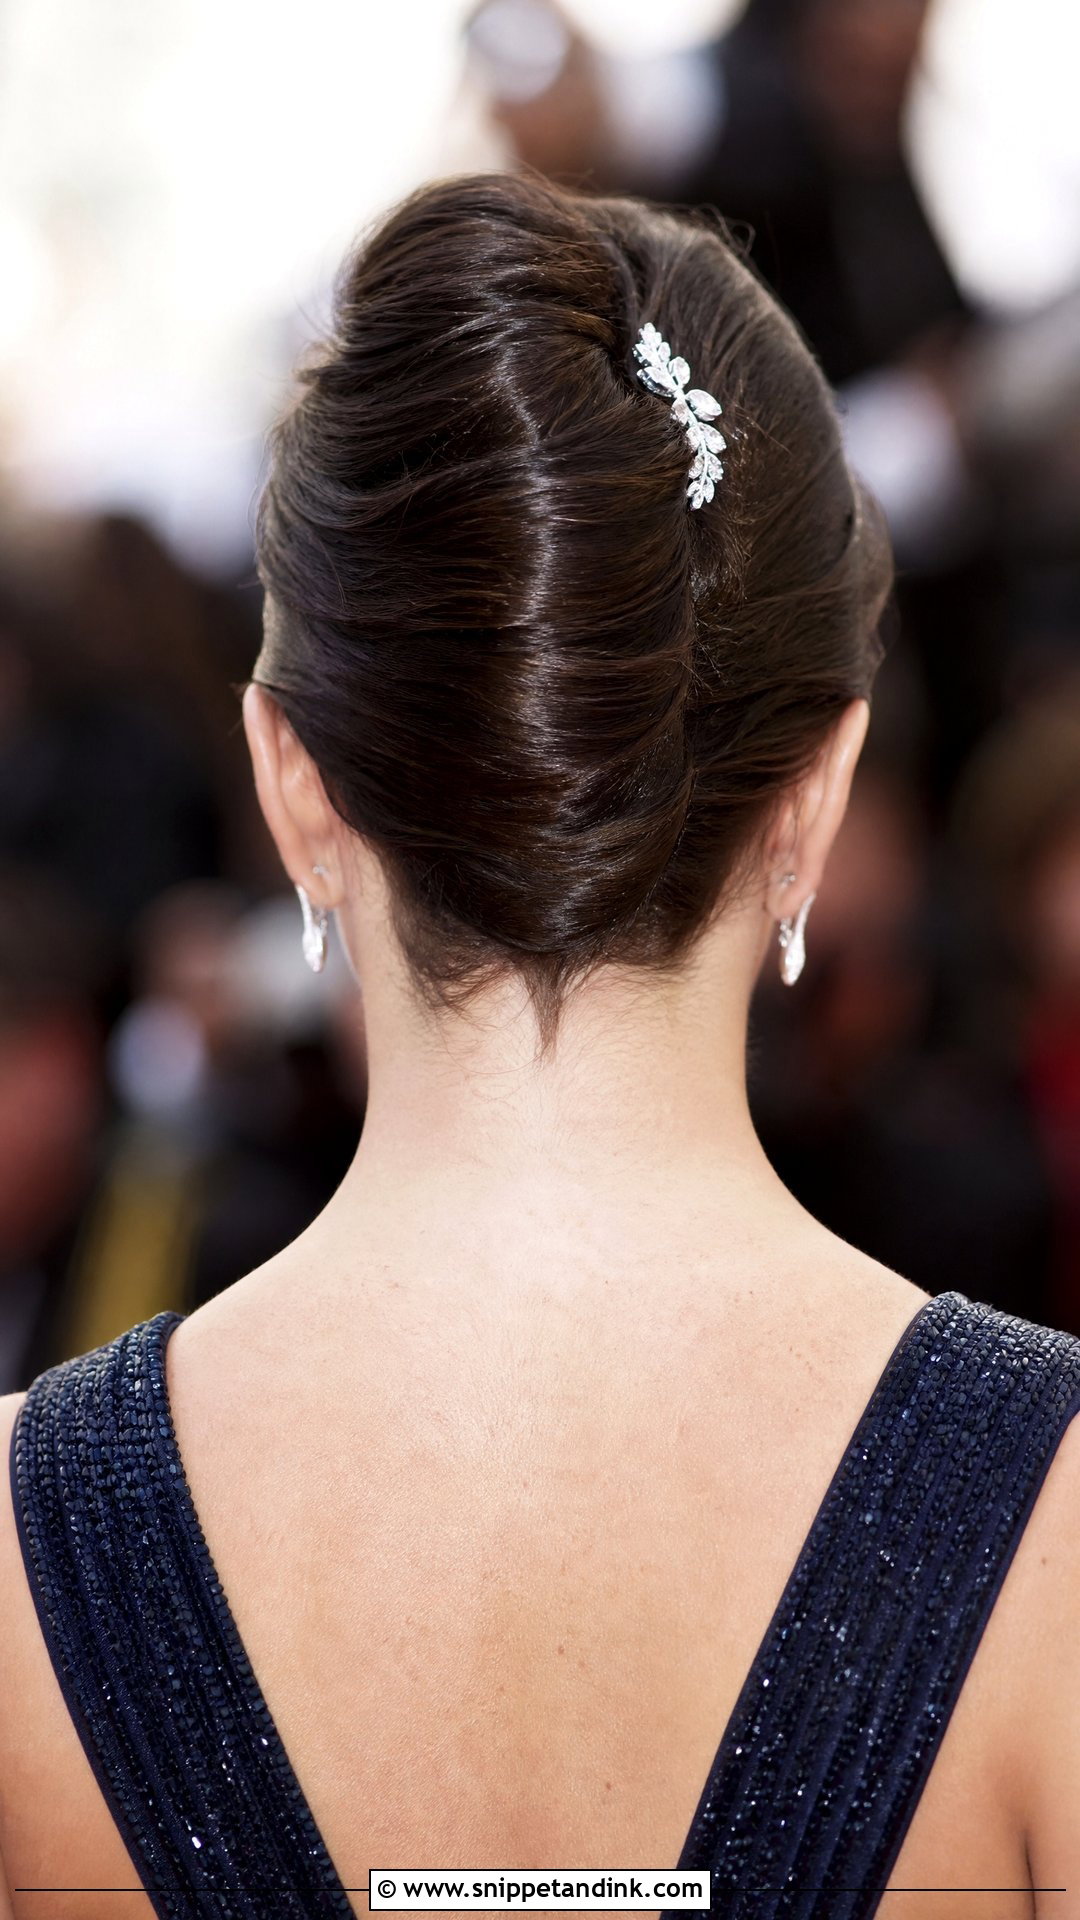
The French twist rolls the hair vertically up the back of the head, and it’s held by pins pushed along the seam, angled into the base of the roll. Done that way it’s one of the most secure styles I know, which is why it suits a long, formal evening. It needs medium to long hair with some grip, so I backcomb lightly underneath first. It shows your neckline and jewelry, and it photographs cleanly from behind. A jeweled pin or a few soft pieces left out keeps it from feeling old-fashioned.
14. Boho Waves With Flowers
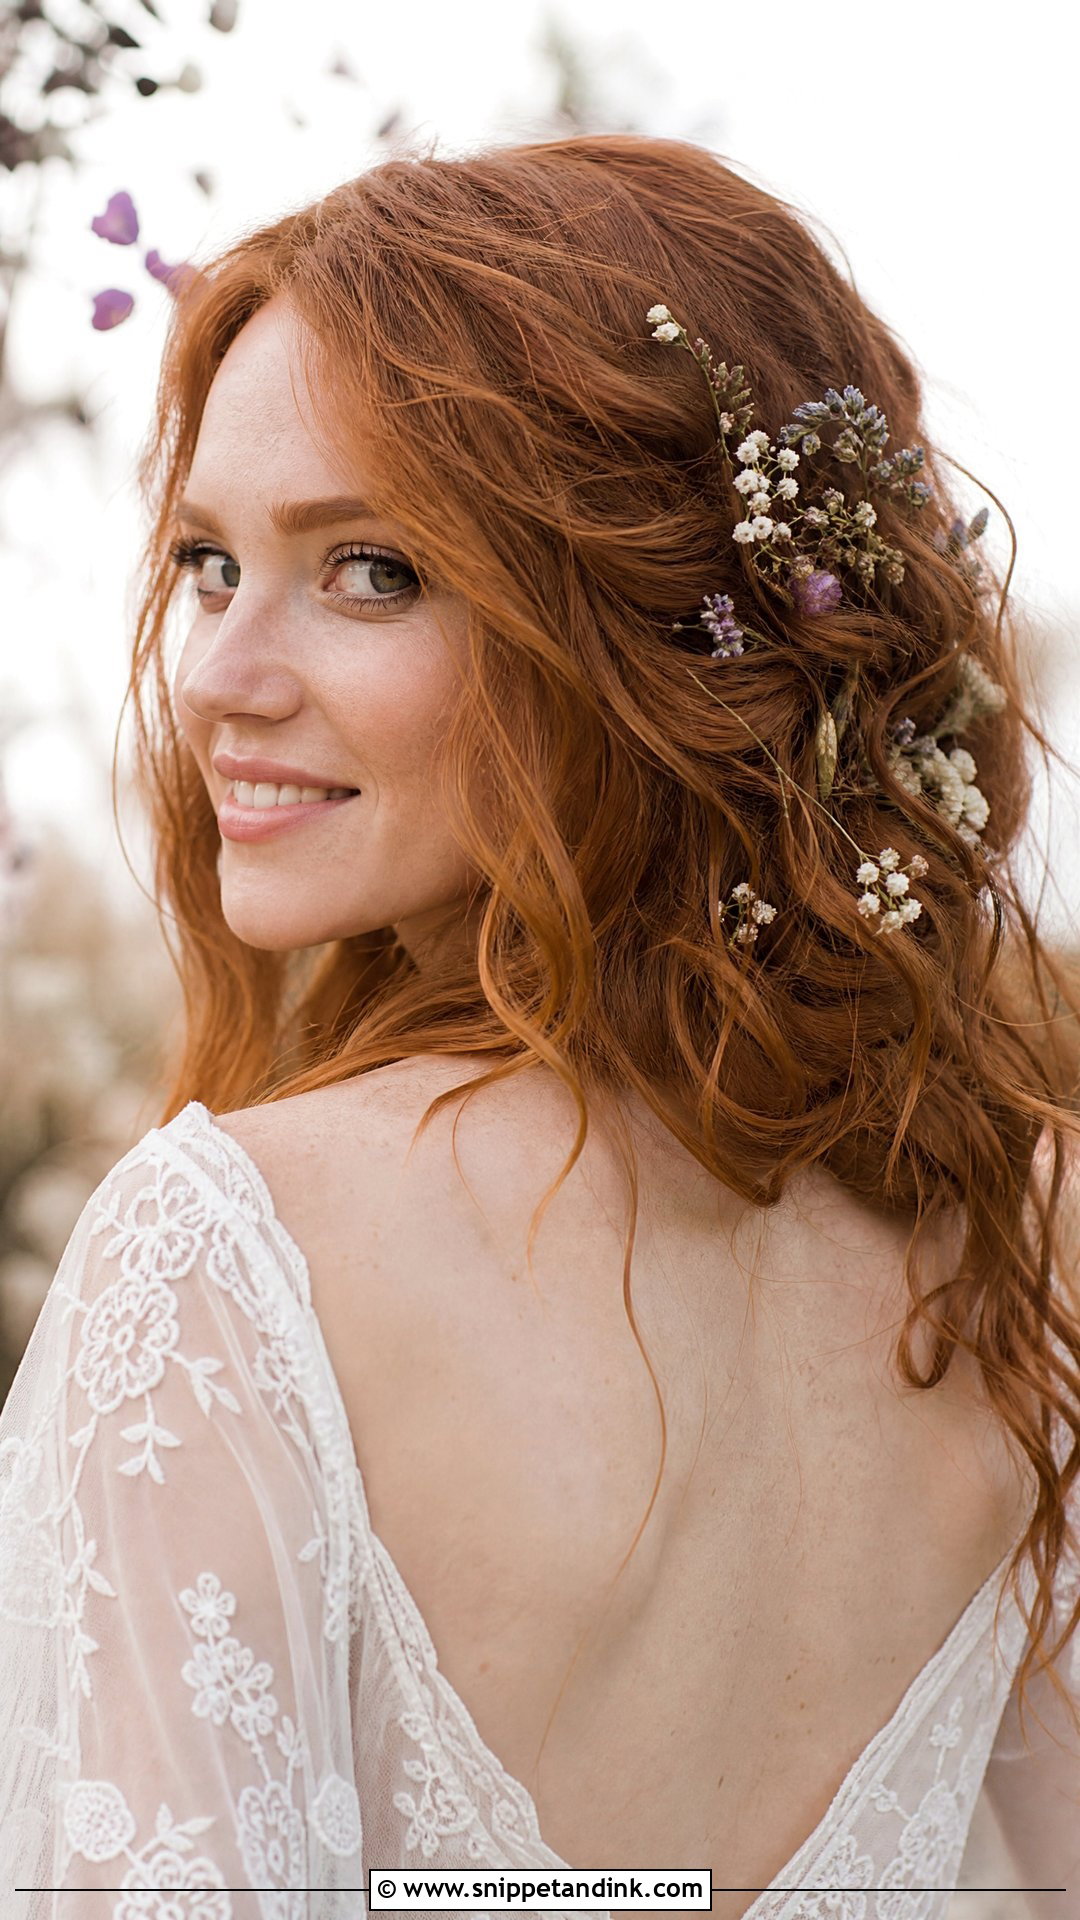
Loose boho waves with flowers suit garden-party romance and natural settings like fields or orchards. Choose hardy flowers: spray roses, waxflower and baby’s breath last for hours out of water, while delicate blooms like sweet peas wilt quickly in sun. I wire small stems or attach them to bobby pins rather than poking stems straight into the hair. Silk flowers are a fine alternative for a long day. Longer hair suits it best, in spring or summer.
15. Sleek Straight Hair
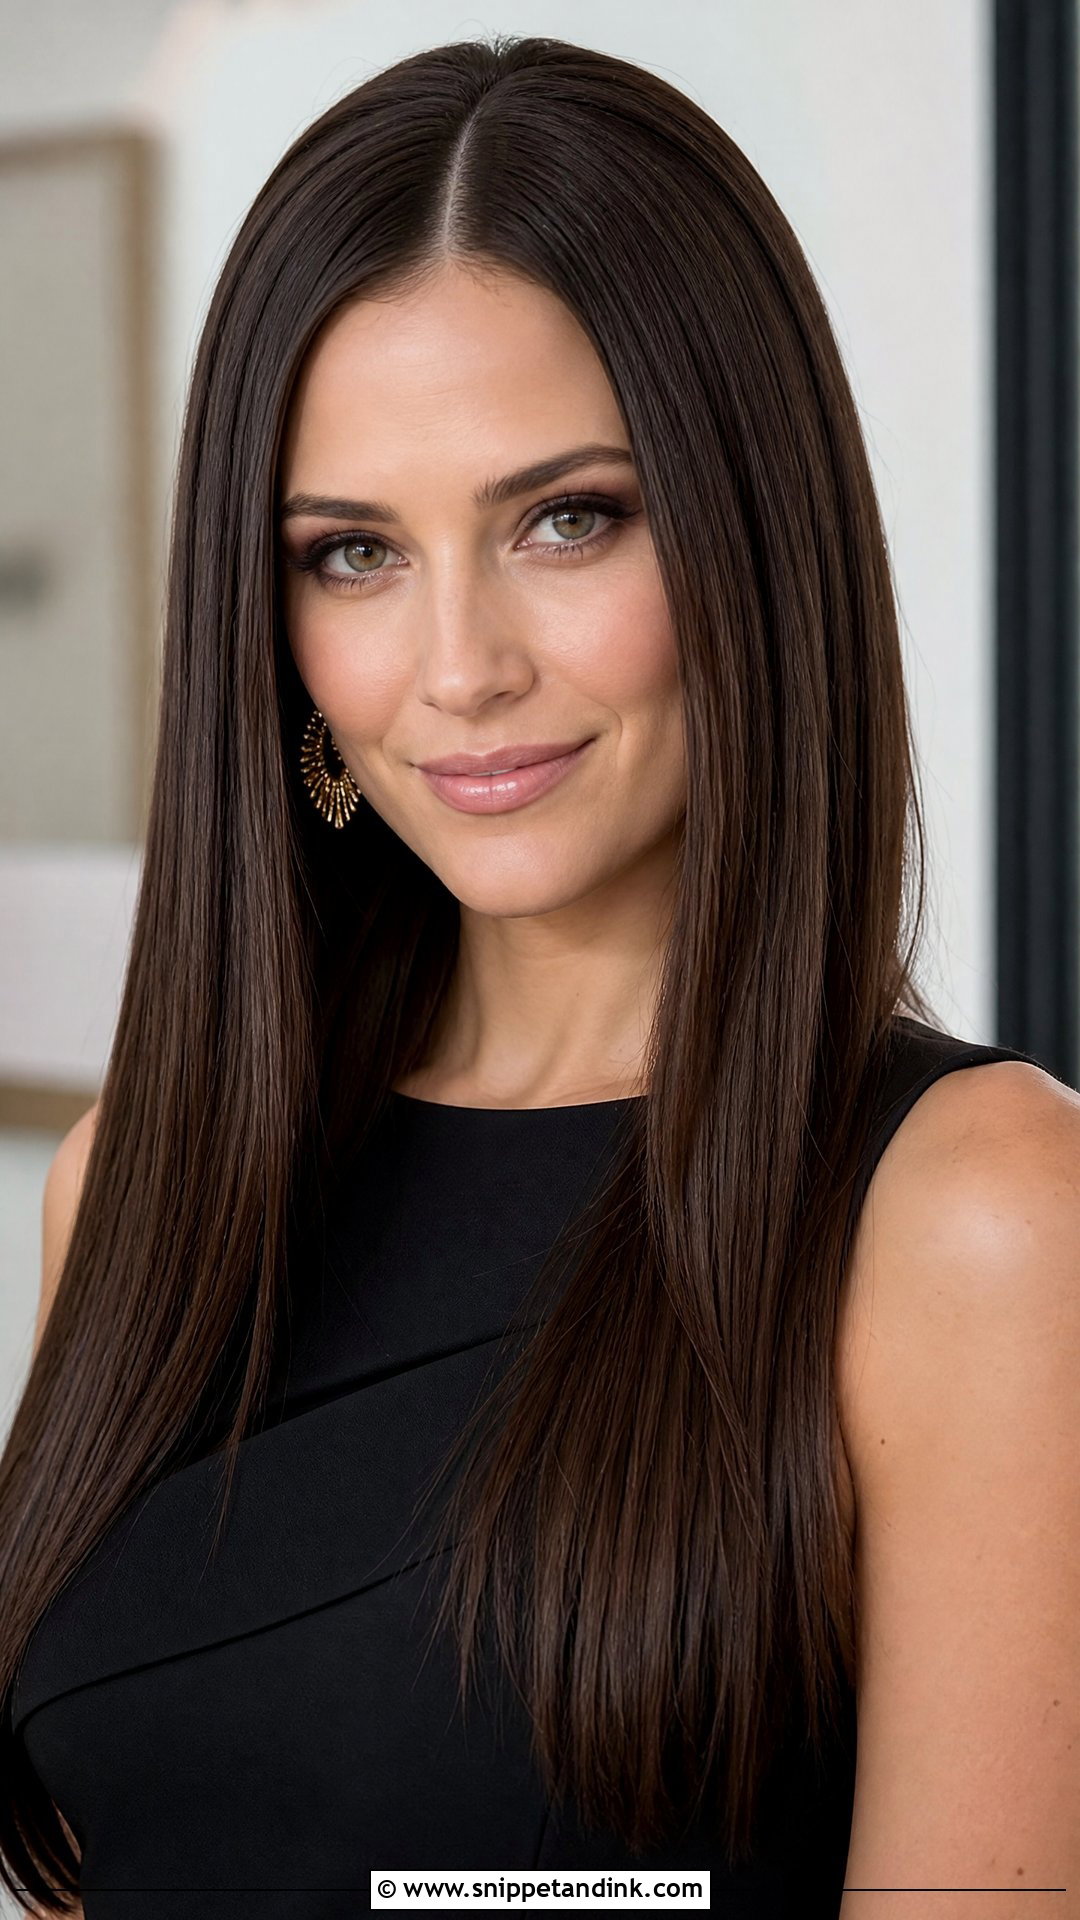
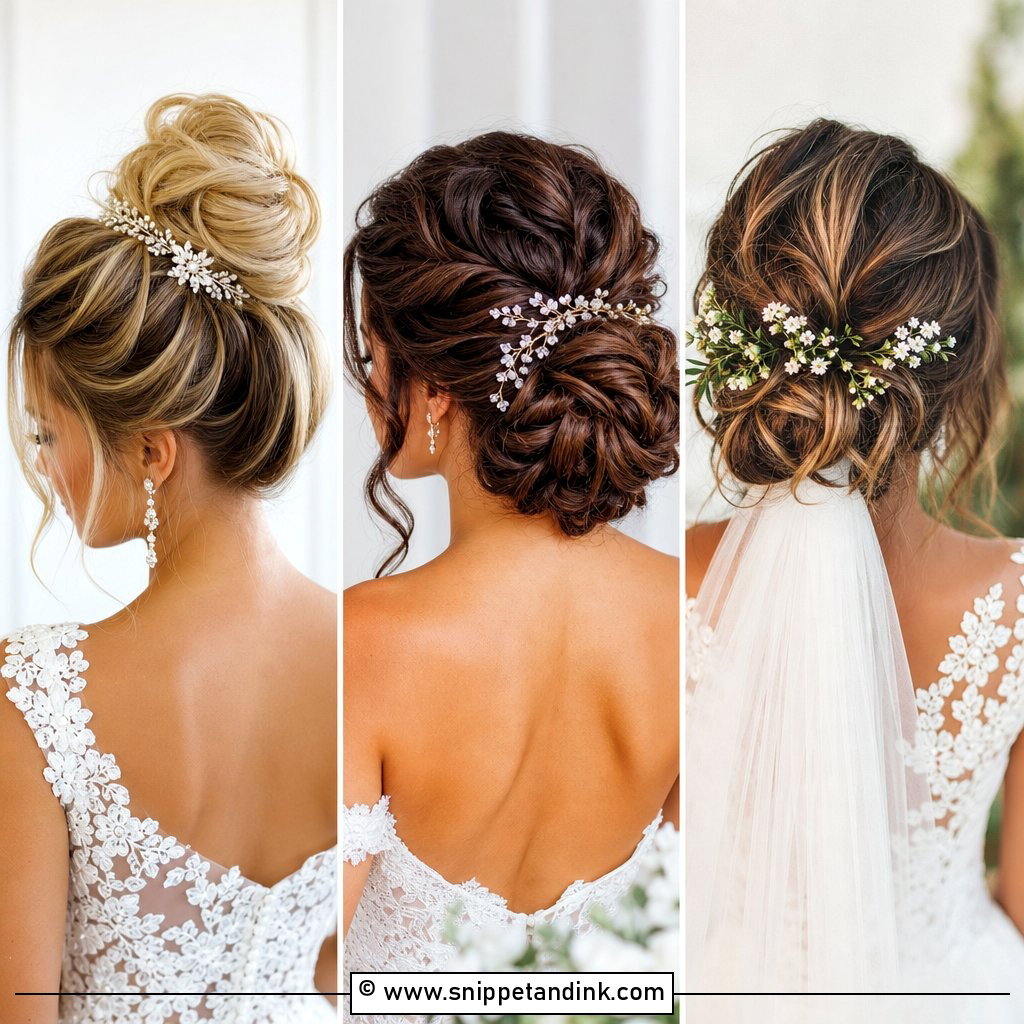
Straight, glossy hair looks simple but shows everything, so it’s one of the more demanding looks to get right. I use heat protectant, a flat iron in small sections and a drop of serum to finish, keeping the serum off the roots so it doesn’t go flat or greasy by the second hour. A center part gives it a contemporary edge. It works on any length and suits modern outfits and statement earrings. Humidity is its enemy; on a muggy day I’d choose a sleek low pony instead.
16. Twisted Updo
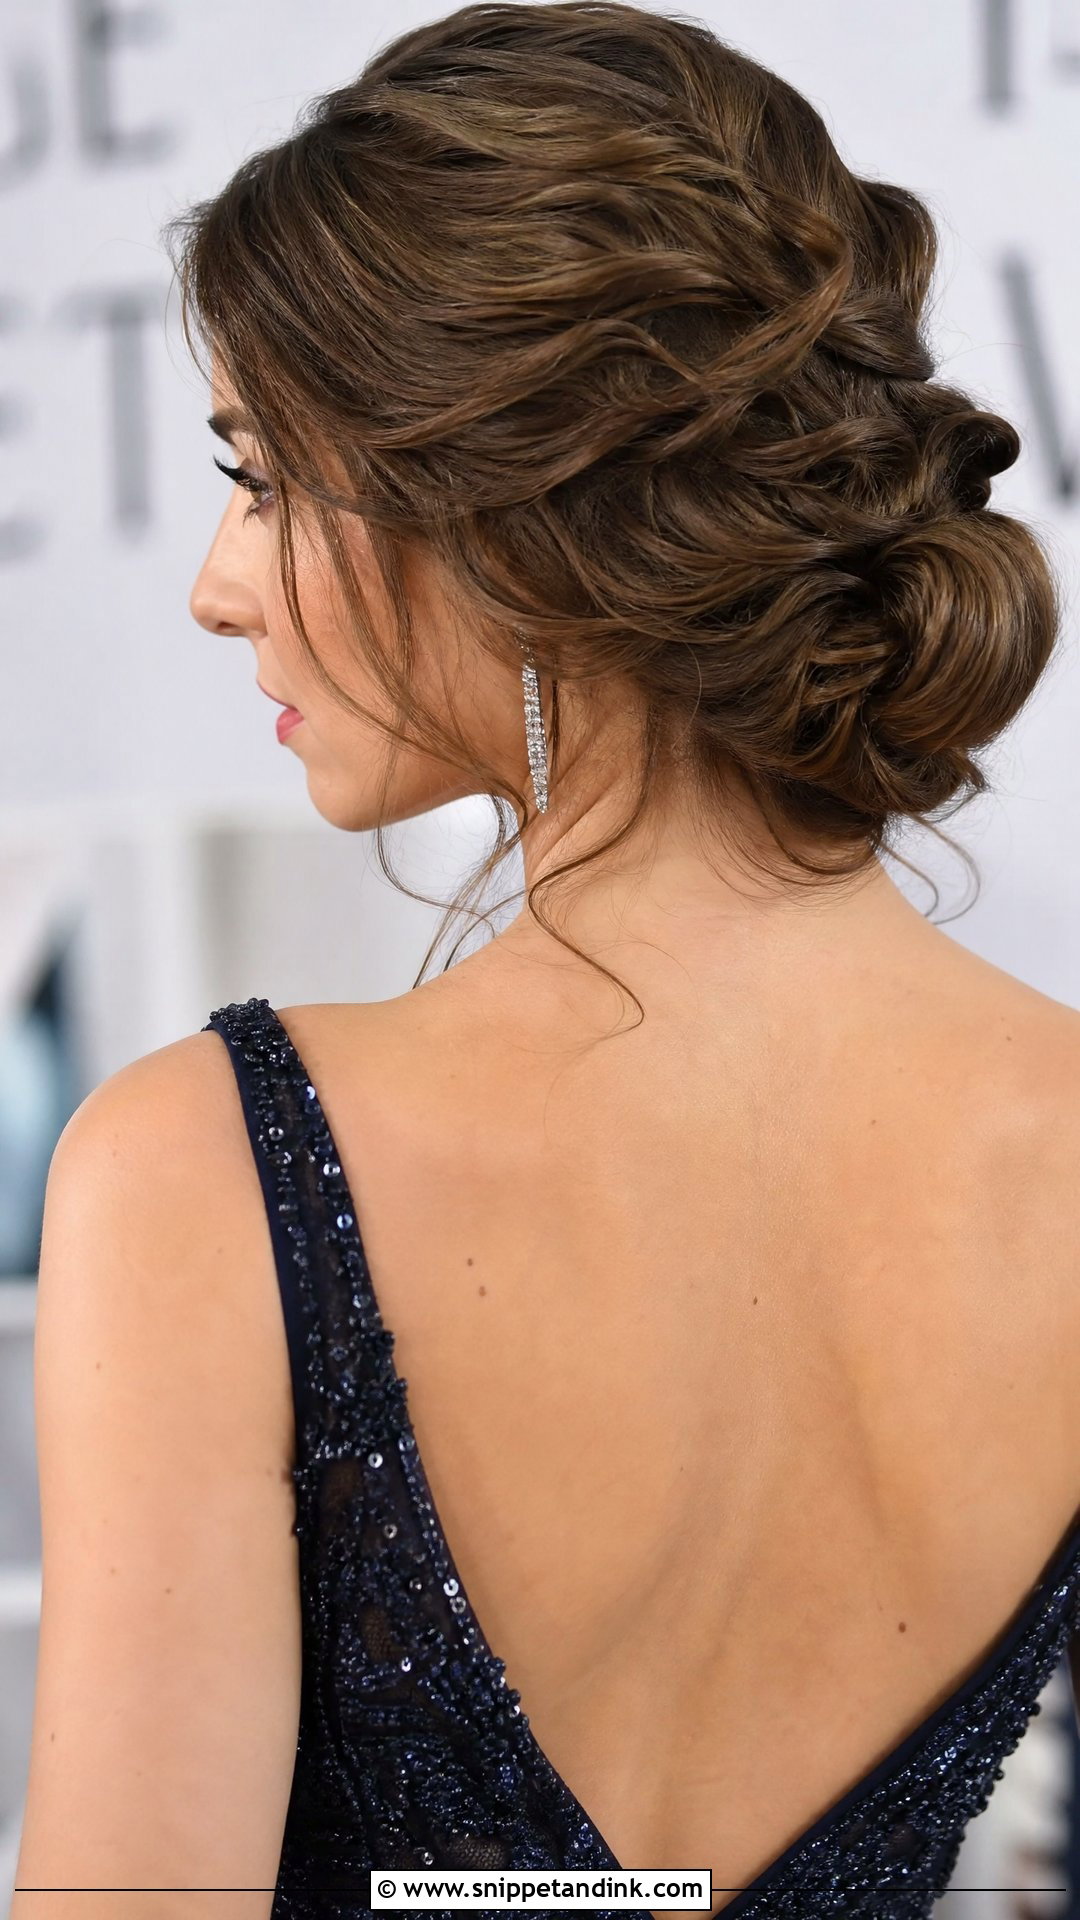
Twisting sections and pinning them into a soft knot gives texture that catches light and looks good from any angle. It’s more relaxed than a sleek bun but still dressed up. The trick is twisting toward the knot, not away, so tension holds the twists as you pin them. Medium to long hair suits it, and a few loose face-framing pieces soften it. Add a sparkly accessory if the party is formal.
17. Waterfall Braid
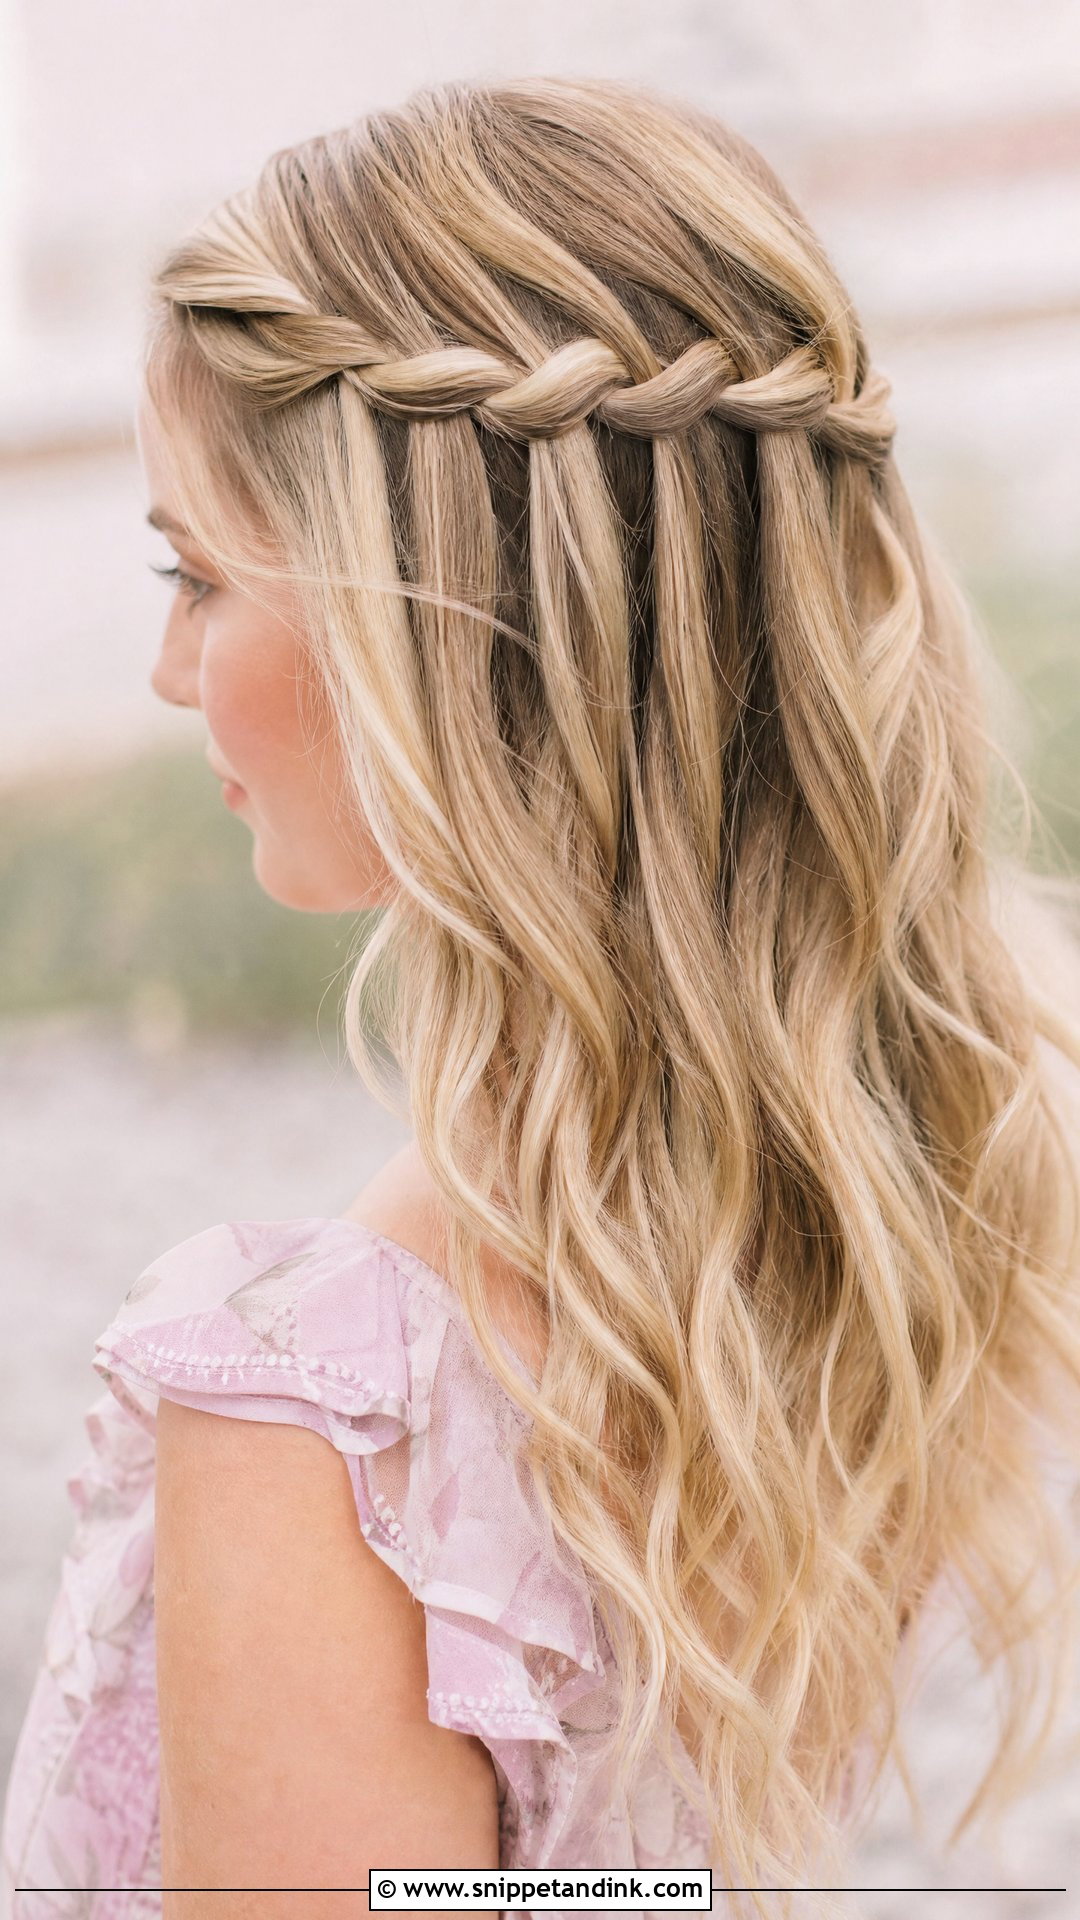
A waterfall braid runs horizontally across the head, dropping one strand out of each crossover so the loose hair falls below like a curtain. Heavy layering makes it tricky, since short pieces poke out of the braid, so it suits medium to long hair with fairly even lengths. I pin the end behind the ear and curl the lengths underneath. It frames the face, shows length and texture, and looks right at a garden shoot.
18. Voluminous Blowout
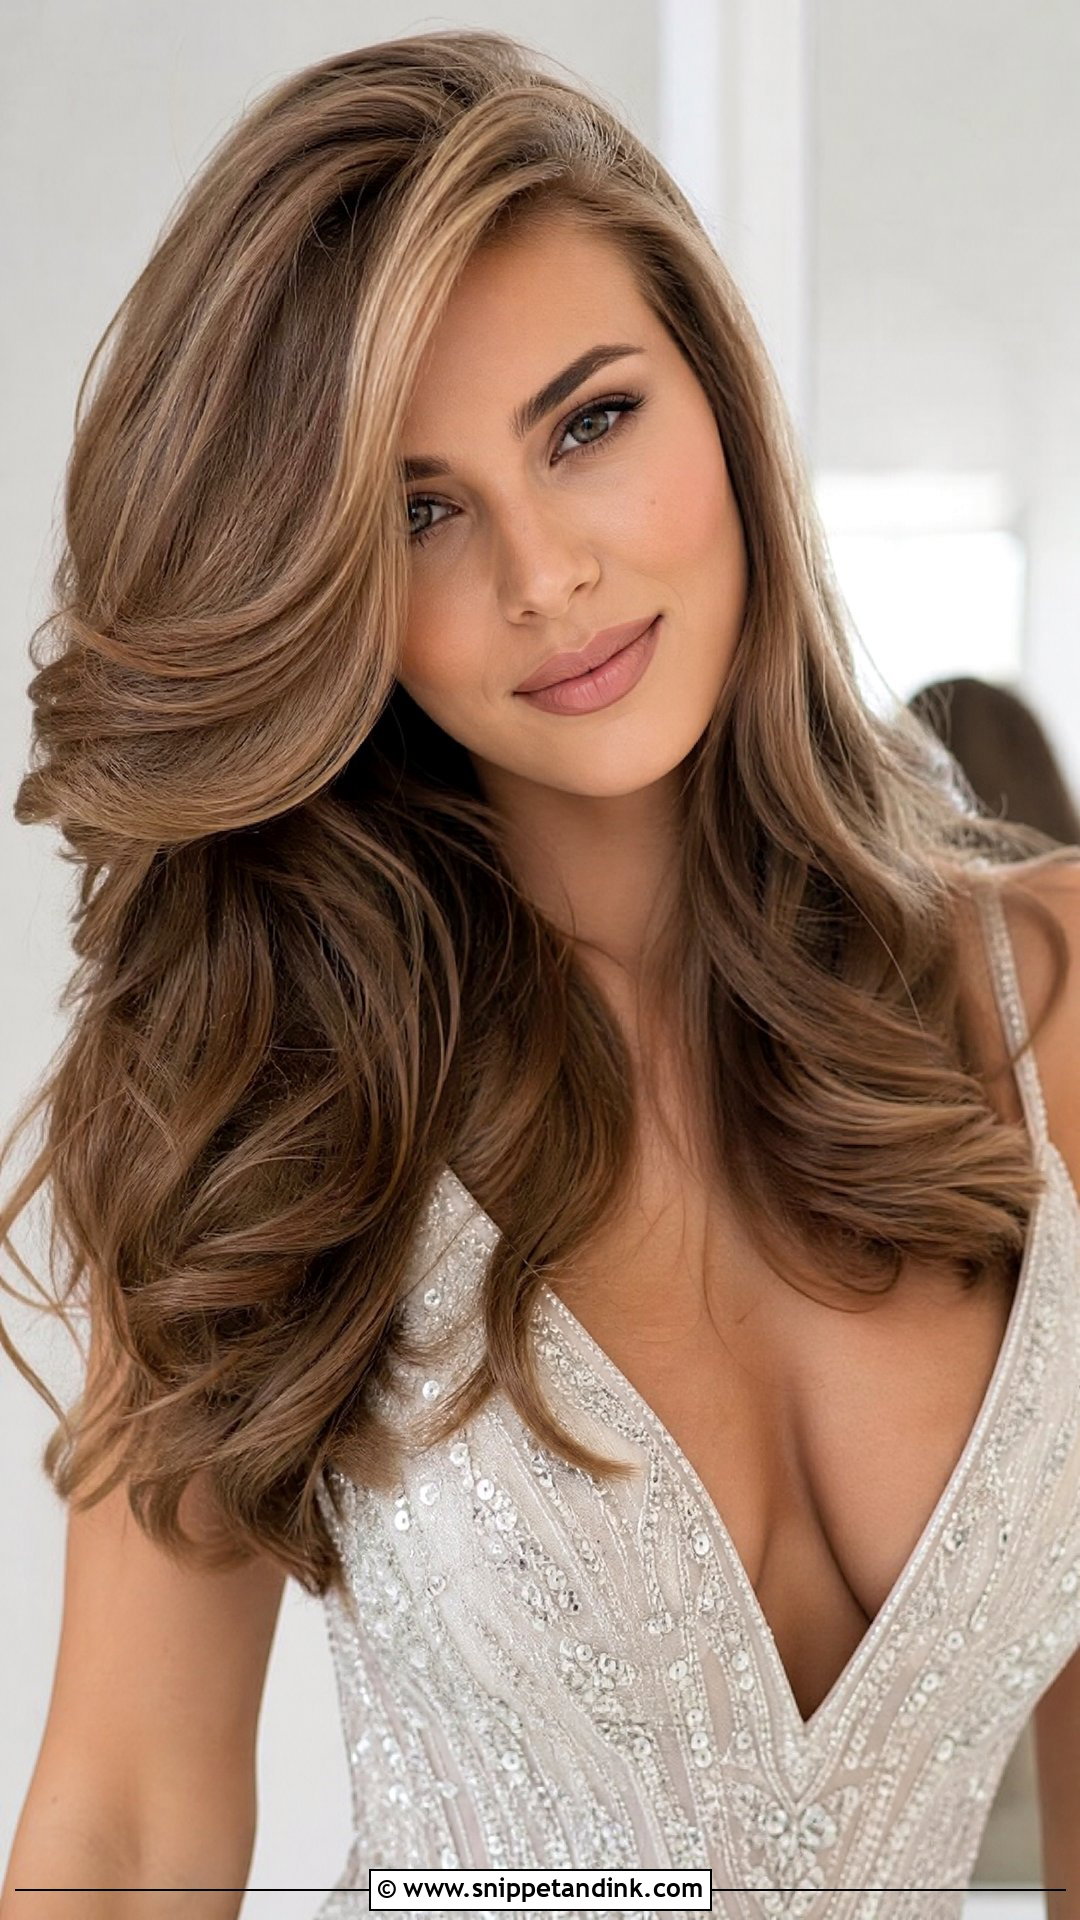
Volume that lasts comes from the set, not just the blow-dry. I lift each section at the root with a round brush, then roll it into a large Velcro roller and let it cool before brushing out. That cooling step is what keeps the bounce through a long afternoon. A blowout suits any length that can be wrapped around a brush and works with casual or formal outfits. Fine hair benefits from a volumizing mousse at the roots beforehand.
19. Low Bun With Face-Framing Pieces
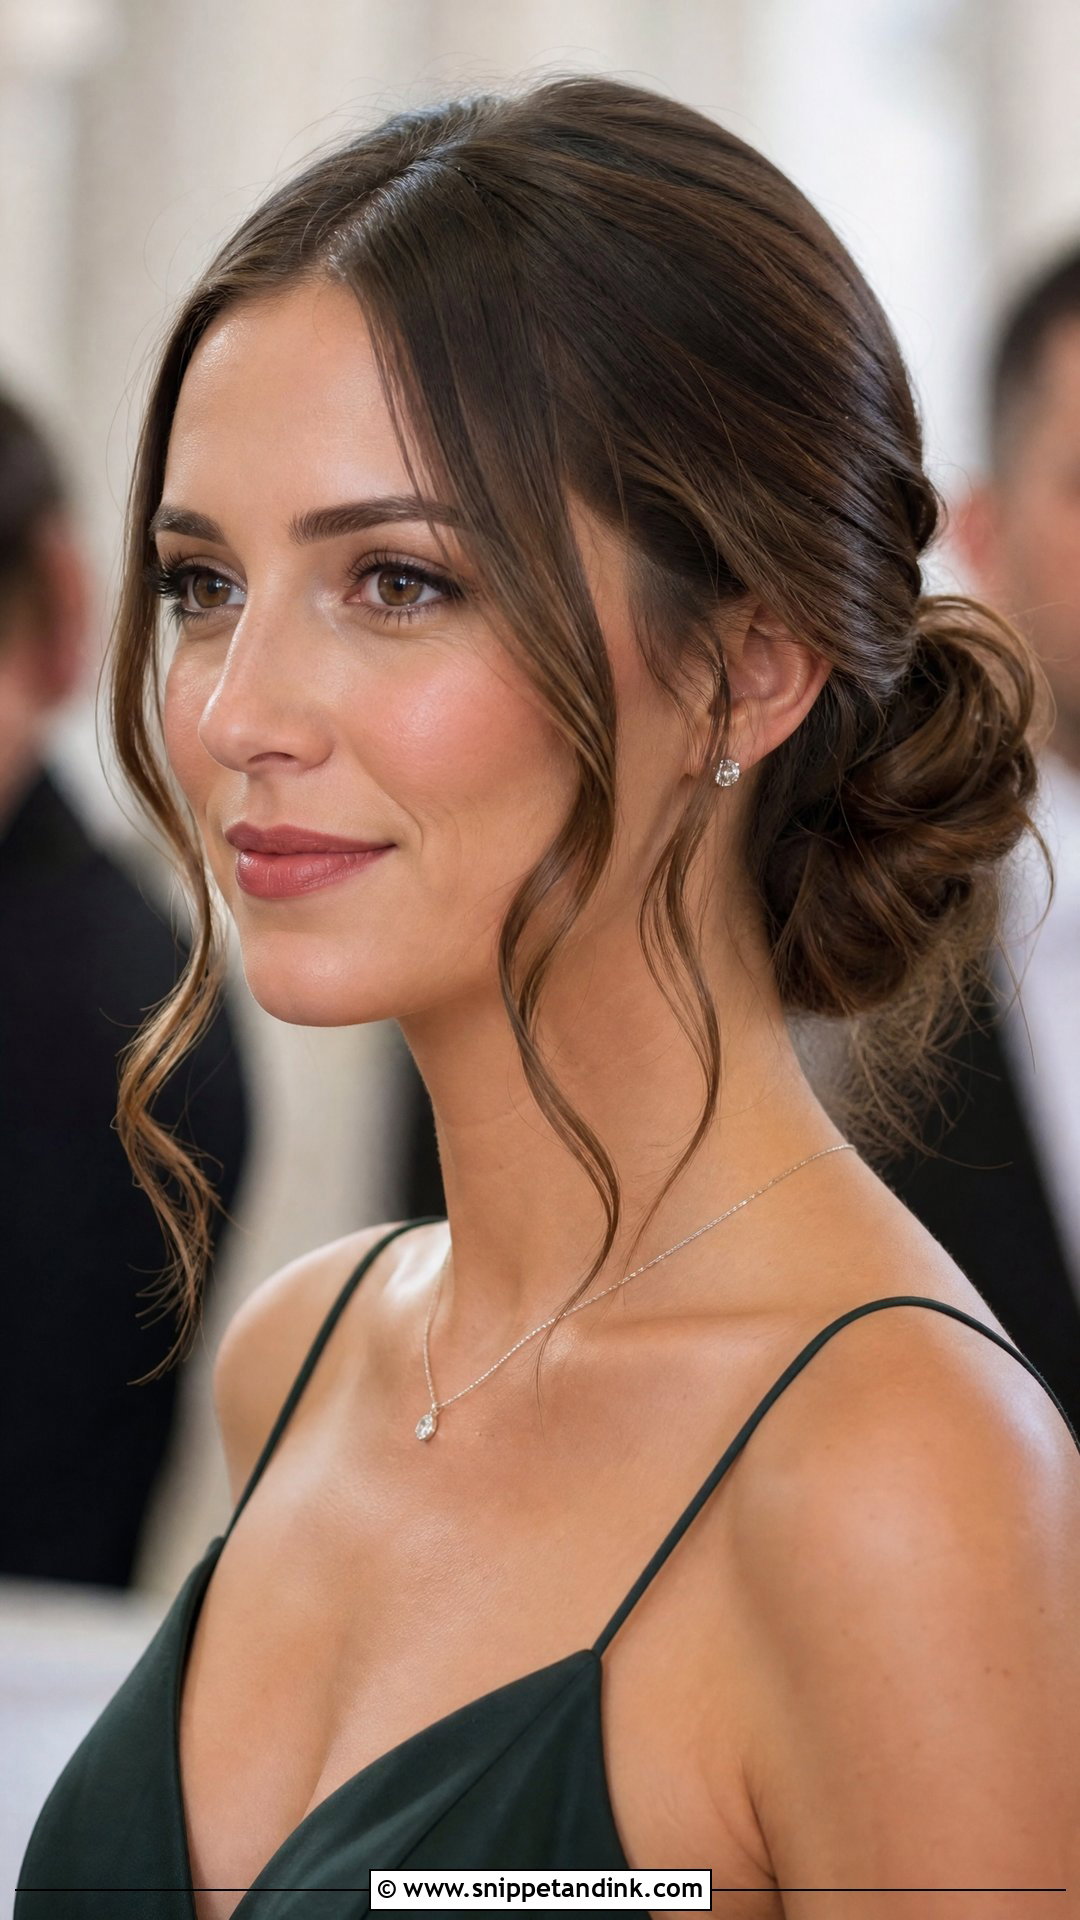
Leaving a few pieces out softens a low bun without losing its polish. The skill is choosing which pieces: I take them from in front of the ear and at the temples, keep them thin and curl them away from the face, because thick tendrils look like the bun is falling apart. It keeps hair neat for hours and shows jewelry in close-ups. Medium to long hair suits it, and it flatters most face shapes.
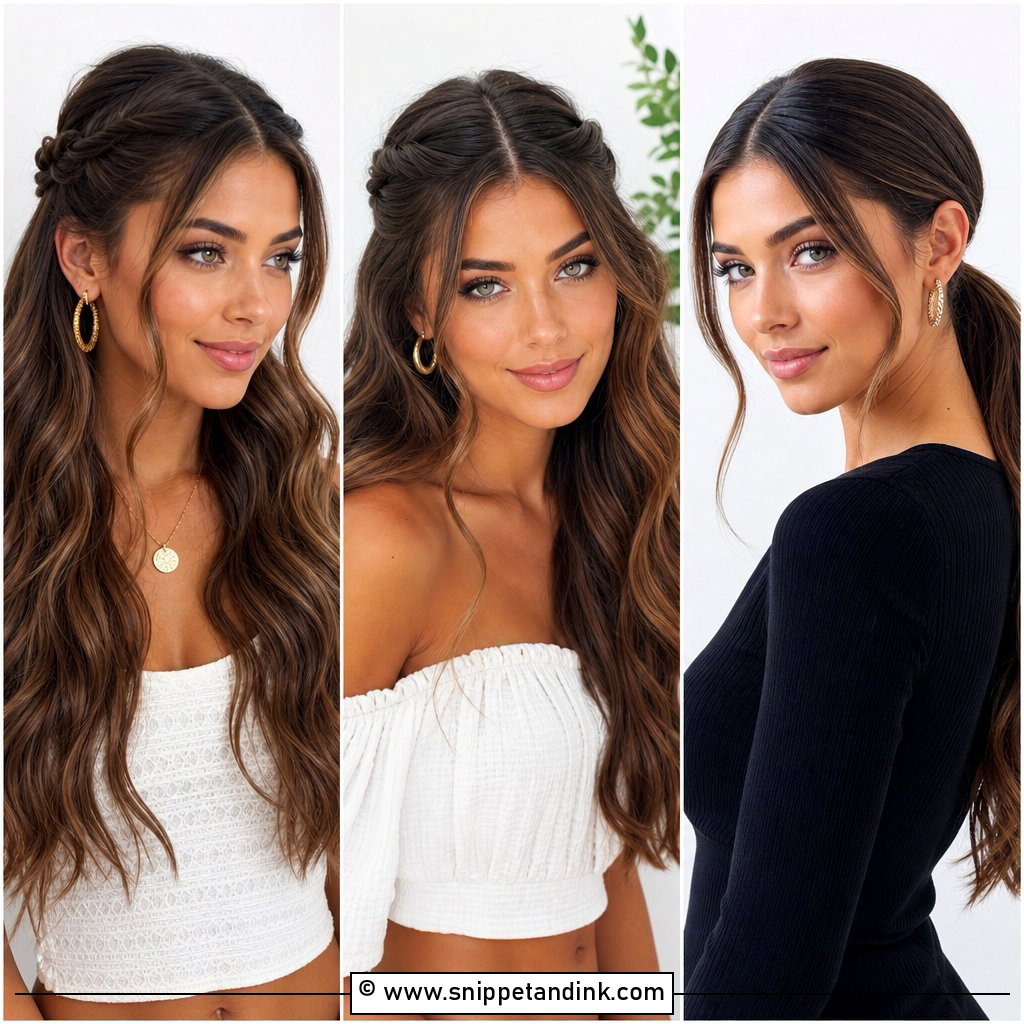
20. Pixie Cut Styled Glam
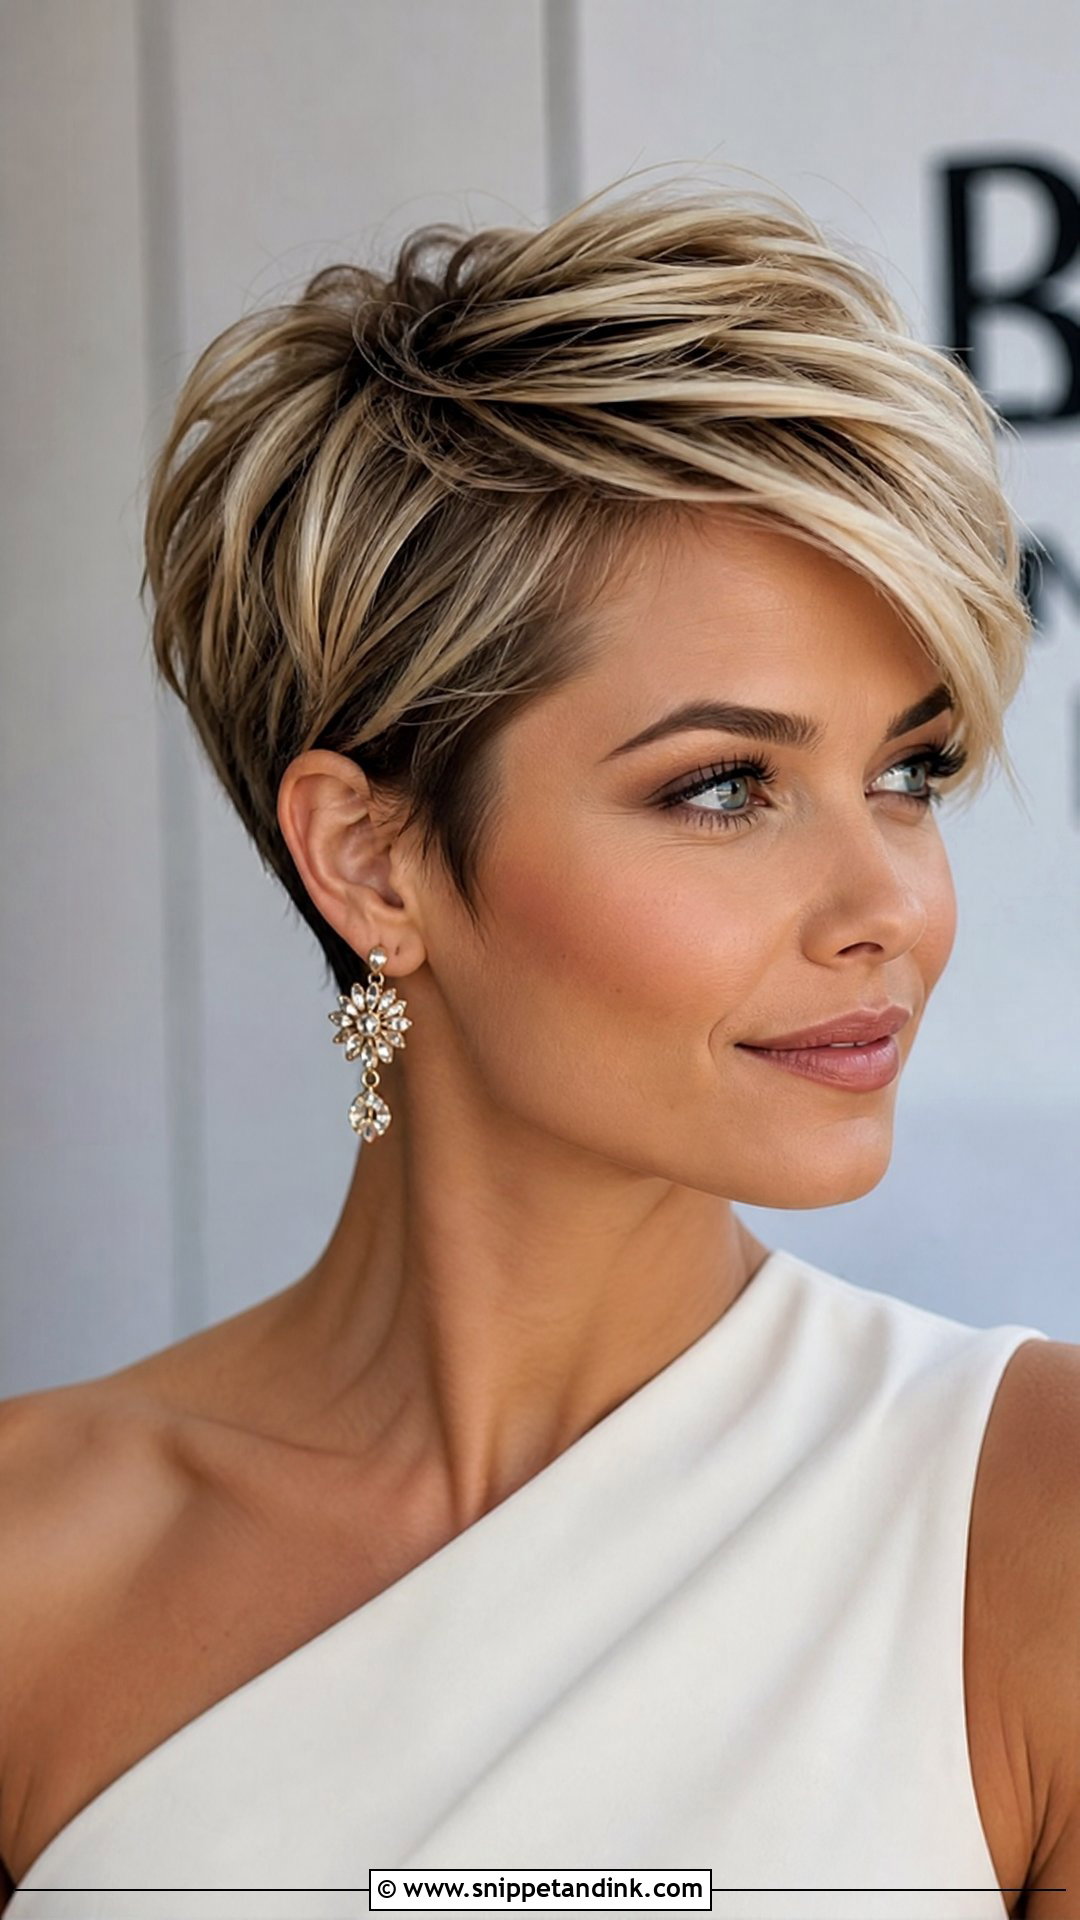
Short hair can look every bit as dressed-up for engagement photos. I add a little lift at the crown with a blow-dryer and use a small amount of pomade to separate the layers, sweeping the fringe to one side to soften the shape. Book a trim about a week before so the edges look neat but not freshly clipped. A pixie shows off cheekbones and big earrings, and it’s the most wind-proof style on this list.
21. Braided Crown Half-Up
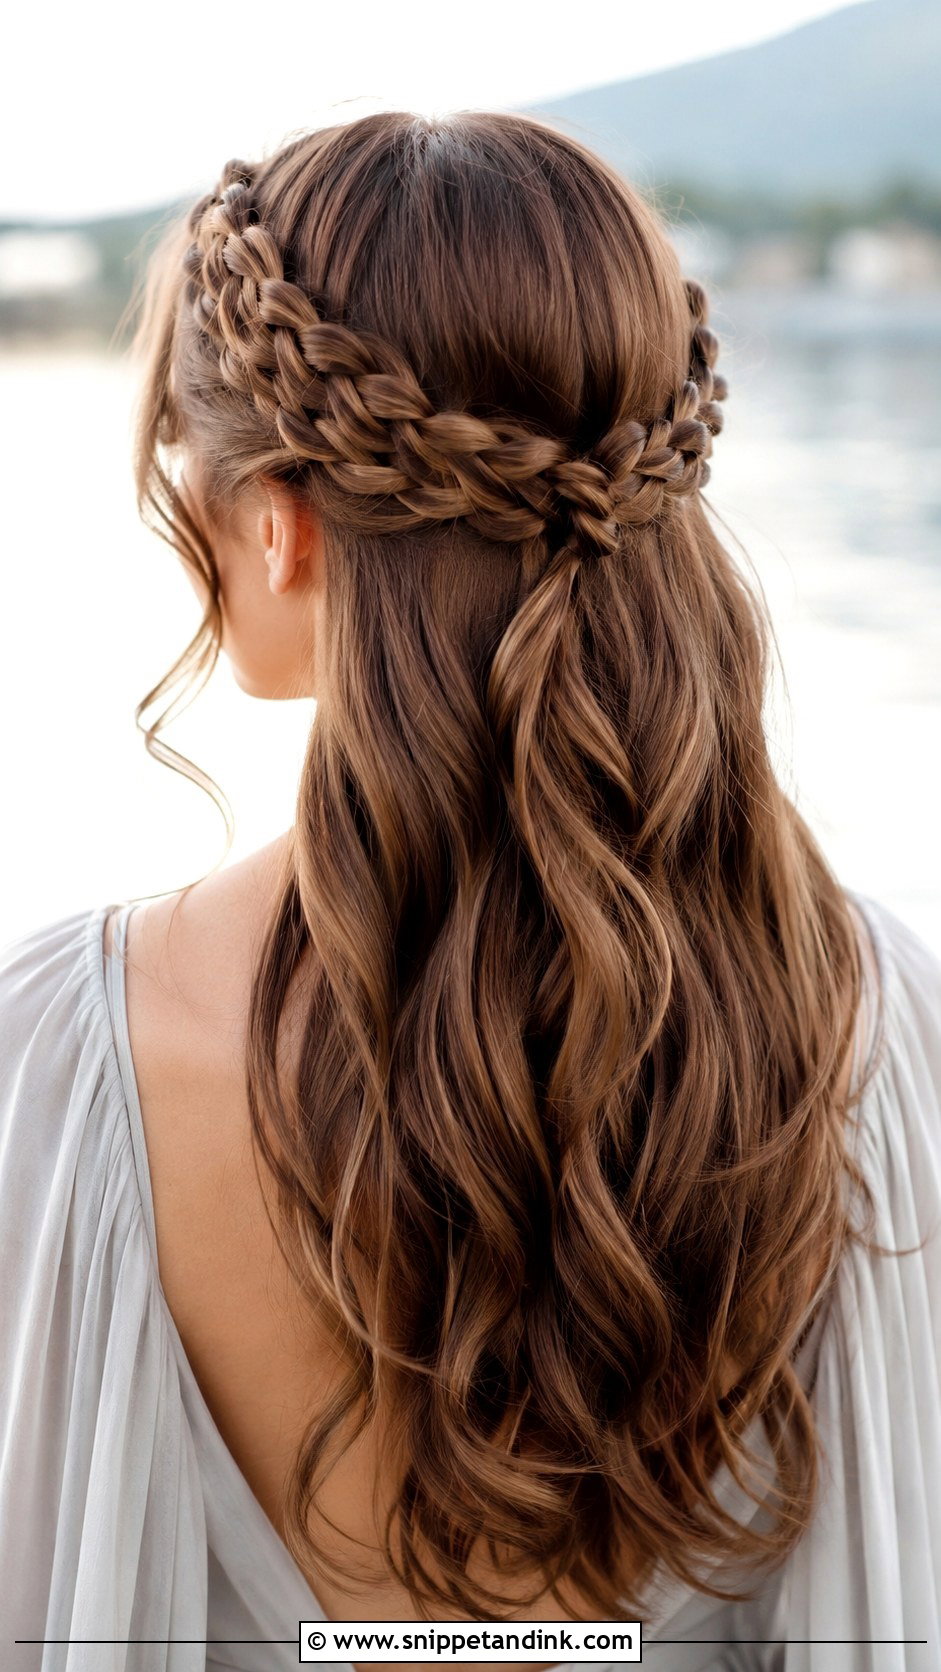
Two braids taken from each temple and joined at the back make a crown that keeps hair off your face while the rest stays down. I pin them where they meet with crossed pins, then gently pull the braids wider for a softer finish. Waves through the lengths complete it. It works on medium to long hair and suits outdoor shoots, because the braids keep the front in place even when the lengths blow around.
22. Glamorous Pinned Curls
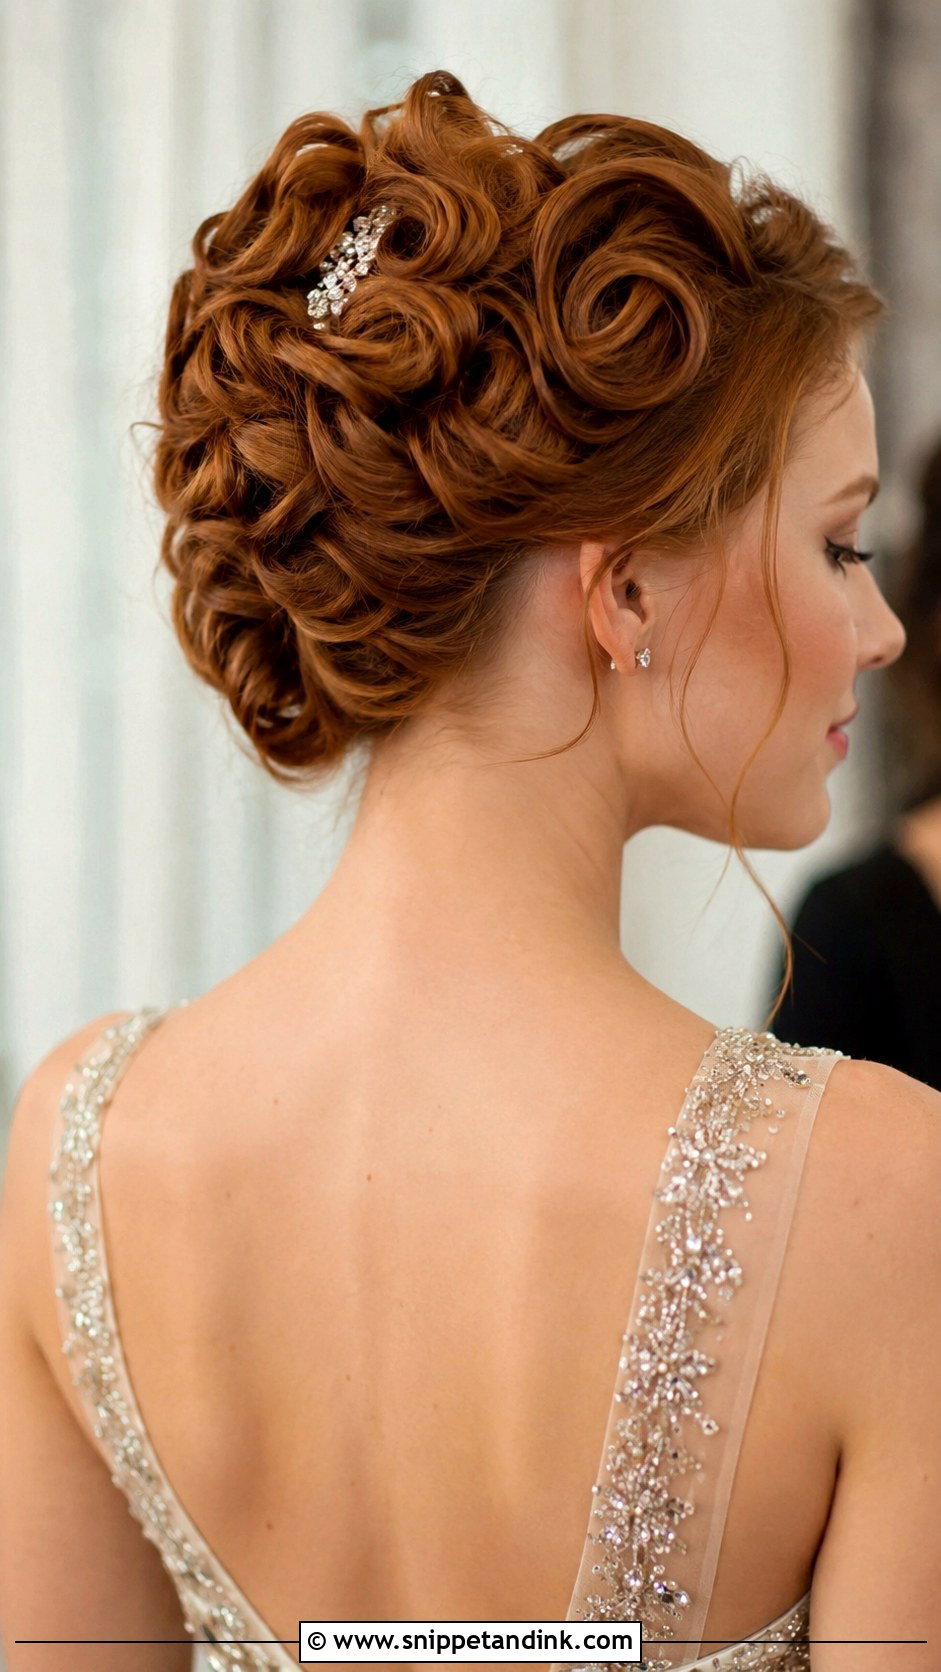
Pinned curls are curled, then each one is shaped and pinned into a sculpted cluster, a vintage technique that needs patience and lots of pins. They hold well because every section is anchored. Medium-length hair is ideal; very long hair gets heavy and drags the shape down. Leave a few pieces loose at the face and add a sparkling clip for a formal party. Spritz the finished shape with a flexible hairspray so it moves rather than cracks.
23. Messy Bun With Tendrils
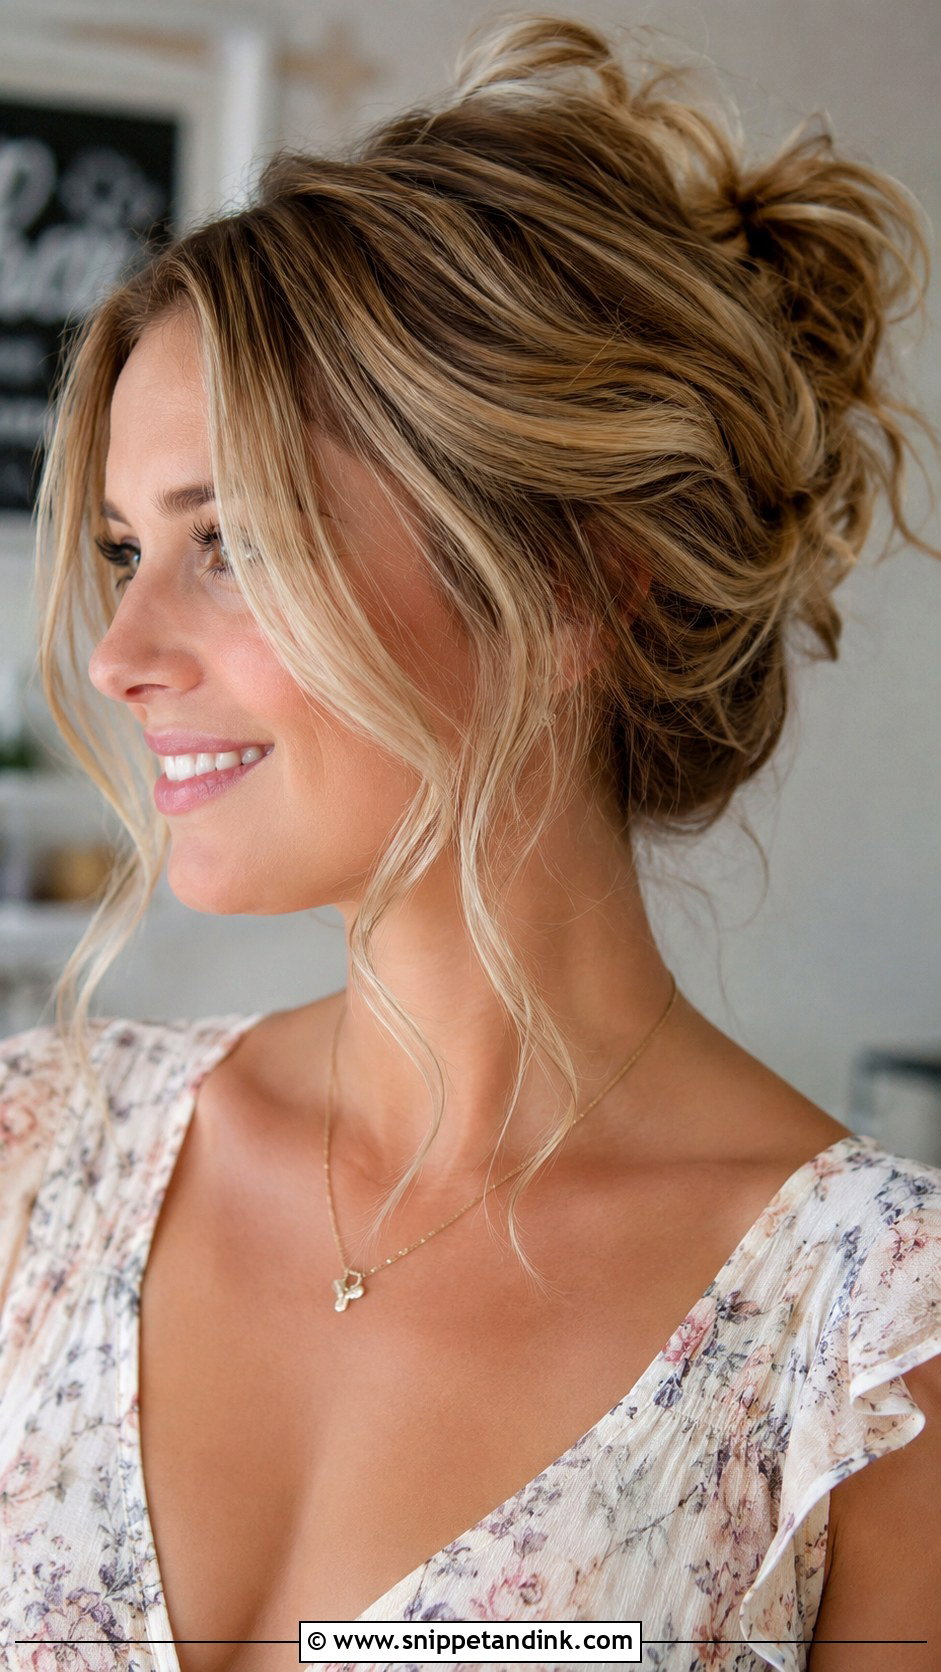
A messy bun is harder than it sounds, because there’s a fine line between relaxed and unfinished. I curl the hair first so the texture is deliberate, gather it loosely, pin it in a few spots and pull out soft tendrils around the face. It suits medium to long hair and casual outdoor shoots. Avoid it for a black-tie party, where it can read as too casual. A small accessory adds a bit of sparkle.
24. Bohemian Braided Half-Up
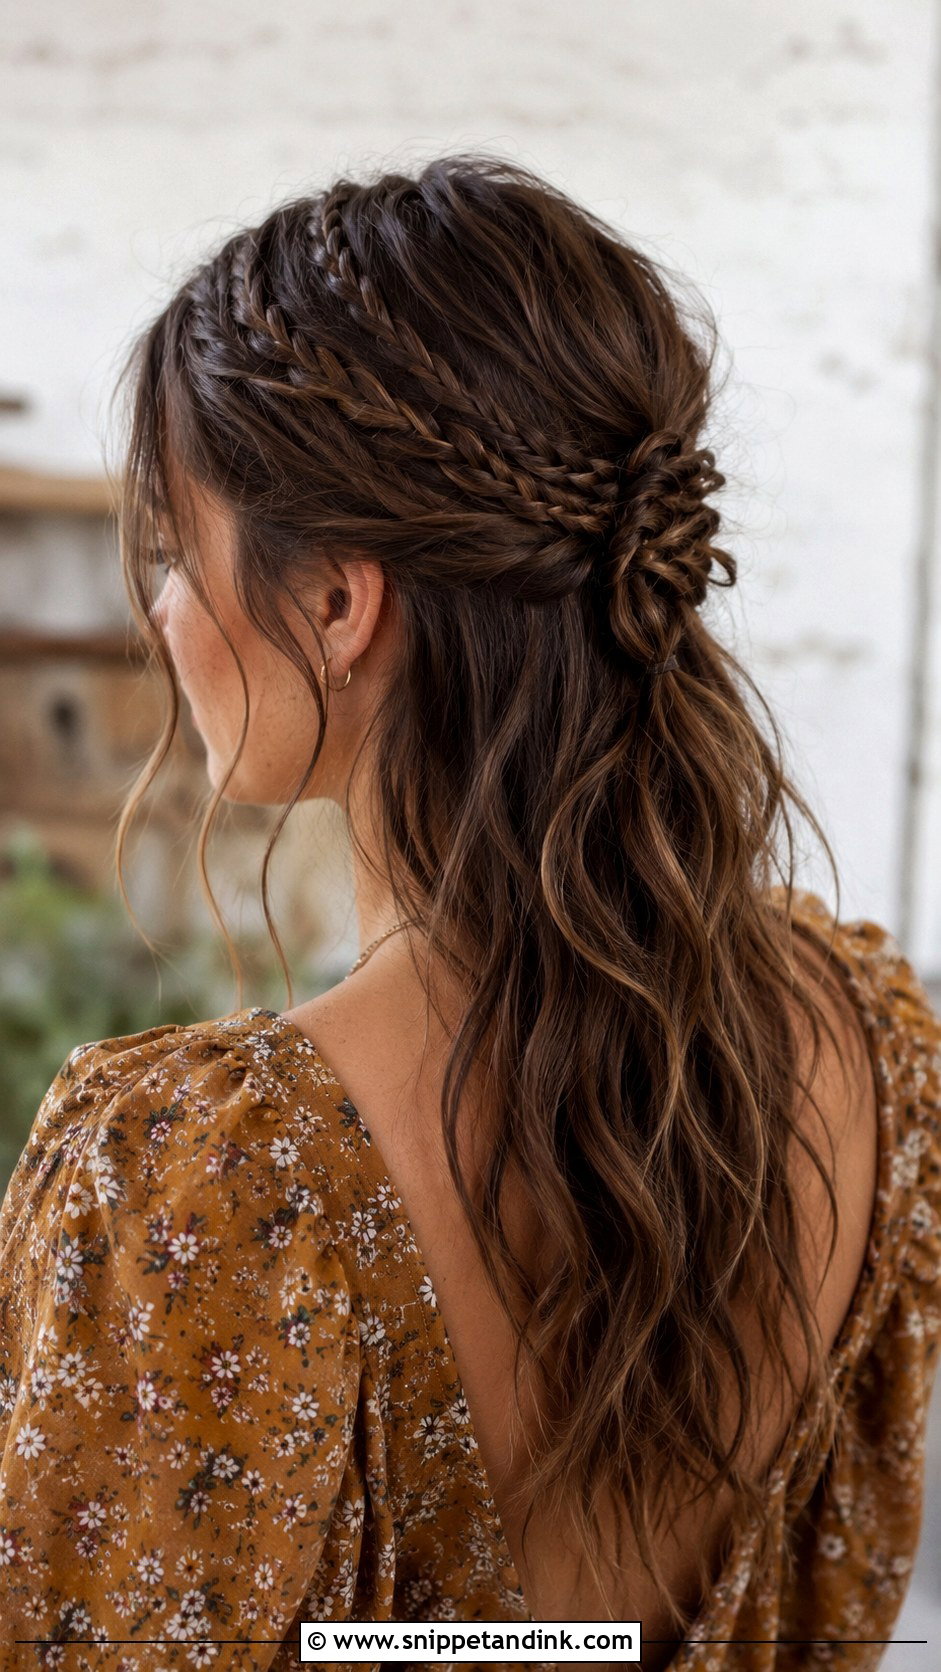
Small braids woven into a half-up style, with the rest left in loose waves, give a free-spirited look for gardens, meadows or beaches. I loosen both the braids and the waves so nothing looks tight. Tucking in small flowers or beads adds personality. Longer hair suits it best, since the braids need length to travel around the head. It keeps your face framed and the look relaxed.
25. Deep Side Part Waves
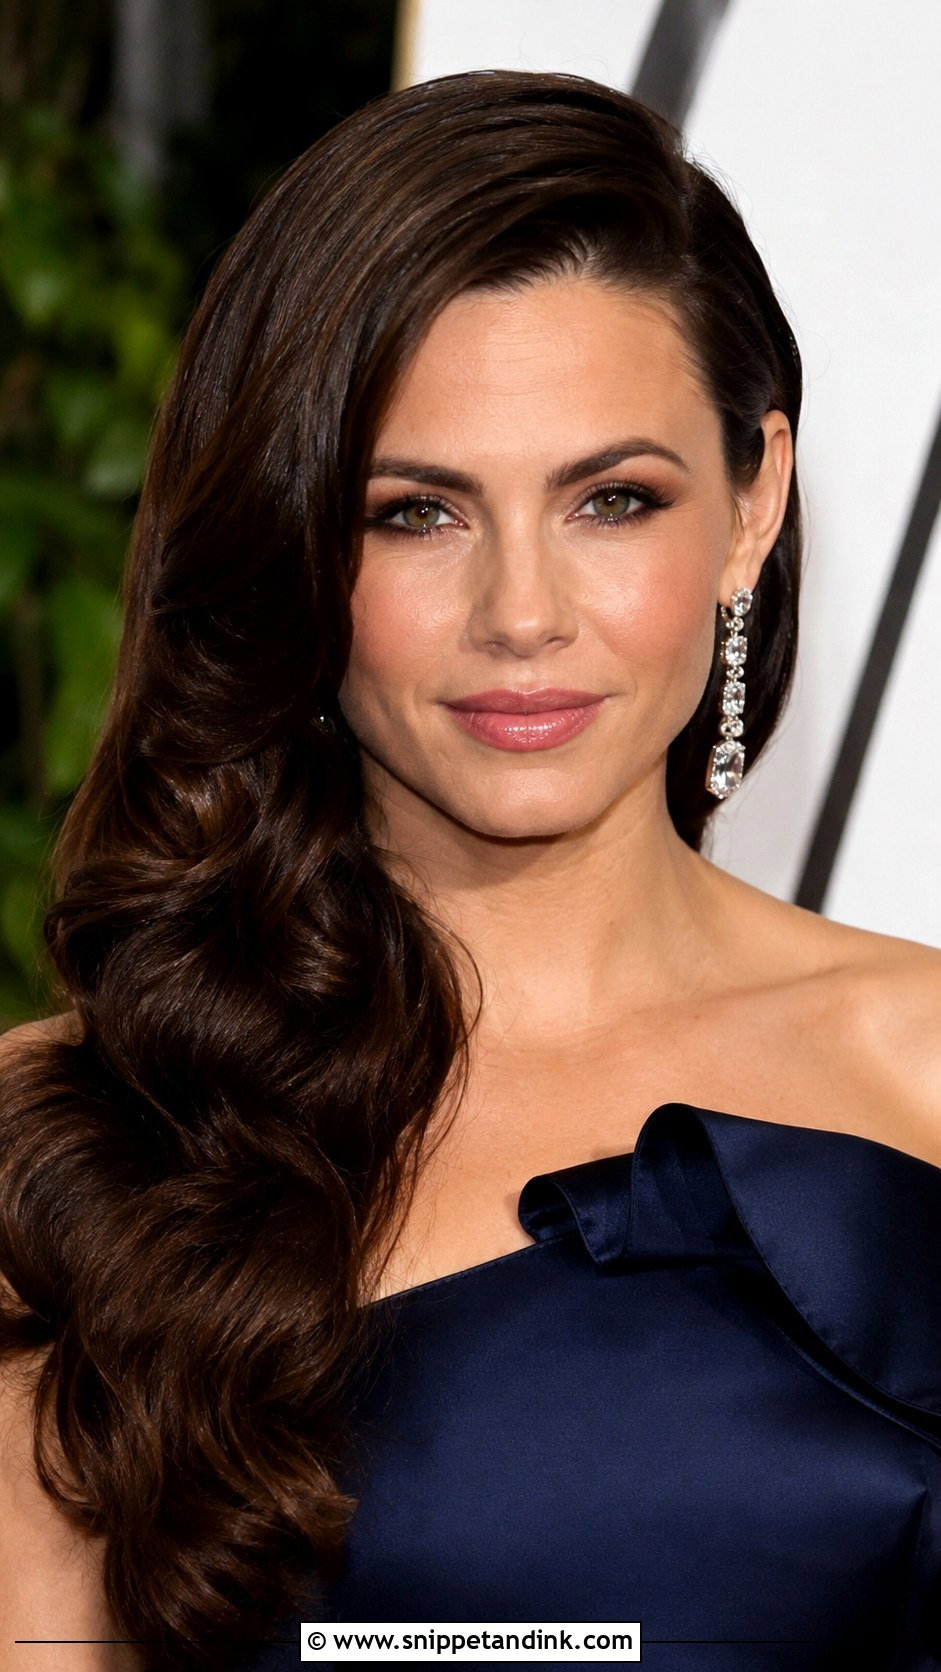
Moving your part an inch or two further over adds lift at the root and an elegant sweep across one side of the face. It shows off one earring and adds drama to plain waves. If you normally part in the center, try it a week before, since hair trained one way can fight a new part and fall flat by afternoon; a little root-lift spray and a few pins hidden behind the ear help. It suits most face shapes and any length.
26. Accessorized Updo
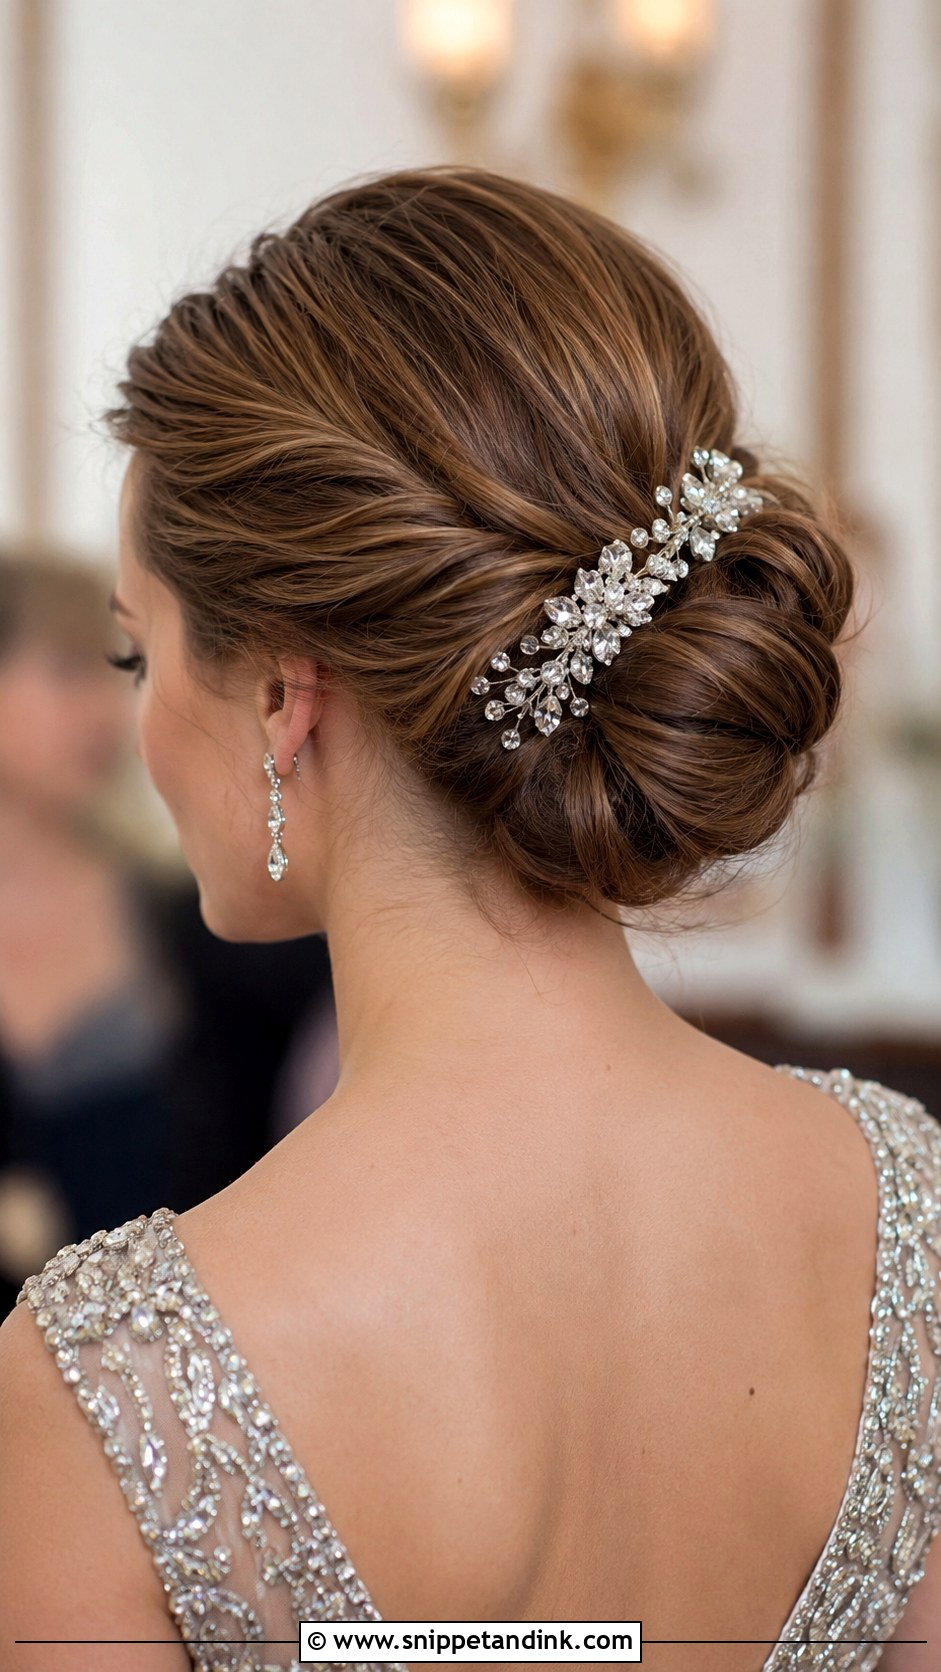
An accessory becomes the focal point here, so I pick the piece first and build the bun or twist to show it off. Heavy combs need a solid base to grip, so I secure the updo with crossed pins under the area the comb will sit, then slide the comb in against the direction of the hair. Choose an accessory that matches your jewelry metal. It suits formal parties and medium to long hair, and it keeps your hair secure all evening.
27. Long Layered Waves
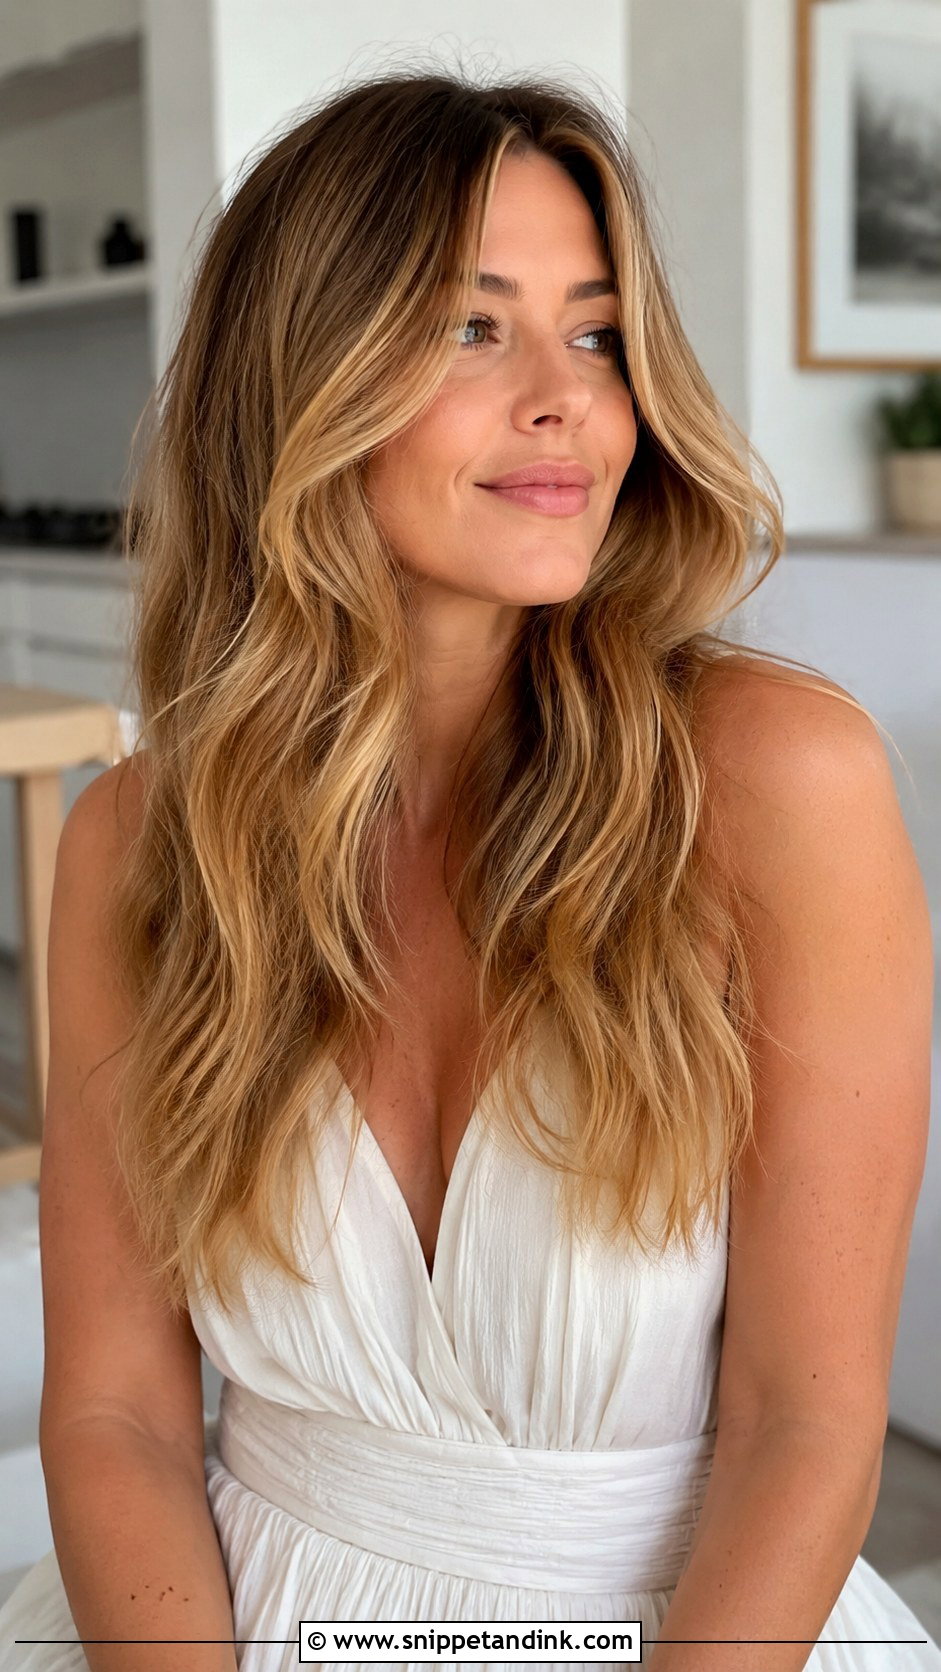
Face-framing layers give long hair natural lift and help waves look fuller, so this style works especially well on fine long hair that tends to go flat. I curl each layer away from the face with a wand and loosen the waves with my fingers. It shows off length and suits indoor and outdoor shoots alike. If your layers are recent, ask your stylist to soften the ends, since blunt new layers can look choppy when curled.
28. Sleek High Ponytail
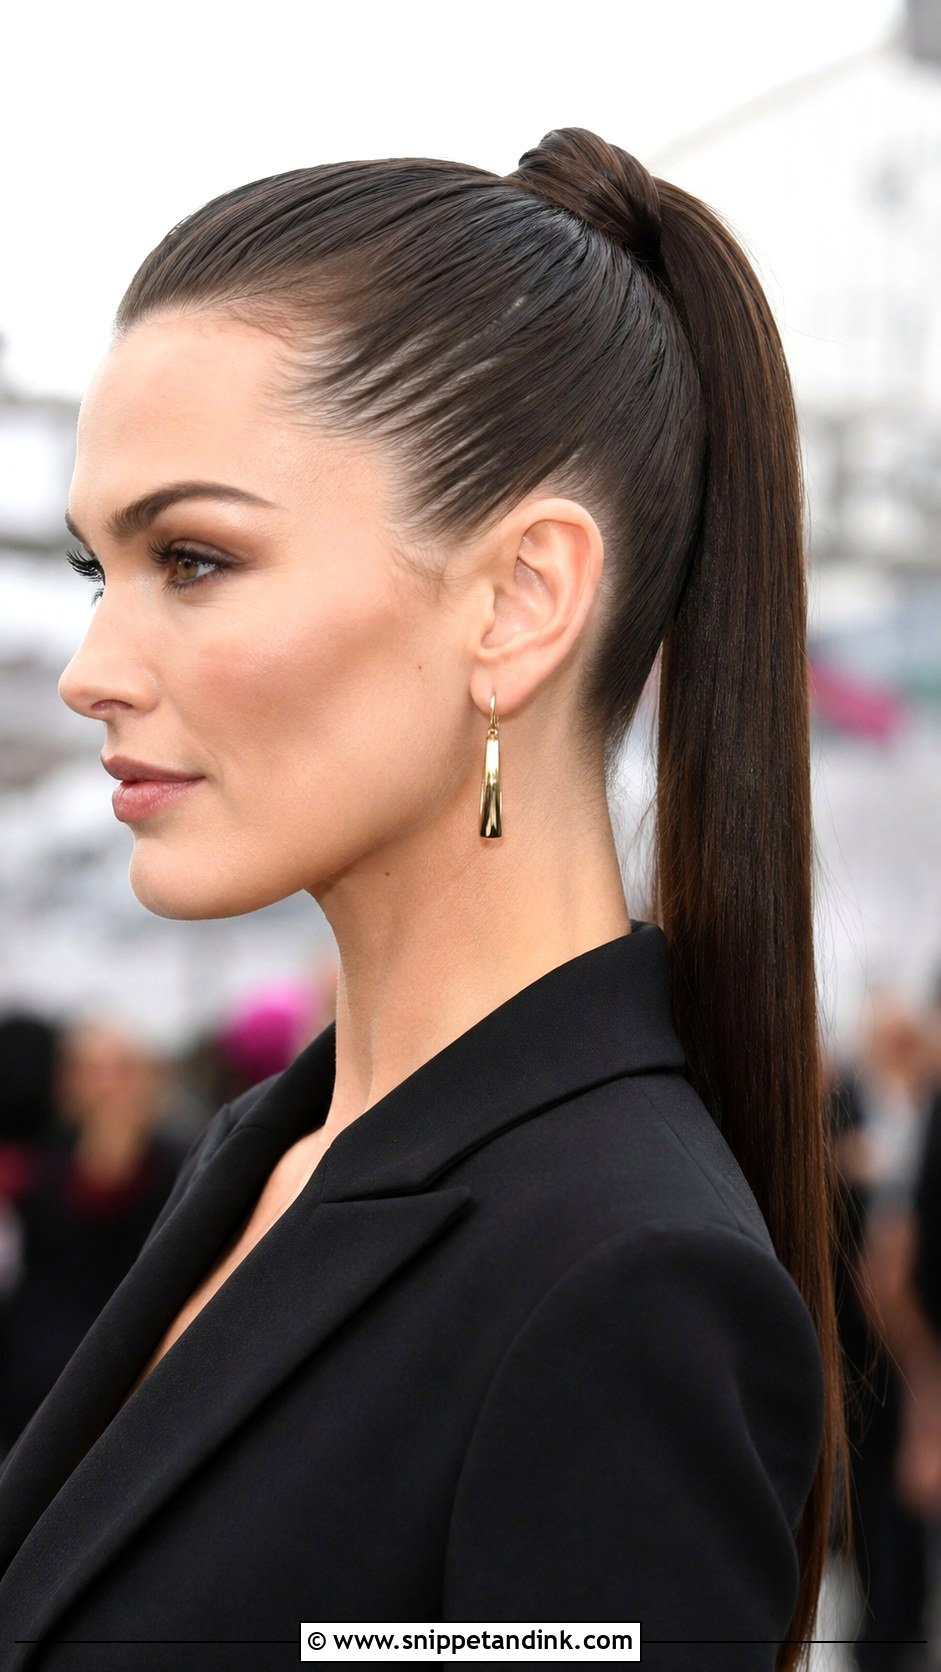
A sleek high ponytail feels fresh and confident, and it keeps every strand off your face. I smooth the hair with a flat iron and gel, tie it with two elastics for grip and wrap a piece around the base to hide them. A clip-in extension adds length or volume for drama. A tight high pony can give a headache after a few hours, so if you’re wearing it all evening, I place it a little lower. It works for parties and shoots.
29. Soft Vintage Finger Waves
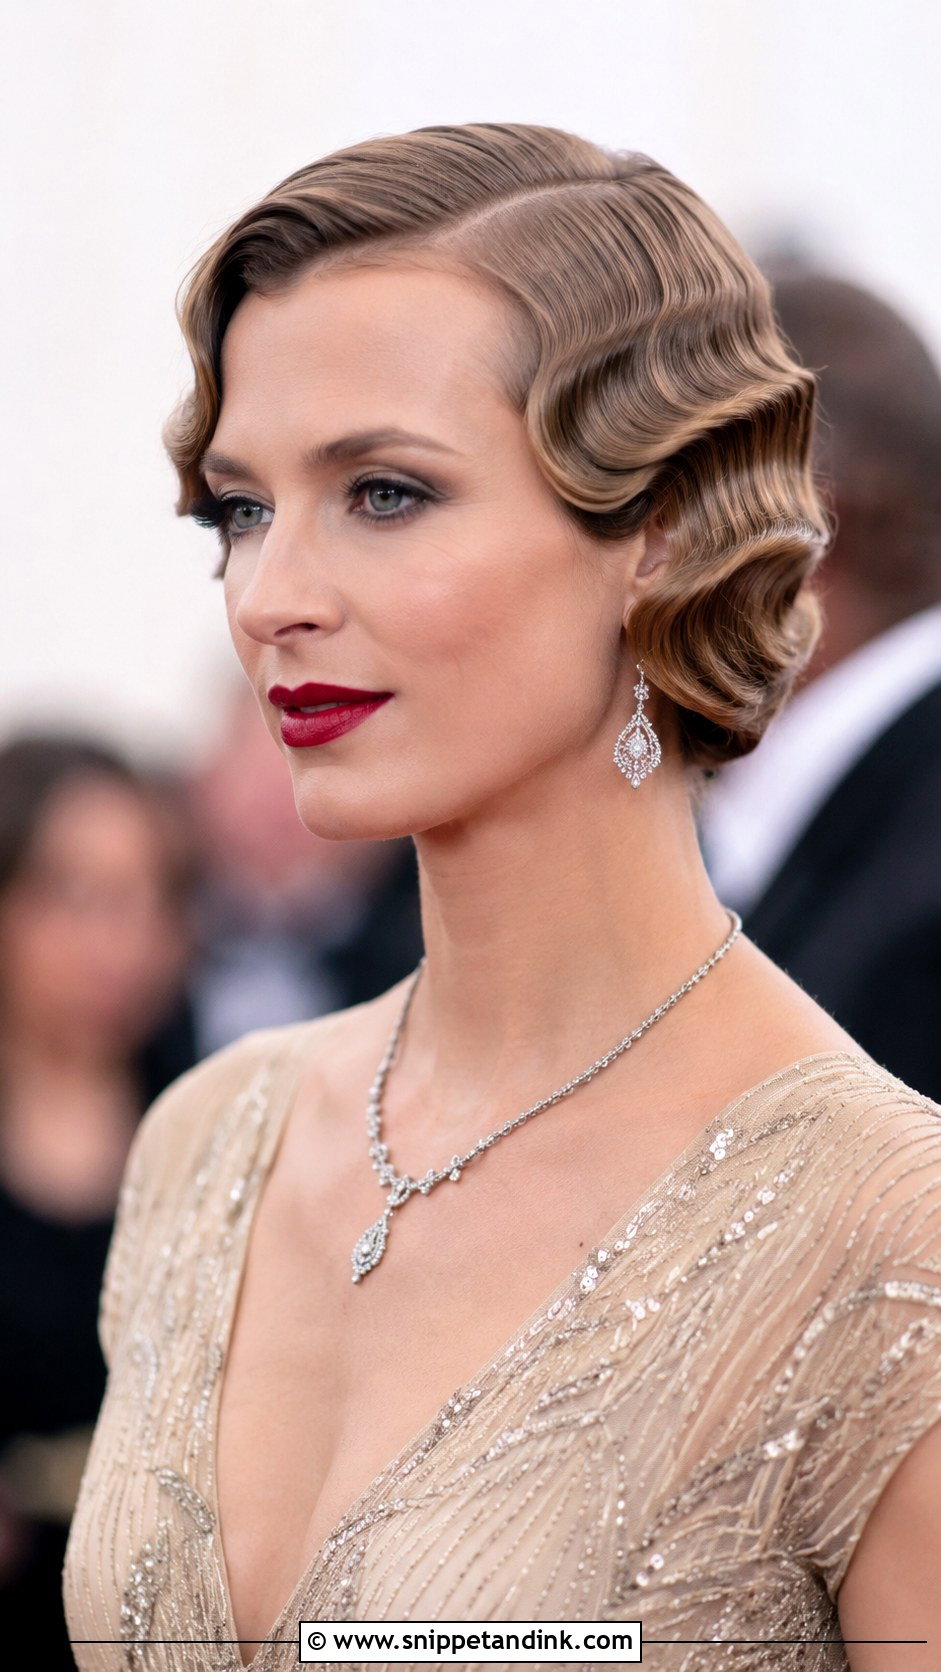
Finger waves are a wet set: gel applied to damp hair, S-shapes pressed close to the head with fingers and a comb, then left to dry completely, ideally under a hooded dryer or with clips holding each ridge. Rushing the drying means the waves collapse. They suit short to medium hair and photograph crisply in close-ups. A sparkling clip adds a 1920s touch. It’s a bold choice for a formal party, and it needs a stylist who has done it before.
30. Loose Braided Ponytail
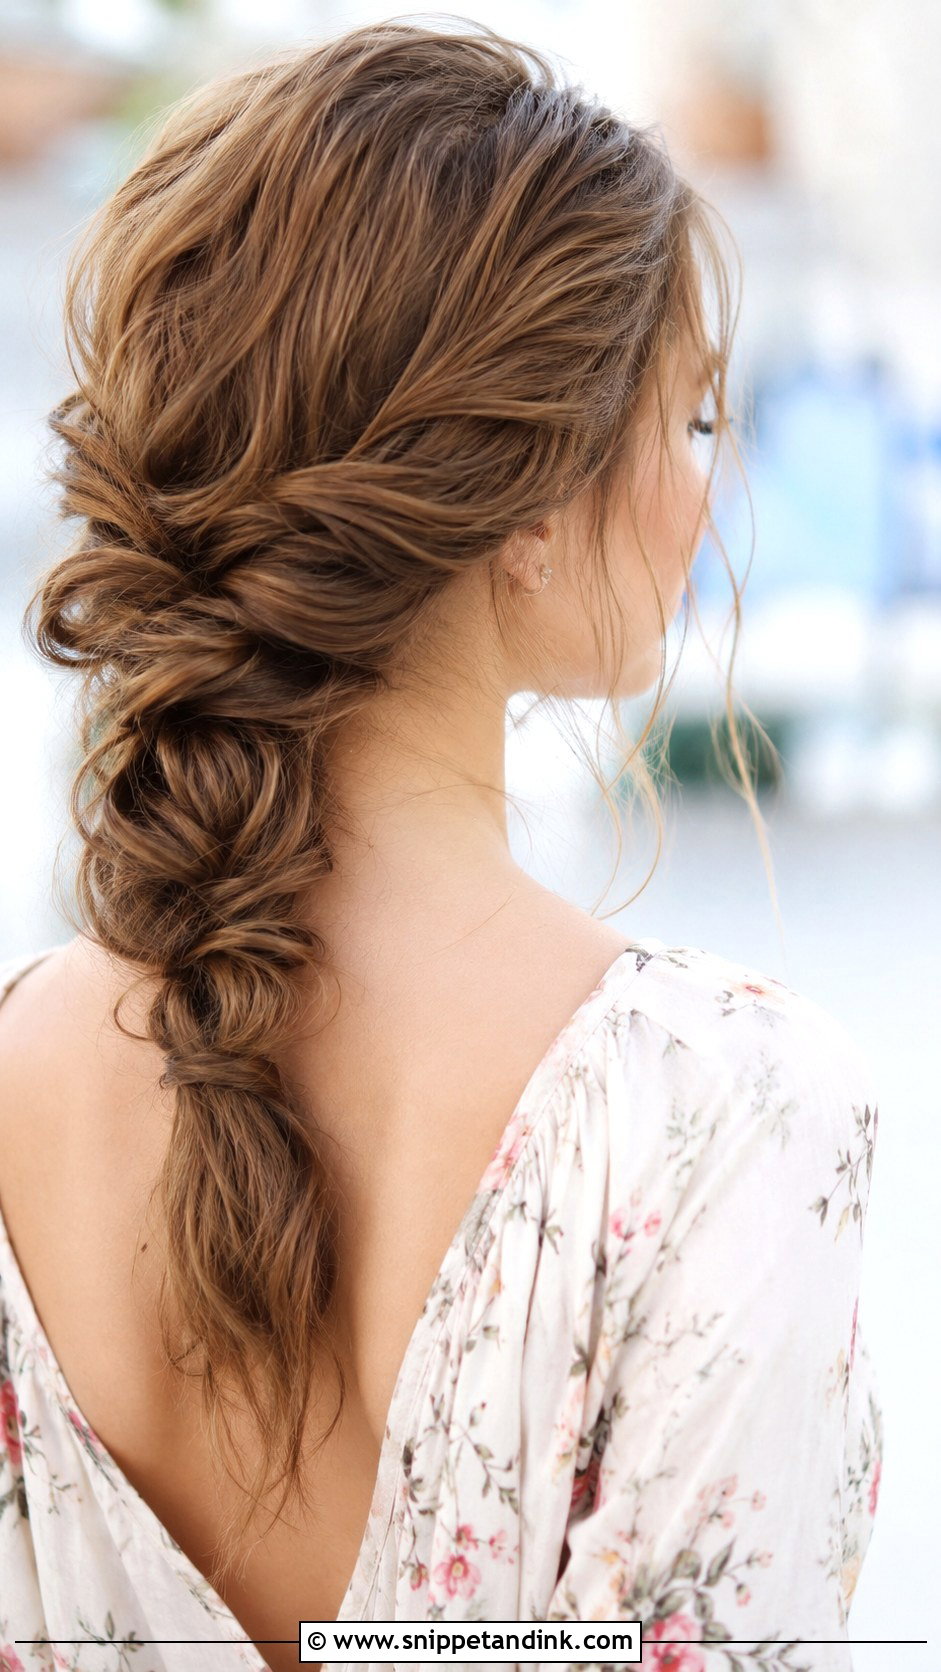
Gathering the hair into a low ponytail and braiding the lengths loosely gives an easy, comfortable look. Pull the braid apart gently once it’s done so it looks full, and leave a few face-framing pieces loose. Medium to long hair works, and small flowers or a ribbon woven into the braid add detail. It’s practical for an outdoor shoot because nothing can blow into your face.
Use the Engagement Shoot to Learn Your Wedding Hair
Engagement photos are a low-pressure rehearsal. You see your hair in professional photos from every angle, and you see how it lasts over a couple of hours of moving around. Pay attention to a few things and your wedding hair decisions get much easier.
- Which side of your face you prefer in photos. That’s the side to sweep curls or place an accessory on later.
- How long the curls lasted before they relaxed, which tells me how hard to set them on the wedding day.
- Whether you liked your hair up or down in profile shots, since kisses and close embraces are mostly profiles.
- What irritated you: pins digging in, a ponytail pulling, strands in your lip gloss. All of that gets worse over a twelve-hour wedding.
Save a few photos from behind and from the side and bring them to your bridal trial. They show me more about your hair than any inspiration picture.
Expect Hands in Your Hair and Plan the Style Around It
Engagement photos are full of hugs, foreheads pressed together and hands on the back of your head, so whatever style you choose has to move with that. Waves, low buns, braids and half-up looks all hold up to it differently. Pick something that suits your hair type and length, matches the outfit and the setting, and still feels like you. Try it once before the shoot, take a photo from behind, and bring pins and a small brush along on the day.
You'll Like These Ideas:


Leave a Reply