
Almost every bridal style I do rests on the same foundation: hair with grip, a hidden structure that carries the weight, and a soft surface on top. Get the foundation right and a low bun, half-up waves, a chignon, a braided crown, a ponytail or shaped natural curls will all hold. Skip it and even a simple style slides by the first dance. That’s why prep gets as much attention as the pins: hair that’s clean but not freshly washed, a light mousse, heat protection, texture spray and a flexible hold. Below are fifteen styles broken into the steps I actually use, so you can brief your stylist clearly or practise at home.
Bobby Pins and Hairpins Do Two Different Jobs
Every style below says pin it, and most home attempts fail because the wrong pin is doing the wrong job. Here’s how I use them.
Bobby pins hold structure
The closed, flat pin grips. I use it to anchor hair to the scalp: under a ponytail base, beneath a bun, behind the ear on a side sweep. Wavy side faces the scalp. For real strength, cross two pins in an X; a single pin slides, a pair locks. Buy pins in your own hair color and pick ones with intact rubber tips so they don’t scratch.
Hairpins shape the surface
The open, U-shaped pin doesn’t clamp. It slides into a twist or a roll and holds the fold without flattening it. That’s why it’s used in French twists, chignons and messy updos. Bobby pins in those places dent the shape.
Elastics carry the weight
Anything with real weight, a ponytail, a half-up section, the base of a bun, starts with an elastic, not pins. Pins finish; they can’t carry a heavy length for twelve hours on their own.
1. How To Do Low Bun Bridal Hairstyle
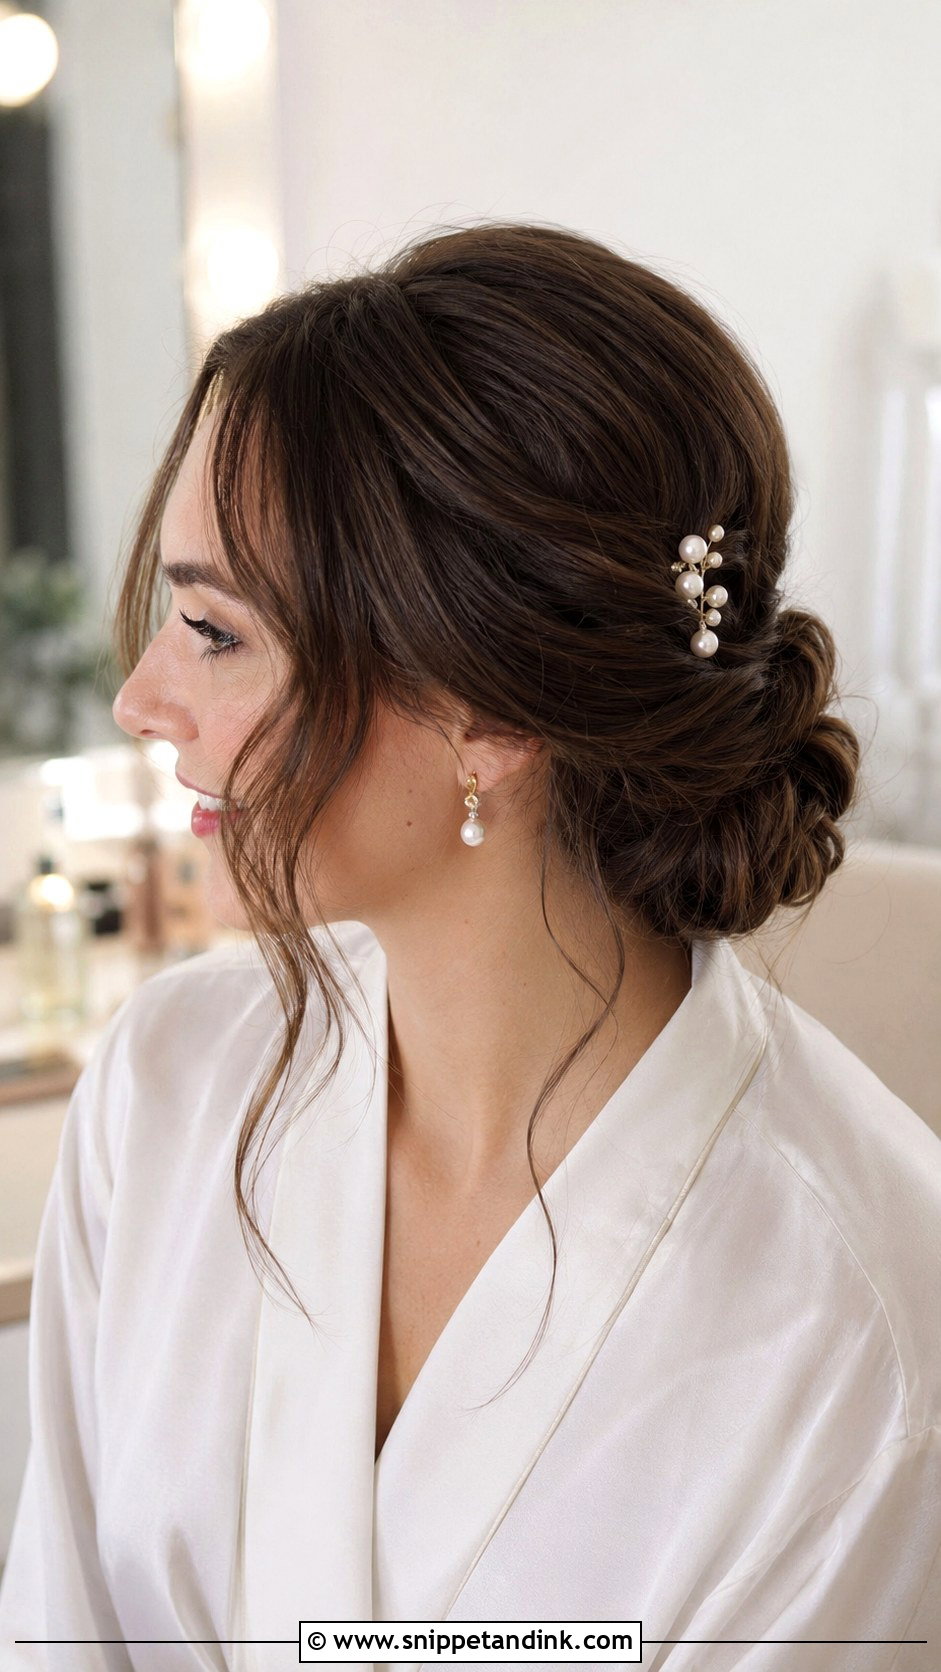
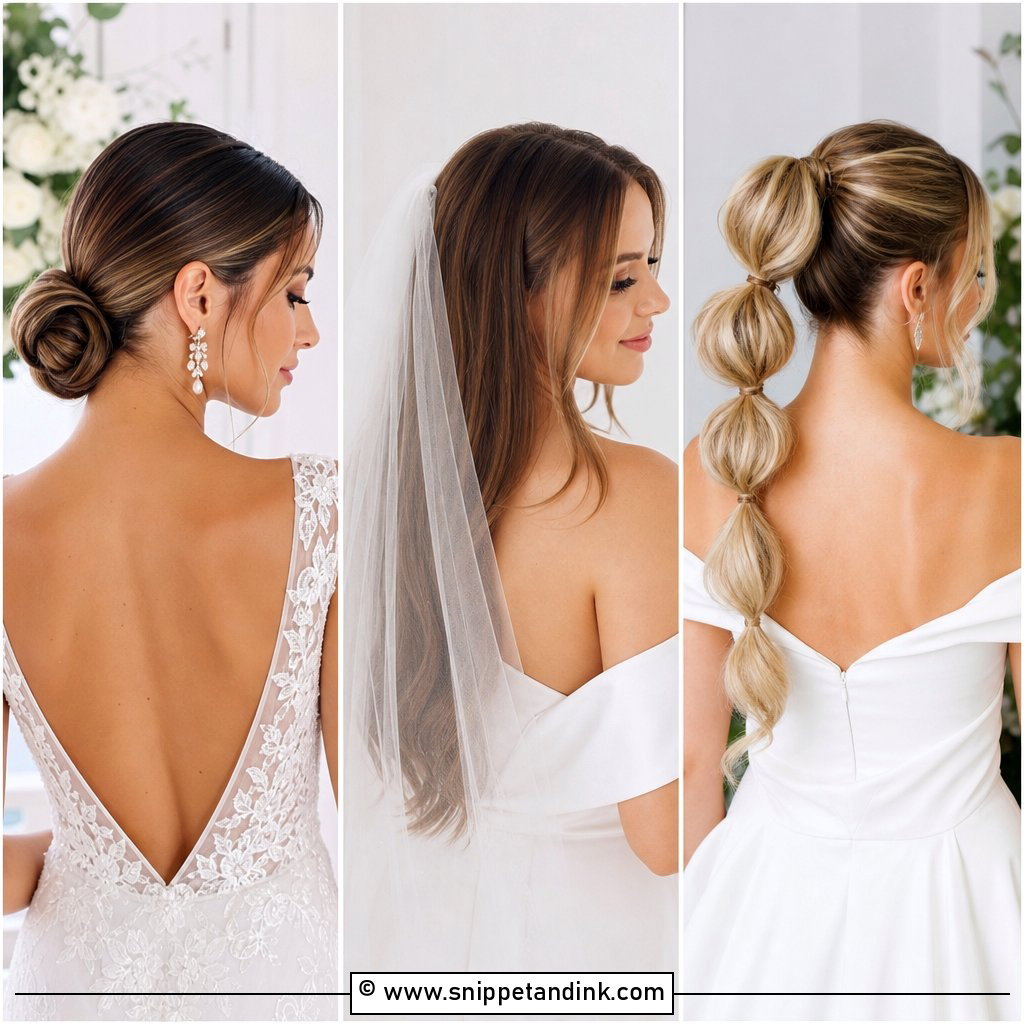
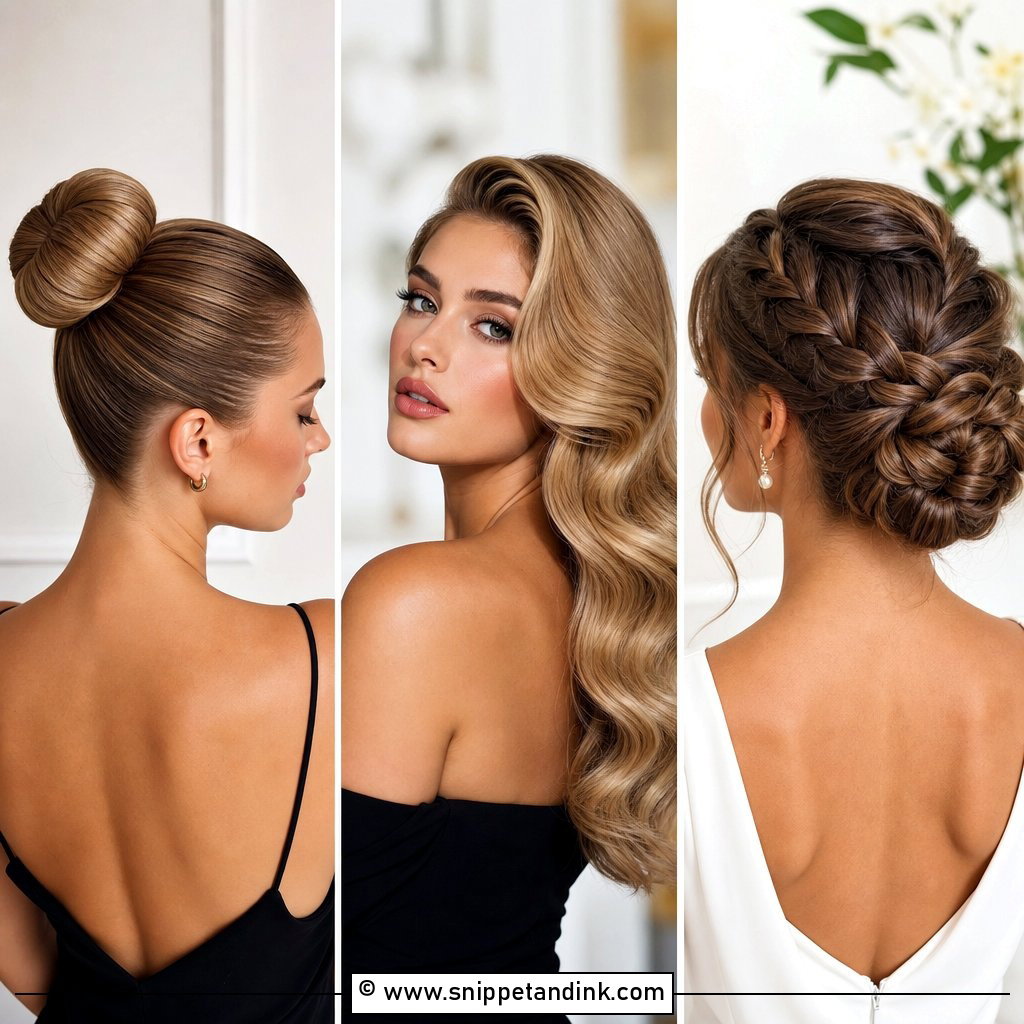
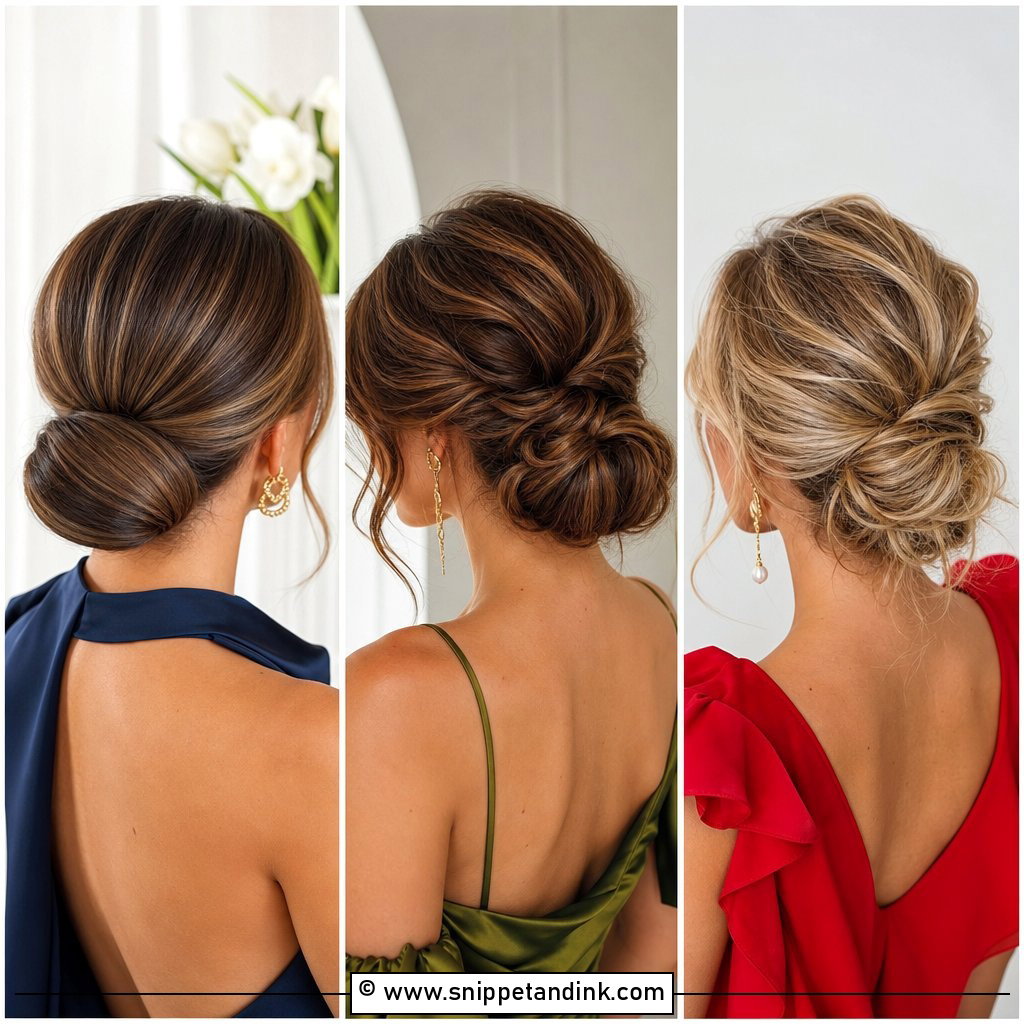
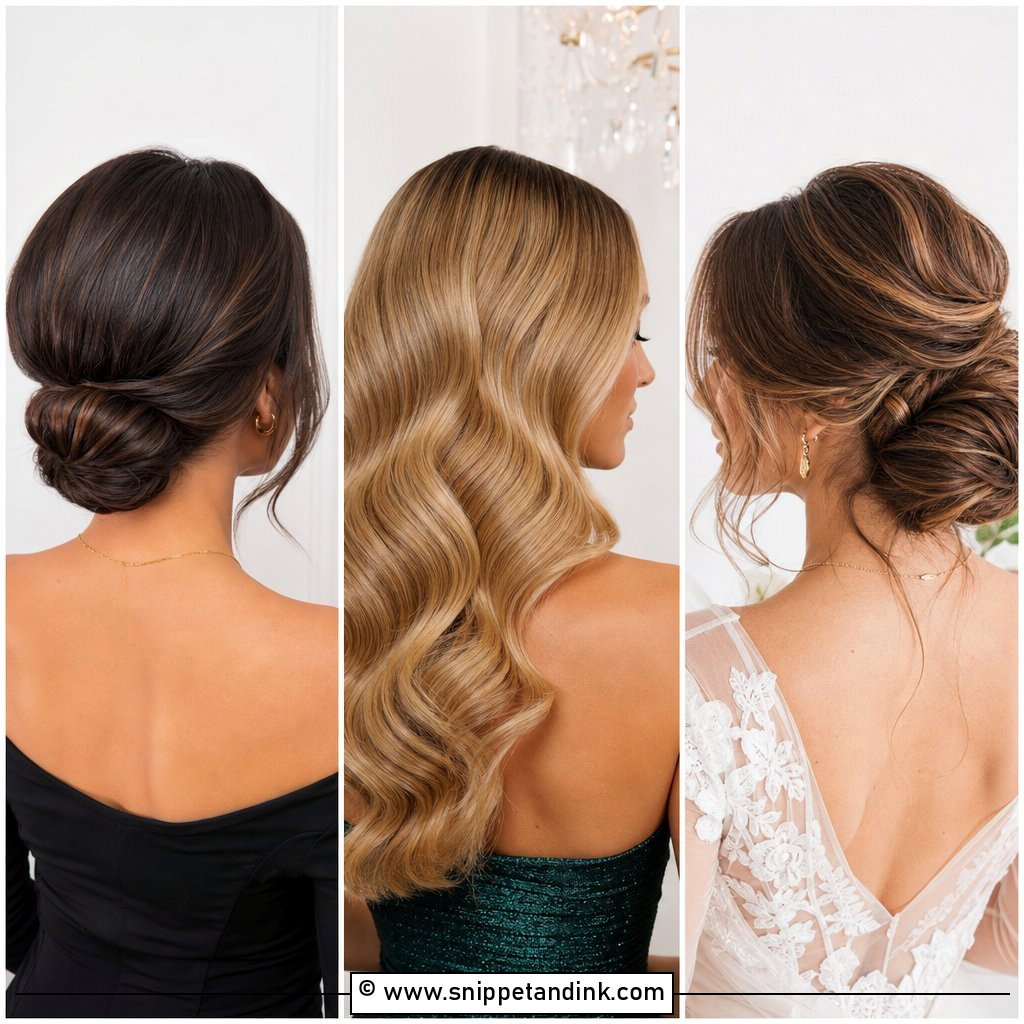
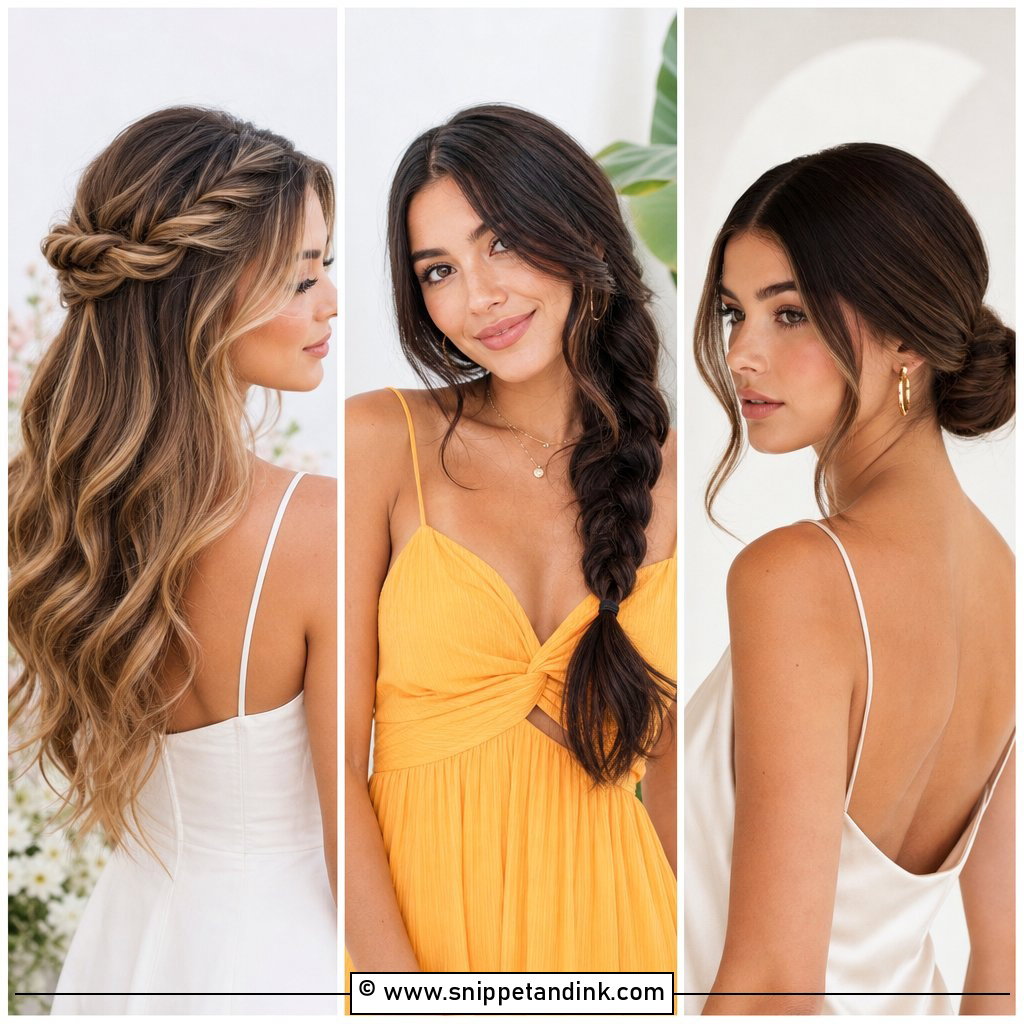
The low bun is where I’d start if you’re practising yourself. Mousse on dry hair, then loose waves with an iron, purely for grip. Part where it suits your face and tease the crown lightly. Tie a low ponytail at the nape, twist it loosely, wrap it, and pin it in small sections as you go rather than in one big coil, because a single twist pinned only at the end loosens as it settles. Free a few face pieces, smooth flyaways, flexible spray. Pearl pins or a veil comb sit just above the bun.
2. How To Do Half Up Half Down Bridal Hairstyle
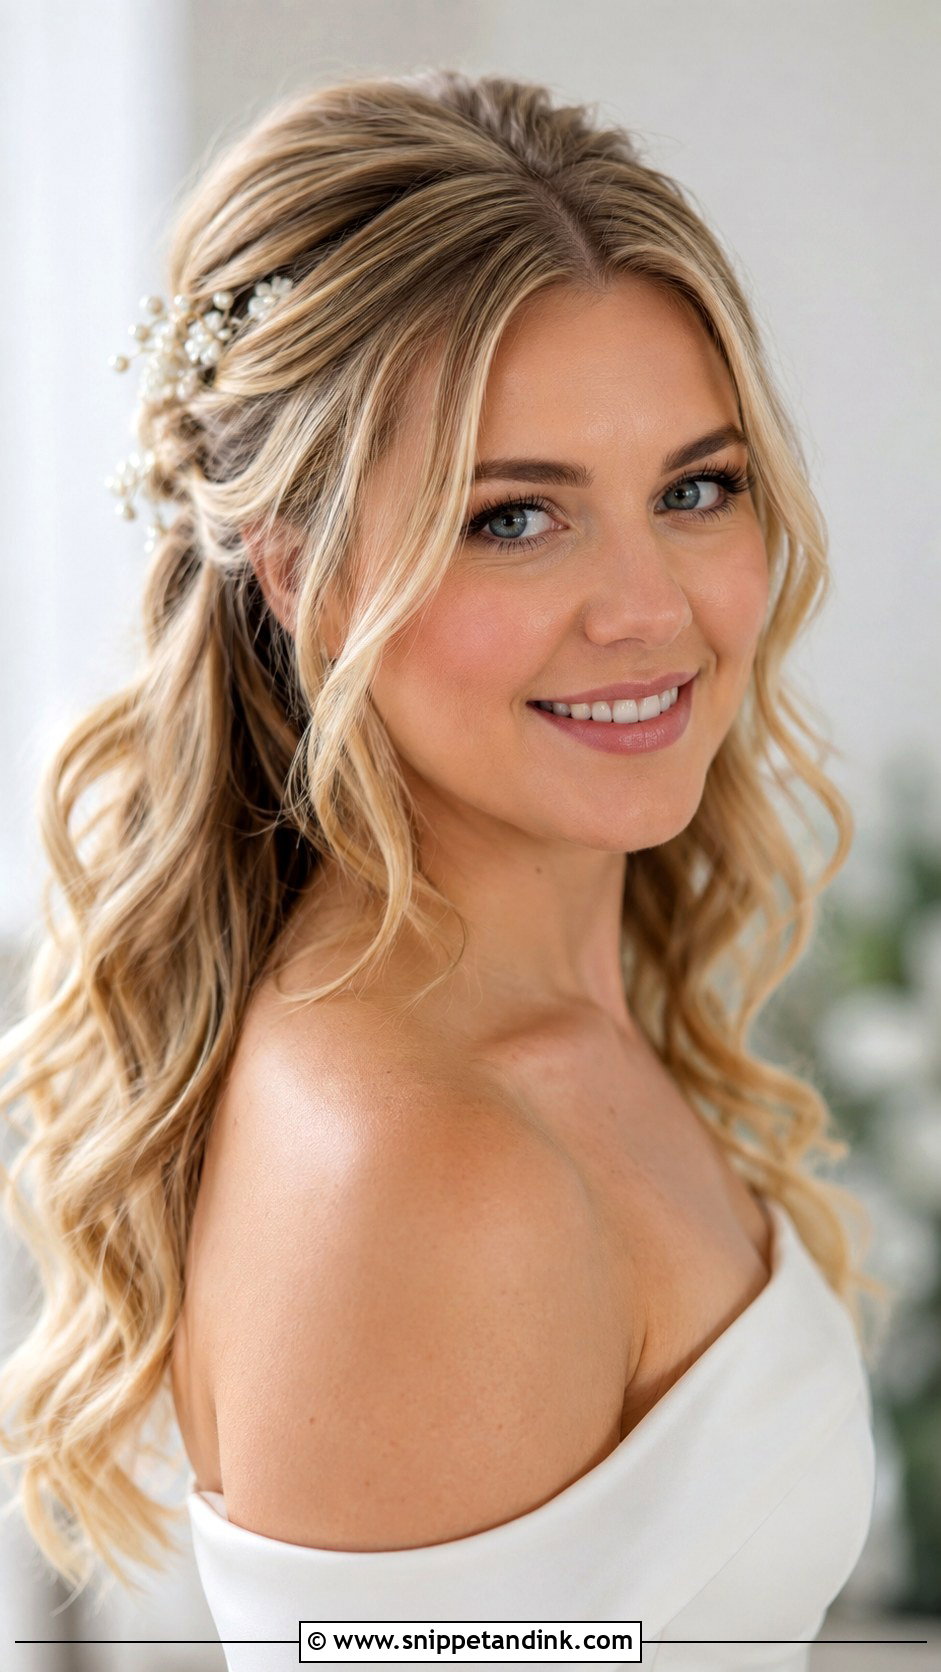
Curl the whole head in medium sections, turning the front pieces away from the face, and let everything cool before brushing into waves. Then take the crown from temple to temple, backcomb lightly at the roots and smooth the top layer over it. I secure the half-up section with a small elastic rather than pins alone. Pins on their own get pushed out by the weight of the hair beneath, and that’s why so many half-up styles look deflated by evening. Wrap a strand around the elastic, keep the lower lengths full, and finish with shine spray and a small comb or floral pins.
3. How To Do Bridal Chignon Hairstyle
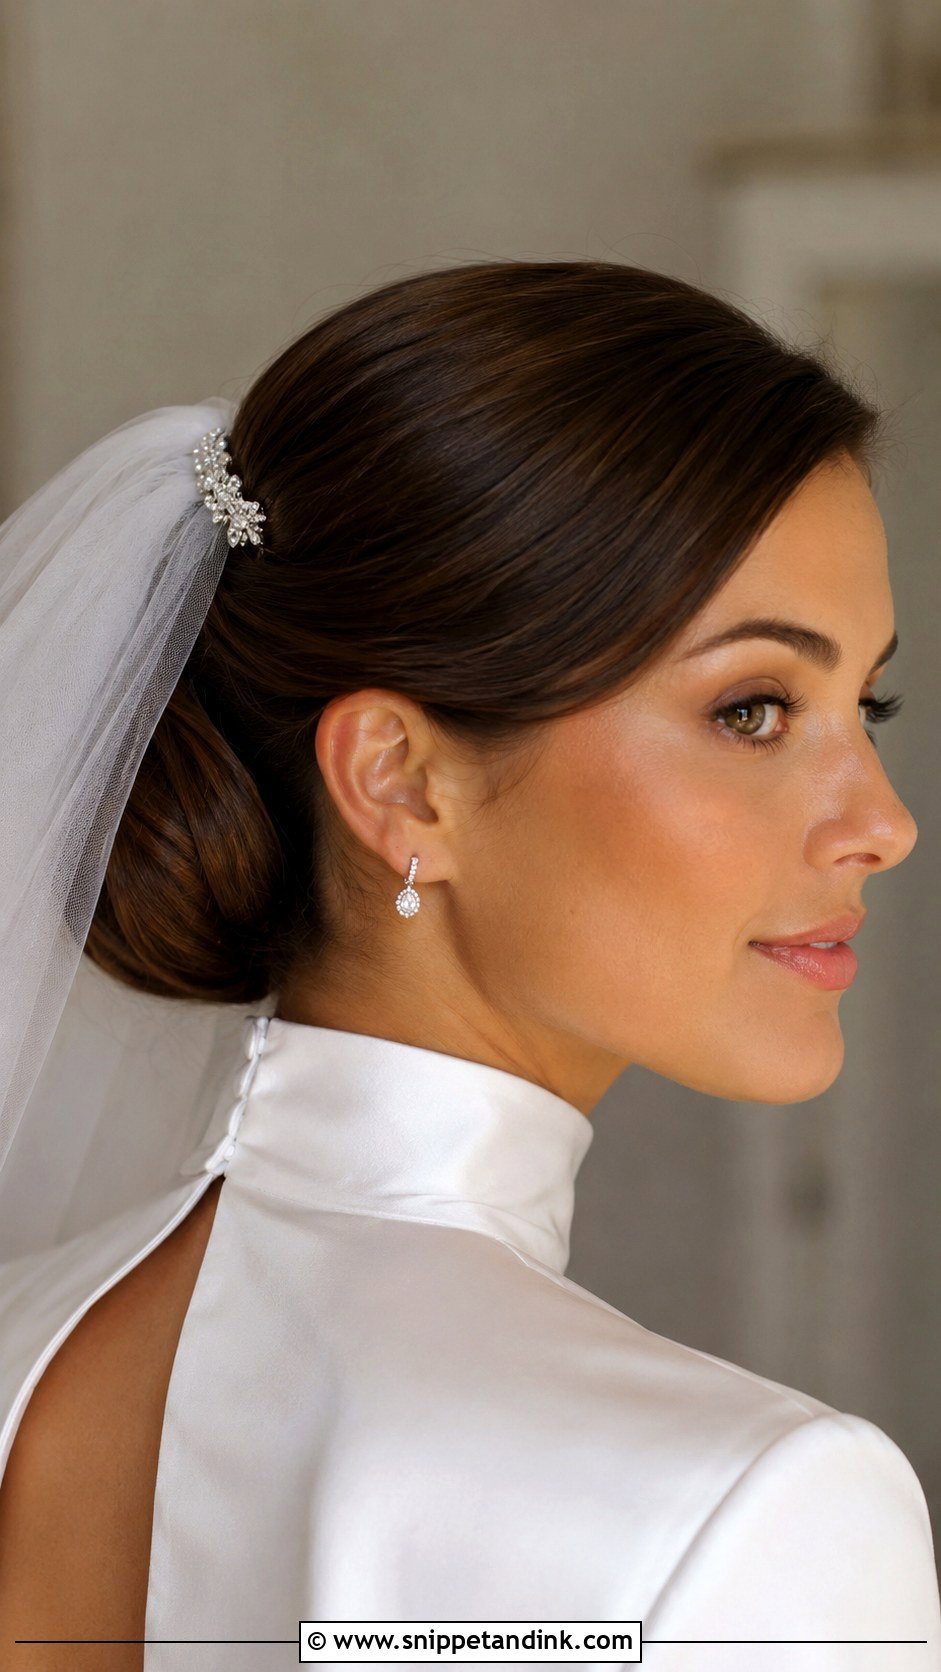
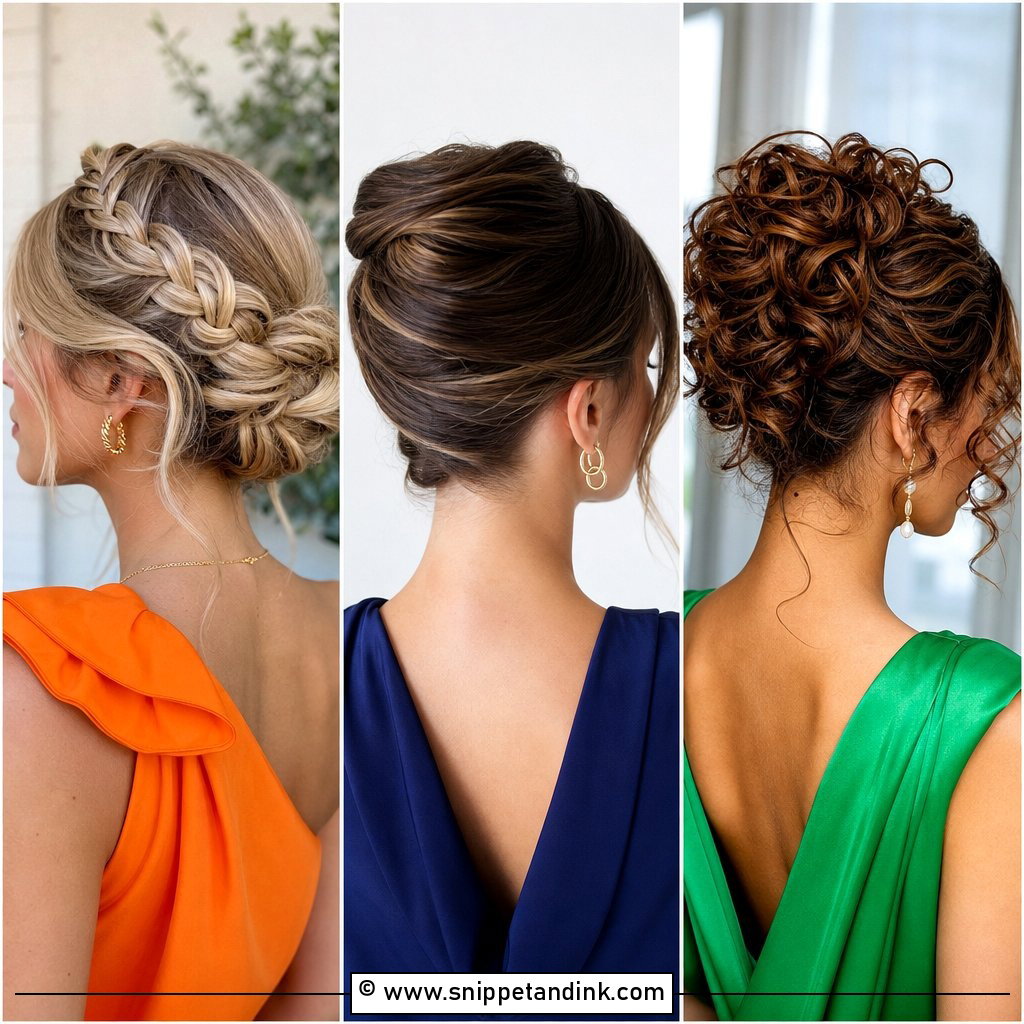
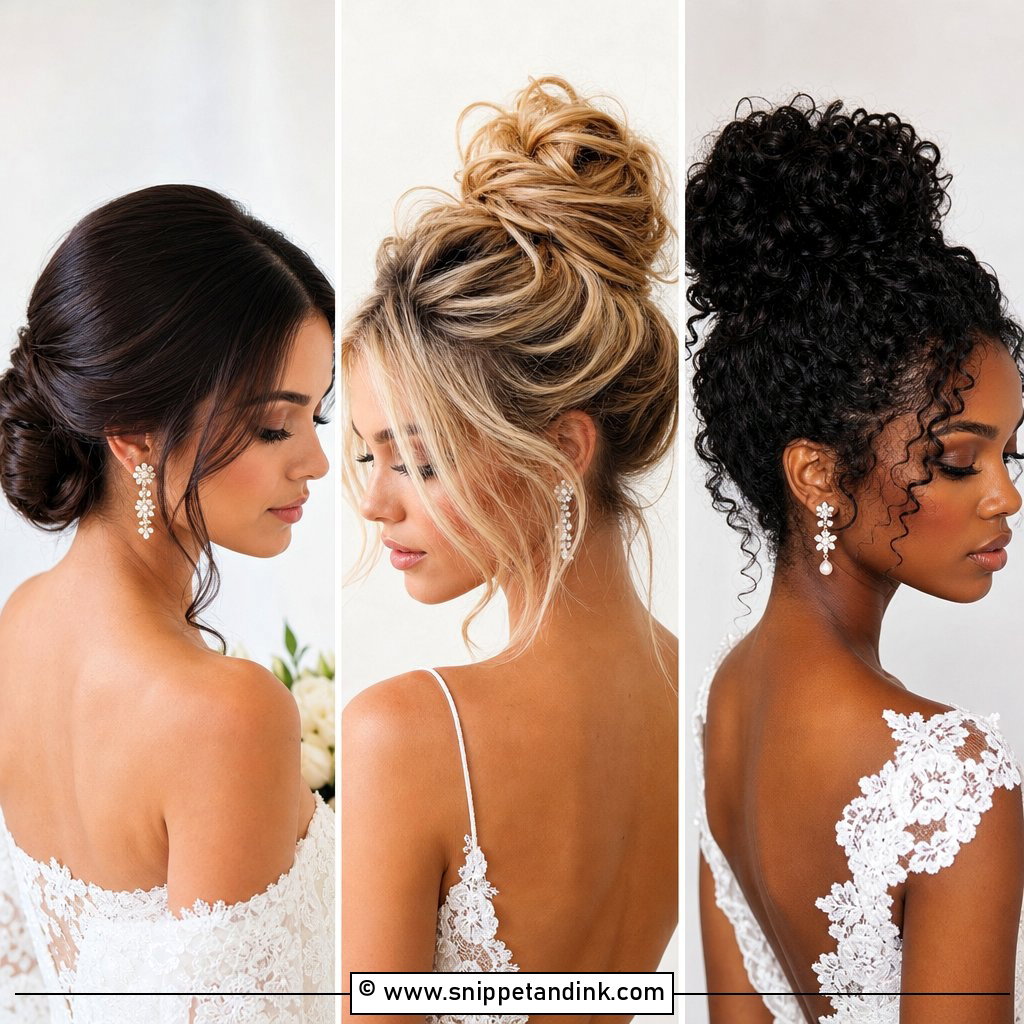
A chignon is about the surface. Any bump or frizz shows, so I prep with smoothing cream and blow-dry it sleek, paying most attention to the hairline. Middle or soft side part, then a low ponytail at the nape. Twist it into a compact roll and tuck the ends underneath. I pin around the roll with the pins sliding in toward the head, catching both the roll and the base, so it stays tight to the skull. For more width, ease the roll open with your fingers before you spray. It keeps the neckline clear for high necks, satin gowns and long veils.
4. How To Do Messy Updo Bridal Hairstyle
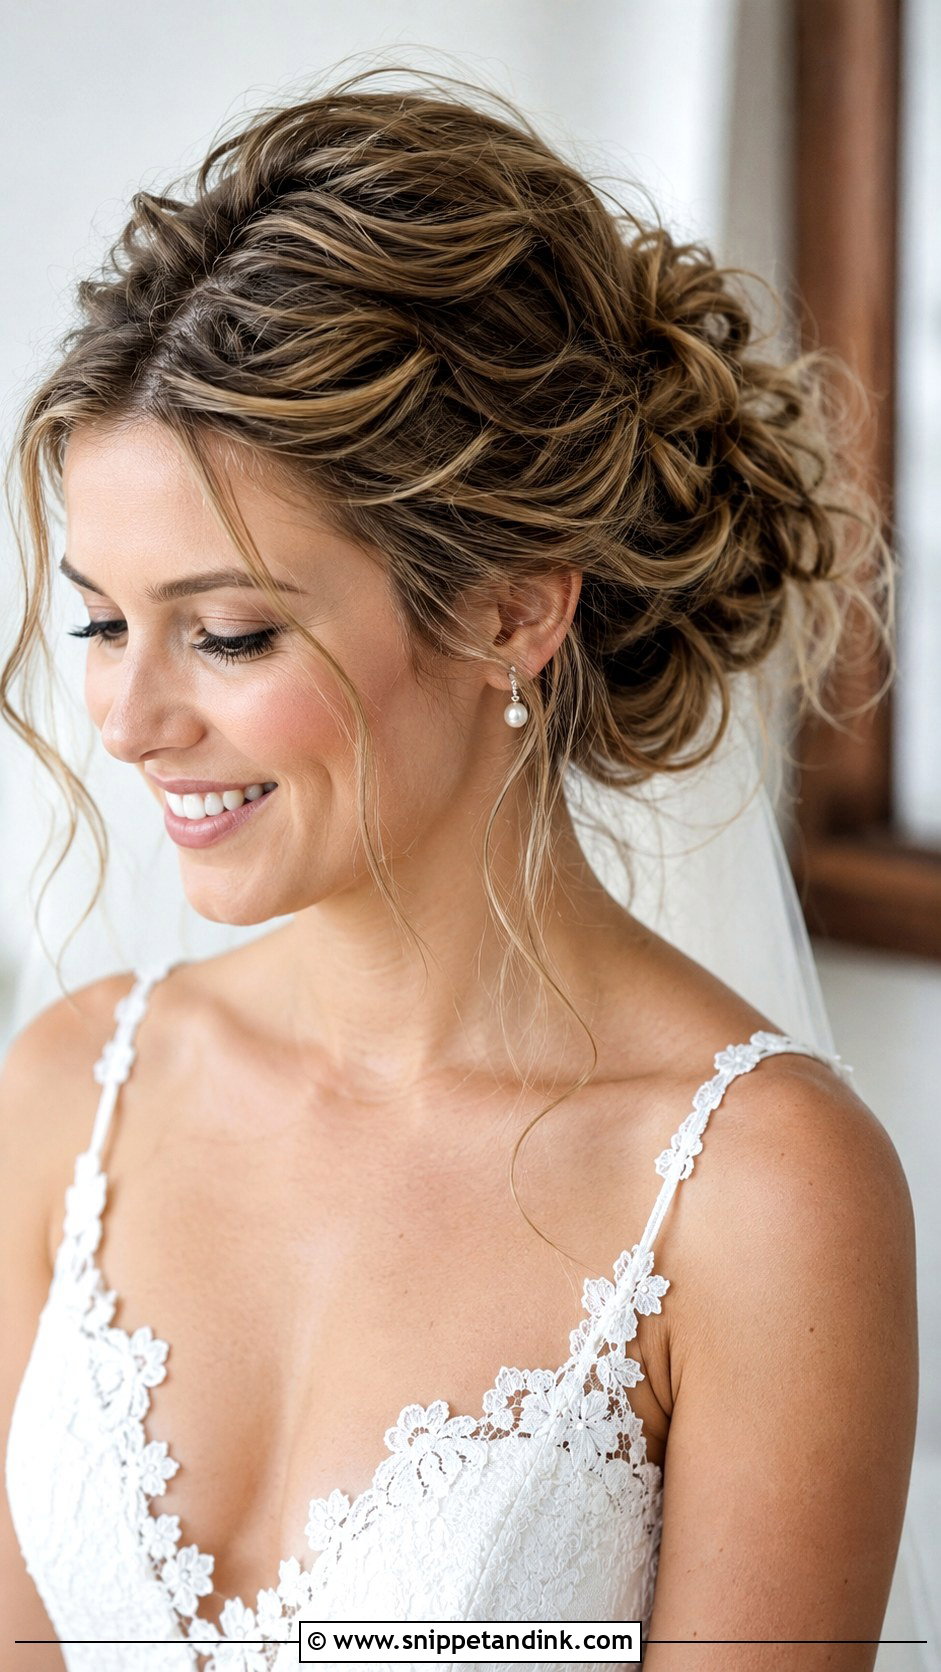
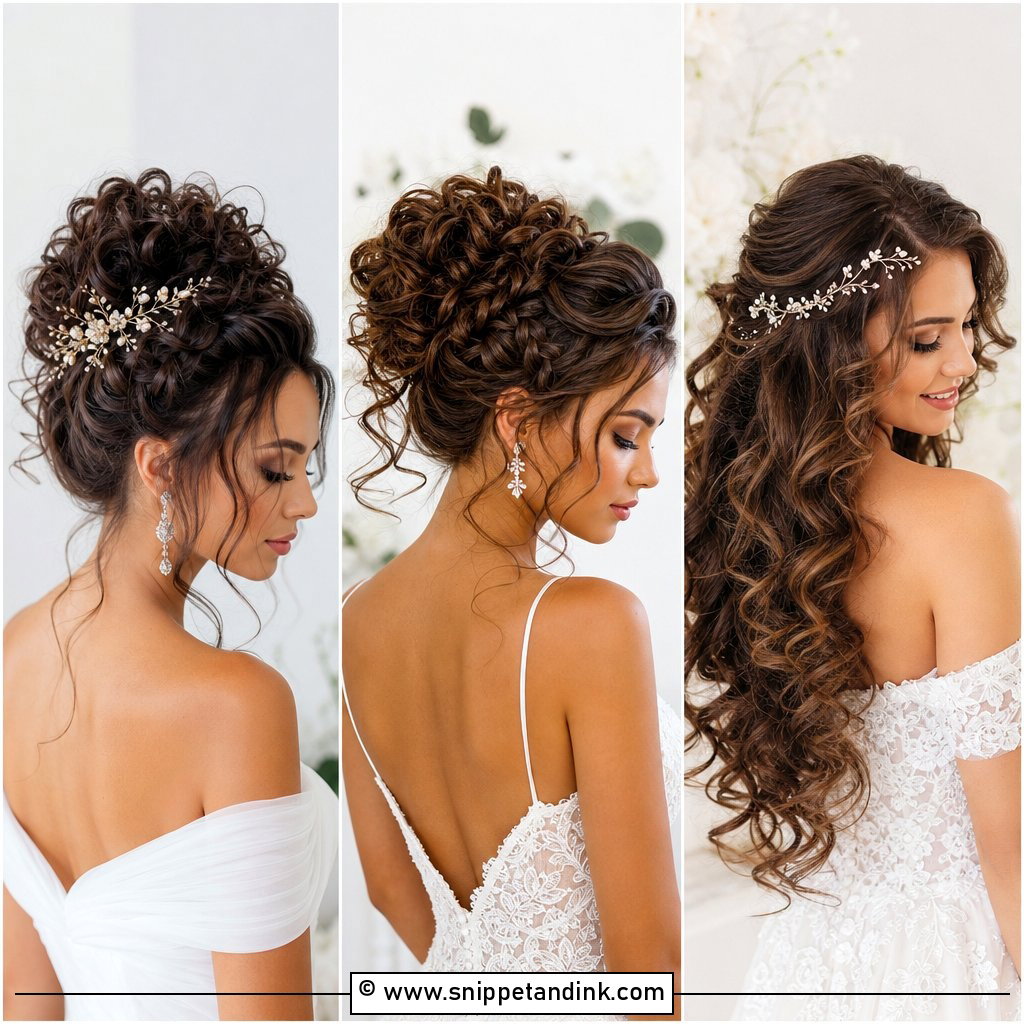
Messy should only describe the surface. Underneath, this is a structured updo. Start with curled hair, add dry texture spray through the mid-lengths and tease the crown. Gather a loose low ponytail; don’t pull it tight. Then twist small curled sections and pin them around the base one at a time until the shape fills out. Leave some tendrils around the face and ears. The mistake I see most is pinning too few big sections, which looks lumpy rather than soft. More, smaller pieces give the airy finish.
5. How To Do Sleek Bridal Bun Hairstyle
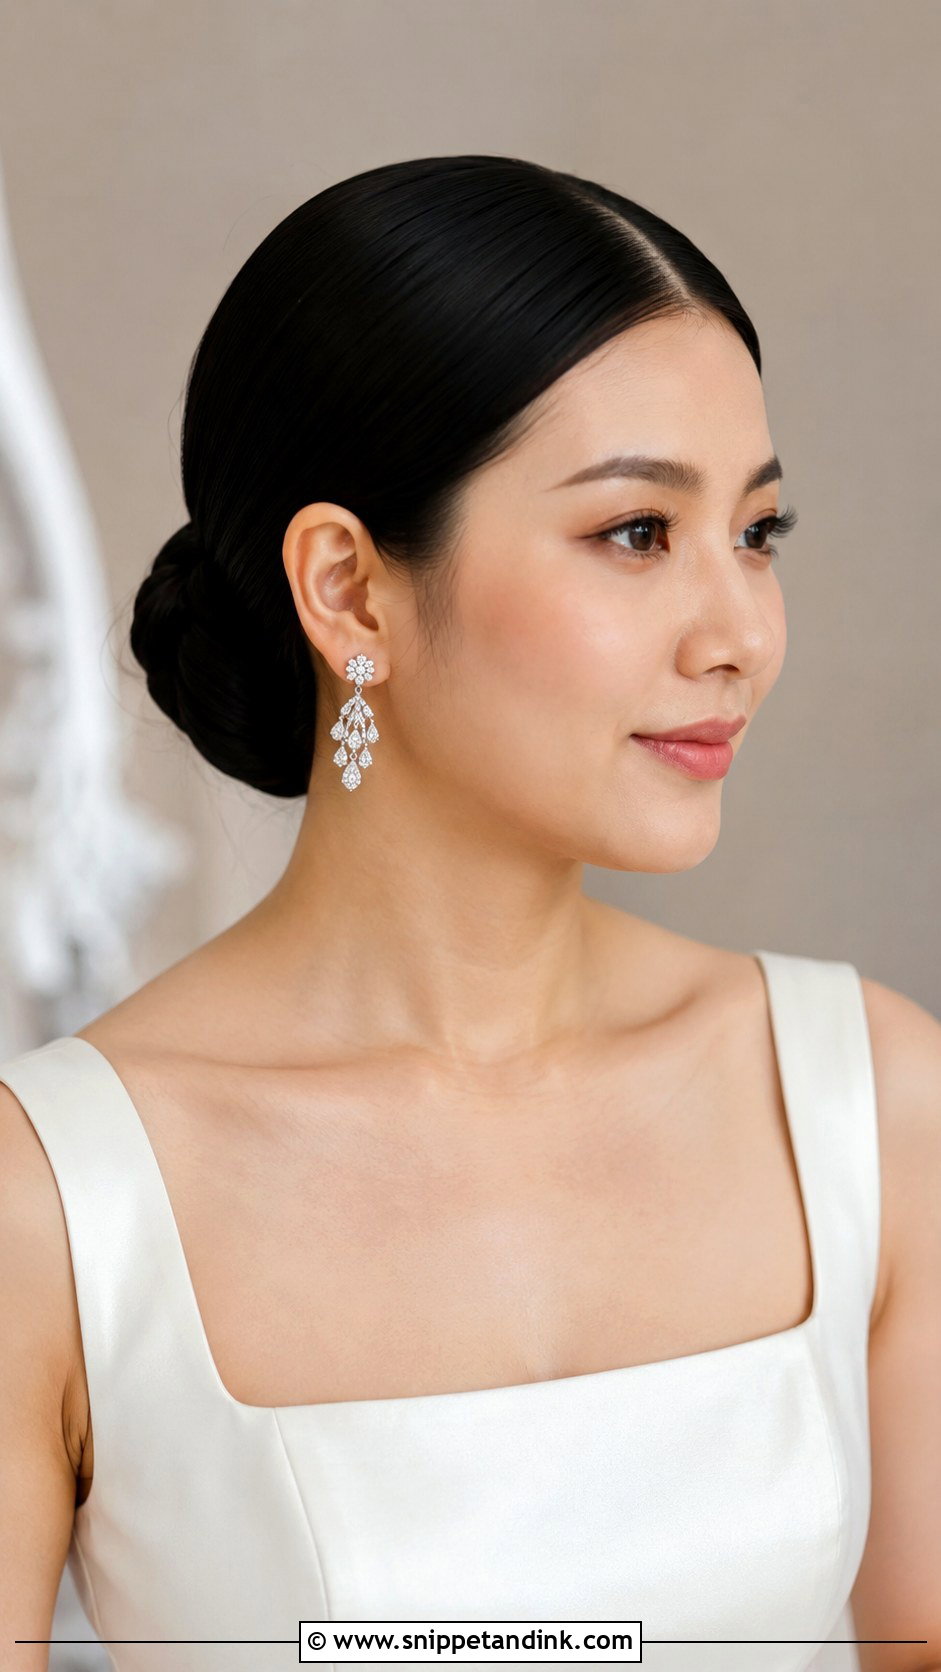
This one is unforgiving. Straightened hair, a light serum, then a sharp middle part or a deep side part. Brush the hair into a tight low ponytail with gel or styling cream at the hairline, twist it into a smooth bun and pin it flat at the nape. A toothbrush misted with hairspray handles the baby hairs. I’d be honest with anyone with a lot of short layers or a cowlick at the crown: it takes much longer to get truly sleek, and it may need more product than you expect. Statement earrings and a plain gown suit it, with the veil set under the bun.
6. How To Do Braided Bridal Updo
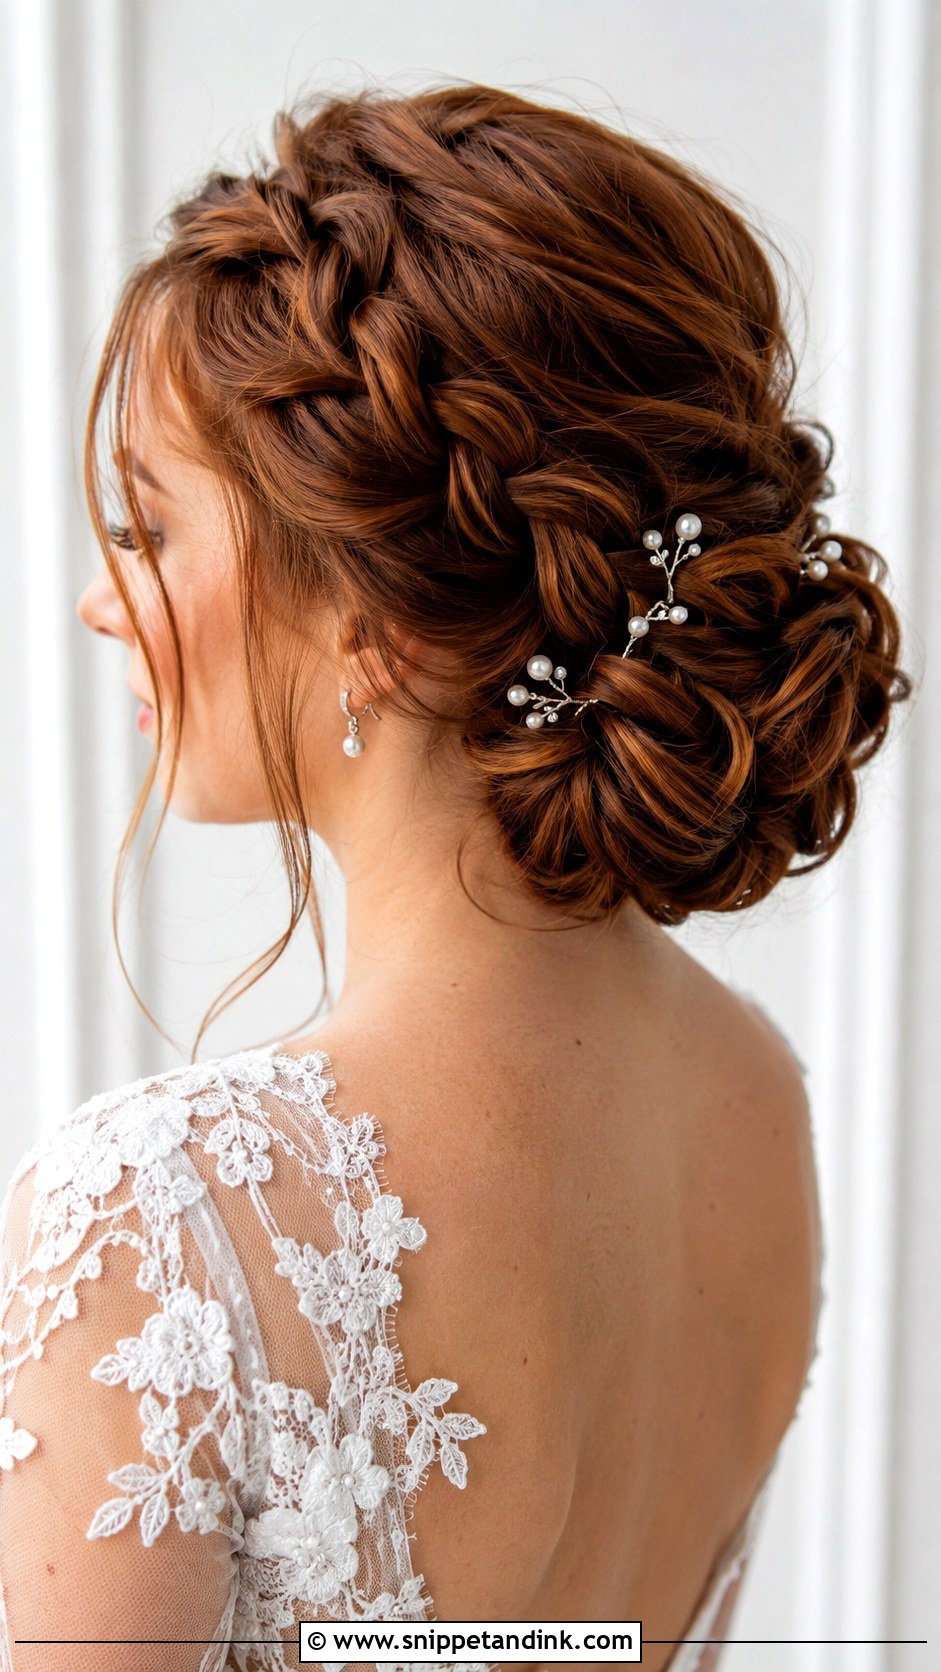
Braids need body or they look thin, so I curl the hair lightly before braiding. One side braid, a Dutch braid or a small braid from each side all work, depending on how much detail you want. Pull the edges gently for width, gather the rest of the hair into a low bun or a tucked roll, then wrap the braid around it and pin. Keep a few loose pieces near the cheekbones. A firm but touchable spray holds the braid through photos and dancing without making it crunchy.
7. How To Do Side Swept Bridal Hairstyle
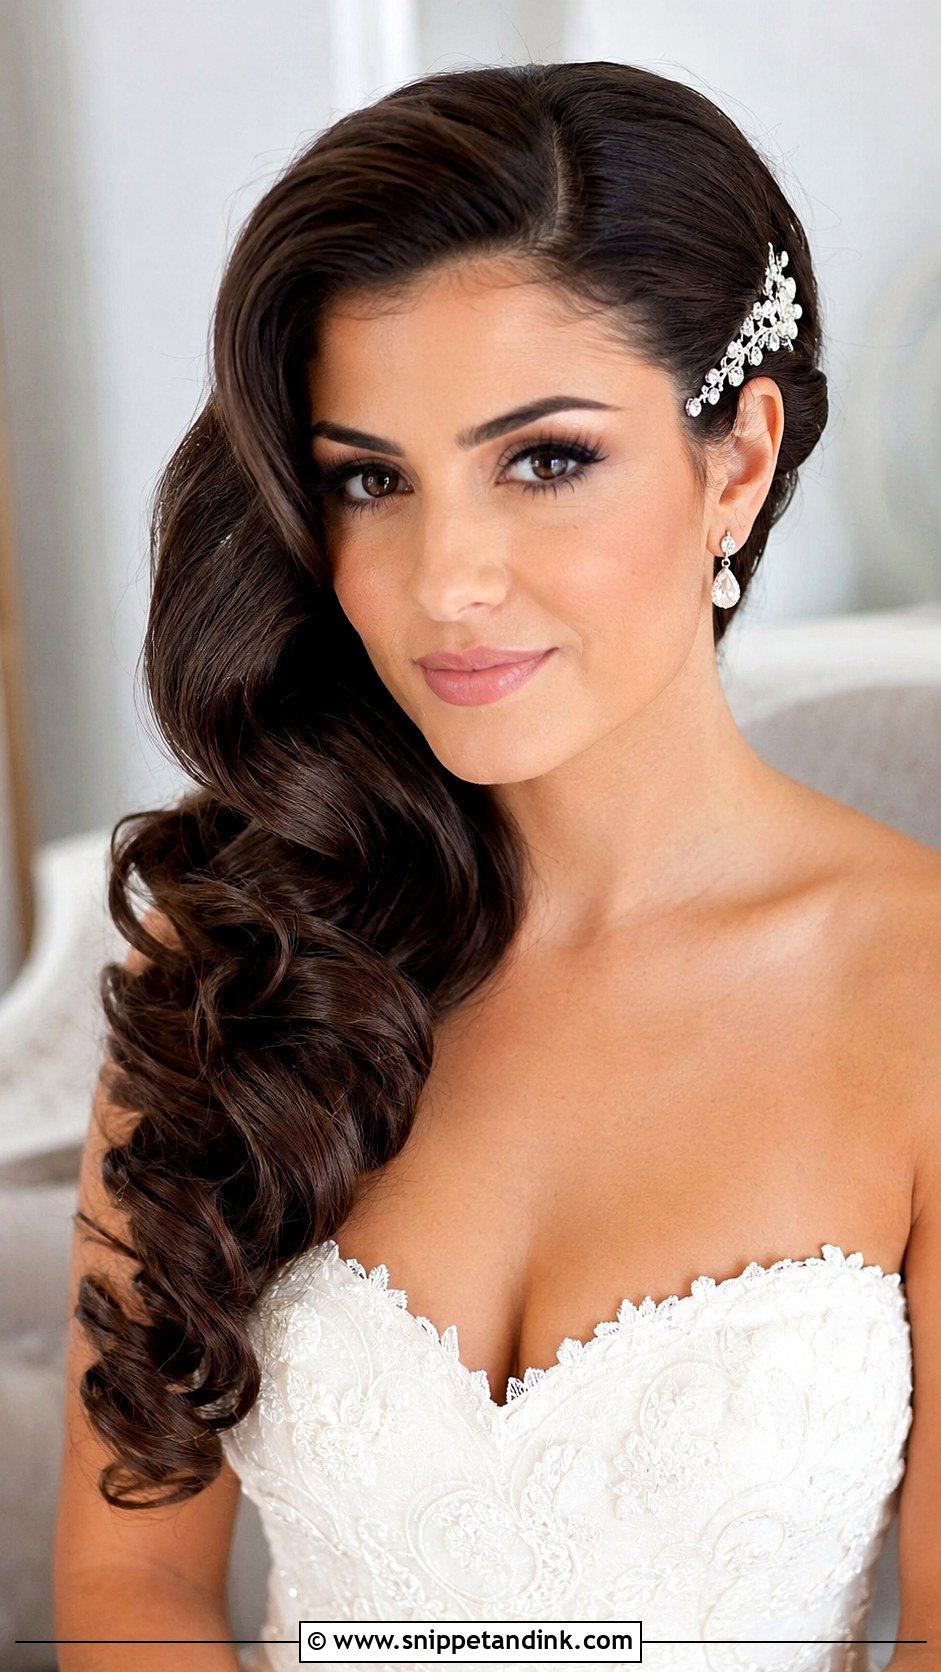
For a side sweep, curl every section in the same direction so the waves join once brushed, and wait for them to cool. Make a deep side part and sweep the heavier side across the shoulder. On the other side, I pin the hair behind the ear with crossed pins tucked under the top layer; that X shape is what stops the sweep from pulling loose. Texture spray through the ends keeps them full. Shine spray goes on lightly, or the waves look oily under flash.
8. How To Do Bridal Ponytail Hairstyle
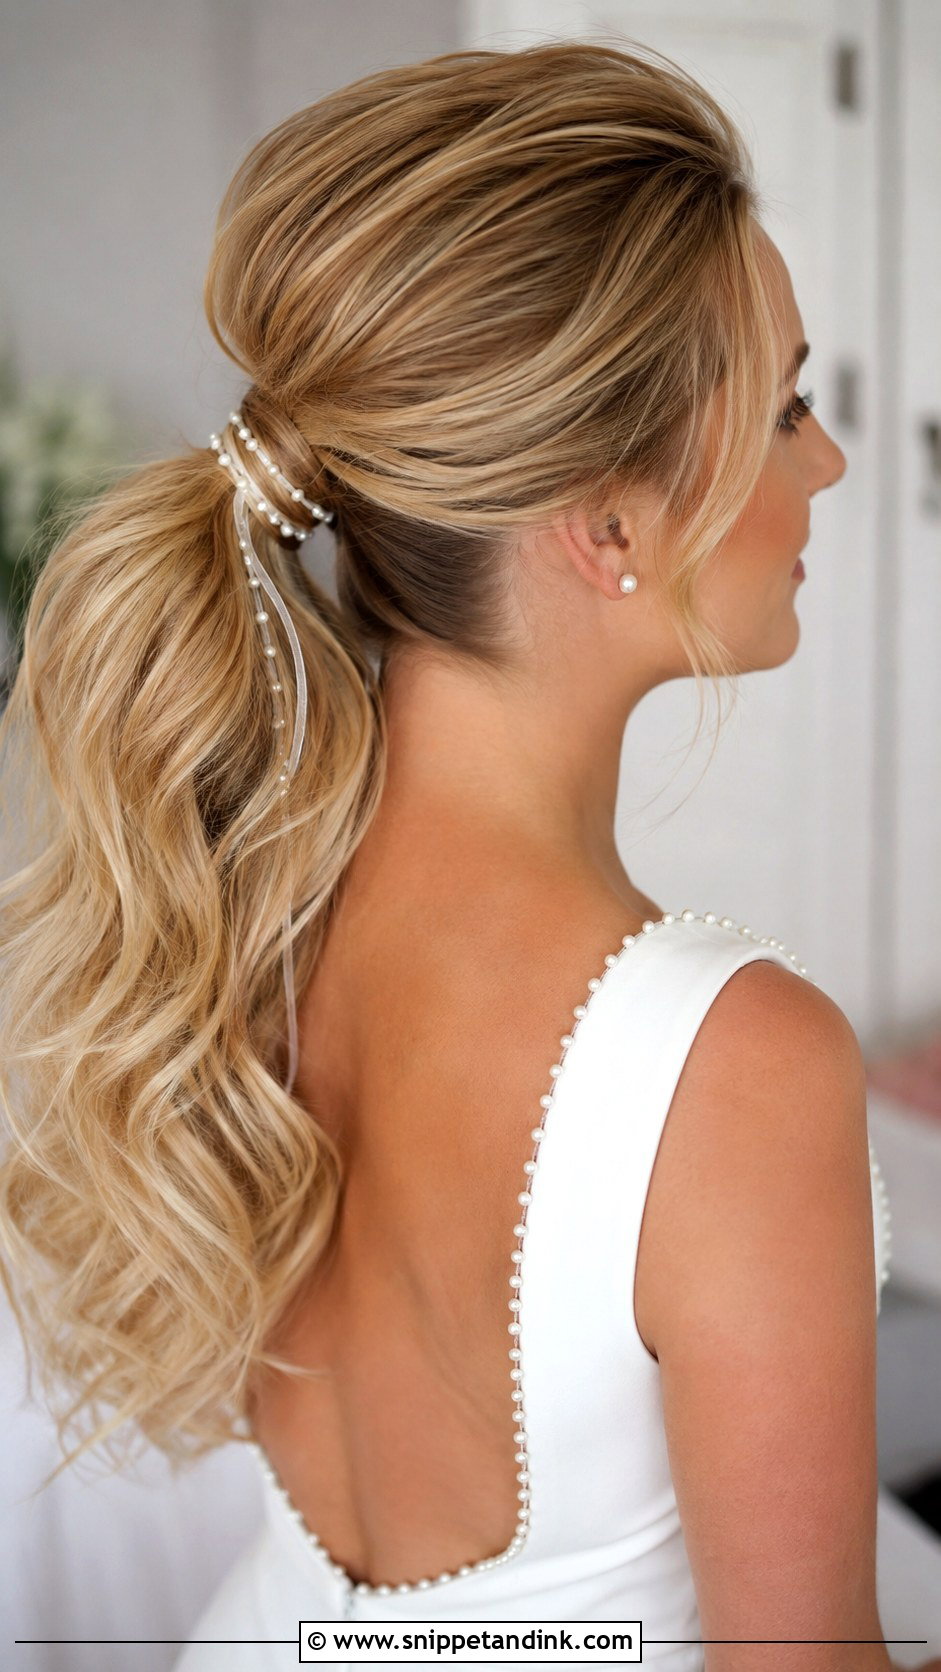
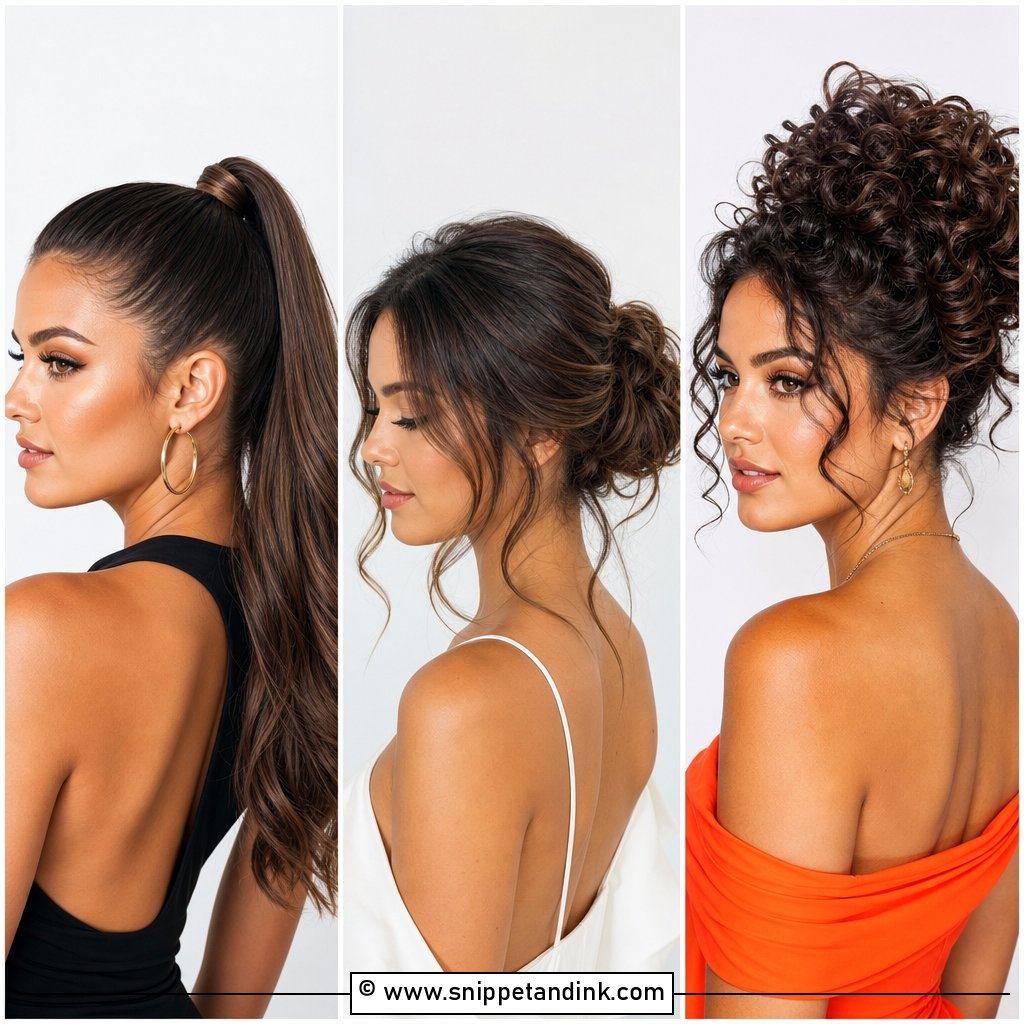
A ponytail looks bridal when it has height and a hidden base. Curl for bounce, tease the crown and smooth the surface. Tie a mid or low ponytail with a strong elastic, placed around where your veil will sit. I wrap a strand around the base and pin the end underneath, then put two bobby pins into the elastic itself and anchor them into the hair. That small step stops the ponytail drooping during the day. Brush into waves or define curls with your fingers, spray the crown and length, and add a ribbon, pearl tie or crystal comb.
9. How To Do Hollywood Waves Bridal Hairstyle
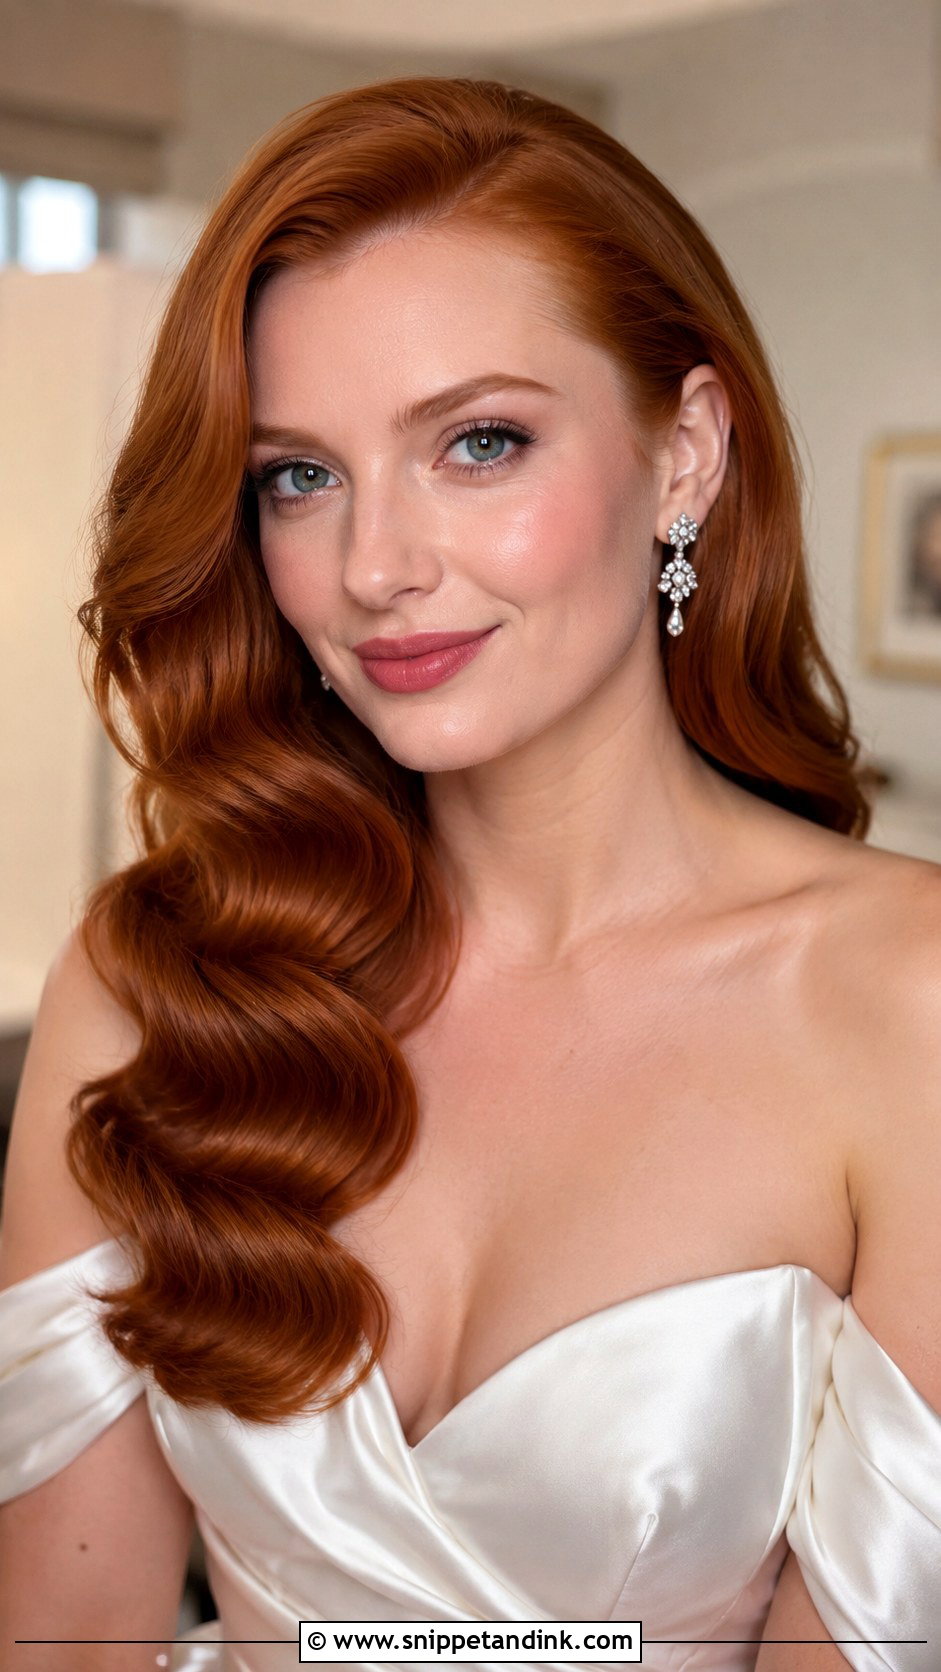
Heat protectant and a light-hold mousse first. Deep side part, then curl every section in the same direction with a medium barrel and clip each curl while it cools. The cooling sets the wave; skip it and the pattern falls within hours. Once cold, remove the clips and brush through with a soft bristle brush. Shape the waves with your fingers, set small clips along each ridge, spray lightly, and let the spray dry before taking the clips out. Glossy and sculpted, with soft ends.
10. How To Do Bridal French Twist Hairstyle
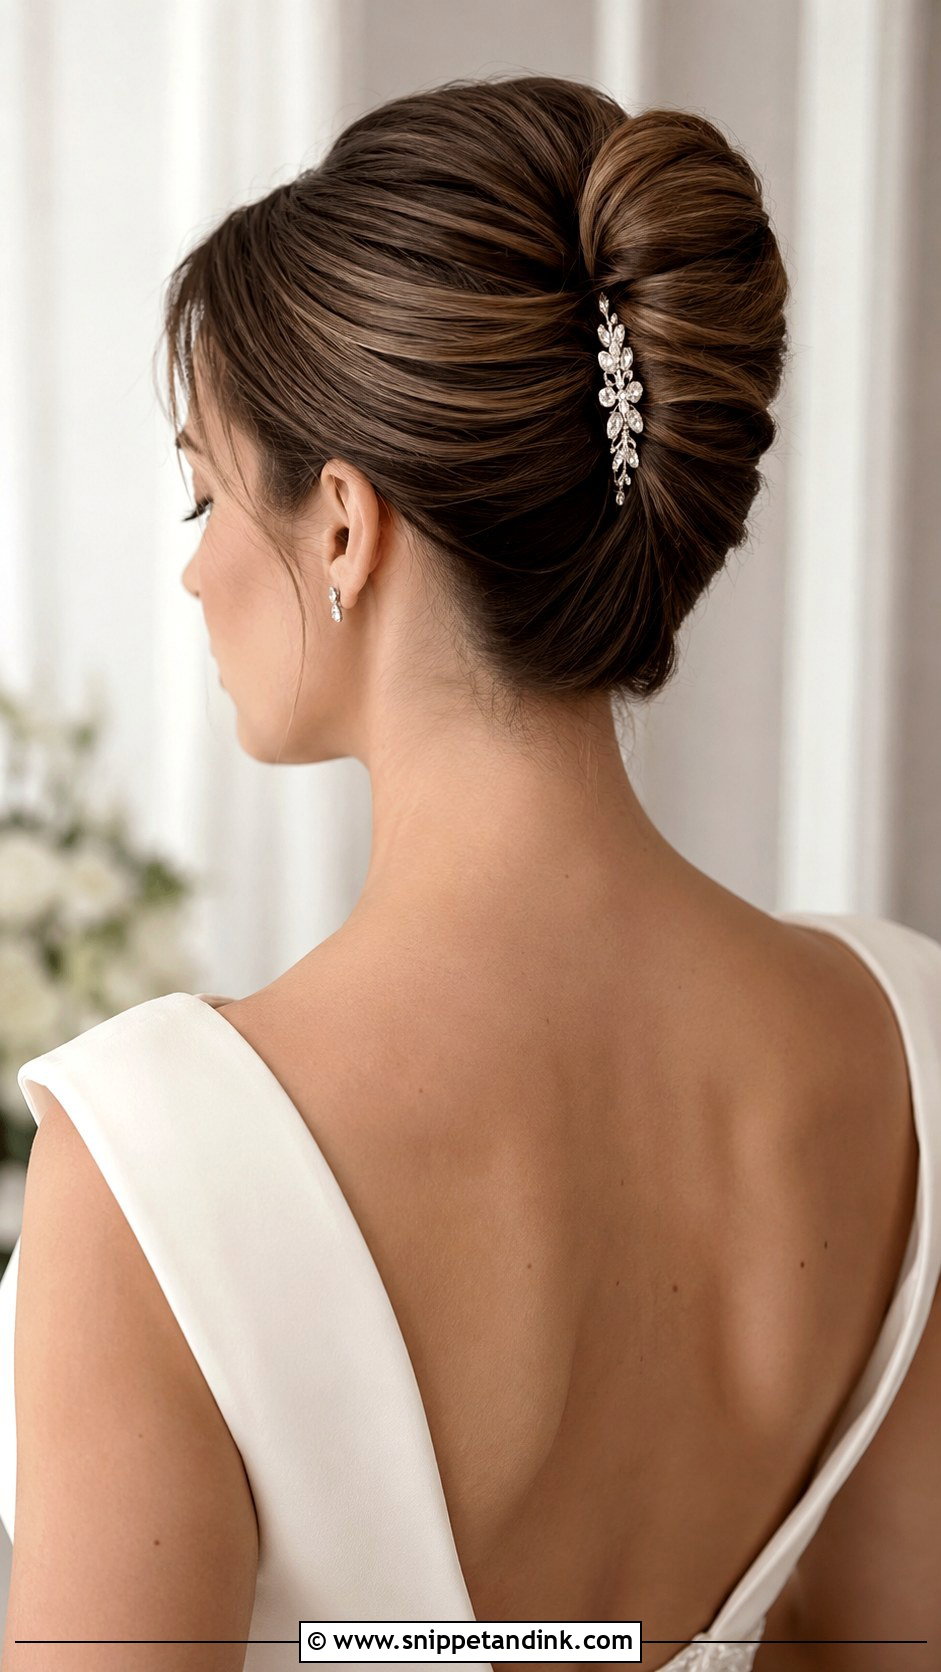
The pin line is everything in a French twist. Start with smooth, dry hair plus texture spray so the pins can grip. Sweep all the hair to one side, then set a row of bobby pins vertically down the center back, crossing slightly. Roll the loose hair back over that row into a long twist, tuck the ends inside, and secure with hairpins from top to bottom. Hairpins, the open U shape, sink into the fold without dragging it. Loosen the crown if you want it softer. It suits veils, combs and gowns with detailed backs.
11. How To Do Curly Bridal Updo
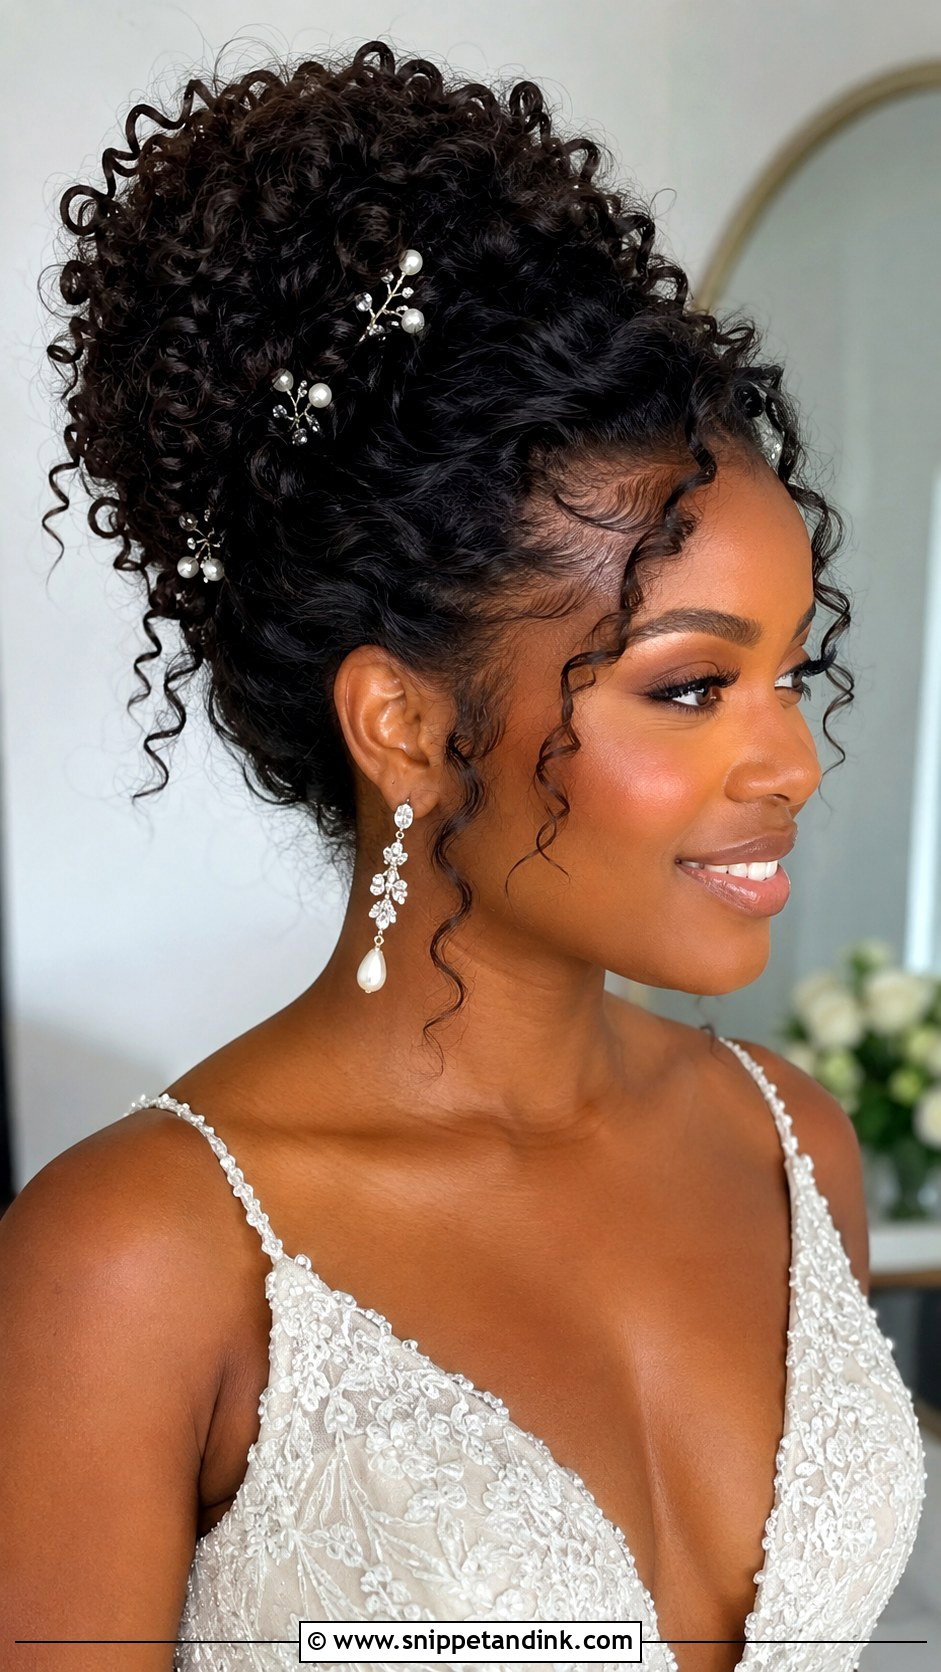
With curly hair, my first rule is to protect the pattern. Start with moisturised, defined curls using cream or gel, diffused completely dry. Don’t brush them out. Gather the curls loosely toward the crown or nape and pin clusters one at a time, letting the texture build the fullness. Leave soft curls along the hairline. I use edge control only where it’s needed, never over the whole head. If the curls haven’t fully dried, they’ll shrink and frizz as the updo dries in place, so give the diffuser more time than feels necessary.
12. How To Do Bridal Braid Crown Hairstyle
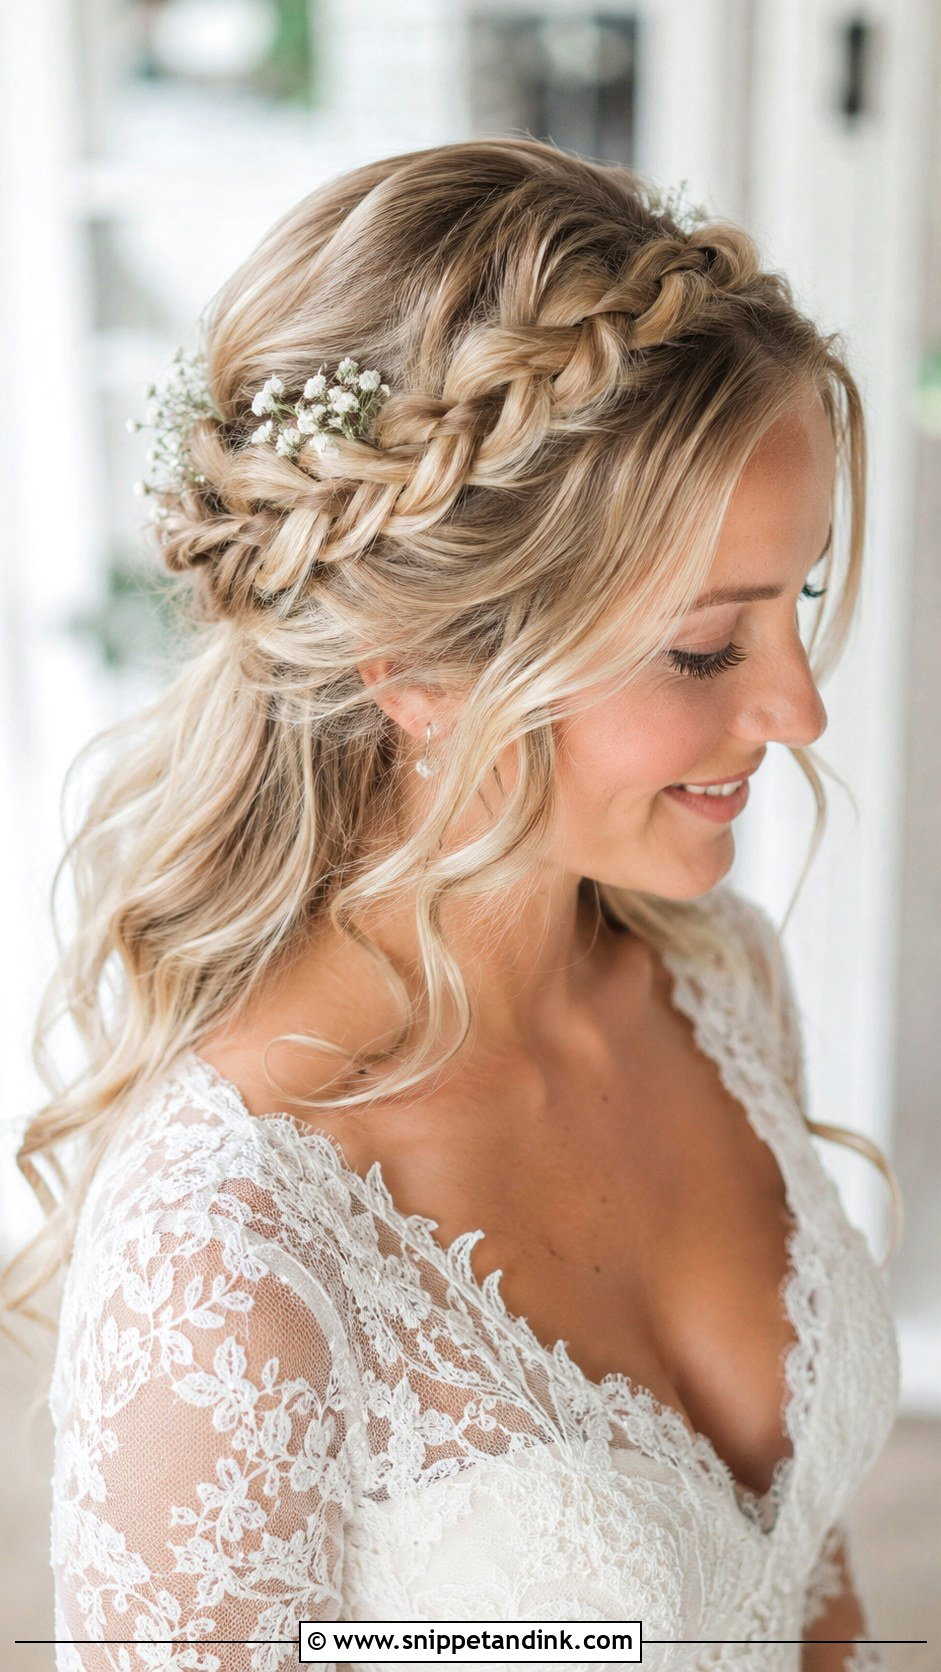
Wavy or textured hair holds a braid crown; freshly straightened hair lets it slip. Part where you like, then make two loose braids starting near each ear and pull the edges apart slightly. Wrap one over the top of the head and pin it like a headband, then lay the second behind or beside it, hiding the ends underneath. I pin into the braid from the outside edge toward the scalp so nothing shows. Leave the back down in waves or tuck it into a low bun. Light spray and tiny floral pins finish it.
13. How To Do Short Hair Bridal Hairstyle
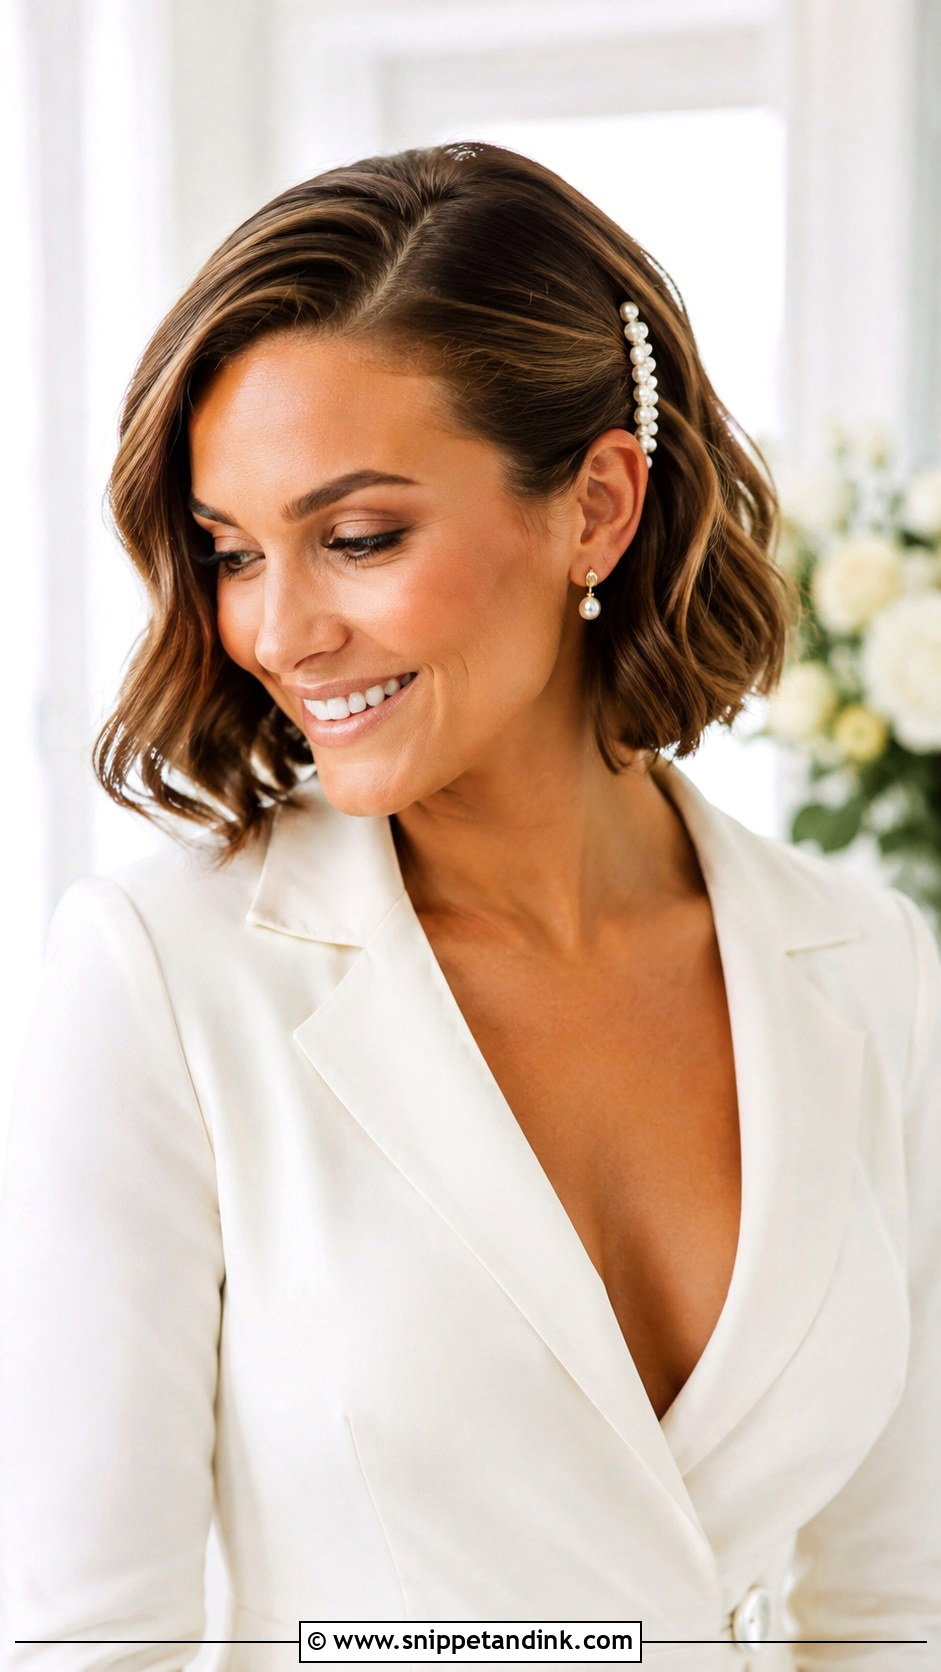
Short hair needs lift at the root more than length. Volume mousse, a blow-dry with the roots lifted, then a small iron or flat iron to bend the ends. On a bob, tuck one side behind the ear and fix it with a pearl clip or jewelled barrette. For a pixie, smooth the sides and build height on top. Short styles show every flyaway, so I finish with a small amount of wax or cream rather than a lot of spray. A short veil, headband or small comb sits easily on short hair.
14. How To Do Long Hair Bridal Hairstyle
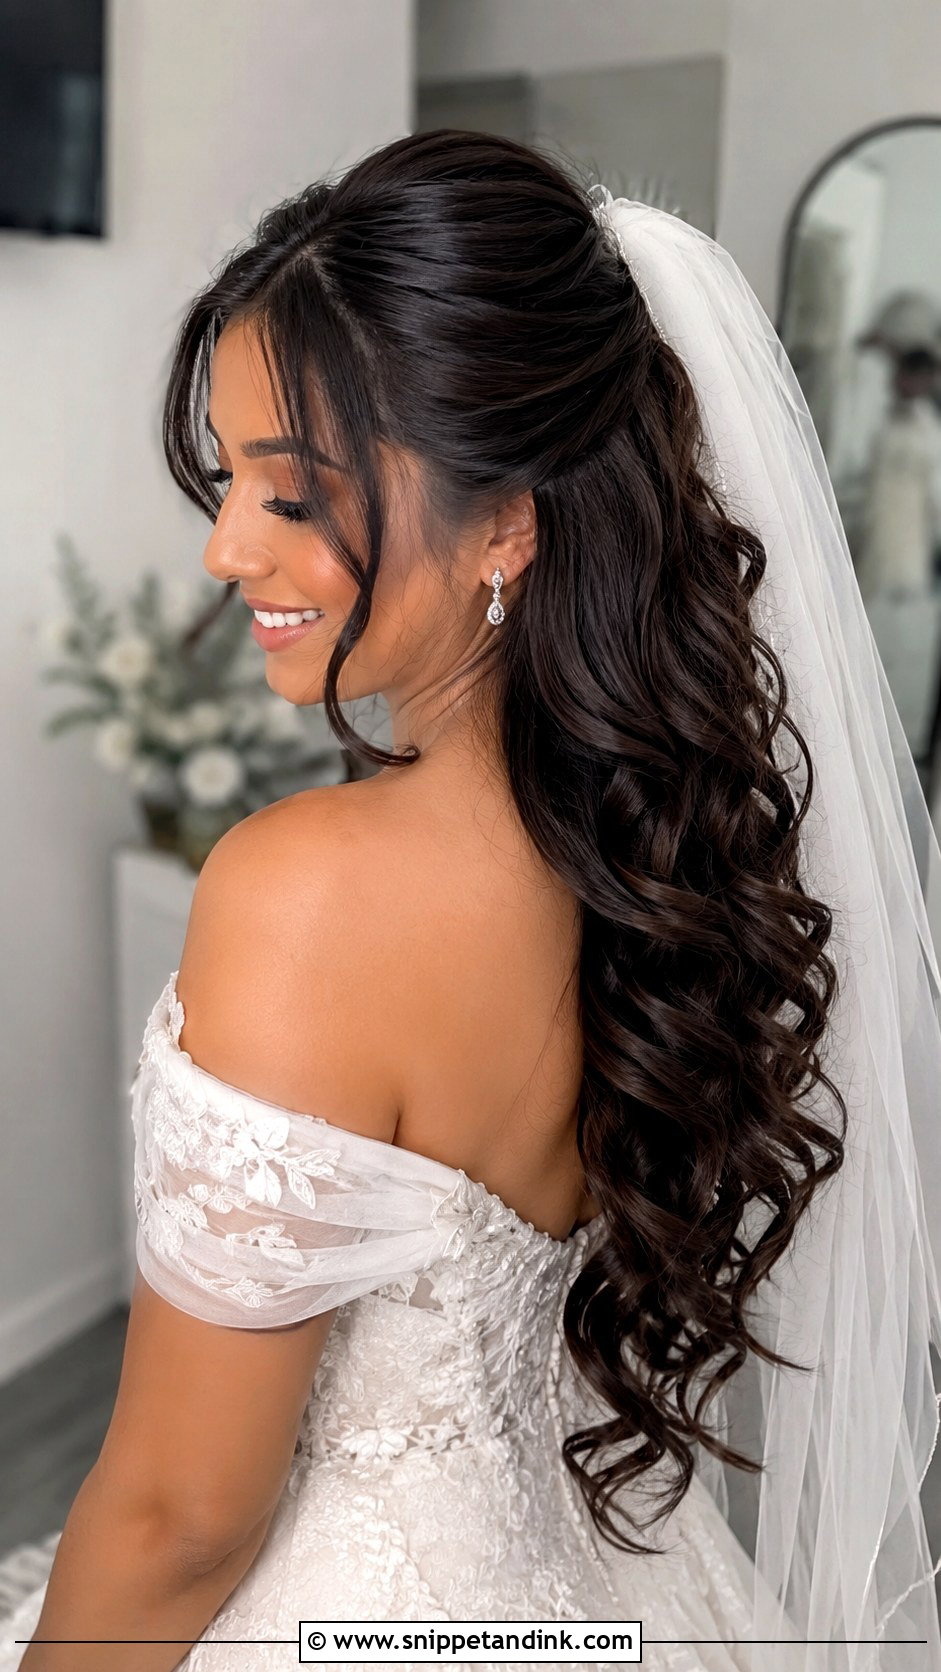
Long hair’s weight is the problem. Mousse and heat protectant, curl in sections and let every curl cool. Brush gently for waves, or keep the curls more defined if your hair is known to drop. Tease the crown lightly, then decide whether the front is pinned back, twisted or left loose. I hide a few crossed pins under the top layer at the back so the length doesn’t pull the crown flat over the day. Half-up twists, cascading waves or a crown-set veil all suit it.
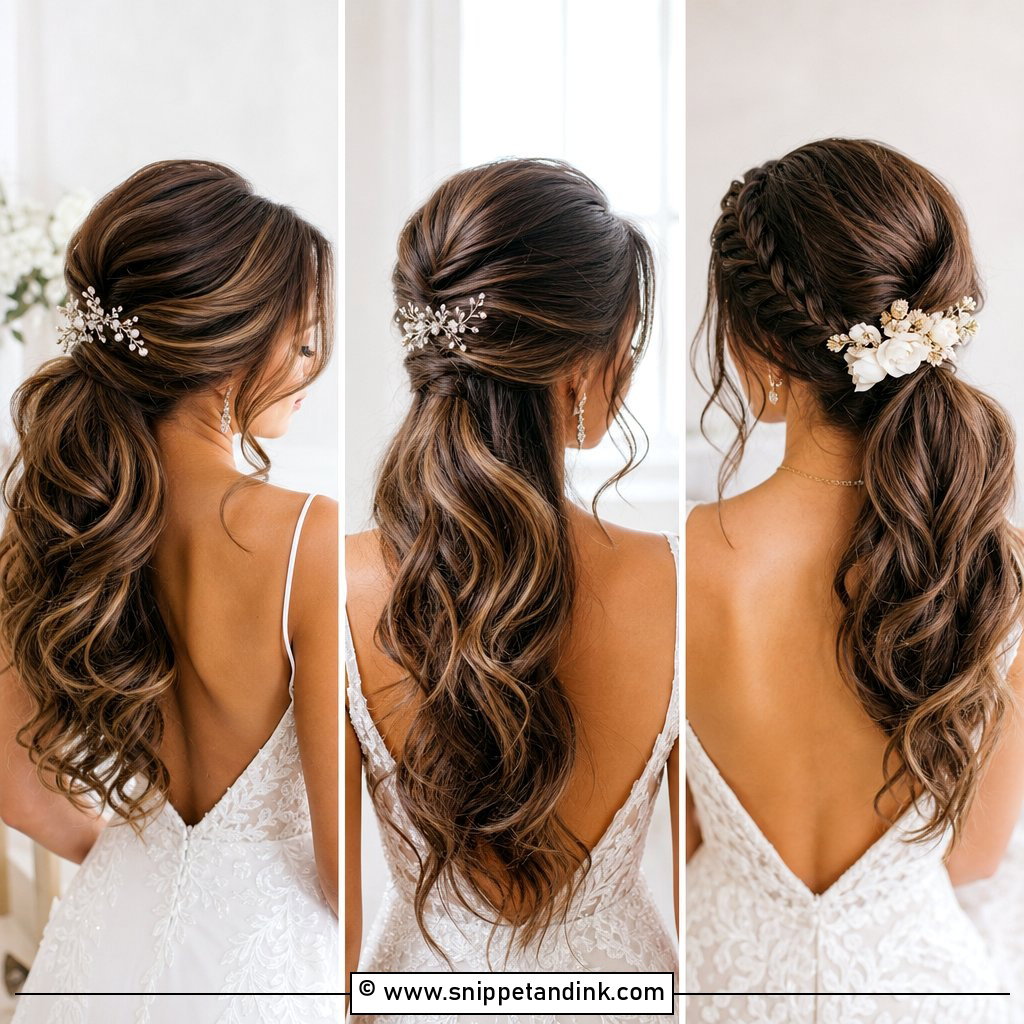
15. How To Do Natural Bridal Hairstyle
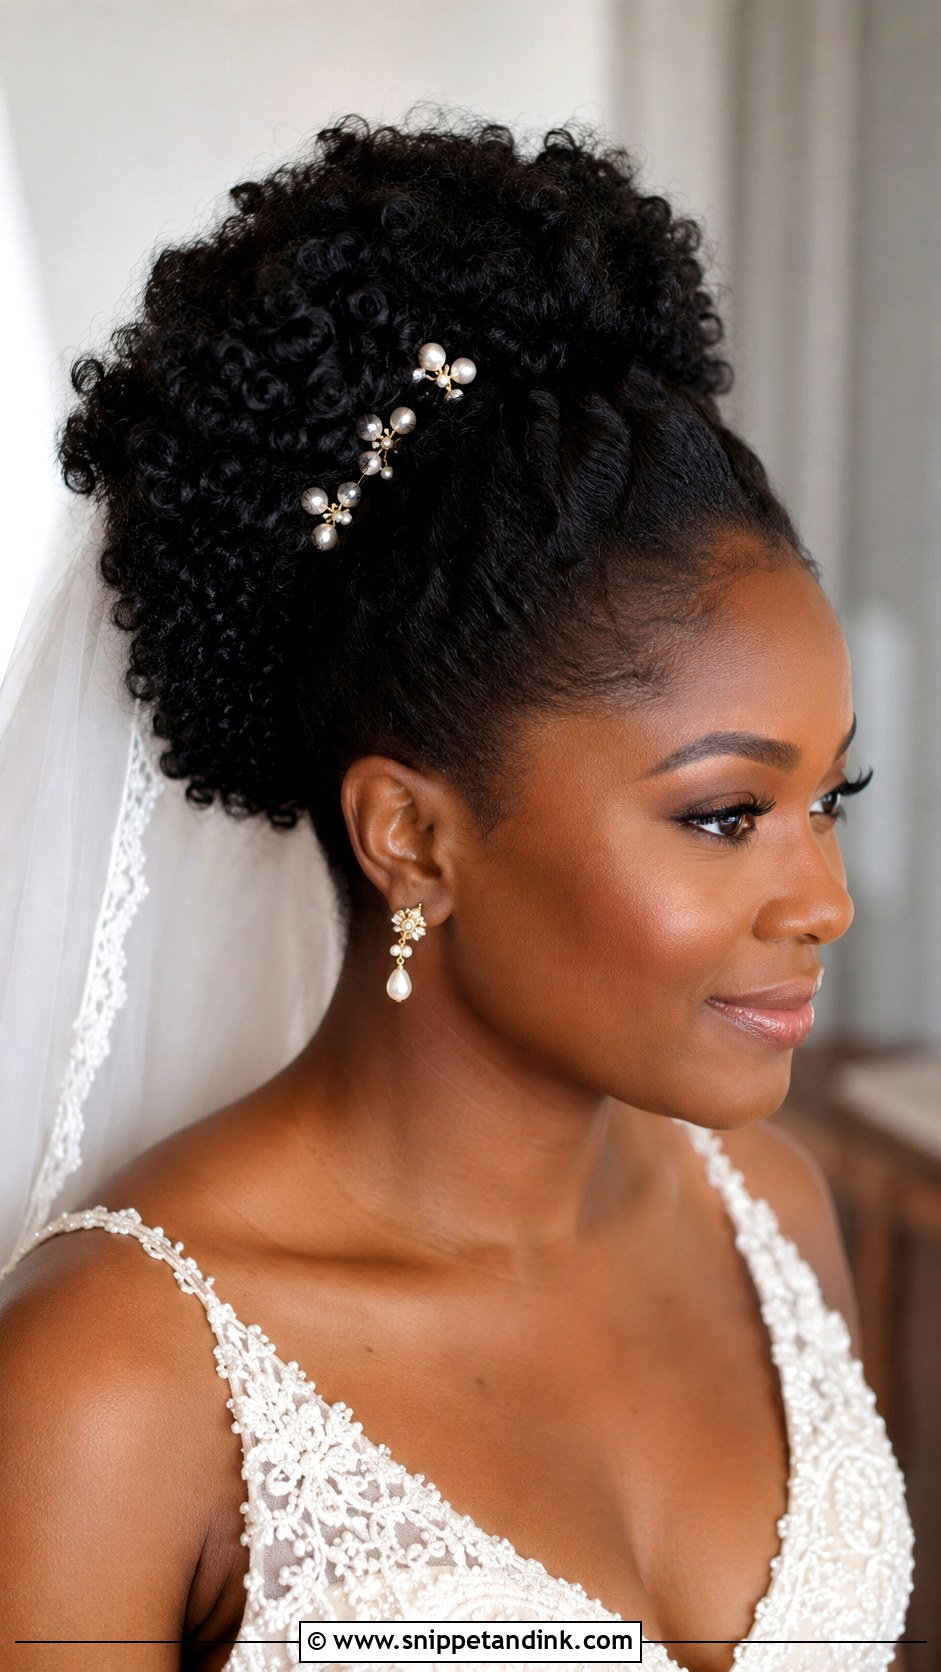
Natural textures look their best when the hair is moisturised and shaped to work with the curl pattern, not against it. Start with clean, conditioned hair. For an updo, stretch the roots lightly, then gather the hair into a puff, bun, twist-out updo or pinned curl shape. Choose cream, gel or mousse for the hold your texture needs. Smooth the edges softly and never pull the style tight; tension at the hairline for a whole day is painful and can damage the edges. Gold pins, pearls, flowers or a veil at the back finish it.
Rescuing a Style That Starts Slipping at the Reception
Even a well-built style can loosen after hugging, dancing and a veil coming out. Most fixes take two minutes if someone has the right things in a bag: a dozen bobby pins in your color, a few hairpins, two clear elastics, a small hairspray and a tail comb.
- A bun that sags: don’t take it down. Push it back up into place and drive two crossed bobby pins from underneath, through the bun and into the base.
- Waves that have flattened: twist a section around a finger, pin it in a flat coil, mist it, and leave it for ten minutes before brushing through.
- A half-up section that’s drooping: slide a bobby pin into the elastic from each side and anchor them toward the crown.
- Flyaways at the hairline: spray onto a toothbrush or your fingertips, never directly at the face, and smooth down.
- A veil comb that hurts: it’s usually sitting on loose hair. Pull it out, make a small crossed-pin anchor, and slide it back into that.
I always show one bridesmaid where the main anchor pins are before I leave. Knowing which pins carry the weight means nobody pulls out the wrong one.
Your Phone Camera Is the Best Trial Mirror You Own
The style that looks best in photos isn’t automatically the right one. It also has to suit your dress, face shape, texture, the weather, your veil and how much you can tolerate pins. Sleek buns are modern and controlled; messy updos are soft; half-up waves move; braids add detail without bulk. Practise your favourite at least once, photograph it from every side, and test it with your accessories in. With proper prep and the right pins, it will hold from the first look to the final song.
You'll Like These Ideas:


Leave a Reply