
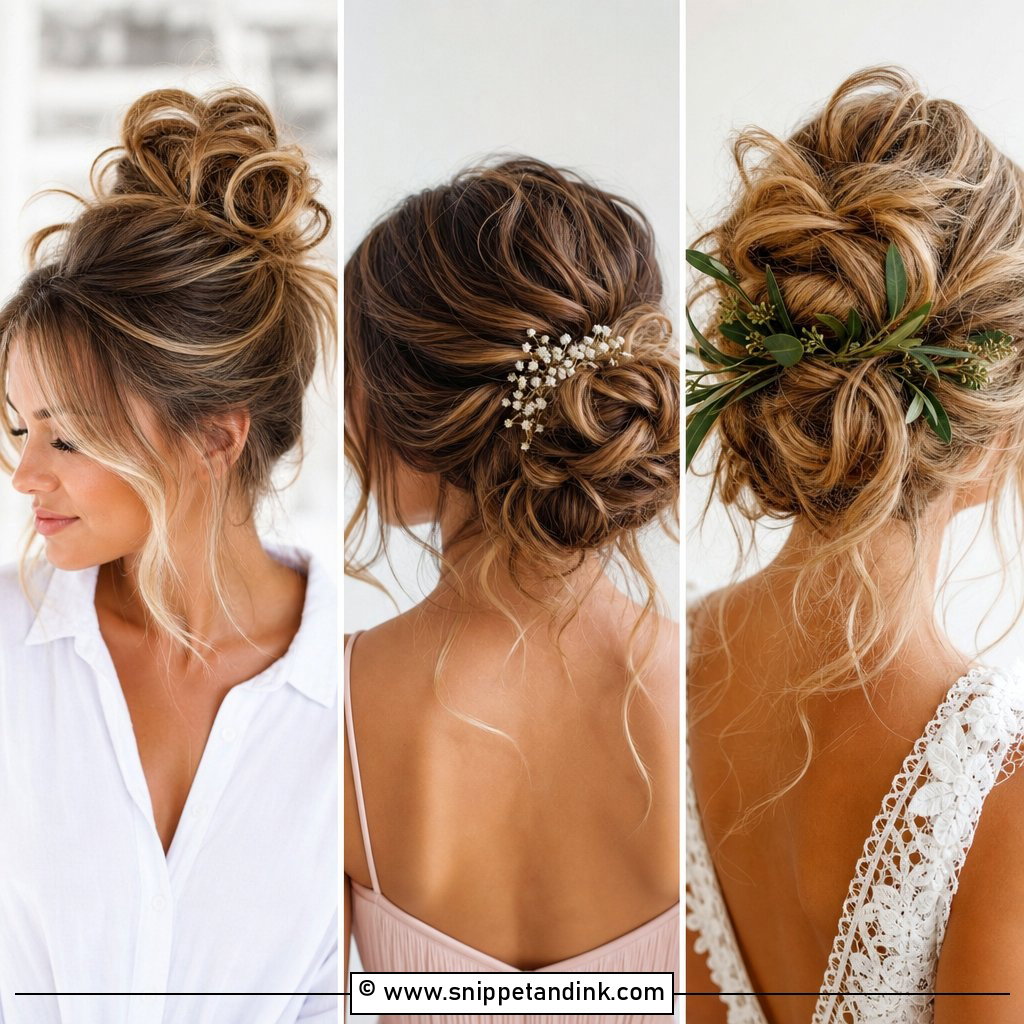
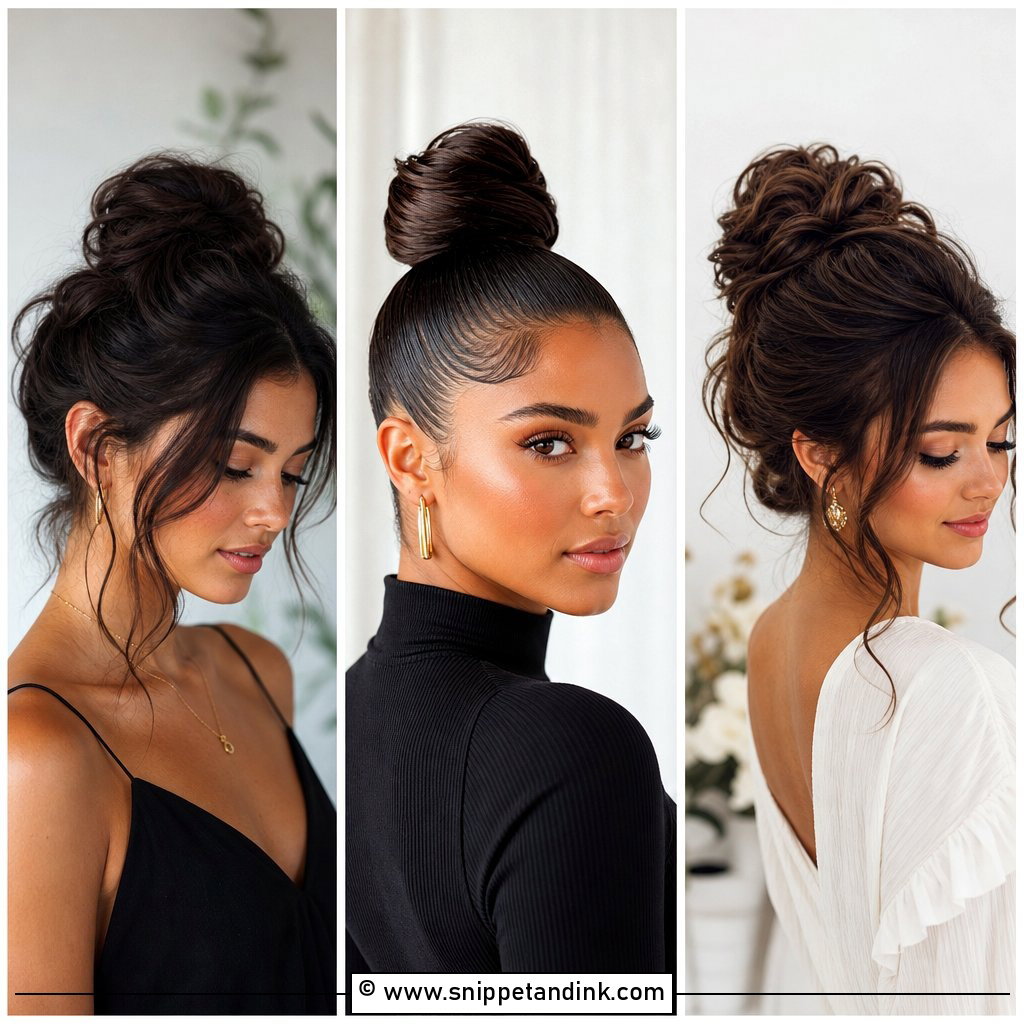
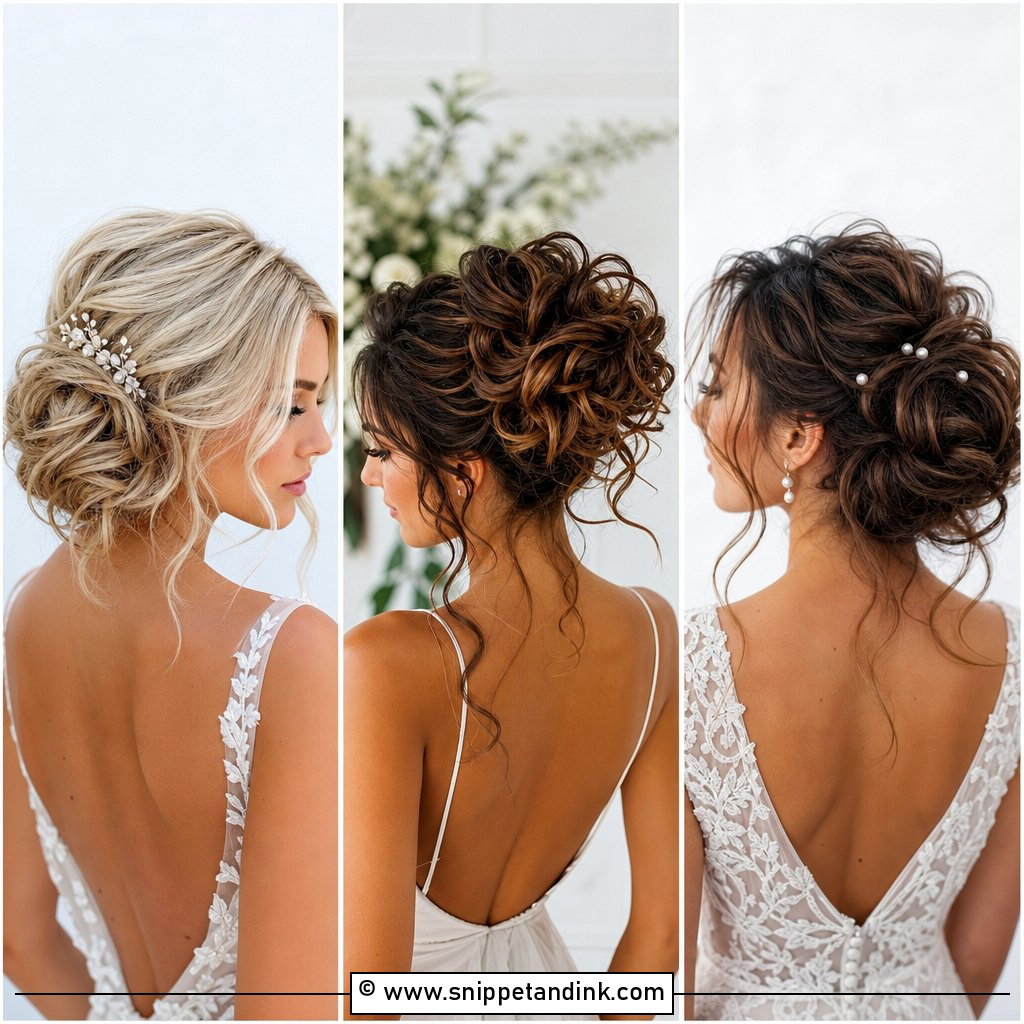
If I could only do one bridal style for the rest of my career, it would be the messy low bun. It holds through vows, hugs and dancing, it takes a veil without complaint, and it suits nearly every neckline. None of the good versions are actually messy, though. Every loose strand is placed, and the bun underneath is pinned harder than it looks. The fifteen below cover the main ways I adapt it, from hair type to part to what goes in it.
Messy Means Something Different to Every Stylist
Ask ten stylists for a messy low bun and you’ll get ten different levels of mess. One bride means a few loose wisps. Another means visible texture through the whole bun with pieces falling at the nape. So at a consultation I never take the word on its own.
How I Pin Down What You Mean
- Show me two or three photos you love, and at least one you think is too messy. The line between them tells me more than any description.
- Point at the front pieces in each photo. Are they curled, straight, long, short? Most disappointment at trials comes from front pieces.
- Tell me if you’ll be touching your hair through the day. Brides who fiddle need more hold at the crown.
- Mention if you’ve ever had an updo that gave you a headache. That changes how I pin.
Also say how you want to look in the back photos. Many brides focus on the front and forget that the ceremony photographer catches the bun for most of the vows.
1. Messy Low Bun Wedding Hair With Face Framing Pieces
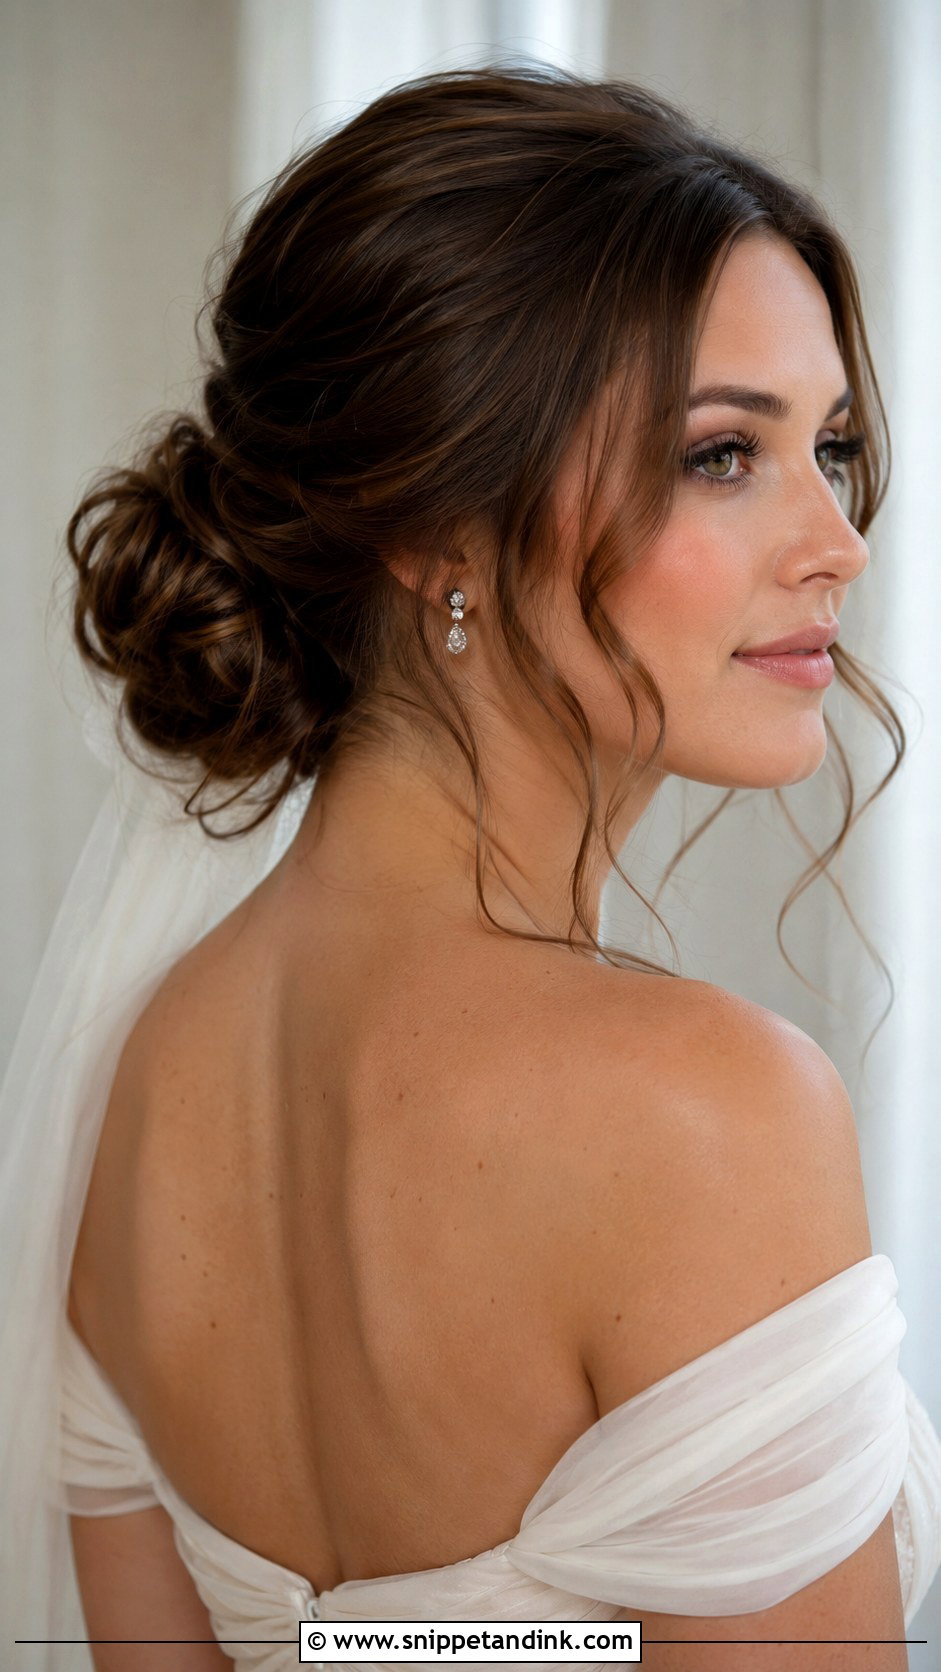
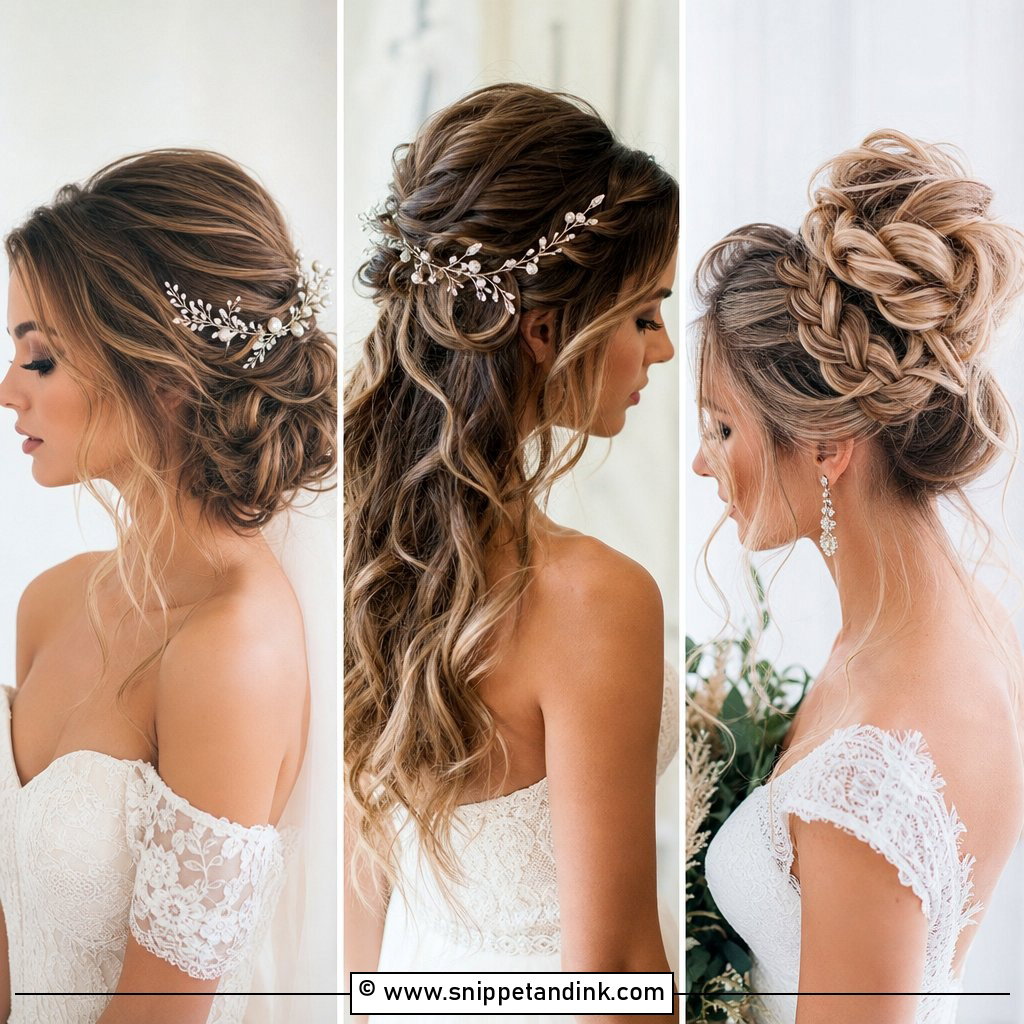
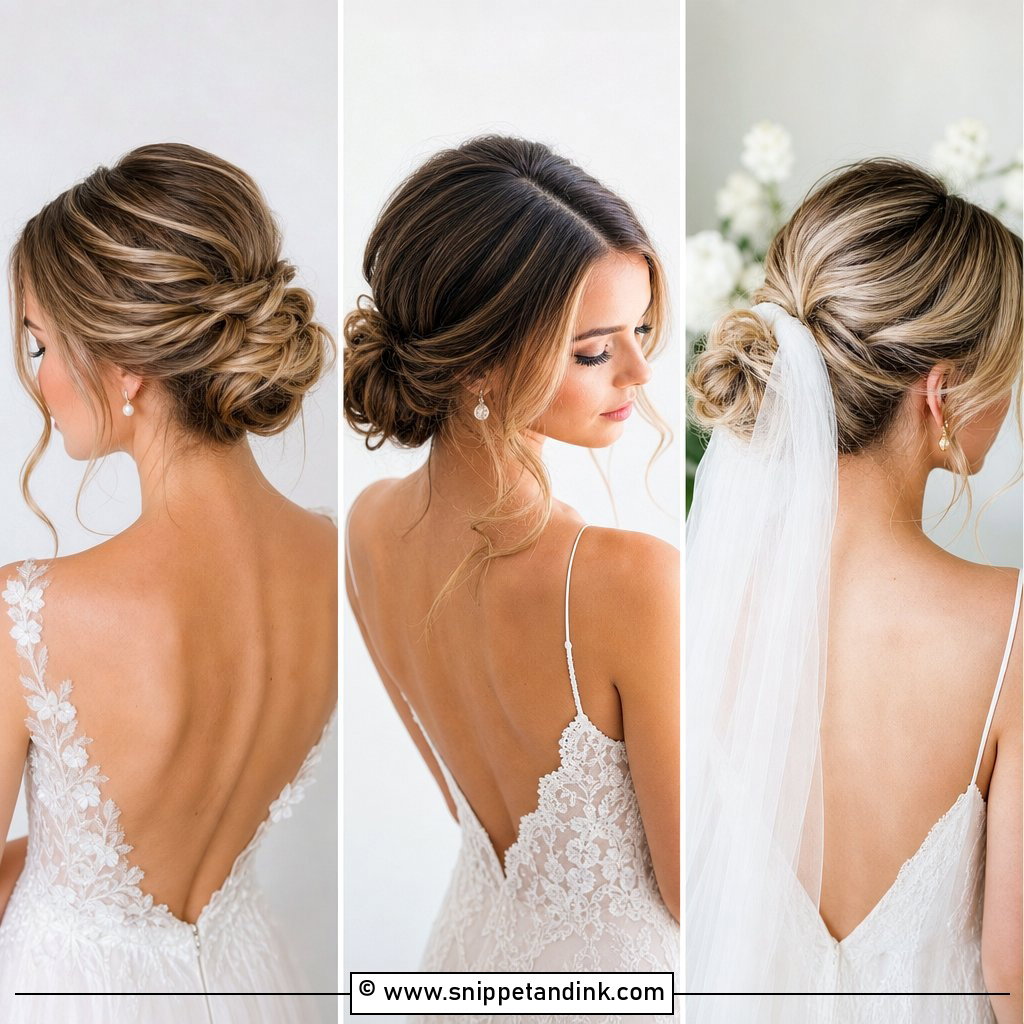
Front pieces are what make a low bun look soft from the front, since the bun itself barely shows in face-on photos. I pull them from the existing hairline after the bun is pinned, curl them away from the face, and keep them thin. Strapless, off-the-shoulder and sweetheart necklines all show them off. Add a little crown volume so the head doesn’t look flat from the side. If your front pieces look frizzy at the trial, they’re too thick.
2. Messy Low Bun Wedding Hair With Veil
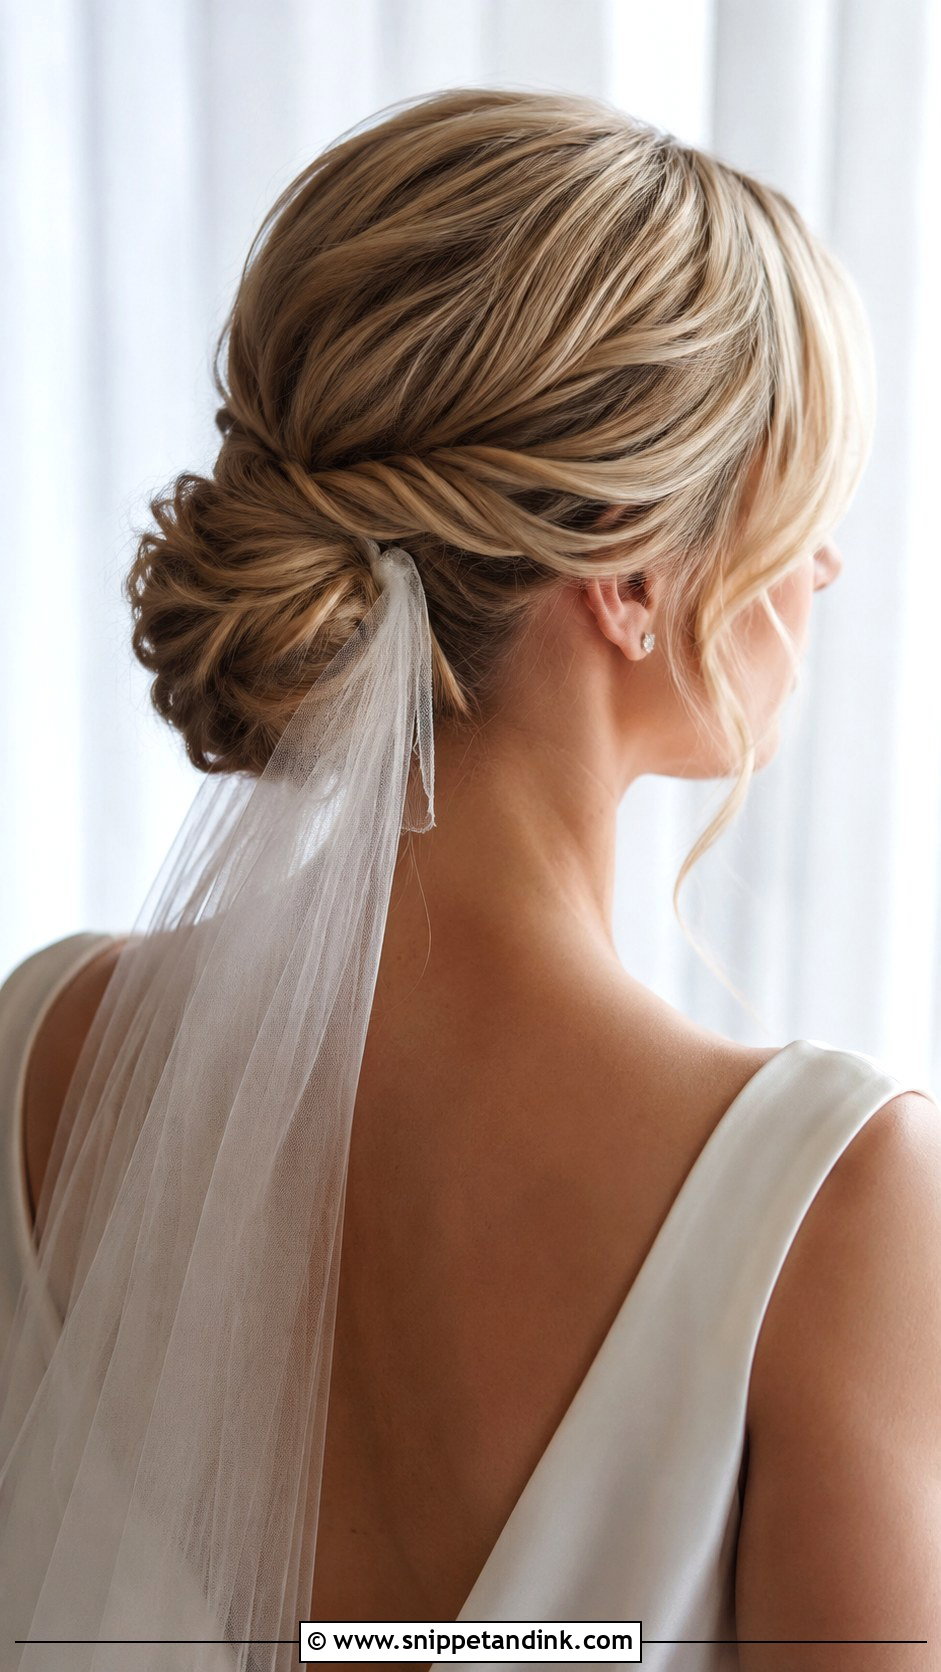
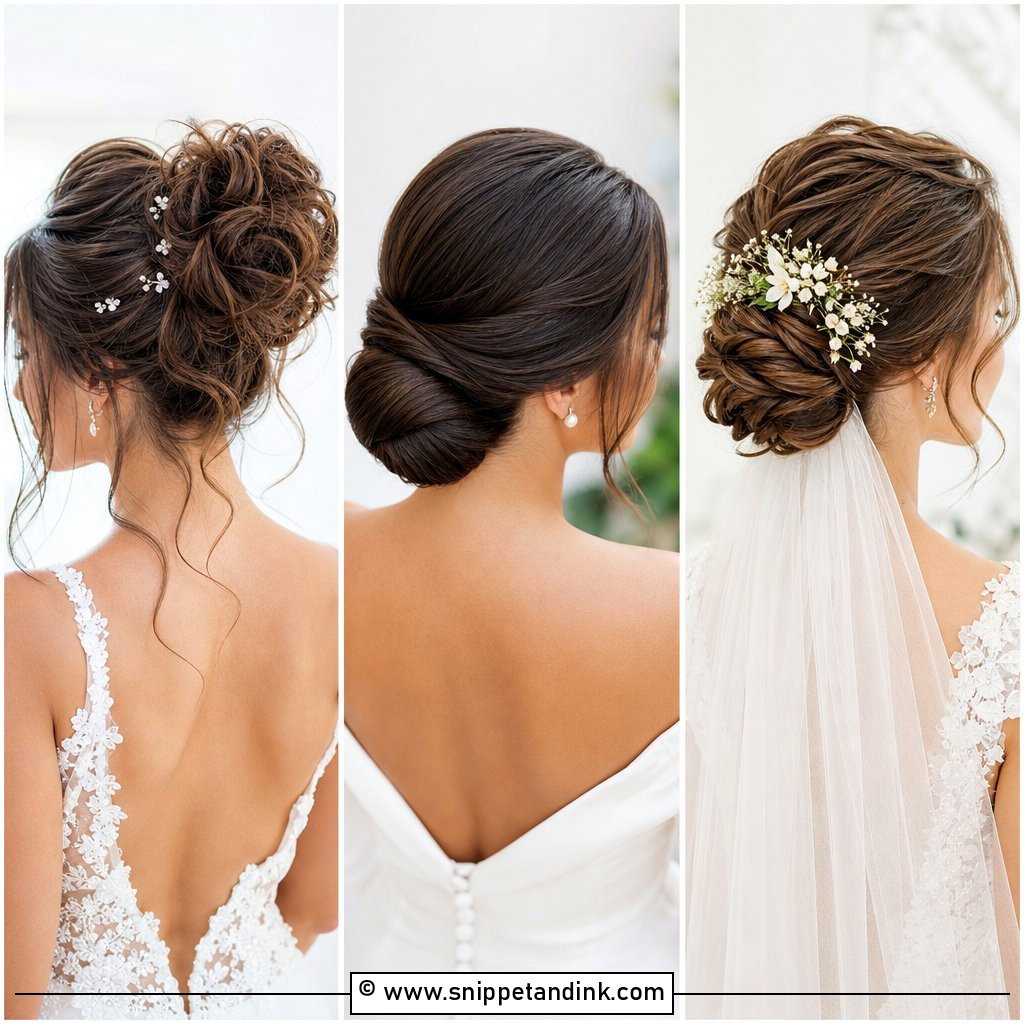
A low bun is the most veil-friendly shape there is. The comb can go above the bun for a traditional outline, or slide in underneath so the bun stays fully visible through the tulle. I prefer under for sheer veils and above for heavier, embroidered ones, because an embroidered veil pulls back and a bun underneath can’t support it. Either way, I set waves before pinning so the bun has grip for the comb.
3. Messy Low Bun Wedding Hair With Pearl Pins
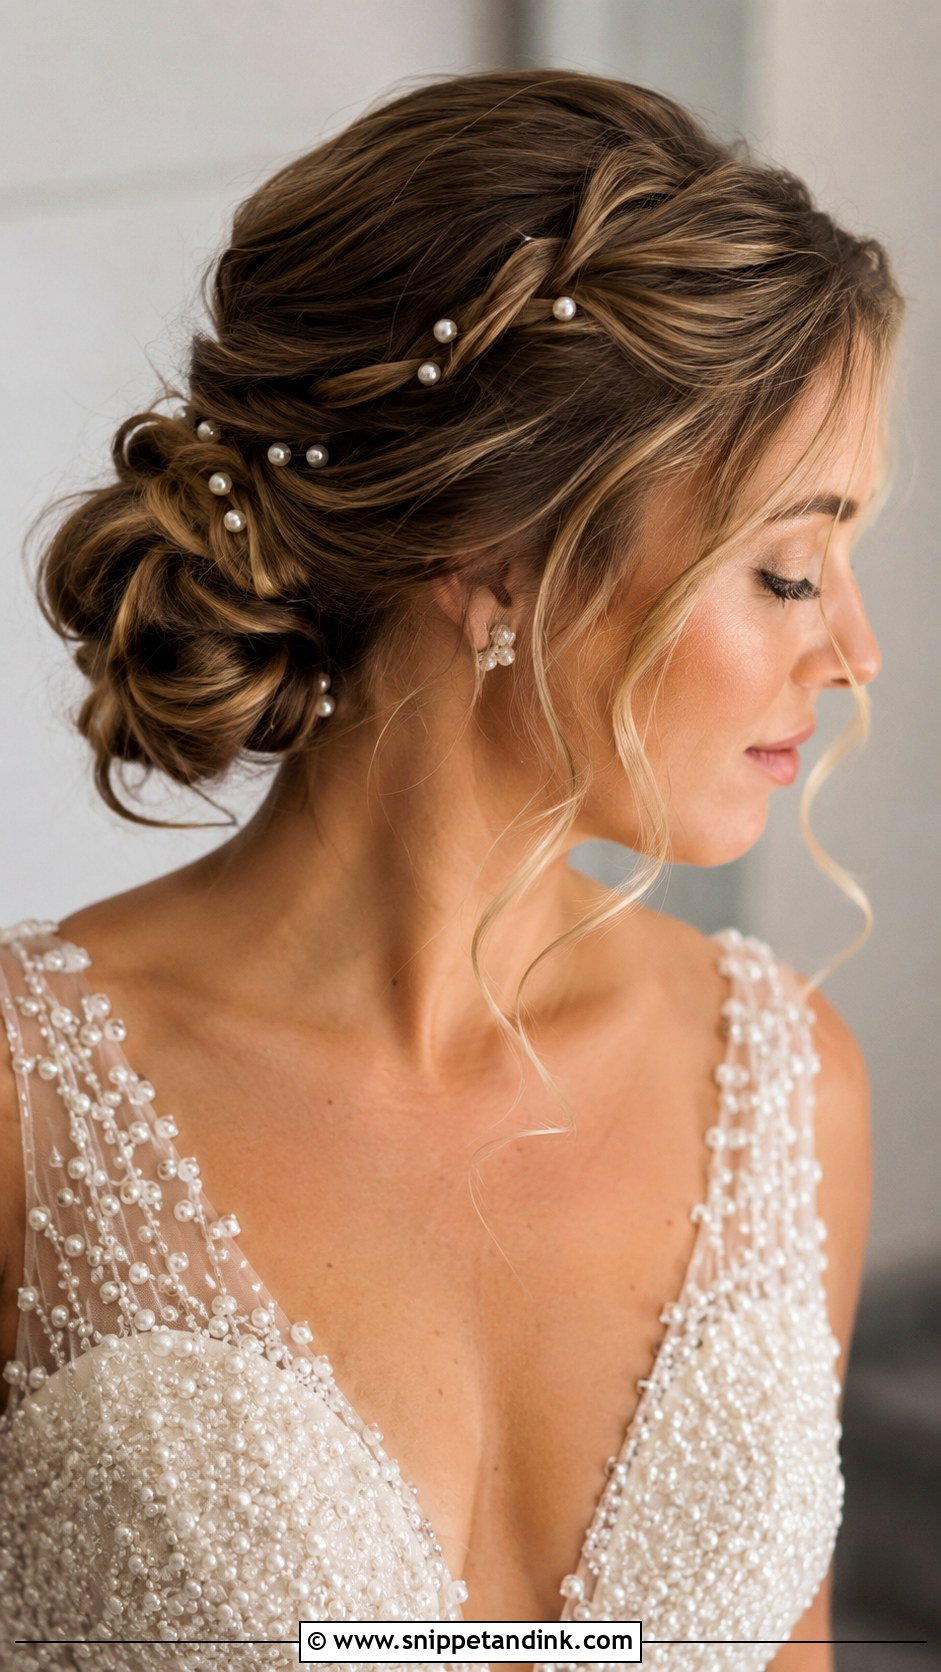
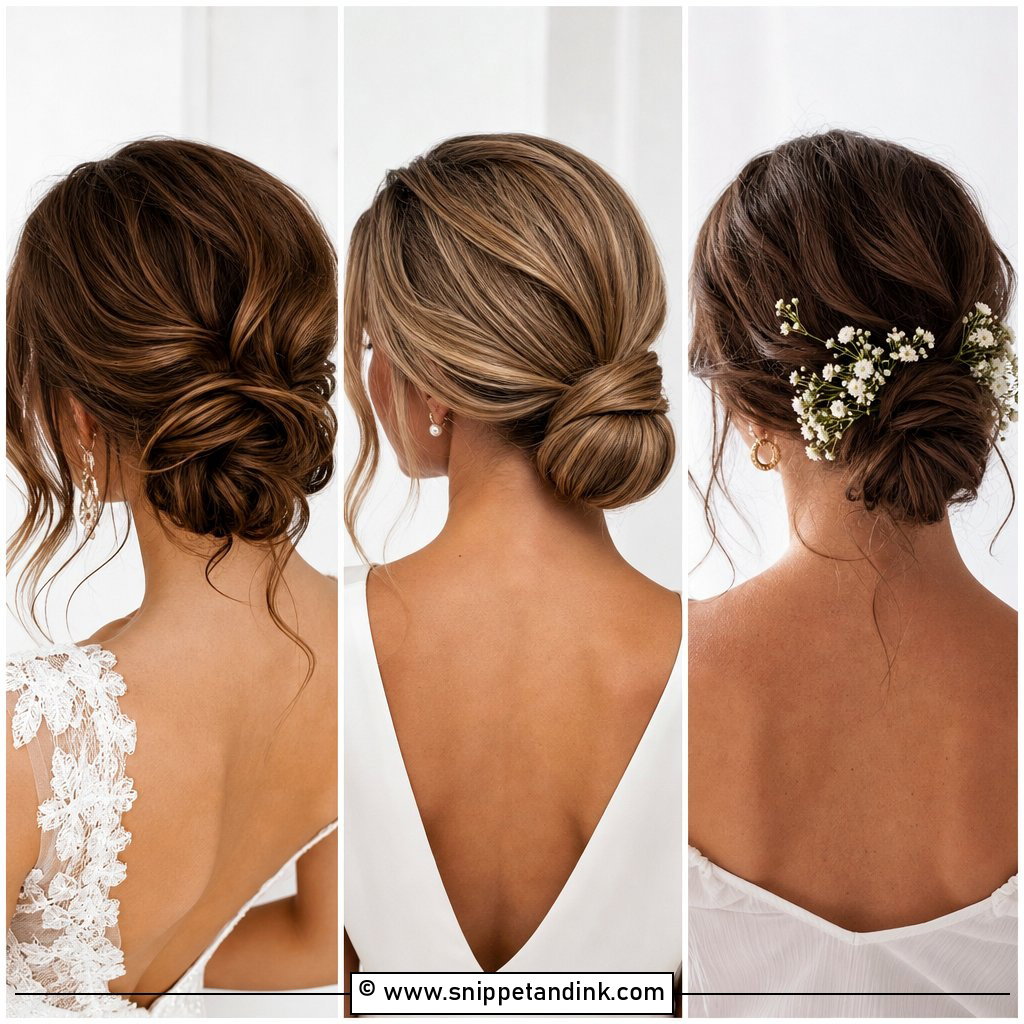
Pearl pins give polish to a bun that might otherwise read casual. I’ll scatter them, cluster them on one side or follow a twist line. The clustered version tends to photograph better from a distance; scattered pins can look like dots unless you’re up close. Plain bobby pins hold the bun first and the pearls go in last, purely decorative, so they never carry weight and never slip. They suit satin gowns and pearl earrings without trying.
4. Messy Low Bun Wedding Hair With Braid
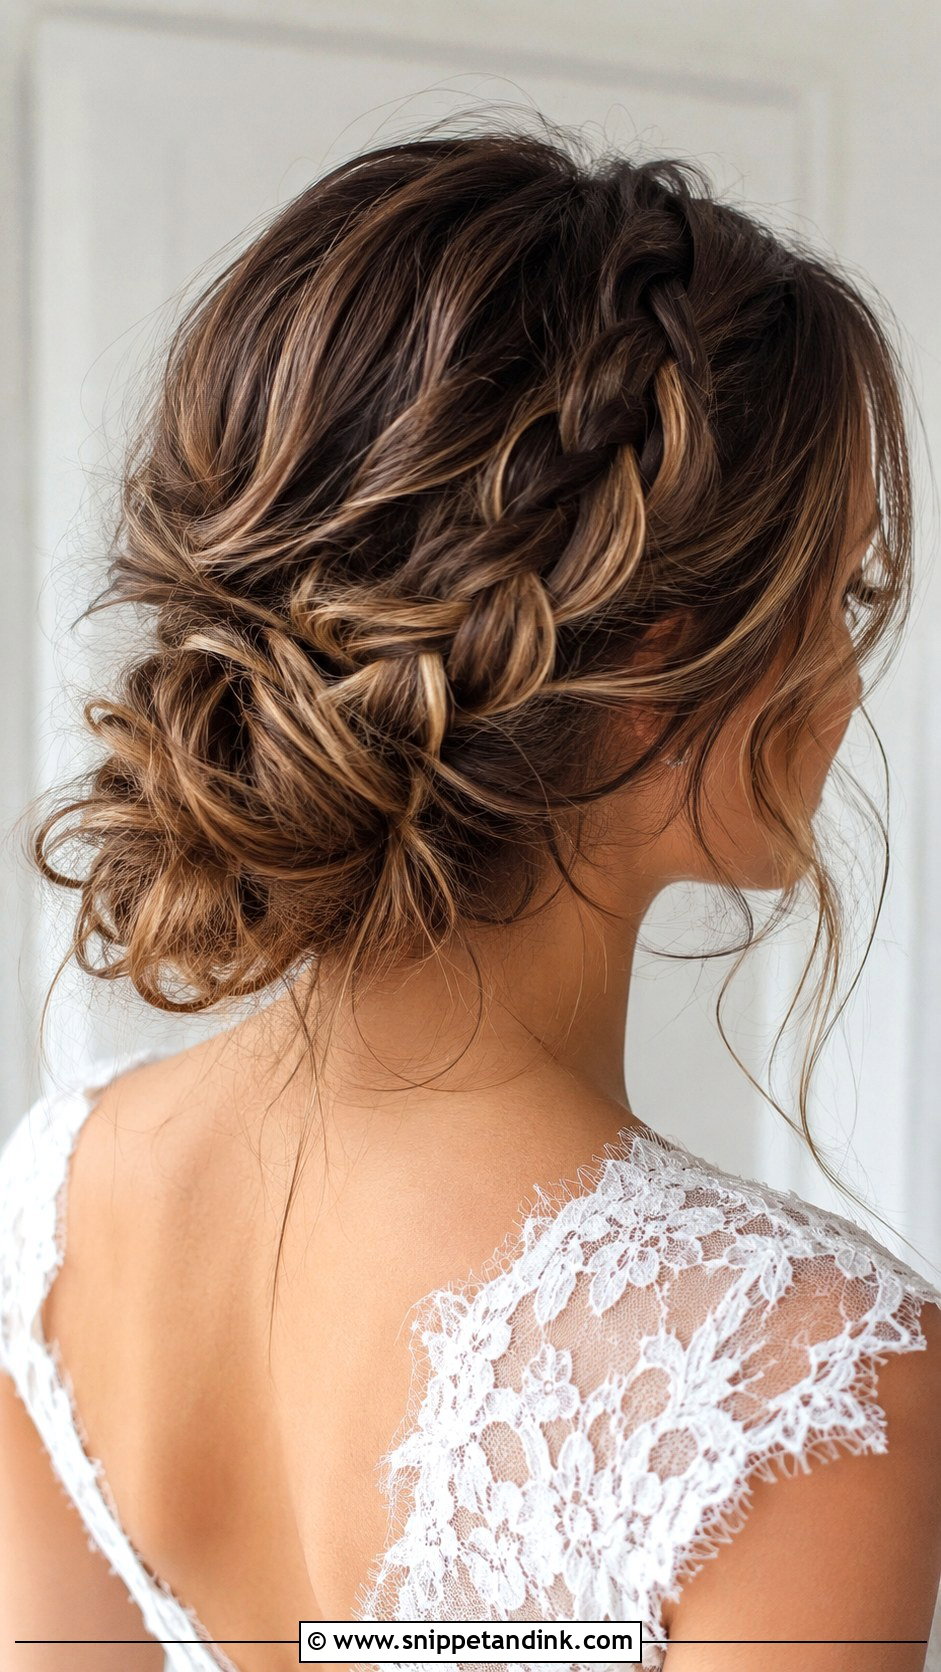
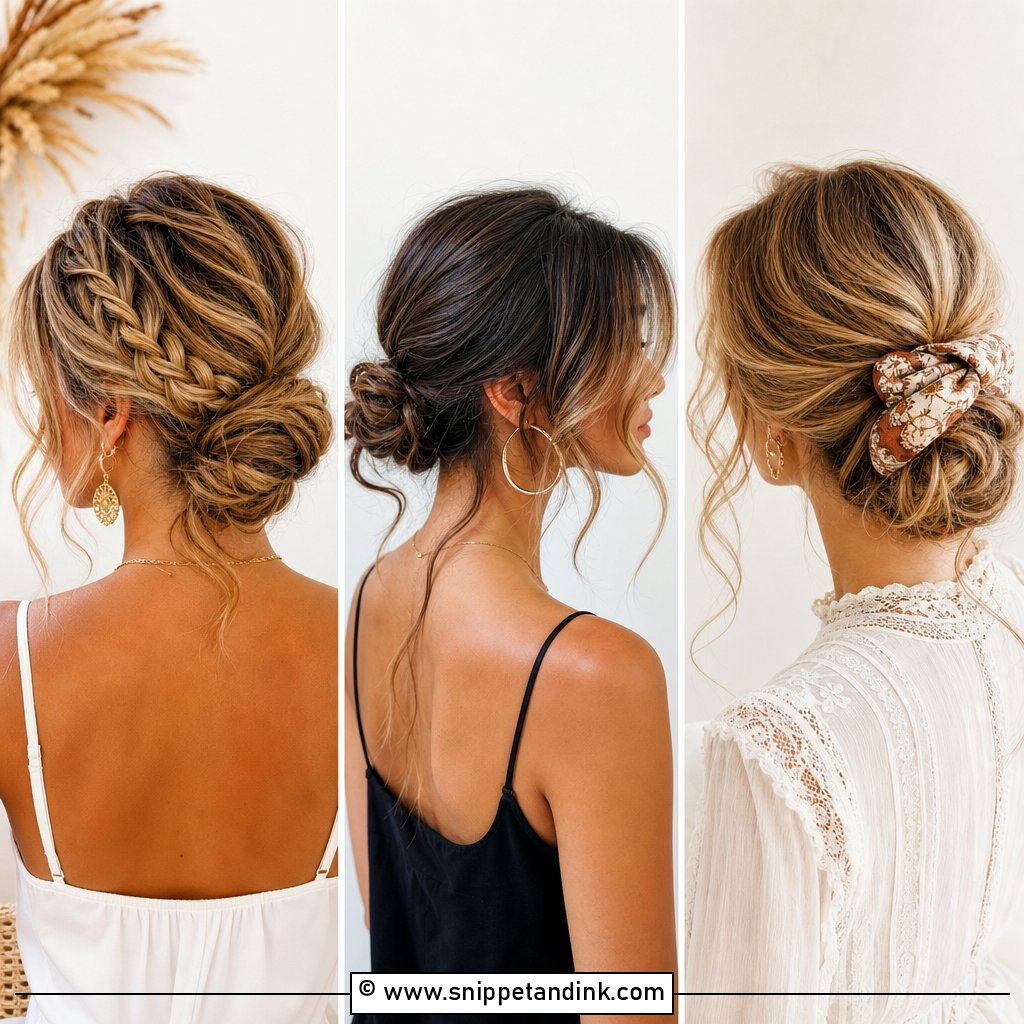
Braids add detail on the way into the bun, and they’re useful for fine hair because a pulled-apart braid looks thicker than the same hair left loose. A braid can start at one side and cross into the bun or wrap around its base. Highlighted or balayaged hair shows the pattern well; jet black hair loses some of the detail in photos. I loosen the braid gently so it matches the relaxed bun. Floral combs sit nicely beside it.
5. Messy Low Bun Wedding Hair For Thin Hair
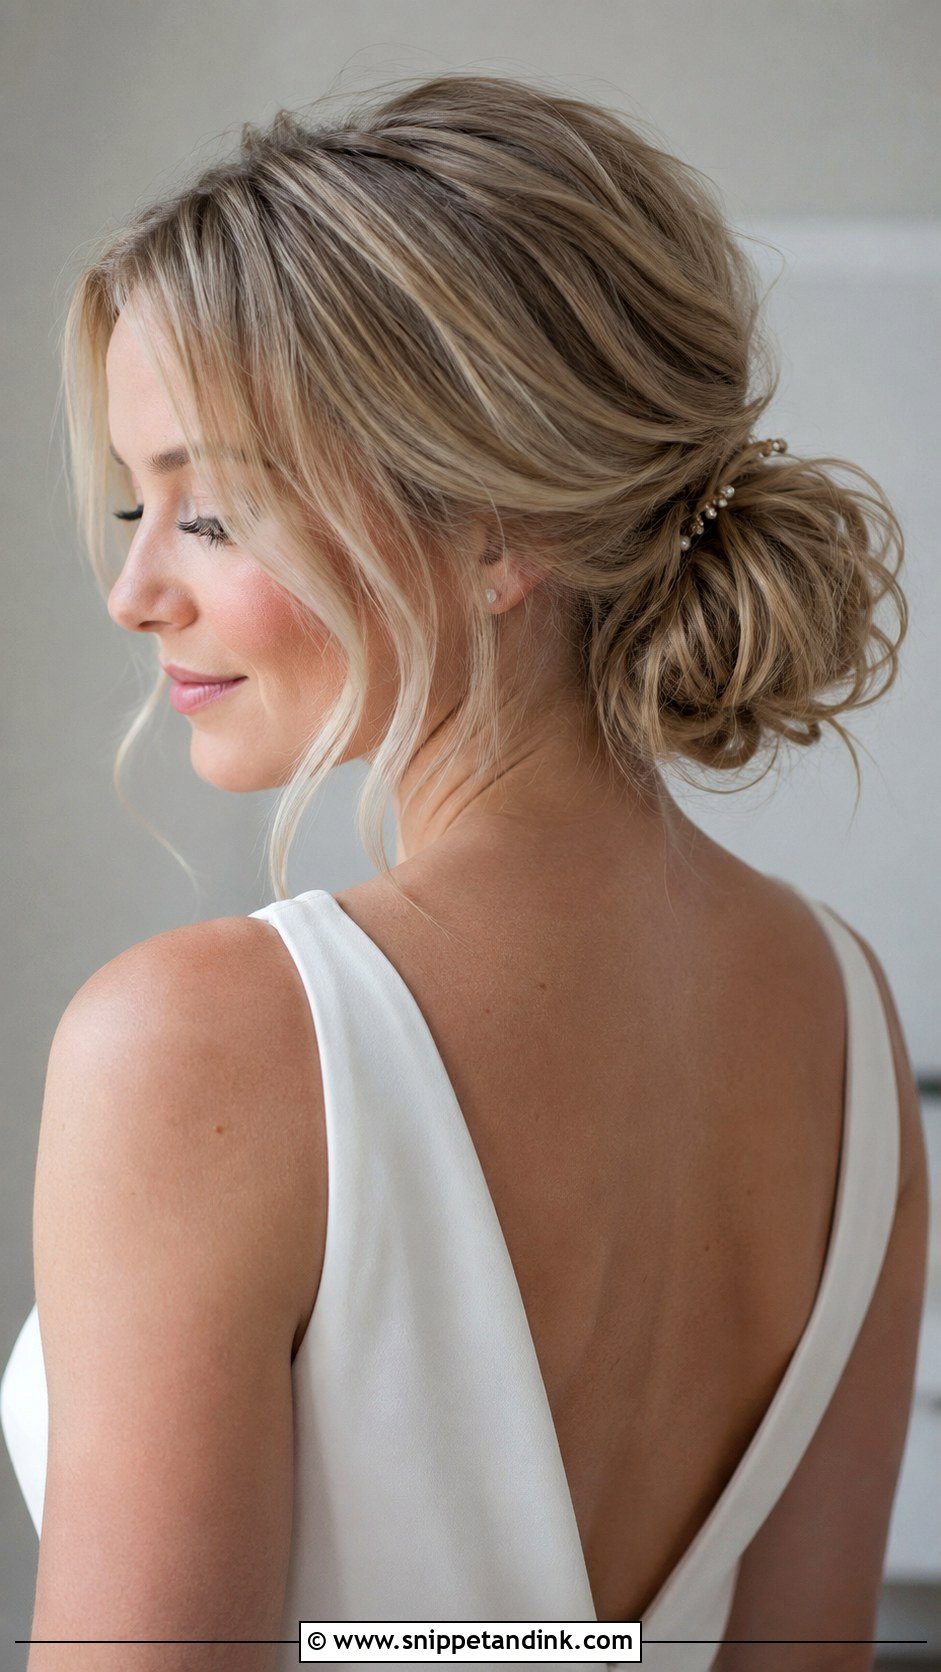
Thin hair can absolutely carry this, and the prep matters more than the pinning. I lift the roots with a mousse or root spray, curl everything and backcomb gently at the crown. Clip-in extensions or a small padding piece hidden inside the bun add size where your own hair runs out. What I avoid is pulling it tight and smooth, which shows the scalp at the part. Keep accessories small. A thin comb or a few fine pins suit fine hair; a big jewelled piece makes the bun look smaller by comparison.
6. Messy Low Bun Wedding Hair For Long Hair
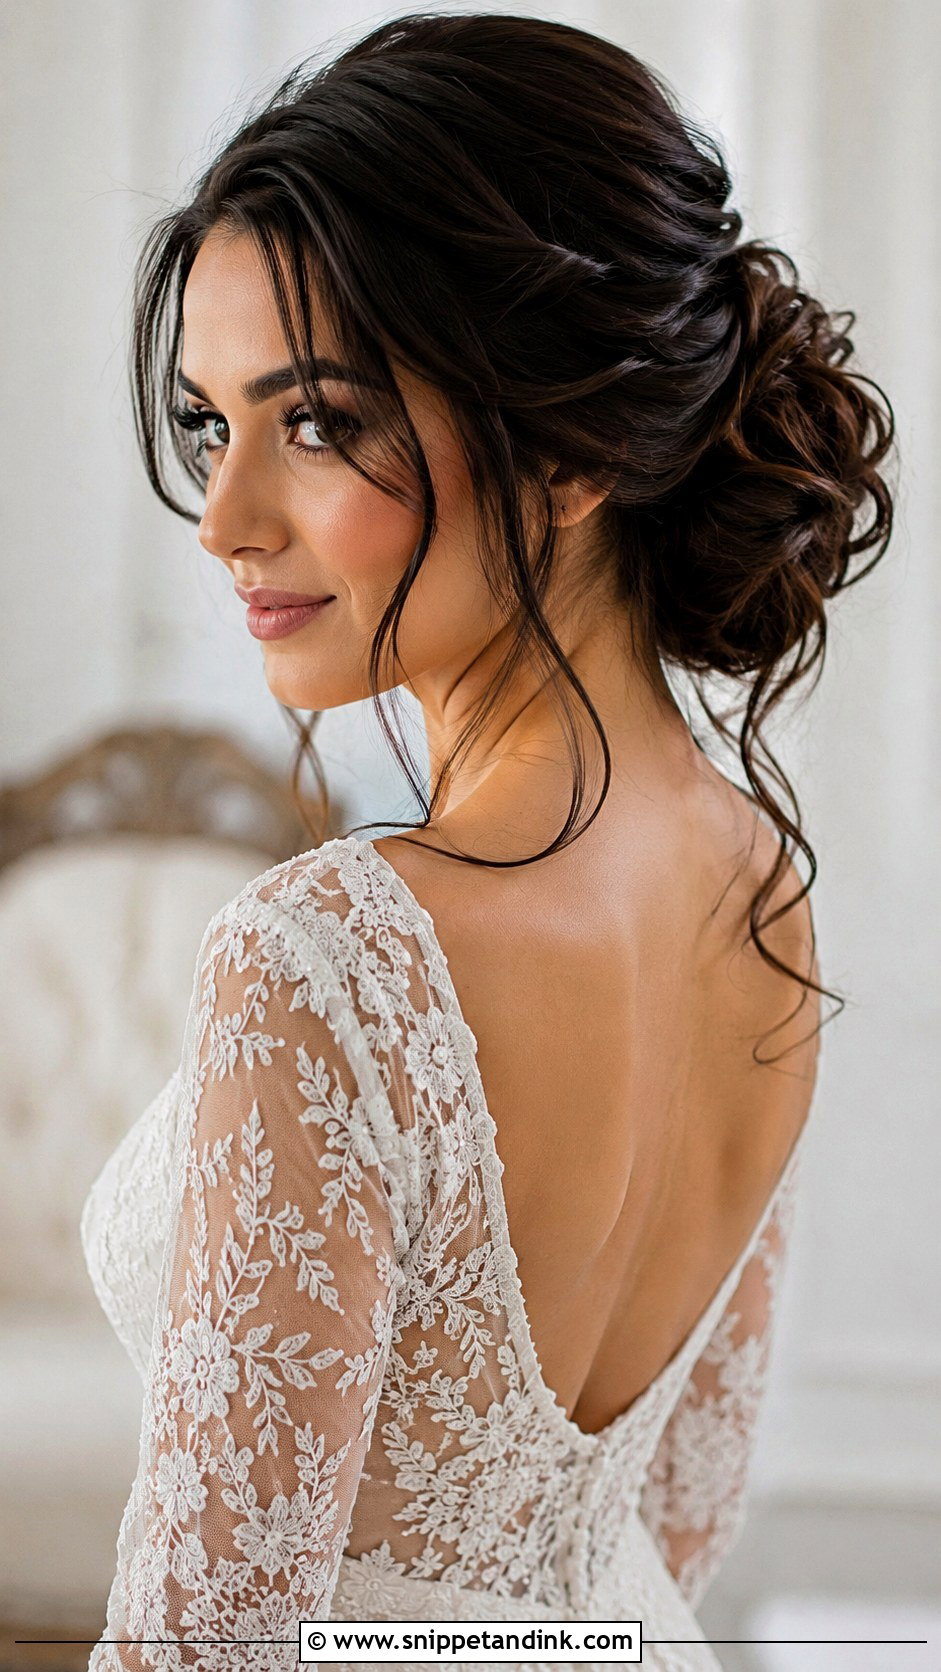
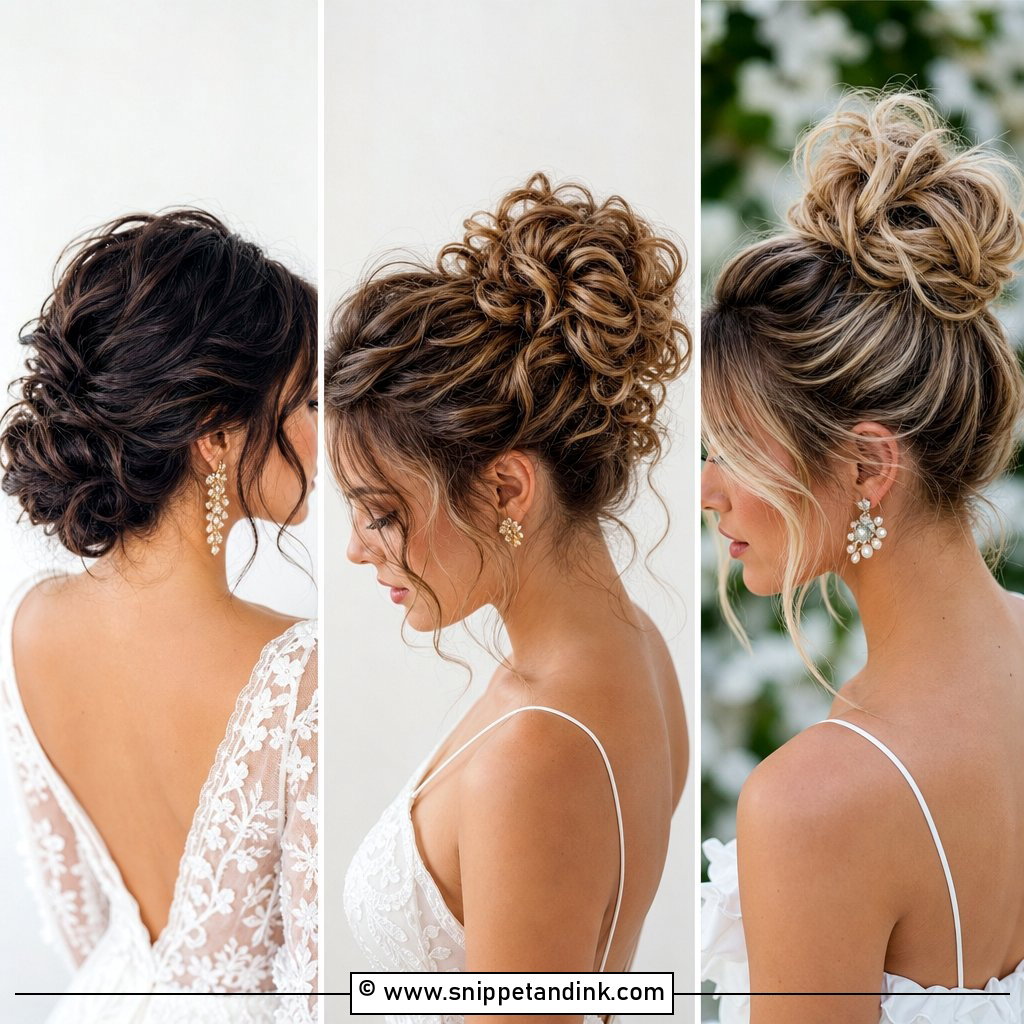
Long hair gives you more to build with: loops, knots, and soft pinned curls all fit inside the bun. The danger is a bun that’s heavy and bulky in one spot. I spread it wide and low so the weight is shared across more pins, and on very heavy hair I start with a small ponytail base for anchorage. It takes a veil and statement earrings comfortably. Expect to feel the weight by the end of the night, which is normal.
7. Messy Low Bun Wedding Hair For Medium Hair
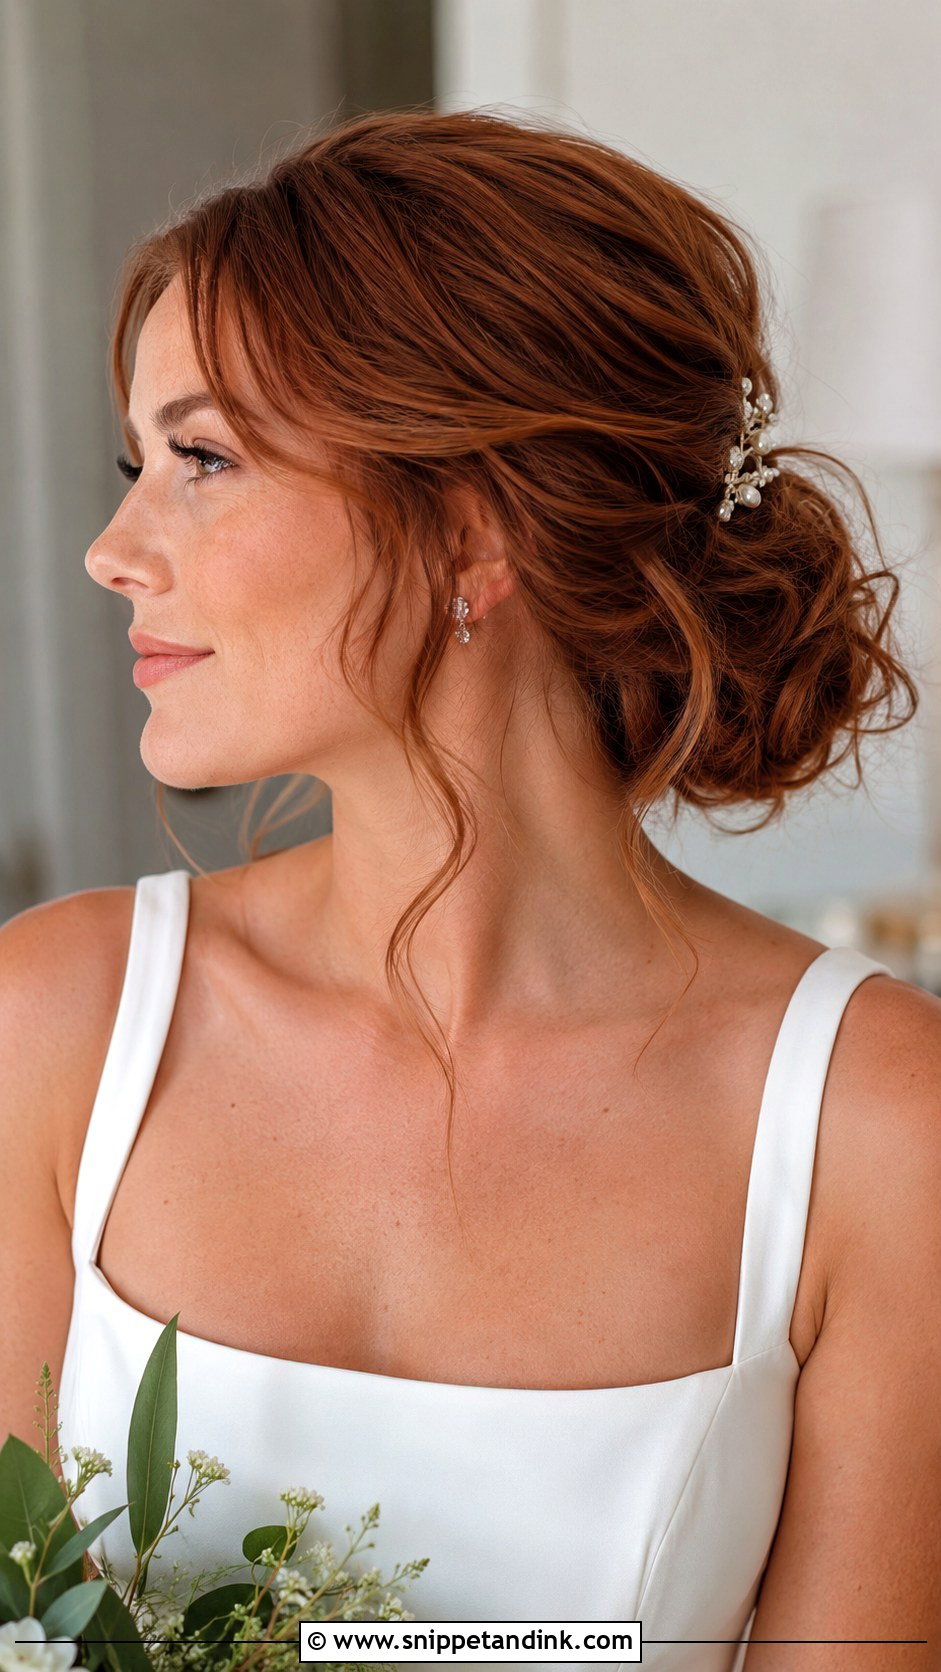
Medium hair is in the sweet spot. Shoulder to collarbone length is long enough to build a bun and light enough not to drag. I curl first, then pin it at the nape in sections. Shorter pieces at the back sometimes refuse to reach, so I tuck and pin them under the bun so the back view still looks full. A side part or a single clip personalises it. Bridesmaids with this length usually love it.
8. Messy Low Bun Wedding Hair For Curly Hair
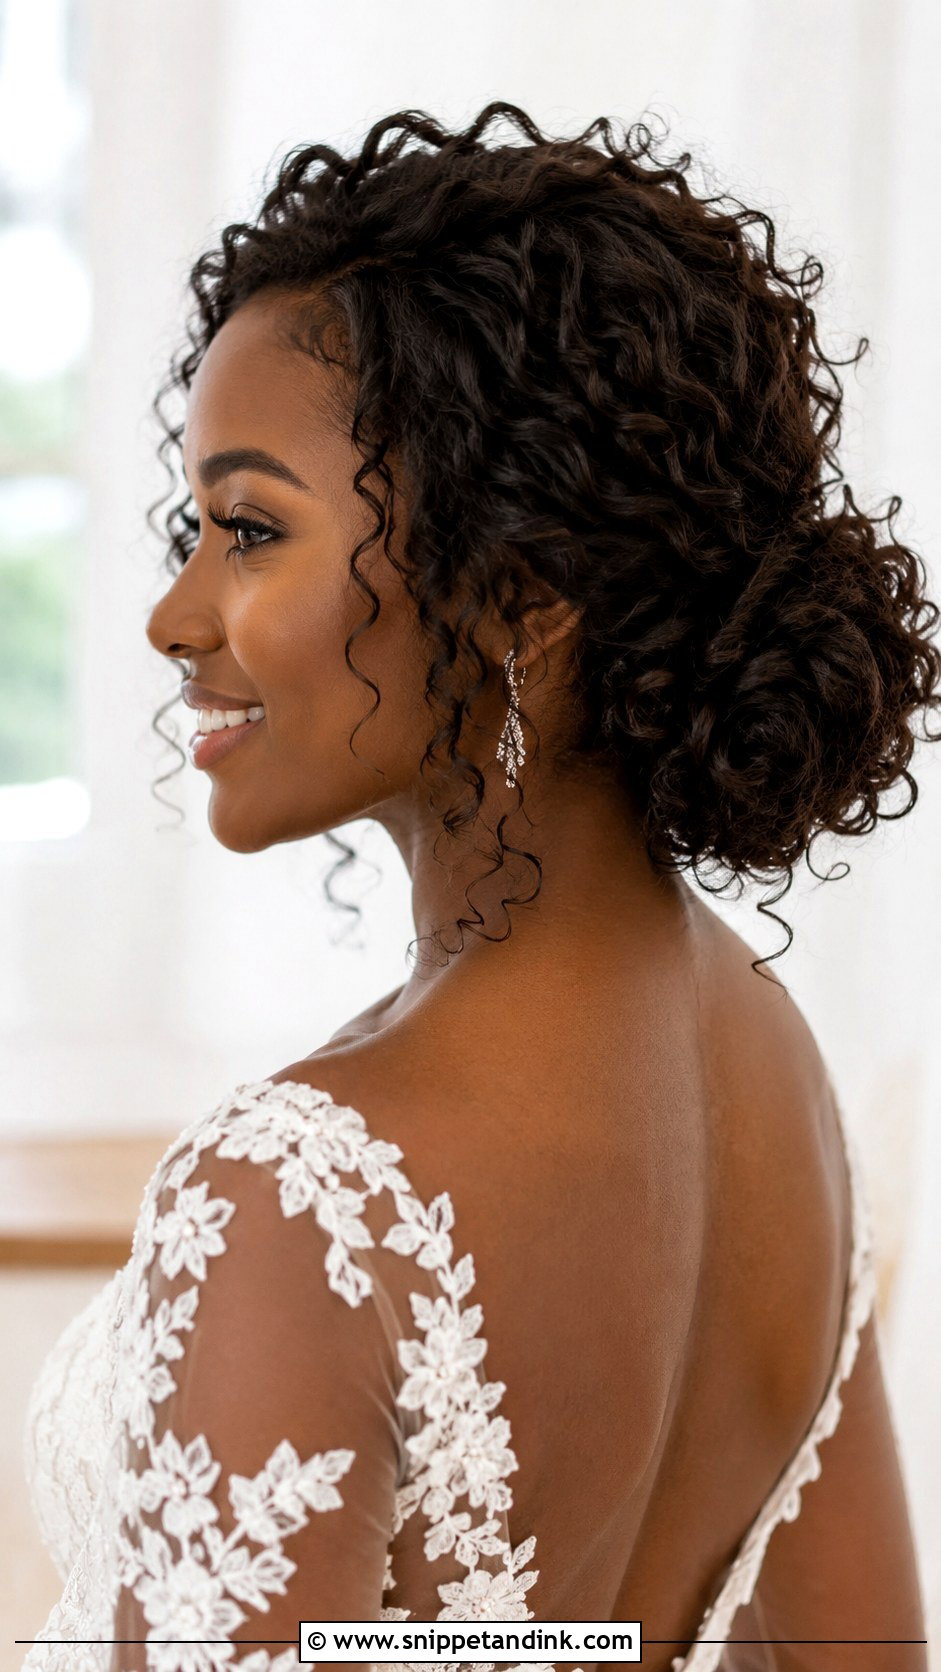
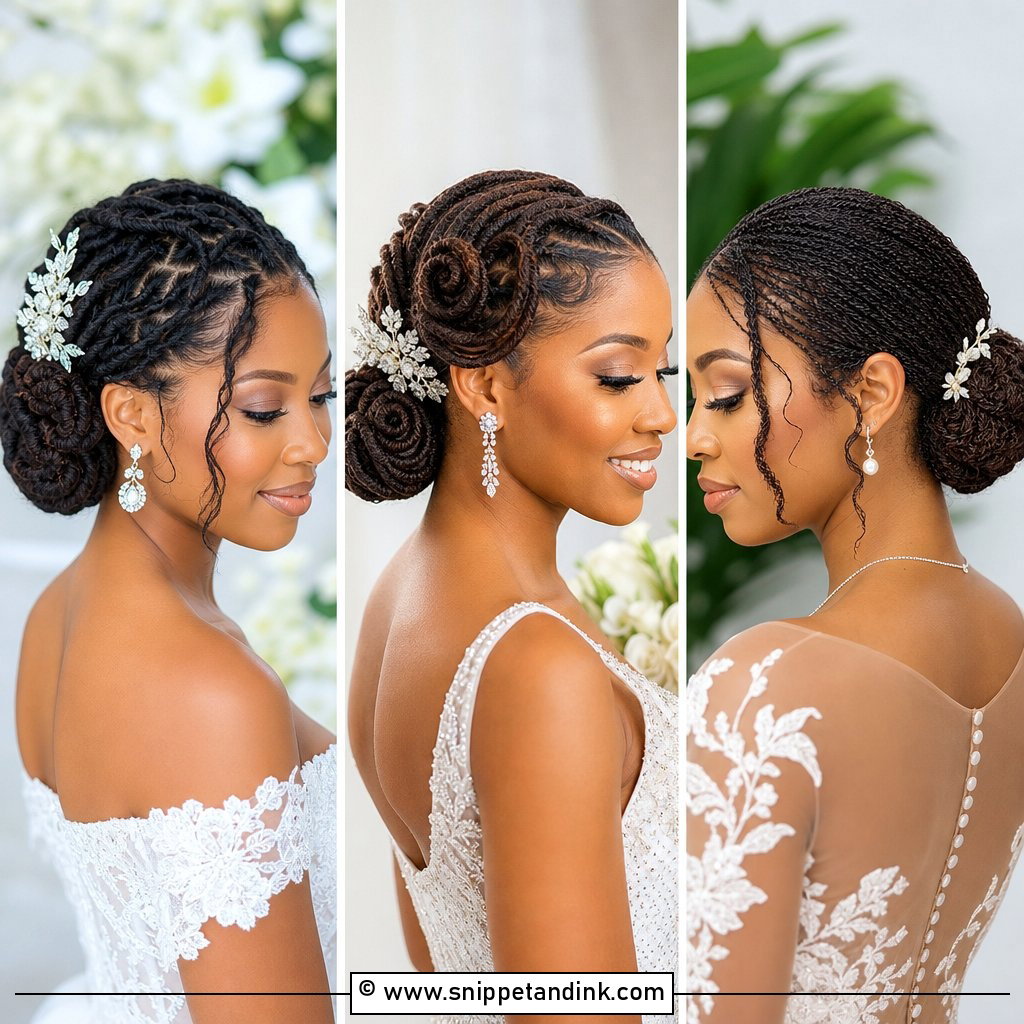
Natural curls make the best messy buns I do, because the texture is already there. I hydrate the curls first with a leave-in, define with a cream or gel, then gather them low without brushing. Pins go in carefully so they don’t flatten the pattern; I use U-pins more than bobby pins here. A few curls left at the temples and nape keep it soft. Floral pins or a sheer veil sit well against curl texture.
9. Messy Low Bun Wedding Hair With Flowers
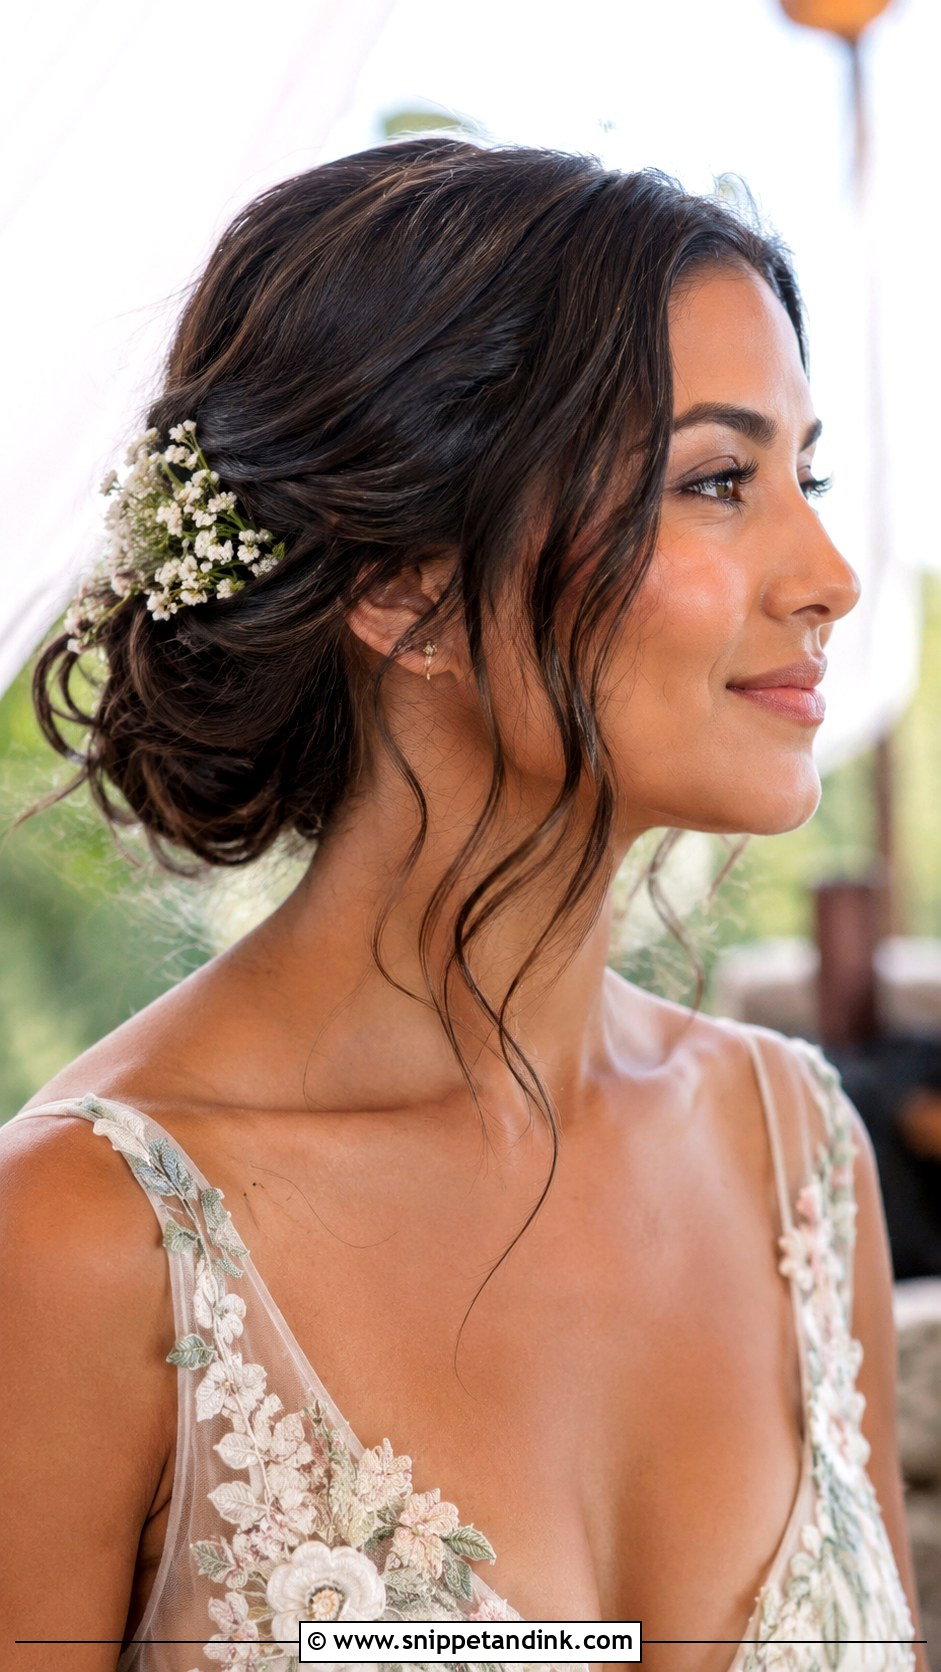
Flowers in a low bun look best tucked to one side or worked along a braid, rather than spread evenly. Baby’s breath, small roses, orchids and dried florals each give a different feel. Fresh flowers wilt out of water, so ask your florist which stems hold up for the hours you need, and have them wired or glued to pins. Dried flowers last all day and are far easier to work with. Match the bouquet palette rather than copying it stem for stem.
10. Messy Low Bun Wedding Hair With Side Part
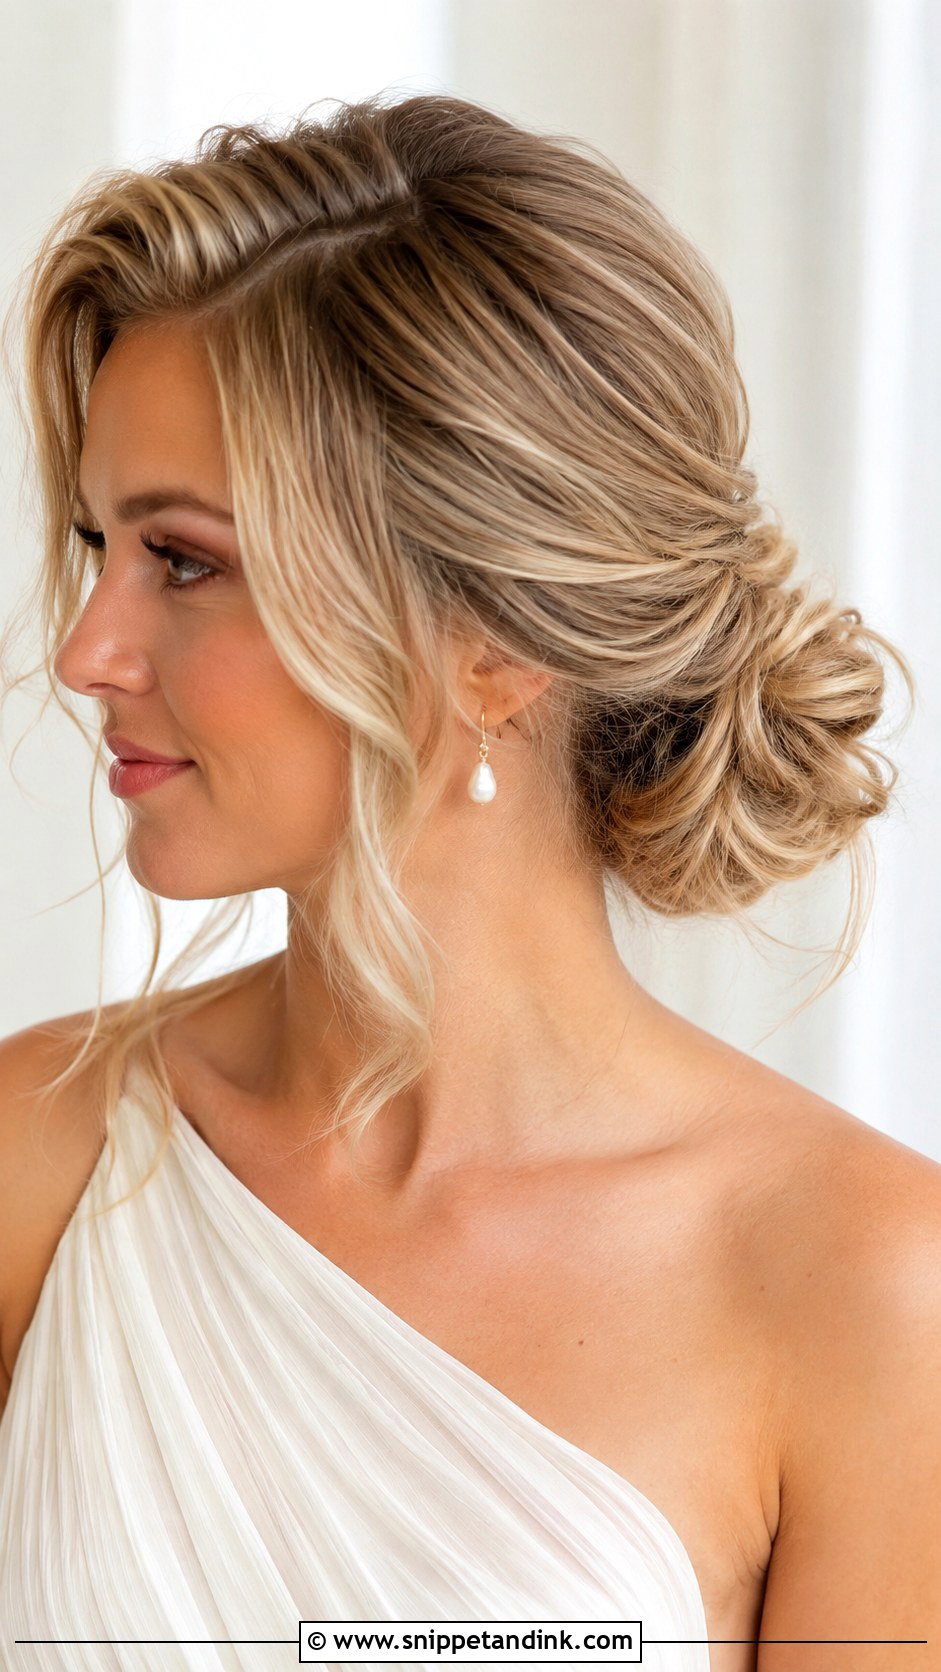
The side part adds asymmetry, which softens a strong forehead and gives the face more shape. The front can sweep loosely across the hairline or tuck behind one ear for a cleaner finish. I place the bun slightly off-centre toward the heavier side, which balances a one-shoulder dress nicely. Drop earrings suit it. If your hair has a strong natural part on one side, go with it; forcing the opposite side tends to lift by the afternoon.
11. Messy Low Bun Wedding Hair With Middle Part
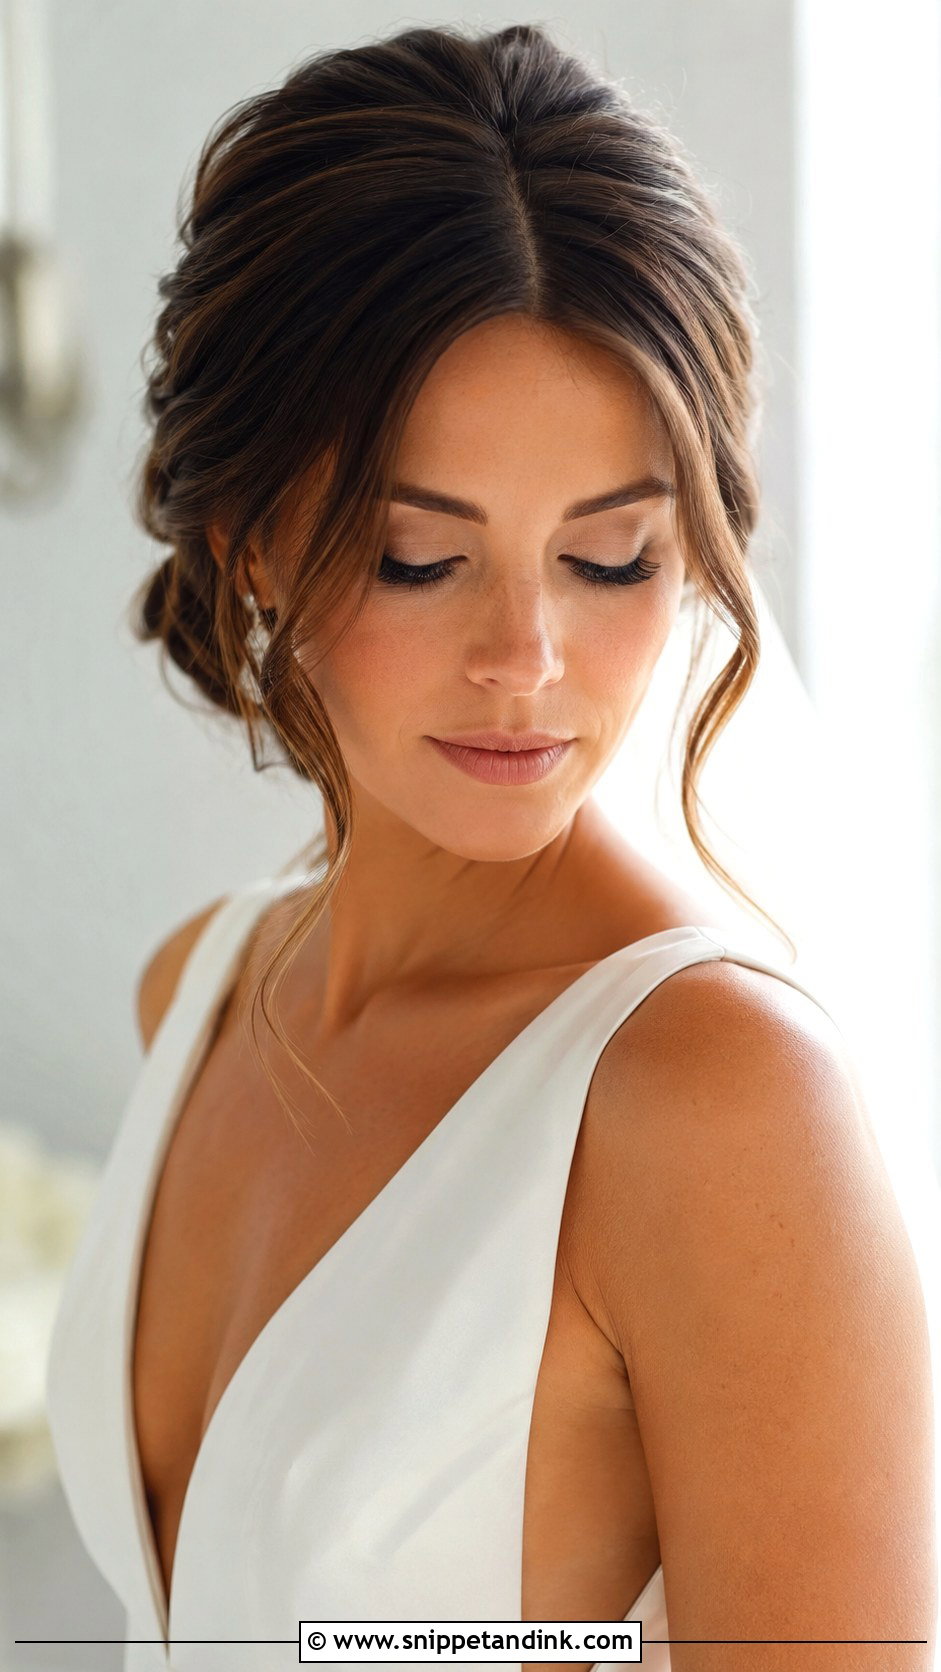
A centre part on a low bun reads clean and current. It’s the choice for a minimal look without the harshness of a slick bun. Soft bends around the face stop the part looking severe. I’d be careful with it on very fine hair or a visible scalp at the parting, since a centre part shows the scalp more under flash. A loose knot or pinned waves give the bun texture.
12. Messy Low Bun Wedding Hair With Hair Comb
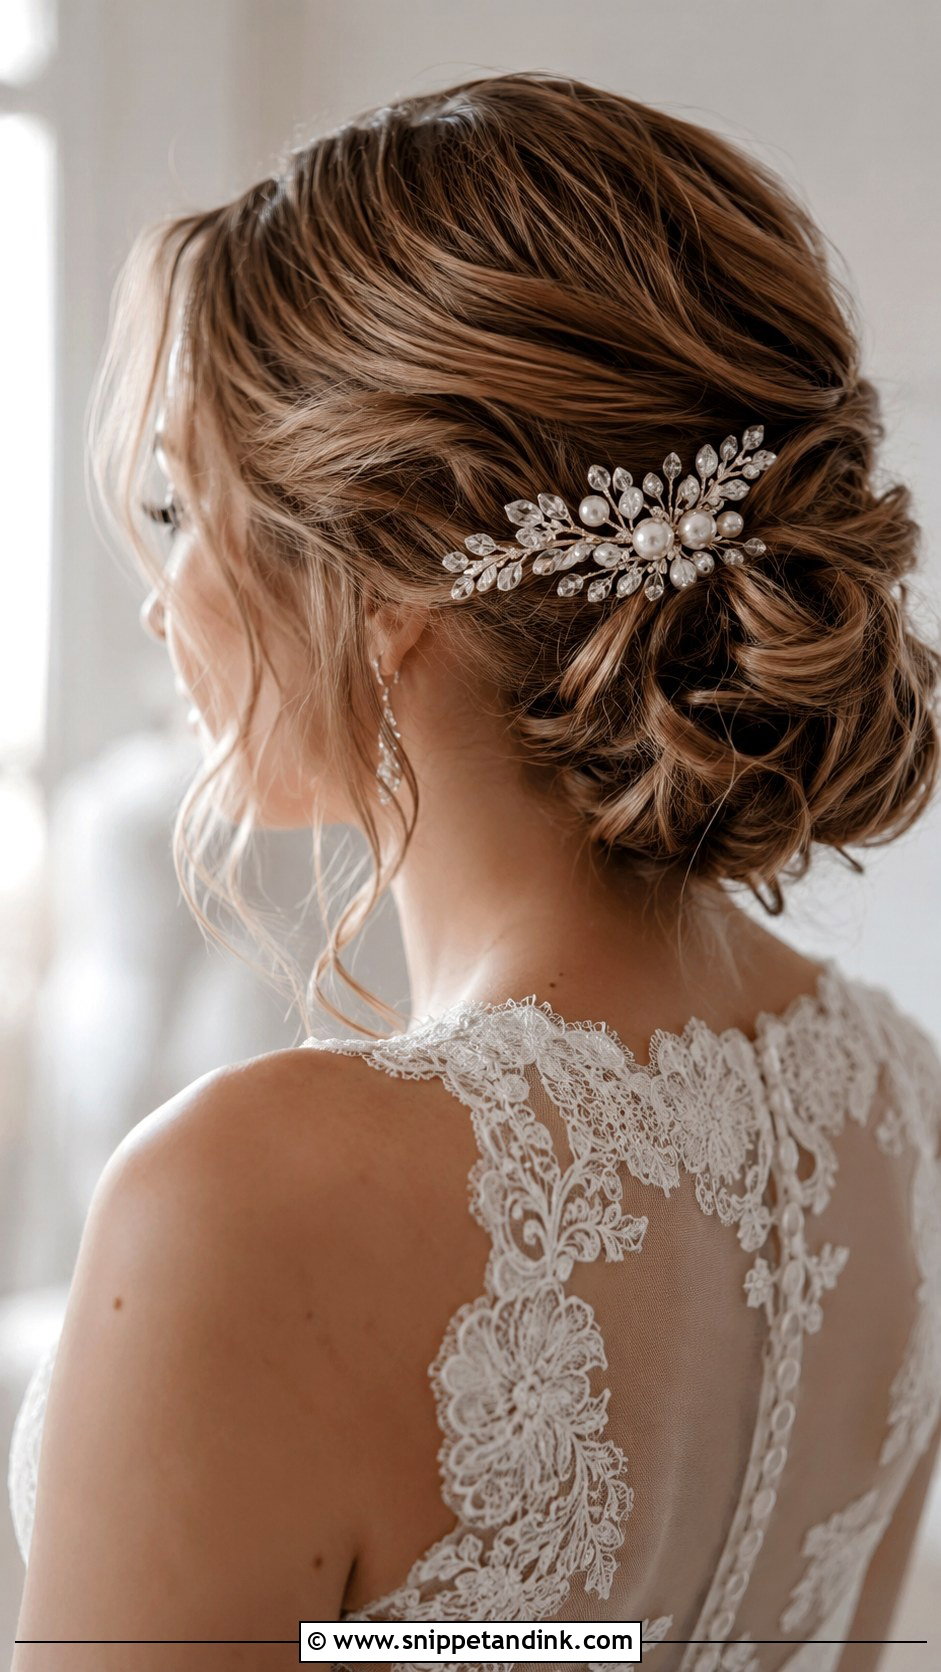
A hair comb gives the back view a focal point, which is useful since guests see the back of your head through the whole ceremony. It can sit above the bun, to one side or tucked into the base. Crystal reads formal, florals read romantic and pearls read classic. Keep the bun airy so the comb slides in and grips, and slide it against the direction of the hair. For bridesmaids, choose a smaller version in a matching finish.
13. Messy Low Bun Wedding Hair With Twists
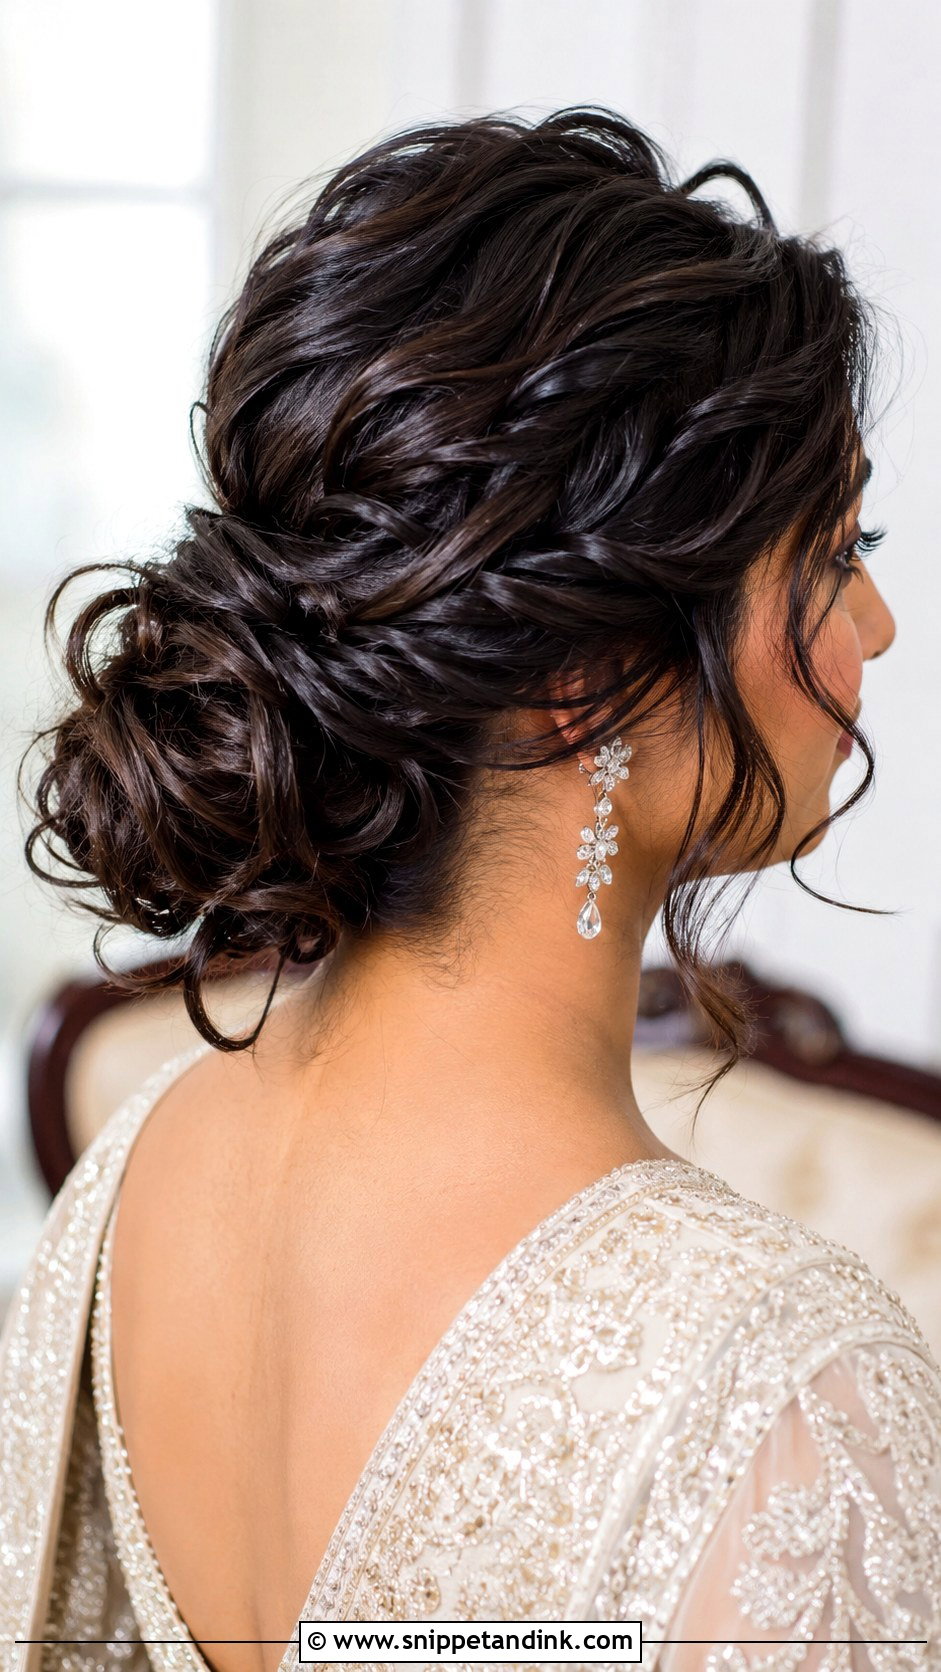
Twists add shape without the boho feel of braids. I sweep the side sections back, twisting them toward the bun, which also catches shorter layers that would otherwise escape. That makes it a practical pick for medium hair with lots of layering. Curl before pinning so the bun has body. Twists suit lace gowns and soft veils without competing with them.
14. Messy Low Bun Wedding Hair With Loose Curls
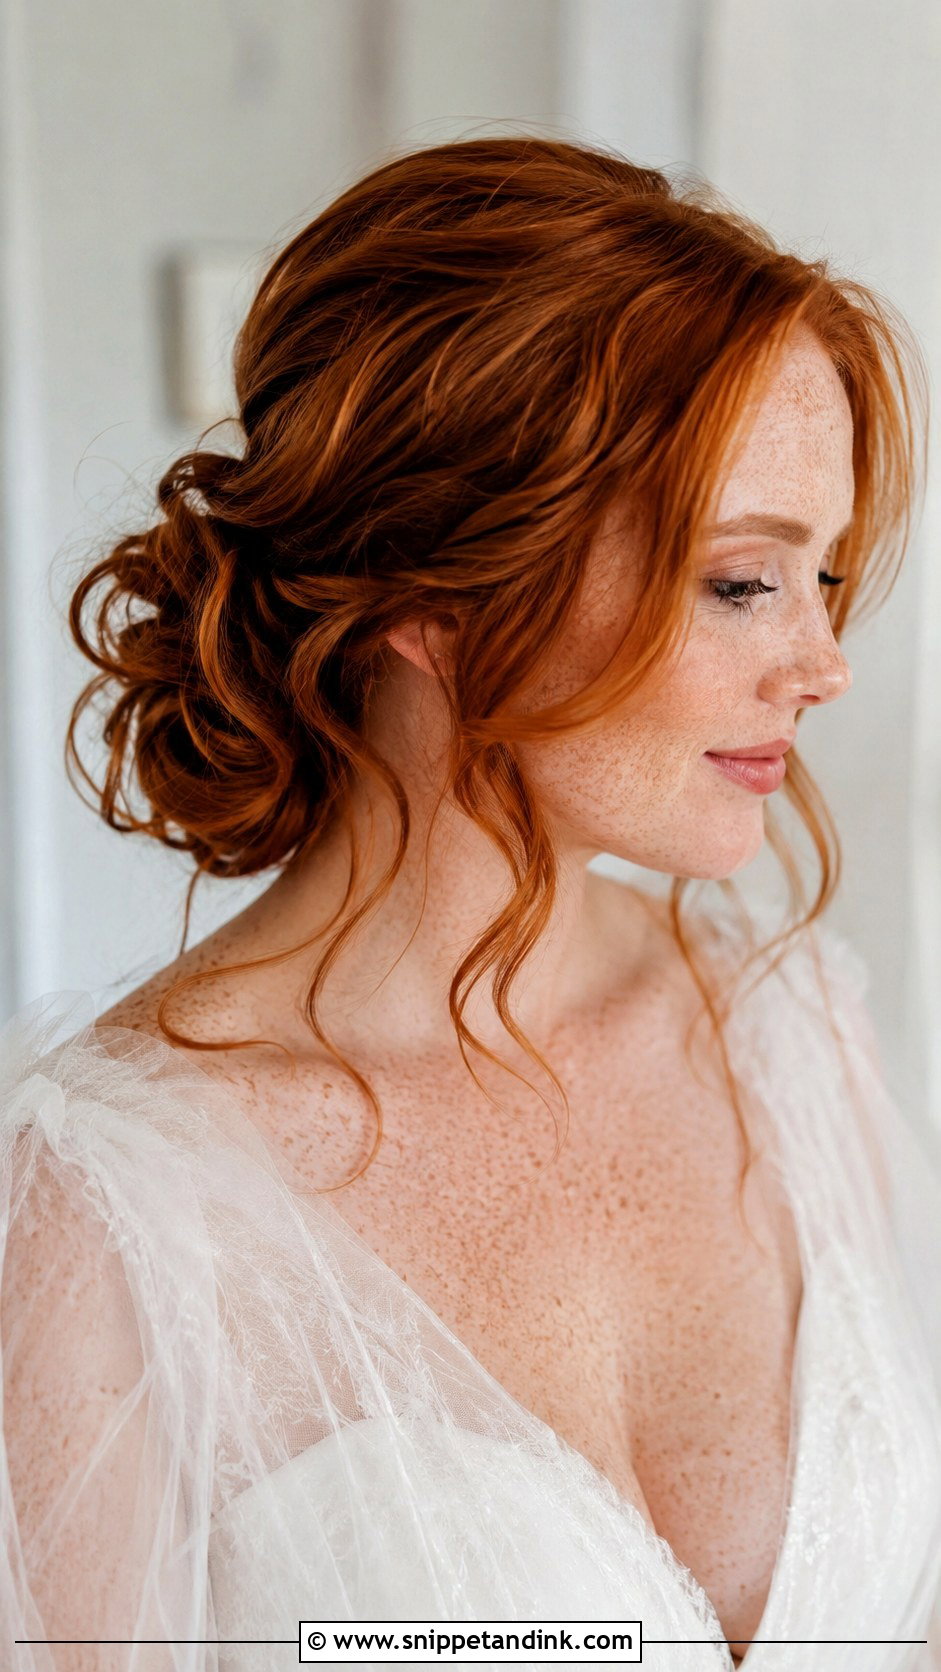
This is the fuller version of the classic. I curl the hair, let it cool, then pin it loosely so the curls build the shape rather than disappearing into a smooth wrap. Highlighted hair shows lots of dimension this way. Leave a few curled tendrils at the face and nape. Flexible spray only, so the curls can still move when you do.
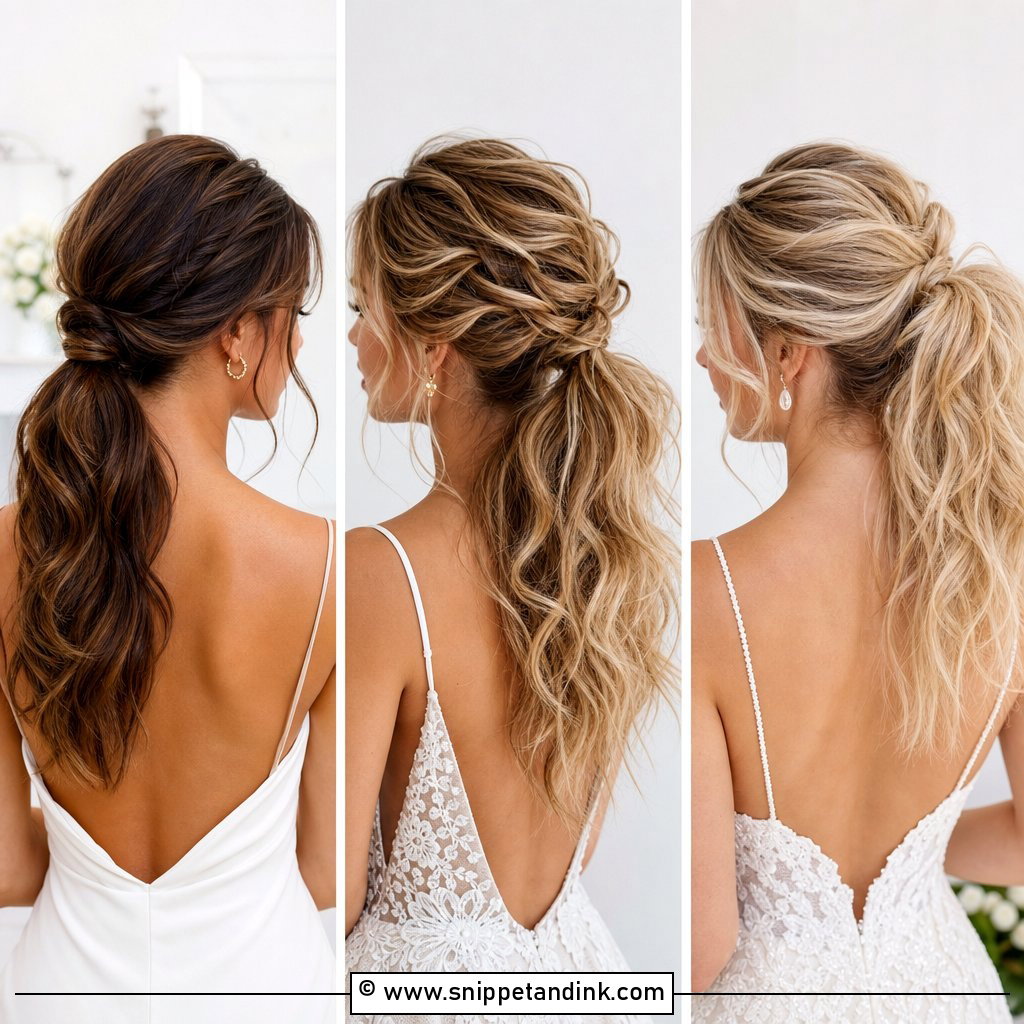
15. Messy Low Bun Wedding Hair For Bridesmaids
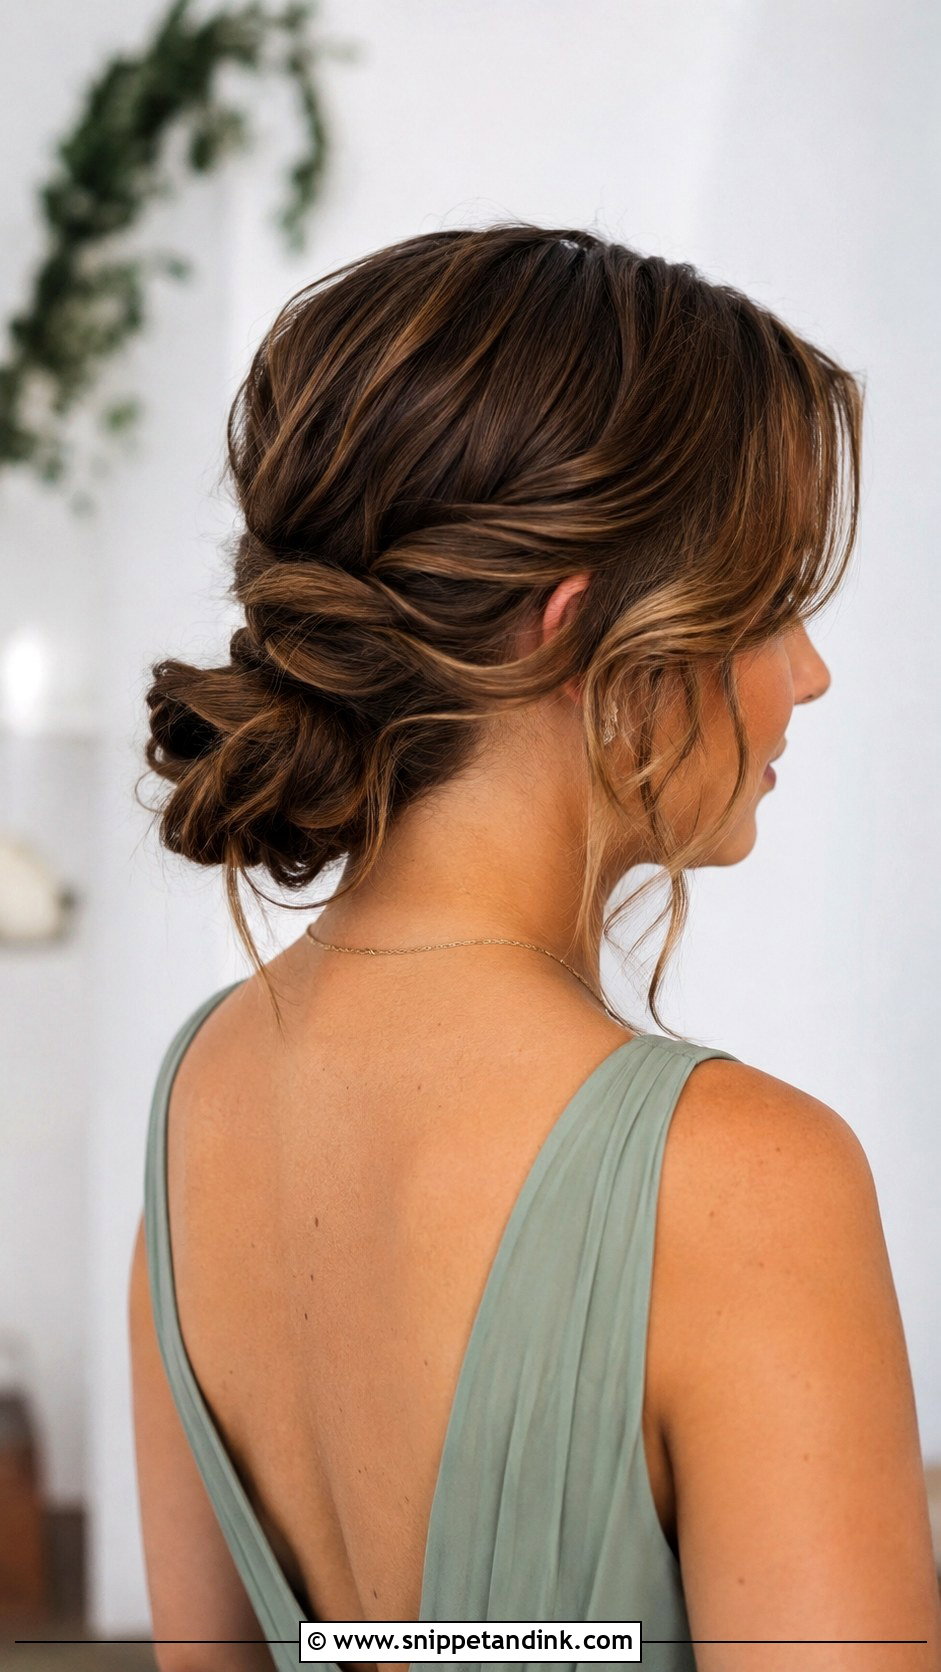
The low bun is easy to adapt across a whole group of bridesmaids, which is why I suggest it so often. Each person can have her own part, braid or front pieces while the bridal party still looks connected. Pick one shared detail, like the same height or matching pins, and let the rest vary with each person’s hair. It keeps hair off the shoulders in warm weather too. Thin-haired bridesmaids may need a padding piece to match the others’ bun size.
How Low Is Low? Placing the Bun for Your Neck and Neckline
A low bun can sit anywhere from just below the crown to right at the nape, and an inch either way changes how the whole look reads. I decide the height with the dress on, not before.
- High necklines and collars: lift the bun slightly above the nape so it doesn’t rub against the fabric or push forward when you look down.
- Open backs and plunging V backs: sit it right at the nape so the back of the dress has a clear frame.
- Shorter necks: a slightly higher placement lengthens the neck in profile photos.
- Cathedral or heavy veils: keep it low and compact, as the comb needs a firm base just above it.
Testing It Sitting Down
A bun right at the nape can press against a high-backed chair or a car headrest. At the trial, sit back in a normal chair for a few minutes and turn your head both ways. If you feel pins digging in, the bun needs to move up slightly or be pinned flatter on the underside. It’s a small change that makes dinner much more comfortable.
One Afternoon Wearing the Bun Tells You More Than Any Photo
The messy low bun bends to almost any style, from classic to boho, depending on how it’s shaped and what goes in it. The prep decides whether it lasts. At your trial, bring your veil, your earrings and a photo of the dress neckline. Then keep the bun in for an afternoon and notice whether it pulls, slides or stays put.
You'll Like These Ideas:


Leave a Reply