
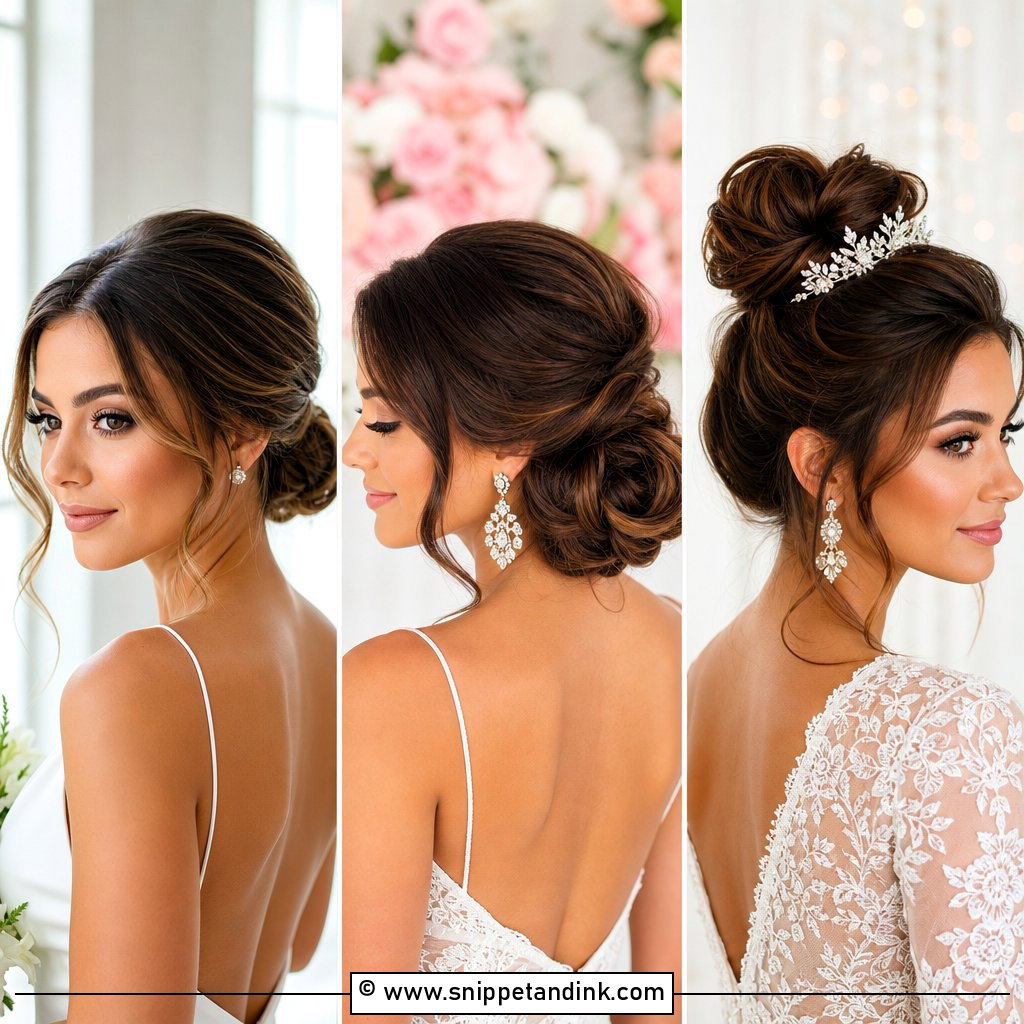
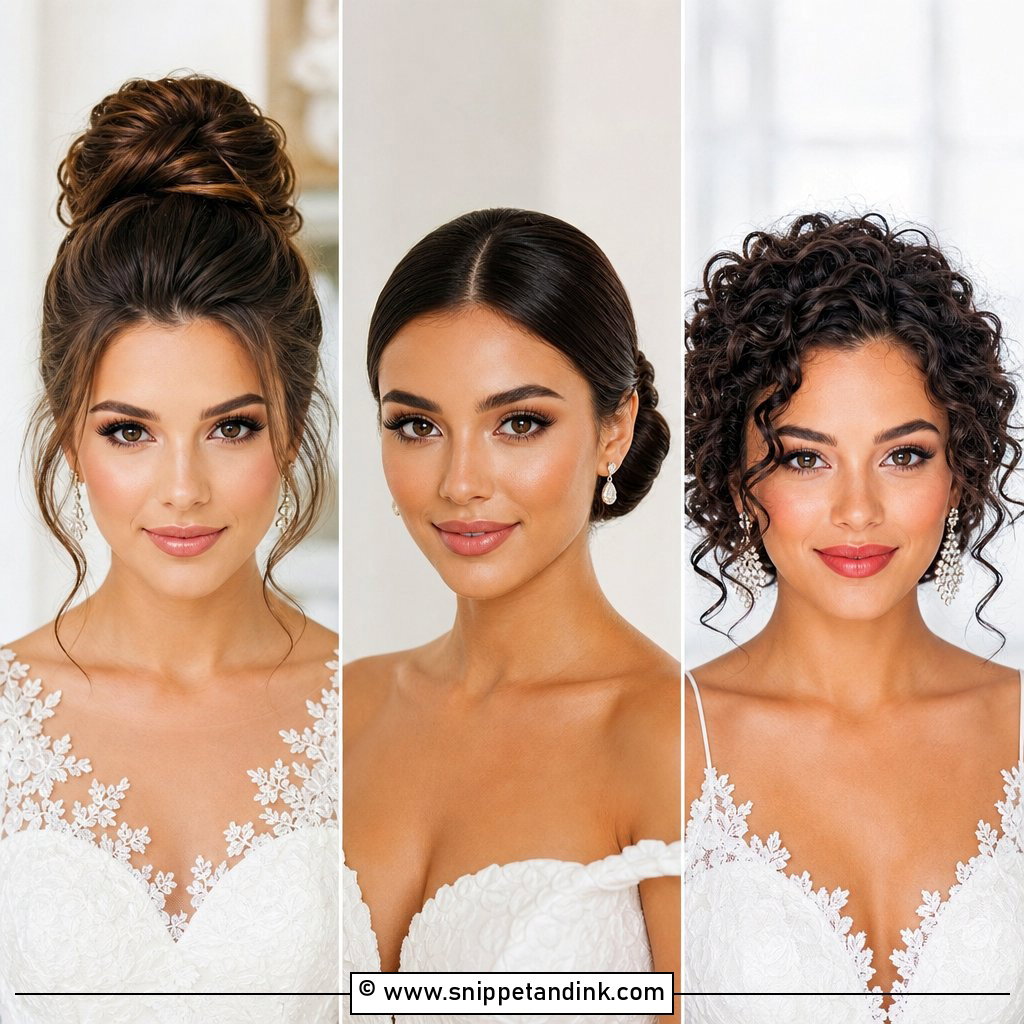
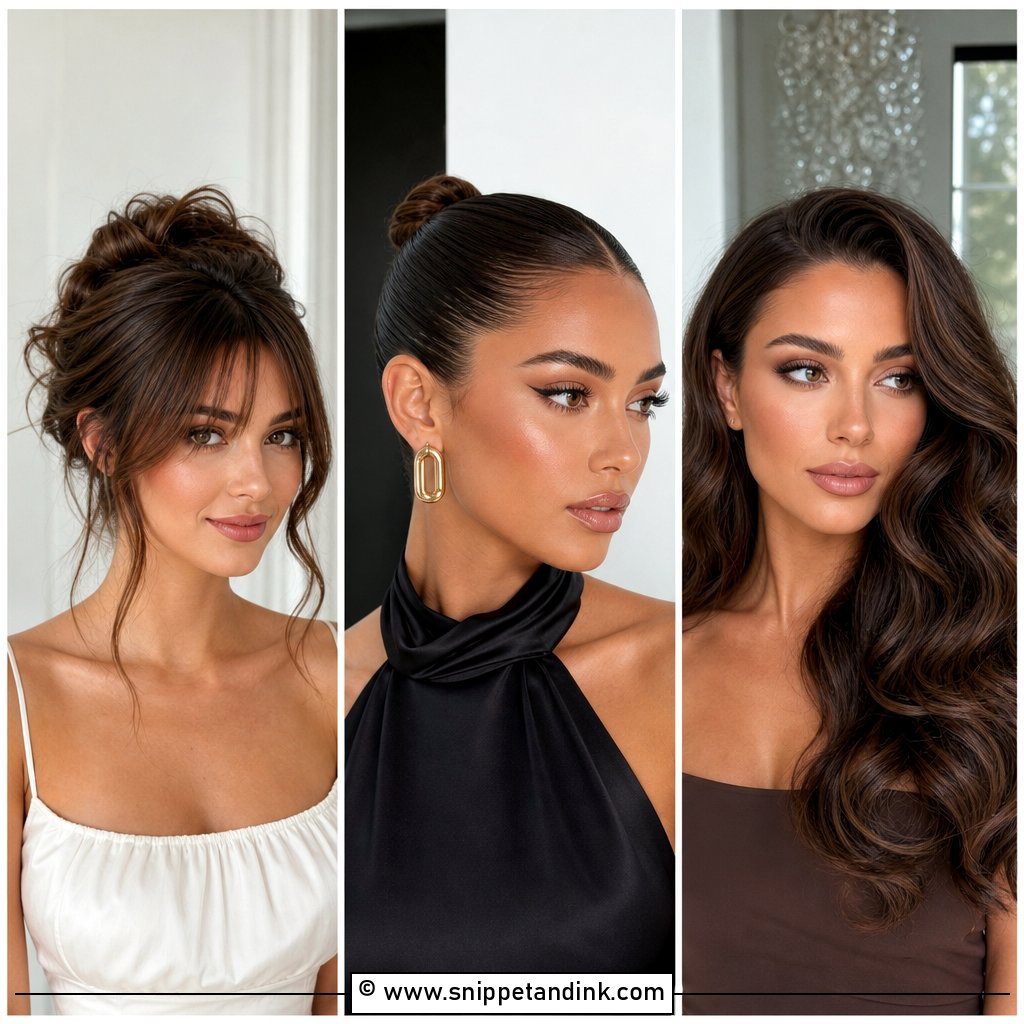
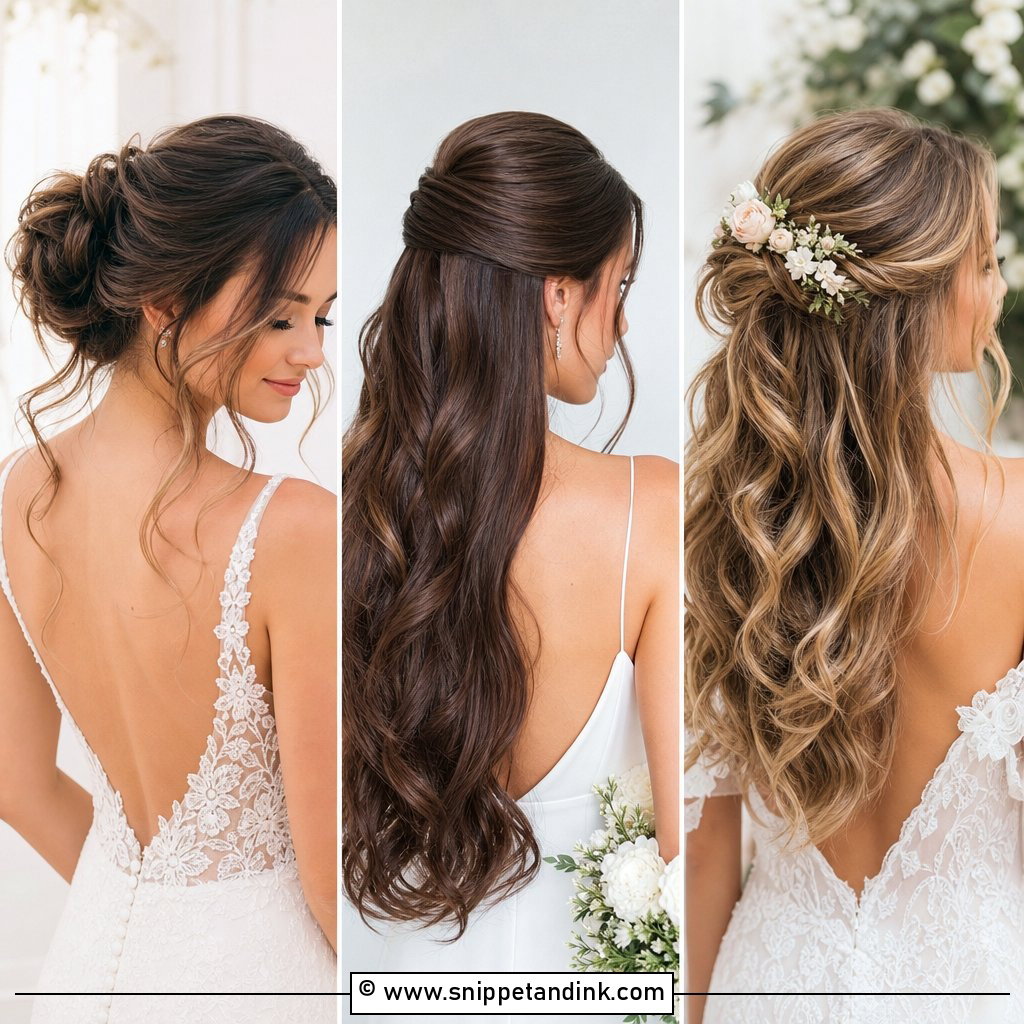
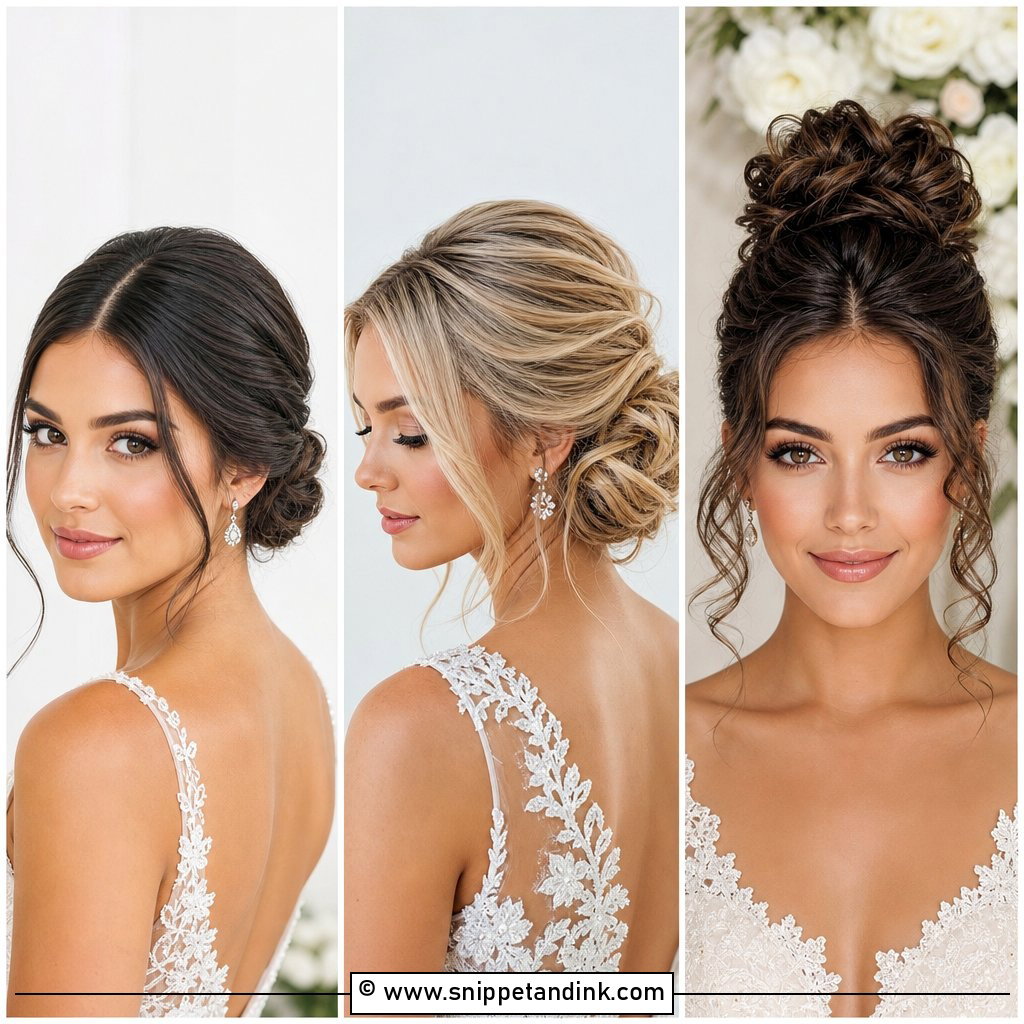
Most brides show me the back of a bun when they bring inspiration to a trial, yet the guests, the officiant and most of the ceremony photos see the front. That’s where a low bun is won or lost: the part, the hairline, how much lift sits at the crown and which pieces are left out around the face. Below are 25 low bun wedding hair front view ideas, with notes on how I’d build each one, what hair it needs and where it tends to struggle by the end of the night.
Where the Front of a Low Bun Gets Built
Before I touch the back of the head, I look at three things from the front: where your hair naturally parts, how strong your hairline is at the temples, and how much height you want at the crown. These decide whether a low bun looks balanced or flat.
- Part placement: a centre part looks clean but shows every asymmetry; a side part flatters most faces and hides a cowlick.
- Crown height: a little lift at the crown stops a low bun from looking flat in profile, while too much makes it look dated.
- Temple coverage: if your hairline is thinner at the temples, softer front pieces or a deep side part cover it far better than a slicked finish.
- Front pieces: decide on them before the bun goes in, so they are cut and curled to suit your face rather than pulled out at the end.
Once those are set at the trial, the bun itself is the easy part. I take a photo from the front, the side and the back, and you should check all three before you say yes.
1. Classic Sleek Low Bun
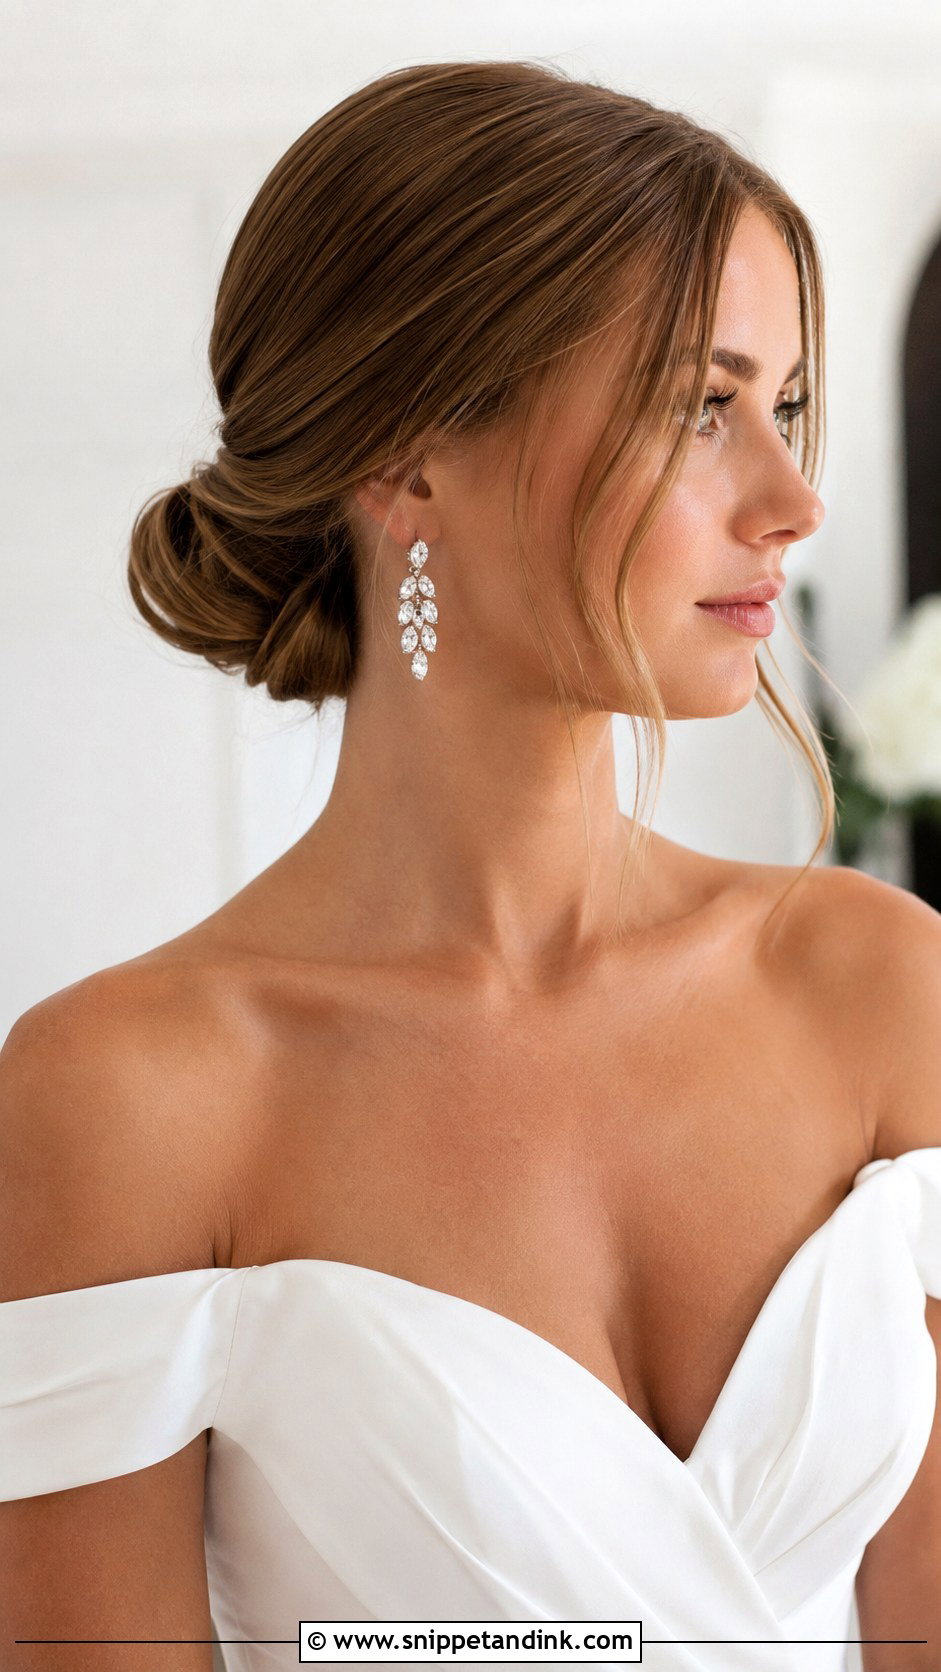
Sleek is the hardest version to fake, because every bump at the temple shows. I smooth the front with a boar bristle brush and a small amount of serum, then secure the ponytail base before I shape the chignon, so the front can’t shift when the bun is pinned. It’s a strong match for bold lips and statement earrings, since nothing in the hair competes with them. Expect a little more frizz to appear at the hairline after a few hours if your hair is curly; a toothbrush and a drop of gel in your touch-up bag fixes that in seconds. A veil comb sits securely just under it.
2. Romantic Low Bun With Face-Framing Curls
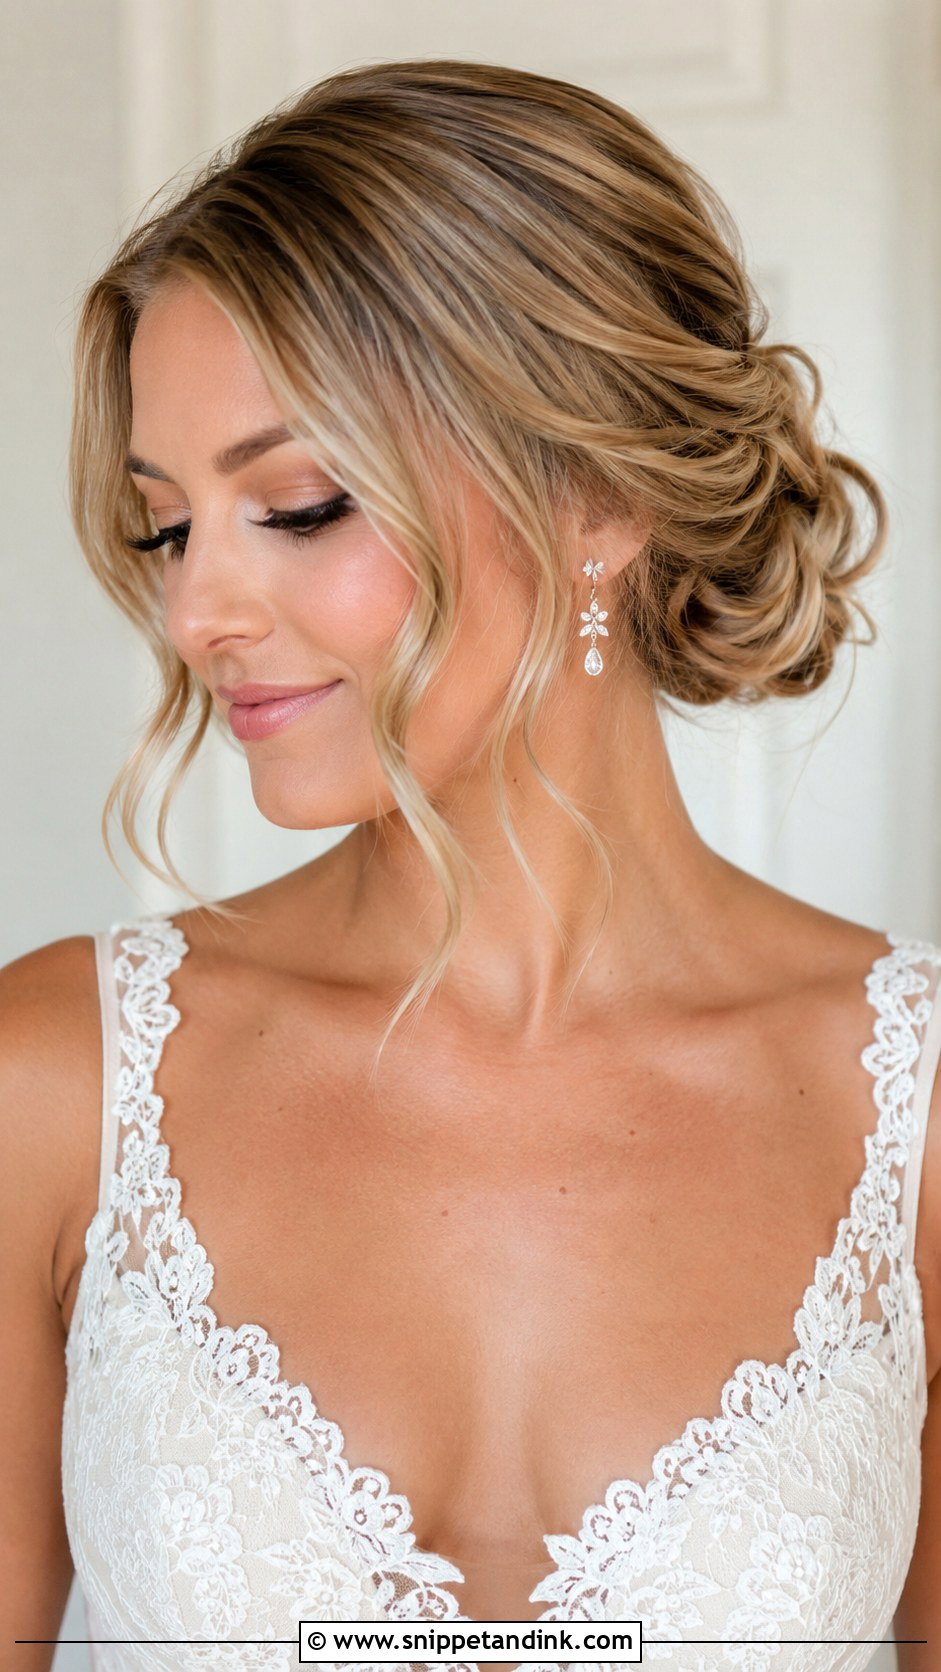
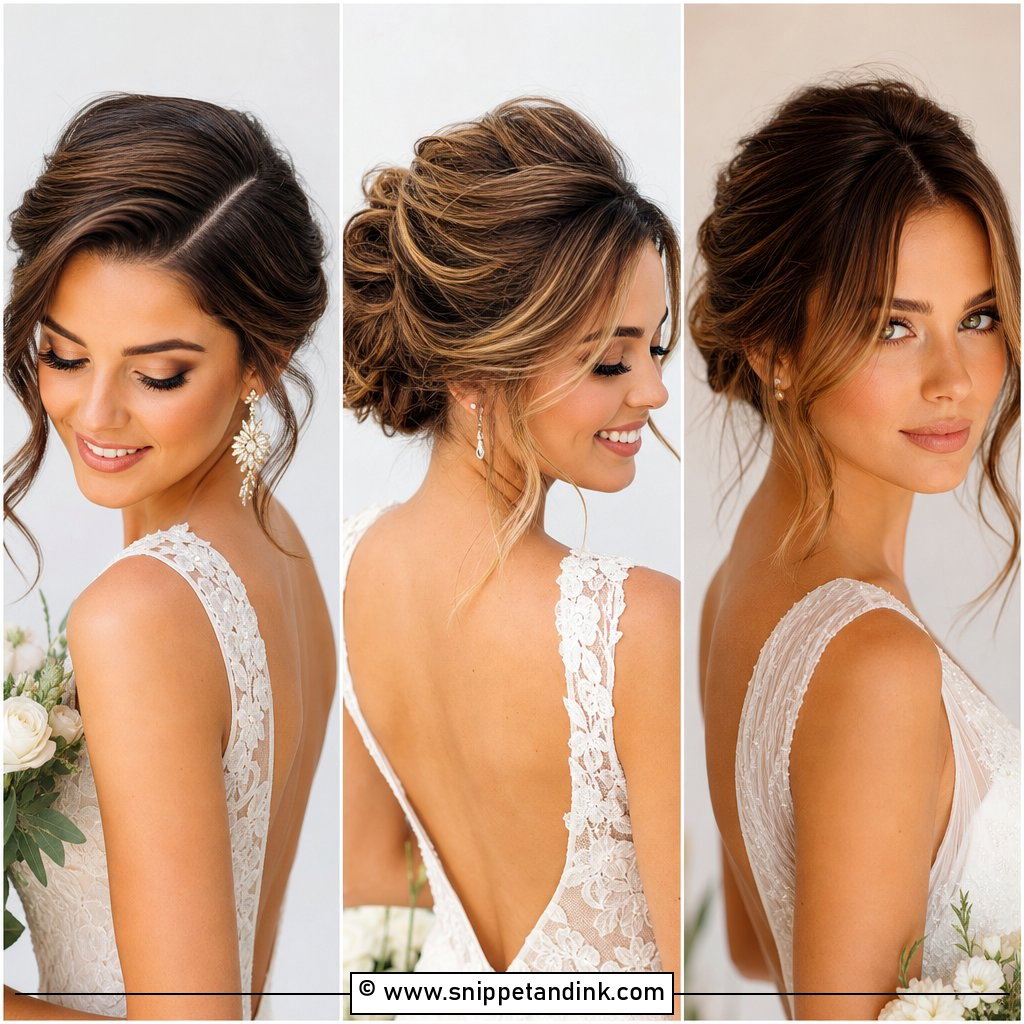
The curls left out at the front are what make this one, so I decide on them before the bun goes in, not after. I keep these face-framing tendrils slightly longer than the cheekbone and curl them away from the face, because pieces curled toward the face tend to fall into the eyes by the speeches. The bun itself stays textured and a little loose to match. In heat or high humidity, those front curls are the first thing to drop, so I set them with a light hold spray and pin them in loops while the makeup is finished.
3. Low Side Bun
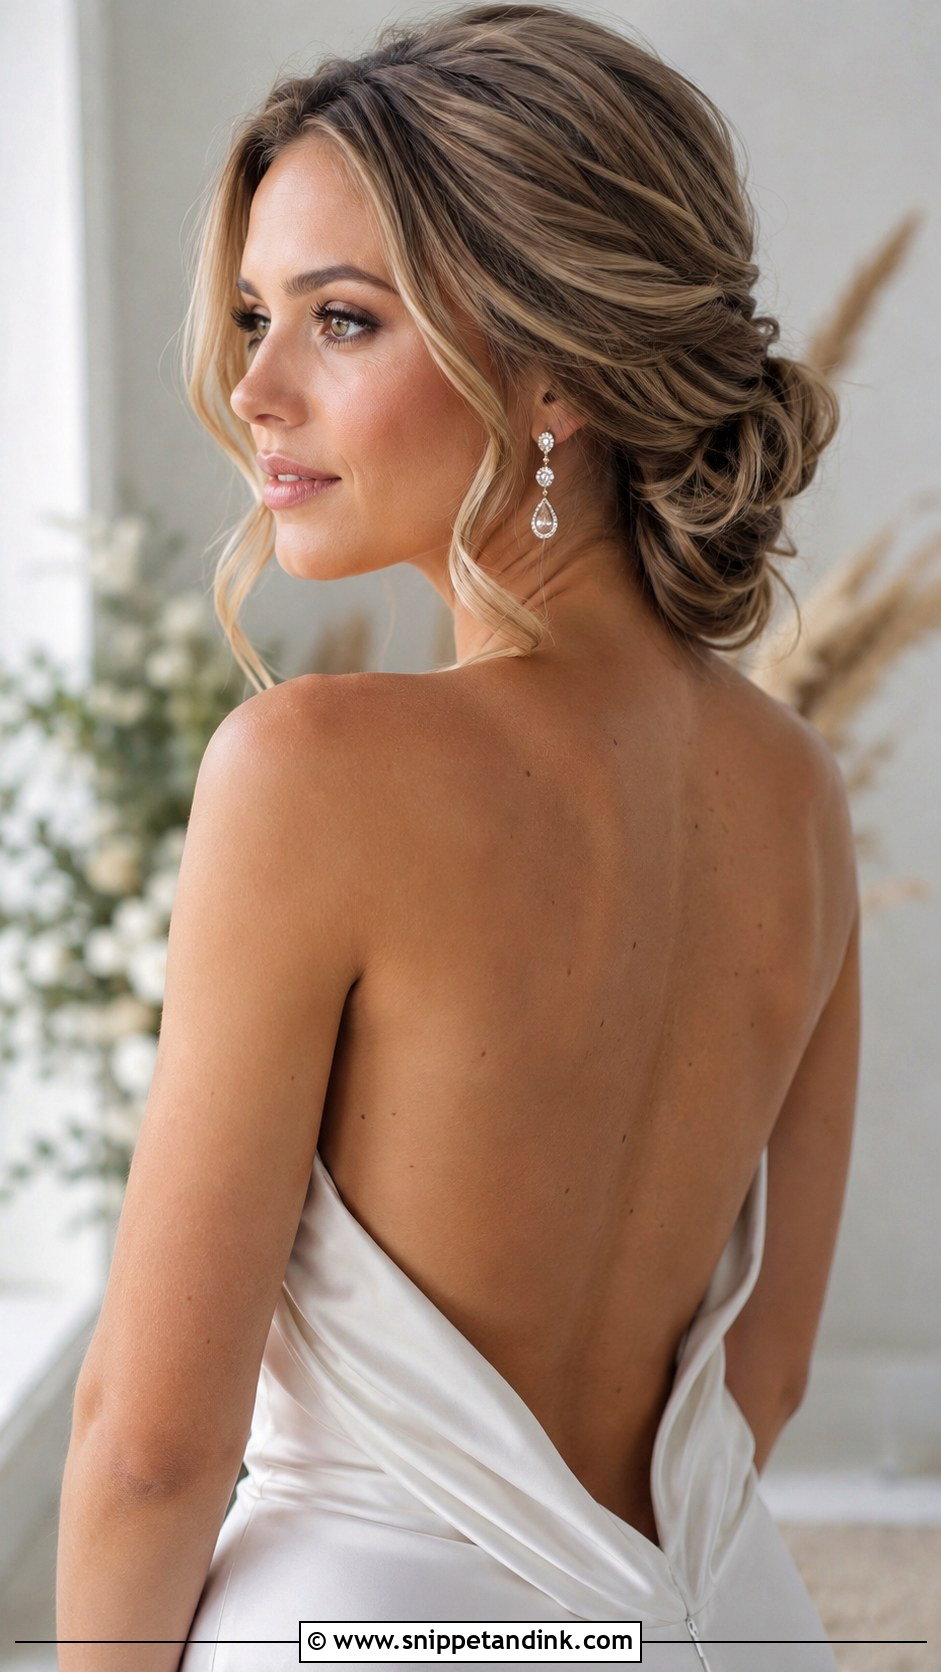
A side bun shifts the visual weight to one shoulder, so I always ask which side the groom will stand on and which is your better profile before I place it. The bun sits just behind the ear, low enough that you can still turn your head without it pressing into your neck. It shows off a long drop earring on the open side and suits a backless or off-shoulder gown well. One caution: with a one-shoulder neckline, I place the bun on the bare side, otherwise the strap and the hair crowd each other in photos.
4. Twisted Low Bun With Pearl Pins
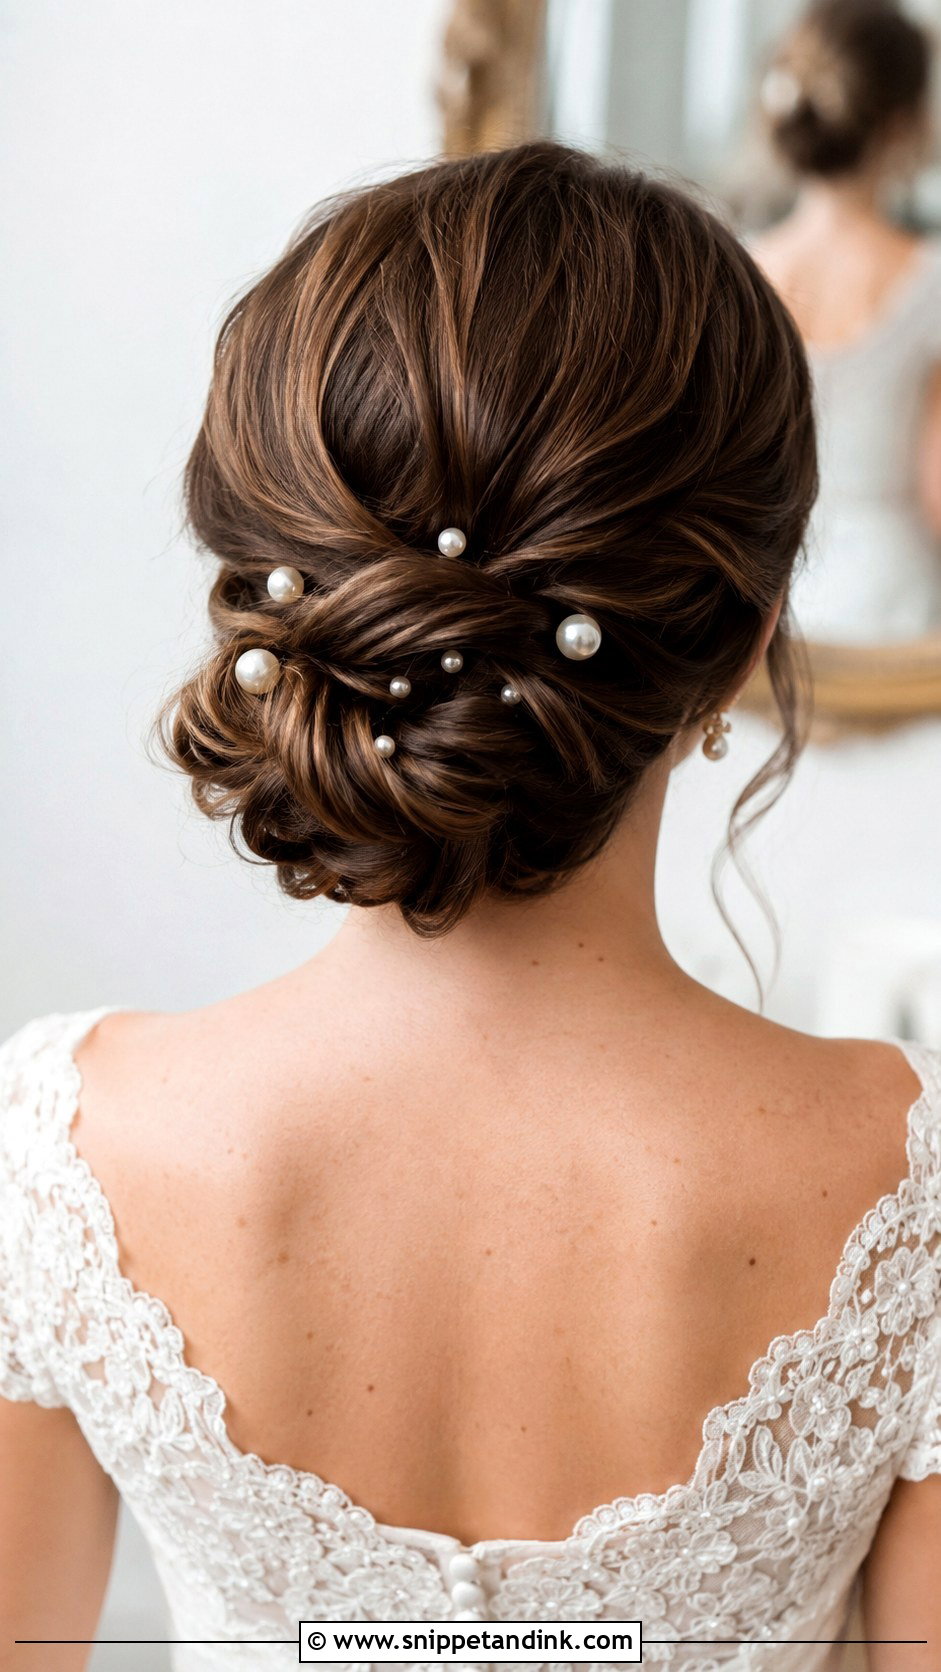
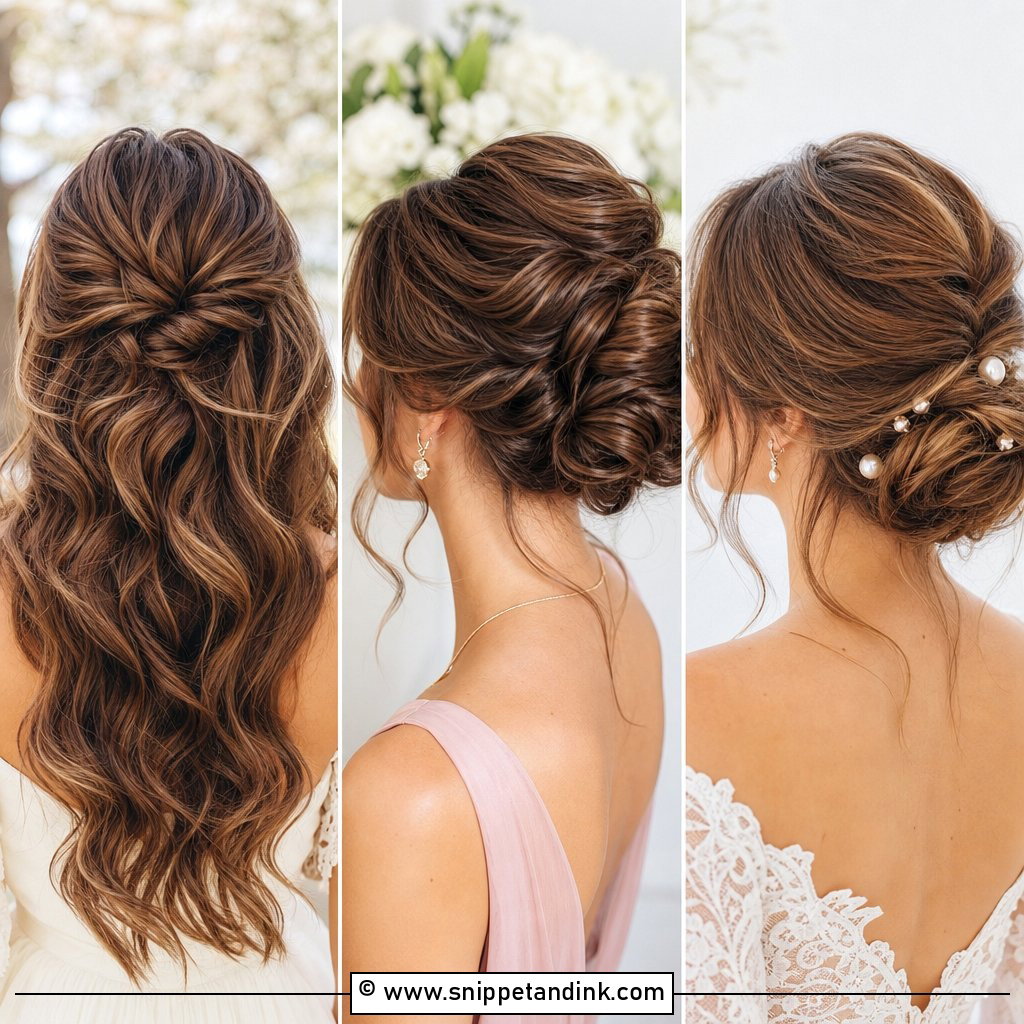
I prep this with soft waves first, because a twist holds far better on hair that has some grip than on freshly washed, slippery lengths. Once the twists are pinned into the nape, the pearl pins go in last and are angled into the twist rather than pushed straight down, which stops them sliding out as you hug people. From the front, a few pearls near the ear catch the light; I’d keep most of them on the sides rather than the crown. Classic and vintage gowns pair naturally with it.
5. Messy Low Bun
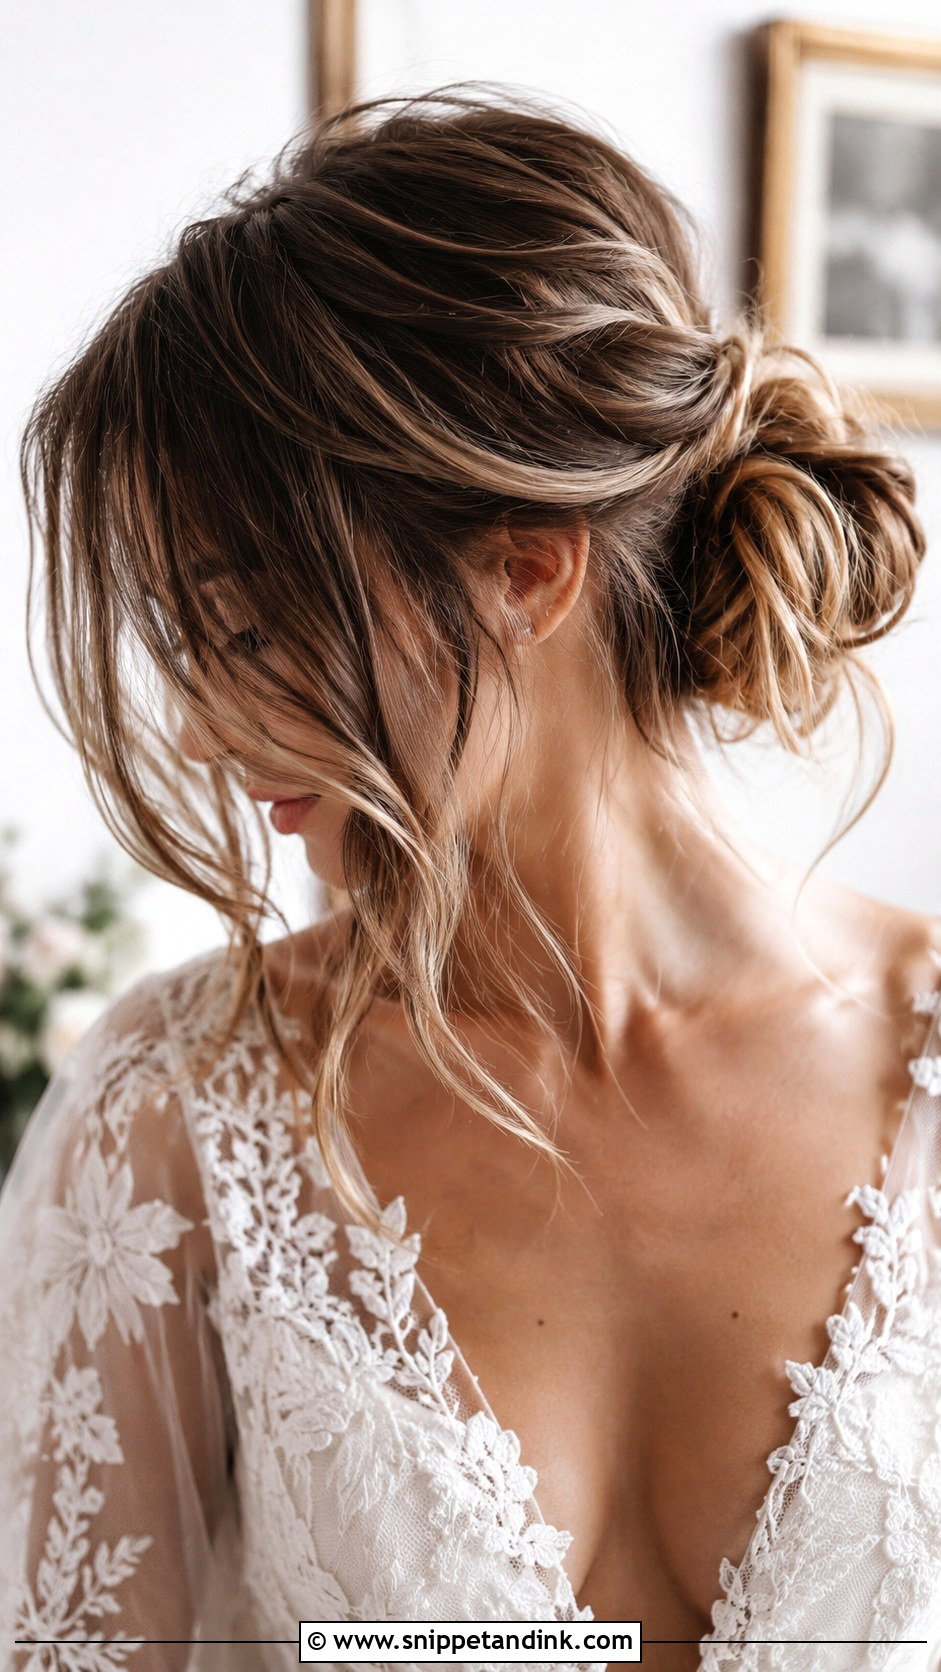
Messy buns take longer than sleek ones, which surprises most brides. The trick is controlled texture: I backcomb at the root in small sections, gather the hair loosely into a low knot, then pull out pieces around the face one at a time so they look chosen rather than fallen. It moves well and suits outdoor and boho weddings. If your hair is very fine and straight, I’d add a texture spray at the prep stage, because without it the loose pieces go flat within a couple of hours.
6. Low Bun With Braided Crown
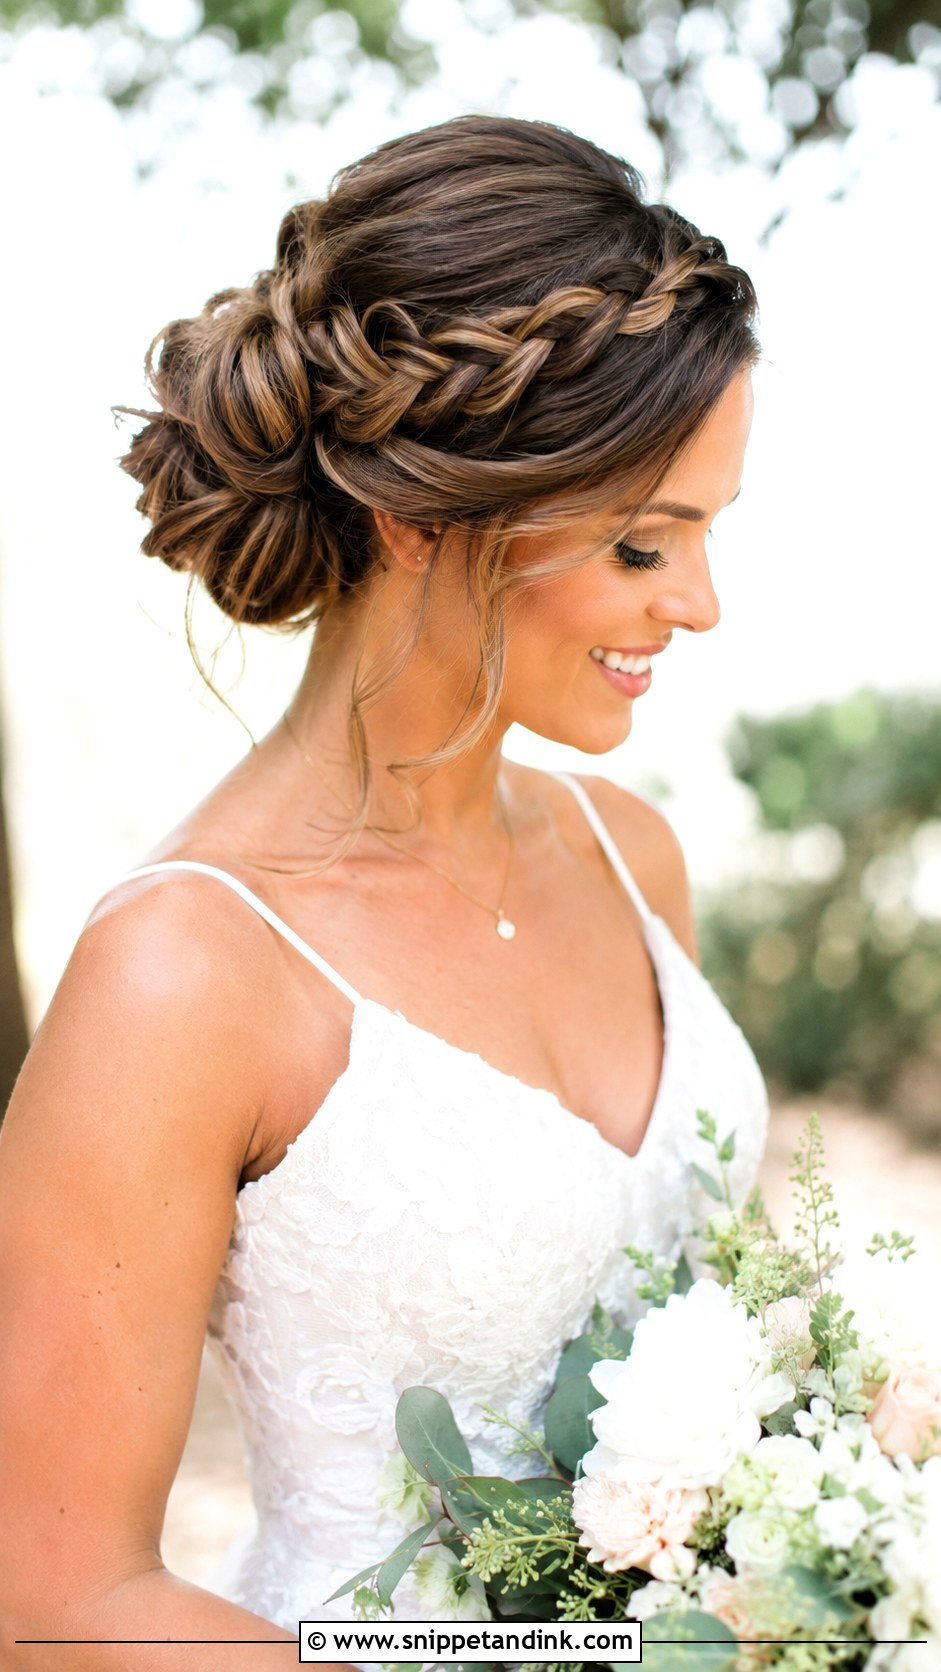
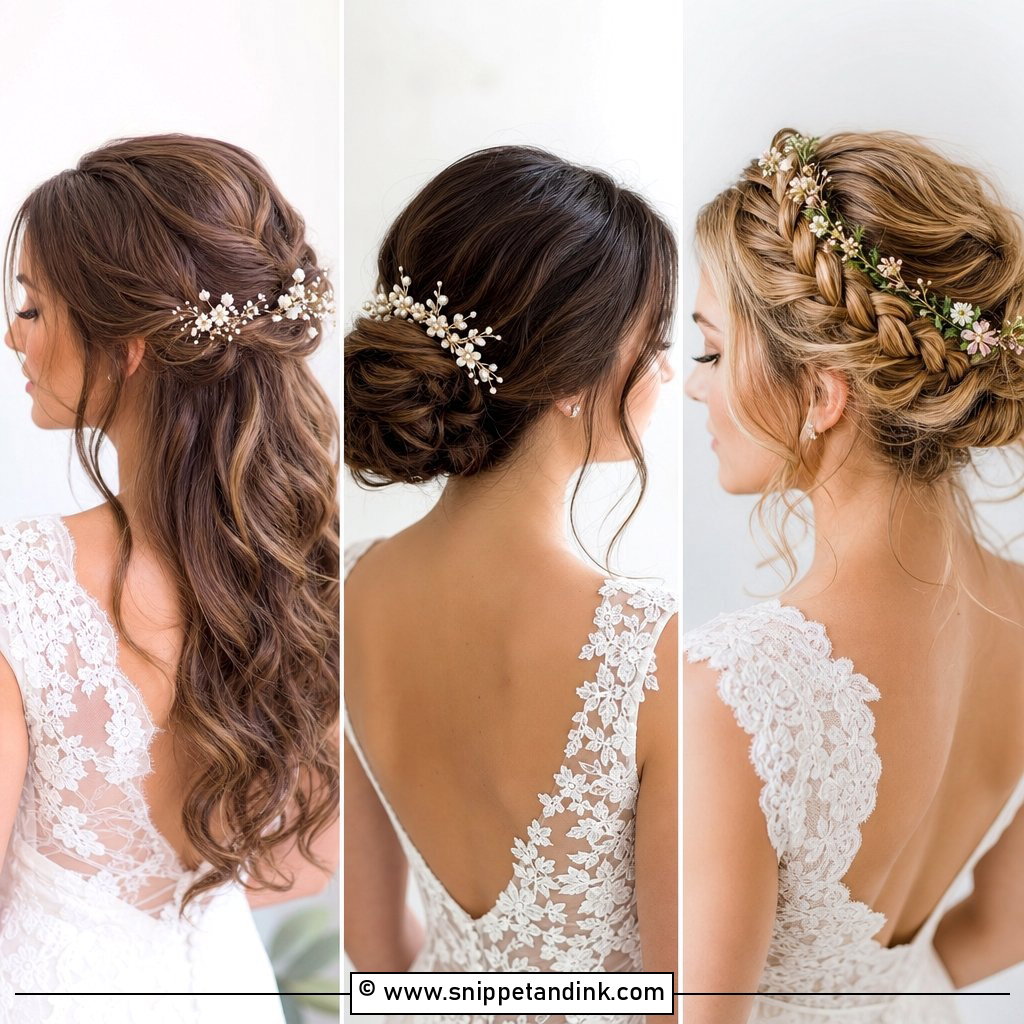
This braid wraps from one temple across the front hairline like a halo and finishes into a soft bun at the nape. I start it near the temple and keep it a little tight at the front, since the front section is what holds its shape all day; the bun can be looser for balance. It reads as romantic with a slightly regal edge, and fresh flowers can be tucked into the braid. Short layers can poke out of a crown braid, so if your hair has a lot of them, a light pomade along the plait keeps it neat.
7. Low Bun With Side French Braid
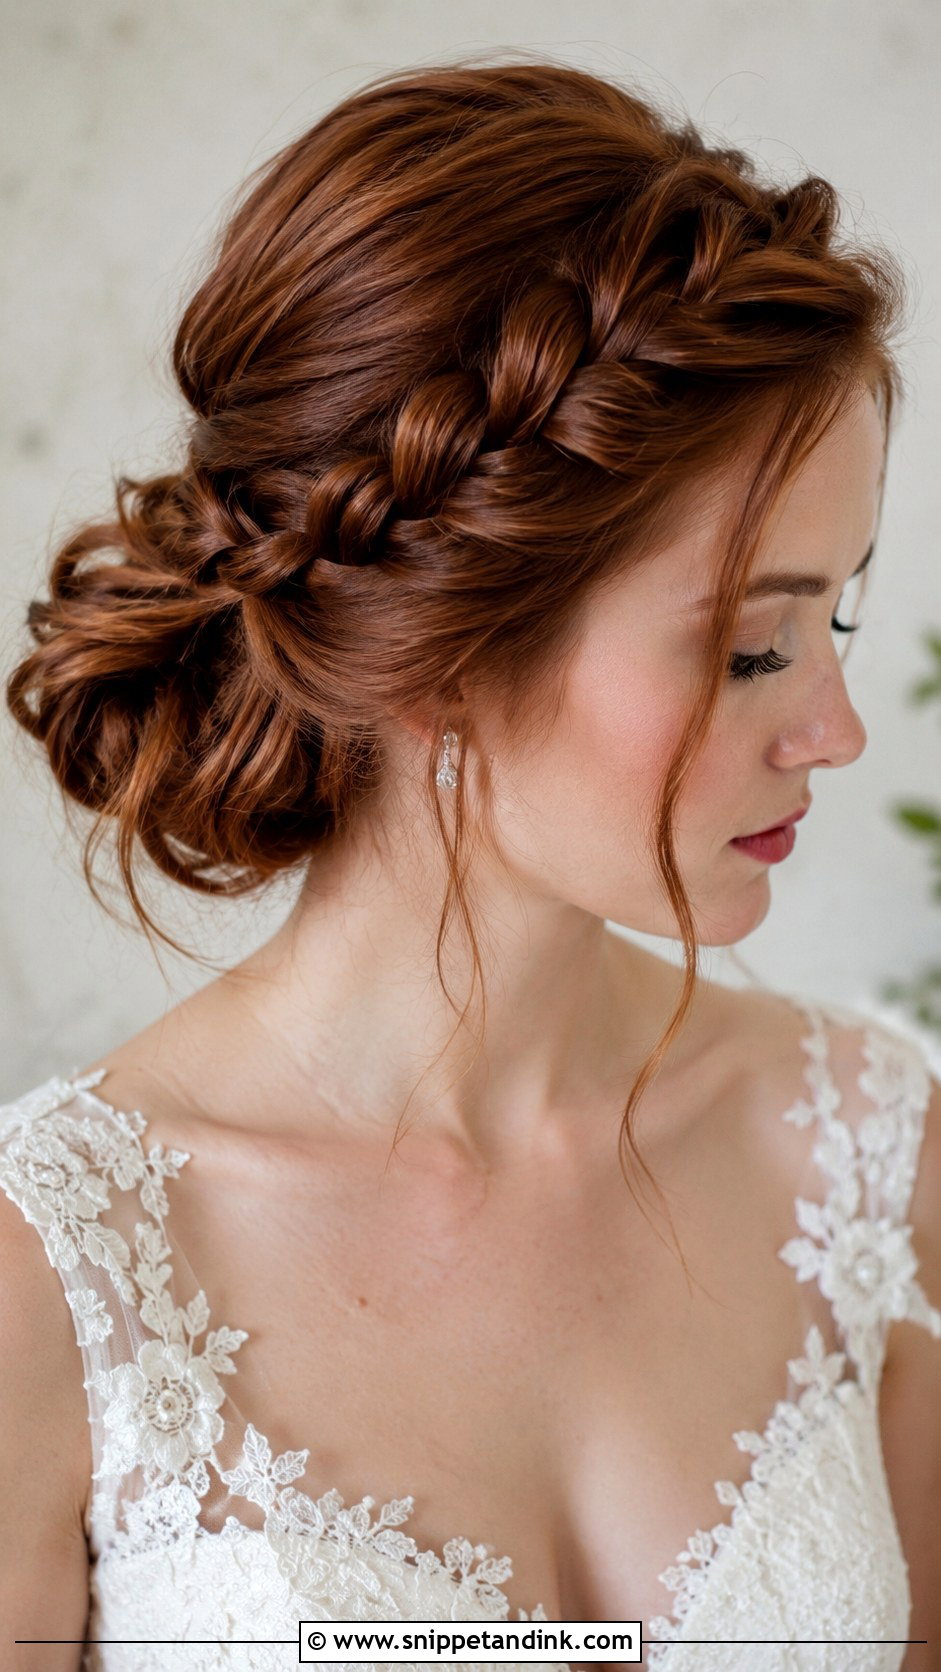
A side French braid that begins at the front hairline and sweeps along one side before disappearing into the bun is one of the most practical looks on this list. It keeps hair off your face during a windy ceremony, and the braid gives the front some detail without any accessories. I keep the bun soft and slightly tousled so the braid stays the focus. Boho and rustic weddings suit it best, and it lasts through dancing better than loose waves would.
8. Low Bun With Veil Underneath
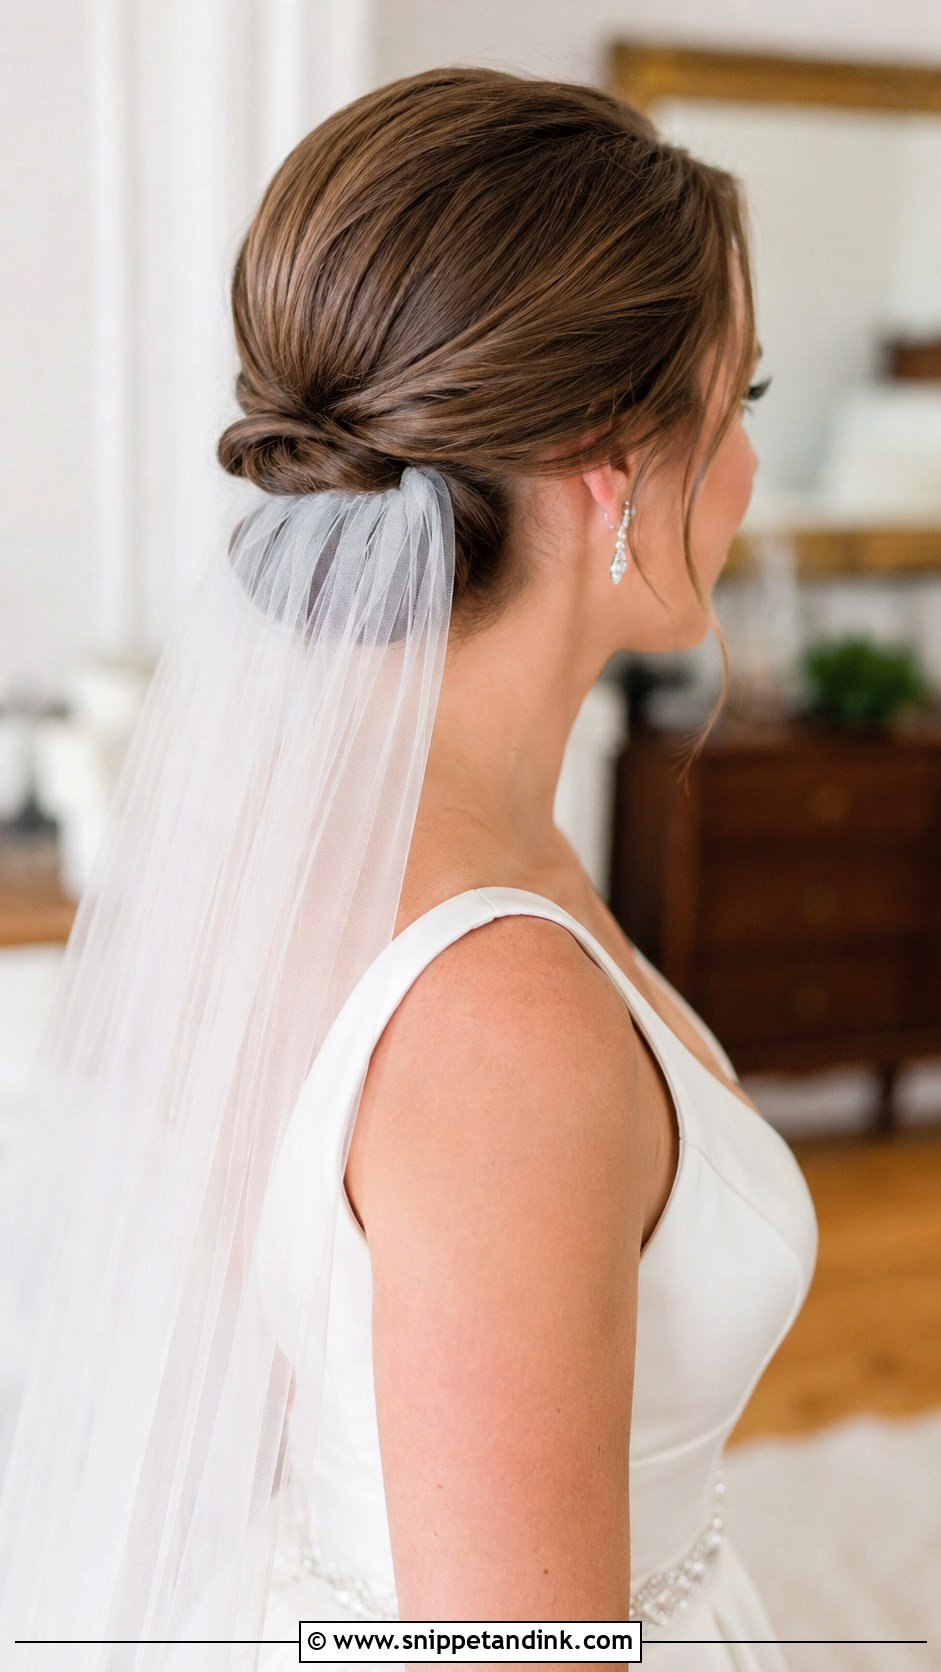
Placing the veil beneath the bun means your hair stays fully visible from the front and the veil falls from behind it. I slide the comb in teeth-down, then flip it so the teeth hook into the base of the bun rather than just the surface hair, because a comb on smooth hair alone will slip under the weight of a long veil. It works for fingertip and cathedral lengths. If you plan to remove the veil after the ceremony, mention it at the trial so I leave the pinning reachable without pulling the bun apart.
9. Low Bun With Pearl Comb
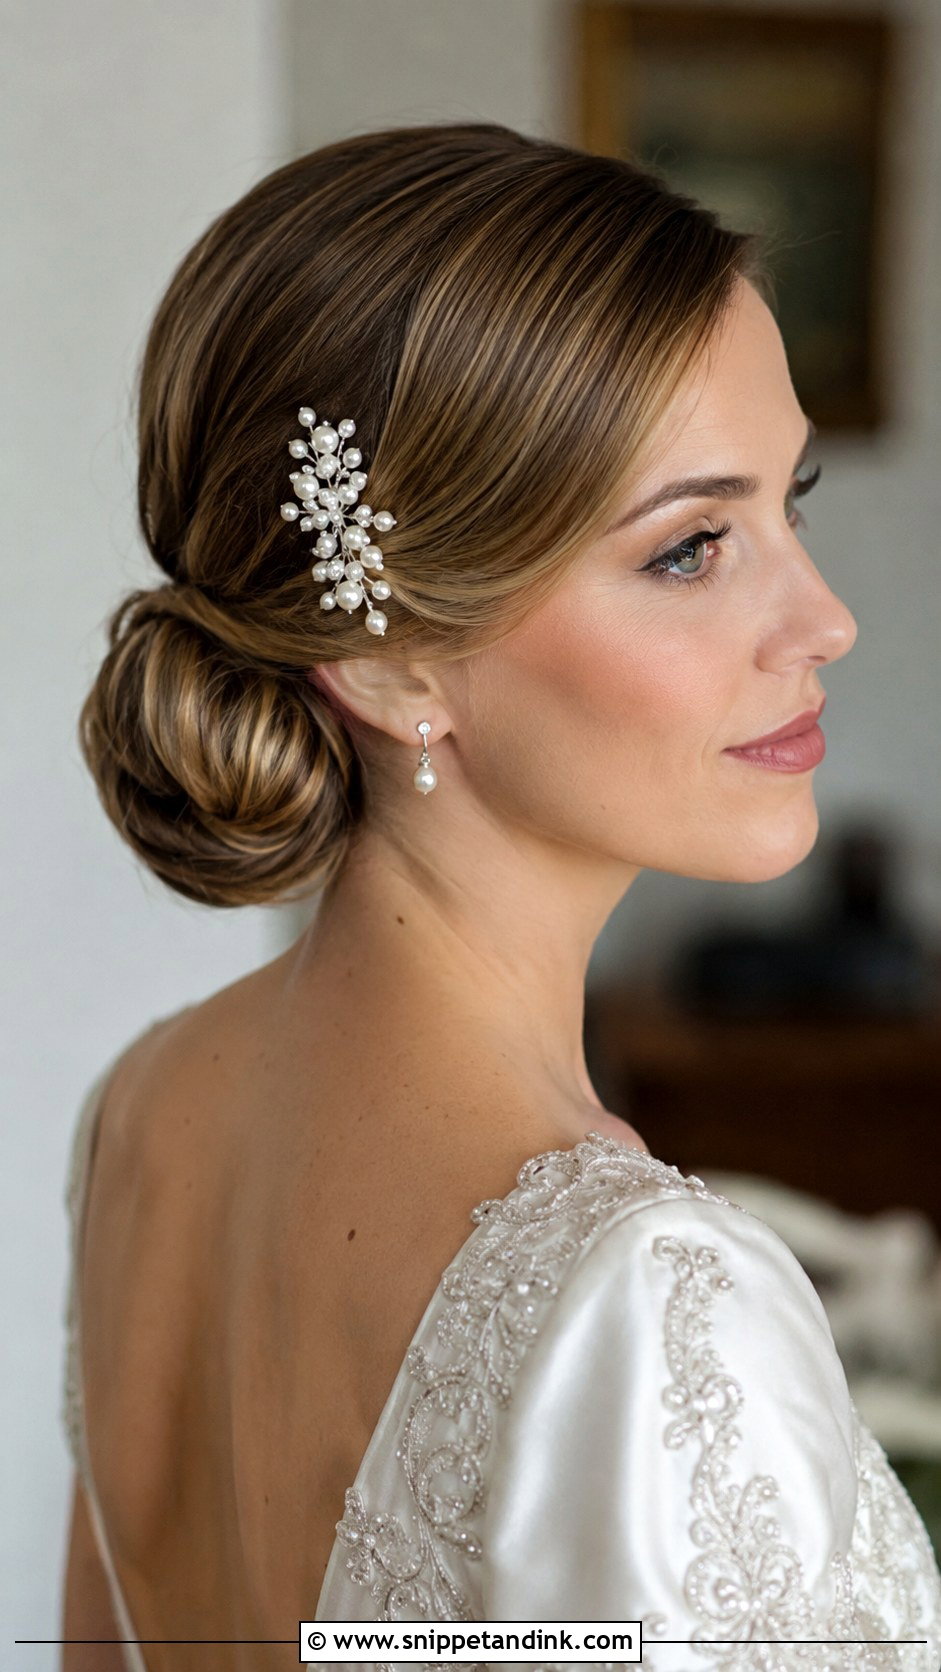
A single pearl comb tucked on one side gives a simple chignon a clear focal point near the face. I place it at the point where the hair turns from the side section into the bun, which usually sits just behind the ear, so it shows in front-facing photos. Glossy, smooth hair shows the pearls best, and the comb needs a criss-cross of bobby pins underneath to grip into. It pairs comfortably with a veil anchored under the bun.
10. Low Bun With Curtain Bangs
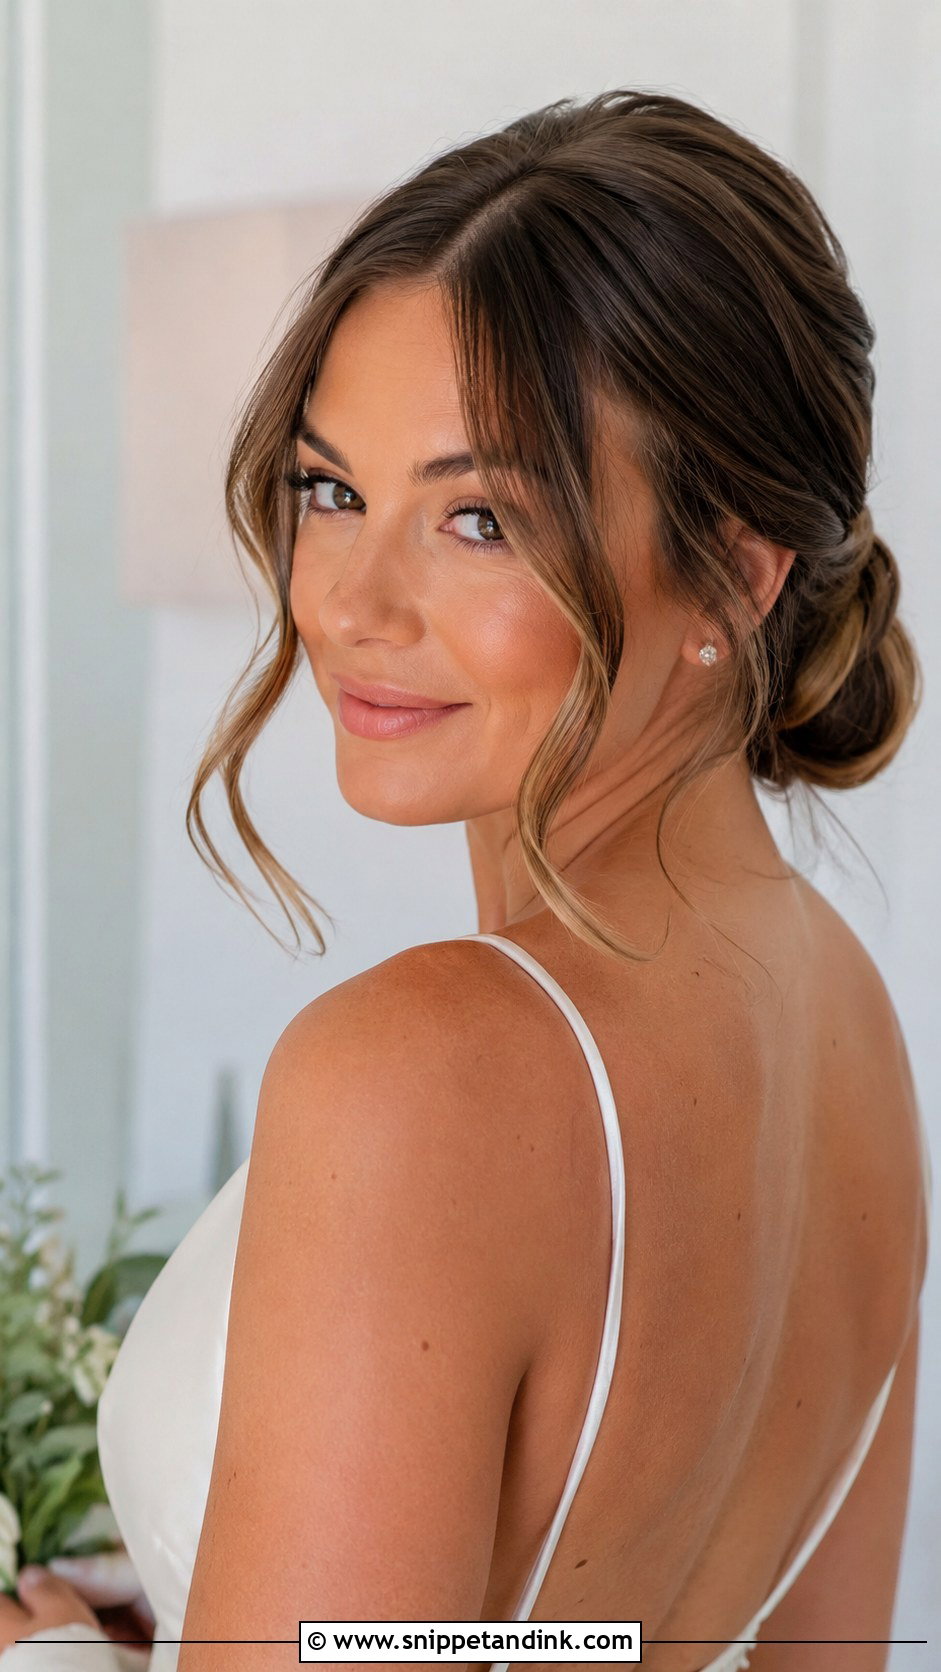
Curtain bangs need to be styled before anything else, because once the rest of the hair is pulled back, it’s hard to get a round brush in. I blow them with a small brush, part them through the middle and let them sweep toward each cheekbone, then gather the back into a soft low bun. They soften the front and highlight the eyes. If your bangs are freshly cut, have the trim at least two weeks before the wedding so they’ve settled into their natural fall.
11. Low Bun With Flowers
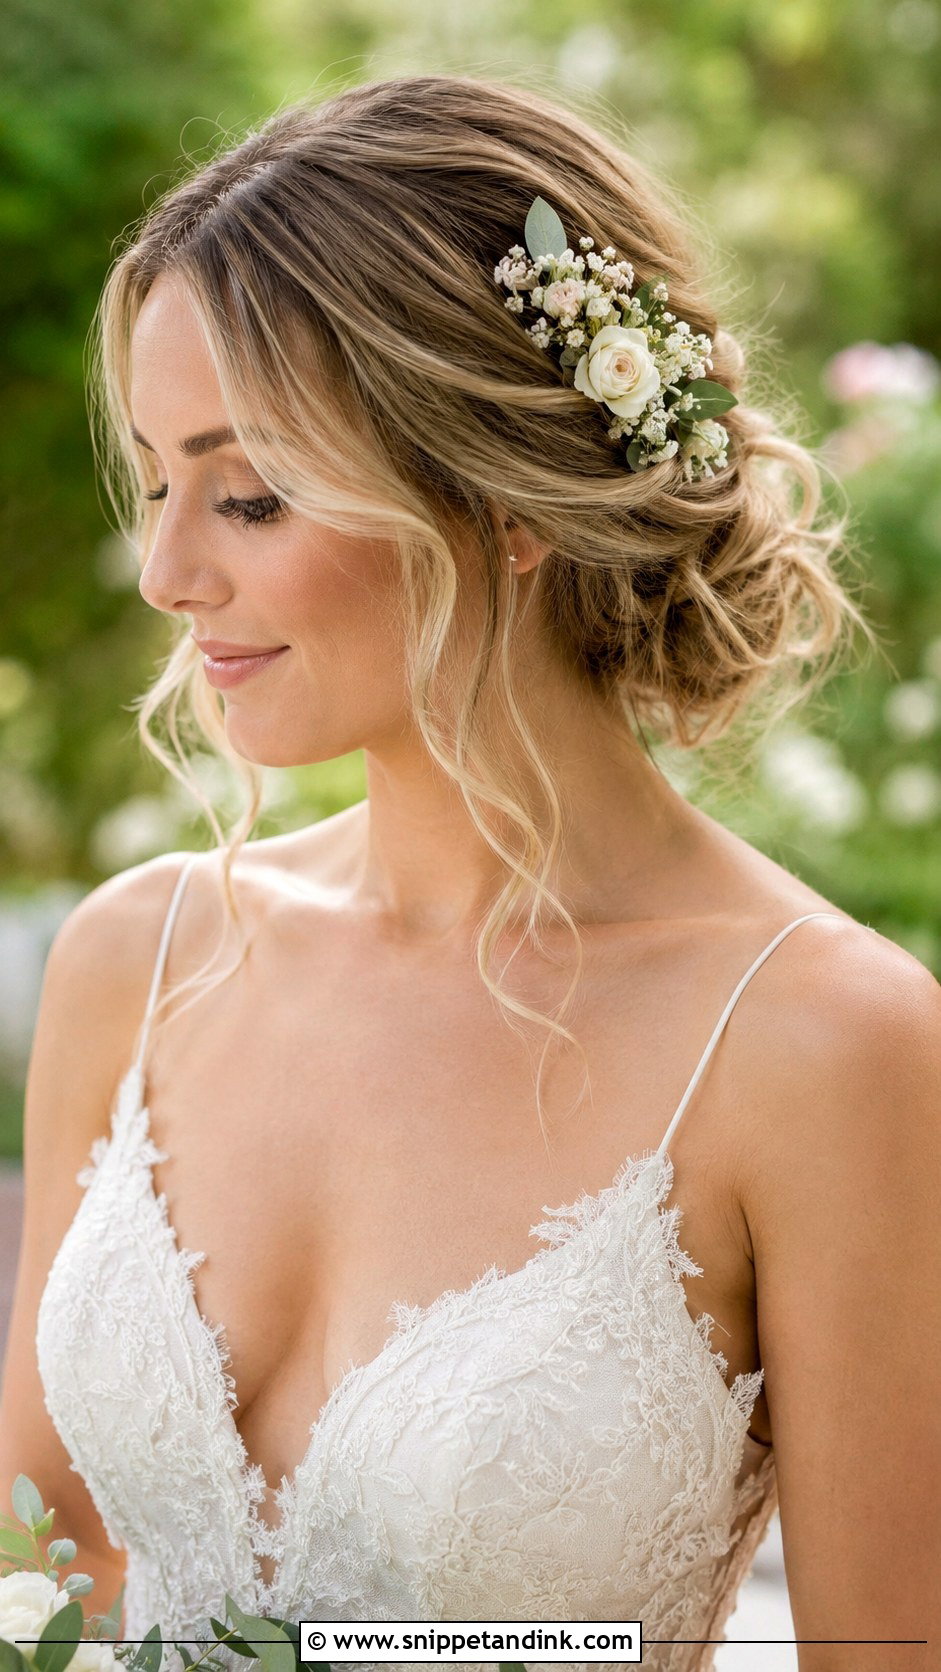
Small fresh blooms tucked near the front or along the side of a loose bun bring colour close to the face. I ask florists for flowers wired or glued onto small picks, and I use sturdy varieties like spray roses, wax flower or baby’s breath, since delicate petals bruise when pinned. Matching them to the bouquet keeps everything connected. Outdoor and spring weddings suit this, but on a hot day I add the flowers last so they spend as little time as possible out of water.
12. Low Bun With Loose Waves
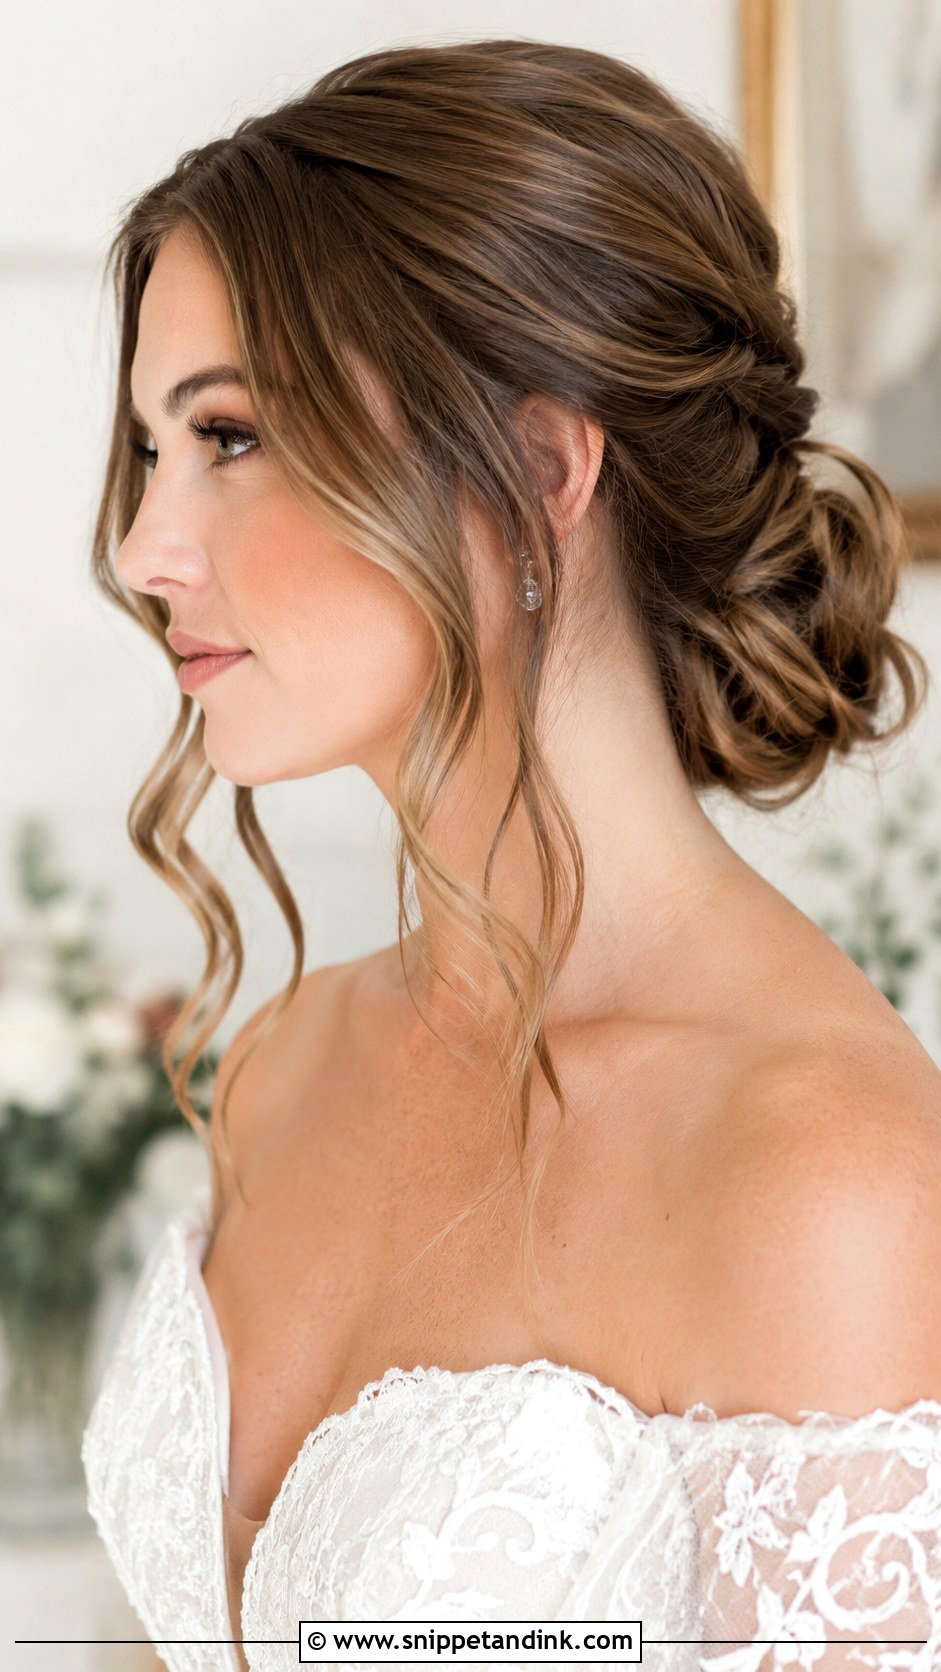
This is the compromise I recommend most to brides torn between an updo and wearing their hair down. I curl the whole head first, gather the back into a low knot and leave the front sections loose and wavy. The bun keeps the weight off your neck, and the waves give movement in photos. Waves on very heavy hair can drop by evening, so I set each curl and let it cool fully before brushing it out.
13. Sleek Low Bun With Middle Part
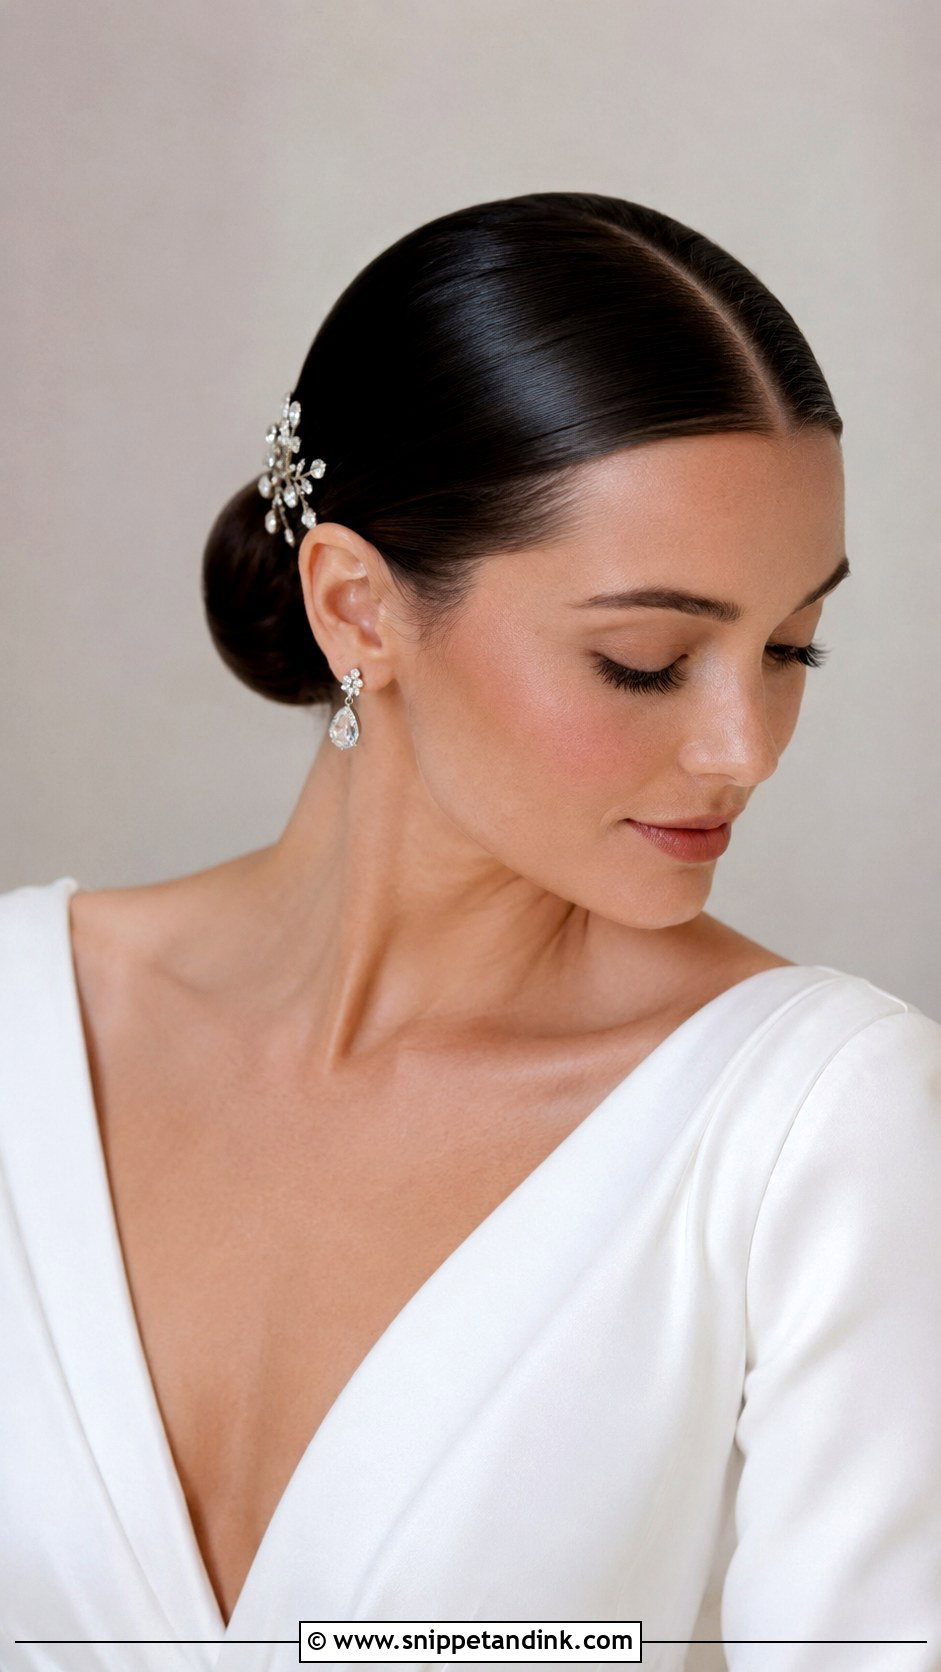
A sharp centre part makes the sleek low bun look modern, but it’s also the least forgiving parting there is. It shows any asymmetry in the hairline, so I check your natural part at the trial and sometimes shift it a few millimetres to look straight. The hair is pulled back cleanly into a low chignon with a strong gel or serum. It suits a minimalist gown and bold earrings, and very little can go wrong once it’s set.
14. Low Bun With Headband
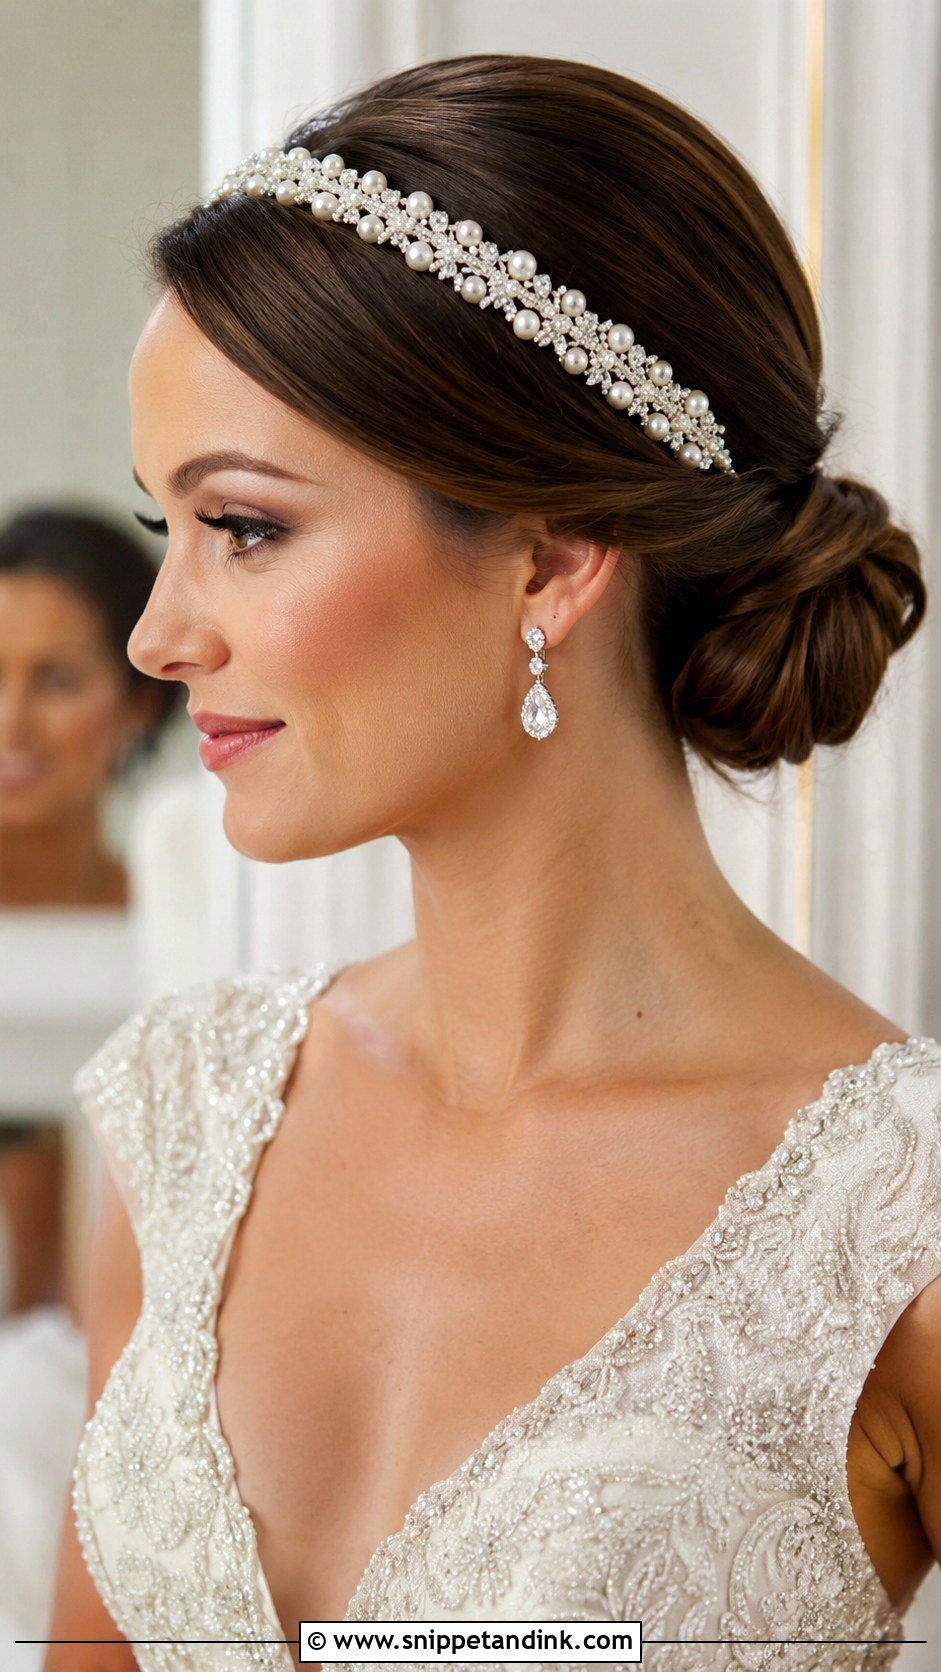
A jewelled or pearl headband worn across the front frames the face and keeps hair neatly in place. Headbands can press behind the ears after a few hours, so I always have brides wear the piece for at least twenty minutes at the trial. Smooth the hair back into a low knot first, then slide the band on and pin it discreetly from behind so it doesn’t creep forward. A thin band suits subtle shine; a wider jewelled one leans vintage.
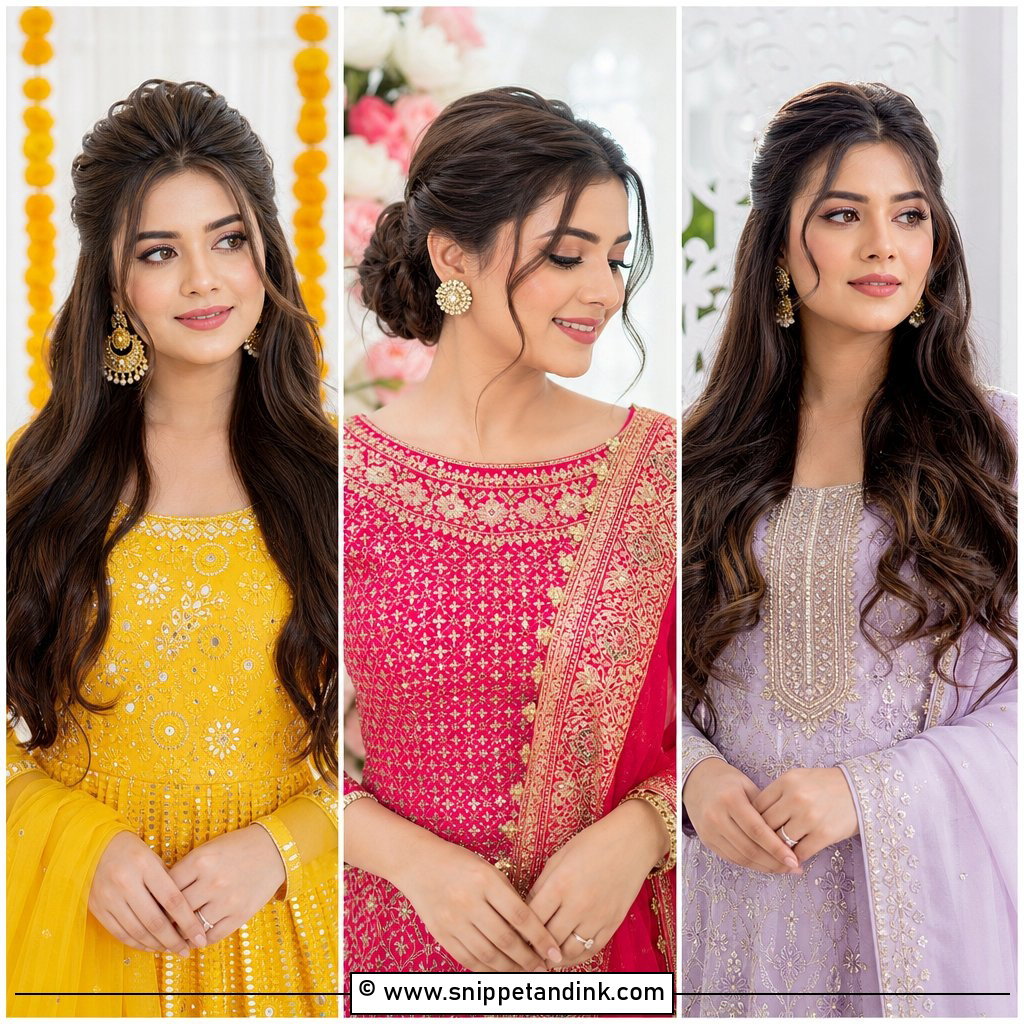
15. Low Bun With Tendrils
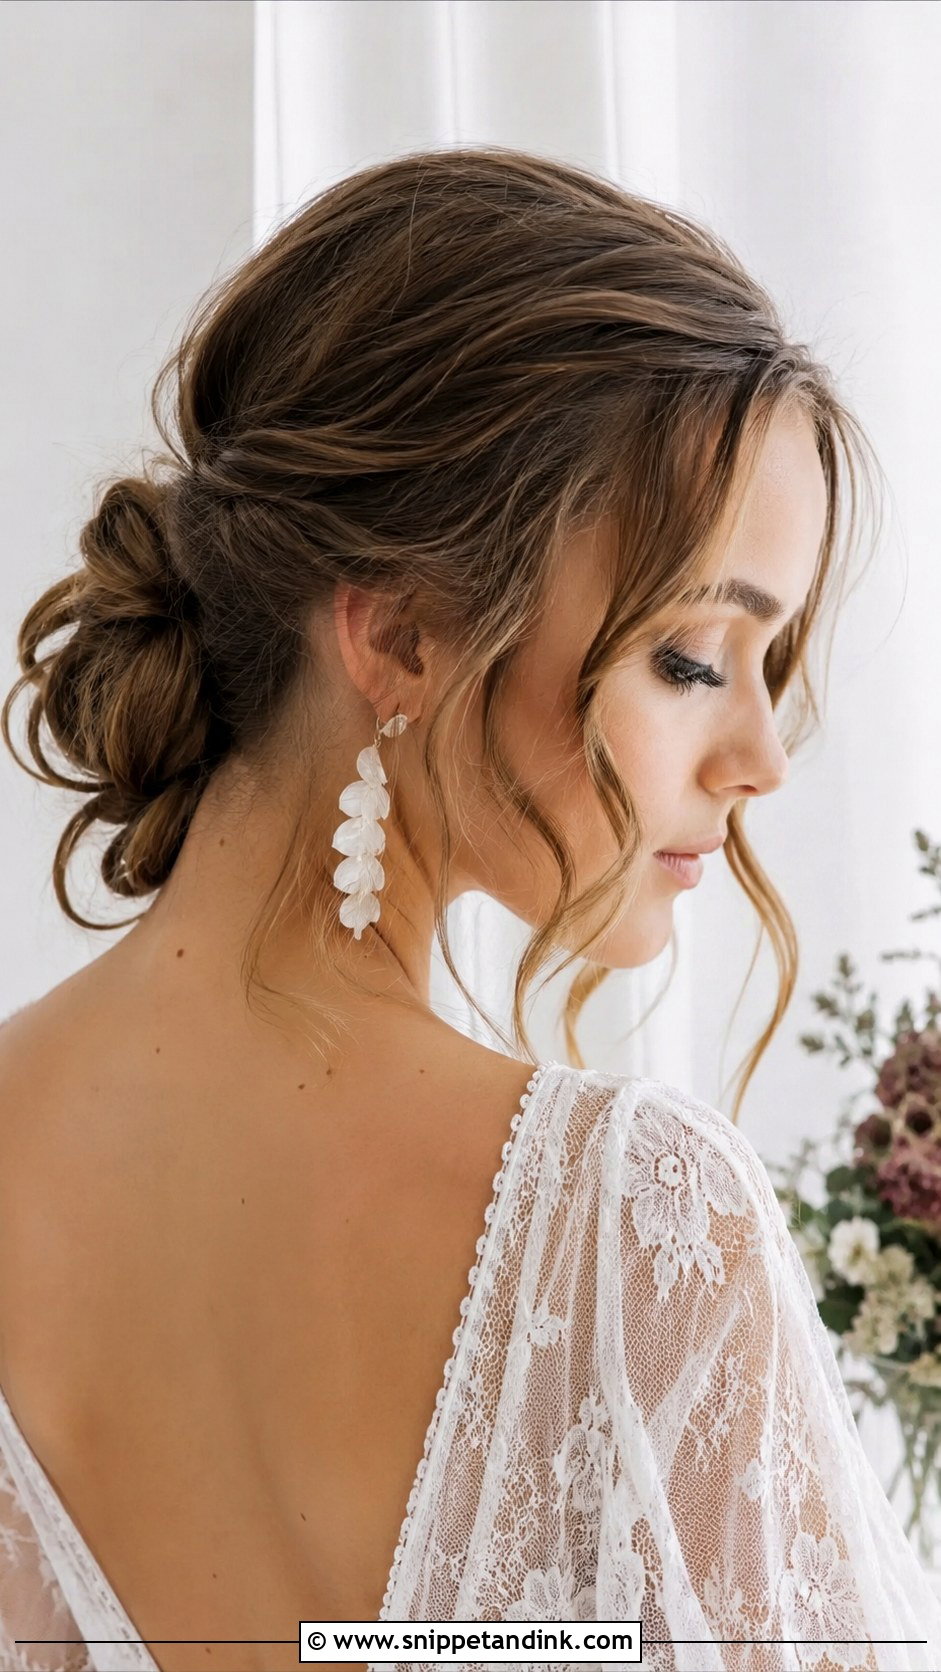
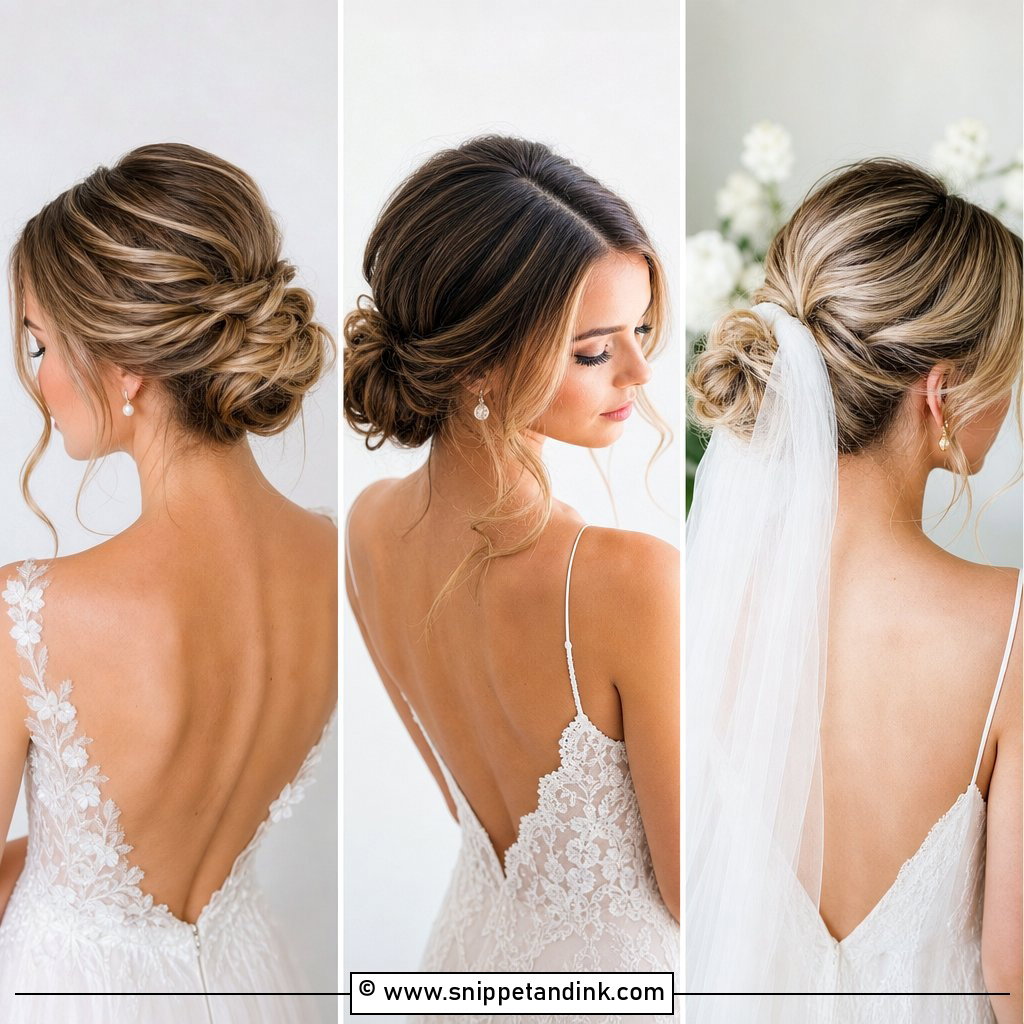
Tendrils are pulled free near the temples and ears once the bun is in place, then curled gently. I keep them to two or three pieces each side; any more and the front starts to look unfinished rather than soft. They add movement and work for most wedding styles, from boho to classic. On straight, silky hair I curl them with a smaller barrel, because they relax more over the day than you’d expect.
16. Low Chignon
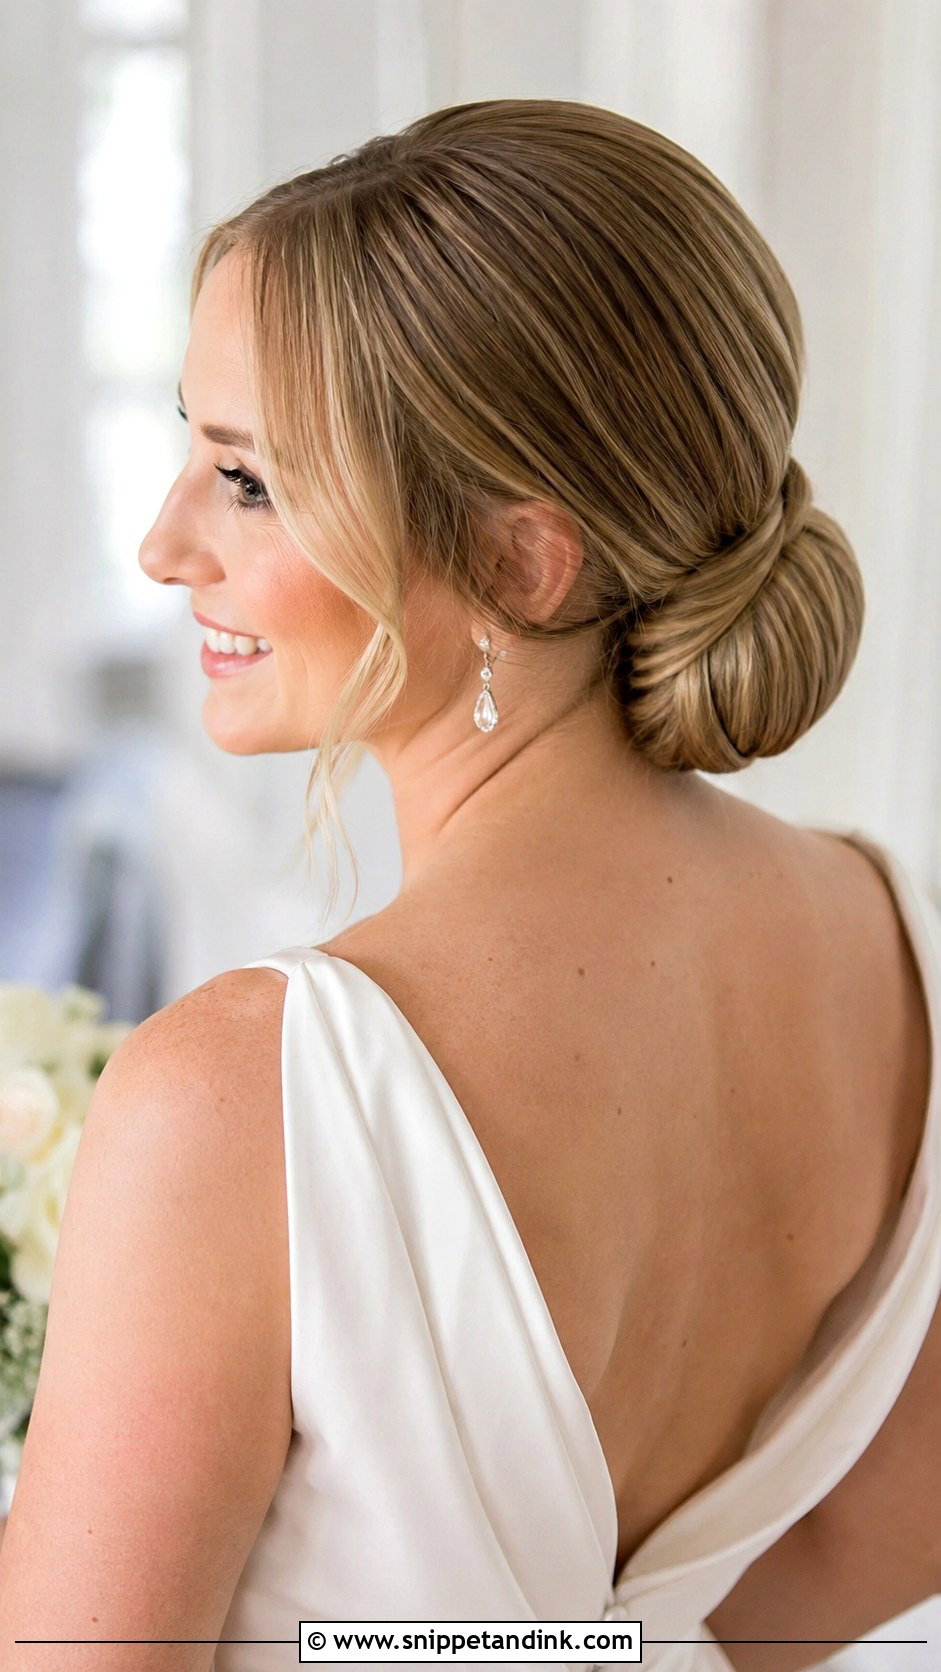
The low chignon is the bridal classic for a reason: it suits almost every face shape and every neckline. Hair is rolled and tucked into a smooth, sculptural knot at the nape. From the front, it looks clean and lets accessories and earrings take the attention. I build the roll around a firm base of crossed pins so it can carry a veil or a statement comb. Leave a few soft pieces out if a fully smooth finish feels too formal.
17. Low Bun With Crystal Hairpins
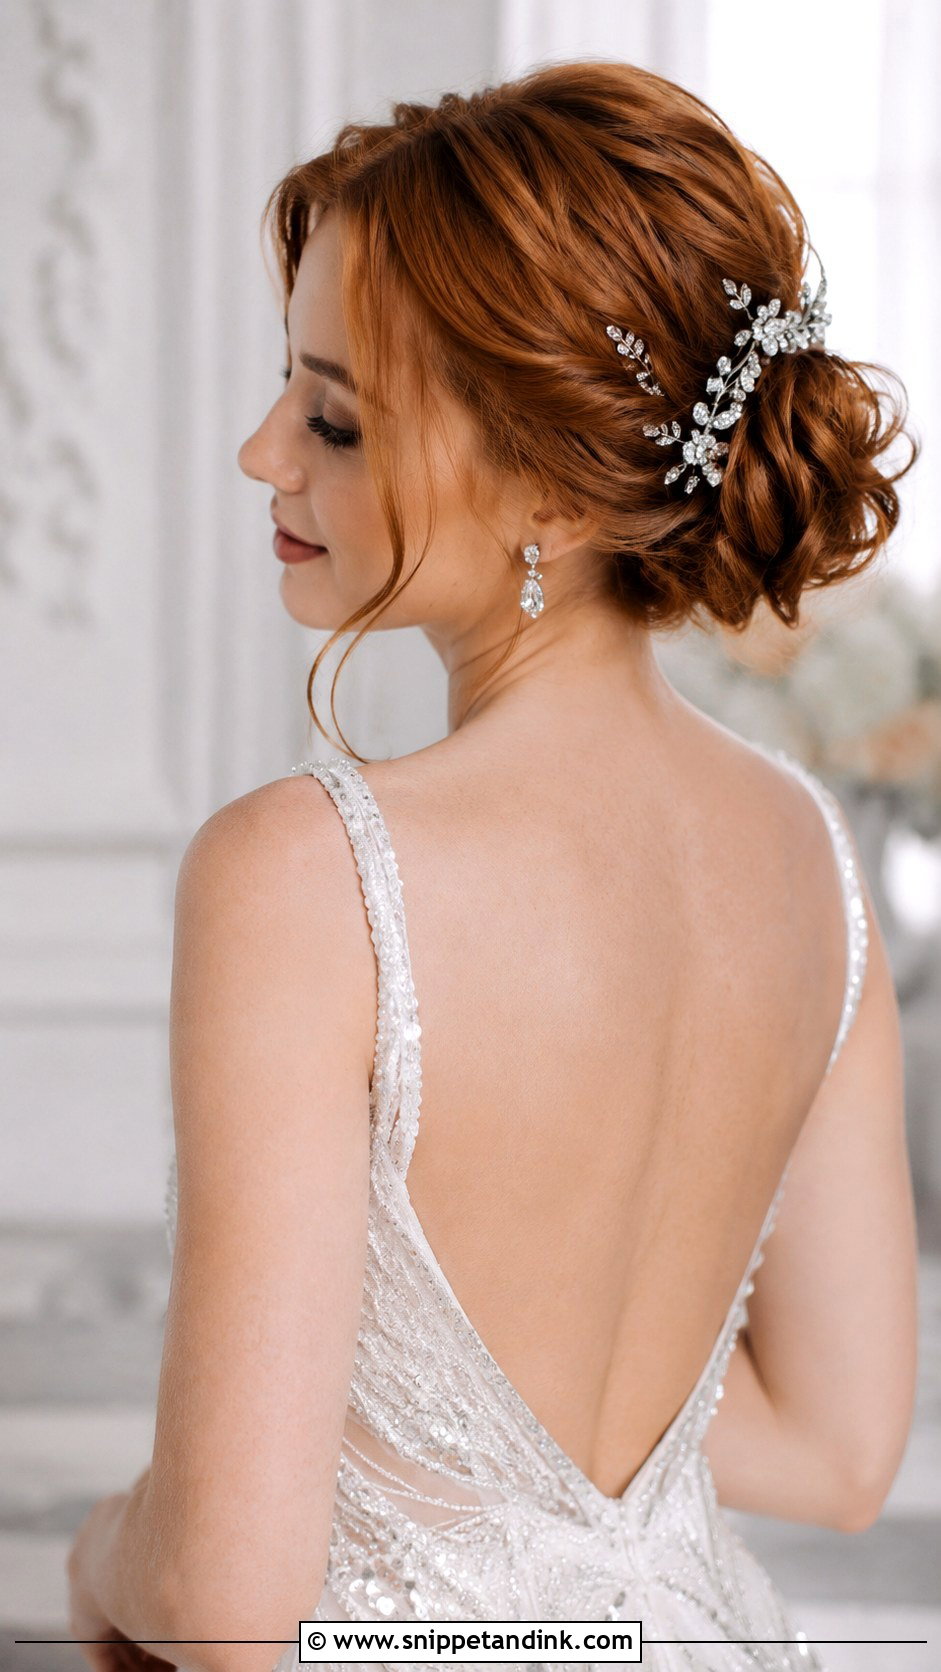
Crystal hairpins scattered through a textured bun add sparkle near the face without the weight of a full headpiece. I place the first few where they’ll show from the front, near the ear and along the top edge of the bun, before adding any at the back. The number is up to you; I’d keep it odd and uneven so it doesn’t look like a pattern. Pair them with sparkling earrings and a fitted gown.
18. Braided Low Bun
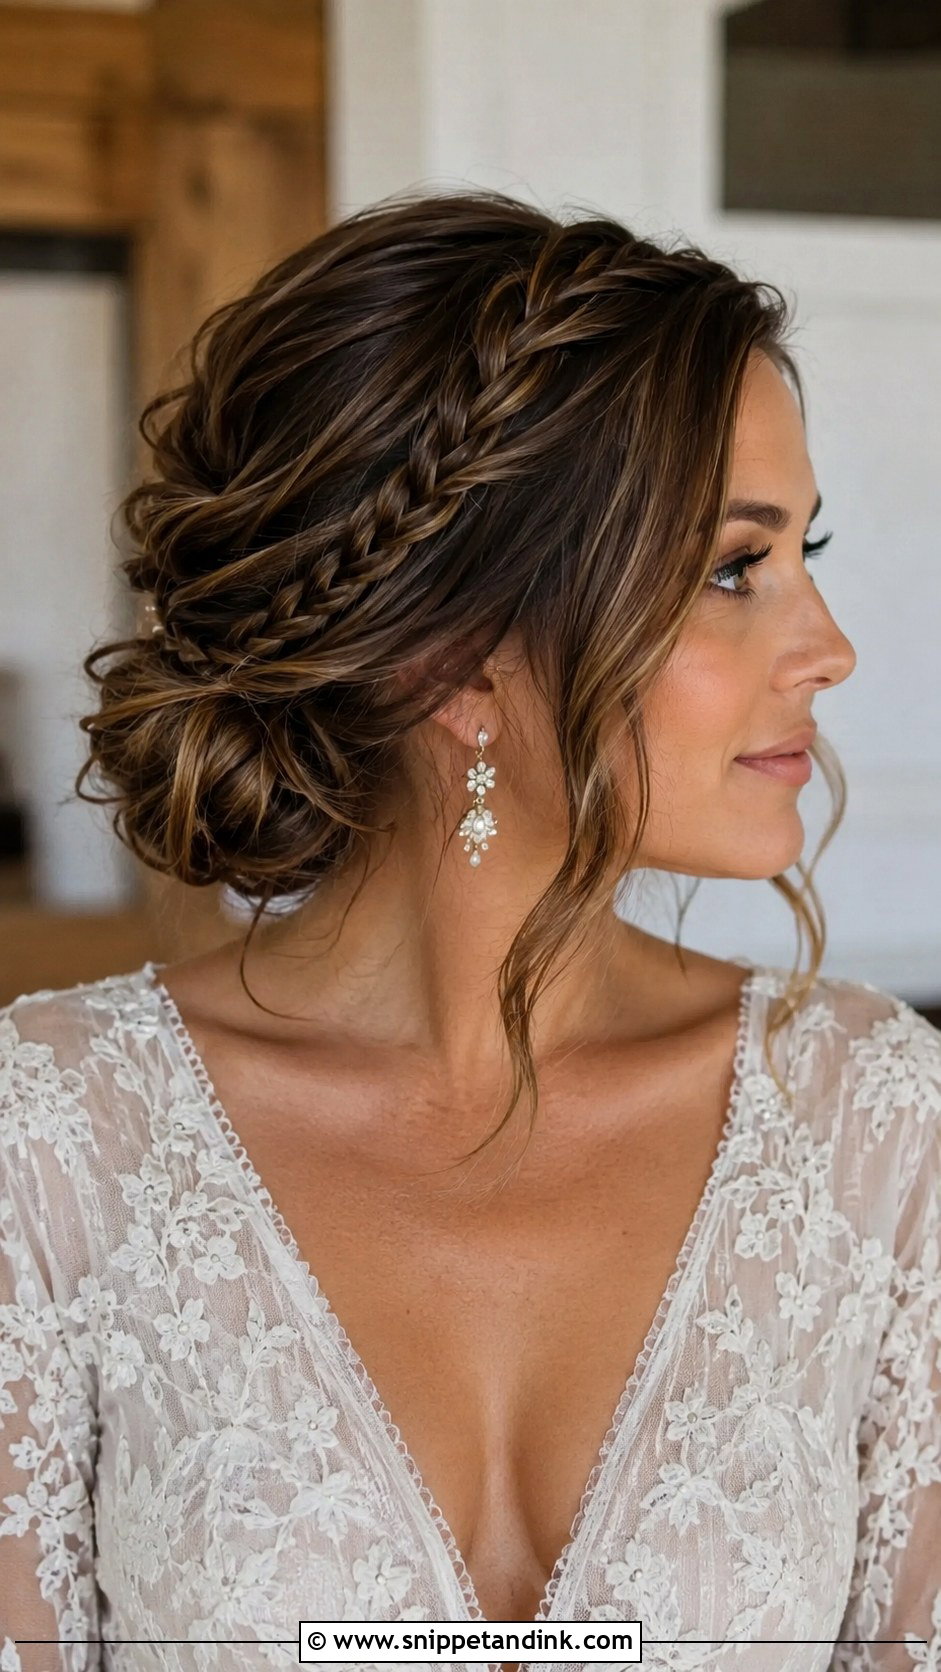
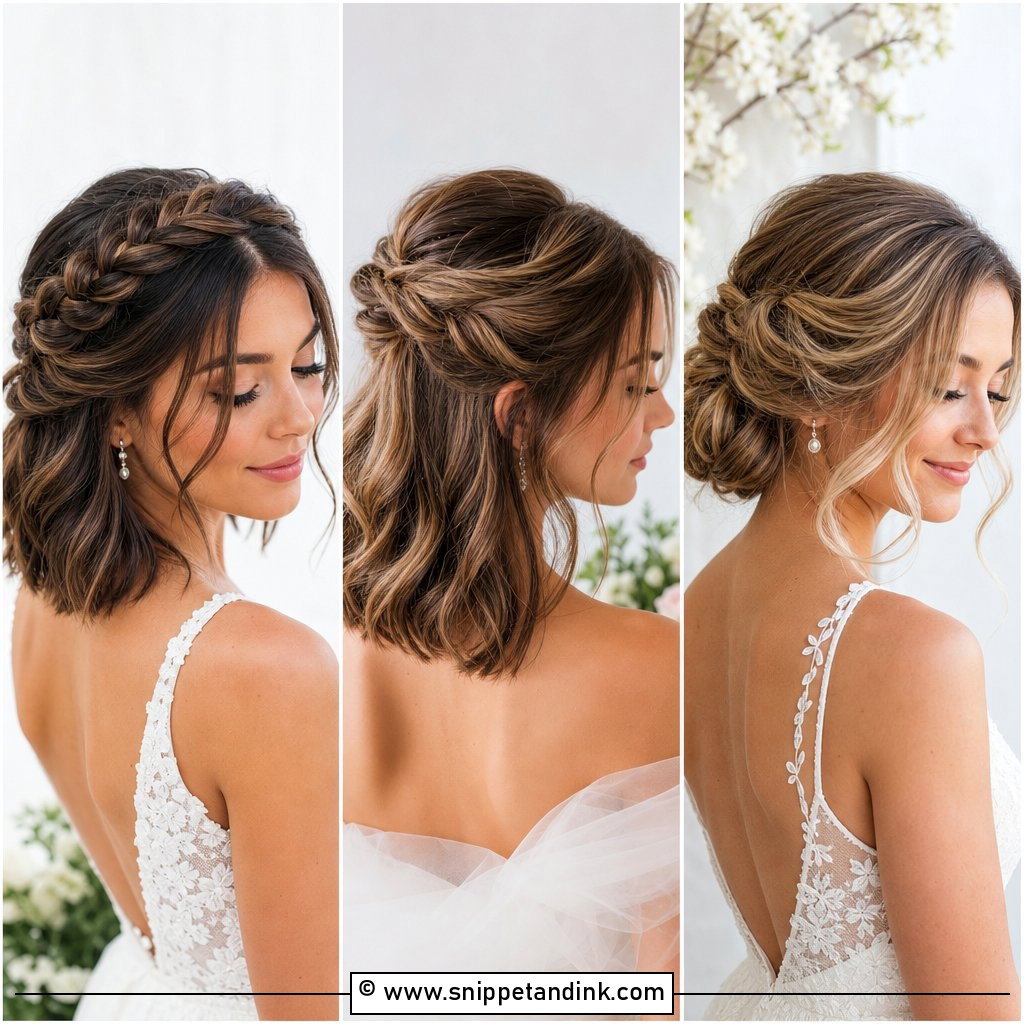
Braids add texture and detail to a low bun, either as several mini braids or one thick plait wrapped around it. From the front you’ll catch glimpses of the braid at the sides. I pancake the braids by gently pulling the edges outward, which makes them look fuller without needing extensions. Keep the front soft with a few loose pieces. On shoulder-length hair, a braided bun is often the easiest way to hide short layers that won’t reach the knot.
19. Low Bun With Deep Side Part
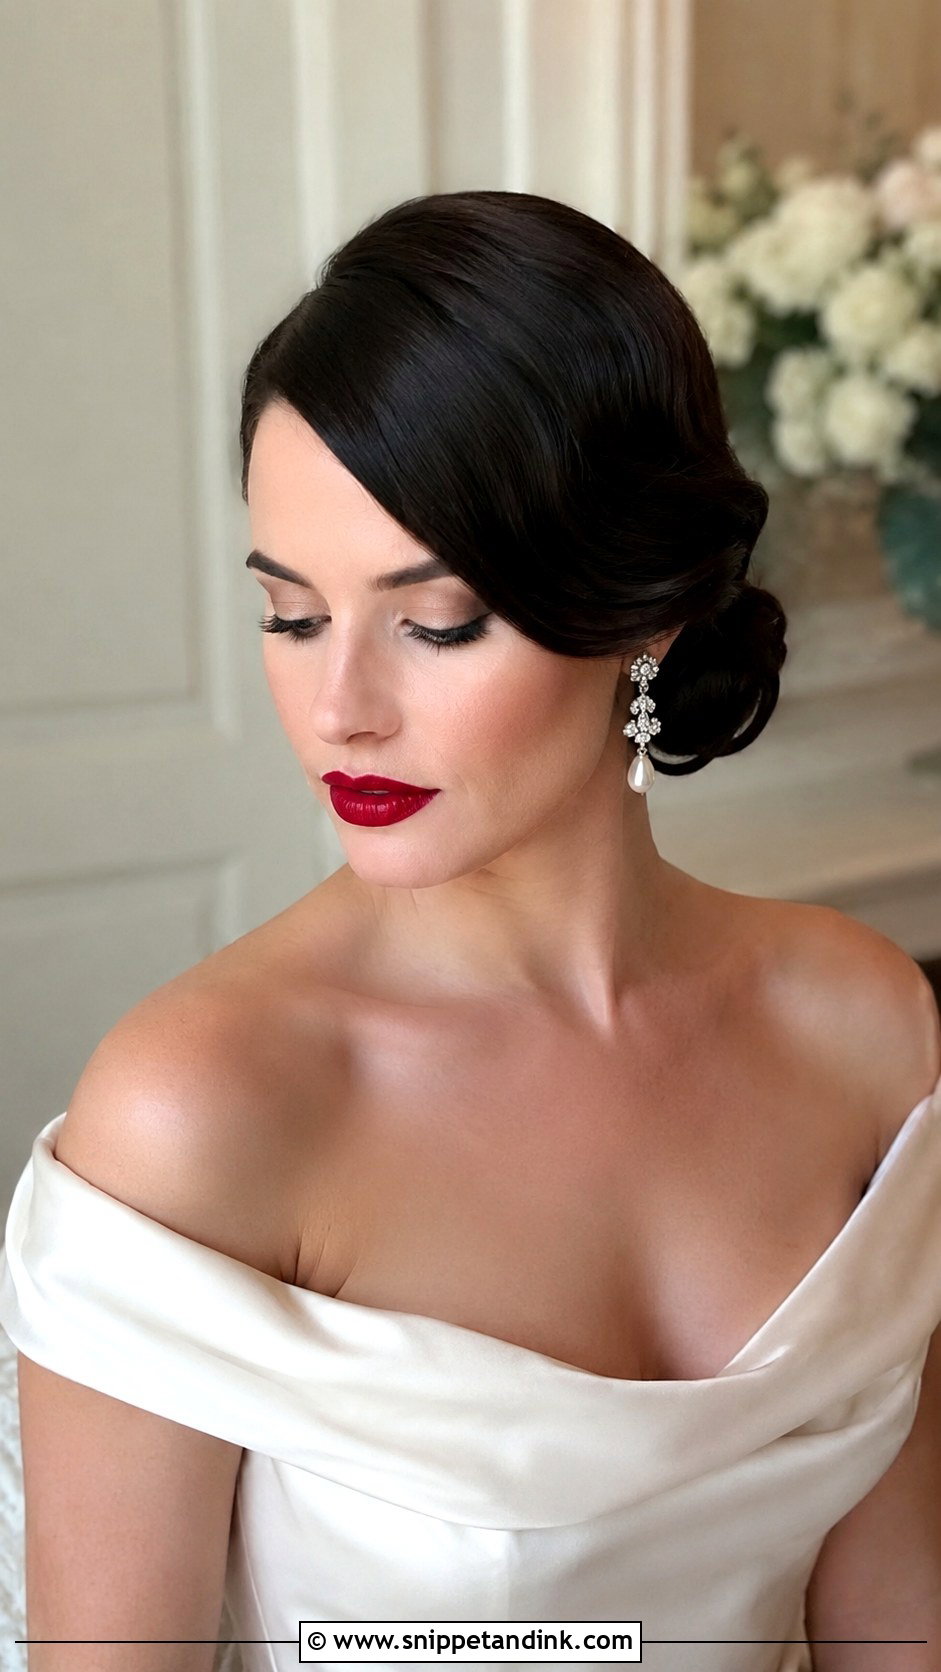
A deep side part sweeps a large section across the forehead and gives a low bun a glamorous, old Hollywood edge. I set the swept section with large rollers so it has body and doesn’t lie flat against the head. It highlights the eyes and suits nearly every face shape. Before committing, test it with your glasses or your veil; on some brides the swept section and a veil comb end up fighting for the same side.
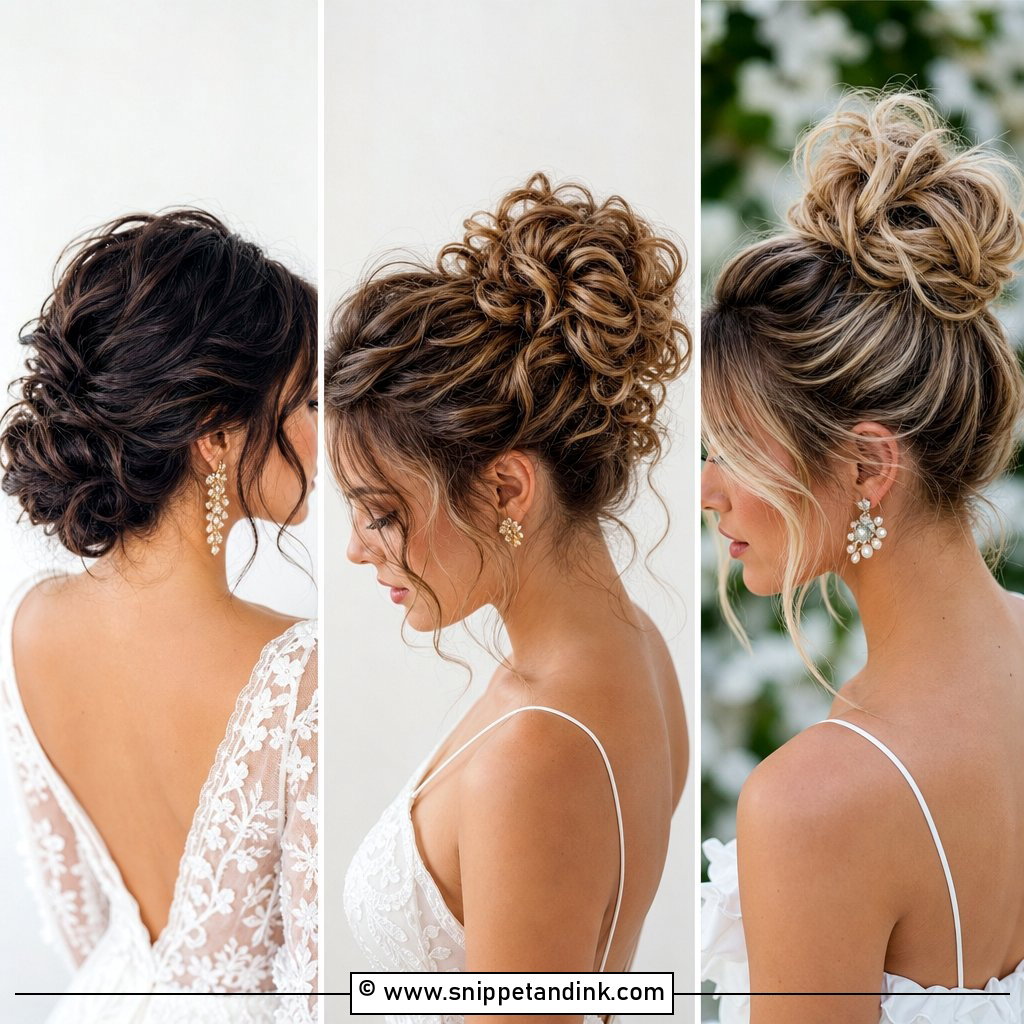
20. Textured Low Bun
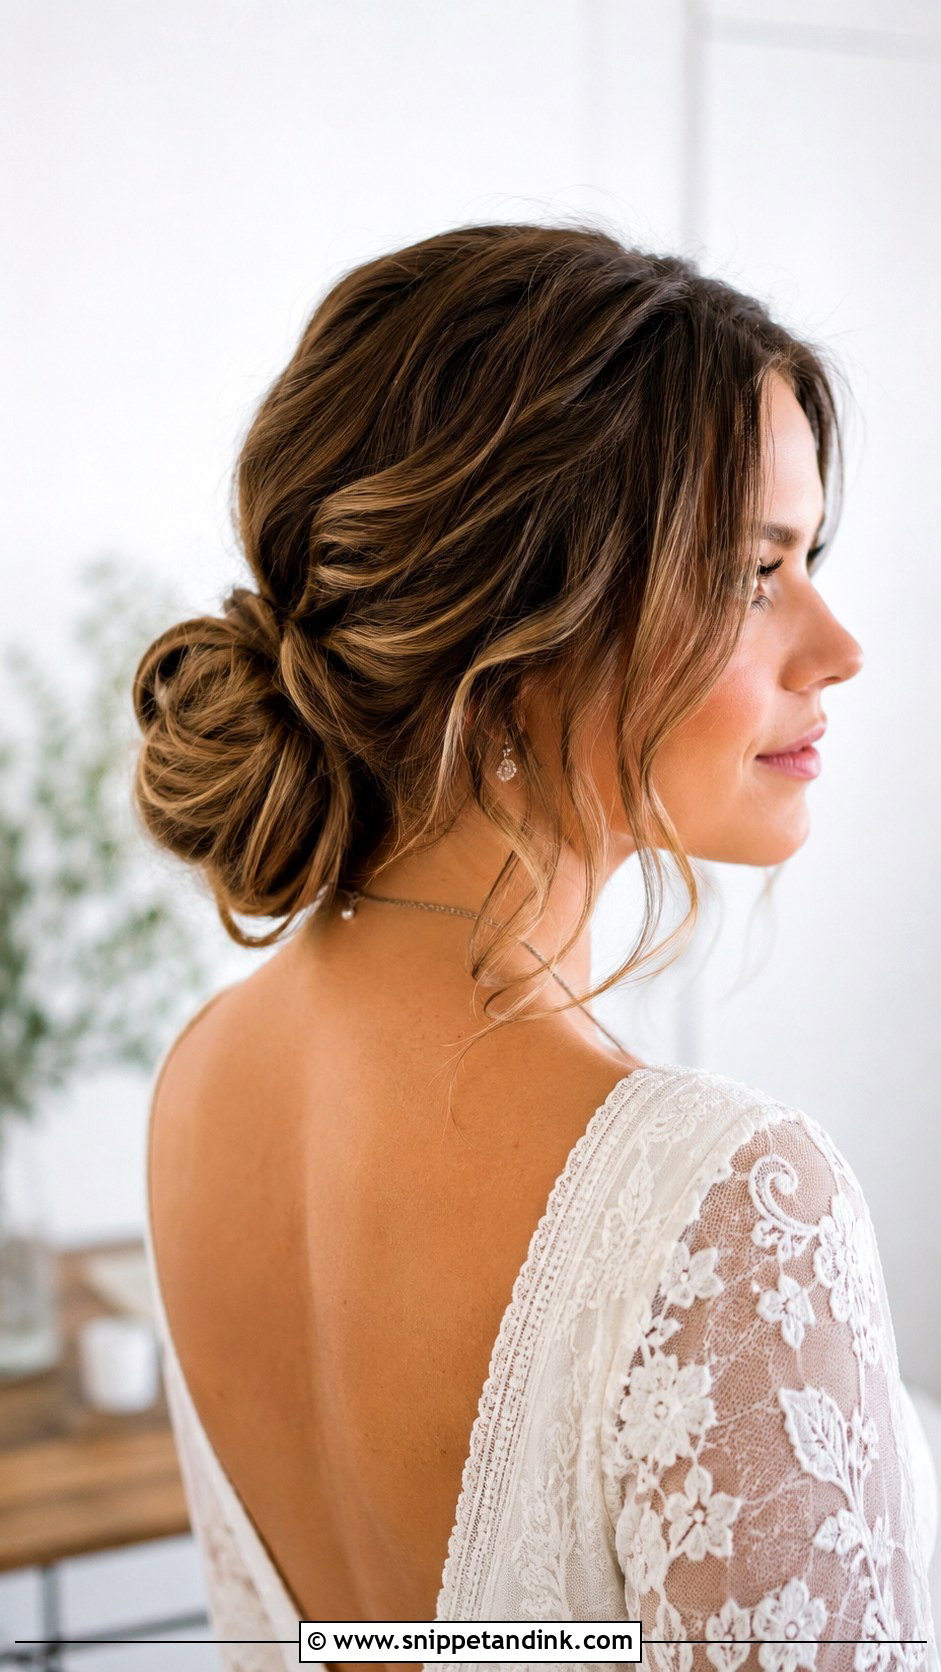
Volume makes this bun feel modern and full, especially on fine hair that otherwise collapses into a small knot. I tease the hair gently at the root for body, then gather it loosely into a dimensional knot and pull out a few face-framing pieces. On thick hair I thin out the bulk inside the bun rather than adding teasing, so it doesn’t grow too large. Boho and romantic weddings suit this relaxed, voluminous style.
21. Low Bun With Ribbon
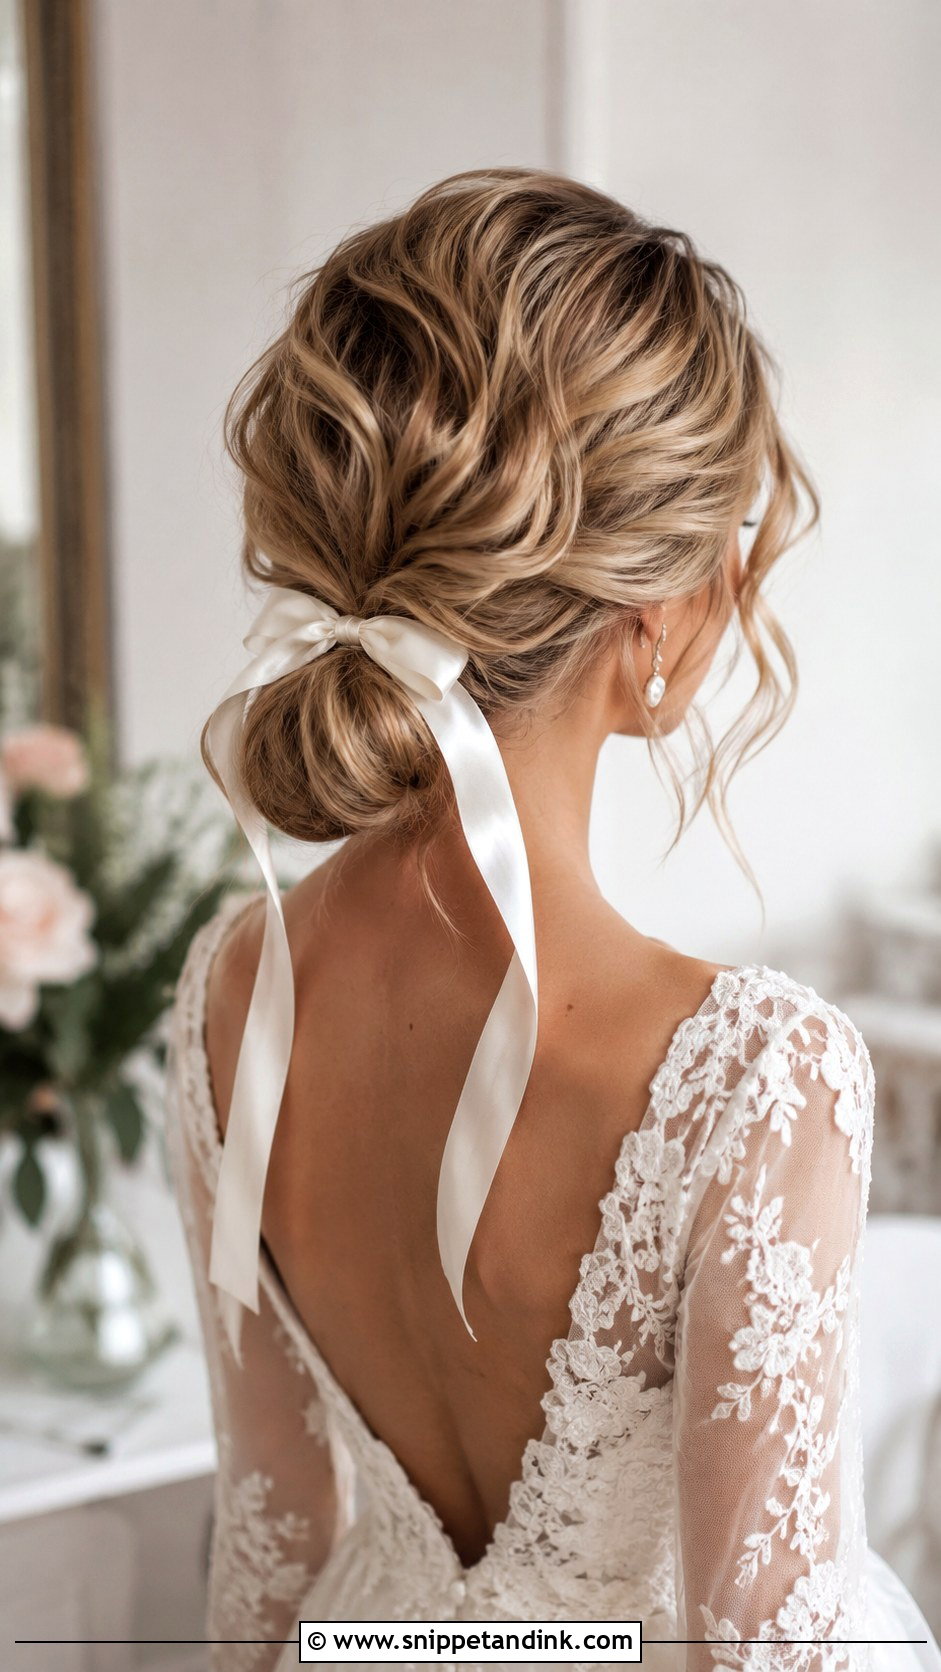
A ribbon woven through or tied around a low bun adds colour near the face. Satin or silk in a shade close to your gown is the safest; I avoid stiff grosgrain because it doesn’t knot neatly and stands away from the hair. I gather the hair into a low knot, then add the ribbon and pin the tails underneath so they don’t unravel. It pairs with both sleek and textured buns, and the tails move nicely when you walk.
22. Low Bun With Baby’s Breath
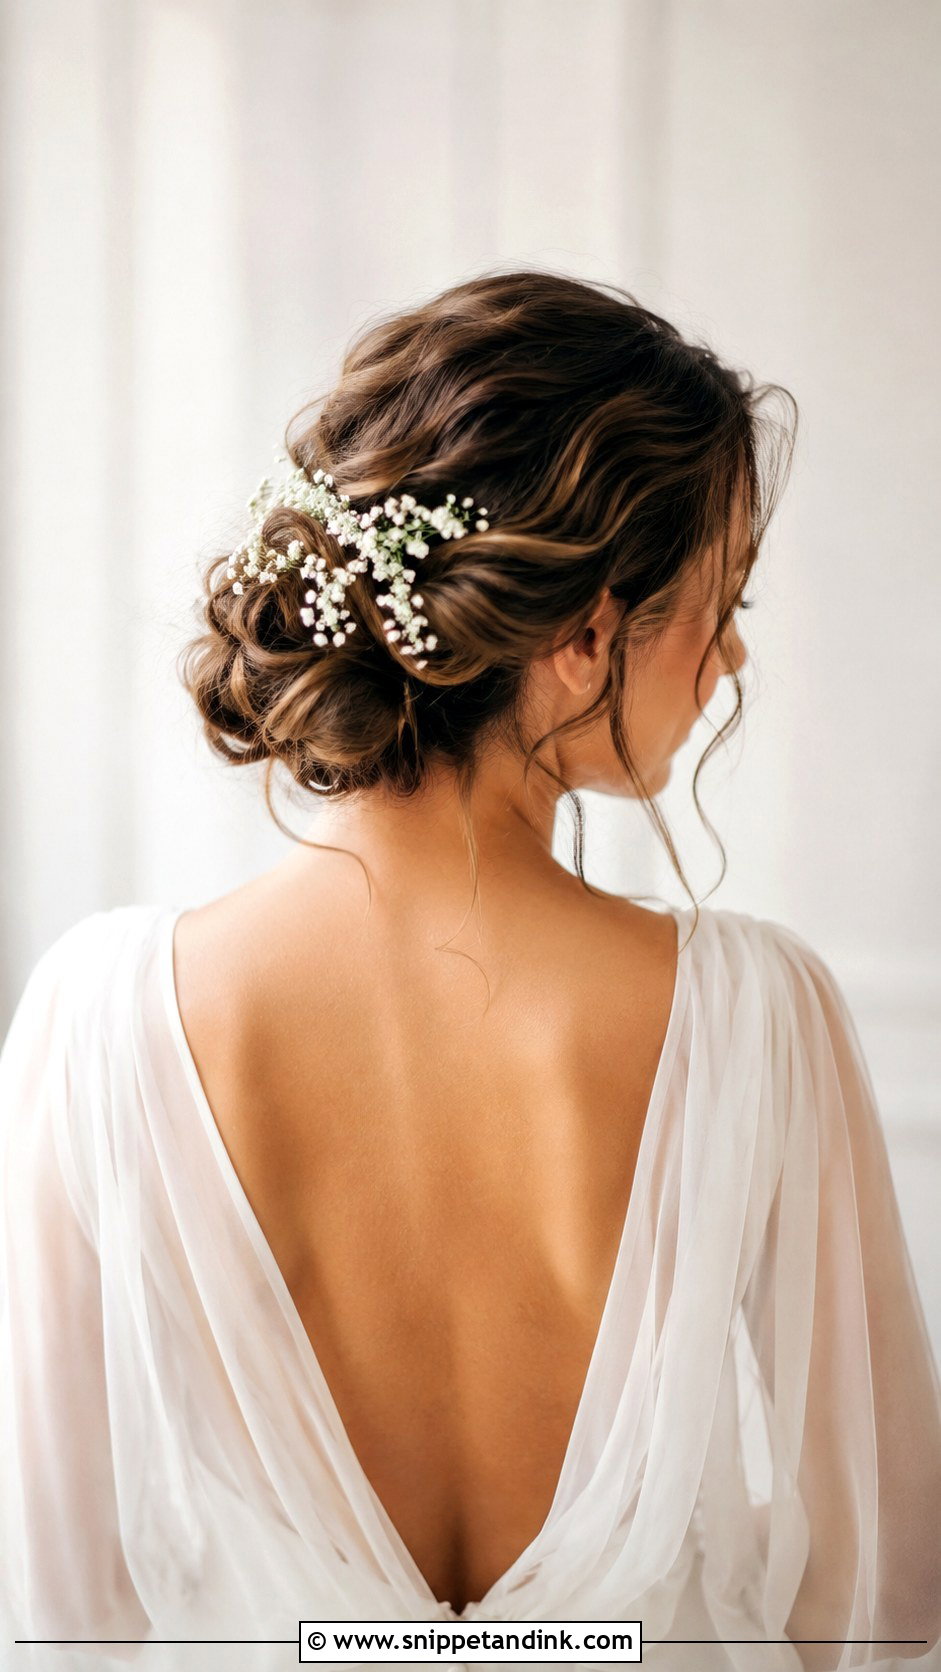
Baby’s breath is airy and inexpensive, and it gives a low bun a garden-fresh feel. These tiny white blooms are tucked through the bun and around the front. I cut short sprigs and insert them into the bun so the stems disappear; long stems poke out and look scruffy by the reception. Keep the bun loose and textured so the flowers sit naturally, and ask your florist for an extra bunch, since it dries out quickly in heat.
23. Low Bun With Wispy Bangs
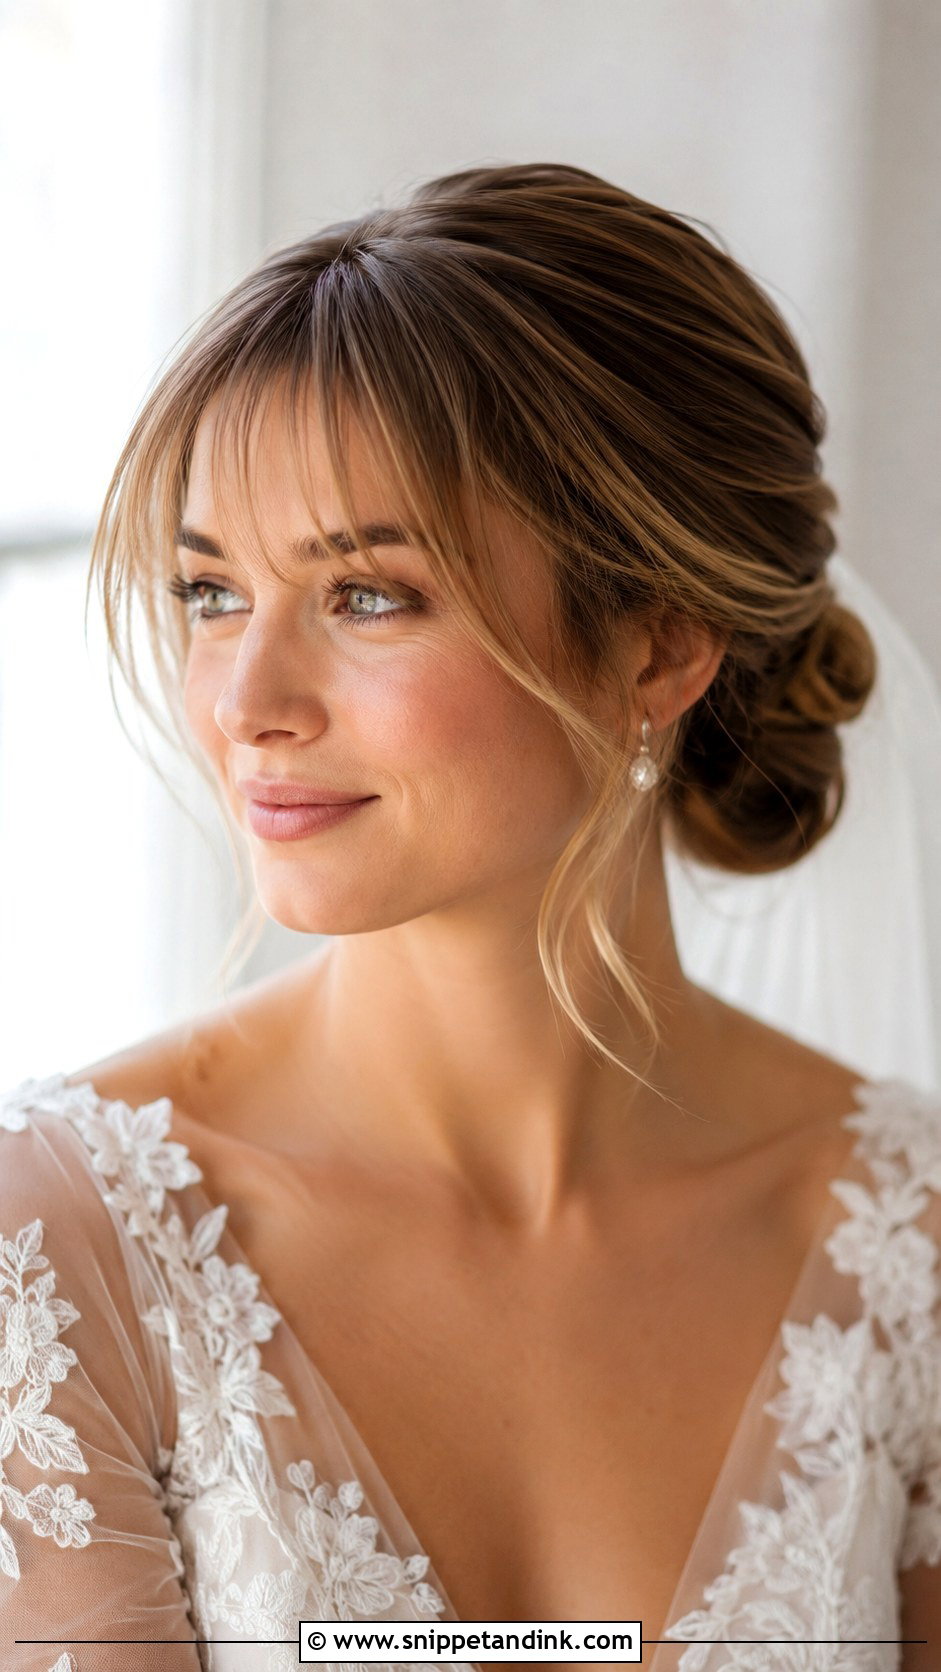
Wispy bangs fall lightly across the forehead and soften a low bun. I keep them airy by using minimal product and styling them with a flat brush and a quick blow dry. Sweep the rest of the hair back into a smooth or textured bun. If you don’t usually wear bangs, I’d avoid cutting new ones for the wedding; they can take a few weeks to fall naturally, and a fresh cut rarely does.
24. Vintage Low Bun
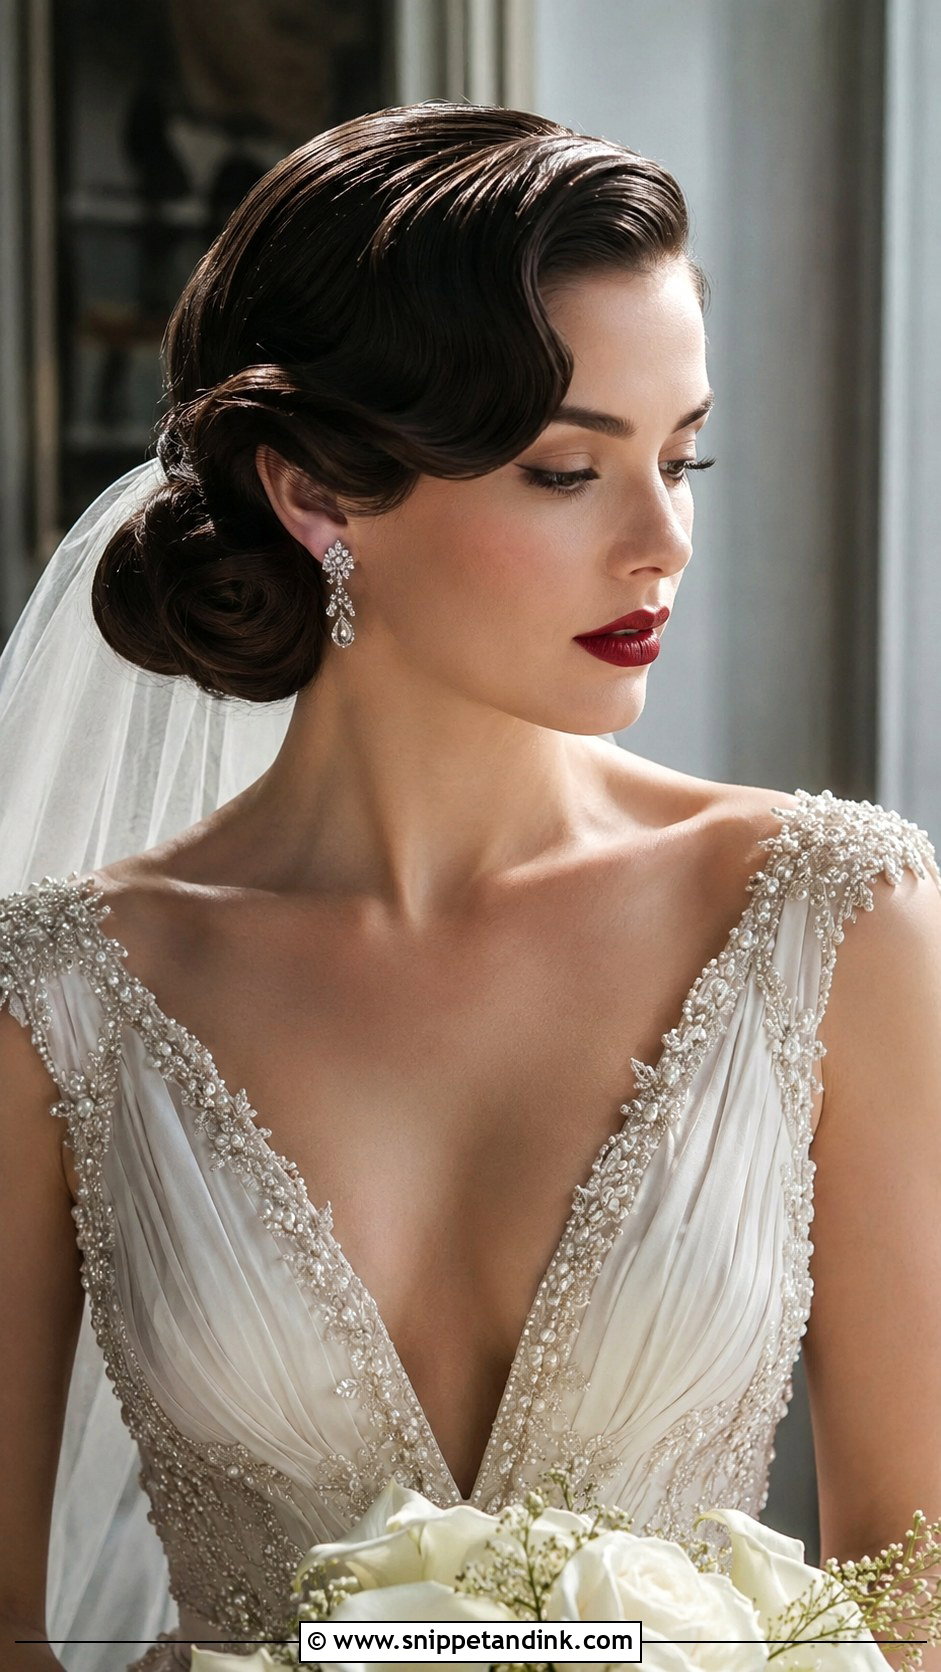
Old Hollywood glamour starts with soft finger waves, a deep side part and a sculpted chignon. I set the waves with clips while the hair is still damp or freshly curled, then brush them out to shape. It suits glamorous, formal weddings and pairs with bold lips and classic earrings. This look relies on precise sculpting, so I’d always test it in advance; changing it on the day takes longer than most schedules allow.
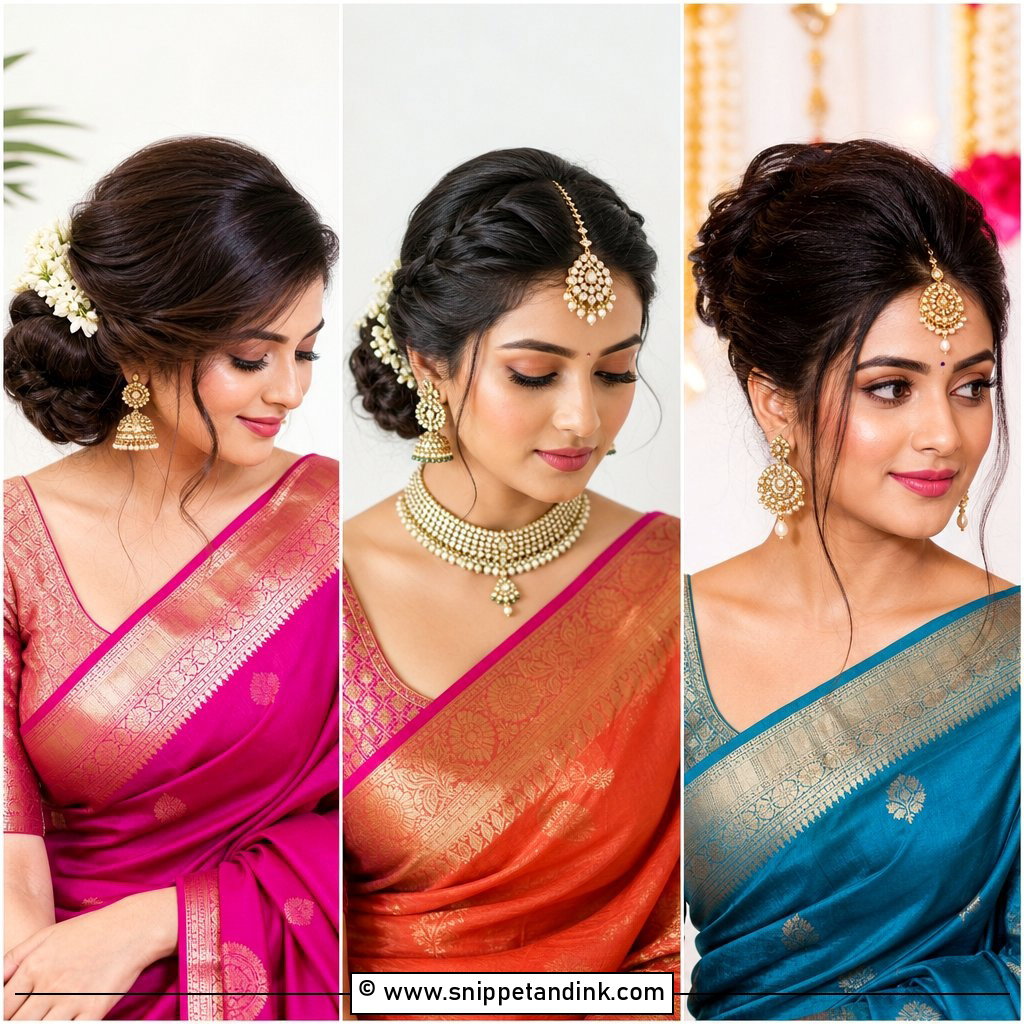
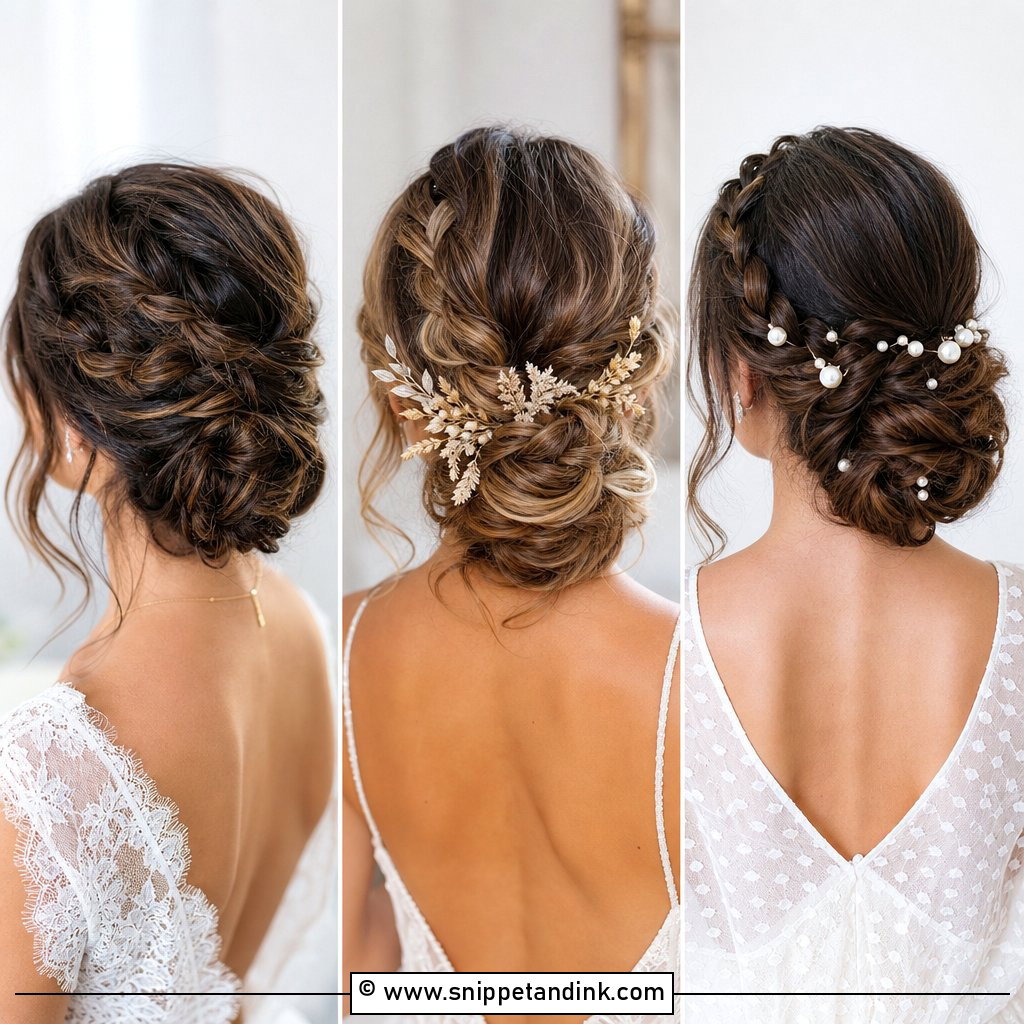
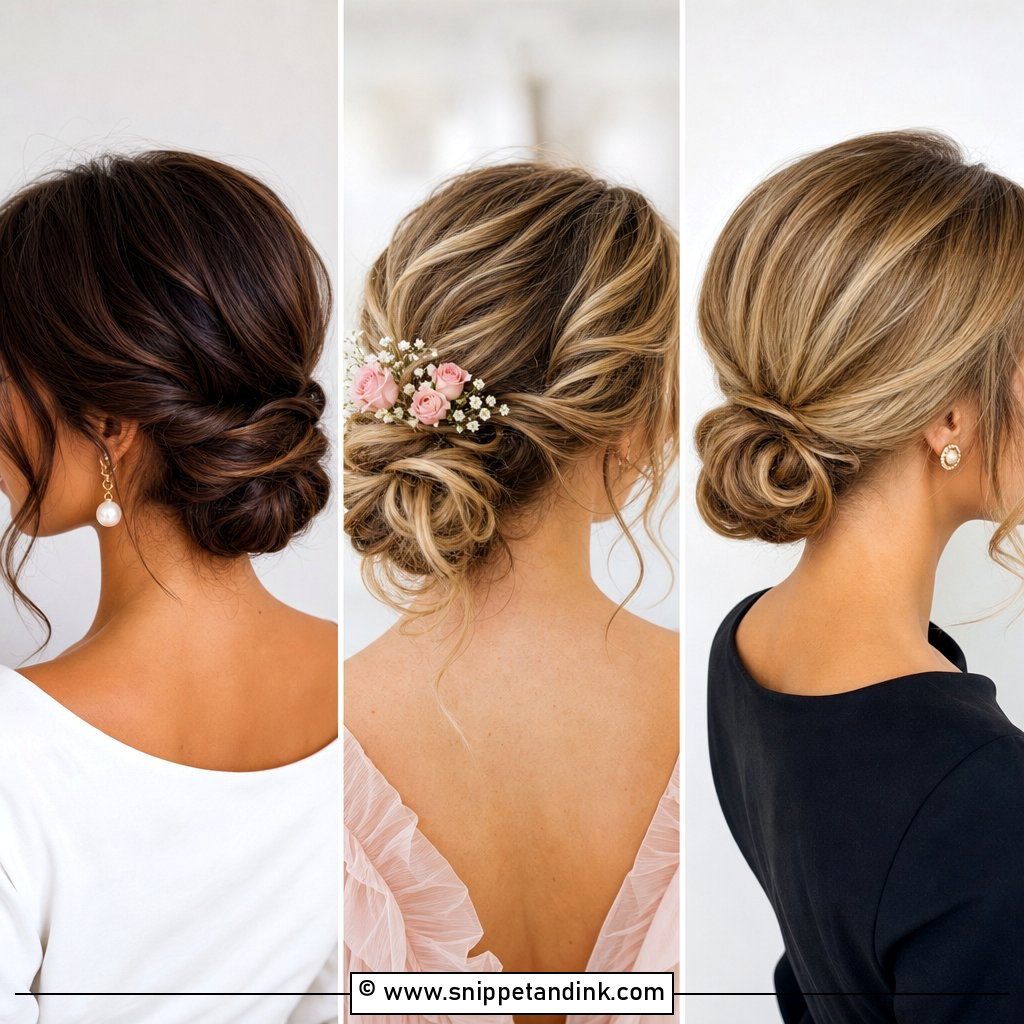
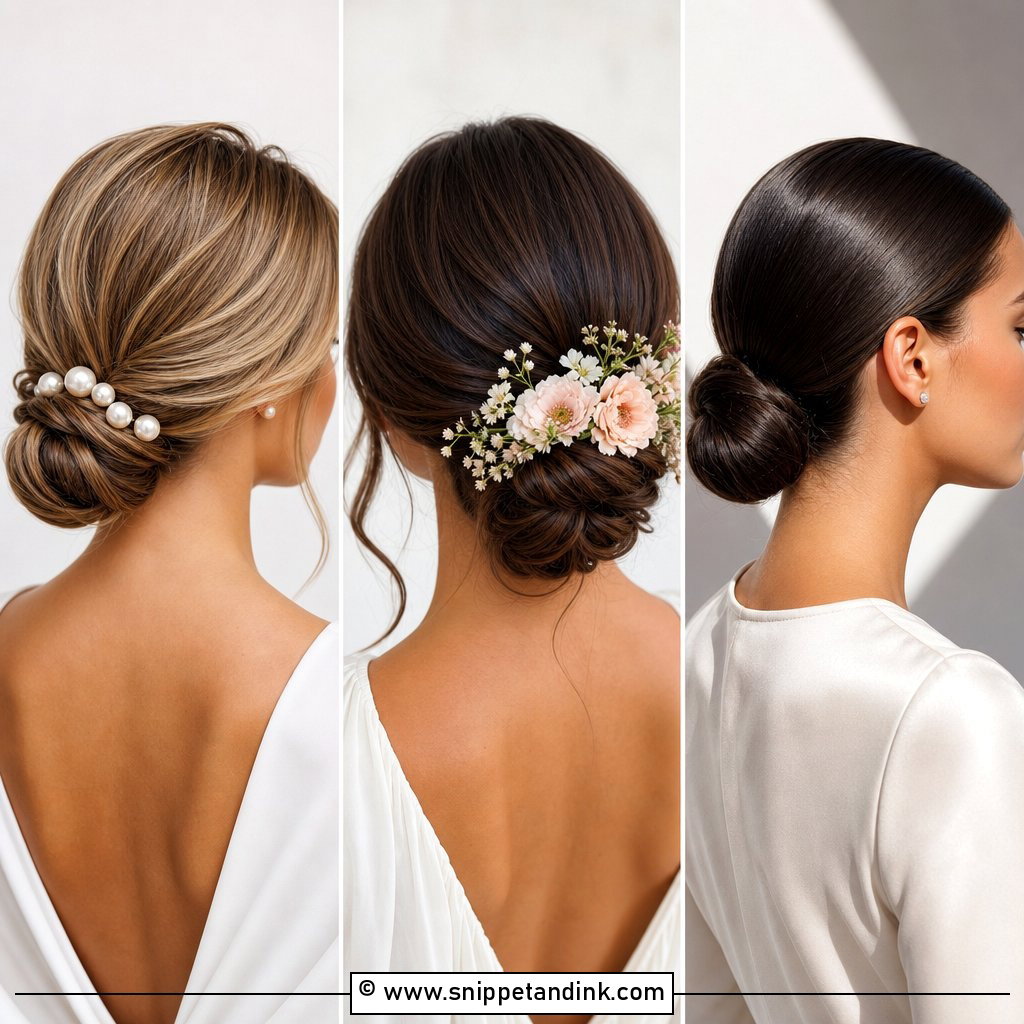
25. Low Bun With Hair Vine
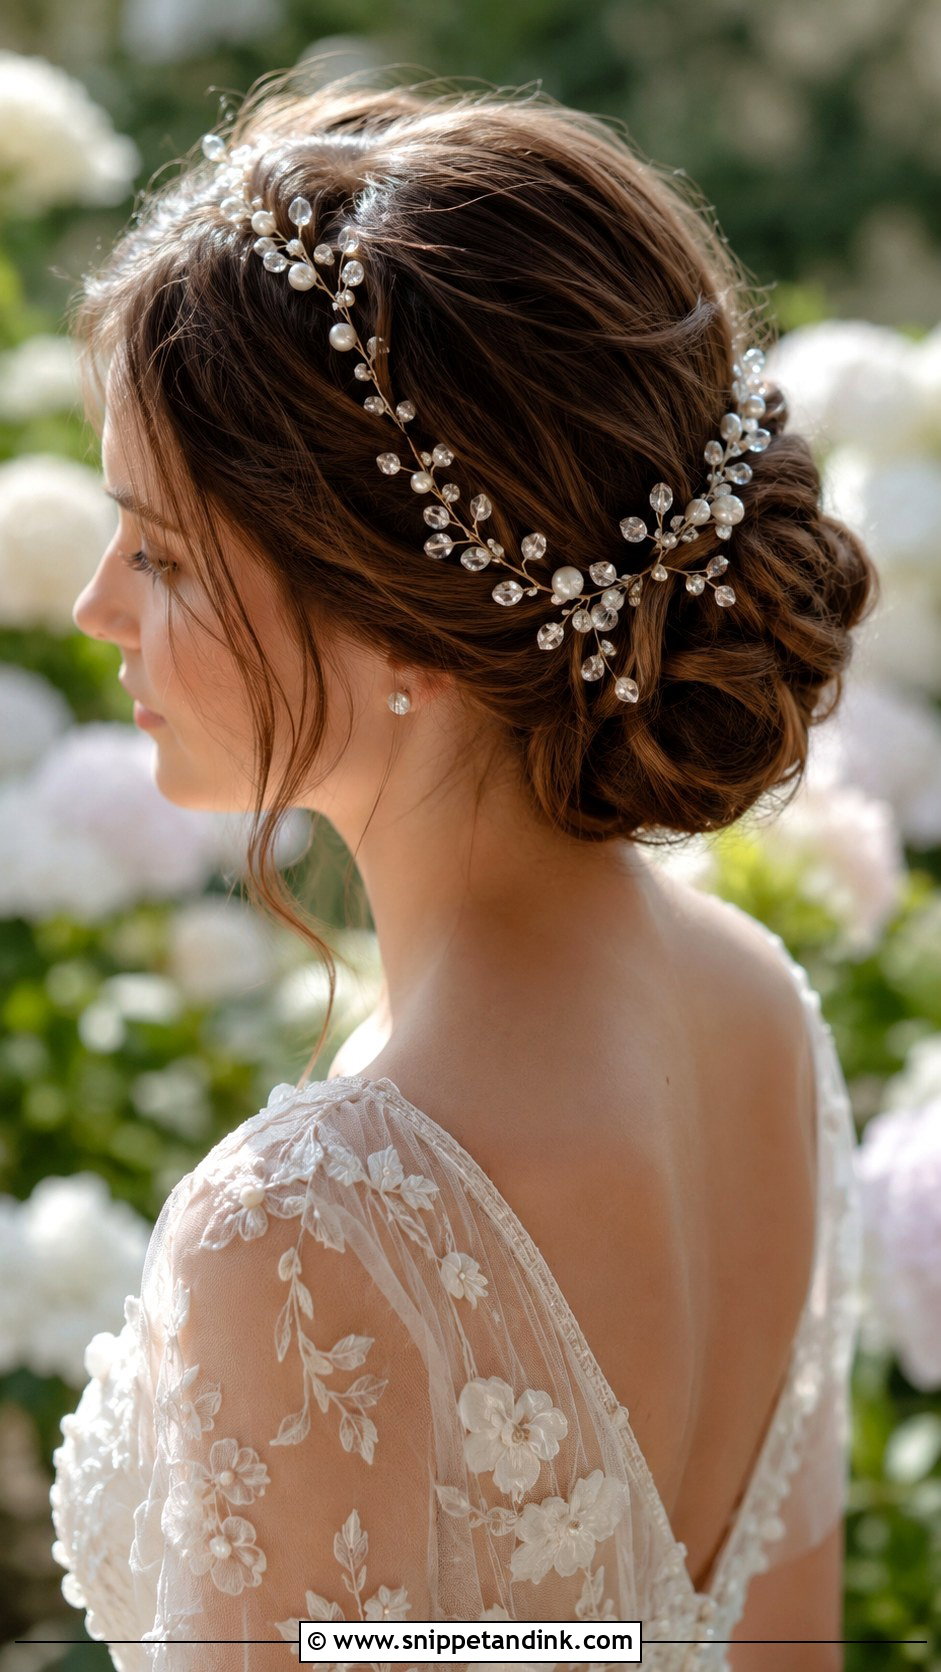
A hair vine weaves sparkle or flowers through a low bun, draped across the front or along the side. I wrap it in place before the final pinning, threading the loops over a few bobby pins hidden under the hair so it doesn’t slide. The vine catches the light from the front. Choose one with pearls, crystals or tiny leaves to match your theme. Boho and garden weddings suit it especially well.
Will a Nape Bun Last Twelve Hours on Your Hair Type?
Low buns hold well because the weight sits close to the neck, but how long they last depends on what you’re starting with. Here’s how I adjust the build.
Fine or silky hair
Wash it the day before rather than the morning of; second-day hair grips pins far better. I add a texture spray and use a small amount of backcombing at the base of the bun, so the pins have something to hold.
Very thick or long hair
The risk is weight pulling the bun down and causing a headache by evening. I split the hair into two sections and pin each one separately before combining them, which spreads the load.
Curly and coily textures
Natural curls make a full, secure bun with very few pins. I smooth only the front and sides with a gel or edge control, and leave the bun itself with its natural shape. In humidity, a little frizz around the hairline is normal; the bun underneath won’t move.
Pins, Spray and a Toothbrush for the Reception
Give this to your maid of honour, not your own bag. A handful of matching bobby pins, a small travel hairspray, a clean toothbrush for smoothing flyaways at the hairline, and two or three spare pins for your accessory. If you’re wearing fresh flowers, ask the florist for a couple of spare stems. Most fixes take thirty seconds in a mirror and nothing more.
Your Hairline Decides More Than the Bun Does
If there’s one thing I’d ask you to bring to your trial, it’s a front-facing photo of yourself with your hair pulled back, so we can see your hairline, part and face shape honestly. A low bun adapts to sleek, soft, braided or decorated styles, and almost any of these 25 can be adjusted to suit your hair. Wear the accessories, test the veil and walk around in the finished style for a while before you decide. The front of the bun is what your guests and photographer will see most.
You'll Like These Ideas:


Leave a Reply