
A low bun is the shape I reach for most often with locs, and not only because it looks graceful. It sits at the nape where the head carries weight best, it gives a veil somewhere solid to anchor, and it keeps the face open for makeup and earrings. Locs bring their own texture and history into the style, so even the plainest wrap has character. Long or medium, thick or fine, traditional locs, microlocs or Sisterlocks: every one of them can go into a low bun that is comfortable to wear for a full day. Here are fifteen ways to do it, and what I watch for with each.
Retwist and Wash Day Timing for a Loc Updo
The bun is only as neat as the roots underneath it, so the schedule matters more than the style. A retwist right before the wedding looks crisp but can feel tight and tender, and fresh tension plus a day of pinning is a recipe for a sore scalp. I ask brides to book their last maintenance appointment one to three weeks out, so the roots look tidy but have relaxed.
- One to three weeks before: retwist or interlock with your usual loctician. Sisterlocks clients should stick with their consultant’s normal retightening schedule.
- Three or four days before: a clarifying wash to clear any buildup, then dry completely. Locs can stay damp inside for many hours, so sit under a hooded dryer if you can.
- Two nights before: set curls if you want them, on rods or pipe cleaners, so they’re fully dry by the morning.
- Every night that week: sleep in a satin bonnet or on a satin pillowcase to keep the roots flat and lint free.
If you colour your locs, do it at least two weeks ahead. Fresh dye can bleed onto a white neckline or veil the first time locs get damp from sweat.
1. Classic Bridal Locs Low Bun
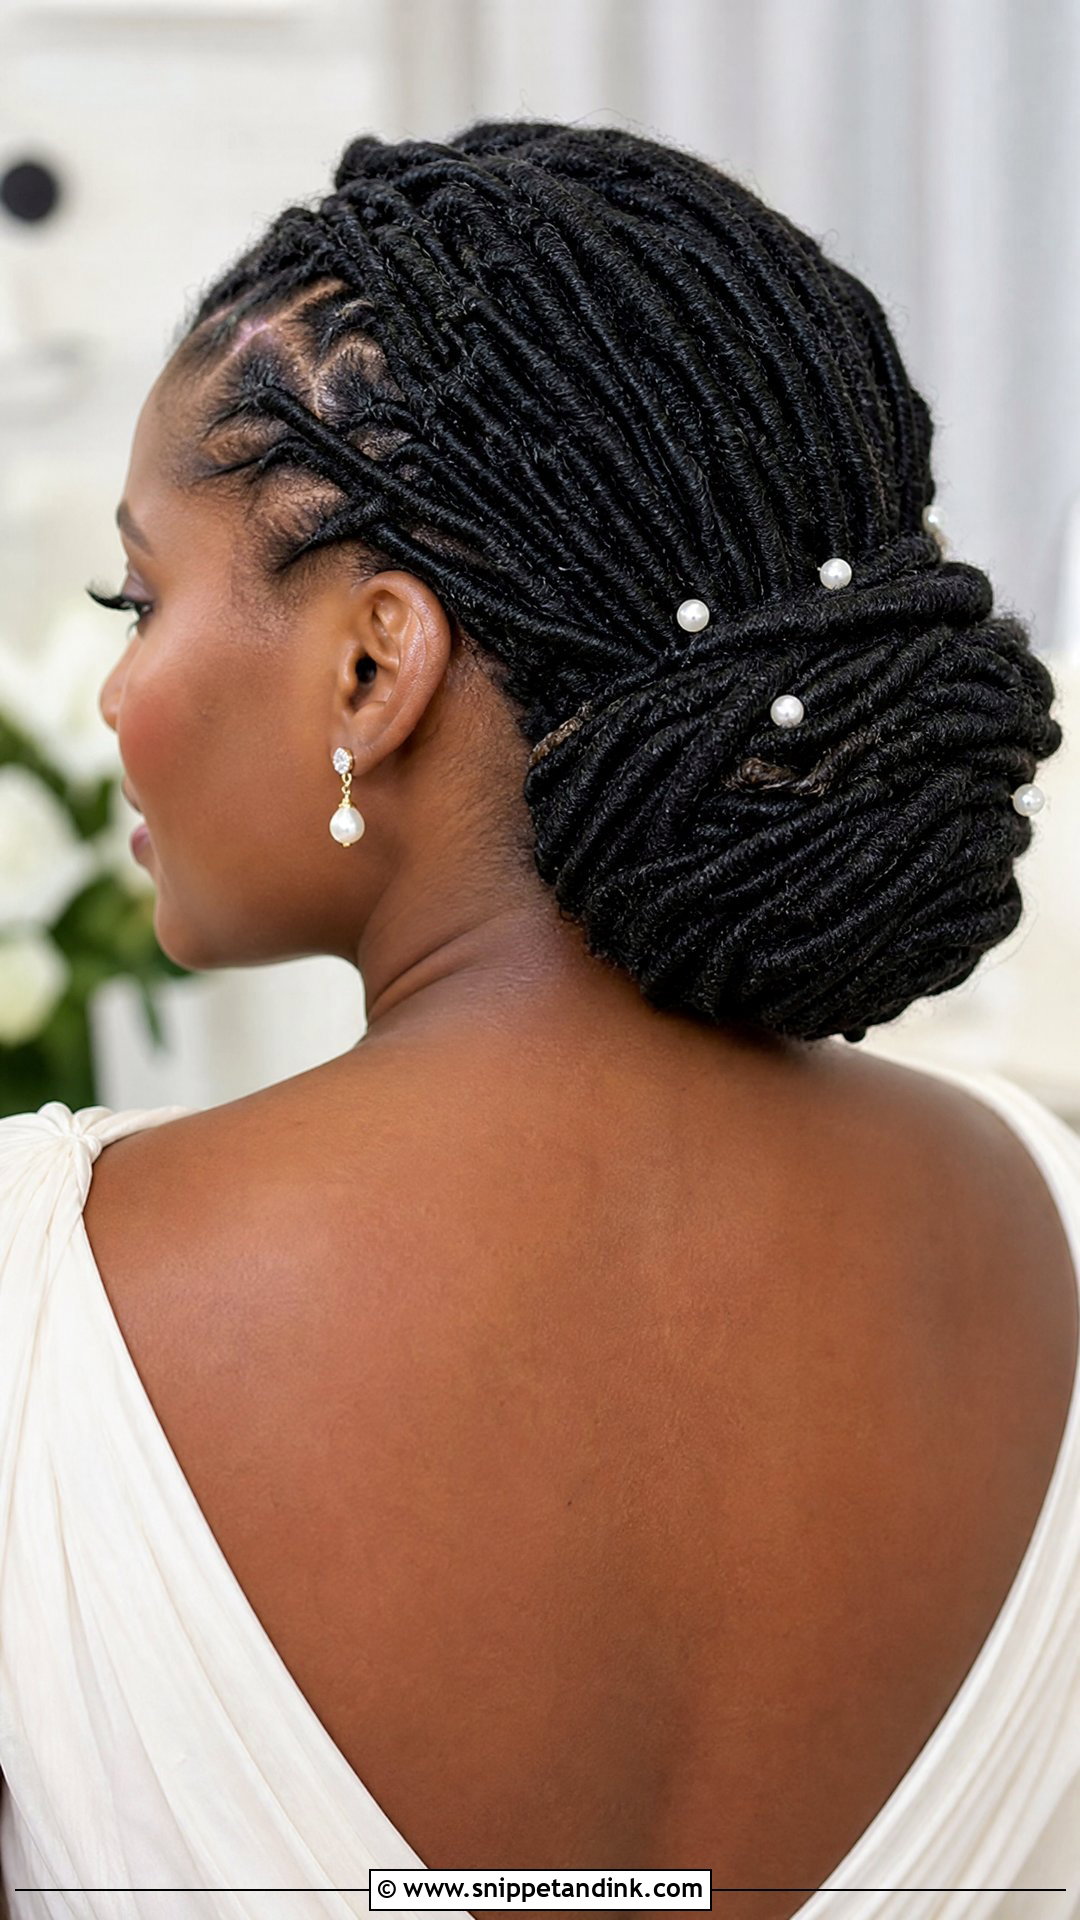
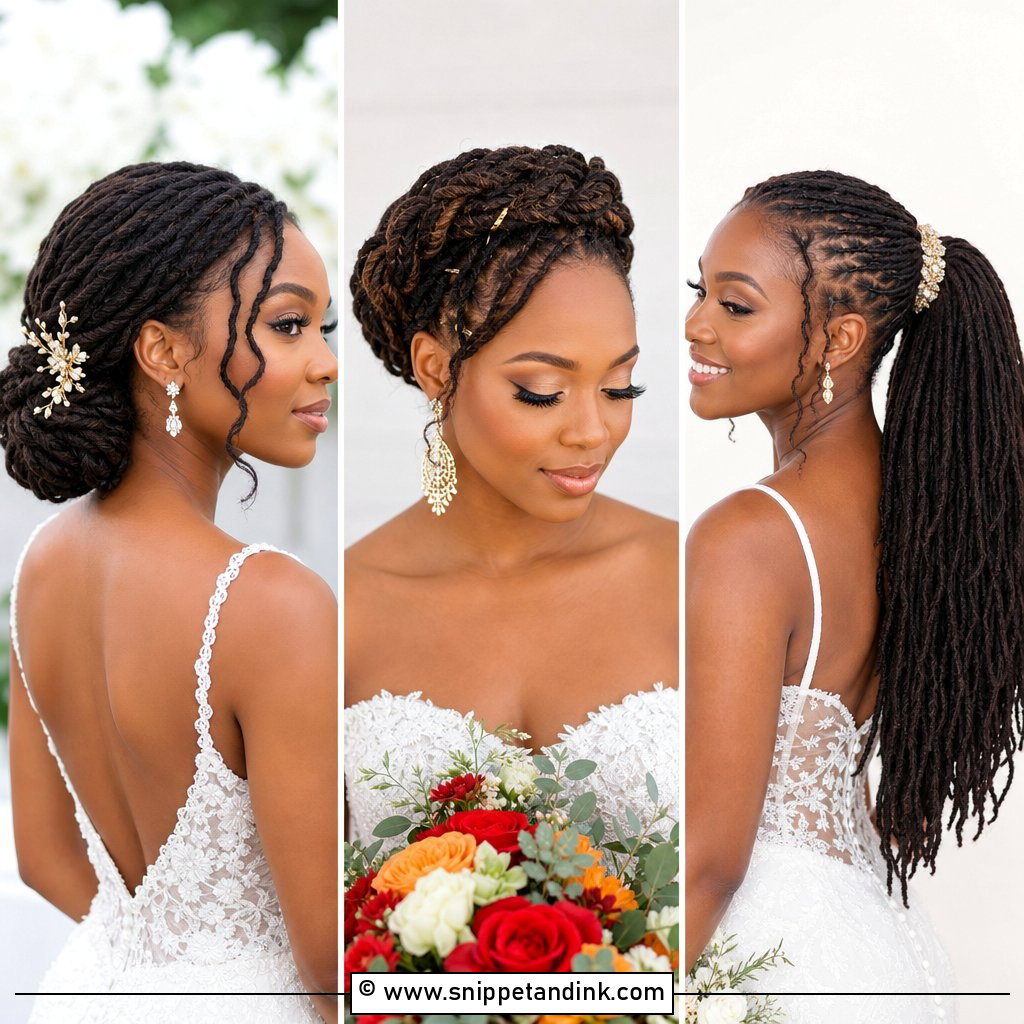
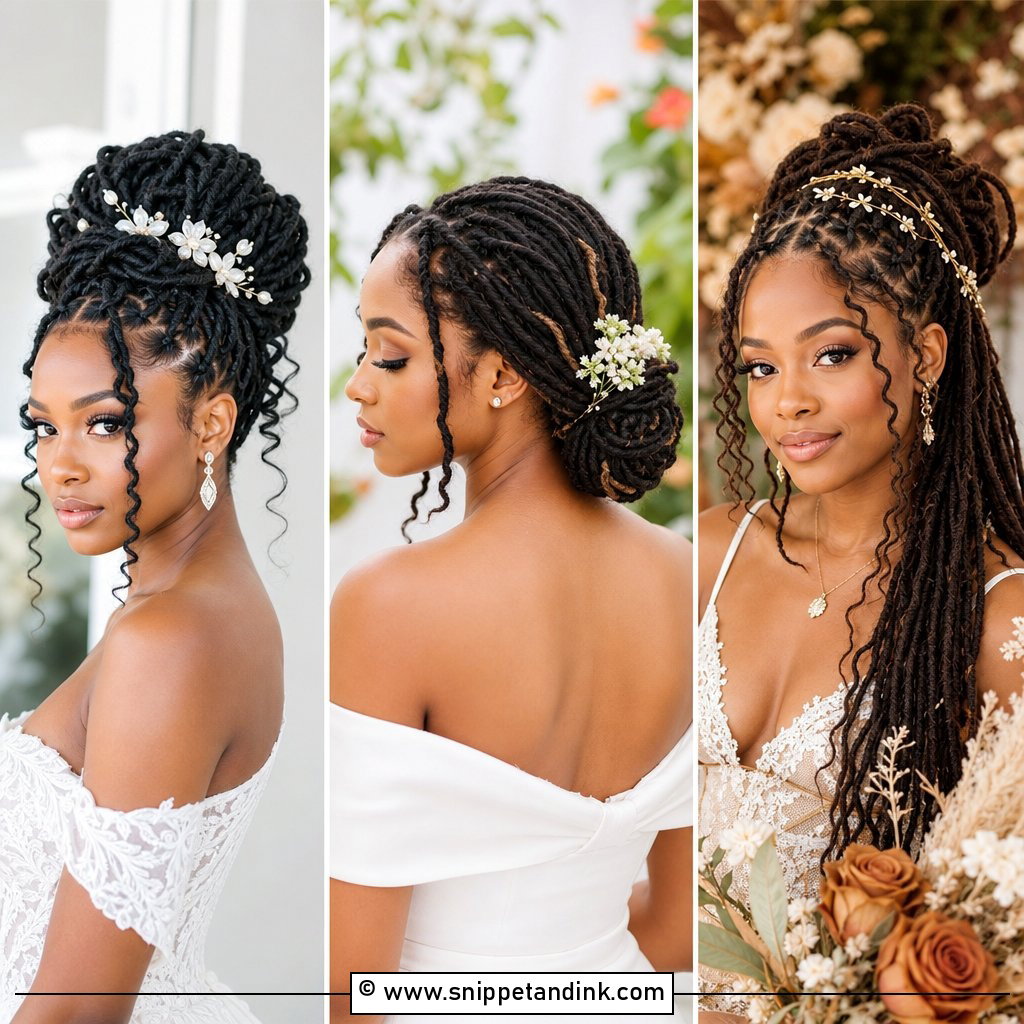
The locs are gathered smoothly toward the nape and wrapped into a round bun, nothing more. Because the shape is simple, it leaves room for lace, beading or a busy neckline to carry the outfit. I secure it with long U-pins pushed through the bun and back toward the scalp, not an elastic, since a tight band on the same spot for hours can stress the locs at that point. It should feel snug when you nod, never tight when you smile.
2. Side Part Bridal Locs Low Bun
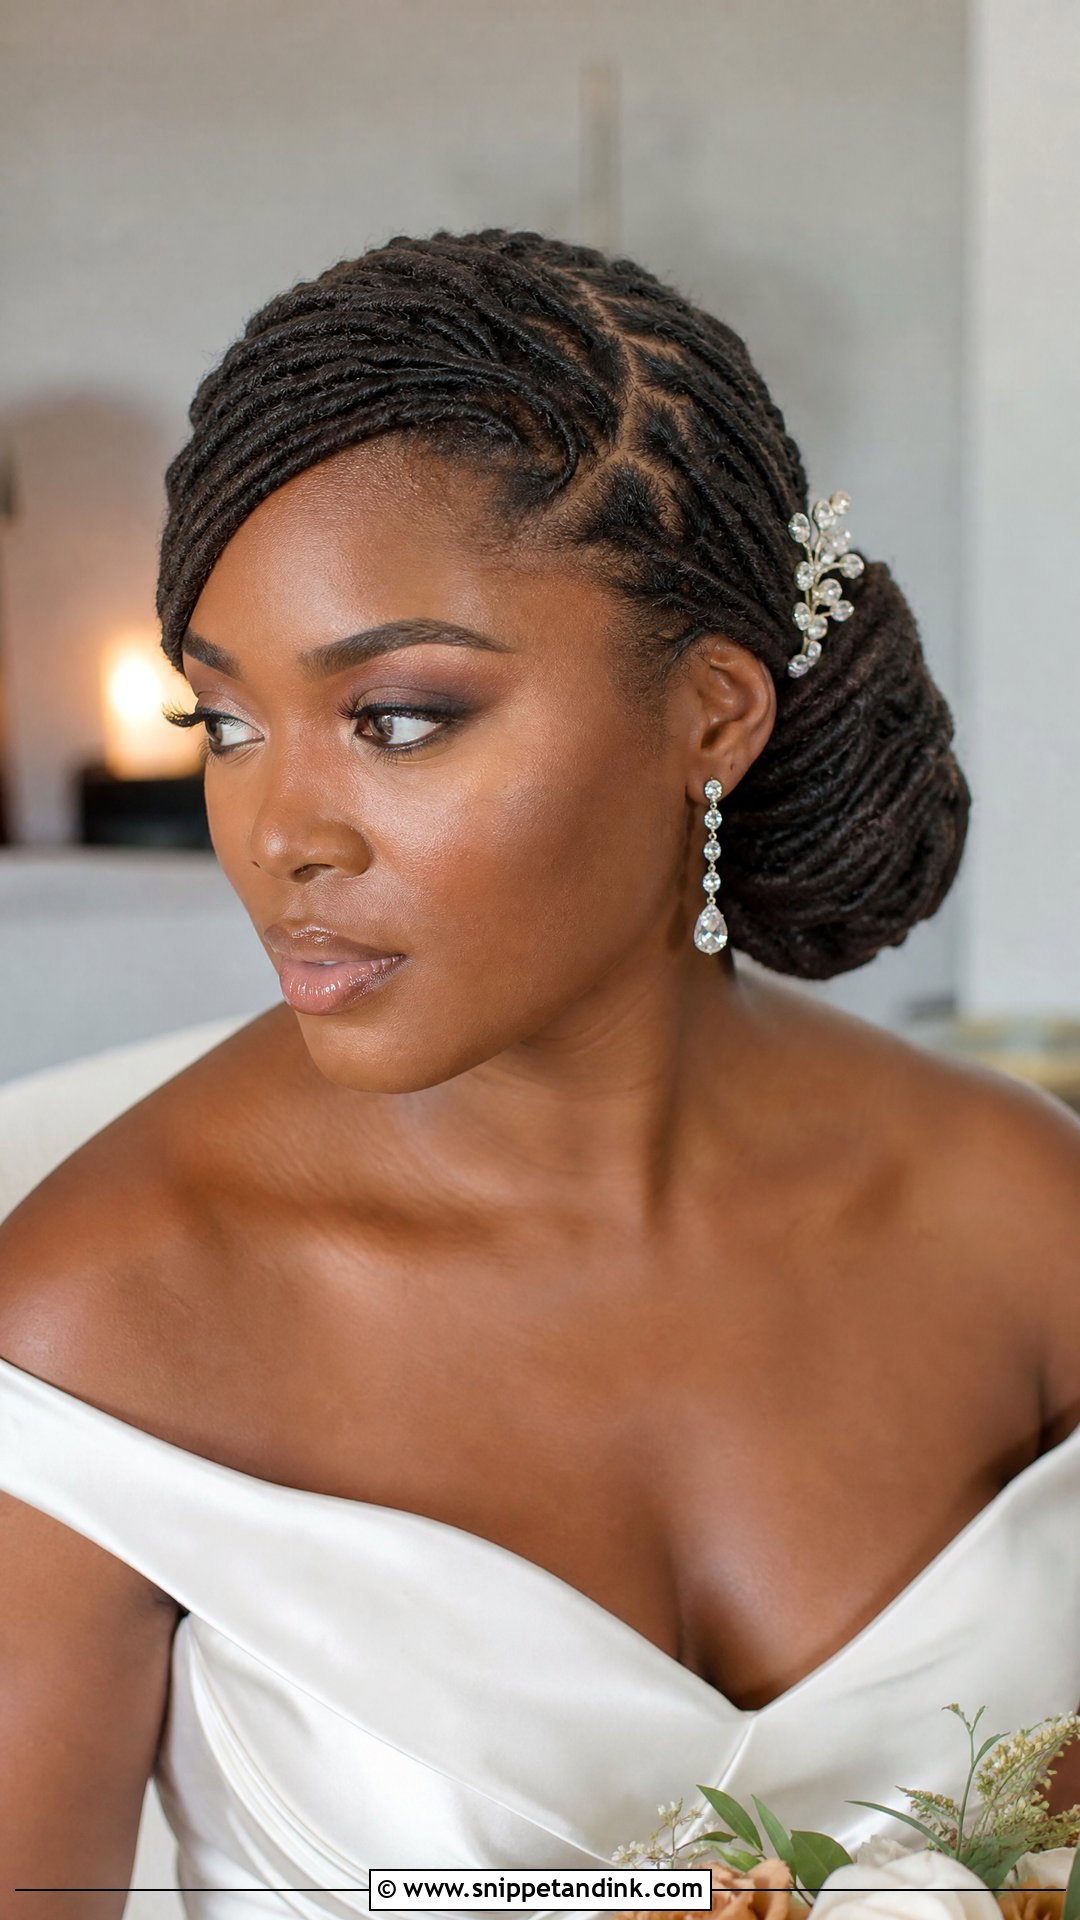
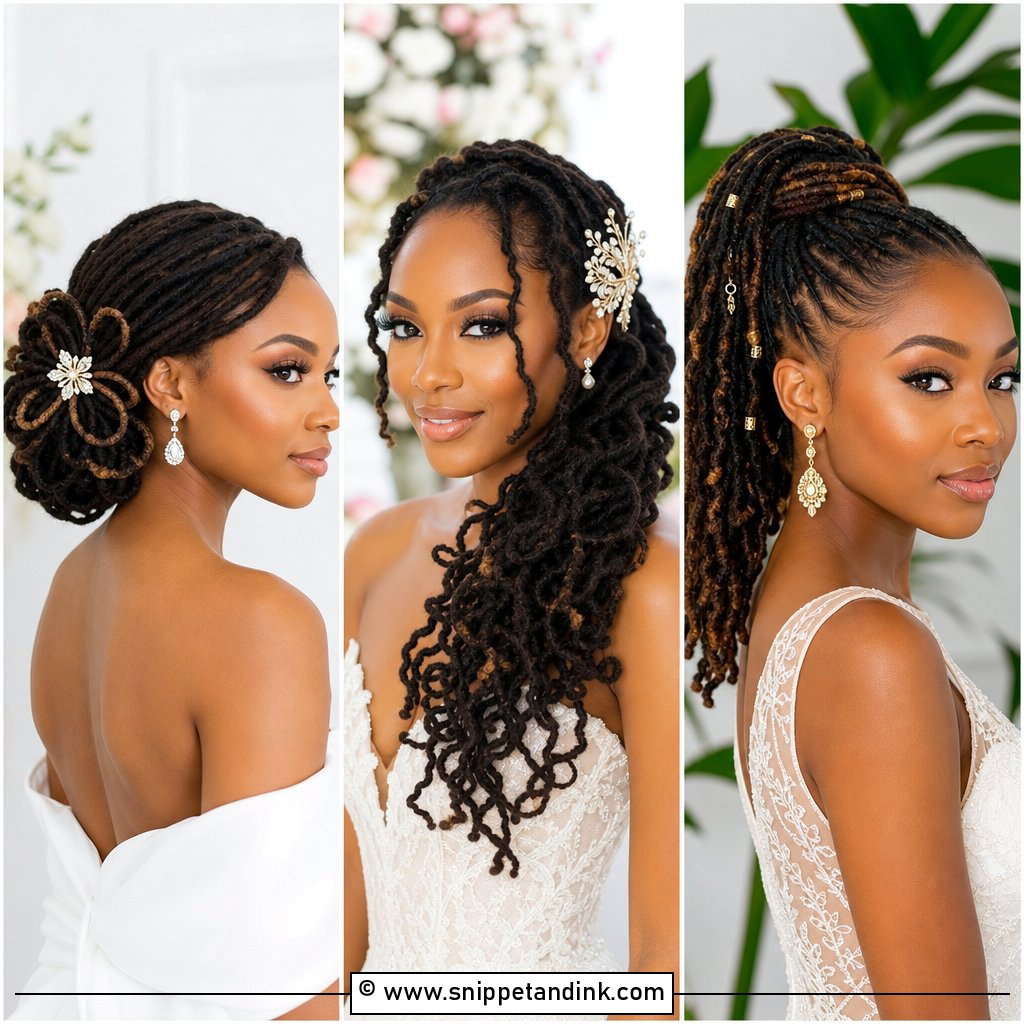
A deep side part sweeps a curtain of locs across the forehead before it travels back into the bun, which can flatter round, oval, and heart-shaped faces. The bun sits low and slightly off-centre on the heavier side. Medium and long locs follow the sweep well; short ones tend to spring out of it. I pin the sweep from underneath at the temple so nothing shows, then add one comb or a few pearl pins on the open side.
3. Middle Part Bridal Locs Low Bun
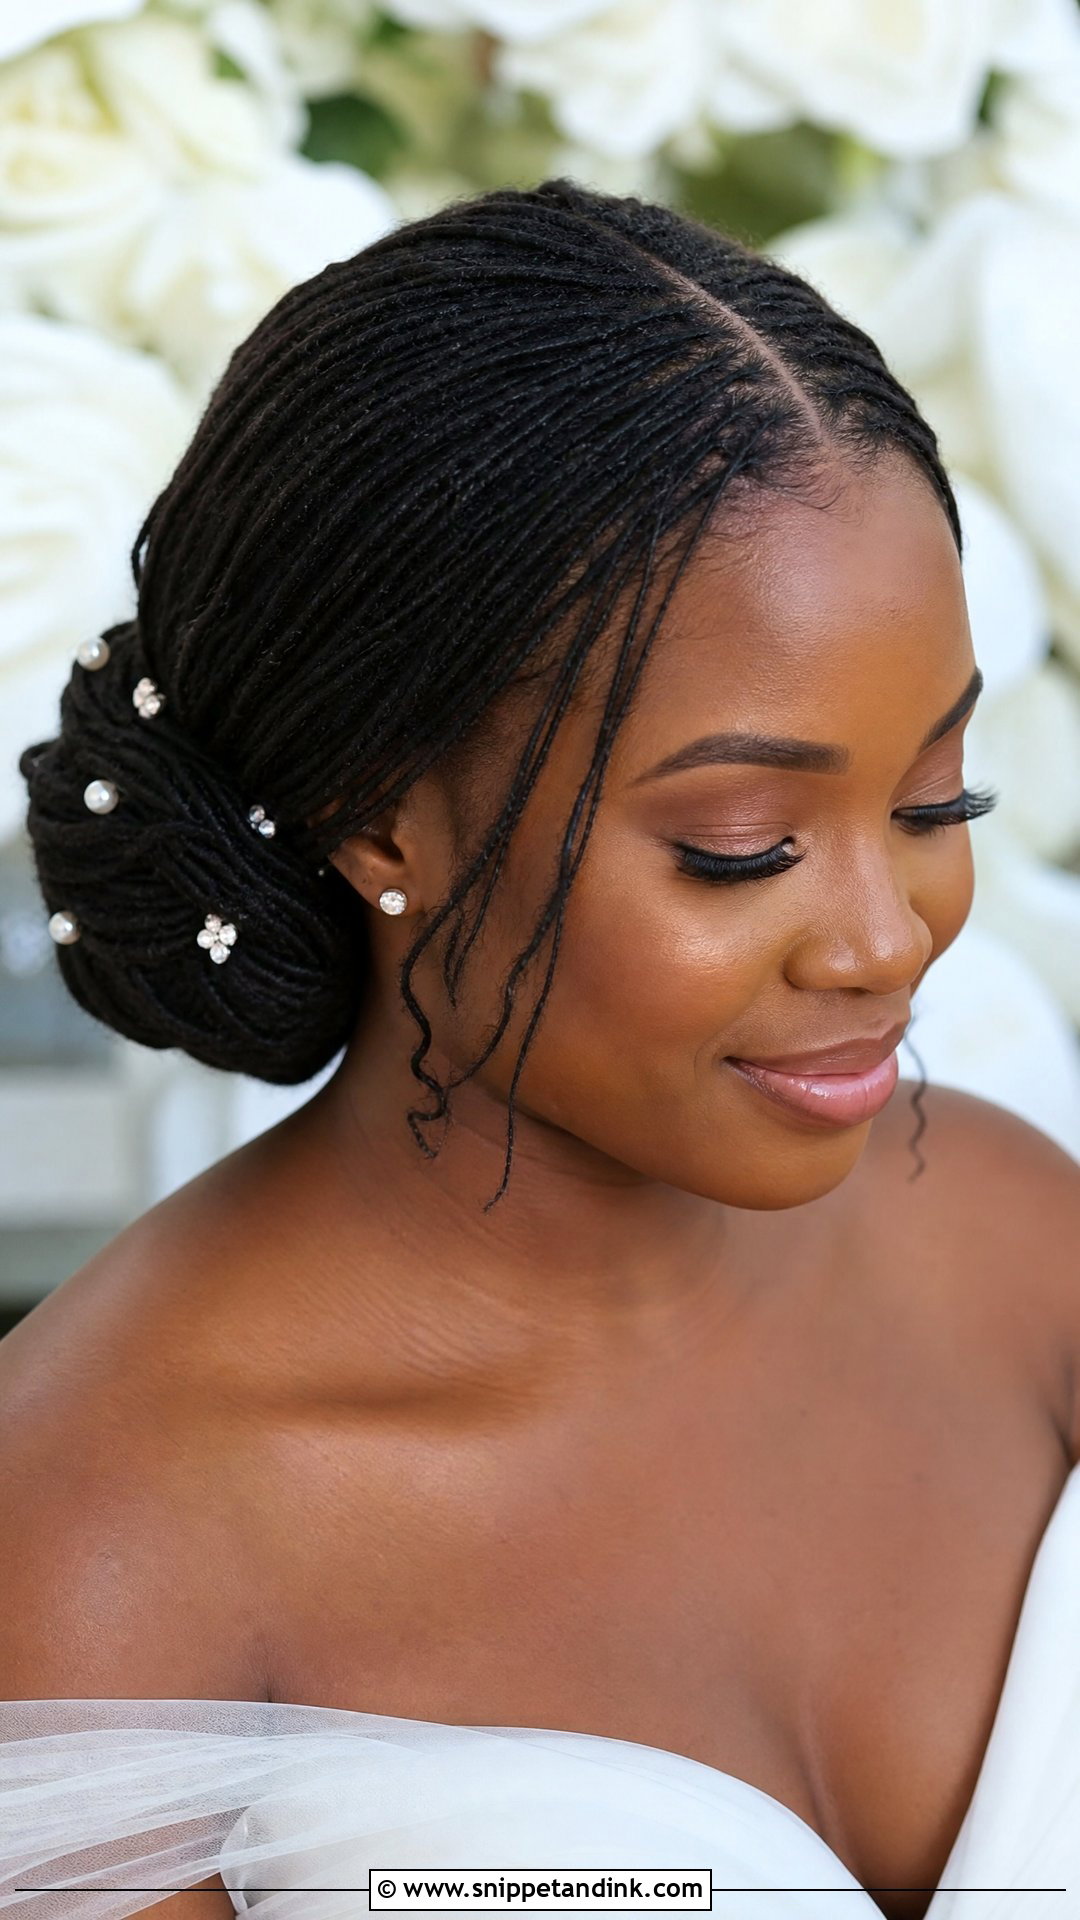
A centre part asks for precision. With microlocs, Sisterlocks and smaller traditional locs, the part can be crisp enough to look almost drawn, which is why I save this one for those sizes. Symmetry puts the focus squarely on your face, earrings and veil. Go easy on product at the hairline. Heavy creams and gels sit on the surface of locs, dull them in photos and can leave buildup that takes several washes to clear.
4. Twisted Bridal Locs Low Bun
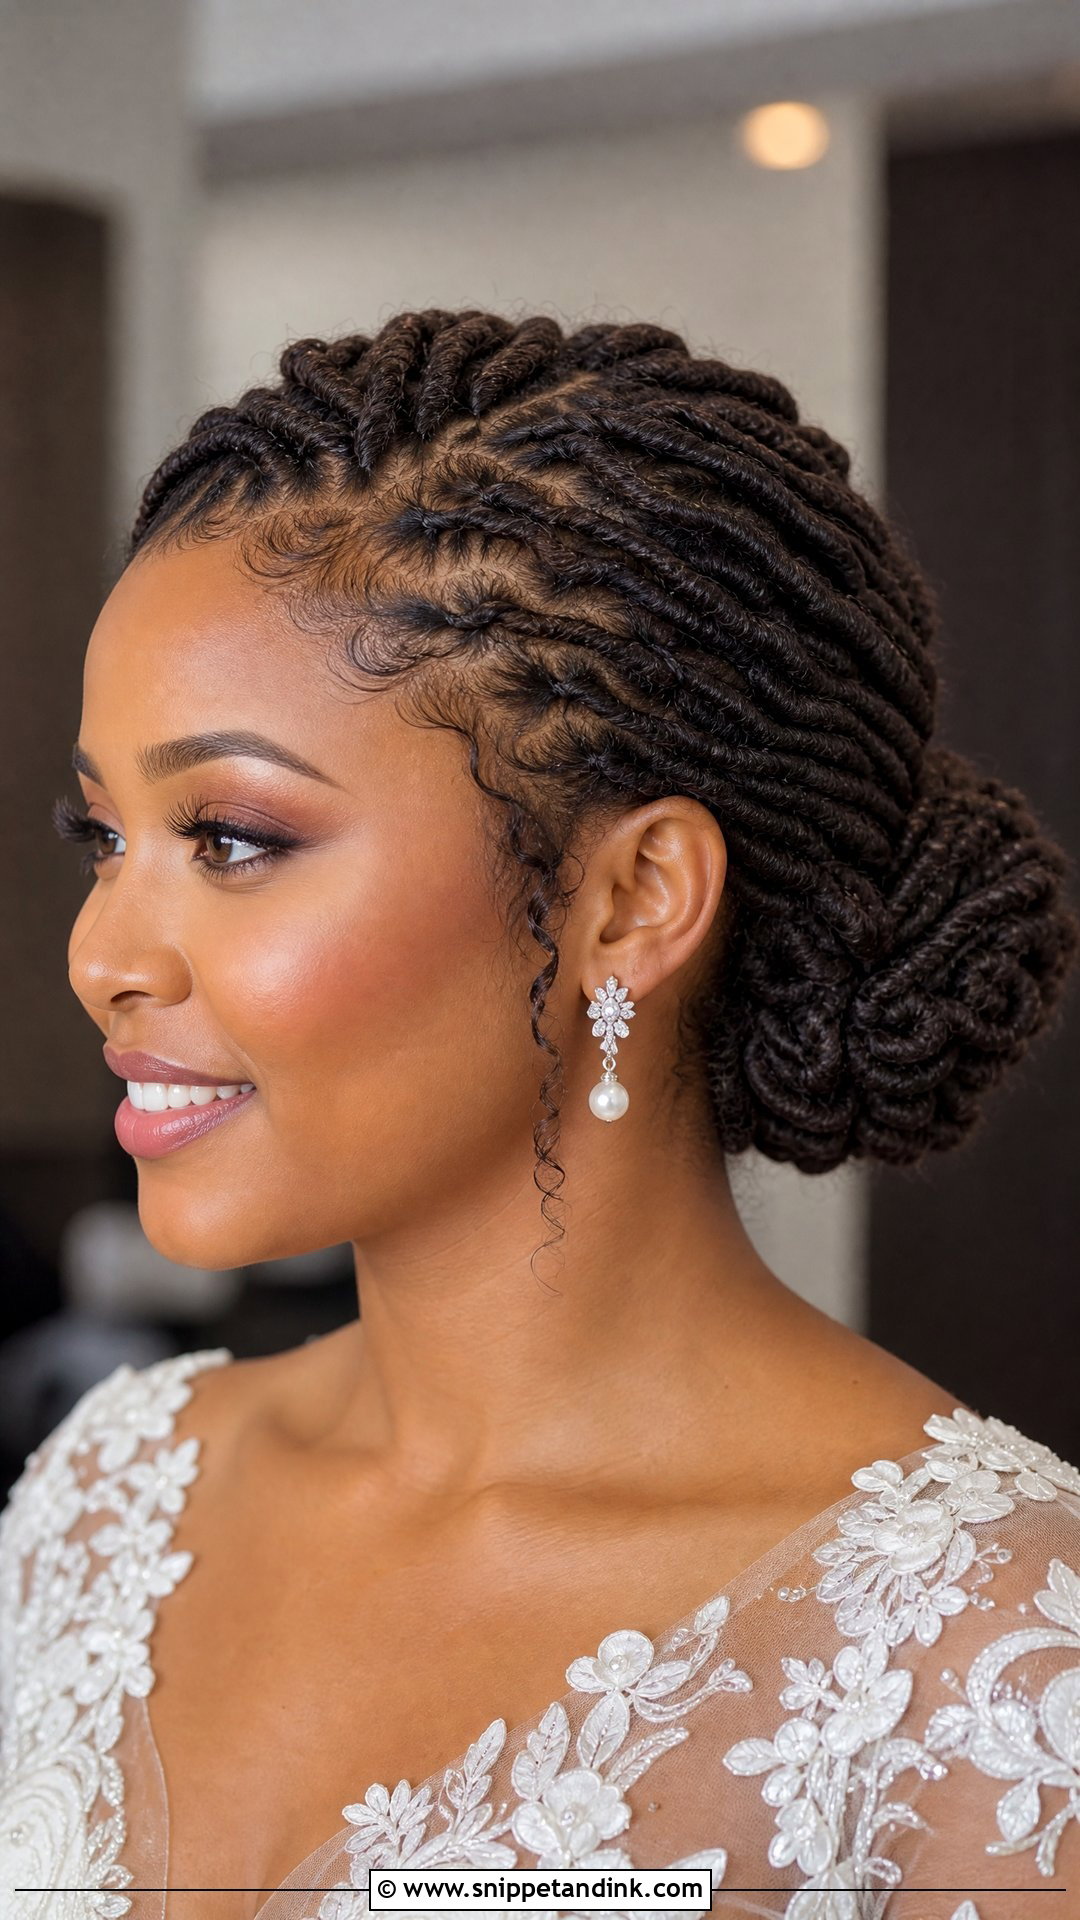
Sections of locs are twisted back in pairs, like rope, and pinned into a bun at the nape, so the back of your head has real pattern for the photographer. Twisting locs together grips well, which means this style needs fewer pins than a plain wrap. I keep the twists firm but not cranked, as overtwisted sections pull at the roots after a few hours. Leave it bare or set a few small pearls along the twist lines.
5. Braided Bridal Locs Low Bun
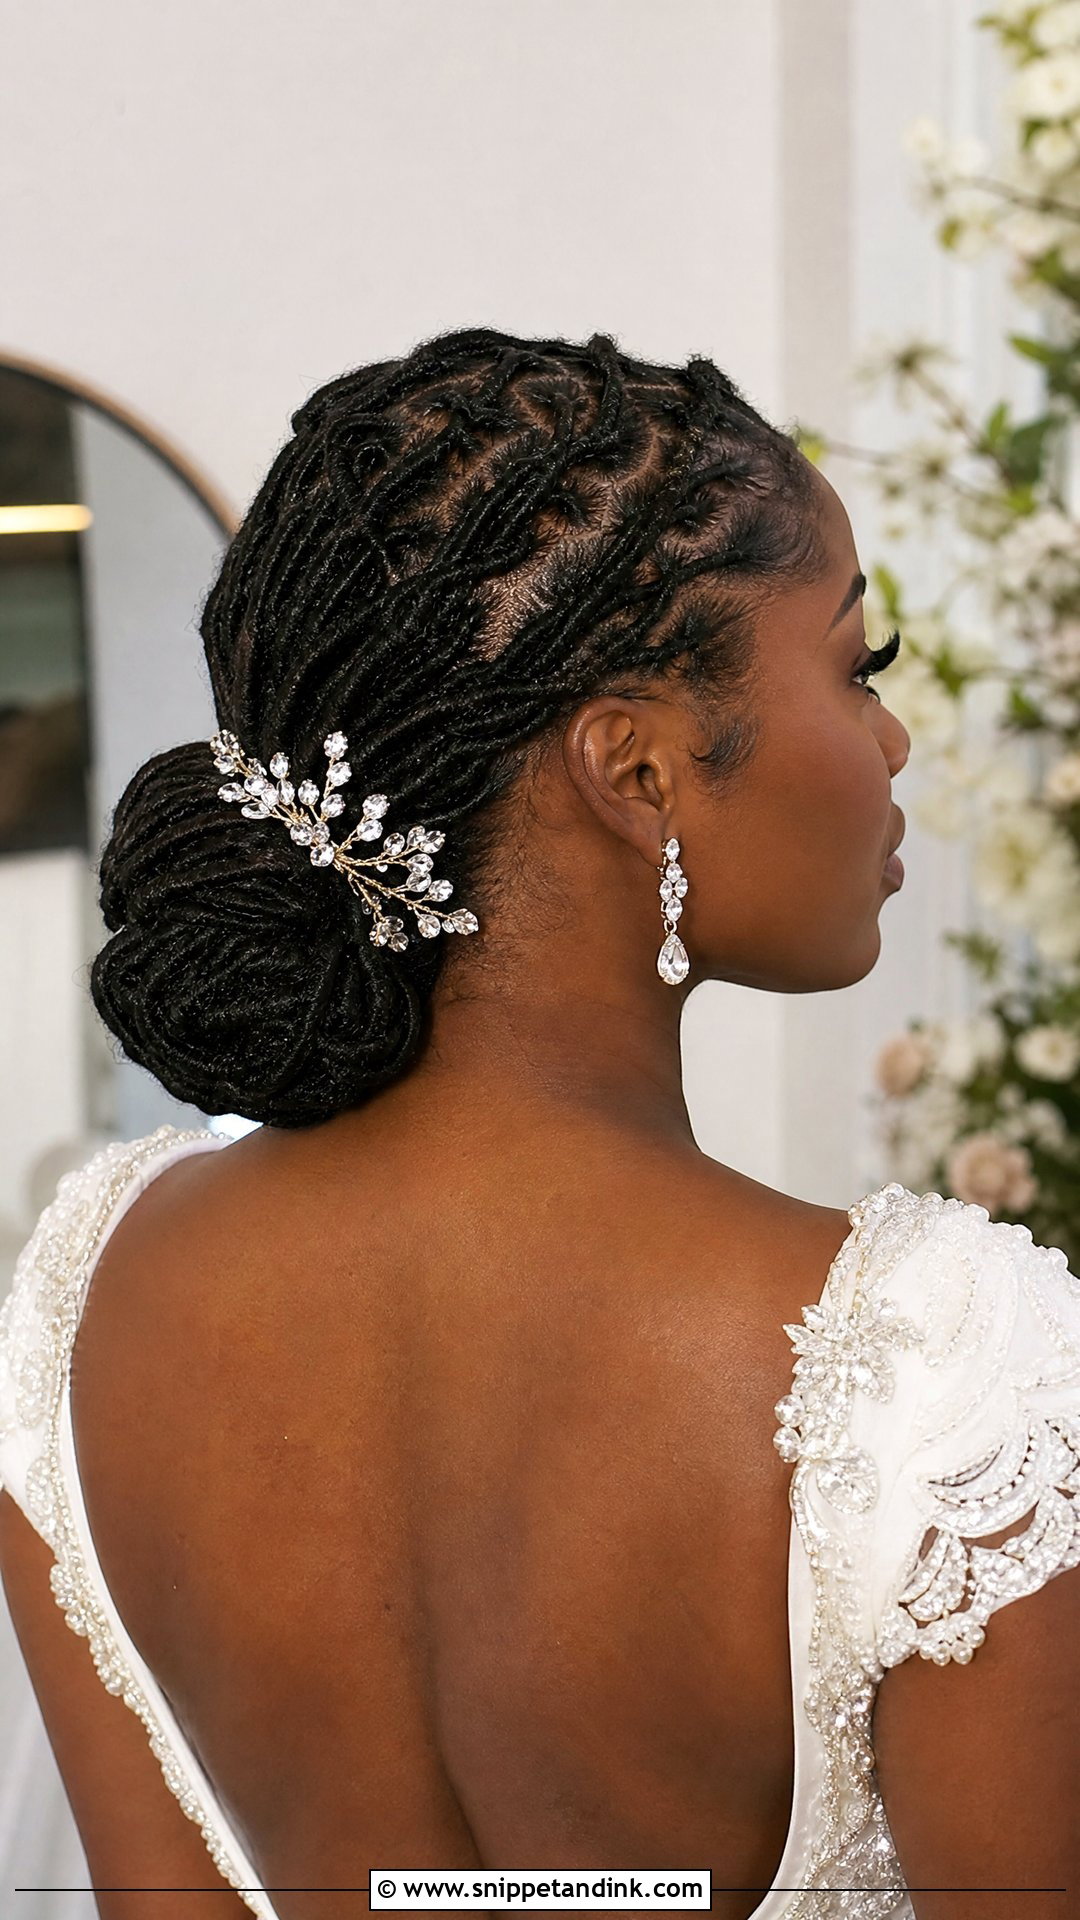
Locs can be braided like loose hair, just with more bulk. I braid the front or a side panel, then wrap the rest into the bun, which locks the shorter front pieces down for windy photos and a long night of dancing. Thick locs make a chunky, sculptural braid; fine locs give a neater plait. A tighter three-strand reads formal, while a loose, slightly pulled-out one softens the whole look.
6. Barrel Roll Bridal Locs Low Bun
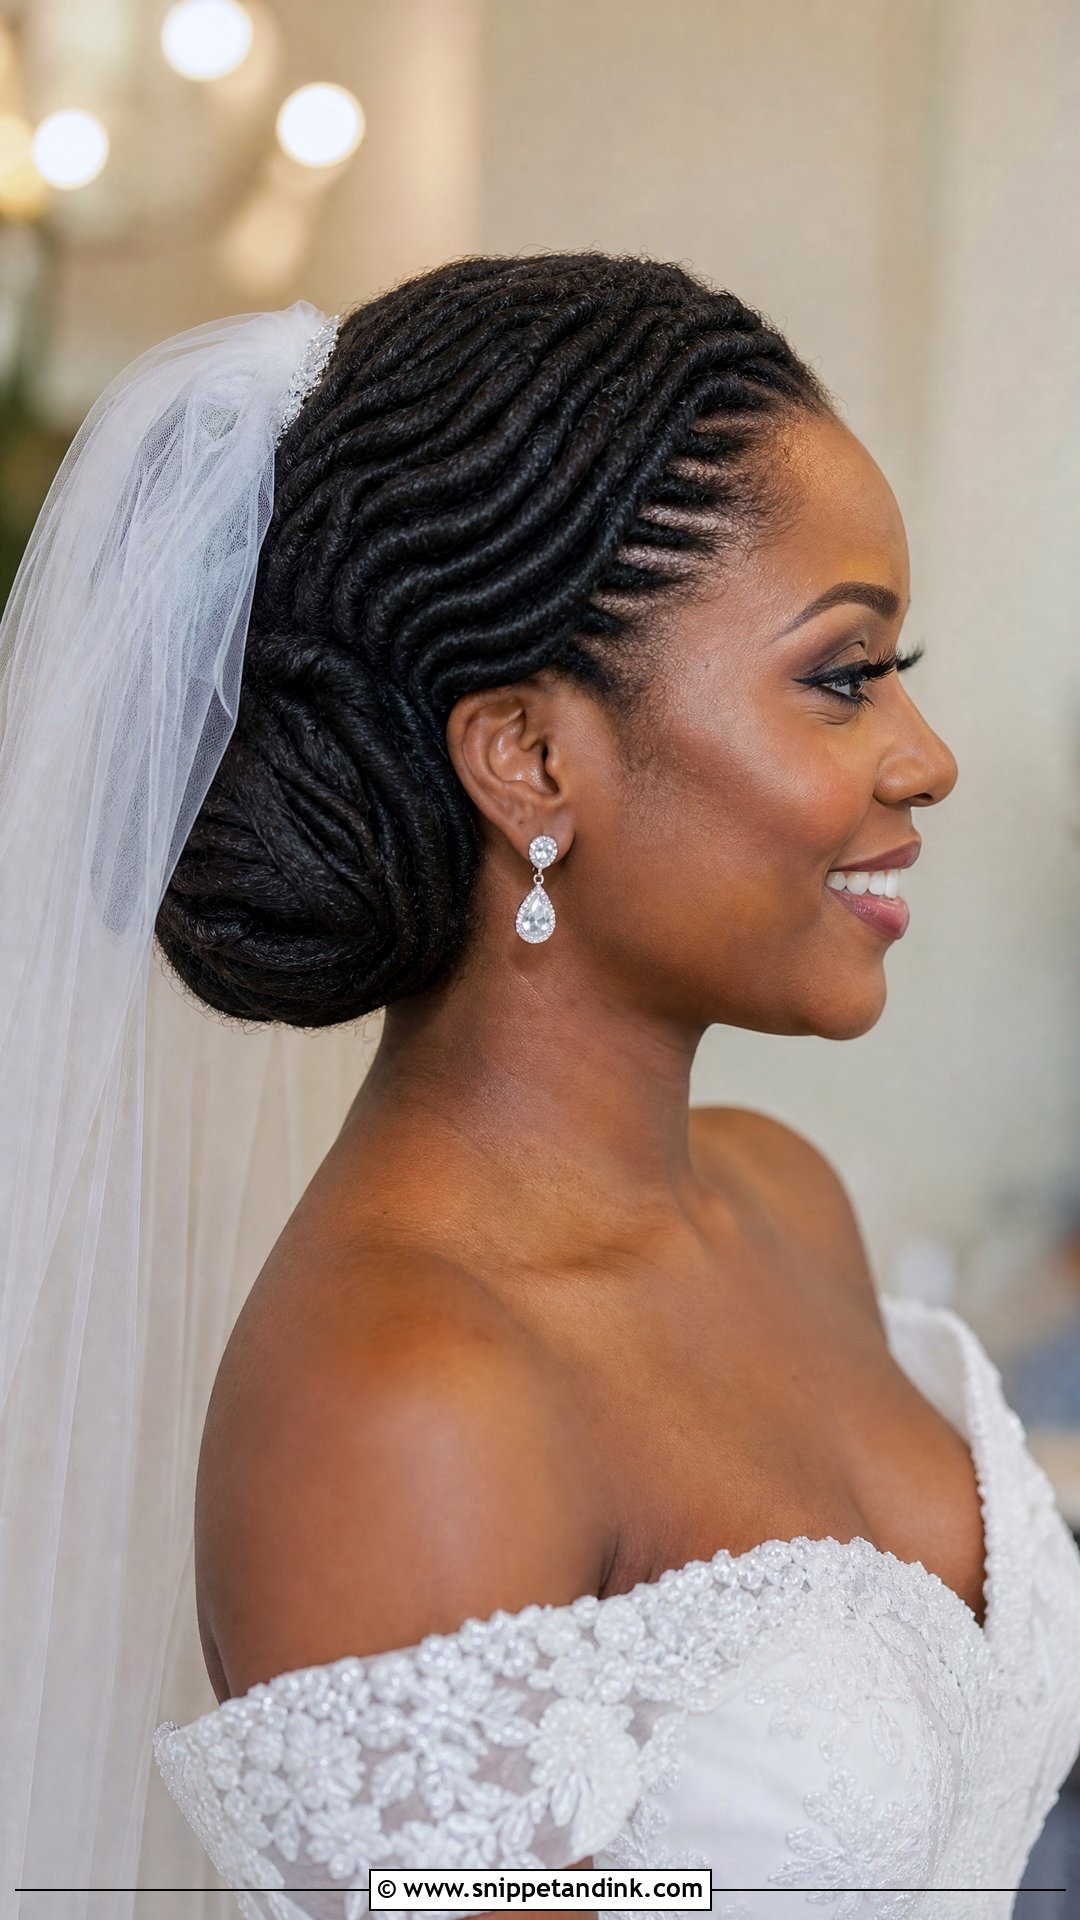
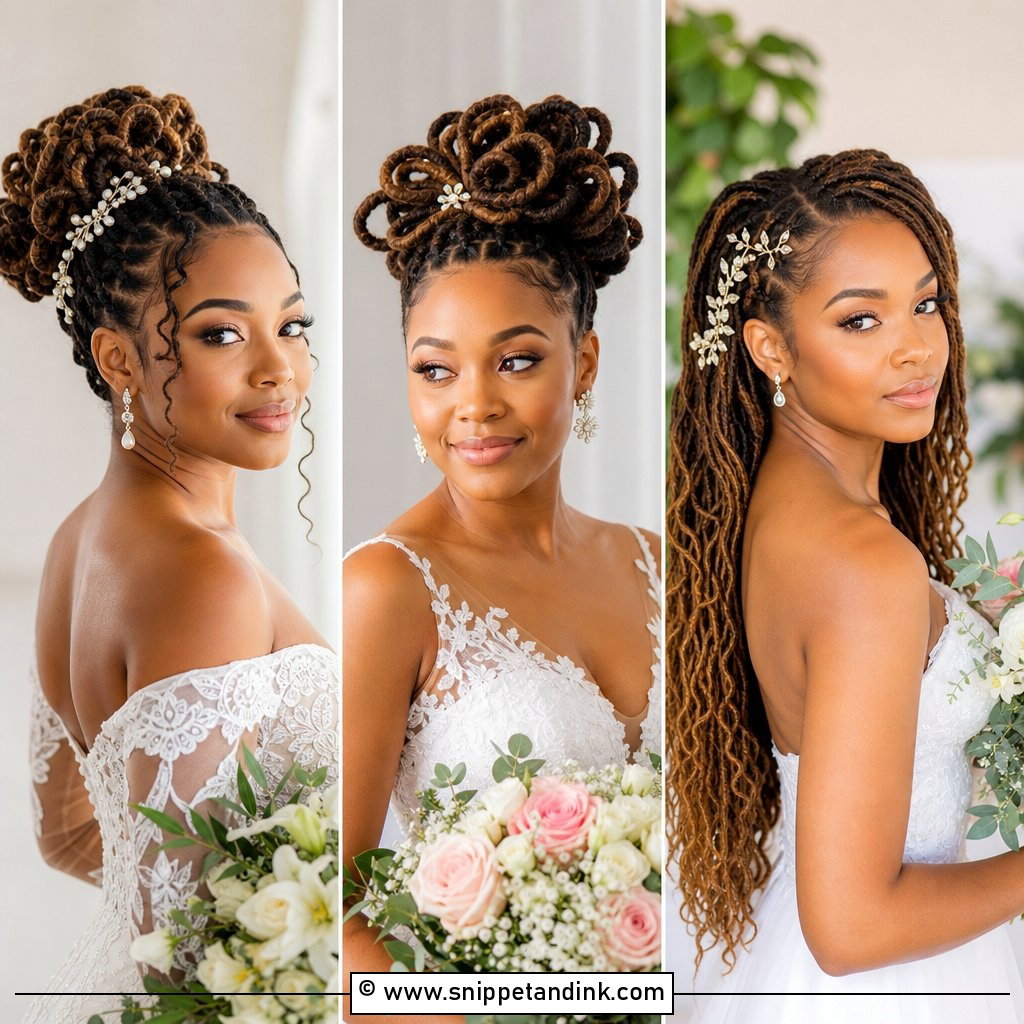
Rolls bring sculpted volume without building height on top. In this barrel roll bridal locs low bun, the locs are rolled into smooth, rounded sections that lead back to the nape. It needs medium to long locs, because each roll uses a lot of length before it reaches the bun. I pin every roll from underneath with two pins crossed in an X. A small veil tucked just above the bun suits it best.
7. Curly Bridal Locs Low Bun
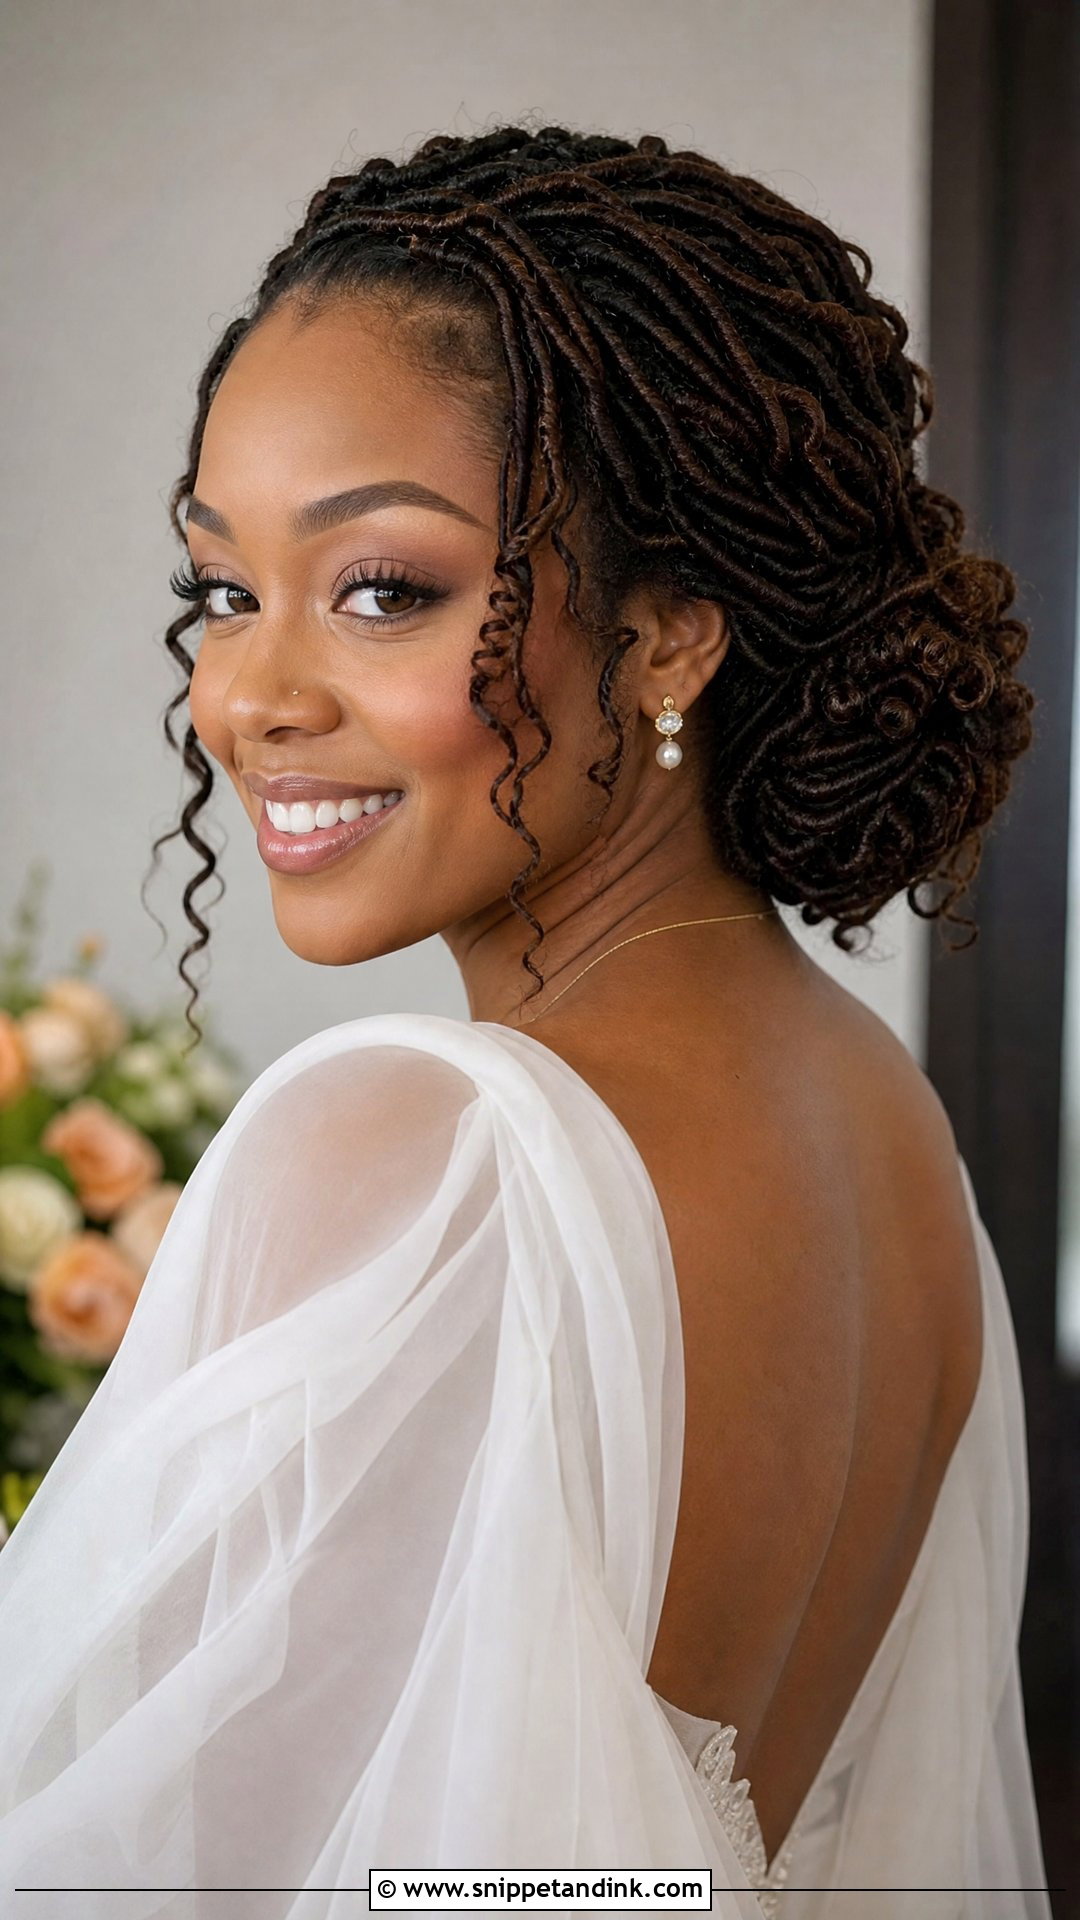
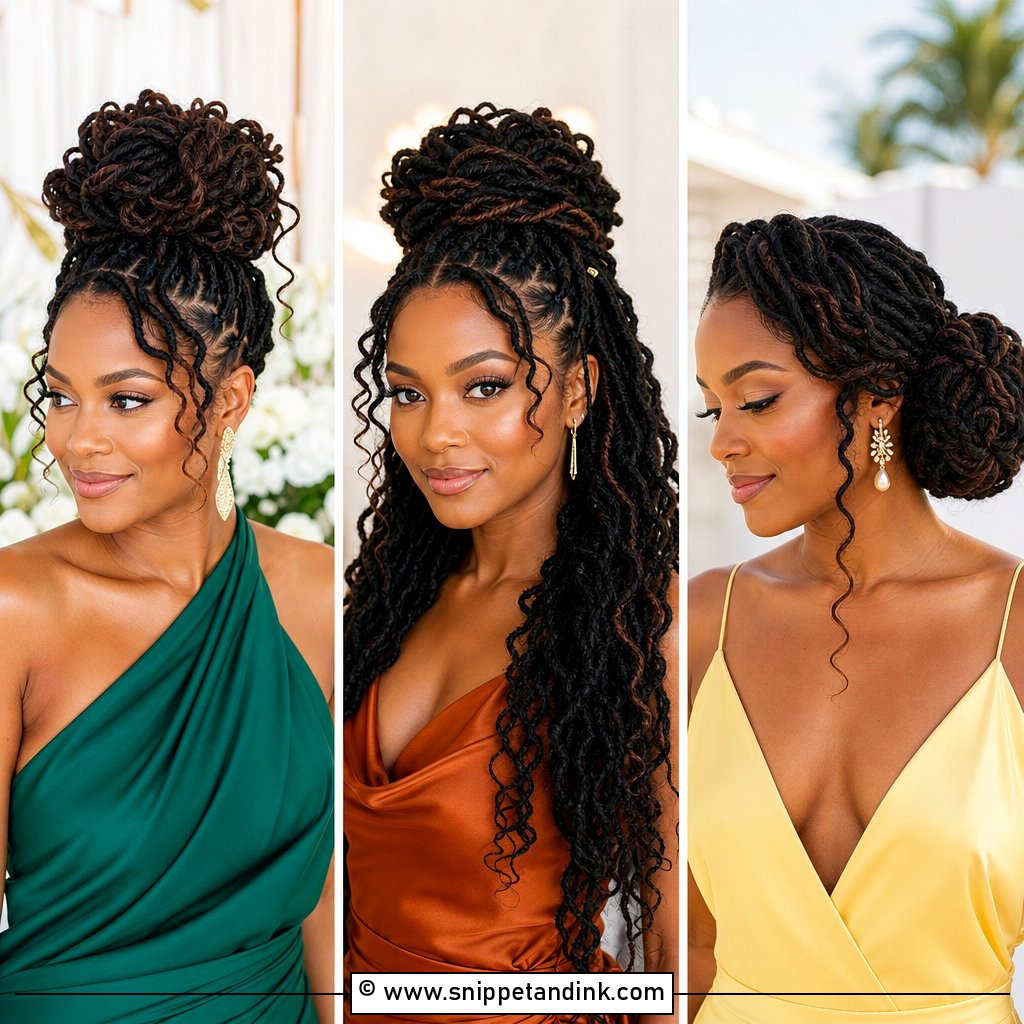
Curling locs takes planning. The usual method is setting them on pipe cleaners, flexi rods or perm rods the night before, or a few nights before, and letting them dry fully in the set, since locs hold water far longer than loose hair. Once they’re dry, I gather the curled lengths into a loose bun and leave a few spiralled ends showing. It’s less formal than a sleek bun and right at home at a garden wedding. Damp locs left in a bun all day can smell musty by evening, so don’t rush the drying.
8. Messy Bridal Locs Low Bun
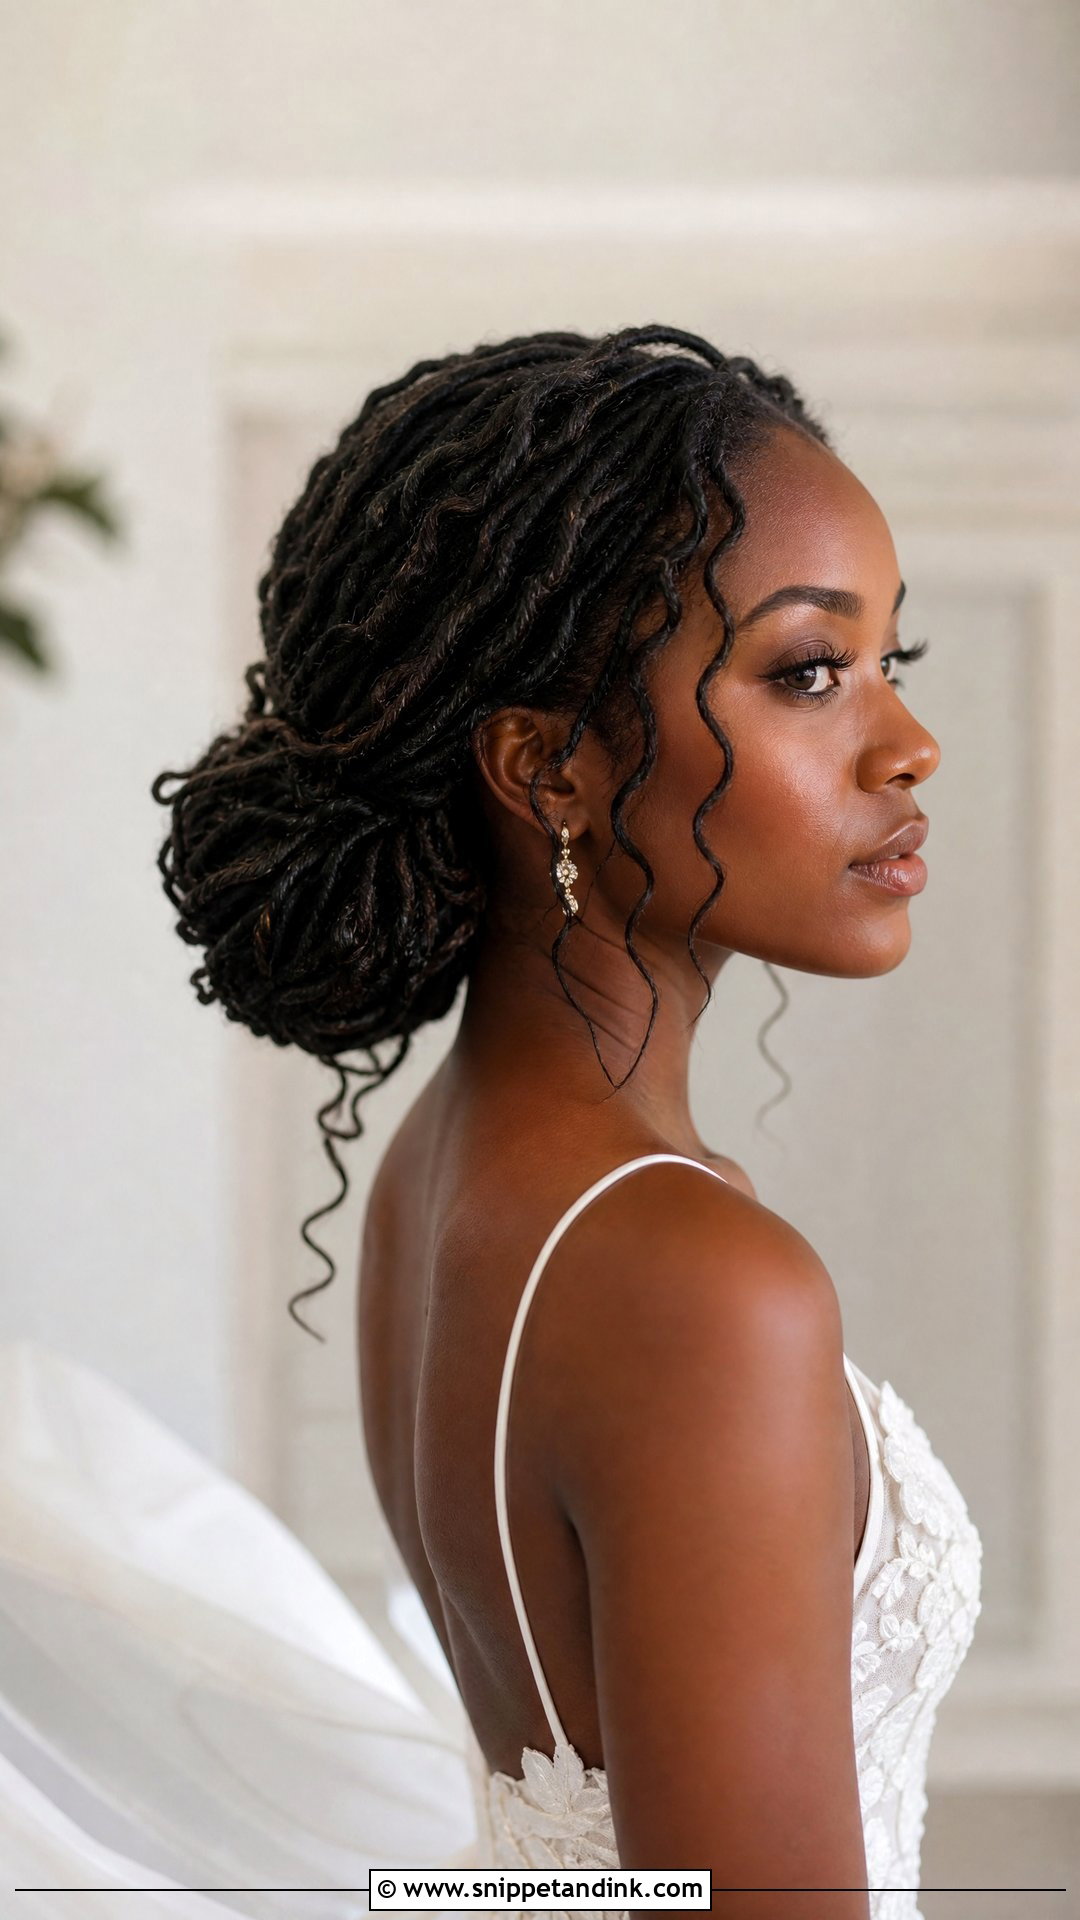
Messy only works when the looseness is planned. I gather the locs at the nape, pin them into a full bun, then ease a few out with my fingers so the shape has air in it. One or two locs at the temples soften the front. If you hate the feel of anything tight, this is the kindest option on the list, and it suits a simple slip dress far better than a heavily beaded gown.
9. Sleek Bridal Locs Low Bun
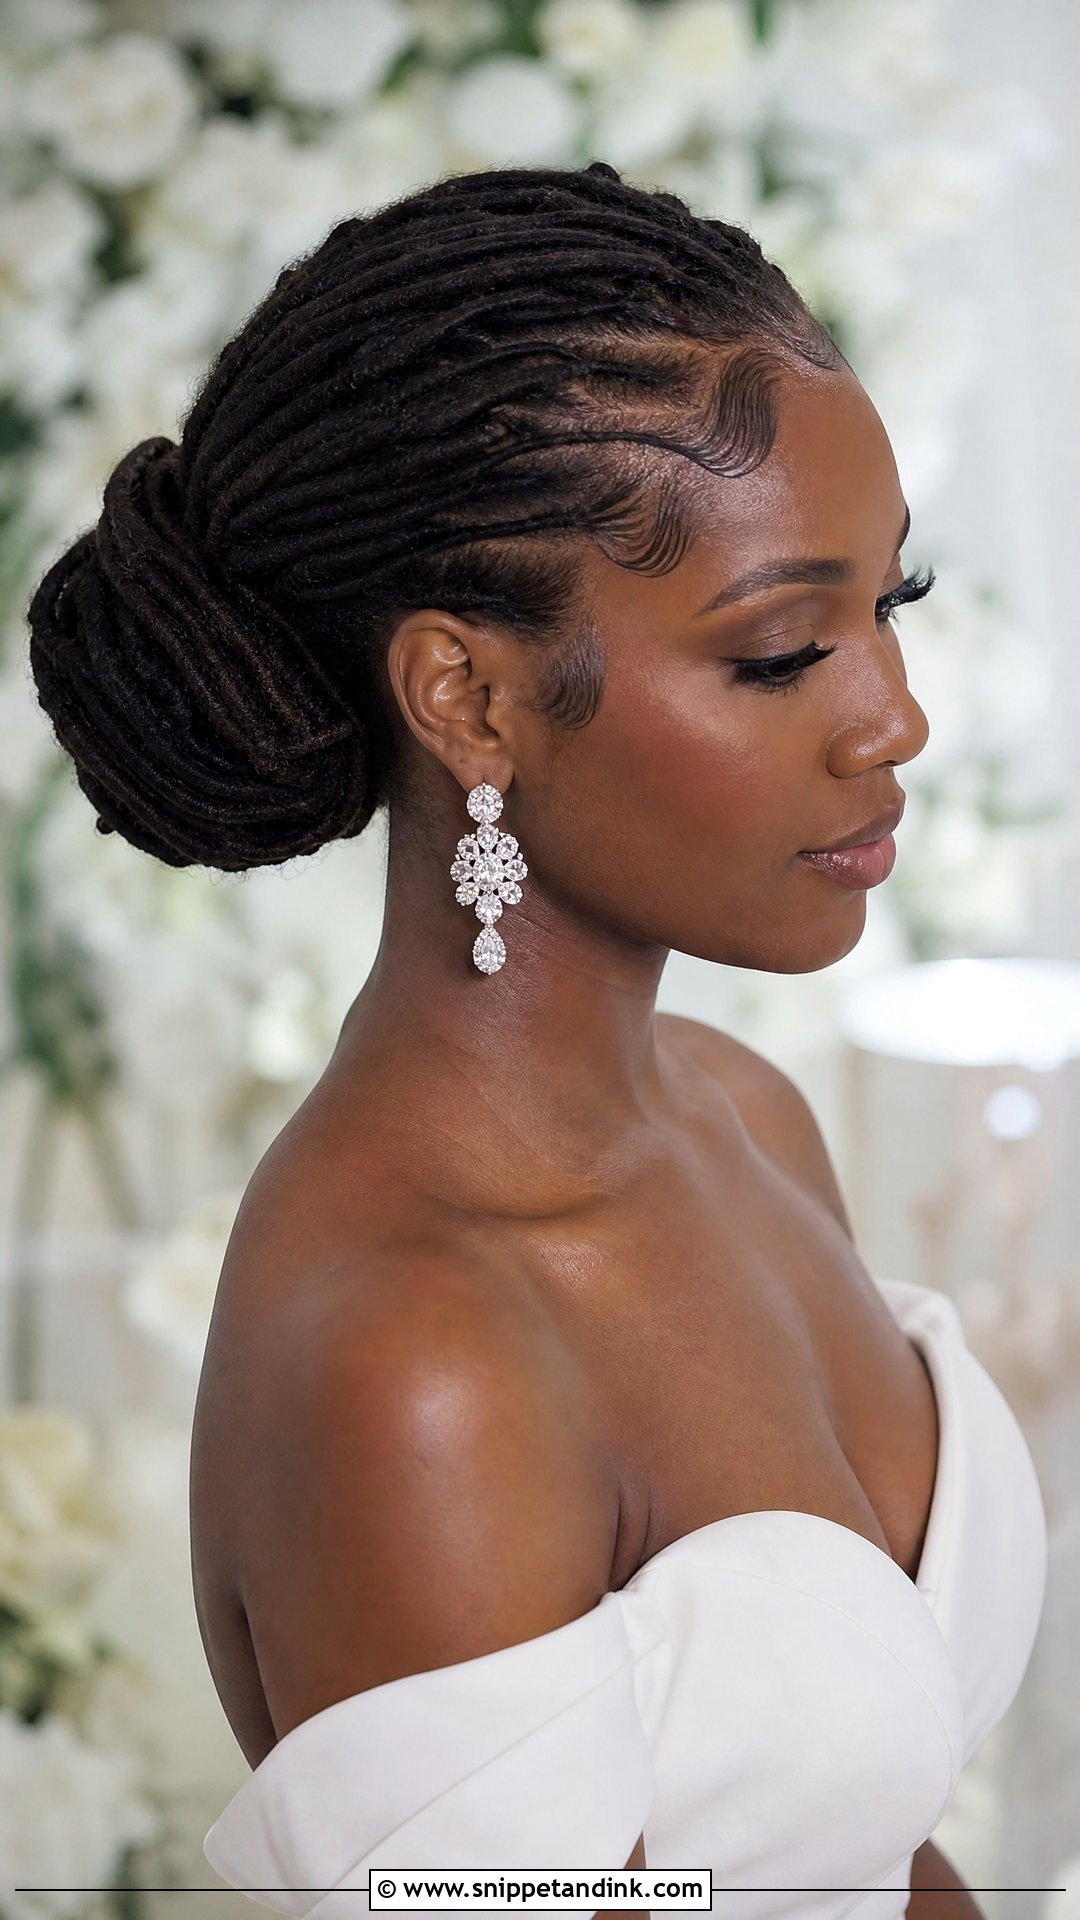
Everything is smoothed back to a neat, low bun with almost no lift at the crown, so the veil and your neckline get the attention. It holds its own next to a structured gown or a big earring because the hair stays quiet. Locs don’t lie perfectly flat the way relaxed hair does, and I don’t try to force them. A light mist of water with a little leave-in and a soft brush along the hairline is enough. Skip high-shine sprays, which look greasy on locs in flash photos.
10. Pearl Bridal Locs Low Bun
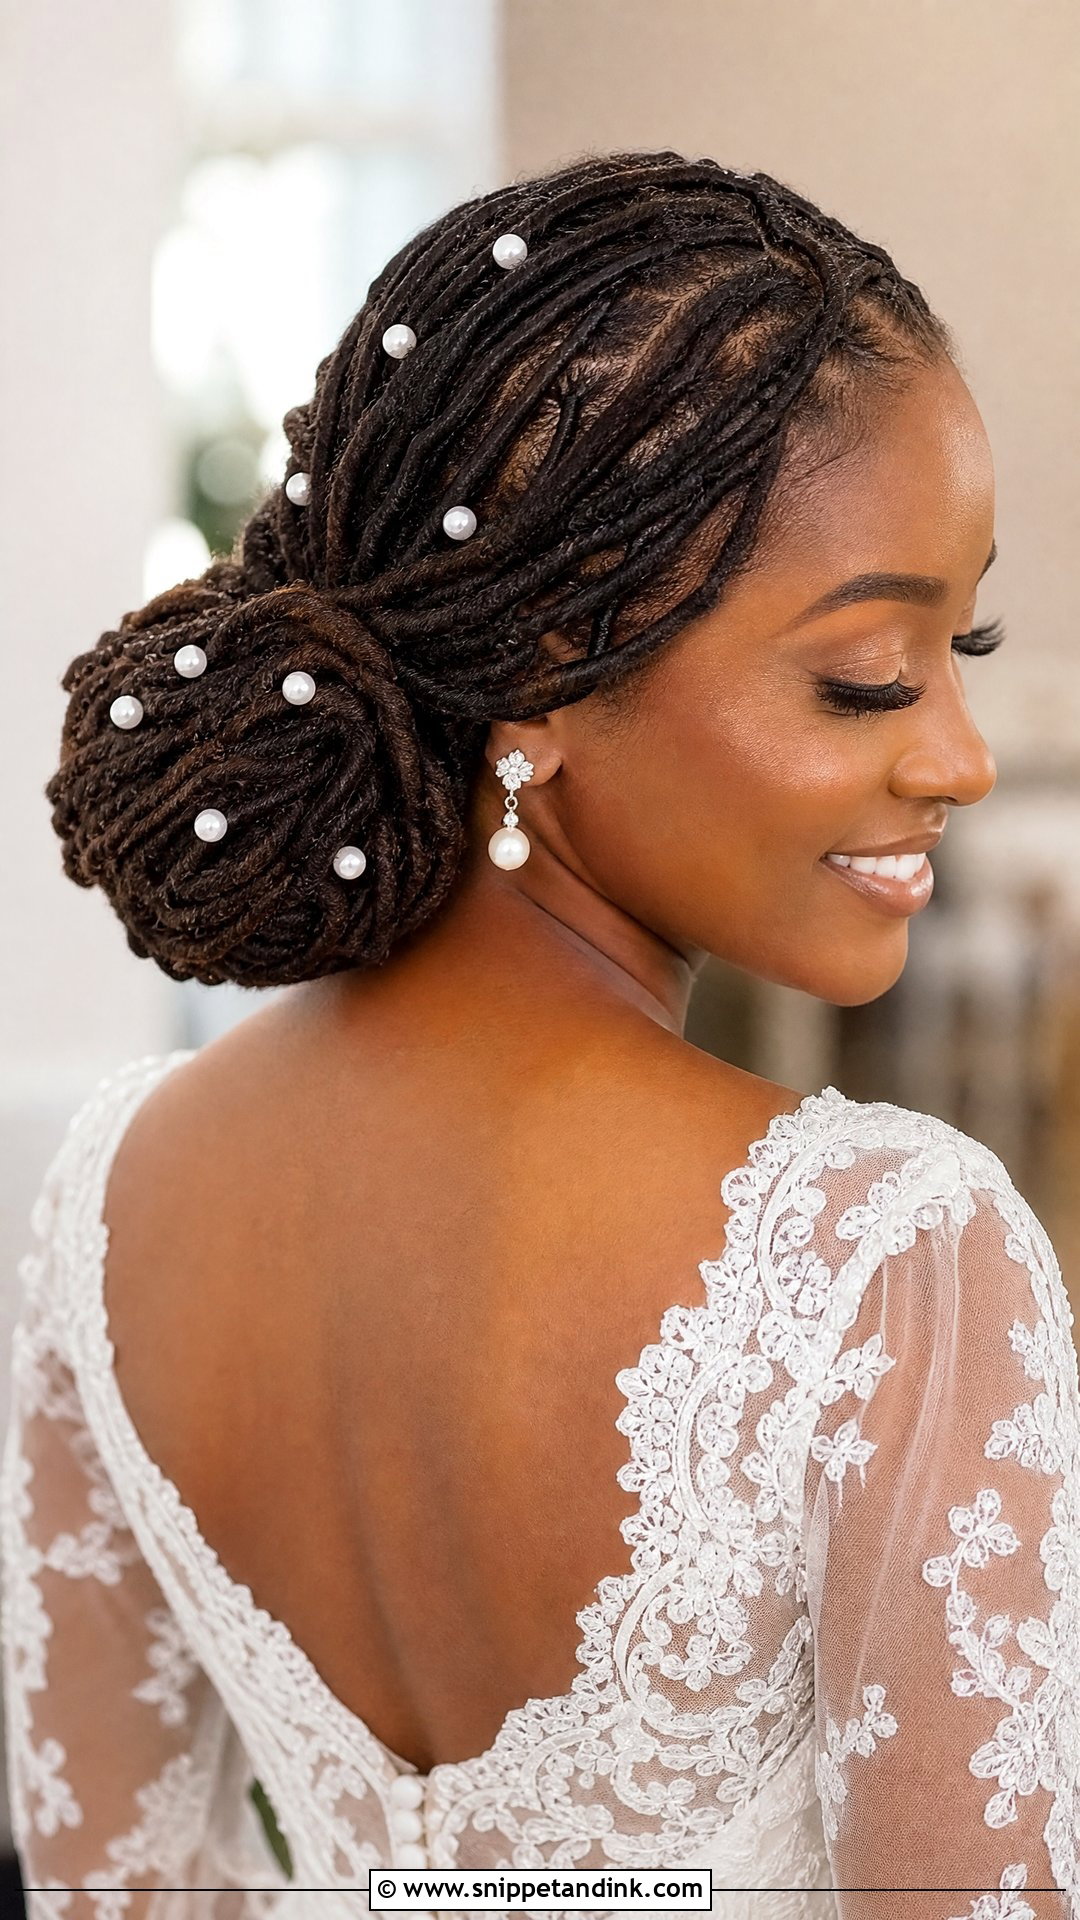
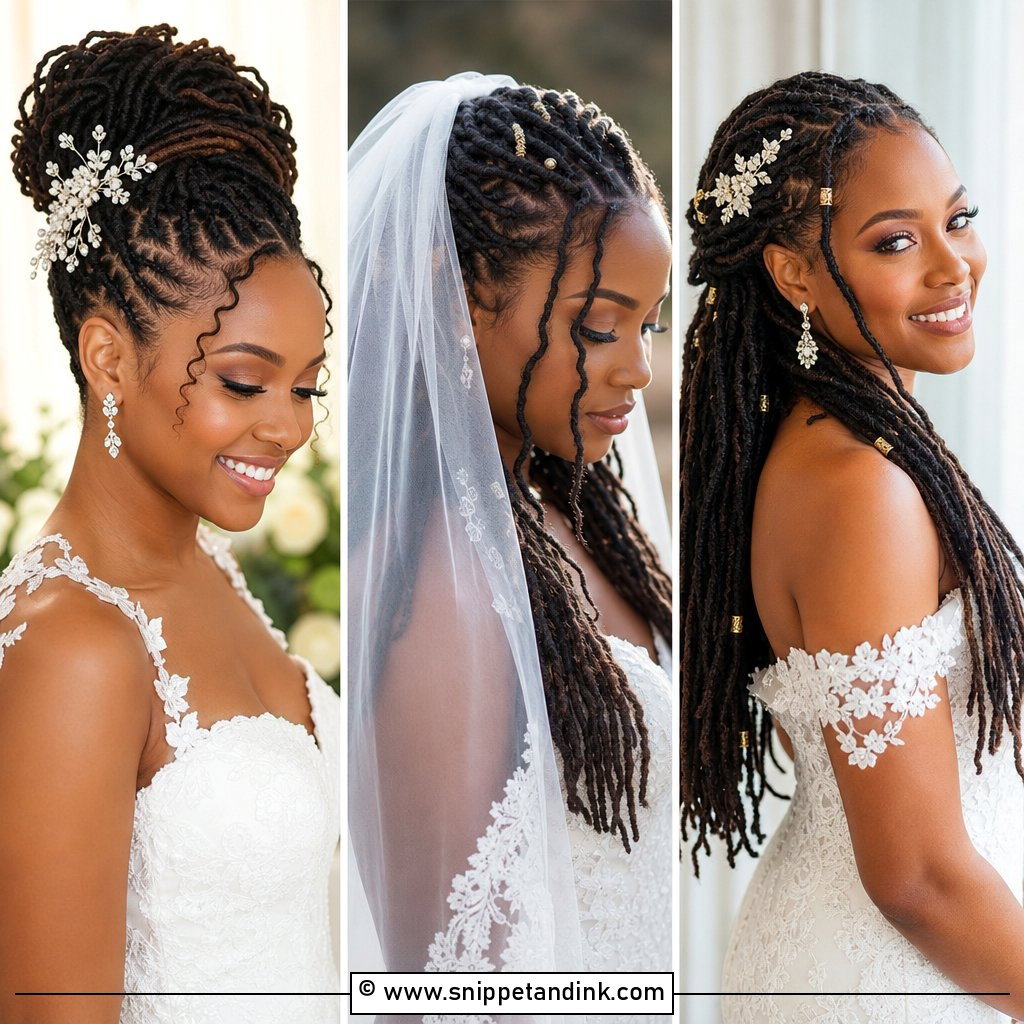
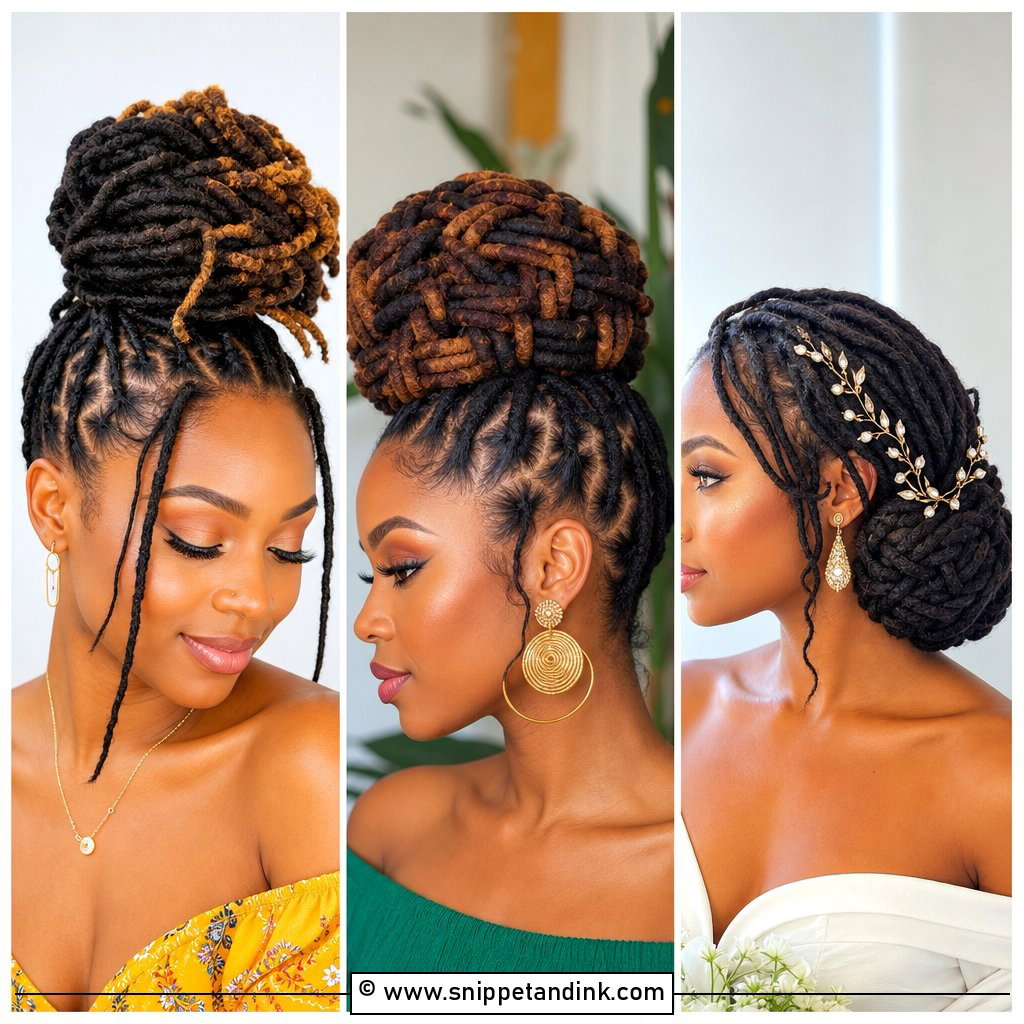
Pearls show up clearly against dark locs and catch light in close portraits. Loc jewellery comes in clip-on and wrap-around styles, and either sits more securely than a standard pearl pin, which can slide out of a smooth loc. Tiny scattered pearls look delicate; three or four larger ones make more impact. Pair them with lace or an off-the-shoulder dress. I place them in uneven groups so the bun still looks like hair rather than a pincushion.
11. Flower Bridal Locs Low Bun
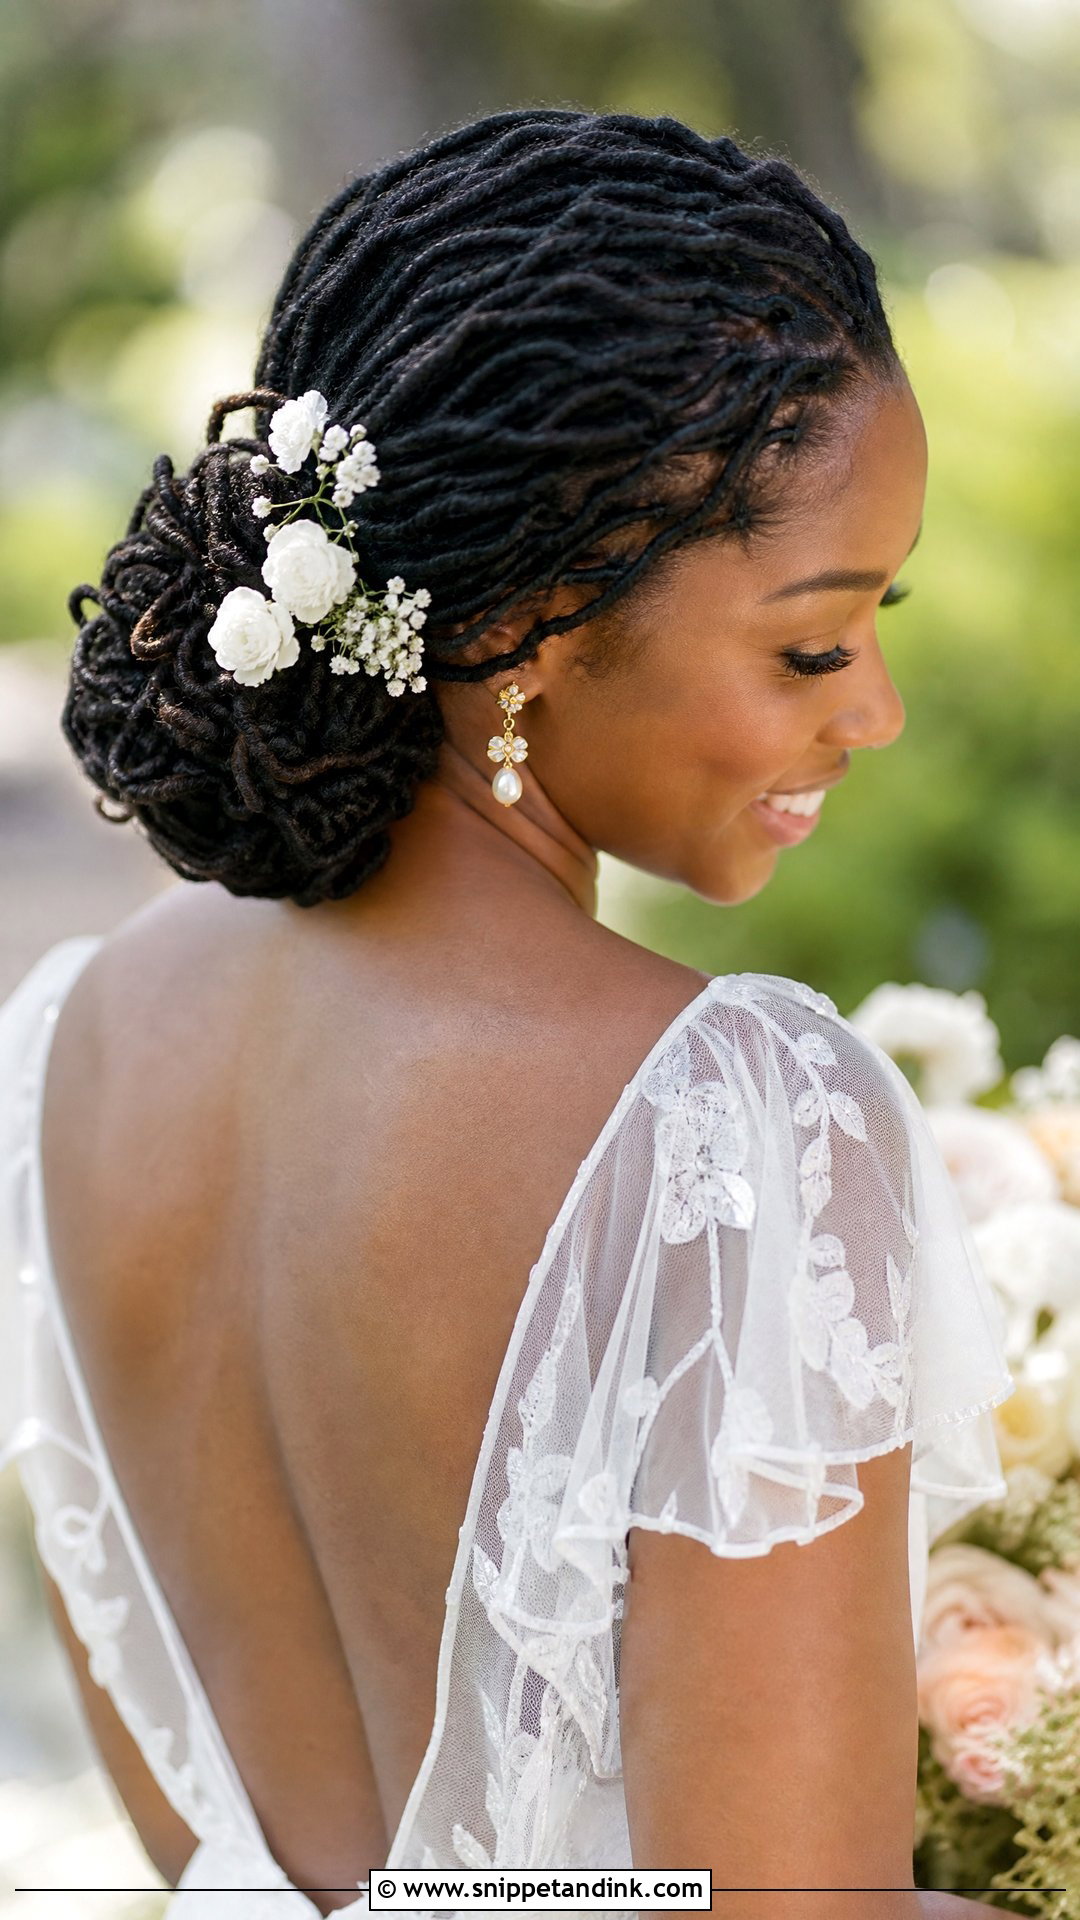
The locs give flowers a firm base, so blooms can sit around the bun, above one ear or along one side without sliding. In this flower bridal locs low bun, keep the flowers smaller than the bun itself. Fresh stems should be wired and taped by your florist, then pinned in last. For a hot summer or beach ceremony, I’d use good silk flowers instead, because fresh petals wilt against warm skin in a couple of hours.
12. Veil Bridal Locs Low Bun
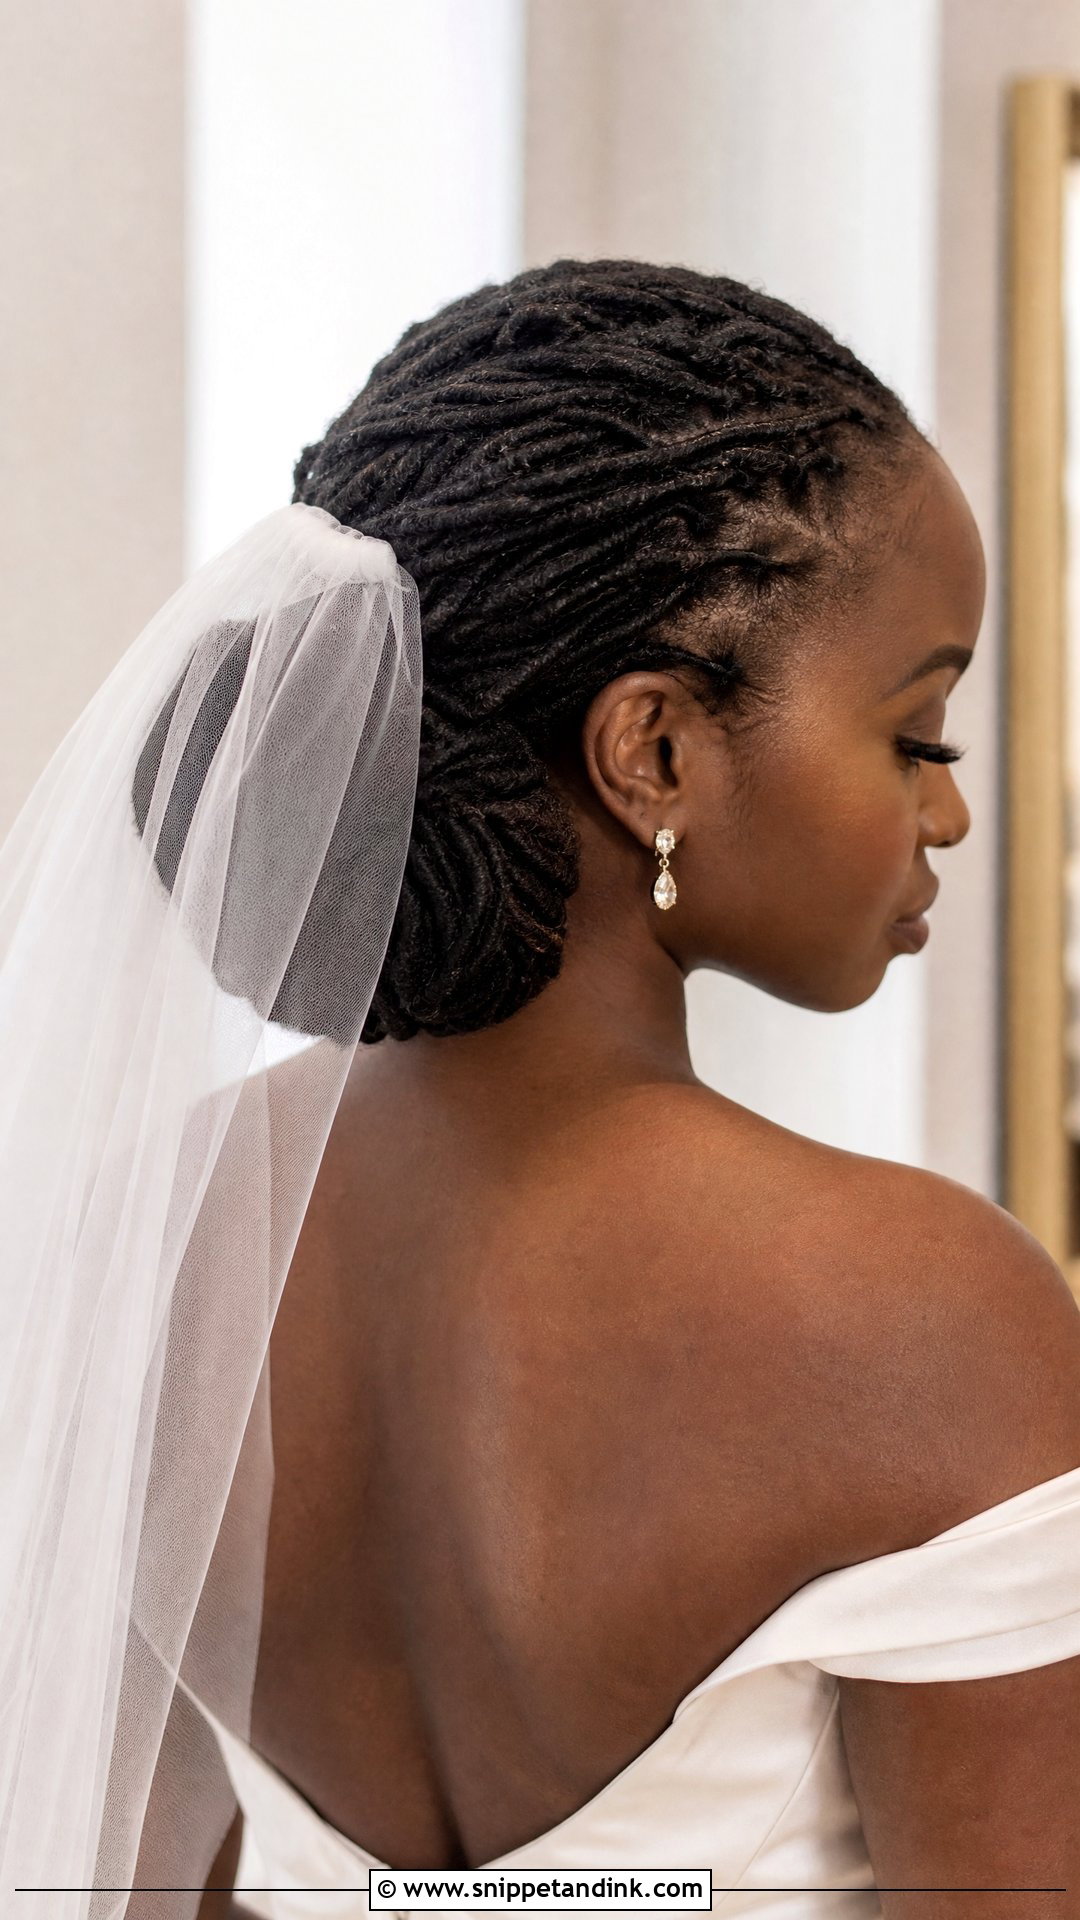
A nape bun is the easiest place to anchor a veil, which is why so many of my loc brides choose it. The comb can sit above, below or directly into the bun. Locs are heavier than a veil comb expects, so I push the comb into crossed pins rather than trusting its teeth alone. A long, detailed veil wants a smooth, plain bun underneath; a simple veil leaves room for twists, pearls or a side part. Test the actual veil at your trial and move your head around properly.
13. Crown Bridal Locs Low Bun
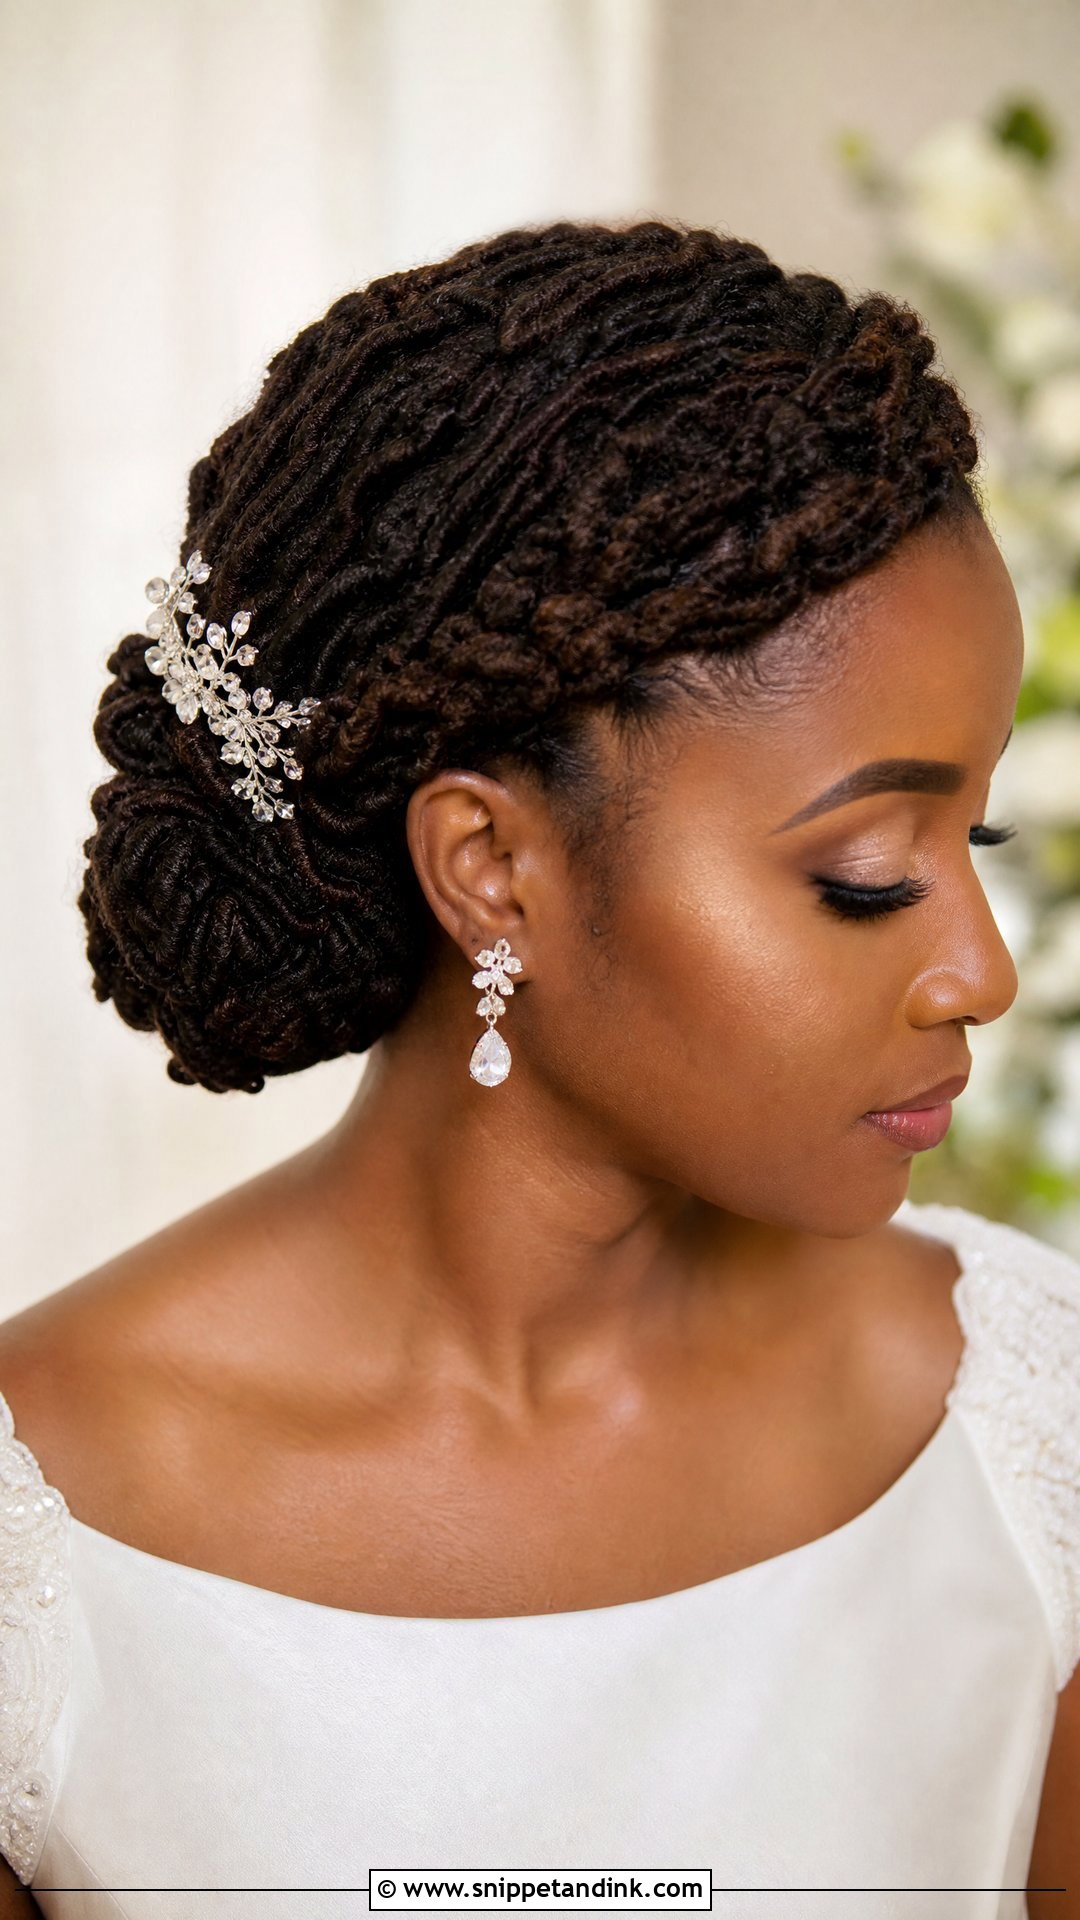
Locs braided or twisted around the hairline like a band, then finished into a low bun at the back, frame the face in ceremony photos and look regal without stacking height. This crown bridal locs low bun needs locs long enough to reach around the head, roughly shoulder length or more. I pin the crown section every few centimetres so it can’t slip backward during the day. A tiara or crystal comb is optional, as the shape already reads bridal.
14. Microlocs Bridal Low Bun
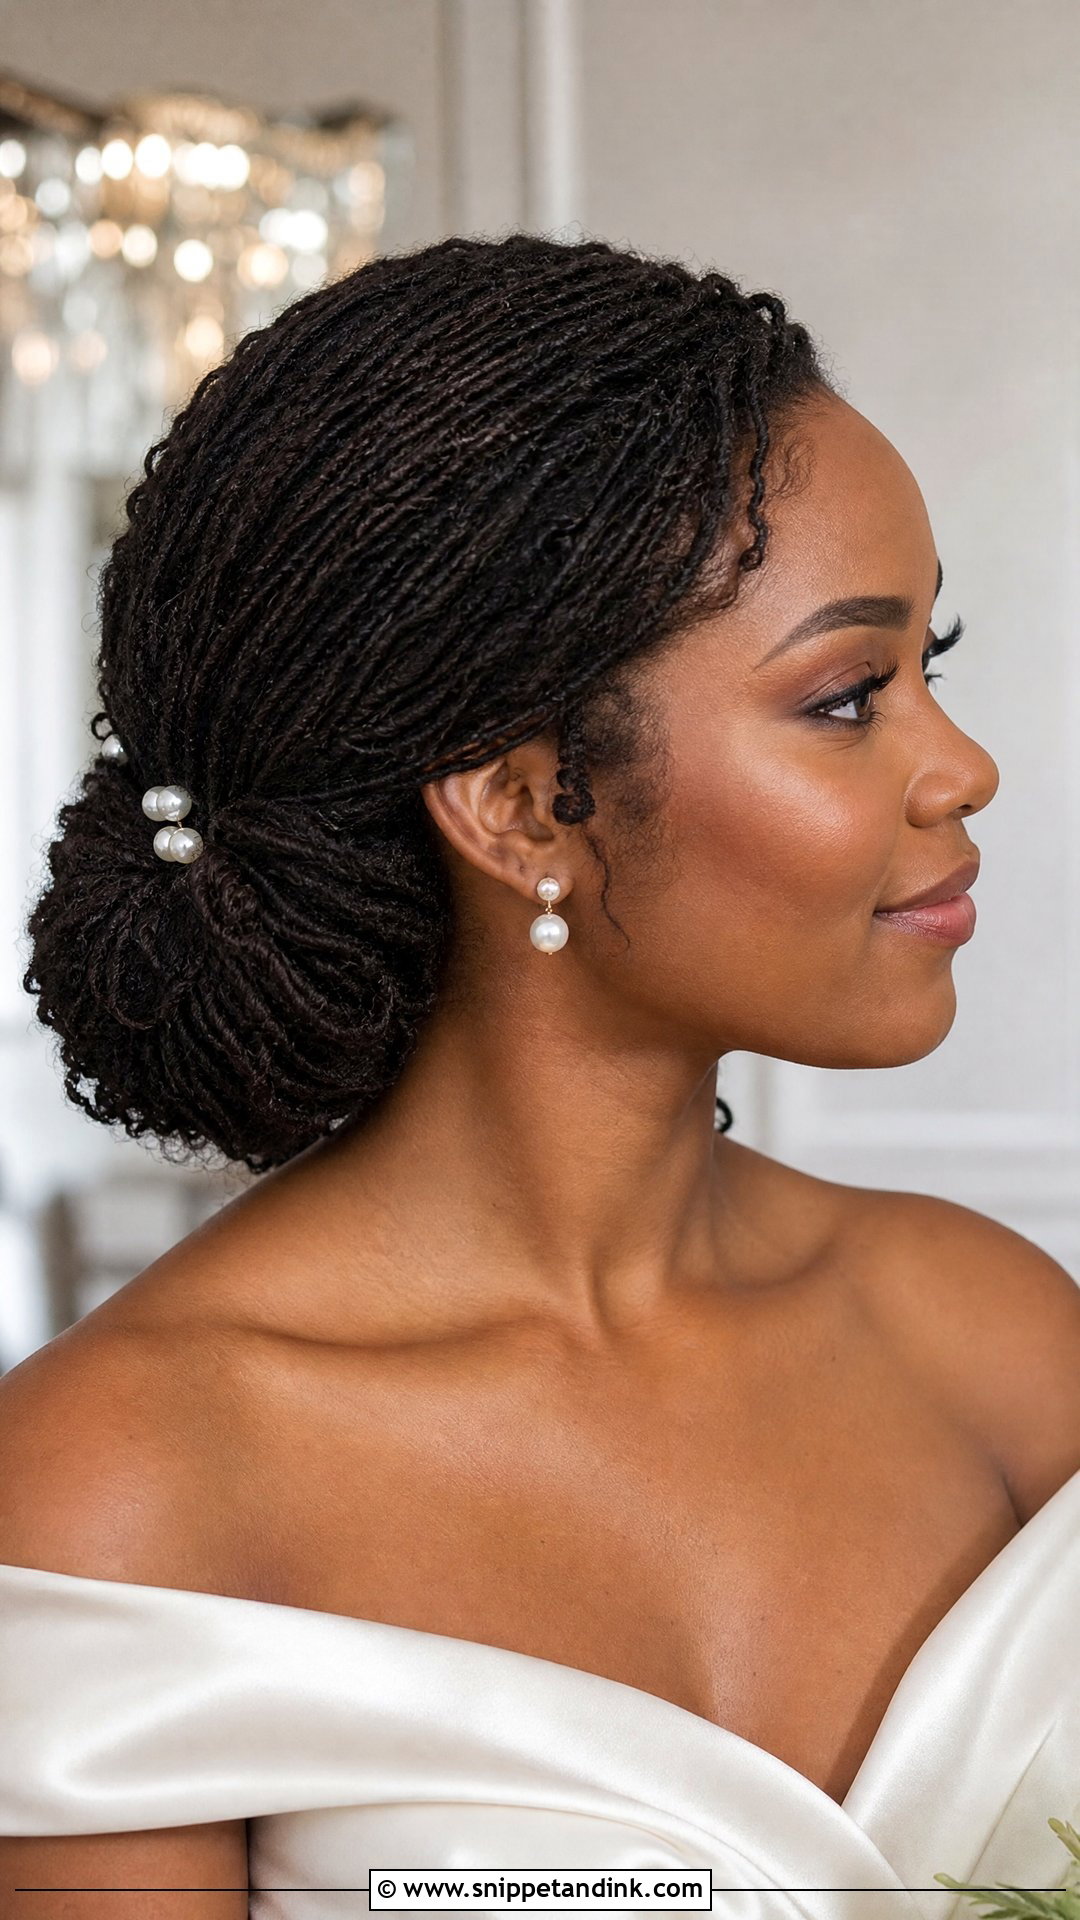
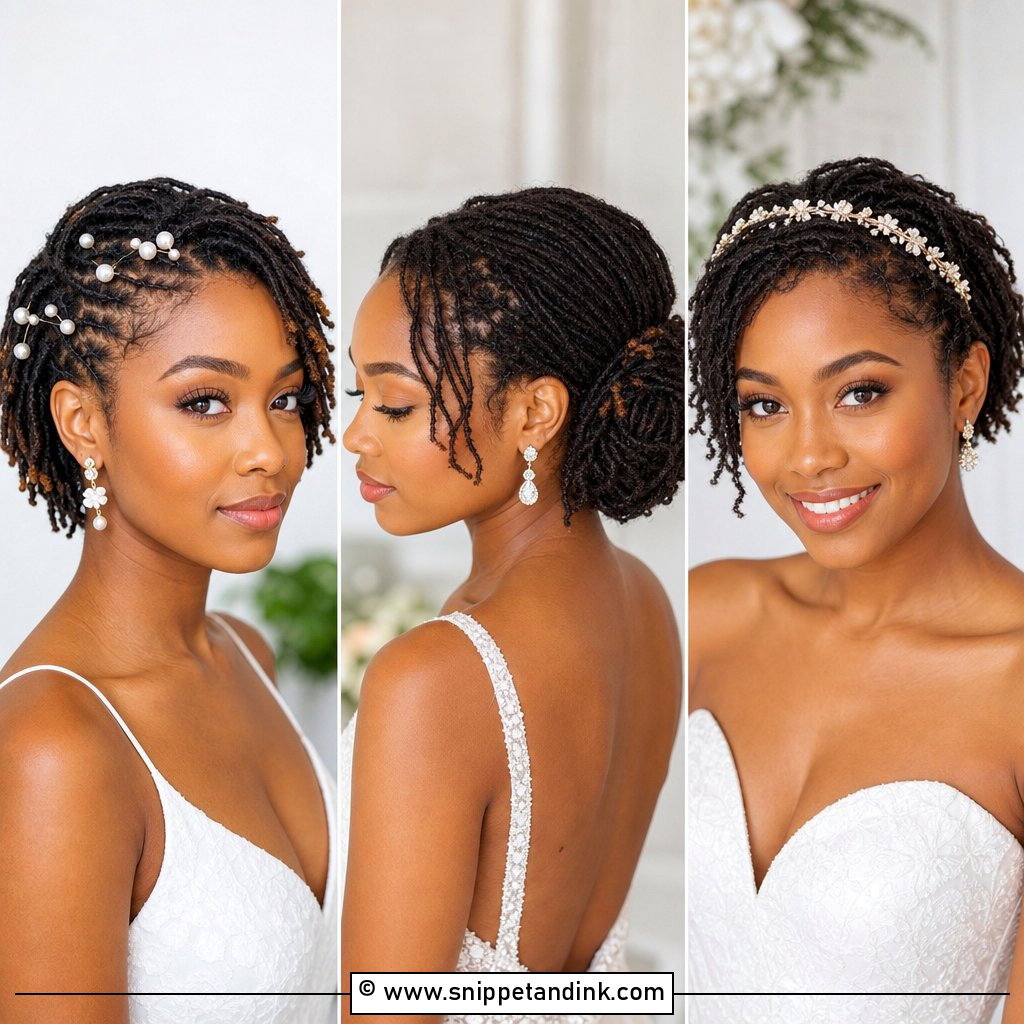
Small locs fold into a bun with more movement and finer texture, close to a classic chignon but with visible definition. This microlocs bridal low bun also weighs less, so it’s a good pick if updos usually give you a headache. Microlocs are thin at the root, though, and tension shows there first. I use smaller, smooth pins, spread the hold across many points, and never pull a section tight just to smooth it.
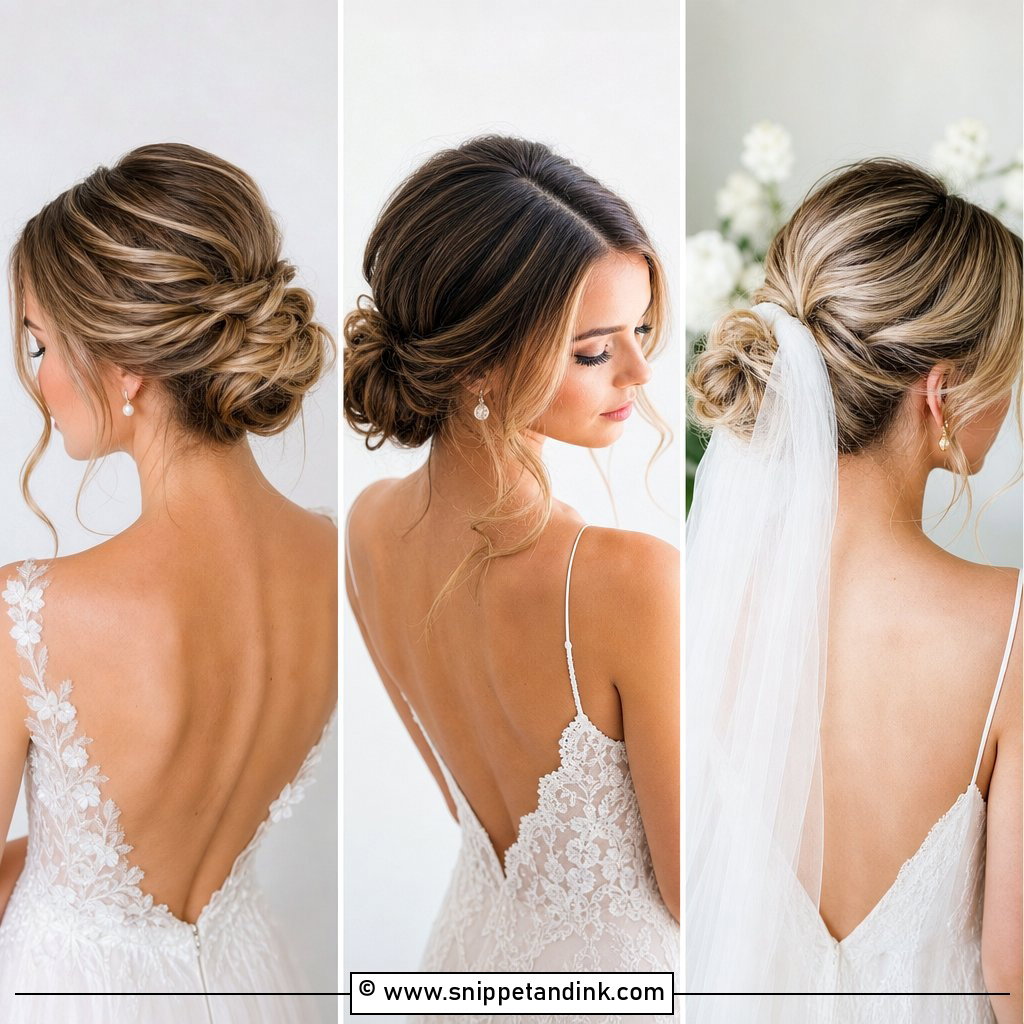
15. Sisterlocks Bridal Low Bun
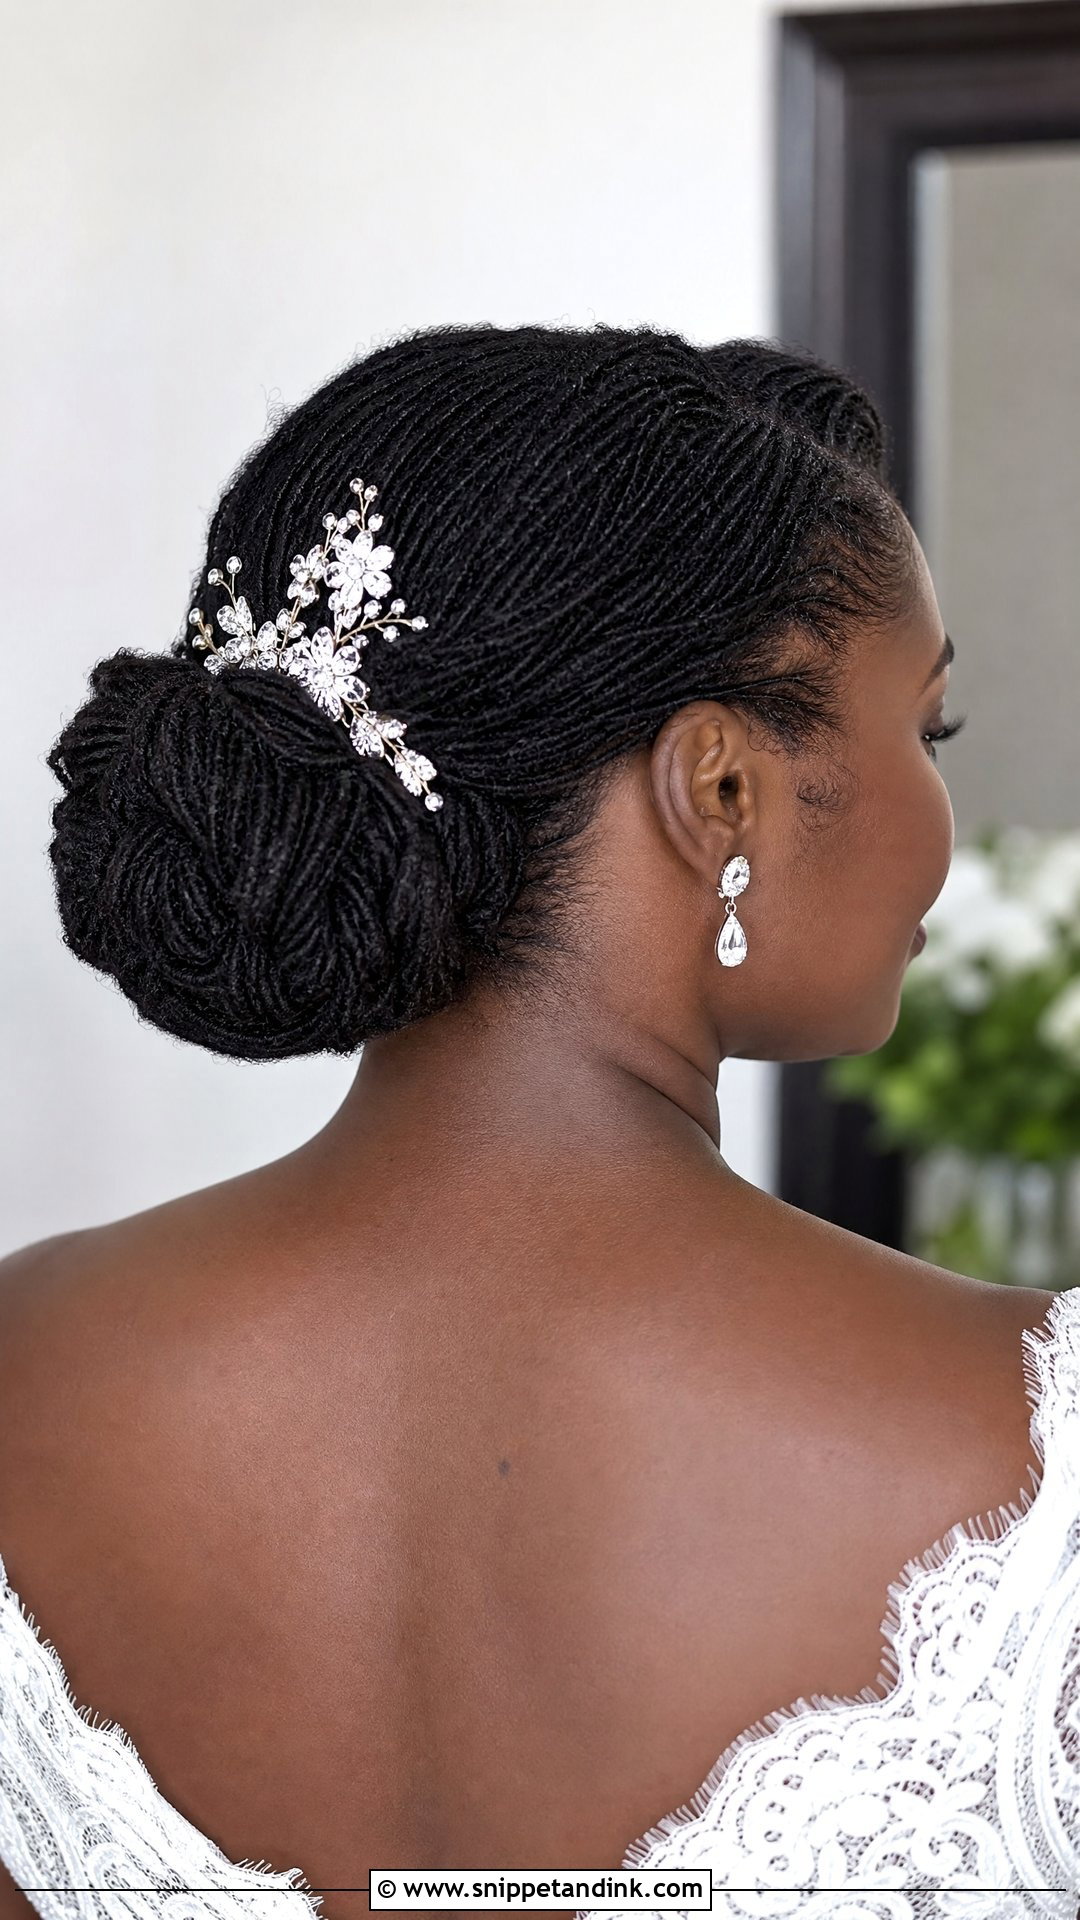
Sisterlocks are fine and uniform, so a bun made from them looks neat up close and still has texture. Twisting, rolling and simple pinning all suit this Sisterlocks bridal low bun. They’re light and flexible enough to take a comb, a headband or pearls without strain. I keep the edges of the bun soft, letting a few locs curve naturally, because a perfectly tucked Sisterlocks bun can look severe in profile.
Waist-Length Locs Change the Pinning Plan
Long, mature locs can be genuinely heavy, and a bun that sits wrong drags on the hairline for hours. I check two things at the trial. First, the weight should rest on the nape, not hang off it, so I build the bun tight to the head instead of letting it droop. Second, the hold should come from many pins rather than a few, spread across the bun so no single spot takes the strain.
Big U-shaped hair pins and spin pins grip locs well. Small bobby pins tend to slide straight out, and rubber bands can thin a loc at the spot where they sit. If your locs are very long, a split base helps: two smaller buns stacked at the nape, styled to look like one, weigh far less on any single area.
Taking it down at the end of the night
Find every pin with your fingertips before you start loosening anything, and remove them slowly. Pulling locs out of a bun in a hurry can snag a pin through a loc and leave a weak point. Let the locs hang overnight in a loose bonnet, and if your scalp feels tender, a cool rinse and a light oil the next morning settle it quickly.
Your Locs Already Did Most of the Work
The low bun keeps coming back with locs because it’s comfortable, secure and adjusts to almost any dress. Your version depends on loc length, thickness, neckline and veil, and on how much softness you want at your face. Sleek, curled, twisted or decorated with pearls and flowers, they all start from the same nape anchor. Book a trial, bring photos of the back and sides as well as the front, and wear the finished bun for an afternoon before you settle on it.
You'll Like These Ideas:


Leave a Reply