
A low bun with texture is the updo I’m asked for most when a bride wants her hair up but doesn’t want to look lacquered. The texture is what keeps it from reading stiff, and it can come from waves, twists, braids, curls or just some lift at the crown. The low placement leaves room for a veil, pins or a comb, and it sits comfortably with strapless gowns, high necklines and open backs alike. Below are fifteen versions, with notes on which hair each suits and where it tends to fail.
Building Grip Into Hair That Won’t Hold a Pin
Texture in a bun isn’t only a look. It’s what gives the pins something to hold. Silky, freshly washed hair is the hardest to work with, because a pin slides straight down the strand. So most of the prep I ask for is really about adding grip.
Wash the day before the wedding, condition the ends only, and skip shine serums and heavy masks that week. On the morning I use a texture spray or dry shampoo at the roots and through the mid-lengths, then curl the whole head even if the bun will end up smooth. Curled hair has bends that lock into each other once it’s pinned.
Very fine hair gets light backcombing at the base of each section. Very thick hair goes into two or three pinned parts instead of one heavy coil, which keeps the bun from pulling at the nape. Naturally curly hair needs the opposite of all of this: moisture rather than grit, because the texture is already there.
If you color your hair, book it about a week ahead rather than the day before. Freshly toned hair is often slippery from the conditioning treatment, and it takes a couple of washes to get its grip back.
1. Textured Low Bun Wedding Hair
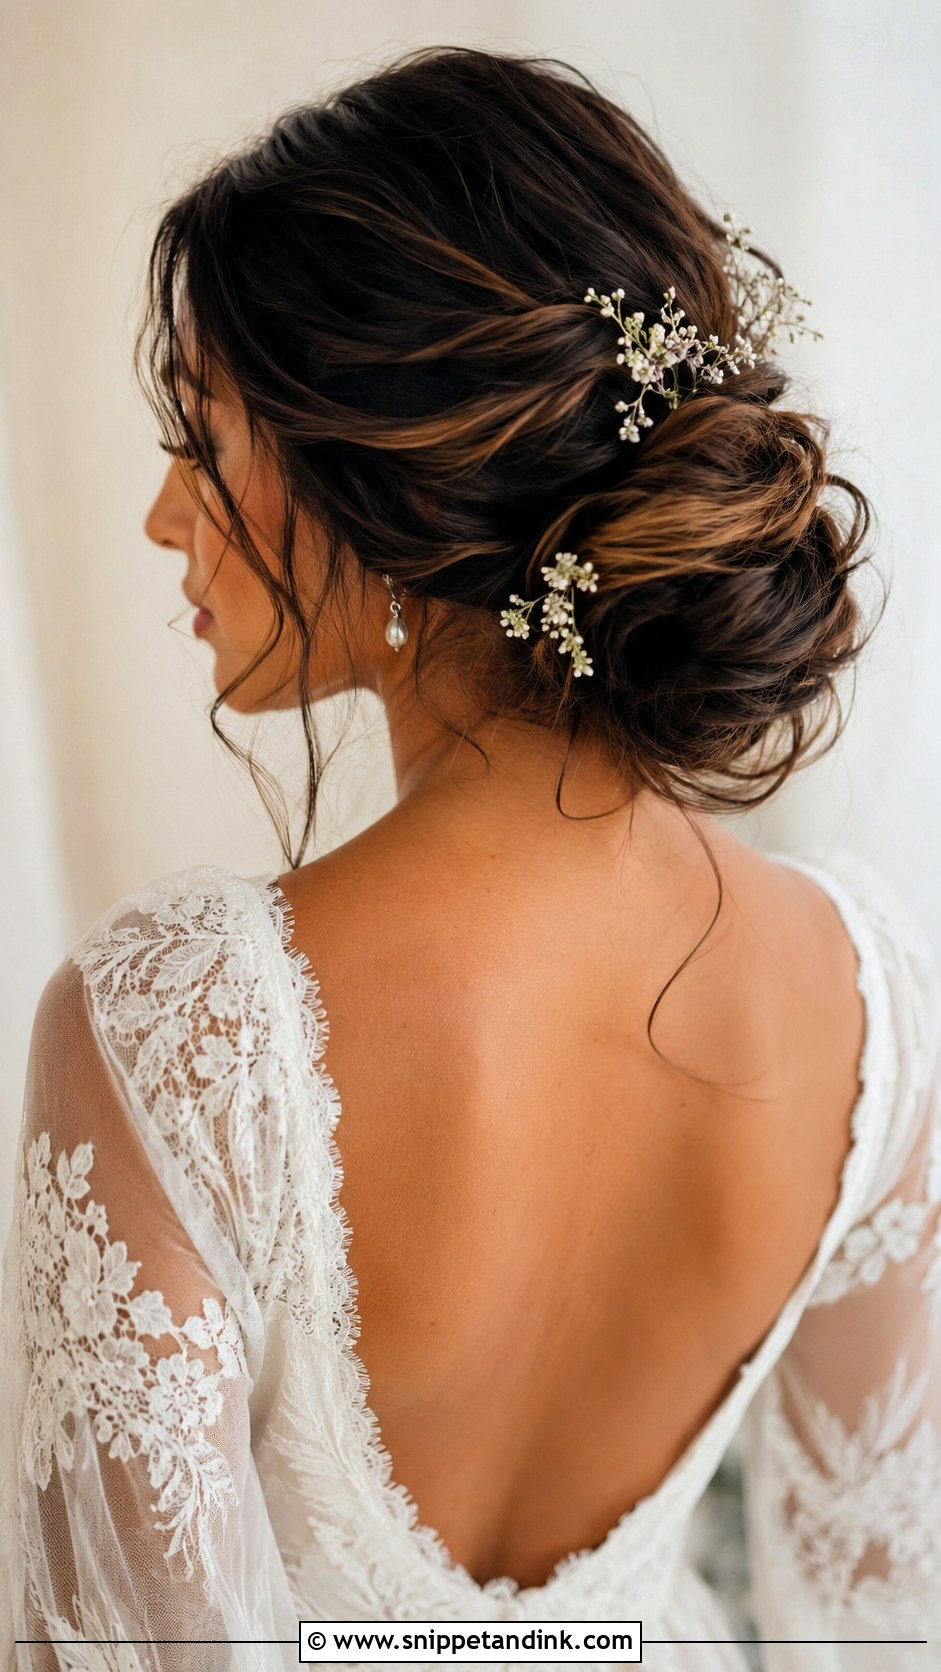
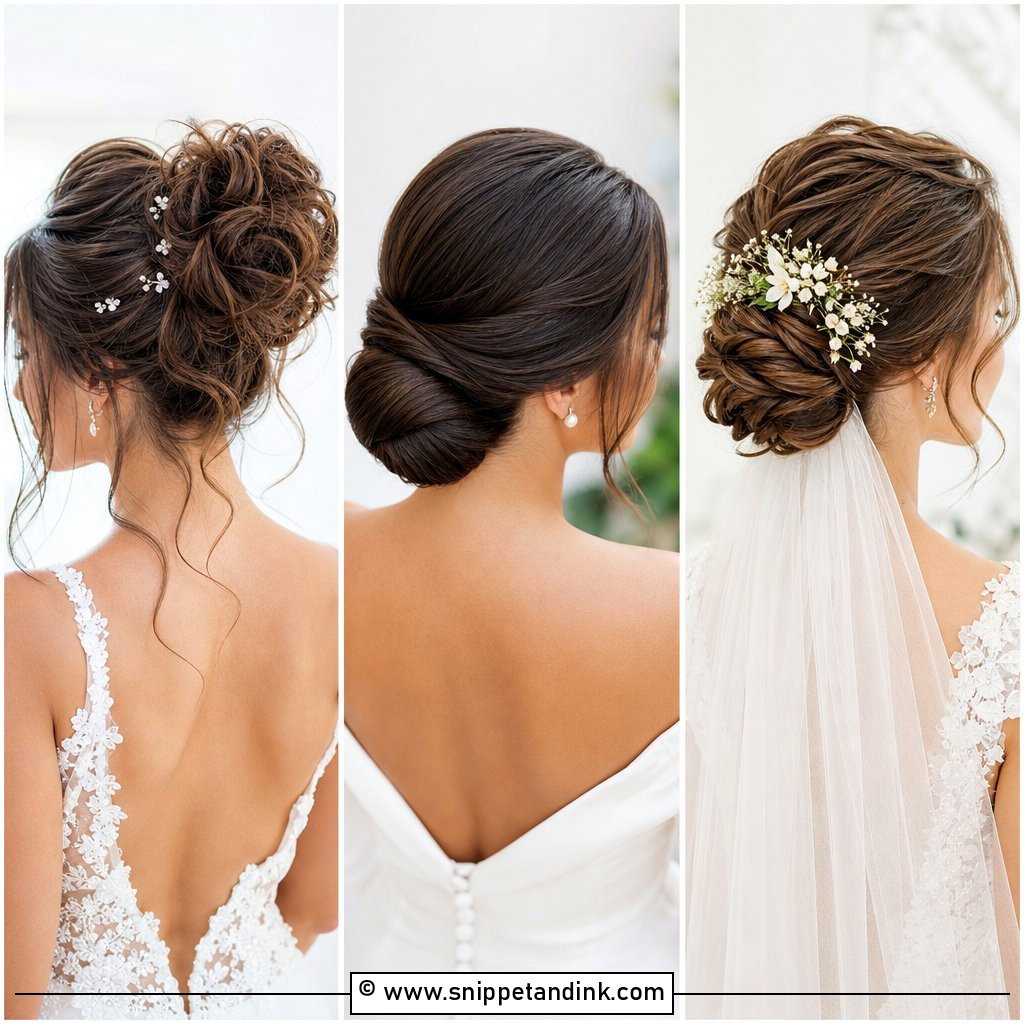
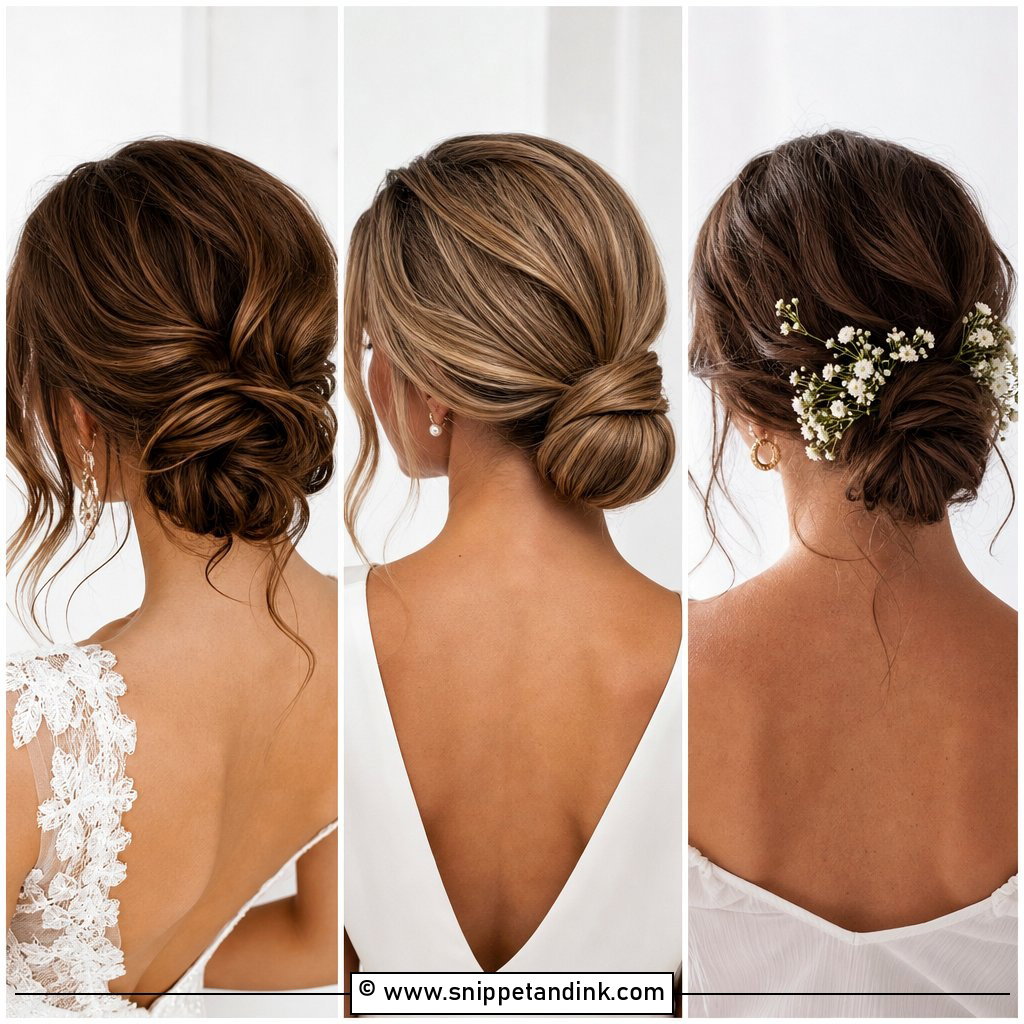
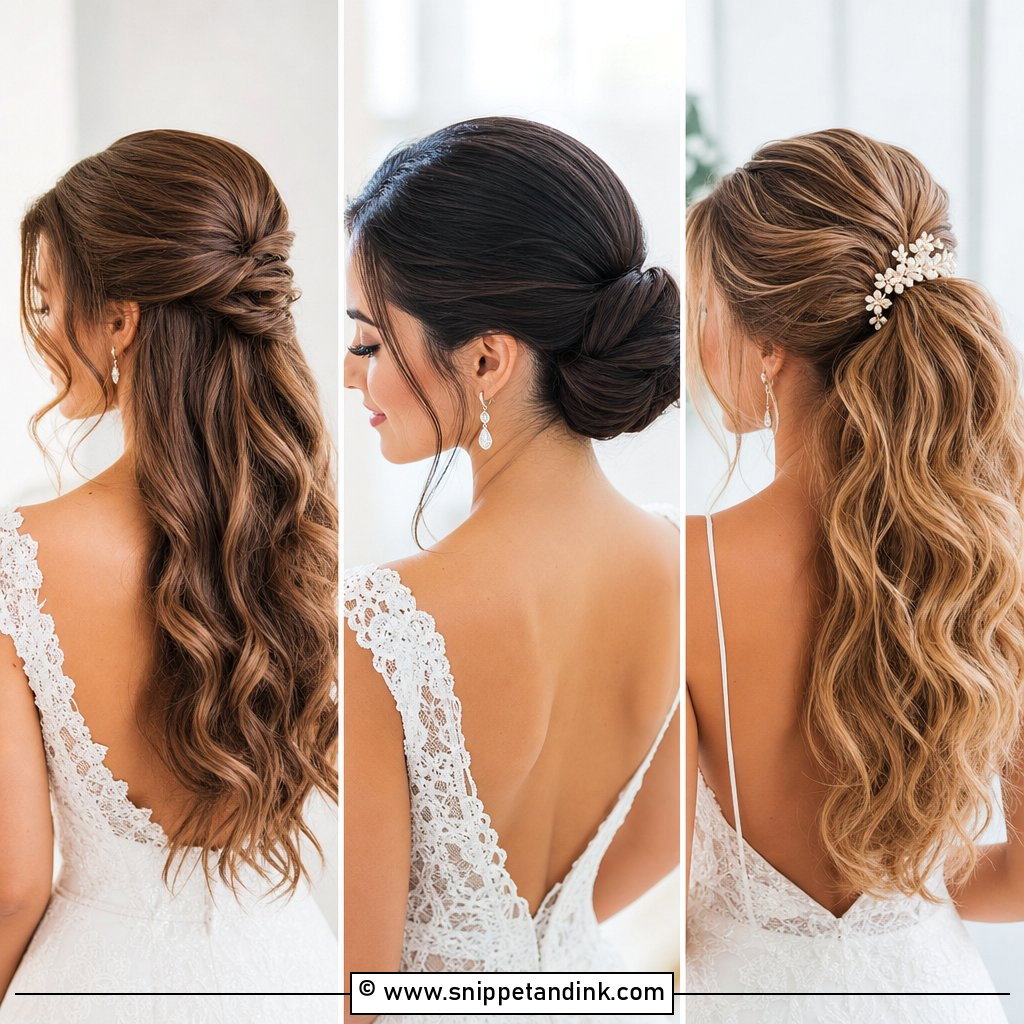
This is the baseline: a bun at the nape with soft bends through the crown and sides. The first thing I check is the profile. A low bun can look great from the front and like a flat lump from the side, so on fine hair I build the shape over a small padding piece and look at it with a hand mirror from every angle. Medium to long hair works, and extensions fill gaps. Pearl pins or a veil set just above the bun finish it.
2. Loose Textured Low Bun Wedding Hair
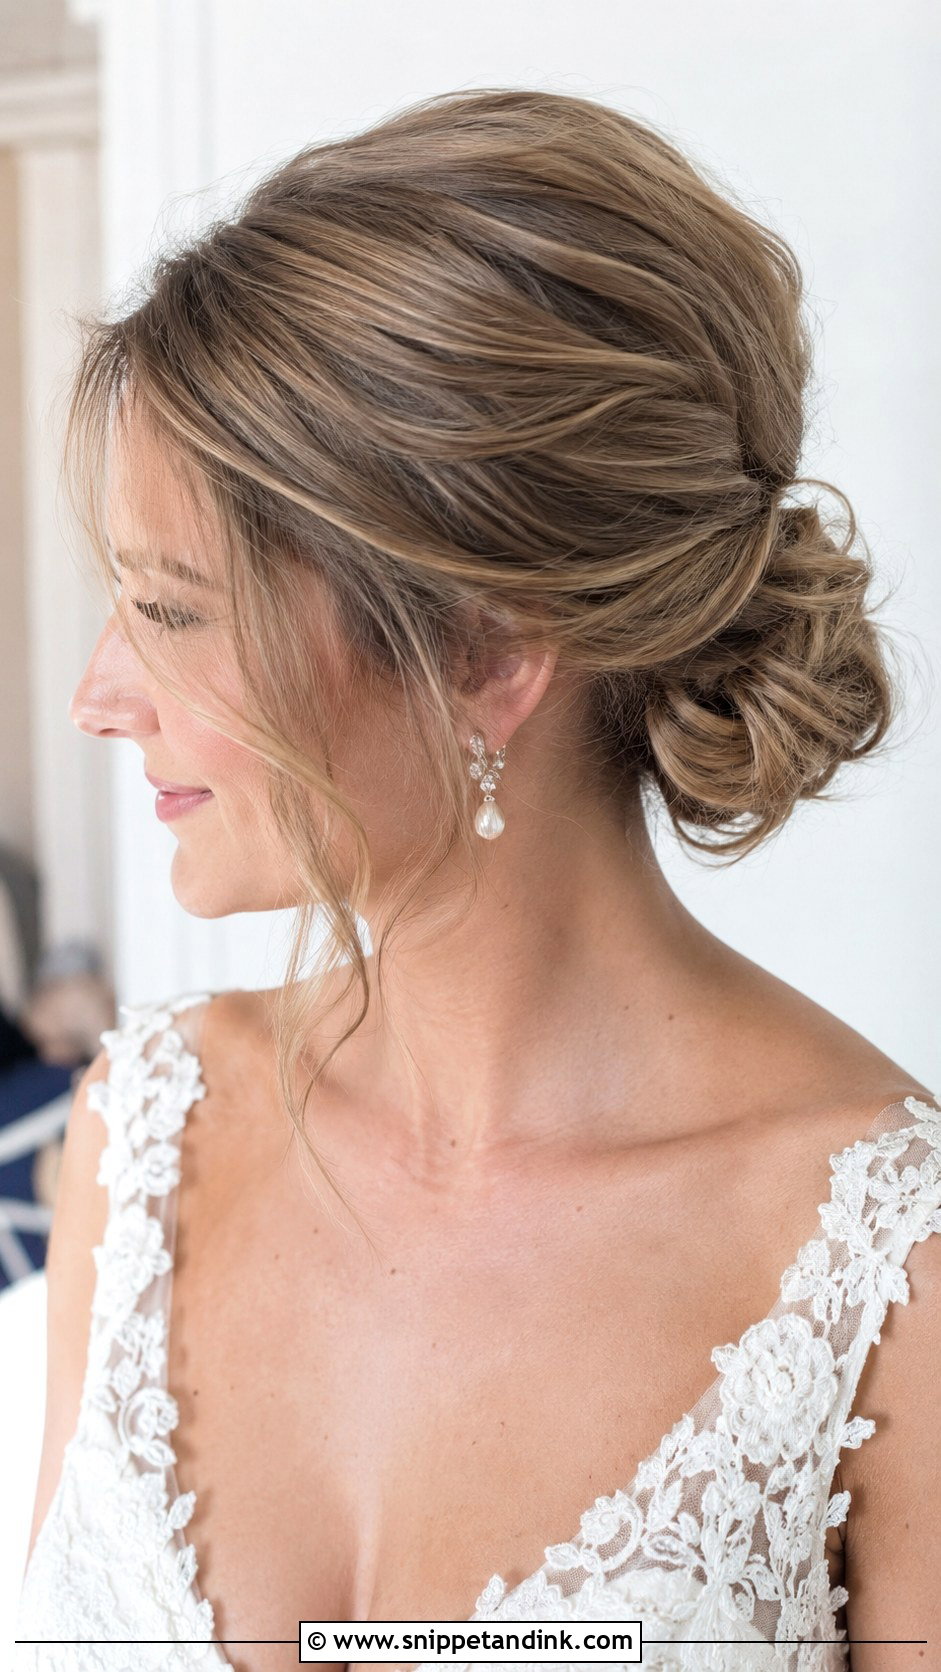
Loose doesn’t mean barely pinned. I curl the hair, brush it out, then pin each section separately into the bun, so it can be pulled softer without collapsing. That’s why this one forgives an outdoor wedding: if the wind moves a piece, it still looks deliberate. Decide between face-framing pieces and brushed-back volume by your neckline. If you hate the feeling that your hair might come apart, this is the version I’d point you to.
3. Messy Textured Low Bun Wedding Hair
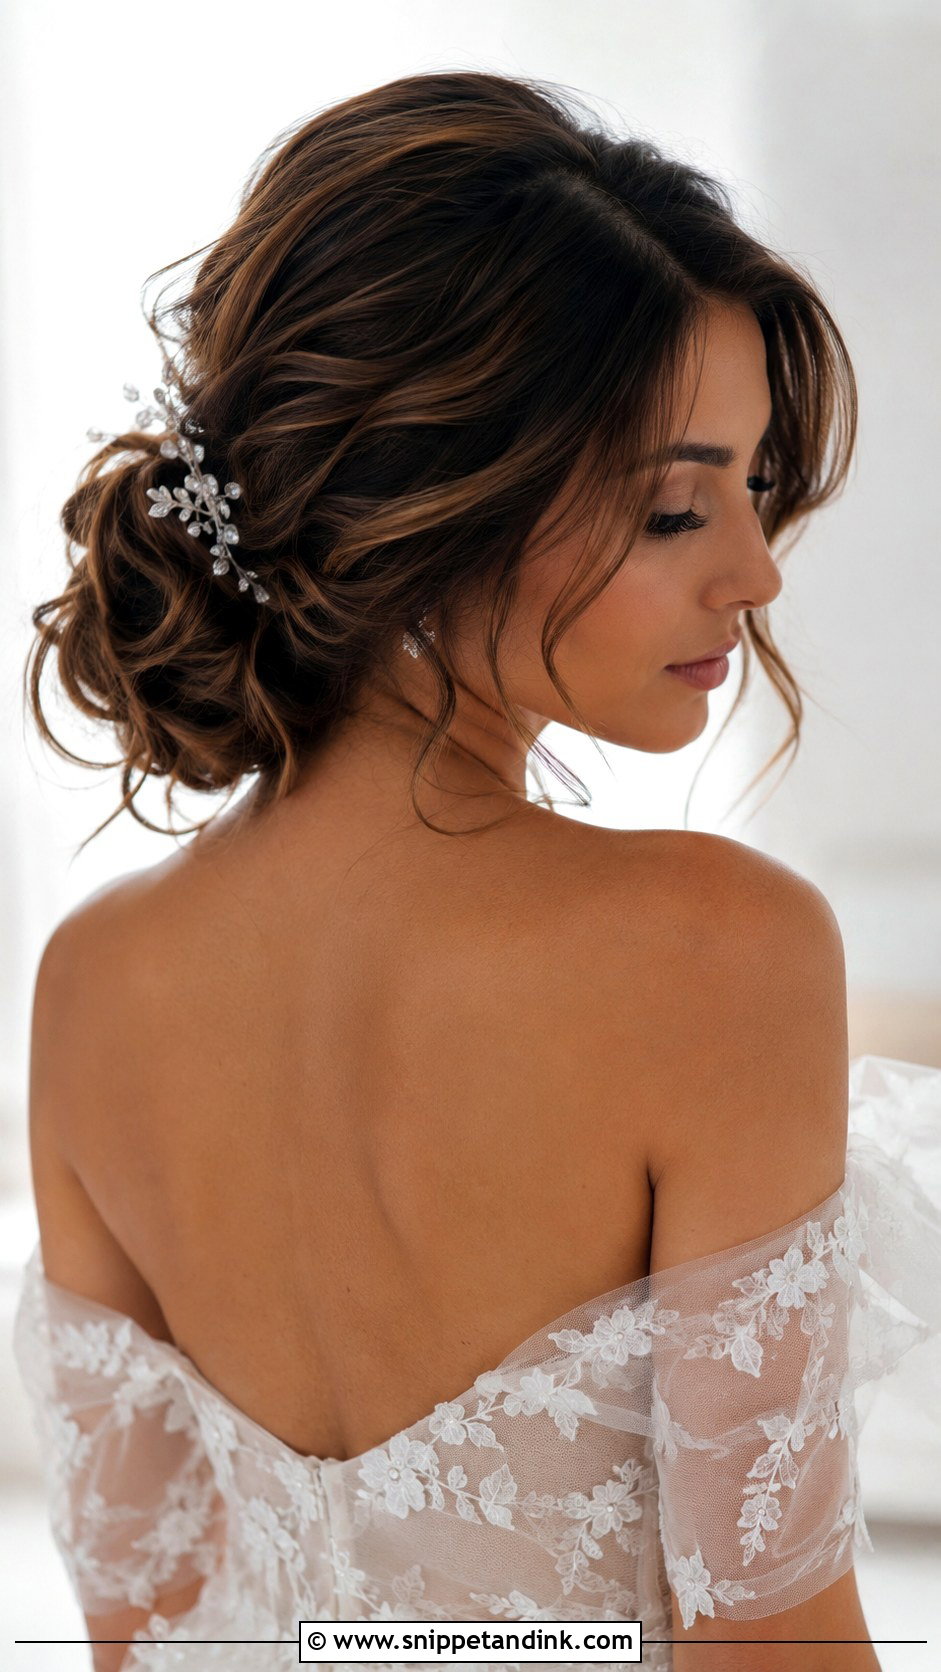
The line between messy and unkempt is control. I build this from twisted and curled sections pinned one at a time, so each looks placed even when it’s loose. Balayage and highlights show well here because the twists turn different tones toward the camera. Lift the crown slightly or the bun looks flat from the front. Very fine, straight hair struggles unless it’s curled and set with texture spray first; otherwise it slides back into a smooth shape within hours.
4. Braided Textured Low Bun Wedding Hair
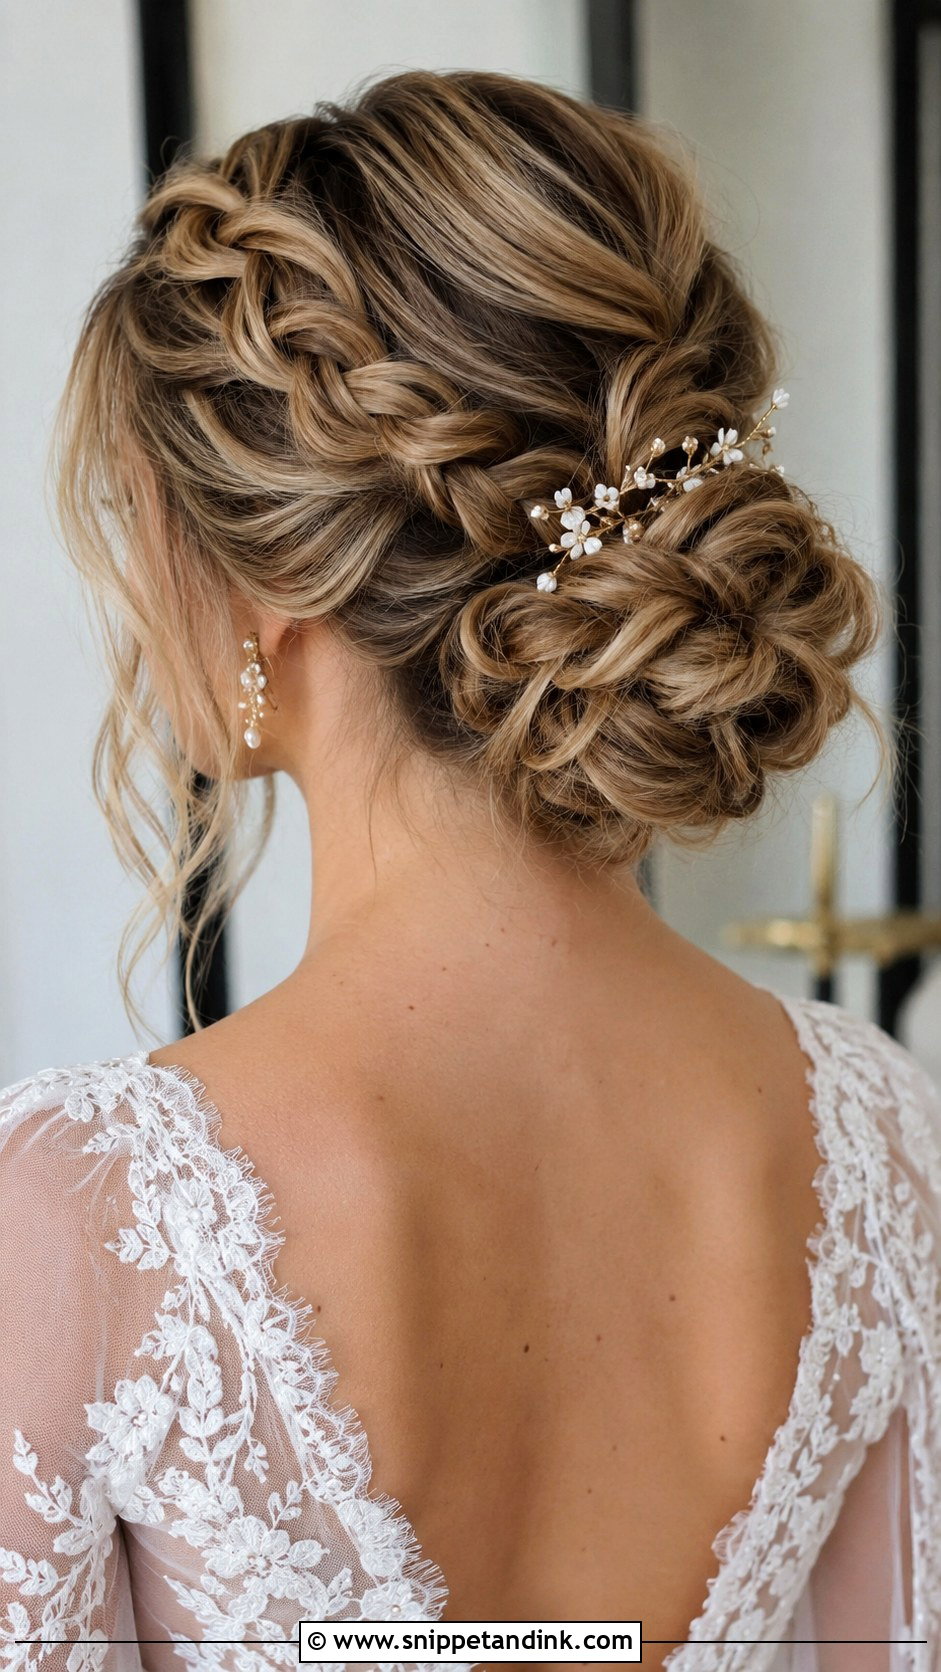
Braids are my favorite way to make a low bun secure. A braid works as a built-in anchor. I pin through its crossings, which grip far better than smooth hair, so this version shrugs off hugs and dancing. It can wrap the bun, start at one side, or run across the crown. Pull it wider after it’s pinned, not before, so it stays full without coming apart. A small comb or floral pin beside the braid suits it.
5. Twisted Textured Low Bun Wedding Hair
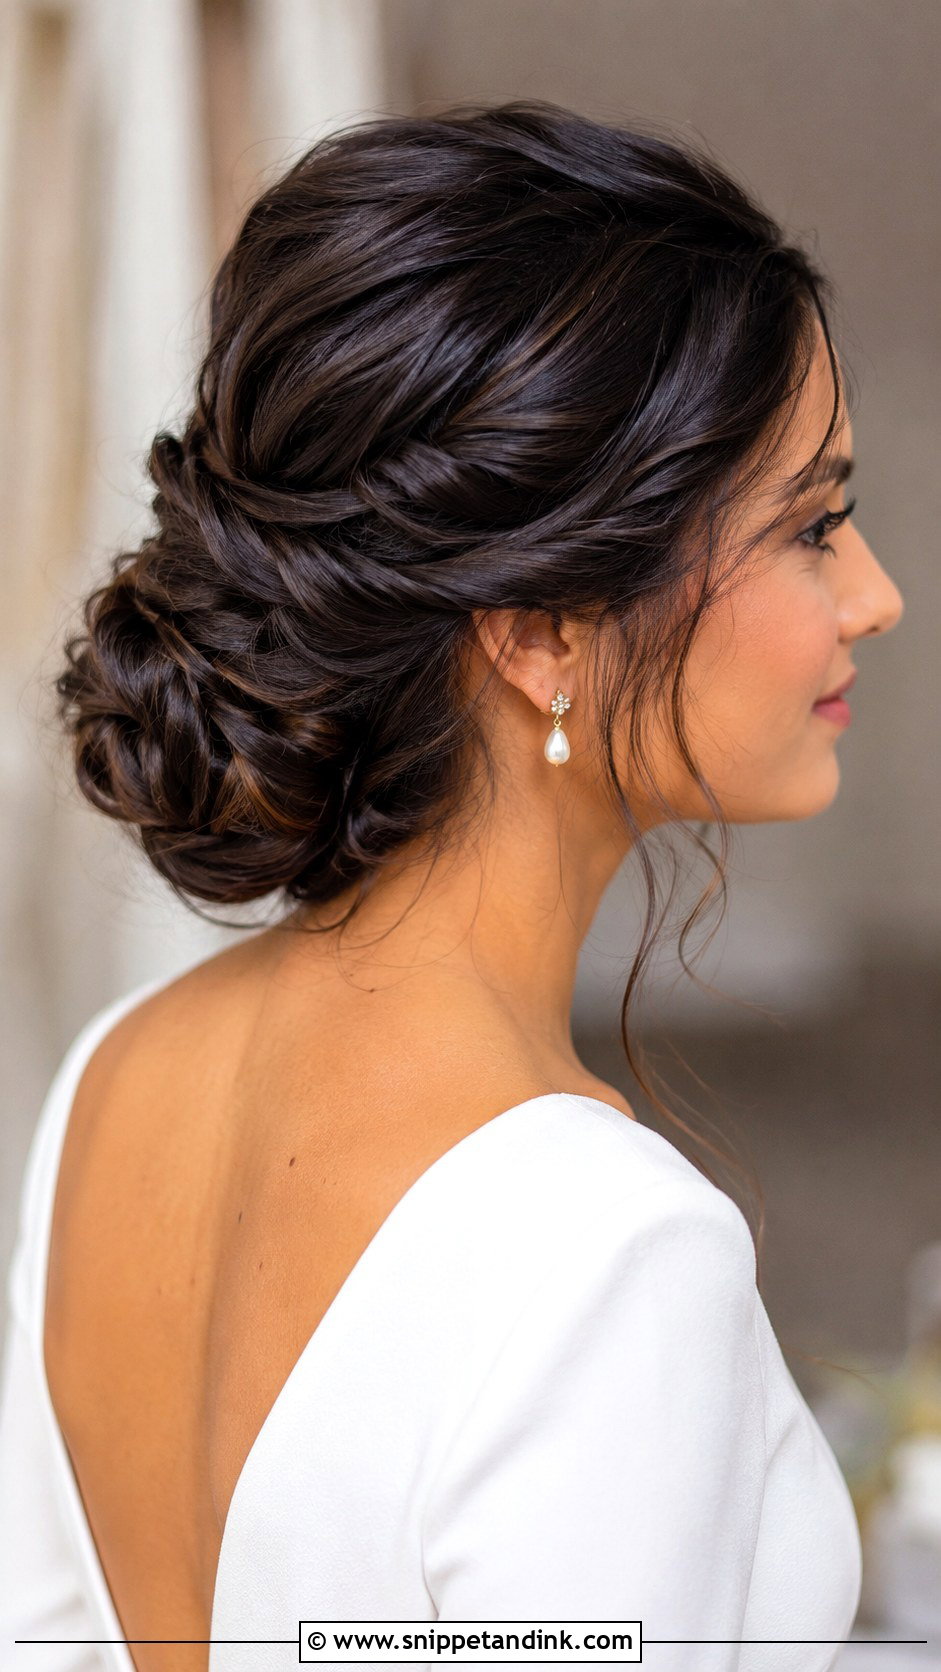
Twists give you the detail of a braid with less bulk, and they’re faster. I section the hair, twist each piece back toward the nape and pin it into the bun, so there’s movement from every angle and the ridges catch light in photos. Fine hair gains the most, since twisting and then loosening each section makes it read thicker. Leave curled pieces at the face for softness, or tuck everything for a cleaner finish.
6. Side Part Textured Low Bun Wedding Hair
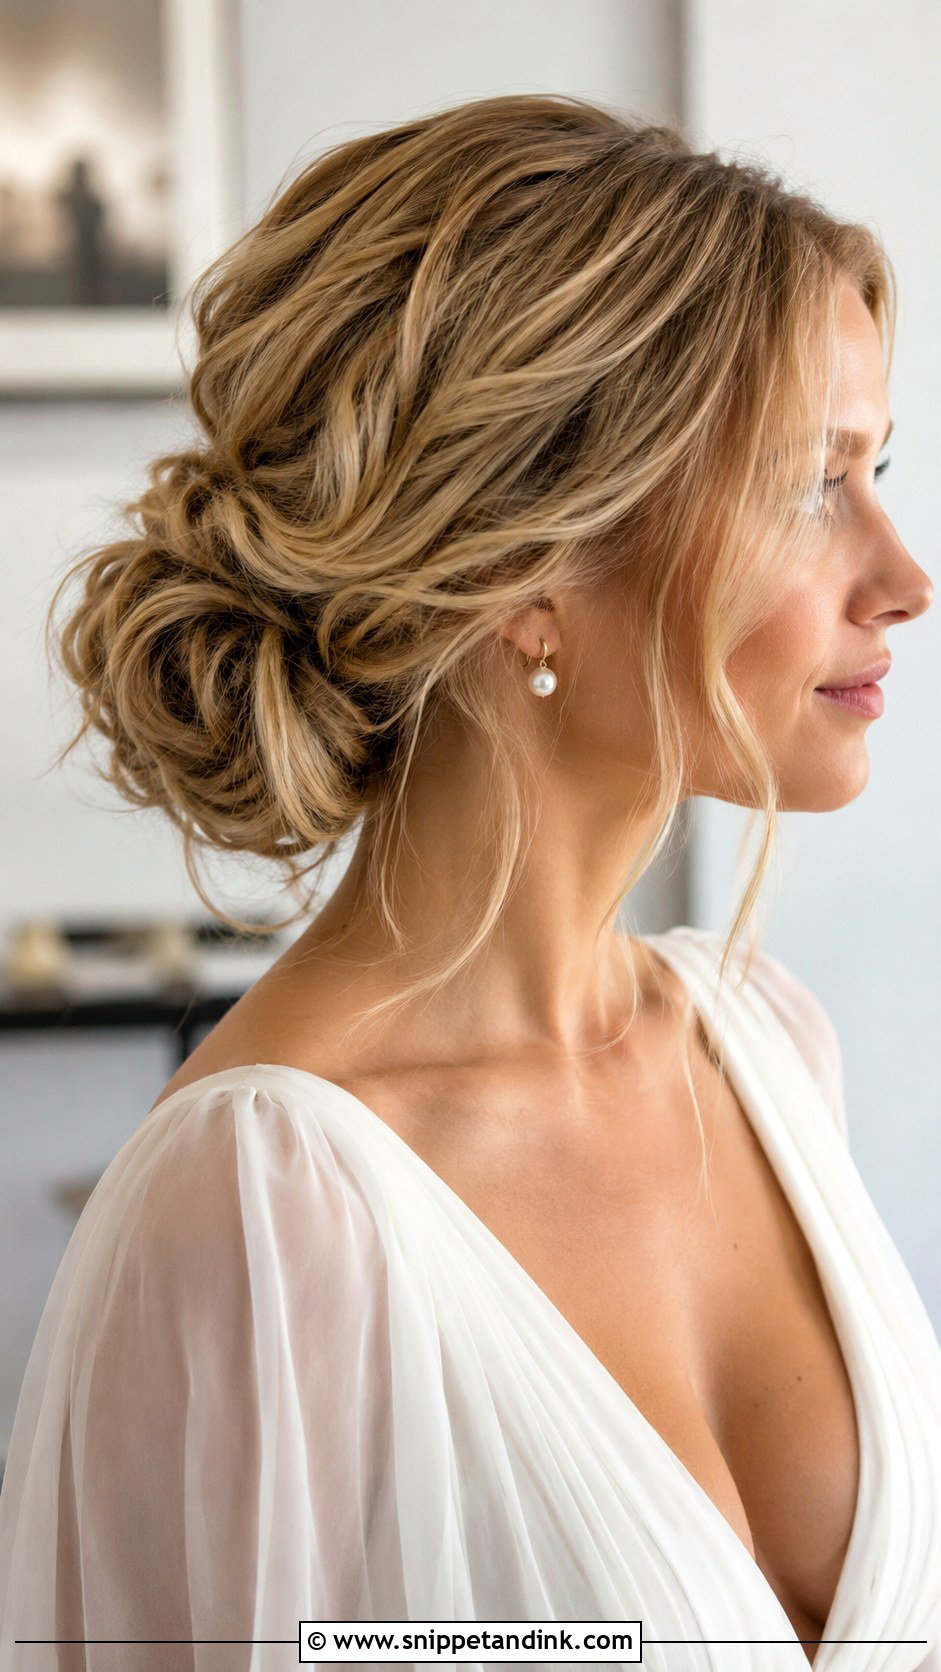
A deep side part shifts volume to one side of the face, which helps if a center part feels severe on you or a cowlick fights the middle. The sweep pairs well with statement earrings and off-the-shoulder gowns. I place the bun slightly toward the side opposite the part so the shape balances, and the fuller side becomes the natural spot for a comb, barrette or flower. Spray the sweep at the root. It’s always the first part to drop.
7. Middle Part Textured Low Bun Wedding Hair
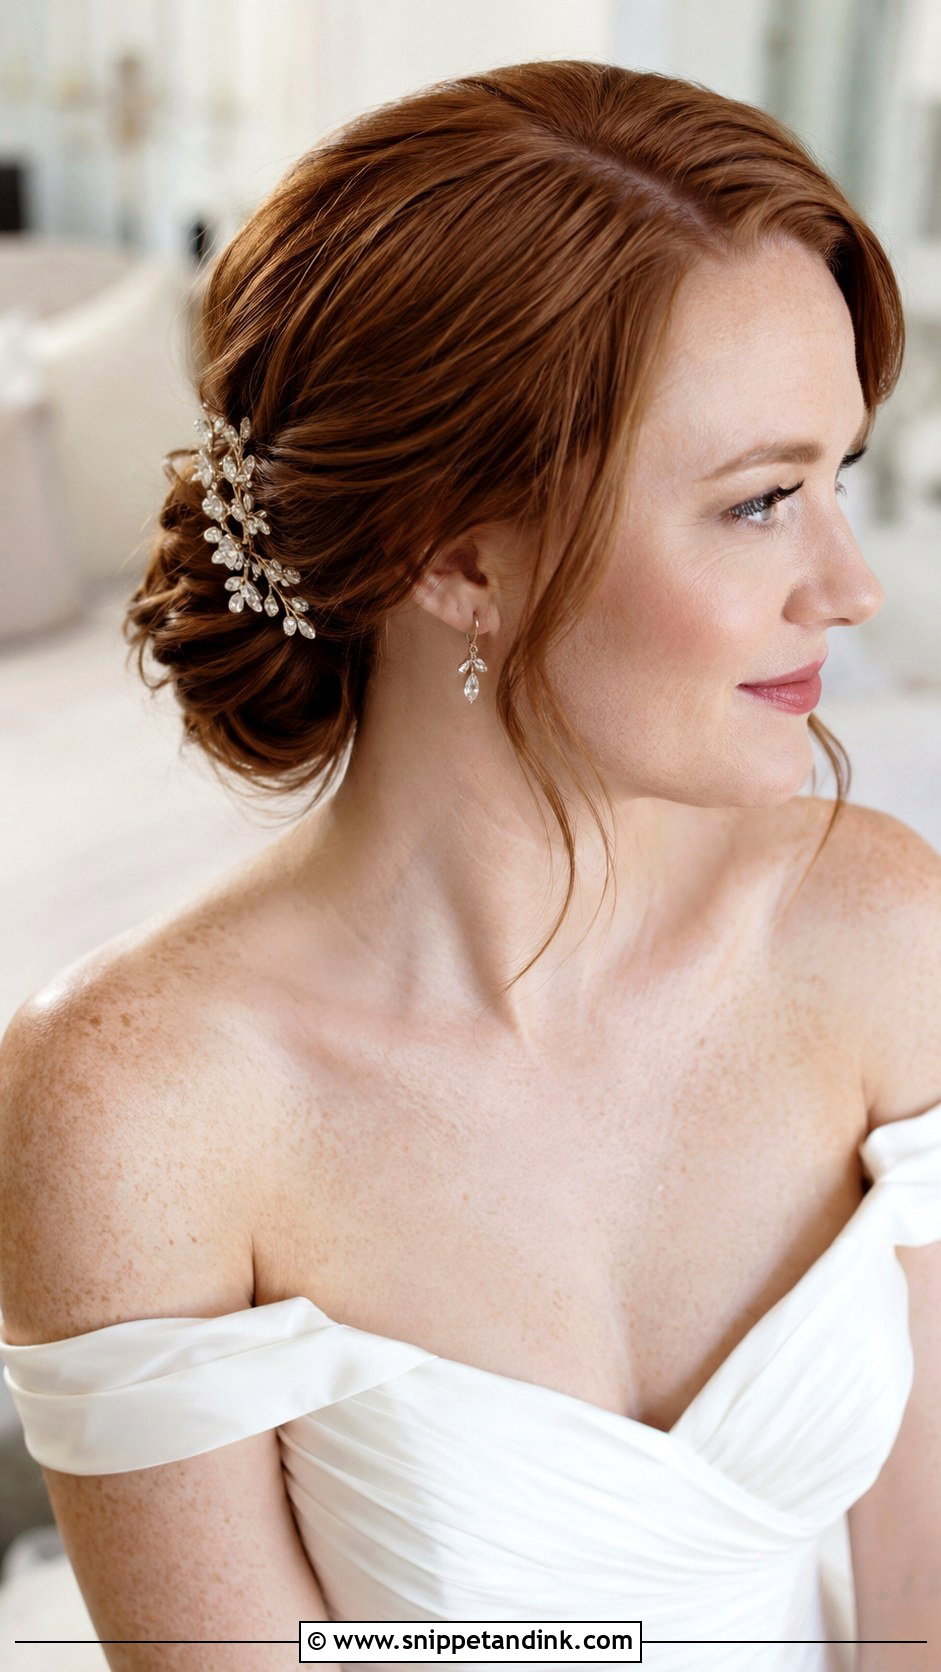
A center part is cleaner and more modern, and it’s unforgiving, since any unevenness in the hairline shows. I always test it at the trial before a bride commits. To stop it looking severe, I add soft wave texture through the bun and a little crown volume. Tuck the front behind the ears or leave thin tendrils. Sleek gowns, minimal veils and fine jewelry suit it, and your earrings stay in full view.
8. Curly Textured Low Bun Wedding Hair
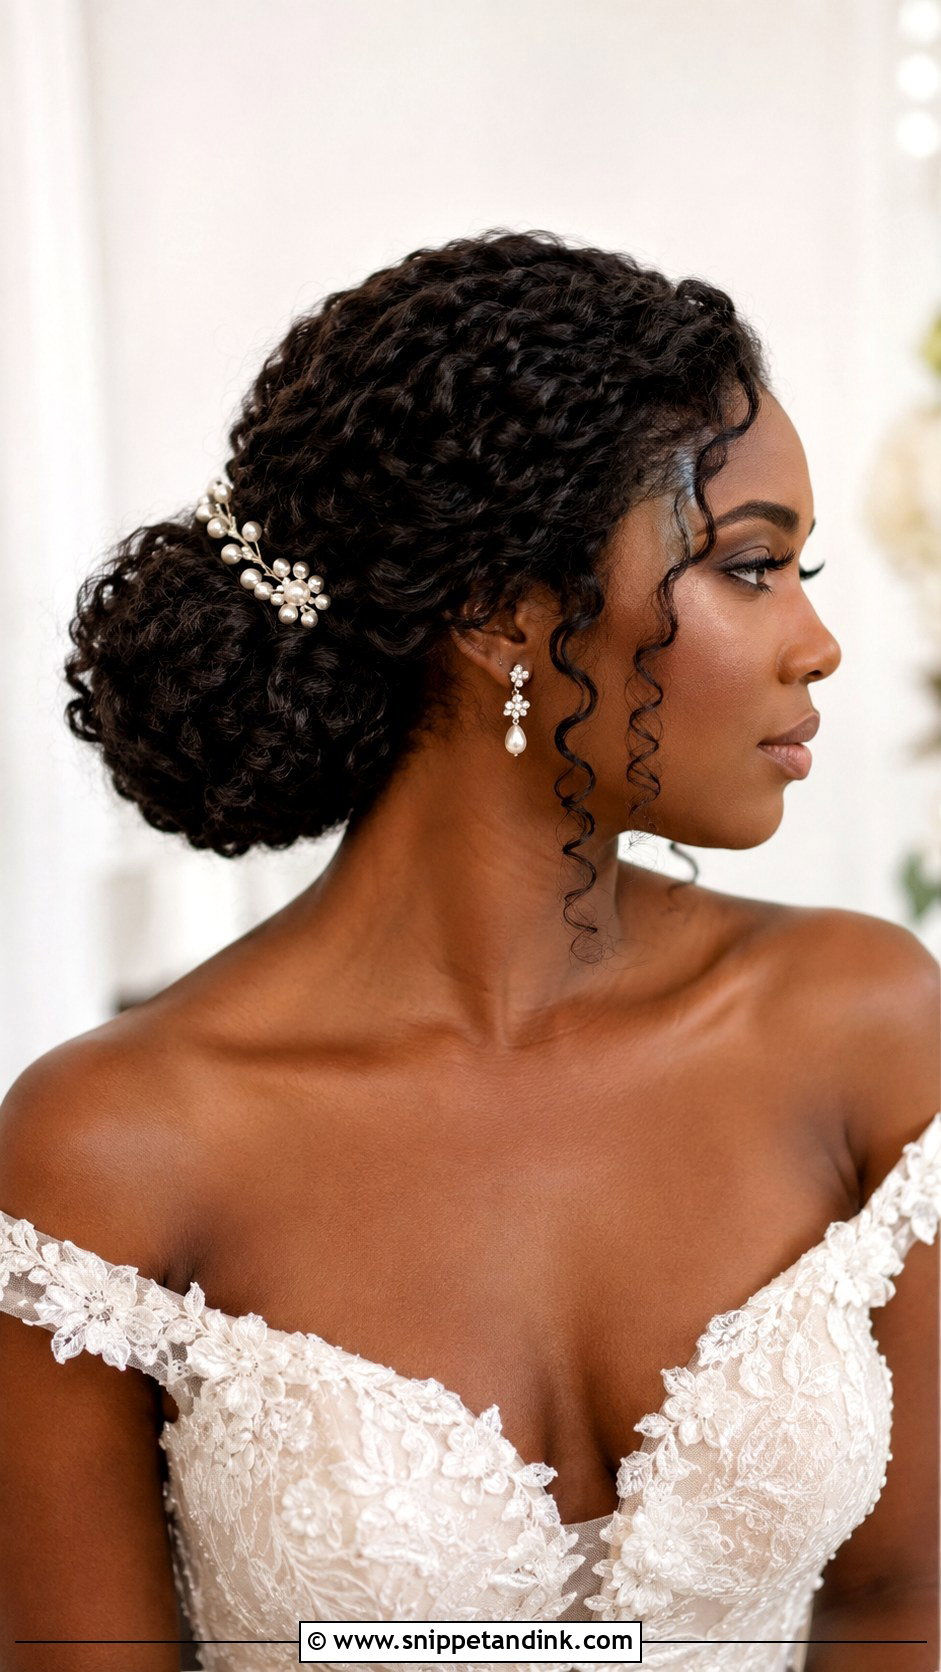
Naturally curly hair makes the best textured bun, because the curl gives it depth without any teasing. I pin the curls into a rounded bun at the nape and leave a few loose at the temples and neck. The real work is prep: hydrate the day before, apply curl cream or gel to damp hair, and don’t brush it once dry, or it turns to frizz. Curled straight or wavy hair works too when it’s pinned carefully. Small pearl pins or a fine vine show off the curl pattern instead of hiding it.
9. Wavy Textured Low Bun Wedding Hair
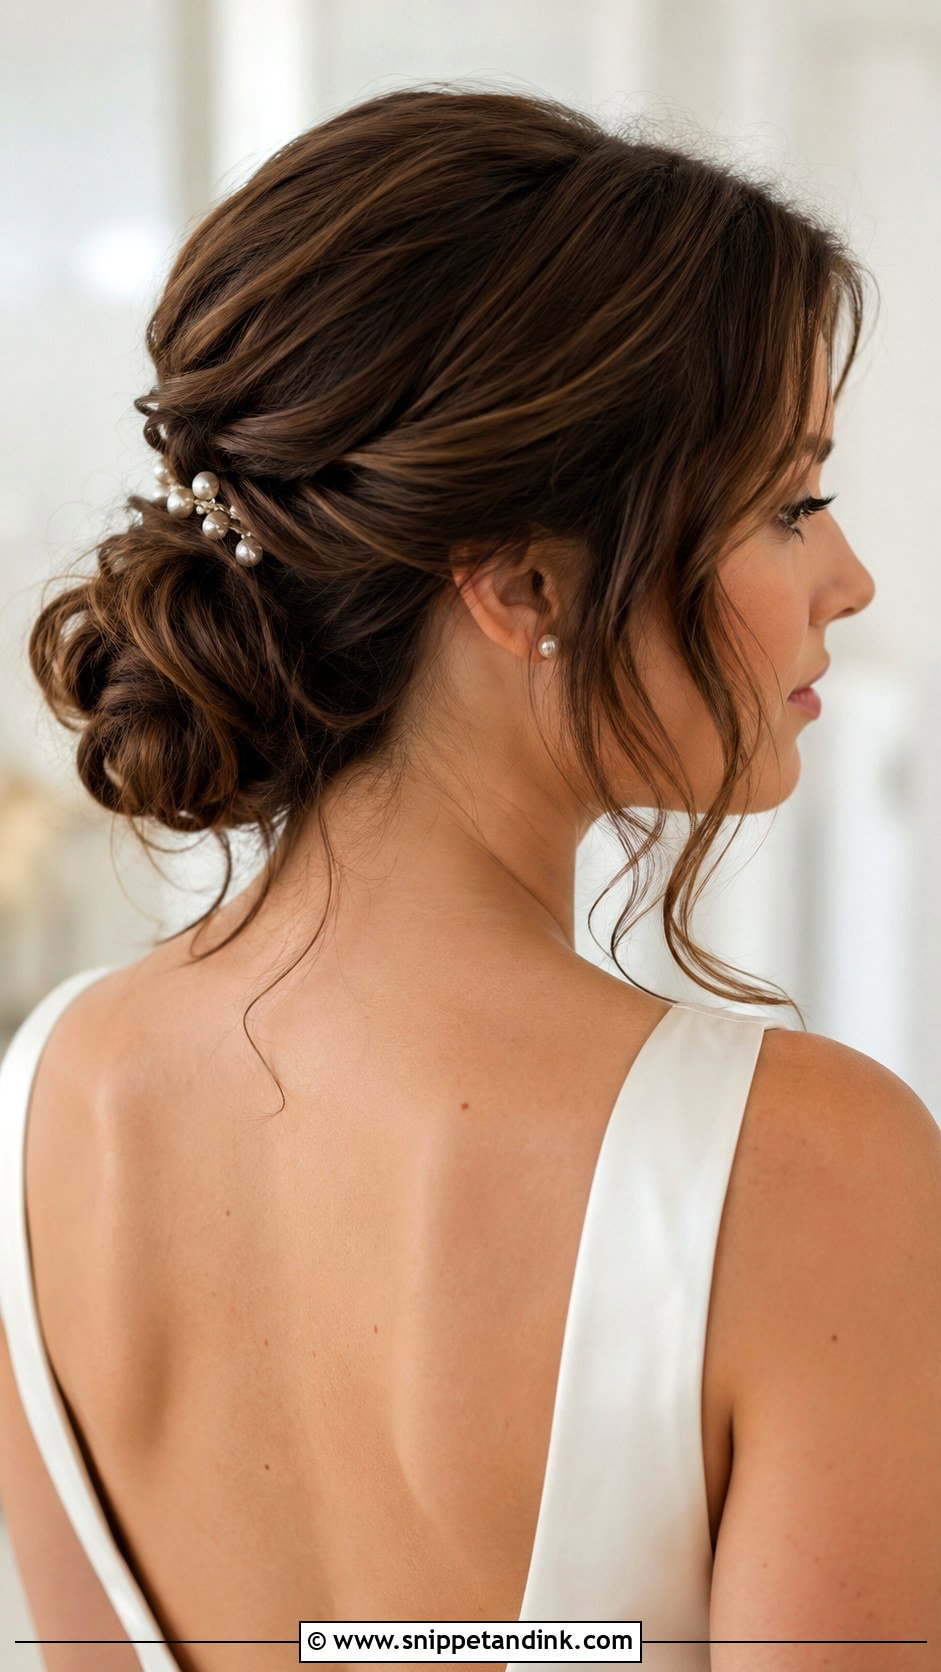
Waves first, bun second. I curl the whole head, let it cool, brush it into soft waves and pin it low with some separation, which makes the bun look fuller than it is. Layered cuts do well here: the waves blend shorter layers into the updo that would poke out of a sleeker bun. Veils, floral combs and pearls all suit it. Keep the face-framing pieces soft and the crown lightly lifted.
10. Boho Textured Low Bun Wedding Hair
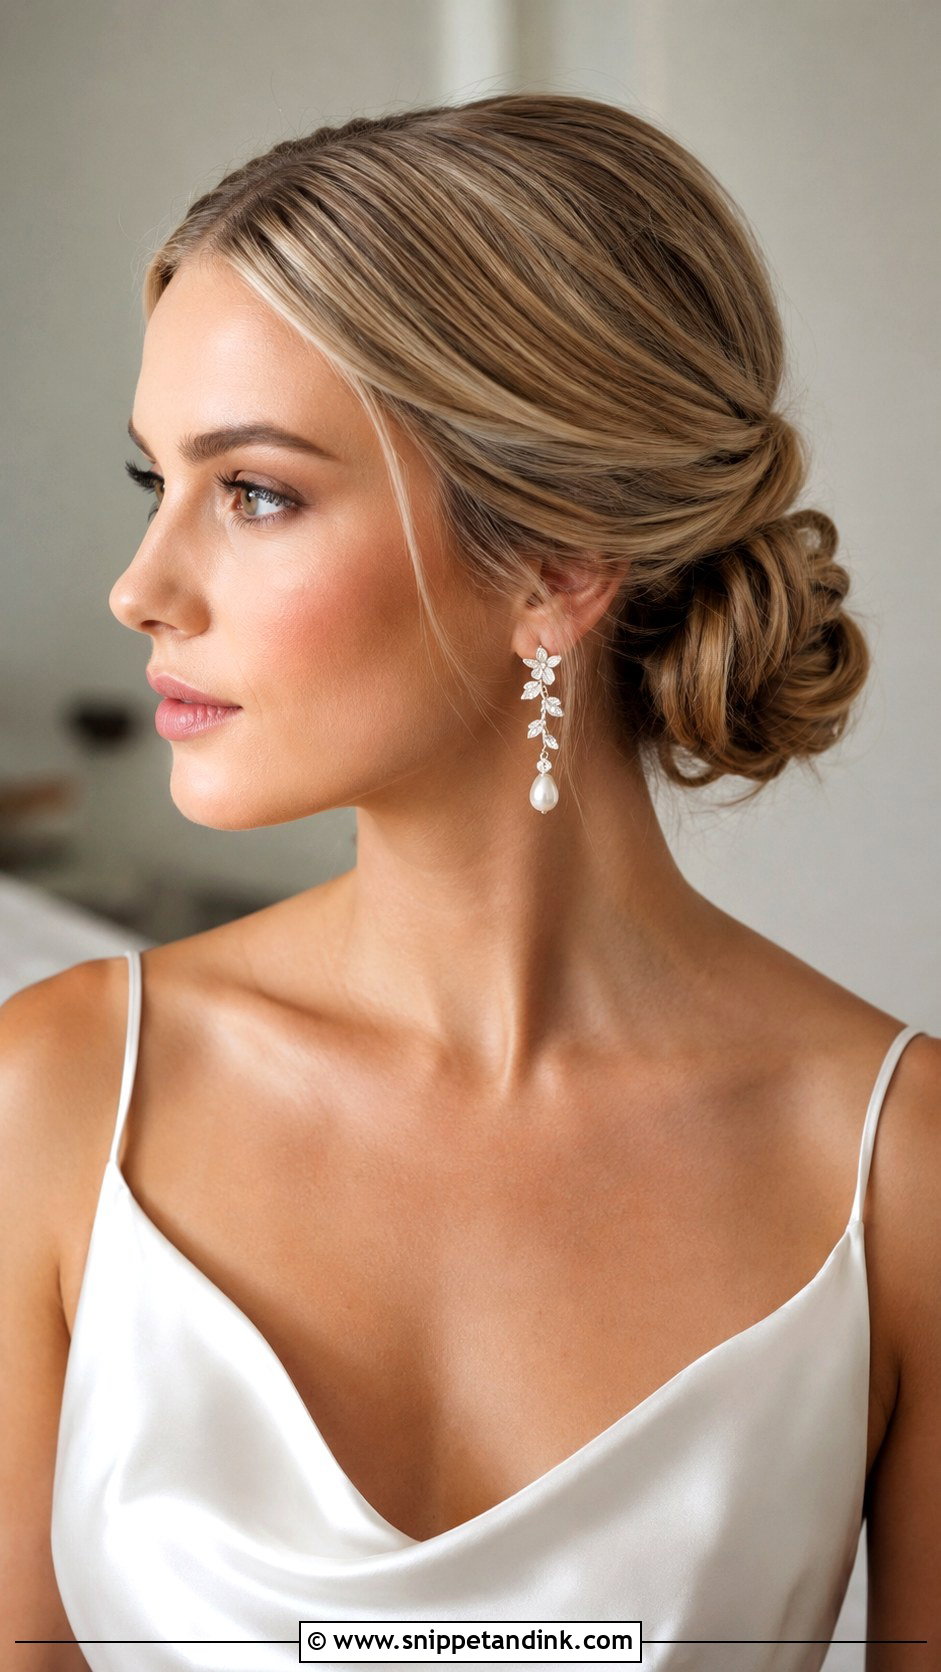
Boho texture belongs at garden, beach, desert or barn weddings, alongside lace, flowing sleeves and minimal makeup. The bun is loose waves and twists rather than a defined shape, and small flowers, greenery or a hair vine supply the bridal detail. The risk is that free turns into falling. I still pin every section and set it with flexible hold. Ask for touchable texture, soft tendrils, and a placement resting comfortably at the nape.
11. Elegant Textured Low Bun Wedding Hair
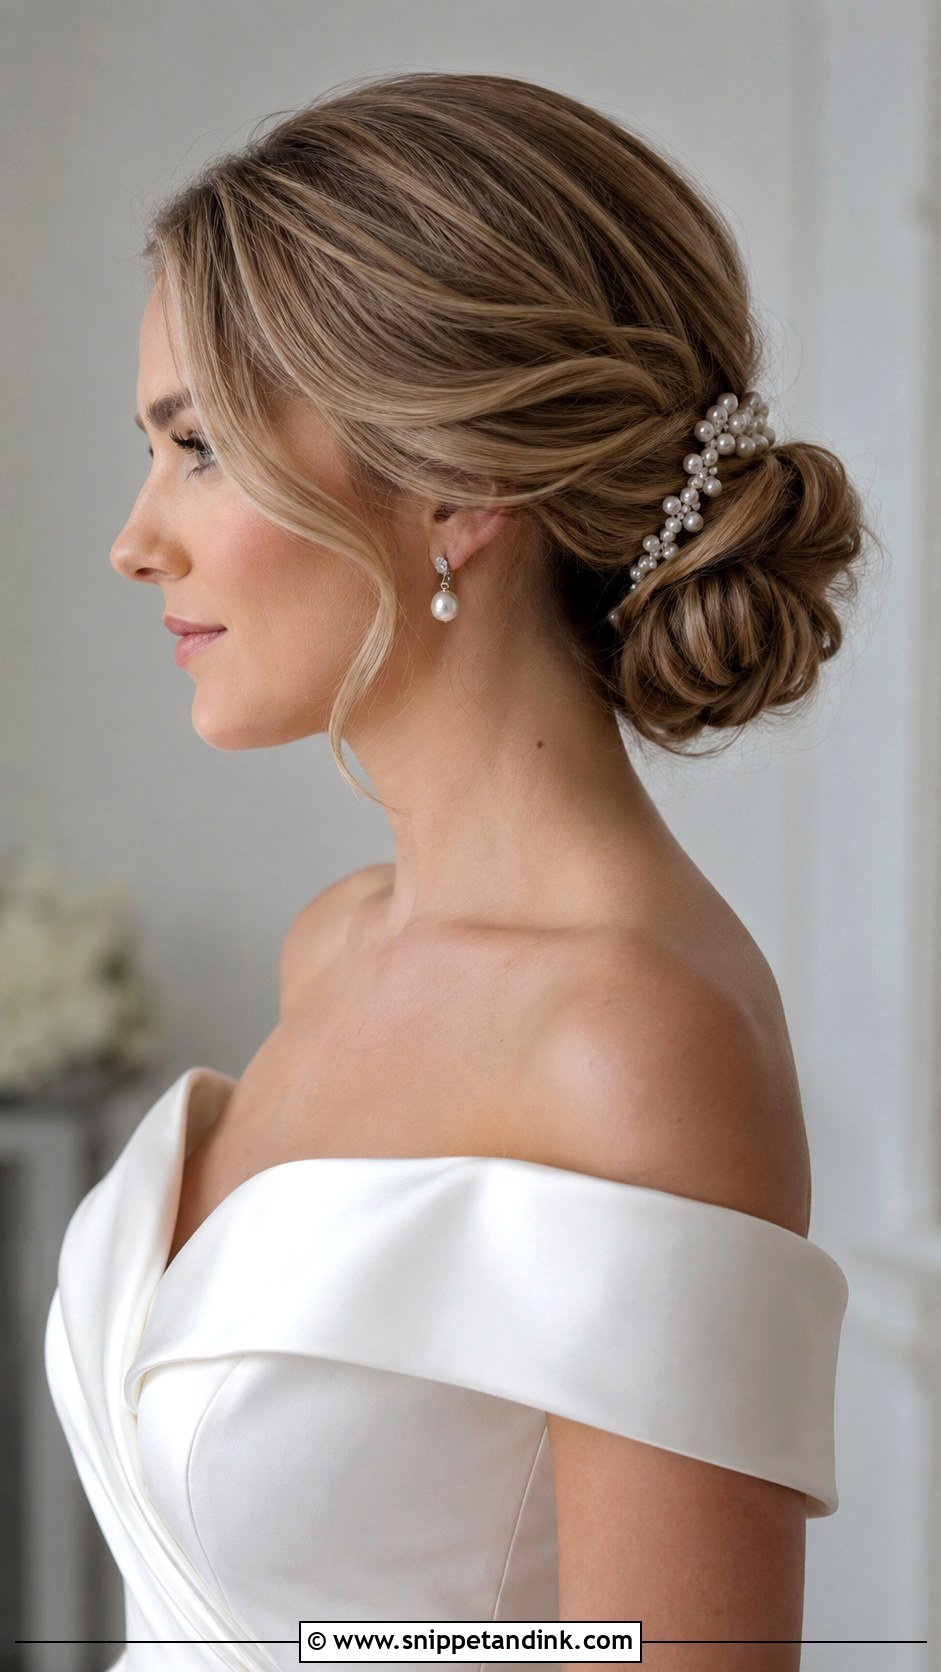
The polished version sits between a ballerina bun and a fully sleek chignon. Its surface is smooth enough for a formal ceremony, while the bun itself has bends and tucked sections. It suits satin gowns, cathedral veils and pearl earrings. Nothing frames the face, so the hair stays completely off it all day, which makes this the practical pick if you fiddle with your hair when nervous. In close-ups the hairline edges matter most; I smooth them with a small brush and a touch of gel.
12. Romantic Textured Low Bun Wedding Hair
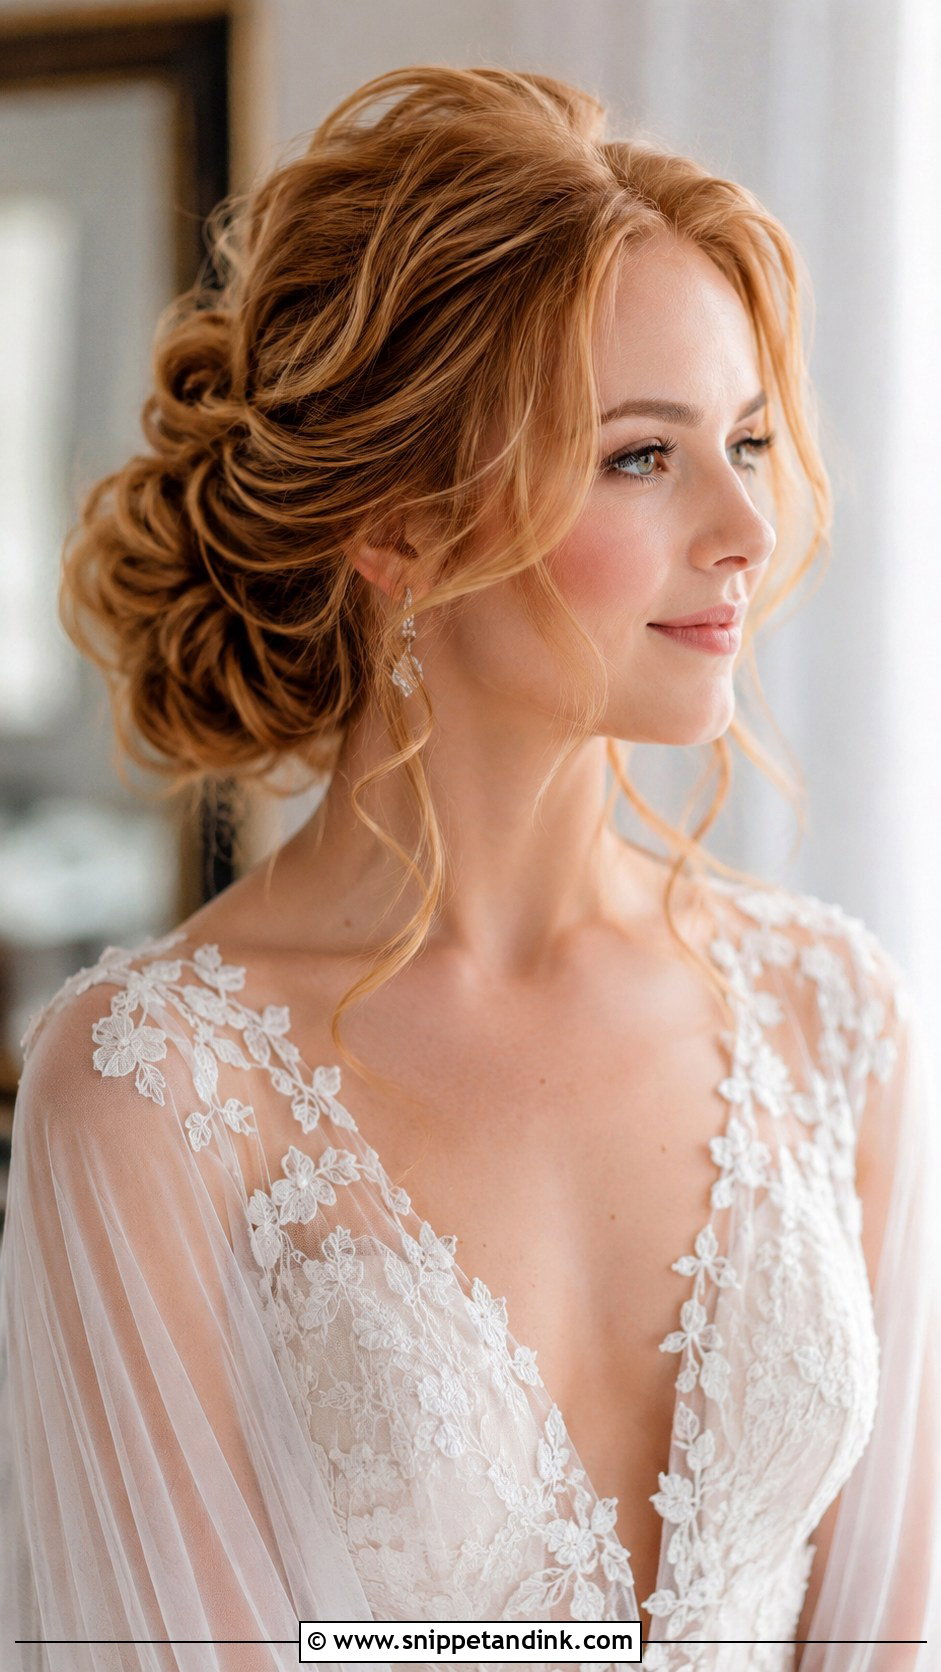
Here the front matters as much as the bun: a little lift, curled tendrils, and a full but light bun at the back. Lace, tulle and soft sleeves suit it, and loose texture glows when it’s backlit at sunset. My honest warning is that tendrils get pushed around all day, by hugs, by wind, by tucking them behind your ears. Curl them a size smaller than the shape you want and they’ll still be there for the reception.
13. Pearl Textured Low Bun Wedding Hair
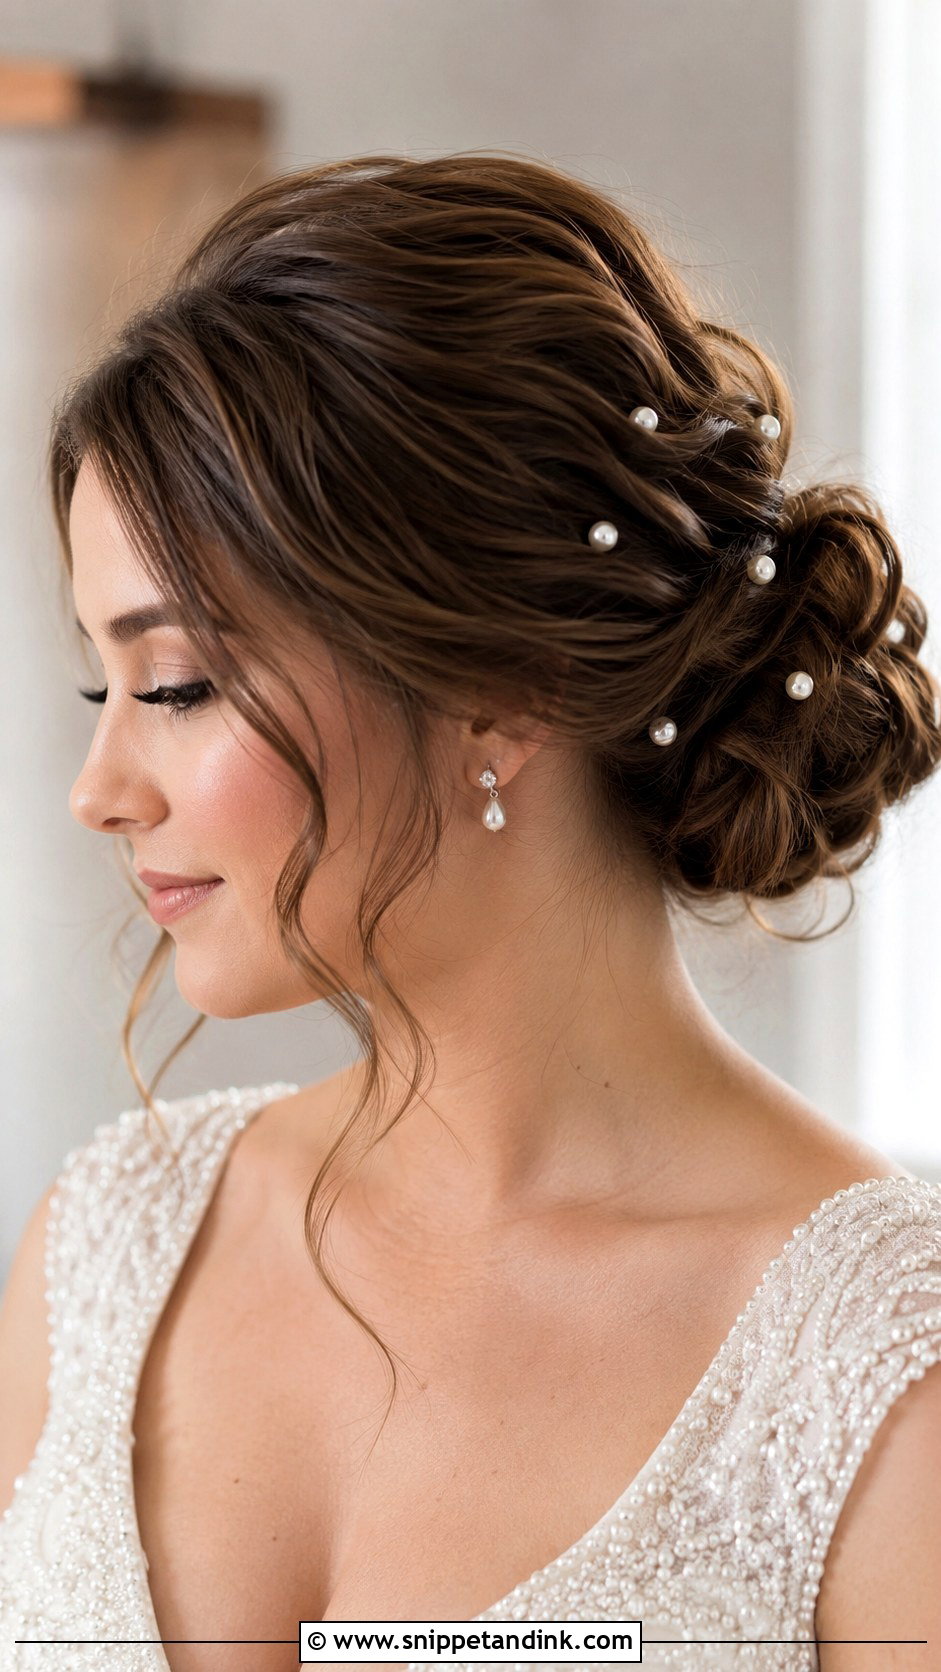
Pearls give the bun detail without the commitment of a tiara. I scatter them through it, line them along one side, or cluster them near a twist. Textured sections help, because pins hold better in them and the folds give each pearl somewhere to sit. Push every pearl pin in against the direction the hair was pinned so it locks instead of sliding out. Keep the rest simple, with a low veil and plain earrings, so the pearls stay the focus.
14. Veil Textured Low Bun Wedding Hair
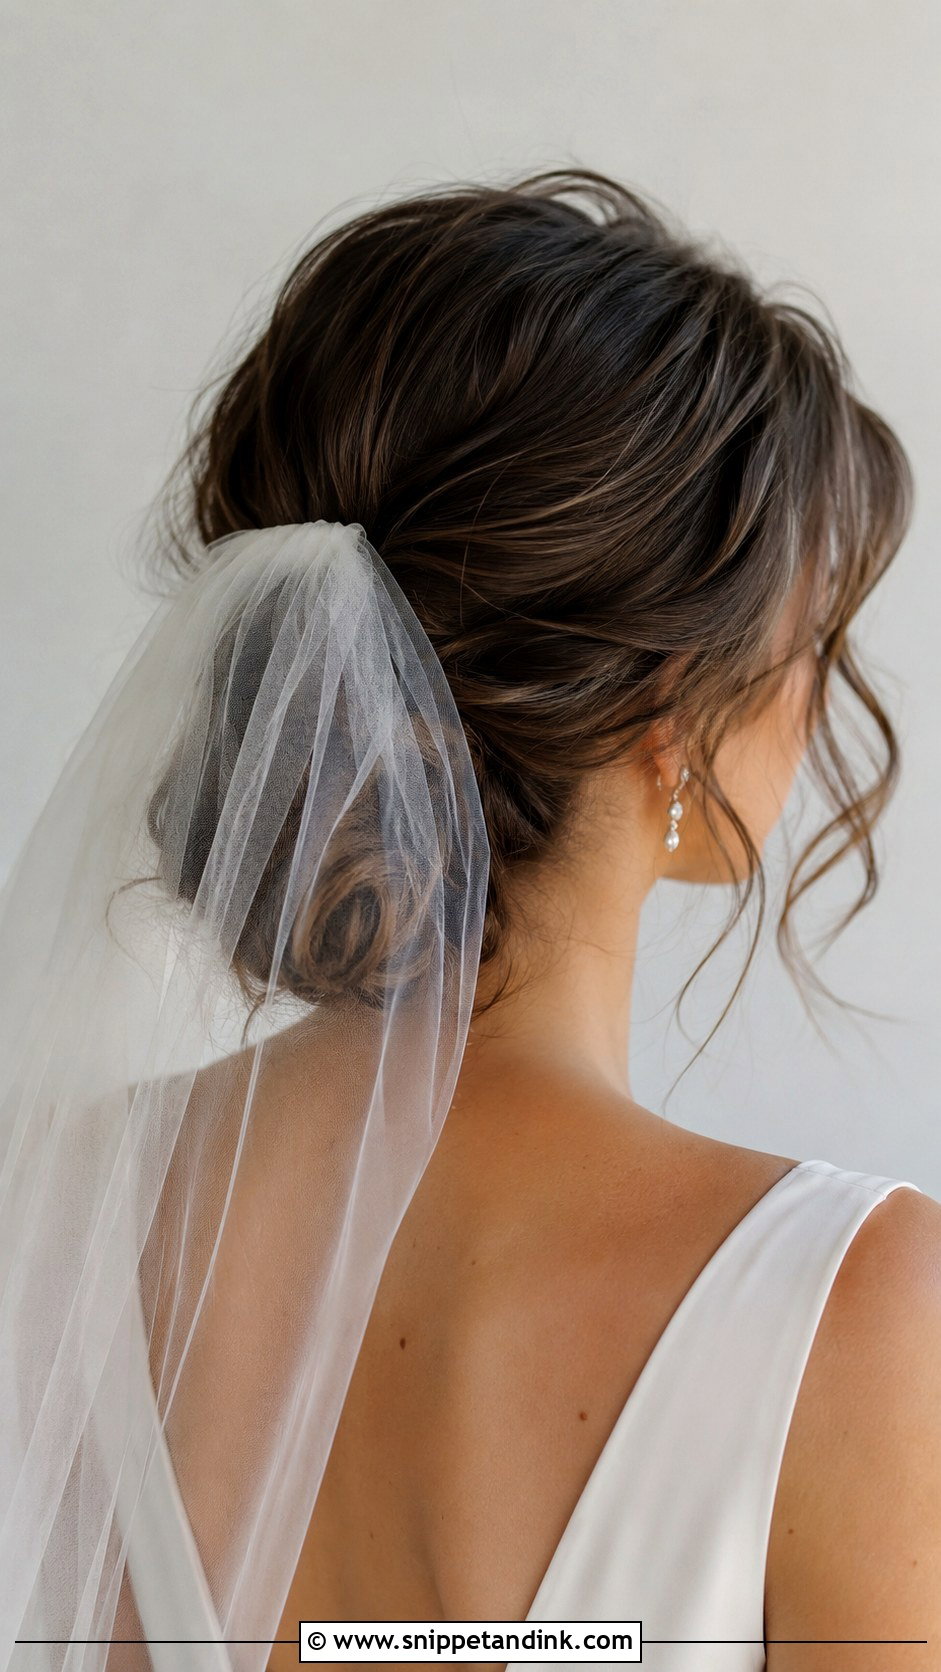
A bun gives a veil something solid to grip. The comb can sit above it for a classic look or underneath for something softer, and texture keeps the shape visible behind tulle in photos. Long cathedral veils need their comb anchored over crossed pins, because the weight pulls back hard; fingertip and simple tulle styles are lighter. Test the placement at your trial, then take the veil off and check the bun still looks right for the reception.
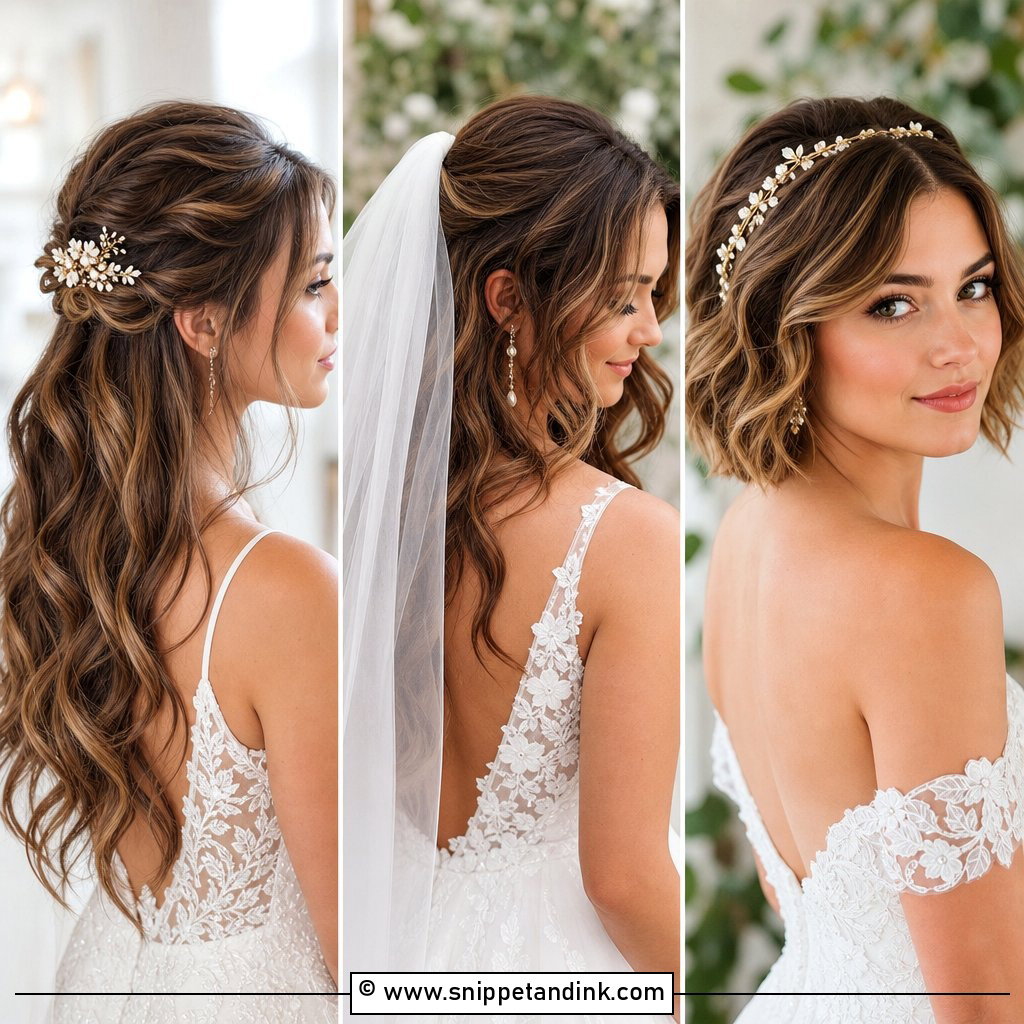
15. Short Hair Textured Low Bun Wedding Hair
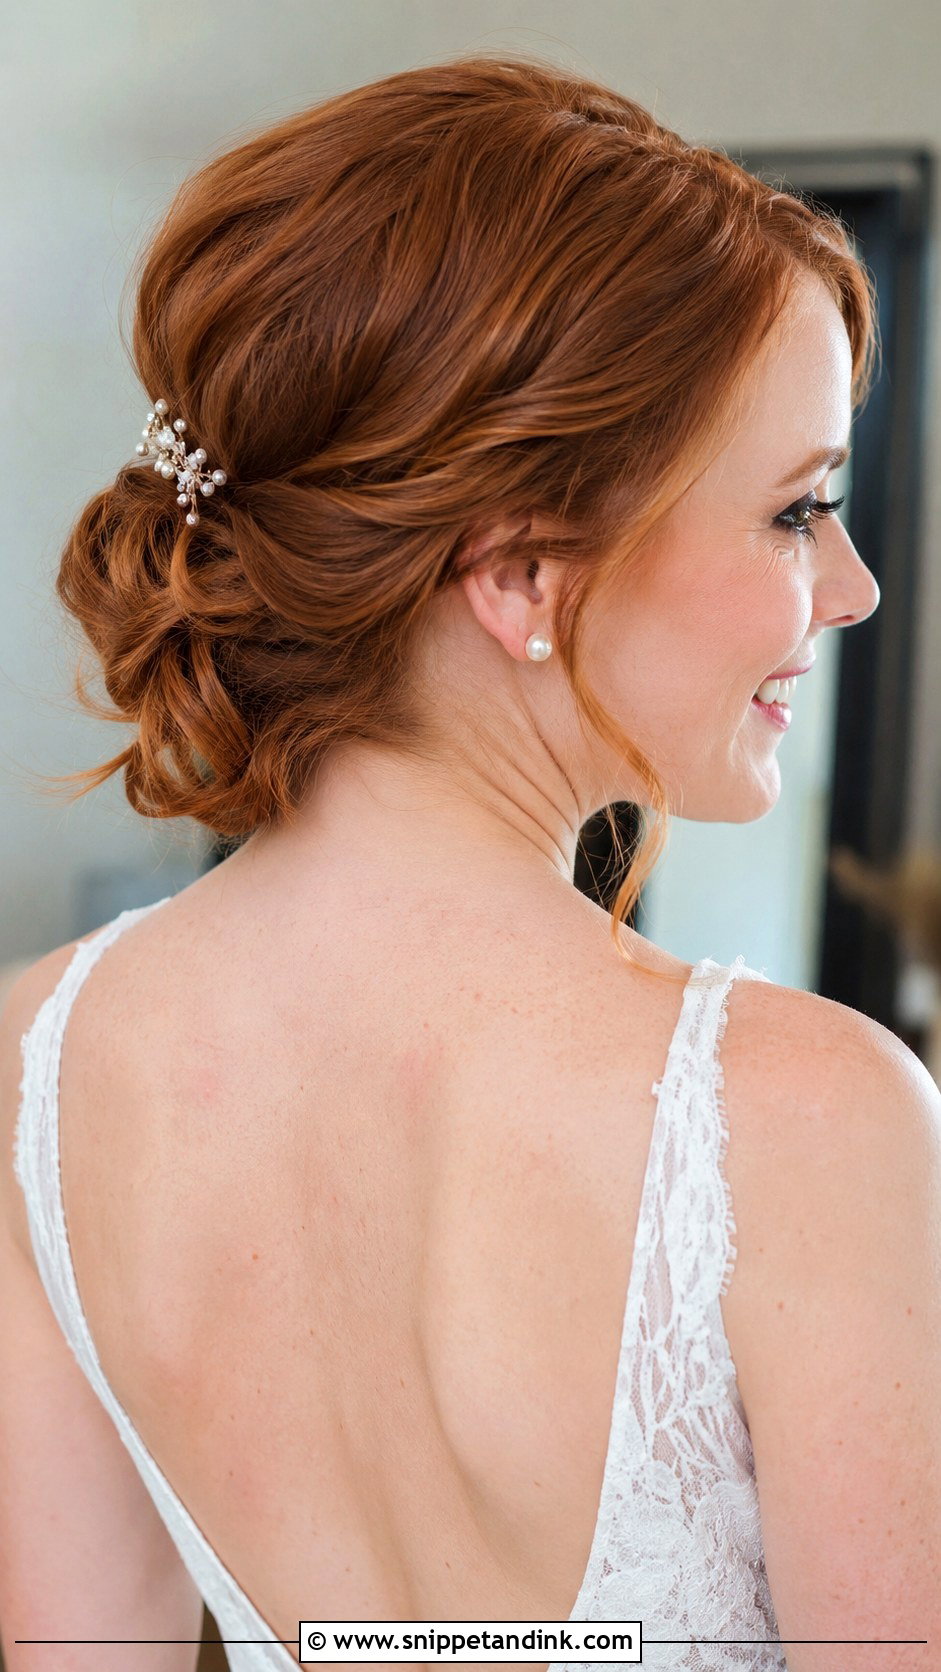
Bob or shoulder-length hair can still make a low bun; it just takes planning. I rely on waves, twists, and careful pinning to gather short lengths into the look of a fuller bun, sometimes with a small padding piece or a few clip-in extensions. The nape is the hard part. Short hairs there escape, so I pin them upward with small bobby pins and spray them before building the bun. A small comb or pearls finish it without crowding.
Loose Pieces at Hour Eight, and What Fixes Them
A textured bun is meant to move, so some loosening by evening is normal. What helps is knowing which changes are fine and which need a quick fix.
- A tendril has gone straight. Wrap it around a finger, hold for a minute and mist with hairspray. A travel curling wand does it better if a bridesmaid can use one.
- The bun has dropped. The anchor pins have slipped, so push two bobby pins into the base from opposite sides, crossing them in an X.
- The veil comb is dragging. Take it out and re-seat it slightly higher, sliding the teeth toward the bun first and then down into the base.
- Frizz along the hairline. Smooth it with a clean spoolie and a dab of balm or gel. Hairspray only makes frizz stiff.
Pack bobby pins in your hair color, a travel hairspray, a spoolie and a mini balm in a bridesmaid’s bag rather than yours. You won’t be the one reaching for it.
Texture Is What Makes a Low Bun Yours
The same low bun can read classic, modern, boho or formal depending on texture, part, accessories and shape. Decide by your dress, your venue and what your hair actually does on an ordinary day. Bring photos from the front, side and back to your trial, along with the veil, earrings and any pins you plan to wear. A bun prepped and pinned properly stays secure from the first look to the last dance.
You'll Like These Ideas:


Leave a Reply