
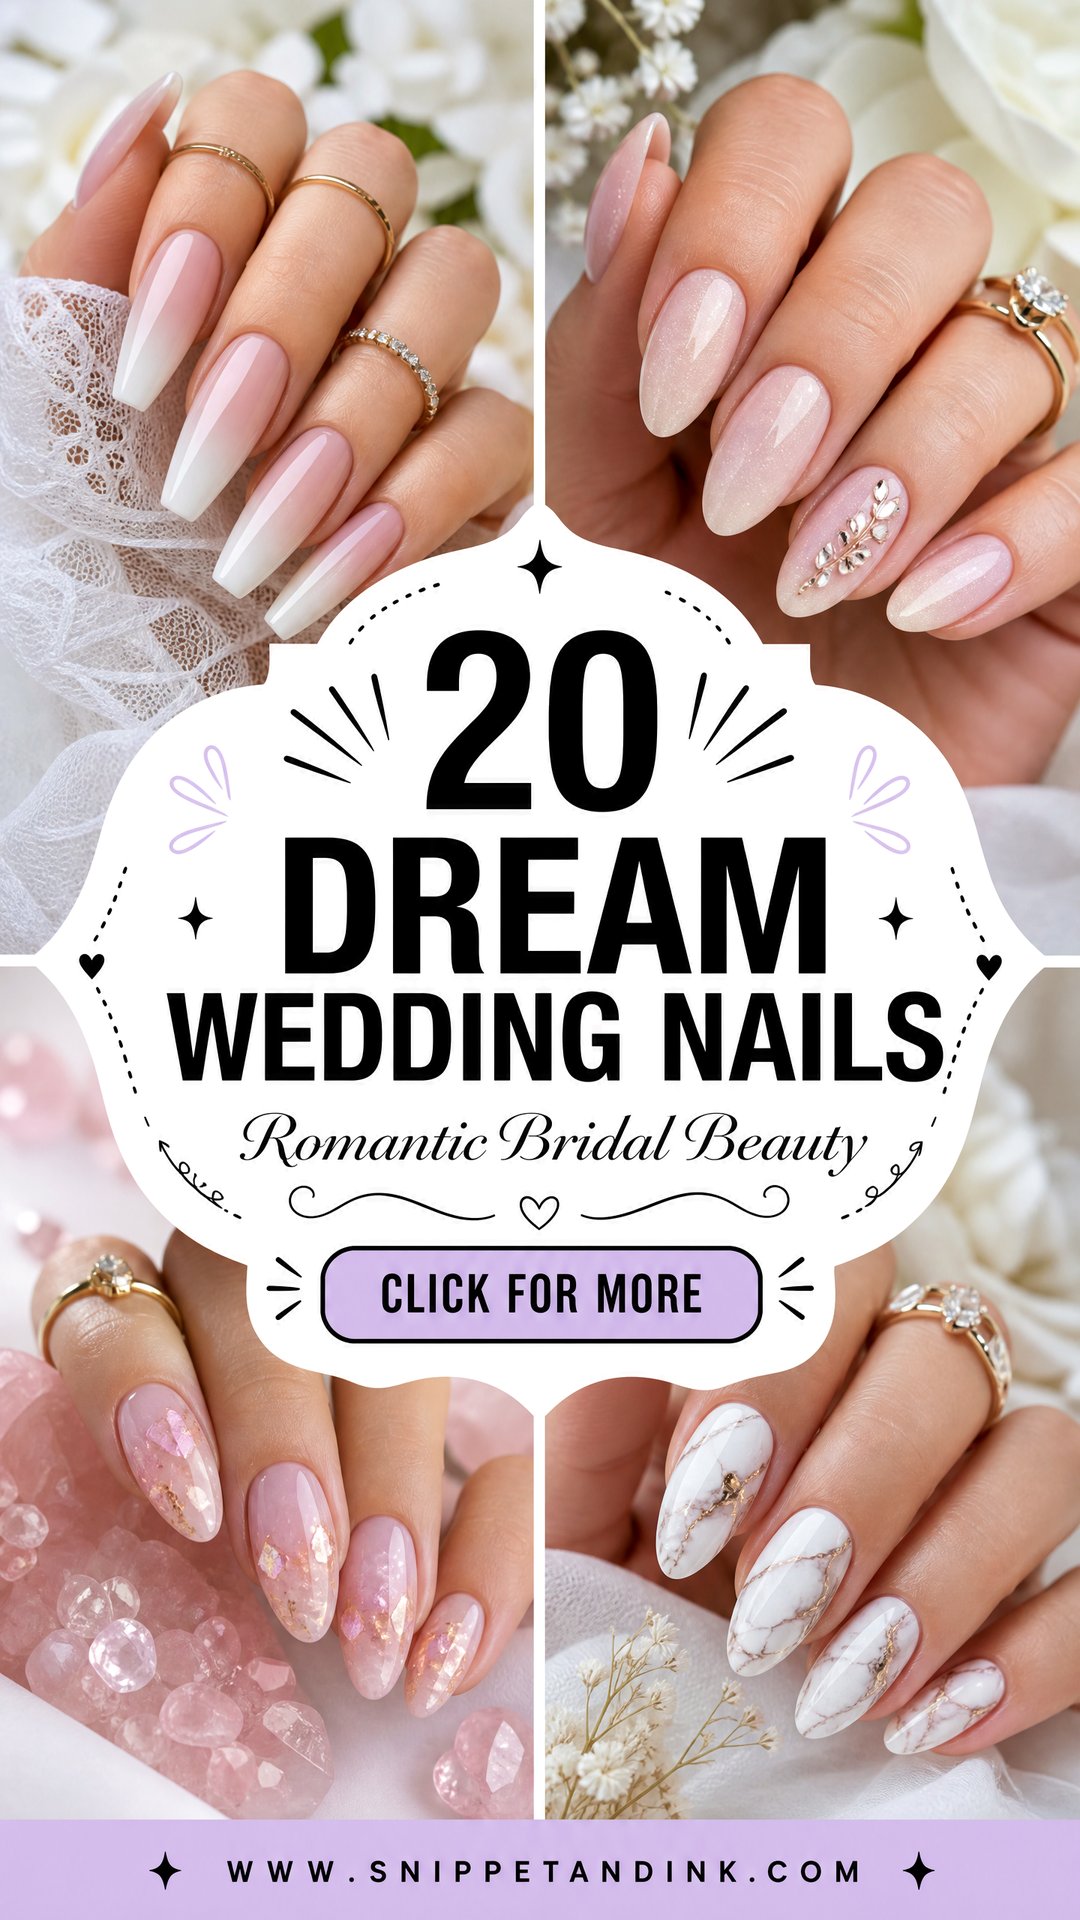
A wedding manicure gets photographed closer than almost anything else you wear. The ring shot puts your fingertips a few inches from the lens, and every lifted edge or flooded cuticle shows. In my experience the sets that age best are rarely the most detailed; they’re the ones that sit quietly beside the ring, the dress and the bouquet. Milky shades, pearl chrome, slim French tips and small accents dominate bridal requests for that reason. These 20 dream wedding nails run from short natural nails to long almond extensions, with my notes on what each one asks of your hands.
Cuticle Care and Appointment Timing for a Wedding Manicure
The best bridal sets start with nails that have been looked after for a few weeks. I ask brides to use cuticle oil every night for at least a month beforehand and to stop cutting or picking at their cuticles at home. Dry, ragged skin is what ruins a ring close-up, far more than the polish color.
When to book
- Trial: four to six weeks before, wearing the set for a full week to see how it chips and how the length feels.
- Final gel or builder appointment: one to two days before, so regrowth at the cuticle is invisible.
- Regular polish: the day before at the latest, since it needs many hours to fully harden.
If you’ve never had extensions, don’t try them for the first time that week. Your hands need time to get used to length.
Plan any self-tan before your final appointment, not after. Tan settles into the skin around the nail and stains a milky or white set within a day, and it is very hard to clean off cured gel without dulling the shine. A gentle hand scrub the evening before also helps the skin around the nail look even in close-ups.
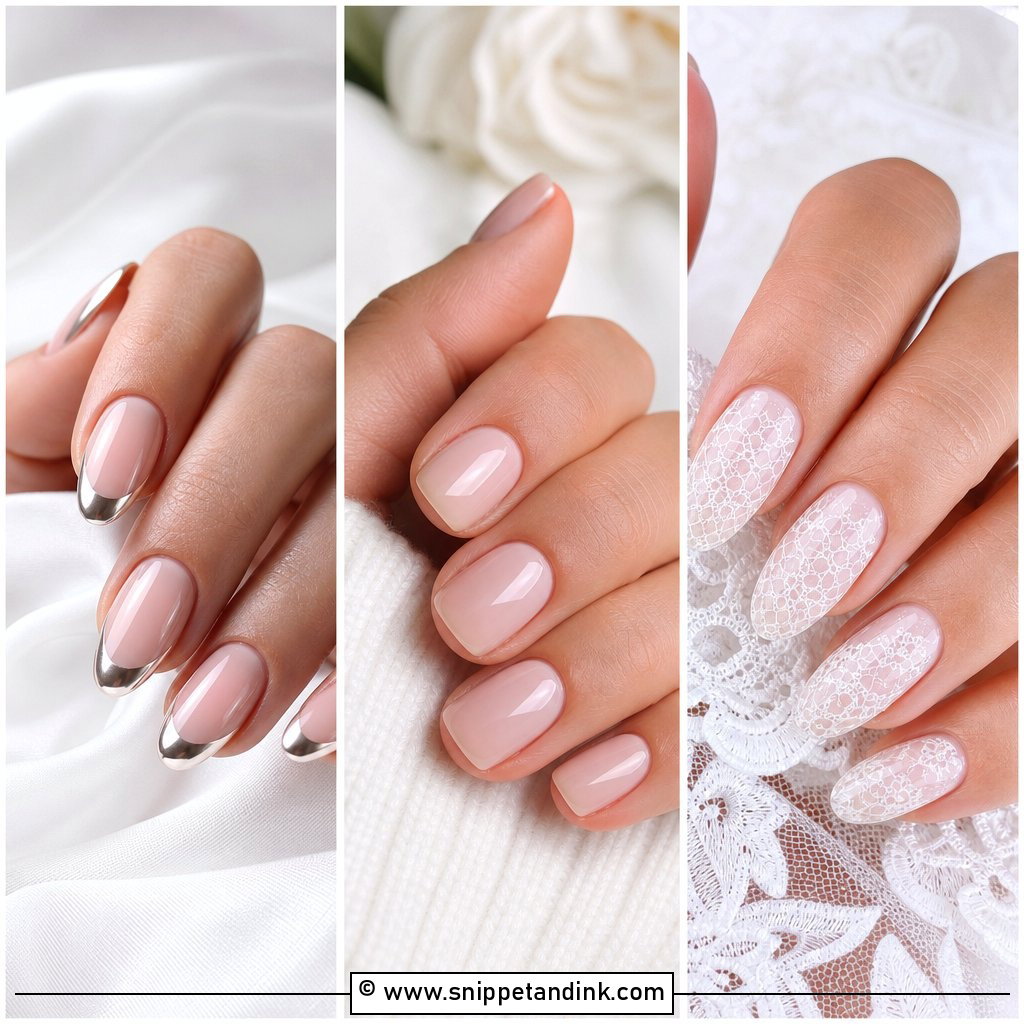
1. Milky White Wedding Nails
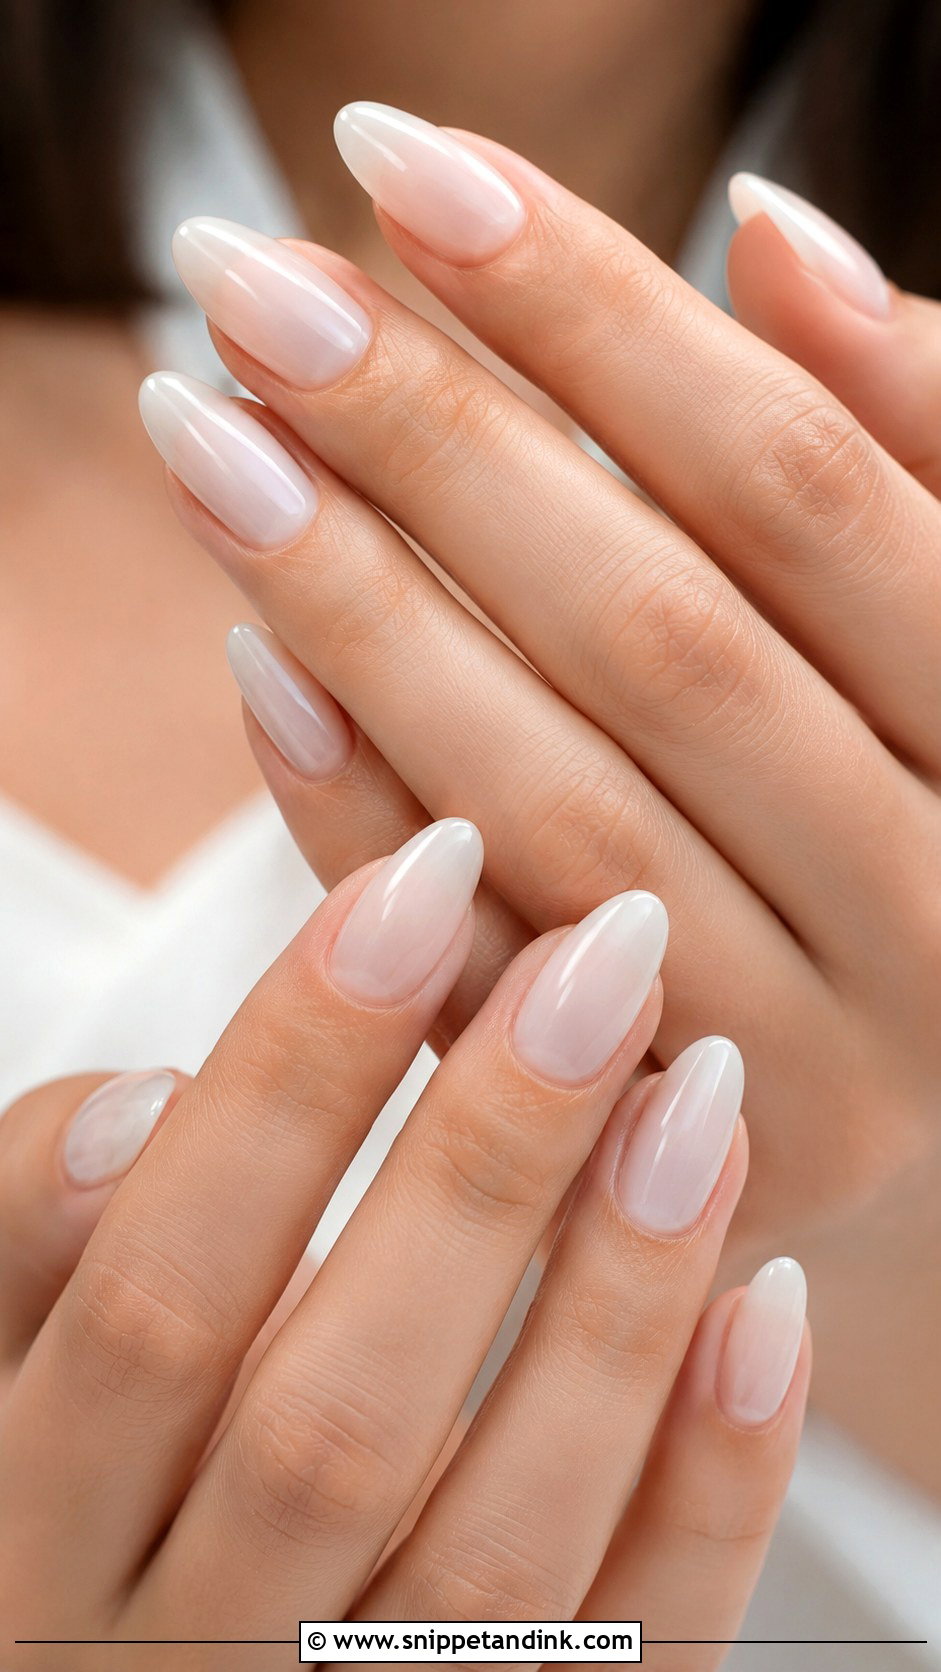
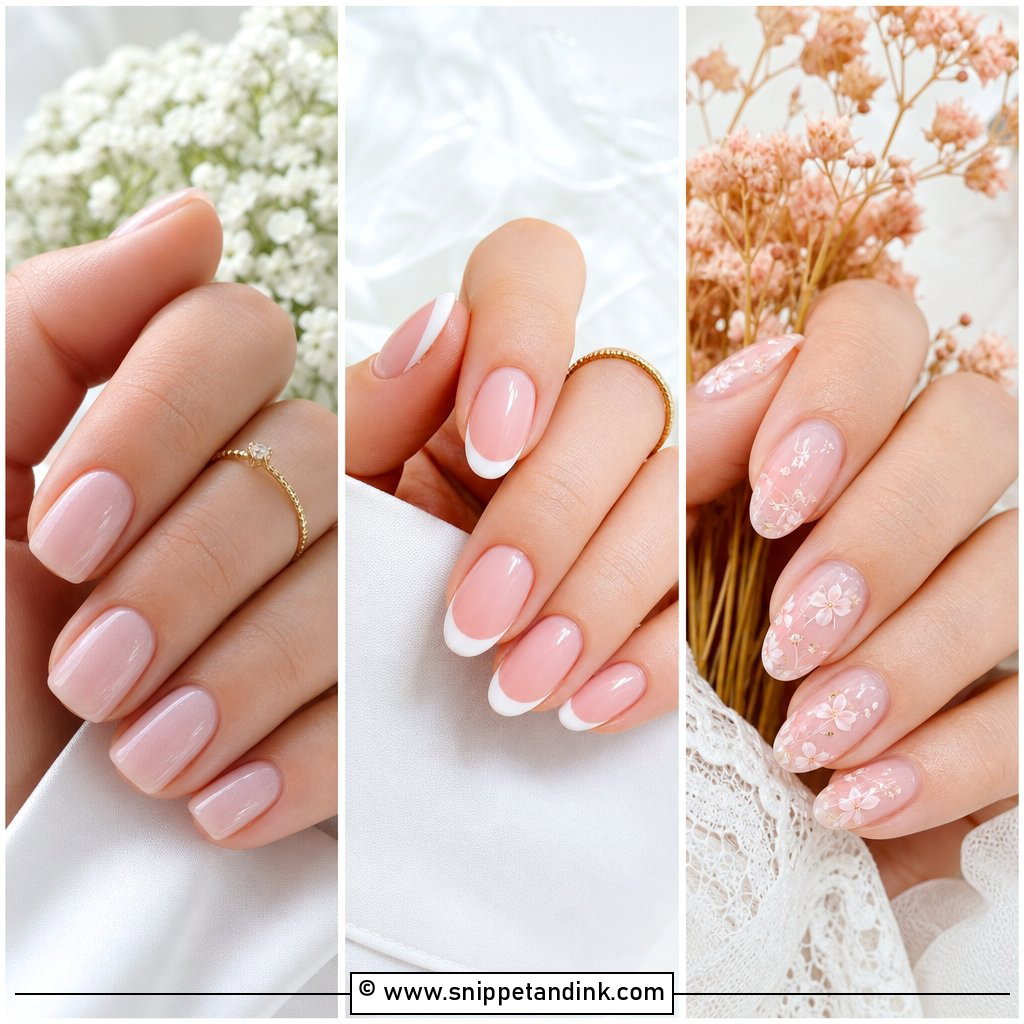
If a bride can’t decide, this is usually where we land. I build it with a translucent white gel or a milky builder base, never an opaque white, because flat white looks chalky against skin and stark in flash photos. The sheer finish lets the pink of the nail bed come through, which reads healthy up close. It suits almond, oval, squoval and short round shapes, and pairs with lace, satin and pearls without effort. A milky builder base also grows out gracefully, so it still looks tidy two weeks into a honeymoon.
2. Pearl Chrome Wedding Nails
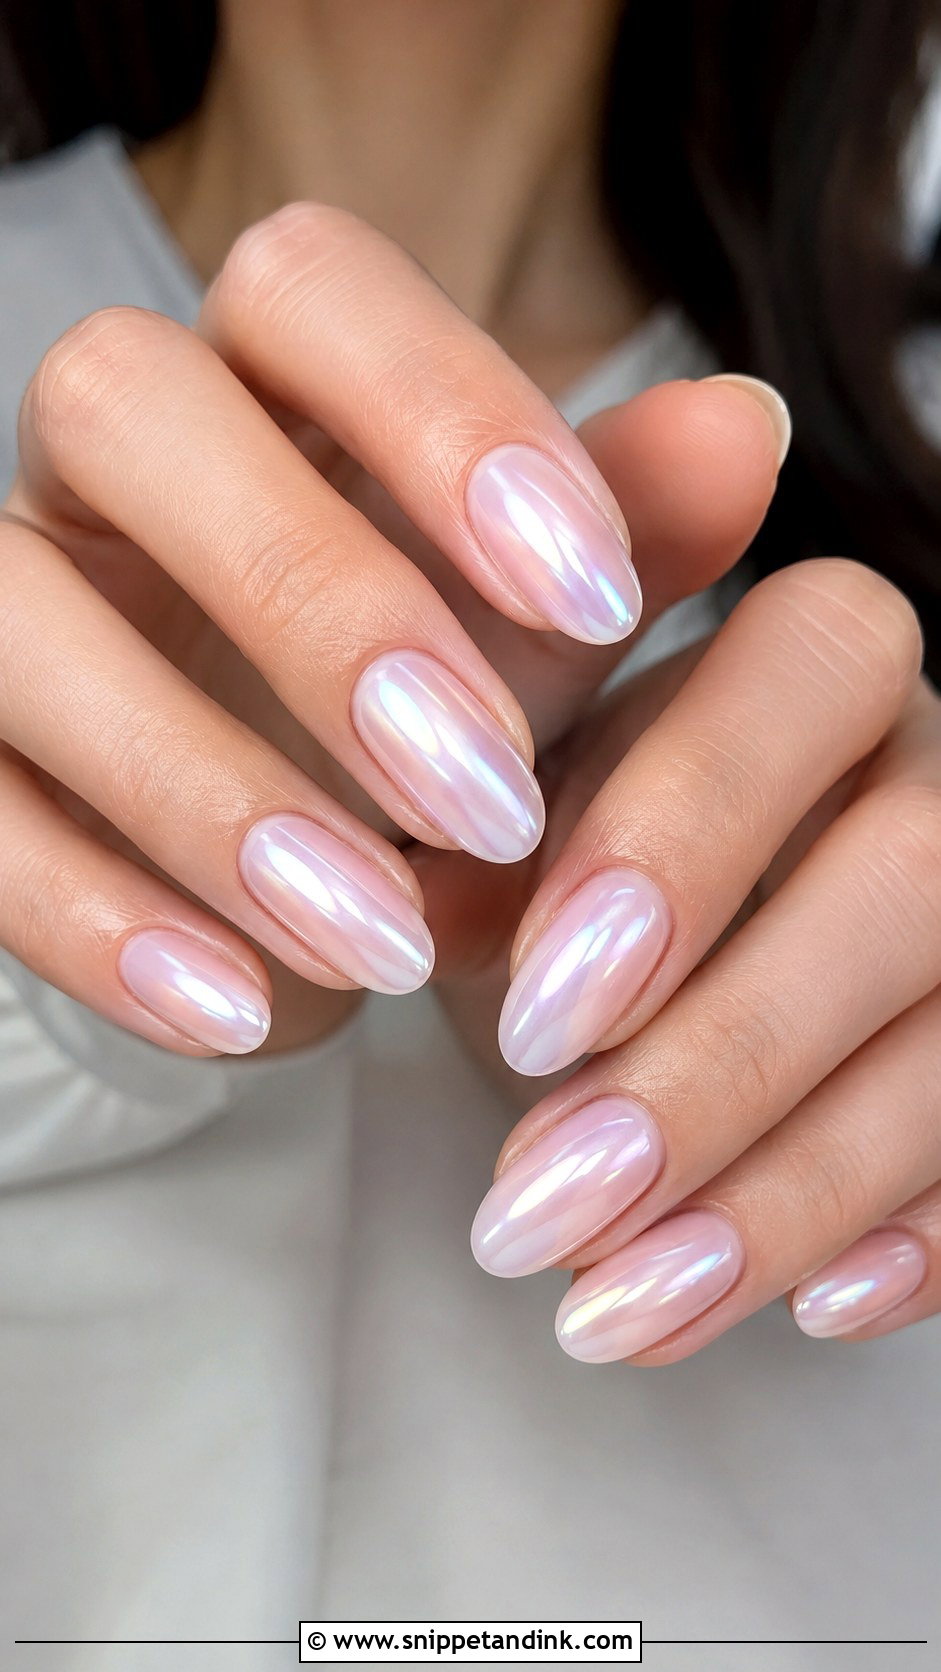
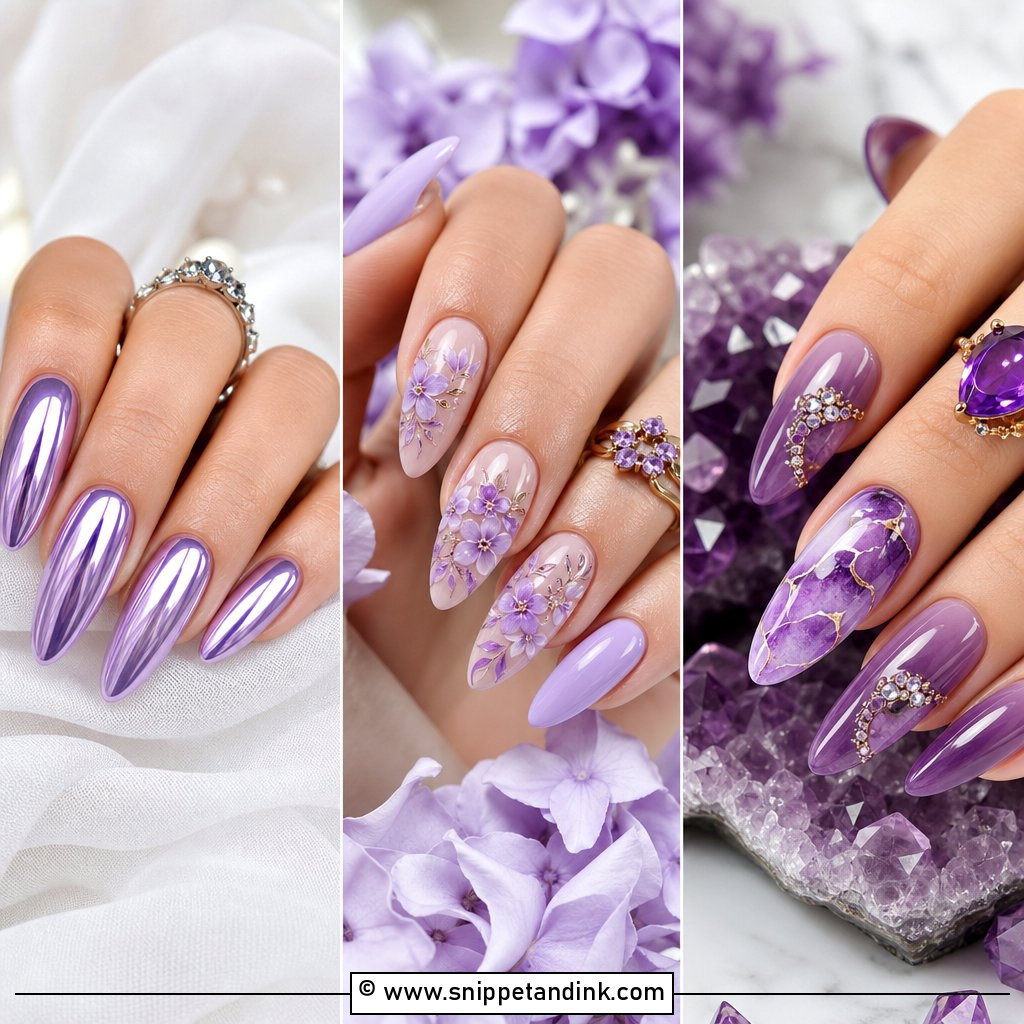
Pearl chrome is a sheer pink, nude or milky base with a fine pearl powder buffed over a no-wipe top coat, then sealed. Done right, it looks like the inside of a shell rather than a mirror. The powder sits best on curved surfaces, so almond and oval nails show the glow far better than flat square tips. Keep length medium. One practical note: chrome powder shows every bump in the base underneath, so I spend extra time leveling before I apply it.
3. French Tip Wedding Nails
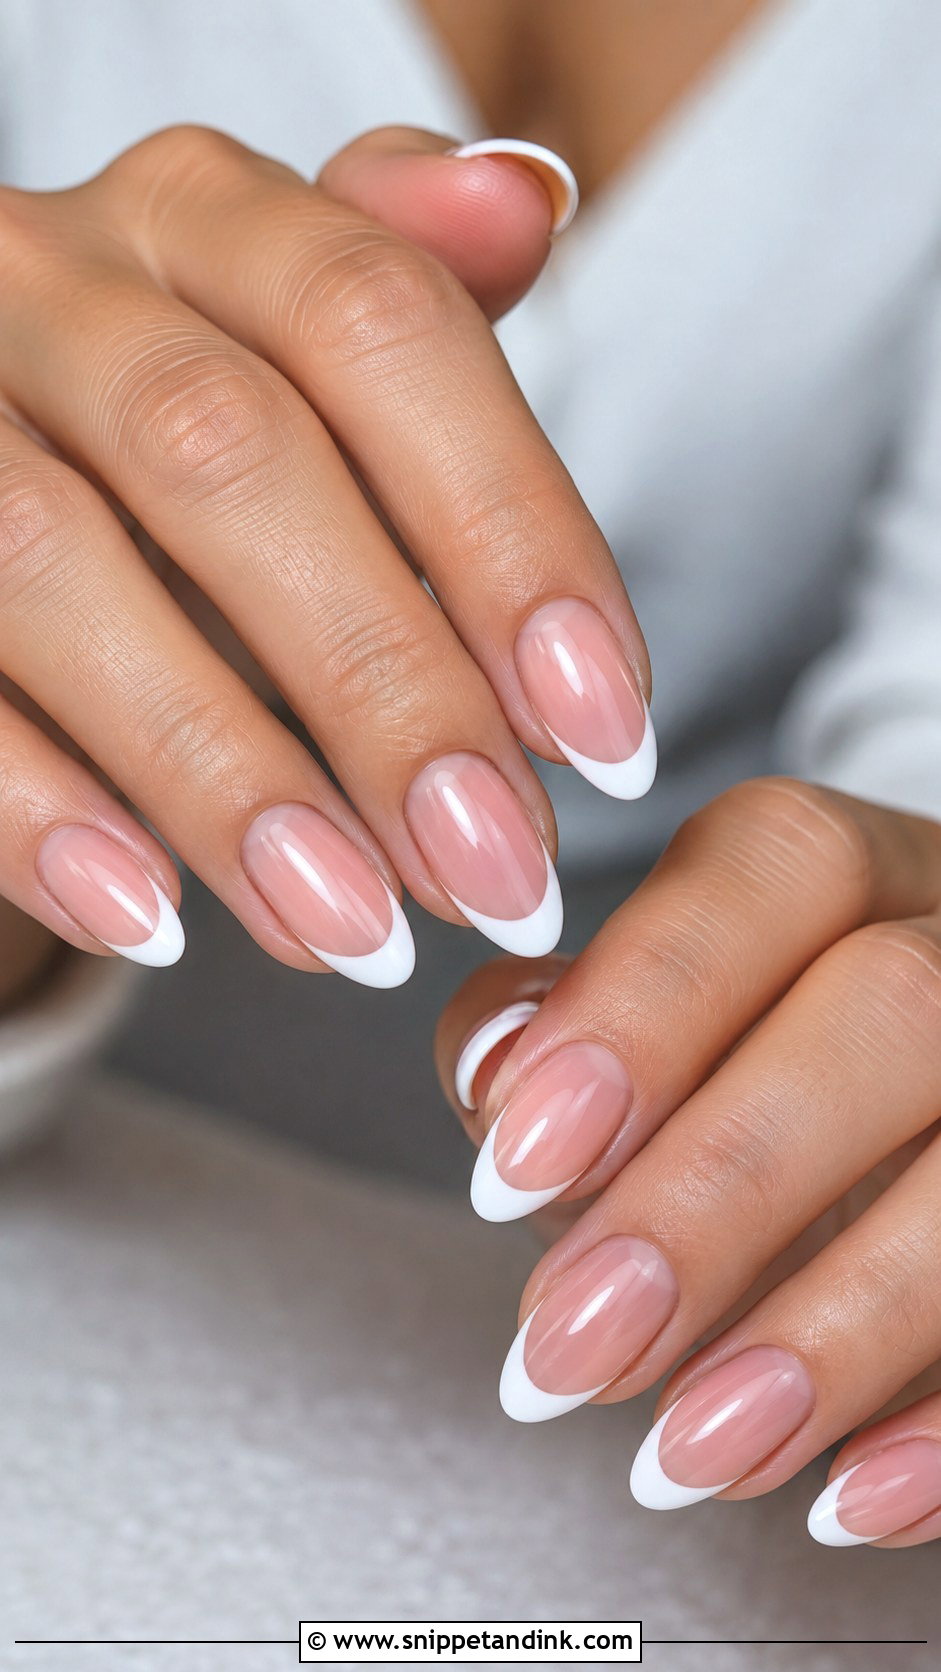
The French tip has outlasted every bridal trend for a reason: it matches anything. My modern version uses a sheer pink or nude base and a white tip a little slimmer than the classic thick band, with a softened smile line so the contrast isn’t harsh. Almond shapes make it graceful; square shapes make it crisp. The hardest part is symmetry, because ten matching smile lines take a steady hand. Look at the tech’s past French work on their portfolio before you book.
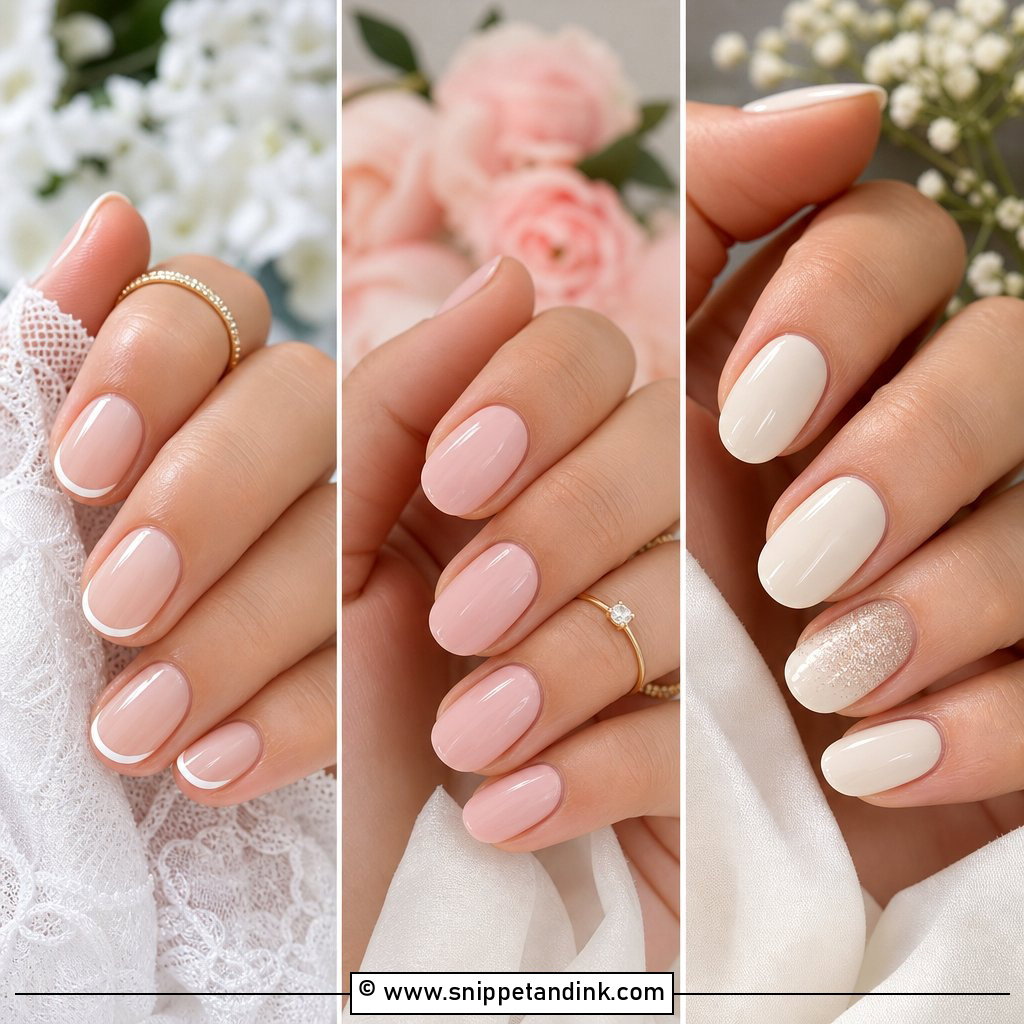
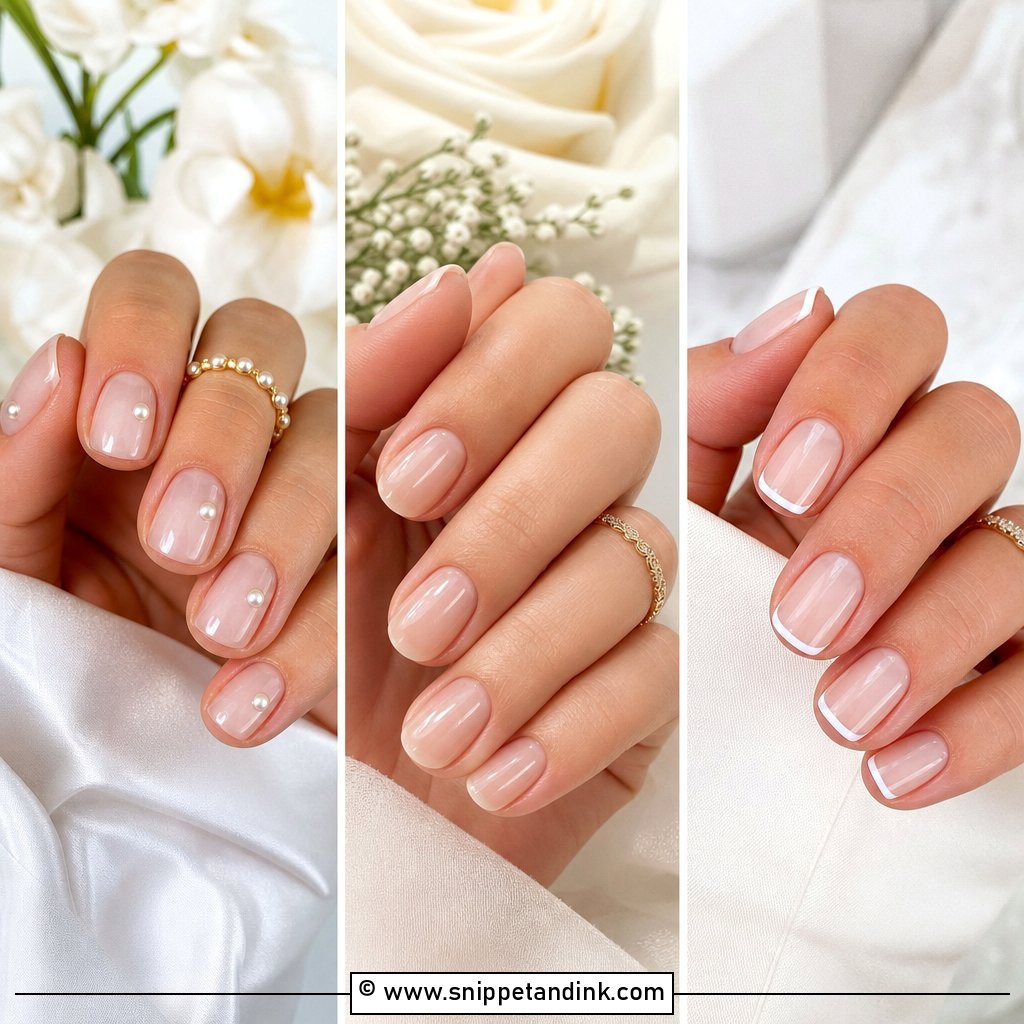
4. Micro French Wedding Nails
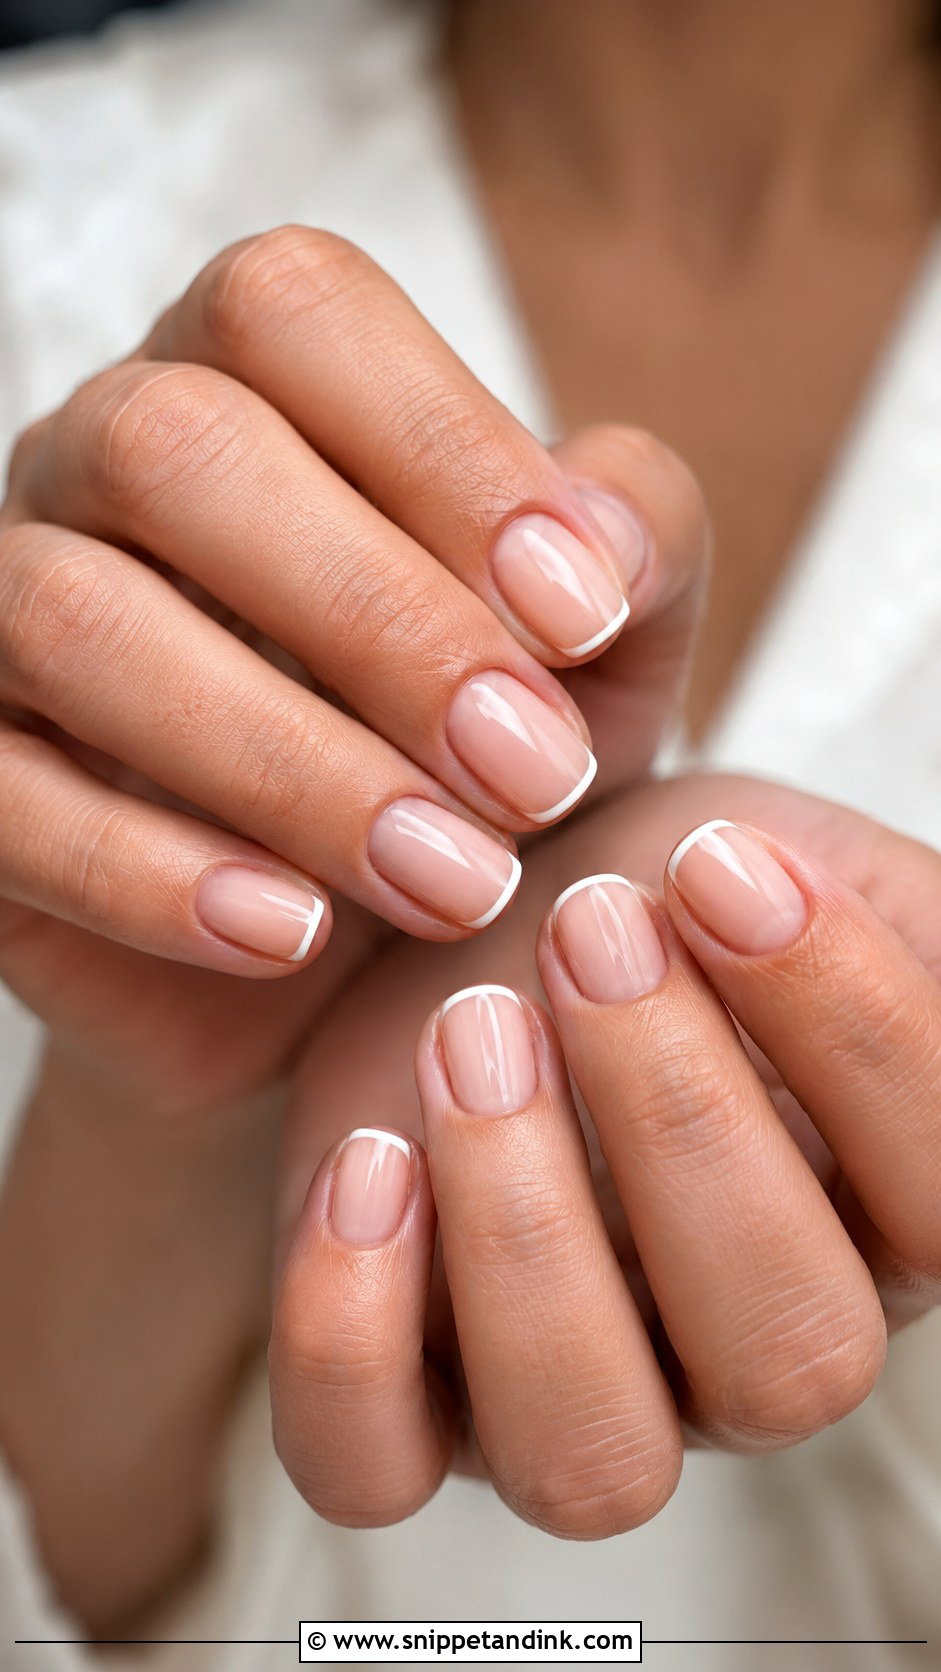
A micro French is the version I recommend to brides who don’t normally wear nail art. A very thin white line sits over a sheer nude, blush or milky base, so the design reads as a crisp edge rather than a tip. It’s especially good on short and natural nails, where a full-width tip would look stubby. I match the base color to your skin undertone at the appointment, holding a few swatches against your finger. Underneath its simplicity, the line has to be perfectly even, which is why it costs nearly as much as a full French.
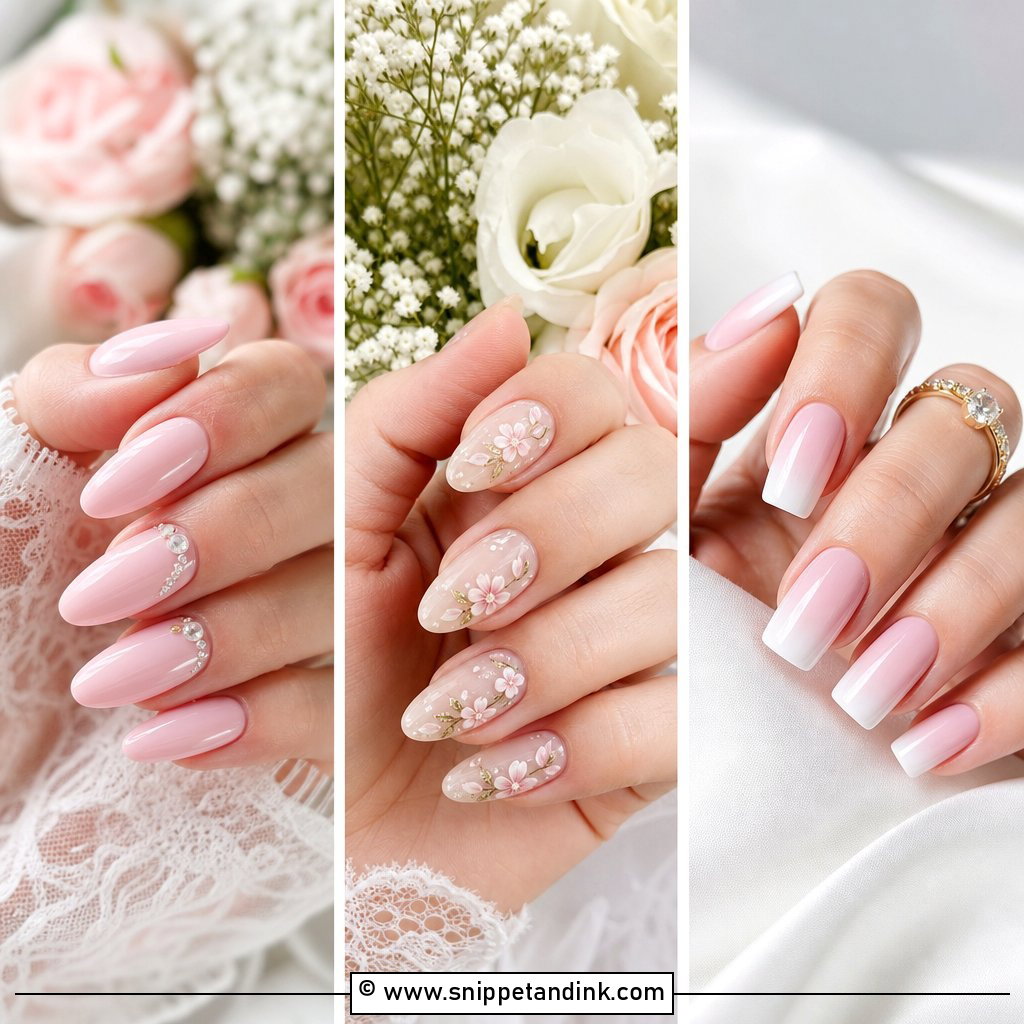
5. Ombre Wedding Nails
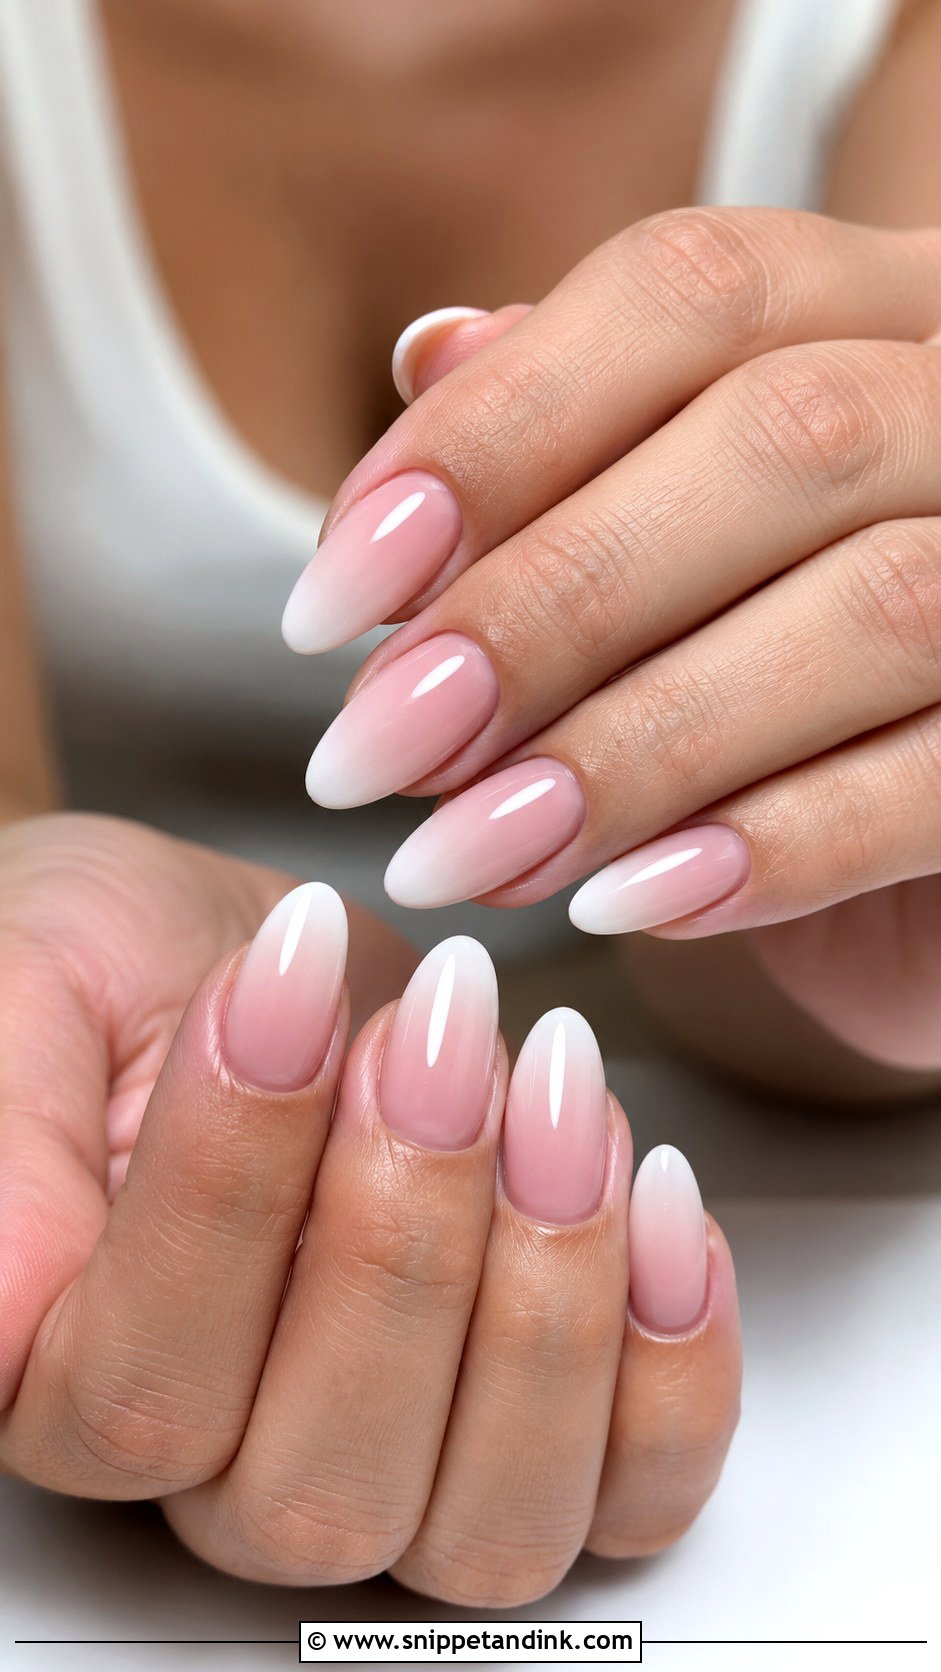
Ombre, often called baby boomer nails, fades a nude or blush base into a cloudy white tip with no hard line. The gradient lengthens the fingers visually and flatters almond, coffin and oval shapes; it also softens square nails. Sheer pink at the base feels romantic; beige feels more natural. Practically, ombre is the most forgiving design as it grows out, since the base near the cuticle is close to your natural nail color. That makes it a sensible pick if you’re traveling for the wedding and can’t book a fill.
6. Blush Pink Wedding Nails
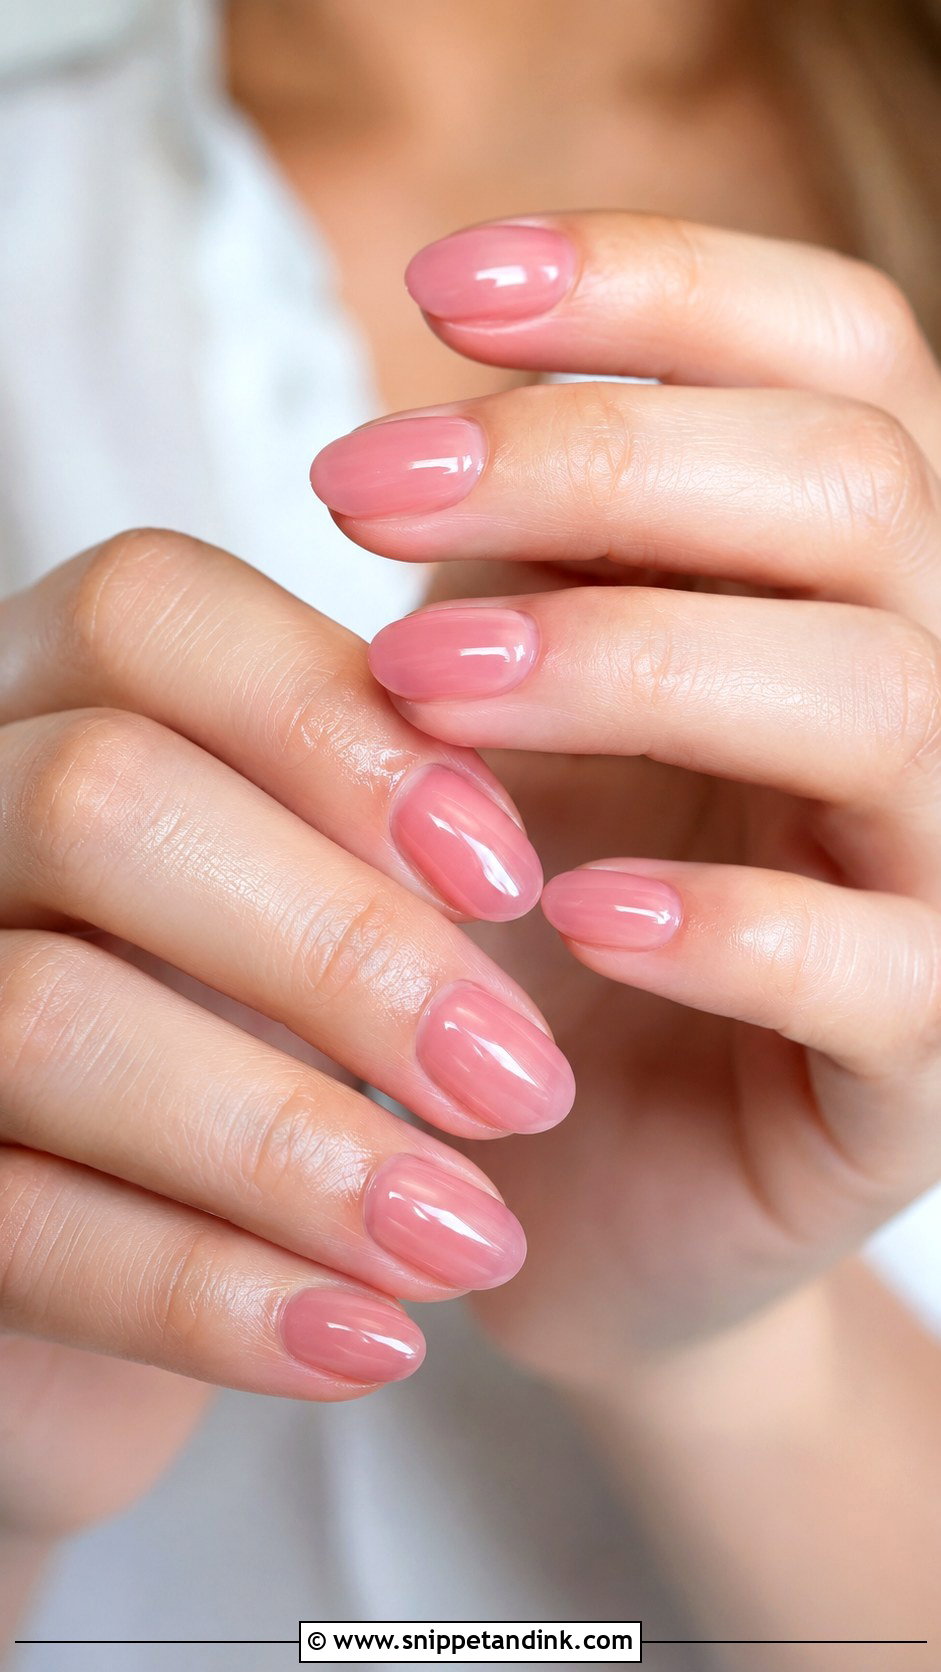
A jelly or sheer pink lets the natural nail show through slightly, and that translucency is what makes it look healthy rather than painted. Blush flatters a wide range of skin tones, though very warm skins sometimes need a peachier pink. A high-gloss top coat is enough; a whisper of shimmer is optional. It pairs with rose gold, soft bouquets and romantic gowns, and it works on short nails. If white feels too bright and nude too plain, blush is the middle ground I’d suggest.
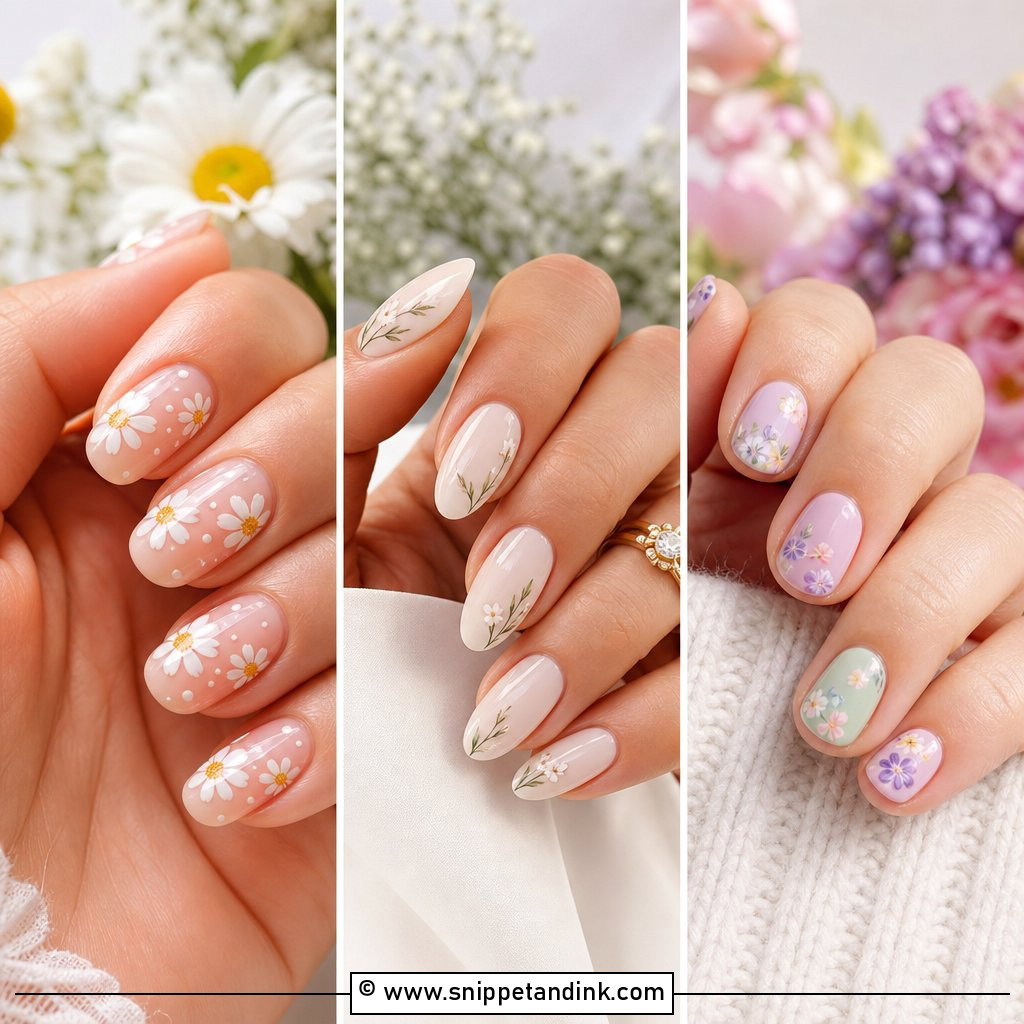
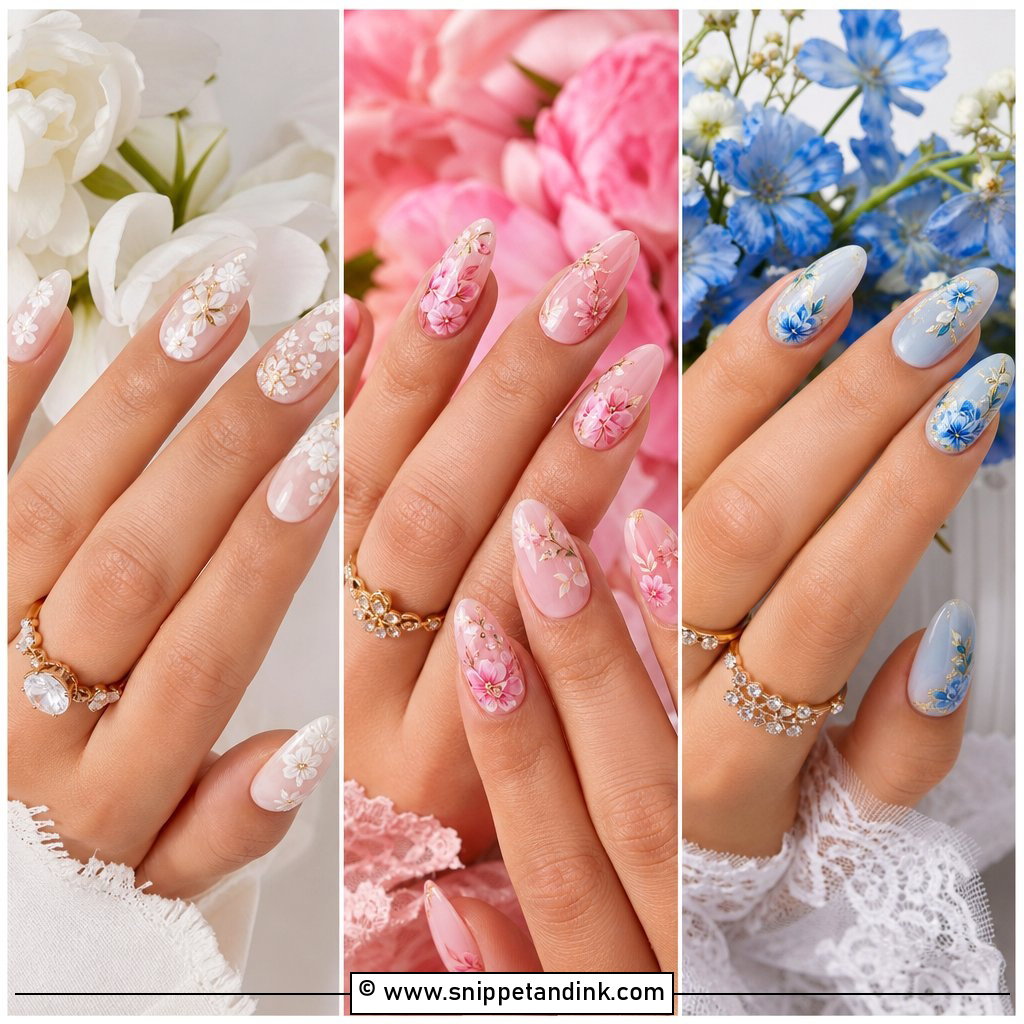
7. Nude Wedding Nails With Flowers
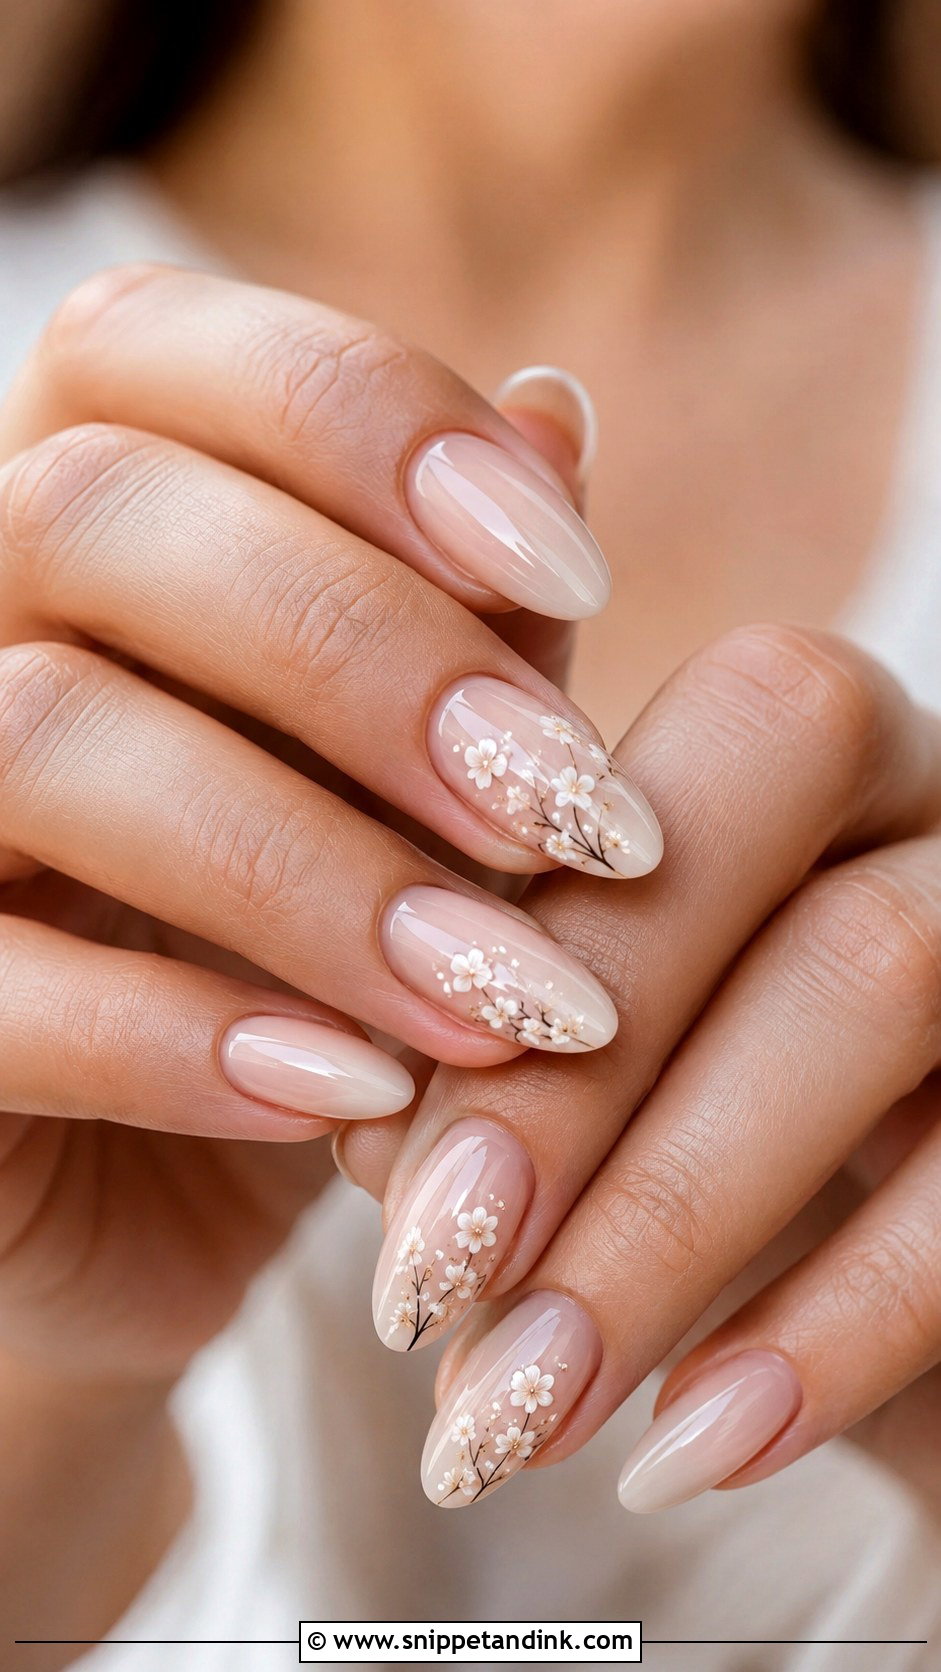
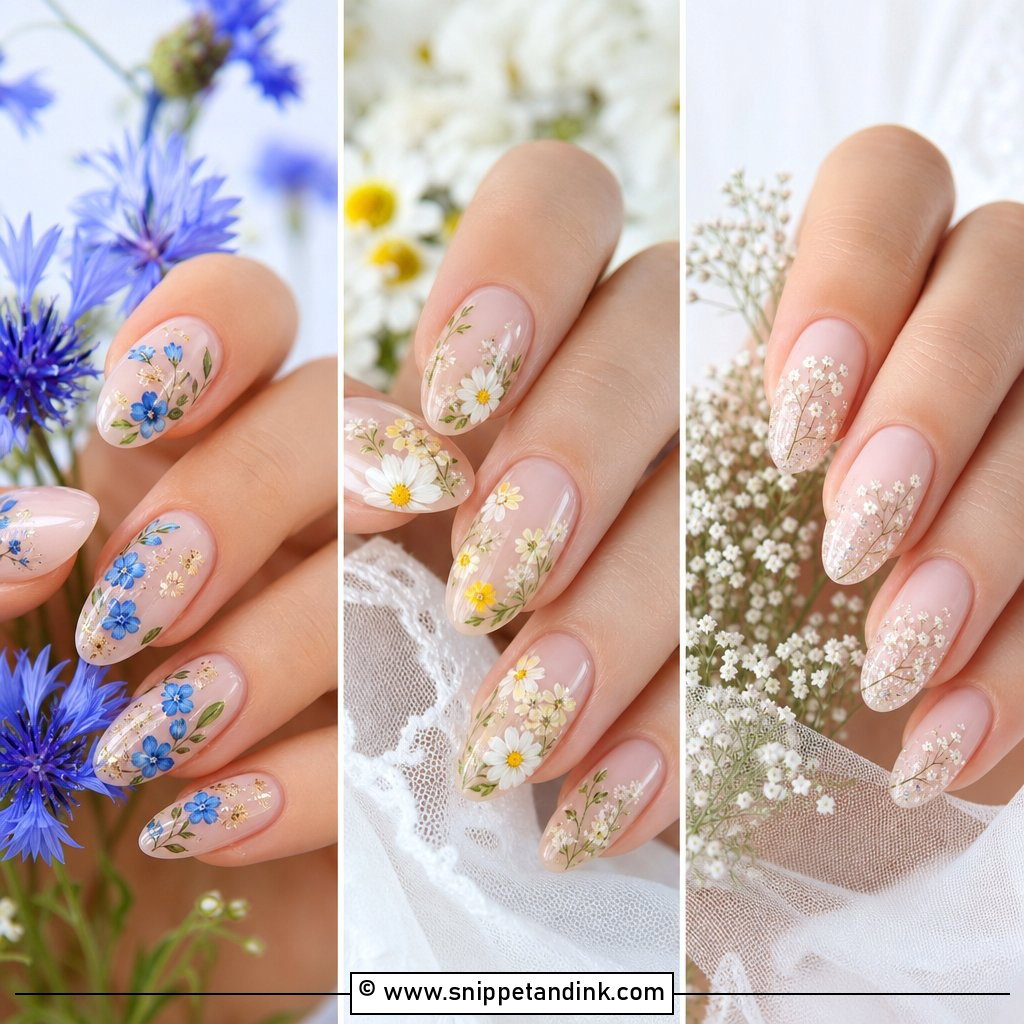
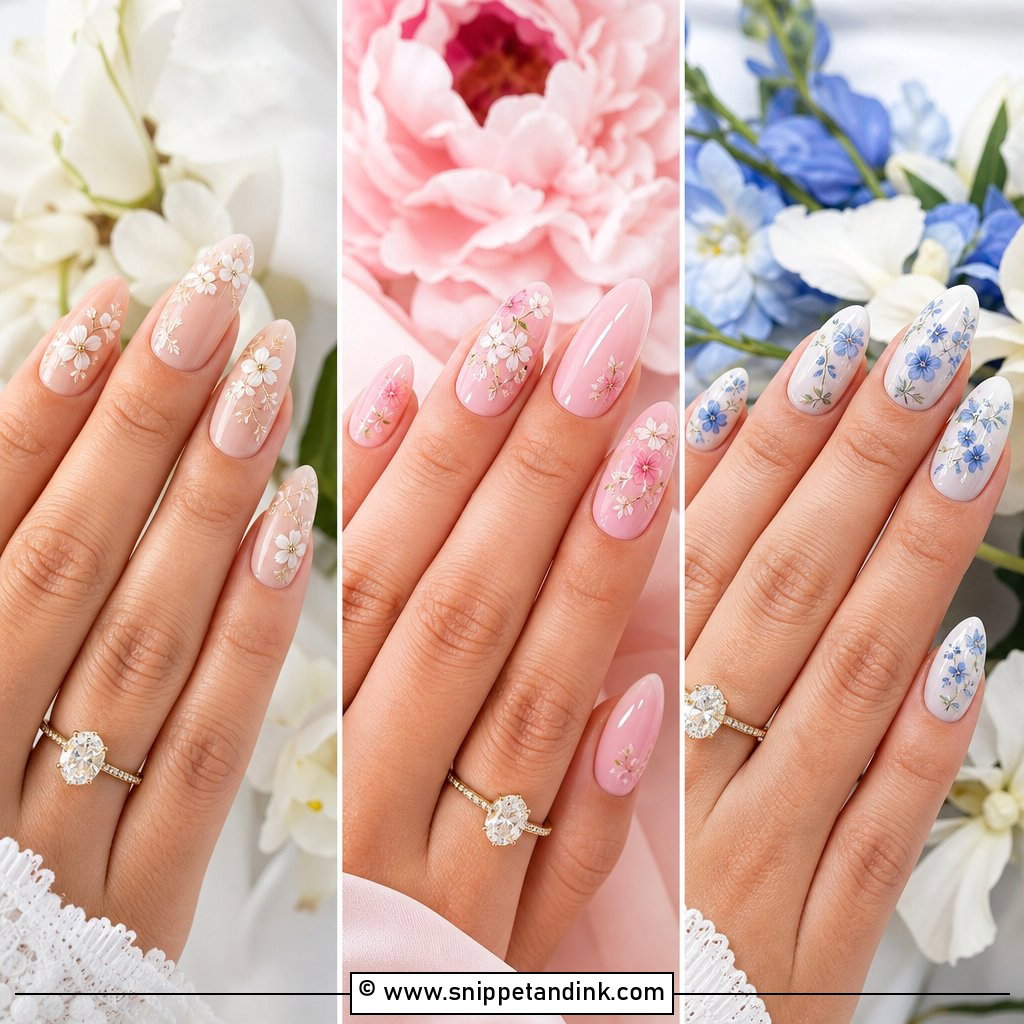
Florals are where restraint matters most. On a sheer nude, beige or soft pink base, I paint tiny white or ivory flowers on two or three nails, spaced out so each one reads clearly from a distance. Fine-line petals, small dots and a leaf or two are enough. Almond and oval shapes give a romantic feel; short squoval reads sweet and natural. The flowers should look hand-painted rather than stickered, so if your budget is tight, ask about fewer, painted accents instead of a full set of decals.
8. White Lace Wedding Nails
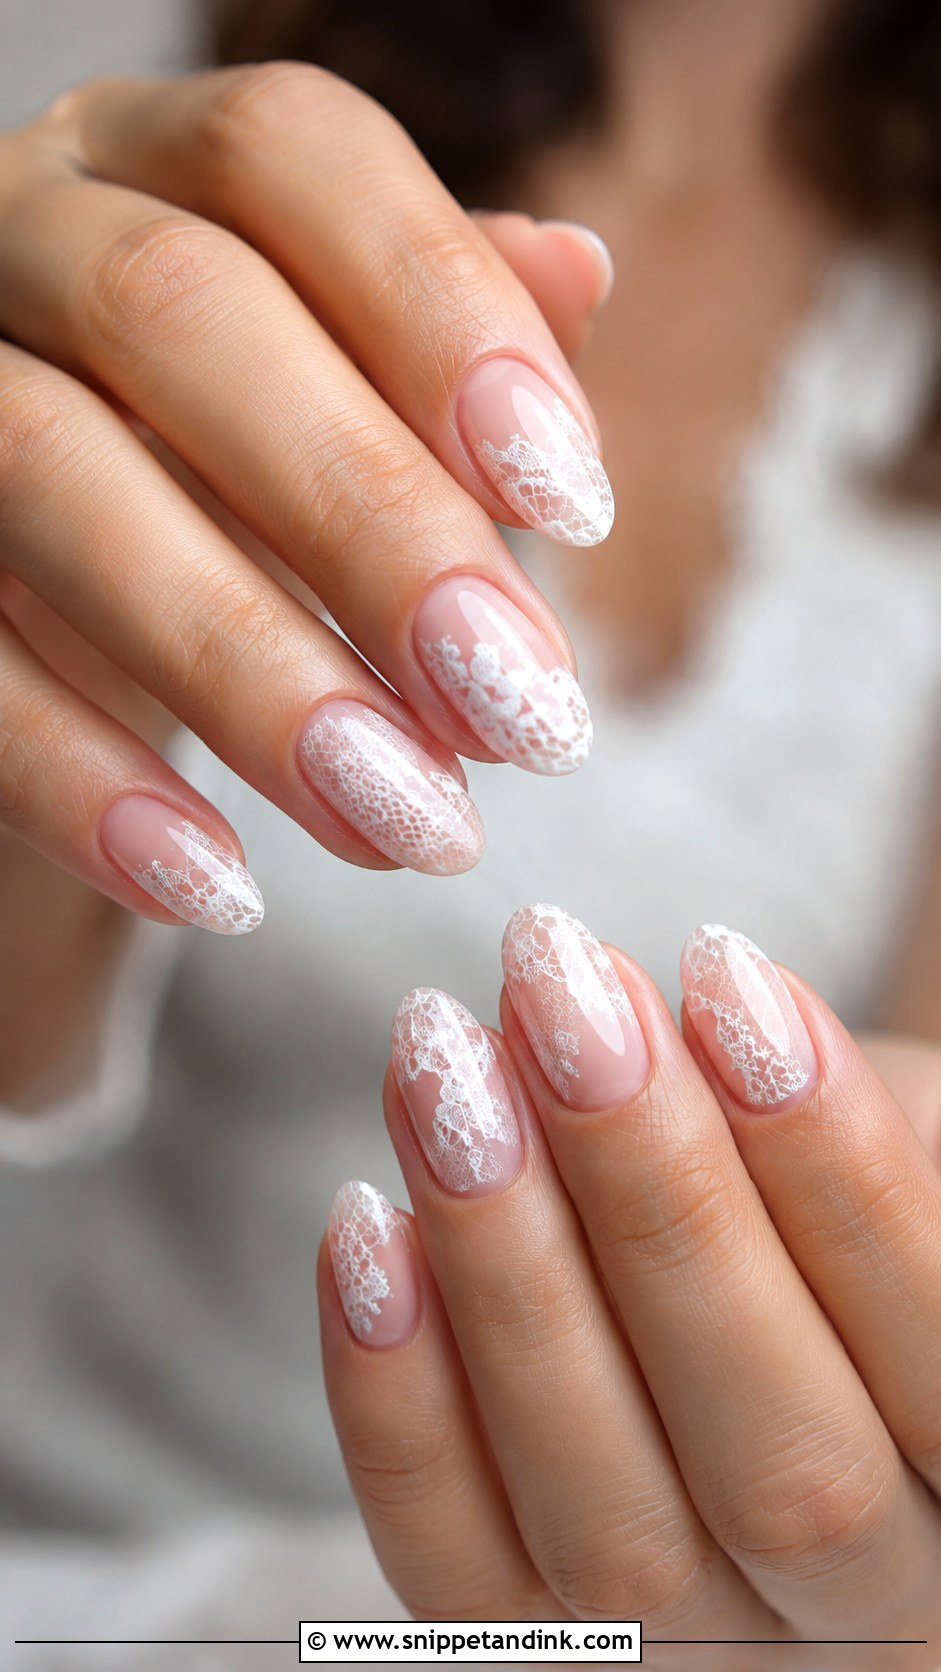
If your dress has lace sleeves or embroidery, echoing that pattern on the nails ties the look together. I start with a sheer nude or milky base, then paint fine white lace lines on one or more nails, keeping them thin and airy. A gloss top coat makes it smooth; a soft matte top coat gives a fabric-like texture, though matte can pick up stains from fake tan and hand cream. Medium almond, oval or coffin shapes give enough space for the pattern. Bring a close photo of the actual lace so I can mirror its motif, not just a generic one.
9. Gold Foil Wedding Nails
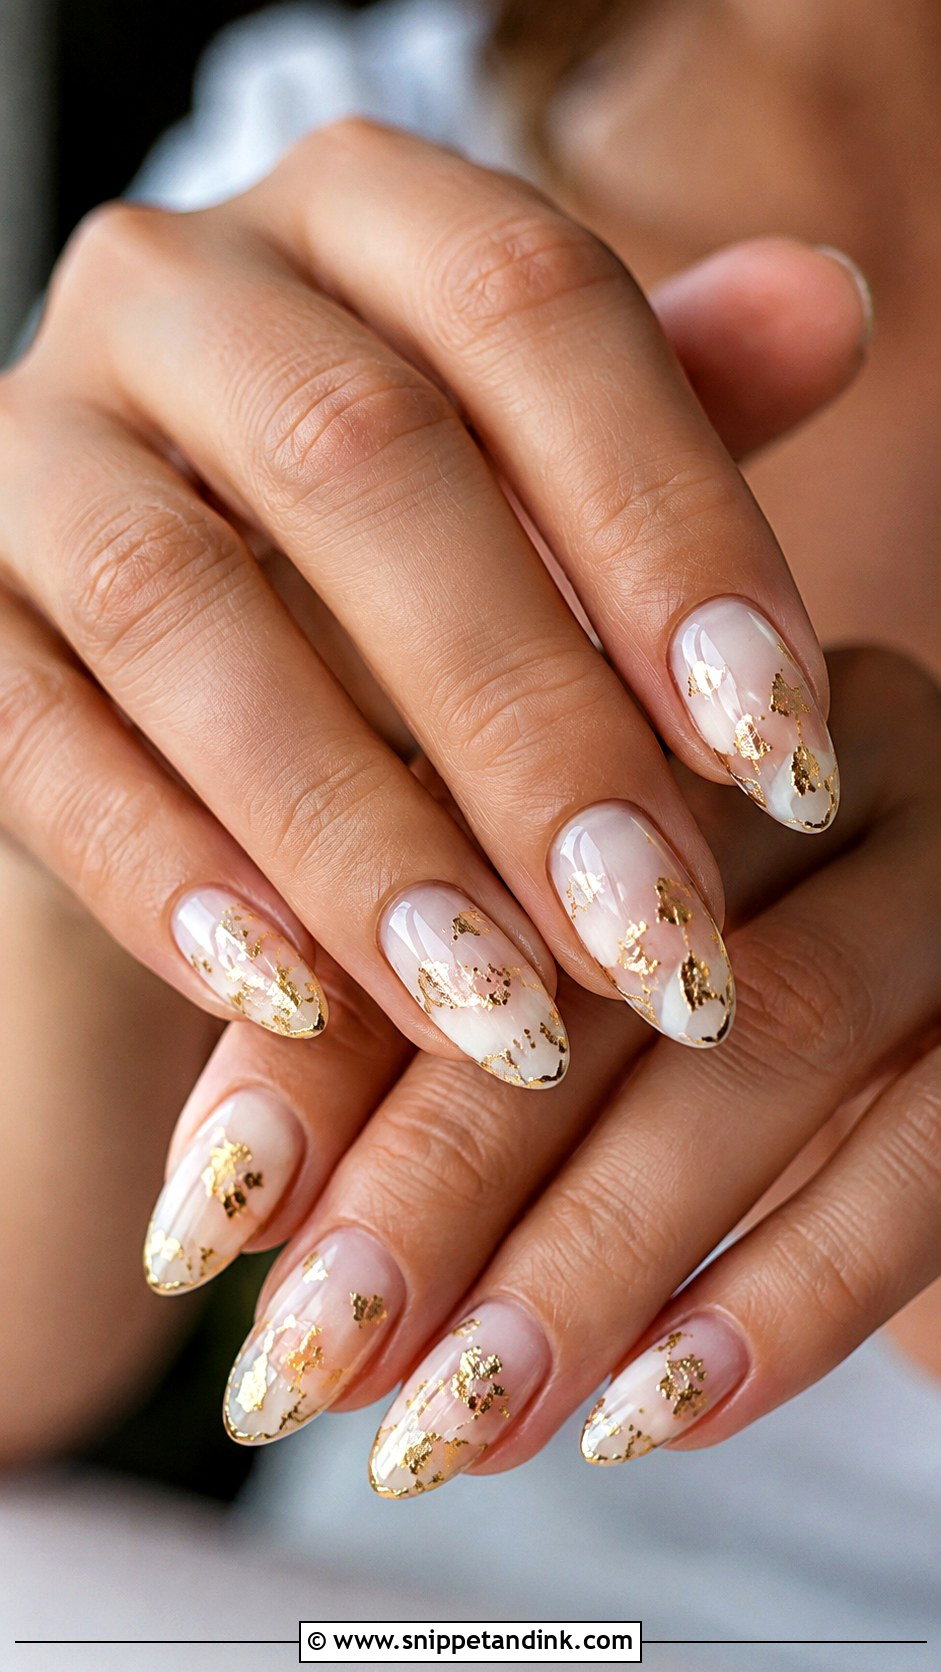
Gold foil adds warmth without turning the nails into jewelry. I place small irregular flakes over a sheer nude, milky white or blush base, so they look like light catching the nail rather than a solid metal panel. It pairs with yellow gold, warm ivory and champagne fabrics. Almond or oval reads graceful; short square reads modern. Foil has raised edges, so I seal it under two layers of top coat; otherwise it snags on lace and veil netting.
10. Silver Chrome French Wedding Nails
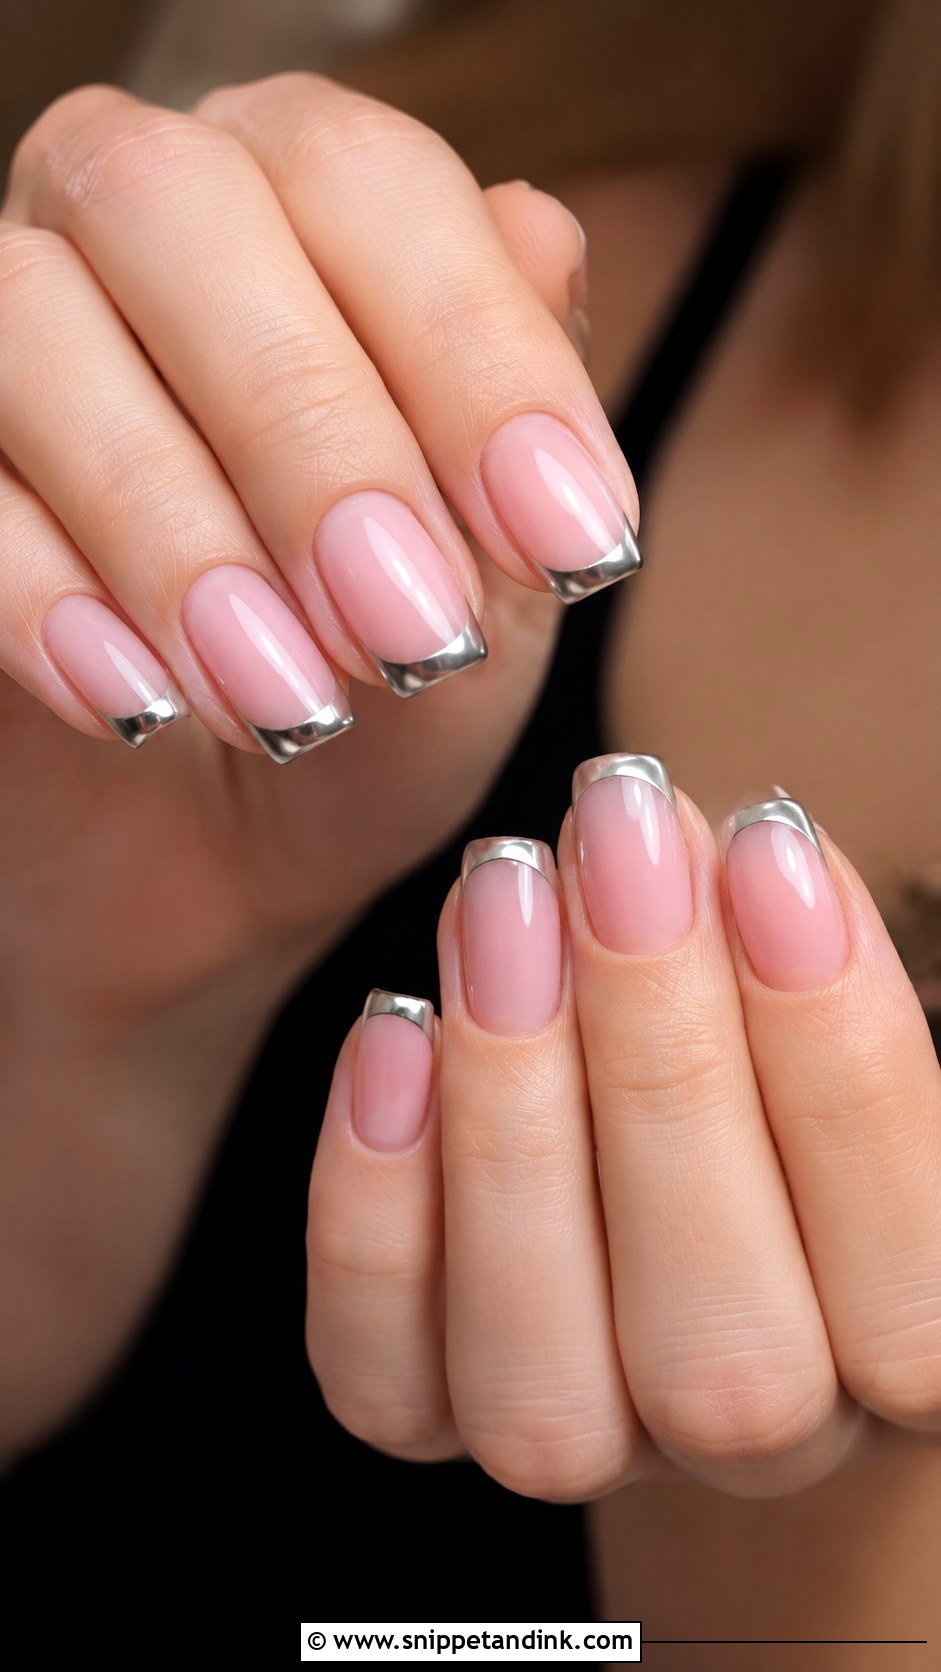
Silver chrome tips give a French manicure a modern, cool-toned edge. A sheer nude or pale pink base with thin silver chrome tips looks clean beside platinum and white gold rings and crystal hairpieces. I keep the tips slim, especially on almond or square shapes. A pearly silver softens it if mirror chrome feels too strong. Chrome tips do show wear at the free edge first, so I’d schedule this one no earlier than two days before the wedding.
11. Short Wedding Nails
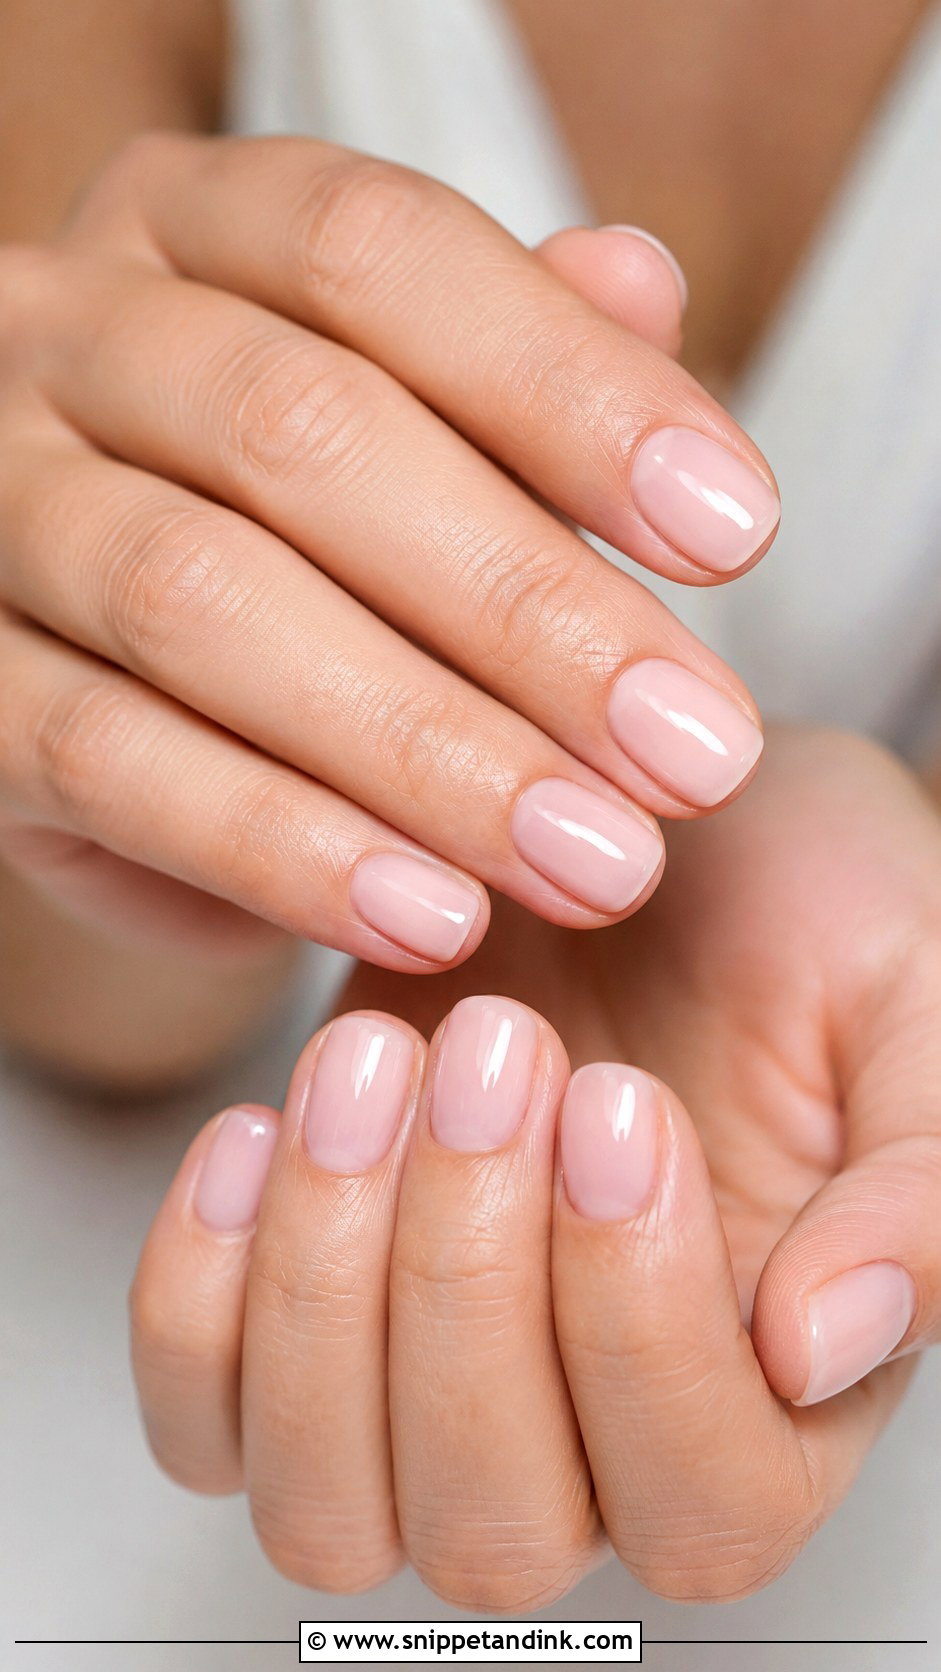
Short nails can look as bridal as extensions, and they’re far easier to live with on a long day of buttons, bouquets and hugging. A soft round or squoval shape keeps them neat. Sheer pink, milky nude, soft white or a micro French all suit short lengths. If you’re not used to length, this is the shape I’d recommend over a first-time set of extensions days before the wedding. A glossy top coat, or one tiny pearl or shimmer accent, adds the bridal touch.
12. Almond Wedding Nails
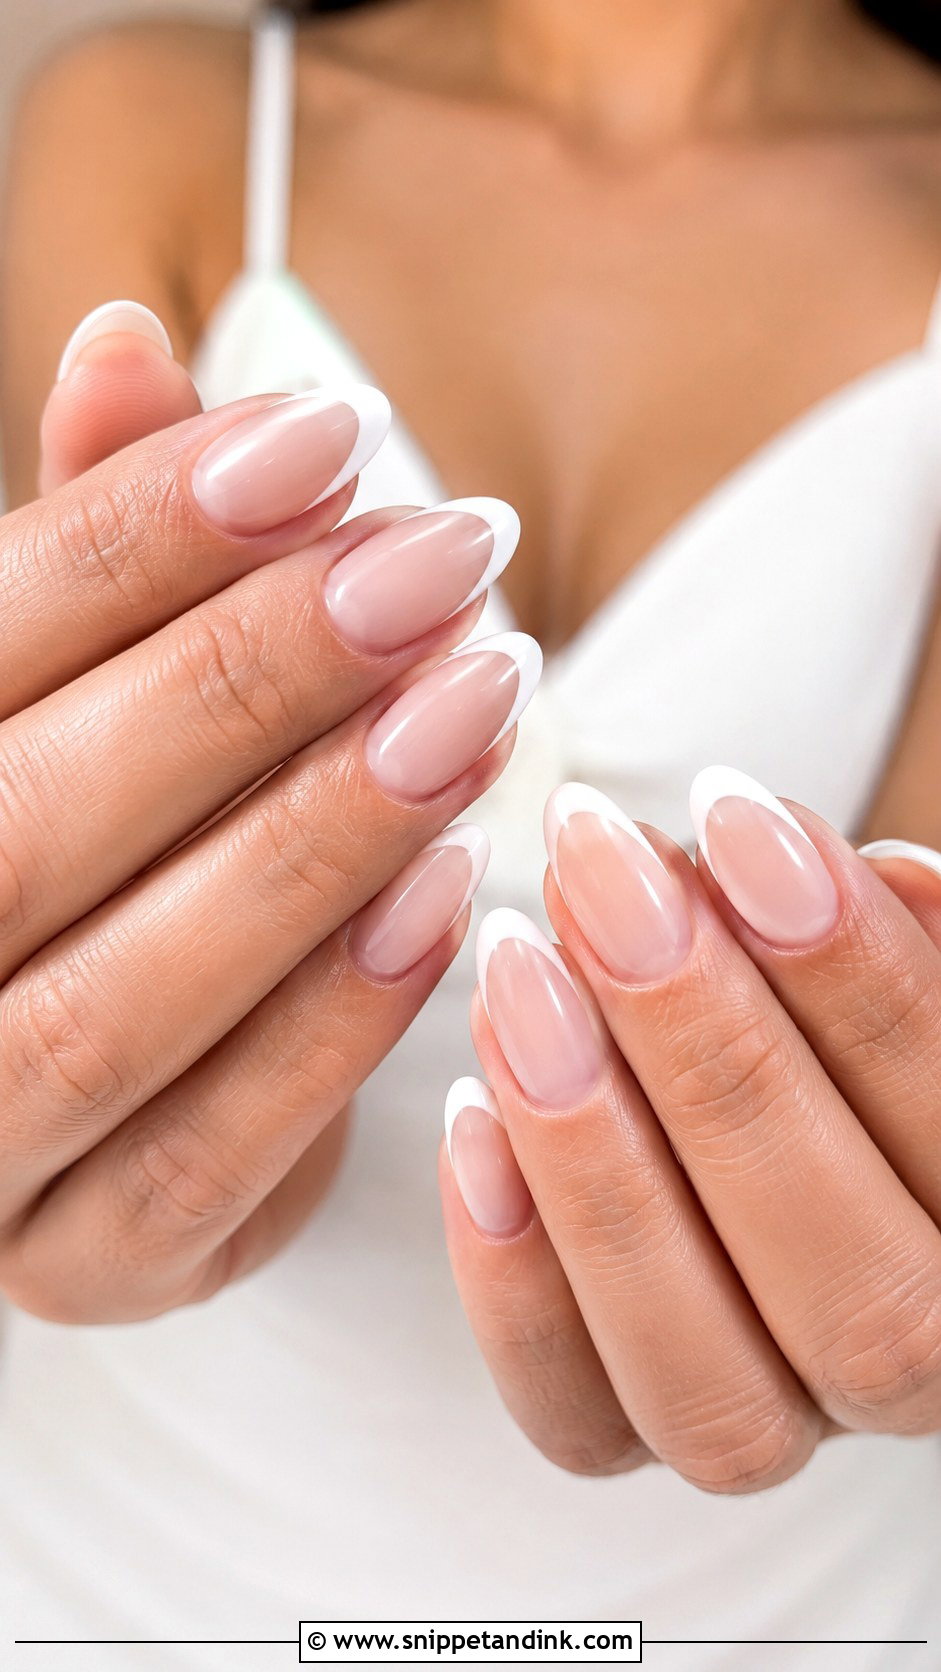
Almond is the shape I’m asked for most at bridal consultations. The tapered sides and rounded tip lengthen the fingers and work with milky white, pearl chrome, French tips, ombre and fine florals. Medium length is the most comfortable; long almonds can catch on hair and fabric. In ring photos the point of the shape draws the eye to the center of the hand. One caution: if your natural nail beds are very short and wide, almond may need extensions to look balanced.
13. Square Wedding Nails
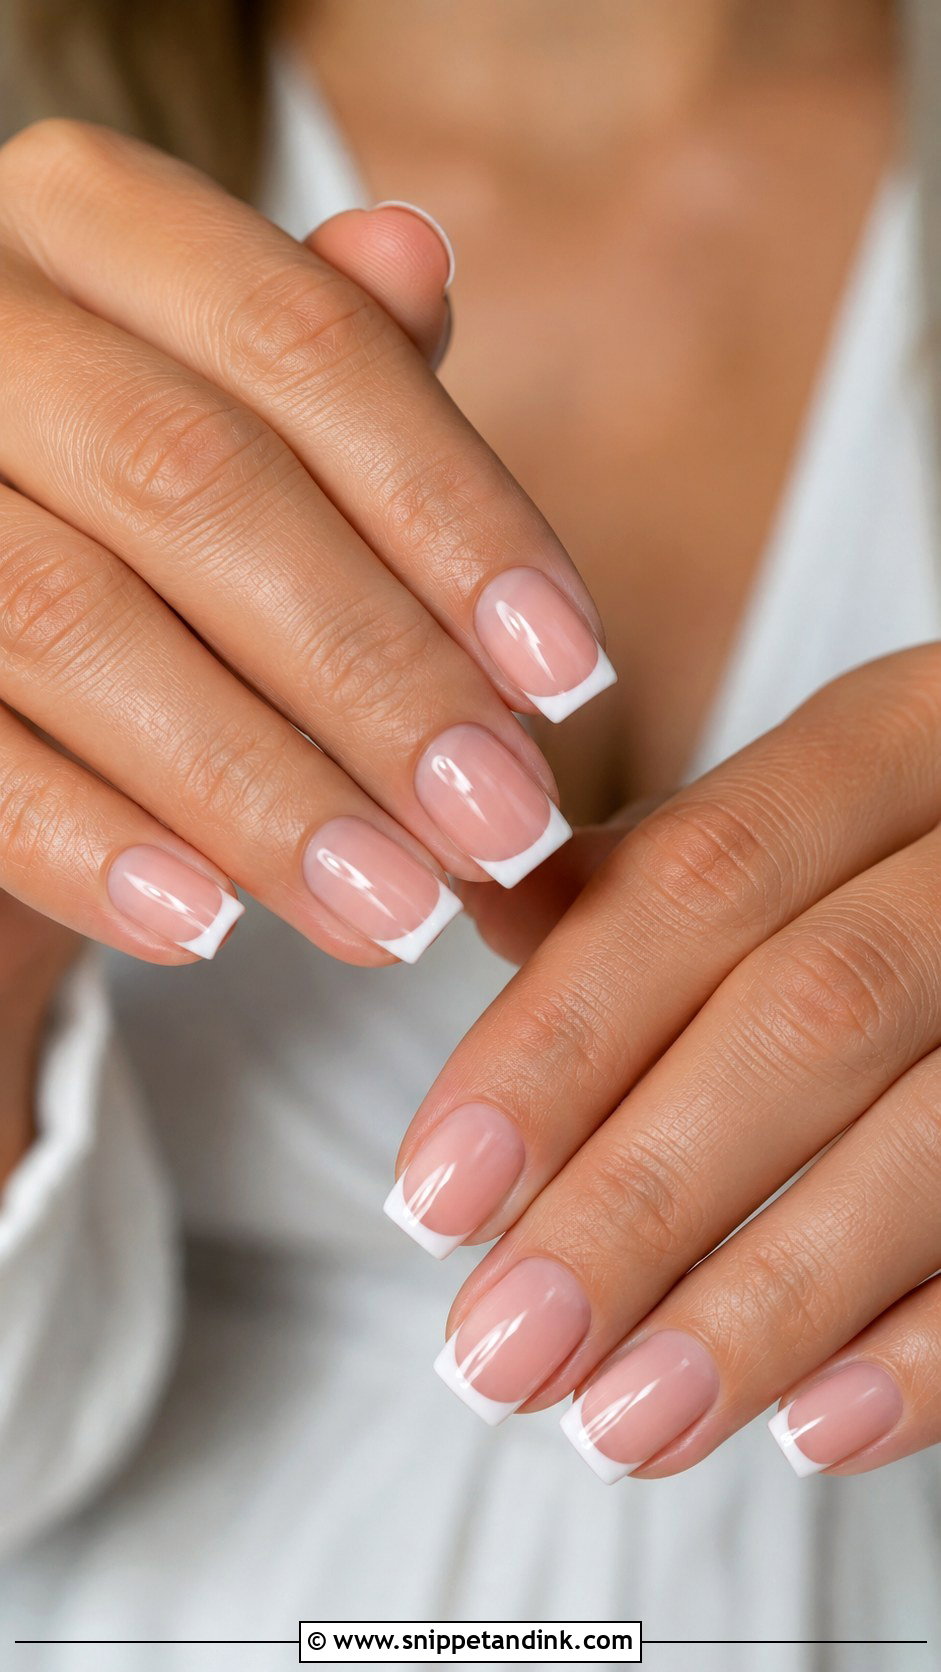
Square nails give French tips and milky nudes a crisp, modern line. Sharp corners can snag on lace, so for brides I usually soften them into a slightly rounded square or squoval. Square holds up well at short to medium lengths, which is practical for the day. Sheer pink with white tips, nude gloss or pearl chrome all suit it. It pairs with minimalist gowns and sleek jewelry, and it feels classic but current.
14. Coffin Wedding Nails
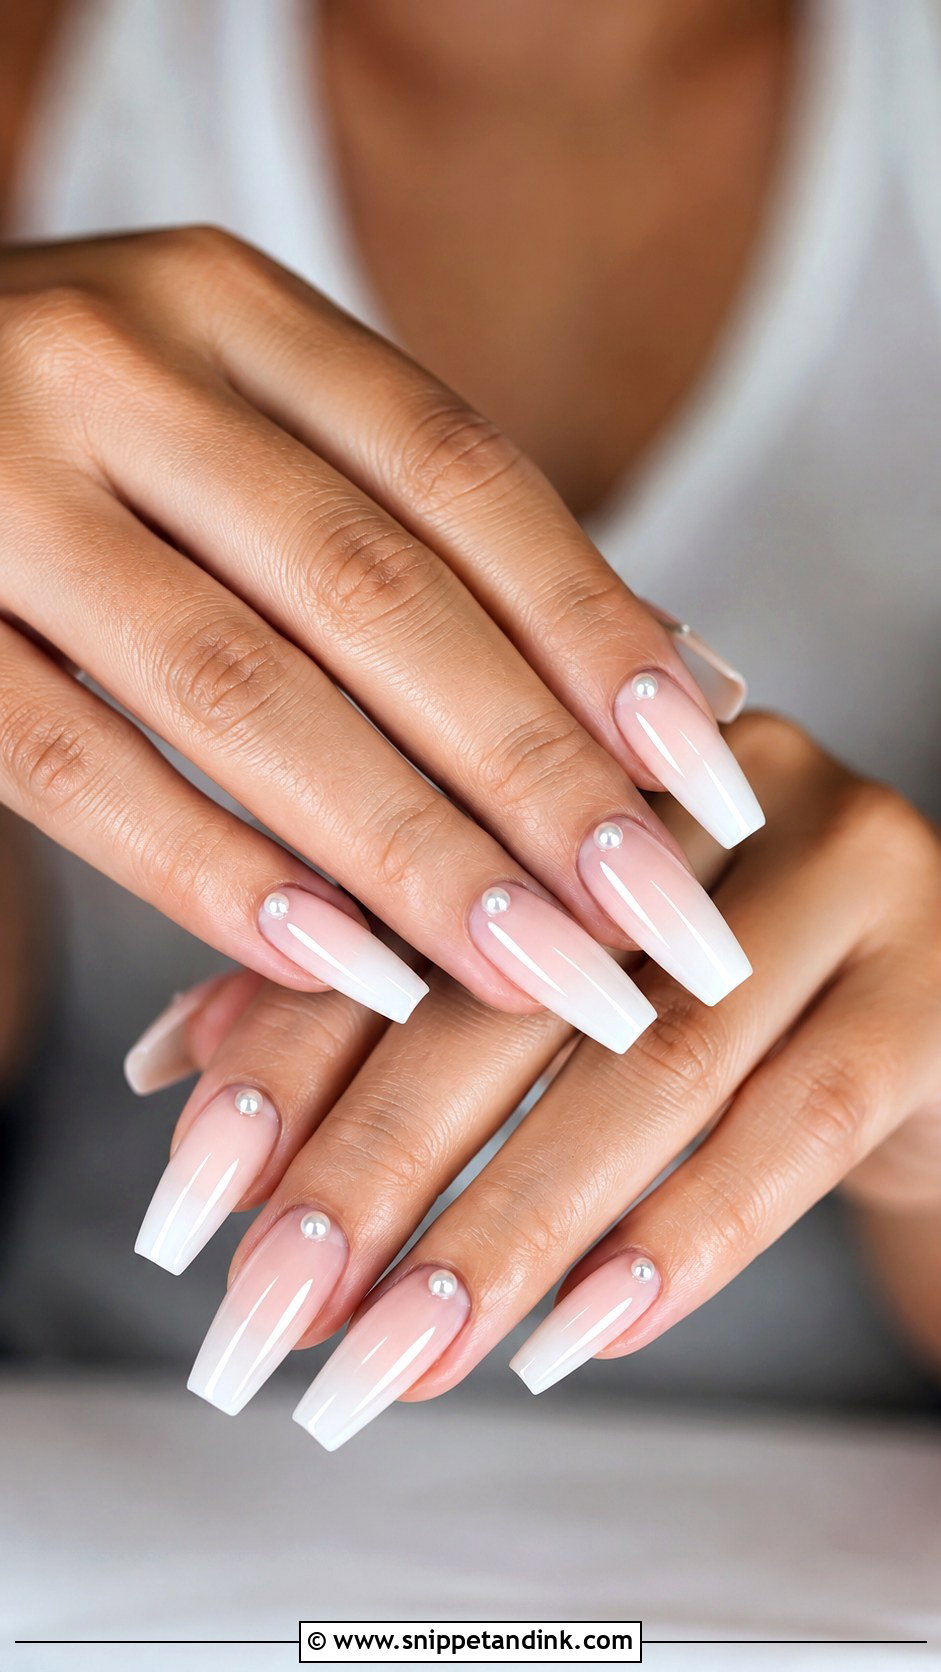
Coffin is the most glamorous shape here, and soft colors keep it bridal. The tapered sides and flat tip need medium to long length, so most brides wear it as extensions. I’d choose milky white, nude ombre, blush or pearl chrome instead of heavy patterns. A few tiny crystals near the cuticle are plenty. If you’ve never worn this length, do a trial set a few weeks earlier: typing, fastening jewelry and putting in contact lenses all take practice.
15. Rose Quartz Wedding Nails
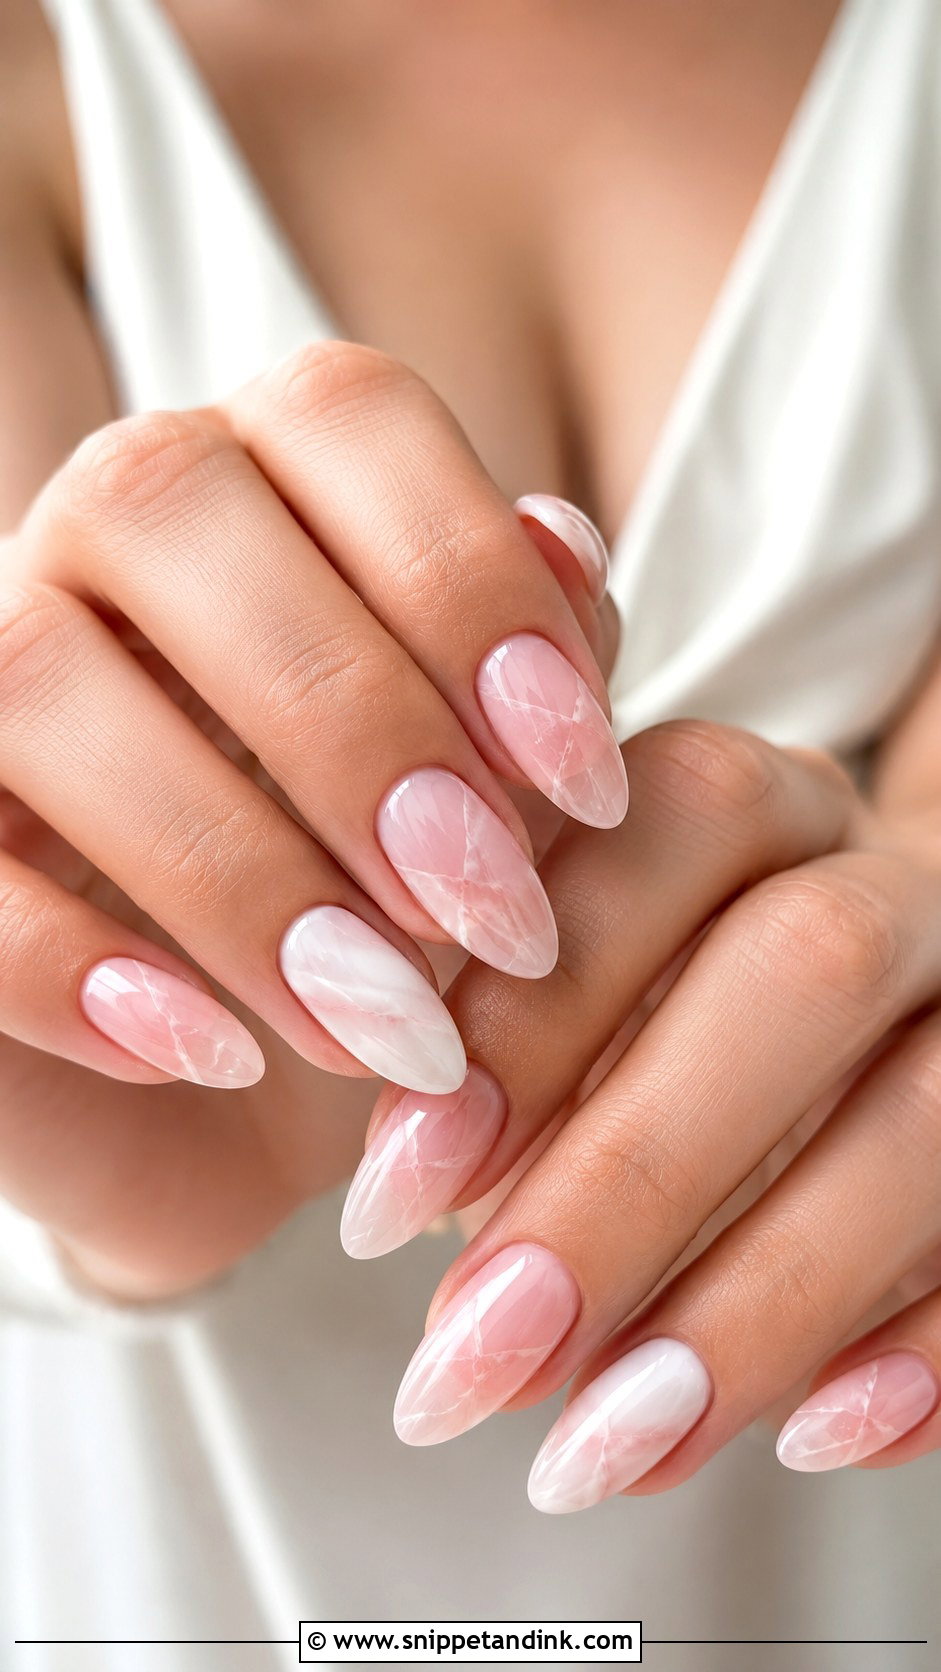
Rose quartz is a sheer blush base with faint white marbling blended while it’s still wet, so the veins look soft and stone-like. I keep the lines blurred; sharp marbling reads more like a countertop than a crystal. It’s subtle enough for a wedding and more artistic than plain pink. Almond, oval and medium square shapes show it well, under a glossy top coat. It pairs with pink bouquets, rose gold jewelry and romantic gowns.
16. Marble Wedding Nails
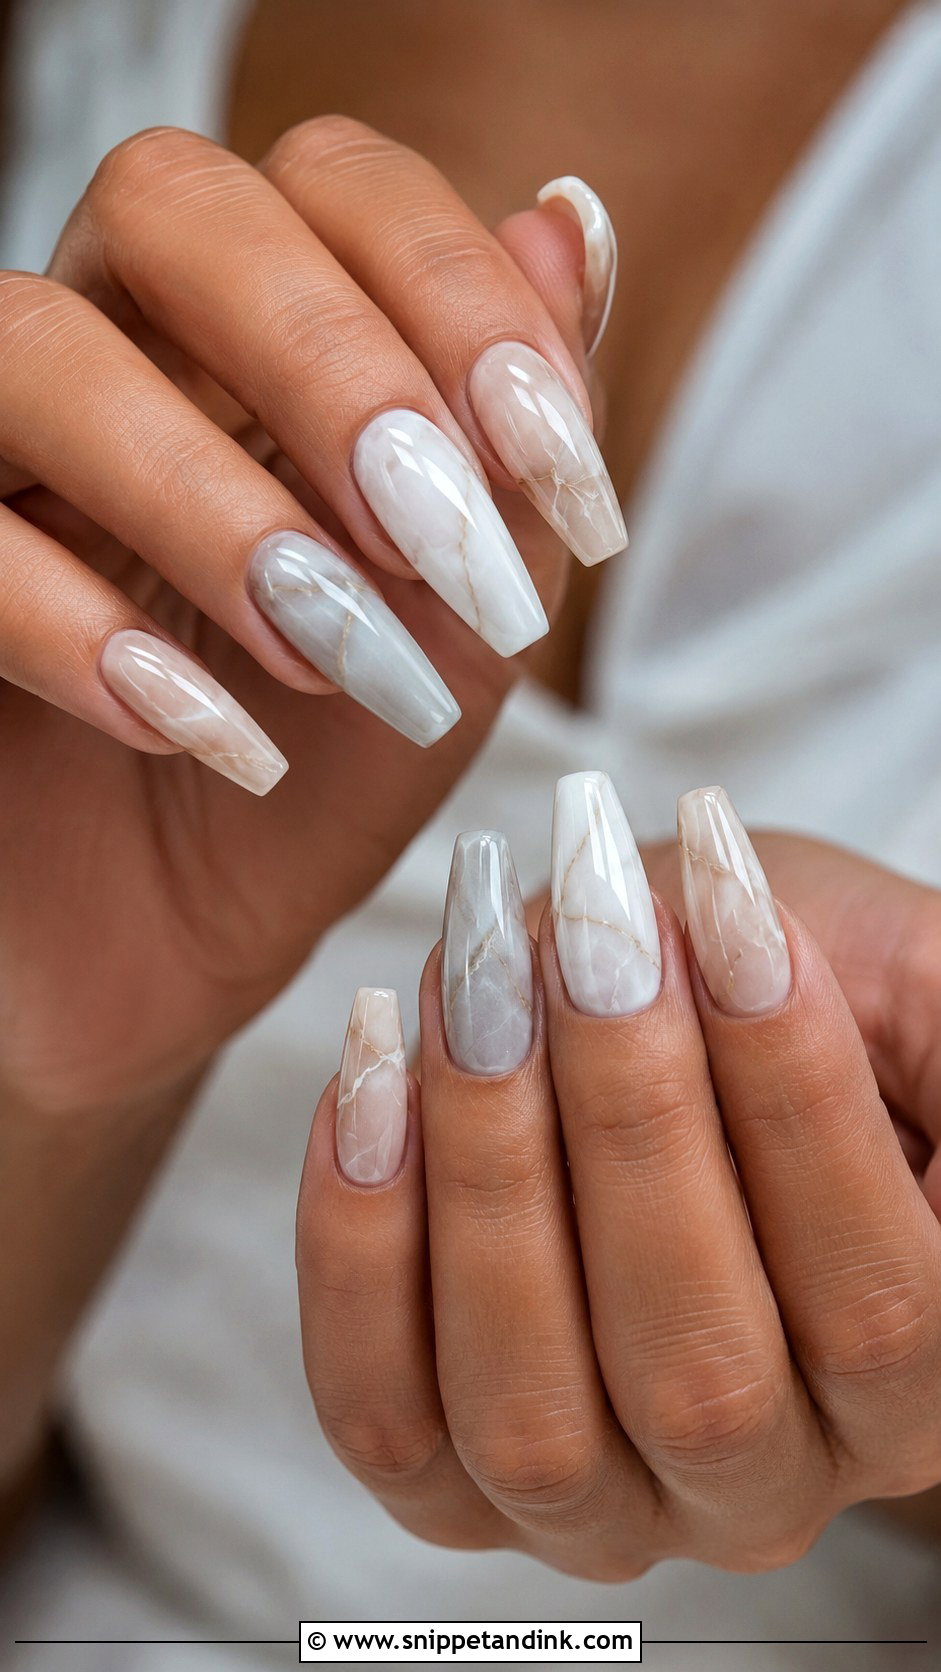
Bridal marble uses a milky white or sheer nude base with soft gray, beige or pearl veining. Dark, heavy lines look harsh beside a white dress, so I keep them light. You can marble every nail for a luxe effect or keep it to two accent nails with plain gloss around them. Almond and coffin shapes show the pattern best; square makes it modern. It suits sleek gowns and sculptural accessories when you want detail without sparkle.
17. Something Blue Wedding Nails
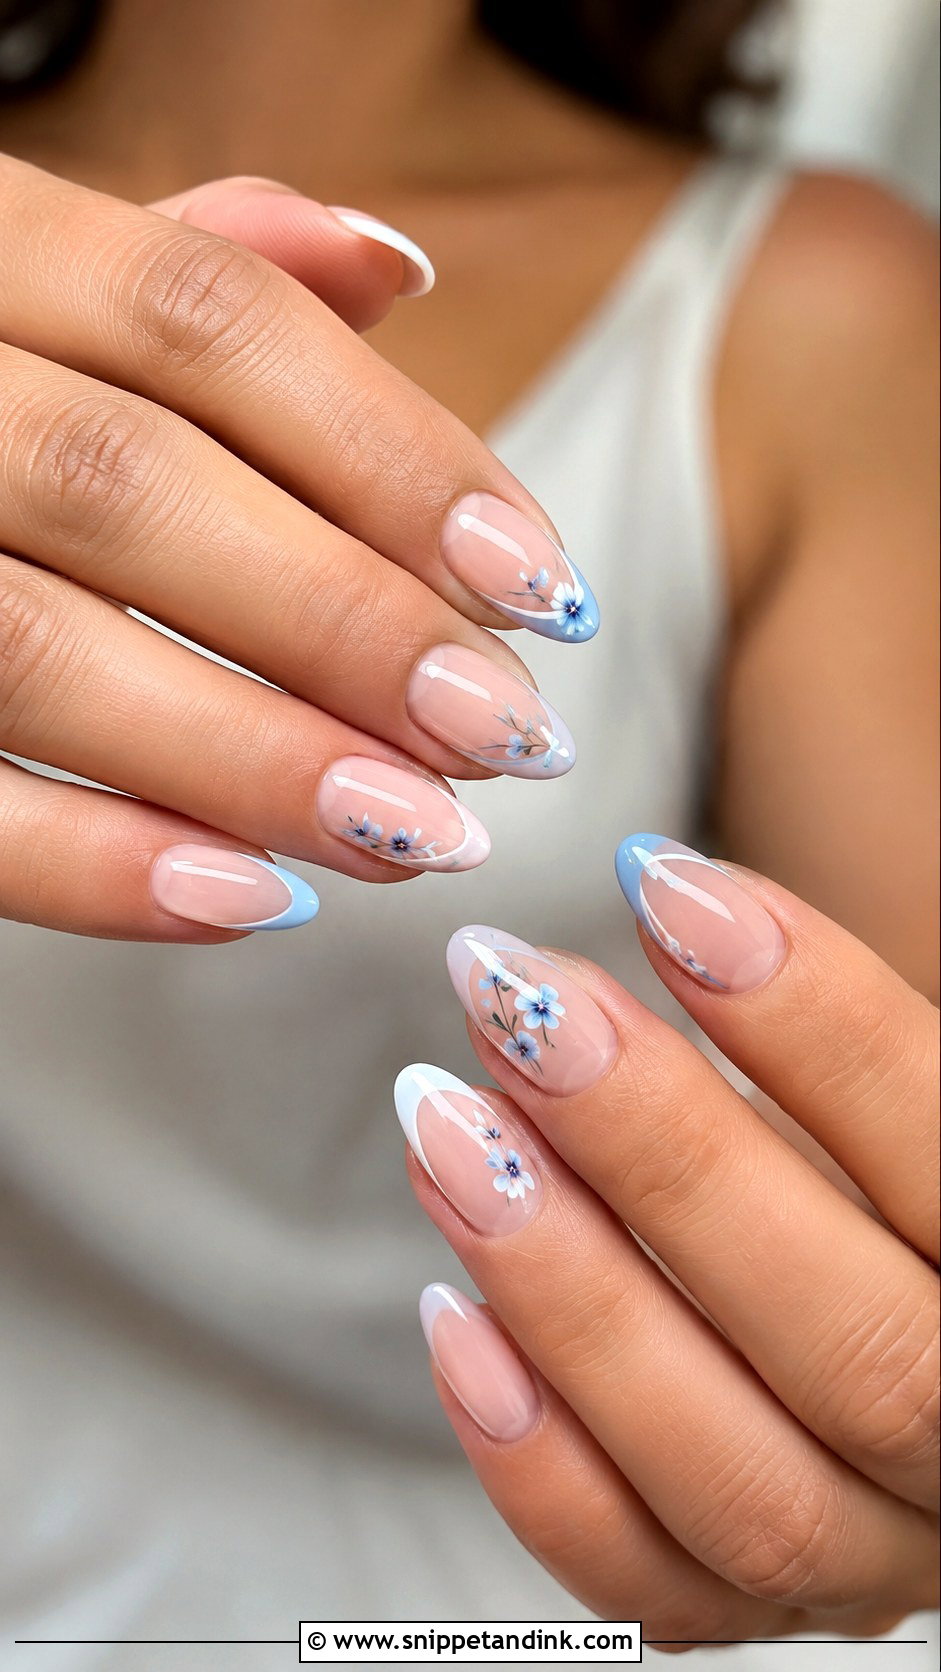
Something blue is easiest to carry on the nails, because it can be as quiet as you like. Instead of bright blue polish everywhere, I put pale blue details over a sheer nude or milky base: soft blue French tips, a tiny flower, fine dots, or one hidden accent on the ring finger. Light blue reads fresh on short round, almond and square nails. Pale blues can look gray in warm indoor light, so check the shade near a window and under a lamp at your appointment.
18. Cat Eye Wedding Nails
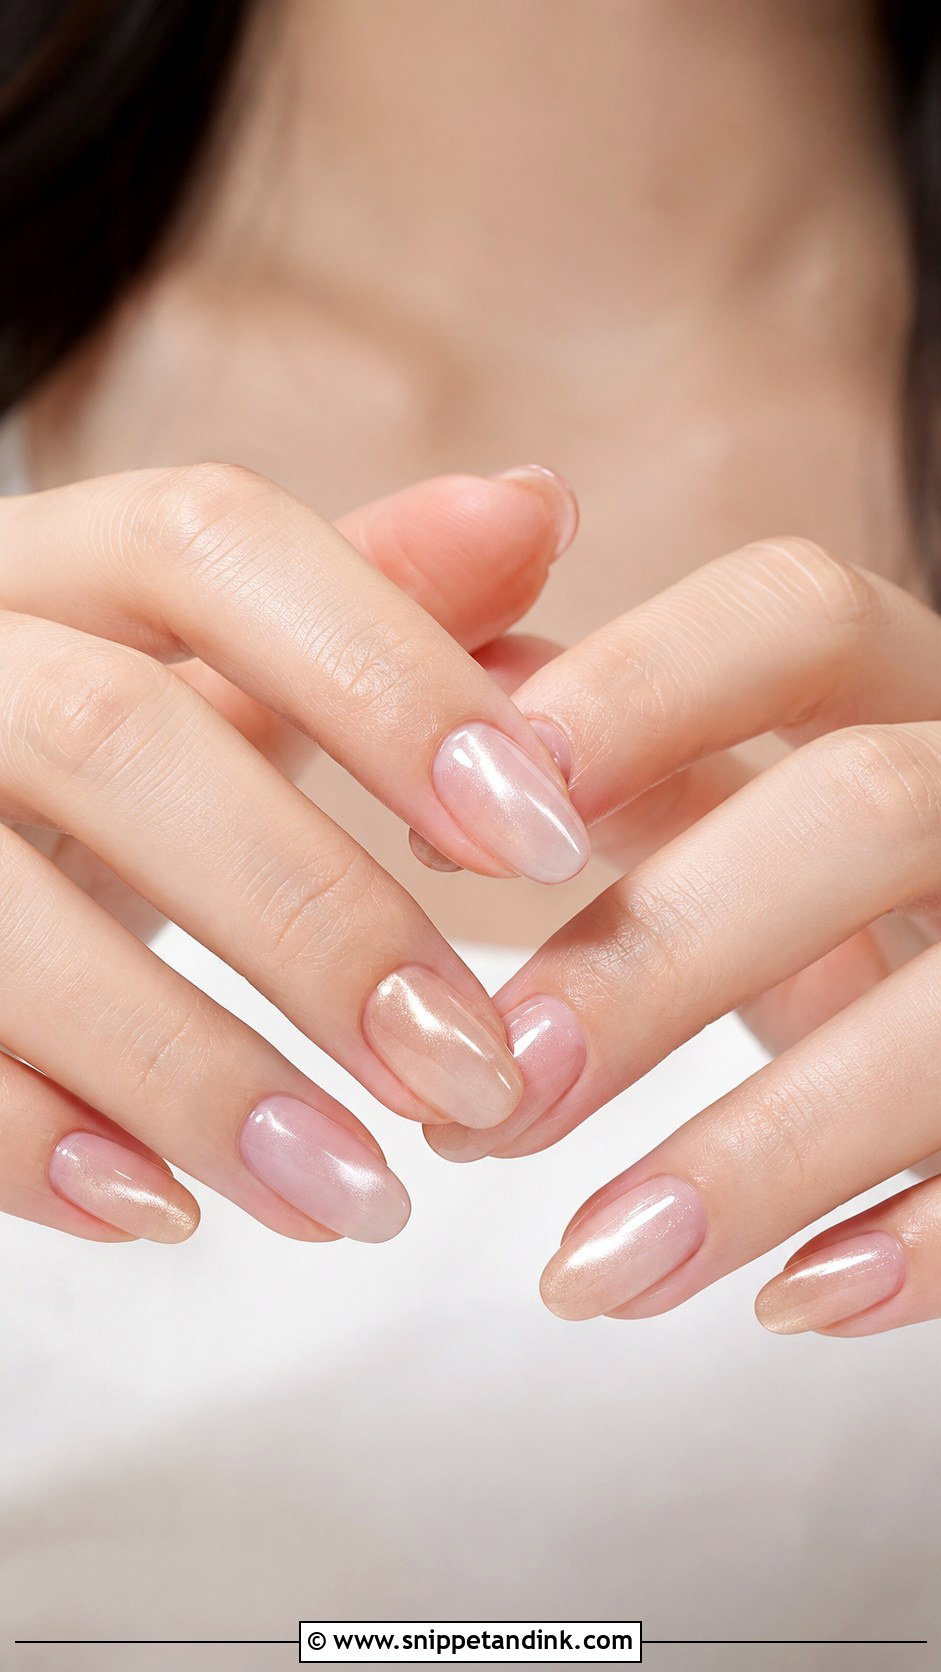
Cat eye gel holds magnetic particles that I pull into a band of light with a magnet before curing. For a wedding, I keep the effect soft over a sheer nude, blush, champagne or milky pink base, aiming for a silky glow instead of a dark stripe. Almond and oval shapes let the shimmer follow the curve. It adds dimension without glitter. The shimmer shifts with every movement, which looks wonderful in daylight portraits.
19. Pearl Accent Wedding Nails
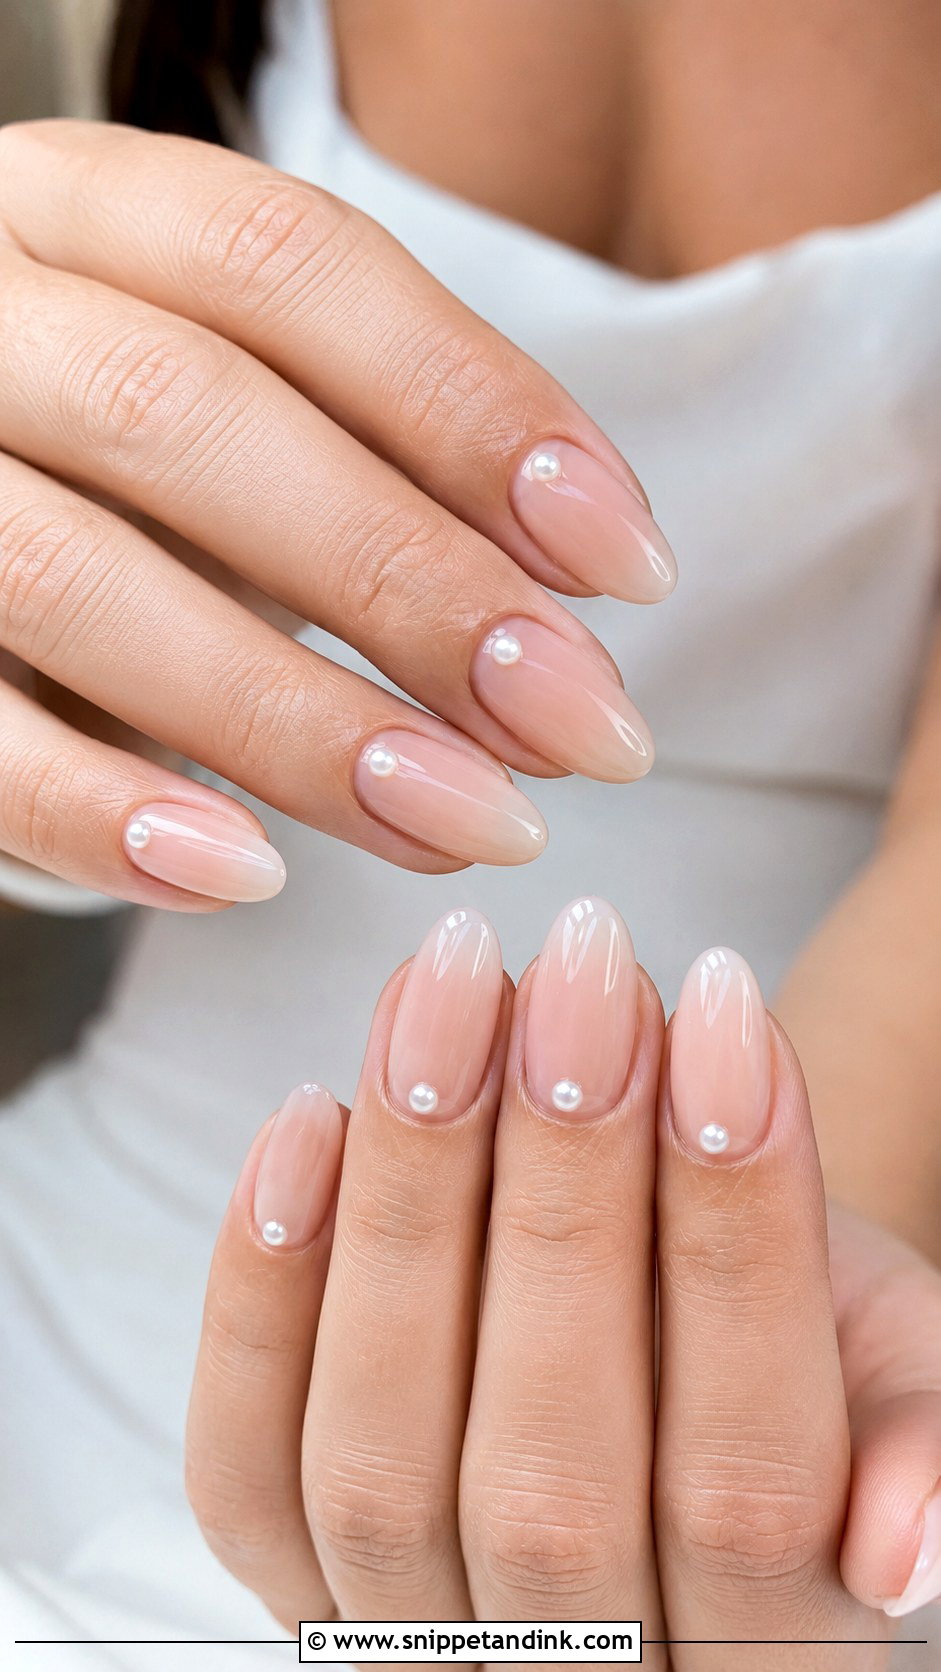
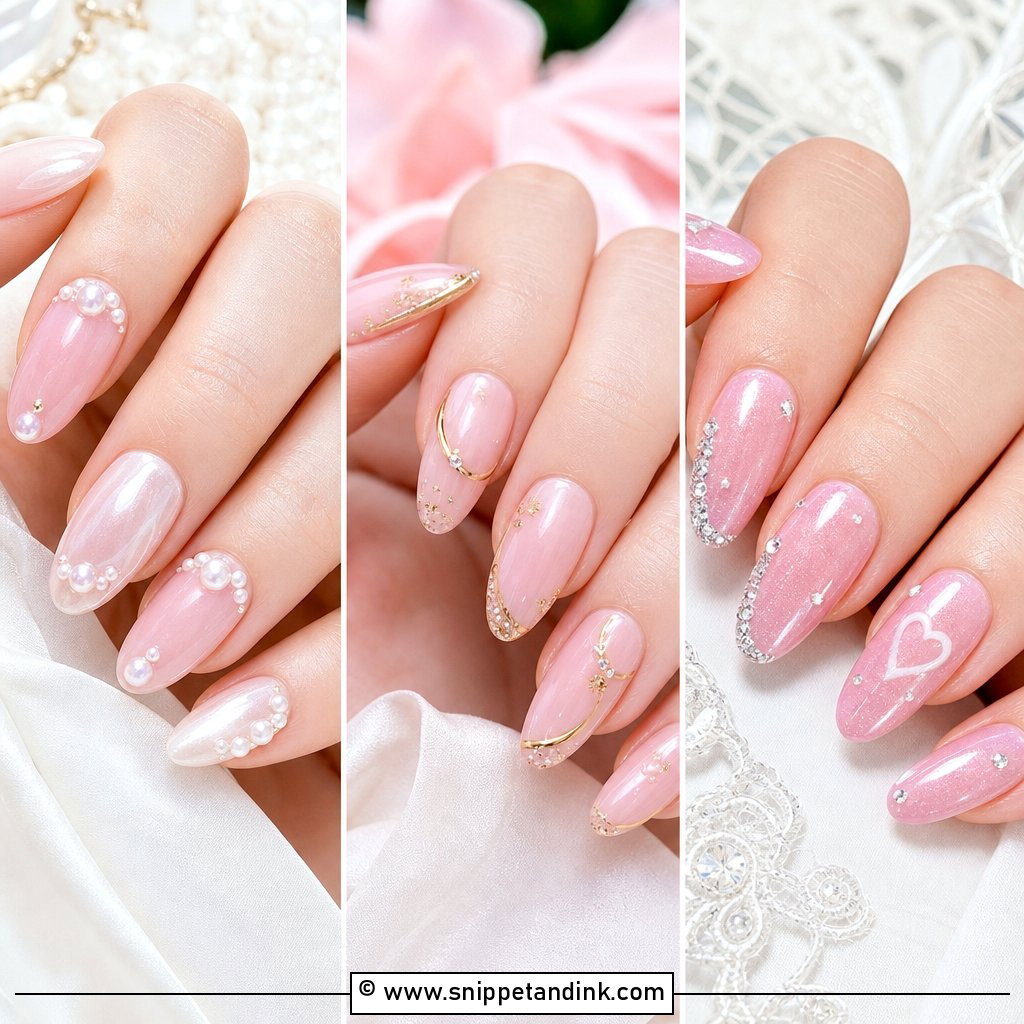
Pearl accents add texture, but only a little. Over a sheer pink, nude or milky white base, I place tiny flat-back pearls near the cuticle or along one accent nail. Placement near the cuticle is the most secure because that part of the nail doesn’t flex. I embed each pearl in builder gel and seal around it; loose pearls catch in hair and lace. Medium almond, oval or short squoval nails suit it, and two or three pearls can mirror your earrings or dress beading.
20. Glitter Ombre Wedding Nails
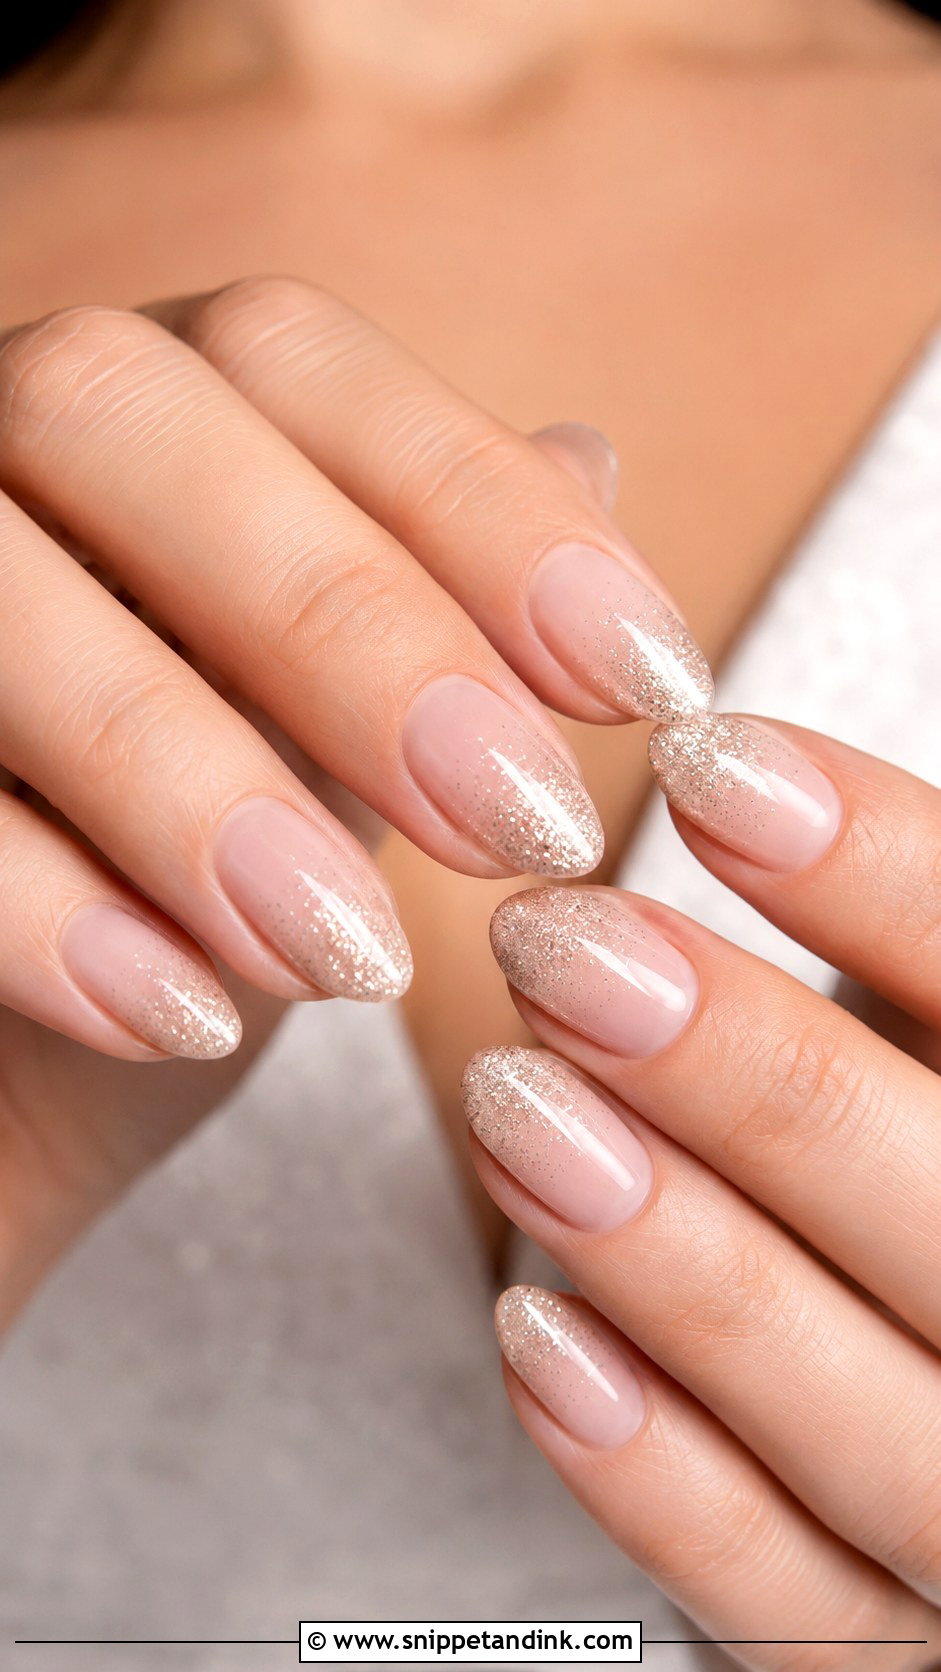
Glitter ombre fades fine sparkle from the tip or cuticle over a nude, blush or milky base. Fine silver, champagne or pearl glitter catches light without looking chunky; coarse glitter can look busy in close-ups. It works on almond, coffin, and oval nails, especially at medium length. I ask for a smooth gradient and a thick glossy top coat, because glitter feels rough unless it’s fully encapsulated. Beaded gowns and evening receptions suit it best.
Pairing Polish With the Metal and Stone of Your Ring
Your ring sets the tone. Yellow and rose gold sit well beside warm nudes, blush and champagne foil. White gold and platinum suit milky whites, silver chrome and cooler pinks. A large diamond reflects whatever is next to it, so a very bright nail color can look reflected in the stone in macro photos.
Skin undertone matters as well. Hold a few shades against your finger in daylight, not under salon lamps. A nude that disappears on one hand looks gray on another.
A Broken Nail the Night Before Isn’t a Disaster
Keep a small file, nail glue and a clear top coat in your bag. A crack can usually be glued and sealed, and a nail broken below the free edge can be filed short and smoothed so it looks deliberate next to the others. If one nail is badly damaged, I’d rather shorten all ten slightly than leave one obviously different.
After the wedding, have gel or builder removed properly by soaking or filing. Peeling it off takes layers of your natural nail with it.
Small Details That Hold Up in a Ring Close-Up
The right wedding manicure makes your hands feel polished and still recognizably yours. Milky white, pearl chrome, French tips, soft ombre, nude florals and small metallic details work because they support the bridal look rather than compete with it. Think about the dress texture, ring metal, bouquet palette and your daily routine before settling on length and shape. If possible, book a trial manicure before the wedding so you can test the shade in natural light. A bridal manicure doesn’t need to be complicated, only well prepared.
You'll Like These Ideas:


Leave a Reply