
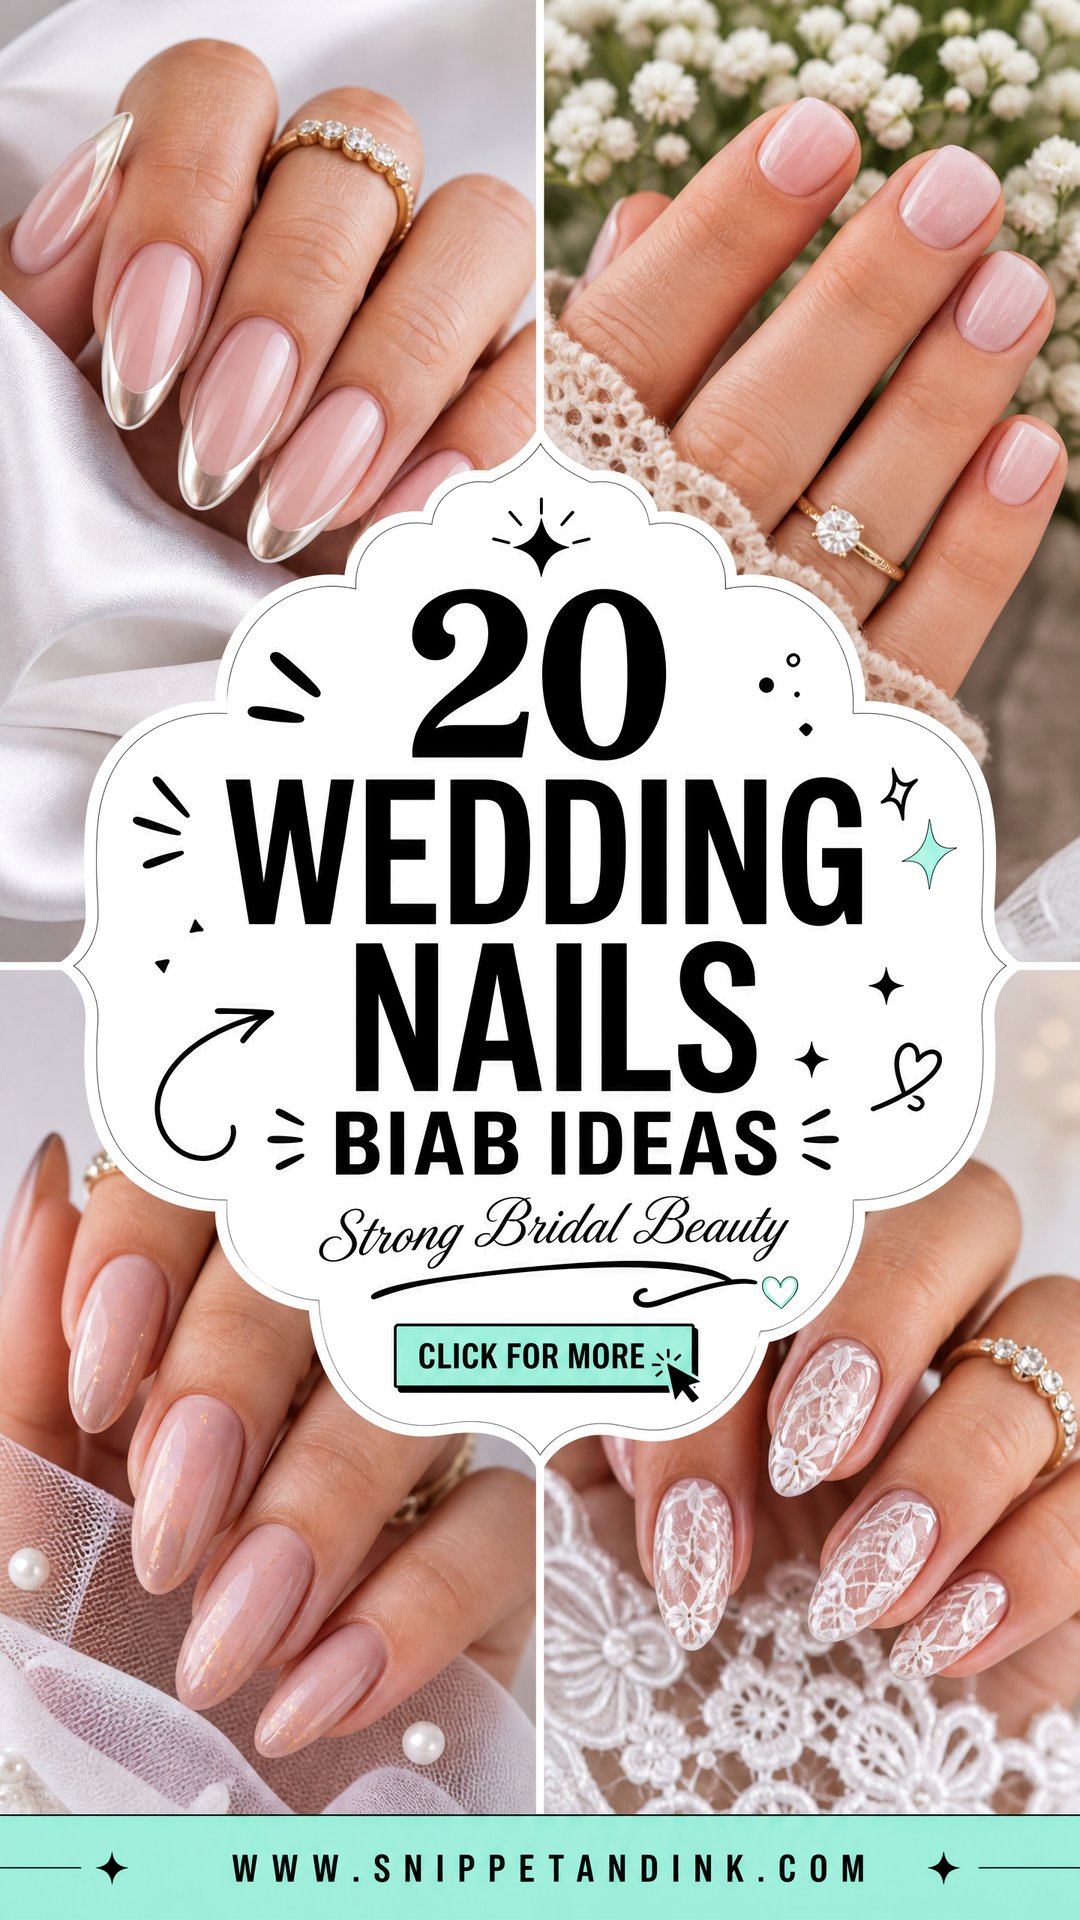
BIAB stands for Builder in a Bottle, and it is the product I reach for most often when a bride tells me her own nails always snap the week before something important. It is a soft builder gel brushed over the natural nail, so you get a little structure and an apex without the bulk of acrylic or tips. That structure is why it survives a wedding: hours of hugging, holding a bouquet, opening cards, then a honeymoon spent in pools and suitcases. The designs below stay deliberately quiet, from milky whites and sheer pinks to fine chrome, pearls and hand-painted florals, because a bridal hand is photographed up close and anything busy reads louder on camera than it does in the mirror.
Is BIAB the Right Base for Your Nails?
BIAB is a soak-off builder gel, thicker than regular gel polish and much thinner than acrylic. I brush it on, shape a gentle apex over the stress area where the nail leaves the finger, and cure it under a lamp. On thin, bendy nails that is what stops a corner tearing on the morning of the wedding.
It isn’t for everyone, and I’d rather say so at the consultation than after the trial:
- If you want real length, BIAB alone won’t give it. It reinforces your own nail; it doesn’t extend it much beyond a few millimetres.
- If your nails are very damaged or bitten down, a structured gel can still work, but give yourself a couple of fills before the wedding so the nail grows out under protection.
- If you’ve ever reacted to gel products, with itching or redness around the cuticle, tell your nail artist. Builder gels contain acrylates, and a reaction tends to get worse with each exposure, not better.
- If you plan to remove it yourself at home with a peel, choose regular polish instead. Peeling BIAB takes layers of your nail with it.
1. Milky White BIAB Wedding Nails
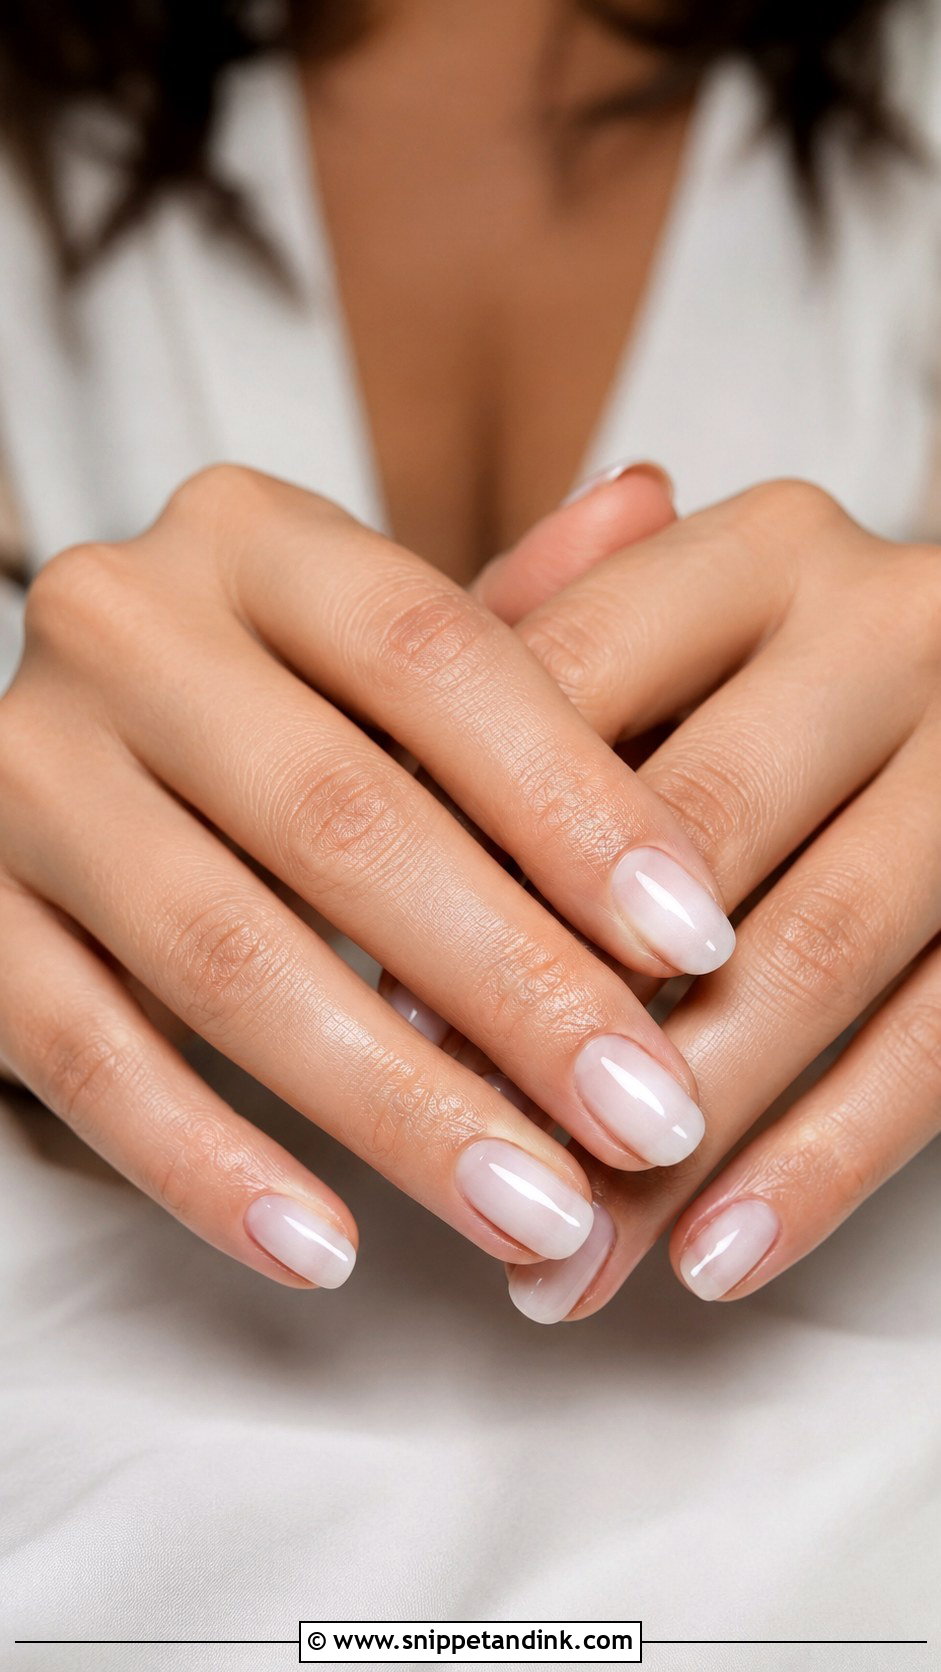
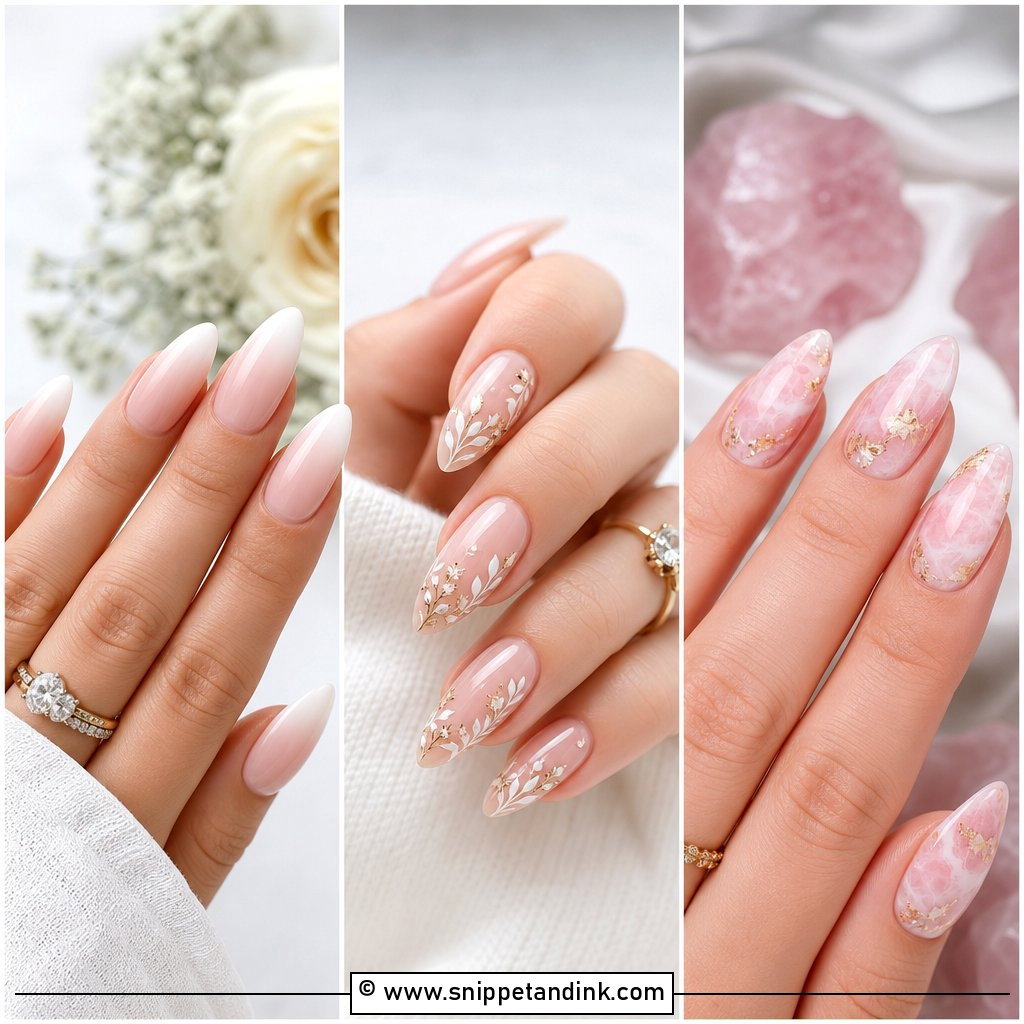
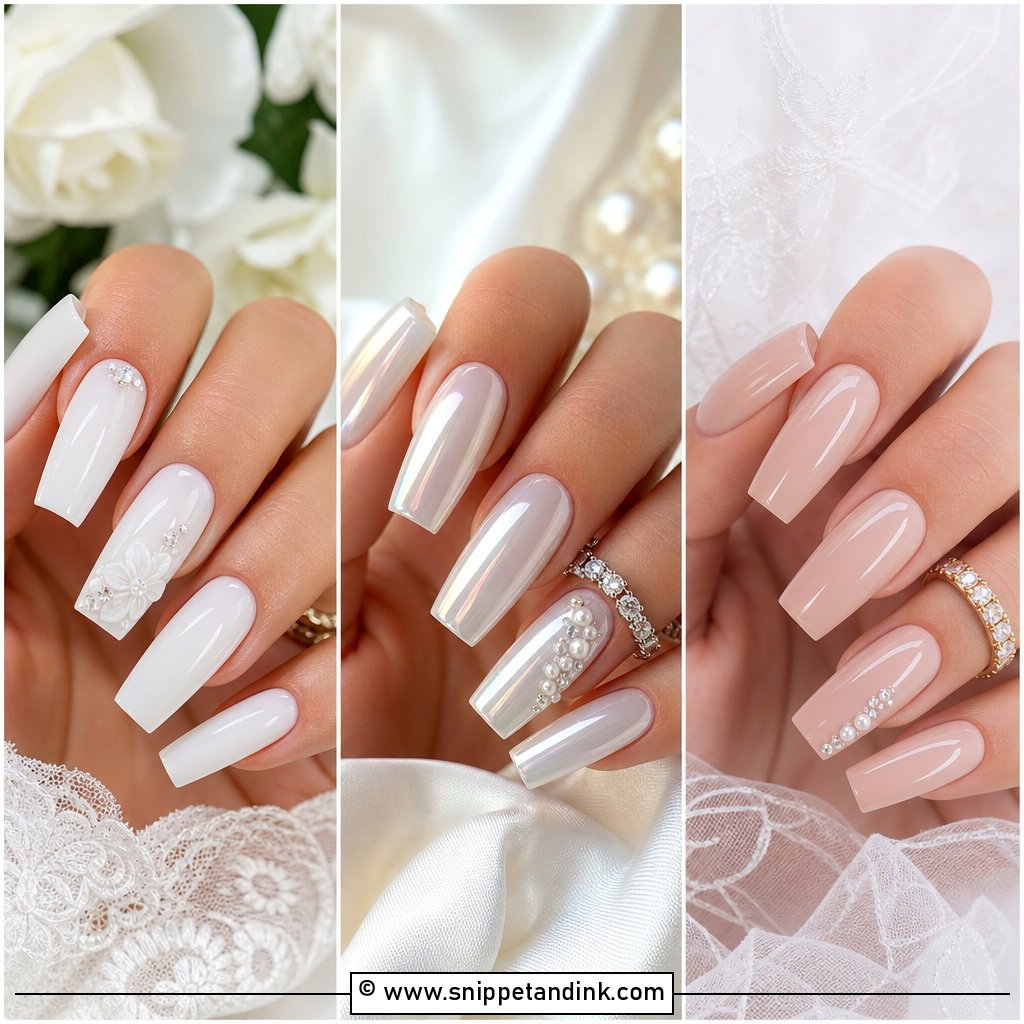
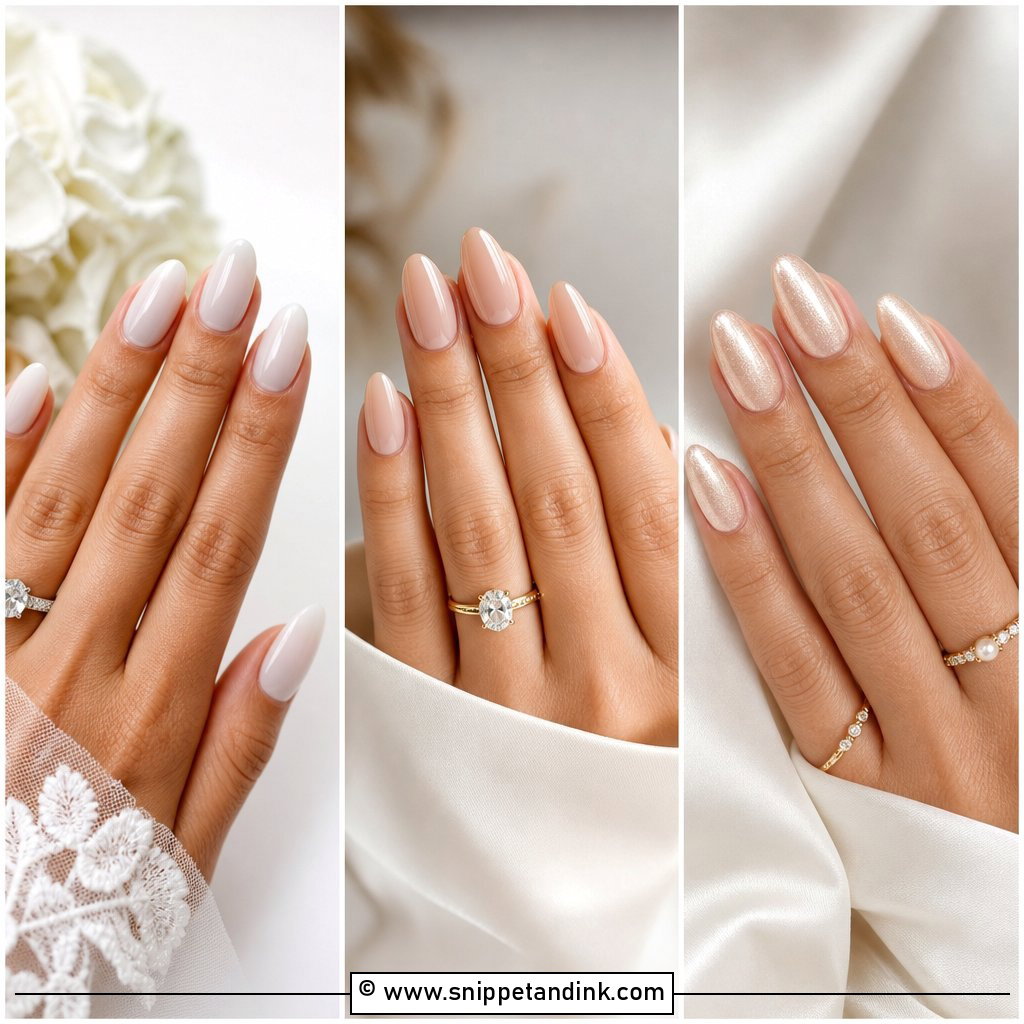
Milky white BIAB wedding nails sit between a clear overlay and a solid white, which is exactly why I like them for brides who find bright white too stark against their skin. The builder gives a slightly plump, glassy surface, and the milkiness softens any staining or ridges underneath. I usually build it in two thin layers rather than one thick one, because a single heavy coat of milky gel can cure streaky. It suits short ovals and soft almonds best, and it is the set I see brides happily keep for weeks after the wedding.
2. Soft Pink BIAB Wedding Nails
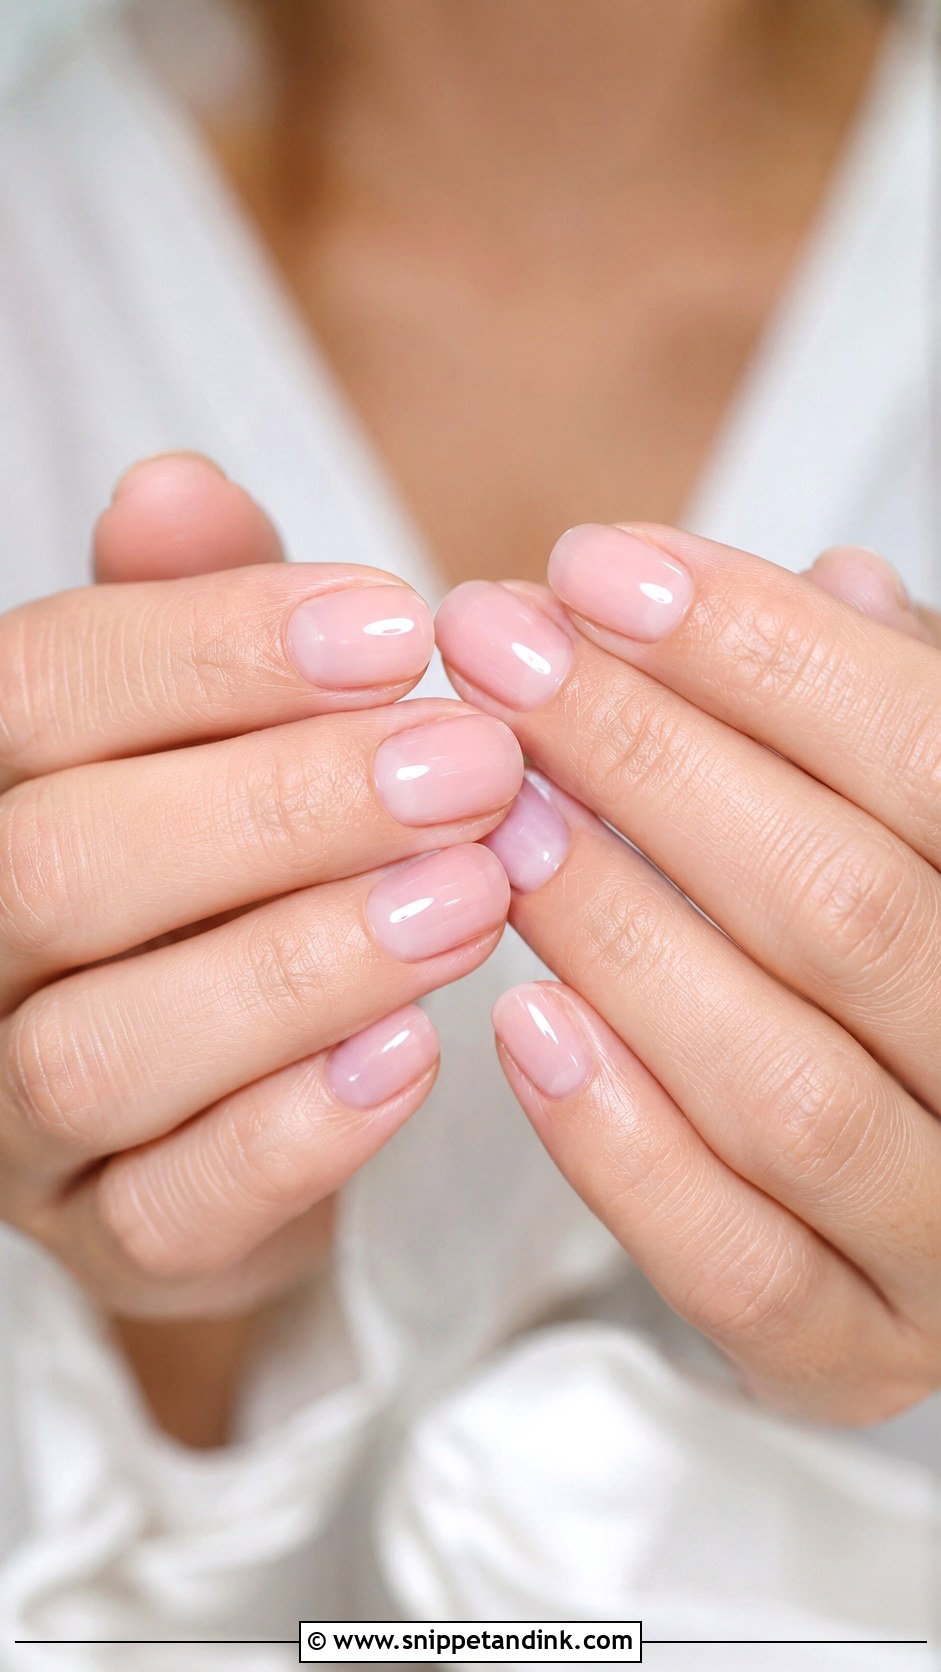
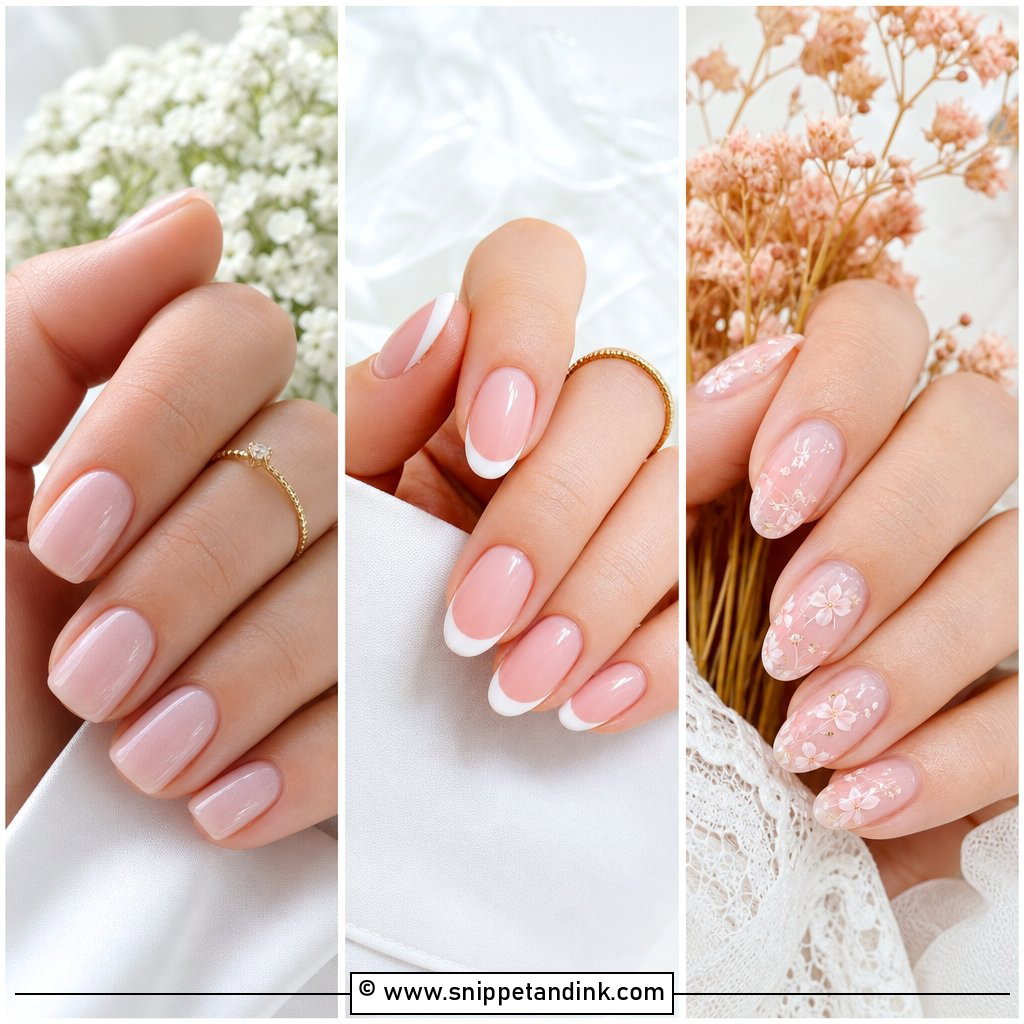
Soft pink is the shade I default to when someone can’t decide, because a sheer blush tone evens out the nail bed without drawing attention away from the ring. If your nails have ridges or patchy white spots, the builder layer fills those in first, and the pink then reads as healthy rather than painted. On short rounded nails it looks like your own nails on a good day. On almond with some length it gets a little more graceful. A satin top coat is an option, but I warn brides it can scuff and dull faster on hands that are constantly being touched.
3. BIAB French Tip Wedding Nails
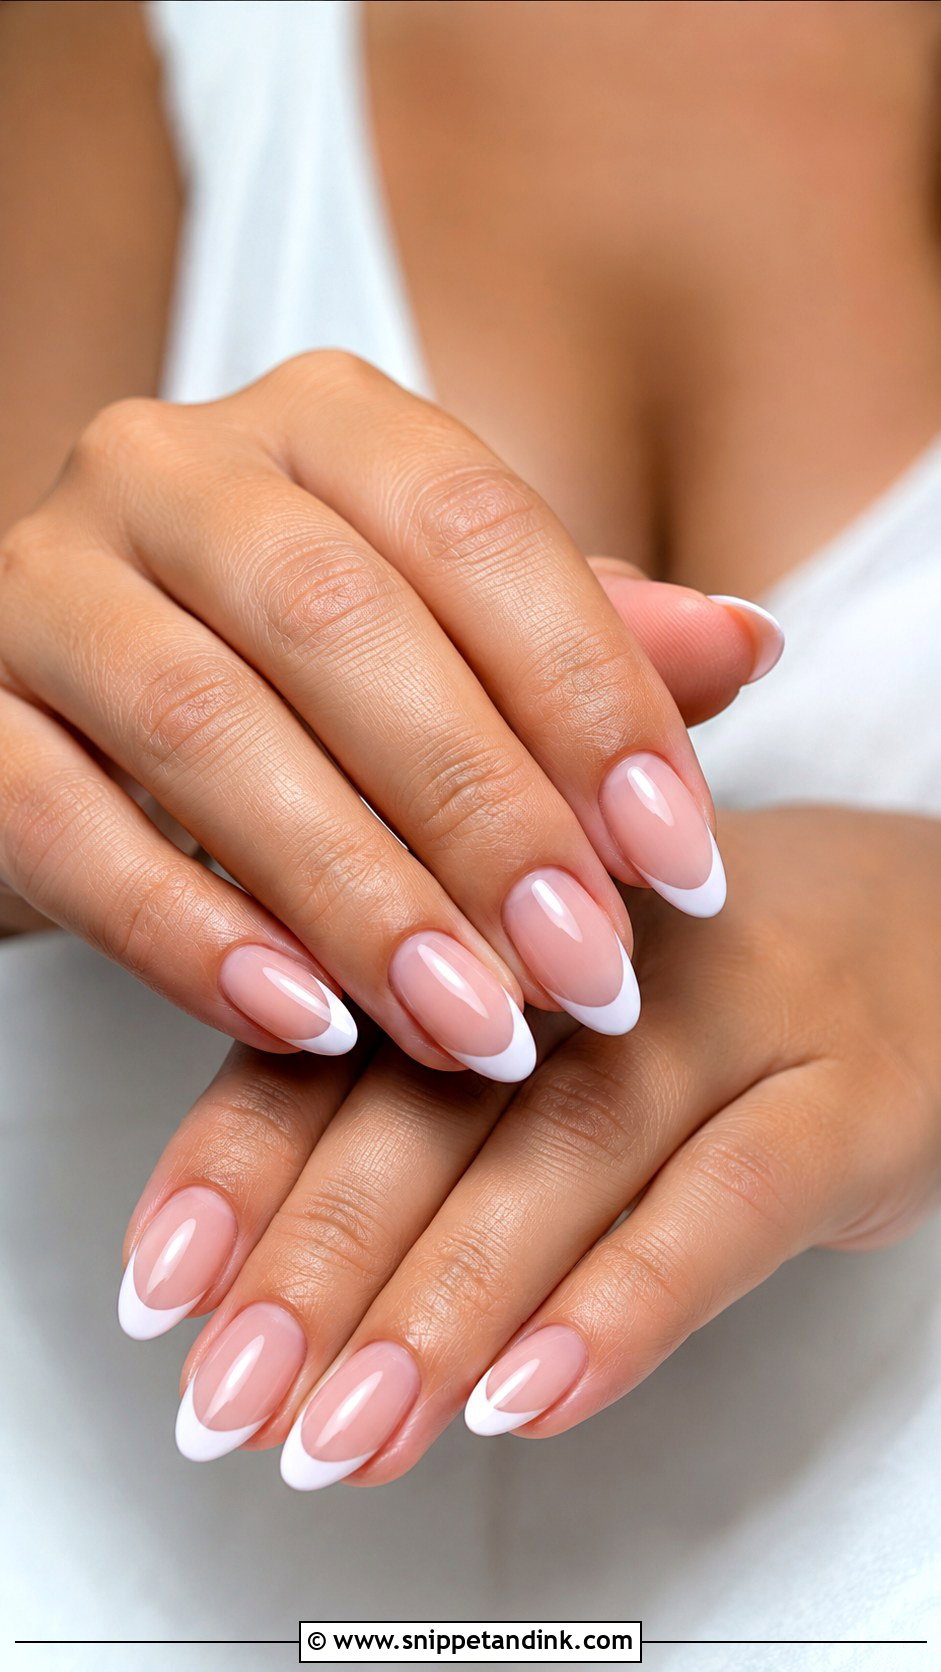
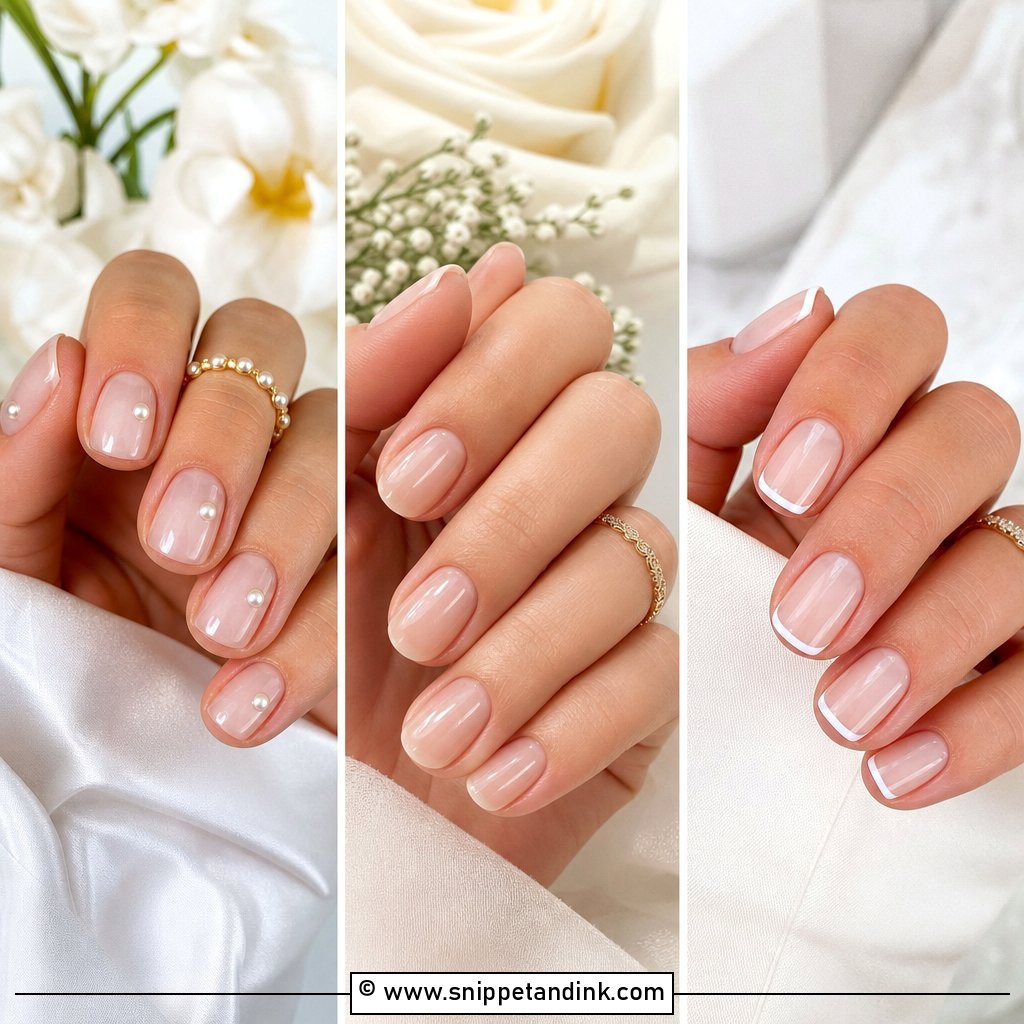
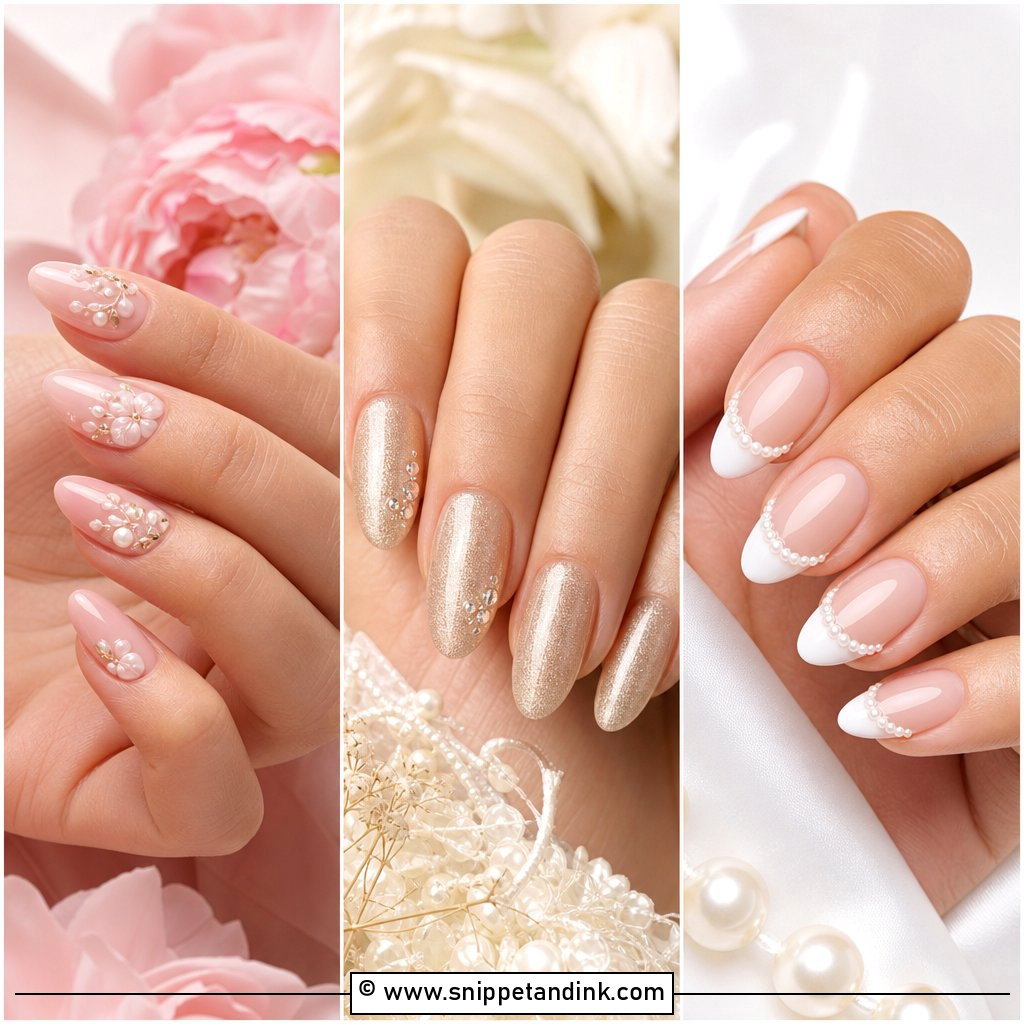
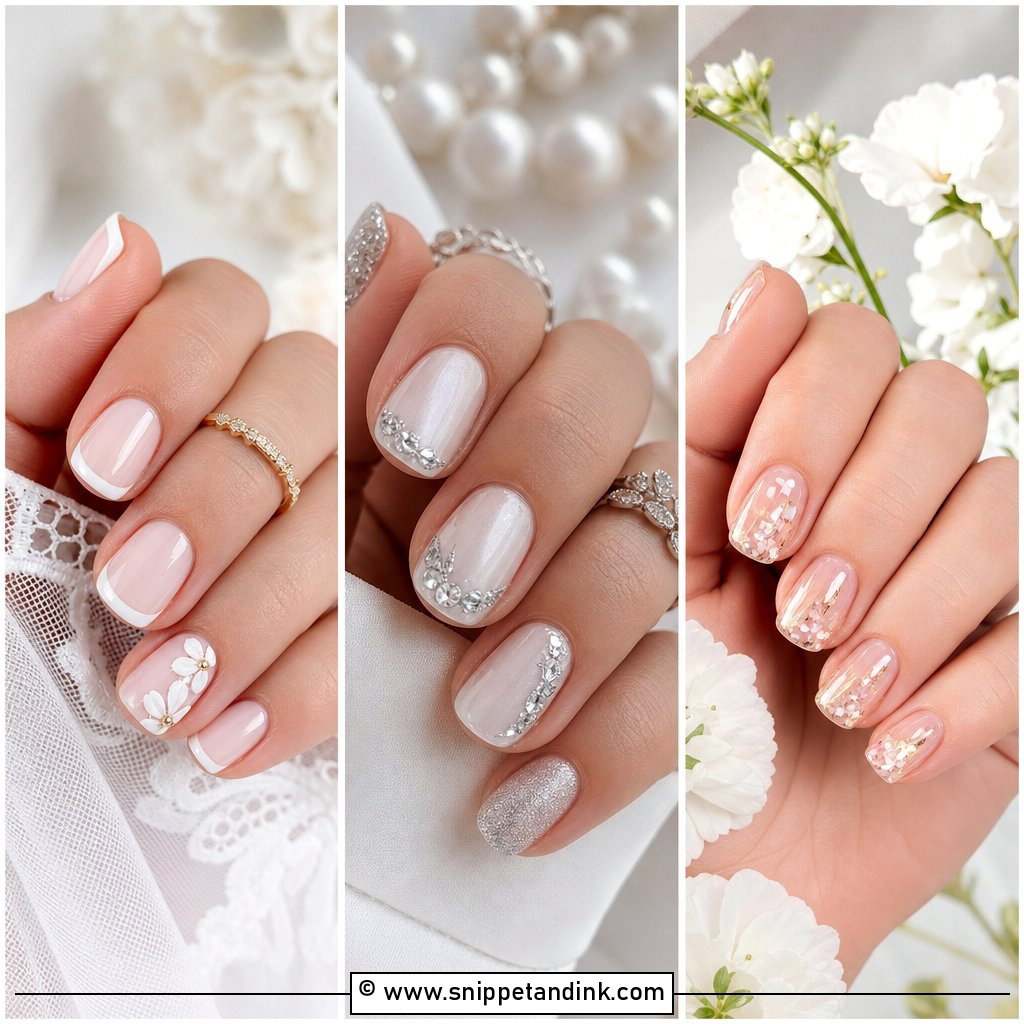
A French tip over BIAB is the design I get asked for most, and the version I steer brides toward now is quieter than the thick white smile line of years past. I build the sheer pink or nude base first, cure it, then paint a thin tip so the white doesn’t sit as a ridge on top. The smile line is where I spend most of my time, because a tip that is even a fraction lopsided shows in every ring photo. Almond nails make the fingers look longer with this design. Short squoval keeps it practical if you type all day and plan to go straight back to work.
4. Micro French BIAB Wedding Nails
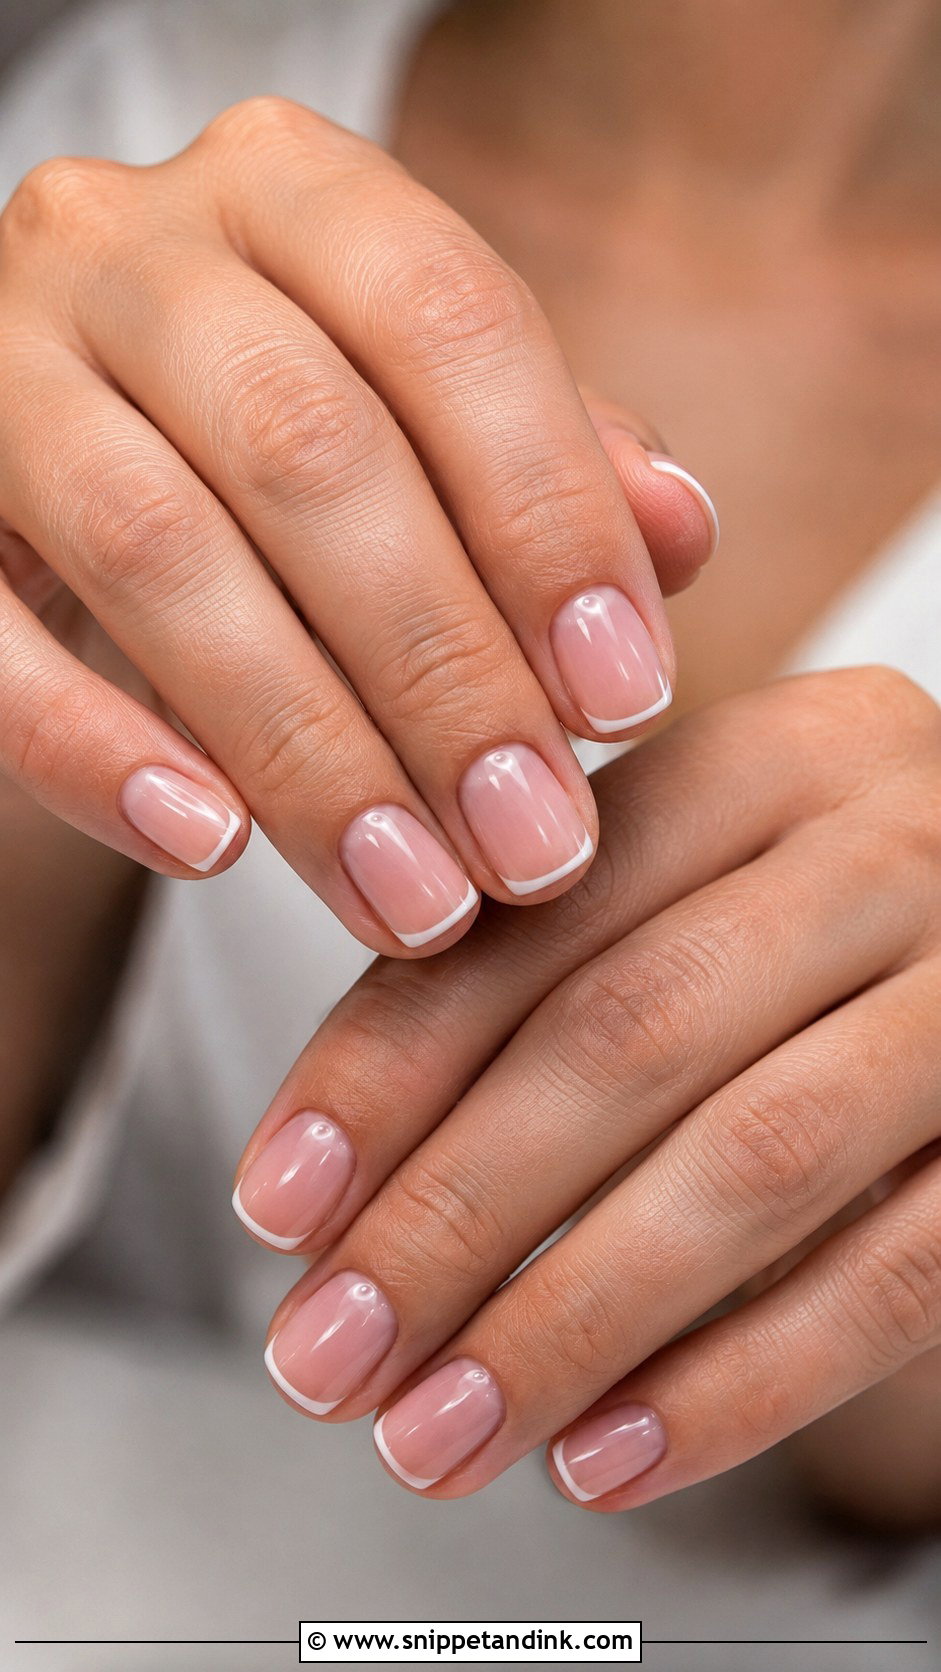
The micro French is the answer for short nails. A standard tip eats into the visible nail and makes a short bed look shorter, while a hairline tip gives definition without that effect. I paint it with a long striper brush and keep it to roughly the width of the free edge, no more. It suits brides with minimal jewelry and clean makeup. If you bite your nails or have a very uneven free edge, though, I’d grow them for a few weeks first, because a micro tip exposes every wobble.
5. Glazed BIAB Wedding Nails
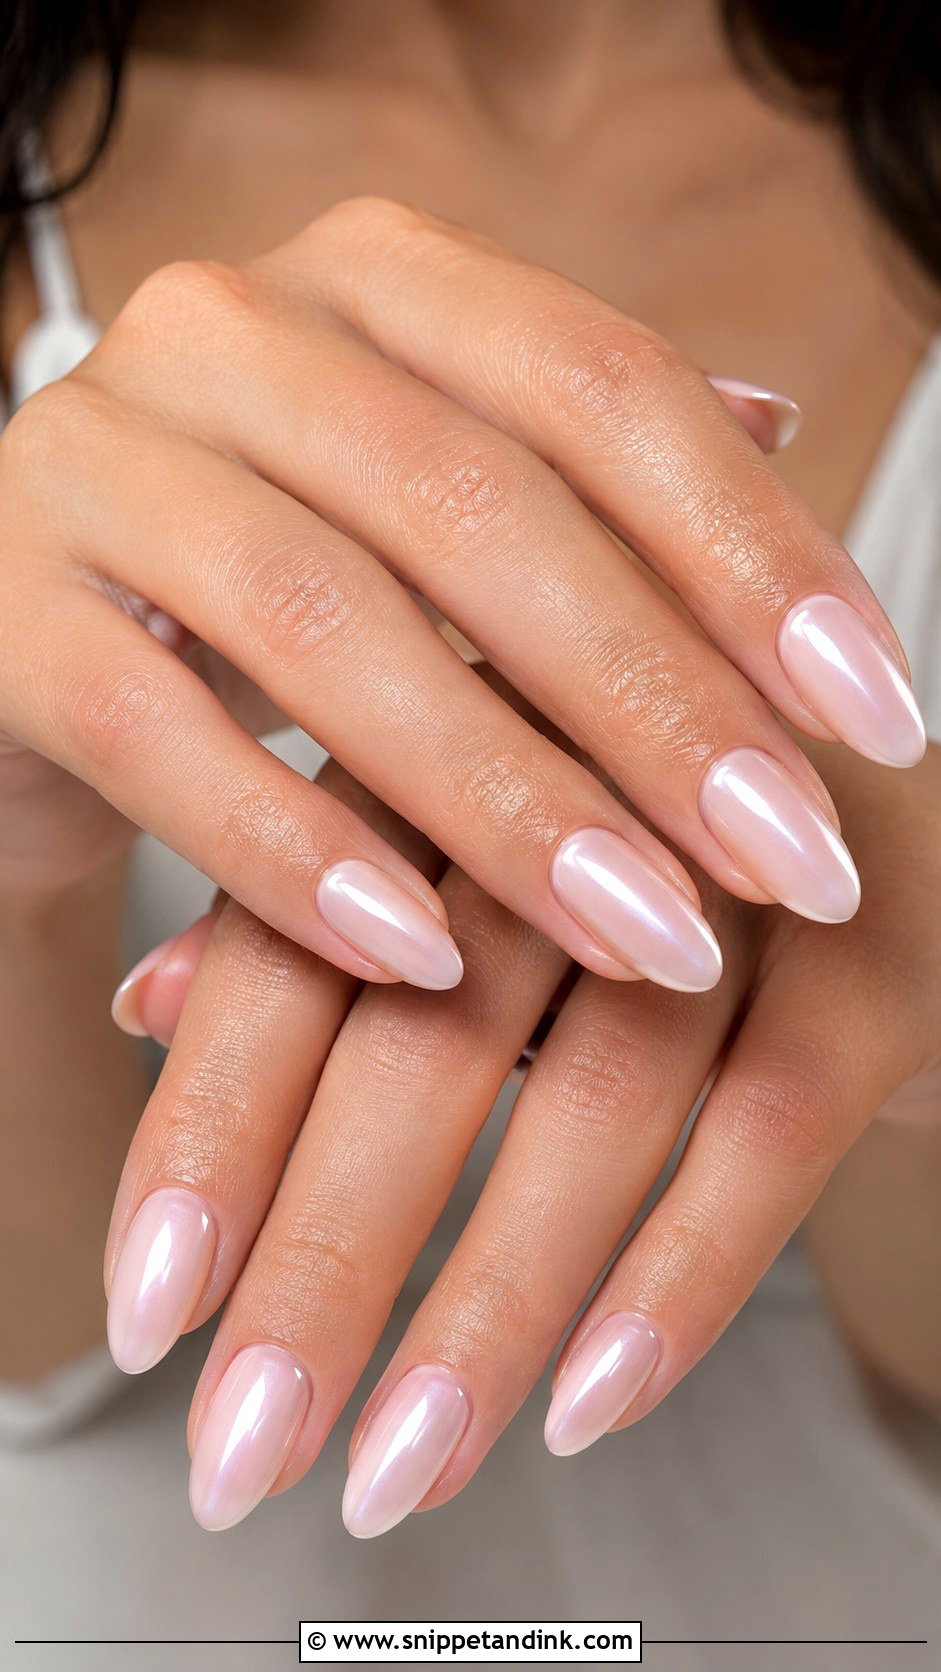
Glazed nails are a sheer base in pink, nude, or milky white, a no-wipe top coat, and then a fine pearl or chrome powder buffed in until it glows. The powder only grips a top coat that is completely smooth, so any bump in the builder underneath shows up as a dull patch. That is why I take extra care levelling the apex before I glaze. The shine is softer than glitter and much kinder in close-up photos. Curved shapes like almond and oval catch the light best; flat square nails reflect it in one hard strip.
6. Pearl BIAB Wedding Nails
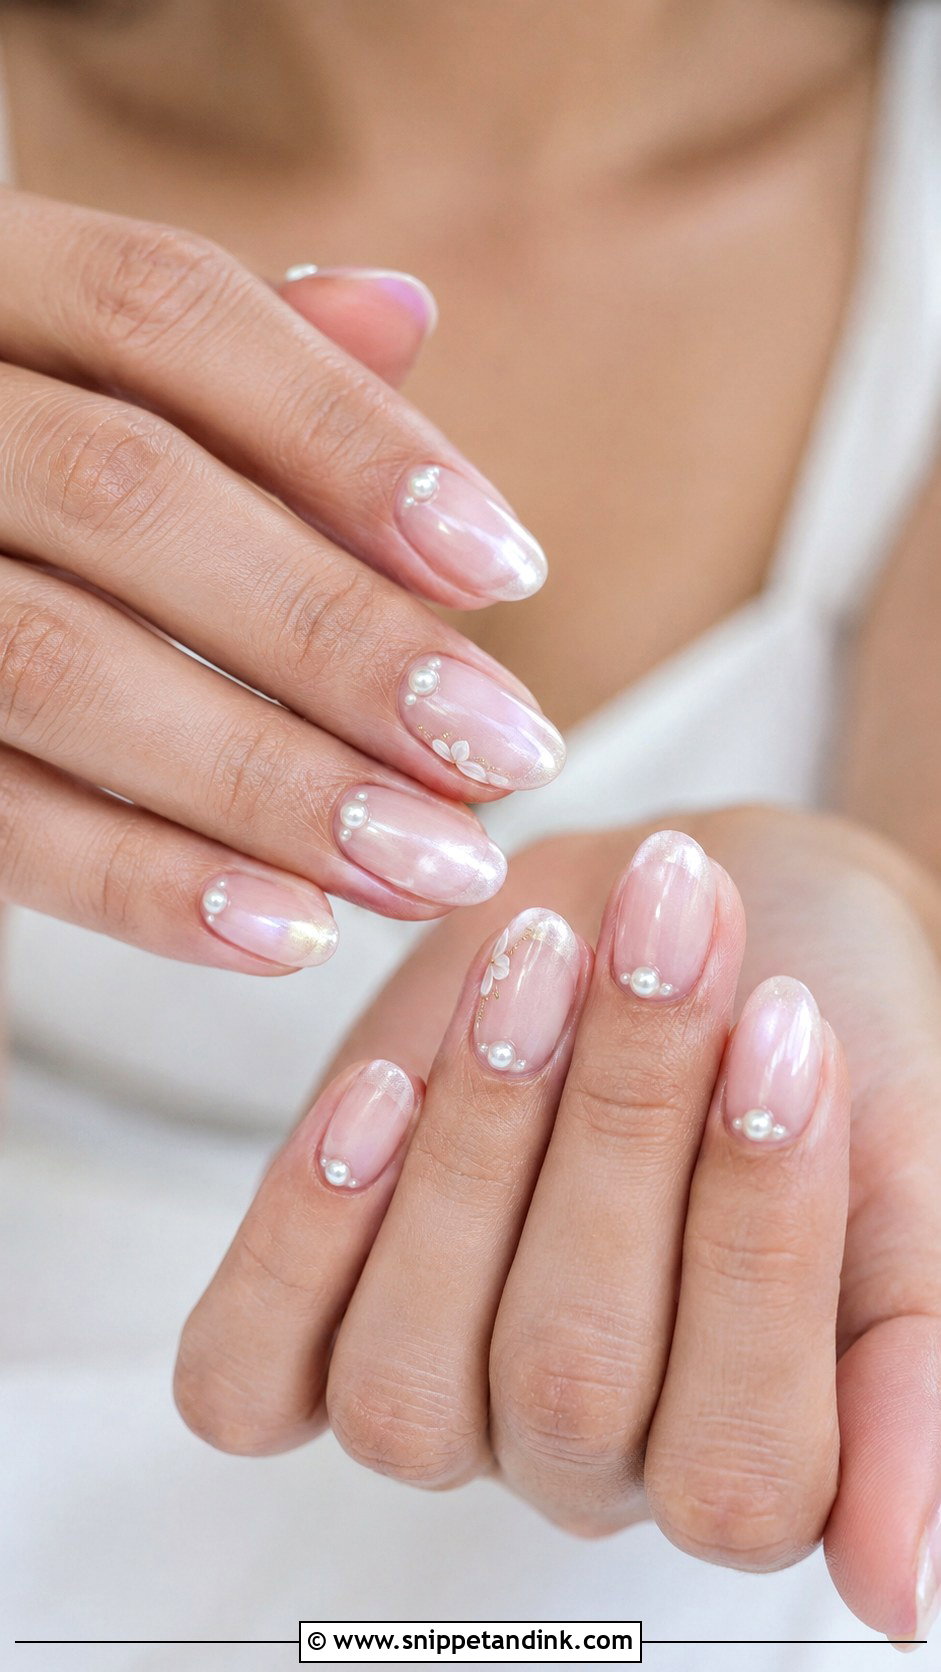
Pearls are where I see the most problems after the wedding, not at it. A pearl stuck on with top coat alone will pop off the first time you catch it on a veil or a zip. I set mine into a small bead of builder gel, cure it, then seal around the base so there’s no edge for fabric to snag. Placed near the cuticle on one or two accent nails, they look intentional. Across all ten nails they crowd the hand and feel lumpy when you run your fingers through your hair. They pair naturally with pearl earrings or a beaded veil.
7. Nude BIAB Wedding Nails
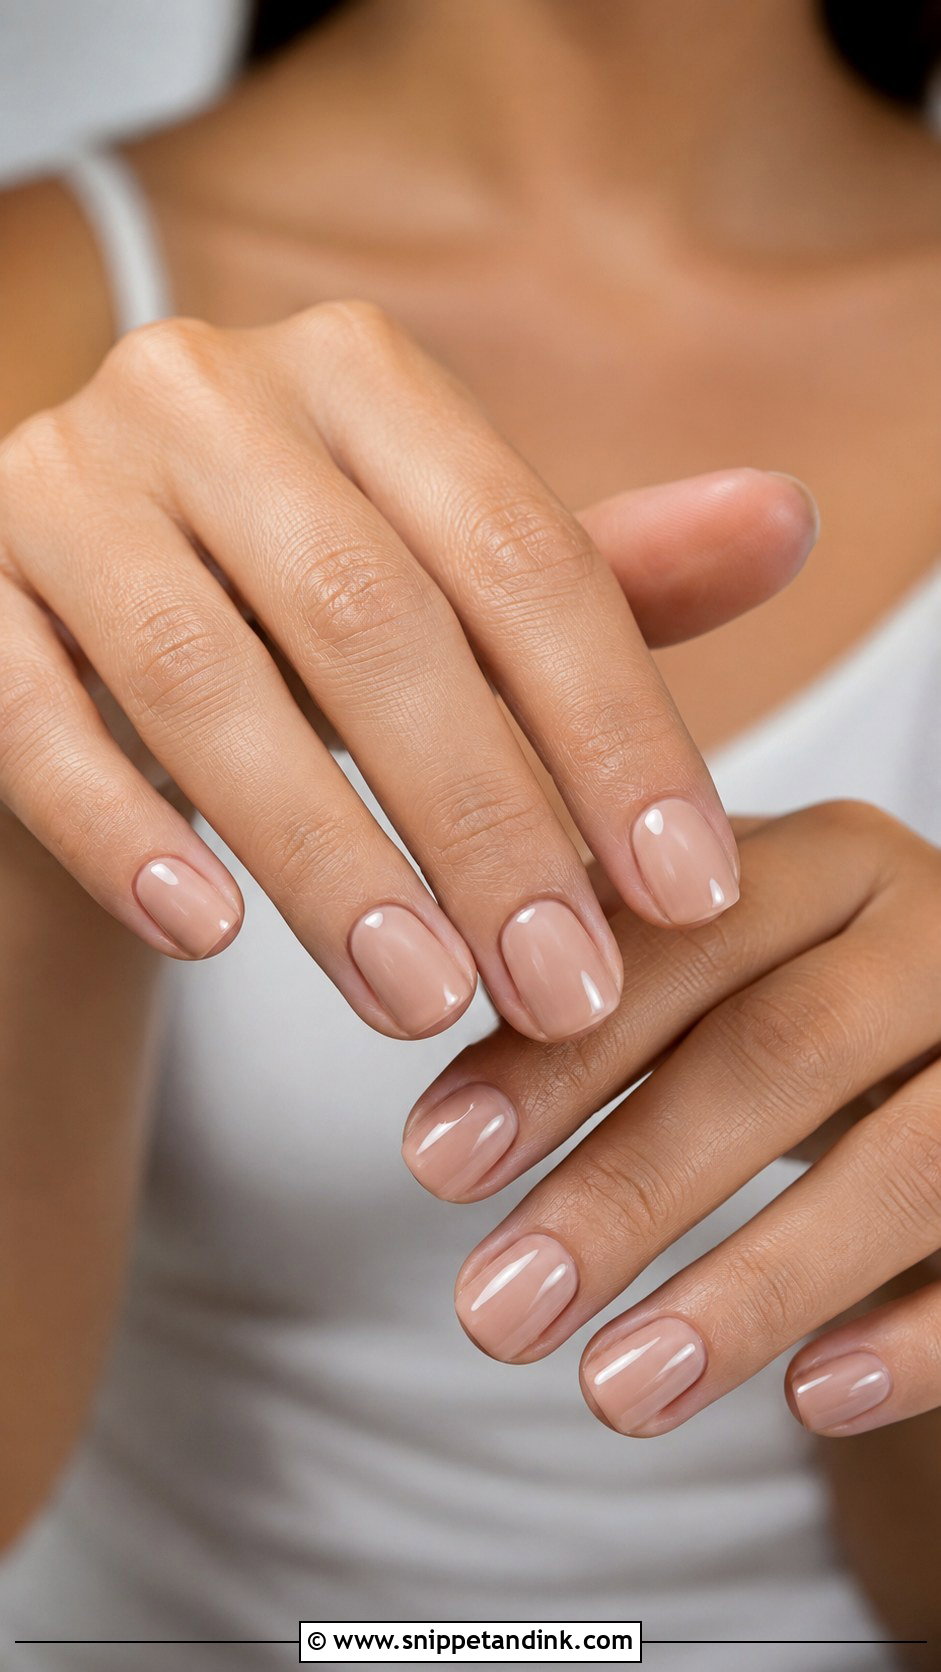
Nude is harder to get right than it sounds, and it is the shade I test most often on the actual bride’s hand rather than a swatch stick. A nude with too much yellow turns a cool-toned hand sallow, and one with too much pink can look bubblegum against olive skin. I hold two or three options against the knuckle in daylight before deciding. BIAB helps because the colour sits on a level surface, so it looks finished rather than streaky. Short squoval feels everyday; almond with the same nude looks more polished and a touch more formal in ring shots.
8. Ombre BIAB Wedding Nails
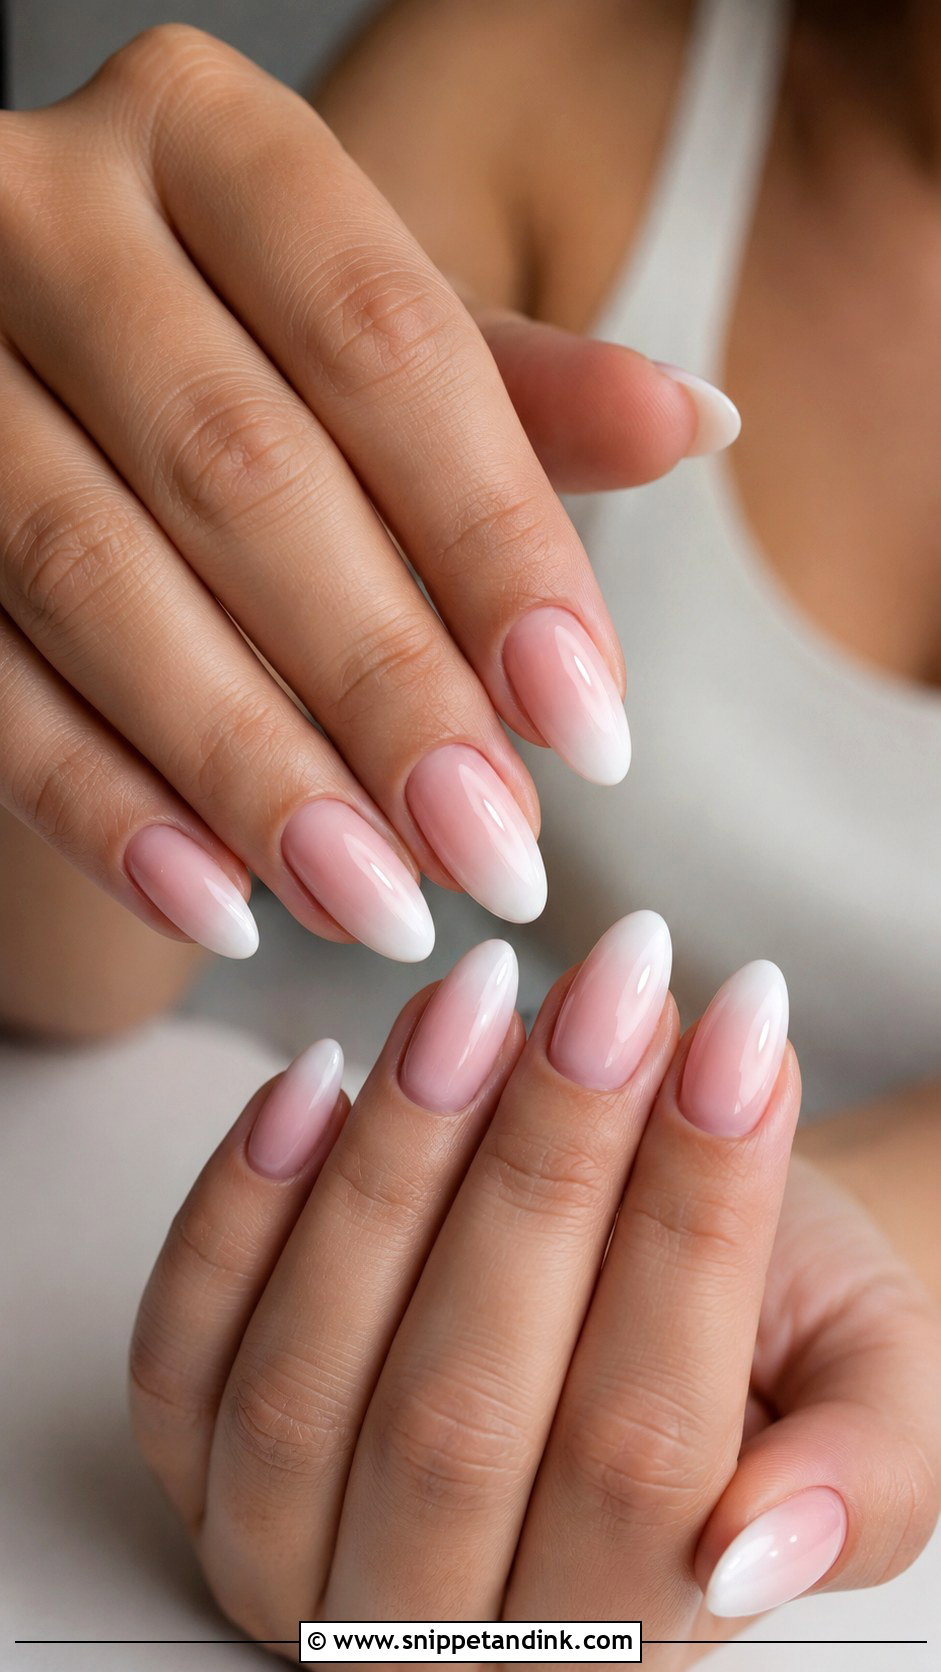
Ombre BIAB wedding nails, often called baby boomer, fade a sheer pink or nude base into a milky white tip. The blend is the whole design. I work it with a sponge or a dry brush between layers, and if the white sits too high on the nail it starts to look like a smudged French rather than a gradient. The builder underneath keeps the surface level, which matters because any bump interrupts the fade. Medium-length almond, oval or coffin gives the gradient room to happen. On very short nails the fade has nowhere to go, so I’d pick the micro French instead.
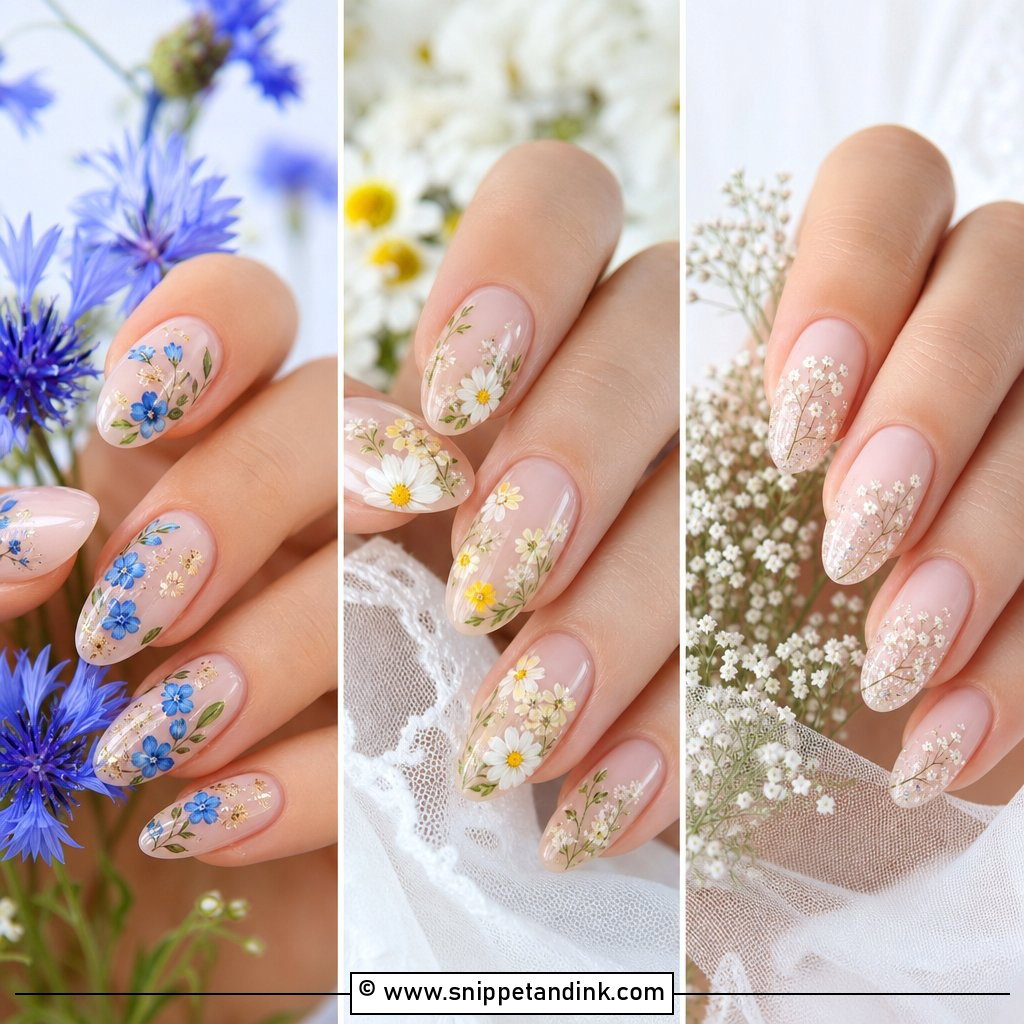
9. Floral BIAB Wedding Nails
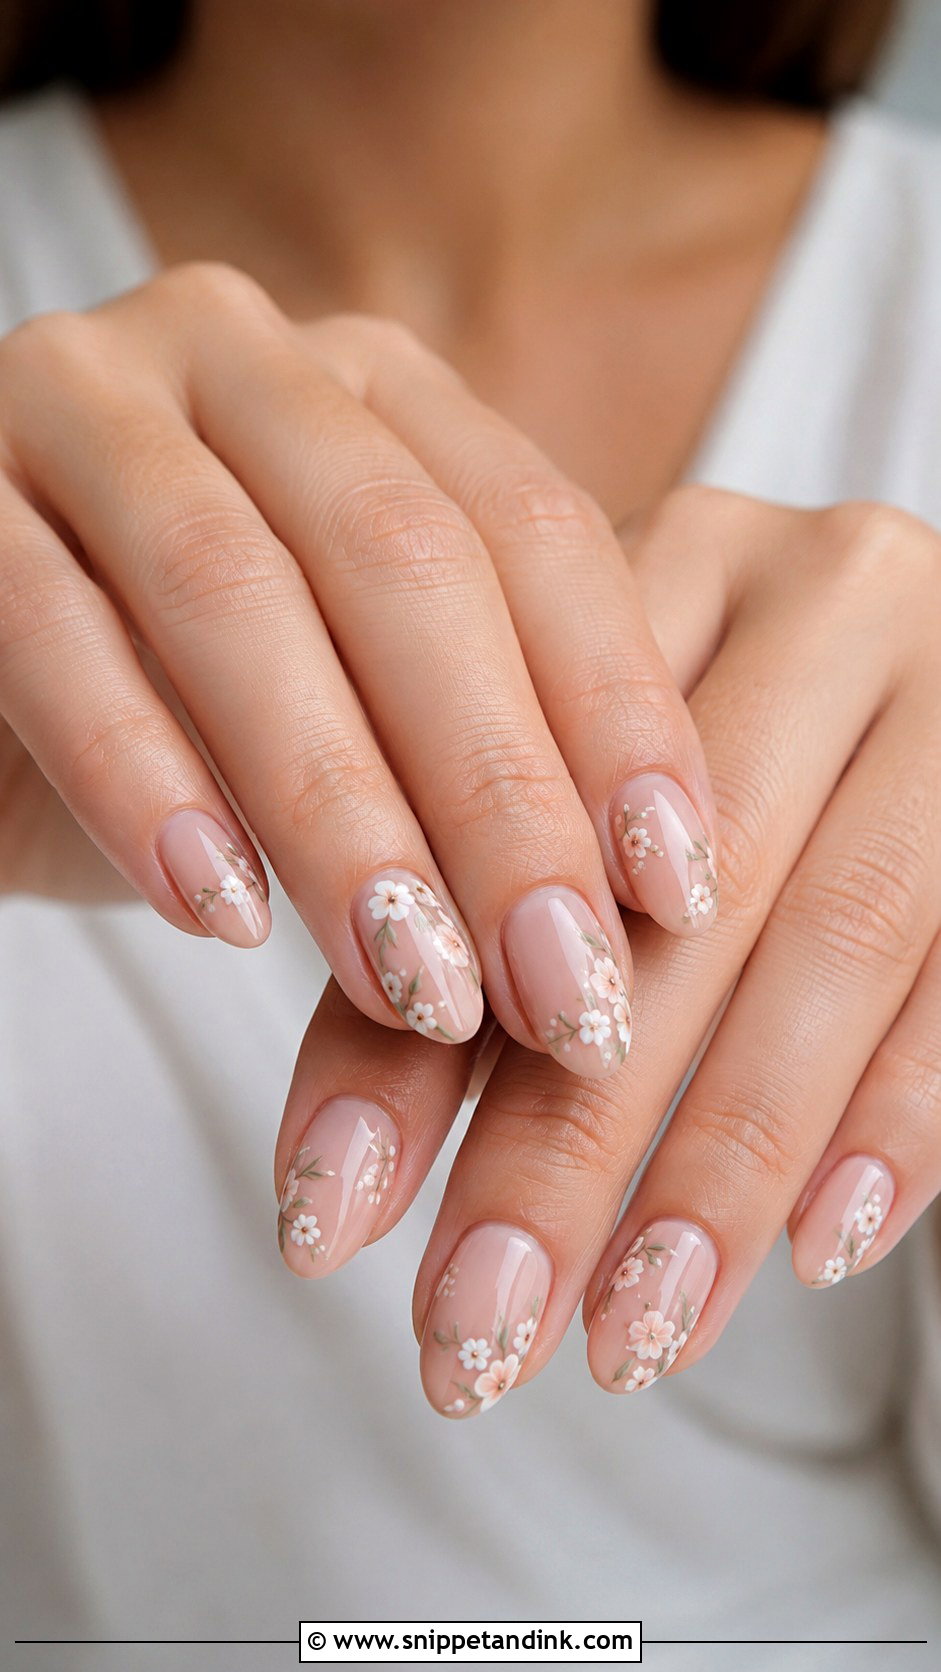
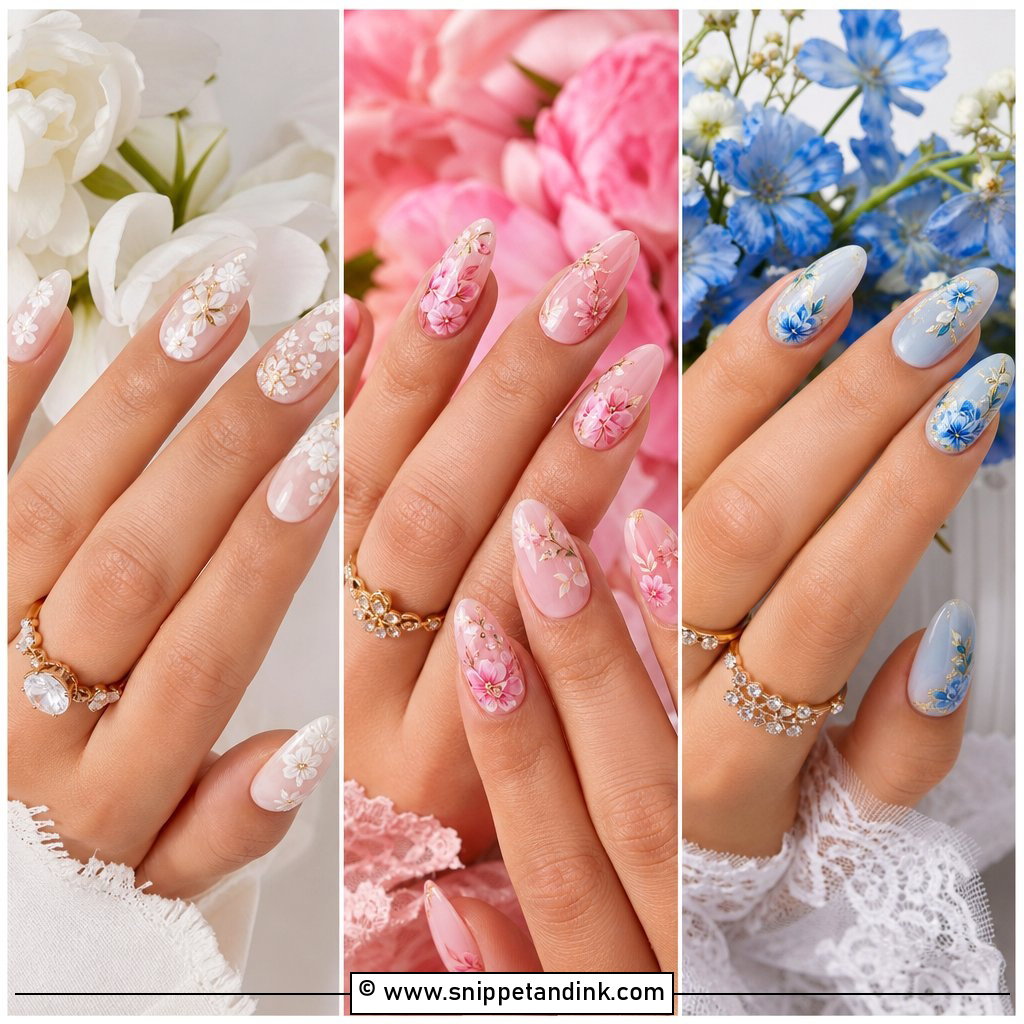
Hand-painted florals over BIAB are where I slow right down. I paint tiny five-dot blossoms in white or pale ivory with a fine liner, leaving plenty of bare sheer base between them so the design breathes. Big flowers on a small nail look like stickers in photos. If your bouquet is mostly one flower, I can echo its shape loosely, though I keep it impressionistic rather than botanical. Oval and almond nails give the most room. For an outdoor spring ceremony this is my favourite set, but on a very formal black-tie gown I’d keep the florals to two accent nails.
10. Chrome French BIAB Wedding Nails
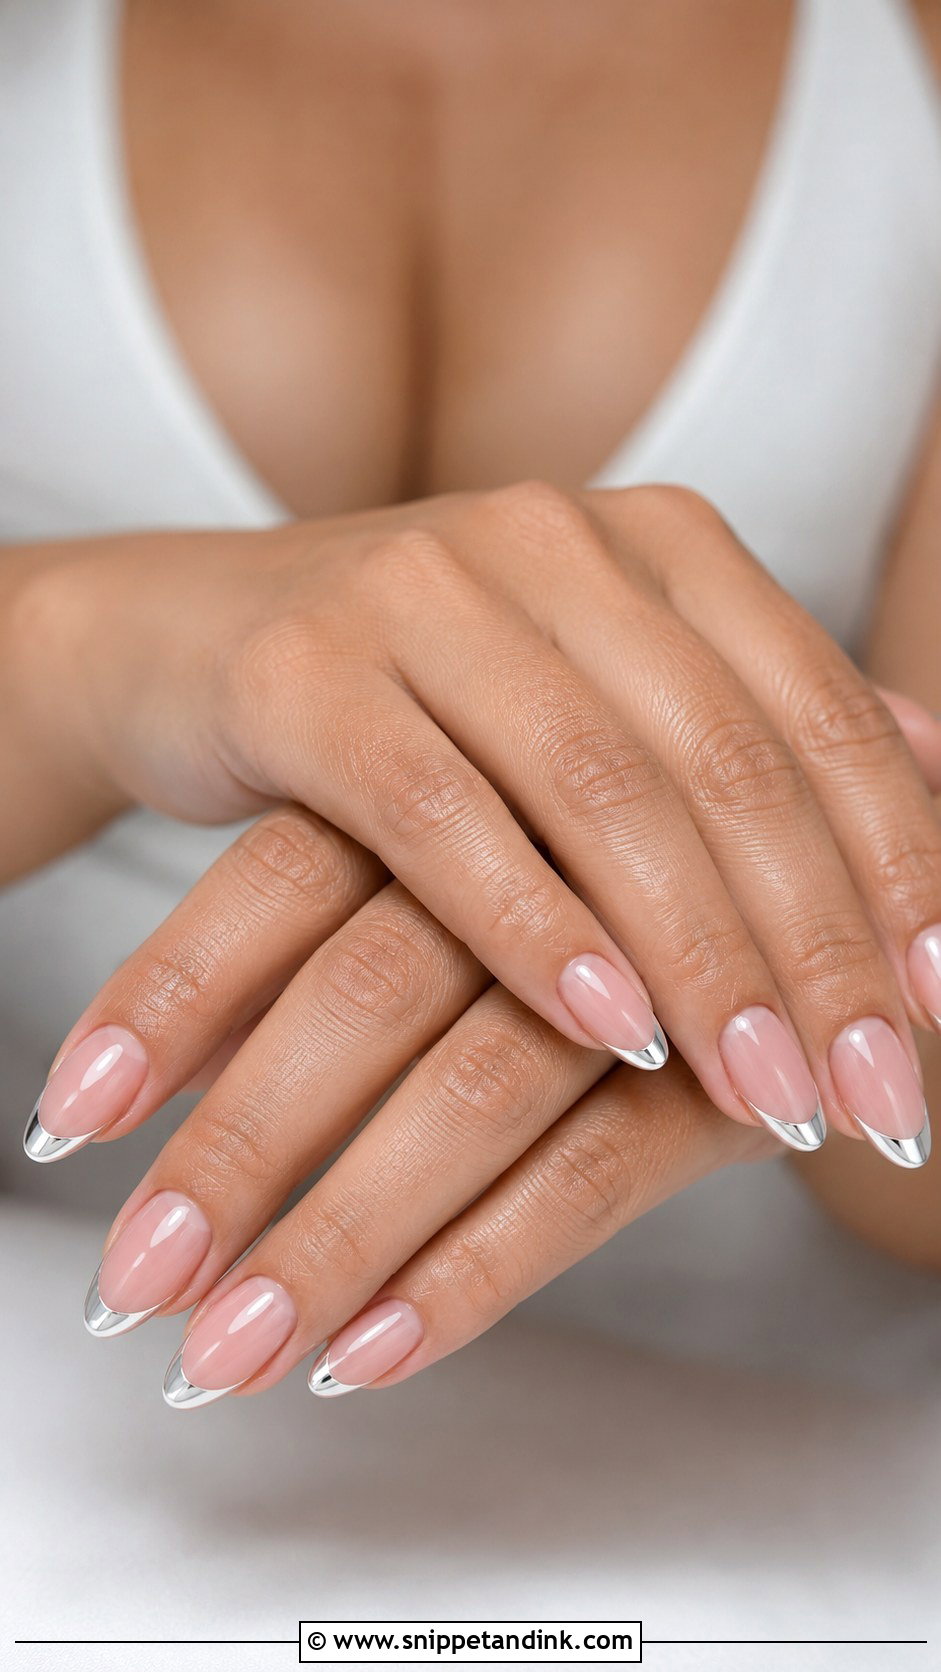
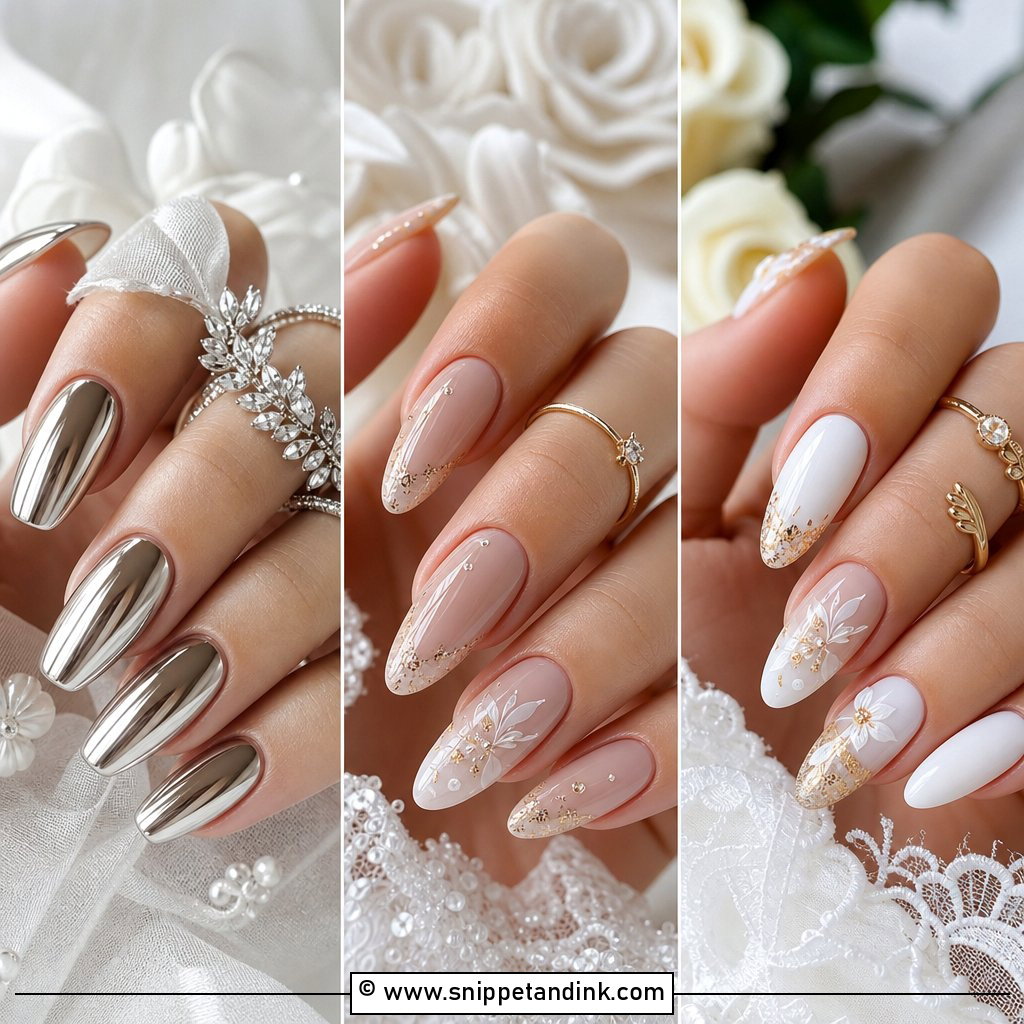
A chrome French swaps the white tip for a pearly or silver chrome edge. The technical bit is that chrome powder needs a crisp line of no-wipe top coat to stick to, so I paint the tip shape in top coat first, cure, then press the powder only where I want it. Pearl chrome is much softer than mirror chrome and forgives the odd scratch, which is why I suggest it for most brides. Mirror chrome on a coffin or square nail is more of a fashion look and shows every fine scratch from day two.
11. Blush BIAB Wedding Nails
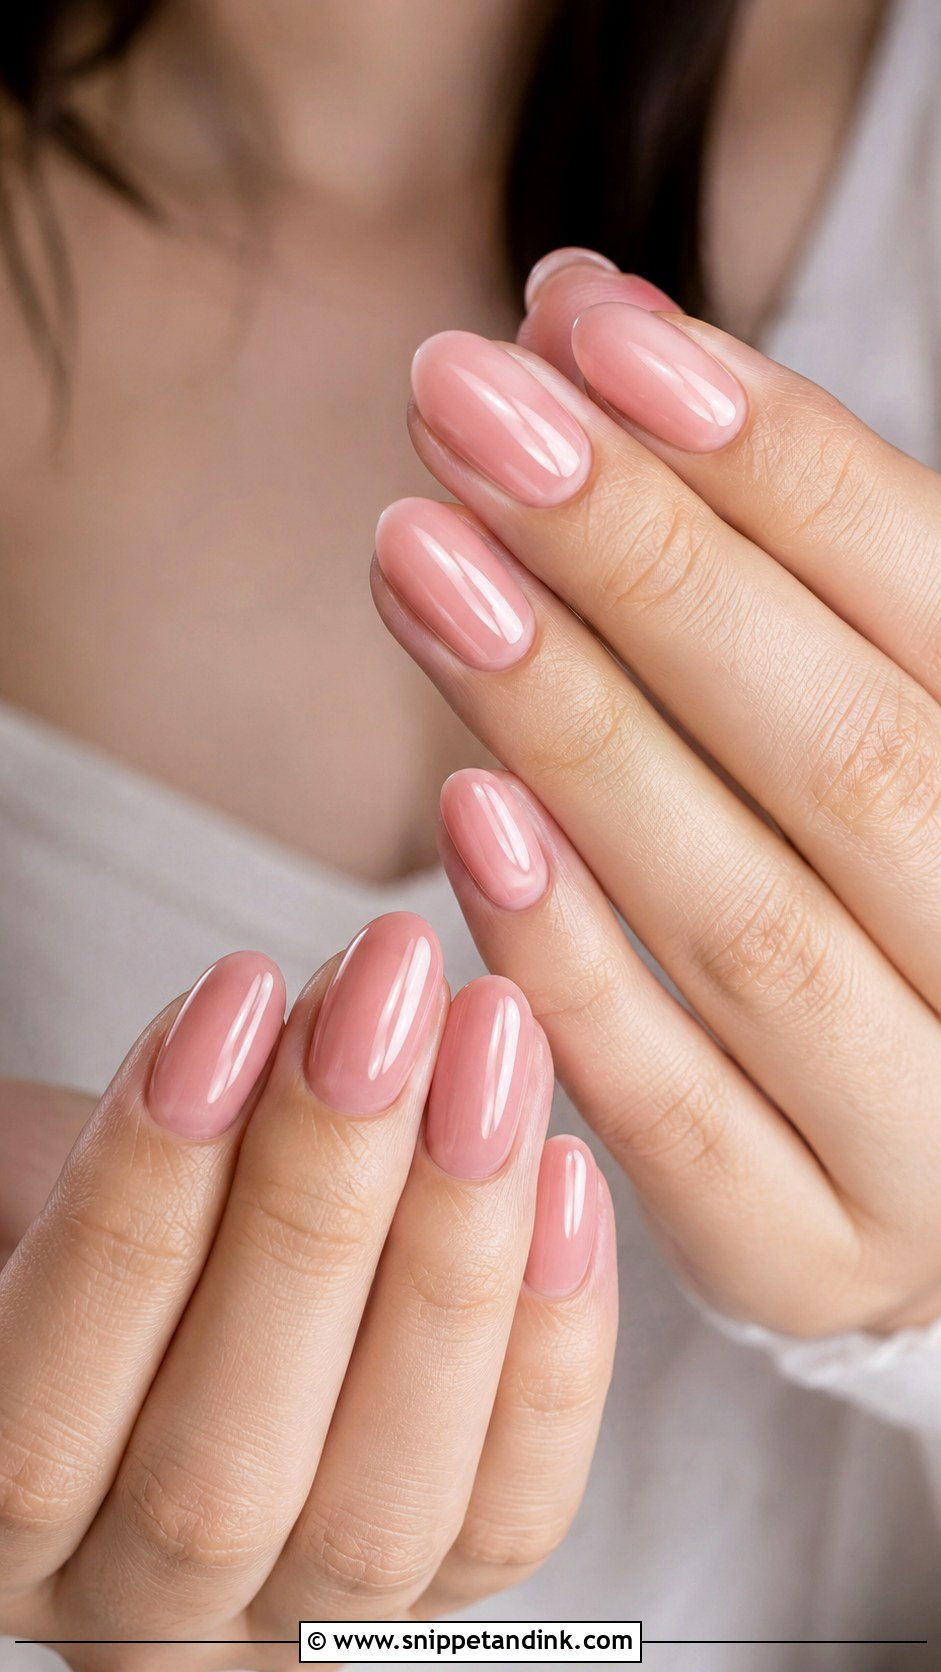
Blush runs slightly warmer than pale pink, with a touch of peach in it. On fair or pinkish skin it can read as rosy in photos, and on deeper skin tones it often looks fresher than a pale baby pink, which can turn chalky. I build it plain and glossy most of the time and sometimes add a very fine shimmer on the last layer. Short rounded nails keep it understated; longer almond makes it feel a little more dressed.
12. Short BIAB Wedding Nails
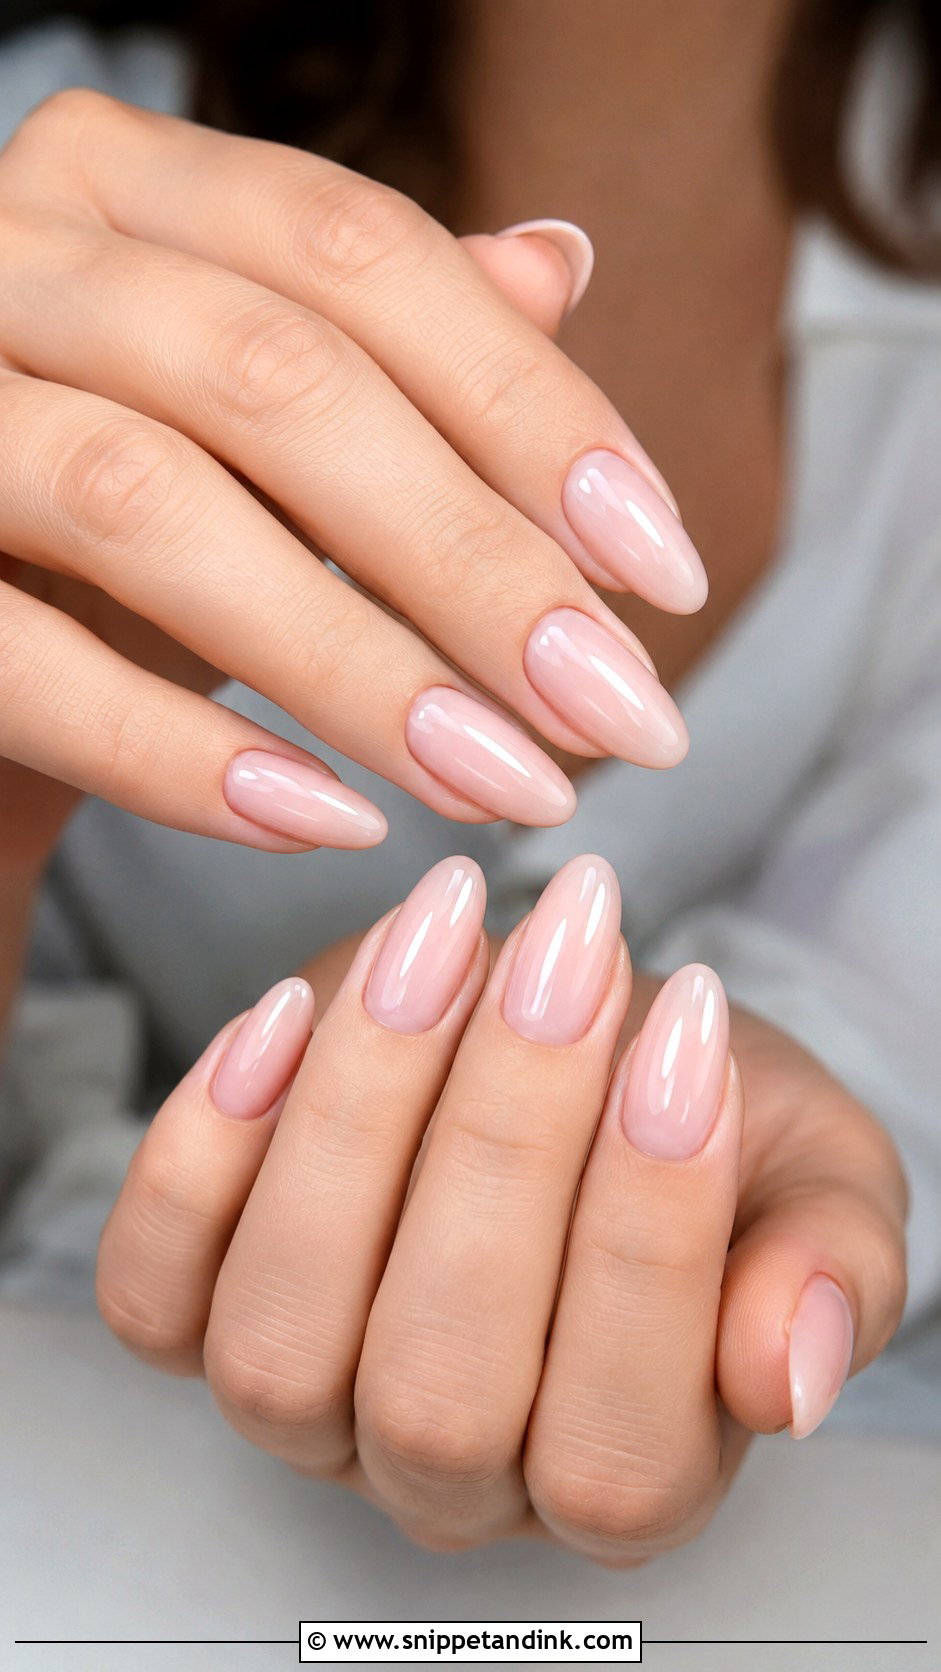
Short nails are not a compromise. Some of my favourite bridal sets are barely past the fingertip, because short nails look tidy in every photo and never get in the way of zips, hooks or contact lenses. BIAB is ideal here because it gives a thin, strong layer without needing any length to anchor to. I keep the shape a soft squoval or round so the corners don’t snag on tulle. Sheer pink, milky nude or a barely-there peach all suit short nails, and a micro French adds definition if you want it. This is the set I suggest for anyone heading somewhere active for the honeymoon.
13. Almond BIAB Wedding Nails
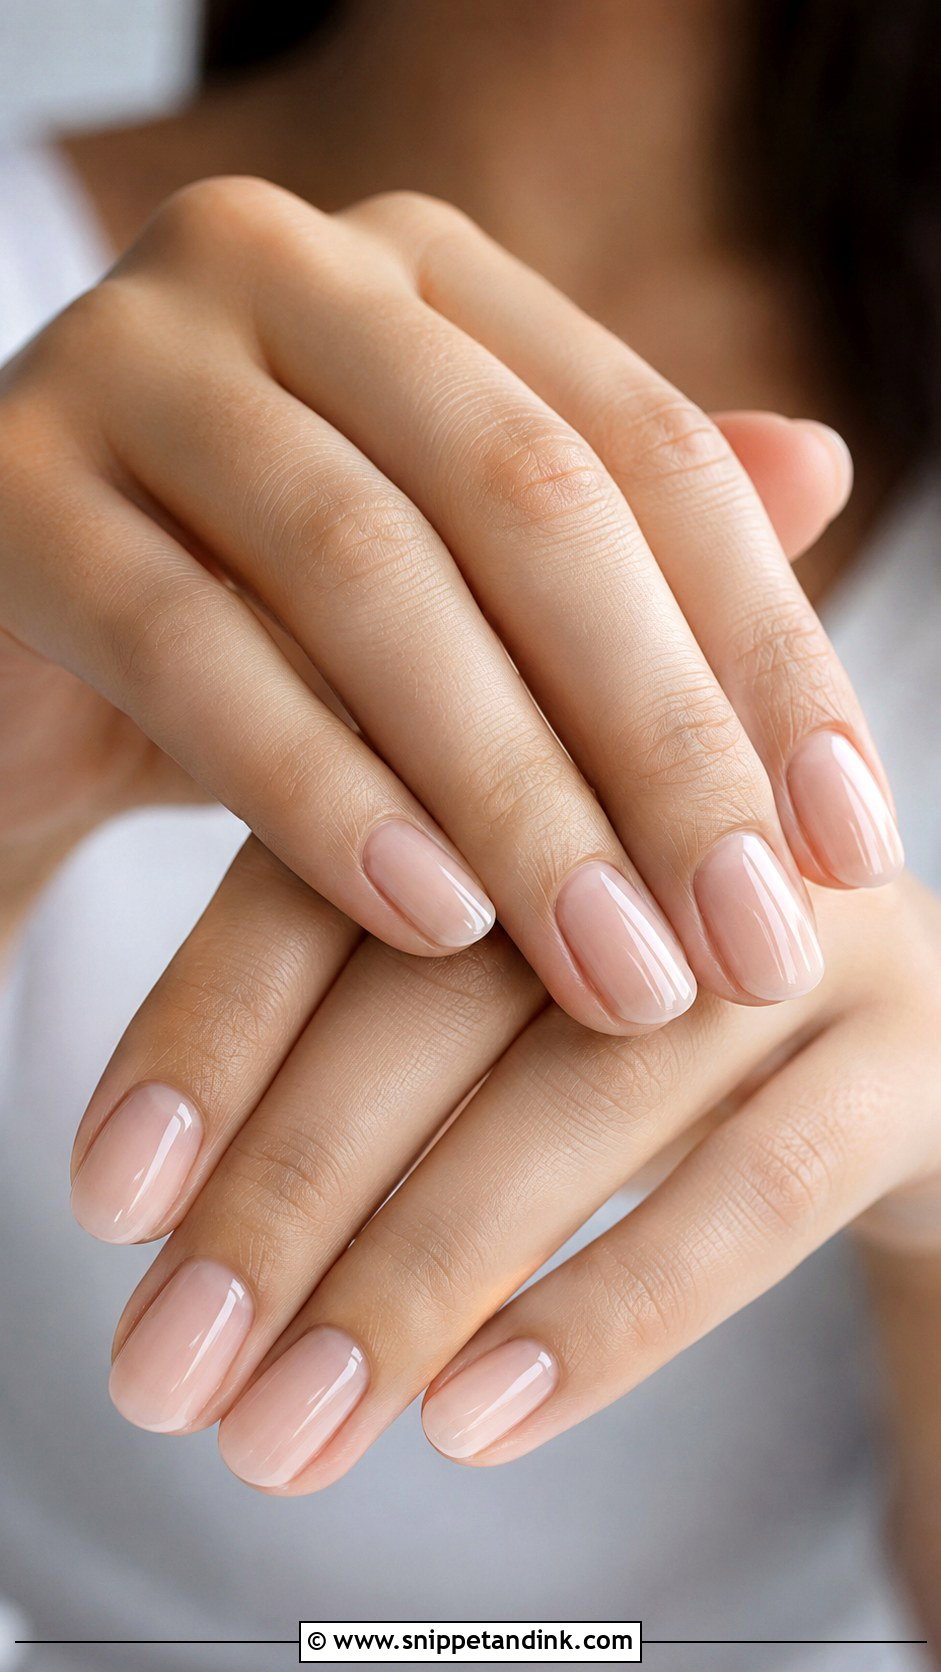
Almond BIAB wedding nails lengthen the fingers, and that matters in ring photos where the hand fills the frame. The risk with almond on natural nails is that the narrow tip is a weak point. Builder gel helps here because I can place the apex a little further forward and give the sides some support as the nail grows out. If your nails are very soft or peel in layers, I’d keep the almond short. Milky white, sheer pink, a soft French or a touch of pearl chrome all suit this shape.
14. Square BIAB Wedding Nails
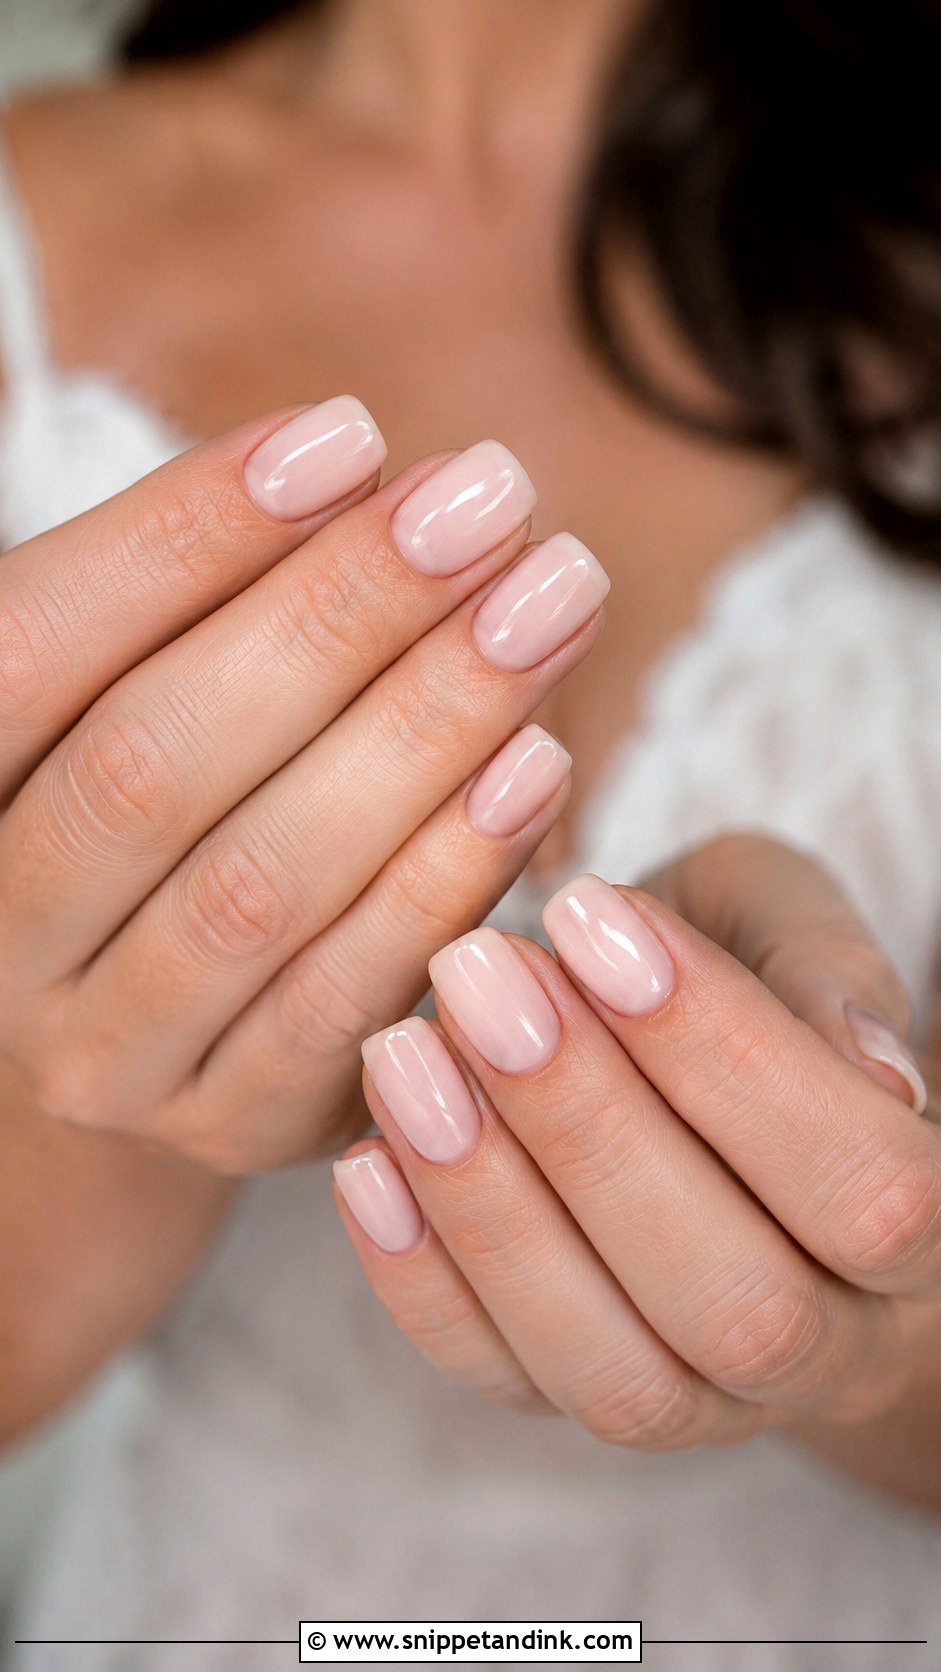
Square shapes suit brides who like a clean edge and wider nail beds. My one firm rule for a wedding is to soften the corners slightly, because sharp square corners snag on lace, tulle and the inside of a veil. The builder layer helps keep the free edge level so the straight line looks deliberate. Short square feels practical. Medium square gives room for chrome tips or a single pearl. On narrow nail beds, though, a square shape tends to make fingers look wider, and I’d suggest squoval instead.
15. Coffin BIAB Wedding Nails
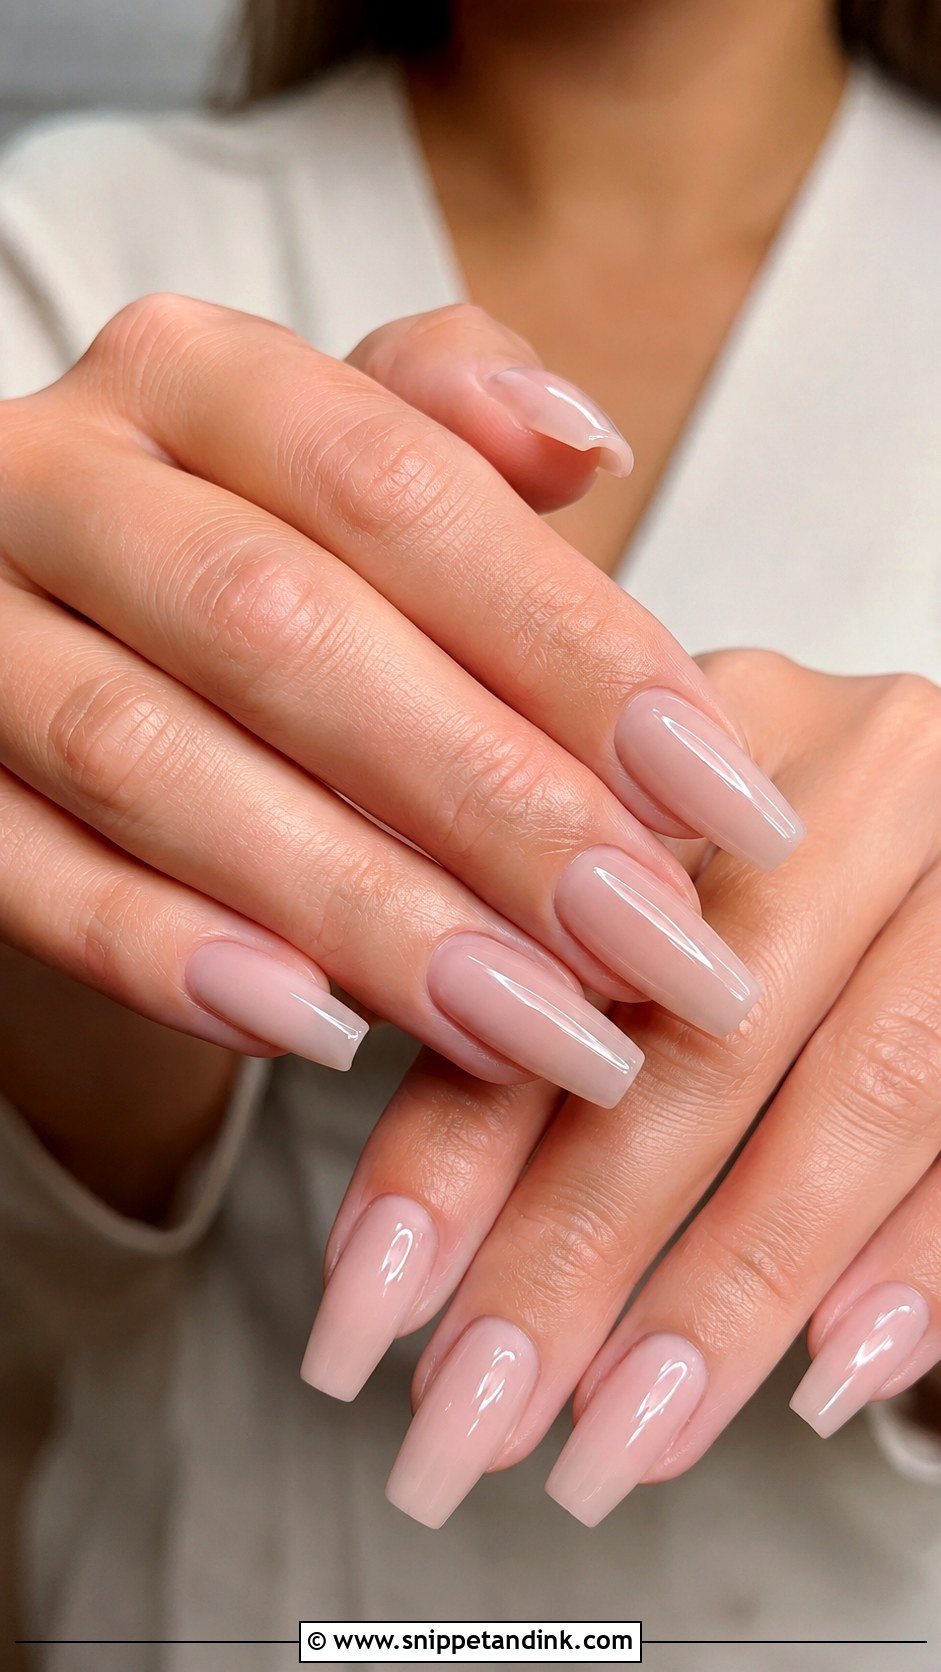
Coffin has the most presence of the shapes here, with tapered sides and a flat tip. That flat tip is a stress point on natural nails, which is why coffin is the one shape where I think about the apex the most: without enough builder in the stress area, the corners can crack after a few days of use. I keep the length medium for brides. Milky ombre, nude BIAB, pink chrome and a soft French all sit well on the shape. If you’ve never worn coffin before, the wedding week is not the moment to discover how it feels typing on a phone.
16. Sheer BIAB Wedding Nails
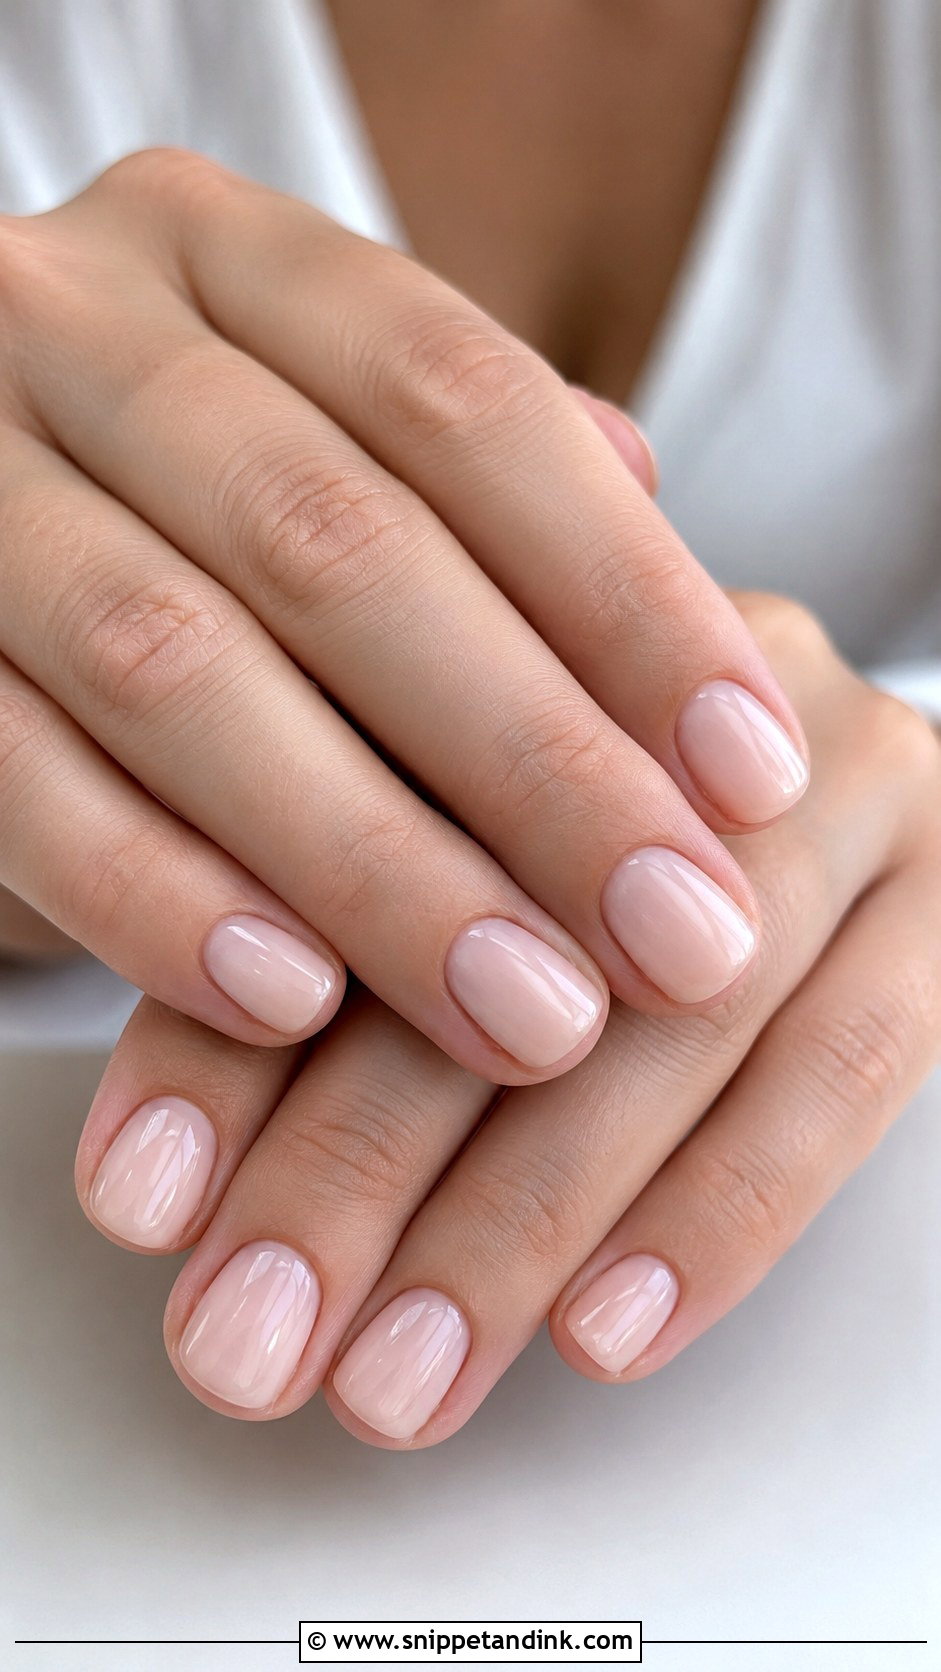
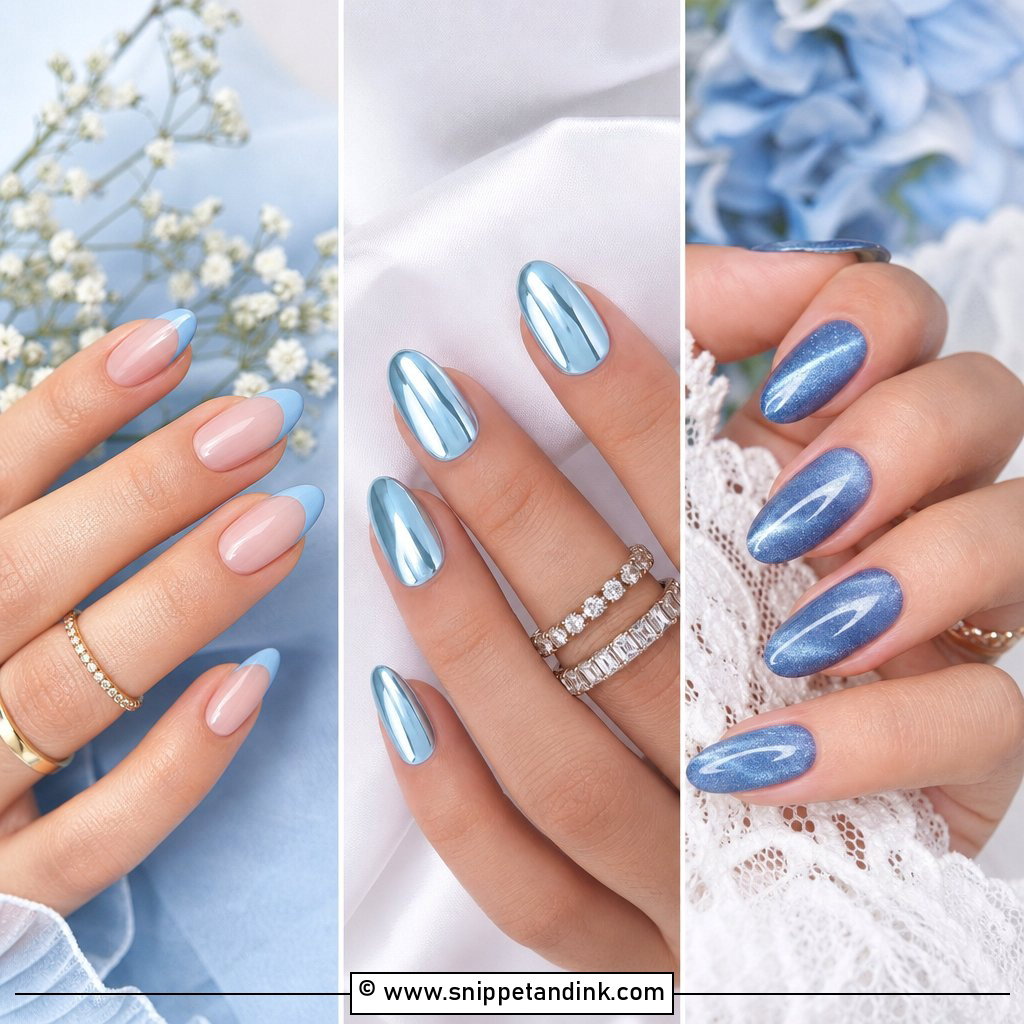
Sheer BIAB is the “your nails but better” set, and it’s the one I’d suggest when the dress, veil or jewelry already carries a lot of detail. The sheer layer blurs small marks and ridges without hiding the nail. Because there’s nothing to distract the eye, prep matters more than colour here: I push back and tidy the cuticles carefully and file both hands to the same length, since a sheer set shows any uneven shape immediately. Pick the tone from sheer pink, nude or peach by holding it against your skin, not by looking at the bottle.
17. Gold Accent BIAB Wedding Nails
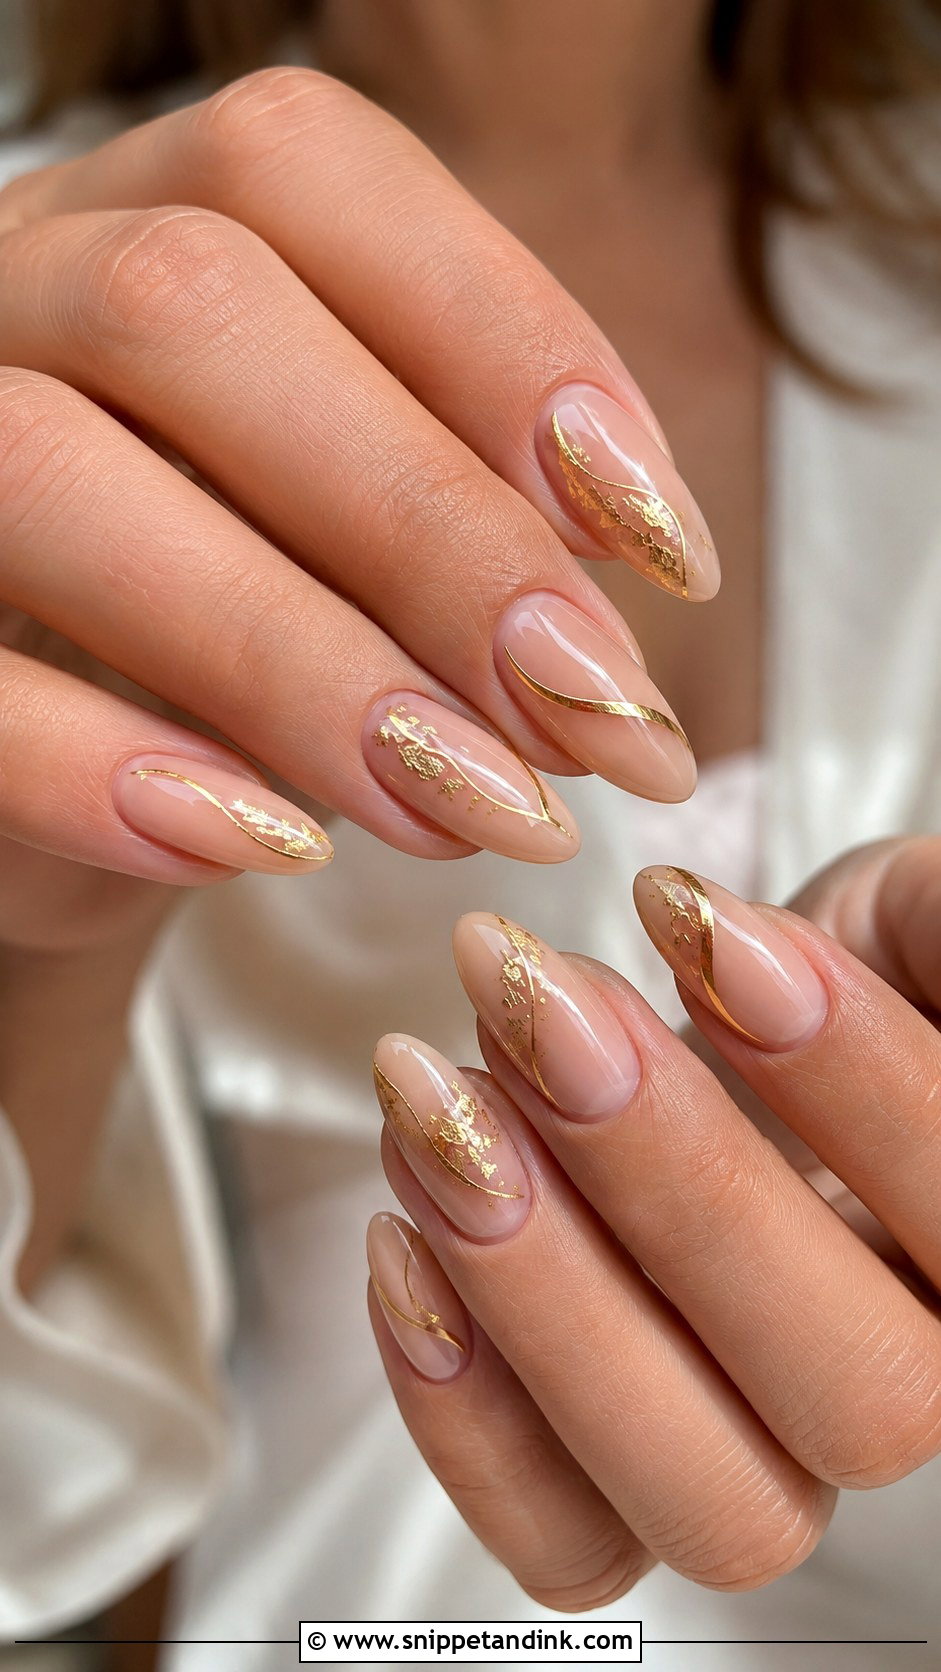
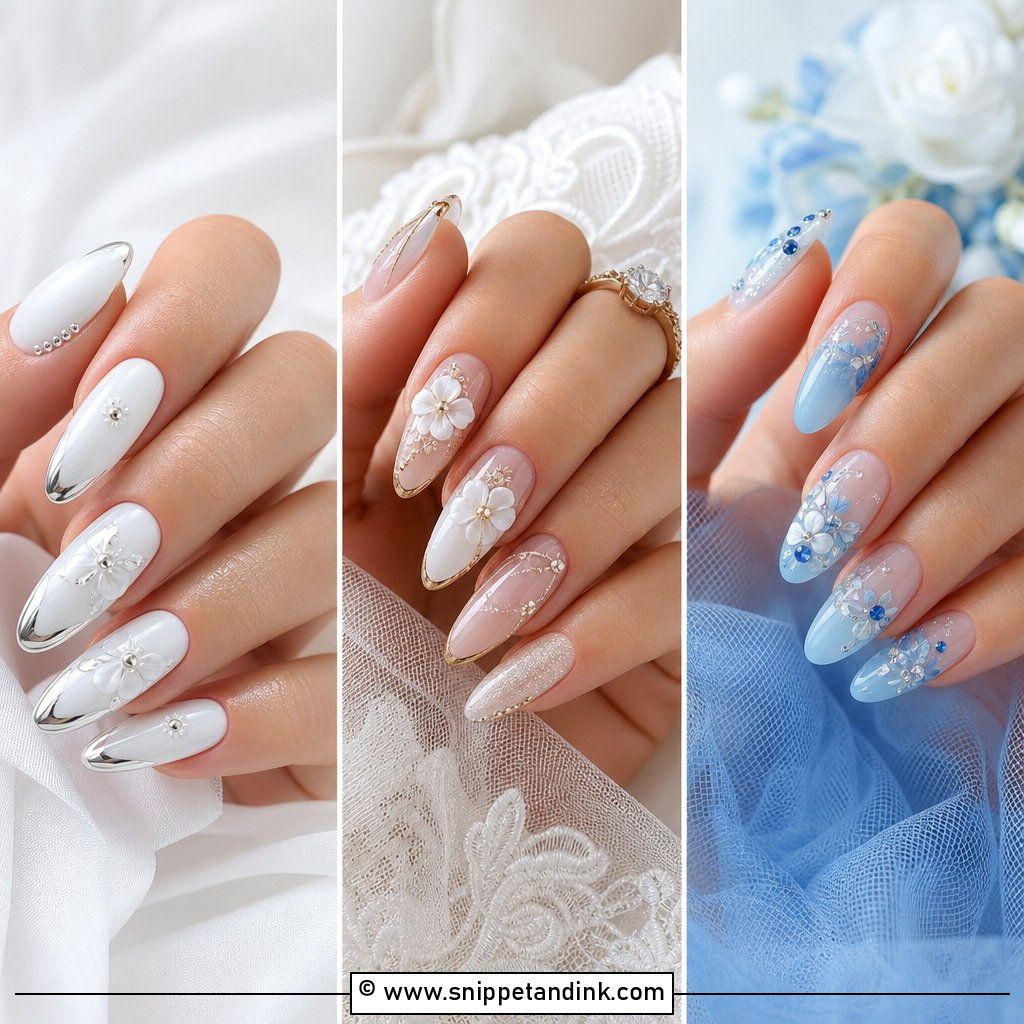
Gold works when it’s thin. I use either fine foil flakes pressed into tacky gel or a single gold line painted with a striper, and I seal both under builder or top coat so the edges don’t lift. It suits brides wearing yellow gold rings or warm-toned jewelry and ivory rather than bright white gowns. Too much gold pulls the set toward a party manicure. Almond, oval and short square nails all take this detail, and the glossy top coat over it is what keeps the foil from catching on hair.
18. Silver Accent BIAB Wedding Nails
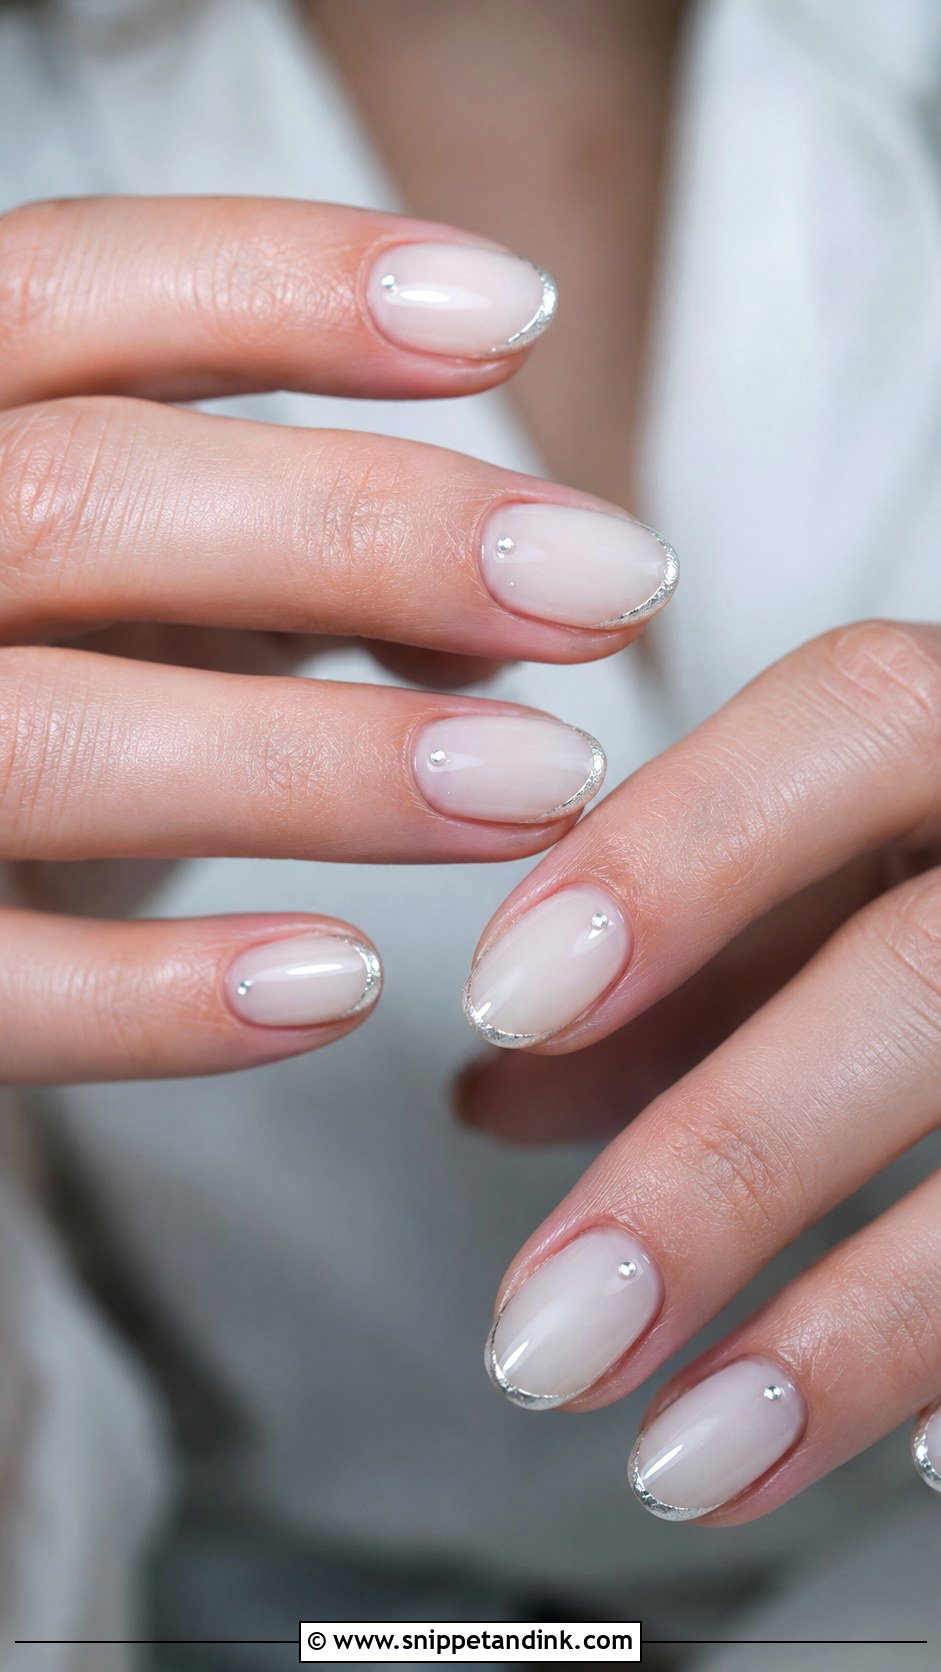
Silver accent BIAB wedding nails make sense with platinum or white gold rings, and with gowns covered in crystal or beadwork. I usually suggest a thin silver tip or two or three tiny dots near the cuticle rather than a full shimmer layer, which can look grey in flash photos. The base stays sheer pink, milky white or pale nude. Oval and almond soften the metallic edge; on square nails silver can start to look hard.
19. Lace BIAB Wedding Nails
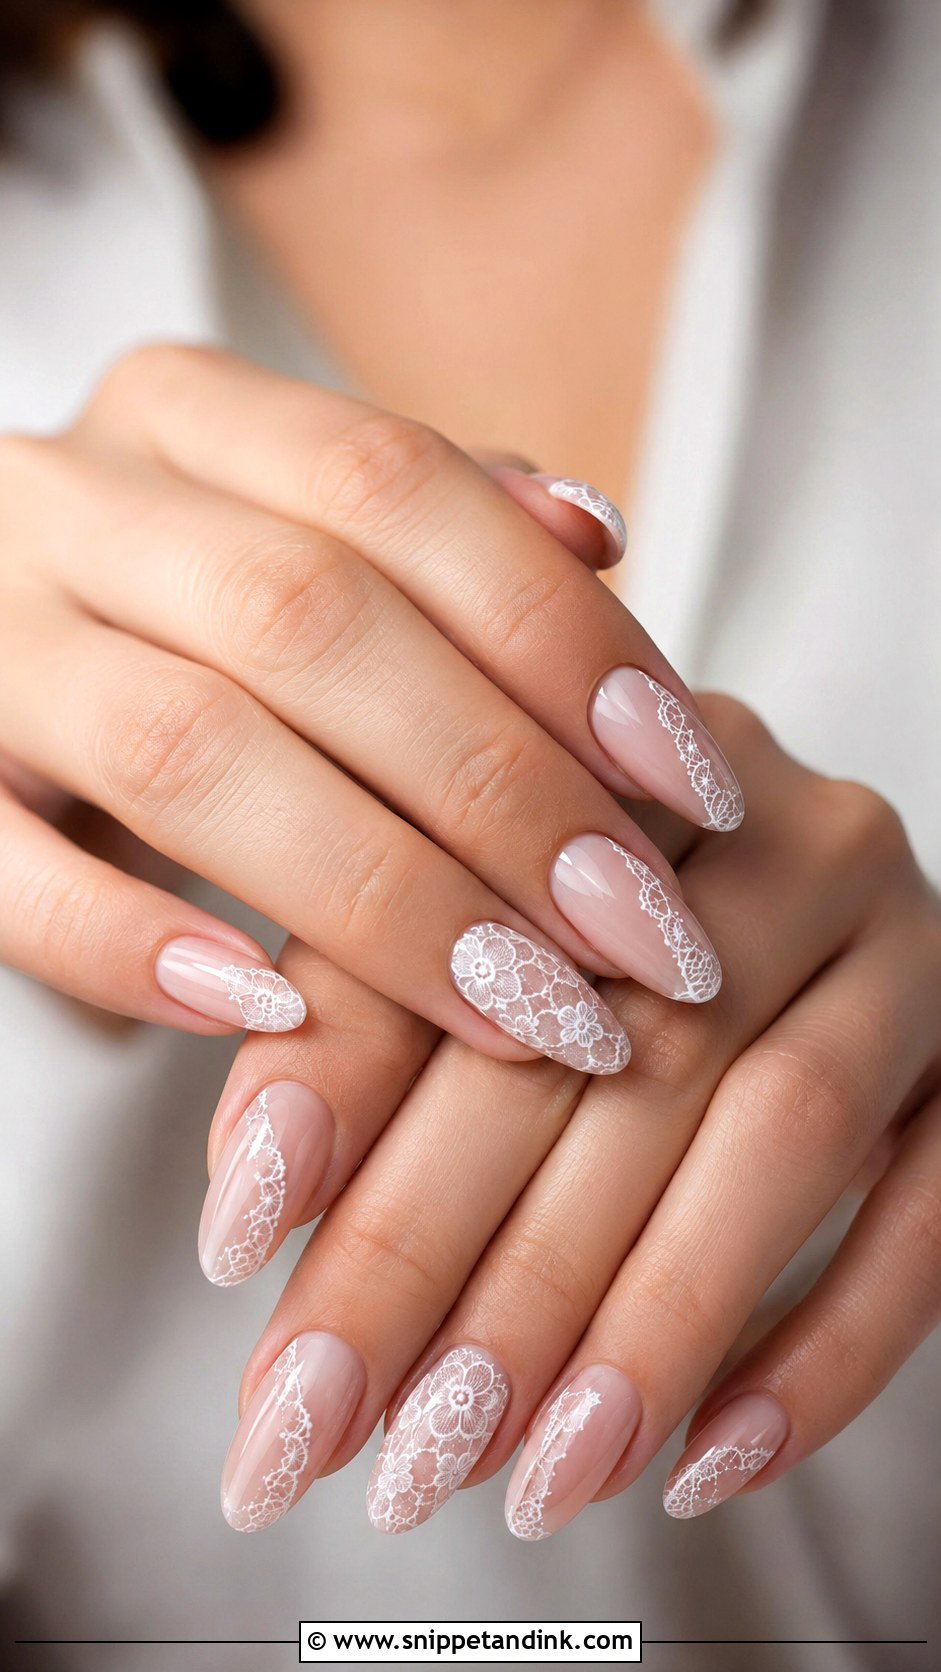
Lace art is the design I plan from a photo of the dress, not from Pinterest. I ask brides to bring a close-up of the lace on their gown so I can echo the motif loosely in white gel paint over a sheer nude or milky base. It is slow, detailed work with a fine liner brush, and it only looks bridal on one or two accent nails; across all ten it turns busy. Almond and oval shapes suit it best. If the gown has no lace at all, I’d pick florals or pearls instead so the hand doesn’t feel like it belongs to a different outfit.
20. Minimal BIAB Wedding Nails
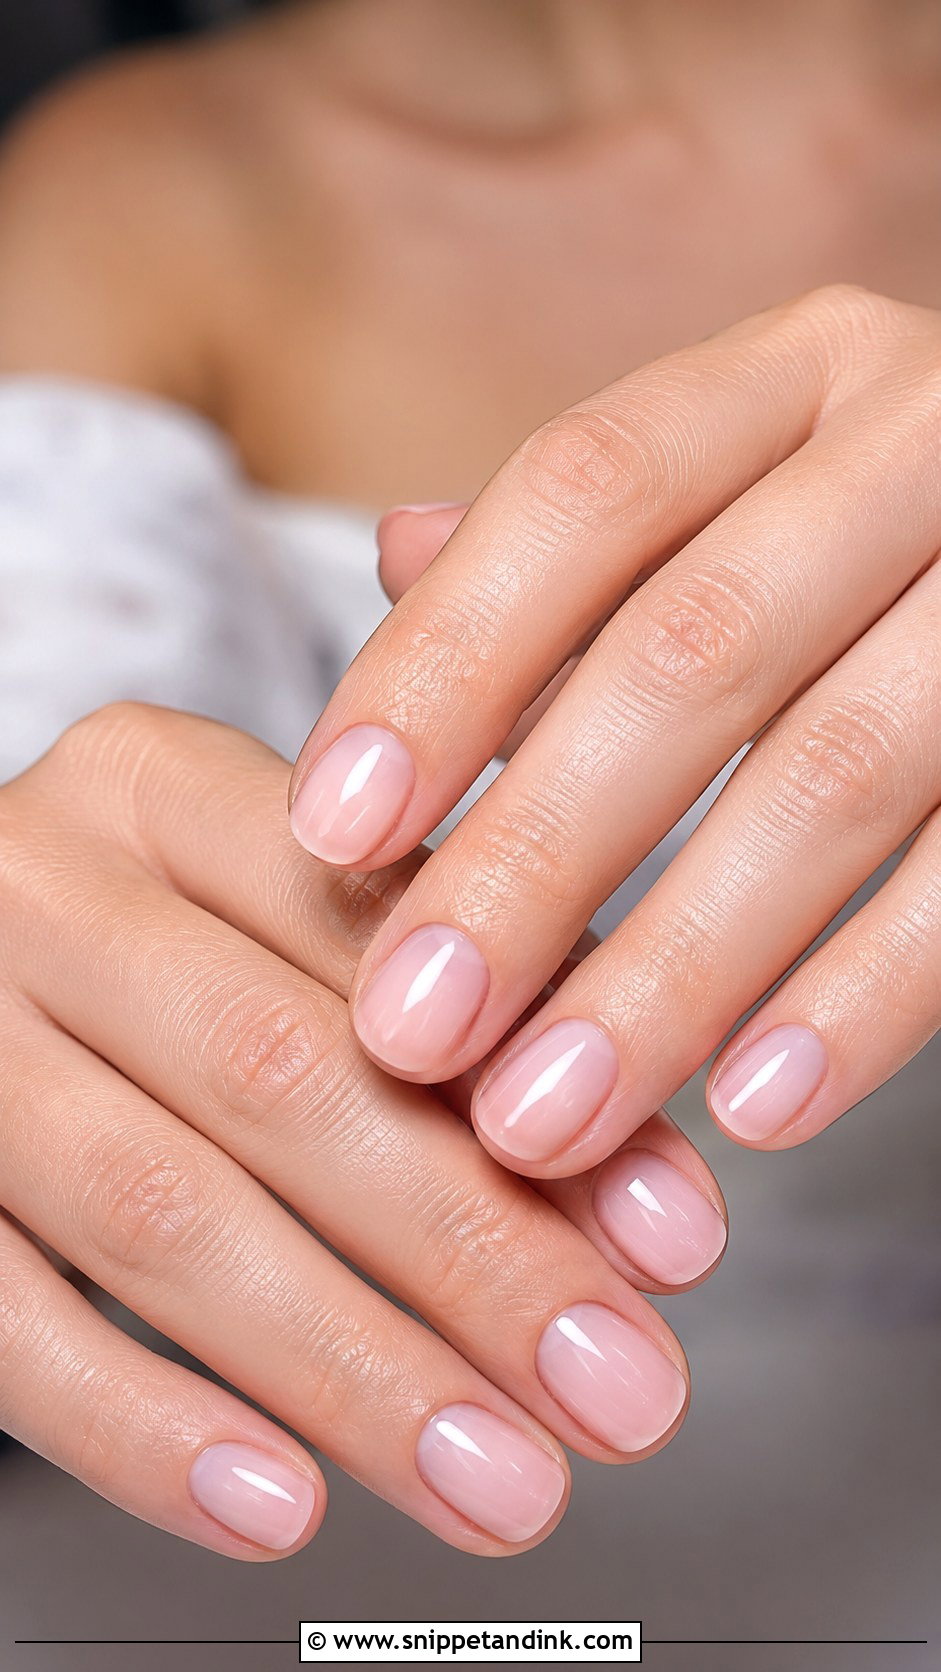
A minimal set leaves nowhere to hide, so it’s all about the prep. Even length, matched shape on both hands, clean cuticles and a smooth apex are what make plain nails look expensive. I’ll often finish with a single tiny white dot or a micro French, or leave them completely bare under a gloss top coat. Sheer pink, neutral nude or a clear overlay all work. This is the set that ages best when you look back at the photos years later, because nothing in it belongs to one particular season.
A BIAB Calendar From Trial to Wedding Week
Builder gel grows out with your nail, so timing matters more than people expect. The gap at the cuticle shows after about two weeks, which is fine on a normal day and very obvious in a close-up of your hand holding a ring.
- Six to eight weeks out: a first appointment to get the builder on and assess your nails. If they’re weak, this is the start of growing them under protection.
- About a month out: the trial. Bring a photo of the dress fabric and wear the set for a few days. Check how the shade looks against your engagement ring in daylight and under warm indoor light.
- Two to three days before the wedding: the final infill and design. I prefer this to the day before, because it leaves room to fix a chip and lets you get used to the shape. The cuticle area will still be clean on the day and through the first week of the honeymoon.
- The day before: cuticle oil, gloves for any cleaning or packing, and no hot tubs. Long soaks in hot water are the quickest way to lift fresh gel at the edges.
On the morning, I’d keep hand cream off the nails until the ring shots are done, since a greasy film dulls the gloss in close-ups.
After the Honeymoon: Removal That Leaves Your Nails Intact
Most brides wear the wedding set for three to four weeks. After that you can either have it infilled, keeping the base and changing the design, or have it removed. Infills are actually gentler on the nail than repeated removal, which is one reason I like BIAB for the months around a wedding.
When it does come off, it should be filed down and soaked, never prised or peeled. If a corner lifts on holiday, clip it short and file it smooth rather than pulling at it. Lifting gel takes the top layers of your own nail when it’s ripped off, and those thin, white patches take months to grow out. A few weeks of cuticle oil twice a day afterward makes a visible difference to how the next set sits.
The Set That Still Looks Right in the Ring Photos
If you’ve read this far and still can’t decide, go back to the shape you already wear and like. BIAB rewards restraint: a sheer base, a well-built apex and one small detail almost always photograph better than a set trying to do everything. Book the trial, look at the colour outside in daylight, and live with it for a few days. The right set is the one you stop thinking about once the ceremony starts.
You'll Like These Ideas:


Leave a Reply