
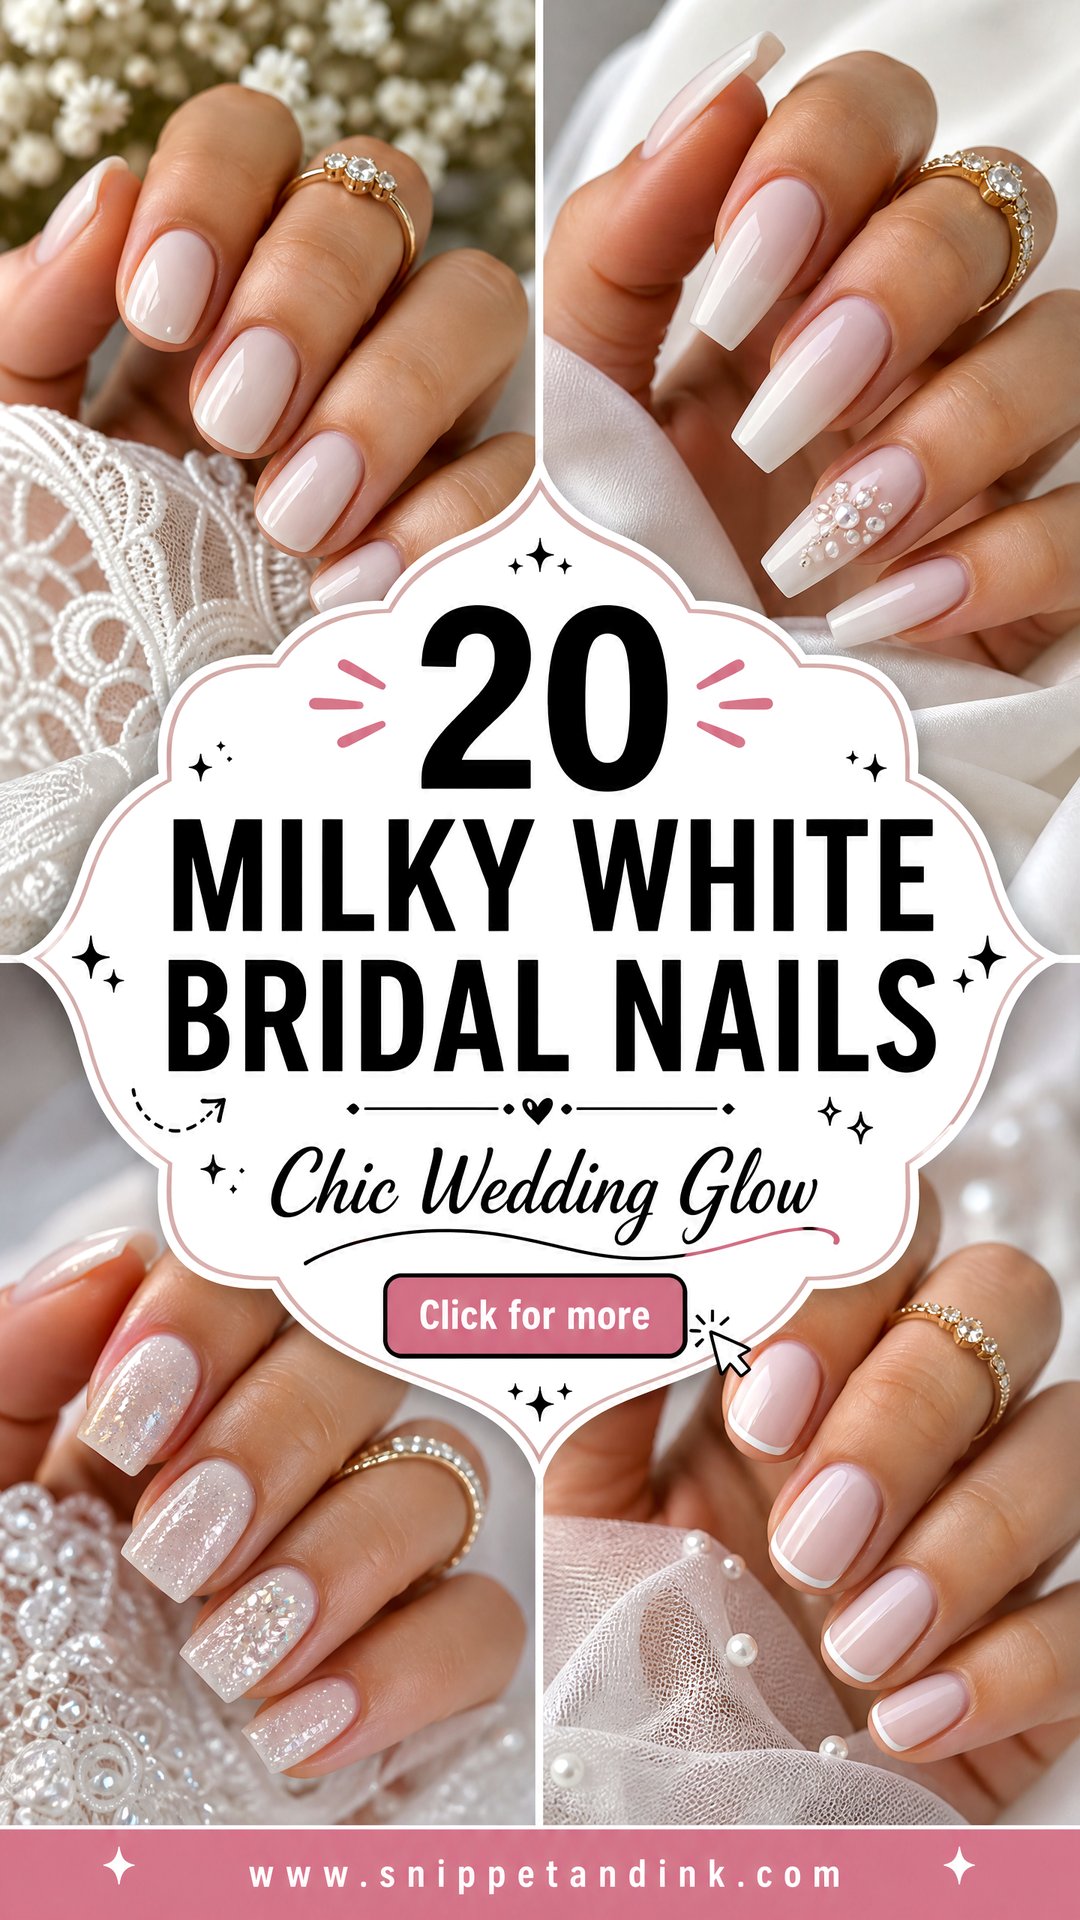
Milky white is the shade I reach for when a bride says she wants her nails to look finished but not painted. It blurs the nail bed rather than covering it, so the hand looks clean and the white of the gown doesn’t fight a solid block of polish. It also leaves plenty of room for detail. The sets below start with plain glossy milky white and work through shapes, then pearl, lace, swirls and chrome, with what each design needs from your nails and how it holds up through a long day.
Three Kinds of Milky White, and the Hands Each One Suits
Milky white is not one color. Every brand’s version leans slightly cool, neutral or warm, and on the hand that difference is bigger than it looks in the bottle. I hold two or three shades against the back of a bride’s hand and next to a swatch of her dress before I choose.
Cool, blue-leaning whites
These look crisp next to a bright white gown and platinum or white gold. On pale skin with pink undertones they read clean. On olive or golden skin they can turn slightly grey.
Neutral, soft-sheer whites
The safest group. They let a little of the nail bed show, so they shift with the skin and suit most tones and most dress whites.
Warm, creamy whites
These have a touch of beige or pink in them. They flatter deeper and warmer skin tones and sit naturally beside ivory, champagne and yellow gold. Next to a stark white gown they can look a shade dirty, so check them against the fabric.
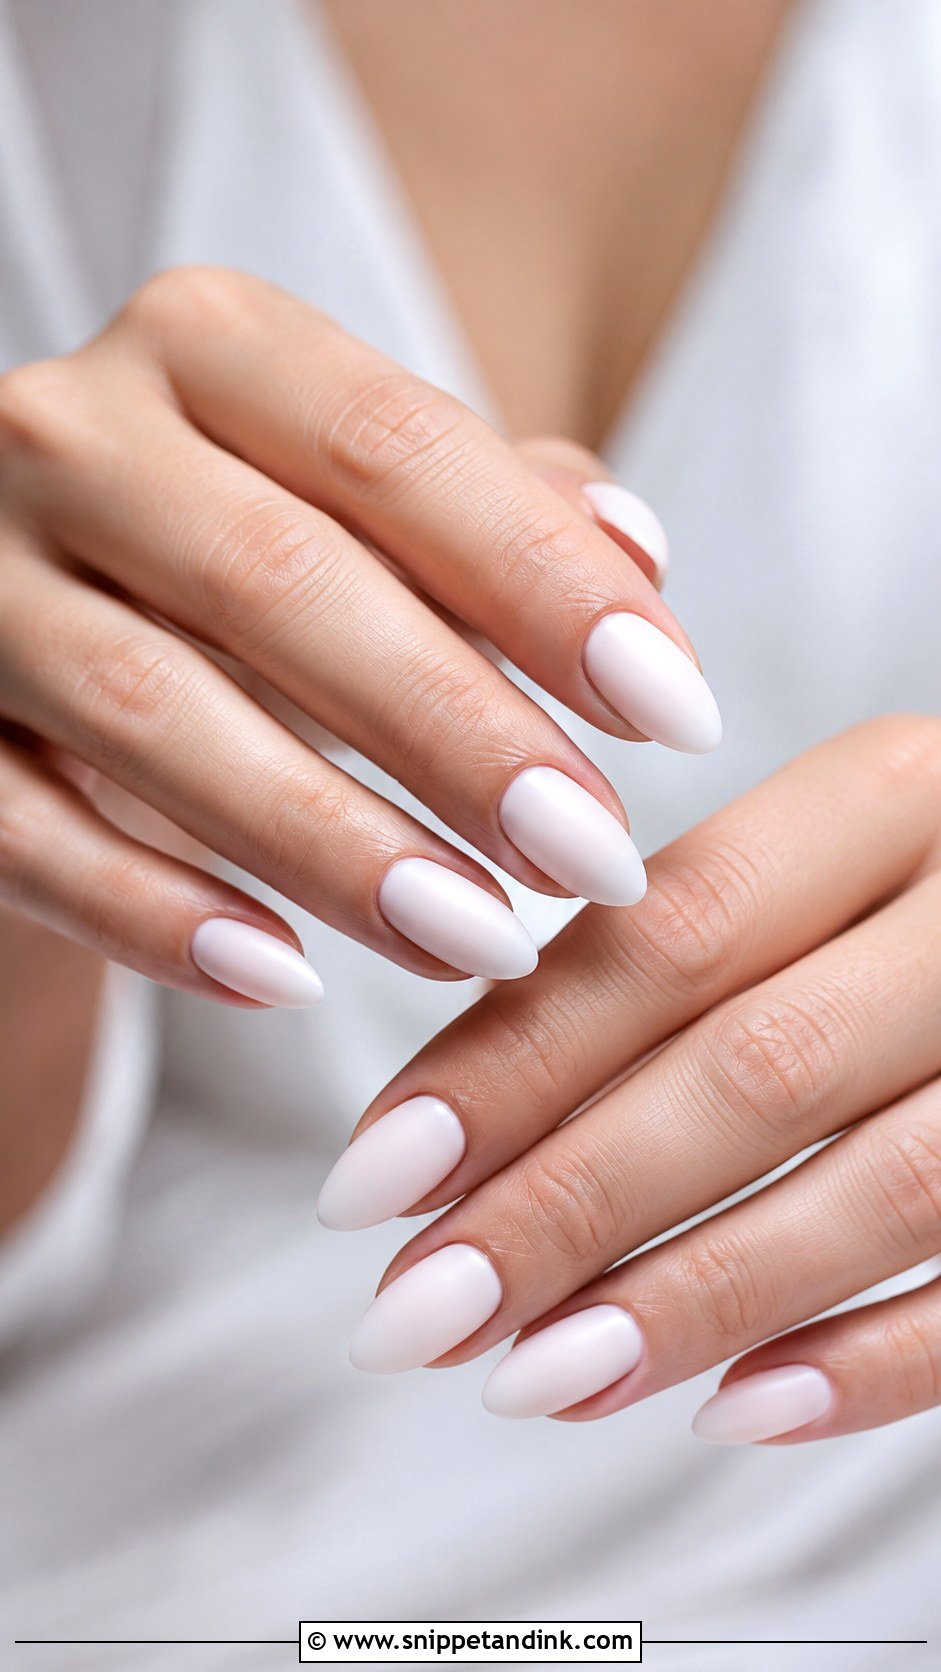
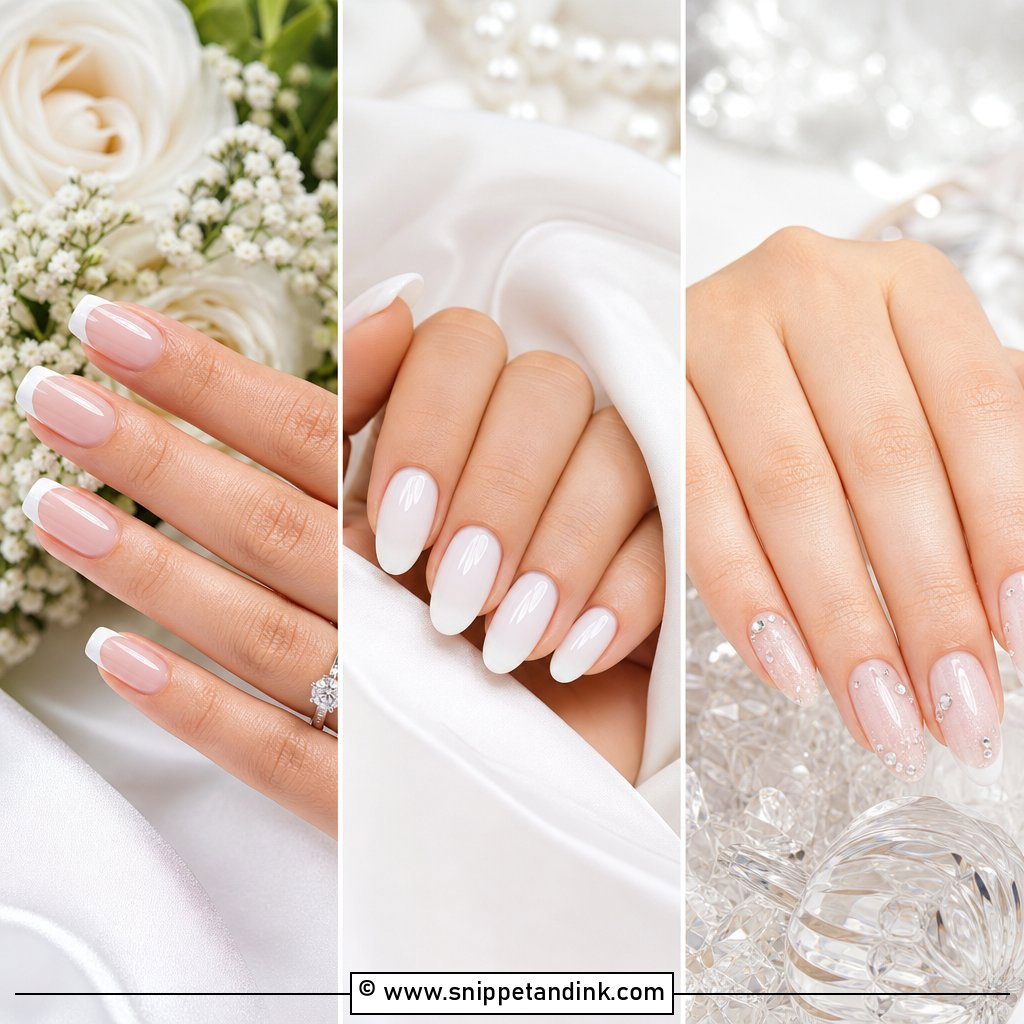
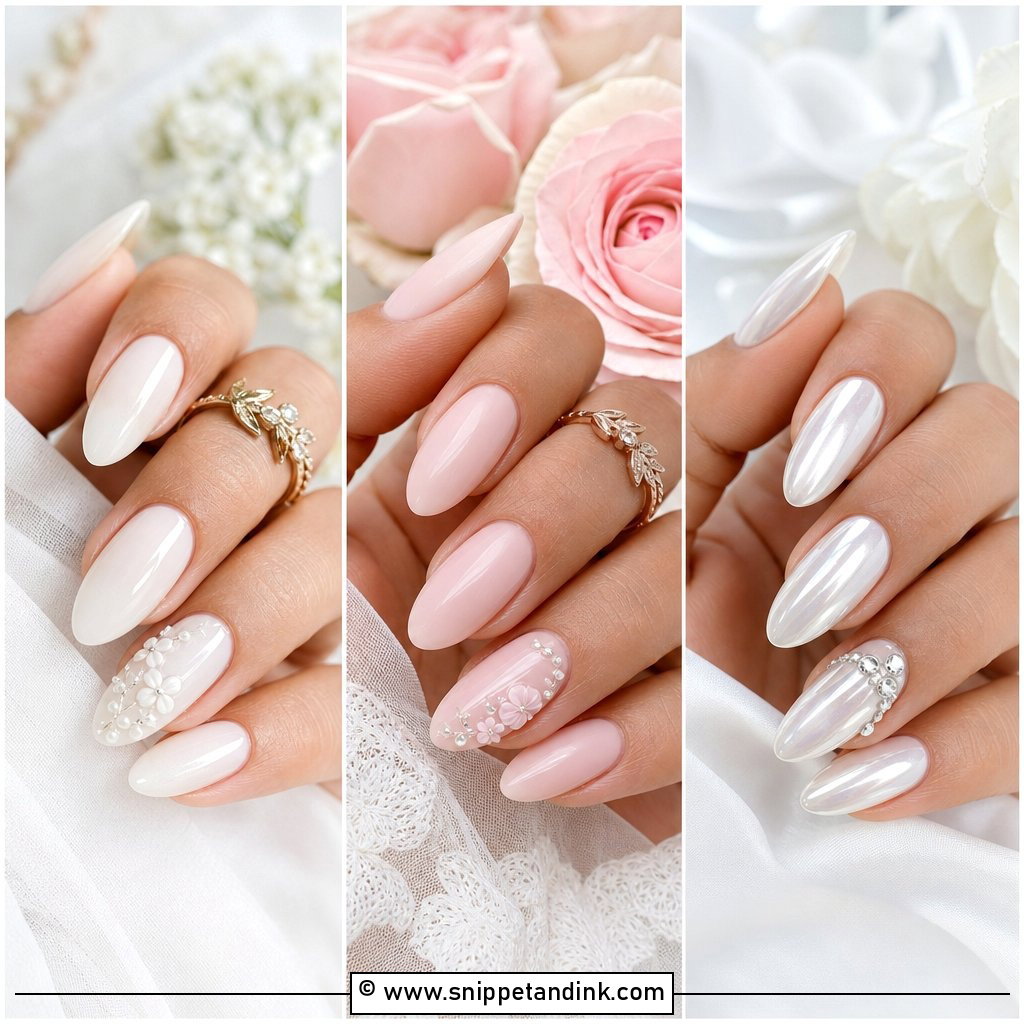
1. Milky White Bridal Nails
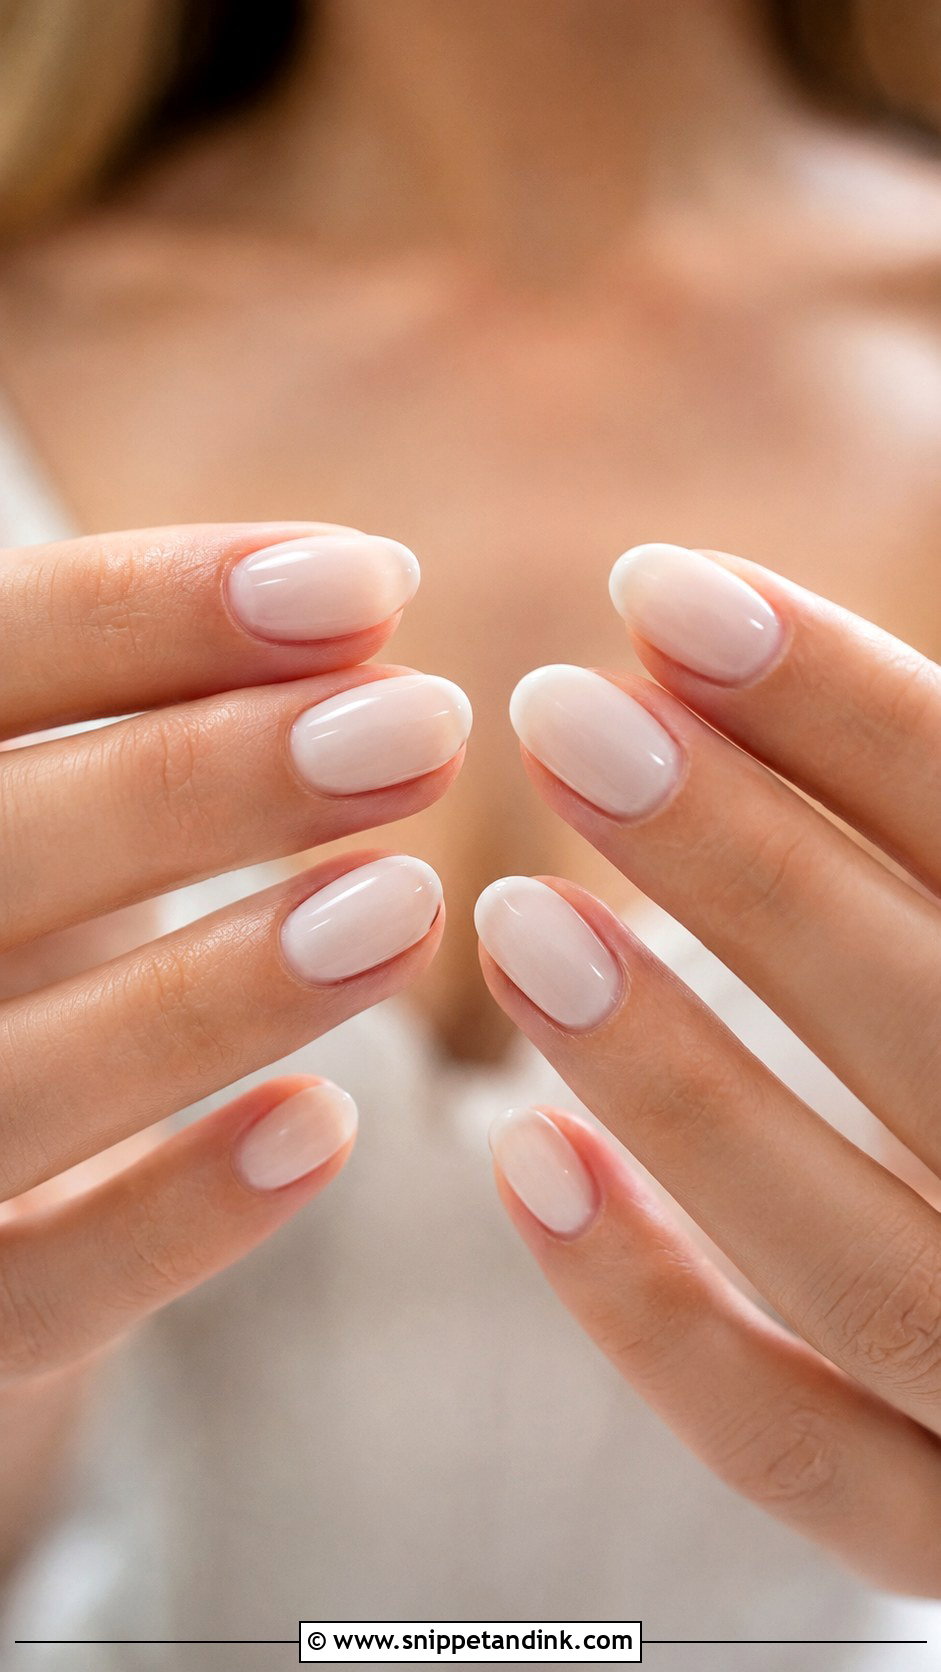
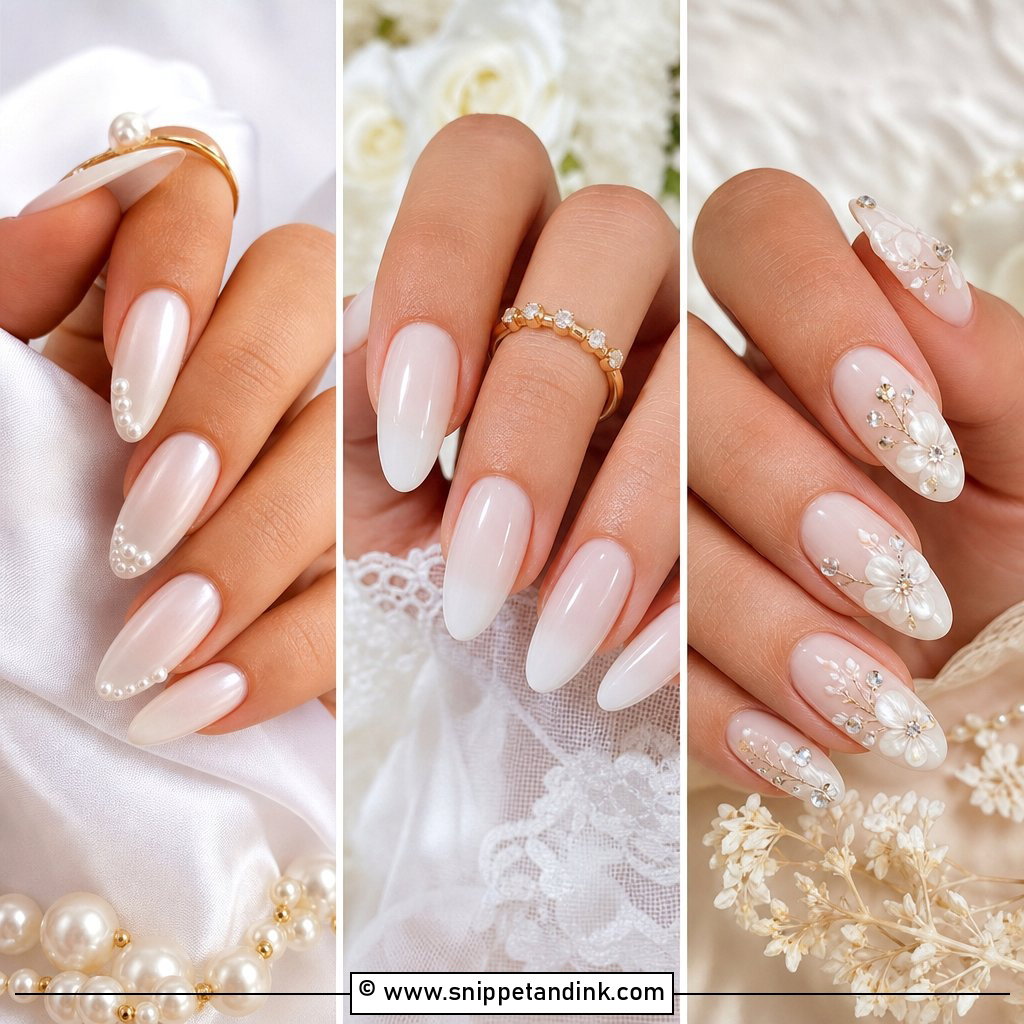
This is the base set, and it’s harder than it looks. The nail should be softly blurred, not hidden, which means two thin coats of a semi-sheer white rather than one thick one; a single heavy coat pools at the cuticle and sides. Underneath, the plate needs to be smooth, because a sheer color shows every ridge. A thick glossy top coat gives the glassy finish. Oval, almond and short square shapes all carry it, and it will still look right in your photos years from now.
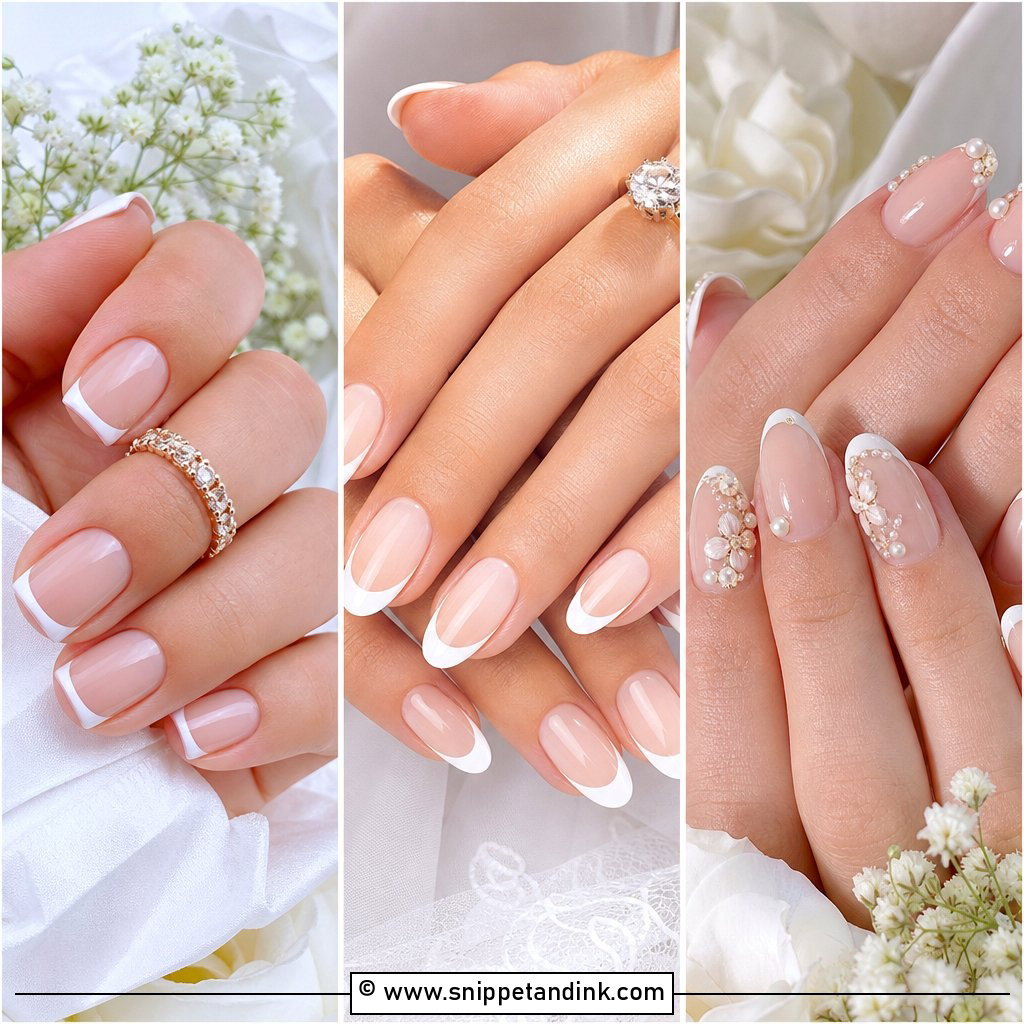
2. Milky White French Tip Bridal Nails
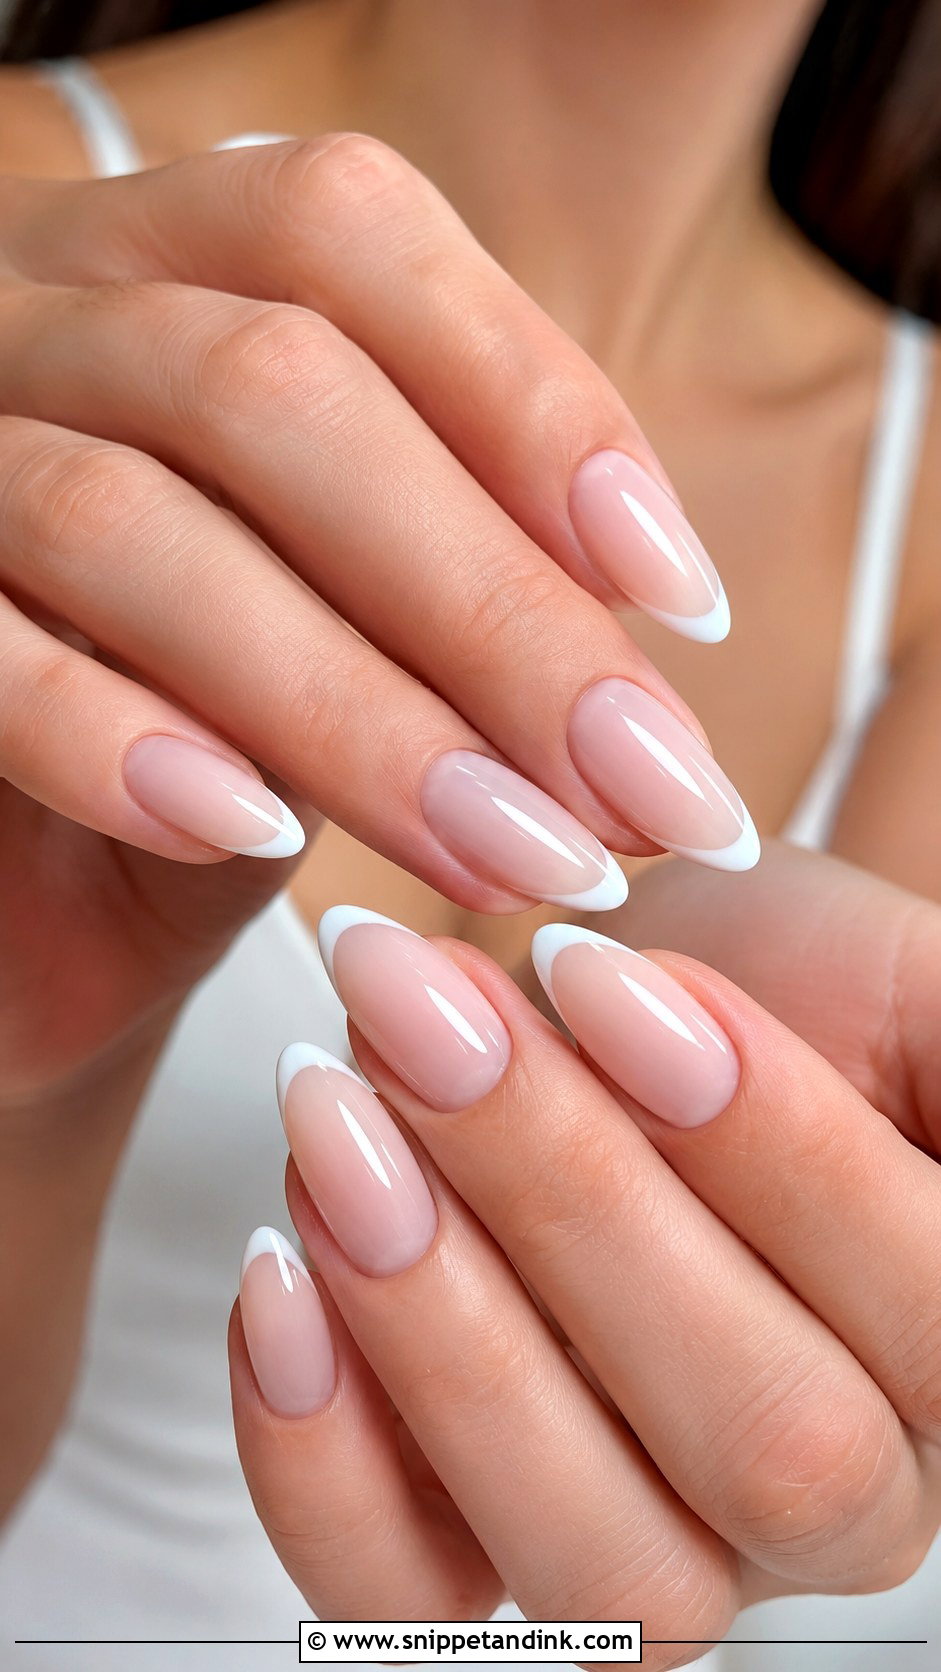
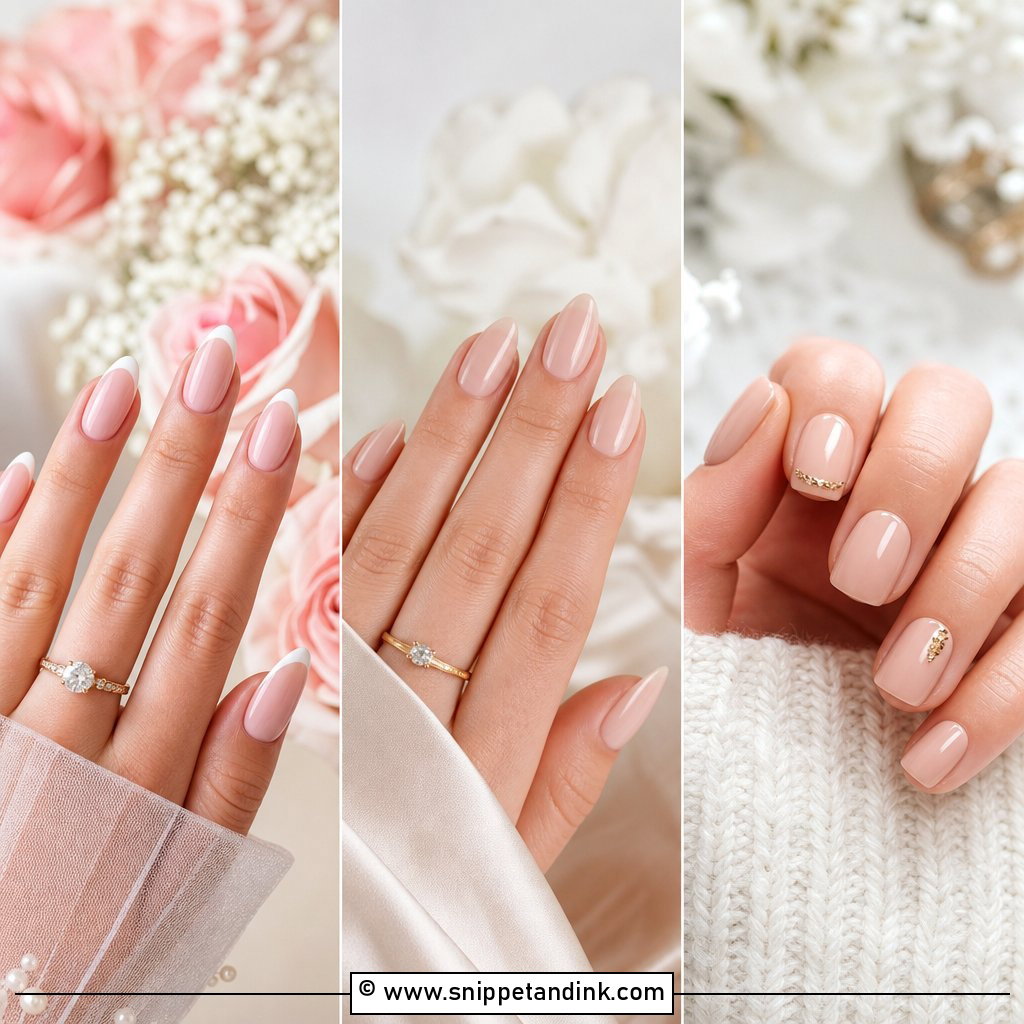
A milky French uses a slightly brighter white for the tip than for the base, so the line is defined but never stark. That small contrast is what keeps it from looking like a nineties French. I keep the tip thin to medium; a thick block of white shortens the nail visually. Almond shapes suit it best because the tip curves with the fingertip in ring shots. Satin gowns, pearl jewelry and simple makeup all sit well beside it.
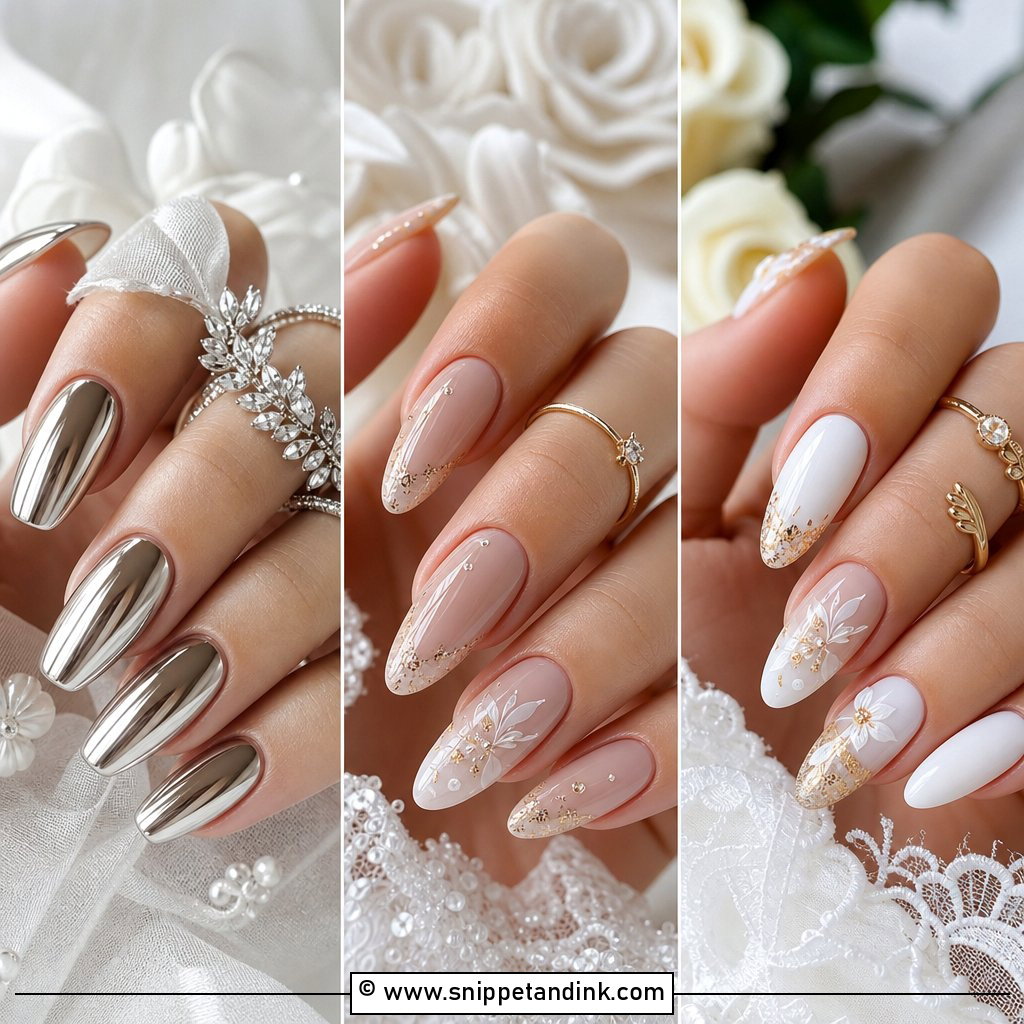
3. Milky White Chrome Bridal Nails
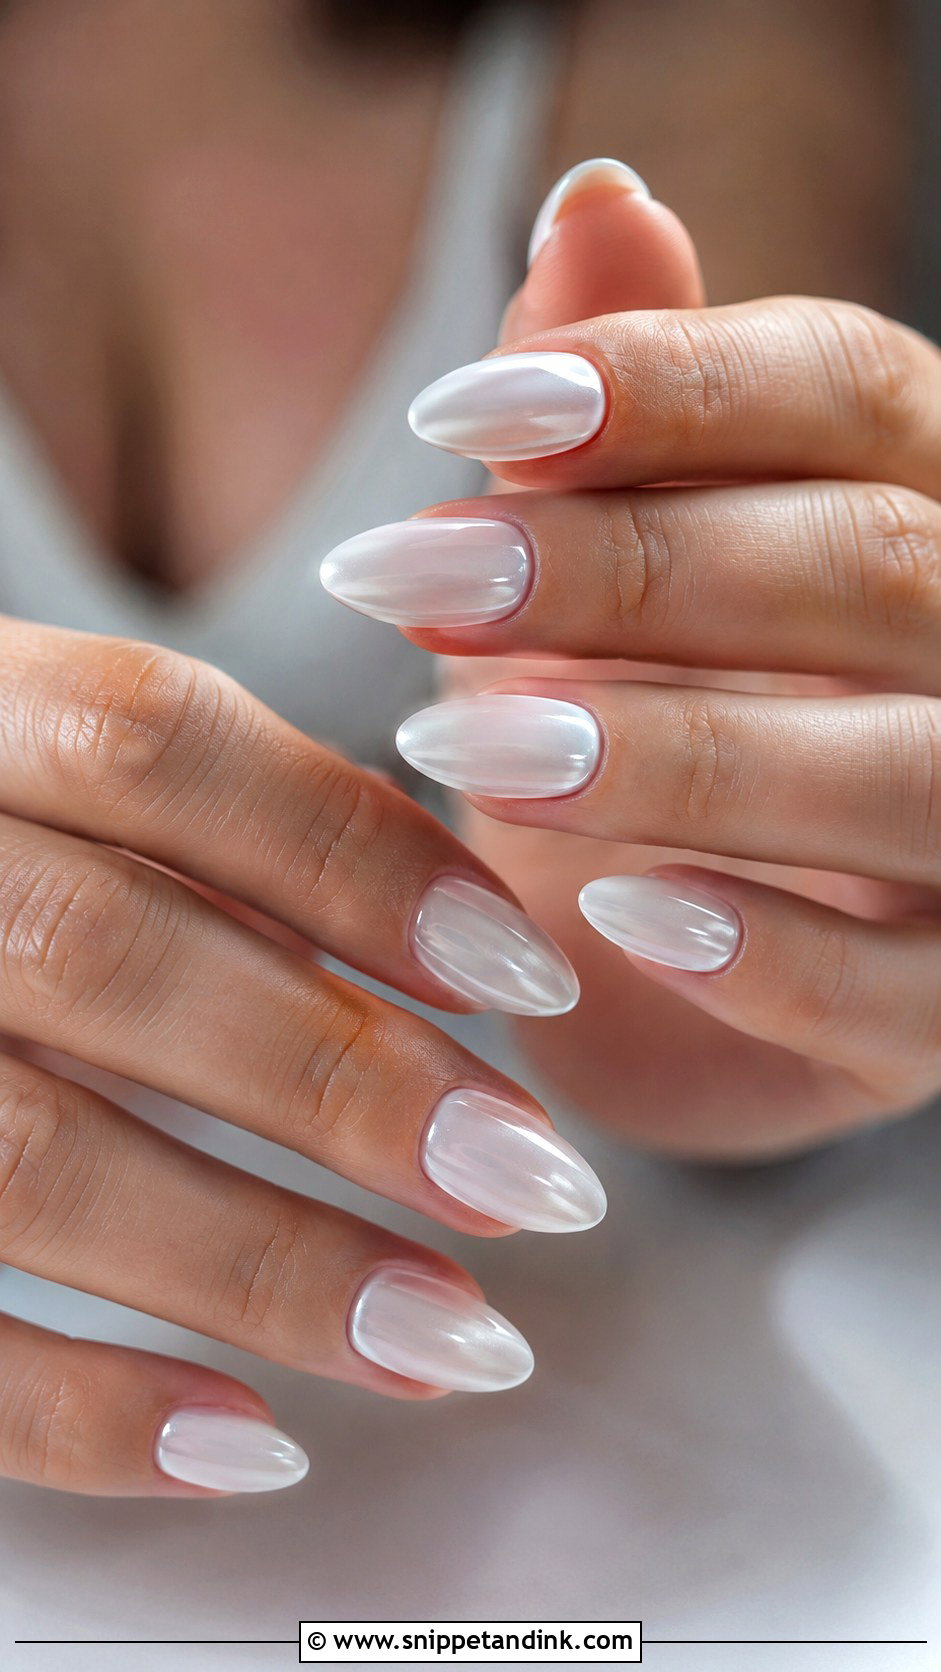
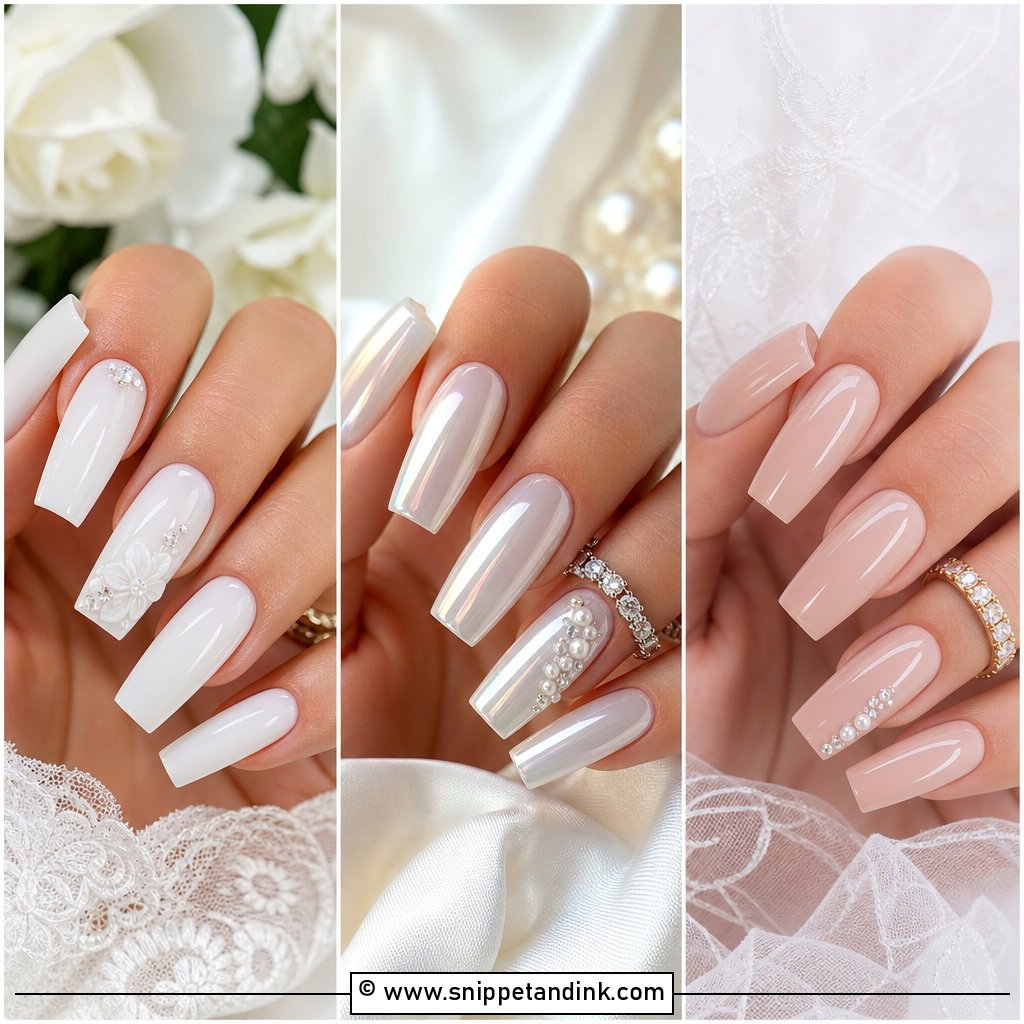
Chrome over milky white gives the glazed-donut glow, and milky white chrome bridal nails are the version I see requested most often now. The powder is buffed onto a cured no-wipe top coat, then sealed. Pearl or white chrome keeps it soft; a silver chrome turns it metallic. My caution is that chrome magnifies texture, so any bump in the base shows as a ripple. Keep the shape simple. It echoes pearl buttons and beading very well.
4. Milky White Almond Bridal Nails
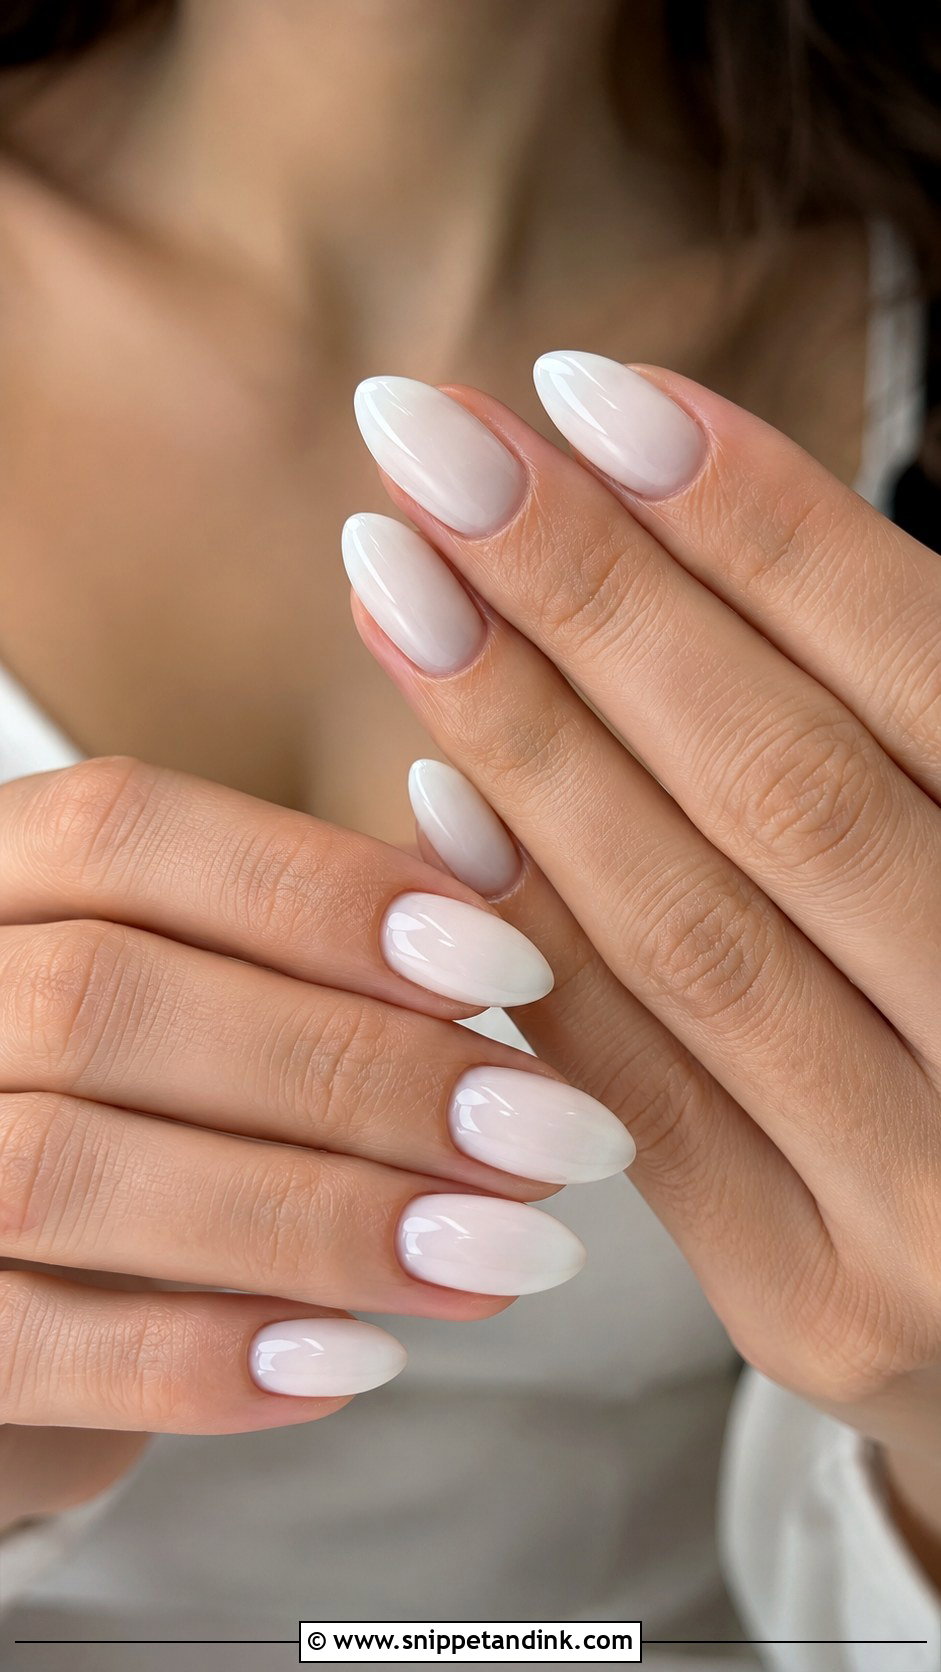
Almond is the shape that does the most for a hand in close-ups, since the narrowing tip lengthens the fingers. It needs some free edge to shape, so if your nails are short and bendy, a soft gel extension gives a cleaner almond than filing a weak natural nail into a point. Choose a creamy semi-sheer white rather than a chalky one; chalky whites look flat against skin. It is a safe pick, and safe isn’t the same as dull.
5. Short Milky White Bridal Nails
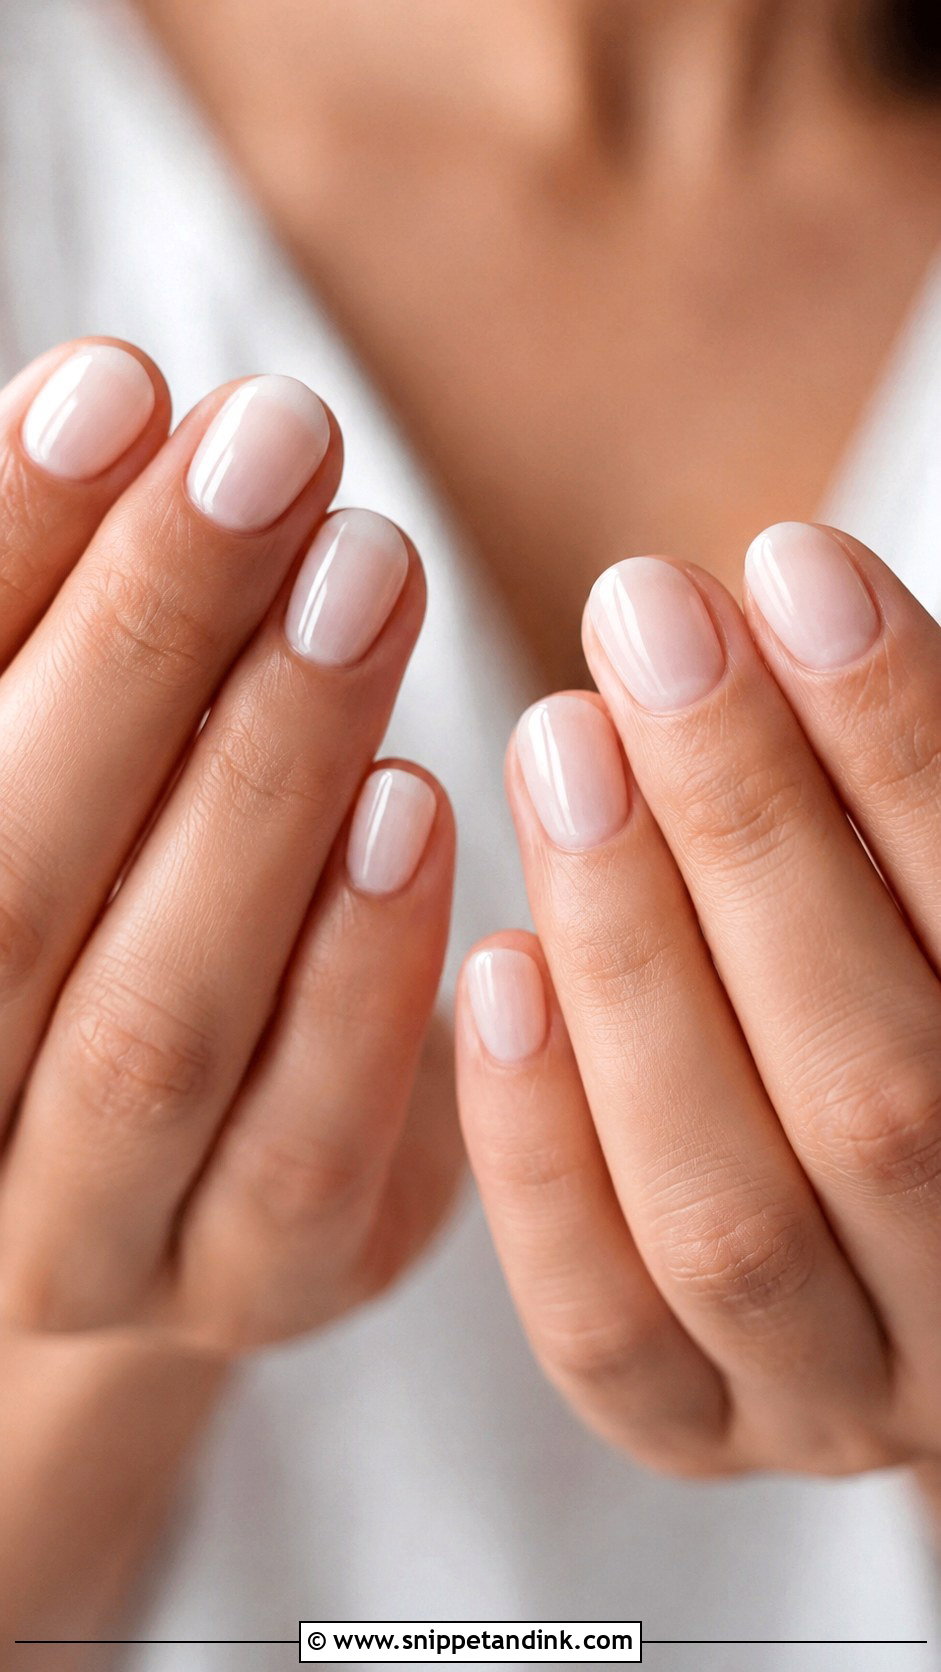
Short milky nails are the most wearable set here. You’ll be doing up clasps, zipping garment bags, holding a bouquet and hugging people, and short nails don’t get in the way of any of it. The sheer white makes small nails look tidy. A rounded square or soft oval looks most natural. If you rarely wear polish, this is where I’d start; long nails on the wedding day are the thing brides most often regret.
6. Milky White Square Bridal Nails
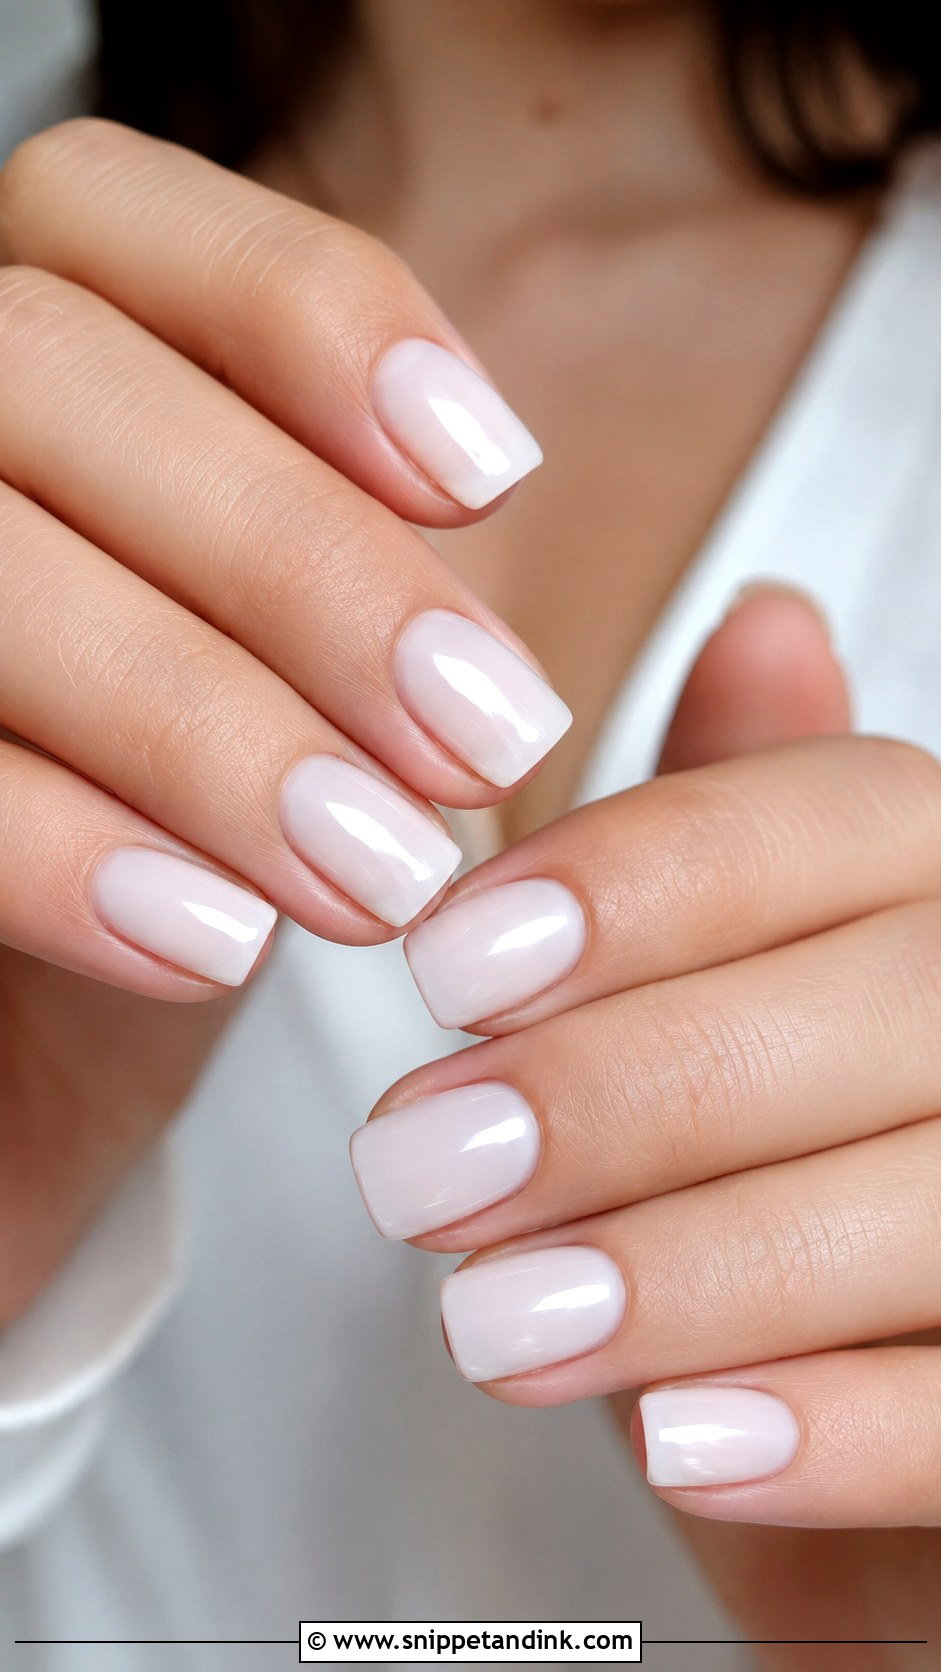
Square milky nails give a crisp, structured edge that the soft color calms down. Short to medium is the wearable range for a wedding, since sharp corners catch on lace, tulle and knit wraps. I’ll file the corners just off square for most brides, which keeps the straight-line look but stops snagging. A high-shine top coat matters on this shape because flat edges show any dullness. It sits well with minimalist gowns and sleek hair.
7. Milky White Coffin Bridal Nails
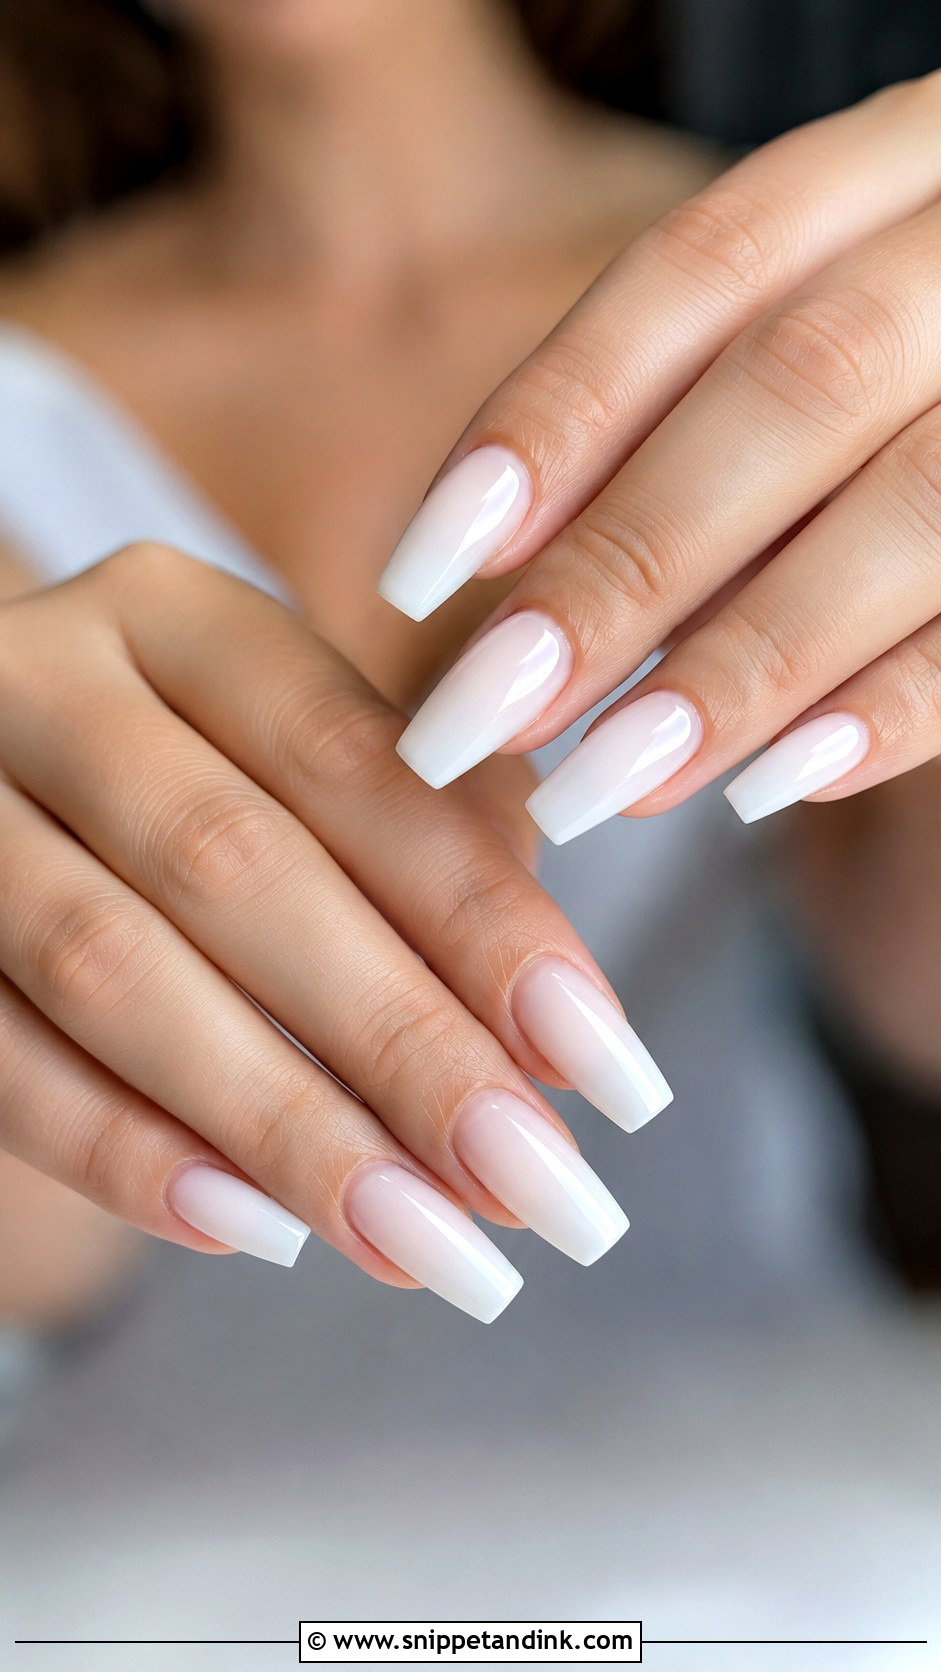
Coffin nails taper at the sides and end in a flat tip, and milky white keeps that dramatic shape bridal. Medium length is enough; longer coffins look editorial and make pinning a veil awkward. The flat tip is the weakest point, so on long sets I build a stronger apex in the middle of the nail to stop the tip snapping when you grab something. Leave them plain and glossy, or add a little chrome or a few pearls.
8. Milky White Oval Bridal Nails
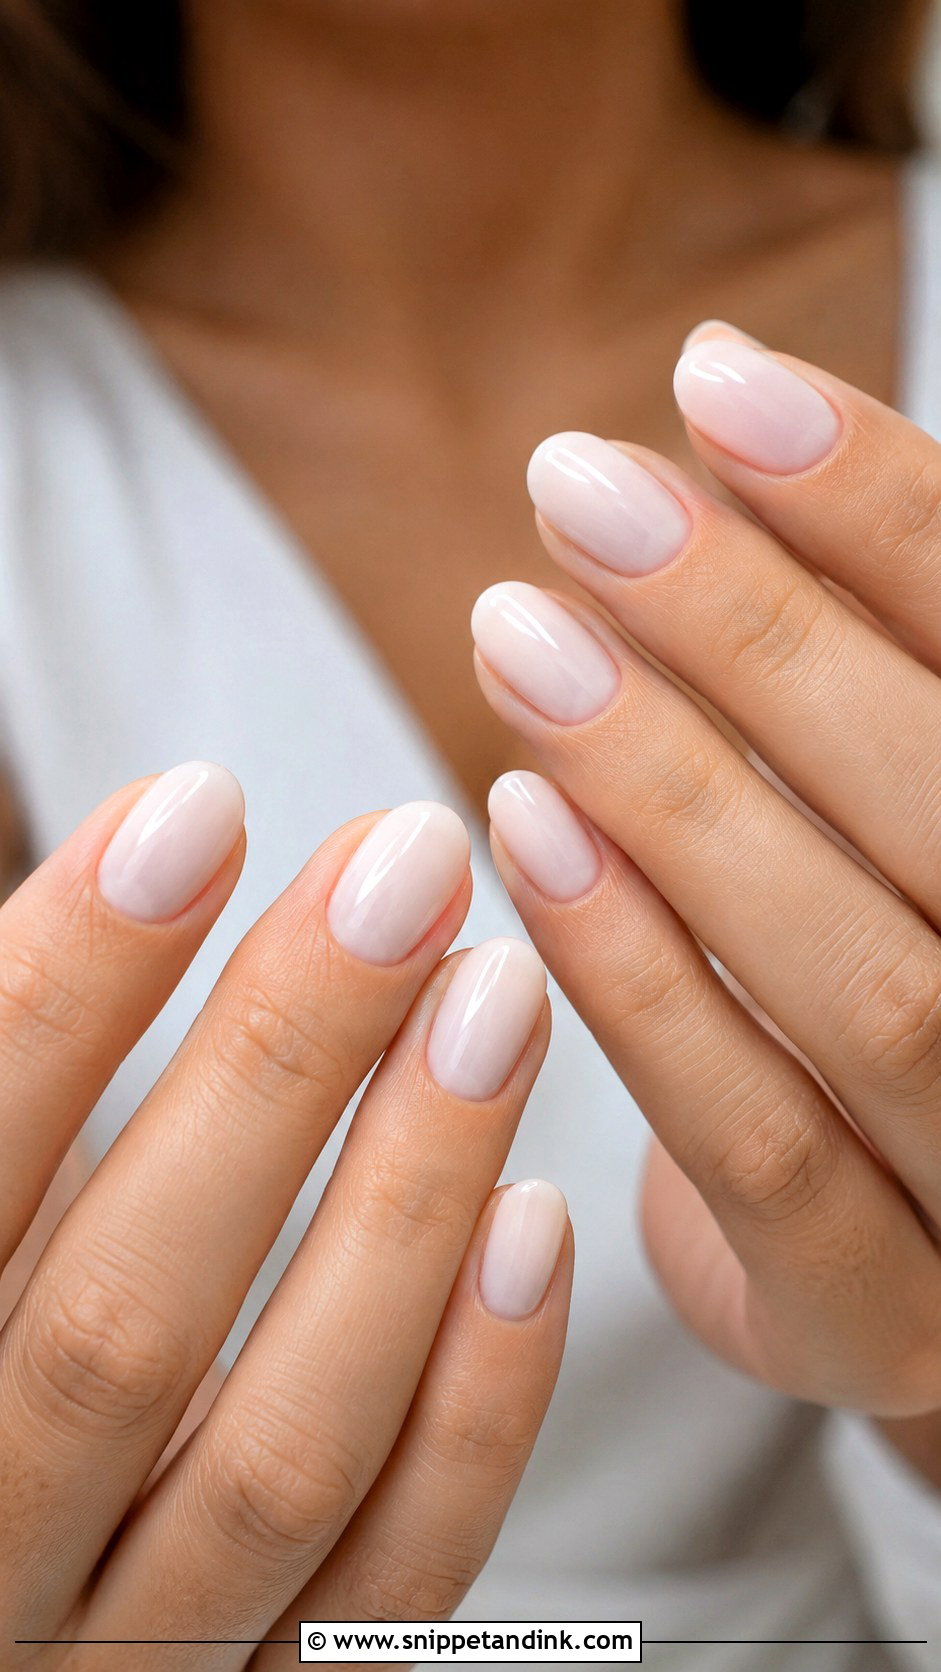
An oval follows the shape of the fingertip, so it rarely looks wrong on anyone. It works short, medium or long, which makes it the shape I suggest when someone can’t decide. With milky white it looks soft and very natural. The detail that matters is the cuticle: I clean it carefully and cap the free edge with top coat, which seals the tip and helps stop chips during the reception.
9. Milky White Pearl Bridal Nails
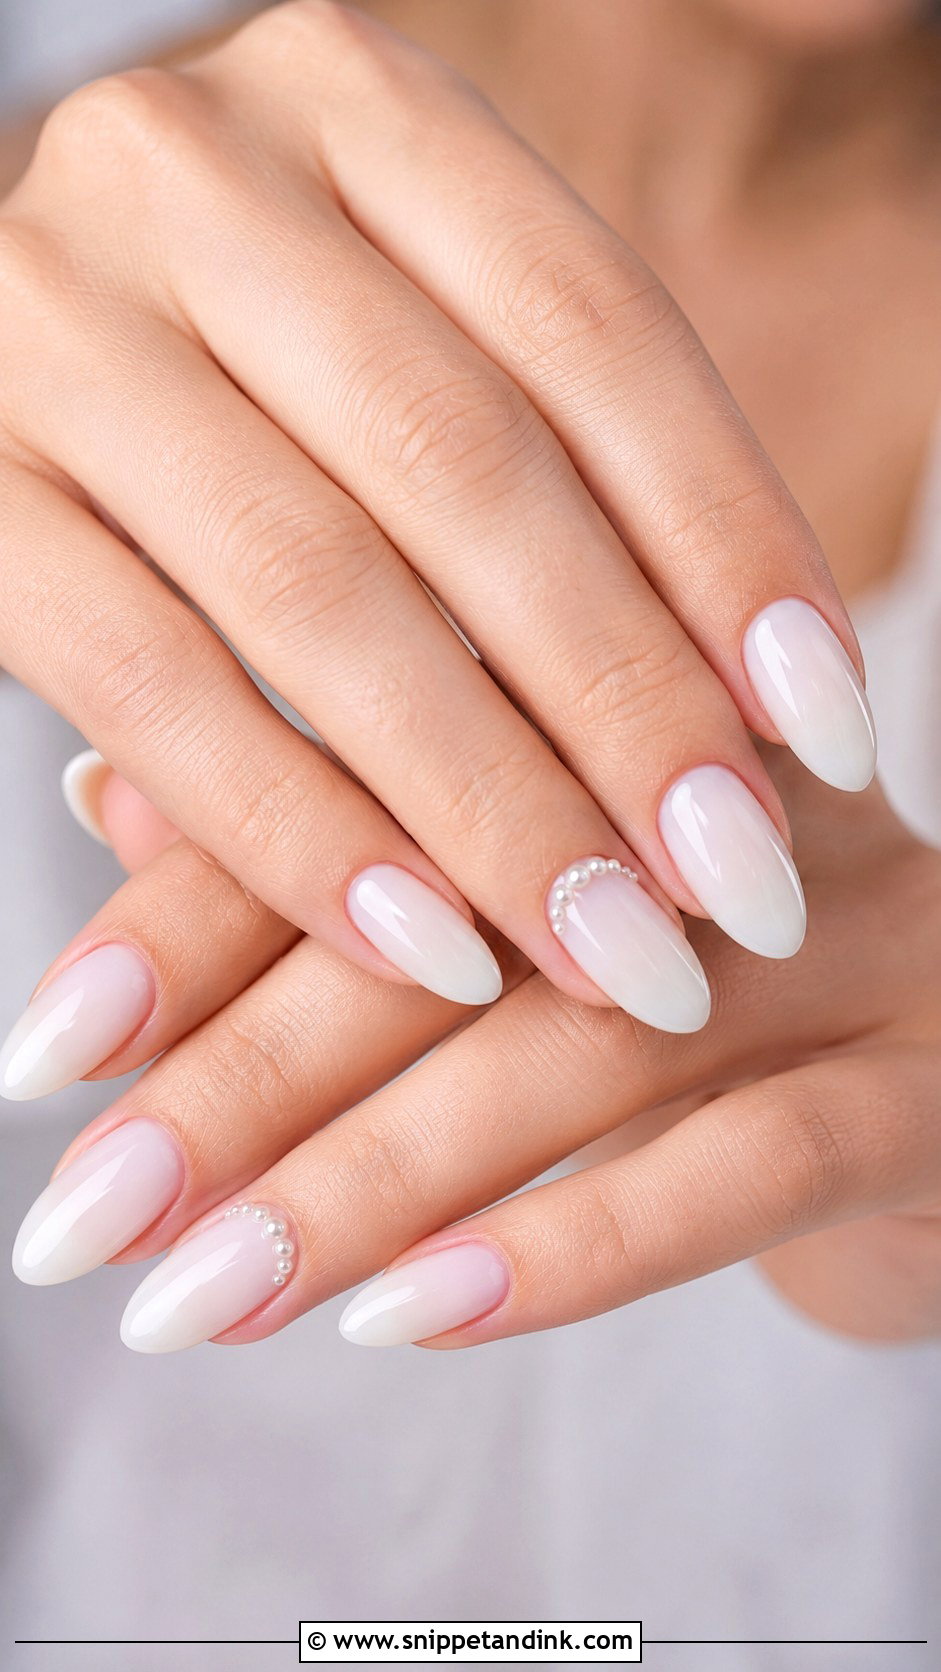
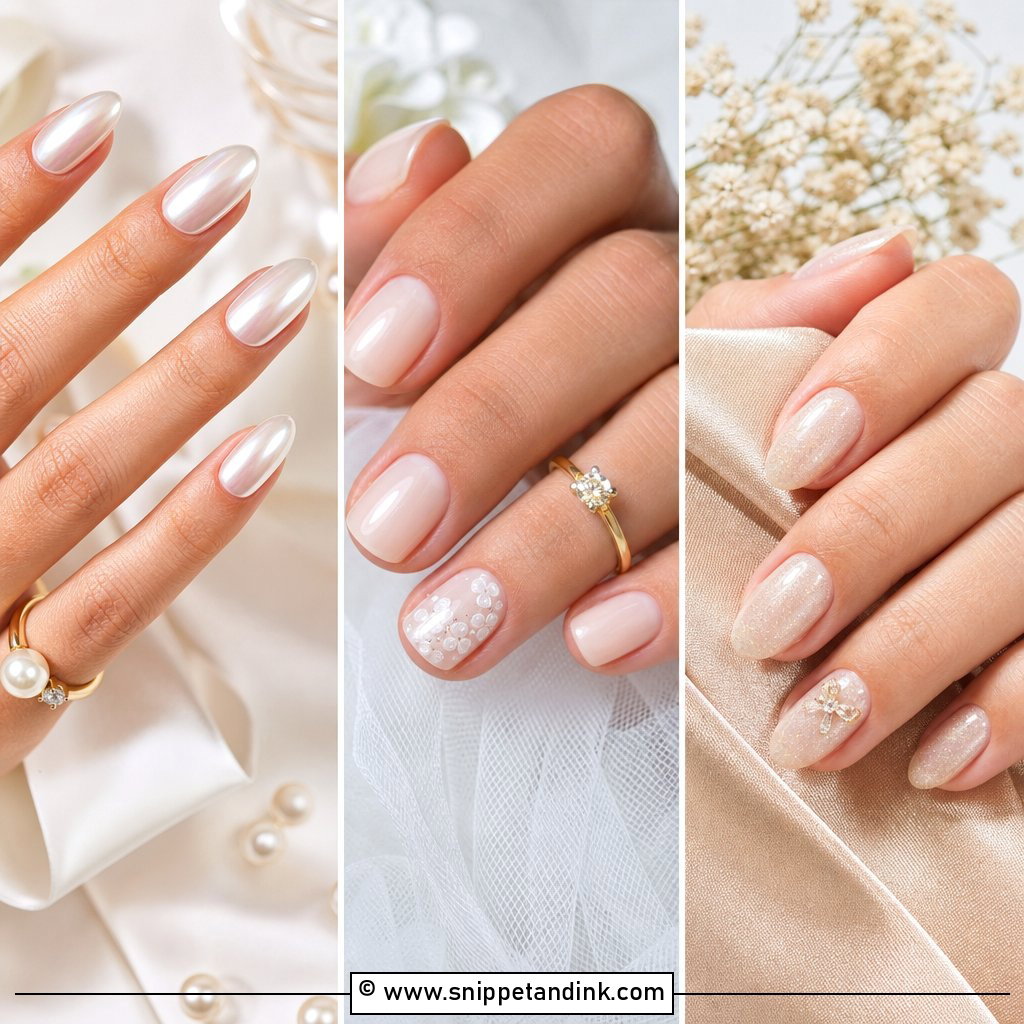
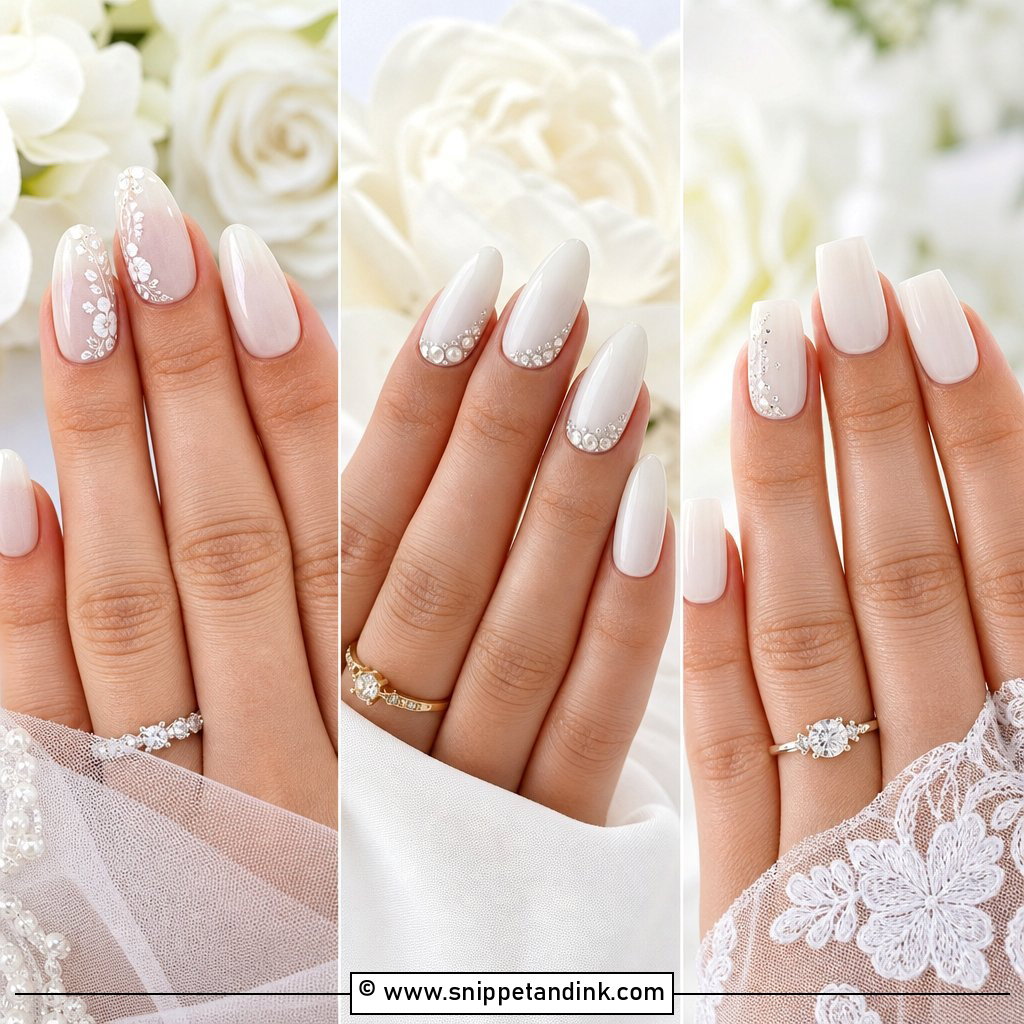
Milky white pearl bridal nails add tiny flat-back pearls over the sheer base on one or two nails per hand. I place them near the cuticle, along a French line, or scattered lightly on an accent nail. Restraint is the whole design: a few pearls look like jewelry, a whole nail covered looks like a costume. Each pearl is set into gel and sealed so it doesn’t catch on veil netting. Match the pearl tone to your earrings or veil trim.
10. Milky White Lace Bridal Nails
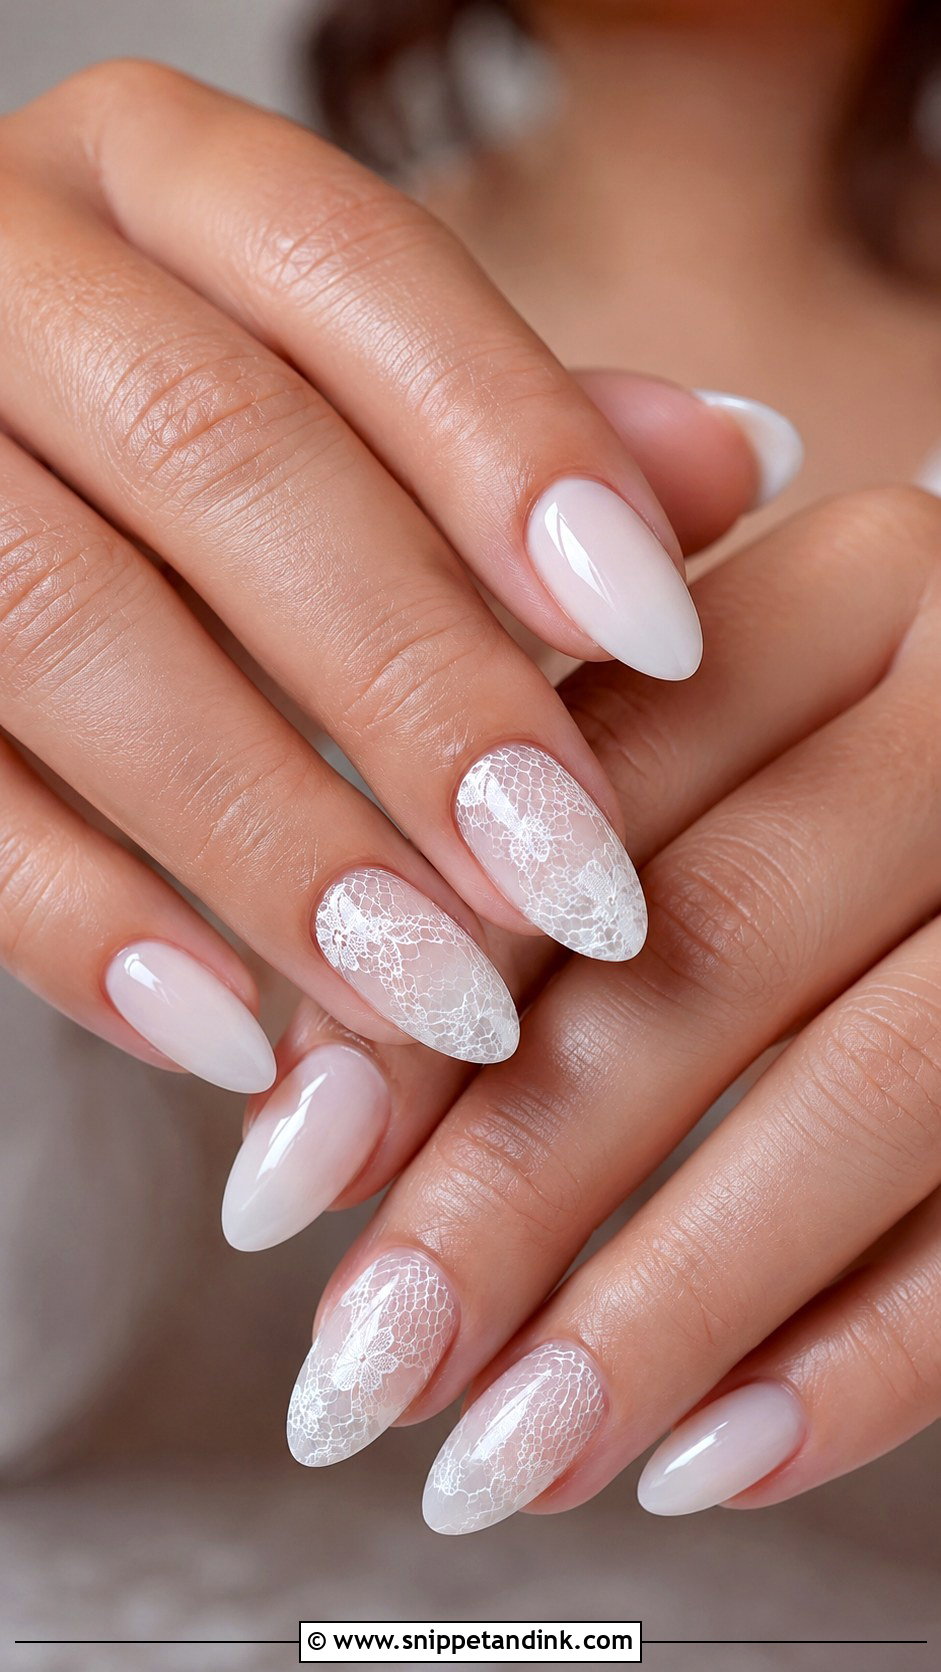
Lace accents echo the texture of a gown, painted in fine white lines, dots and open spacing on one or two nails. The spacing is what keeps it from looking busy, so I paint with a very fine liner brush and leave more base showing than you’d expect. Bring a close photo of your sleeve or veil edge, and I can borrow its actual motif. Keep the other nails plain milky.
11. Milky White Floral Bridal Nails
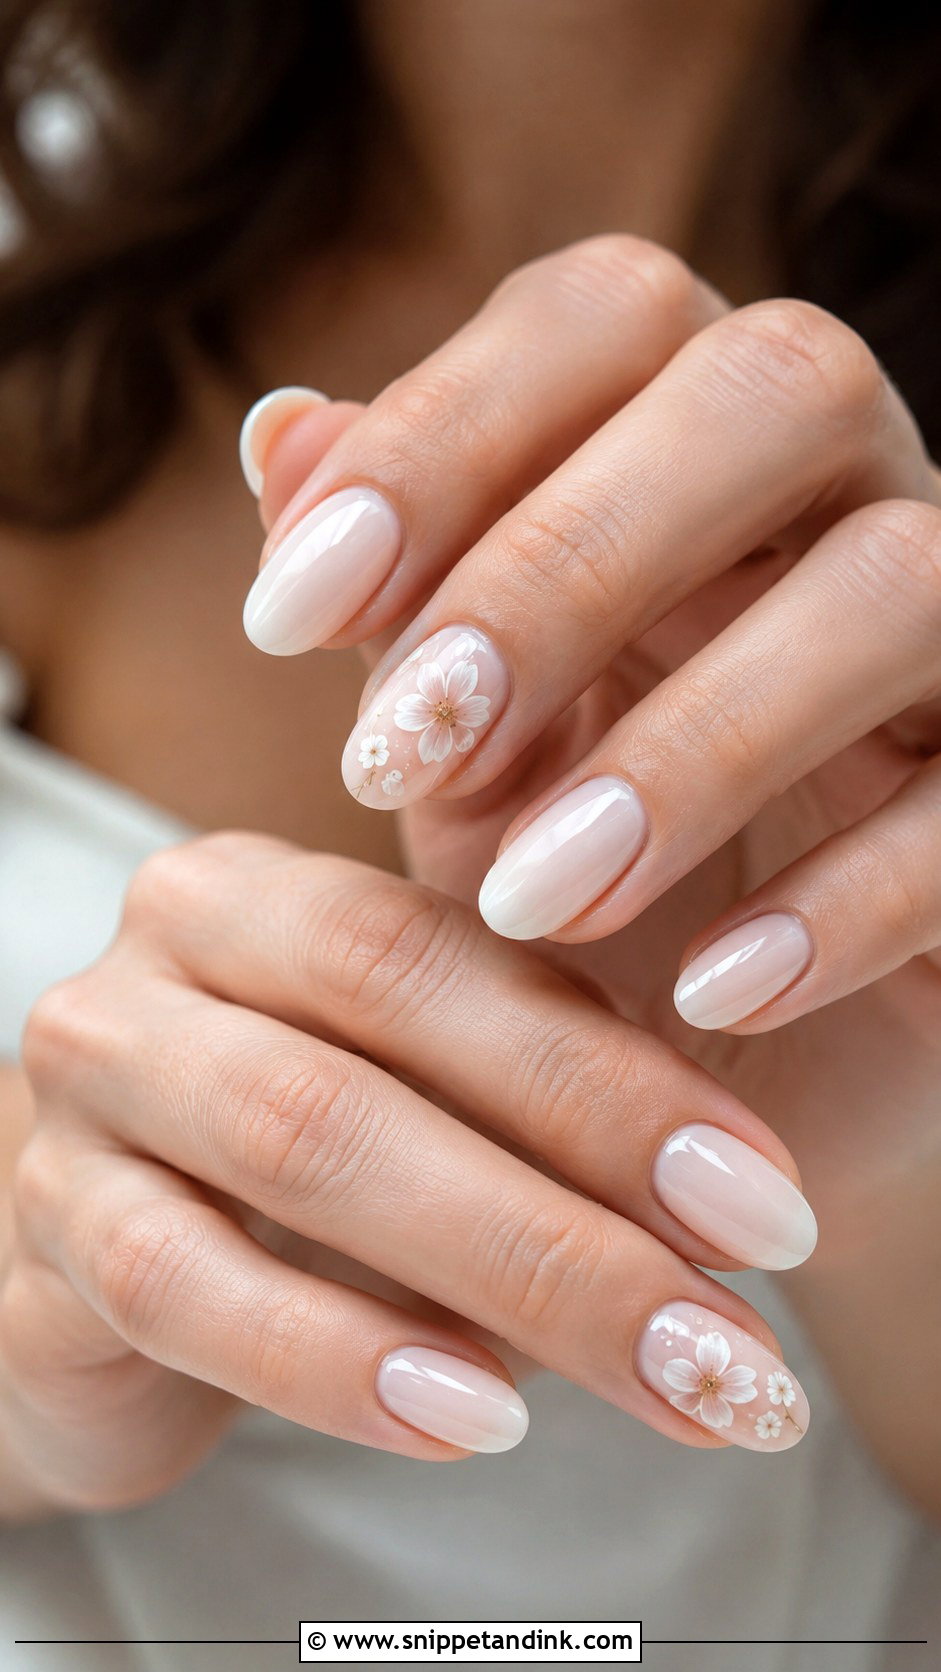
Floral milky nails bring small white or pale blush flowers onto a creamy base. They can be hand-painted, made with fine gel details, or pressed and sealed. I keep the petals tiny and open so the base shows through, then limit them to one or two nails per hand. Spring and garden ceremonies suit them, and they pair well with floral lace. Painted flowers wear better than real pressed ones, which can lift at the edges after a few days.
12. Milky White Ombre Bridal Nails
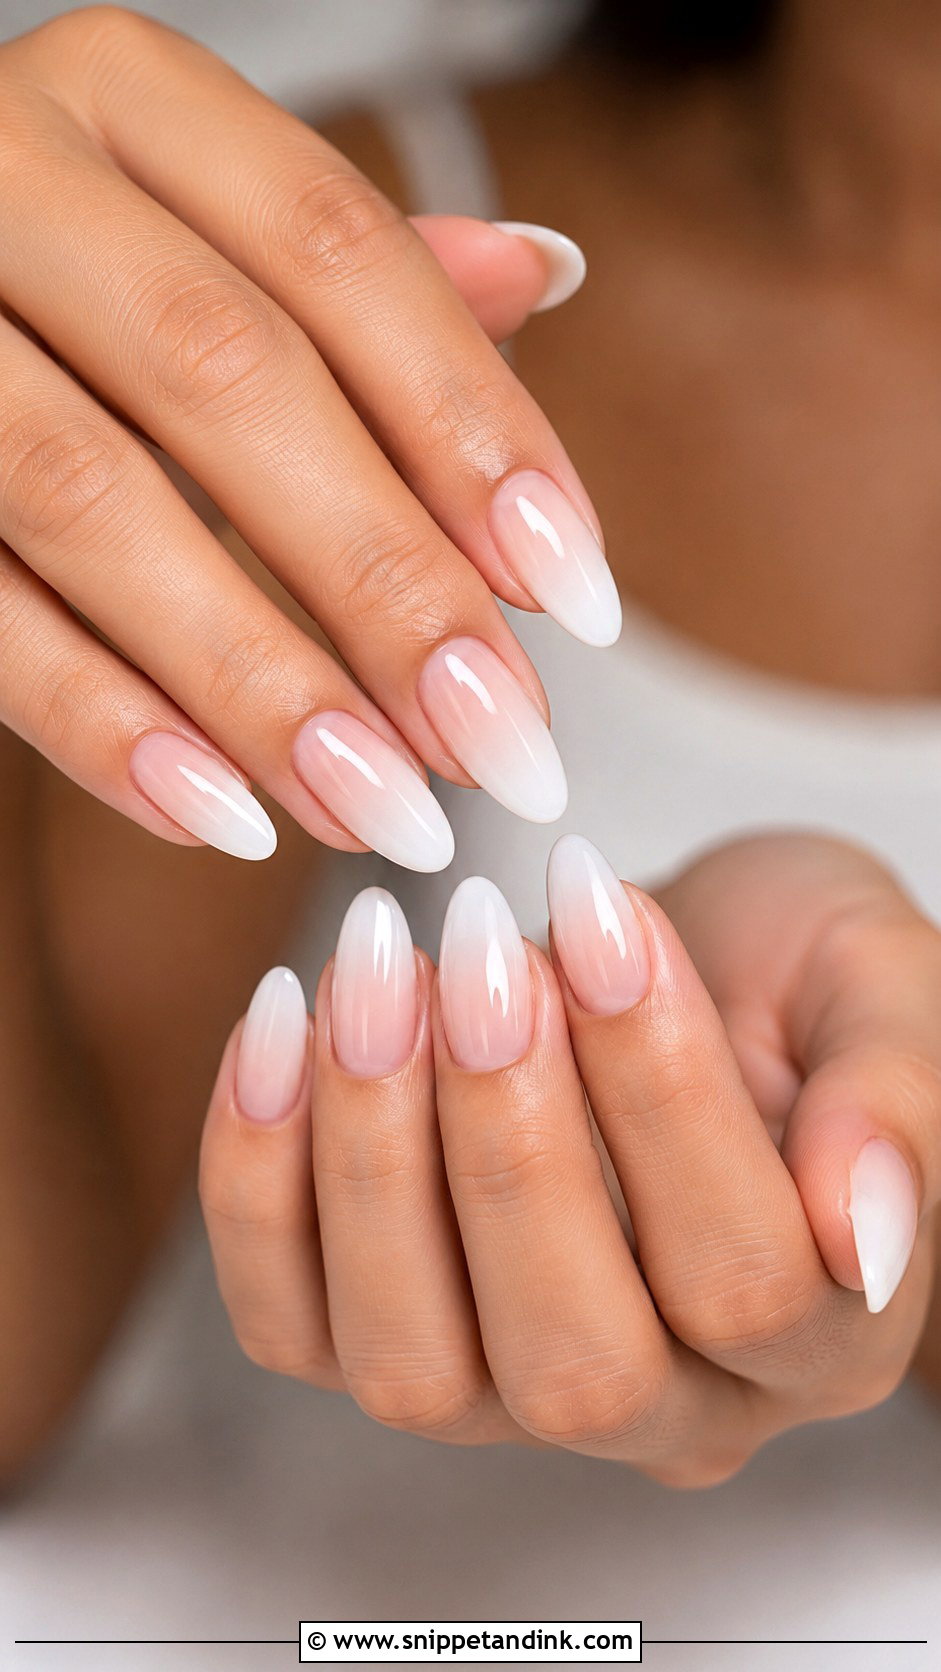
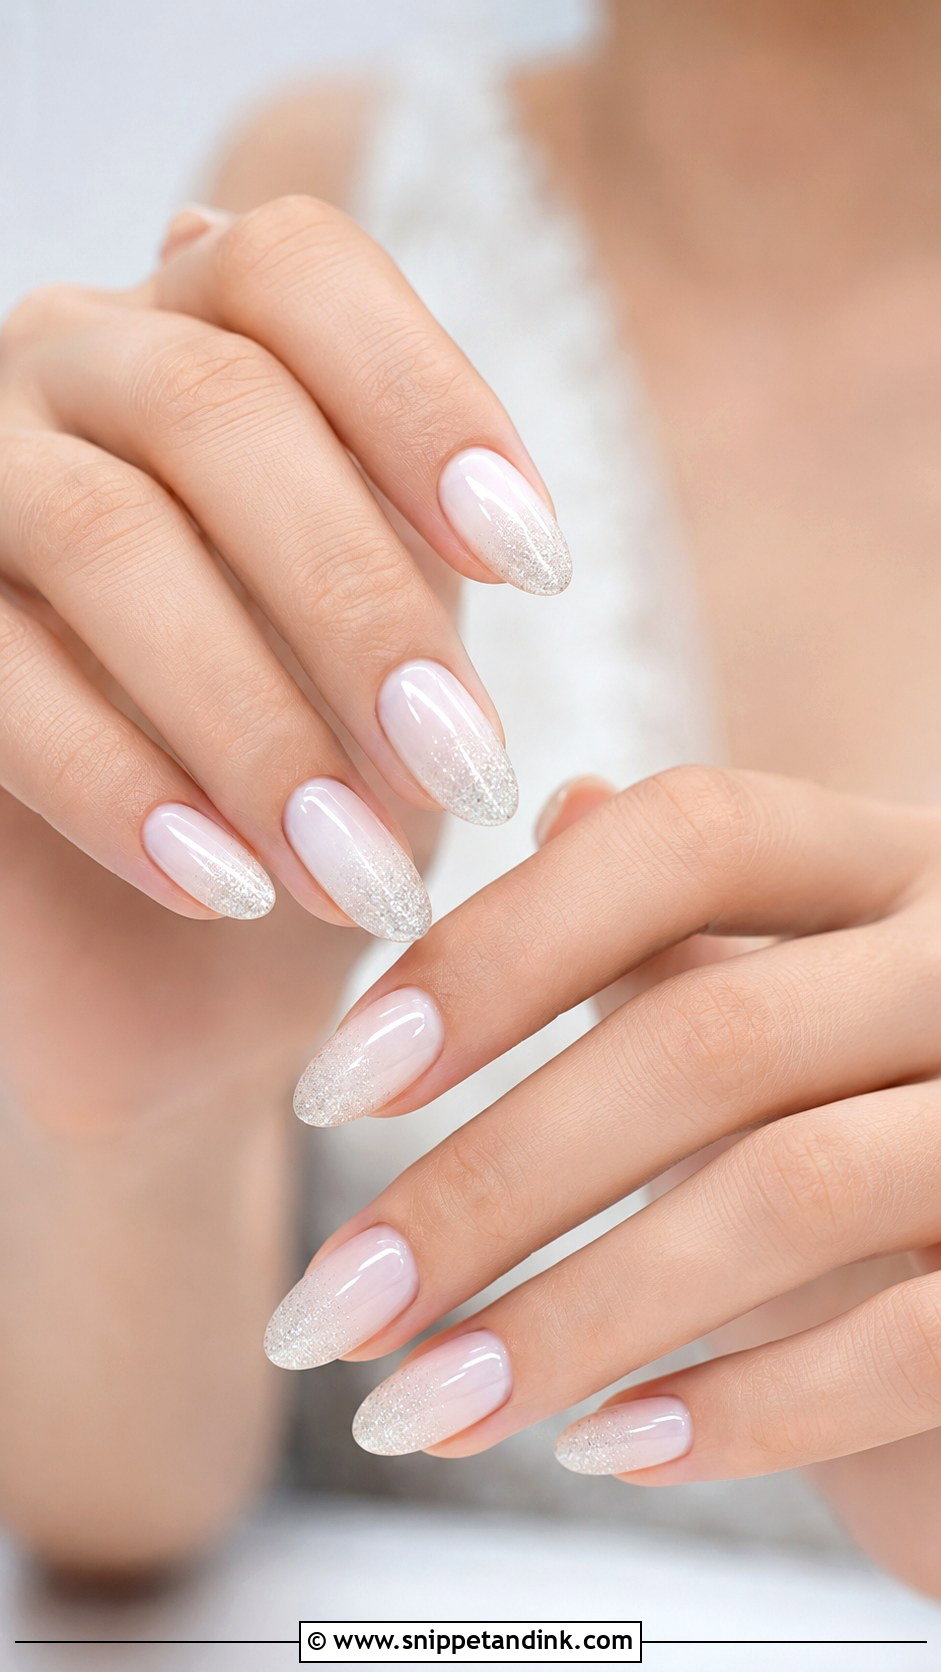
Milky white ombre bridal nails fade from a natural pink or nude at the cuticle into white at the tip. It’s a French without the line. The gradient makes nails look longer and hides grow-out better than a solid color. Almond and coffin shapes show the fade best, though a short oval works too. A blend with no visible band between the shades takes a few thin, sponged layers, so allow extra time at the appointment.
13. Milky White Glitter Bridal Nails
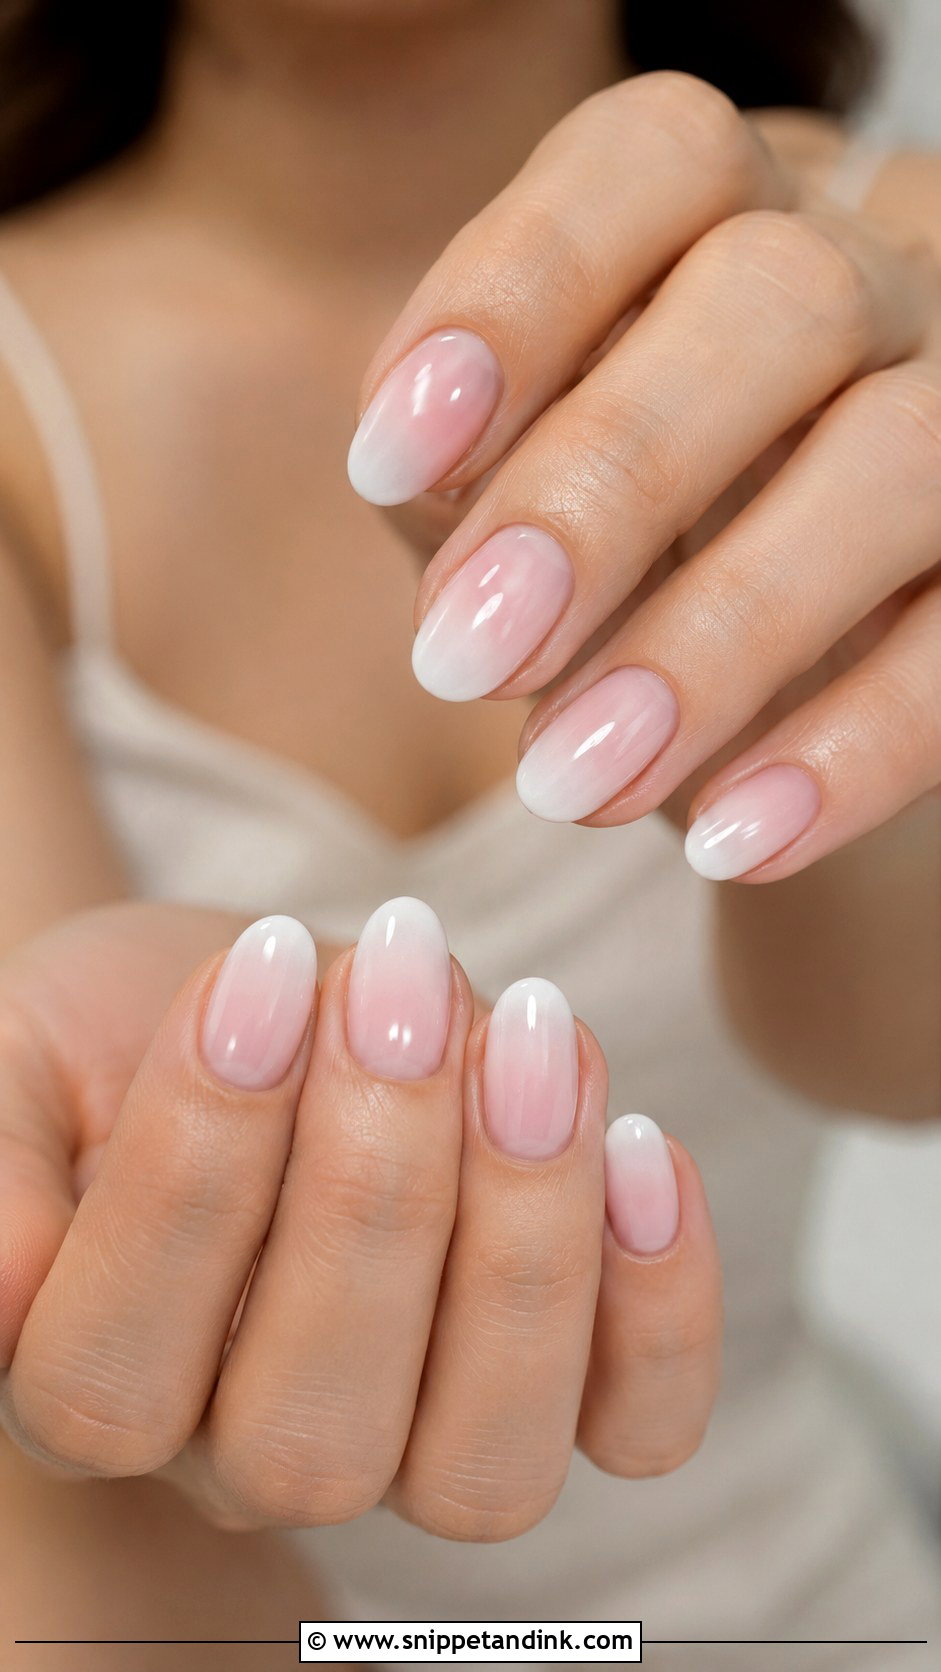
Glitter on milky white should be fine shimmer, not chunky flakes. A light fade toward the tips or the cuticle catches the light without making the hand look like a party set. Match the glitter tone to your beading or sequins: silver, pearl or soft champagne. Evening receptions are where this set comes alive under warm lights. Medium almond or oval shapes keep it refined.
14. Milky White Marble Bridal Nails
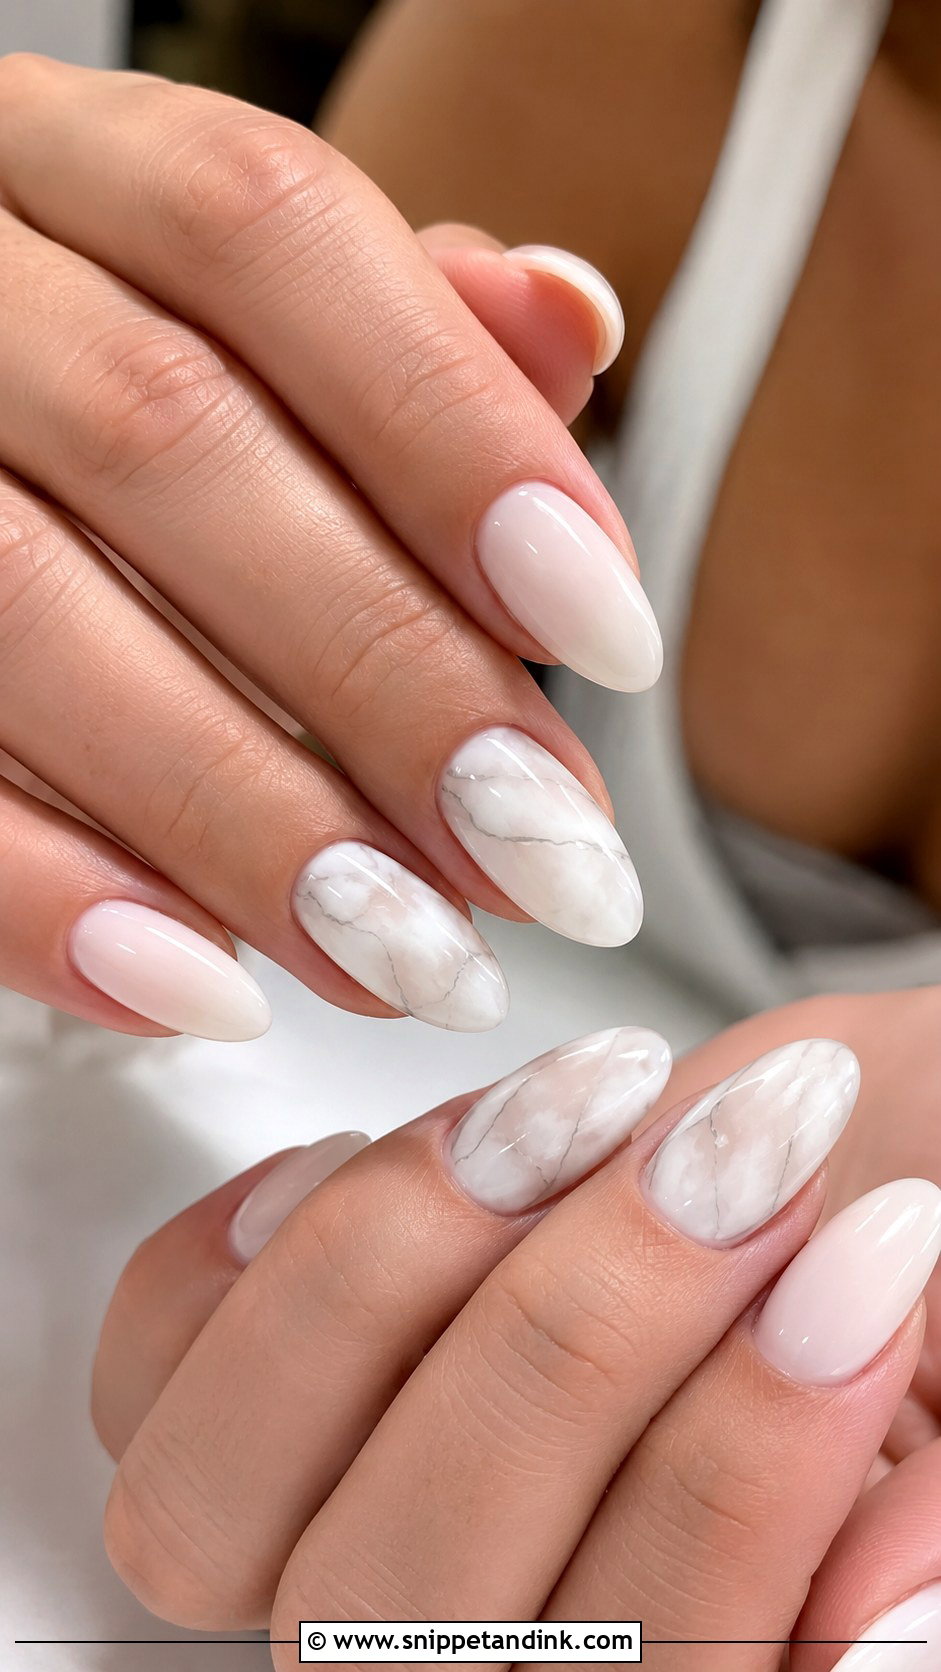
Marble milky nails keep within a white palette but add soft, cloudy veins in white, pearl or pale gray. I blend the veins while the gel is still wet so they look like stone under glass, not drawn lines. Keep marble to one or two nails per hand and leave the rest plain, otherwise it gets busy. A glossy top looks more luminous; a satin top makes it look more like real stone.
15. Milky White Swirl Bridal Nails
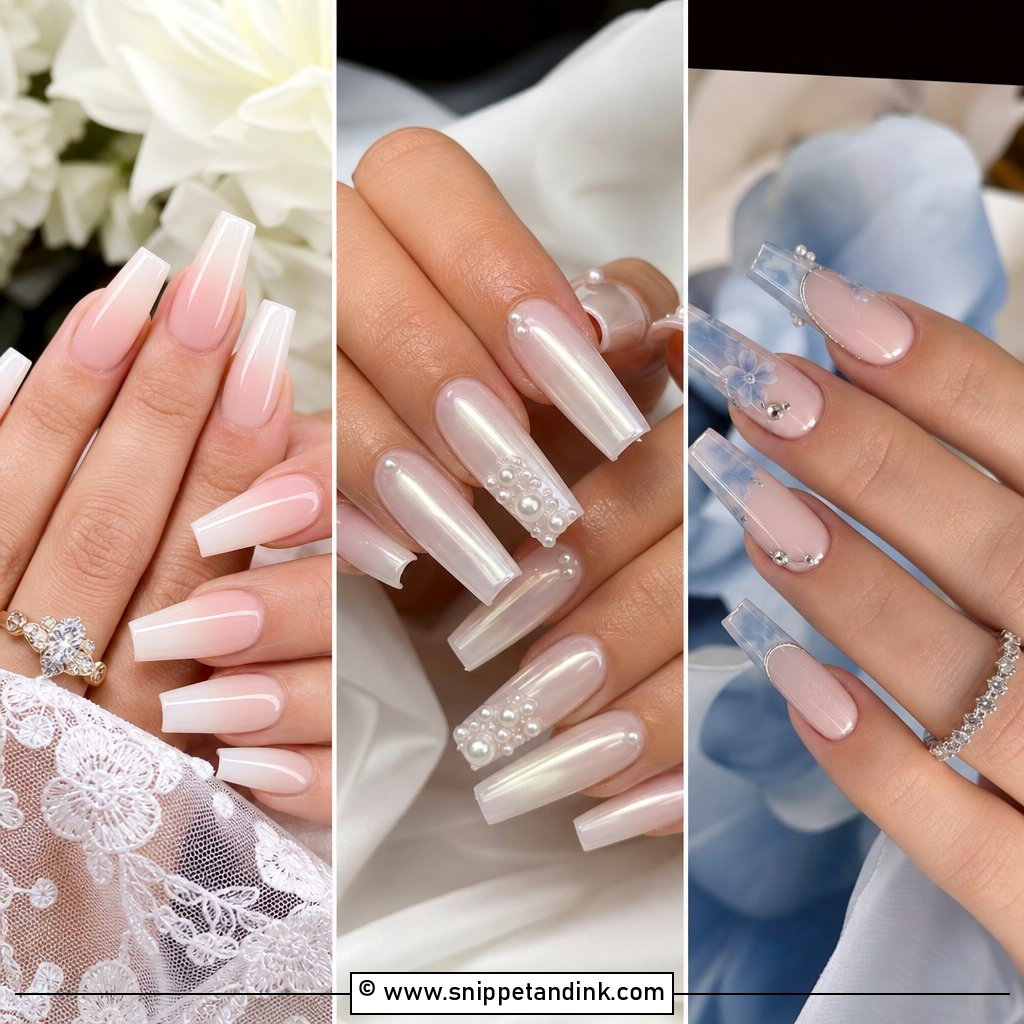
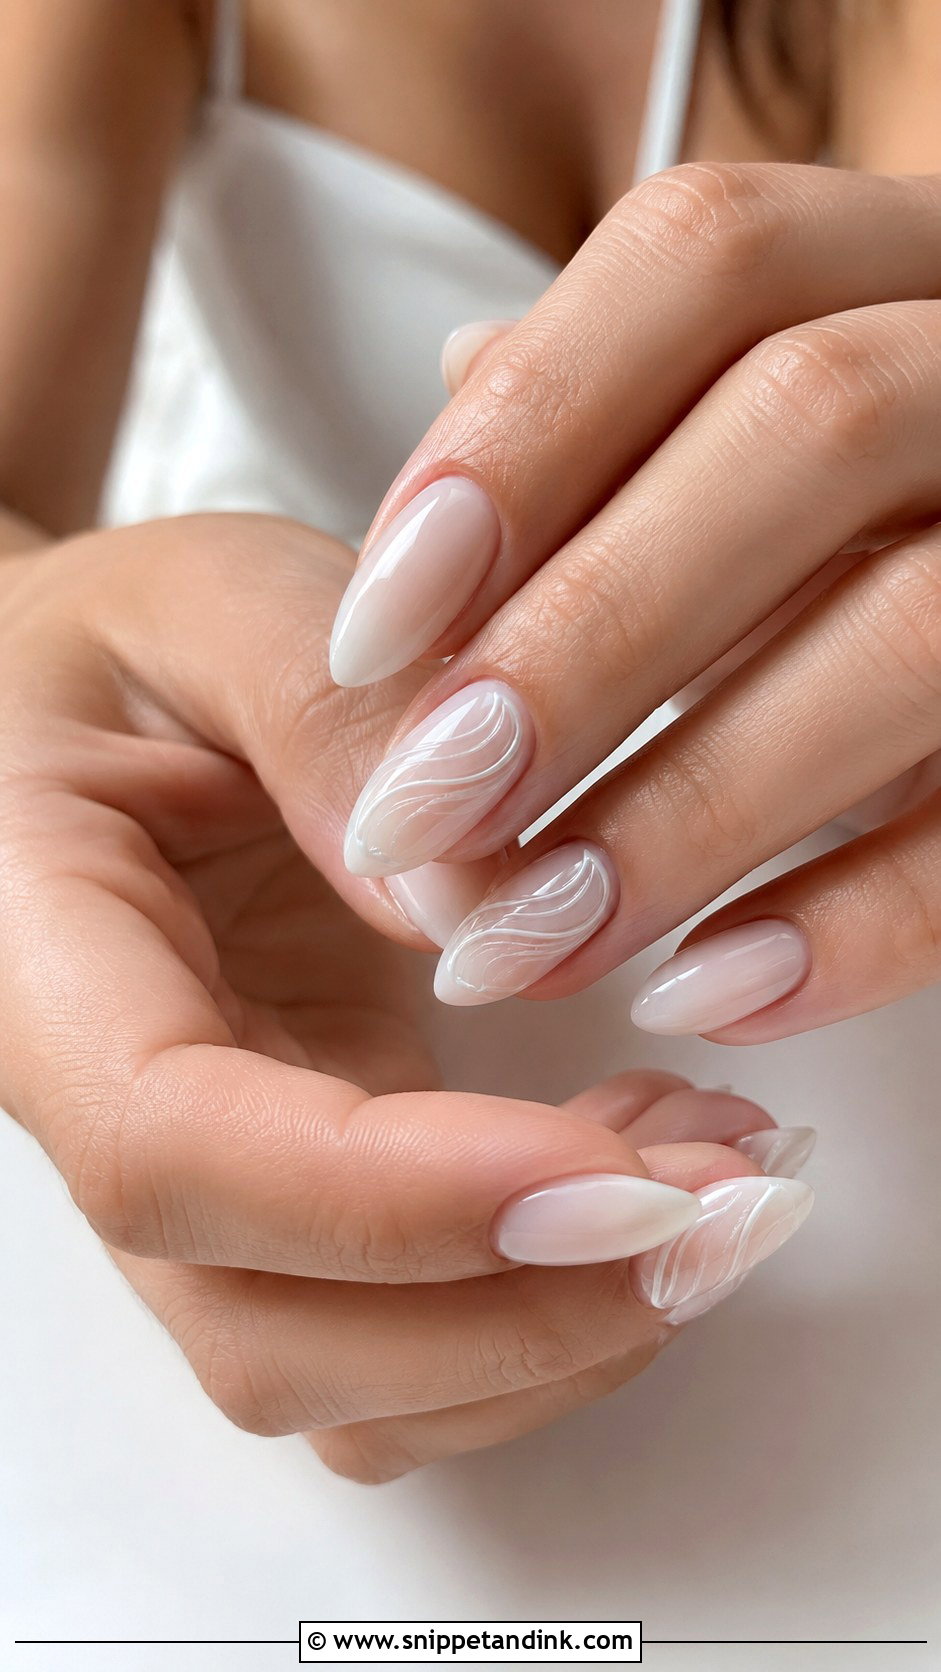
Swirls add movement without color: thin white lines curving across a few nails over the sheer base. Raised swirls are built with a thick gel and catch light from the side, while flat painted swirls are subtler. Keep the lines thin and even, since a wobbly swirl is obvious in a ring close-up. A medium almond gives the curve room to travel. A whisper of pearl chrome over the top makes the set glow under reception lighting.
16. Milky White Blush Bridal Nails
Blush or aura nails place a soft pink glow in the center of each nail with milky white around it. For bridal wear I keep the pink very sheer and diffused with a sponge or airbrush, because a bright center looks like a trend set rather than a wedding one. It gives the nails a fresh, healthy look on oval and almond shapes. Finish with a glossy top coat so the gradient looks soft.
17. Milky White Rhinestone Bridal Nails
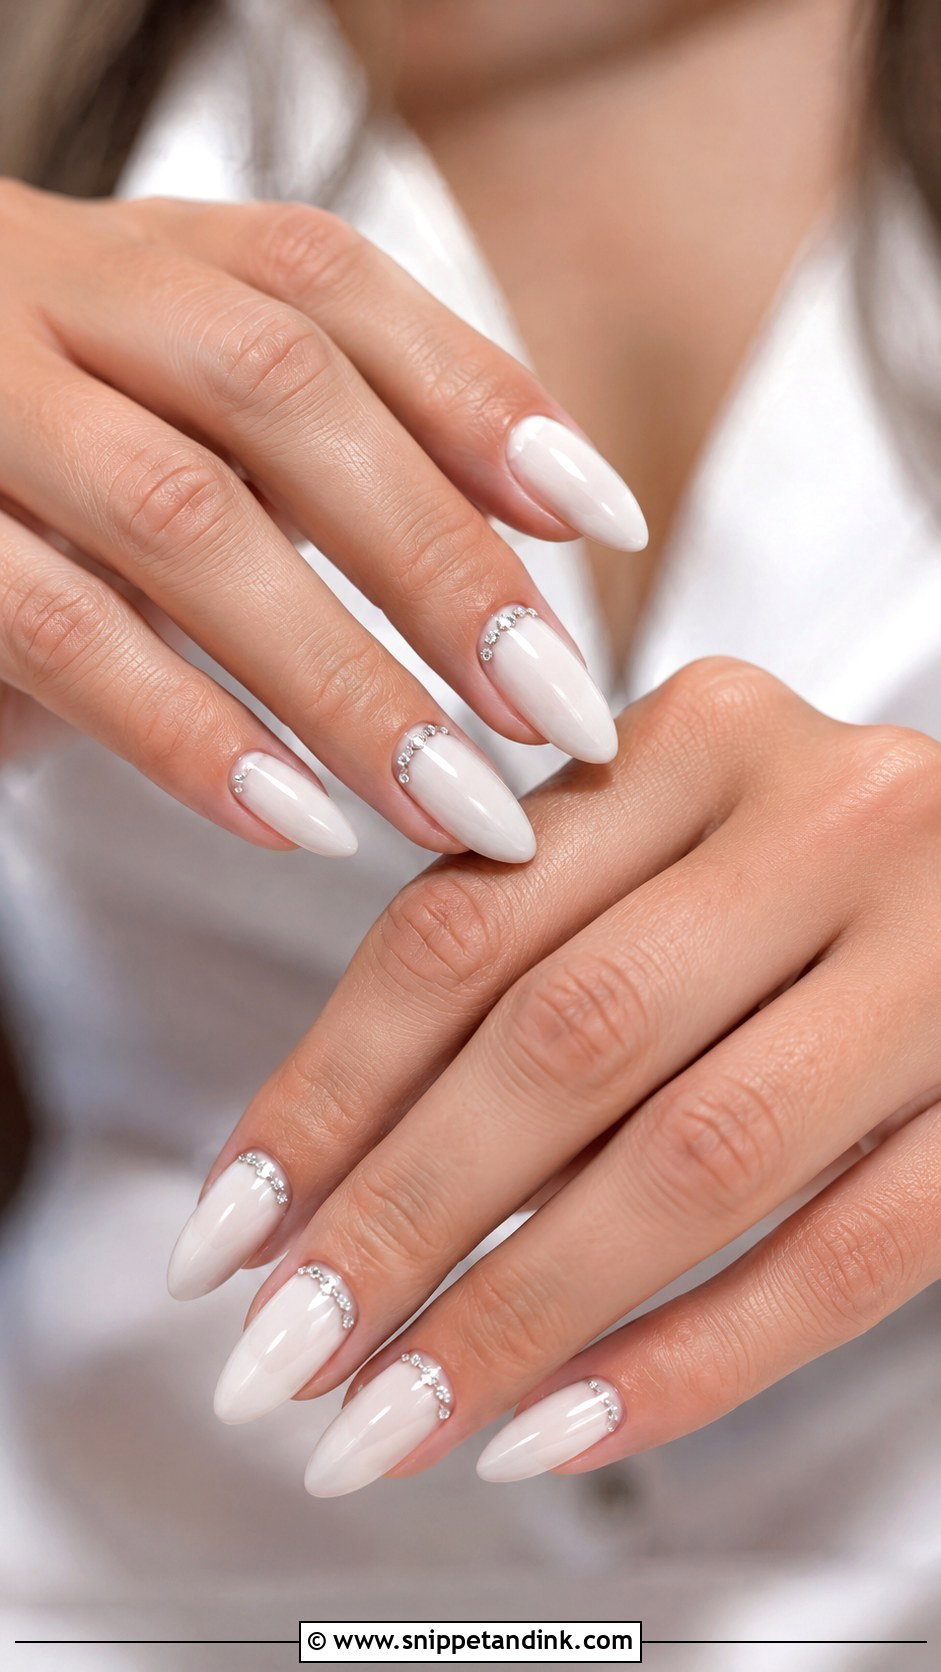
Rhinestones on milky white work best as small, clear stones in a clean arrangement. A few rhinestones near the cuticle, one tiny crystal per accent nail or a fine line along a French tip all look neat. Balance them against your dress: heavy beading calls for fewer stones, a plain gown can take a little more. Medium almond, coffin or square nails have room for them. Stones are set in gel and sealed around the base so they don’t pop off when you pick up a glass.
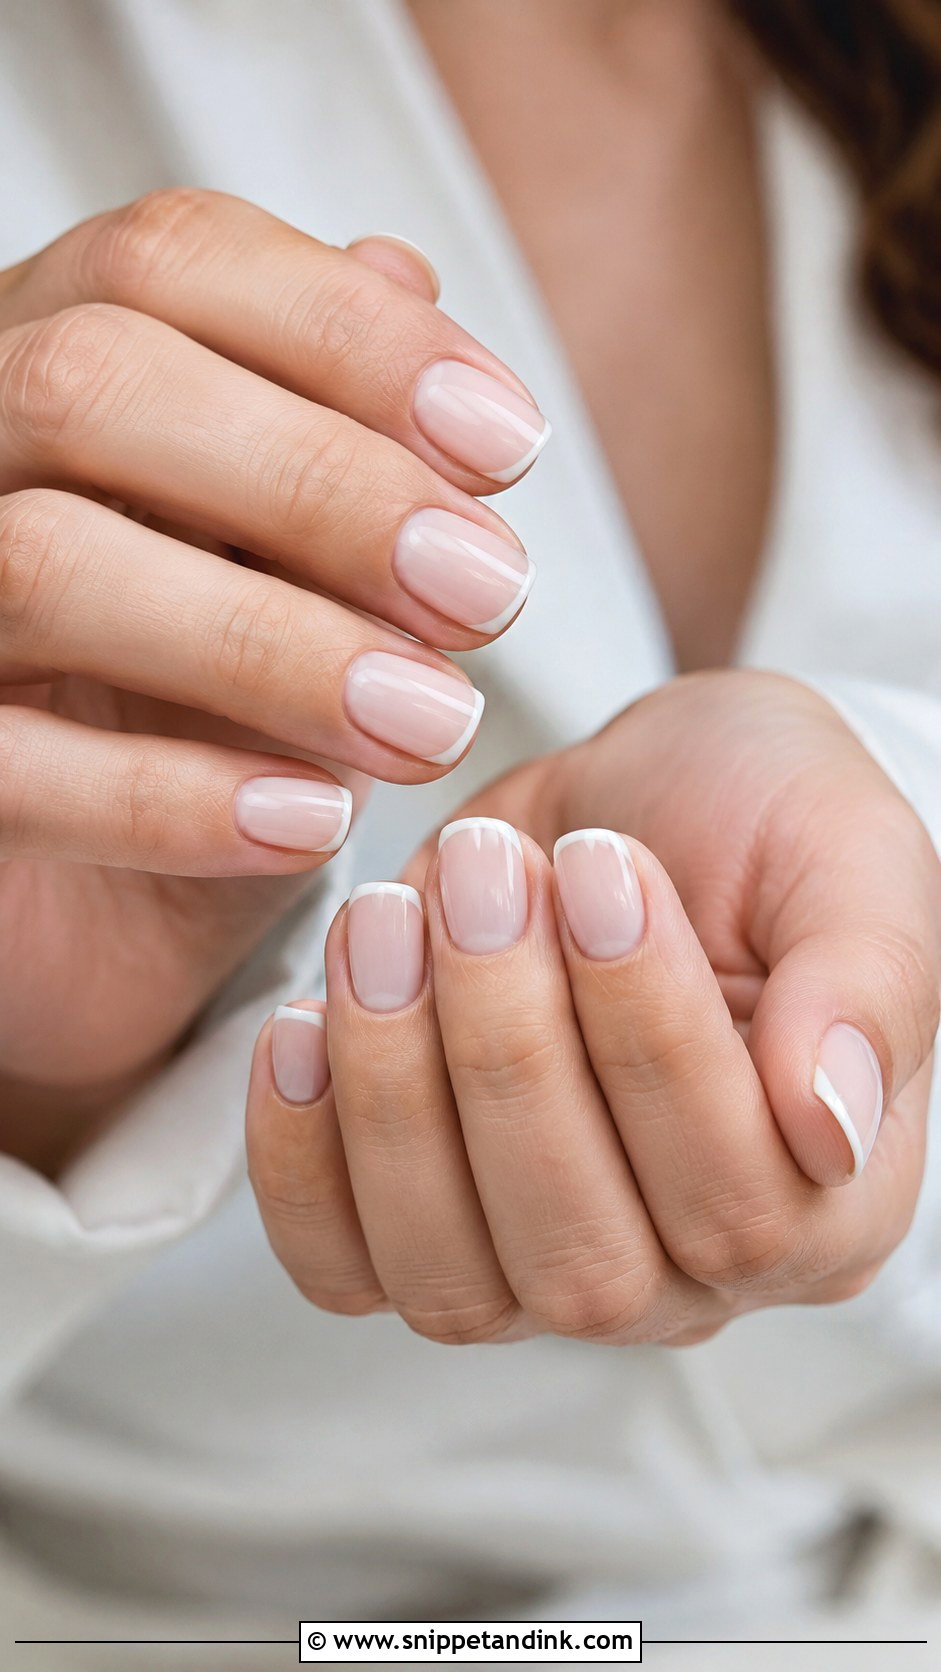
18. Milky White Micro French Bridal Nails
A micro French is the quietest detail on this list: a sheer milky base with a white tip barely a millimetre wide. Short square, oval and almond nails all work with micro French tips. Because the line is so thin, it needs a steady hand and should follow your natural smile line rather than a straight cut. It grows out softly, too, as the tip moves forward without a heavy band of white.
19. Milky White Matte Bridal Nails
Matte milky nails swap the shine for a velvety top coat over the creamy white, and in daylight they look powdery and soft. The trade-off is texture and wear. Matte top coats show every bump, so the base must be perfectly smooth, and they can shine up or pick up marks from hand cream over a few days. I’d get these done no more than a few days before the wedding. One glossy accent nail adds nice contrast.
20. Milky White Pearl Chrome French Bridal Nails
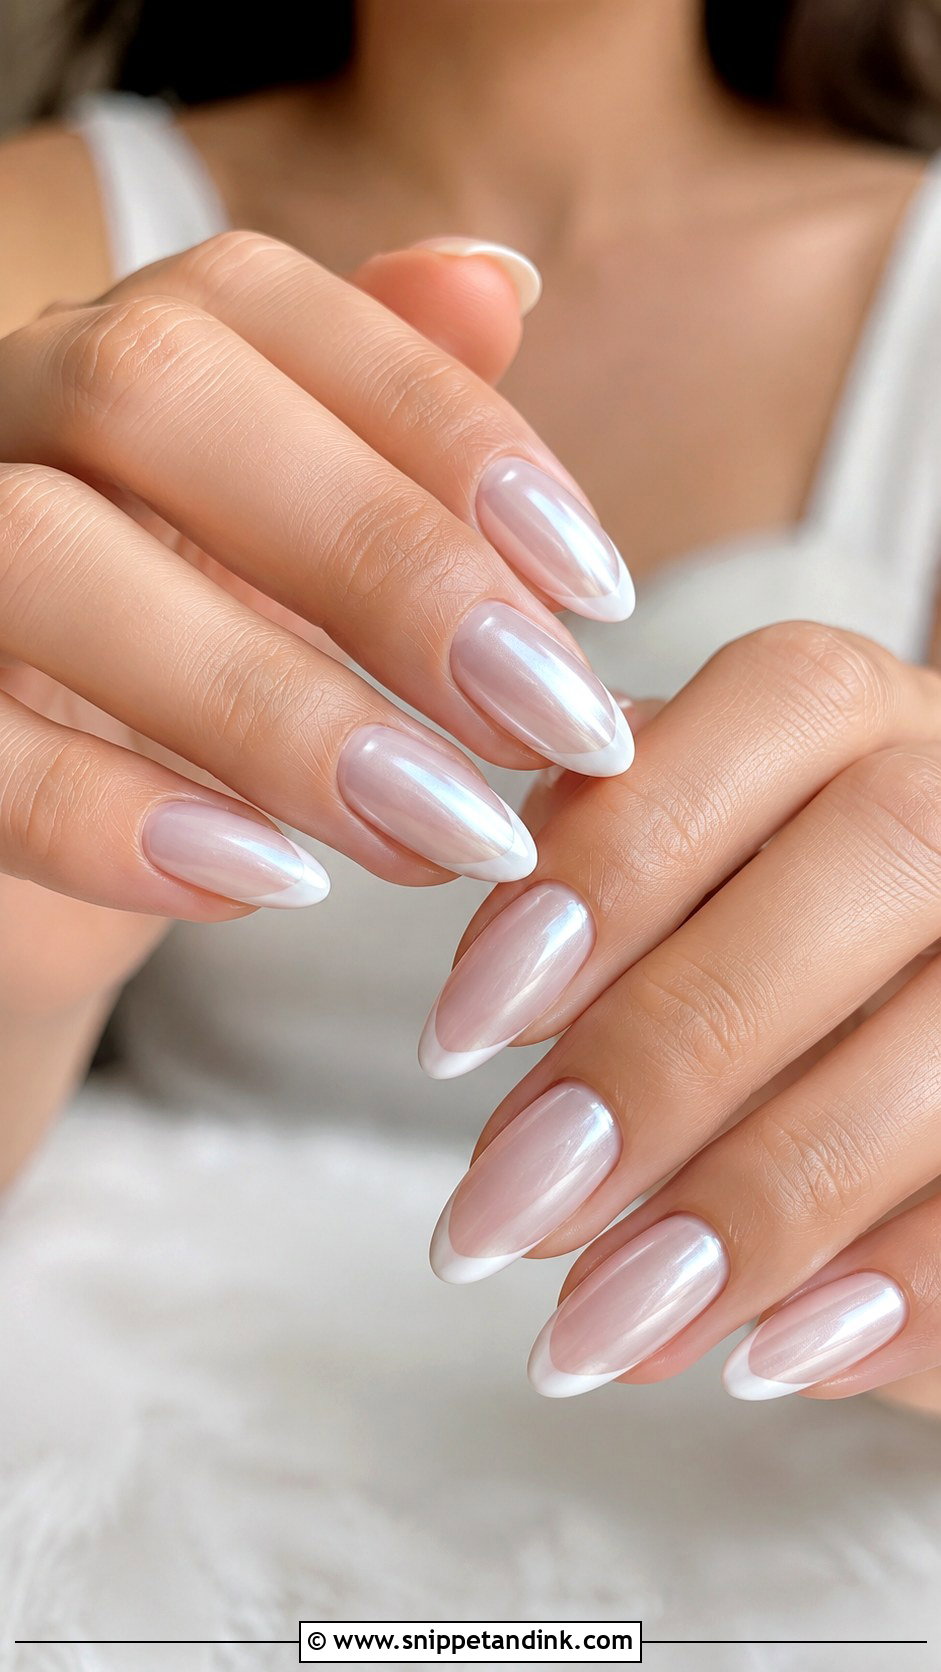
This set layers three things: a milky base, a French tip and a fine pearl chrome finish over everything. The base keeps it sheer, the tip gives it structure, and the chrome makes the whole hand glow without any color. It sits naturally with pearl jewelry and satin. Almond and oval shapes make the French line curve gracefully. Keep the chrome very fine, or the tip disappears under the shimmer.
Your Set at Week Three: Grow-Out, Infills and Removal
Most brides only think about the wedding day, then look down on the honeymoon and see a gap at the cuticle. Nails grow steadily, and on a sheer white set the bare strip at the base shows sooner than it would on a nude. Plan for what happens next.
- Book your appointment two to four days before the wedding. That leaves time to fix a chip and keeps the cuticle gap invisible in the photos.
- If you’re travelling straight away, ombre or micro French sets hide grow-out longest. Solid milky white shows it fastest.
- Builder gel sets can be rebalanced: the old product is filed back and new gel fills the gap, so you don’t need to start from bare nails.
- Sun cream, chlorine and salt water dull the top coat on holiday. A fresh coat of regular top coat over gel brings the shine back for a few days.
- Never peel gel off. It lifts the top layers of the nail with it and leaves nails thin and bendy for months. Have it soaked or filed off properly.
If your set lifts at one corner before the wedding, don’t glue it down at home, since glue under gel traps moisture. Go back to your nail artist for a repair; most will fix a single nail quickly.
Start Plain, Then Add One Detail
Milky white is popular because it starts quiet and takes almost any detail. A plain glossy set suits a classic bride; pearl chrome, lace, flowers or a micro French let you make it personal. If you can’t decide, get the sheer base right first, then add a single accent that echoes your dress or jewelry. That one detail is plenty, and it keeps attention on the ring.
You'll Like These Ideas:


Leave a Reply