
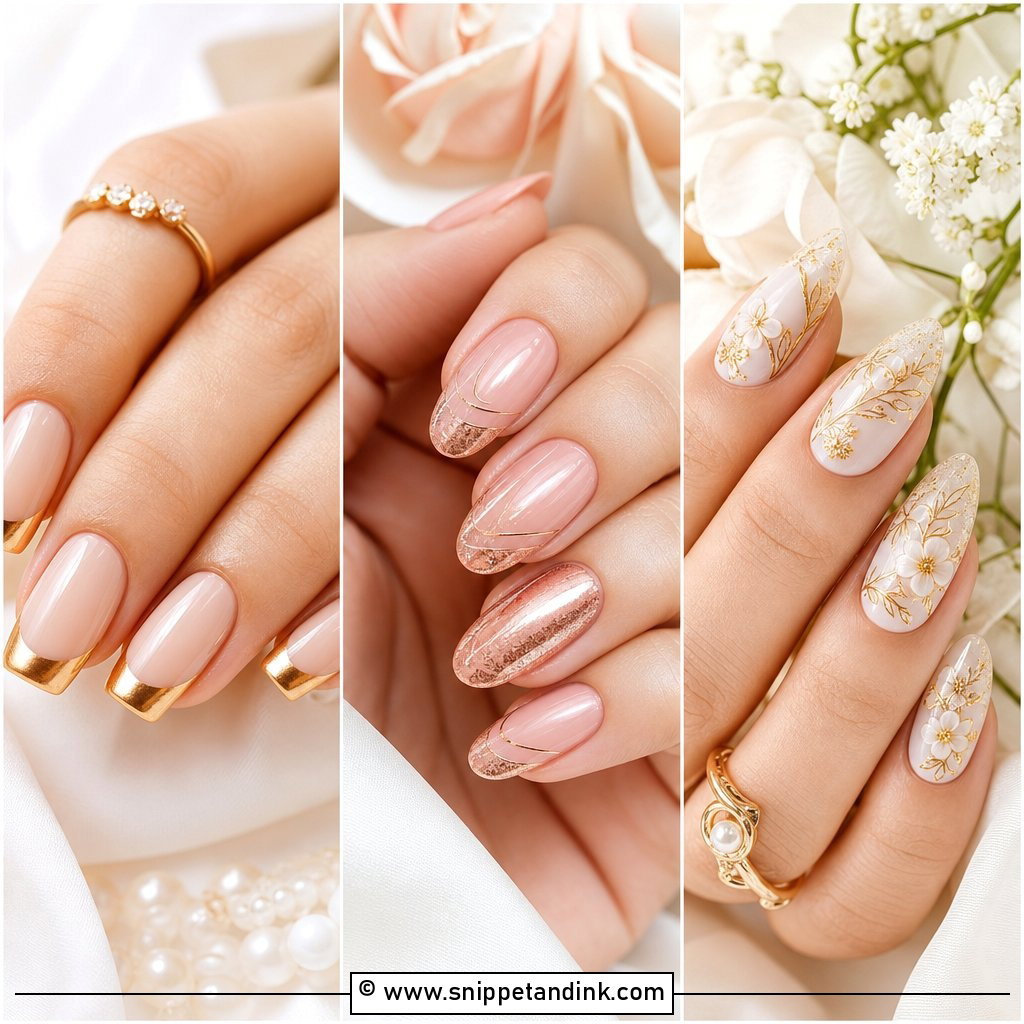
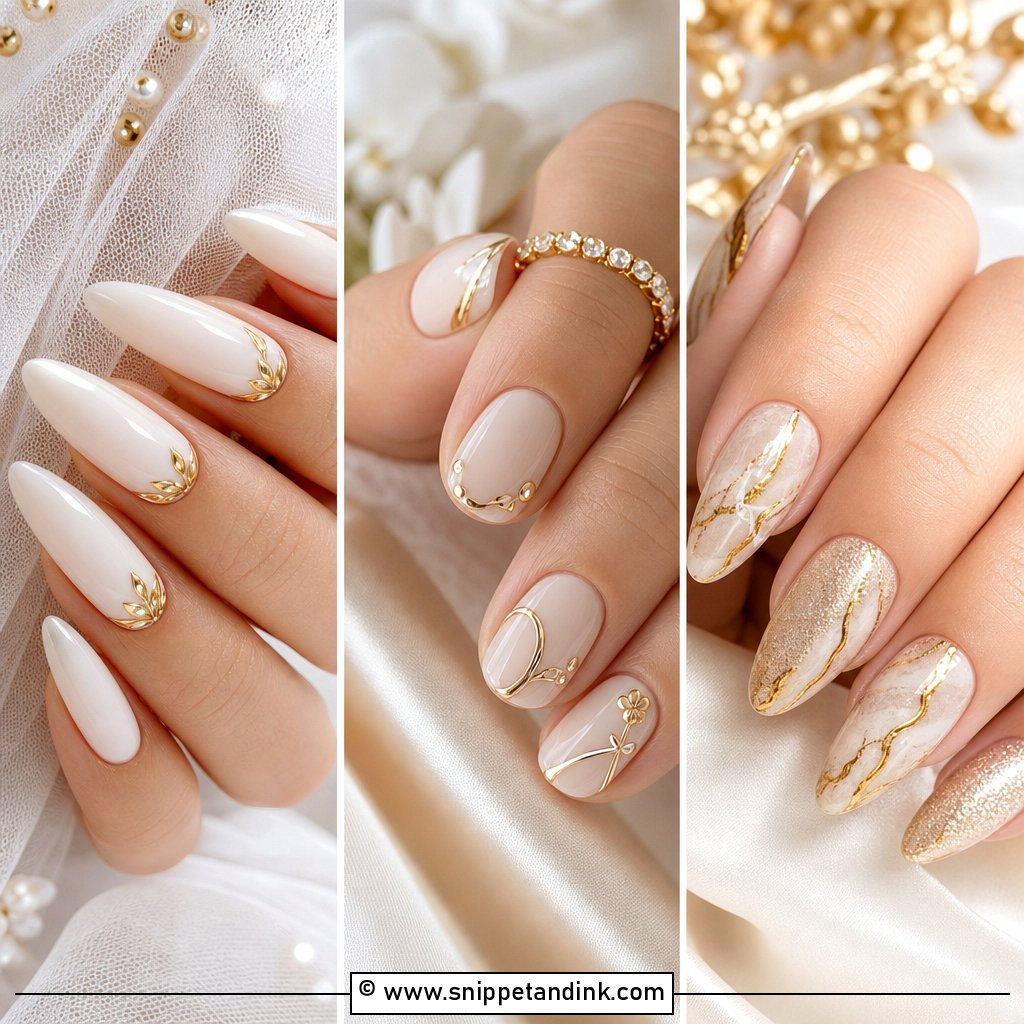
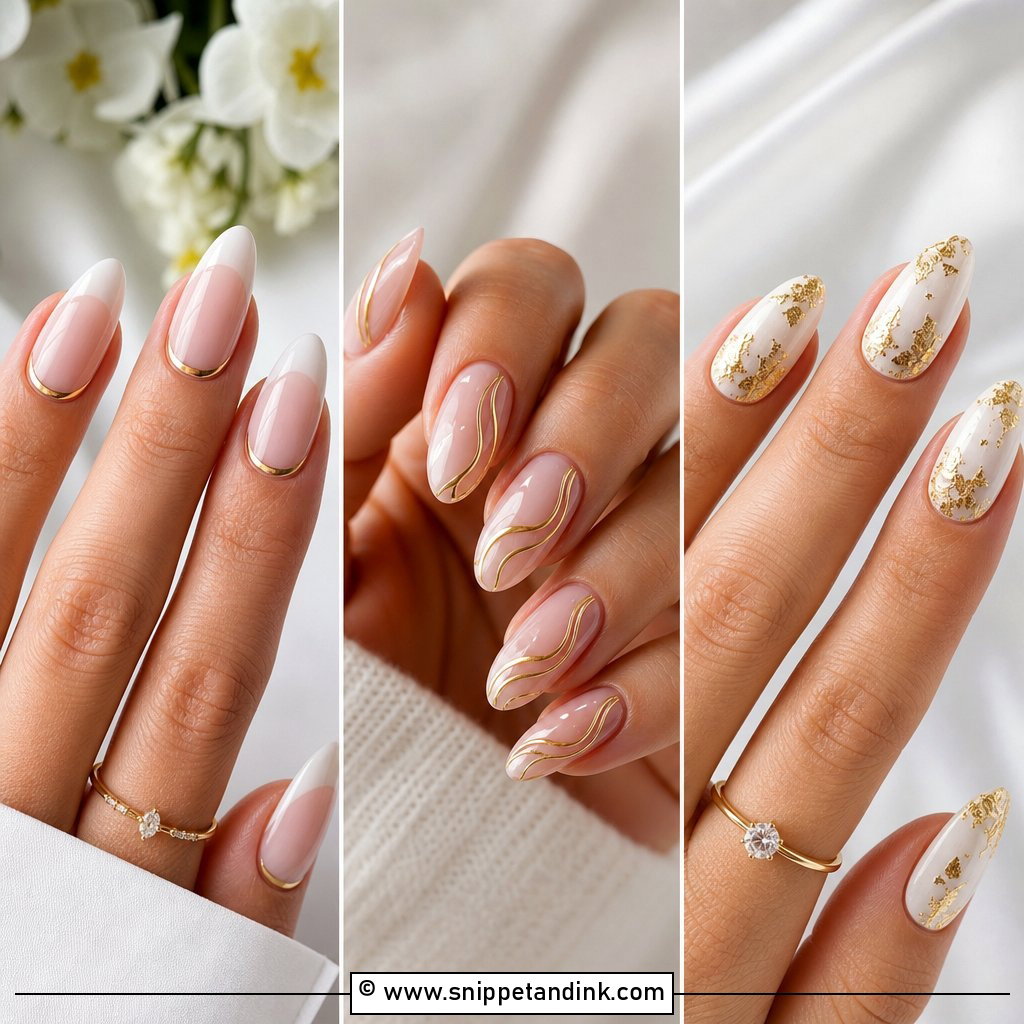
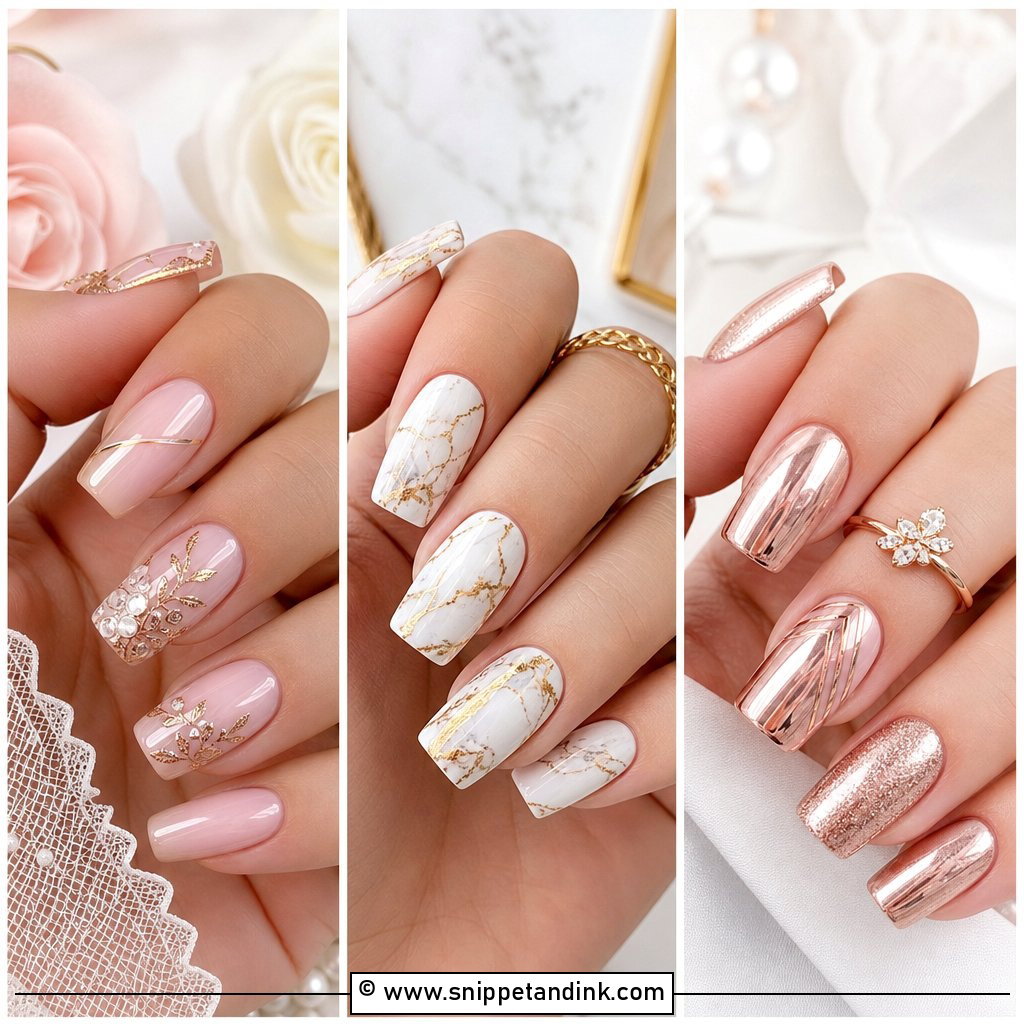
Gold on a bridal manicure is less about how much metal you use and more about where it sits. A hairline of gold at the tip reads very differently from a full chrome nail, and both read differently again once a ring goes on. Most of the sets I do for weddings land somewhere in the middle: a sheer or milky base that keeps the hand looking clean, with gold placed where it echoes the jewelry or the beading on the dress. Any length can carry it, from short rounded nails to long almond sets. Below are the designs I get asked for most, with notes on how each one wears, and you’ll find more variations in these gold wedding nail looks if you want extra reference photos for your appointment.
Yellow, Rose or Champagne Gold Against Your Skin and Jewelry
Before we talk designs, I hold three swatches against your hand: a yellow gold, a rose gold and a champagne. Gold metallics shift a lot depending on undertone, and the wrong one can make your hand look sallow or ruddy in photos. Warm and olive skin usually carries yellow gold easily. Very fair, cool-toned skin often looks better with champagne, which has less orange in it. Rose gold sits between the two and suits more people than you’d think.
The second check is your jewelry. Your hands will be photographed holding the bouquet, sliding on a ring and resting on a partner’s arm, and the nails are always next to metal. A few things I look at:
- Your engagement ring and band. If they’re platinum or white gold, I lean toward champagne or a pale gold so the nails don’t fight a cool metal.
- Earrings and hair pieces. These are in close-up portraits with your hands near your face, so the tones should agree.
- Dress embellishment. Gold thread or warm beading gives you permission to go brighter; silver sequins usually mean keeping gold small.
- Your bouquet. Deep greens and burgundies make gold look rich, while very pale flowers can make a bright metallic look harsh.
If you only bring one thing to the consultation, bring the ring. It settles the gold question faster than any mood board.
1. Gold French Tip Bridal Nails
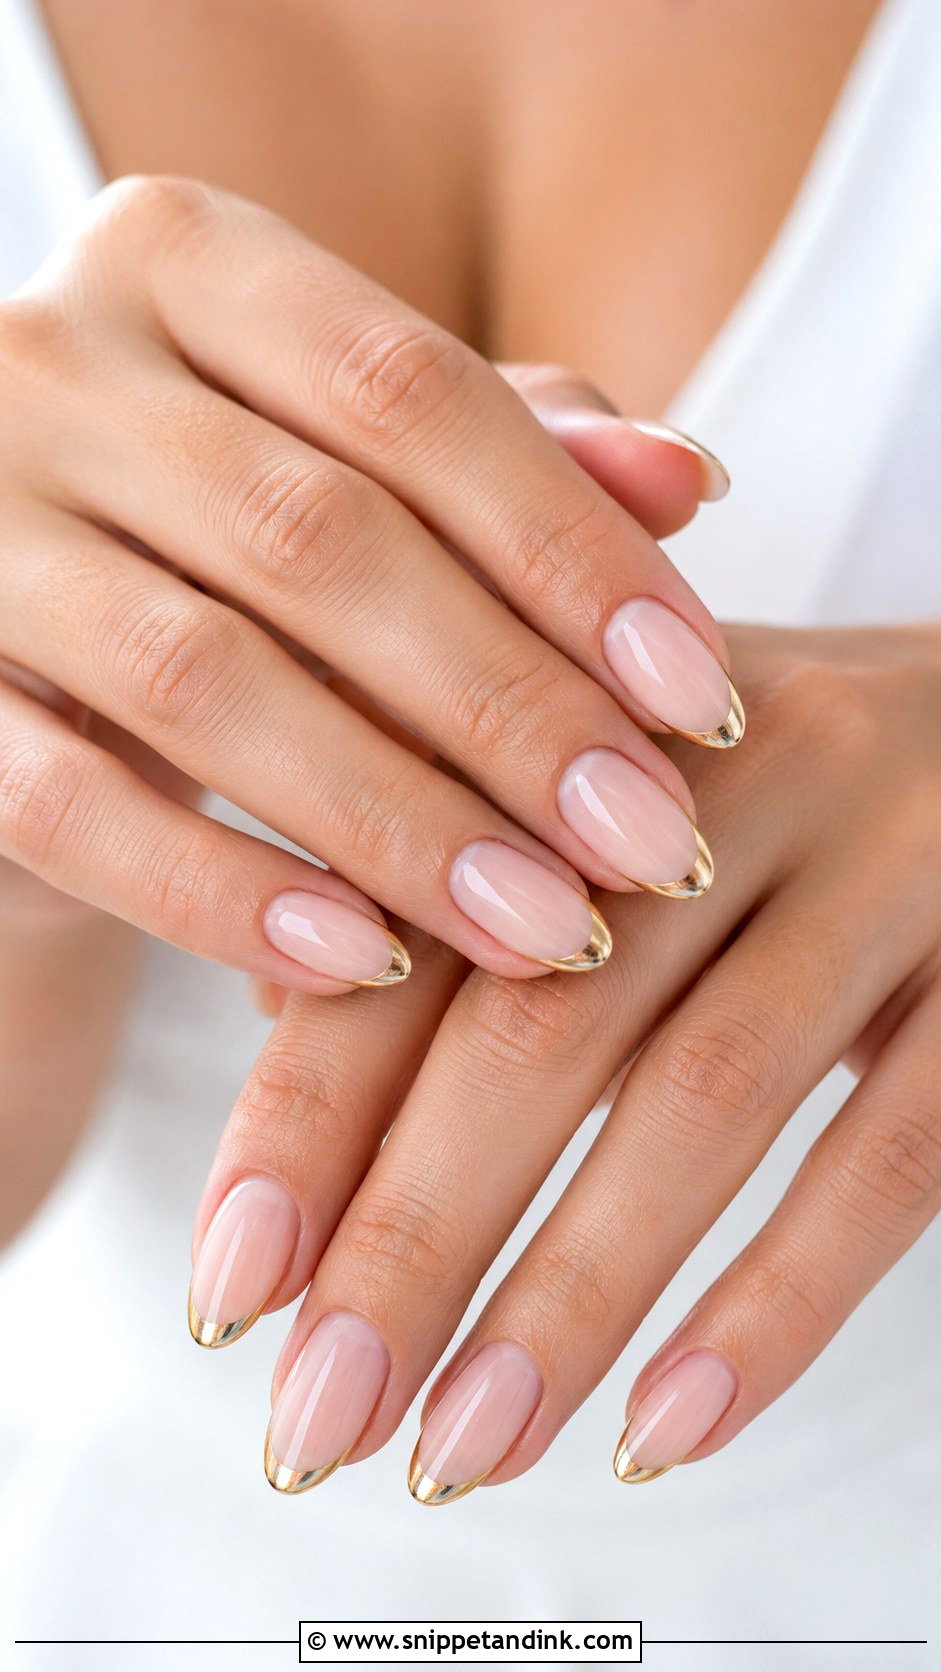
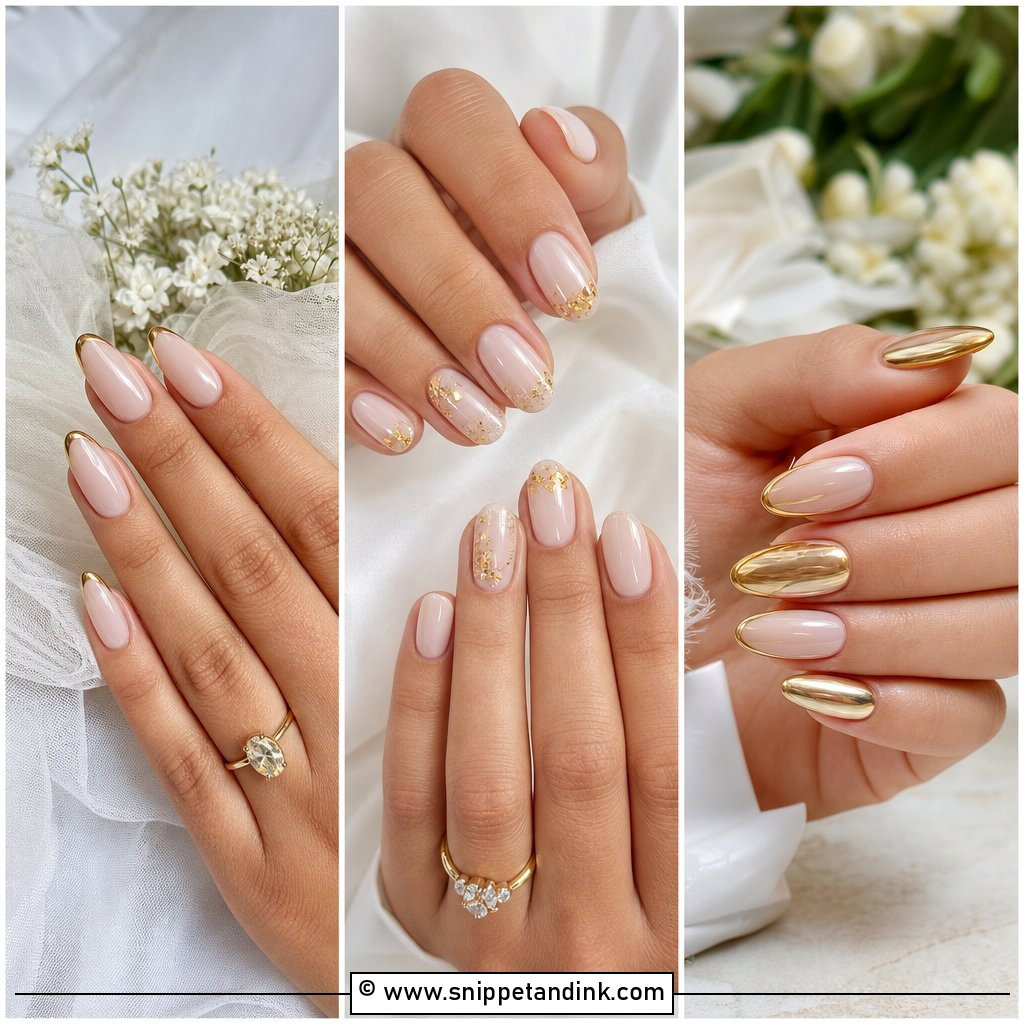
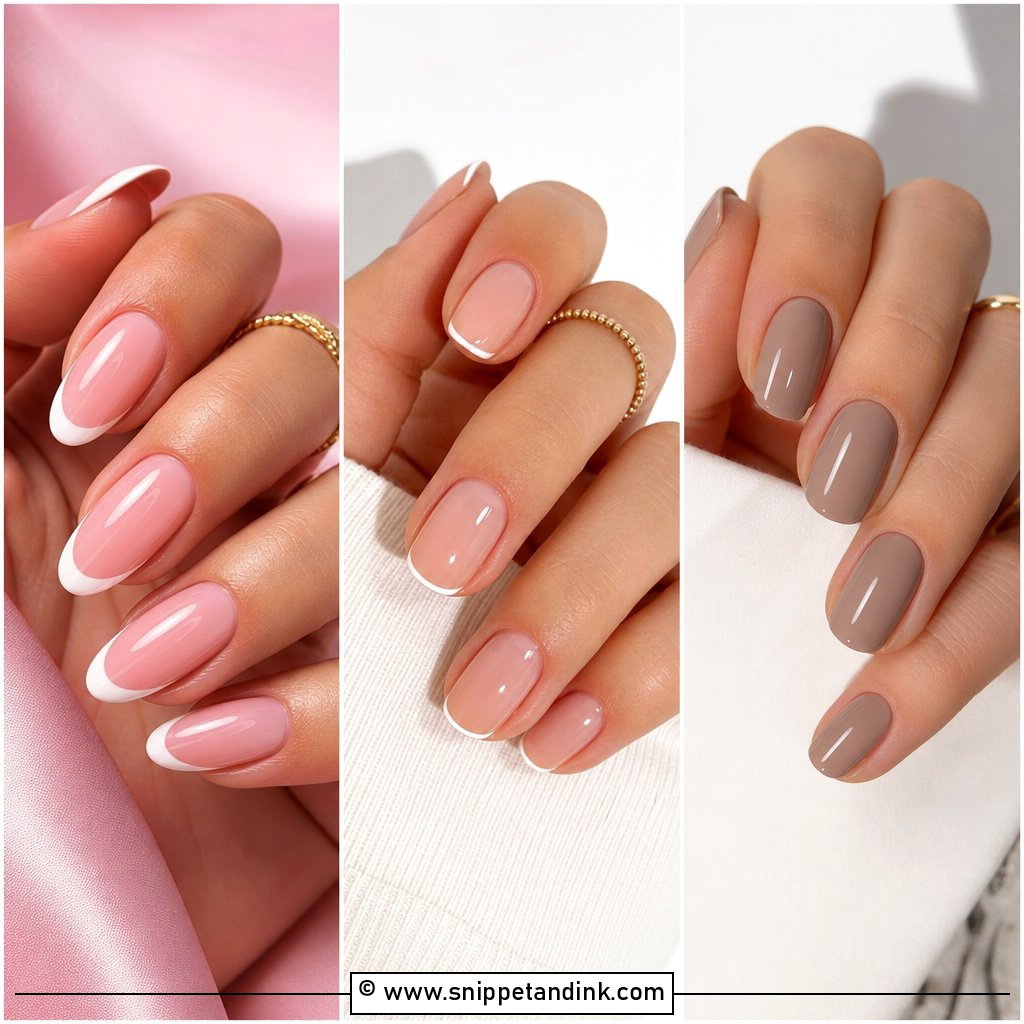
This is the set I steer most first-time gel brides toward. A sheer pink or milky base goes on first, then I pull a slim gold line along the free edge with a striper brush or a metallic gel. The width matters more than people expect: a fine line lifts the shape of almond, oval and short round nails, while a thick band on a short nail makes it look stubby. If your dress is plain, keep the line fine. If your earrings and necklace are chunky, you can go a little wider so the hands don’t look underdressed next to them.
2. Milky White Gold Bridal Nails
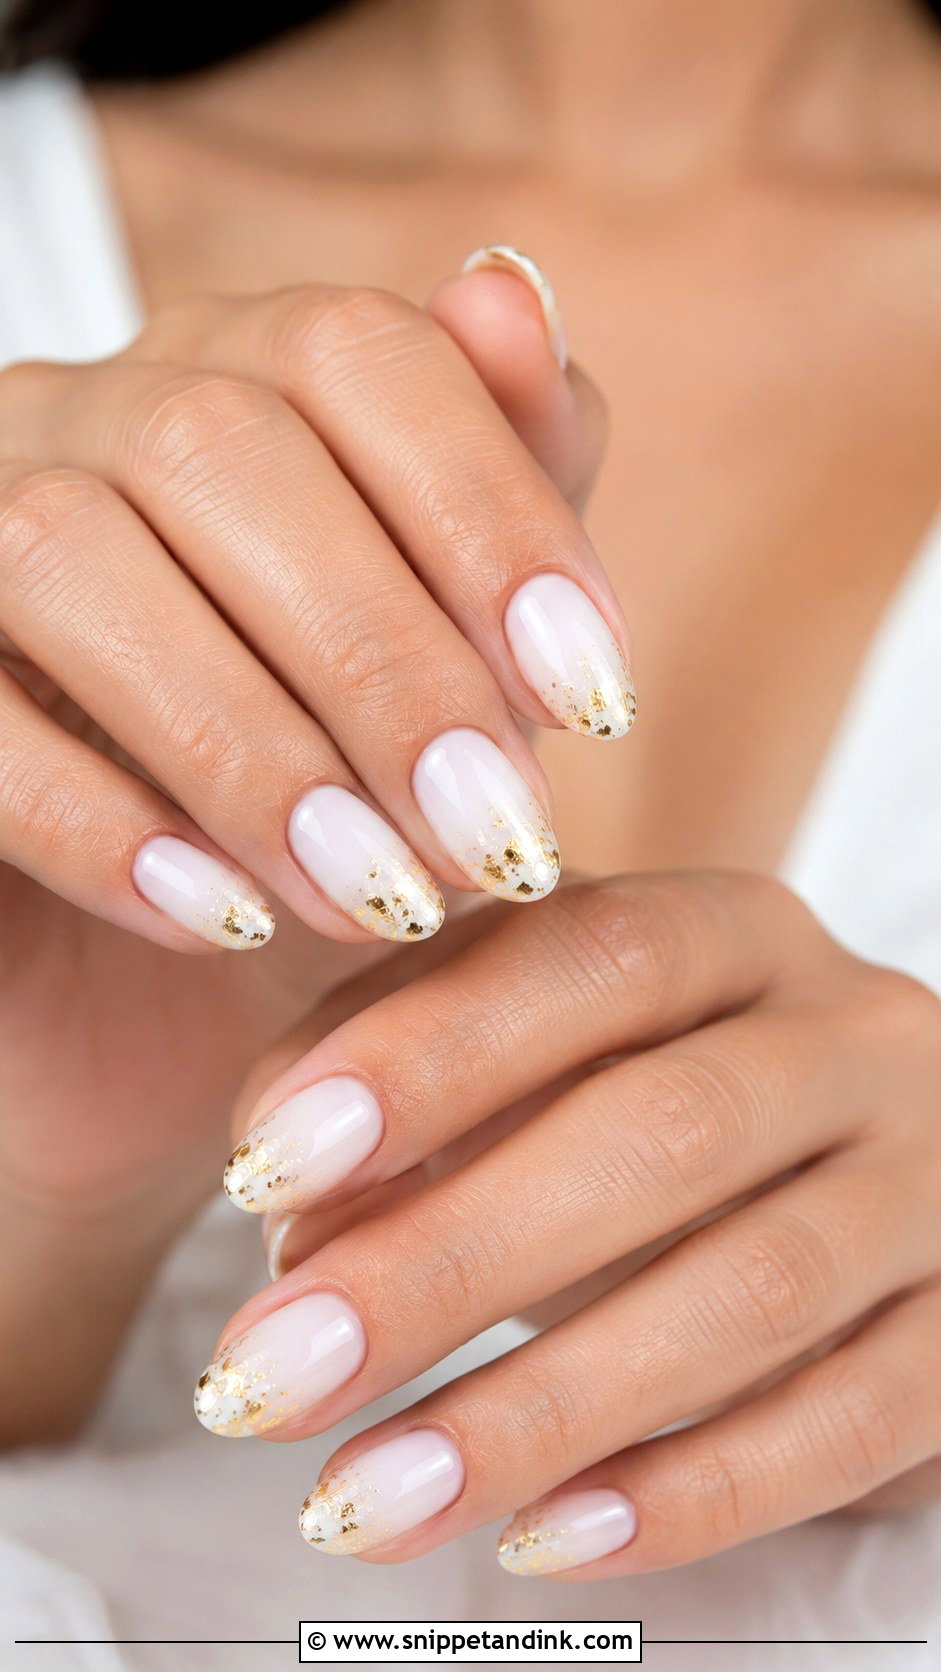
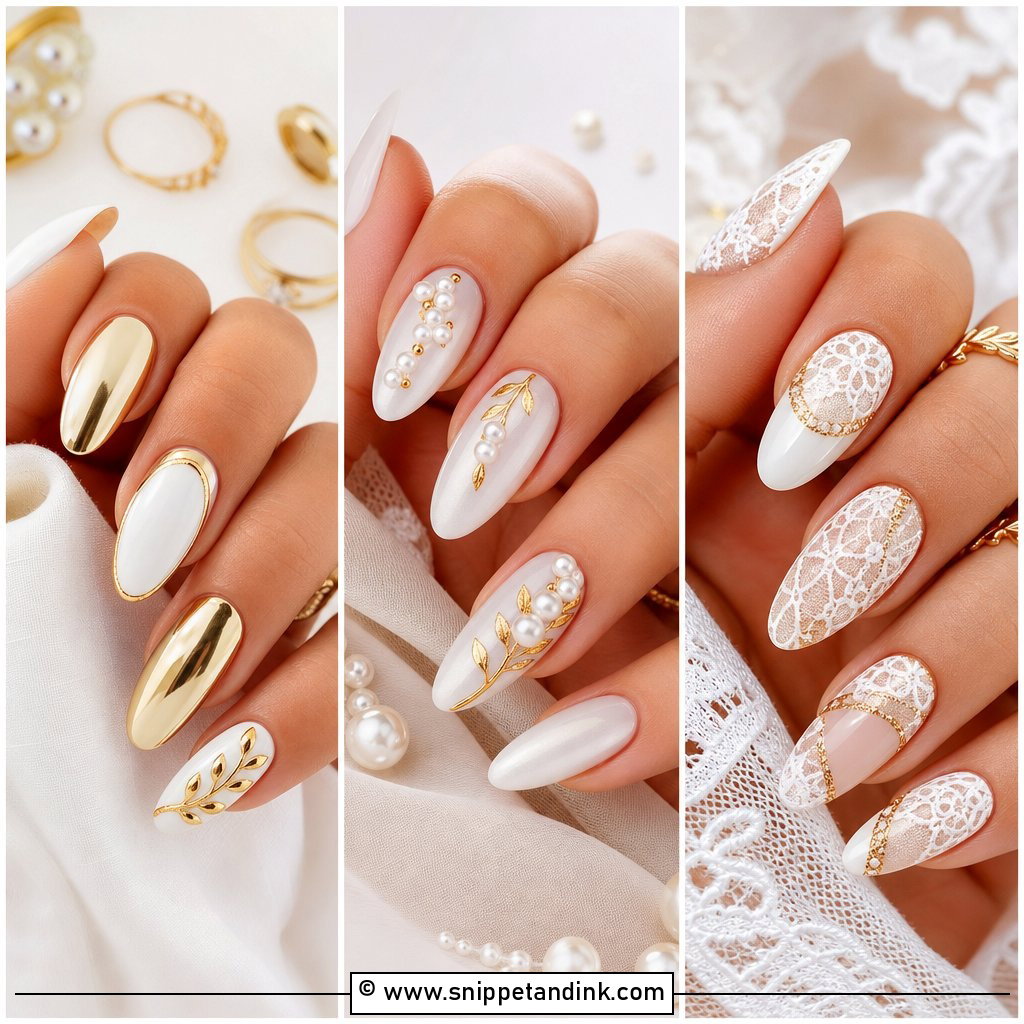
A milky white base is softer than opaque white because some of the natural nail shows through, which is why it suits ivory gowns and pearl accessories so well. I keep the gold sparse here, either delicate gold foil pressed near the tips or a few fine dots. Too much foil and the milky effect disappears. On short nails I tuck the gold close to the cuticle or along one side wall so it doesn’t eat up the length.
3. Nude And Gold Bridal Nails
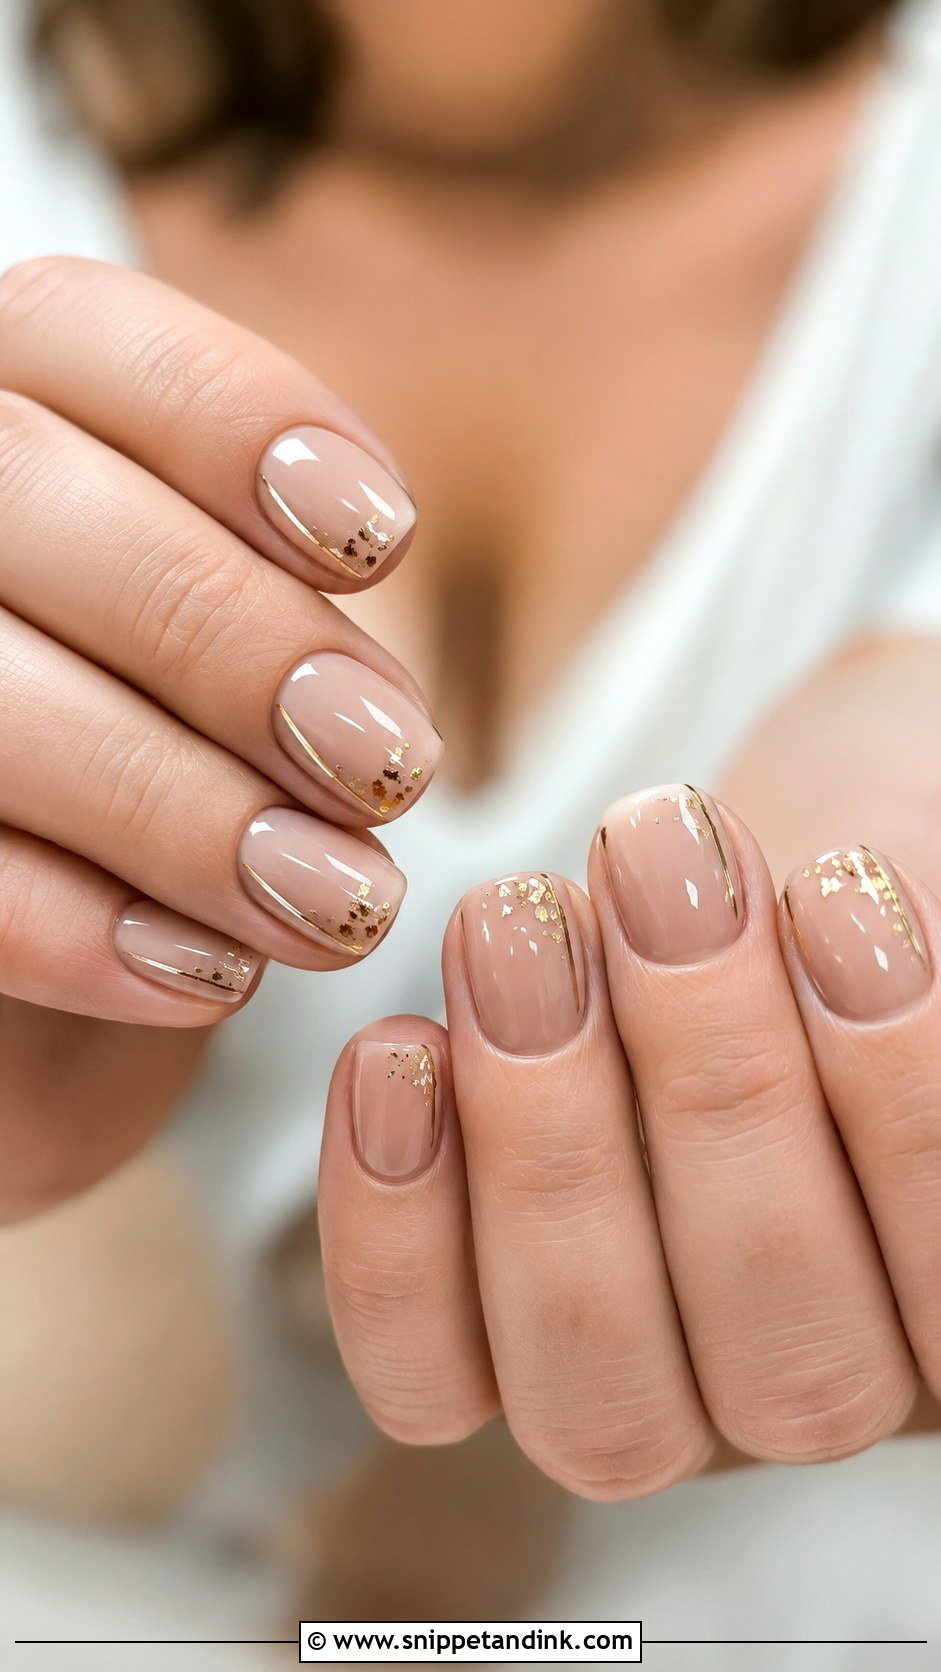
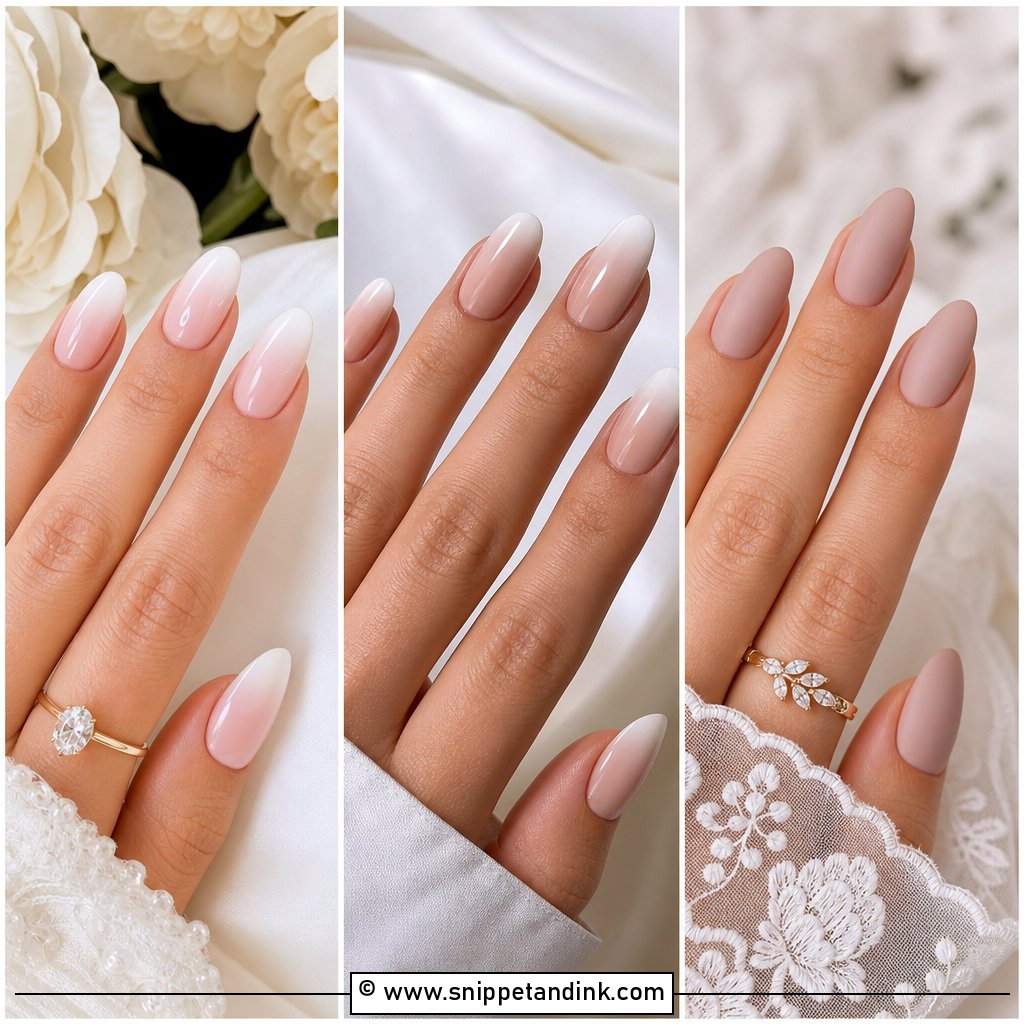
The nude has to be right before any gold goes on, so I swatch two or three shades on the actual nail rather than trusting the bottle. Warm skin usually wants a beige nude, cool skin a rosier one, and deeper skin tones often look best in caramel or cocoa nudes that don’t go chalky. Once the base disappears into your skin, a thin gold tip or a curved line is enough. The practical bonus: regrowth on a nude set is hard to spot, which helps if you’re travelling for a week before the wedding and can’t get a refill.
4. Gold Chrome Bridal Nails
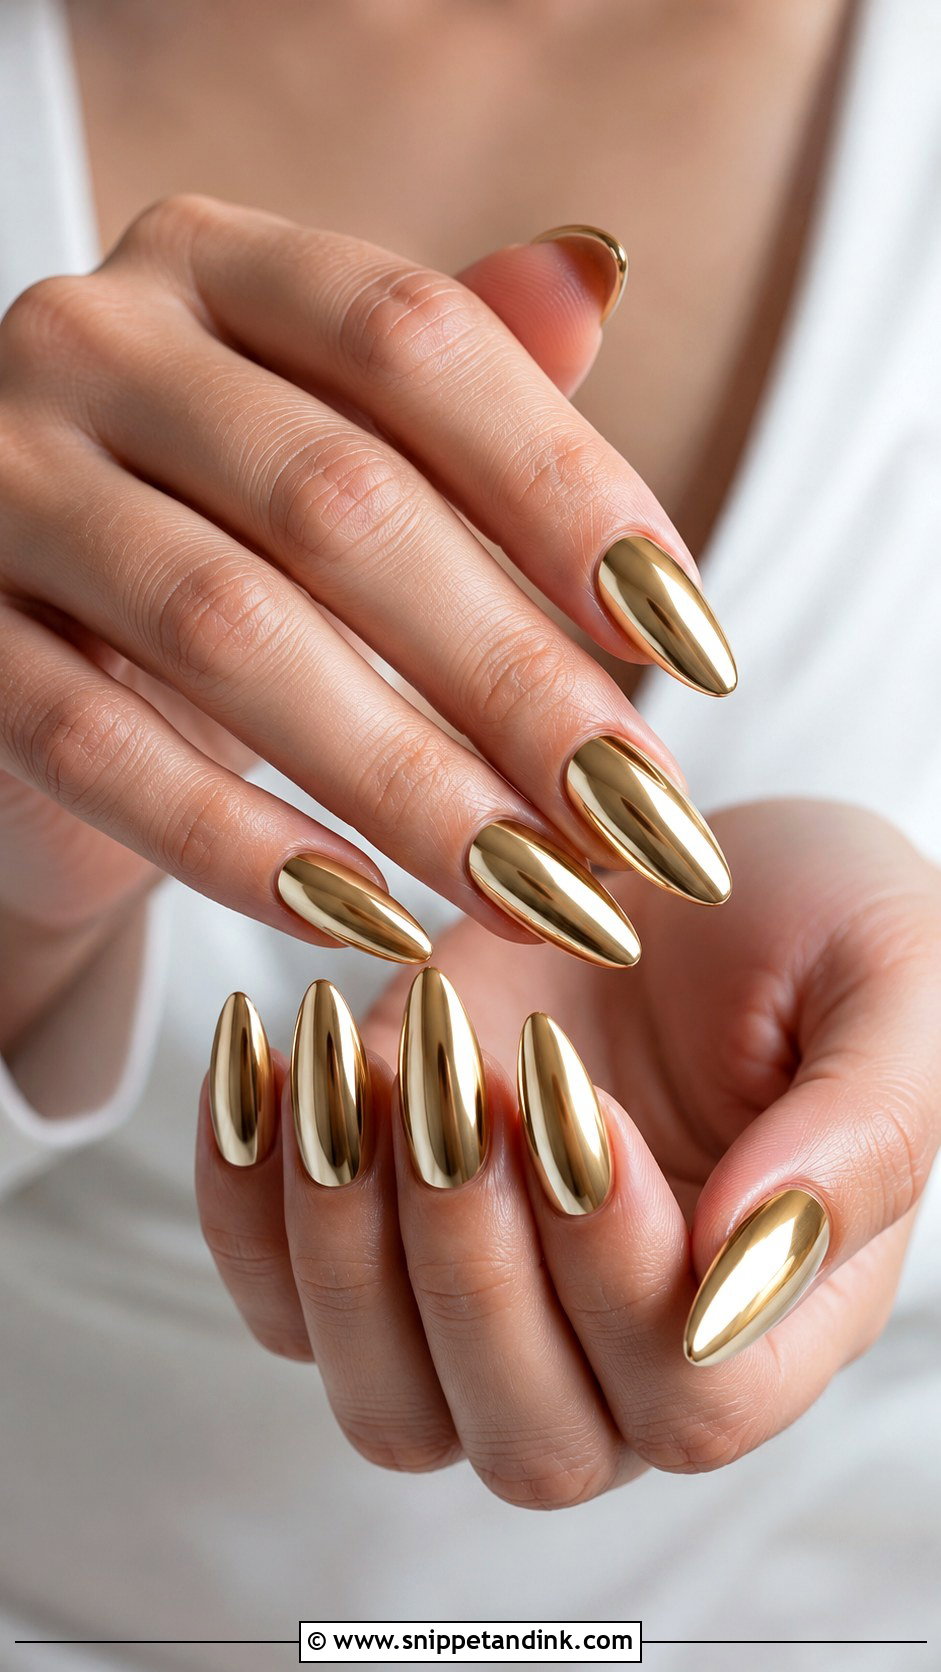
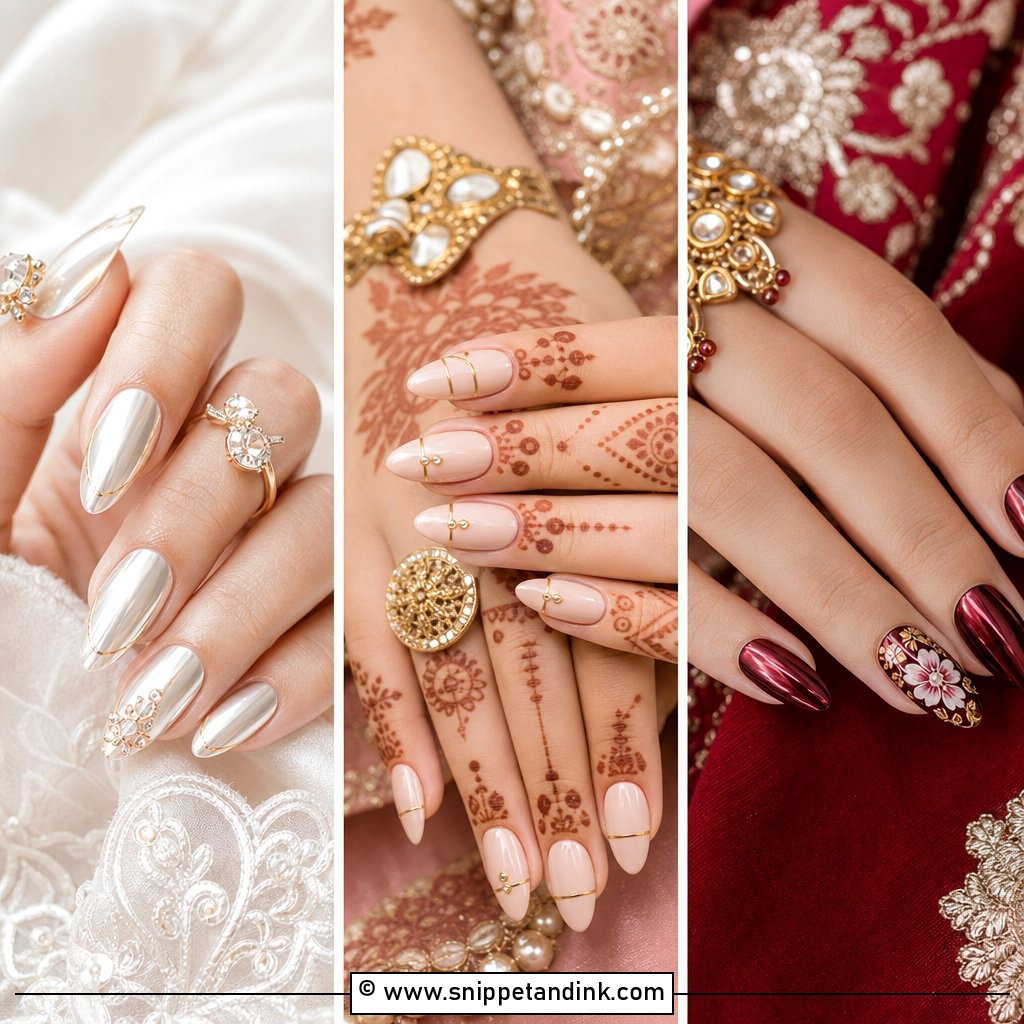
Chrome is a powder buffed onto a no-wipe top coat, then sealed, so the finish is a smooth mirror rather than sparkle. For a softer bridal version I’d use a sheer champagne-gold chrome over a nude or milky base, which glows instead of reflecting like a spoon. Full warm gold chrome is bolder and suits almond or coffin shapes on a sleek satin gown. One thing I always do with chrome is cap the free edge carefully with top coat, because the powder wears off the tips first and a bare edge shows quickly in hand close-ups.
5. Pearl And Gold Bridal Nails
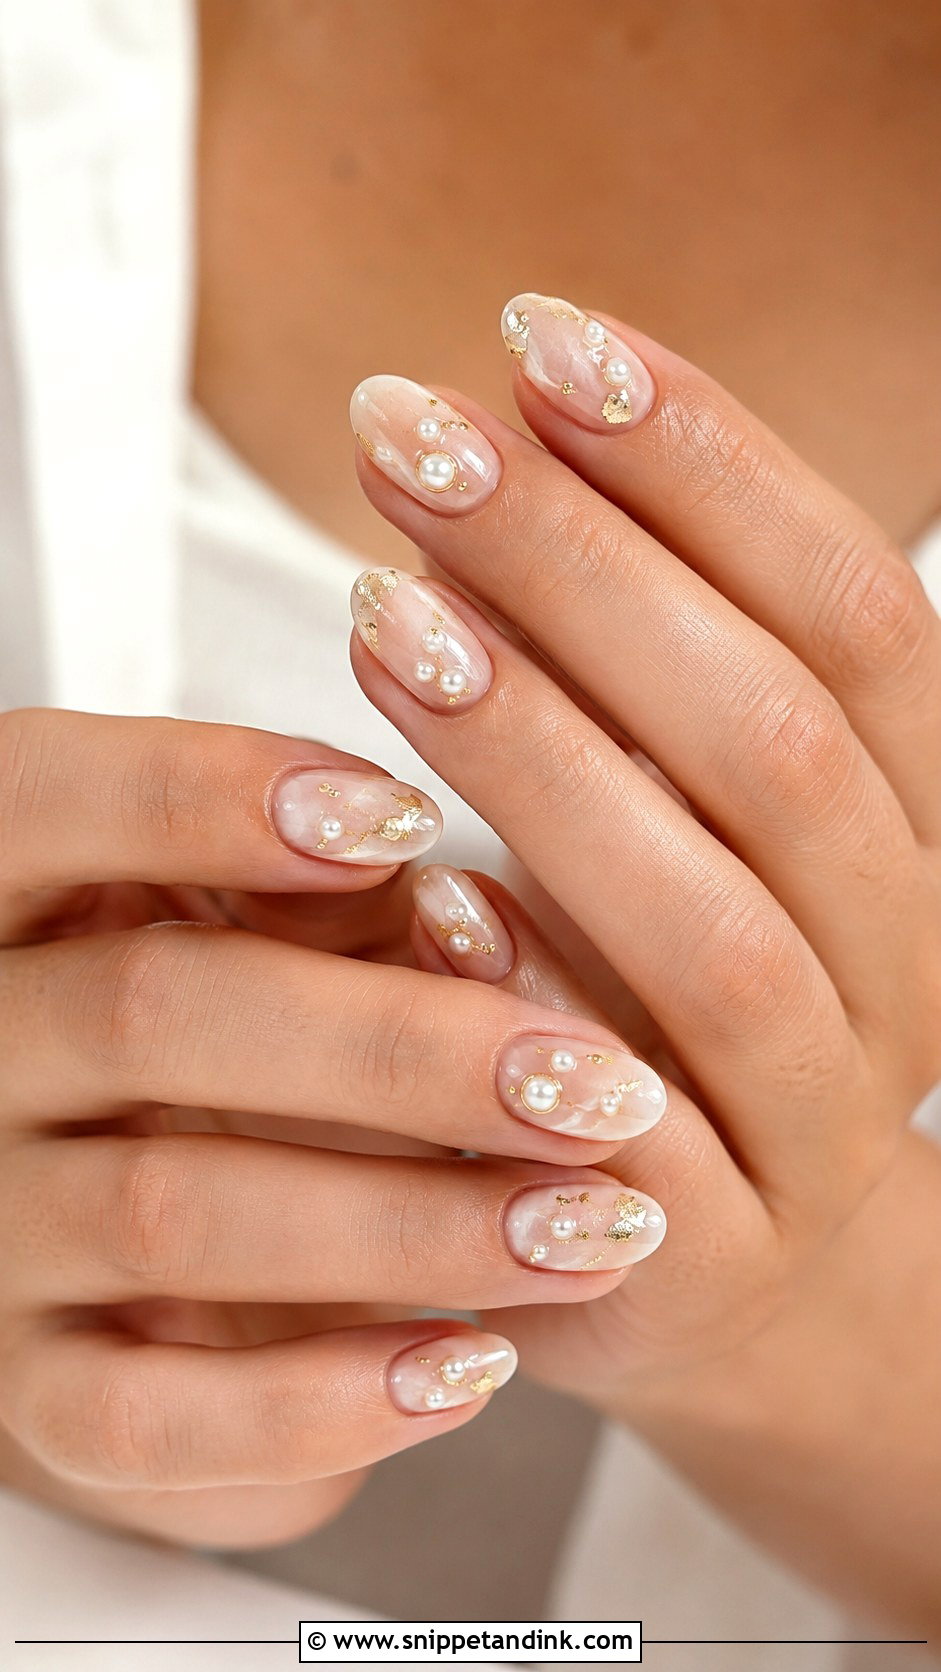
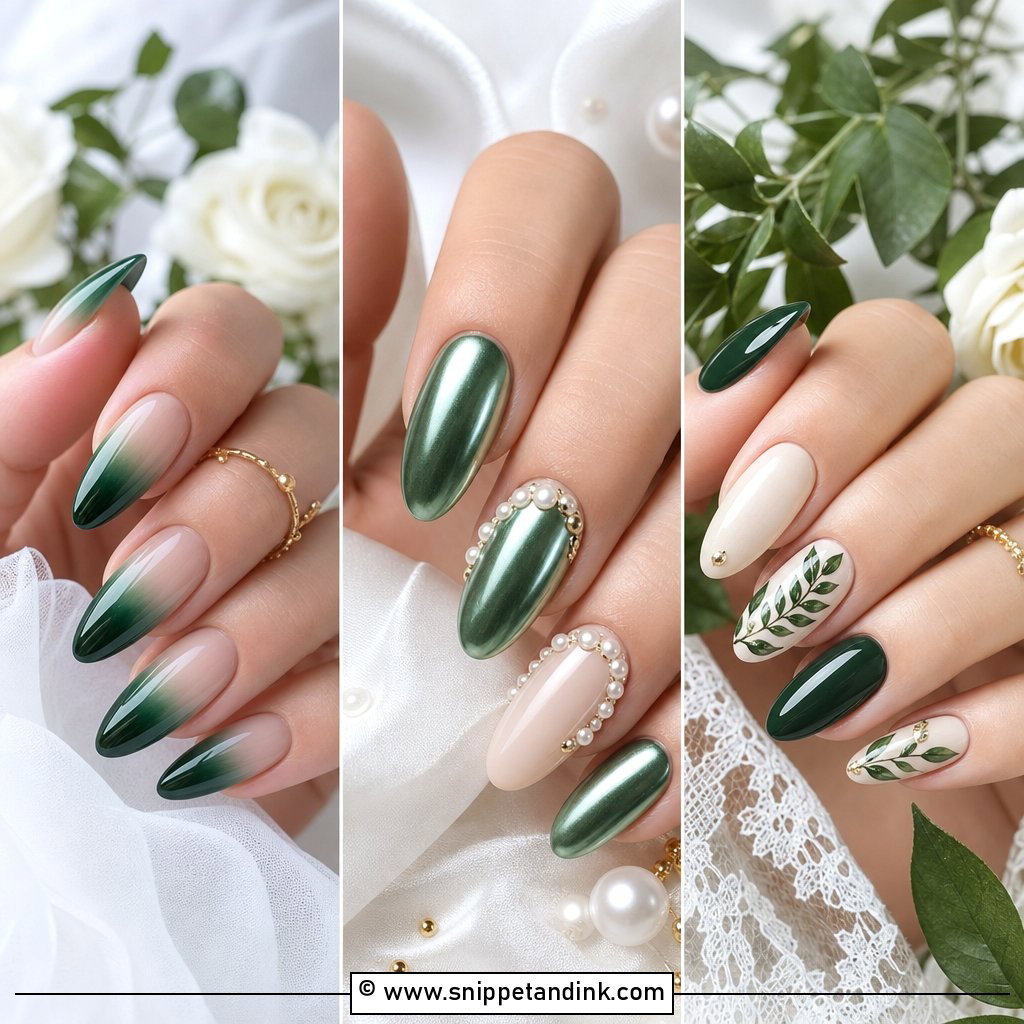
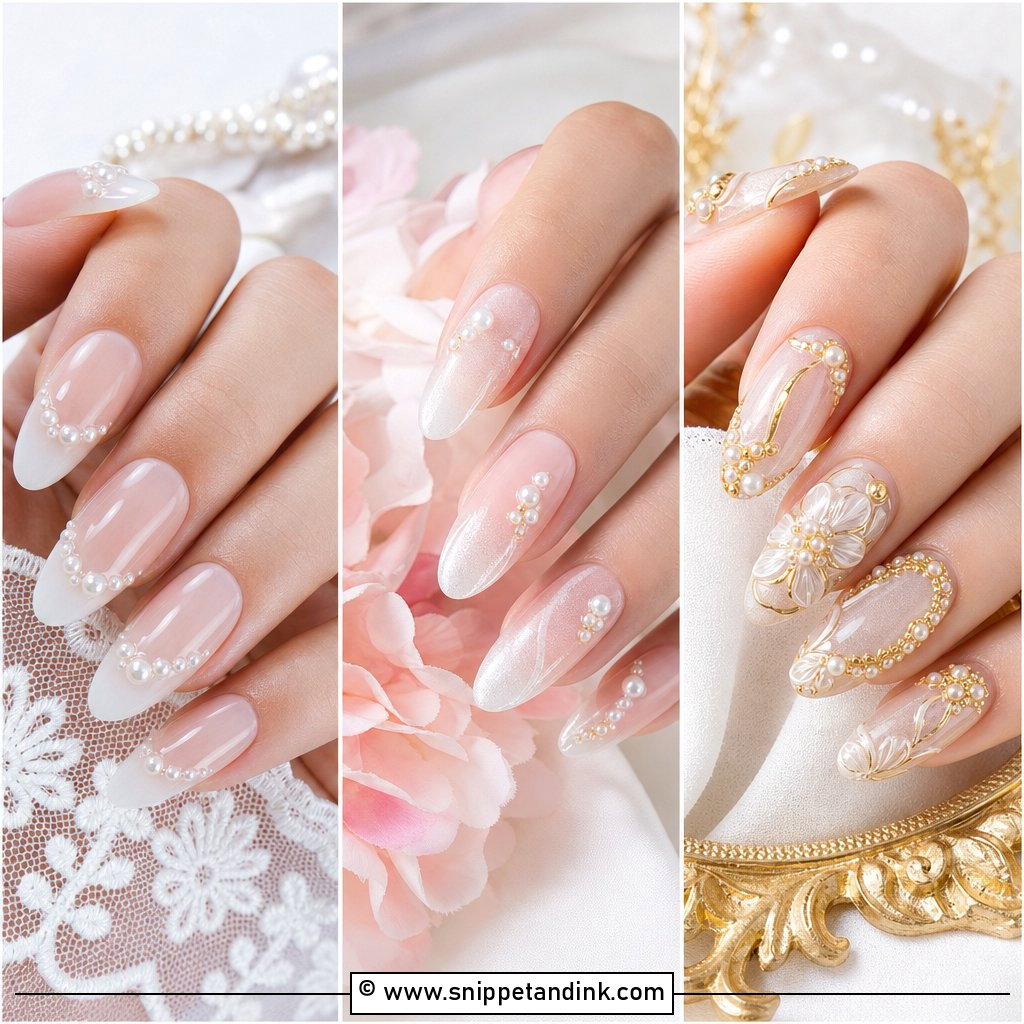
Pearls and gold are the two things most brides already wear as jewelry, so this set tends to tie in without much effort. I set tiny flat-back pearls into builder gel near the cuticle or along a French line, then frame them with a thin gold stroke. Keep it to one or two nails per hand. Pearls sit proud of the nail, and on every finger they snag on lace, hair and tights, which is the last thing you want while getting dressed.
6. Gold Foil Bridal Nails
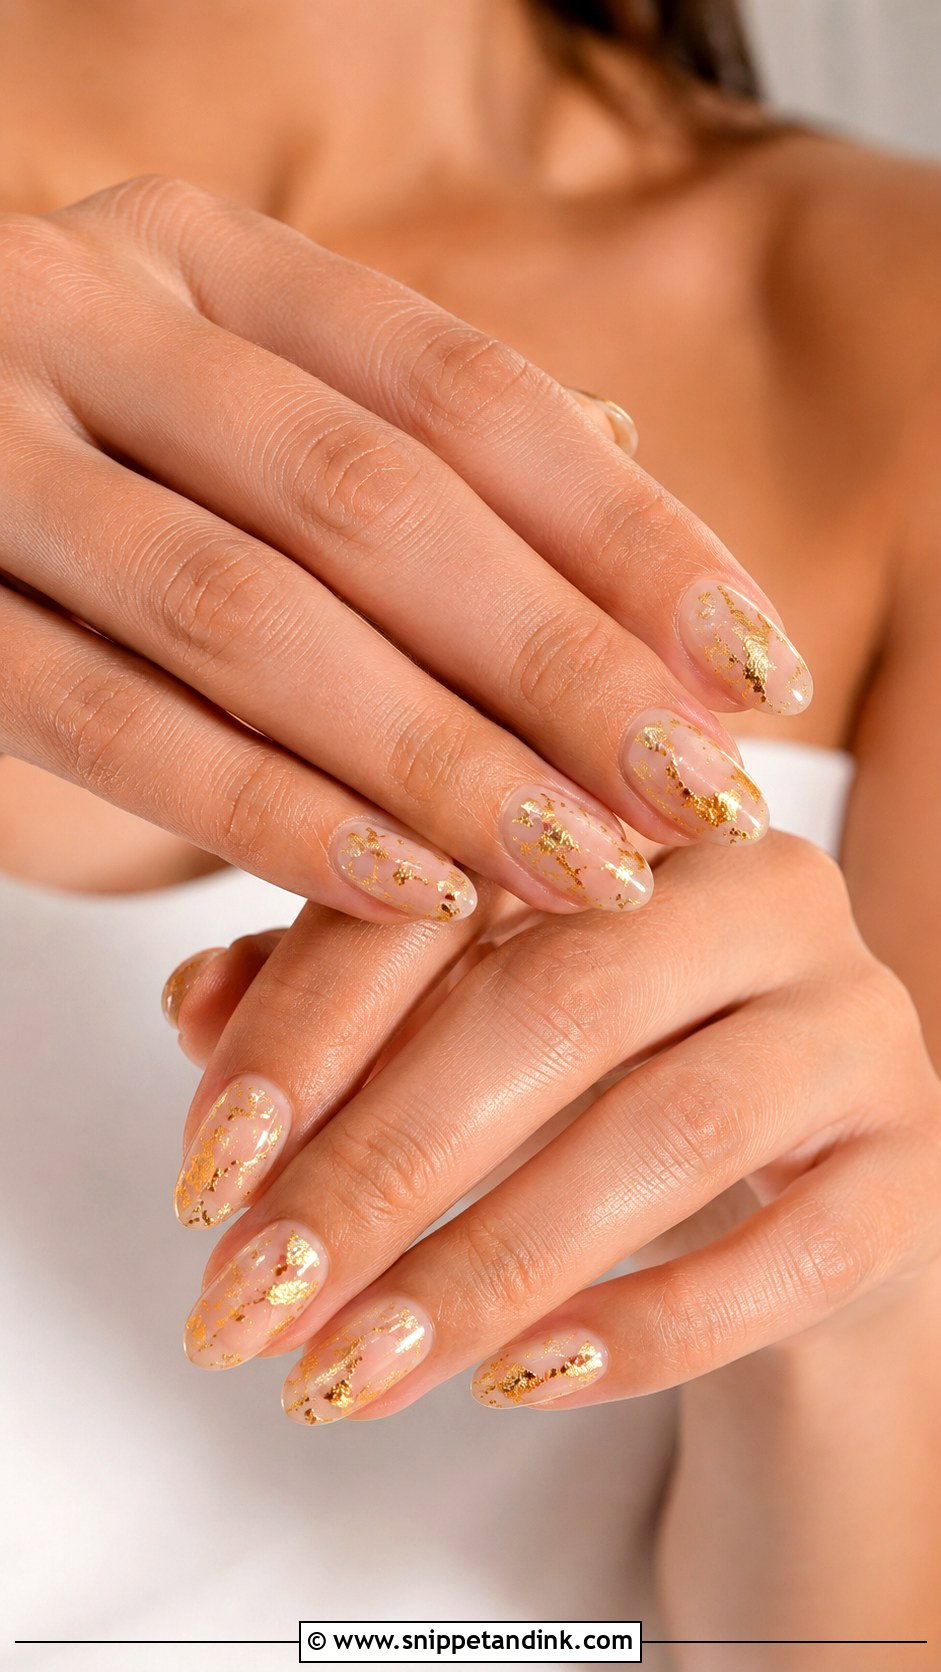
Foil never lays perfectly flat, and that’s the point. The crinkled, broken edges are what make it look hand done rather than printed. I press it into a tacky gel layer and then seal it under a thick enough top coat that no edge is left exposed, because loose flakes lift and catch within a day or two. A sheer nude, blush, ivory or milky base lets the gold read softly. Concentrate it at the tips for a loose French effect, or keep it to accent nails if the rest of your look is busy.
7. White And Gold Bridal Nails
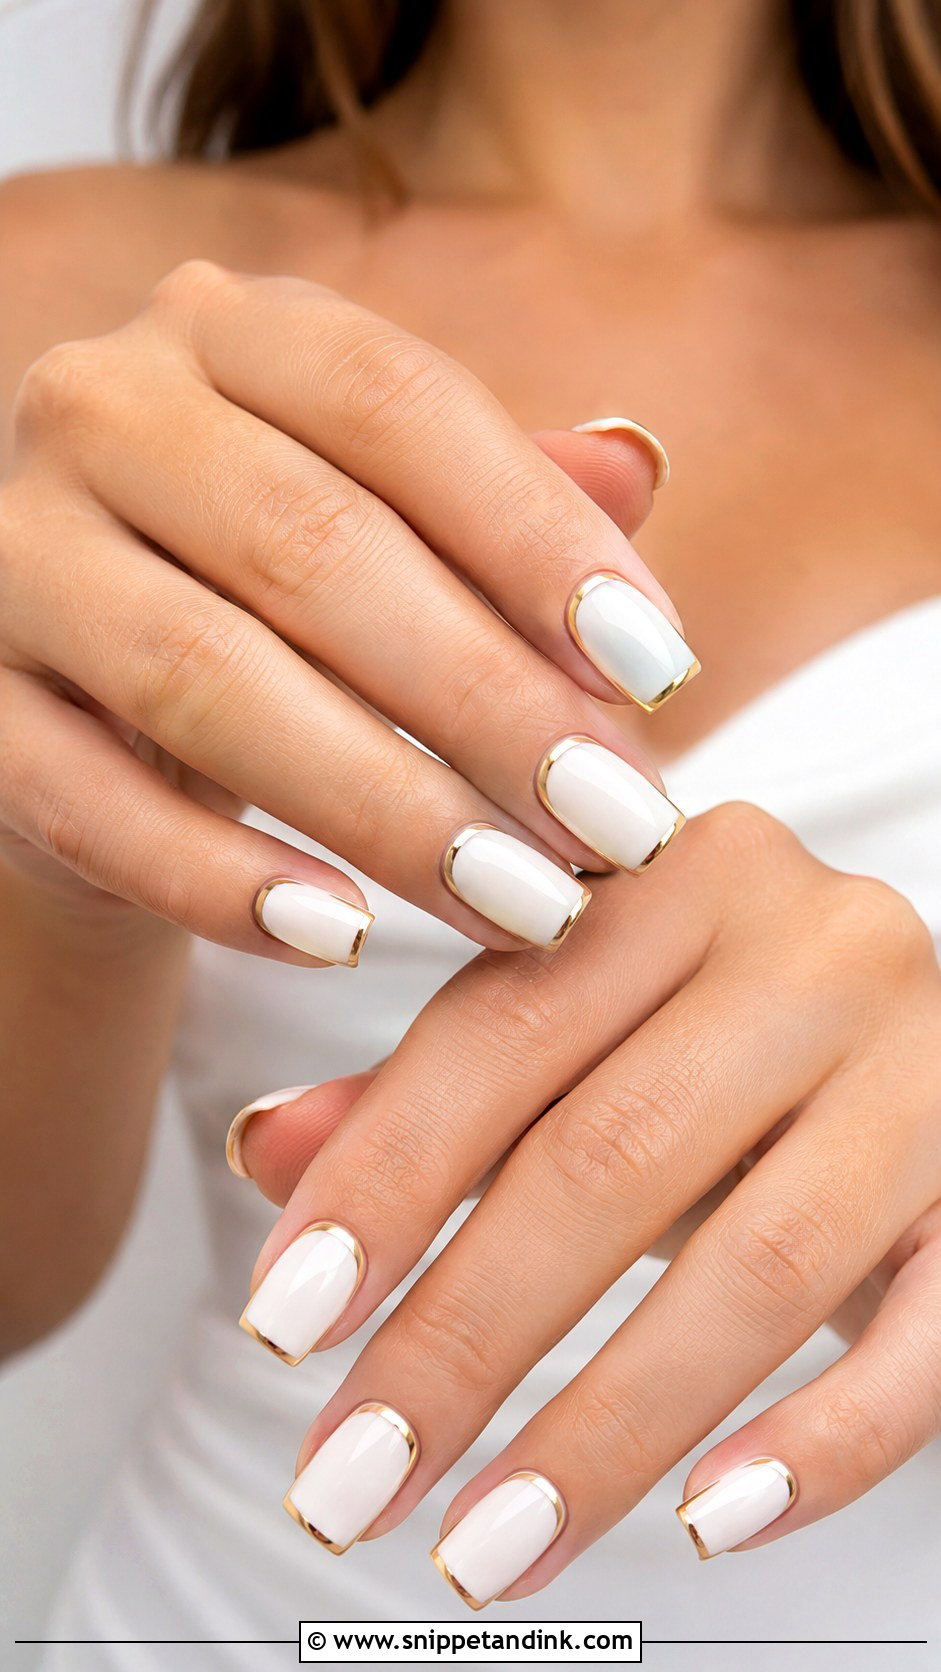
Stark white can look like correction fluid in flash photos, so I usually mix a soft white or use a semi-sheer one for brides. Gold then goes on as tips, flakes or a slim outline. This pairing makes the most sense when the gown itself carries gold, such as gold embroidery or warm ivory fabric, because the nails repeat something that’s already there. On a cool, bright white dress I’d test it against the fabric first, since a warm gold can make the white look yellow beside it.
8. Blush Pink Gold Bridal Nails
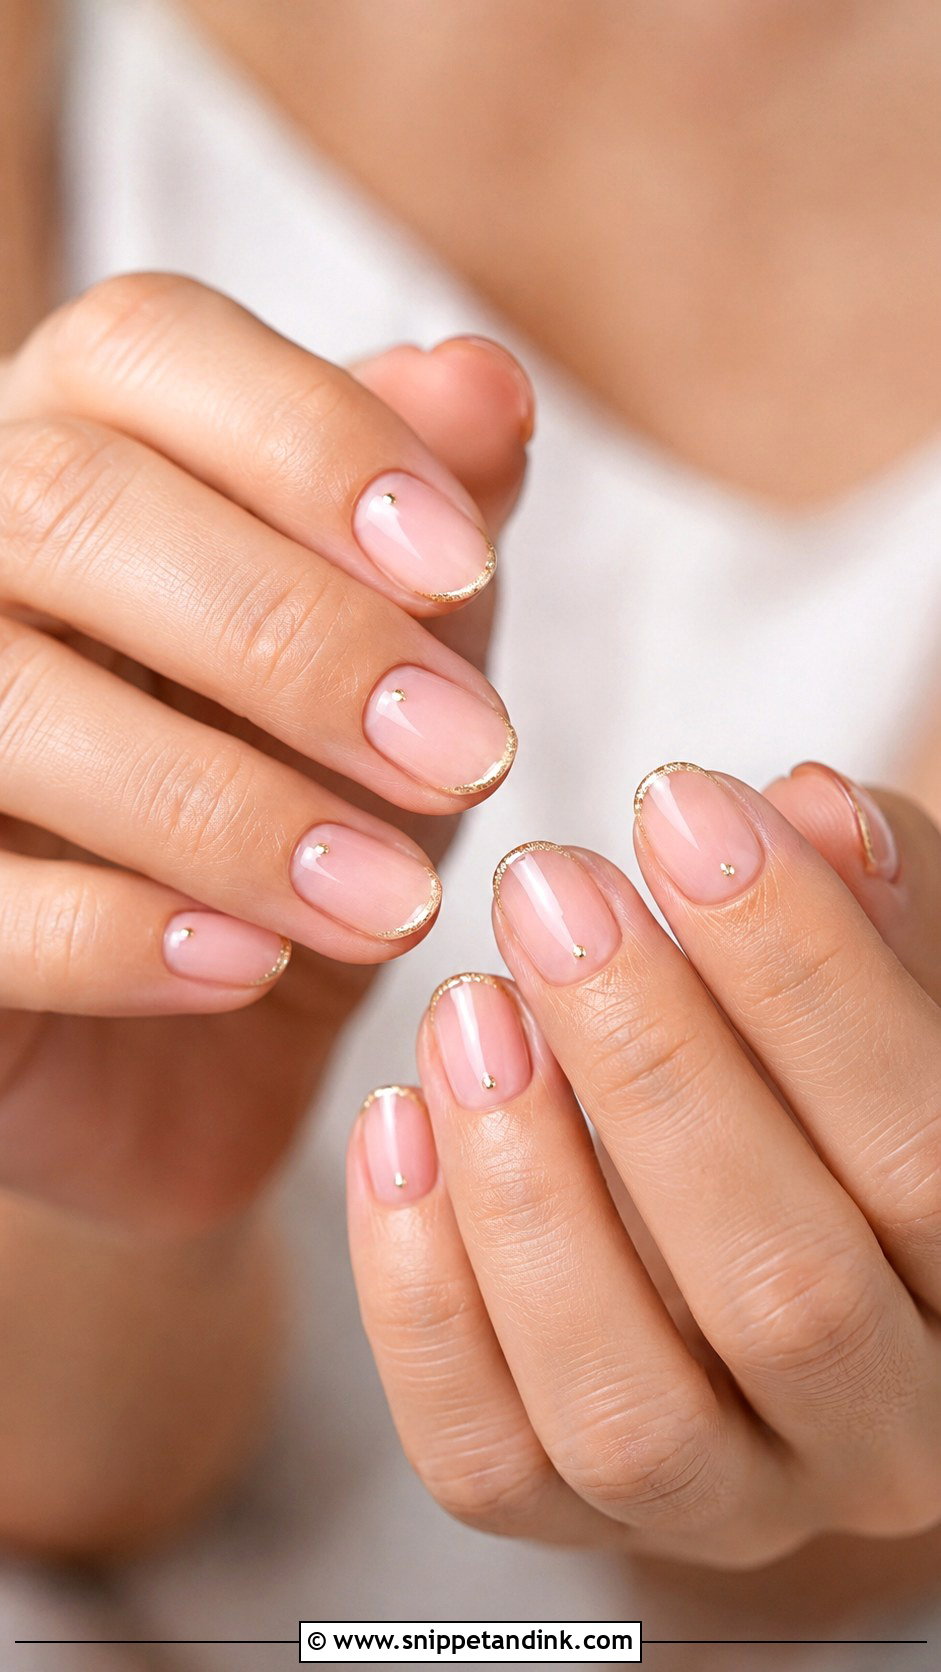
Blush is the most forgiving base I own. It makes hands look healthy without needing perfect cuticles, and gold sits warmly on top of it. It’s an easy match for rose gold jewelry and champagne bridesmaid dresses. My usual version is a micro French in gold, or gold leaf on two nails per hand. Short nails can carry it with a few small dots or a slim metallic edge rather than a full tip.
9. Gold Glitter Ombre Bridal Nails
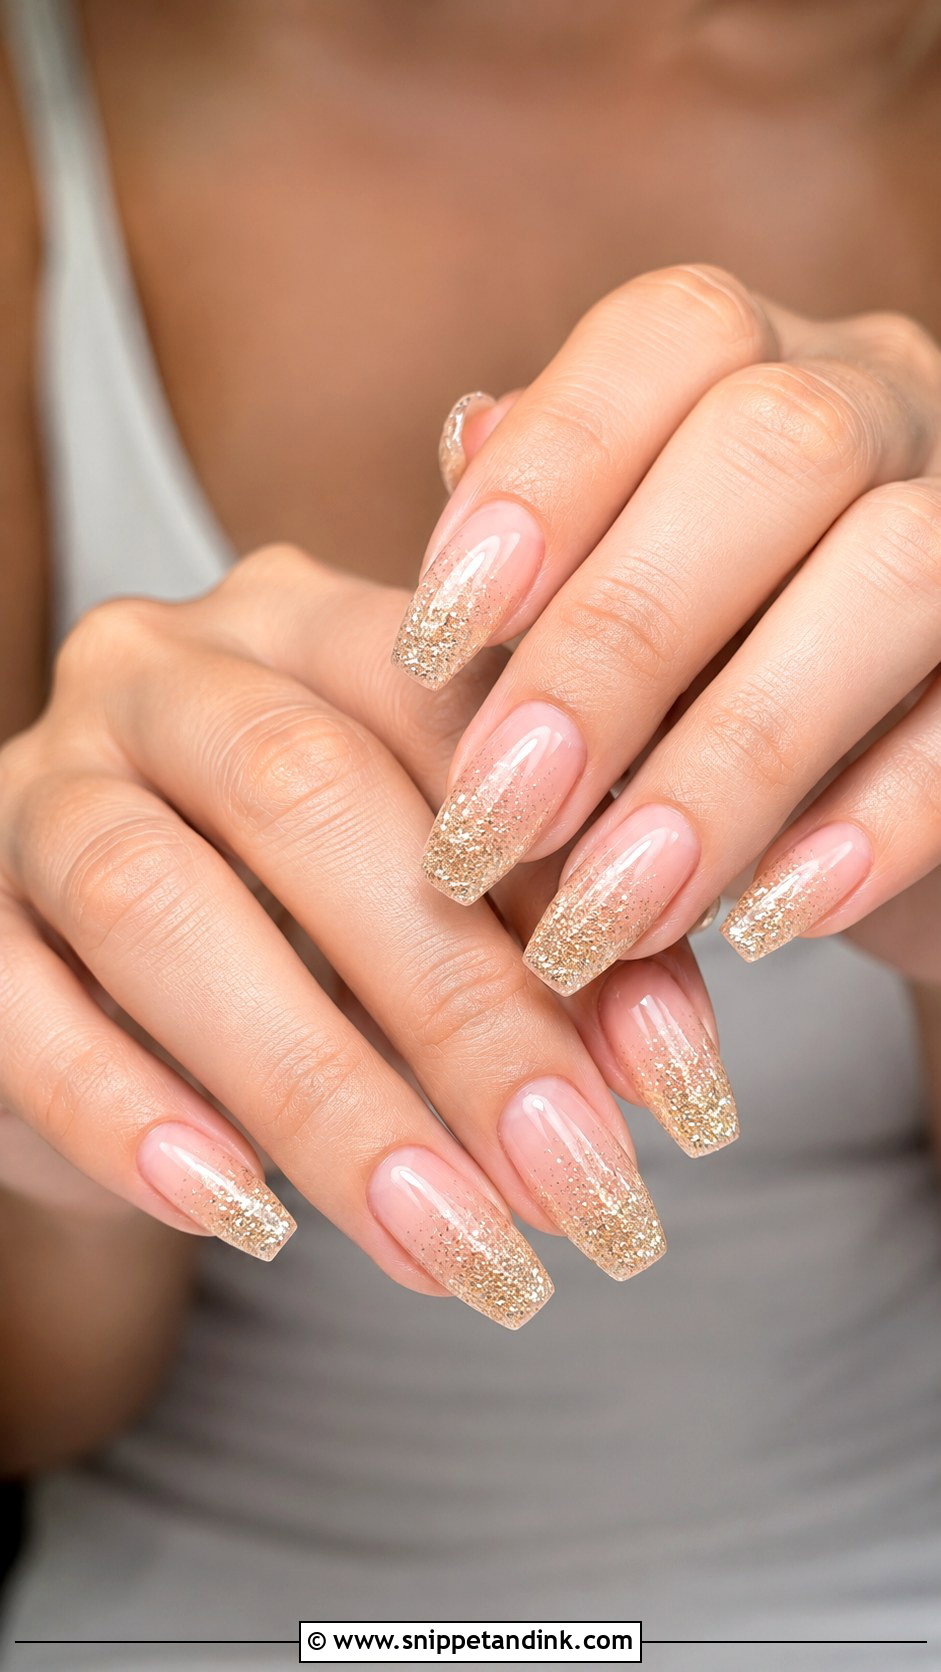
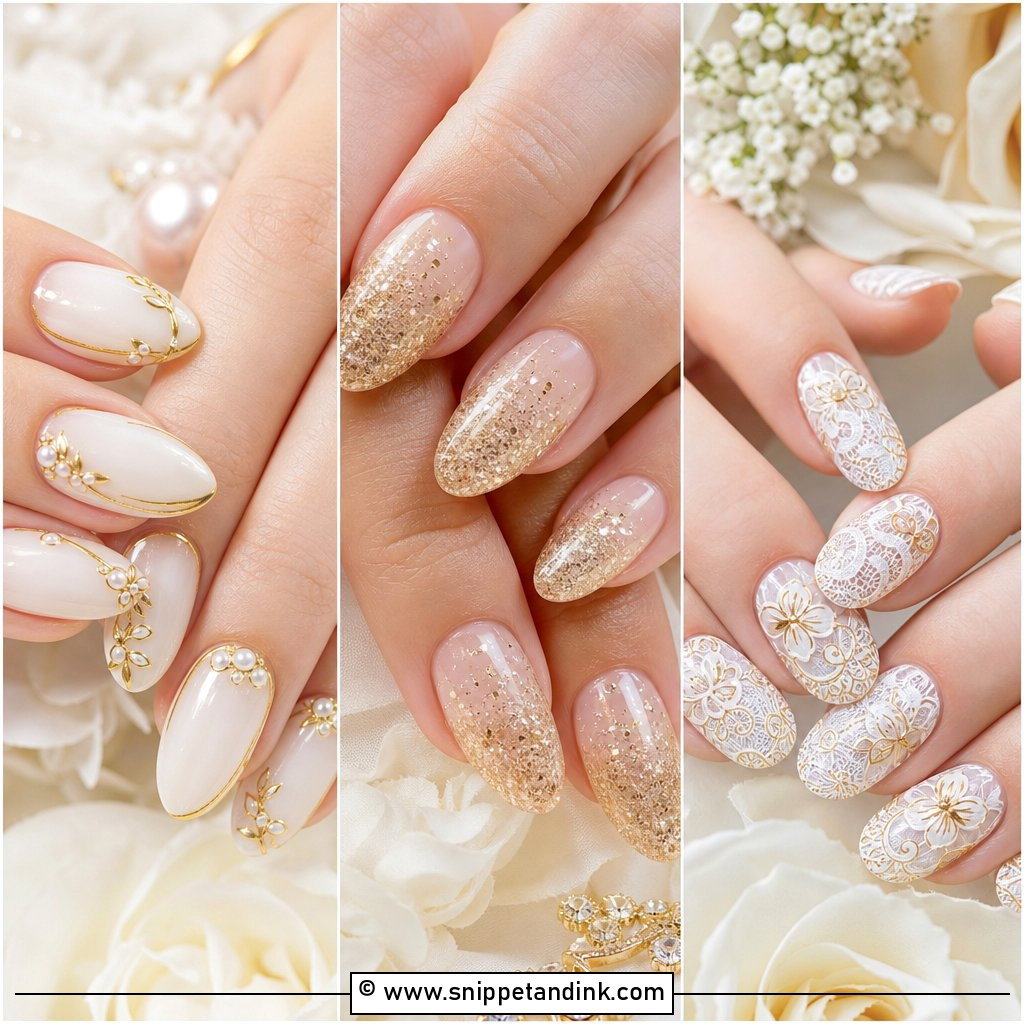
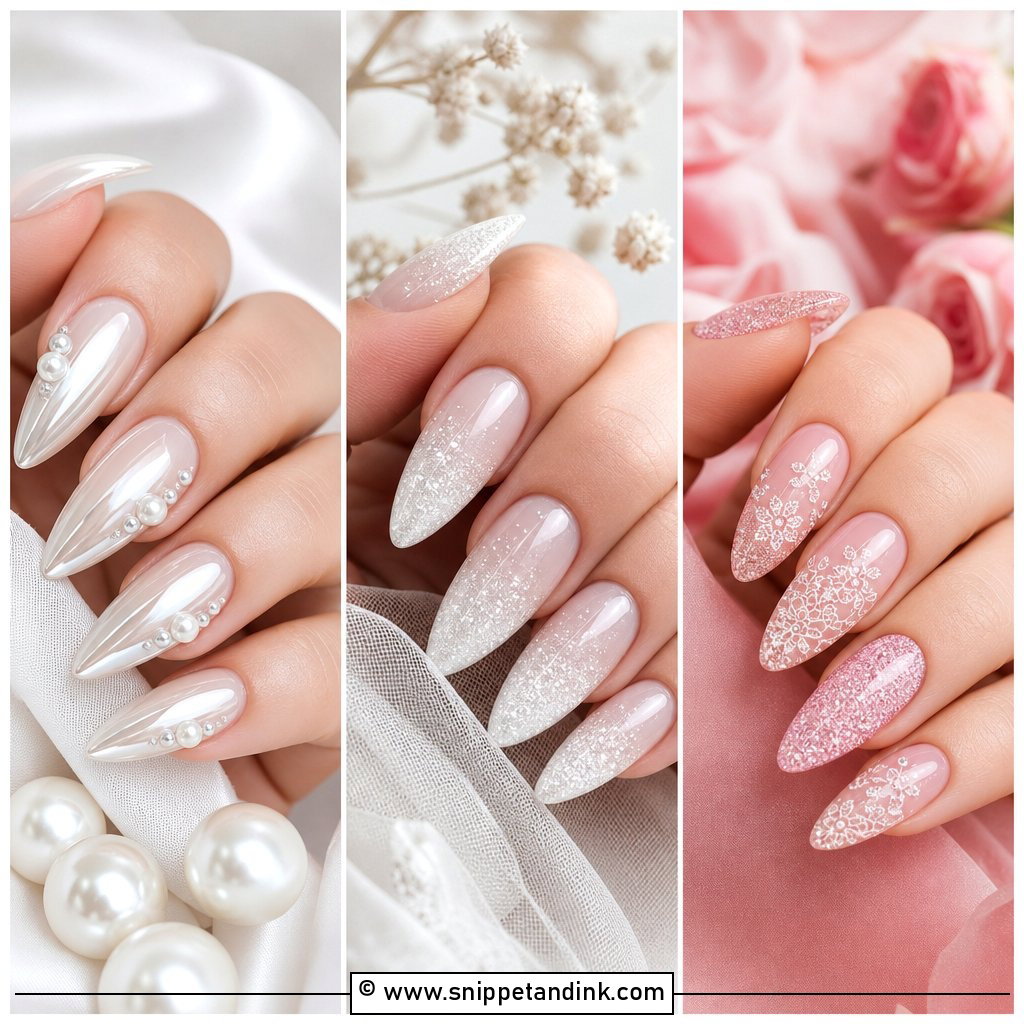
Gold glitter ombre bridal nails are how I give sparkle to brides who are nervous about it. I sponge or brush fine glitter so it’s densest at the tip and fades into a sheer neutral by the middle of the nail. Fine champagne glitter is softer on camera than chunky gold hexes, which can look like craft glitter up close. You need a bit of length for the fade to look gradual, so almond and coffin nails suit it best. With a heavily beaded dress, I’d keep the glitter to the last third of the nail.
10. Gold Lace Bridal Nails
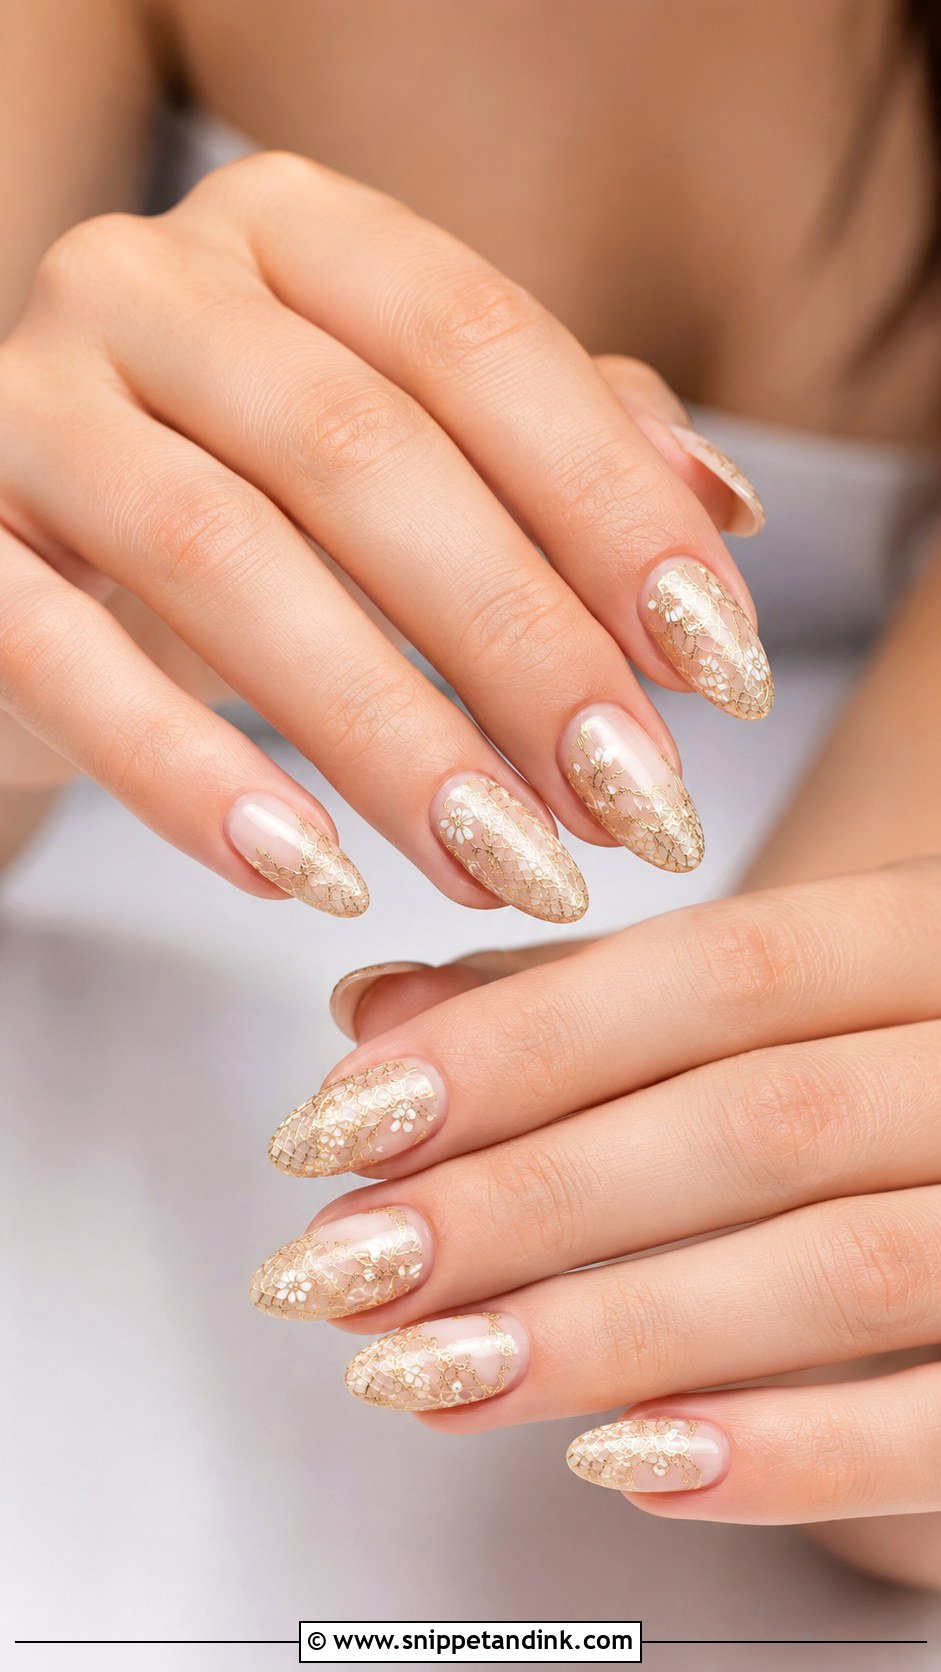
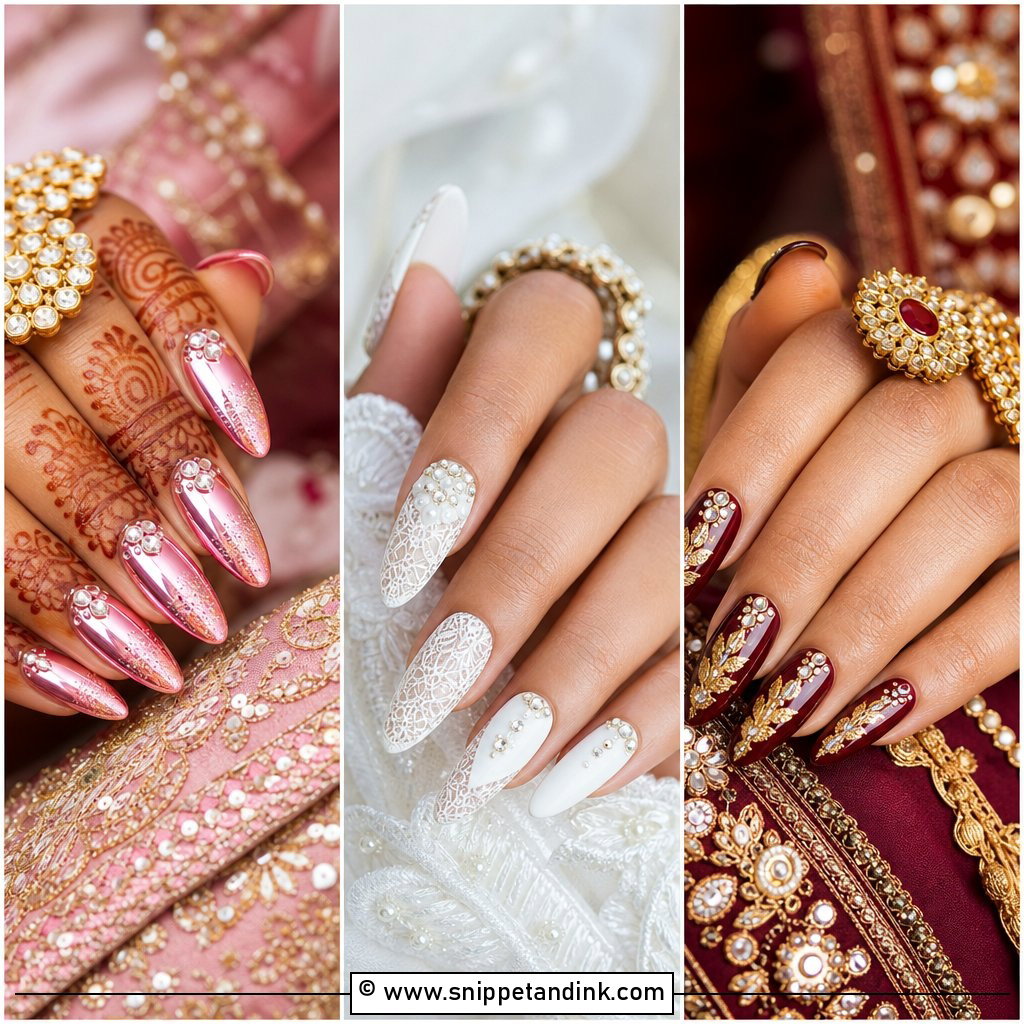
Lace patterns can be hand painted, stamped or applied as fine metallic decals, and each gives a slightly different result. Hand painting looks softest but takes the longest; stamping is crisper and more even. Whatever the method, I keep the lines thin and leave plenty of the nude or ivory base showing, because a crowded lace nail reads as a blur in photos. Oval and almond shapes give the pattern room. If your sleeves or veil have a distinctive lace motif, bring a photo or a fabric swatch so the pattern can loosely follow it.
11. Gold Marble Bridal Nails
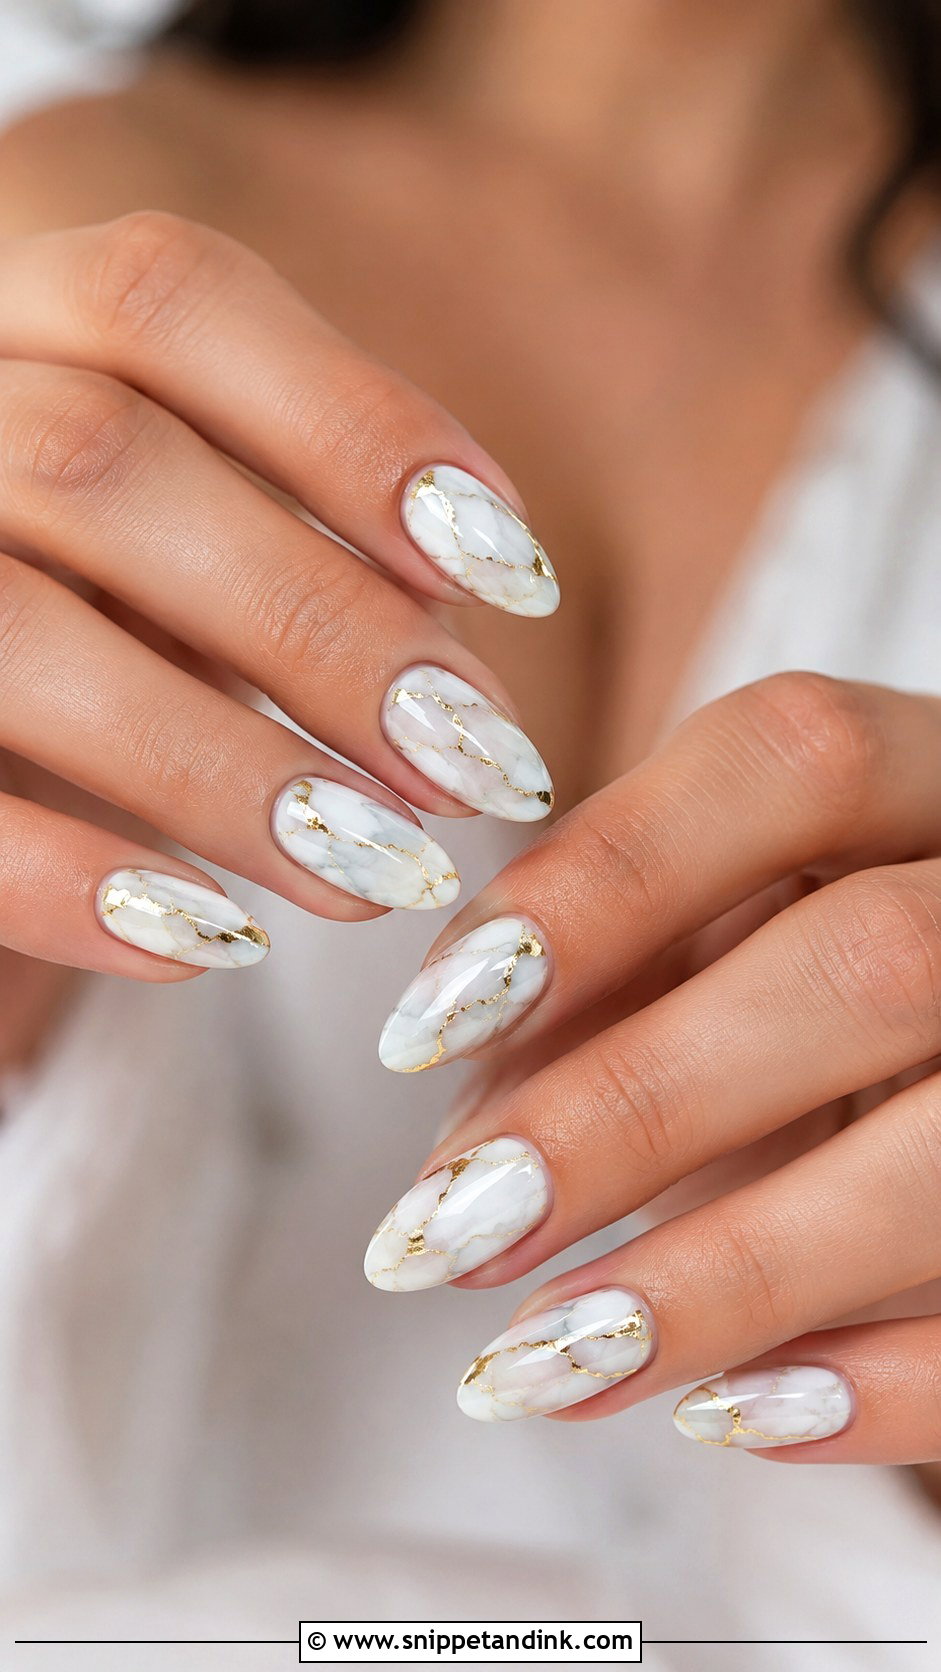
Marble is built by blending soft grey veins into a wet white or nude base, then tracing a few of the veins in gold. The trick is restraint. Harsh dark lines look like cracked tile, so I keep the veining blurred and only gild two or three lines per nail. It suits brides who want something more personal than a French, and it gives a minimalist gown a little visual interest without adding sparkle. Close-up, the gold should look like it belongs inside the stone rather than sitting on top of it.
12. Rose Gold Bridal Nails
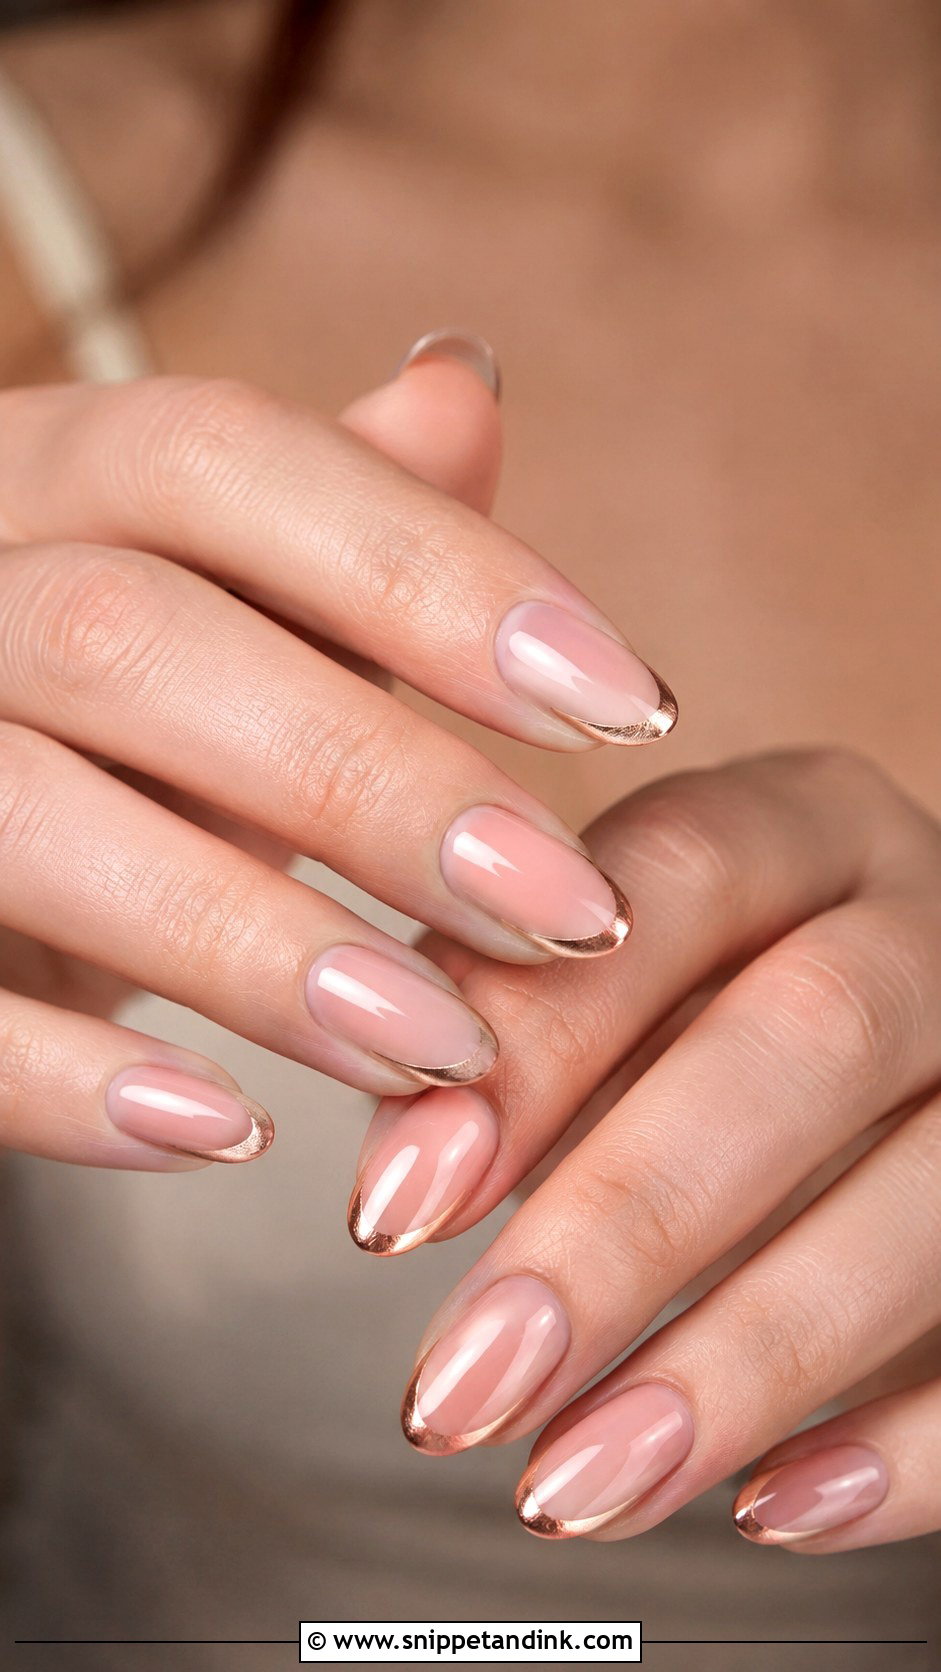
Rose gold has a pink cast that warms the hand without the brightness of yellow gold, and it flatters a wide range of skin tones. It works as tips, chrome, glitter fade, foil or line art. The classic version is a sheer pink base with fine rose gold details; the more current one is rose gold chrome on almond nails. I’d point you here if your engagement ring is rose gold, because yellow gold nails next to a pink metal ring can make both look slightly off.
13. Champagne Gold Bridal Nails
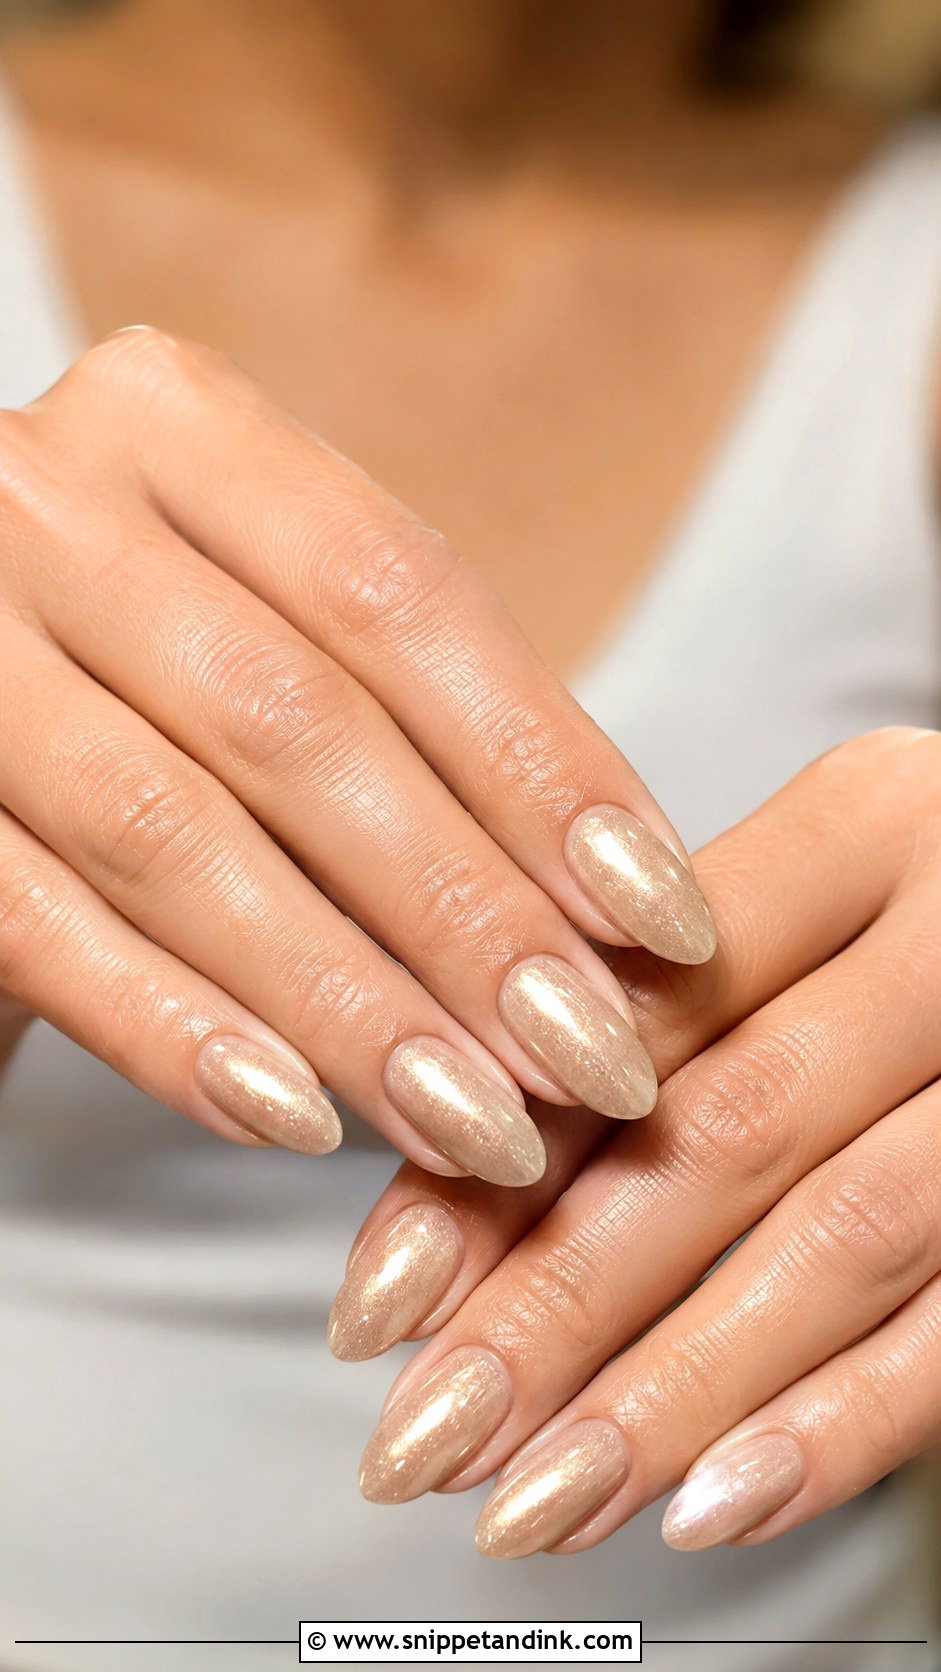
Champagne gold sits between beige, pearl and pale gold, which makes it the safest metallic if you’re not sure yellow gold suits you. A champagne shimmer wash over a nude base reads more like a glow than a metal. It can also go into French tips, chrome or a light glitter fade. With ivory, cream and satin gowns it blends in rather than competing. When a bride can’t decide between gold and no gold at the consultation, this is usually what we end up with.
14. Short Gold Bridal Nails
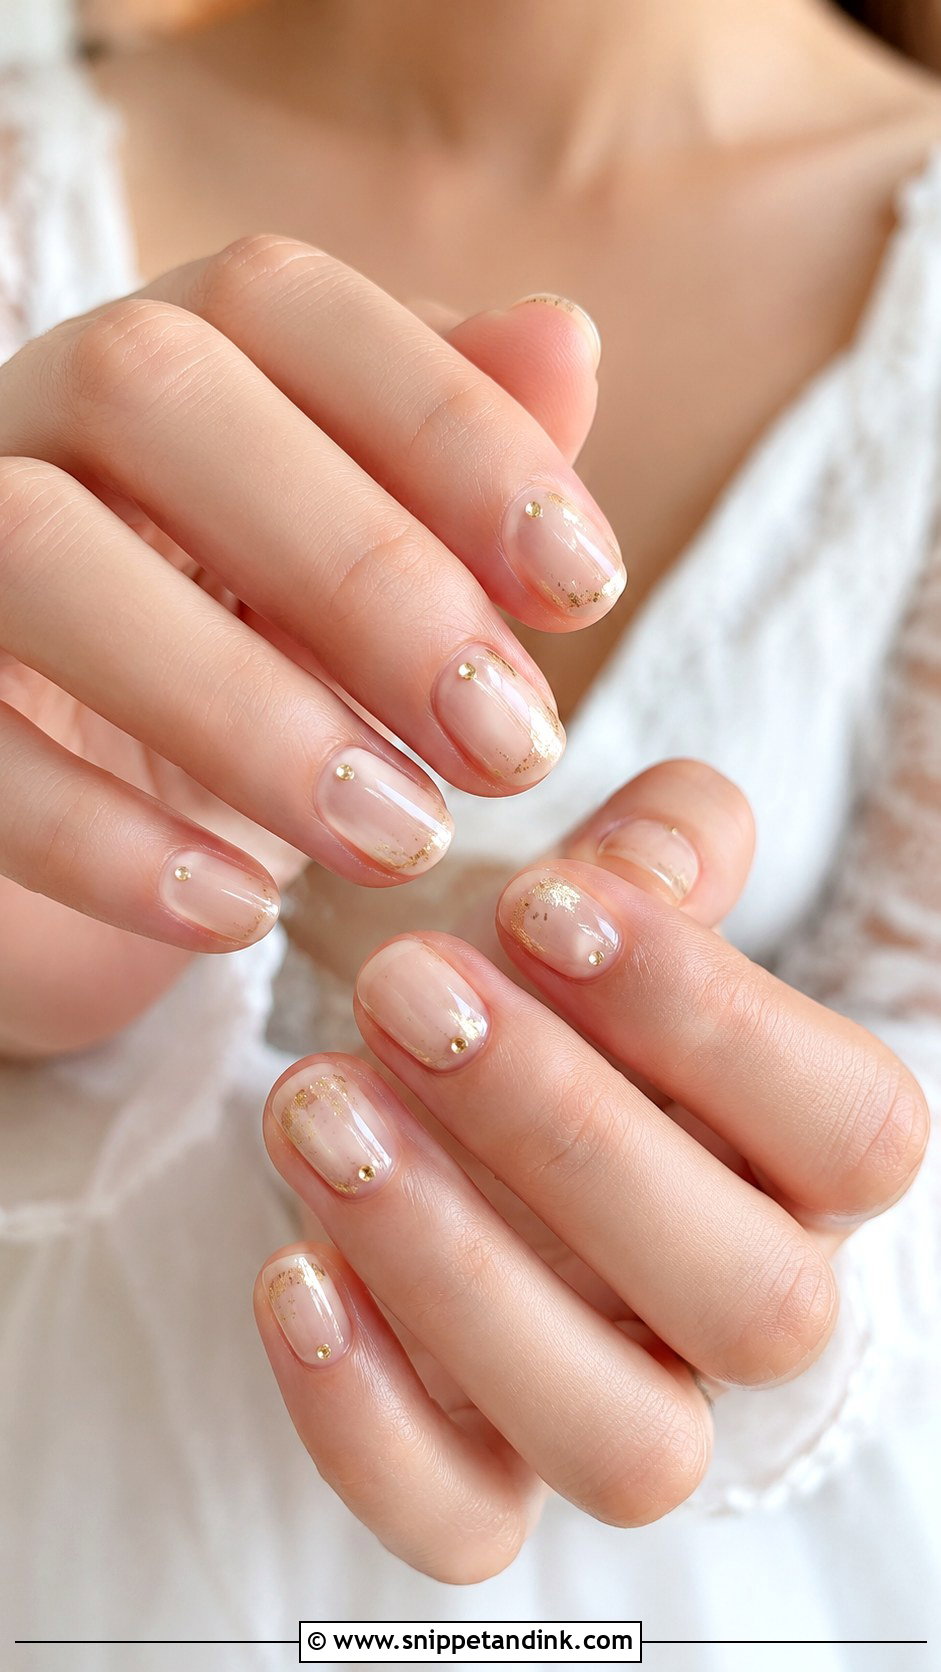
Short nails are honestly easier to keep tidy on the day: no snagging zips, no struggle with earring backs, no awkwardness if you’re not used to extensions. The gold just has to be scaled down. I’d use a very thin French tip, a few small foil pieces, a gold curve at the cuticle or a single accent nail. Rounded or squoval shapes keep short nails soft. With less length to look at, the ring becomes the focus of your hand photos, which most brides want anyway.
15. Almond Gold Bridal Nails
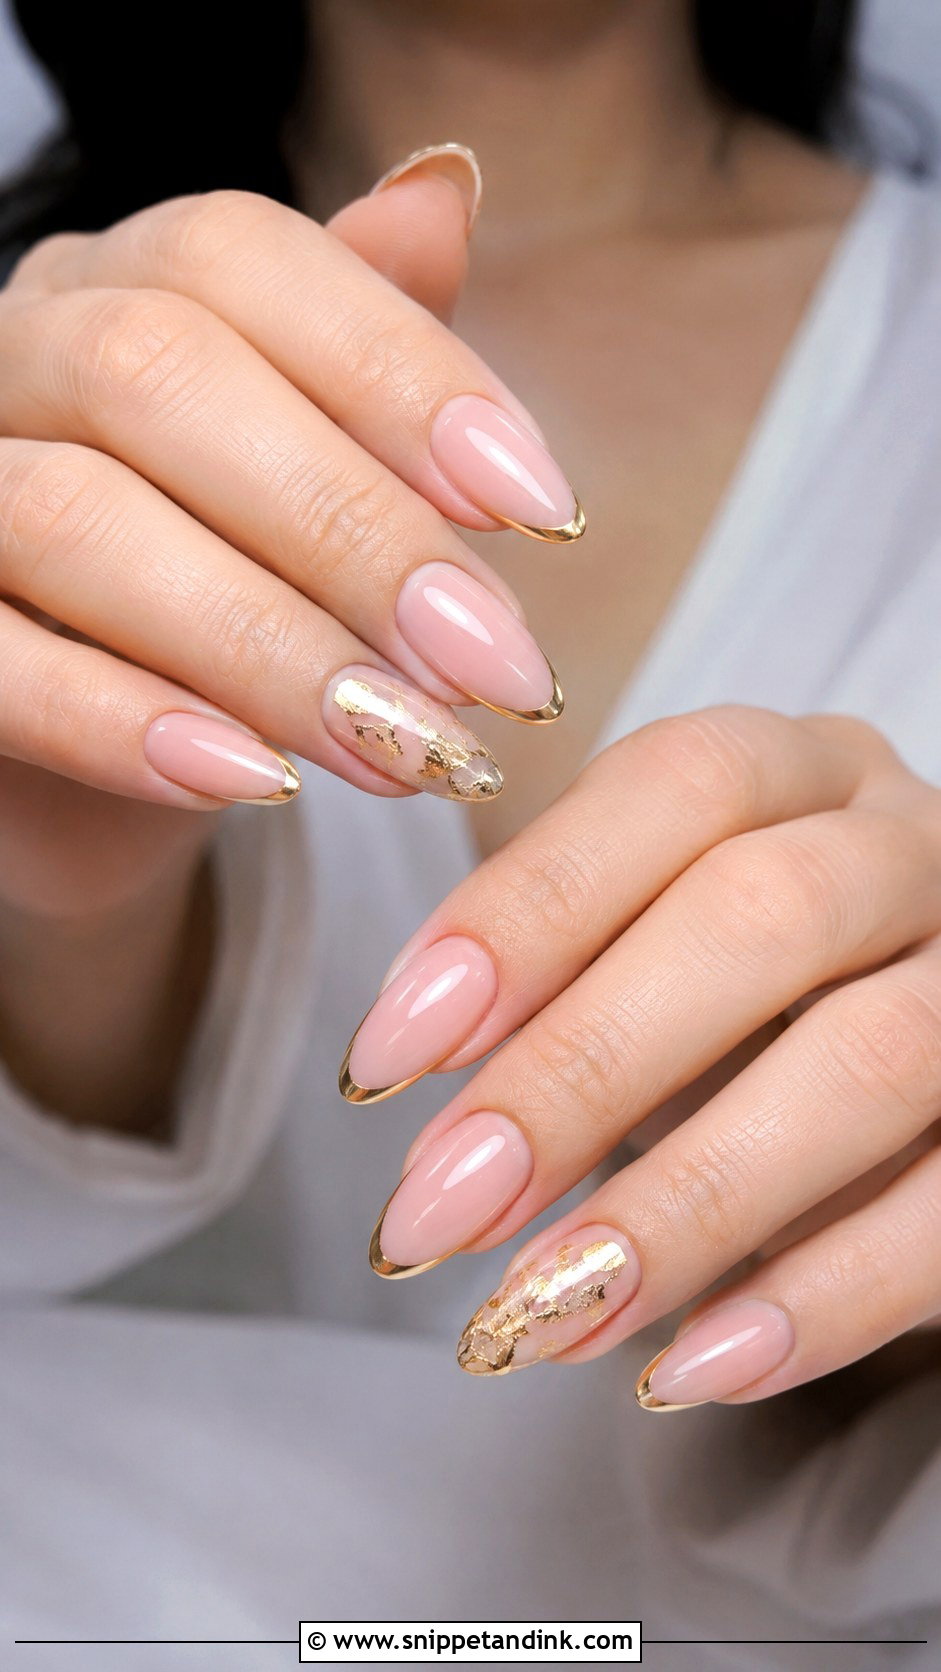
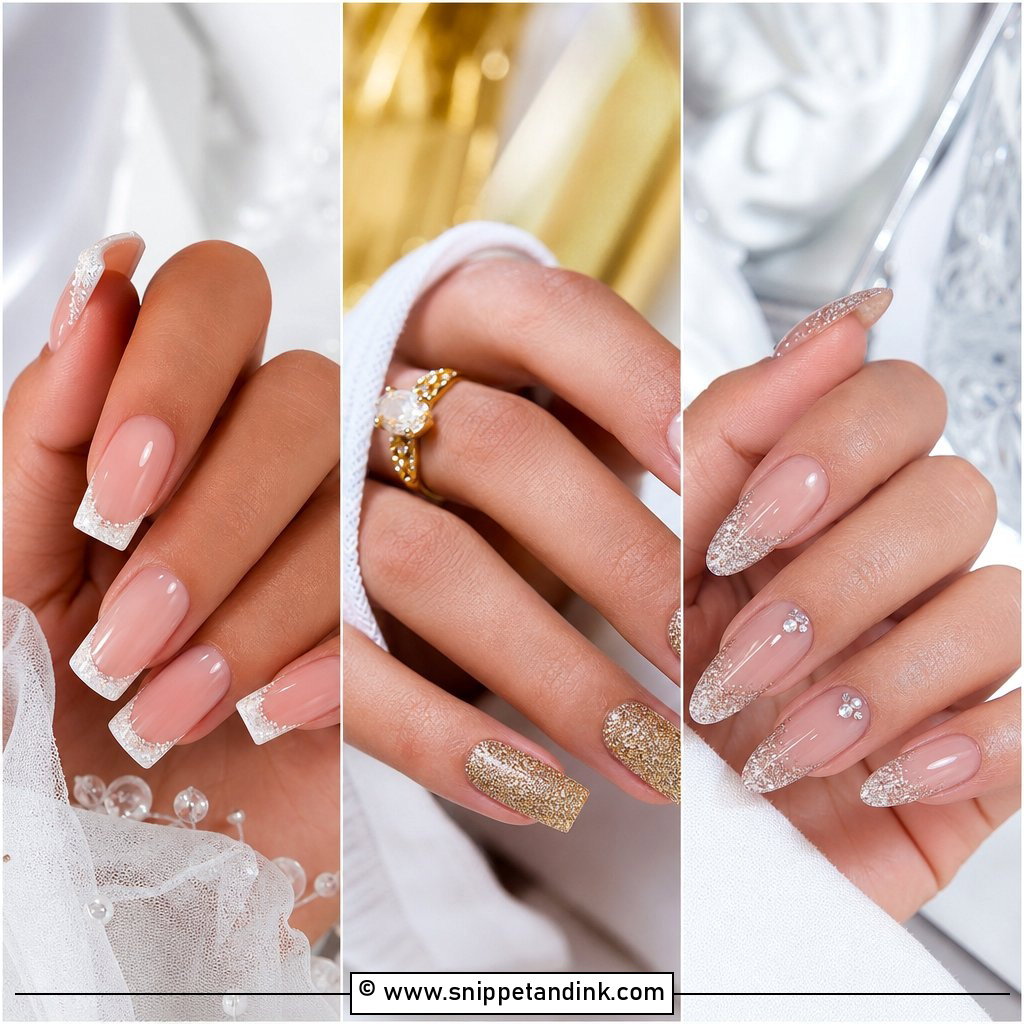
The tapered tip of an almond nail makes fingers look longer, and it gives gold somewhere natural to finish. Thin French tips are the classic route; vines, pearl accents or scattered foil suit a more decorative mood. I prefer a sheer pink or nude base underneath so the shape does the work. Almond needs at least medium length to read properly. If your natural nails are short, it can be built with a soft gel extension, but get it done once before the wedding so you know you can live with the length.
16. Gold Swirl Bridal Nails
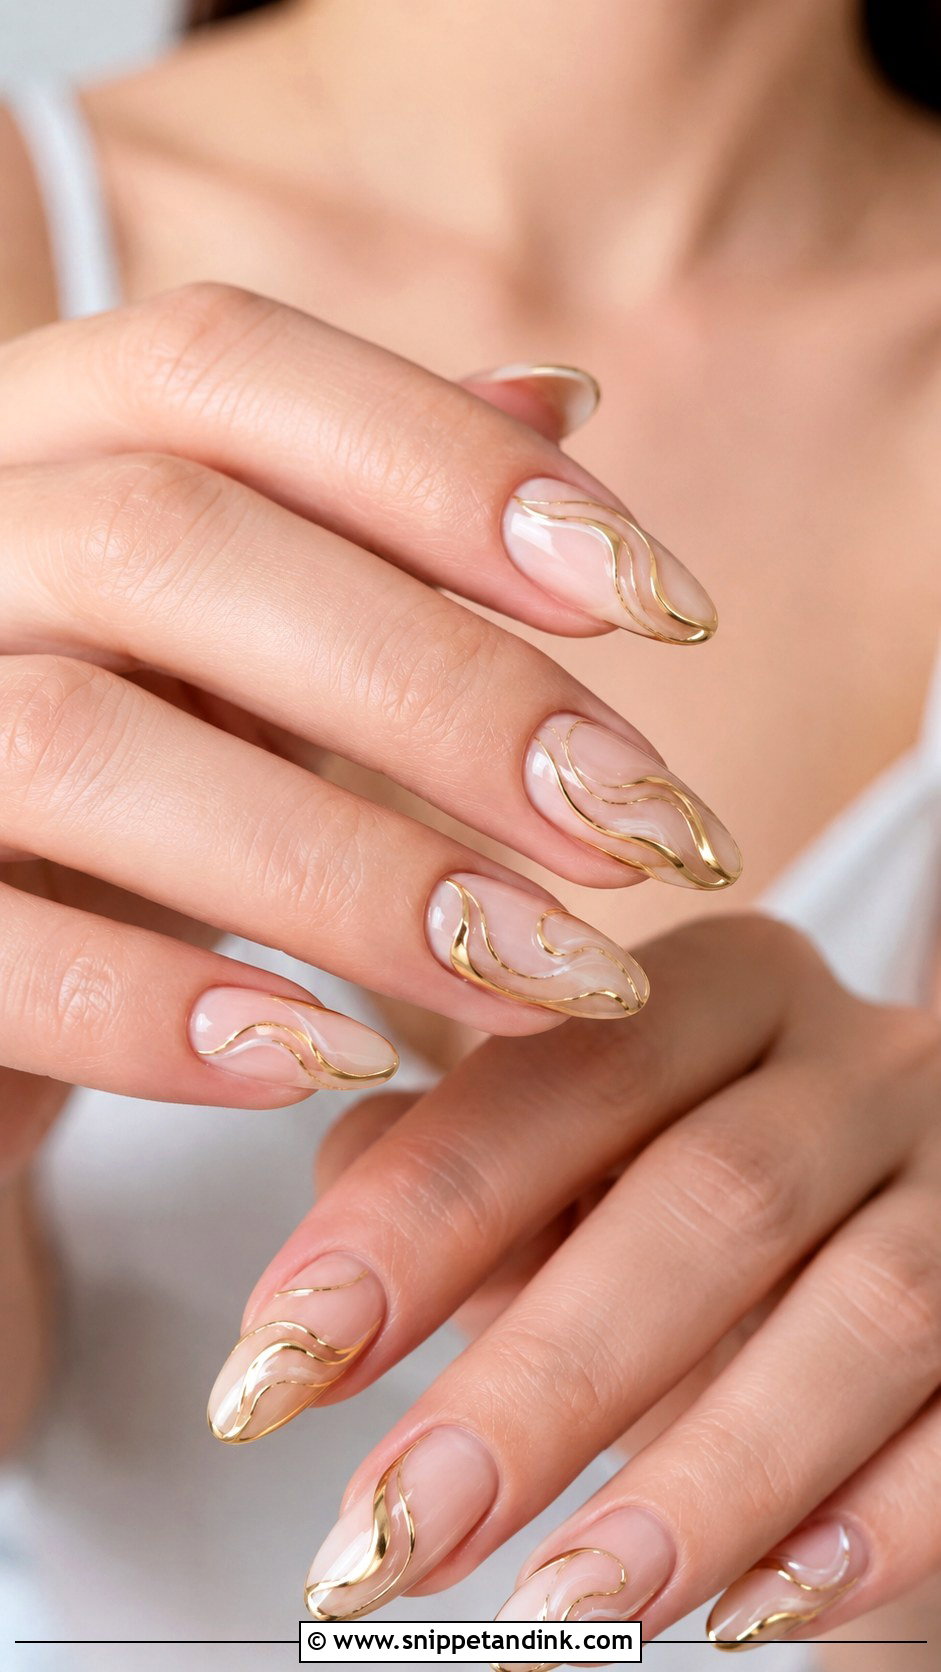
Swirls are painted with a long, thin liner brush in a single stroke each, which is why they look fluid when done well and wobbly when rushed. I leave a lot of negative space so the nail still reads as nude or milky with a few gold curves crossing it. Almond, oval and coffin shapes let the lines run the length of the nail. For a softer finish, I’ll alternate gold swirls with white or pearl lines on the same hand.
17. Gold Floral Bridal Nails
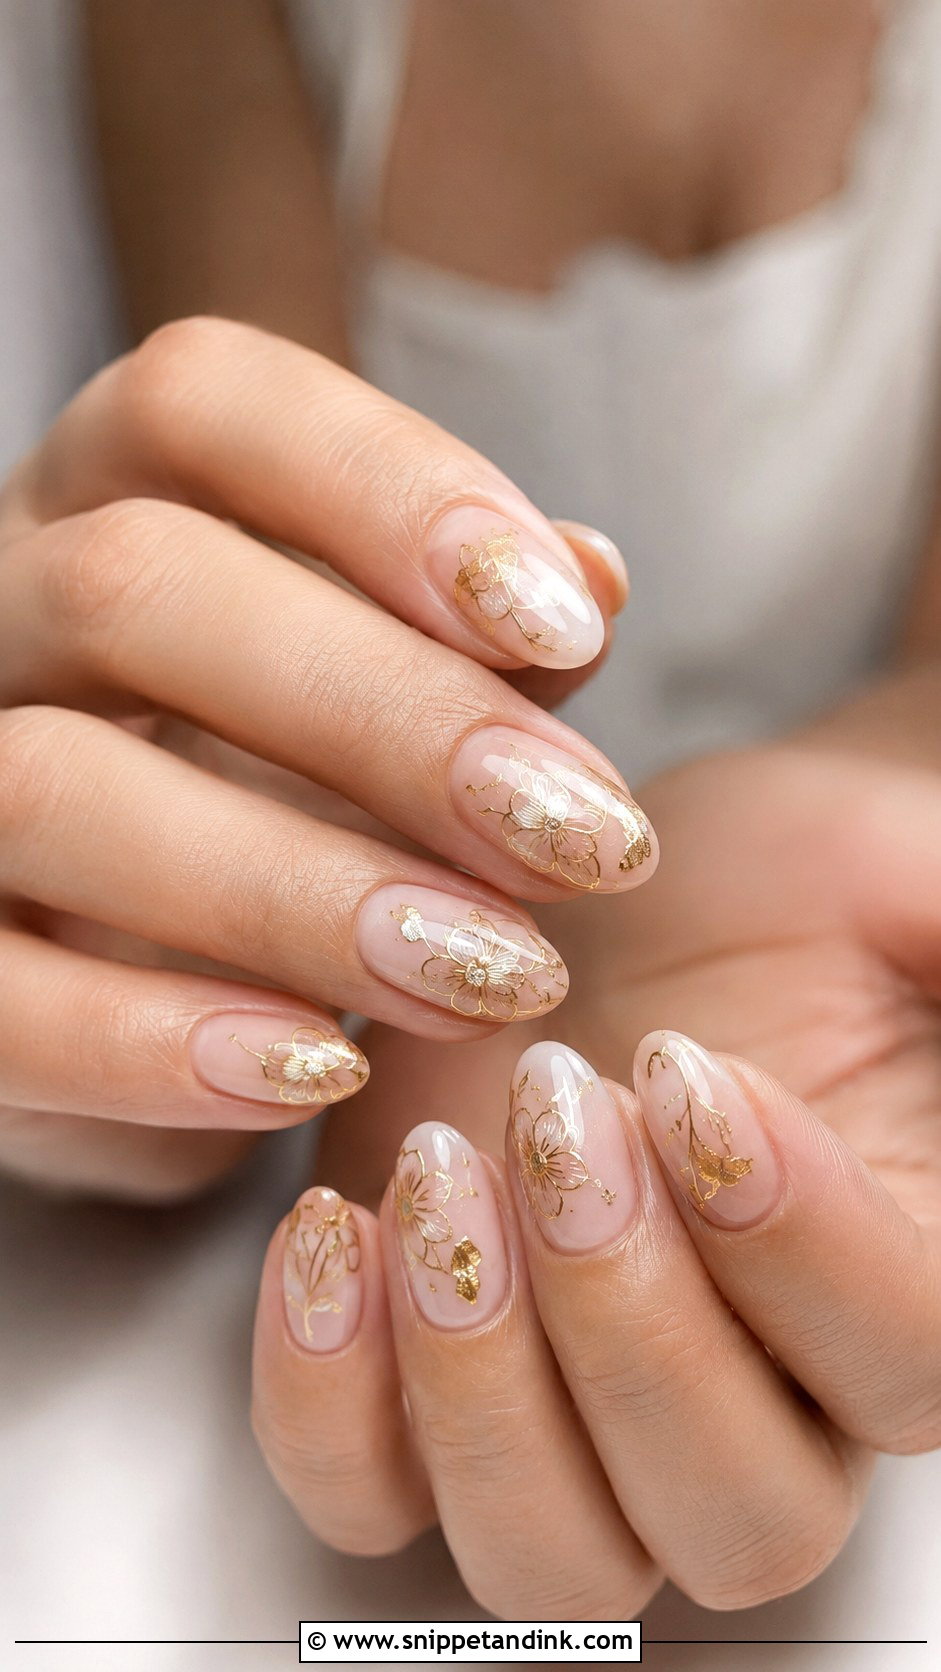
Rather than colorful petals, gold florals are drawn as fine outlines, tiny metallic petals or foil pieces set like small blooms. They suit spring, summer and garden weddings, but kept small they work in any season. The common mistake is making the flowers too big, so the design crowds the nail and looks busy in photos. I space them out and usually pair a few floral accent nails with plain gold French tips on the rest.
18. Gold Accent Bridal Nails
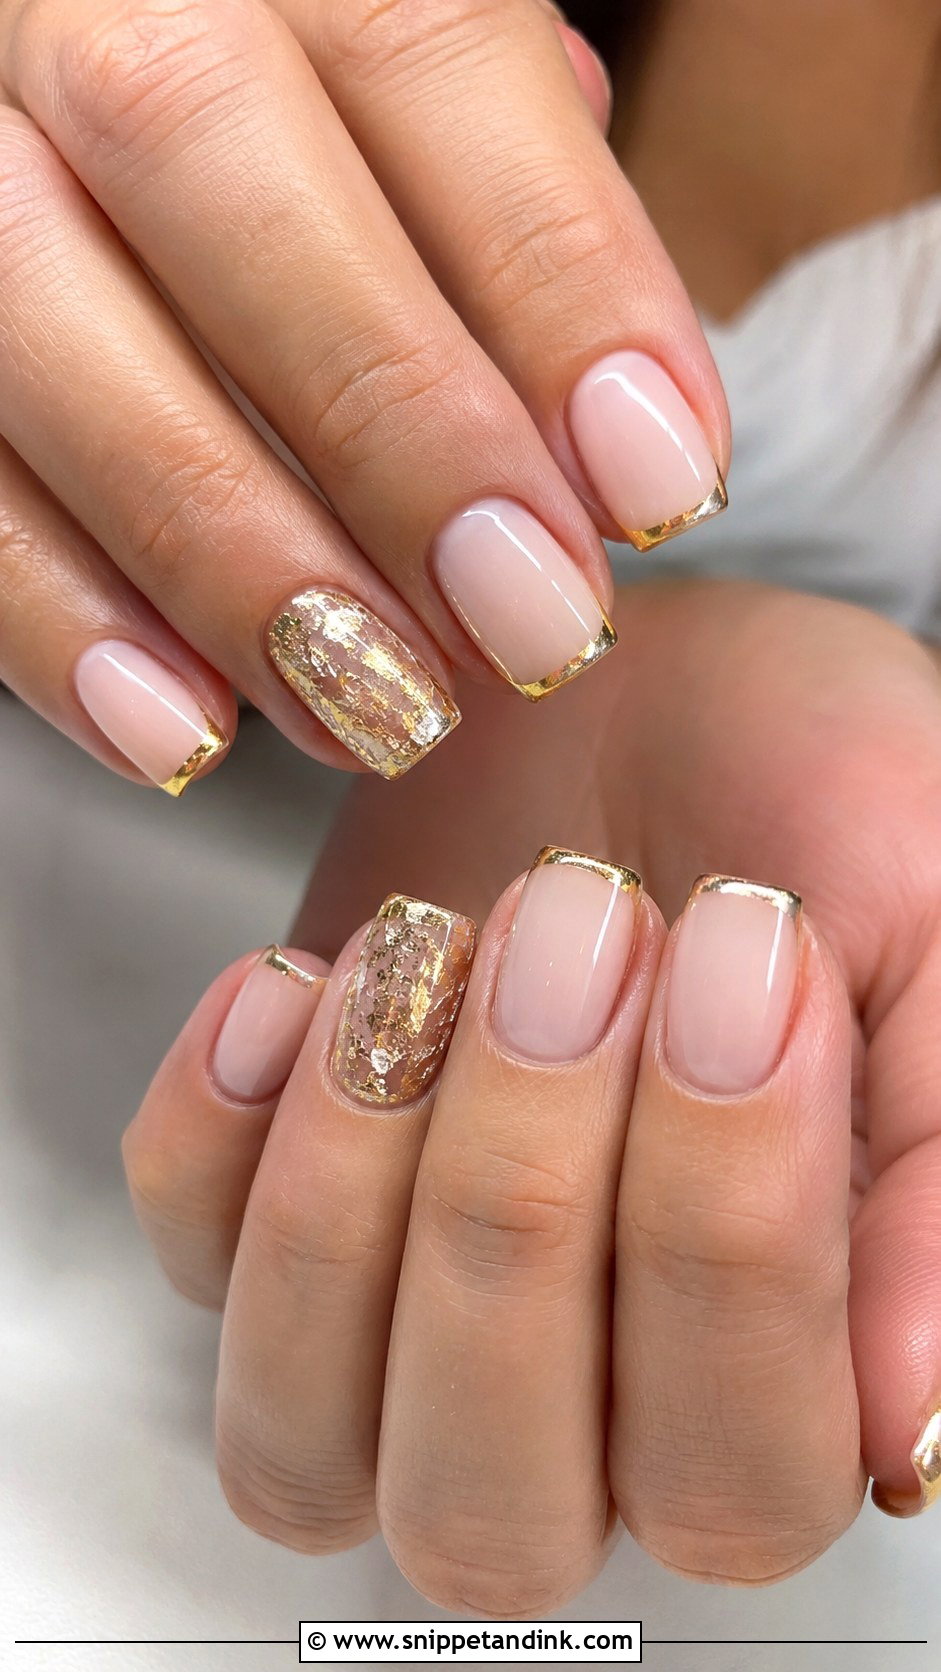
Most nails stay neutral, and one or two carry the gold, whether that’s foil, chrome, glitter, pearls or line art. It’s my default suggestion when the dress, veil or jewelry already has a lot going on, because the hands don’t need to compete. The accent can pick up your ring metal or your wedding colors. Ring finger accents are popular, but think about whether you want the ring to sit against detail or against a plain nail in the ring shot.
19. Gold Cuticle Bridal Nails
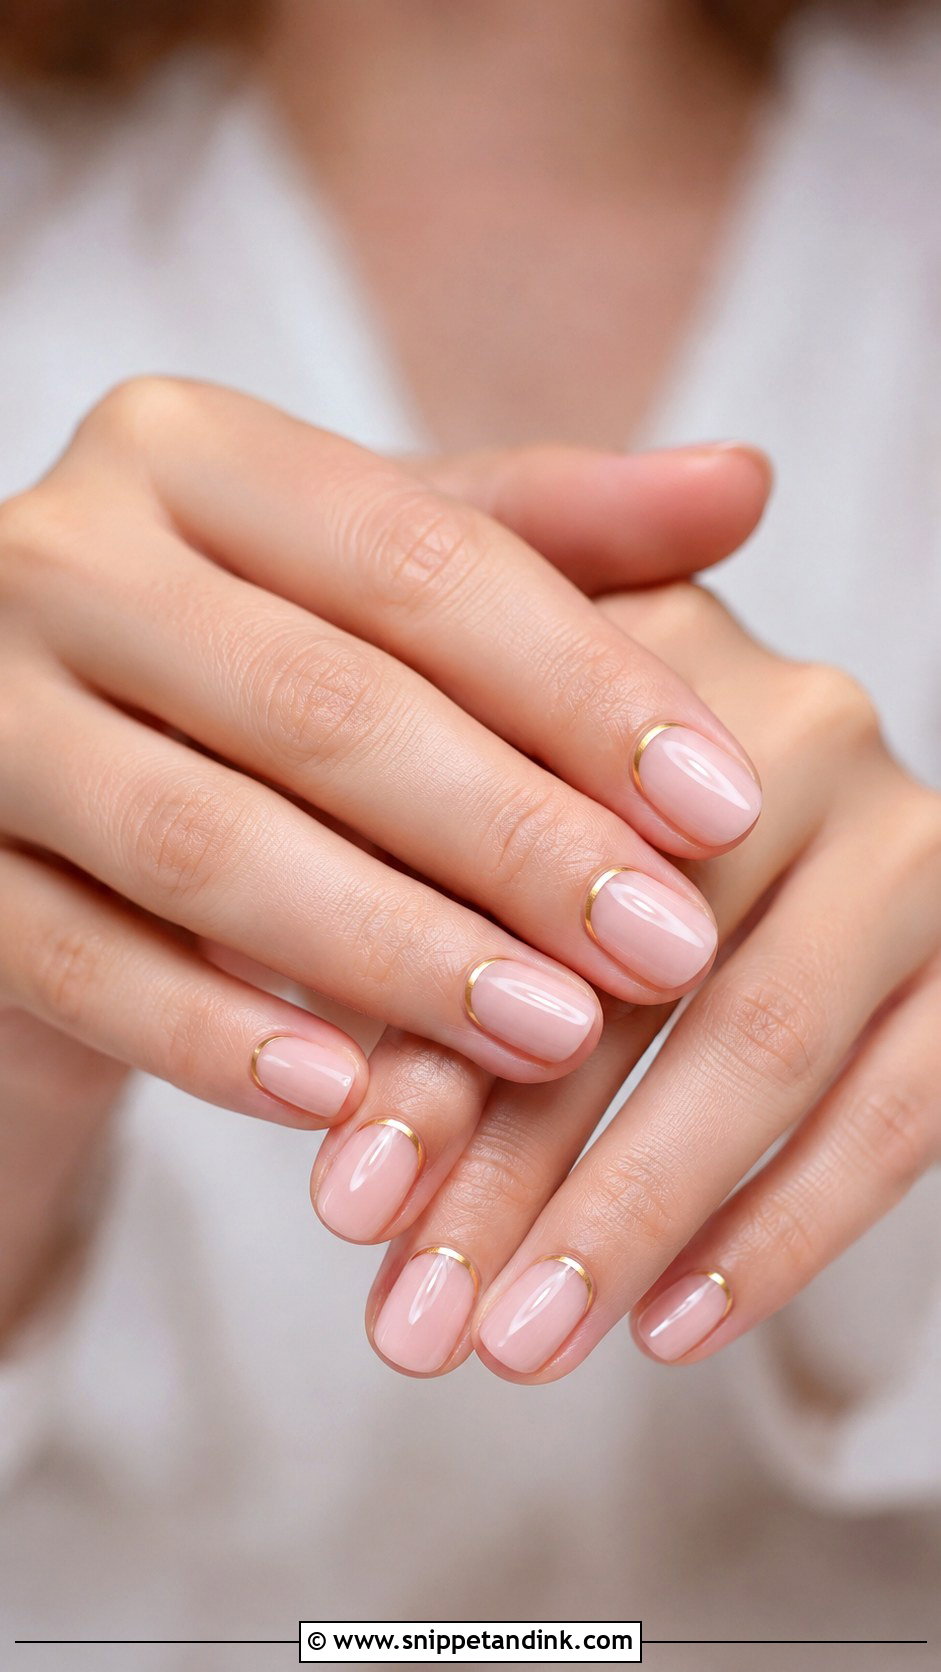
Moving the gold to the base of the nail is a small change that makes the set feel unexpected. It can be a thin half-moon, a single dot, a curved line or a little foil tucked at the cuticle. It needs no extra length, so it suits short and medium nails well. The one honest drawback: cuticle art shows regrowth sooner than tip art, so I’d book it no more than a day or two before the wedding.
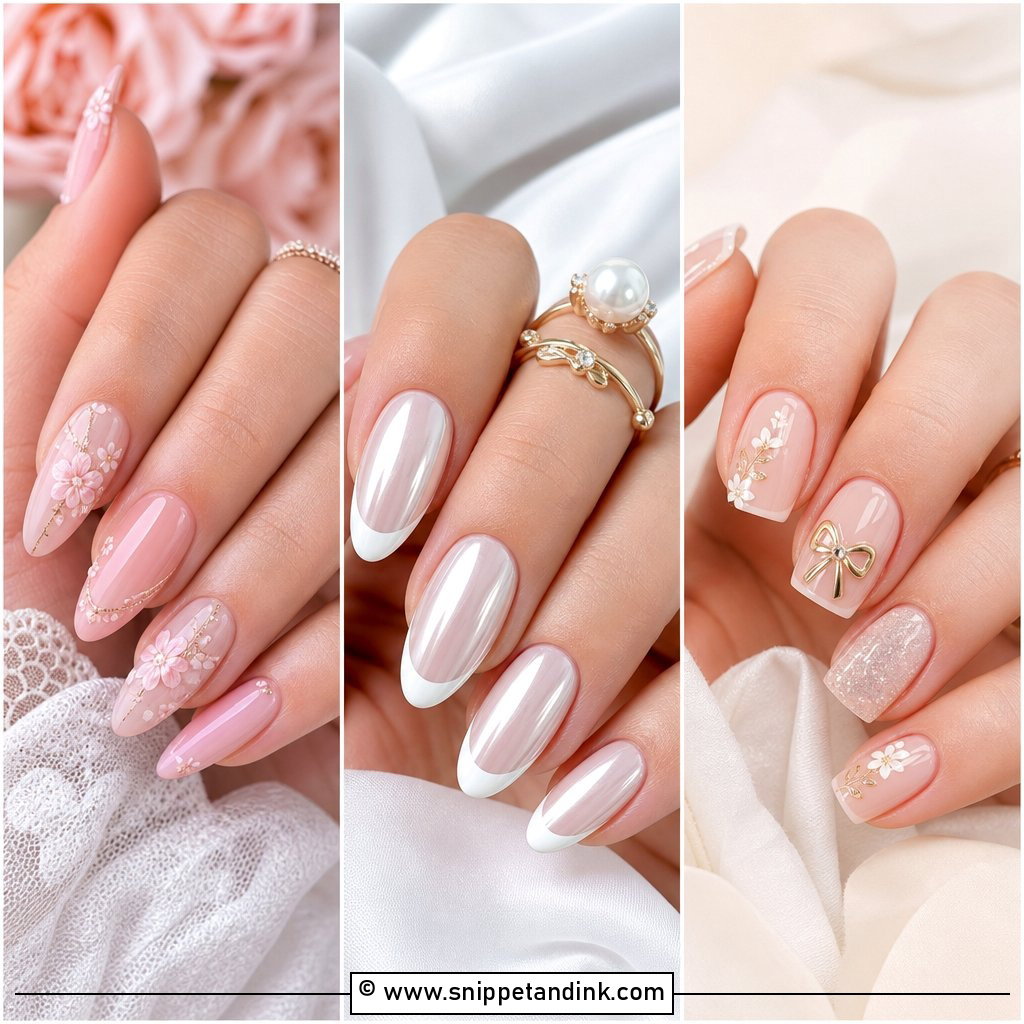
20. Gold 3D Bridal Nails
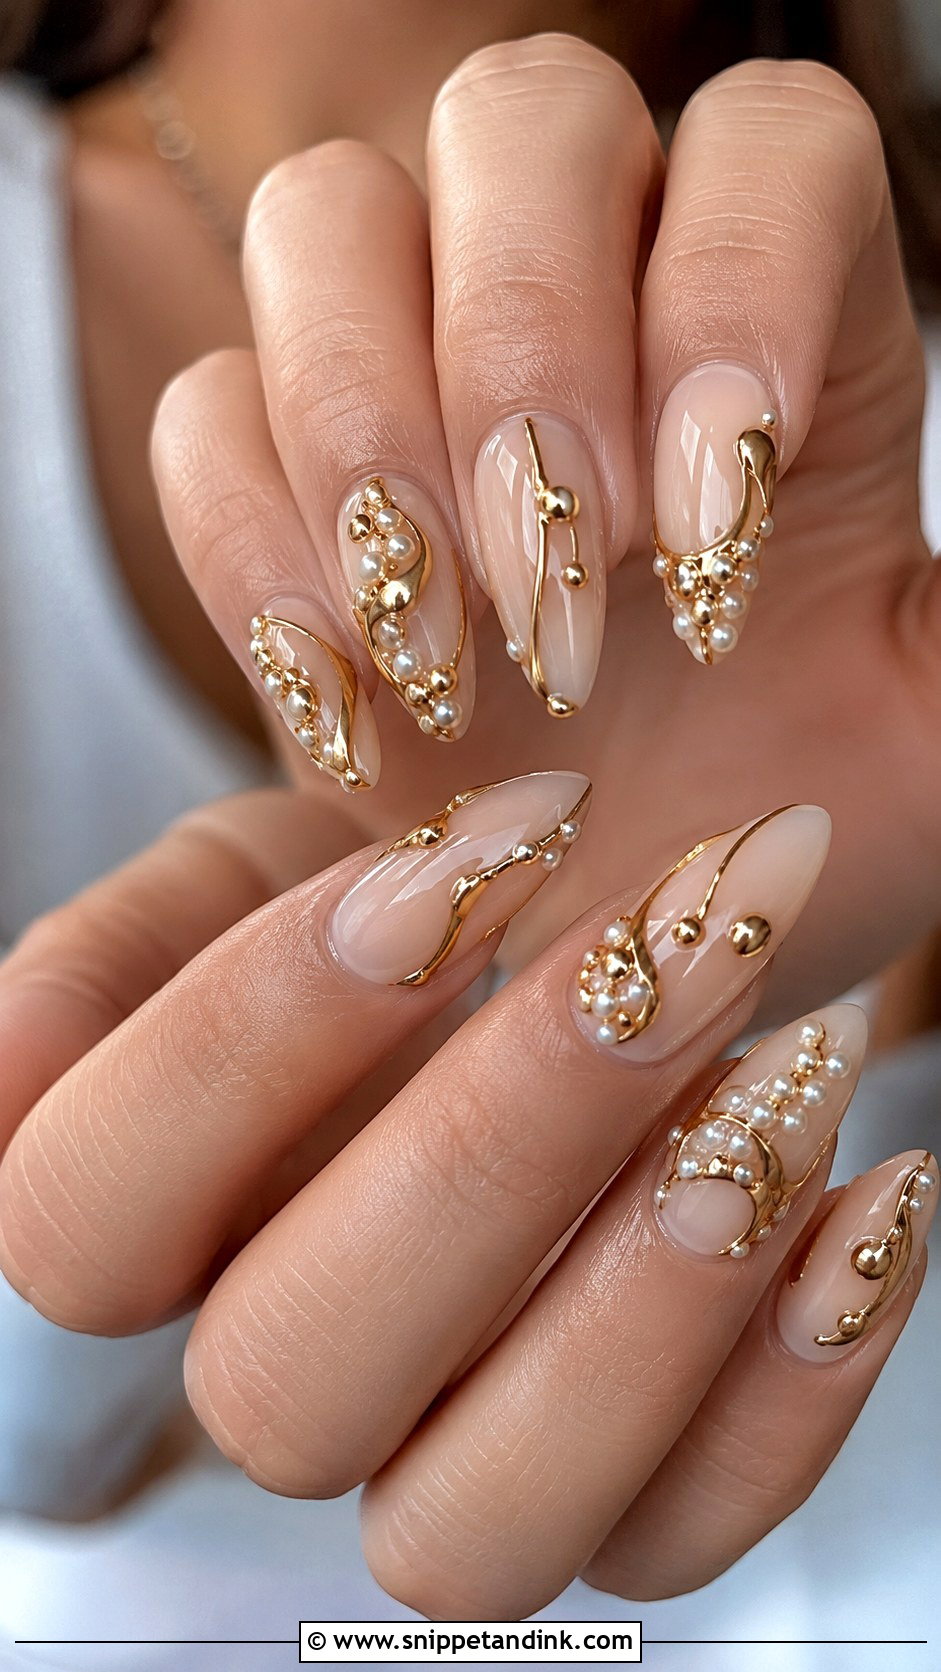
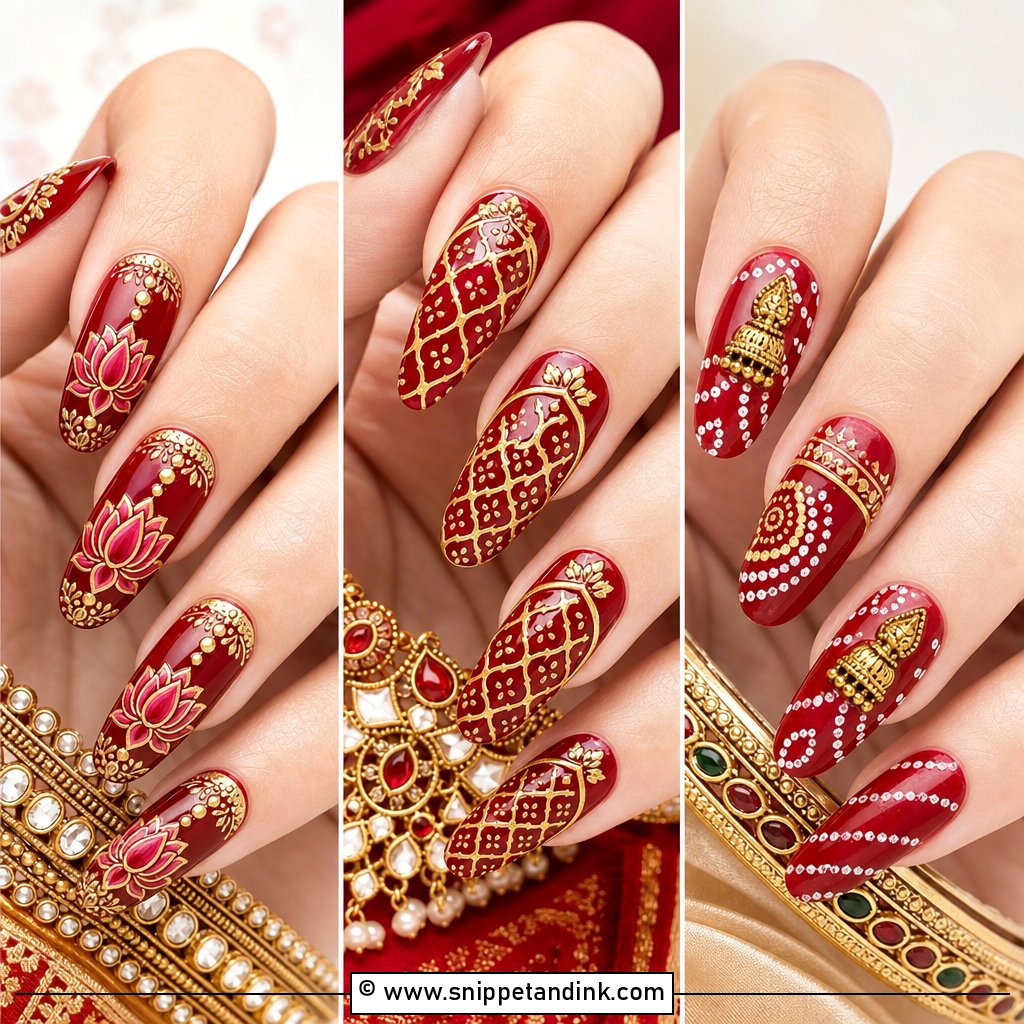
Raised gold droplets, small charms, sculpted lines, pearl clusters and faux gems turn the nail into something closer to jewelry. I build these in hard gel or 3D gel and check every edge with my fingertip, because anything sharp will catch on a veil or a lace sleeve. One or two statement nails per hand is plenty; on all ten it’s hard to do up buttons. This is the set I’d suggest for a fashion-led bride, or as a reception change if you want a quieter manicure for the ceremony.
How Metallic Gel Wears Between the Rehearsal and the Honeymoon
Gold finishes behave differently from plain gel, and it helps to know what to expect so nothing catches you off guard the morning of the wedding.
When to book
I like a trial three to six weeks out and the real set one to two days before. That gives the gel time to settle without visible regrowth in the ring photos. Cuticle designs and chrome show wear soonest, so they want the latest appointment you can get.
What tends to go wrong
- Chrome rubs off the very tips first, especially if you type a lot. A sealed free edge slows this down.
- Some craft foils are brass rather than real gold and can darken if any edge is left exposed. Fully encapsulated foil stays bright.
- Raised pearls and charms are the first things to pop off. Ask your nail tech to tuck a spare or two in a small bag for your emergency kit.
- Self-tan and spray tan stain the skin around gold work. Book your tan before the nails, not after, or ask for a cuticle clean afterward.
If one breaks on the day
A broken metallic nail is far more visible than a broken nude one, because the shine stops at the crack. Pack a nail glue, a small file and a matching press-on in the right size. A press-on in a close gold shade will hold through the ceremony and photos, and I can repair it properly afterward. Soak-off removal also matters more than people think: peeling gold gel off your own nails on honeymoon will thin the nail plate, so leave it for a proper soak when you’re home.
Matching the Gold on Your Nails to the Ring You’ll Wear Forever
The range here runs from a thin gold French tip to full 3D charms, and the right one depends on balance more than trend. Let the gold tone follow your ring and jewelry, keep bold designs on a nude or milky base, and pick a length you can actually live with for a full day of hugging, signing and holding flowers. A detailed gown usually wants a quieter set; a plain one can take more. Bring a photo of your ring and dress to the appointment and we can sort the rest out at the chair.
You'll Like These Ideas:


Leave a Reply