
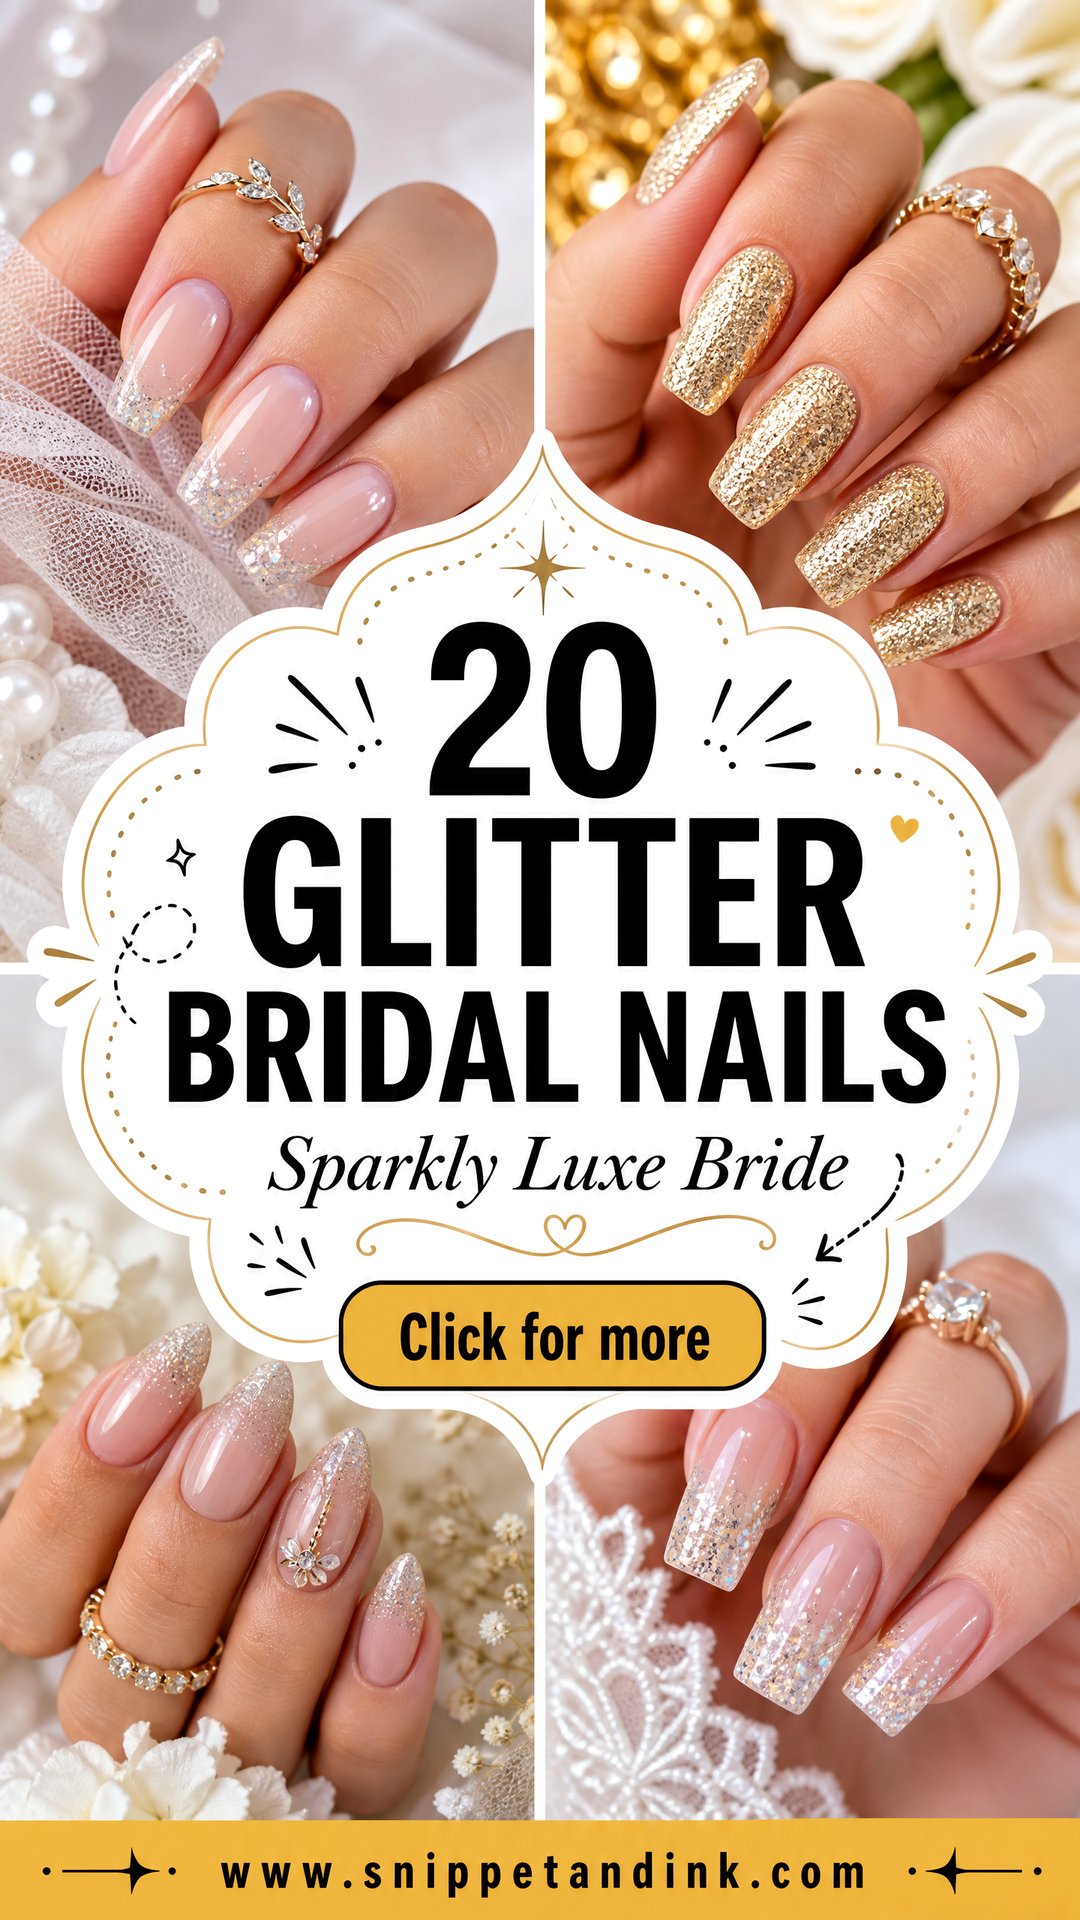
A glittery wedding manicure has one job that most nail sets don’t: it has to sit next to an engagement ring in a close-up photo without fighting it. That’s why the sets I do for brides have moved away from chunky sparkle toward micro-glitter, milky bases and fades. Fine particles catch light in tiny points; large flakes look like confetti at ring-shot distance. Below are twenty designs I’d actually paint for a bride, with notes on the shapes they suit, how they wear over a long day, and what to ask for when you sit down at the desk.
Gel, Regular Polish or Press-Ons Under Glitter
Glitter behaves differently depending on what’s holding it. Gel is what I recommend for most brides: it cures hard, the glitter stays sealed, and it lasts through two weeks of handwashing and a honeymoon. Regular polish with glitter looks the same on the first day but chips at the tips within a few days, and it’s the hardest polish there is to remove at home.
Press-ons are a good option for brides who can’t get a salon slot or want long length for one day only. Wear a set around the house for an evening before the wedding to make sure they fit at the sides; a press-on that’s too narrow lifts at the corners and pops off by the reception.
Why the top coat matters on a bride
Glitter is rough, and any rough edge on a nail will snag a tulle veil or lace sleeve. I always seal glitter sets with two layers of top coat and run the brush along the free edge so nothing sticks out. Run your nails across a pair of tights after the appointment. If anything catches, ask for another top coat before you leave.
1. Champagne Glitter Bridal Nails
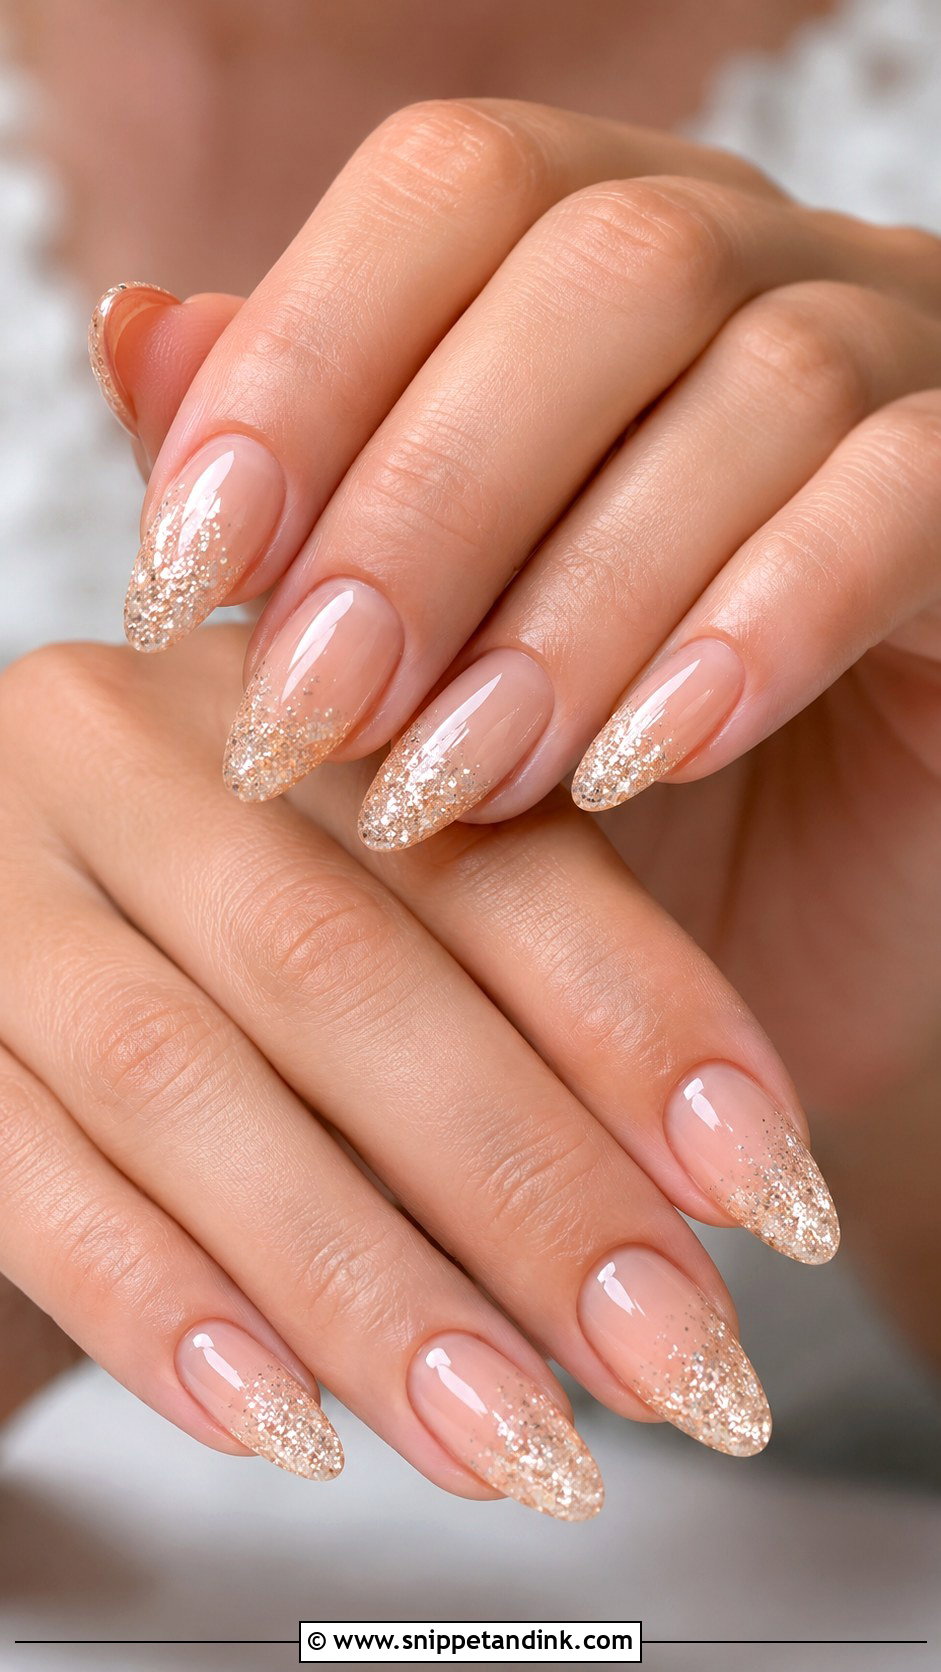
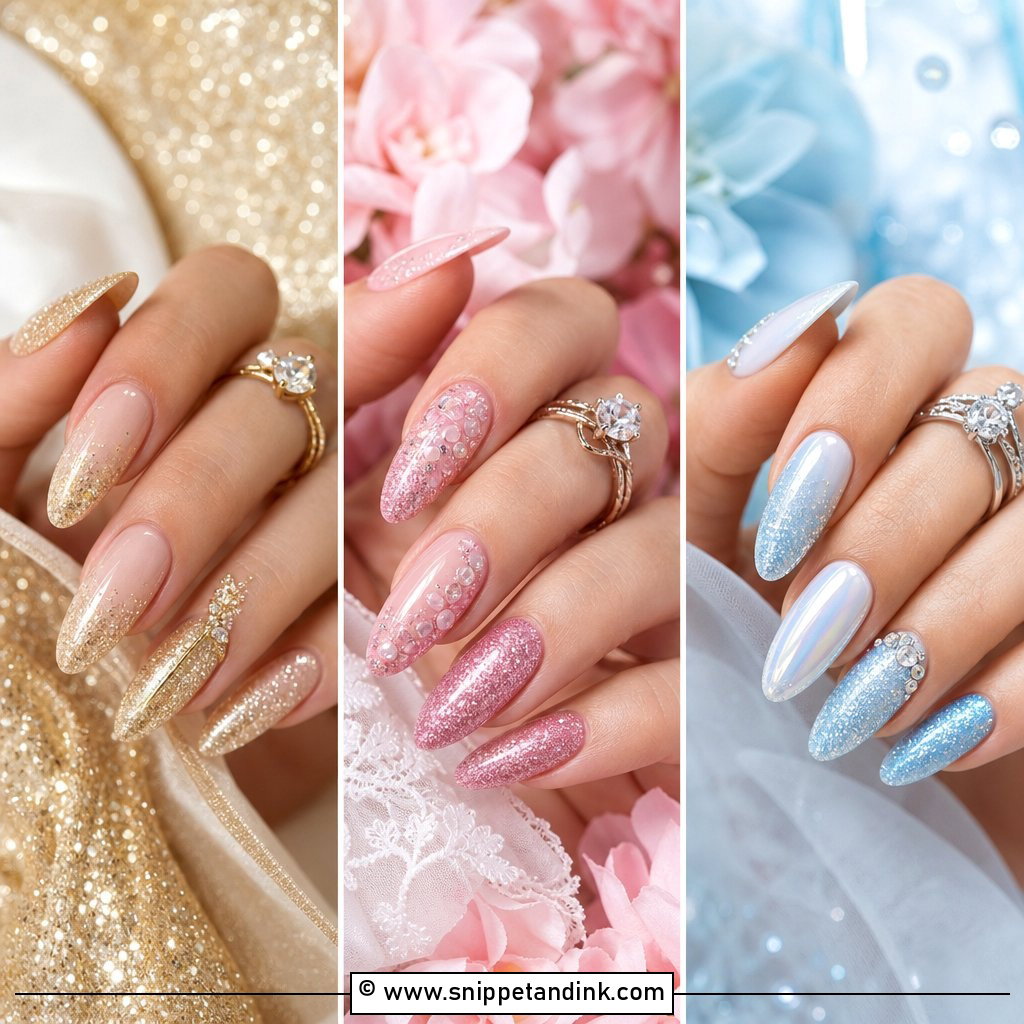
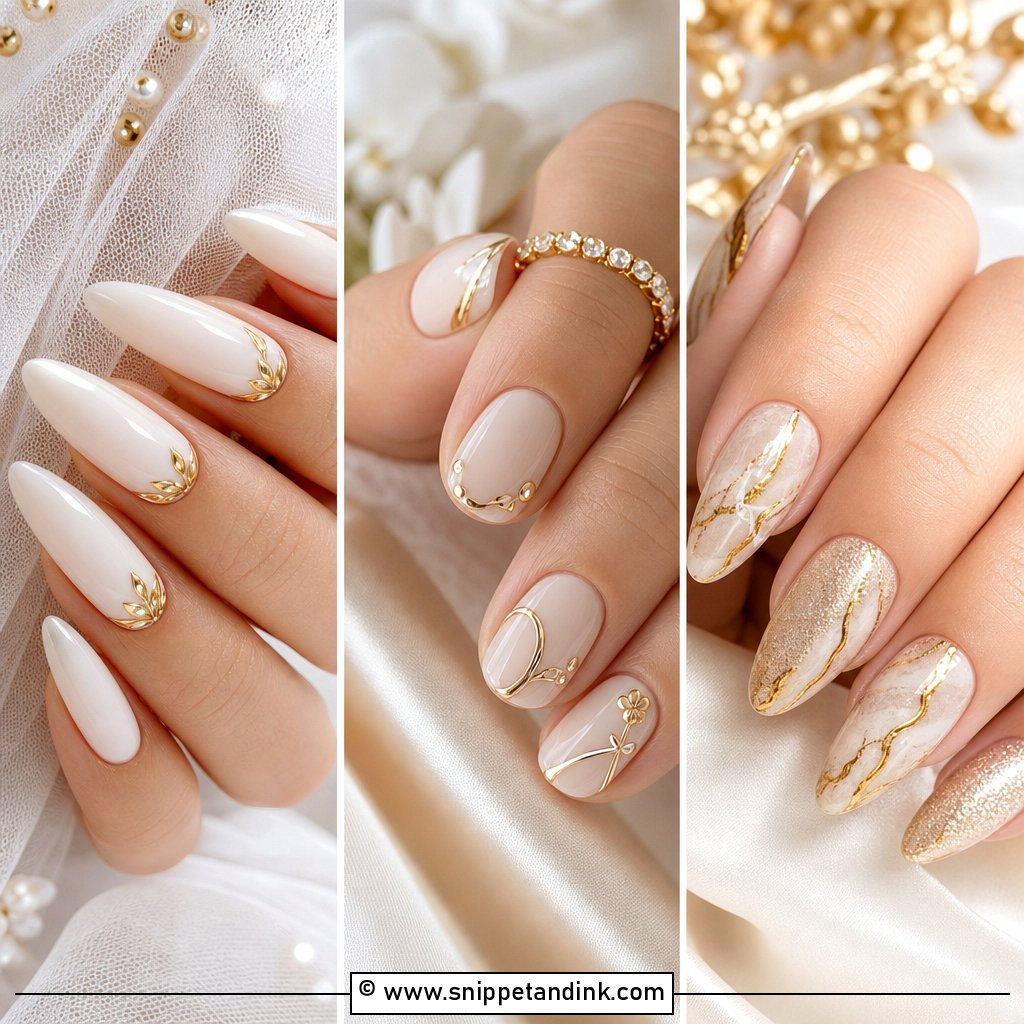
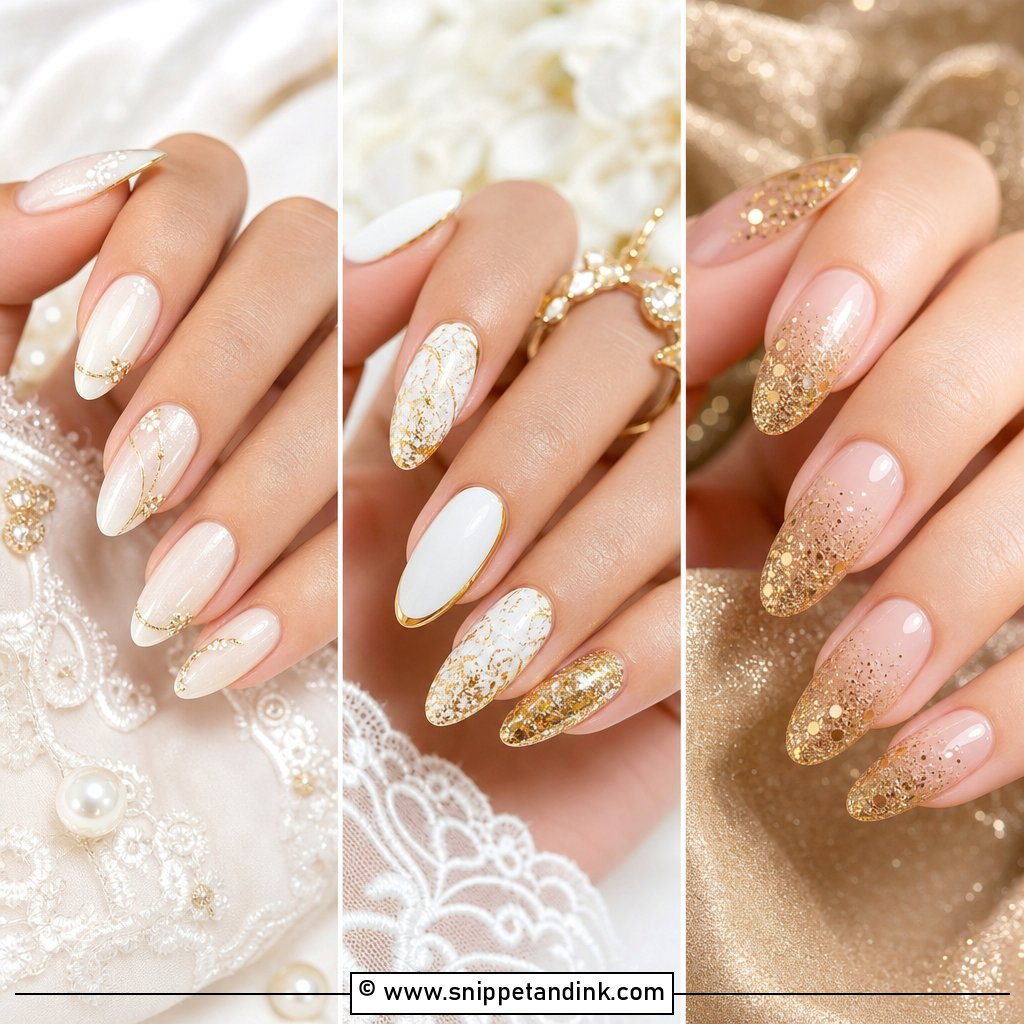
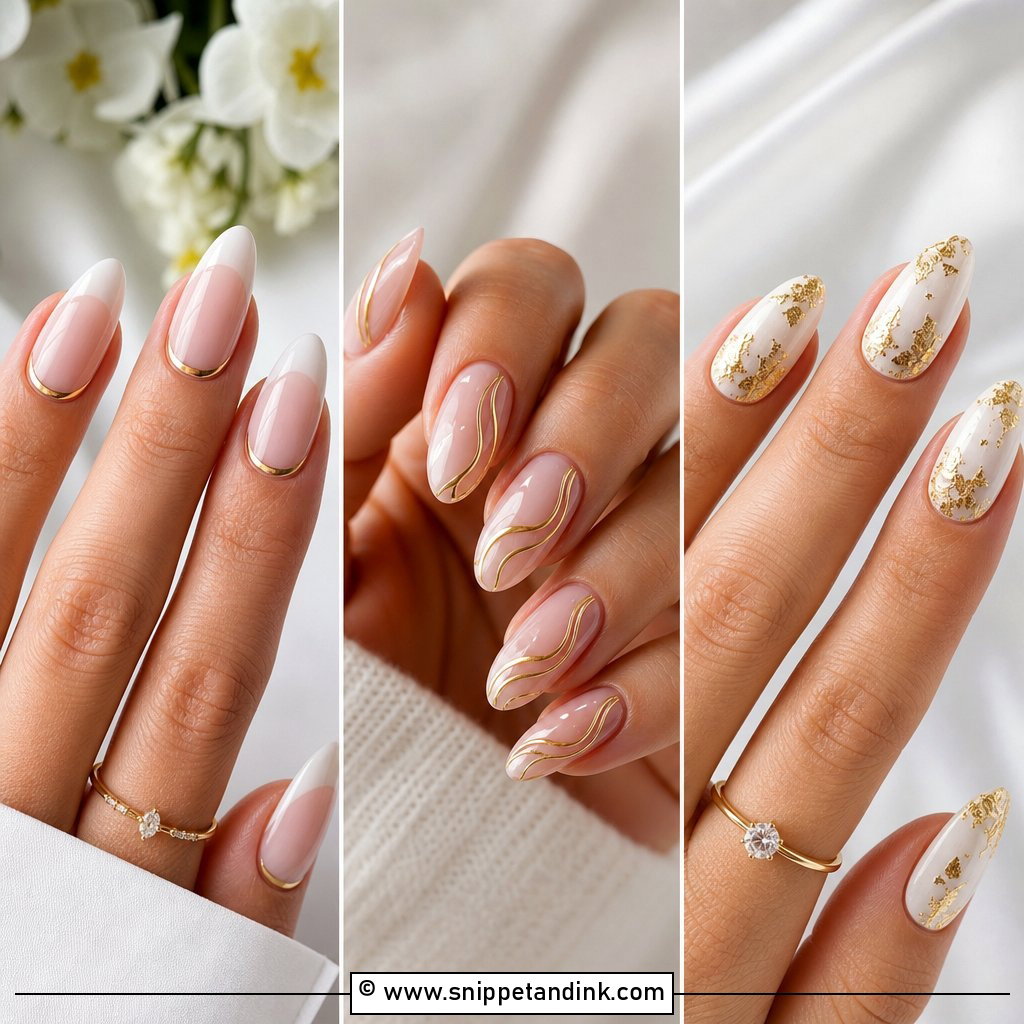
Champagne is the glitter I suggest most when a bride is unsure. Over a sheer nude or blush base it reads as warmth rather than sparkle, so it sits well with gold bands, ivory gowns and almost any skin tone. I either cover the whole nail with a thin layer or pack it toward the free edge. Ask specifically for micro or ultra-fine glitter. Hex-cut flakes lie at angles and stick up through the top coat, which looks lumpy in a ring close-up.
2. White Glitter Bridal Nails
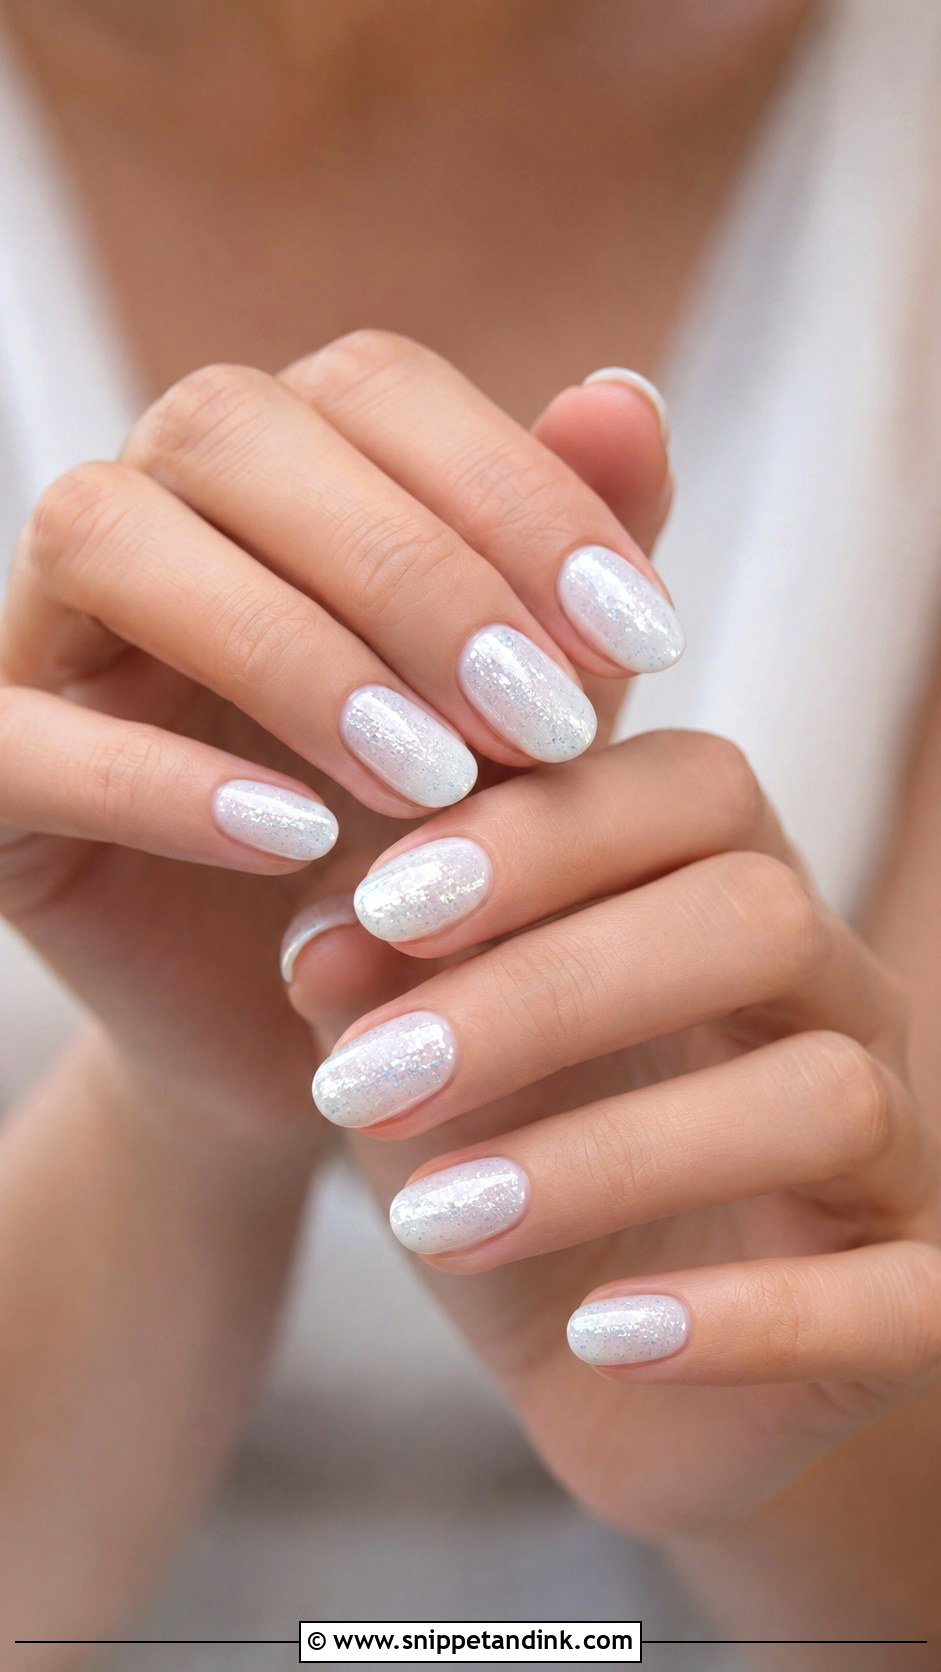
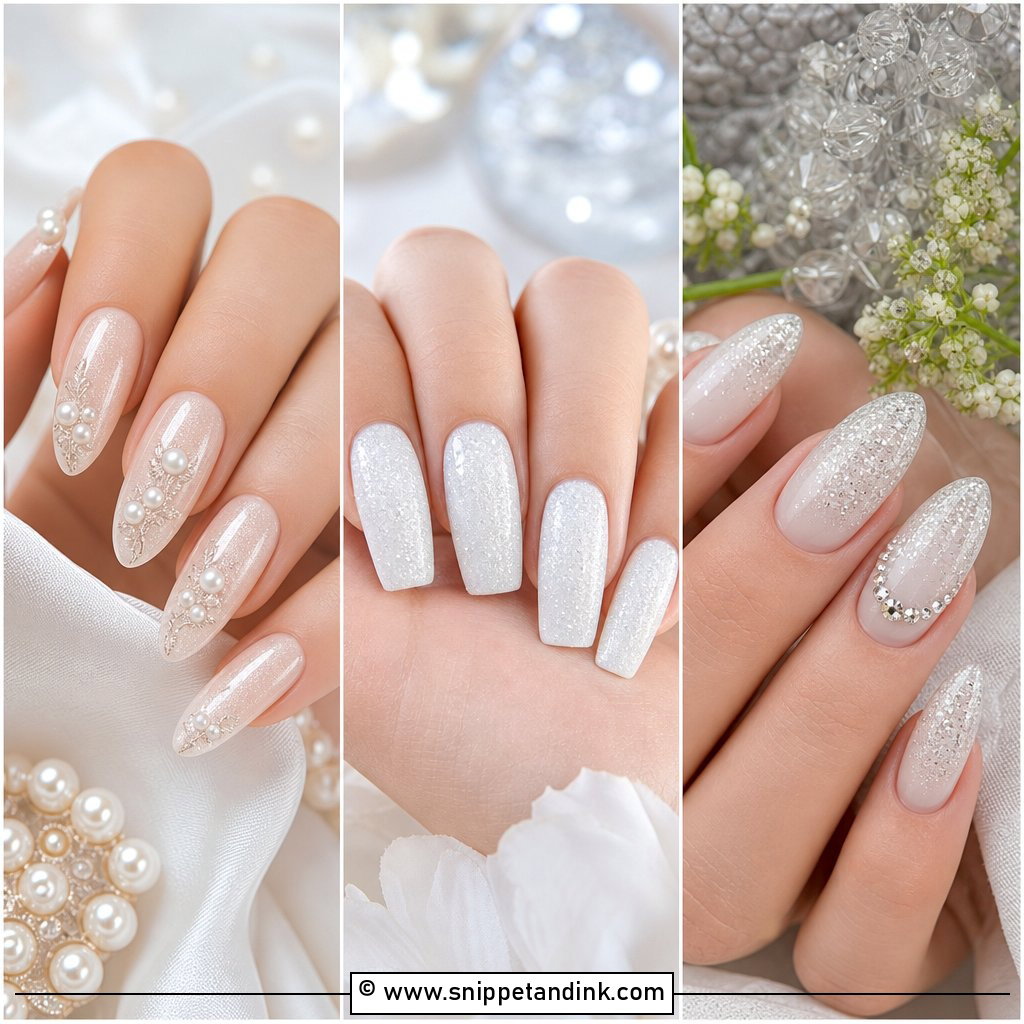
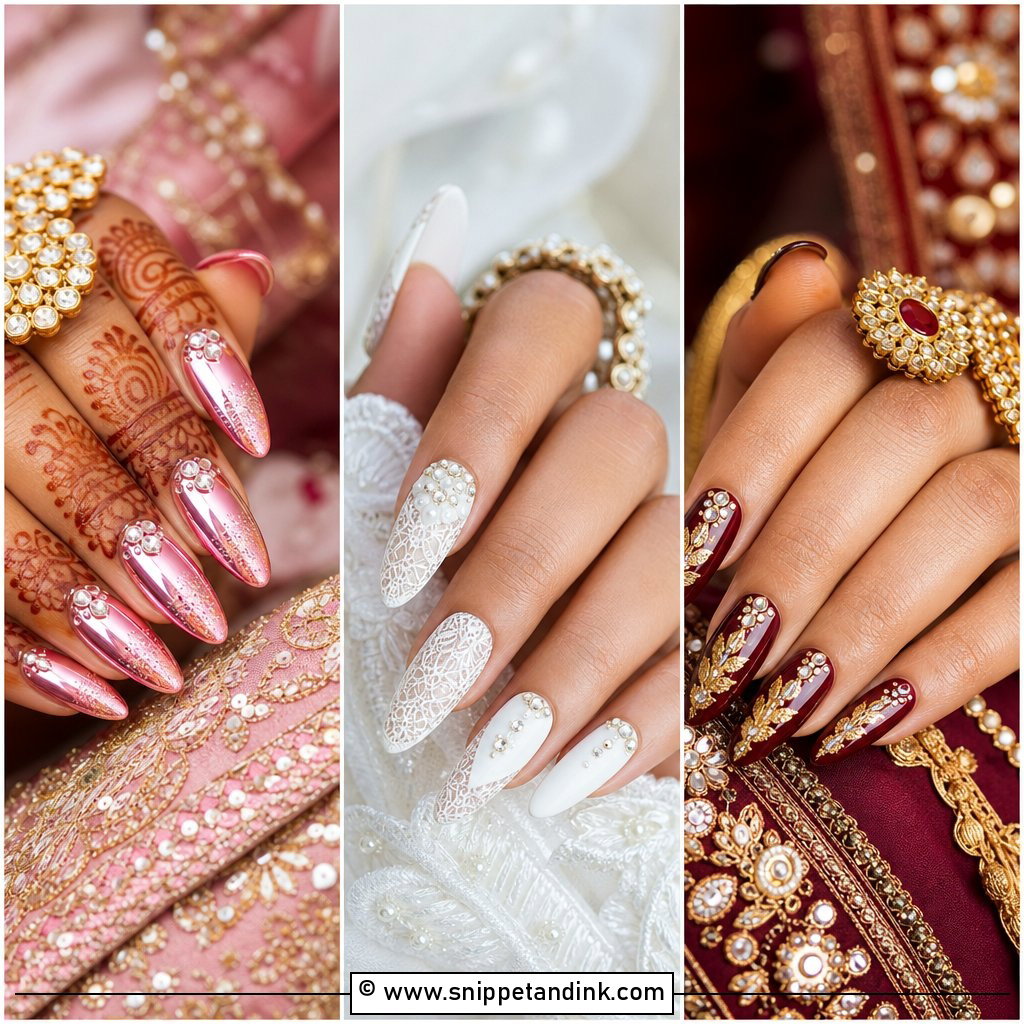
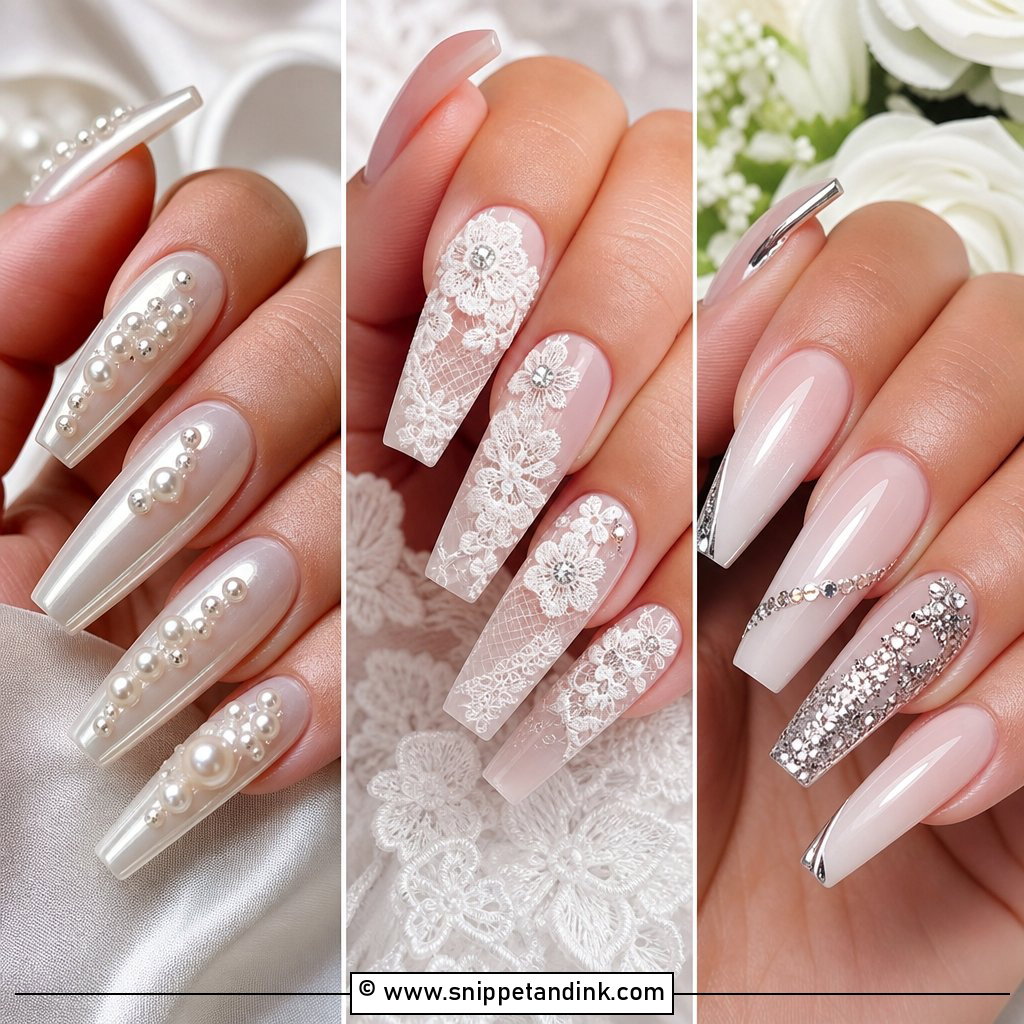
Opaque white over the whole nail can look like correction fluid in photos. A milky white base with fine silver, pearl or iridescent glitter on top glows instead. Milky gels are semi-sheer, so I build two or three thin coats rather than one thick one, which avoids streaks and keeps the nail from looking bulky. Short ovals look crisp in it; longer almond shapes look softer. Lace and pearl details on the dress pick up the same shimmer.
3. Nude Glitter Bridal Nails
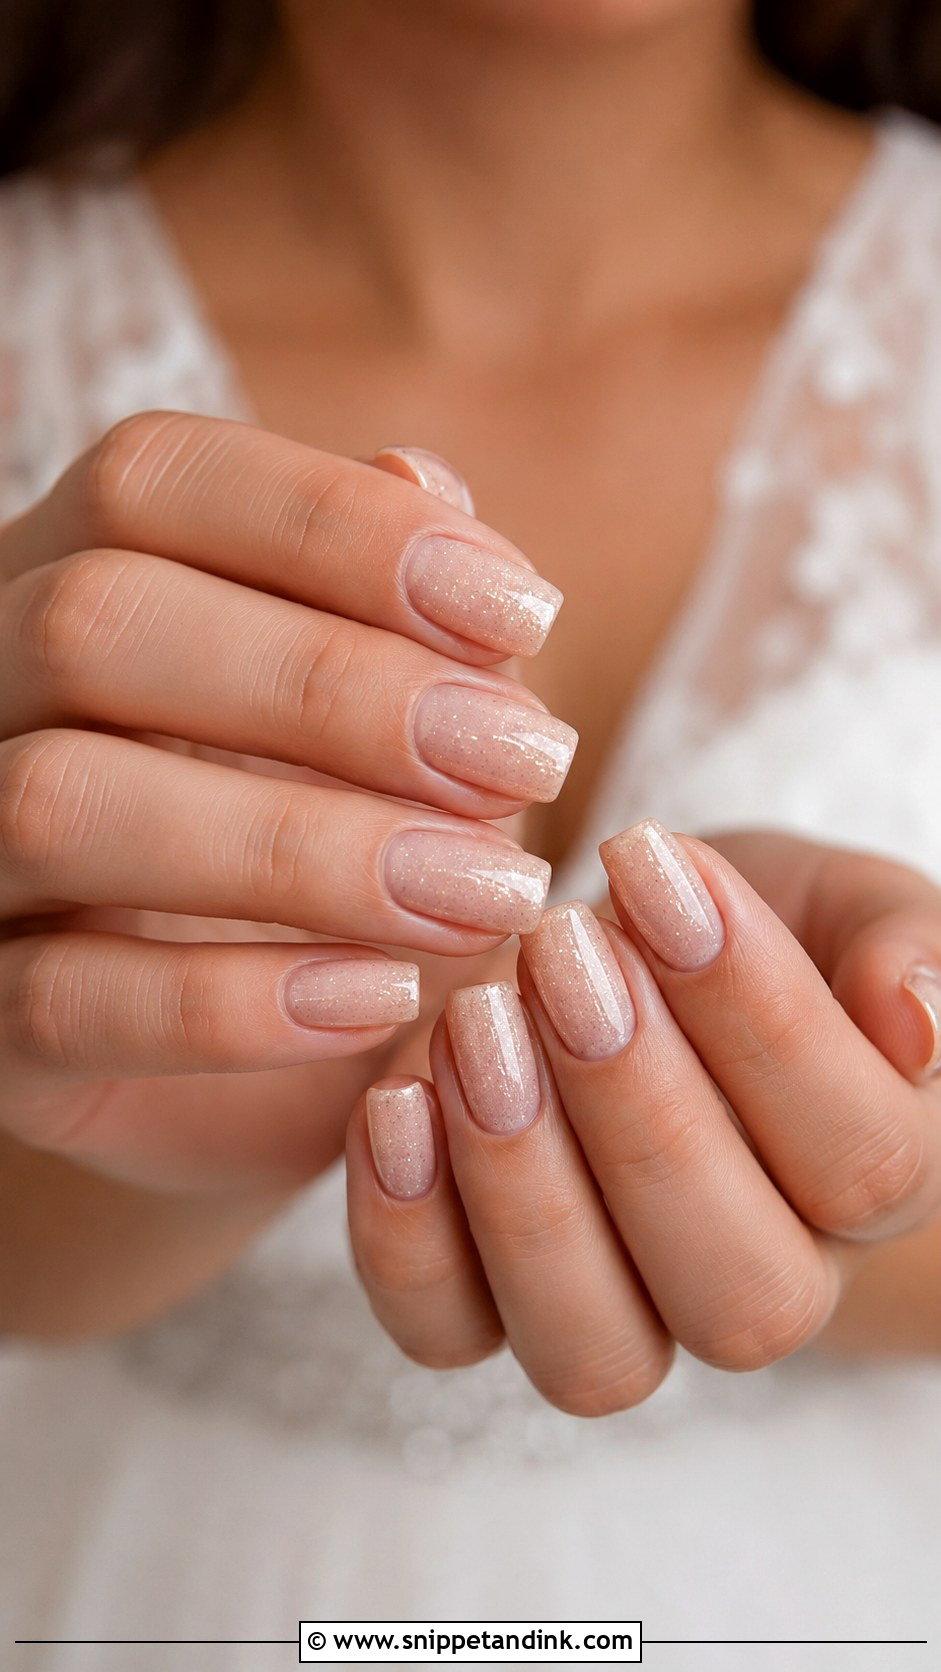
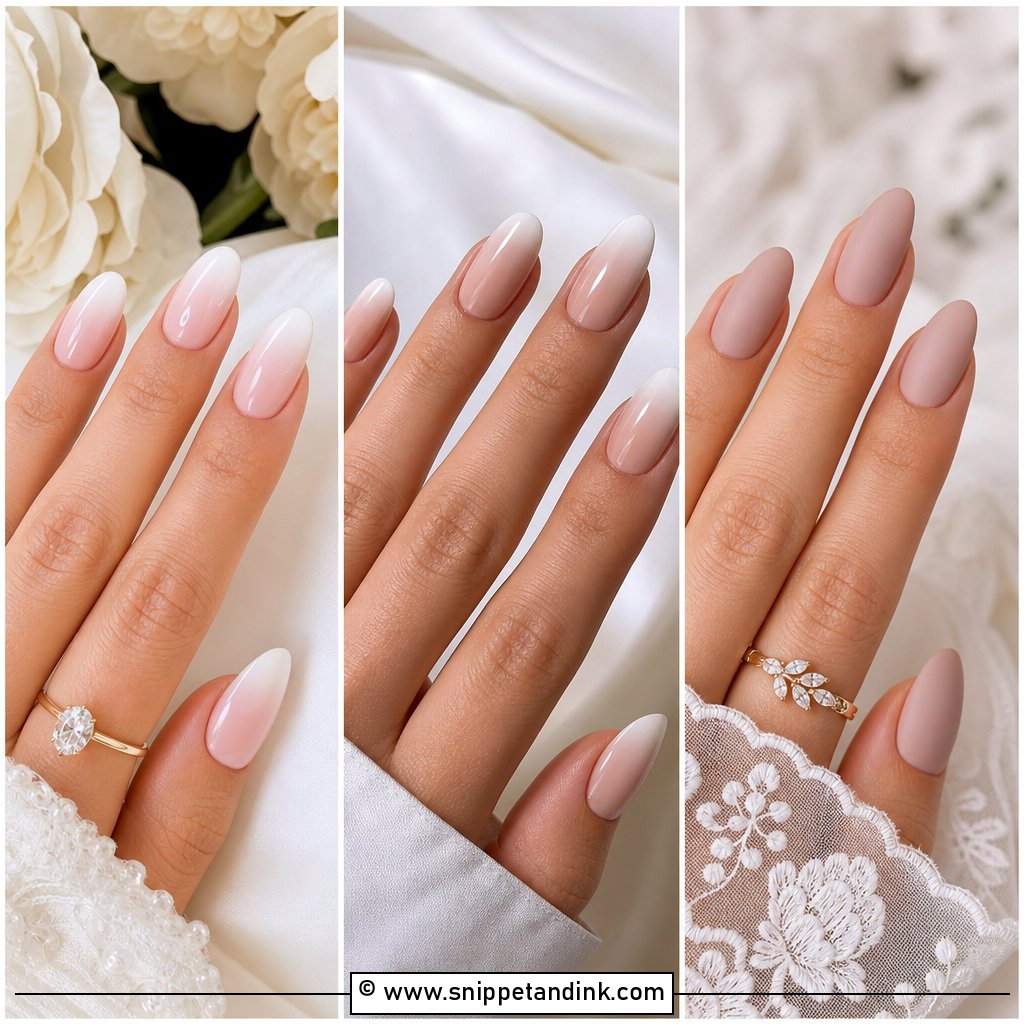
The nude has to match your hands, not the bottle. I swatch two or three shades on the nail and check them by a window, because salon lighting makes most nudes look pinker. Pale pink, beige, caramel and deep mocha bases all exist for that reason. Fine glitter then goes on as a sheer veil, a fade, or a few specks near the cuticle. Done well, it lengthens the fingers and lets the ring take the attention.
4. Rose Gold Glitter Bridal Nails
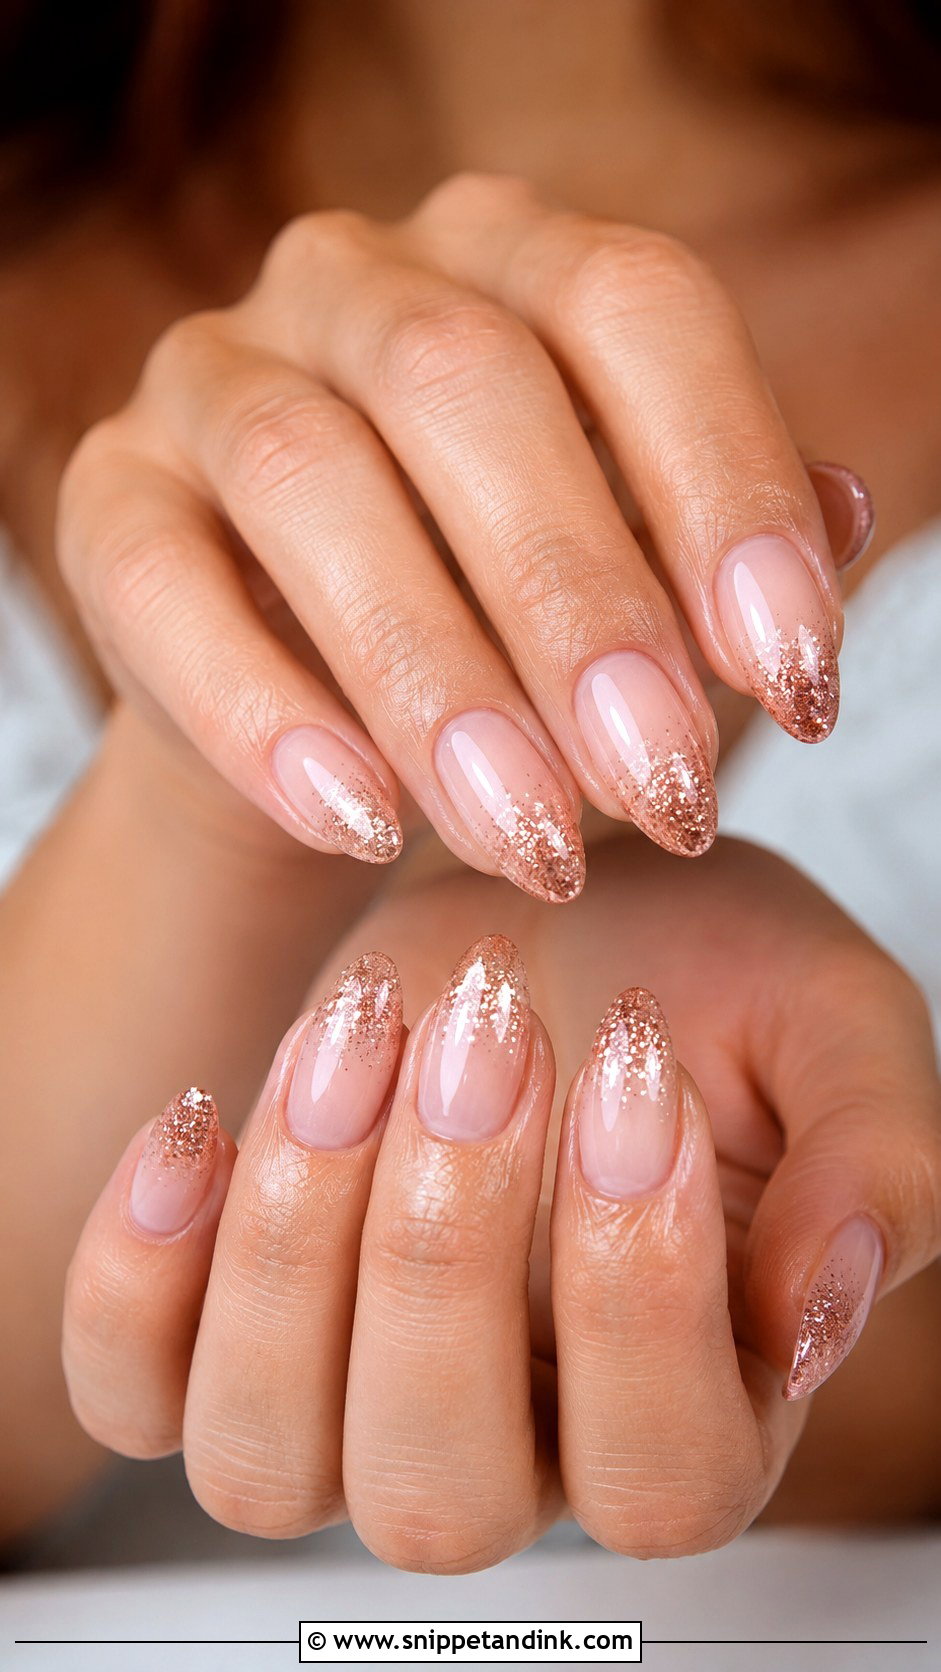
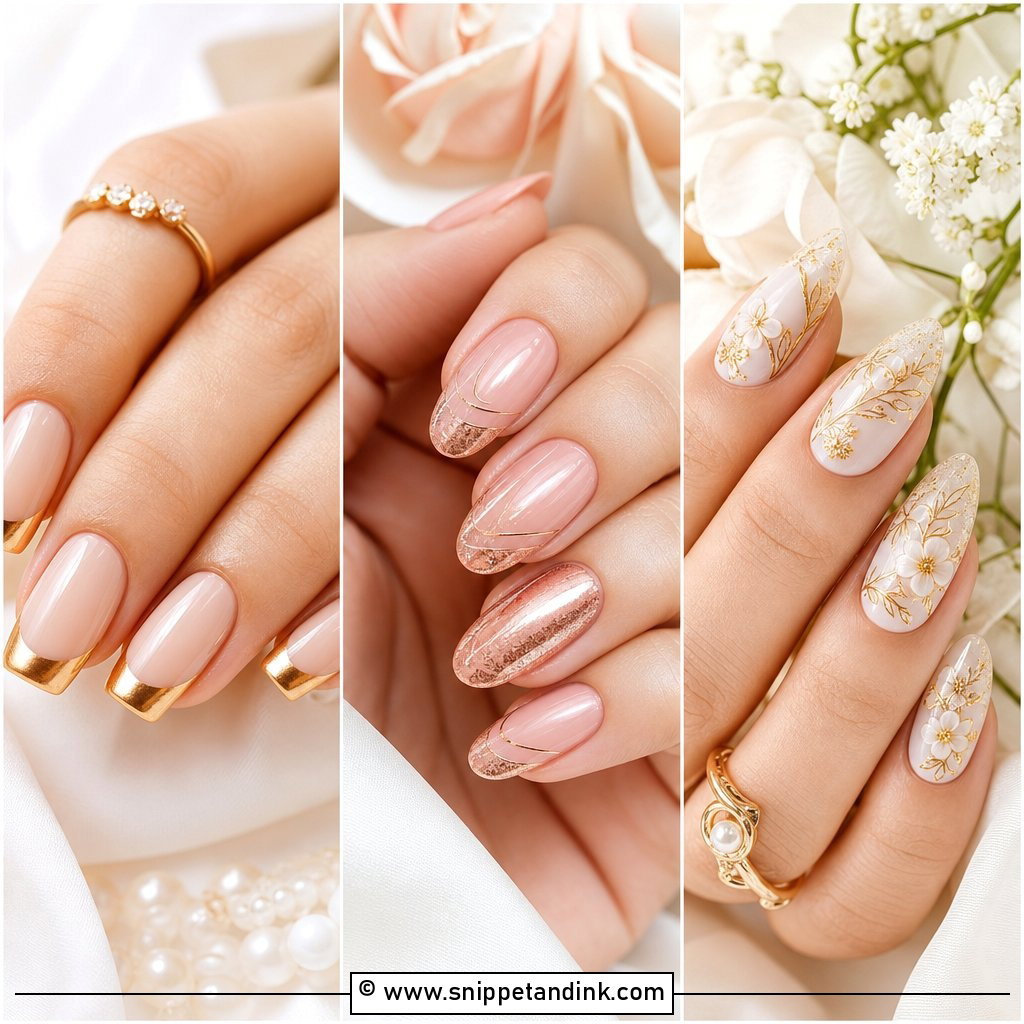
Rose gold glitter bridal nails suit brides wearing rose gold jewelry or warm-toned makeup. The base stays sheer pink or nude and the rose gold goes on as an ombré, a thin French line or on two accent nails. I’d keep the glitter fine. Rose gold particles that are too big lean coppery and orange under warm indoor lighting. Almond and coffin shapes carry it, and short rounded nails do too.
5. Silver Glitter Bridal Nails
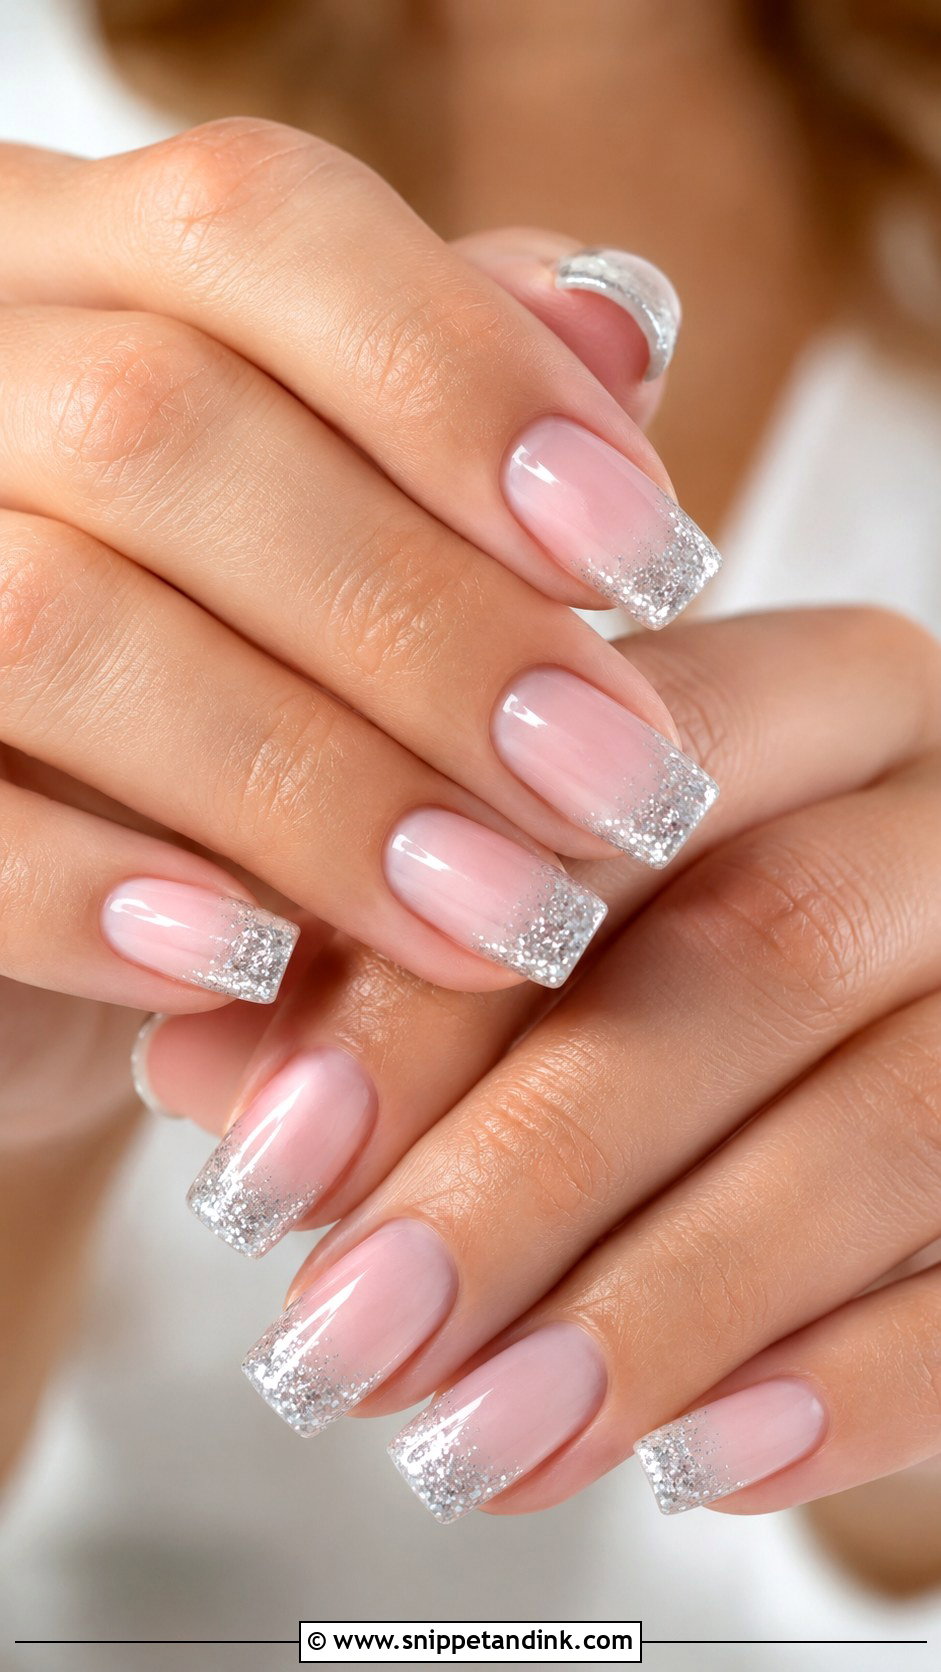
Silver glitter belongs with platinum and white gold. I place it over a sheer pink or milky base and usually as a French tip or a fade that melts from the free edge into the middle of the nail. Full-coverage silver is very reflective and can glare in flash photos, so I rarely put it over the whole nail on brides. It suits sleek hair and clean-lined gowns, and the cool shine looks crisp next to a diamond.
6. Milky Glitter Bridal Nails
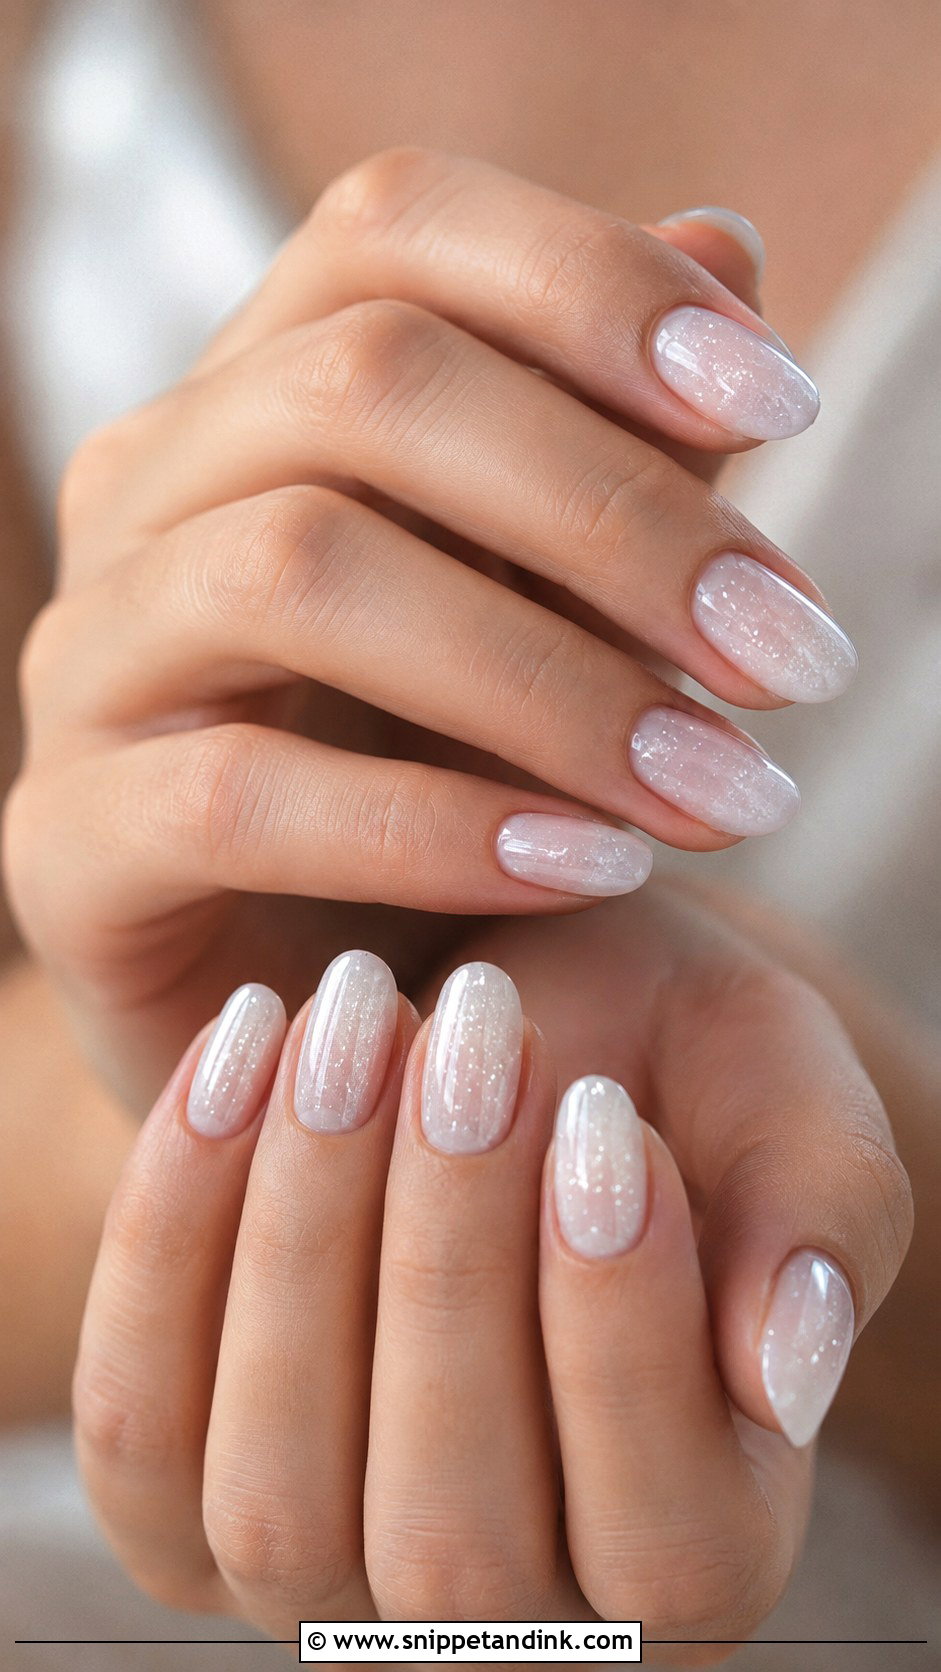
Milky glitter bridal nails are built in layers: a translucent white or milky pink base, then micro-glitter or pearl shimmer, then another thin milky coat over it so the glitter seems to float inside the nail. That last layer is what gives the cloudy, glassy look. It has more depth than a plain milky set and much less drama than full glitter. Every length works, though ovals and almonds show the glassy effect best.
7. Glitter French Tip Bridal Nails
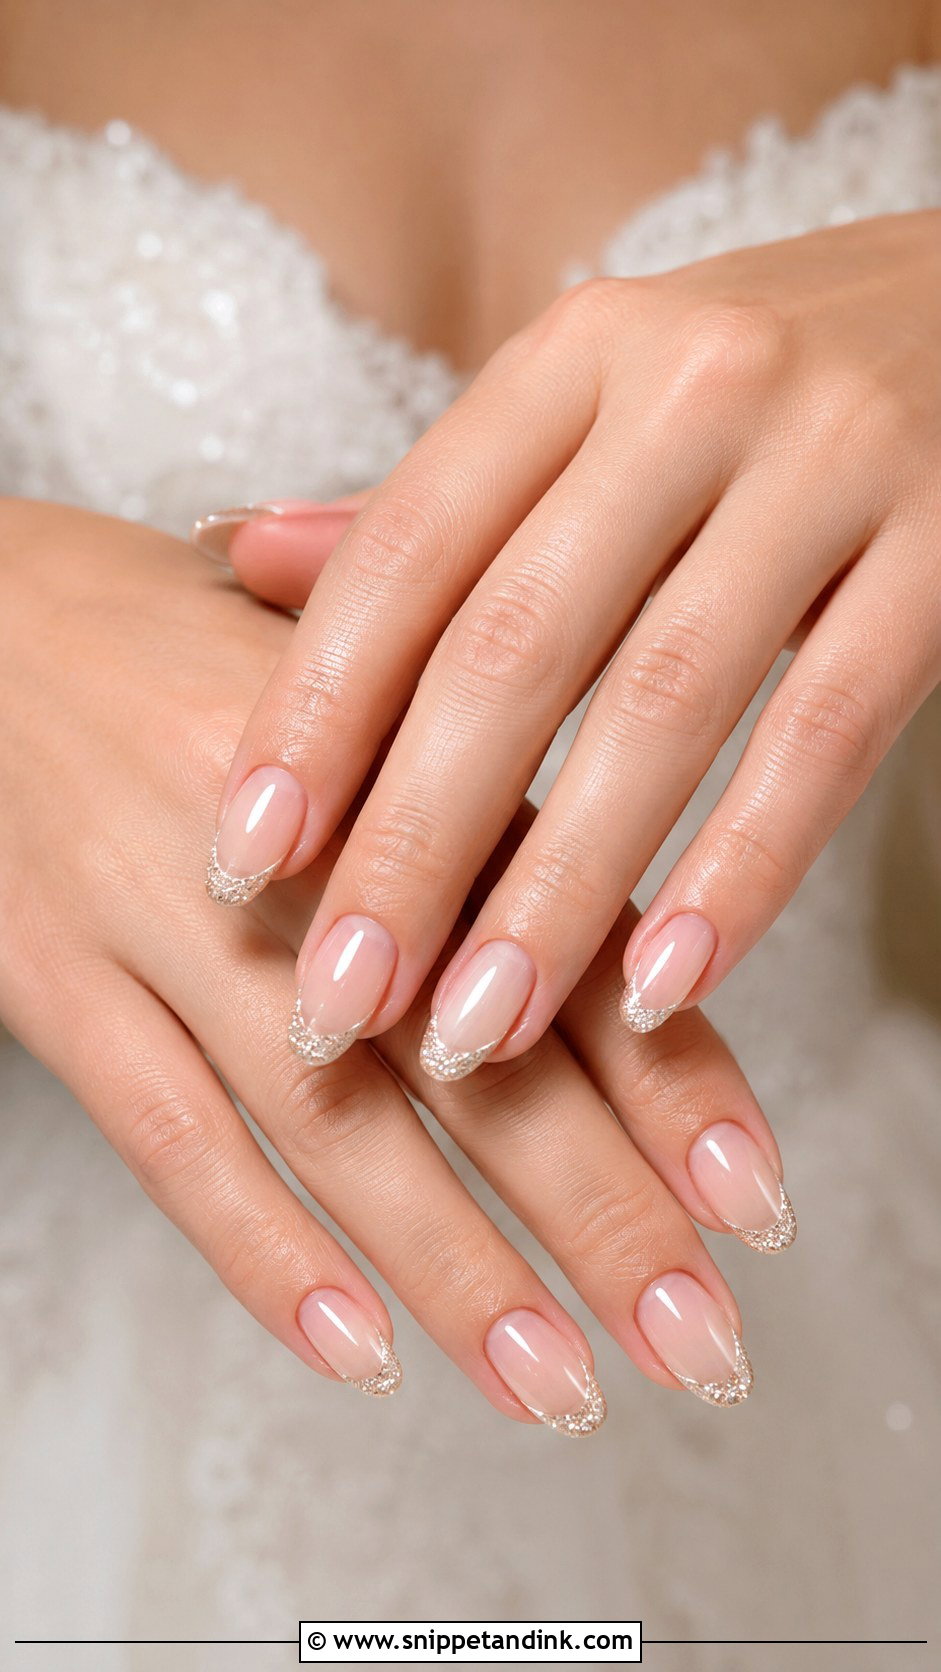
A glitter French swaps the white tip for a line of fine champagne, silver, rose gold or pearl glitter along the free edge. The smile line is everything here. I paint it with a thin liner brush rather than freehand with the bottle brush, and I check that both hands mirror each other before curing. Thin tips look minimal; thicker ones feel more glamorous. Glitter at the edge also hides small chips better than a plain white French, which helps on the wedding day.
8. Glitter Ombre Bridal Nails
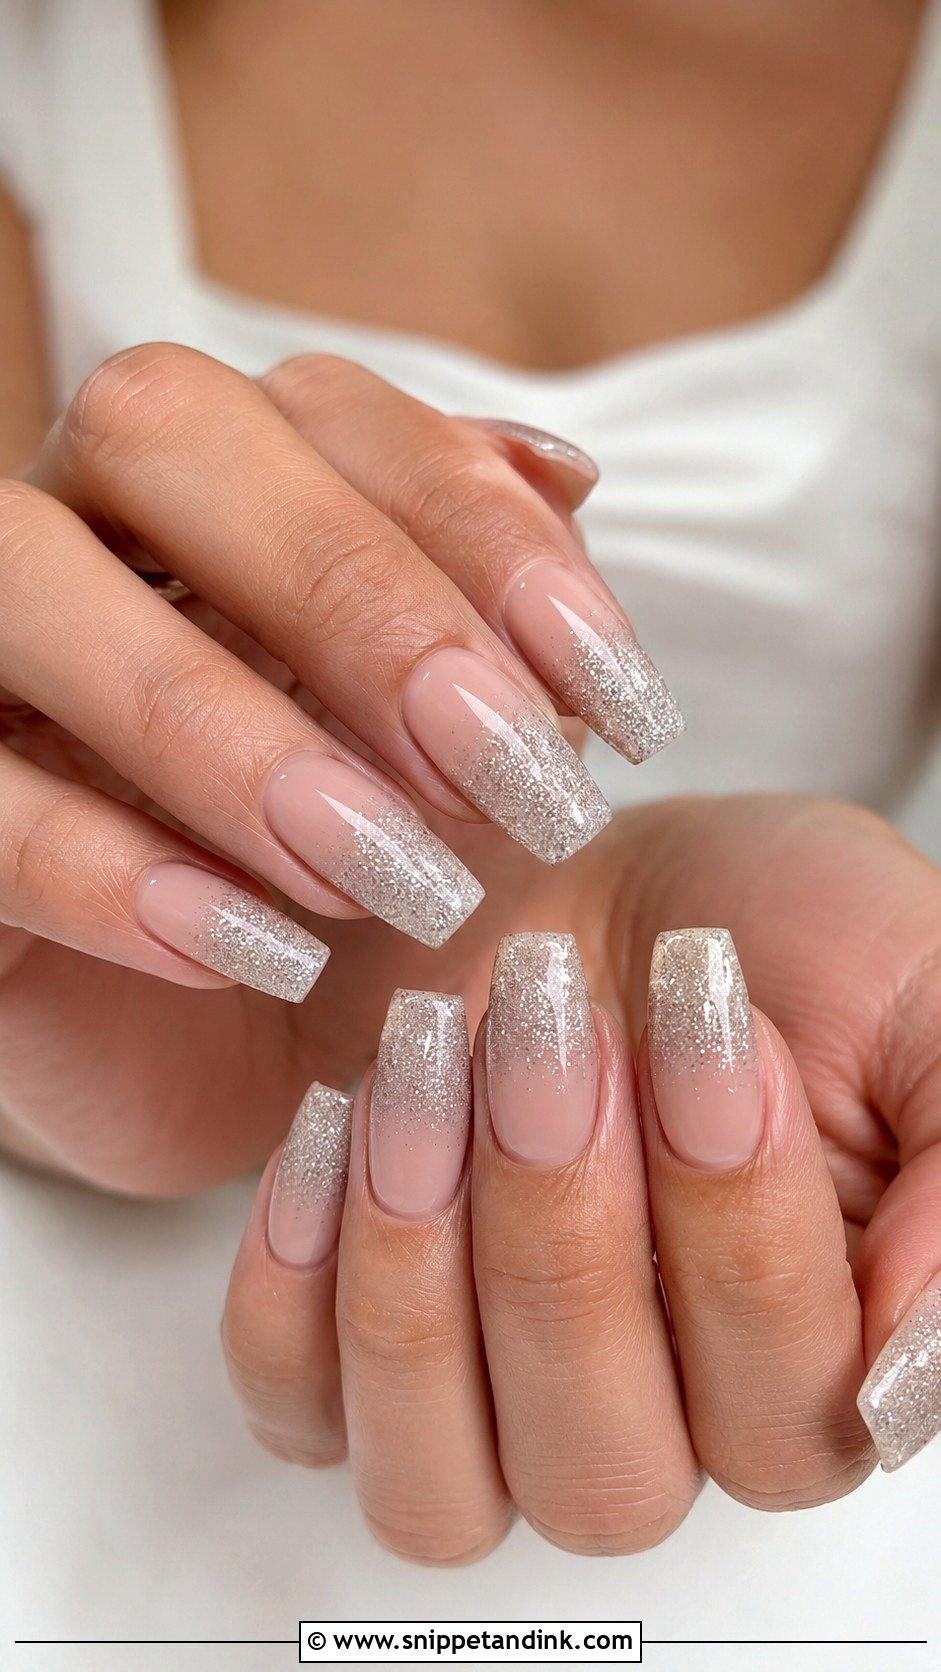
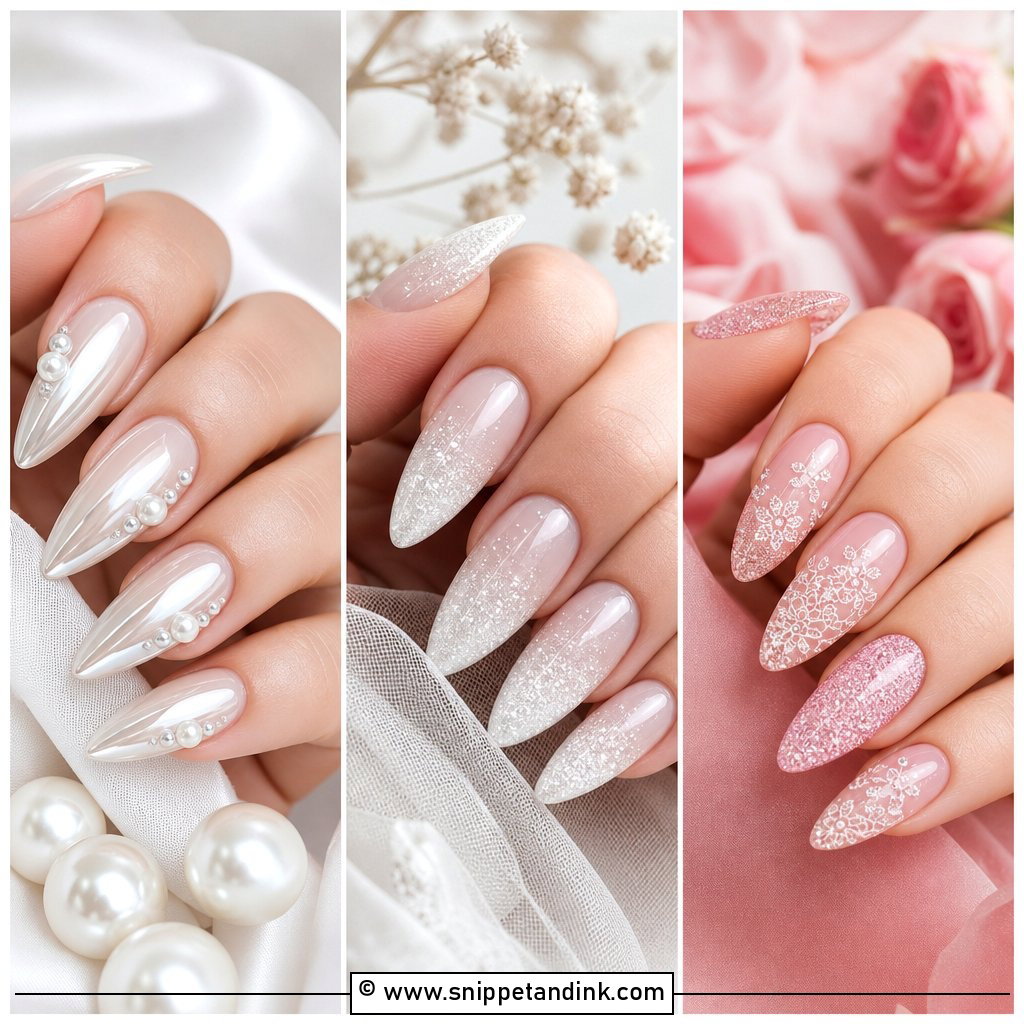
An ombré fade starts dense at the tip and thins out into the base. It lengthens the nail, and when it grows out over the honeymoon, the gap at the cuticle is barely visible because there’s no glitter there anyway. I sponge or brush the glitter in several light passes so the fade has no line. Champagne, pearl and silver are the softest choices. Rose gold looks warmest on golden and olive skin.
9. Pearl Glitter Bridal Nails
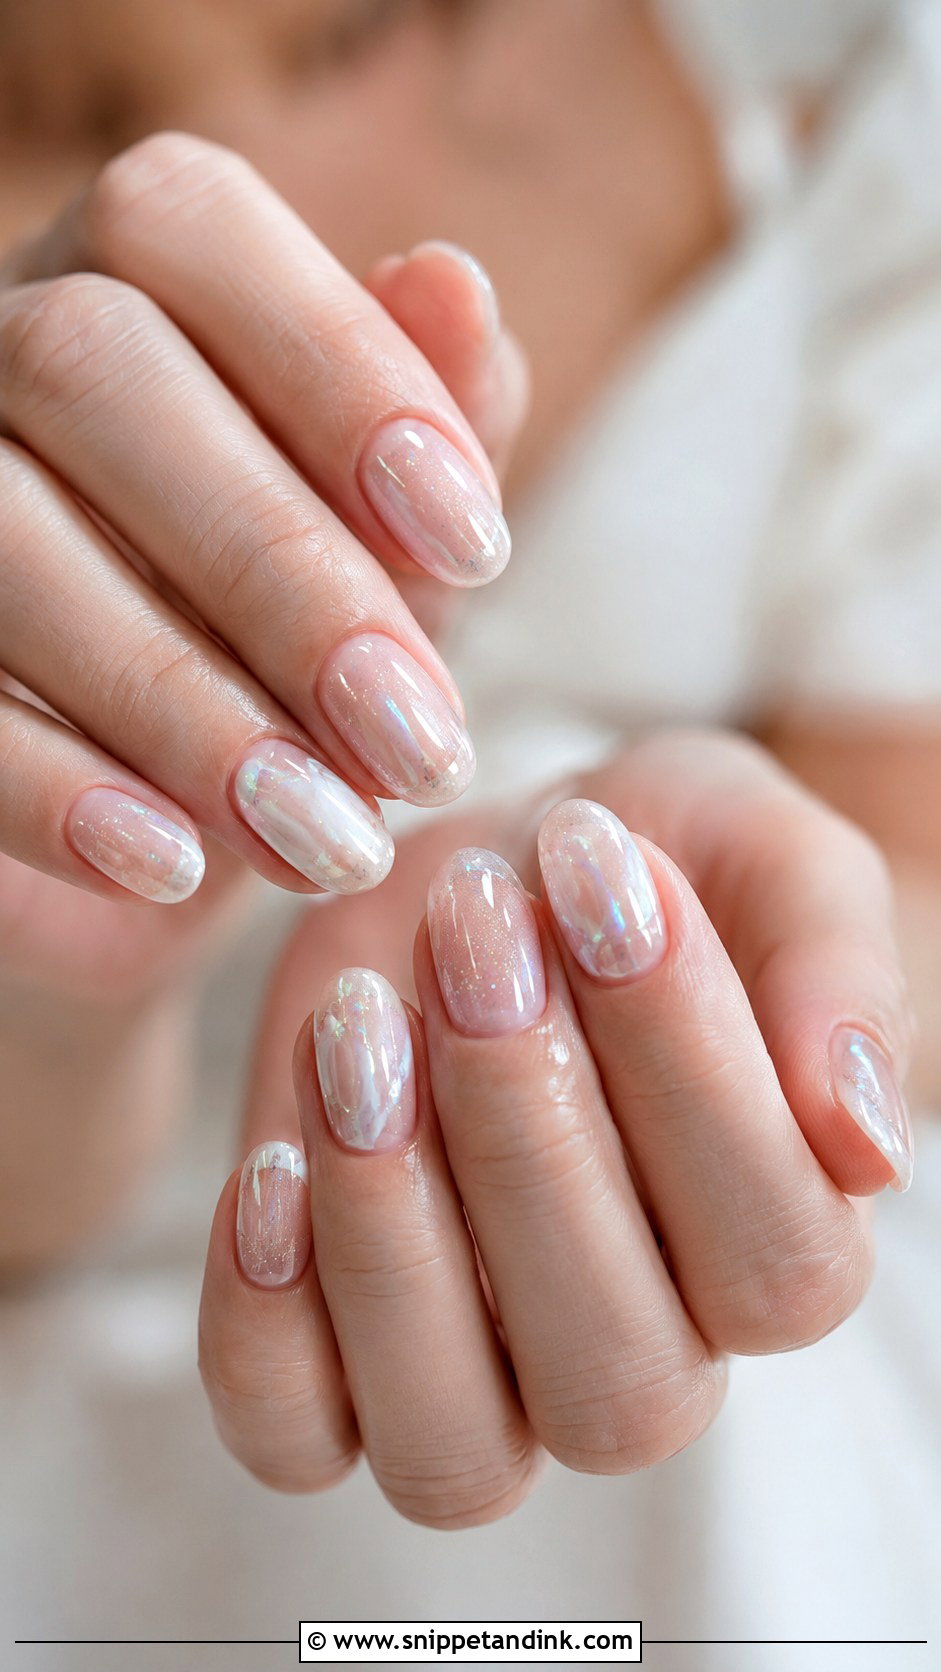
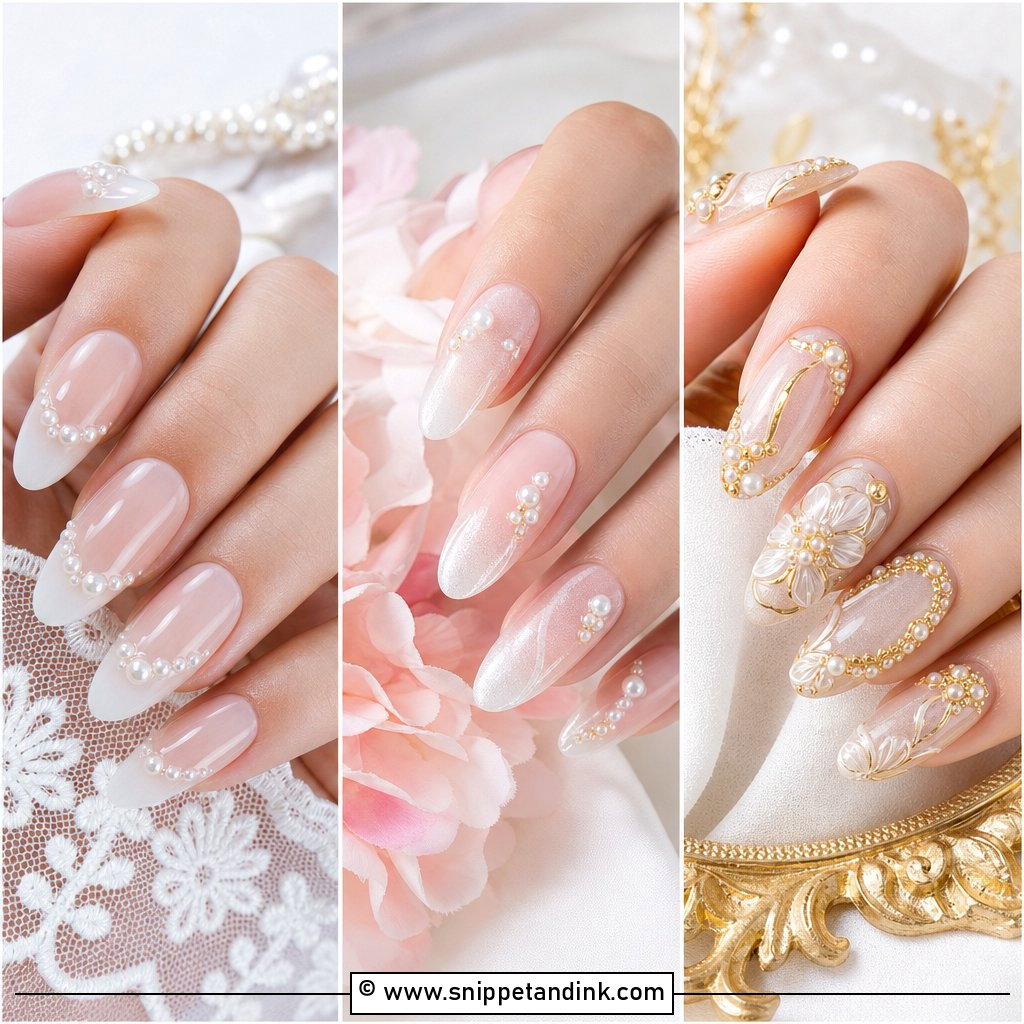
Pearl glitter should look like sheen, not metal. I combine a sheer milky base with tiny pearl shimmer or a fine iridescent glitter, sometimes finished with a soft pearl chrome powder. It adds elegance to short nails without any length. Match the tone to the dress: a slightly warm pearl beside ivory, a cooler pearl beside bright white. A cool pearl next to ivory makes the gown look yellow in photos.
10. Gold Glitter Bridal Nails
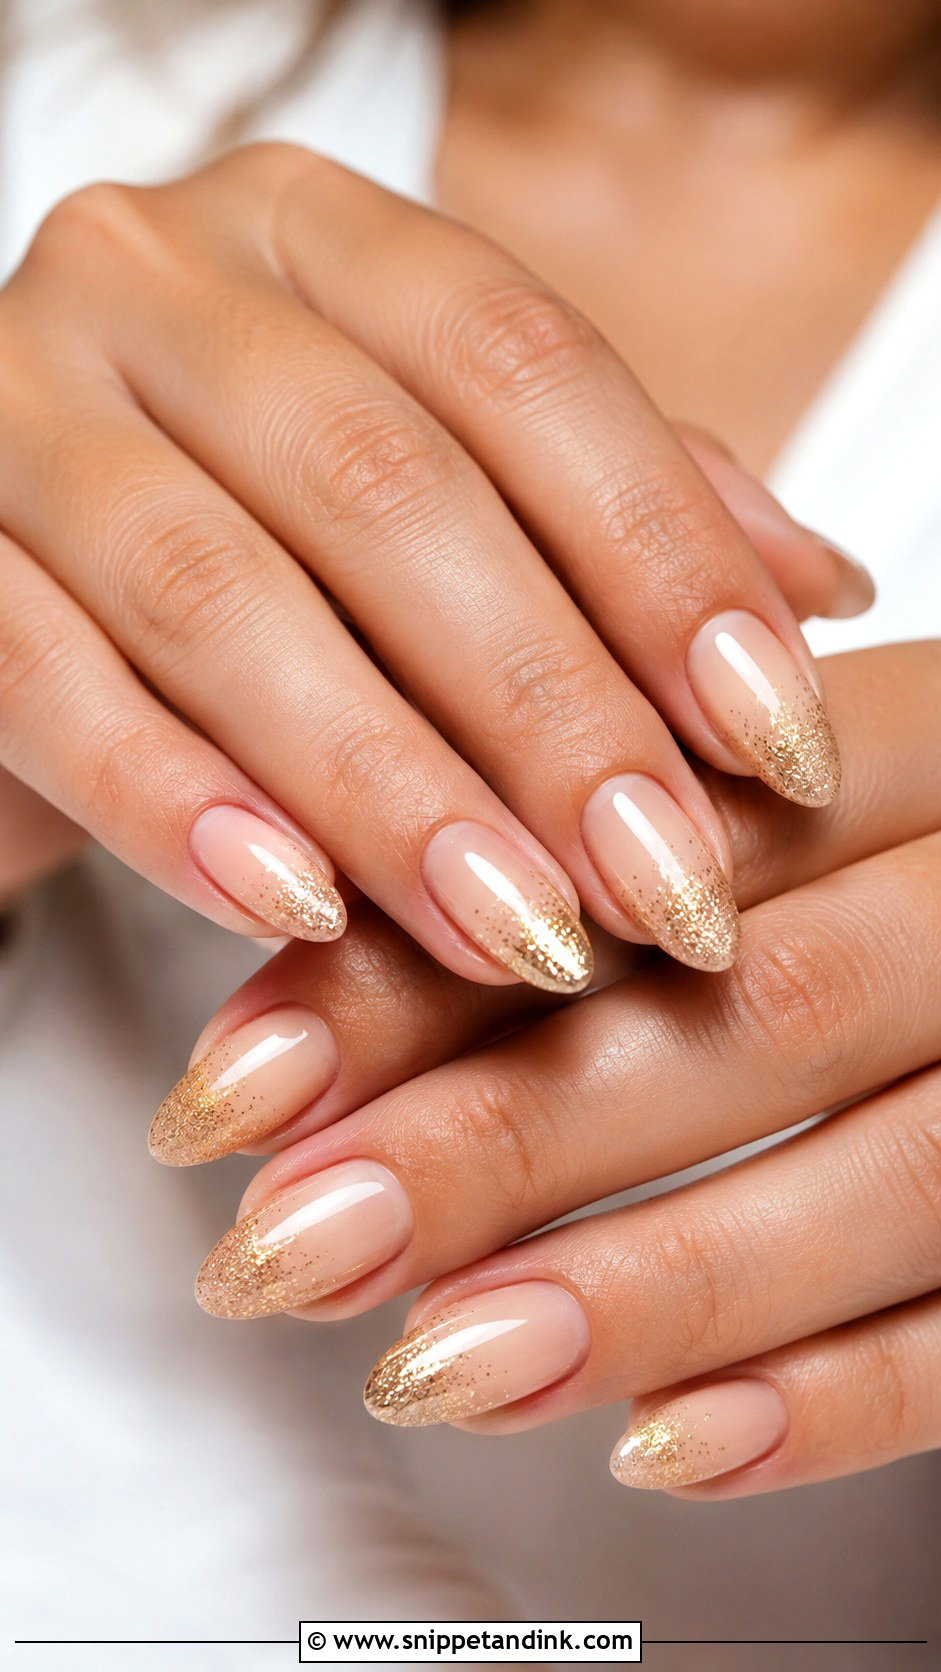
Gold glitter is celebratory, and it’s easy to overdo. I keep the base sheer and use gold as a French tip, a soft fade or a few scattered flecks. Deeper skin tones carry gold beautifully because it sits with the warmth of the hands rather than against it. Avoid large gold flakes for a wedding set: they tend to lift at the edges after a few days of handwashing, and a lifted flake catches on fabric.
11. Blush Pink Glitter Bridal Nails
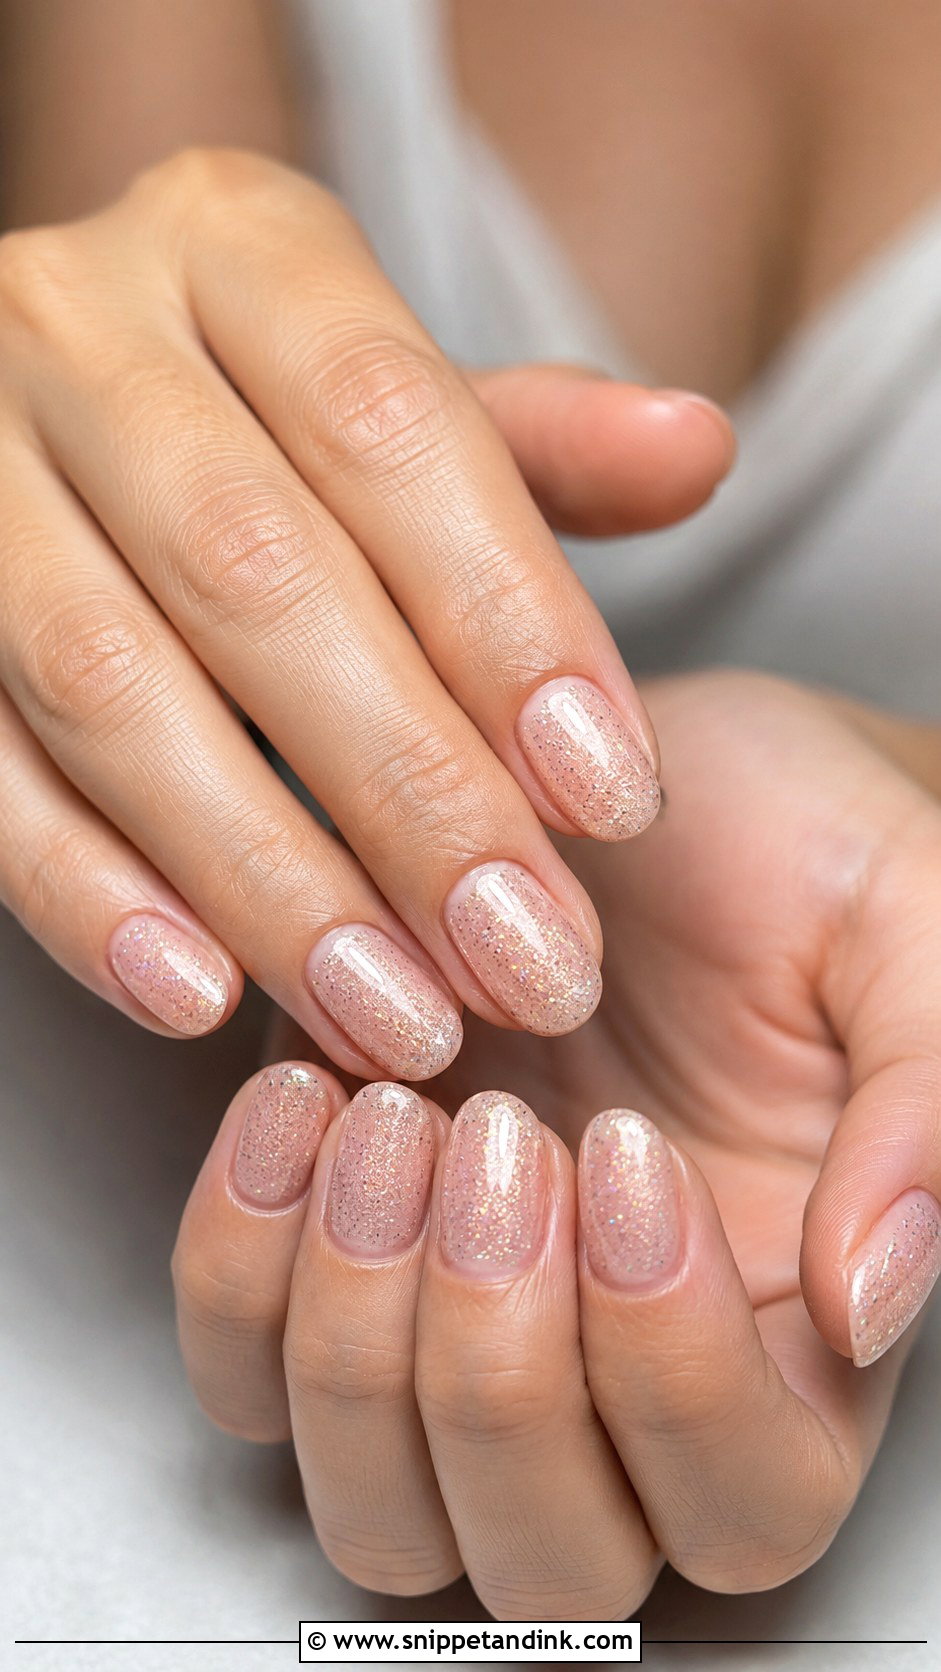
Blush pink is the safe, flattering choice, but the undertone matters more than people think. Cool, slightly blue pinks suit fair and rosy skin. On golden or olive hands, a warmer peach-pink keeps the fingers from looking grey or chilly. Fine glitter goes over the whole nail lightly, faded from the tips, or as a narrow French edge. Hold the swatch against your inner wrist in daylight before choosing.
12. Clear Glitter Bridal Nails
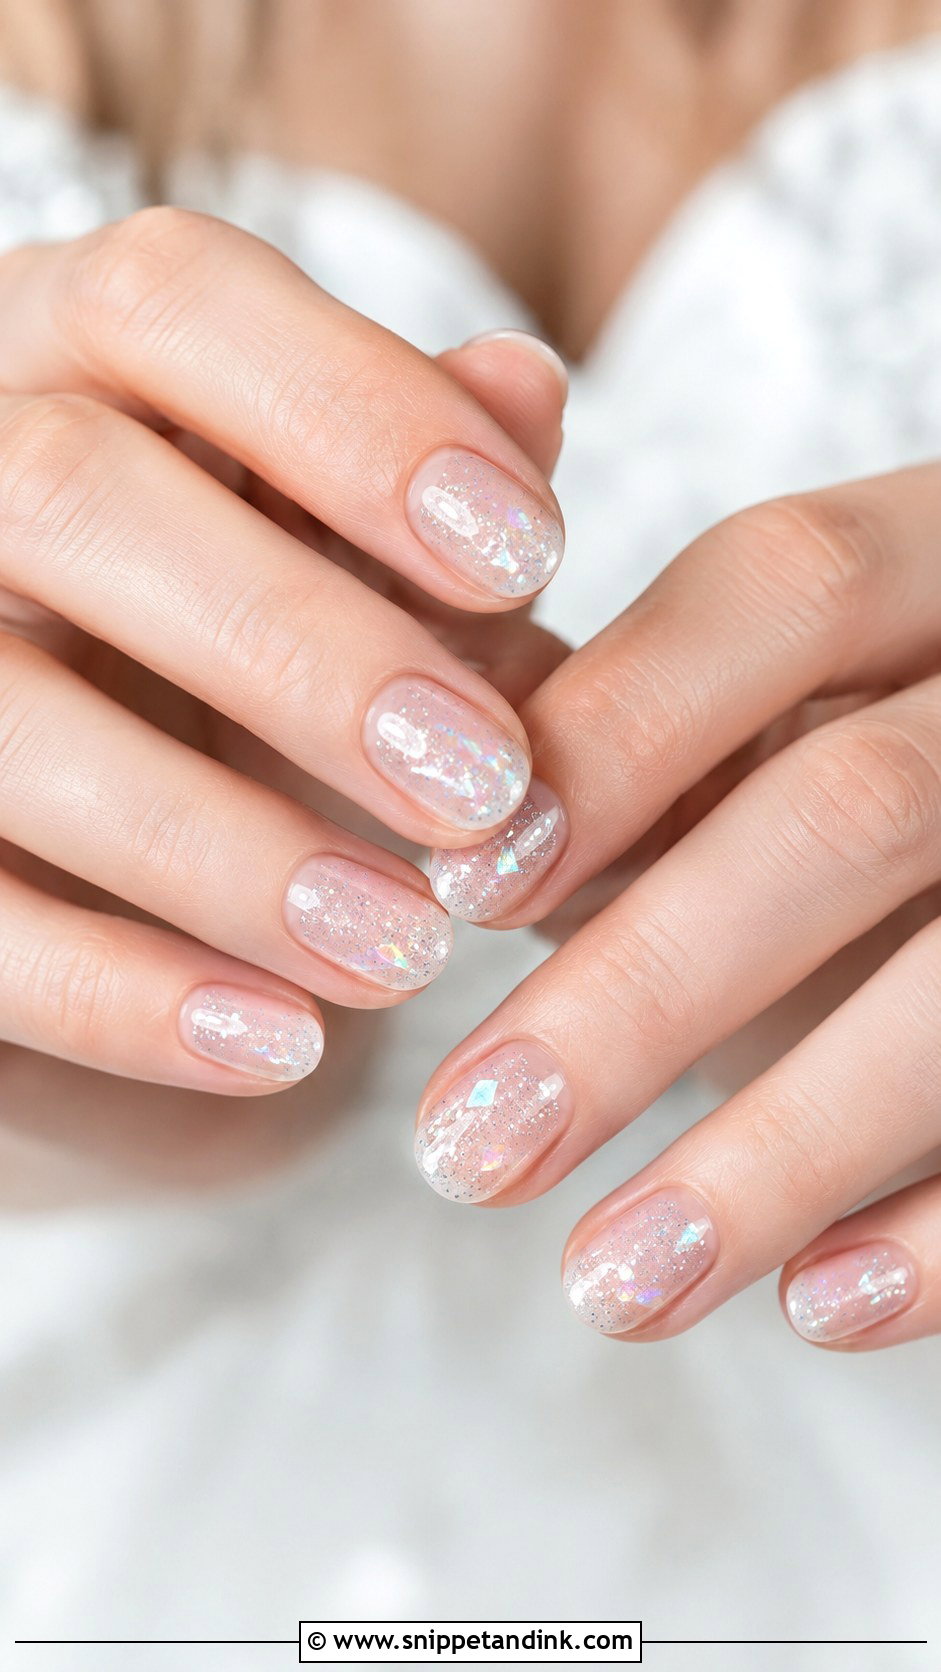
Clear glitter bridal nails use a transparent base with glitter floating between gel coats. Because the base is clear, every flaw on the natural nail shows: ridges, white spots, uneven cuticles. I spend more time on prep for this set than for any other on this list, including a careful cuticle clean and a ridge-filling base. Iridescent, pearl or silver micro-glitter gives the most bridal result. It suits short natural nails very well.
13. Glitter Accent Bridal Nails
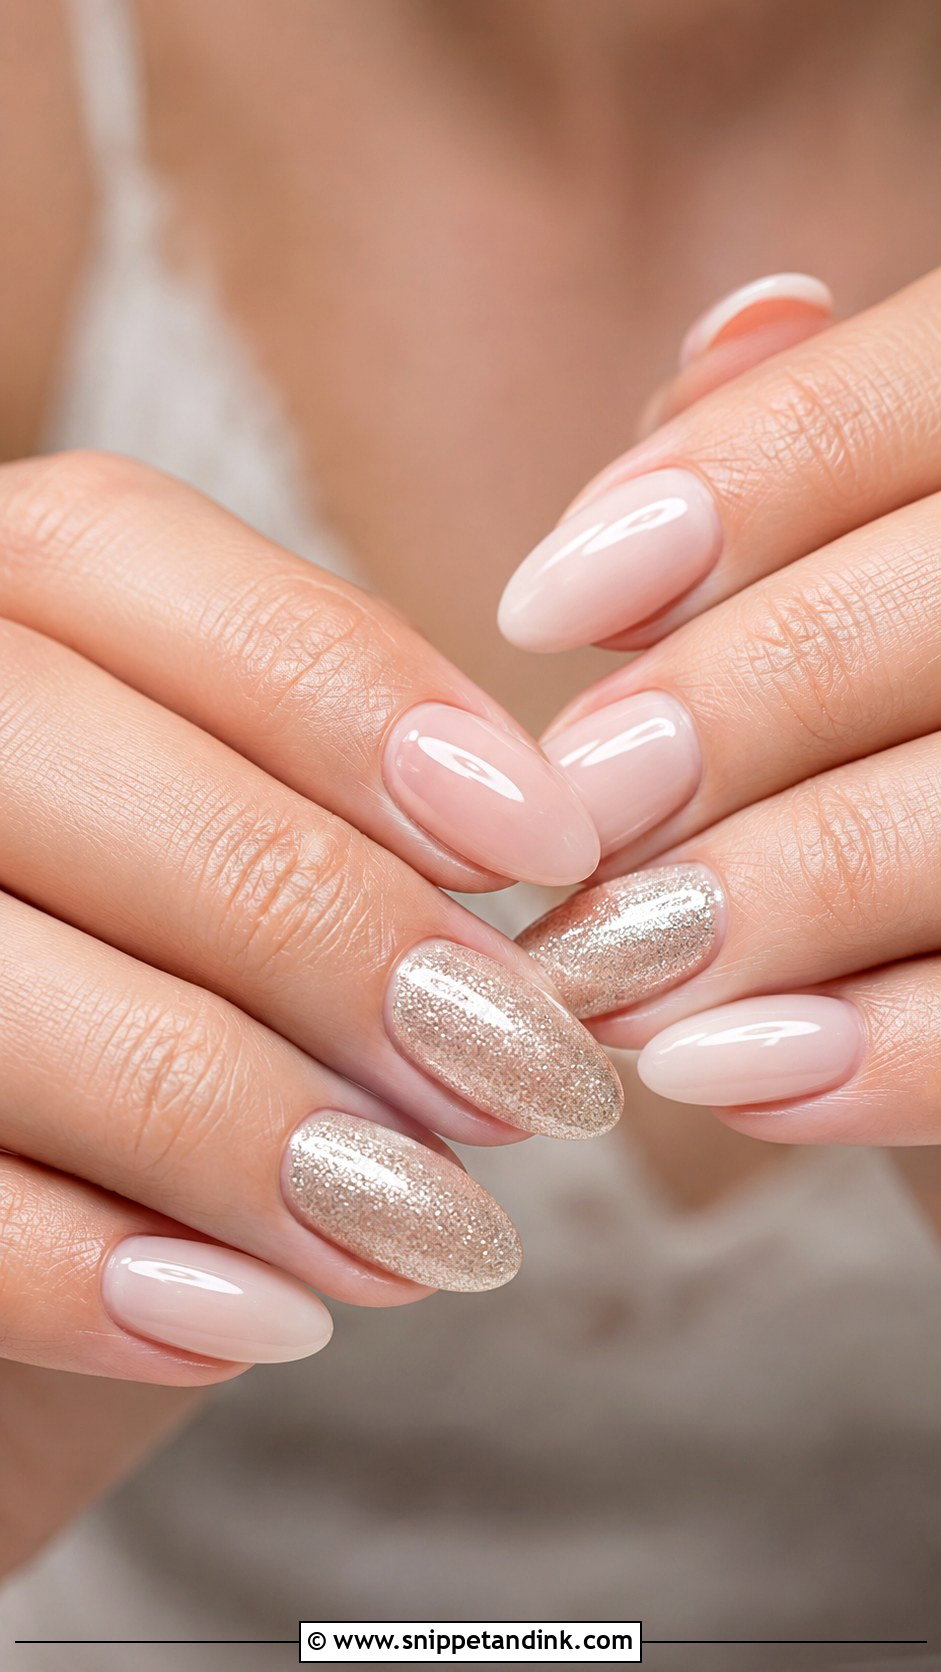
Accent nails let you wear glitter without committing all ten fingers. Most brides keep a nude, pink or milky base and add full glitter, a fade or a glitter French on one or two nails. The ring finger is traditional, but I often suggest the middle finger instead, so the sparkle doesn’t compete with the engagement ring. Keep the glitter close in tone to the base, and the set reads as one design rather than two.
14. Almond Glitter Bridal Nails
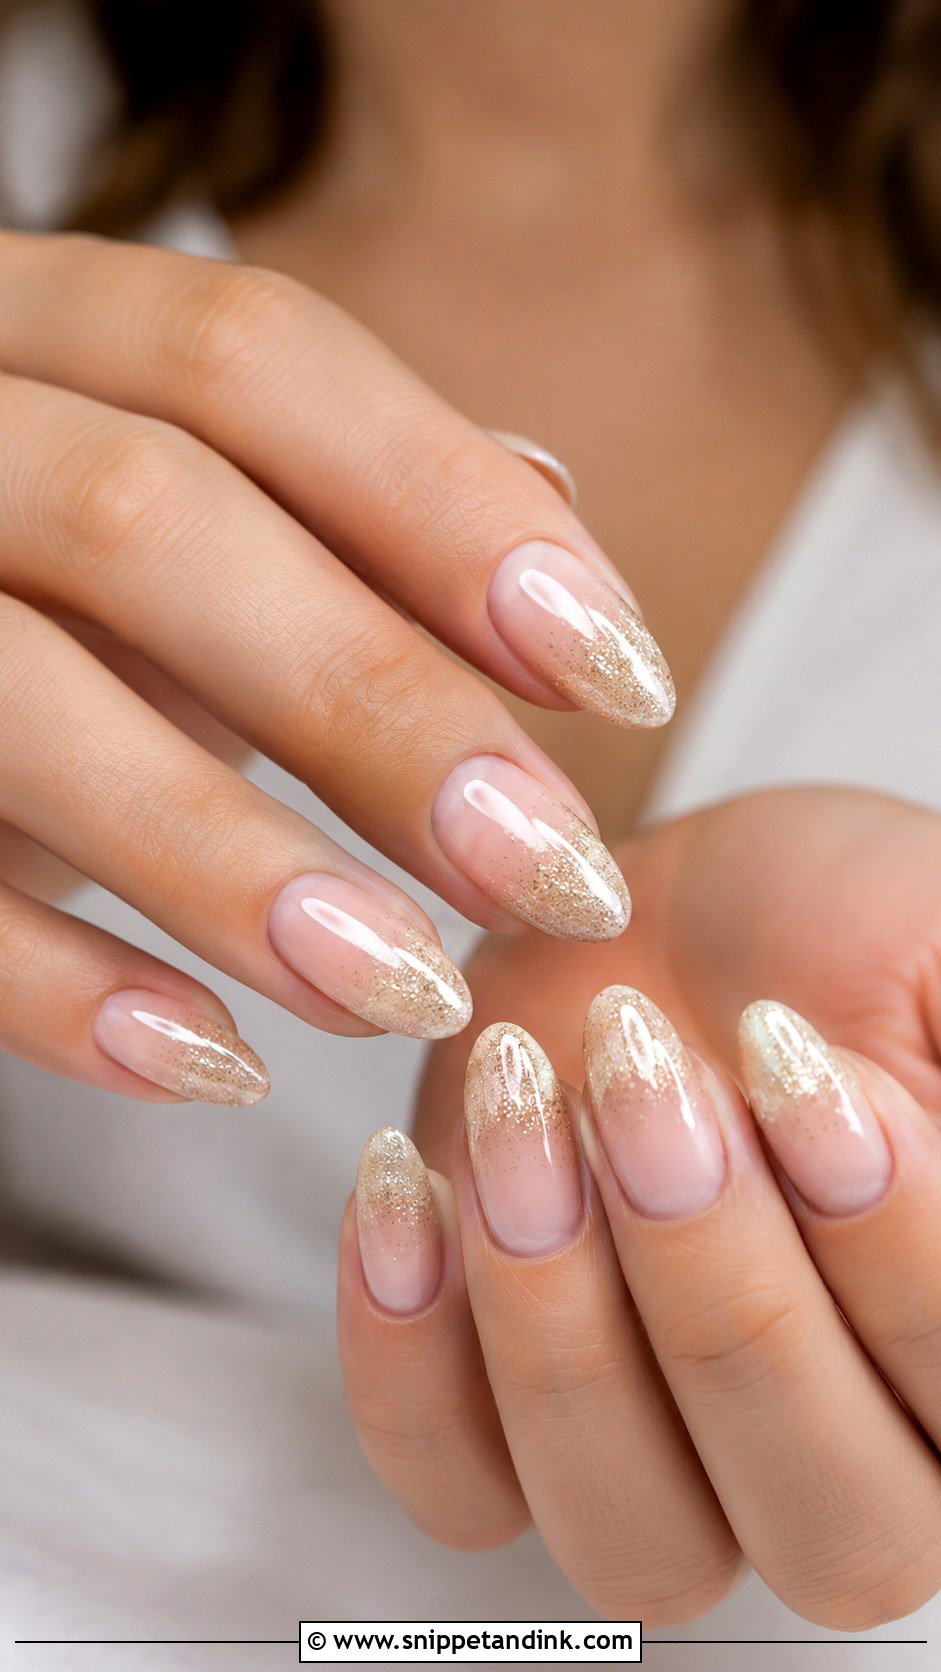
Almond nails taper, so they lengthen the fingers, and glitter on a curved tip looks softer than on a straight edge. Champagne ombré, pearl shimmer and glitter French all suit the shape. Medium length is the practical choice: it still looks graceful, but you can pin a veil, hold a bouquet and do up a bustle without a nail snapping. Long, narrow almonds are the most likely shape to break the week of the wedding.
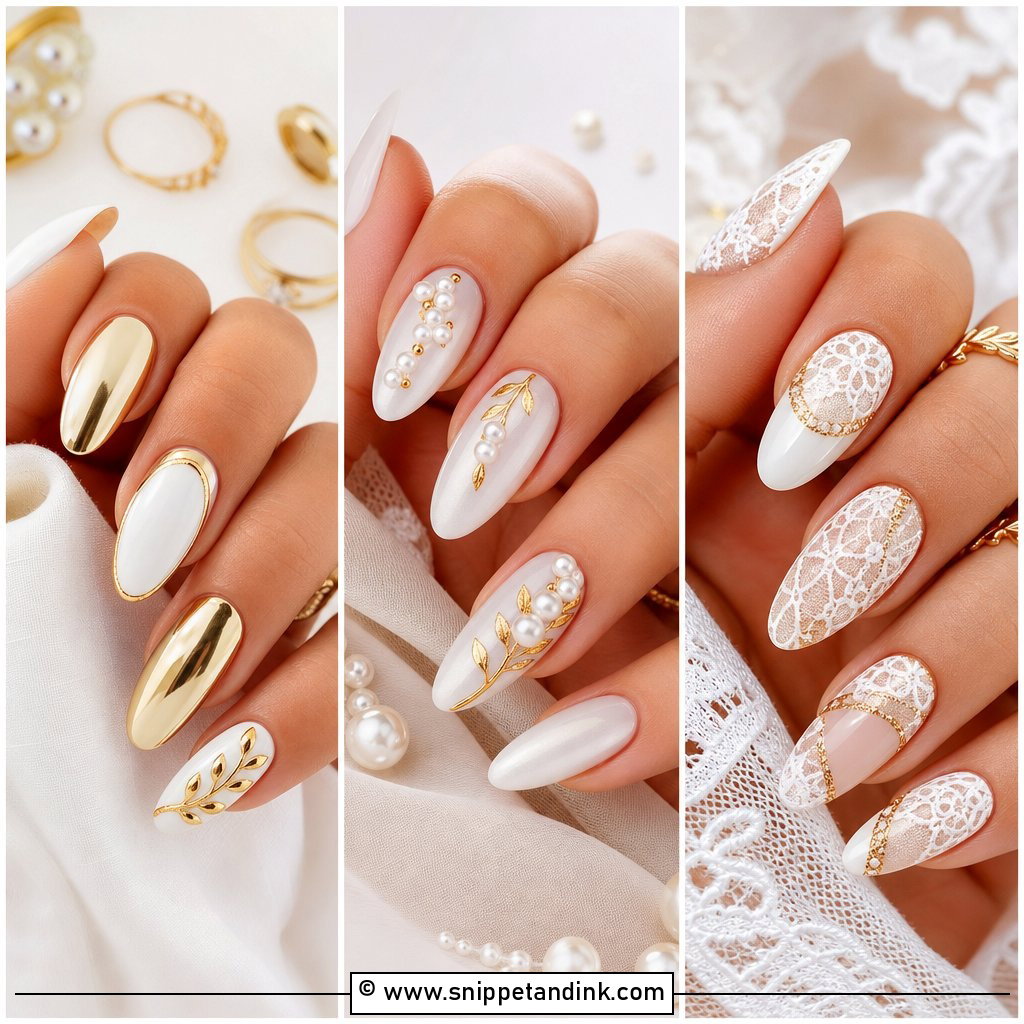
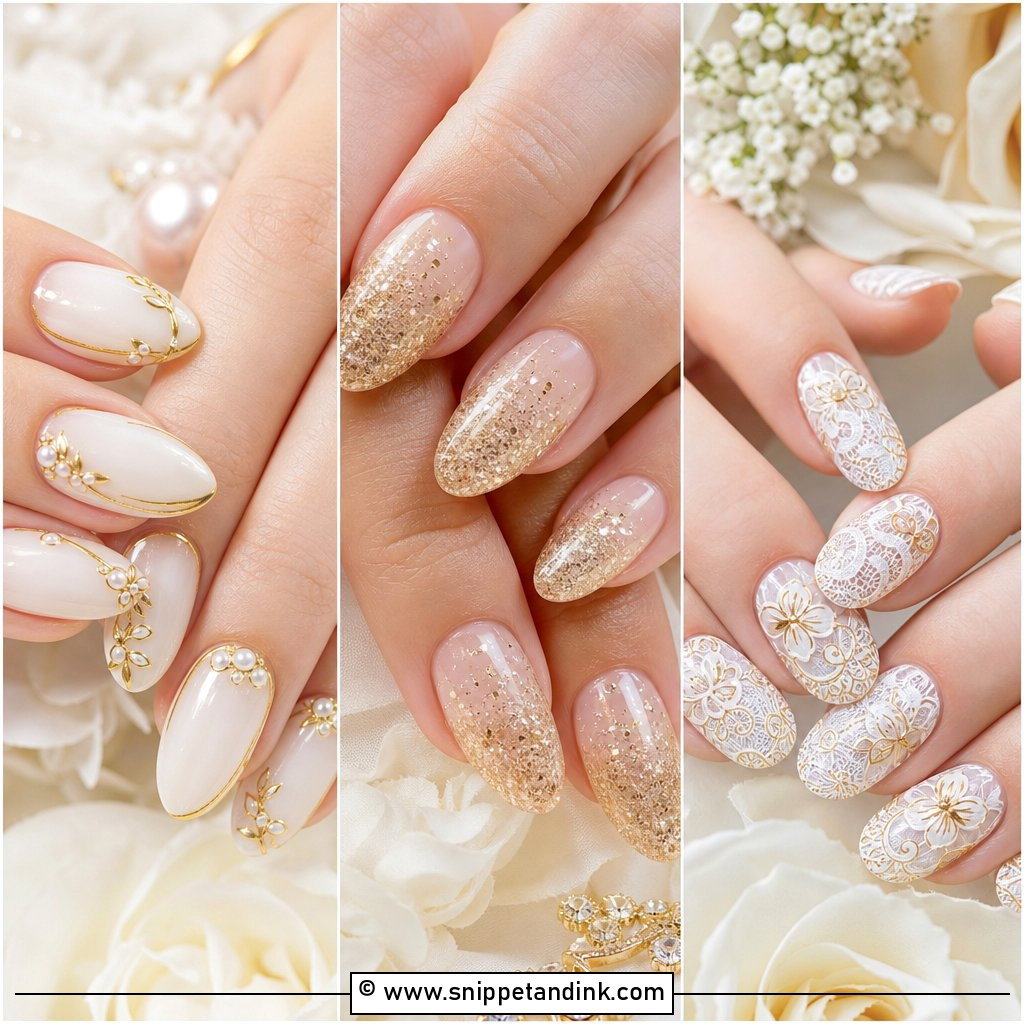
15. Short Glitter Bridal Nails
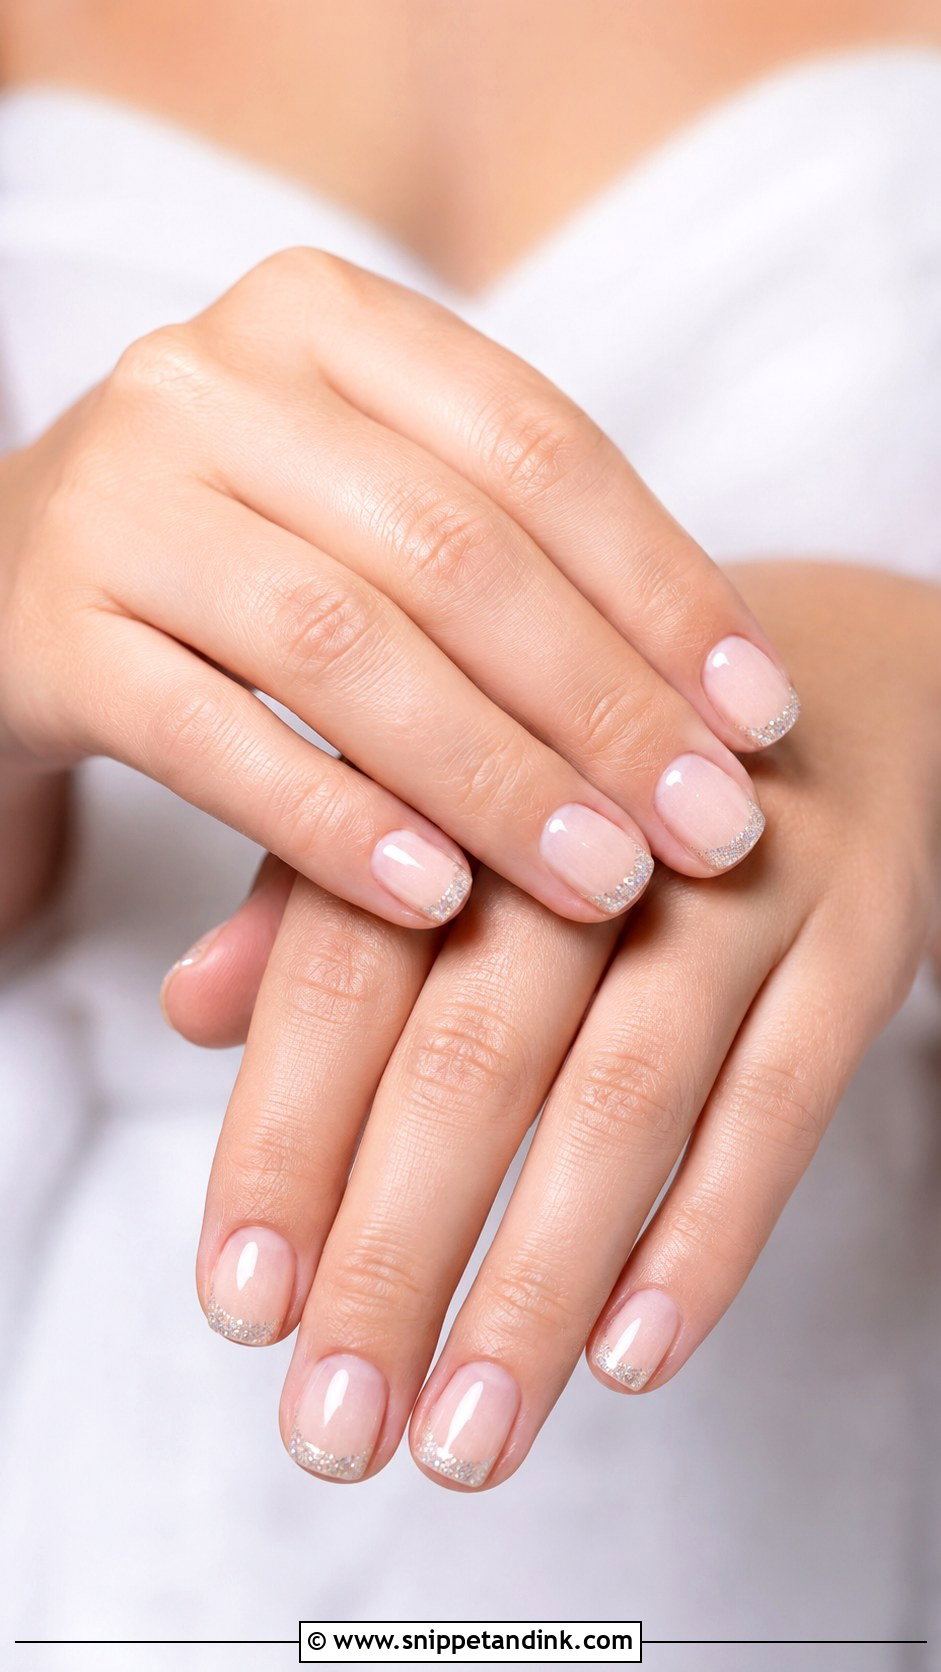
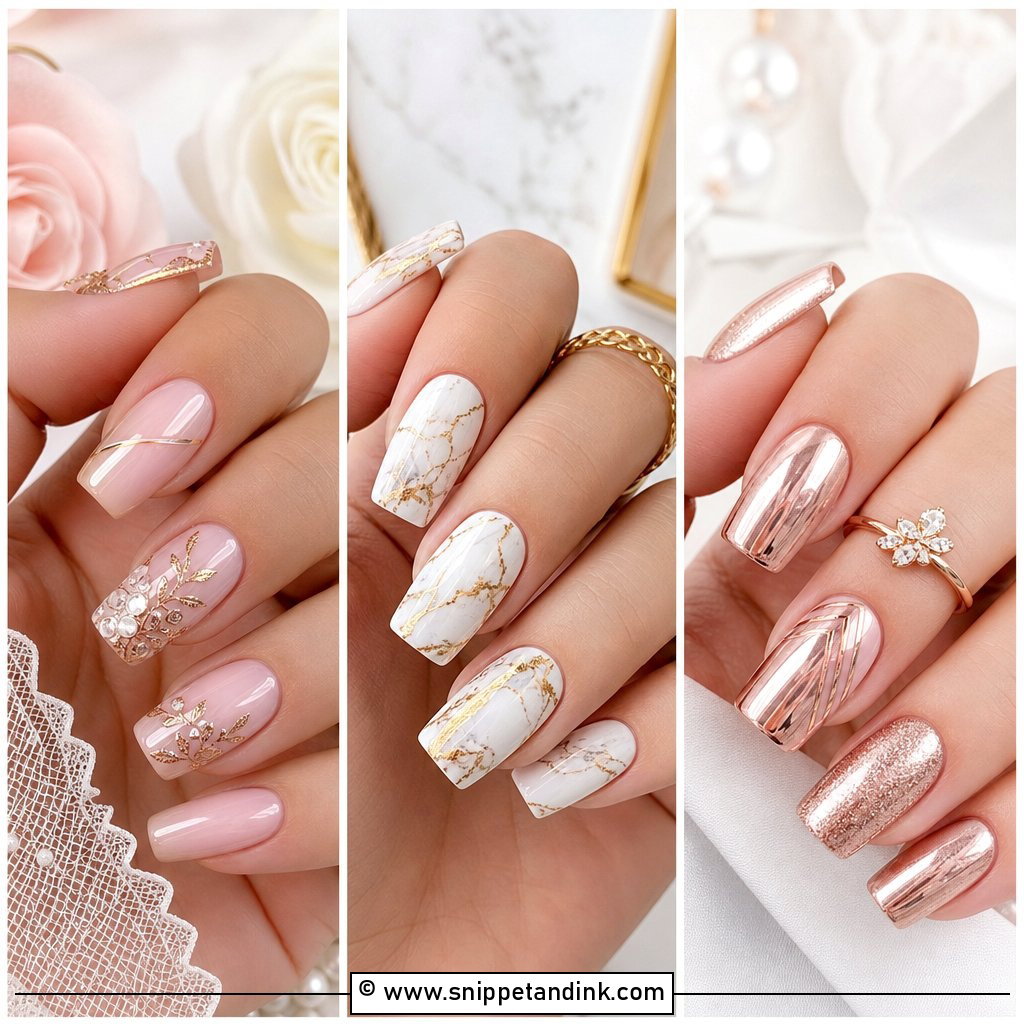
Short nails can carry glitter as well as long ones, as long as the glitter is small. Big pieces crowd a short nail and look clumsy. I’d go with a fine overlay, a micro-glitter French, a shimmer base or one accent nail. Oval and squoval shapes look neat on short lengths. If you type or work with your hands every day, this is the set that will still look tidy on the wedding morning.
16. Coffin Glitter Bridal Nails
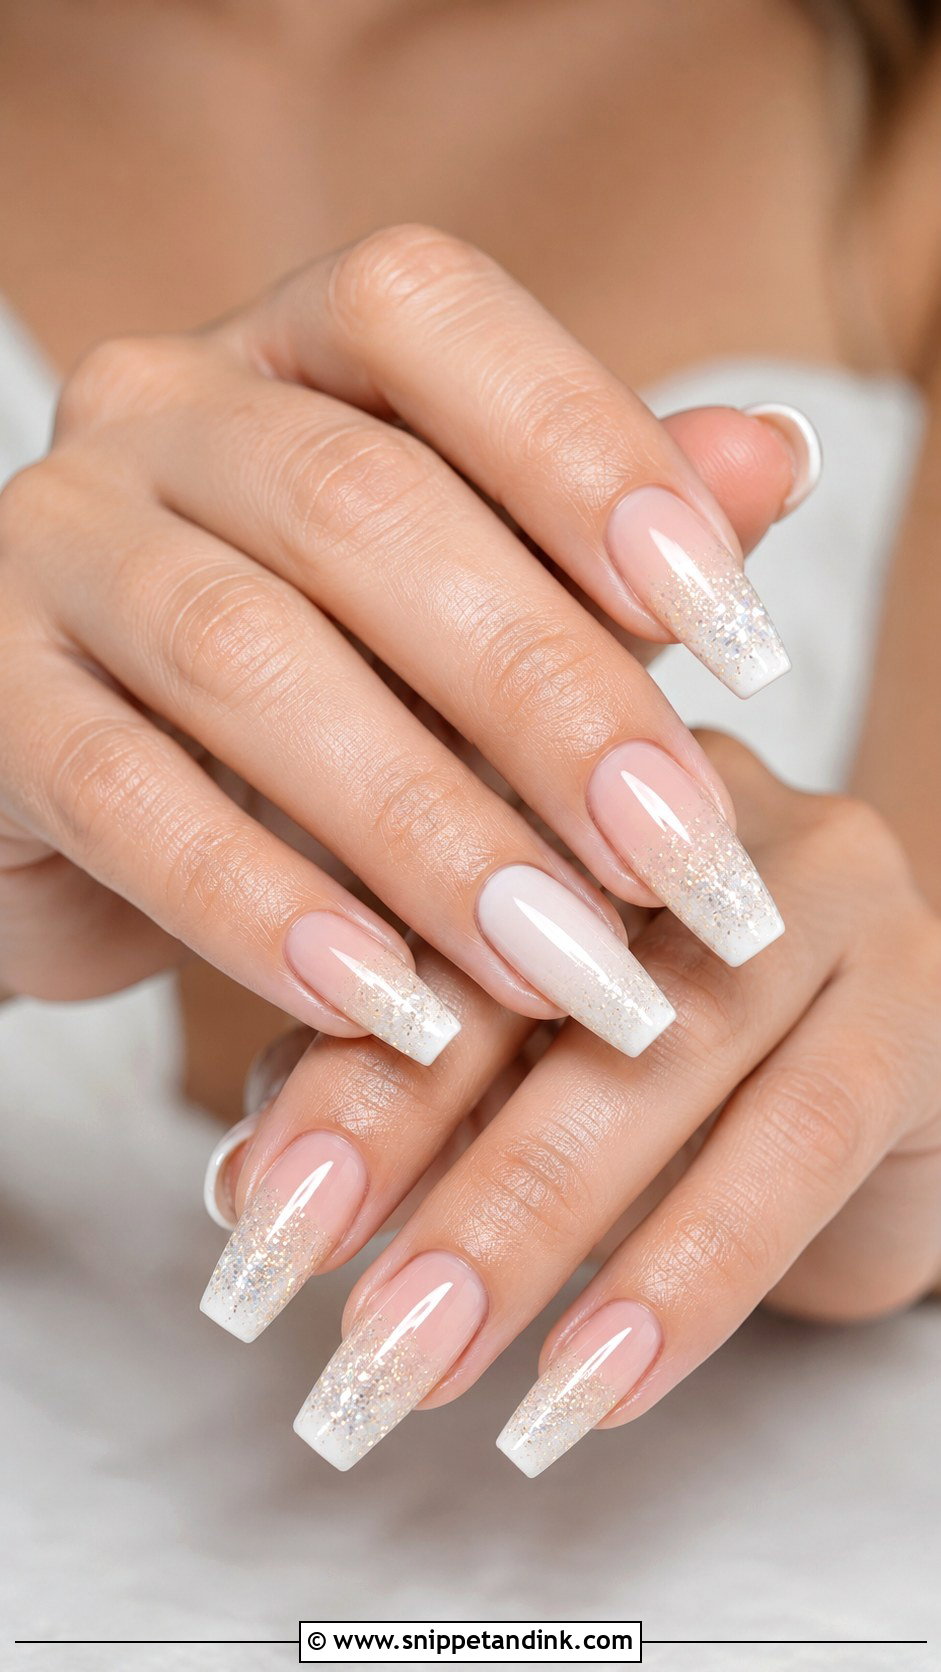
Coffin is the boldest shape here. Medium coffin keeps the drama without the length getting in the way. The flat tip gives space for a fade, so a nude base with champagne glitter tips works well, as does milky white with pearl sparkle. I’d avoid very sharp colour contrast for a bride. Coffin corners are where chips start, so I cap the free edge with top coat, running the brush along the tip itself.
17. Square Glitter Bridal Nails
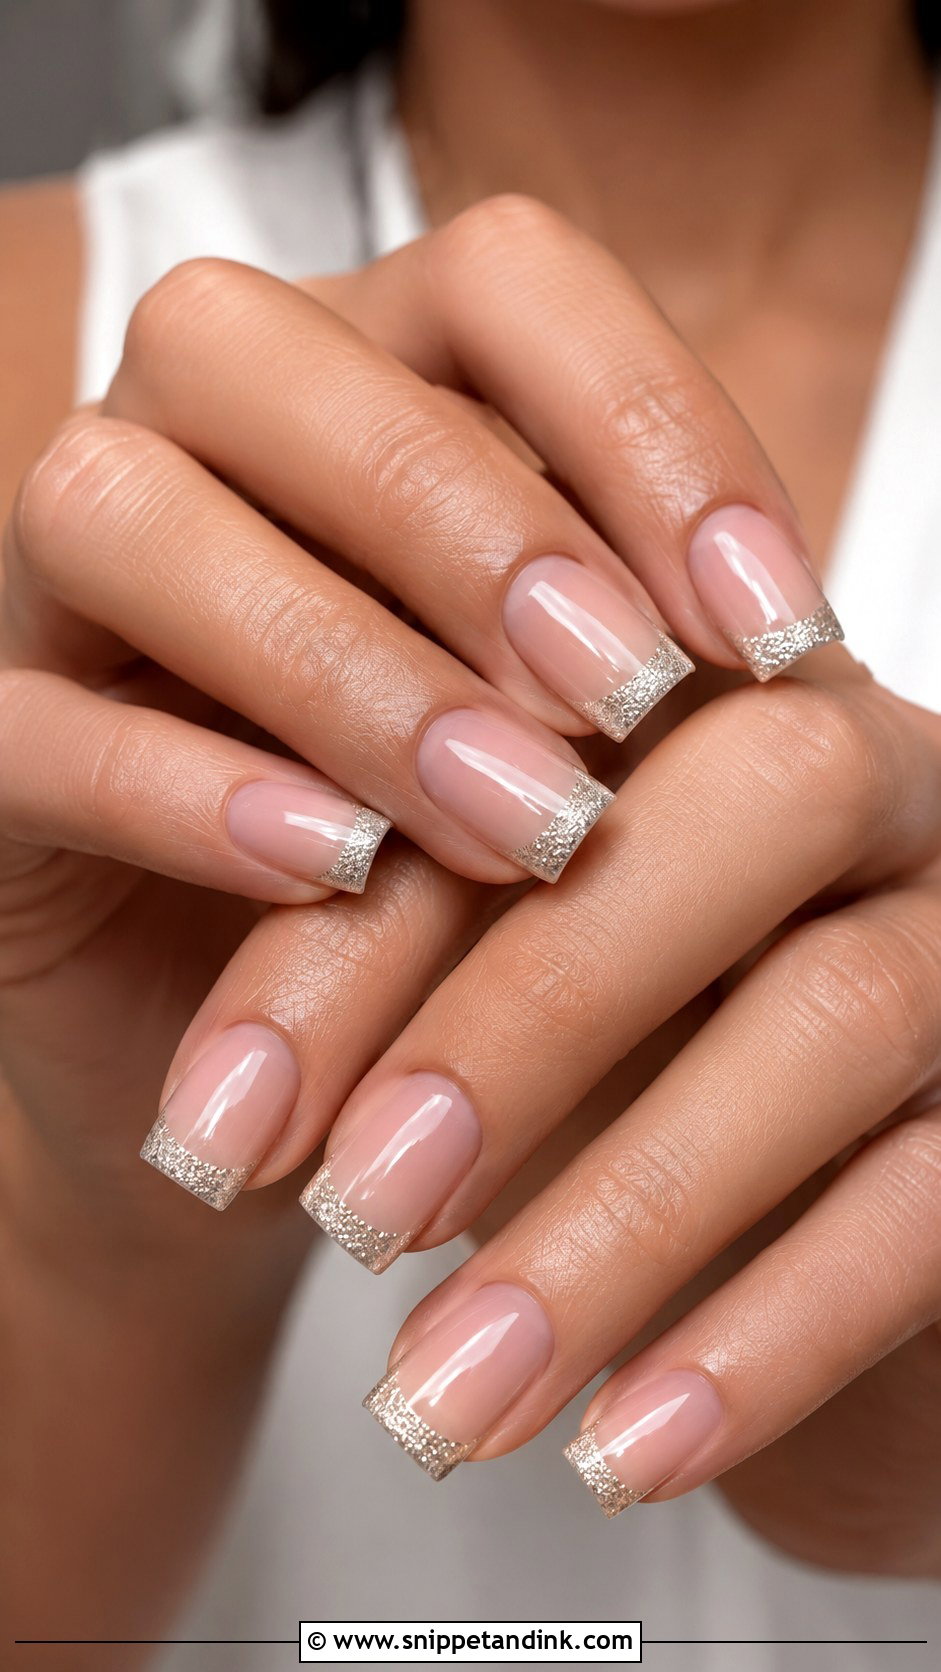
Square nails have a straight free edge that makes glitter tips look crisp and graphic. Short to medium lengths are practical; long squares can catch on fabric. Sheer pink, nude or milky bases soften the square outline. Champagne or silver glitter along the edge gives a modern French, and a thin glitter border is another option. If your nail beds are short, a squoval with slightly softened corners usually flatters more than a sharp square.
18. Chrome Glitter Bridal Nails
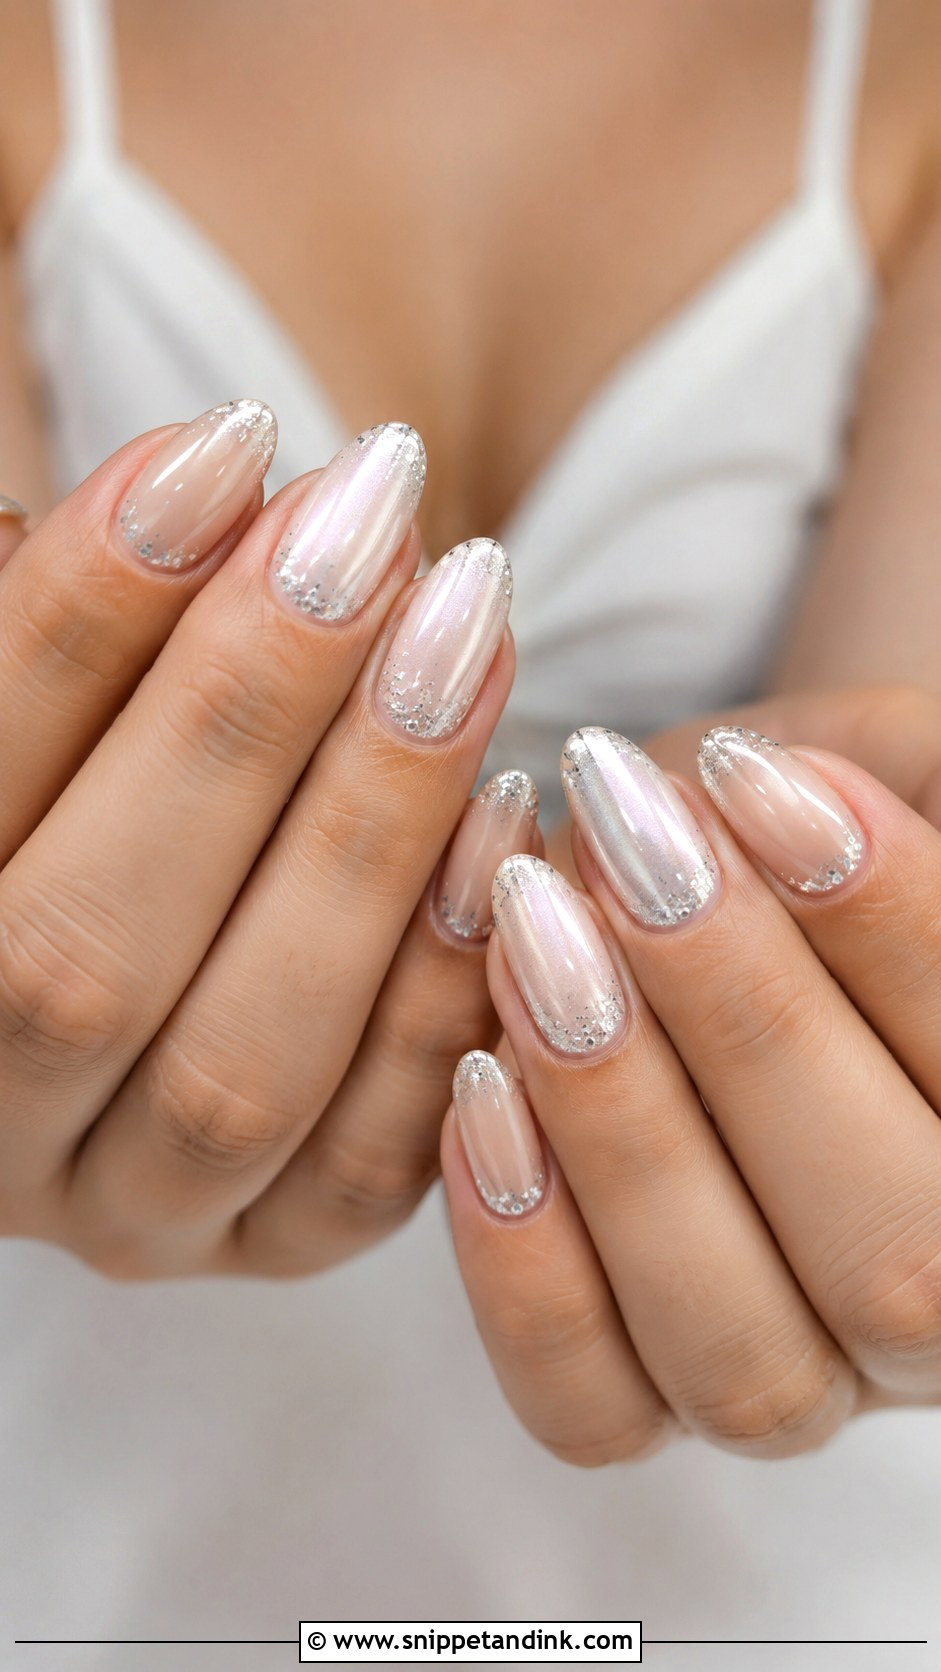
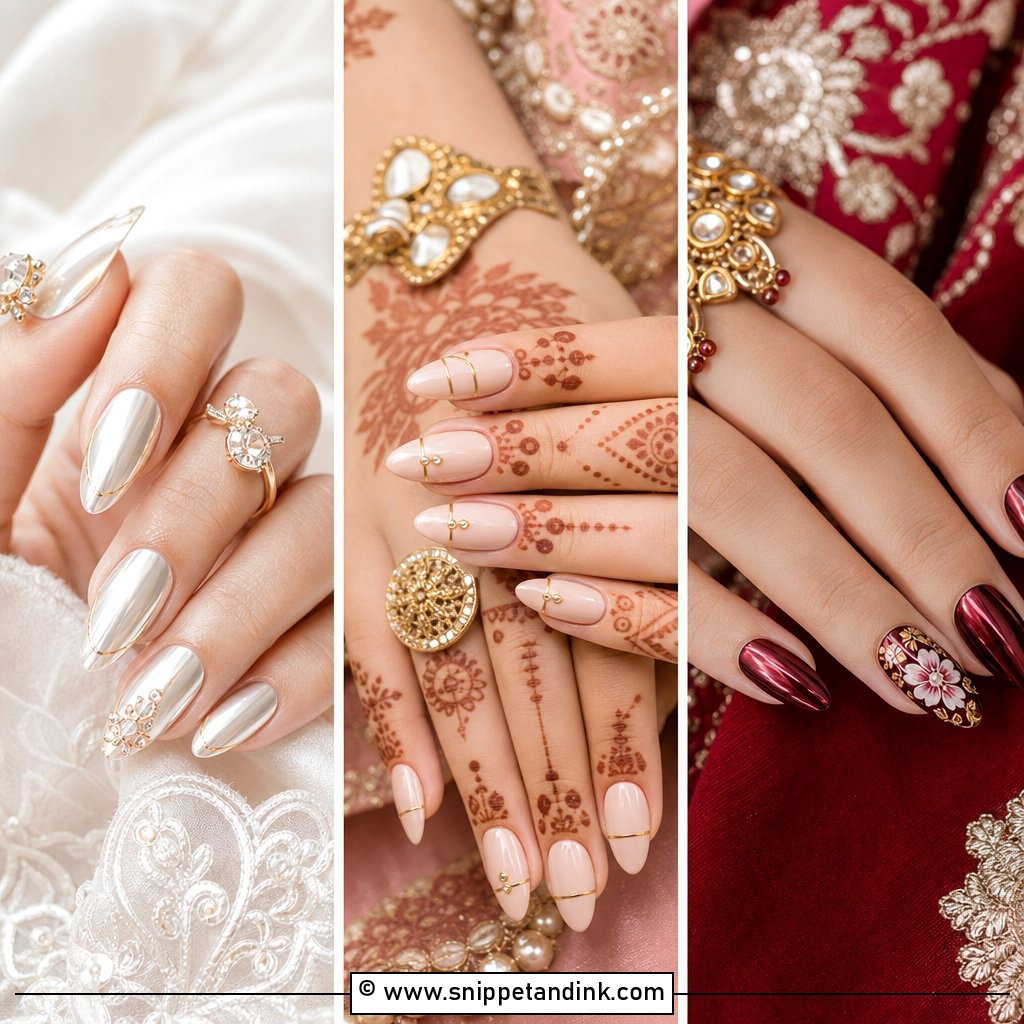
Chrome and glitter together can tip into too much, so I keep both soft. A sheer nude or milky base, a pearl chrome powder rubbed over a no-wipe top coat, then a touch of fine glitter near the tips. Pearl chrome is the most bridal option; silver chrome is cooler and more modern; champagne chrome with tiny gold glitter is warmest. Chrome shows every bump in the nail surface, so the base has to be perfectly smooth. Almond, oval and coffin nails show the shine best.
19. Floral Glitter Bridal Nails
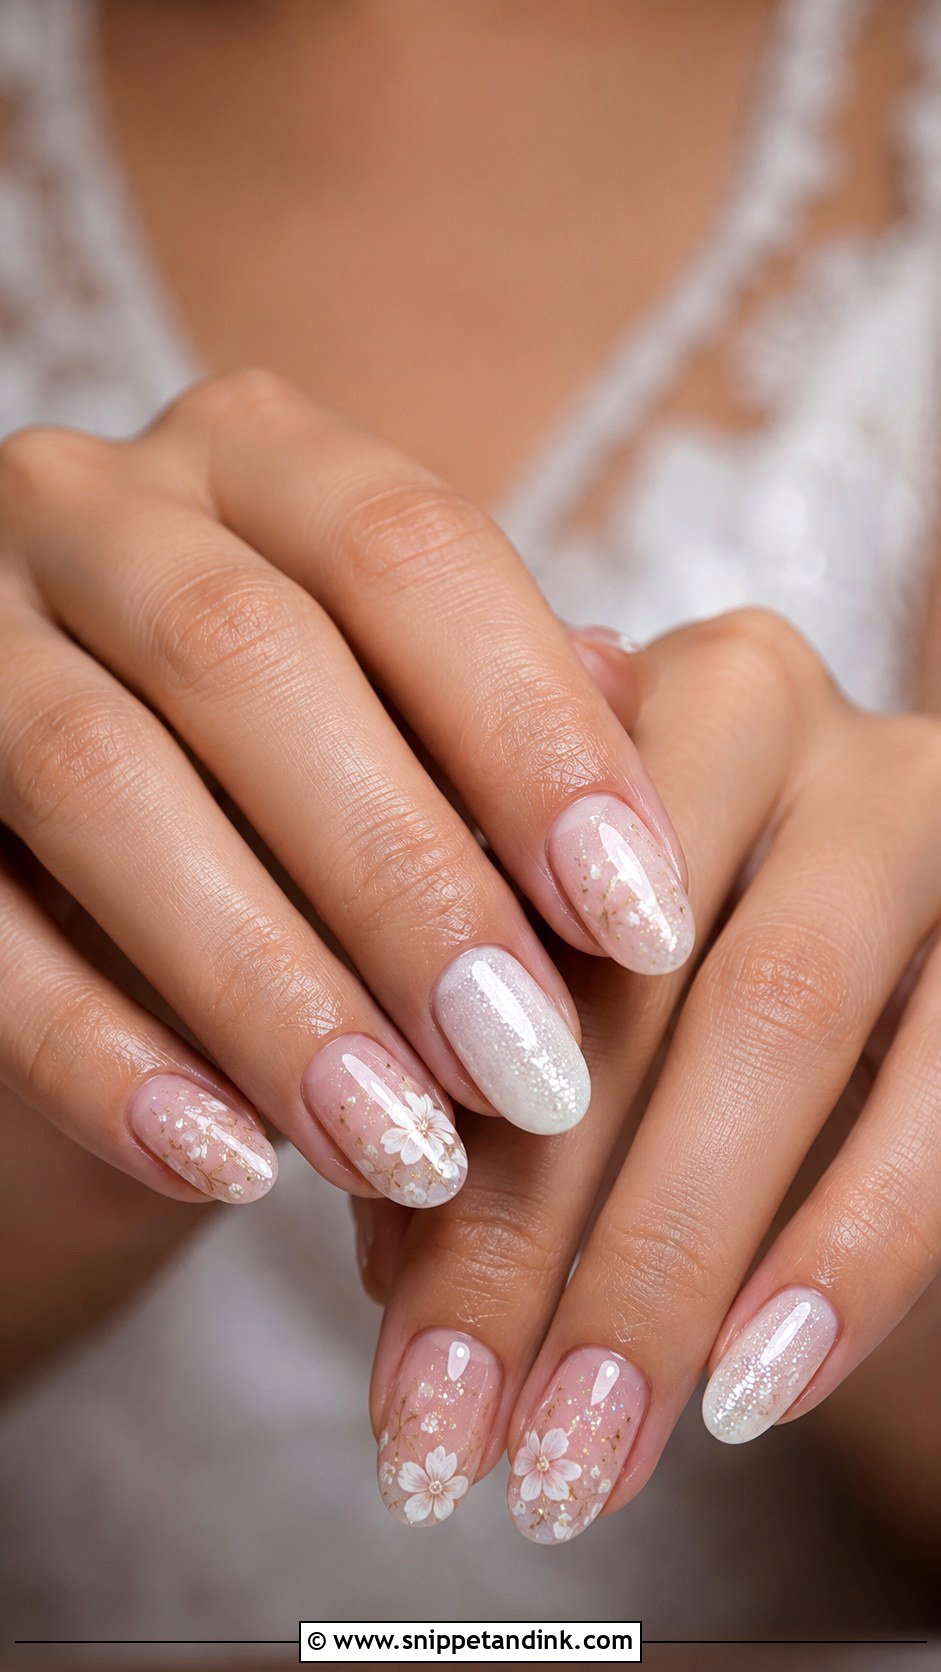
Floral art and glitter compete if both are busy. I paint tiny white flowers or fine-line petals over a sheer base and use glitter as background, scattered lightly so the flowers stay readable. Pearl, champagne or clear iridescent glitter keep it light. Hand-painted florals take time, so book a longer appointment. One or two floral accent nails give a minimal version; flowers across all ten are more detailed and suit garden weddings and lace gowns.
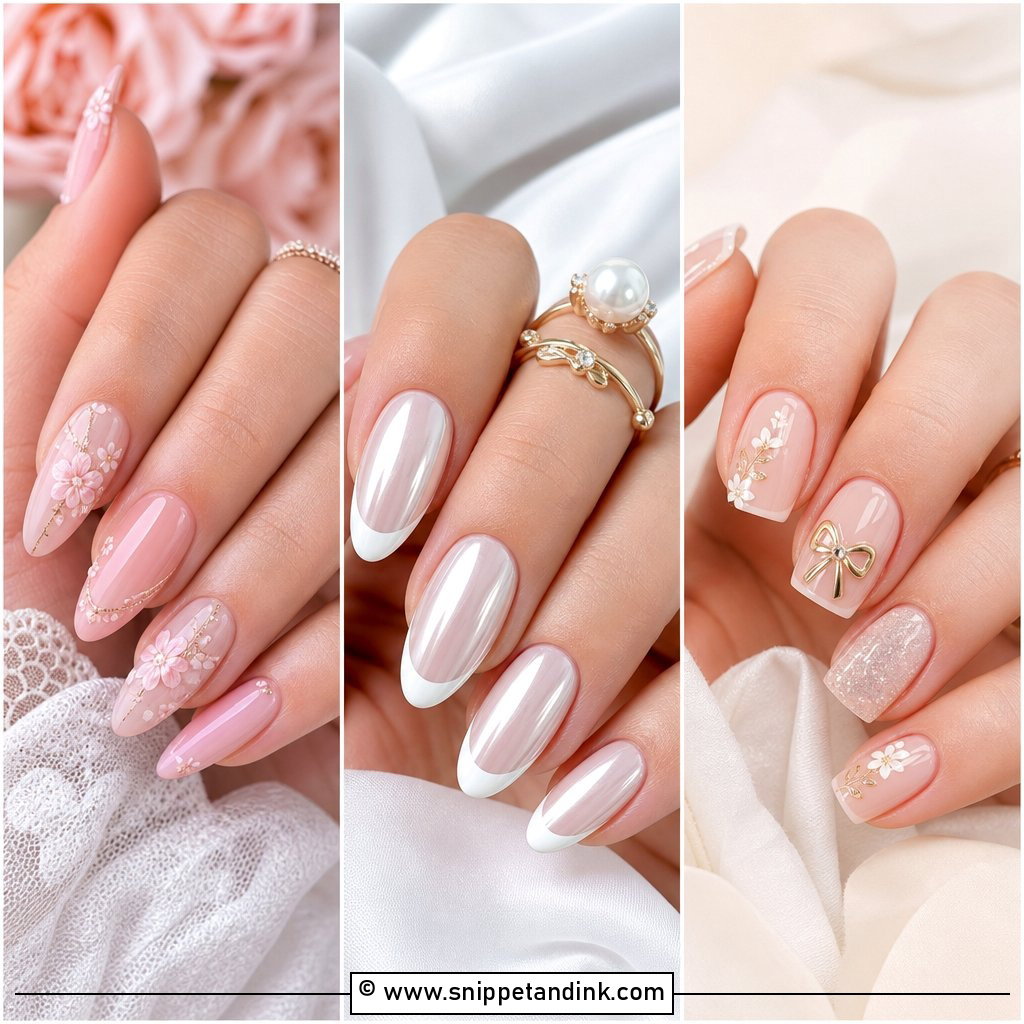
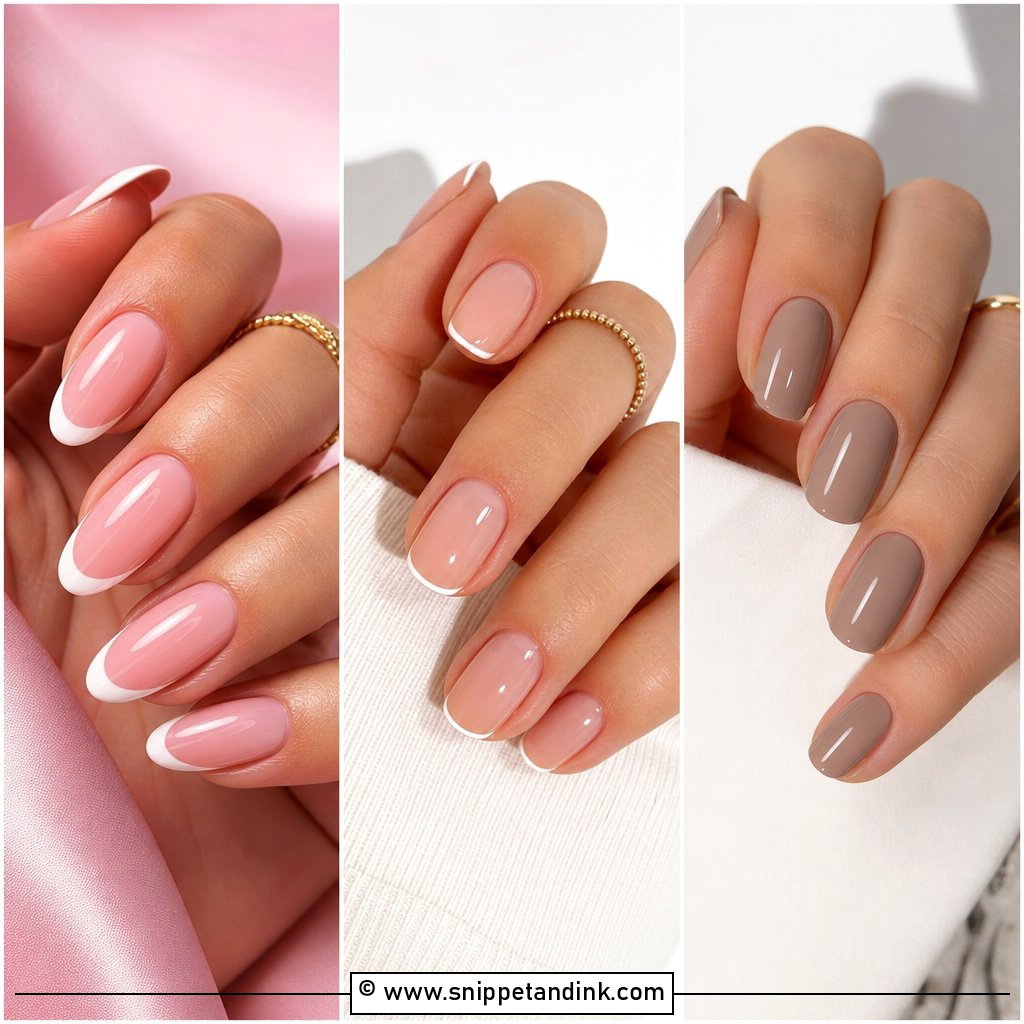
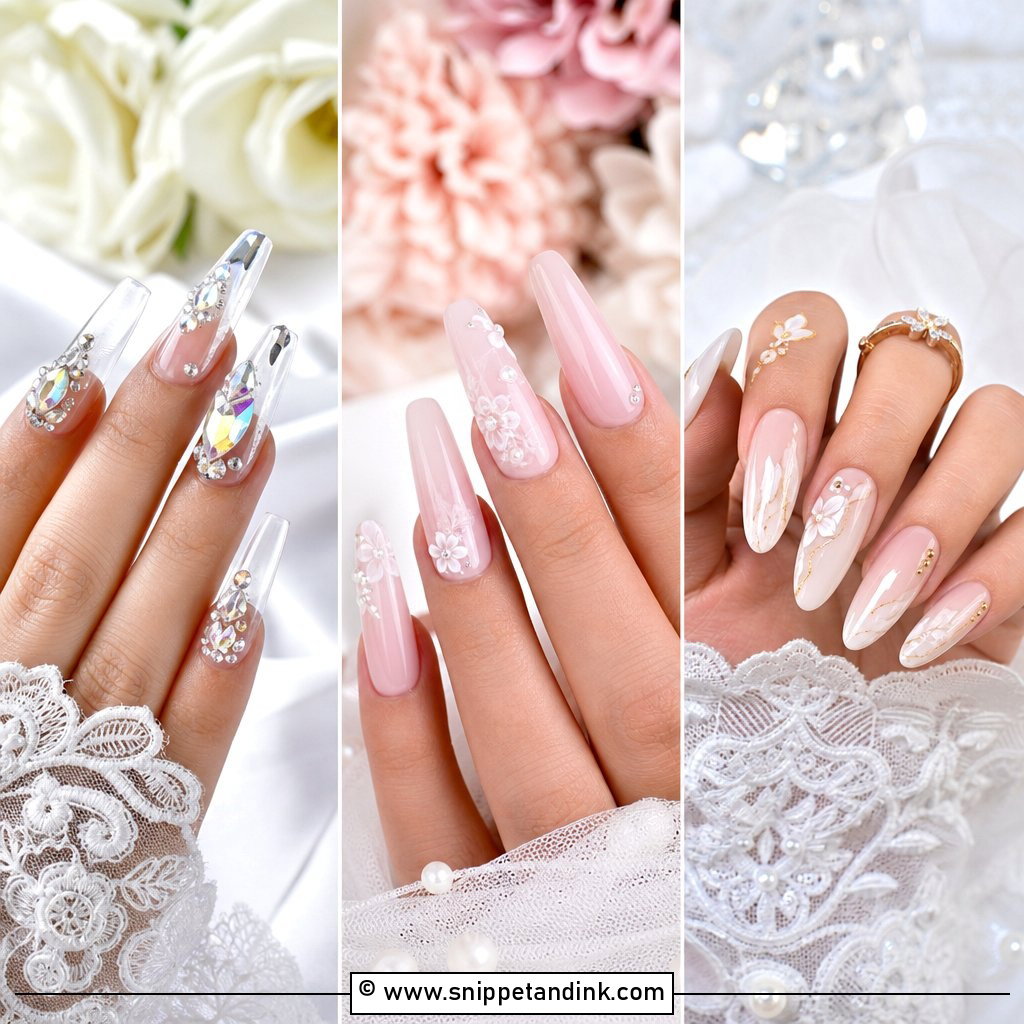
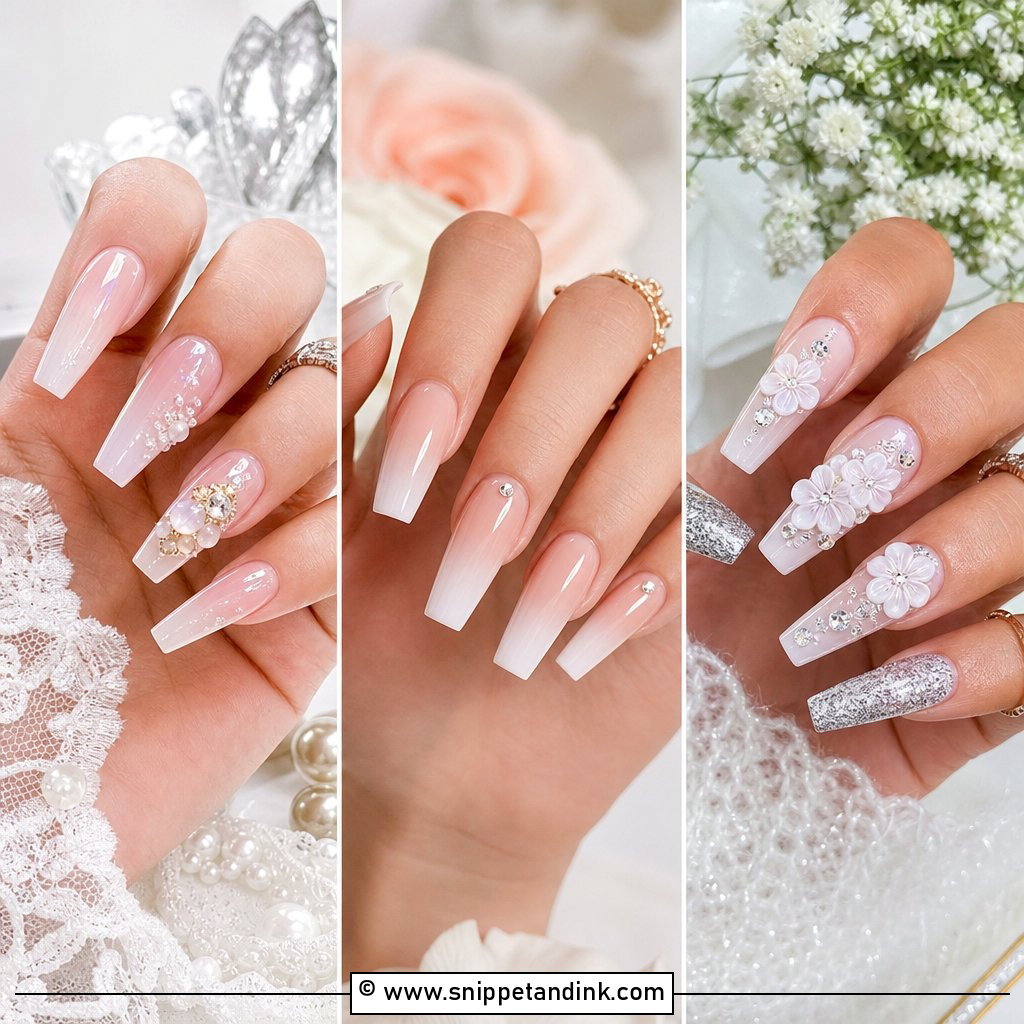
20. Lace Glitter Bridal Nails
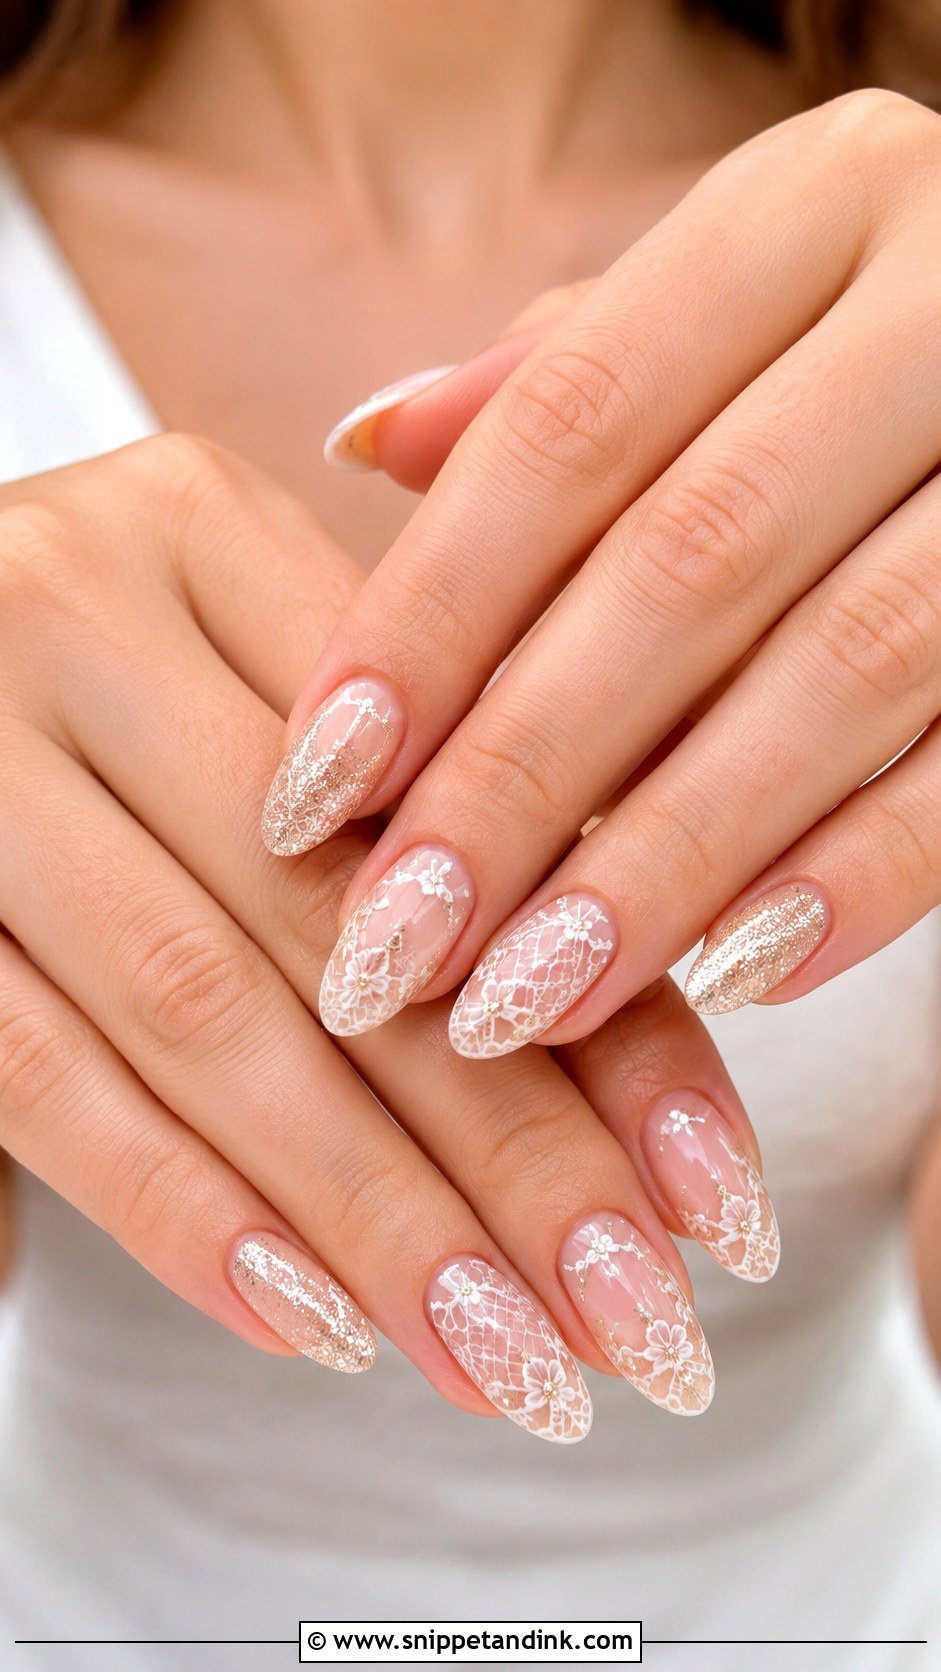
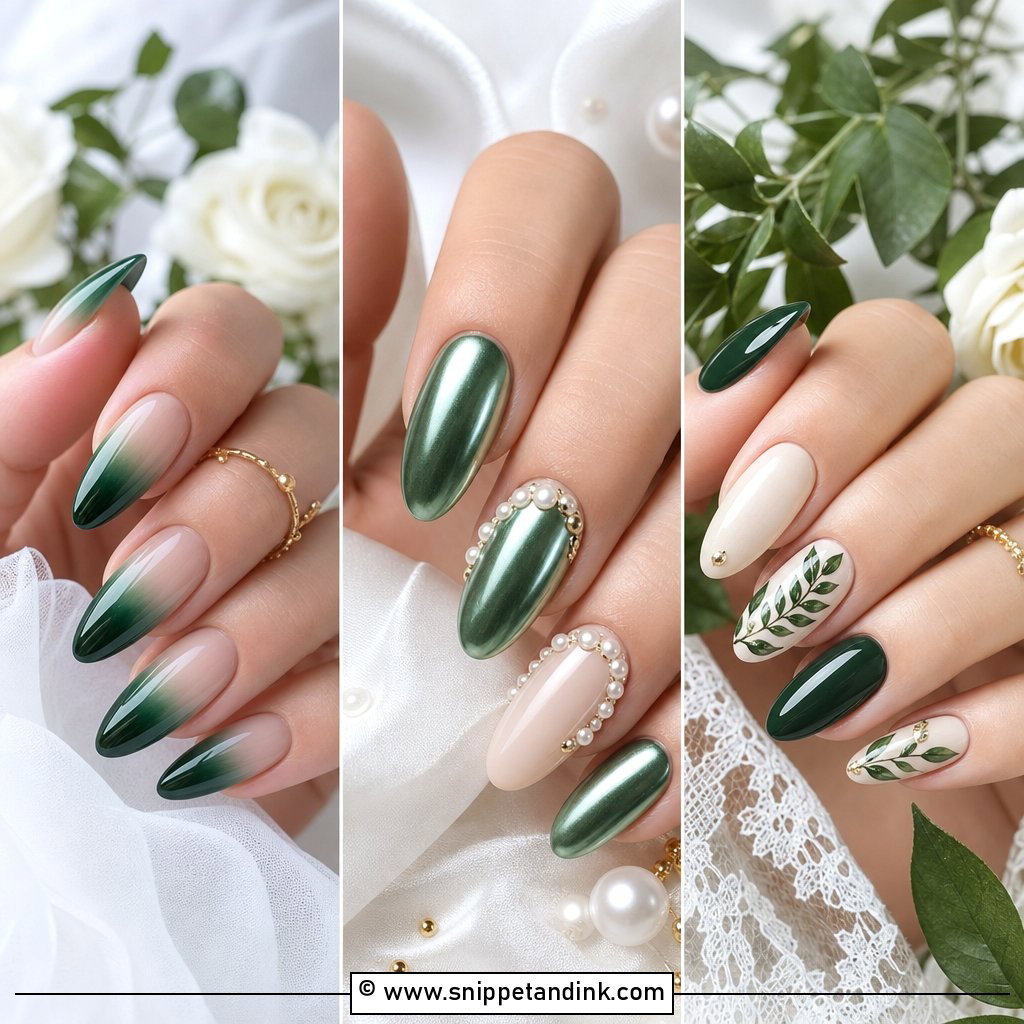
Lace nail art echoes lace sleeves or an embroidered bodice. The base is sheer nude, blush or milky, with thin white lace-like linework painted on top and a few touches of pearl or champagne glitter. Bring a close-up photo of your actual lace to the appointment, since matching the motif makes a real difference. Thick white patterns look heavy, so ask for delicate lines. Almond and oval shapes keep the design soft.
Timing the Appointment and Taking Glitter Off Afterwards
I book bridal gel sets one to three days before the wedding. Any earlier and cuticle growth starts to show in ring photos; on the same day, there’s no slack if a nail breaks or the shade looks wrong. Have your trial set a month or so out and use that time to grow your nails if you need length.
Glitter gel takes longer to soak off than plain gel, because the particles hold the product together. Please don’t peel it: peeling takes off layers of the natural nail with it. At removal, I file off the shiny top coat first, then wrap each nail in acetone-soaked cotton and foil and leave it for around fifteen minutes, sometimes longer for heavy glitter. Glitter regular polish comes off the same way, with foil, rather than rubbing with a pad. Follow up with cuticle oil for a few days afterwards.
Hold Your Hand Out in Daylight Before You Commit
Glitter on bridal nails works when the base, the glitter size and the shape agree with each other. Fine shimmer, sheer layers and a sensible length photograph best next to a ring. Champagne, pearl, silver, nude, blush, rose gold and milky white flatter most hands. If you can, have a test set done a few weeks out and live with it for several days: watch how the glitter catches on knitwear and how it grows out. That trial tells you more than any photo.
You'll Like These Ideas:


Leave a Reply