
When a bride asks me for bridesmaid hair, a messy bun is the style I suggest most often, and not only because it’s pretty. It keeps hair off the neck through the ceremony and the dancing, it suits almost every length, and it forgives the bridesmaid who has to carry two bouquets and a train. Below are twenty versions, from sleek-rooted to fully boho. I’ve added notes on which hair each one suits, because a group rarely shares one hair type.
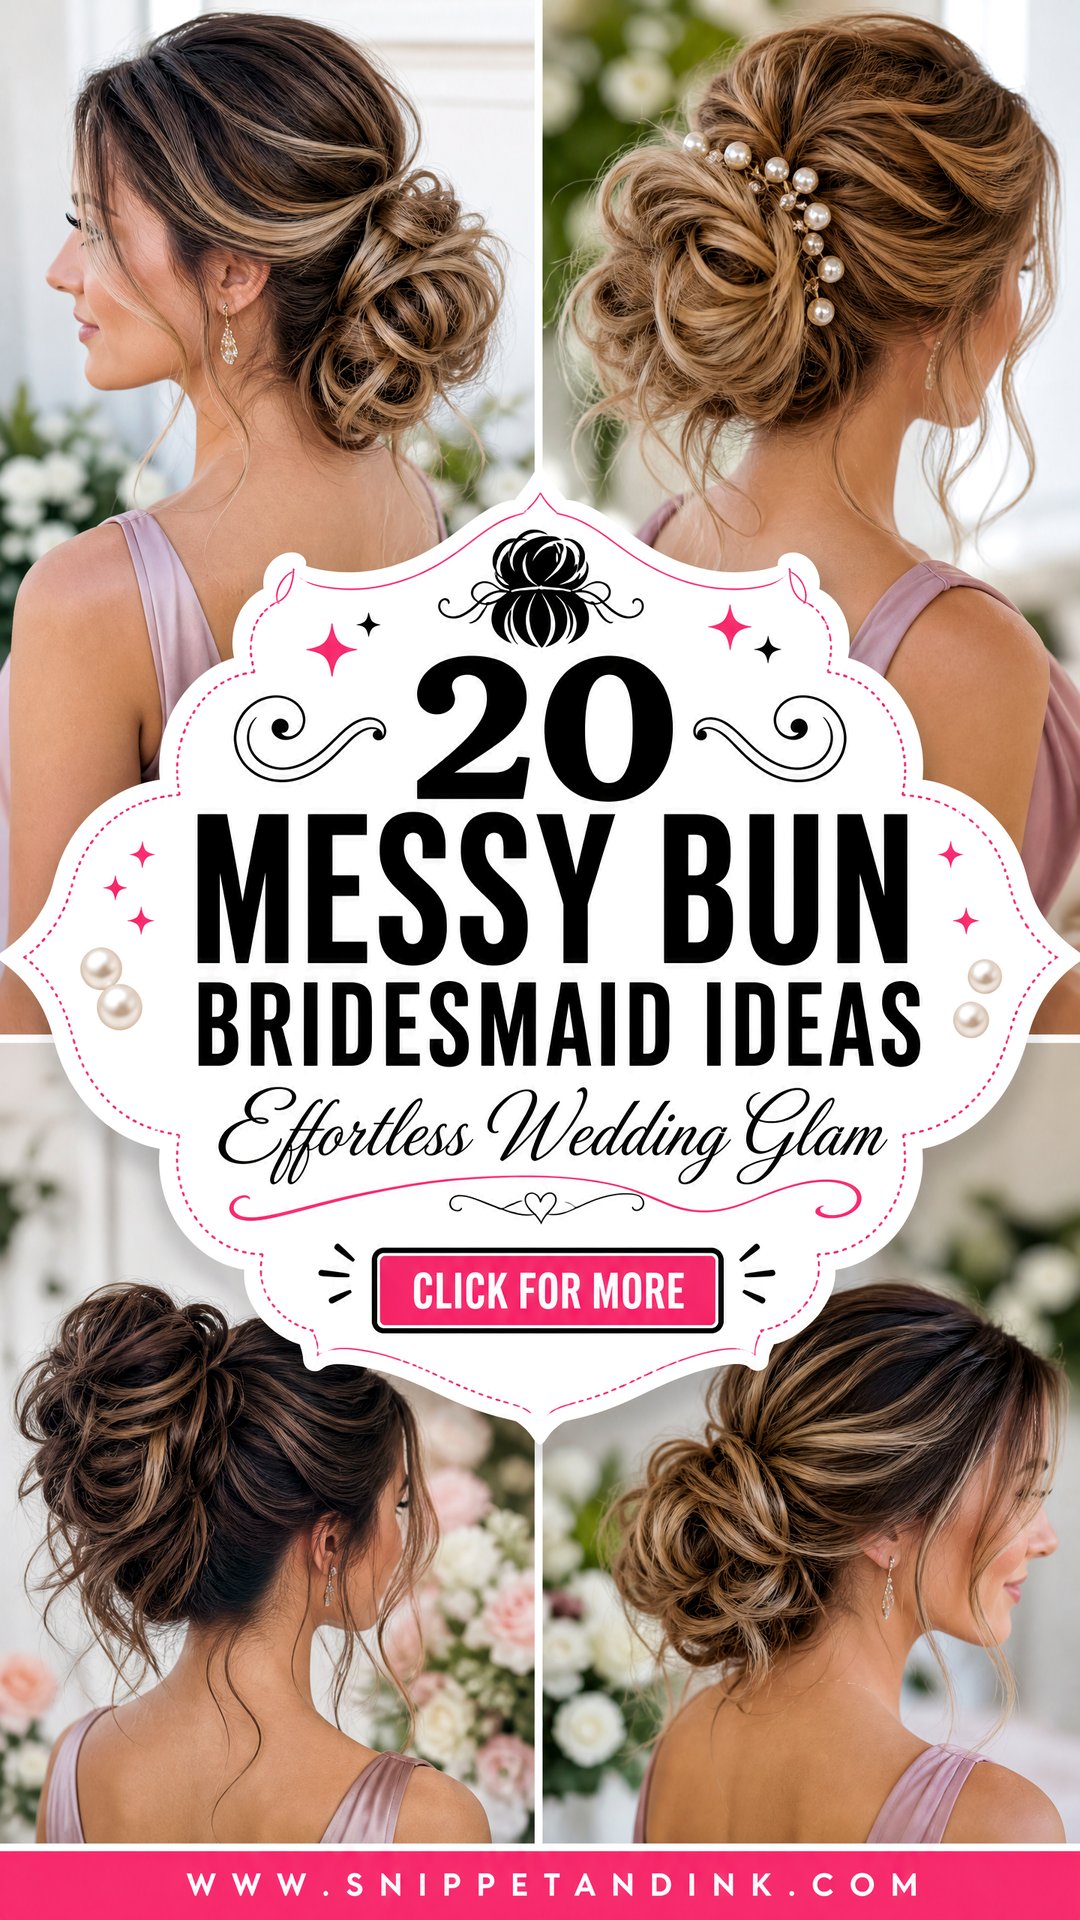
One Bun Style Across Very Different Heads of Hair
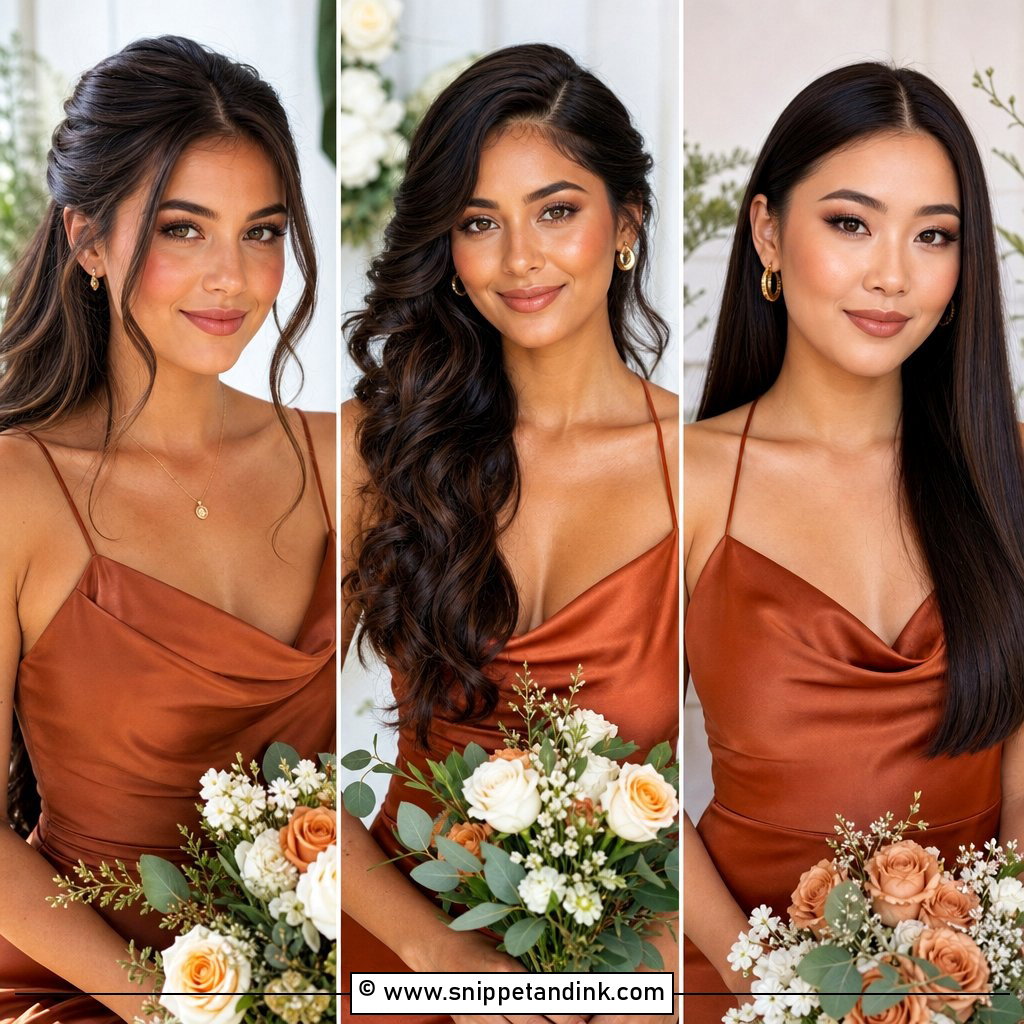
Bridal parties almost never share a hair type. There’s usually someone with fine straight hair, someone with thick curls, and one friend with a bob who’s worried she can’t wear an updo at all. Copying one photo onto all of them rarely works. What I do instead is pick one or two things the whole group shares and let the rest adapt.
- Share the height. Everyone low, or everyone mid. It’s the detail that reads most clearly in a group photo.
- Share the accessory. The same pearl pin or vine on every bun ties the group together even when the textures differ.
- Let the texture follow the hair. Curls stay curly, straight hair gets waves, and short hair gets a mini bun.
- Vary the face pieces to suit each face, not to match each other.
This takes the pressure off the bridesmaid whose hair won’t do what the photo shows, and the group still looks like it belongs together.
1. Messy Low Bun Bridesmaid Hair
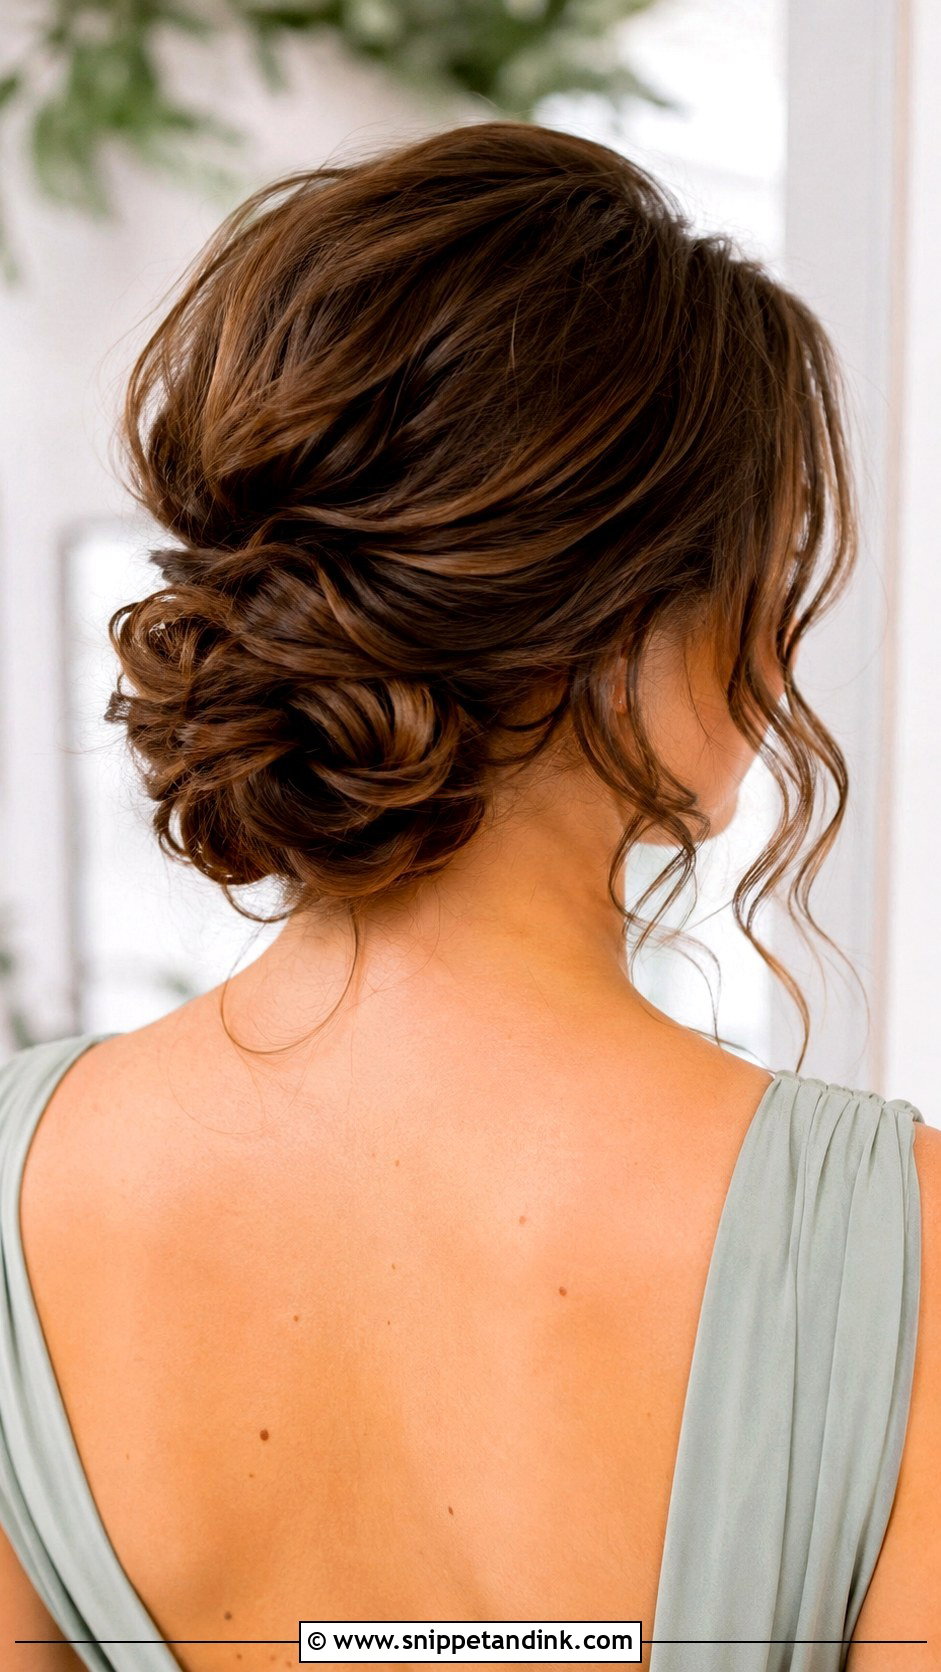
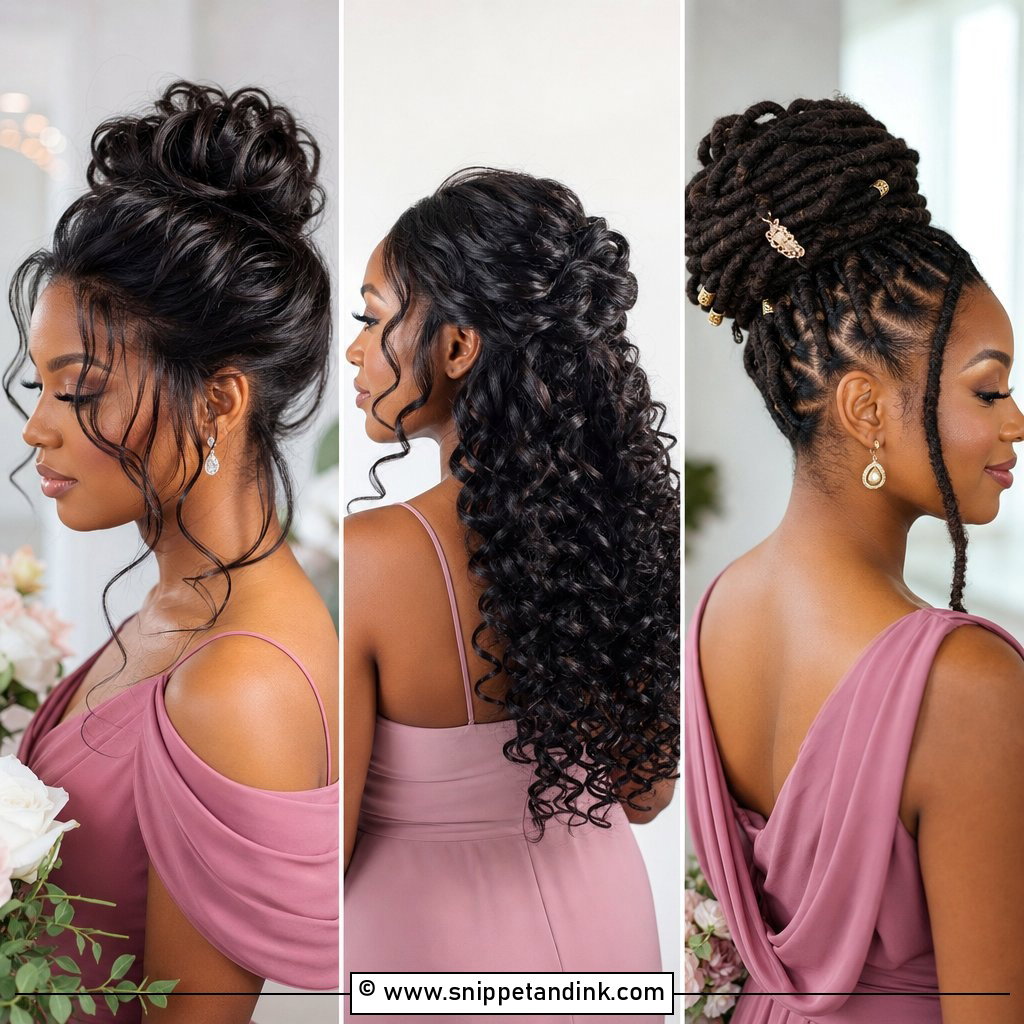
If I had to put six very different bridesmaids in one style, this is the one. A messy low bun bridesmaid hairstyle sits at the nape where it’s comfortable all day and hard to knock out of shape. I wave the hair first, because texture gives the bun its fullness, then lift the crown slightly with a little backcombing. Medium to long hair is easiest. For a garden wedding, ask for a soft lifted crown rather than a slicked-back finish.
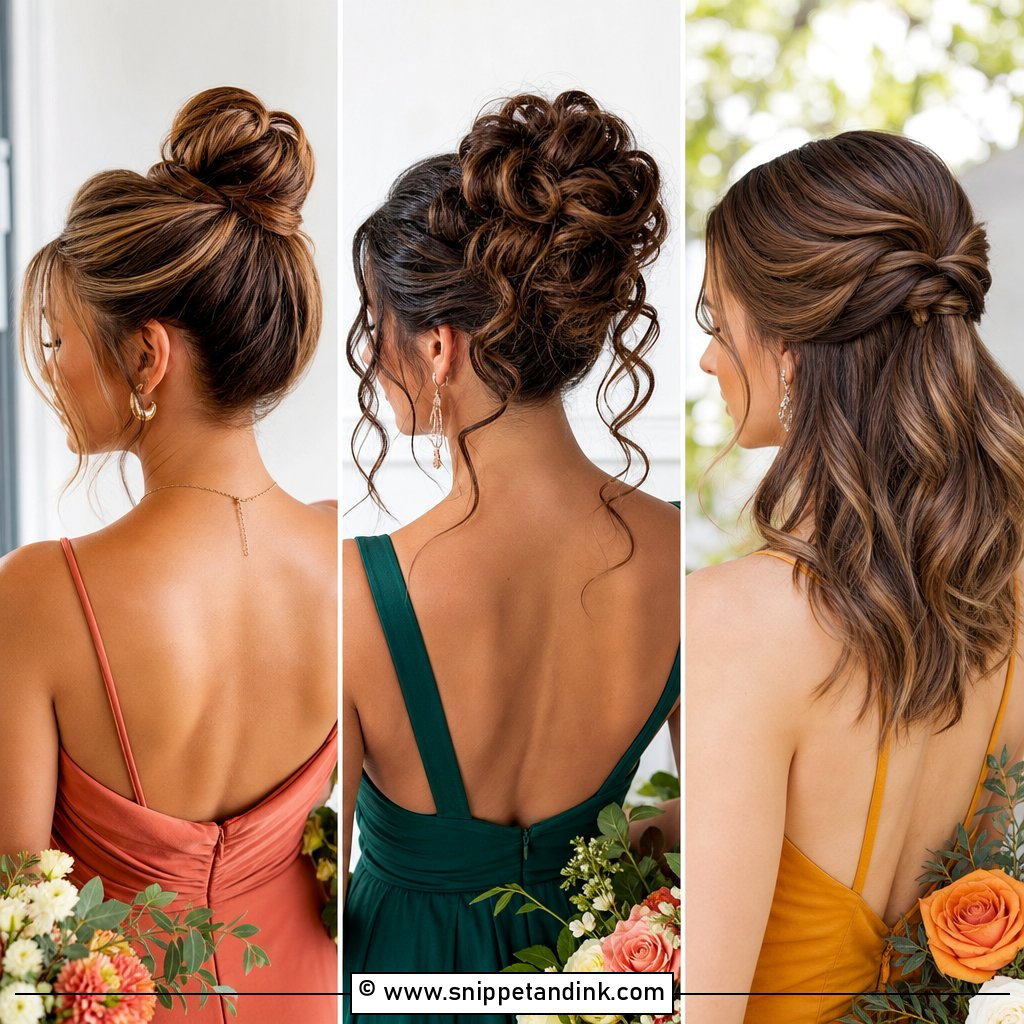
2. Messy High Bun Bridesmaid Hair
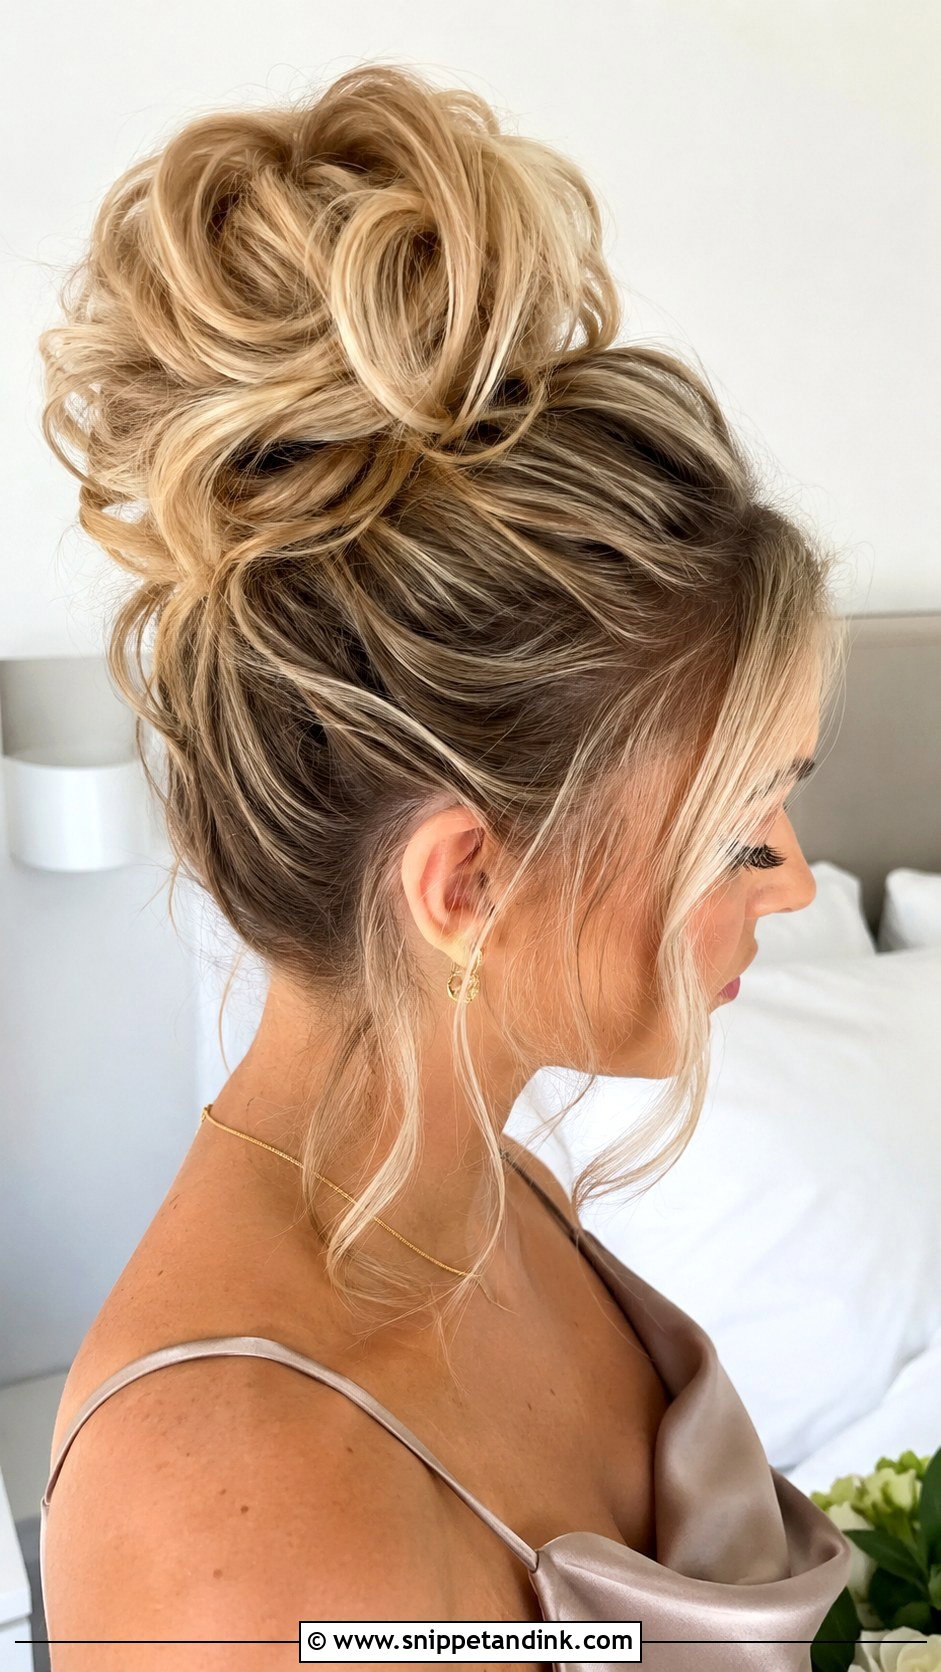
The high bun is a strong bridesmaid look for strapless, halter and square necklines, because there’s nothing at the nape competing with the dress. It also takes weight off thick hair, which is a relief in July. I build it on a small teased base so it stays upright, then pull pieces loose at the temples. One caution: a very tall bridesmaid in a high bun can look out of line with the rest of the group in formal photos.
3. Messy Bun With Face Framing Pieces
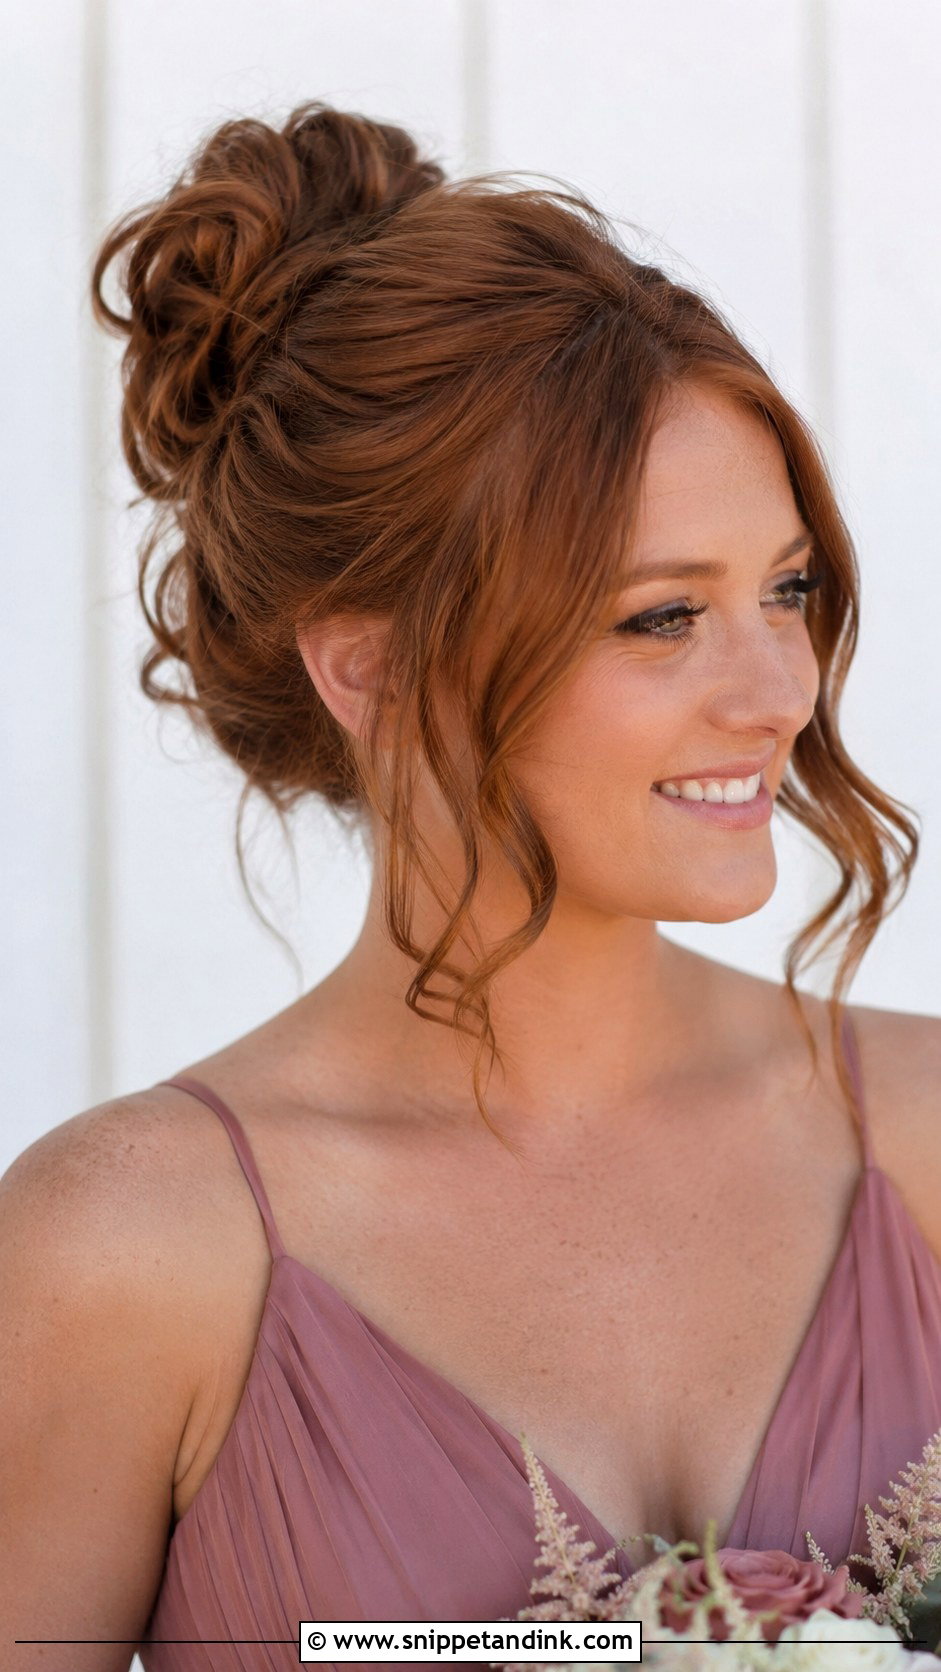
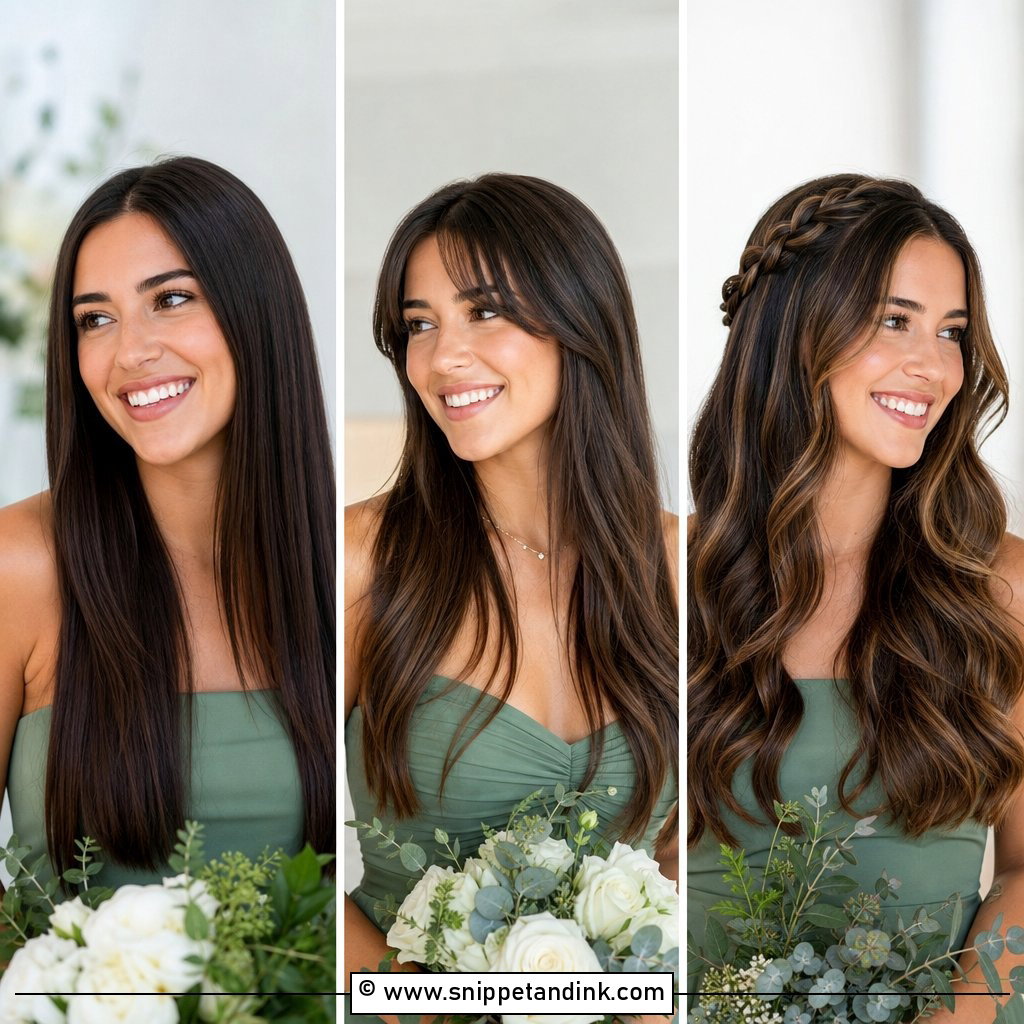
Face-framing pieces are what I offer the bridesmaid who feels exposed with all her hair up. I curl them away from the face in loose bends, not tight ringlets, and take them from the temples rather than the forehead. They soften a strong jaw and keep a high forehead from looking bare. The bun behind them stays medium-sized and textured, with a slightly lifted crown so the whole head looks balanced.
4. Messy Bun With Curtain Bangs
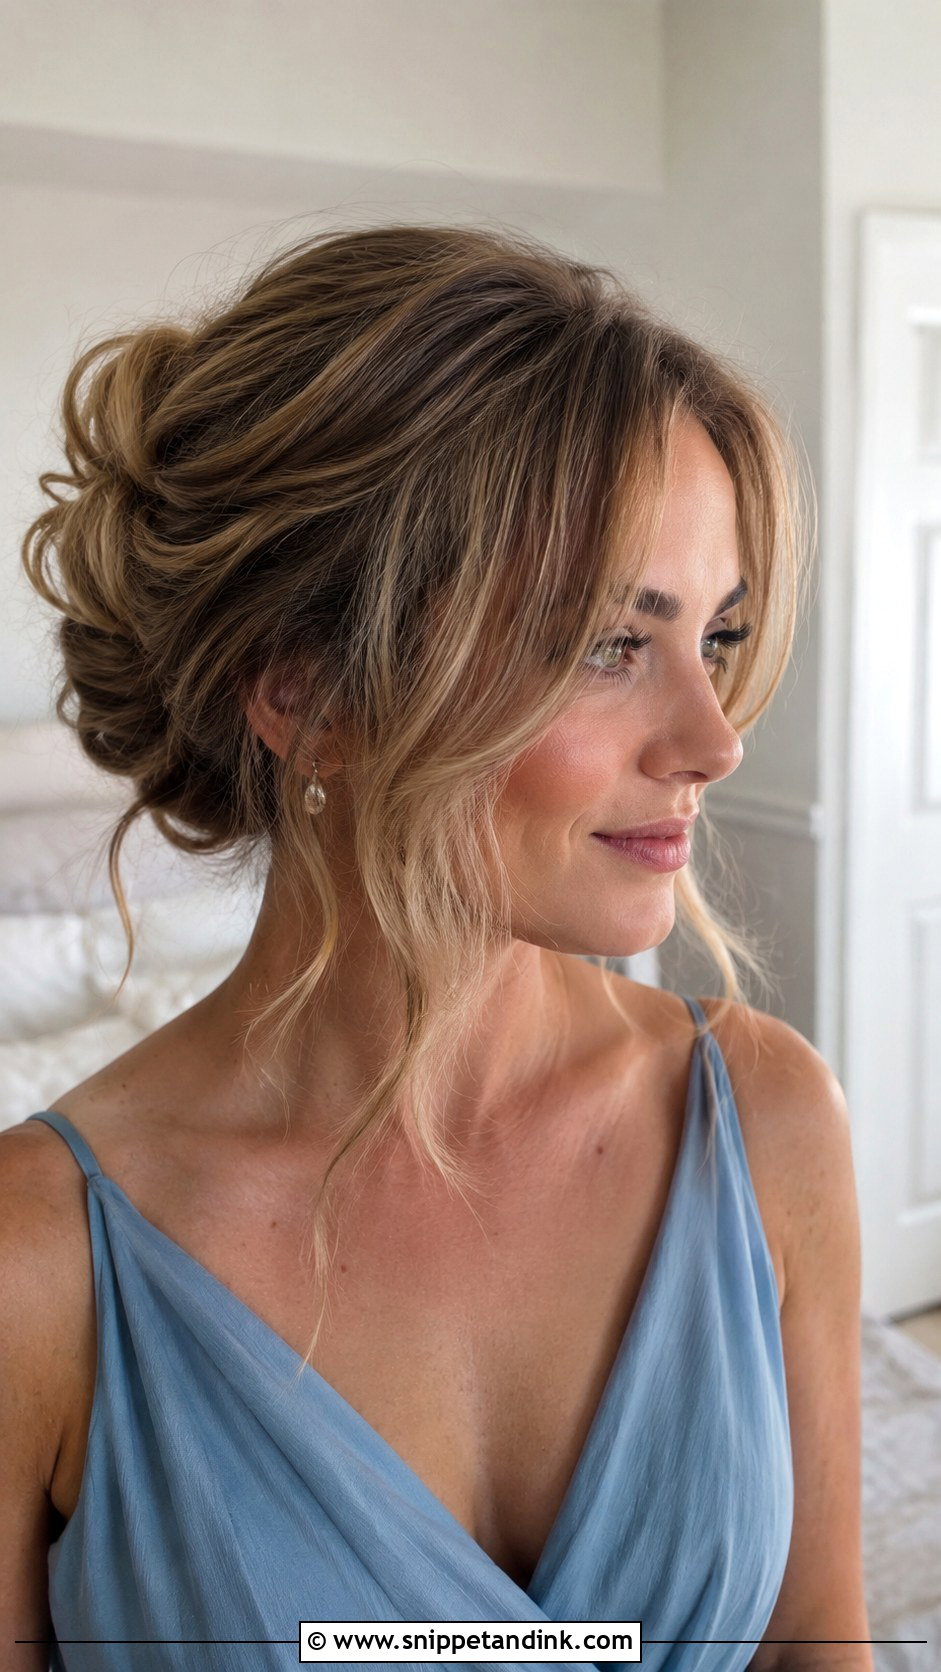
Curtain bangs already do the face-framing job, so the bun can be simpler. I blow-dry the bangs with a round brush so they bend outward, then set them with a light spray rather than curling them, which can make them look dated. The bun can sit low or mid-height. This only suits a bridesmaid who already has the bangs; cutting them a few weeks before the wedding is a gamble I’d rather she didn’t take.
5. Messy Braided Bun Bridesmaid Hair
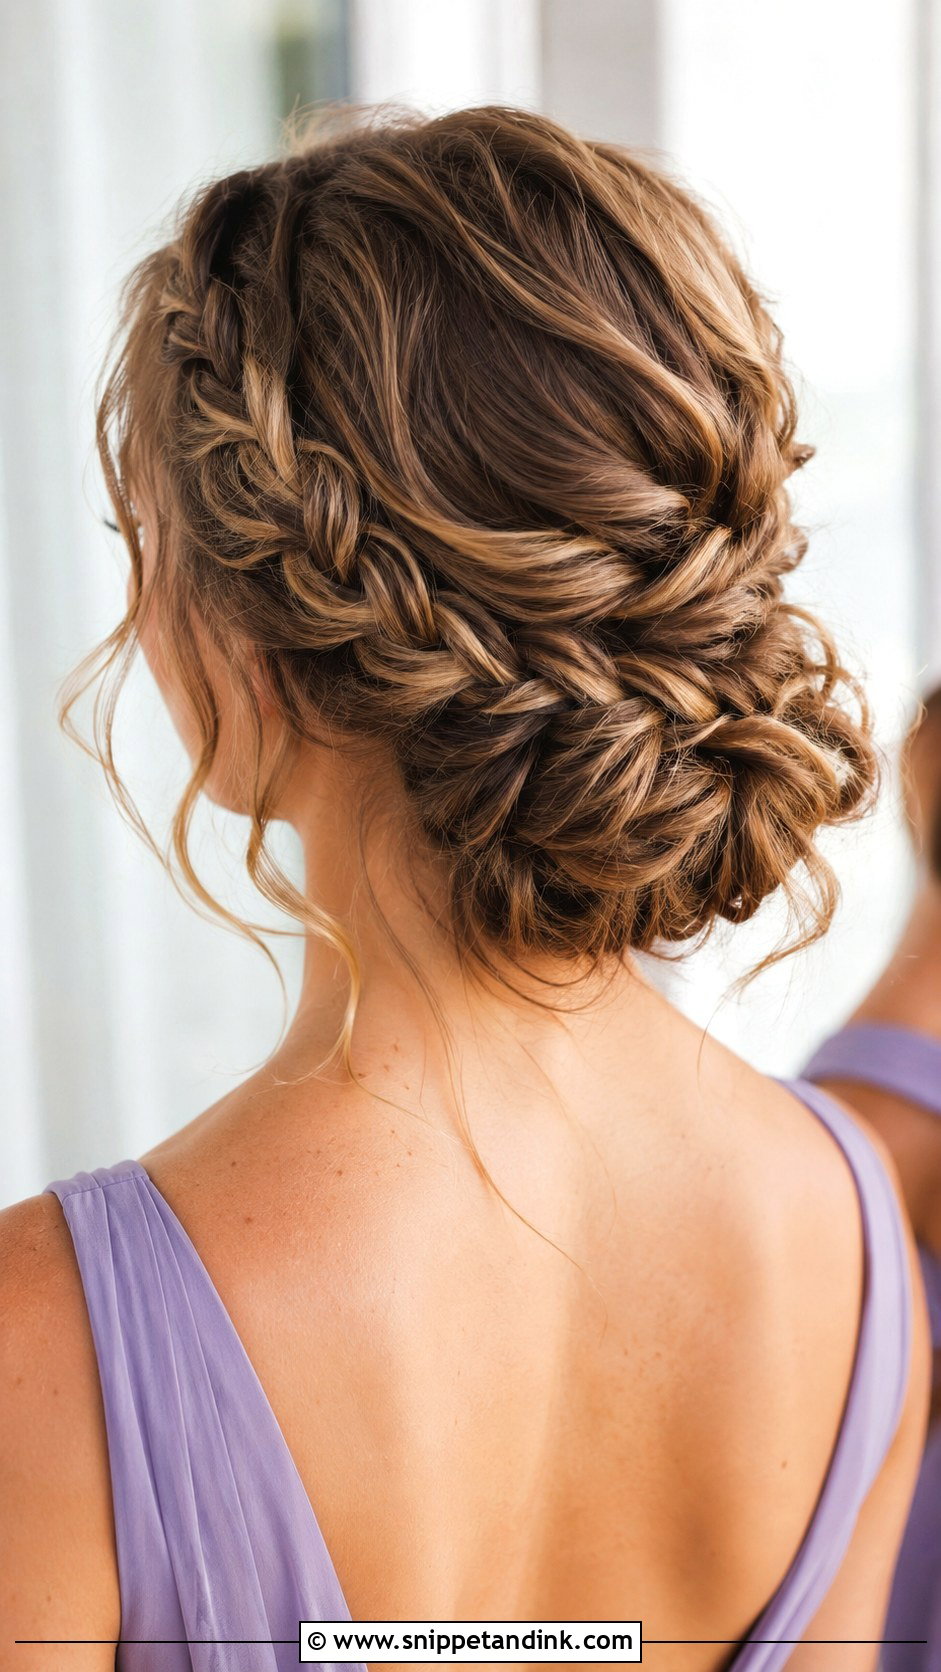
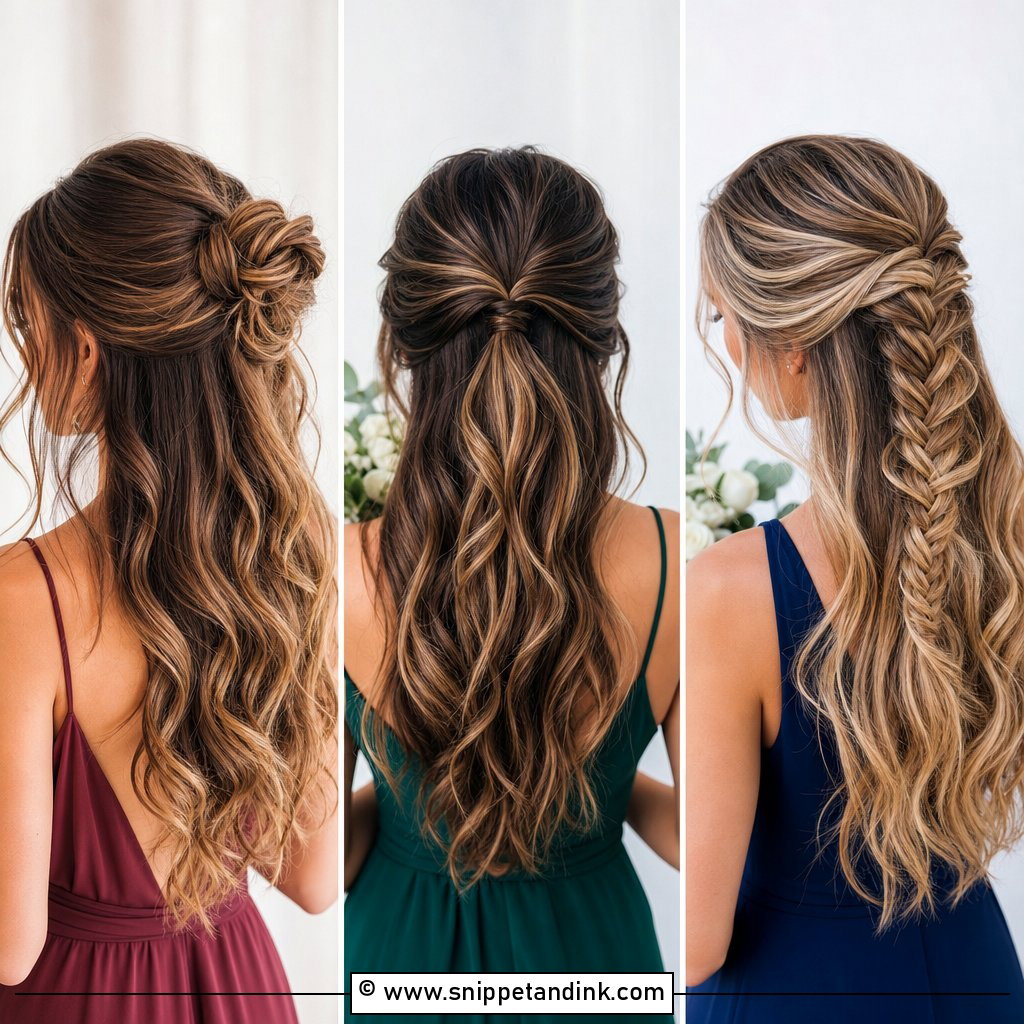
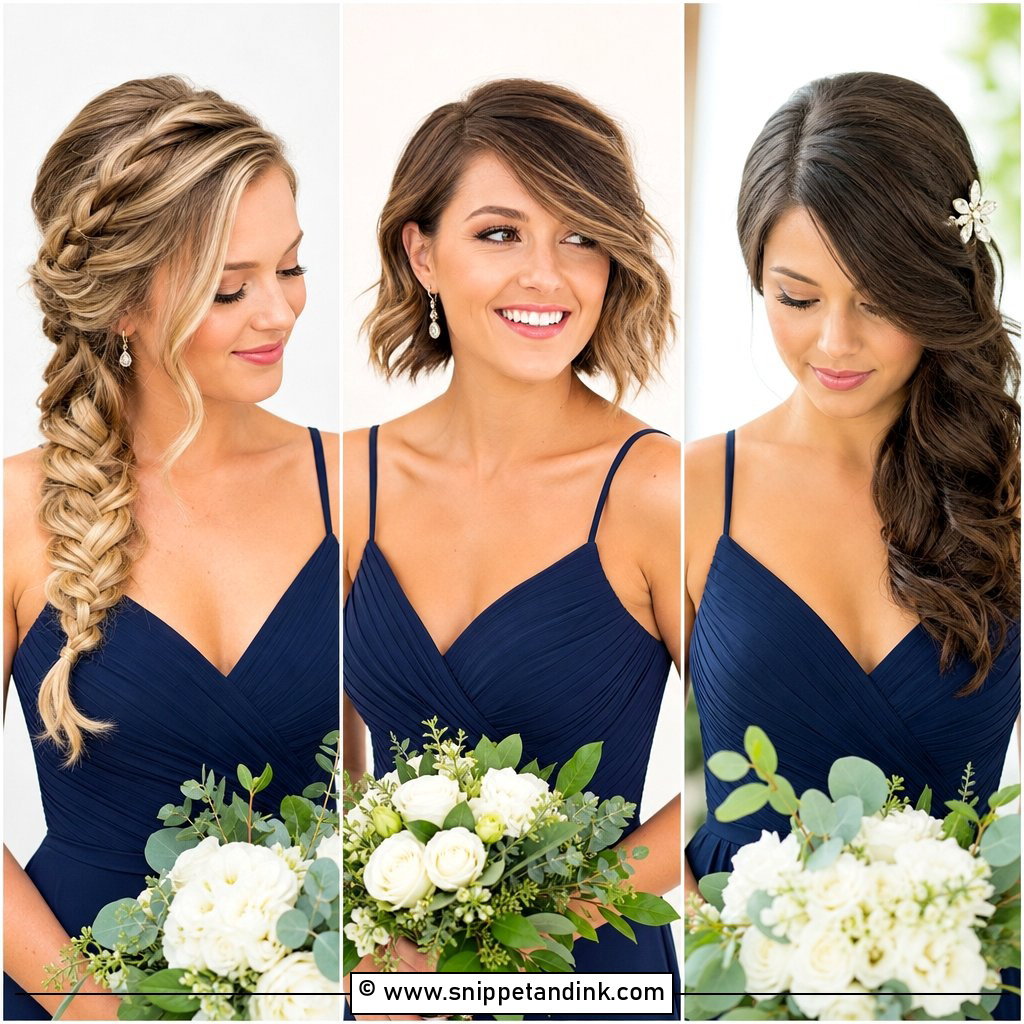
A braid gives the bun a detail that reads from across the room. I run it along one side, across the crown, or straight into the knot, then pancake it gently once it’s pinned. It’s especially good on balayage or highlighted hair, because braiding shows the lighter strands off. Keep the plait loose. A tight braid next to a messy bun looks like two different styles.
6. Messy Side Bun Bridesmaid Hair
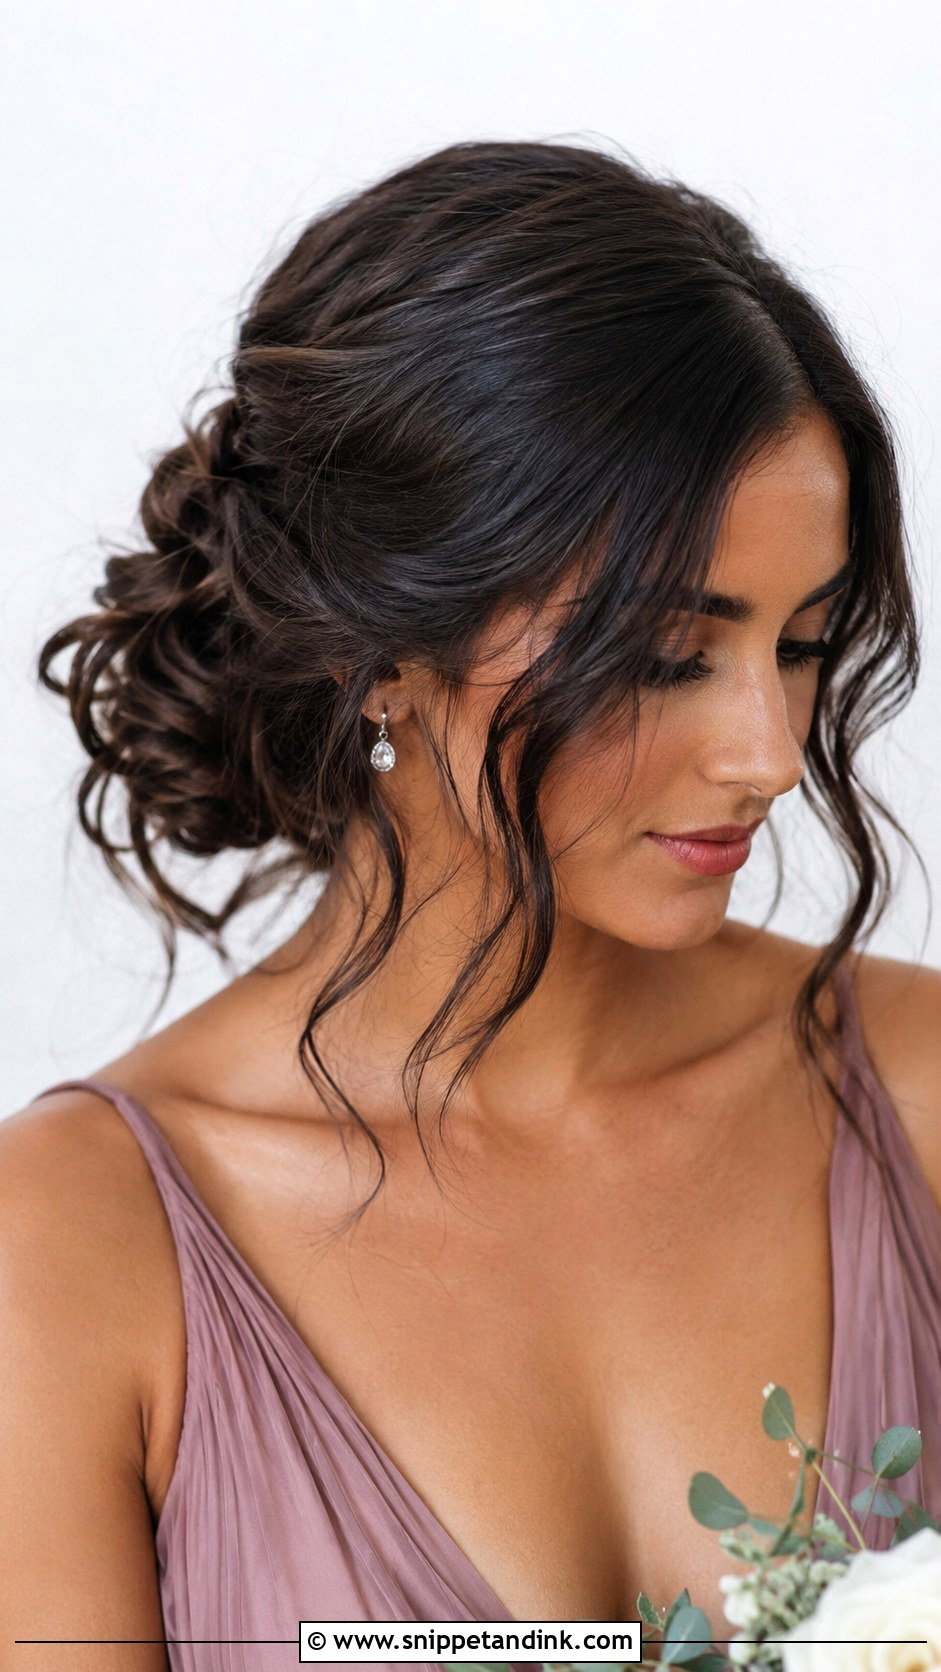
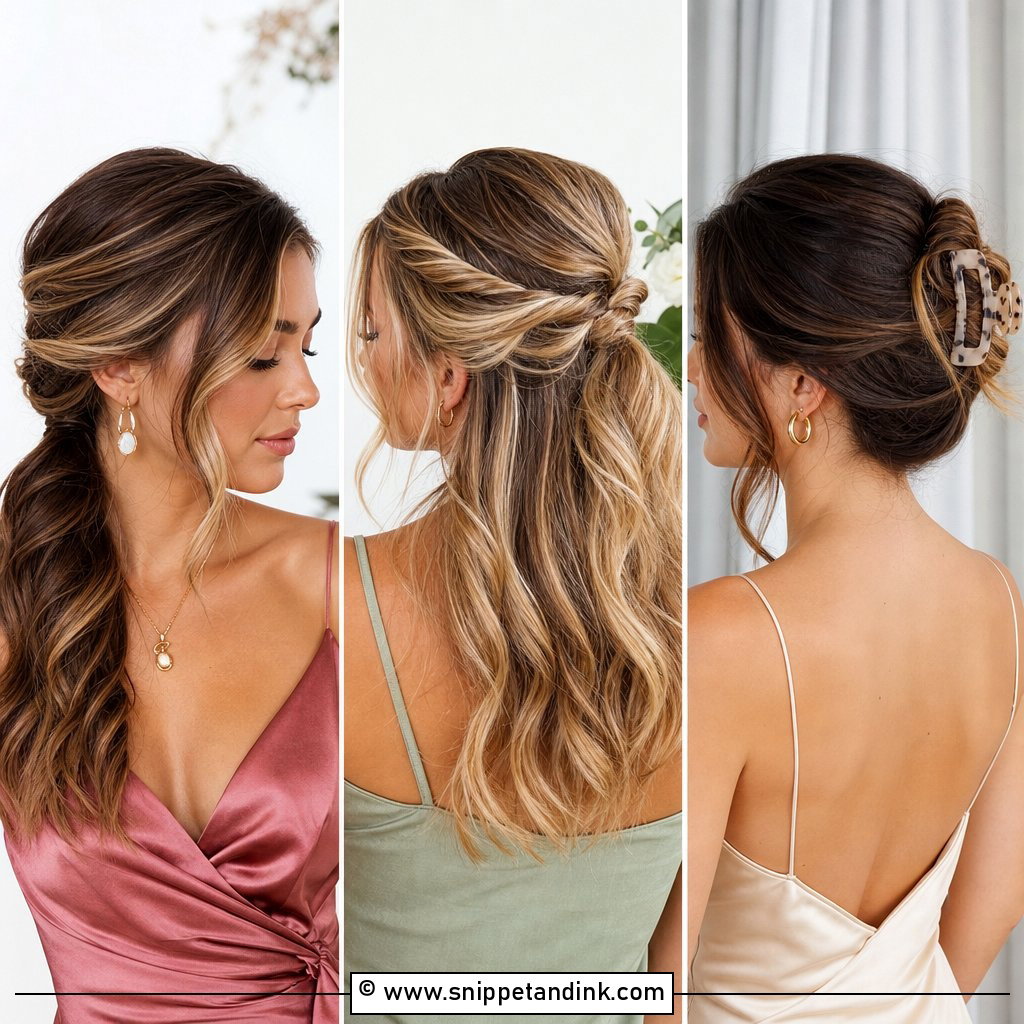
Moving the bun to one side of the nape makes it visible from the front, which matters for a bridesmaid who mostly faces guests. It sits well with one-shoulder dresses and deep side parts. I put the bun on the side opposite the dress strap, so the hair and the strap don’t pile up on the same shoulder. Waves first, then pin. Leave a couple of soft pieces on the other cheek so the face doesn’t look lopsided.
7. Messy Bun With Pearl Pins
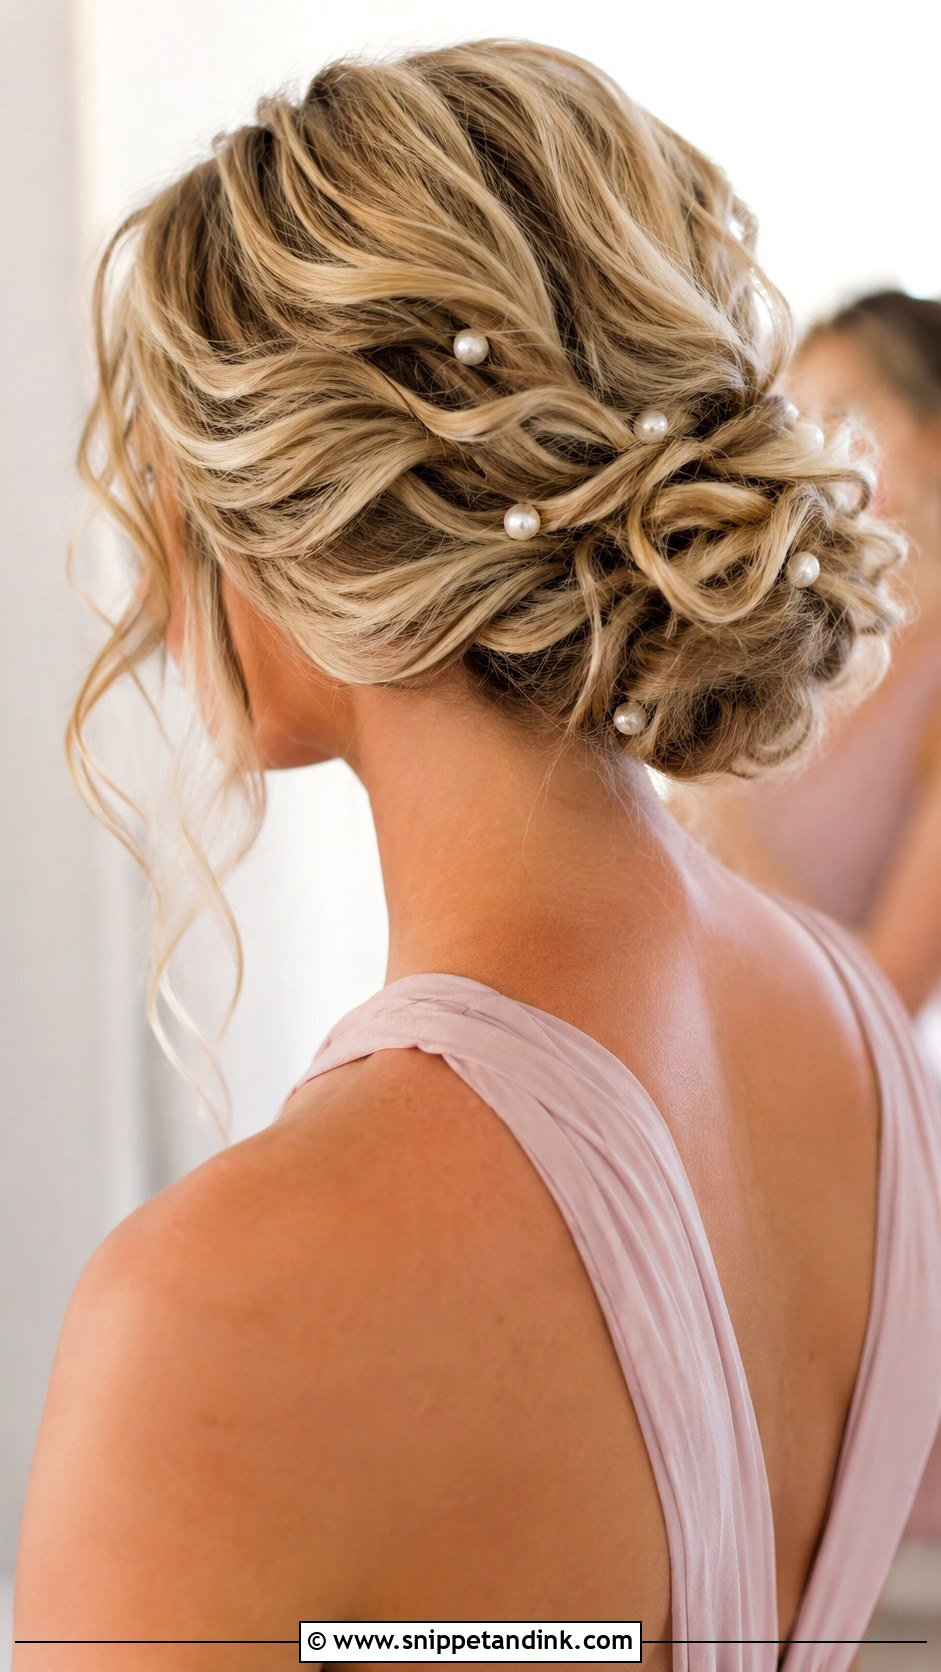
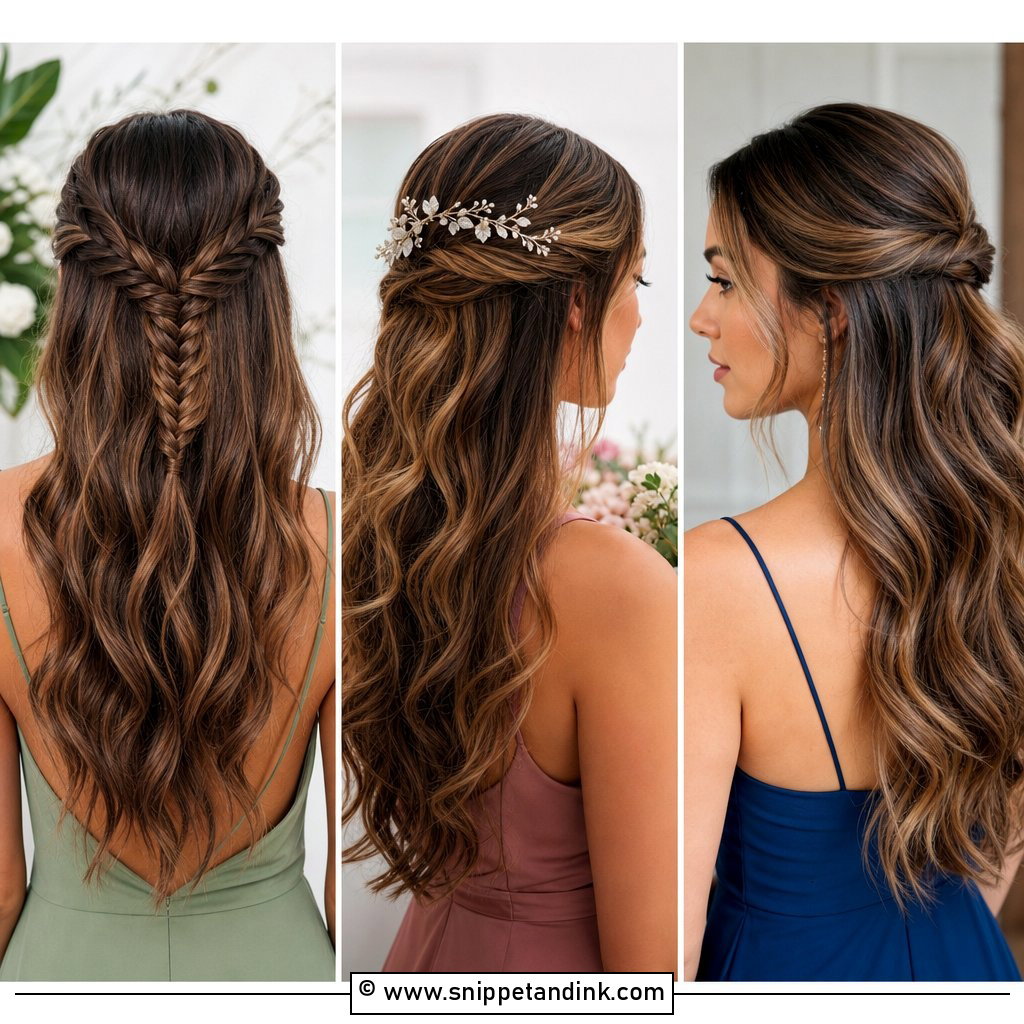
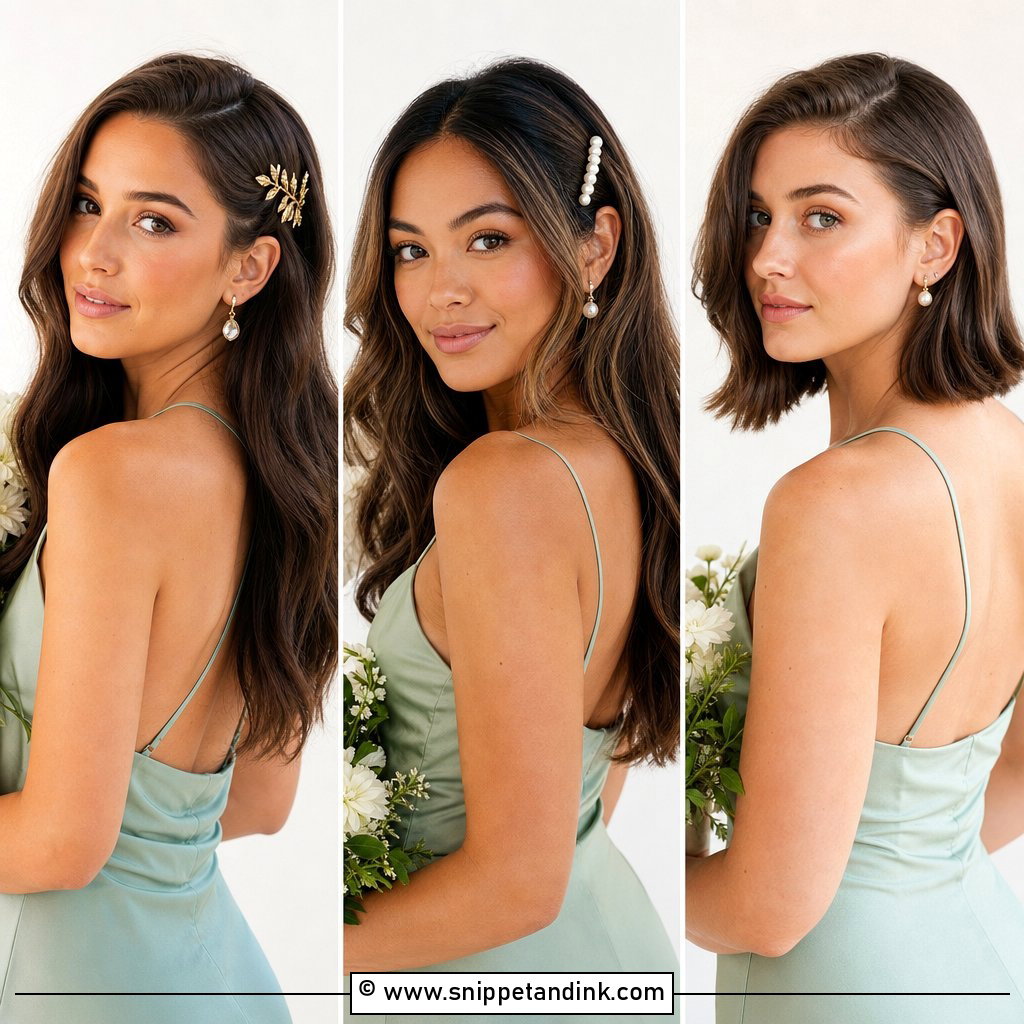
Pearl pins finish a messy bun without making it formal. I scatter them unevenly around the twists instead of lining them up. Small pearls show well against dark hair; on pale blonde they almost disappear, so I go slightly bigger there. If the dresses already carry sequins or beading, keep the pearls tiny. It suits classic, garden and coastal weddings where the bridesmaid hair should look polished without going stiff.
8. Messy Bun With Twists
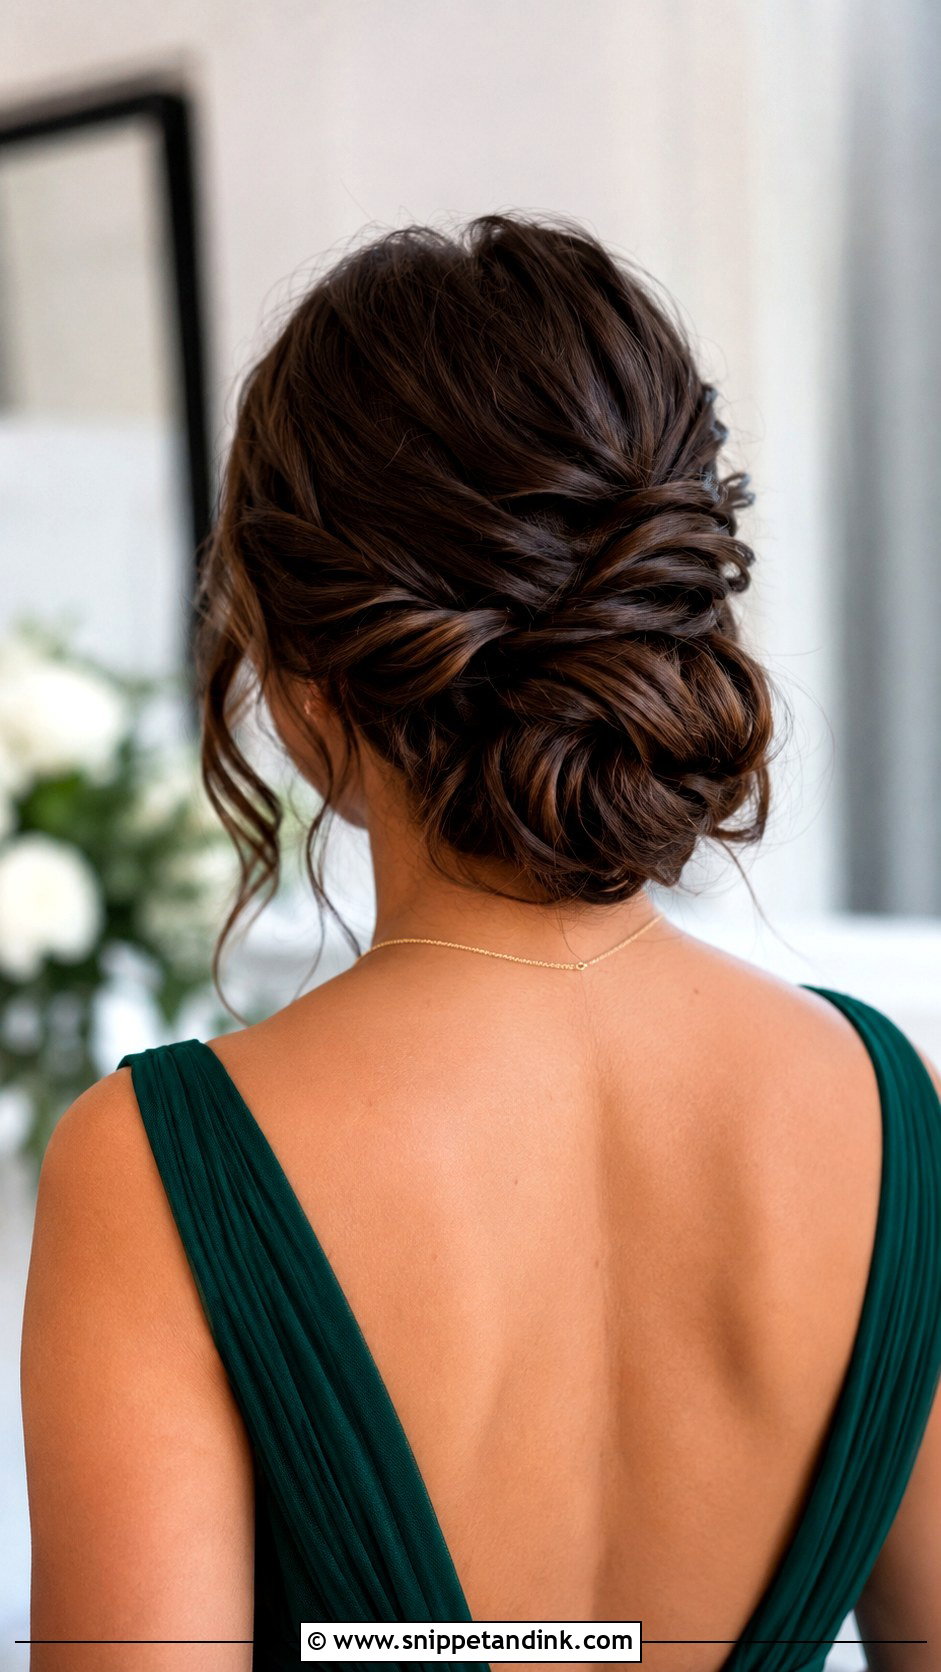
Twists give texture without the time a braid takes, which counts when I have a full bridal party in the chair. I twist a section from each side, meet them at the back, and blend them into a low or mid bun. Pulled wider, the twists make fine or medium hair look fuller. They’re also more secure than they look, since each twist is pinned in place before the bun goes in.
9. Messy Bun For Long Hair Bridesmaid
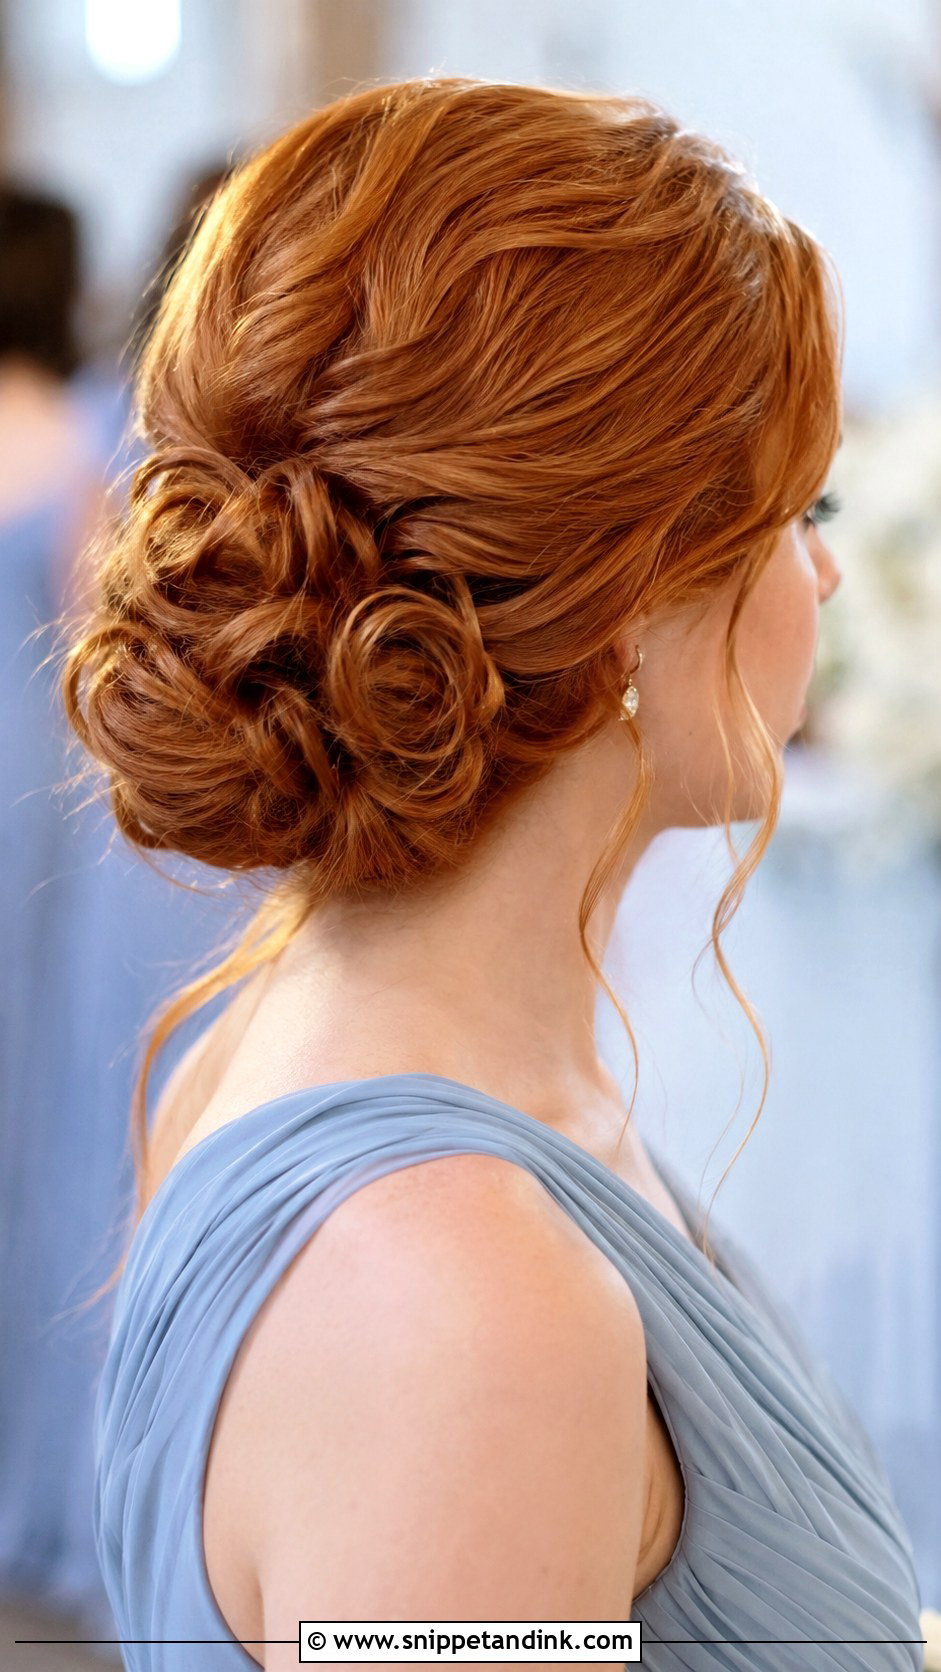
Long hair makes a full bun, but it gets heavy by the reception if it’s all hung from one elastic. I divide it into three or four sections, anchor the base with a clear elastic, and pin each section separately so the weight spreads out. A big knot looks bulky in photos; controlled layers look soft. Crown lift and a few face strands keep the size in proportion with the face.
10. Messy Bun For Medium Hair Bridesmaid
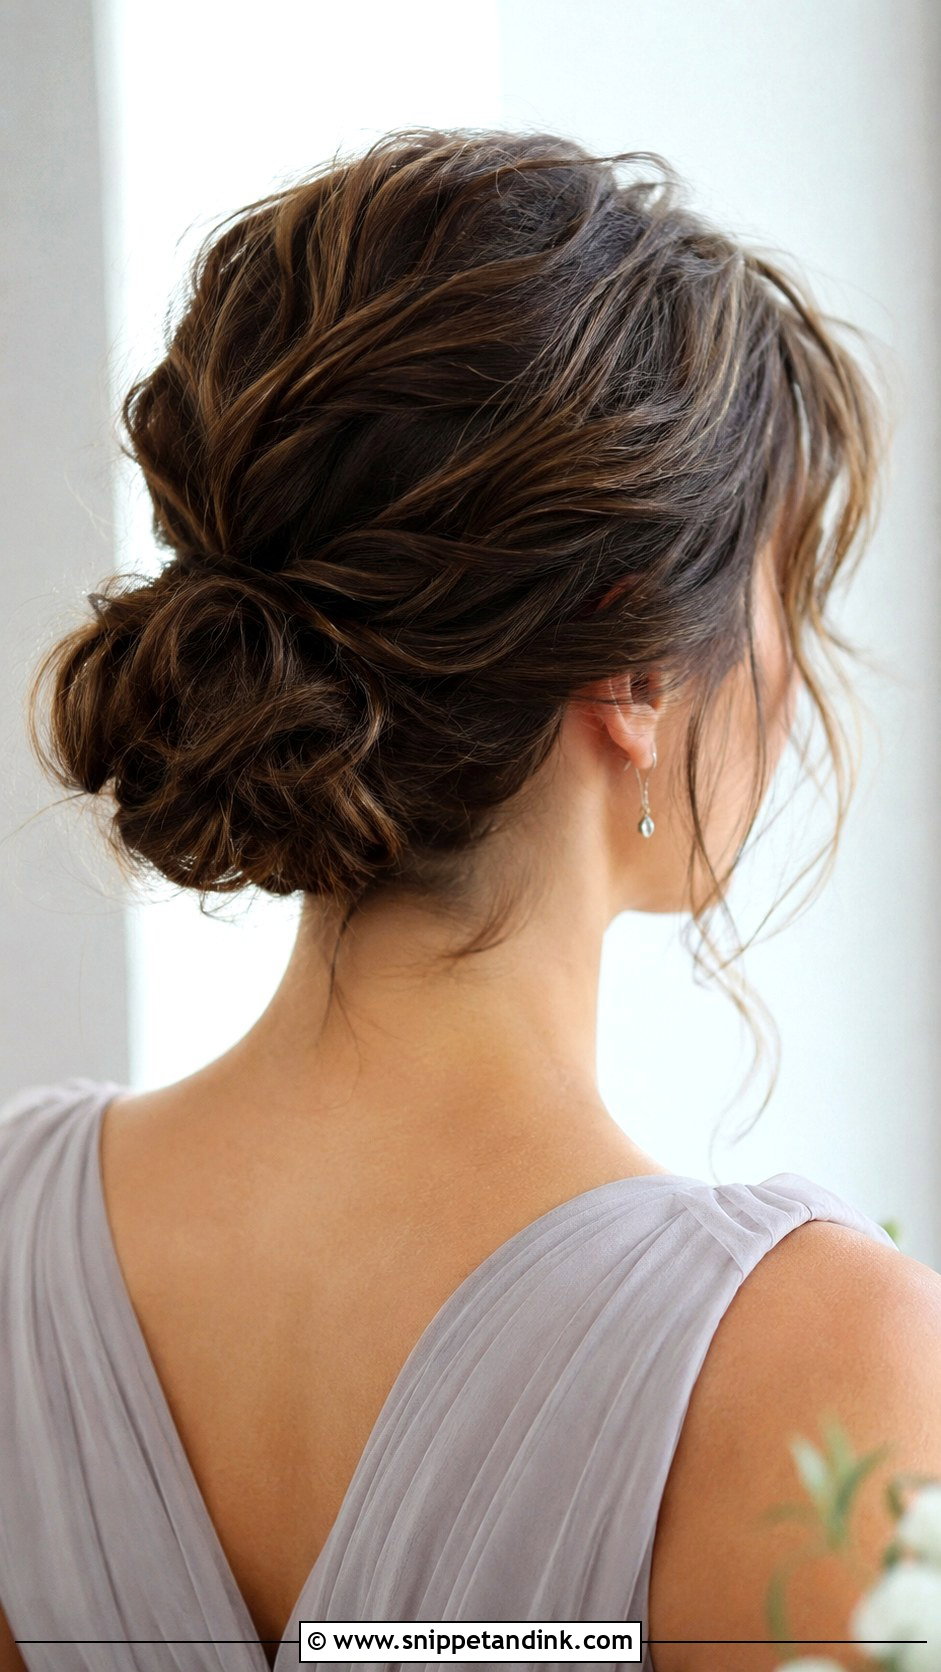
Collarbone-length hair is the easiest length to put up. There’s enough to pin, not so much that it drags. The ends are the problem: they tend to spring out of the bun, so I curl them under and pin each one. Texture spray stops shoulder-length hair from slipping. This needs no extensions or padding, which makes it a budget-friendly choice for the group.
11. Messy Bun For Short Hair Bridesmaid
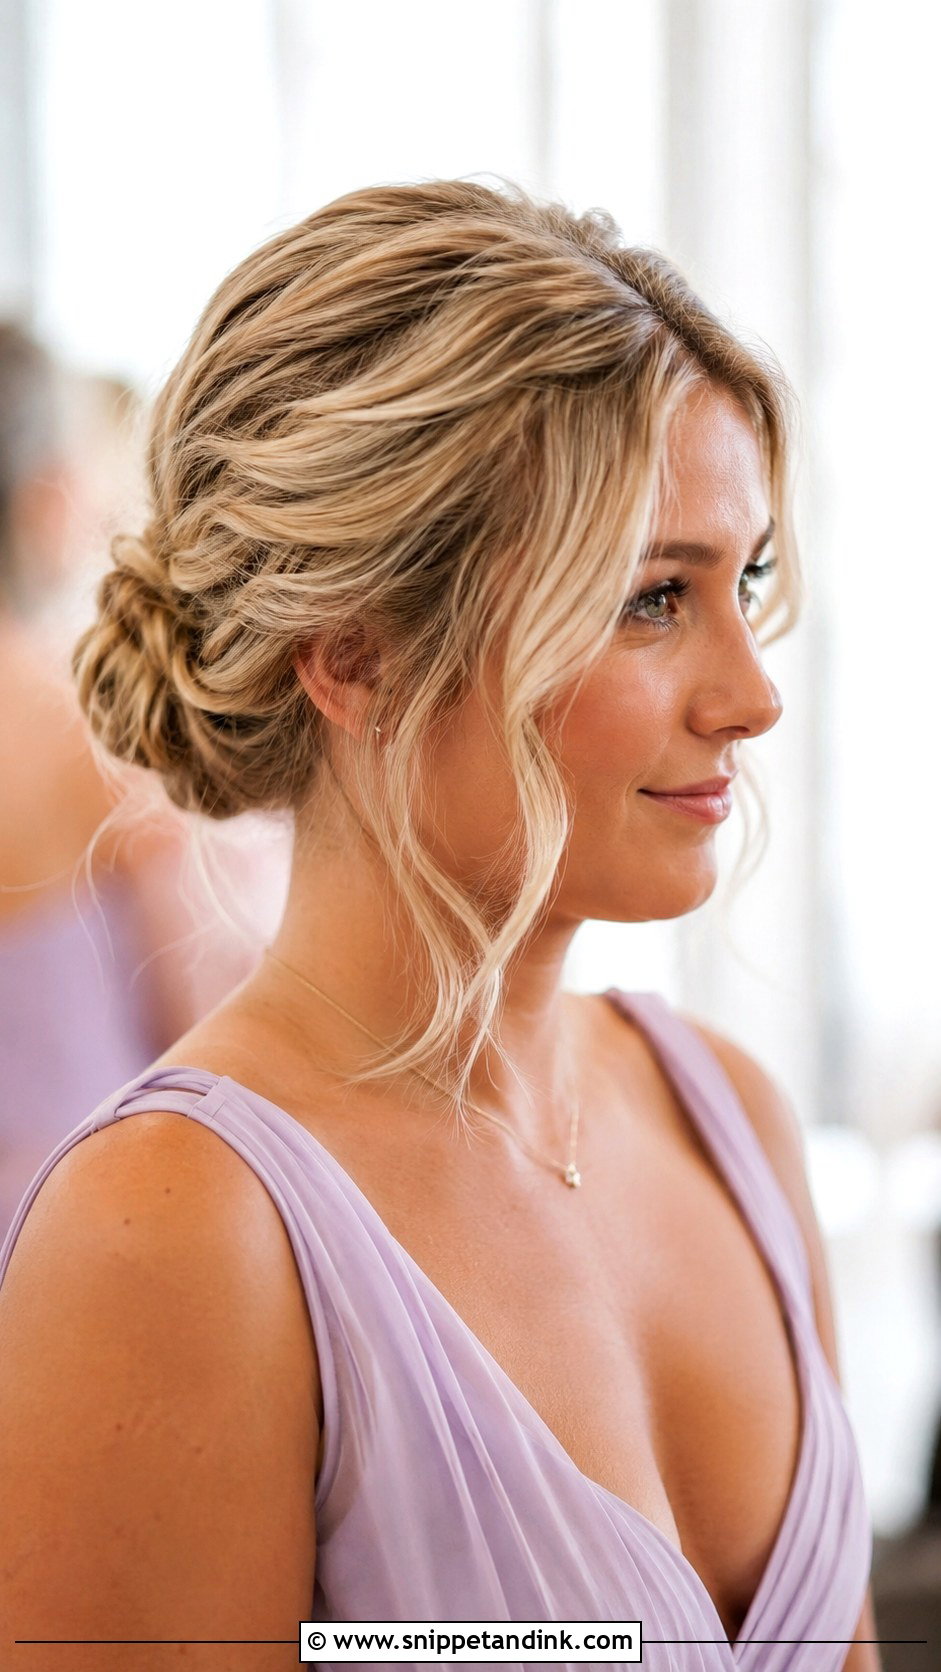
Chin-to-shoulder hair can go up, but honestly, the bun will be small. I wave everything, use texture spray generously, and pin the back into a low mini bun, leaving soft pieces at the hairline so the shorter layers look deliberate. A small clip-in piece in a matched shade can add bulk if she wants it. Expect a few short ends to escape by evening. That’s fine for a messy style.
12. Curly Messy Bun Bridesmaid Hair
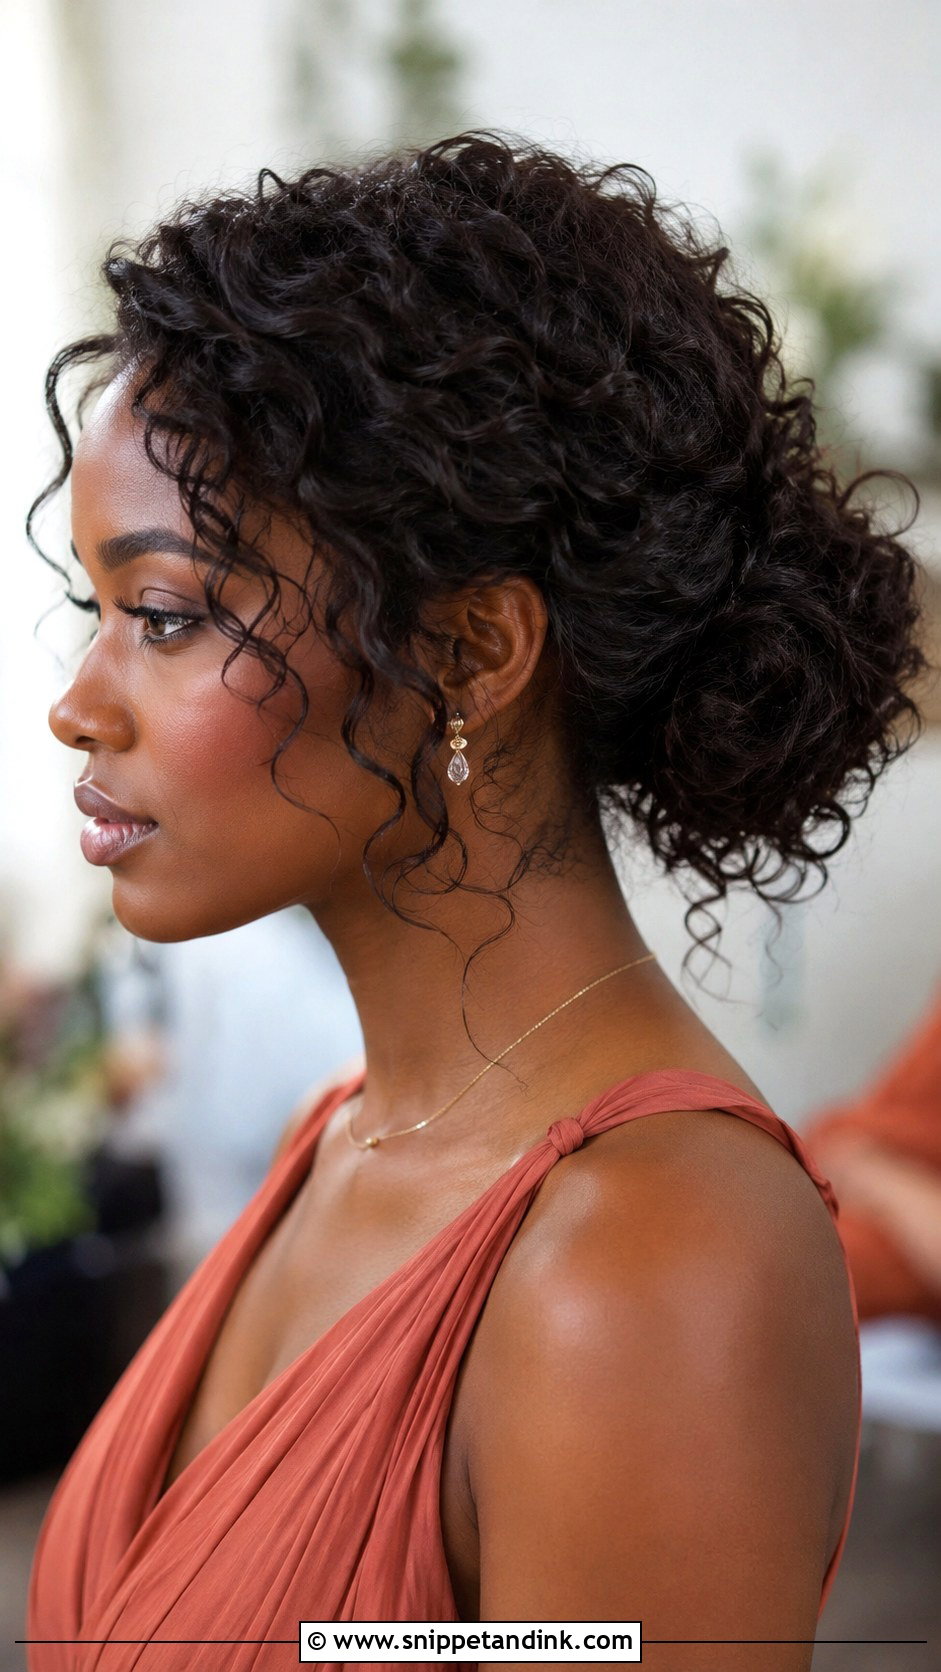
Curly bridesmaids should never be brushed out for a messy bun. I define the curls first with a cream, then pin them in loose clusters at the back so the pattern stays intact. Hydration prep the day before matters more than anything I do on the morning, especially for an outdoor or humid wedding. Leave a few curls at the neck and temples. It looks polished and still looks like her own hair.
13. Wavy Messy Bun Bridesmaid Hair
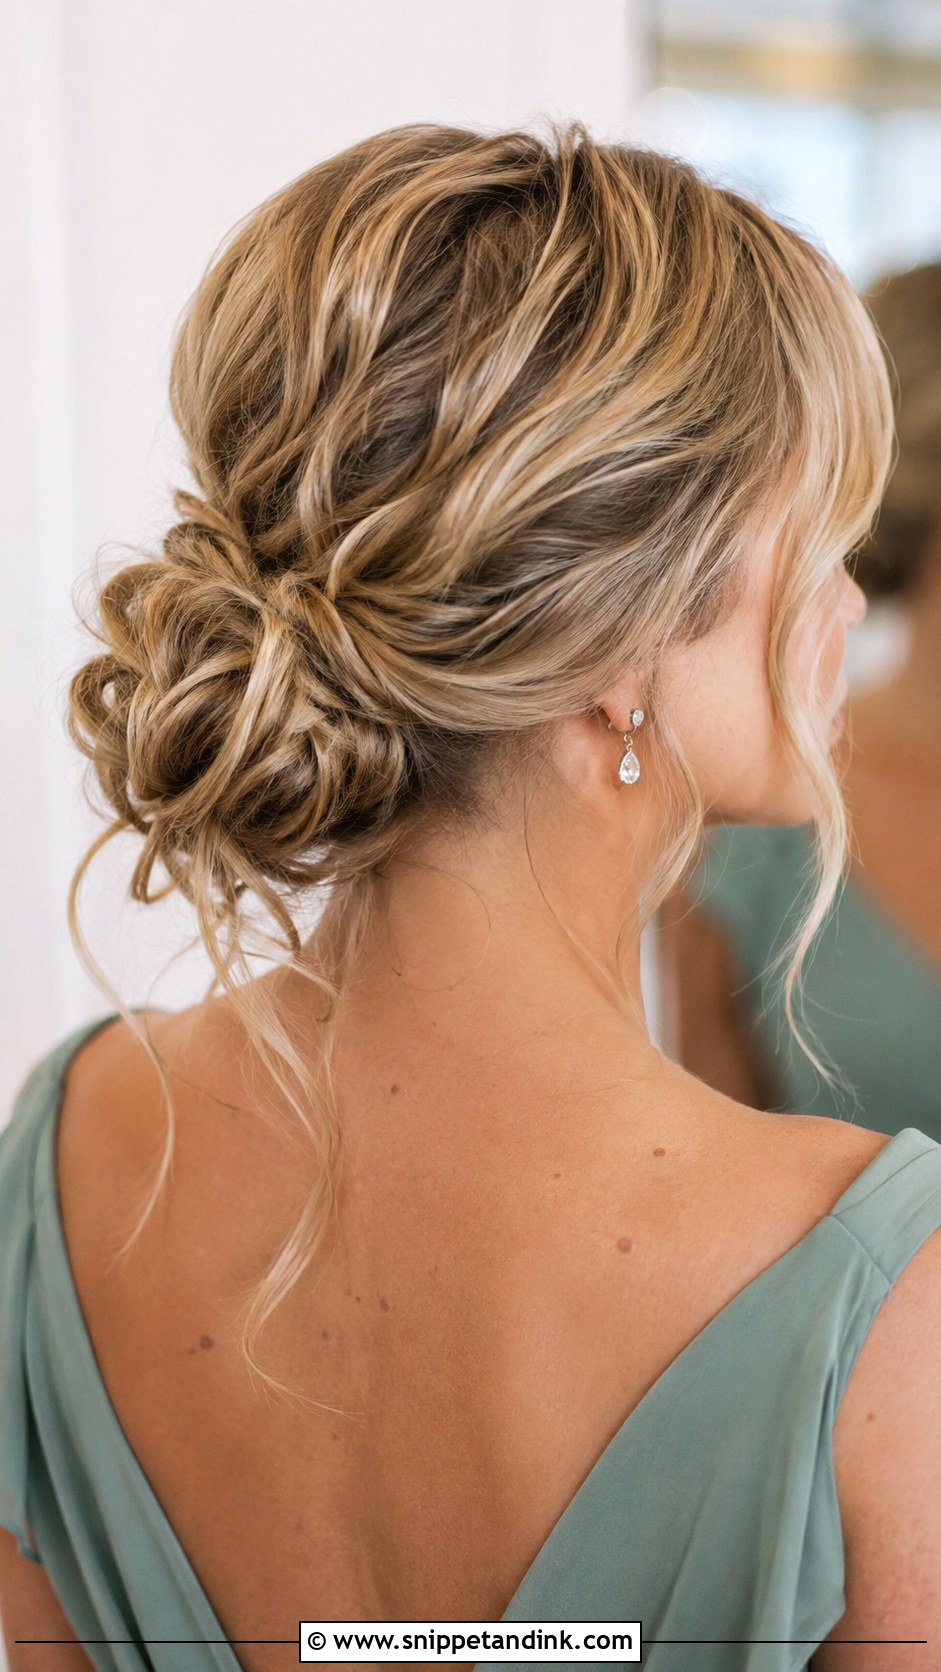
Waves are the default texture behind most messy buns, and this version simply lets them show. Highlighted and multi-tonal hair looks its best here, because the waves turn each strand at a slightly different angle to the light. I place the bun low, mid or slightly off center depending on the neckline. The crown shouldn’t be flat. A gentle lift there changes the whole shape of the head in a group photo.
14. Sleek Messy Bun Bridesmaid Hair
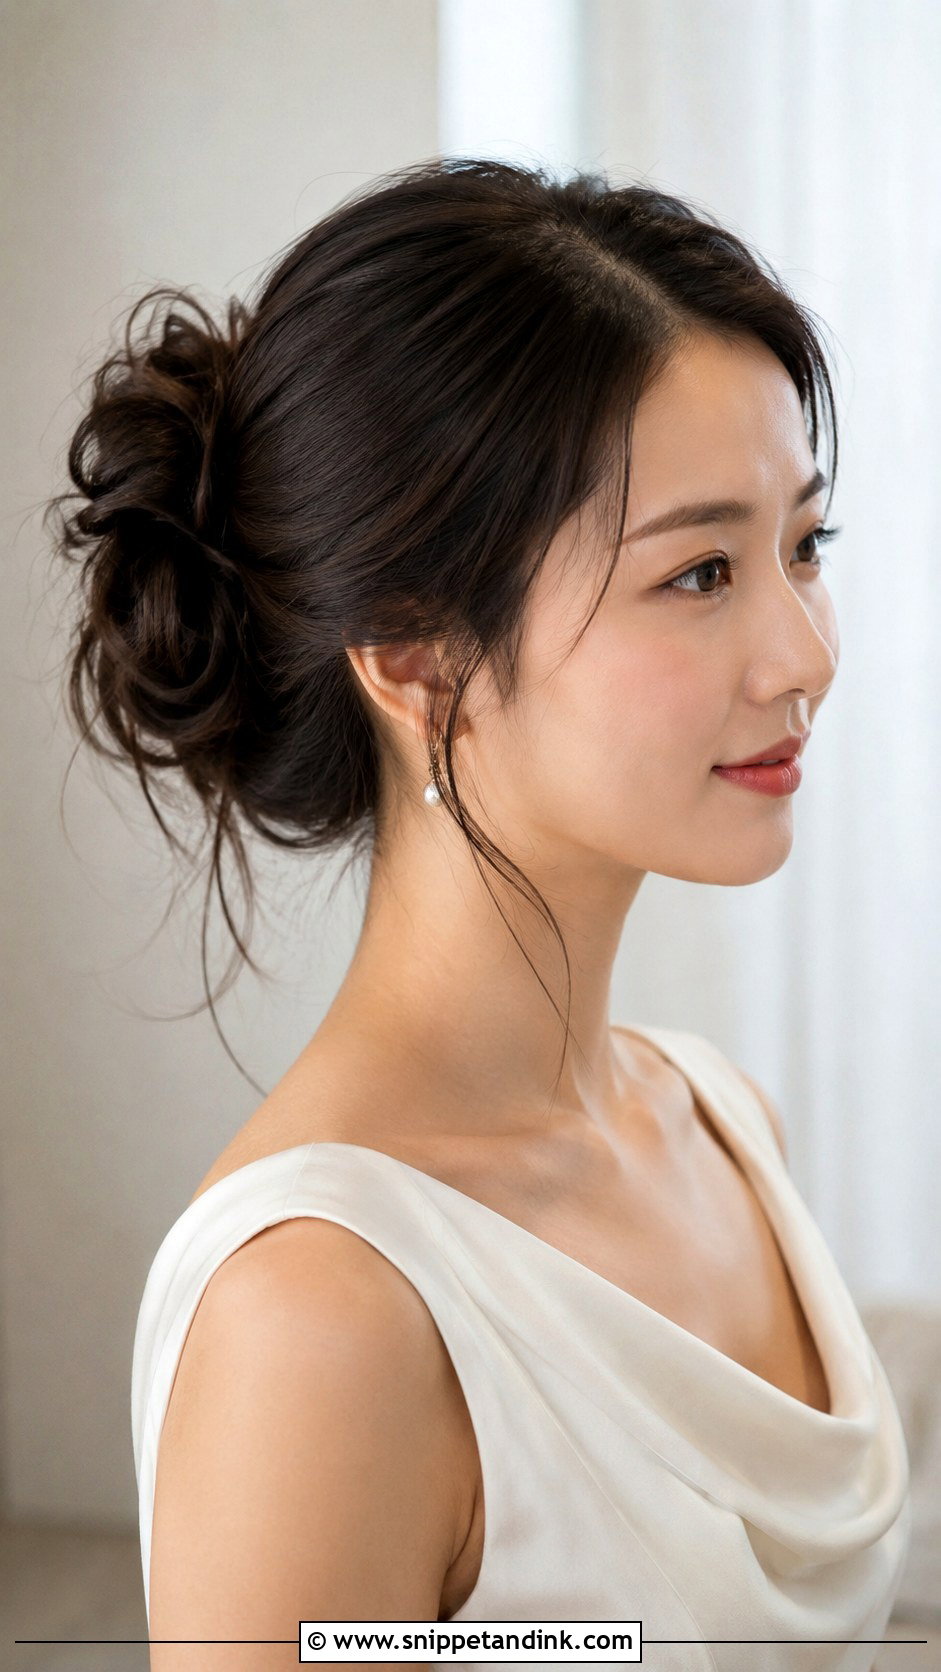
Sleek roots and a messy bun look modern, though this one shows every flyaway. I smooth the front and sides with a little cream, part it center or side, and keep the bun itself loose. A light mist of shine spray, held well back, keeps the hair from looking wet. It pairs naturally with satin, crepe and minimal dresses. Pull a few tiny pieces near the ears if the rest of the wedding leans romantic.
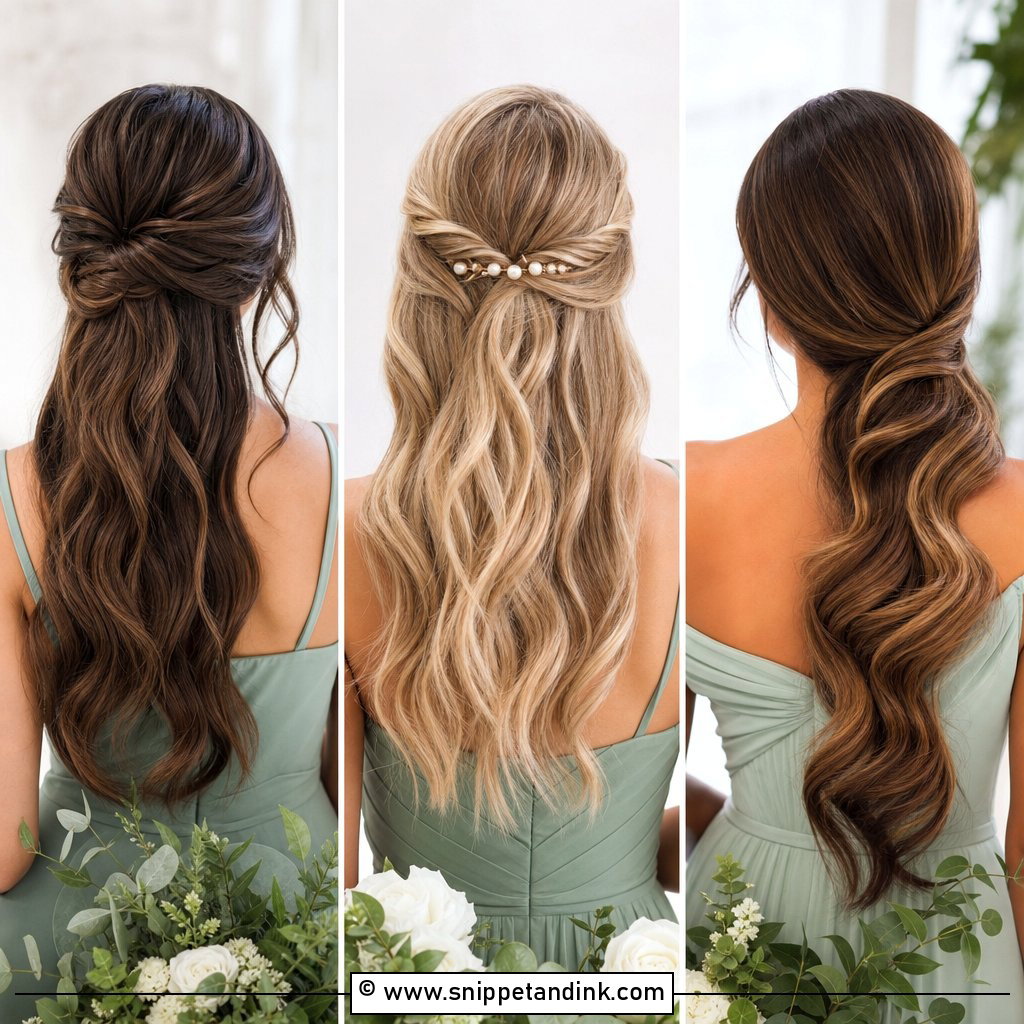
15. Boho Messy Bun Bridesmaid Hair
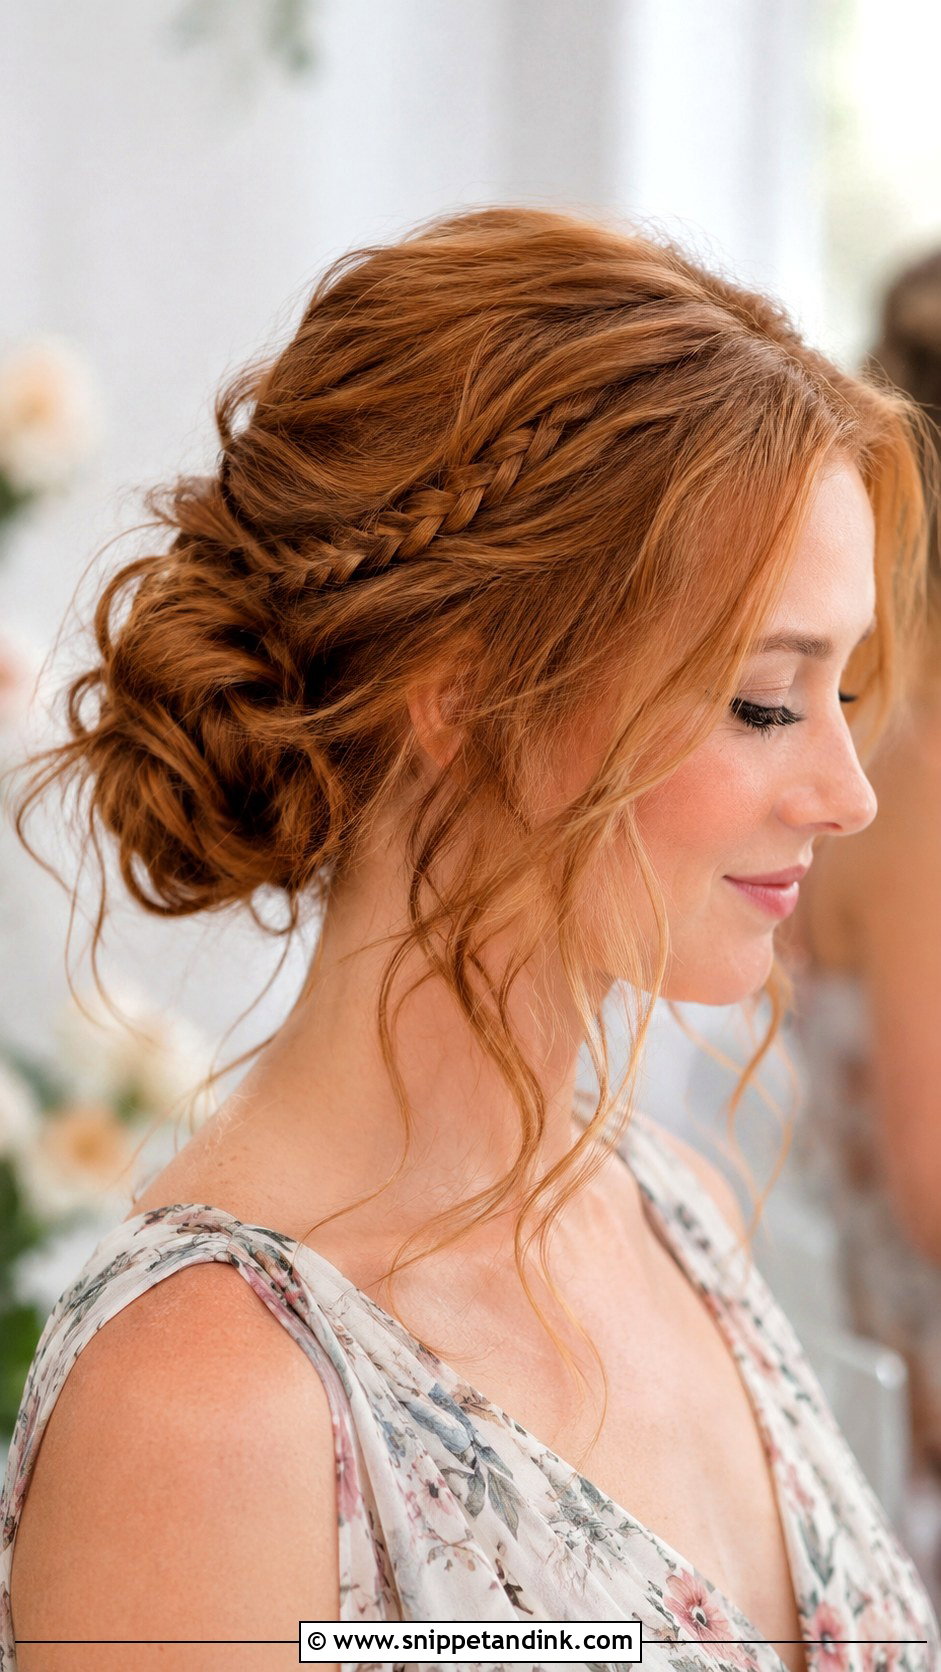
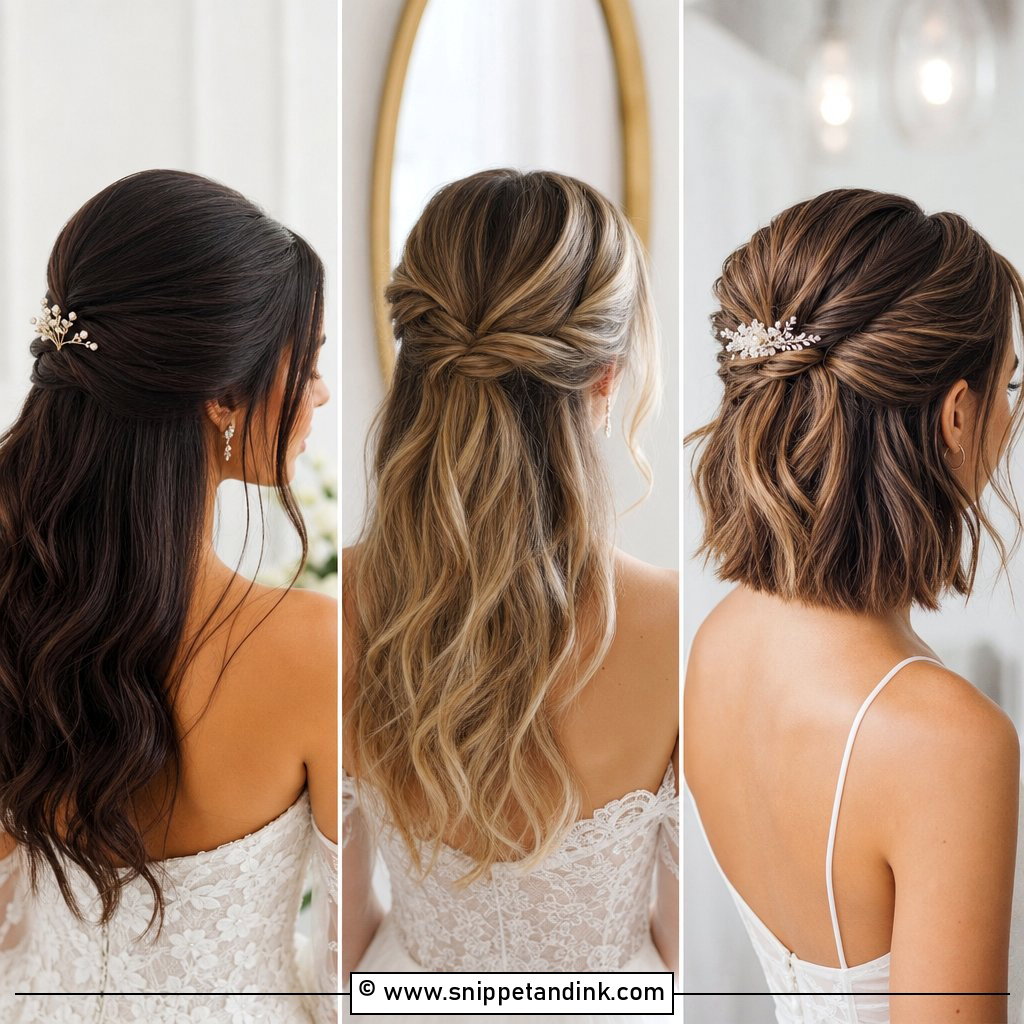
A boho bun is the loosest version and the one I’d pick for a beach or a garden. Small twists, tiny braids and waves all fit, as long as nothing looks perfect. It’s also the easiest style to vary across a group: each bridesmaid gets her own version, with a braid on one, twists on another, and the same loose low placement for all. That way the party looks coordinated, and each person’s hair type and face shape still show.
16. Romantic Messy Bun Bridesmaid Hair
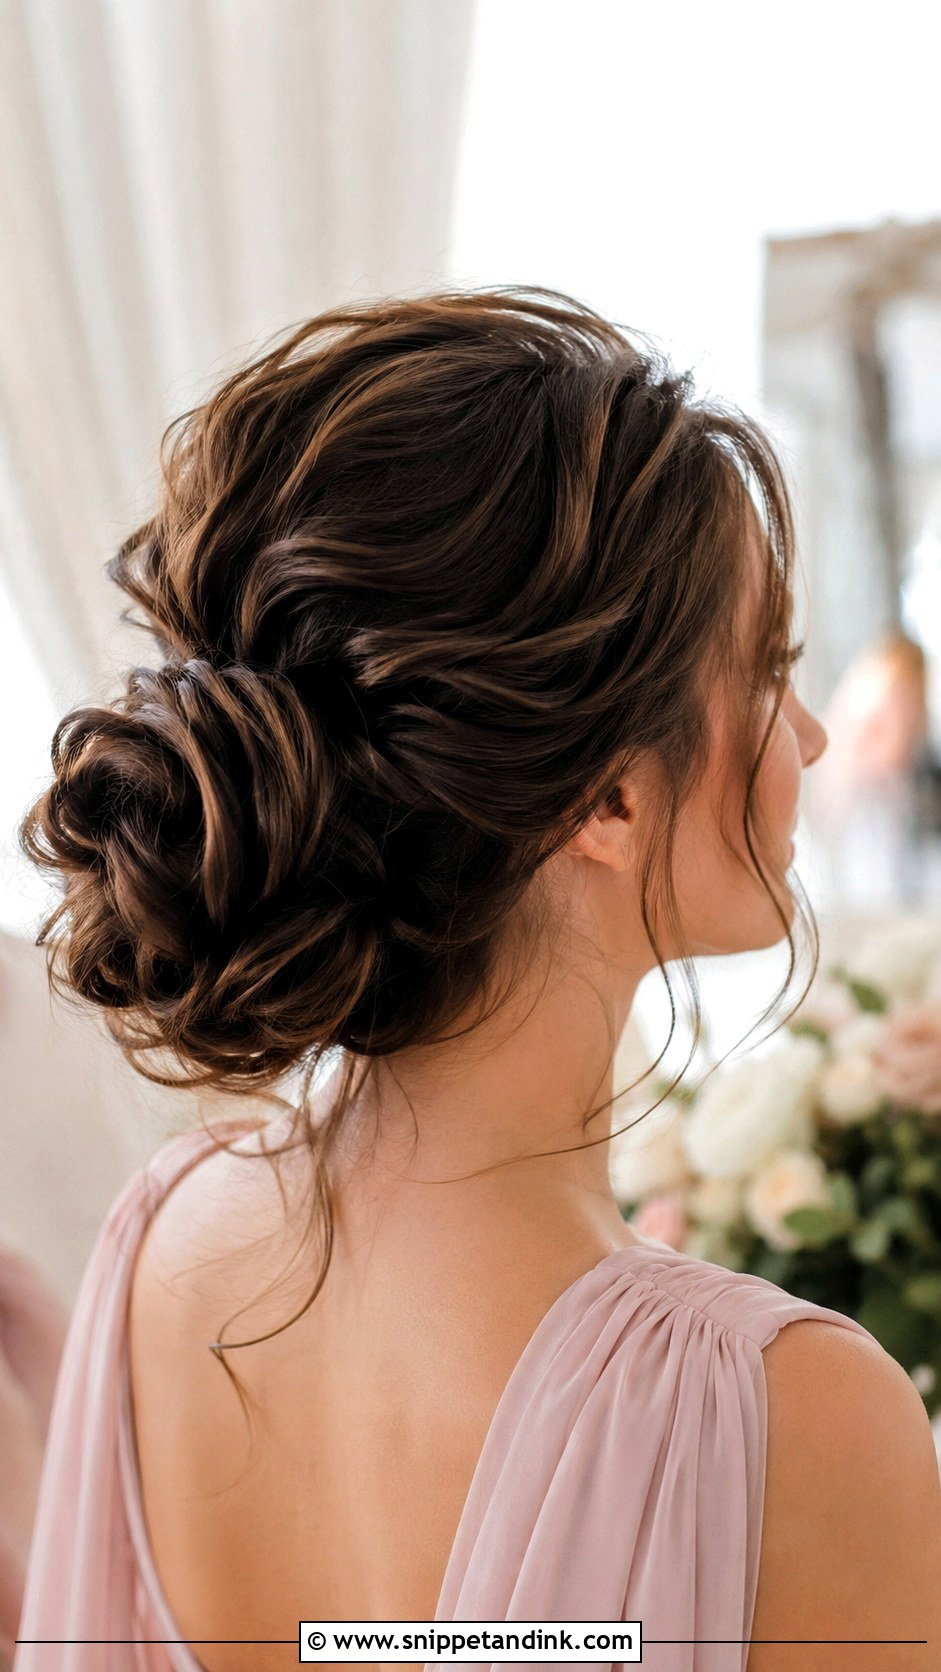
This romantic bun is mostly about the crown and the curls. Loose curls, a lifted crown, and a bun that looks pinned by hand go well with chiffon, tulle and floral prints. Keep face pieces fine: thick pieces hide the face in photos. A few hidden pins and a flexible spray hold it without stiffness, and it moves nicely in candid shots.
17. Textured Messy Bun Bridesmaid Hair
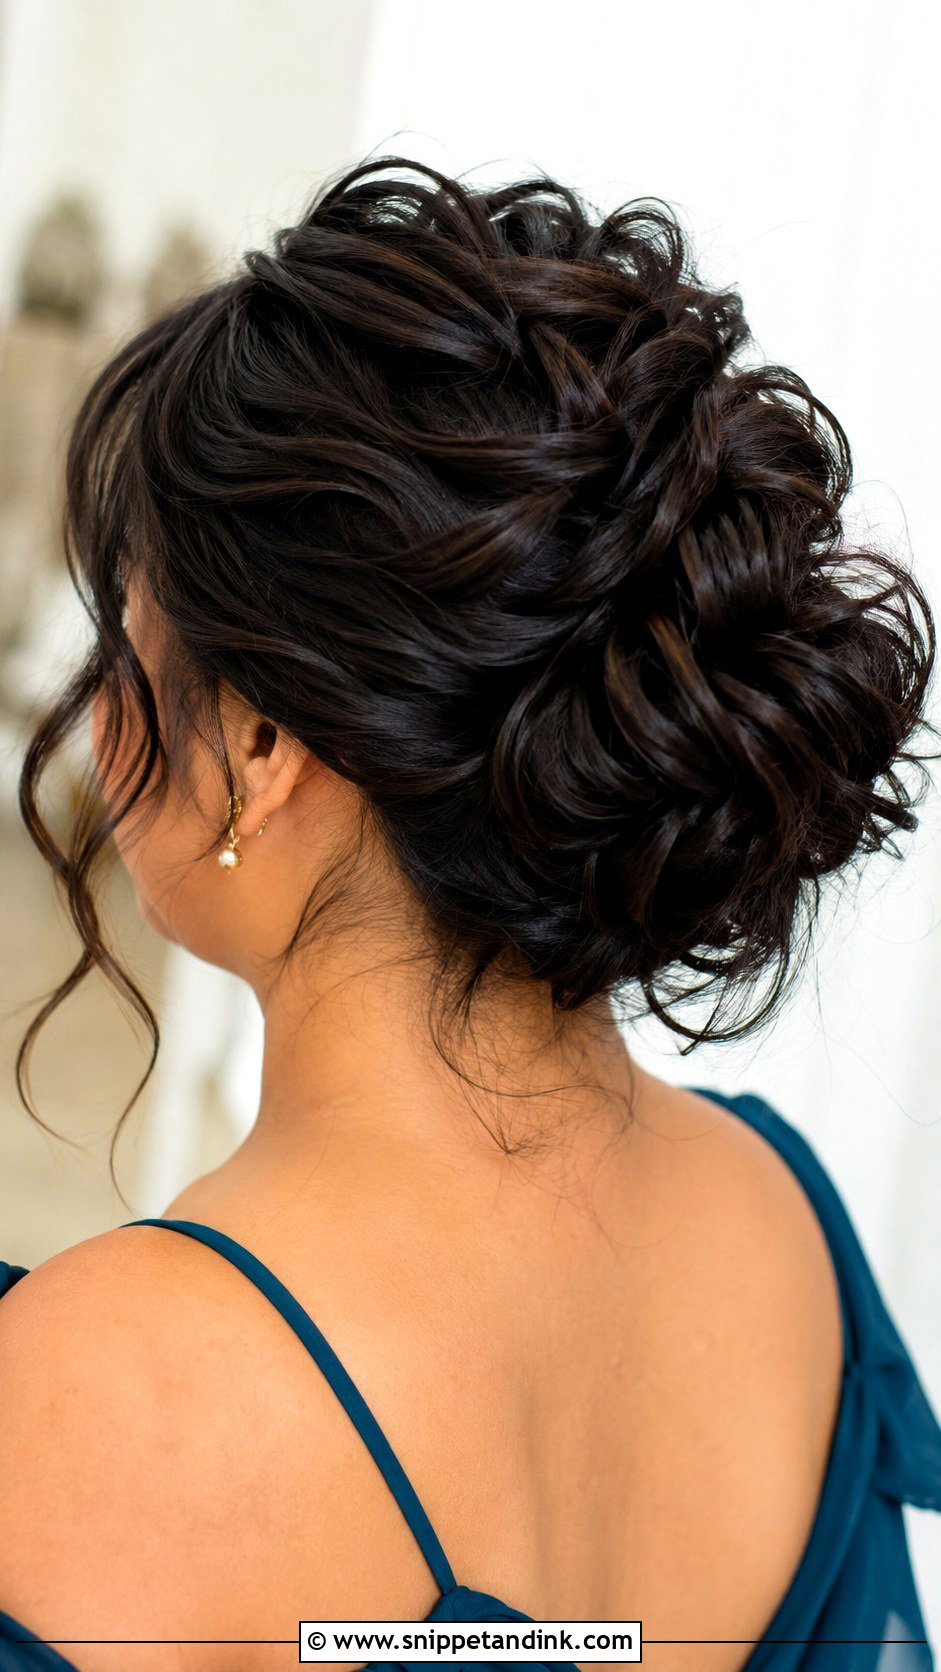
Texture is the reason a messy bun looks full rather than limp. I start with waves, curls or a rough blow-dry, then pin the hair so pieces cross and loop around each other. On fine hair this is the trick that makes it look thicker. Layered hair benefits too, since the short layers tuck into the loops instead of sticking out. It should look relaxed but planned.
18. Loose Messy Bun Bridesmaid Hair
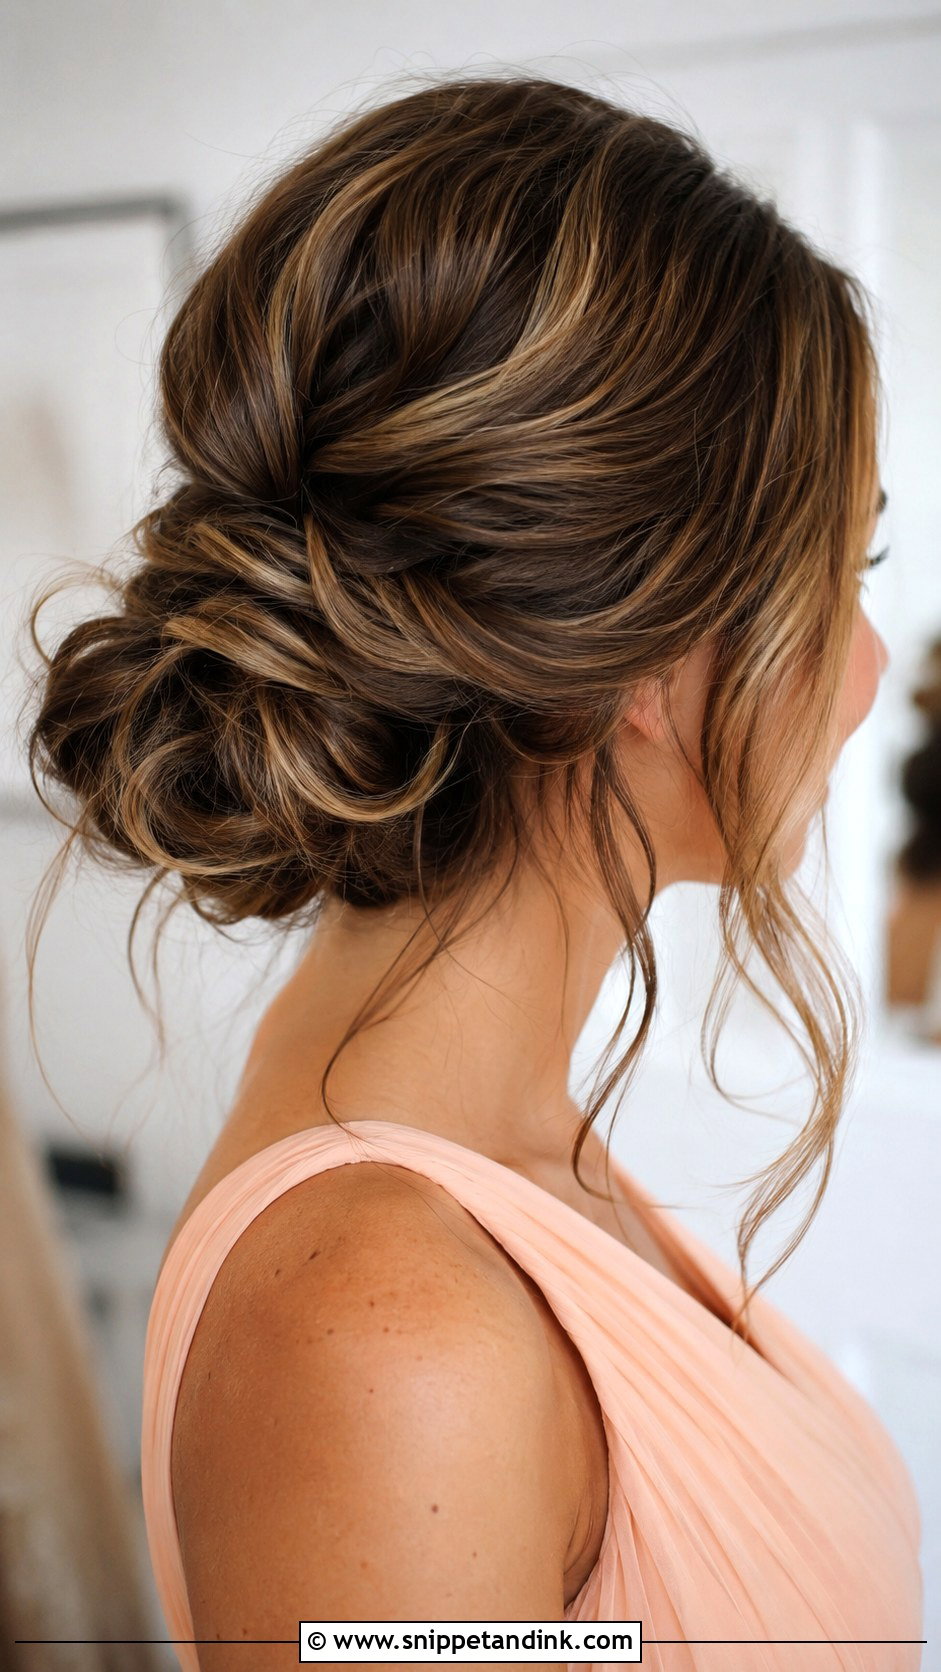
Loose doesn’t mean falling apart. A loose bun still has an elastic, pins and a flexible spray underneath; it just isn’t pulled tight at the scalp. That makes it the style I’d give the bridesmaid who gets headaches from updos. Keep it low with a gentle lift at the crown, then leave a few pieces out on purpose. It sits well with simple dresses and relaxed venues.
19. Messy Chignon Bridesmaid Hair
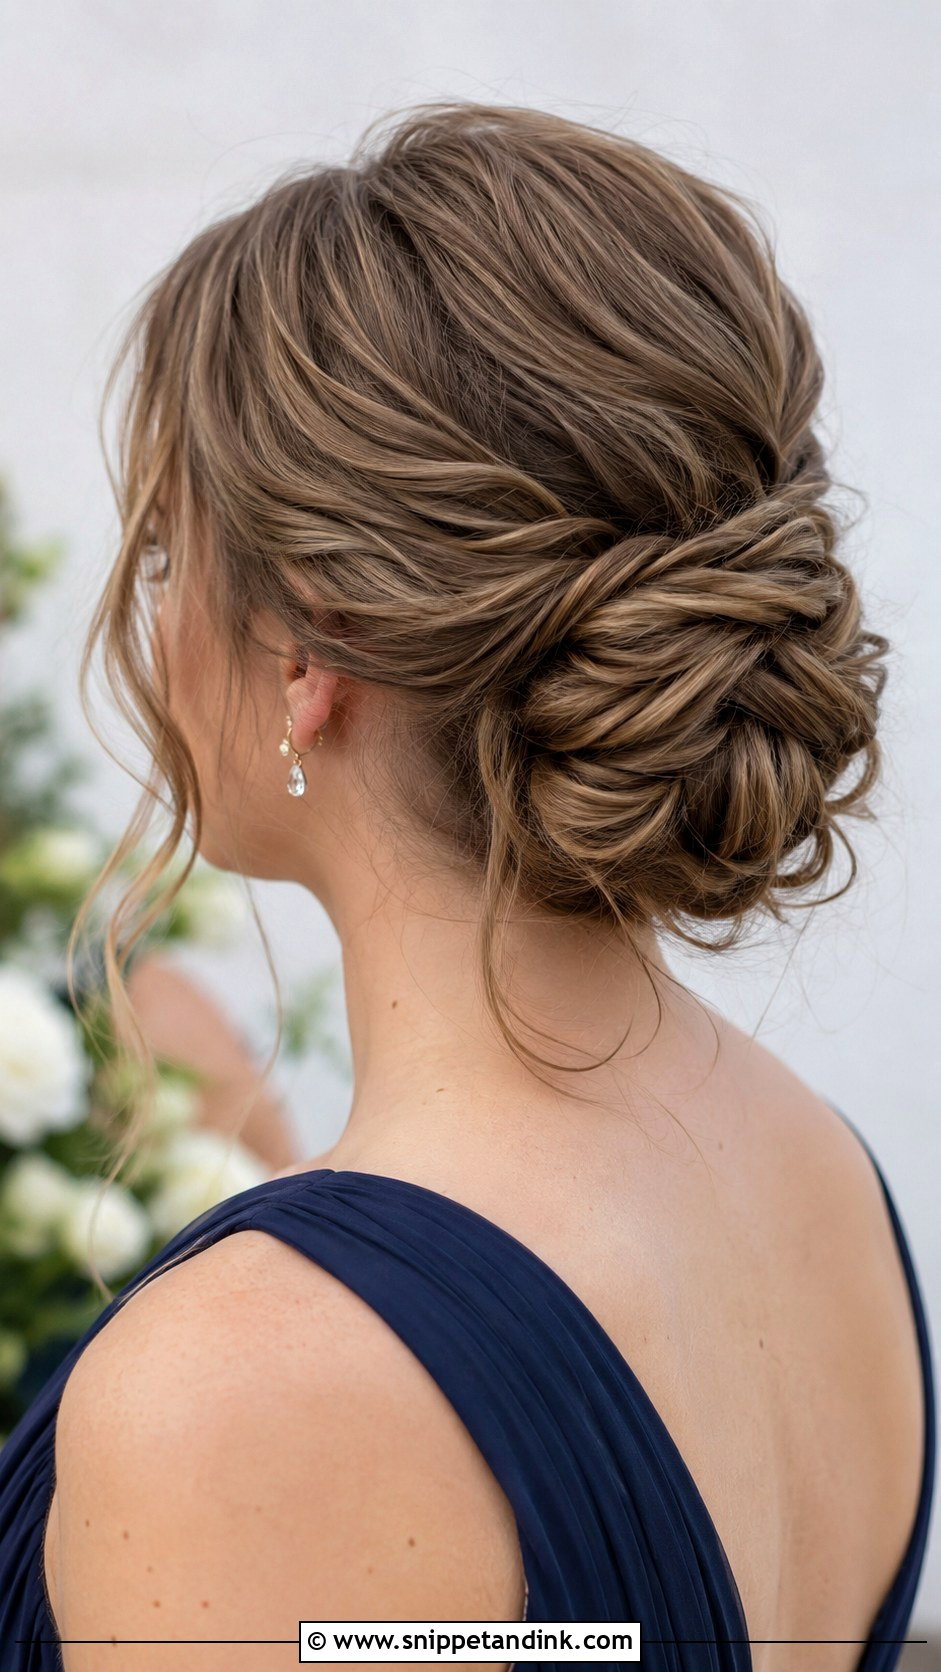
A chignon is the bun’s formal cousin. Instead of a round knot, the hair is folded and tucked low at the nape, which makes it suit black-tie and semi-formal weddings. I add twists or tucked curls for texture so it doesn’t look too strict. Pearl accessories and soft glam makeup match it naturally. Keep the edges loose and the crown gently lifted.
20. Messy Bun With Hair Vine
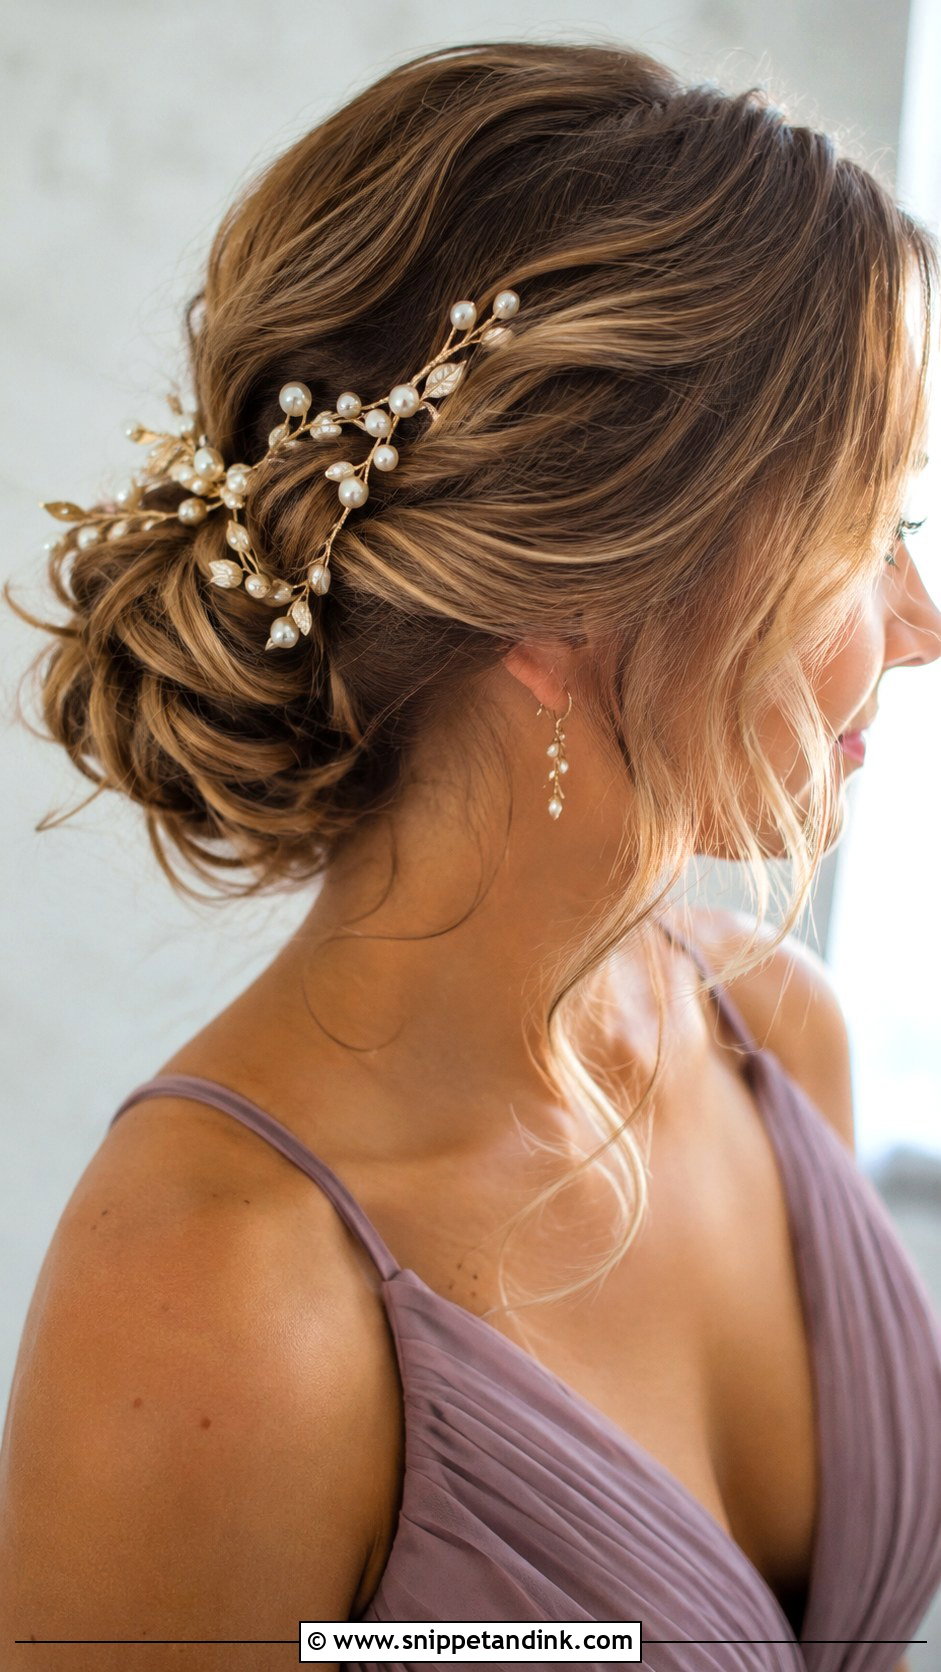
A messy bun with a hair vine has an accessory that bends to fit the hair, which is why it works so well on a textured low bun. I curve the vine around the bun or along a twist and pin it through its wire at several points. Pearls, small crystals or leaf details all suit different moods. Keep other pins to a minimum so the vine stays the focus. It’s prettiest with simple necklines.
Who Pays, Who Goes First, and How to Arrive Ready
The cost question
Customs vary. In many bridal parties the bride covers the hair as a thank-you; in others, each bridesmaid pays for her own. Neither is wrong, but it should be settled before anyone books, so nobody is surprised by a bill on the morning. If a bridesmaid would rather do her own hair, that’s usually fine for a messy bun; I’d just ask her to send a practice photo a week or two ahead so the height matches the rest of the group.
Order in the chair
I usually start with the bridesmaids whose hair holds best, long thick hair and natural curls, since they’ll last longest. Fine hair goes later so it’s fresh for the photos. The bride is typically near the end, with one bridesmaid kept as a buffer in case anything runs over. A messy bun usually takes somewhere around 30 to 45 minutes per person, depending on length and density.
What each bridesmaid should do
- Wash the night before and arrive with completely dry hair.
- Wear a button-up or zip top so nothing goes over the finished bun.
- Bring any clip-ins, accessories and a photo of her dress.
- Tell the stylist about headaches or a sensitive scalp before pinning starts.
A Bridal Party That Matches Without Looking Cloned
A good set of bridesmaid buns comes down to texture before pinning, a bun height that suits each dress, and face pieces chosen on purpose. Matching buns or slightly different versions both work, so long as one or two details are shared. Talk it through with your stylist early, and let each bridesmaid’s hair decide the version she wears.
You'll Like These Ideas:


Leave a Reply