
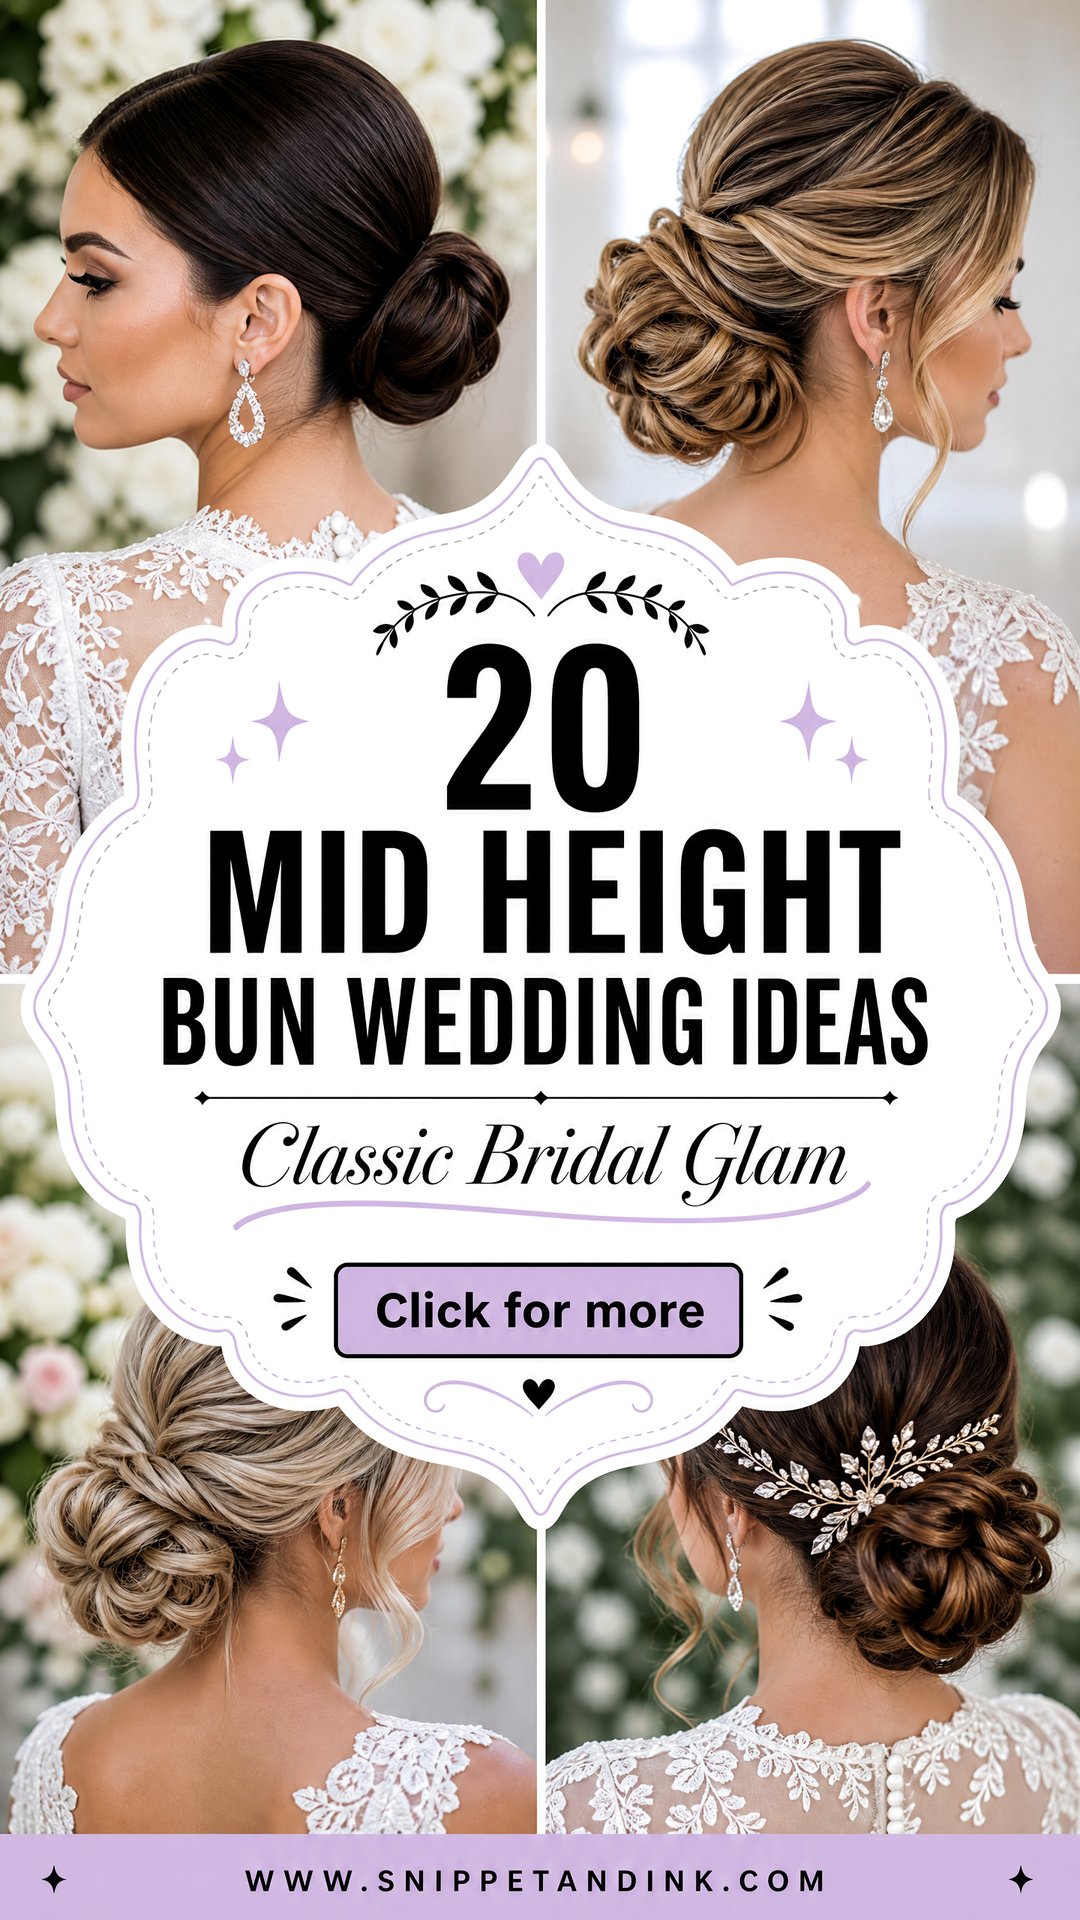
Mid height bun wedding hair is the request I hear most from brides who can’t decide between up and down. The bun sits around the middle of the back of the head, high enough to feel lifted and low enough that it never reads as a top knot. That spot is practical too. There’s space above it for a veil comb, the neckline stays open, and you can lean back in a chair without crushing it. Below are twenty ways to wear it, with notes from the styling chair on prep and pinning, and on the hair types and dresses each one honestly doesn’t suit.
Showing Your Stylist the Bun You Actually Mean
Bun is one of the vaguest words in bridal hair. Three brides can ask for a mid height bun and mean three different shapes, so the brief matters more than any single photo. These are the things that help me most at a consultation.
- Pictures from the side and the back, not only the front. Most updos look alike from the front; the profile shows the height and size you really want.
- One picture of a bun you don’t like. Knowing what to avoid narrows things down faster than ten favorites.
- Your hair as it normally is. Come with hair washed the day before and worn the way you usually wear it, so your stylist sees how it behaves.
- The neckline, the veil and every accessory. A photo of the dress plus the actual veil and pins lets the bun be placed around them.
- How long you’ll wear it. A two o’clock ceremony followed by a party until midnight needs a sturdier build than a short afternoon wedding.
Mention it if a tight ponytail or a heavy clip has ever given you a headache. Some scalps are simply more sensitive, and it’s far easier to build around that from the start than to loosen a finished style.
1. Mid Height Textured Bun Wedding Hairstyle
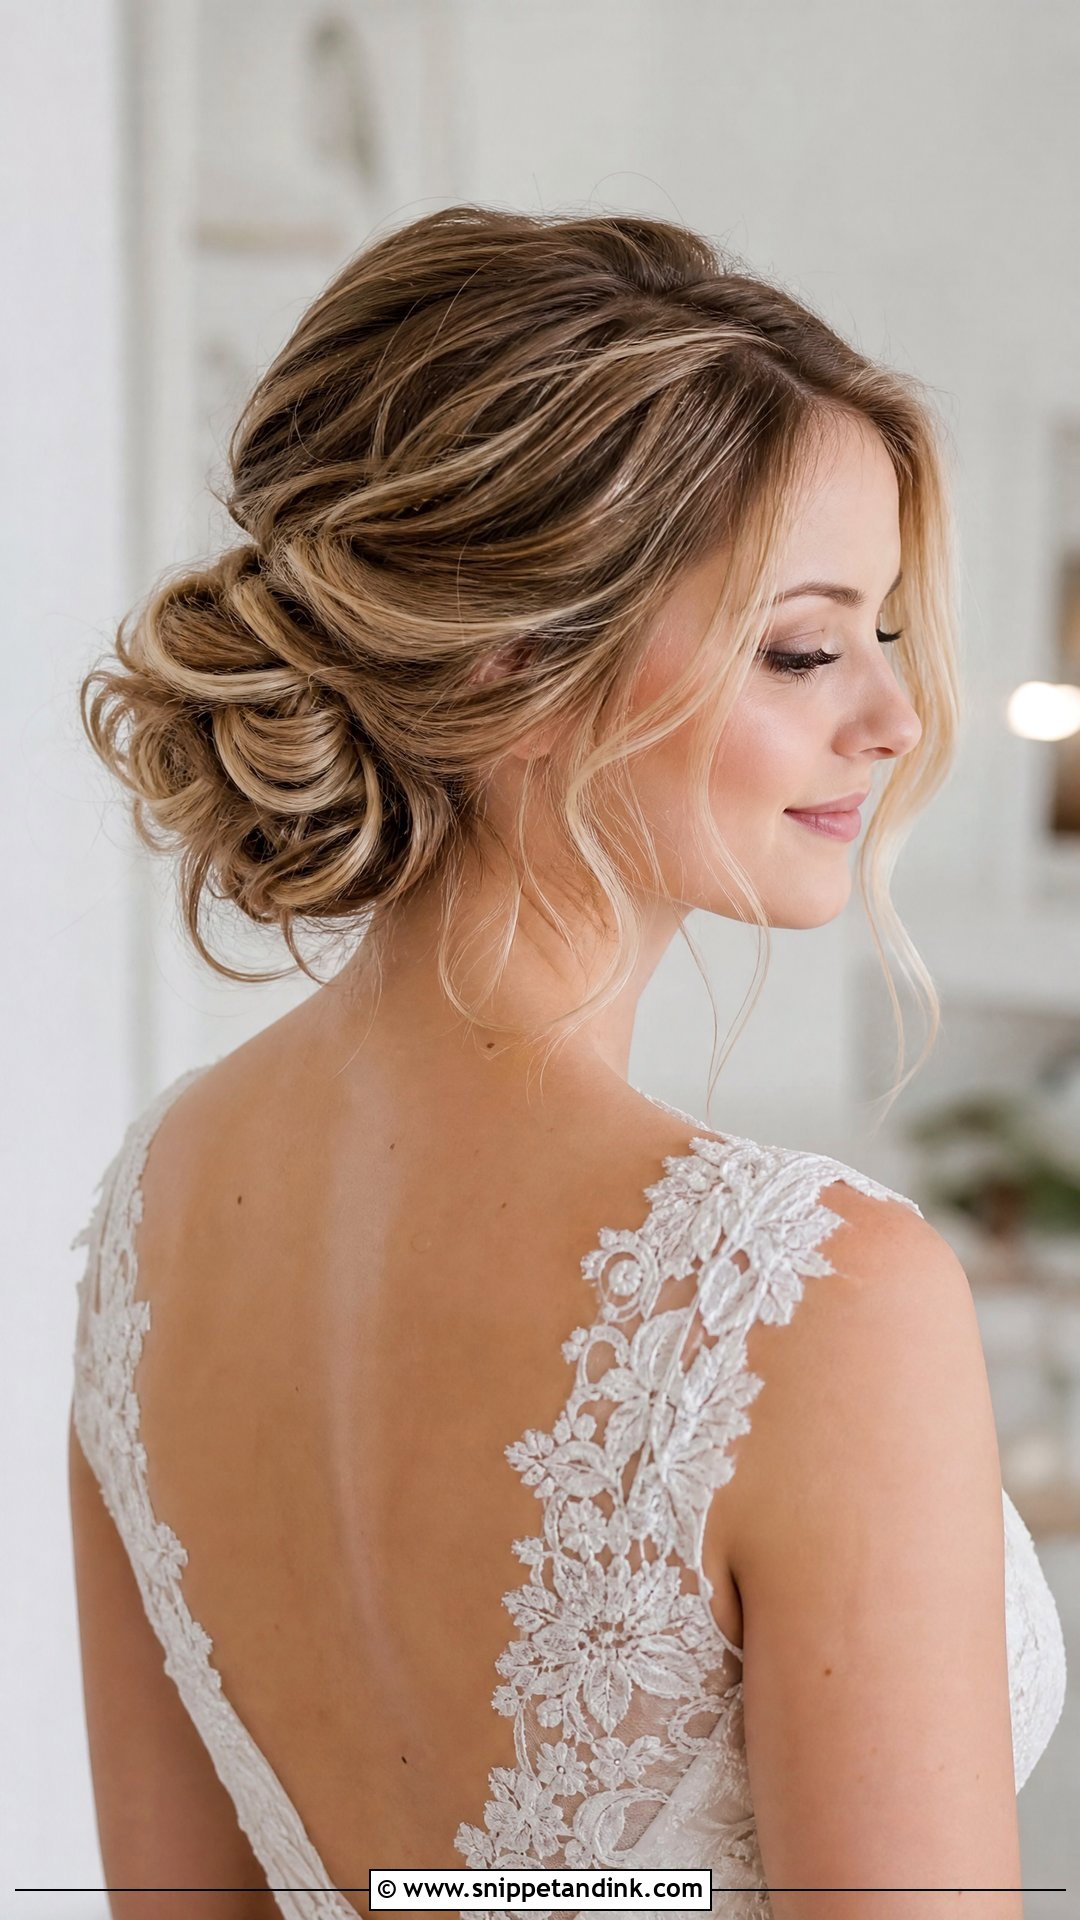
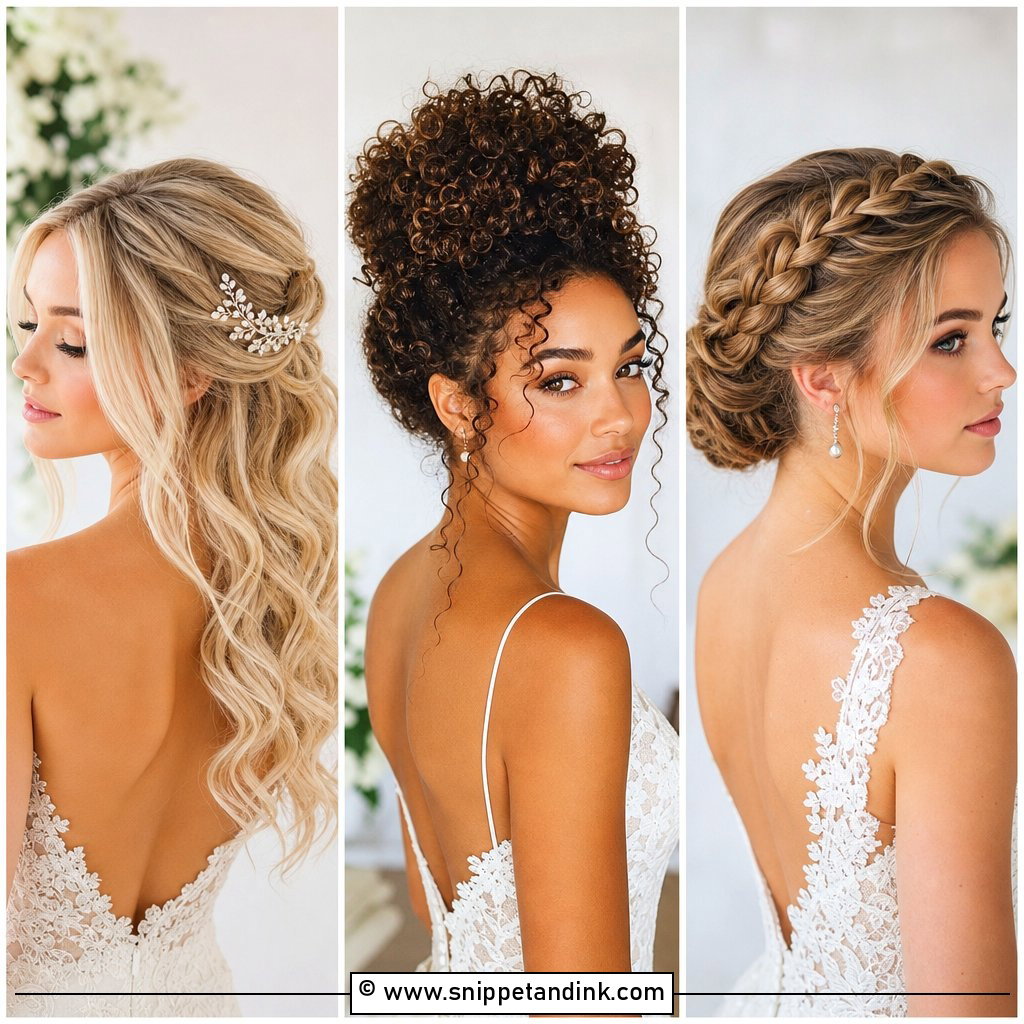
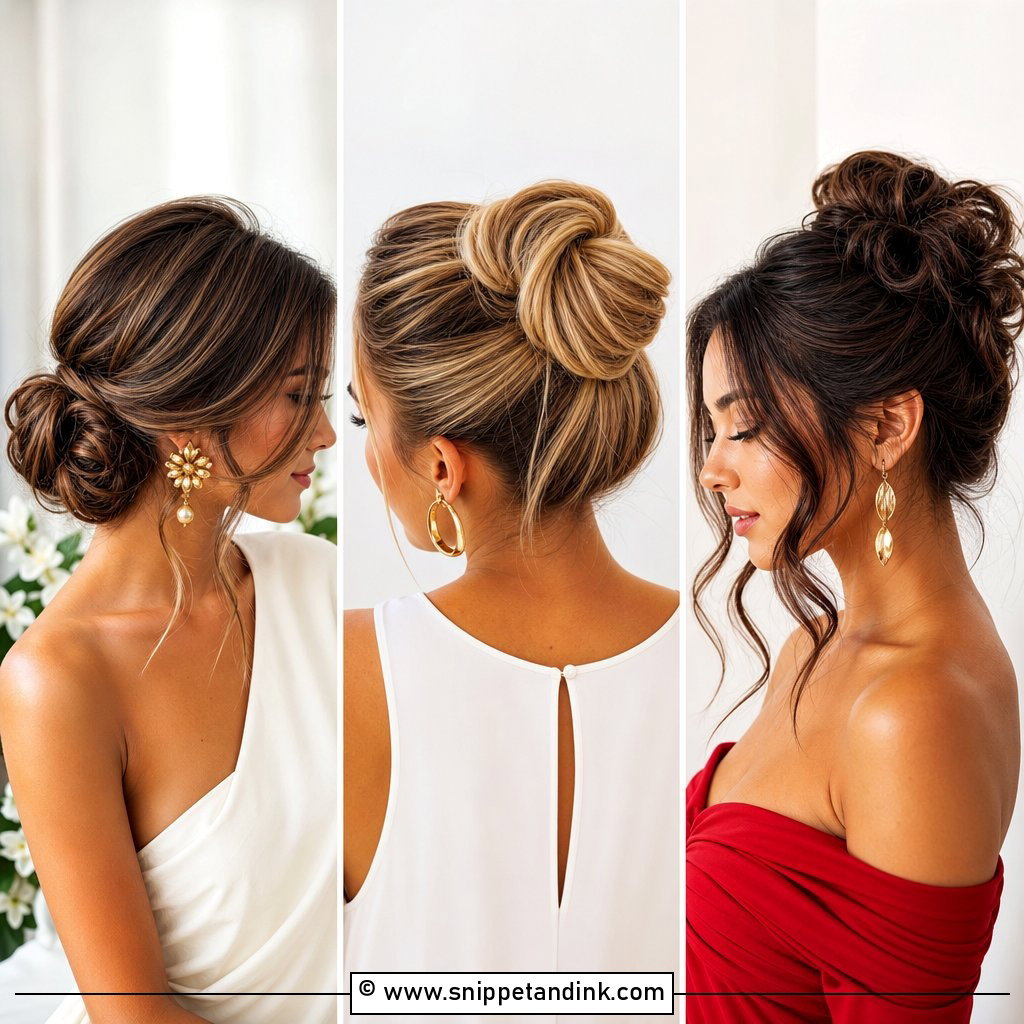
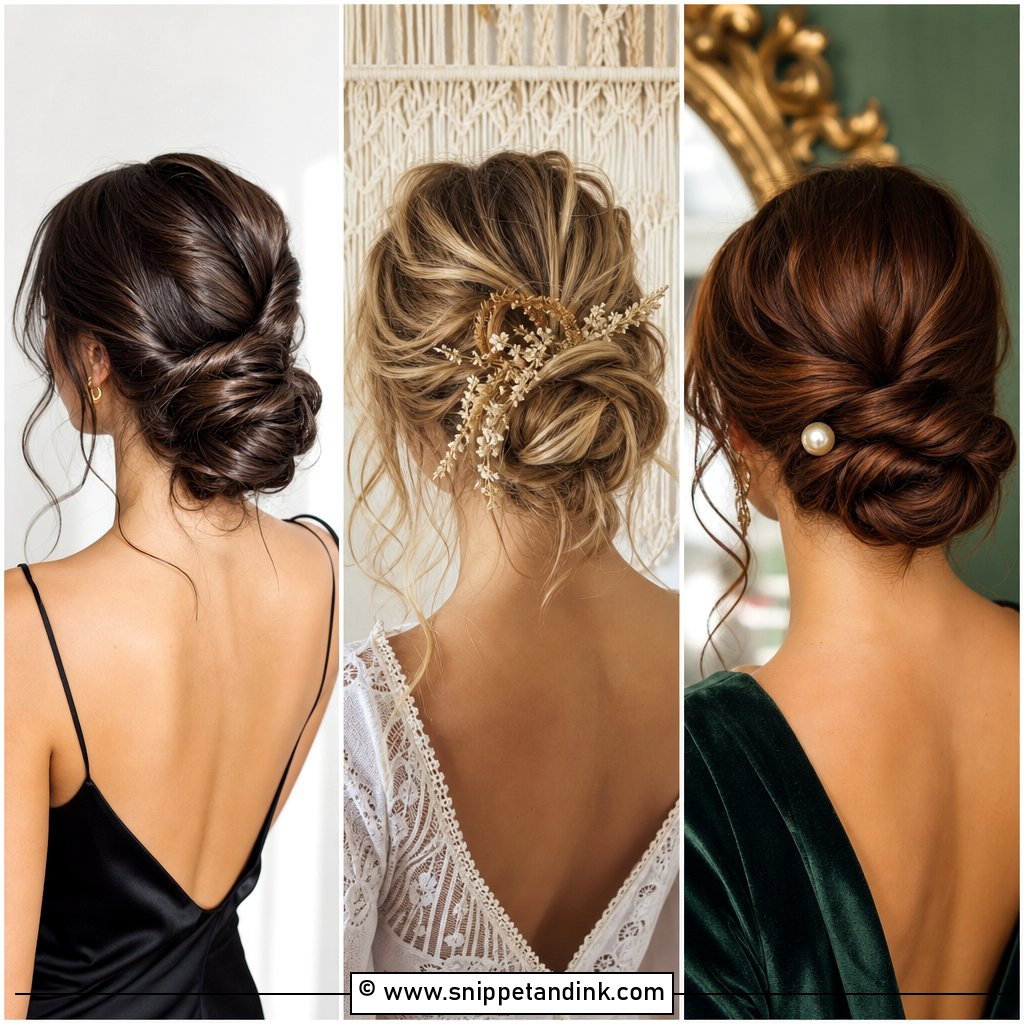
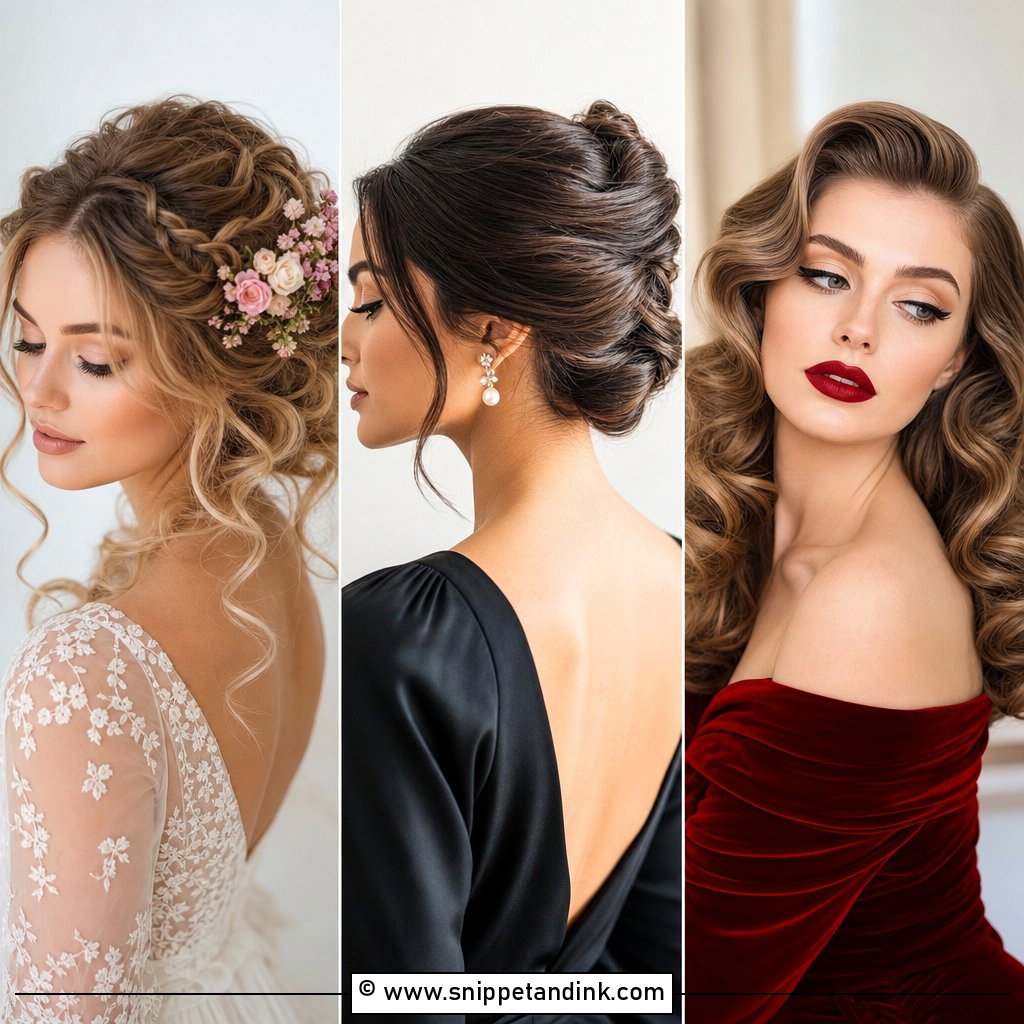
Texture is the most forgiving finish I can offer, because a pin that shifts a little just looks like part of the design. I curl the hair, tease lightly at the crown, and pin it in loose sections so the fullness comes from the curls rather than from padding. Ask for a few pieces left out around the cheeks. Lace, off-the-shoulder necklines and small hair pins all sit well with it. The one thing I watch for is freshly washed hair, which is too slippery for this; day-old hair or a good dose of texture spray holds far better.
2. Mid Height Sleek Bun Wedding Hairstyle
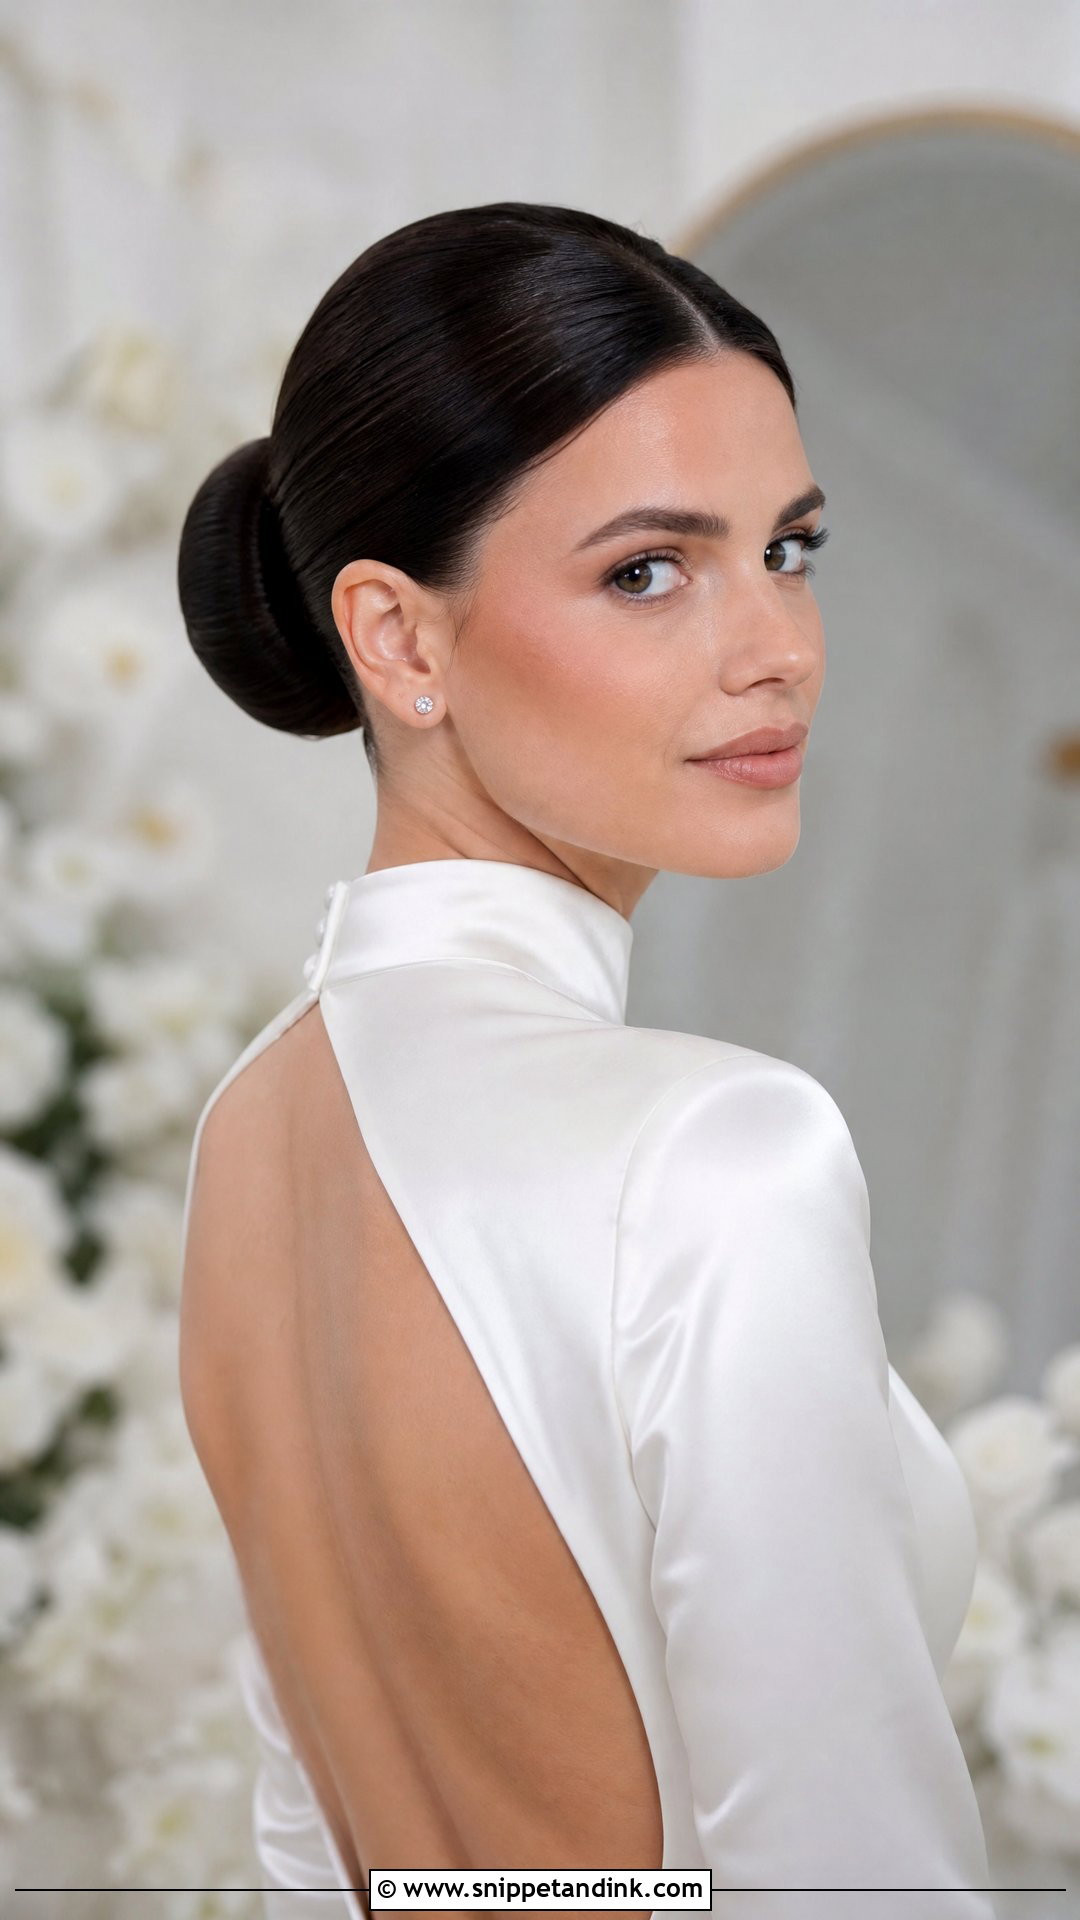
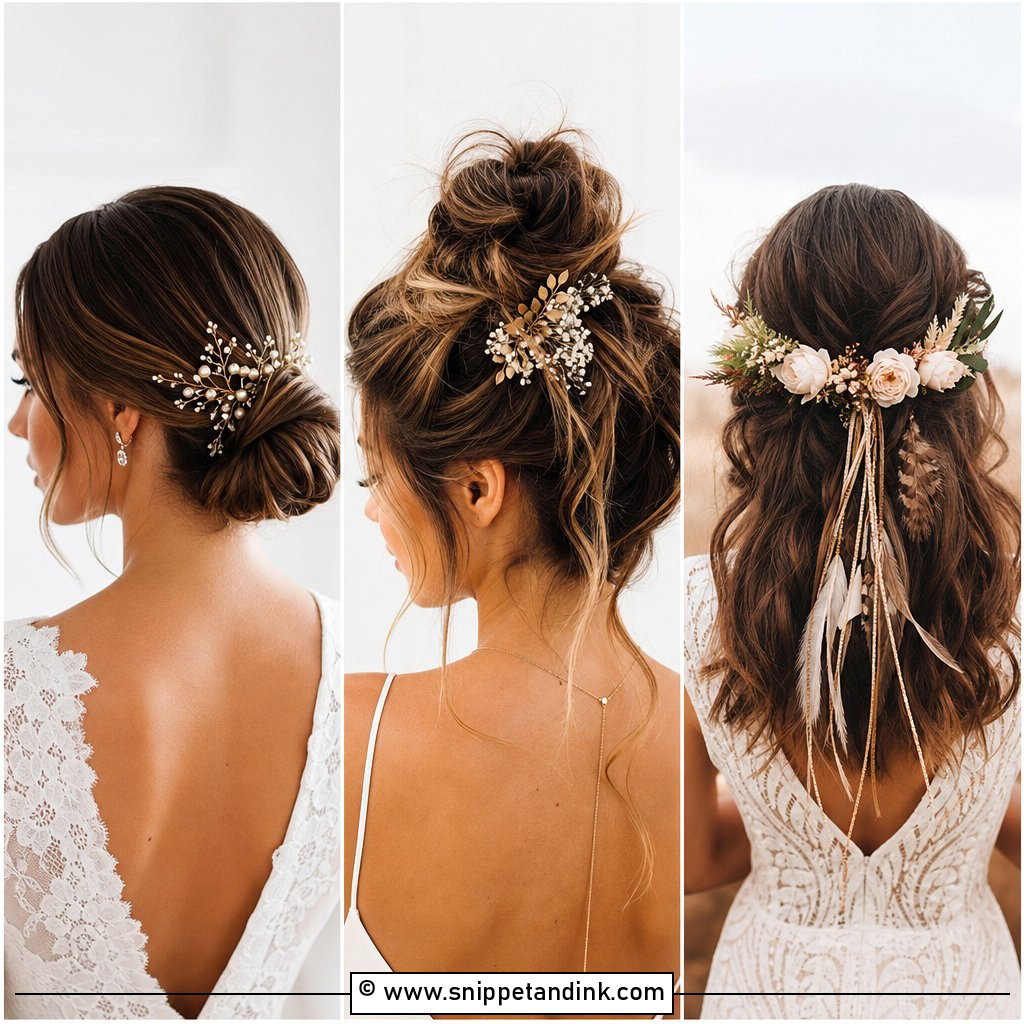
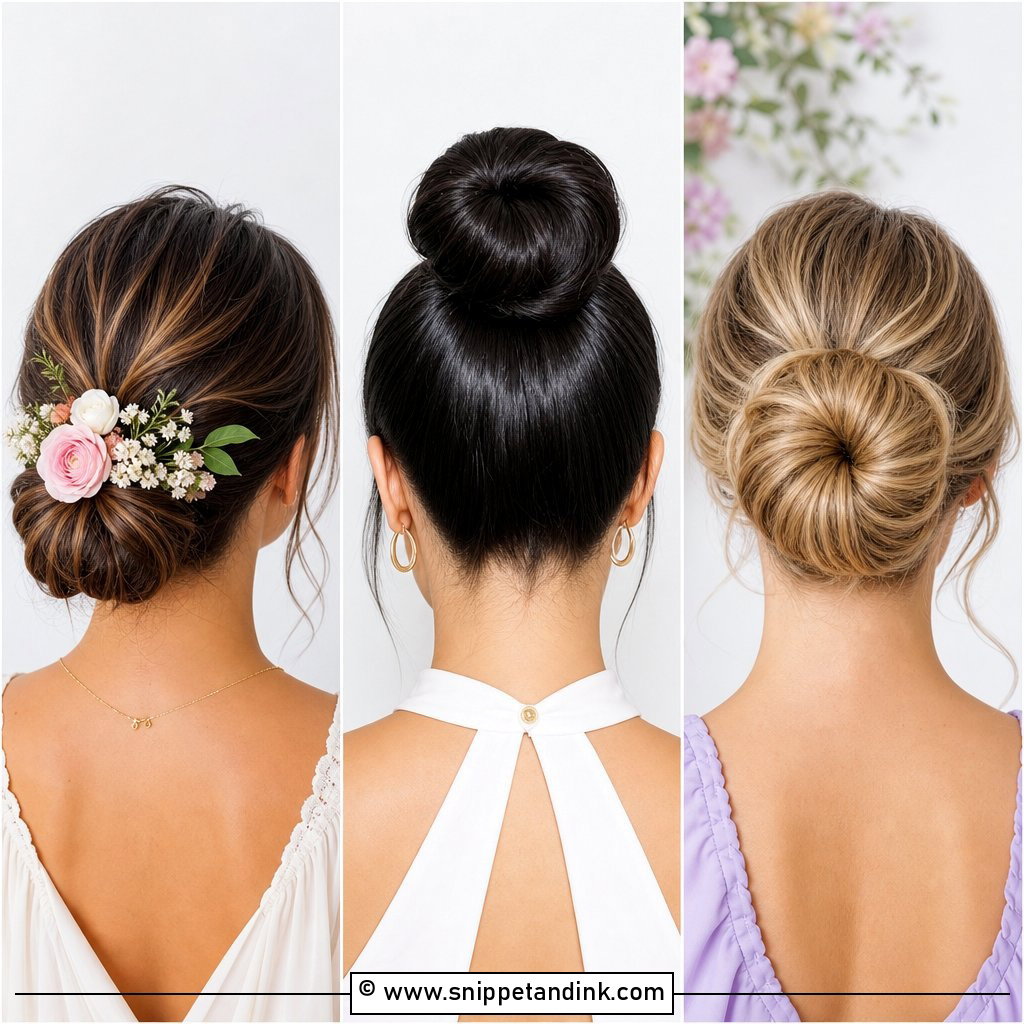
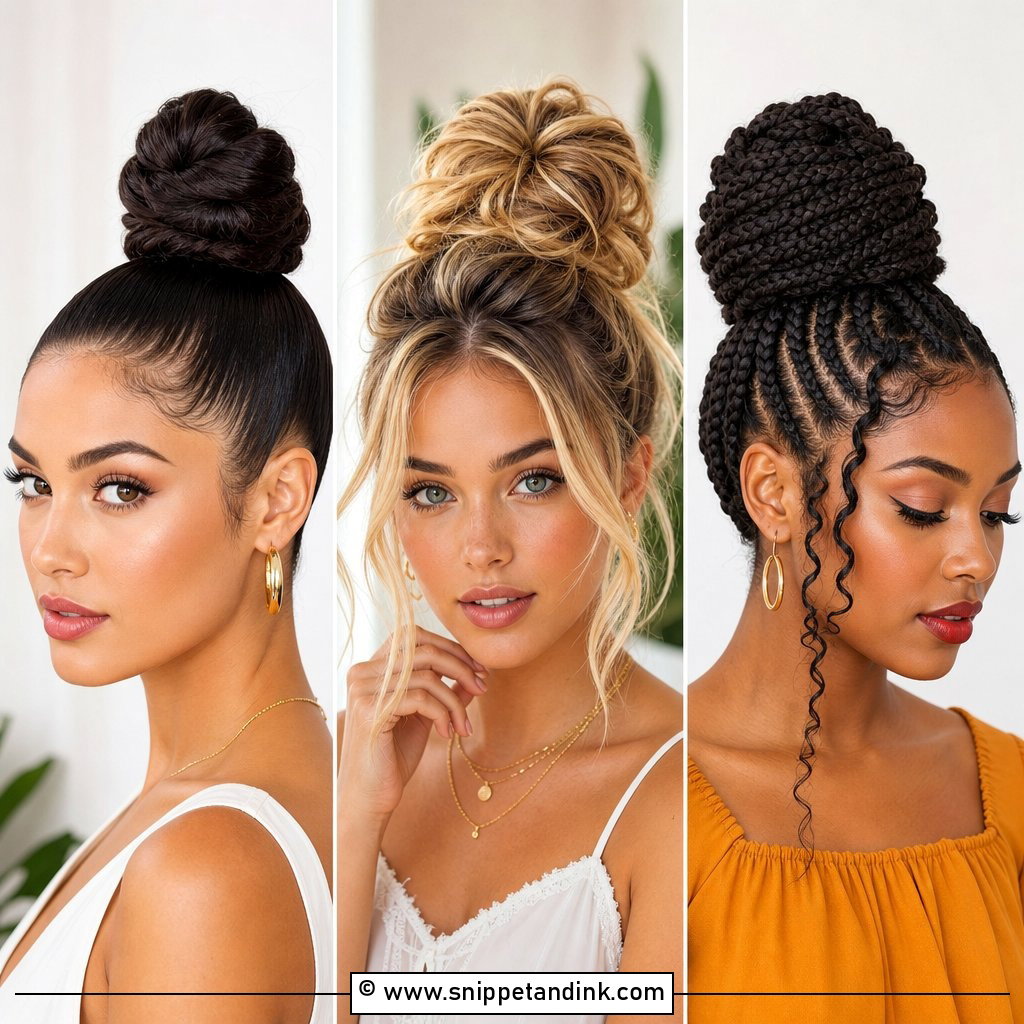
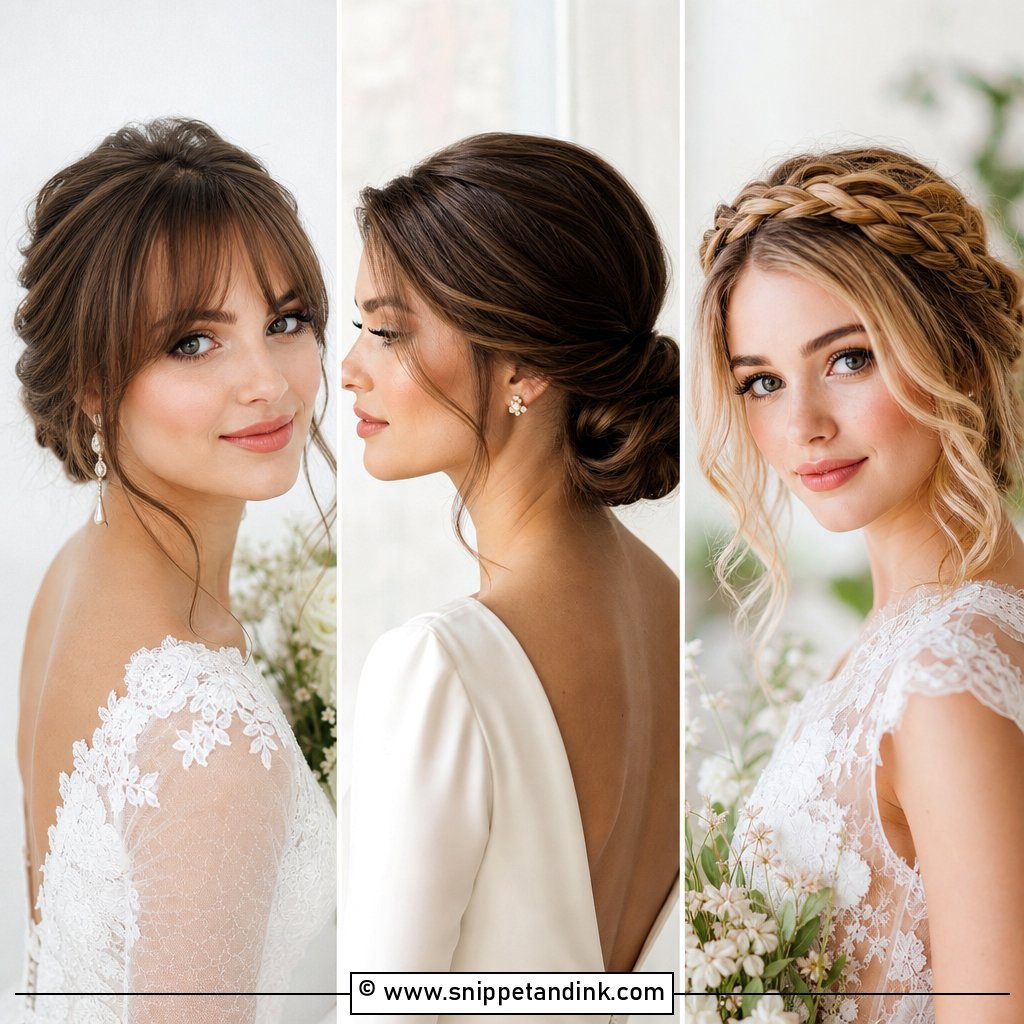
The clean shine of a mid height sleek bun depends on control, not stiffness. I smooth the hair back with a cream and a light gel, settle on the part (or no part at all), and wrap the length into a neat bun at the middle of the head. Minimal dresses, high necks and big earrings sit well with it. Satin in particular shows every frizzy halo, so I finish with a fine mist of hairspray brushed over the surface with a soft bristle brush. I’m cautious with very curly hair here unless you’re used to wearing it smoothed, since a blow-dried surface can puff back up in humid air.
3. Mid Height Messy Bun Wedding Hairstyle
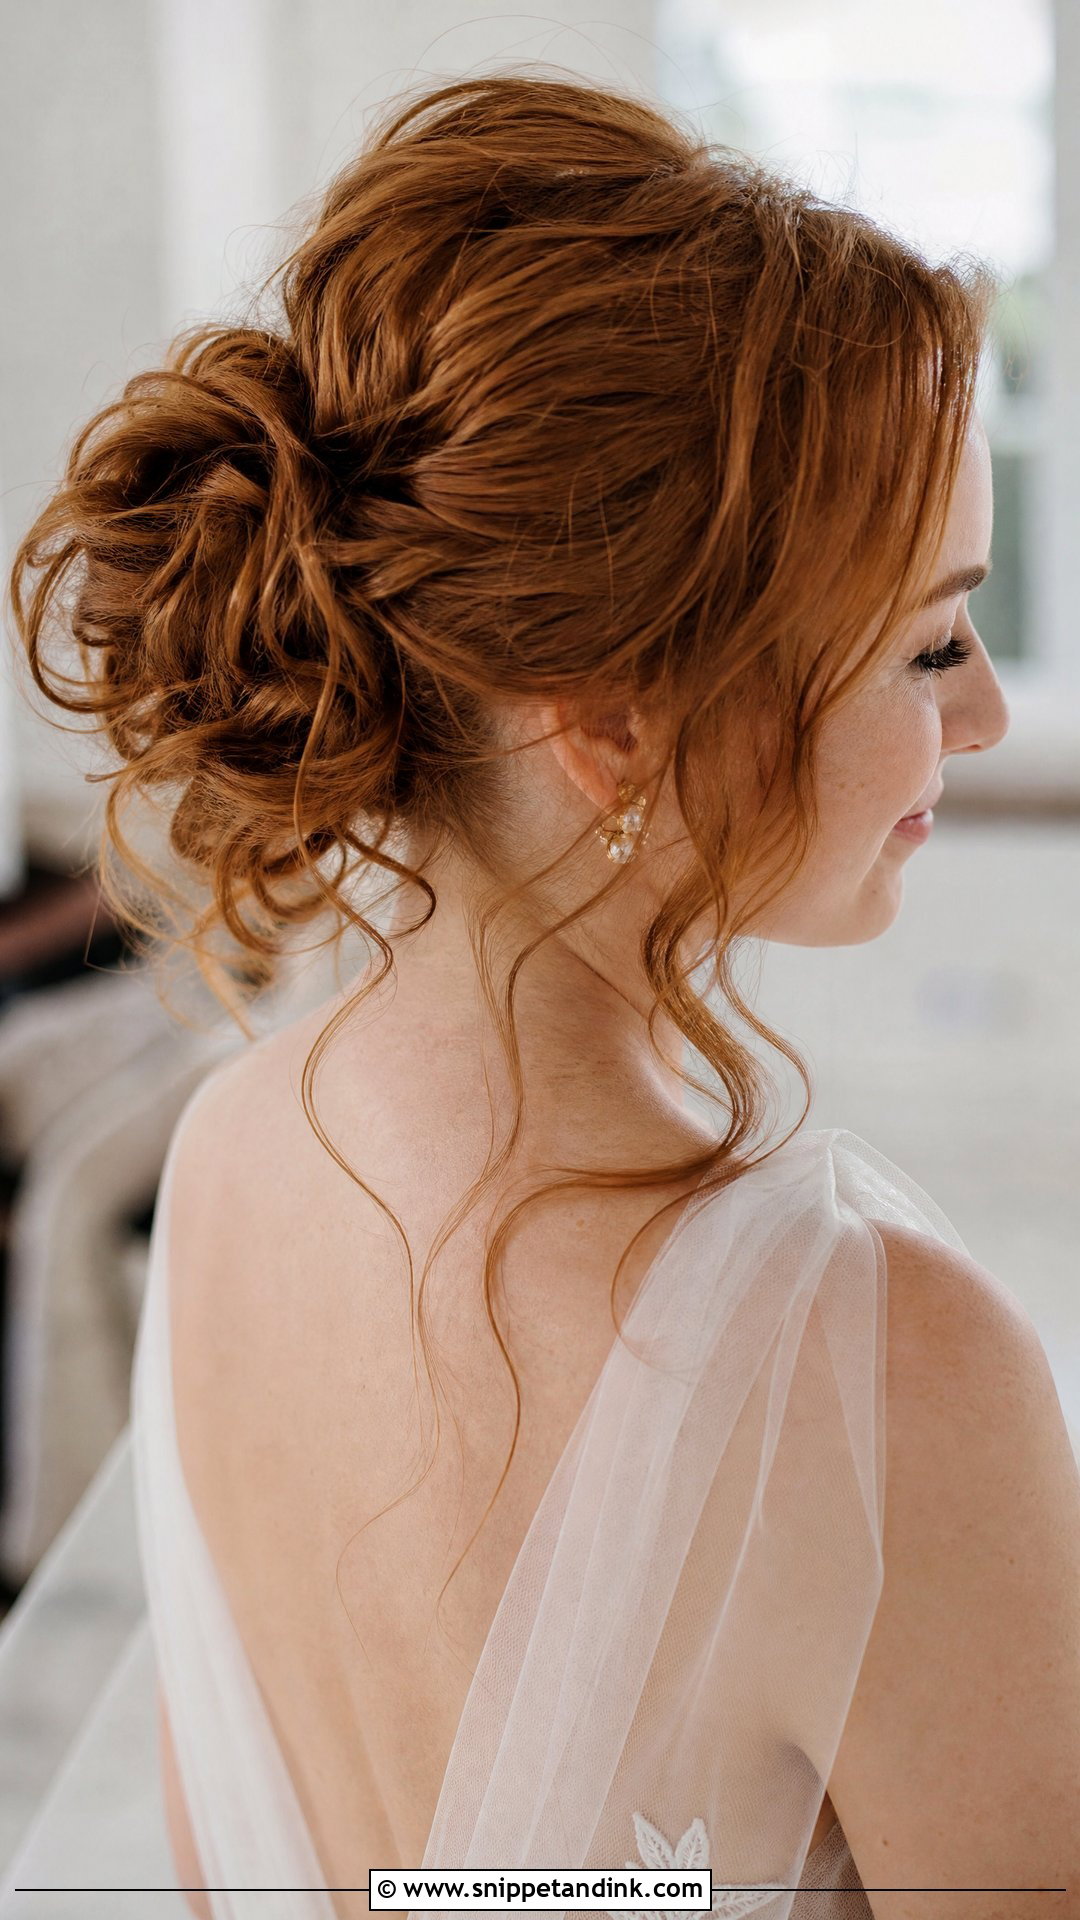
A mid height messy bun should look relaxed, never rushed. I curl the hair first, pin it into a loose bun with airy pieces, and leave tendrils at the temples and the nape. It belongs with chiffon, tulle and garden ceremonies. Messy styles actually need more pins than sleek ones, because each loop is held on its own. I hide them and use a flexible spray so it still moves when people hug you. In heat the tendrils relax first, and that softens the look rather than ruining it.
4. Mid Height Braided Bun Wedding Hairstyle
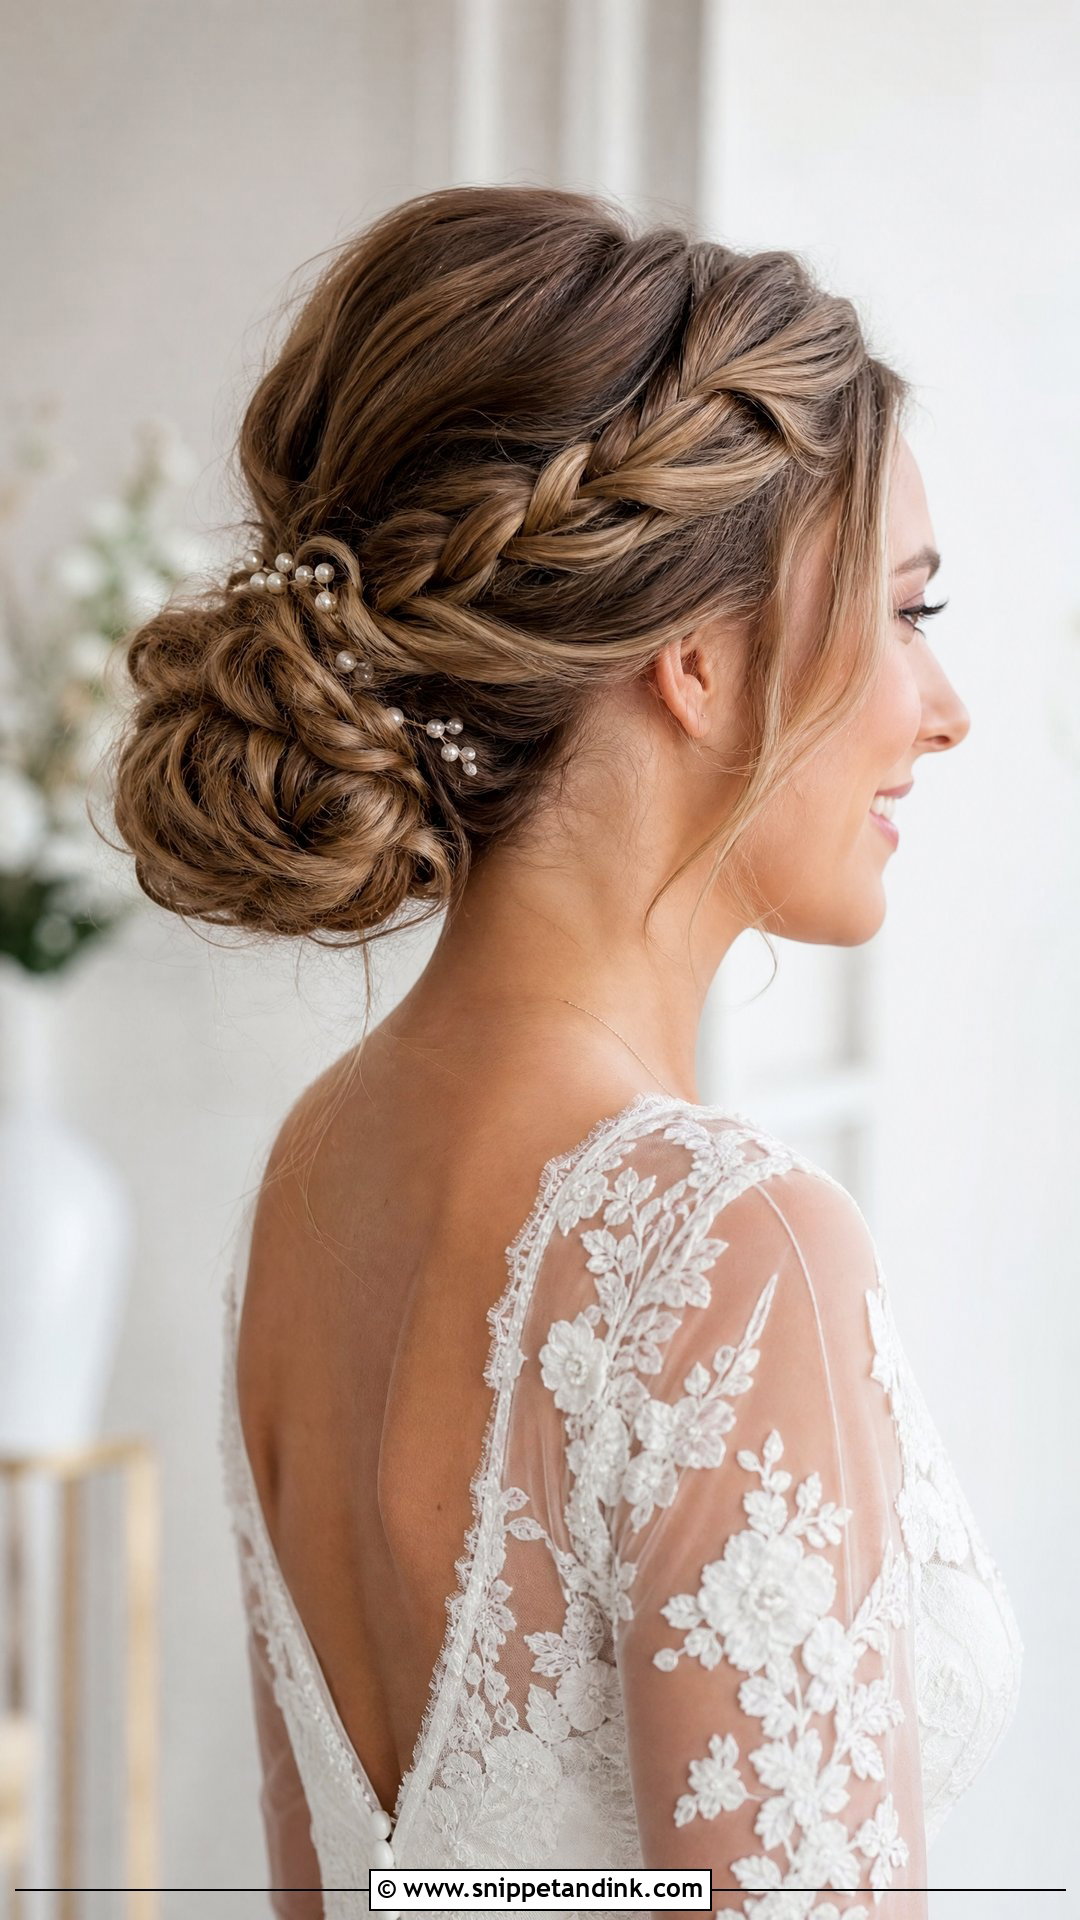
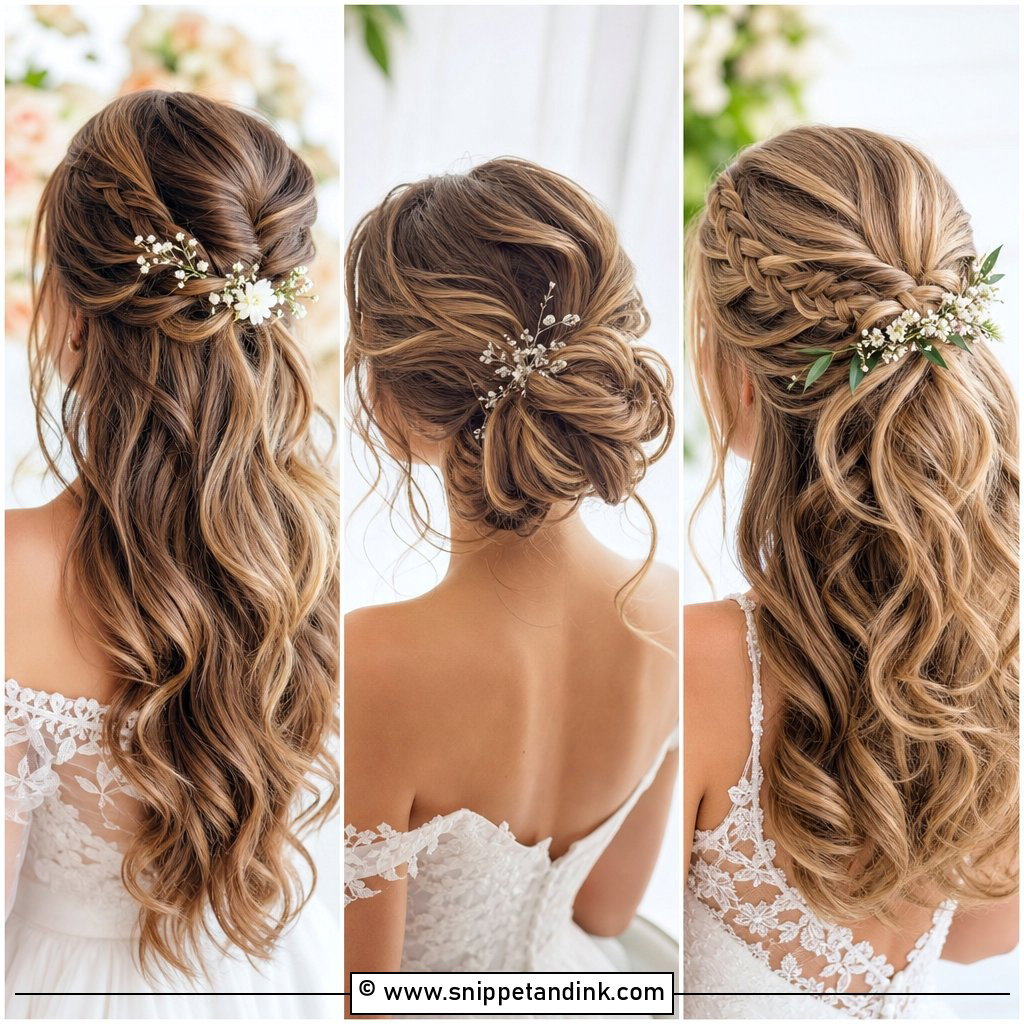
Braiding is my quiet fix for shorter layers on medium length hair. A braid that starts along one side, wraps into the bun or crosses the crown catches the short pieces that would otherwise fall out of a plain bun by dinner. Small pearl pins or tiny flowers tuck into the gaps in the braid. Boho gowns, lace sleeves and outdoor venues are its home. On very fine hair a regular three-strand braid can look thin, so I use a Dutch braid instead; it sits on top of the hair and looks much fuller once the edges are gently pulled apart.
5. Mid Height Twisted Bun Wedding Hairstyle
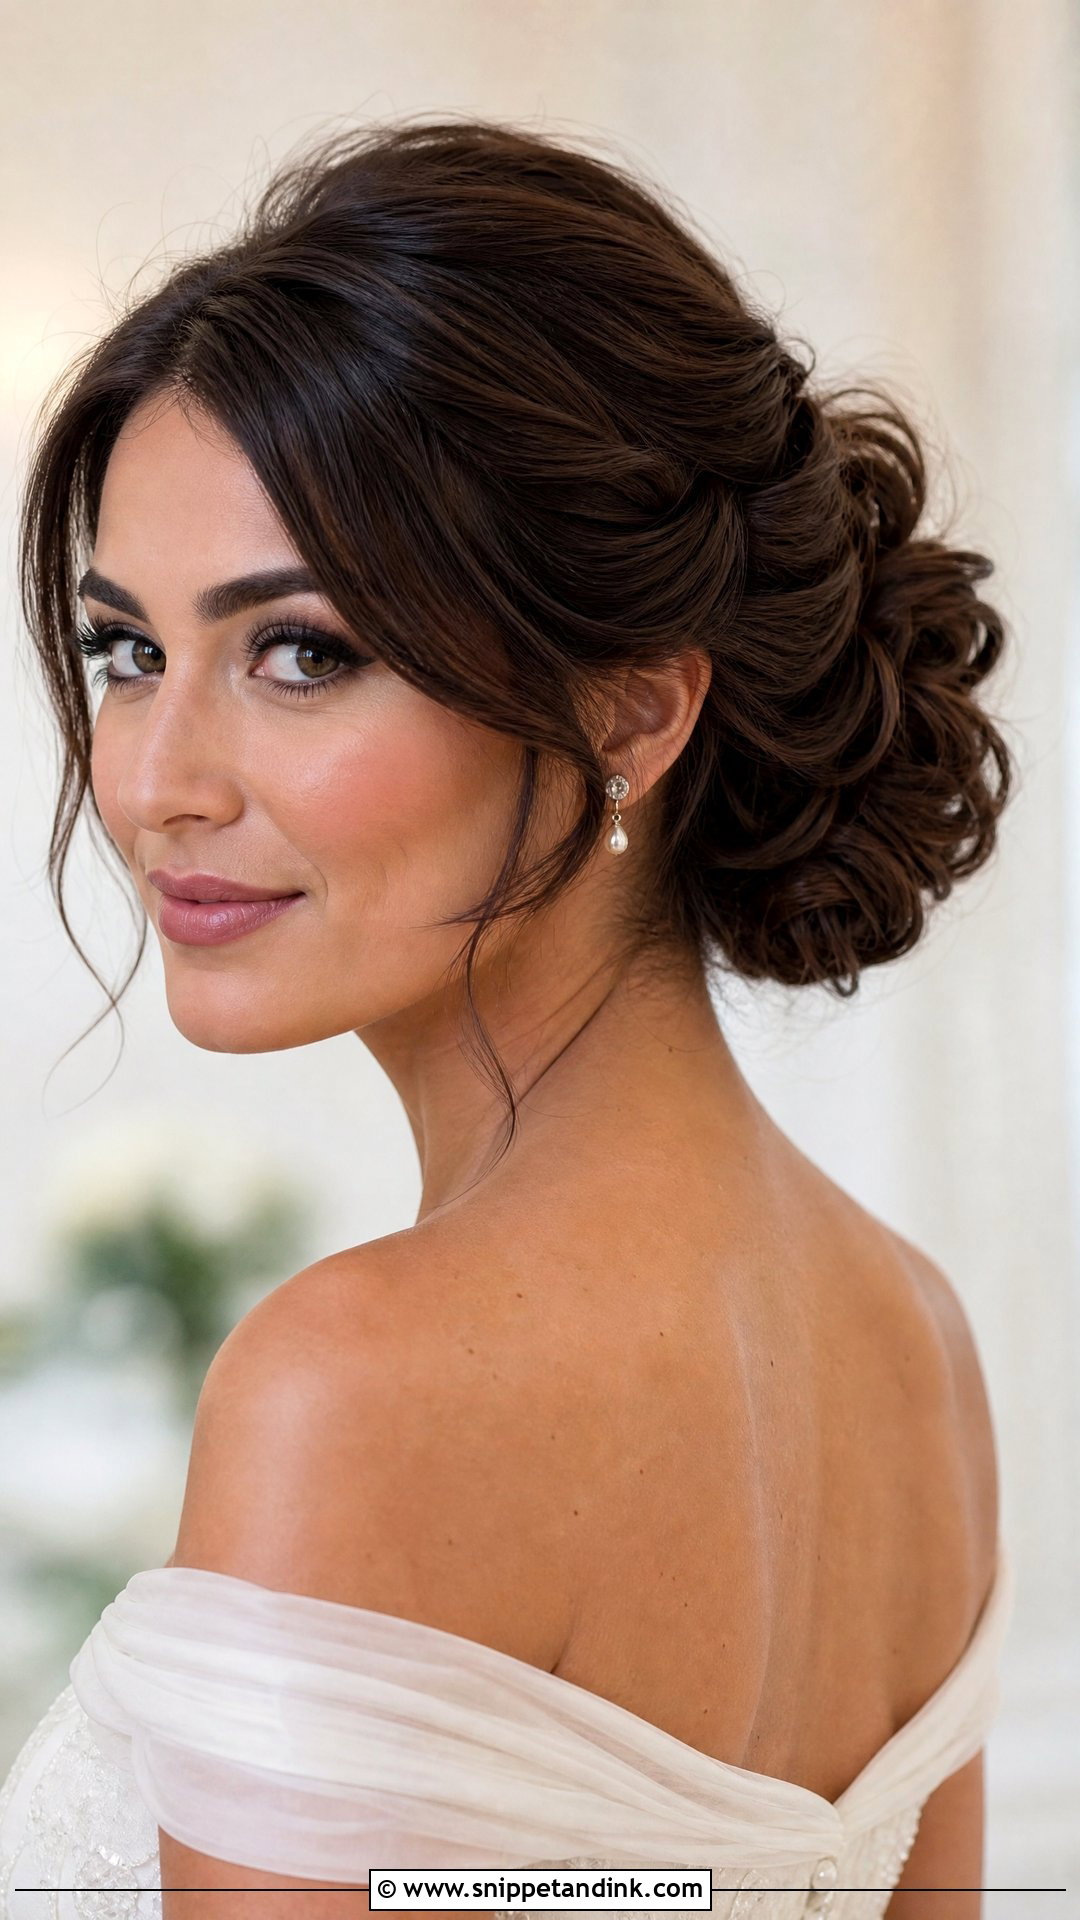
Twisting gives the shape of a braid without the busy pattern. I divide the hair into soft sections, twist each one back and pin it into the bun, so the movement looks smooth and the bun reads fuller. The twists can stay polished or be loosened for a softer mood, and a veil sits happily just above or below them. Highlighted hair shows off here, because each twist flips the lighter ribbons to the surface. Twist every section in the same direction, or they fight each other and start to unwind.
6. Mid Height Curly Bun Wedding Hairstyle
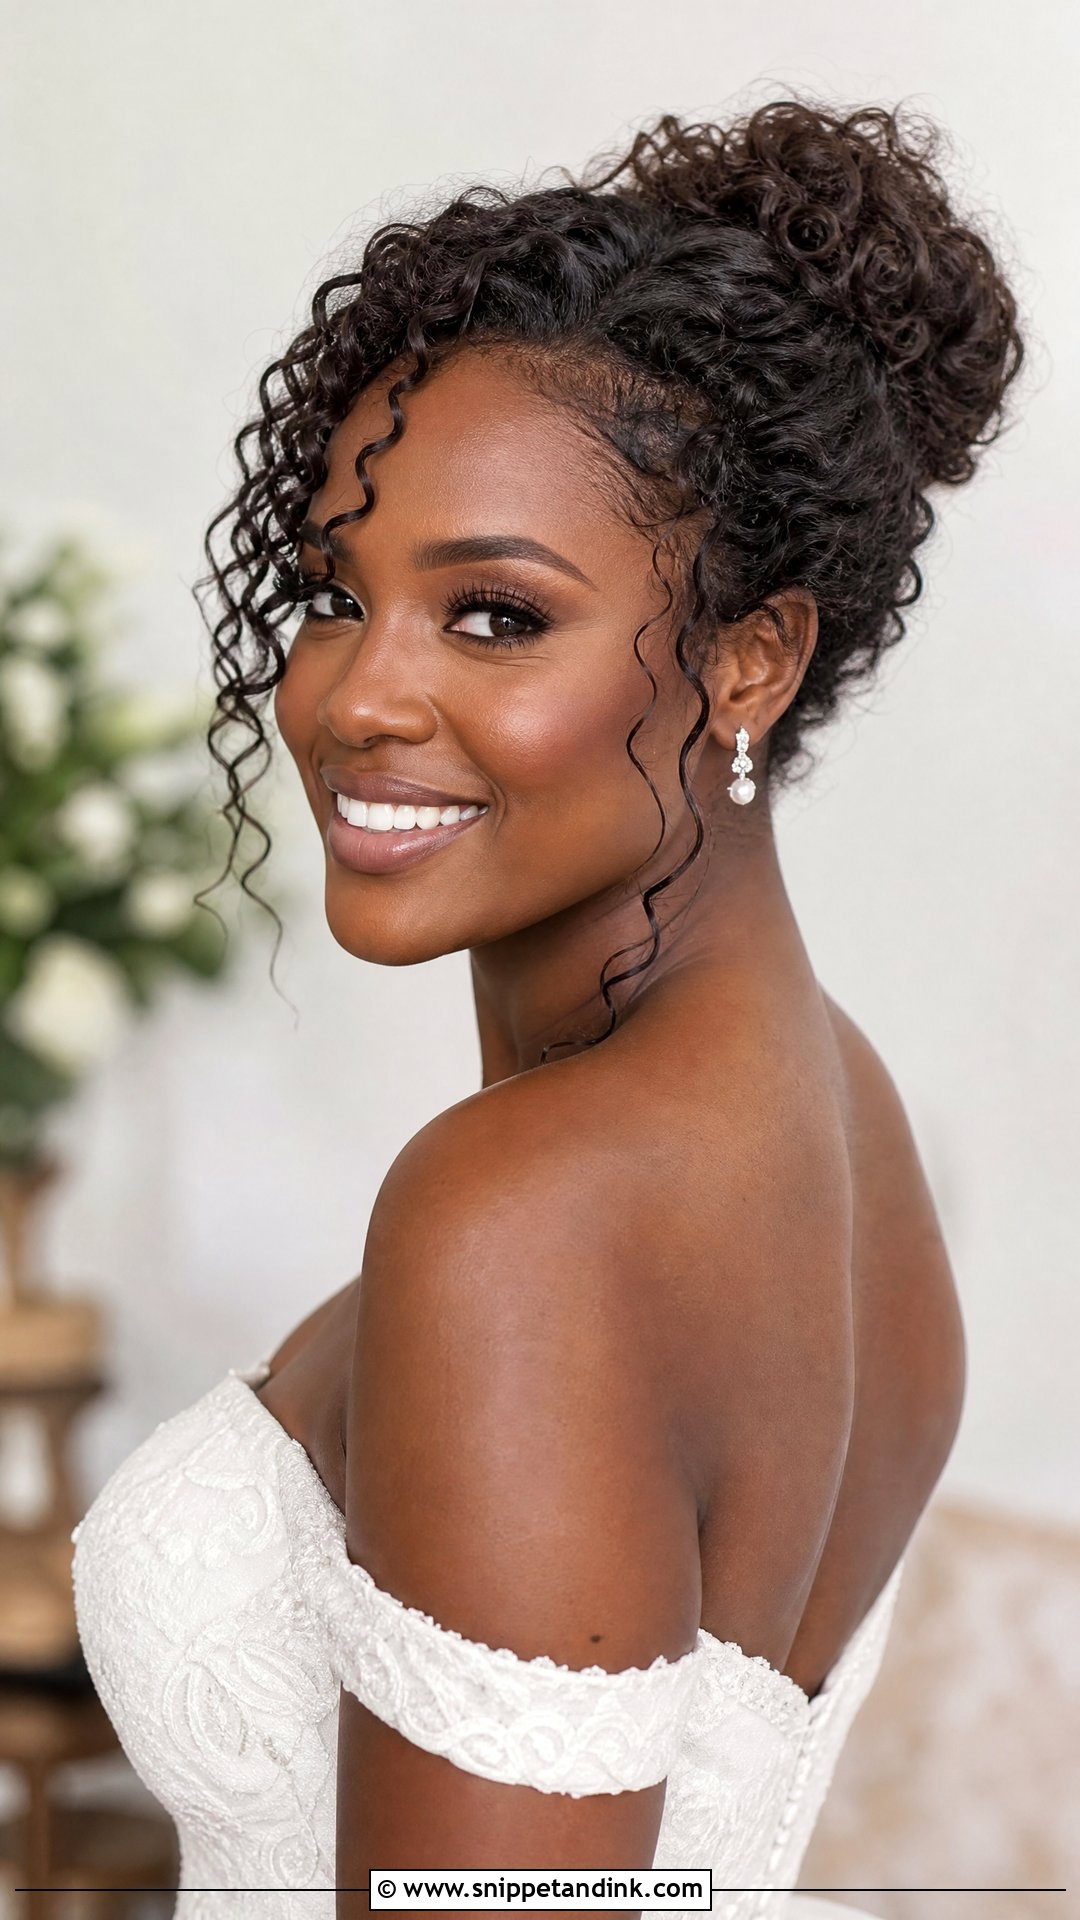
If your curls are natural, I’d rather build the bun from them than straighten them away. The bun is made of pinned curl sections, so it keeps its bounce, and gathering the curls at the back while lifting the crown gives height without stretching them out. I prep with a curl cream and an anti-frizz product, mist with a humidity-resistant spray before pinning, and leave a few defined curls around the face. Floral pieces, soft veils and open backs all work with it. Once the curls are set, don’t brush them; separate with your fingers or they turn into frizz.
7. Mid Height Bun With Face Framing Pieces Wedding Hairstyle
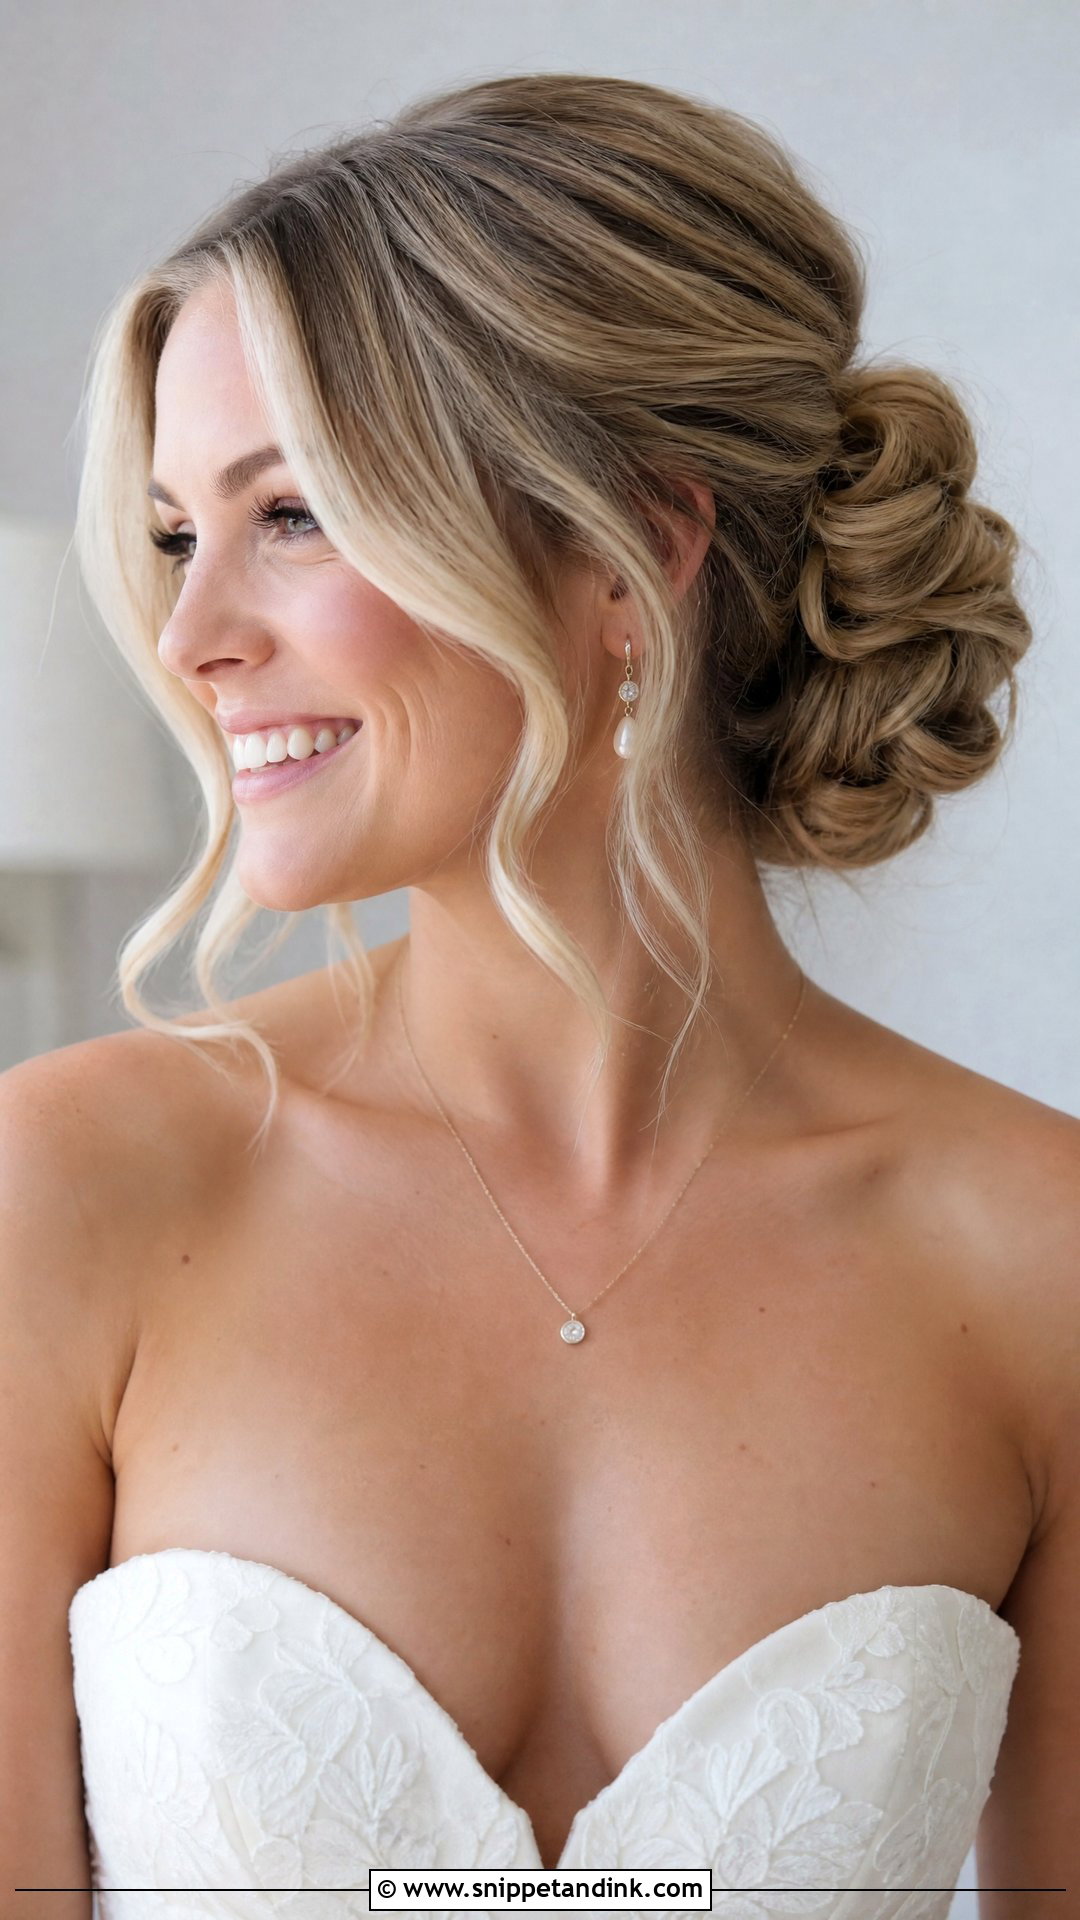
Face-framing pieces stop an updo from feeling scraped back, which matters if you rarely wear your hair up. I bend them away from the cheekbones and keep the bun behind them balanced with light crown volume. They soften strapless, sweetheart and square necklines, where a fully pulled-back style can look severe on some faces. Length decides everything, so if the front pieces need shaping, have it done before the trial. A trim in the week of the wedding leaves no time to fix it if it comes out too short.
8. Mid Height Bun With Veil Wedding Hairstyle
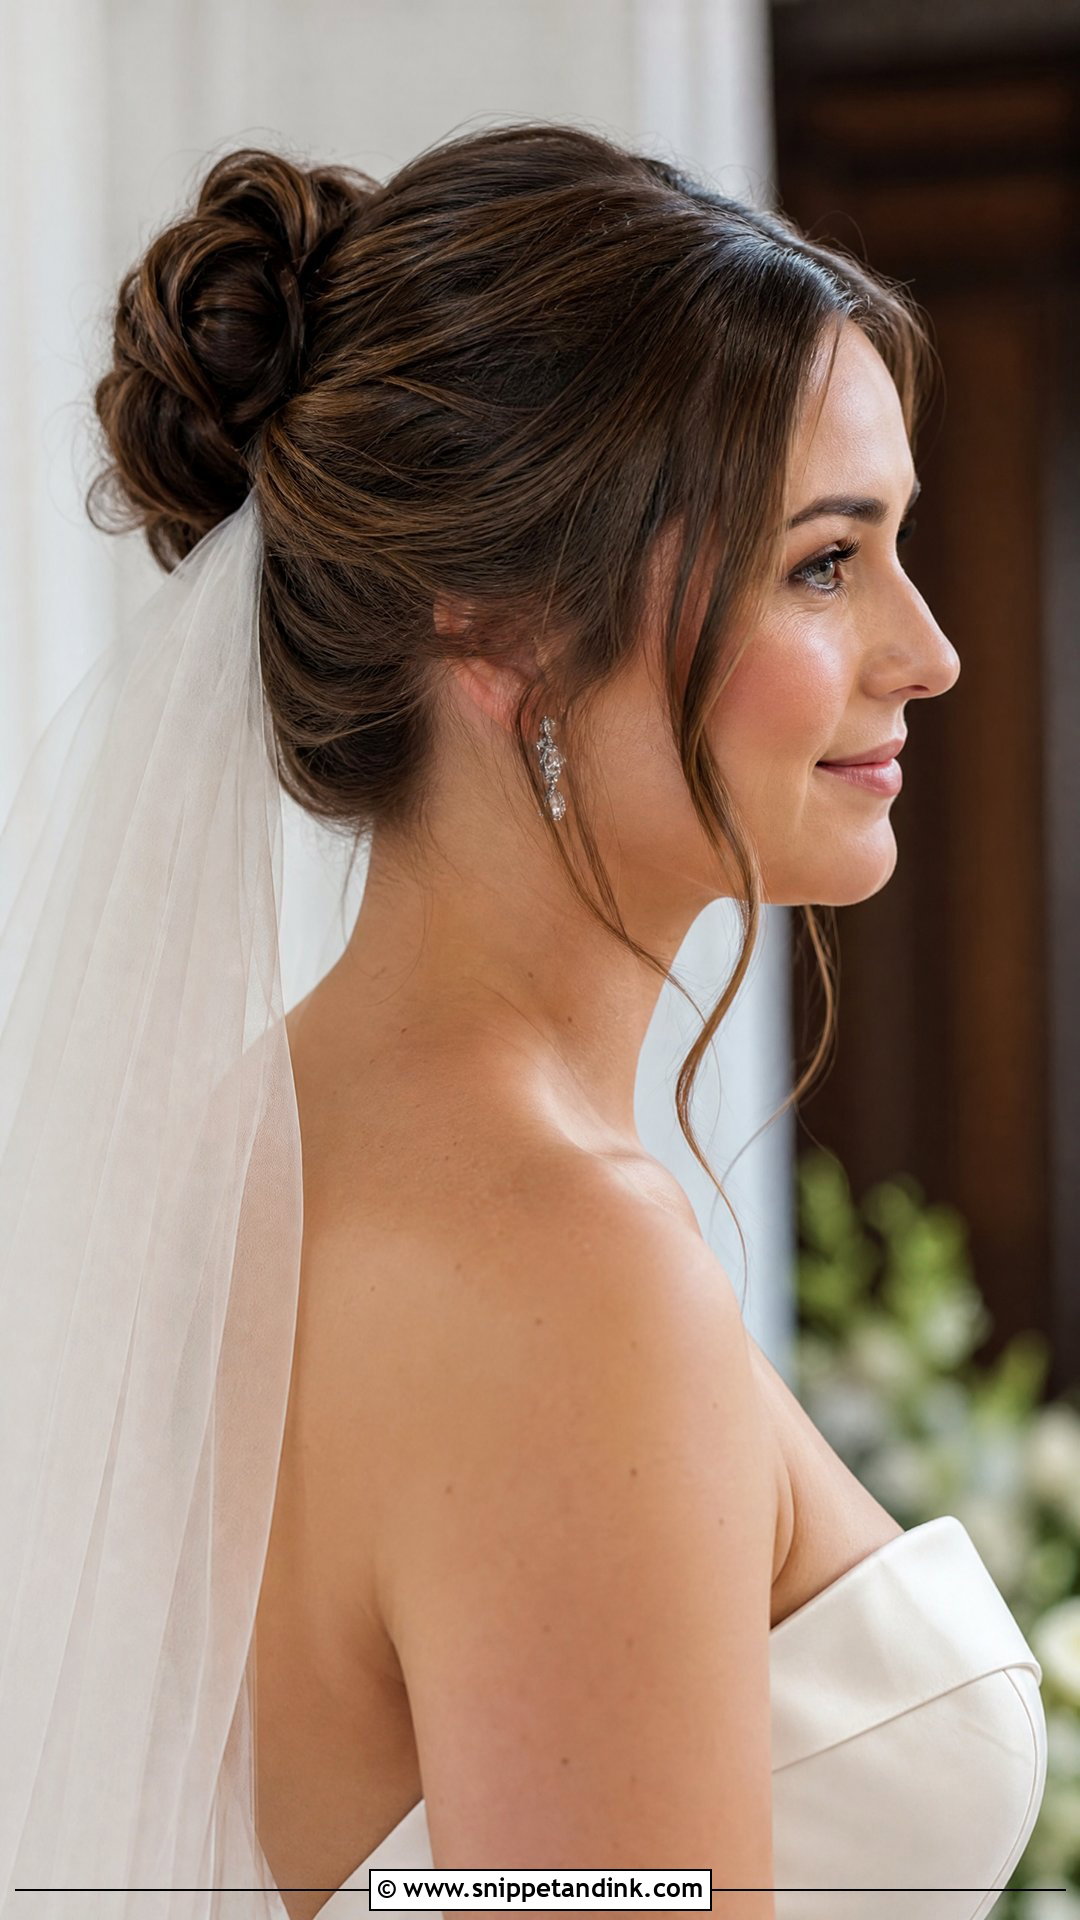
The bun gives a veil a natural anchor. Set above the bun, the veil reads classic; set underneath, it looks softer and more modern. Because the bun isn’t low, the veil has room to fall without hiding the hairstyle, and the head shape stays lifted in photos. Bring the actual veil to your trial, especially if it’s long or heavy. A cathedral length pulls back on the comb with every step, and I’d much rather discover it needs extra anchoring in the trial room than halfway down the aisle.
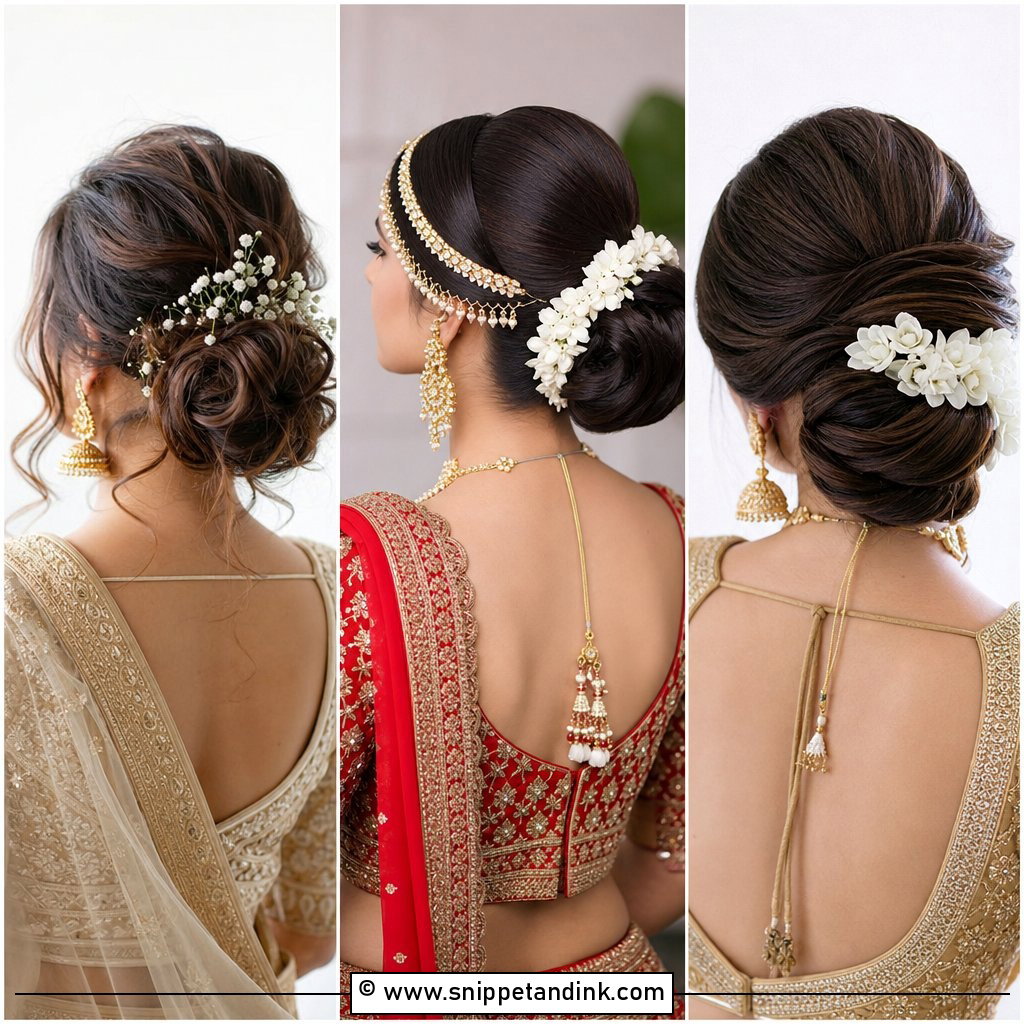
9. Mid Height Bun With Pearl Pins Wedding Hairstyle
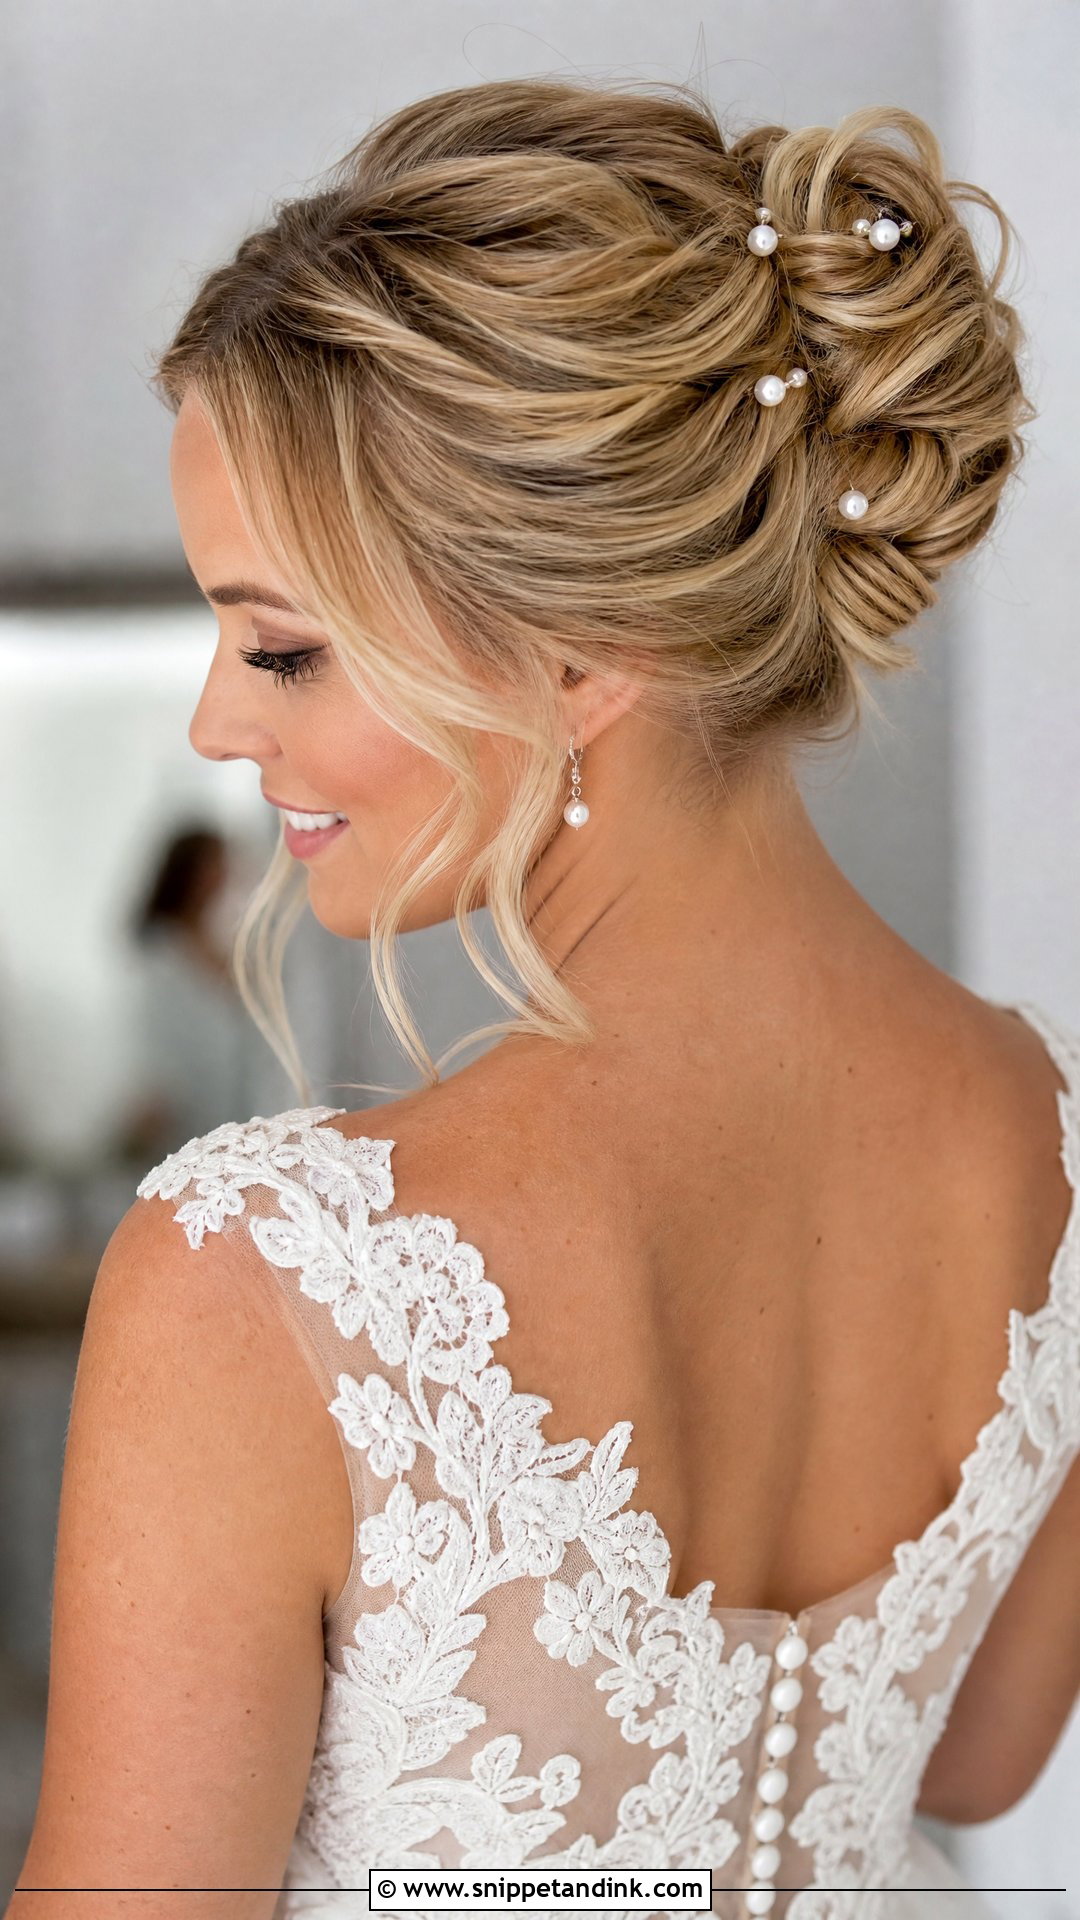
Pearls should work as highlights, not the main event. I scatter them through a textured bun or set them in a curved line along one side, and I keep the bun full so the pins have something to sit against. Small ivory pearls feel classic, while mixed sizes feel more modern as long as the placement stays tidy. They suit indoor ceremonies and formal portraits. Cheap pearl pins often have glued tops that hairspray can loosen, so I give each one a gentle twist to test it before it goes in.
10. Mid Height Bun With Floral Comb Wedding Hairstyle
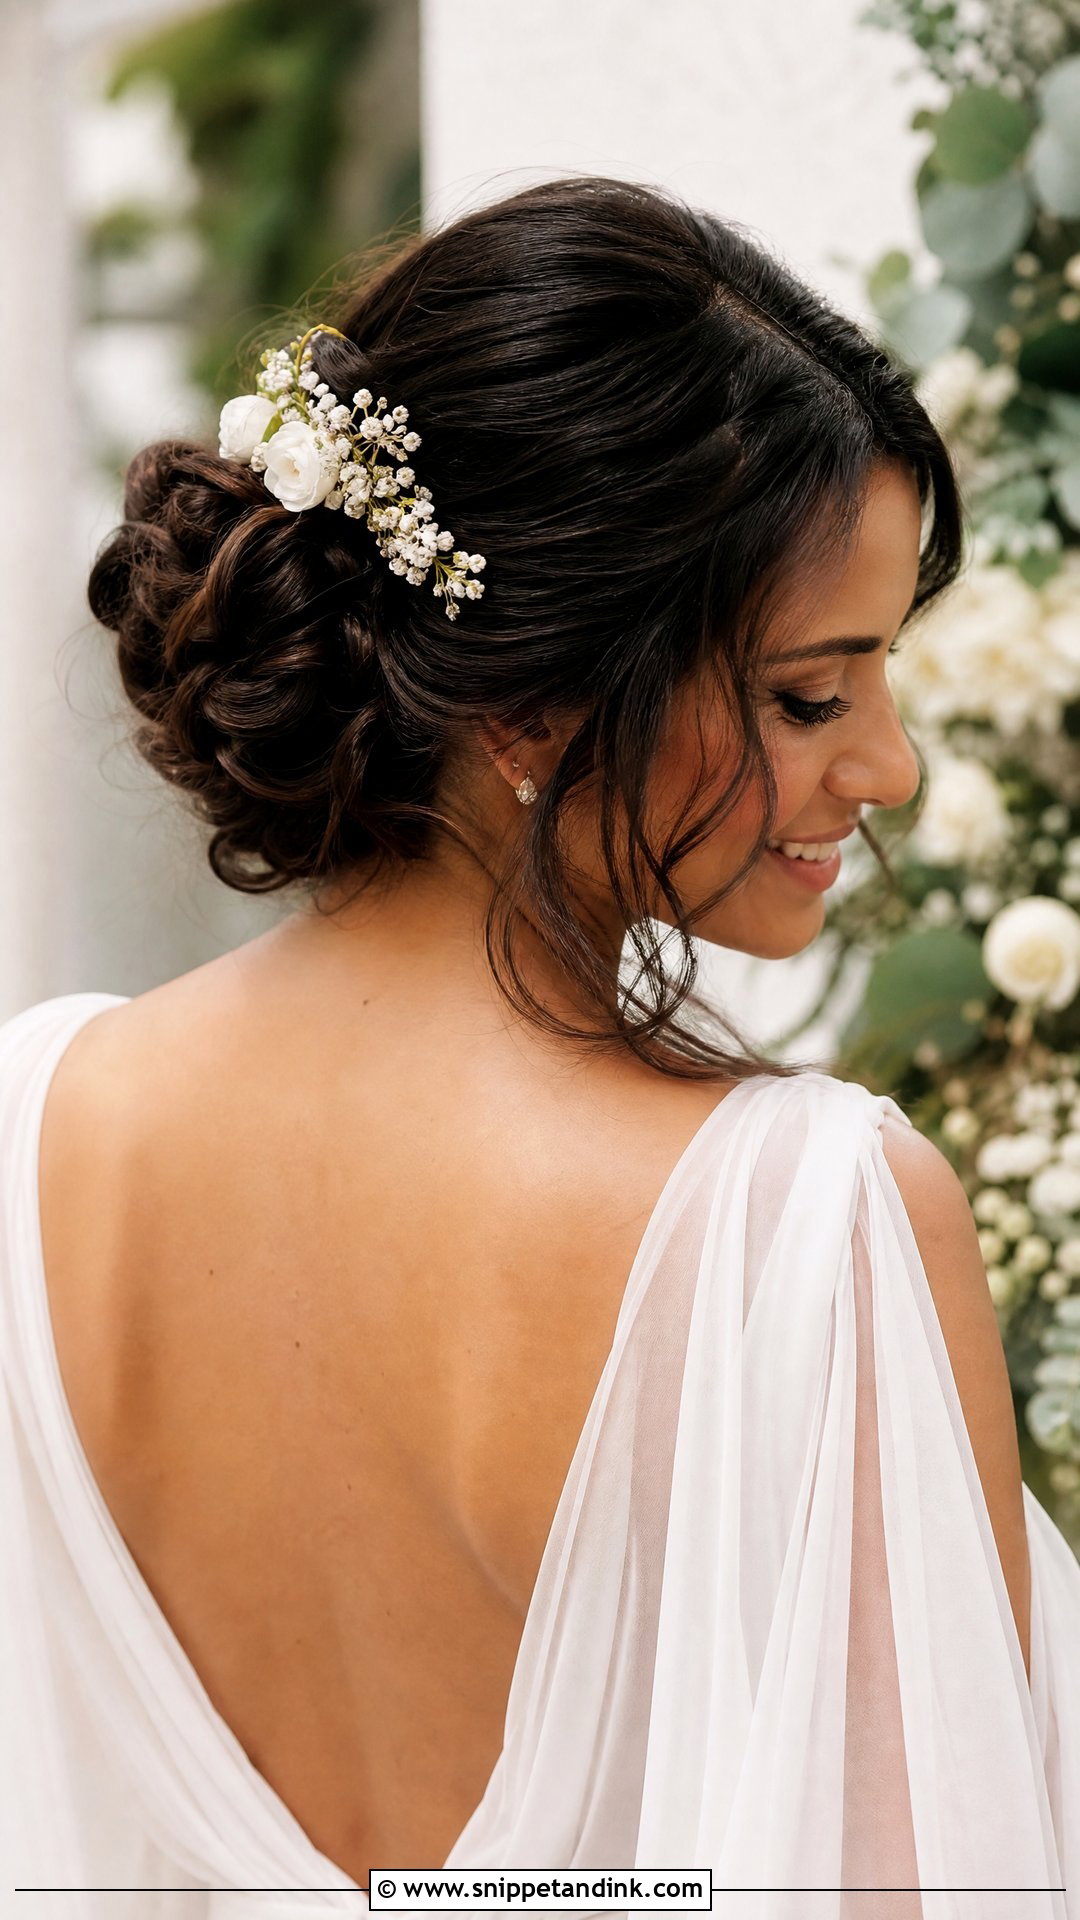
Where a floral comb goes depends on the veil. If the veil sits above the bun, I move the comb to one side; without a veil, it can tuck above or just under the coil. Soft waves before pinning give the comb a full base, because a comb pushed into flat hair has nothing to grip. Scale it to the dress: a heavily detailed gown wants a small comb with fine petals, and a plain one can carry something larger. Spring and summer garden weddings are its natural setting. Keep the front soft so the comb isn’t the only thing softening the look.
11. Mid Height Bun With Side Part Wedding Hairstyle
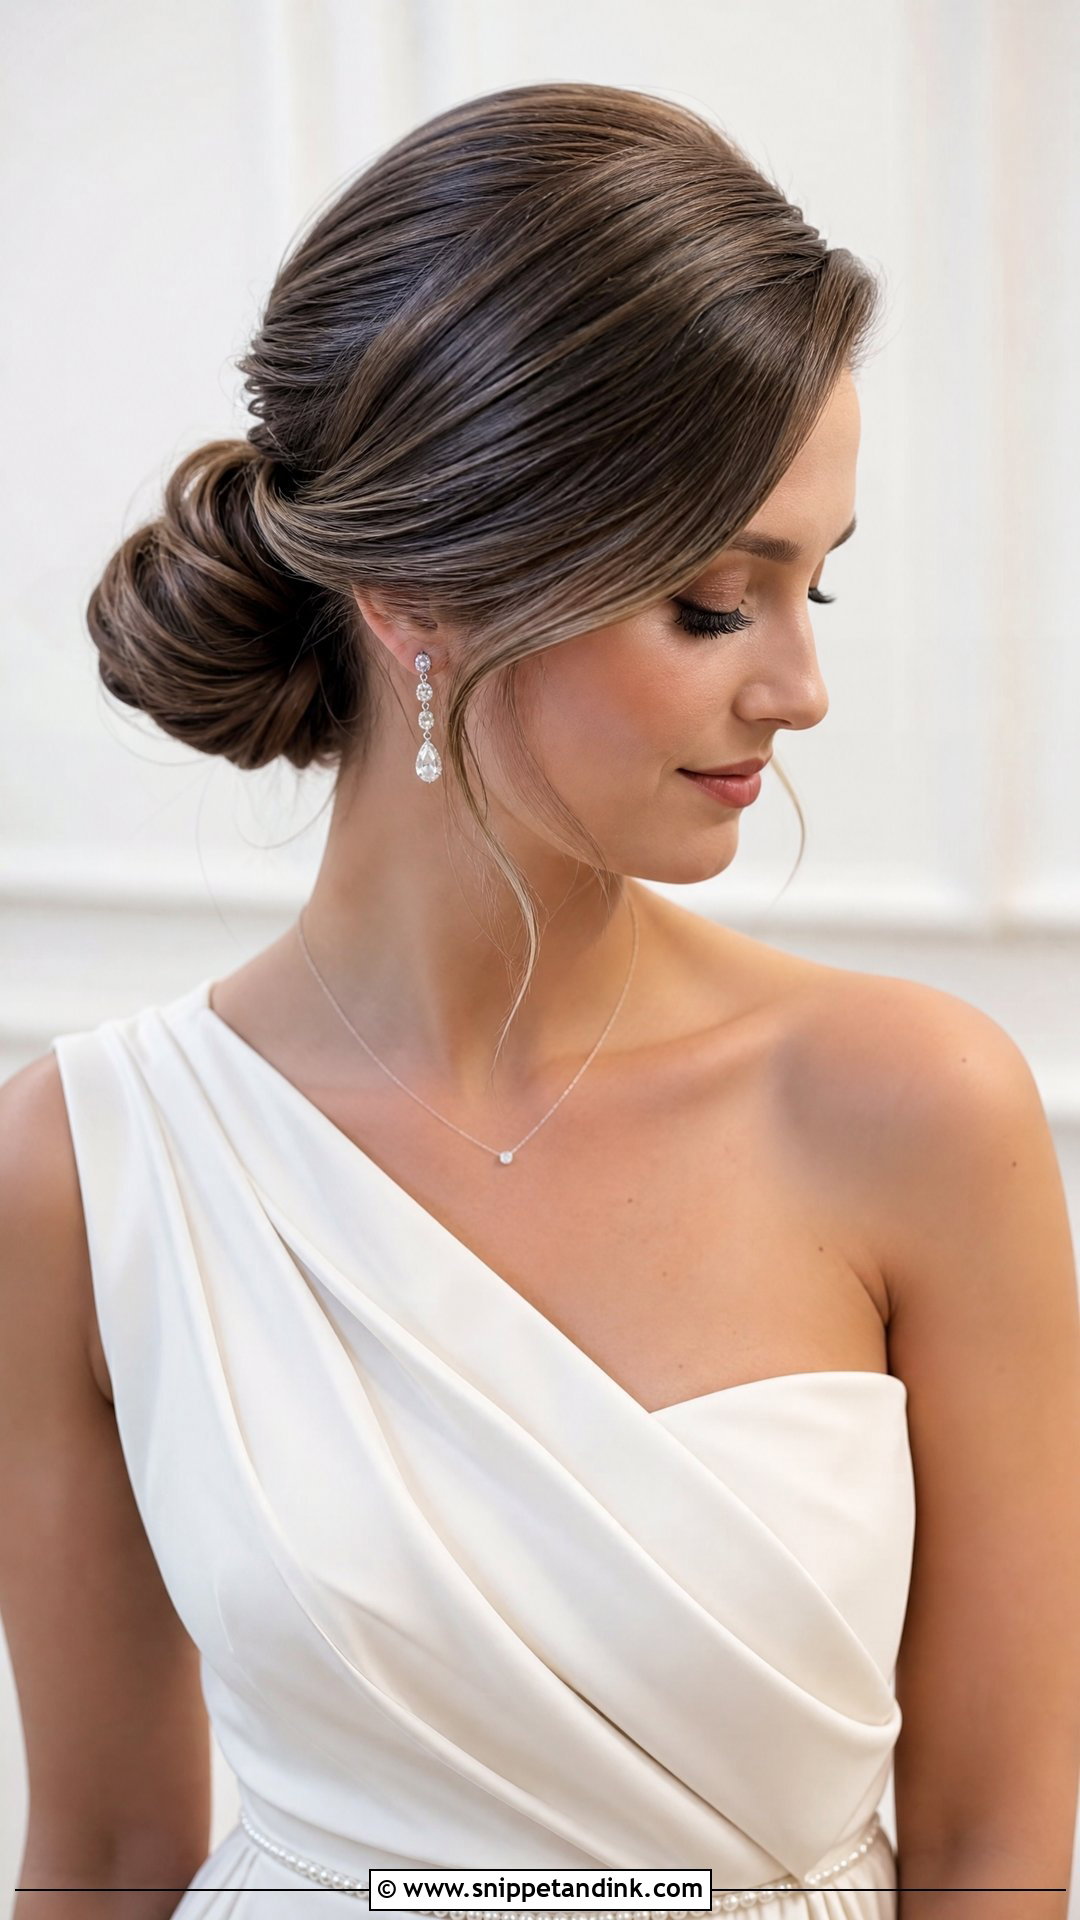
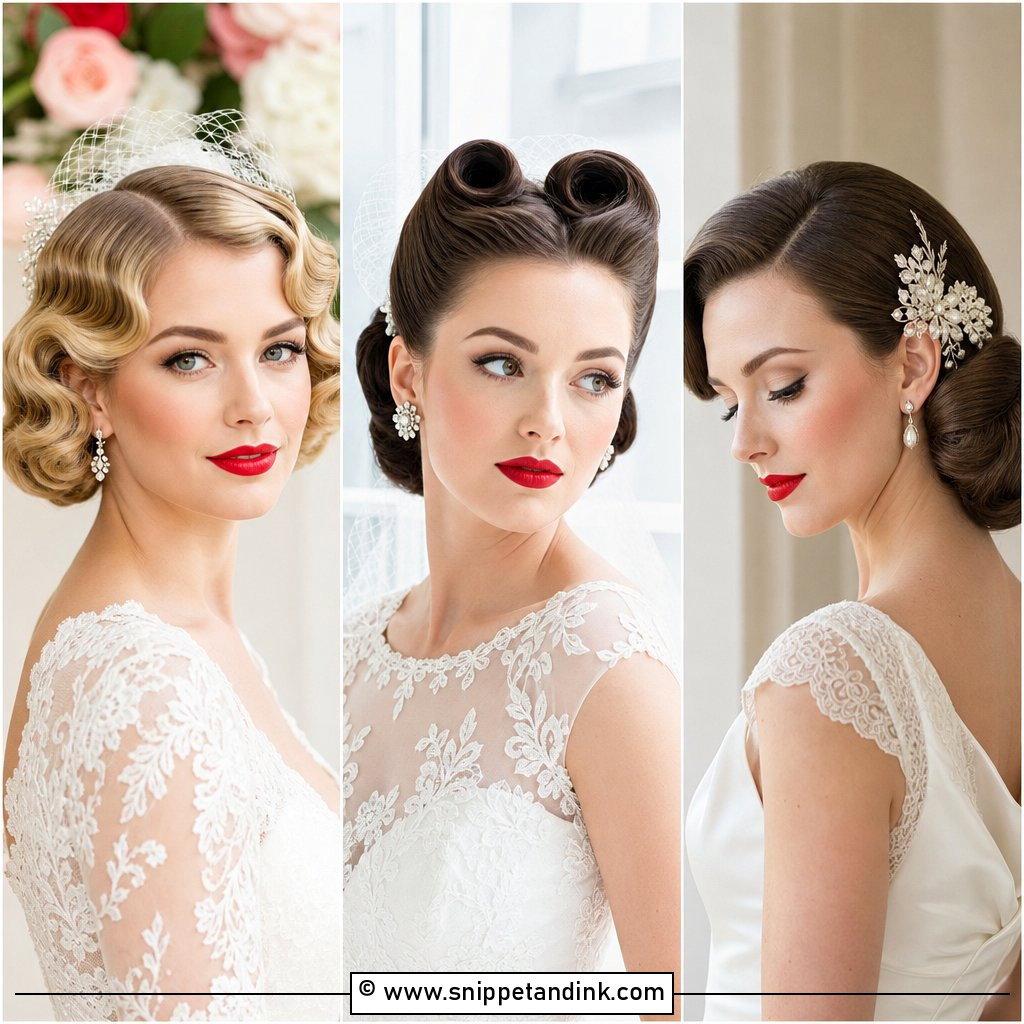
A side part gives the hairstyle direction and makes the updo feel tailored. It’s what I suggest to brides who don’t like how a center part sits on them. The front can be smoothed straight into the bun or waved before pinning, and drop earrings, one-shoulder gowns and vintage cuts all sit well with it. I like shine through the front and texture through the bun; that contrast keeps it from looking like an office ponytail. While I work on the back, I hold the part with a flat clip so the line stays crisp.
12. Mid Height Bun With Middle Part Wedding Hairstyle
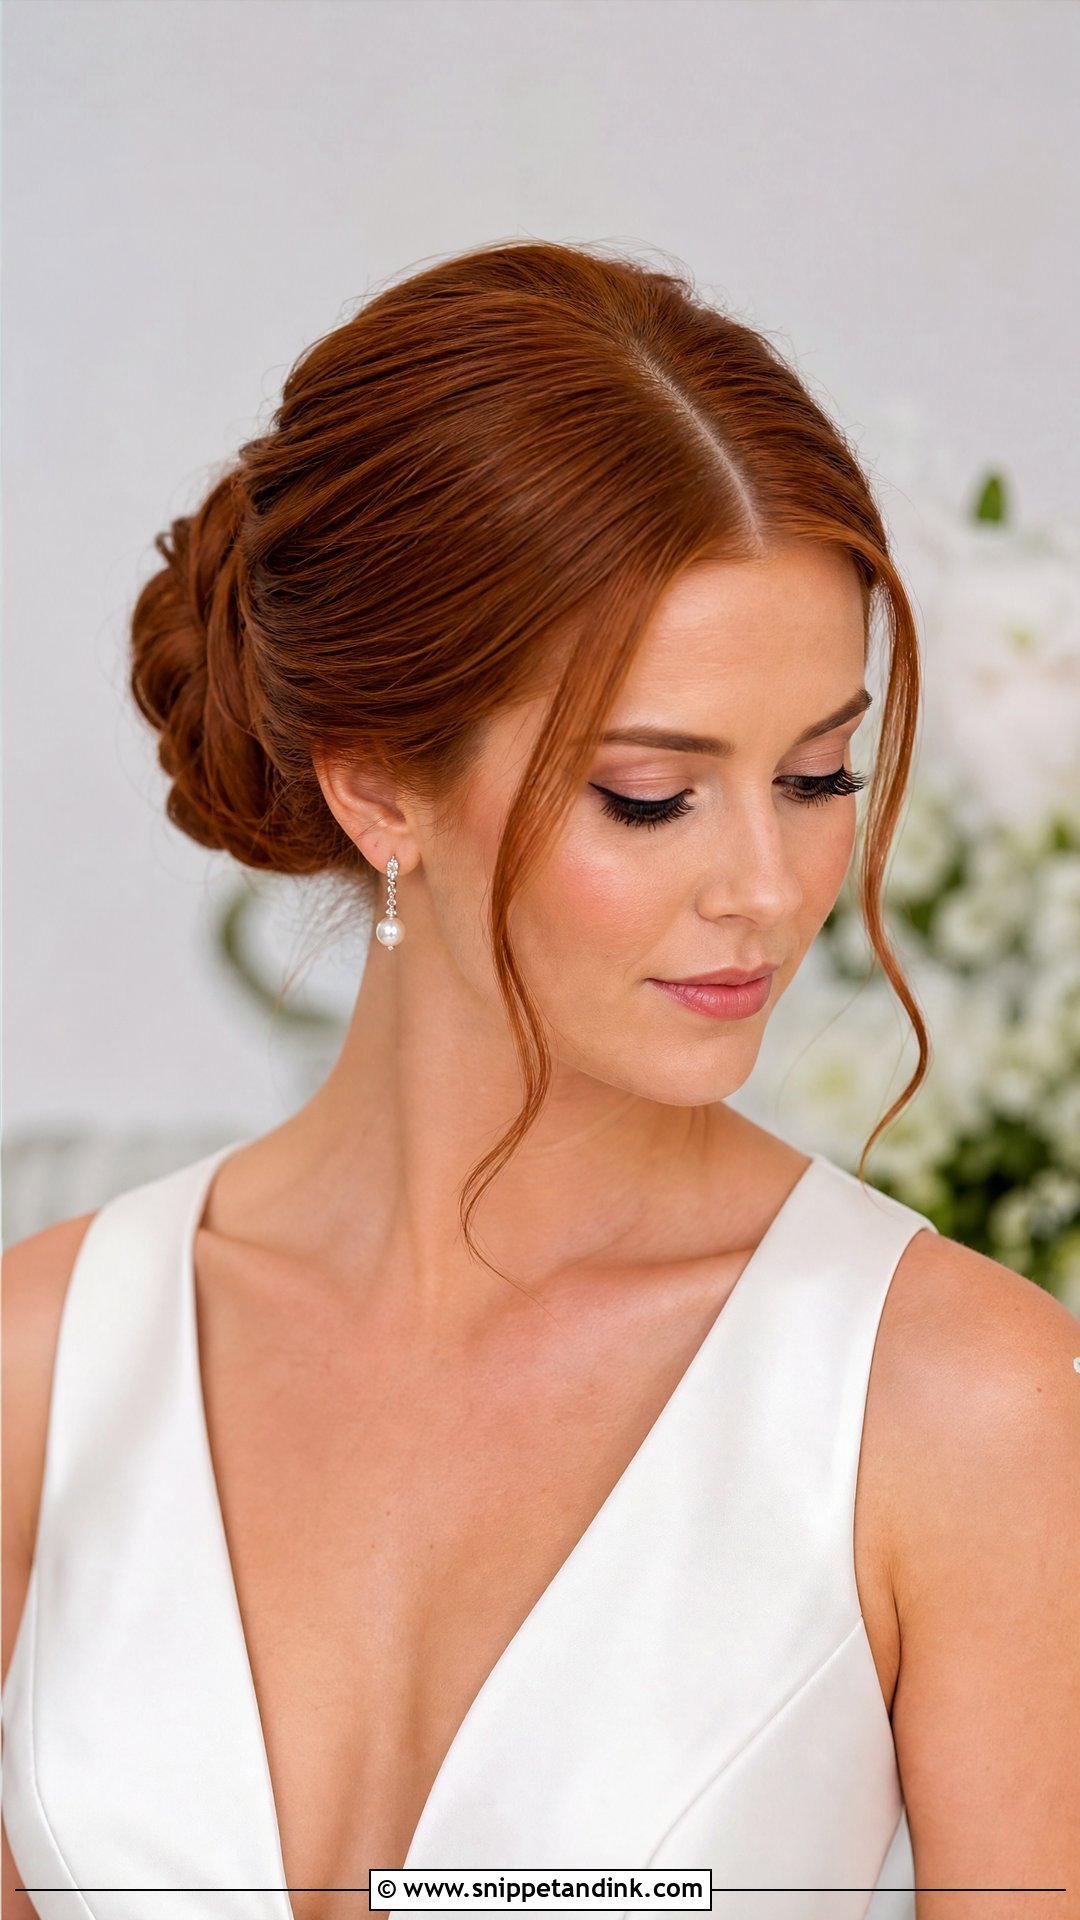
Symmetry is the whole point of a middle part, so the bun has to sit dead center behind it, secure but not tight. It looks right with simple makeup, glowing skin and sleek gowns, and it leaves the face open for statement earrings. Keep the front smooth, or leave two soft pieces if you want less severity. I check the part line from above with a hand mirror held over the head, since a part that wanders shows in every close shot. A light shine spray finishes it.
13. Mid Height Chignon Wedding Hairstyle
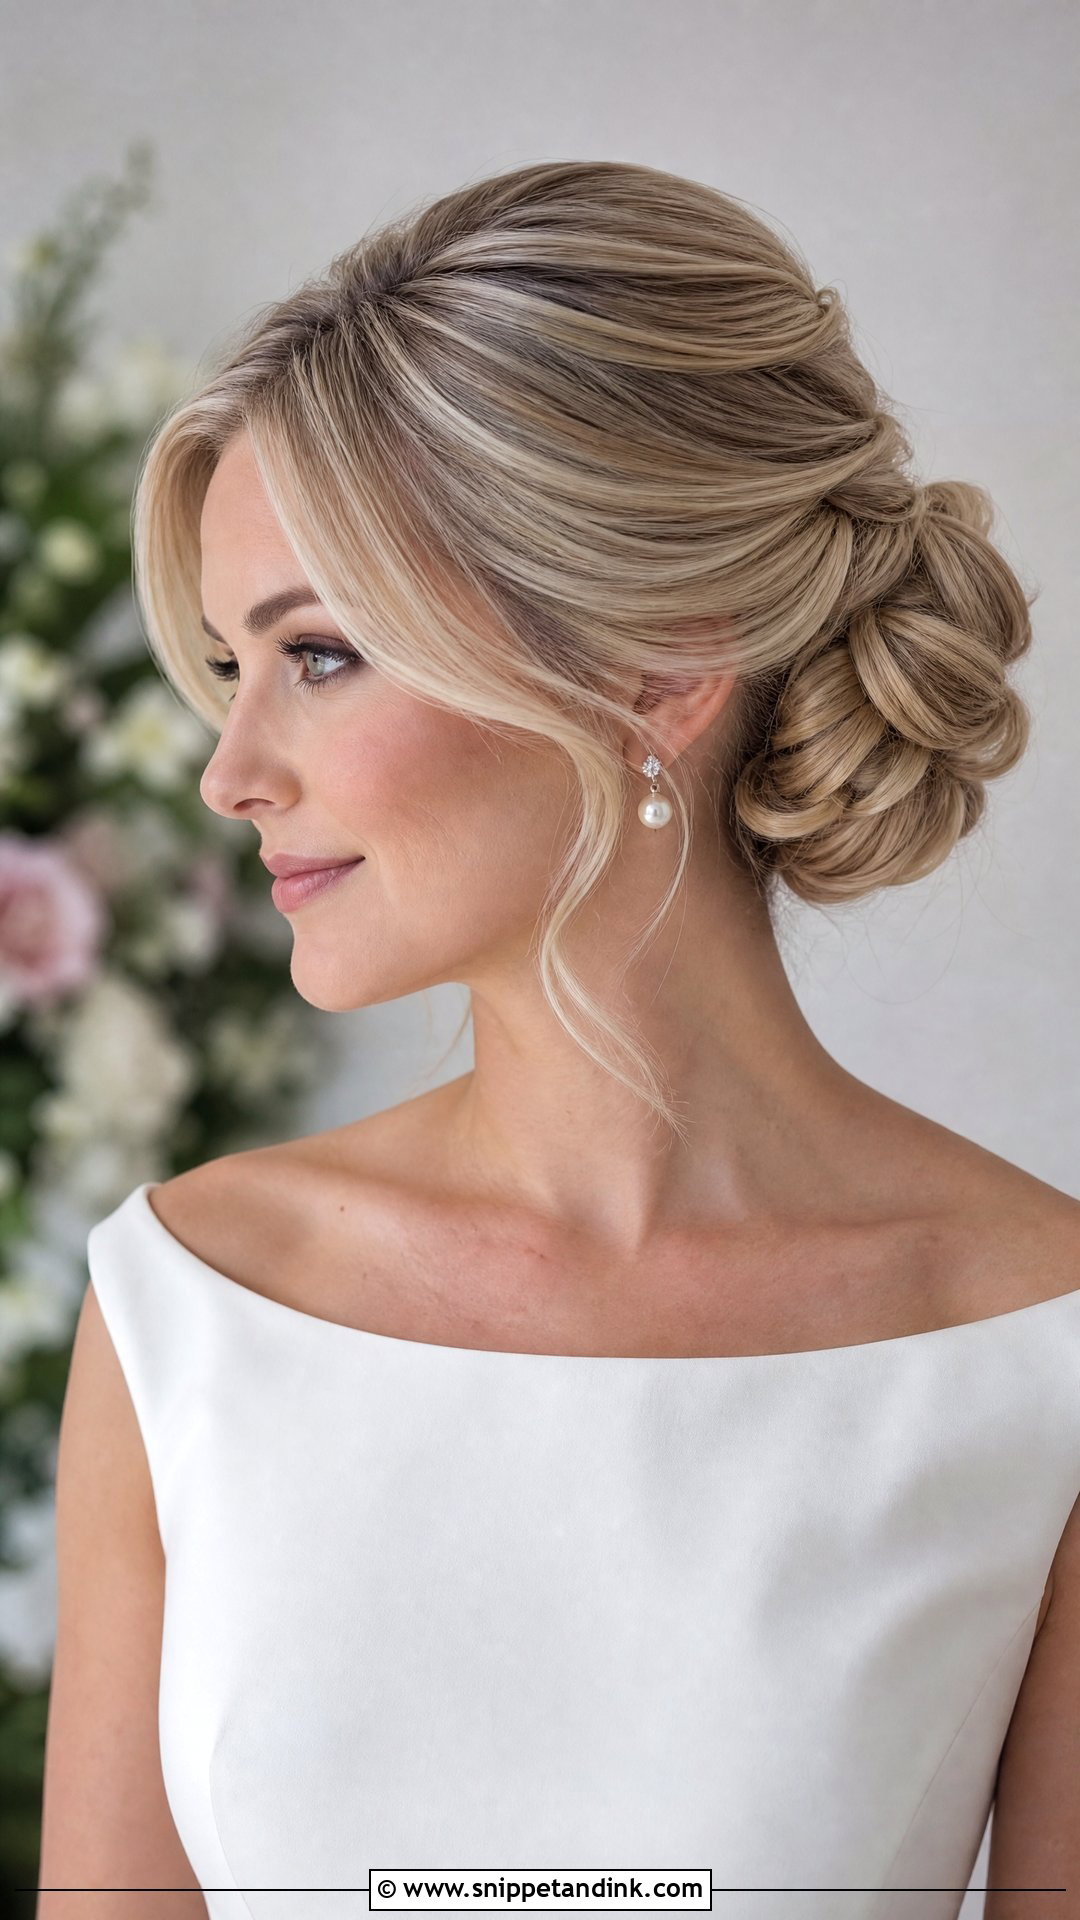
A chignon is folded or rolled rather than coiled, which gives a smoother, more tucked shape than a messy bun and a graceful profile from the side. Classic gowns, cathedral veils and indoor venues suit it. On medium length hair a small pad inside helps the shape look full, and once it’s covered with your own hair, nobody can tell. I always keep the crown softly lifted, because a flat crown with a full chignon behind it makes the head look oddly shaped in profile photos.
14. Mid Height Bun For Thin Hair Wedding Hairstyle
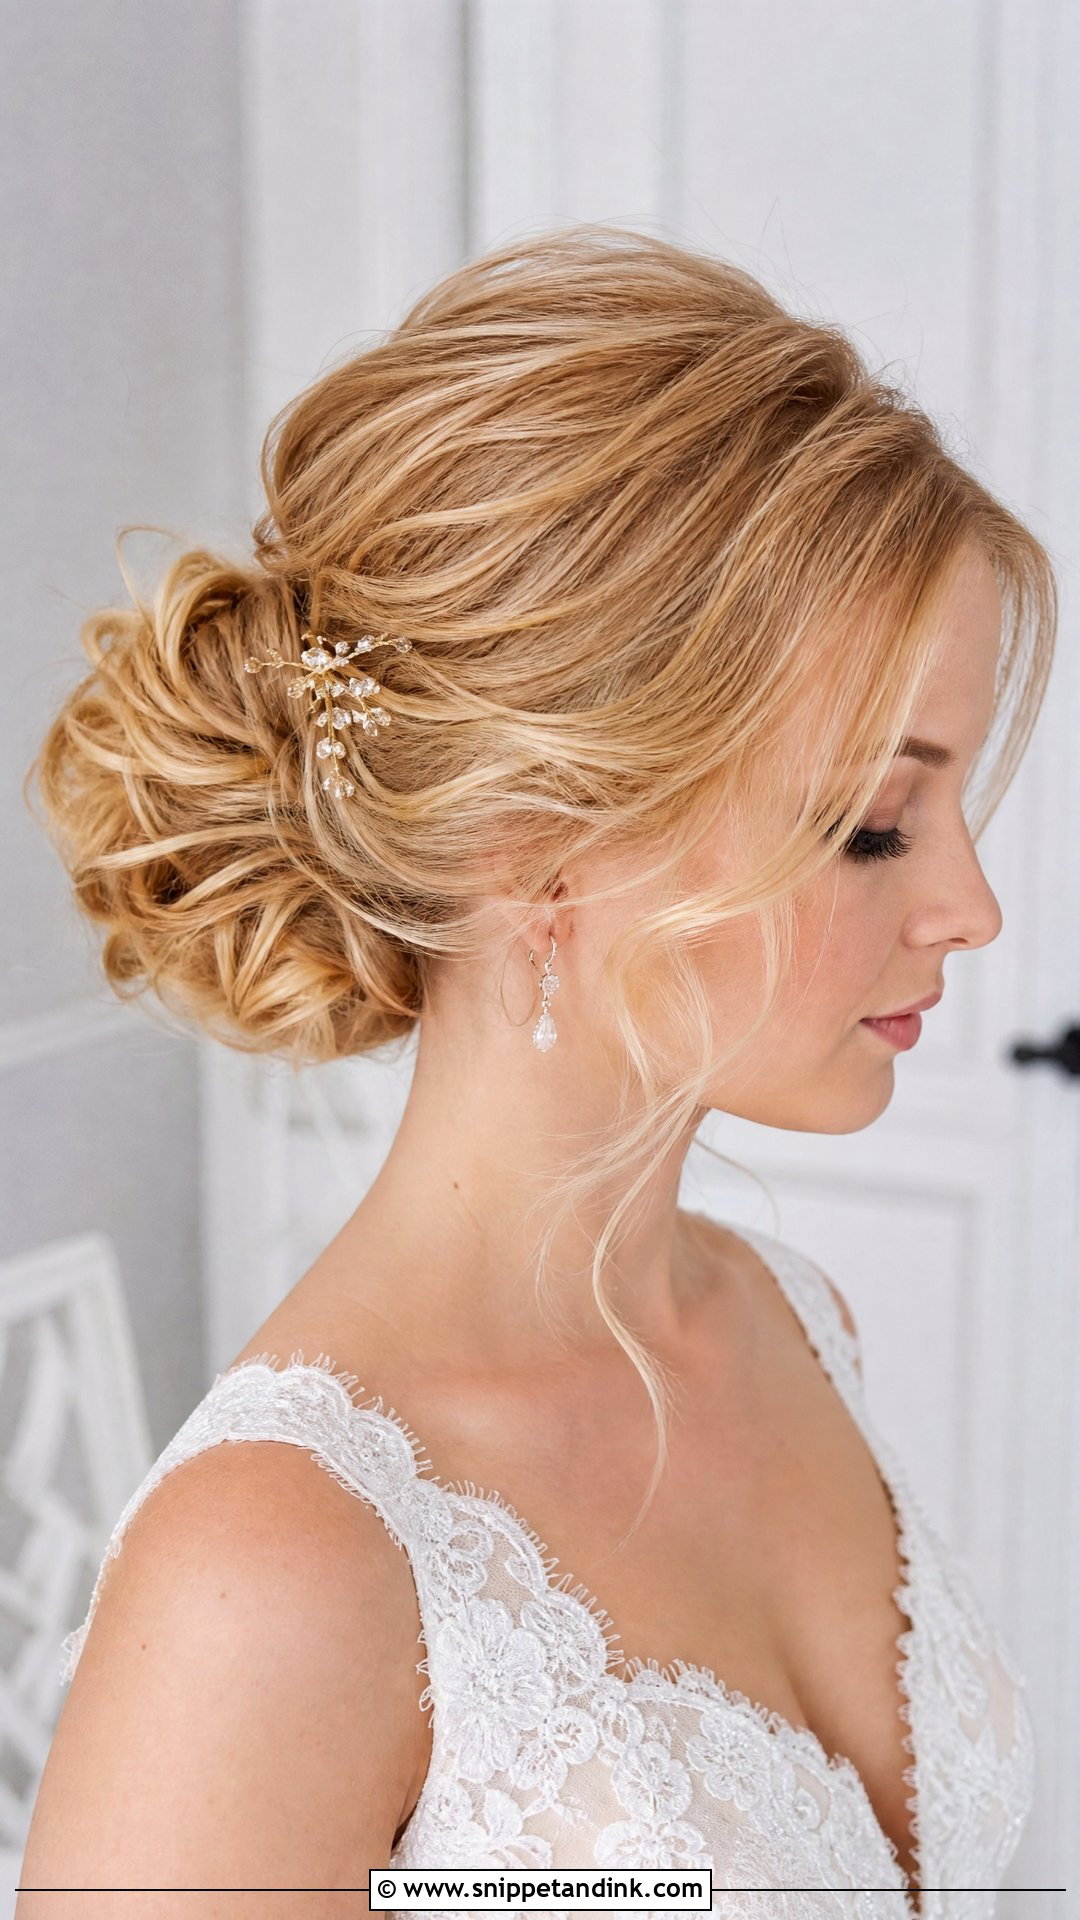
Thin hair can carry a mid height bun when the volume is built before pinning, not after. I curl it, add texture spray, backcomb the crown lightly and slip in a small pad if needed. The bun should stay soft and airy, because wrapping fine hair tightly makes it look even smaller. Face-framing pieces add movement. One more thing I watch: fine hair can show scalp along the part under flash, so I sometimes dust a little root powder in your hair color along that line.
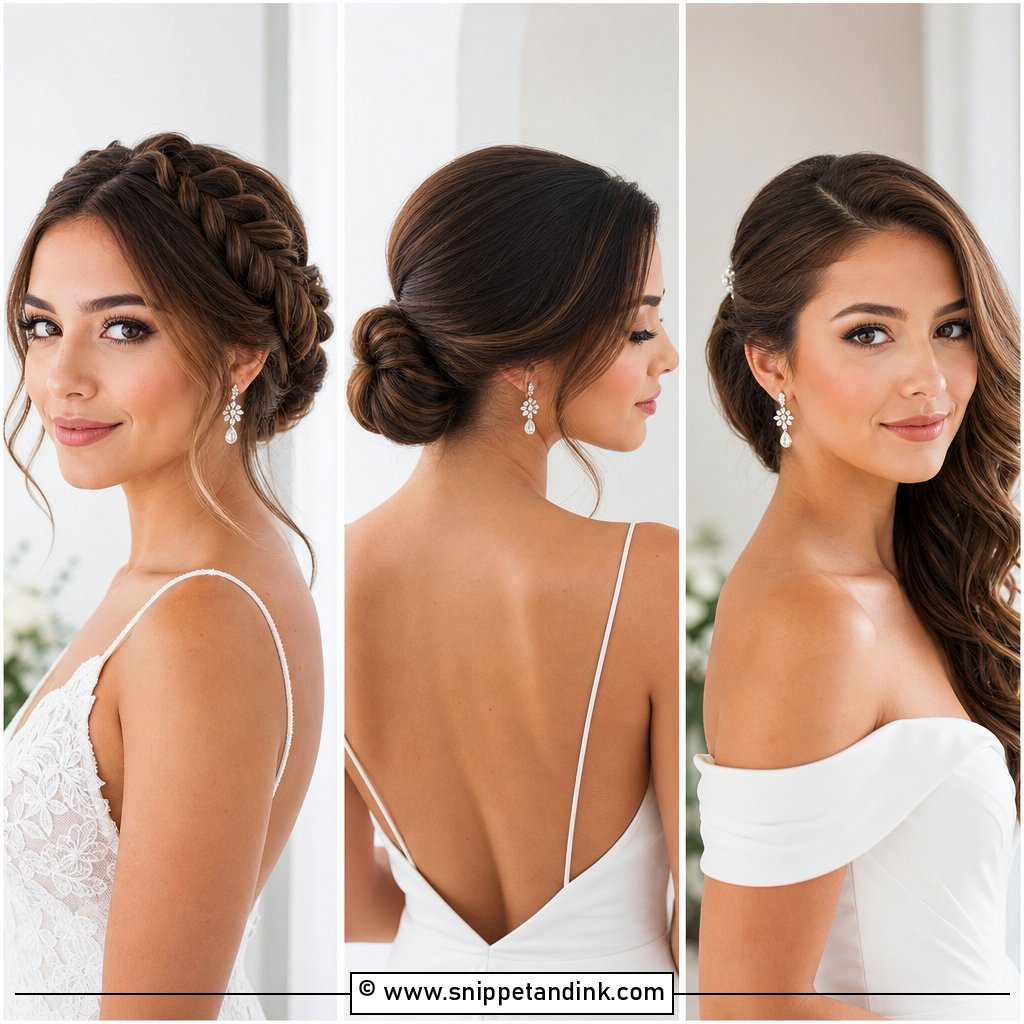
15. Mid Height Bun For Thick Hair Wedding Hairstyle
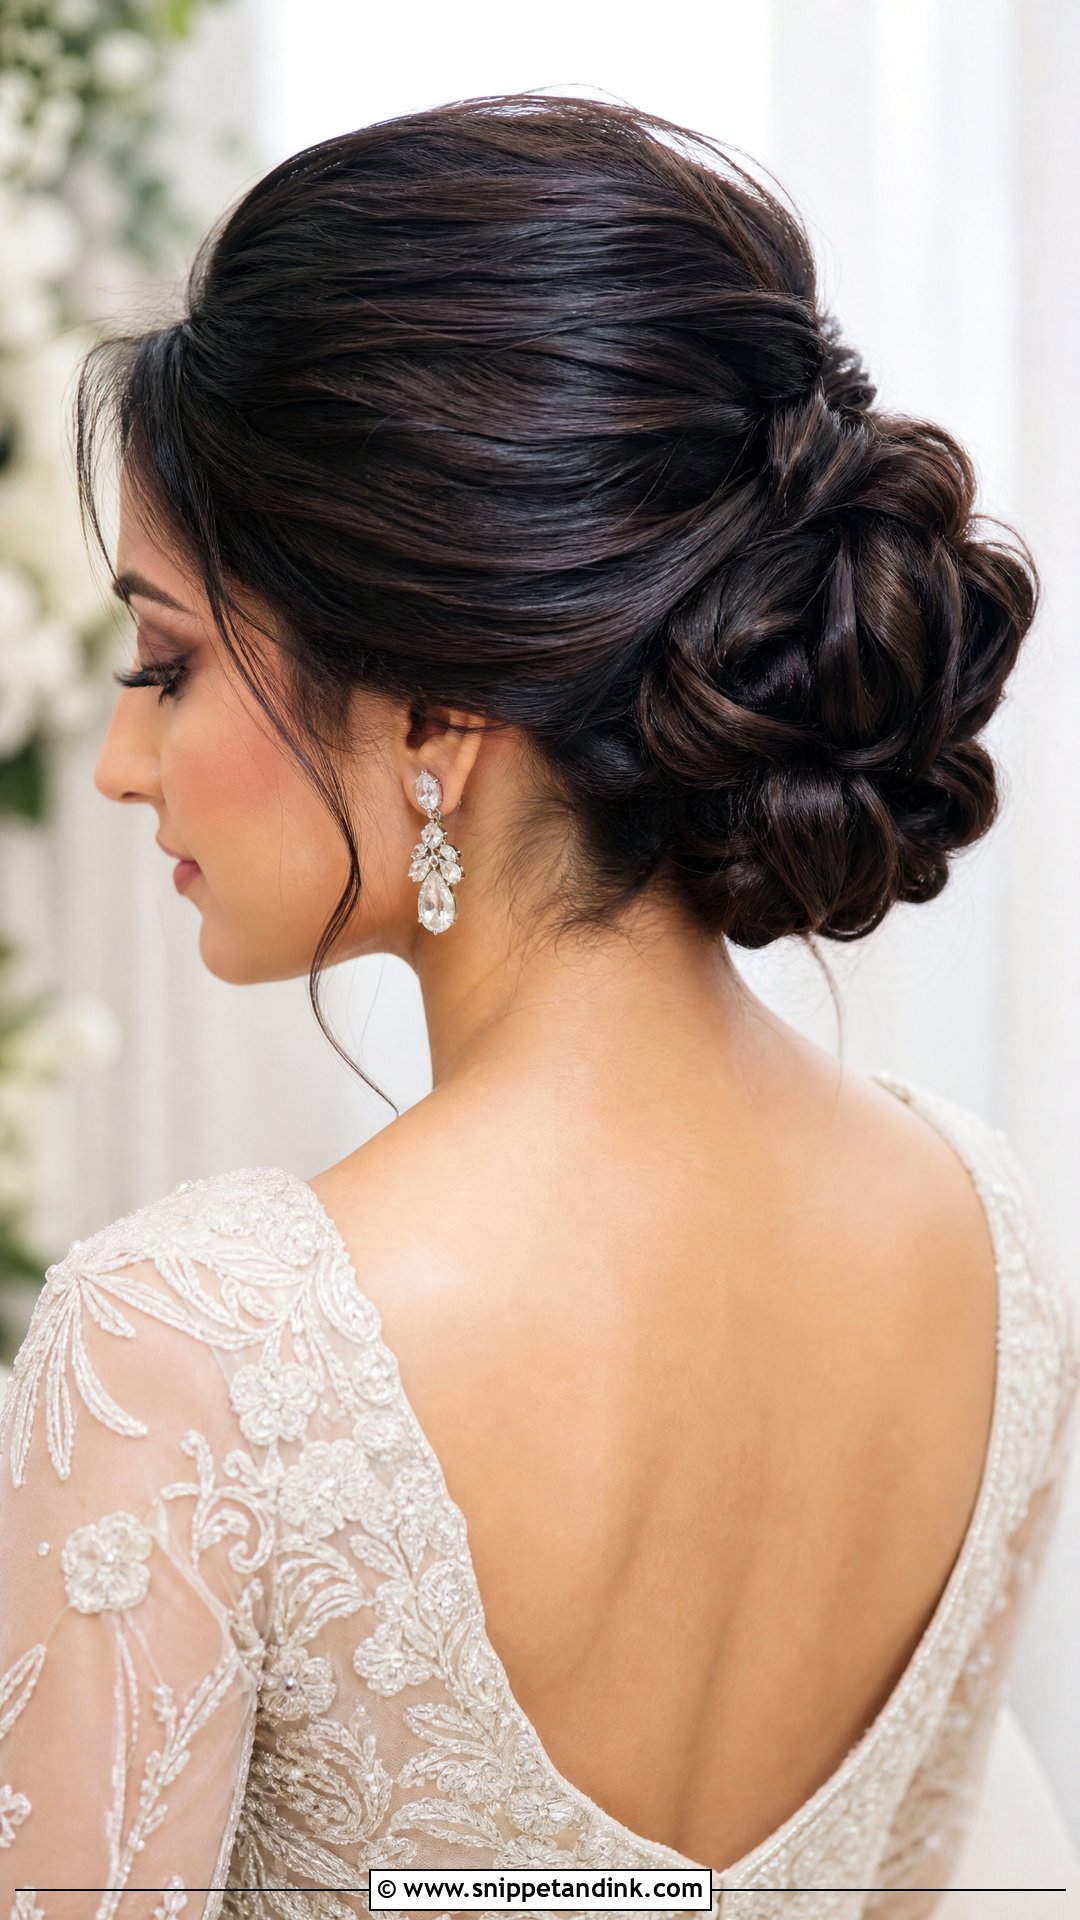
Thick hair makes a rich, full bun, and the challenge is weight. Pinned loosely, it starts to drag by the reception. I section the hair, anchor the base firmly and spread the volume so nothing pulls in one spot, and soft waves or twists break up the bulk so the shape looks bridal rather than solid. Thick hair also takes longer to curl and longer to cool, so plan on more chair time than your bridesmaids. Dramatic veils, open backs and clean necklines all let the bun stand out as a feature.
16. Mid Height Bun For Medium Hair Wedding Hairstyle
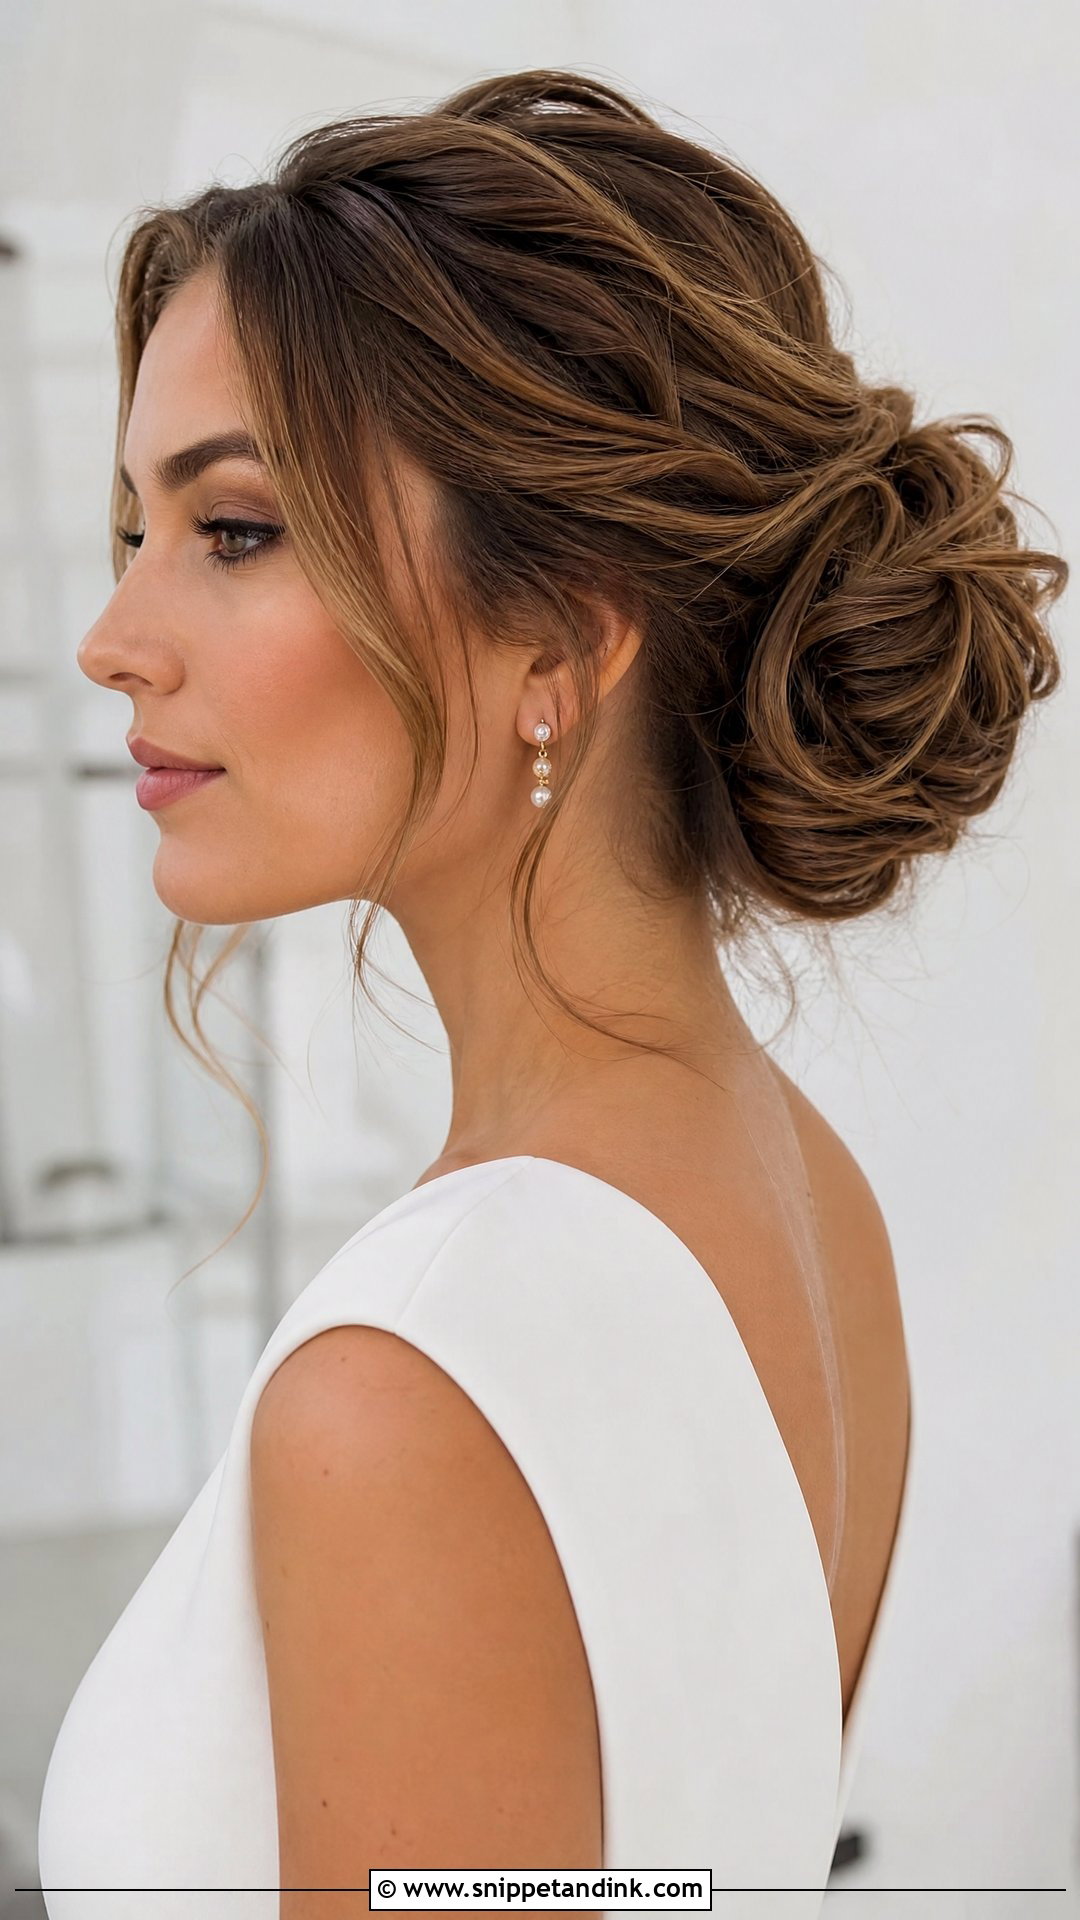
Hair around the shoulders or collarbone is long enough to pin securely and light enough that the bun never feels heavy. It can go sleek, textured, twisted or softly curled. I often hide a small pad inside to round the shape out, and loose pieces at the front make the updo look fuller. Short layers at the nape are the usual trouble spot on this length. I either tuck them under the bun with small bobby pins or braid them up into it.
17. Mid Height Bun For Long Hair Wedding Hairstyle
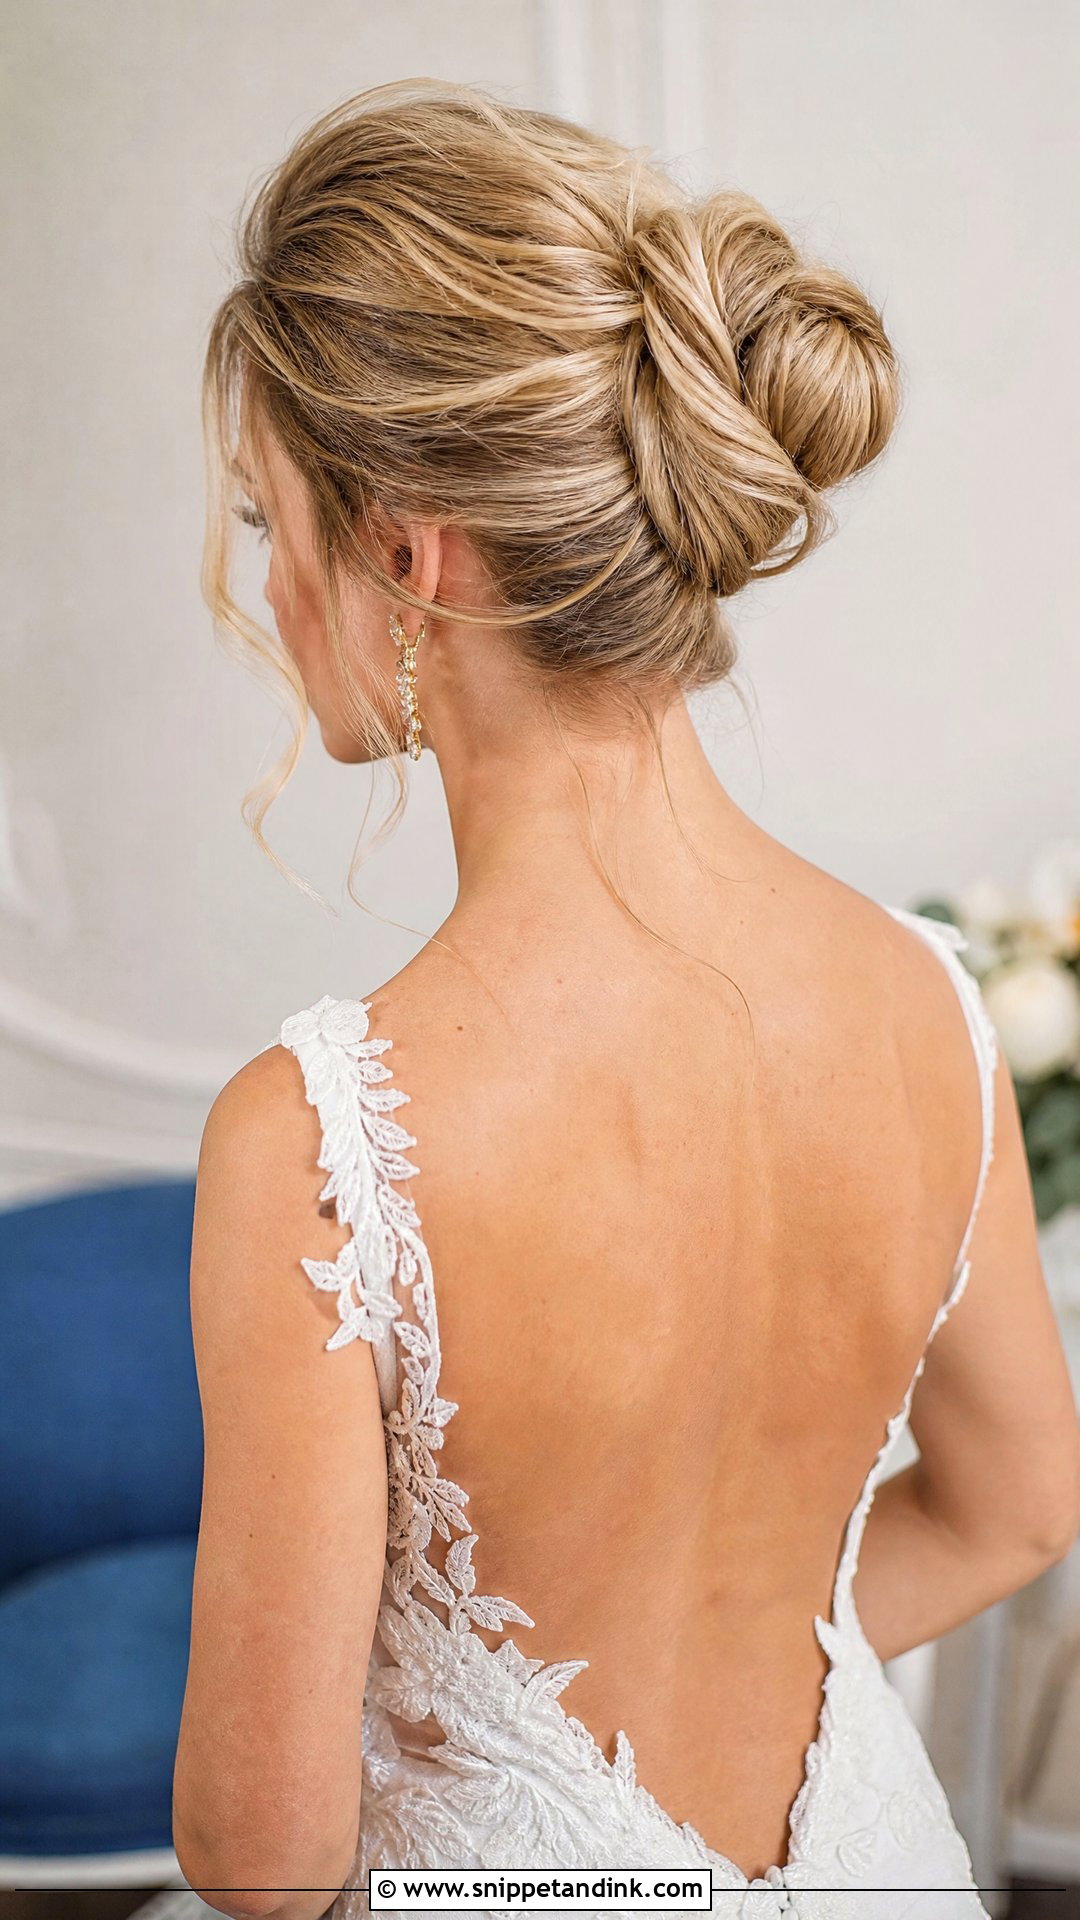
Long hair offers lots of volume, but piling it all into one bulky knot is the mistake I see most. I anchor the bun in layers, pinning the bottom section first, then the middle, then the top, so the weight sits close to the head and stays comfortable for hours. The length can be wrapped smooth, twisted or pinned in curled sections, and mid height lifts it without turning it into a top knot. Wash and fully dry long hair the day before. Hair that’s still damp inside a bun takes hours to dry, and the curls drop while it does.
18. Mid Height Bun With Tiara Wedding Hairstyle
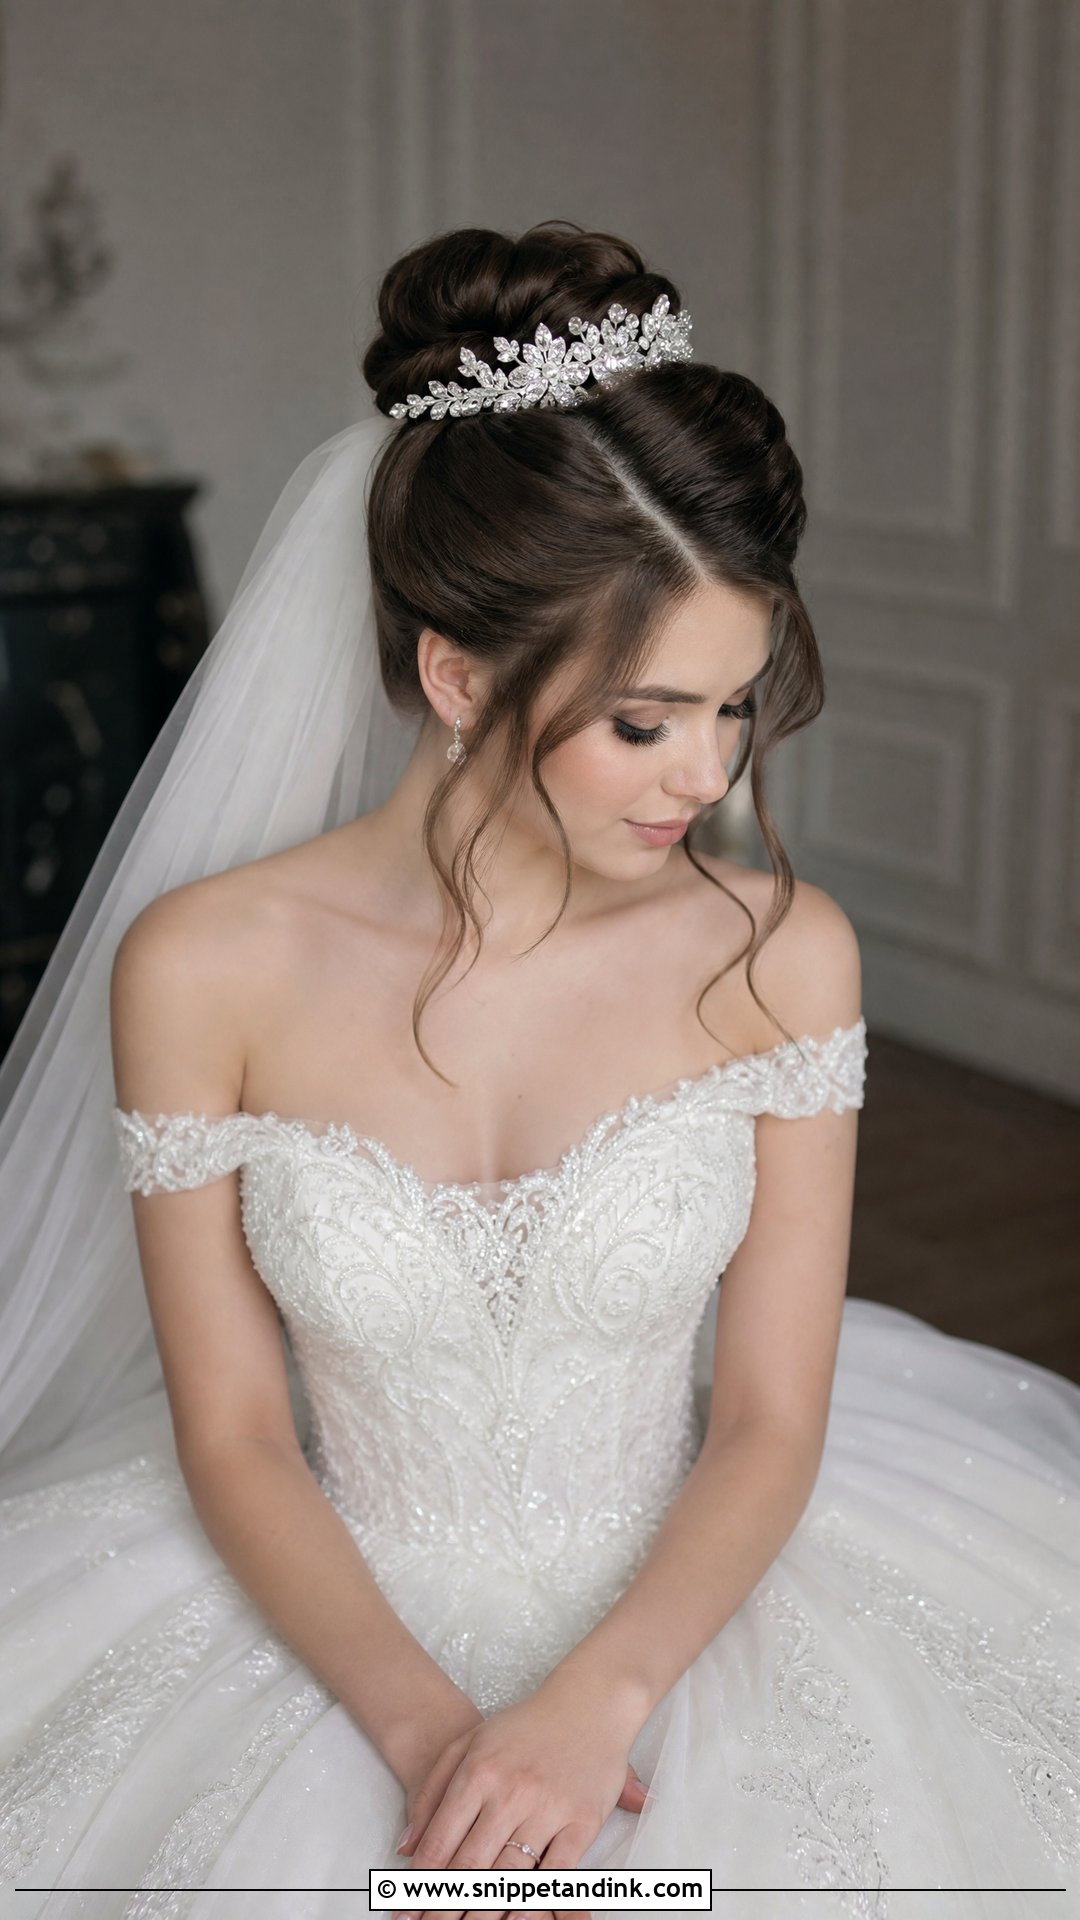
Give the two pieces their own space and the look balances: the tiara near the crown, the bun at the middle back of the head. The front can be sleek, waved or lifted depending on the tiara’s shape, and a tall tiara looks better over a flatter front. It sits naturally with ball gowns, formal dresses and traditional ceremonies. I keep the bun smooth, but not so tight that the whole style turns severe. A veil can go behind the tiara, pinned into the top of the bun.
19. Mid Height Bun With Loose Curls Wedding Hairstyle
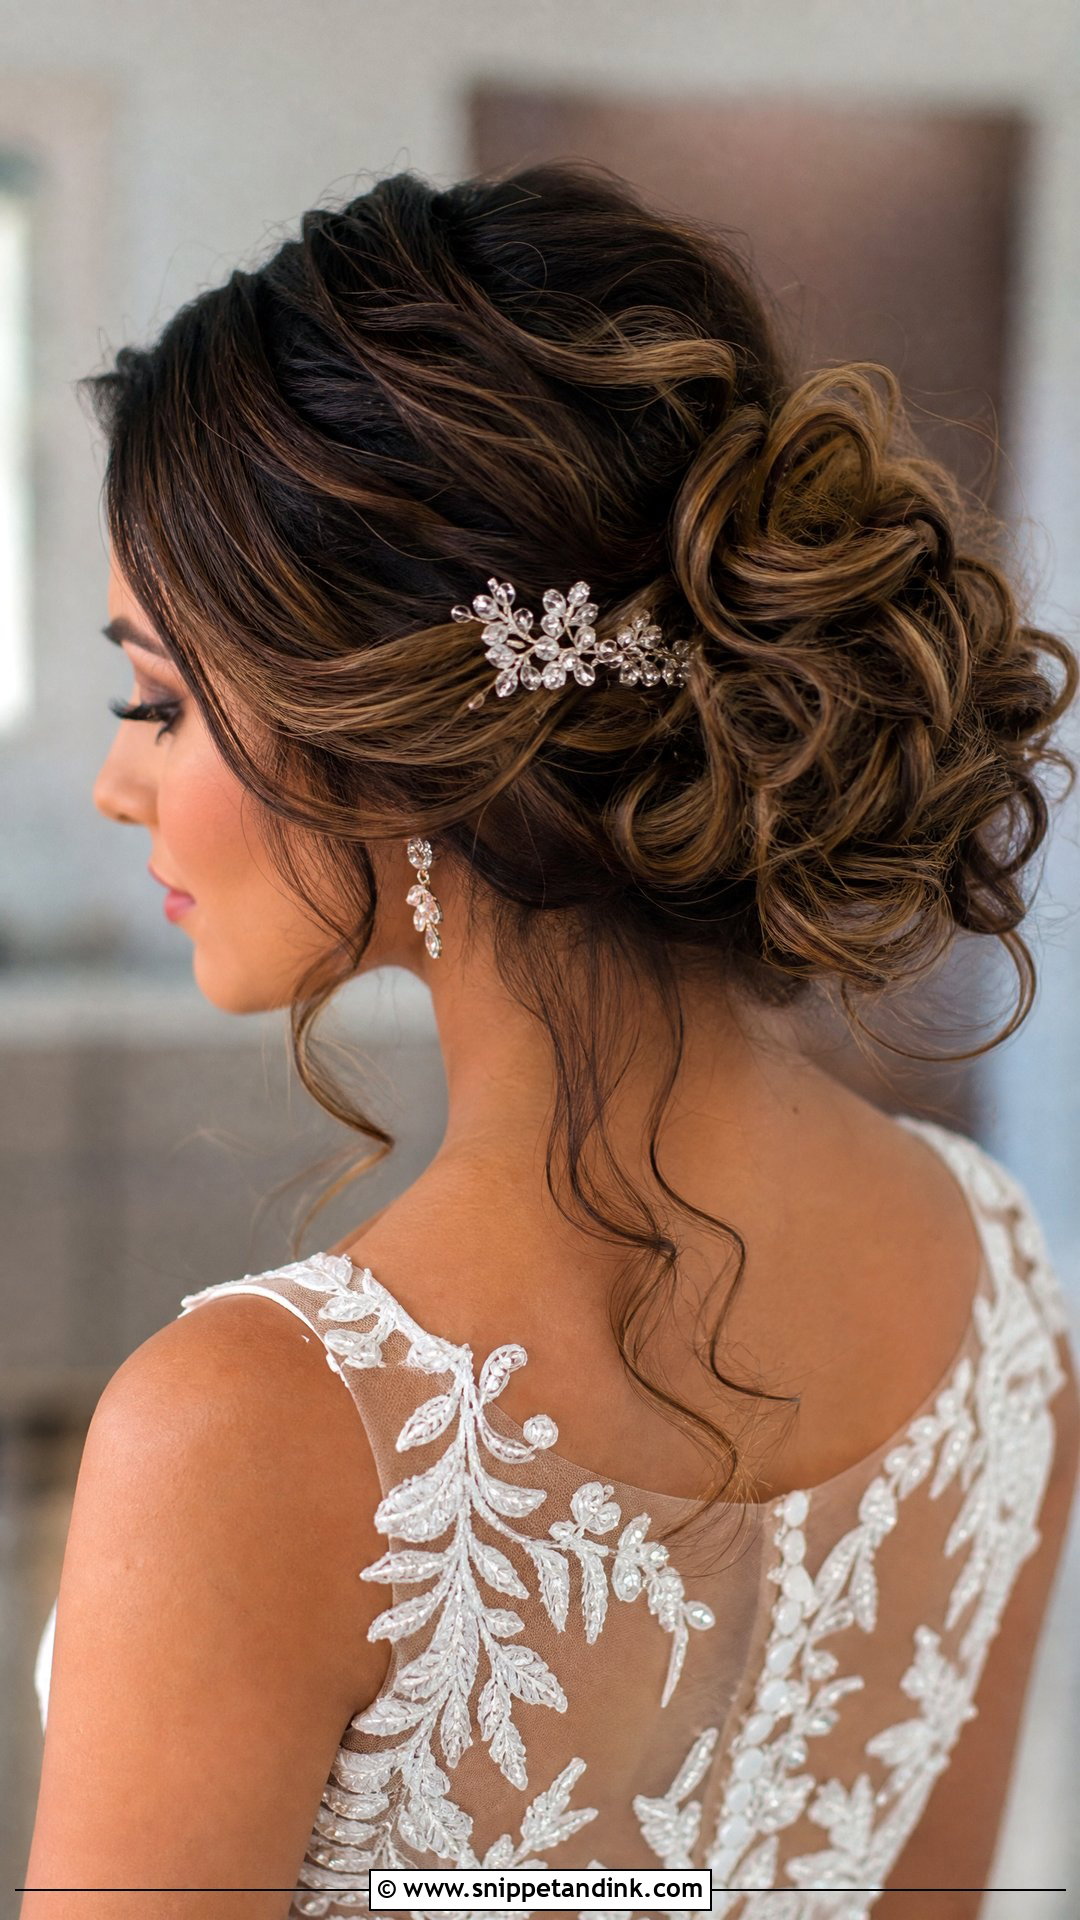
Here the curls are pinned into the bun with their ends left showing, so the shape stays airy and the curl movement is visible from behind. Balayage and dimensional color look their best this way, because the curled ends reveal every shade. A few loose curls around the face and neckline make it less formal. For outdoor weddings I use a strong but flexible hold. The curls have to be completely cool before they’re pinned, otherwise they lose their spring within the hour.
20. Mid Height Bun With Hair Vine Wedding Hairstyle
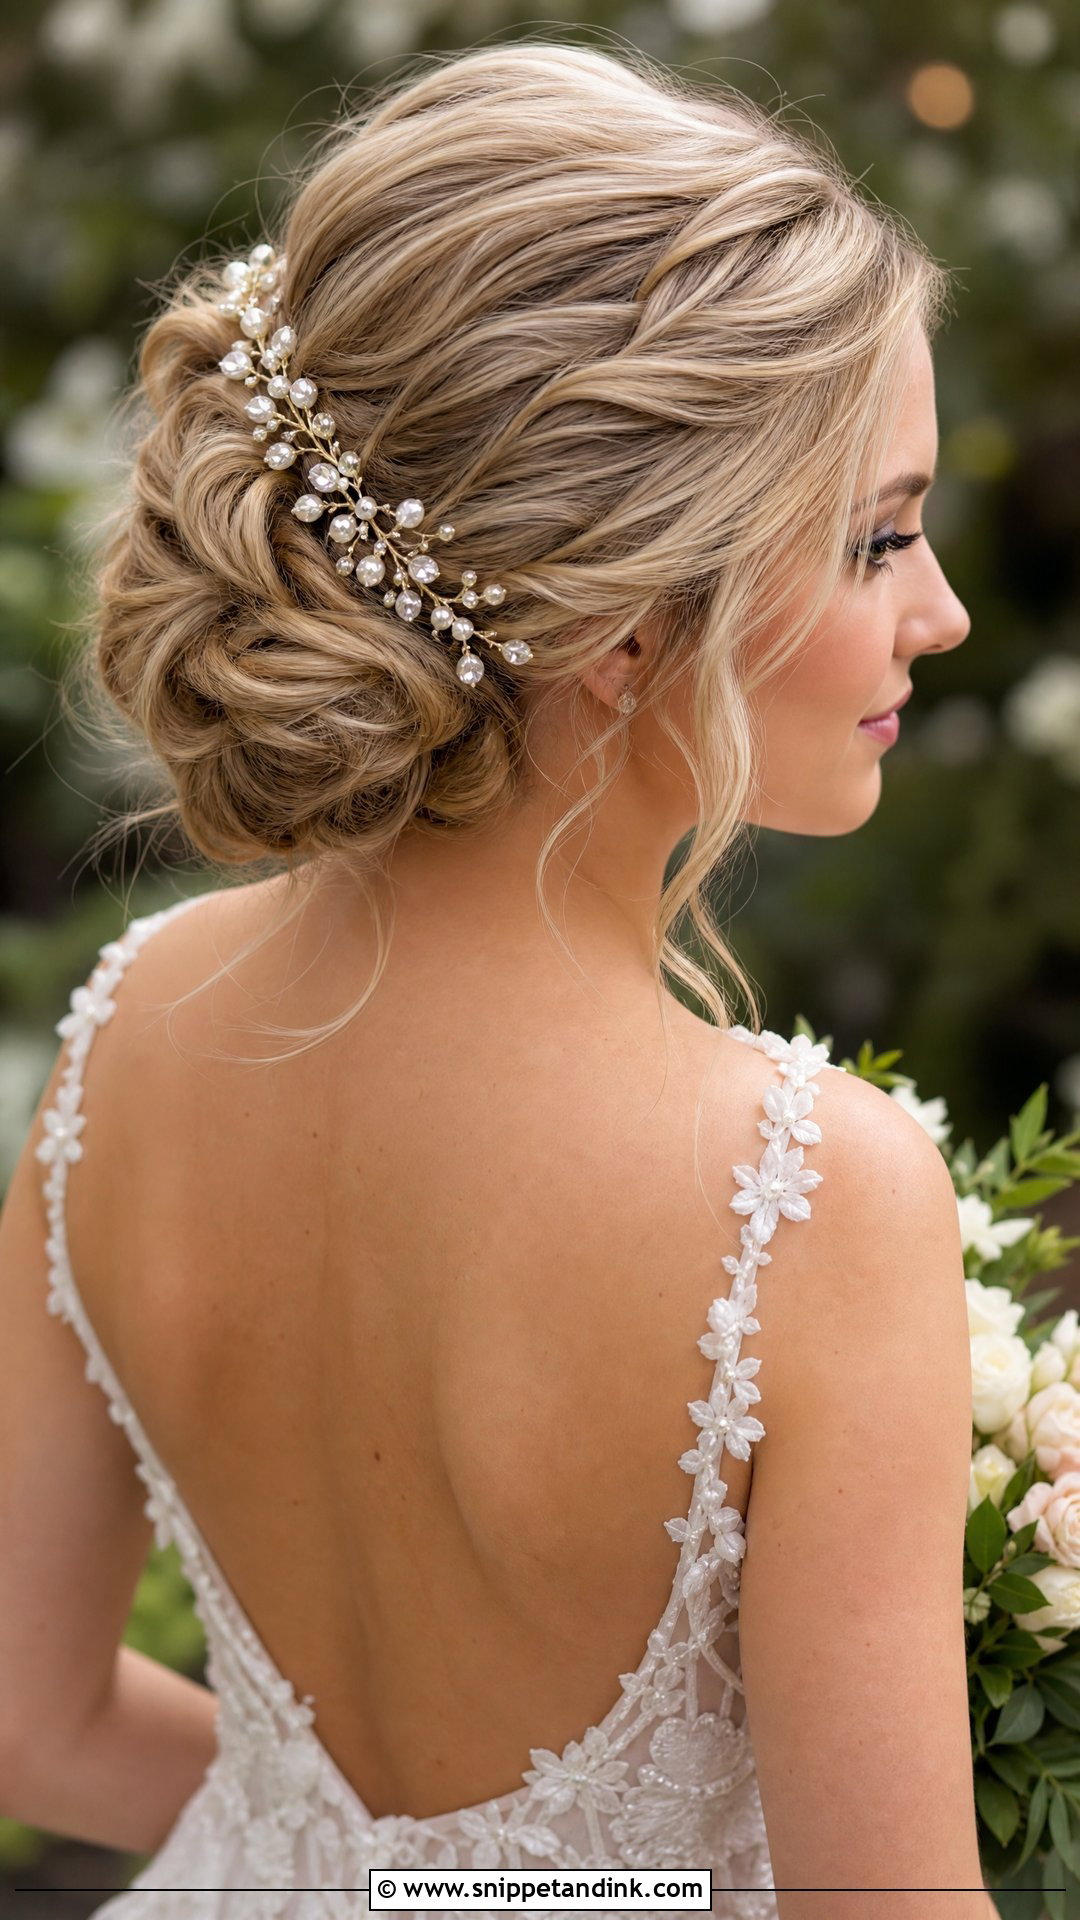
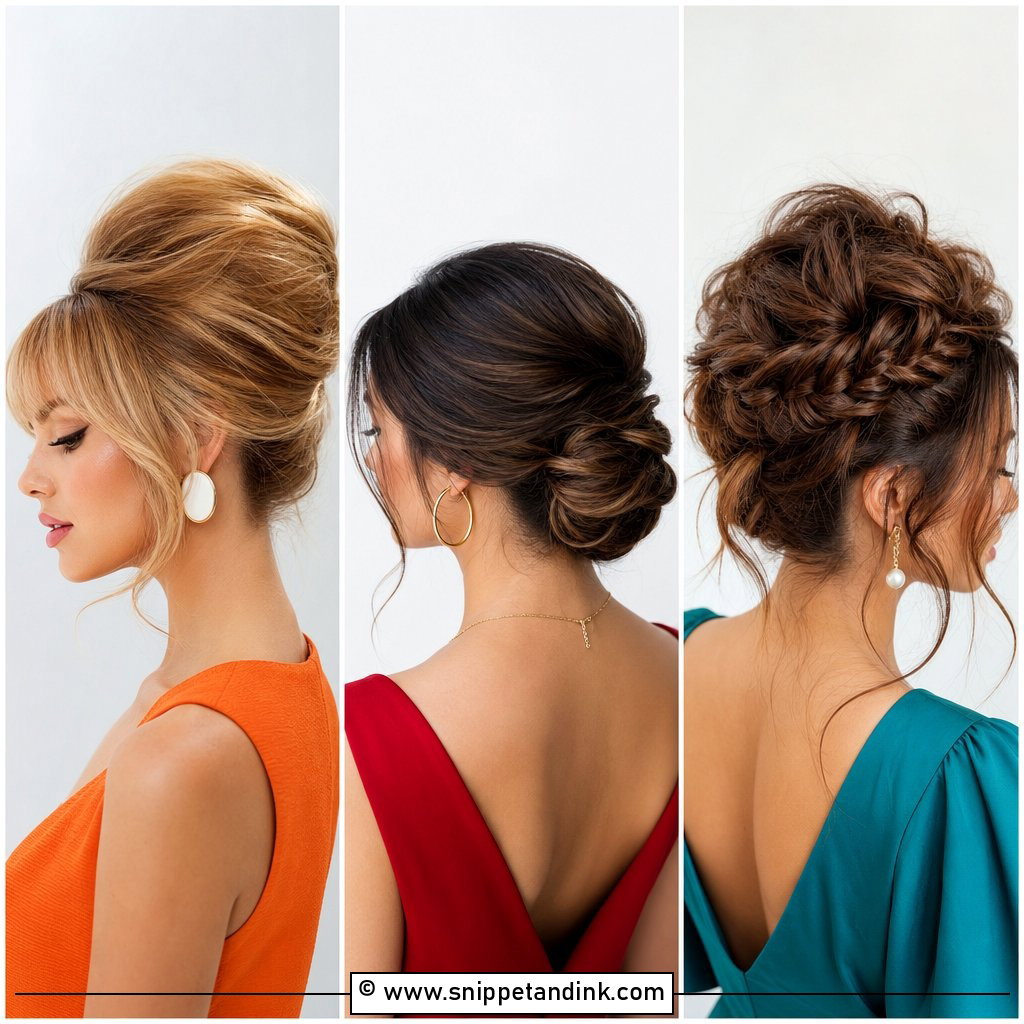
A hair vine bends with the hairstyle, which is why I prefer it to a rigid comb on a textured or twisted bun. It can wrap around the bun, trail along one side or sit across the back as a soft crown, following the movement of the hair. Let the vine echo the dress: pearls for satin, leafy metal for lace. I keep the bun slightly loose so the vine settles in. Ask for it to be attached while the bun is being built, so it’s woven in rather than resting on top.
Living in a Bun From the Ceremony to the Last Song
When the back of your head starts to ache
A dull ache usually comes from one pin pressing straight into the scalp, or from a base elastic that went on too tight. Don’t pull the whole style apart. Find the sore spot, slide that single pin out and push it back in at a flatter angle. Most of the time the relief is immediate.
Heat, humidity and a sudden shower
Humidity reaches the curled pieces and the hairline first; the bun itself is pinned and mostly holds. A pea-sized dab of anti-frizz balm smoothed over with the fingertips settles a fuzzy halo. If rain catches you between ceremony and reception, an umbrella does more for the hair than any spray in the kit.
Getting the pins out at the end of the night
Take it down slowly in front of a mirror, in reverse: accessories first, then the pins one by one. A bridal bun can hold a surprising number, so feel around for strays. Don’t brush through set hair while it’s stiff with spray. Work a little conditioner or detangling spray through first, or wait until you wash it, because dragging a brush through dry, set hair snaps it. A tender scalp the next morning is normal after a full day up.
Saved Photos Are Only the Starting Point
Brides keep coming back to this height because it gives the lift of a higher updo with the ease of a low bun, and it works on most lengths and densities when the prep and pinning are right. Which version you land on comes down to your neckline, your venue and your hair texture. Bring a few saved photos to the trial, but expect your stylist to adjust the shape to your head and your hair. That adjustment is where a picture turns into your bun.
You'll Like These Ideas:


Leave a Reply