
A mid bun sits at the back of the head, roughly level with the tops of the ears or a little below, and that height is why I reach for it so often on wedding mornings. It clears the collar of a high neckline, leaves room for a veil comb, and doesn’t press into the chair back the way a low chignon does through a long dinner. The twenty versions below run from polished to loose and braided. Under each one I’ve added what I actually look for when I build it, including who it doesn’t suit, so you can walk into your trial with a short list instead of a vague feeling.
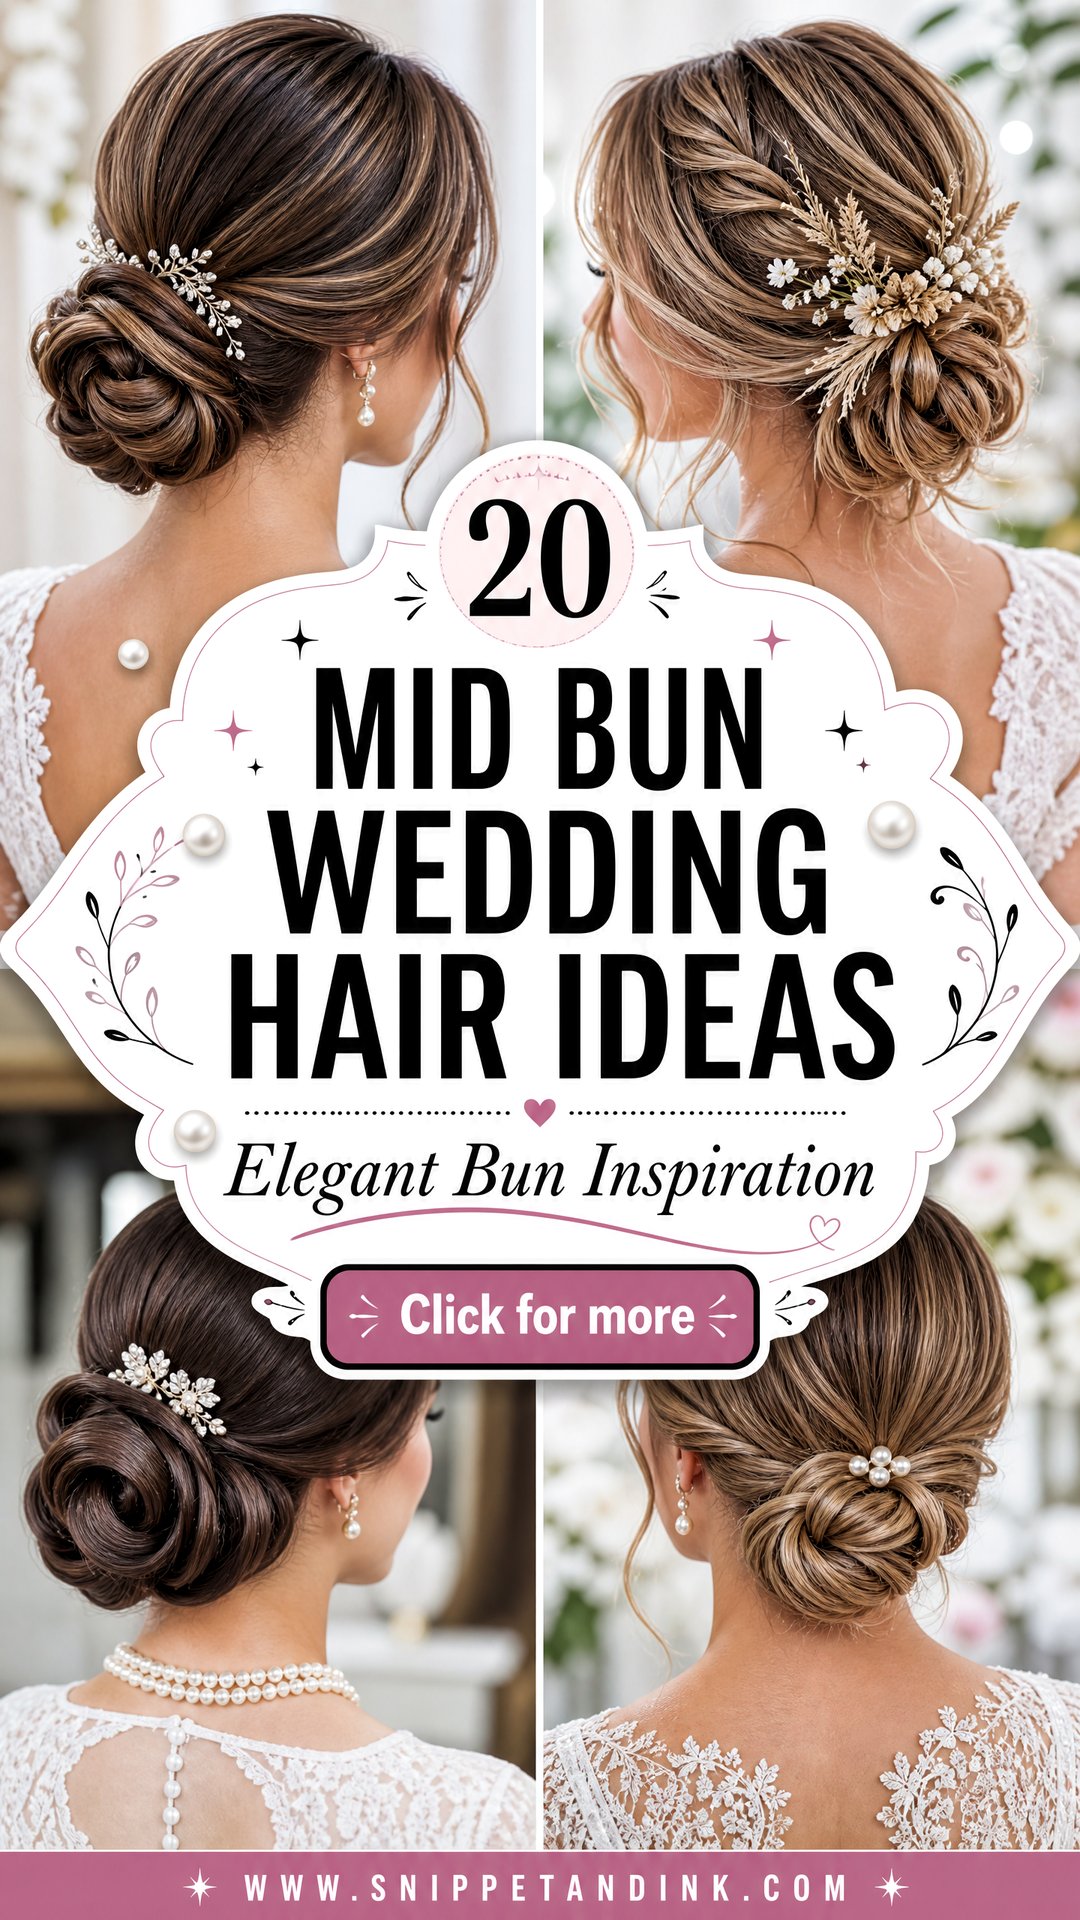
Where on the Head a Mid Bun Should Sit
Mid is a range, not a point. I place most mid buns somewhere between the top of the ear and the occipital bone, the bump at the back of the skull, and I settle the exact spot with the dress on, checking three things in the mirror.
- Neckline. A high neck or a lace collar wants the bun higher so the hair doesn’t rub the fabric all day. A deep V or a strapless bodice lets it drop lower.
- Profile. Look at yourself side on. A bun that sits roughly in line with your chin and the tip of your nose usually looks balanced; much higher and it starts to read as a ballerina knot.
- Veil. Decide where the comb goes before the bun is pinned, because the height of the bun decides how the veil falls.
I also have brides sit in a straight-backed chair at the trial. A bun that feels fine standing can press into the chair through a two-hour dinner, and that pressure is exactly when pins start to dig in.
1. Classic Sleek Mid Bun
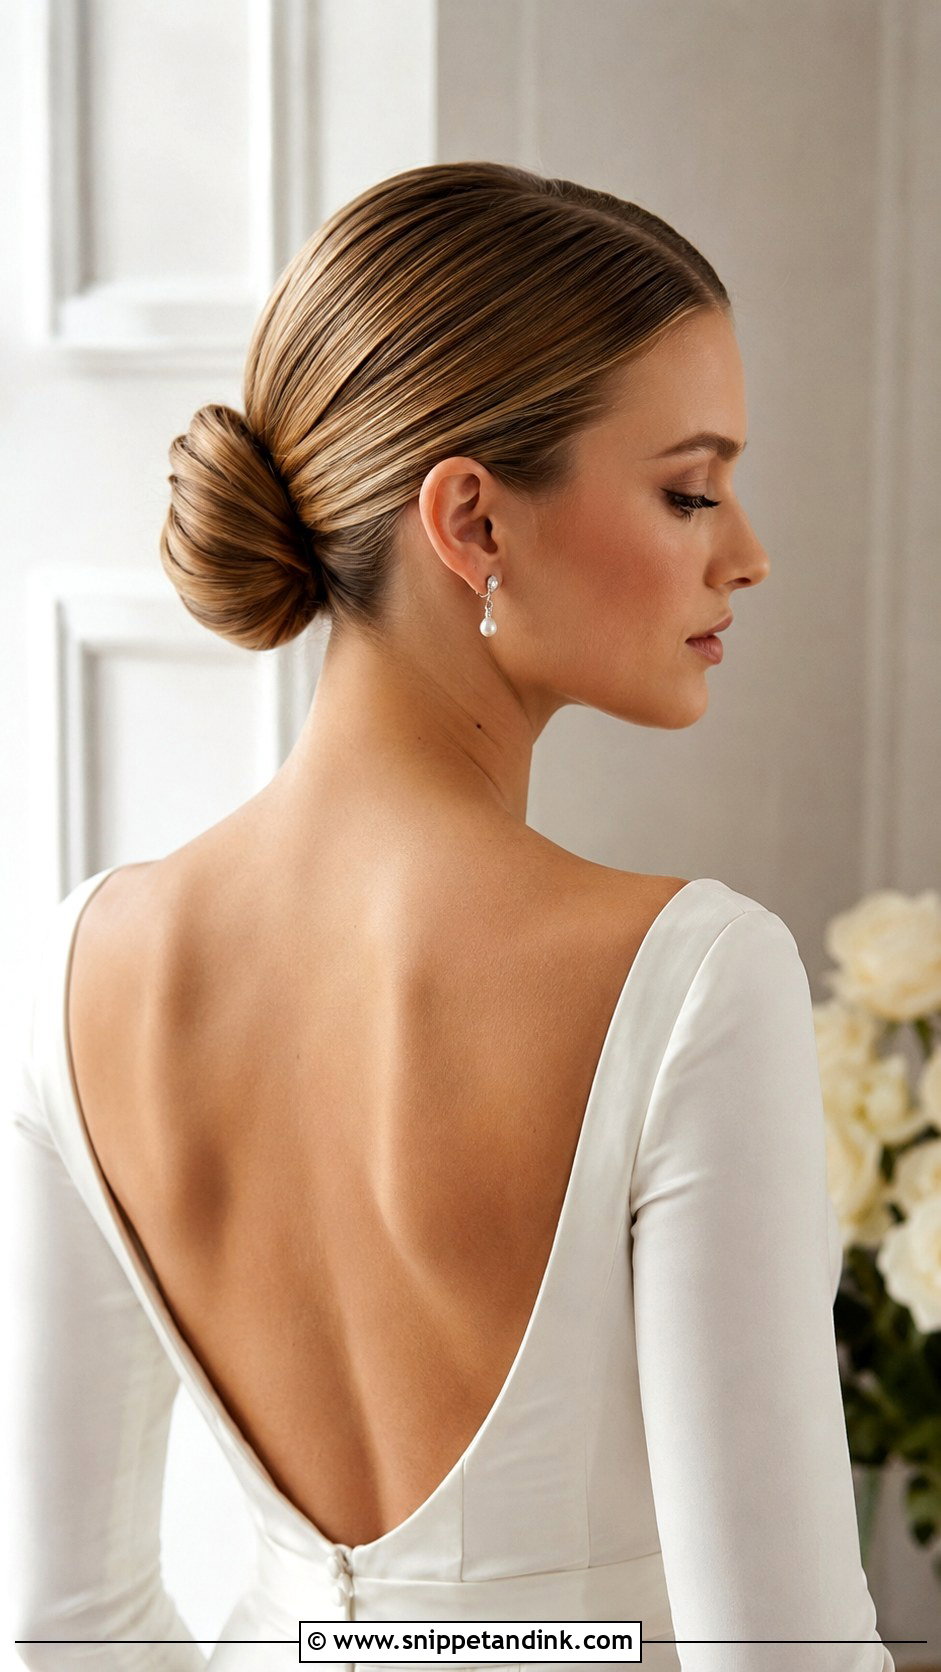
A sleek coil only looks simple. Every bump at the crown shows, so I brush the hair back while it’s still slightly damp with a smoothing cream, set the ponytail with a strong elastic, and only then wrap the length. A flat iron pass on the ponytail before wrapping and a drop of shine serum keep the surface glossy. Because it shows off the jawline and neck, it’s the one I suggest when earrings are the main jewelry. If your hairline has a lot of fine flyaways, leave a clean toothbrush and a little gel with your maid of honor, because they creep out by evening.
2. Romantic Messy Mid Bun
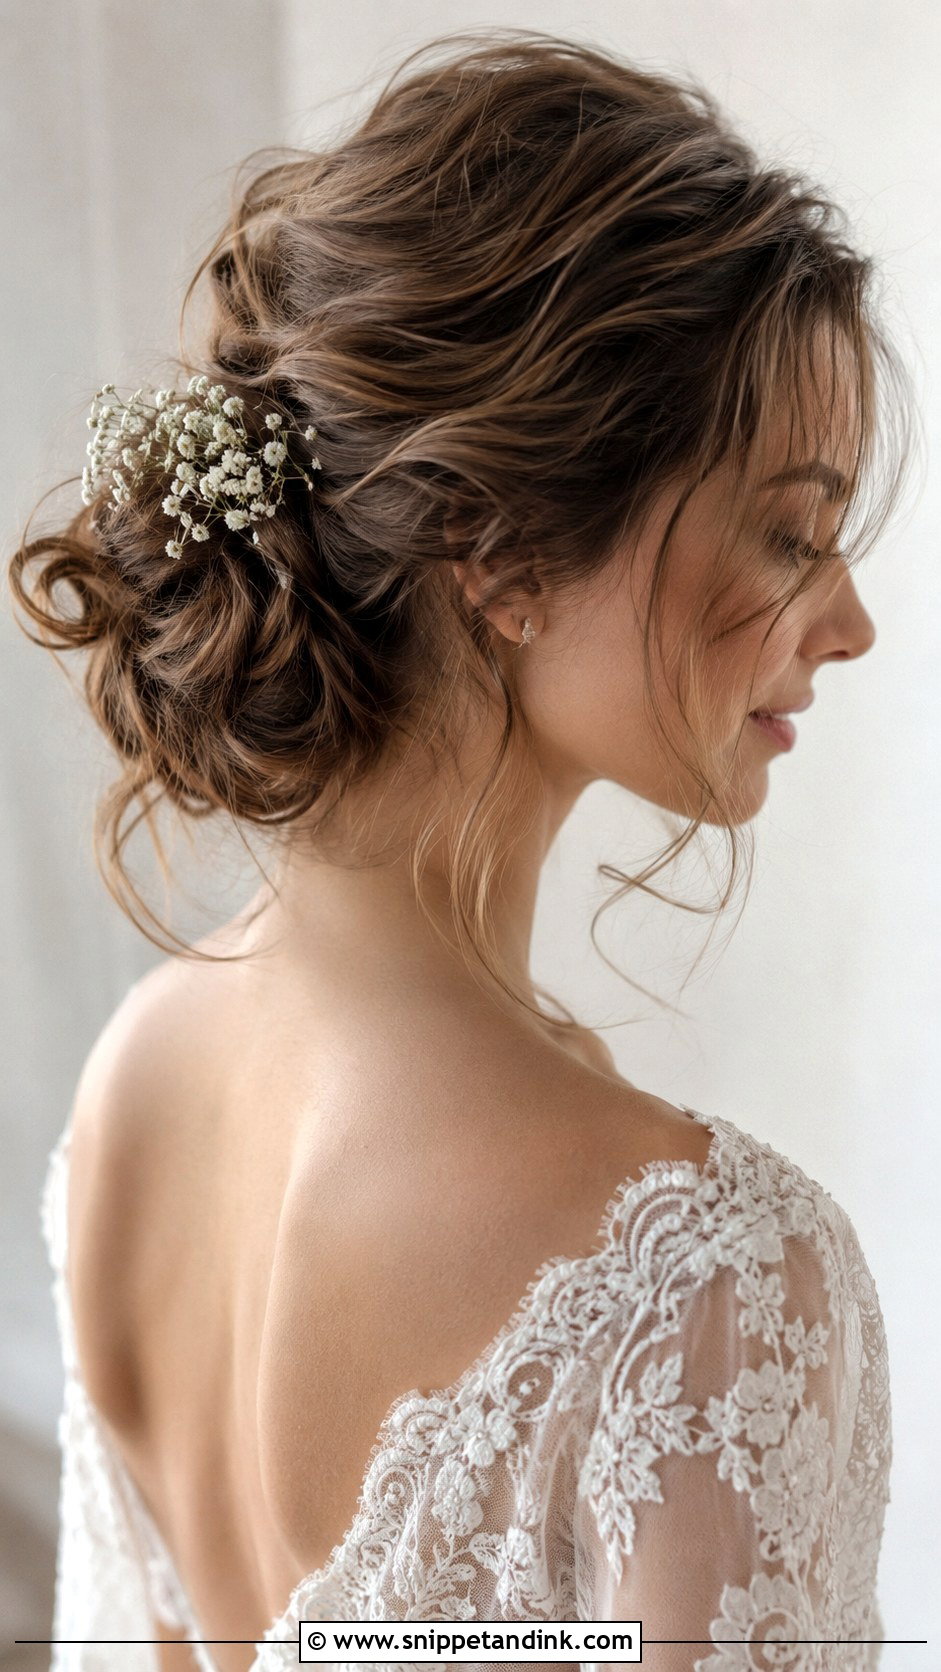
Messy has to be built on purpose, or it just looks unfinished by the speeches. I curl everything first, let the curls cool fully, then brush them out and pin the bun in loose loops so it holds its shape without being tight. A few pulled pieces around the face soften the outline, and small blooms or pearl pins tuck easily into the gaps. Outdoors, a breeze helps this one rather than hurting it. Very straight, silky hair resists it, though; on that texture I work a dry texturizing spray through before pinning, or the loops slide apart within a couple of hours.
3. Braided Mid Bun
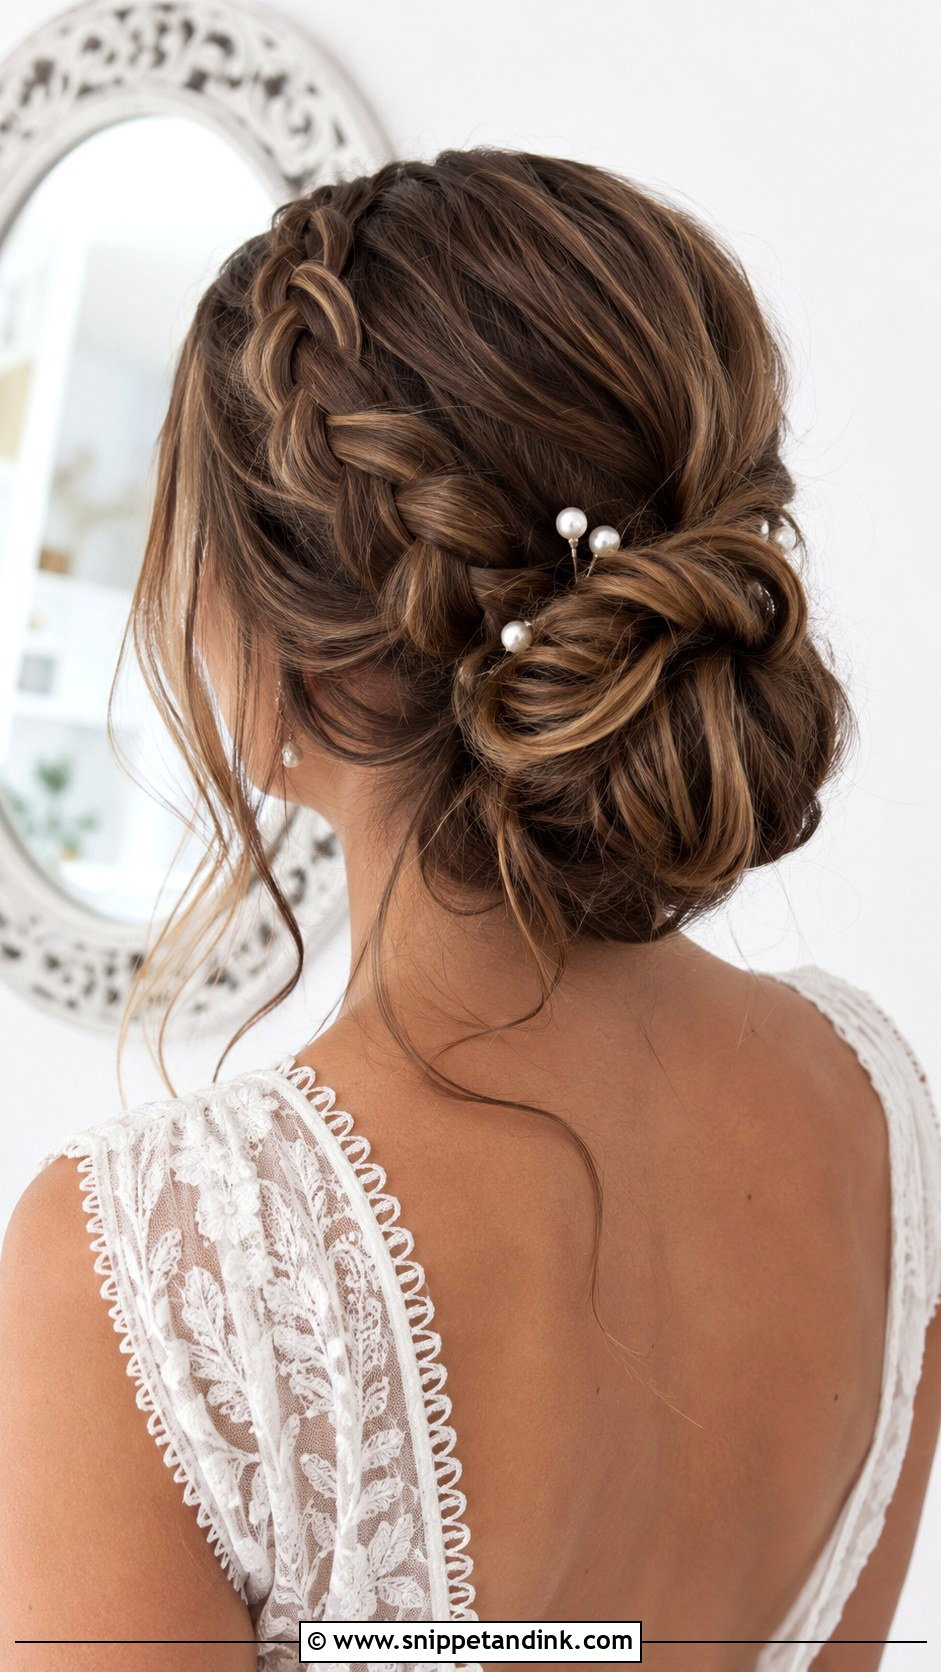
Braids give a bun a grip that plain hair doesn’t have, which is why I like them for long receptions. The plaits can be a French braid along the crown, a fishtail wrapped around the base, or two side braids meeting at the coil. I pancake each braid, gently pulling the edges wider, before it goes in, so it reads in photos instead of looking like a thin rope. It sits naturally at bohemian and rustic weddings and survives dancing well. Pearl pins or tiny flowers slot between the braid strands without extra hardware. On layered hair, short ends will poke out of the braid; a little pomade on the fingertips fixes most of them.
4. Mid Bun With Loose Curls
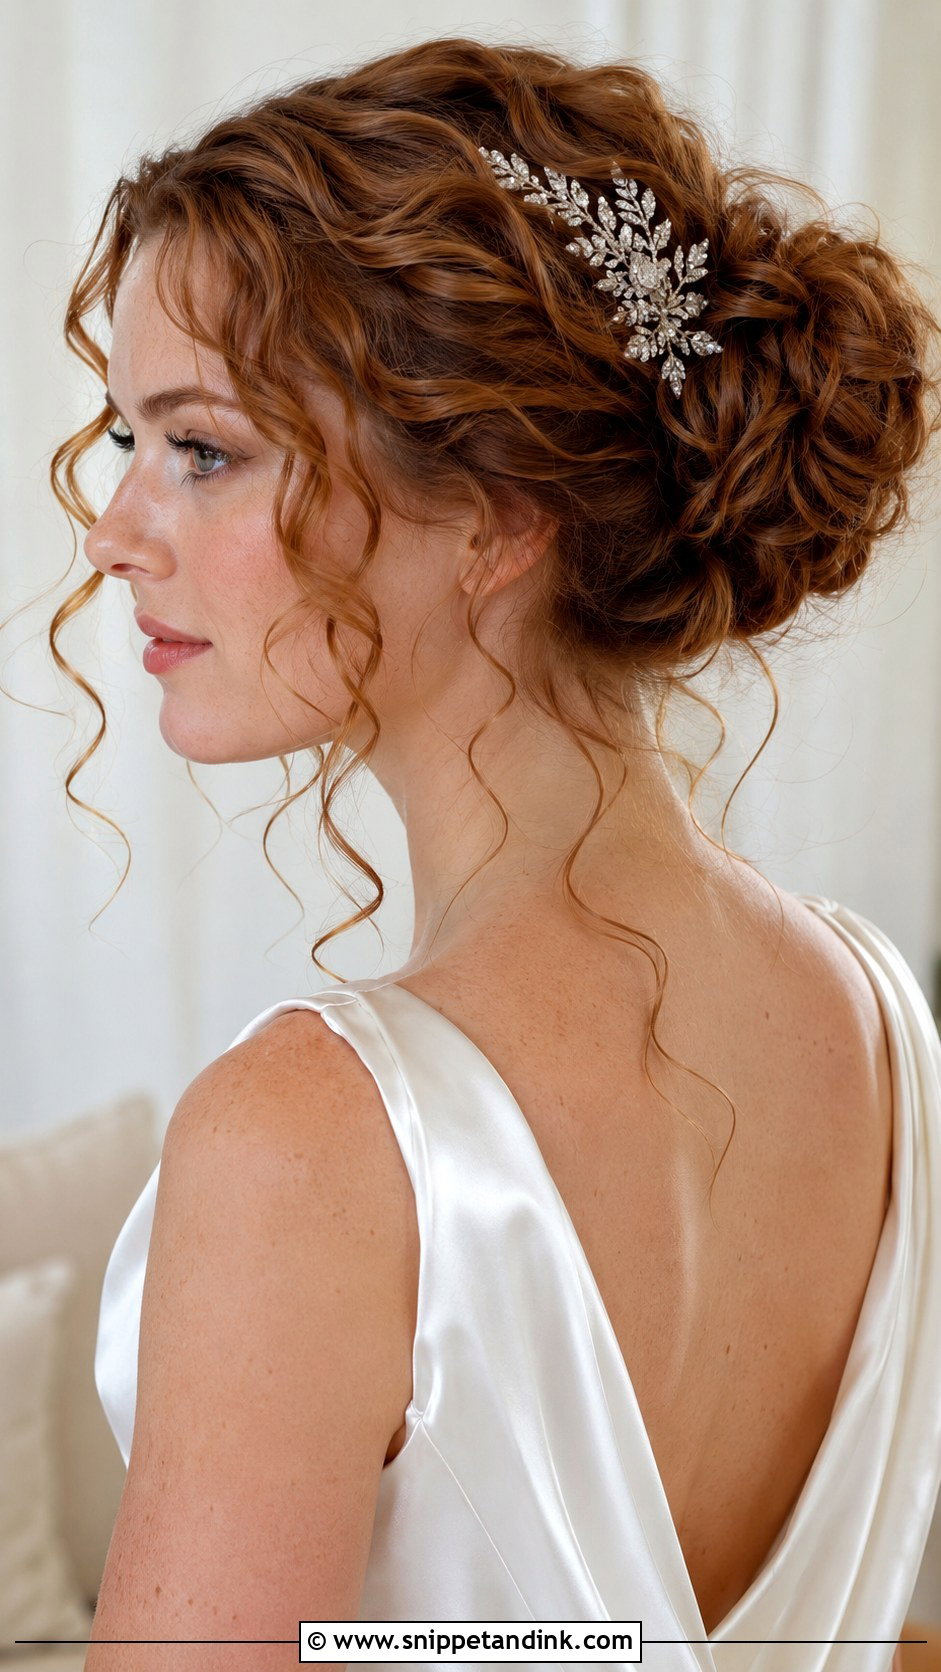
Leaving curls down beside a bun is a question of weight. Too many loose pieces and the front drops while the bun stays put, which looks lopsided by evening. I keep two or three curls at the front, curled away from the face, and hold them in pin curls until just before the ceremony. The bun itself is built from twisted, curled sections so its texture matches the tendrils. It reads slightly vintage and gives you softness without the heat of wearing everything down. A sparkly comb or a small floral pick on one side is plenty.
5. Mid Bun With Veil
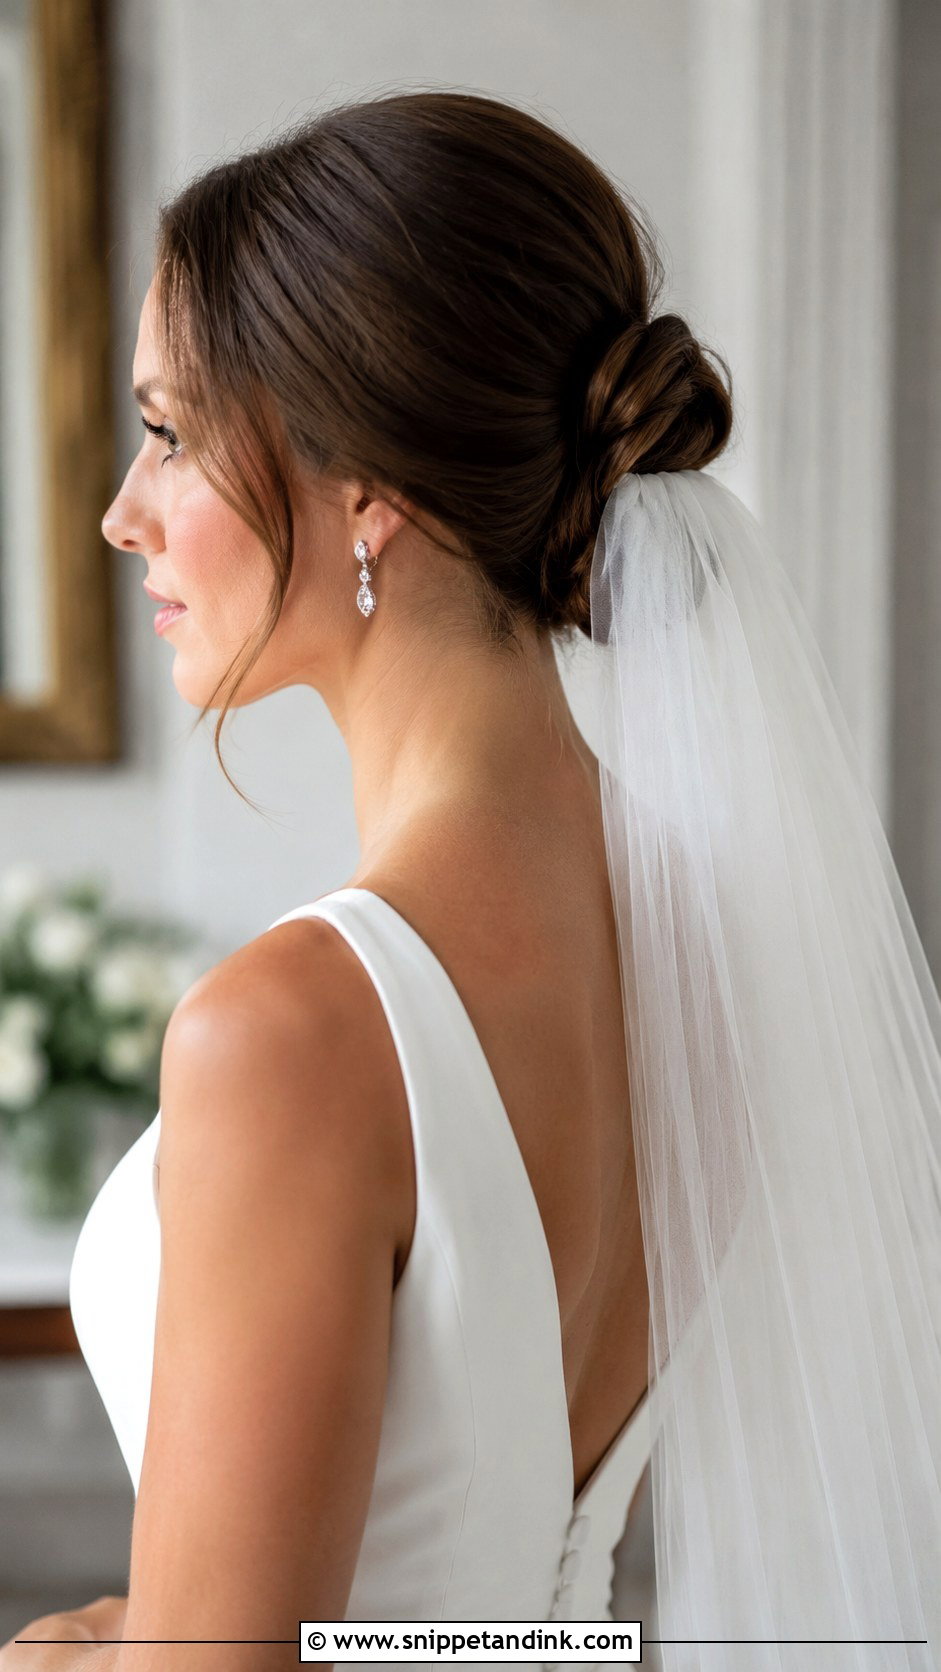
From a pinning point of view, mid height is the easiest place to anchor a veil. The comb slides in just above the bun with its teeth pointing down, and I cross two bobby pins through the comb’s frame into the base of the bun so it can’t lift. Placing the veil under the bun gives a softer drape; placing it above lets the bun show from the front. Cathedral and fingertip lengths pull hard on the comb, so they need that anchoring most, while a birdcage pins at the side instead. When the veil comes out for the reception, the bun is still finished, which saves a restyle.
6. Twisted Mid Bun
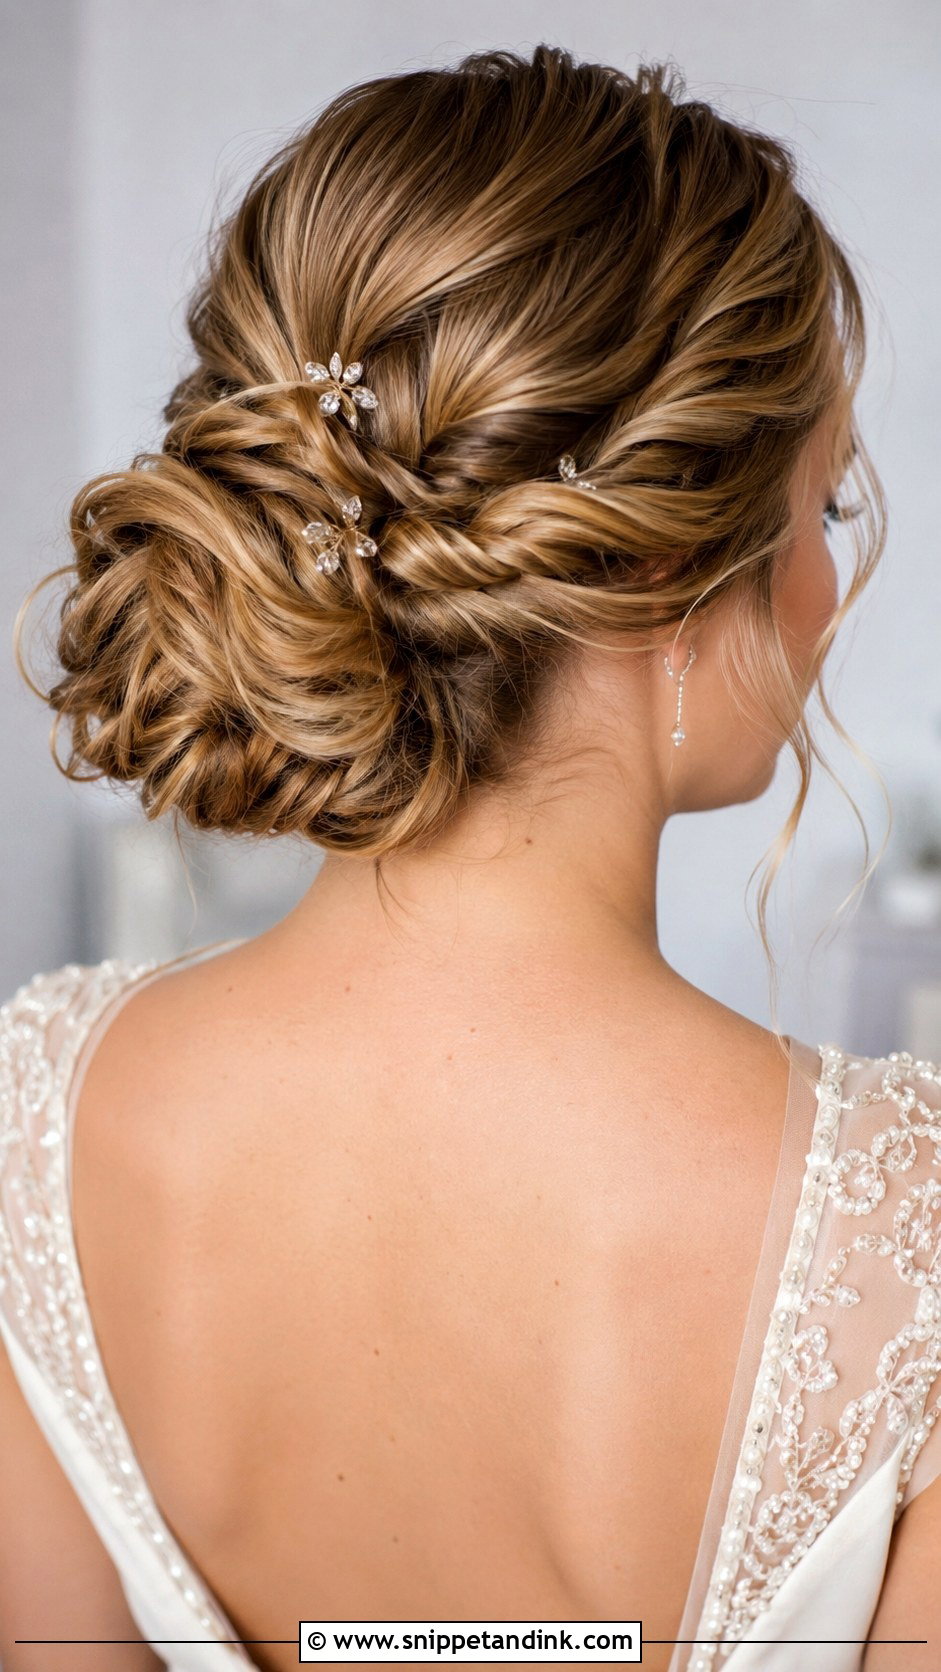
Twists catch the light in a way smooth hair doesn’t. I take sections from each side, twist them toward the center in the same direction, and coil them into the bun so the rope pattern stays visible. The usual mistake is twisting too tightly: the sections flatten and the texture disappears in photos. Loose, even twists hold better when the hair has been prepped with a light mousse. Finish with a few small pins or one jeweled accent, not both.
7. Mid Bun With Flowers
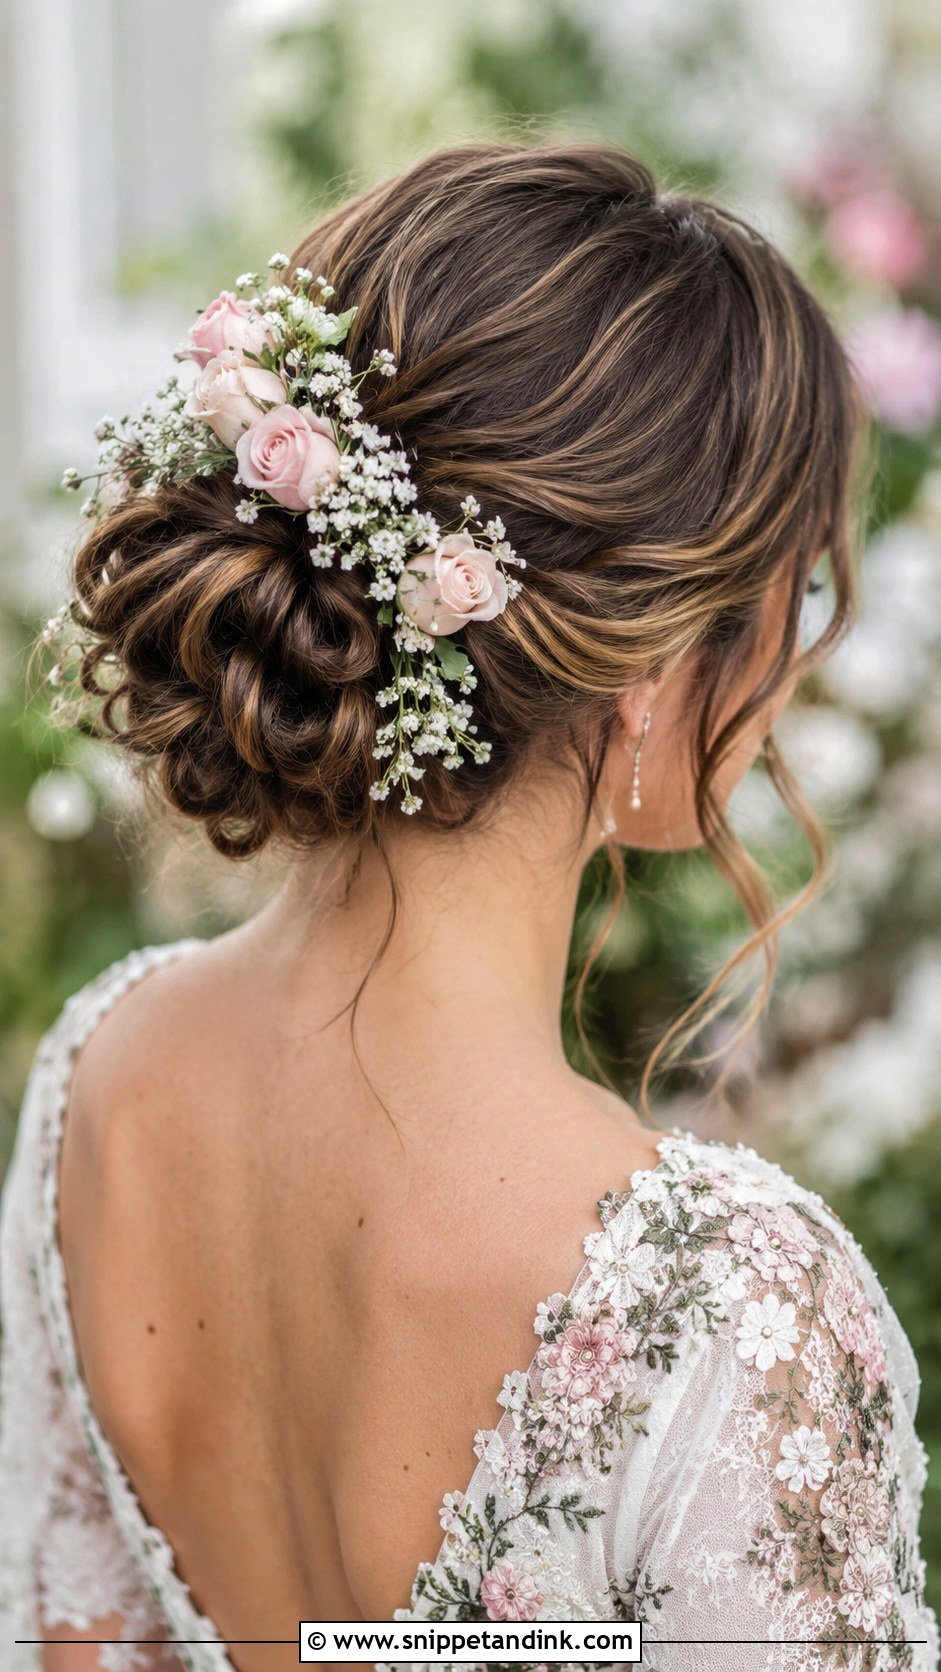
Flowers in a bun look fresh at the first look and tired by the cake cutting unless you pick the right ones. Matching the bouquet is a sweet idea, but I ask the florist for stems that cope out of water. Baby’s breath, roses, and ranunculus all sit well in a coil, while hydrangea and sweet peas wilt quickly in heat. Silk flowers skip the problem entirely. I have the stems wired or put on floral picks so they push into the bun without loosening it. Place them off center for a modern shape or evenly around the coil for symmetry.
8. Low Mid Bun With Side Part
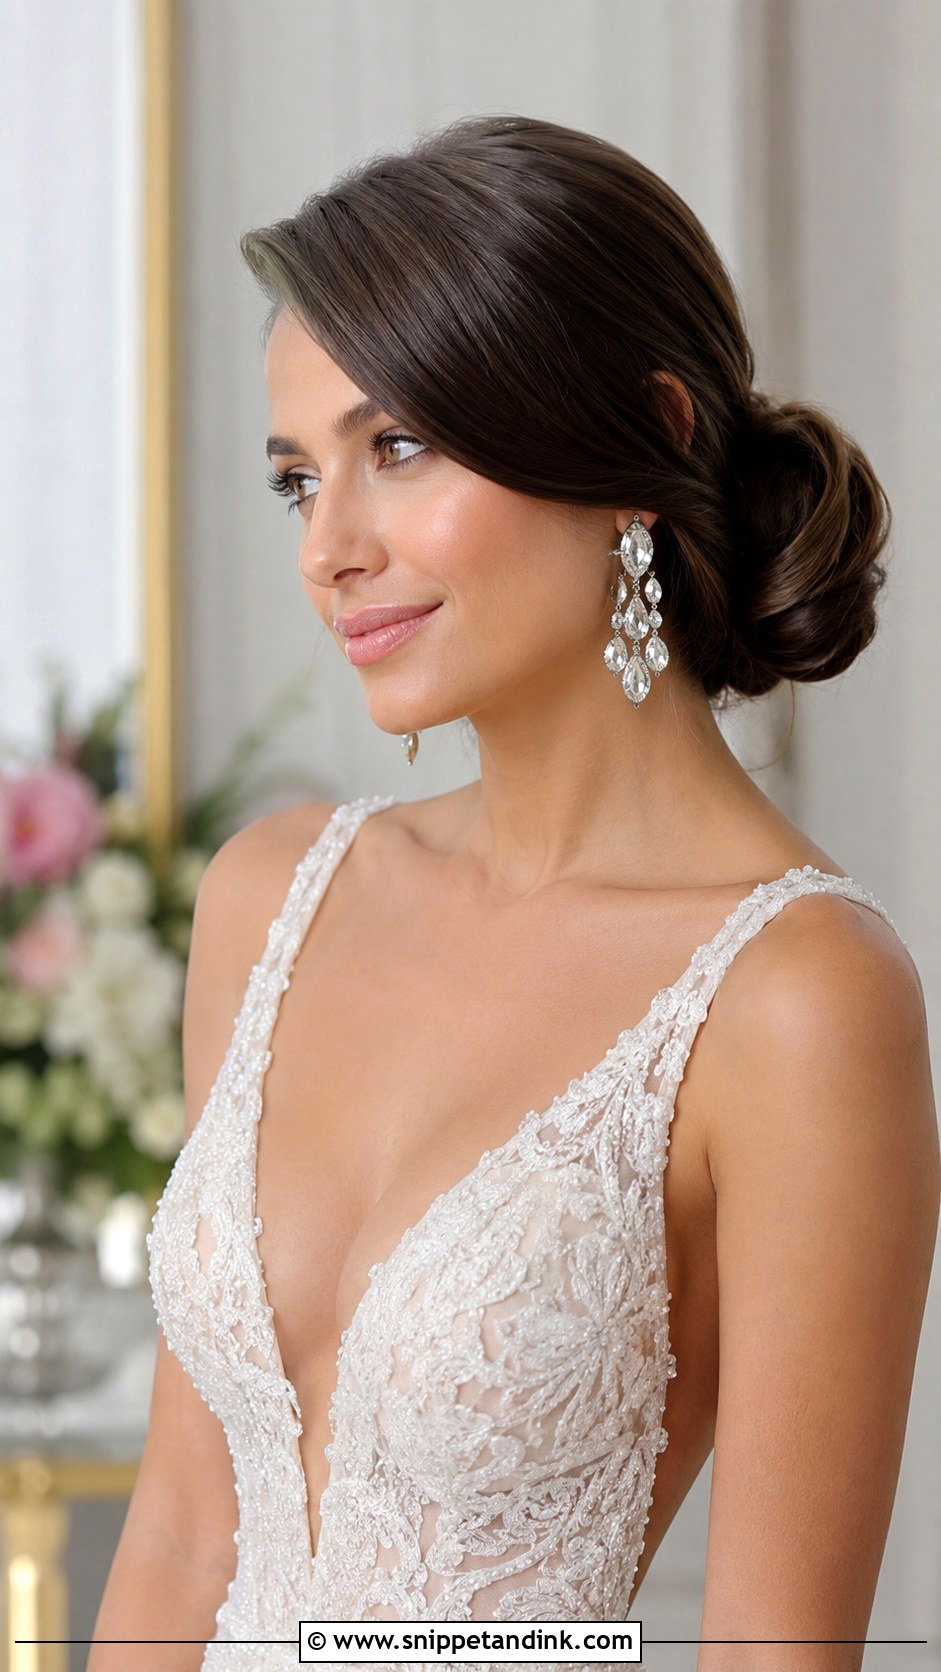
A deep side part changes the whole outline. I sweep the front across the forehead in a soft diagonal, hide the pins behind the ear, then gather the rest into a bun that sits a touch lower than the others here. That diagonal line softens round and square faces, and with a fitted gown and statement earrings it has a clear old Hollywood feel. The catch is the part itself. If you’ve worn a middle part for years, the hair will fight a new direction, so start parting it that way after every wash a couple of weeks before your trial.
9. Boho Mid Bun
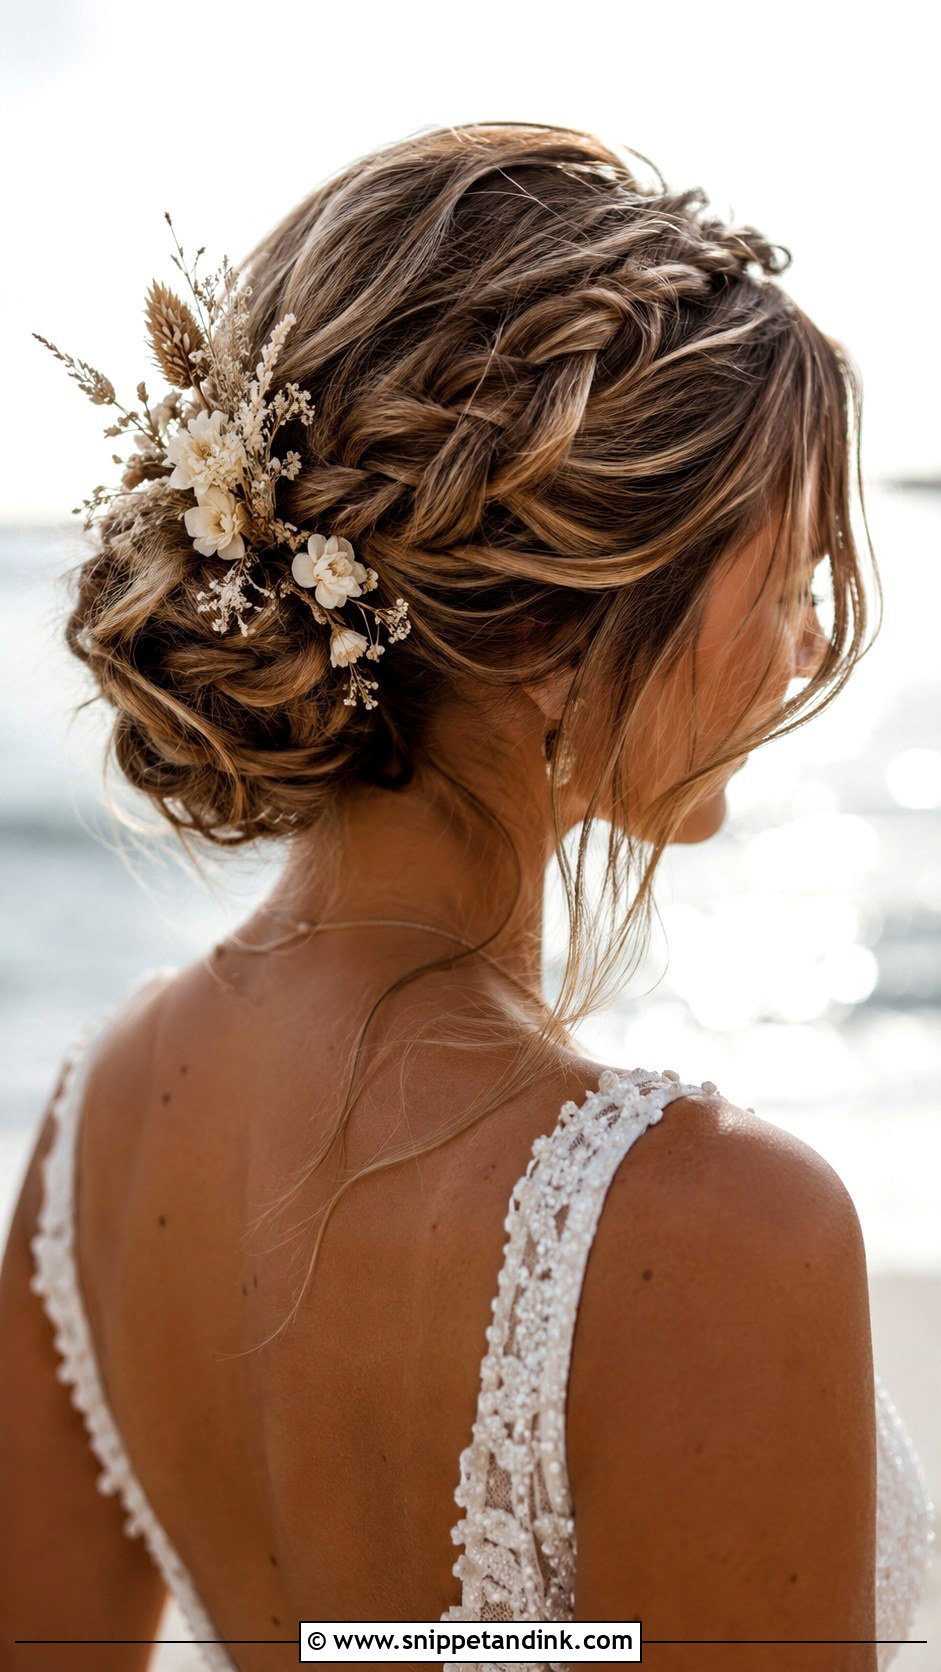
I keep the relaxed boho mid bun loose on purpose, with soft waves, plenty of tendrils, and a thin braid or two running into the coil. Dried flowers and greenery behave better here than fresh ones because they don’t droop at an outdoor ceremony. Beach and woodland venues bring wind and humidity, so I set the waves with a flexible spray rather than a strong one; stiff hair breaks into chunks when the wind catches it. Nothing is pulled tight against the scalp, which makes it the most comfortable style on this list to wear for ten hours.
10. Mid Bun With Pearl Pins
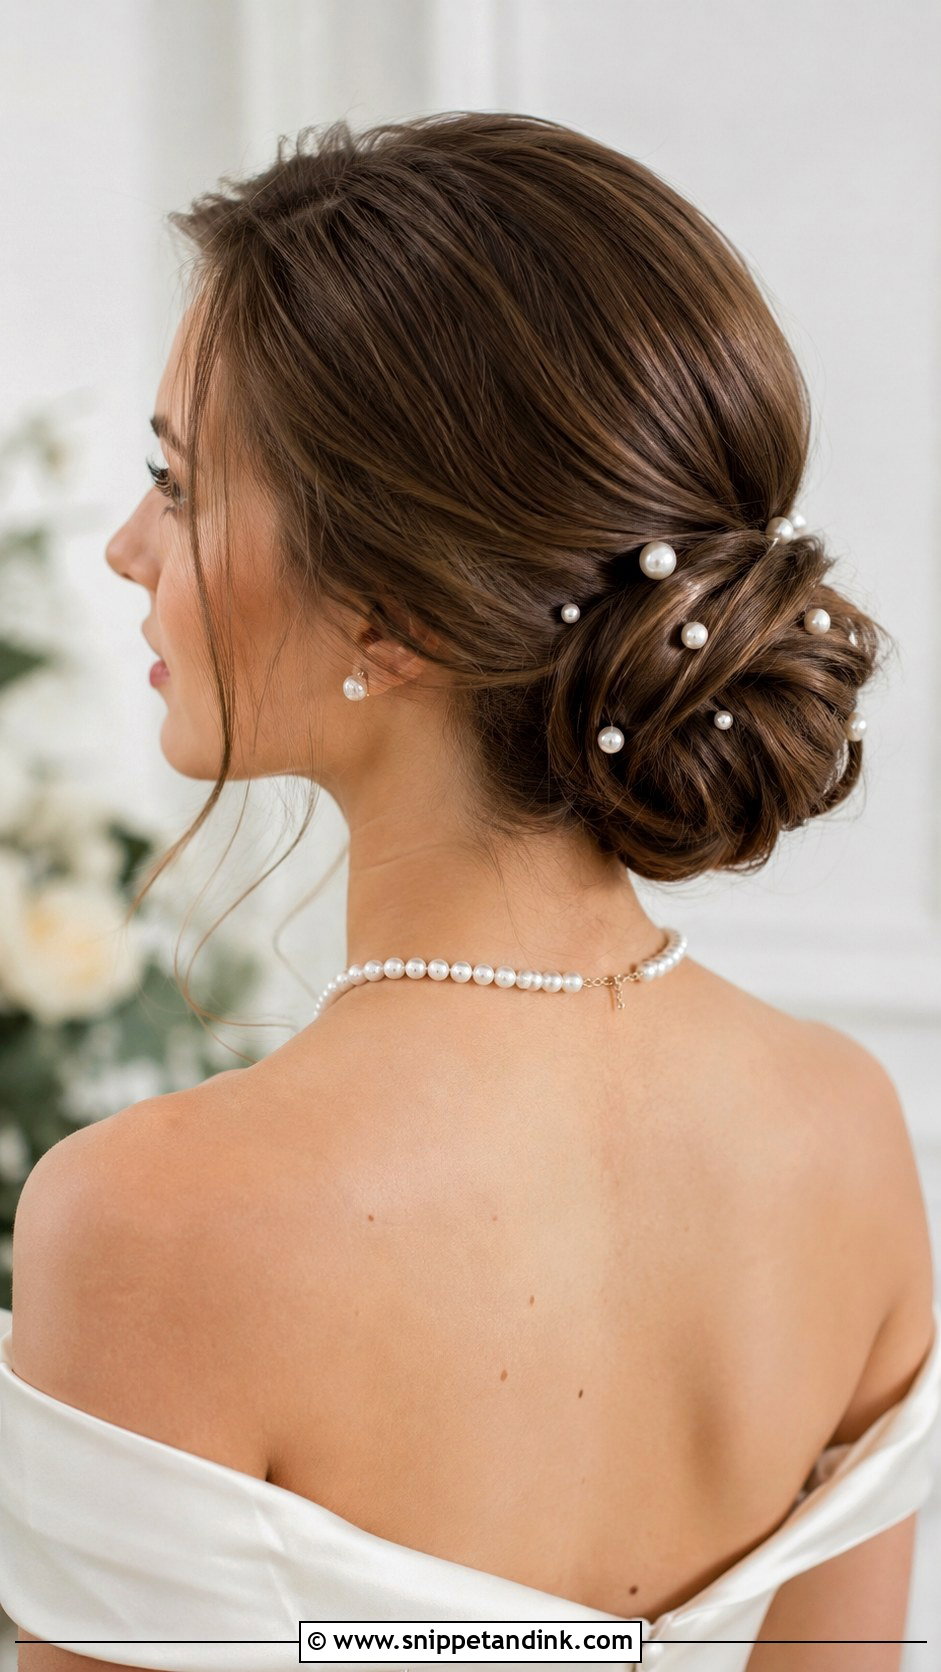
Pearl pins are mostly about placement. I either cluster a handful near the base of the bun on one side or scatter them across the coil, and I decide at the trial by looking at the bun from the side, since that’s how most ceremony photos catch it. Each pin goes in at an angle, picking up hair on the way, so it doesn’t slip out when you hug people. They sit equally well in sleek and textured buns and tie in with pearl earrings. On very dark hair, cream pearls show up better than bright white ones.
11. Textured Mid Bun
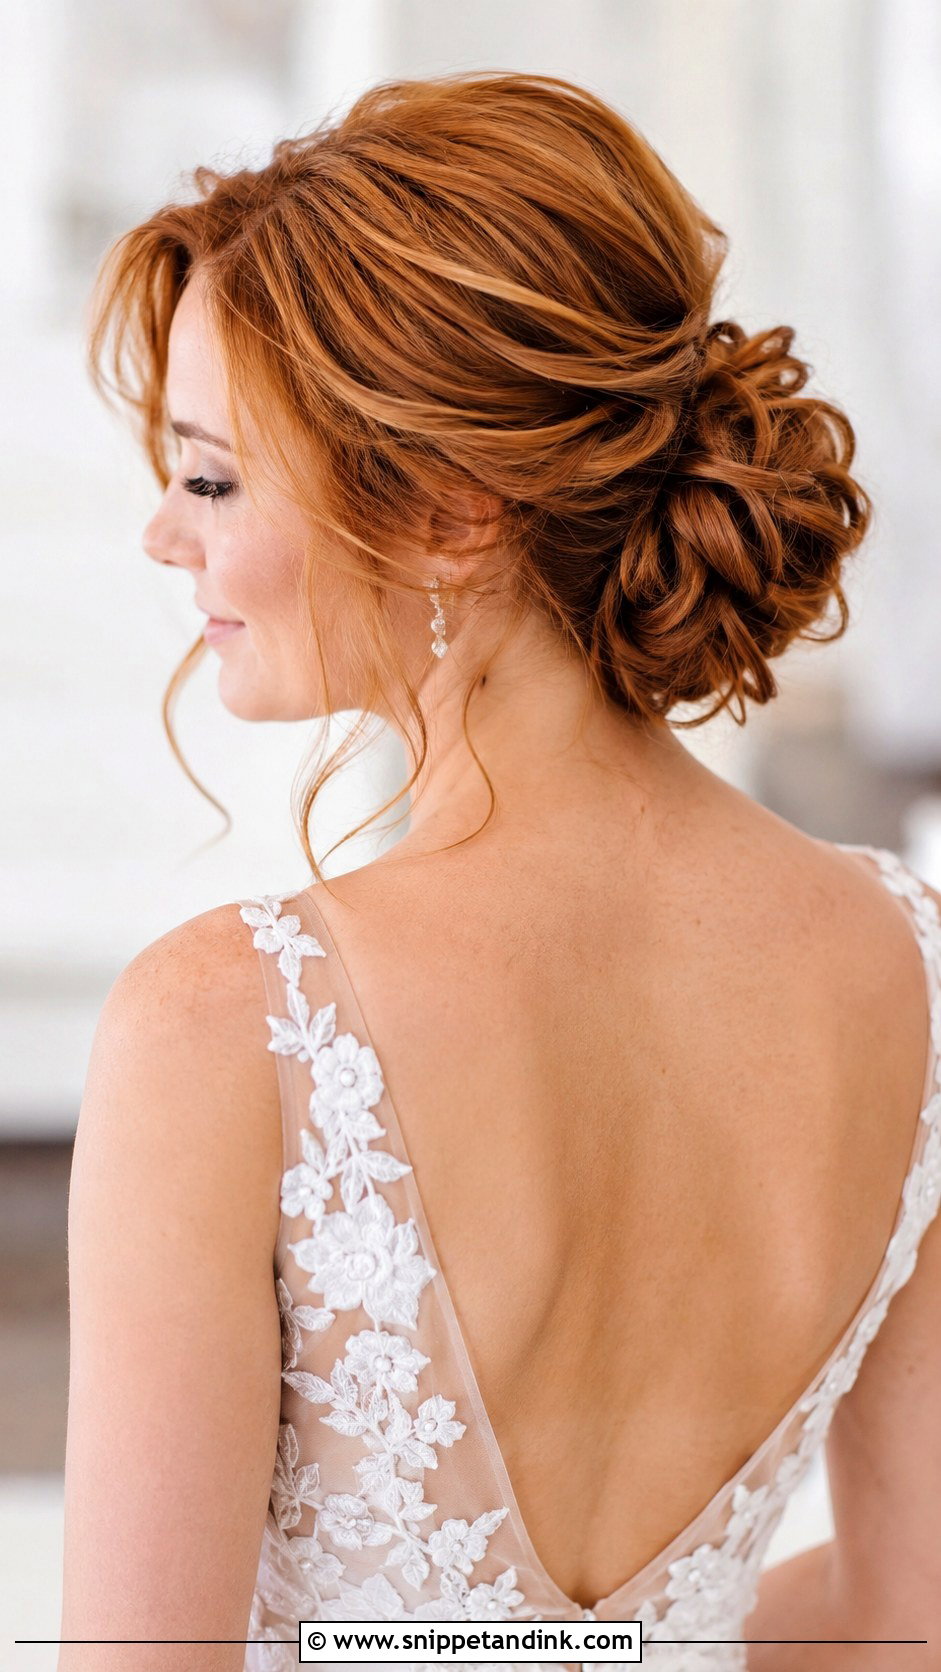
Fine hair is where this one earns its place. Teasing at the crown and a texturizing spray through the lengths give the bun a full, airy shape that fine hair can’t manage when it’s brushed smooth, and building the coil from loose sections makes it look bigger than the hair really is. Loose pieces at the face keep it from looking stiff. A light hairspray at the end holds the shape without gluing it. If your hair is very thick, skip the heavy teasing; you’ll end up with a bun wider than your head and heavy enough to drag on the pins.
12. Sleek Mid Bun With Middle Part
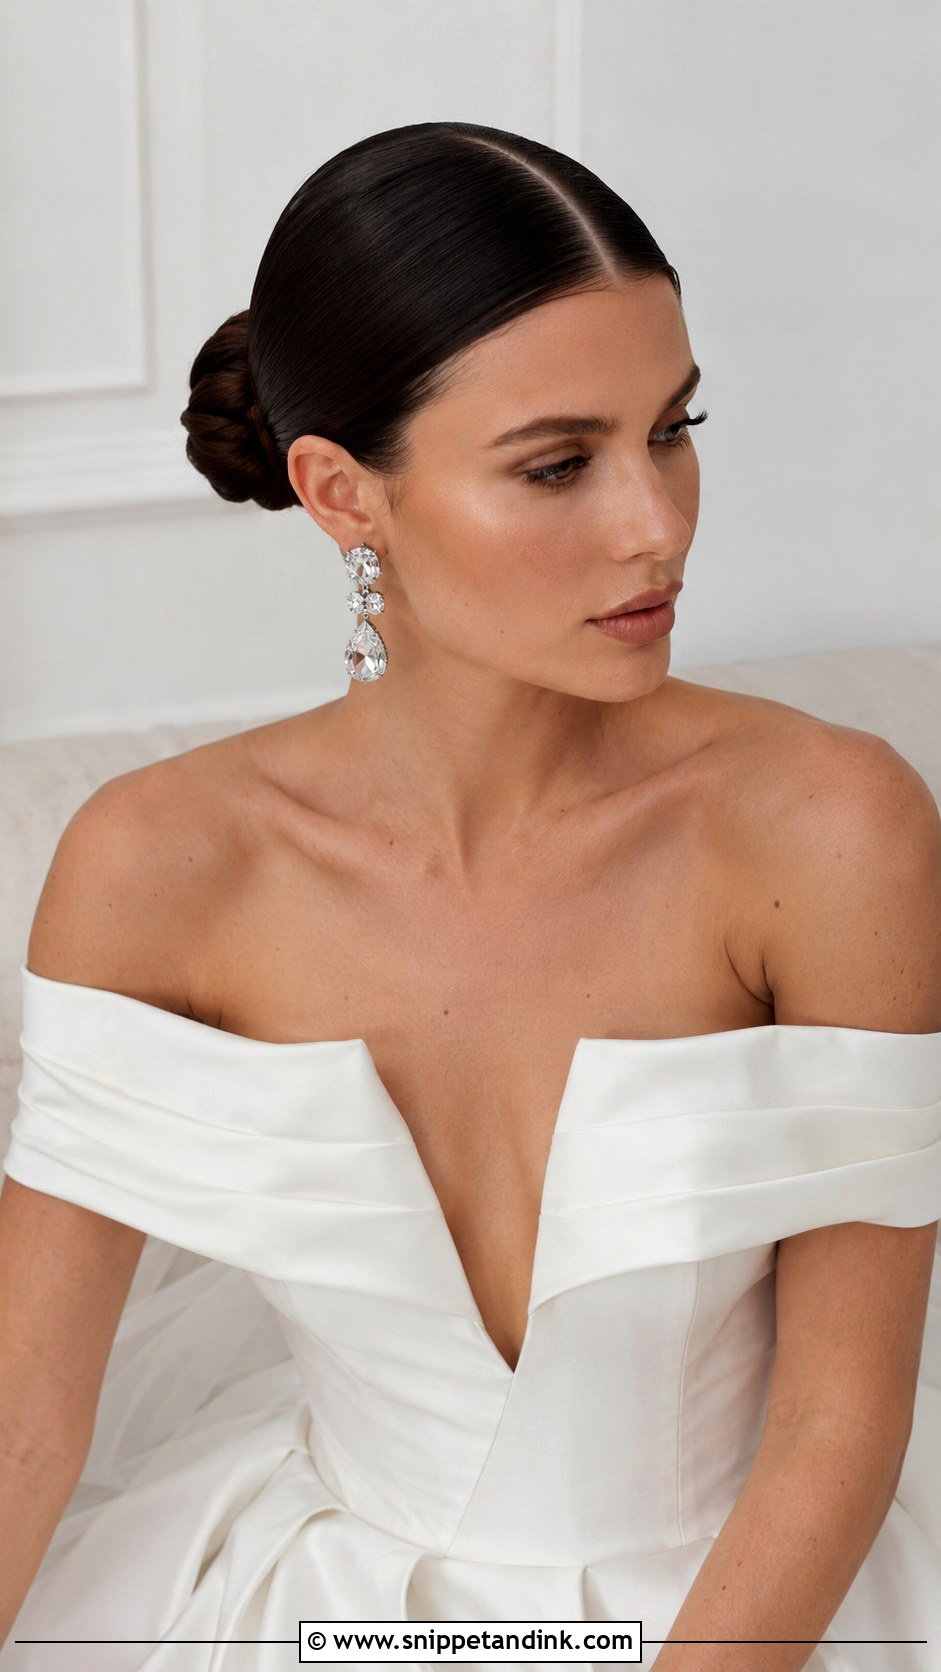
A center part is unforgiving, so I check symmetry before anything else. Very few faces are perfectly even, and a dead-straight part shows it, so I’ll sometimes shift it slightly to line up with the nose rather than with where the hair naturally splits. Then every strand is smoothed back into a tight, glossy coil with a flat iron and a shine product. Bold jewelry works with it, and it looks at home at a city wedding, because the pulled-back finish leaves the face and the gown to do the talking. Keep a little gel on hand for the hairline; humidity lifts baby hairs first.
13. Mid Bun With Curtain Bangs
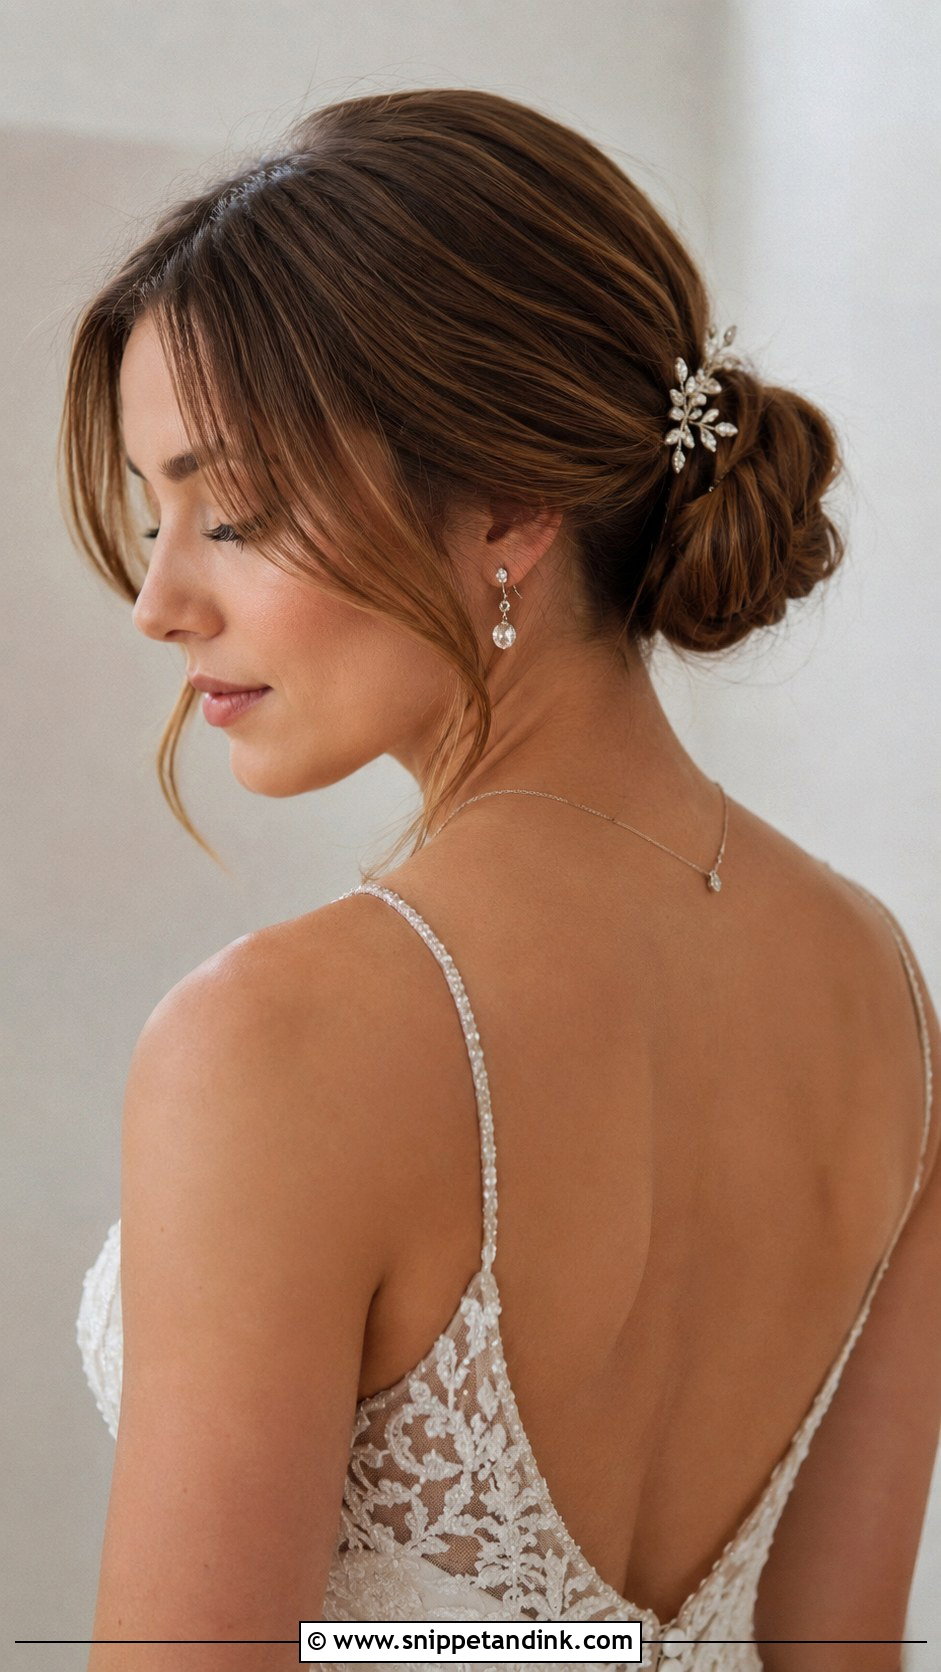
Curtain bangs only work here if you already have them, or if they were cut several weeks ahead so they’ve settled. I blow them away from the face with a medium round brush, then sweep the rest into the bun. Soft, parted bangs flatter nearly every face shape and give the updo movement at the front. Straight bangs look more modern, curled ones softer. They will separate after a few hours of dancing, so a mini round brush and a touch of dry shampoo at the roots help them fall right again. A delicate hairpiece at the back is enough decoration.
14. Vintage Mid Bun
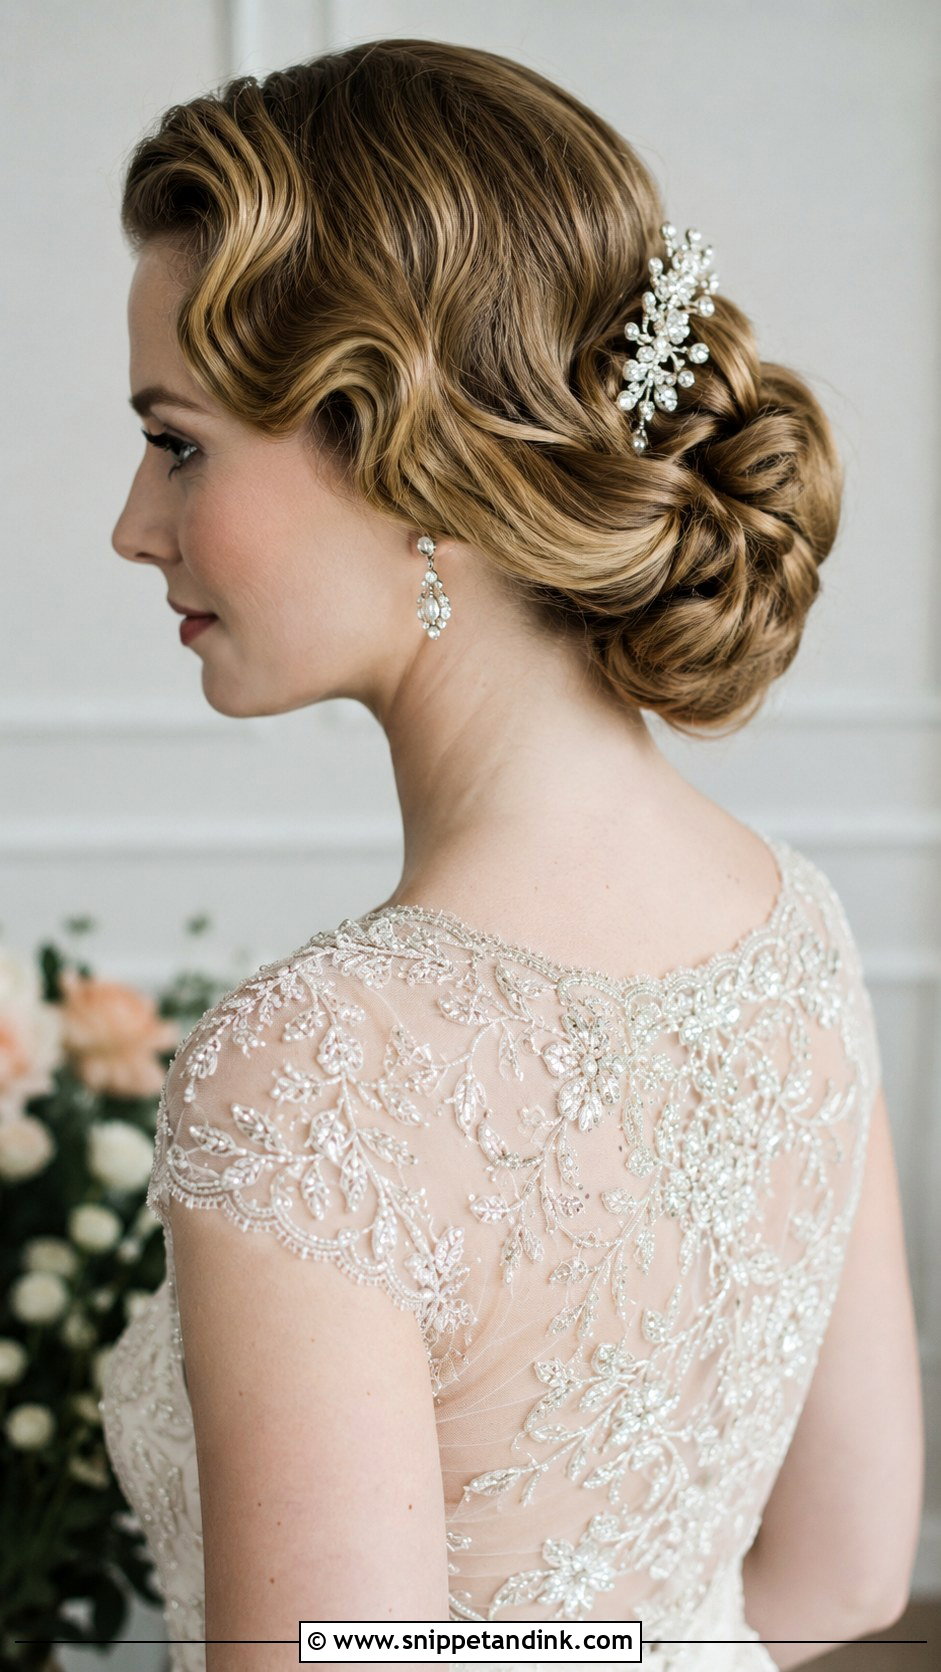
Retro shapes need a proper set, not just a curling iron. For finger waves, soft curls, and a neatly rolled coil, I set the hair in pin curls or hot rollers, let it cool completely, and brush it out before shaping the waves at the front. Skipping the cooling time is the reason vintage waves collapse by lunch. A birdcage veil or a jeweled comb completes it. Pick your era before the trial: 1920s waves sit flat and close to the head, while 1950s curls carry far more volume.
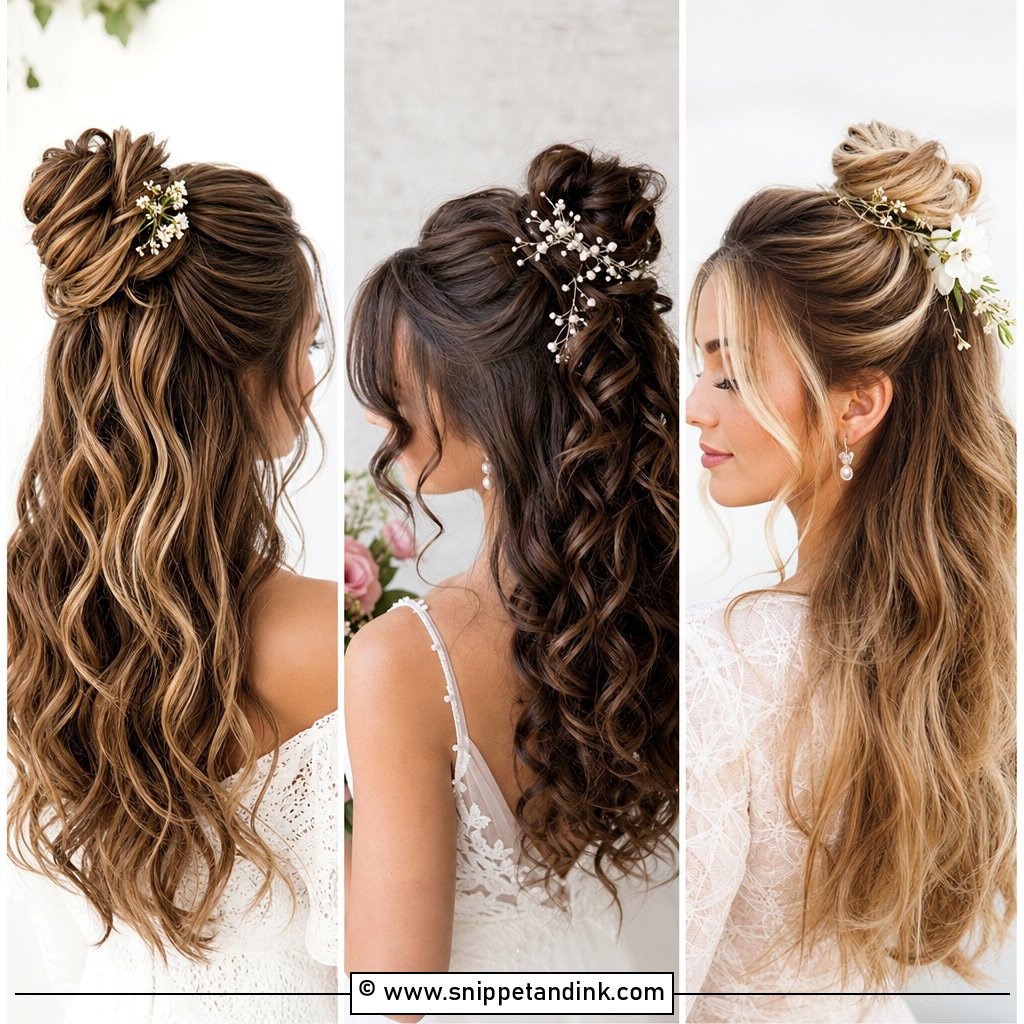
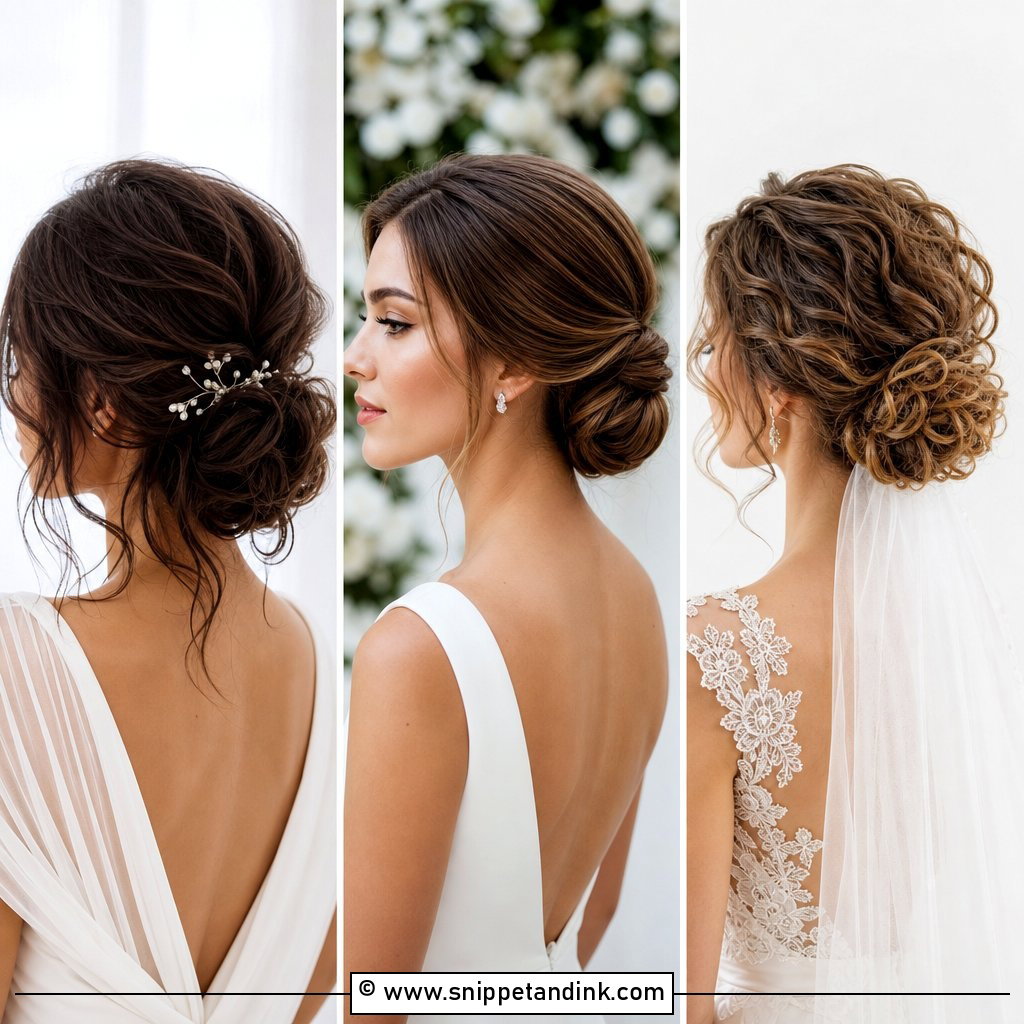
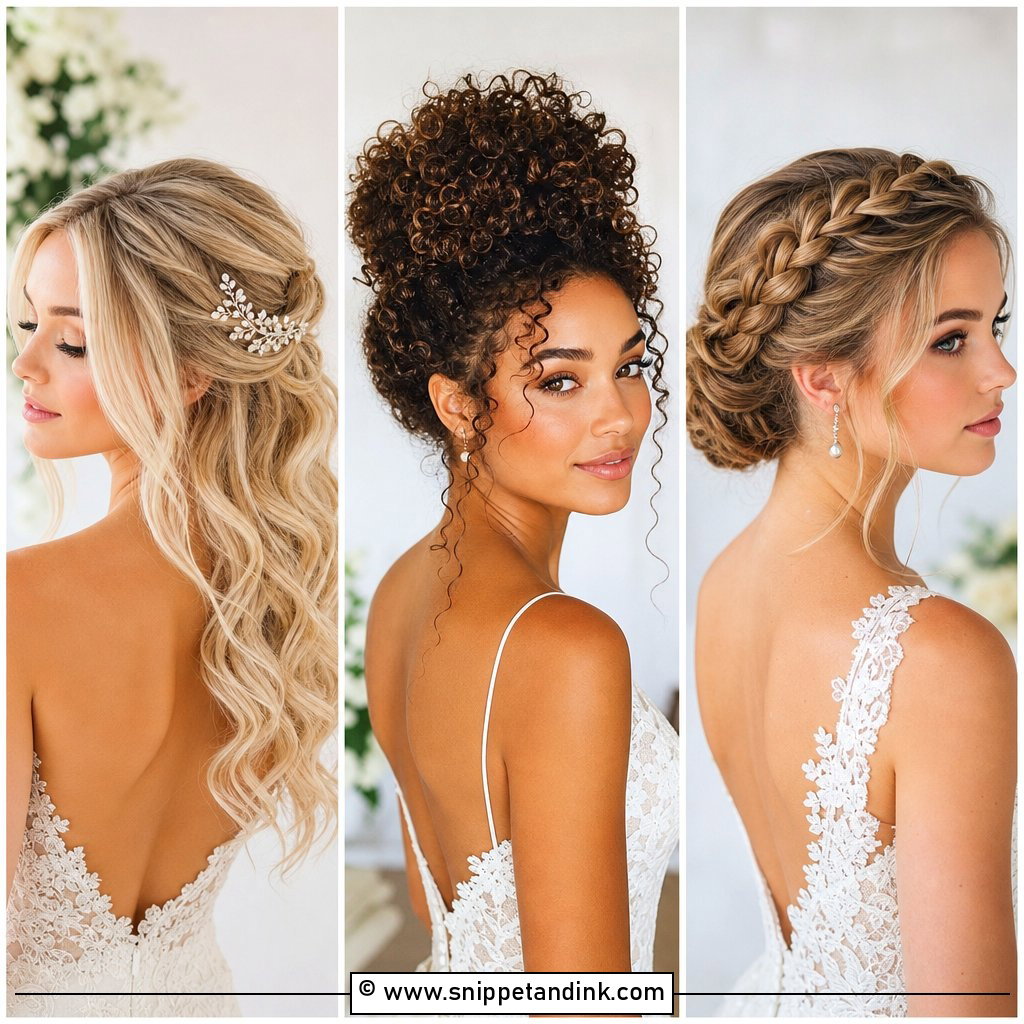
15. Mid Bun With Hair Vine
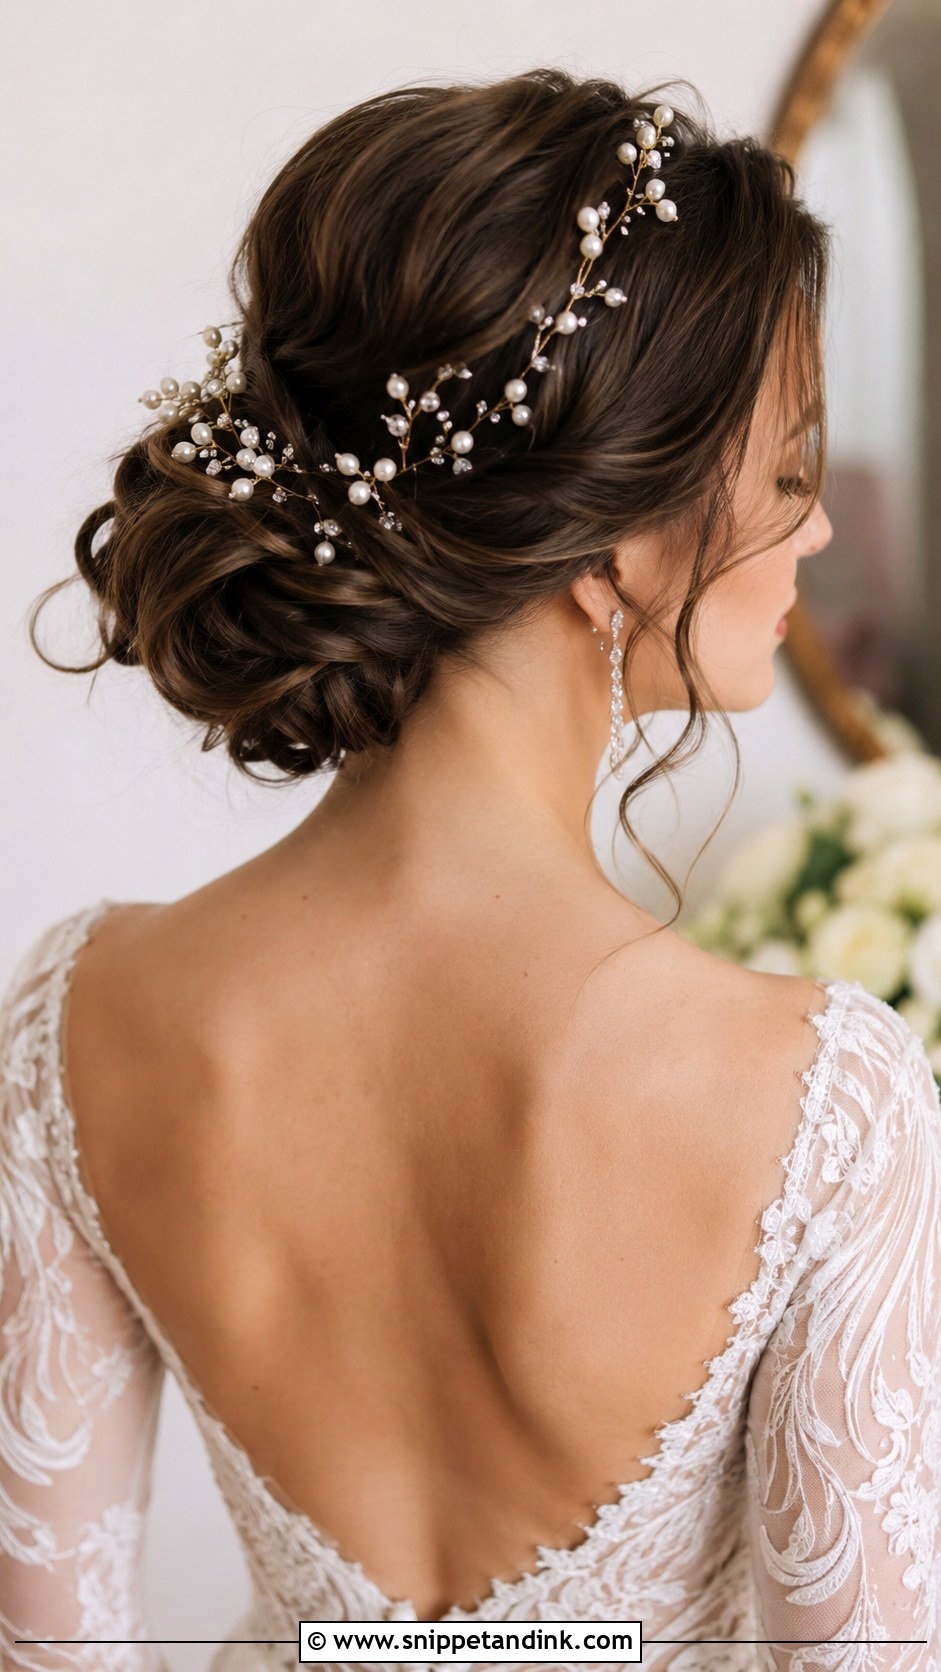
A mid bun with hair vine needs the vine attached as the bun is built, not tacked on at the end. These vines carry pearls, crystals or leafy metalwork on a bendable wire, and I pin that wire every few centimeters along the base of the bun or across the crown with small pins matched to the hair color. A loosely attached vine shifts every time you turn your head. It brings shimmer without adding height, so it sits comfortably with both modern and romantic gowns. Keep the rest of your jewelry quiet and let the vine carry the sparkle.
16. Wrapped Mid Bun
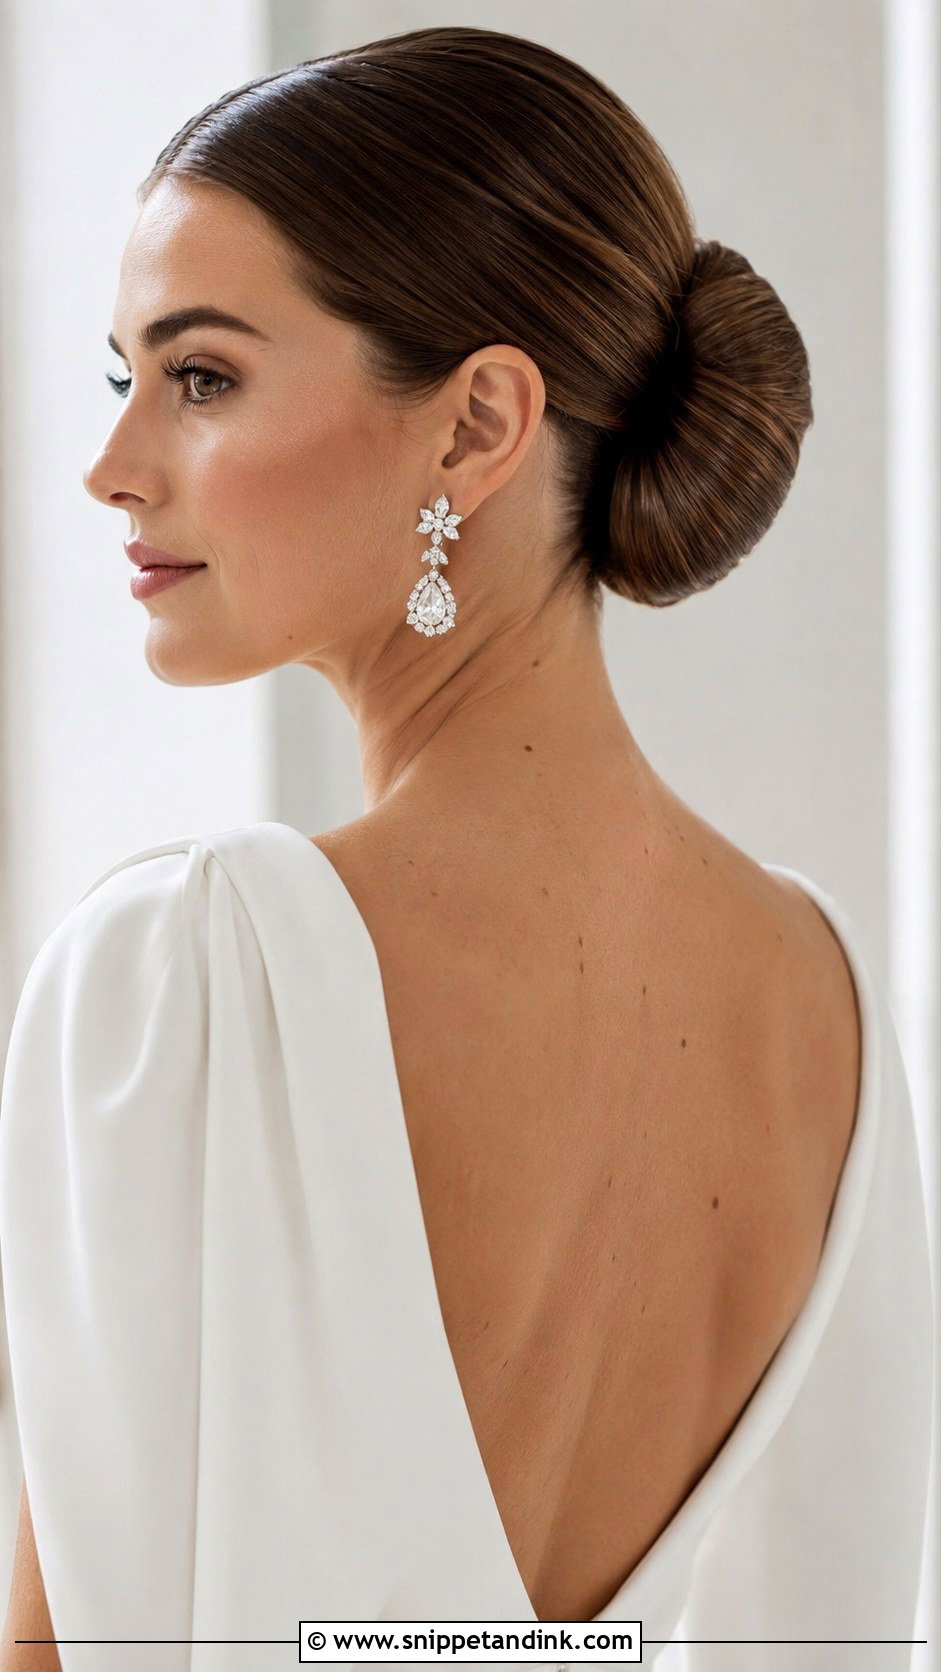
The wrapped bun is the most sculptural style here, and the least forgiving of short layers. I smooth the ponytail, then wind the length around the elastic in one direction, pinning as I go with U-pins pushed in toward the base. Layers shorter than the ponytail tend to poke out of the wrap, so a light wax on the fingertips is part of the job. You can keep the surface glassy or rough it up slightly for softness. Minimal gowns and statement earrings sit well with it, and a mist of shine spray at the end gives the gloss.
17. Mid Bun With Face-Framing Pieces
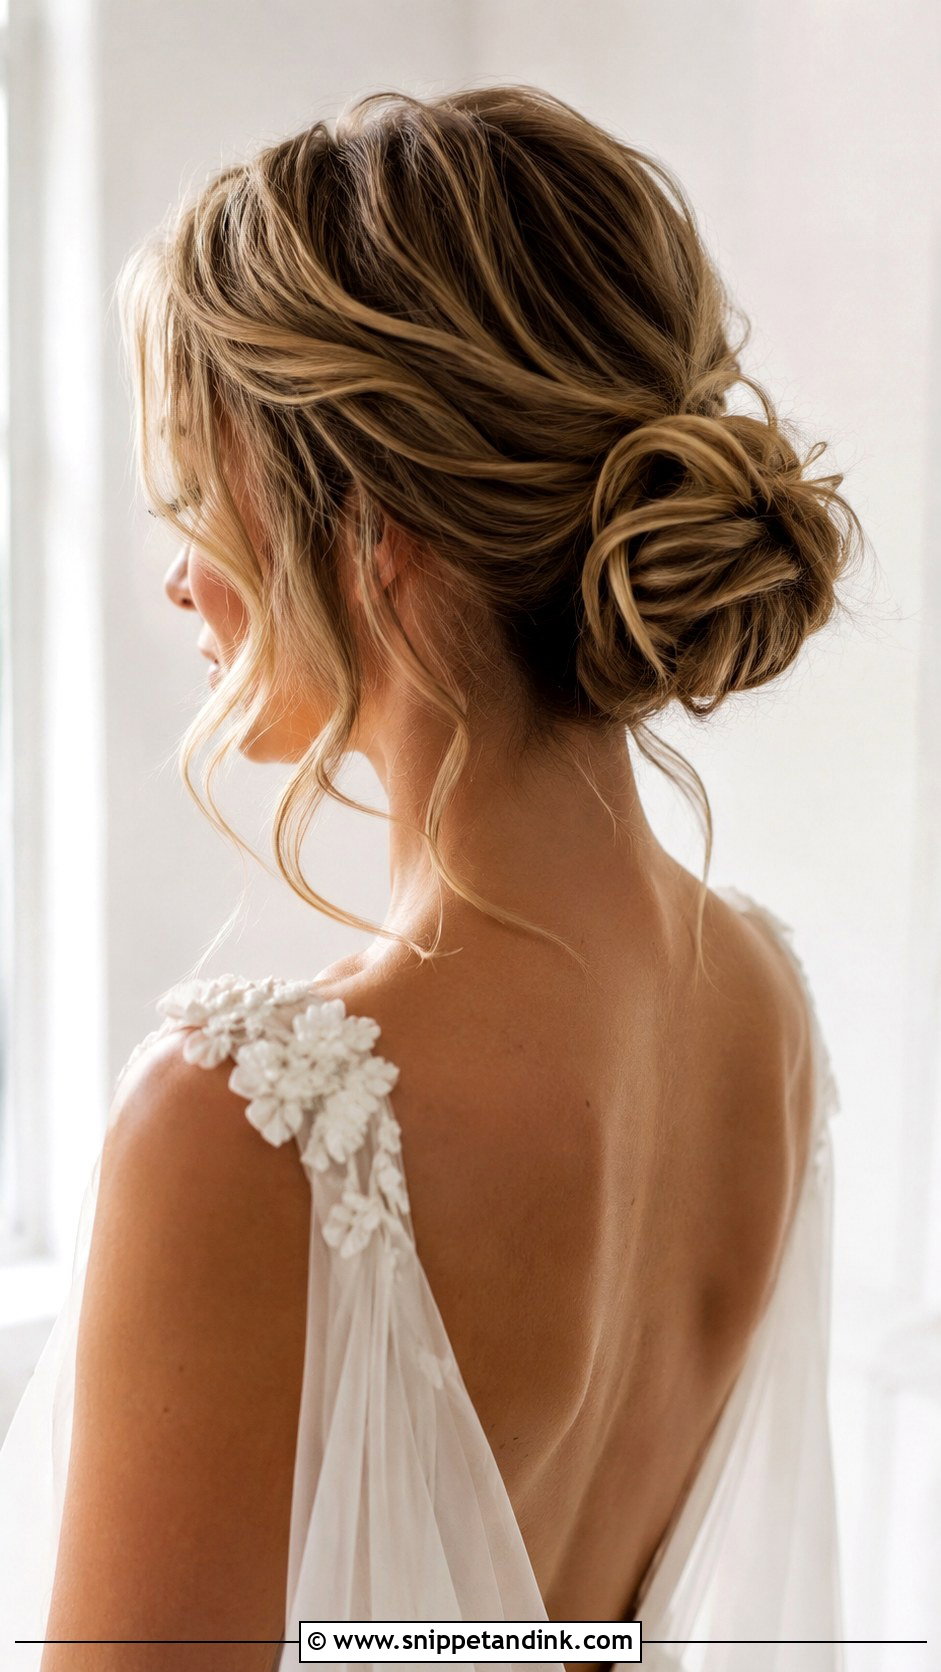
Face-framing pieces are where I spend the most time at a trial, because length and curl direction make or break this look. Pieces that end around the cheekbone, curled away from the face, flatter most people; pieces hanging to the chin can drag the face down. The bun behind them can be sleek or textured. Expect the strands to drop over the day, especially in humidity, so I set them with a light hold spray and leave a mini curling wand with someone in the bridal party.
18. Double Bun Twist
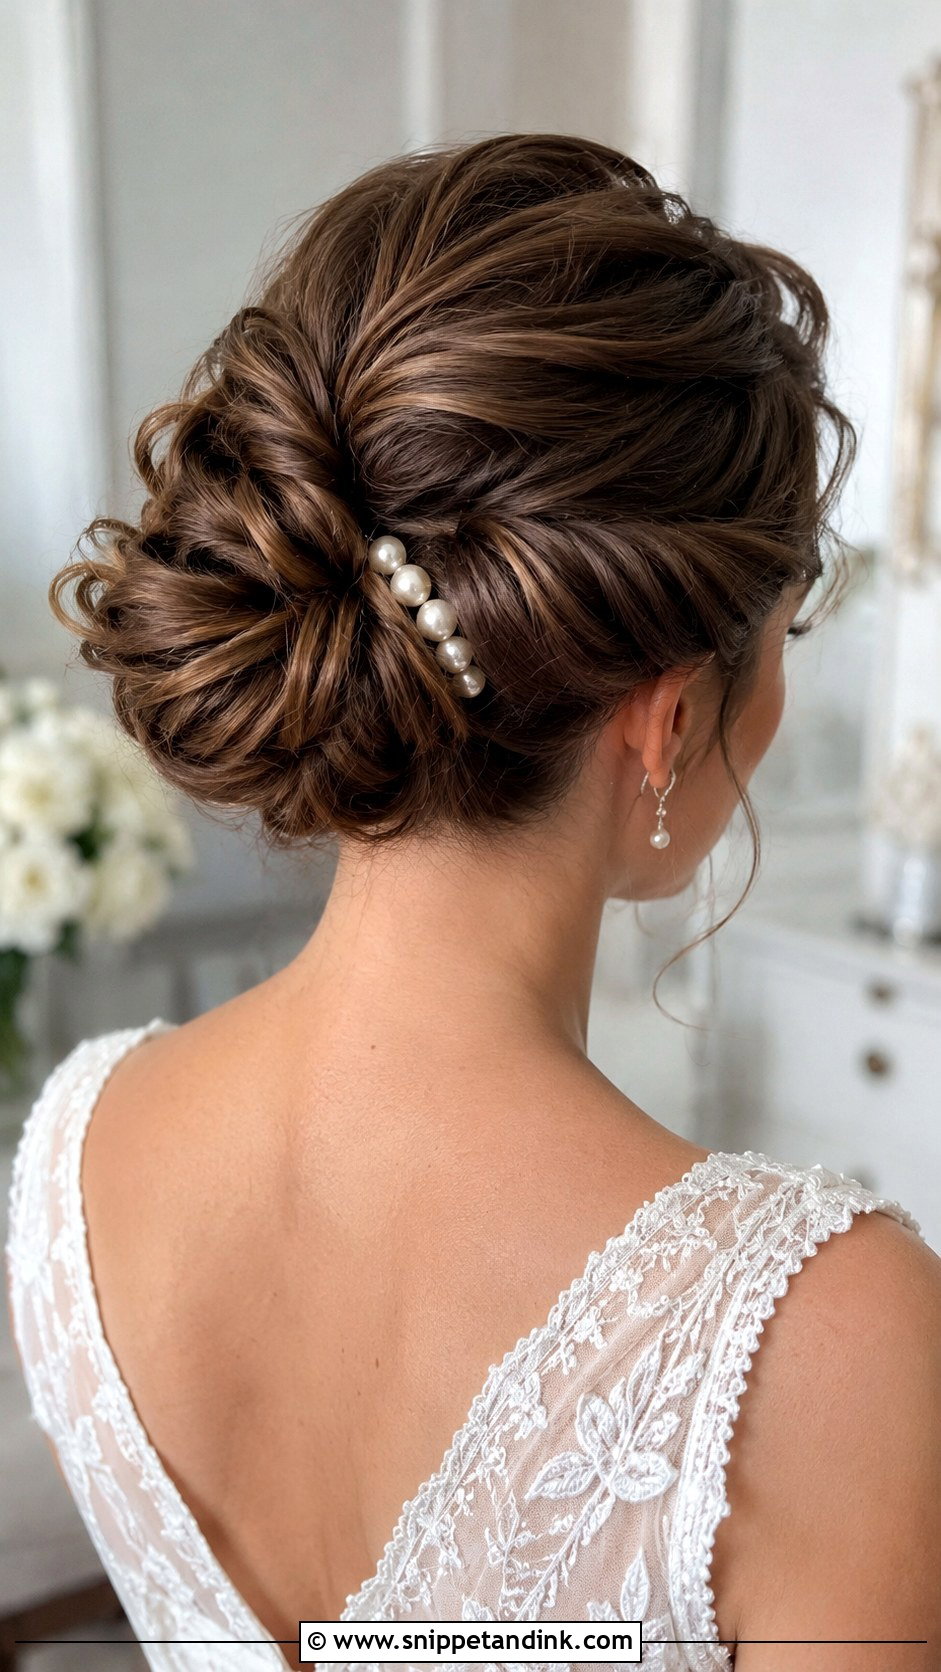
Two twisted sections joined at the back give the bun more layers than a single coil. I split the hair into upper and lower halves, twist each in opposite directions, and wrap them around each other so the join hides under the top section. That adds fullness without extra hair, which helps if your density is medium. Very fine hair can look stringy when it’s divided like this, and that’s when I add a small clip-in piece. Keep it sleek for a modern finish or loosen it, then tuck pearls or small flowers into the groove between the twists.
19. Mid Bun With Tiara
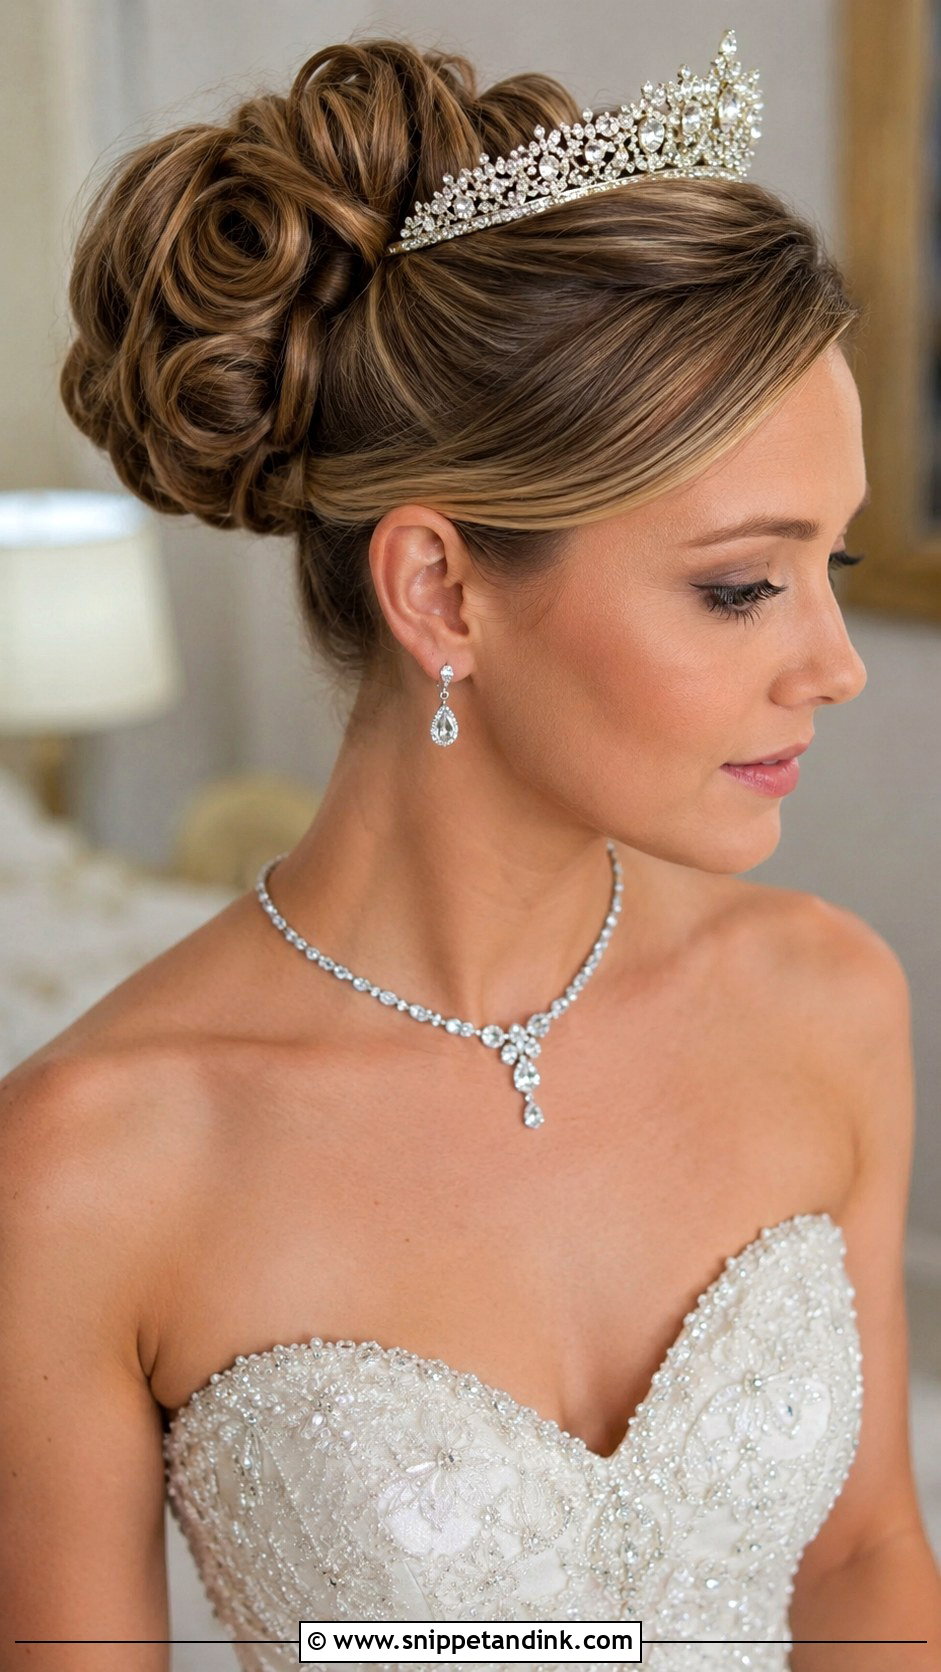
Tiaras need something to grip, and a mid bun gives them that. I place the tiara at the crown with the bun sitting just behind it, secure each end with crossed bobby pins, and run a third pin through the center loop if it has one. A little teasing under the band gives those pins something to hold. Delicate bands sit well on a sleek bun; bold ones need volume at the crown or they look perched. It belongs at formal and ballroom weddings. Wear it for an hour at your trial, because a band that pinches can give you a headache by mid-evening.
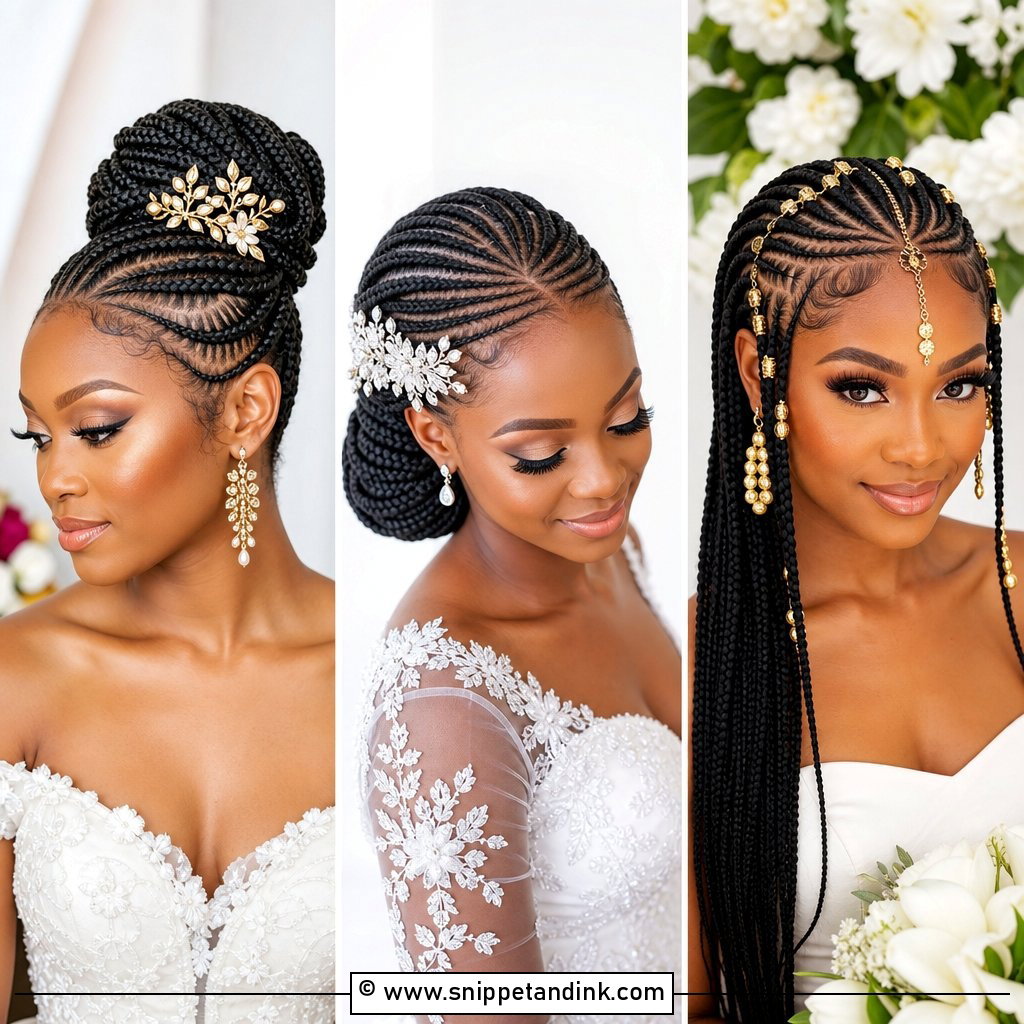
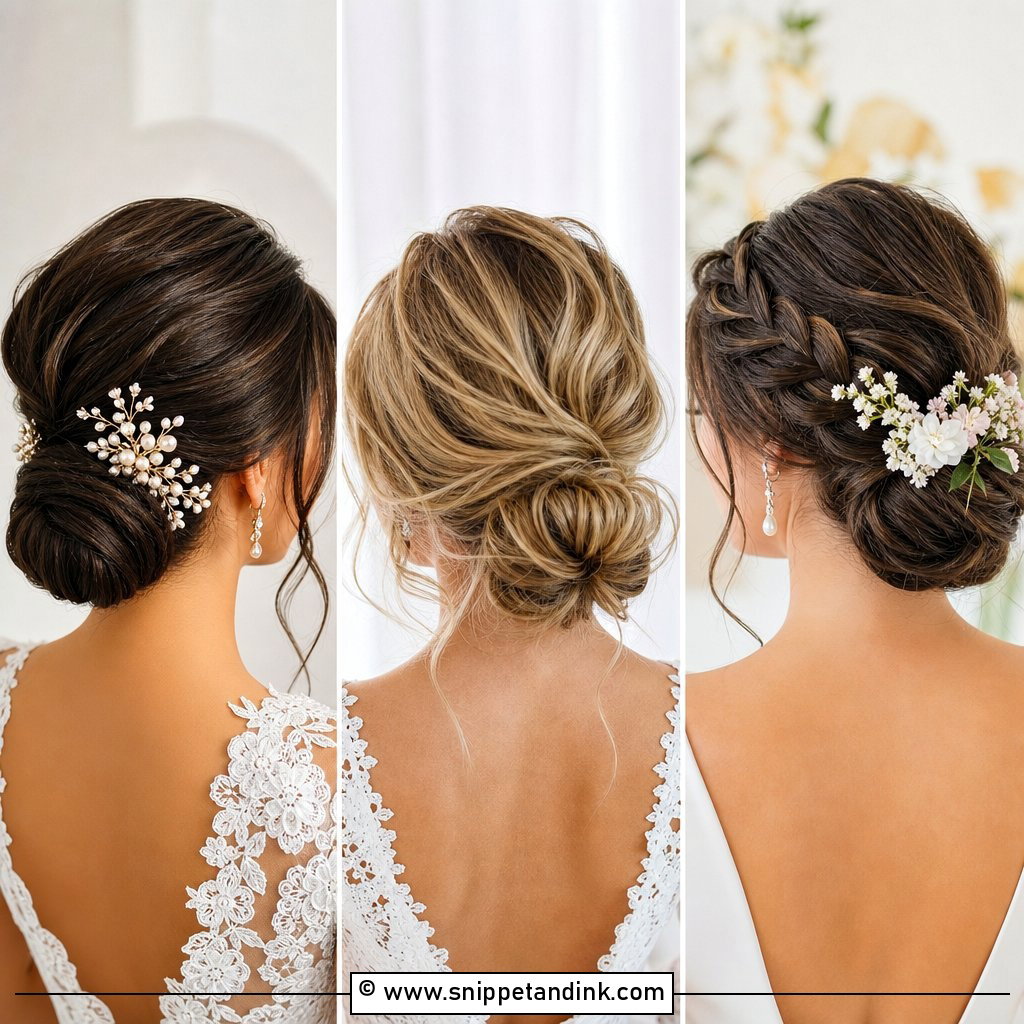
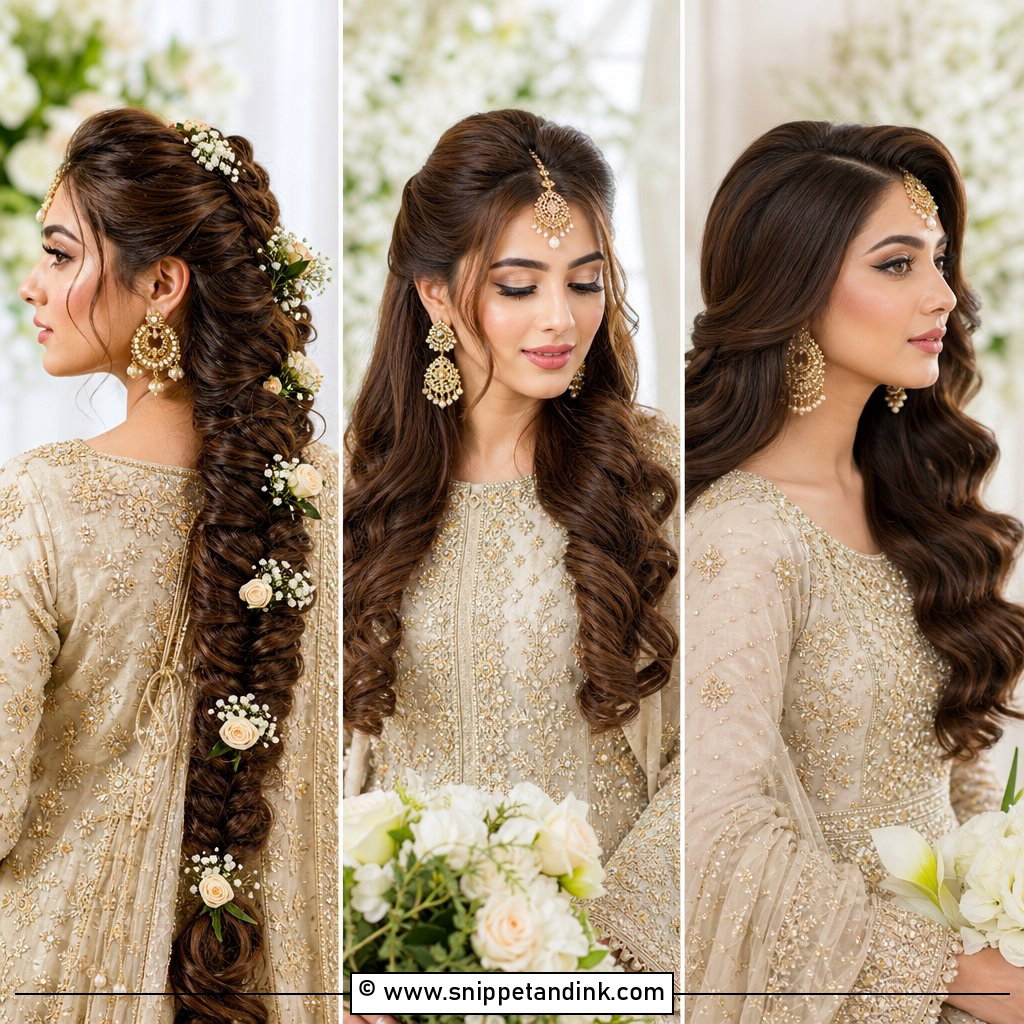
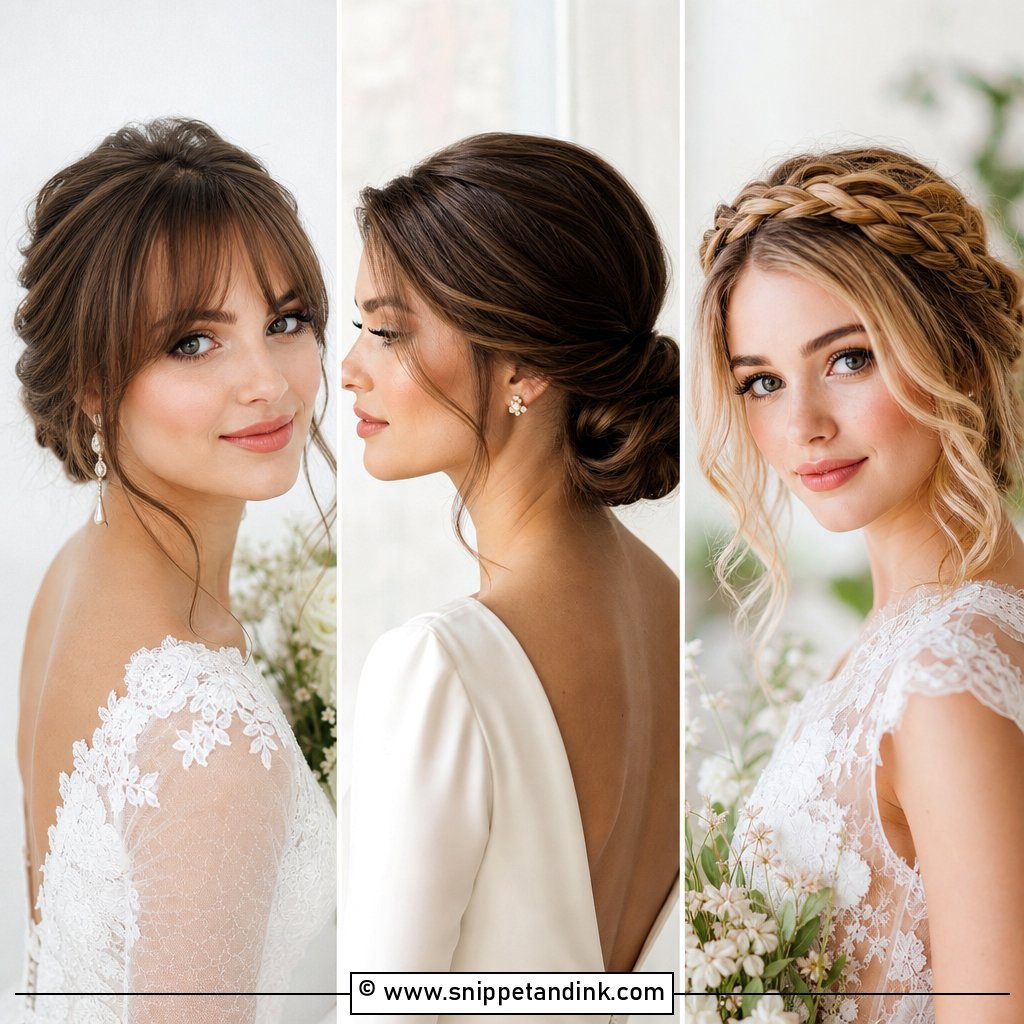
20. Knotted Mid Bun
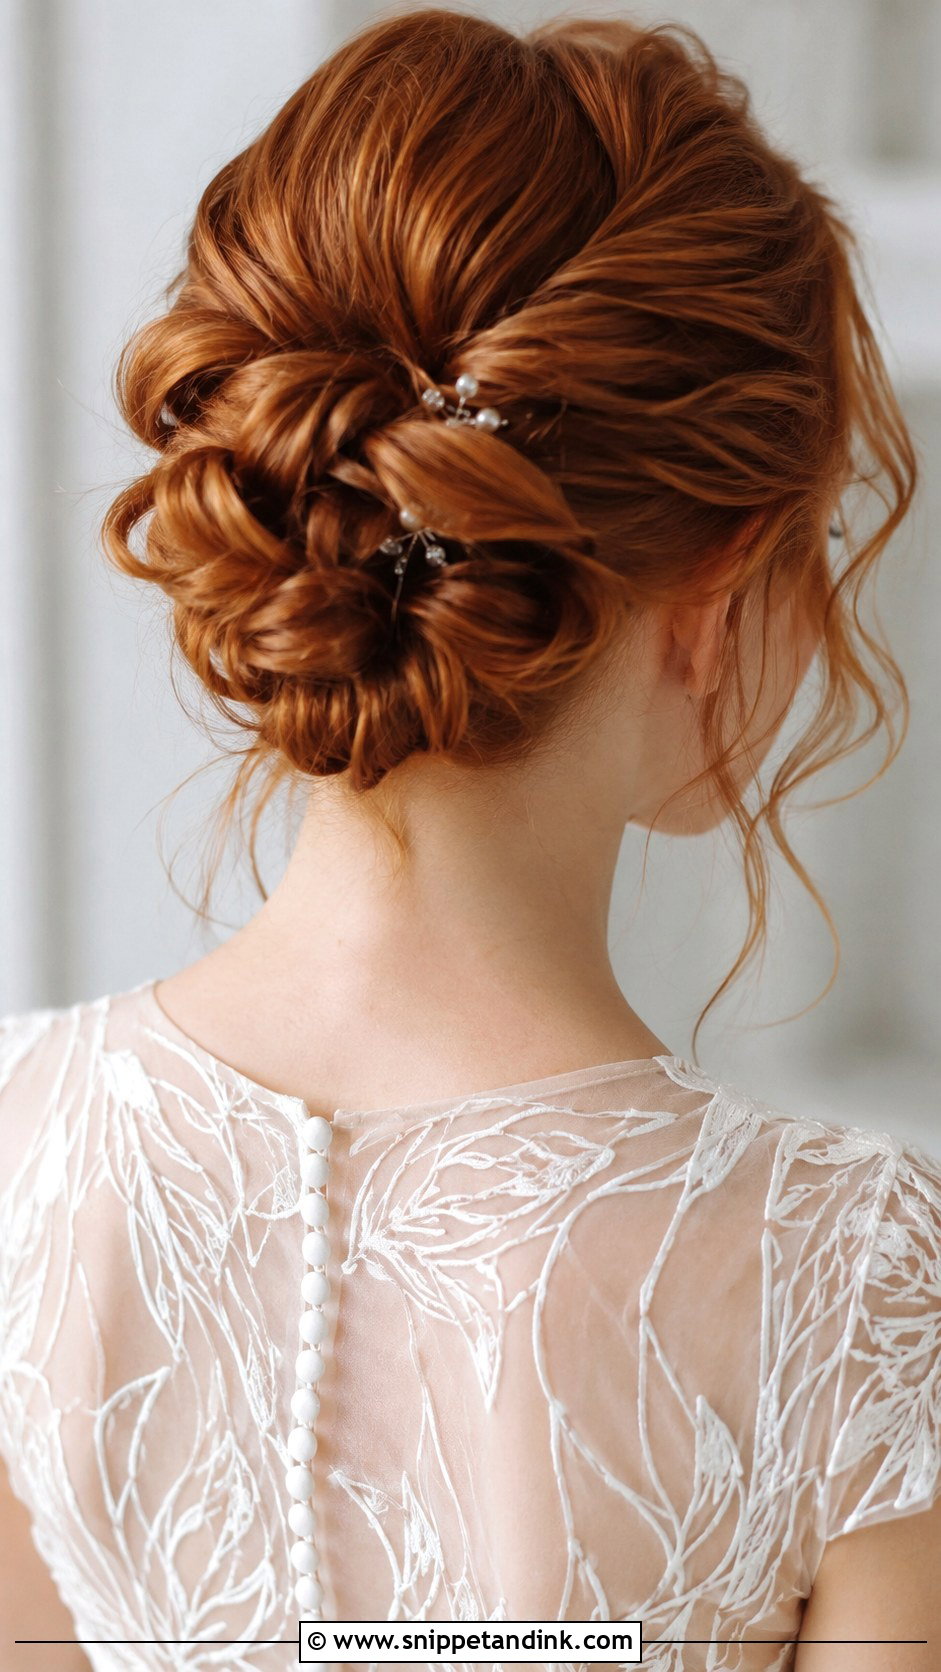
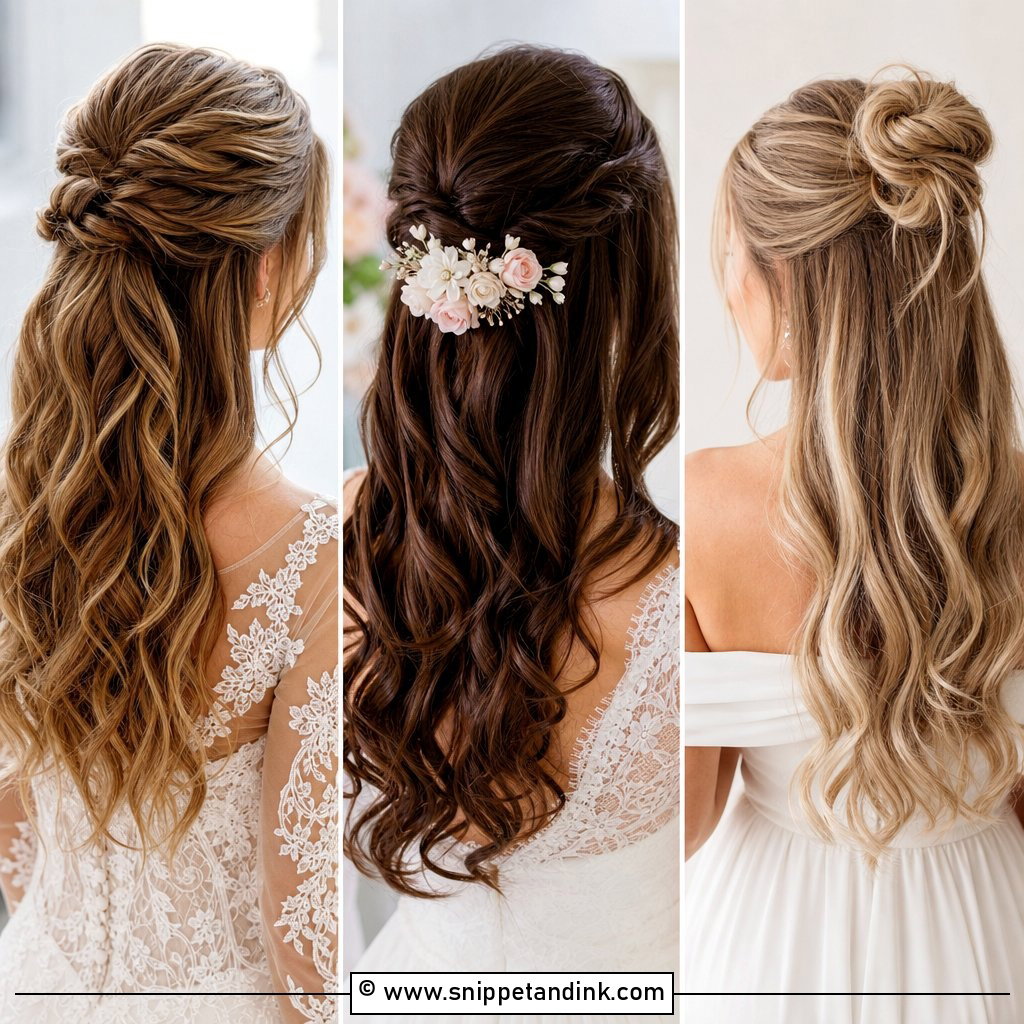
Knotted buns are made by tying sections of hair together, much like a loose knot in a ribbon, then pinning each knot into the coil. It needs length; with hair shorter than the collarbone, the knots won’t close. The texture is the decoration, so keep accessories to a couple of jeweled pins at most. I leave the knots polished for a modern wedding and a little undone for a softer one. A dry texture spray beforehand stops slippery hair from untying itself as the night goes on.
What Keeps a Mid Bun Up Through Dinner and Dancing
When a bun falls apart, the foundation is usually to blame, not the styling. Freshly washed, silky hair slides, so I ask brides to wash the day before rather than that morning, and I add a light texture spray or dry shampoo to give the hair some grip.
Start with a base the pins can hold
Almost every bun I build starts as a ponytail secured with a snag-free elastic, and heavy hair gets two. Everything else pins into that base. Pins pushed only into loose hair have nothing to bite on, and they work their way out as you move.
U-pins shape, bobby pins hold
U-pins shape the coil without flattening it, and I slide them in toward the elastic. Bobby pins go in crossed in pairs, wavy side down, so they lock against each other. Pins that match your hair color disappear in photos; shiny gold ones on dark hair do not.
Fine, thin or shoulder-length hair
Fine hair that reaches past the shoulders can borrow size from a mesh bun form or a small pad wrapped in your own hair, which adds shape without much weight. Shoulder-length hair can still make a smaller mid bun, though the layers will need more pins. Clip-in extensions give real volume in pictures, but order them early enough to match the color at your trial, not the week of the wedding.
Hand your maid of honor a few bobby pins, a travel hairspray and a tail comb. That small kit covers almost anything that slips between the ceremony and the last song.
Bring Two Mid Bun Pictures, Not Twenty
Most of these buns can be pushed toward sleek or toward soft, so treat the list as a starting point rather than a menu. Save the two or three pictures you keep coming back to, and bring a photo of your neckline and veil along with them. After the trial, keep the style in for a few hours and notice how it feels and how it holds before you commit. Then on your special day there are no surprises, only a bun you already trust.
You'll Like These Ideas:


Leave a Reply