
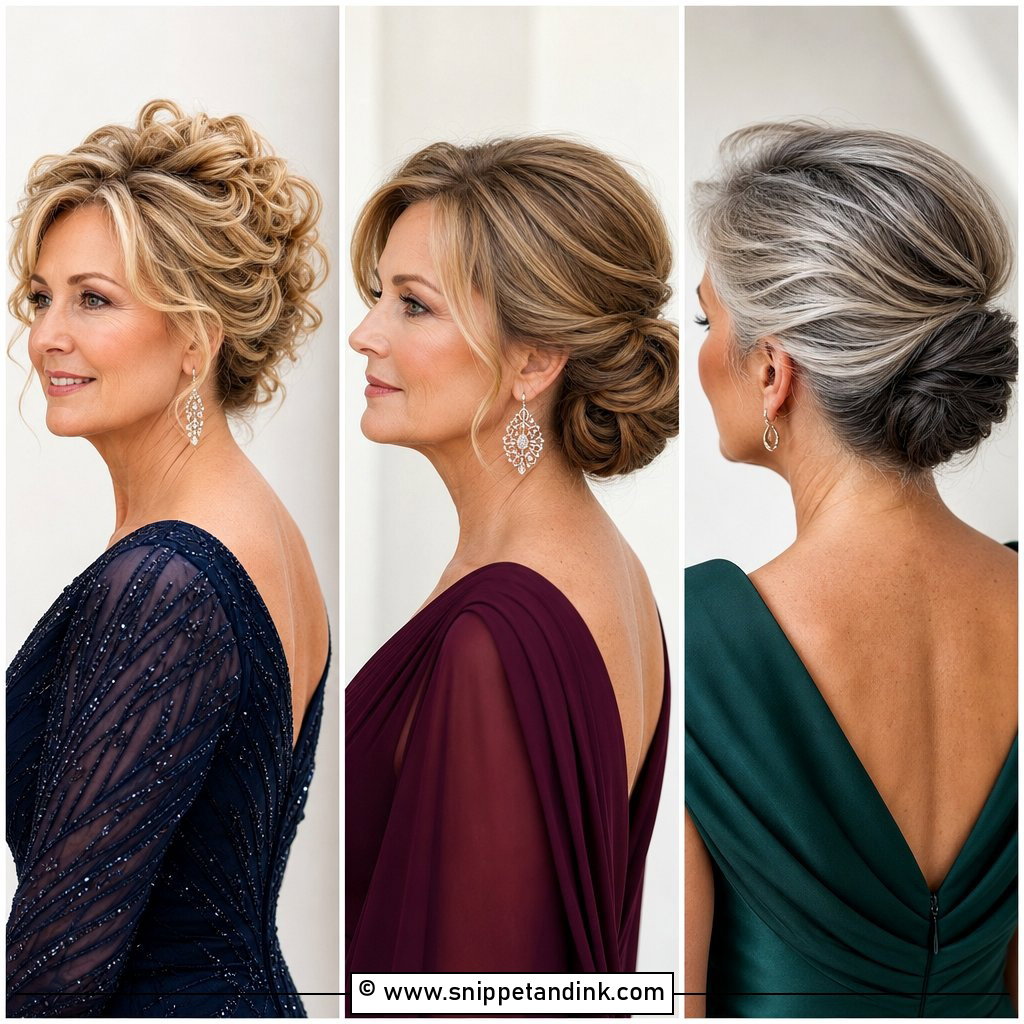
The mother of the bride is in more photographs than almost anyone except the couple, and she spends the day hugging, leaning in for portraits and sitting through speeches. That is the real brief for a mother of the bride updo: it has to look finished from the back in the ceremony shots and still be sitting where I pinned it at ten o’clock at night. Below are 25 styles I’d happily put on a mother, with notes on which hair each one suits, what I do to make it hold, and where each one tends to fail.
Grey, Thinning or Freshly Colored Hair Changes How I Pin
Most mothers I style are dealing with at least one of three things: grey coming through, hair that’s lost density with age, or color done a few days before the wedding. Each changes what I do.
- Grey hair is often coarser and more wiry than the pigmented hair around it. It resists curls and springs out of smooth styles, so I use a smoothing cream before heat and choose textured updos over sleek ones.
- Thinning at the crown or temples shows up badly in a sleek bun. Teased volume, braids and loose twists all hide it better, and a small padded insert or a few clip-in pieces can fill out the shape.
- Color done within a day or two leaves hair slippery. Book your color a week or so before so it has a few washes to settle, and ask for dry shampoo at the roots before styling to give the pins grip.
- If you’ve had a cut recently, layers can be too short to sit in an updo. Avoid a fresh cut in the last month and talk to your stylist before you book one.
Glasses, Hearing Aids and the Outfit You Bought First
I always ask mothers to bring their glasses to the trial. The arms sit right where a low bun’s side sections meet, and if I don’t know they’re there, I’ll pin straight through the spot. I leave a gap or route the hair over the arms instead. Hearing aids need similar planning: a tight low style can press on them or cause feedback, so I keep the hair around the ears softer.
Your outfit sets the rest. A high neckline or a collar looks best with the hair lifted off it, either a French twist or a high bun. A low back or bare shoulders give a low chignon room to show. If you’re wearing a hat or fascinator, the updo has to sit low enough for the hat to fit, so bring it to the trial and I’ll build the style around it.
1. Classic Low Chignon
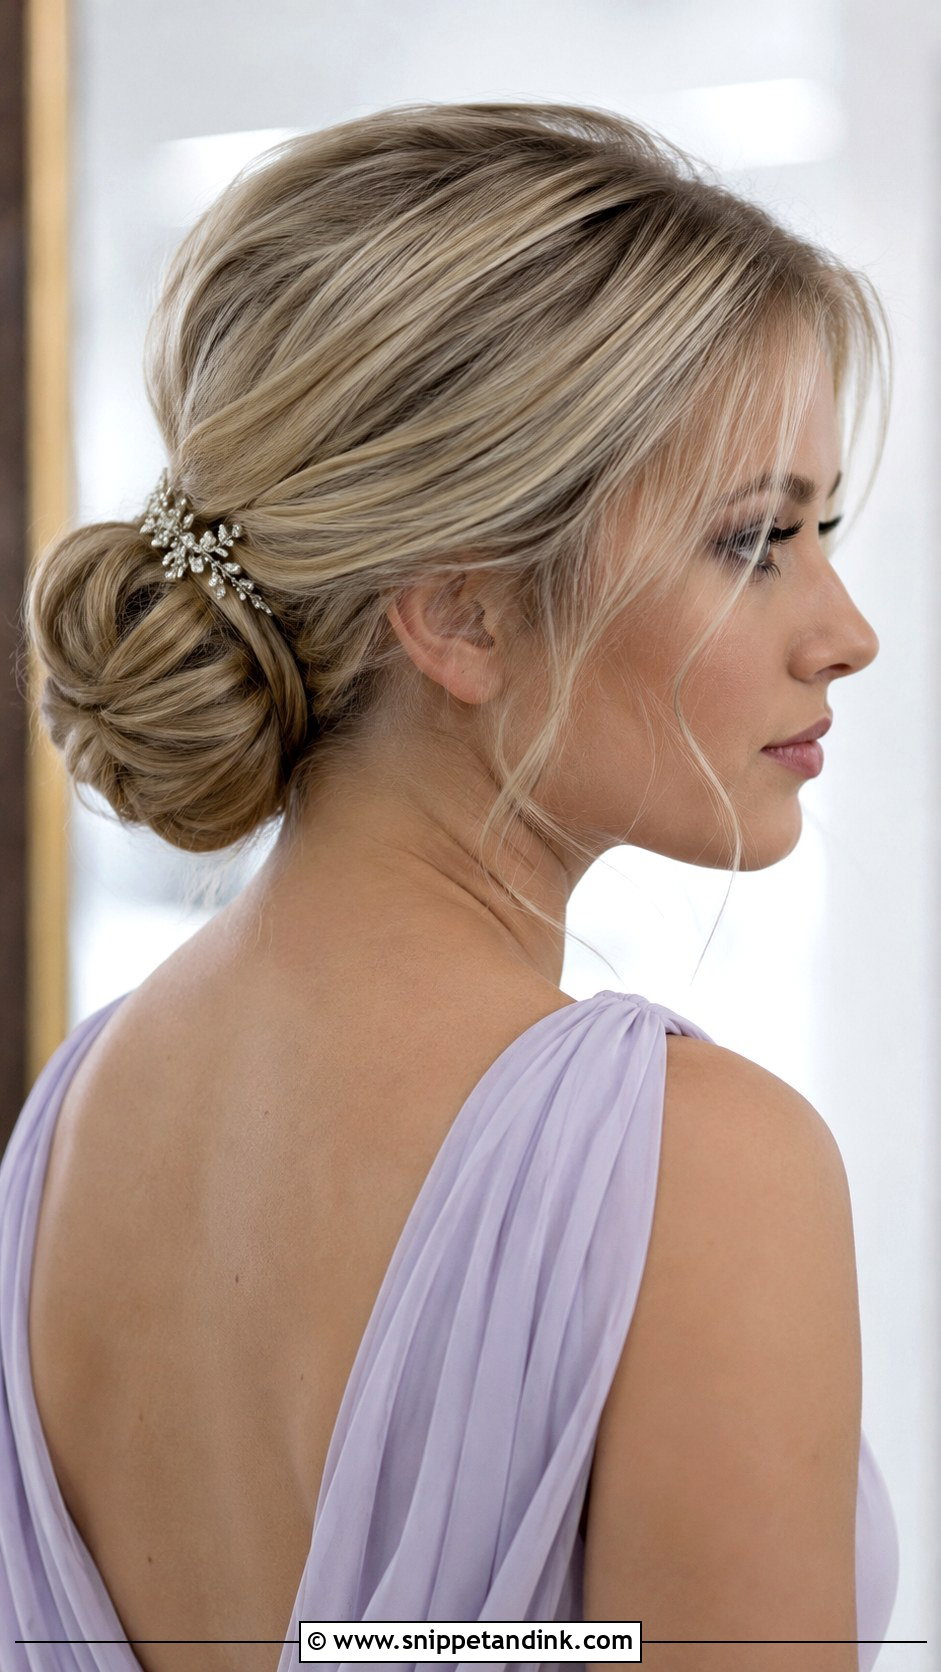
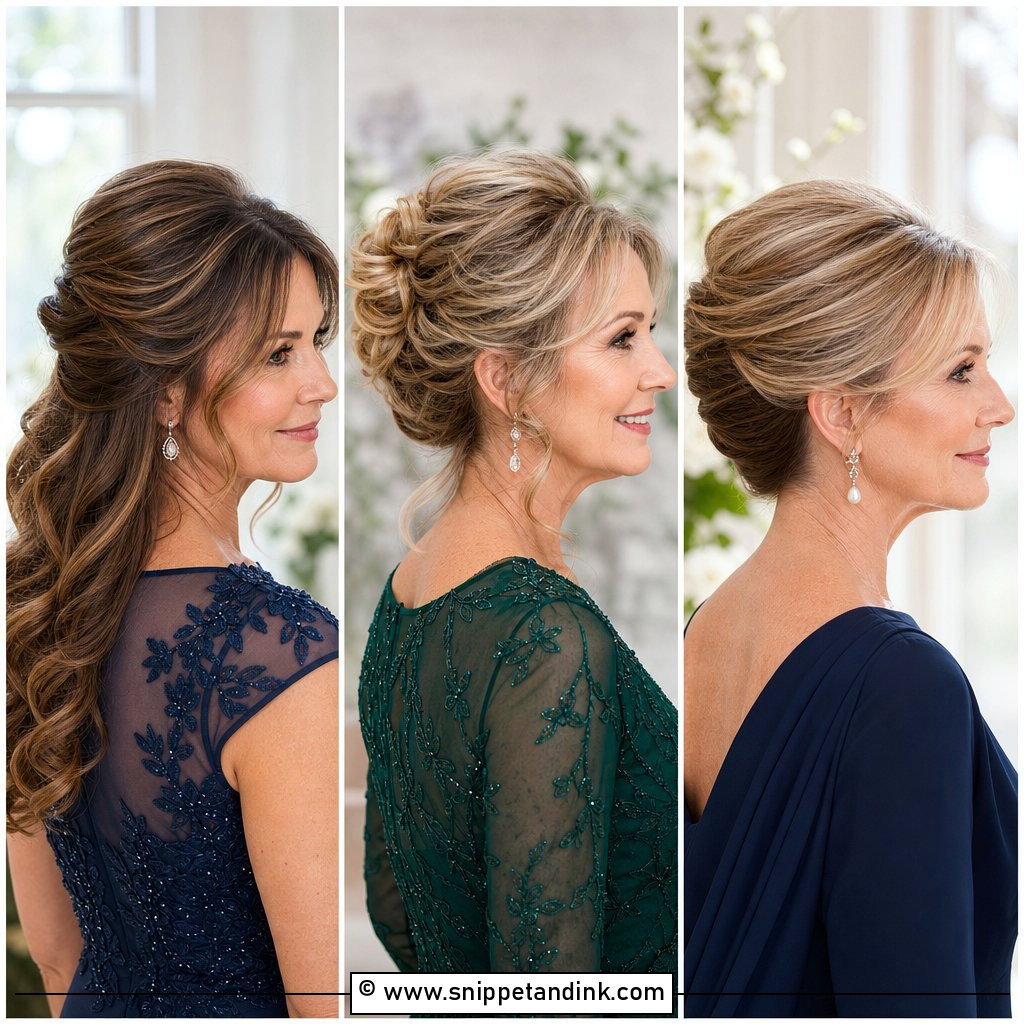
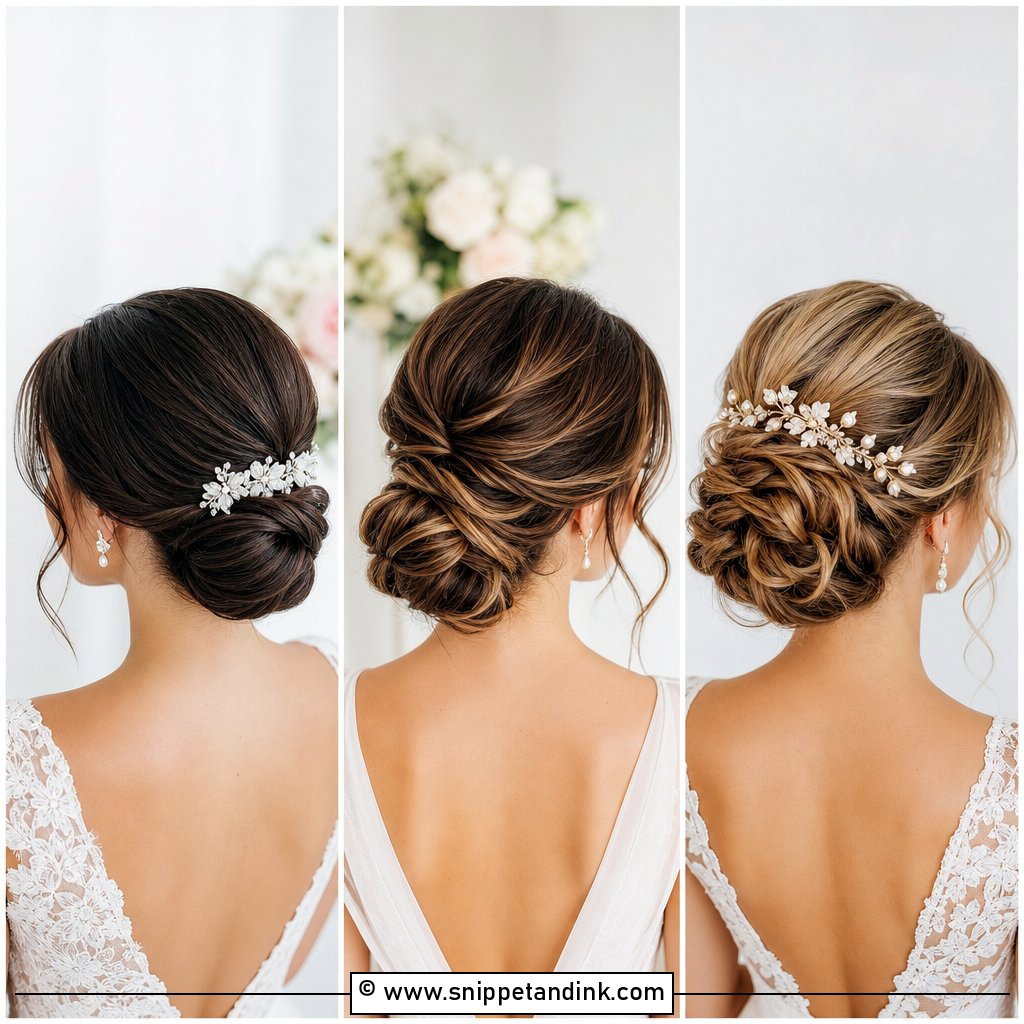
A low chignon is the style I reach for when someone tells me she’s nervous about her hair. It sits at the nape, so it never fights a hat, a collar or a high-backed chair. The trick on softer, older hair is not to drag the front back tightly; I set the front with a large barrel first and let the hairline relax, which reads far kinder on camera than a stretched temple. A couple of loose wisps by the ears finish it, and one jeweled pin is plenty.
2. French Twist Updo
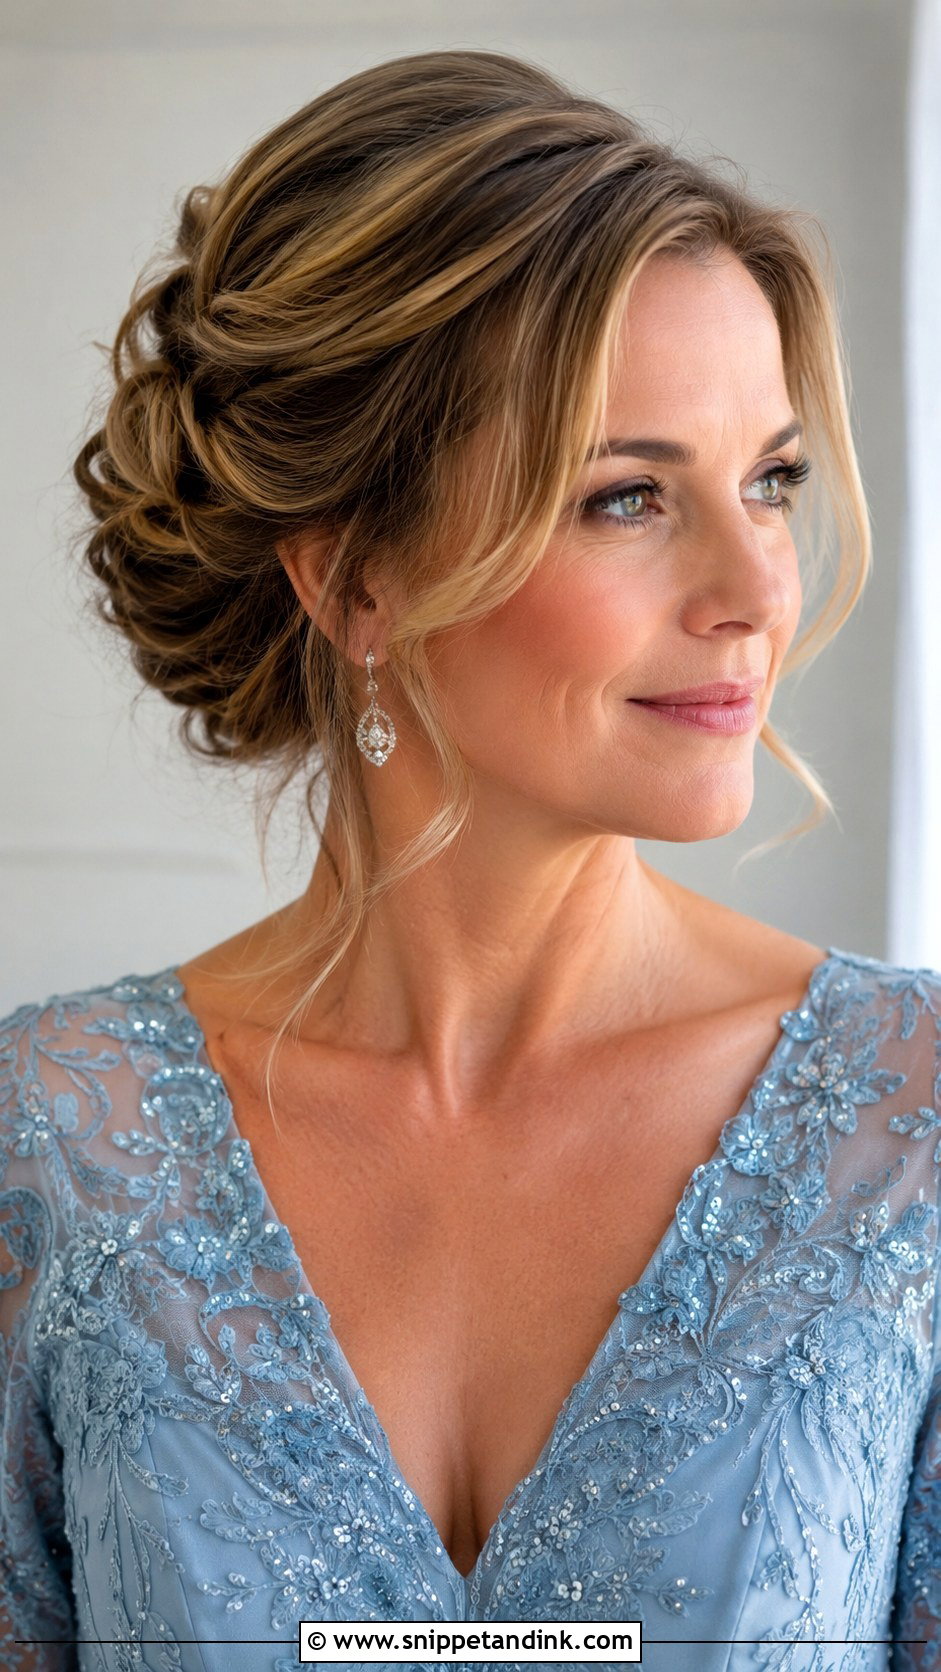
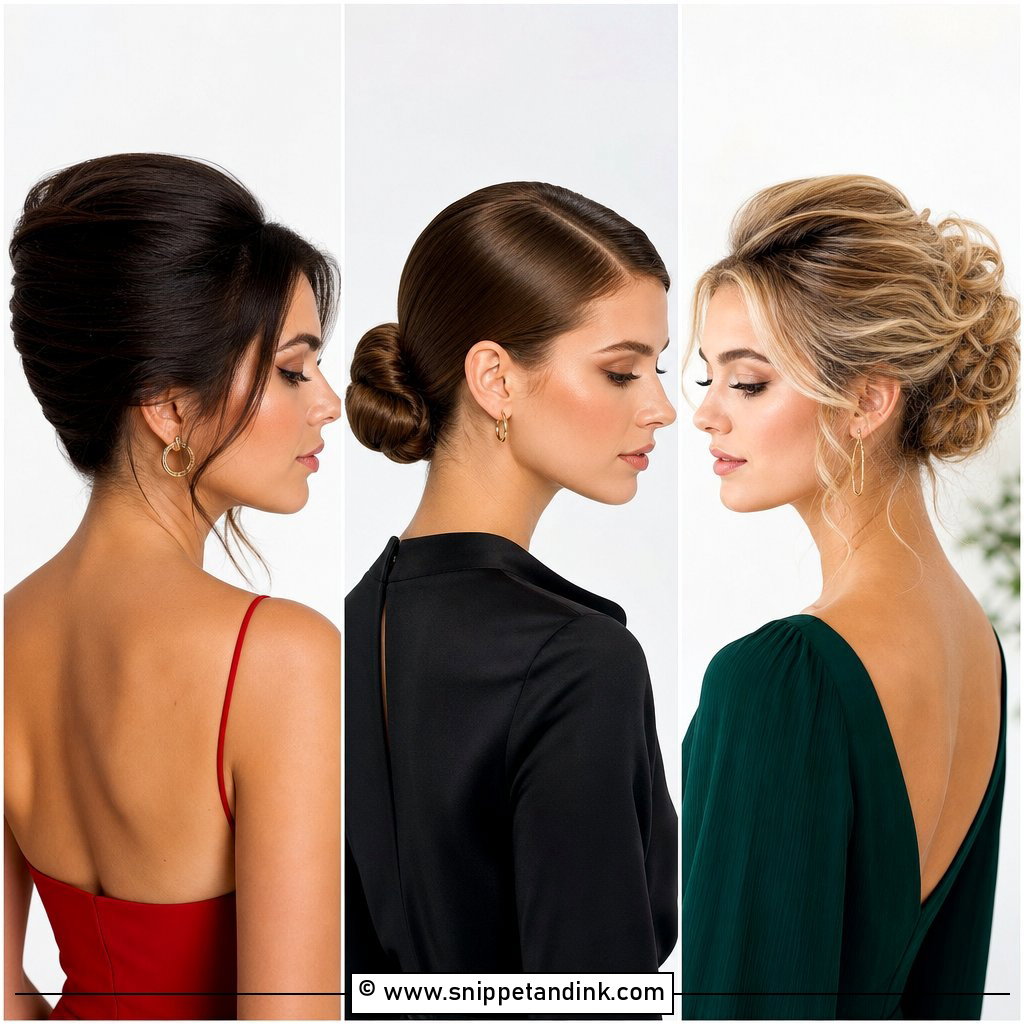
The French twist is a vertical roll up the back of the head, and it lives or dies on the base. I put in a row of crossed bobby pins up the center before I fold anything, because the roll needs something to grip. Hair below the shoulders twists cleanly; very short or heavily layered hair pokes out of the seam, and I’ll usually suggest a chignon instead. Once it’s set, it barely moves, which is why mothers who dance a lot tend to love it.
3. Braided Low Bun
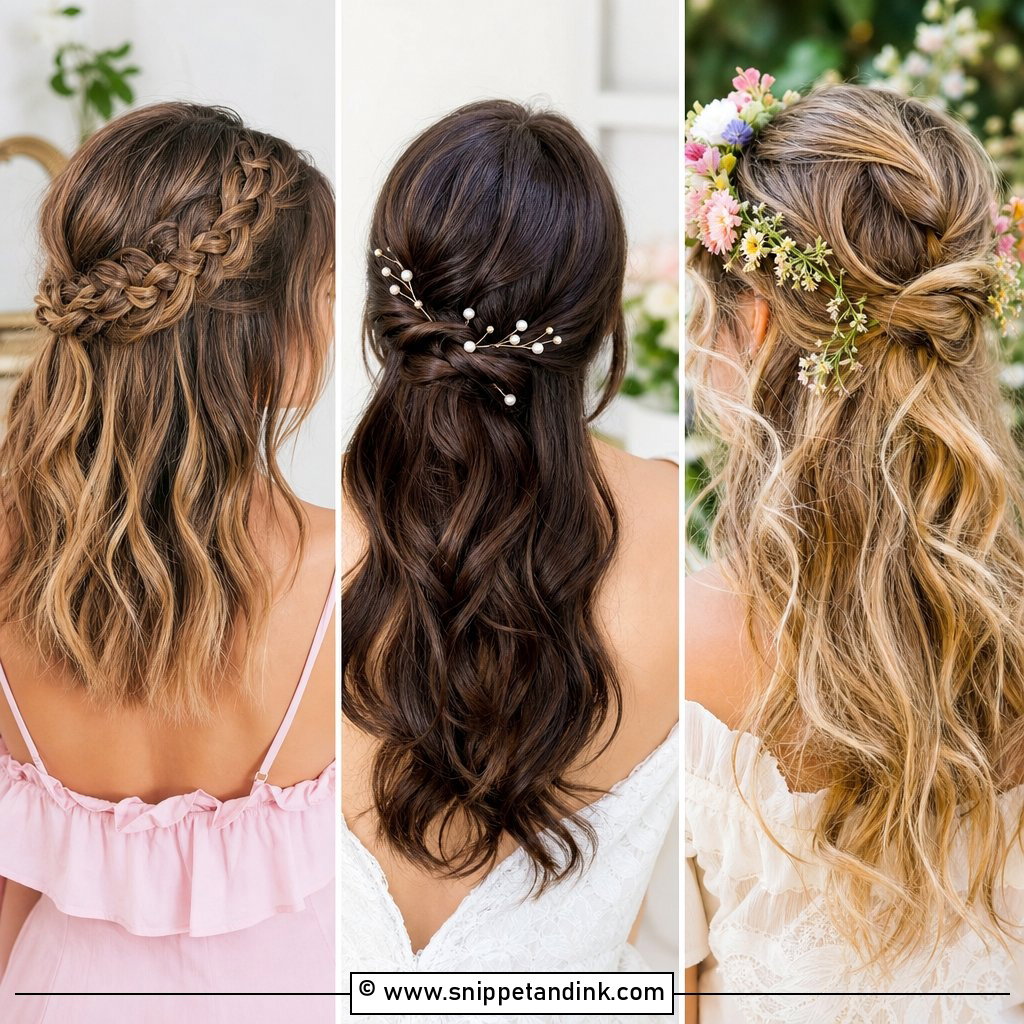
Braid first, coil second: I plait the length loosely, pancake the edges with my fingers, then wind it into a low bun and pin through the braid itself rather than around it. Pinning through the plait is what keeps it from sagging by the reception. It needs at least shoulder-length hair, and layered hair benefits from a little texture spray so the short ends don’t escape the braid. Leave it pulled out for softness or keep the braid tight if your outfit is very tailored.
4. Voluminous Teased Low Bun
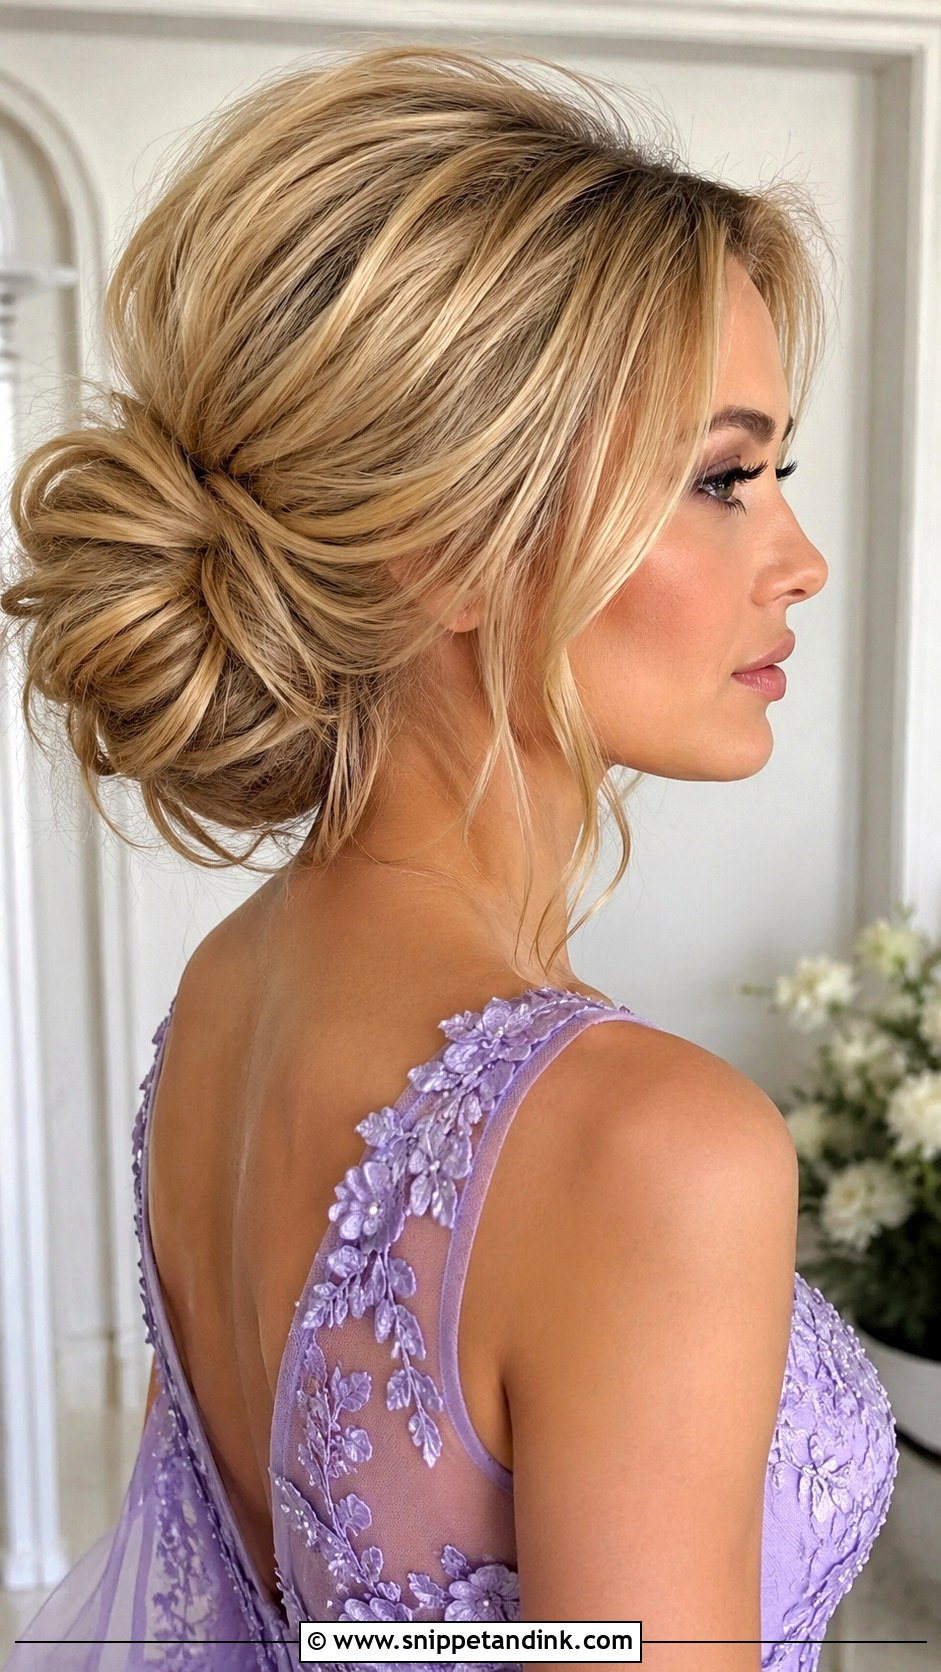
Fine or thinning hair is where a teased low bun earns its place. I backcomb at the root in small sections, smooth only the top layer over it, and build the bun around a padded base so it looks fuller than the hair actually is. The mistake is teasing the surface; that’s what makes it look like a helmet. Keep a few tendrils at the front to balance the size of the bun, and ask for a firm but brushable spray so the volume survives hugs.
5. Crown Braid Updo
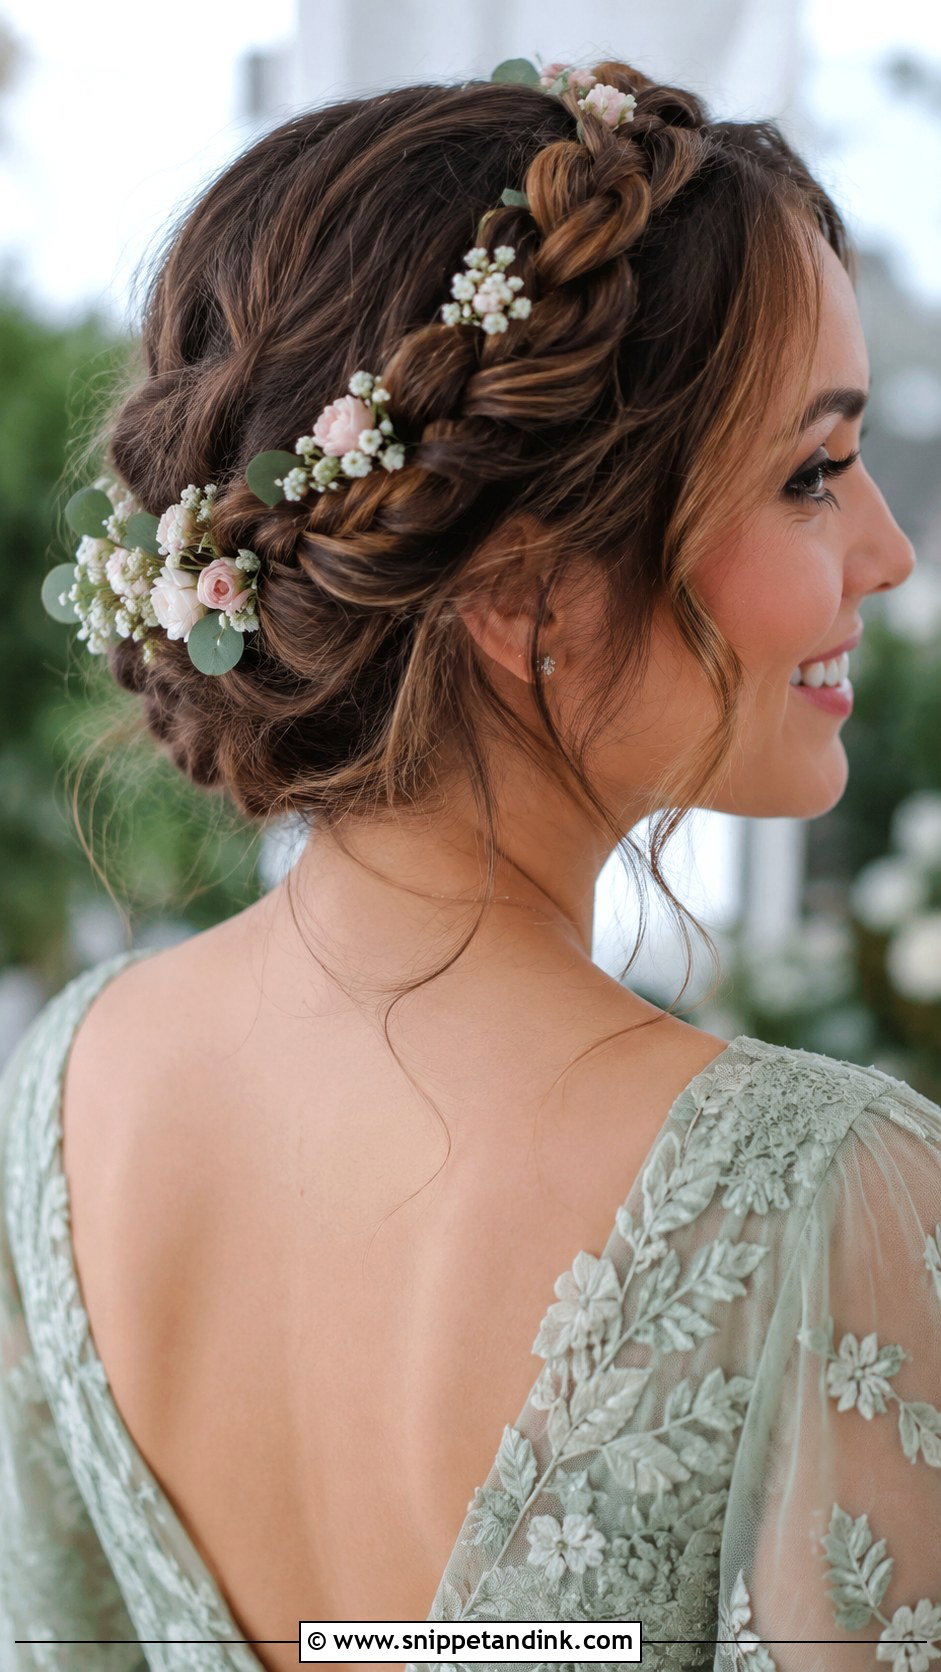
A crown braid needs length. Hair that doesn’t reach well past the shoulder blades won’t wrap fully around the head, and I’d add a matching braided piece rather than stretch your own hair thin. It’s a smart choice for a hot outdoor ceremony because nothing touches your neck. If you want flowers woven in, choose sturdy small blooms like wax flower or spray roses; soft petals bruise against warm skin within a couple of hours.
6. Sleek Low Bun
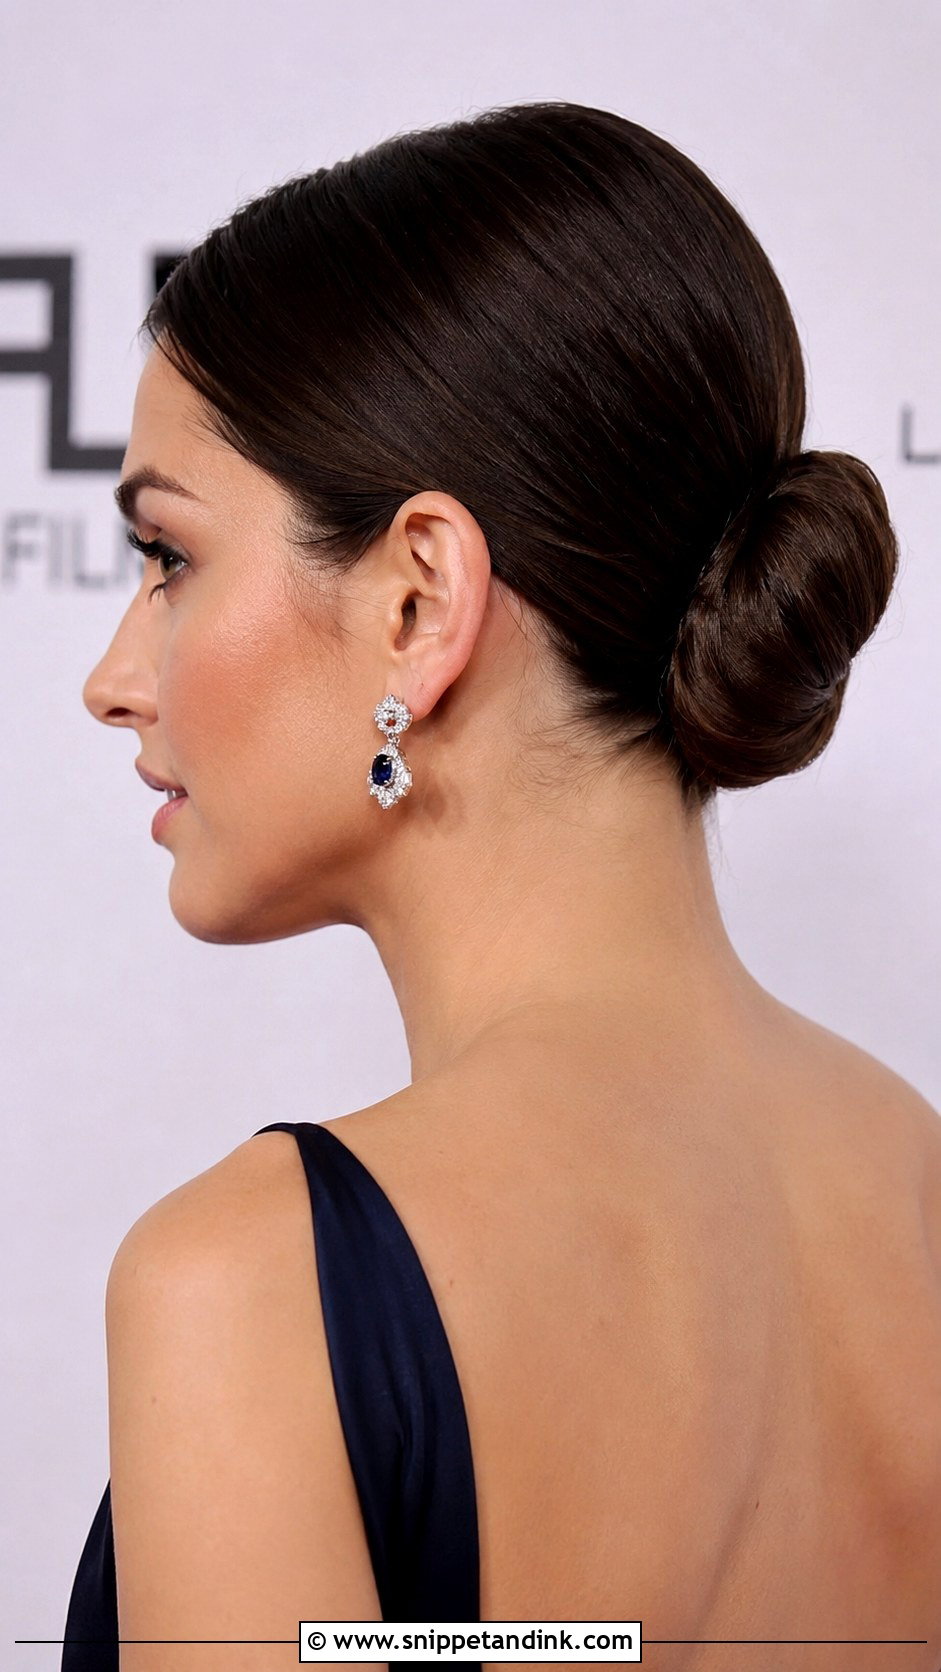
There’s no hiding place in a sleek low bun, so the prep matters more than the styling. I blow-dry the hair smooth with a paddle brush, use a little gel only at the hairline, and set the bun with pins rather than a tight elastic, which can leave a dent if you take it down for the evening. On hair with a lot of new grey growth at the parting, I’ll often soften the part so the line isn’t so graphic. Statement earrings were made for this one.
7. Loose Twisted Updo
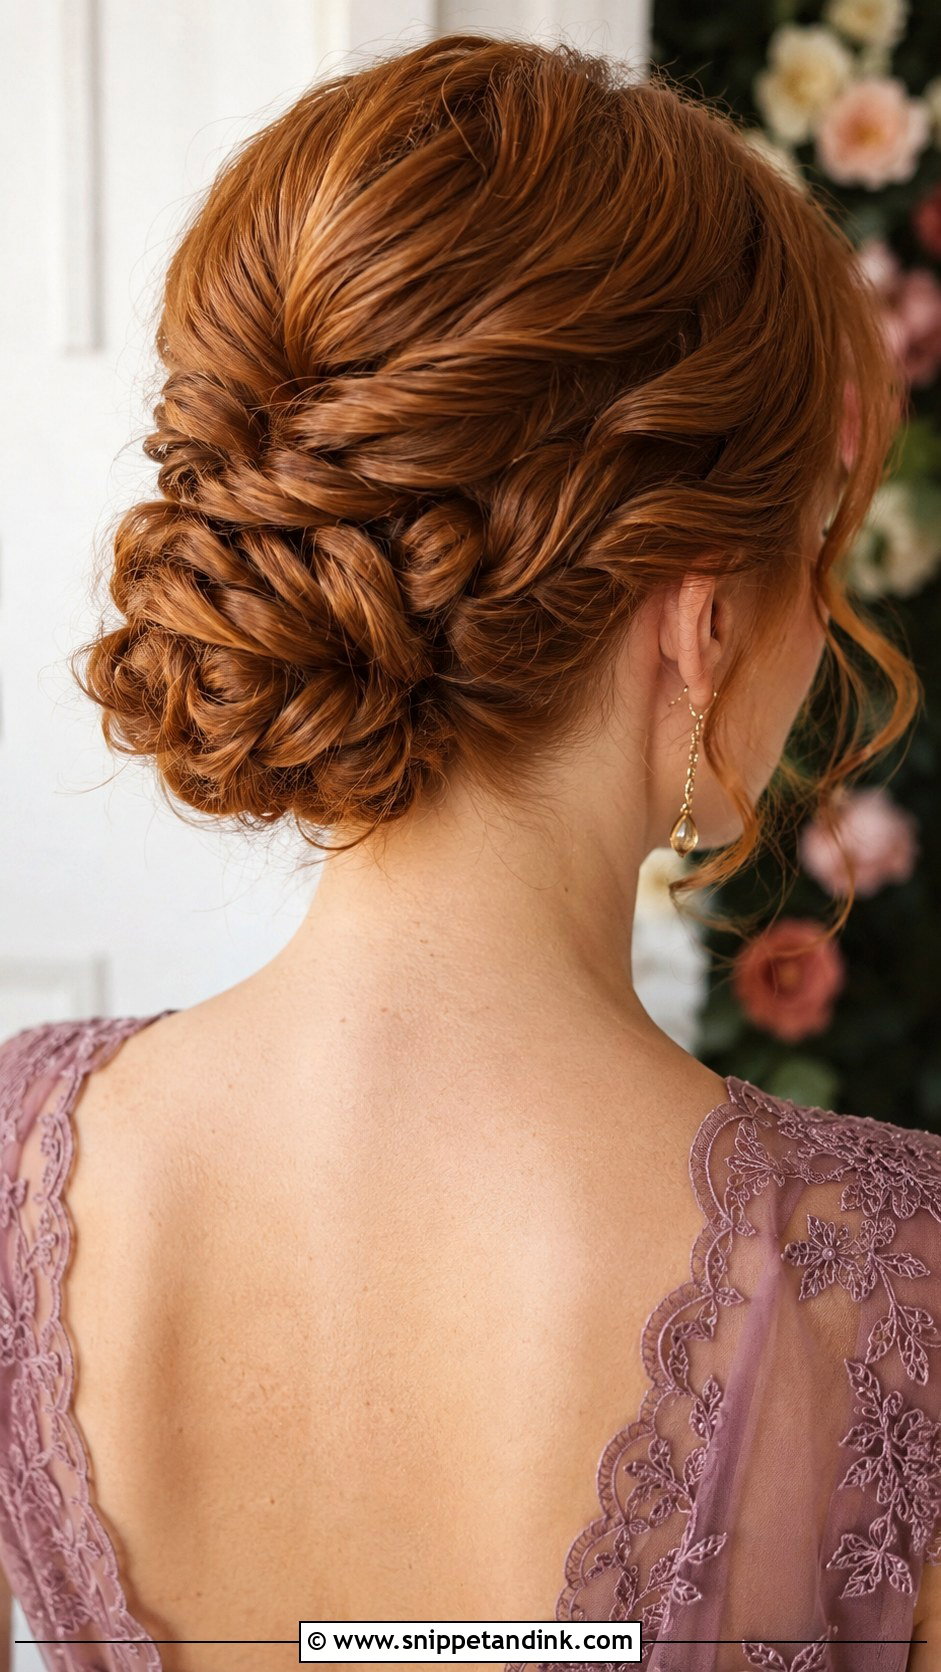
Loose twists gathered at the back look sculpted but forgiving, and they hide uneven layers better than any smooth style. I leave the side sections out longer than you’d expect, then pin them last so I can adjust them once your glasses or earrings are on. Mature hair that’s lost some density looks fuller in this kind of broken-up texture. It suits a ballroom as easily as a garden.
8. Retro Bouffant Updo
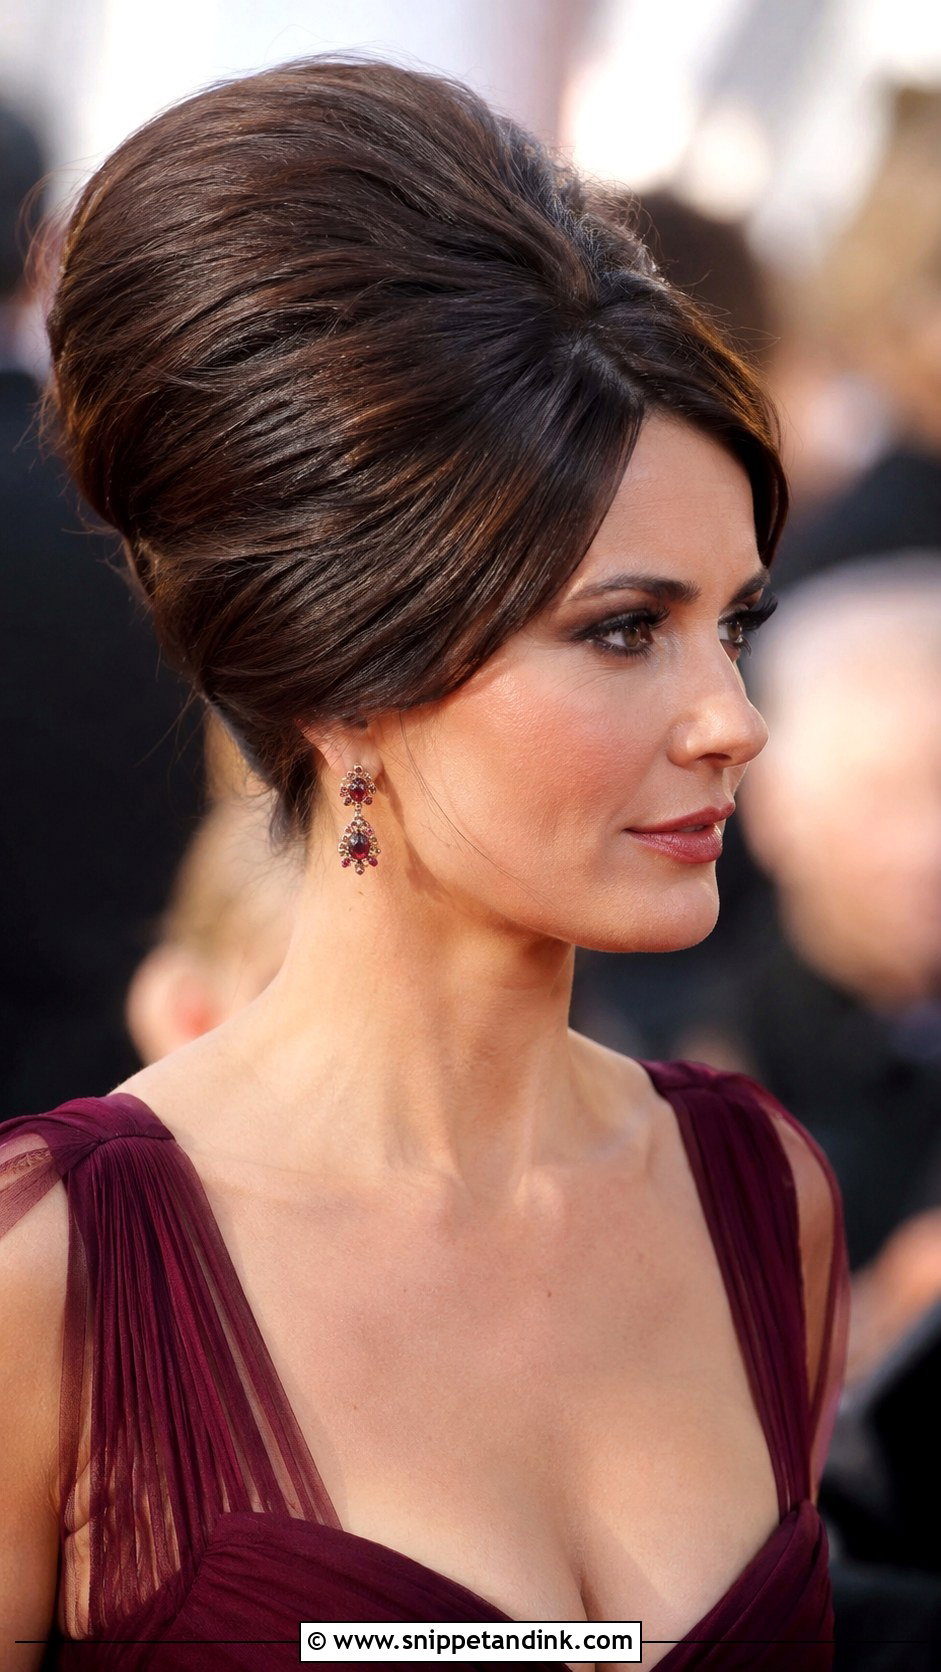
A retro bouffant puts the height at the crown, and the height is what makes it work or flop. I backcomb in thin sections from the crown forward, smooth the top layer, and anchor the lift with pins hidden under it so it can’t collapse when you lean back in a chair. It needs medium to thick hair; on very fine hair I add a small padded insert rather than over-teasing. Black-tie events are where it looks most at home.
9. Low Twisted Bun
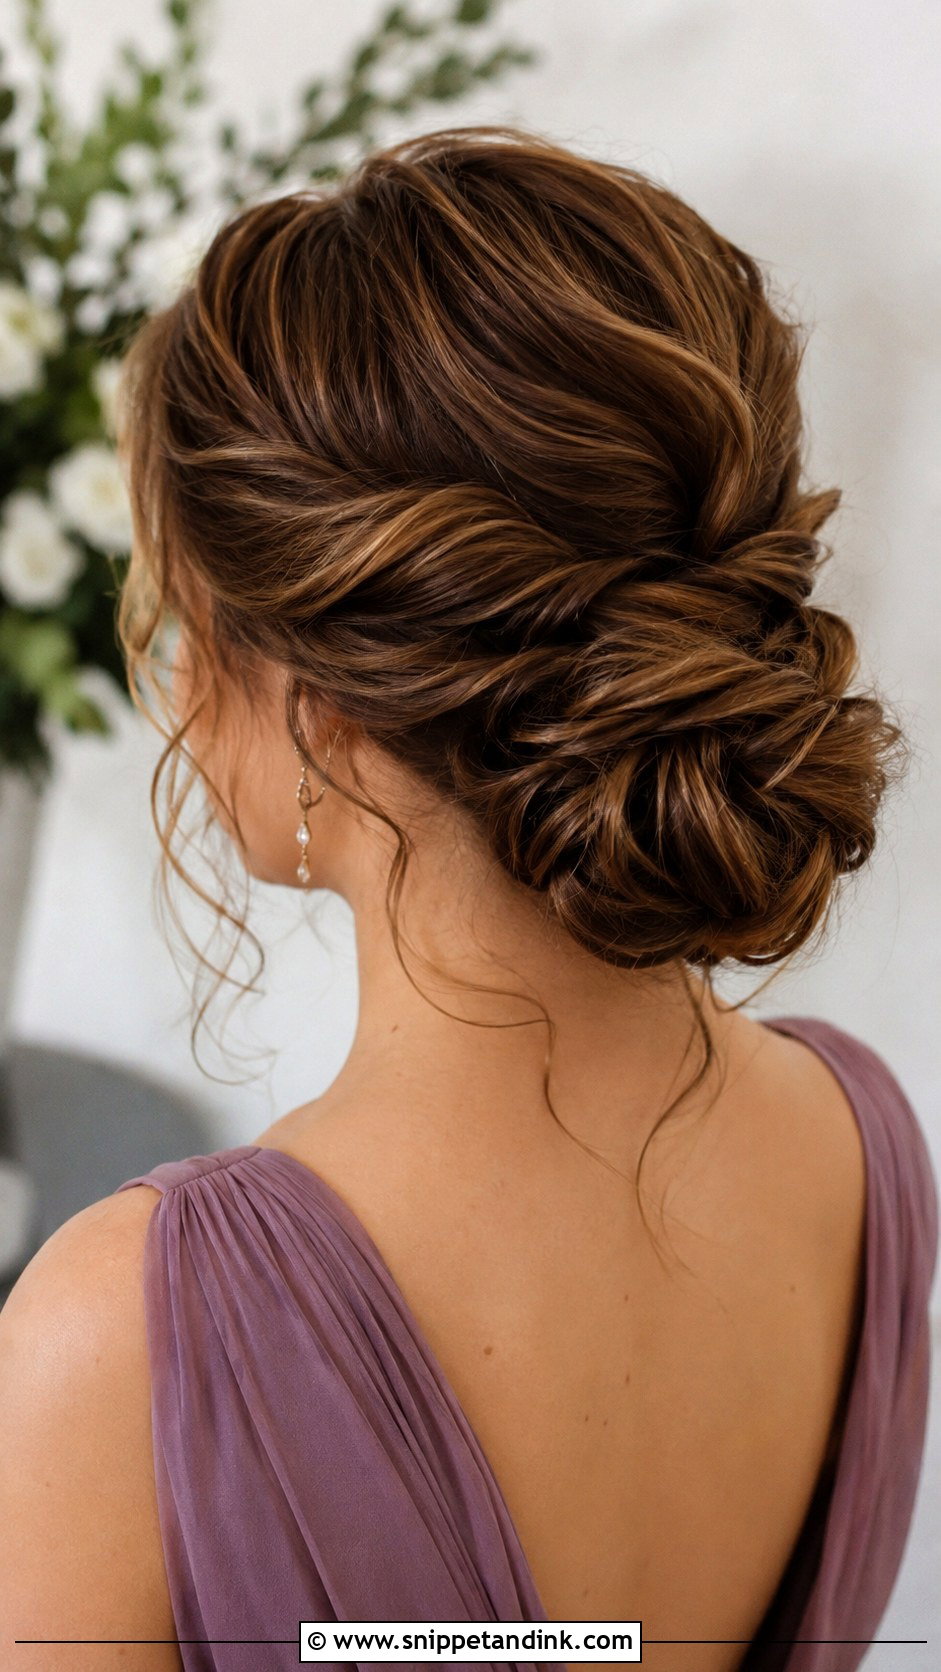
A low twisted bun is a chignon with more surface texture, and that texture hides the odd frizz better than a smooth knot. I twist each section away from the face, pin it as I go, and finish the shape before spraying so the twists stay distinct instead of melting into each other. Medium to long hair holds it well. If your hair is freshly colored and slippery, ask for dry shampoo at the roots first; it gives the pins something to bite.
10. Romantic Curly Updo
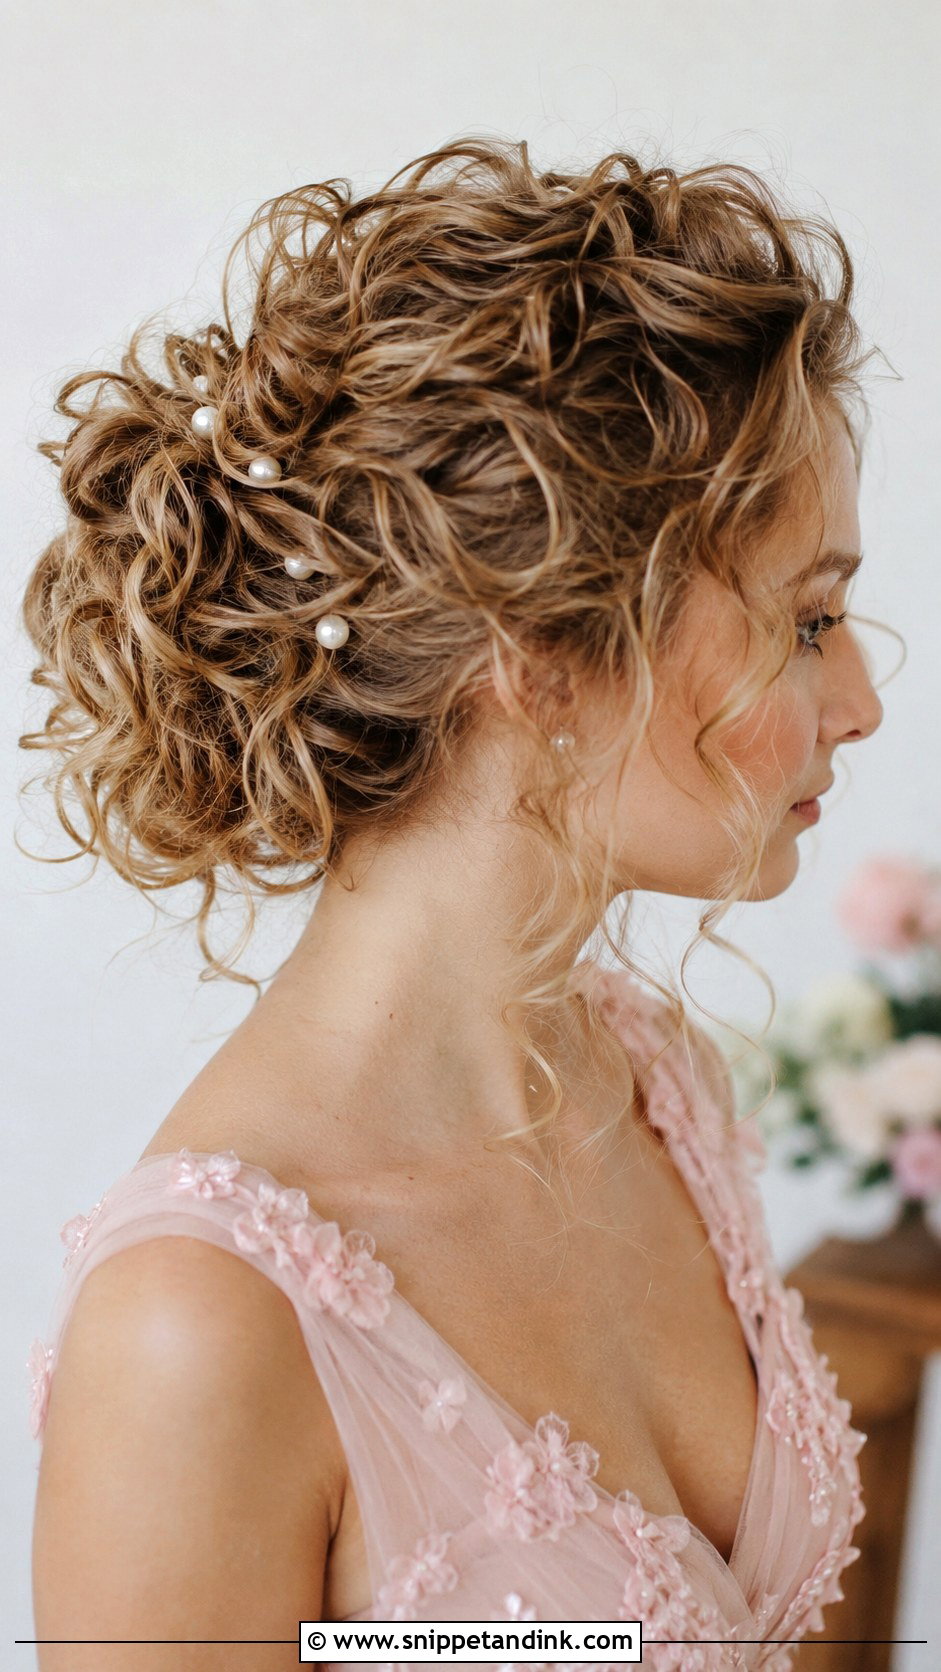
Curls pinned loosely at the back look soft, but they’re the style most likely to drop in humidity. I curl with a smaller iron than the finished curl, let each one cool completely in a pin curl clip, and only then brush them out and pin. Done that way, the curl relaxes into shape rather than out of it. It’s my pick for fine hair at spring and summer weddings, with pearl pins rather than fresh flowers if the day is going to be warm.
11. Top Knot With Loose Front Curls
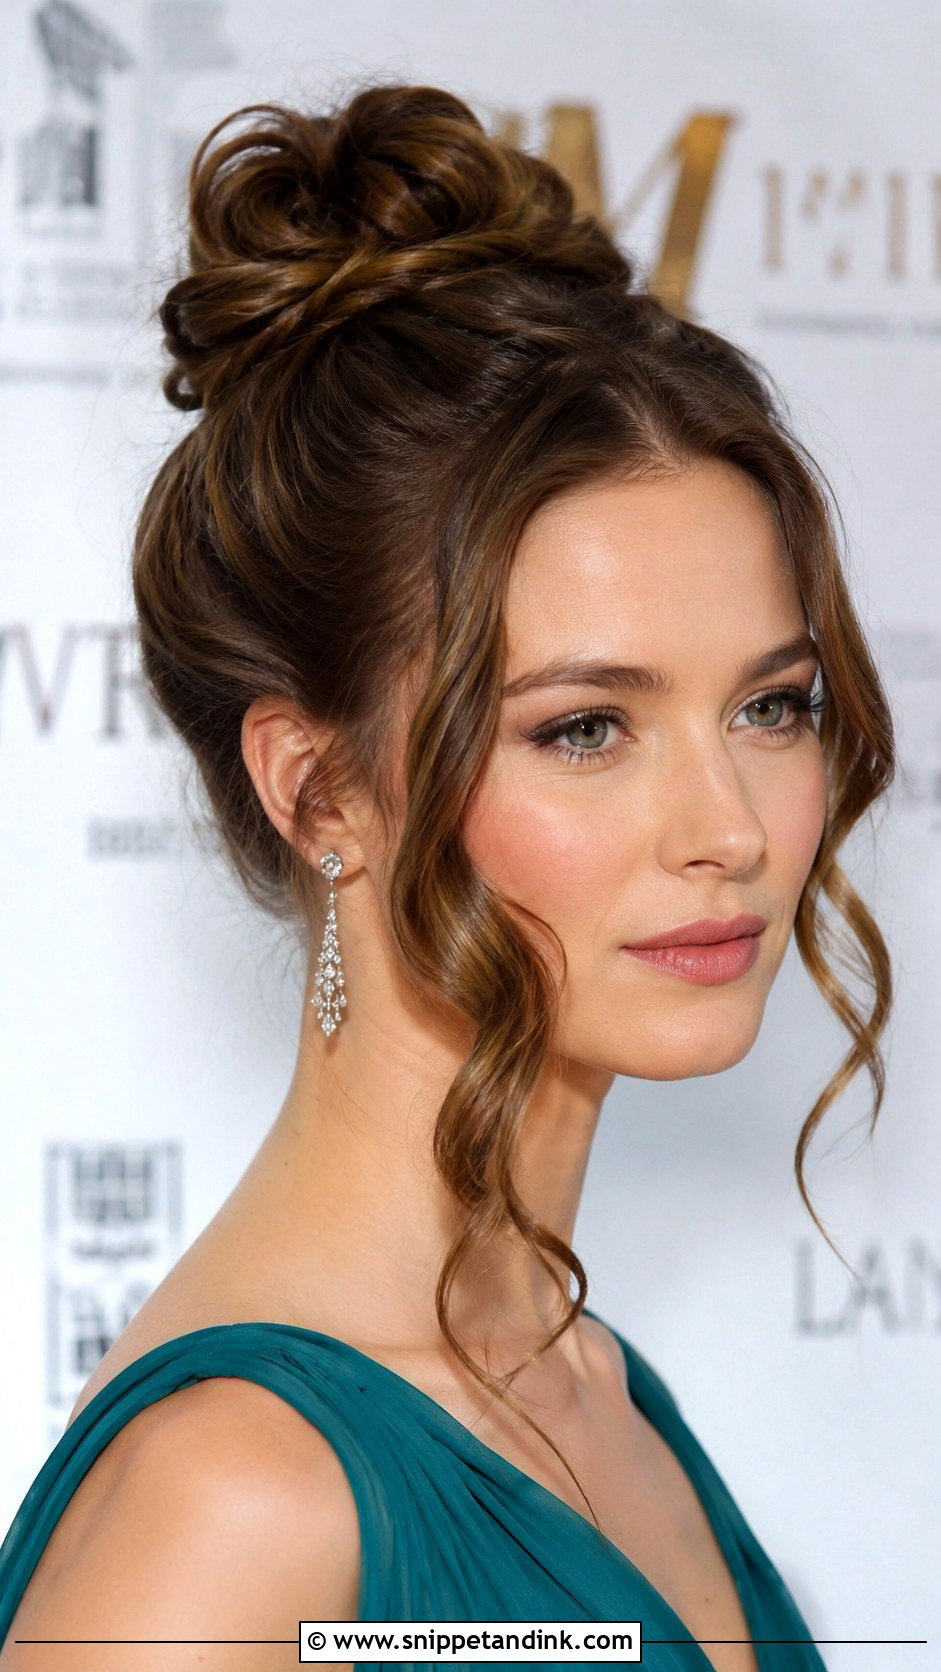
A top knot with curls left at the front gives height, which flatters a rounder face and lifts attention up to the eyes. The knot itself has to be built on a secure ponytail base; without that, the weight drags it backward by the evening. I keep the loose front pieces fairly short so they don’t stick to lipstick. Taller mothers sometimes find it adds too much height in group photos, so it’s worth thinking about who you’ll be standing next to.
12. Side-Swept Low Bun
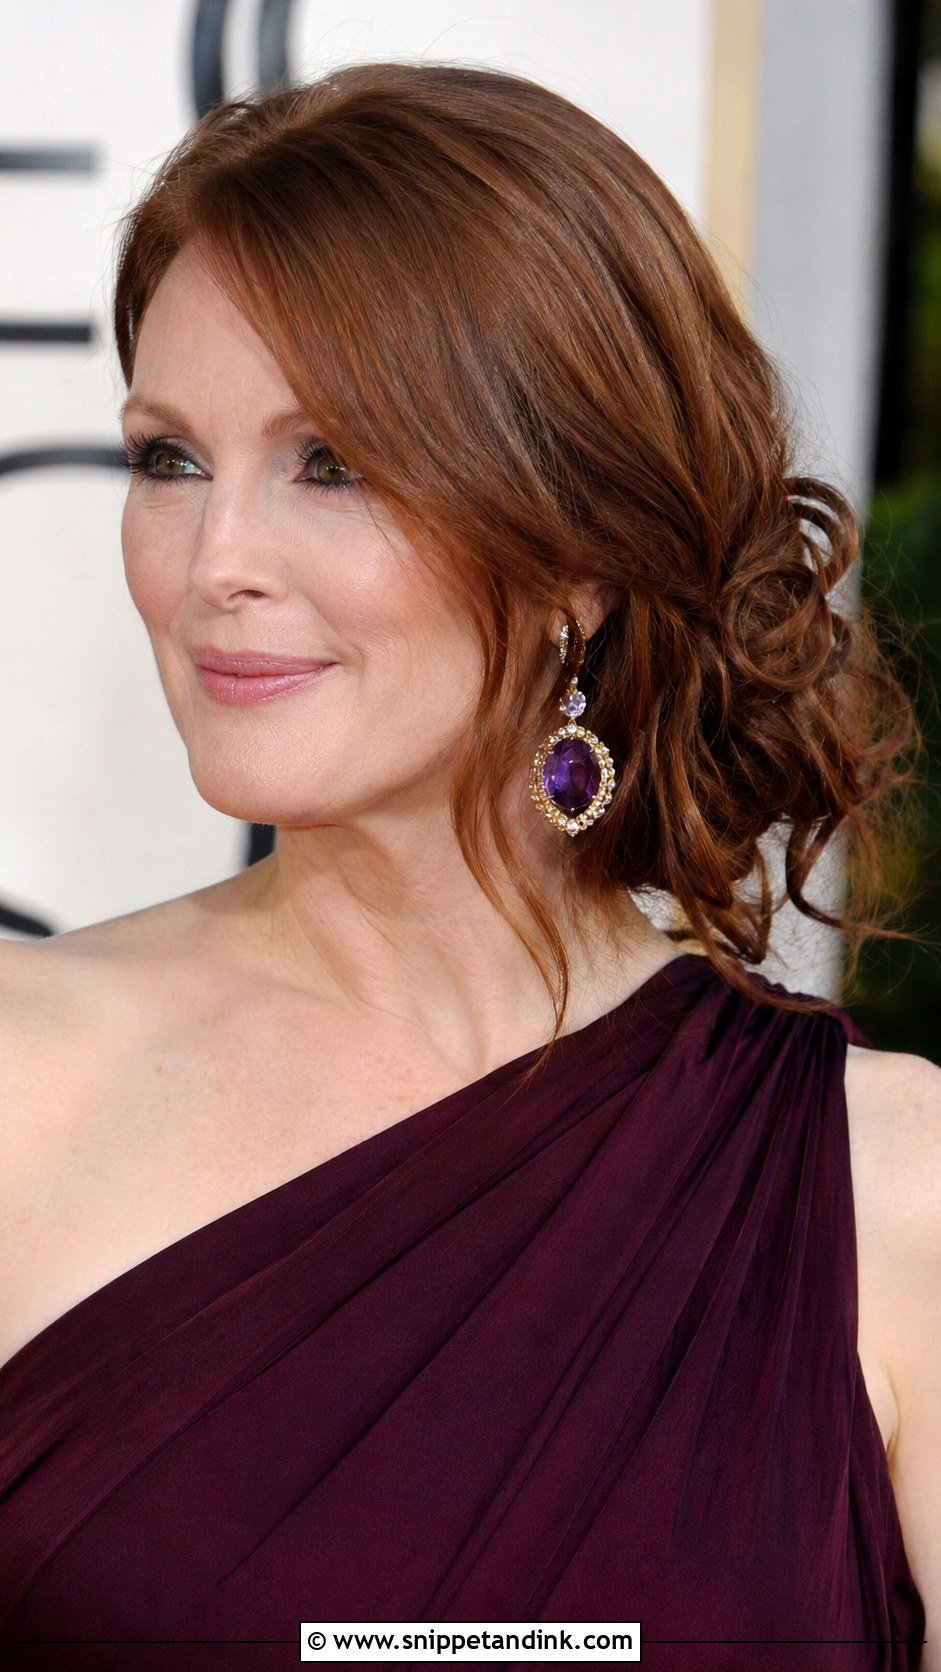
Sweeping everything toward one side makes an asymmetrical shape that sits naturally with a one-shoulder or off-shoulder neckline. I always ask which side you’d like to be photographed from, because the bun should sit on the opposite side to the bare shoulder, keeping the line open. It draws attention to one earring, so wear a pair you love. Hair needs to be past the collarbone to reach across without strain on the pins.
13. Braided Crown With Low Bun
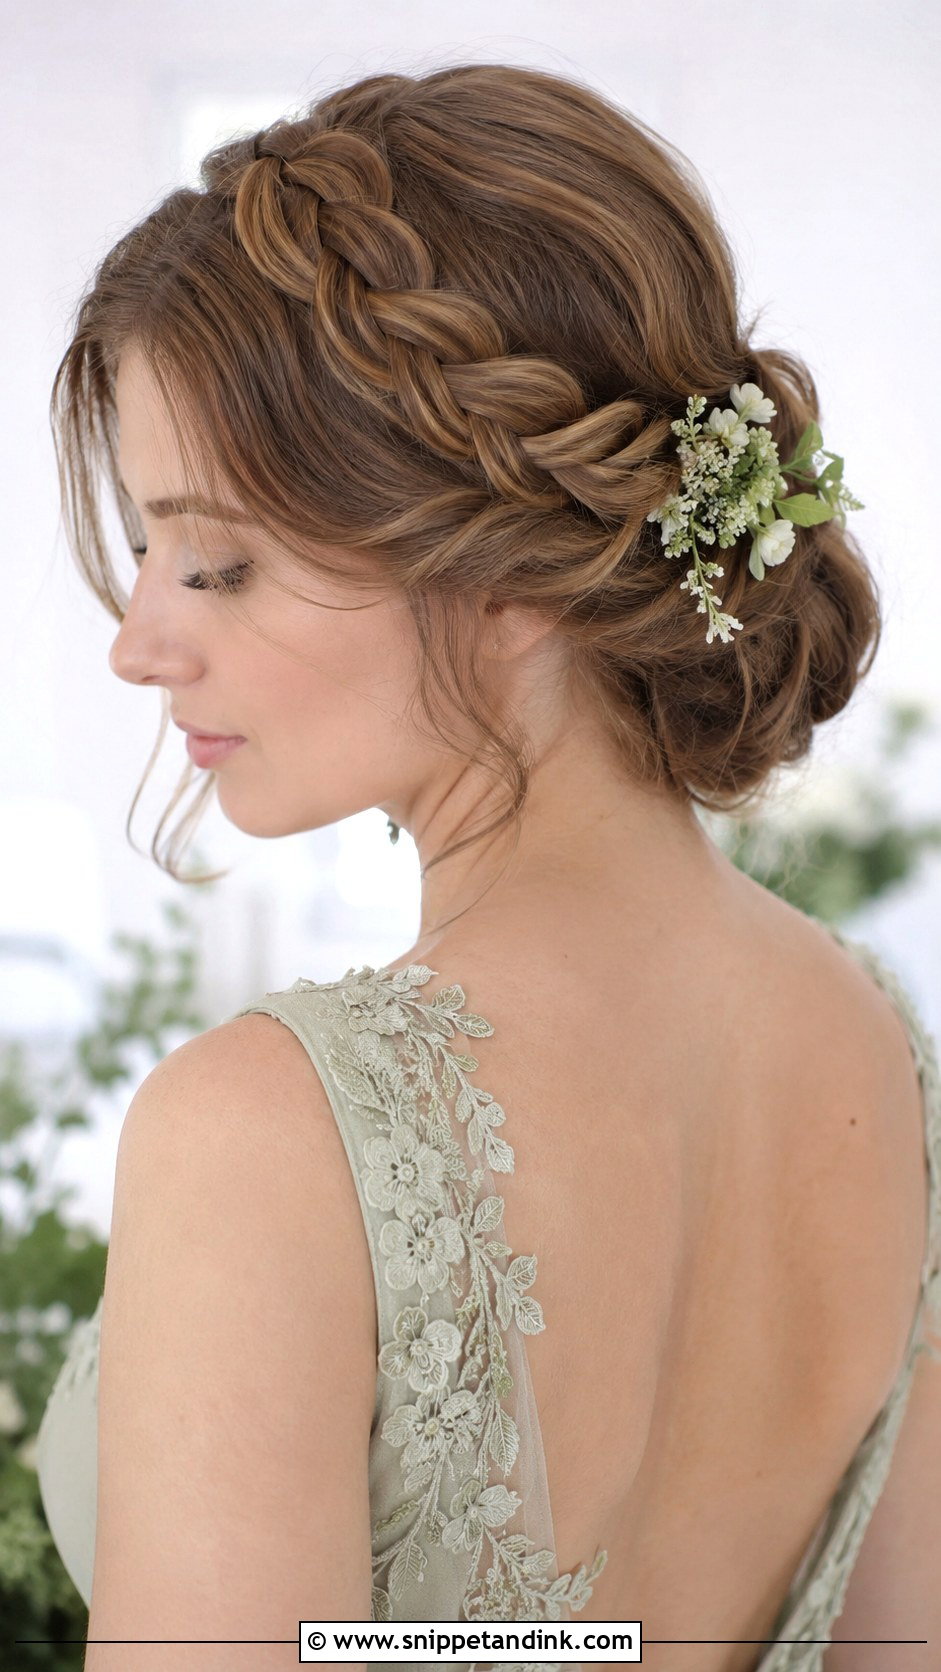
A braided crown with a low bun is a good compromise for hair that’s too short to make a full crown braid: the braid only has to reach the back, where the bun takes over. I pin the braid at each ear so it can’t slide when you turn your head. Garden and vineyard weddings suit it, and because everything is lifted away from the neck, it’s comfortable in the heat. Small flowers or pearl pins woven into the plait finish it.
14. Soft Waved Low Bun
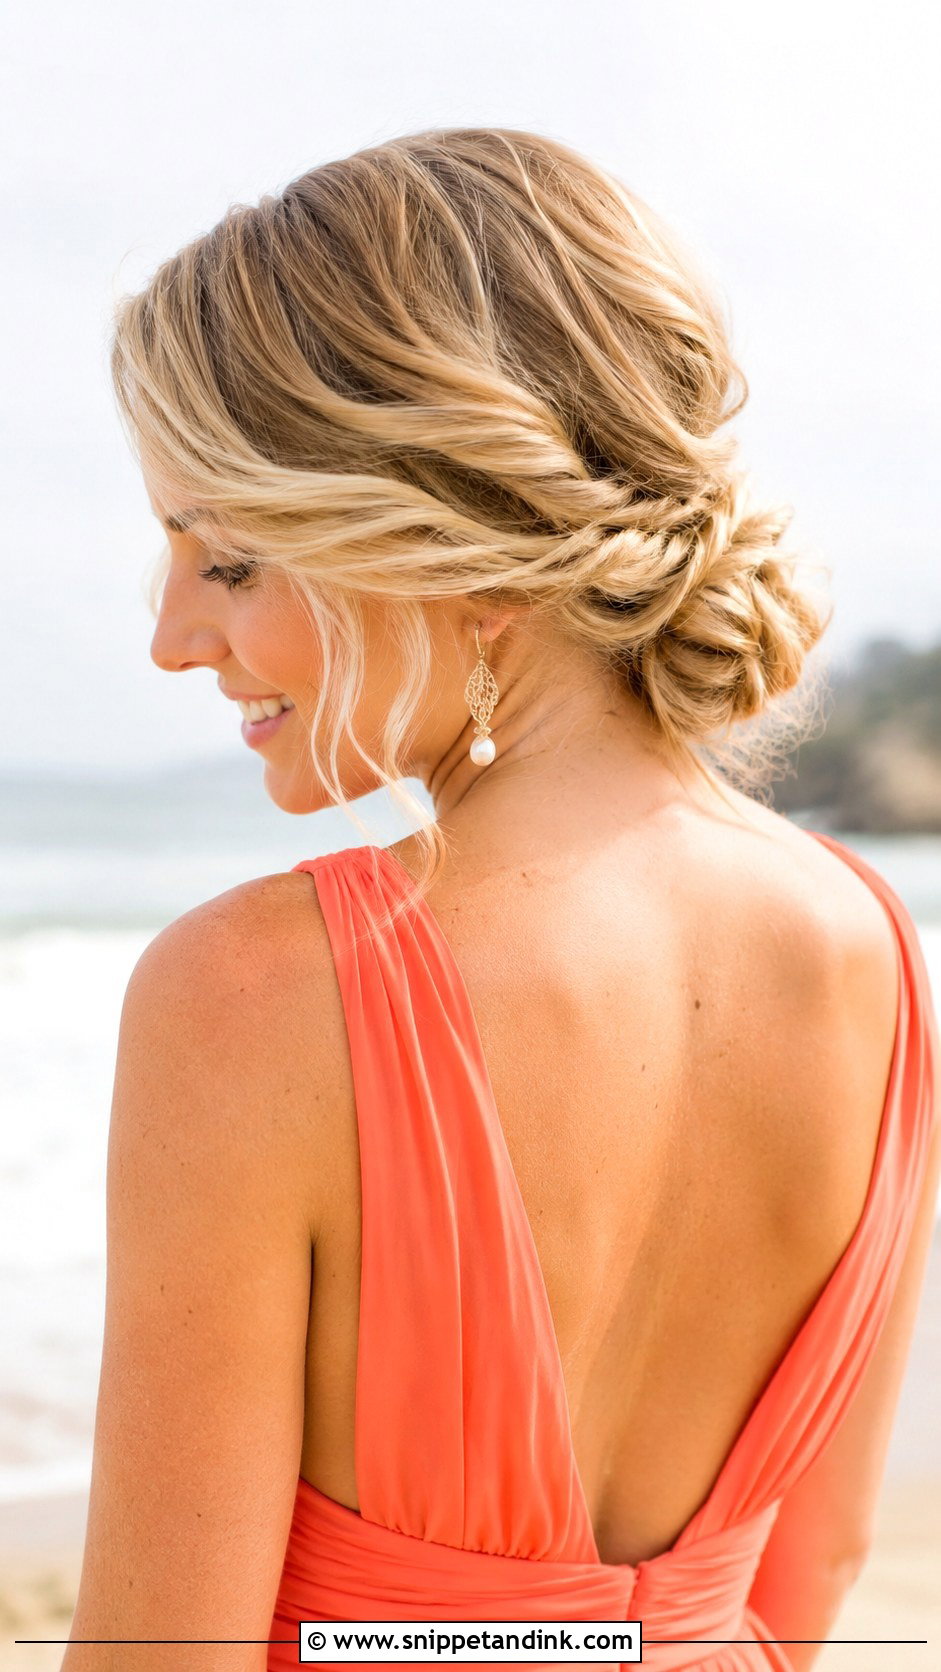
Waves gathered into a relaxed bun at the nape work well for mothers who dislike anything that feels set. I wave the hair with a flat iron rather than a curling wand, which gives a looser bend that holds without looking like curls. On a beach, wind is the enemy, so I’ll pin the waves closer to the head than I would indoors. A light texturizing spray at the end gives it grip without stiffness.
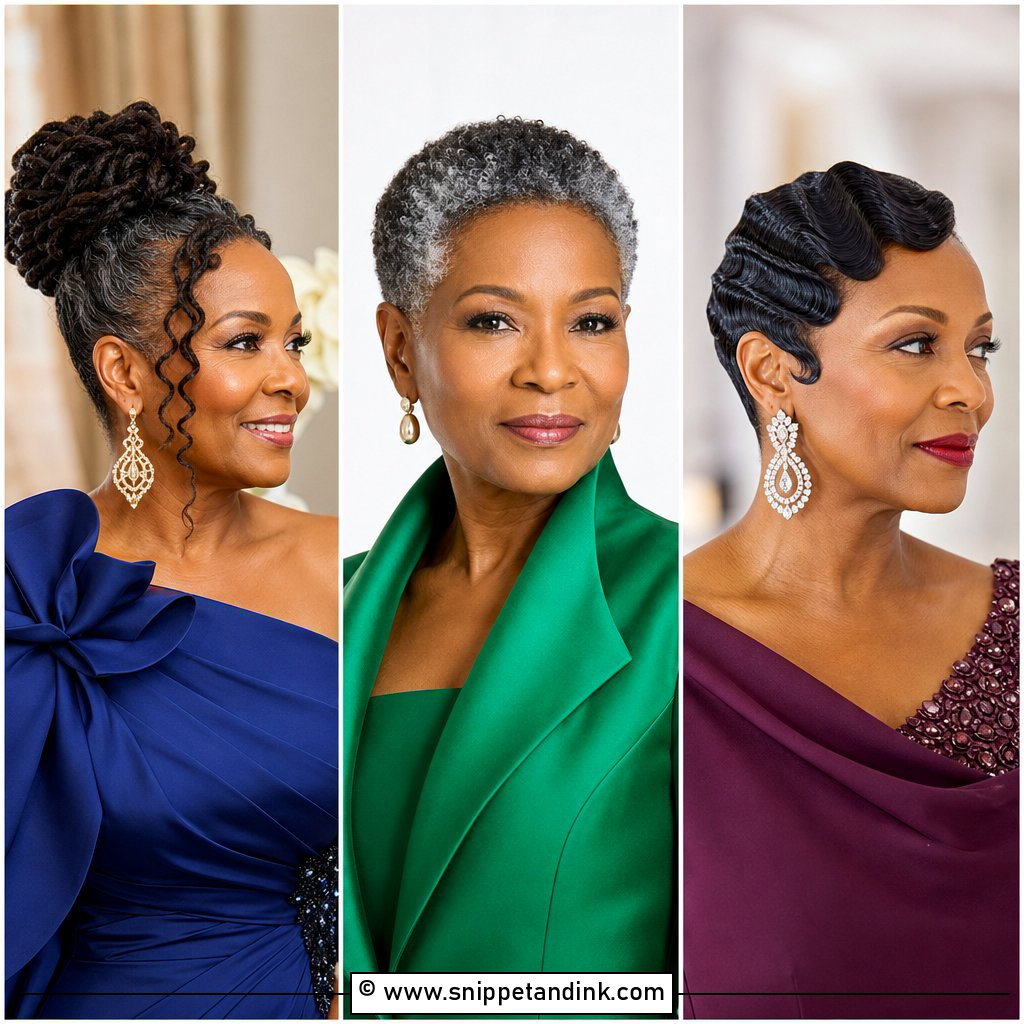
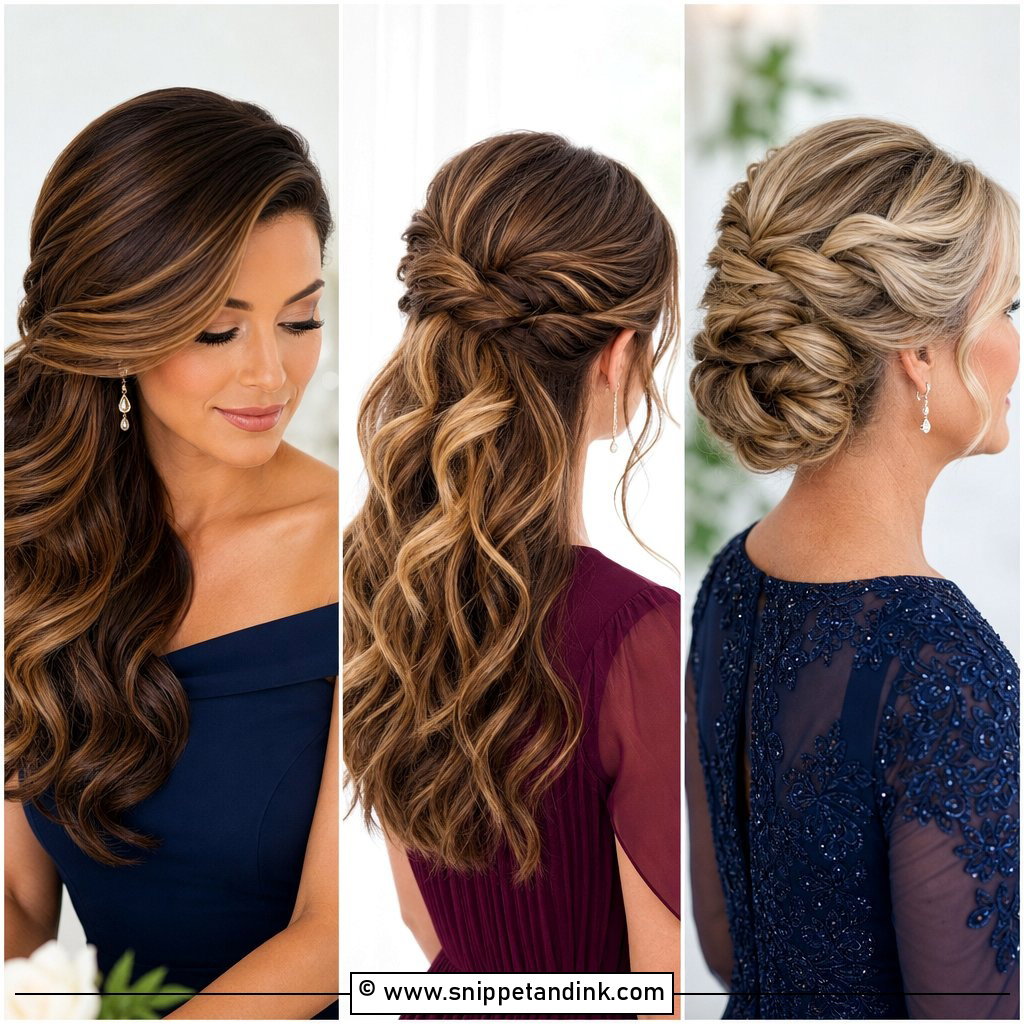
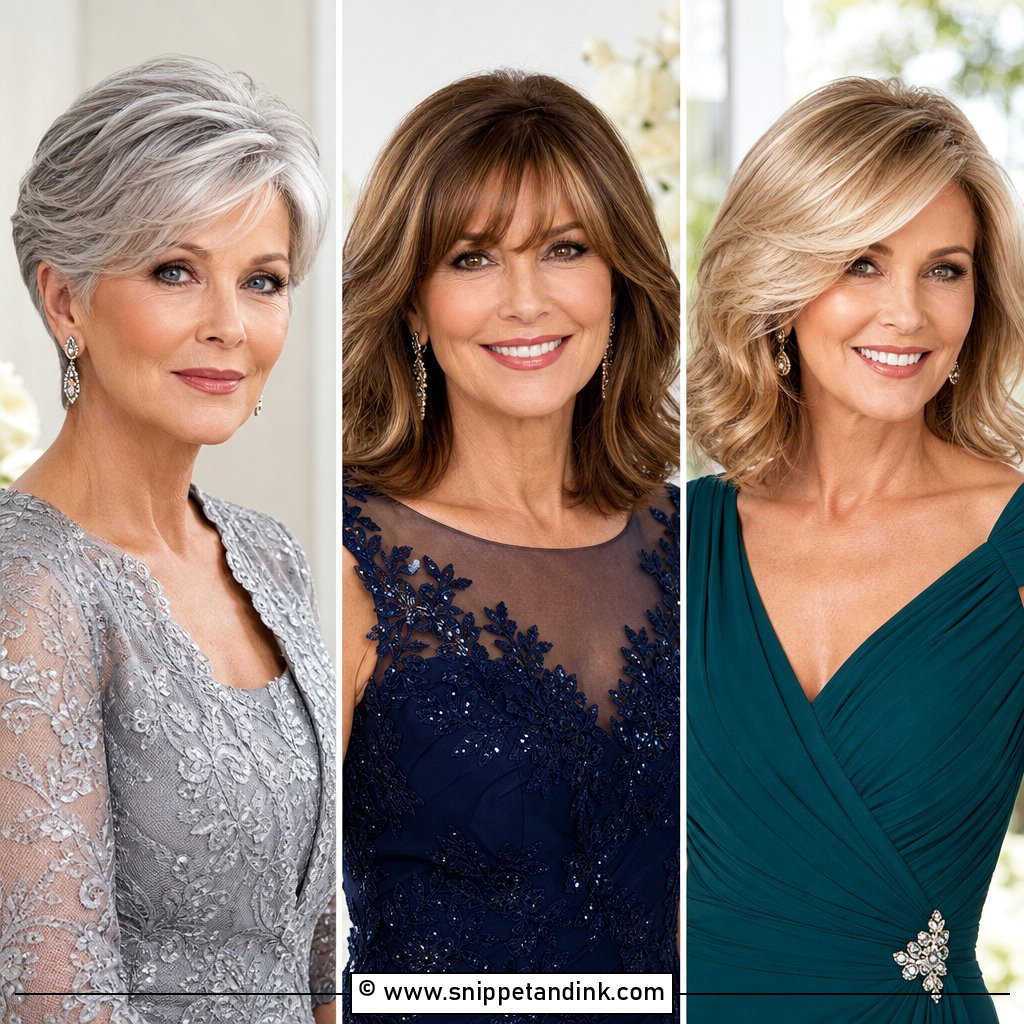
15. Elegant Pinned Updo With Accessories
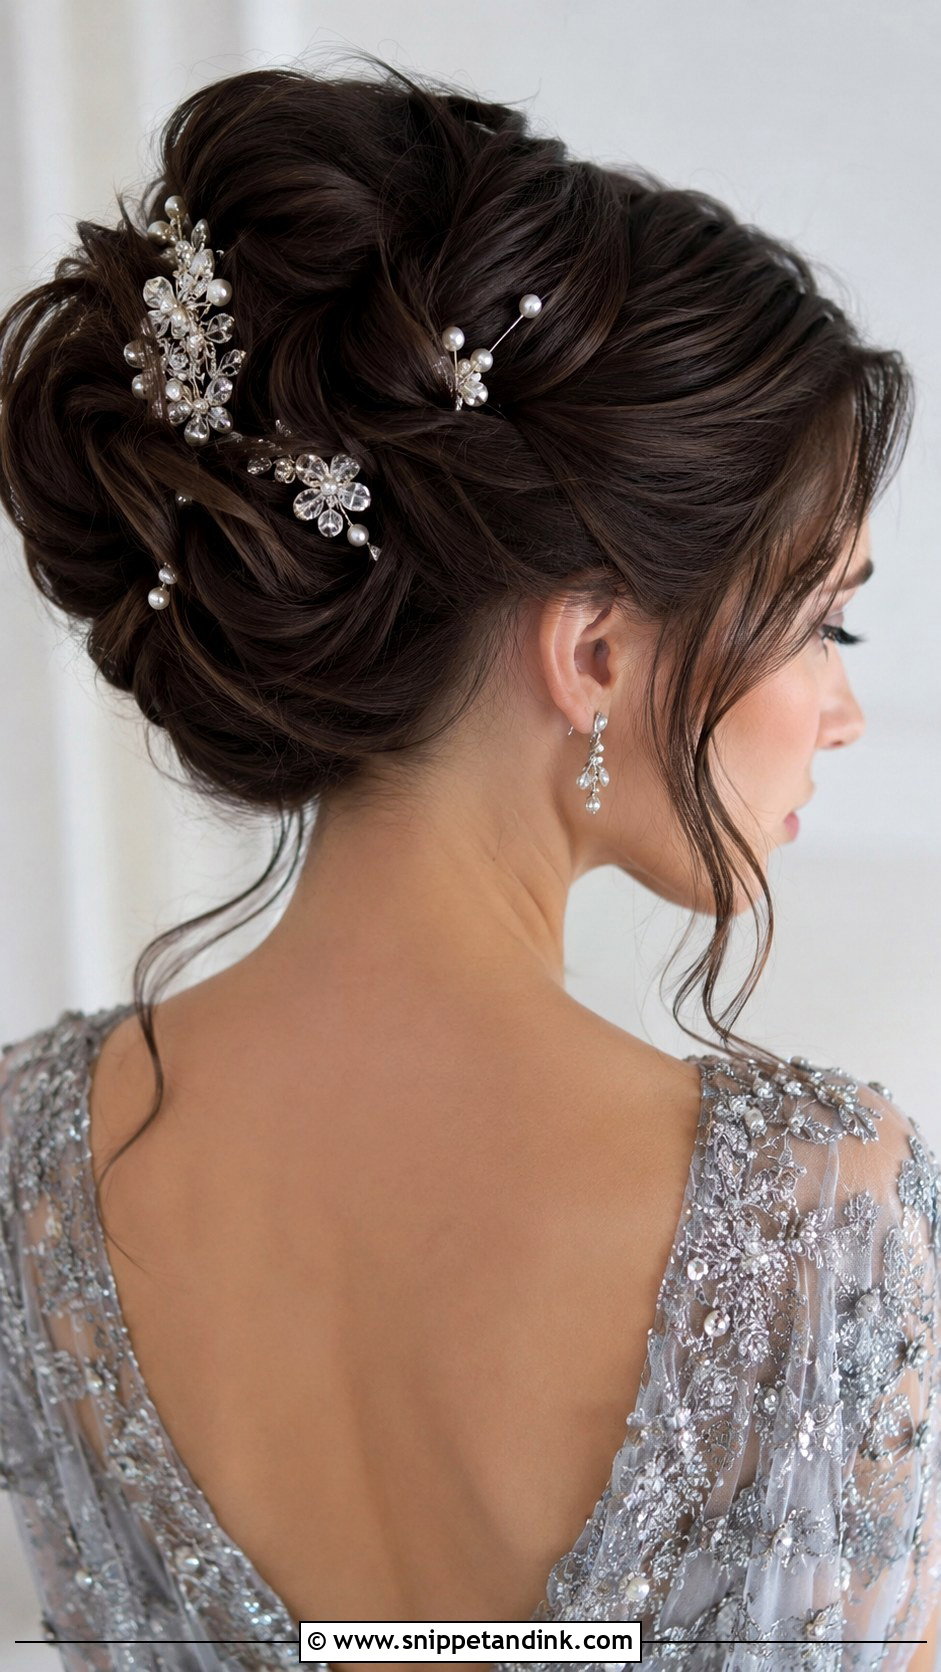
Accessories can finish an updo that would otherwise look plain, but I’d always choose the piece before the trial, not on the morning. Heavy jeweled combs need a braid or a firm bun to grip; slide them into fine, slippery hair and they’ll be on the floor by the first dance. I sew or pin them in from underneath. Match the metal to your jewelry and the shine catches the light in photos without competing with the bride’s headpiece.
16. Tousled Modern Updo
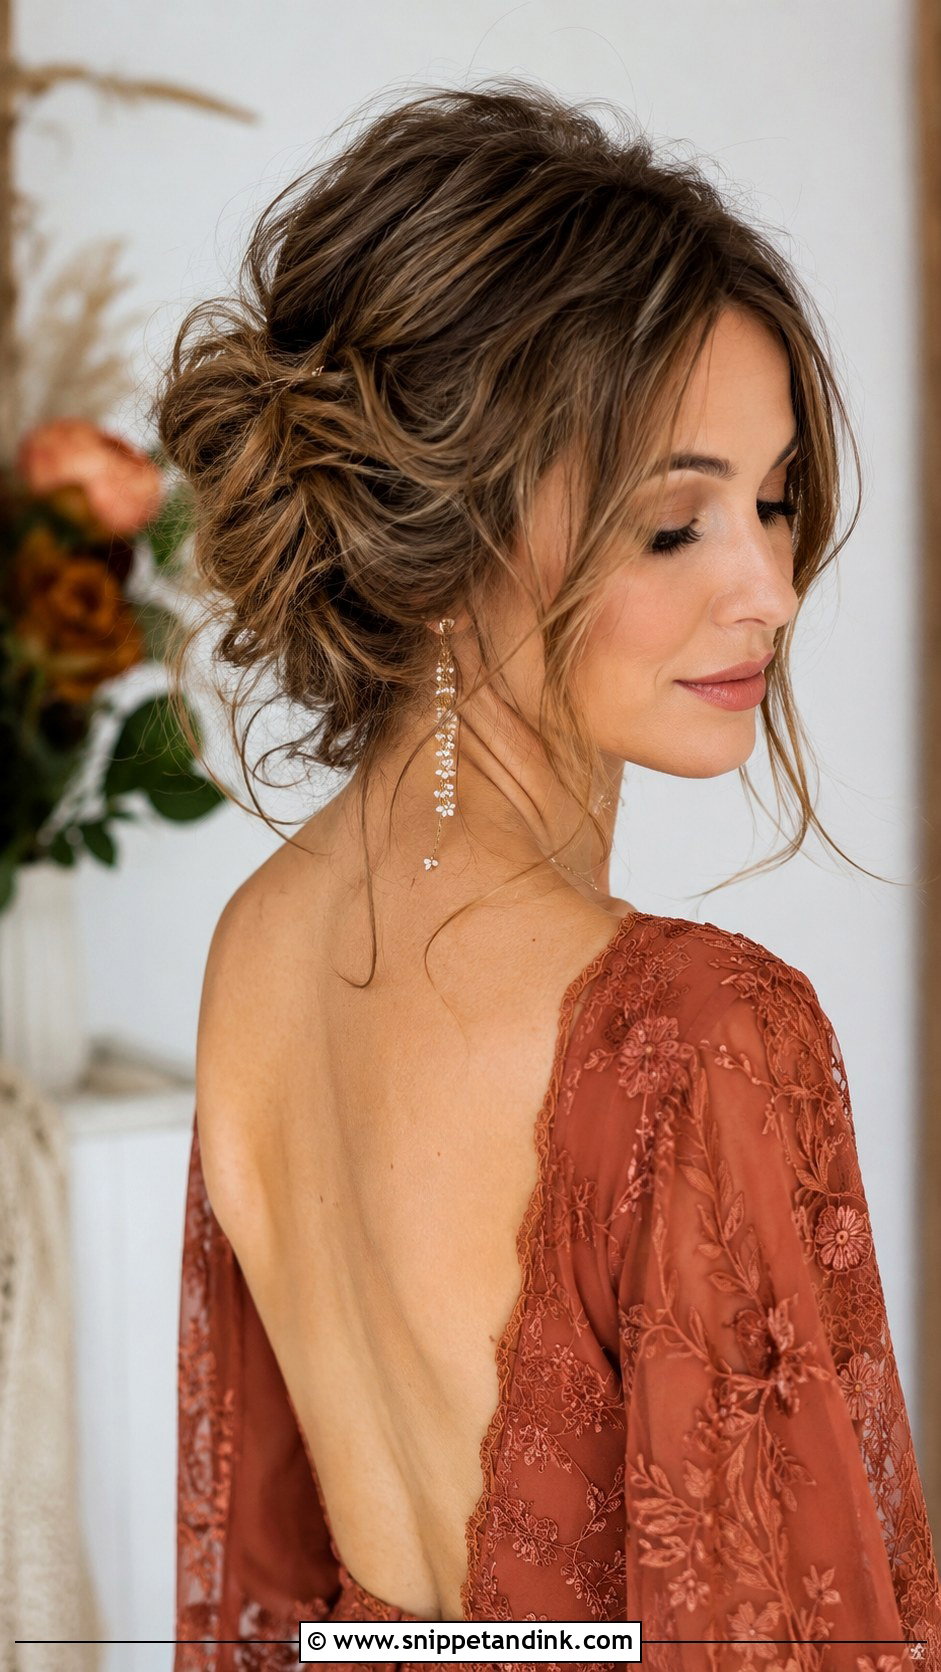
A tousled modern updo is deliberately loose, which is harder to do well than it looks. I build it with texture spray and a few hidden pins in each section so it looks undone but can’t actually come undone. It softens the face, which many mothers prefer over a severe, scraped-back line. For boho or outdoor weddings it sits right; at a formal evening event, it can read underdressed next to tailored suits.
17. Vintage Rolled Updo
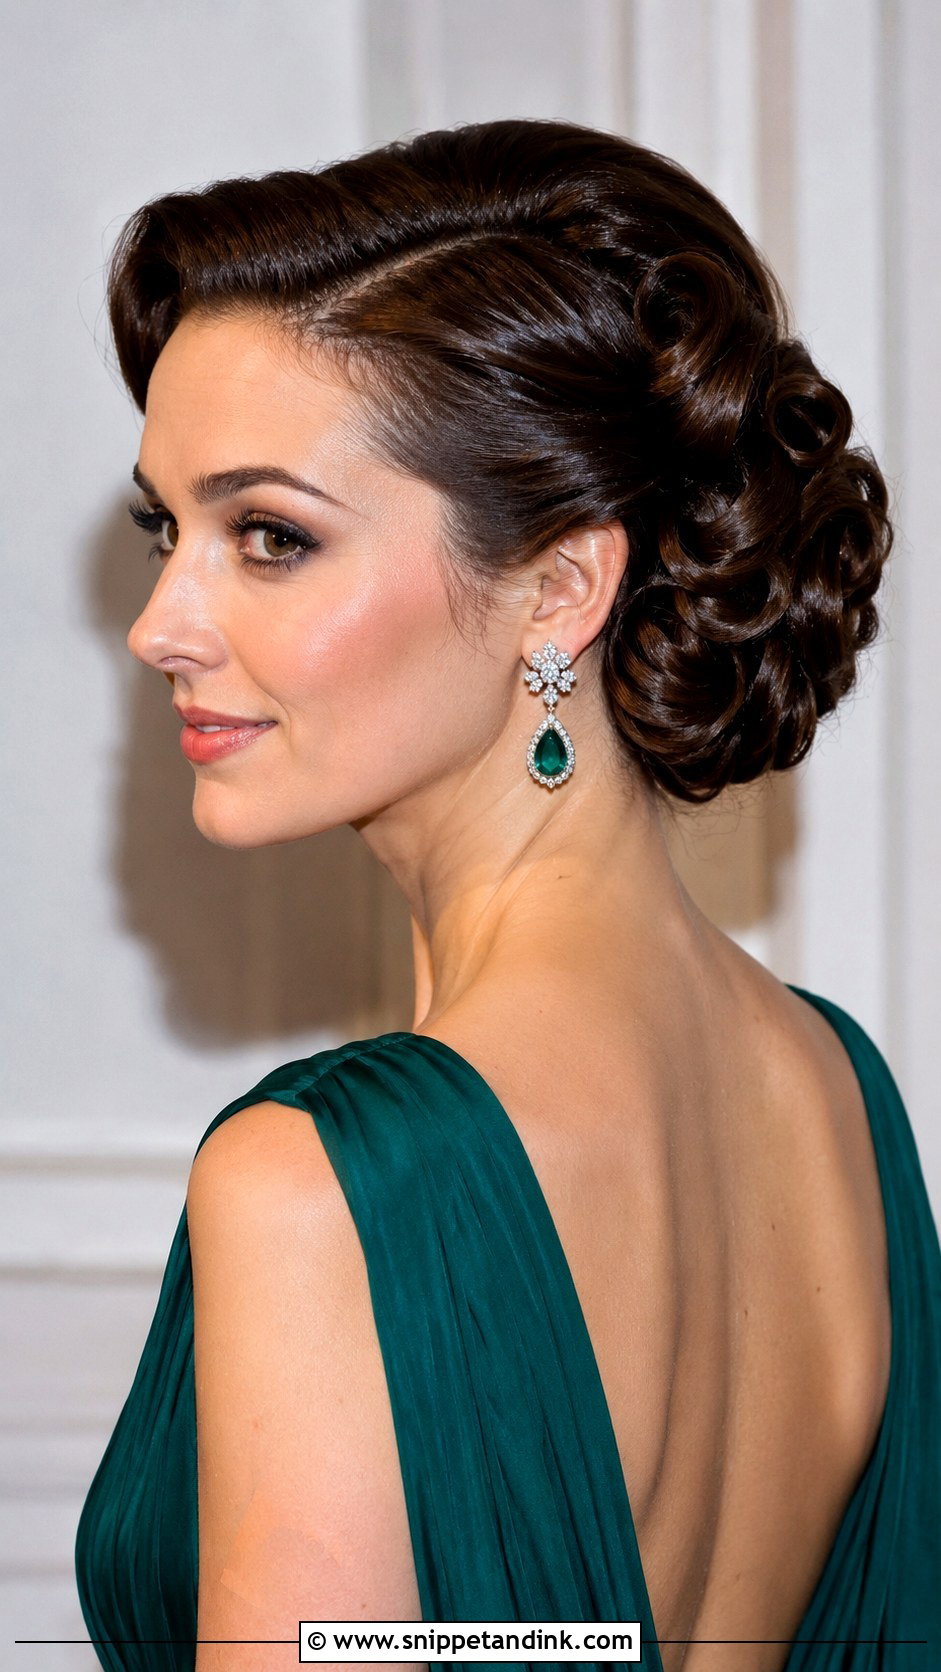
Vintage rolls are sculpted, and that takes practice. I set the hair in hot rollers first, then brush out and form each roll over my fingers before pinning it from underneath so nothing shows. It suits medium to long hair with some body. If your hair is very fine, rolls can look flat by the evening, so I’d lean toward a bouffant with a smooth back instead. A glossy serum on the surface gives the old Hollywood shine.
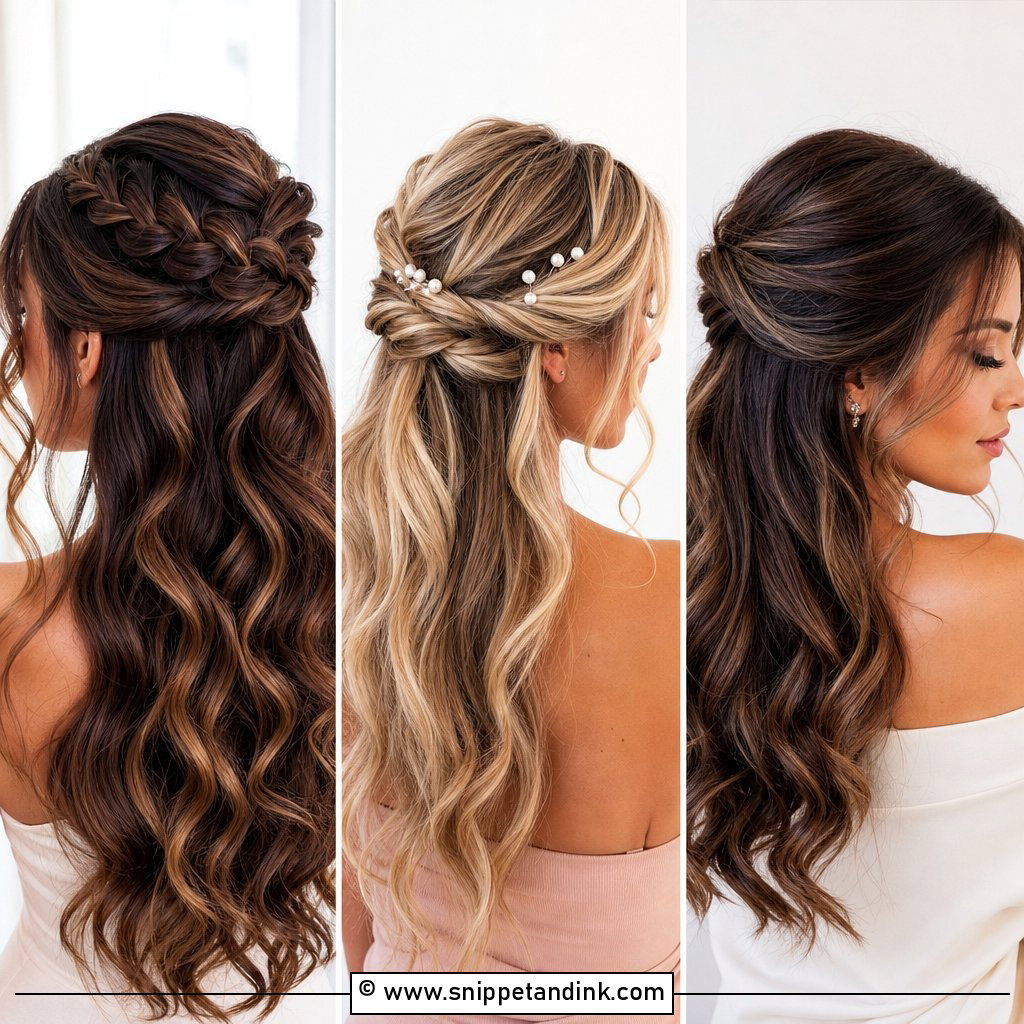
18. Half-Up Twisted Updo
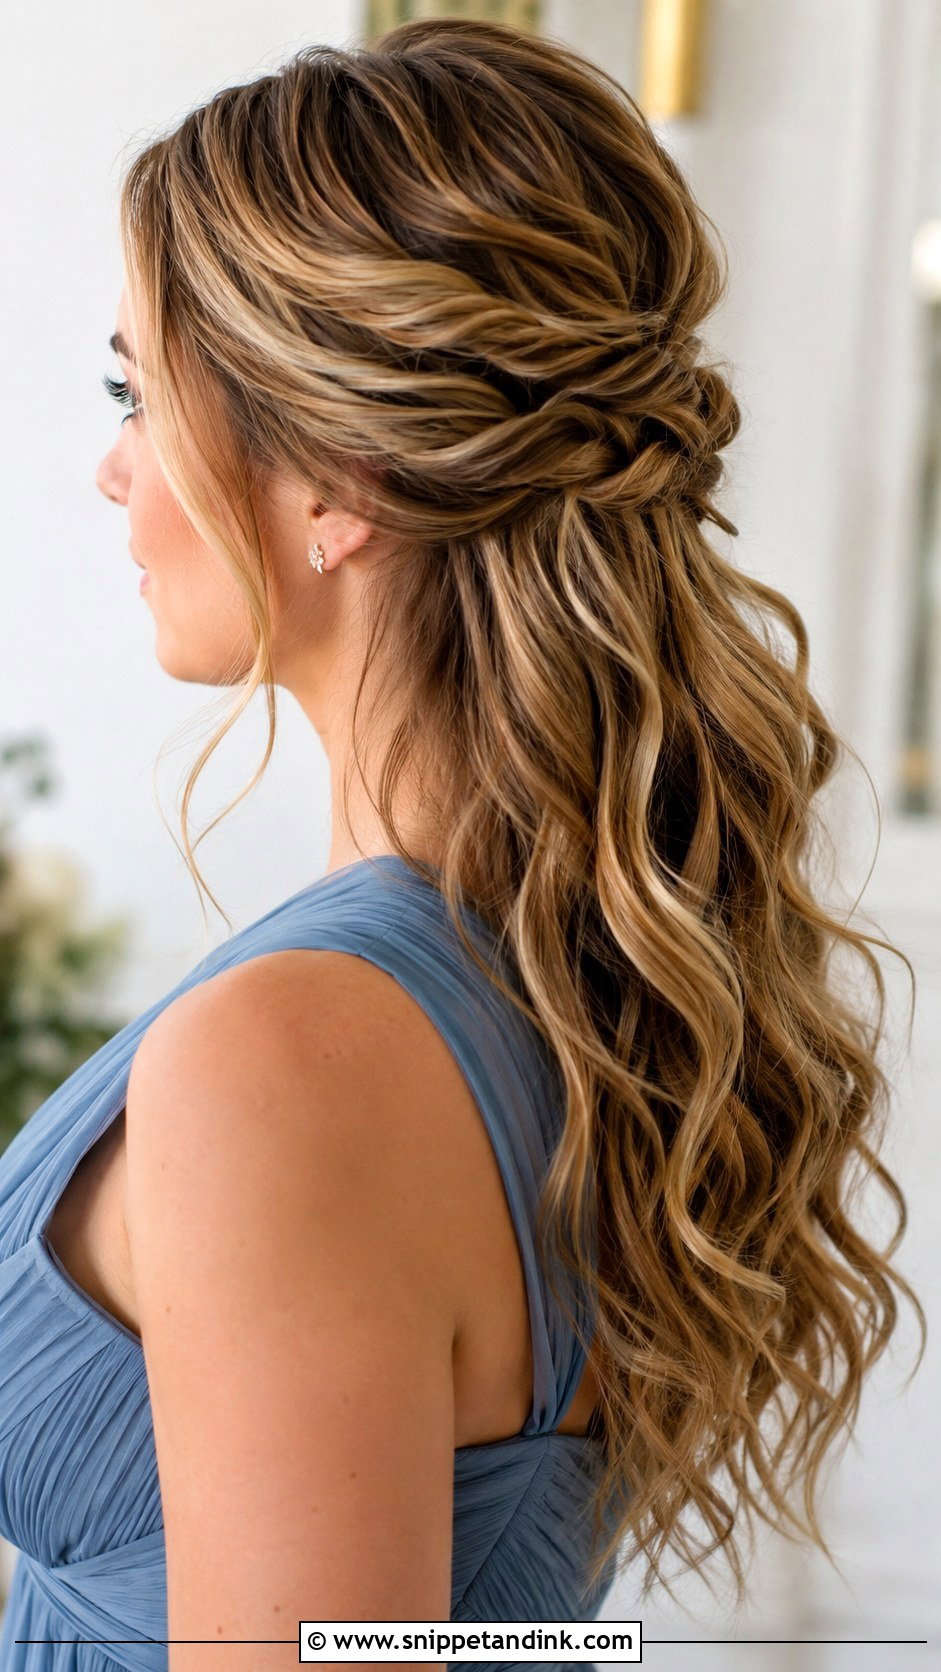
Want some hair down without losing the polish? A half-up twist secures the top sections at the crown and leaves the lower length loose and waved. It’s a gentle option for mothers who feel exposed with everything pinned up. The honest drawback is that loose length goes flatter and frizzier over a long day than an updo does, so I’d set the waves firmly and suggest it for shorter receptions or cooler weather.
19. Low Knotted Bun
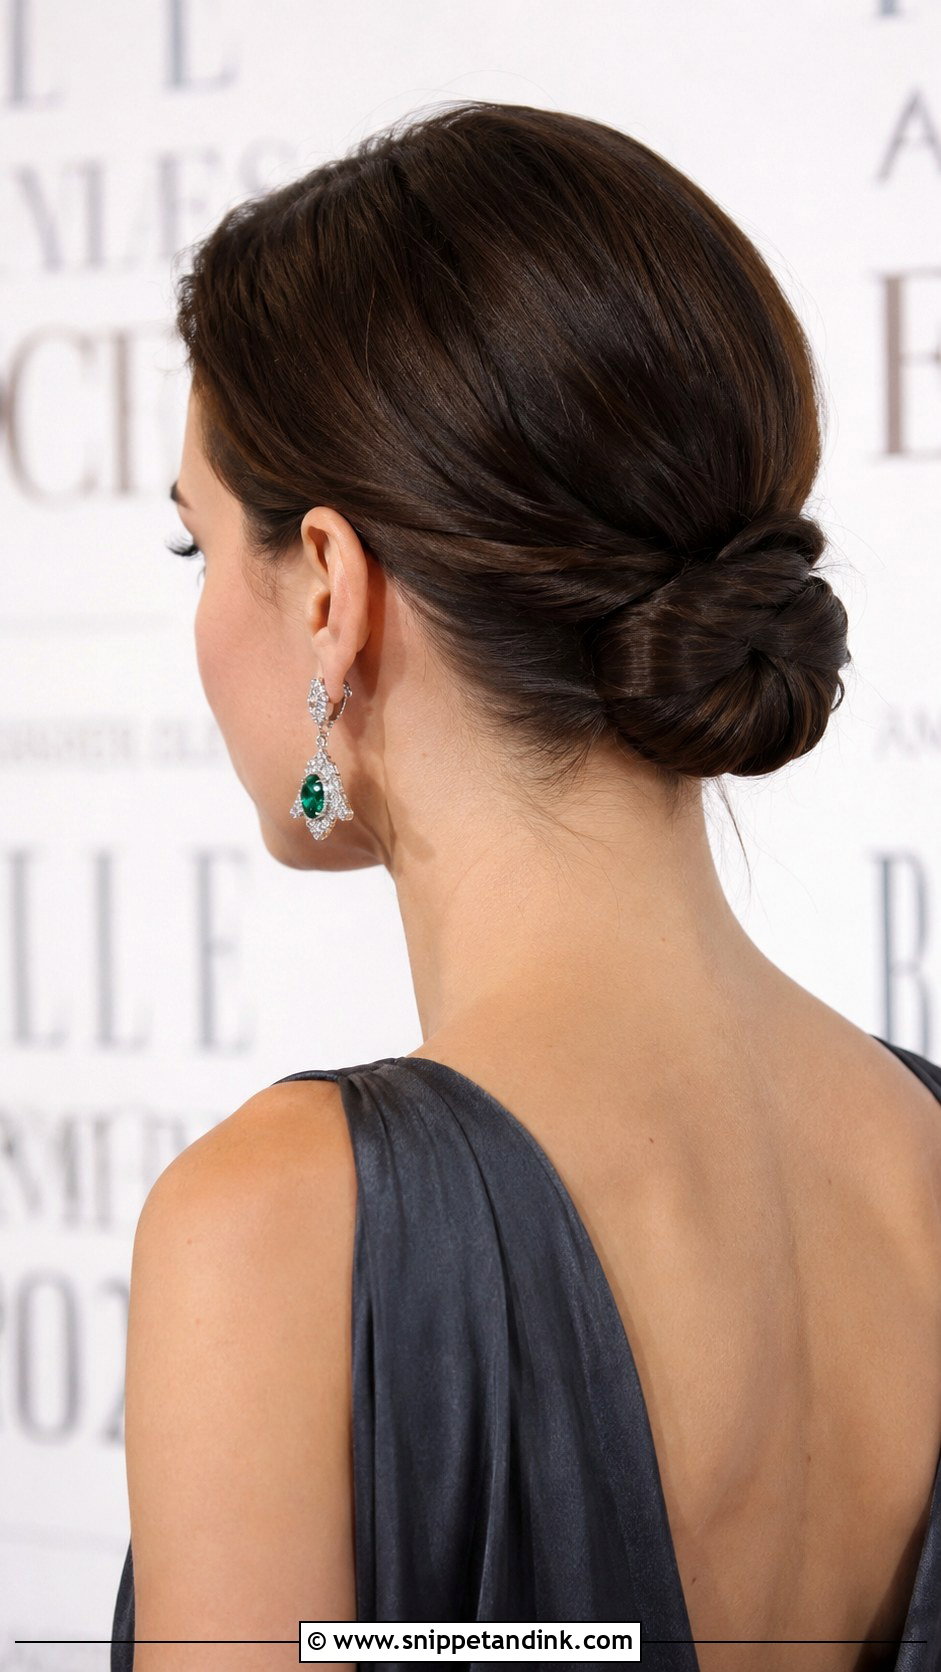
A low knotted bun is hair twisted and tied into itself at the nape, so it needs enough length to knot, roughly past the shoulder blades. I pin through the knot, not just around it, because a knot can slowly loosen as the hair relaxes. It shows off earrings and a neckline. Smooth the hair first for a clean modern finish, or rough it up slightly if you want it softer.
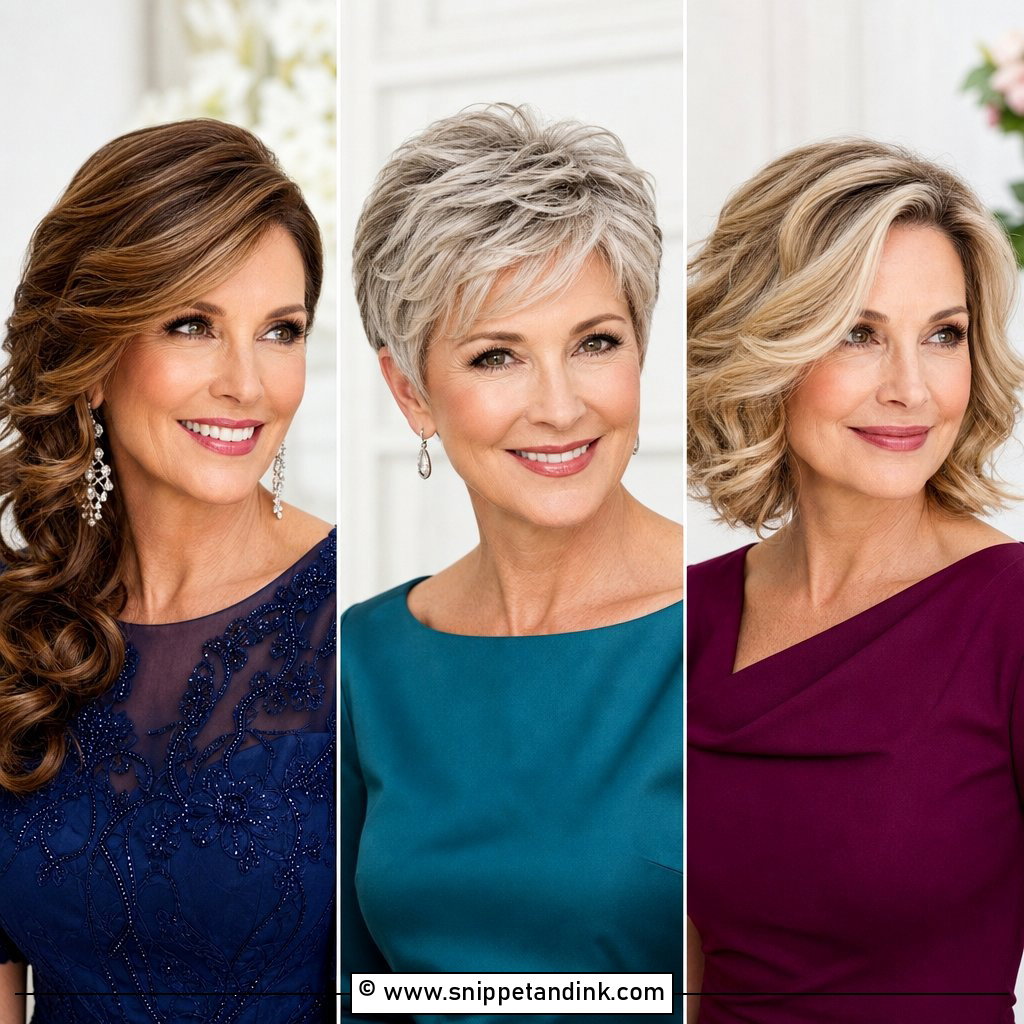
20. Braided Updo With Volume
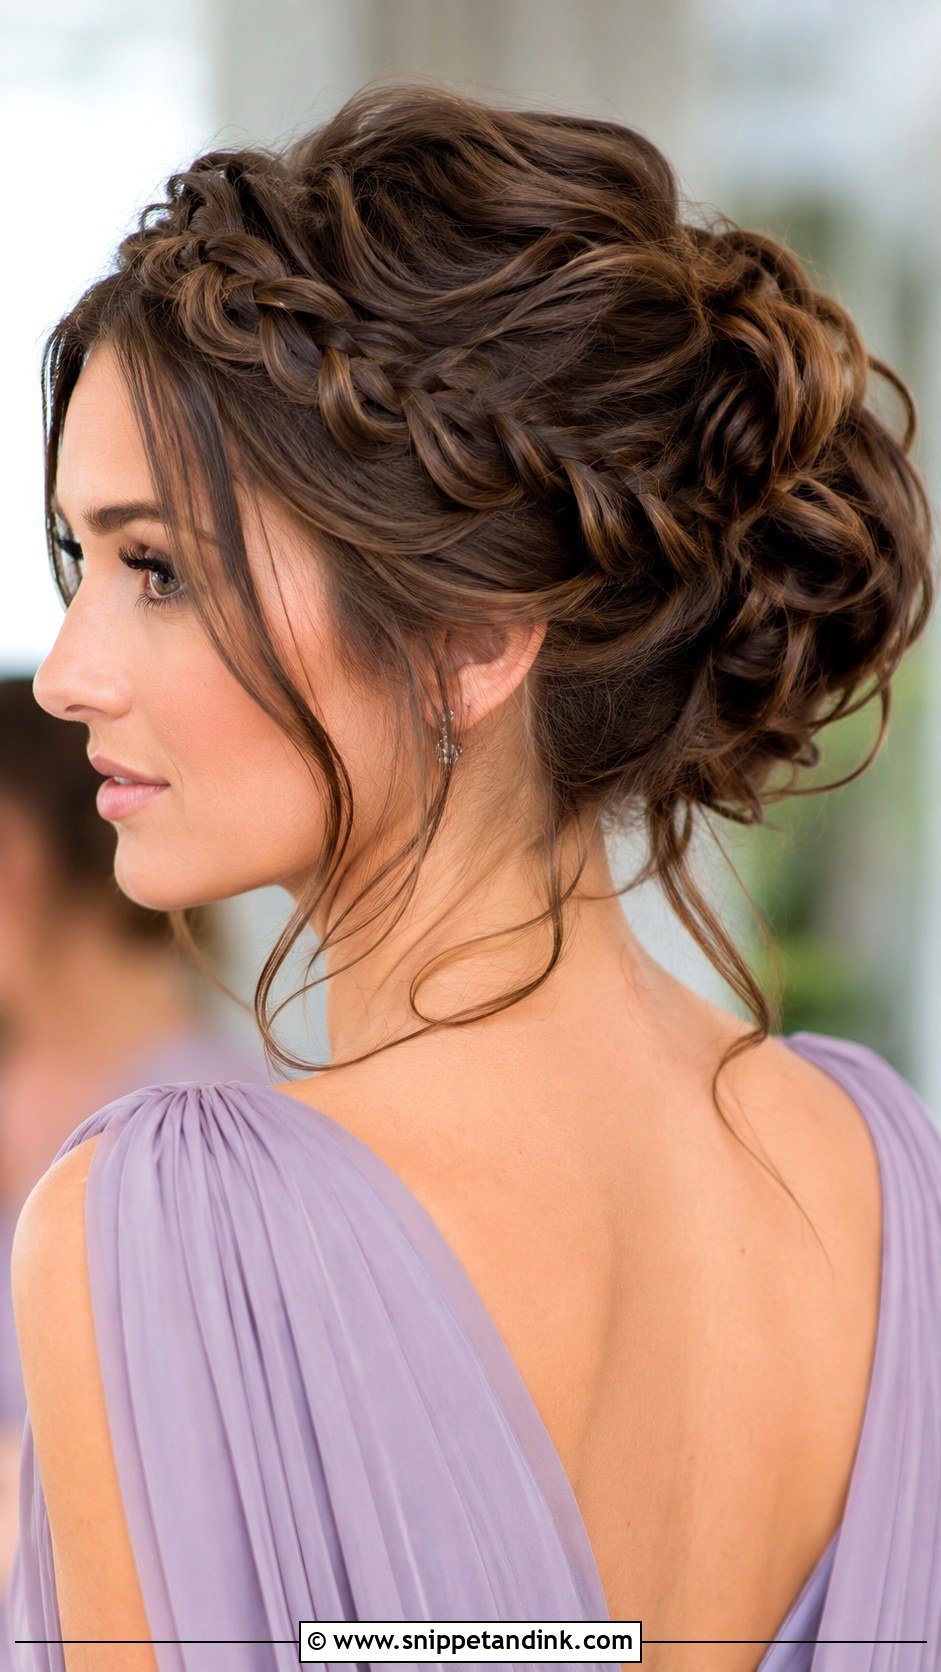
Braids add structure and volume adds fullness, and together they’re one of the best answers for fine hair. I tease at the root, then braid the length so the plait itself looks thicker than a smooth section would. Teasing makes braids harder to unpick later, so if you plan to take it down after the ceremony, mention it at the trial. Pair it with small accessories, or none if the braid work is detailed enough to stand alone.
21. Sleek Ballerina Bun
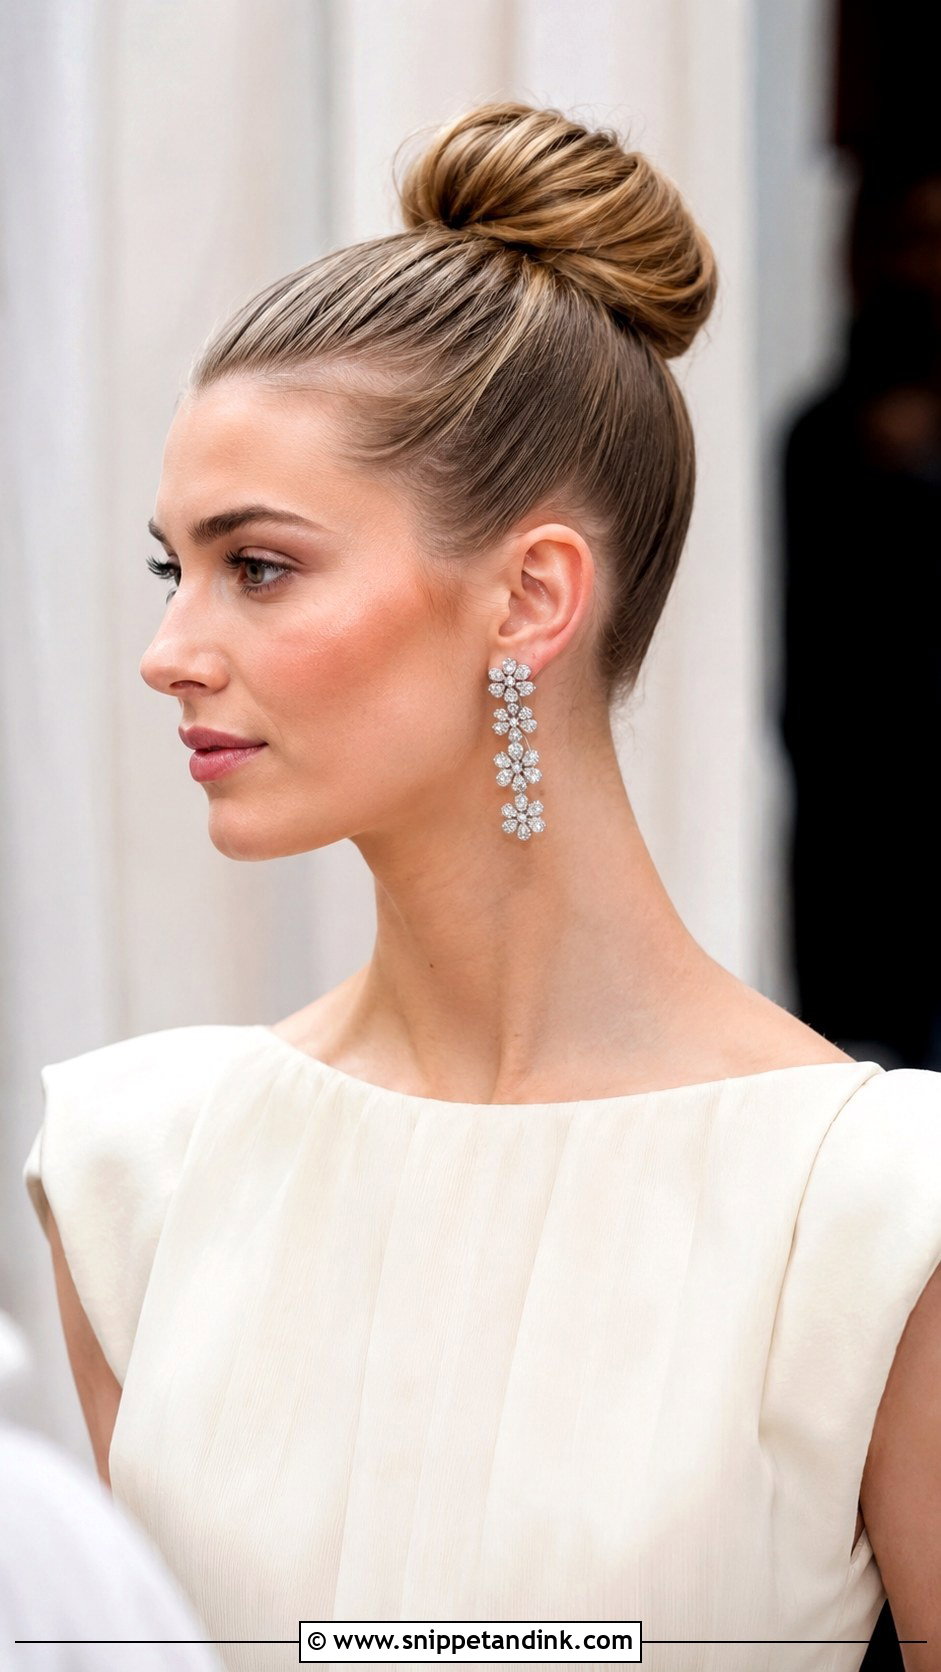
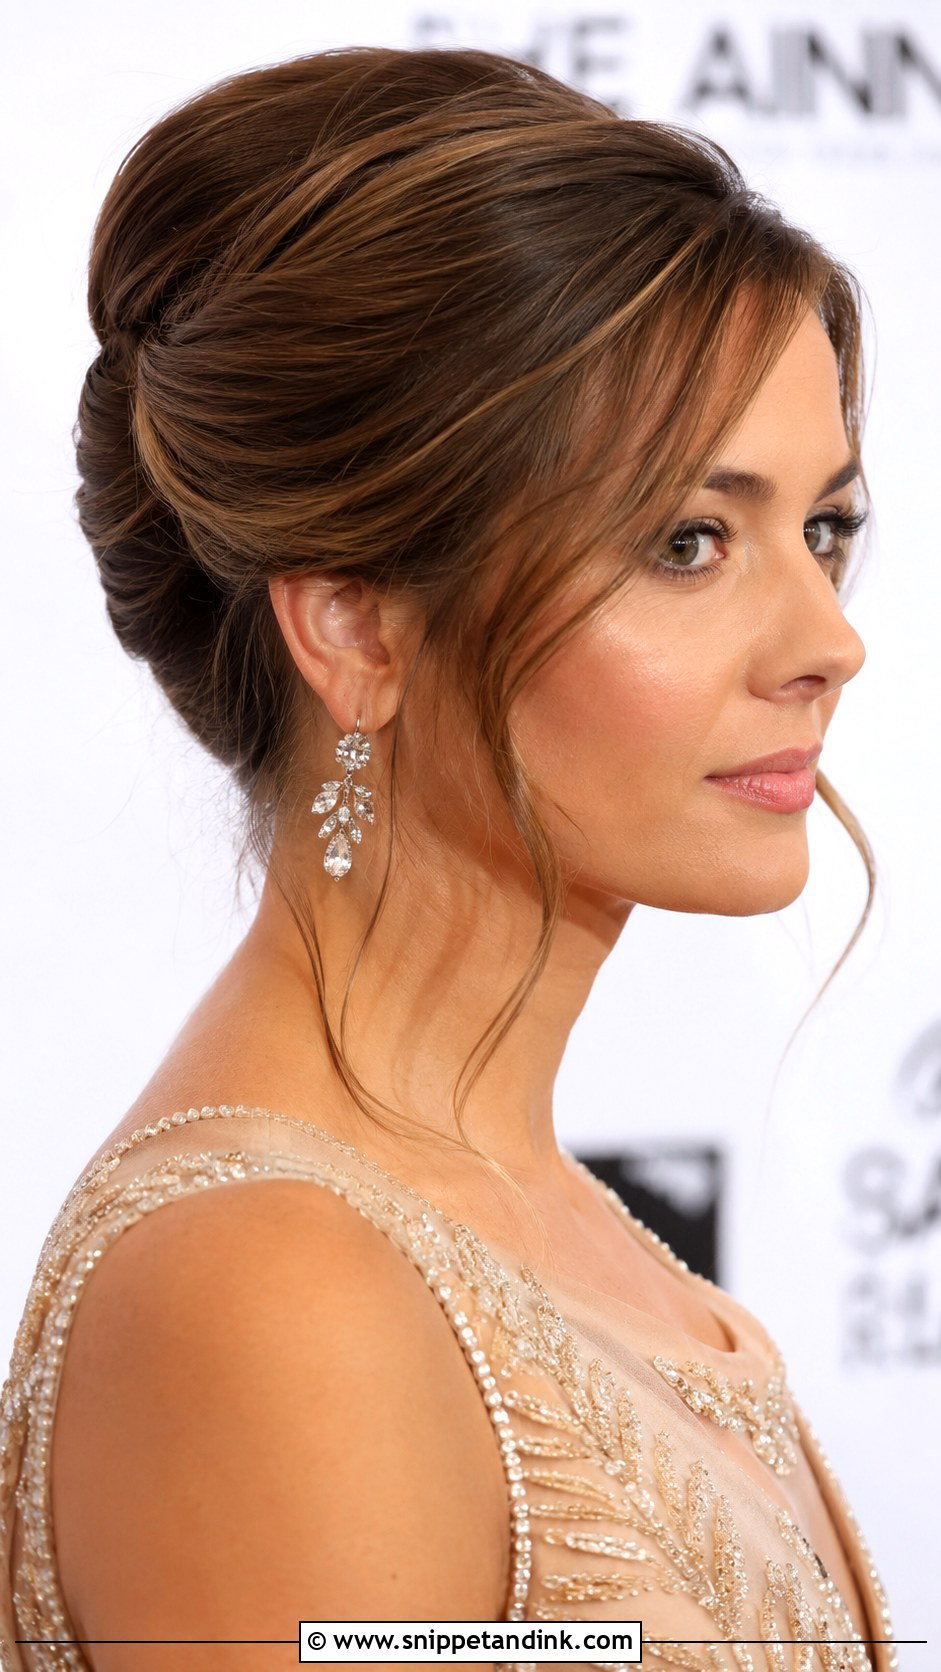
A high ballerina bun, like the sleek ballerina bun pictured here, is clean and graphic. It lengthens the neck, but it also shows every flyaway and every patch of grey regrowth at the hairline. I smooth the hair in sections with a little gel and a boar bristle brush, and wrap the bun around a doughnut on thinner hair. It suits a confident, modern mother with a structured outfit. If you’ll be wearing a hat or fascinator, skip it; there’s no room.
22. Loose Chignon With Face-Framing Tendrils
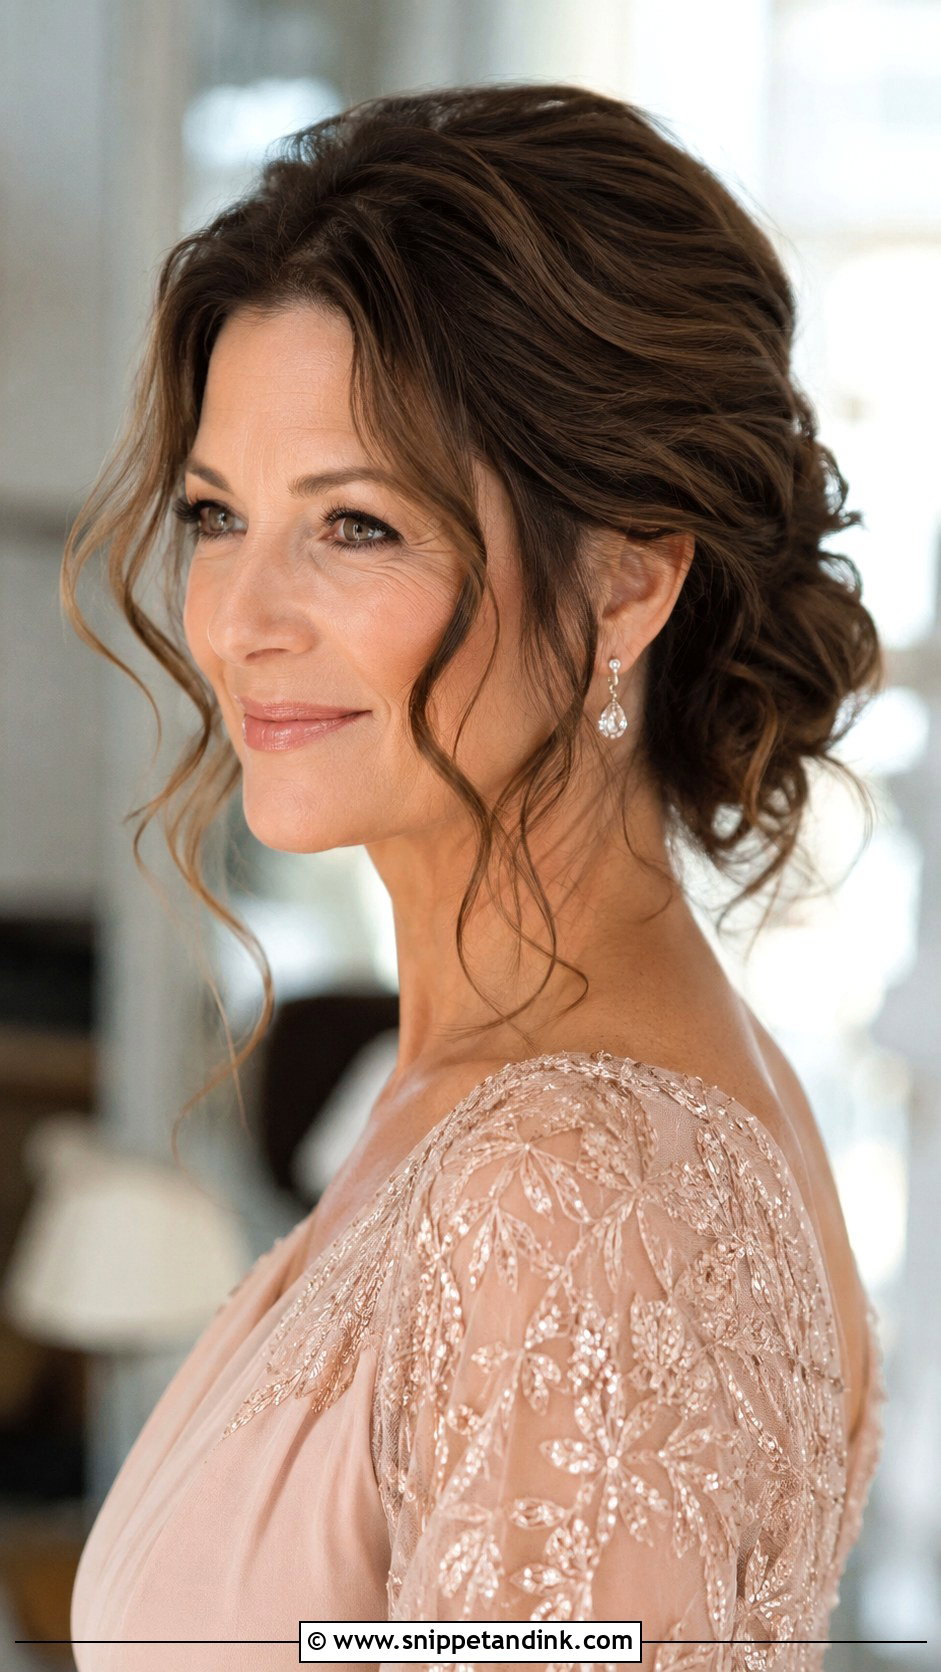
A loose chignon with tendrils is the softest look here and very forgiving on a face that doesn’t want harsh lines. The face-framing tendrils are where it can go wrong: too long and they stick to your lips and your glasses. I cut them to sit around the cheekbone and give them a gentle bend so they move without tangling. It adapts to both formal and relaxed weddings.
23. Twisted Updo With Side Detail
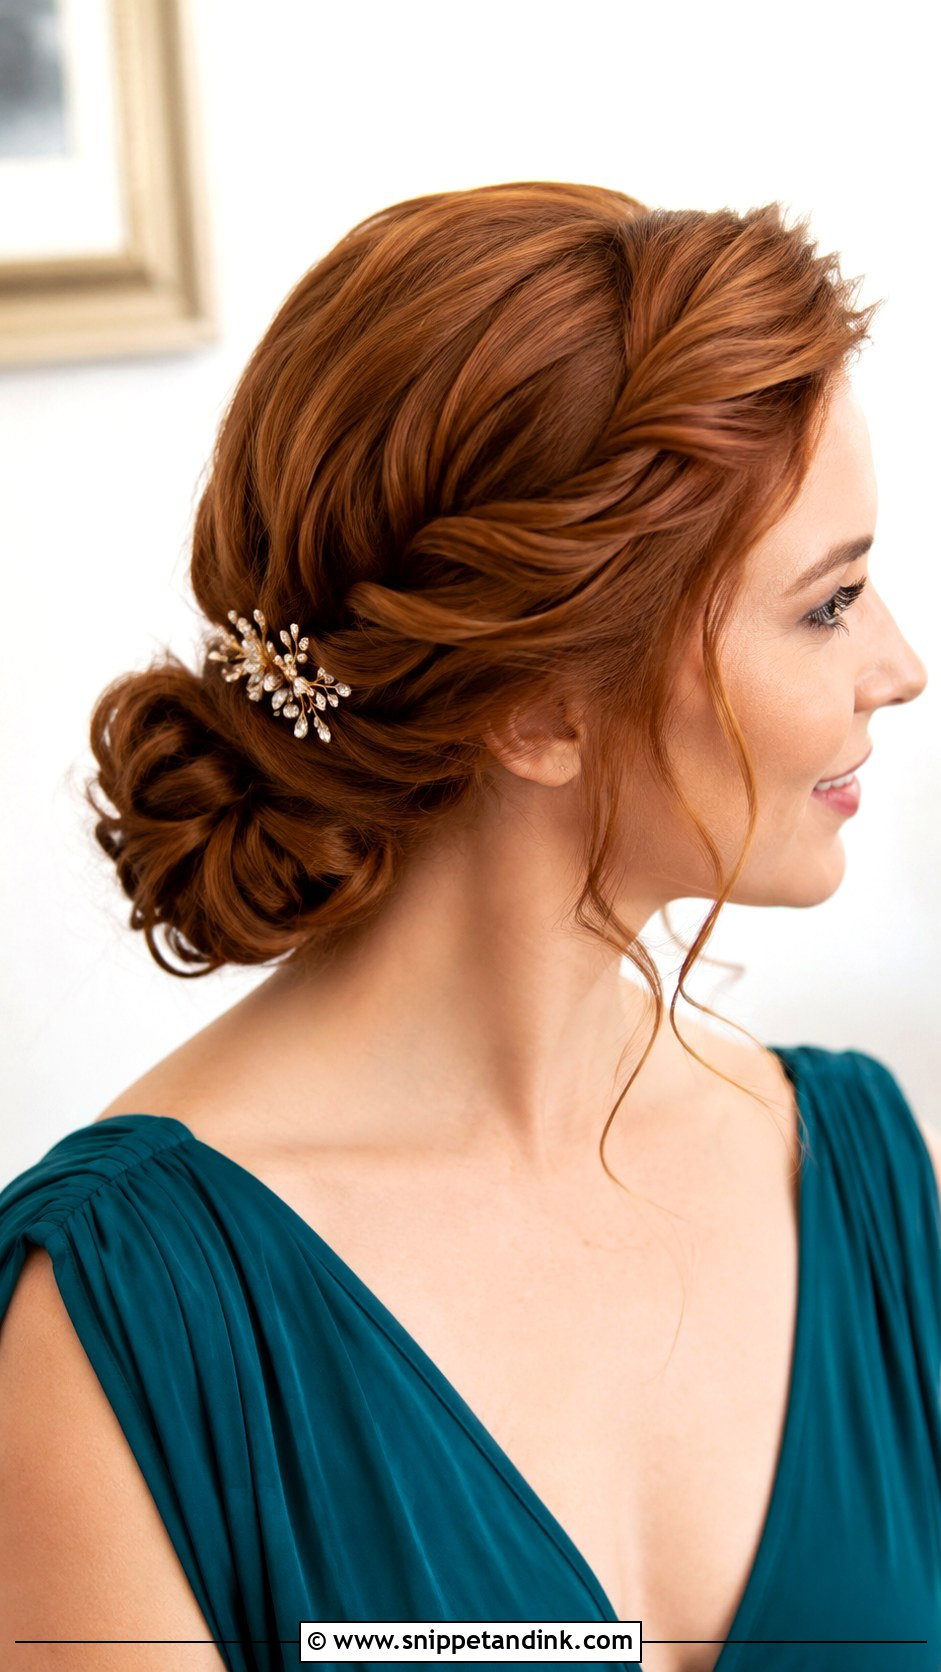
Twists sweeping to one side before tucking into a low bun give a style with a focal point. I start the twists slightly behind the hairline so they don’t show regrowth at the root, and I tuck them into the bun at an angle so the eye travels along them. It works on most lengths from shoulder down. Finish with a decorative pin along the twisted side if you want something extra.
24. Polished Updo With Curls
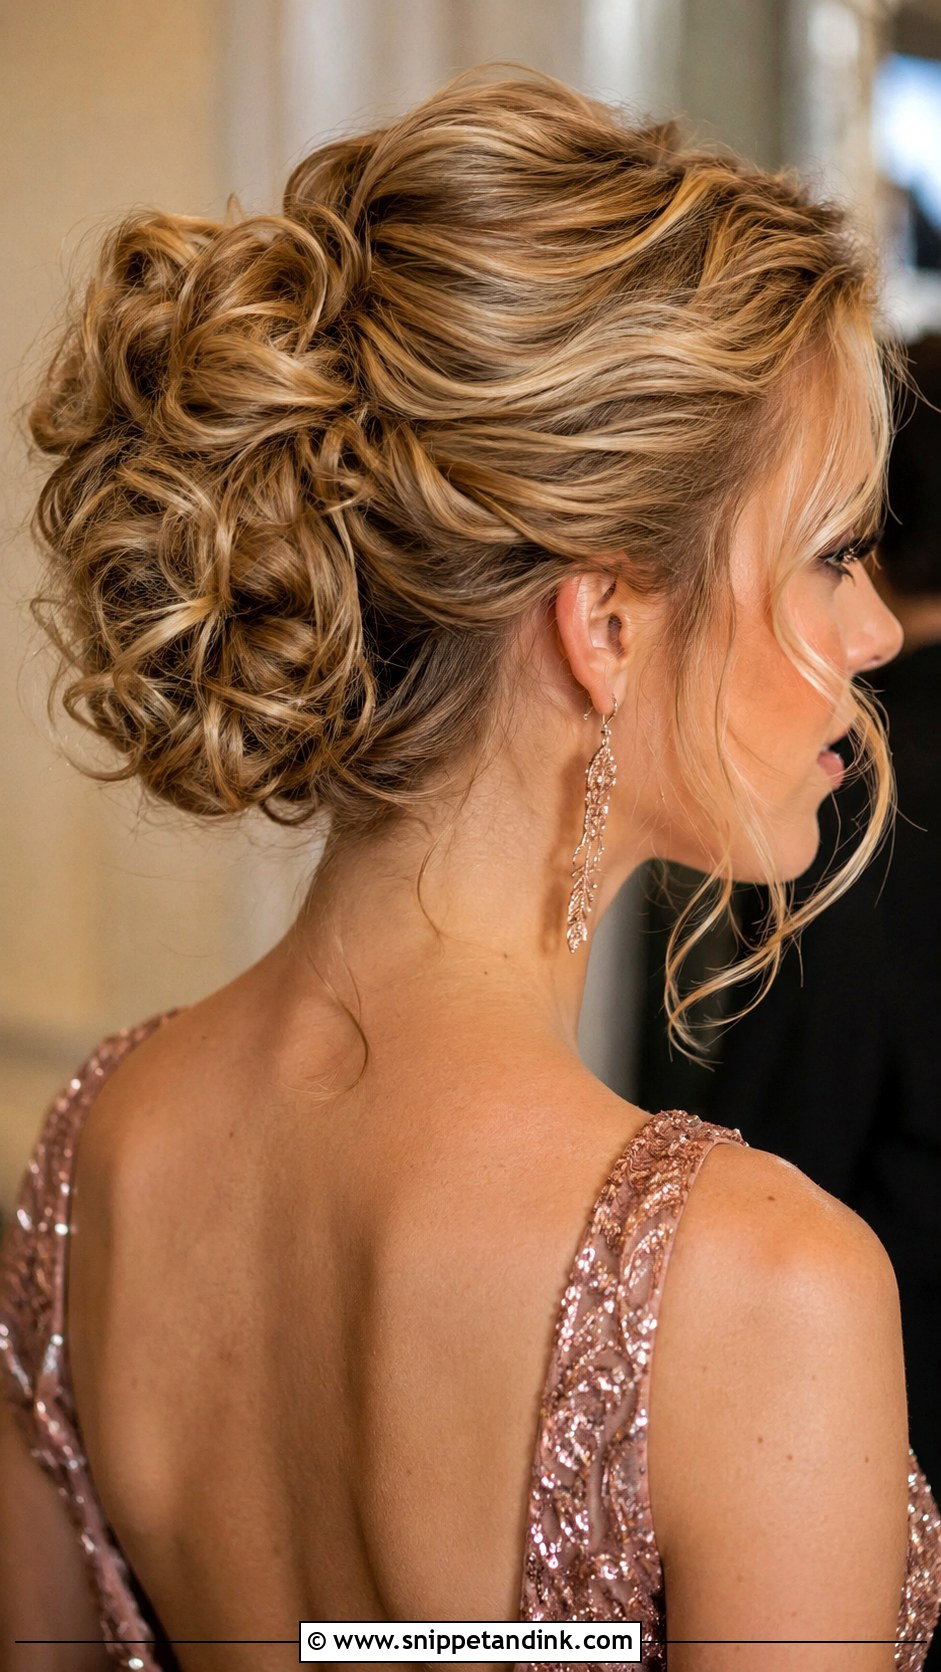
Curled sections gathered into a fuller shape give a glamorous, rounded updo that suits evening receptions. I pin each curl individually, which takes longer but means if one drops later, the rest stay. Pinning loosely gives a softer outline; tighter pinning gives more structure. A shine spray over the top keeps it from looking dry under flash. If you’re short on hair, ask for a few clip-in curls; they blend well in this style.
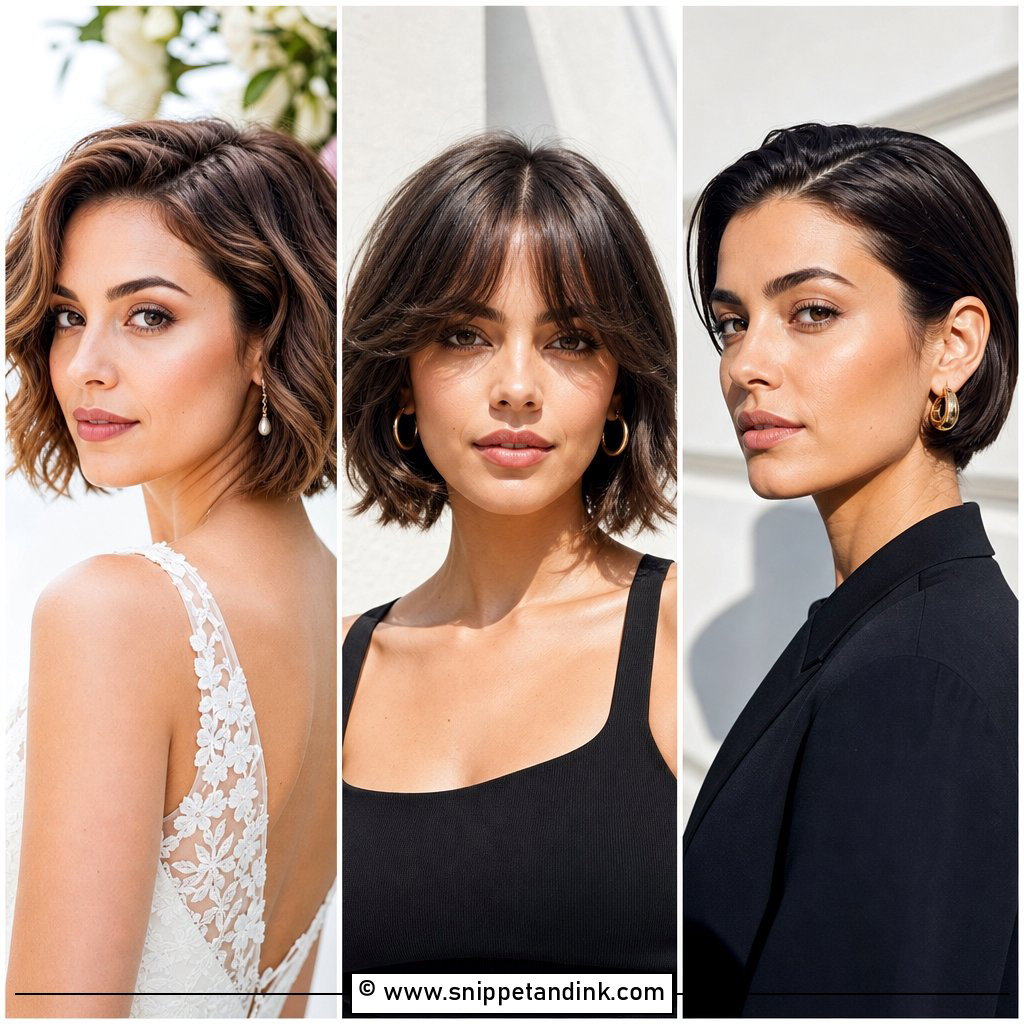
25. Soft Updo With Natural Part
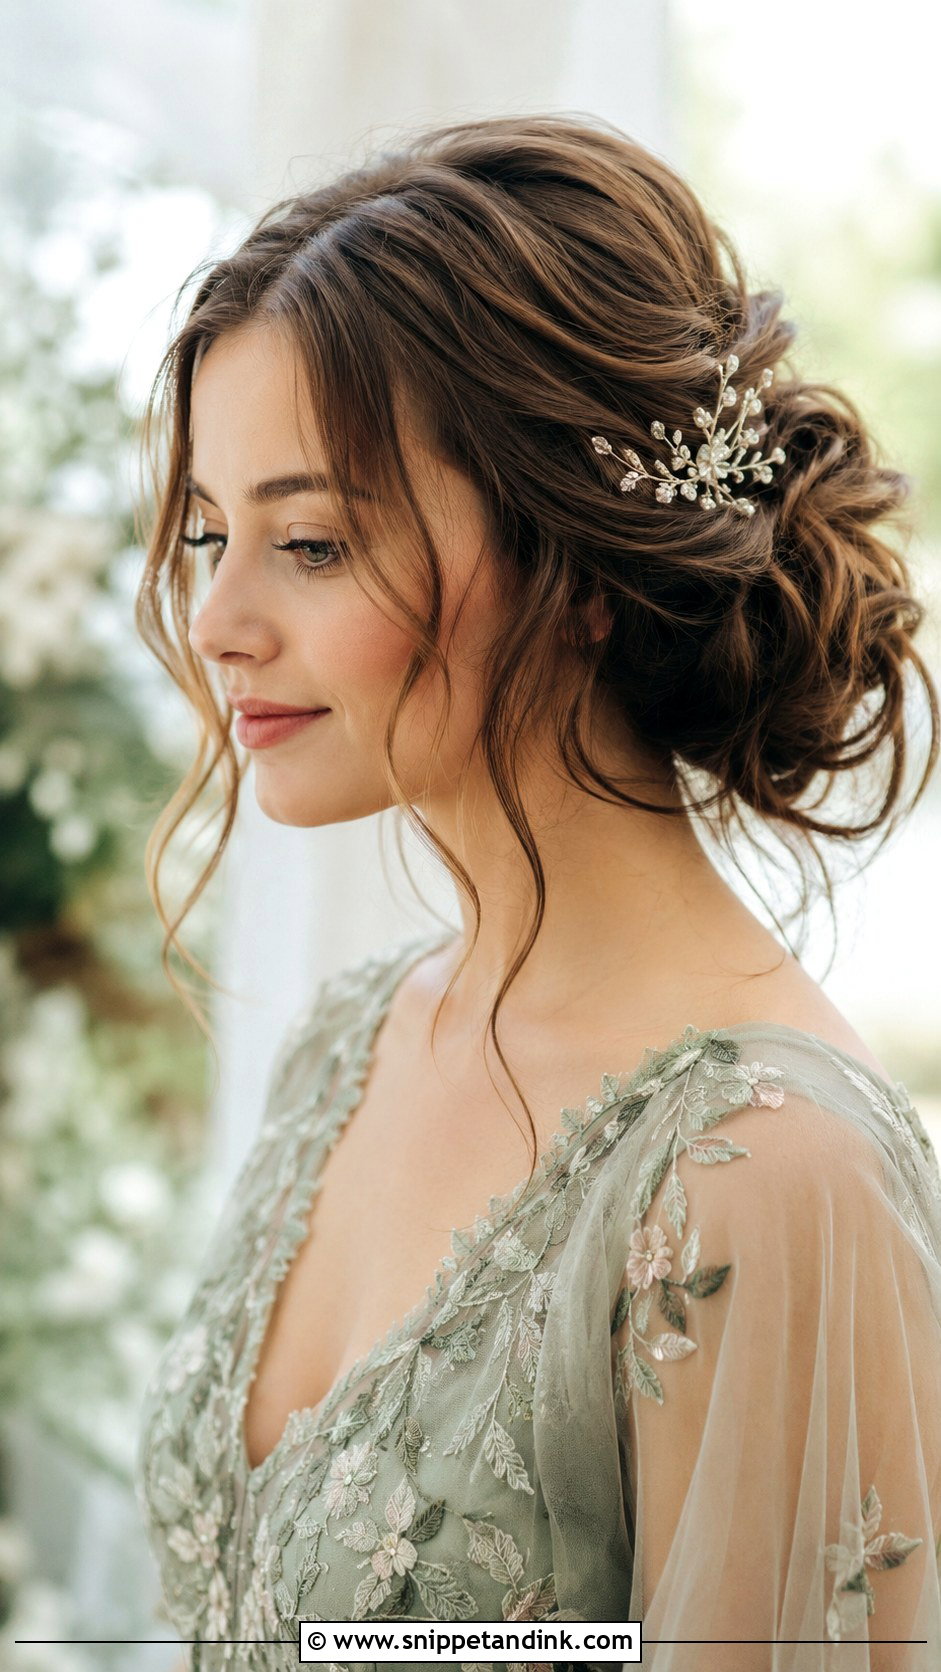
Keeping your natural part is the most understated choice, and I find it’s the one mothers feel most like themselves wearing. I don’t move the part, because hair that grows one way will fight you all day if you flip it. The hair flows gently back from the part into a relaxed gathered shape. For outdoor and garden weddings it looks fresh, and a few loose waves plus one small accessory are all it needs.
Where the Mother Sits in the Morning Schedule
I usually put the mother of the bride in the chair second to last, just before the bride. That way your hair is fresh for the first look and the getting-ready photos, but you’re not sitting in a robe watching the clock. Expect an updo to take 45 minutes to an hour, longer for braids or rolls.
Come with clean hair washed the night before, not that morning; second-day hair holds pins better. Wear a button-front shirt so you’re not pulling anything over your head afterward, and have your earrings ready so I can check the balance before the final spray. A small kit in your bag of a few matching bobby pins and a travel hairspray covers most touch-ups during the reception.
Wearing an Updo That Lets You Forget About Your Hair
The right style is the one you stop thinking about after the first hour, so you can be present for your child’s wedding. Pick two or three from these updos that suit your length and density, take a photo of your outfit to your trial, and wear the style for a few hours afterward to see how it settles. That afternoon tells you more than any photo can.
You'll Like These Ideas:


Leave a Reply