
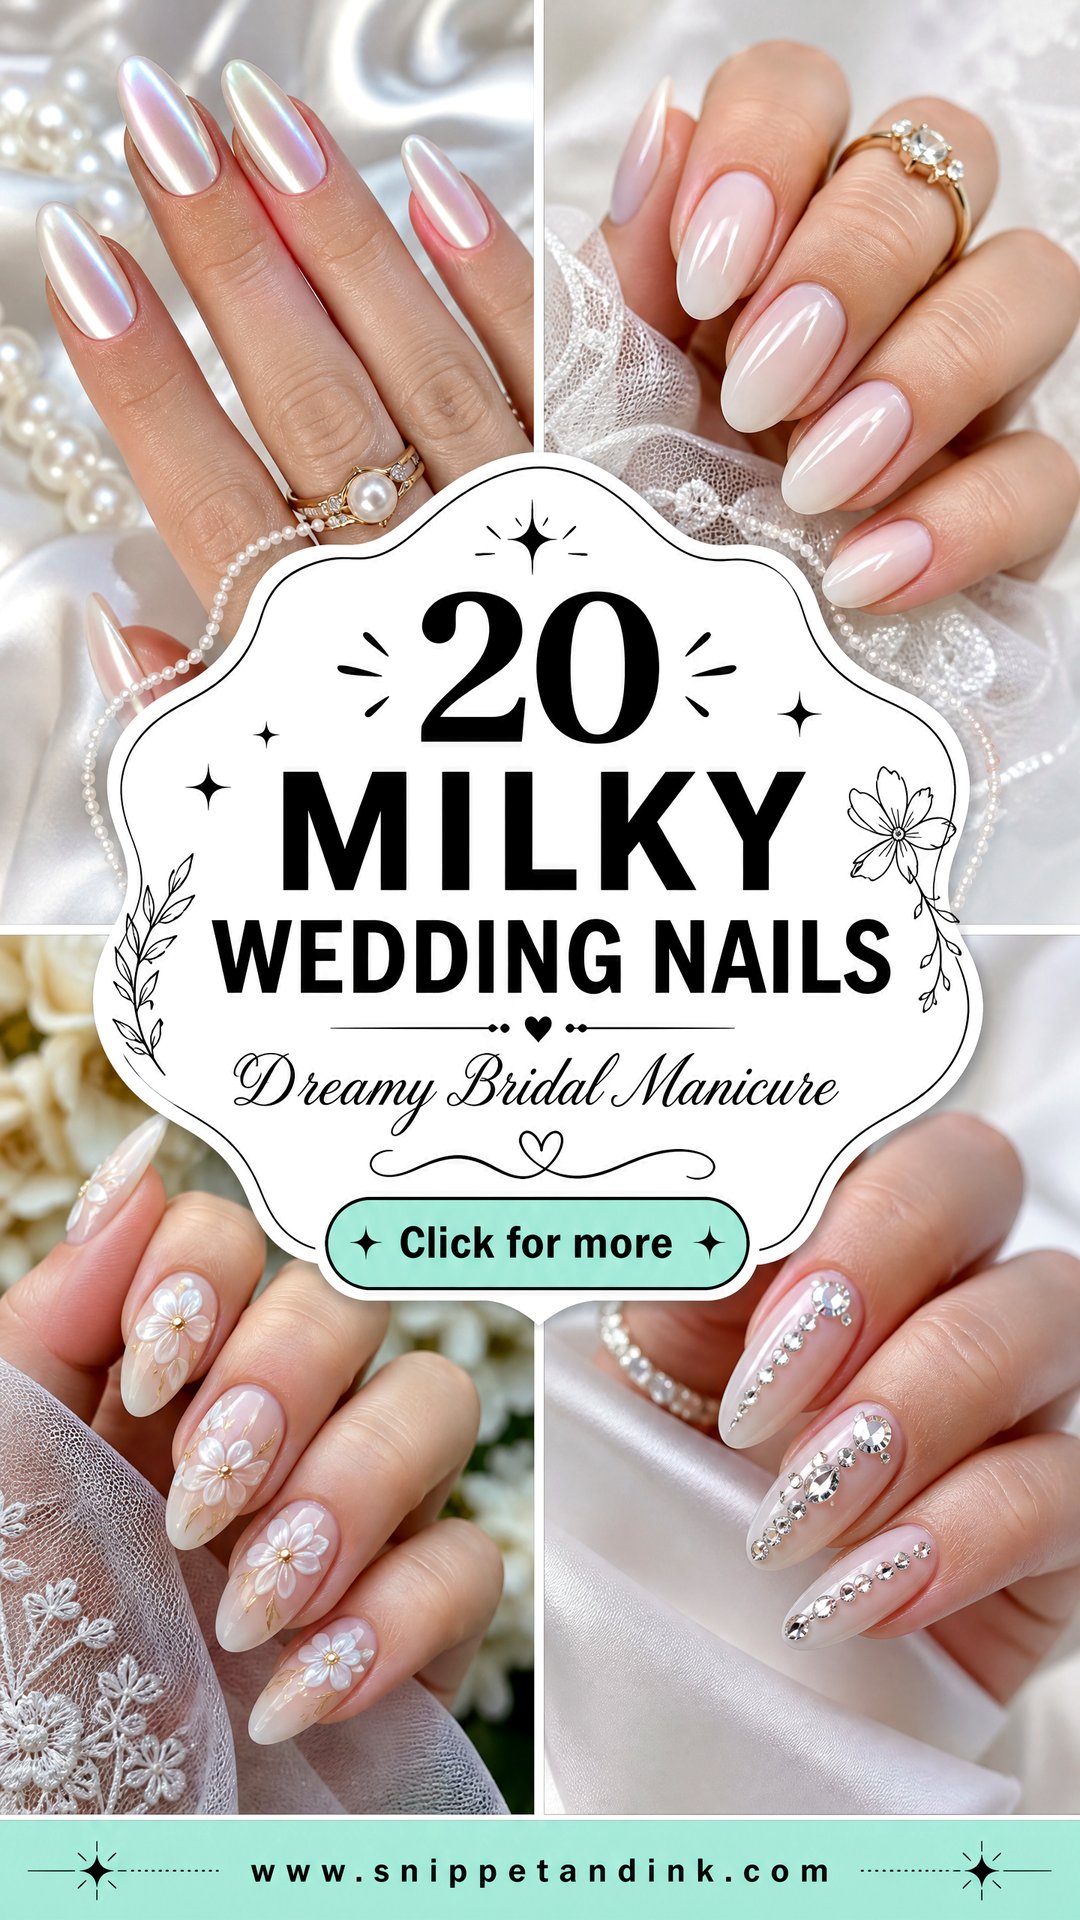
A milky manicure sits between a nude and a true white. It’s translucent enough that the pink of the nail bed glows through, and opaque enough to hide the free edge and any uneven tone. For brides that balance matters: it reads clean next to a white gown without the chalky contrast of solid white, and it doesn’t fight a ring or a bouquet. Below are the milky sets I paint most often for weddings, from a plain glossy coat to pearl, chrome, lace and gold, with notes on what each one needs from your natural nails and how it wears.
Why Milky Polish Streaks, and How I Get It Even
Sheer milky shades are some of the hardest colors to apply cleanly. They’re thin by design, so every brush stroke shows, and they pool in any ridge or dent on the nail plate. A badly applied milky set looks patchy, with darker lines where the polish sat thicker.
On natural nails I lightly buff the plate smooth first and lay a thin base. Then I use a jelly-style milky gel rather than a cream white, applying it in a single floating stroke per section and letting it self-level for a few seconds before curing. Brides with very ridged or thin nails often get a better result from a milky builder gel, which adds a little structure and fills dips at the same time as it tints.
- Two thin coats look milky. Three tend to look like plain white.
- A dark spot or a white mark on the nail will show through a sheer finish; ask for a slightly more opaque shade if you have one.
- Regular polish works, but it needs a full day to harden properly and dents easily. Gel or builder gel is safer for a wedding week.
1. Milky White Wedding Nails
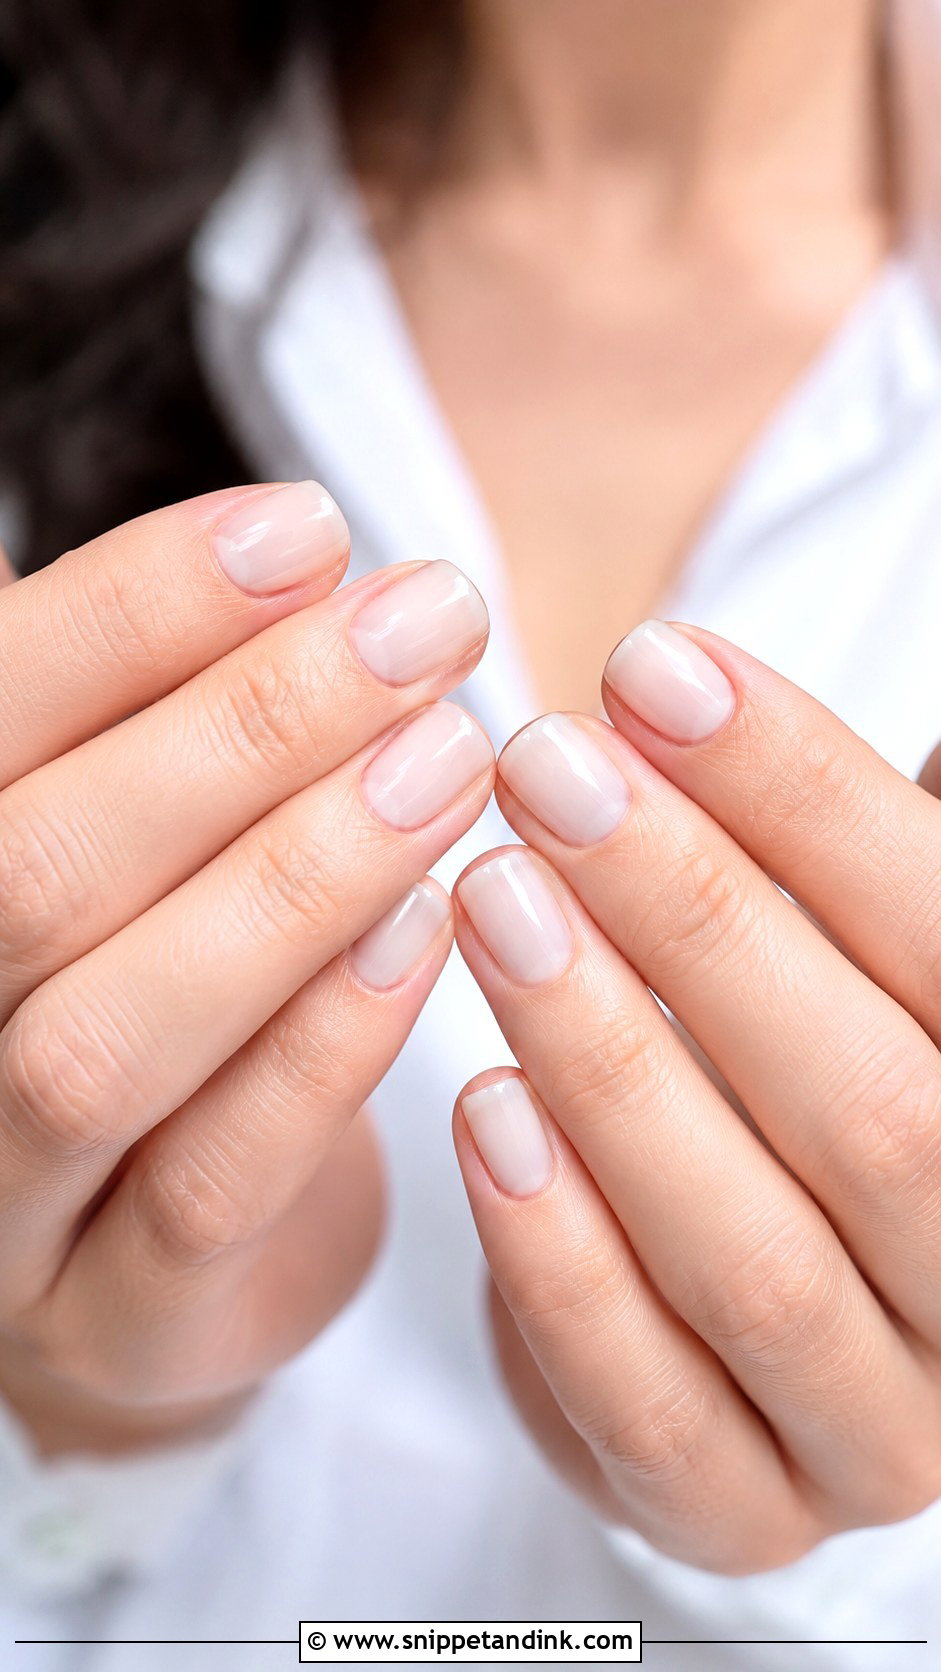
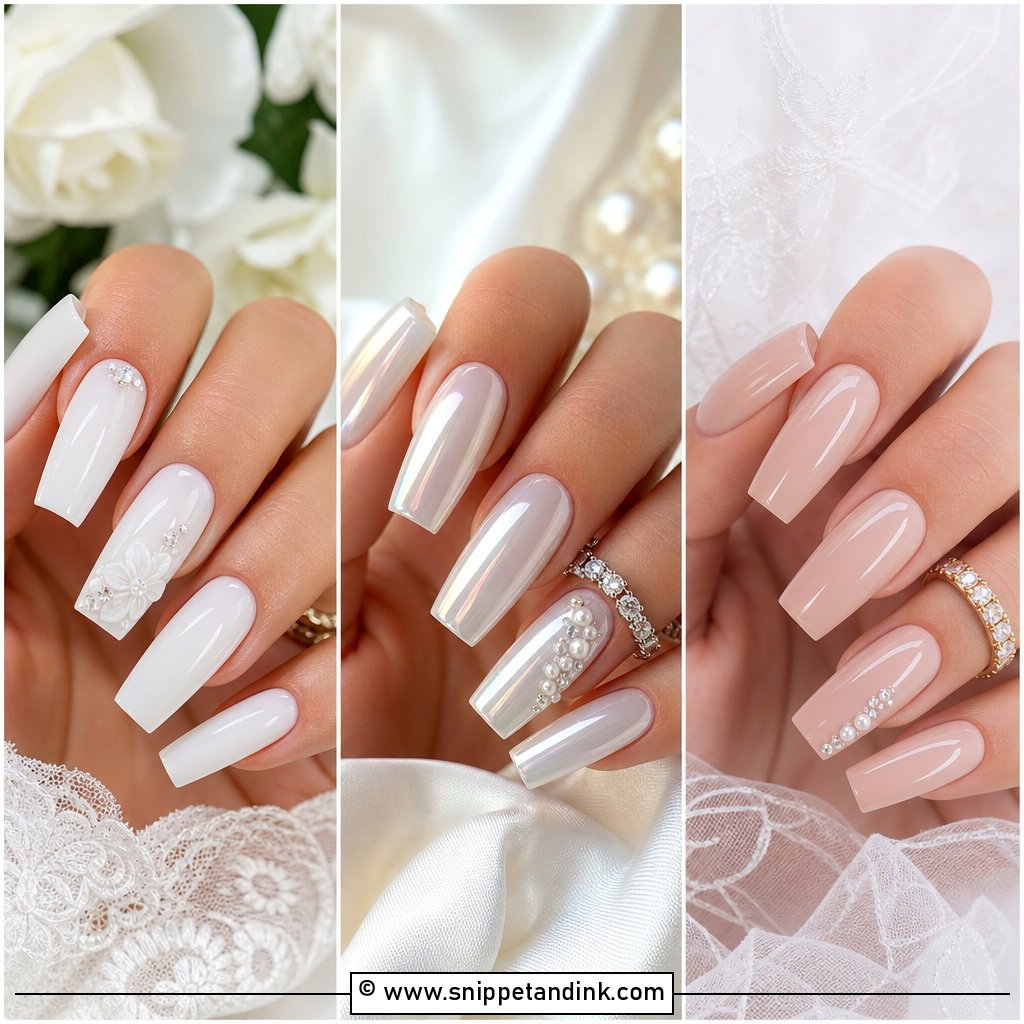
Plain milky white is the base every other design here builds on. Painted well, it looks cleaner than nude and gentler than an opaque white, and it sits comfortably beside ivory, champagne or bright white fabric because it never makes a hard edge. The skill is in the coats: two thin layers of a semi-sheer shade usually give that soft frosted-glass look, while a third starts to read as solid paint. I finish with a thick glossy top coat, which smooths any faint ridges the sheer color would otherwise show.
2. Milky French Tip Wedding Nails
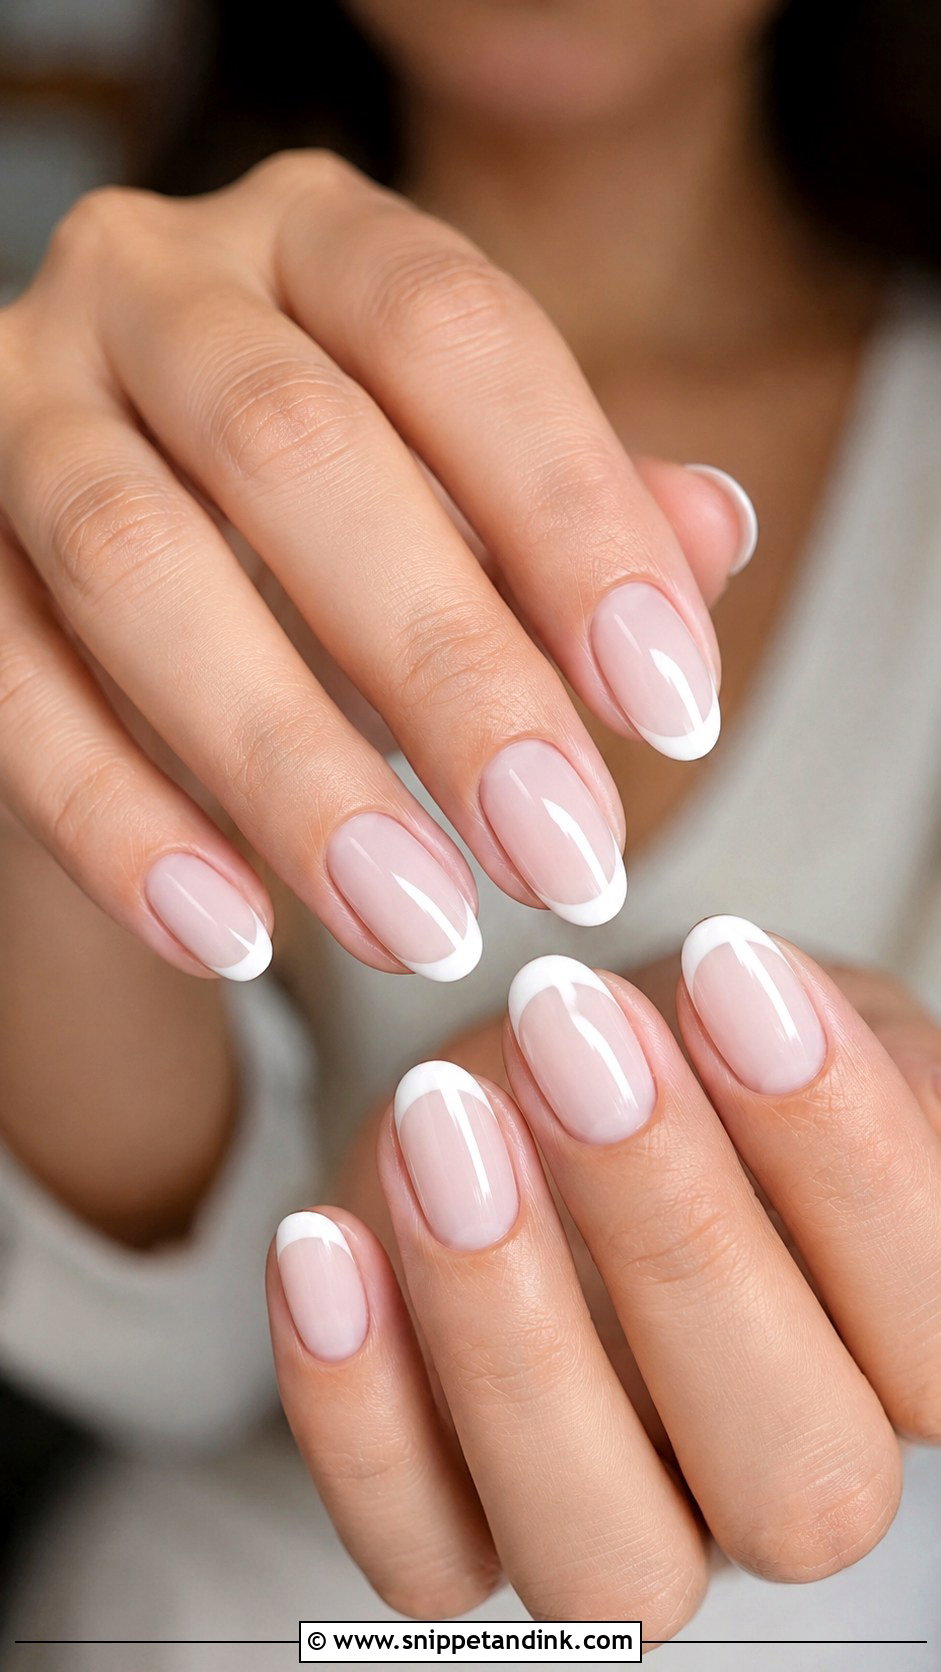
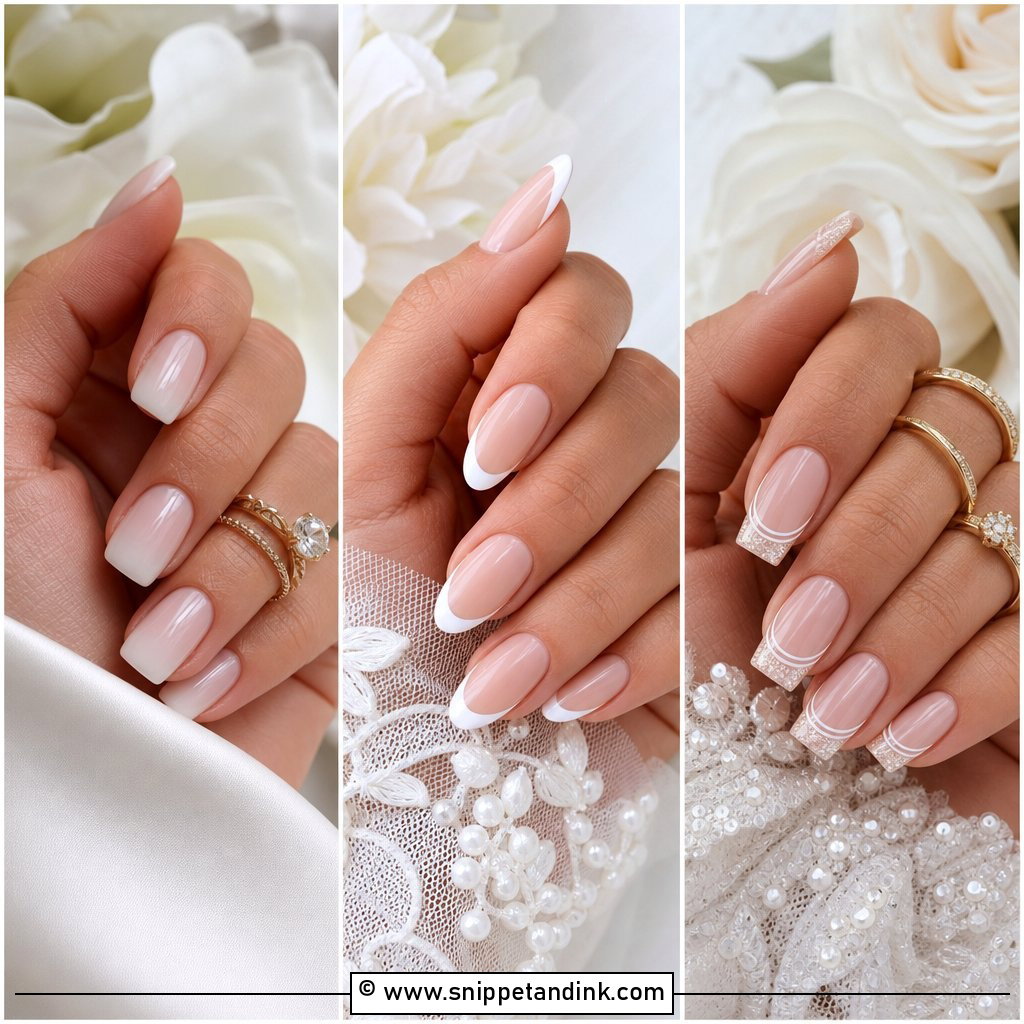
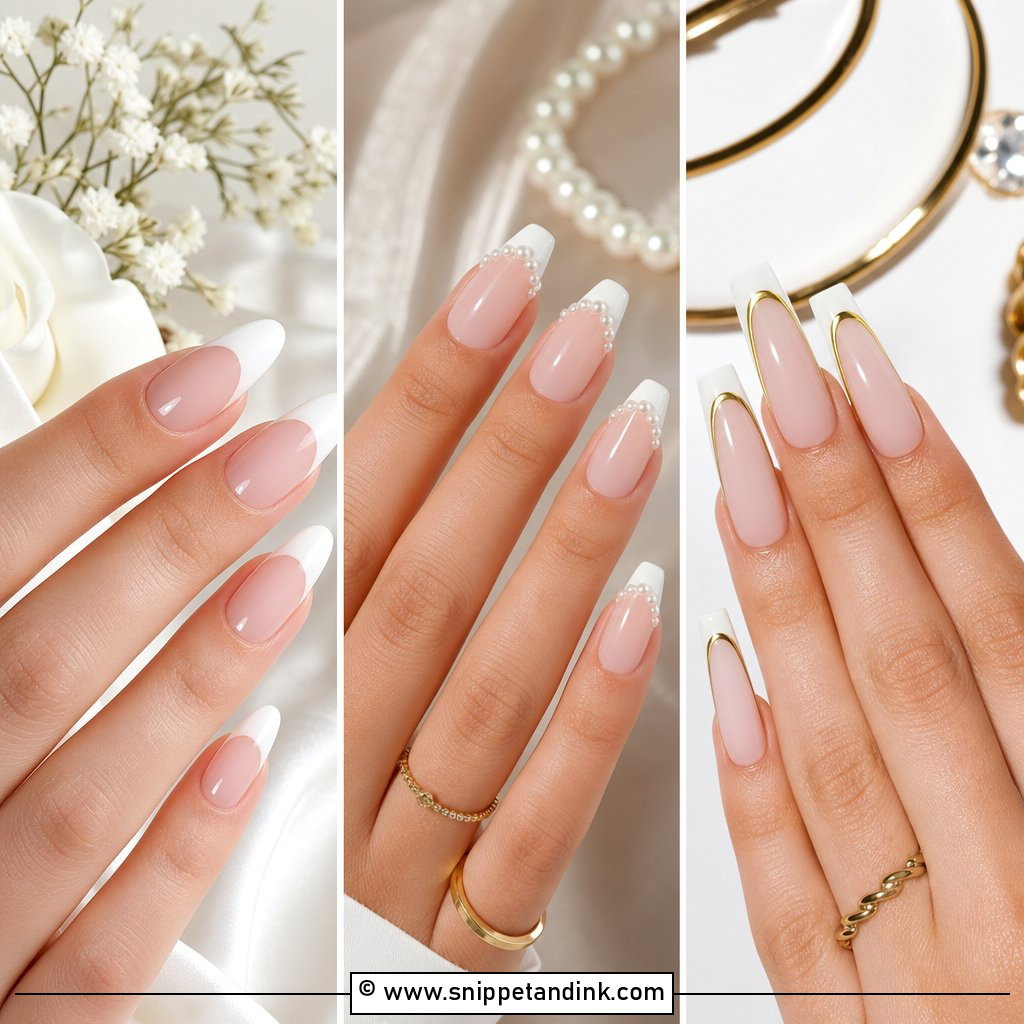
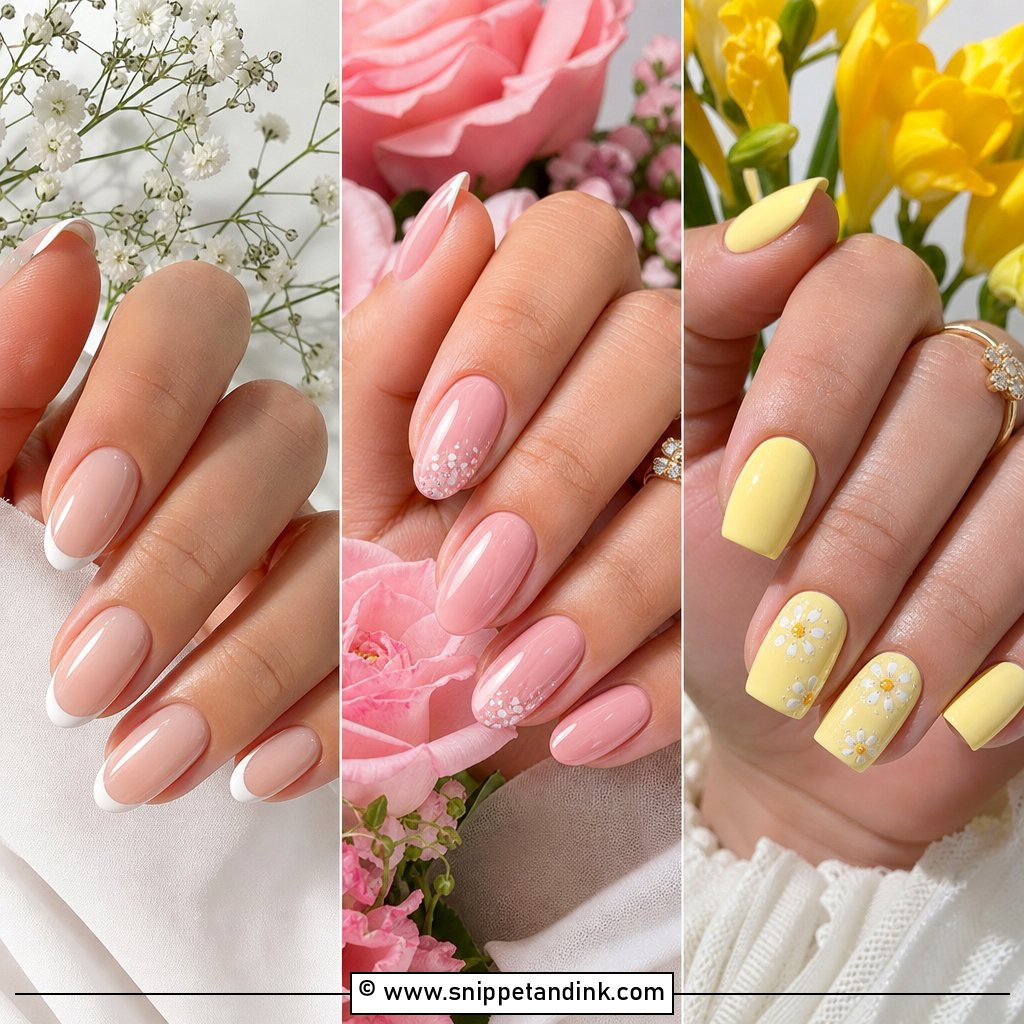
Milky French tip wedding nails swap the old pink base for a sheer milky one, so the white tip melts into the nail instead of sitting on it like a stripe. That softer contrast is also more forgiving if the smile line isn’t perfectly crisp. On short nails I keep the tip thin, around a millimetre or two, because a deep tip on a short nail makes the nail bed look stubby. Longer almond or coffin shapes can take a deeper, curved smile line.
3. Milky Almond Wedding Nails
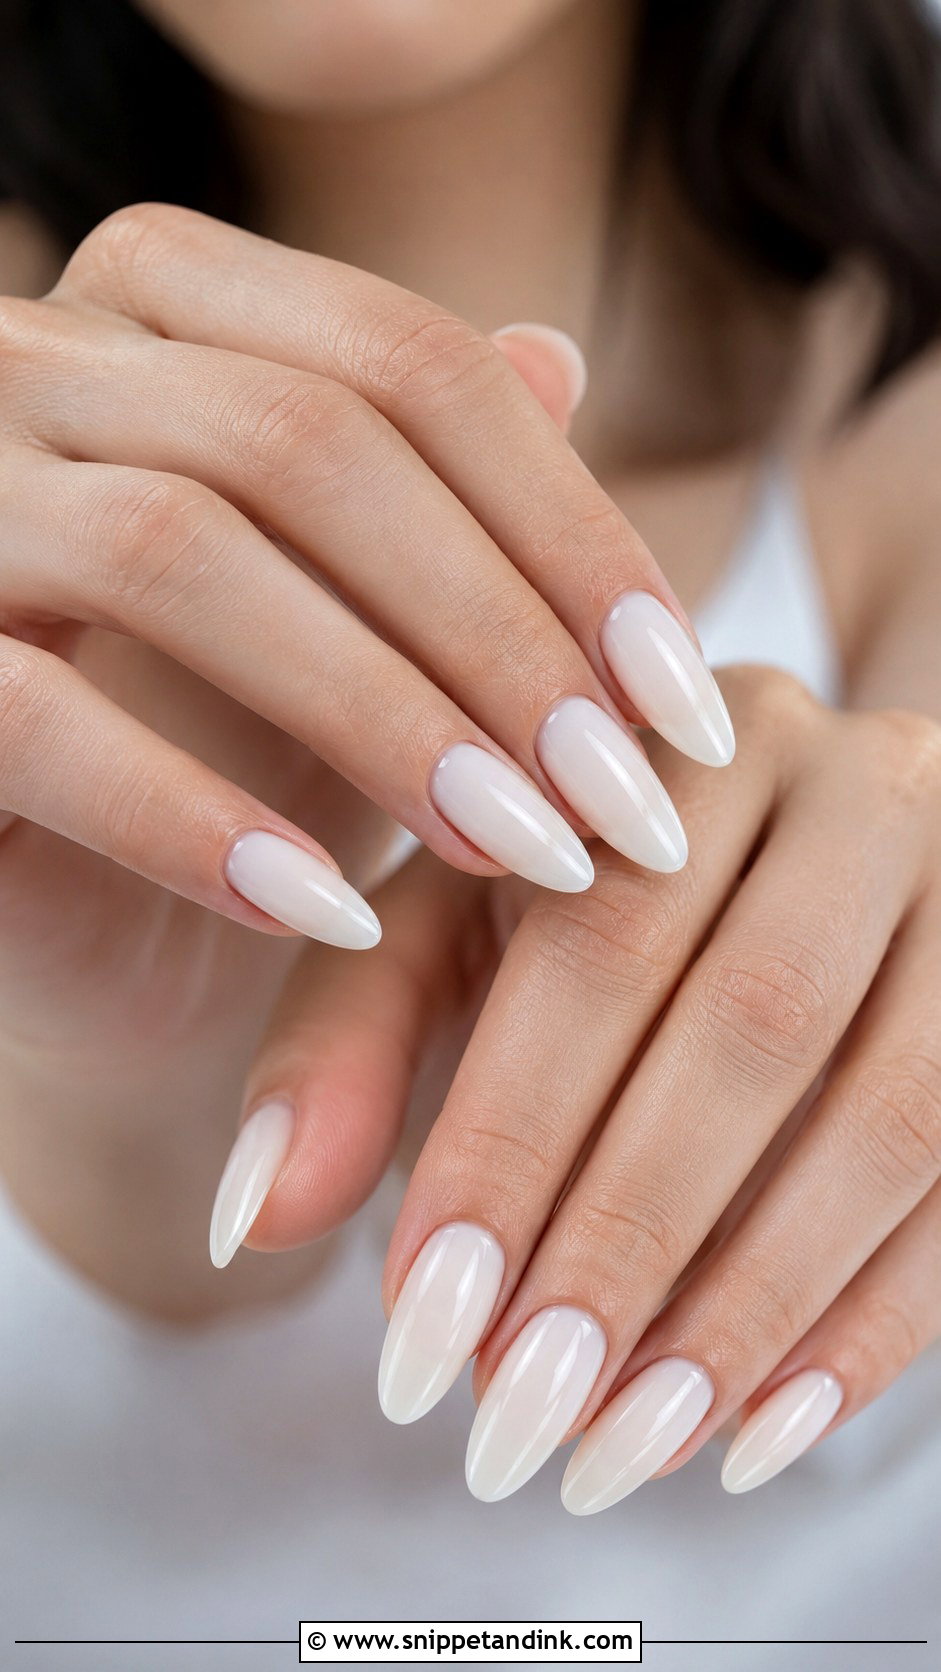
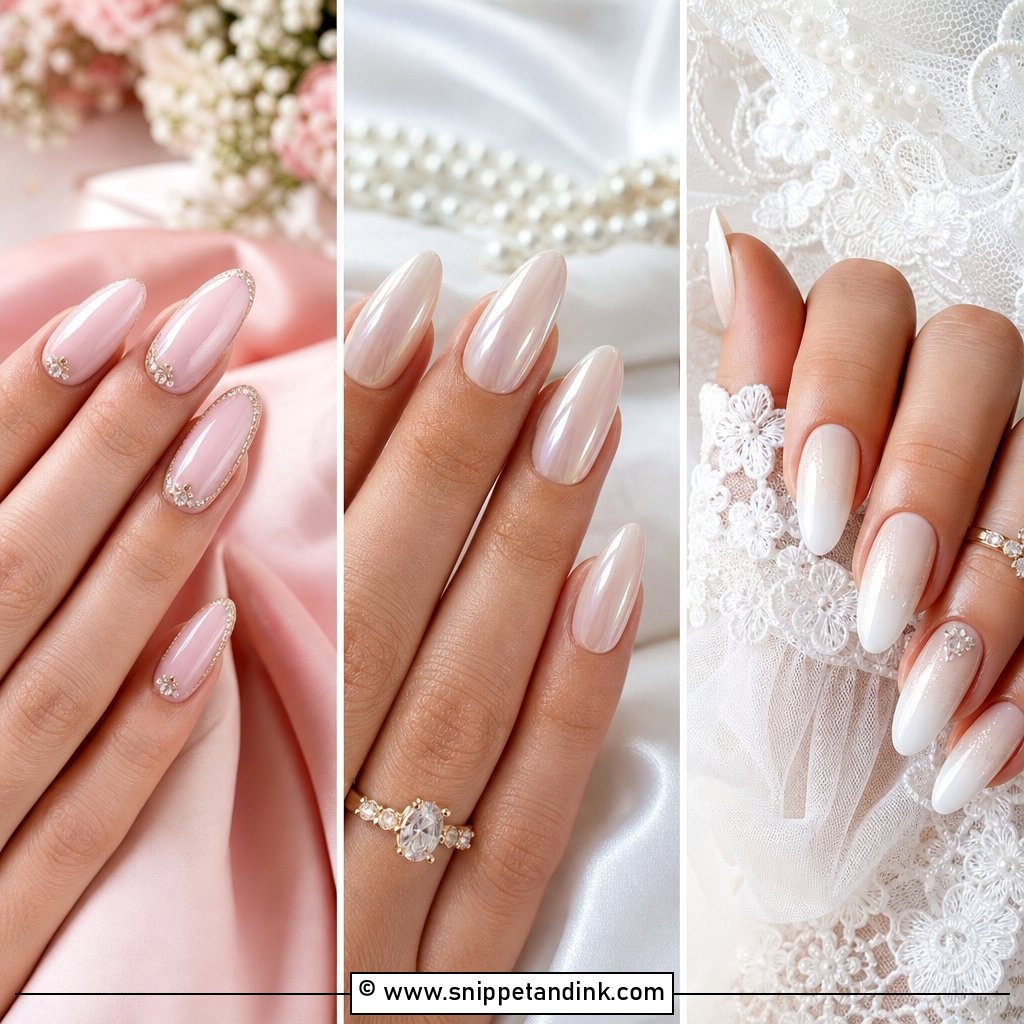
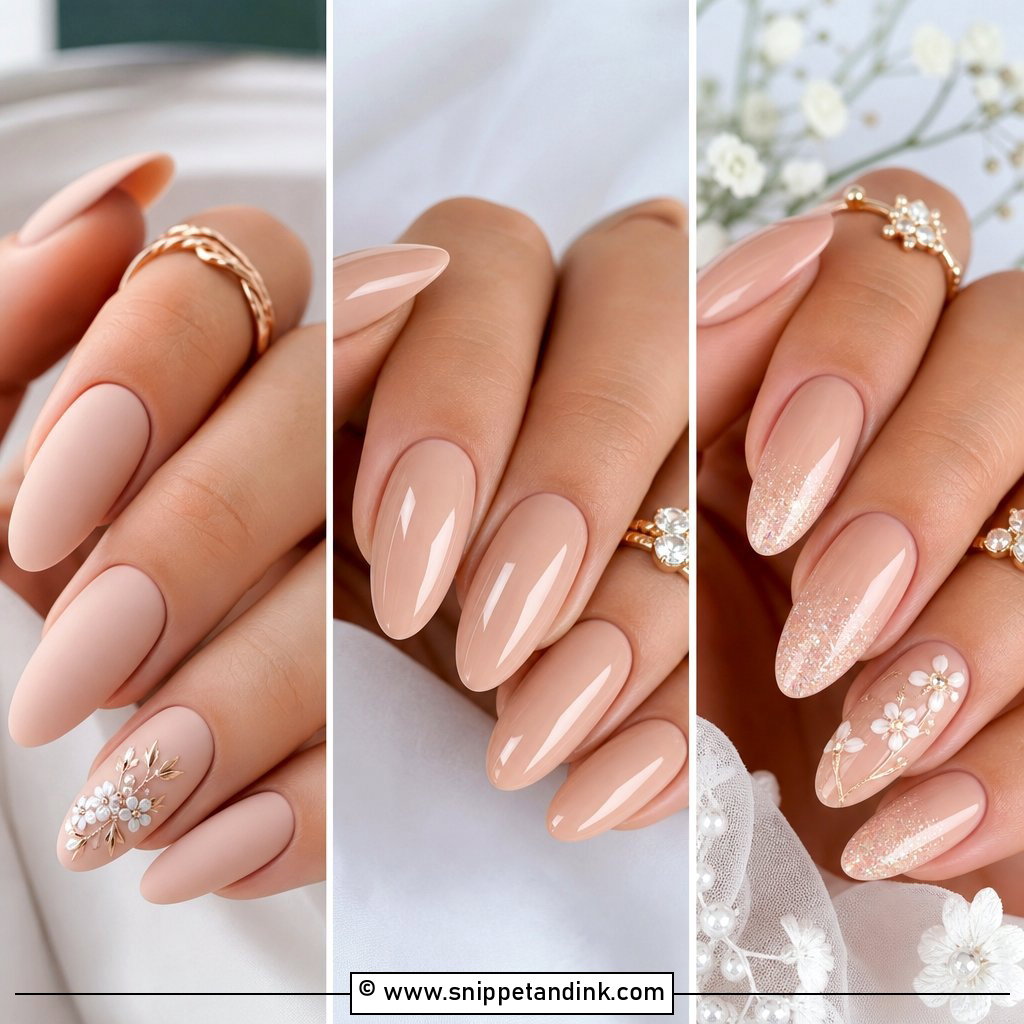
Milky almond wedding nails are the shape I’m asked for most by brides, because the tapered tip makes fingers look longer in ring shots. Almond needs some free edge to file into a point, so if your natural nails are short, plan on extensions or grow them out for a few weeks first. Keep the color sheer for a natural finish, or go to two coats for more coverage. A fine pearl top coat on this shape catches light at the tip without looking frosty.
4. Milky Short Wedding Nails
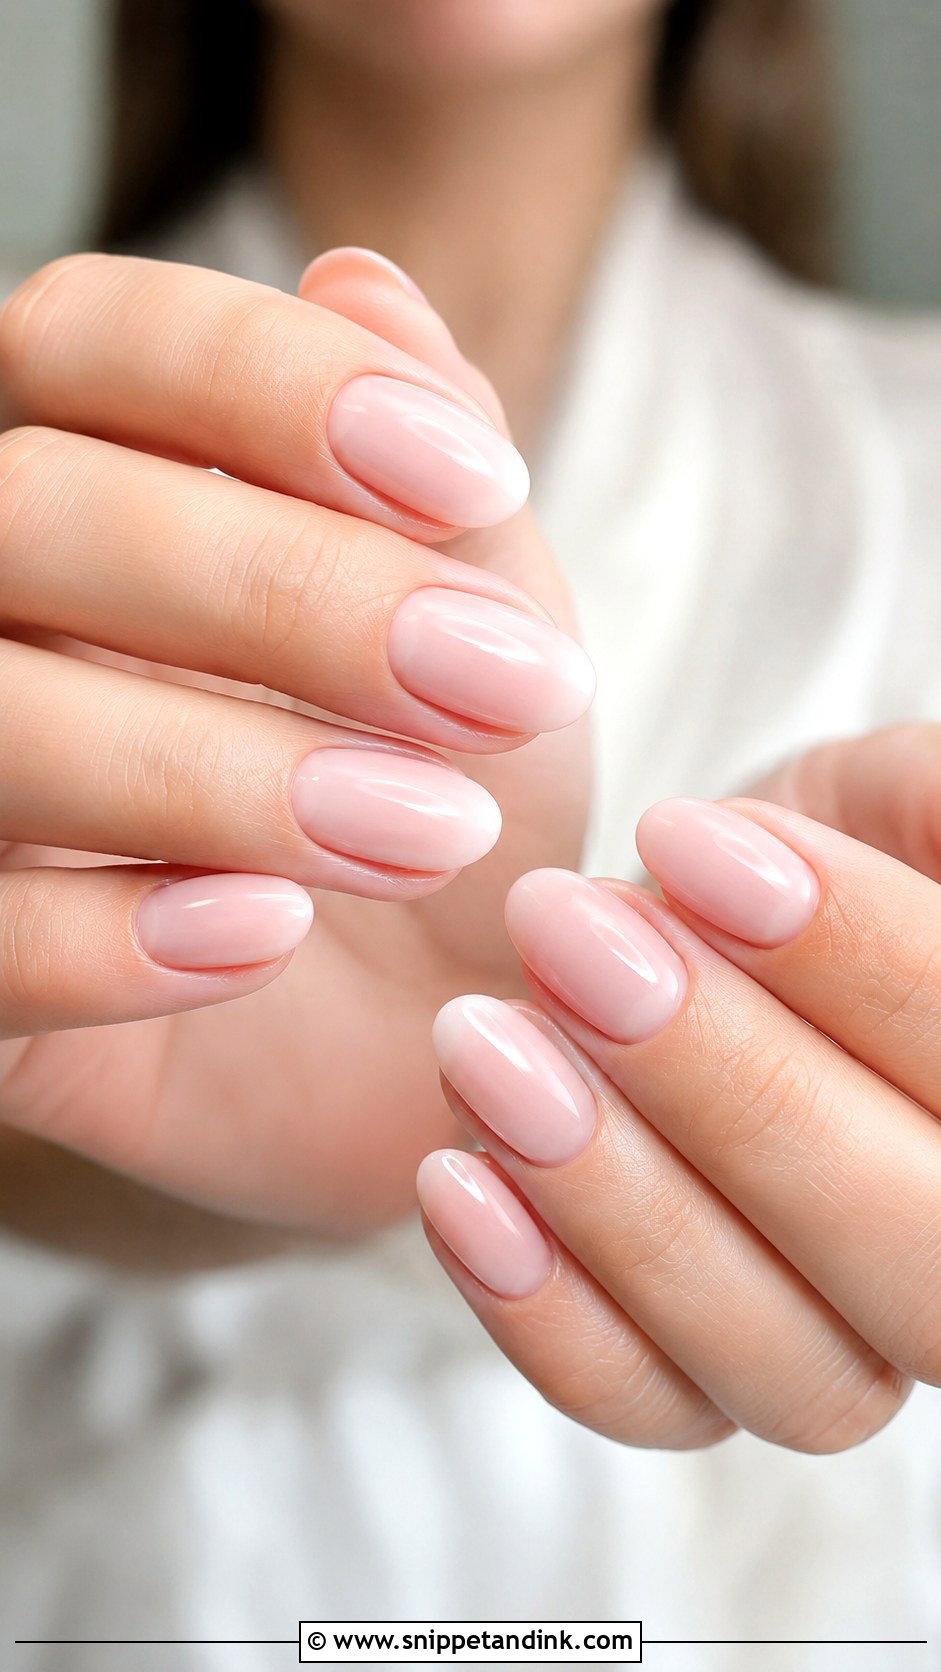
Short milky nails are what I’d suggest to anyone who has never worn length, because you’ll be pinning a veil, holding a bouquet and fiddling with jewelry backs all day. Rounded or soft square shapes suit them. The milky finish evens out a patchy nail bed, which is half the reason short nails look neat in close-ups. What makes or breaks a short set is cuticle work: on a small nail any flooding at the sidewalls shows, so I keep every coat thin and clean the edges before curing.
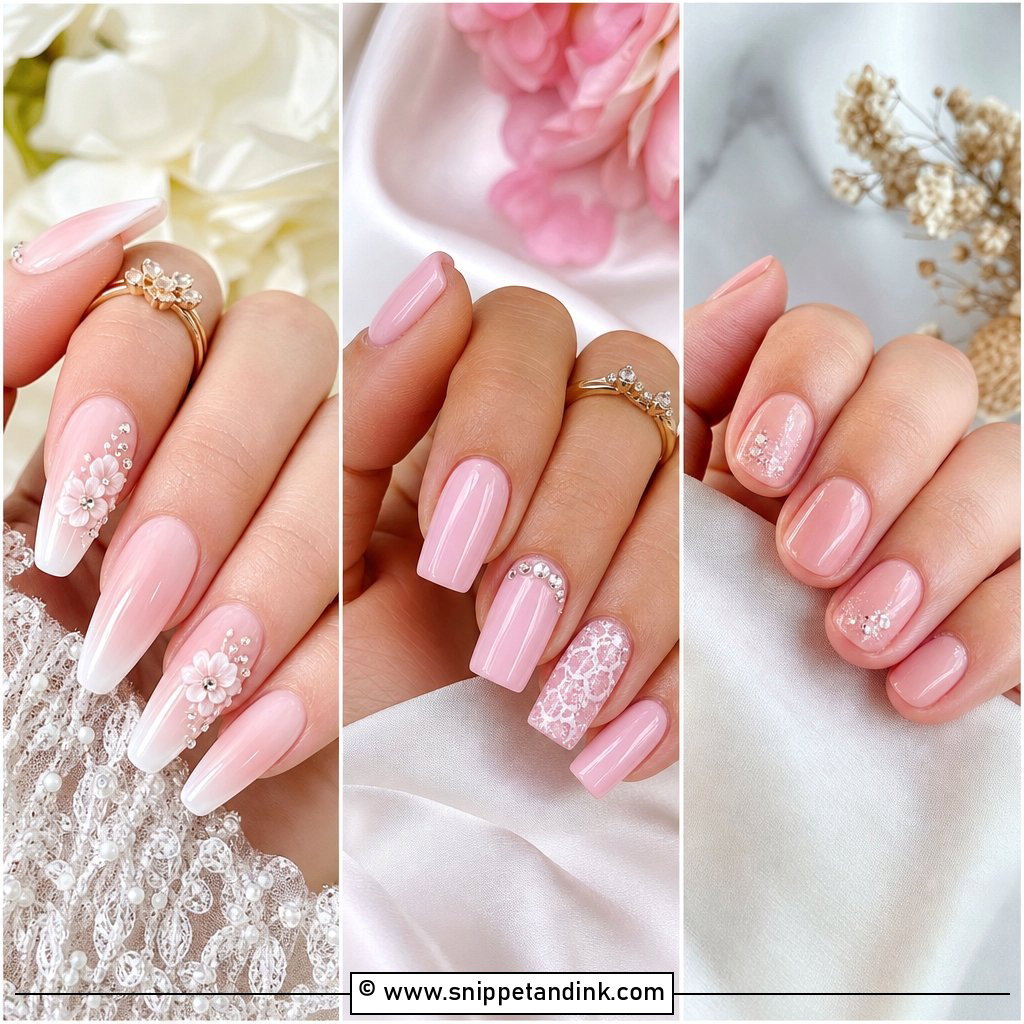
5. Milky Pink Wedding Nails
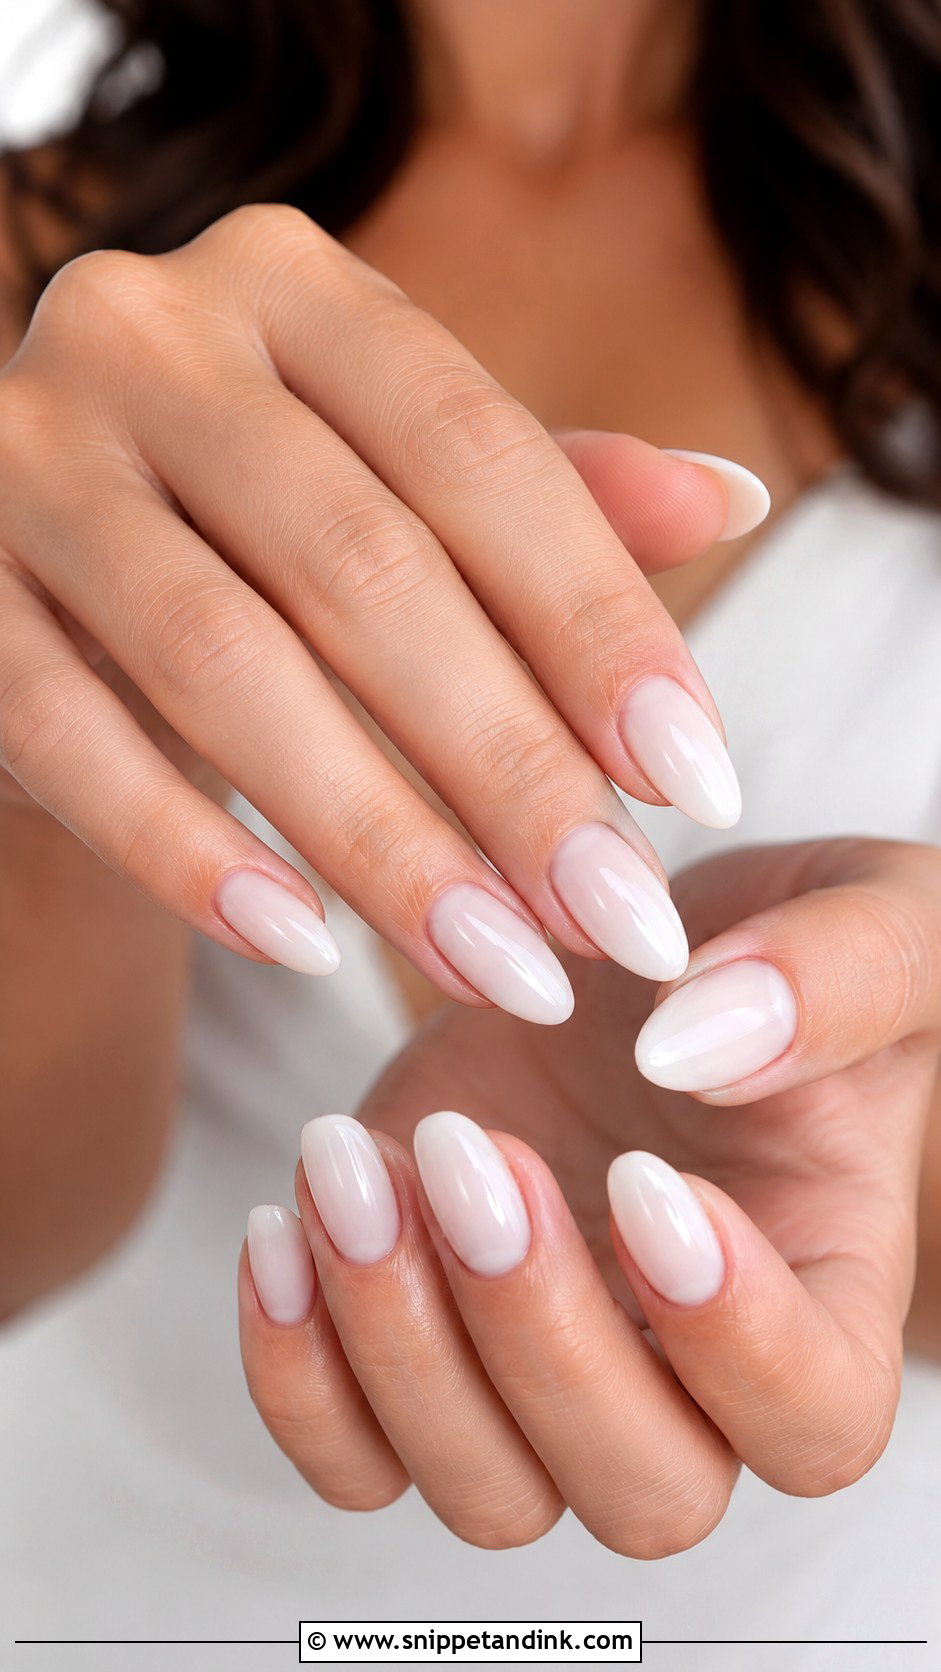
Milky pink adds a blush tint for anyone whose skin looks grey next to a cool milky white. Olive and warm skin tones in particular tend to look healthier with a pink-based sheer. It sits well beside rose gold jewelry and blush flowers. I’ll sometimes mix a drop of sheer pink into the milky white to find the right warmth for a bride’s hands, because off-the-shelf shades can lean either baby pink or peach.
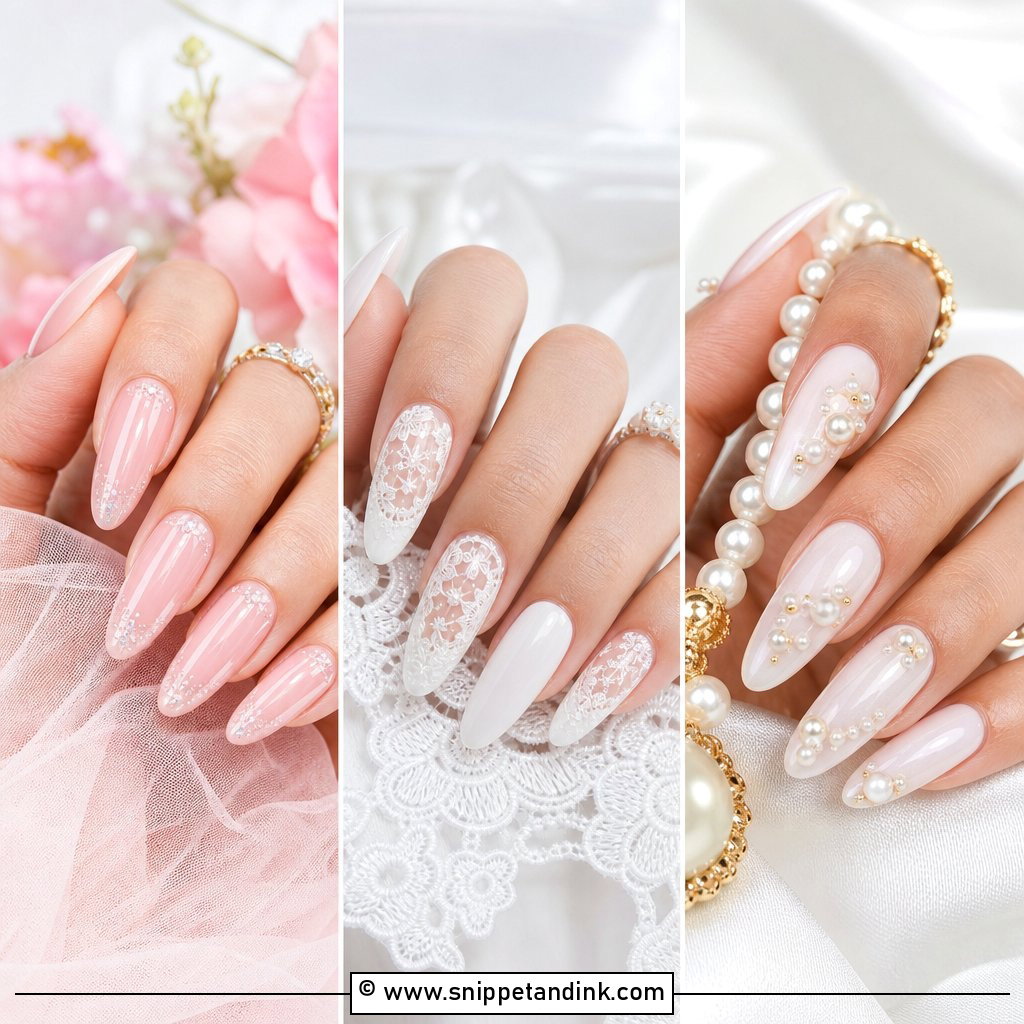
6. Milky Pearl Wedding Nails
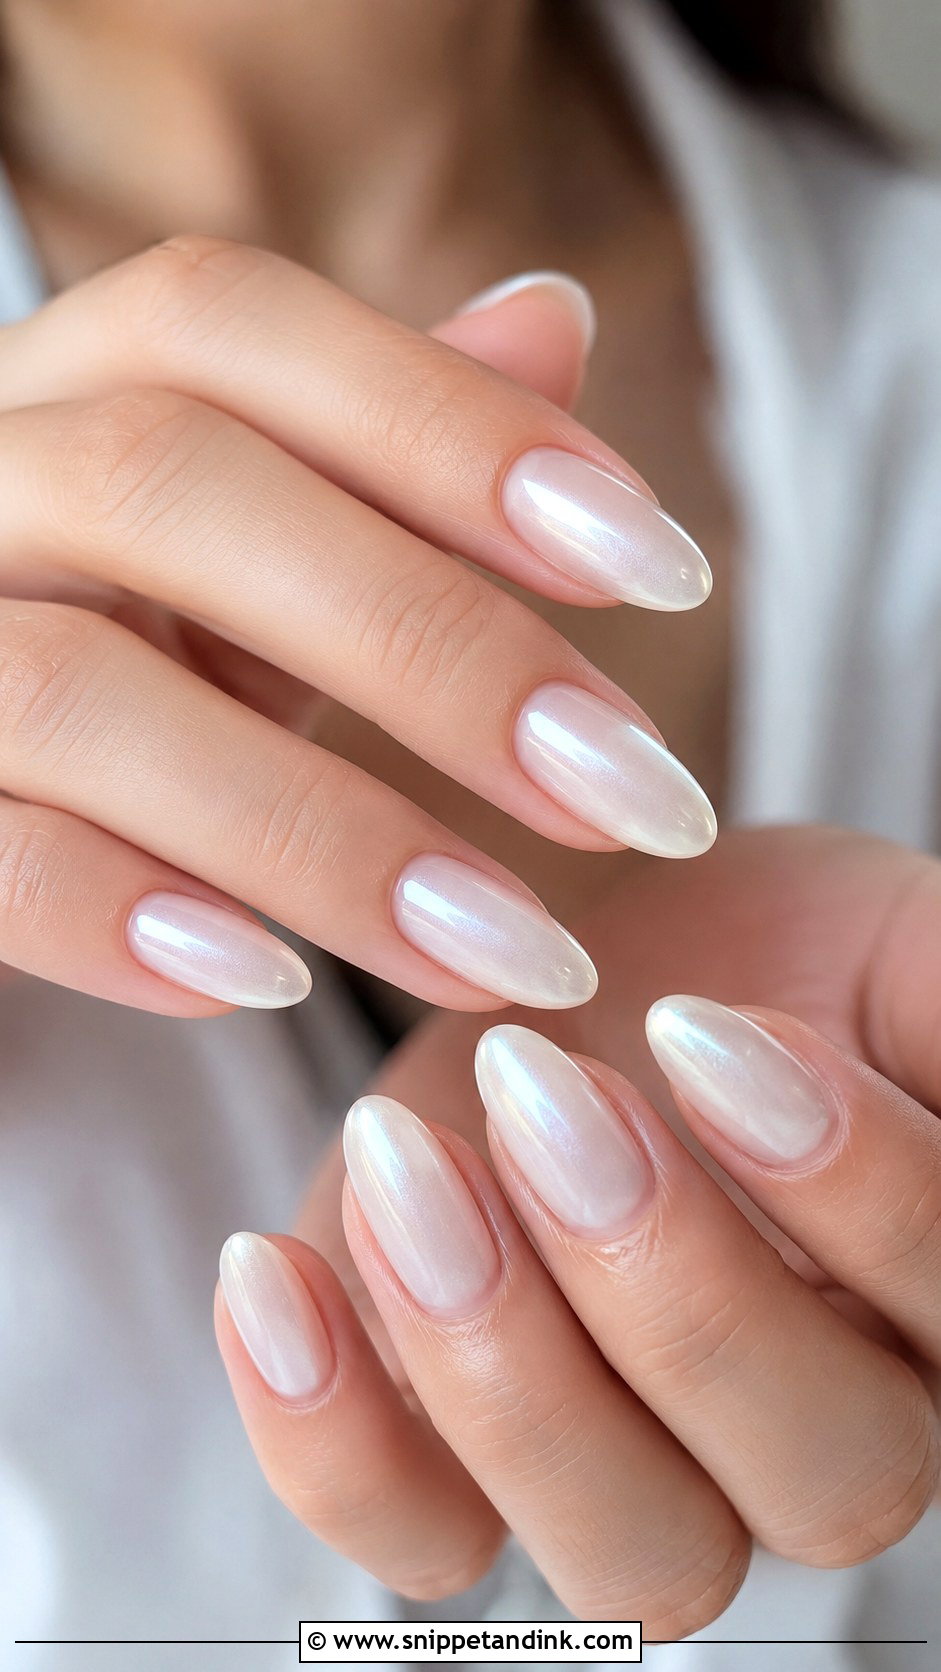
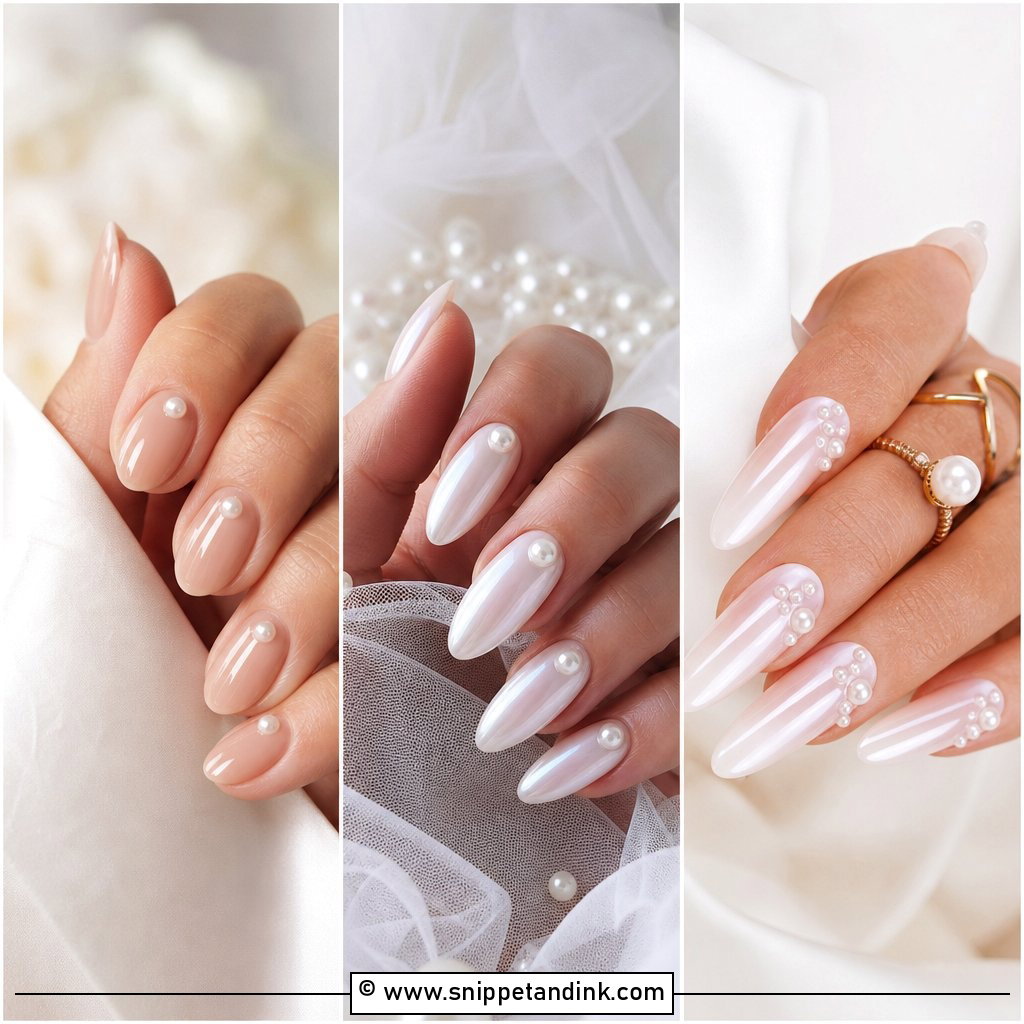
Pearl milky nails get their glow from a fine shimmer or a thin pearl powder over the milky base, rather than glitter. They pick up the sheen of satin or the pearl buttons down a gown’s back very nicely. Ask for a fine pearl effect, not a thick chrome layer, or the finish starts to look frosty and slightly dated. Almond and oval shapes suit it; short square nails keep it modern. Pearl effects show every bump, so the base must be completely smooth before the powder goes on.
7. Milky Chrome Wedding Nails
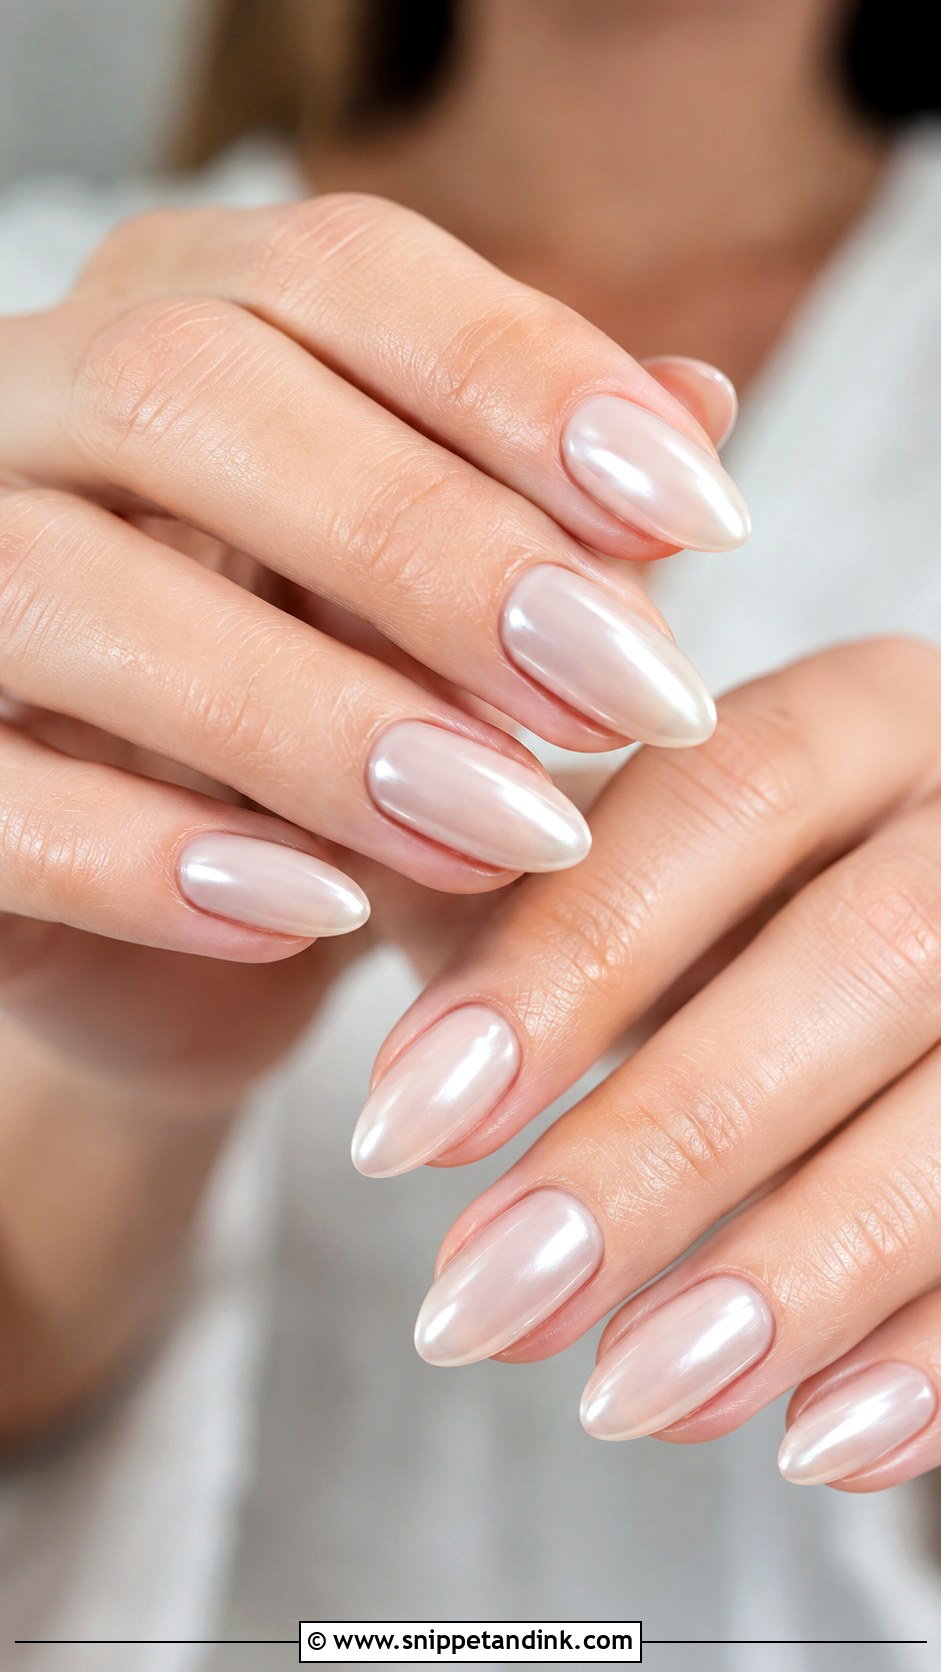
Milky chrome wedding nails are the glazed look: a sheer milky base rubbed with a light chrome powder so the nail reflects light like the inside of a shell. Chrome powder only bonds to a no-wipe top coat, and it magnifies any dent underneath, so prep matters more here than with plain polish. White, pearl and champagne chromes each shift the tone, so test one nail at your trial before committing to the full set. It shows best on almond, oval and coffin shapes.
8. Milky Ombre Wedding Nails
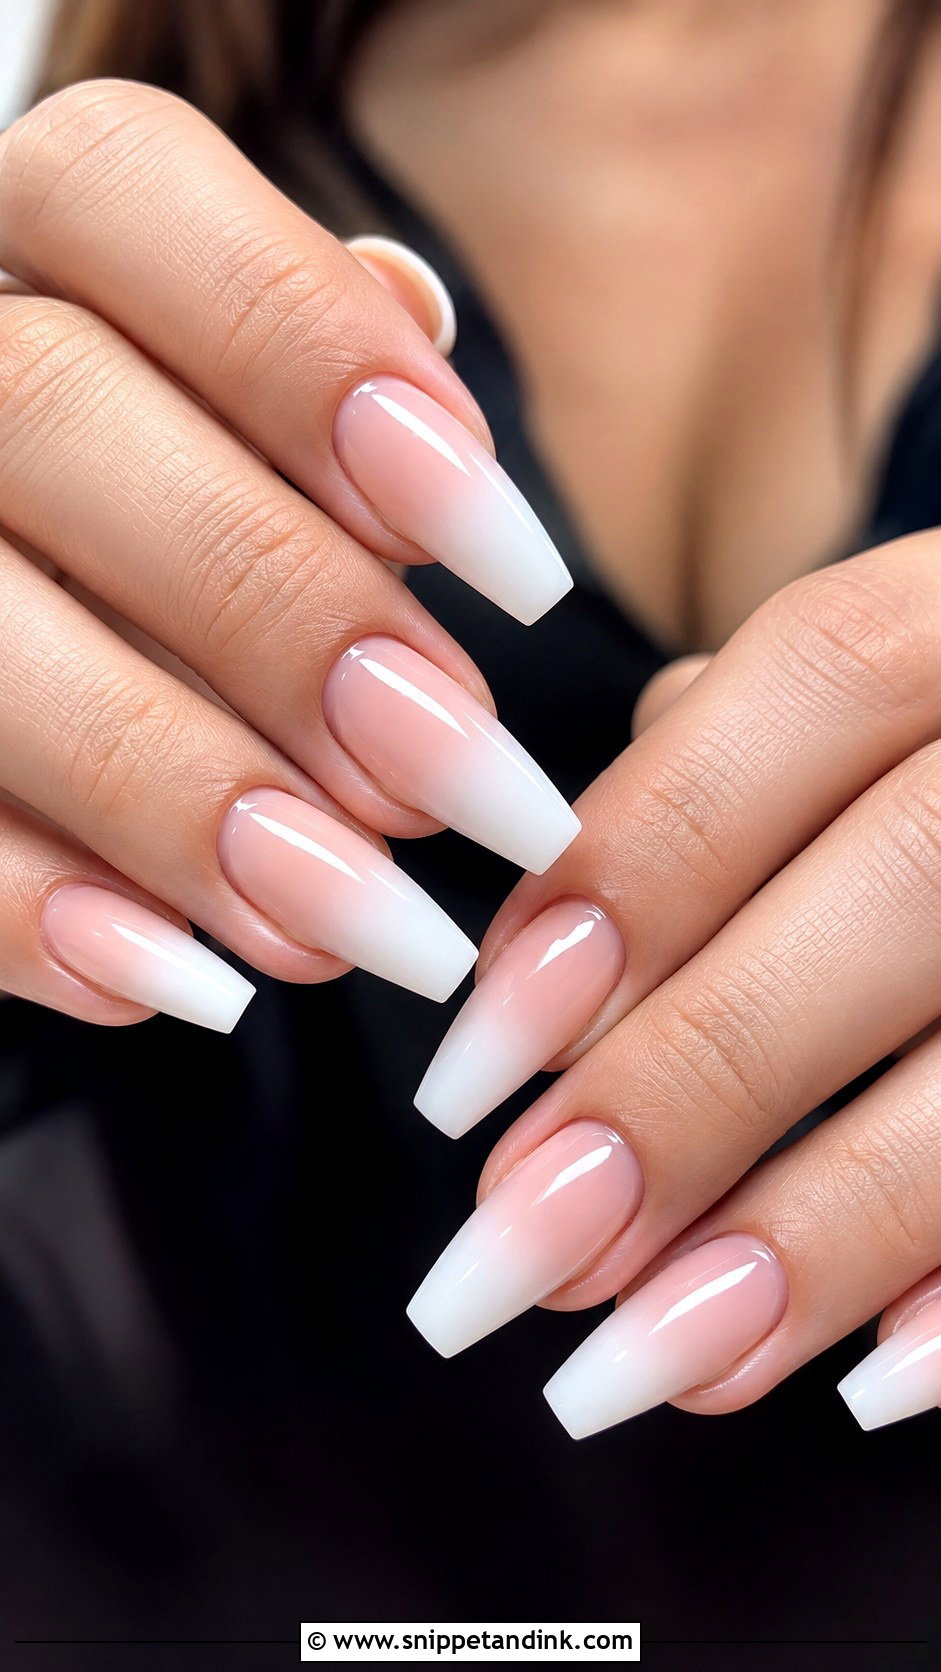
A milky ombre fades from a pale nude or blush at the cuticle into milky white at the tip, the style often called baby boomer nails. The gradient makes the nail bed look longer without the hard line of a French. It is my top choice for brides leaving straight for a honeymoon, because the growth gap at the cuticle hides inside the nude zone for longer than it would on solid white. Gel ombres are blended with a sponge or brush between layers, and a thick glossy top coat smooths the fade.
9. Milky Glitter Wedding Nails
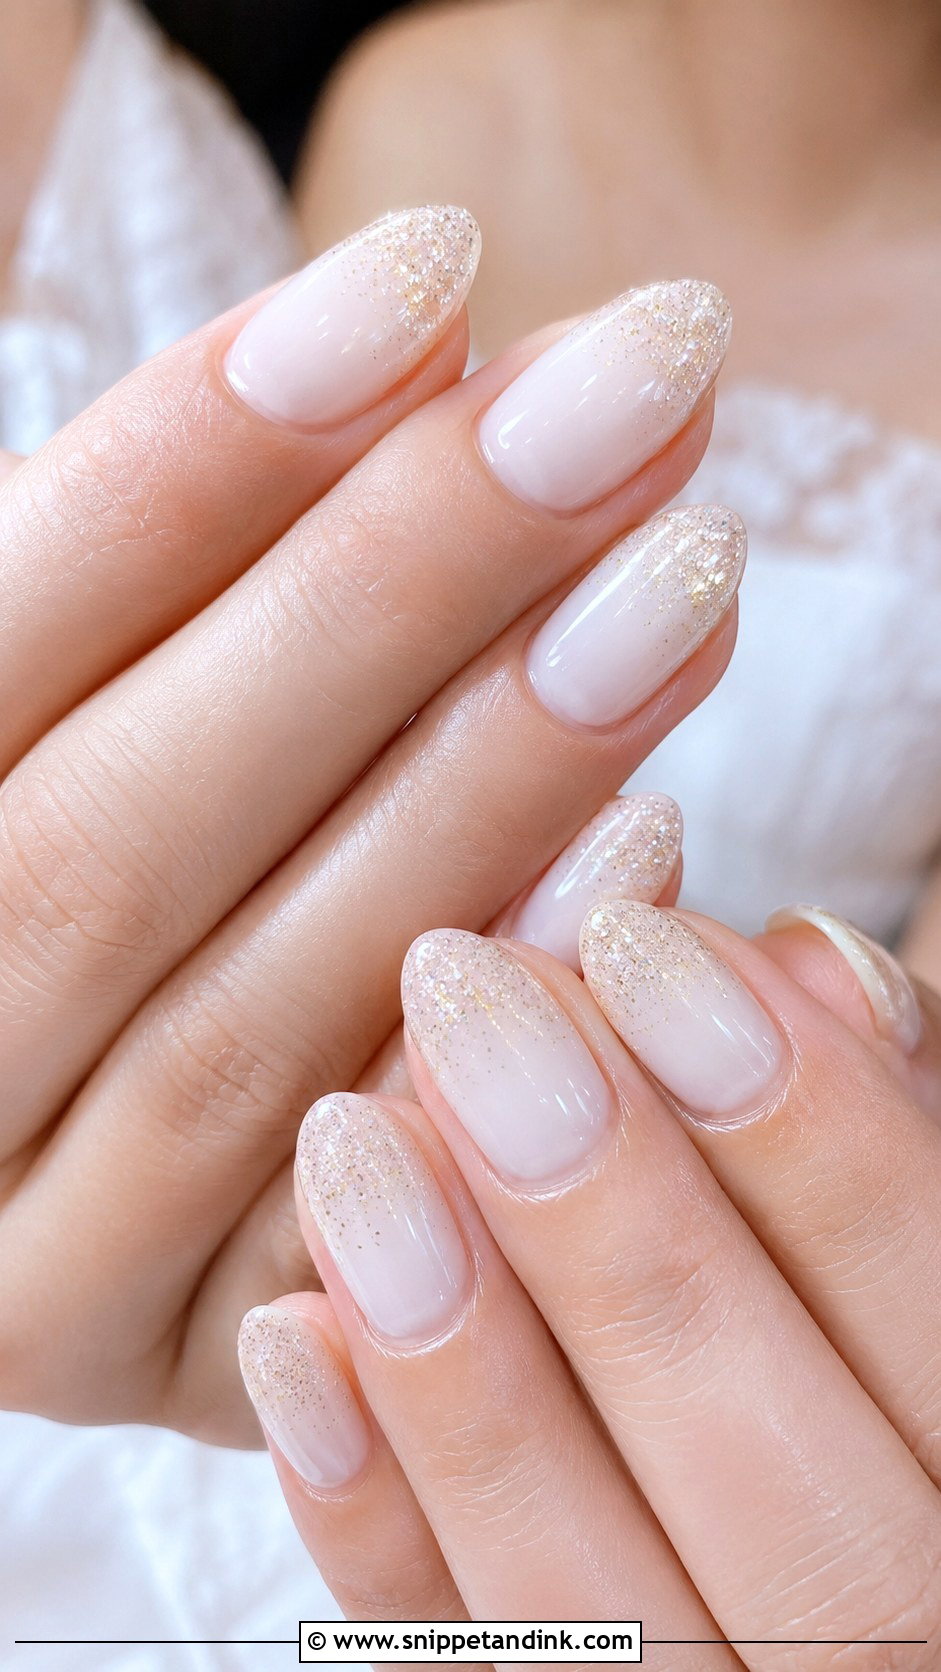
Fine glitter keeps sparkle bridal; chunky pieces look like a party set and catch on tulle. A soft glitter fade from the tips mimics light on fabric, and a reverse fade at the cuticle reads more subtle. Silver, champagne and pearl-toned glitters blend with most bridal metals. One practical note: glitter gel takes longer to soak off than plain gel, so if you plan to remove your set quickly after the wedding, keep the glitter to an accent nail.
10. Milky Coffin Wedding Nails
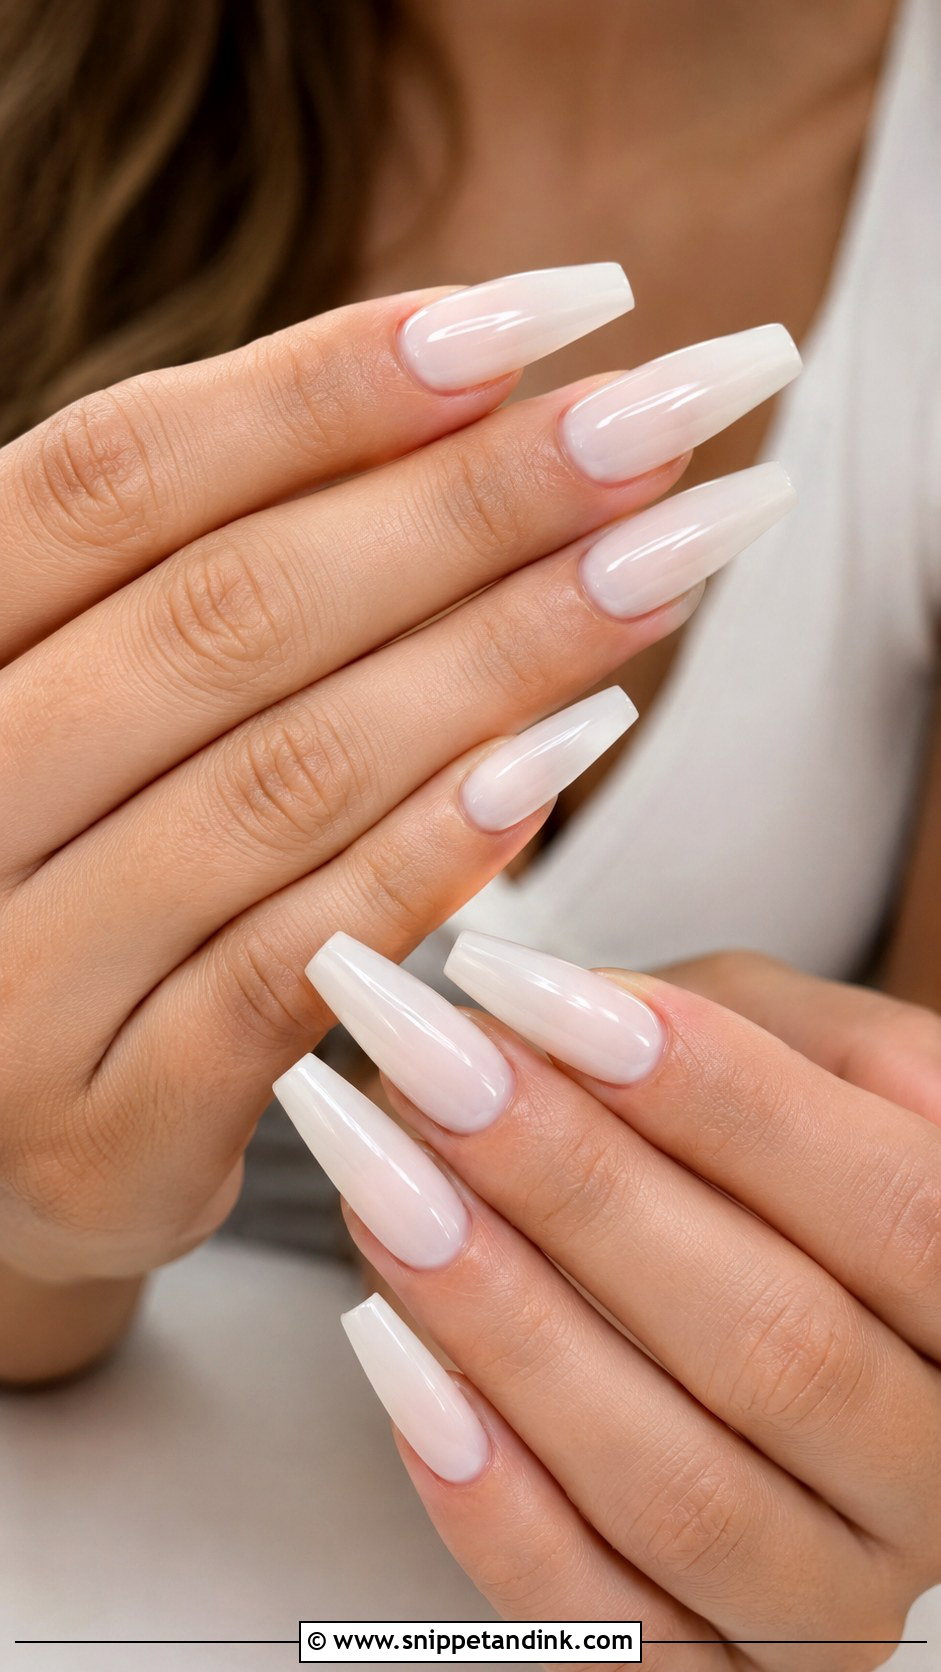
Milky coffin wedding nails suit brides who already wear long extensions and know how to type and pick up pins with them. The tapered sides and flat tip give a modern outline, and the extra surface area can hold a few crystals or fine line work without crowding. If this is your first time in length, I’d not start on your wedding week; long coffin nails take a few days of adjusting before they stop catching on everything.
11. Milky Square Wedding Nails
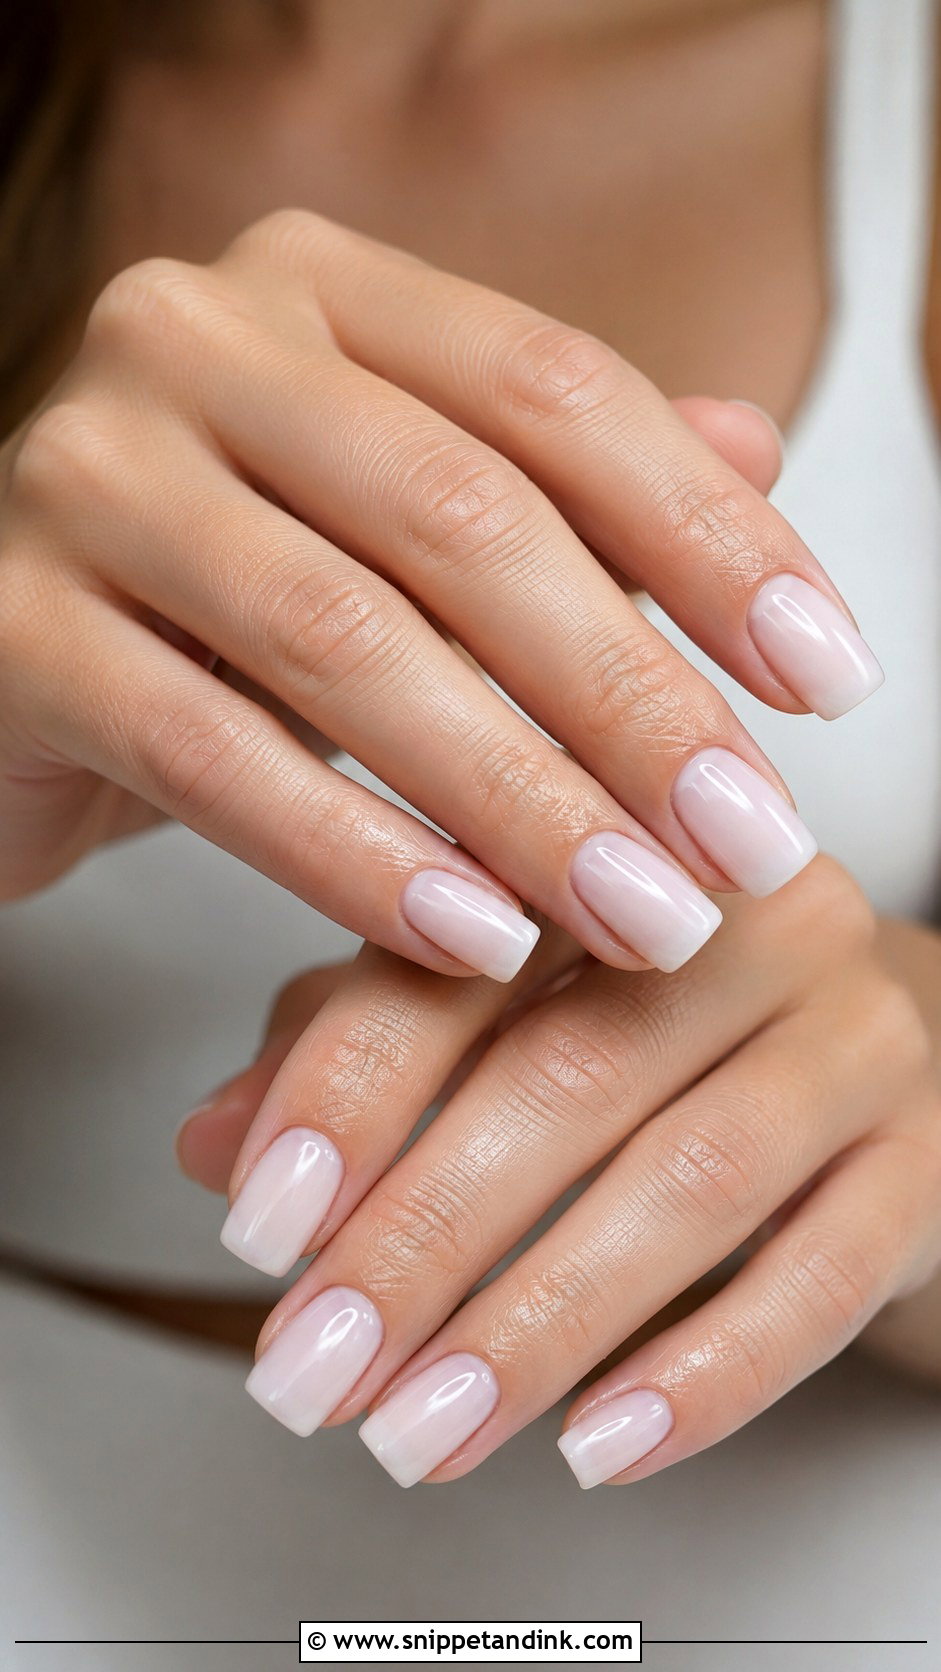
Square milky nails look neat and symmetrical, and the straight edge gives a sheer color some structure. On short nails I soften the corners slightly into a squoval, since sharp corners on a short nail snag on lace and look boxy. Medium and long nails can carry a true square. A thin French tip or a single pearl on each ring finger is plenty of extra detail with this shape.
12. Milky Oval Wedding Nails
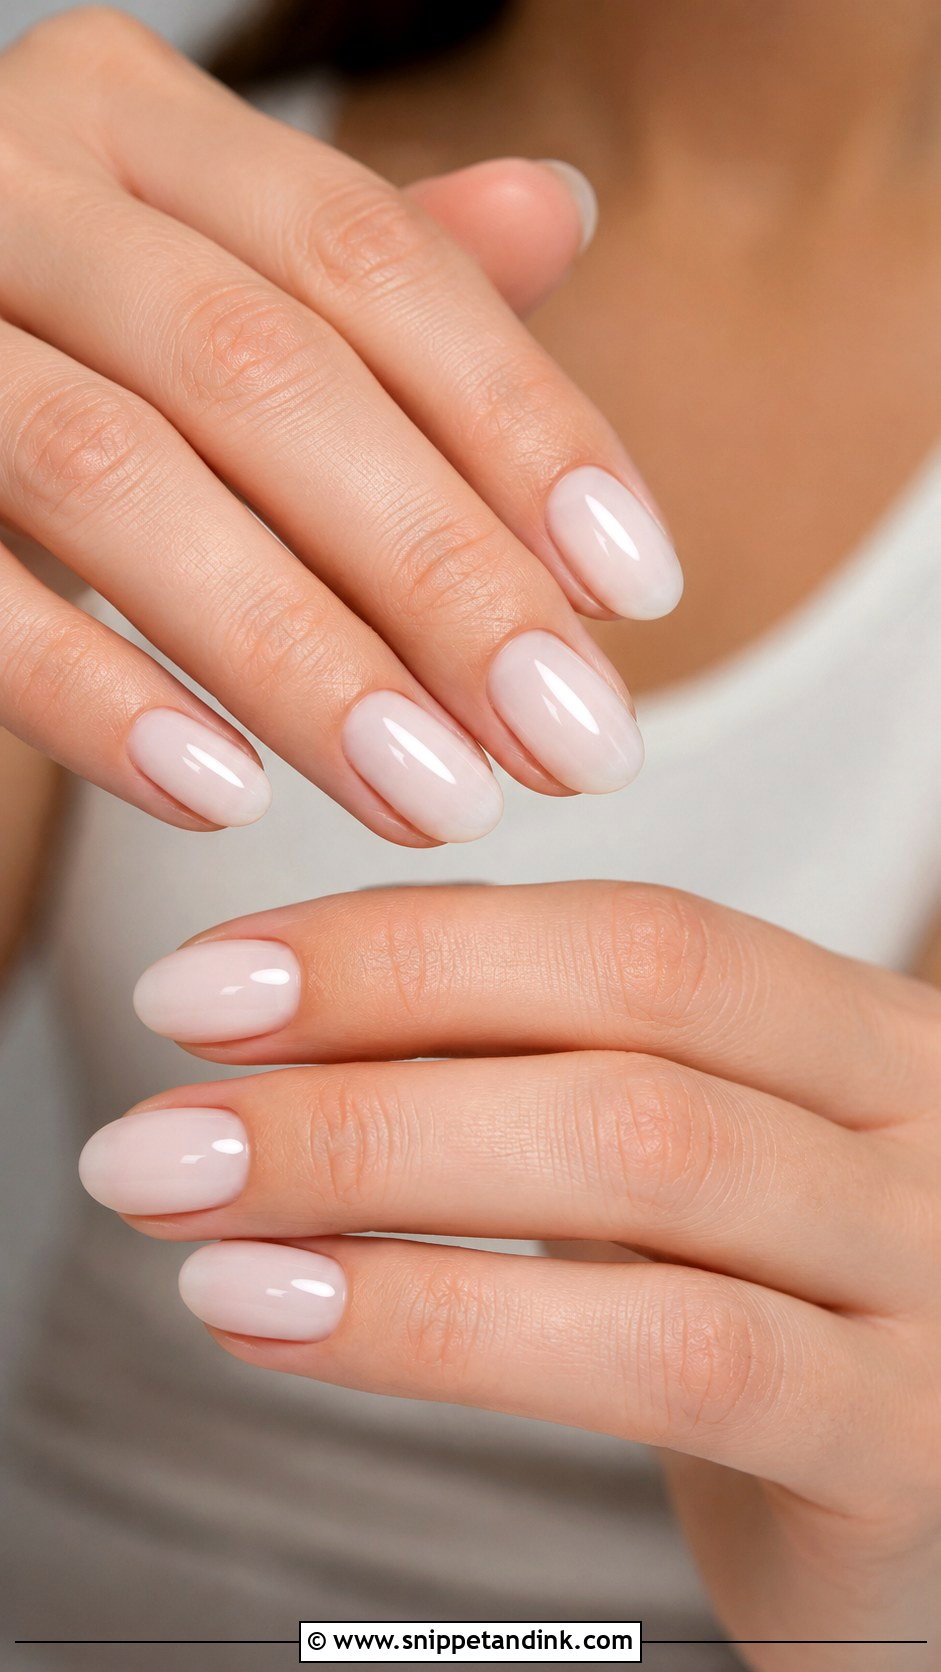
Ovals follow the curve of the fingertip, which is why they flatter almost every hand. They’re also the easiest shape to wear on your own natural nails if you have a few millimetres of free edge, so many brides skip extensions entirely. A sheer white, soft ivory or milky pink all suit it. Because ovals have no corners, they chip less, which counts when you’re hugging guests all evening.
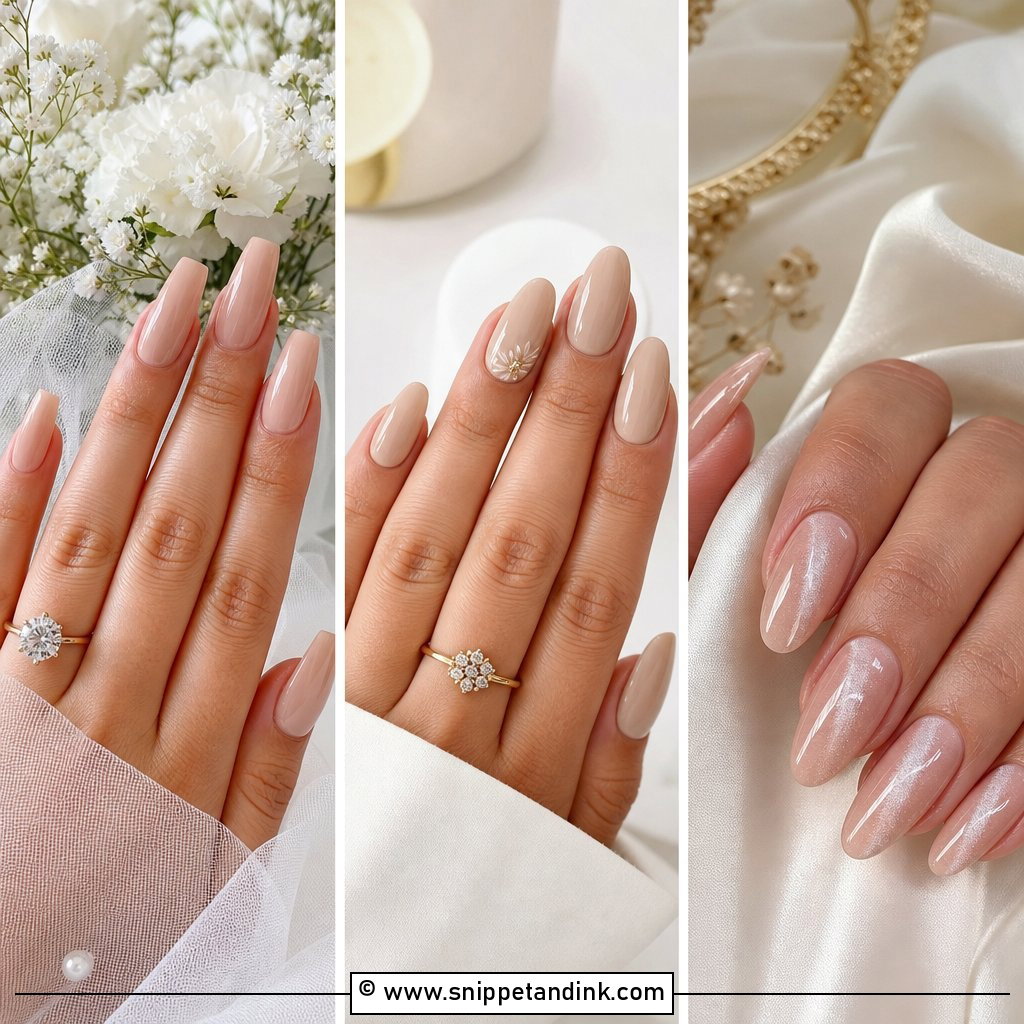
13. Milky Nude Wedding Nails
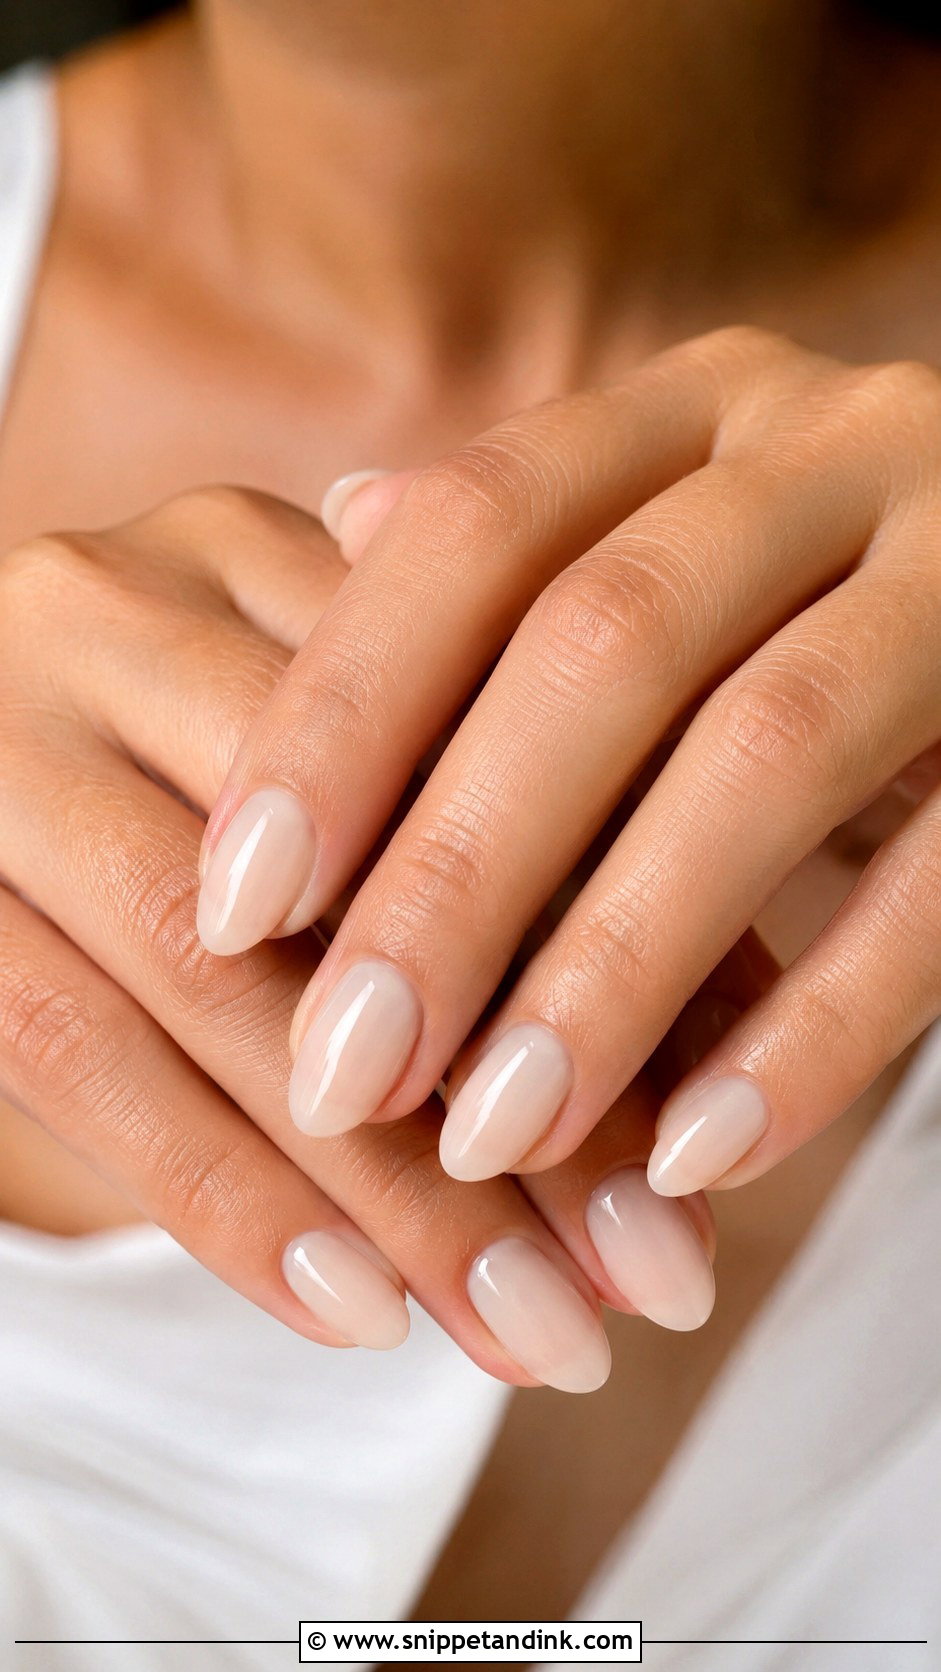
Milky nude blends a beige, blush or taupe base with a sheer milky overlay, so it’s warmer and quieter than milky white. I match the nude to the skin on the back of the hand, not the face, since hands are often a shade or two different. It suits ivory and champagne gowns and gold jewelry, and it is the most discreet option for anyone who wants their nails to disappear in photos.
14. Milky Marble Wedding Nails
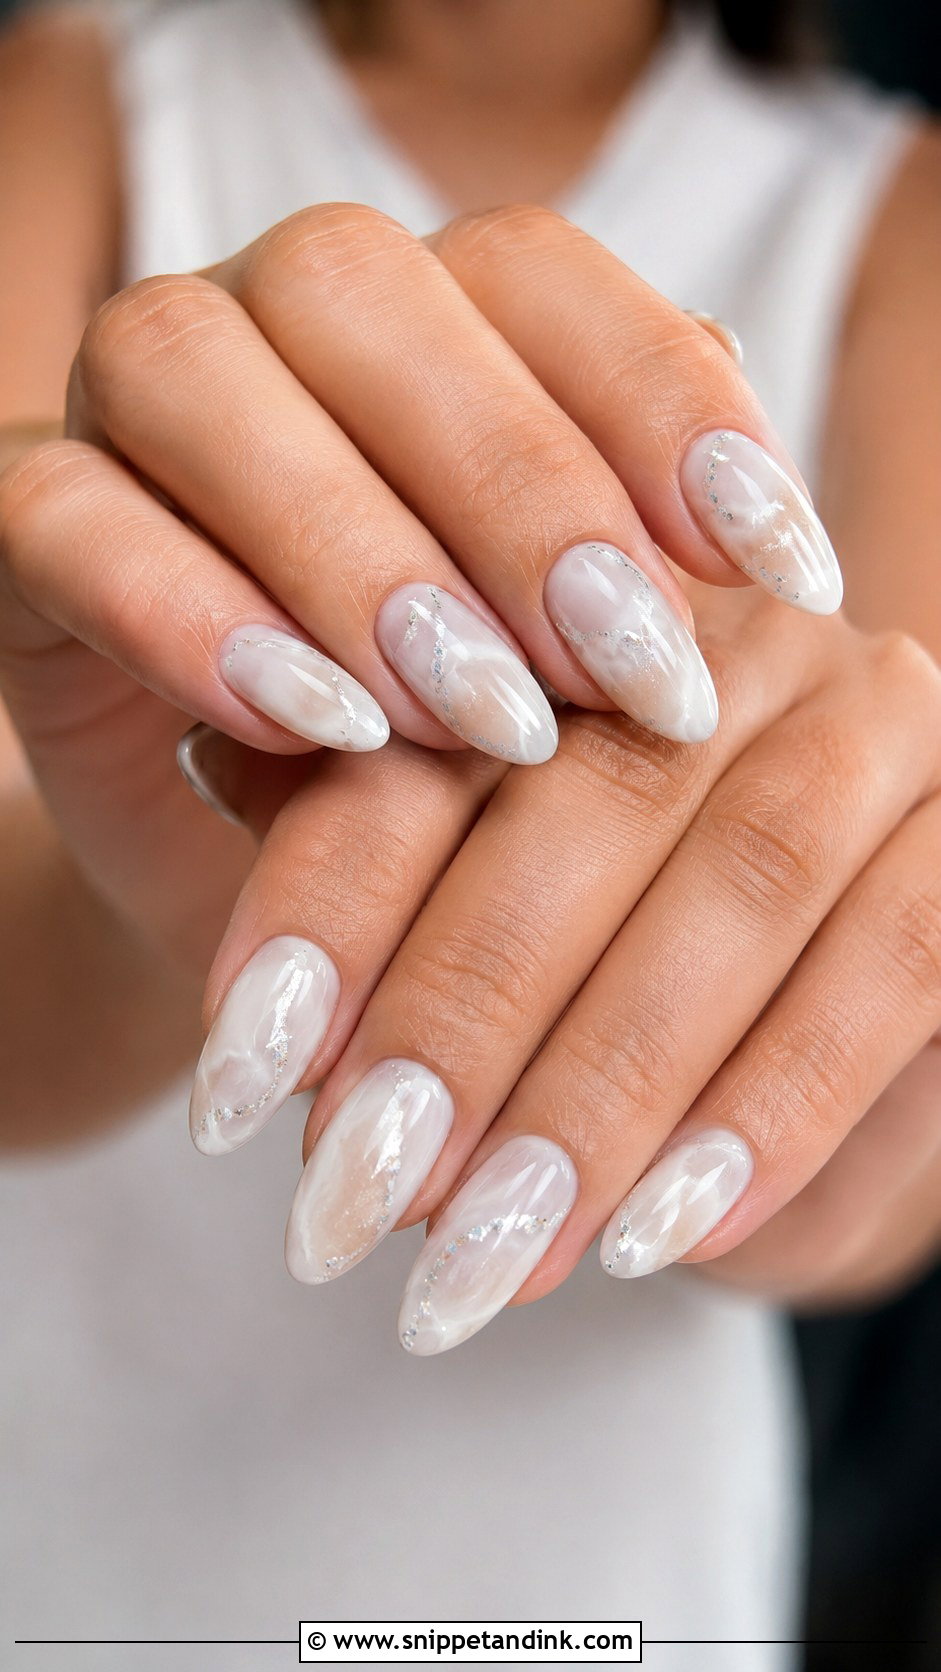
Marble milky nails take a sheer base and add fine veins in white, ivory or pale gray. The veining should look like stone under glass, so I keep the lines thin and slightly broken, never solid. It needs room to move, which means medium almond, oval or coffin nails rather than very short ones. Leave out dark gray or black; on a white base it looks harsh and draws the eye away from the ring.
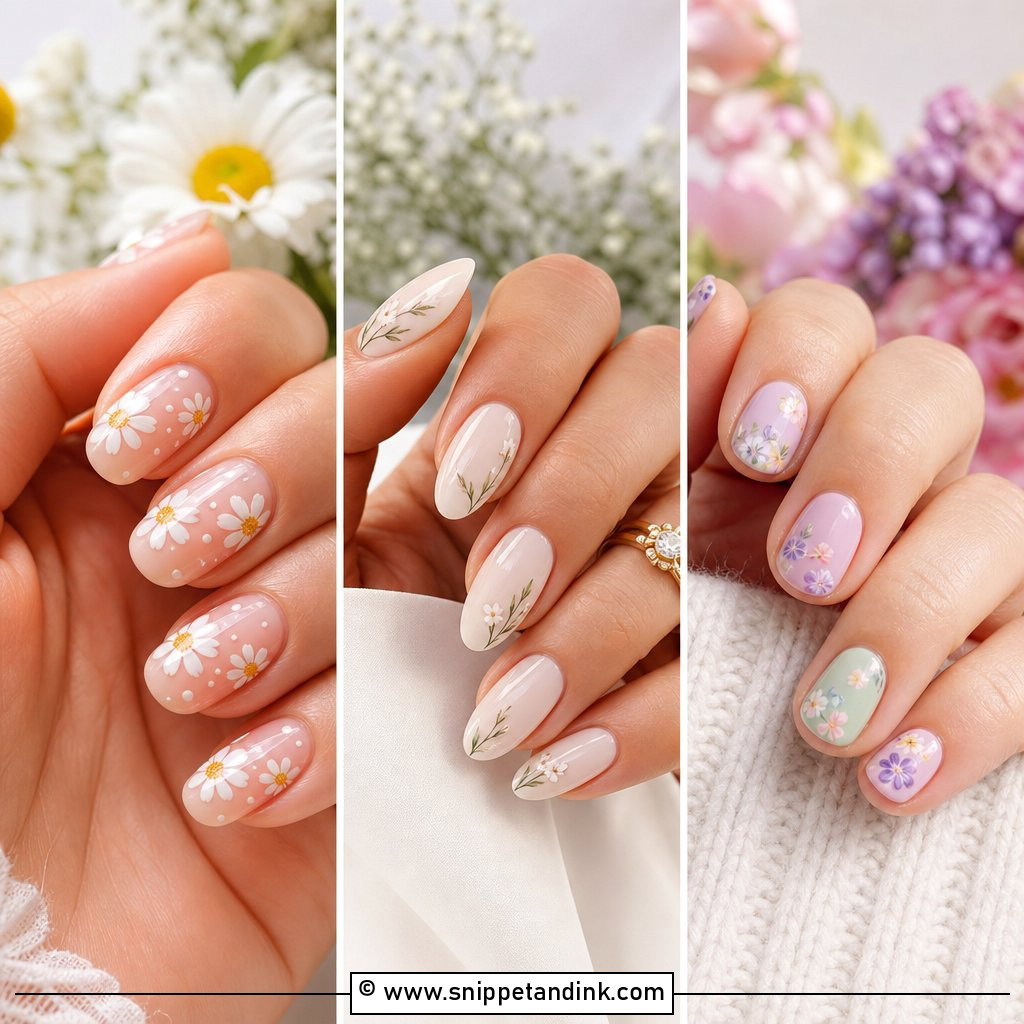
15. Milky Floral Wedding Nails
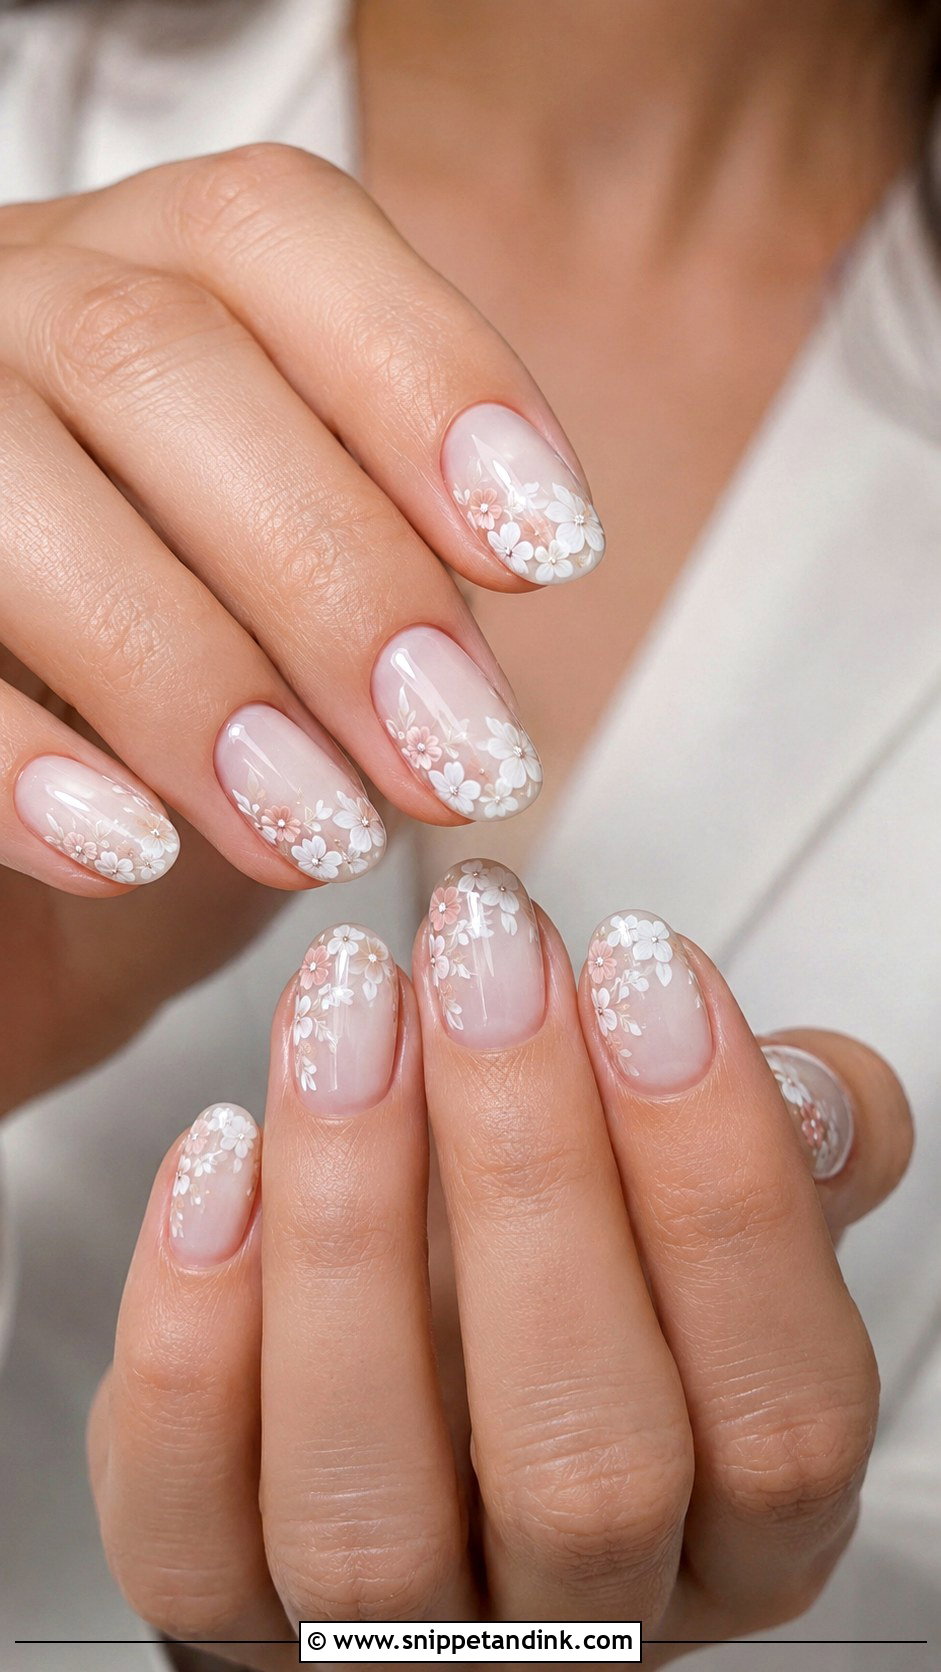
Floral milky nails layer tiny white, blush or nude flowers over the sheer base. Spring and garden weddings suit them, though small, pale flowers work in any season. I usually paint flowers on two accent nails per hand and leave the rest glossy, which keeps them from looking busy. Pressed dried flowers can be sealed into gel too, but they need a thicker top coat to stay flat, so ask for a thin flower variety.
16. Milky Rhinestone Wedding Nails
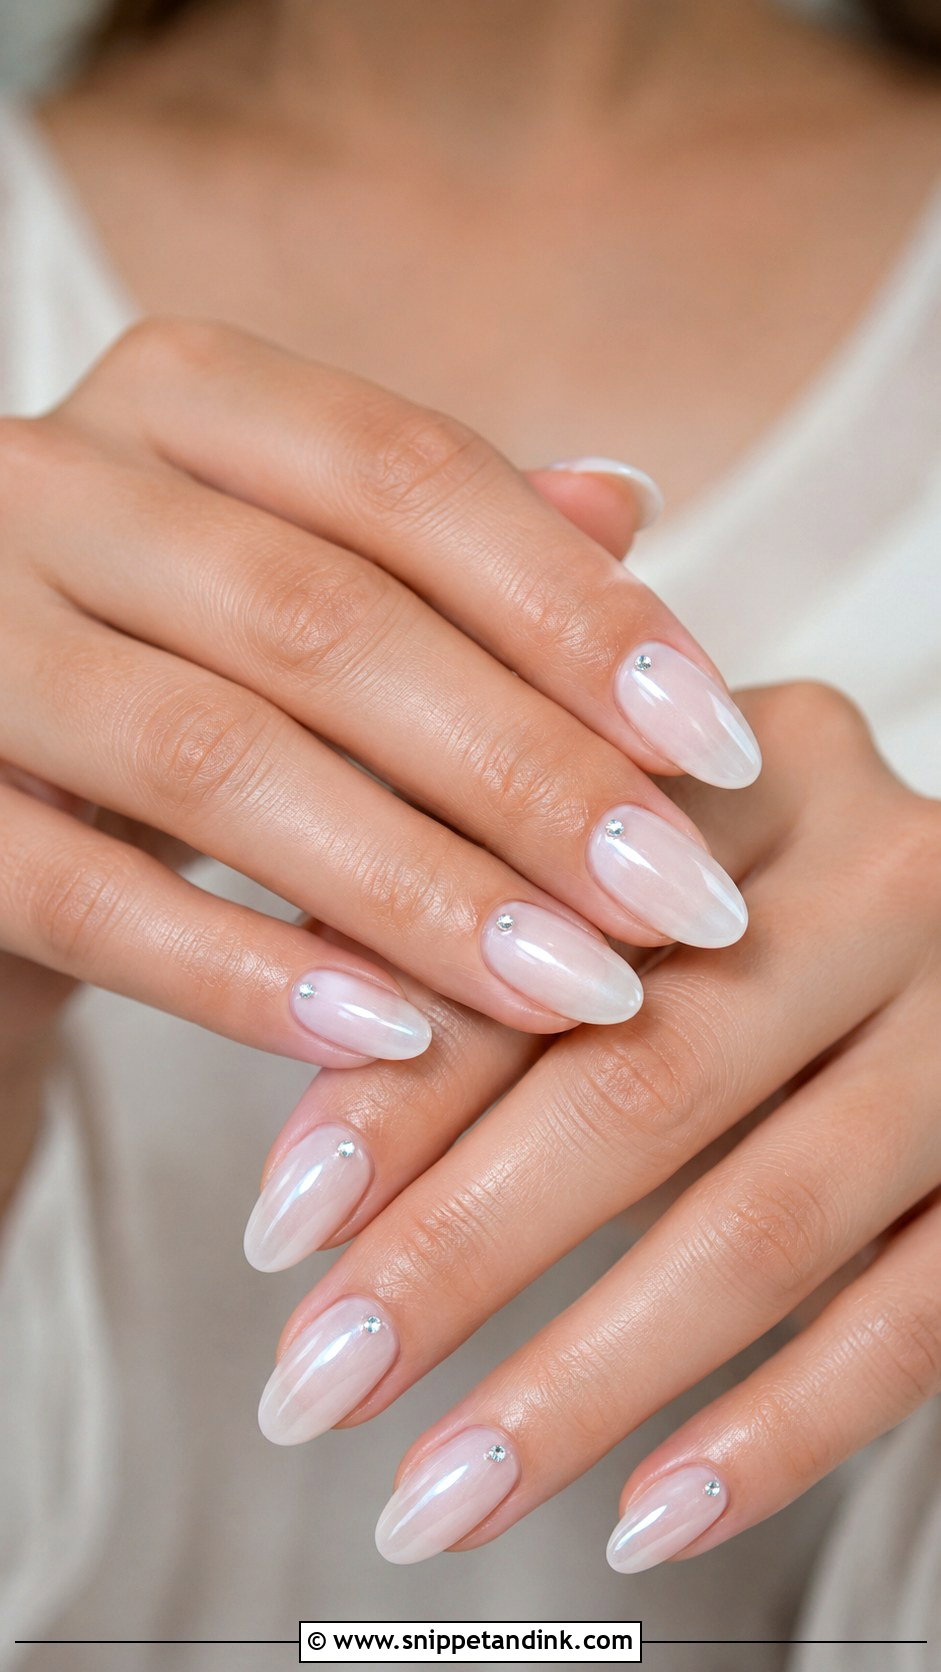
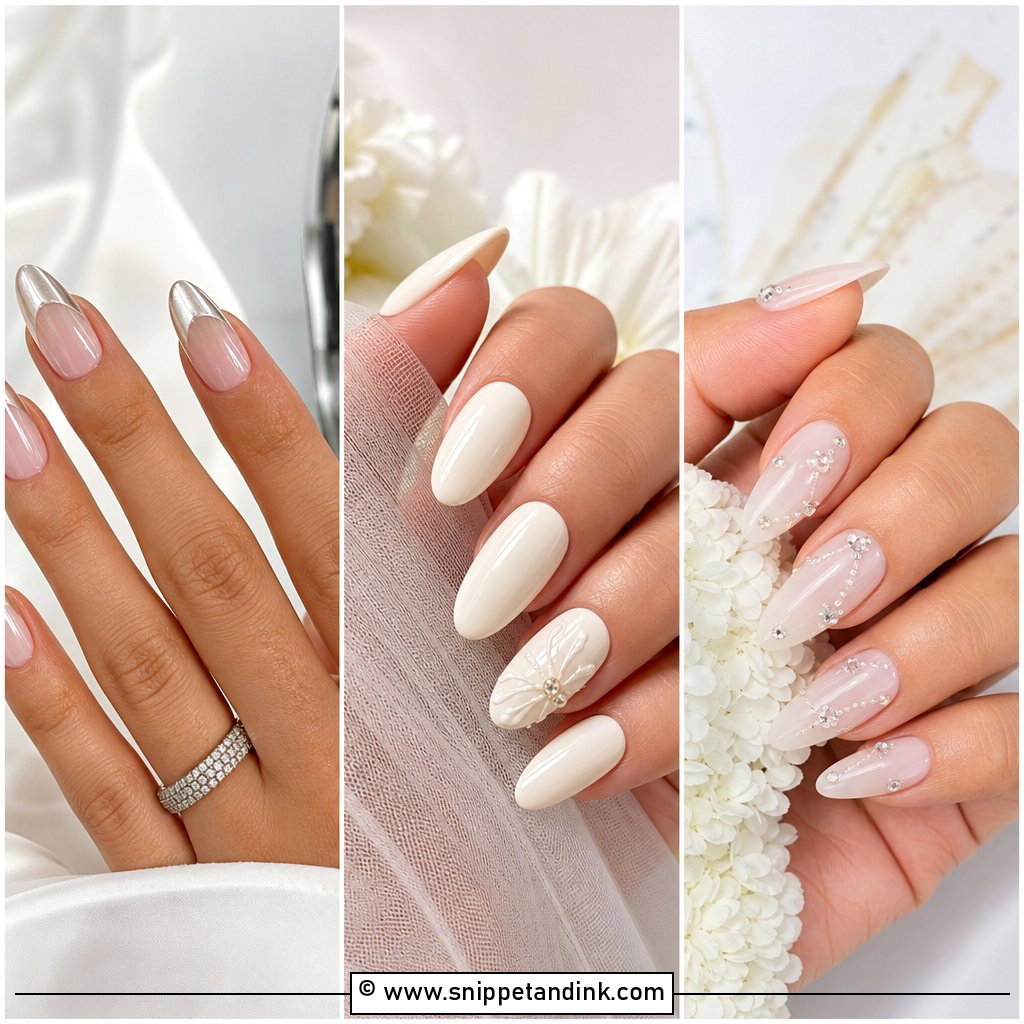
Rhinestones on a milky base work when they are small and placed with intention: tiny crystals near the cuticle, one stone per nail, or a cluster on the ring fingers. Clear, pearl and champagne stones look more bridal than colored gems. Stones are the part of any set most likely to catch on veil netting or knit fabric, so I sink them into gel and seal around the edges, and I avoid them on the thumb and index finger, which do most of the work.
17. Milky Lace Wedding Nails
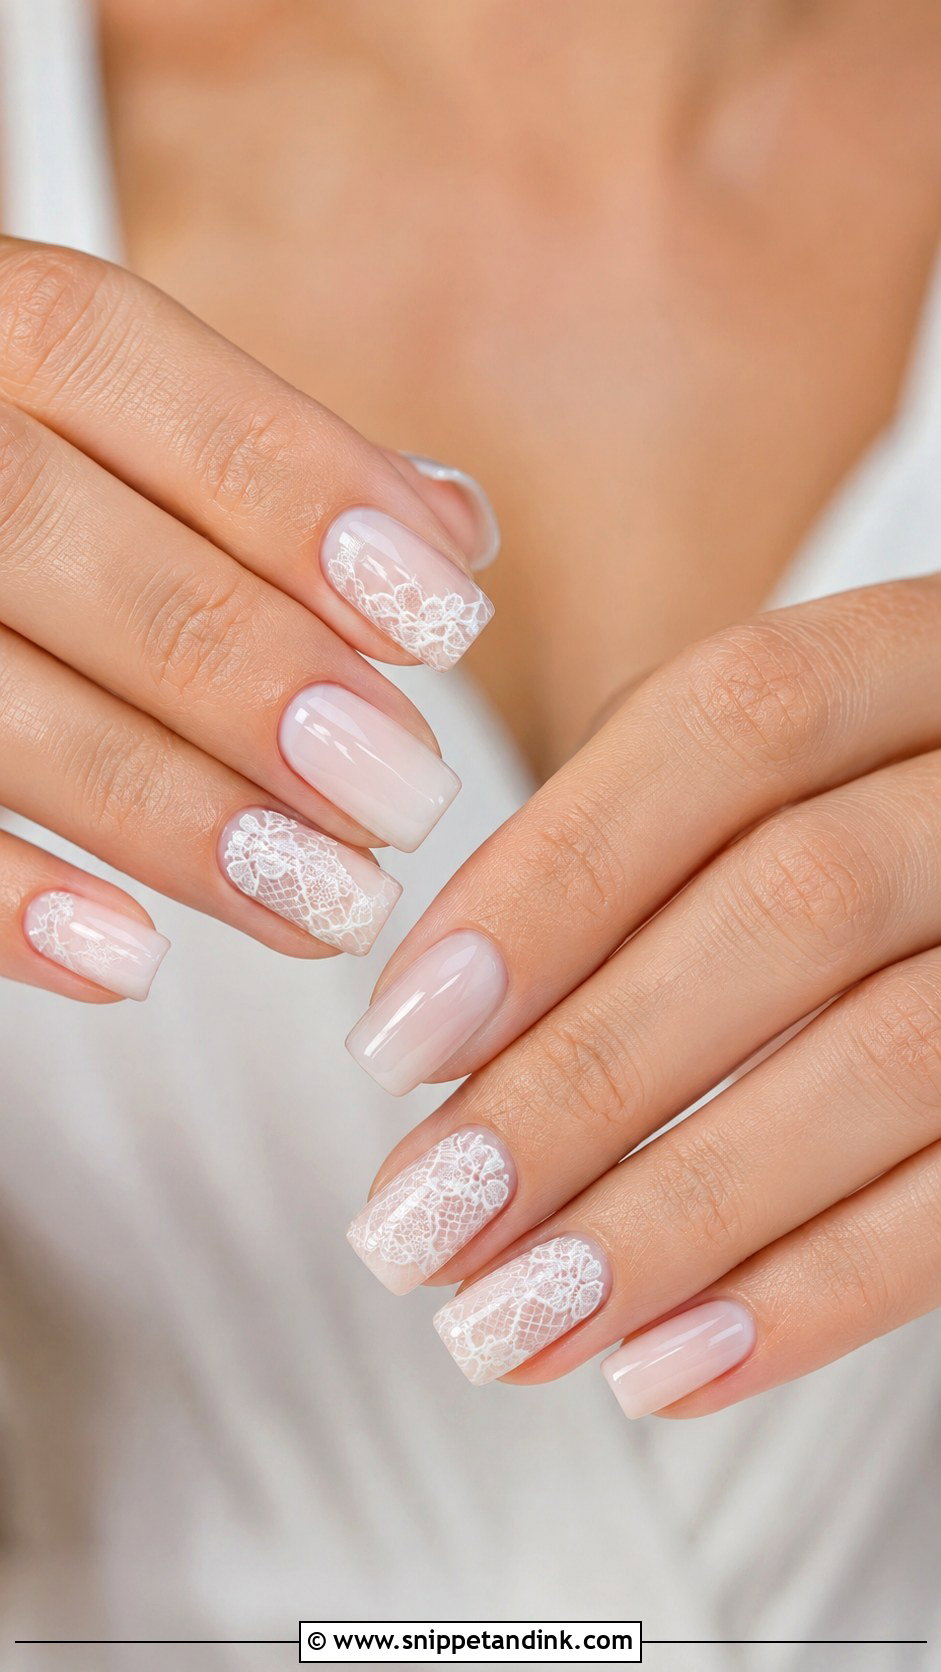
Lace milky nails paint tiny loops, netting and florals in white over a sheer base. Fine lace art is detailed work, so it’s best kept to one or two accent nails with the rest plain and glossy. I’d suggest bringing a photo or a scrap of your gown’s lace to your appointment; echoing its motif reads far better than generic lace. Almond, oval and soft square shapes give the pattern enough room.
18. Milky Gold Wedding Nails
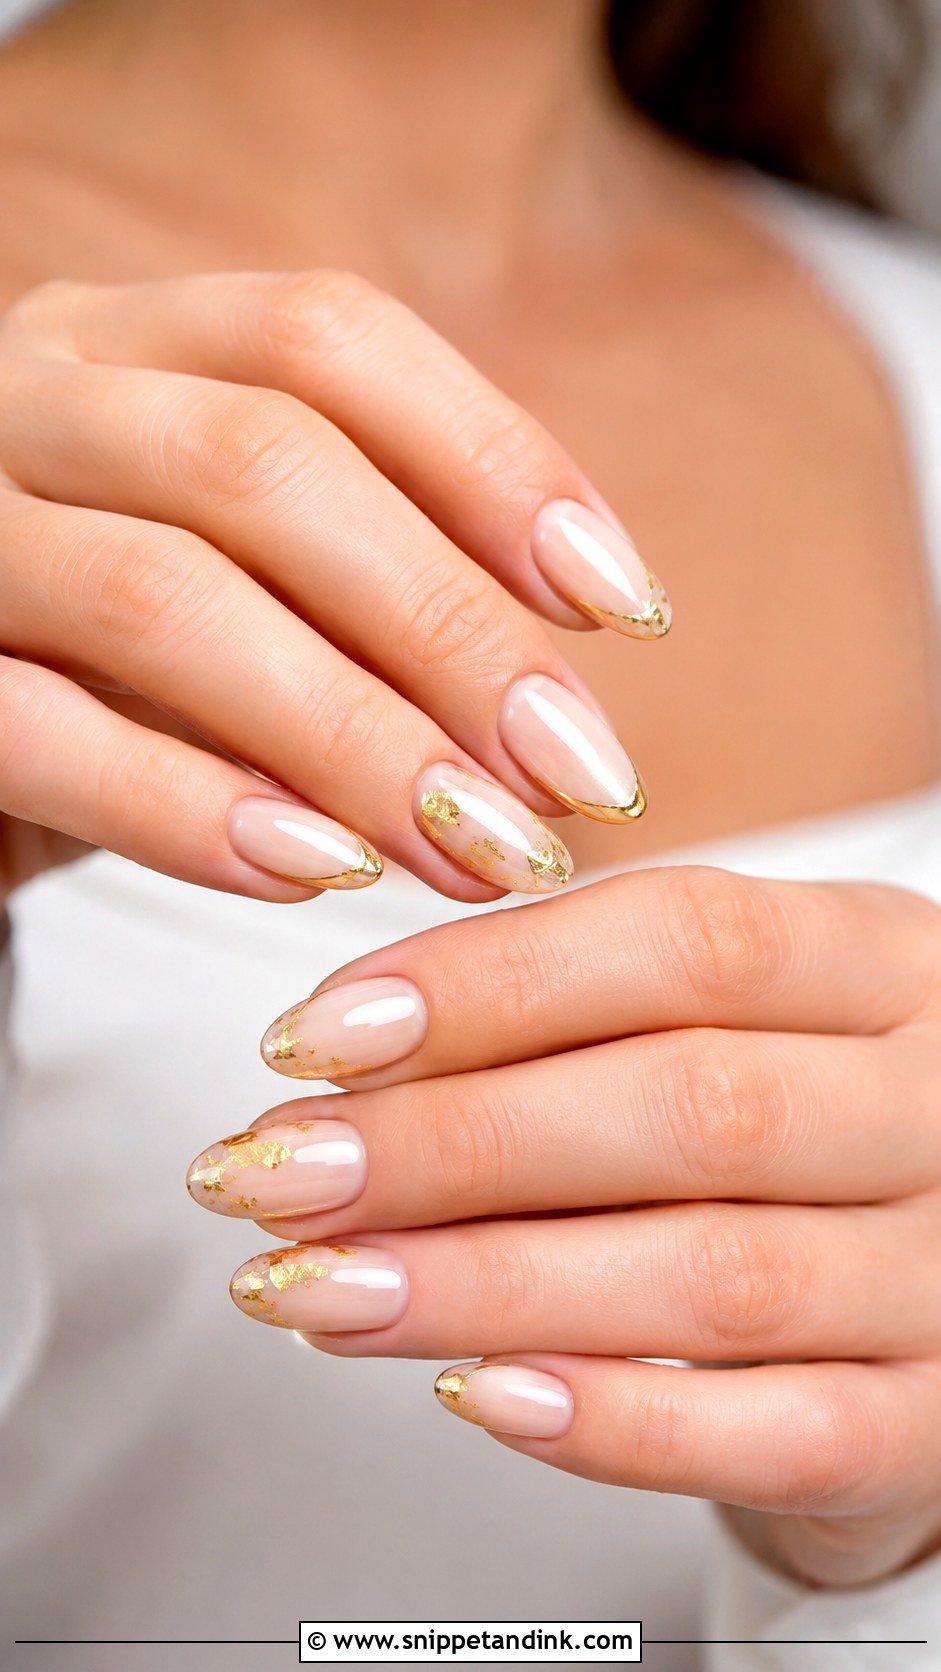
Gold on a milky base adds warmth. A little fine gold foil, thin gold lines or a delicate gold French tip all suit a sheer white set, especially next to yellow gold jewelry and ivory or champagne gowns. Foil sits on top of the gel, so I seal it under two top coats to stop the edges lifting. Use it lightly near the tip or cuticle; heavy gold pulls the set toward a party look. Almond, oval and short square nails suit it.
19. Milky Silver Wedding Nails
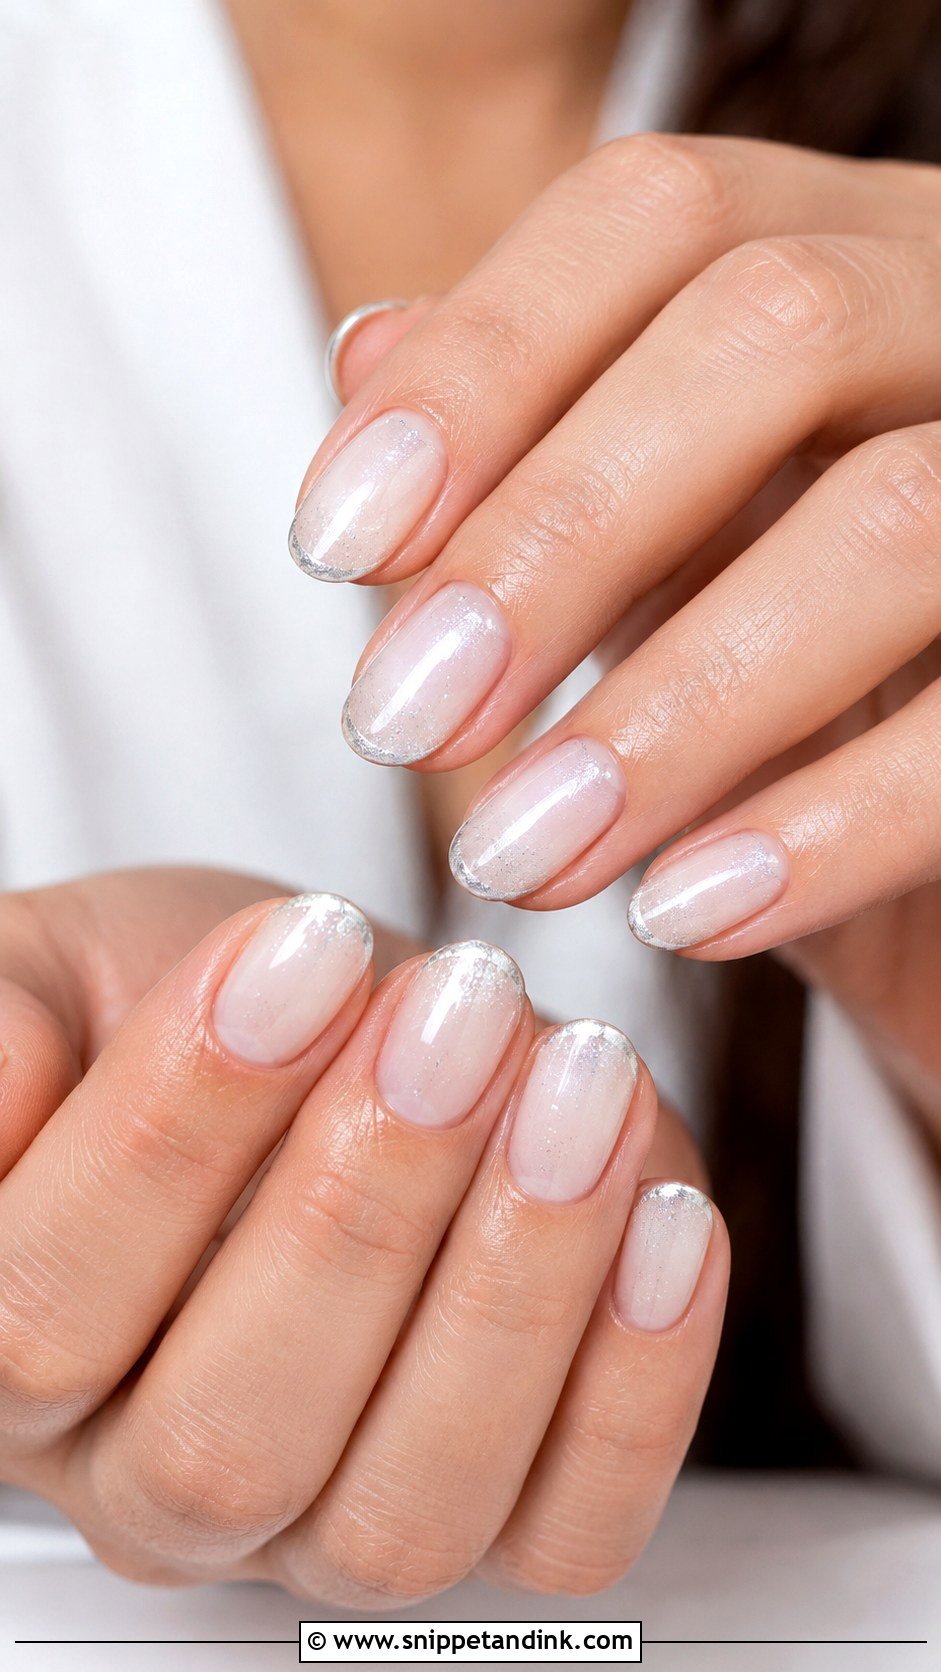
Milky silver wedding nails suit a platinum or white gold ring, crystal earrings and a bright white gown. A thin silver French tip, a fine glitter fade or a few tiny crystals keep it bridal; a full silver glitter nail does not. Silver chrome lines need a steady hand and a no-wipe top coat to bond to, and they look sharpest on a perfectly smooth sheer base.
20. Milky Minimal Wedding Nails
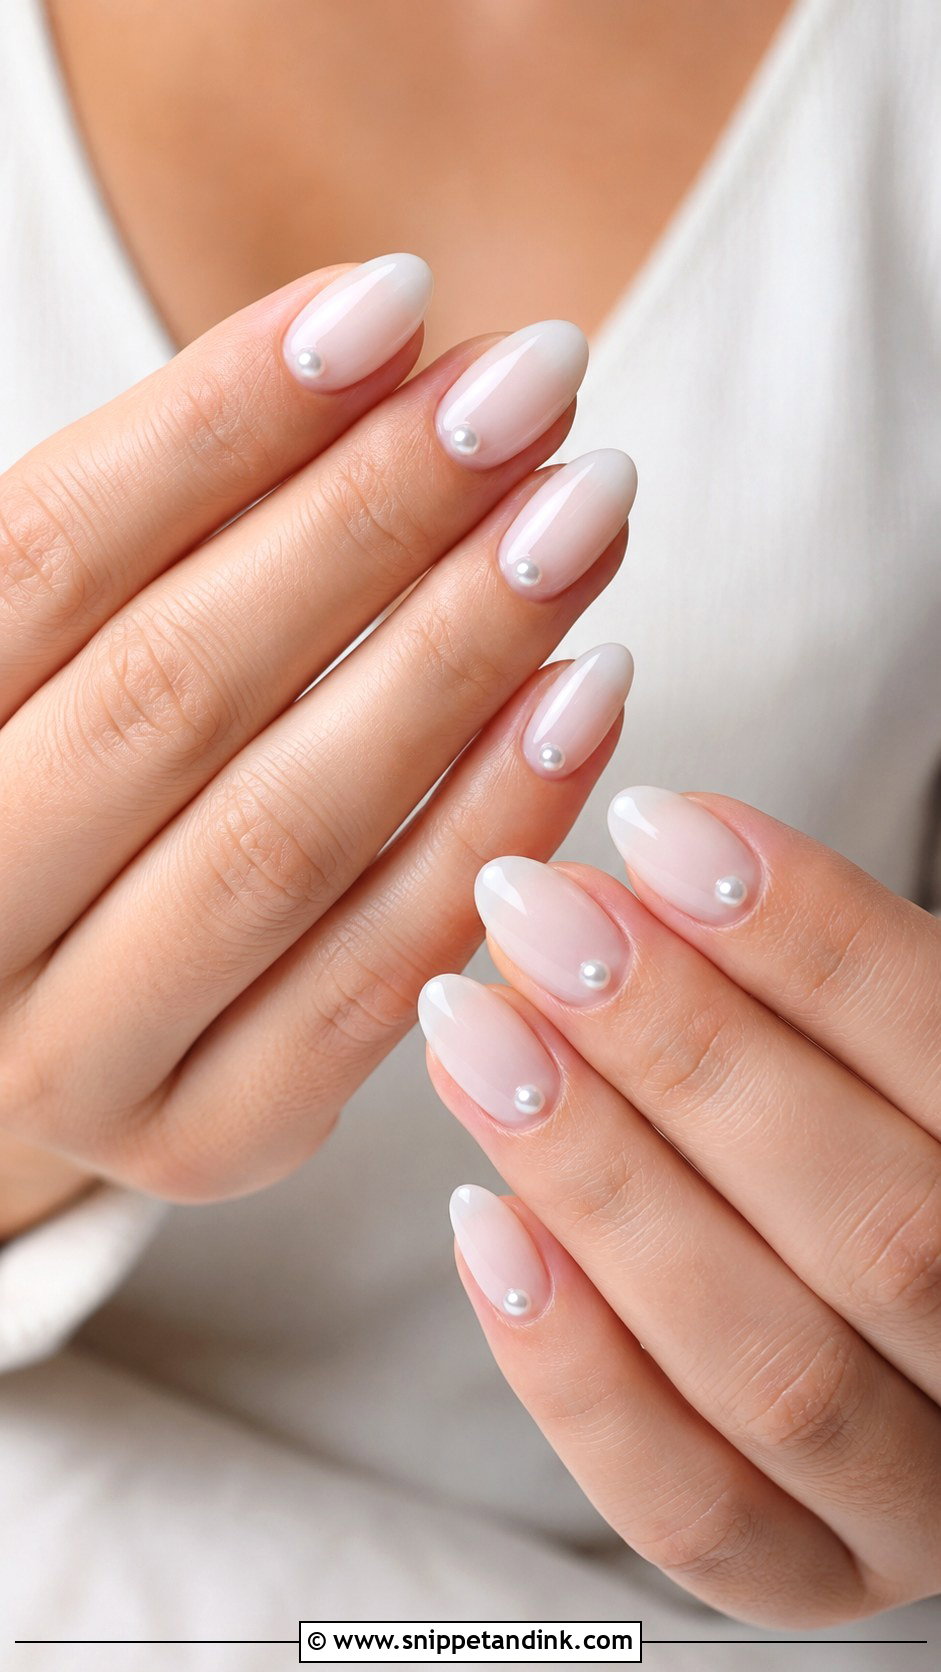
Minimal milky nails are just a sheer milky white, nude or pink with a glossy top coat, plus maybe one small accent: a micro French, a single tiny pearl, a fine shimmer line or a dot near the cuticle. It’s the set I suggest when a bride is unsure, because it will look right in the album decades later. All the work is in the shape, the cuticle and the shine; there is no art to hide an uneven edge.
Spray Tan, Hair Dye and Other Things That Stain White Nails
Pale sheer gel picks up color. I’ve watched a fresh milky set turn faintly orange within a day, and the cause is almost always something the bride did after her appointment, not the polish itself.
Self-tanner and spray tan
Tanning solution grabs the cuticles and the top coat. Get the tan done before the manicure if you can. If it has to come after, apply a cuticle oil as a barrier, wear mitts or gloves for self-tan, and wipe your nails straight away with an alcohol wipe.
Color treatments and turmeric
Root touch-ups, toner and turmeric pastes used in haldi ceremonies all stain light gel. Wear gloves for anything you mix yourself, and schedule the nails after a haldi where possible, since turmeric yellows the skin around the nail too.
Denim and new fabrics
Dark jeans and unwashed dyed fabrics transfer onto a white top coat during the days before the wedding. It sounds minor, but it is one of the most common reasons a white set looks dingy in ring shots.
Bring a non-acetone wipe and a tiny bottle of top coat in your day-of bag. Most surface stains on gel lift with a quick alcohol wipe, and a single glossy coat over a small chip will hold through the photos.
How Sheer Should Your Milky Set Be?
Milky nails range from one sheer coat to detailed art, and every design here builds from the same translucent base. Decide on coverage first, since that’s what you’ll notice beside your dress, then think about your jewelry metal, your nail length and how much you use your hands. Book a trial set two or three weeks out and wear it around the house in the dress or a similar fabric. If the shade looks grey or yellow against the fabric, change it then, not on the week of the wedding.
You'll Like These Ideas:


Leave a Reply