
Press-ons have come a long way. A good set now has a thin, curved tip, a realistic cuticle area and a finish close to salon gel, and it can hold up in close-up ring shots if it is sized and applied properly. That last part is where most press-ons fail, not the design. I like them for brides who can’t fit in a salon visit, for bridesmaids who want to match, and for anyone who doesn’t want gel on their nails. Below are 20 designs that work as wedding sets, from milky white to pearl and lace, with notes on which shapes and finishes look most like real nails.
Sizing and Prepping a Set So It Reads as Your Own Nails
Most press-ons look fake for two reasons: they’re the wrong width, or they’re glued onto shiny, oily nails and start lifting by the evening. Both are easy to fix with a little time.
- Size every nail before you open the glue. Lay the press-on over each nail; it should cover the nail from sidewall to sidewall without touching the skin. If you’re between two sizes, choose the larger one and file the sides down.
- Push back your cuticles gently and remove any dead skin on the nail plate. Glue won’t stick to skin.
- Buff lightly to remove the shine, then wipe each nail with alcohol to remove oils. Don’t touch your face or apply hand cream after this.
- Apply a thin layer of glue to your nail and the press-on, press at a slight angle starting from the cuticle, and hold firmly for a short while to push out air bubbles.
- File the free edge to your preferred length and smooth the sides so they blend with your fingertip.
Do a test run with one set a week or two before the wedding. You’ll find out which sizes fit, how long your glue holds and whether the length feels right.
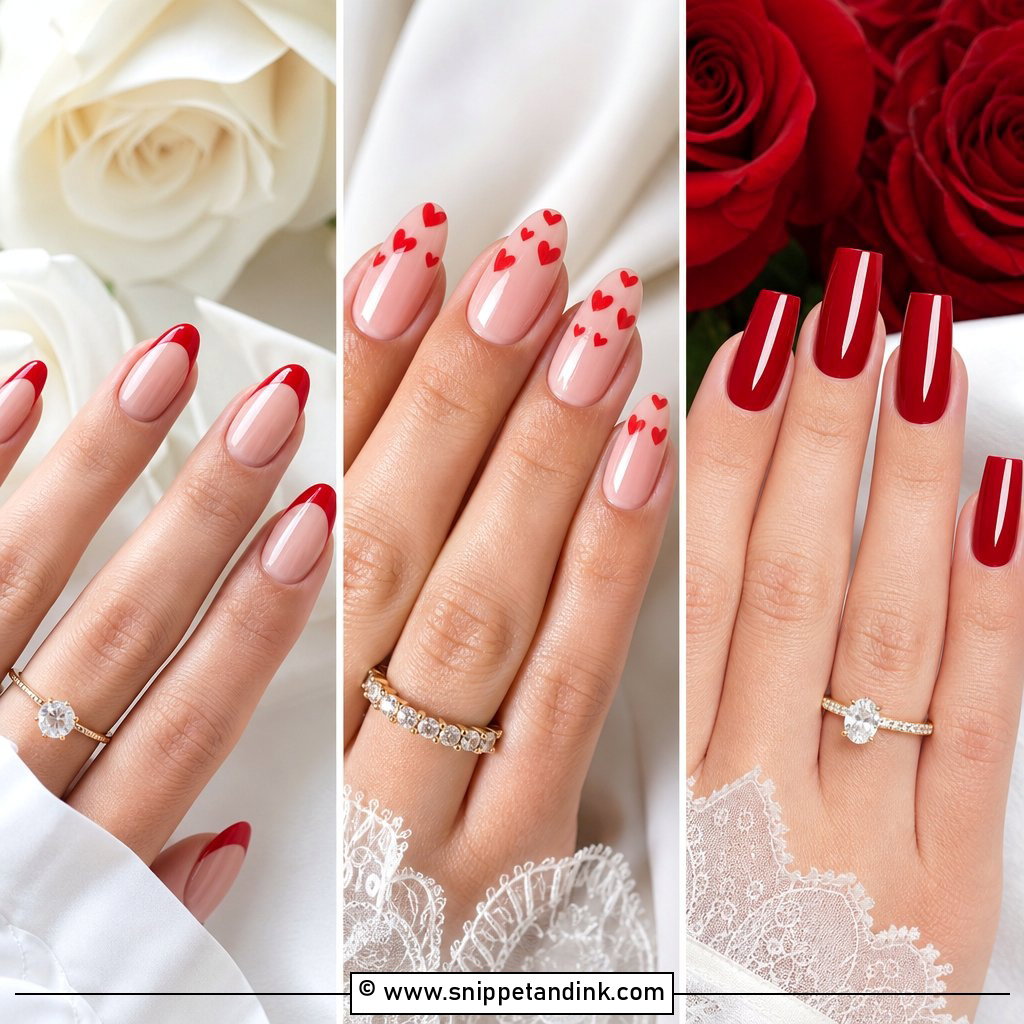
1. French Tip Press On Wedding Nails
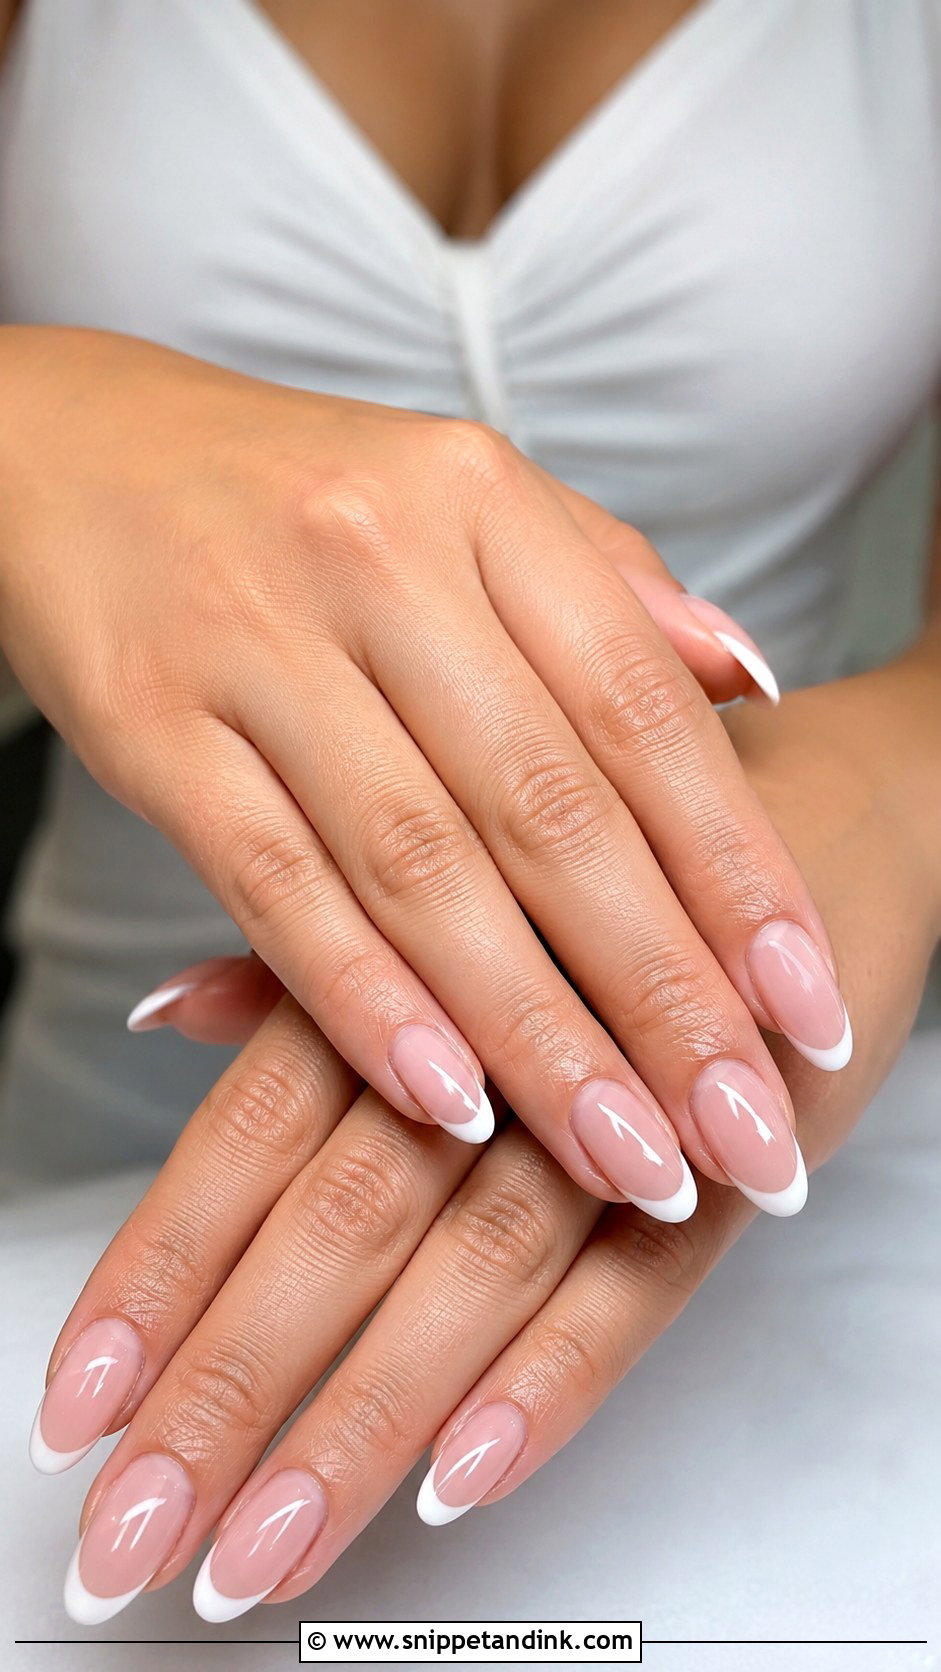
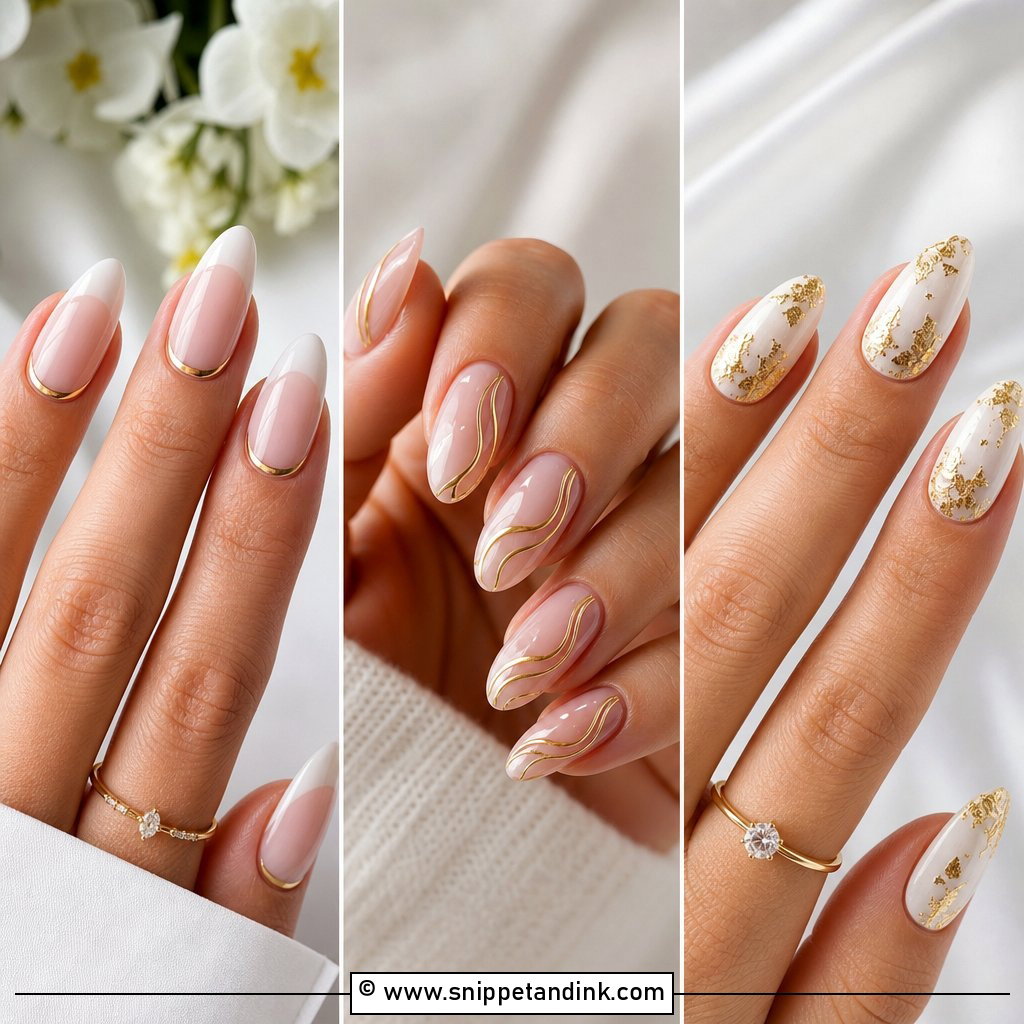
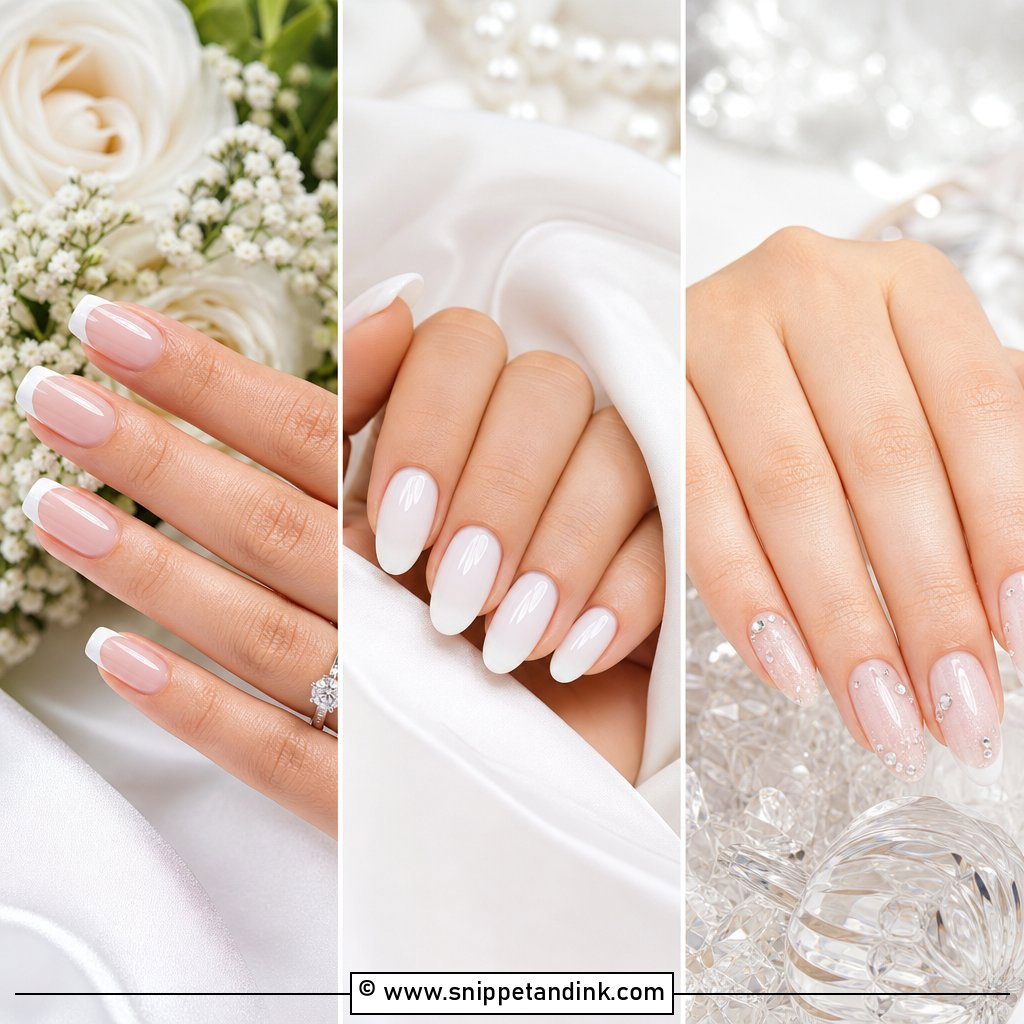
The French tip is the set I’d start with if you’ve never worn press-ons. A sheer pink or nude base looks natural, and the white tip hides the line where the press-on meets your own nail at the free edge. Oval, almond, squoval and short square all come in good French sets. A thin smile line looks more delicate; a slightly deeper tip feels more formal. The base color matters more than people realize: a pink that’s too cool looks fake on warm skin, so compare it against your hand in daylight before you glue anything.
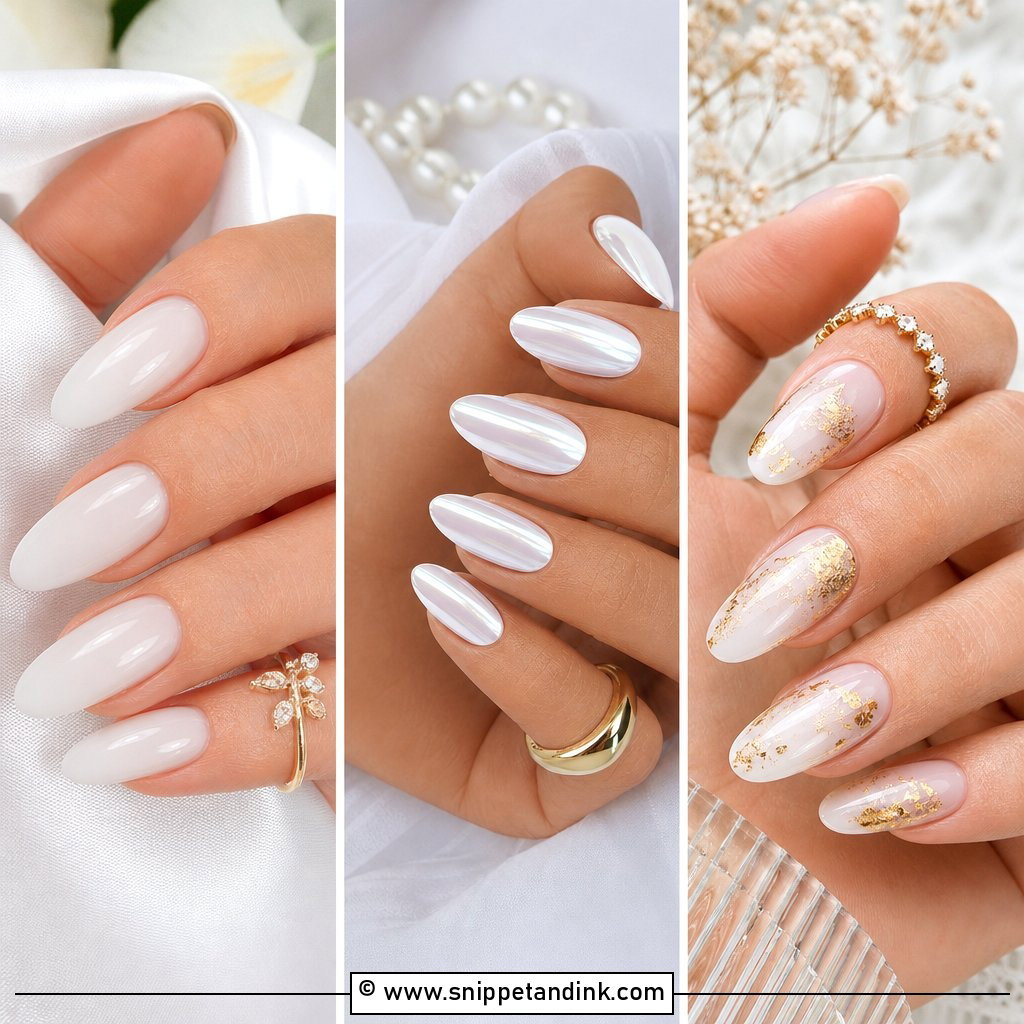
2. Milky White Press On Wedding Nails
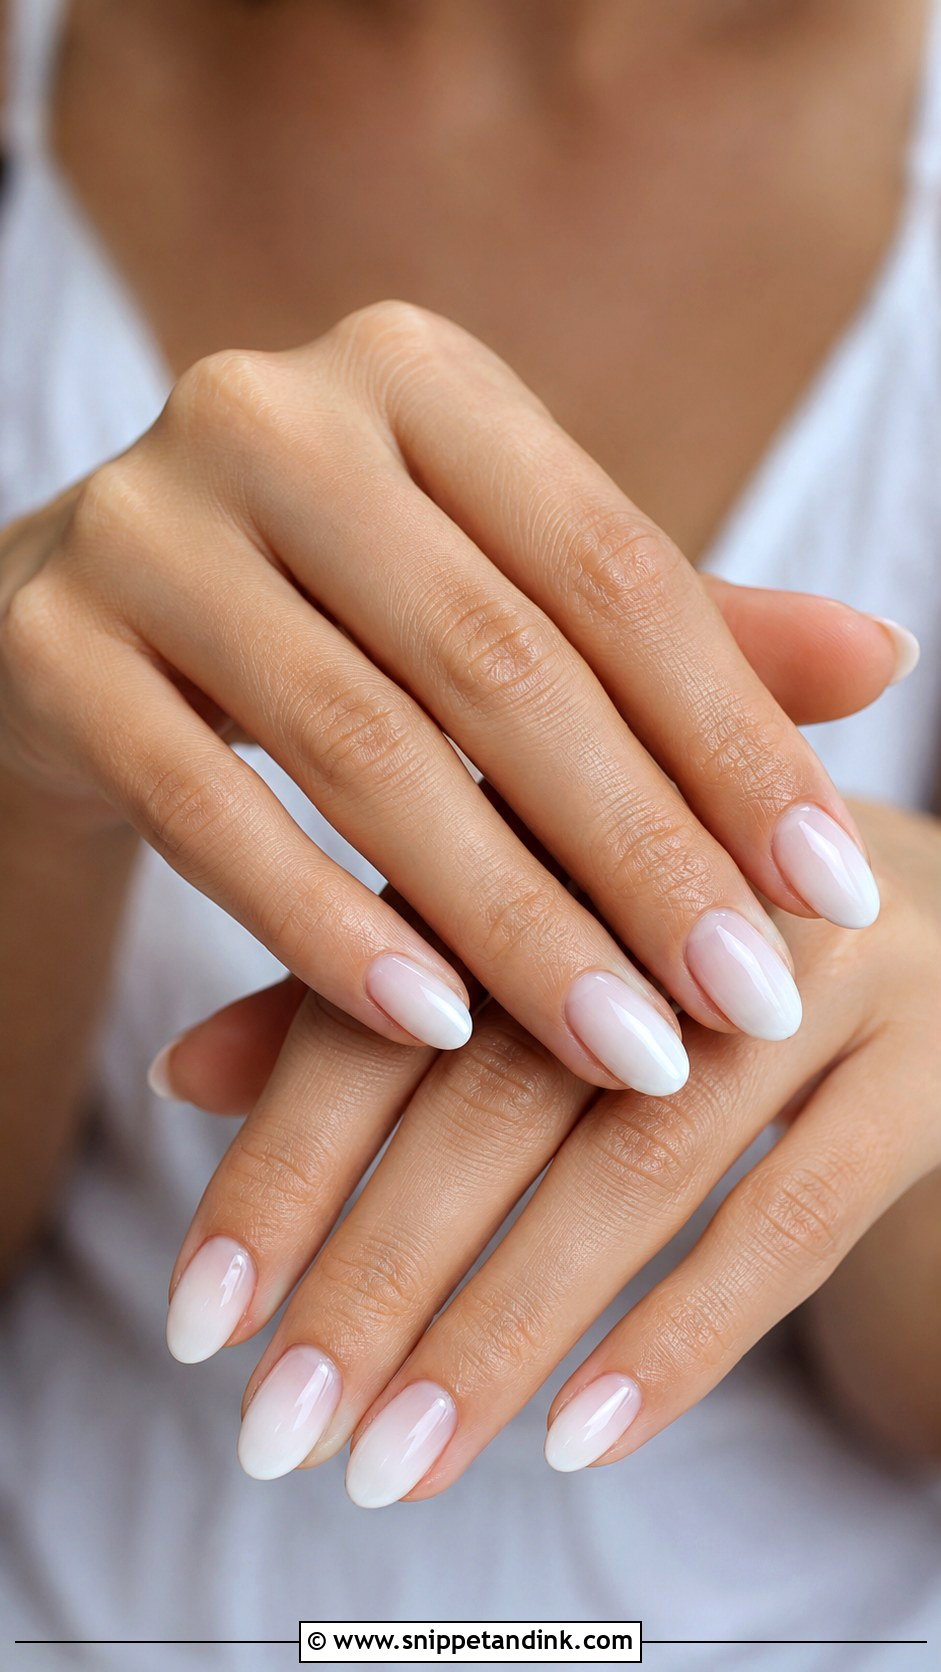
A milky white set looks soft and creamy rather than stark. Quality varies a lot here. Cheaper milky sets are often printed rather than painted, and the color looks flat and chalky up close. I look for sets where the white has some translucency. Almond, oval and short coffin shapes all suit it. Pearl earrings, satin and lace pair naturally with it. Glossy finishes read cleaner; a glazed top coat adds a soft reflection.
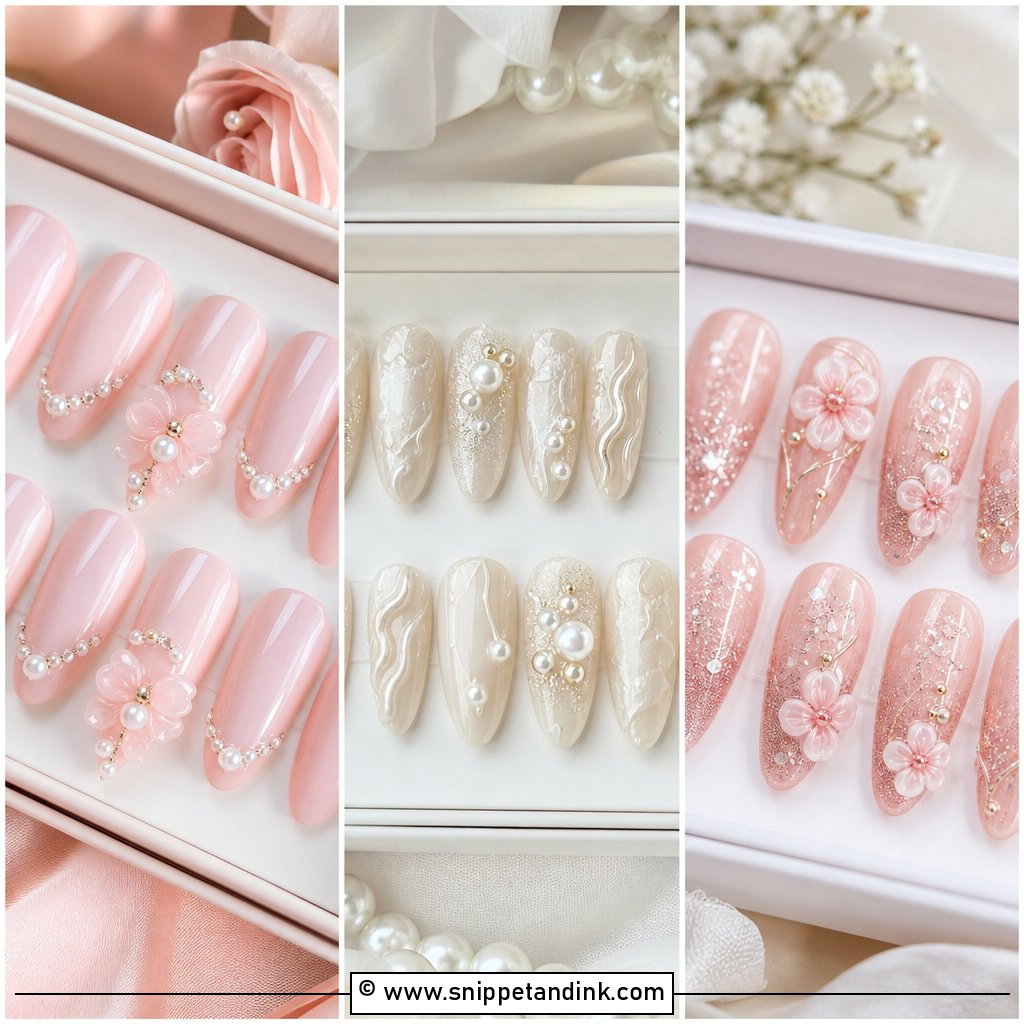
3. Pearl Press On Wedding Nails
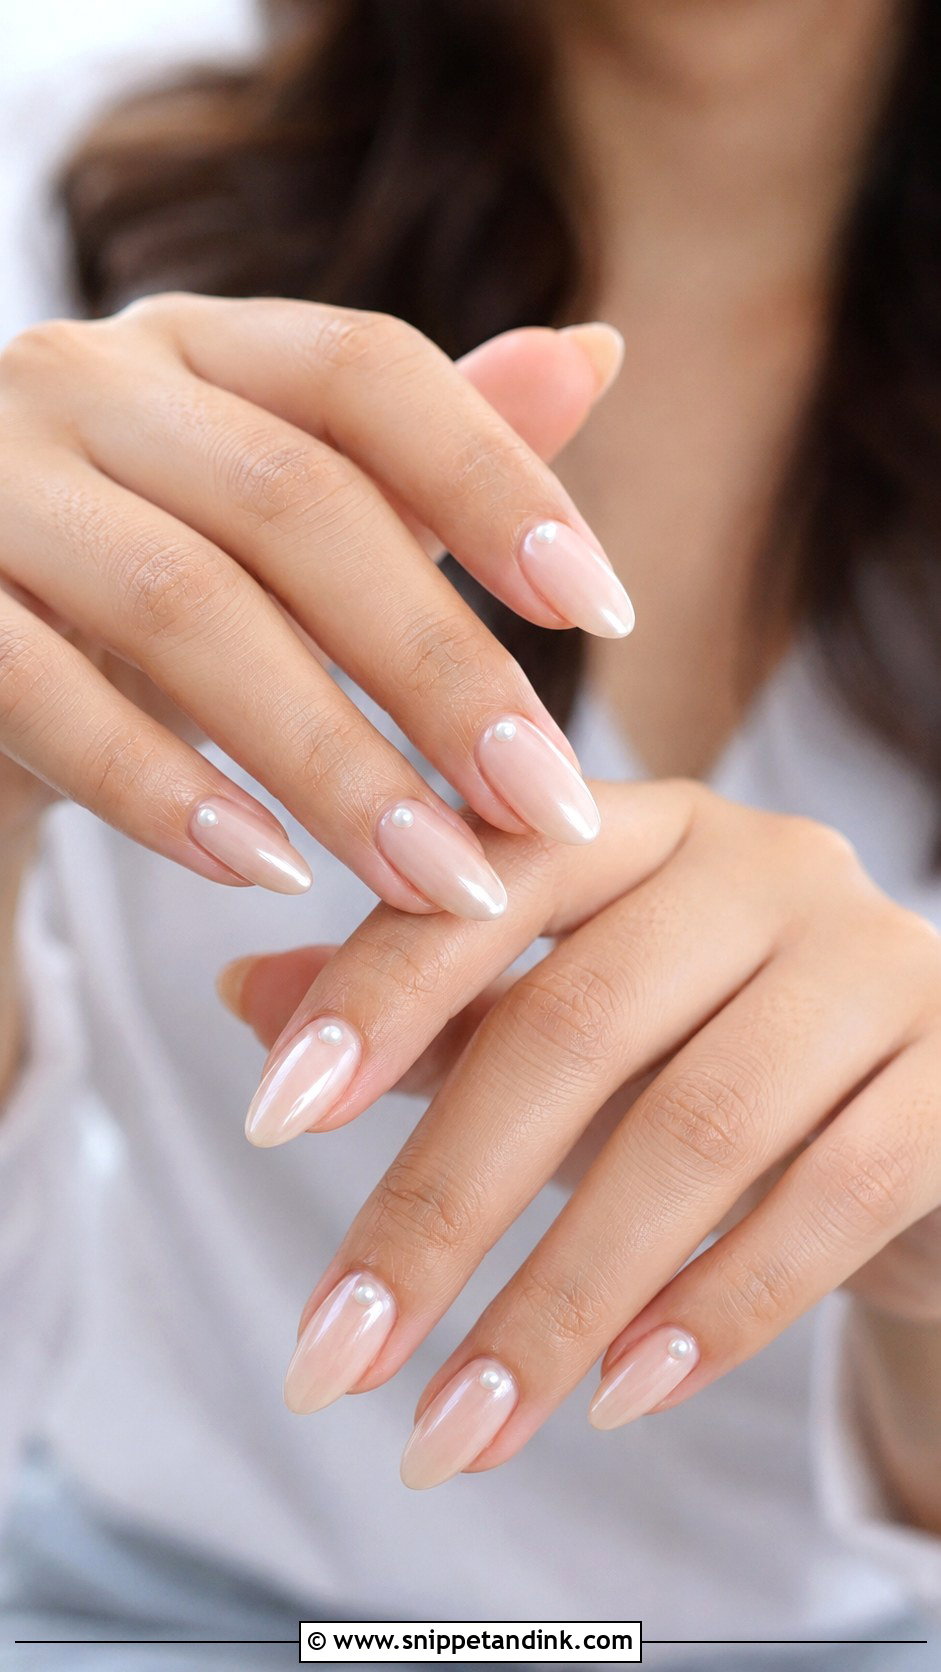
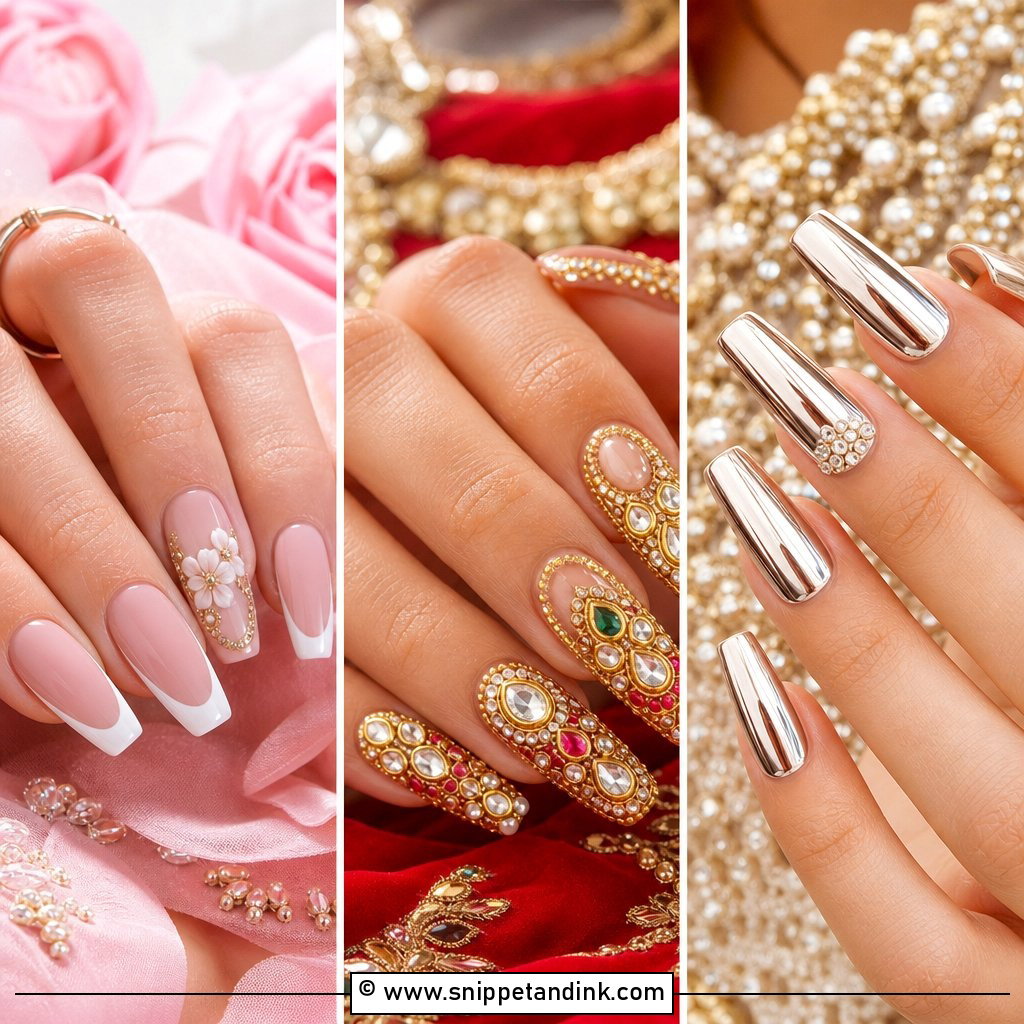
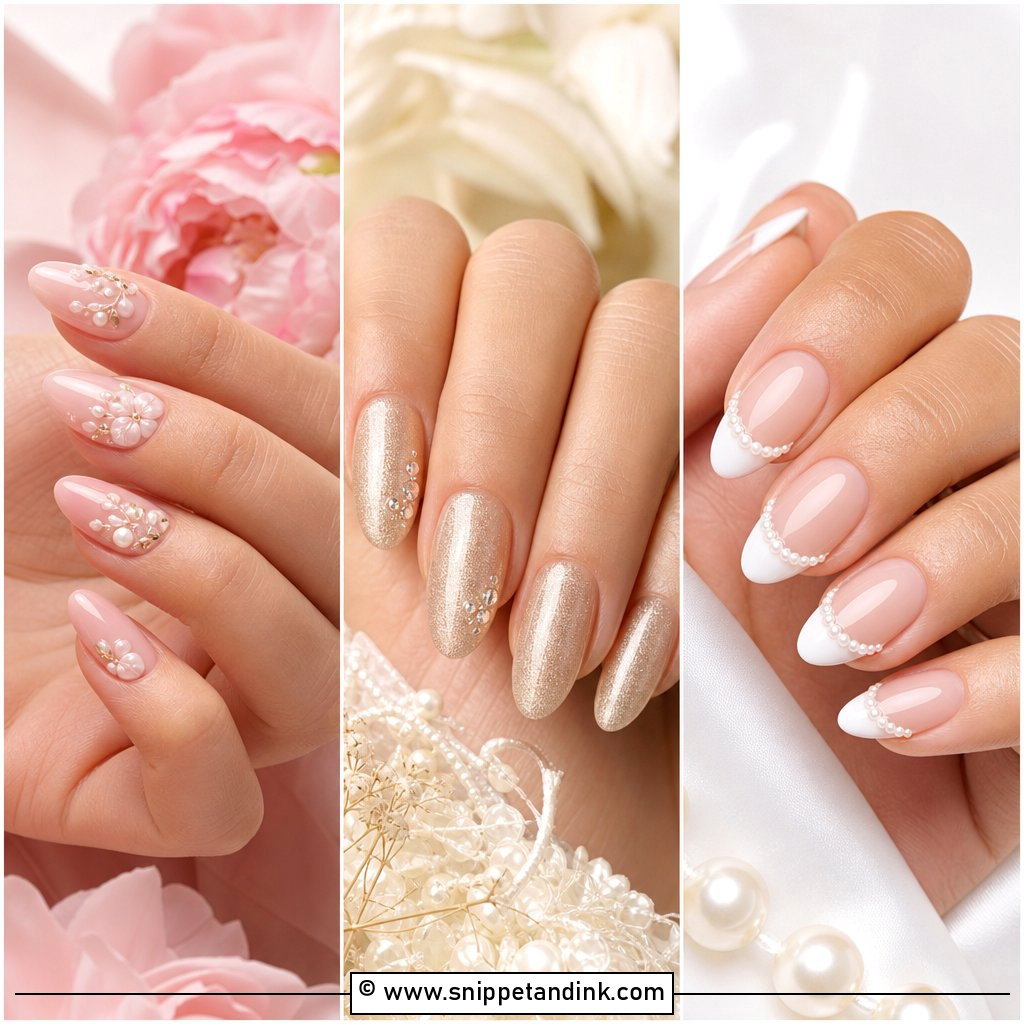
Pearls are where press-ons beat a salon set in one way: they’re already fixed in place, so you won’t see them pop off in your first week. A sheer pink, nude or milky base with small pearl accents near the cuticle or along one side is enough. Crowding every nail makes it look heavy. Choose flat-backed pearls instead of round, raised ones, which catch on lace and hair. Before you buy, run a fingertip over the product photo zoomed in; if the pearls look perched rather than embedded, they’ll snag.
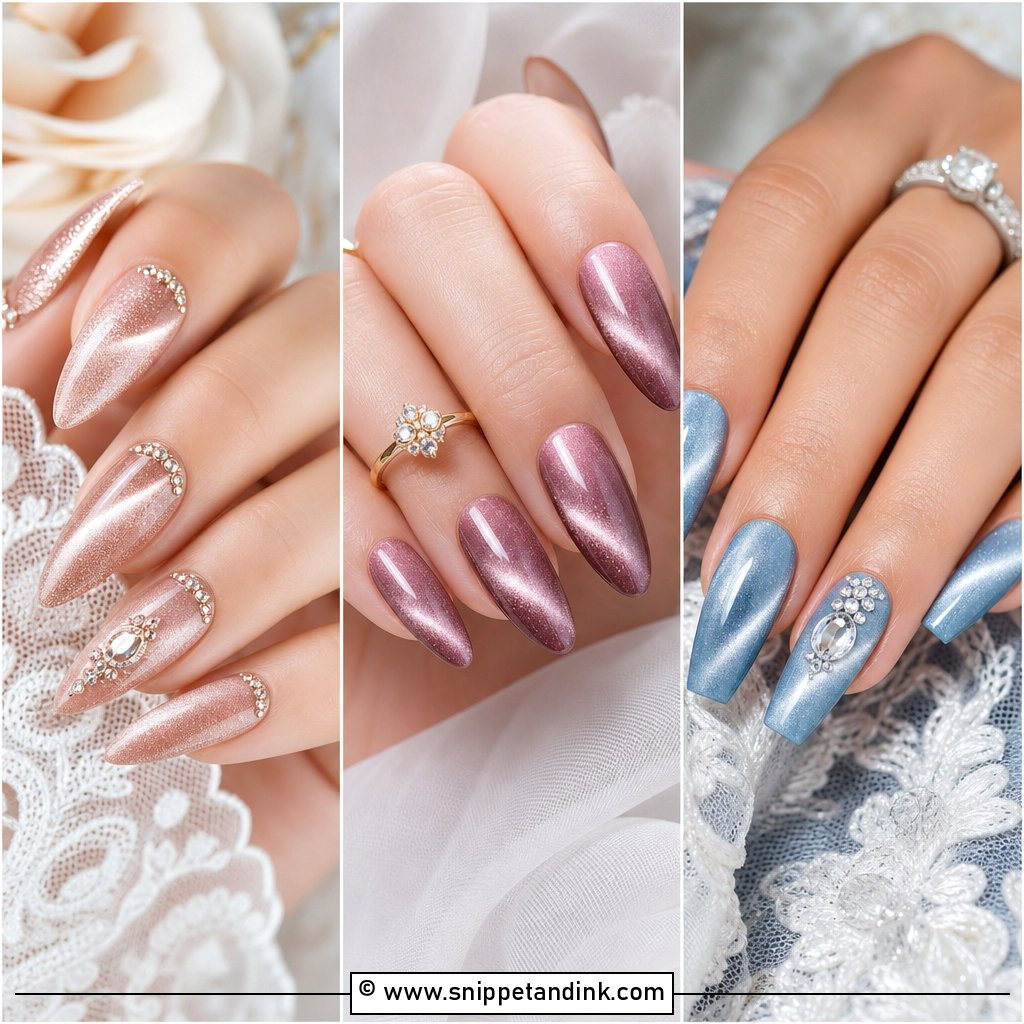
4. Chrome Press On Wedding Nails
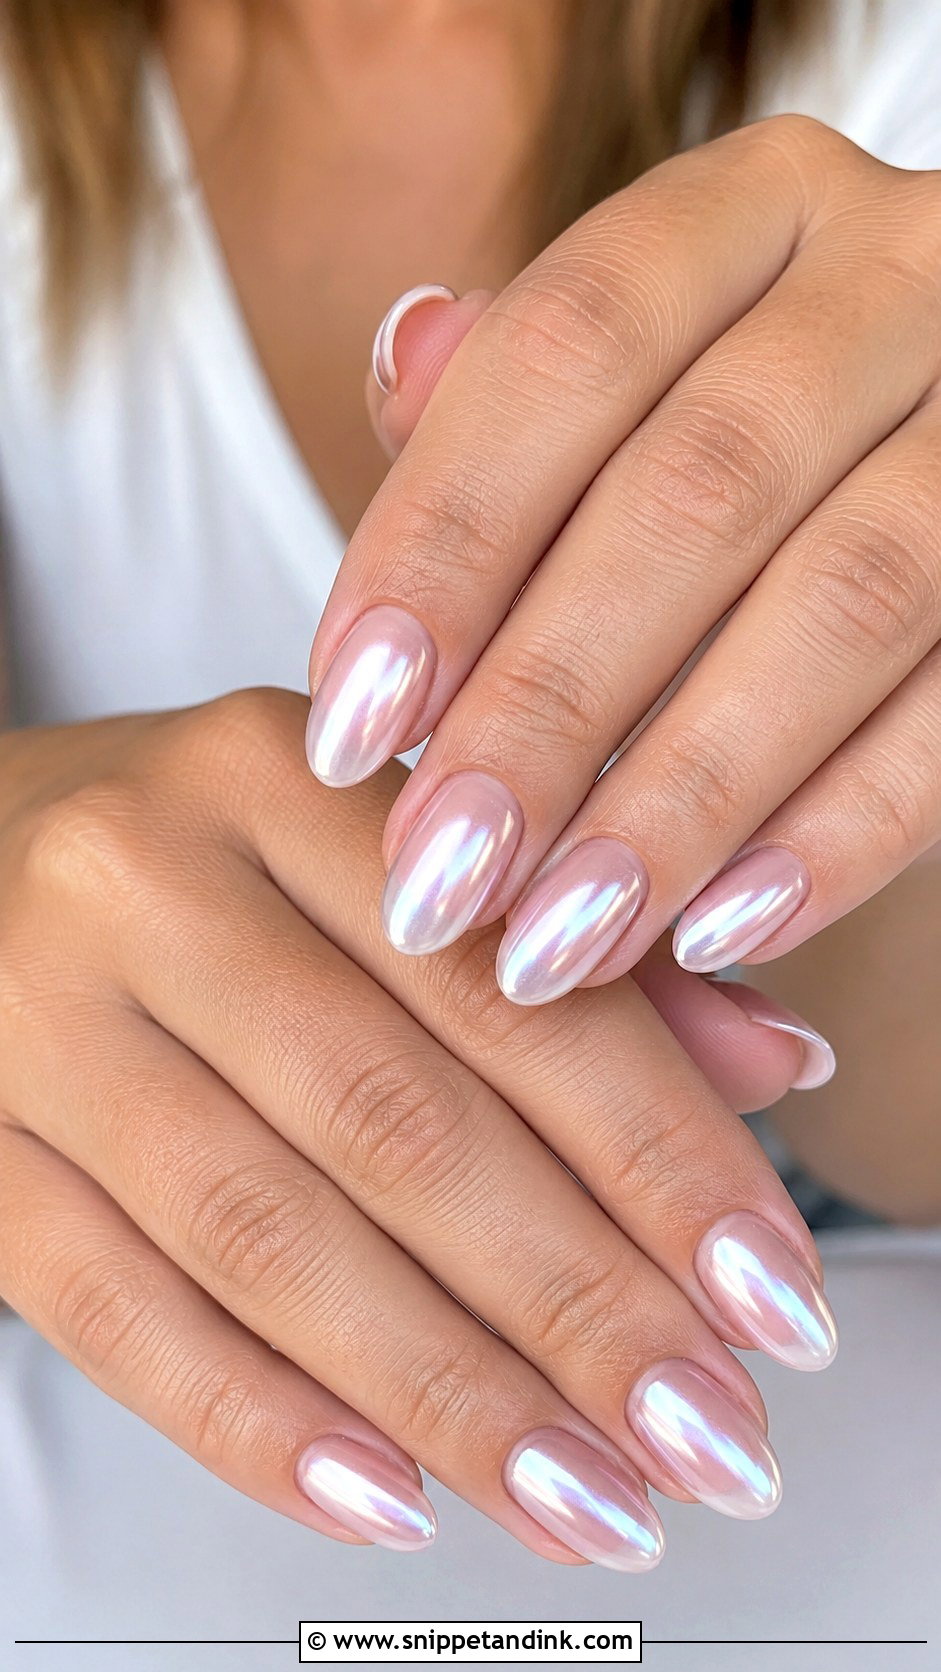
A wedding chrome is rarely heavy silver. The sets I like start with a sheer pink, nude or milky base and have a pearly chrome layered on top, which gives a glazed finish that catches light in ring photos. That glazed effect hides small bubbles and imperfections better than a flat cream. It suits sleek gowns, modern jewelry and bridesmaids who want something a little special. Oval or almond shapes keep the reflective surface soft. A mirror chrome on a long stiletto reads more like a party set than a bridal one.
5. Pink French Press On Wedding Nails
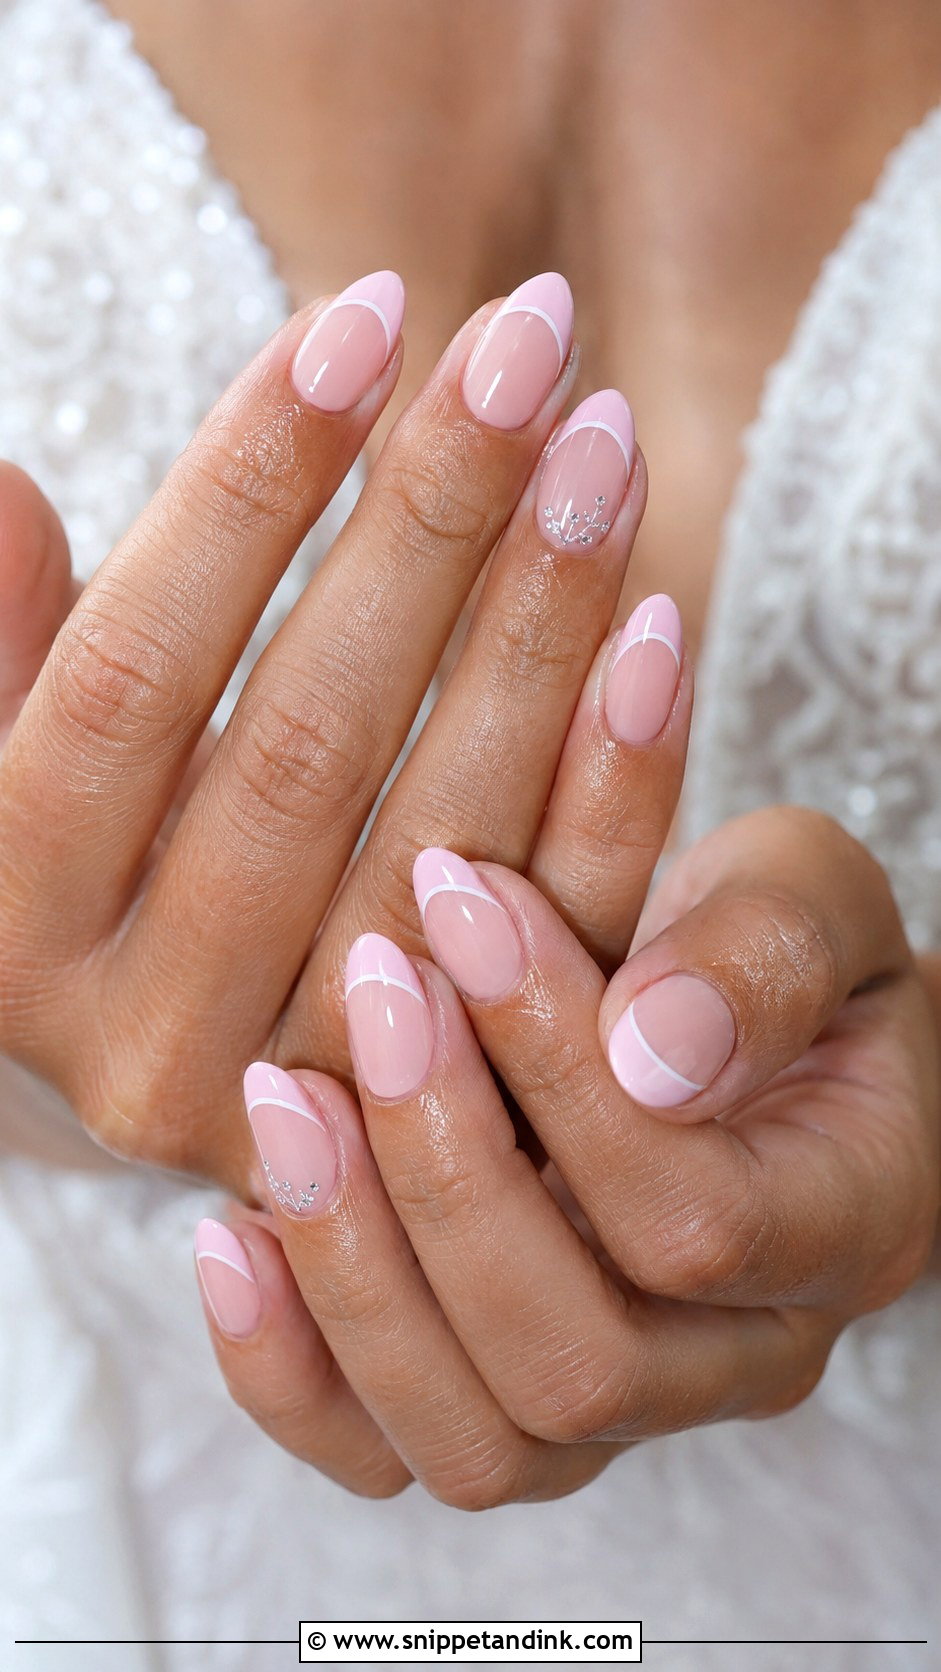
Swapping white for pink at the tip makes the French gentler. Pink French press on wedding nails use blush, baby pink or rosy tips over a sheer nude base. It’s lovely in spring and summer but works year-round. I’d keep the tips slim and the top coat glossy. Pink can lean cool, warm or neutral, so choose the shade by checking it against the inside of your wrist. Almond and oval shapes soften it; square shapes make it more polished.
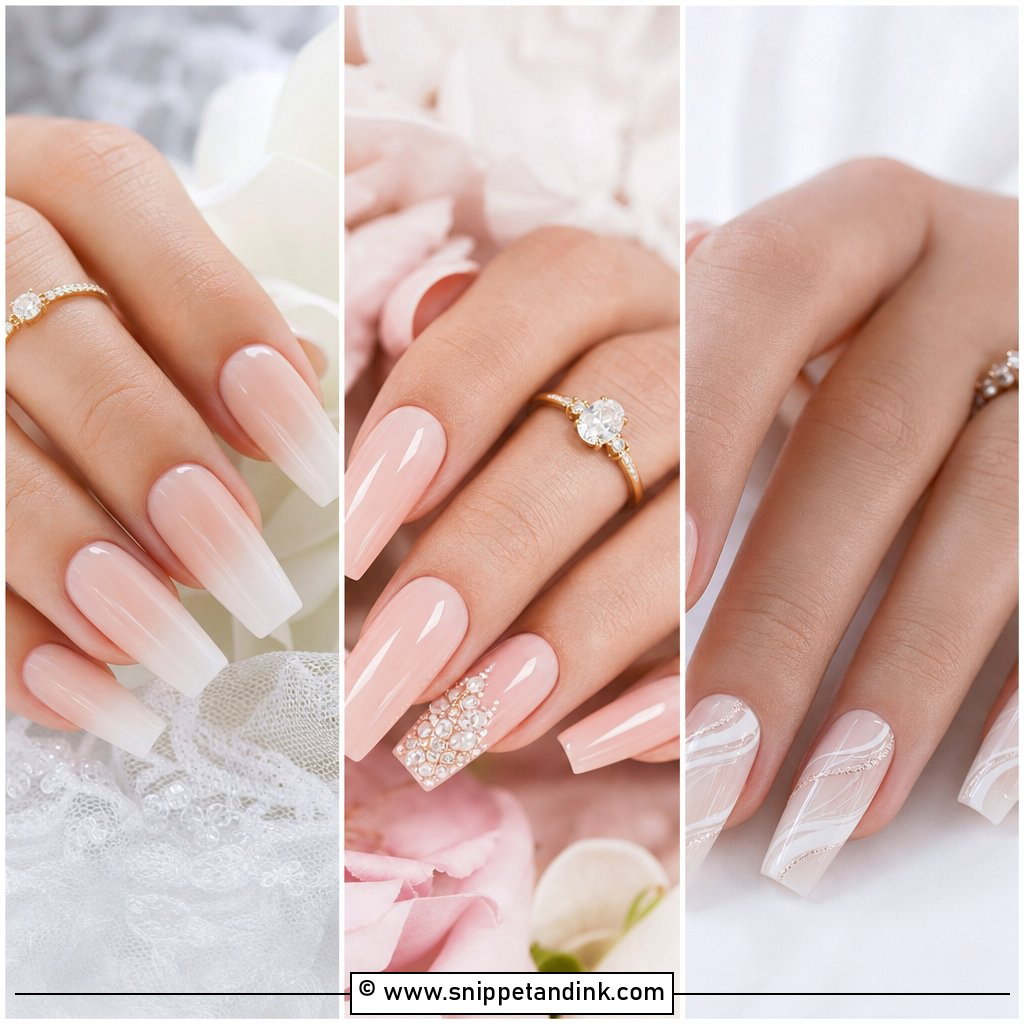
6. Nude Press On Wedding Nails
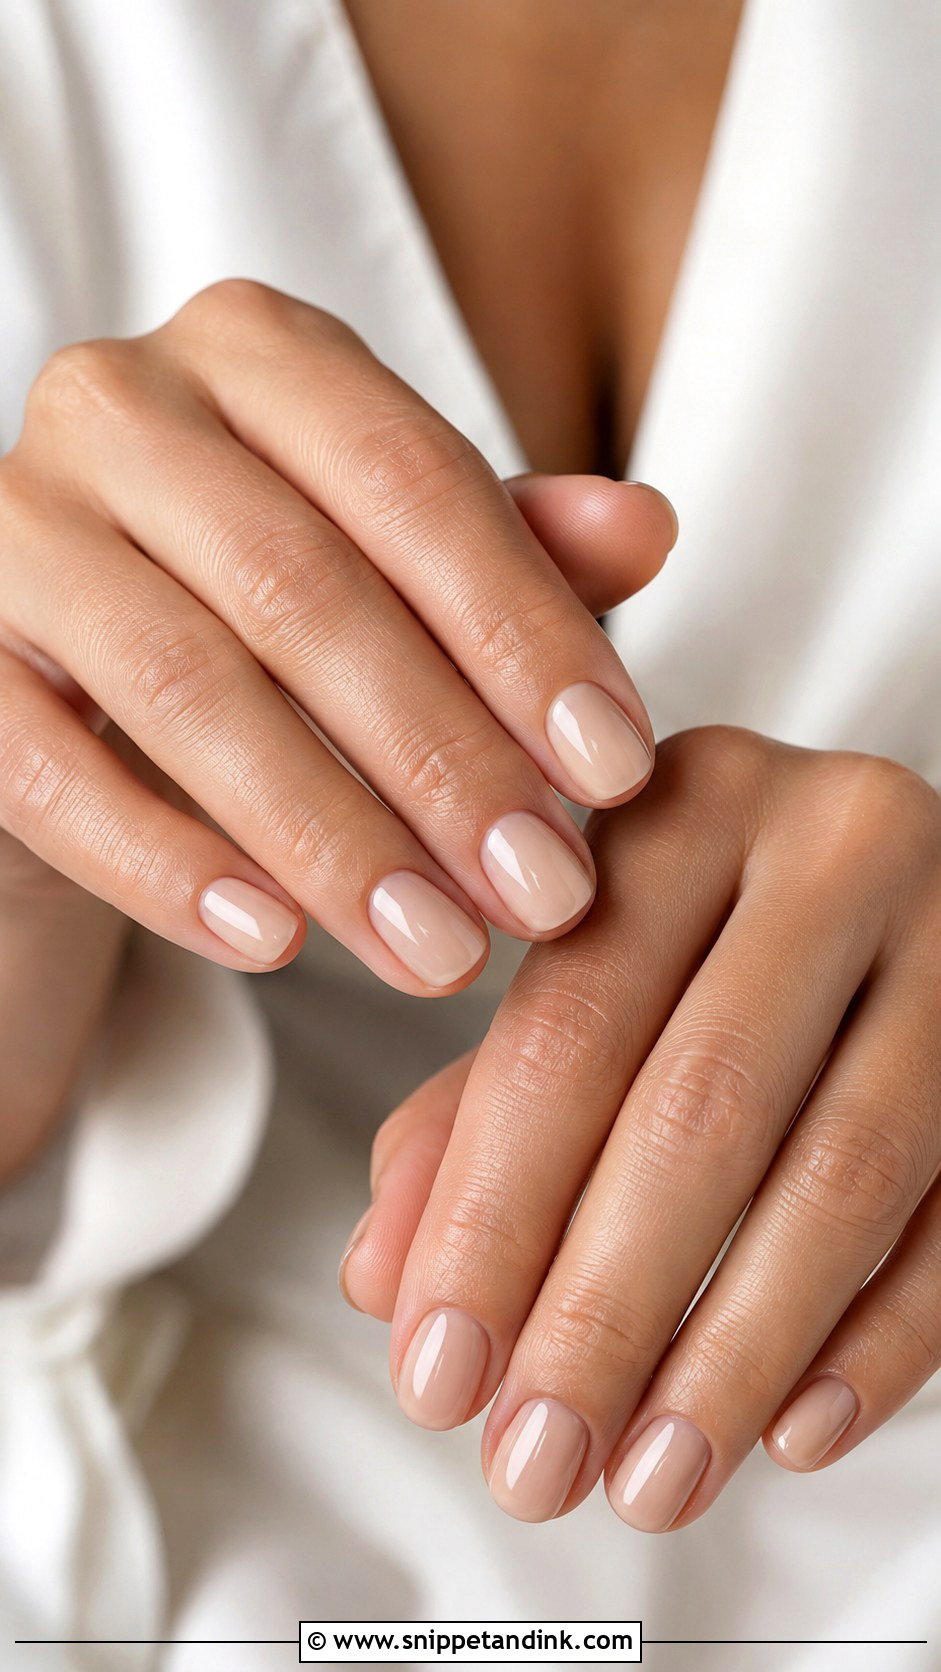
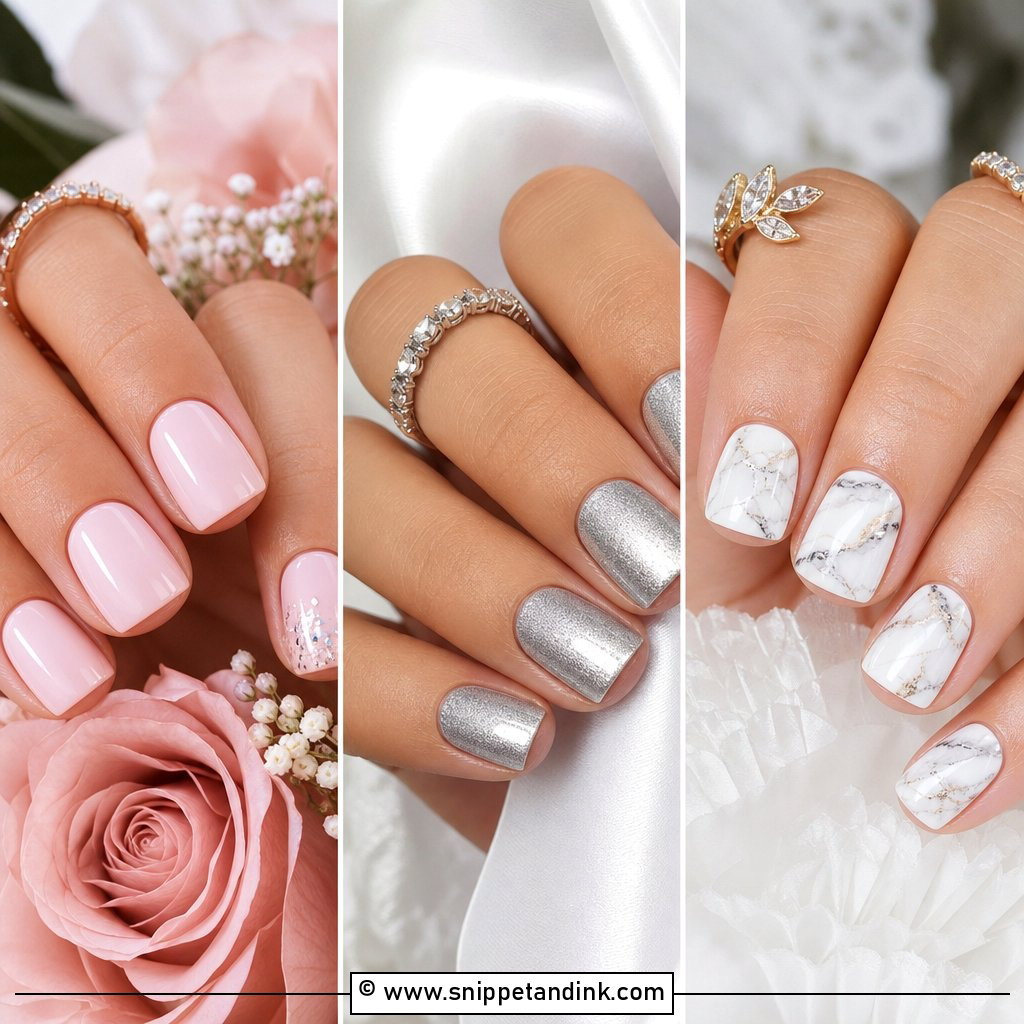
Nude sets work best when the nude is matched to you, not chosen from a product photo. Fair skin usually suits a soft pink beige, medium skin a peachy nude, and deeper skin caramel, mocha or rosy brown. A glossy nude lets the dress, ring and bouquet take focus. It’s also a smart choice for guests who want to look polished without looking bridal. A semi-sheer base looks more natural than an opaque one, because opaque nude on a press-on can look like plastic in daylight.
7. Ombre Press On Wedding Nails
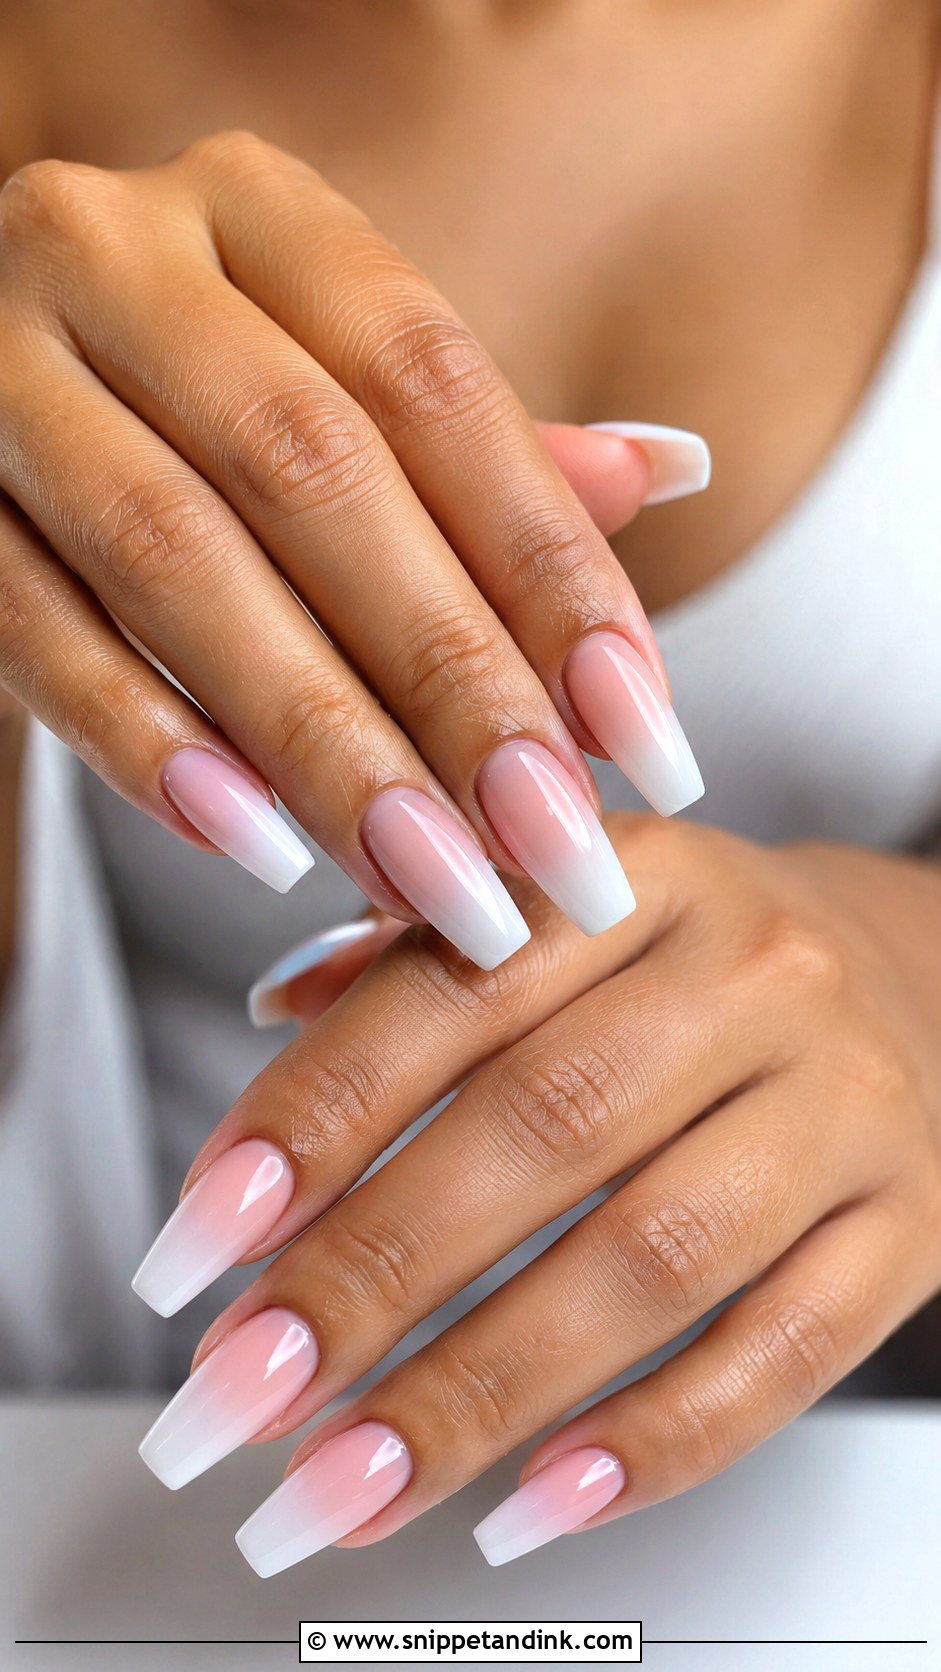
For a soft fade without a hard line, Ombre press on wedding nails blend a natural pink at the base into white tips, the effect usually called baby boomer. On longer almond, coffin and oval shapes, the gradient makes the nail look longer. The fade also hides any small gap near the cuticle if you apply the set a few days early, which is useful for a weekend wedding. Pick a sheer, gradual blend rather than a heavy white band halfway down the nail.
8. Lace Press On Wedding Nails
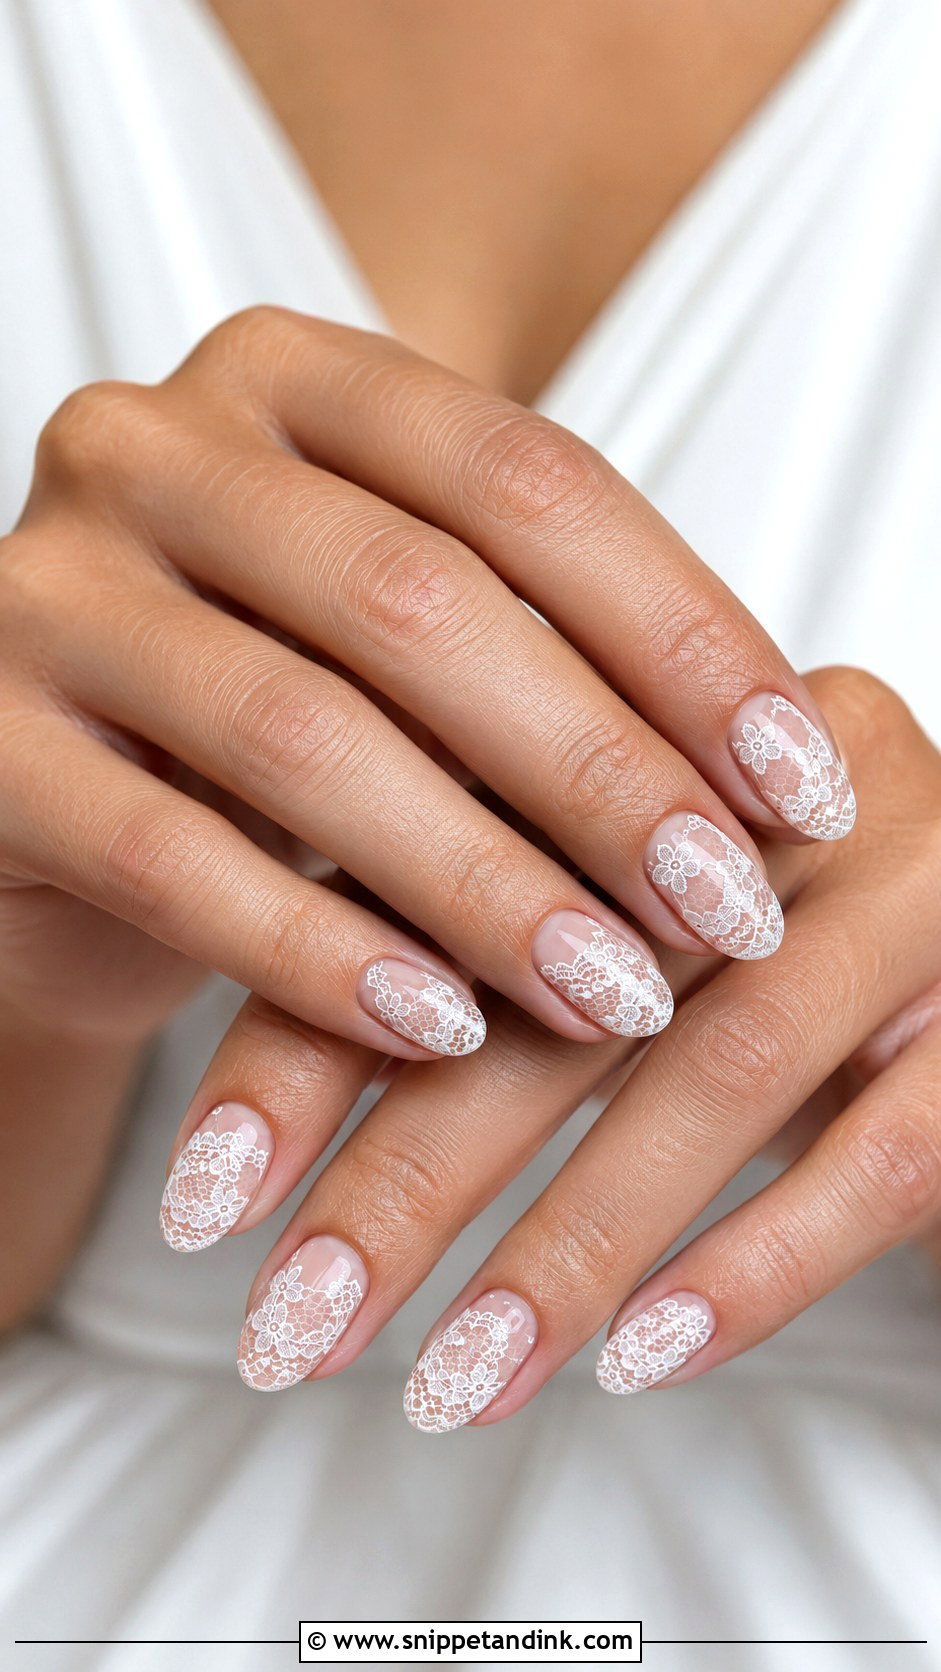
Lace sets suit gowns with lace sleeves or embroidered bodices. They usually start with a nude, blush or milky base and add fine white lace across a few nails or all of them. Thin linework looks more like fabric than thick, raised art. On almond and oval shapes, the curve echoes the pattern. If you want visible nail art that still reads as bridal, this is a good route. Check that the lace is sealed under the top coat; printed lace with a raised edge can catch on tulle.
9. Floral Press On Wedding Nails
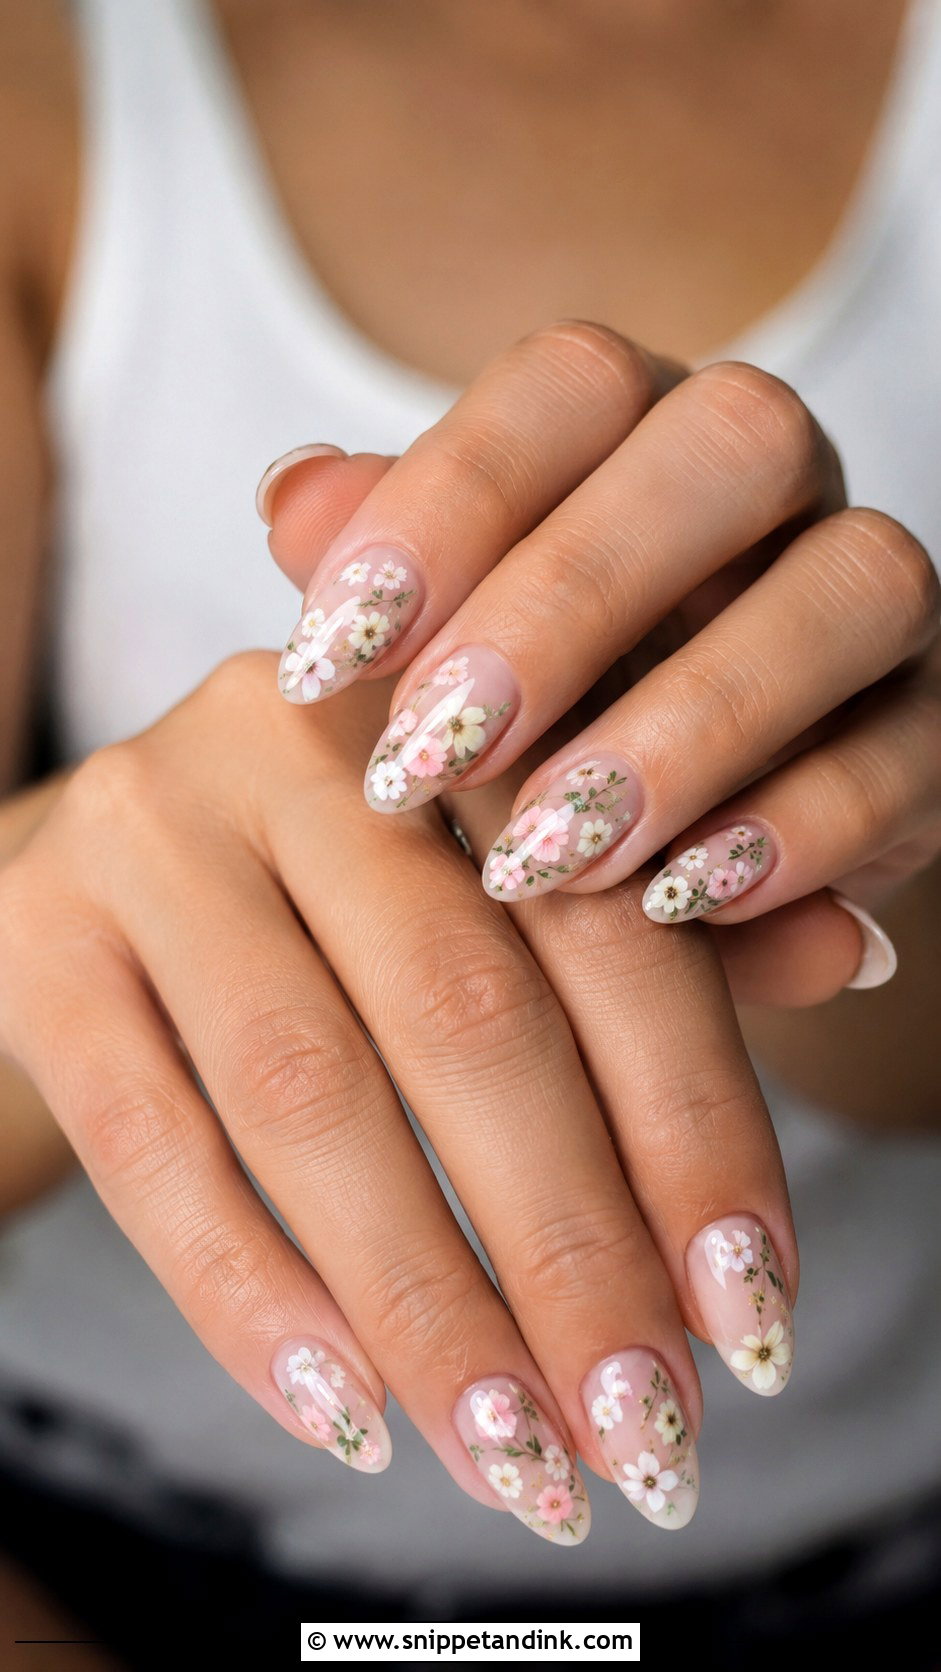
Florals are easy to overdo. I’d choose small, softly painted flowers in white, pale pink or champagne on a sheer nude, blush or milky base. Pressed-flower effects and fine botanical line art feel personal without looking busy. Garden weddings and outdoor ceremonies suit them. For a quieter set, florals on two or three nails per hand and plain nails on the rest. If you want the whole set covered, keep the colors muted and the finish glossy.
10. Short Press On Wedding Nails
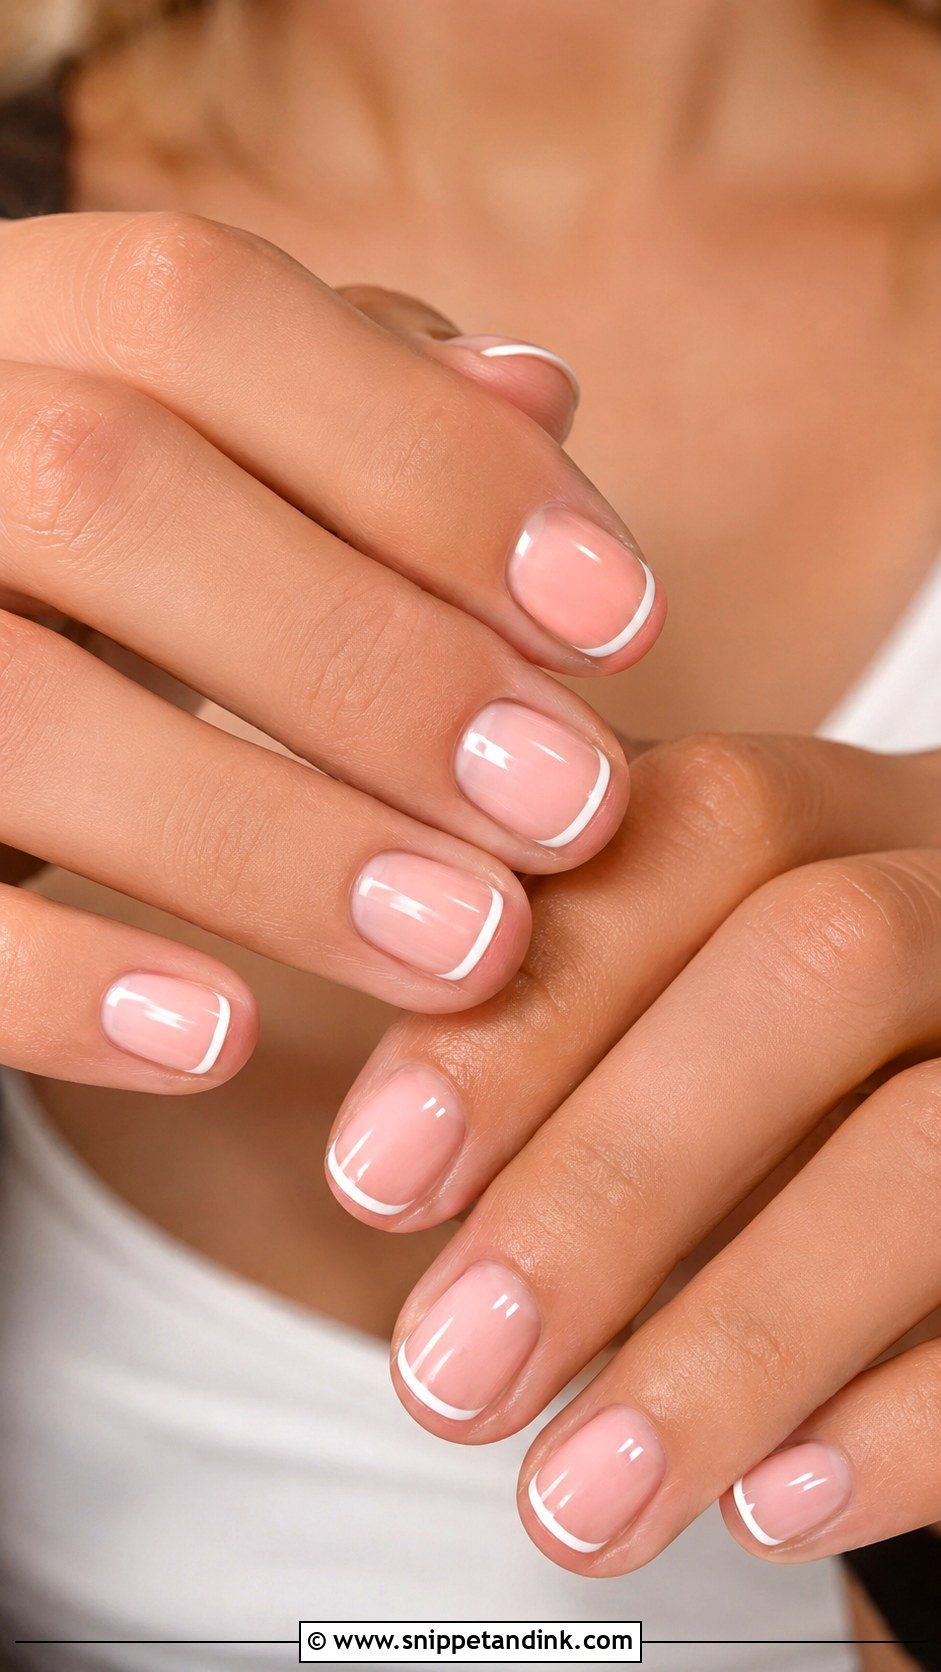
Short press-ons are the most secure. There’s less length to lever the nail off when you open a door or pick up a phone, so short sets stay on longer and pop off less often. If you don’t usually wear long nails, you’ll also feel more confident handling your dress and accessories. Short square, squoval and oval suit nude, milky white, soft pink or micro French designs. Pick a set that matches the width of your own nails, and avoid thick tips, which look chunky on short lengths.
11. Almond Press On Wedding Nails
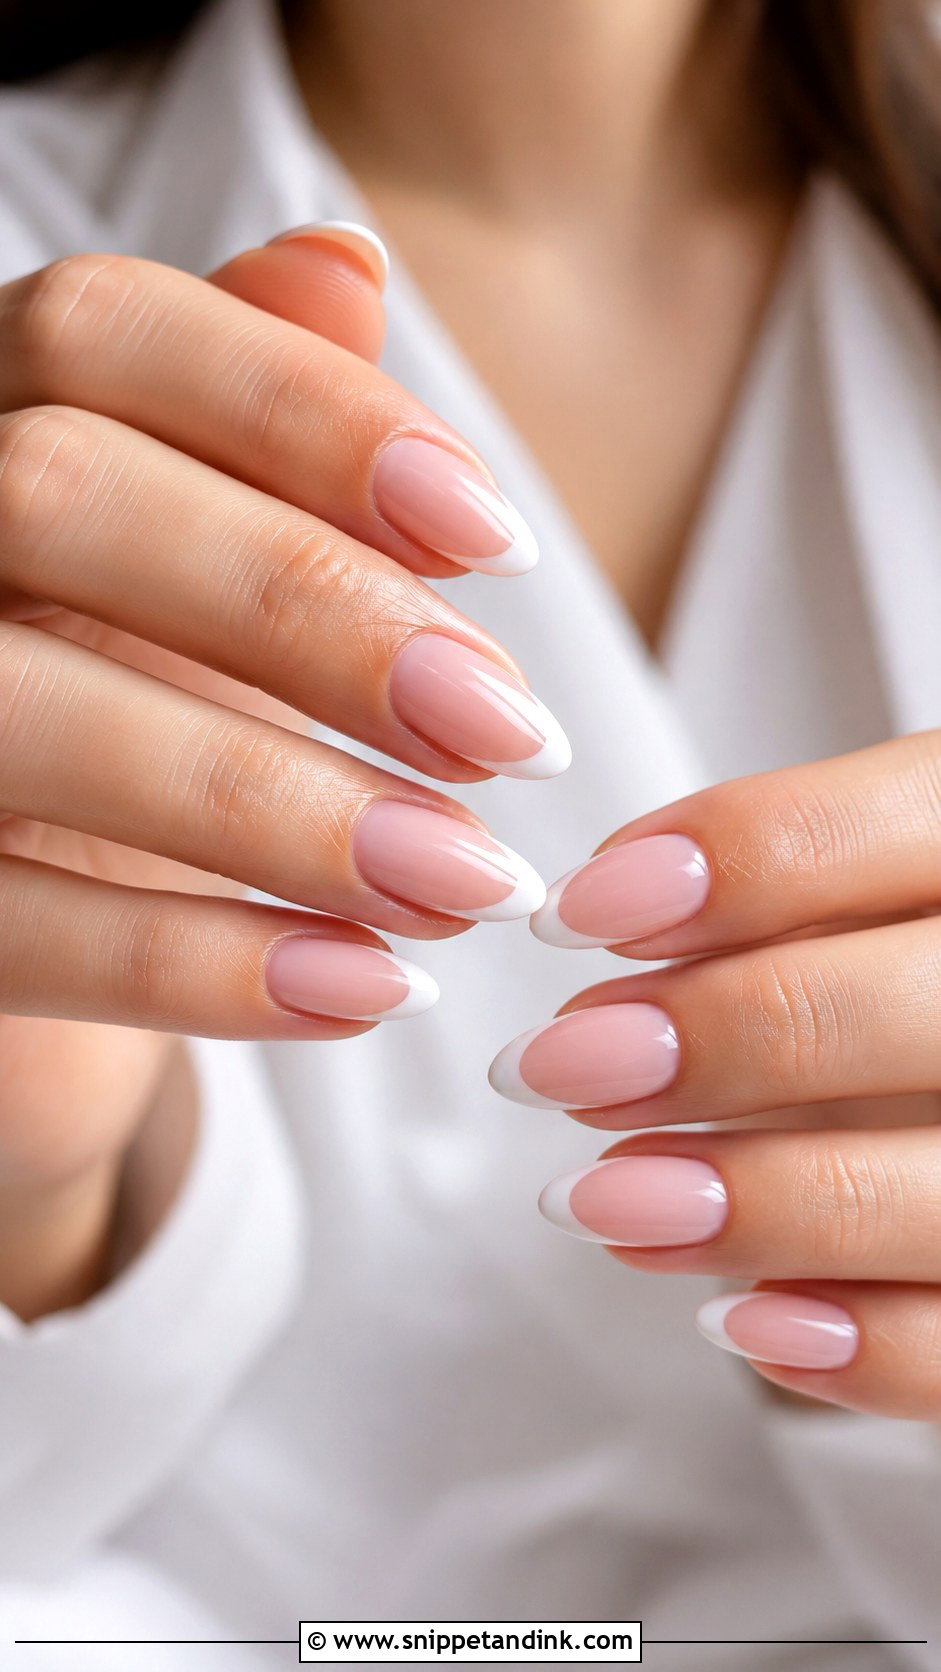
Of all the shapes, Almond press on wedding nails are among the most flattering because the taper lengthens the fingers. The rounded tip suits French tips, chrome, pearls, florals and ombre. Medium almond is easier to wear than a sharp point, and the soft tip is less likely to catch than a corner. A sheer pink base with white tips is the classic pairing. For something more current, milky chrome or pearl details. I’d call it the safest shape for a first press-on set.
12. Coffin Press On Wedding Nails
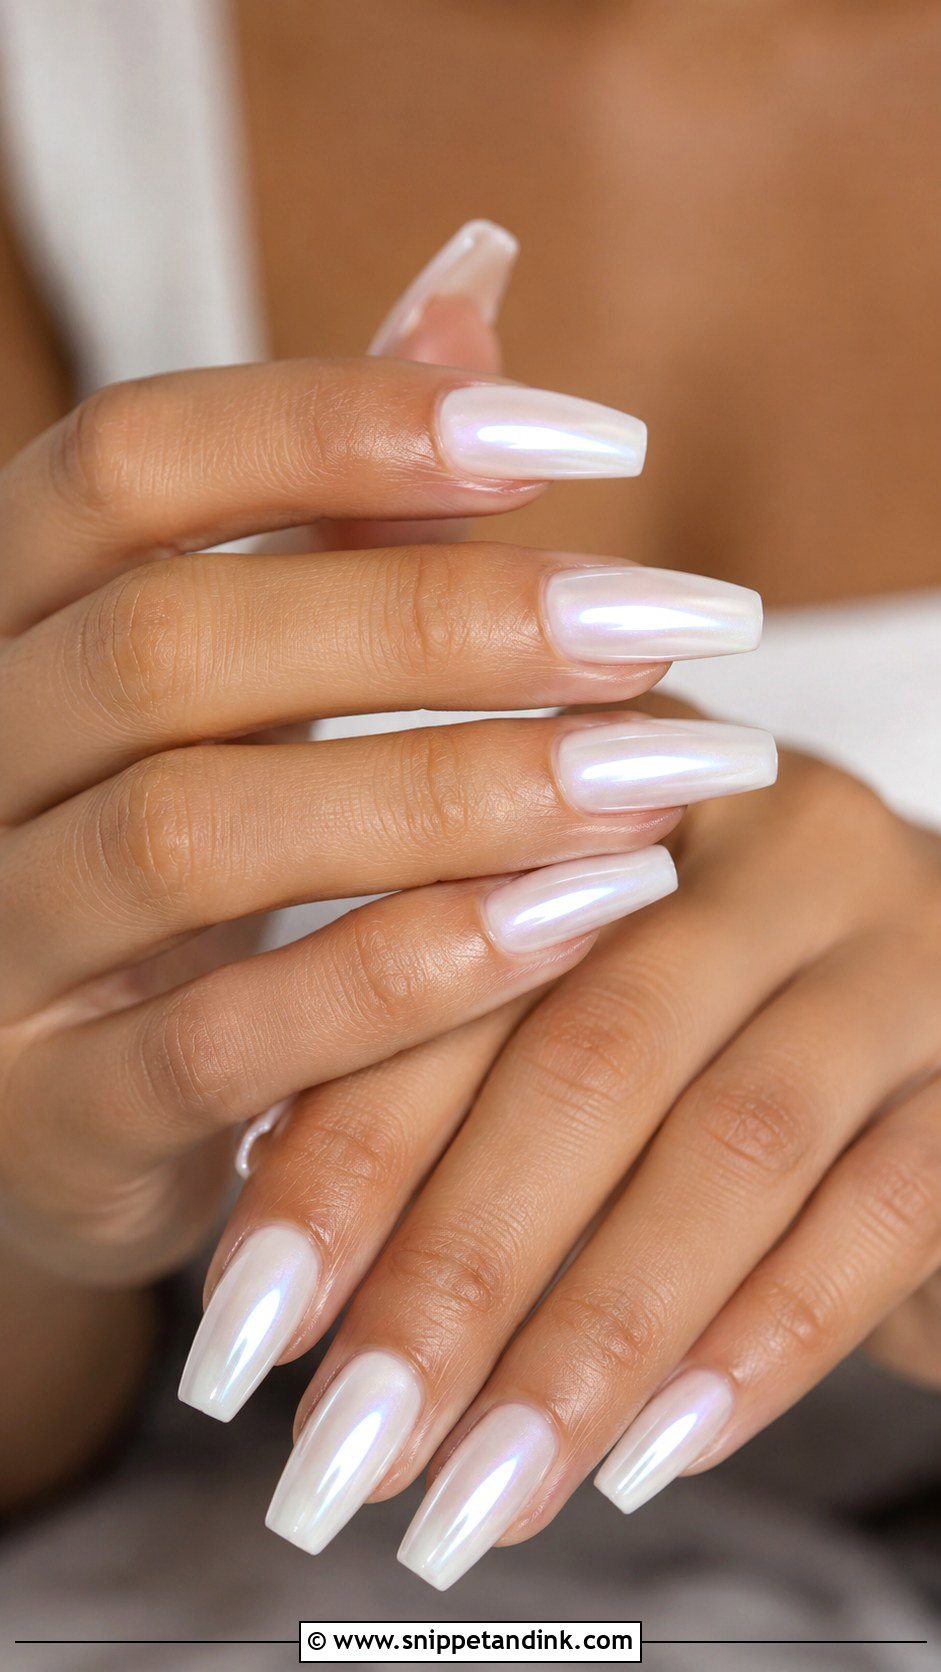
Coffin shapes have tapered sides and a flat tip, which suits modern gowns and structured outfits. Medium length is easier to wear than extra long. The flat tip gives space for linework or small florals, and soft designs like nude ombre, milky chrome or thin French tips keep the look bridal. Long coffin press-ons have a lot of leverage at the tip, which is why they pop off more than shorter sets. If you choose coffin, use glue rather than adhesive tabs.
13. Square Press On Wedding Nails
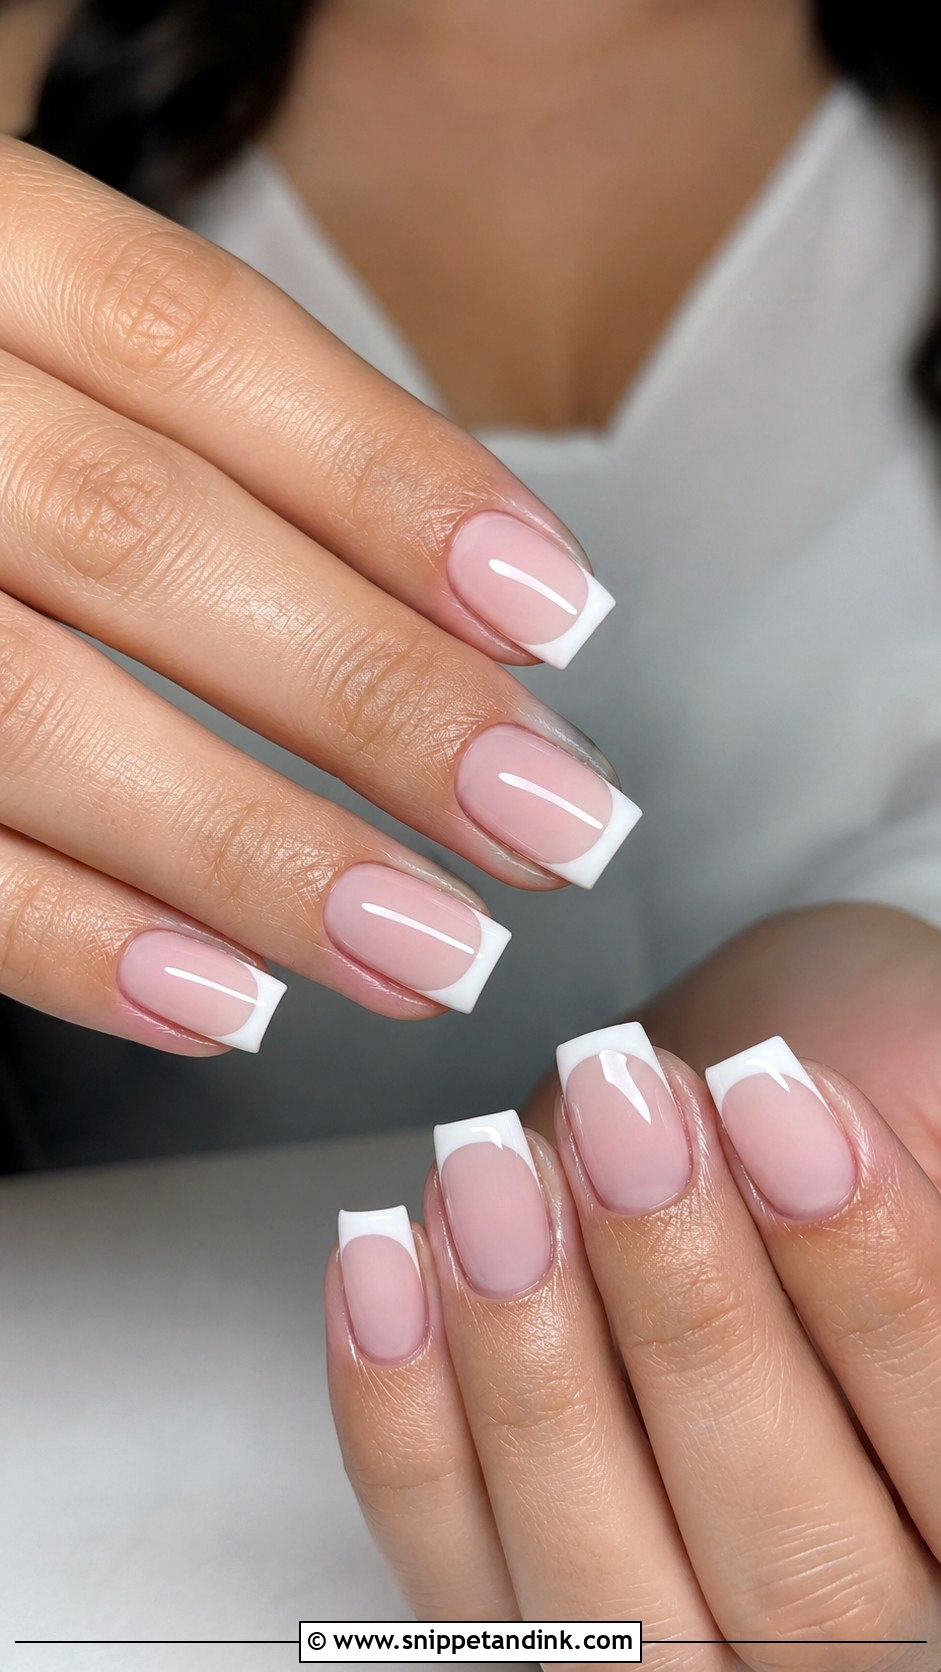
Square press-ons look neat and polished, especially on narrow nail beds, which they make look wider. Short to medium length works best for weddings. A classic French tip suits the shape, and so do sheer nude, soft pink and milky white. For something more current, try a micro French or a pale chrome. The straight edge gives structure; soft colors keep it from looking bold. I’d file the corners slightly round before applying, which stops them catching on sleeves.
14. Glitter Press On Wedding Nails
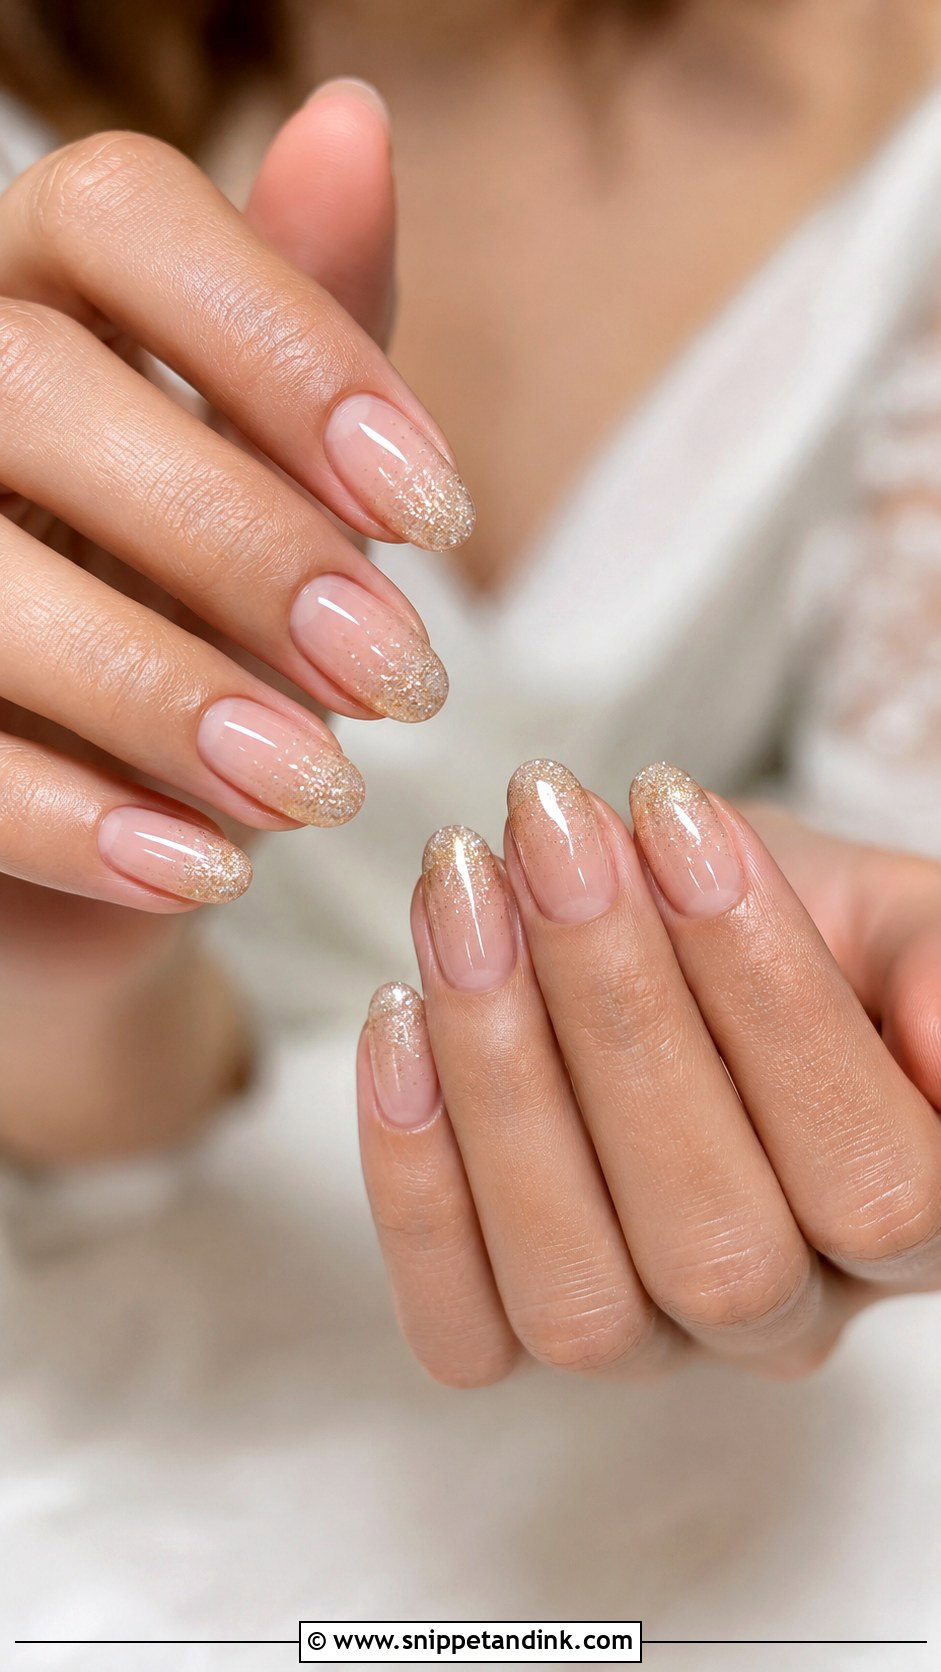
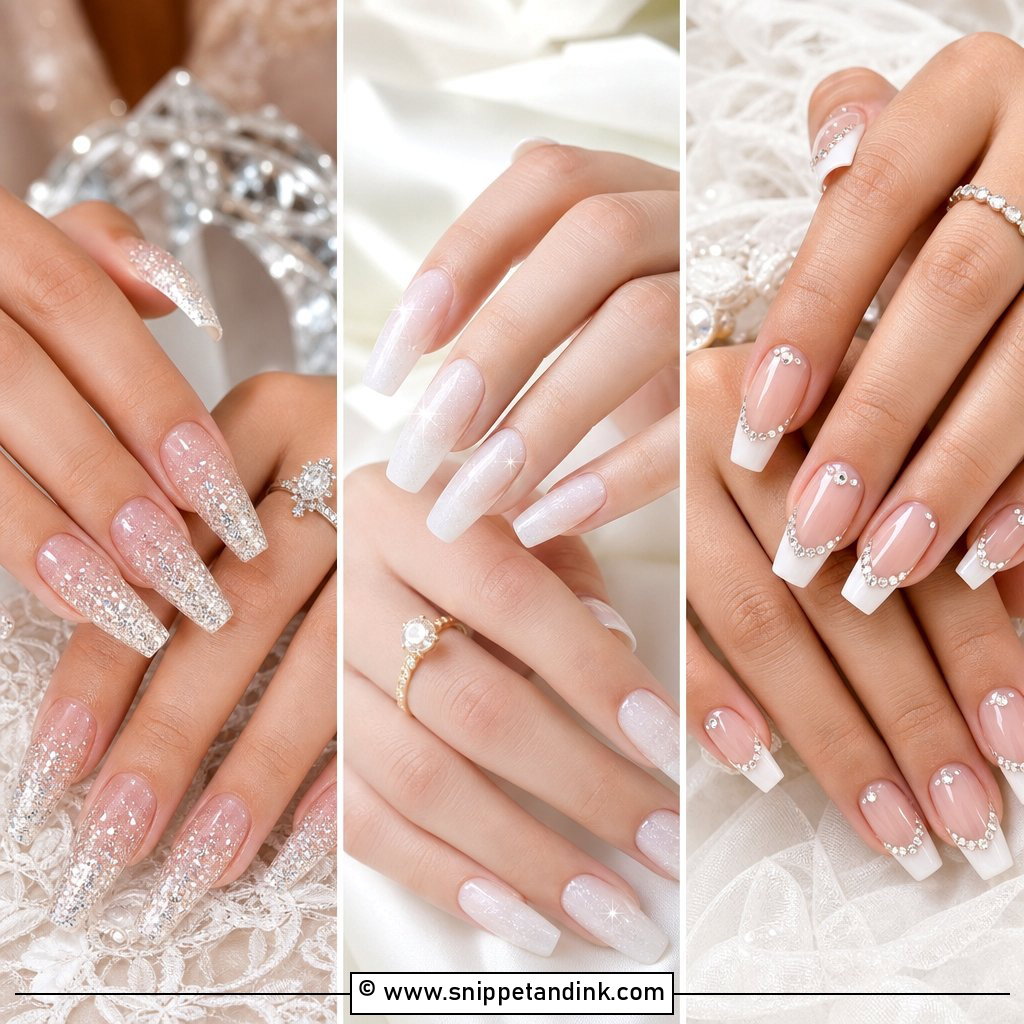
Glitter works for a wedding when it’s fine and placed carefully. Rather than chunky glitter on every nail, I’d pick a sheer pink or nude base with a delicate fade from the tip or cuticle. Champagne, soft silver, rose gold and pearl shimmer are the most wedding-friendly. Glitter press-ons are also where low quality shows most: rough texture under the top coat means it will snag hair. Evening receptions suit it, as do bridesmaids and guests. Keep the shape simple, oval or almond.
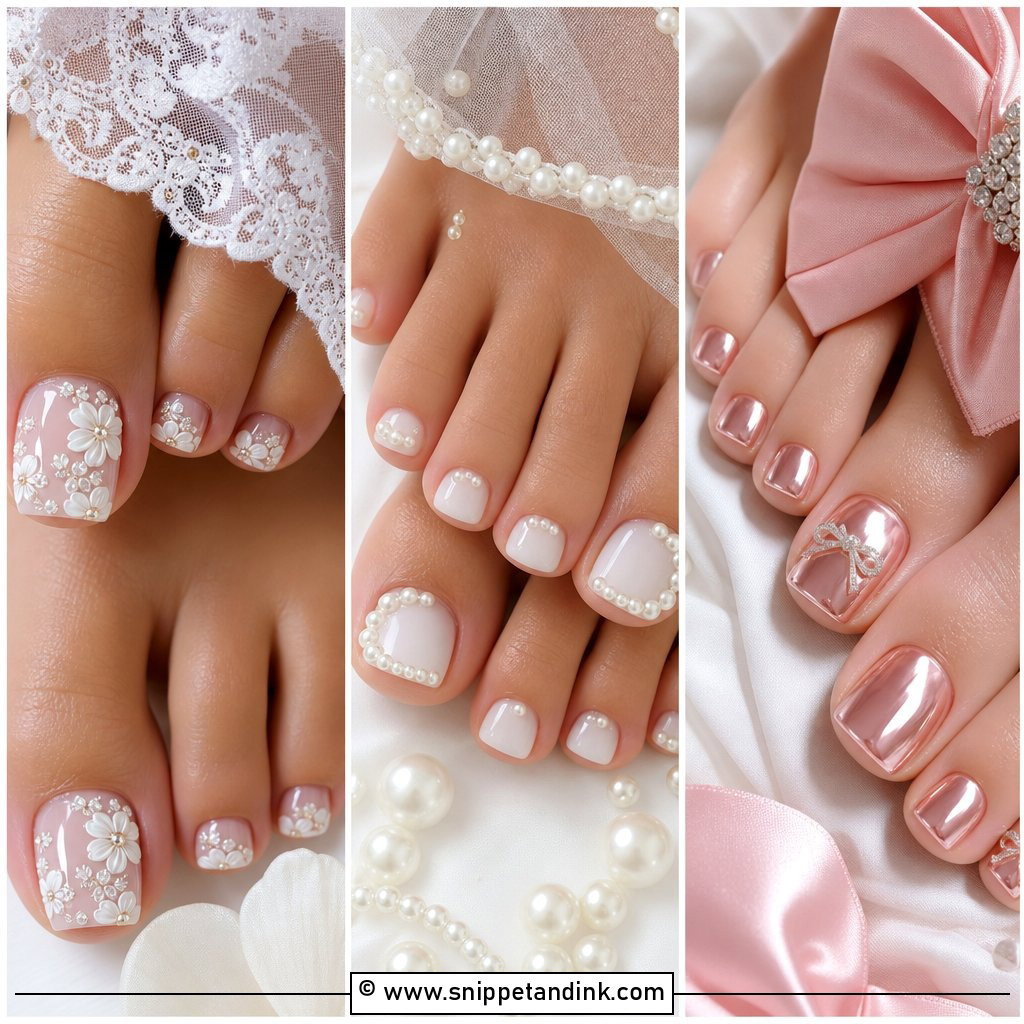
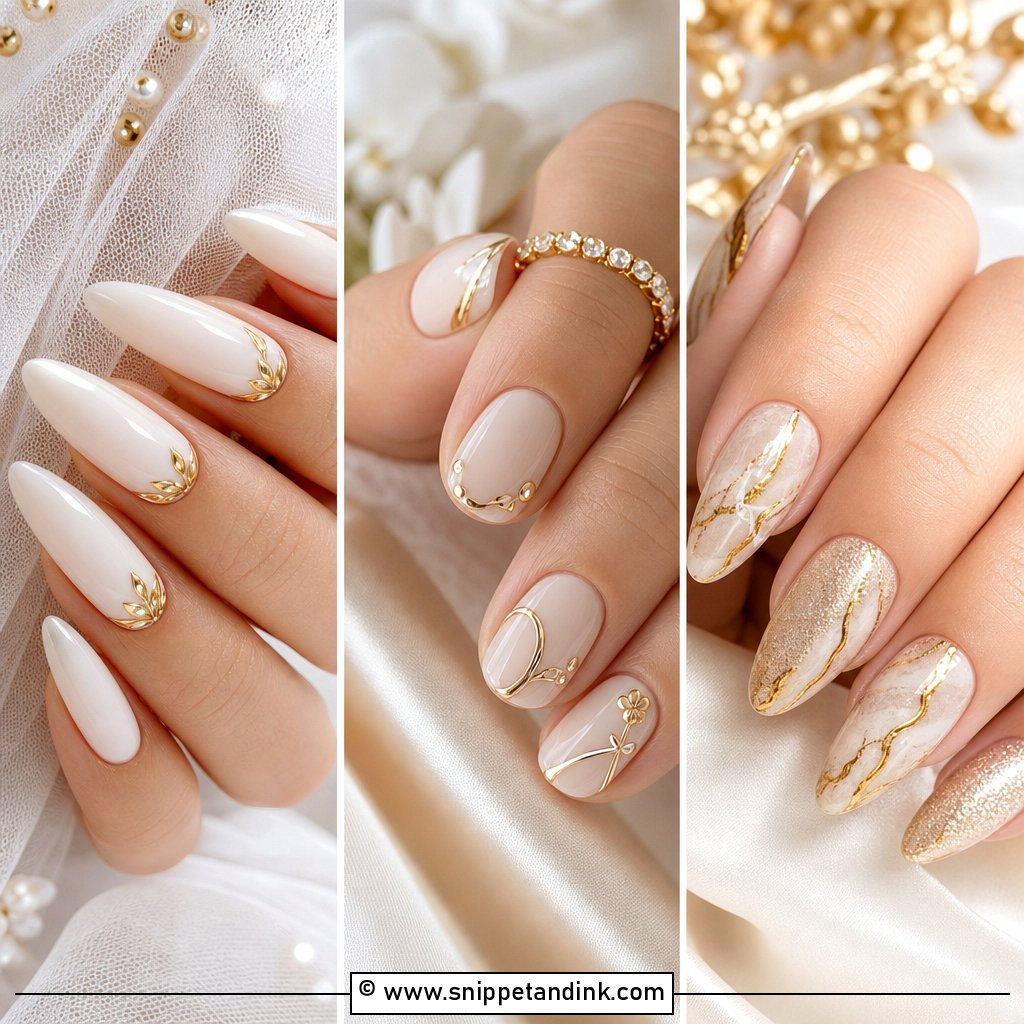
15. Marble Press On Wedding Nails
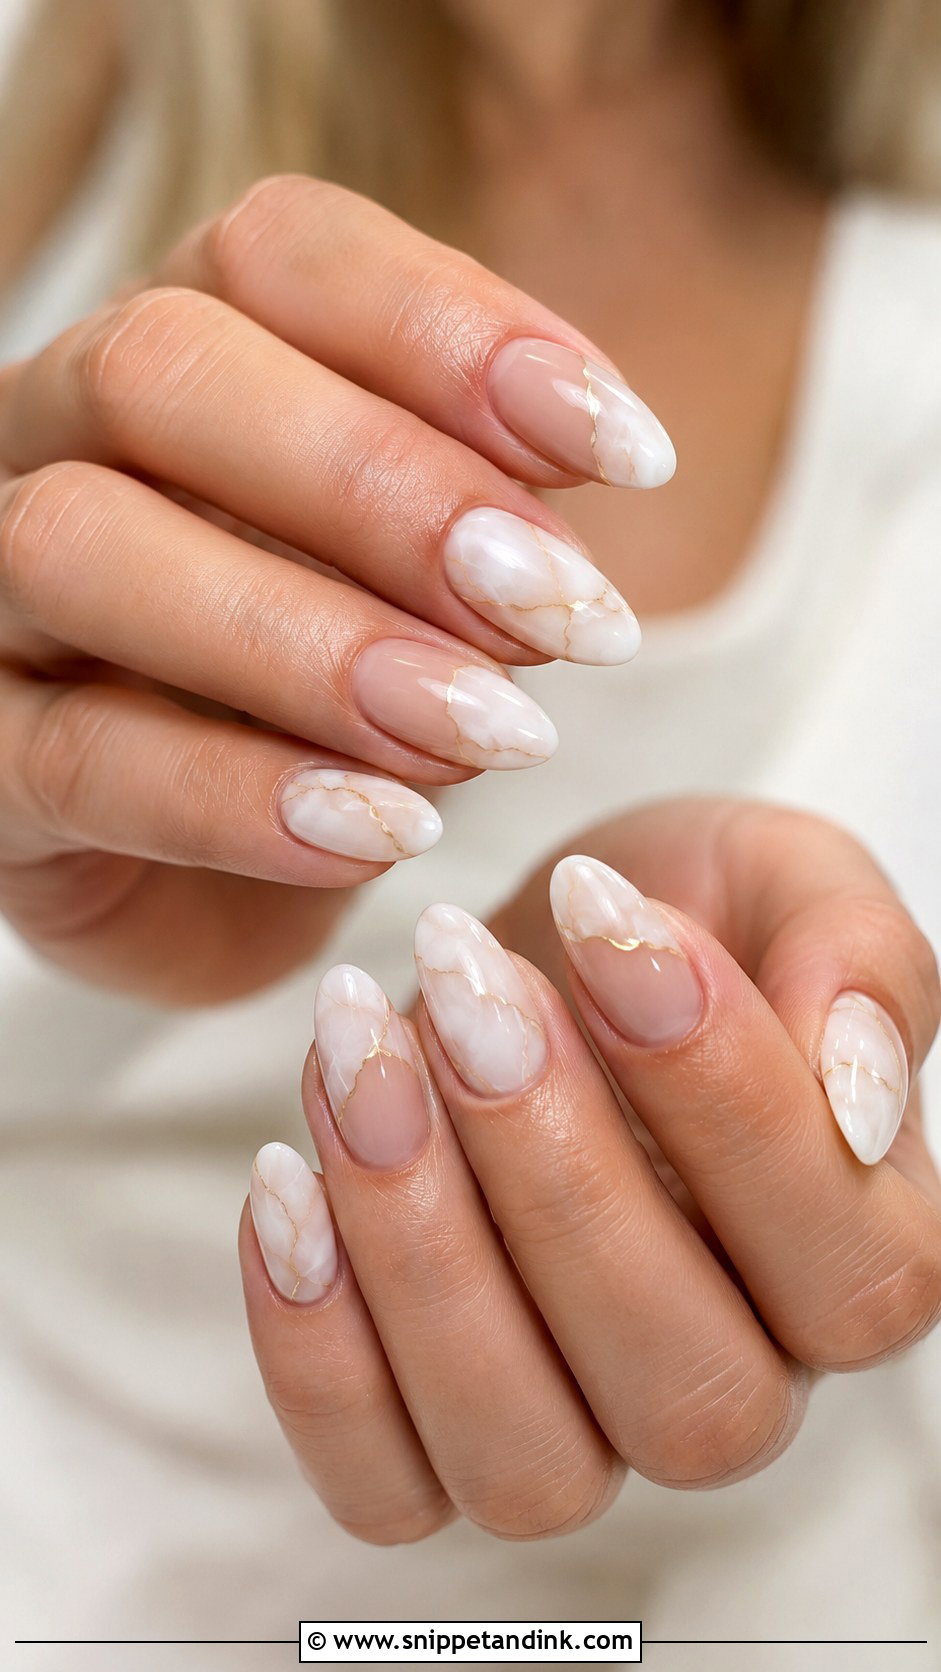
Marble is subtle when the veining is thin. White, ivory or soft nude marble with pale grey, champagne or soft gold lines looks clean. It pairs well with modern dresses and simple jewelry. A handful of marble accent nails with the rest milky or nude is softer than a full set. Almond, oval and coffin shapes all carry it. Look closely at the product photos; marble that is printed often repeats the same vein pattern on every nail, which gives it away.
16. Rhinestone Press On Wedding Nails
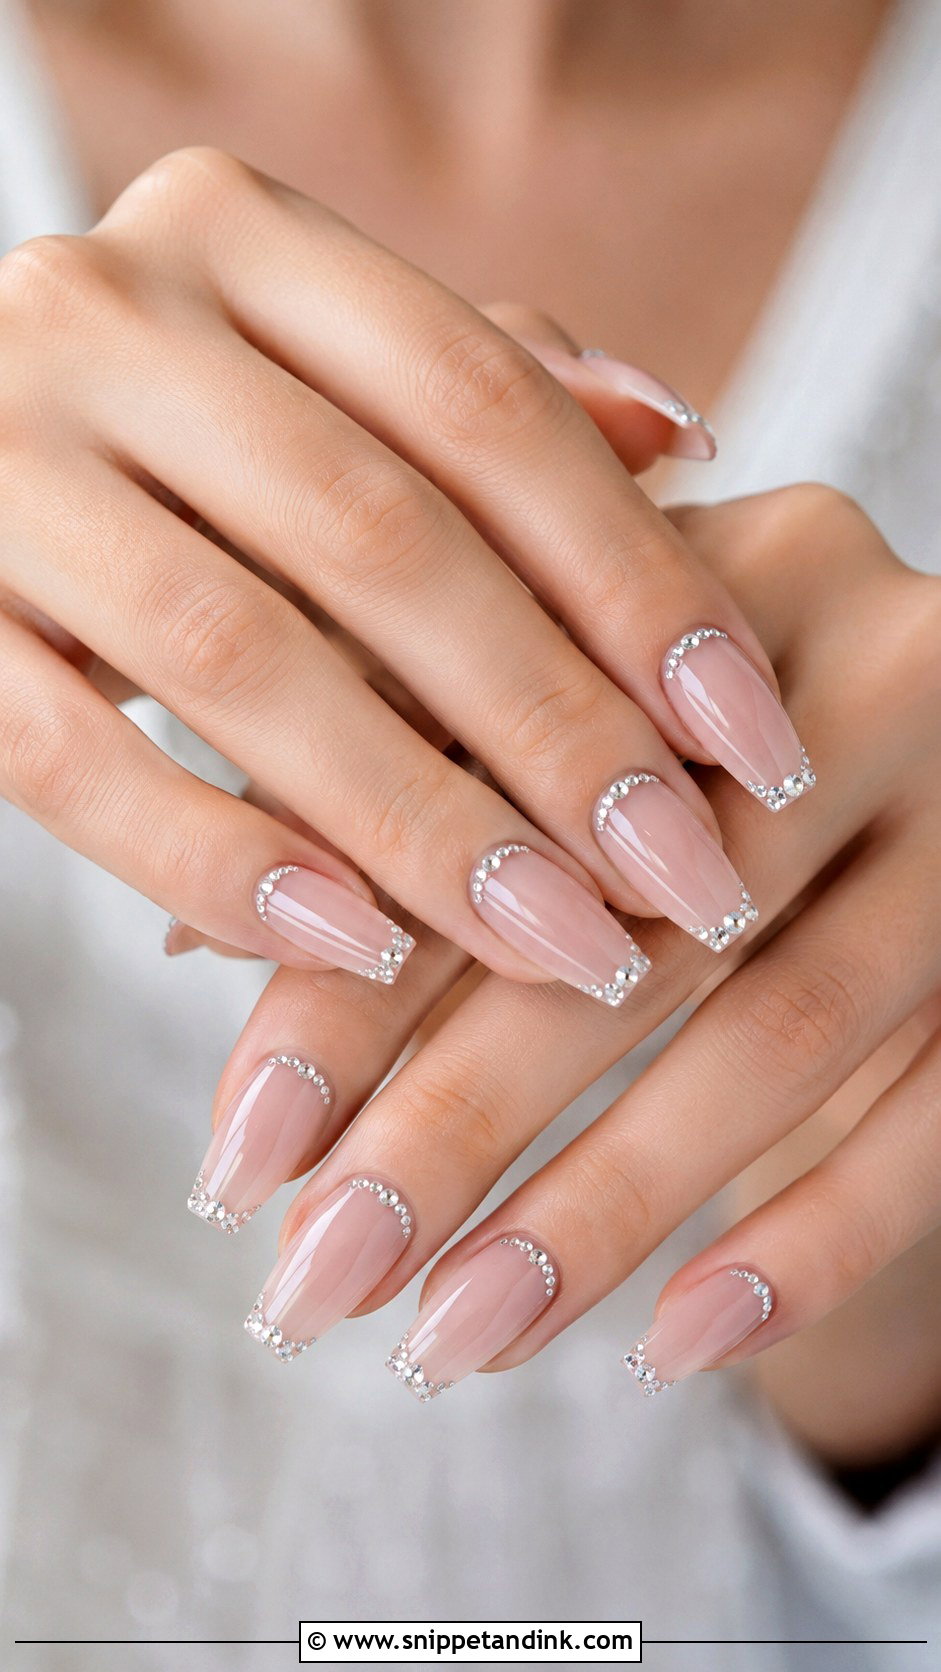
Small stones and careful placement are what make Rhinestone press on wedding nails look elegant rather than costume. A nude, blush or milky base with tiny crystals near the cuticle or along a French tip catches light. Oversized gems are heavy and catch on everything. They suit formal weddings and brides wearing crystal hair pieces. Medium almond or coffin shapes give enough room for a balanced layout. Before wearing them, press each stone with a fingertip; any that wobble need a dot of nail glue underneath.
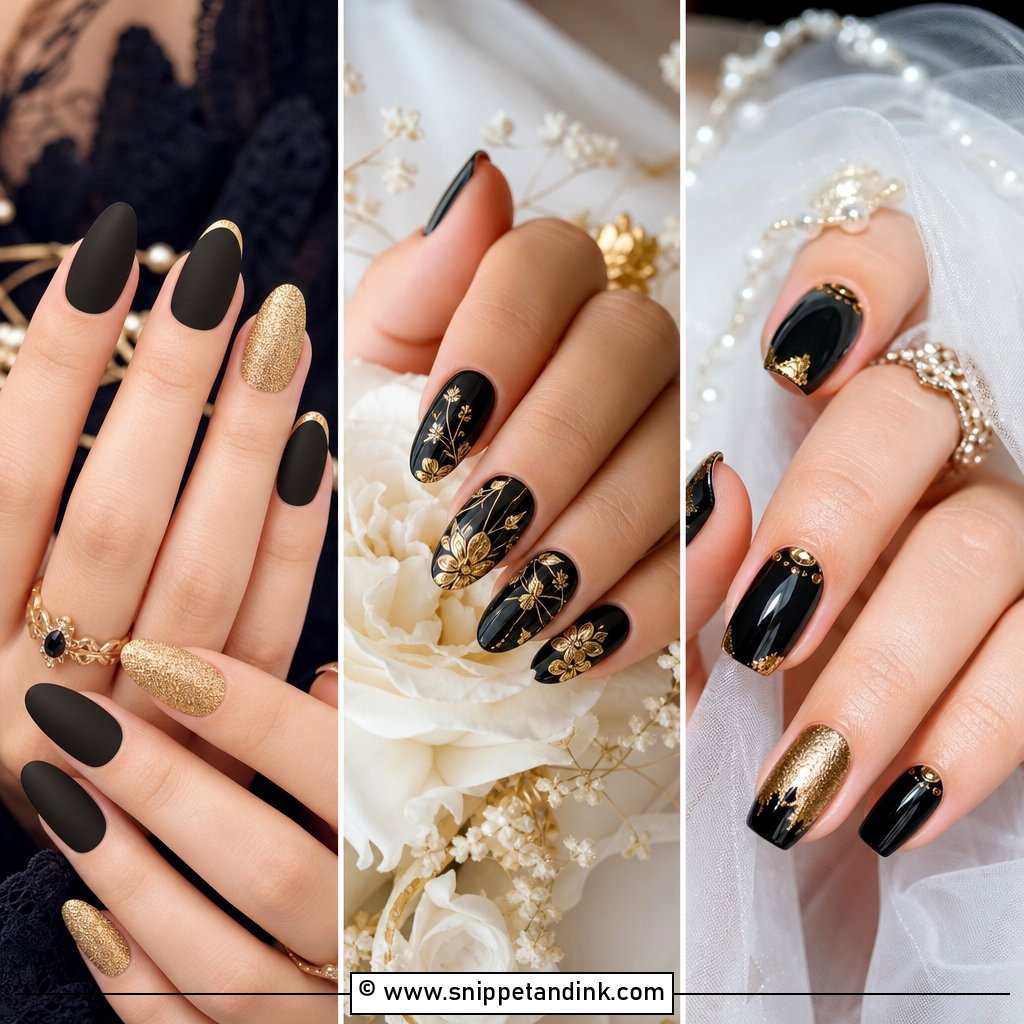
17. Matte Press On Wedding Nails
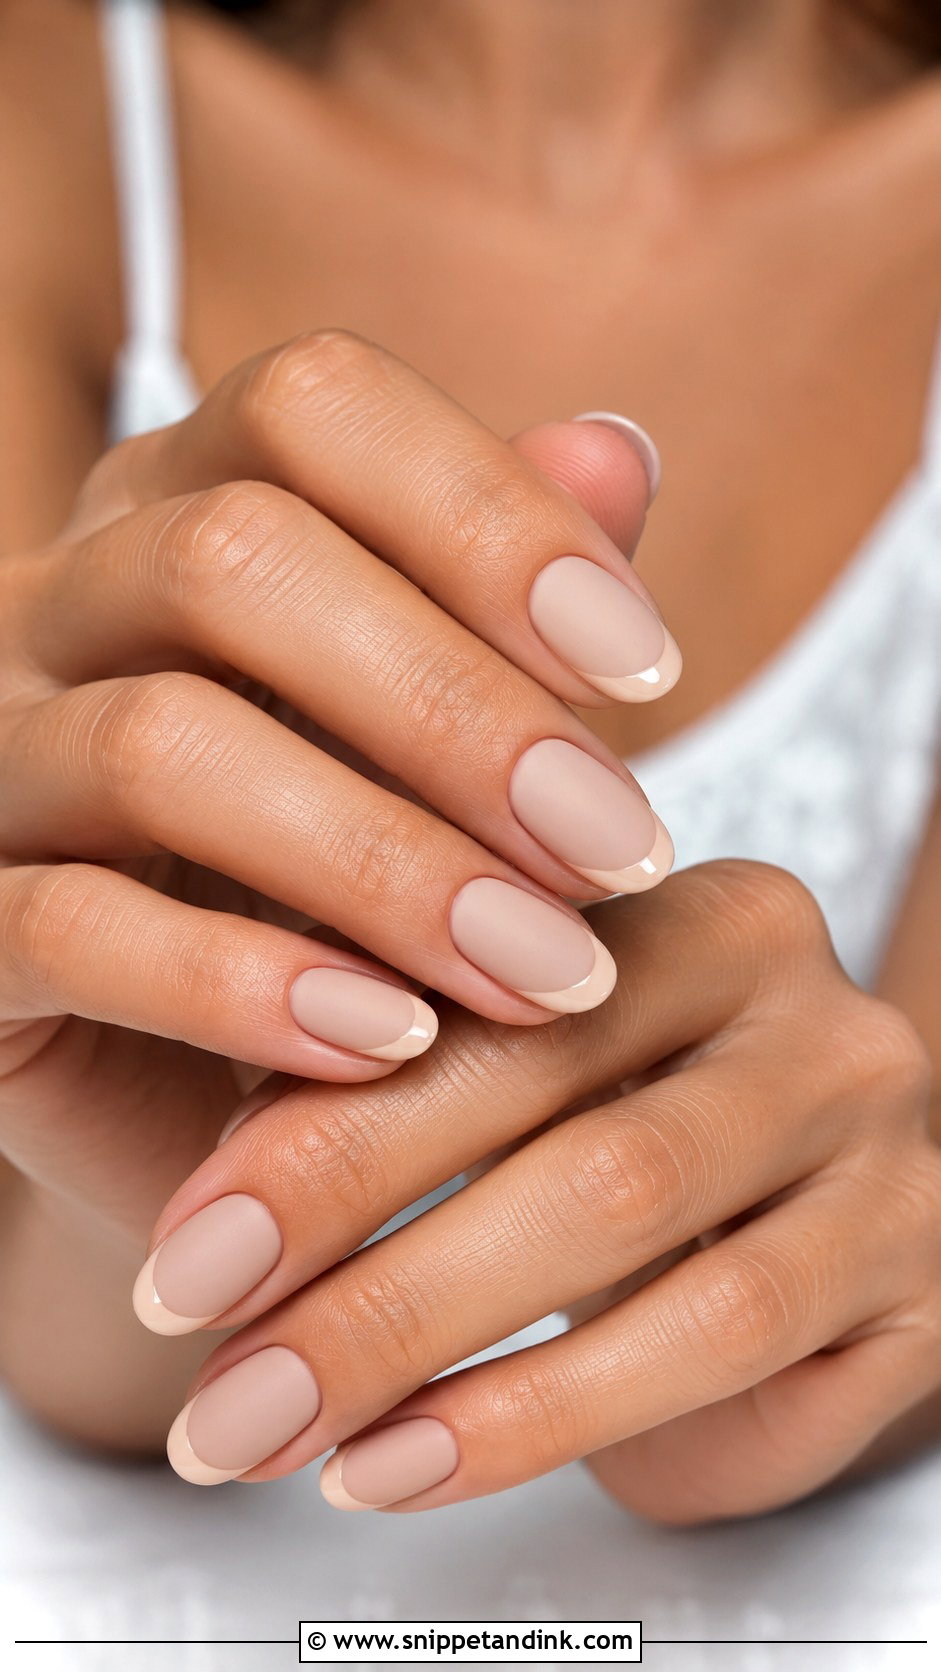
Matte gives a soft, velvety finish. On nude, pink, white or beige, it looks understated and suits a simple gown with clean lines. To keep it from looking flat, I like a contrast: a matte nude base with glossy French tips, or a matte milky base with subtle pearls. Matte top coat picks up oils and makeup more easily than gloss, so it can look grubby by the end of the night. Wipe it with a little alcohol on a cotton pad if it marks. Short oval, almond and square shapes all work.
18. Gold Accent Press On Wedding Nails
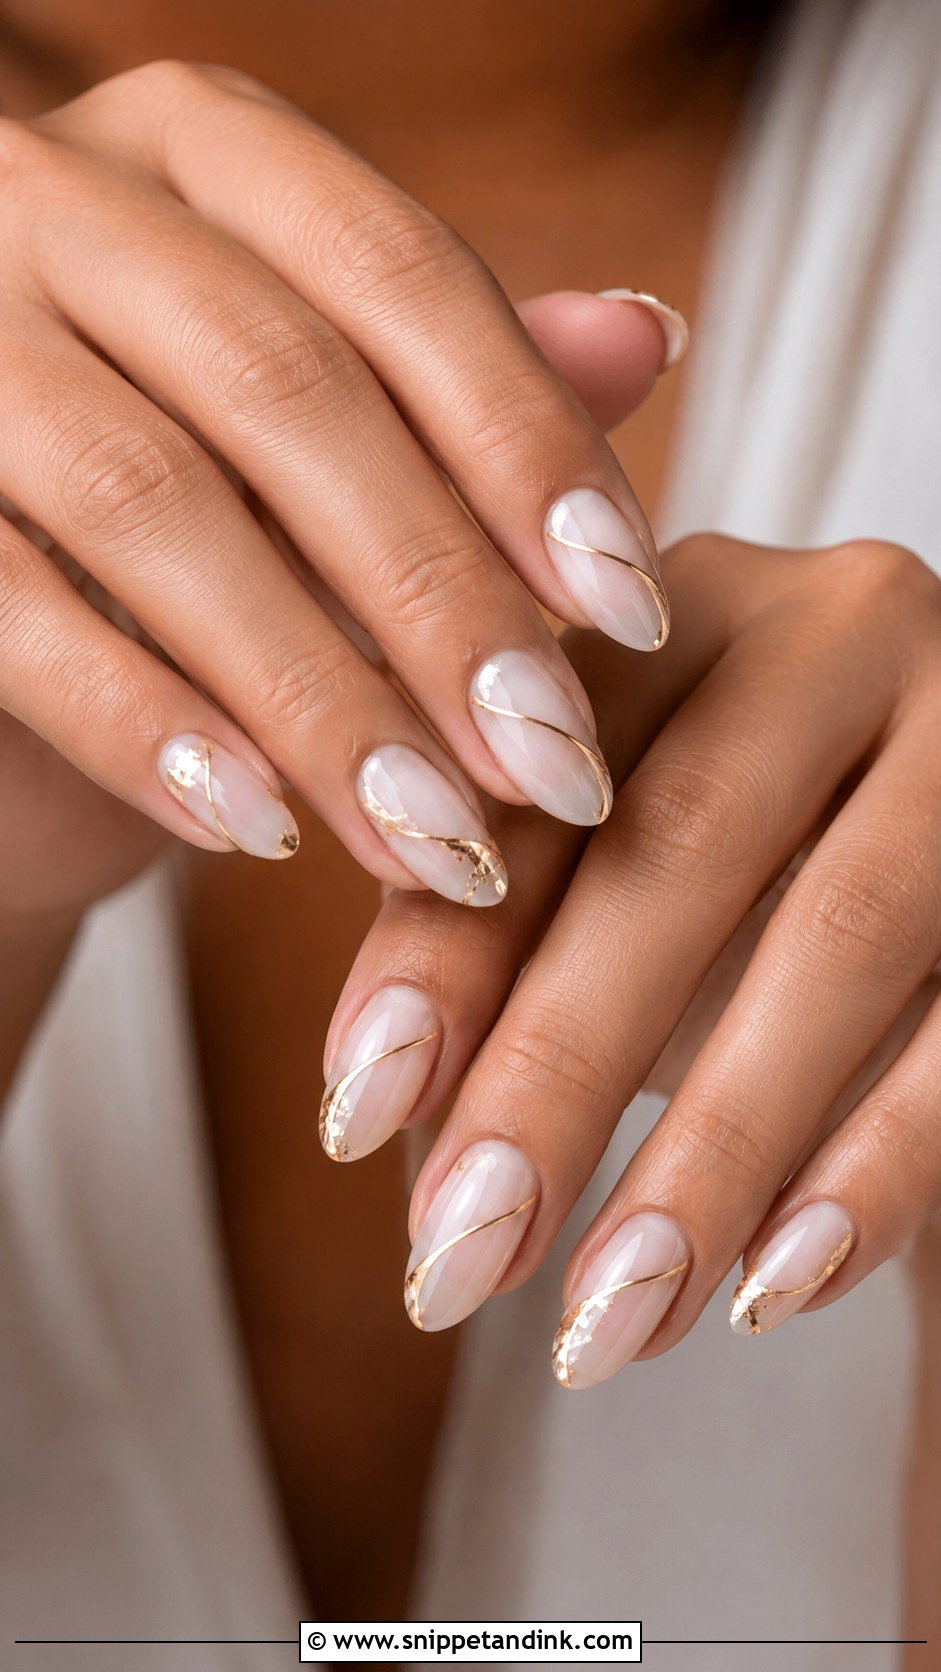
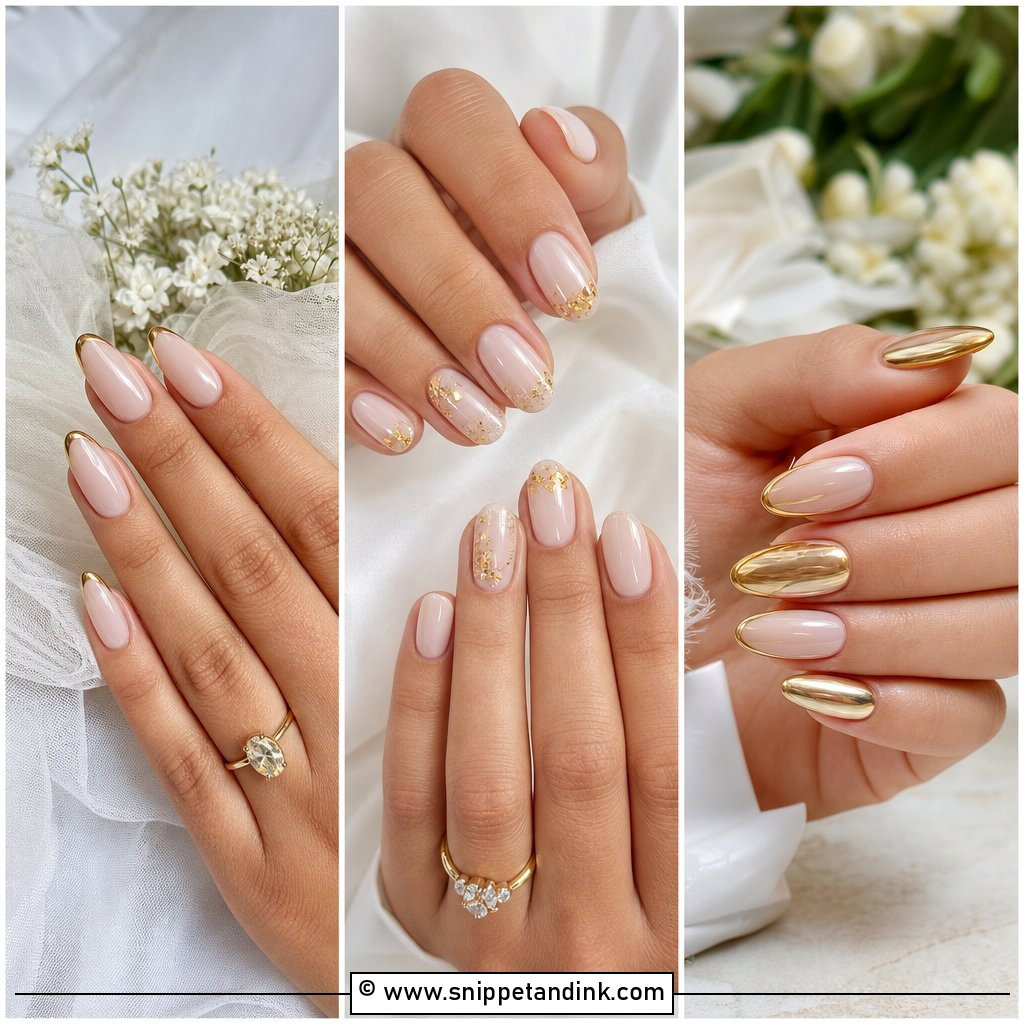
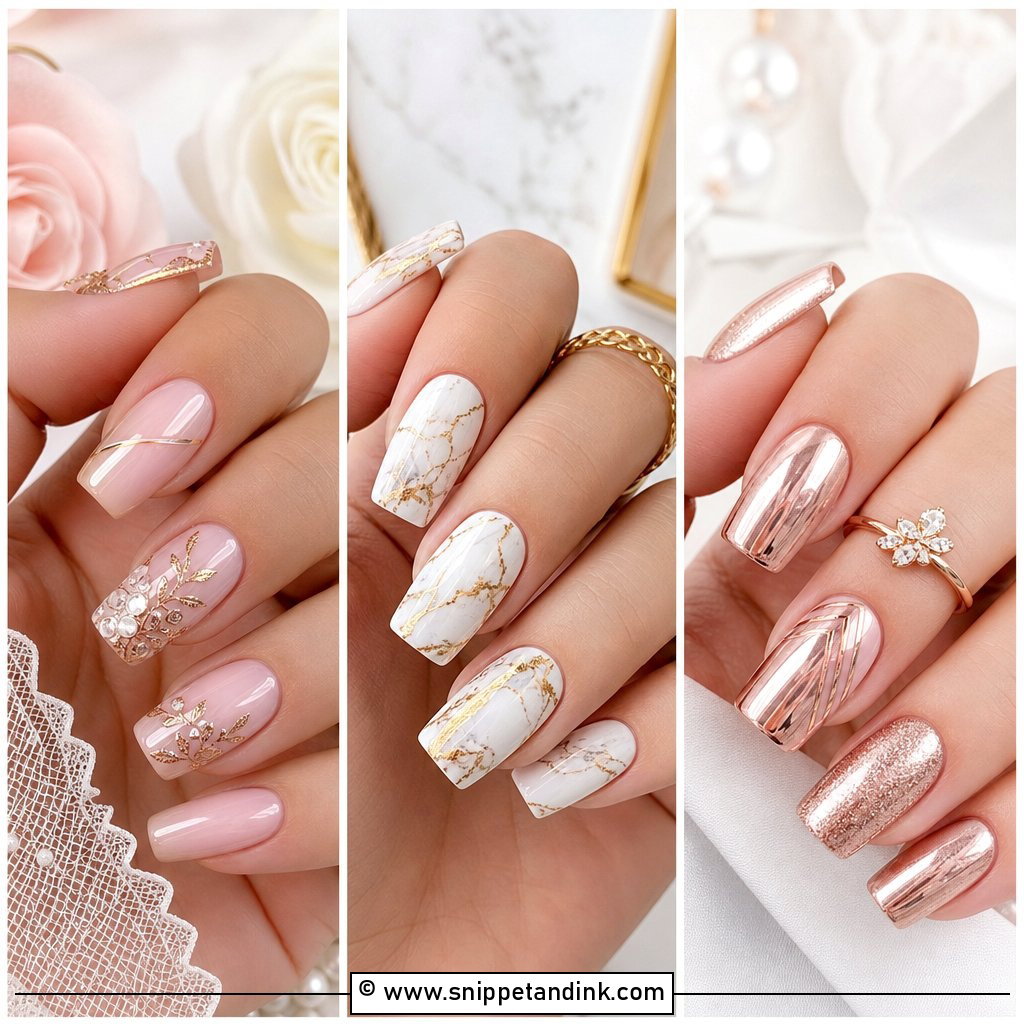
Gold accents add warmth without taking over. The best sets use thin gold lines, small foil pieces or soft metallic edging over nude, blush or milky bases. Gold jewelry, champagne accessories and warm ivory dresses suit it. For a subtle look, one or two gold detail nails per hand. For a coordinated set, fine gold accents across every nail in a minimal pattern. Almond and oval shapes keep it romantic; square nails feel cleaner.
19. Blue Accent Press On Wedding Nails
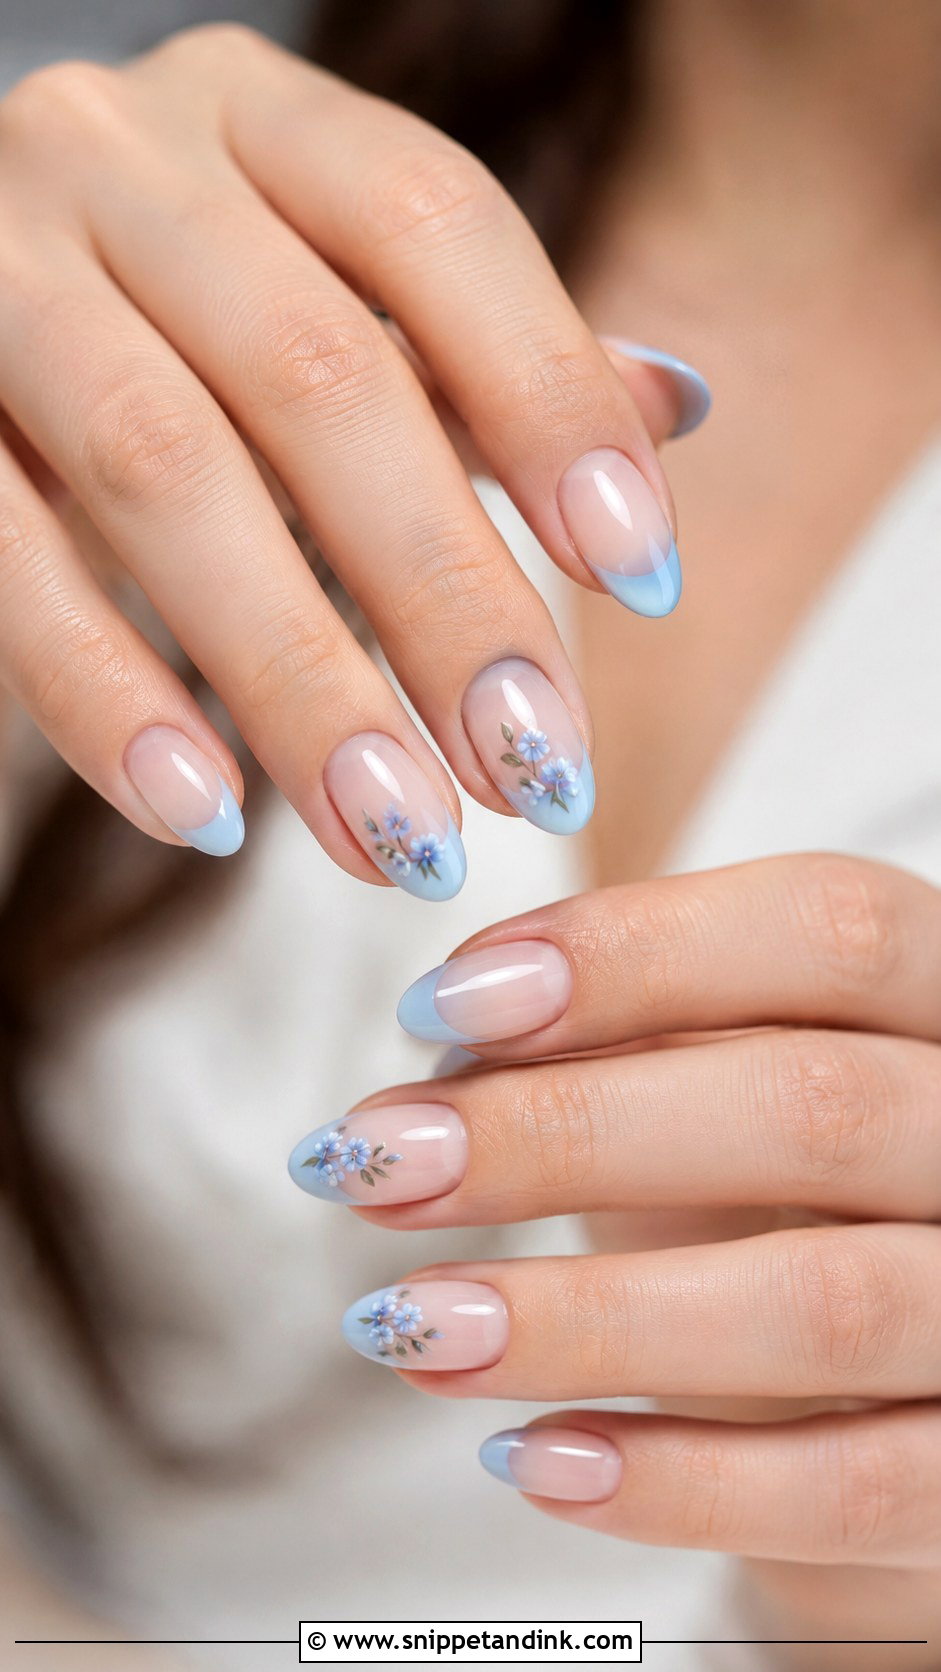
A small blue accent is an easy way to wear your “something blue.” I’d choose a pale, dusty or icy blue rather than a bright shade, which looks out of place next to white fabric. A sheer nude or milky base with tiny blue flowers, blue French tips or small dots stays subtle in photos. Bridesmaids can wear it too if blue is in the palette. Keep the length short to medium and the finish glossy.
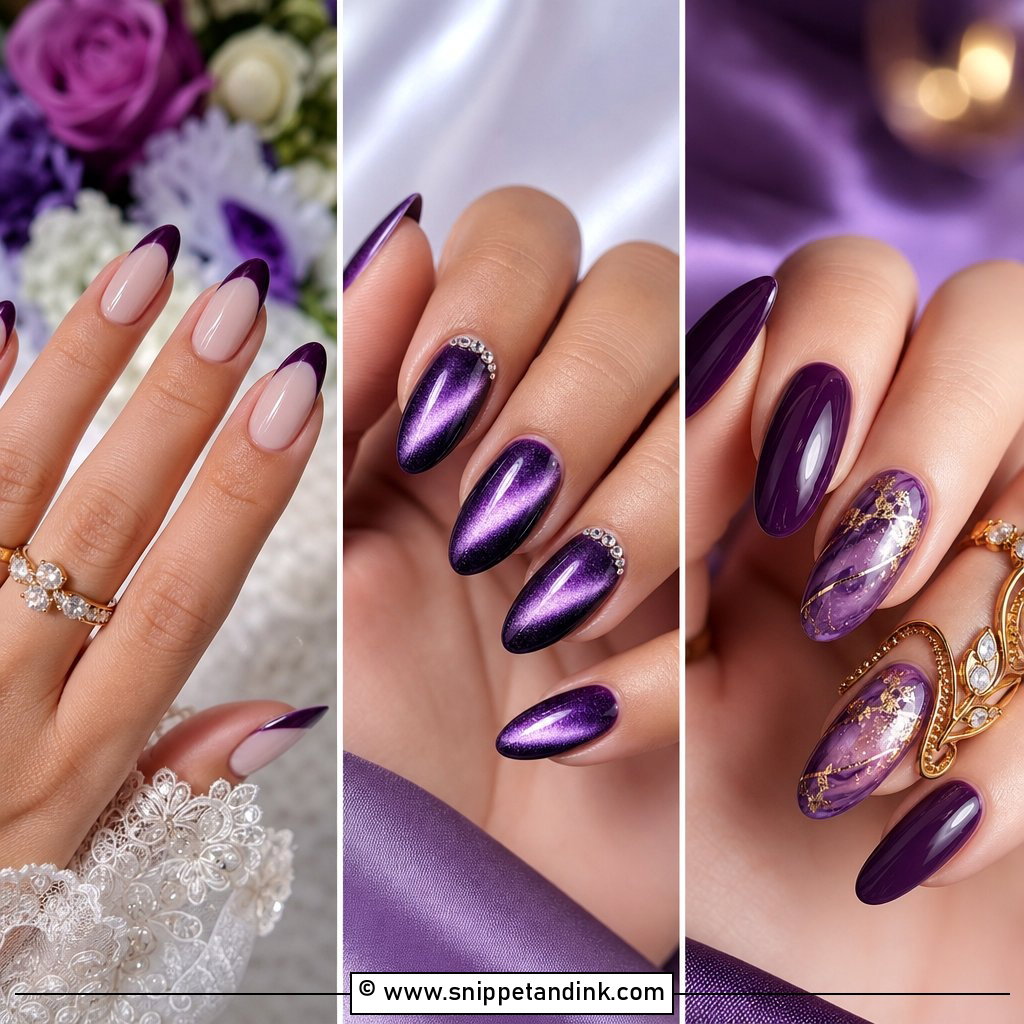
20. Minimal Press On Wedding Nails
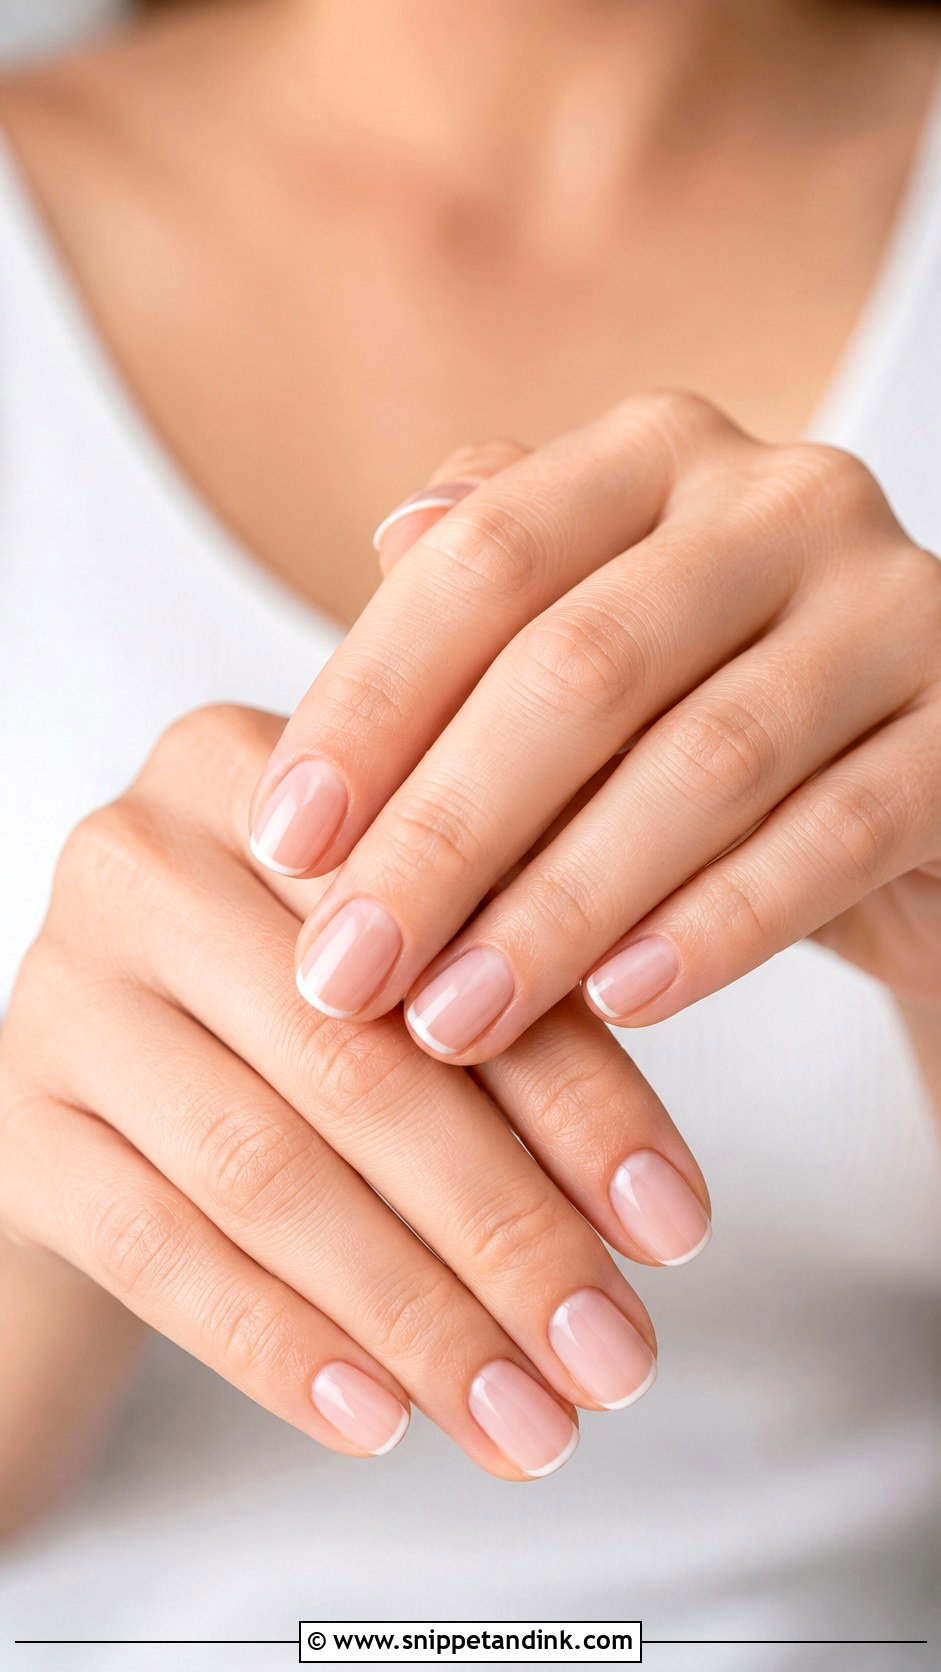
When you want your own hands to show, Minimal press on wedding nails keep things quiet with sheer pink, nude, beige or milky tones and tiny details such as micro French tips or barely visible shimmer. Minimal sets are the most versatile for a wedding party; brides, bridesmaids, mothers of the couple and guests can all wear them. They rarely clash with jewelry. A short oval or almond shape looks most like natural nails.
Glue or Adhesive Tabs? It Depends on How Many Days You Need
Adhesive tabs are gentler and easier to remove, but they’re meant for a day or two at most. They can lose grip in warm hands or after washing up. Nail glue holds much longer, often up to a couple of weeks with good prep, but removal takes more care.
For a single wedding day, I’d use glue applied the night before. That gives it time to fully set before your hands get busy. If the wedding stretches over several days of events, glue is the only sensible option.
If a nail pops off on the day, don’t use glue on top of the old glue. Buff off any residue, wipe with alcohol and reapply a fresh nail. That’s why the spare nail and a small file belong in the emergency kit.
Taking Them Off Without Damaging Your Nails
Never pull or pry a press-on off. Soak your fingertips in warm, soapy water with a few drops of oil for ten to fifteen minutes, then gently lift the edge with an orange stick. If a nail won’t budge, soak longer or use acetone around the edges. Pulling it off strips layers from the nail plate and leaves your nails thin and peeling for weeks.
Will Anyone Notice They’re Press-Ons?
Not if the set fits. Soft bases, thin details and a comfortable length photograph best and are easiest to wear through a long celebration. Size every nail carefully, prep properly and apply them the night before or the morning of. Keep glue, a file and a spare nail in your clutch or with a bridesmaid. Done that way, press-ons give you a polished wedding manicure without a salon appointment, and you can swap them out the day after.
You'll Like These Ideas:


Leave a Reply