
Most brides who sit down with me for a wedding set ask for the same thing in different words: hands that look cared for, not hands that look decorated. That is why the sets below lean on sheer pinks, milky whites, fine French lines and a little pearl, the shades and details that sit quietly next to a ring and a bouquet instead of fighting them. Short natural nails and longer almond extensions are both here, and with each one I’ve noted what I check at the desk before I start. A simple manicure hides nothing, so a bumpy cuticle line or an uneven tip shows far more on a pale set than on a dark one.
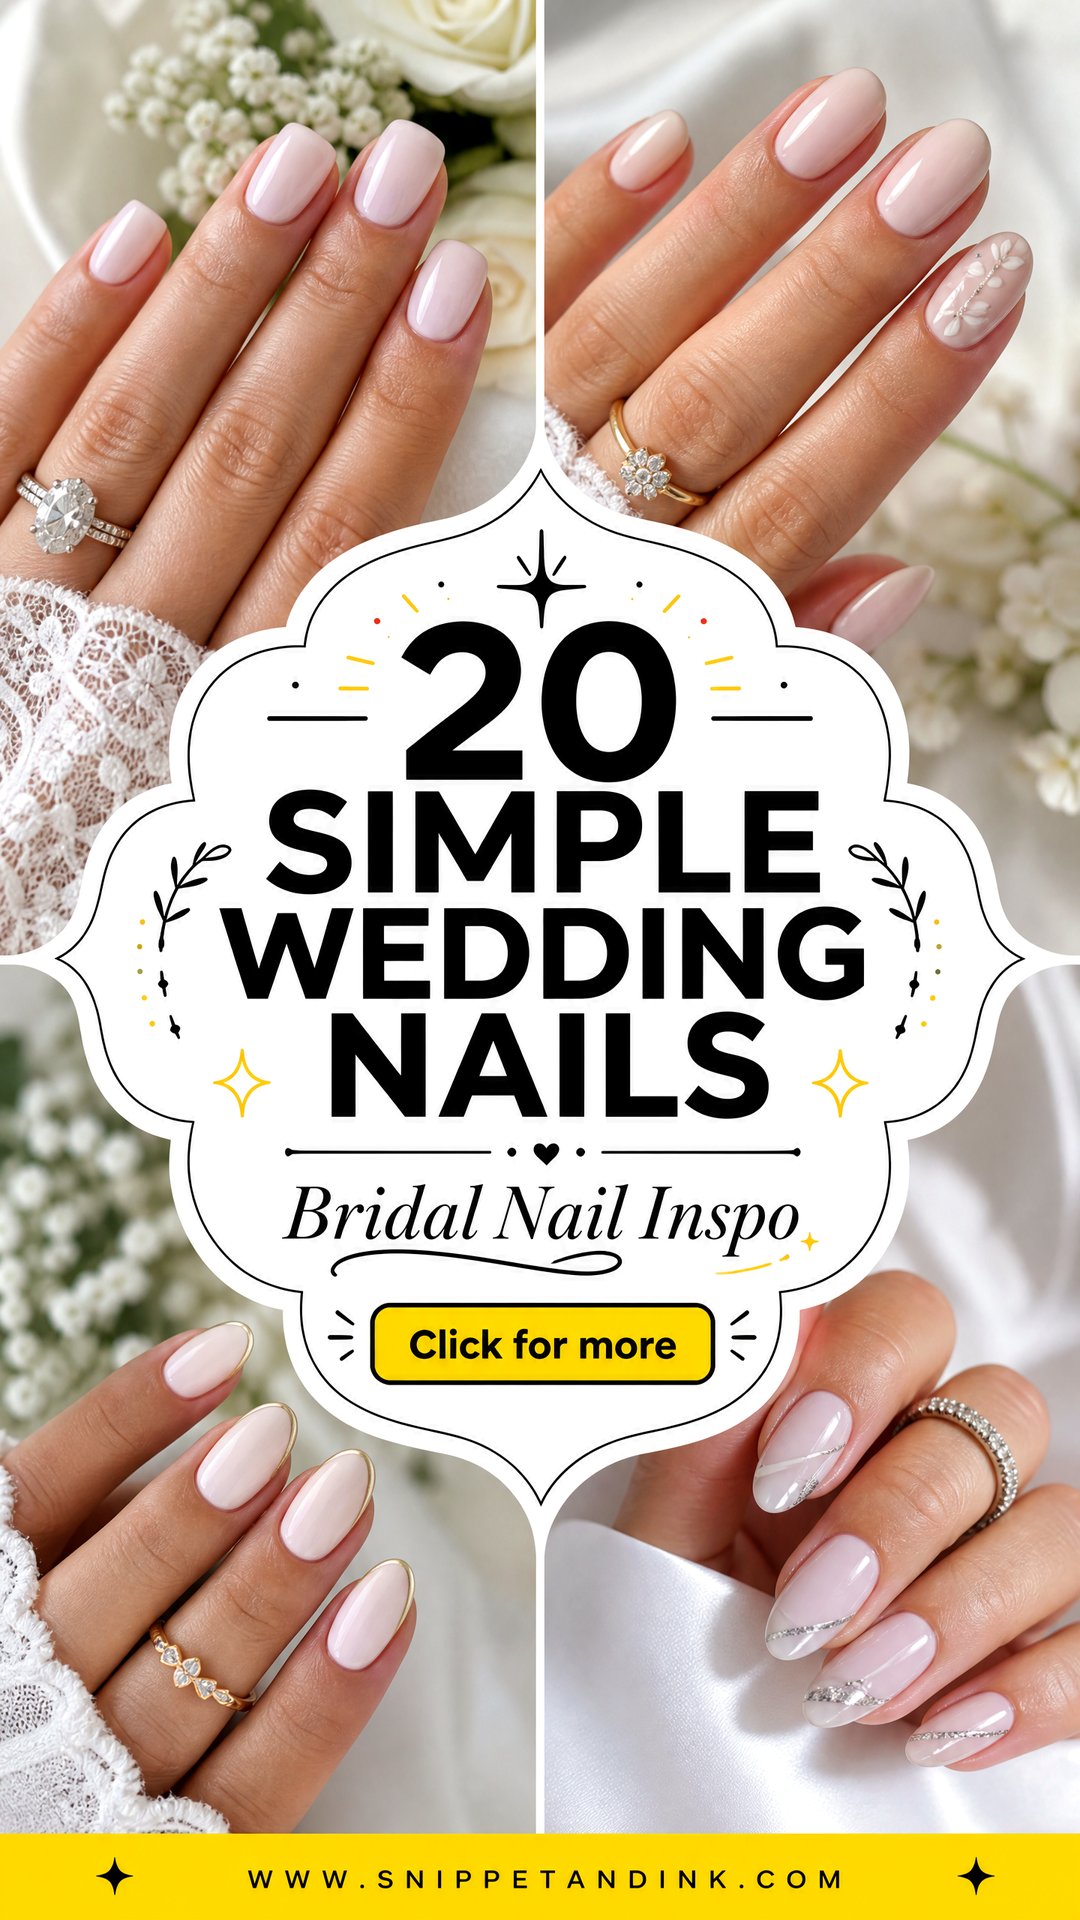
Testing a Sheer Shade Against Your Own Nail Bed
Sheer and milky shades are never just the color in the bottle. They are the bottle plus whatever sits underneath, which is why the same pink looks peachy on one bride and slightly lilac on another. At a consultation I paint a single coat on one nail and two coats on the next, then we look at both by a window rather than under the desk lamp. More often than not, the single coat wins.
What shifts the result on your hands
- Your nail bed: yellowing or white spots need a milky shade, because a clear pink shows every mark.
- Your ring metal: yellow gold warms everything around it, so I nudge the base a touch warmer; platinum flatters cooler pinks.
- Your dress: a bright white gown makes ivory-leaning milkies look yellow beside it, so bring a fabric swatch if you have one.
- The venue light: candlelit receptions warm colors up, and cool pinks can turn muddy there.
Stuck between two shades? Take the one closer to your skin. I very rarely hear a bride wish she had gone louder on her hands.
1. Milky White Wedding Nails
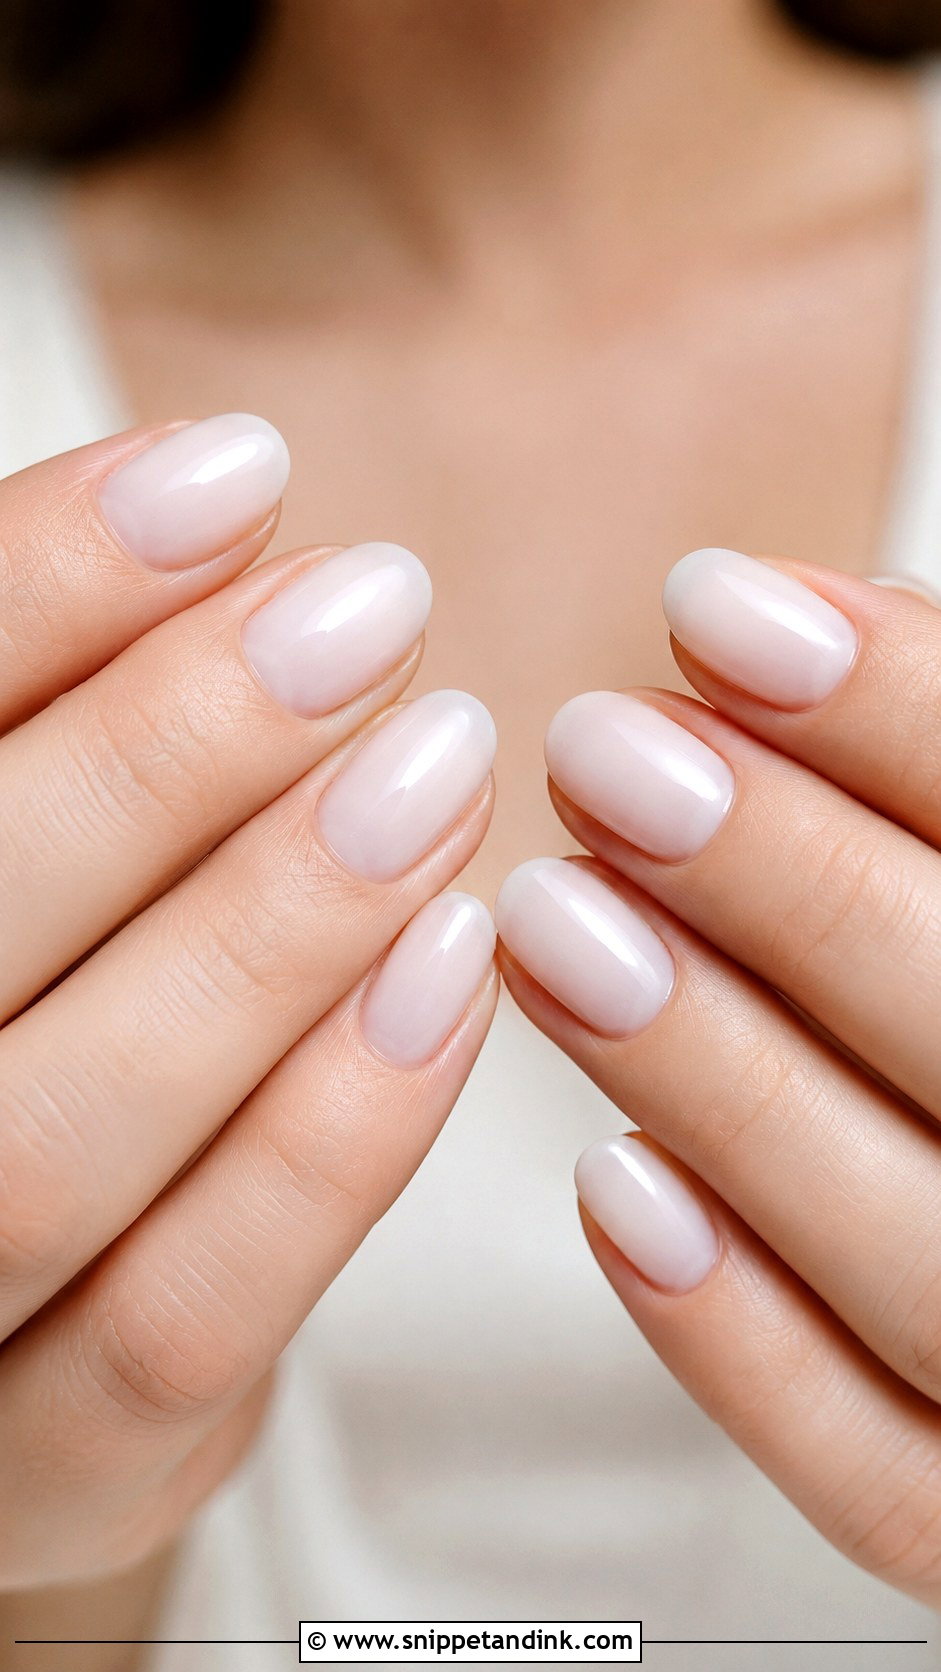
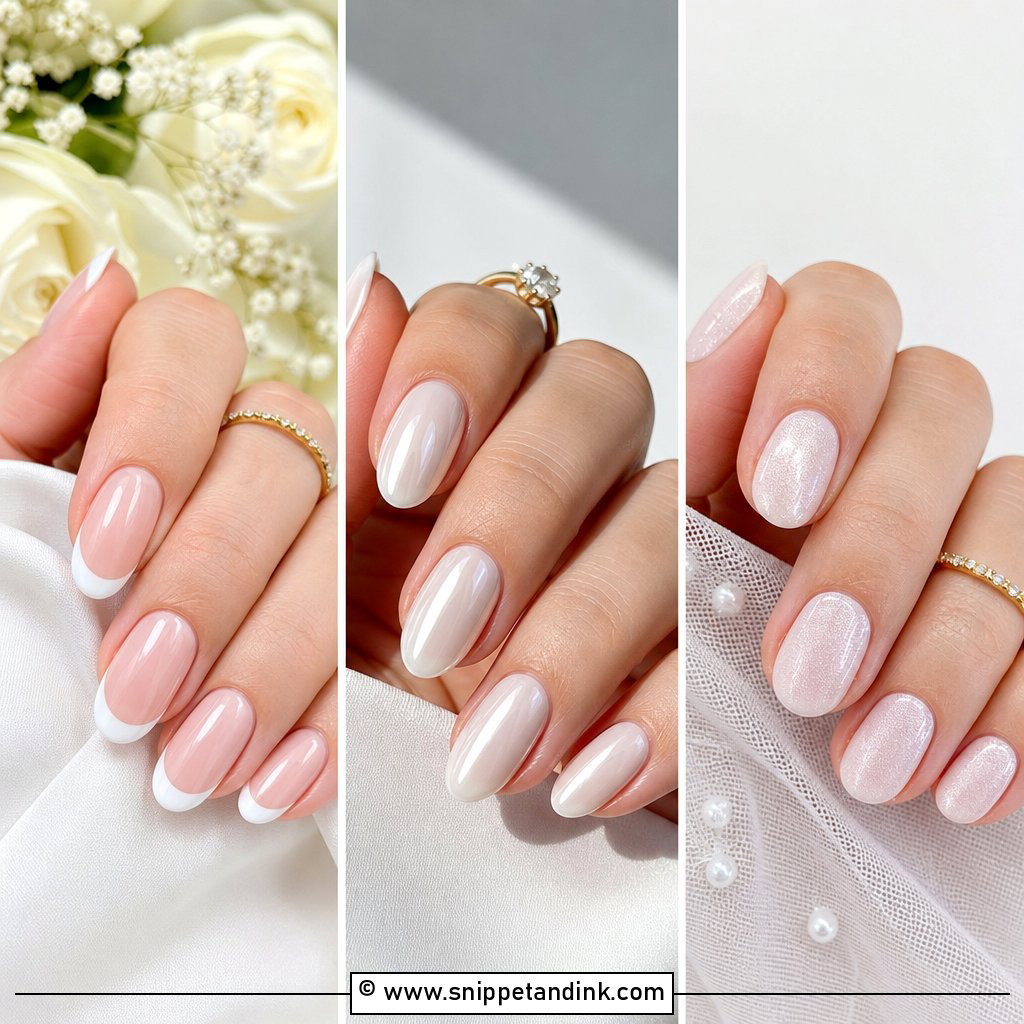
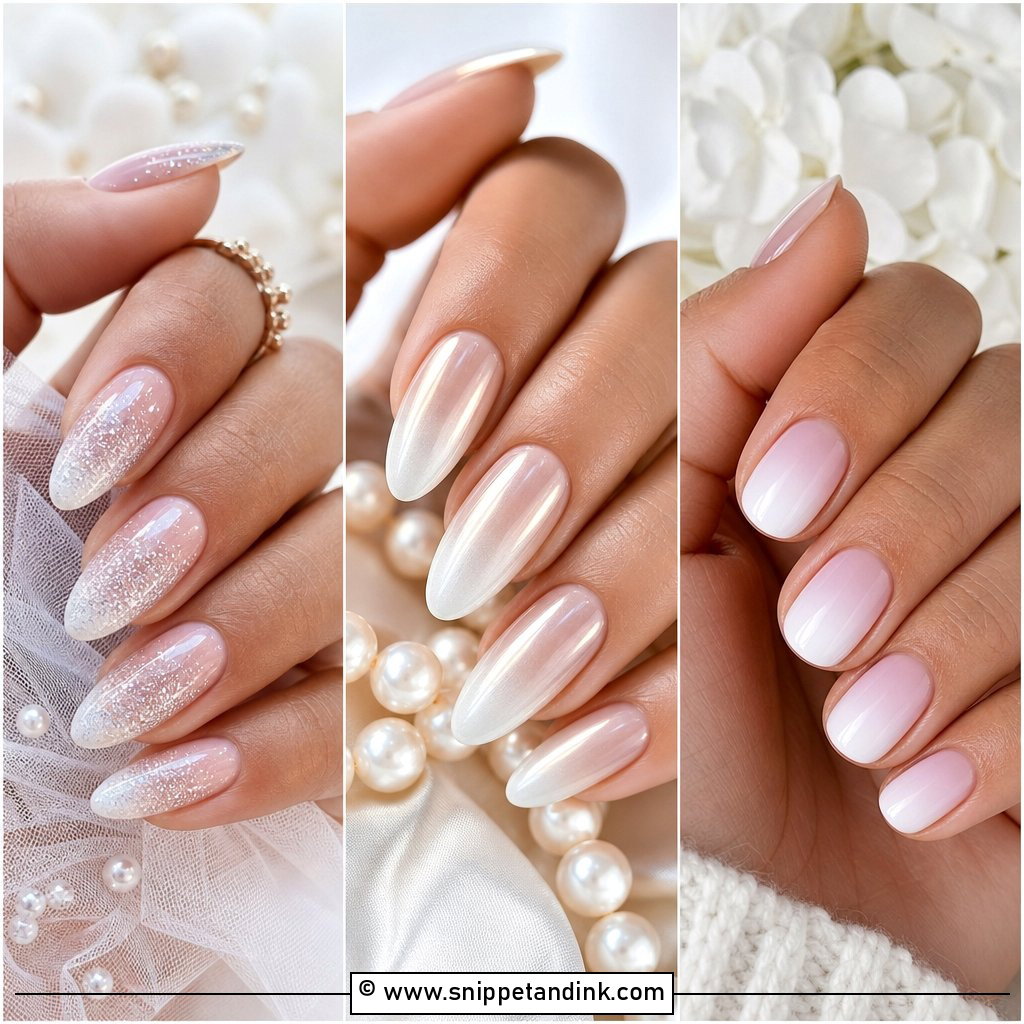
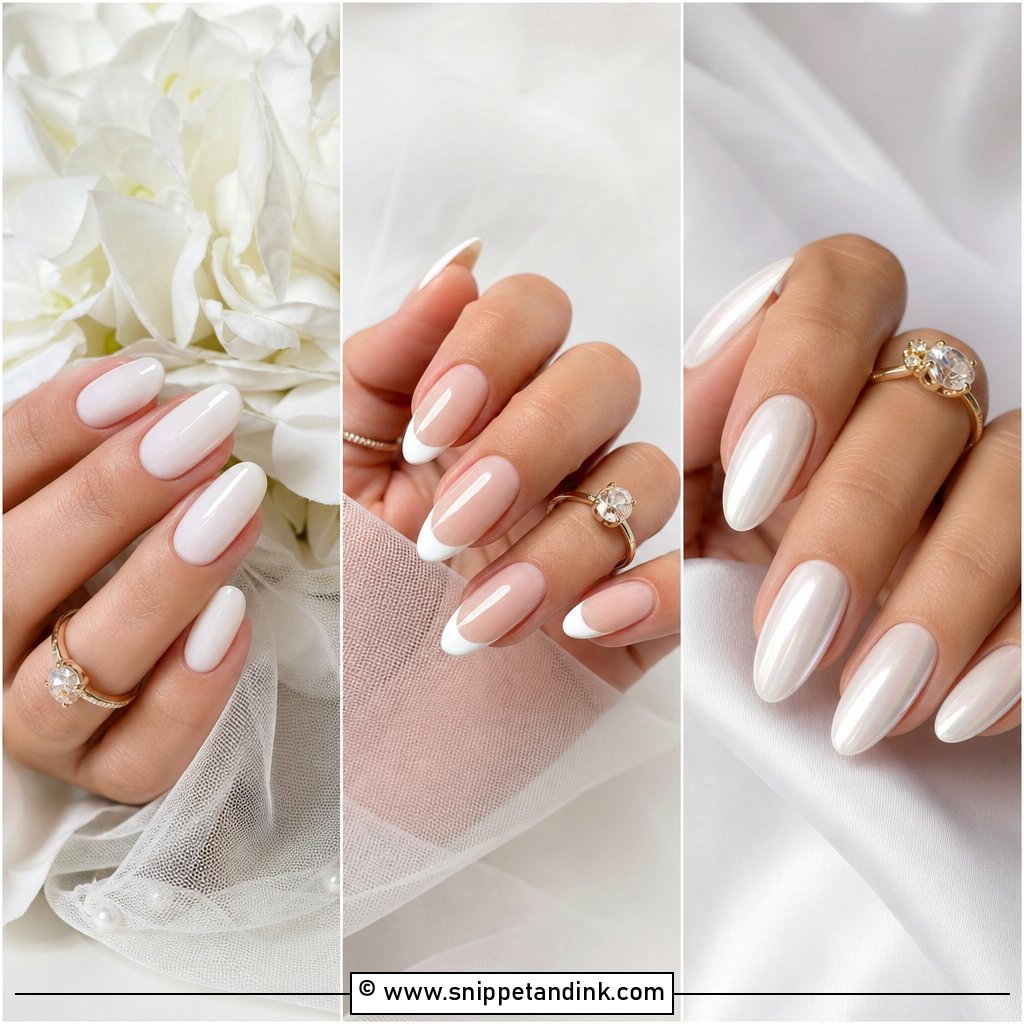
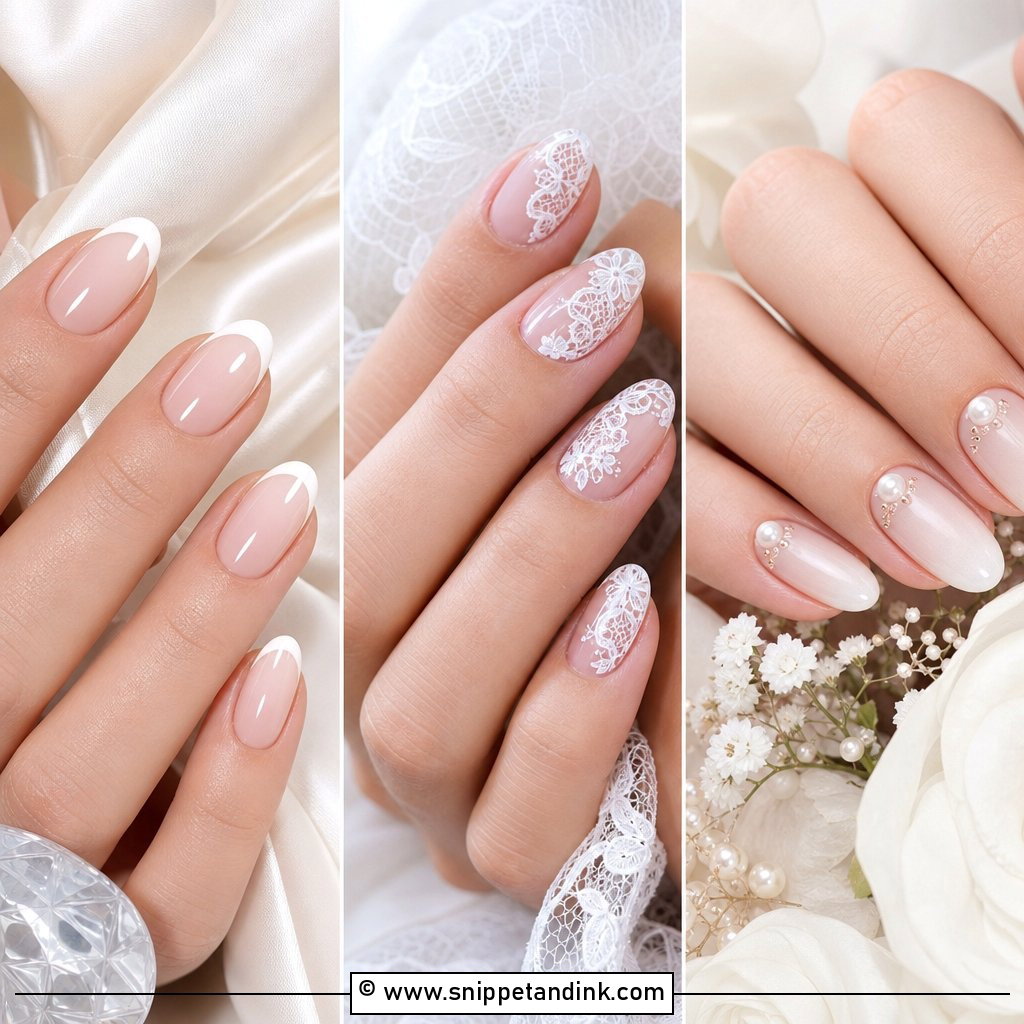
Milky white wedding nails are the set I recommend most to brides who are nervous about white. The shade is translucent rather than chalky, so it reads creamy next to ivory or champagne fabric instead of looking like correction fluid. I build it in two thin coats of a milky builder gel and stop there, because a third coat turns it flat and opaque. On fair skin I lean toward a milky with a drop of warmth; on deeper skin a neutral milky looks bright without going grey. Cuticles have to be immaculate here, since any lifted skin shows straight through the sheer layer.
2. Sheer Pink Wedding Nails
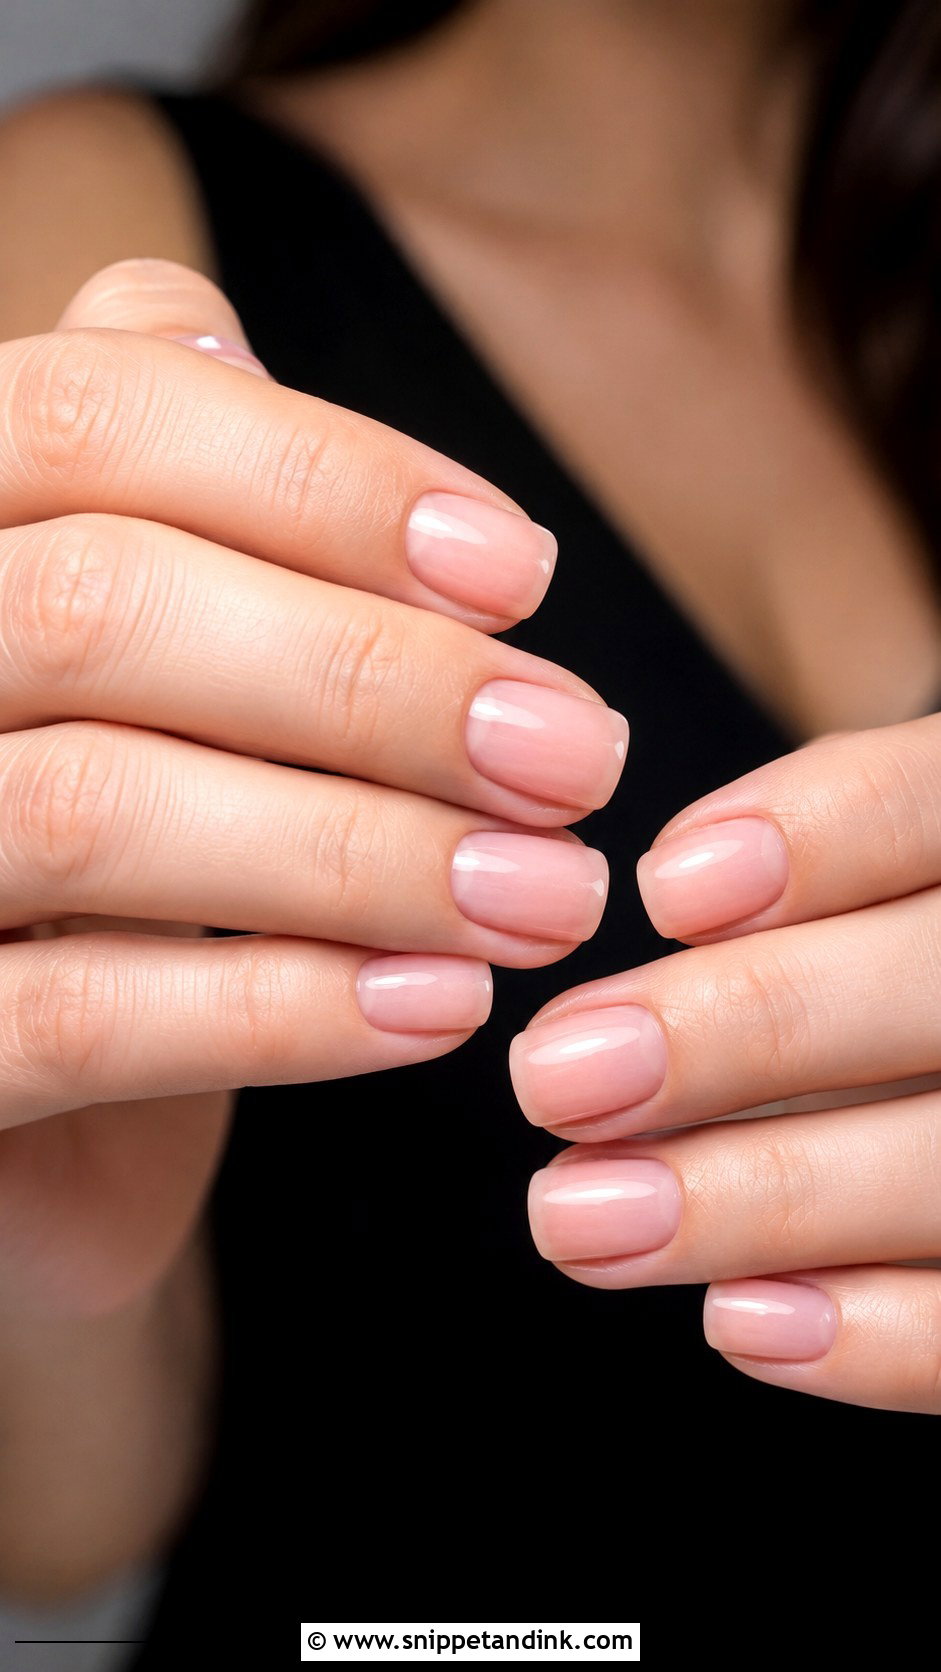
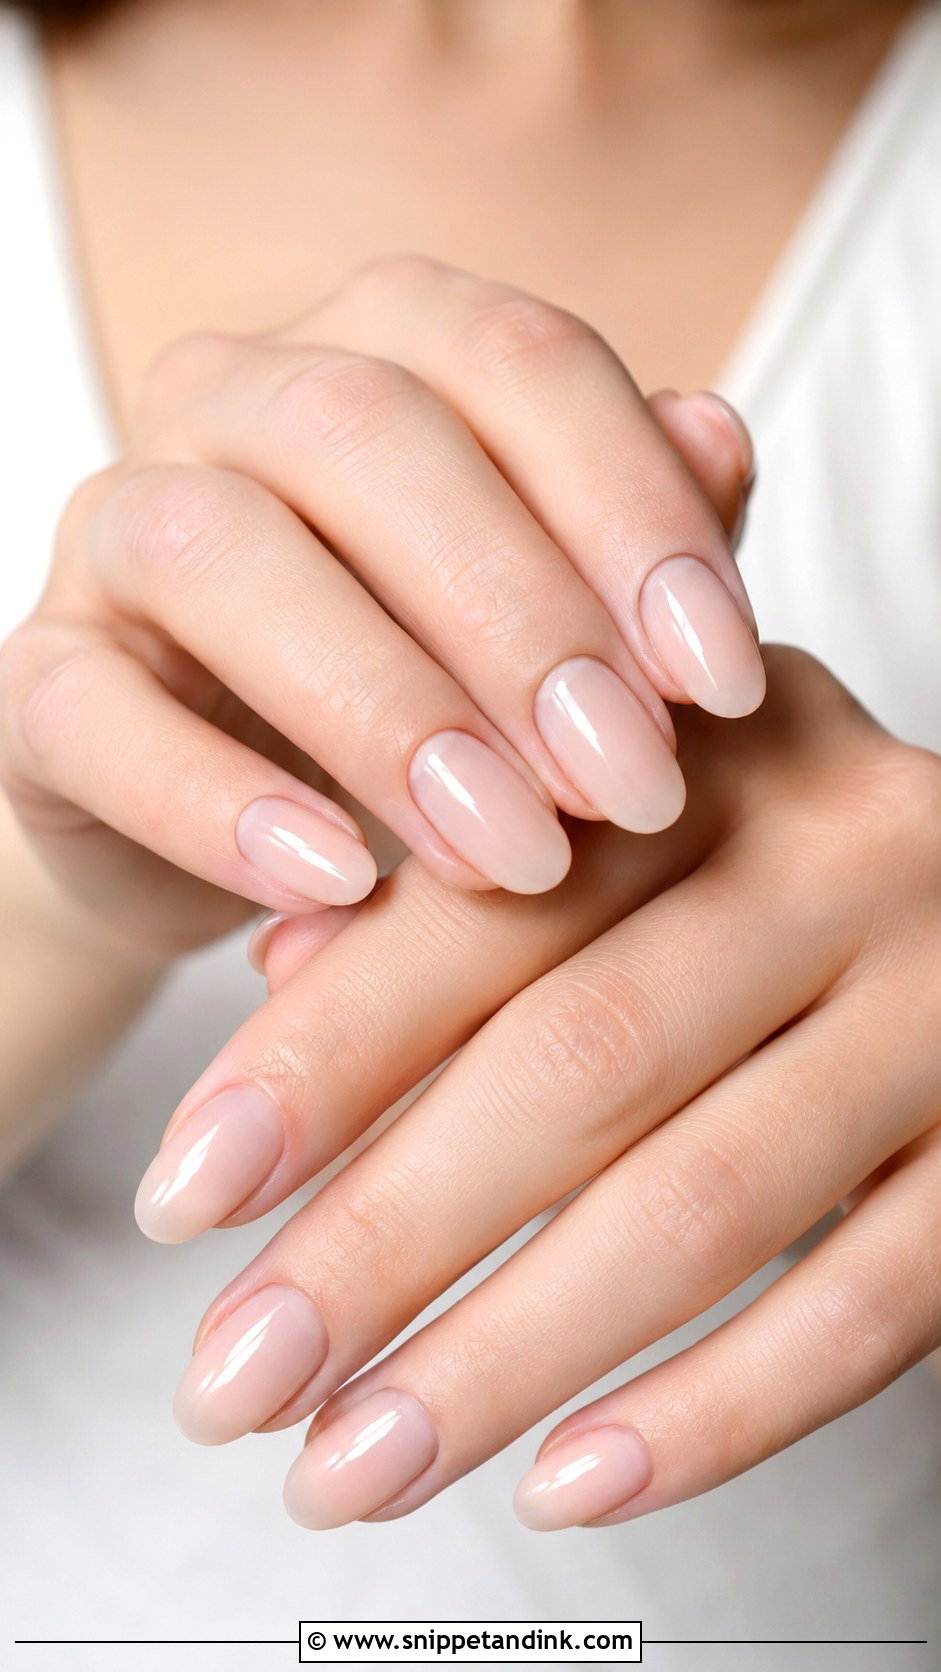
Brides who rarely wear polish usually feel most like themselves in sheer pink. The aim is your own nail, evened out. I match the pink to the nail bed rather than to the dress, then finish with a high-gloss top coat that hides ridges. It is also the most forgiving set on this list: a small chip at the free edge barely registers against a translucent color, which matters if you’ll be tying ribbons and carrying centerpieces the week before.
3. Classic French Wedding Nails
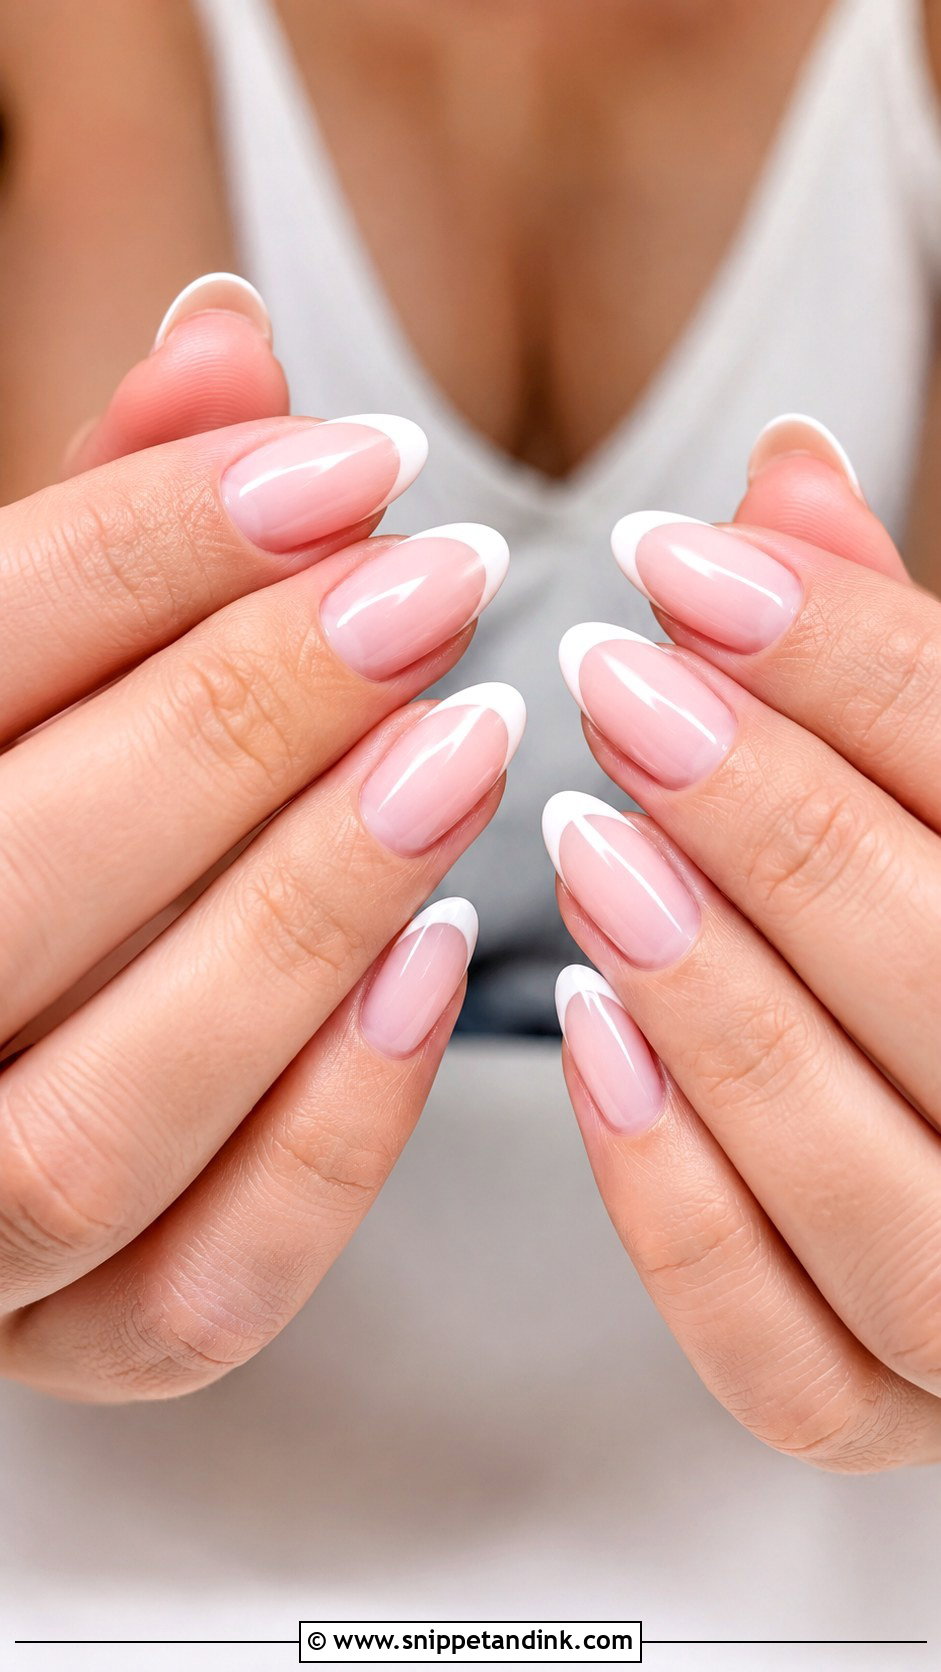
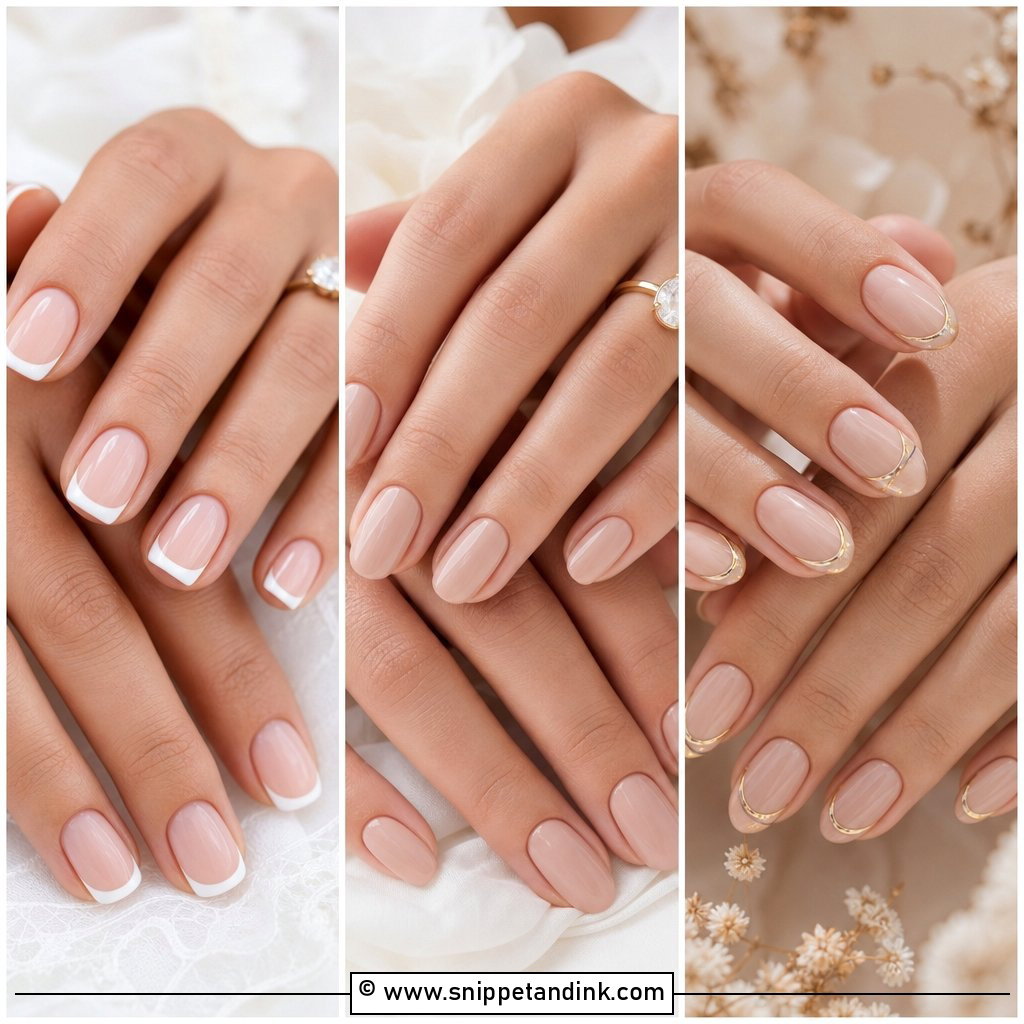
A traditional French still works, but the version that flatters a bride today is slimmer than the one many people remember. I paint the smile line to follow the shape of your own free edge, so the white tip looks like it grew there, and I keep it thin enough that the pink base does most of the work. Thick, straight tips shorten the nail bed and look dated in close-up ring shots. Tailored satin and lace gowns sit comfortably with it, and an oval or almond shape keeps the smile line soft.
4. Micro French Wedding Nails
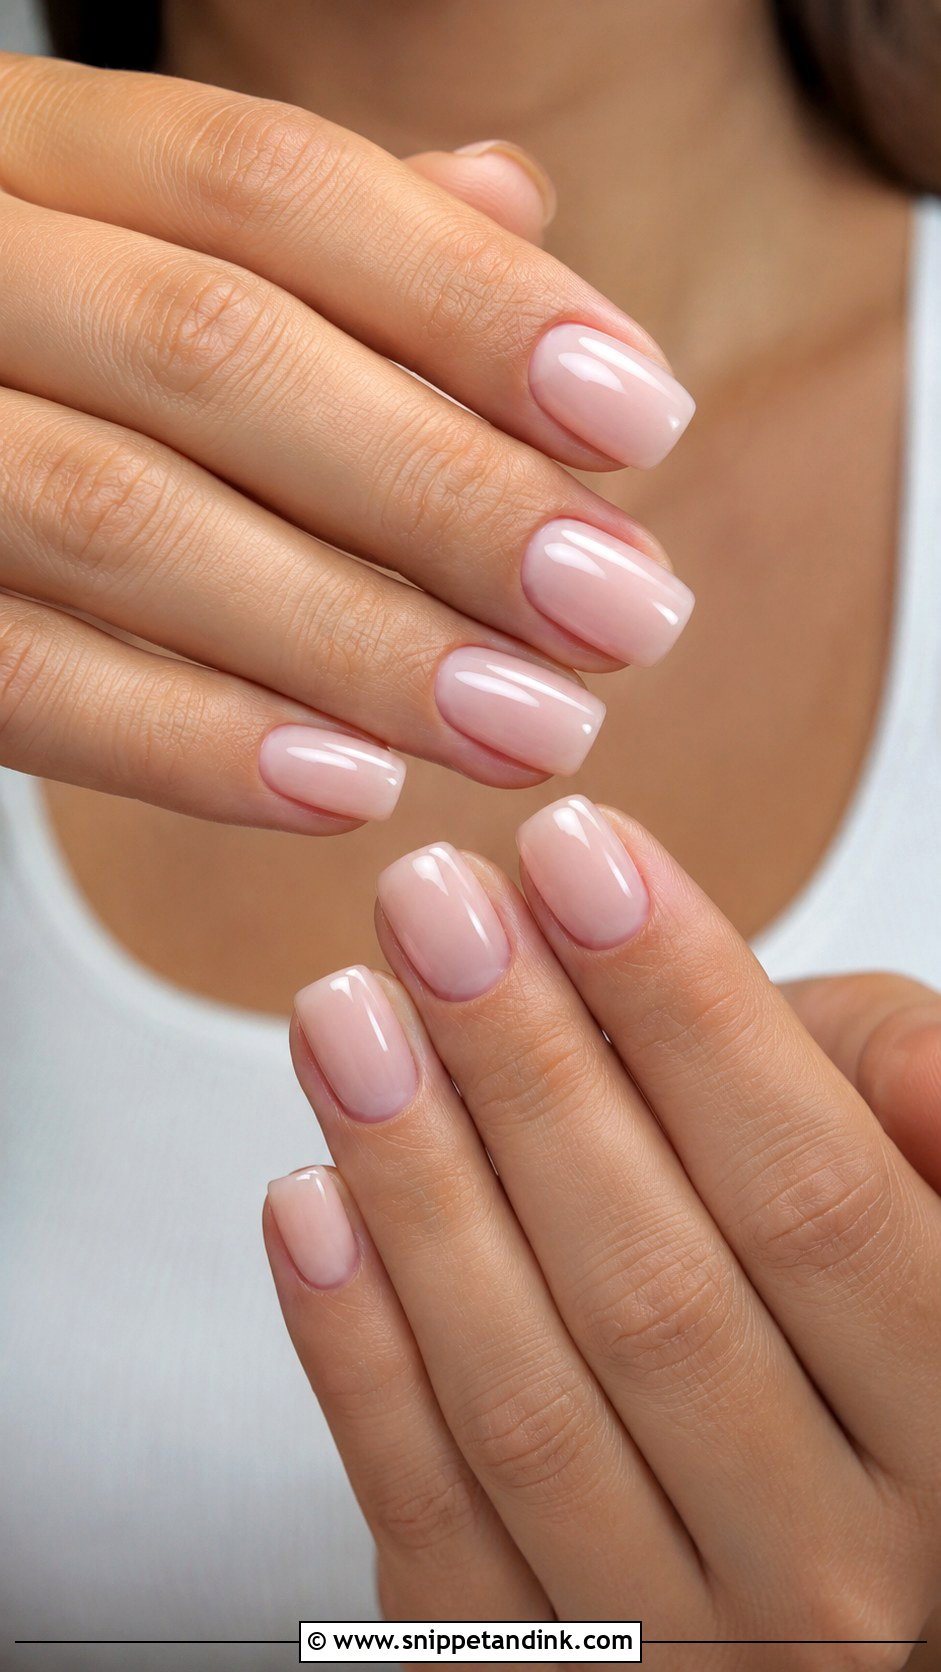
Micro French wedding nails take the classic tip down to a hairline at the very edge. I paint these freehand with a long, thin liner brush rather than a sticker guide, because stickers leave a ridge that catches the light. This is the French I suggest for short nails, since a fine tip keeps the visible nail bed long. Put it over a sheer pink or milky base and keep the top coat glossy; matte top coats make a fine white line look chalky.
5. Nude Almond Wedding Nails
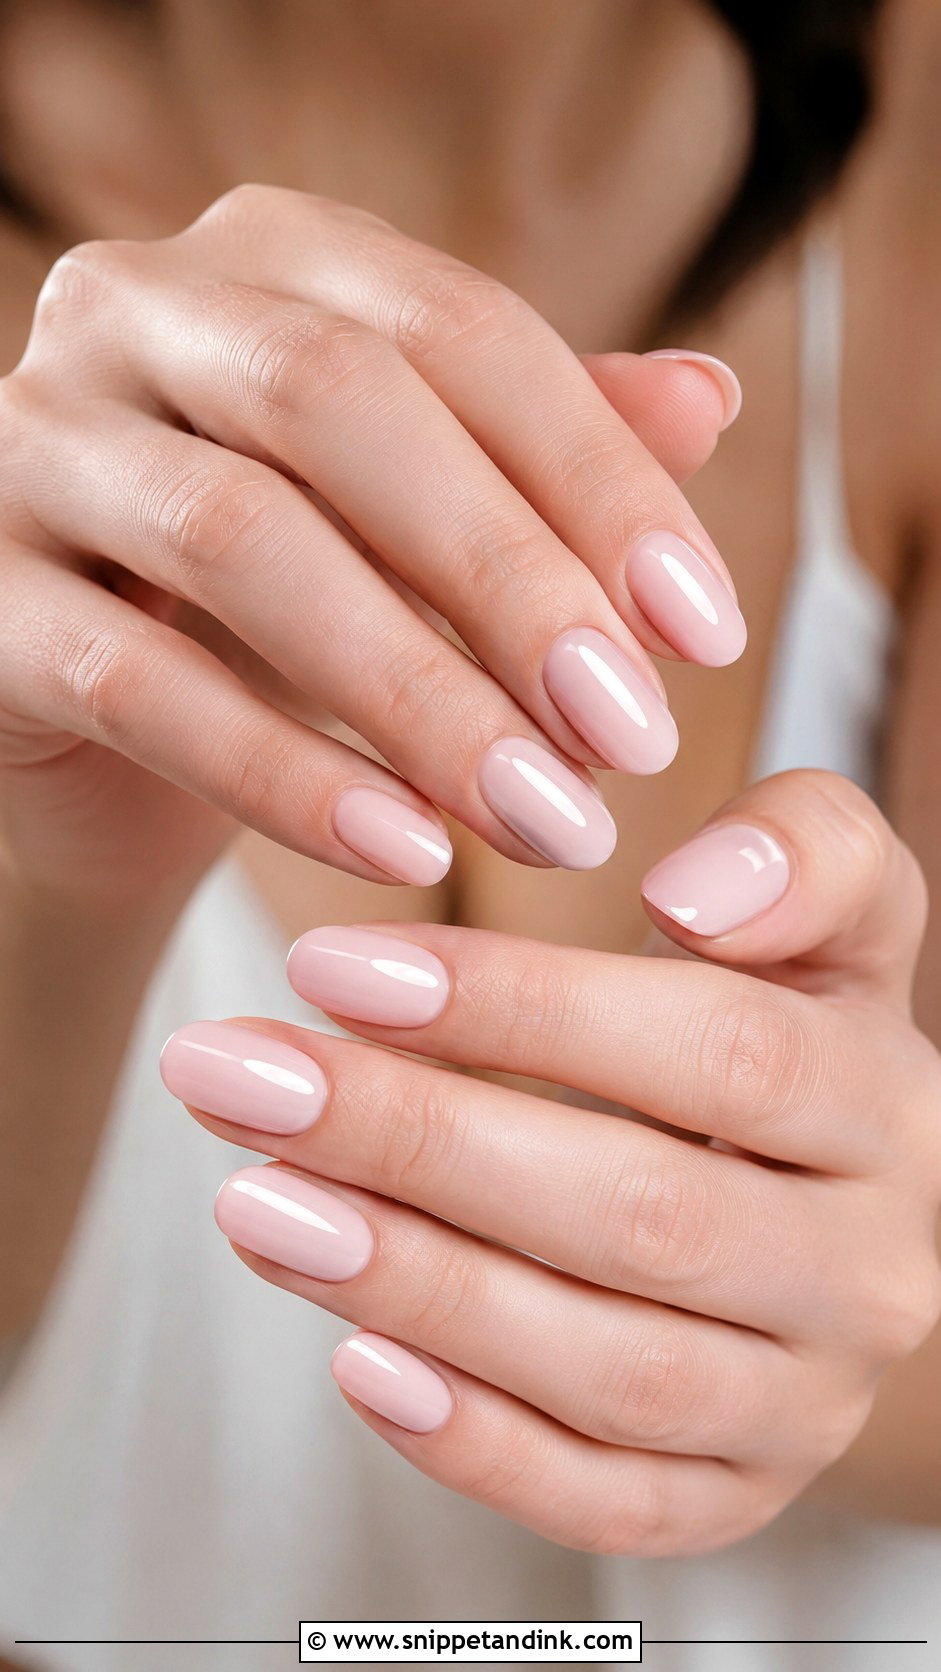
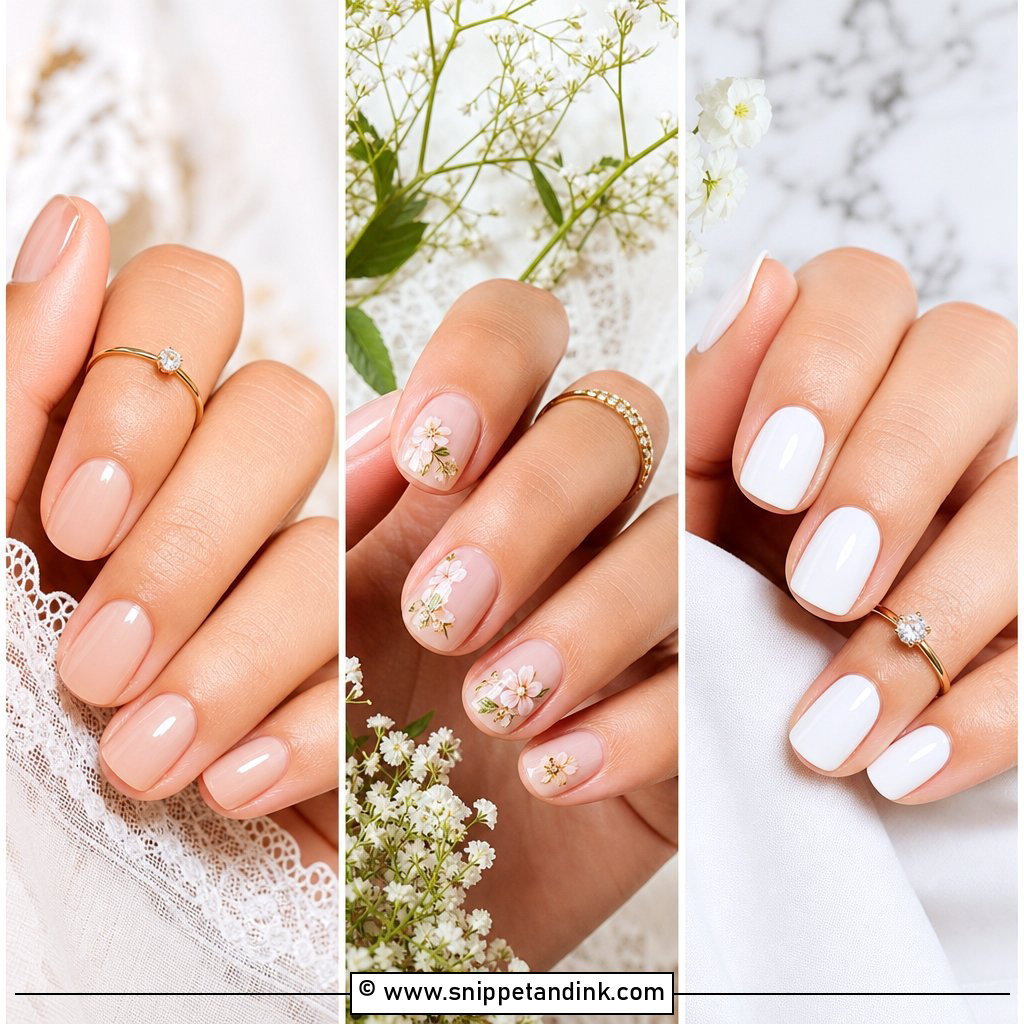
Nude only works when it is a nude for your skin, not a beige that matches the bottle label. The first thing I do is hold swatches against the back of the hand in daylight, because a shade that blends in too closely makes fingers look washed out. Pale beige-pink tends to suit fair skin, peachy or caramel nudes suit medium tones, and cocoa or rose-brown shades look rich on deep skin. The almond shape lengthens the fingers. Keep the length modest if you’ve never worn extensions, though, because you’ll be fastening jewelry and hugging people all day.
6. Blush Pink Wedding Nails
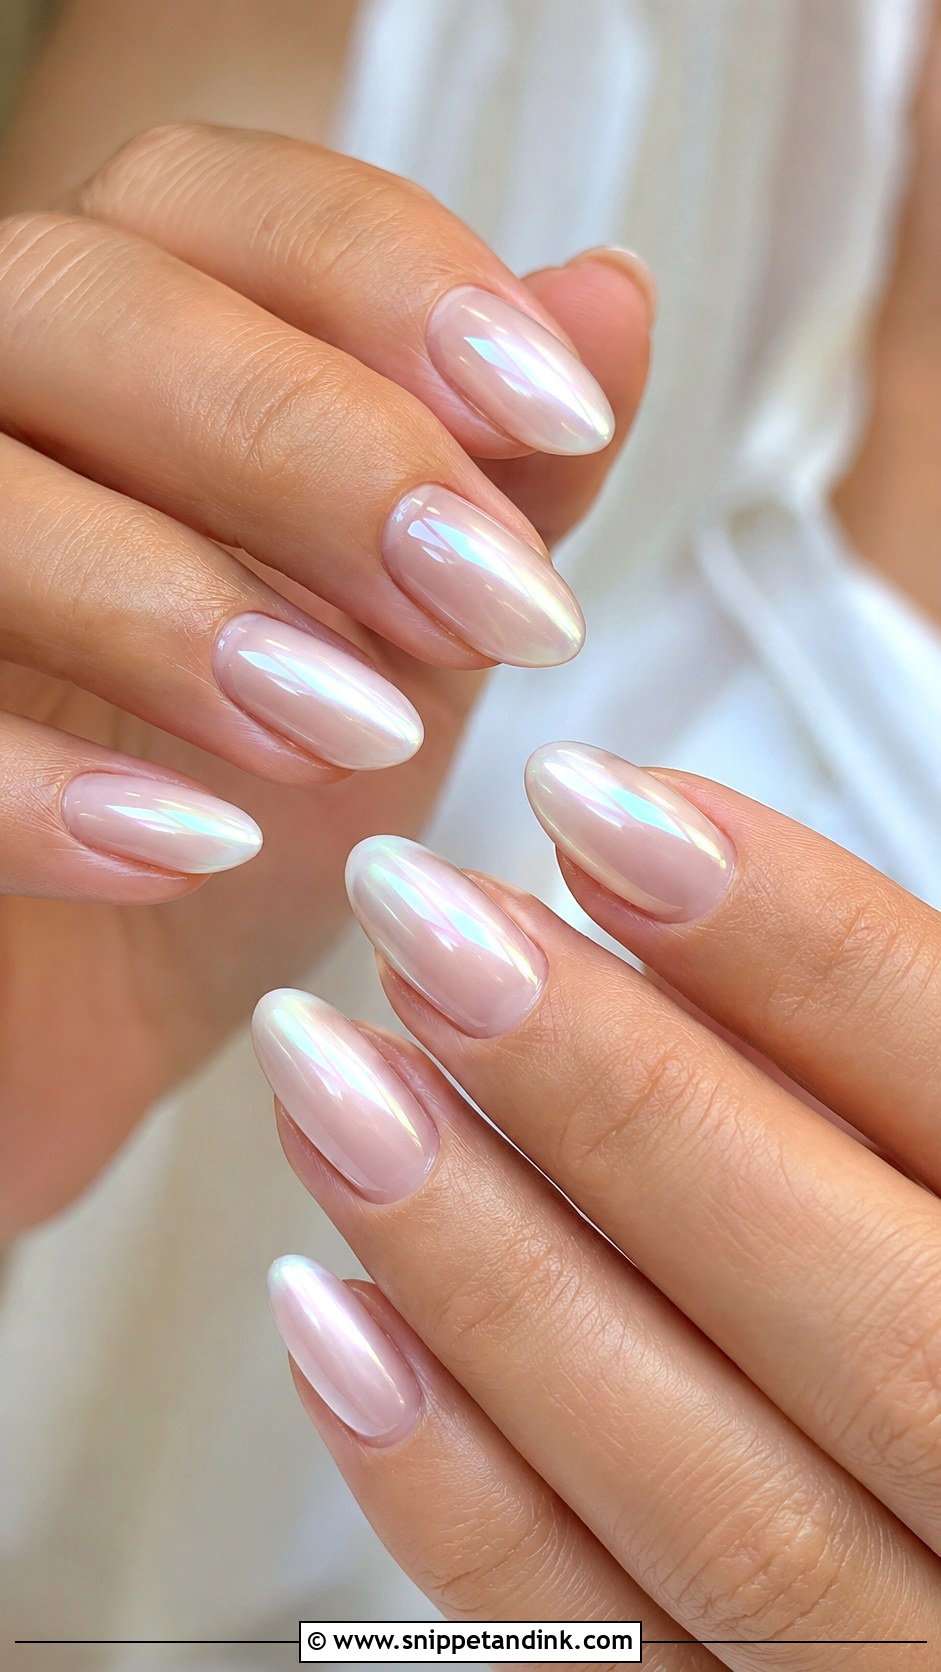
Blush sits one step stronger than sheer pink, enough to show from across a room. It pairs especially well with rose gold settings and soft glam makeup. My caution with blush is streaking: a semi-sheer blush likes to pool at the cuticle, so I apply thin coats and cure each one before adding the next. A whisper of pearl over the top is fine if it stays faint. Blush is also the easiest shade to extend to bridesmaids, since almost everyone can wear a lighter or deeper version of it.
7. Pearl Chrome Wedding Nails
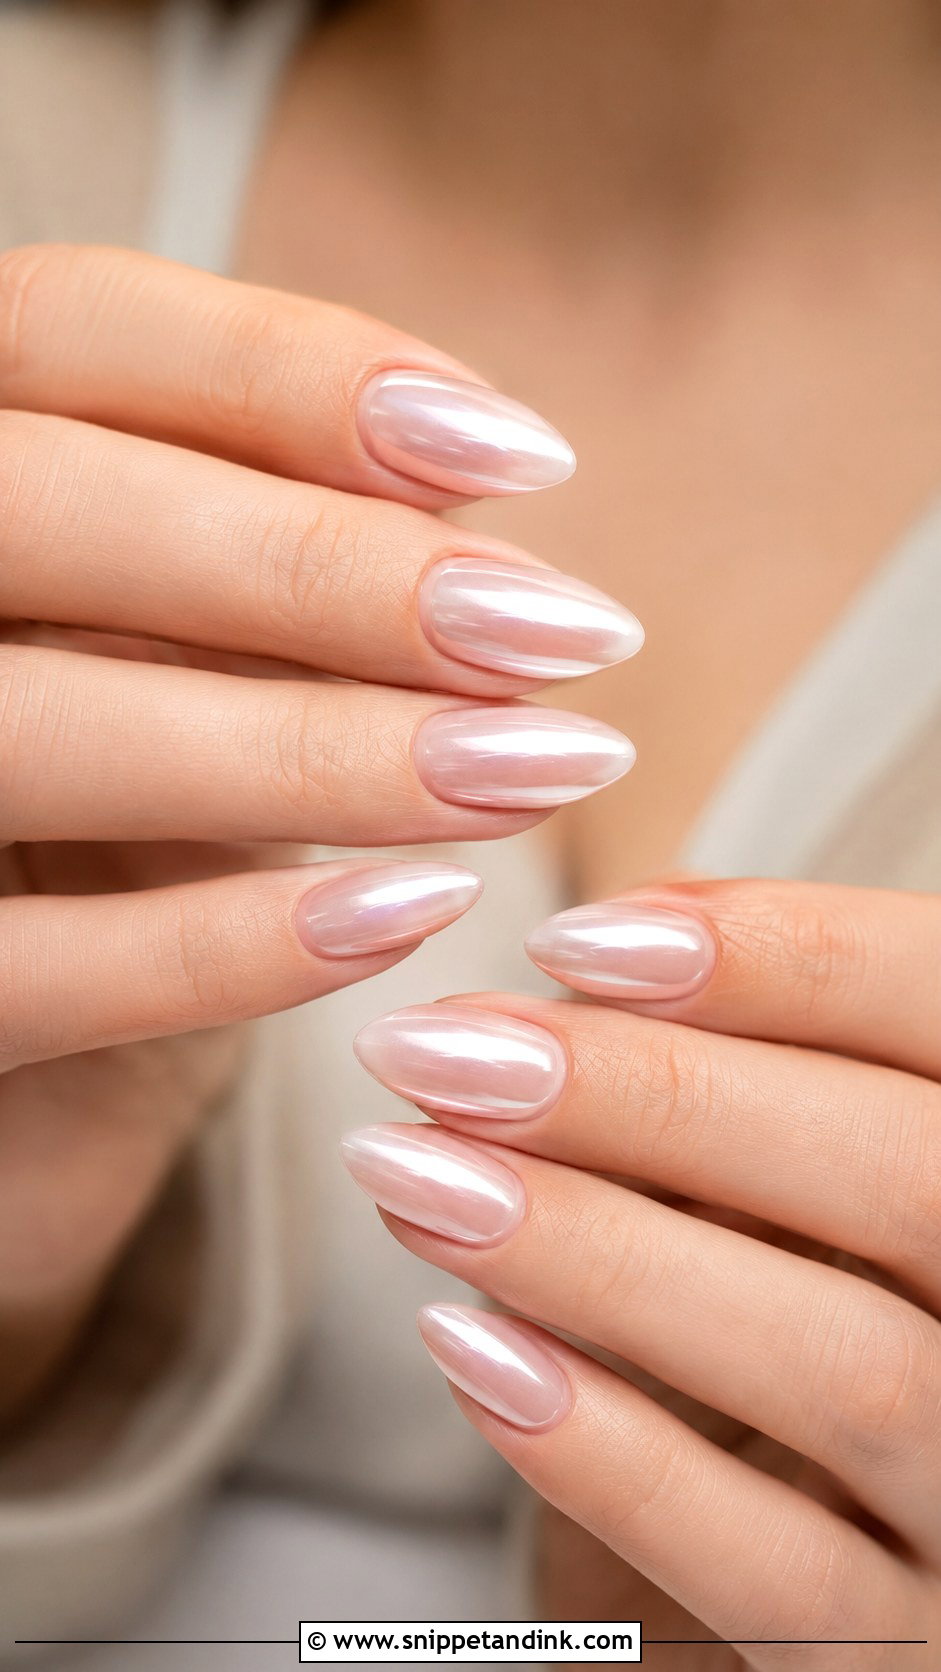
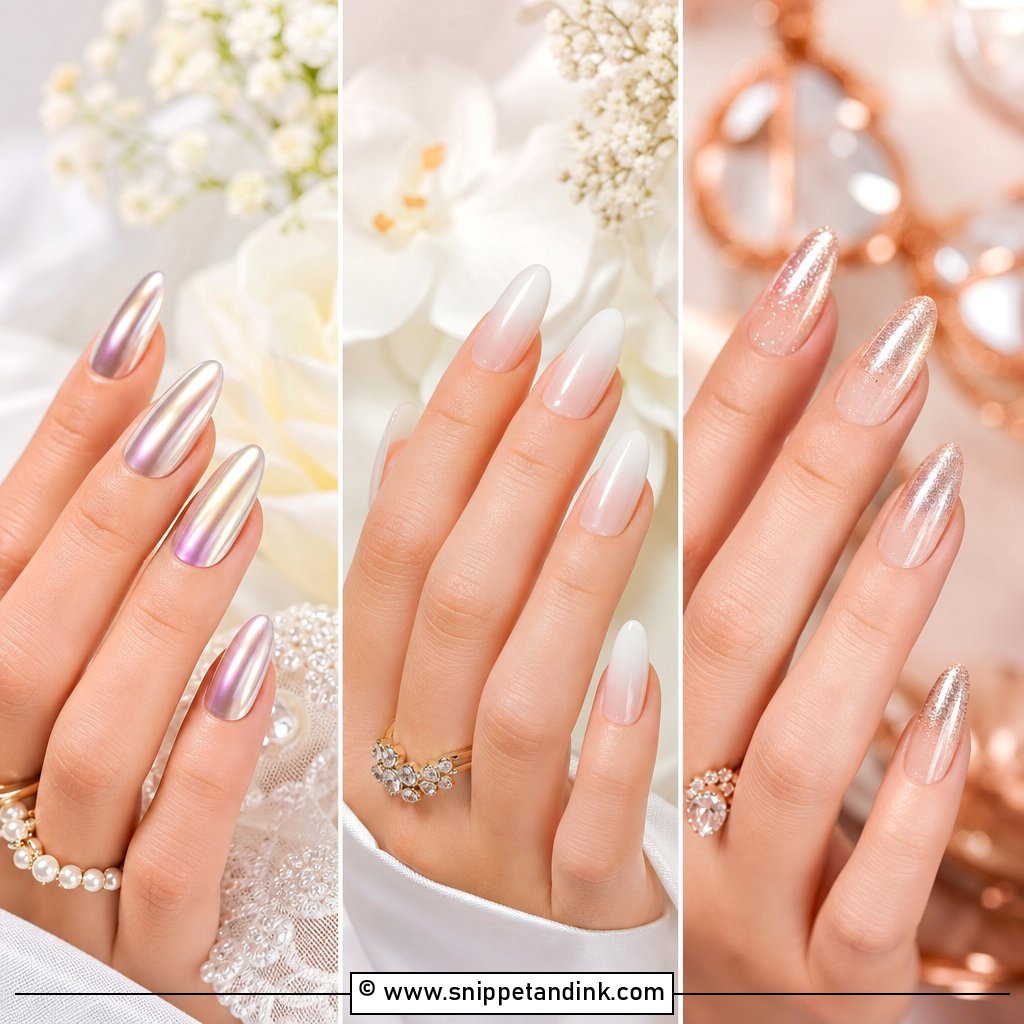
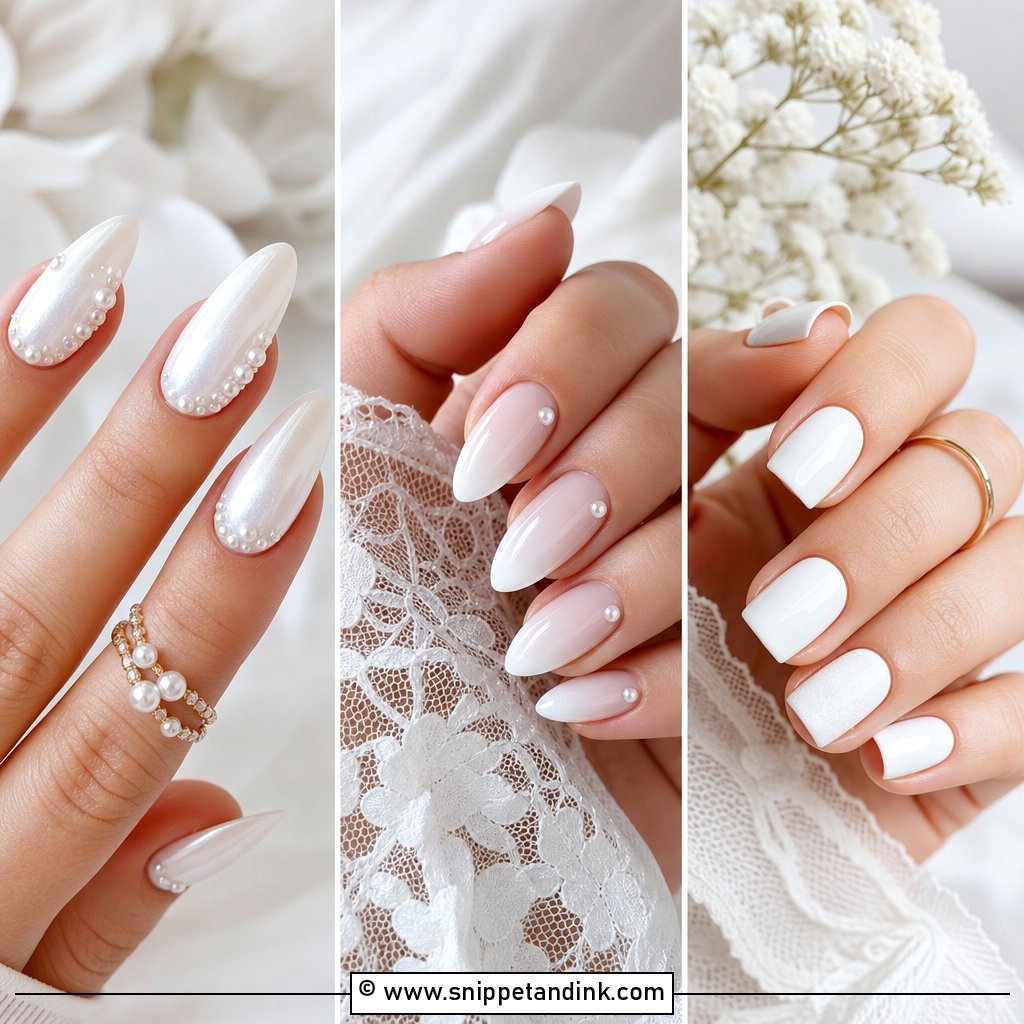
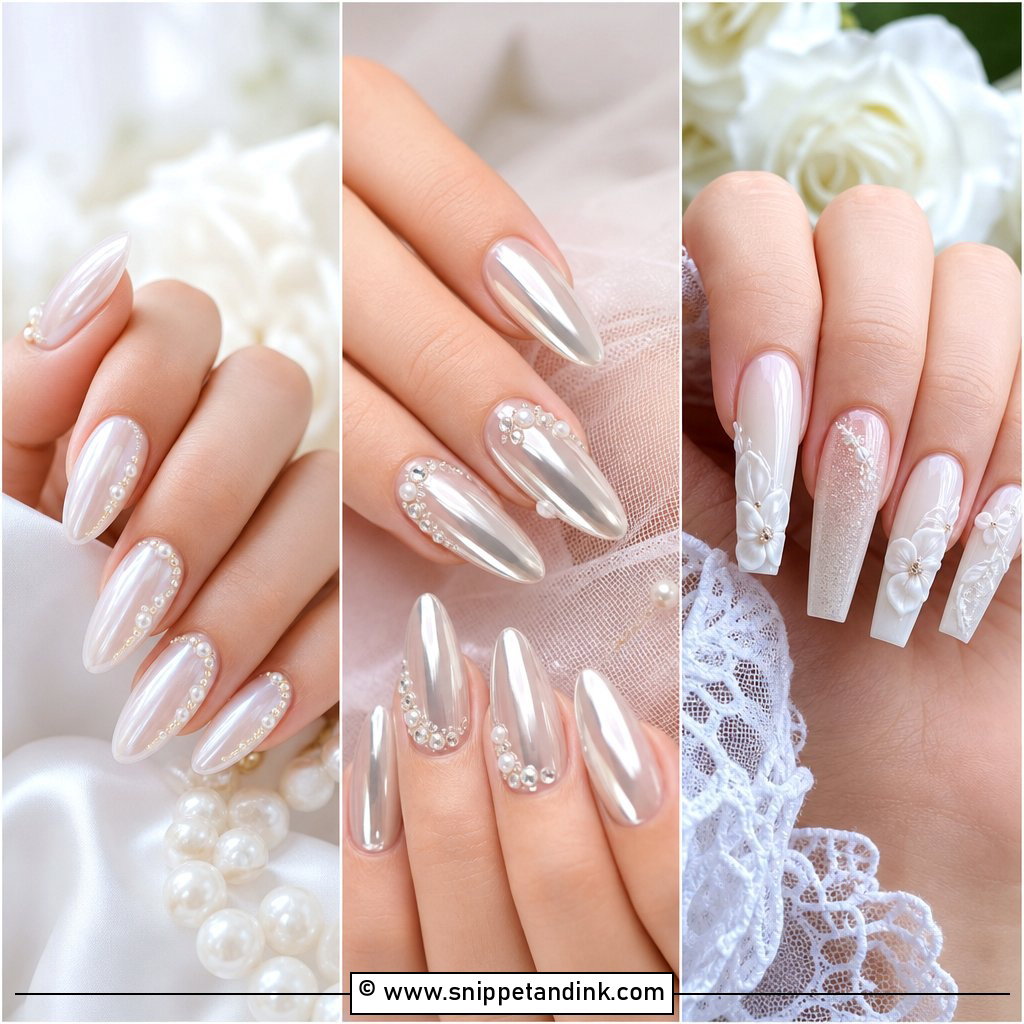
Pearl chrome wedding nails give a glow that moves when your hand does. The powder is buffed onto a cured no-wipe top coat over a sheer base, then sealed again. The detail most people miss is the amount. I pick up a tiny bit on a silicone tool and buff lightly, because a heavy hand turns pearl into mirror metallic. It suits satin, pearl buttons and soft beading. Chrome can wear slightly at the free edge after a week, so I always cap the tips with top coat.
8. White Ombre Wedding Nails
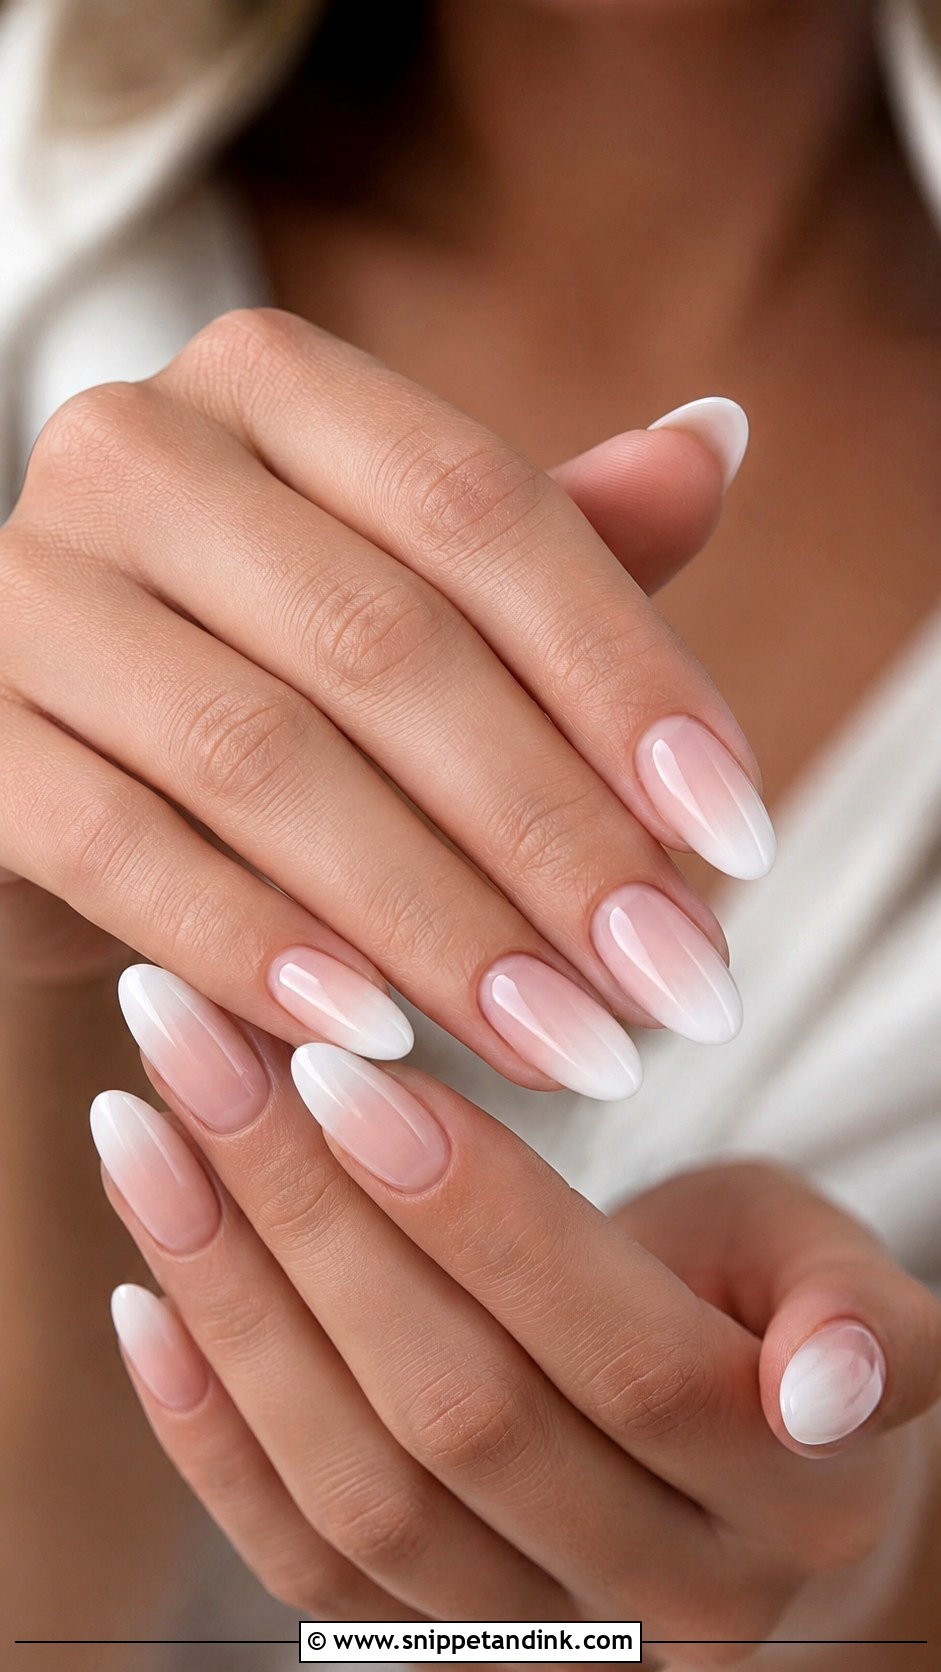
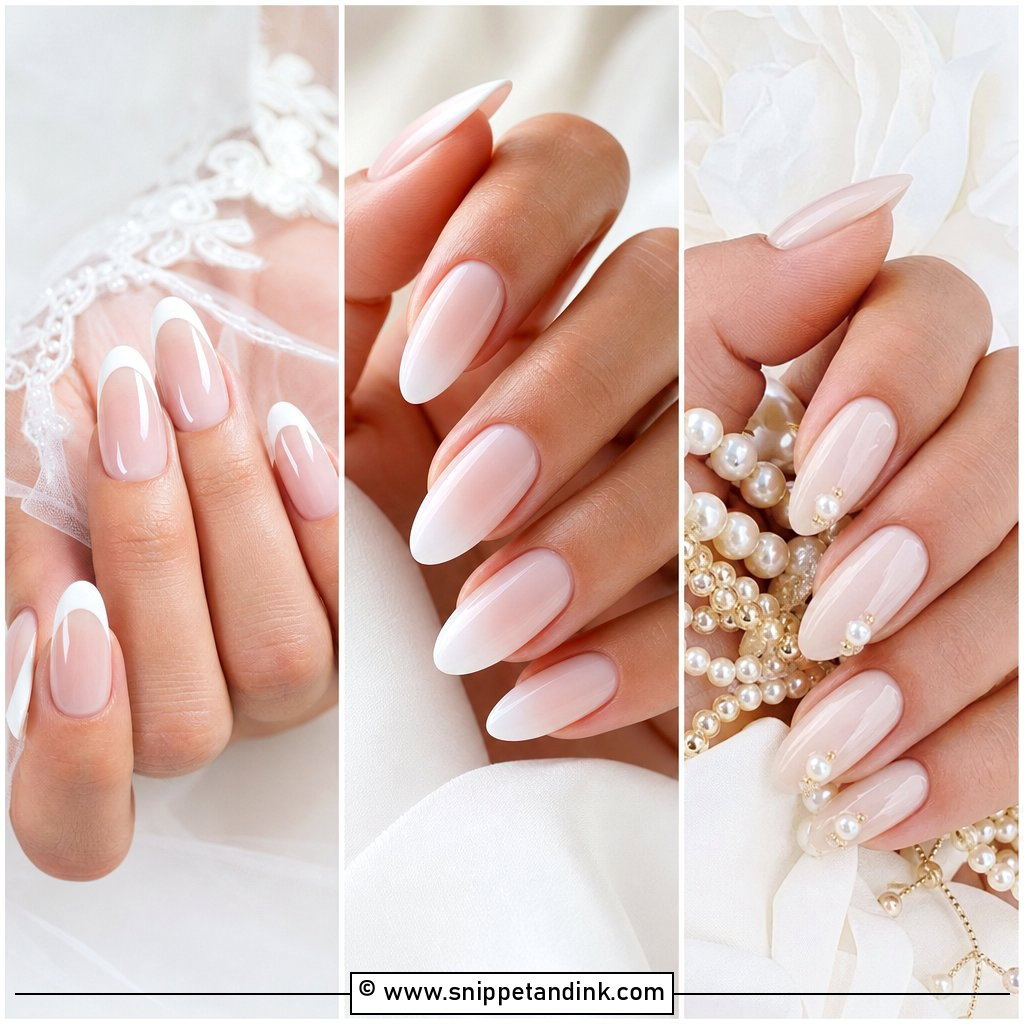
White ombre wedding nails fade a pink or nude base into a white tip, which looks softer than a French while still giving you white nails. The blend is the whole design, and it is where a rushed appointment shows. I build it in thin sponged layers and check it from arm’s length, since a visible band halfway up looks worse than no ombre at all. Almond and coffin shapes give the gradient room to travel; short oval nails can carry it if the white stays close to the edge.
9. Short Wedding Nails
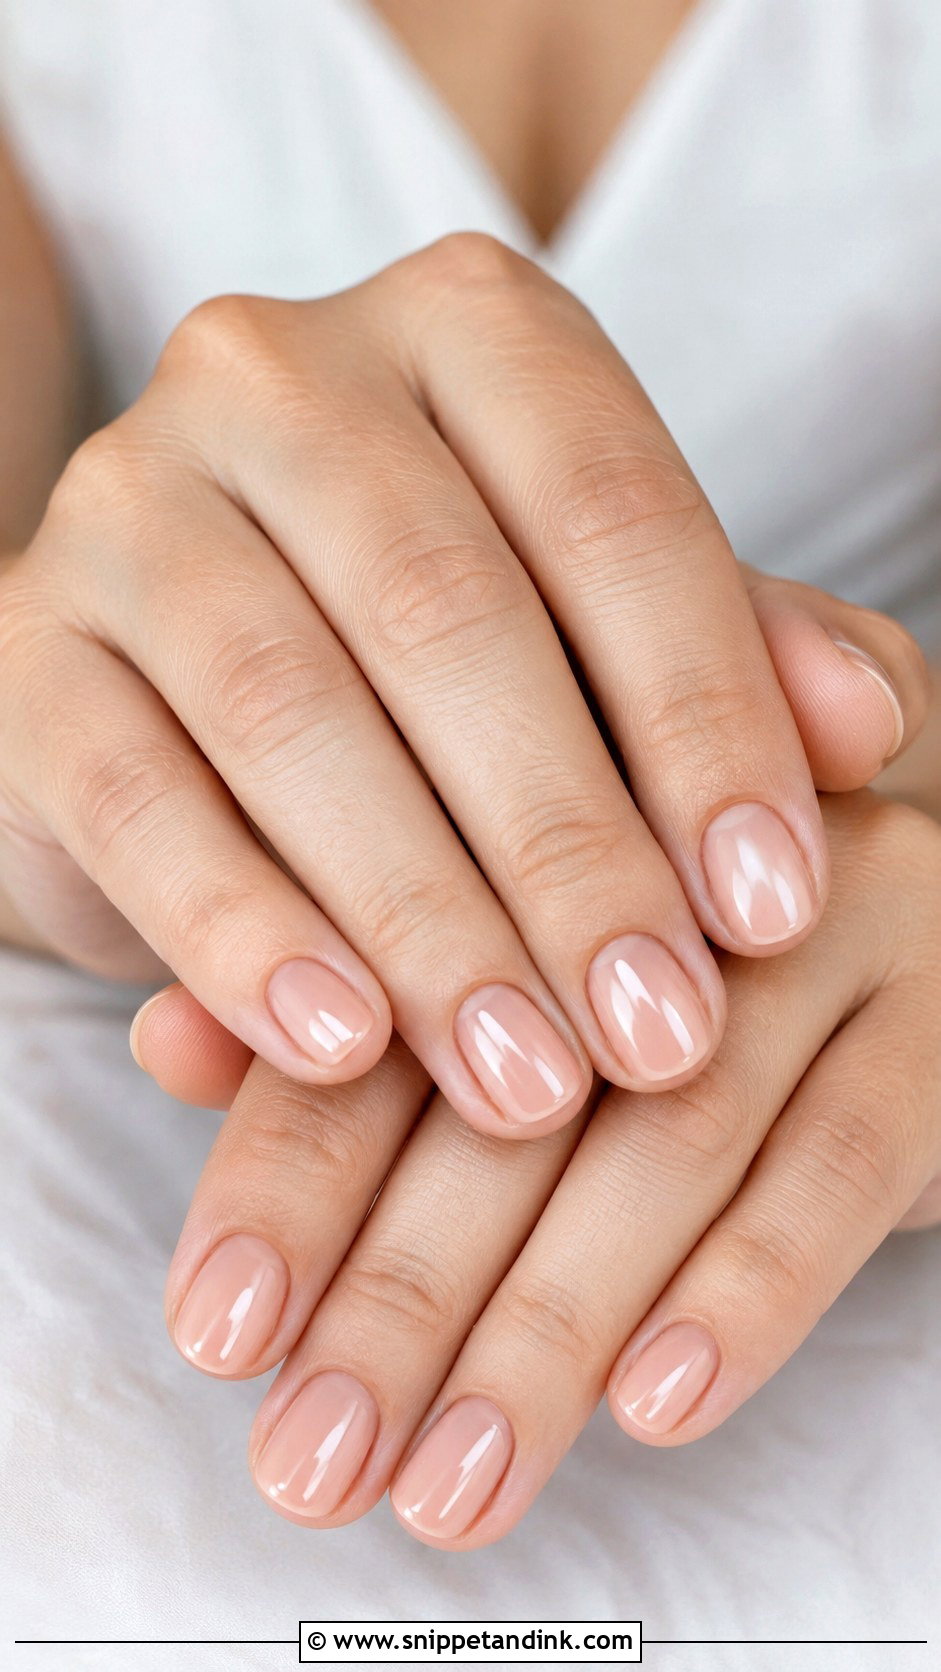
Short nails can look every bit as finished as long ones. What they can’t hide is uneven shaping. I file a short set to a soft squoval or round, then look at all ten from above, because one nail a millimeter shorter is obvious when there is so little length. Short nails are kinder on the day too: buttons, earring backs and bouquet ties are all easier to handle. If you want a detail, a micro French or a pearl finish is enough.
10. Soft Square Wedding Nails
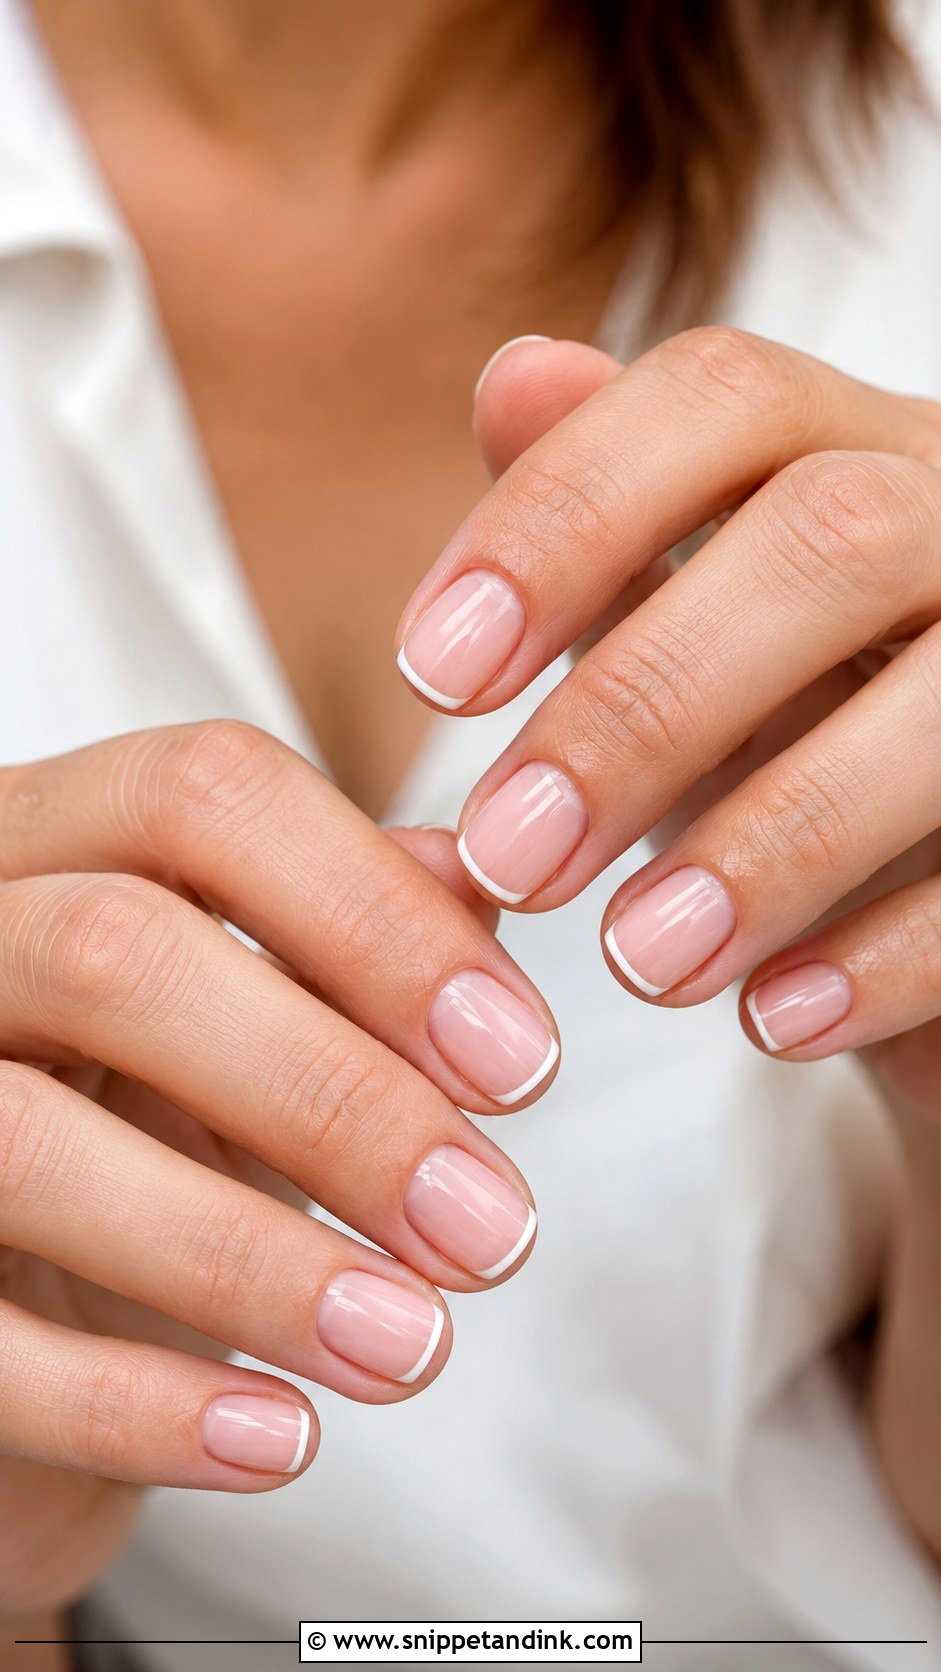
This is my go-to shape for brides with wide nail beds or strong, flat nails, because it follows the natural width rather than forcing a taper. The straight free edge gives structure, and the rounded corners stop it catching on tulle and lace. Keep it short to medium. Longer squares look boxy, and the corners are always the first place to chip. Under a sheer nude or a classic French it suits tailored and minimal weddings well.
11. Oval Wedding Nails
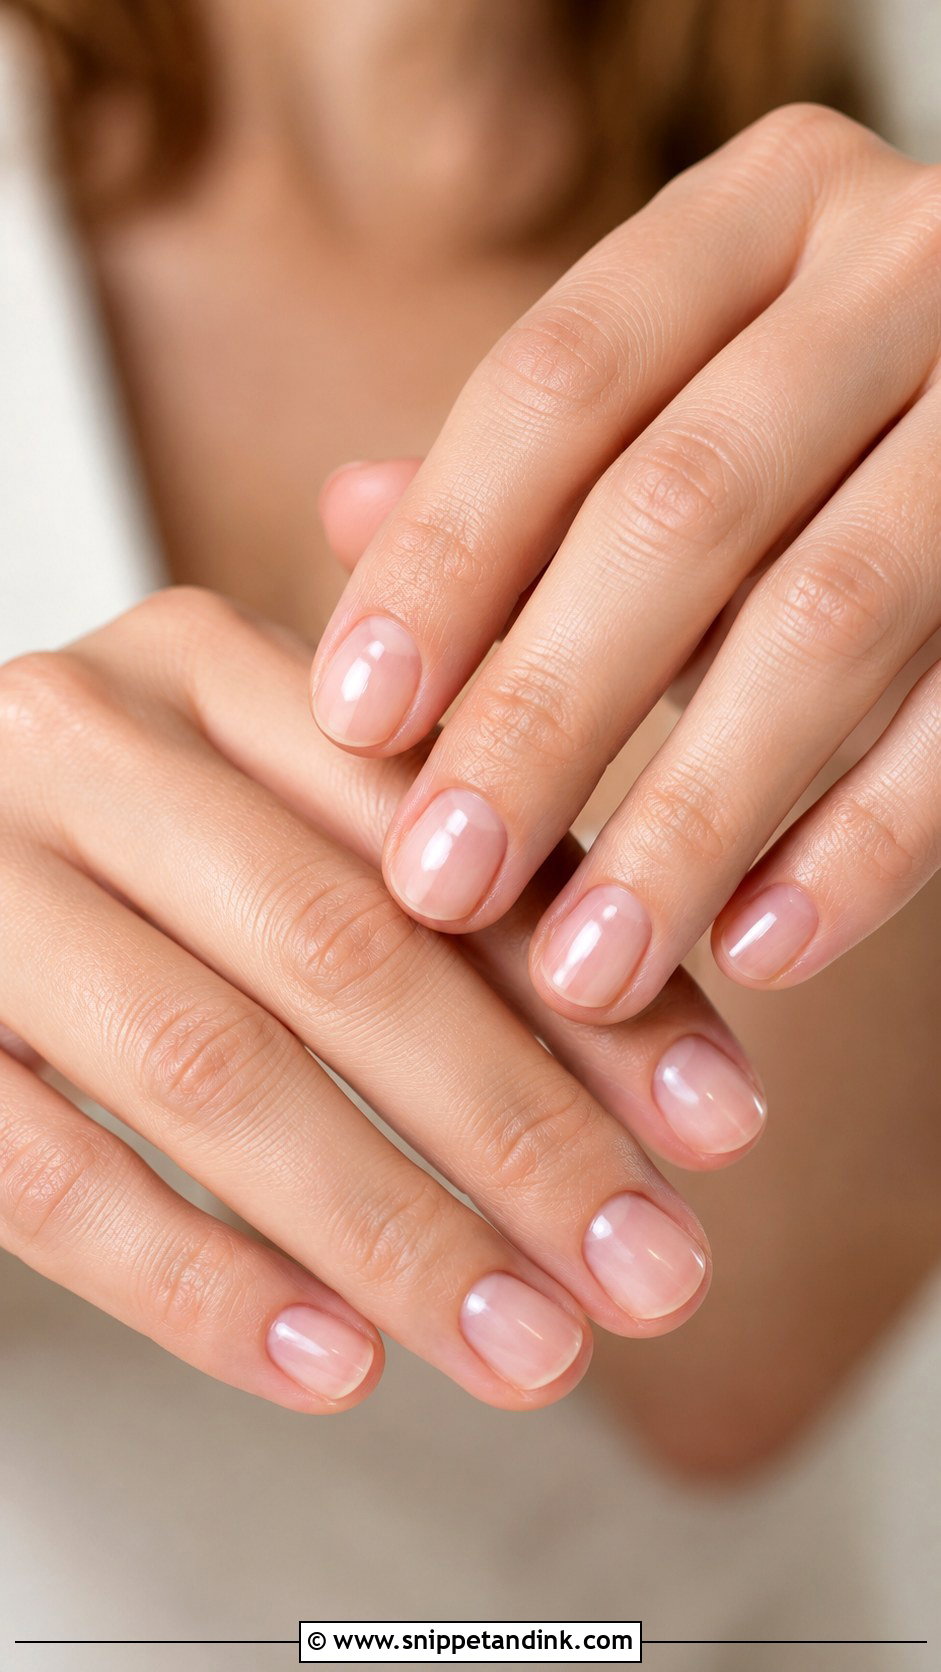
Oval is the shape I suggest to brides growing out their own nails for the wedding. A rounded tip spreads pressure evenly, so it is less likely to split at the corners than square or stiletto, and it makes fingers look longer without much length. It takes nearly every shade on this list, and a single pearl or a fine white line is plenty of art. My one rule: every nail needs the same curve, so I shape them in pairs, left and right together.
12. Almond Wedding Nails
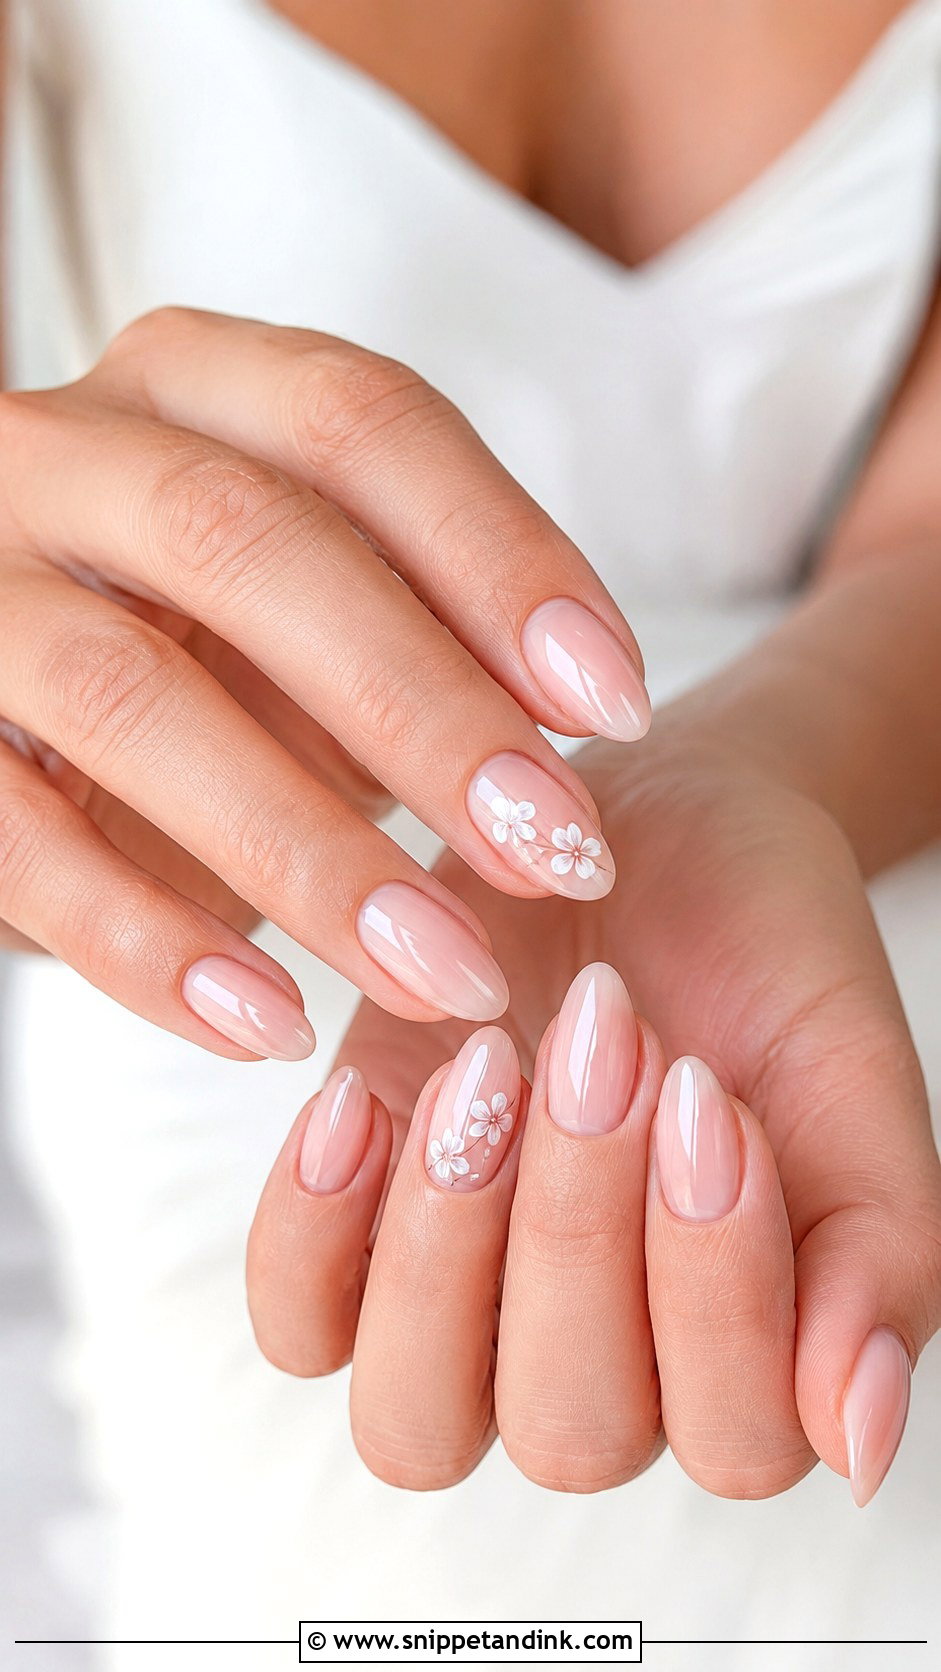
Almond wedding nails taper gently, which is why they turn up so often in ring close-ups. A medium length gives that graceful line without becoming a nuisance. If you’ve never worn almond, try it a month or so before the wedding, because the narrowing tip changes how you pick things up and type. I keep the point softly rounded. A sharp almond on a bride tends to look edgy, and pointed tips snag veils.
13. Simple Lace Wedding Nails
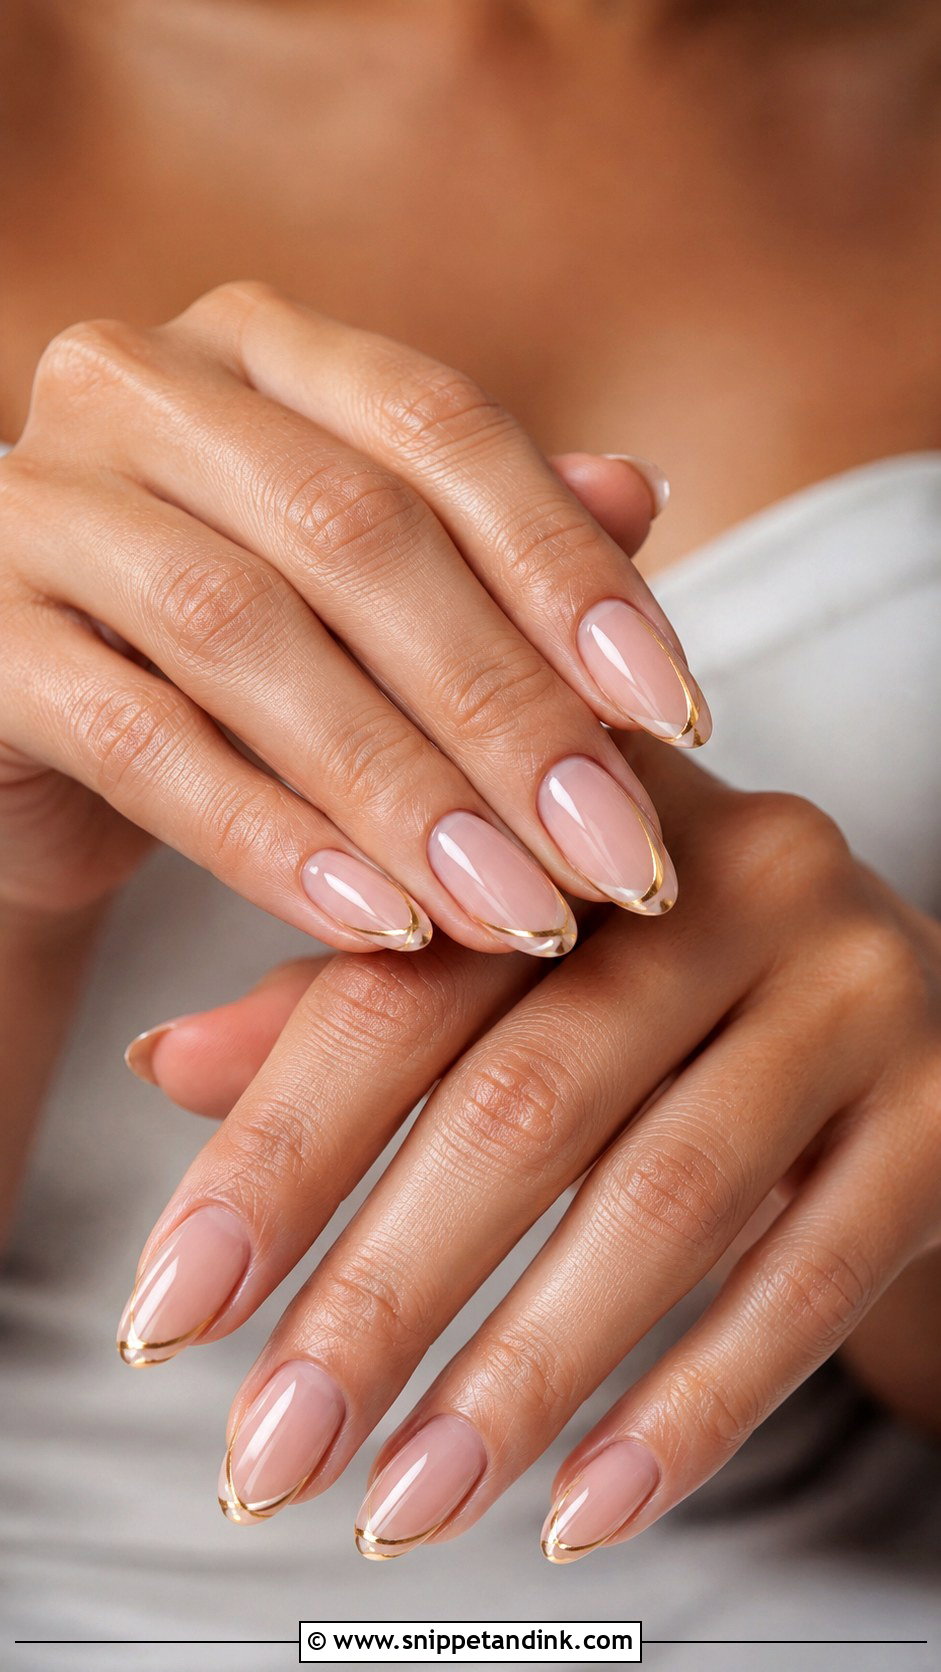
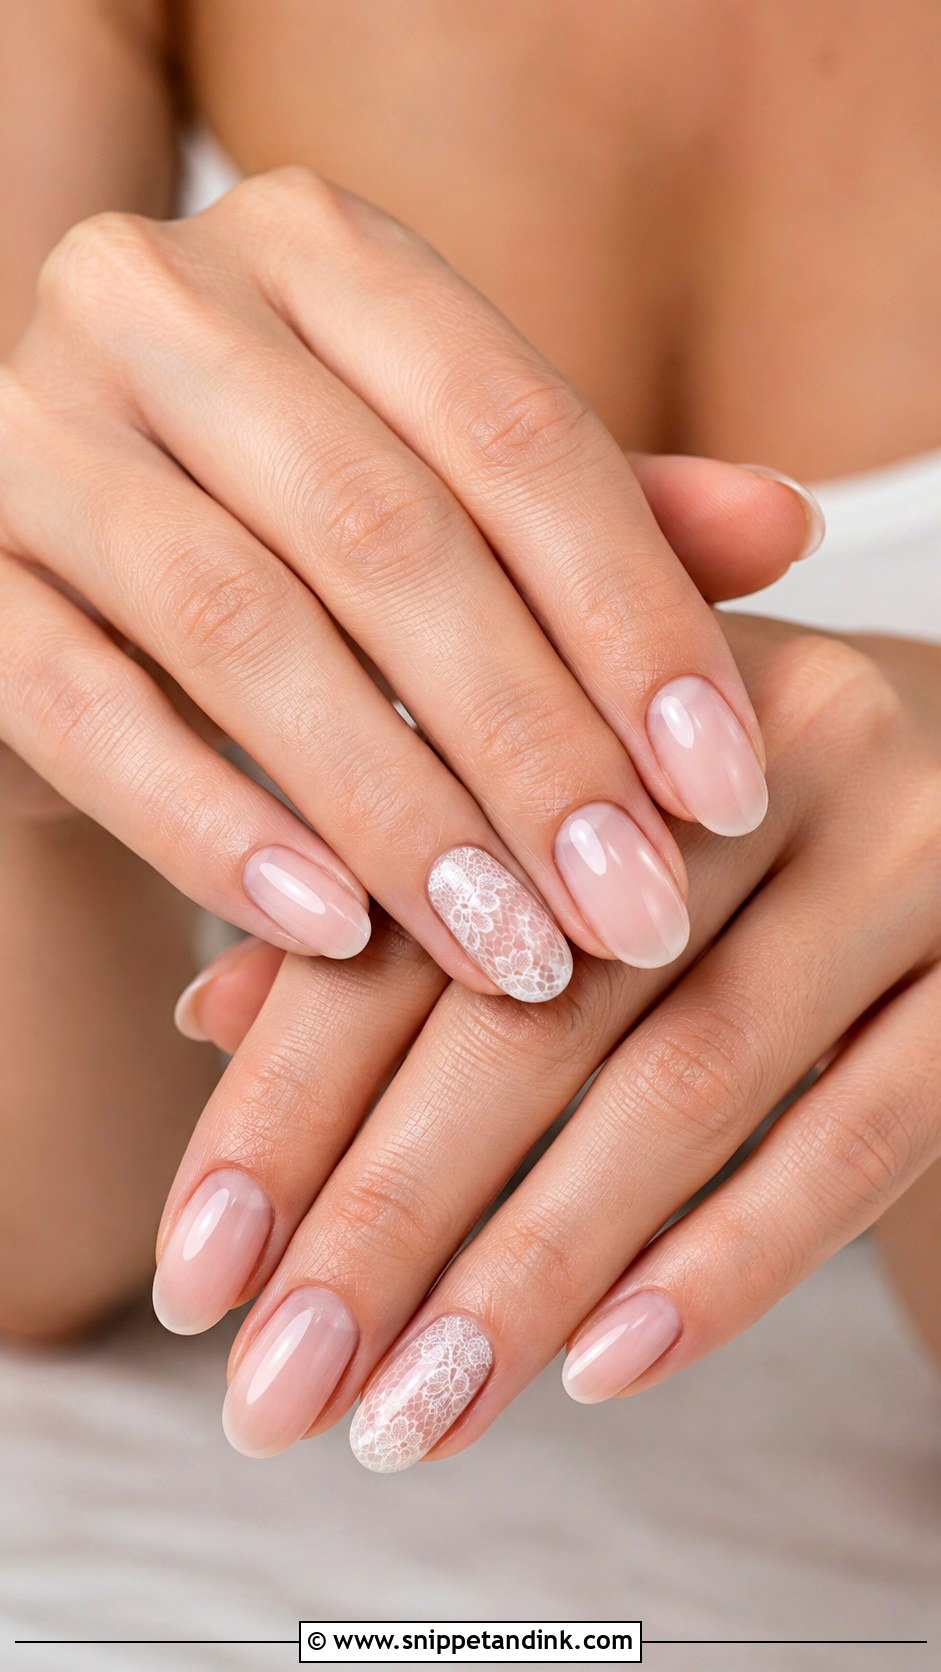
Lace art should echo the dress, not copy it. Bring a photo or a swatch of your lace so the motif matches the scale of the real pattern; tiny scallops on a nail look wrong next to large lace roses. I hand-paint it in thin white gel with a fine detail brush on one or two accent nails, usually the ring finger, and leave the rest plain on a sheer base. Covering all ten makes it busy, and dense lines thicken once the top coat goes on.
14. Tiny Pearl Wedding Nails
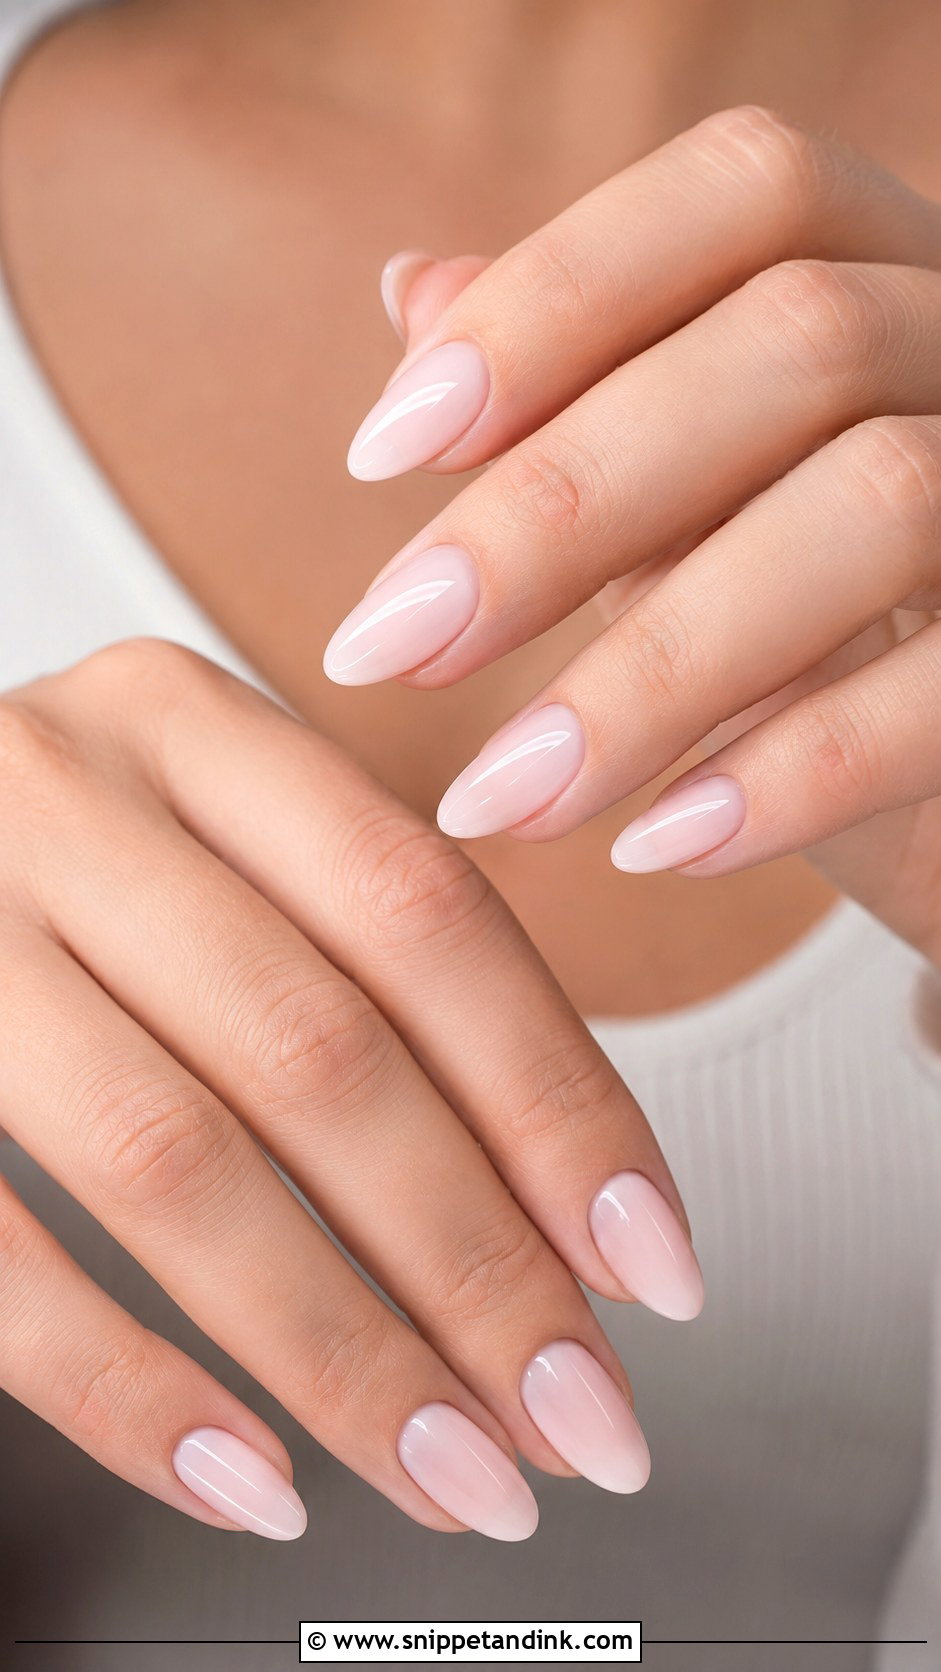
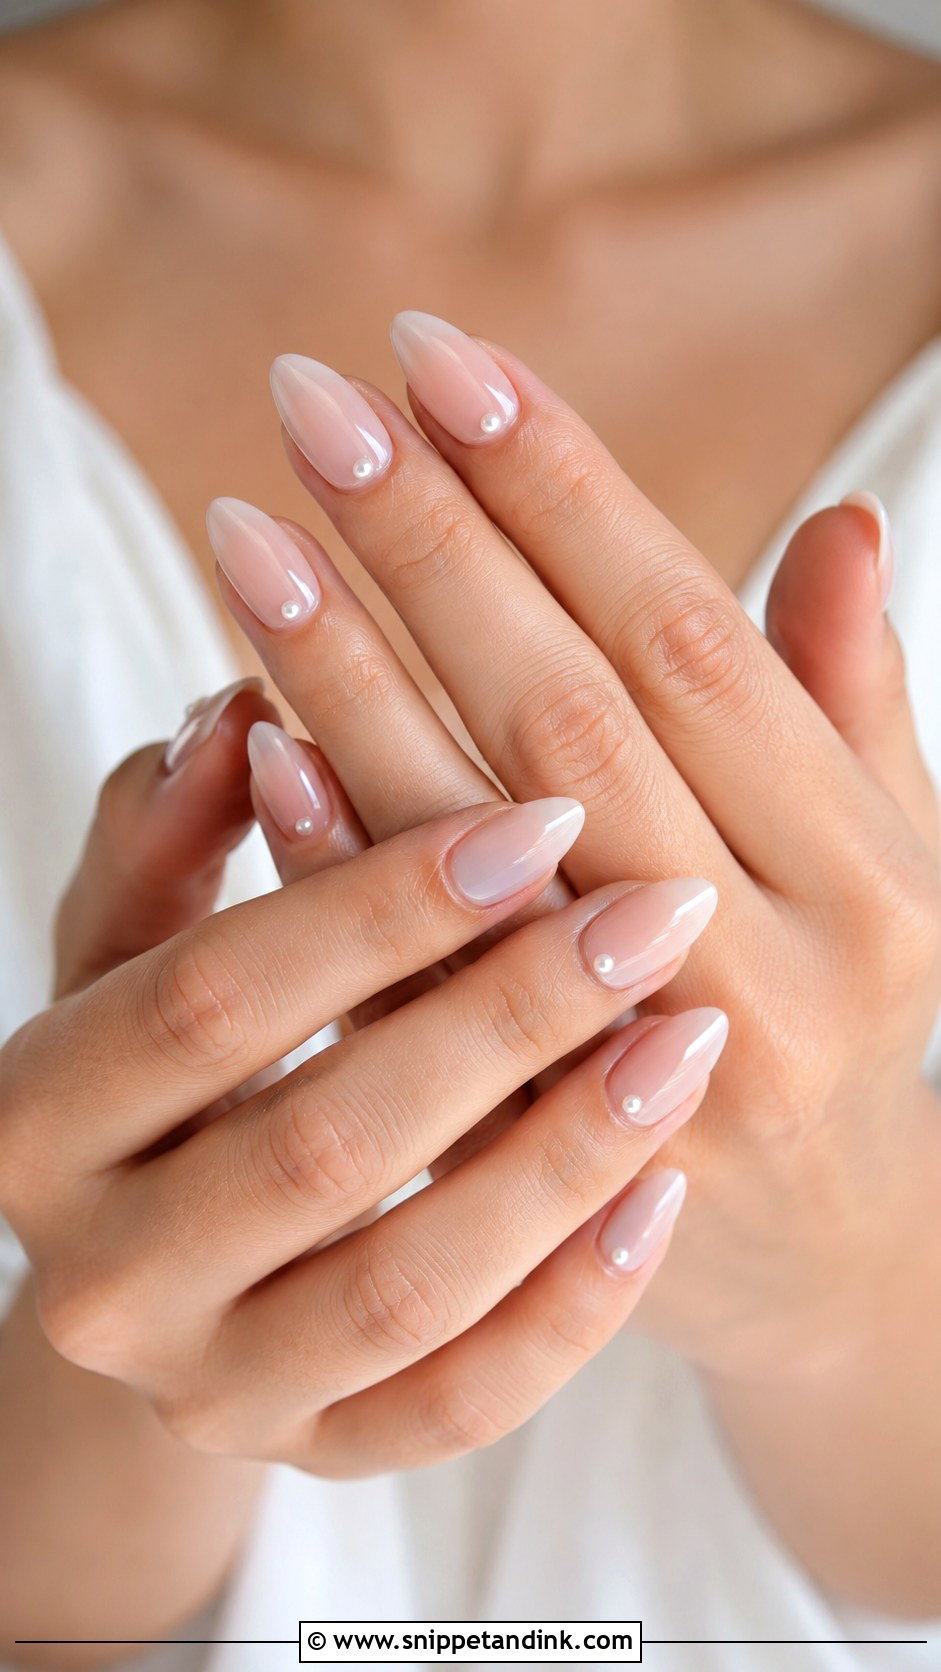
Small flat-back pearls give texture with very little effort, but placement decides whether they last. I set them near the cuticle and embed them in builder gel so they sit flush rather than perched on top, which is what stops them popping off when you dig through a clutch. Keep them small: one per nail, or a little cluster on the ring finger only. They make most sense if you’re already wearing pearl earrings or a pearl-edged veil.
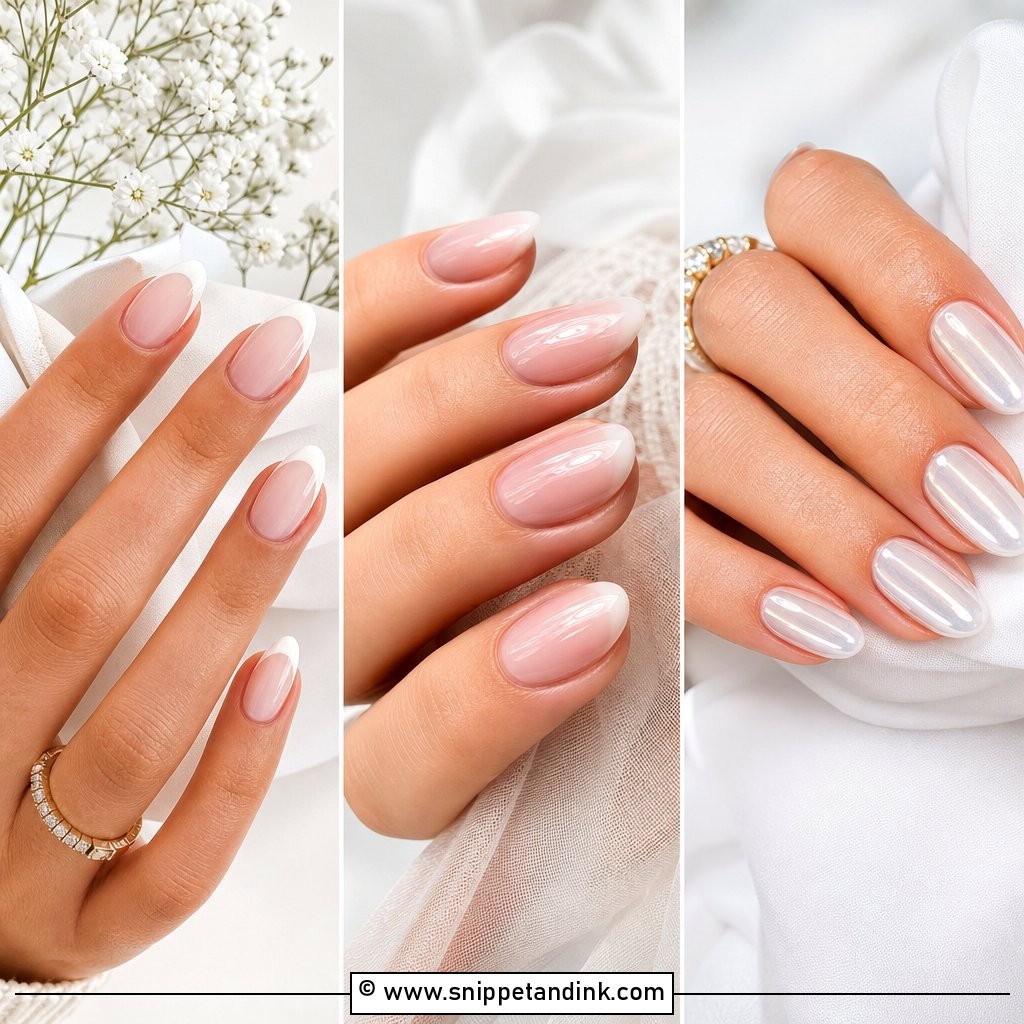
15. Gold Line Wedding Nails
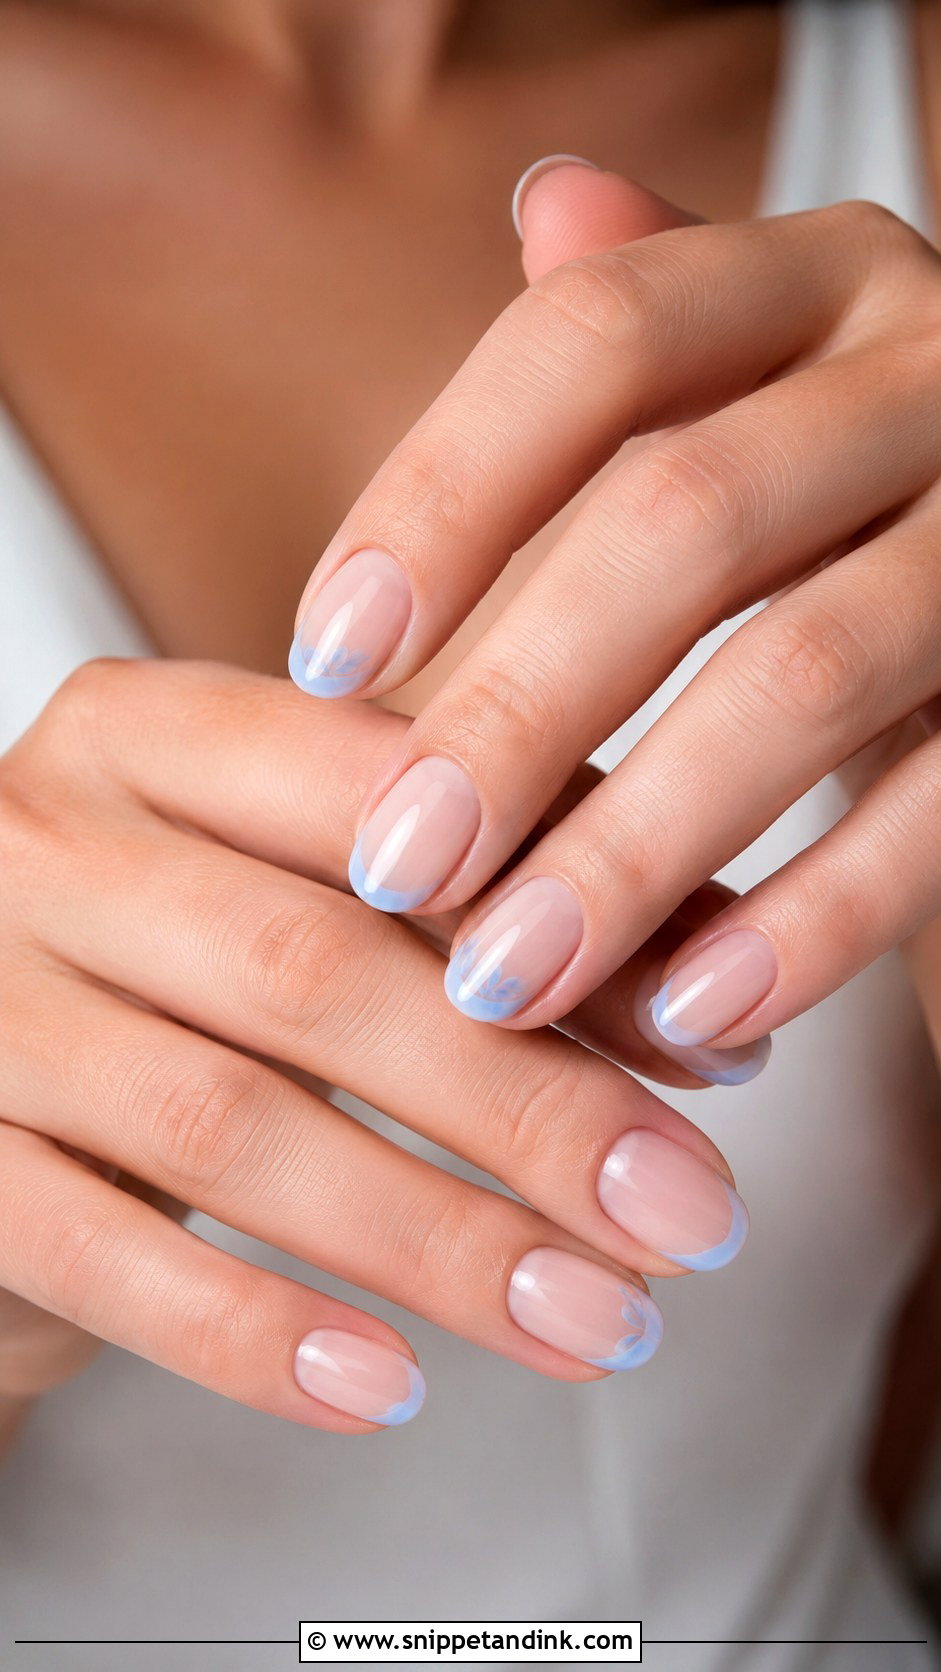
A thin gold line works best when it repeats metal you’re already wearing, so I ask to see the ring setting and earrings before choosing between yellow and champagne gold. I use a metallic liner gel rather than gold polish, because gel lines stay crisp and don’t dull under top coat. One fine stroke along the tip, cuticle or side is enough. Thick stripes read as costume; a fine line reads as jewelry.
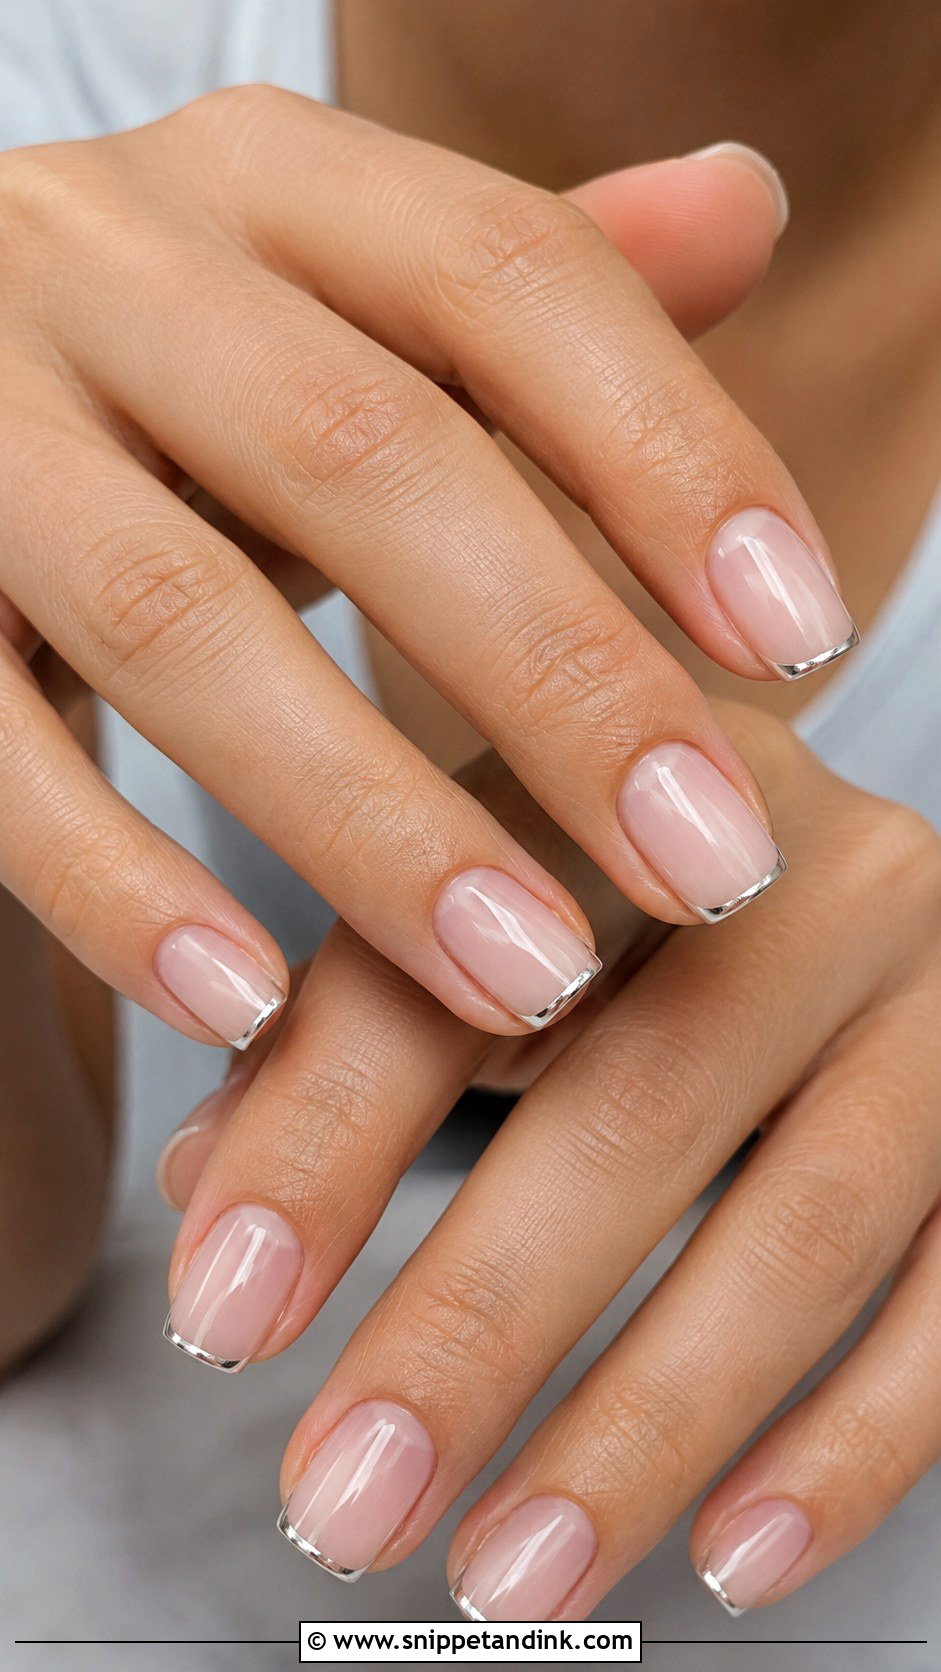
16. Silver Line Wedding Nails
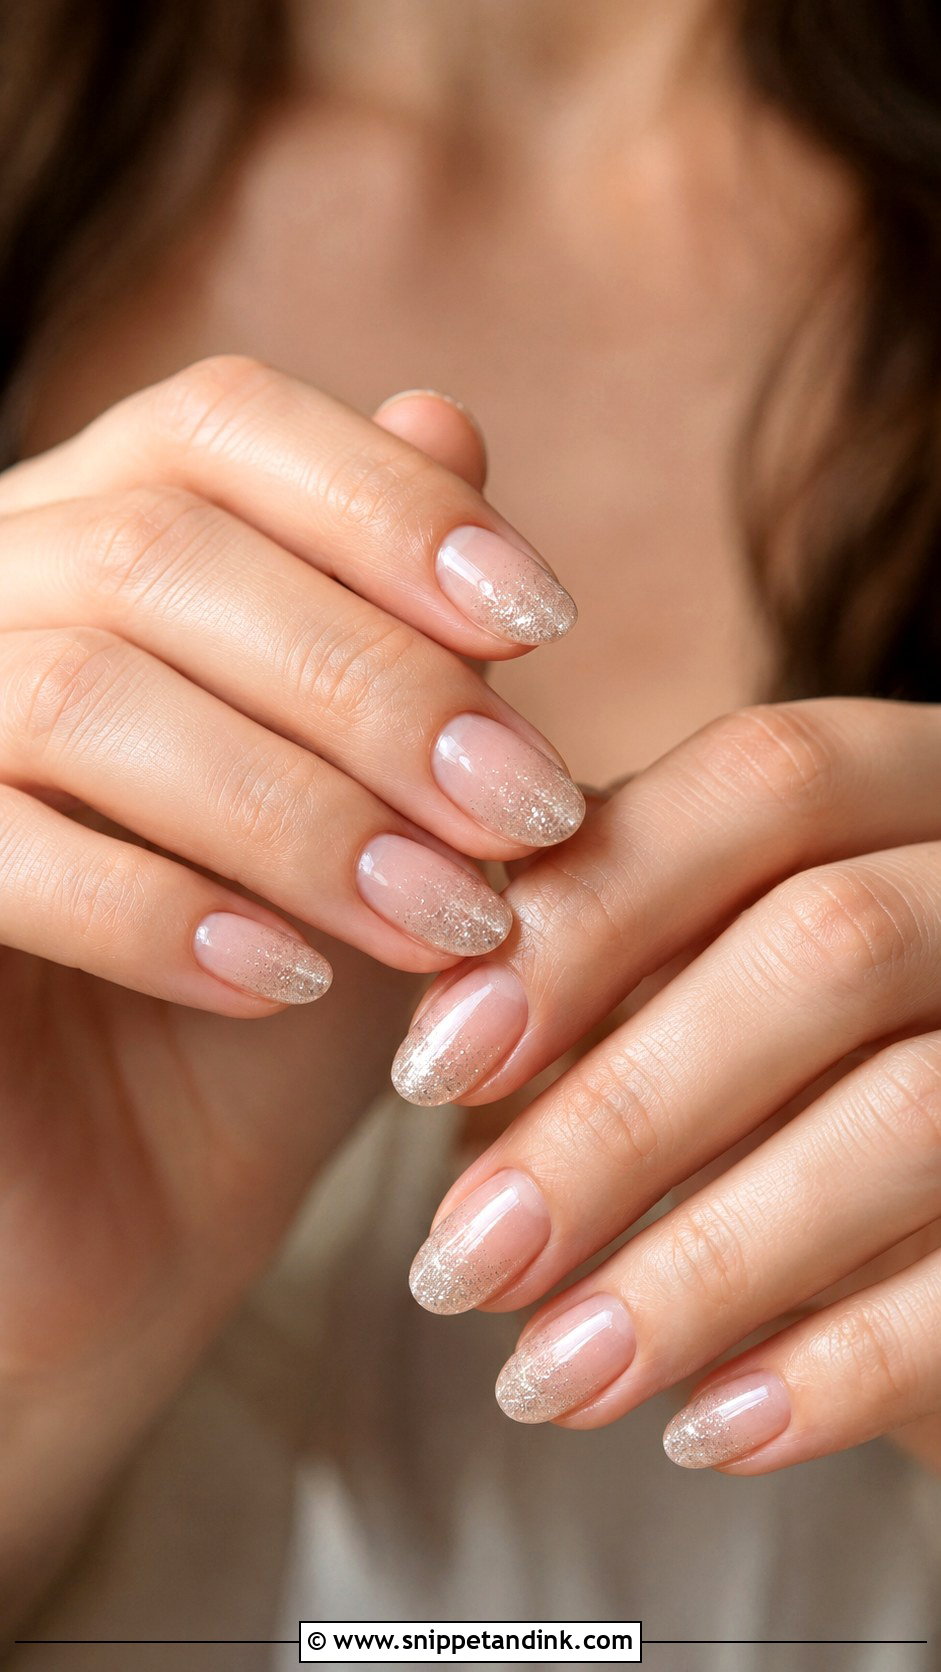
Silver suits brides wearing platinum, white gold or crystal, and it reads cooler and crisper than gold. A micro silver tip looks modern on short square nails, while a single vertical line down an almond nail makes it look longer. Some silver gels turn grey under a glossy top coat in indoor light, so I test the exact shade over your base at the trial before committing to it. Keep it to one accent and let the base stay plain.
17. Soft Glitter Ombre Wedding Nails
Soft glitter ombre wedding nails add a little sparkle near the tips or cuticles, blended into a neutral base. I only use fine shimmer for brides. Chunky glitter leaves a bumpy surface that needs extra top coat to level, and in macro ring photos every flake shows up as its own speck. Evening and formal weddings suit it best. Ask for the glitter to be scattered thinly so it catches light as you move rather than coating the nail.
18. Barely There Wedding Nails
The barely-there set is the hardest to fake, because it is almost all prep. I spend the appointment on shaping, careful cuticle work, buffing ridges smooth and one sheer strengthening coat in clear, pale pink or a faint milky tint. It suits brides who never wear polish, and outdoor or courthouse ceremonies where obvious color might look out of place. Start a cuticle oil habit a few weeks out. Dry skin around the nail is what makes a natural manicure look unfinished.
19. Floral Accent Wedding Nails
Tiny white flowers on one or two nails add a garden feel without turning into a pattern. I build each one with a small dotting tool, five dots around a center, so every flower comes out the same size, and I space them well apart. Pale gold or pearl centers soften the white. It suits spring weddings and dresses with floral embroidery. Keep bright colors out of it if you want the set to age well in your album.
20. Something Blue Wedding Nails
A small touch of blue lets you keep the tradition without wearing a blue manicure. My favorite version is a pale powder-blue micro French over a nude base; another is a single blue dot or tiny heart on the ring finger. Light blues are tricky because they go chalky easily, so I mix them thin and build in two layers. Cool-toned bouquets and silver jewelry are its best partners.
Which Product Holds Up From Rehearsal Dinner to Brunch
A pale set has nowhere to hide wear, so the product matters as much as the shade. Here is roughly how each option behaves over a wedding week when it has been applied well. Wear varies with your nails and how hard you use your hands, so treat these as a guide.
- Regular polish: smooth and glossy on day one, but tip wear usually appears within a few days. Only choose it if you can be done the day before.
- Soak-off gel color: generally holds two weeks or more without chipping. I apply it three to five days ahead, so any lifting would show while there is still time to fix it.
- Builder gel over your own nails: adds a thin layer of strength, and it is the best choice for soft or peeling nails and for milky shades that need a perfectly level surface.
- Extensions: give length immediately. Have them done a few days early so you can get used to buttons and earring backs before the morning itself.
Whichever you choose, wear gloves for washing up and cleaning in the days before. Long soaks in hot water and household solvents are what start gel lifting at the side walls.
When a Nail Breaks on the Wedding Morning
It happens more than people admit. A nail catches on a zip, a bag strap or a car door, and the instinct is to peel or bite it level. Please don’t, because that tears the layers underneath and leaves a raw edge that stings for days.
- Pack a fine glass file, a small tube of nail glue and the same top coat used on your set.
- For a crack, a dot of glue and a gently smoothed surface will hold through the evening; save the proper repair for later.
- If a short nail loses its tip, file the other nails down a fraction and nobody will notice the difference in photos.
- Keep a tiny bottle of cuticle oil in the kit. A drop hides dry edges in close-up ring shots.
If your nail artist isn’t on site, hand this little kit to whoever is holding your phone and lipstick. It takes up less room than a lipstick case and settles nerves fast.
Bring the Ring to Your Nail Trial
The sets that work best on the day are the ones you forget you’re wearing: a shade matched to your skin, a shape you can live with, and a finish that has had time to settle. Milky white, sheer pink, nude and blush all photograph well because they don’t compete with the ring, and a micro French, a few pearls or a fine metallic line gives you detail without much risk. If you do one thing, book a trial four to six weeks before the wedding and wear it for a full week, so you know how it holds up before it matters.
You'll Like These Ideas:


Leave a Reply