
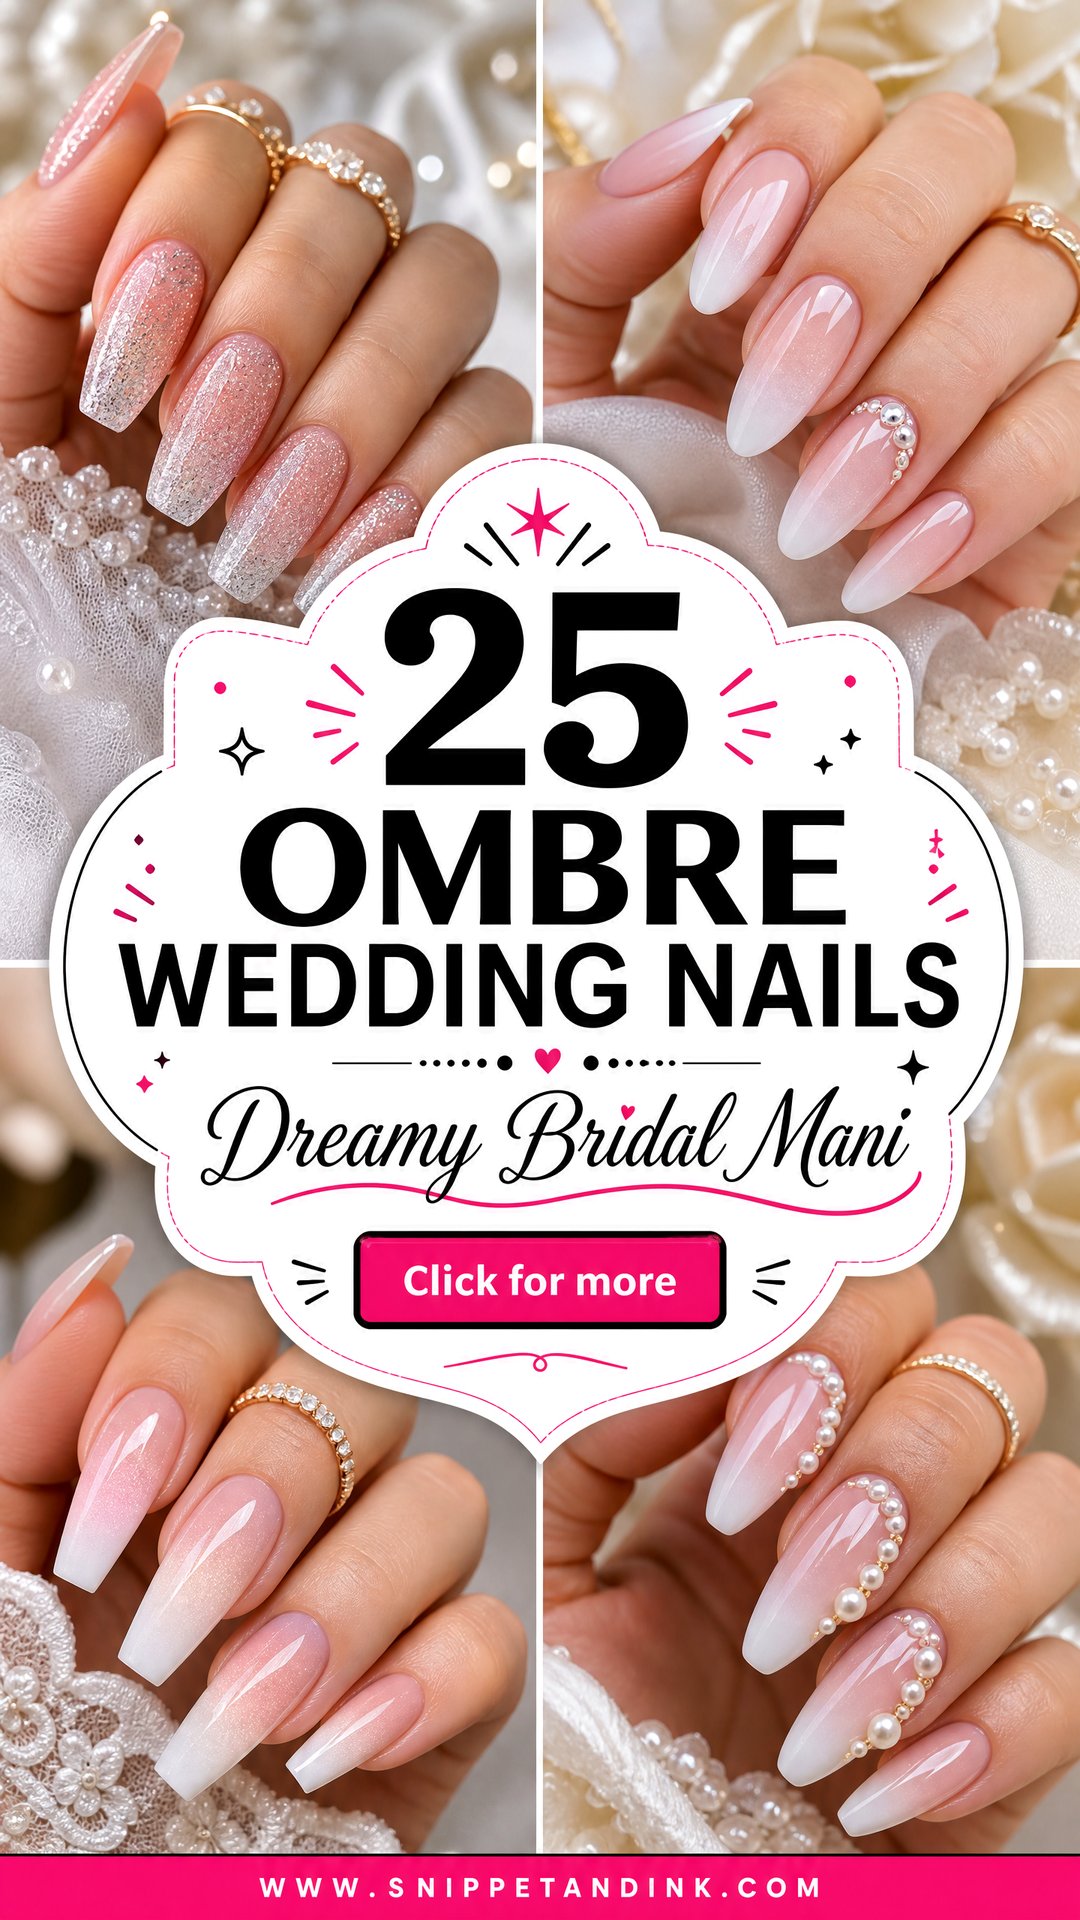
A fade is the most forgiving bridal manicure I do. There’s no hard line to smudge, no art that has to be perfectly symmetrical across ten fingers, and the soft transition sits comfortably next to white, ivory or champagne fabric. It also flatters ring shots, because the lighter tip draws the eye along the finger toward the band. Below you’ll find the fades I’m asked for most, from French and baby boomer blends to pearl chrome, glitter and pastel versions, with notes on which shapes, lengths and skin tones each one suits. Most work just as well for bridesmaids and guests.
Sponge, Brush or Airbrush Fades on a Wedding Set
Not every ombre is made the same way, and the method changes how smooth it looks up close and how long the appointment takes. When you book, it’s worth asking which one your tech uses.
- Sponge: color is dabbed on with a makeup sponge in thin layers. It gives a soft, slightly speckled blend and is the most common method for gel polish.
- Brush blending: the two colors are laid side by side and blended with a clean brush before curing. It’s smoother but takes more skill, especially on curved nails.
- Airbrush: sprayed pigment gives the most invisible transition. Fewer salons offer it, and it usually needs a gel top coat over it to last.
For a wedding, I nearly always recommend gel over regular polish. A fade involves several thin layers, and regular polish layered that many times stays soft for hours and dents easily. Gel cures each layer under the lamp, so the set is hard by the time you leave.
Book the final appointment one or two days before the wedding. That gives the cuticles time to settle if they get a little red from prep, and leaves a day to fix a chip. If you’ve never had a fade done, a practice set a few weeks earlier shows you how the colors look on your own hands and in your own photos.
1. French Ombre Wedding Nails
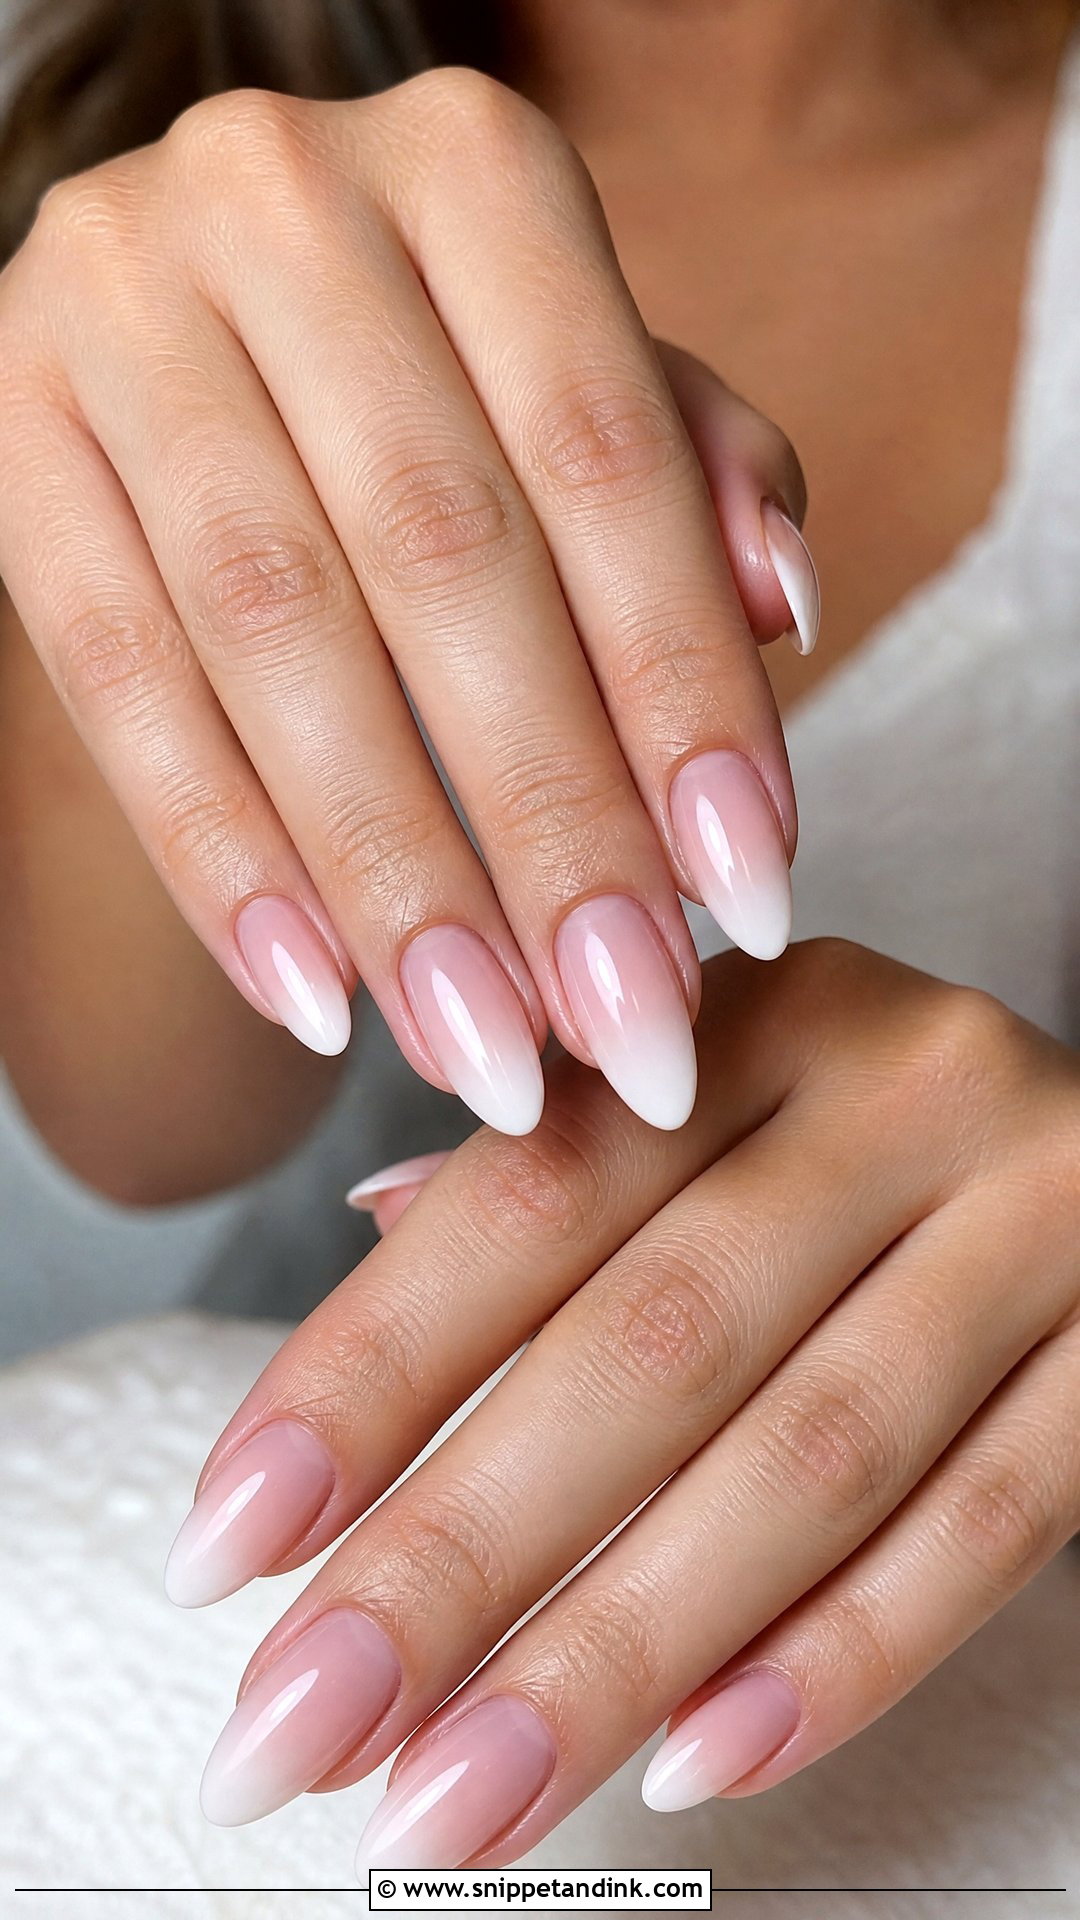
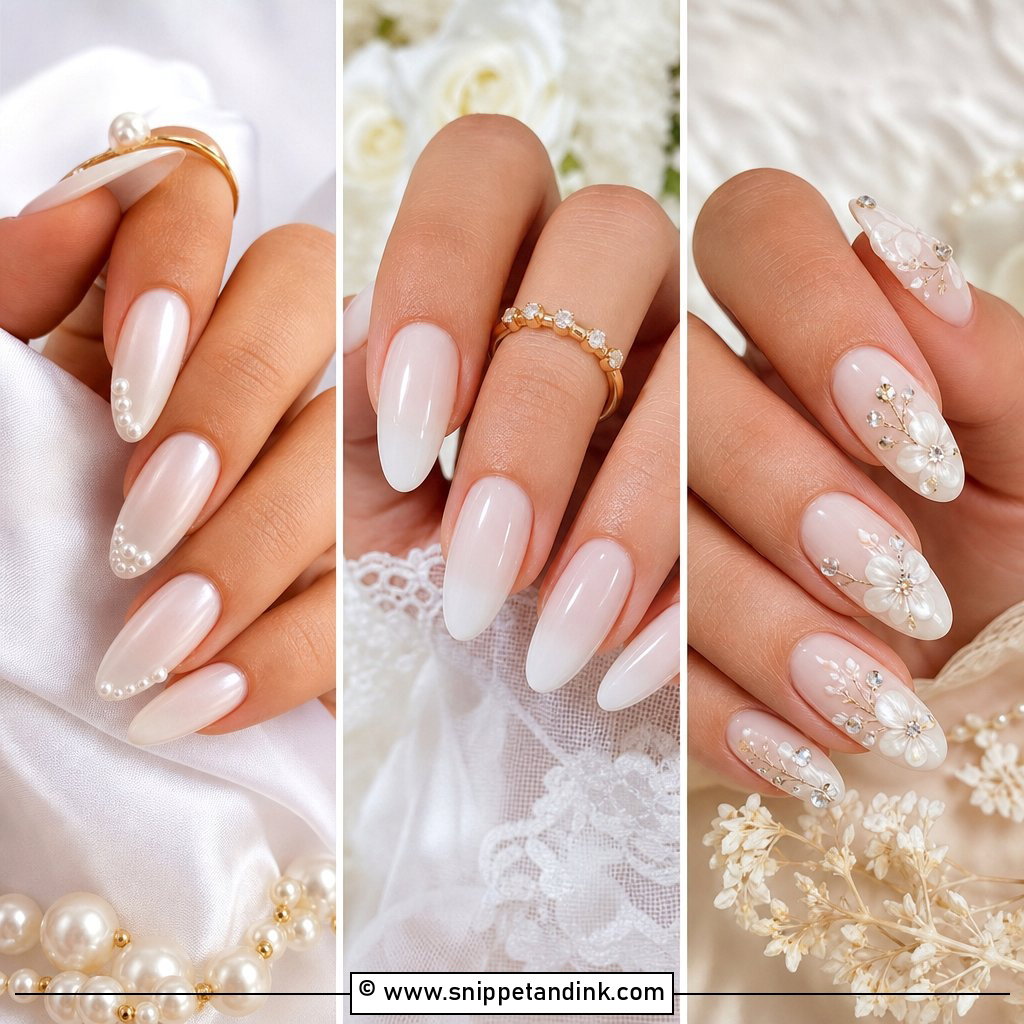
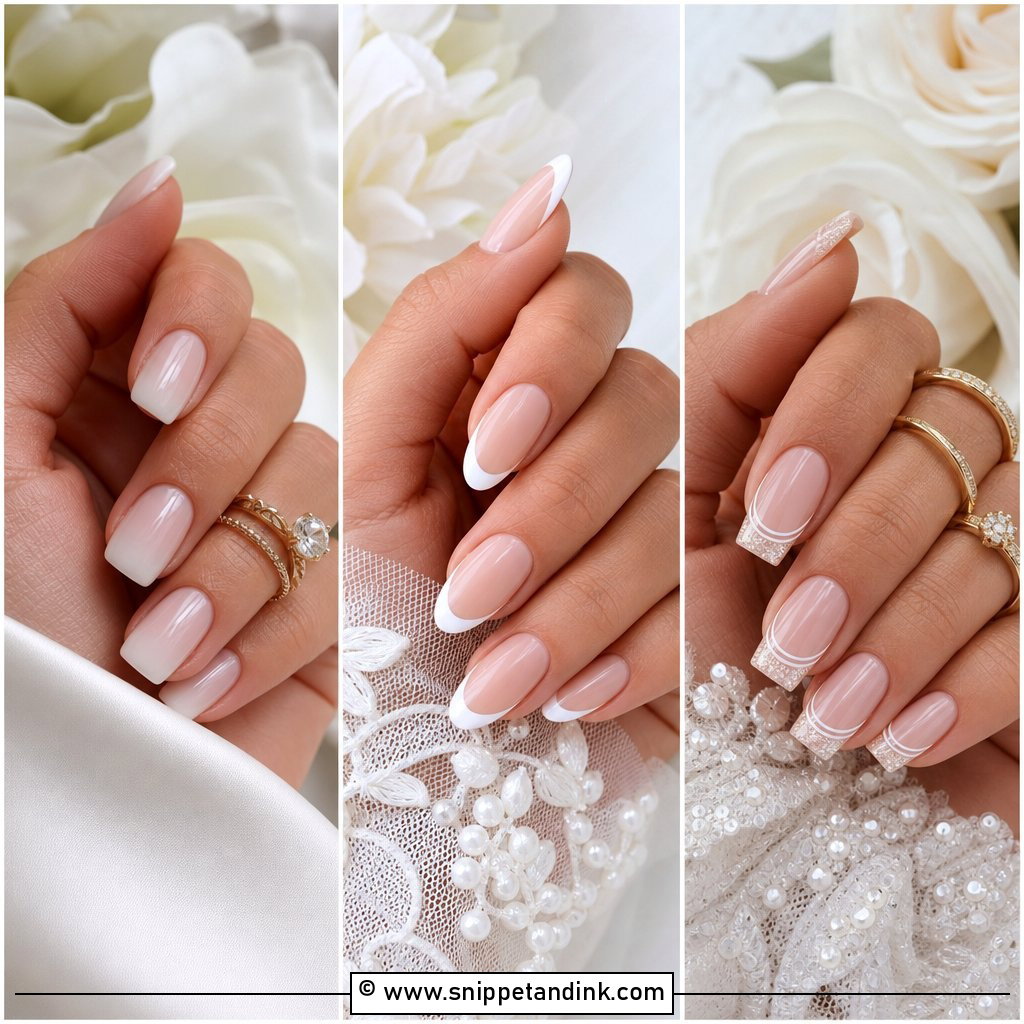
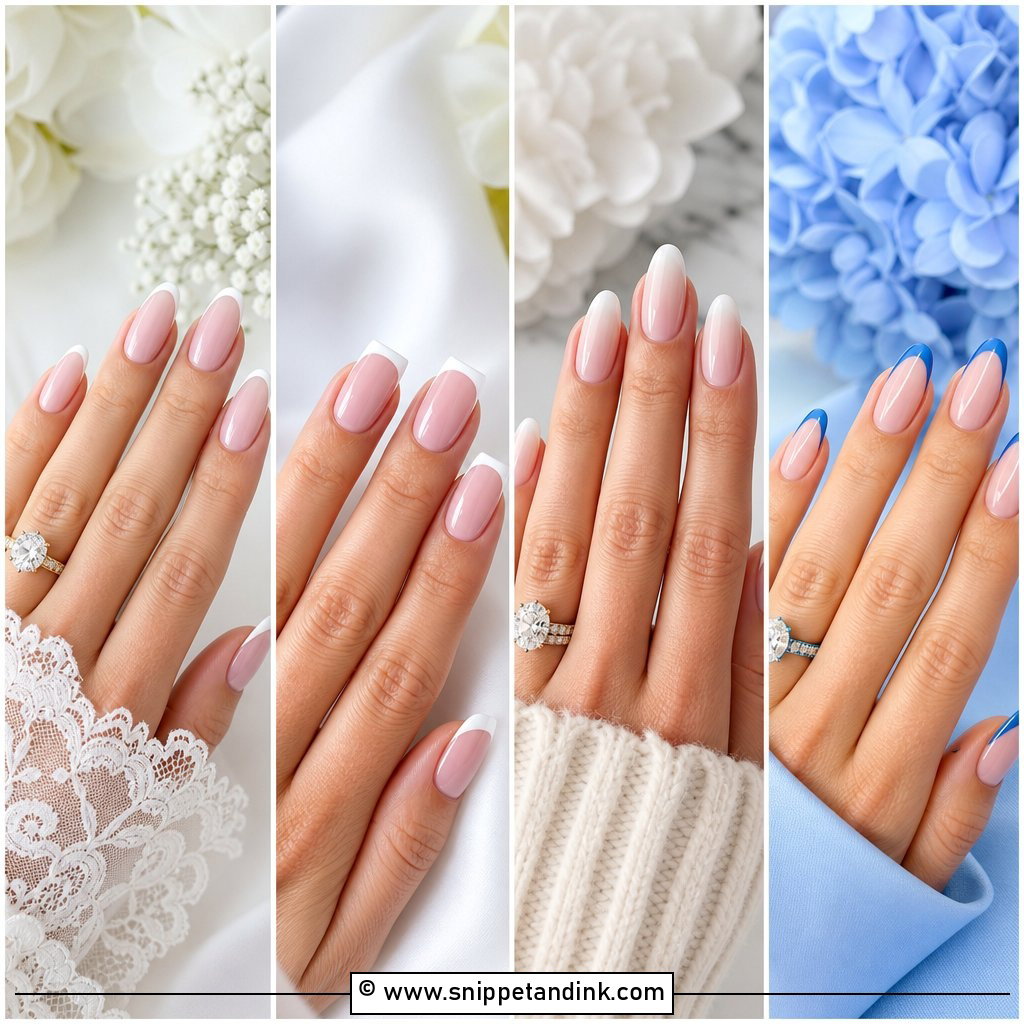
French ombre is the default bridal request, and for good reason: a natural pink or nude base into soft white tips softens the hard smile line of a classic French. I sponge the white on in thin passes, letting each layer cure before the next, so the blend builds gradually instead of turning into a white band. It works on almond, oval, coffin and squoval, at any length. Ask for a sheer pink base and a diffused tip, then a high-gloss top coat. The one thing I check first is your natural nail bed color, because a very pink bed under a sheer base can read more coral than you expect.
2. Milky White Ombre Wedding Nails
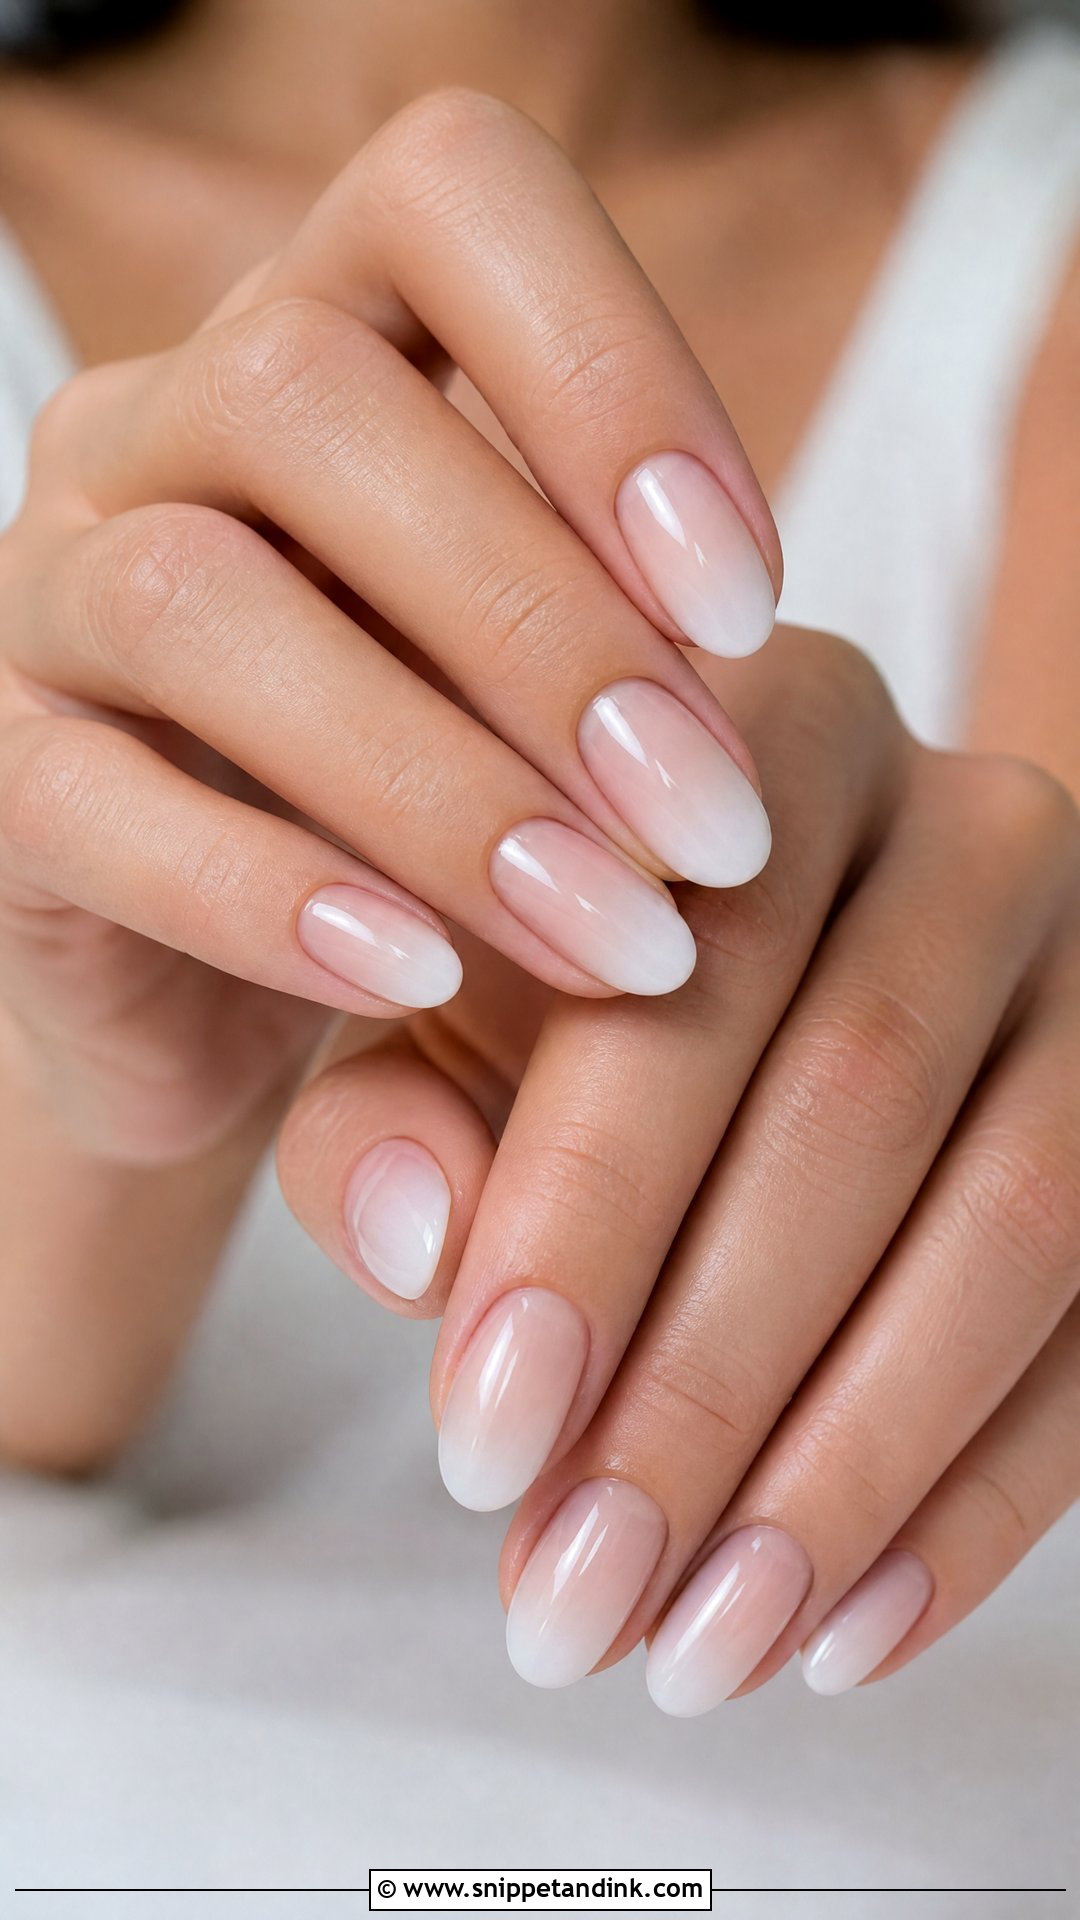
Milky ombre uses a cloudy, semi-sheer white instead of opaque white, so the fade reads like frosted glass. I start with a sheer nude or pale pink and float the milky shade over the top two thirds of the nail. It makes nails look healthy and bright without looking painted. Gloss keeps it glassy; a satin top coat makes it quieter. Milky shades can look slightly blue on very cool skin, so I swatch on your hand before committing.
3. Pink And White Ombre Wedding Nails
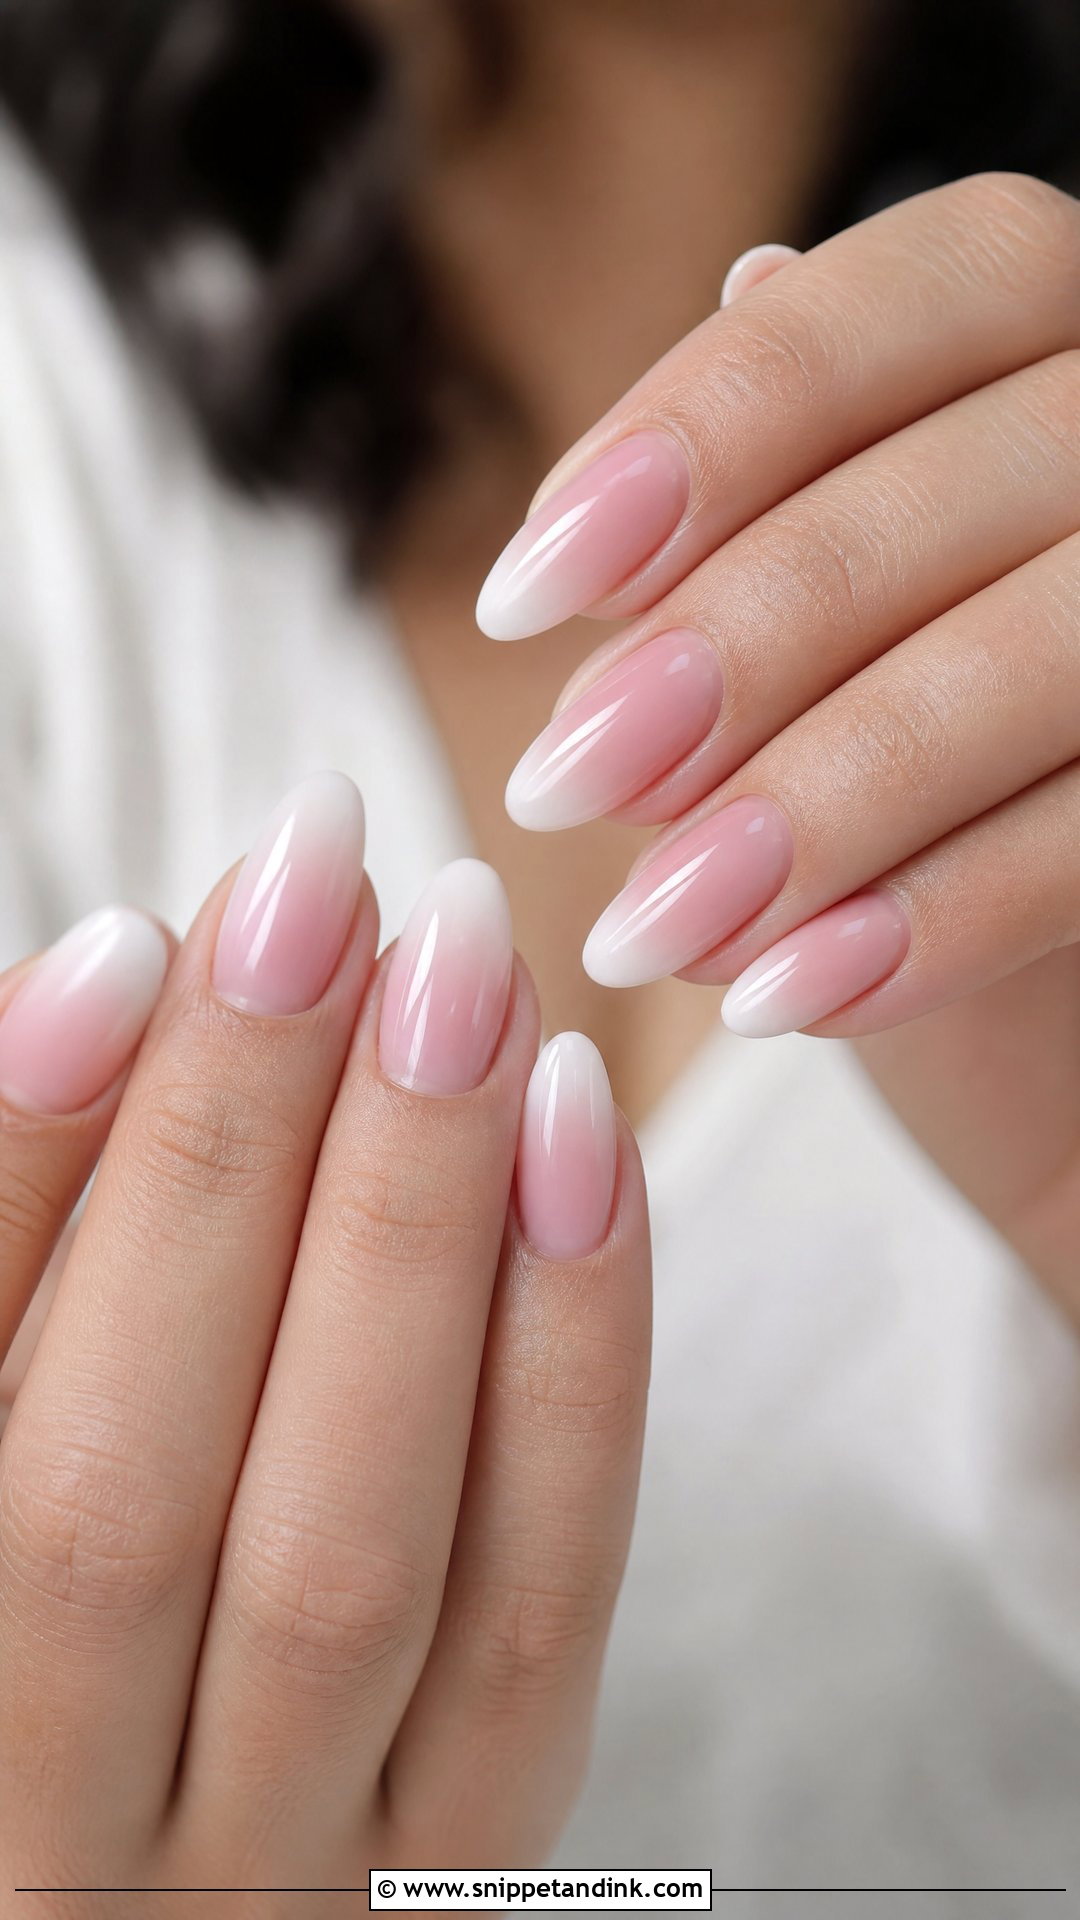
Pink to white is easy to tailor, which is why I reach for it for mixed bridal parties. Swapping a flat opaque pink for a sheer pink jelly base gives the fade depth, since light passes through the base and the white seems to float. On almond and oval nails the vertical blend lengthens the fingers. The only version I’d steer you away from is a bubblegum pink base with a stark white tip; together they can look like a press-on set in close-ups.
4. Nude Ombre Wedding Nails
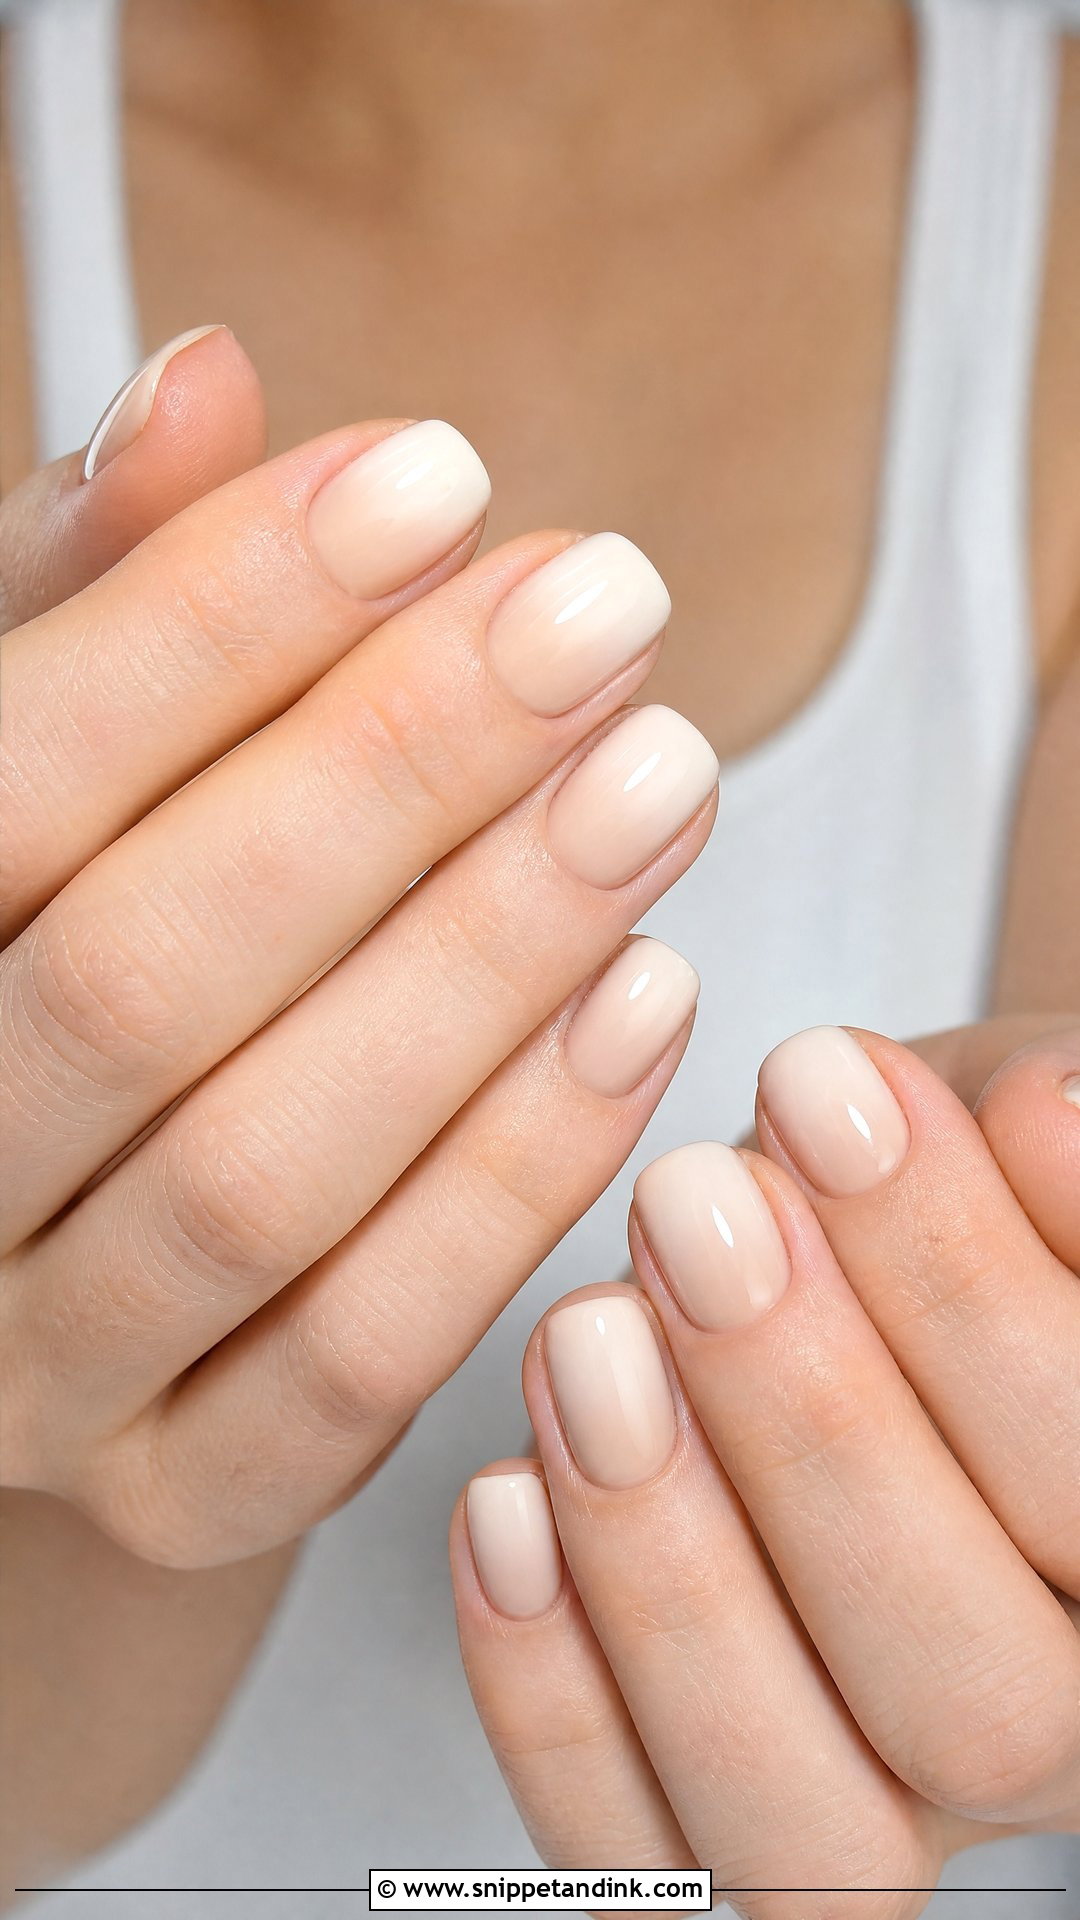
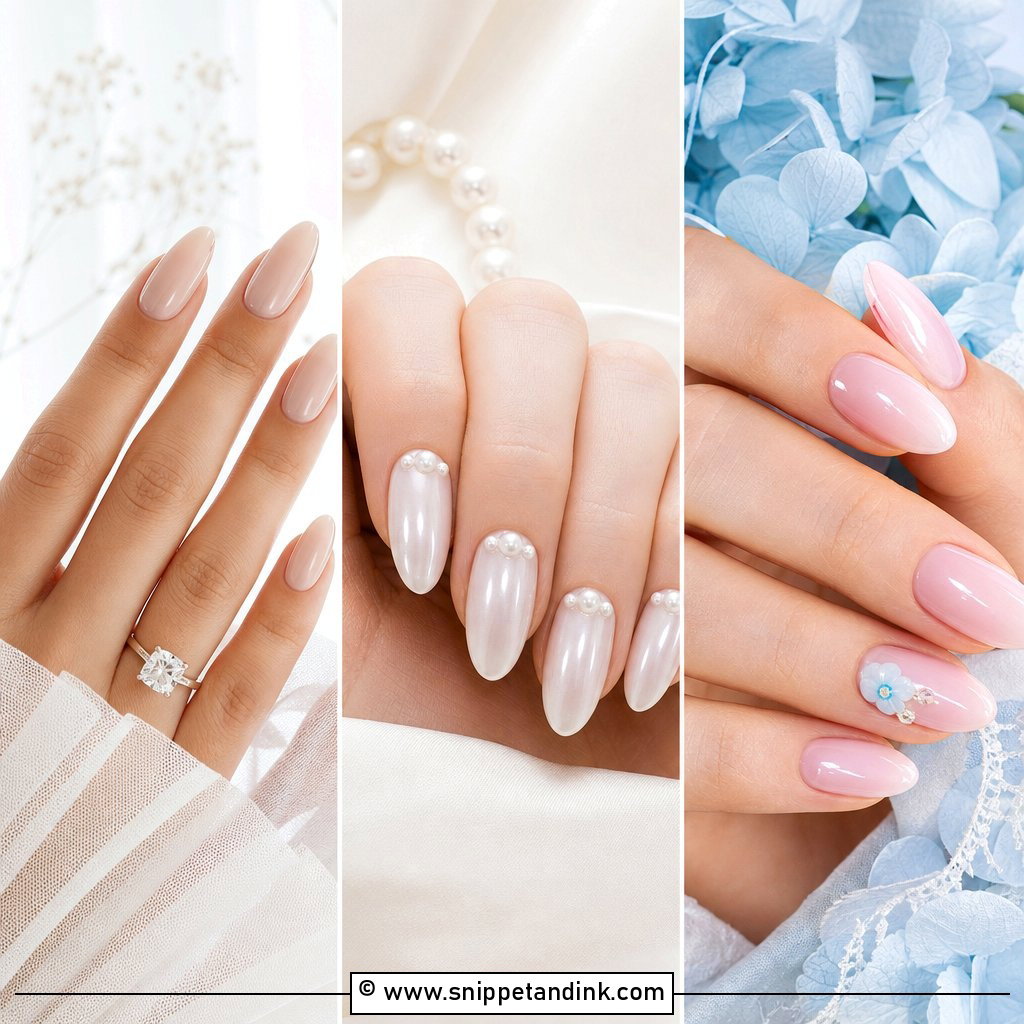
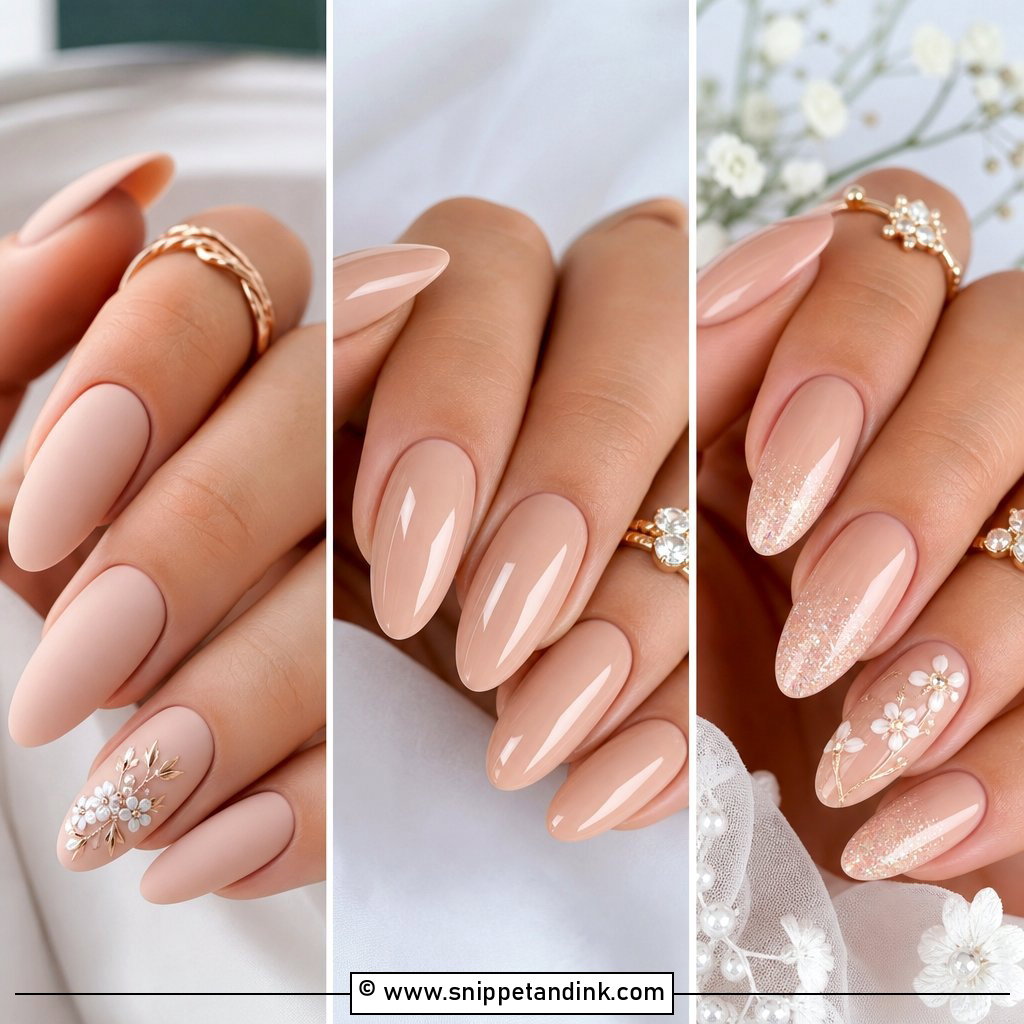
Getting the nude right is the whole job here. Fair skin usually suits a beige-pink, medium skin a peachy nude, and deep skin looks richest in caramel, mocha or rosy brown. I hold two or three bottles against your fingers before the appointment starts, since a nude that’s too light makes deep skin look ashy and one that’s too dark disappears on fair skin. The fade can run into white, cream or simply a lighter nude. If you rarely wear colored polish day to day, this one won’t feel like someone else’s hands.
5. Pearl Chrome Ombre Wedding Nails
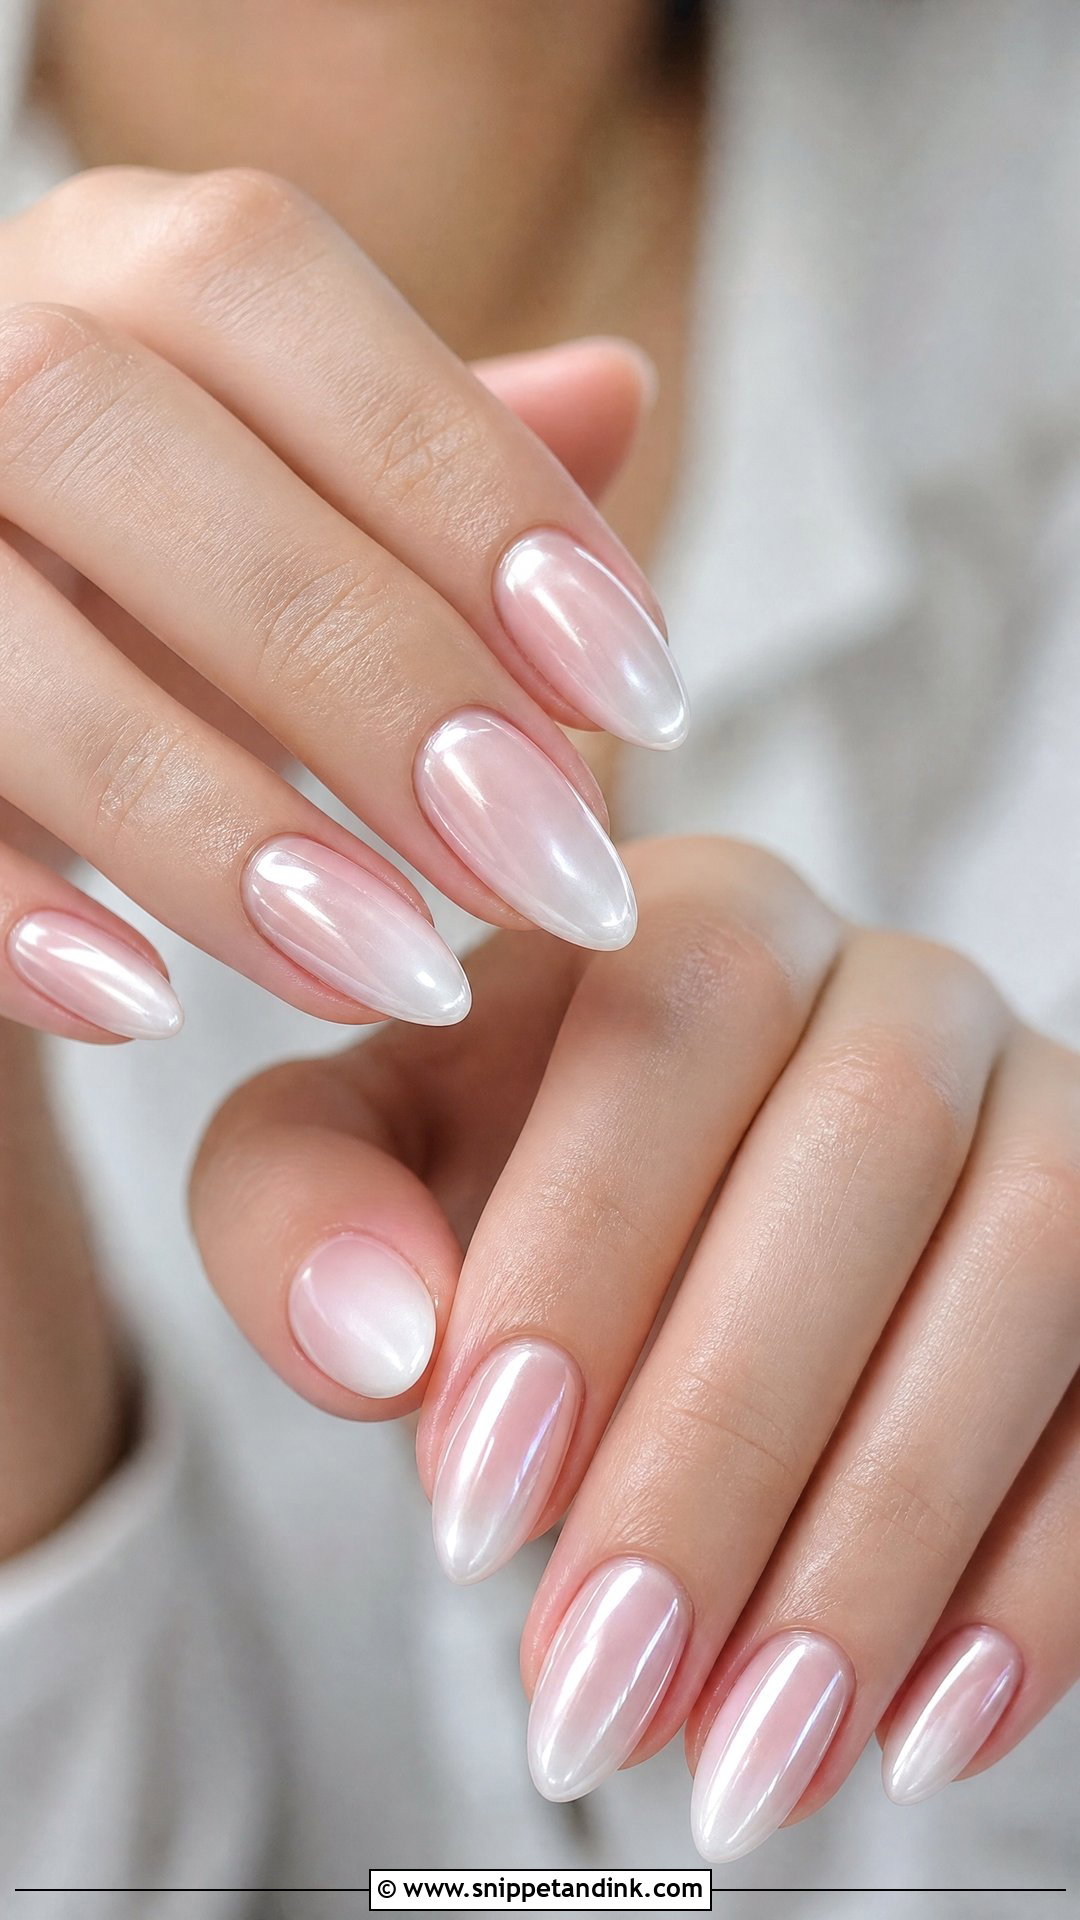
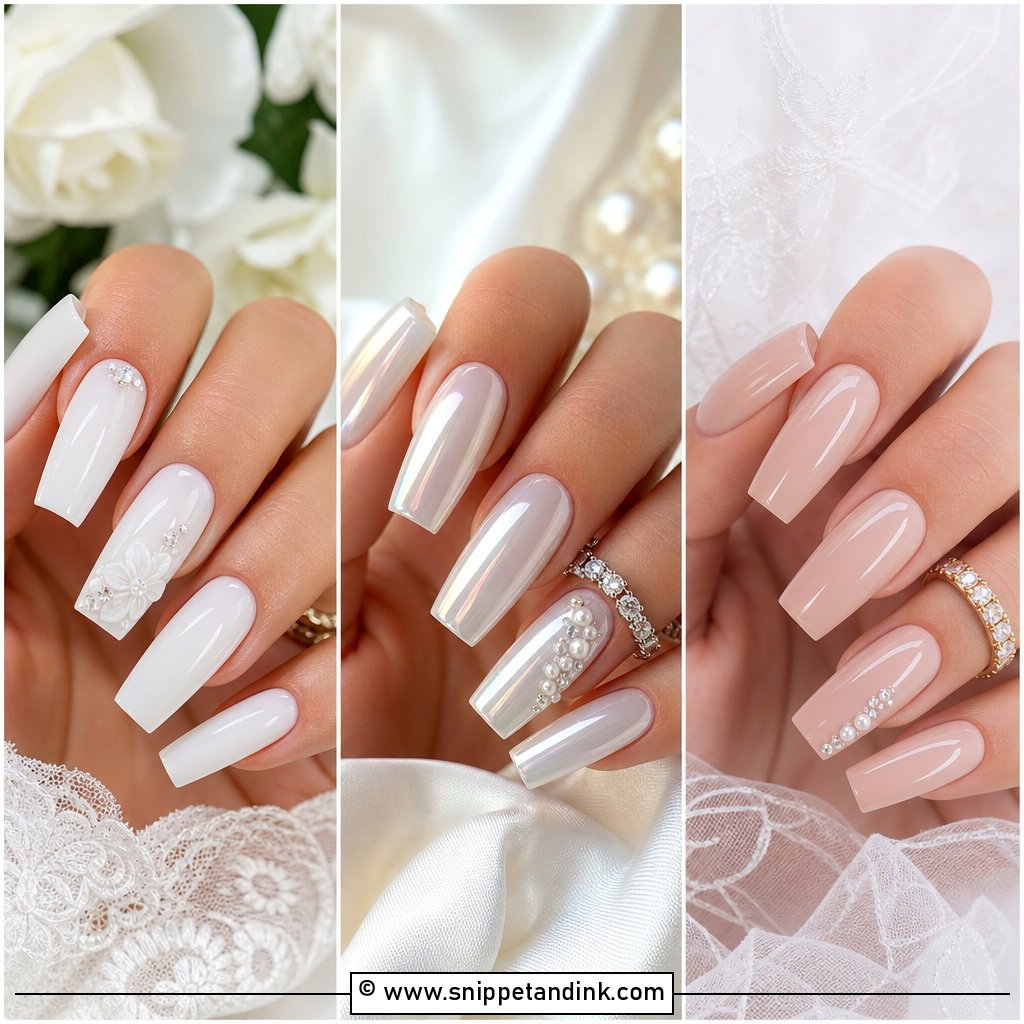
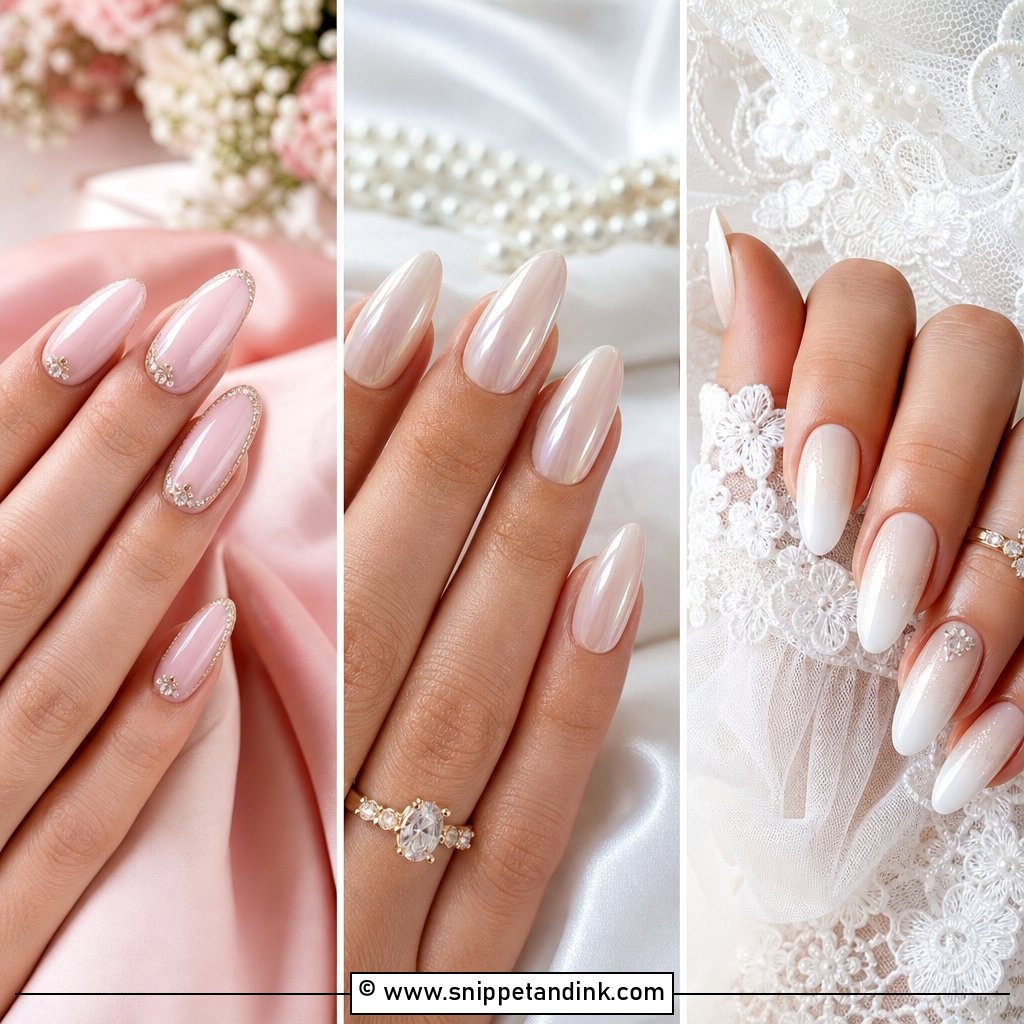
For pearl chrome, I build a pink, nude or milky fade first, cure it, then buff a very thin layer of pearl chrome powder over a no-wipe top coat. The powder sits on top like a veil, so the gradient underneath stays visible. Too much powder flattens the fade into one silver sheen, which is the mistake I see most often. It’s the bridal version of a glazed nail, and it catches light softly in photos. Pearl earrings and satin fabric make an easy match.
6. Glitter Ombre Wedding Nails
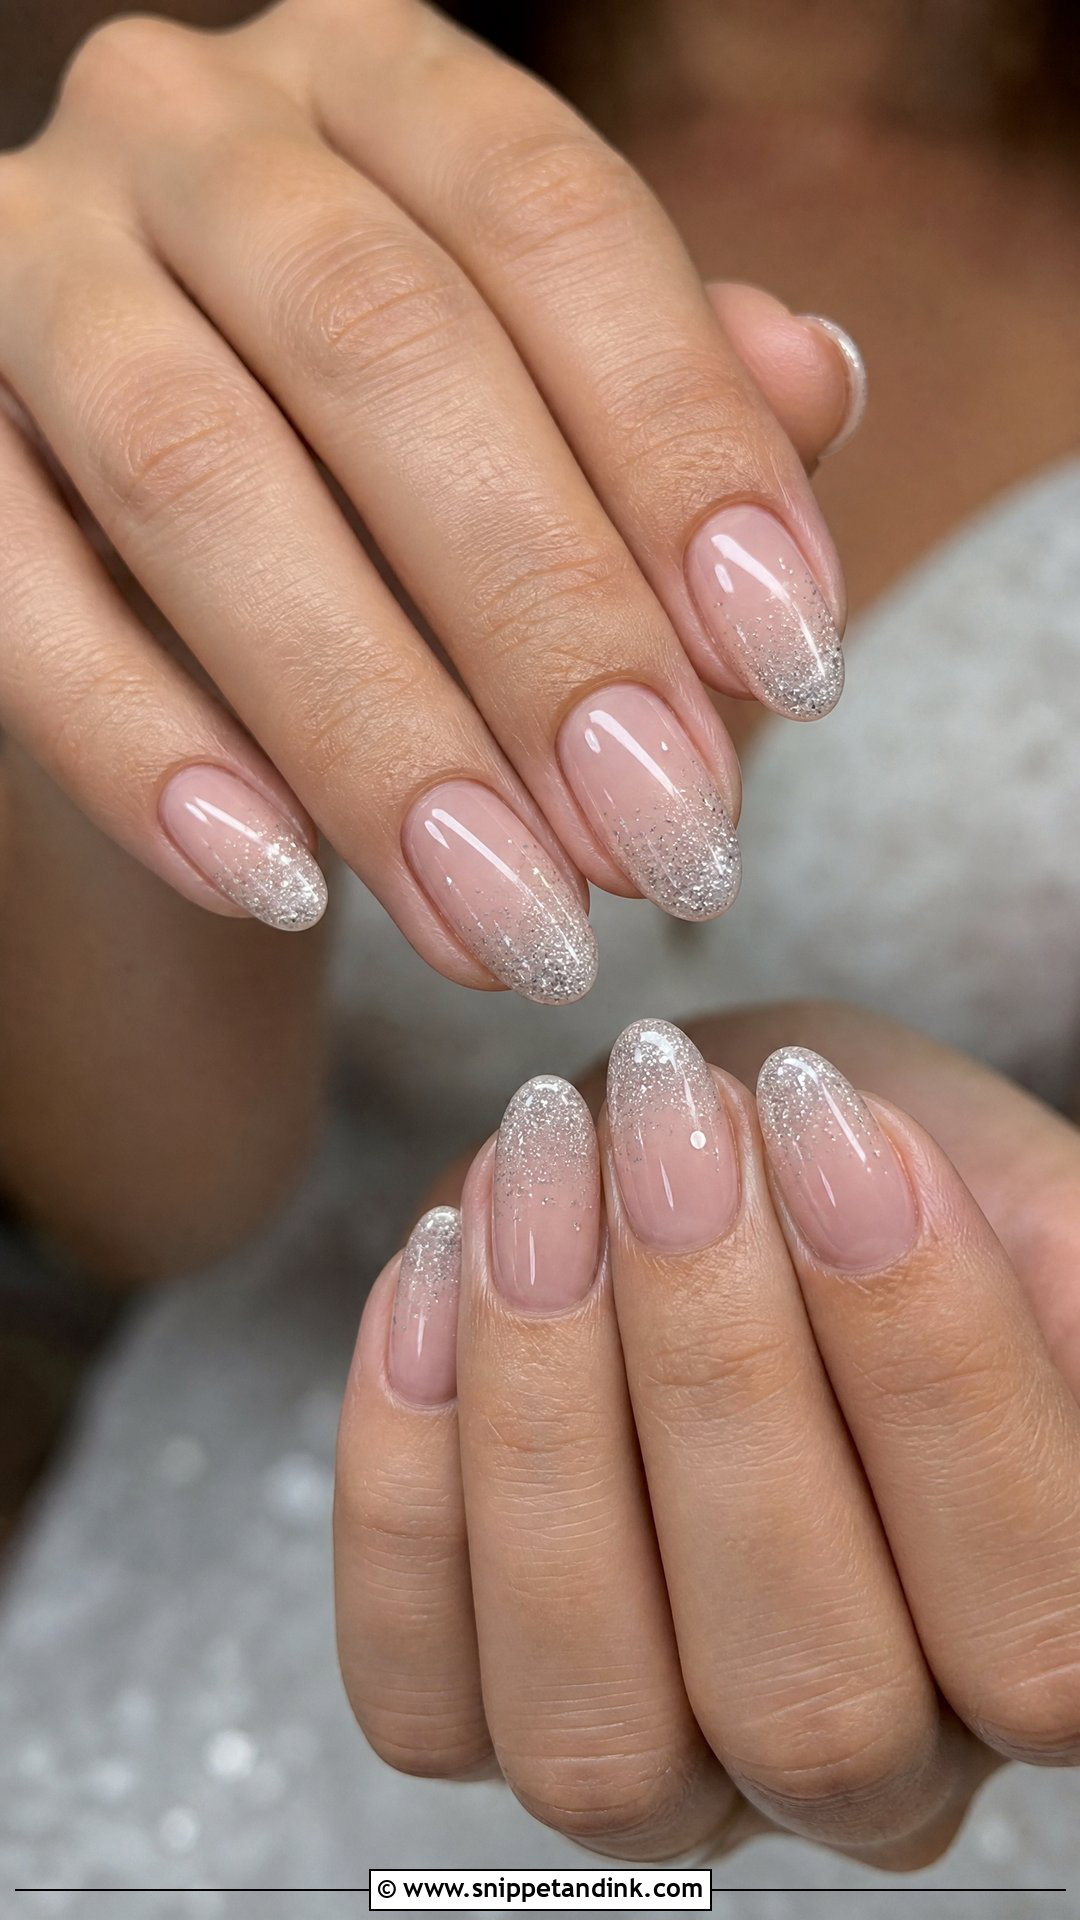
Glitter that starts dense at the tip and thins toward the cuticle gives you sparkle without a full glitter nail. I use fine silver, champagne or pearl glitter suspended in clear gel and tap it on with a small brush, never a heavy chunky mix, which looks more party than wedding. Keep it to the tip area for a soft version, or bring it up across the top half for an evening reception. One practical upside: a glitter tip hides small chips far better than a cream tip does.
7. Champagne Ombre Wedding Nails
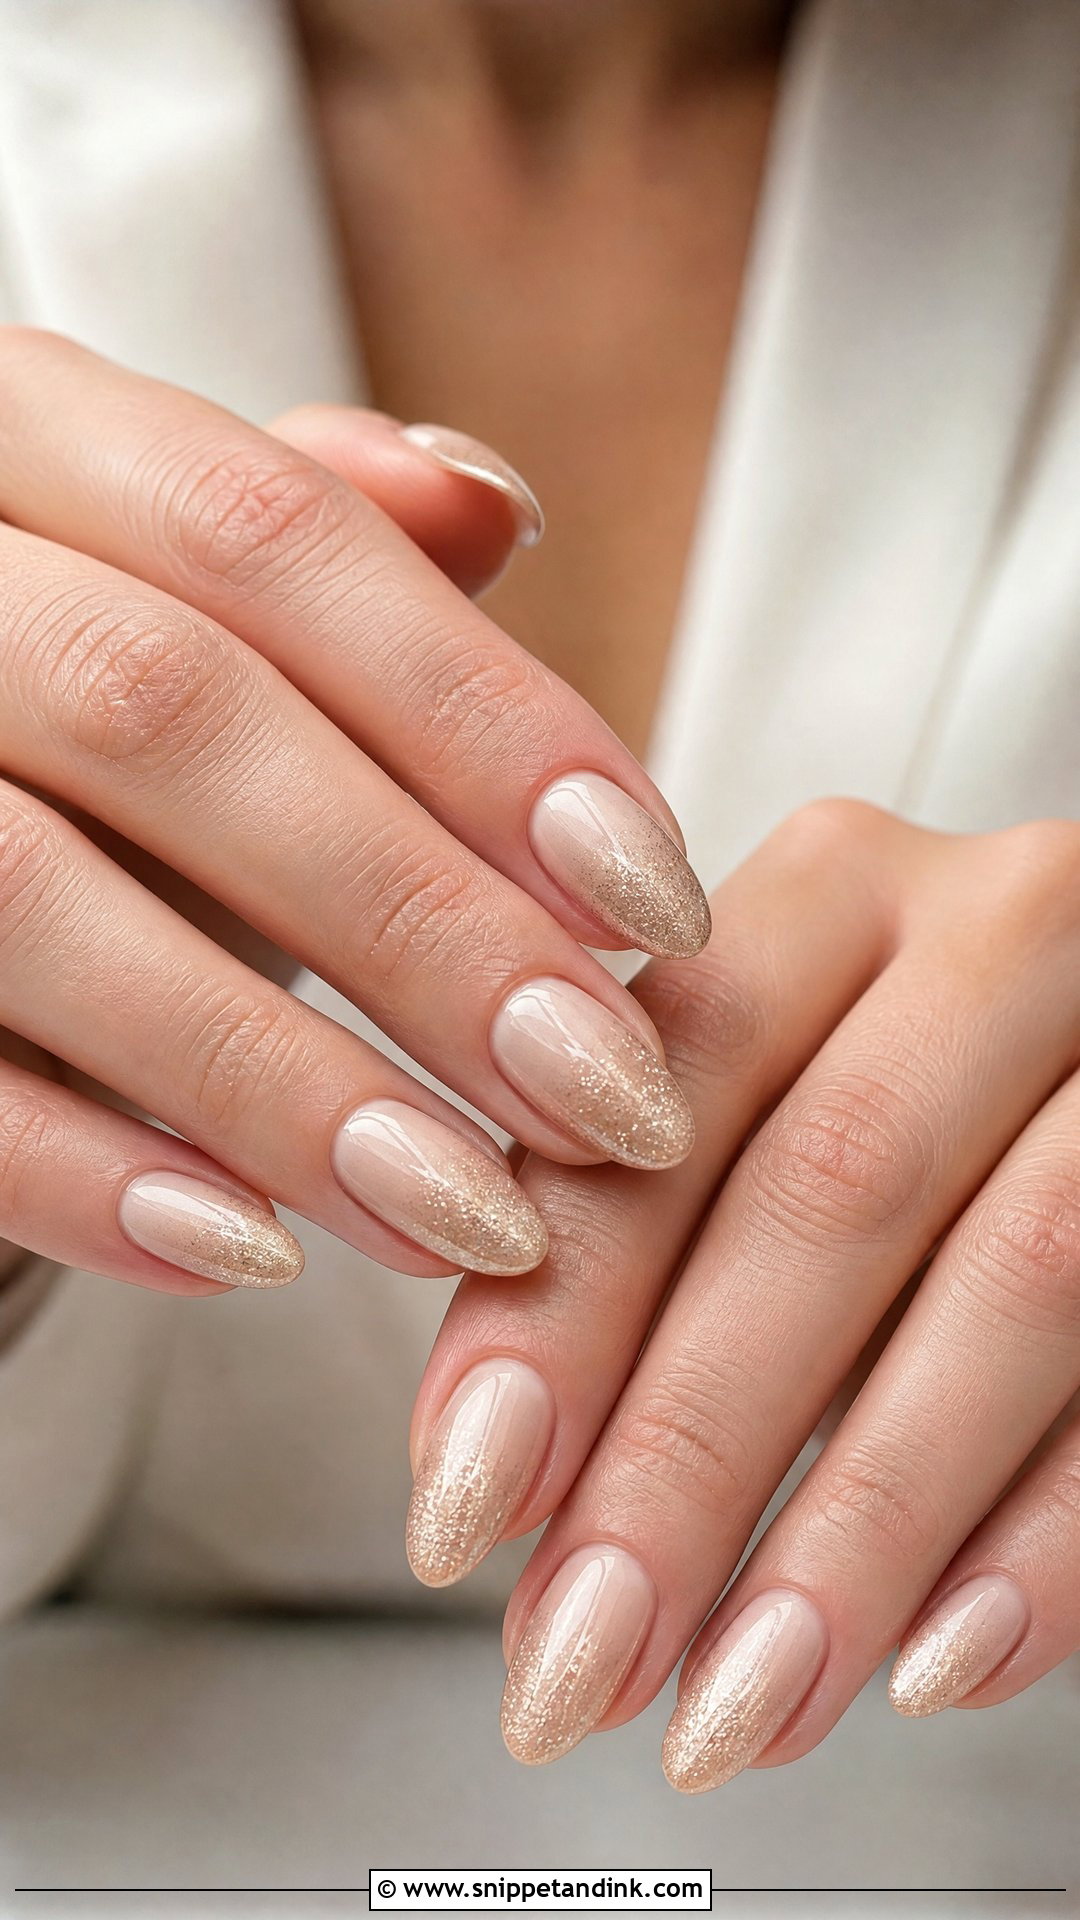
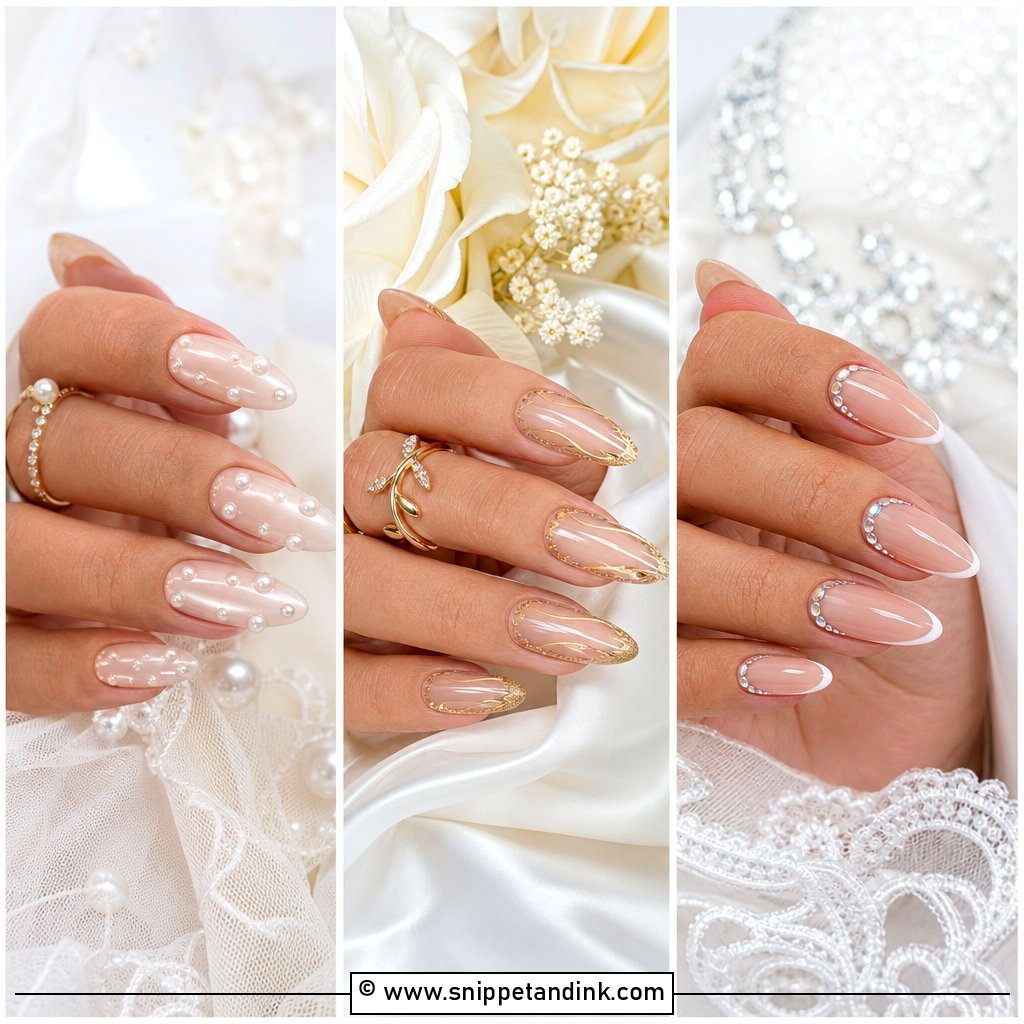
Champagne fades blend nude, beige or soft pink into a finely milled gold shimmer. They suit ivory gowns and gold jewelry, and they come alive under warm reception lighting, which makes them a natural fit for fall weddings and candlelit dinners. I keep the shimmer diffused, because a heavily metallic gold tip looks brassy in daylight portraits. Almond or oval shapes keep it graceful.
8. Blush Ombre Wedding Nails
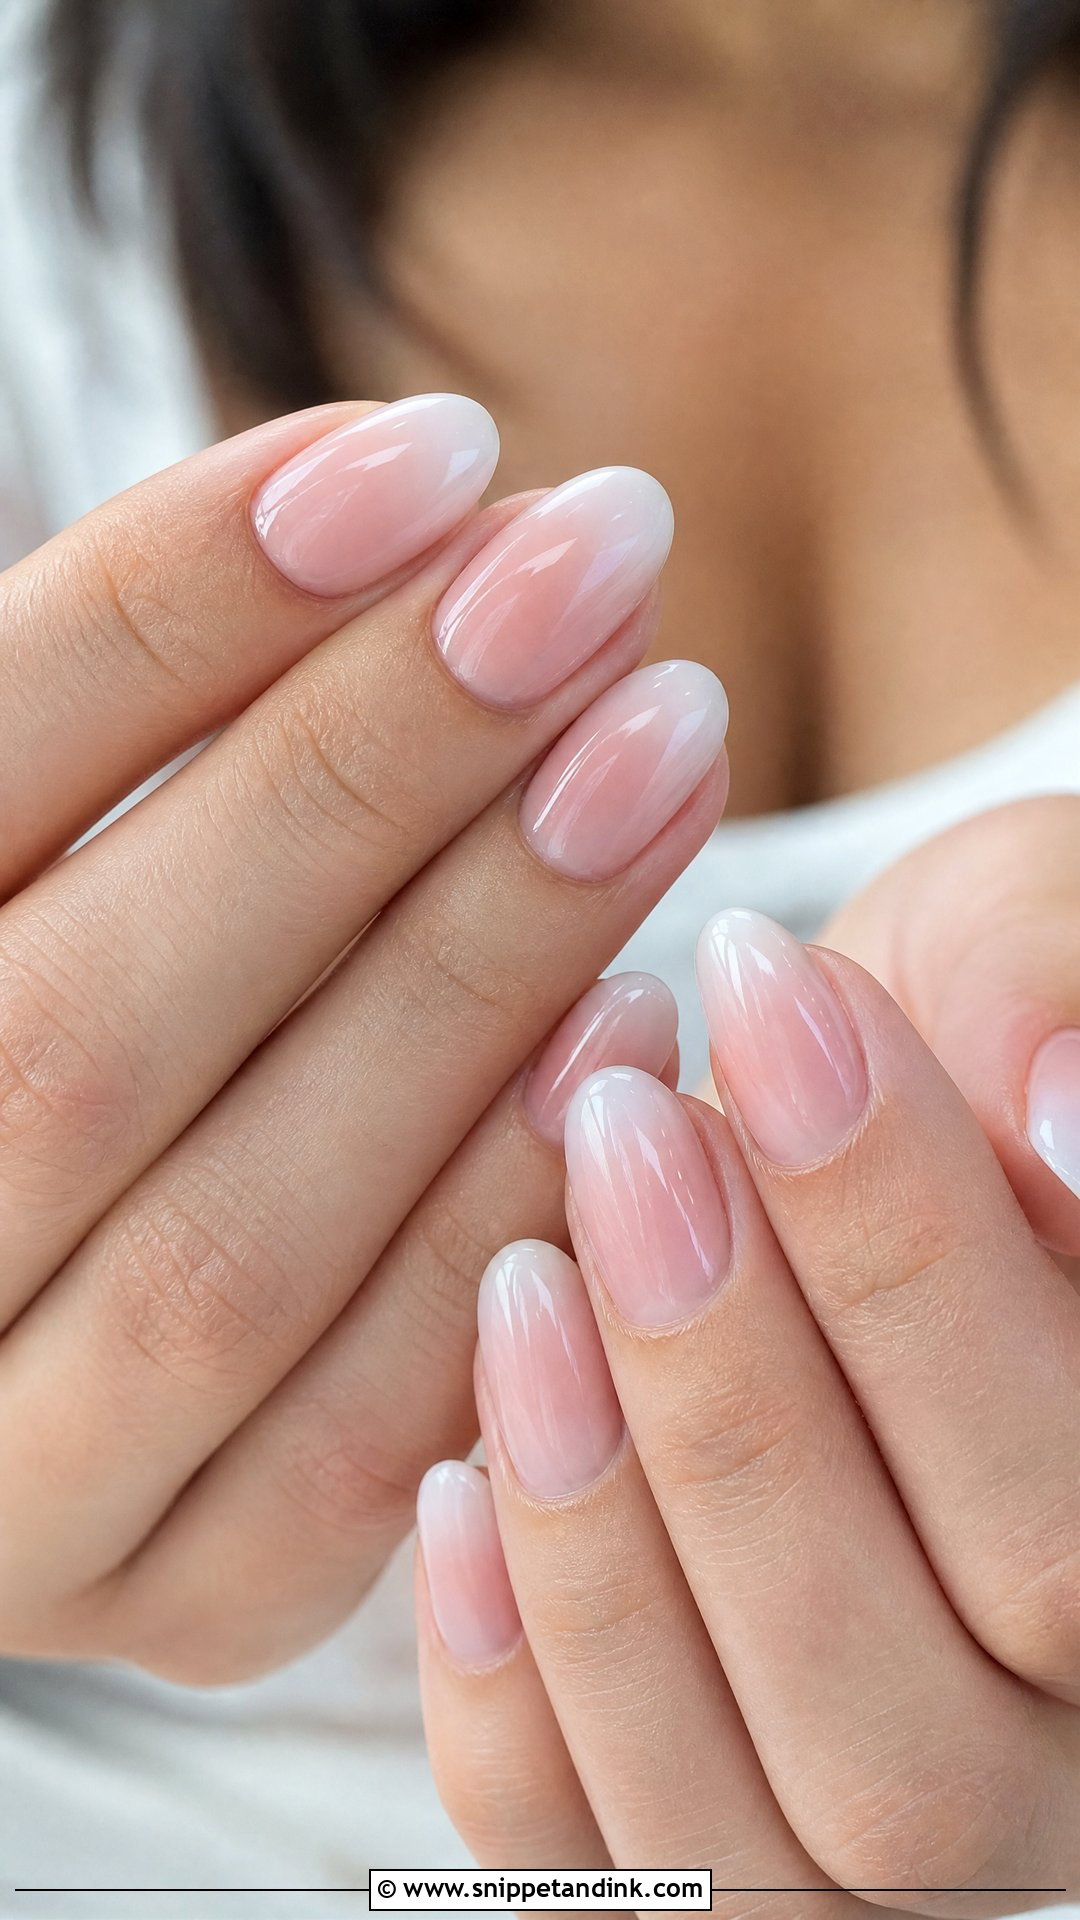
Blush ombre looks like a flush of color rather than a painted tip. Pale pink, rosy nude or sheer blush fades into a lighter end, and the result is warmer than a classic French. It’s my safest suggestion for bridesmaids, since blush sits comfortably next to dusty rose, mauve, champagne, sage and navy dresses. A glossy top coat keeps it clean; a pearl finish adds glow. If your skin is very warm, ask for a blush with a touch of peach so it doesn’t turn pink-purple against you.
9. Baby Boomer Ombre Wedding Nails
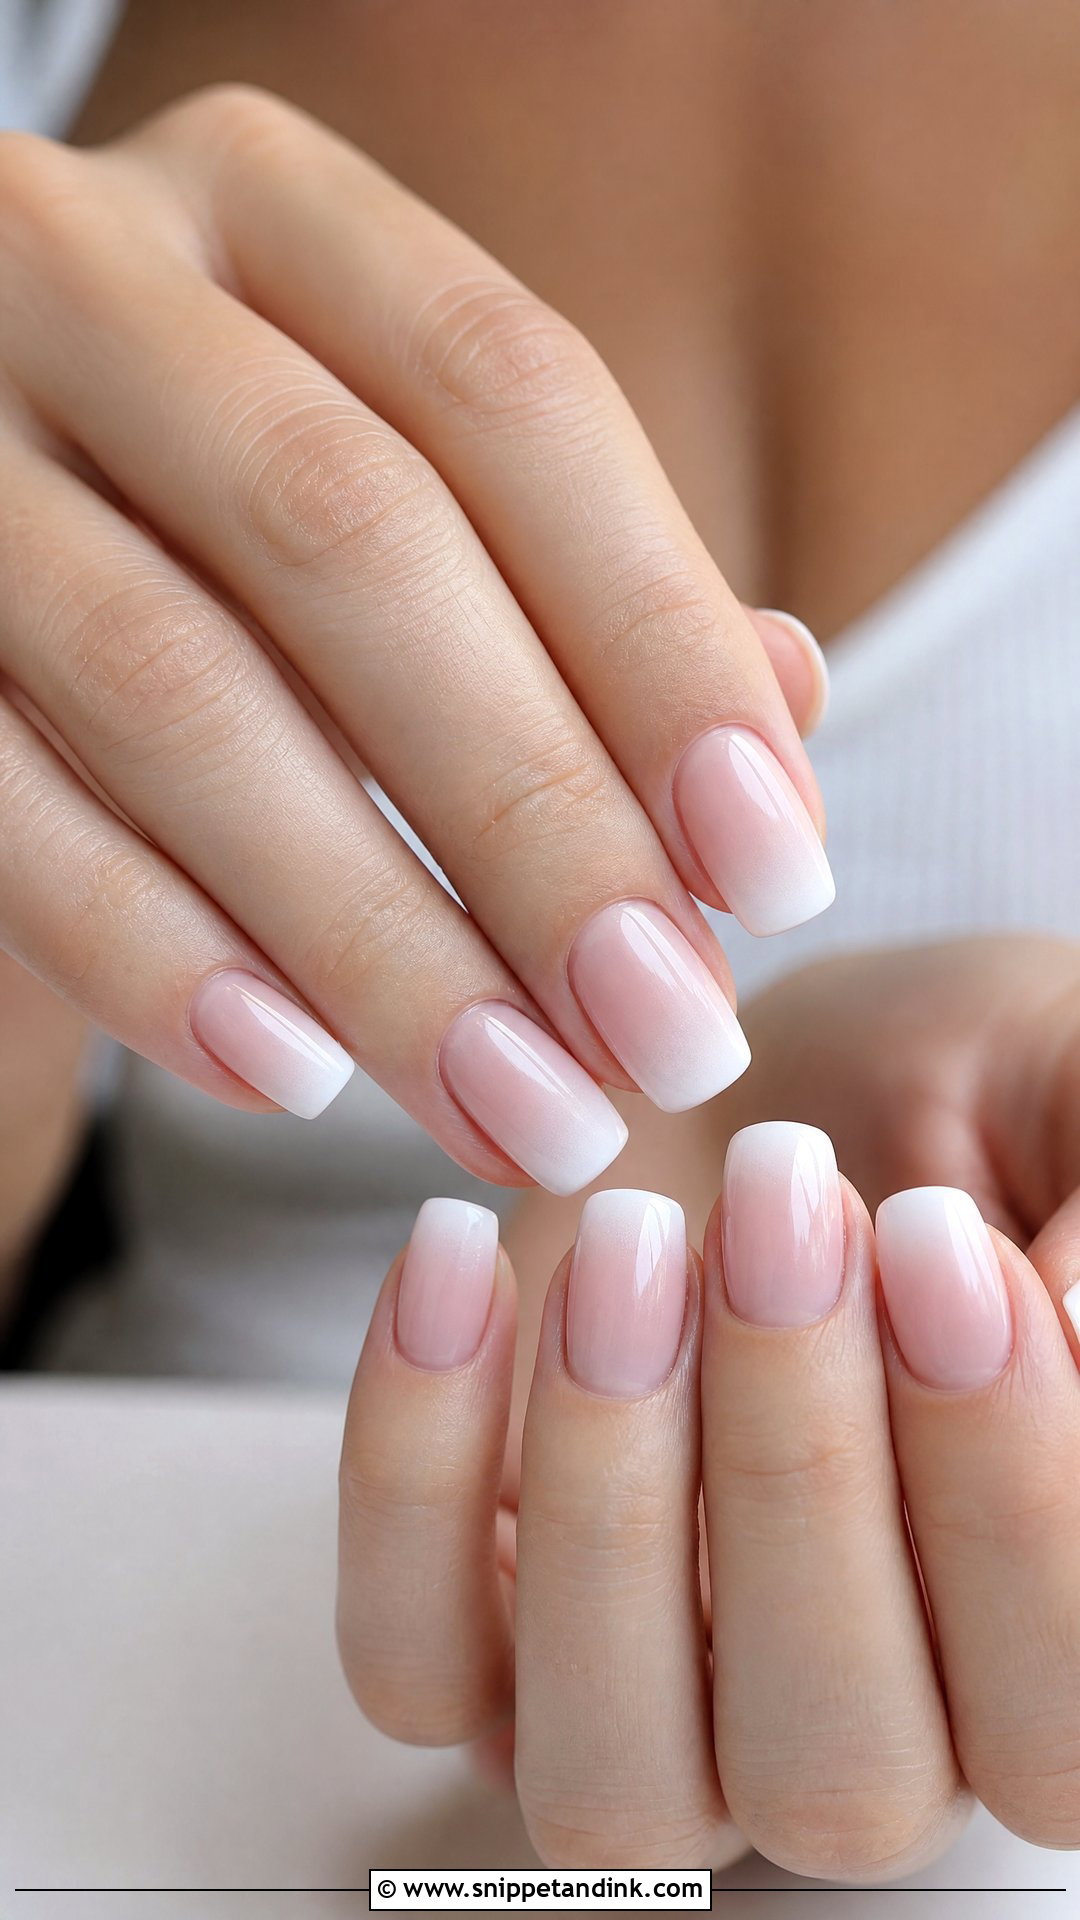
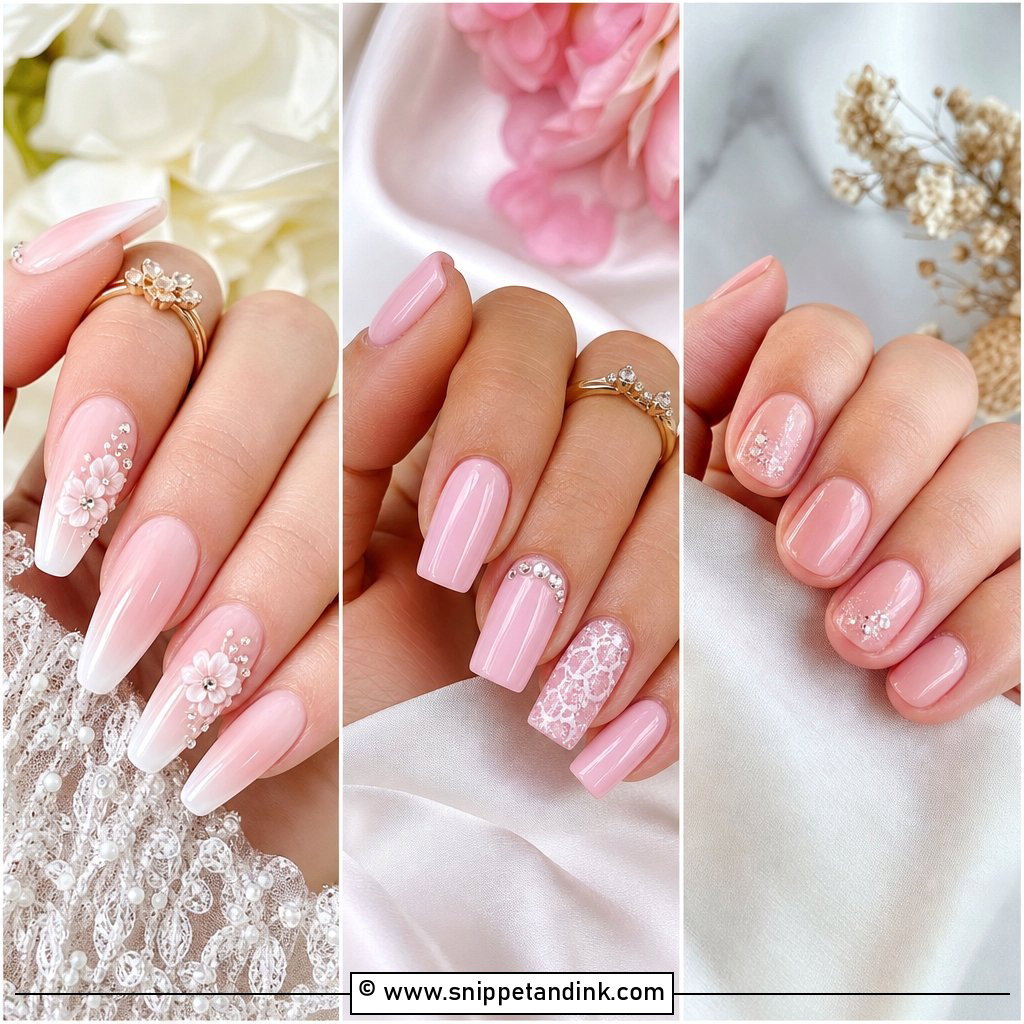
Baby boomer ombre wedding nails run a natural pink base into white across the whole nail, with no visible line anywhere. I like it for weddings for a practical reason: as your nails grow, the gap at the cuticle shows far less than with a solid color, so it still looks tidy on the honeymoon. Almond or squoval keeps it natural; coffin pushes it toward glamour. The blend needs patience, so expect a slightly longer appointment than a standard French.
10. Almond Ombre Wedding Nails
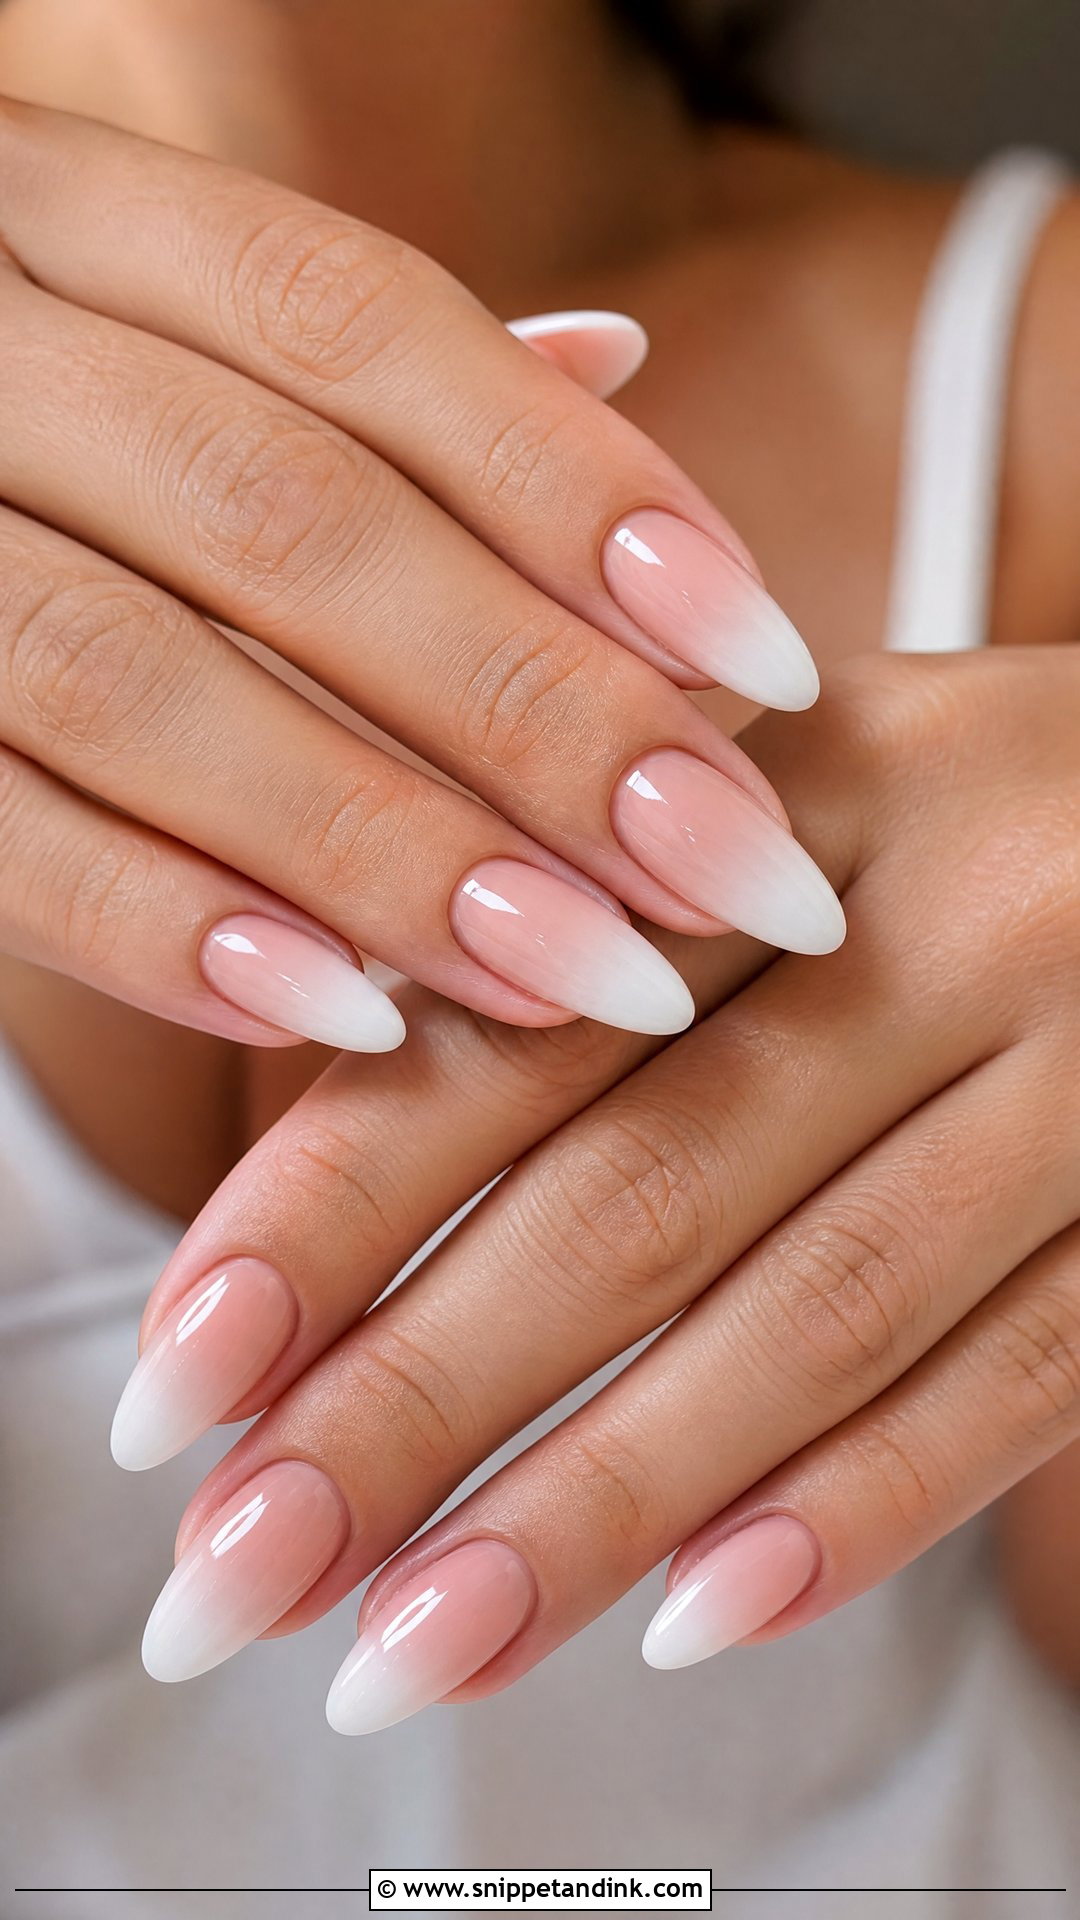
Almond ombre wedding nails make fingers look longer because the tapered shape continues the line of the finger. Pink to white, nude to milky and pearl chrome fades all sit well on it. I file almond with a slightly fuller tip on natural nails, since a sharp point snaps more easily. Medium length looks natural; longer reads more dressed up. A fine shimmer top coat, a few tiny pearls or thin white details are all it needs.
11. Short Ombre Wedding Nails
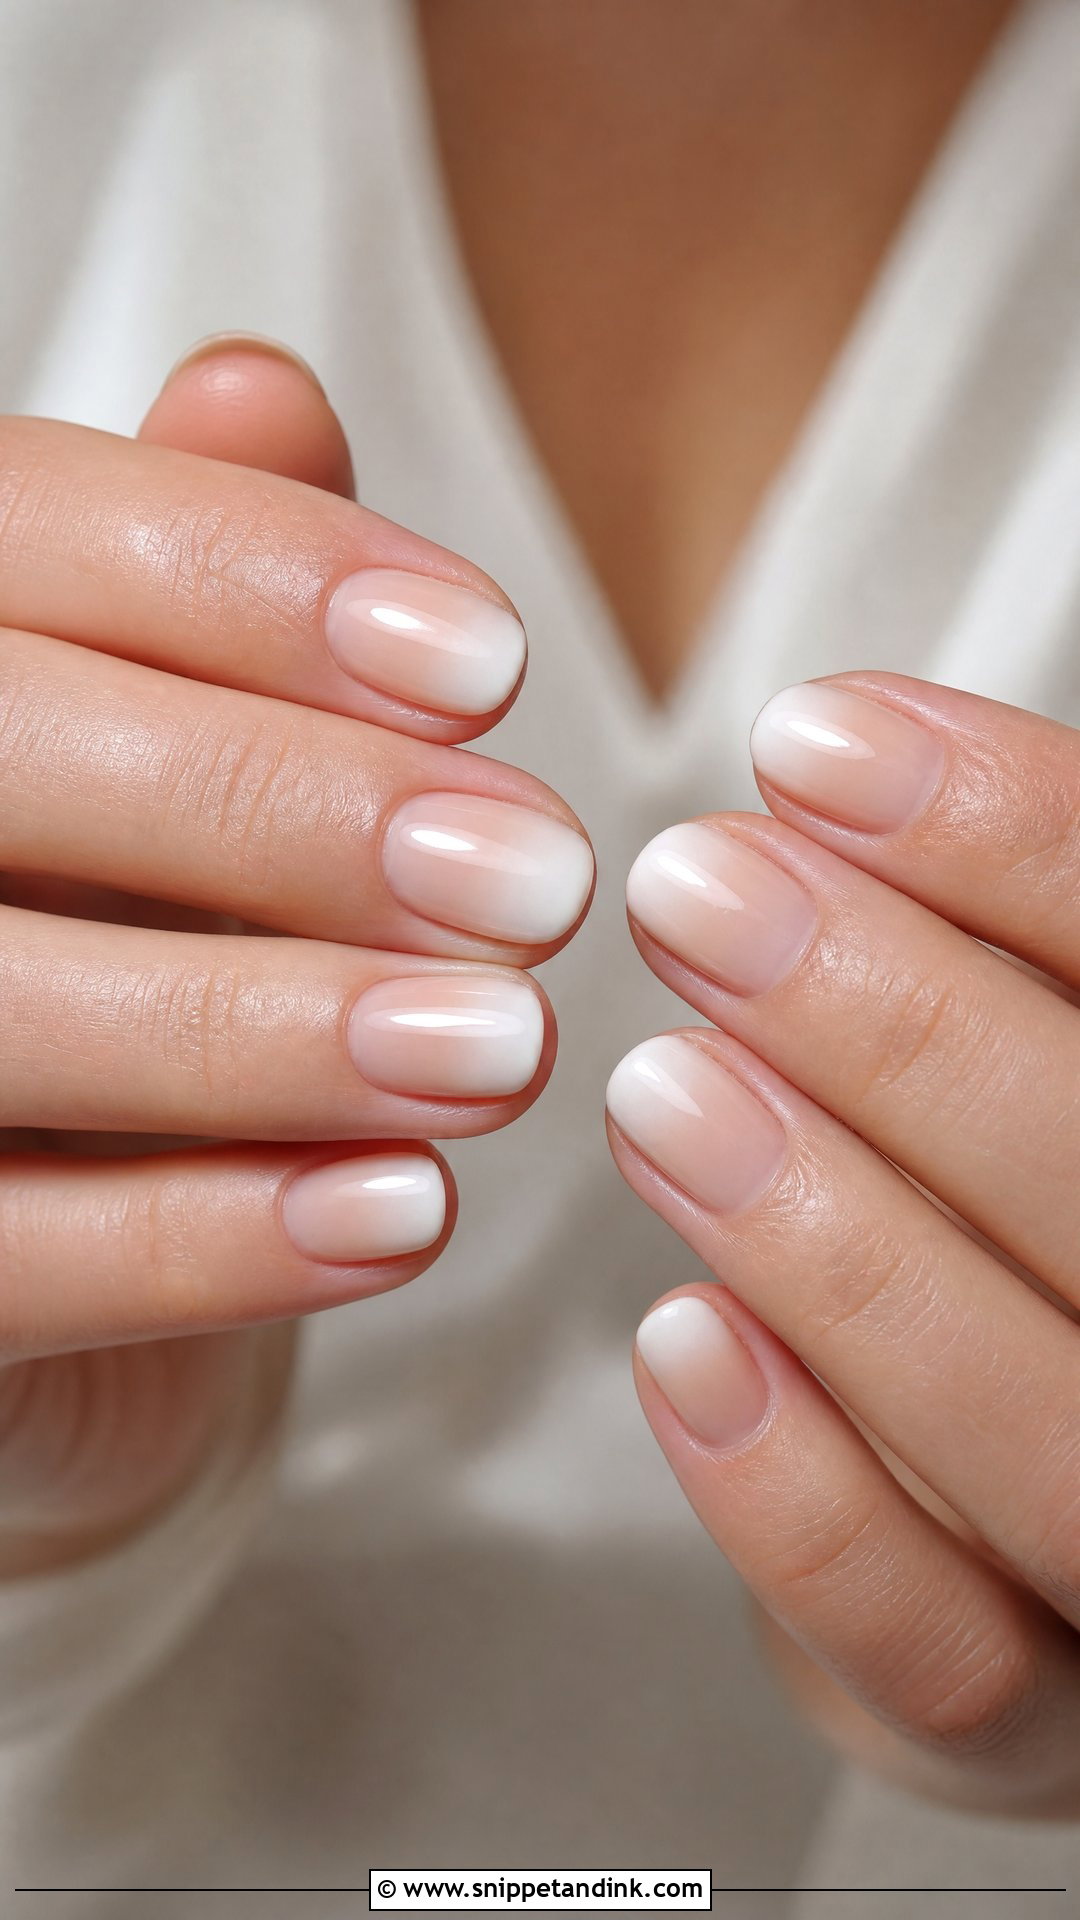
Short nails can absolutely carry an ombre, and I often prefer them for brides who type, garden or work with their hands. Short oval, rounded and squoval shapes keep things comfortable. The fade has less room, so I keep it to two shades, pink to white or nude to cream, rather than trying to squeeze in three. Skip big embellishments, which overwhelm a short nail. Gloss, fine shimmer or a faint pearl effect is plenty.
12. Coffin Ombre Wedding Nails
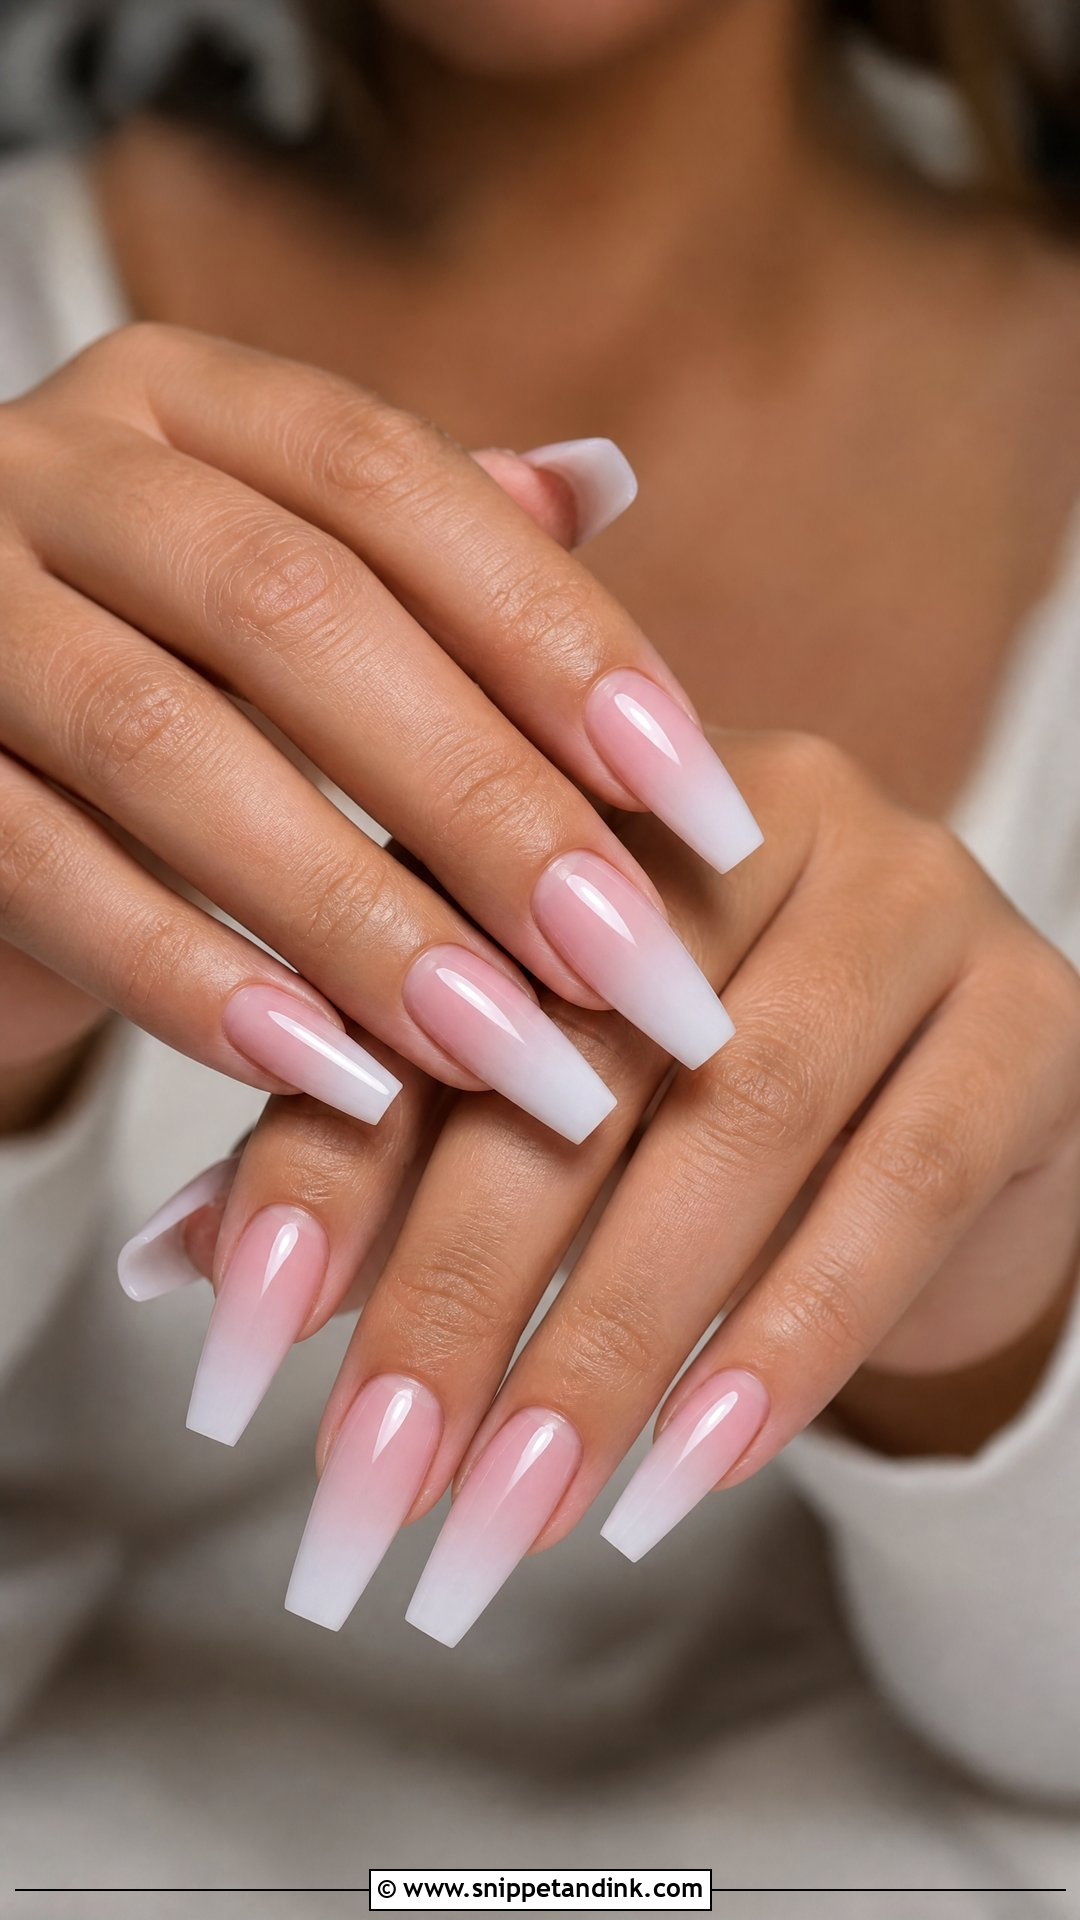
Coffin nails give you the most surface area, so the blend has room to look smooth and gradual. Pink and white is the classic, but nude, pearl chrome, champagne glitter and blush fades all sit well on the flat tip. Length is the trade-off: coffin needs some extension, and a long squared tip catches on veil netting and dress lace more than a rounded one. I usually suggest a gel overlay or soft extensions so the corners don’t lift. Keep the colors soft if you want it to stay bridal rather than clubby.
13. Oval Ombre Wedding Nails
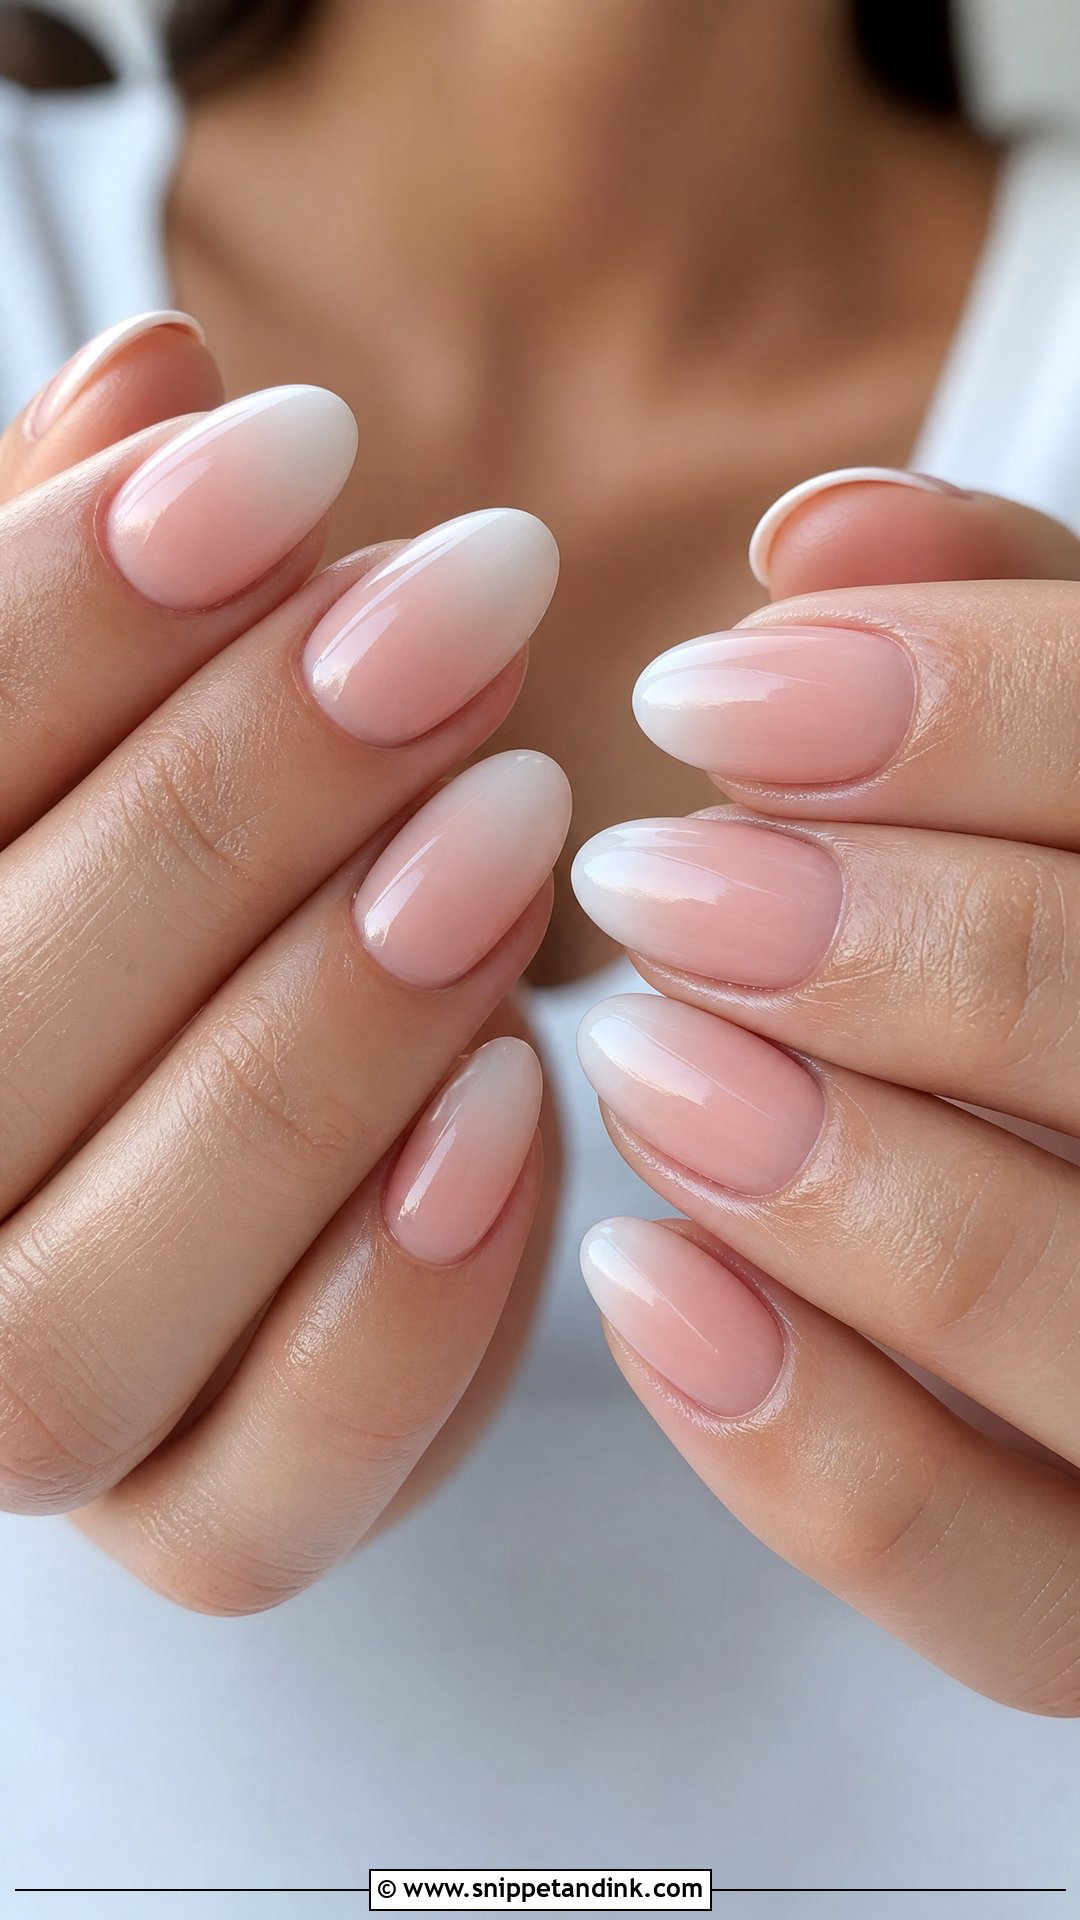
Oval suits nearly every hand, which is why I recommend it when a bride can’t decide. The rounded edges soften wide nail beds and the shape works at short, medium or long lengths. A sheer nude to white fade stays classic; blush into milky white feels warmer. Gloss for a clean finish, pearl sheen for a little glow. It’s the shape least likely to snag on anything during the day.
14. Square Ombre Wedding Nails
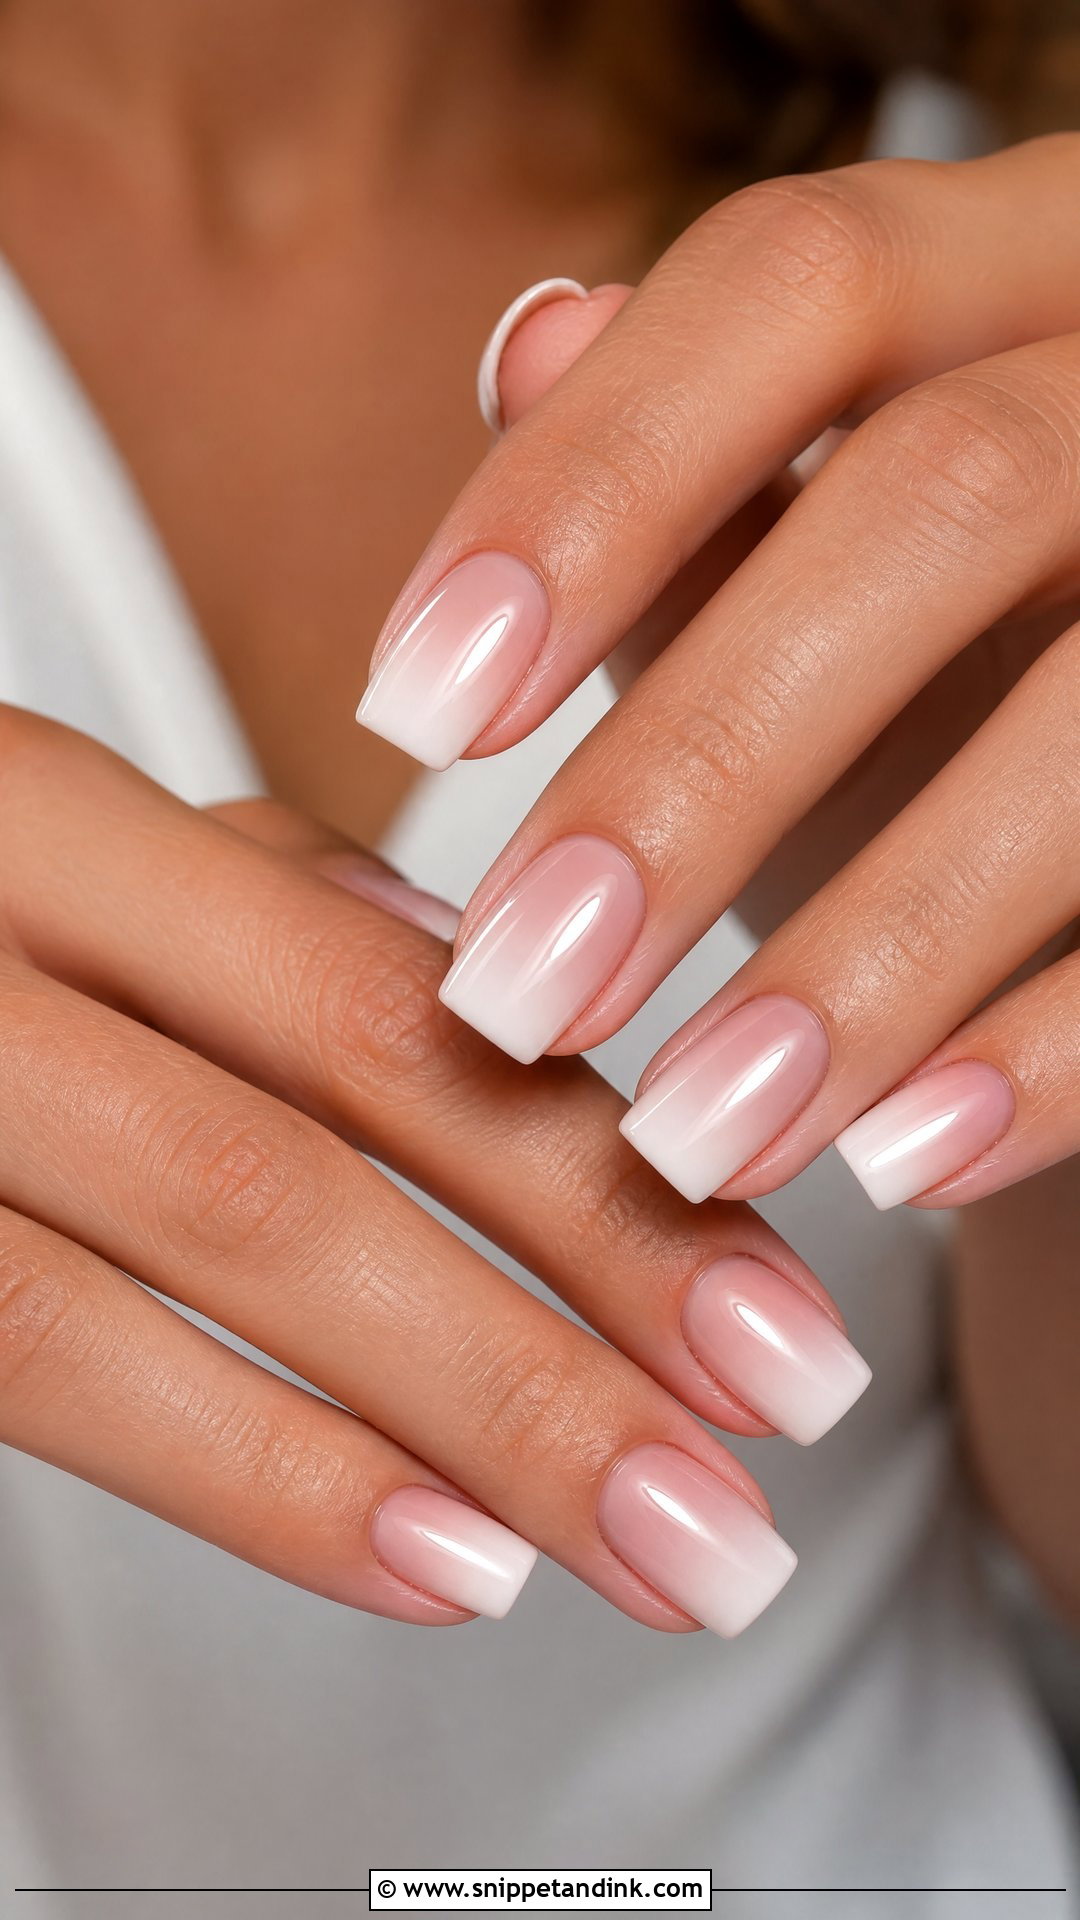
Square ombre gives the fade a crisp edge and looks modern with sleek, minimal gowns. Pink and white keeps it traditional; nude and cream looks more minimalist. I almost always soften the corners slightly into a squoval, because sharp square corners chip and catch on fabric, and you’ll be touching a lot of fabric that day. If you already wear square nails and love them, stick with what your hands are used to.
15. White Glitter Ombre Wedding Nails
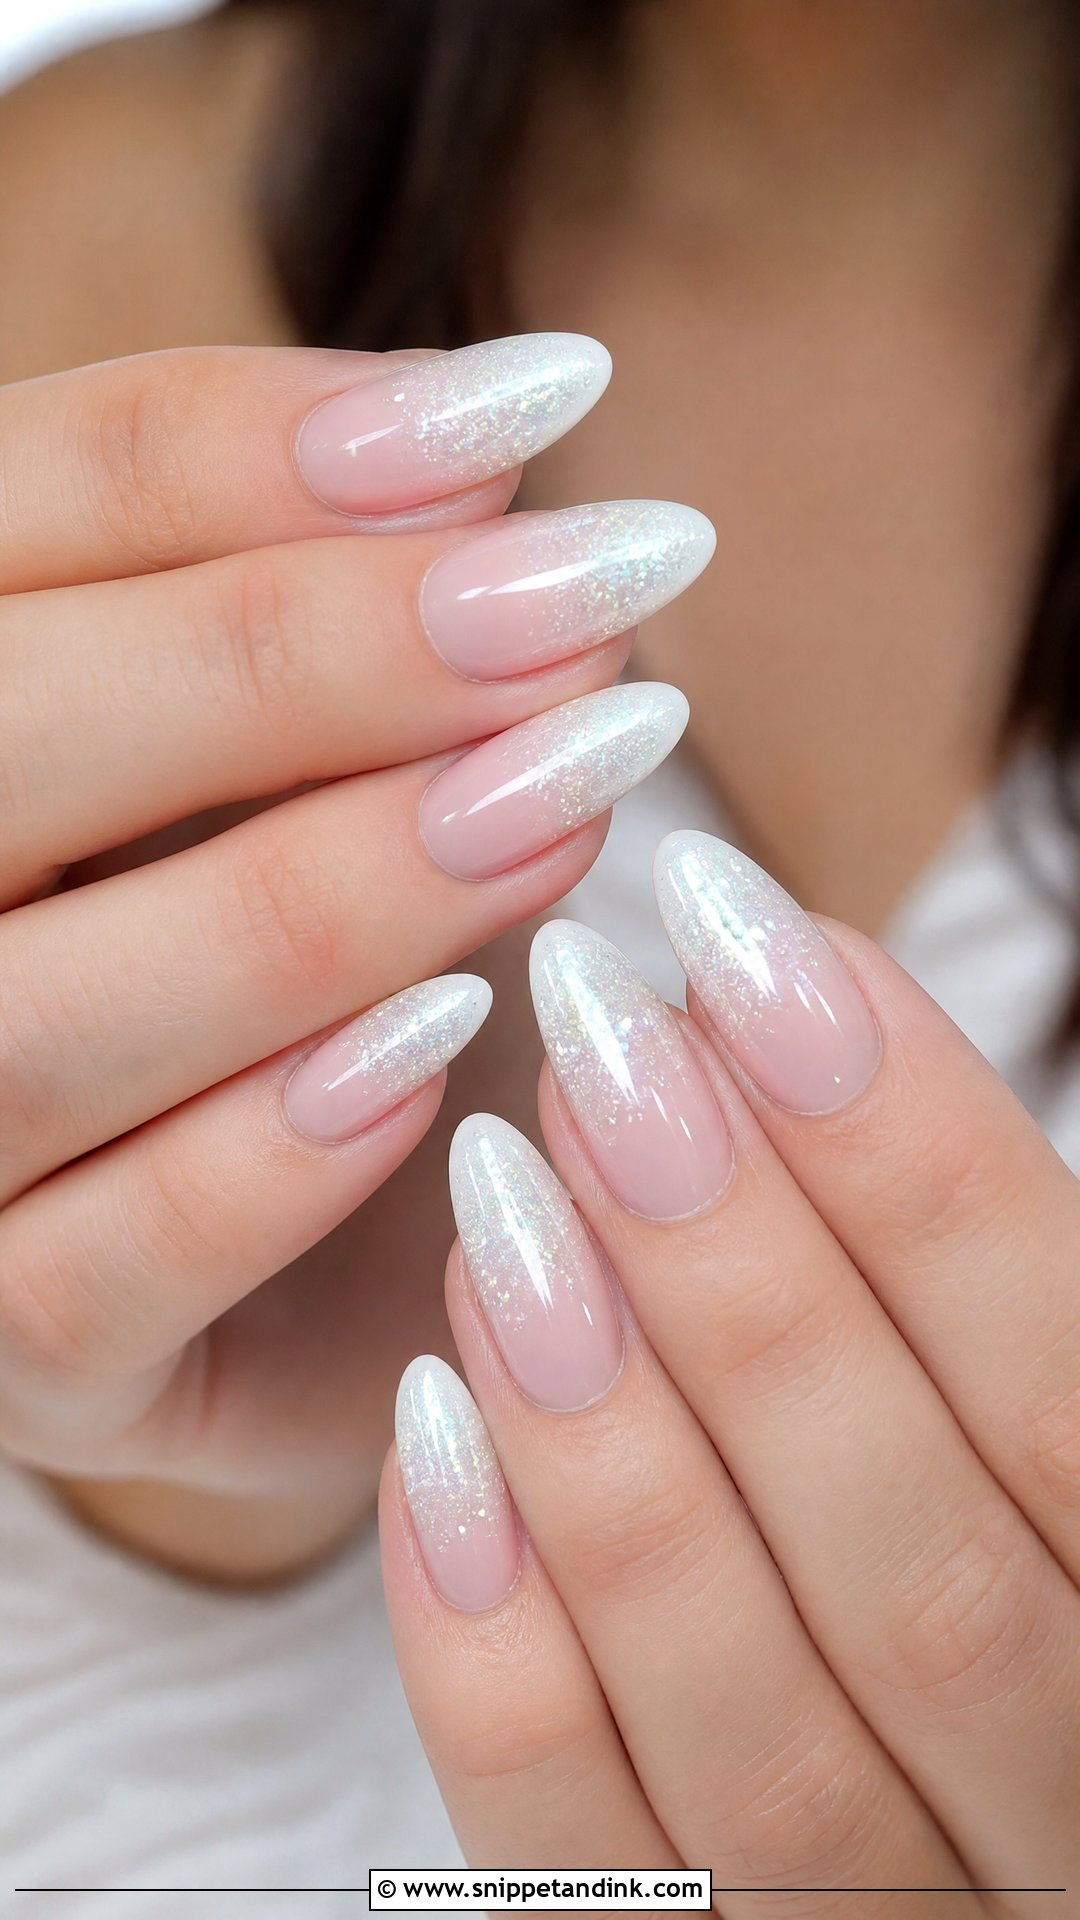
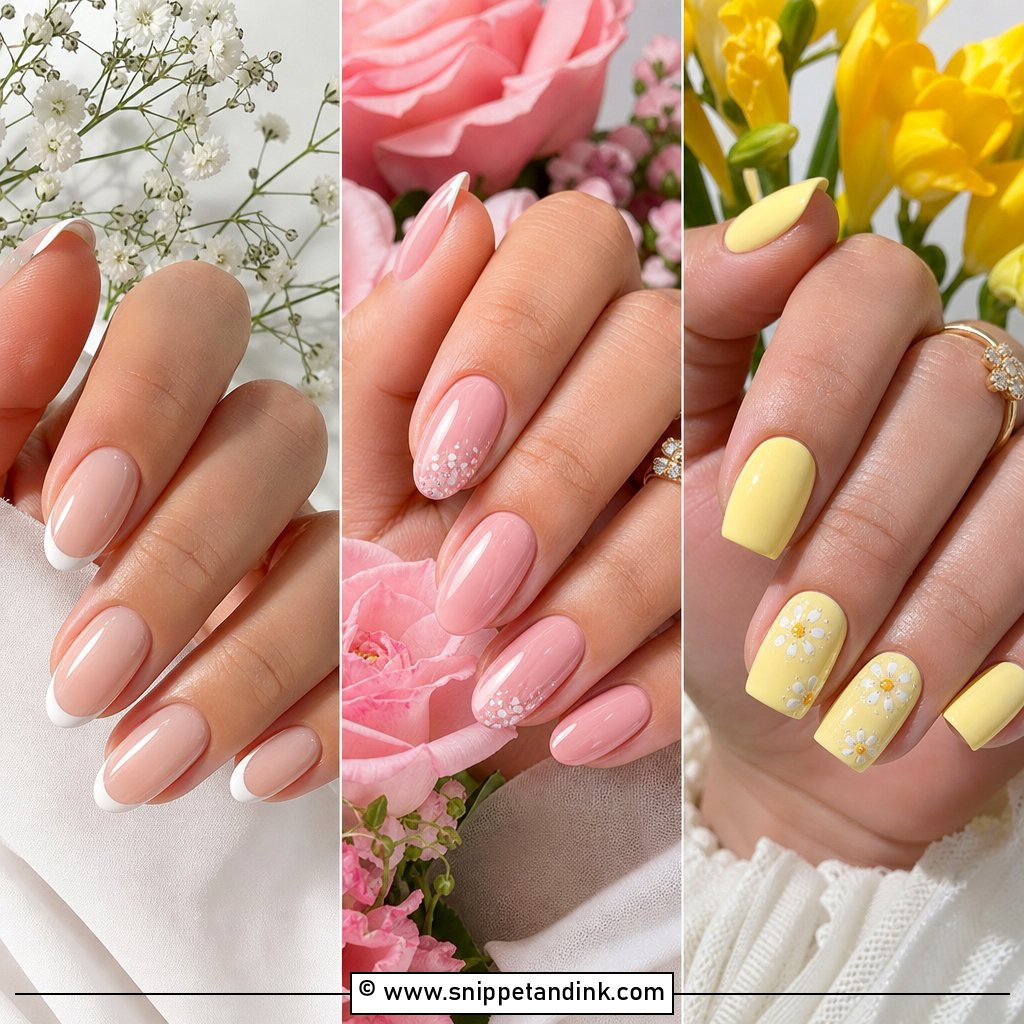
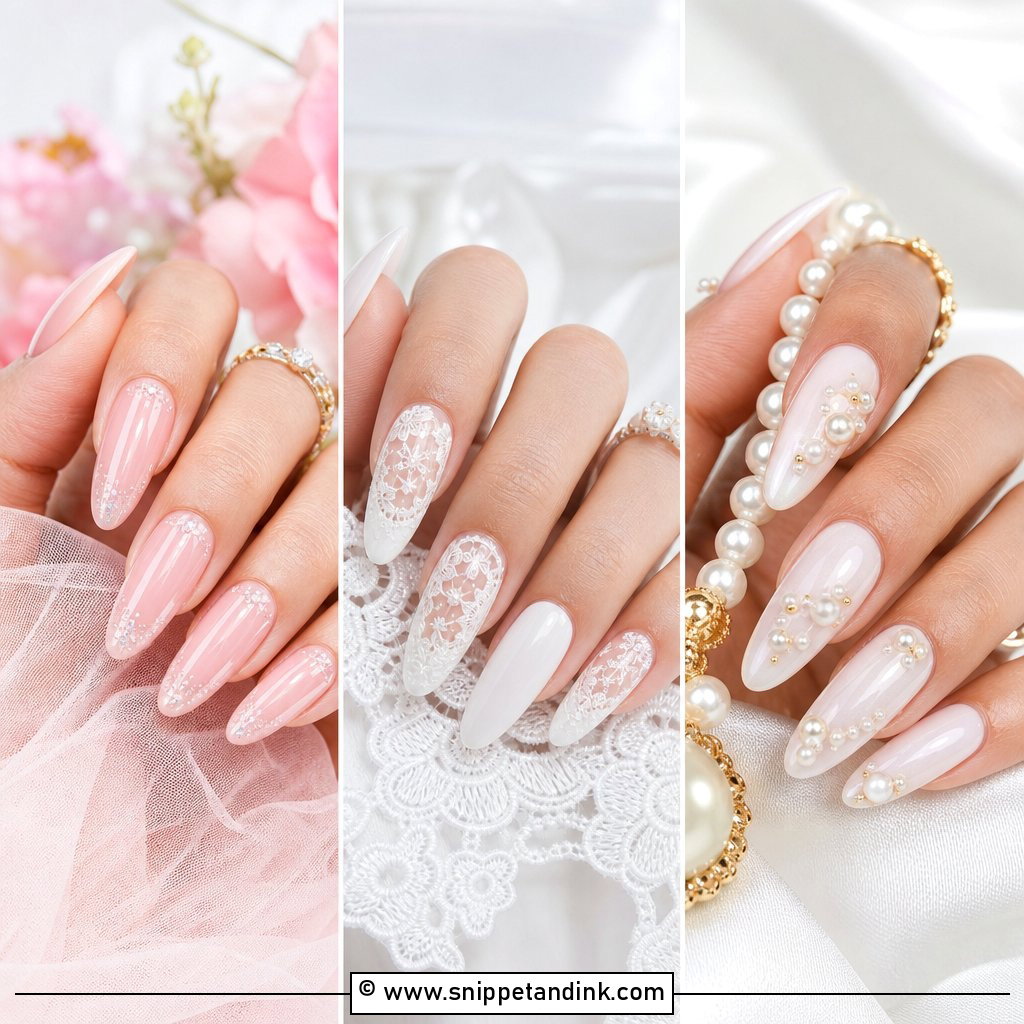
White glitter ombre wedding nails start with a sheer pink or nude base and fade into white glitter near the tip. Fine white shimmer looks like frost; iridescent glitter shifts slightly pink or blue as the hand moves. I keep the glitter thin through the middle of the nail so you can’t see where it starts. It’s a step brighter than a plain French ombre without tipping into glam. Almond, coffin, oval and medium square all carry it.
16. Rose Gold Ombre Wedding Nails
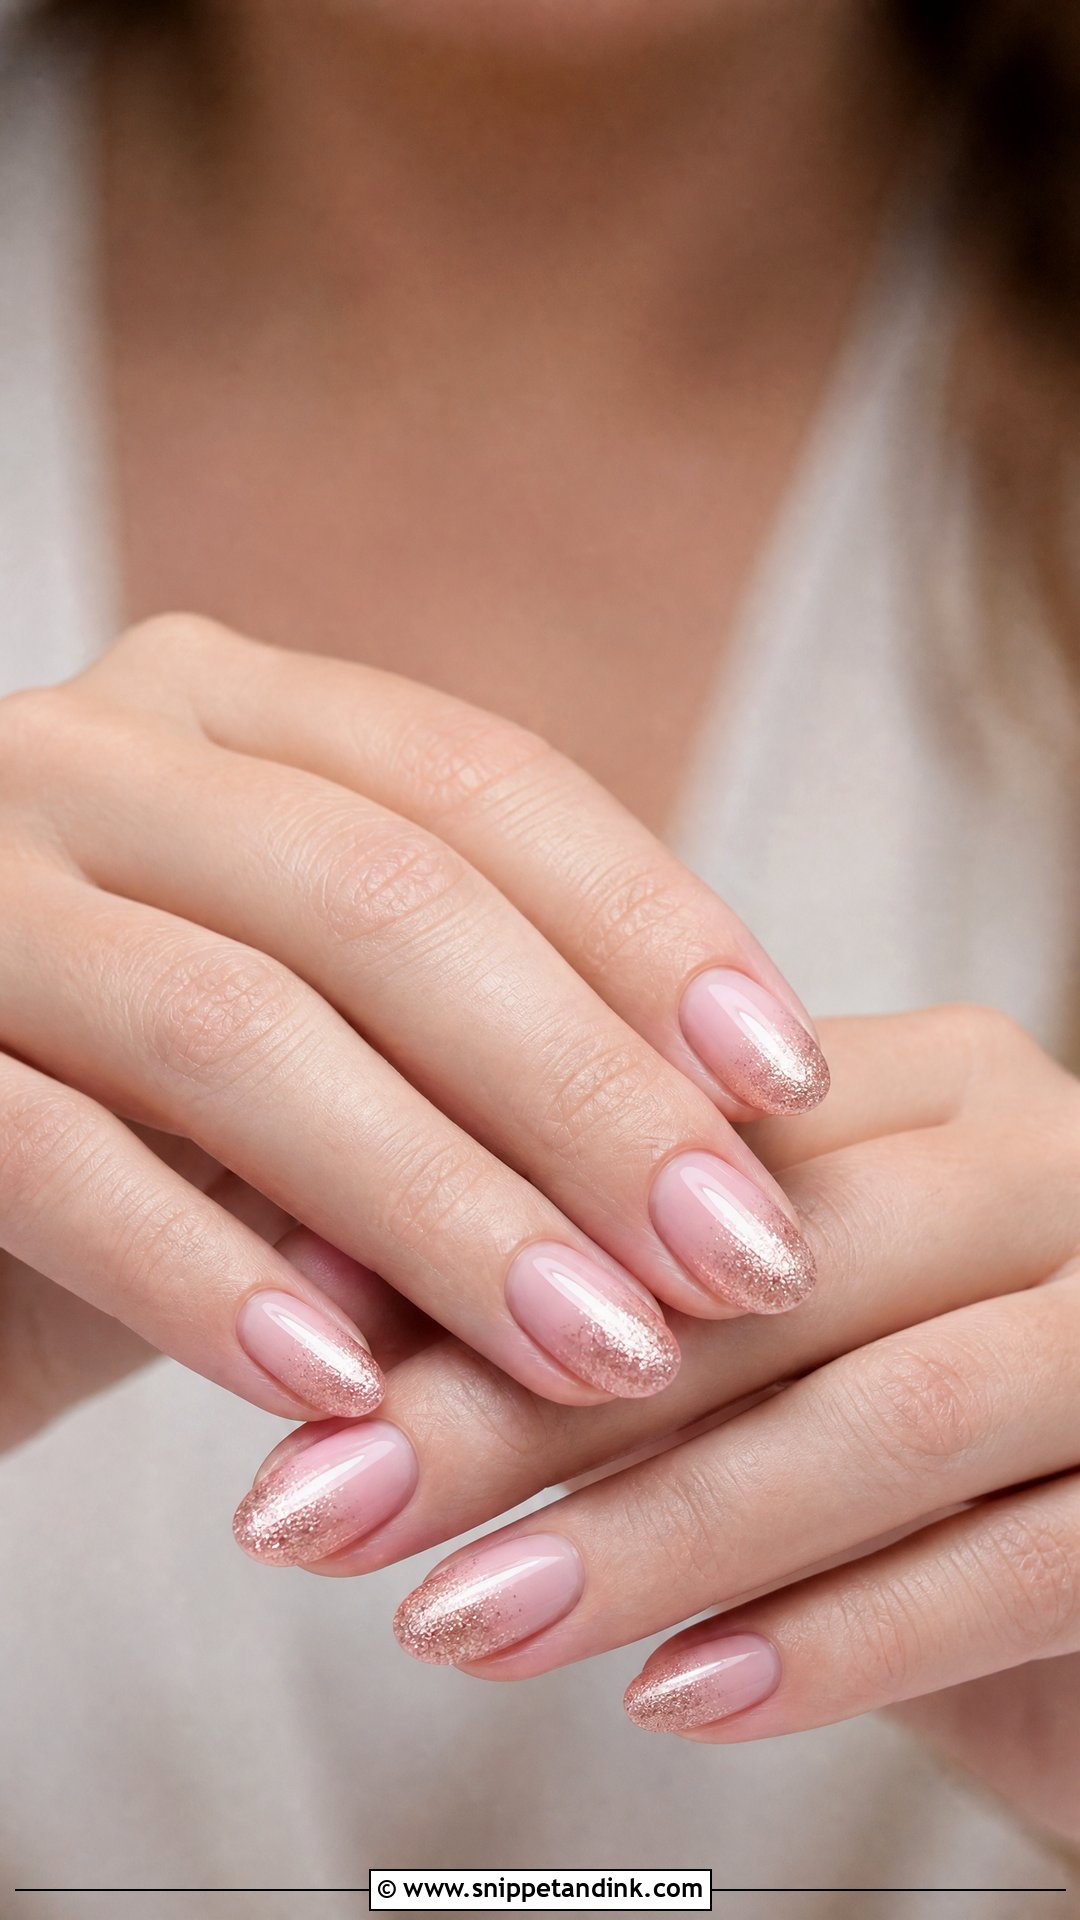
Rose gold blends nude, blush or soft pink into fine rose metallic shimmer near the tips. It looks best when it echoes something else you’re wearing, a rose gold band, hair pins or warm metallic makeup. Against cool silver jewelry it can clash. Fine shimmer rather than chunky glitter keeps it refined, and a thick glossy top coat smooths the blend. It works for brides, bridesmaids and guests who want a little warmth.
17. Ivory Ombre Wedding Nails
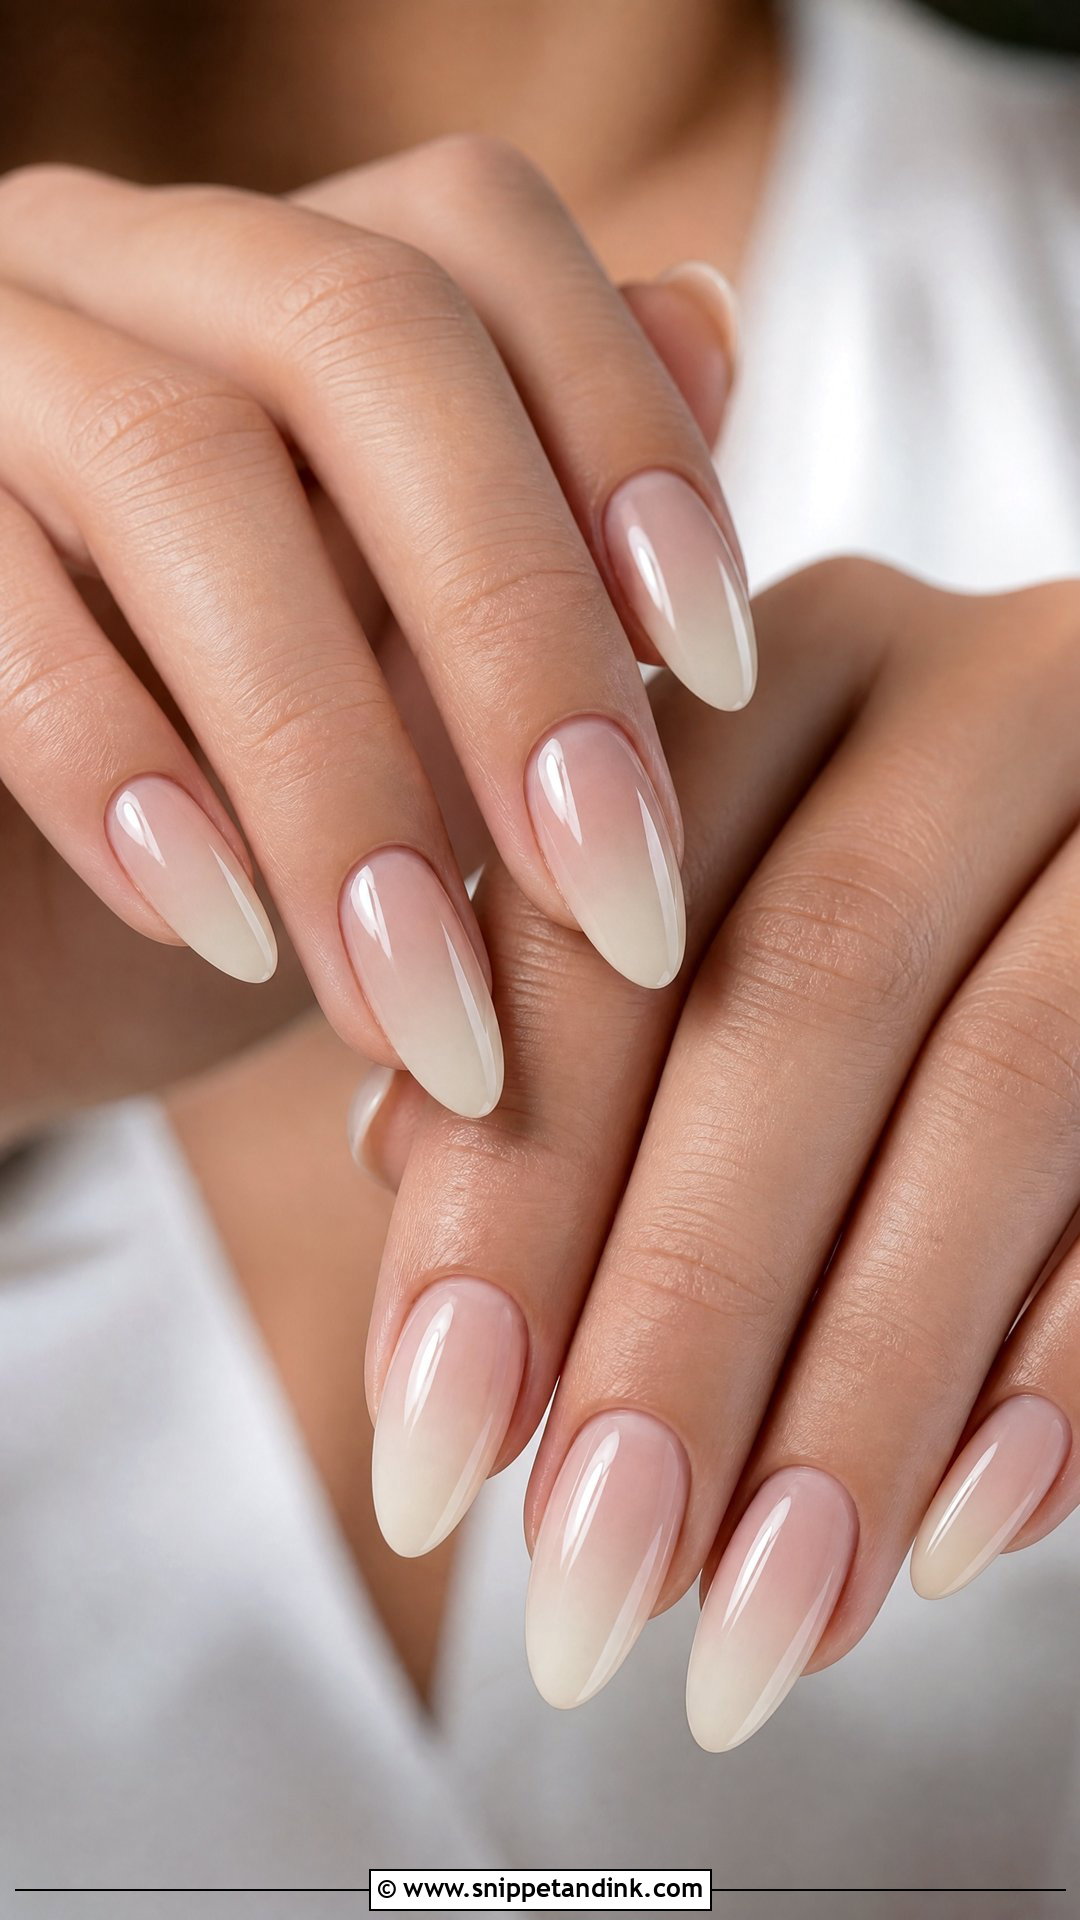
Here’s a detail many brides miss: next to an ivory, cream or champagne dress, bright white tips can look almost blue. Ivory ombre solves that by fading sheer nude or pale pink into creamy ivory. I bring a fabric swatch from the dress to the appointment when I can, because the right ivory depends entirely on the gown. It suits classic, vintage and minimalist dresses and works with gold or silver. A final sheer ivory layer over the whole nail blurs the transition even further.
18. Matte Ombre Wedding Nails
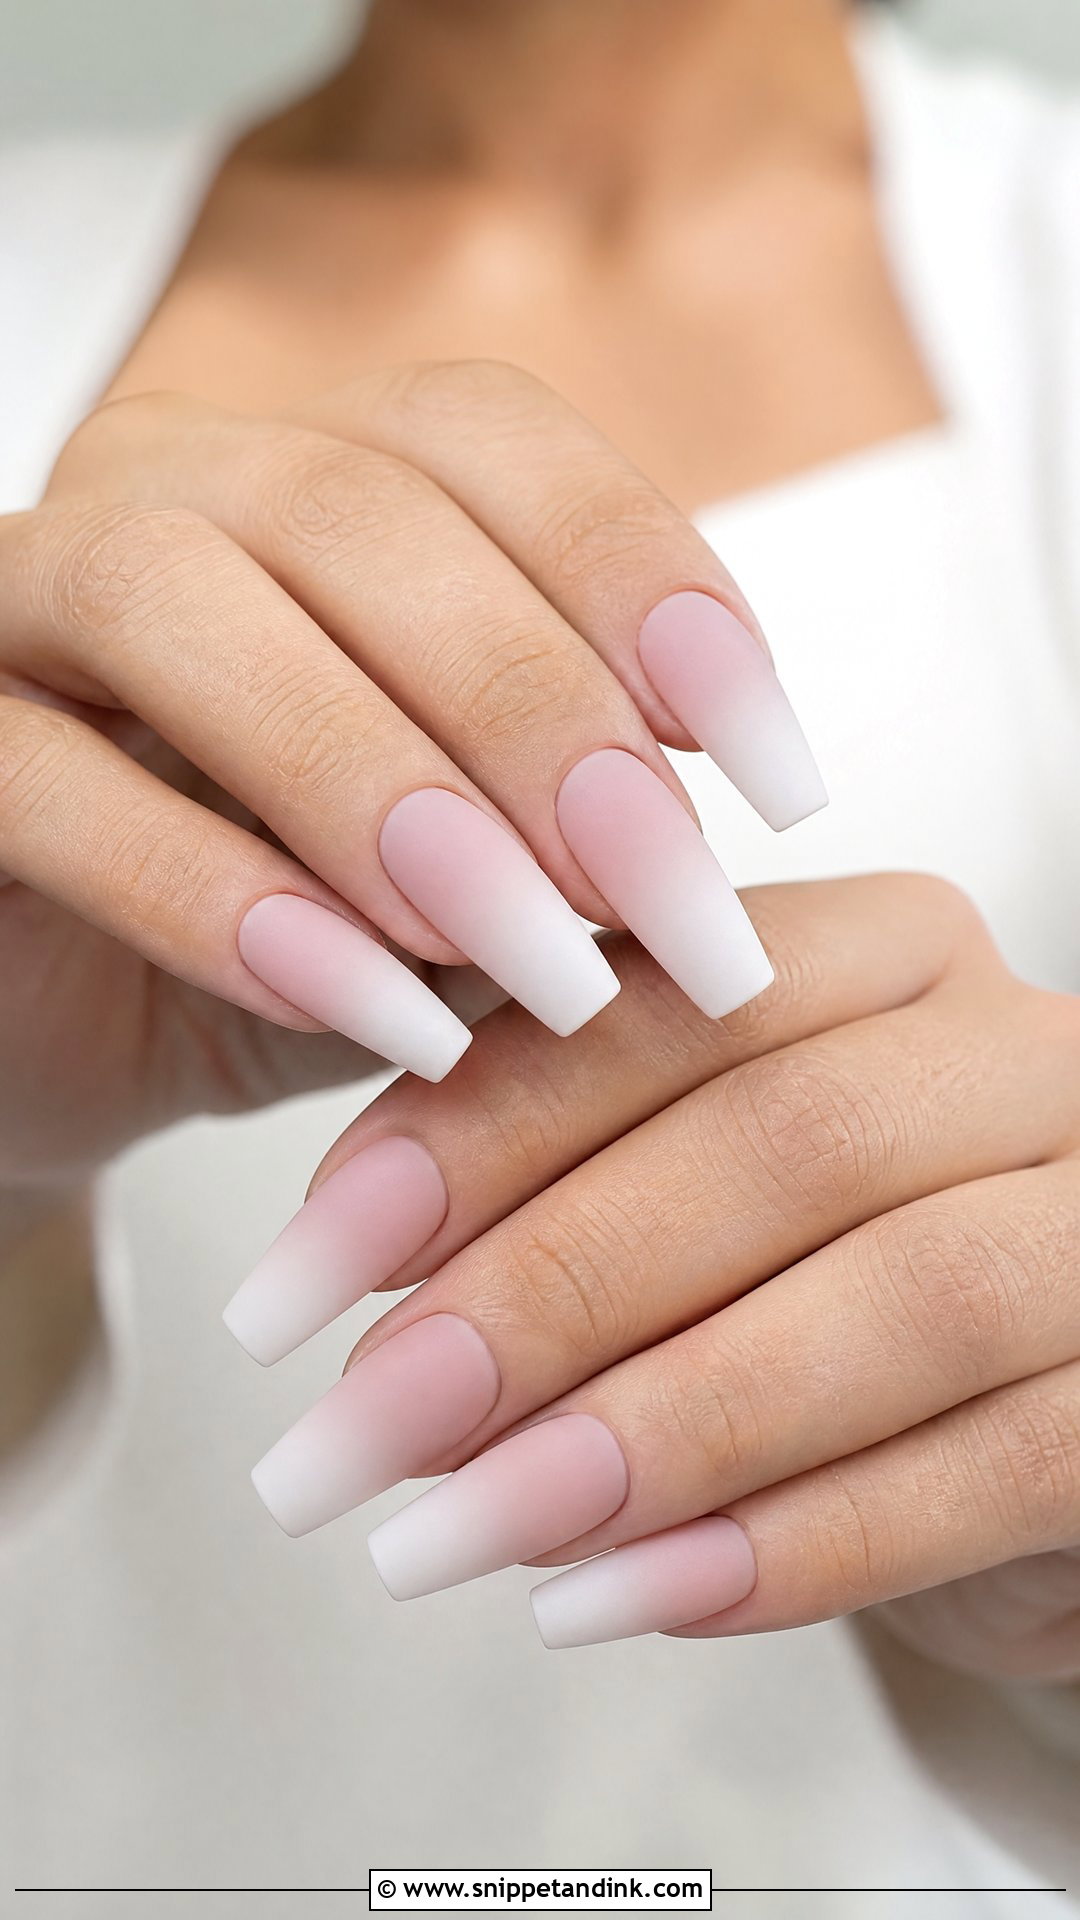
Matte ombre wedding nails trade shine for a soft, velvety finish. Nude to white, blush to cream and pink to milky all work. Matte shows every bump, so I prep cuticles and smooth the base layers more carefully than for a gloss set. It also picks up oils and lotion marks over a long day, which is worth knowing before you commit. One glossy accent nail or a tiny pearl is a nice contrast if you want it.
19. Sheer Pink Ombre Wedding Nails
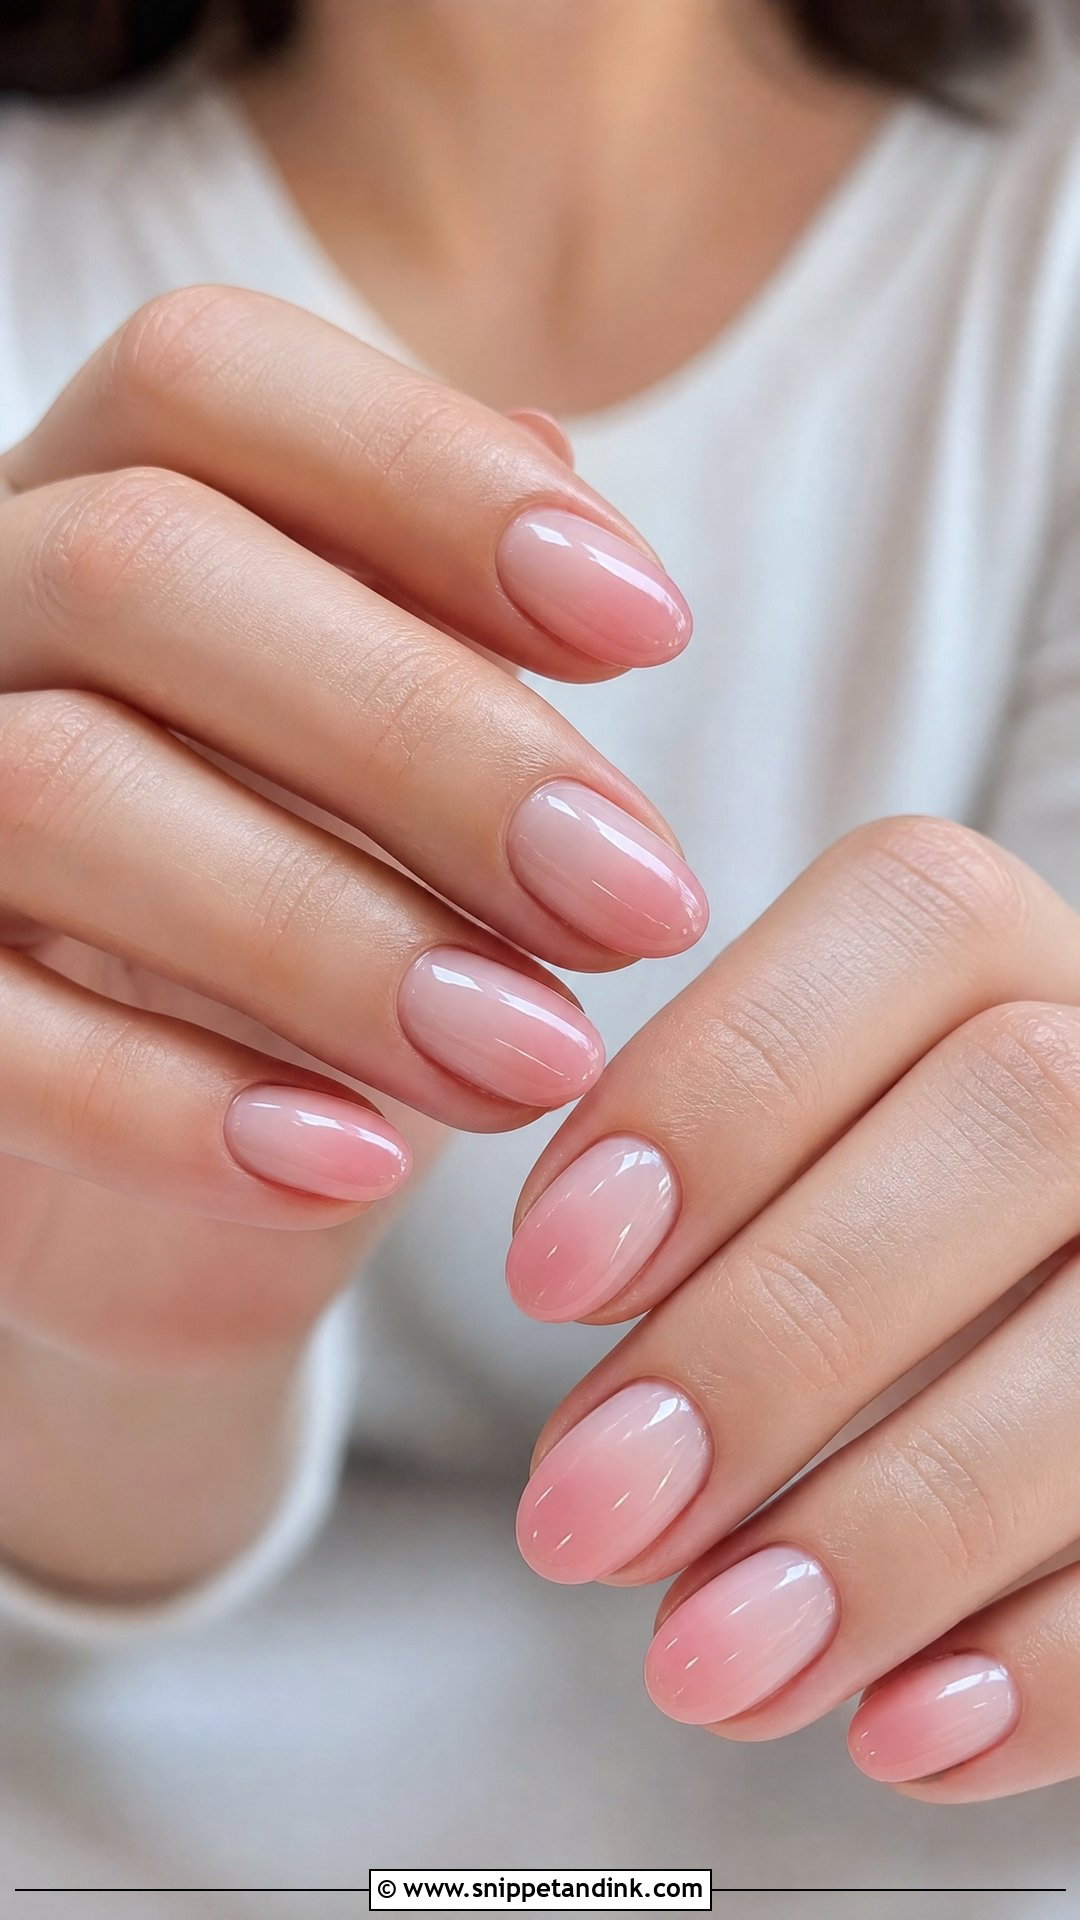
Sheer pink is my go-to when a bride is torn between dress, flowers and jewelry, because a translucent pink with a soft white or pale blush fade goes with almost everything. It makes nails look healthy rather than painted. Thin layers are the secret; one thick coat of sheer pink goes streaky. It sits nicely on oval, almond and short squoval.
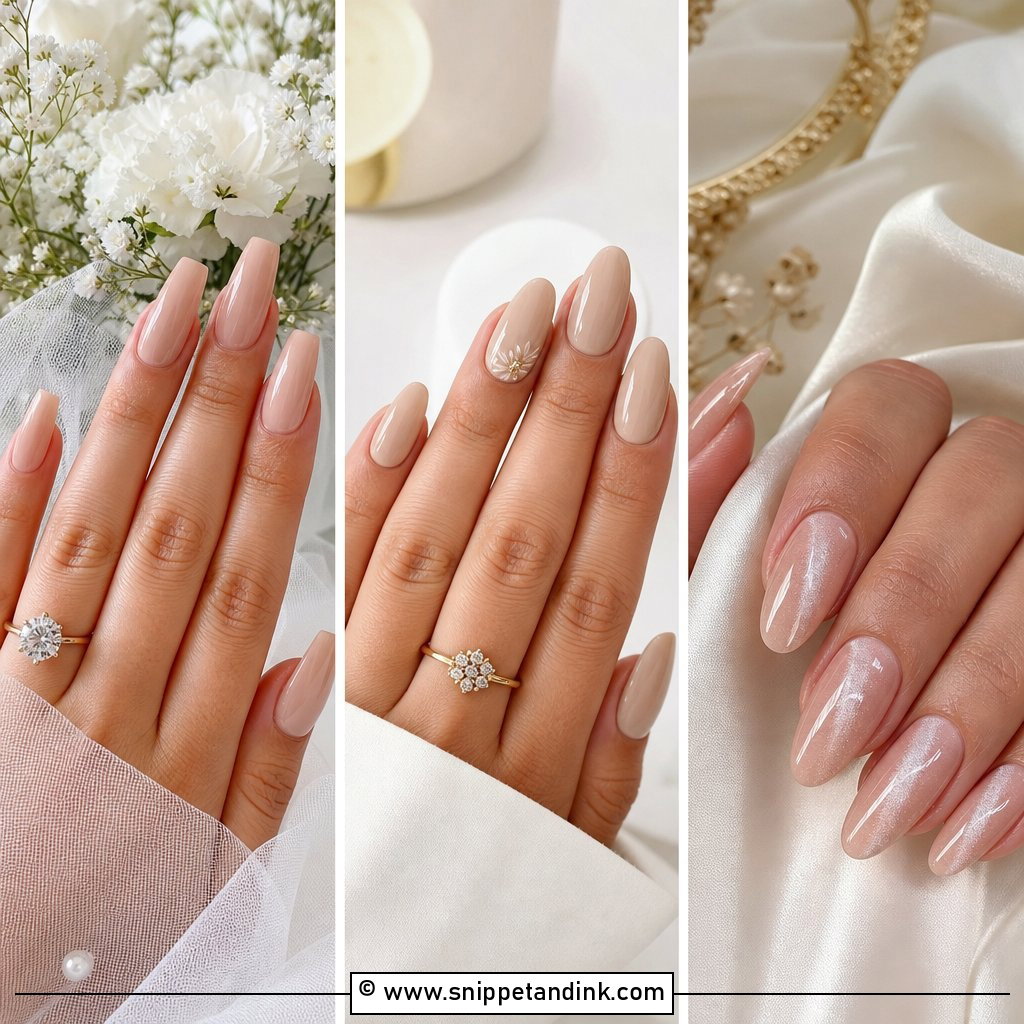
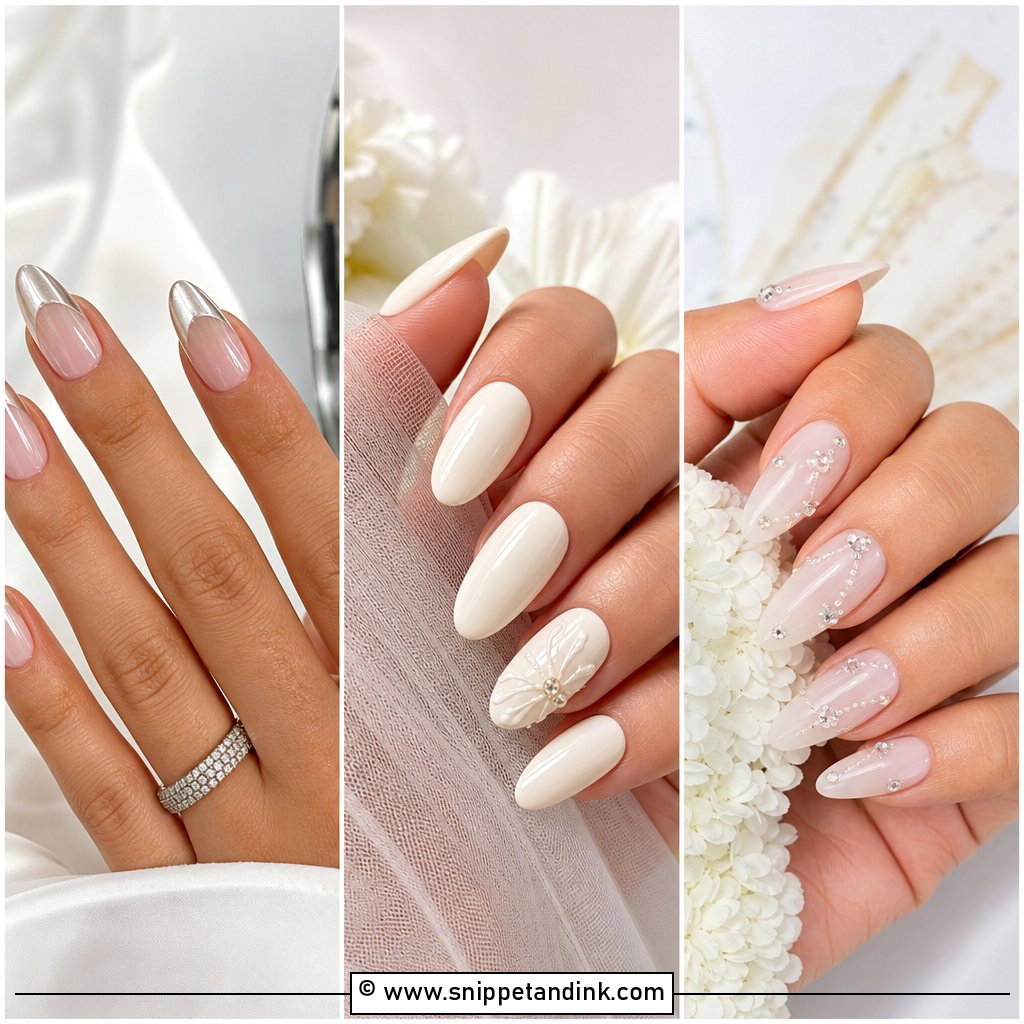
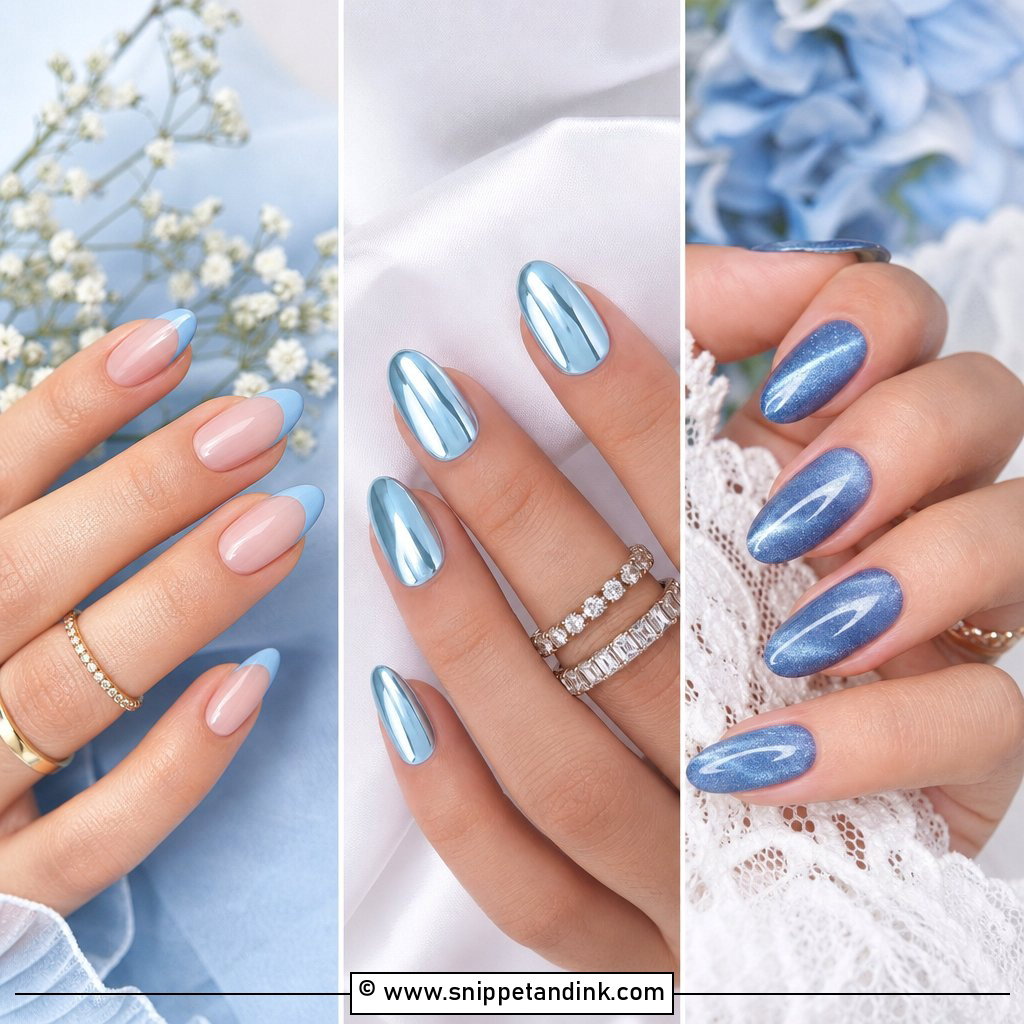
20. Blue Ombre Wedding Nails
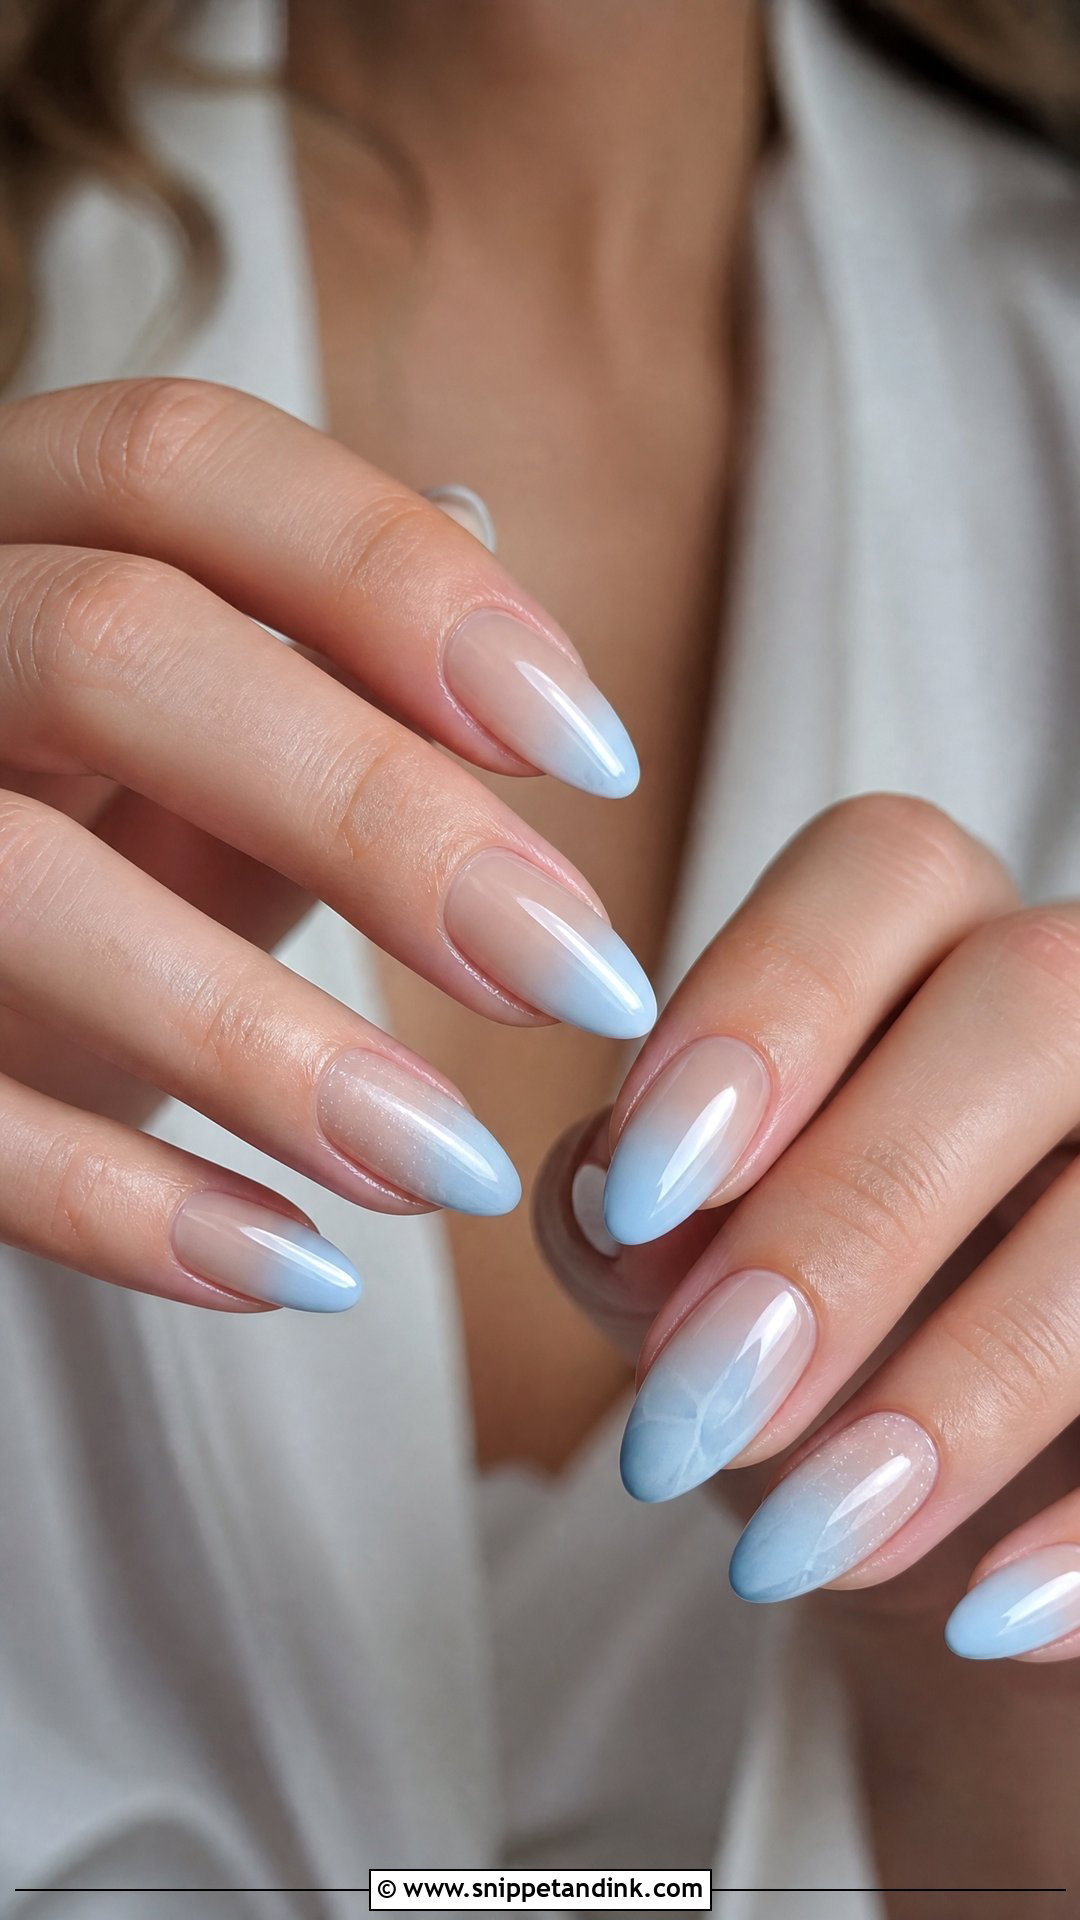
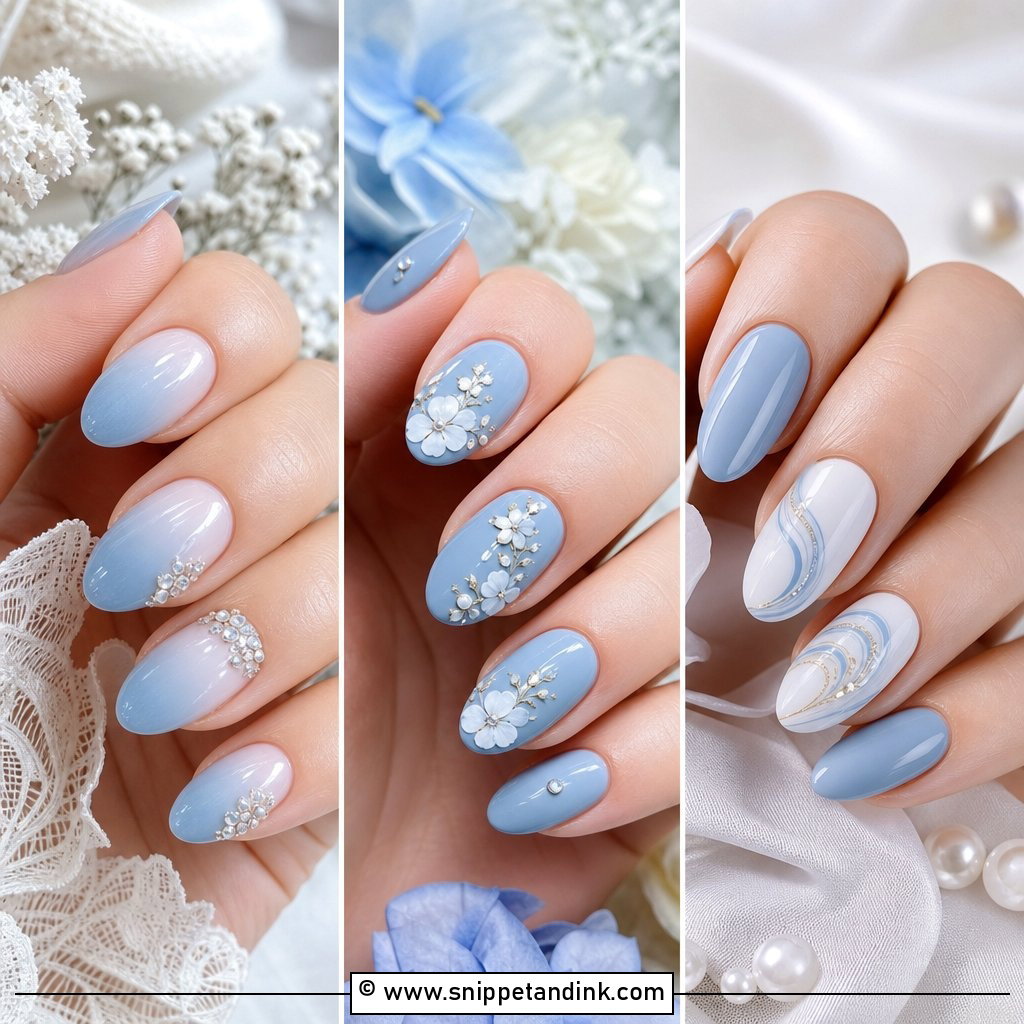
A pale blue fade is a quiet way to wear something blue. Powder blue melting into milky white or sheer nude stays romantic rather than bold. You can do every nail, or just the ring finger with the rest in neutral, which keeps the blue as a private detail. It pairs well with silver jewelry, cool makeup and pale blue bridesmaid dresses. I avoid heavy glitter here; a gloss or light pearl sheen keeps it refined.
21. Lavender Ombre Wedding Nails
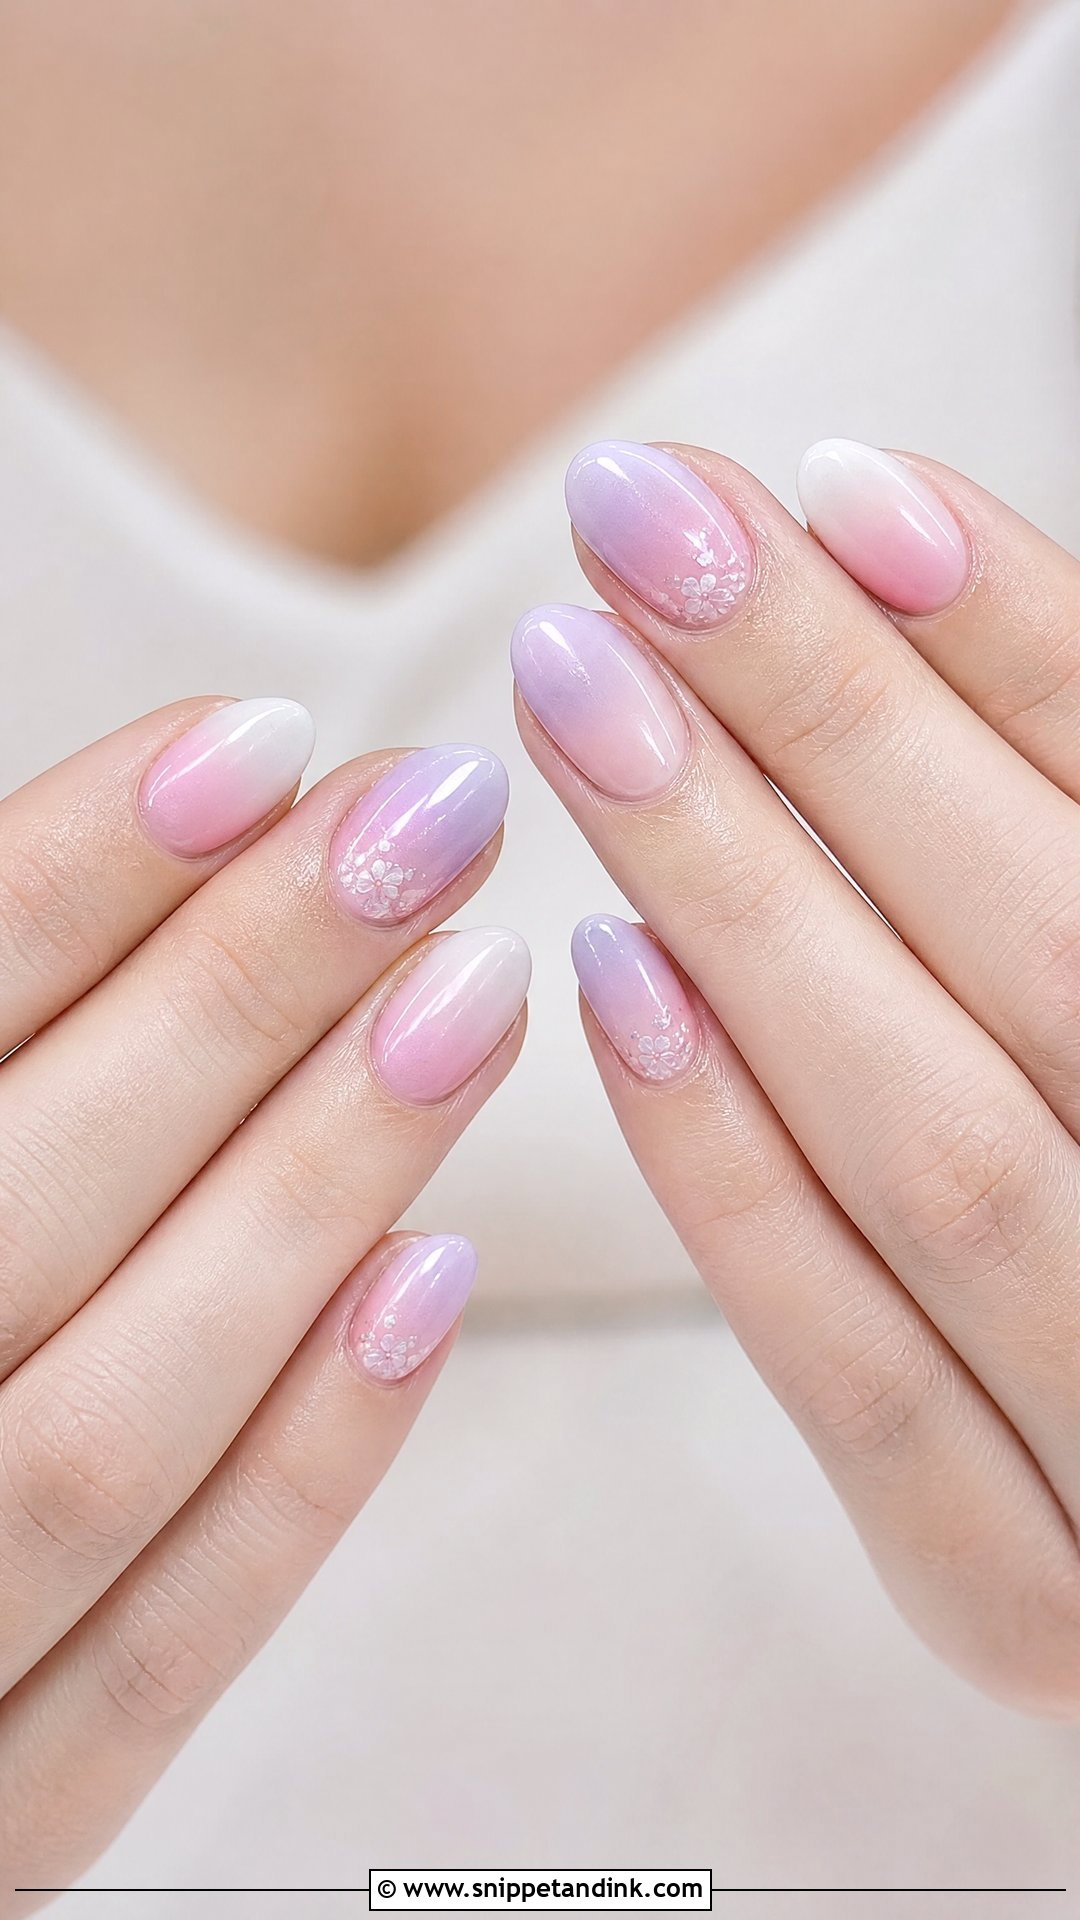
Lavender into milky white or sheer pink is a soft step away from the usual bridal palette. It suits spring weddings, garden palettes and bridesmaids in purple, gray, blush or sage. Keep the lavender muted. Bright lilac can photograph much bluer than it looks in person, so I always check it under daylight and phone flash before you leave. A pearl top coat softens it further.
22. Peach Ombre Wedding Nails
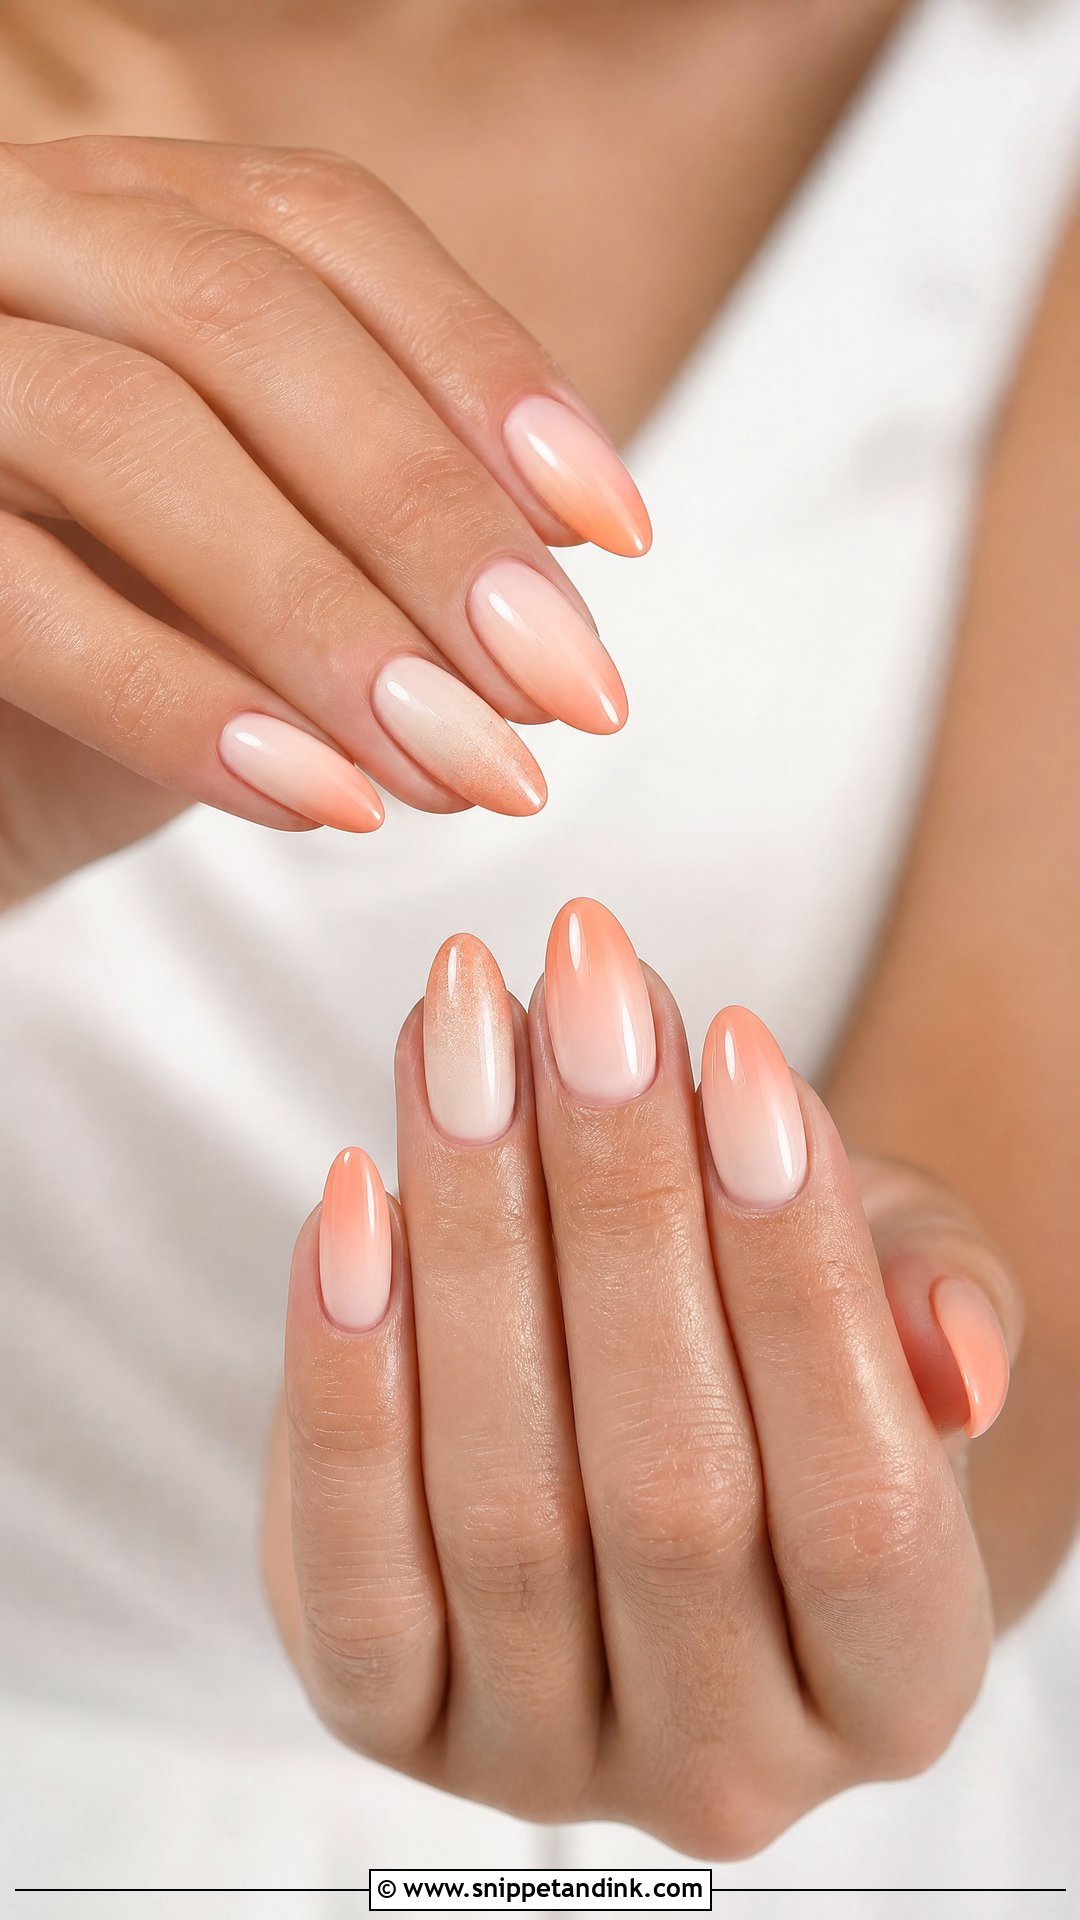
Peach, apricot or warm nude fading into cream gives a soft glow that flatters a wide range of skin tones. I suggest it for outdoor and warm-weather weddings, and for palettes with coral, terracotta, champagne or soft pink. It’s a little less expected than pink. A sheer peach base looks natural; a stronger peach gives more color. High gloss keeps it bright and juicy.
23. Pearl Accent Ombre Wedding Nails
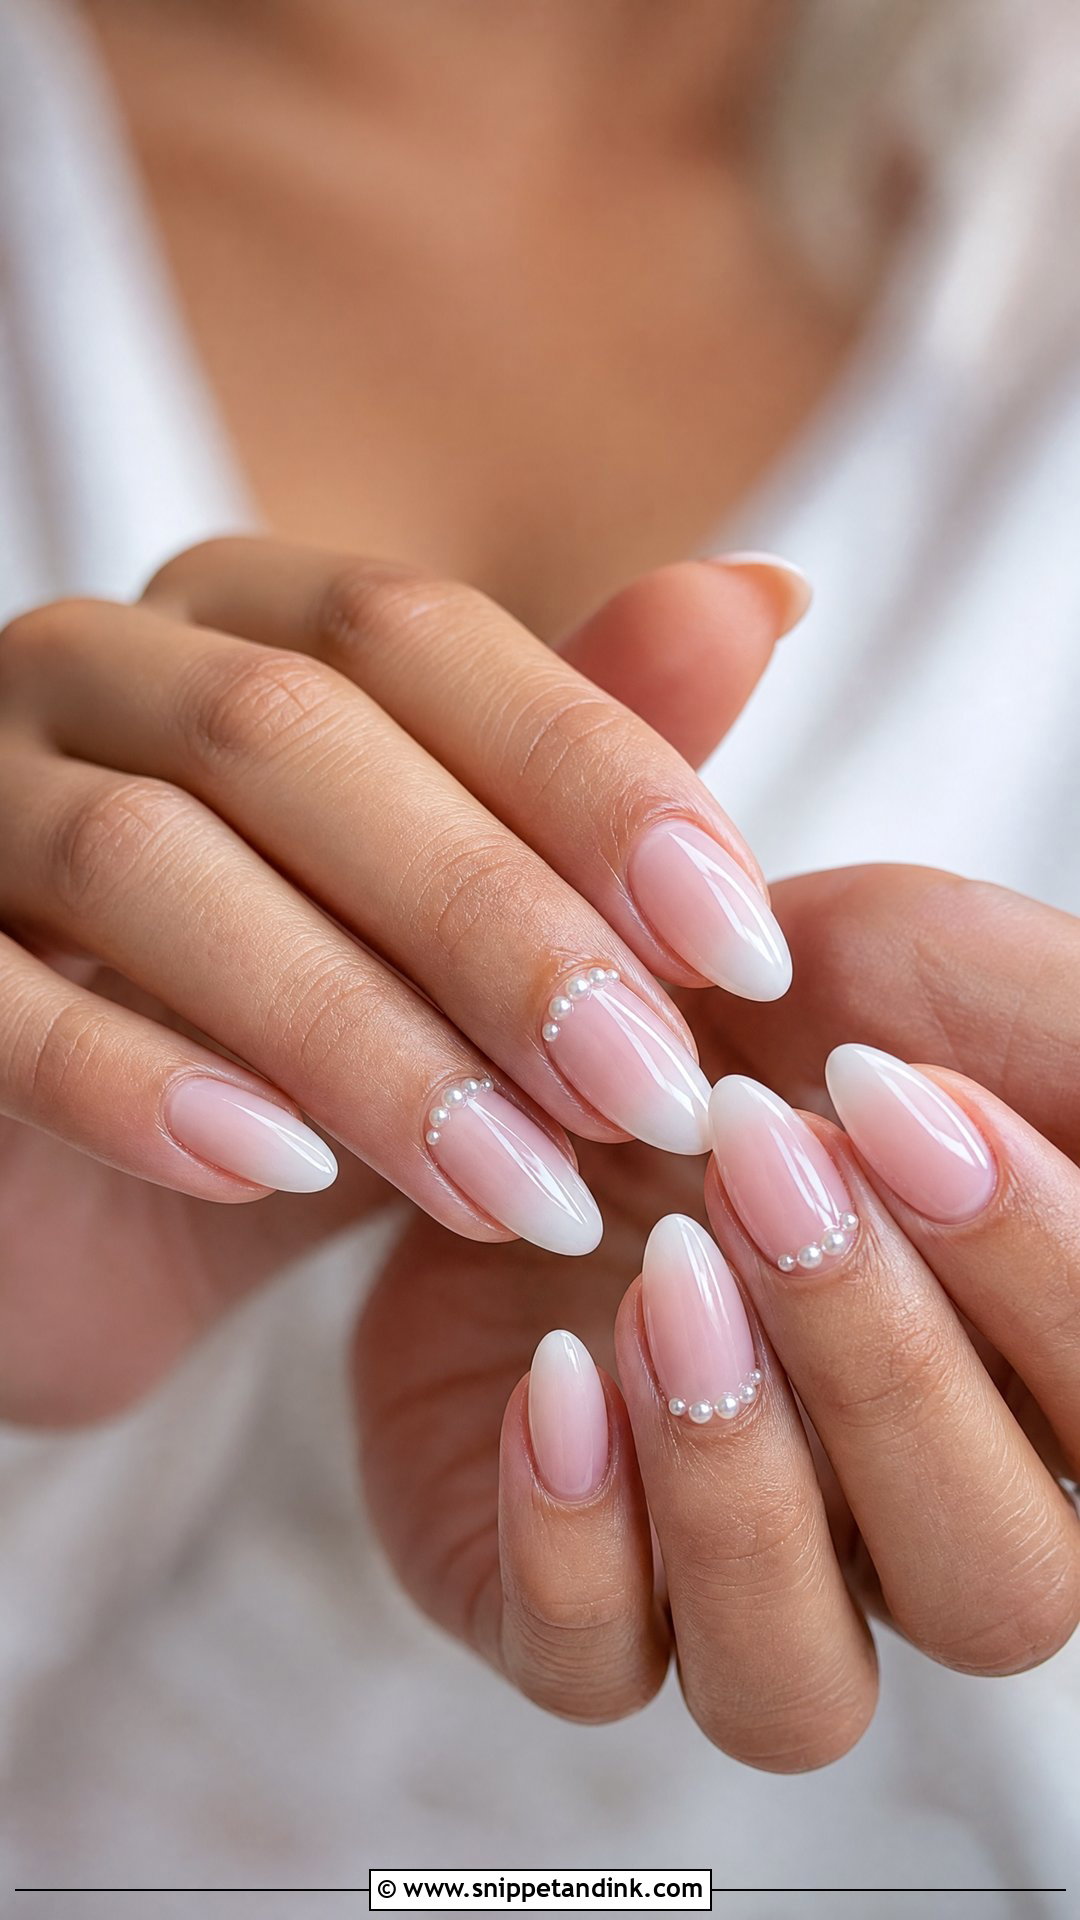
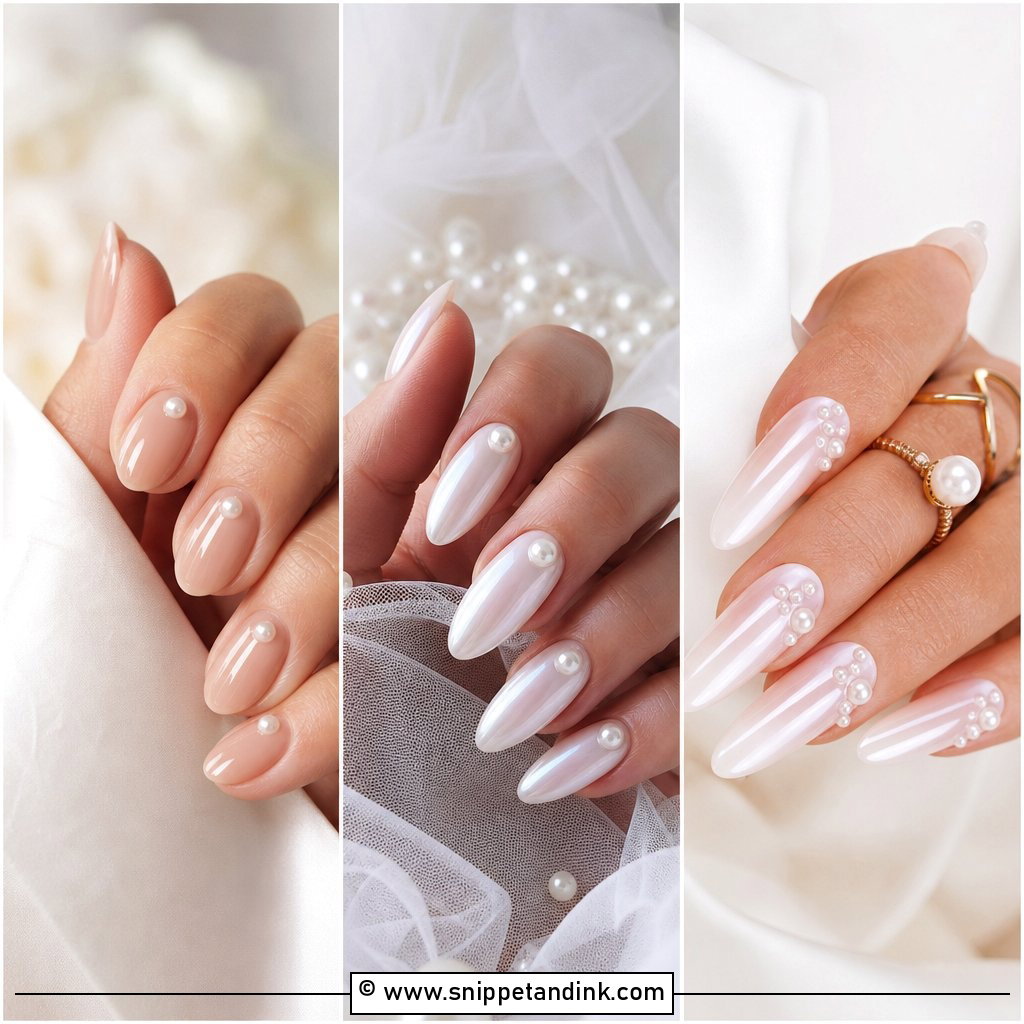
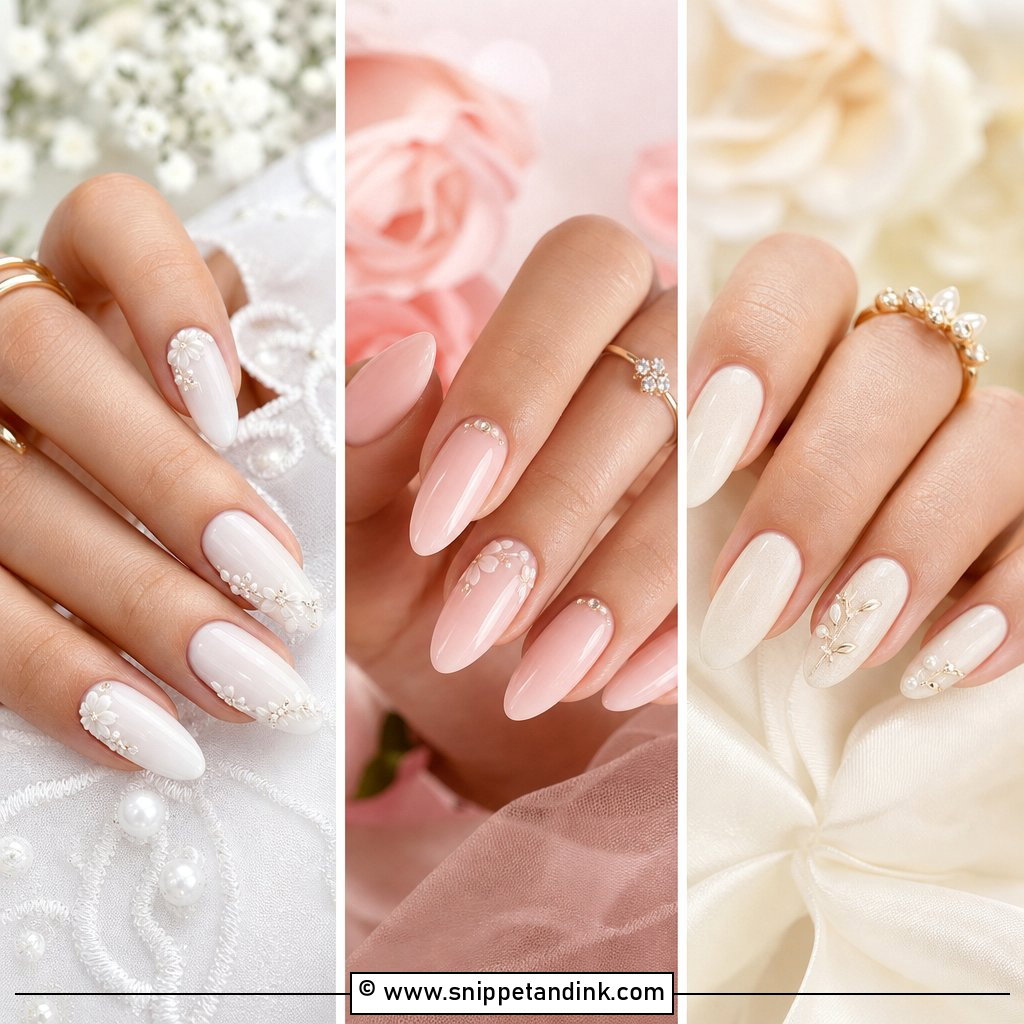
Tiny pearls on an ombre add texture without much color. The base can be pink to white, nude to ivory or milky. Placement matters more than quantity, so I keep pearls near the cuticle, along one side, or on one or two accent nails. Flat-backed pearls set in builder gel stay put far better than ones stuck on with top coat alone, which tend to pop off on the first wash of your hands. Echo your pearl earrings, hair pins or beaded bodice and stop there.
24. Floral Ombre Wedding Nails
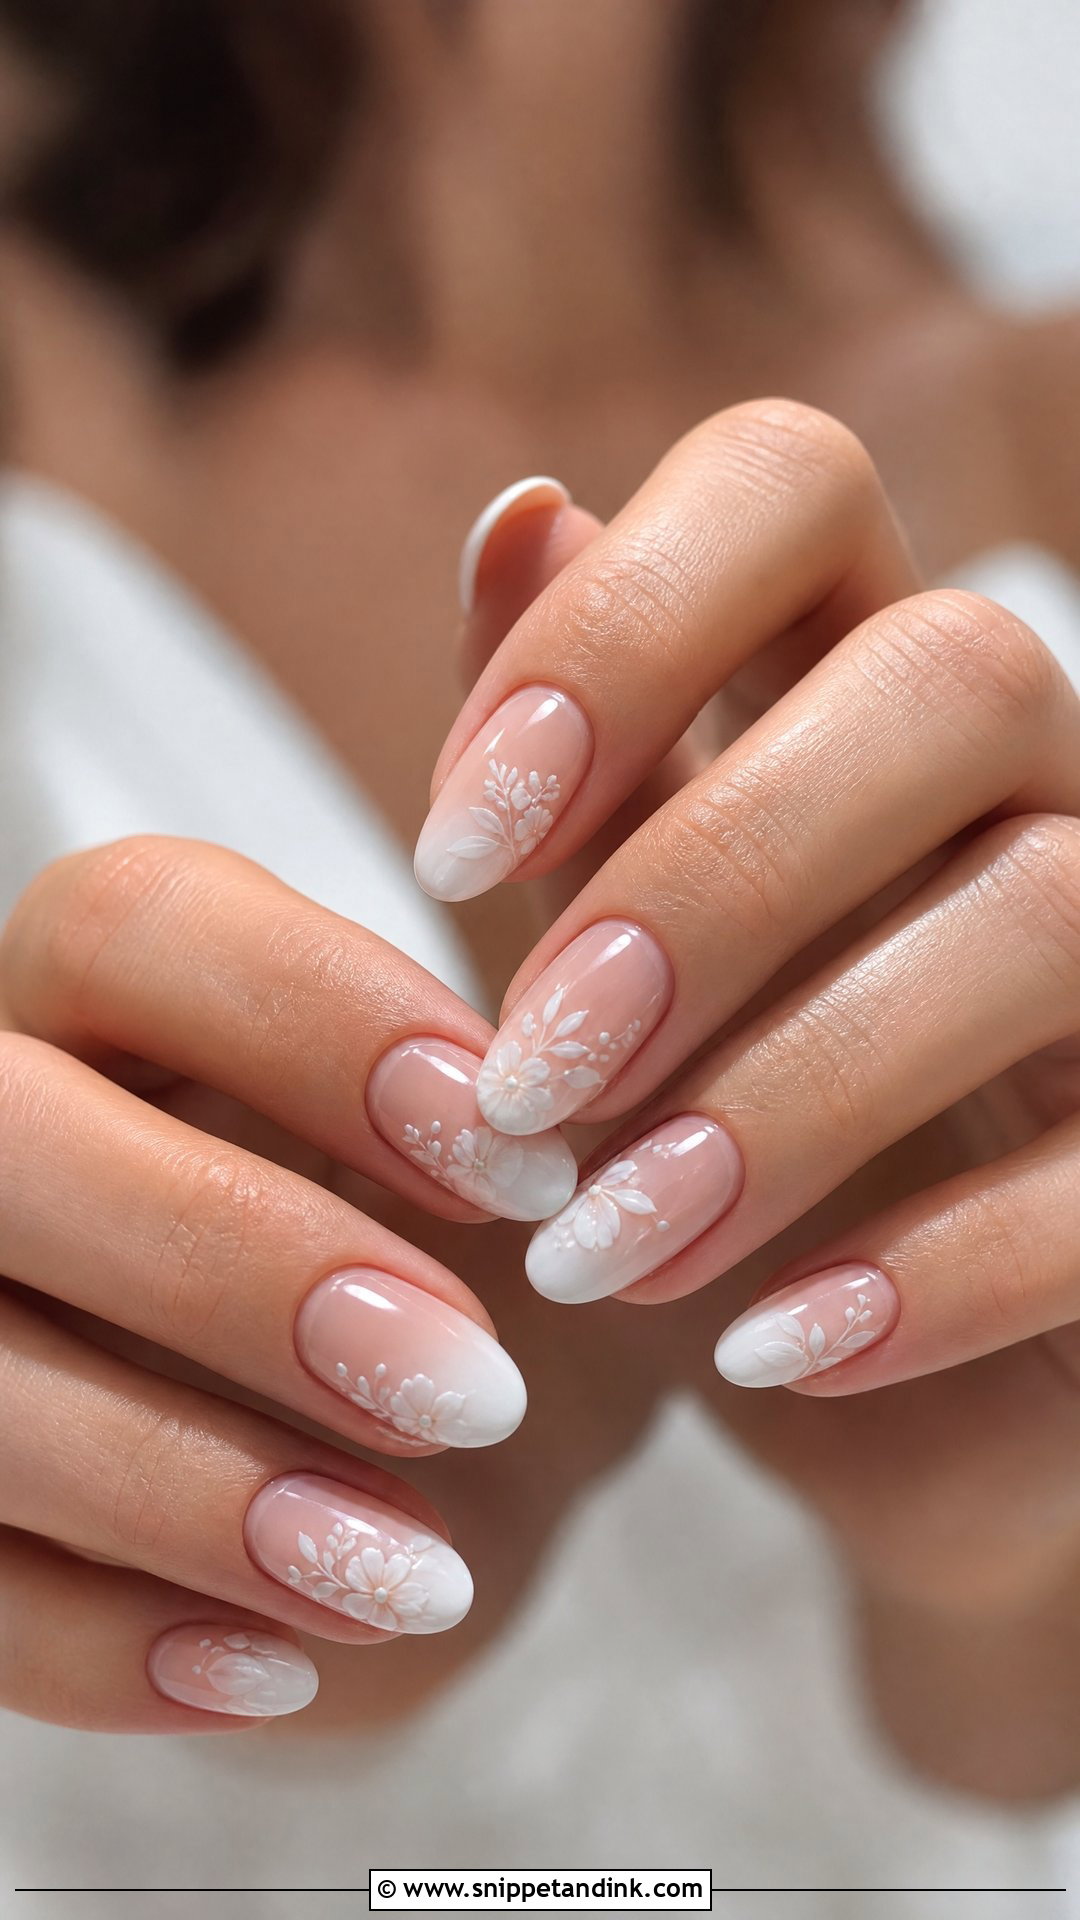
Floral ombre wedding nails start with a nude, blush or milky white fade and add small white flowers, petals or fine botanical lines on a few nails. I paint the florals with a thin liner brush after the fade is cured, and keep them light so they don’t compete with the blend underneath. Almond, oval or coffin give the art room to breathe. They suit spring, summer, garden and outdoor weddings. White, cream, pale pink or a hint of pearl keeps the palette bridal.
25. Rhinestone Ombre Wedding Nails
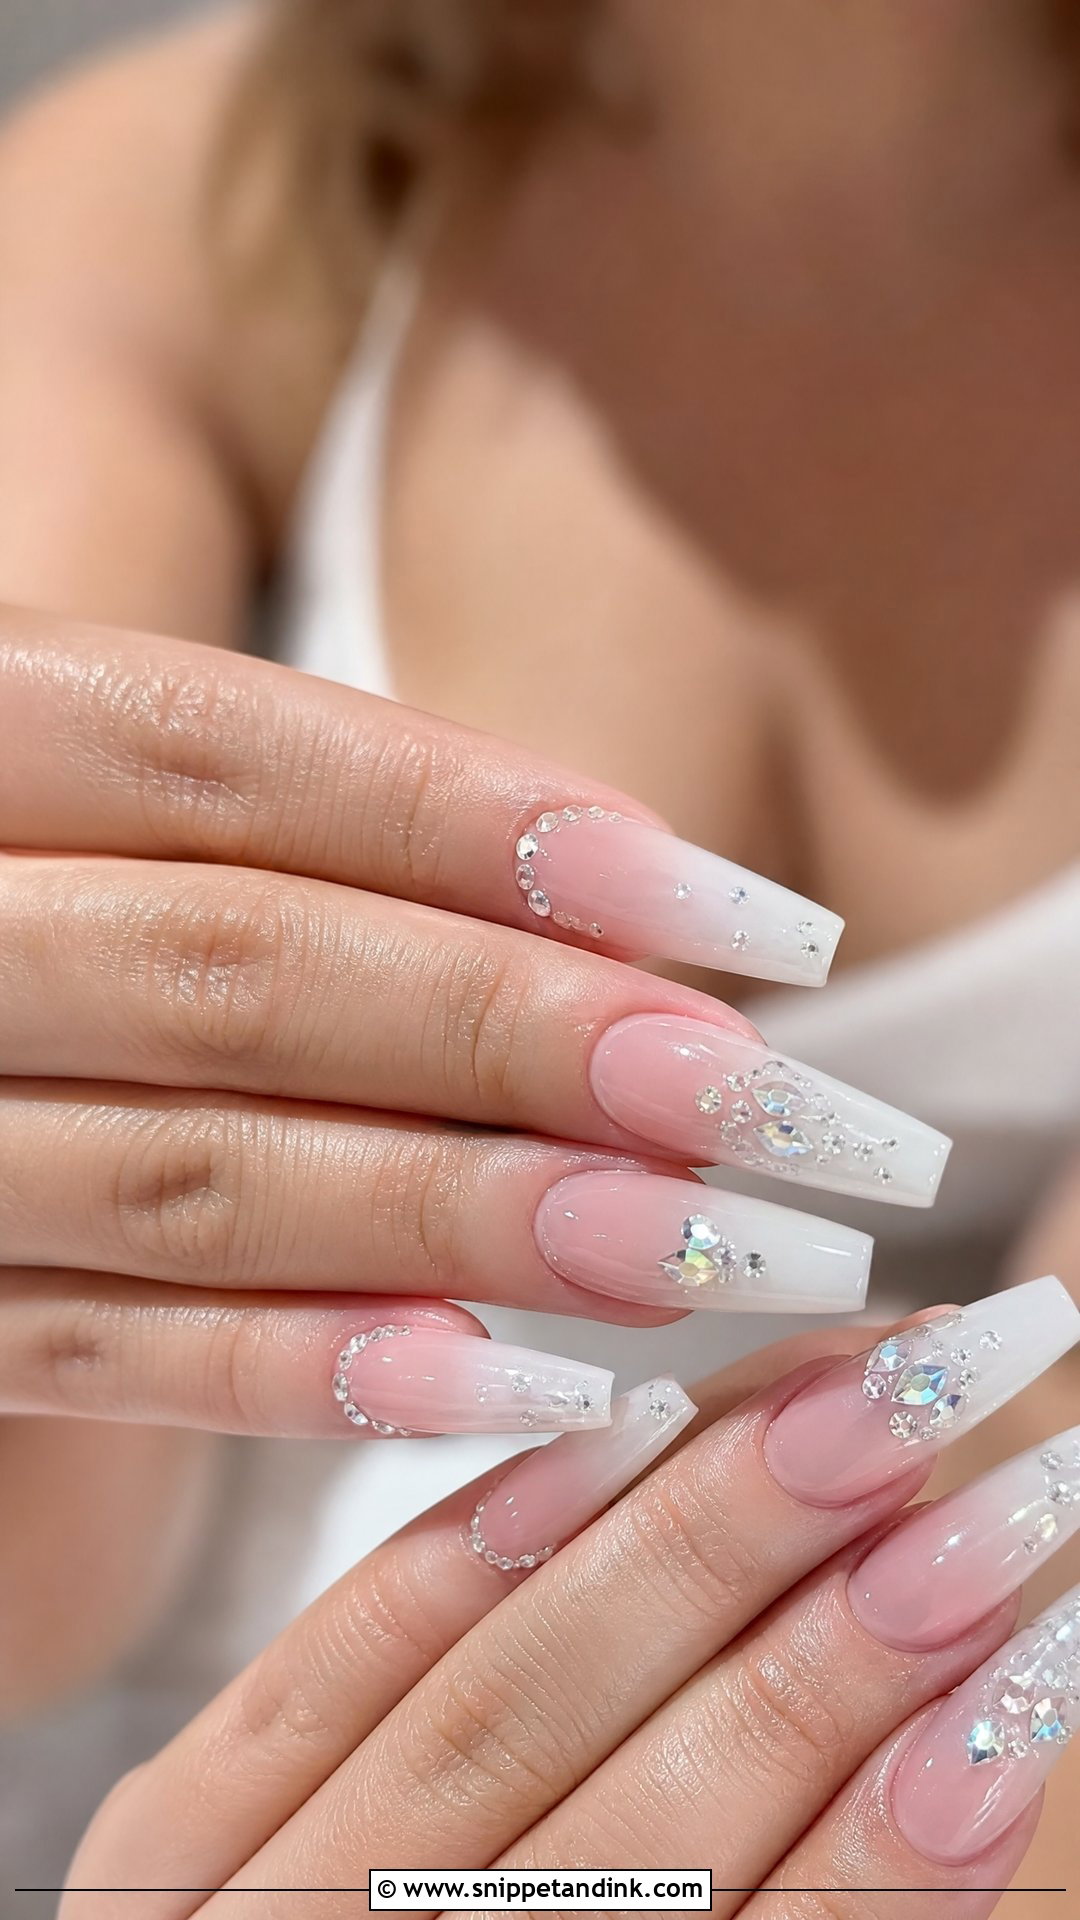
Small clear rhinestones on a soft pink, nude or white fade give sparkle without busyness. I place them near the cuticle or on one accent nail, and I set them in gel and seal the edges, because stones with exposed rims snag hair, lace and tights. Tiny stones, small crystal clusters or a fine line all work. Rhinestones catch the light in ring shots, so I keep the ring finger clear if your engagement ring is the star.
Ring Close-Ups Catch What Mirrors Miss
Your photographer will probably take at least one shot of your hands at very close range, and a macro lens shows things nobody sees across a table. A few things I check before a bride leaves:
- Cuticles pushed back and dry skin removed, then cuticle oil wiped off the nail surface so the gloss reads clean.
- No flooding, where gel touches the skin at the sidewalls. It lifts within days and shows as a ridge in photos.
- The fade starts at the same height on every nail. Uneven starting points are obvious when hands are side by side.
- Length that leaves your ring visible. Very long nails can make a solitaire look smaller.
Also look at your hands under warm light, not only the salon’s bright white lamps. Warm reception lighting turns cool white tips yellower and makes champagne and peach glow.
Will It Still Look Good on the Honeymoon?
This is one of the biggest practical advantages of a fade. Because the color near the cuticle is sheer or close to your natural nail, regrowth shows far less than it would with a solid shade. A gel ombre usually looks tidy for two to three weeks, sometimes longer with a nude base.
Pack cuticle oil and use it every evening, because sun, saltwater and pool chlorine dry the skin around gel and make lifting more likely. If an edge does lift, don’t pick it, since pulling gel off takes layers of nail with it. Have it soaked off properly when you’re home, and give your nails a week or two of just oil and a plain strengthener before the next set.
Taking Your Fade to the Appointment
Ombre wedding nails stay popular because they’re soft, flattering and easy to personalize. Classic French, milky, pearl chrome, glitter, pastel or a few small accents: any of them can be matched to your dress, jewelry and skin tone. The right one is the one you’ll forget you’re wearing until you look down at your ring. Bring two or three reference photos, wear or bring your rings to the appointment, and check the colors in daylight before you leave the chair.
You'll Like These Ideas:


Leave a Reply