
Hands end up in more wedding photos than people expect: the ring shot, the bouquet, a hand on a shoulder in every group picture. That’s why I treat a wedding manicure differently from an everyday one. It has to look clean at macro distance, last through a week of rehearsal dinners and hugging, and sit quietly next to the dress and the ring. The ideas below lean toward sheer color, soft French tips, pearl finishes, tiny florals and fine sparkle. Each comes with a note on the shape and length it suits, so you can show your nail tech exactly what you want. Bride, bridesmaid, mother of the bride or guest, there’s something wearable here.
Product First, Polish Color Second
The design gets all the attention, but the product underneath decides whether it’s still intact for the honeymoon photos. This is how I’d think about the options.
- Regular polish: the cheapest, but it usually starts to chip within a few days. Only realistic if it’s done the day before.
- Gel polish: cured under a lamp, usually lasts around two weeks without chipping. Book it one to three days before the wedding.
- Builder gel: a thicker gel that adds strength to natural nails. A good choice if your nails bend or split, and worth starting a cycle or two before the wedding so they’re healthy by the day.
- Dip powder: very durable, but thicker on the nail and slower to remove. I’d avoid it if you want a delicate, sheer look.
- Press-ons: fast and flexible. Glue-on sets can last one to two weeks; adhesive tabs suit a single day.
If you’re going straight from the wedding to a long trip, gel or builder gel will save you from finding a nail tech on holiday.
1. Milky White Wedding Nails
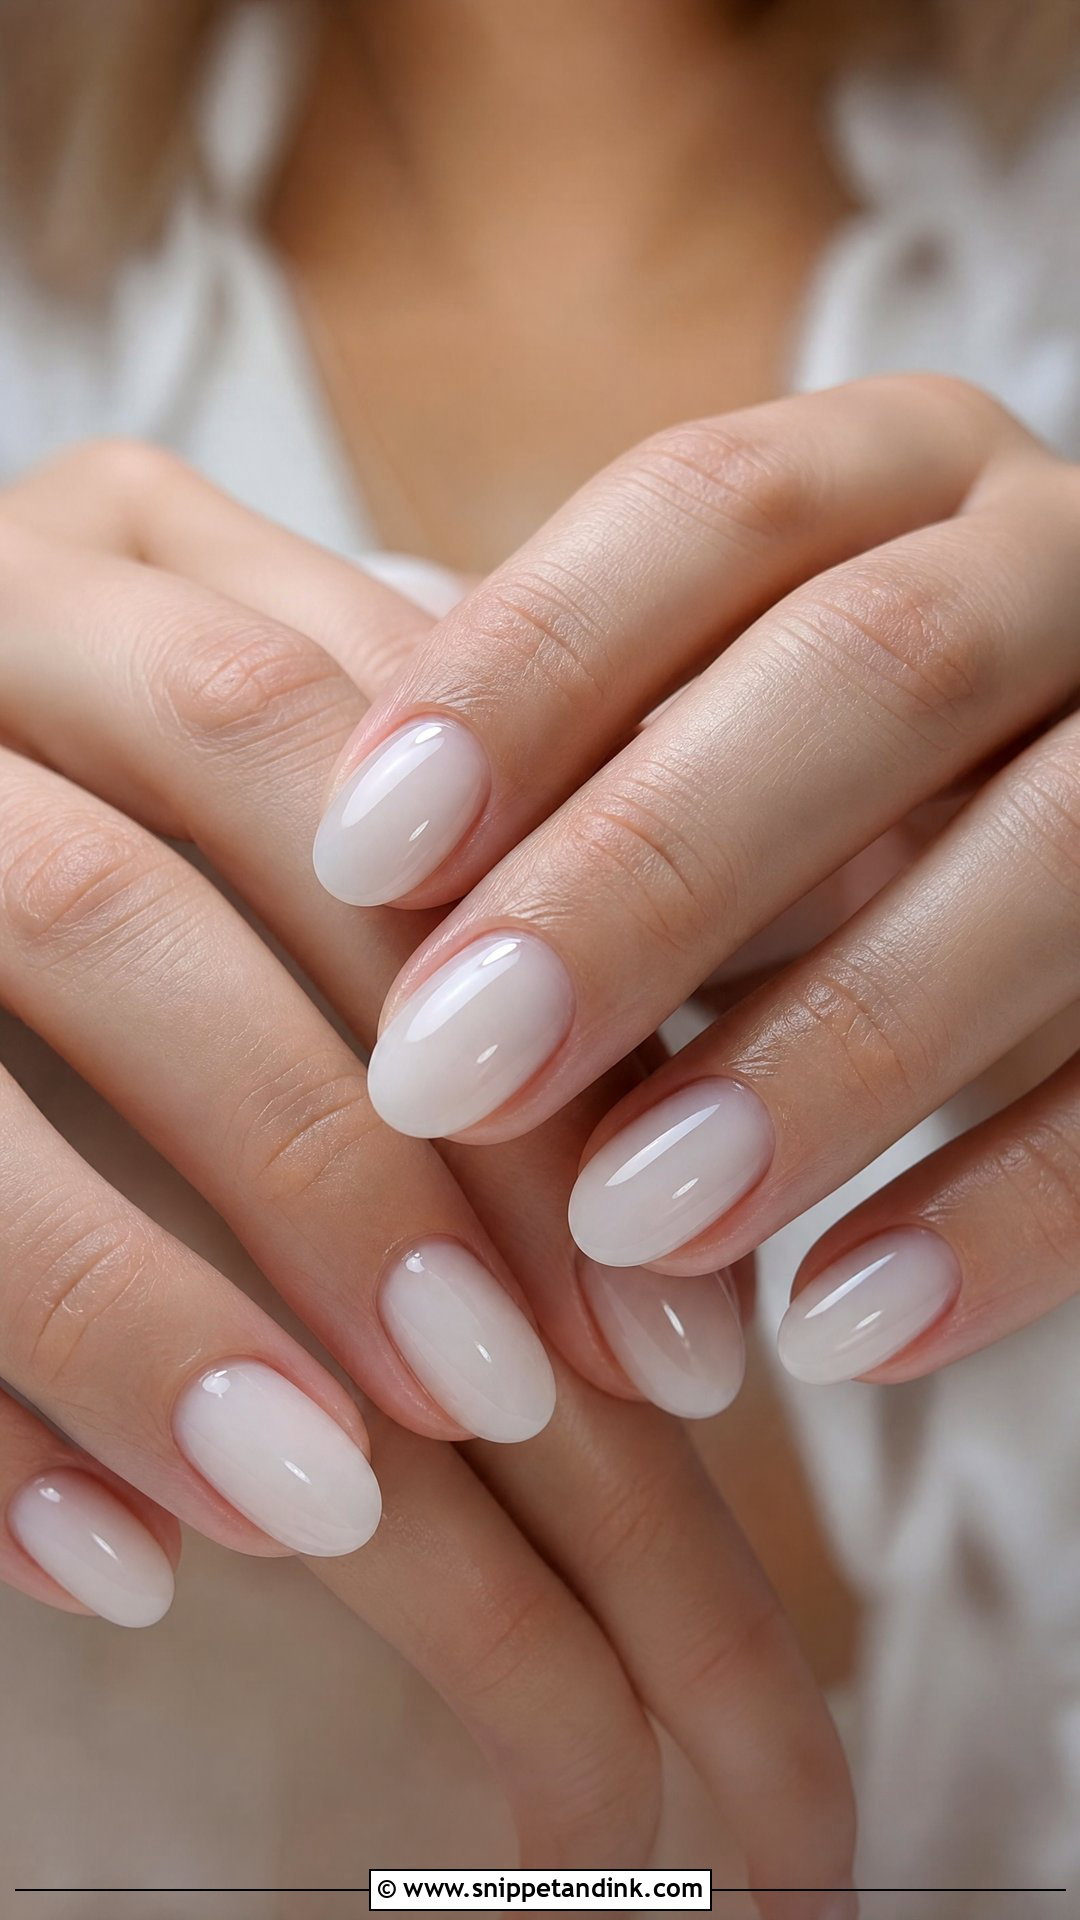
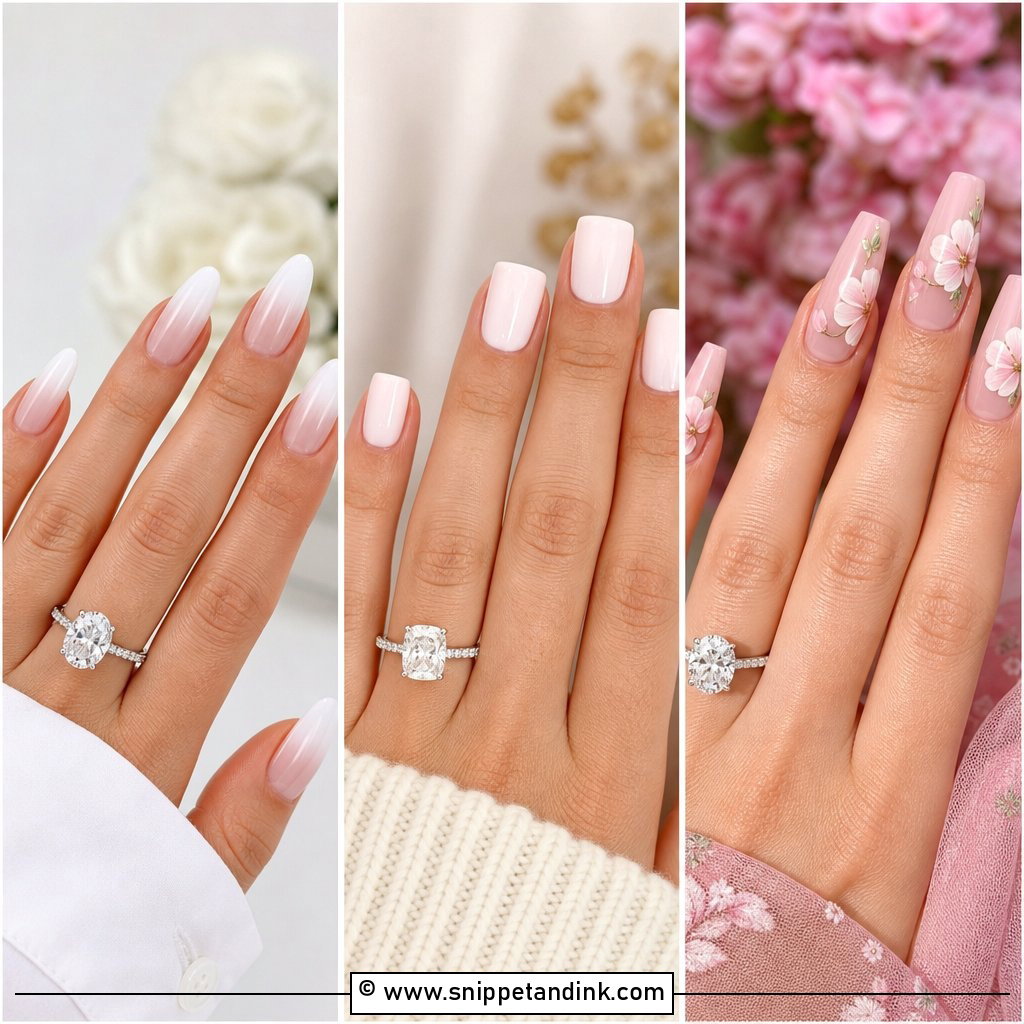
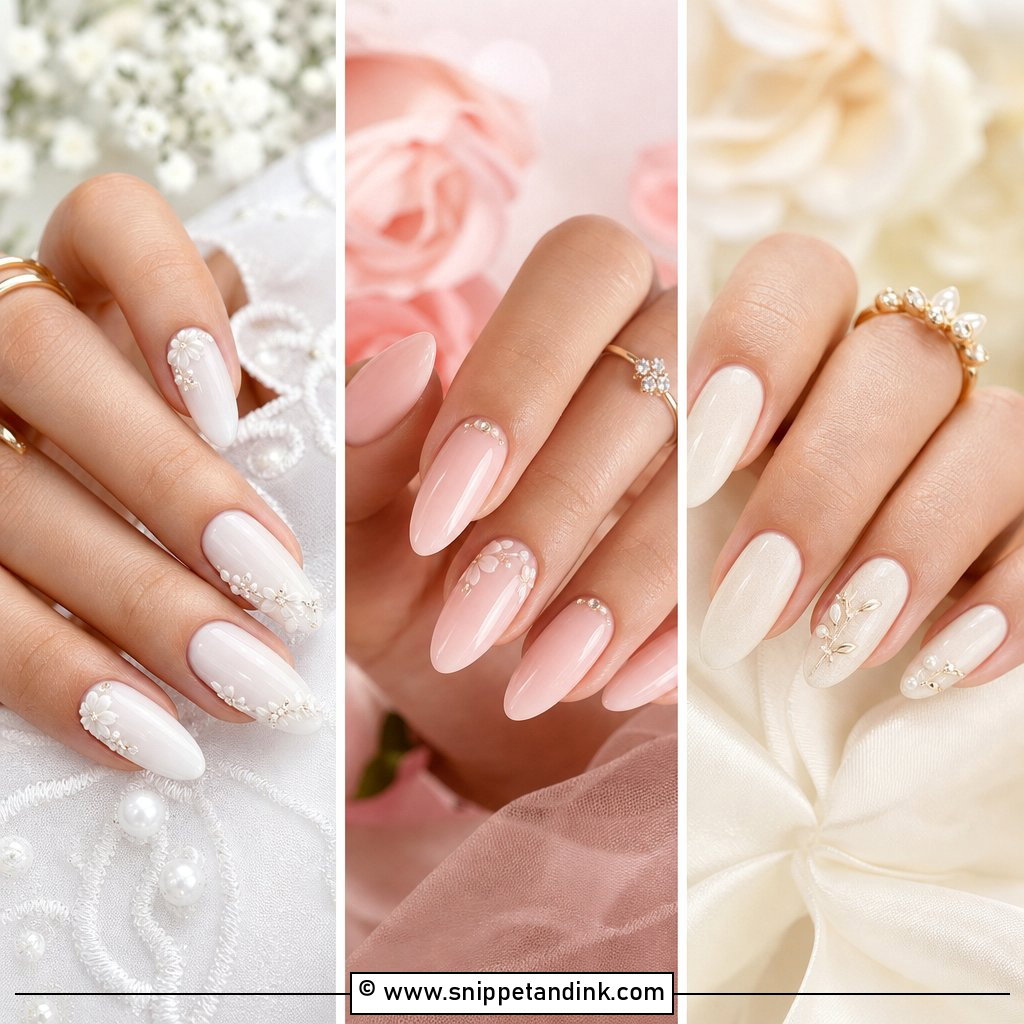
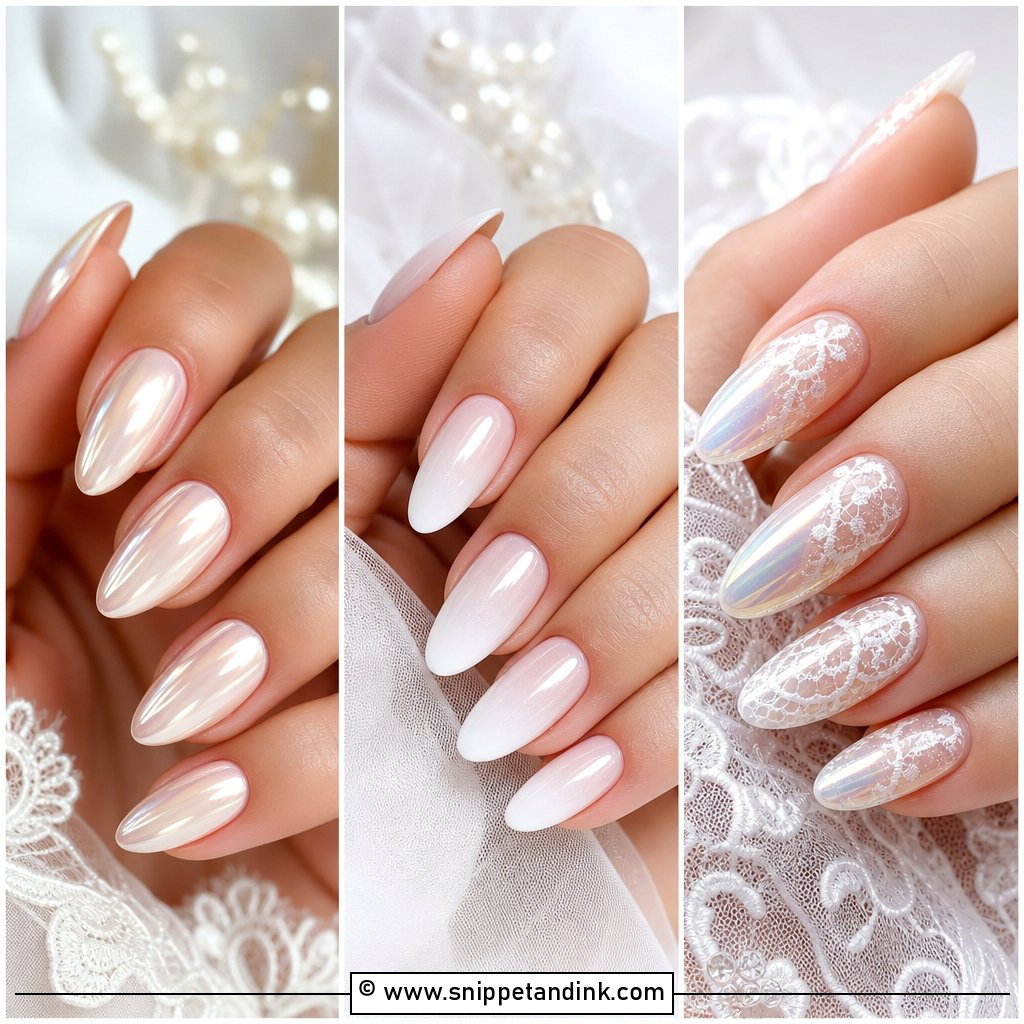
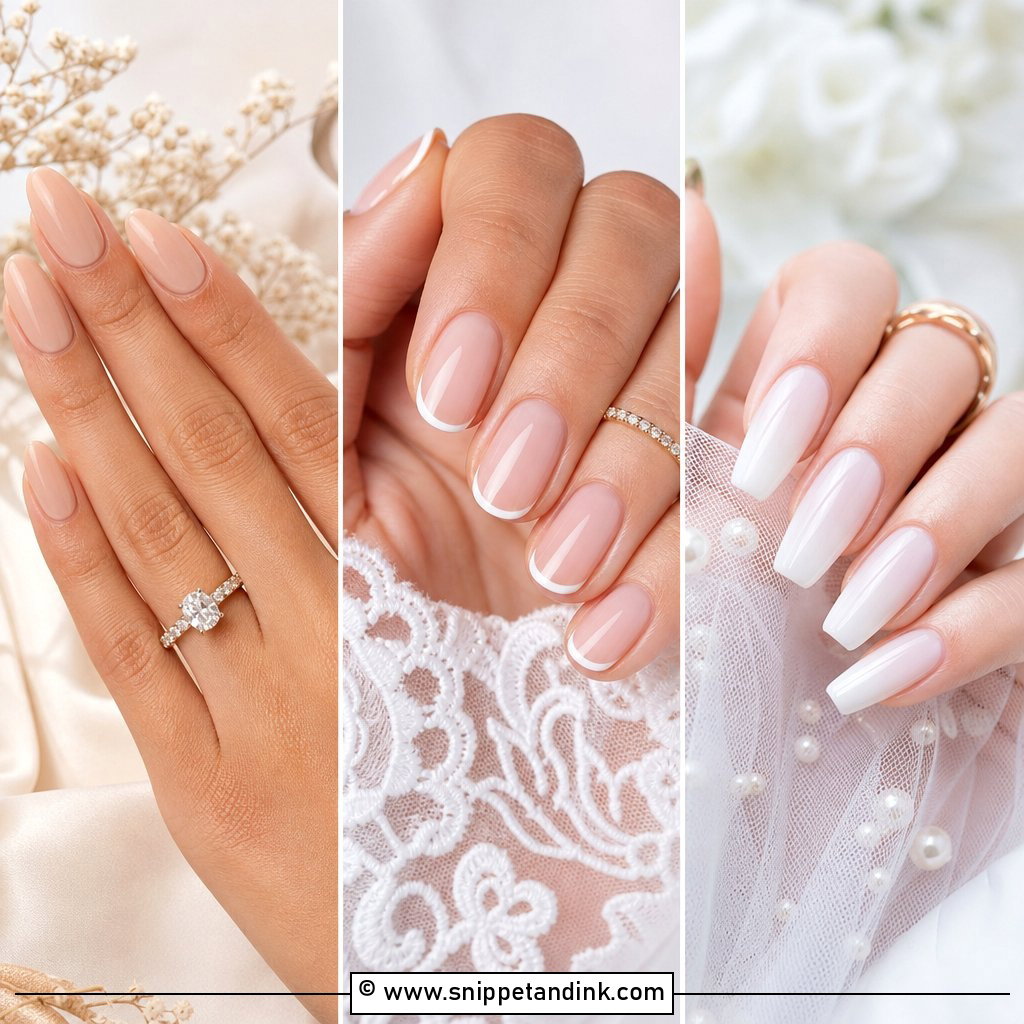
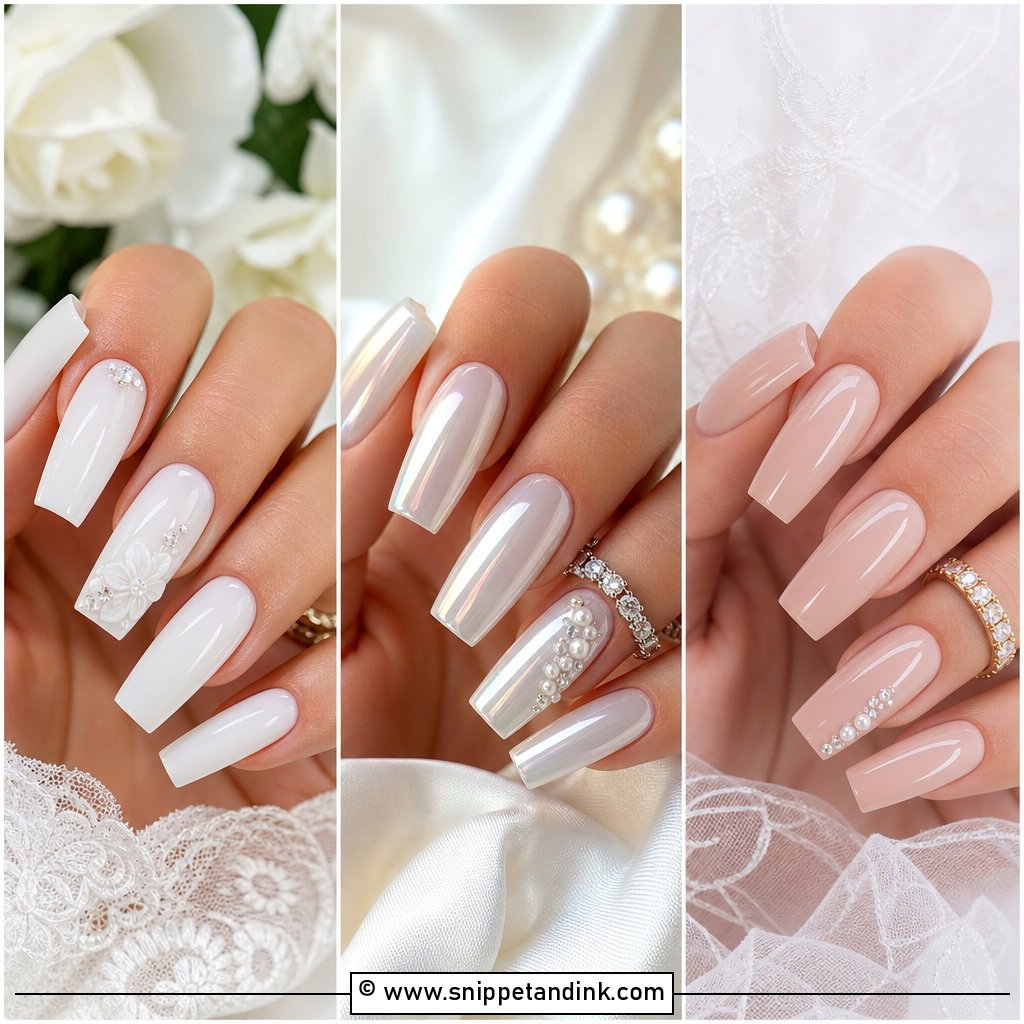
Sheer white instead of stark white is the whole idea. Milky white wedding nails are built from a creamy, translucent builder gel or polish, so the nail looks cloudy and soft rather than painted over, and that finish flatters most skin tones. Short oval, medium almond and longer coffin shapes all suit it. The common mistake is too many coats: by the third layer it turns chalky and opaque. I build it in thin layers and check against your skin after each one. A pearl chrome dusting on top gives it a more modern glow, and it goes with every fabric from satin to lace.
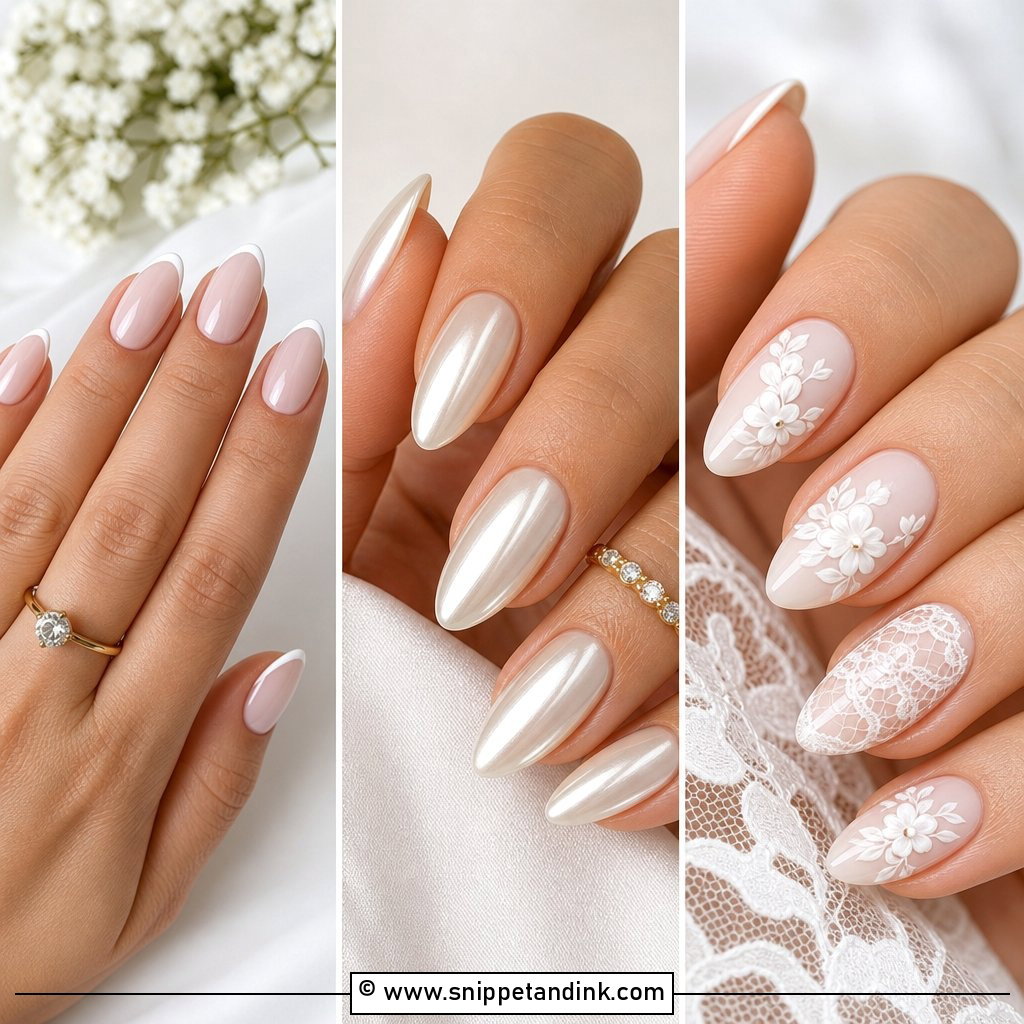
2. Soft Pink French Tip Wedding Nails
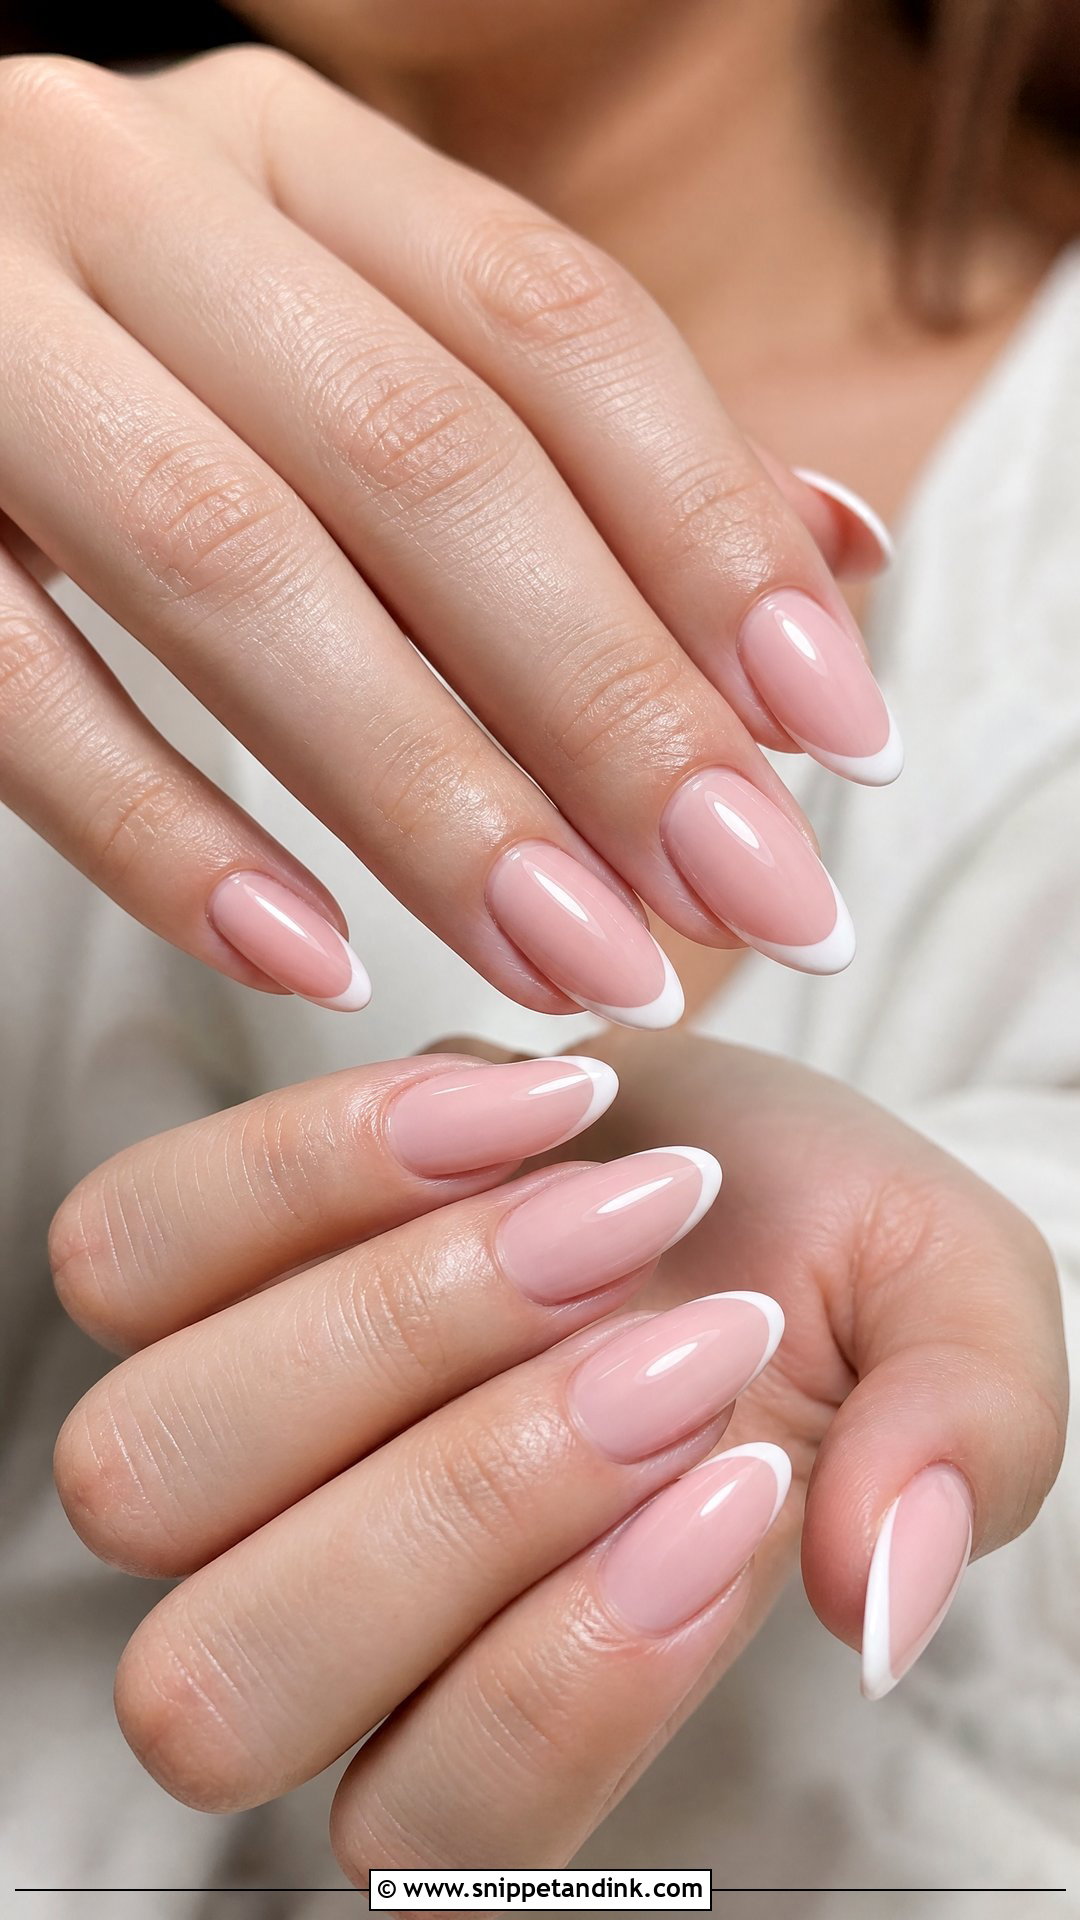
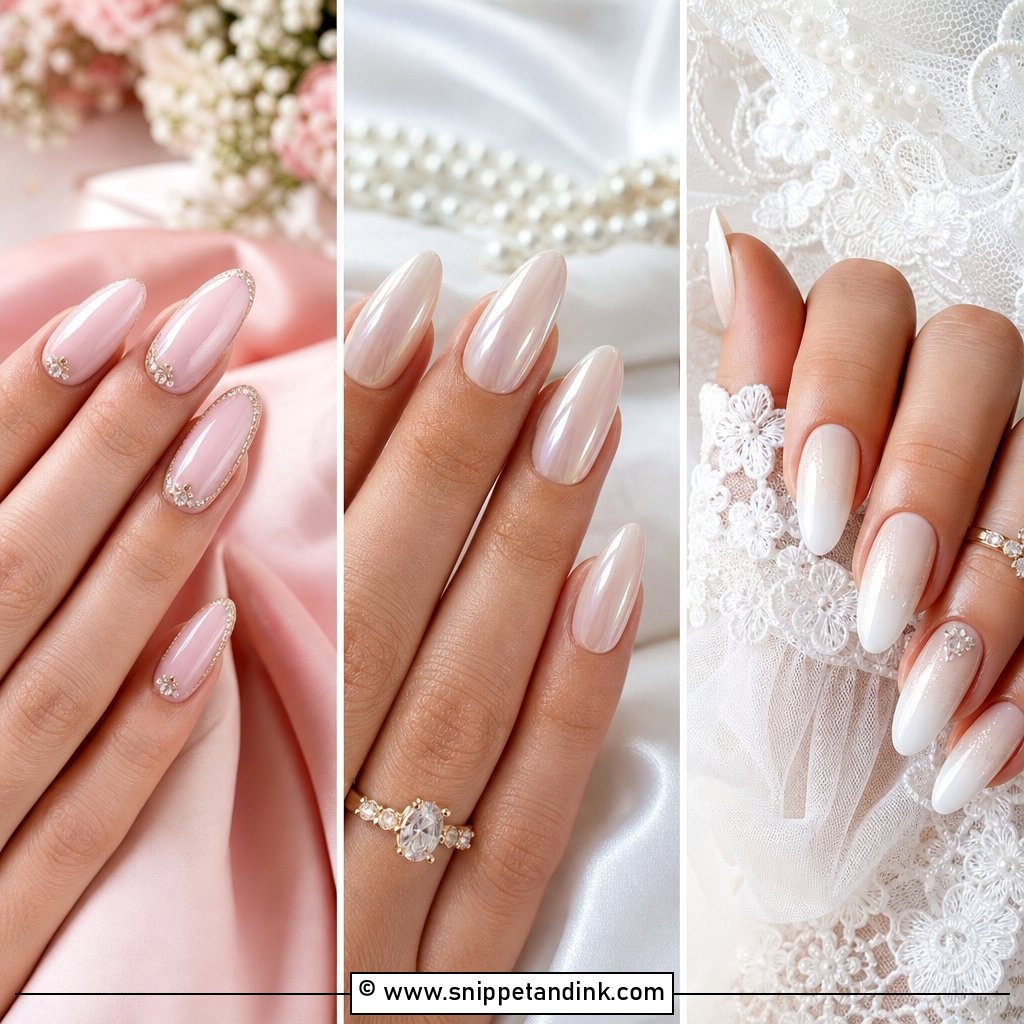
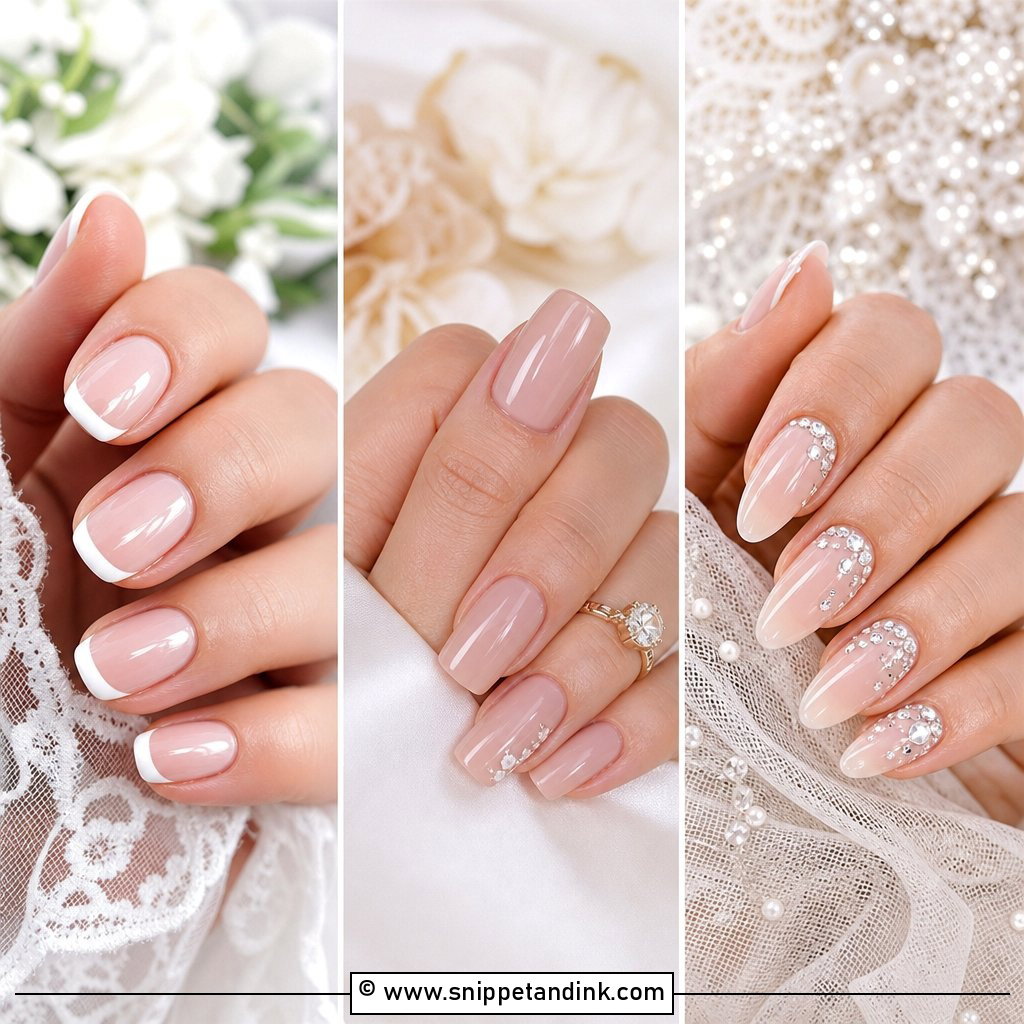
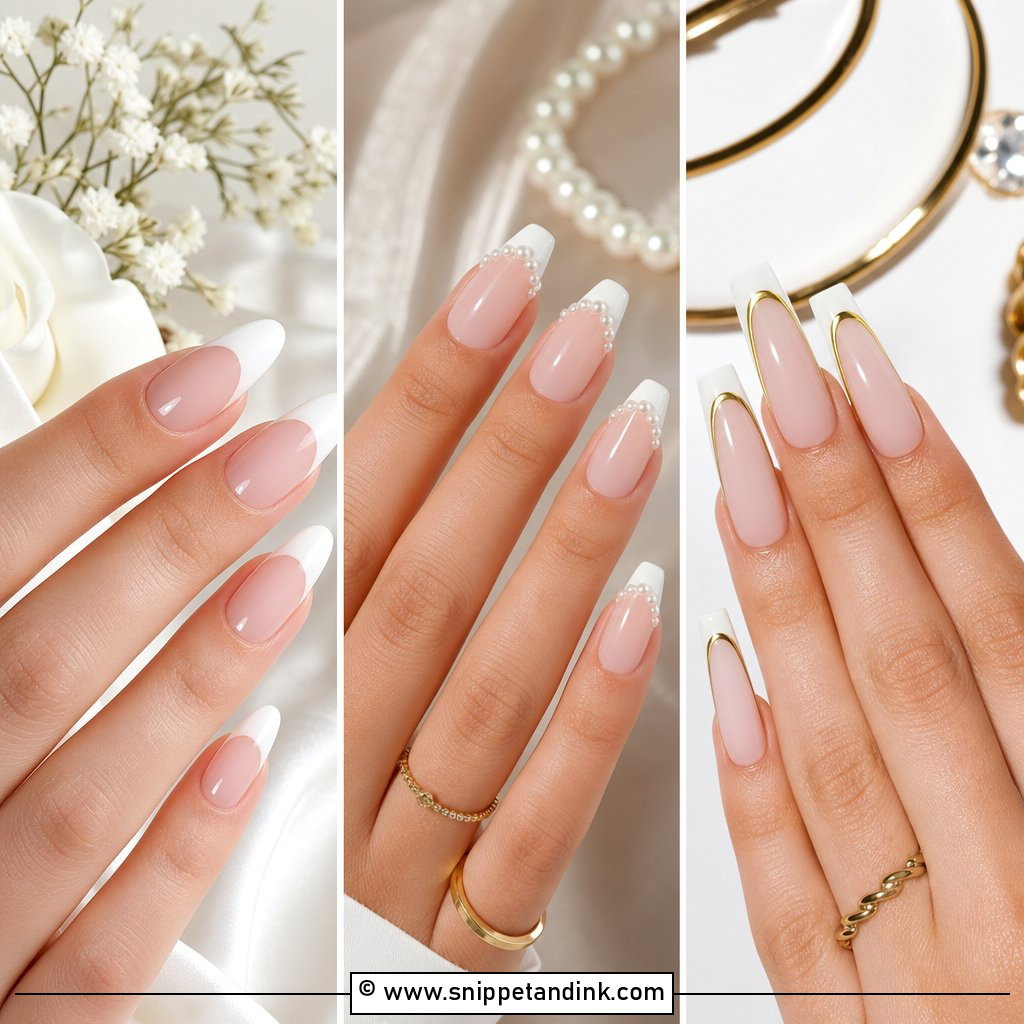
A blush base and a thin white or ivory tip make the French manicure sweeter. Almond and oval nails suit it best because the smile line can follow the natural curve of the fingertip. Keep the tip slim; a thick, straight-across tip shortens the nail visually and looks dated in close-ups. If your nails bend or peel, I’d put a sheer pink builder gel underneath for strength in the weeks before the wedding. It’s a design you won’t wince at in your album twenty years on.
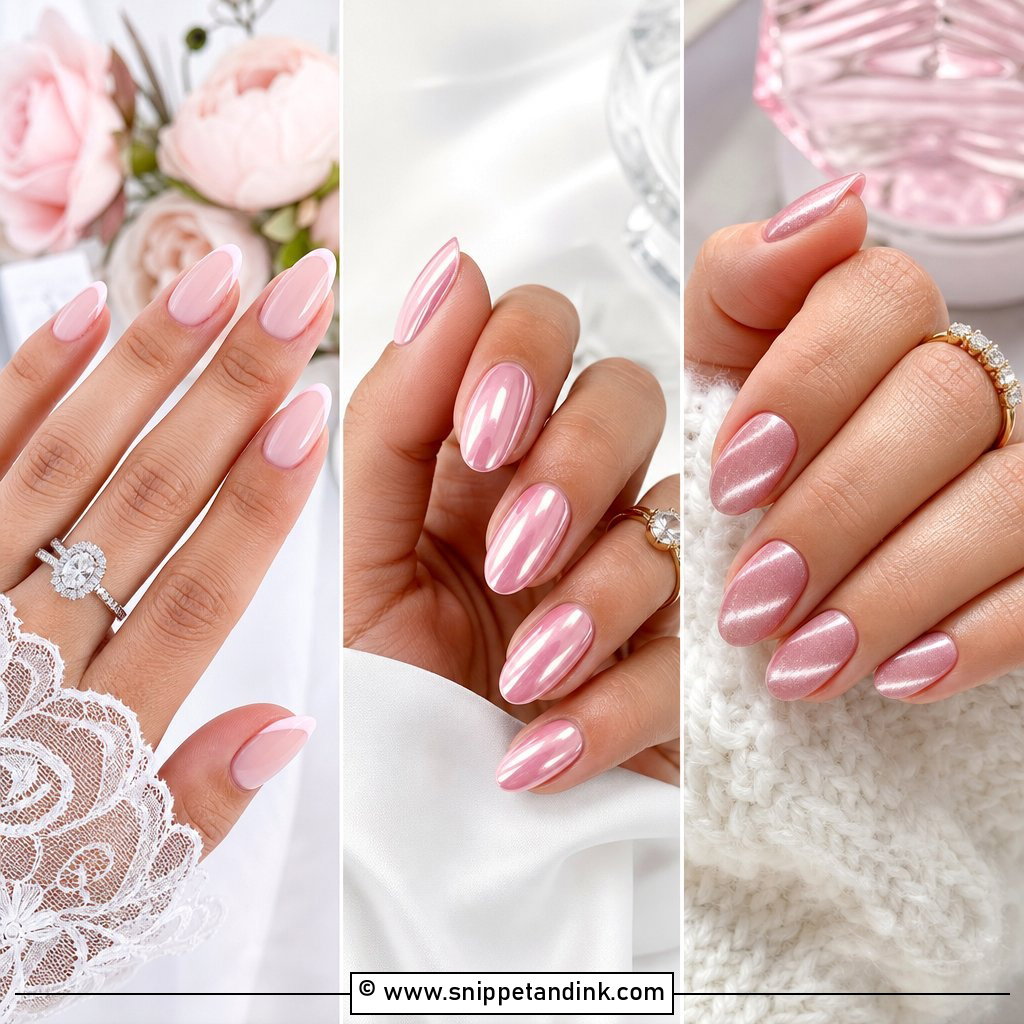
3. Pearl Chrome Wedding Nails
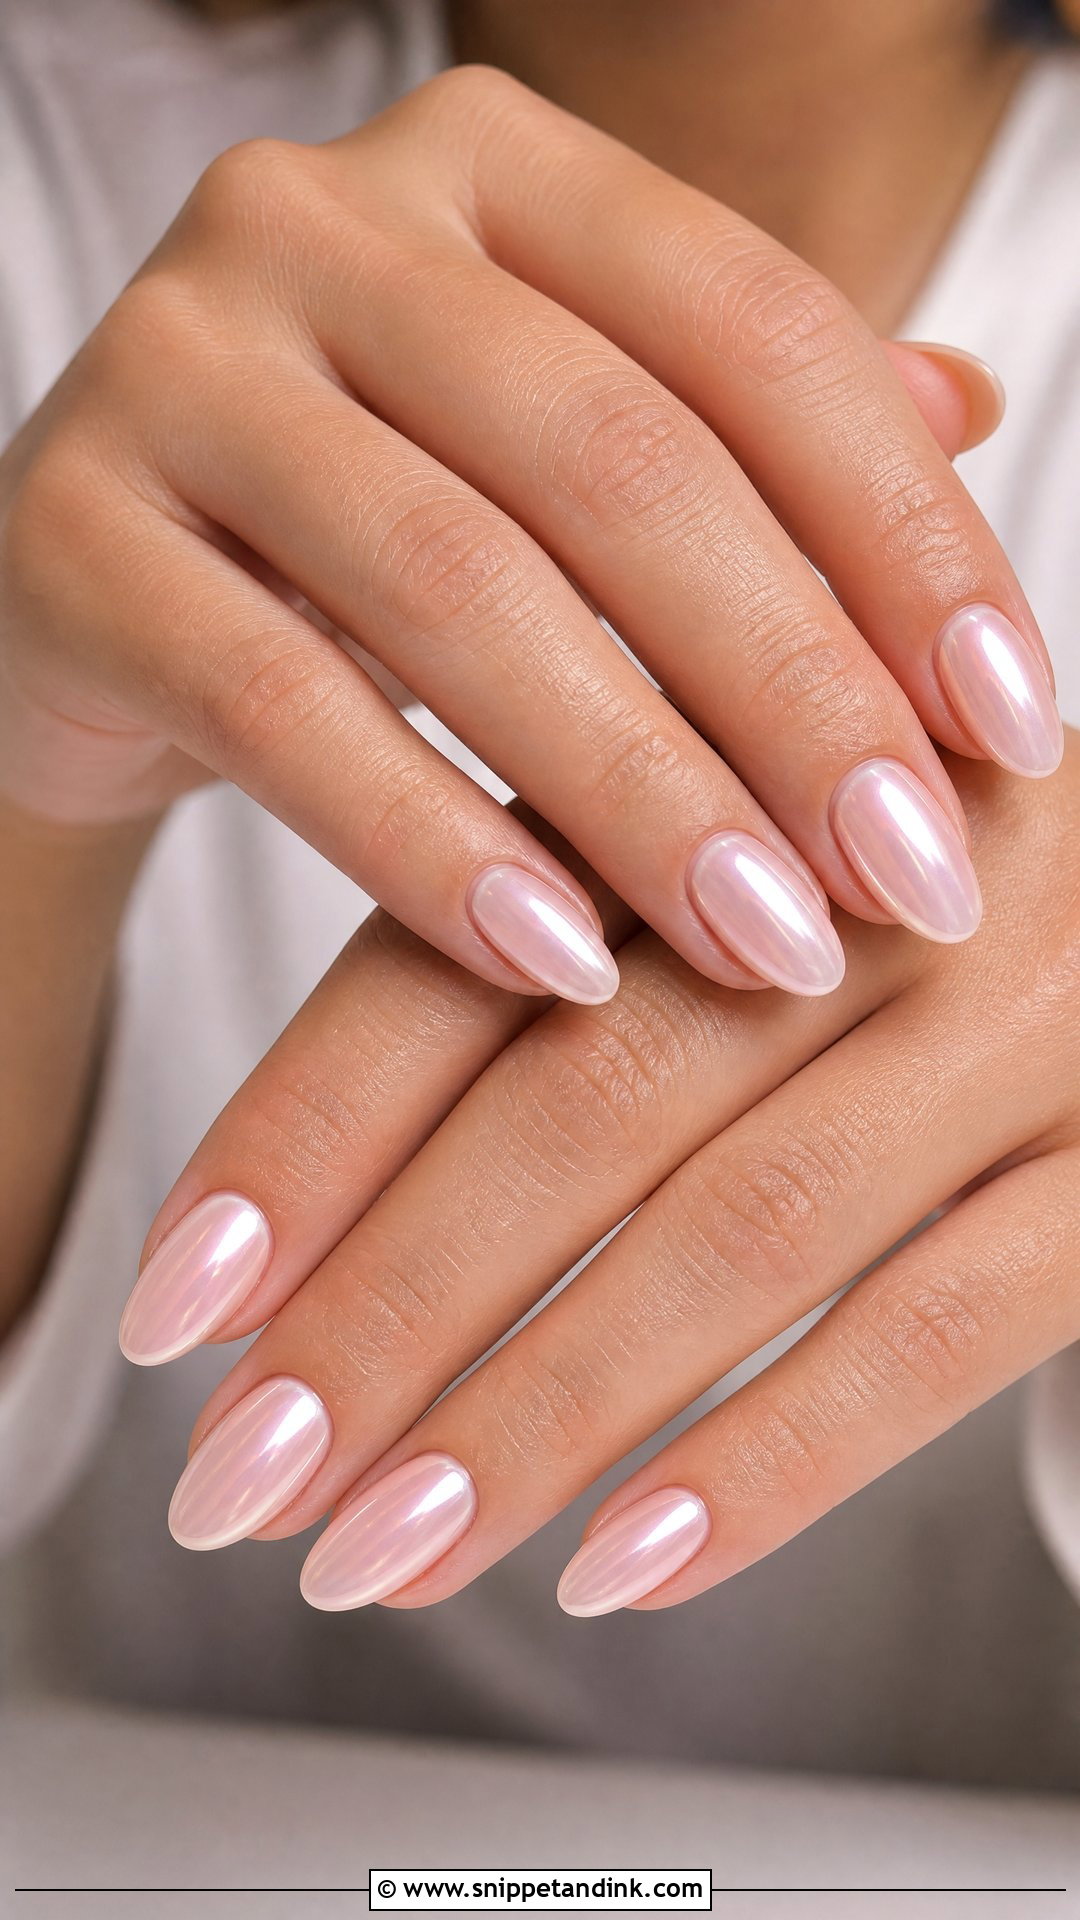
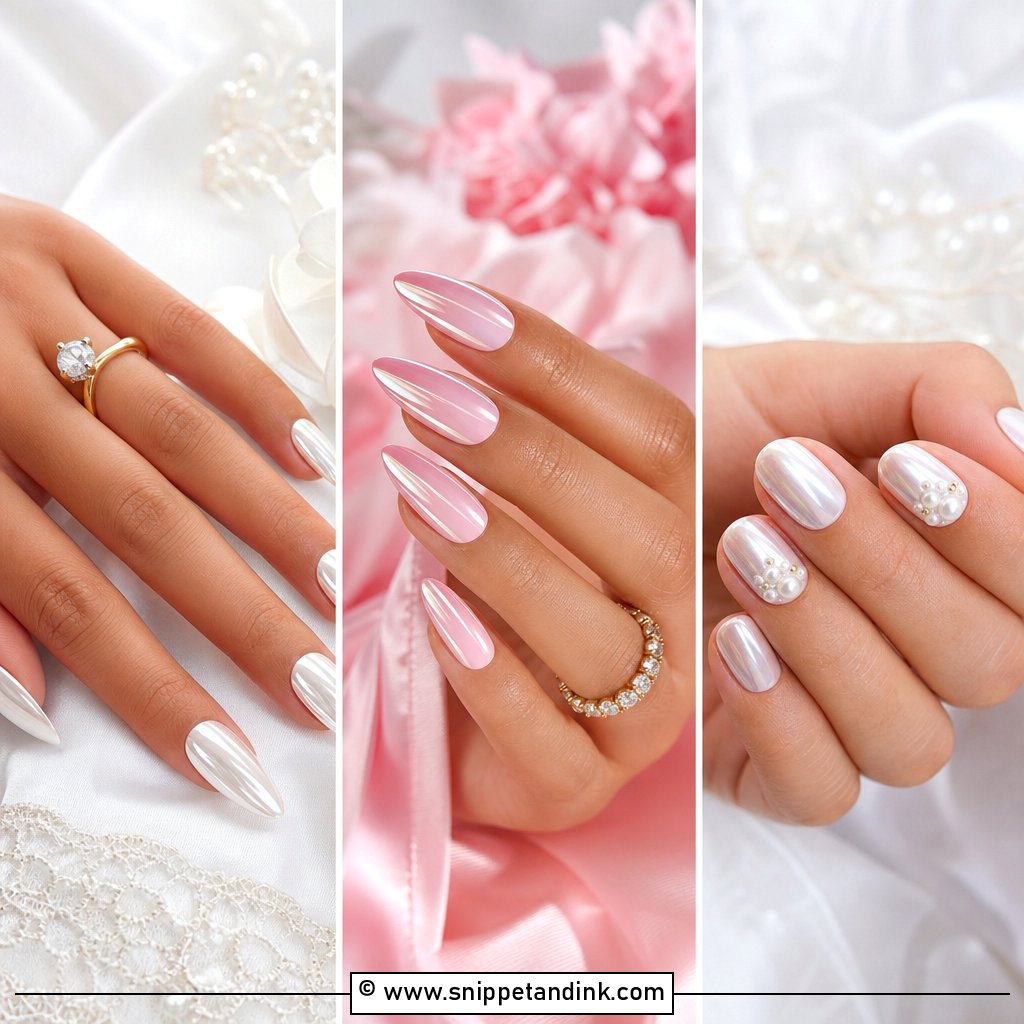
Pearl chrome gives shine without glitter. I paint a nude, pink, white or milky base, cure a no-wipe top coat, then buff the chrome powder in with a soft applicator until it glows evenly. Outdoor light makes it look smooth and luminous rather than metallic. Simple shapes like almond, oval or squoval let the finish do the work. Chrome shows every ridge in the nail, so the surface has to be filed and leveled first. A single tiny pearl near the cuticle on the ring finger is a nice detail, and nothing more is needed.
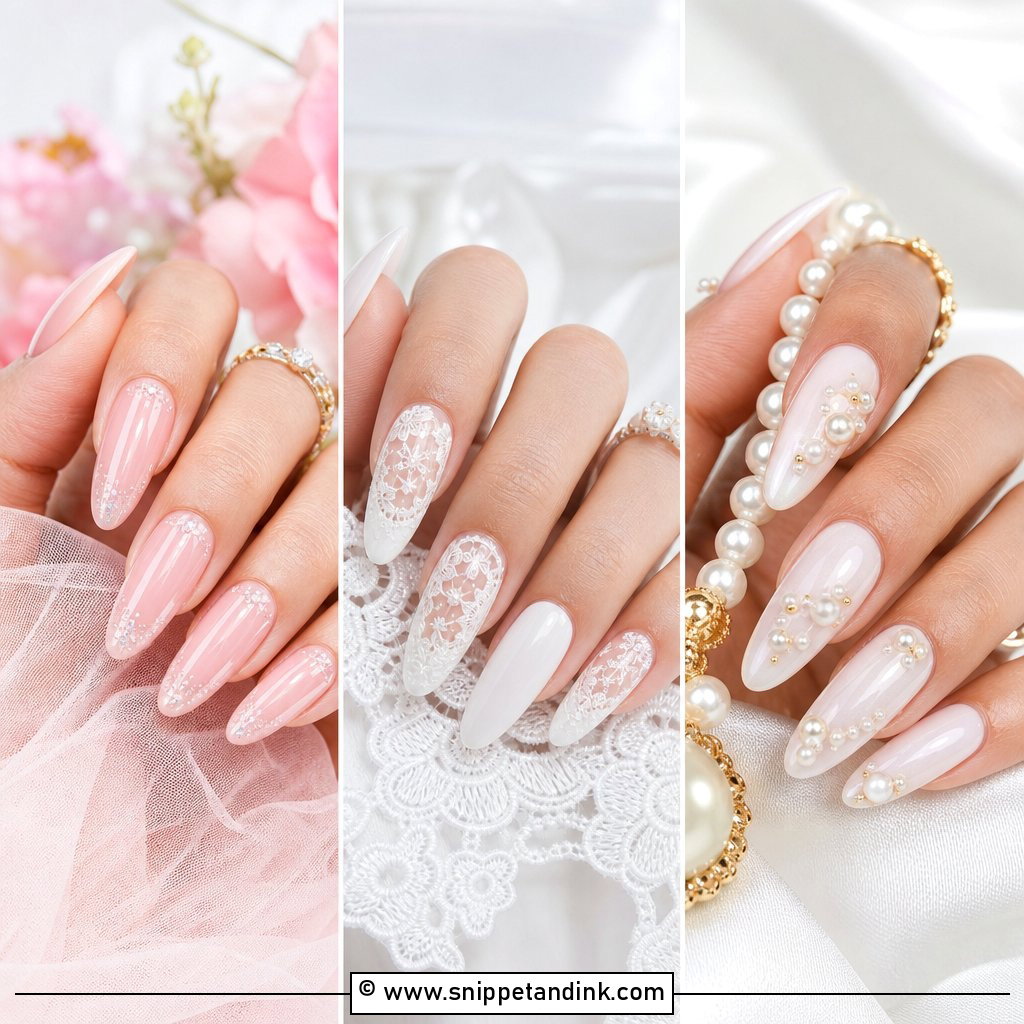
4. Nude Wedding Nails With Tiny Pearls
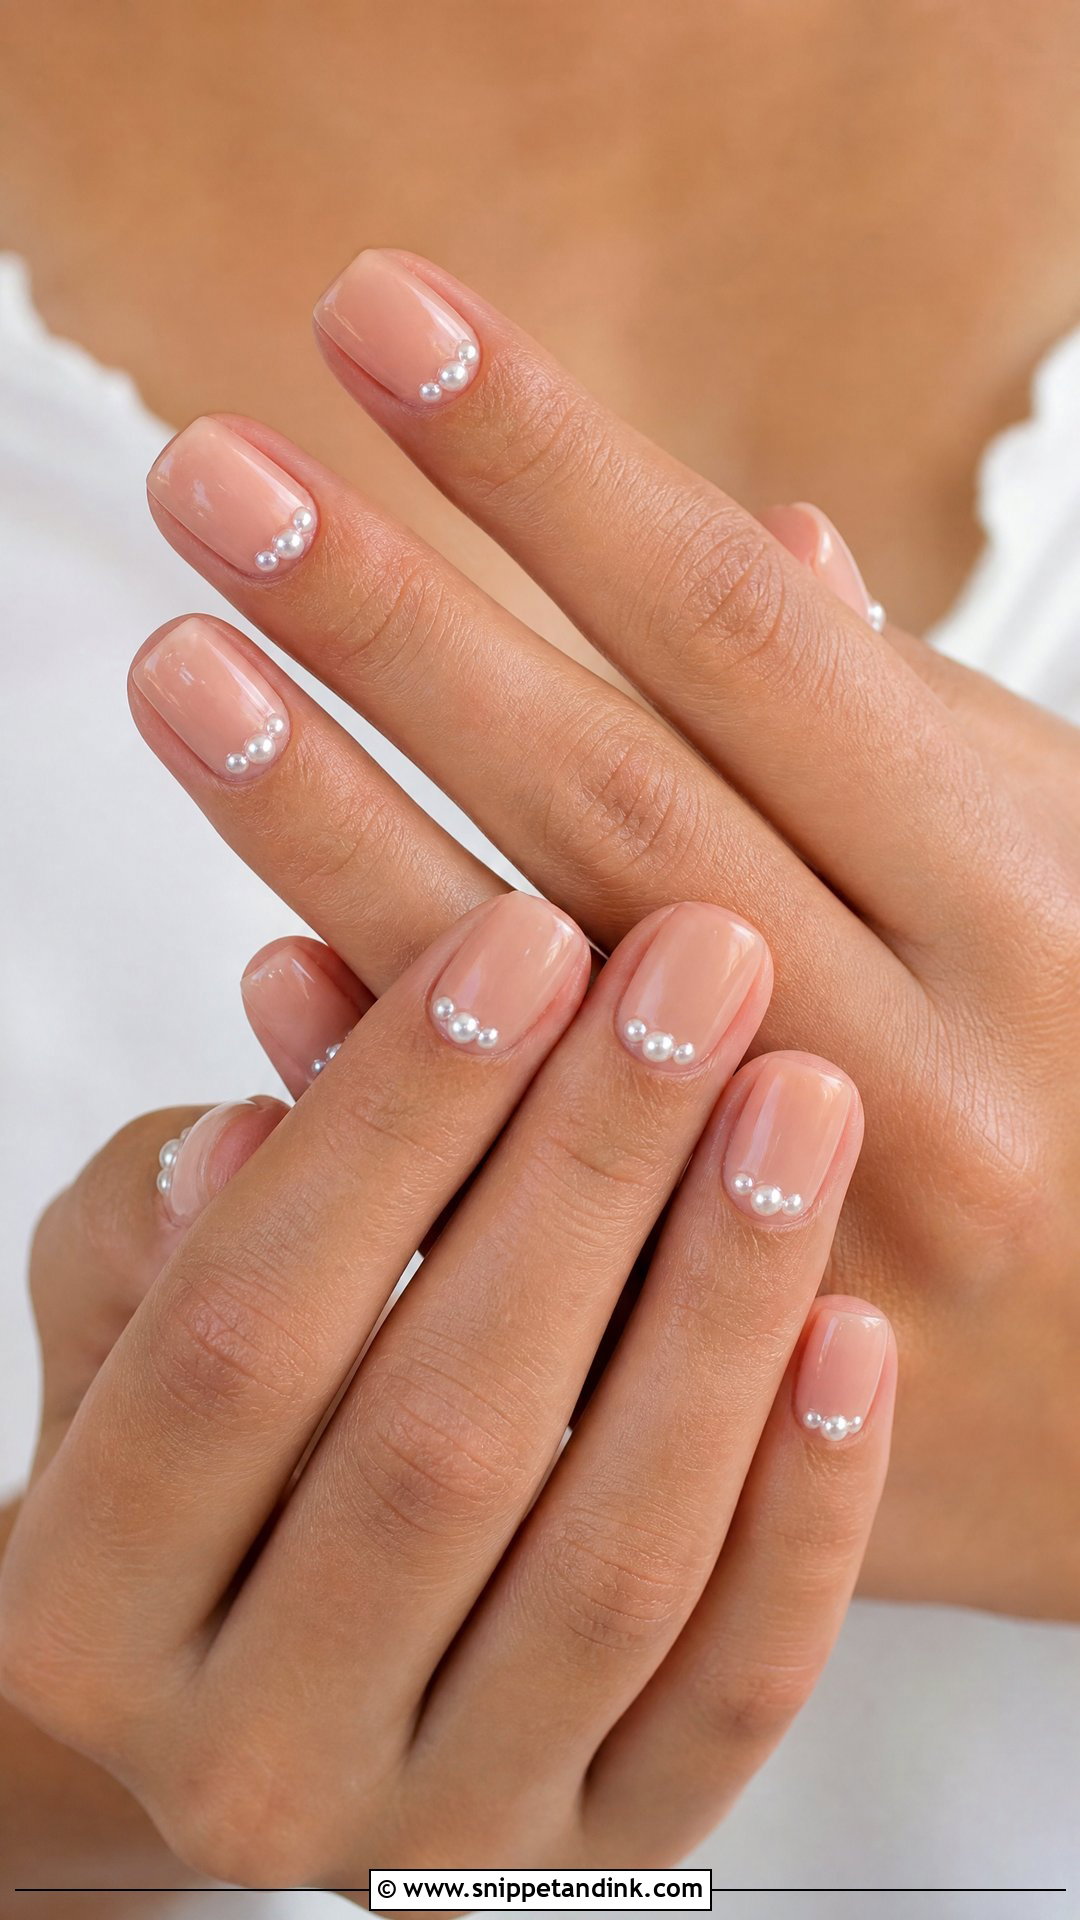
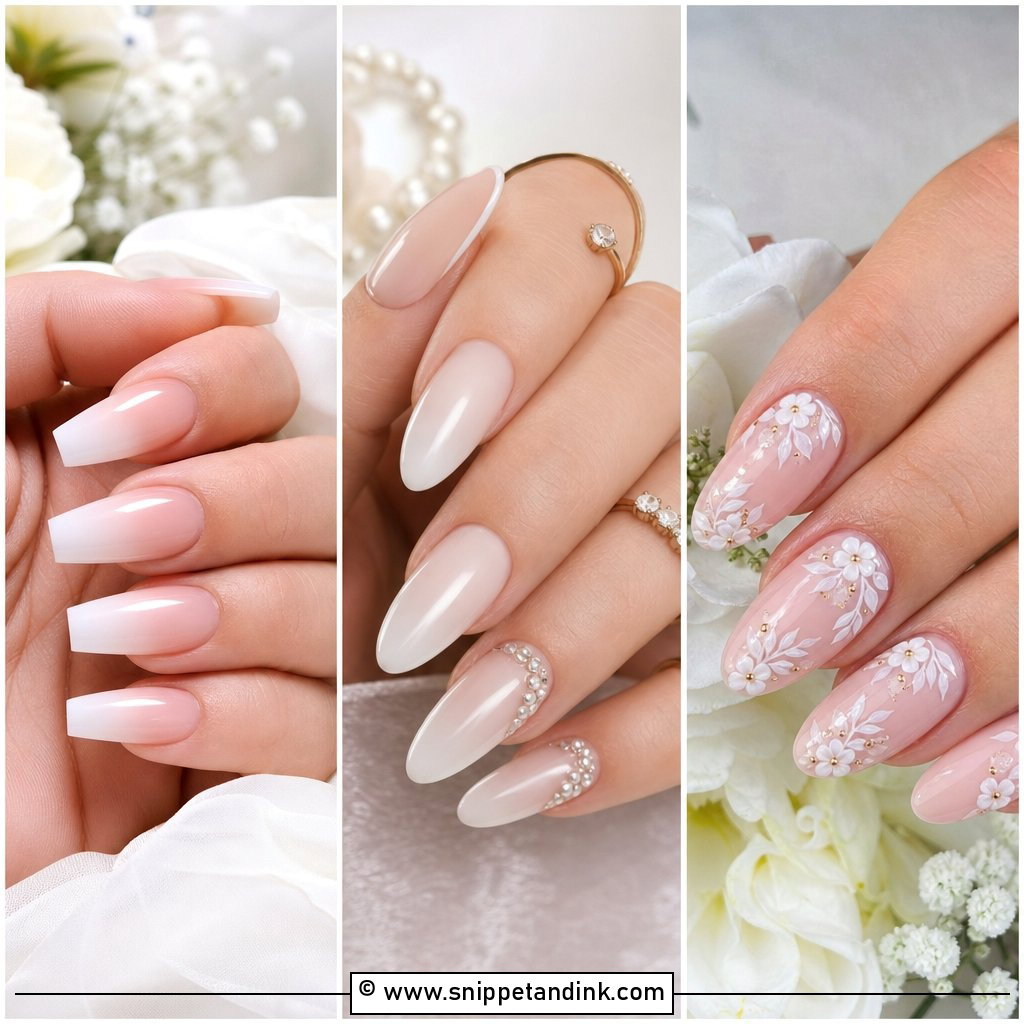
Restraint is the key with pearls. A nude close to your skin tone, then a few small pearls near the cuticle, along a French tip, or scattered on one or two accent nails. Too many make the set bulky and catch on hair, lace and tights. It’s dressy without competing with the bride, so bridesmaids like it too. I embed each pearl in a small bead of gel and cap it with top coat around the edges, which is what keeps it on through the reception.
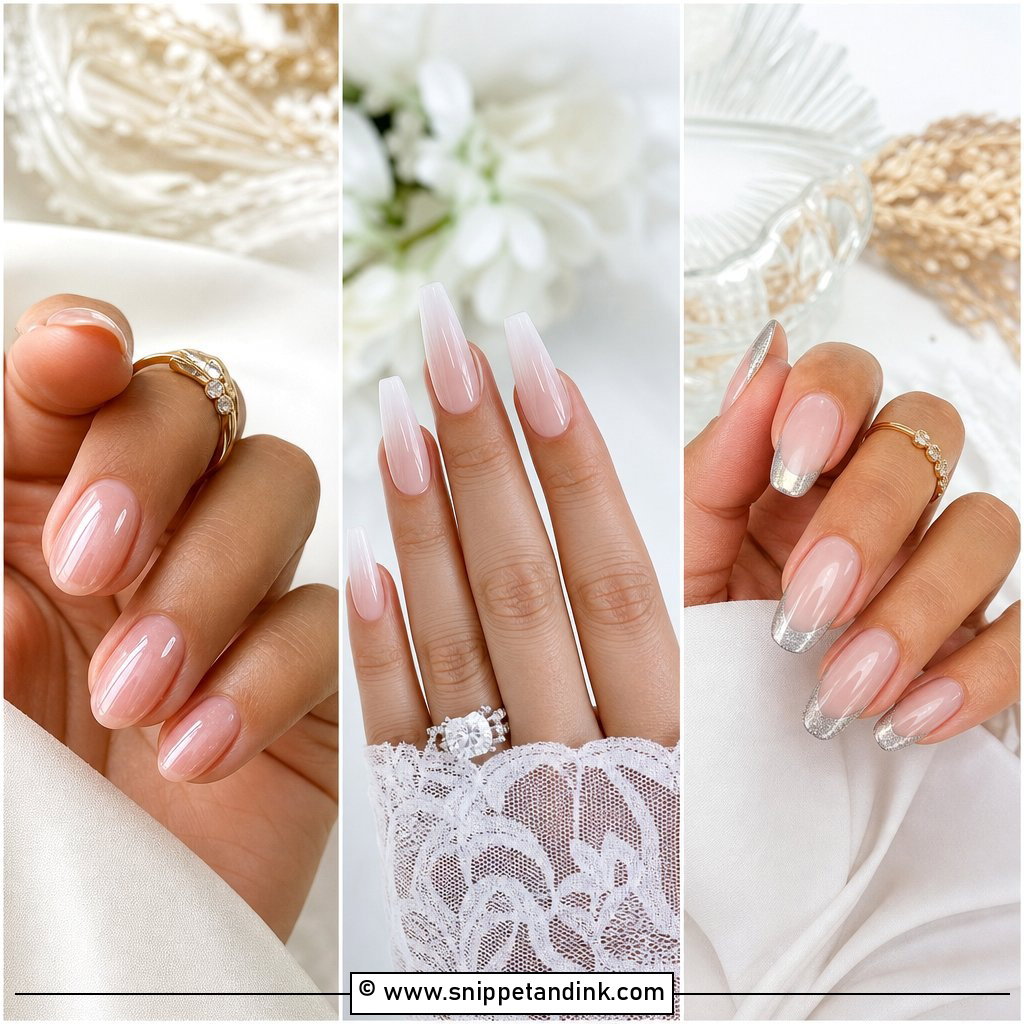
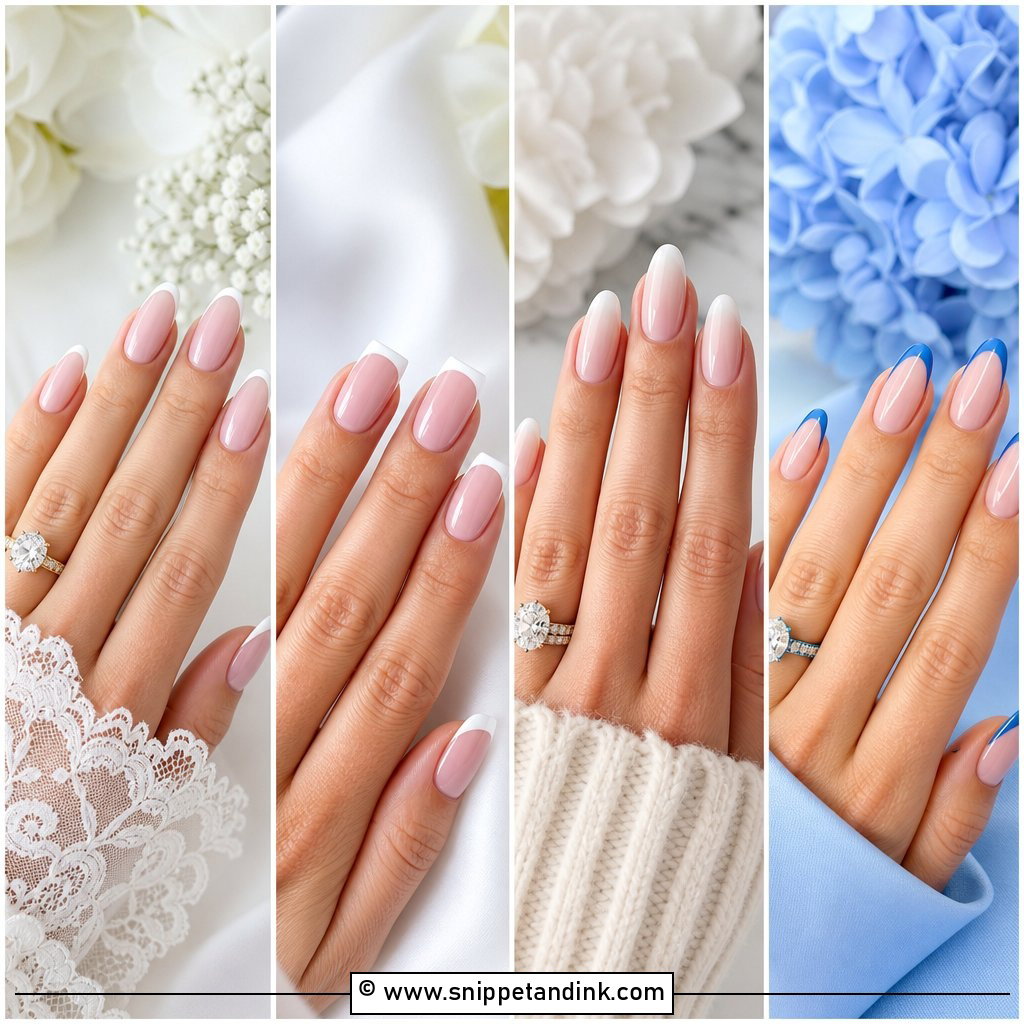
5. Baby Boomer Wedding Nails
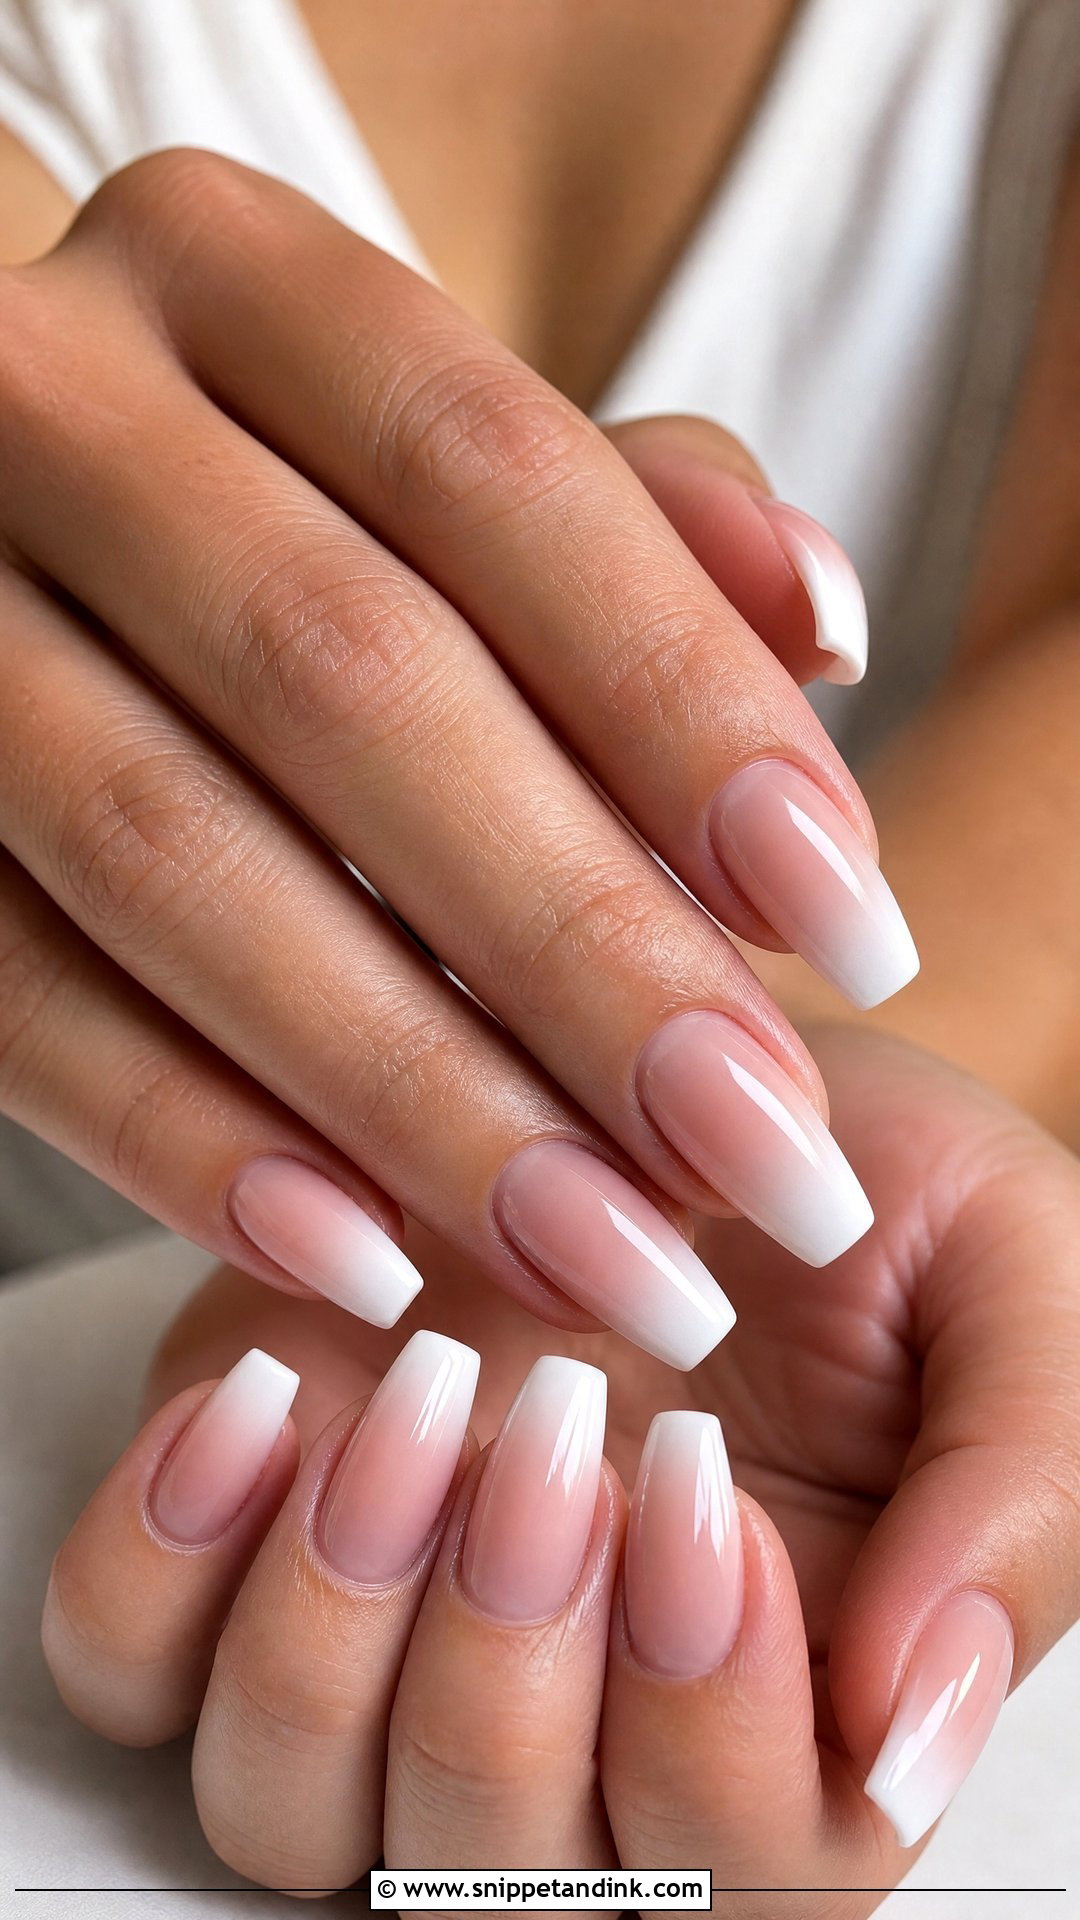
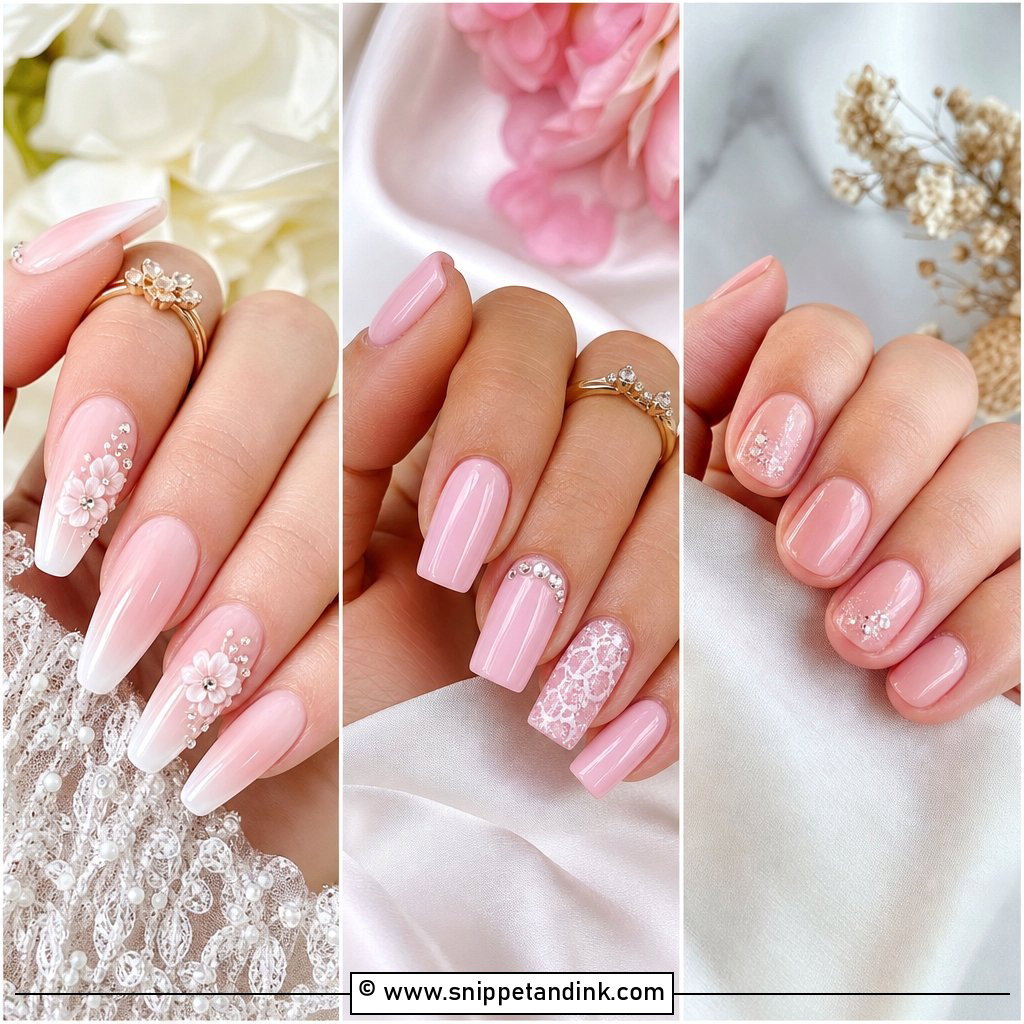
Baby boomer is a soft ombré French: sheer nude or pale pink fading into a diffused white tip, with no hard line. I blend it with a sponge or a gel brush, building the white gradually from the free edge. It elongates the nail and reads clean in photos. Short square, almond and coffin shapes all suit it. Because there’s no defined line at the base, regrowth is far less obvious, so it’s forgiving if your appointment has to be a few days early. A fine shimmer top coat or a single crystal on one accent nail adds a little bridal finish.
6. Blush Pink Wedding Nails
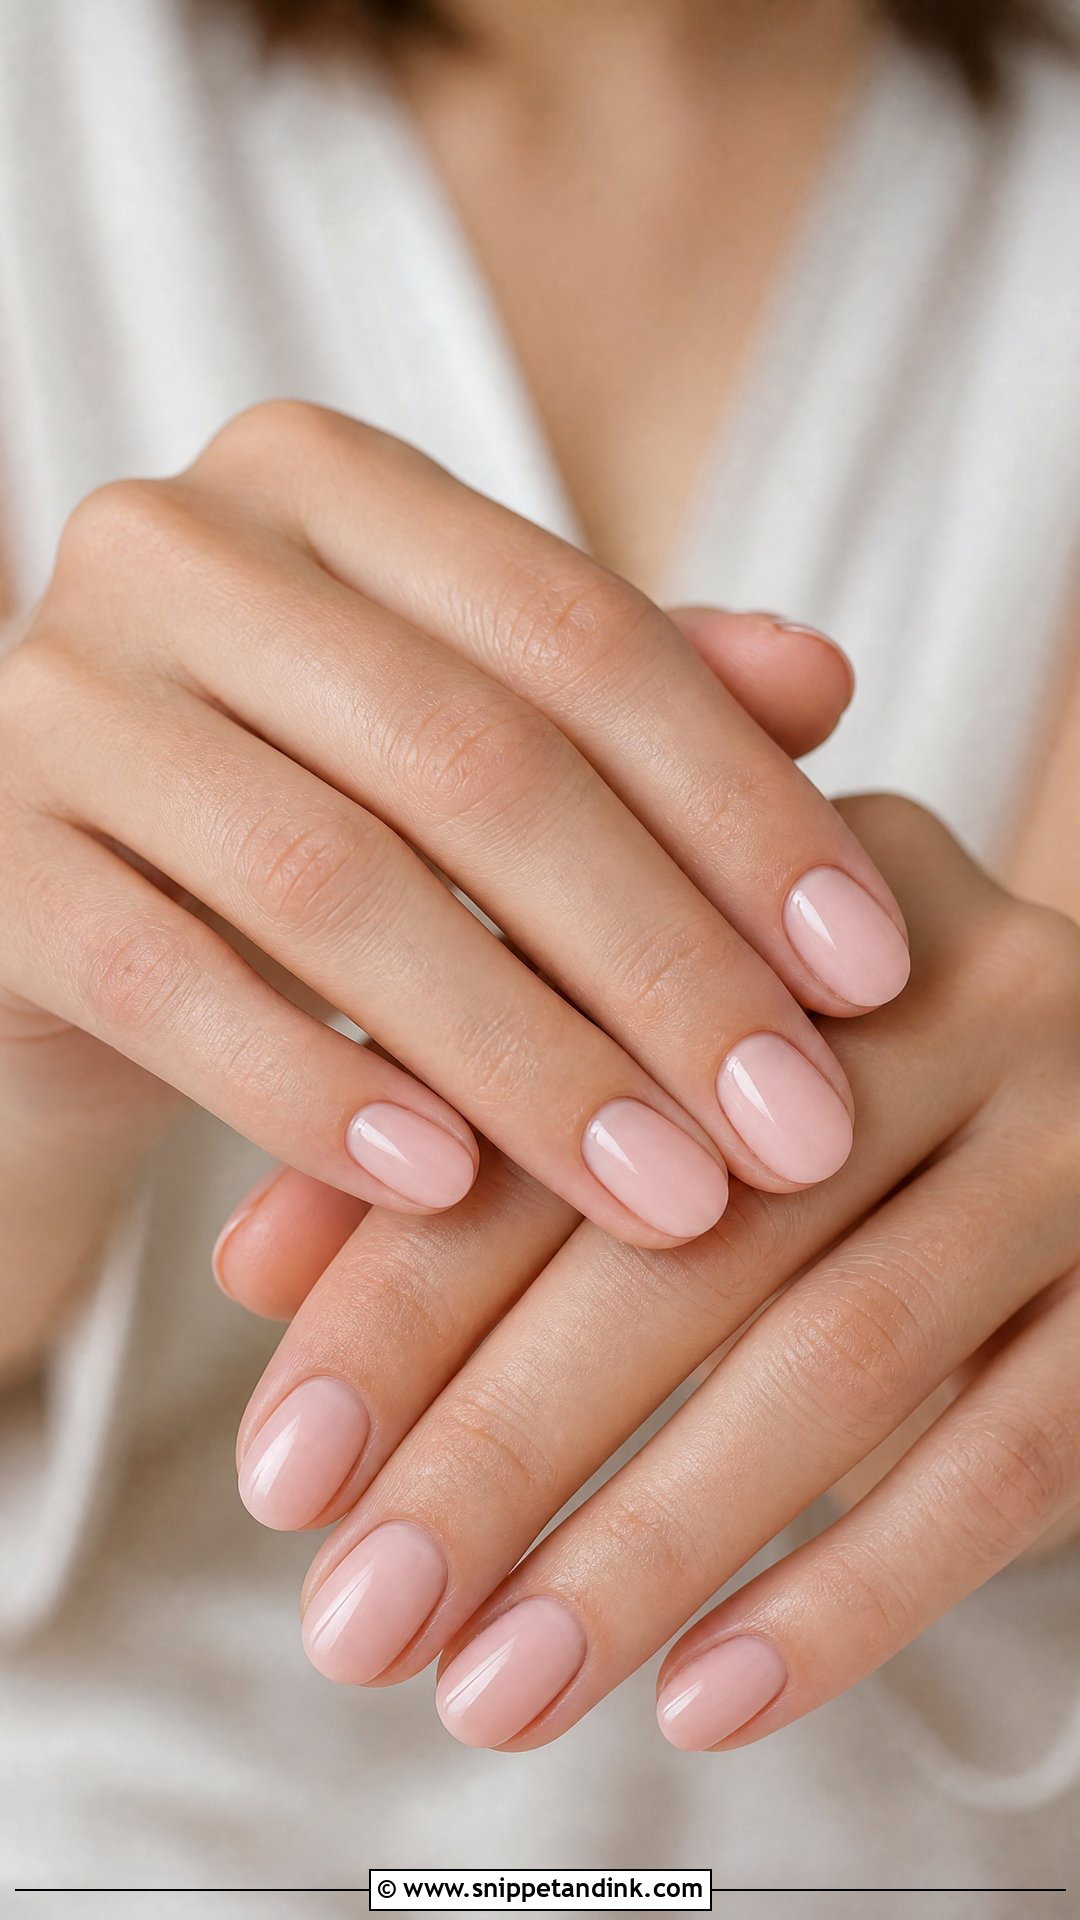
Blush pink suits almost every wedding role. It goes with ivory, champagne, pastel bridesmaid dresses and floral themes. A jelly pink stays sheer; a creamy blush gives more coverage. Short nails look neat in it, almond shapes make it feel more bridal. Not every pink suits every hand, though. If your skin has a lot of redness, a very cool, bluish pink can make knuckles look redder, and a slightly warmer blush is kinder. Finish glossy, or with a soft chrome glaze.
7. Short Square Wedding Nails
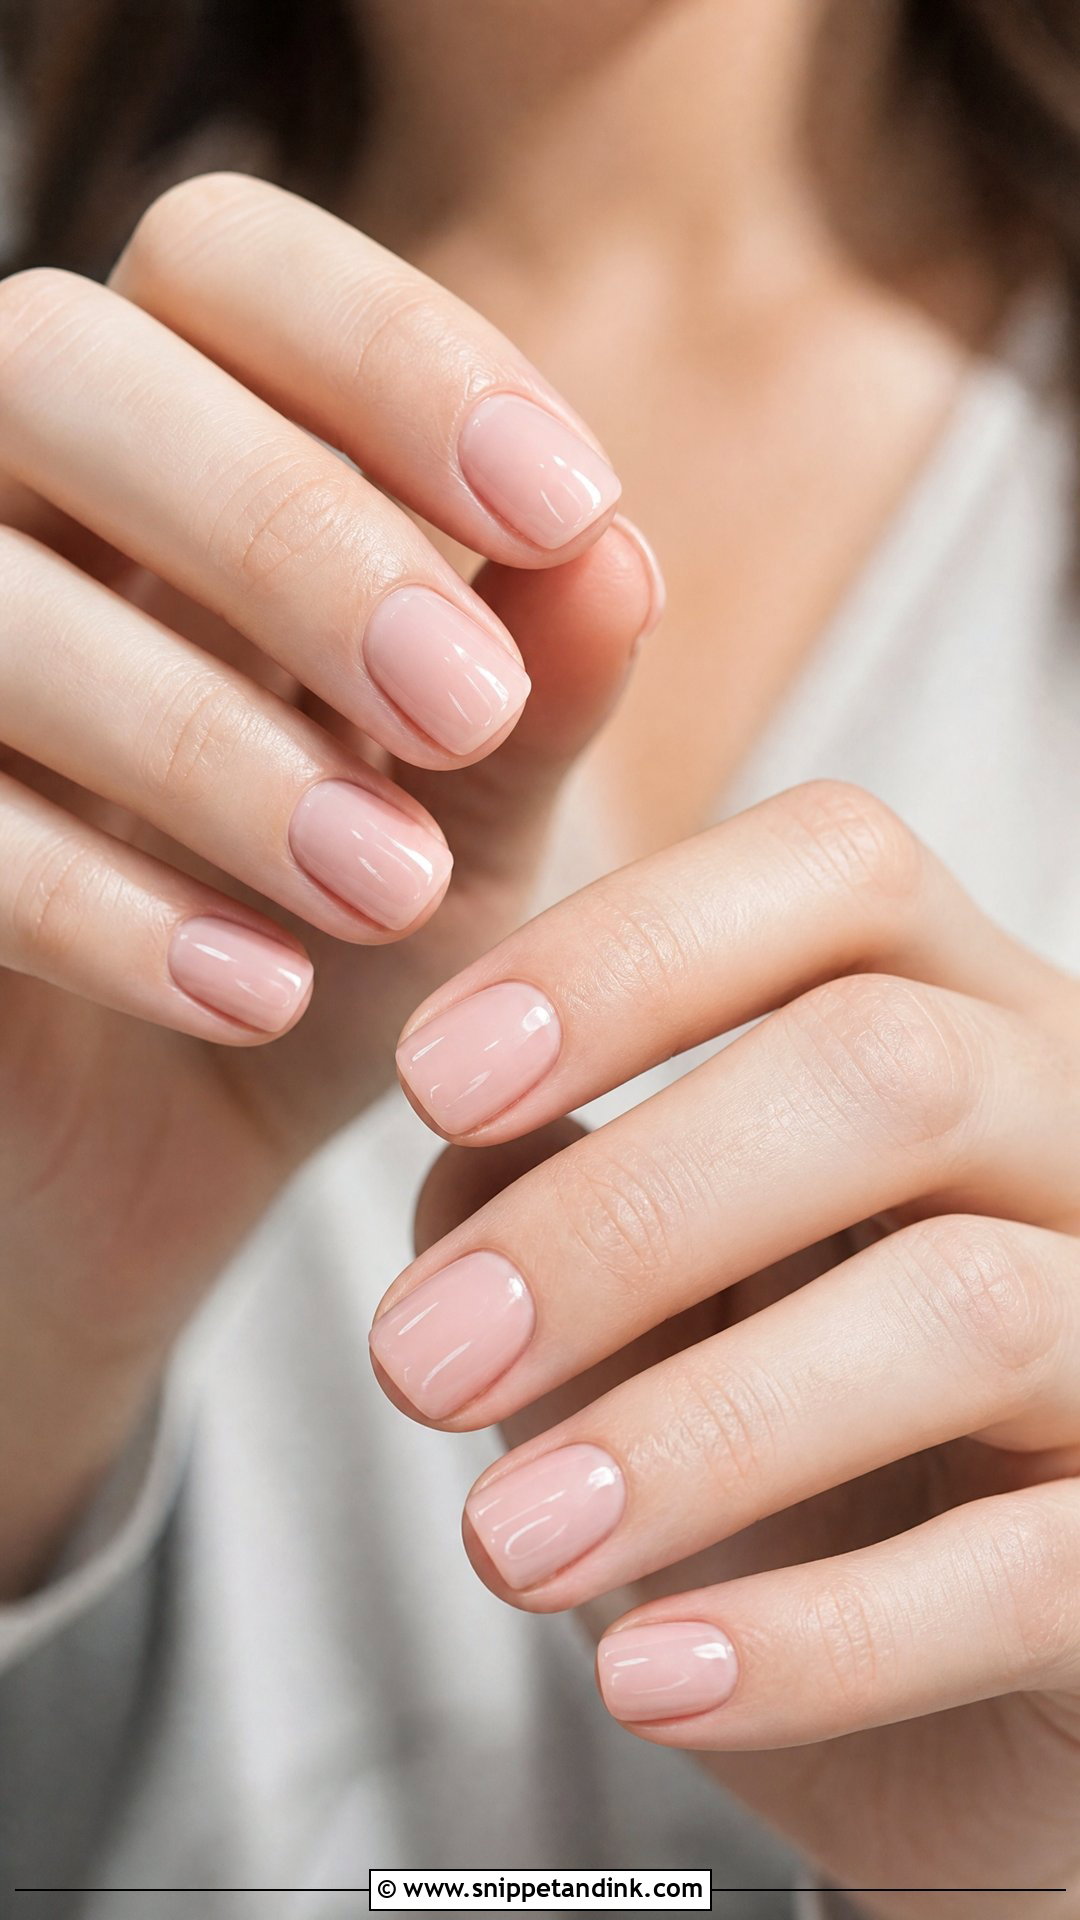
Short square nails are comfortable for holding a bouquet, dancing and travelling, and they look modern. Sheer pink, milky white, nude, micro French tips and tiny florals all suit the shape. I always soften the corners a little for a wedding, since sharp square corners snag on tulle and lace and can chip at the edges. A high-gloss top coat makes short nails look fresh at close range. Low maintenance, but still clearly done.
8. Almond Wedding Nails
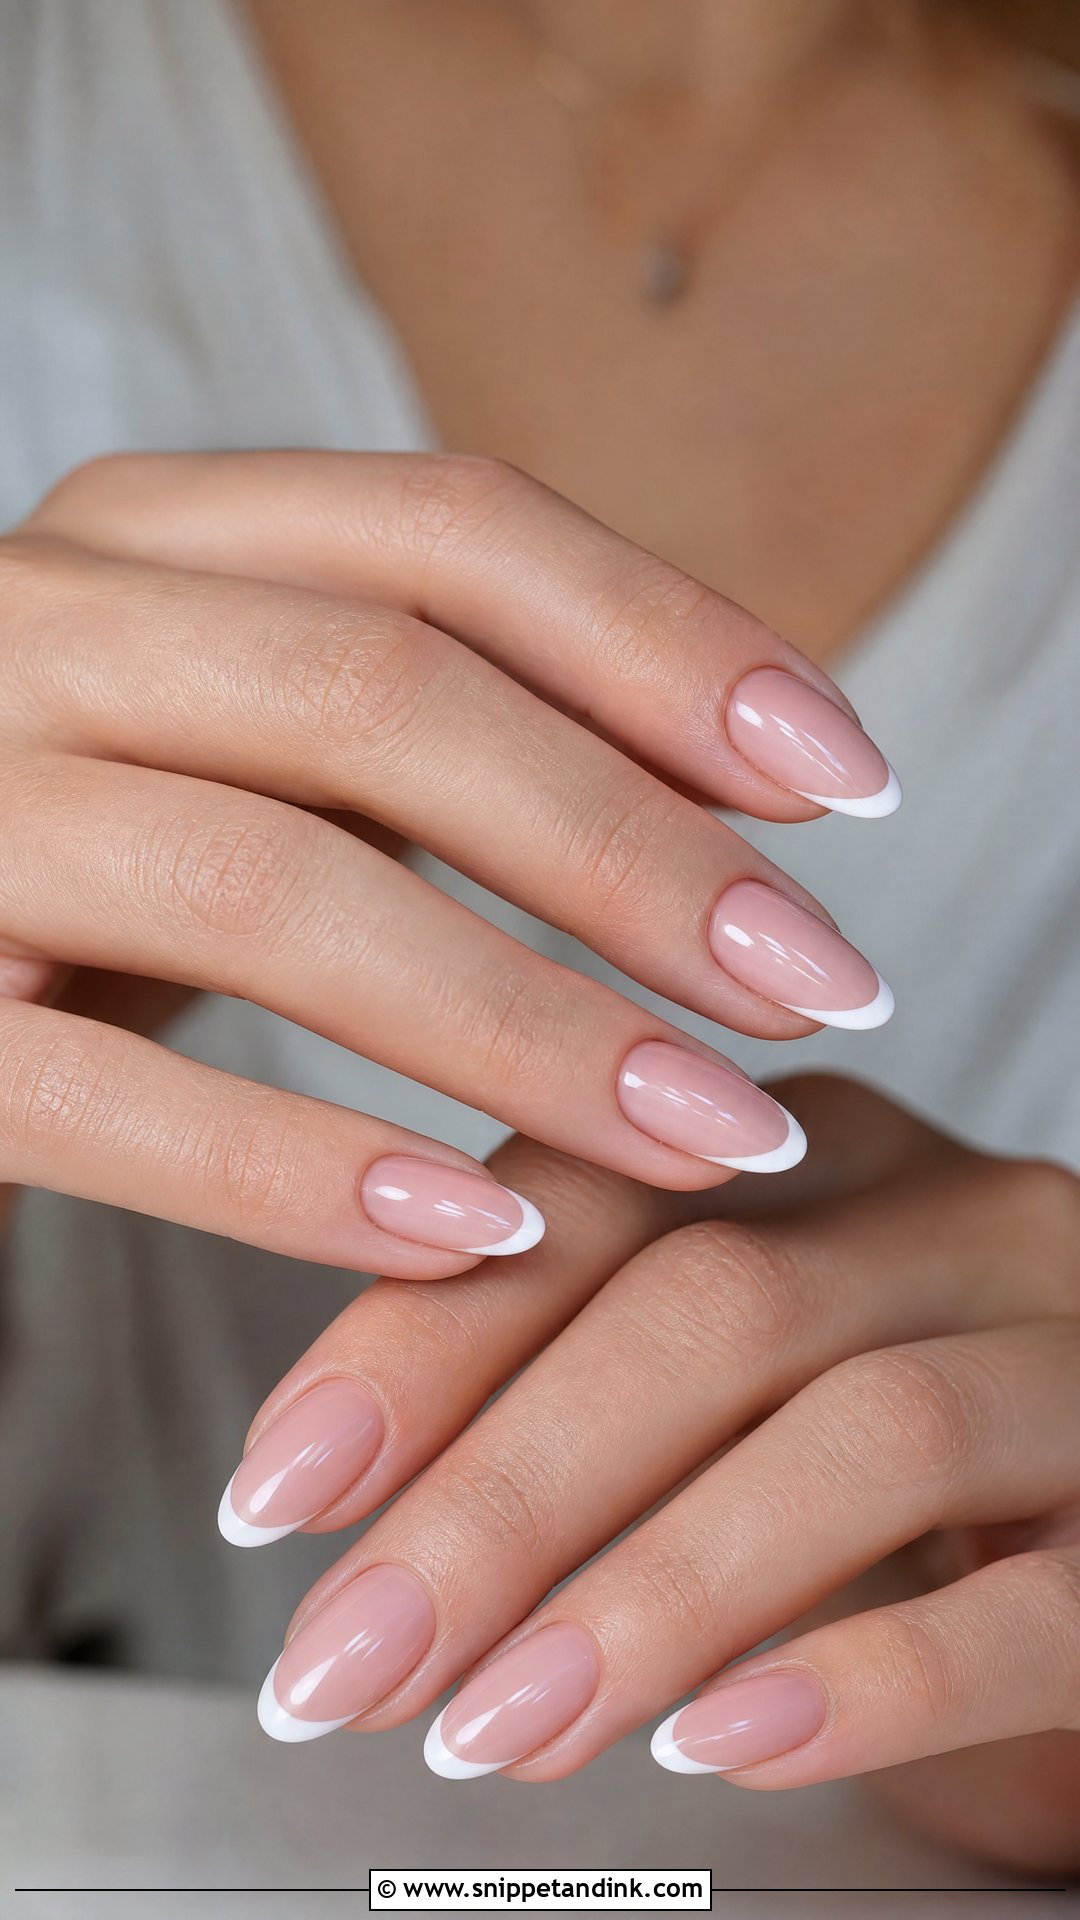
Almond makes the fingers look longer. The shape tapers softly without a sharp point, and nearly every cute wedding nail design suits it: French tips, pearl chrome, milky white, nude shimmer and florals. If your natural nails are short, soft gel extensions can create the length, but try them a few weeks before the wedding, not that week. People who’ve never worn length find typing, earrings and contact lenses awkward for the first few days. A sheer pink base with fine white tips is the most romantic version; a glazed pearl finish is the more current one.
9. Oval Wedding Nails
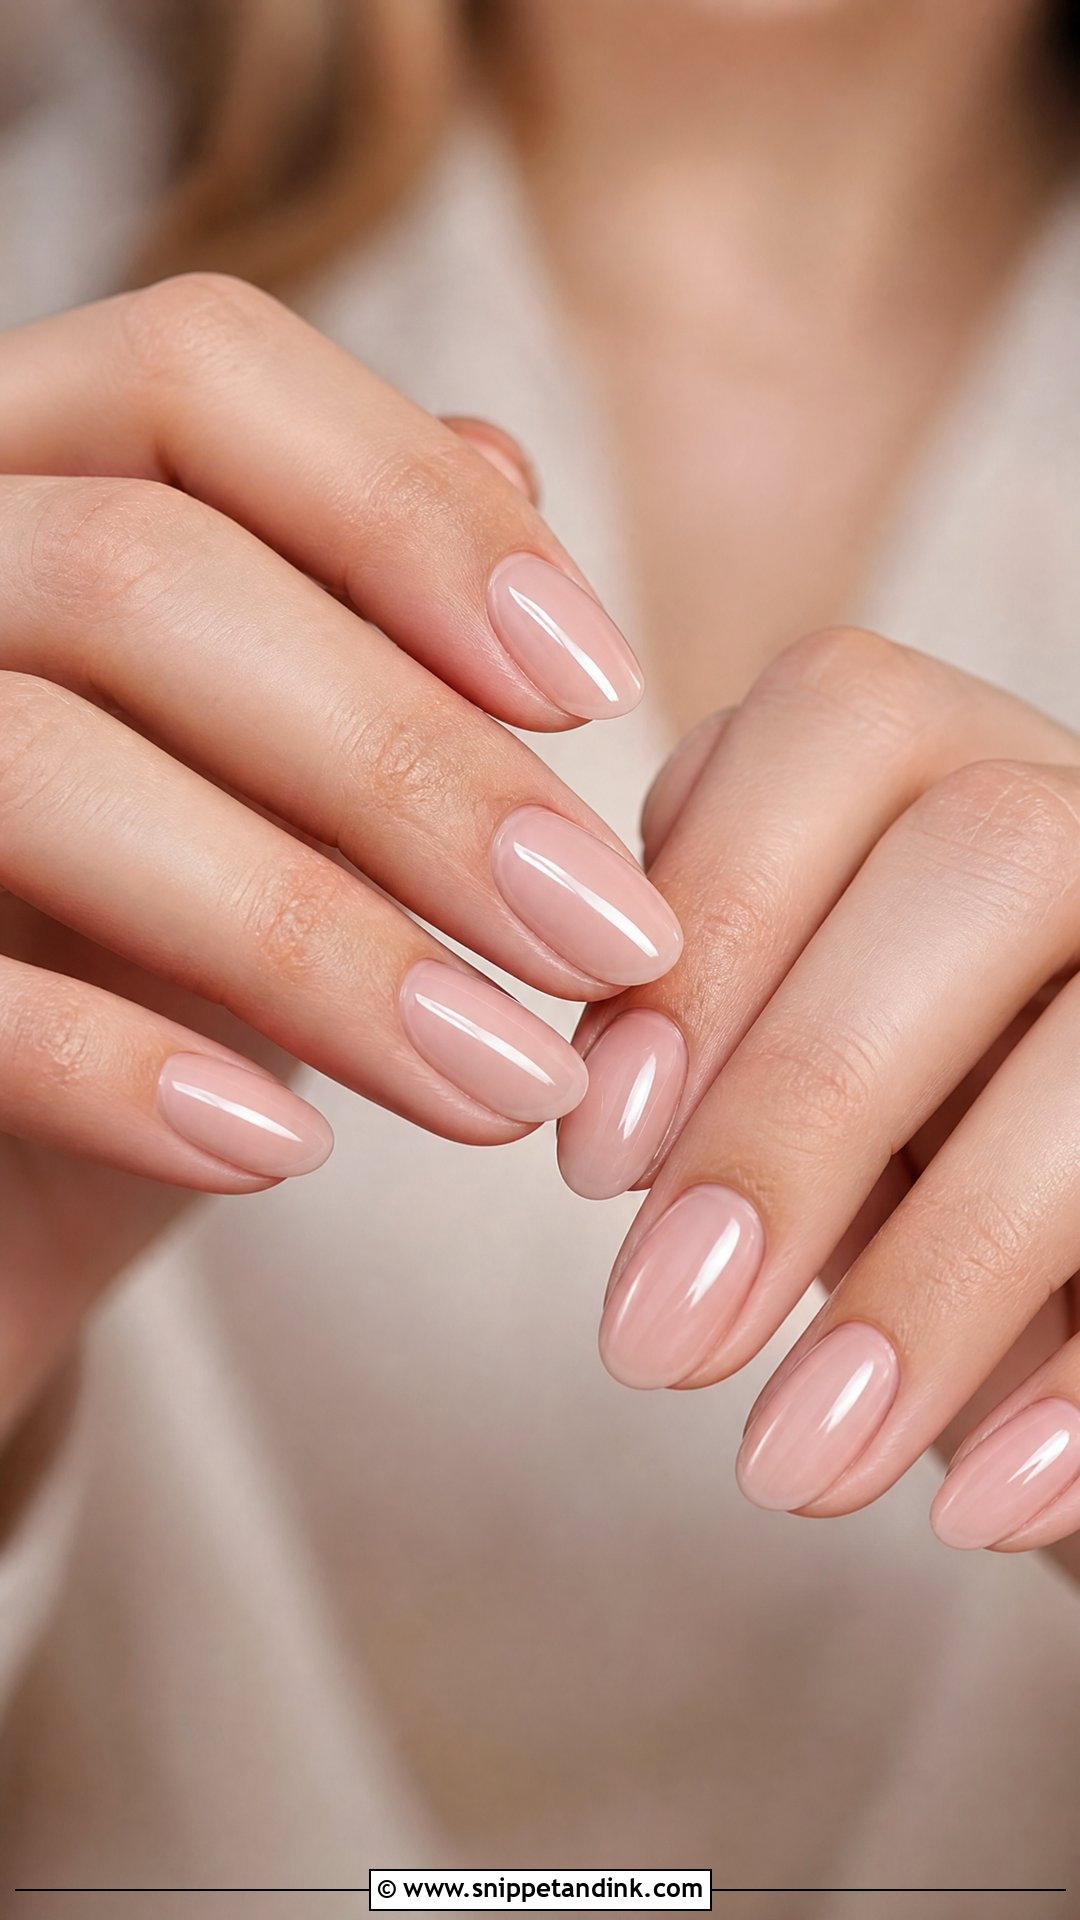
Oval is the easy, natural shape. The rounded edge makes fingers look graceful on both short and medium lengths, and it’s the strongest shape for people who use their hands a lot, because there are no corners to break. Sheer nude, soft pink, milky white or a delicate French tip all suit it, as do tiny flowers, pearls or one shimmer accent. Classic brides and guests who want polish without drama tend to settle on it.
10. Coffin Wedding Nails
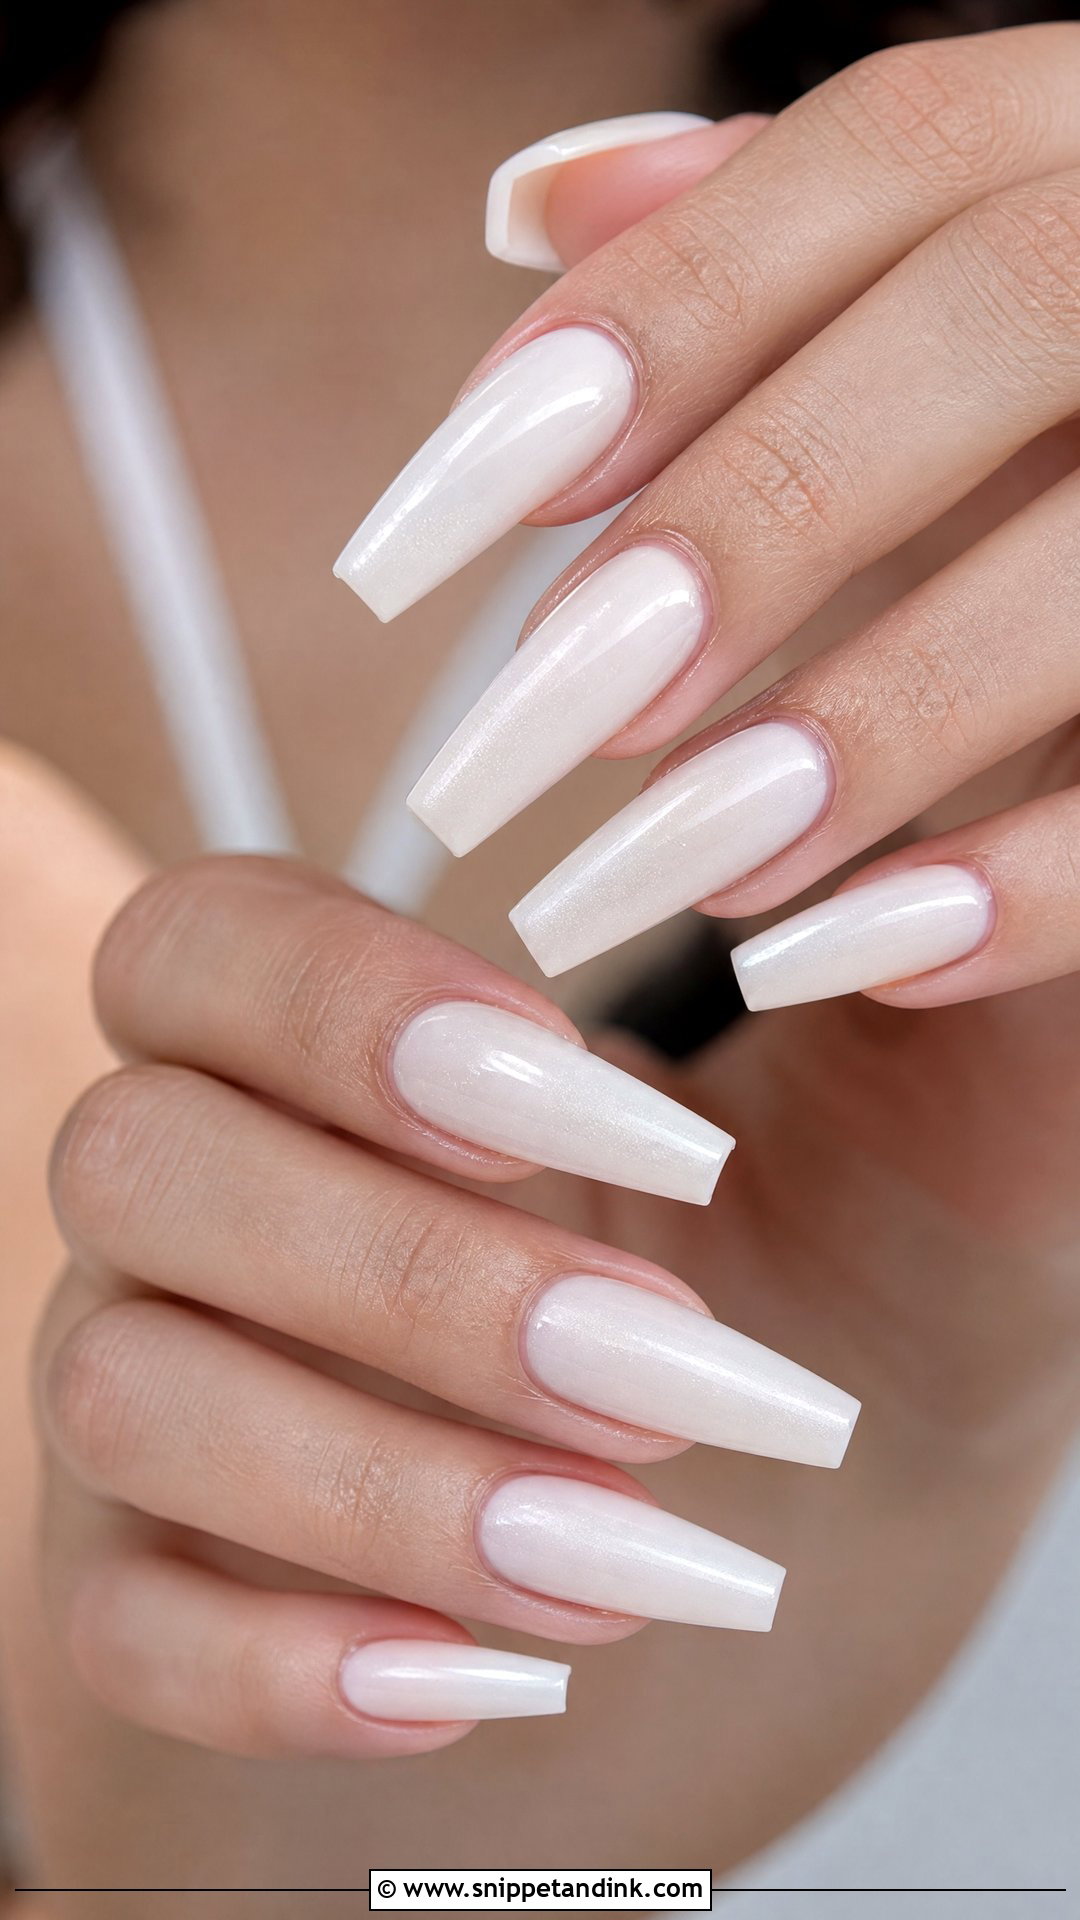
Coffin nails taper at the sides and end in a squared-off tip, which gives a structured, slightly glamorous look. Keep the colors soft (milky white, blush, nude ombré, pearl chrome or a delicate French tip) and they still read cute. The longer surface gives room for small crystals, pearls or fine line art on one or two nails. The tip is wide and flat, which means it takes knocks; I’d keep coffin nails to medium length for a wedding unless you already wear them long. They pair well with modern dresses and statement accessories.
11. Nude Chrome Wedding Nails
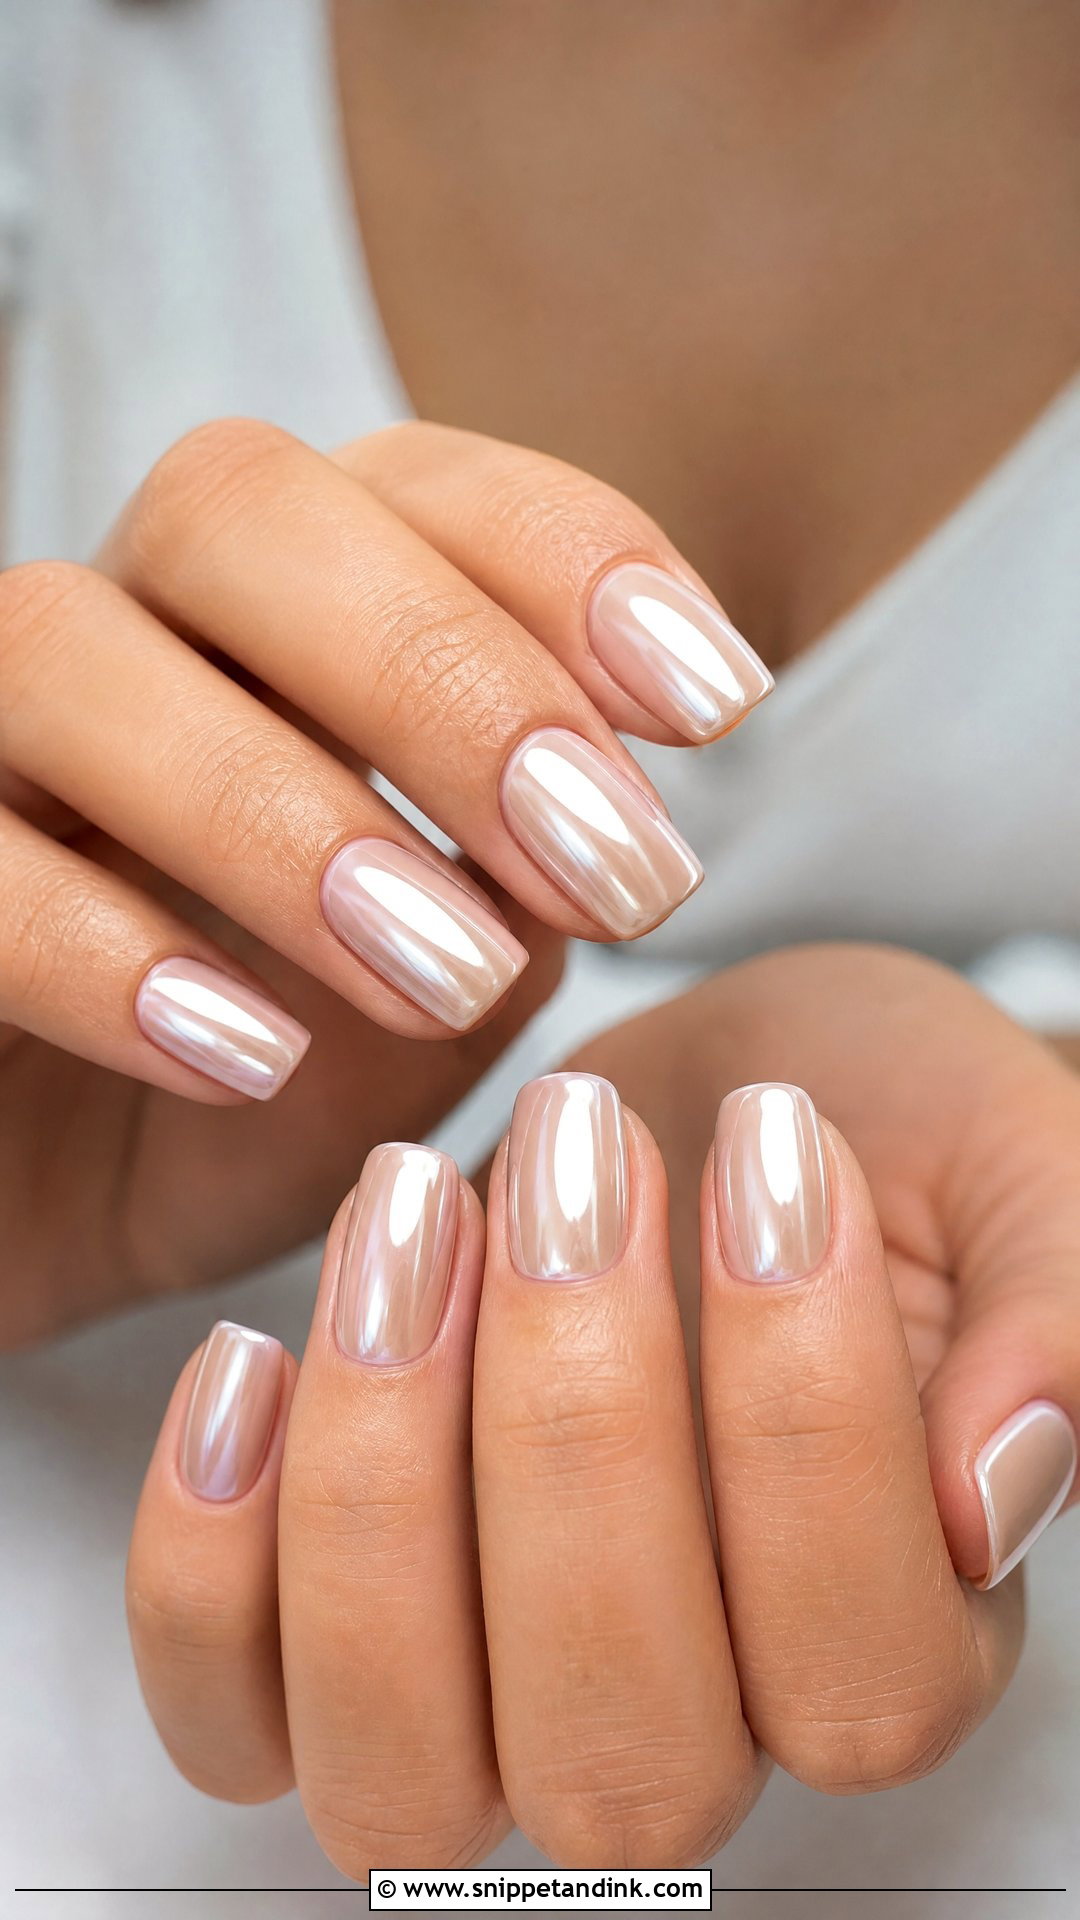
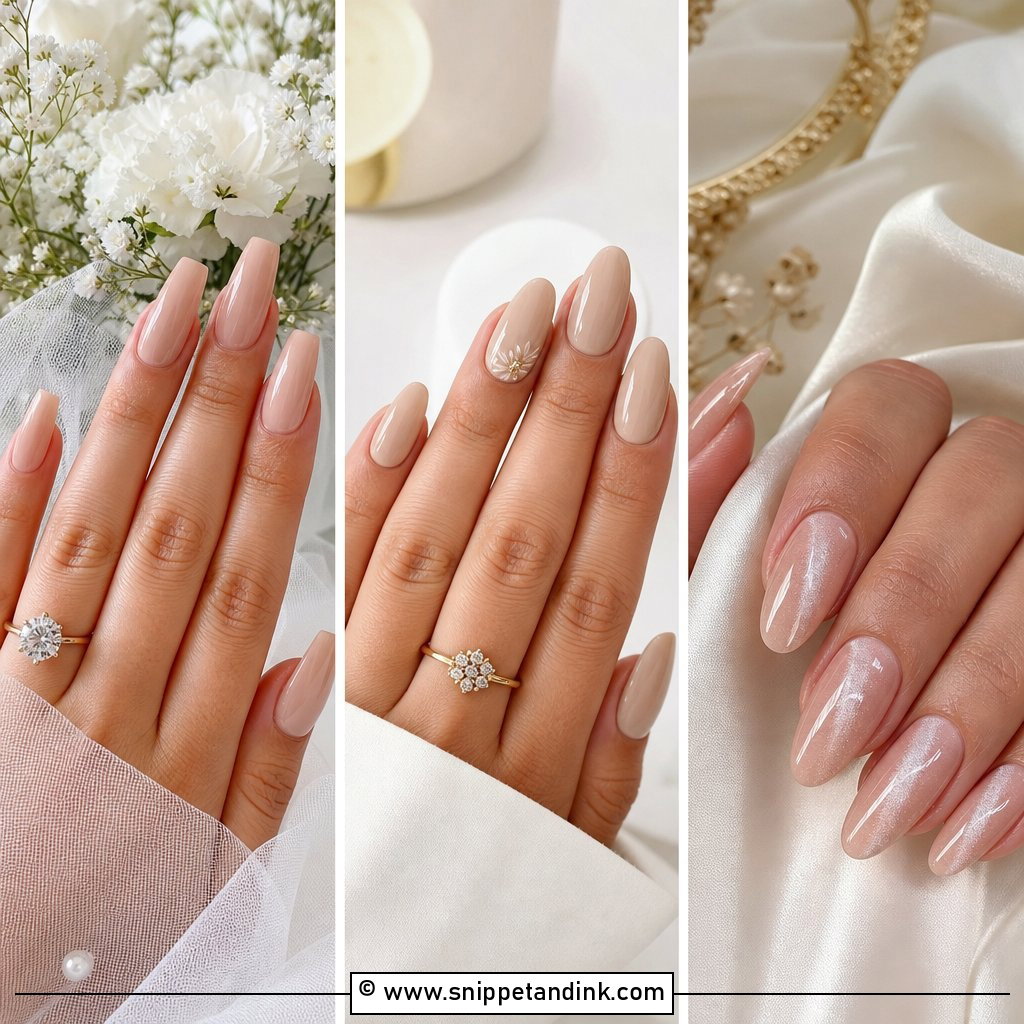
A neutral manicure with a modern glow starts with the right base. I match the nude to the skin: beige, soft tan, sheer pink nude or warm caramel. A thin chrome layer then adds a glassy finish that looks clean under bright venue lights. Short squoval, medium almond and longer coffin shapes all work. Keep the chrome soft and pearly rather than mirror-like; mirror chrome reflects the camera flash in close-ups and can look grey.
12. White Floral Wedding Nails
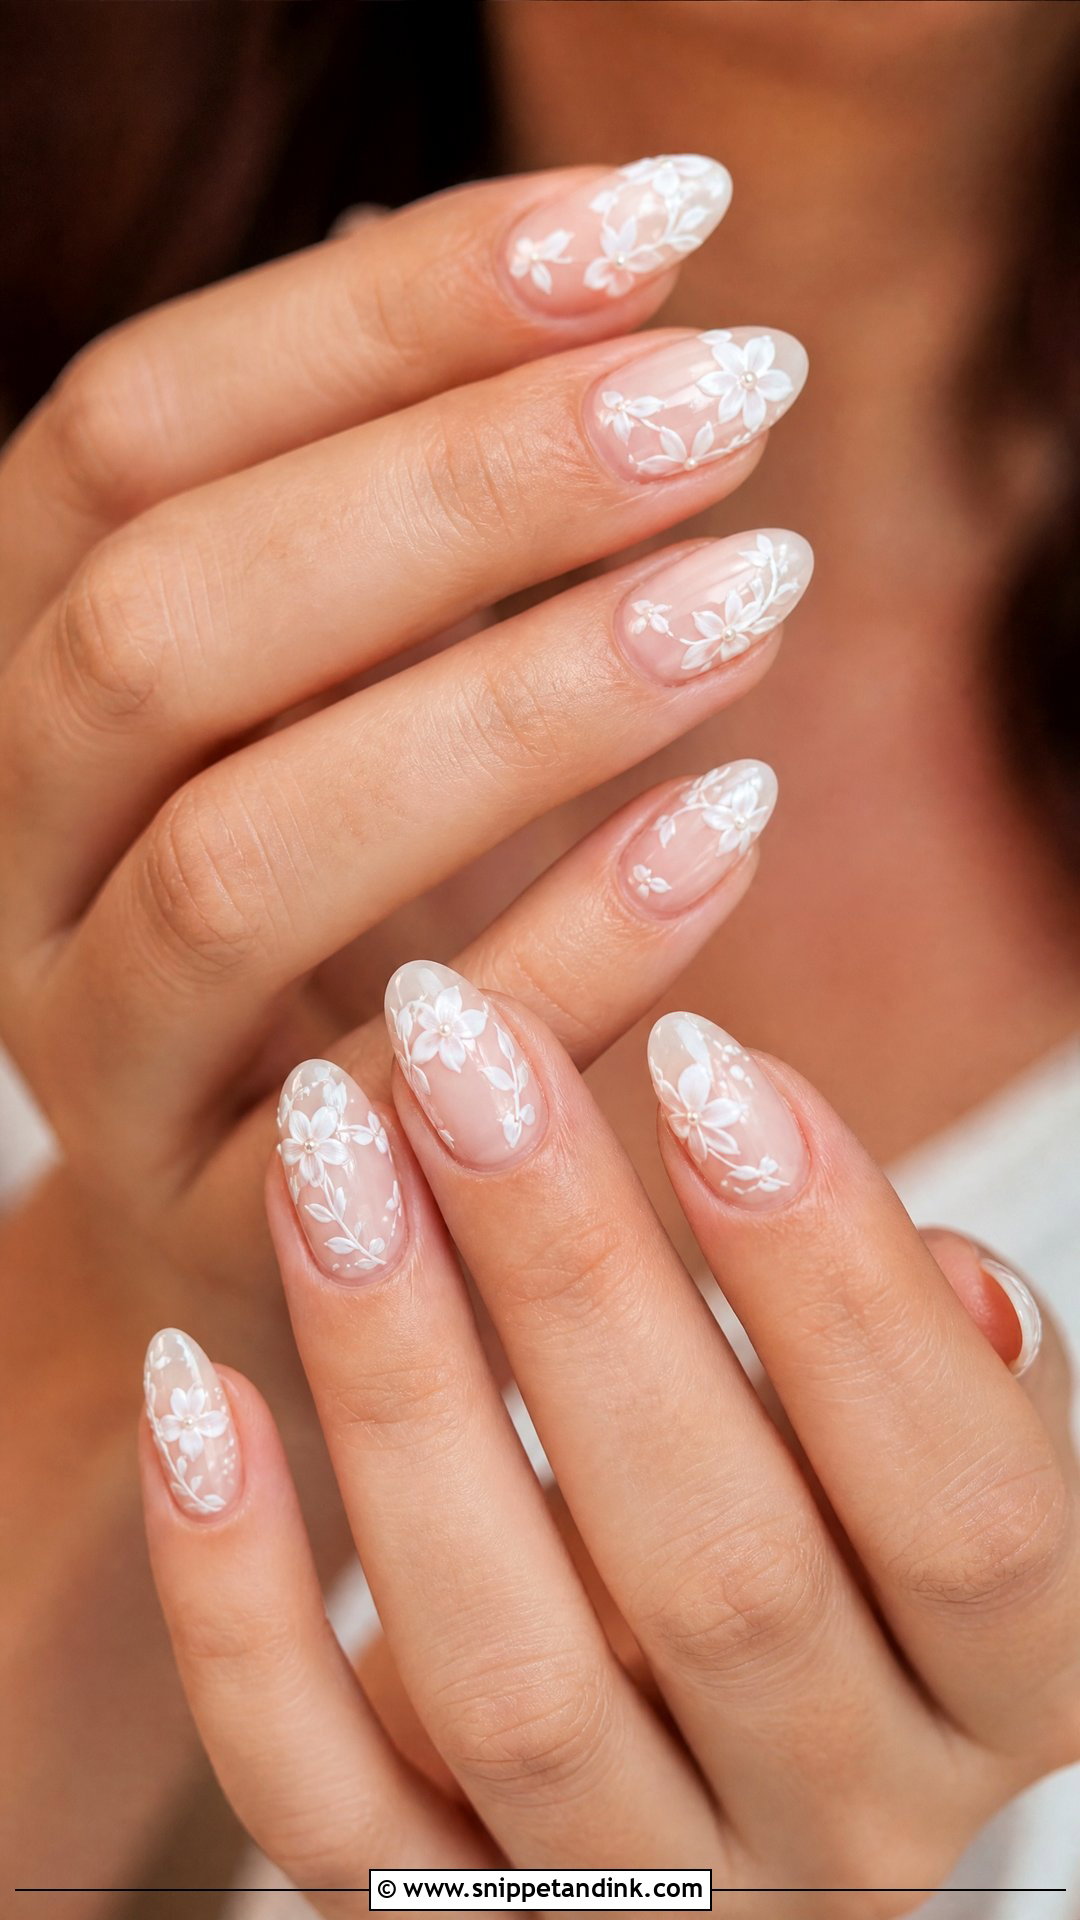
Tiny white flowers on a nude, pink or milky base bring a garden detail to a manicure. Keep the petals small and spaced so the set doesn’t look busy, and limit them to a few accent nails. Spring and summer weddings, outdoor ceremonies and dresses with lace or embroidery suit them. I paint each petal with a fine liner brush in two strokes and add a dot of pearl or gold at the centre for depth. Oval and almond shapes echo the round petals best.
13. Lace Wedding Nails
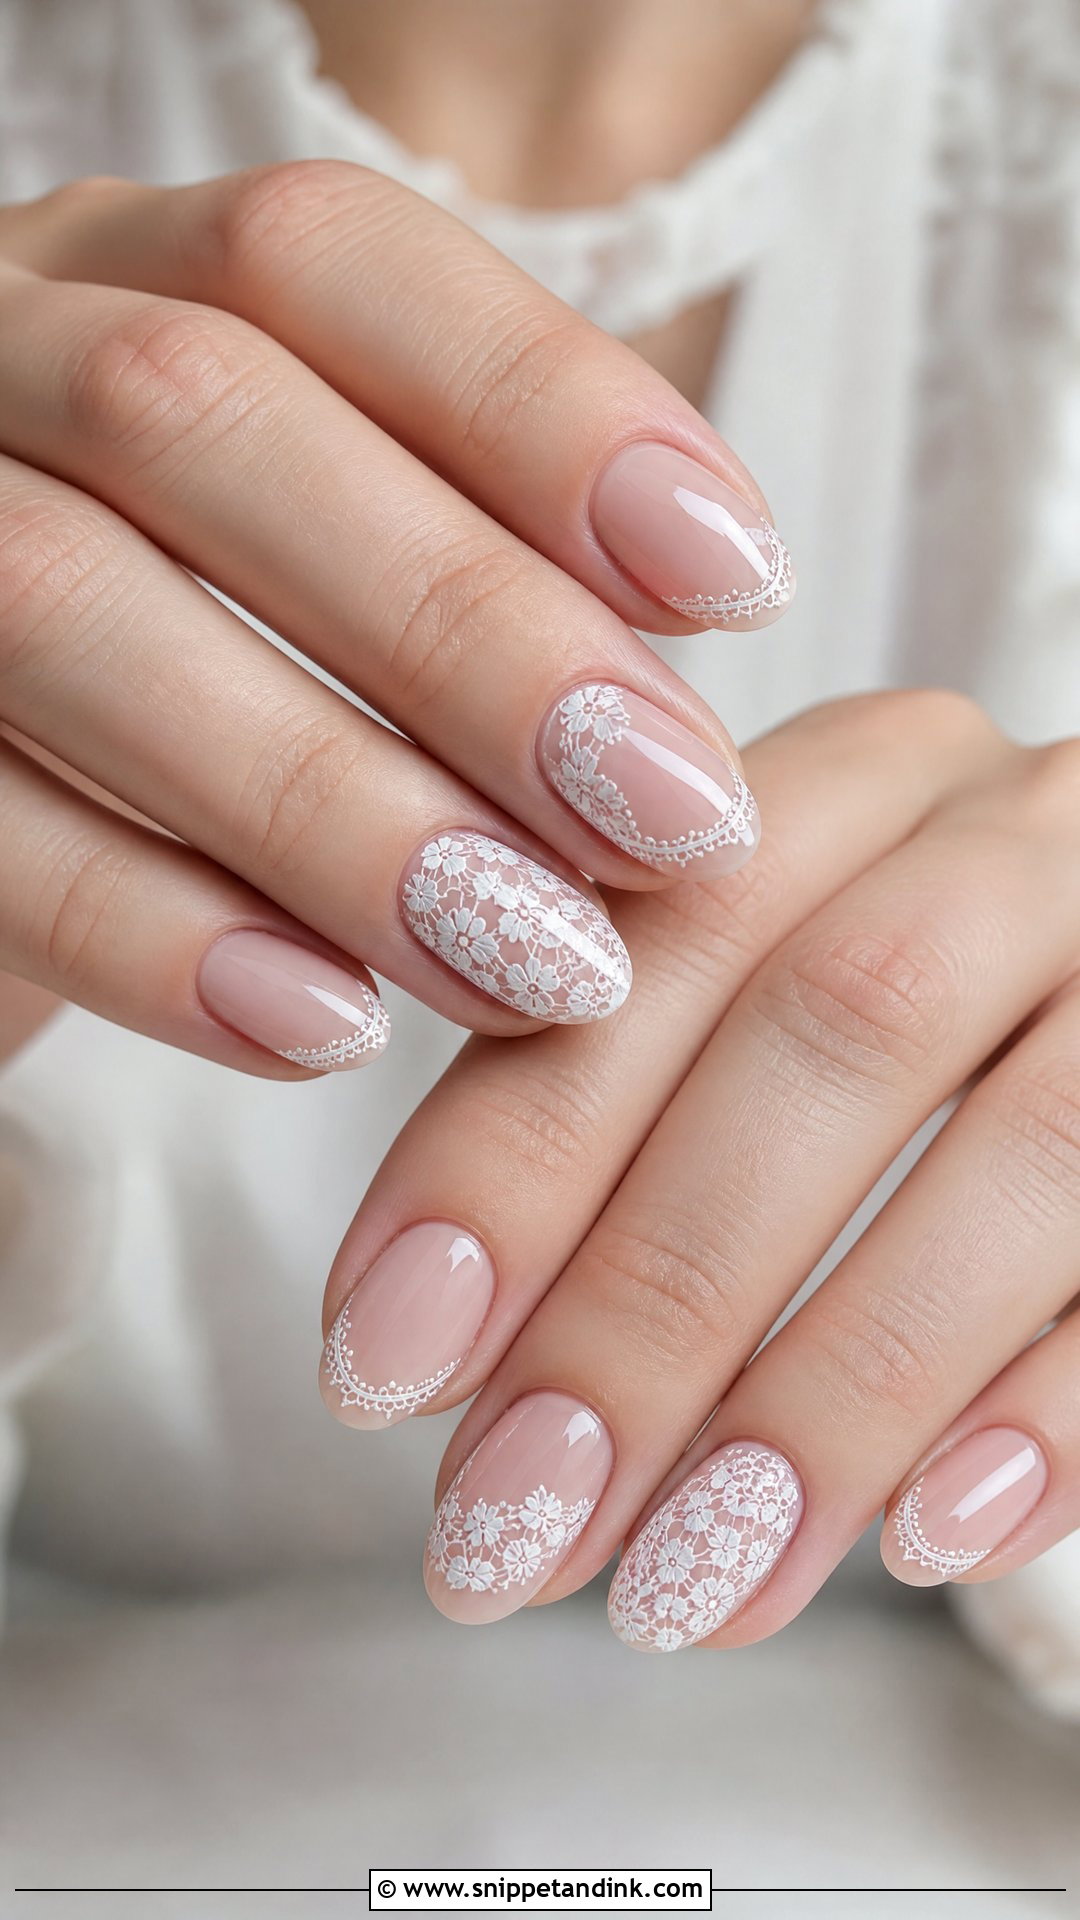
Lace art makes sense when the dress has lace sleeves, trim or vintage detail. On a sheer nude or soft pink base, I paint fine lines, dots, curves and small floral shapes that mimic the fabric. It’s slow, detailed work, so allow a longer appointment. Keep the lace on accent nails only and finish the rest in glossy nude or milky white. Bring a close photo of your dress lace and I can echo its actual pattern rather than a generic one. Almond and oval shapes suit it.
14. Glitter Ombre Wedding Nails
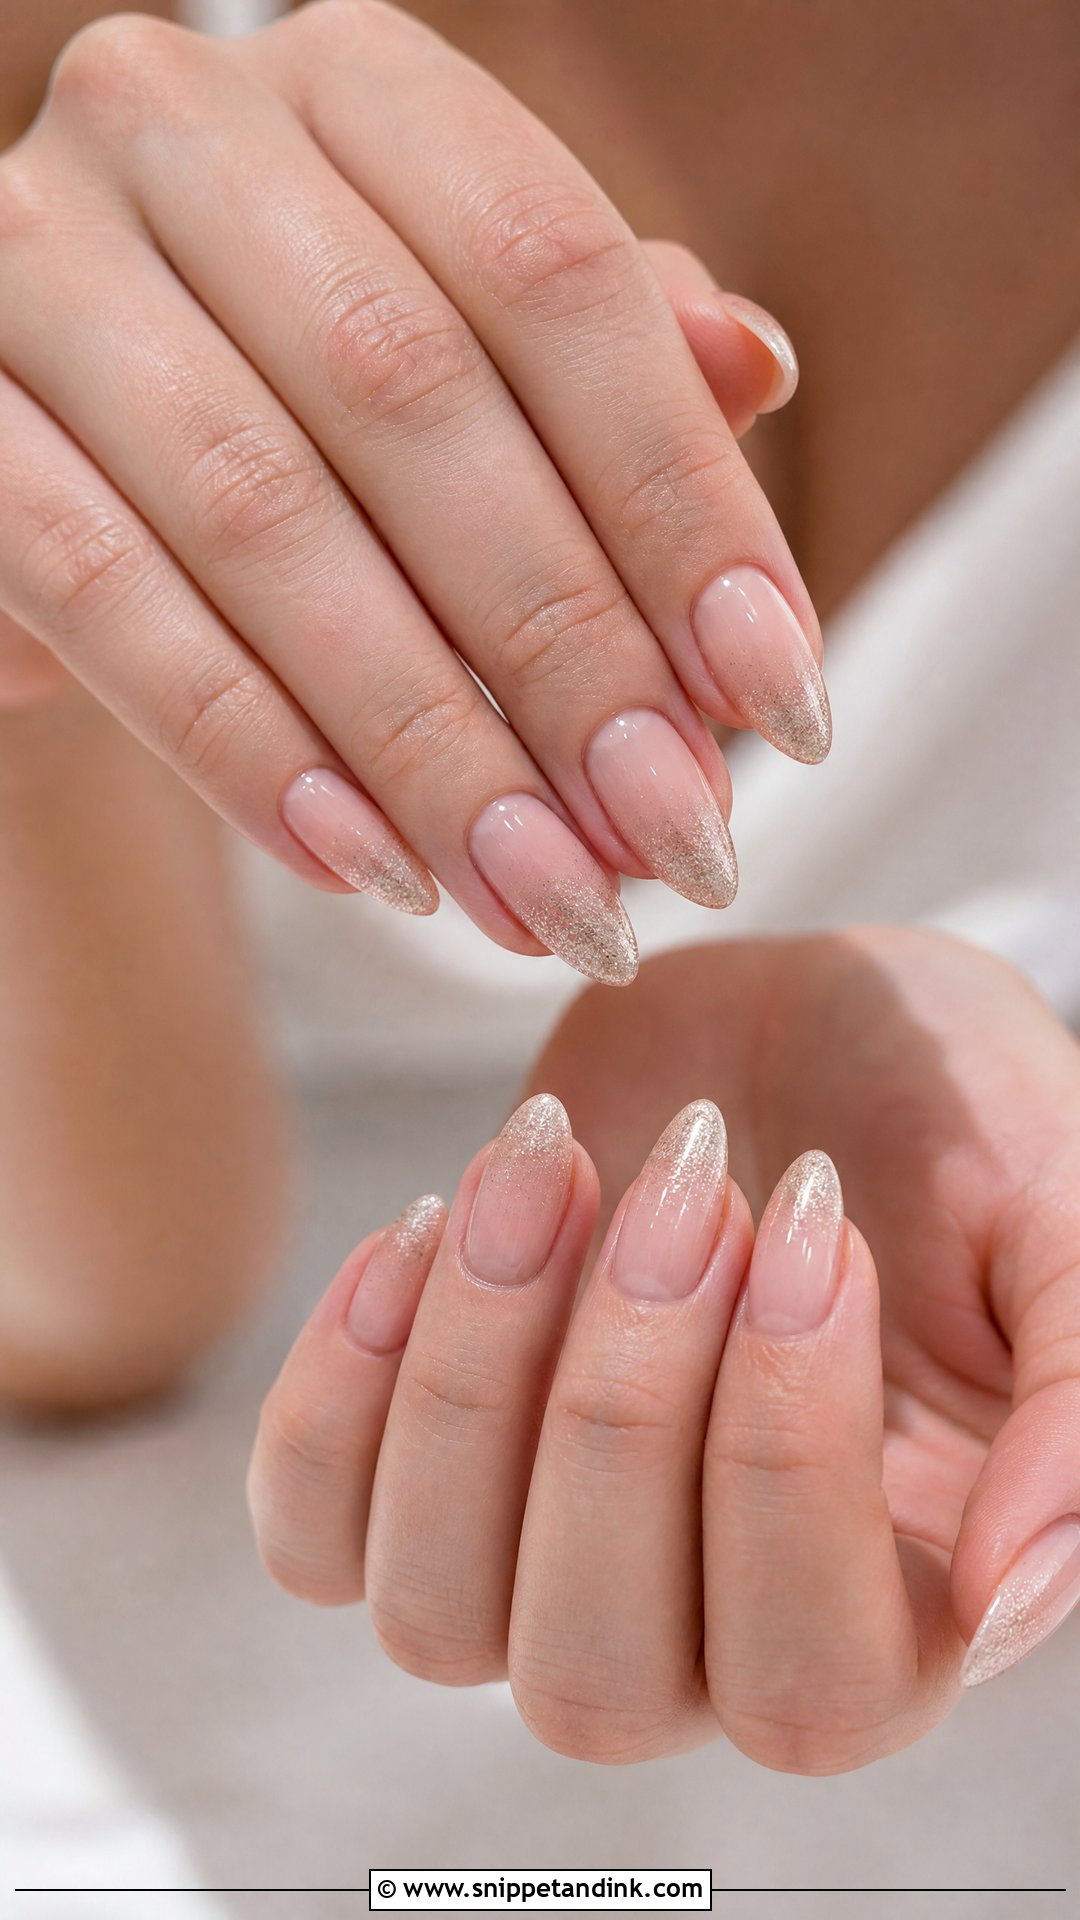
Sparkle works best in a gradient. Glitter ombré wedding nails fade fine shimmer from the tip or the cuticle into a sheer nude or pink base. Silver, champagne, rose gold and pearl glitters are the most wedding-friendly. It catches light in photos without looking loud. Use ultra-fine glitter only; chunky pieces sit proud of the surface, need a thick top coat to smooth over, and that extra bulk chips sooner. Almond and coffin shapes show the fade clearly, while short square nails make it look sweet.
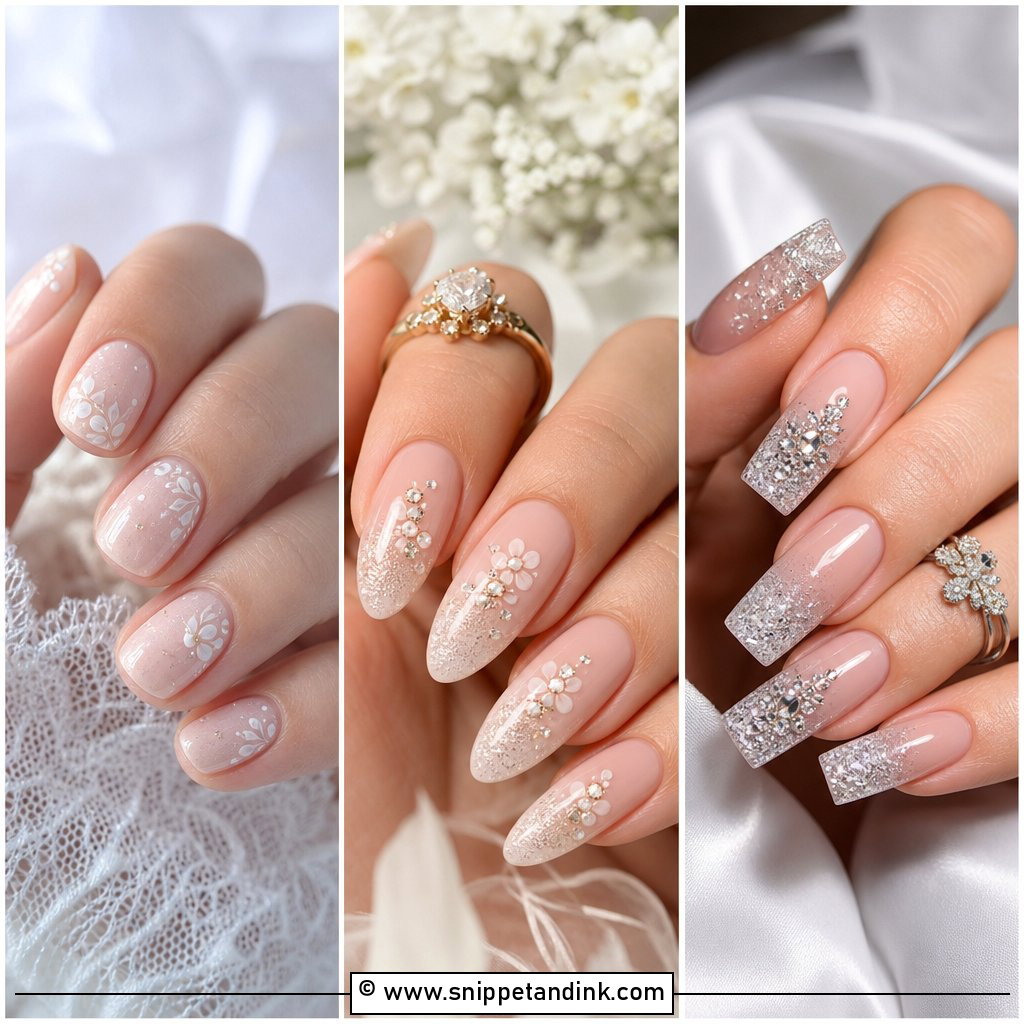
15. Micro French Wedding Nails
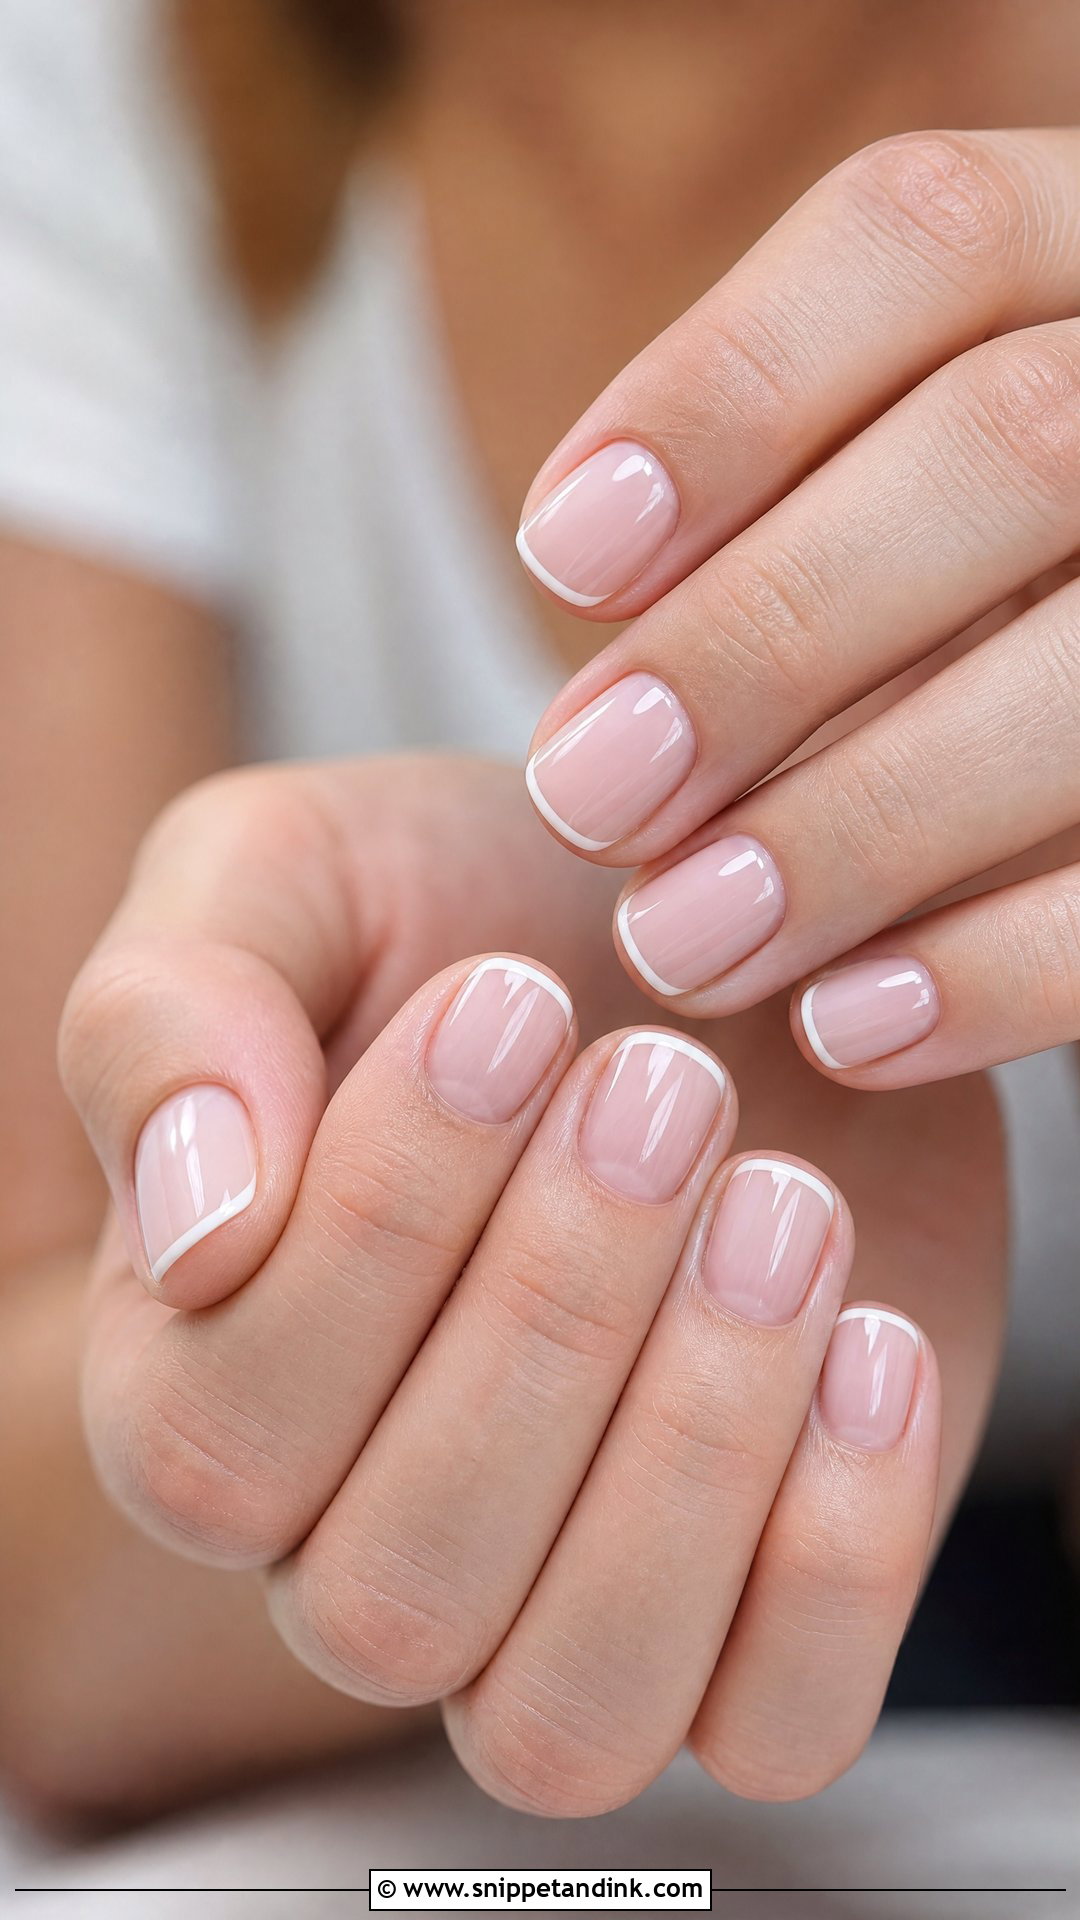
The thinnest tip you can paint is the point here. Micro French wedding nails use a fine white, ivory, champagne or pearl line at the free edge over a sheer pink, nude or milky base. Short nails suit it particularly, since it gives definition without needing length. Almond and oval shapes look elegant with it too. A micro line has to be very even, as any wobble shows, so I paint it with a long, thin striping brush in one pass. One tiny pearl or crystal near the cuticle on the ring finger is a nice extra.
16. French Tip Wedding Nails With Pearls
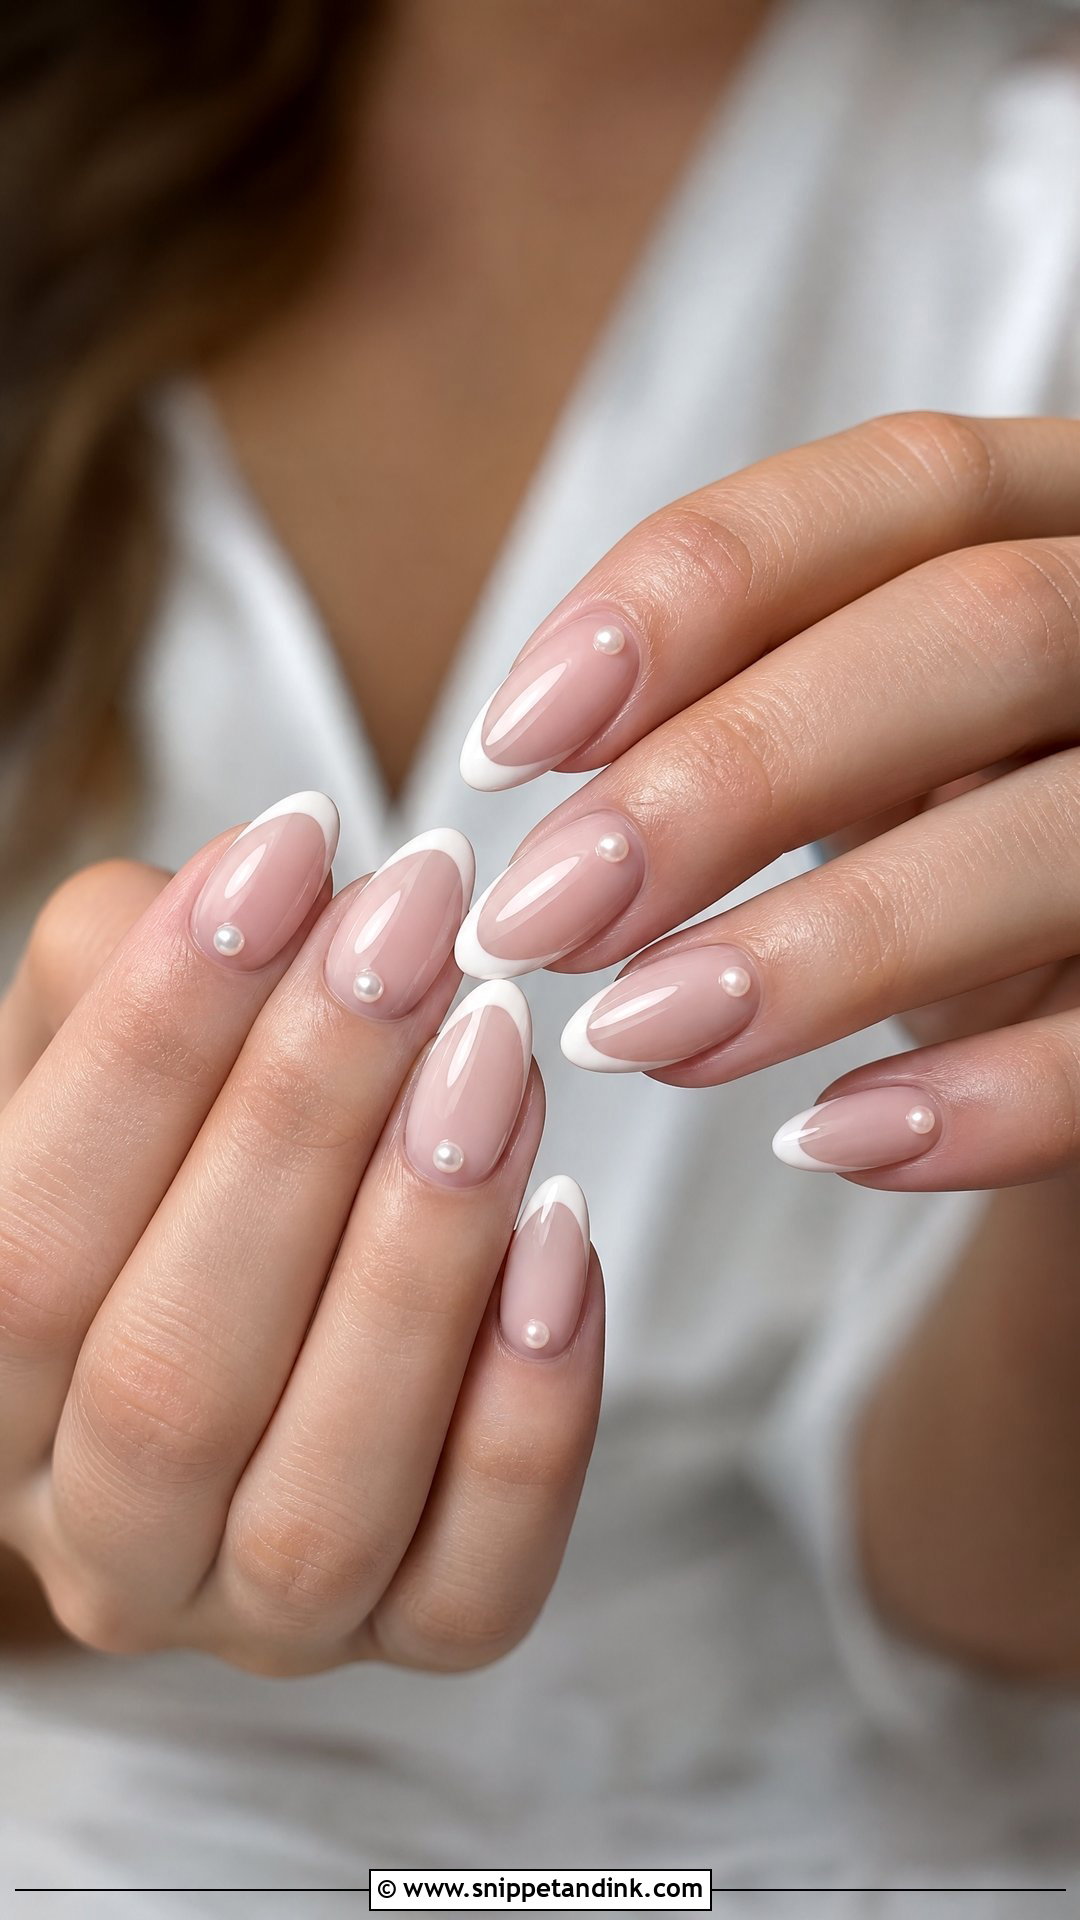
Pearls and a French tip are both traditional, so together they feel like a classic manicure with a little texture. Start with a soft nude or pink base and clean white tips, then place tiny pearls along the cuticle, near the smile line or on one accent nail. Keep them small and evenly spaced. It goes with pearl earrings, pearl hair pins or a simple veil. Oval and almond suit a softer look; coffin makes it more glamorous. Check the pearl tone matches your jewelry, since pure white and ivory pearls look different side by side.
17. Pink Ombre Wedding Nails
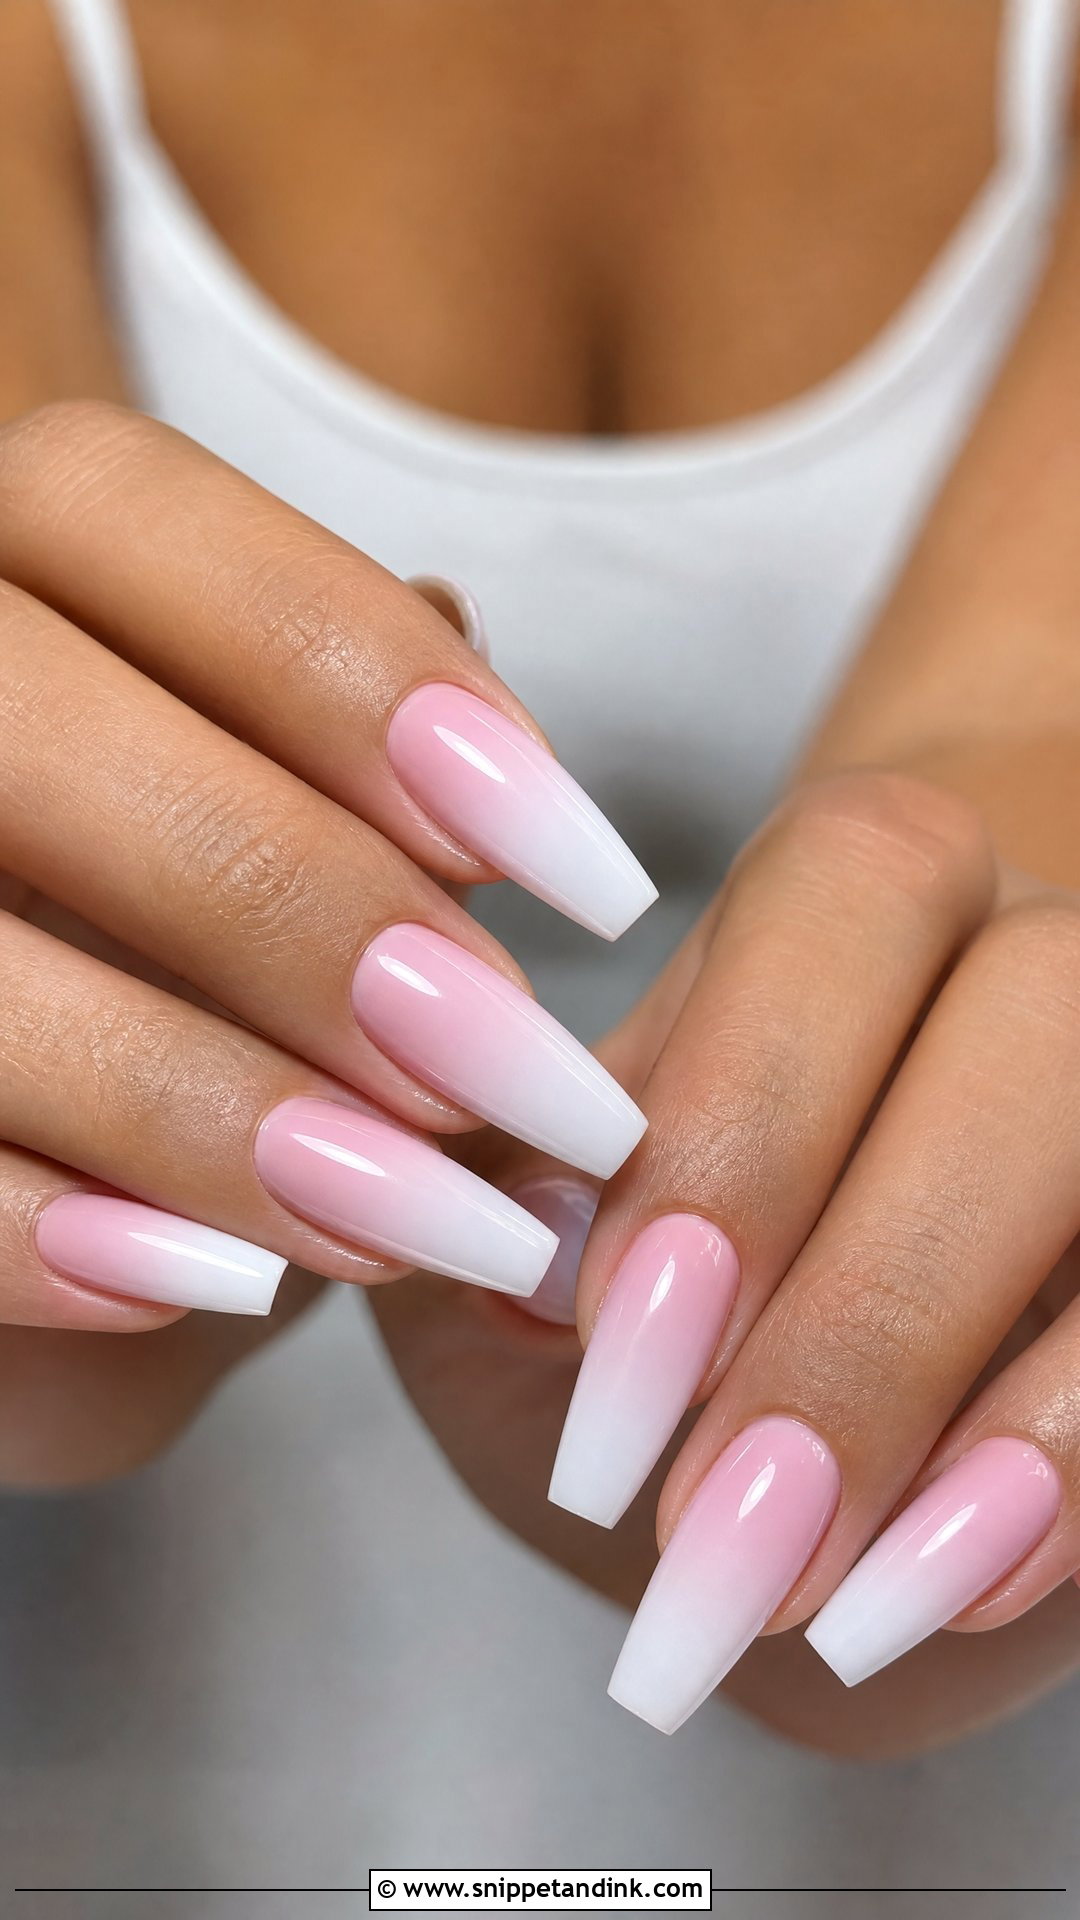
Pink ombré fades from pale pink at the cuticle into milky white at the tip, or from nude into blush for something warmer. It has more depth than a single color while staying simple. Most lengths and shapes suit it. I’d ask for an airbrushed or sponged blend so there’s no visible line between shades. A glossy top coat smooths the fade; a light shimmer top coat gives it a softer glow under candlelight at an evening reception.
18. Sheer Nude Wedding Nails
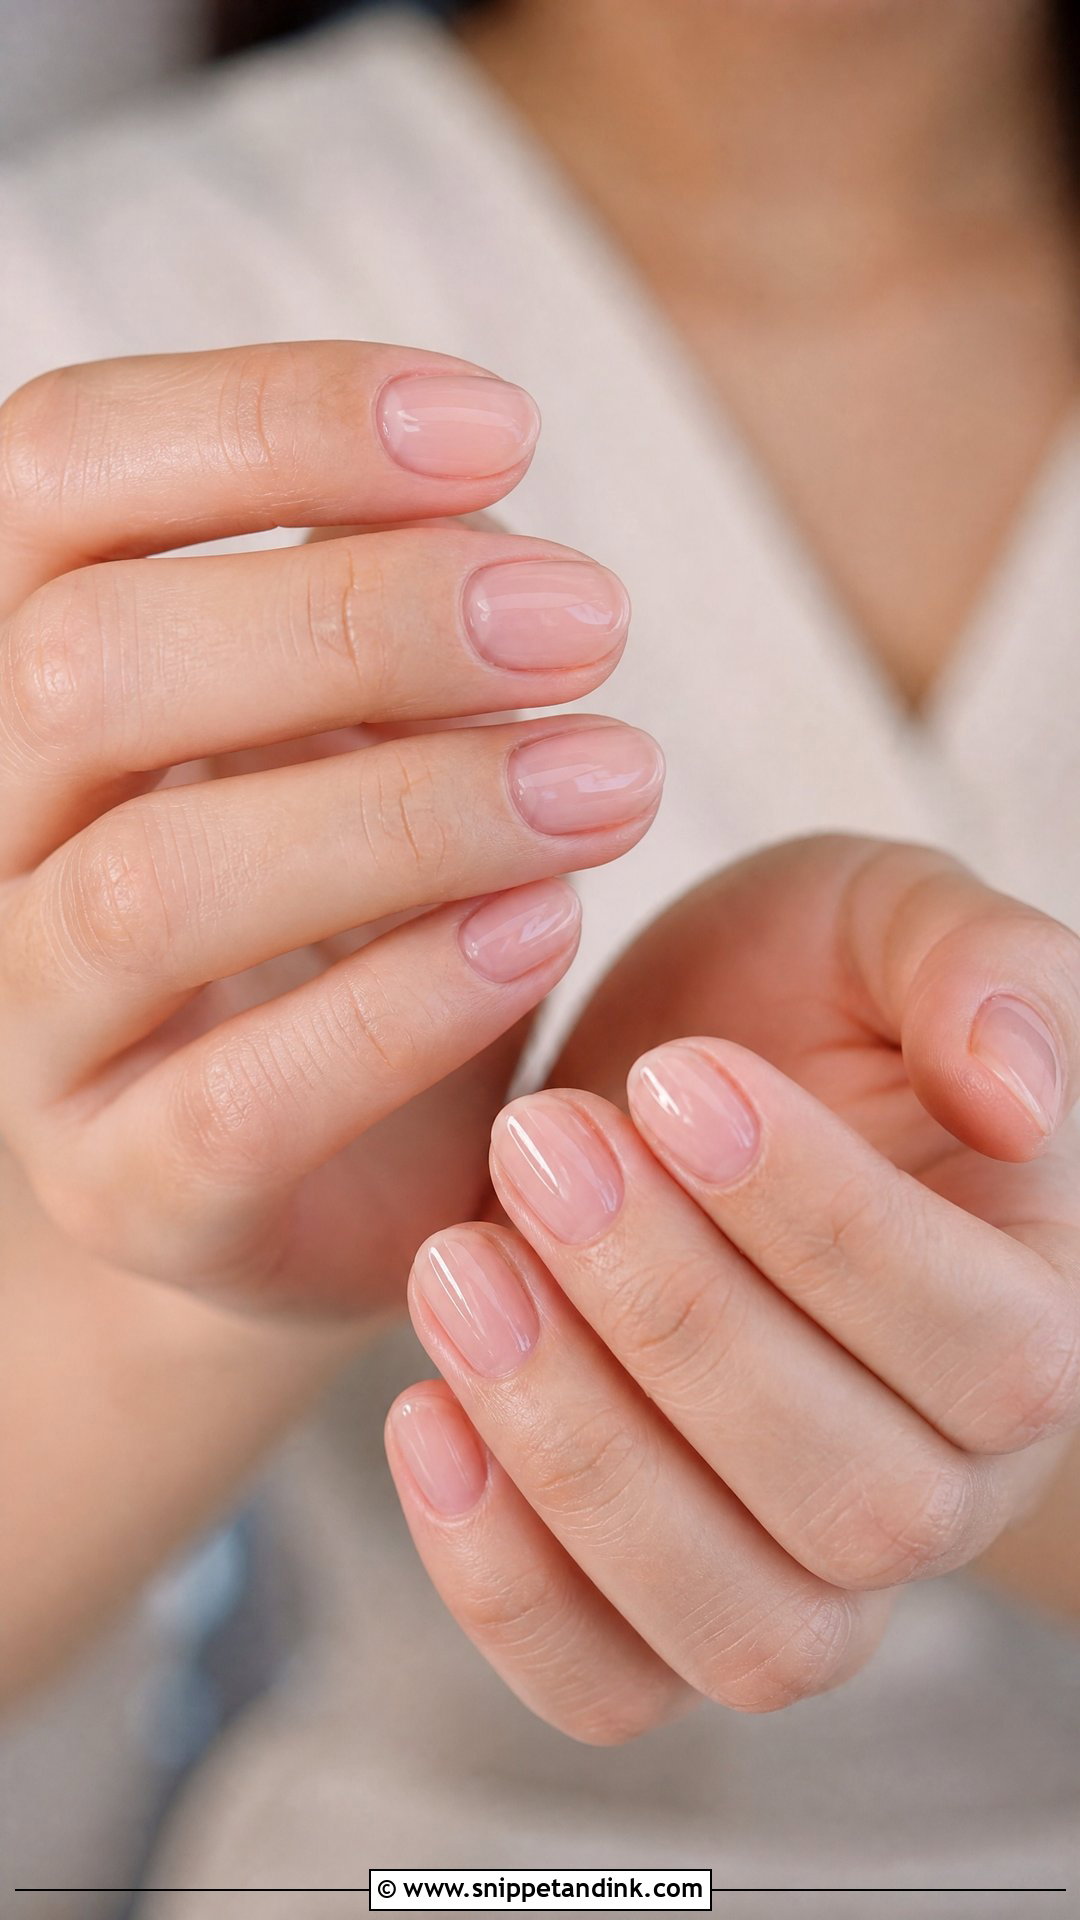
Sheer nude lets a little of the natural nail show through, which is why the prep matters more than the polish. Neat cuticles, even shape and a smooth surface are what make it look elegant. Match the nude to your undertone: pink beige for cool skin, peachy nude for warm, neutral beige for in between. Short oval or squoval nails look especially polished in it. Since the nail shows through, any staining from dark polish needs a few weeks to grow out, so I’d stop wearing deep shades a month or so before.
19. Champagne Wedding Nails
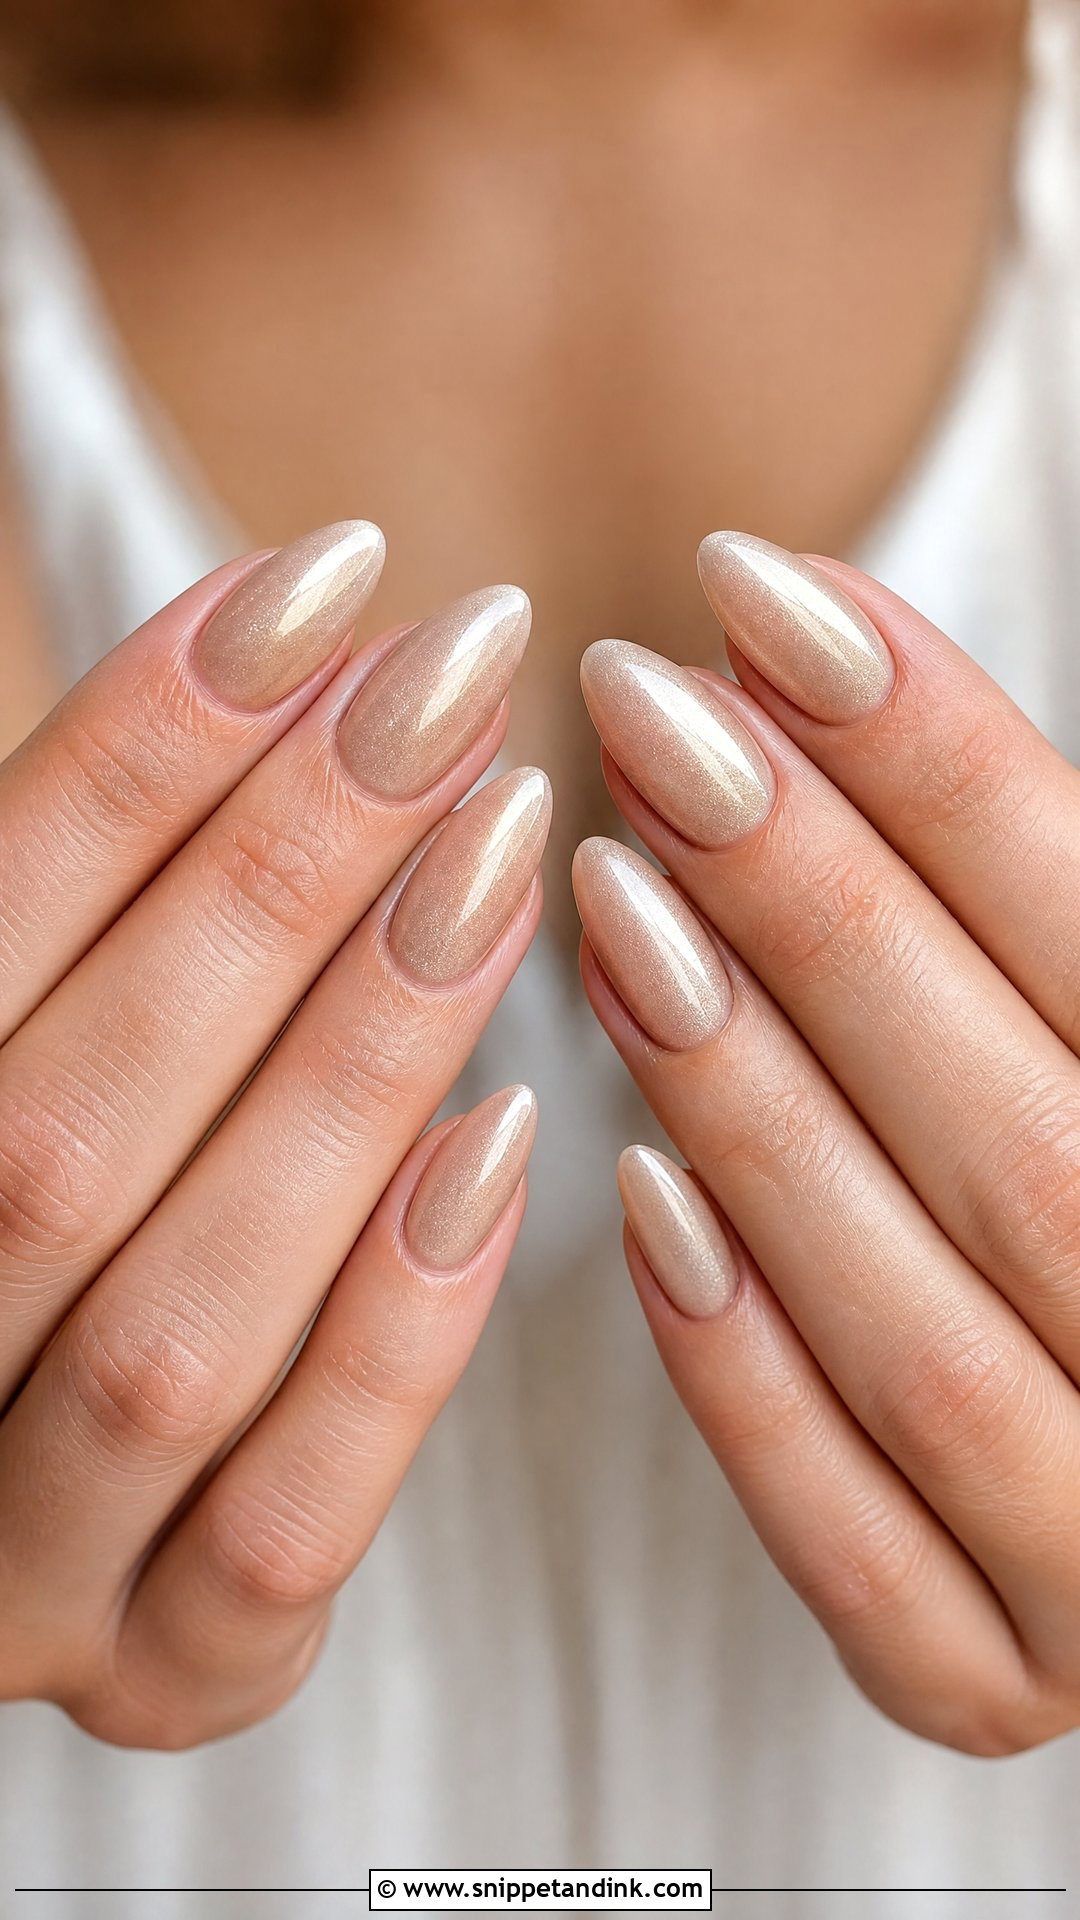
Champagne sits between nude, beige and pale metallic, giving a warm glow without bright gold. A champagne shimmer works alone, as a French tip, as an ombré fade or as a chrome finish. It pairs with ivory, cream, blush, taupe and gold accessories, so it suits bridal parties and guests in warm palettes. Keep the shimmer fine and smooth. Medium almond nails look graceful in it; short square nails look neat and modern.
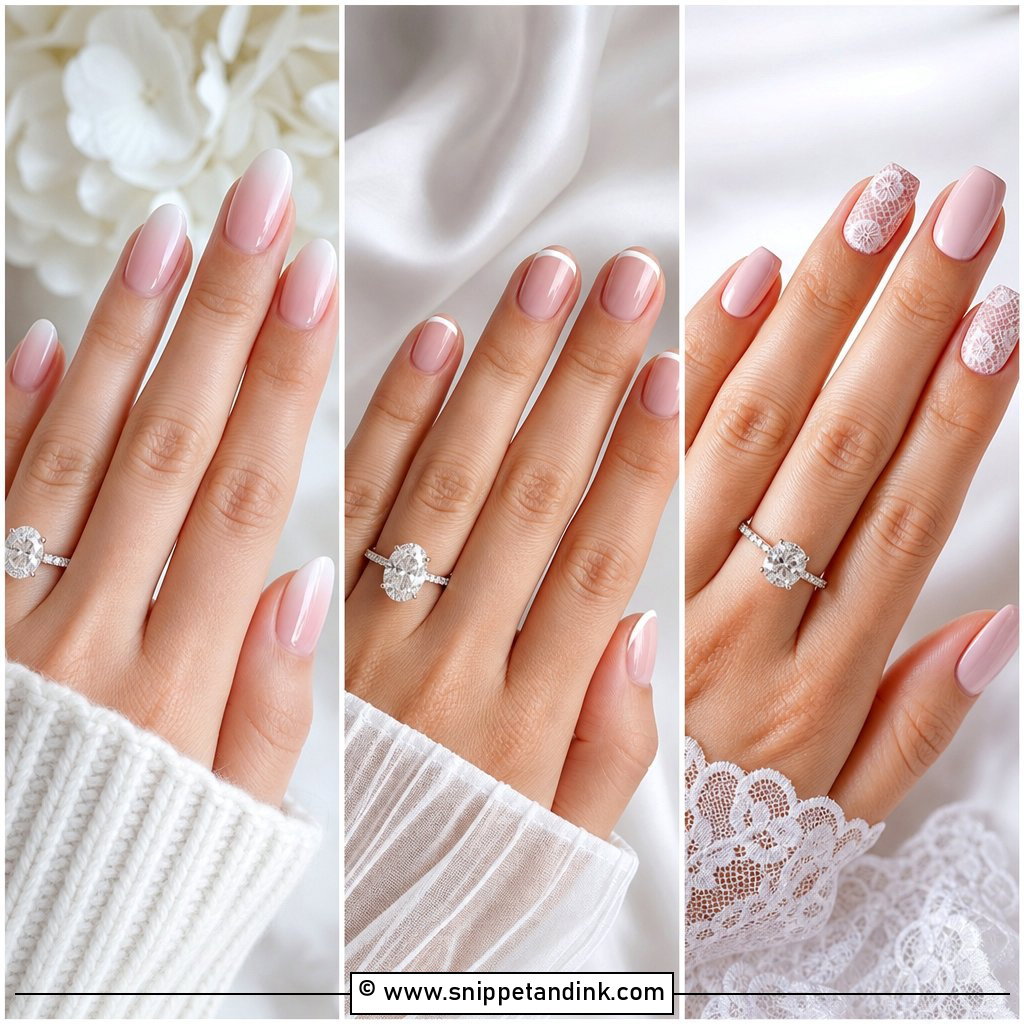
20. Rose Gold Wedding Nails
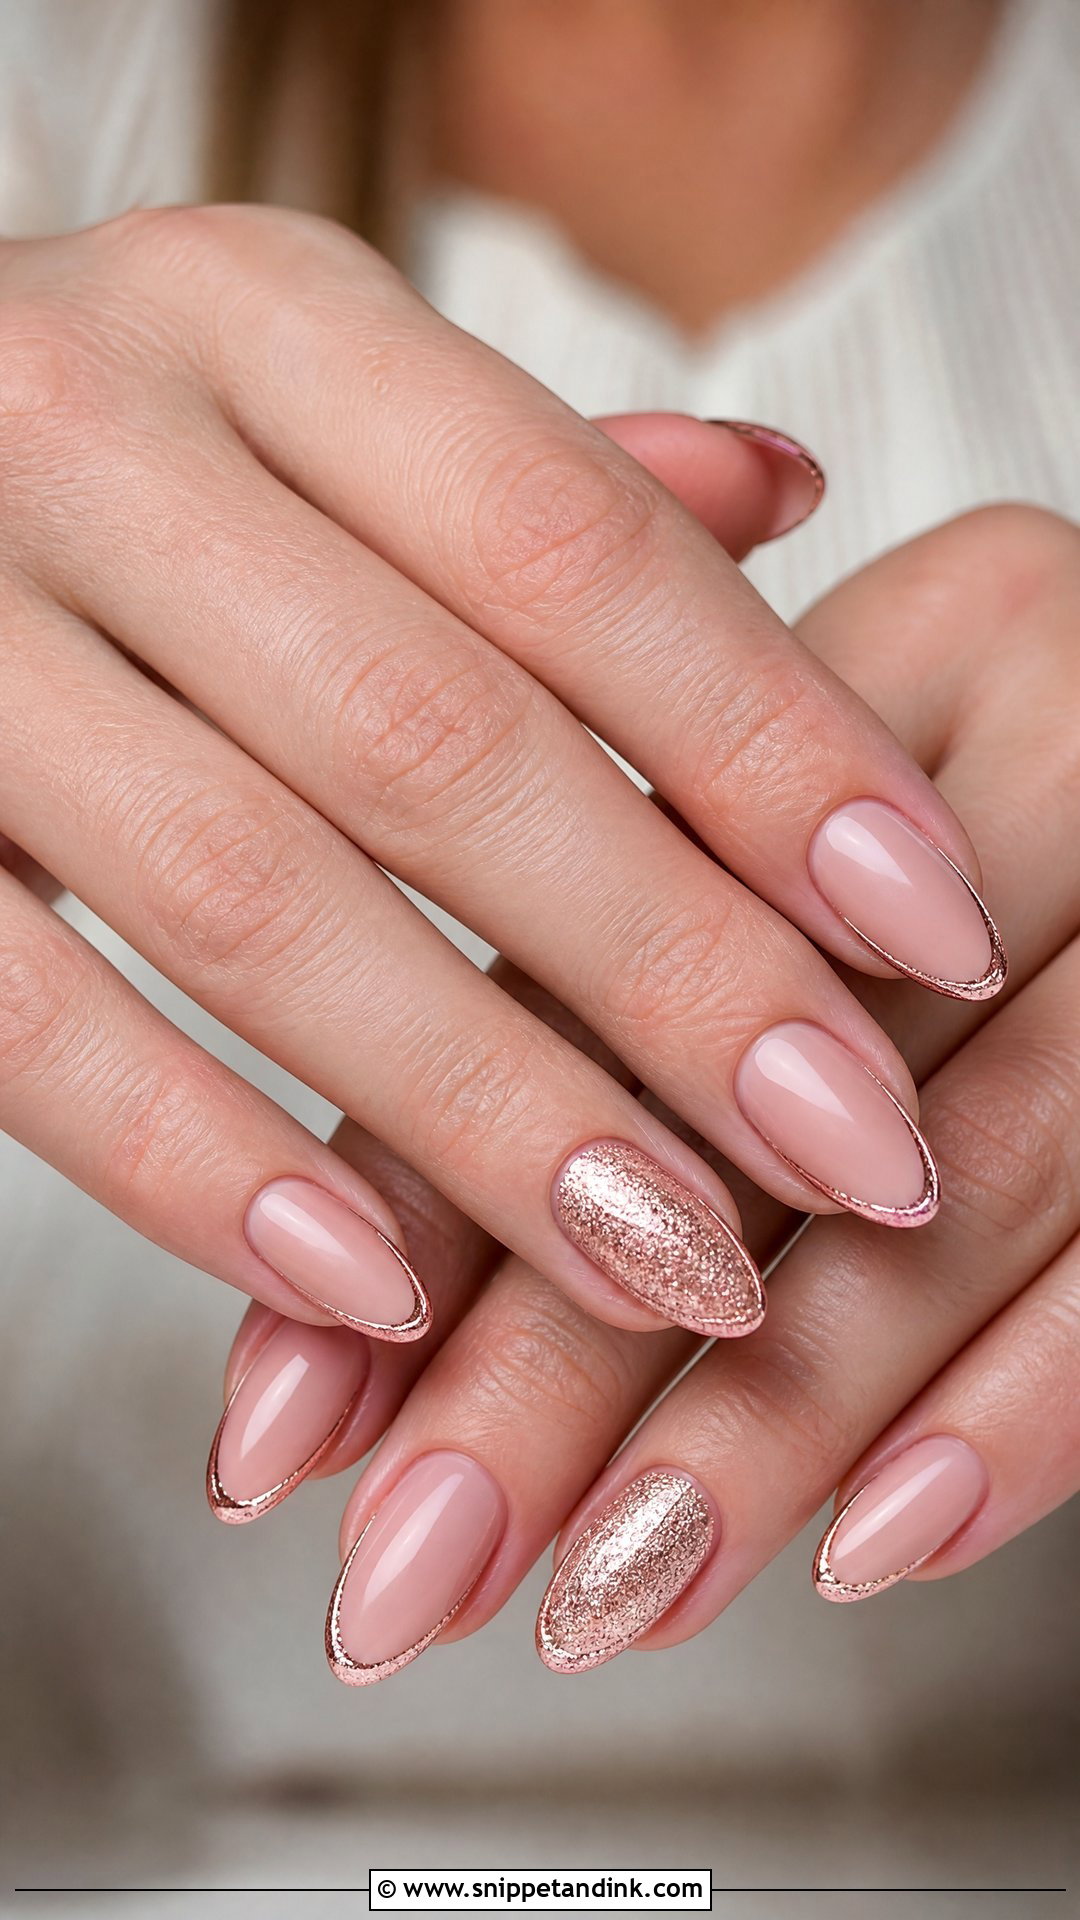
Rose gold adds a rosy metallic touch that works when it’s done softly. Wear it as a fine glitter ombré, a chrome French tip, a foil detail or full shimmer on one accent nail, always over a nude, blush or milky base. It flatters bridesmaids in pink, mauve, champagne or neutral dresses and goes with rose gold jewelry. Thick glitter looks heavy here; fine shimmer or thin metallic accents keep it gentle. If the engagement ring is yellow or white gold rather than rose, I’d keep rose gold to the bridesmaids and give the bride something neutral.
21. Clear Wedding Nails With White Tips
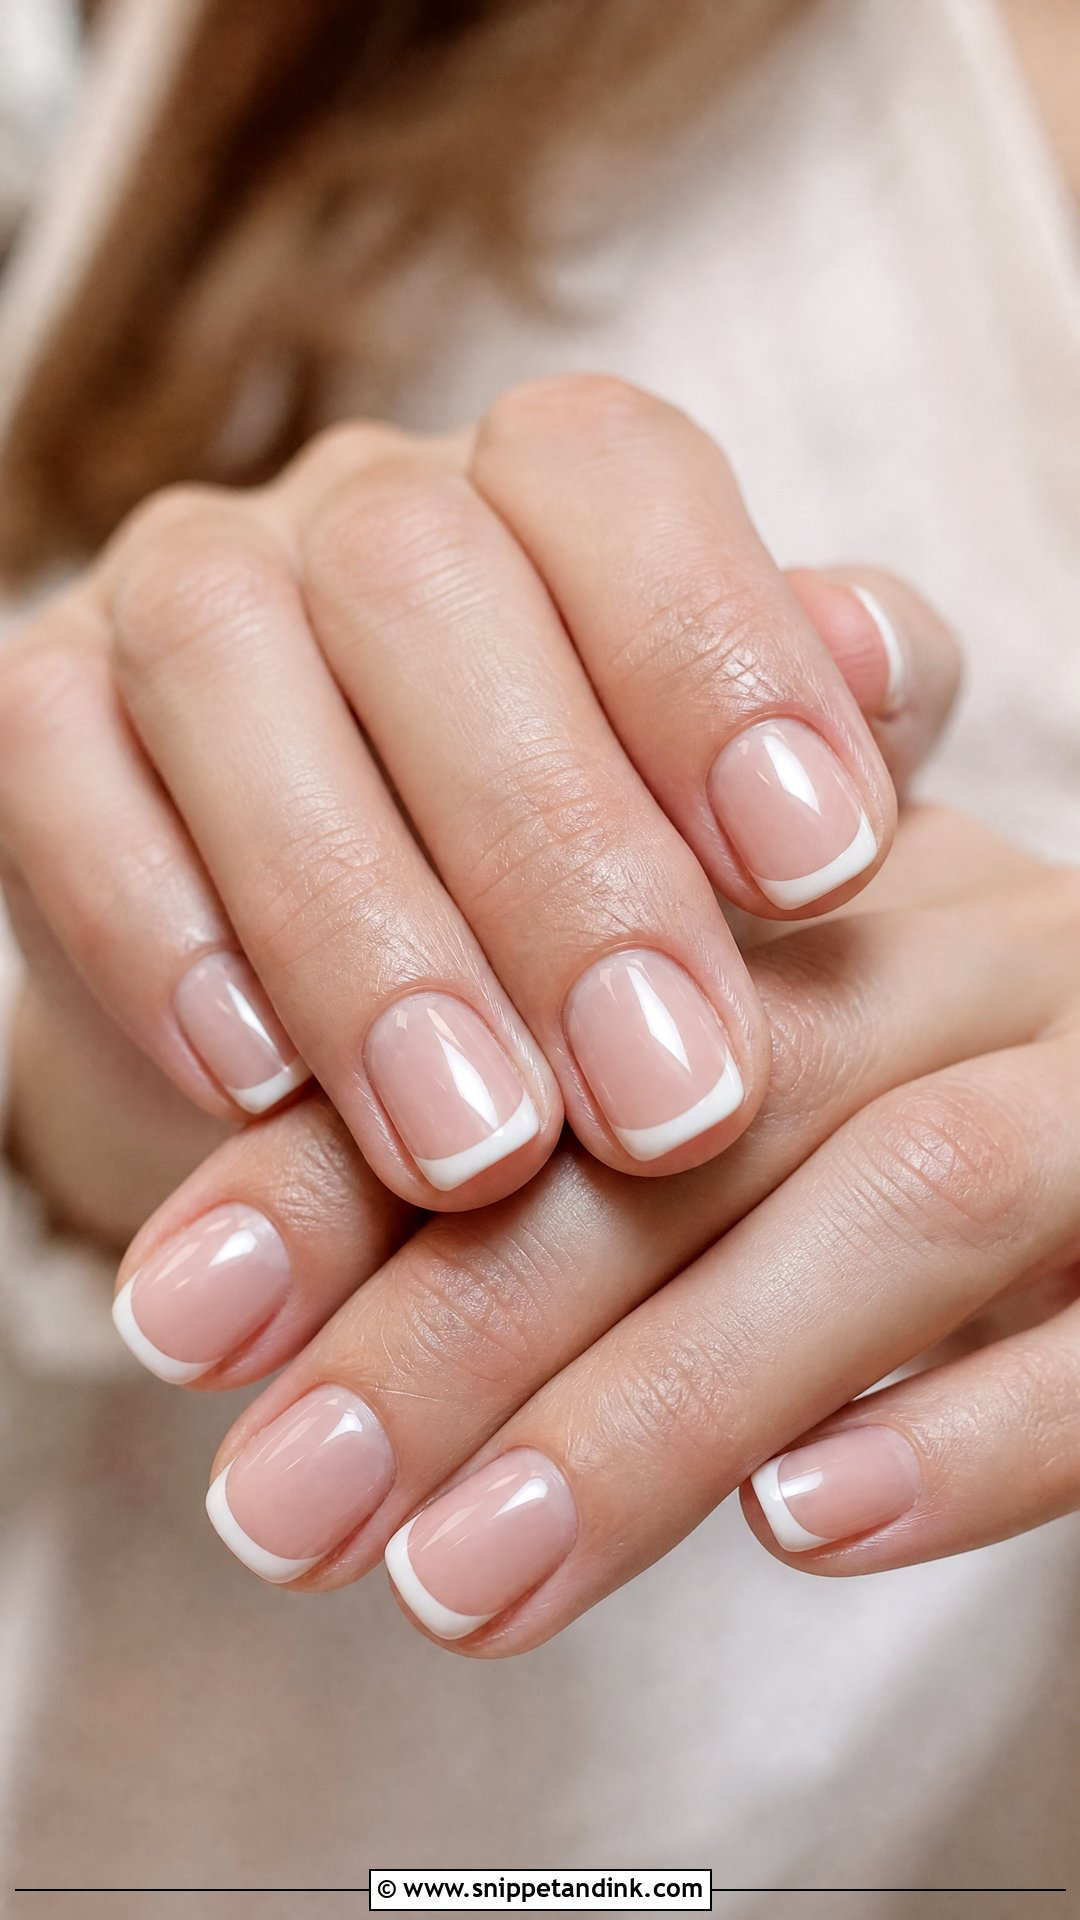
Clear nails with white tips are crisp and modern. The base stays almost transparent and the tip gives the nail its structure, so it’s lighter than a classic French. Short and medium nails suit it. A clear base shows everything underneath, so any white spots, ridges or old polish stains will be visible; I’d buff and level the nail first, or switch to a very sheer milky base that softens them. Ask for a soft white rather than bright white, and add a thin pearl chrome layer if you want glow.
22. White Heart Wedding Nails
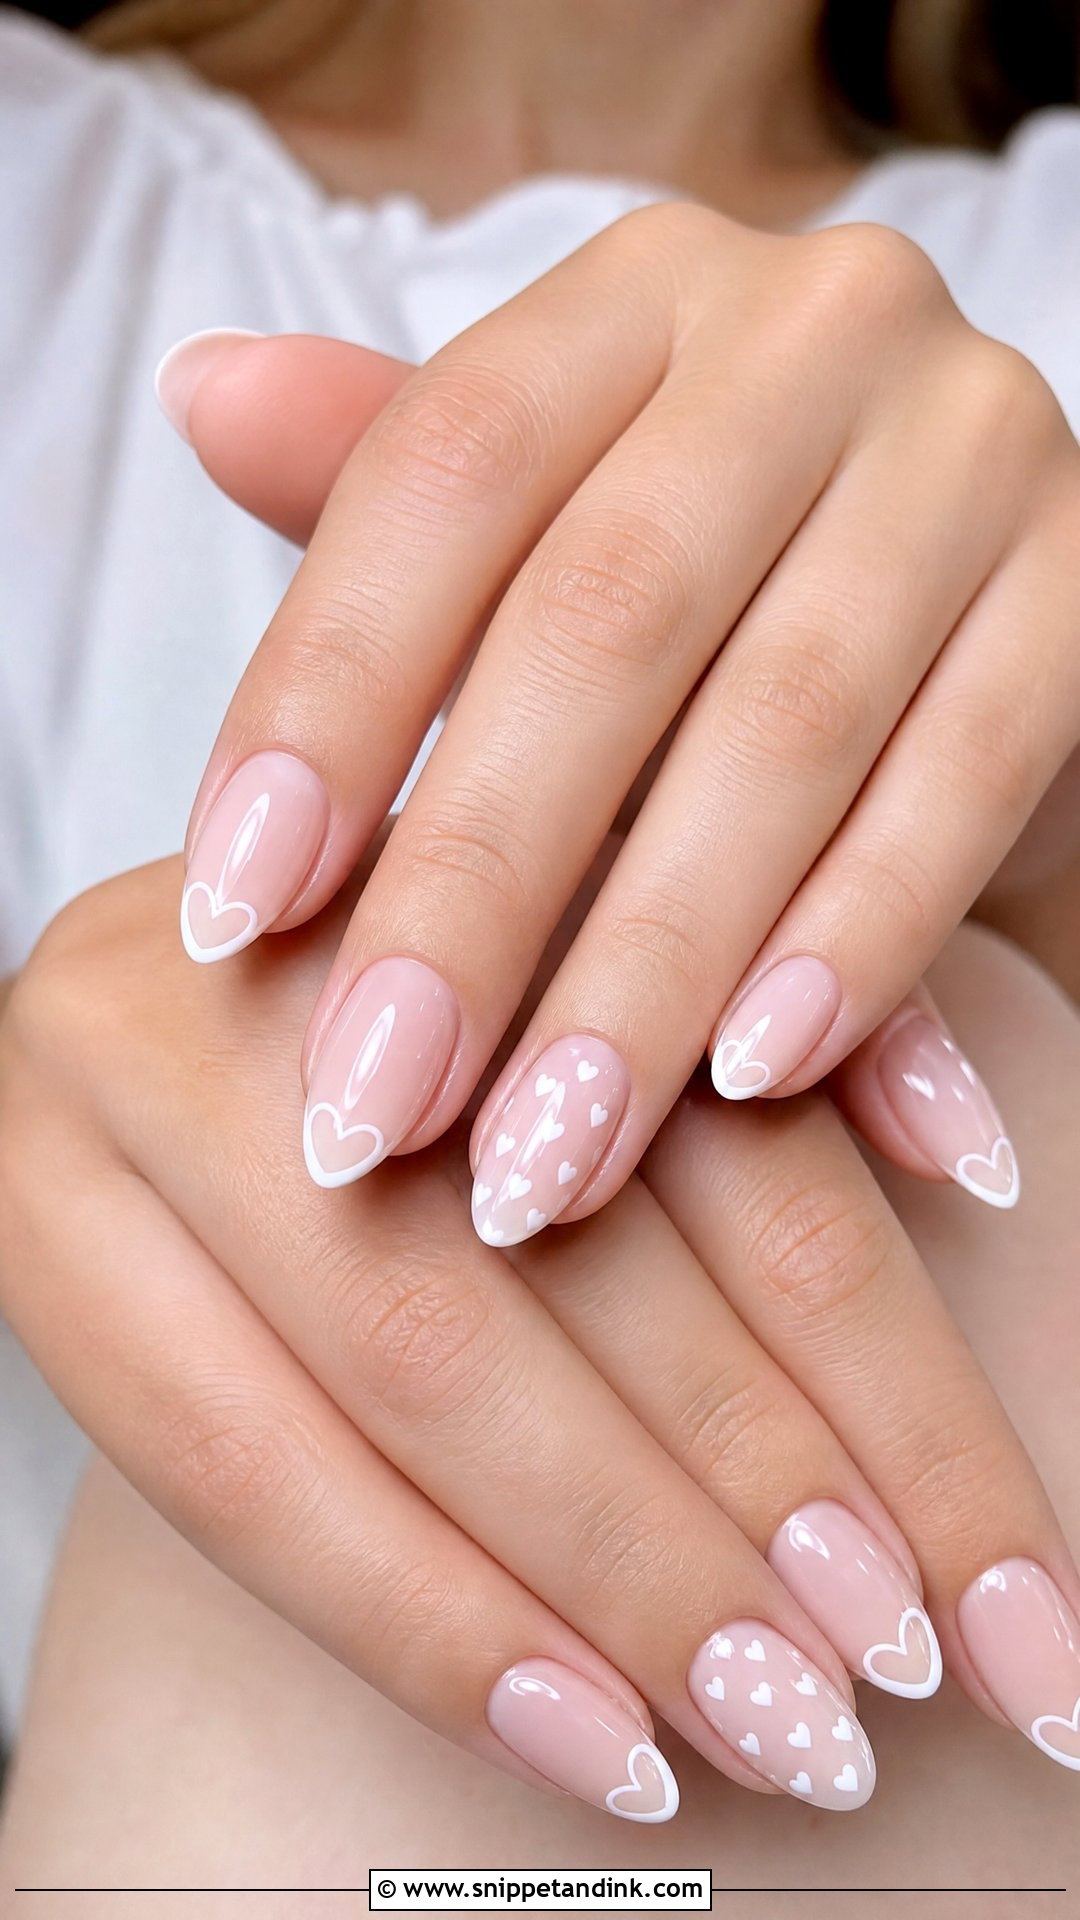
Tiny hearts keep things sweet without looking childish. On a sheer pink, nude or milky base, I add small white hearts to one or two accent nails, near the tip, floating at the centre, or in place of a French line. It’s a nice option for engagement parties and bridal showers as well as the wedding, and bridesmaids like it. A heart is painted as two small dots dragged to a point, so it stays crisp even at a very small size. Oval and almond shapes suit it, with a glossy finish.
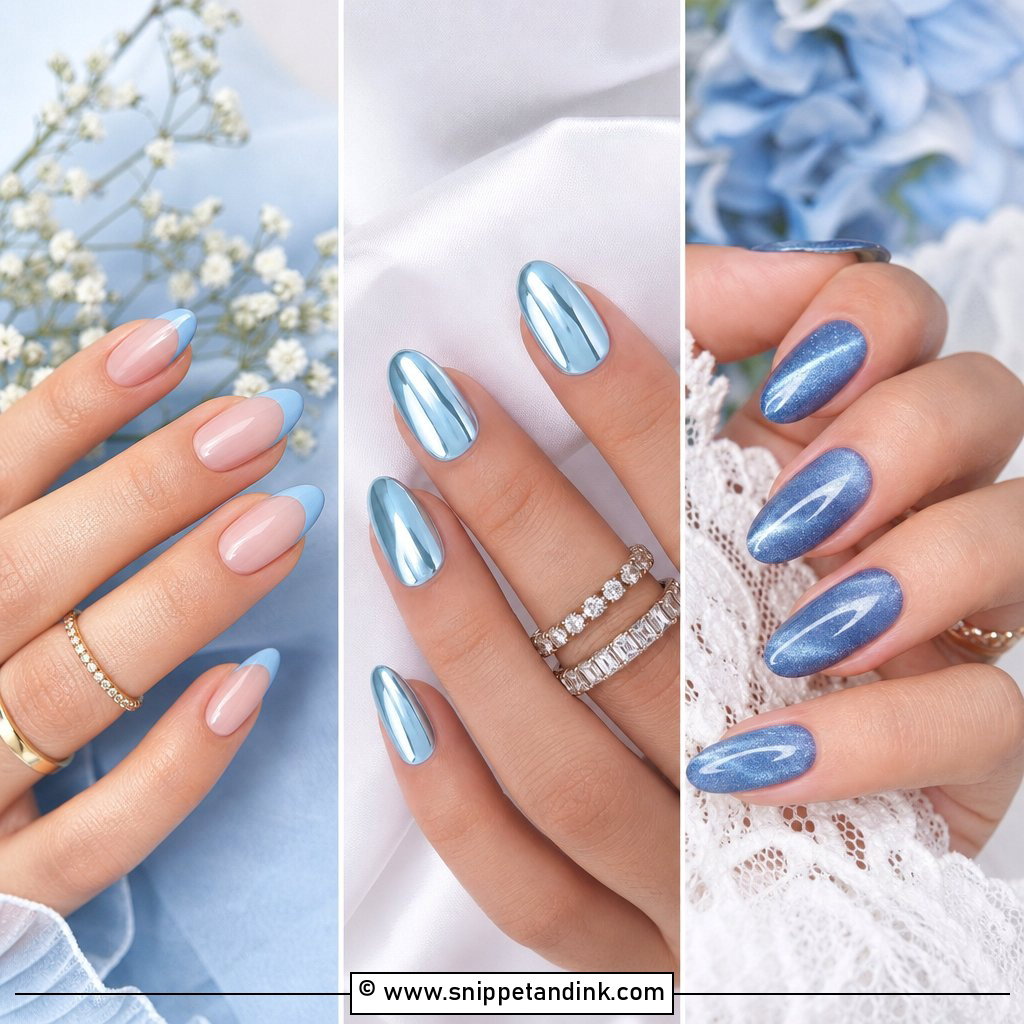
23. Blue Wedding Nails
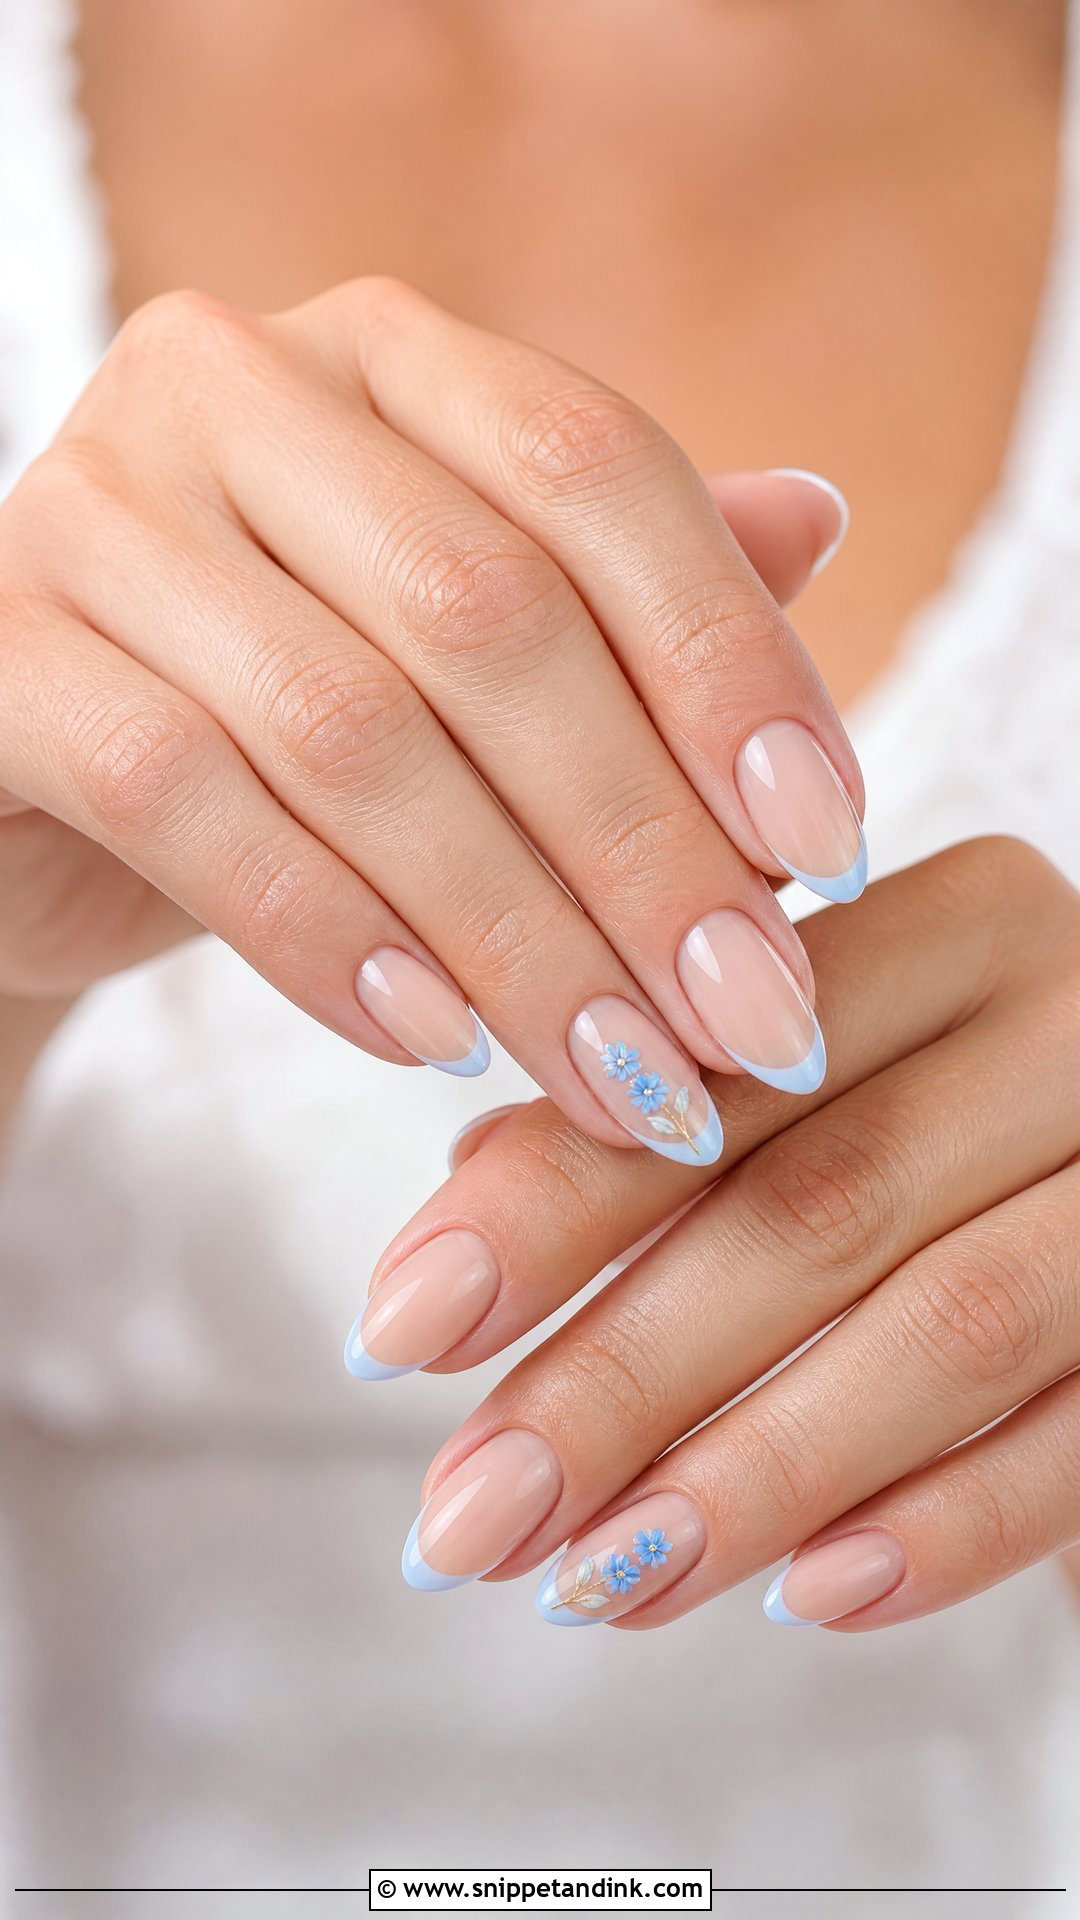
Blue wedding nails are an easy way to wear something blue. Soft shades like baby blue, powder blue, dusty blue and blue-grey are the wedding-friendly ones. Wear it as a full glossy set, a micro French tip, a tiny floral, or hidden on one accent nail, perhaps only the ring finger. It suits white dresses, silver jewelry, coastal weddings and cool palettes. Pairing it with sheer nude or milky white on the other nails keeps it soft. Pale blues can look slightly grey under warm indoor lighting, so check the swatch under a warm bulb as well as daylight.
24. Rhinestone Wedding Nails
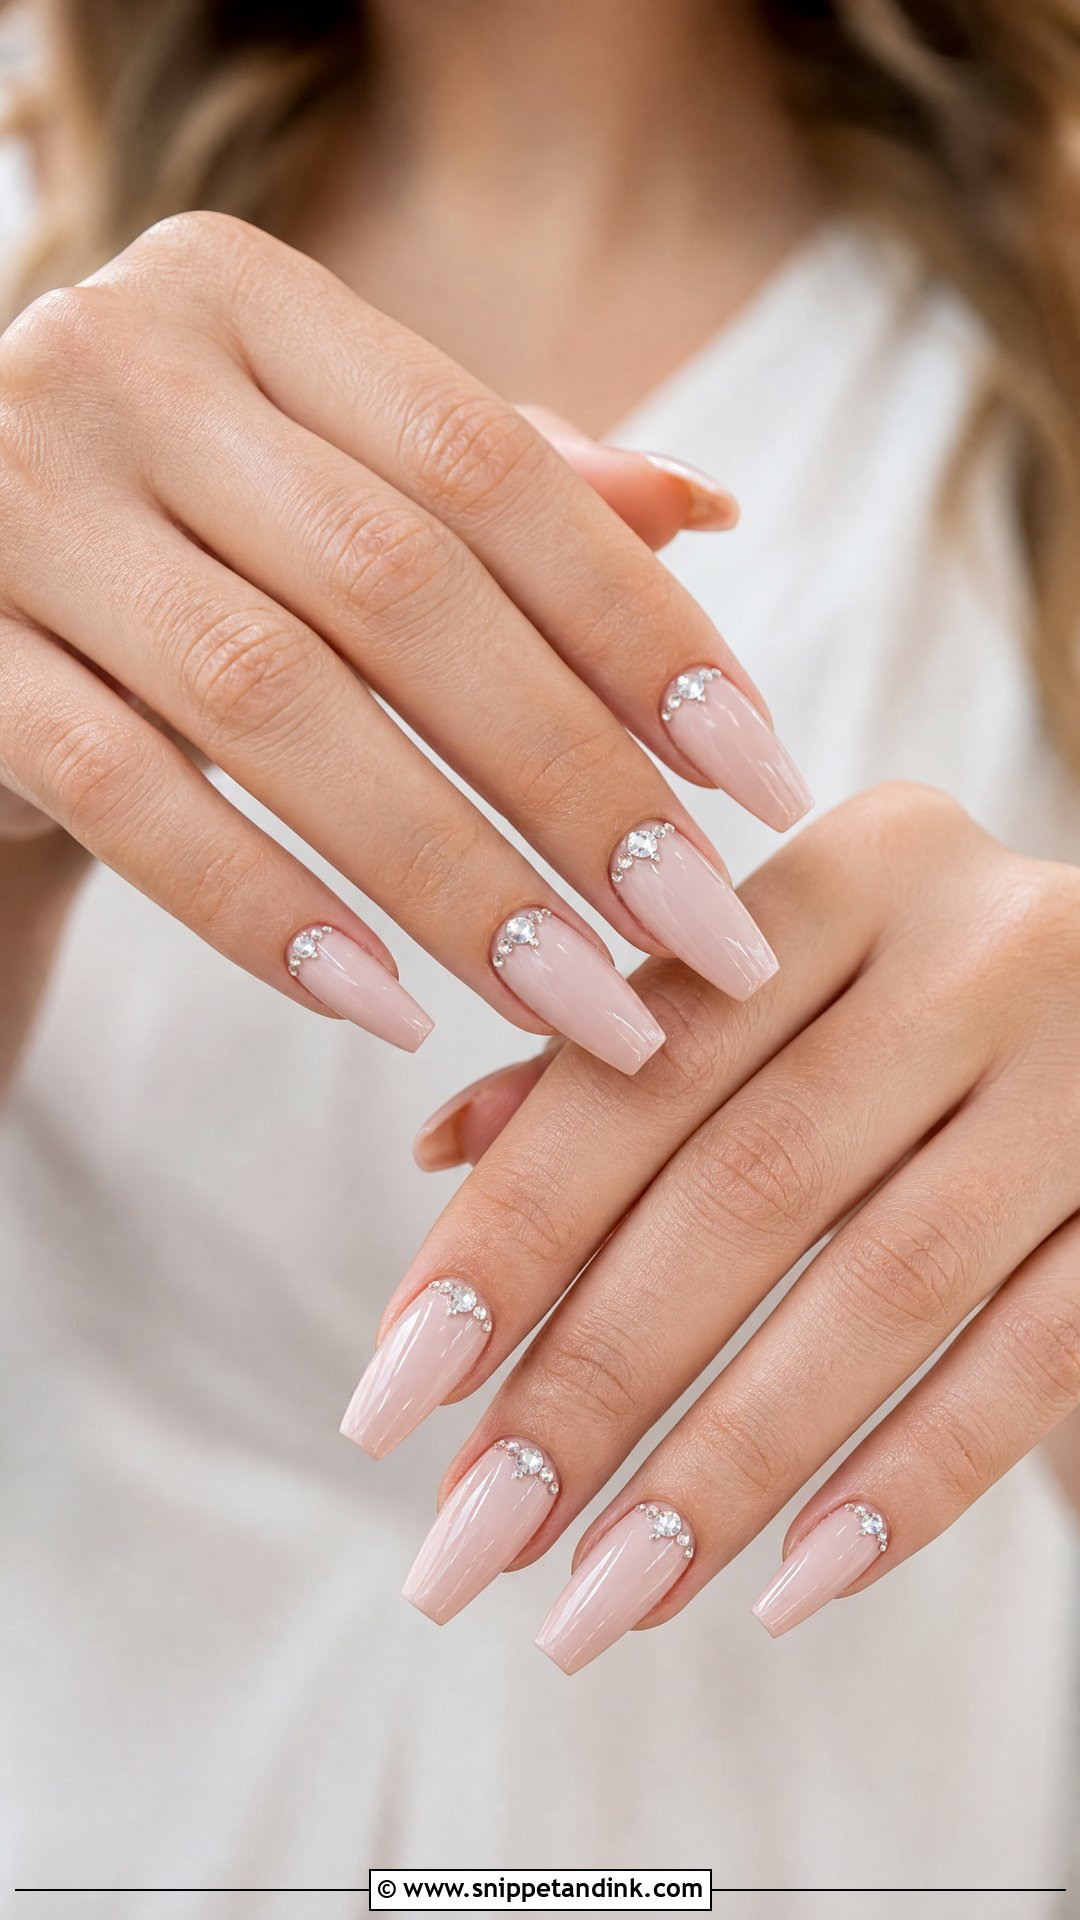
Small crystals used sparingly look polished; a full set looks heavy. Rhinestone wedding nails work best with stones near the cuticle, along a French tip or on one accent nail, over a nude, blush, milky or sheer pink base. Clear stones are classic, champagne ones warmer and subtler. Almond, oval and coffin shapes give room for placement. Rhinestones catch on veils, lace and hair, so I keep them flat and set low in gel, and I’d skip them on the hand that will be fixing your veil all day.
25. Press On Wedding Nails
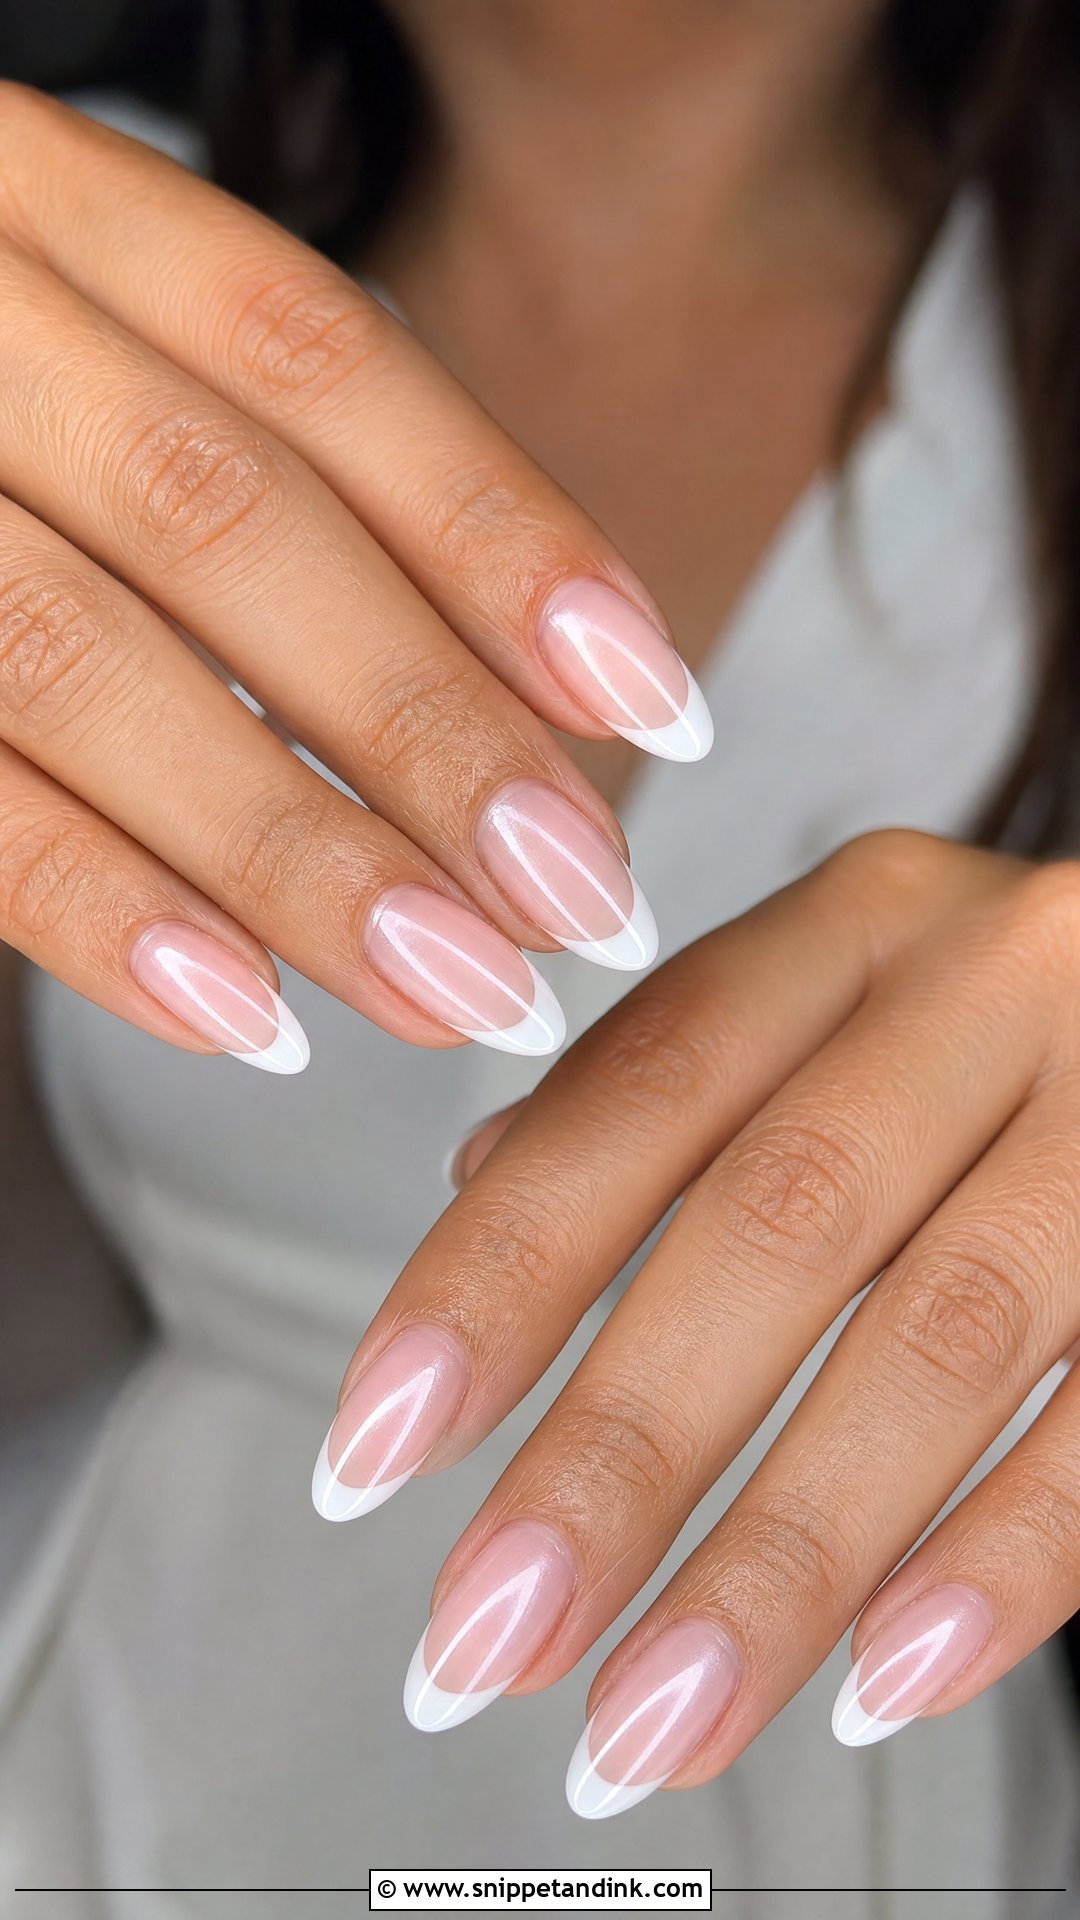
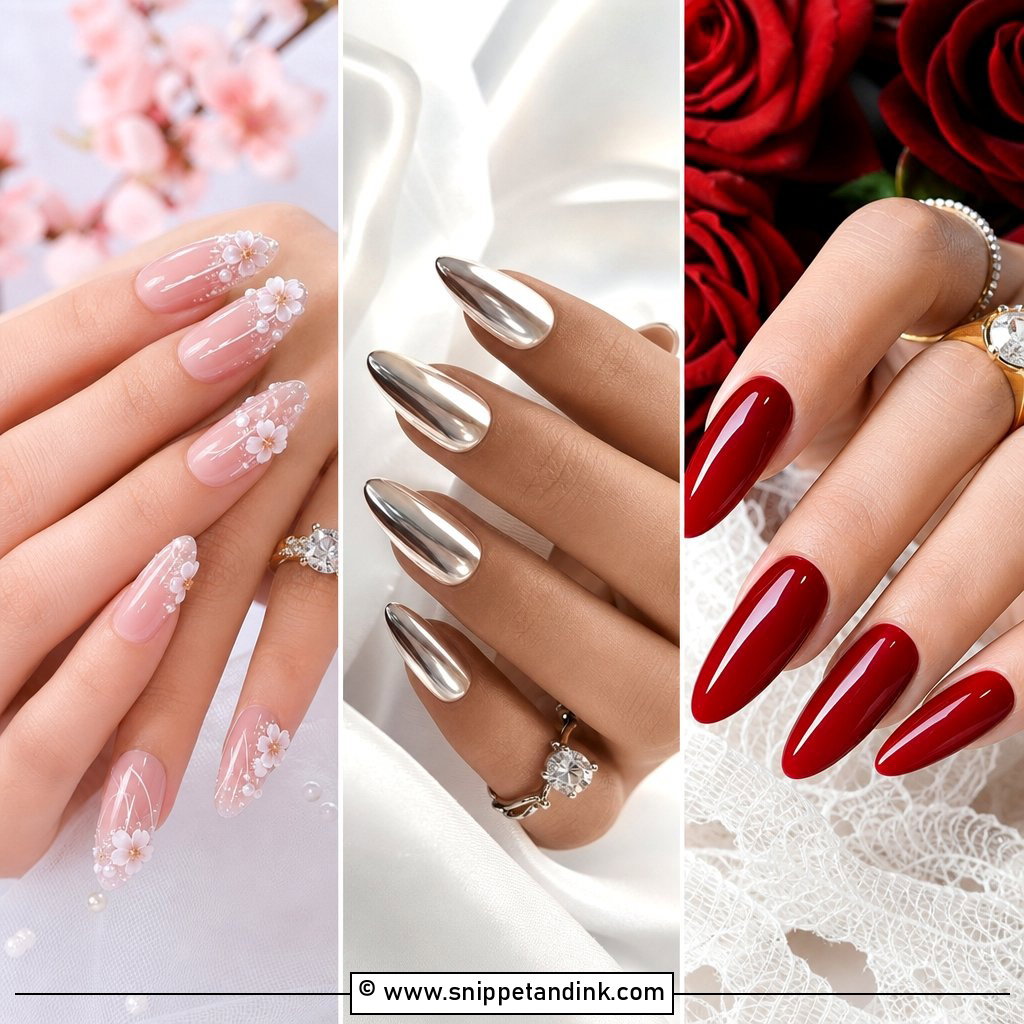
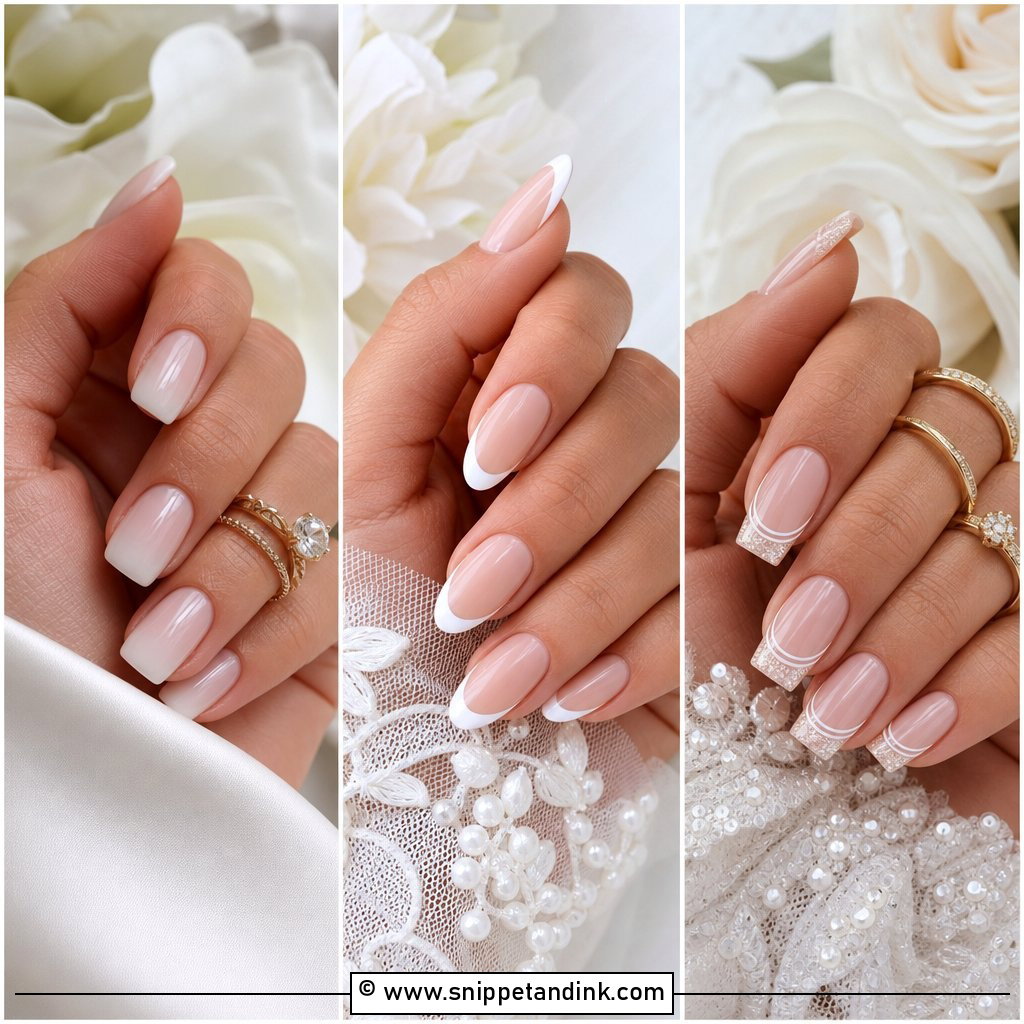
Press-ons are a smart option if a salon visit doesn’t fit the schedule. Bridal sets now come in milky white, French tips, pearl chrome, nude ombré, tiny florals and soft shimmer. They look polished when each nail covers the natural nail from sidewall to sidewall without touching the skin; a size too big lifts at the edges. Test your set before the wedding week, file the edges gently, and use nail glue rather than adhesive tabs if you need them to last more than a day. Bridesmaids, guests and destination weddings all benefit from them. Choose a natural length if you’re not used to long nails.
The Ring Shot Shows Everything
Photographers often take a close-up of the rings on your hand, and at that distance the camera picks up dry cuticles, lifted gel and skin texture more than the design itself. A few weeks of care makes more difference than any nail art.
- Use cuticle oil every night for a month beforehand. It’s the single biggest improvement for close-ups.
- Don’t let anyone cut your cuticles the day before. Fresh cuts can look red and swollen in macro shots; push them back gently instead.
- Match tones to the ring metal: warm nudes and champagne beside yellow gold, cooler pinks and milky whites beside platinum or white gold.
- Bring the engagement ring, or a photo of it, to the appointment so the shade is tested next to it.
A Broken Nail on the Morning Itself
It happens, usually while doing up a dress or opening something in a rush. Keep a small kit with a bridesmaid: a fine nail file, a tube of nail glue, and one or two spare press-on nails in a matching shade. A crack can be sealed with a thin layer of glue and filed smooth. A nail that has broken low can be covered with a press-on cut to size, and nobody will spot it in the photos.
Polish That Still Looks Fresh When the Ring Goes On
A good wedding manicure looks like your own hands, just better looked after. Sheer colors, clean shapes, tiny pearls, small florals and fine sparkle all suit weddings because they support the ring, the dress and the bouquet rather than competing with them. Think about your jewelry metal, your venue light and how much length you can comfortably live with. Then book a trial manicure, wear it for a week, and you’ll know exactly what to ask for when the real appointment comes.
You'll Like These Ideas:


Leave a Reply