
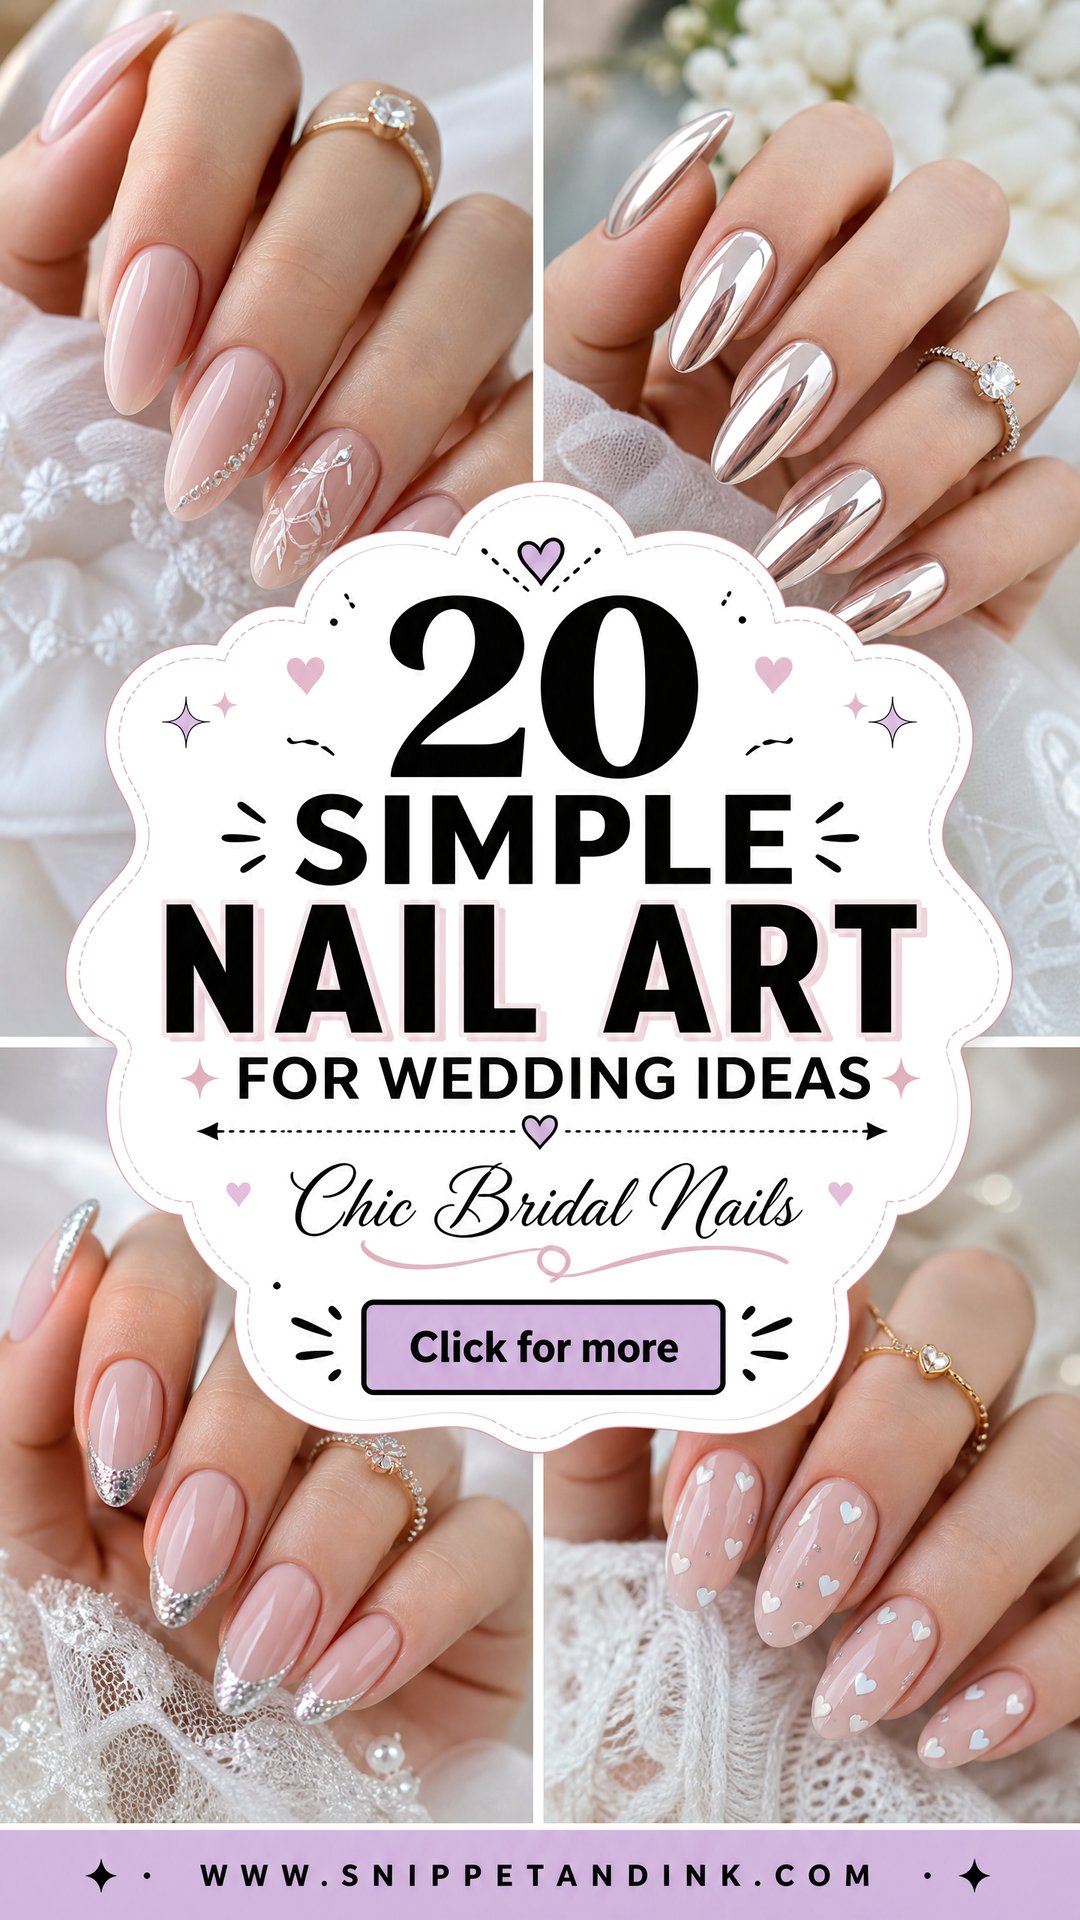
Most of the wedding sets I do now are quiet ones: a sheer base, a fine tip, maybe one small detail. Bridal and wedding guest nails have moved toward milky bases, thin French lines, tiny florals, pearls, glazed chrome and shorter natural shapes. Simple doesn’t mean less work, though. A sheer manicure shows every ridge, every uneven cuticle and every streak, so the prep has to be cleaner than it would be under a dark cream polish. The twenty ideas below suit brides, bridesmaids, mothers and guests, and for each one I’ve noted what I’d watch for when I’m doing it.
Sheer Bases Show Everything Underneath
Almost every design here starts with a translucent base, and translucent polish hides nothing. Ridges, white spots, yellowing from dark polish and ragged cuticles all show through, then show again in ring close-ups. So the work for a simple set happens before any color goes on.
- Start cuticle oil every night about two weeks out. Hydrated cuticles need far less cutting at the appointment, and less cutting means less redness in photos.
- Stop wearing dark polish a week or two before if your nails stain easily. A sheer pink over yellowed nails turns peachy.
- Tell your nail artist if you’ve had gel removed aggressively in the past. Thin, peeling nails need a structured base layer or the sheer finish will look bumpy.
- Bring a photo of your dress fabric and your ring. Ivory, white and champagne each change how a milky or nude base reads.
I’d always book a trial for brides, even for a plain French. It’s the only way to see the exact shade against your skin and your ring in daylight, and it gives you a week of wear to decide whether the length suits your life.
1. Simple French Wedding Nails
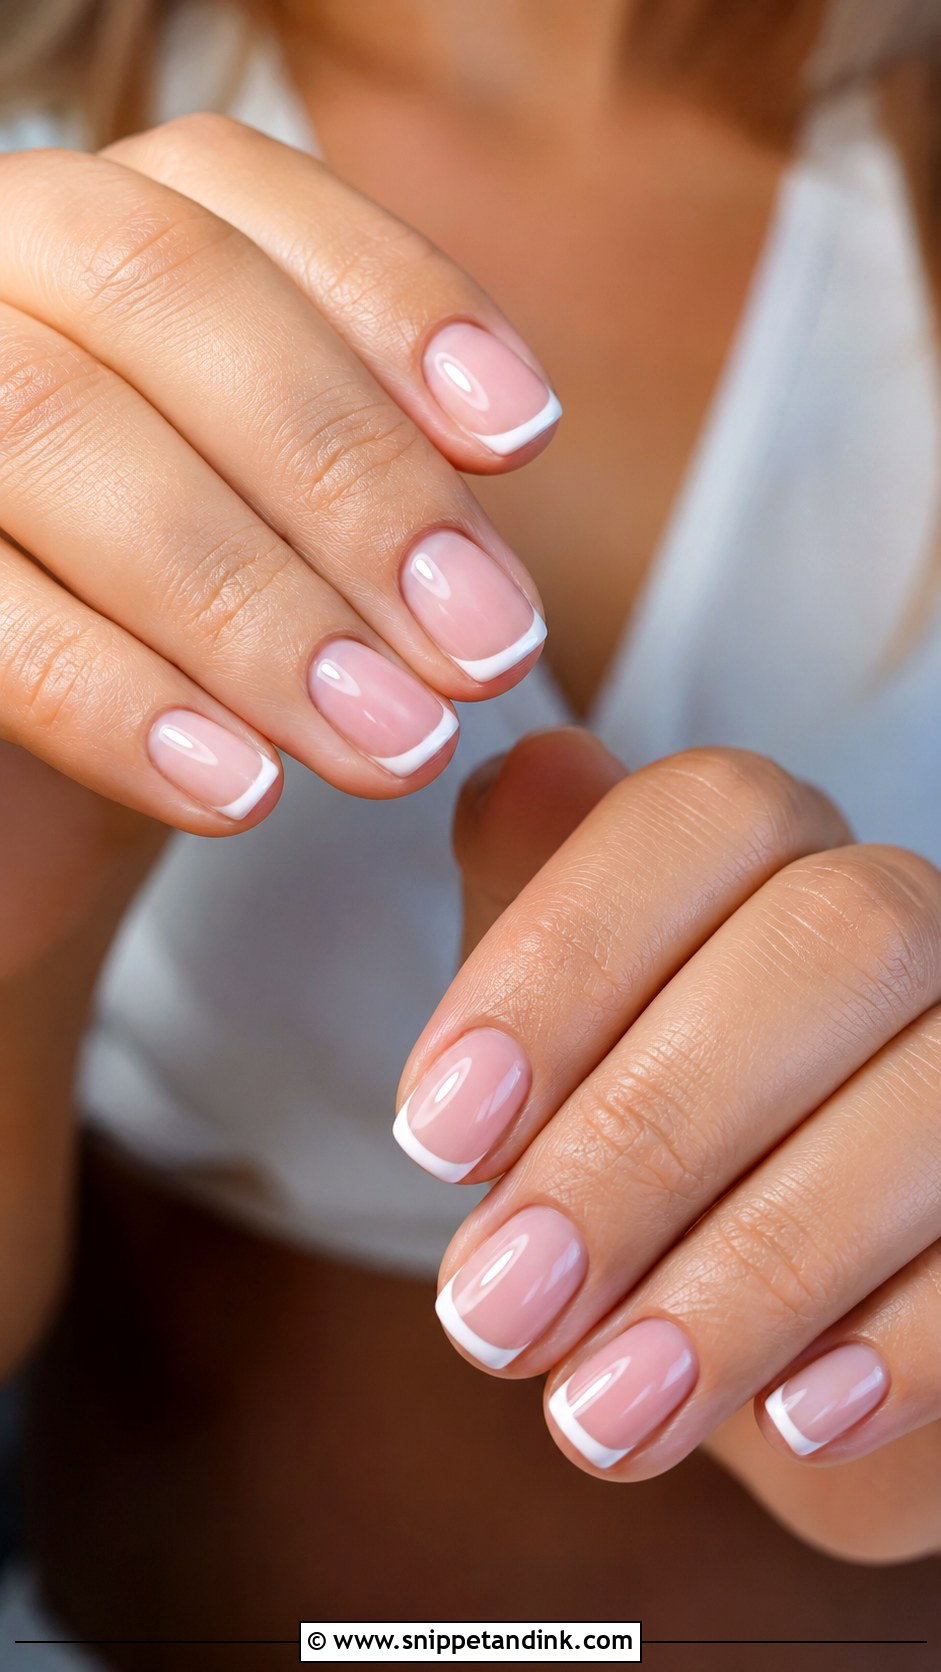
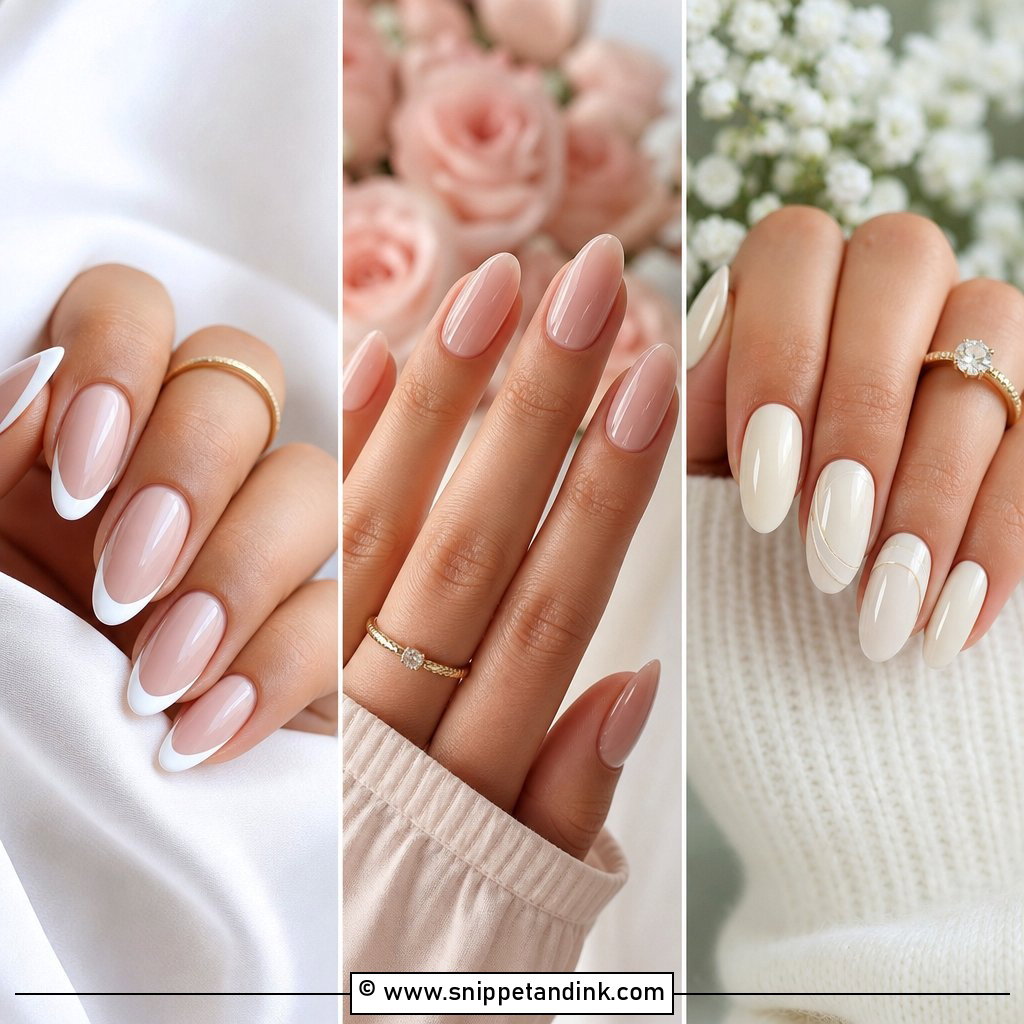
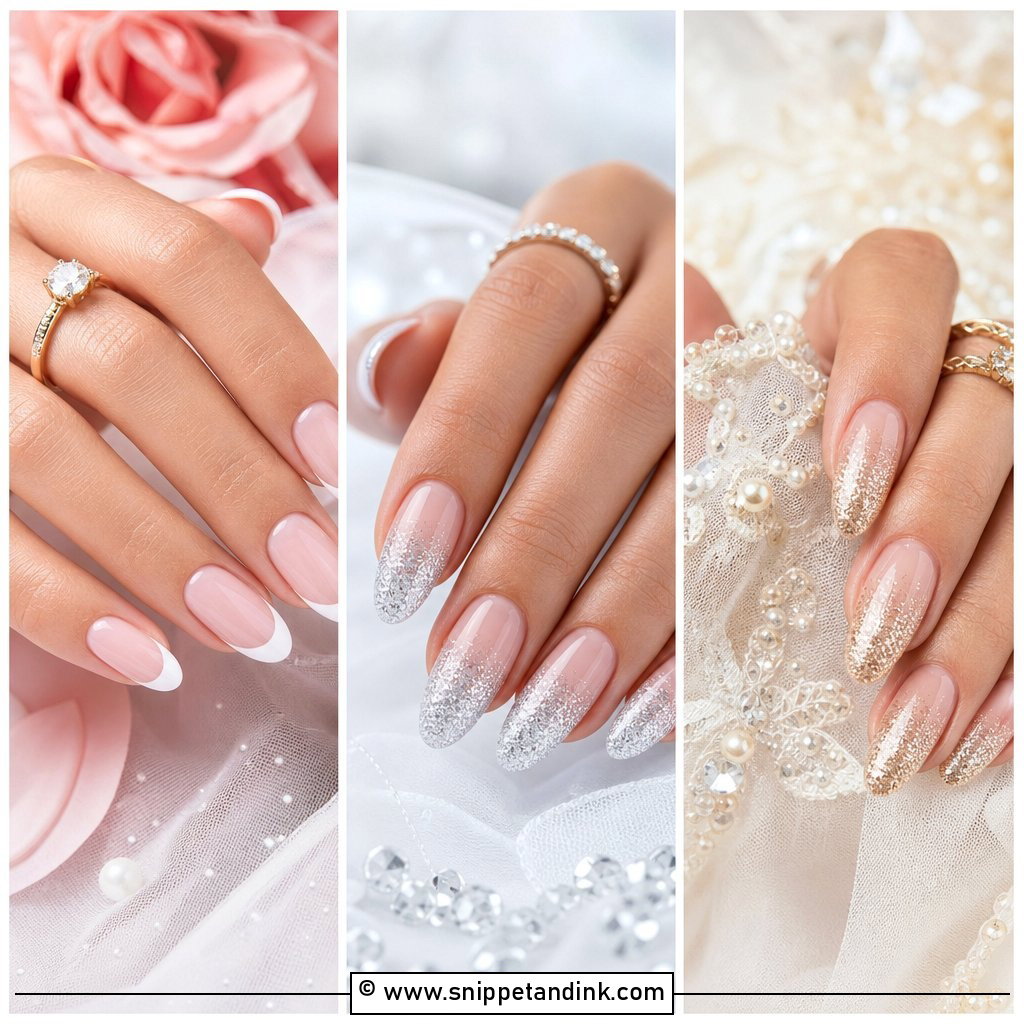
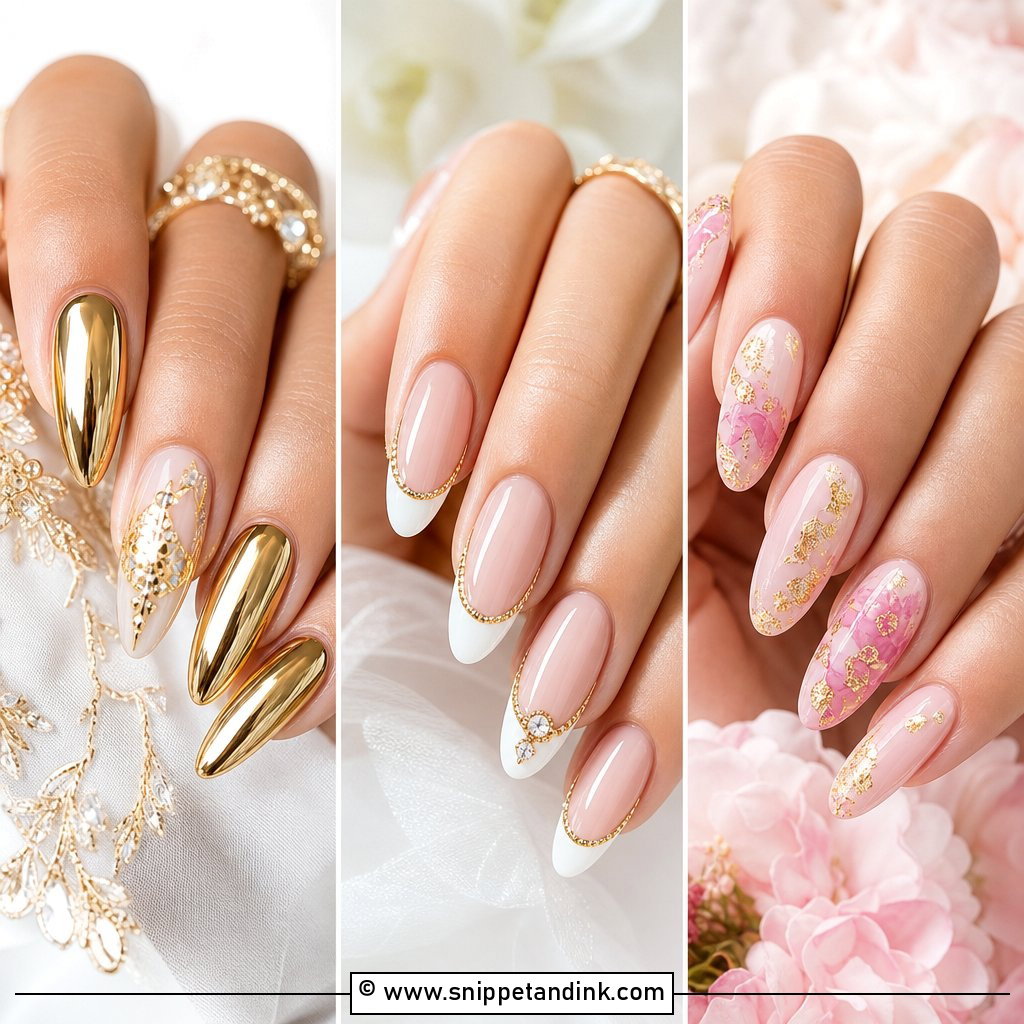
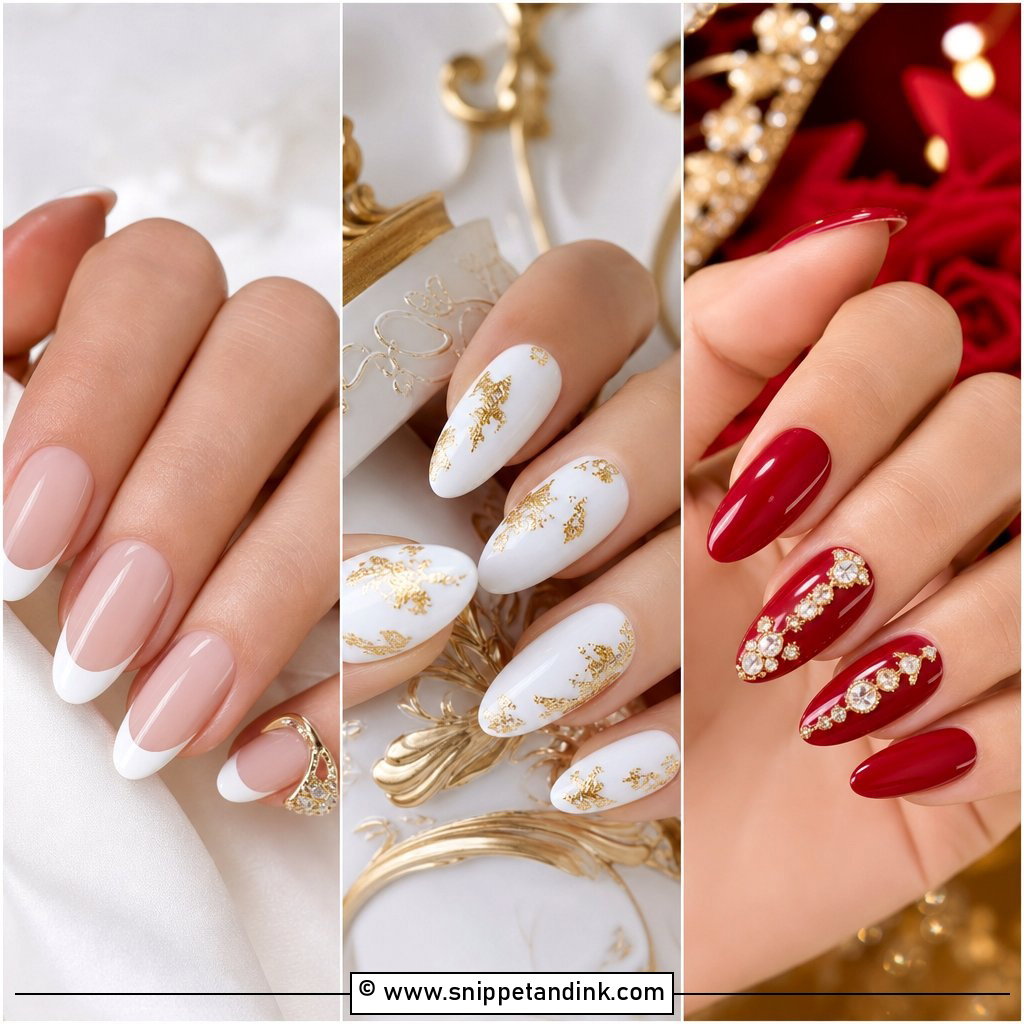
A soft French reads clean in almost any photo, which is why it stays the most requested bridal set I do. I keep the base sheer pink or nude and the white tip thin, because a thick, bright smile line looks dated and makes short nails look shorter. Short square, squoval or almond shapes keep it natural. The hard part is the smile line itself: it has to sit at the same depth on all ten nails, and I’ll redo a tip rather than leave one sitting higher. Brides usually match the base to their skin; guests can go a shade warmer.
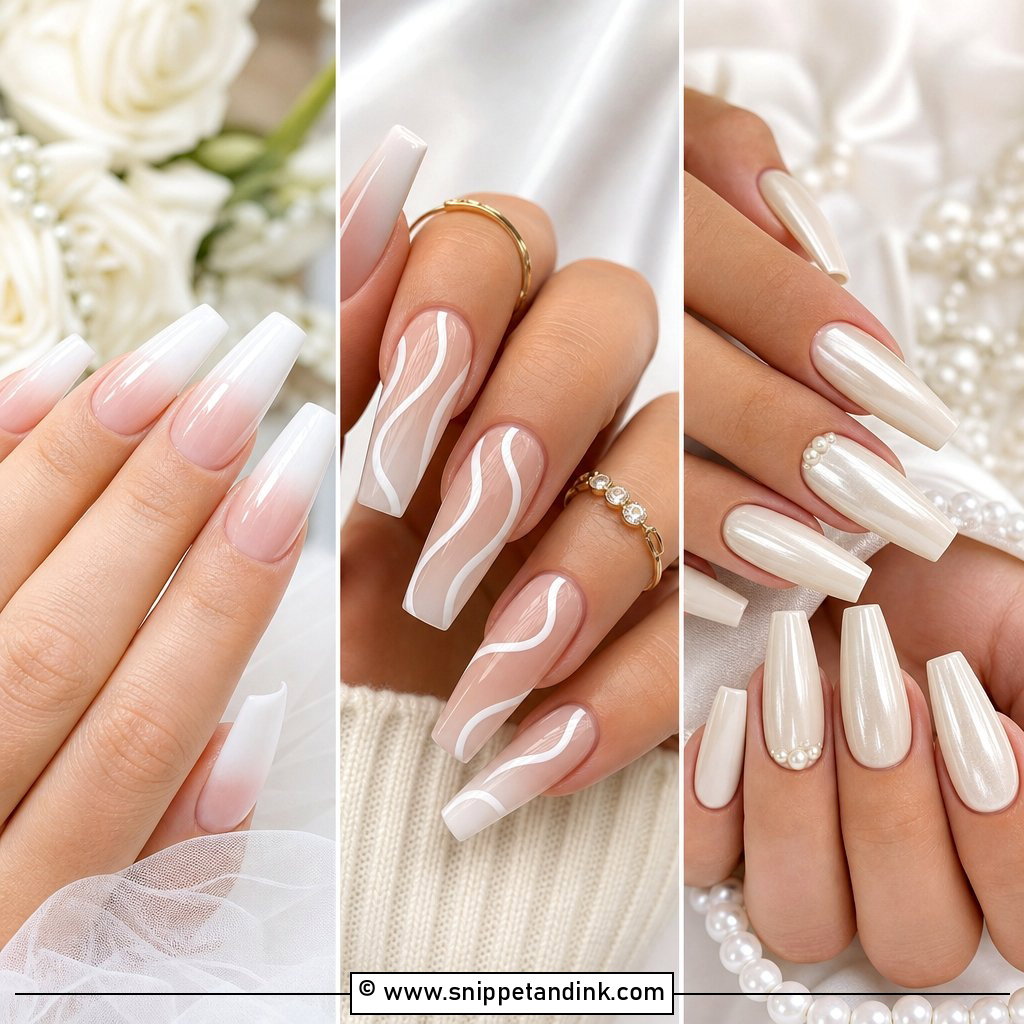
2. Milky White Wedding Nails
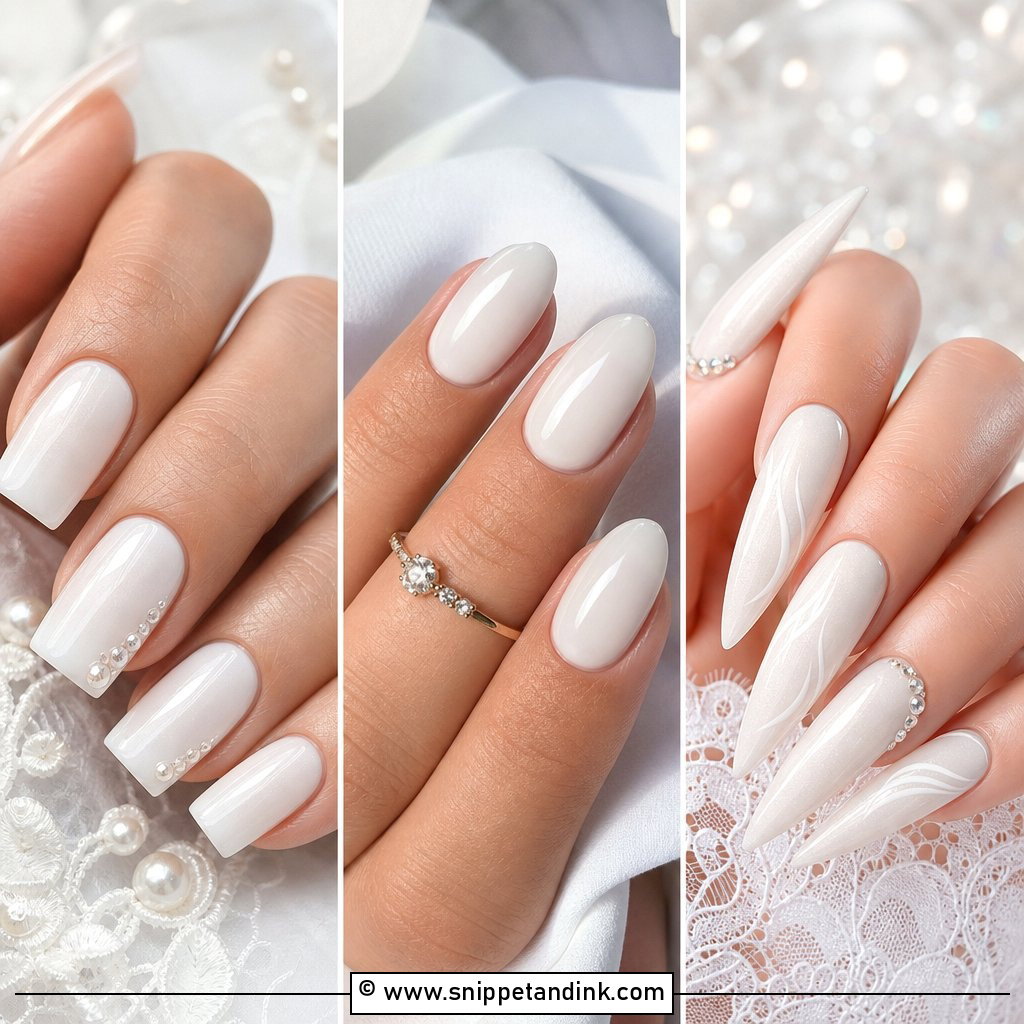
Milky white wedding nails sit between sheer white and creamy ivory, and they’re trickier than they look. One coat is streaky, three can turn chalky, so I build it in thin layers and check under daylight before curing the last one. The softness of the color means it works next to both white and ivory gowns without making either look dingy. For a little art, I add one fine white line or a tiny pearl dot, or finish with a glazed top coat. It’s also a set brides keep wearing happily after the wedding.
3. Nude Pink Wedding Nails
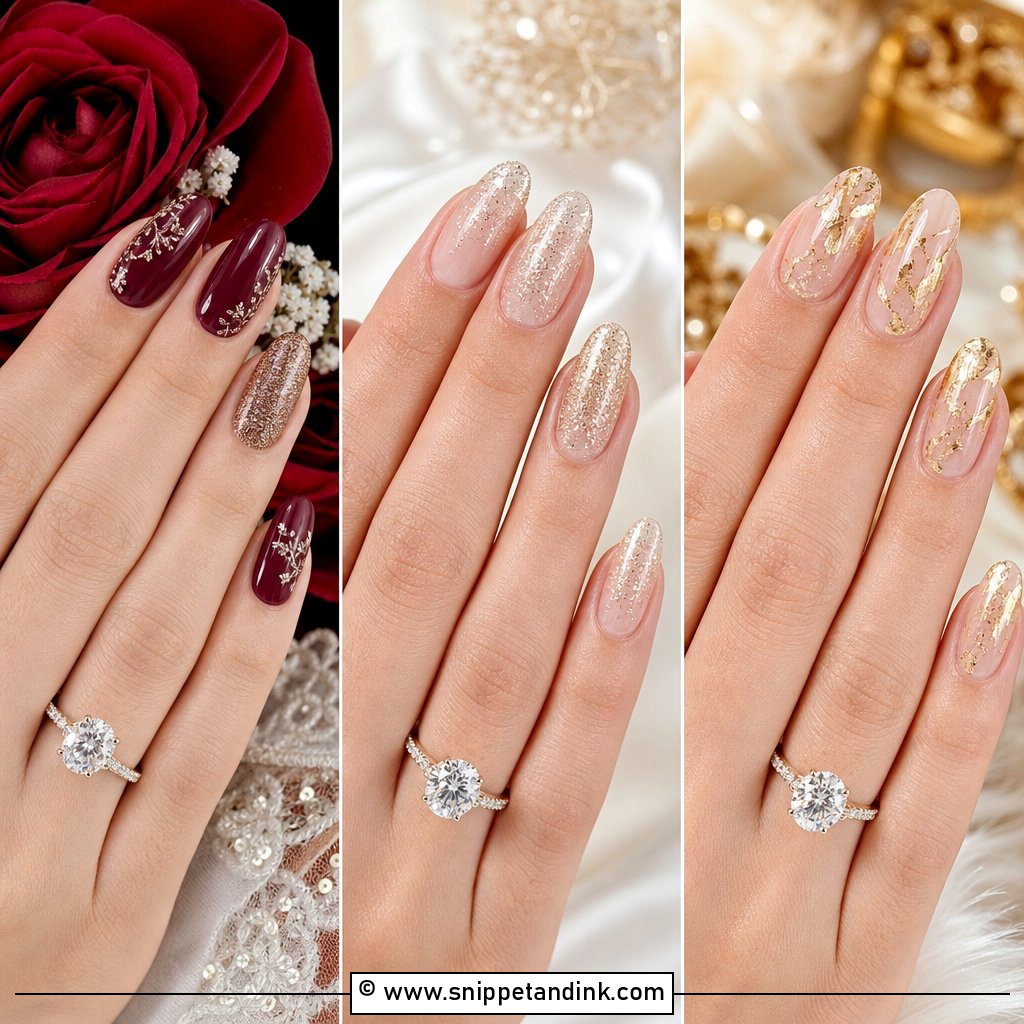
Pick the pink by your undertone, not by the bottle. Cool pinks sit well on fair, rosy skin; peachy pinks warm up medium, olive and deep skin tones, and a cool pink on warm skin can look slightly grey in flash photos. I keep this set glossy and sheer, with at most a fine shimmer near the cuticle. Brides who rarely wear polish tend to feel most like themselves in it. A neutral pink also lets the ring do the work in close-ups instead of competing with it.
4. Pearl Accent Wedding Nails
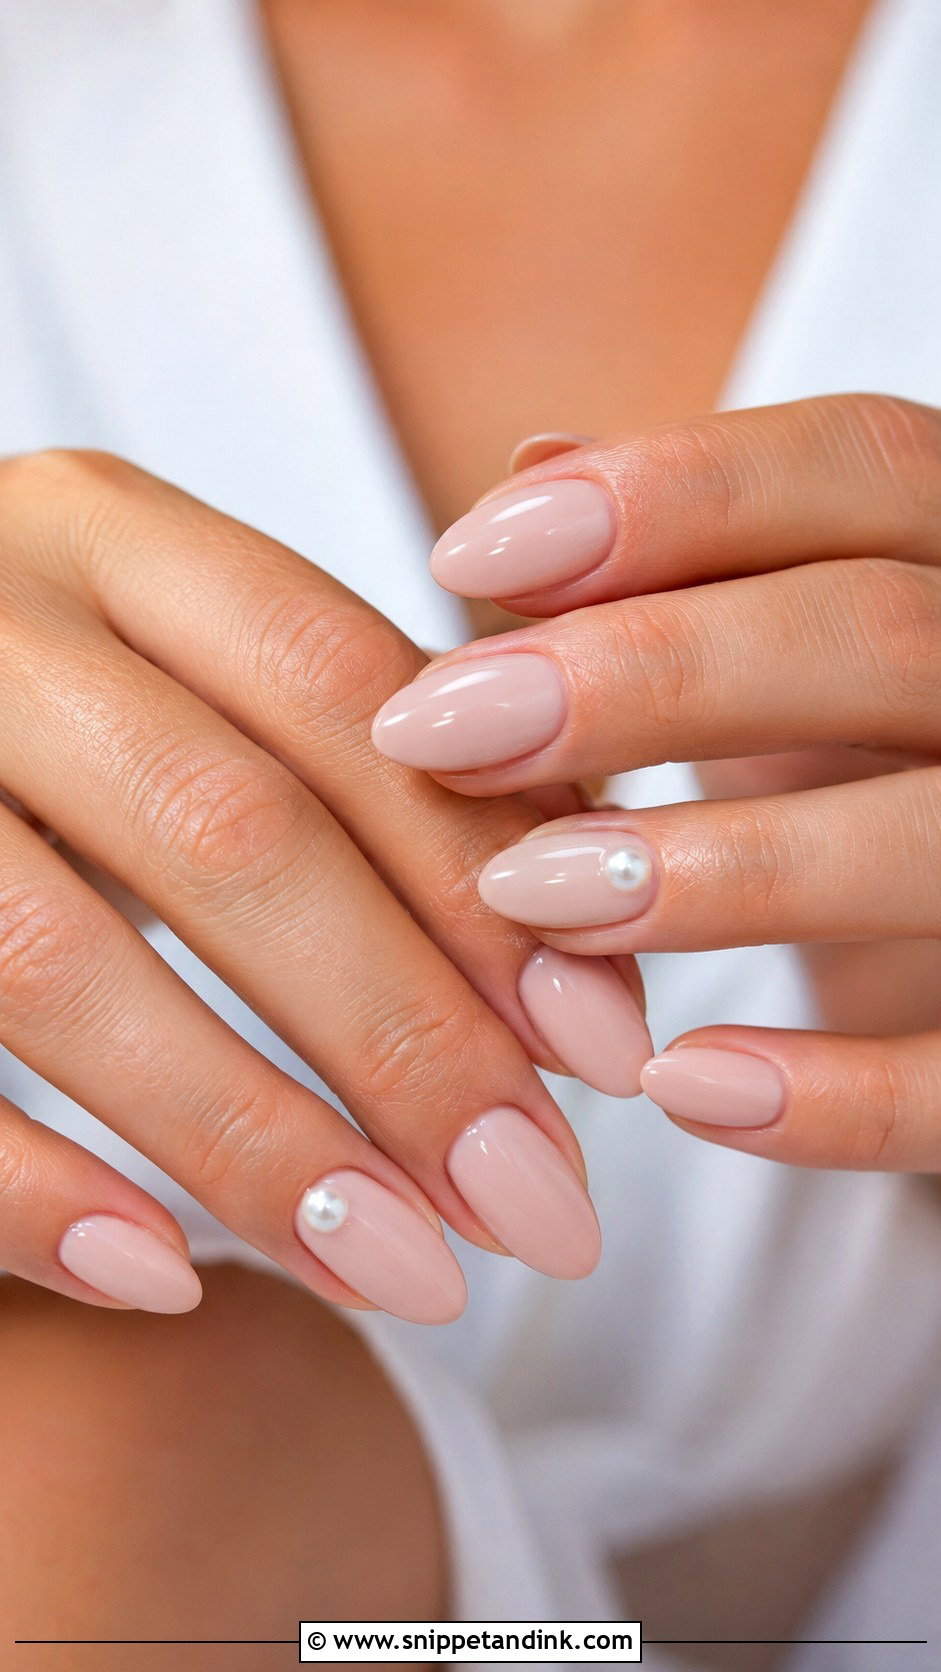
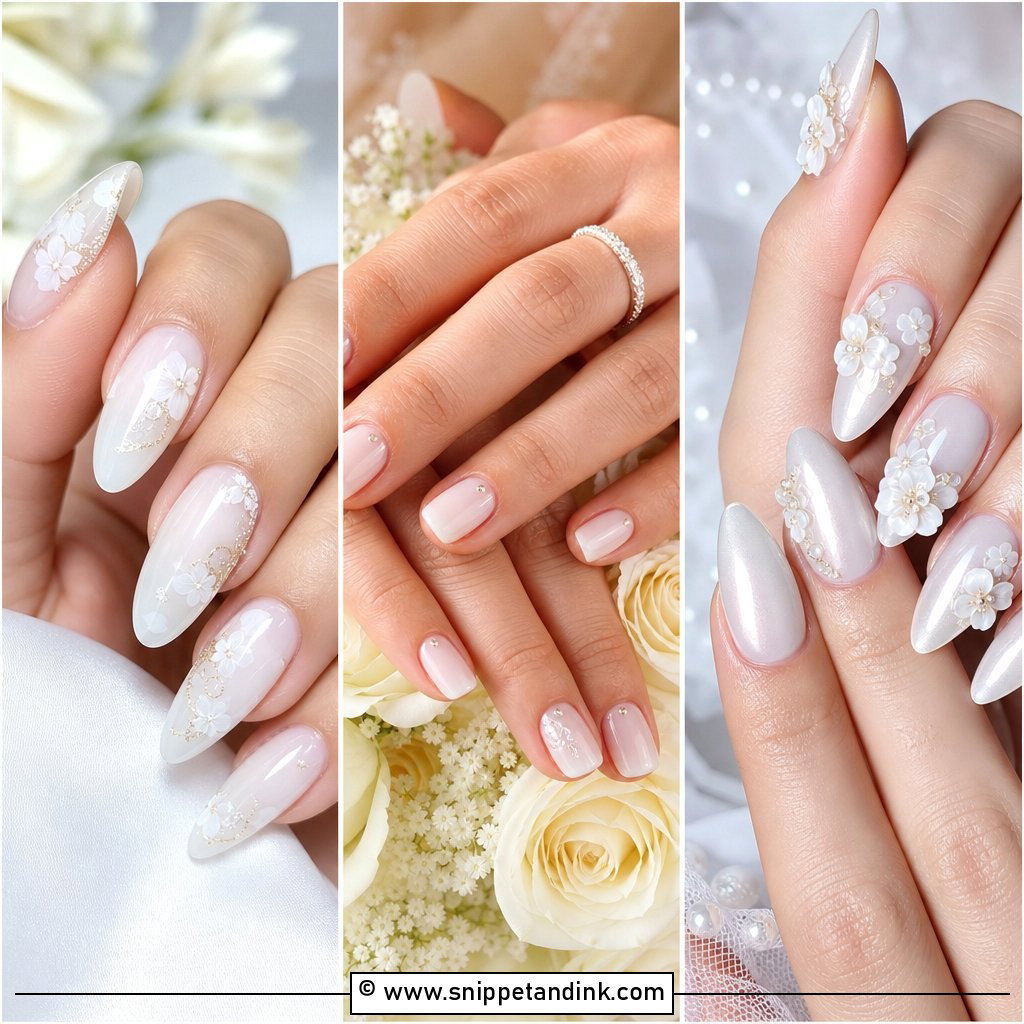
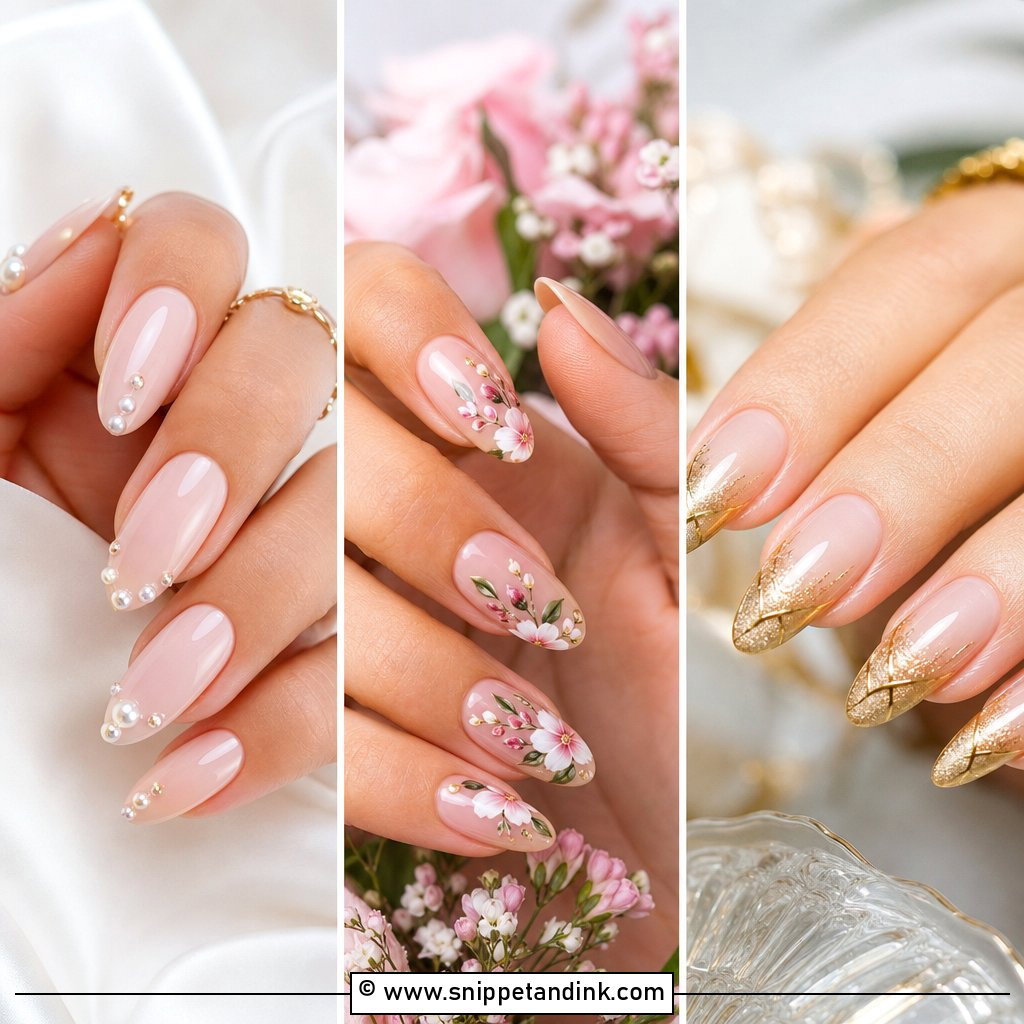
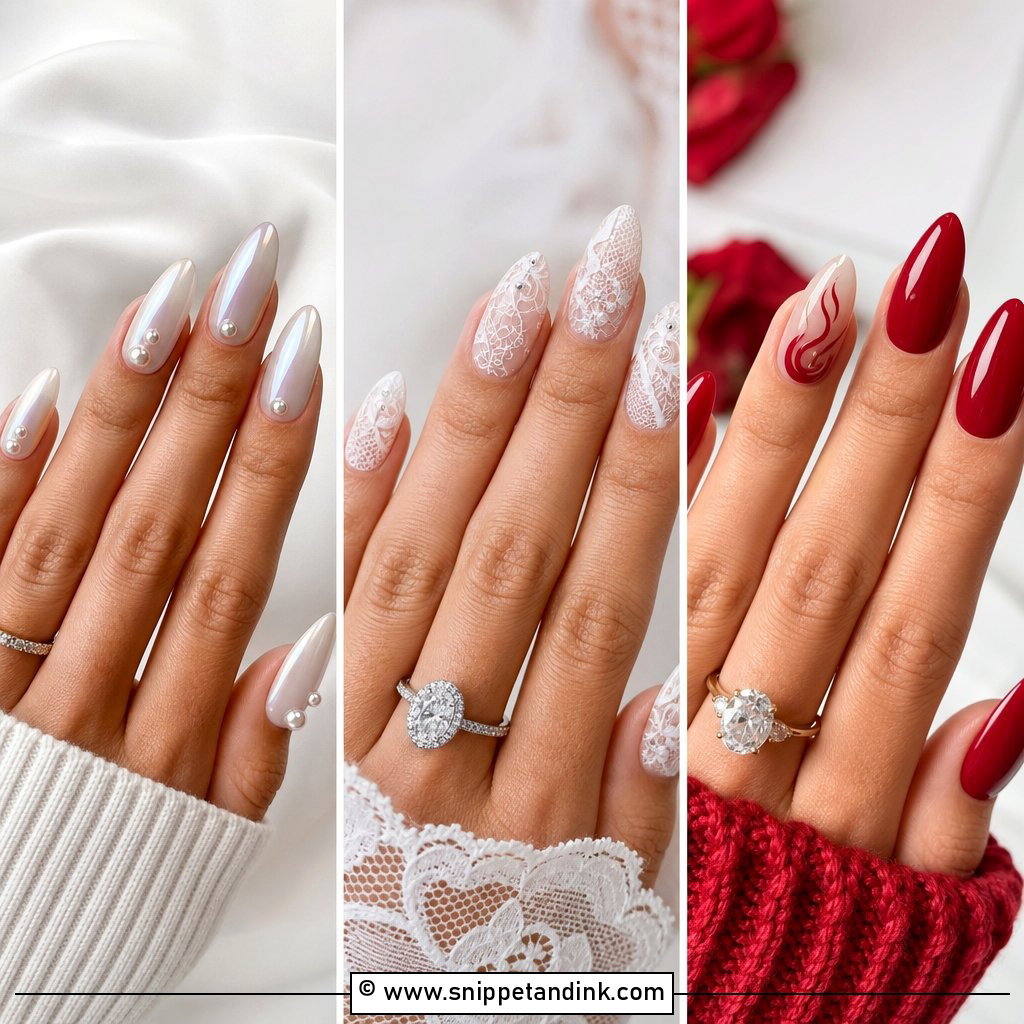
Pearls are the detail I get asked to remove most often after a trial, usually because they were too big. I use small, flat-backed pearls set into gel near the cuticle or on one accent nail, on a sheer nude, pink or milky base. Anything domed catches on lace, veils and hair, so flat matters more than size. They tie in neatly with pearl earrings or hair pins. For bridesmaids I’d keep it to one pearl per hand, and short oval or almond shapes hold them best.
5. White Floral Wedding Nails
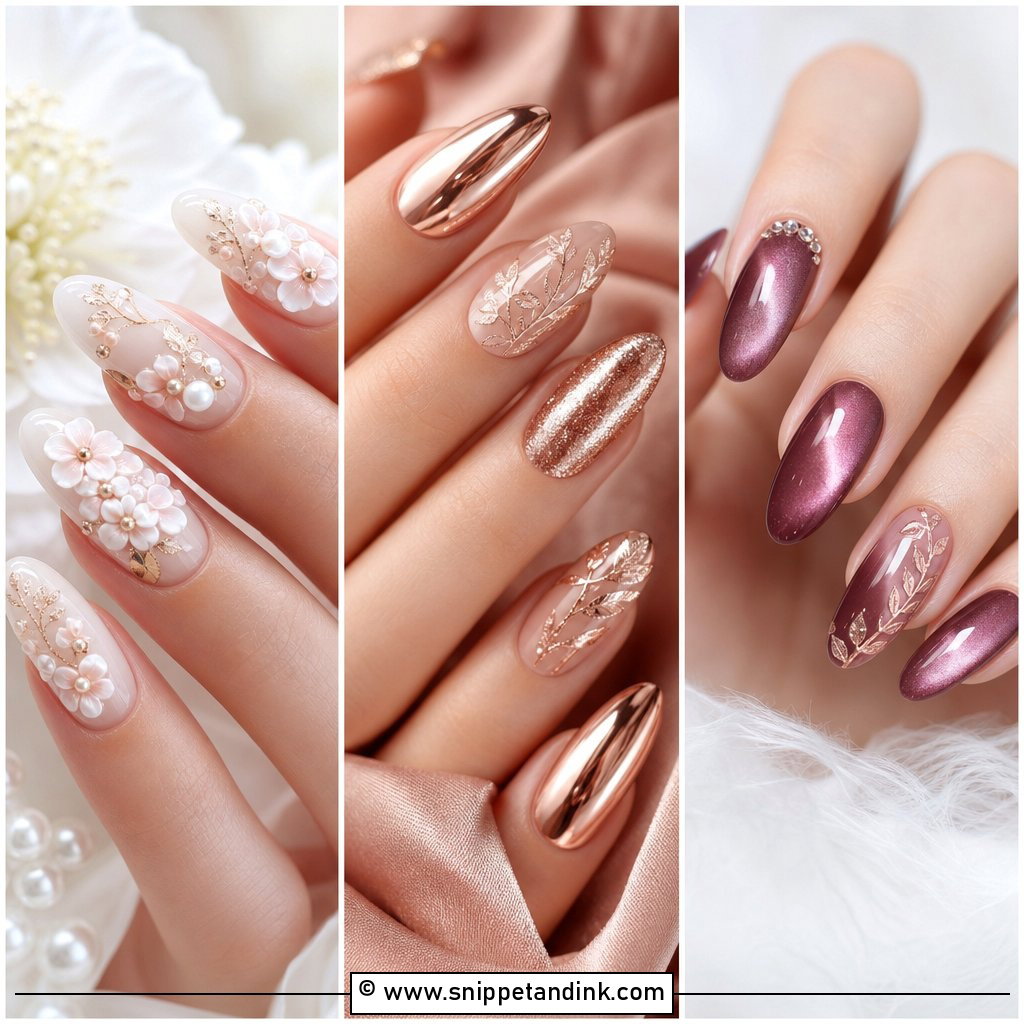
Tiny white flowers on a sheer pink or nude base give a garden feel without crowding the nail. I paint them with a fine liner brush, five dots and a centre, and keep them to one or two nails or scatter micro blooms across the set. They suit spring and summer weddings and gowns with floral lace. The common problem is raised paint: flowers built too thick feel bumpy and catch the light unevenly. I flatten them under a self-levelling top coat so they sit inside the gloss rather than on top of it.
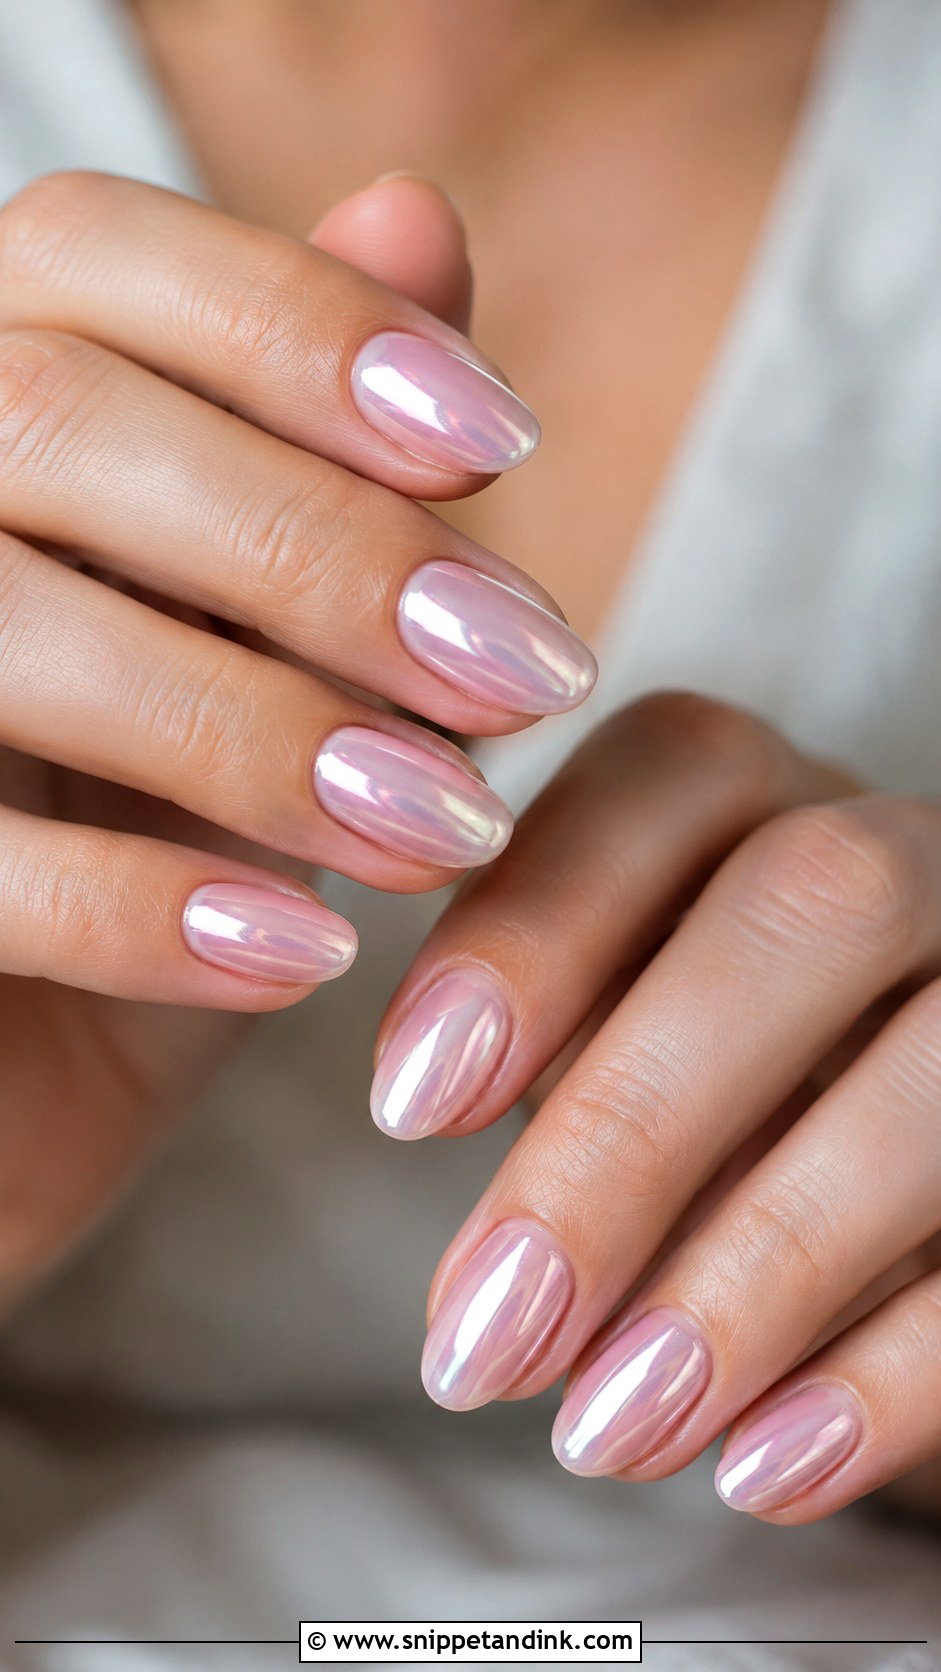
6. Chrome Wedding Nails
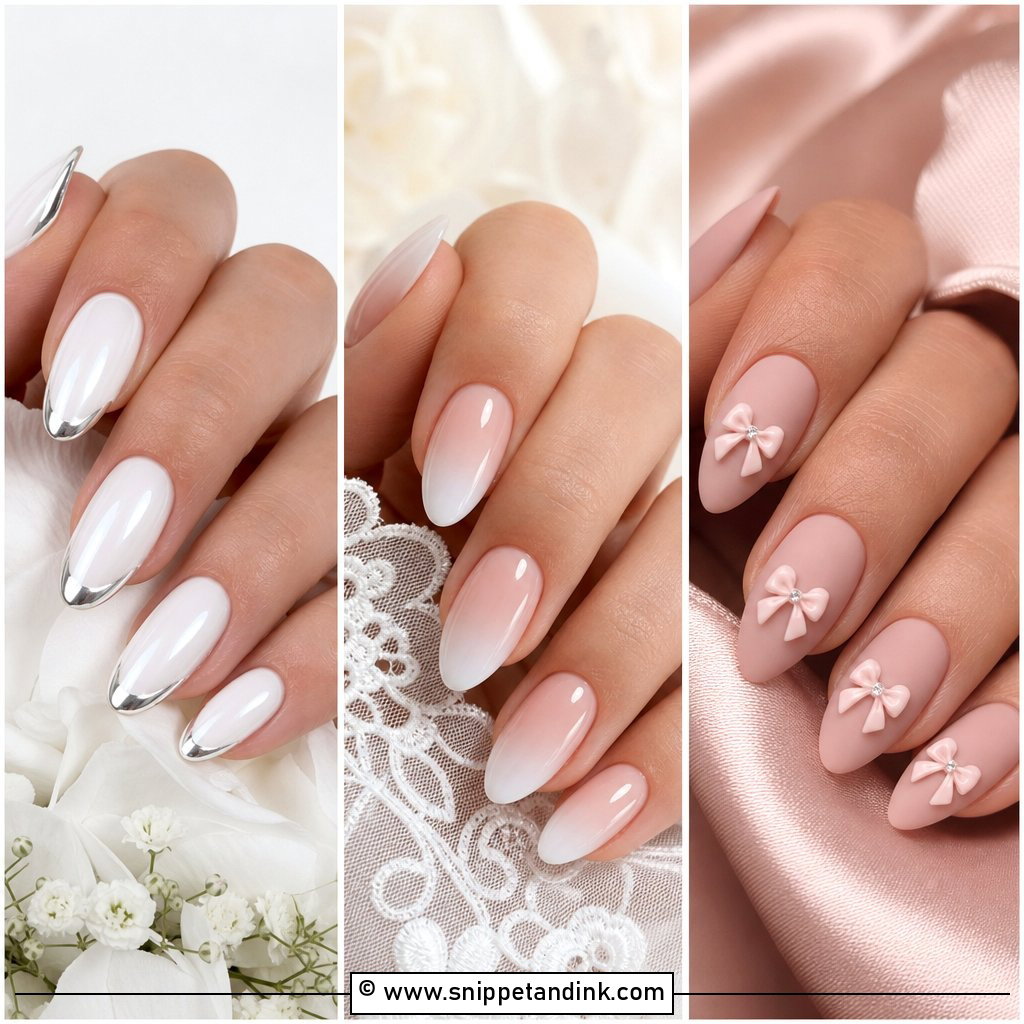
Chrome stays soft when it’s a glaze over a sheer base rather than a full mirror finish. Chrome wedding nails work best over milky white, pale pink, nude or champagne. I rub the powder onto a cured no-wipe top coat, seal it, and cap the free edge carefully, because chrome that isn’t sealed at the tip is the first thing to peel. The curve of an almond or oval nail catches light across the surface better than a flat square. I’d skip gems here; the shine is already the detail.
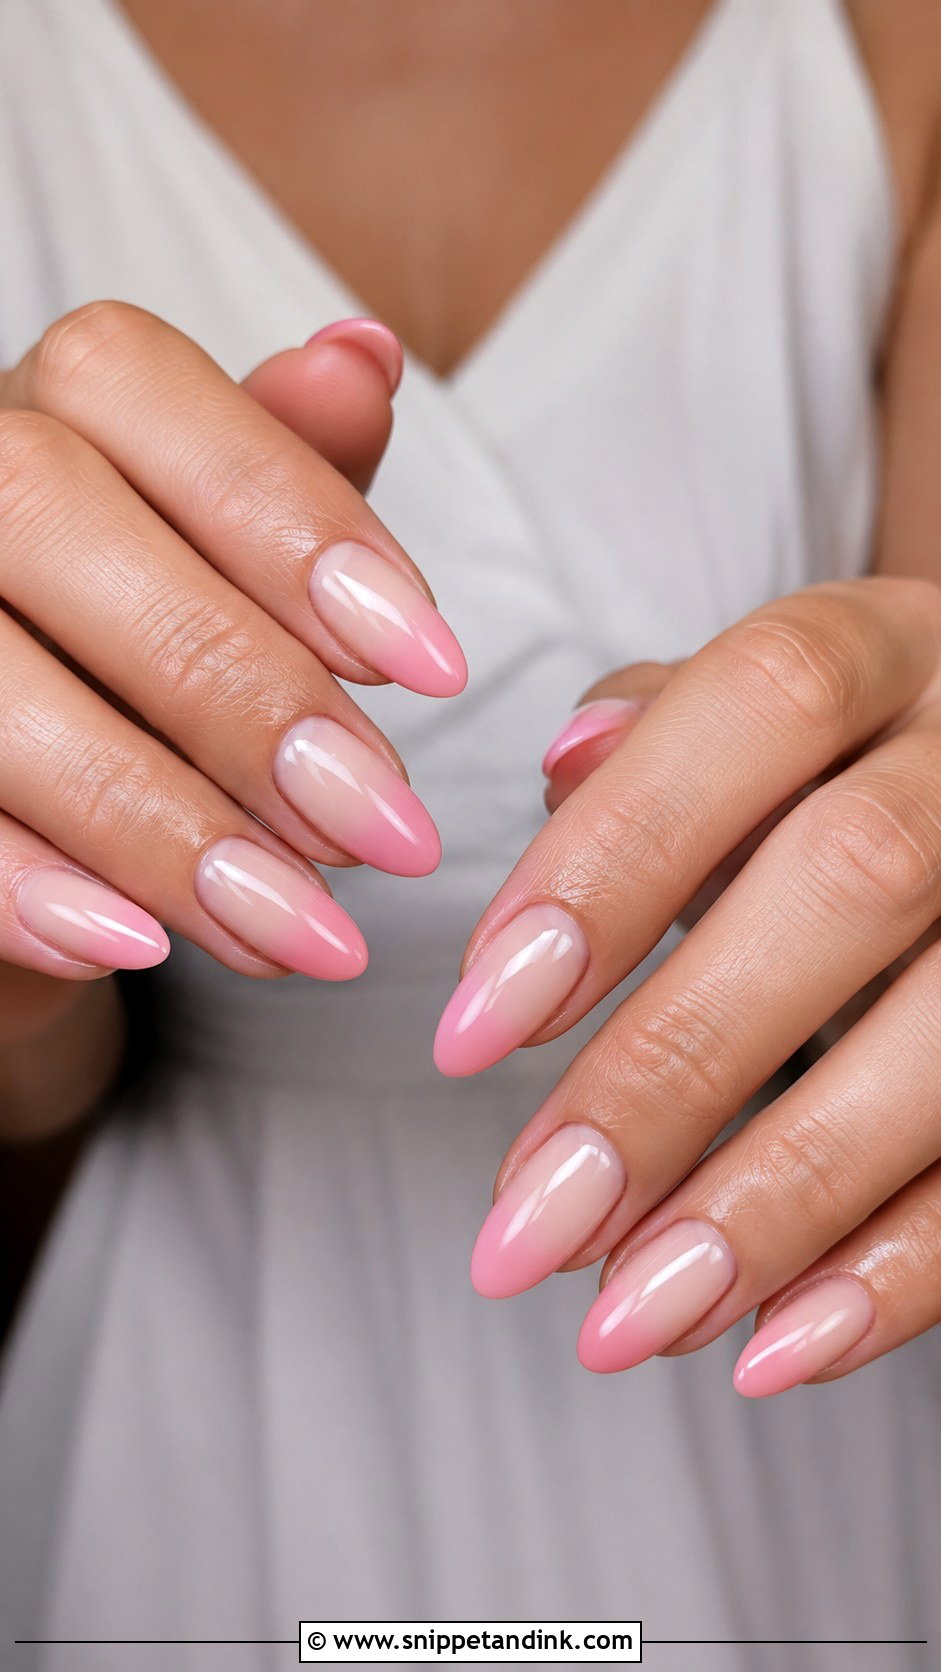
7. Blush Ombre Wedding Nails
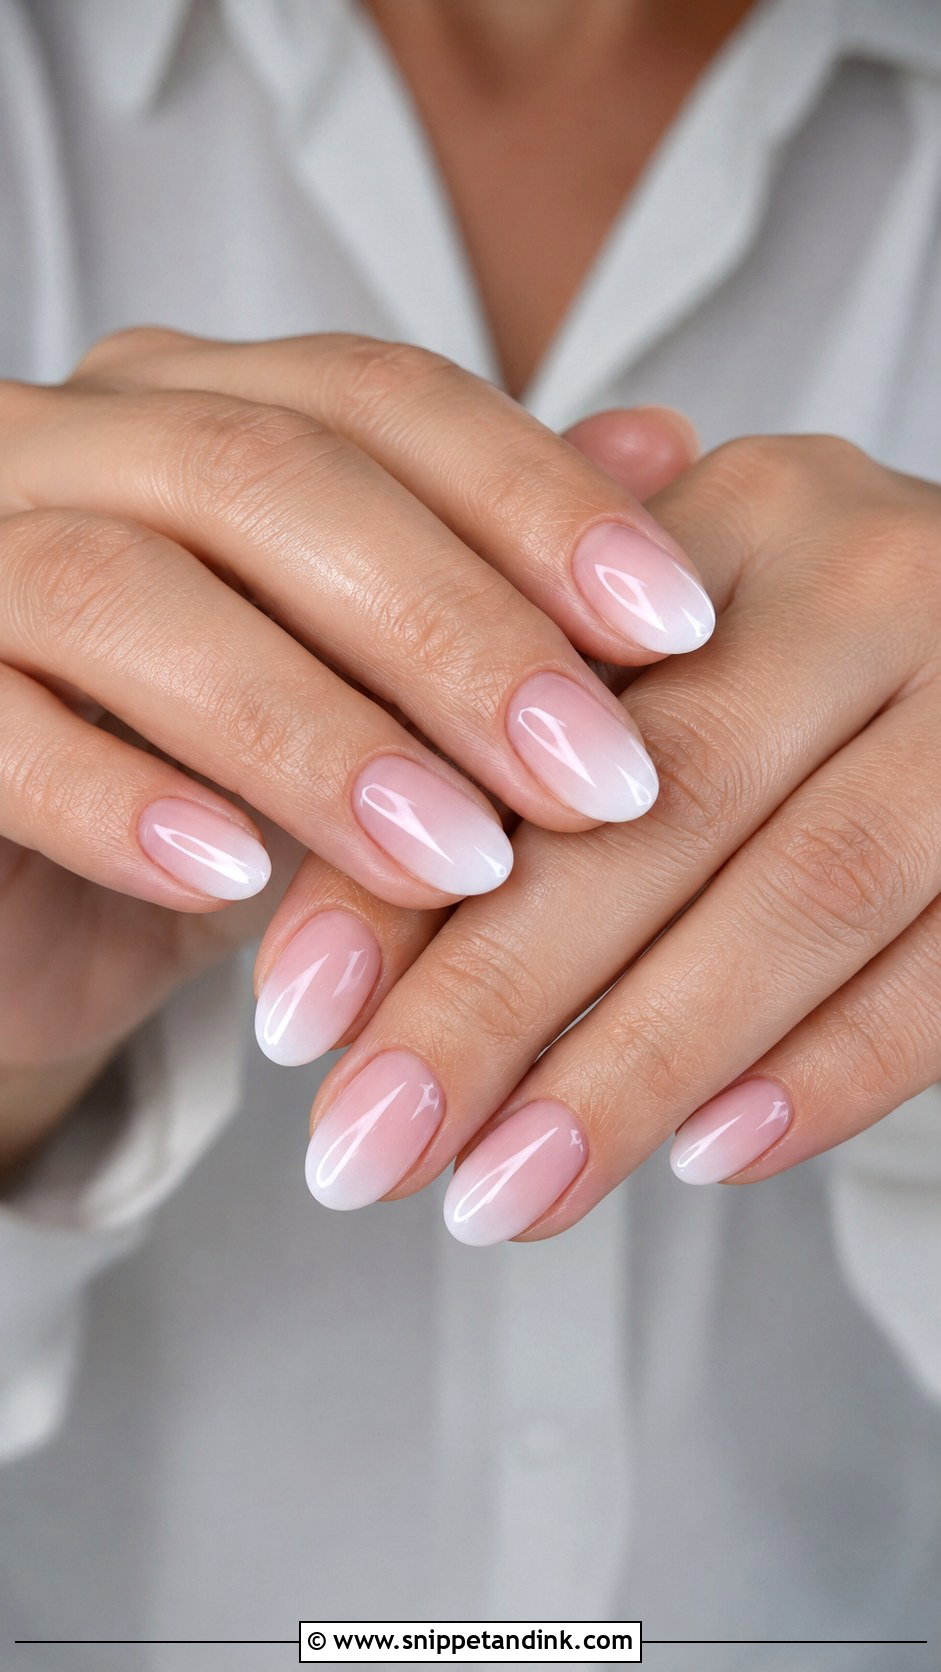
Blush ombre fades from a sheer nude base into a gentle pink or milky tip, almost like a blurred French. The blend should have no visible line, so I sponge it or airbrush it in thin passes. It’s one of the most forgiving designs for growing out, since the base near the cuticle is close to your natural nail color and new growth barely shows. That makes it a sensible pick if your honeymoon follows straight after. Almond, coffin and squoval shapes all suit it.
8. Gold Line Wedding Nails
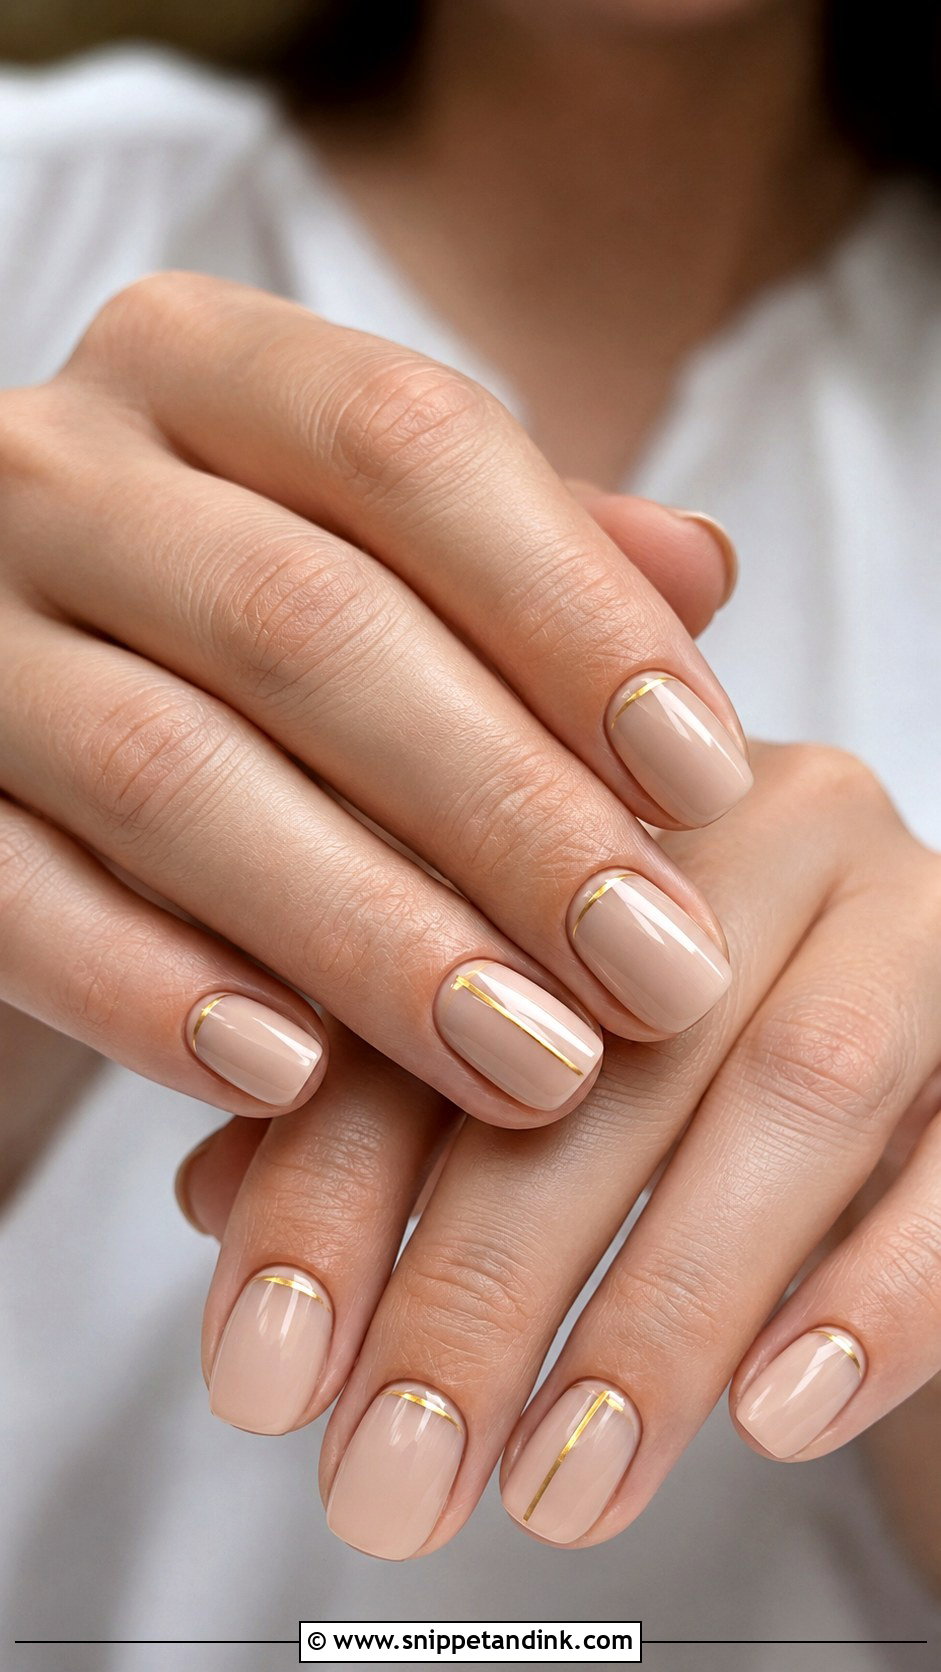
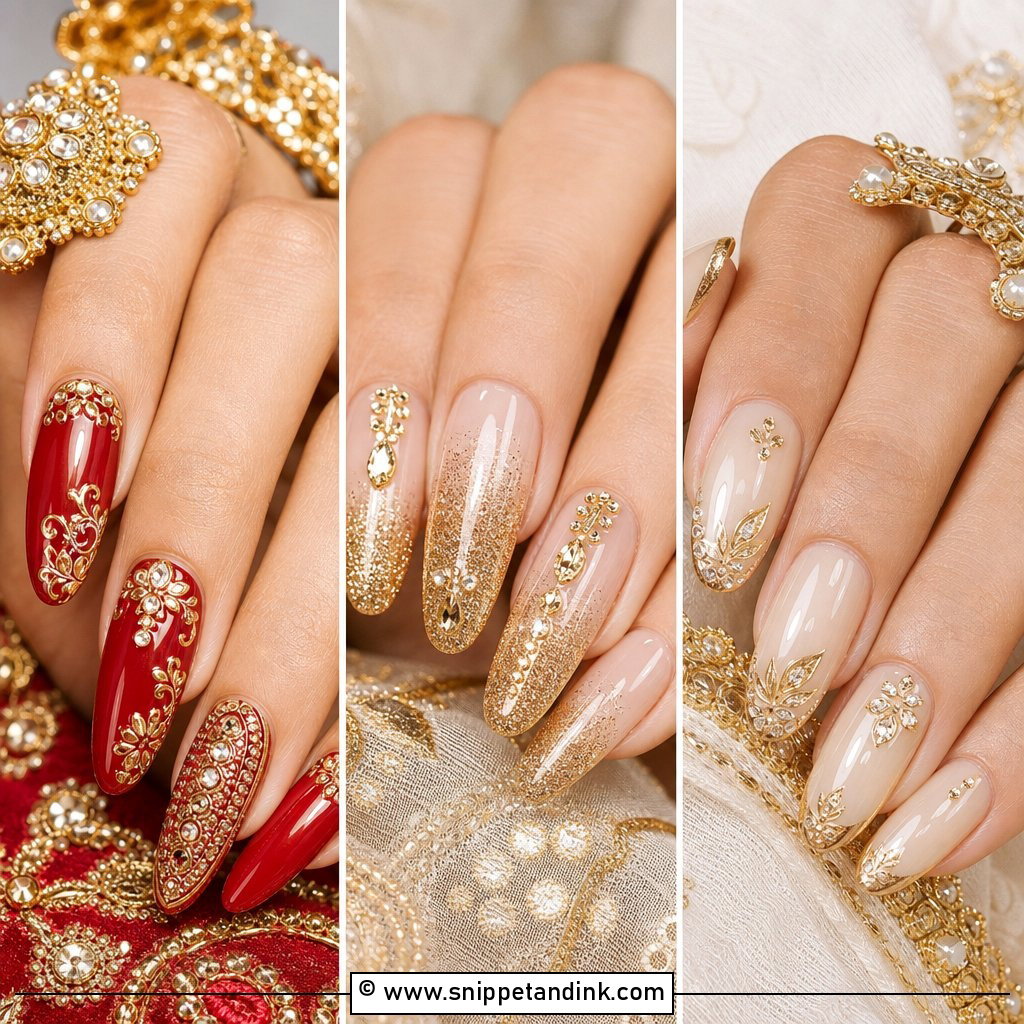
One thin gold line across the tip, down the centre or along the cuticle is enough. I draw it with a striping brush and gold gel, or lay down a strip of foil, over a sheer nude, pale pink or creamy beige base. It picks up gold rings and warm-toned jewelry well, and suits courthouse weddings and guests alike. The line has to be very fine; a thick gold stripe reads costume rather than bridal. If you wear yellow gold every day, the line will make your rings look intentional rather than matched.
9. Silver Tip Wedding Nails
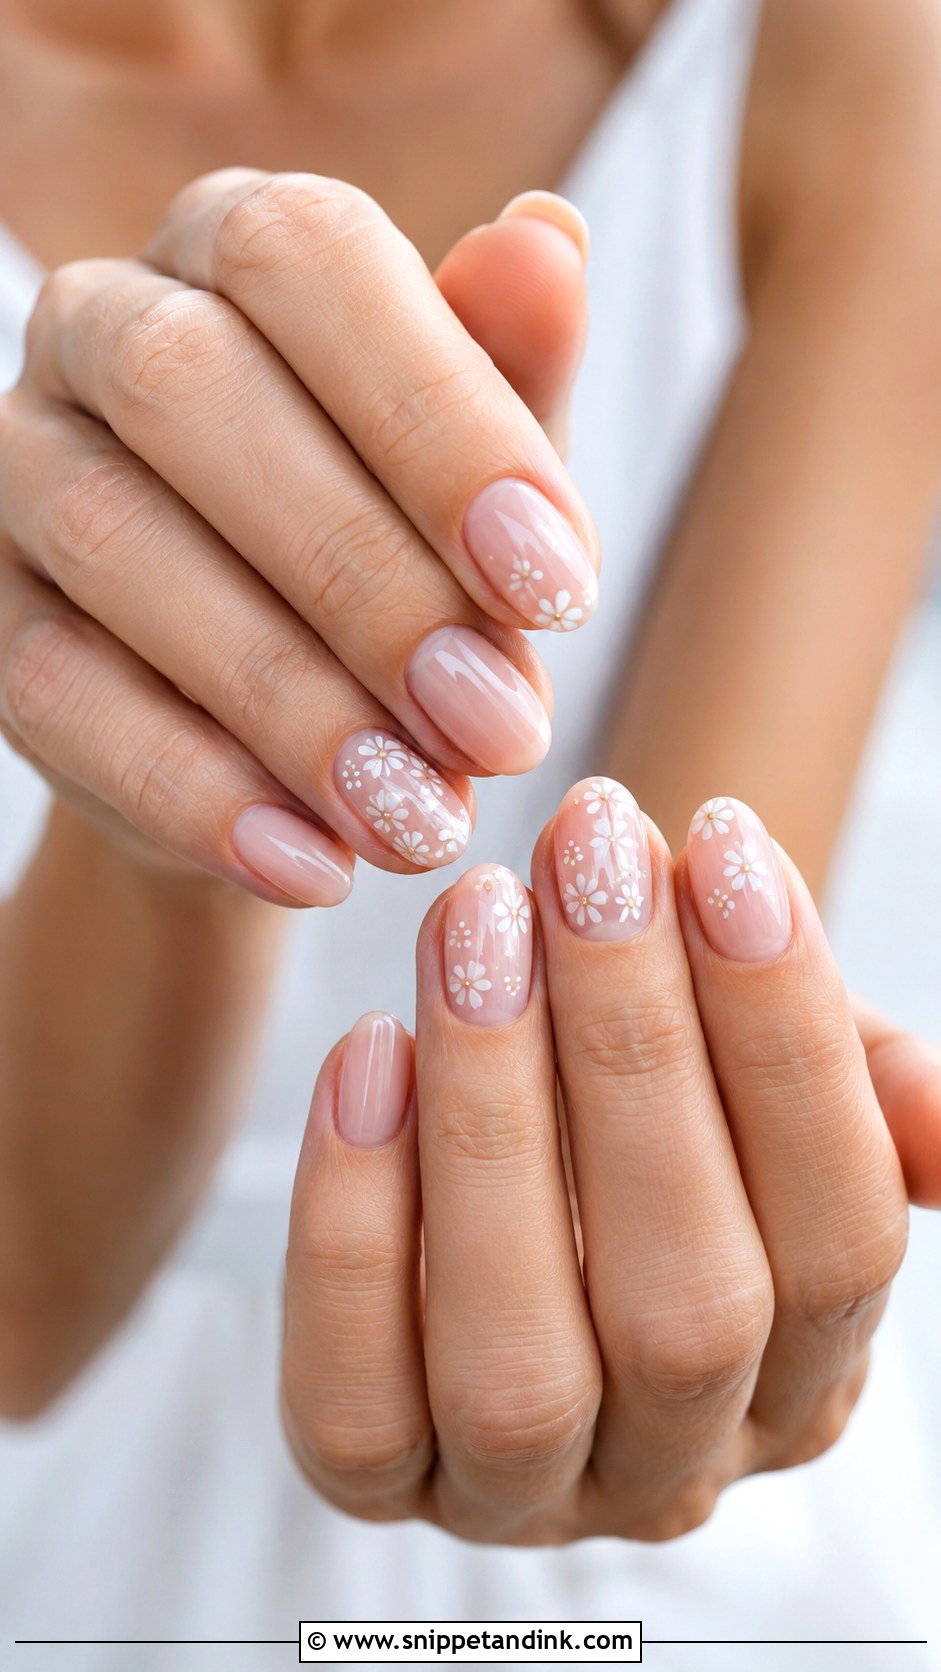
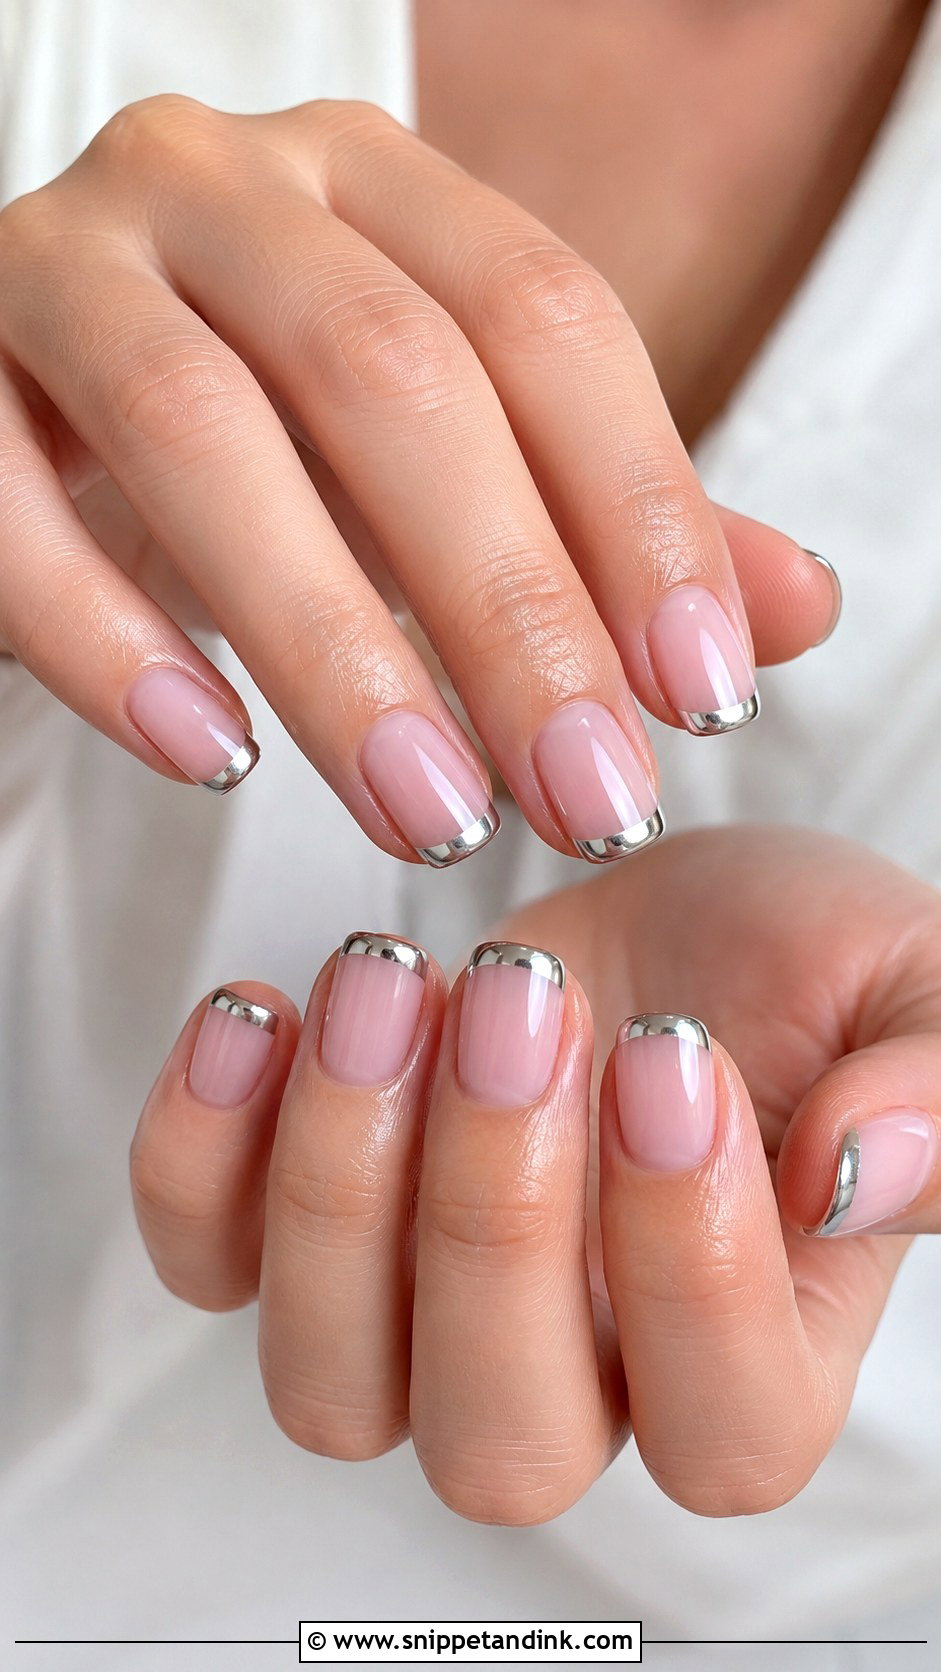
If your band is platinum, white gold or silver, a thin silver edge replaces the white French tip and ties the hand together. I keep the base sheer pink or nude and use fine silver glitter, chrome or foil for the tip. Glitter tips need an extra layer of top coat so they feel smooth rather than gritty. The look carries from ceremony to reception without reading as party nails. Short square, almond and medium oval shapes suit it.
10. Baby Boomer Wedding Nails
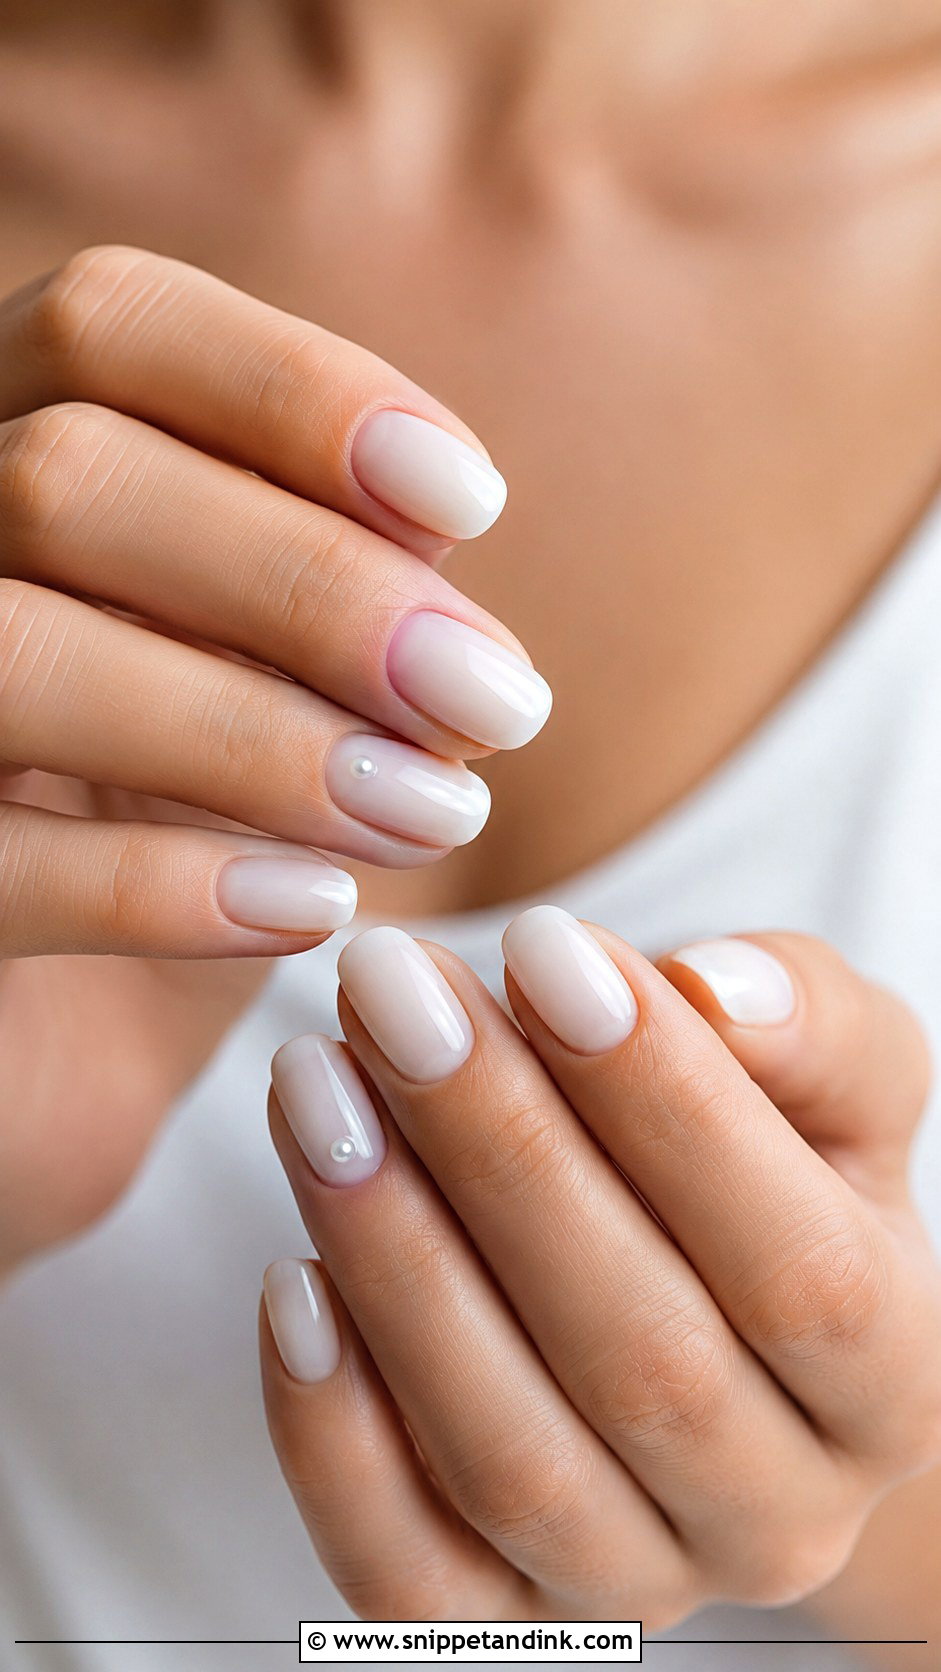
Baby boomer is a pink-and-white fade where the white melts into the base instead of stopping at a sharp smile line. Because the transition is soft, it makes nails look longer, which shows in close-up ring shots. I do it in gel with a sponge or in acrylic powder, and the white should stay soft rather than bright. Almond, oval and squoval shapes are the most balanced. It’s one design I’m comfortable recommending to almost any guest, because it never looks overdone.
11. Short Wedding Nails
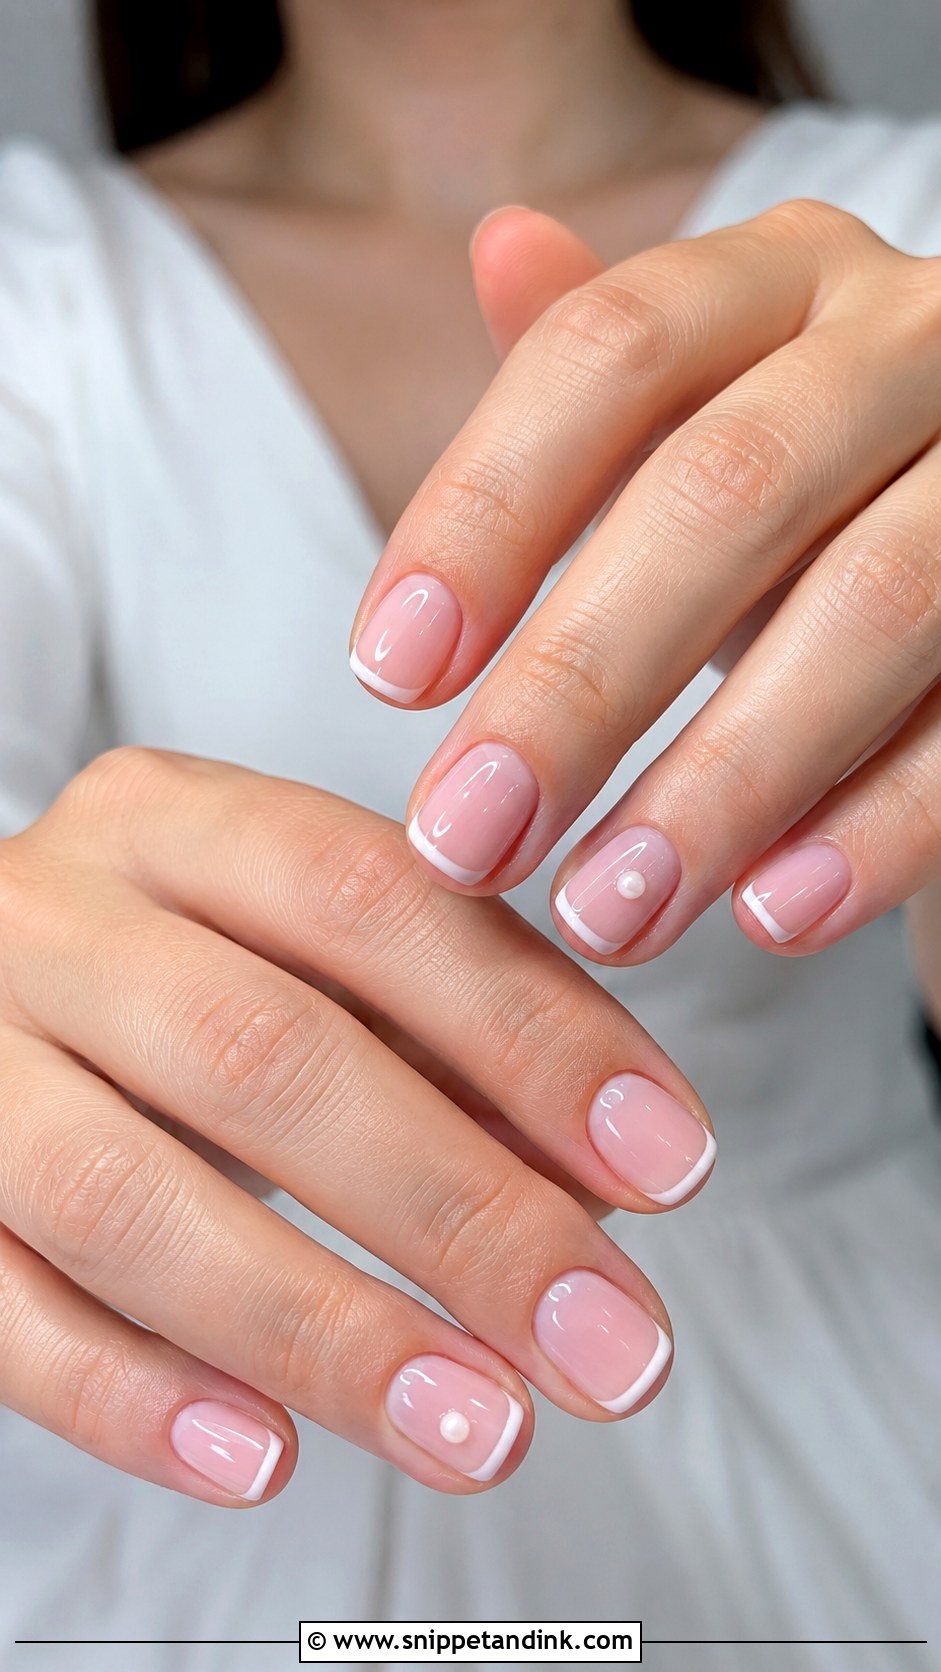
Short nails look polished when the shape is consistent and the cuticles are clean. I shape them rounded square, oval or squoval and keep the free edge just past the fingertip. Art should scale down too: micro French tips, a few tiny white flowers or a single pearl. This is my usual suggestion for brides who’ve never worn extensions, because the first day with long nails is awkward and a wedding is not the day to learn. The polish only looks as good as the cuticle work under it, so I spend most of the appointment there.
12. Almond Wedding Nails
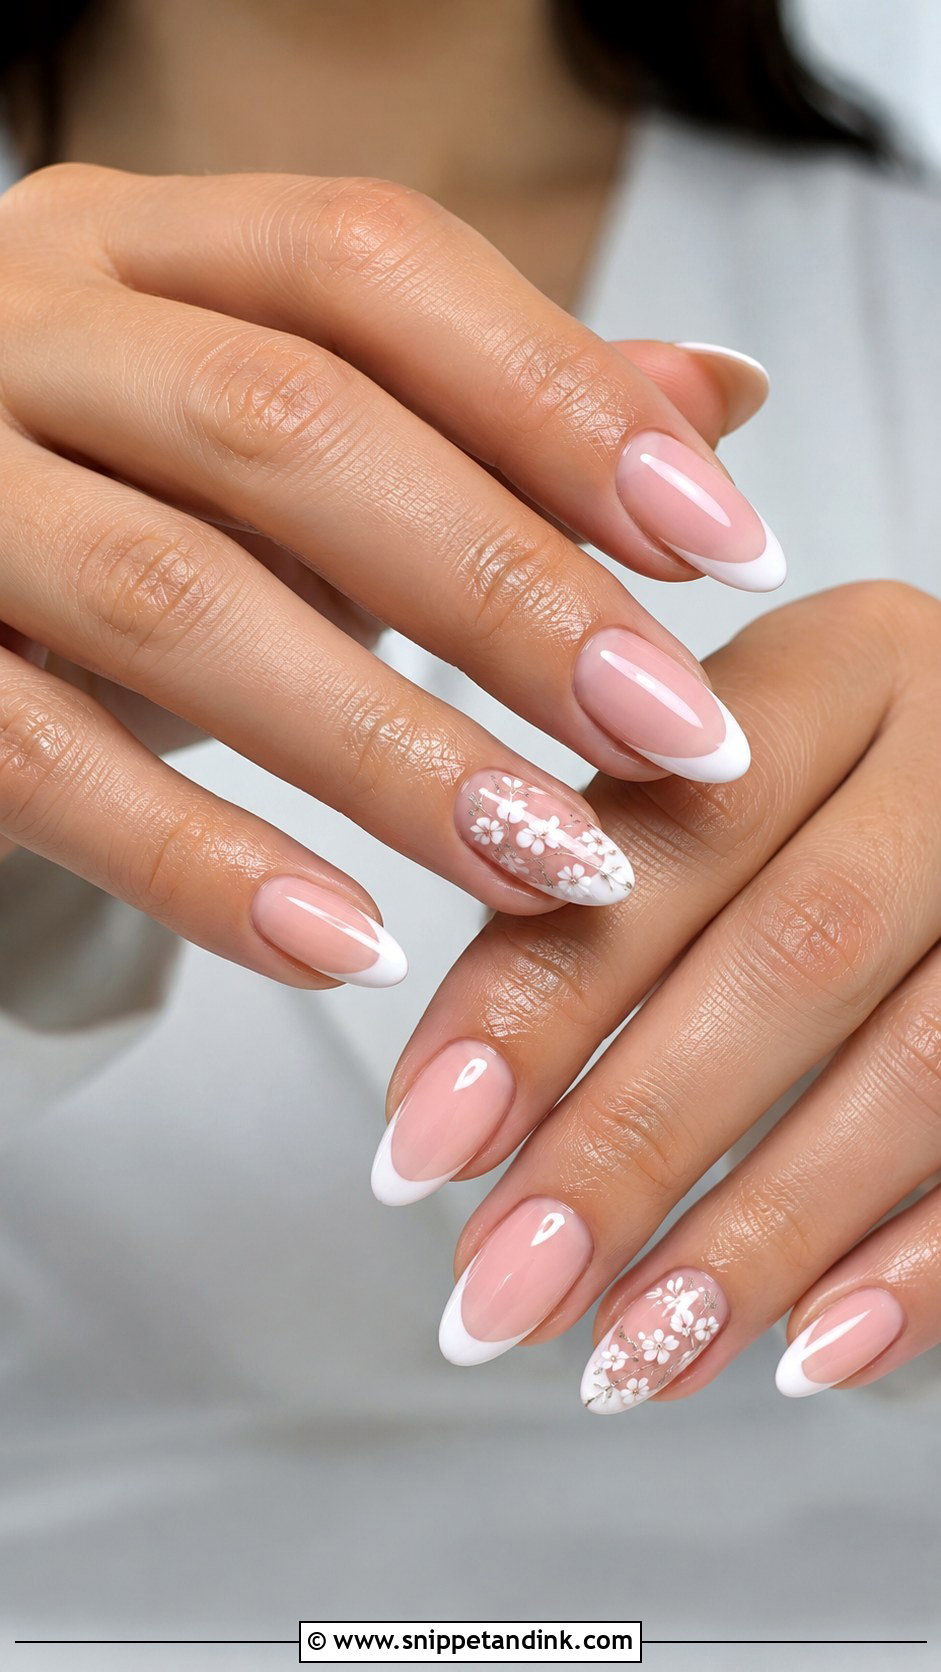
Almond lengthens the fingers without the sharpness of a stiletto, so the art can stay minimal. I pair it with sheer blush polish, soft French tips, milky white or a chrome glaze, and for brides I might add a pearl, a white flower or a fine metallic line on one or two nails. Guests often choose nude, pink or champagne. Medium length shows the design clearly in photos. If your nails are weak at the sides, I’d add a thin structured layer first, because a narrow almond tip snaps more easily than a wider shape.
13. Square Wedding Nails
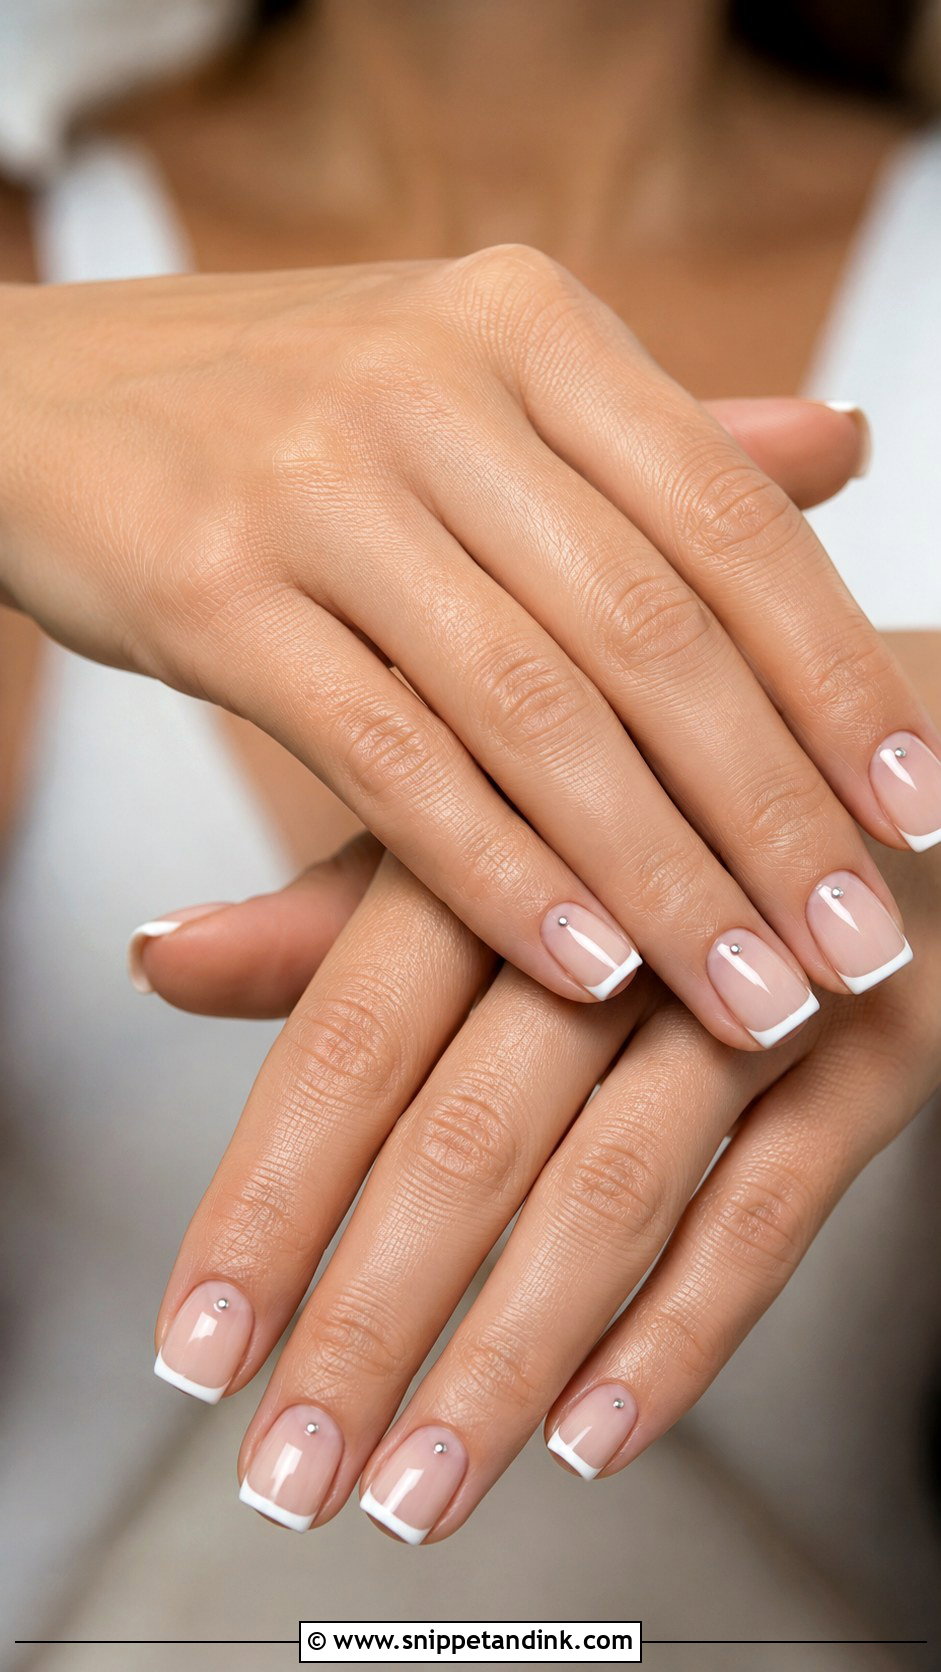
Square shapes look clean with structured gowns and sleek minimal outfits. For a wedding I soften the corners slightly, because sharp square corners chip and catch on fabric, and keep the length short to medium. A sheer nude with thin white tips is the classic; milky pink, soft beige or pale ivory also suit. One dot, a fine silver line or a micro flower is enough decoration. Wide nail beds look broader in a hard square, so I’d move those clients toward squoval.
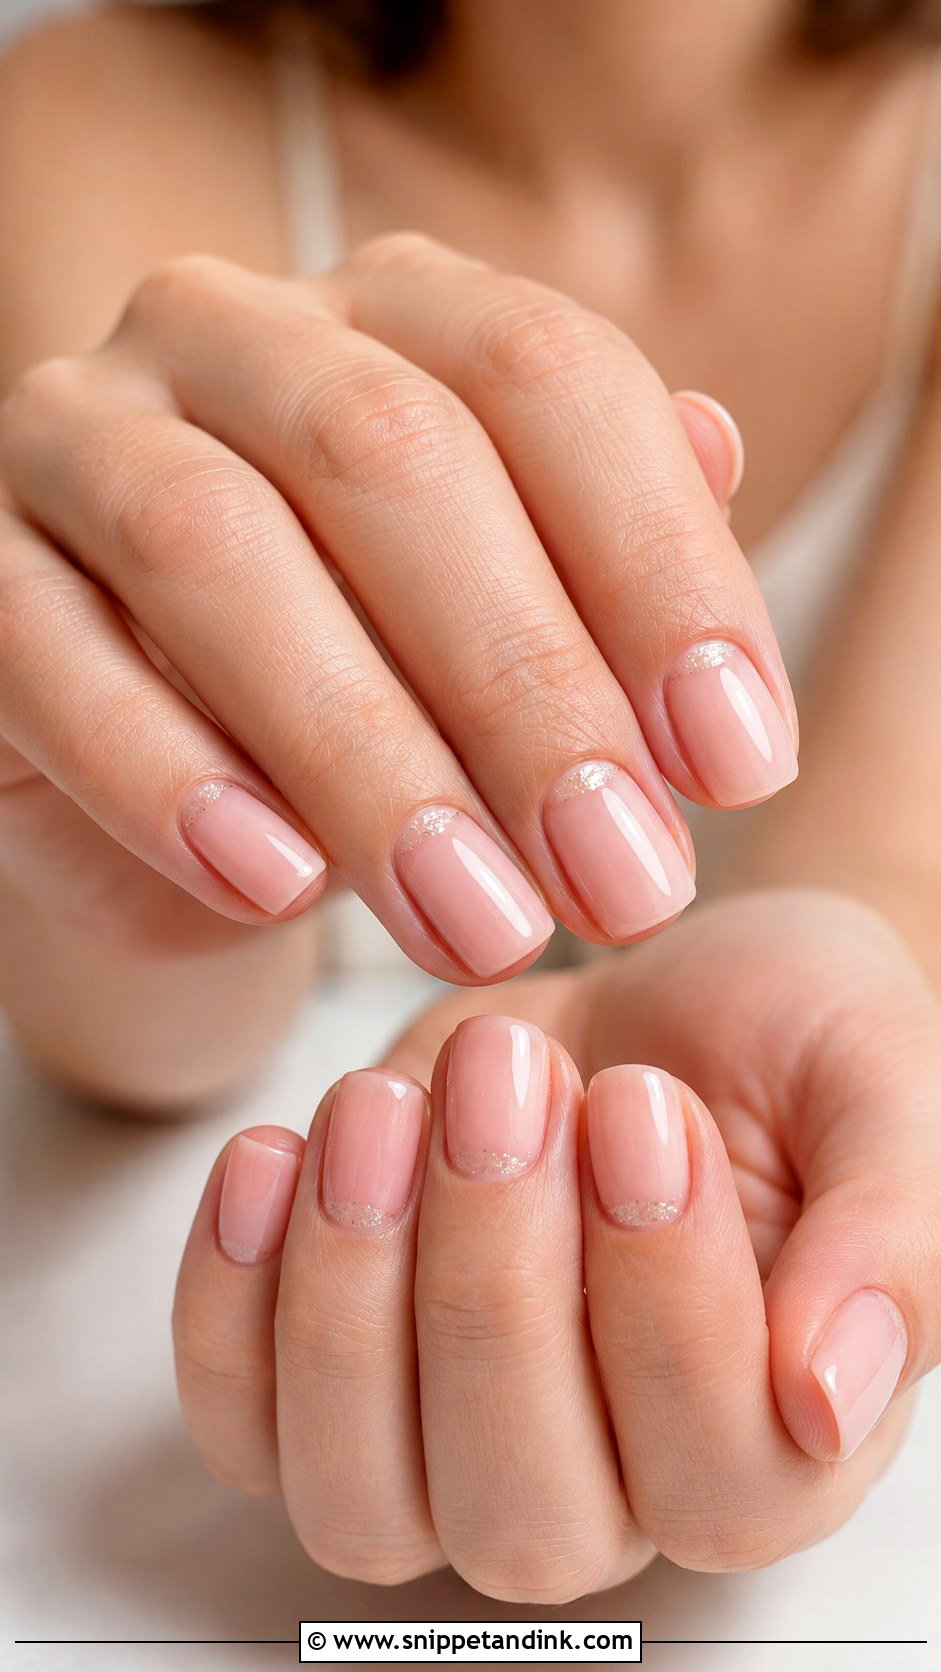
14. Sheer Glitter Wedding Nails
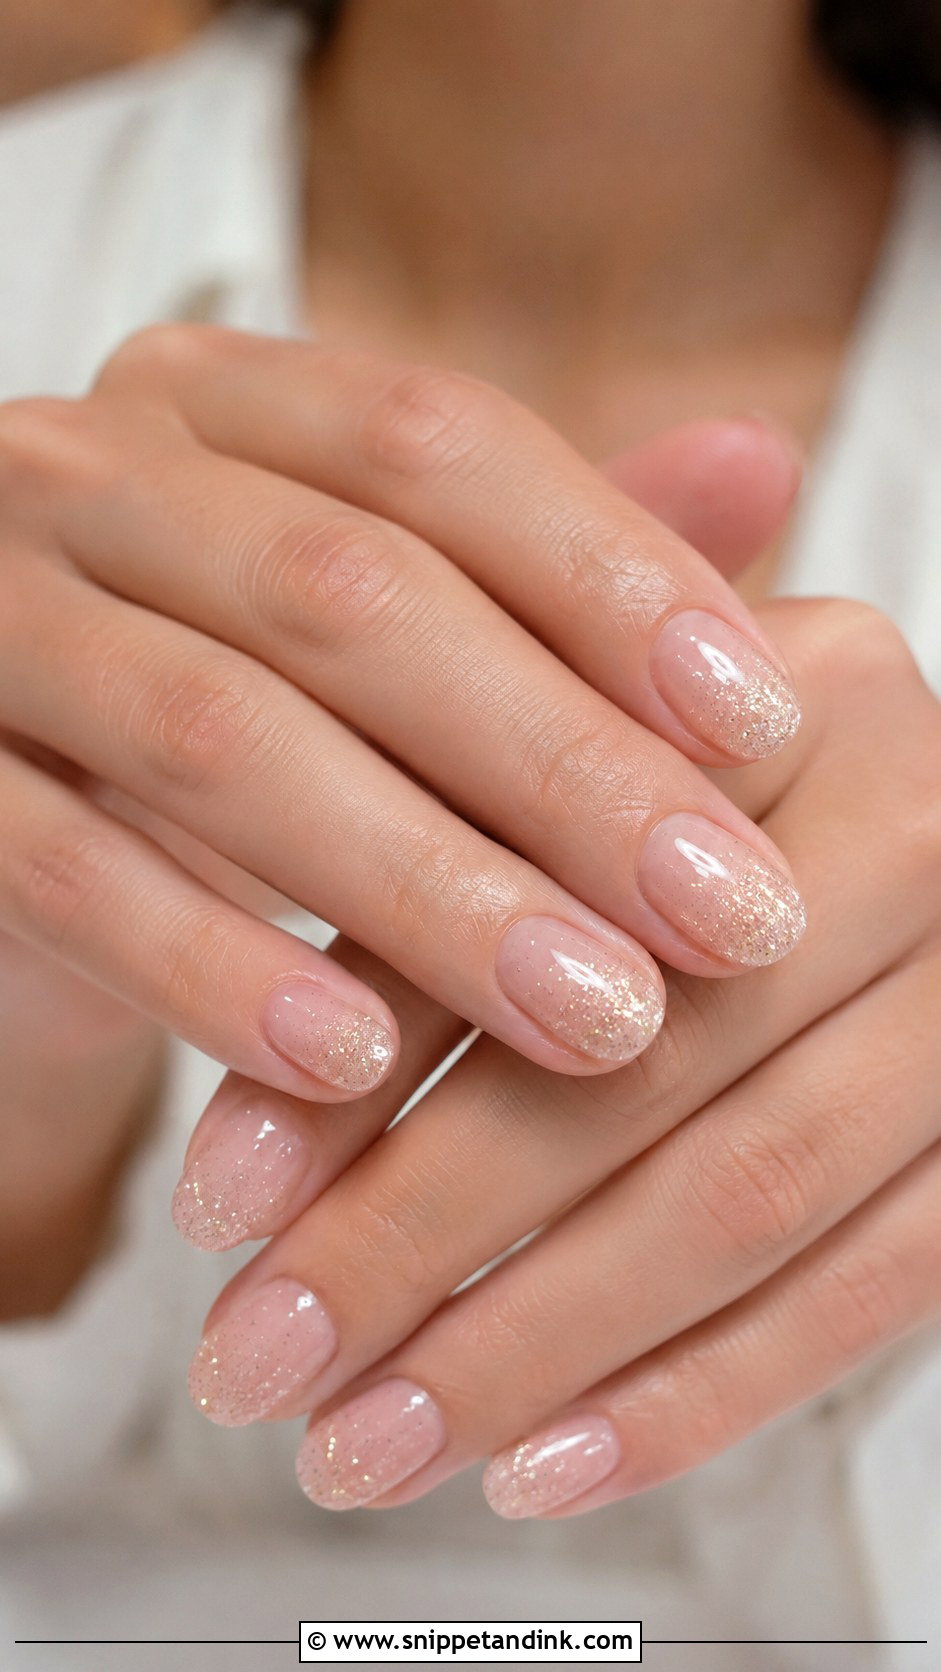
Fine glitter faded from the tip, or lightly scattered over a clear, nude or pale pink base, gives sparkle without weight. Chunky glitter is what makes a set look heavy and feel rough, so I stay with fine or holographic flakes. Brides can match the shade to their jewelry: champagne, silver or rose gold. It suits evening weddings and formal receptions especially, since glitter catches candlelight and flash. I seal glitter with two layers of top coat so the surface is smooth to touch and doesn’t snag tights or lace.
15. Lace Wedding Nails
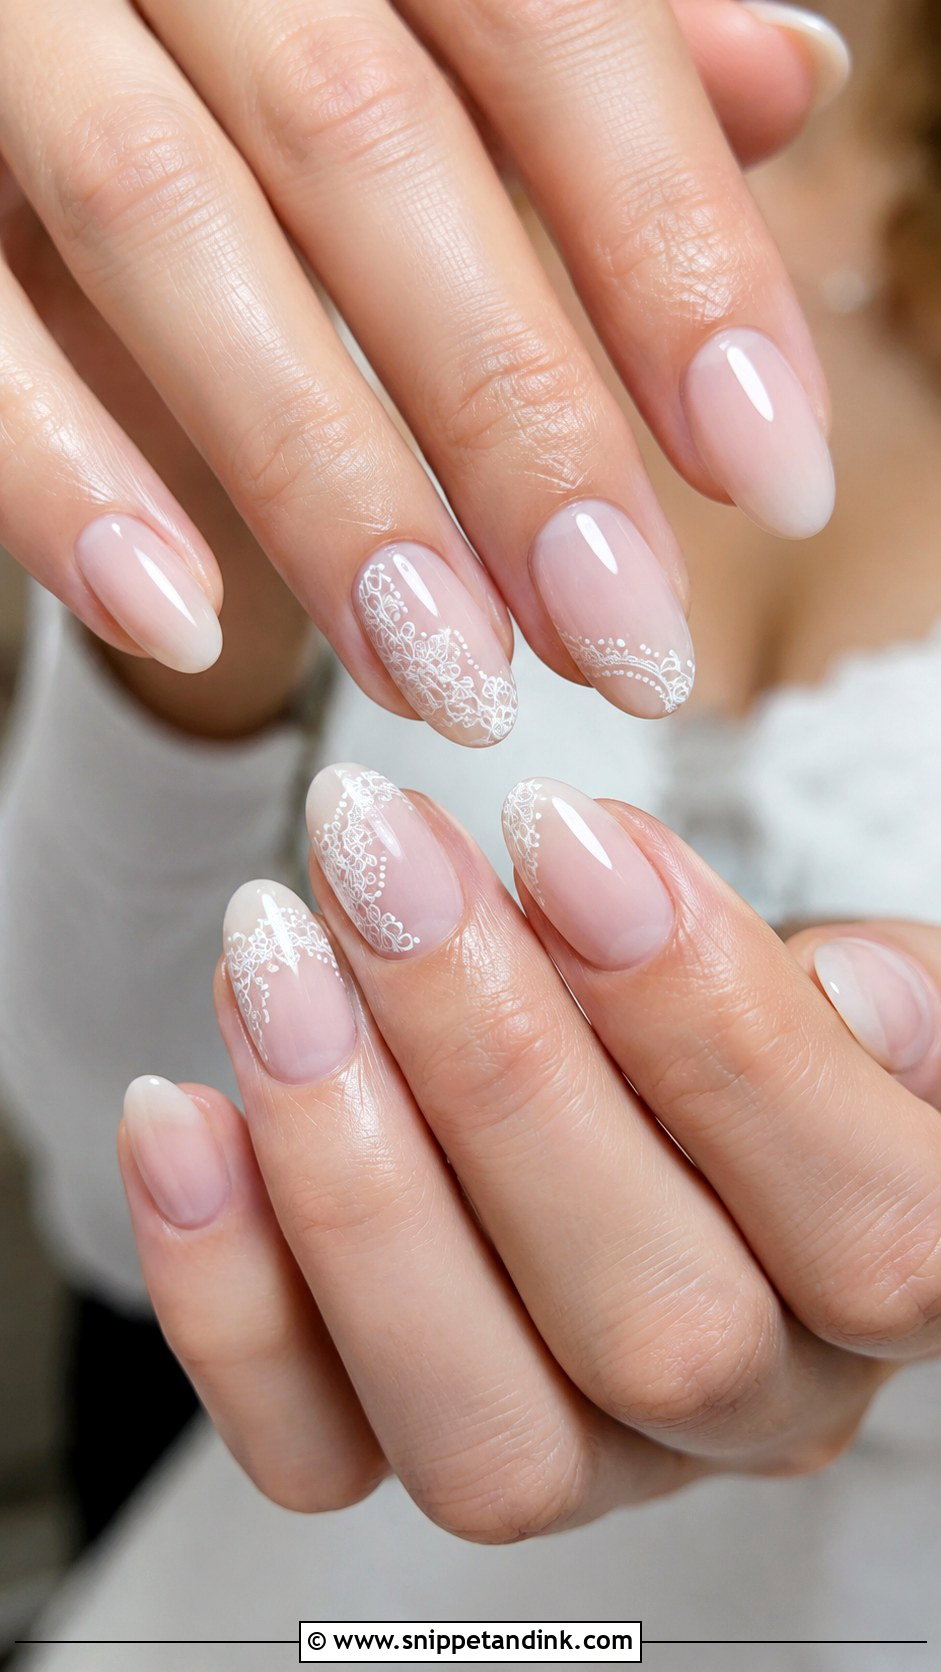
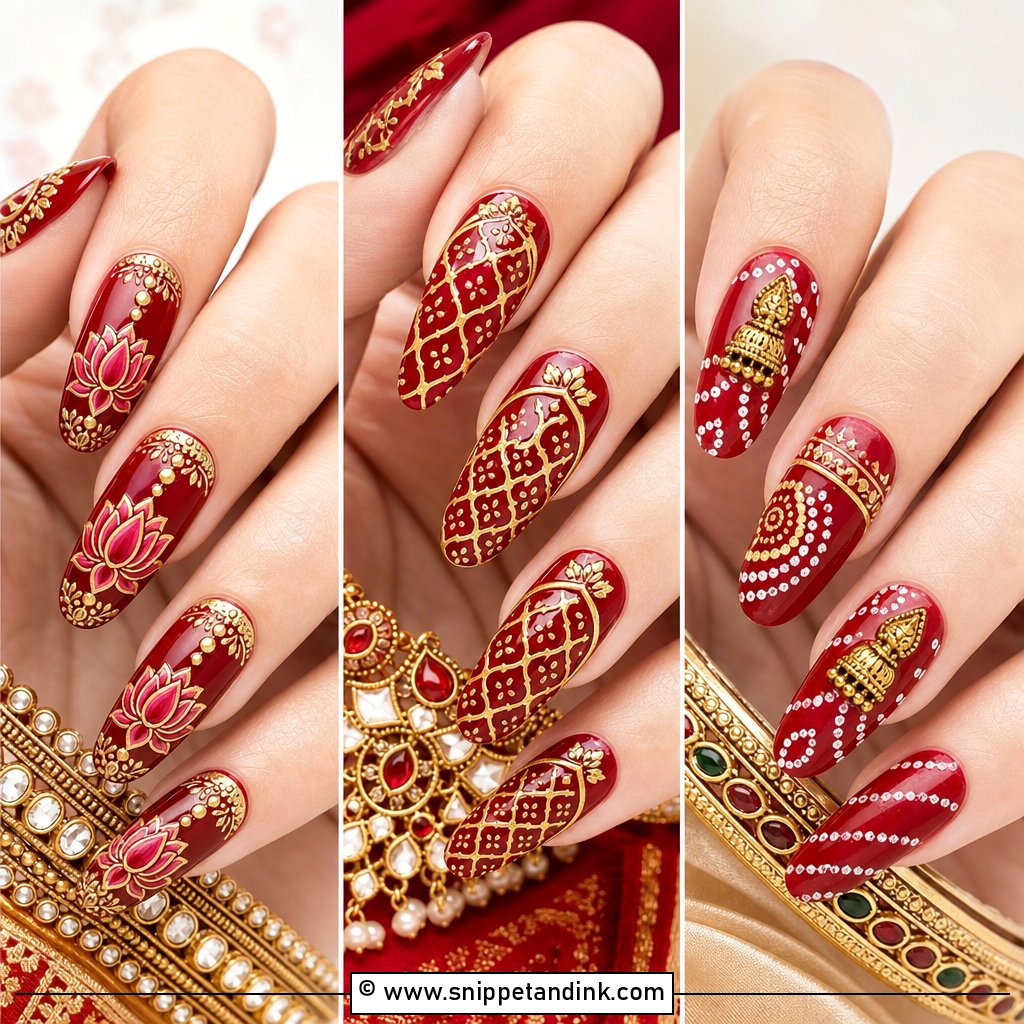
Lace nails echo lace sleeves, embroidered gowns and vintage dresses, but only when the pattern stays delicate. I hand-paint thin white lines, small curves and dots on one or two accent nails over a sheer nude or blush base, or use a stamping plate when a bride wants a very even repeat. A full heavy lace print on all ten nails looks busy next to an actual lace dress. The other nails stay plain or carry a soft French. Mothers of the bride often like this one because it feels dressed up without trend references.
16. Micro Heart Wedding Nails
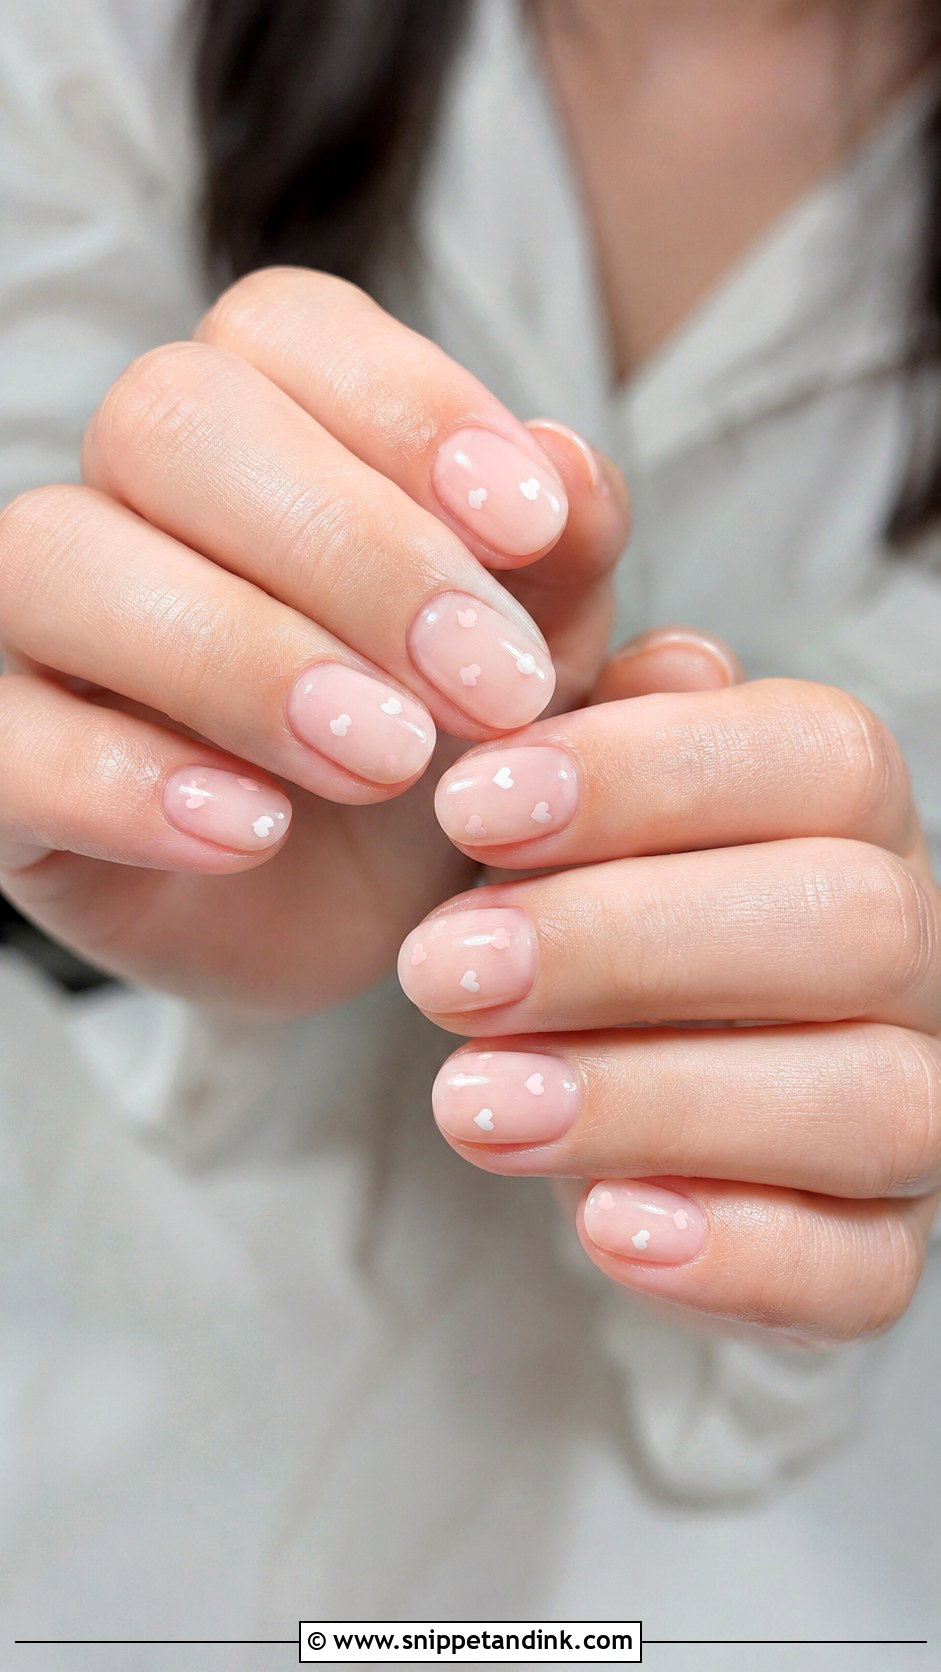
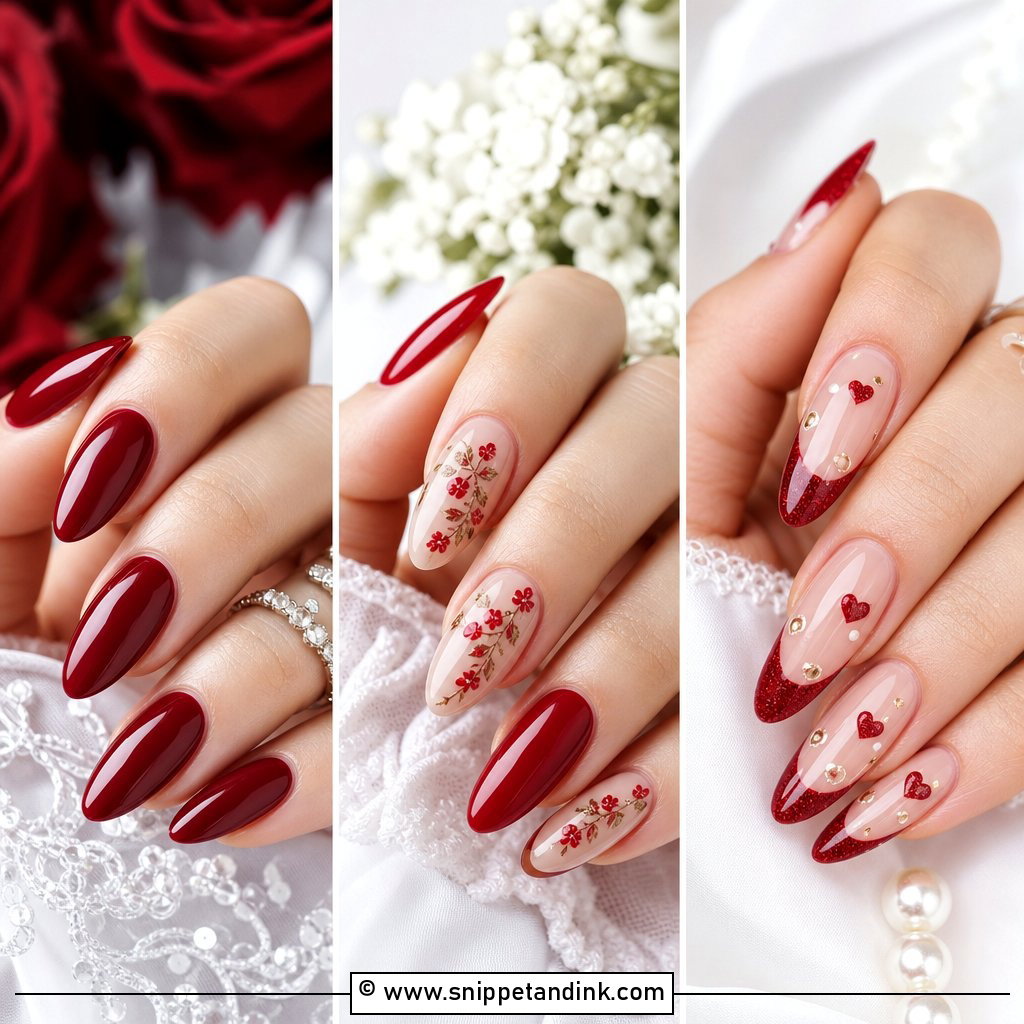
Micro heart wedding nails stay grown-up when the hearts are tiny and the colors soft. I place one small white, blush or champagne heart on each nail, or only on the ring fingers, over a sheer pink, nude or milky base. Hearts are drawn with two dots pulled into a point, and at this size a shaky hand shows, so I’d ask to see your artist’s practice before committing. Short almond, oval and squoval shapes suit it best, and a glossy top coat sinks the hearts into the finish.
17. Pastel French Wedding Nails
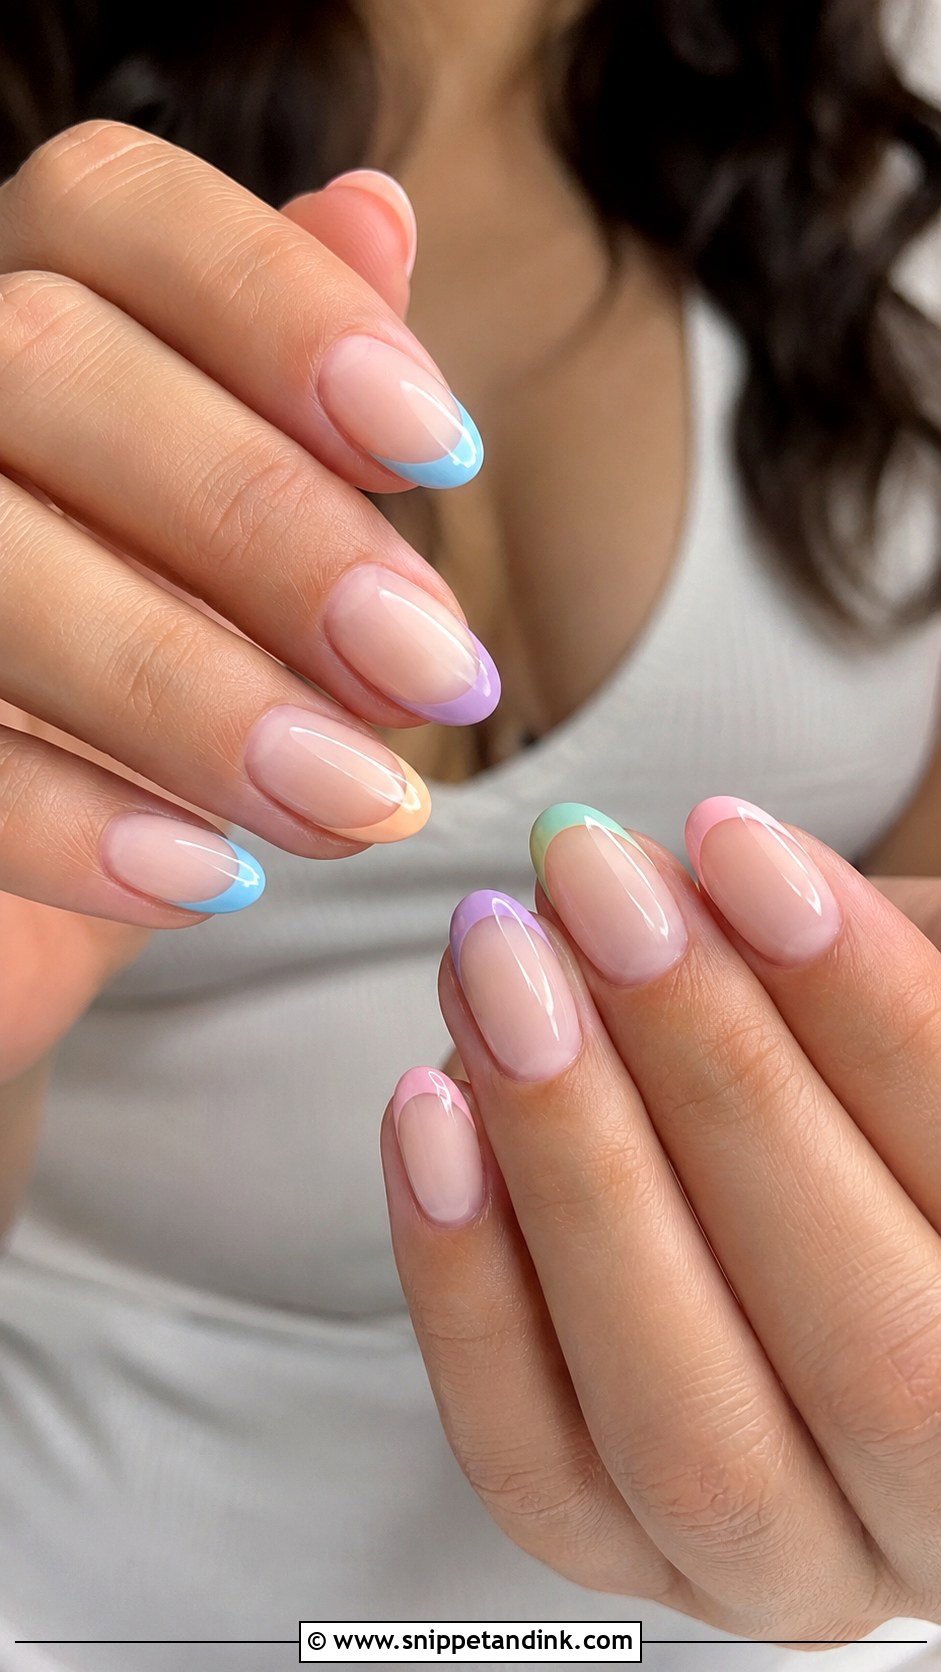
Pastel tips add color without losing the French shape. Pale blue, baby pink, lavender, mint or peach go on a sheer nude base, kept thin so the color stays delicate. They suit spring, garden and beach ceremonies. Brides usually match one pastel to the bouquet; guests and bridesmaids can wear a different pastel on each nail. Light pastels can look streaky in one coat, so I build them in two thin layers at the tip only.
18. Minimal Dot Wedding Nails
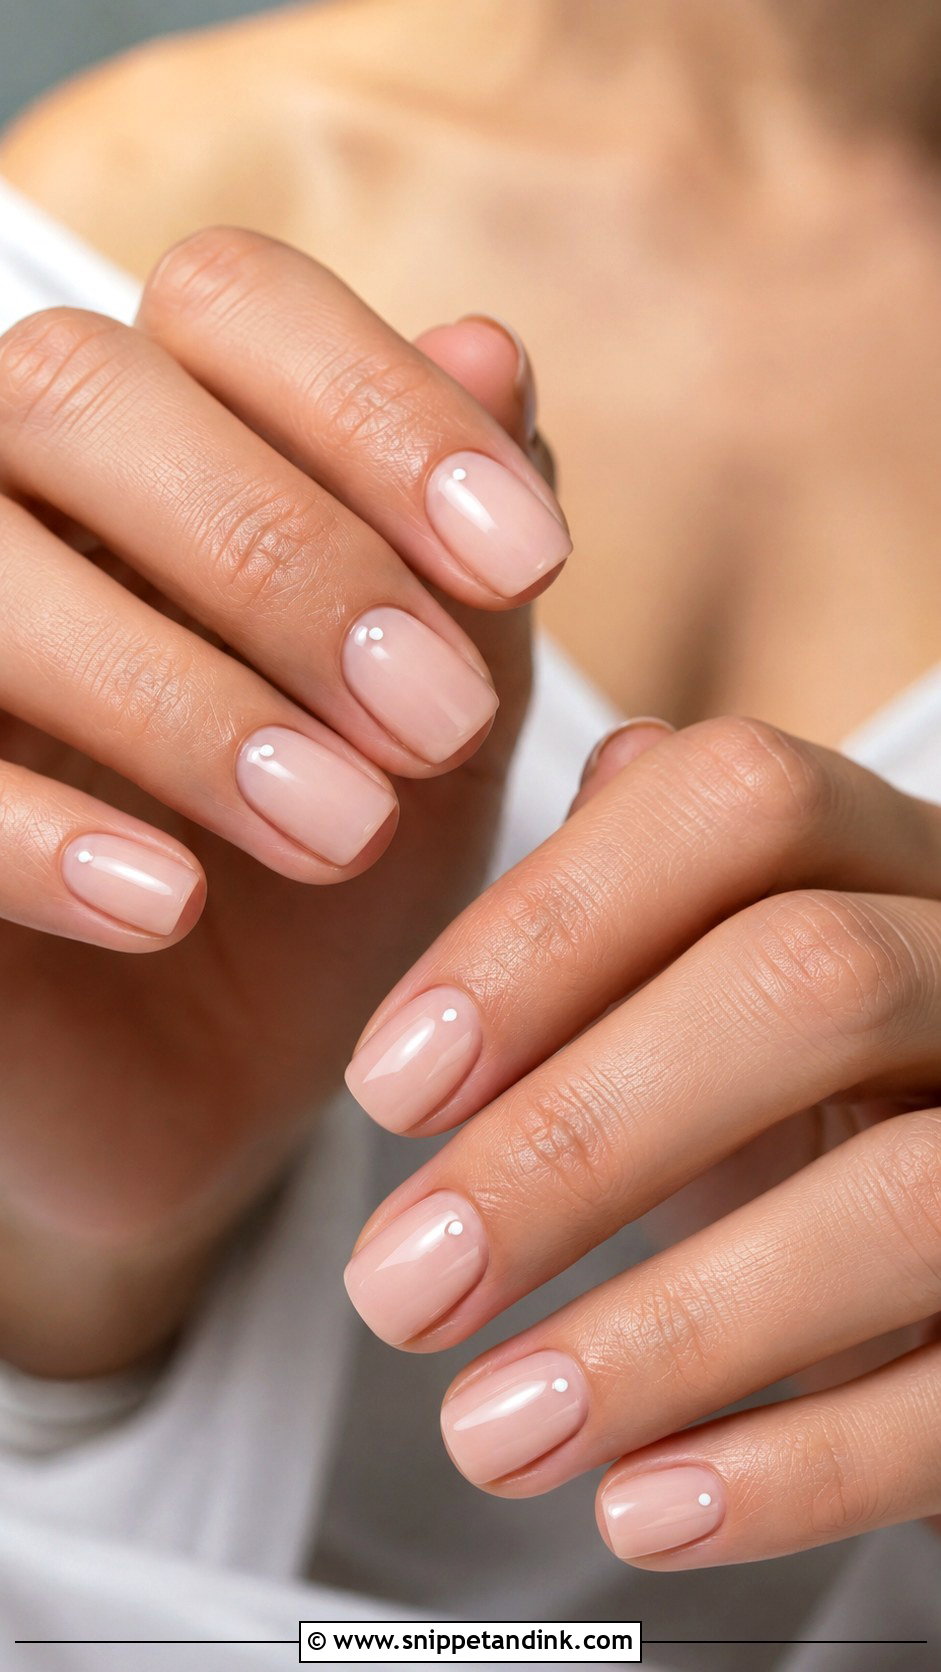
A single tiny dot near the cuticle is about as minimal as nail art gets. The base is sheer nude, milky pink or soft beige, and the dot is white, gold or pearl-like. It needs very little room, so it works on the shortest nails and suits courthouse weddings and minimalist outfits. Placement is everything: each dot must sit the same distance from the cuticle, or the set looks careless. Choose gloss for a polished feel or a satin top coat for a quieter finish.
19. Rose Gold Wedding Nails
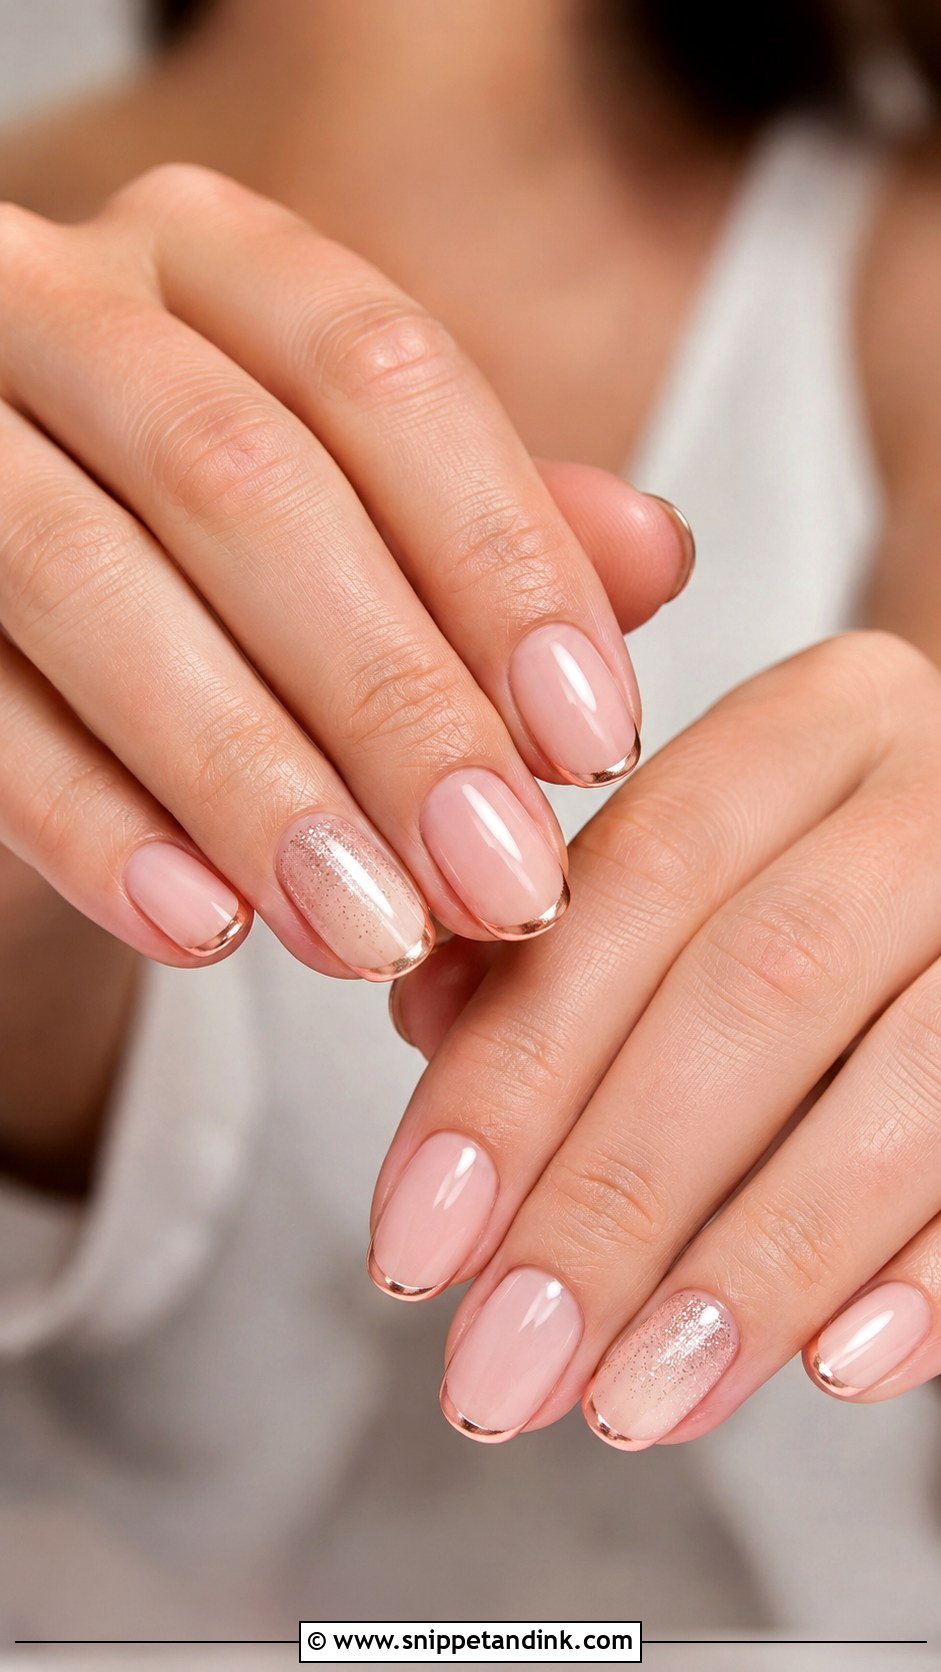
Rose gold is flattering across many skin tones because it sits between pink and gold. I use it as an accent rather than a full glitter set: rose gold French tips, one fine metallic line or a subtle shimmer fade over a sheer blush base. It works next to blush or champagne gowns and warm-toned flowers, and bridesmaids can wear it without upstaging the bride. Almond, oval and squoval shapes suit it best. Keep the shimmer fine, or it starts to look like a party set.
20. Natural Glossy Wedding Nails
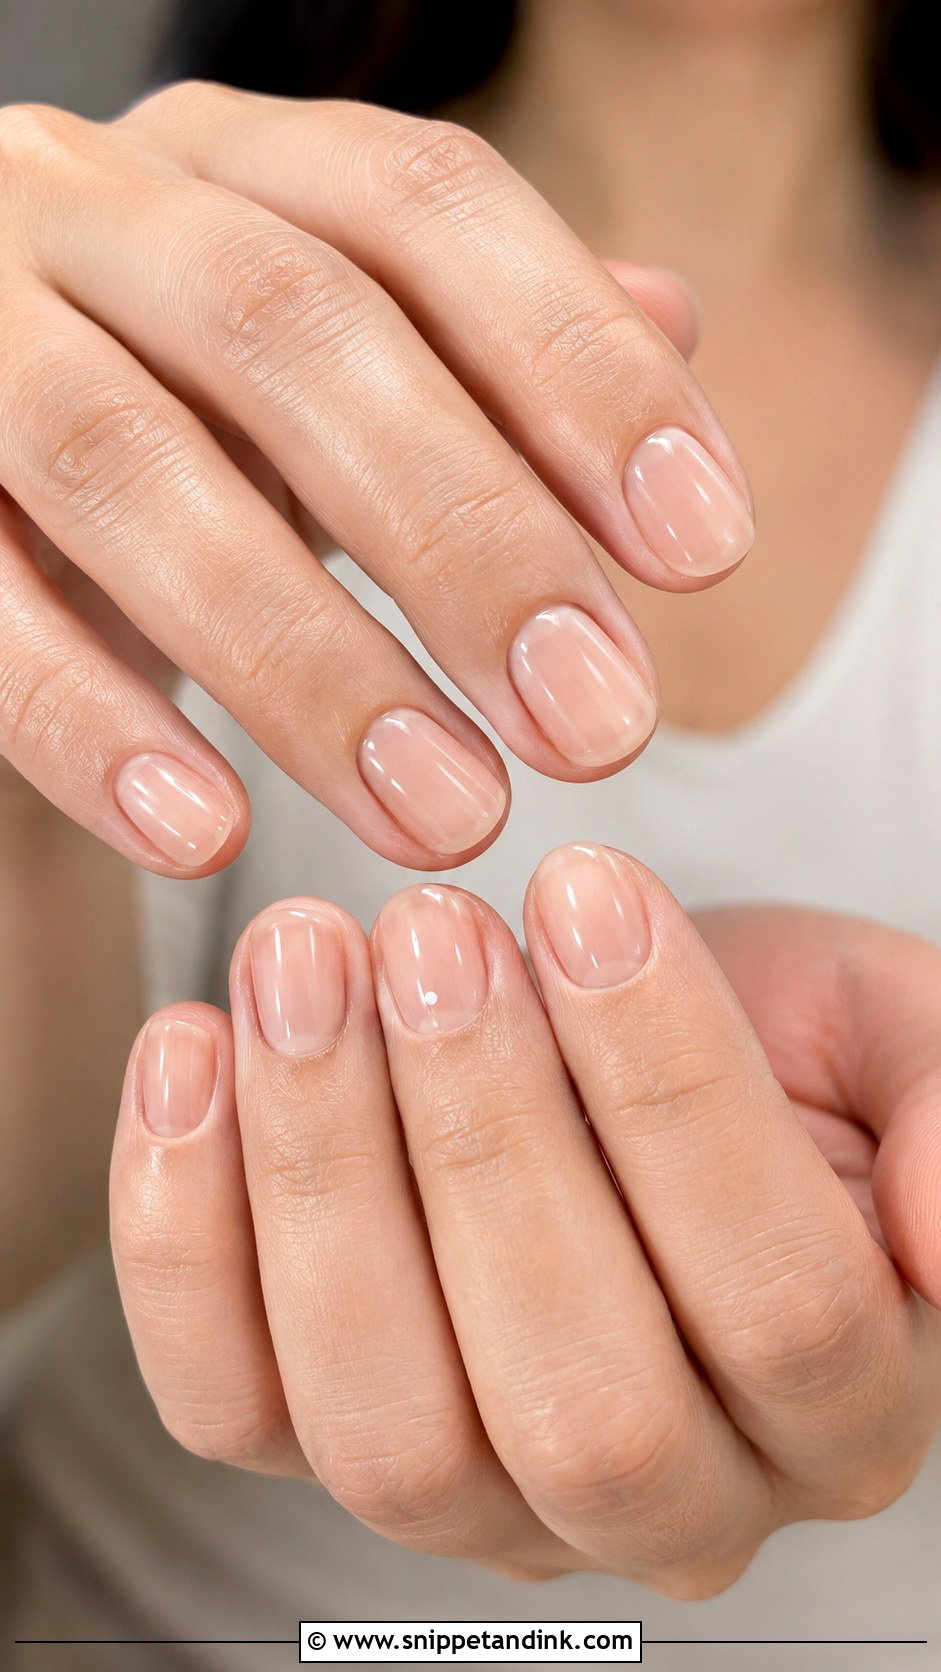
Some brides want hands that look like theirs, only better kept. This set is clean shaping, healthy cuticles and a sheer polish that enhances the natural nail: clear gloss, barely pink, soft nude or a strengthening sheer beige. I spend most of the time on cuticle work and buffing, since there is no color to hide anything. It suits short nails, brides who don’t wear polish and guests who want something low-key. If you’d like the smallest touch of art, one tiny white dot or a micro French tip is enough.
A Week-Out Timeline for Wedding Nails
Timing decides whether your nails look fresh in the ceremony photos or already show a gap at the cuticle. Gel grows out visibly after about two weeks, so I schedule the bridal set one to two days before the wedding. That leaves time to fix a chip without it being a morning rush.
- Seven days out: last cuticle trim at home, if any. Fresh cuts can look pink and raw on the day.
- Two days out: the gel or hard gel appointment. Regular polish can go on the day before, but it needs many hours to fully harden and dents easily overnight.
- Day before: no hair coloring, self-tan or scrubbing without gloves. Dye and tanner stain the skin around a sheer manicure.
- Wedding morning: cuticle oil, wiped off before photos, and gloves if you’re helping with anything messy.
Small Chips and Lifting on the Day
The upside of a simple set is that it’s easy to rescue. Pack a bottle of your exact sheer base, a clear top coat, a fine file and, if you’re wearing press-ons, nail glue. A chip at the tip of a sheer nail can be filed smooth and barely shows. A lifted edge needs to be pressed down and sealed, not picked, because pulling gel takes layers of nail with it. Hand this little kit to a bridesmaid so it’s not in your bag when you need it.
Which Simple Set Fits Your Dress and Your Hands?
Simple wedding nail art works when it supports the whole look instead of pulling focus. Soft French tips, milky whites, nude pinks, pearls, chrome glazes and tiny florals each give a polished finish to bridal and guest manicures. Start with your dress, your metal and the length you can live with for two weeks. For a classic finish, sheer pink, baby boomer or natural gloss will never date in photos; for something more current, chrome, a gold line or minimal dots add a detail without fuss. Keep the shape consistent and the cuticles clean, and the rest follows.
You'll Like These Ideas:


Leave a Reply