
Your hands get photographed more on a wedding day than on any other day of your life: the ring exchange, the bouquet, the detail shot of the ring on a dish. That’s why I steer most brides toward simple nail art. A plain-looking set still has to be flawless up close, and it has to survive ten or more hours of hugging, holding and dancing. The 25 sets below cover French tips, milky whites, chrome glazes, pearls and small accents, and these simple wedding nail art looks adapt to short, almond, square or oval nails. With each one I’ve added what I watch for at the table.
Which Manicure Type Lasts From Rehearsal to Honeymoon
The design matters less than what it’s painted with. Before we talk colors, I ask how long the set needs to last and what your nails are like.
- Regular polish looks fine for the ceremony but often chips within a few days. Only choose it if you’re having the manicure the day before.
- Gel polish usually lasts around two weeks without chipping, which covers the wedding and a short honeymoon. It must be removed properly, soaked, not peeled.
- Builder gel adds strength and a smooth surface, useful if your nails are thin, ridged or bend easily. It can also add a little length.
- Press-ons look polished in photos and are a good backup, but on a long wedding day they may pop off with the bouquet or a hug.
If you’ve never worn gel, try a set a month or two before the wedding. Some people have a reaction to gel products, and that’s not something to discover in wedding week.
1. Simple French Tip Wedding Nails
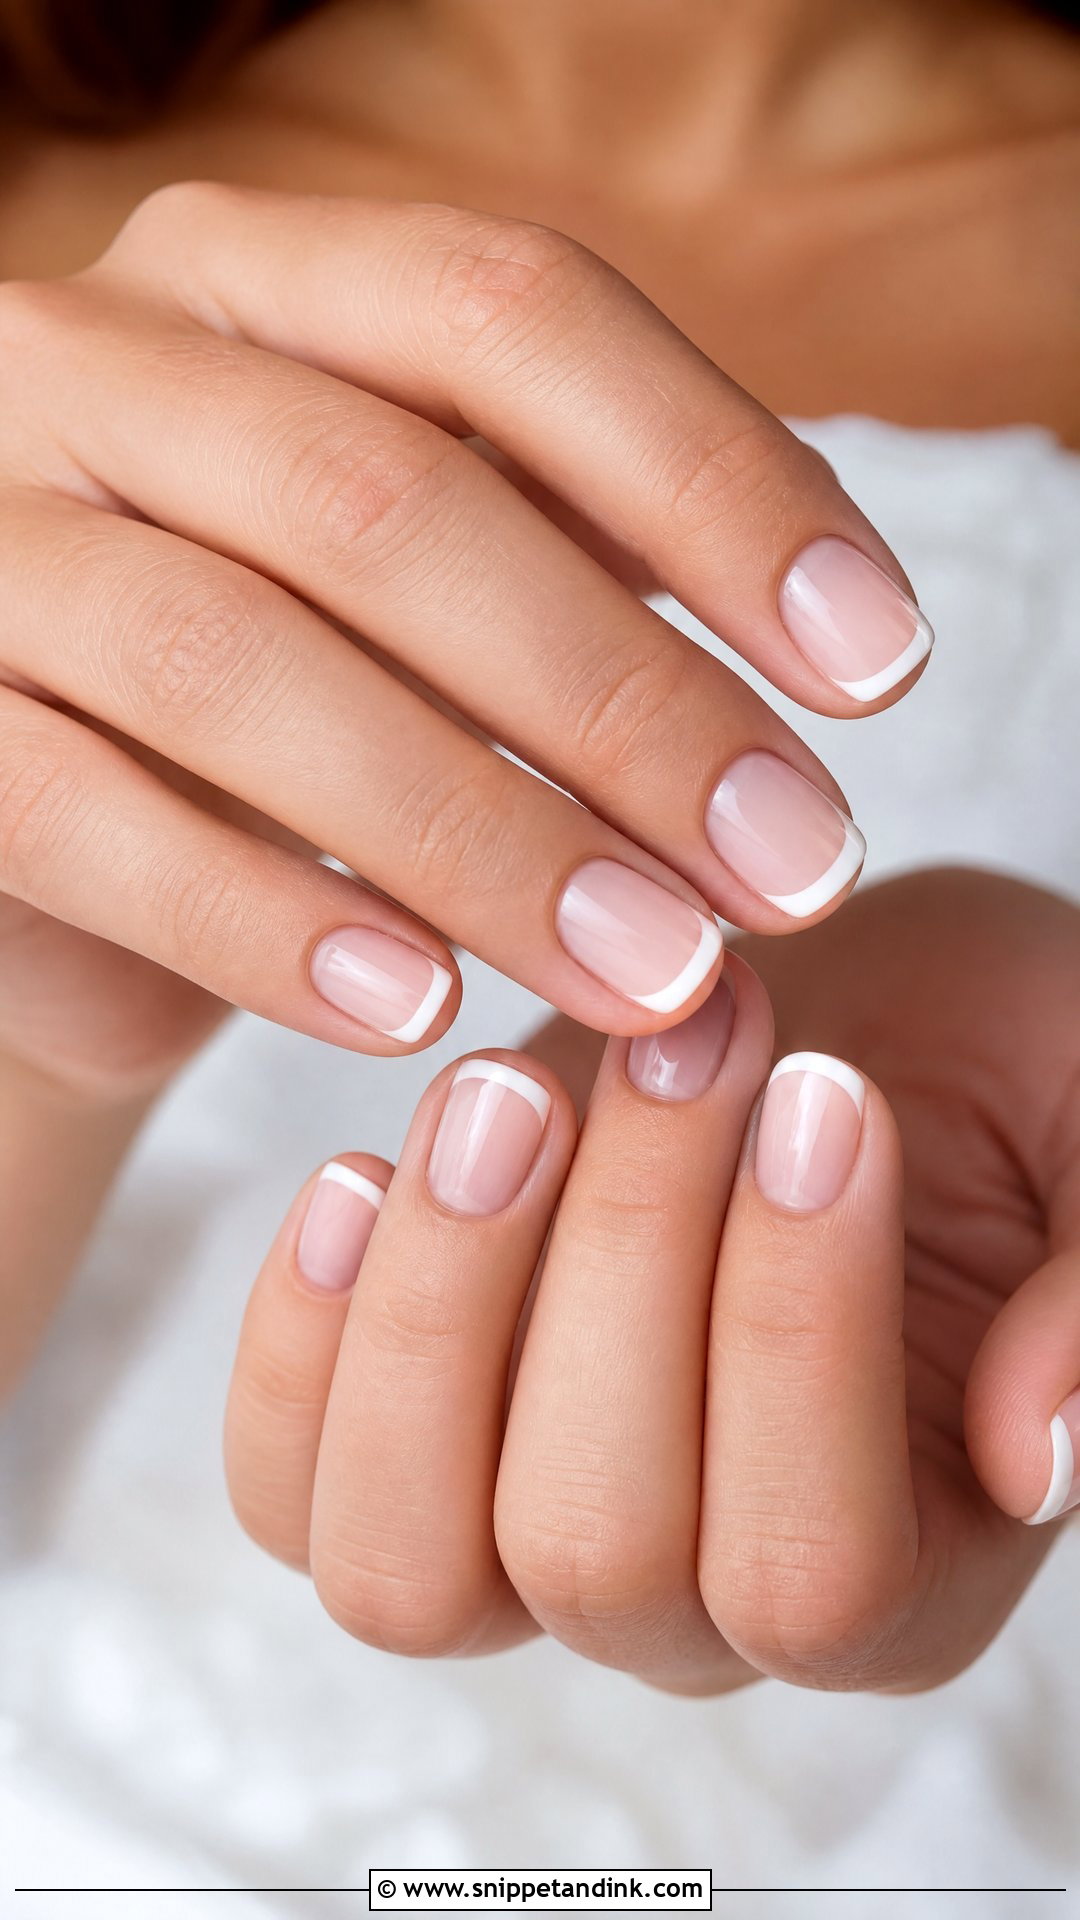
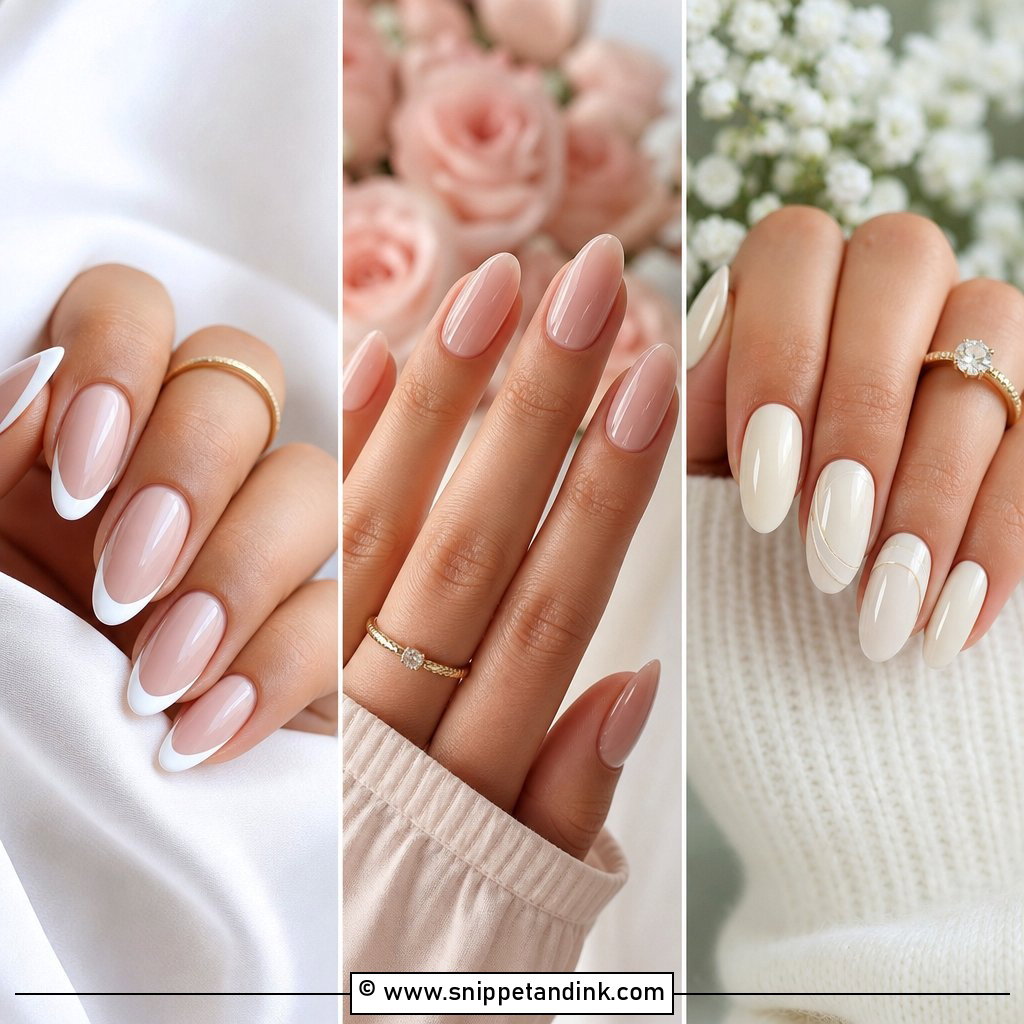
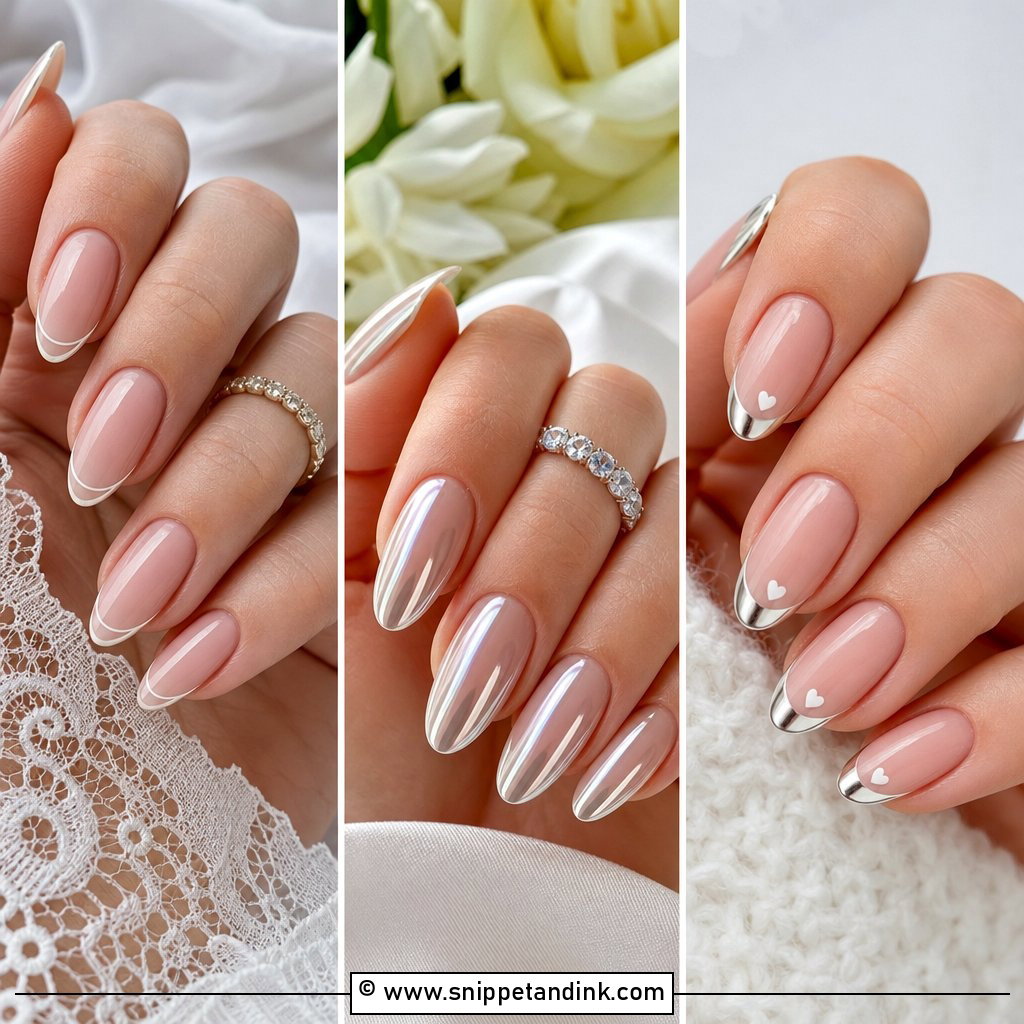
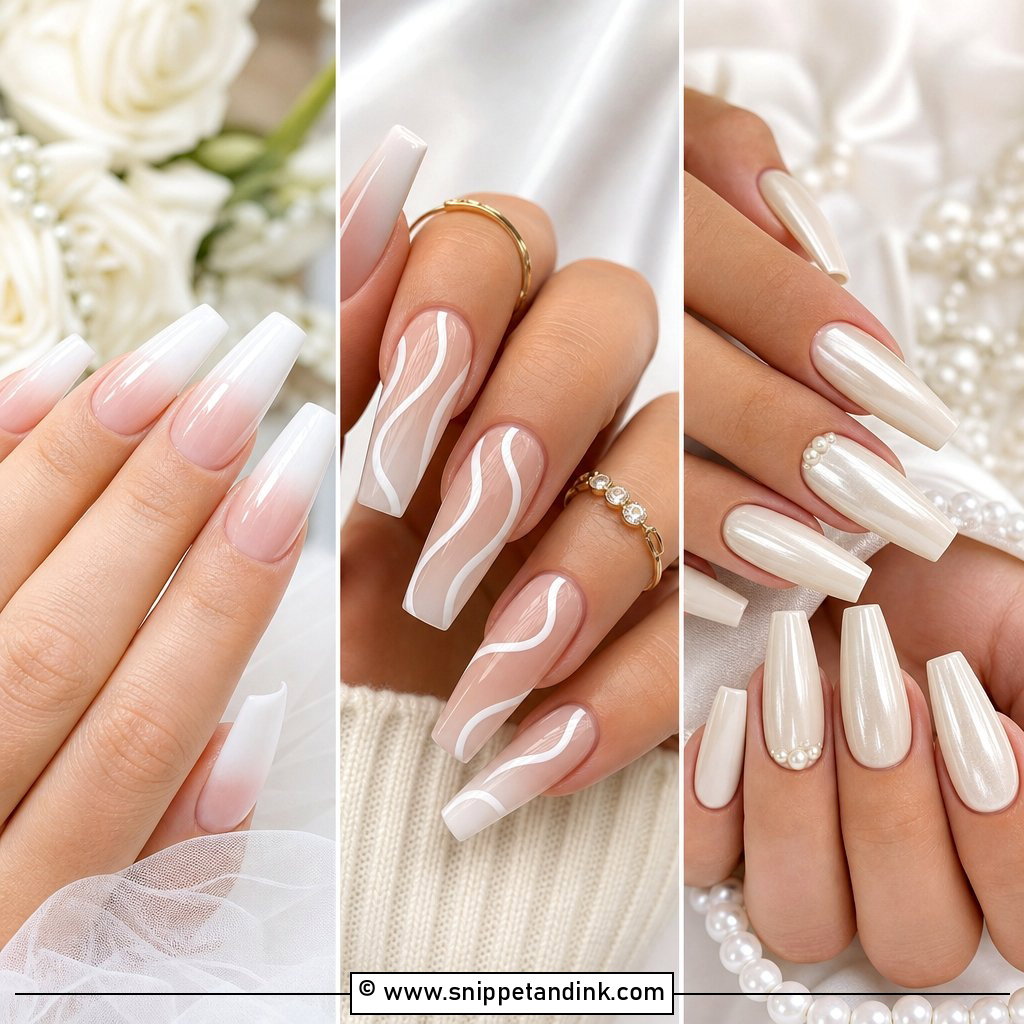
A French tip is the first set I’d recommend to a bride who can’t decide. The skill is in the smile line: the white should follow the curve of the free edge evenly on all ten nails, which is harder than it looks on nails that grow at different angles. I keep the tip thin on short nails, since a thick white band makes them look shorter. A sheer pink base softens the contrast; a pearl topcoat gives it a quiet shine.
2. Milky White Wedding Nails
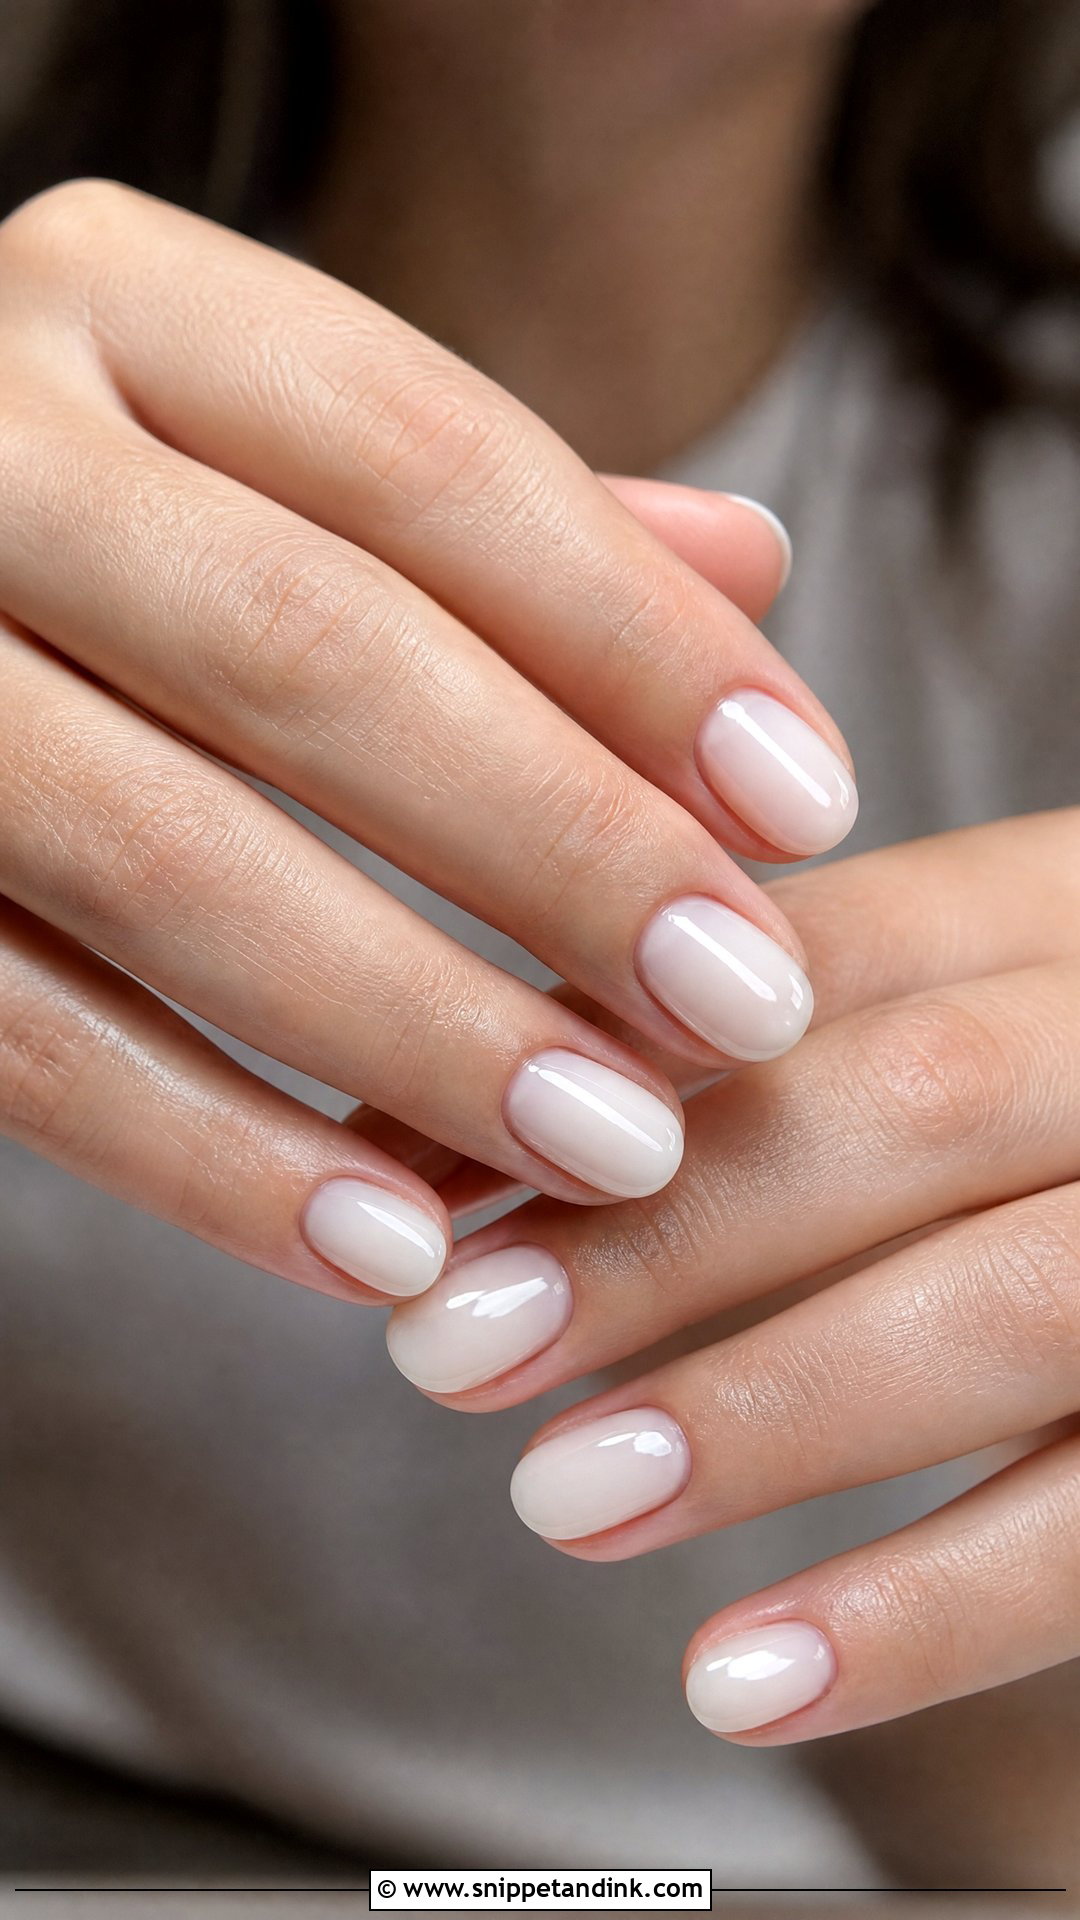
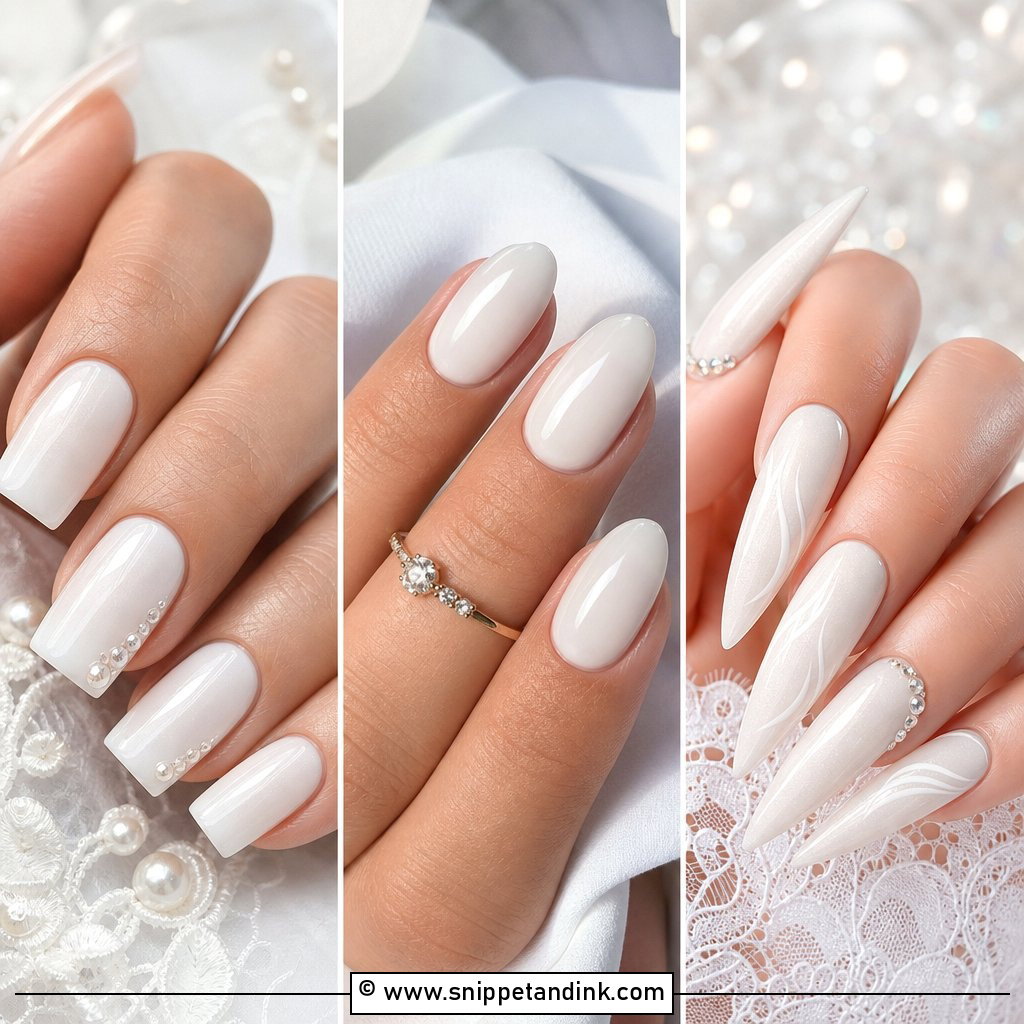
Milky white wedding nails use a semi-sheer white rather than an opaque one, which is why they look soft next to an ivory dress instead of stark. The challenge is even coverage: sheer whites streak if they’re applied too thick in one coat. I build two or three thin coats instead. It suits short ovals very well. Leave it plain, or add one tiny pearl.
3. Nude Wedding Nails With White Lines
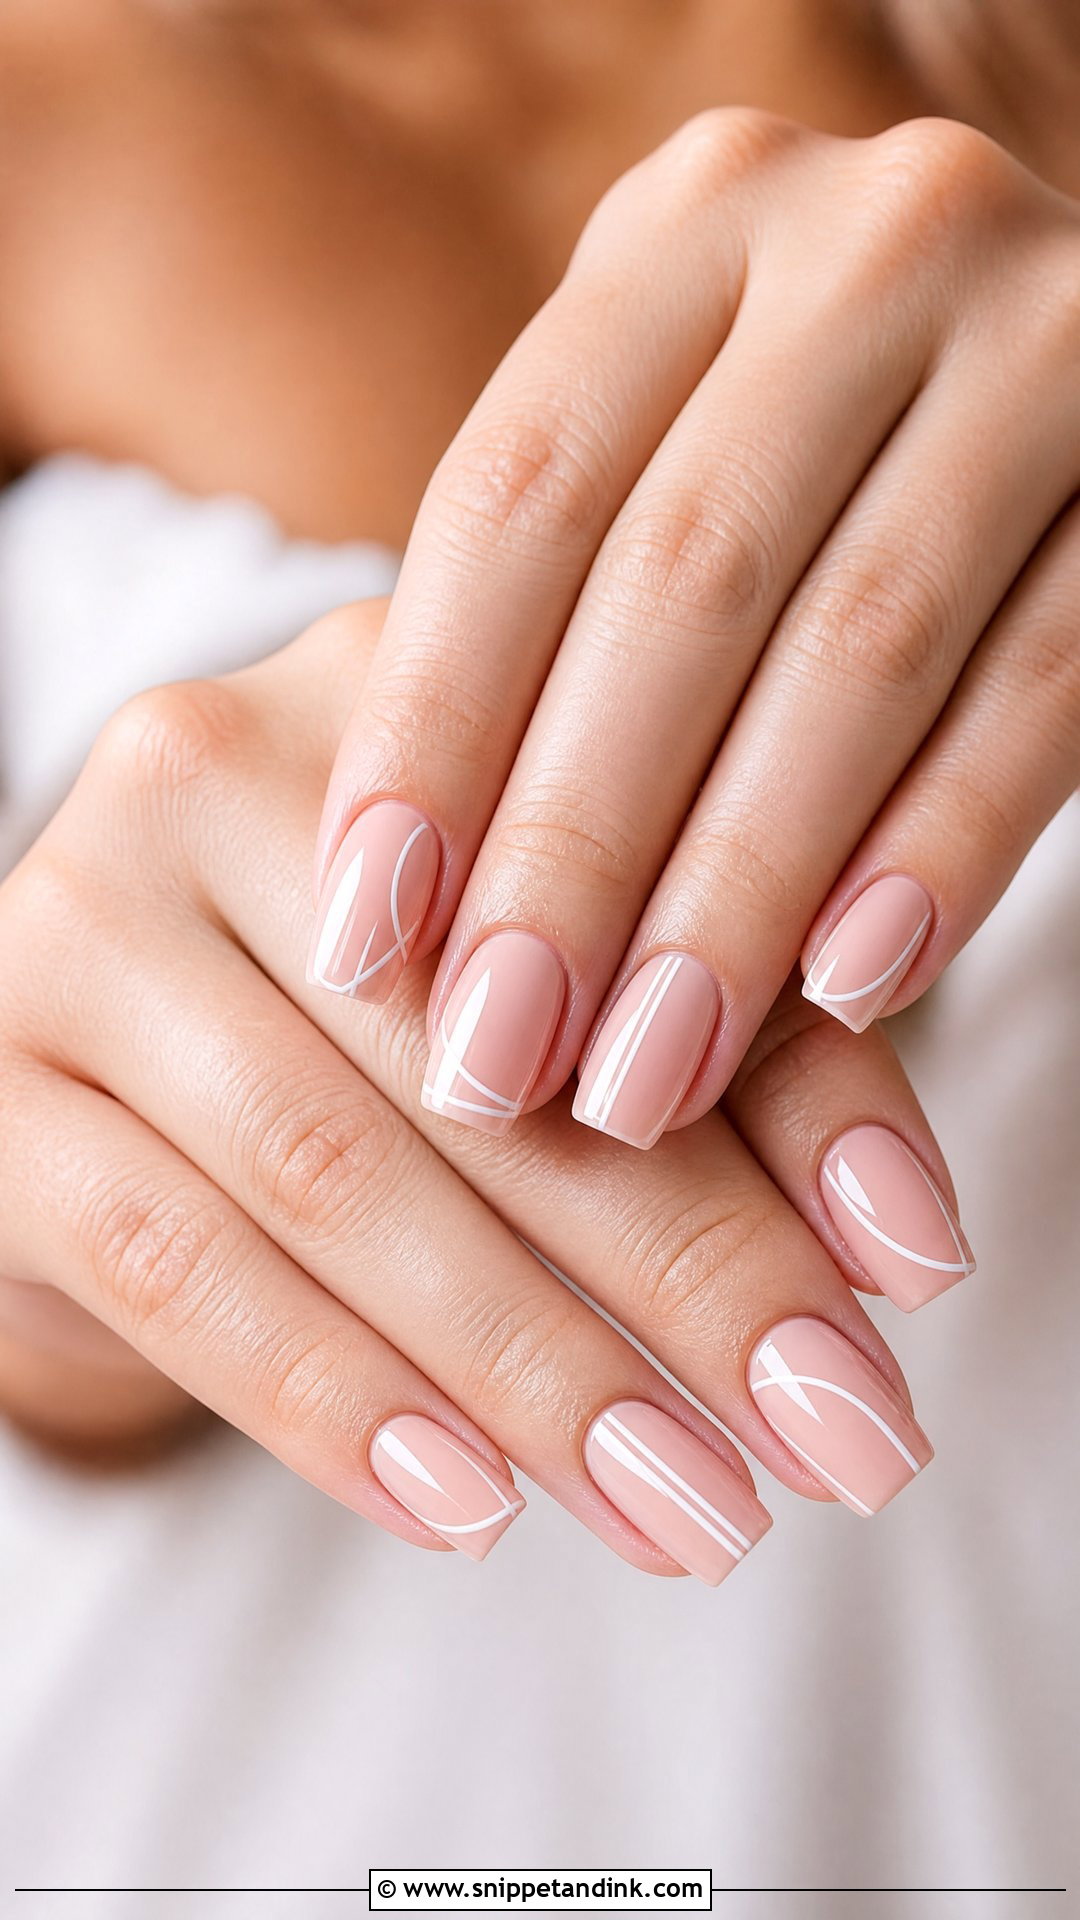
Fine white lines on a nude base give structure without much decoration. I use a long striping brush and pull each line in one stroke, because stopping halfway leaves a visible bump. The base shade matters more than the lines: pick a nude that matches the skin on your fingers, not your face. Short nails take this well since a thin line doesn’t crowd the nail.
4. Pearl Accent Wedding Nails
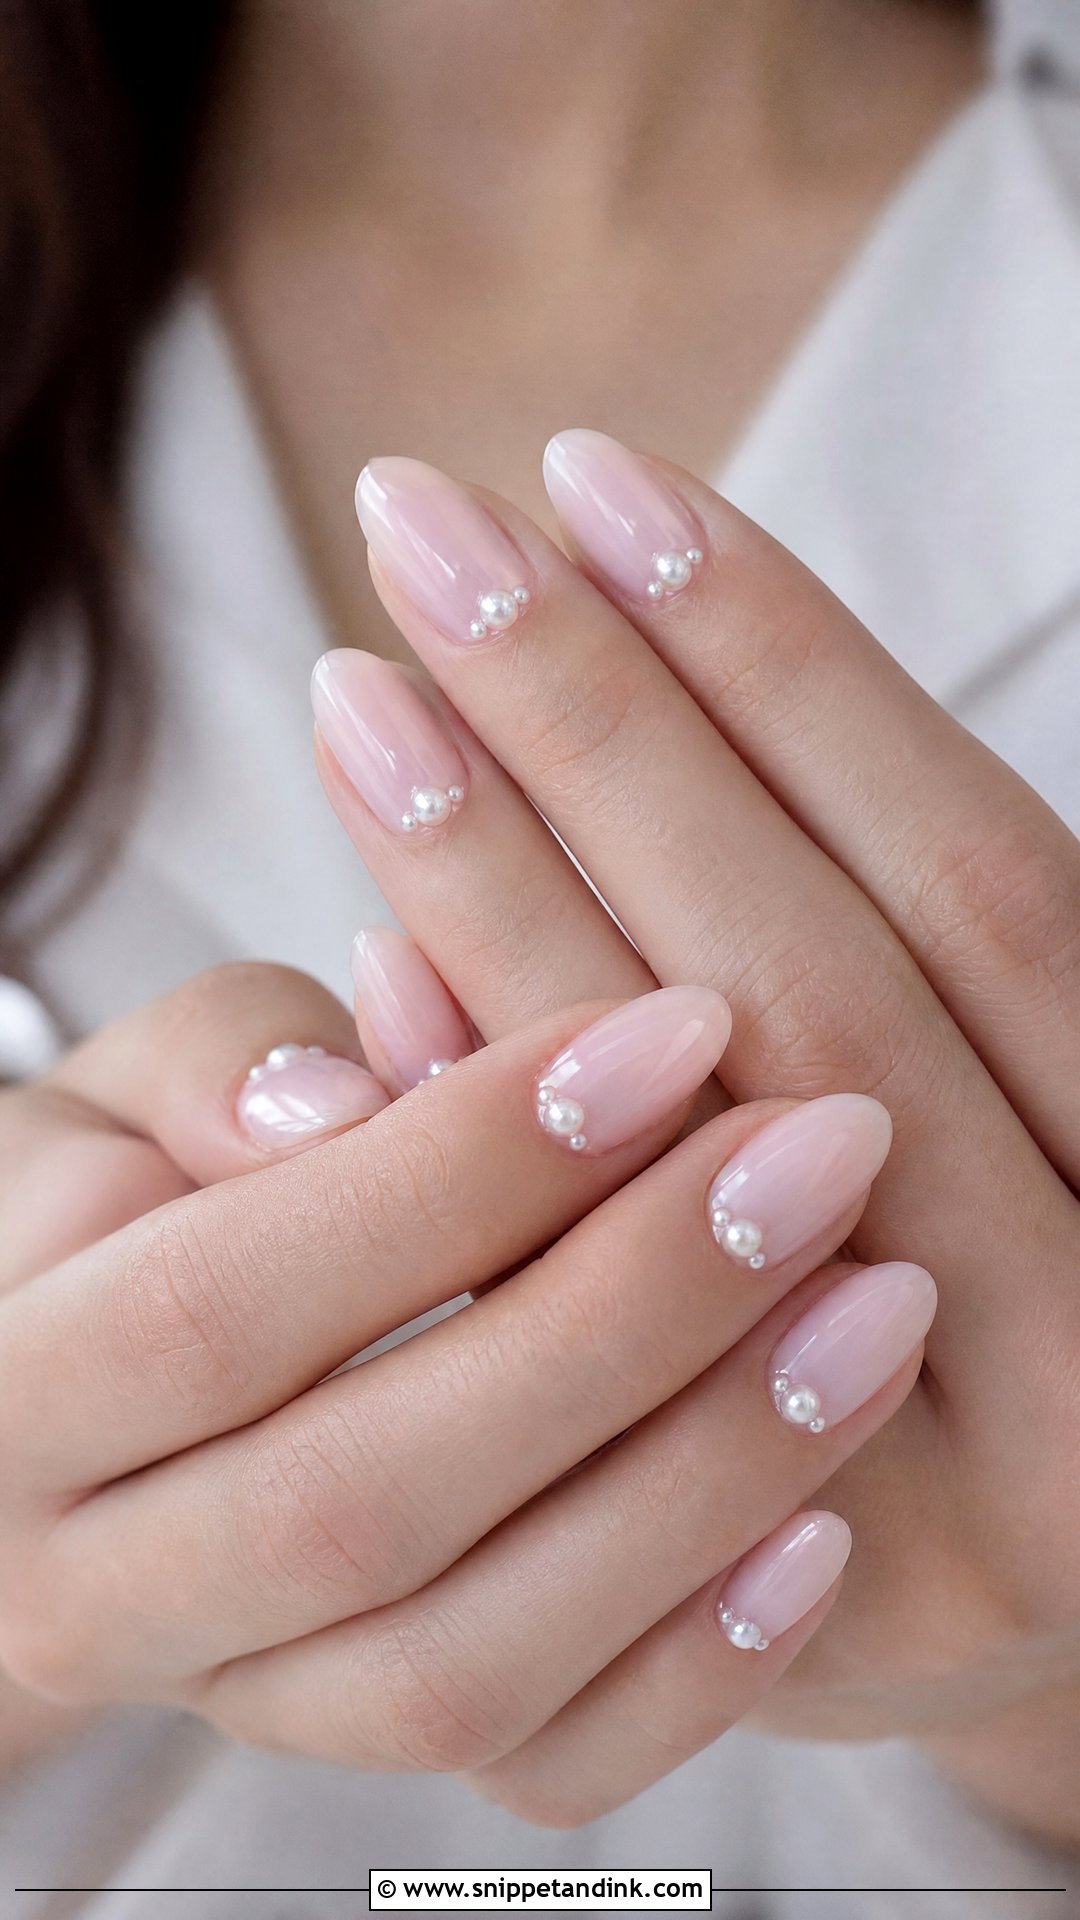
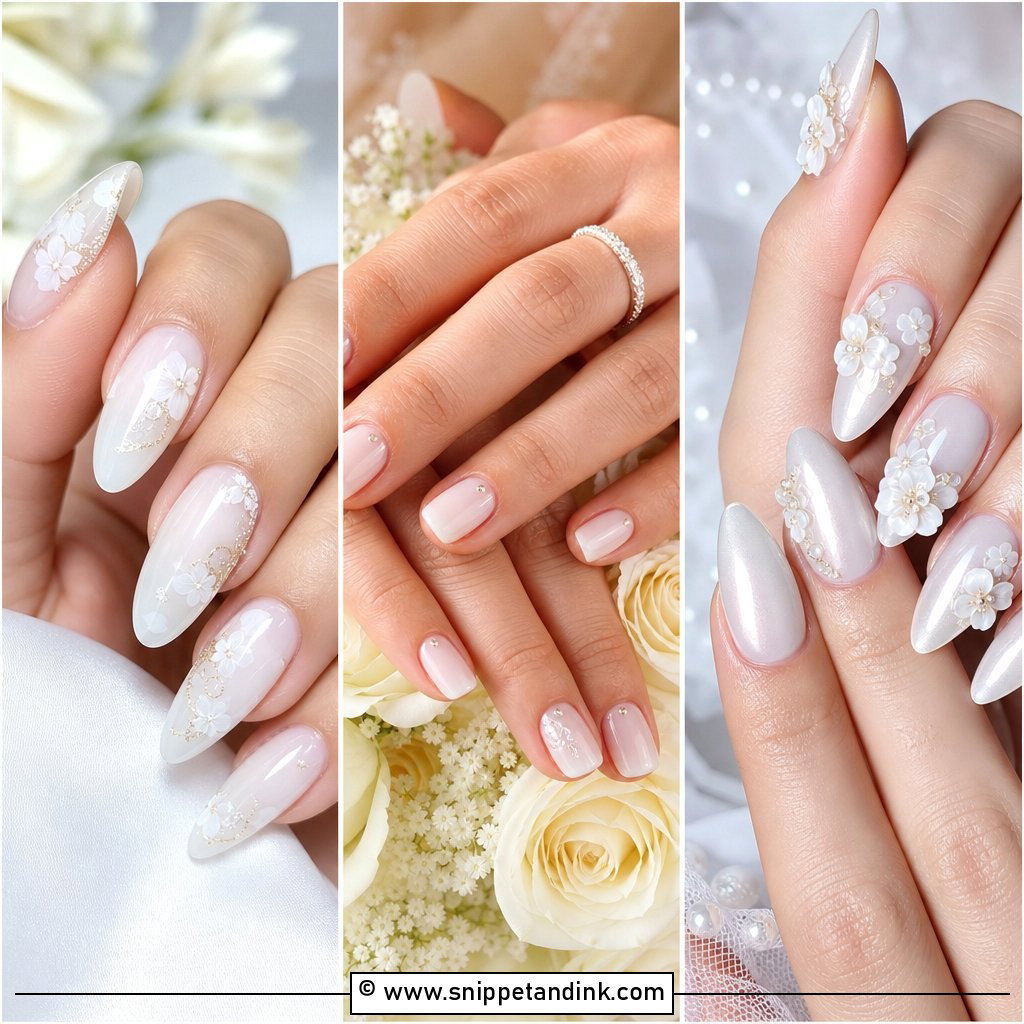
Pearl accents need to be flat-backed and small, or they catch on lace, tulle and veil netting. I set them into a thick layer of gel near the cuticle and seal around, not over, the top so they keep their shine. One or two on the ring fingers is quieter than every nail. If your dress has pearl buttons or beading, this ties the hands to the gown.
5. Pink Chrome Wedding Nails
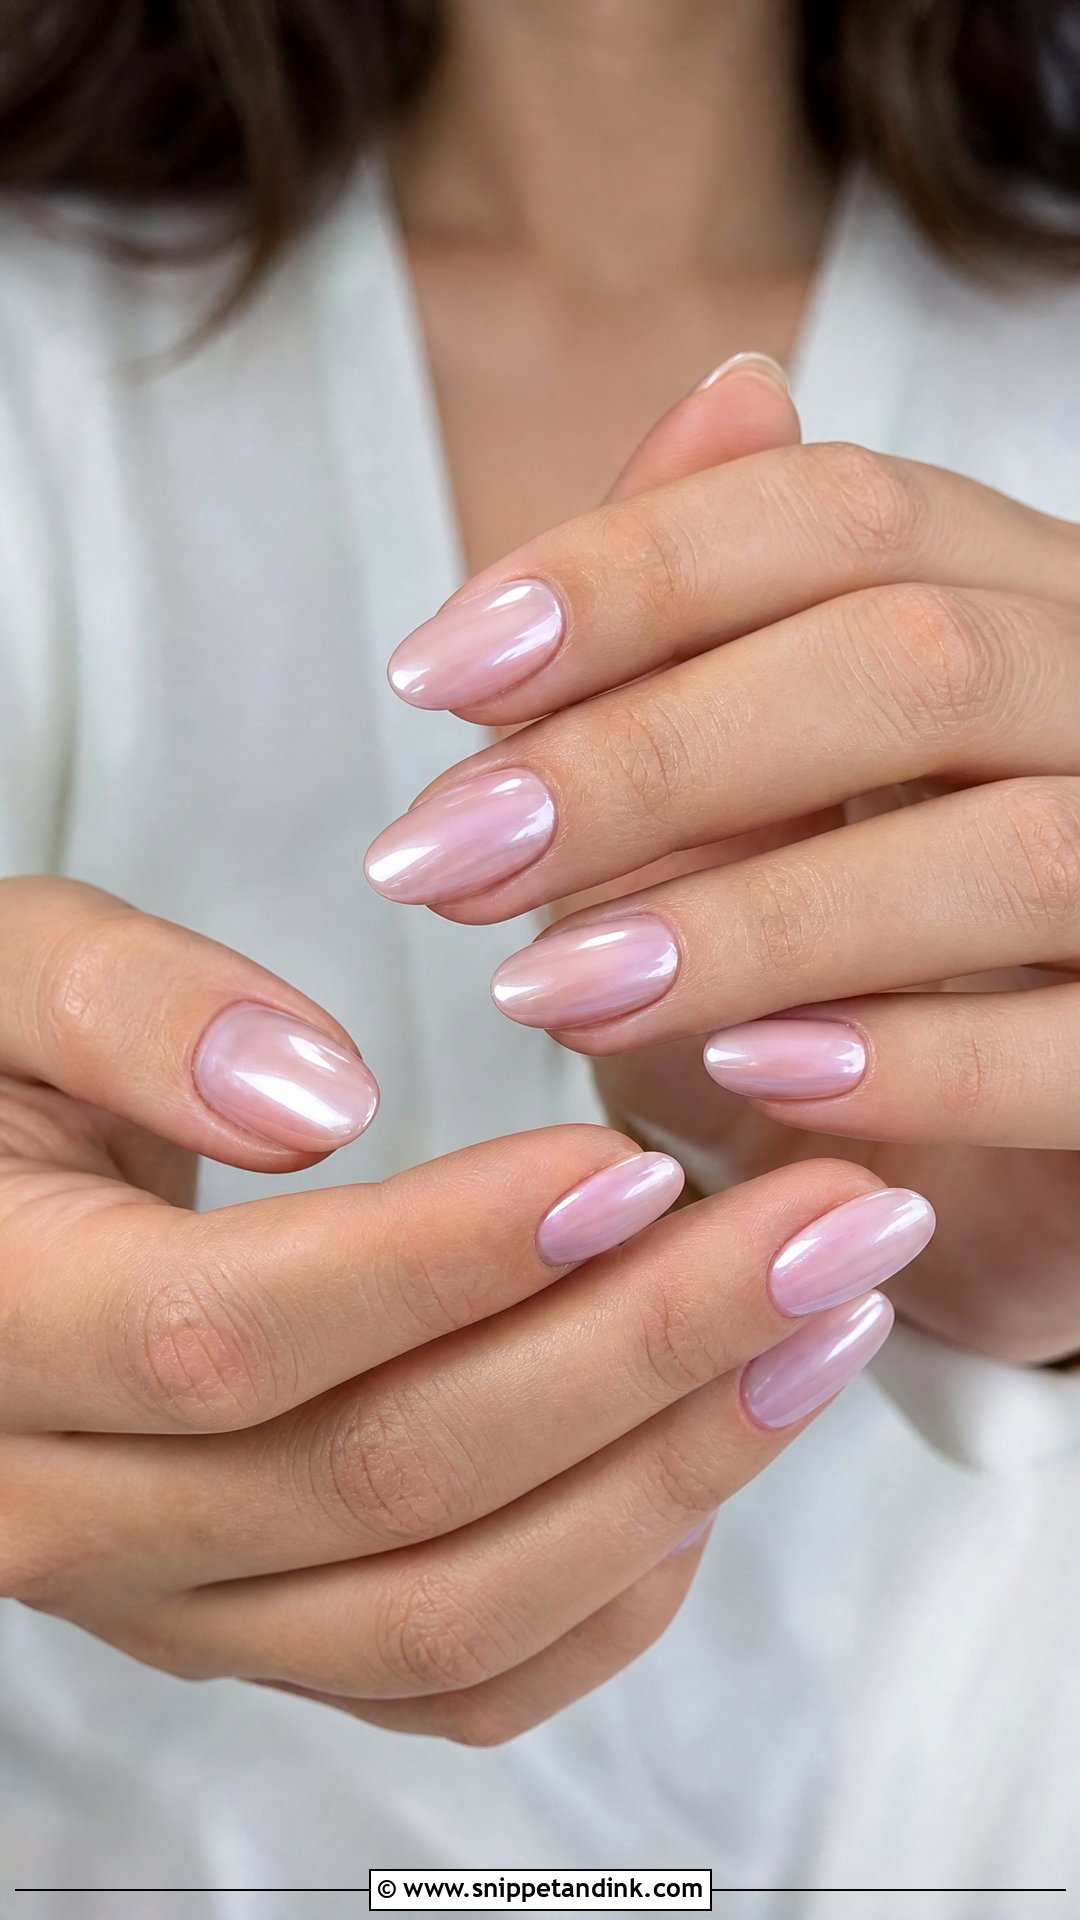
Pink chrome wedding nails start with a sheer baby or ballet pink, then a fine chrome powder buffed over a no-wipe top coat. The powder only sticks to a cured, tacky-free surface, so if the top coat isn’t right the chrome looks patchy. A soft glaze reads as bridal; mirror chrome can look too metallic in a ring shot. I seal the edges carefully, because chrome tends to chip first at the tips.
6. White Chrome Wedding Nails
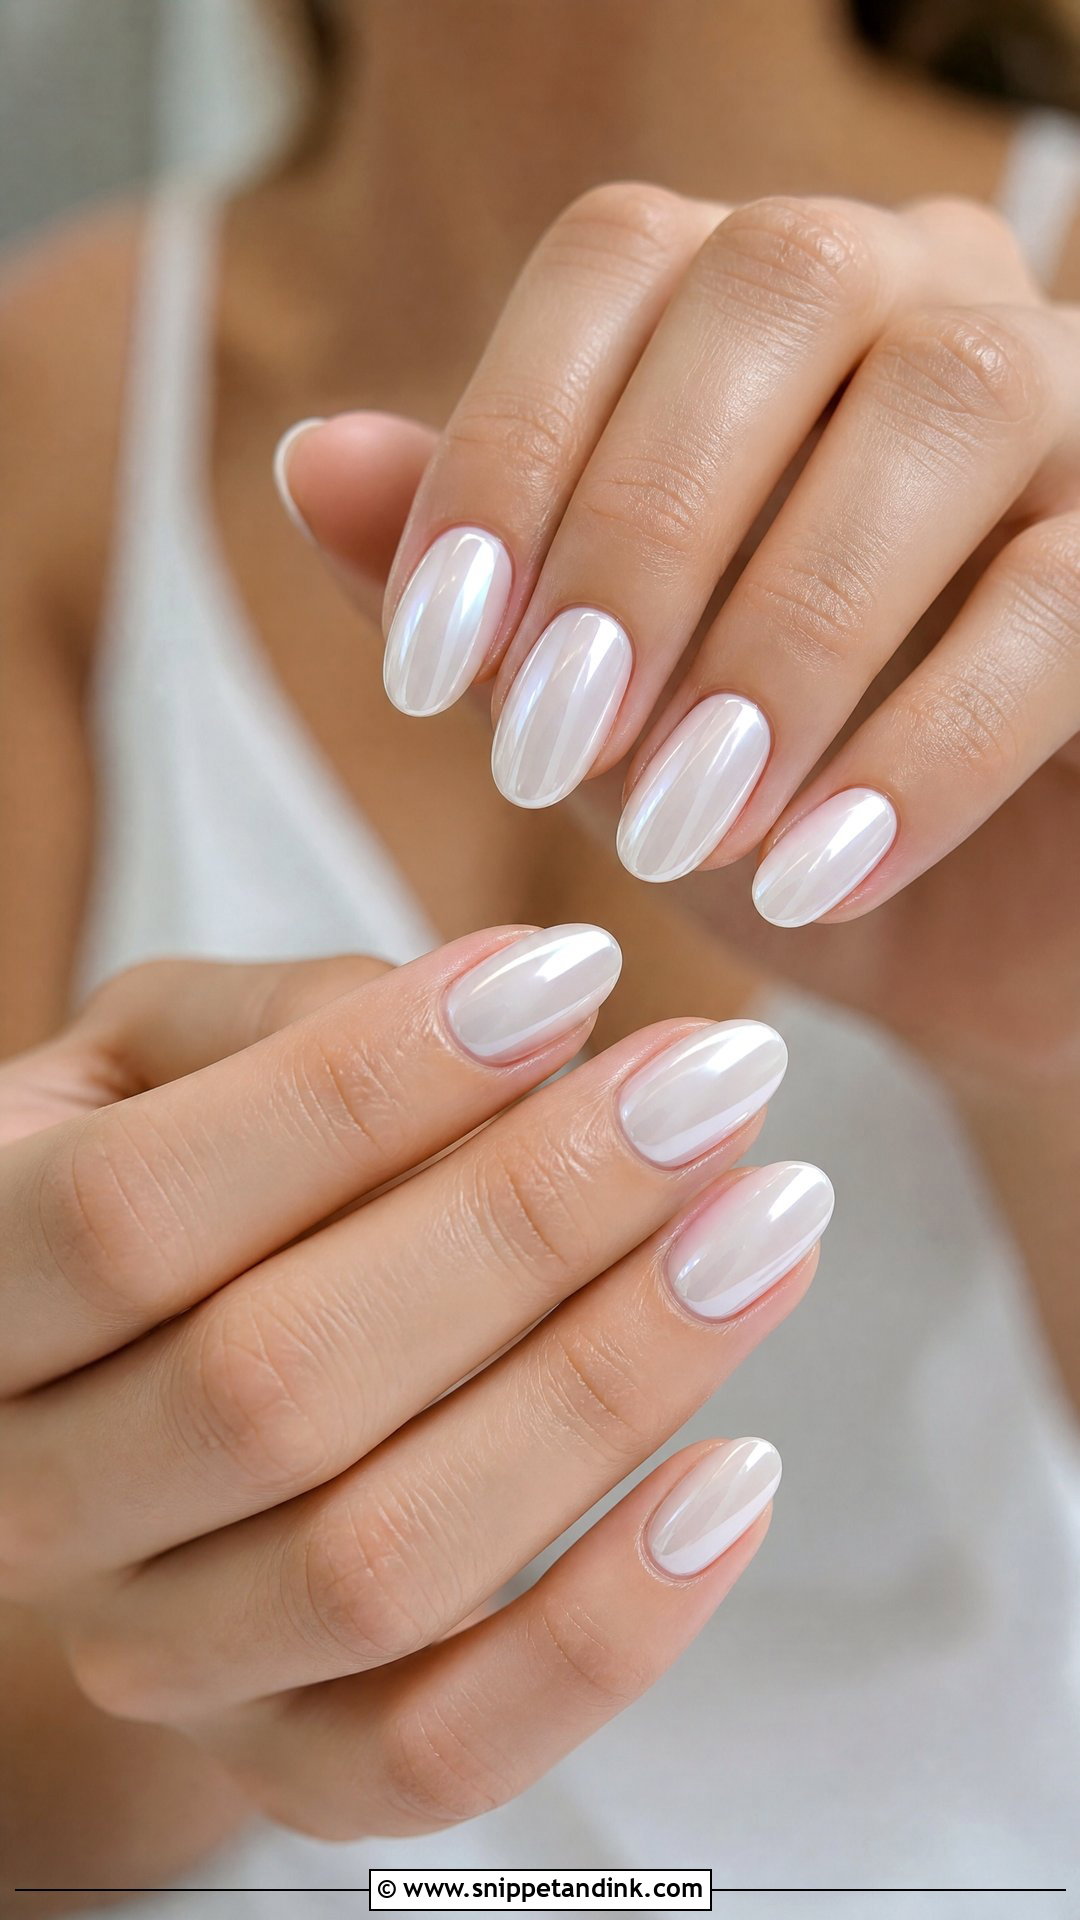
White chrome gives white nails a pearly glow instead of flat paint. I use a milky base and a light layer of pearl chrome powder on top. I suggest it when a bride likes white but finds solid white too harsh against her skin. A short oval or medium almond shows the finish best, because chrome shows every bump on a square edge.
7. Soft Pink Wedding Nails
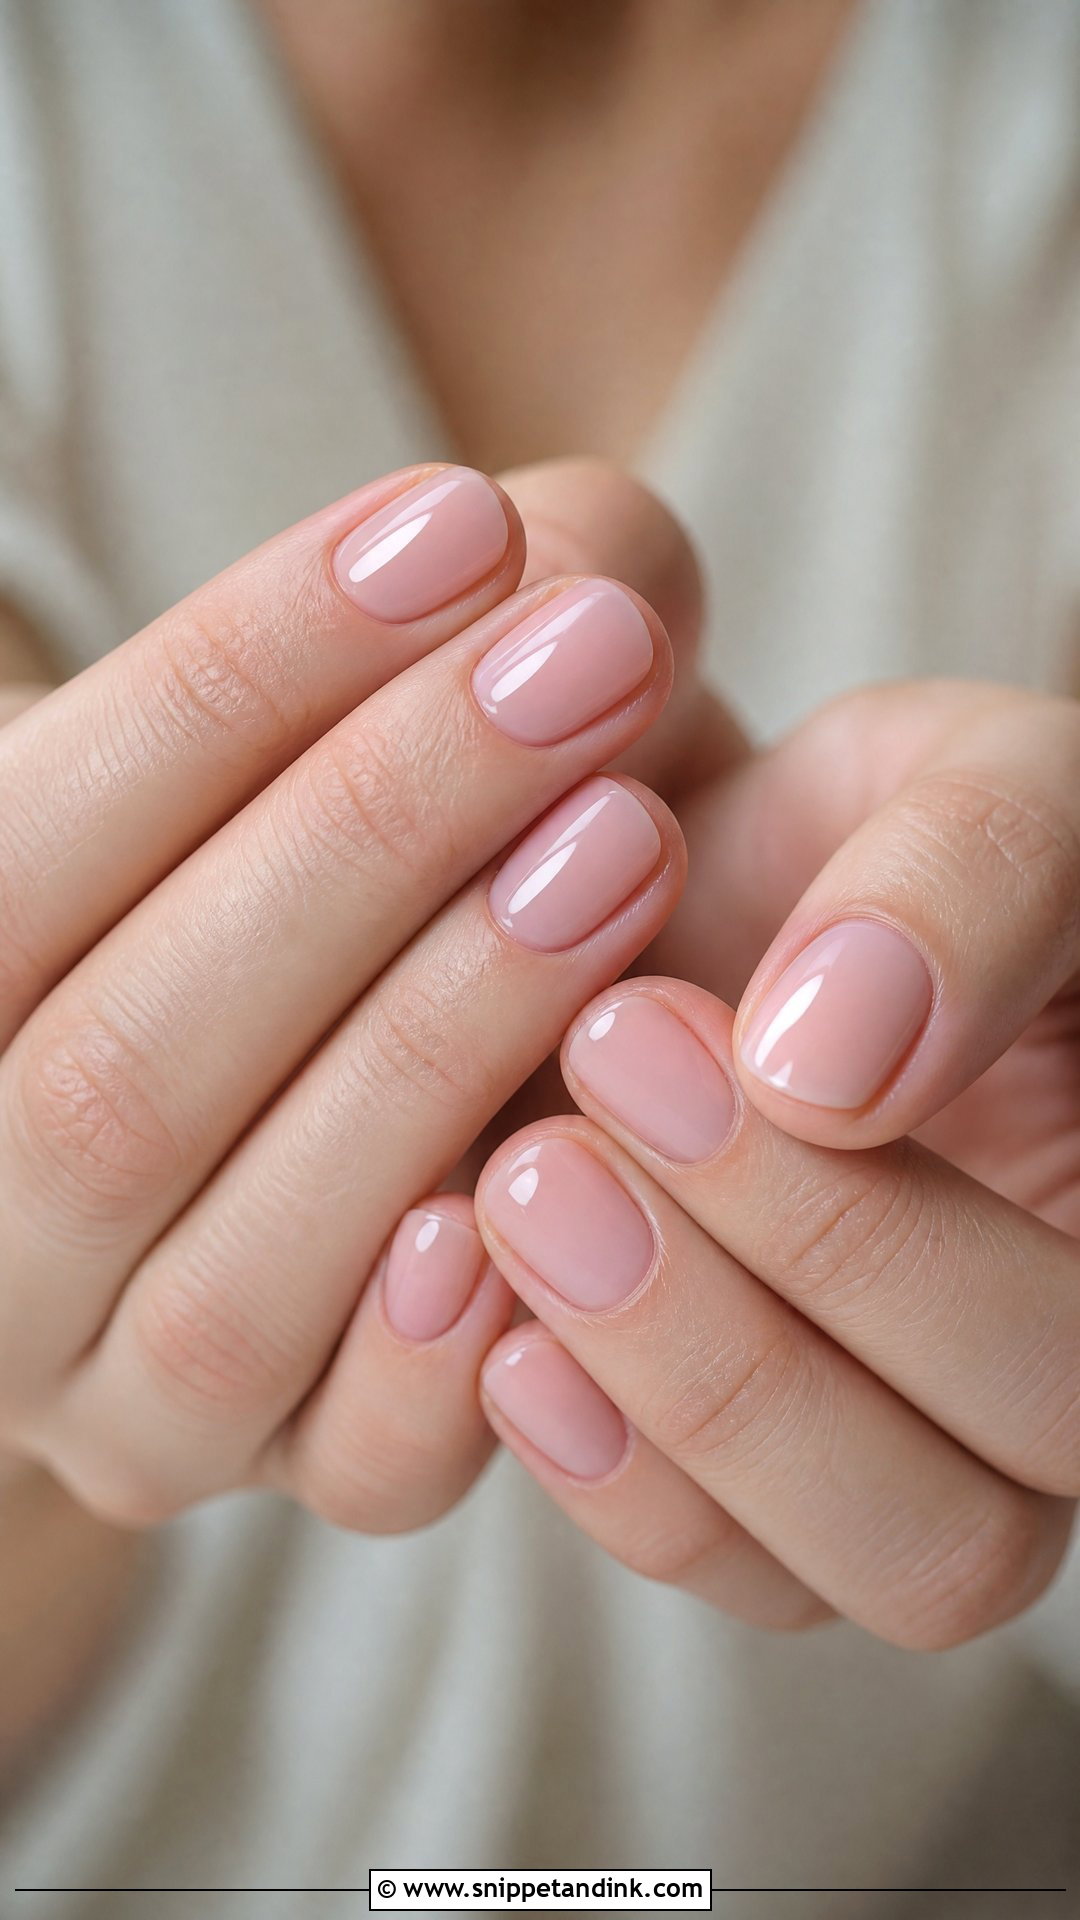
Soft pink is the most forgiving color for a wedding manicure because it doesn’t date in photos. Sheer pink makes nails look naturally healthy; a creamier pink gives a more finished salon look. I choose the shade with the bride’s dress in hand, since a cool pink next to a warm ivory can look slightly off. A dot of shimmer near the cuticle is all the art it needs.
8. Baby Boomer Wedding Nails
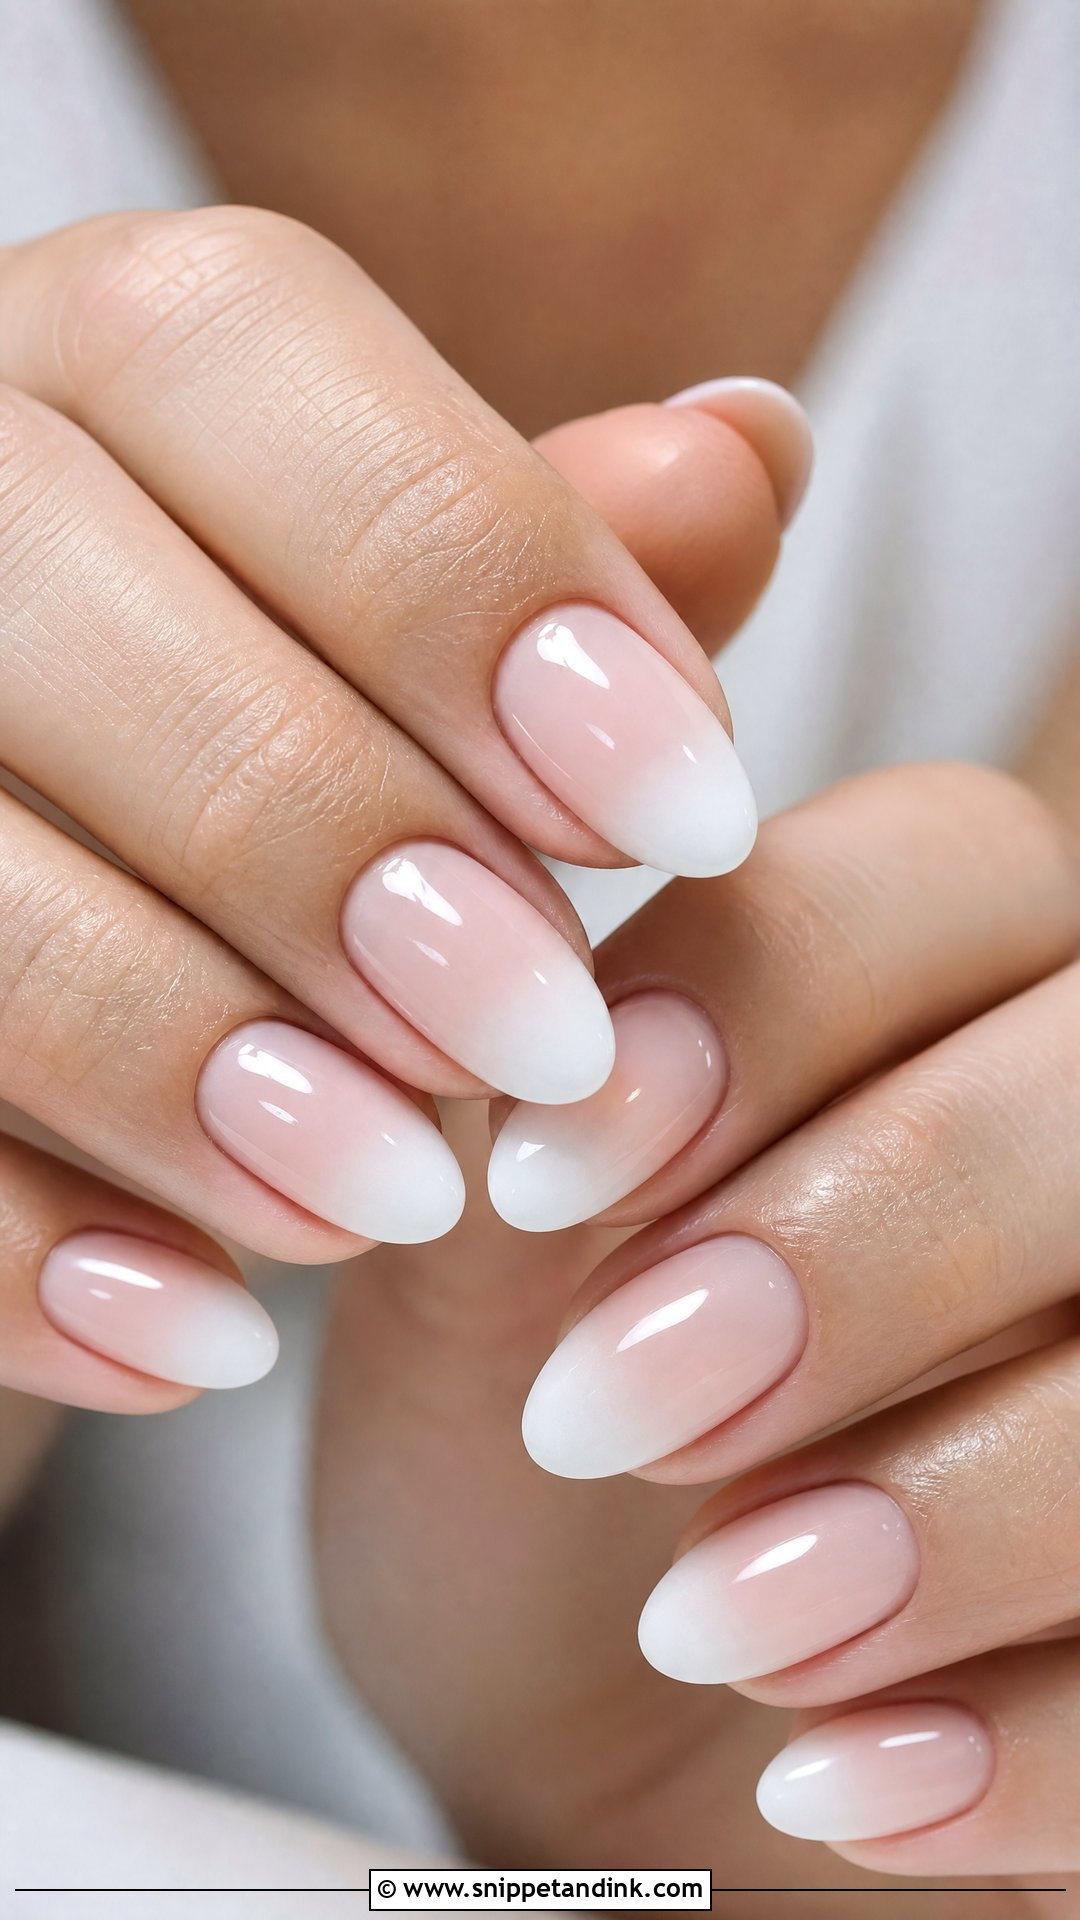
Baby boomer wedding nails fade from pink into white with no hard line, which is why I suggest them for brides who like a French tip but want something softer. The blend is done with a sponge or a soft gel brush. Keep the white milky rather than bright, or the fade looks chalky. It suits almond, coffin and oval shapes, where the gradient has room to stretch.
9. Lace Wedding Nails
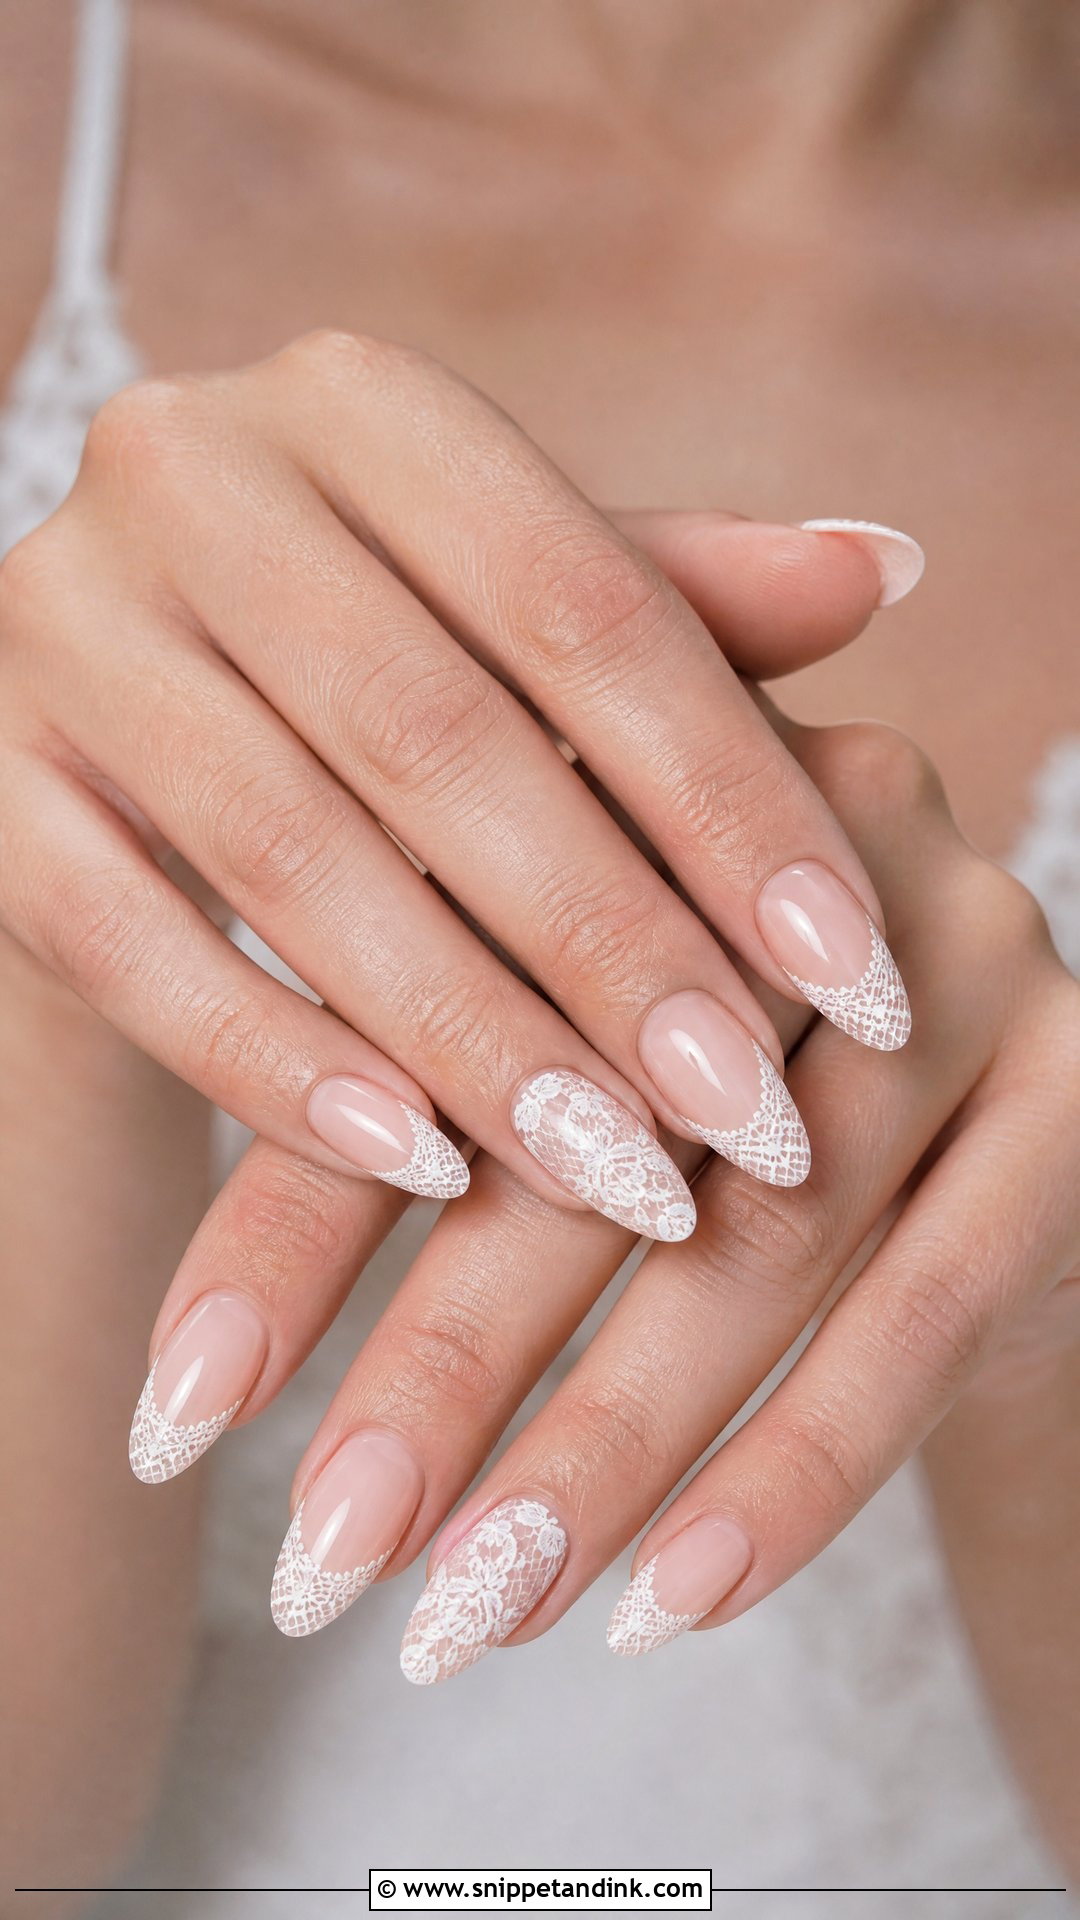
Lace nails are the easiest way to echo a lace dress. I paint the pattern freehand with a very fine brush, using thin lines and small floral shapes rather than dense patterns, which look busy from a distance. One or two accent nails are usually enough. On short nails, I scale the pattern down; the same lace on a short nail as on a long one ends up crowded.
10. Floral Wedding Nails
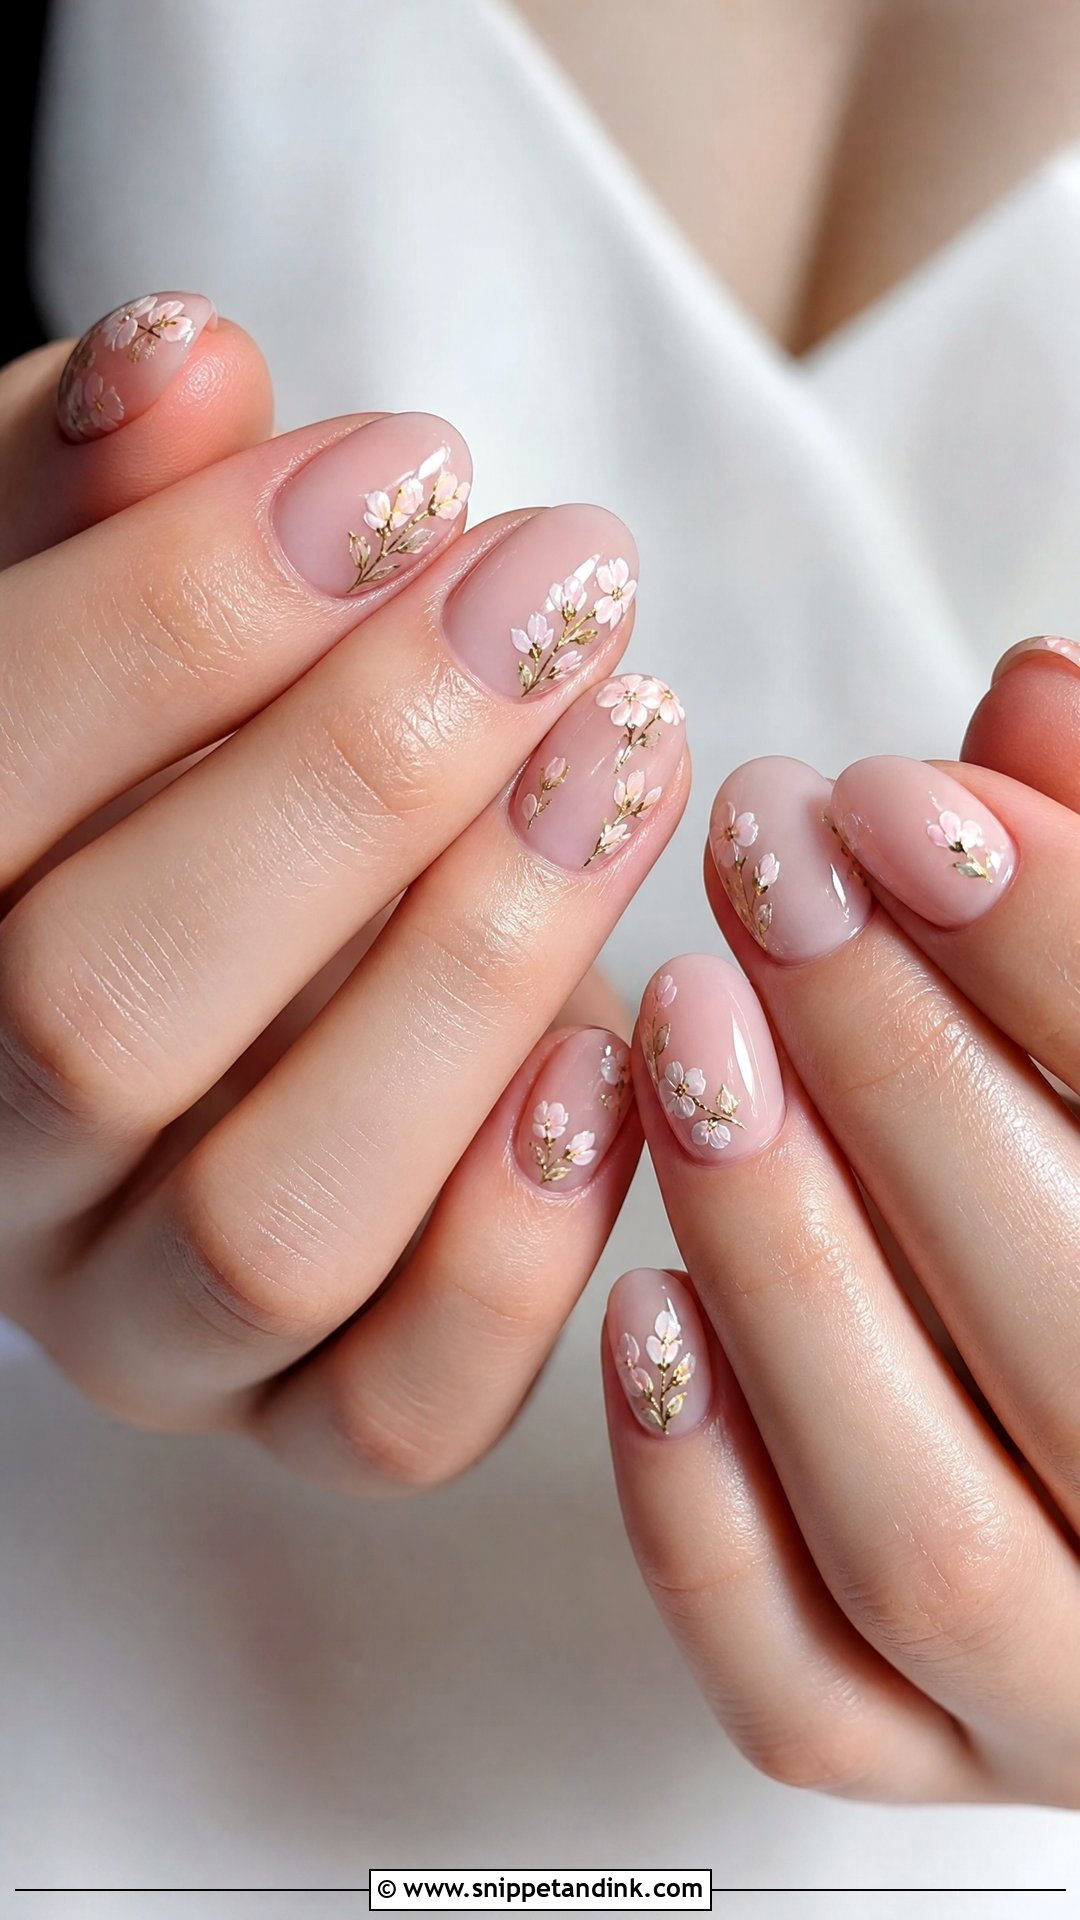
Small flowers keep a floral set from looking playful. I paint tiny white blooms or soft blush petals, with a thin green stem, on two accent nails and leave the others plain. Spacing is everything; flowers that touch each other start to look like wallpaper. It suits garden ceremonies and spring weddings.
11. Sheer Nude Wedding Nails
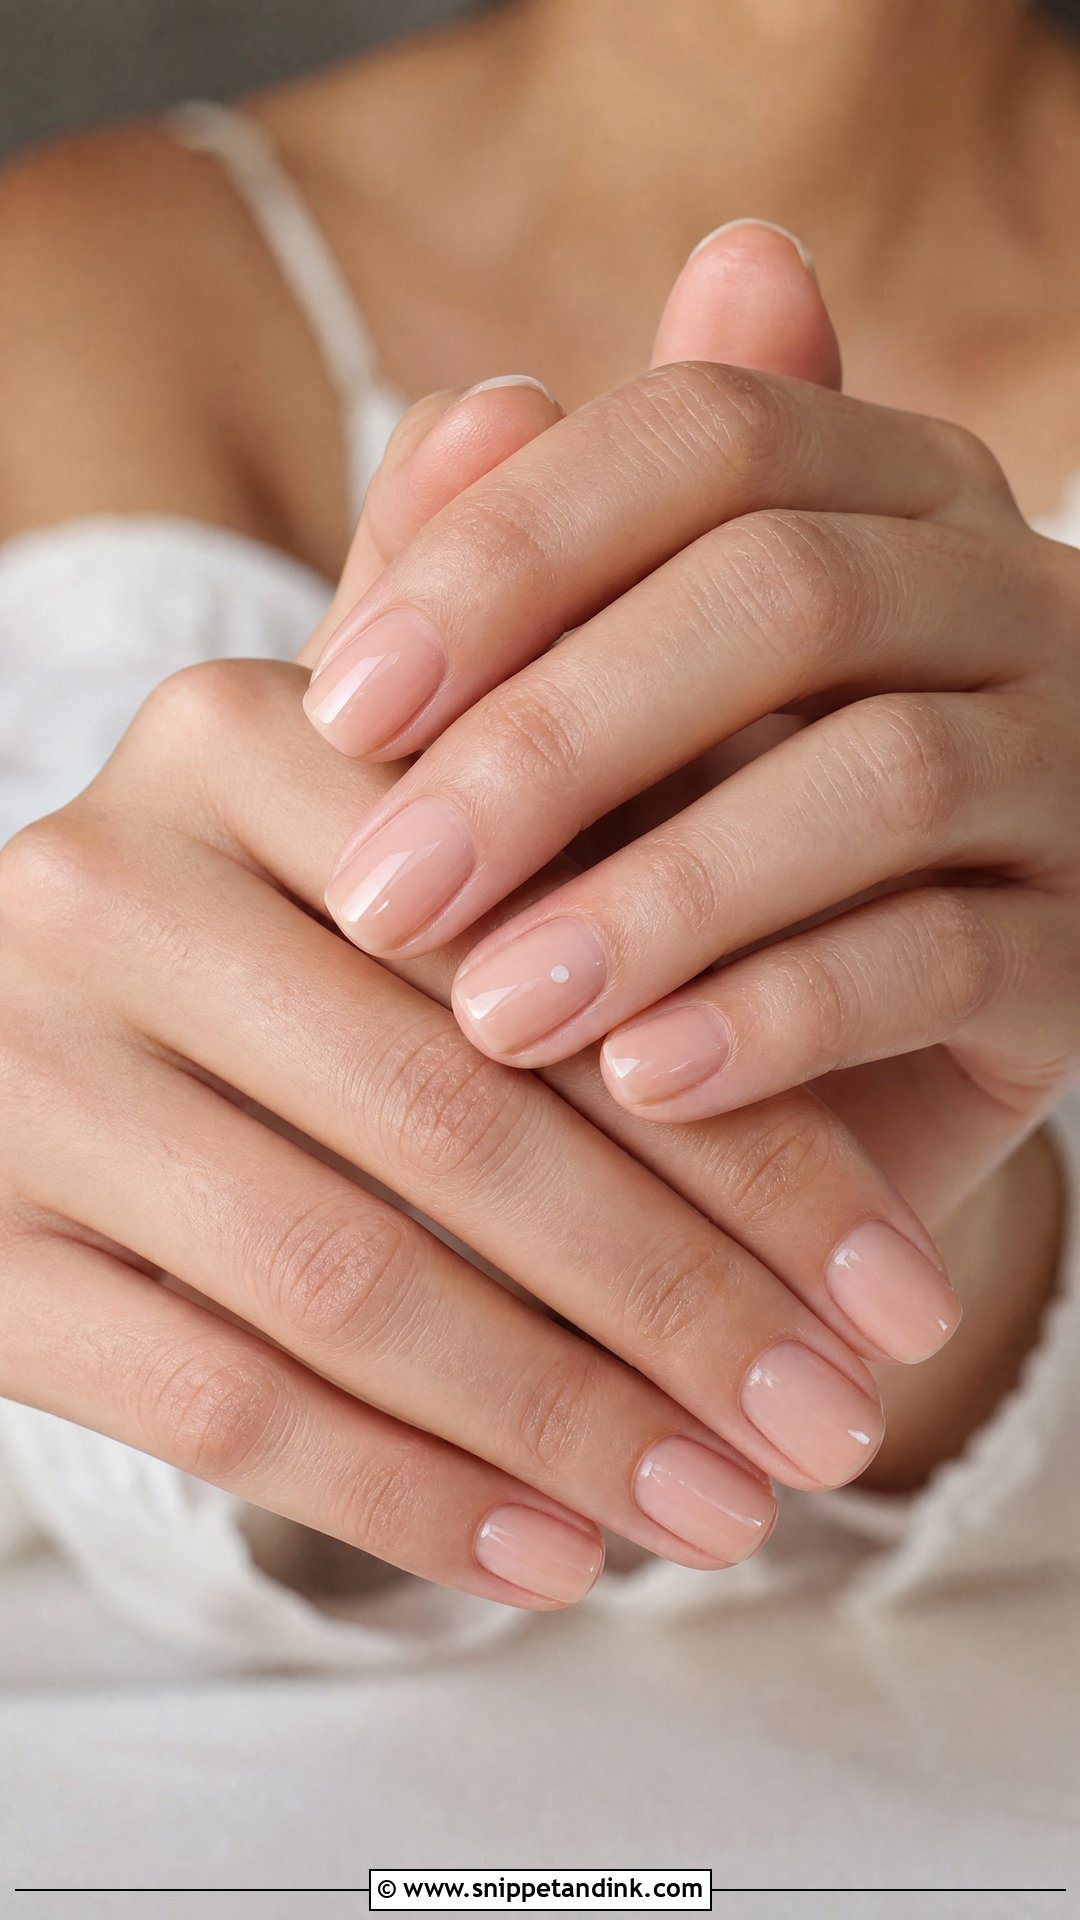
A sheer nude is all about the shade. I hold three or four bottles against the bride’s fingers in daylight and pick the one that makes her hands look rested. Pink-beige usually suits fair skin, peachy nude medium, and caramel or rose-brown deeper skin. The natural nail shows through slightly, so any ridges should be buffed or filled with a base first.
12. Short Wedding Nails With Tiny Hearts
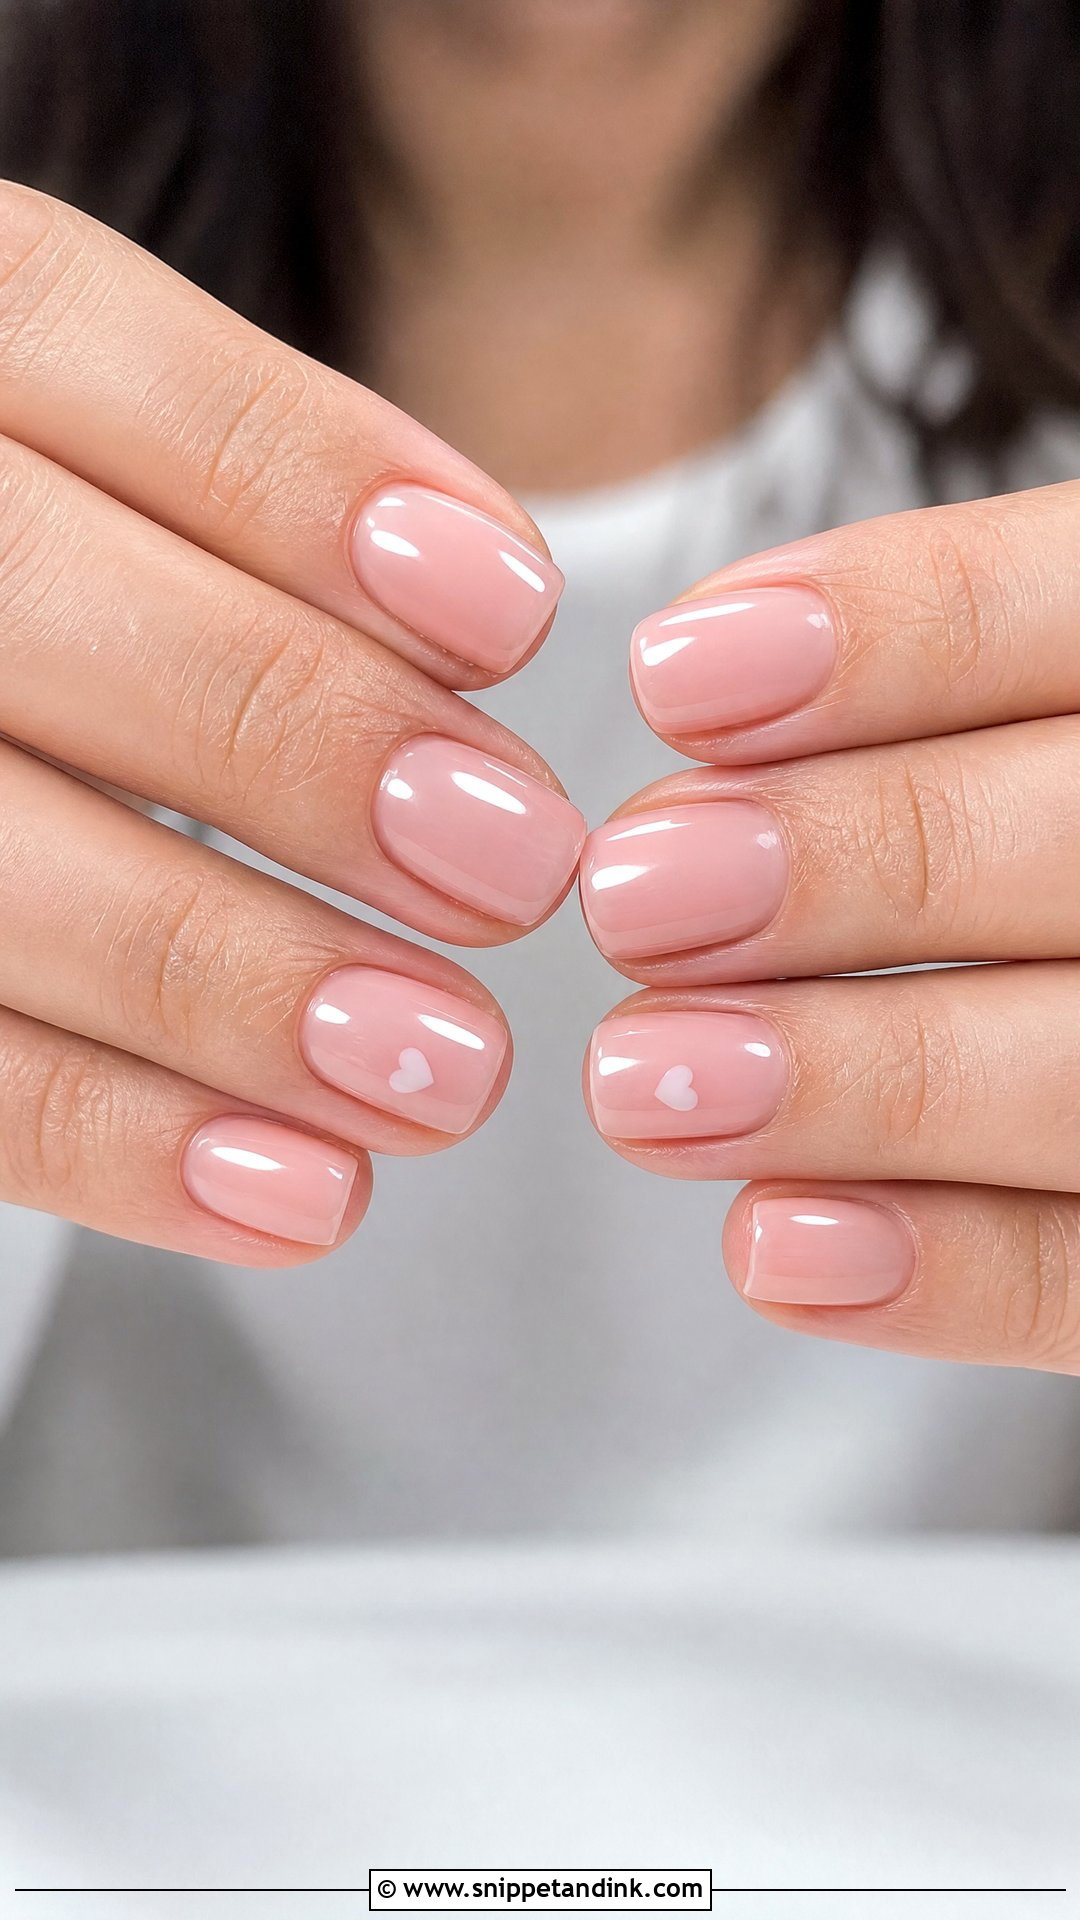
Tiny hearts keep a short set sweet without turning it into a novelty. I paint one small heart with a dotting tool, two dots dragged into a point, on each ring finger, or at the tip. Bigger hearts look playful fast. A rounded or squoval shape keeps it practical for brides who type all day.
13. Almond Wedding Nails With French Tips
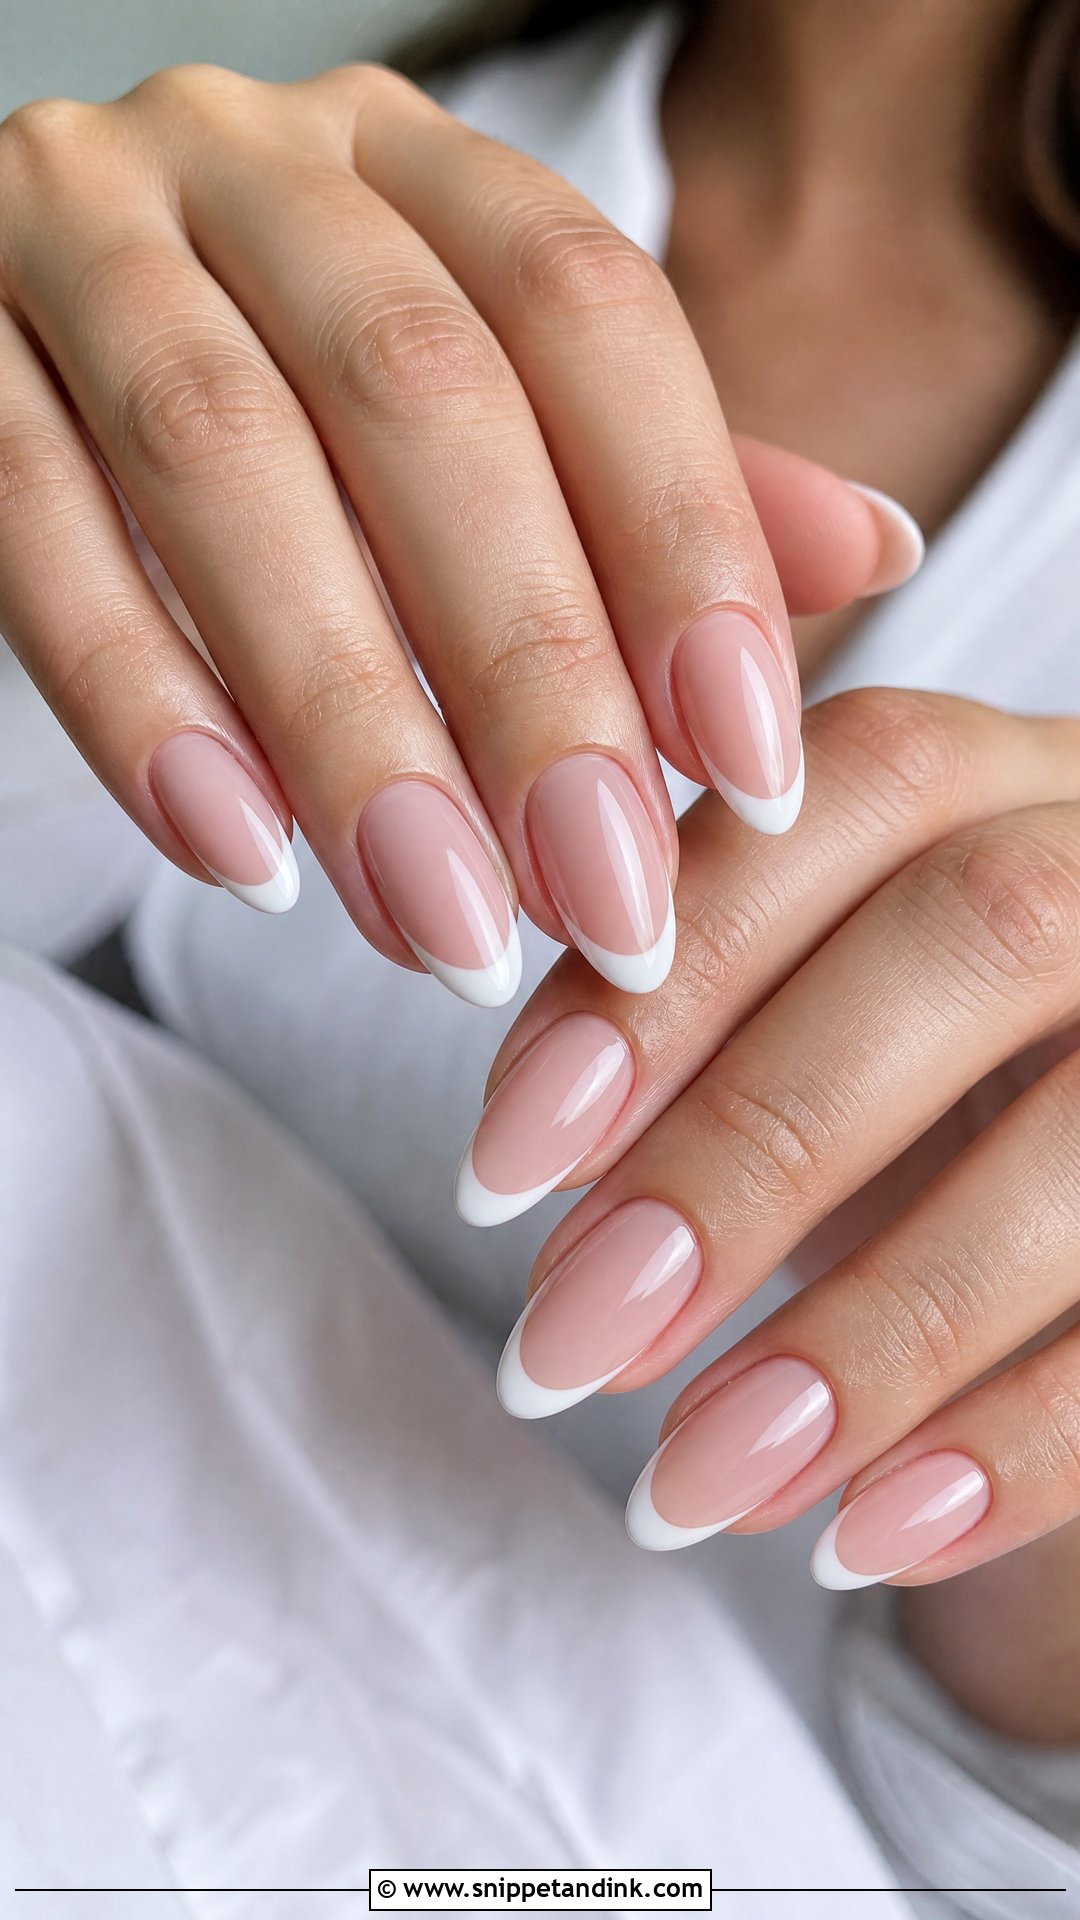
Almond nails make fingers look longer, and a French tip that follows the almond’s curve emphasizes it. The tip has to be thin; on a pointed shape, a thick white band looks heavy. I file the almond before painting so both sides are symmetrical, since any lean shows up with a tip that traces the edge. A light chrome glaze or one tiny pearl adds a little more.
14. Square Wedding Nails With Thin French Tips
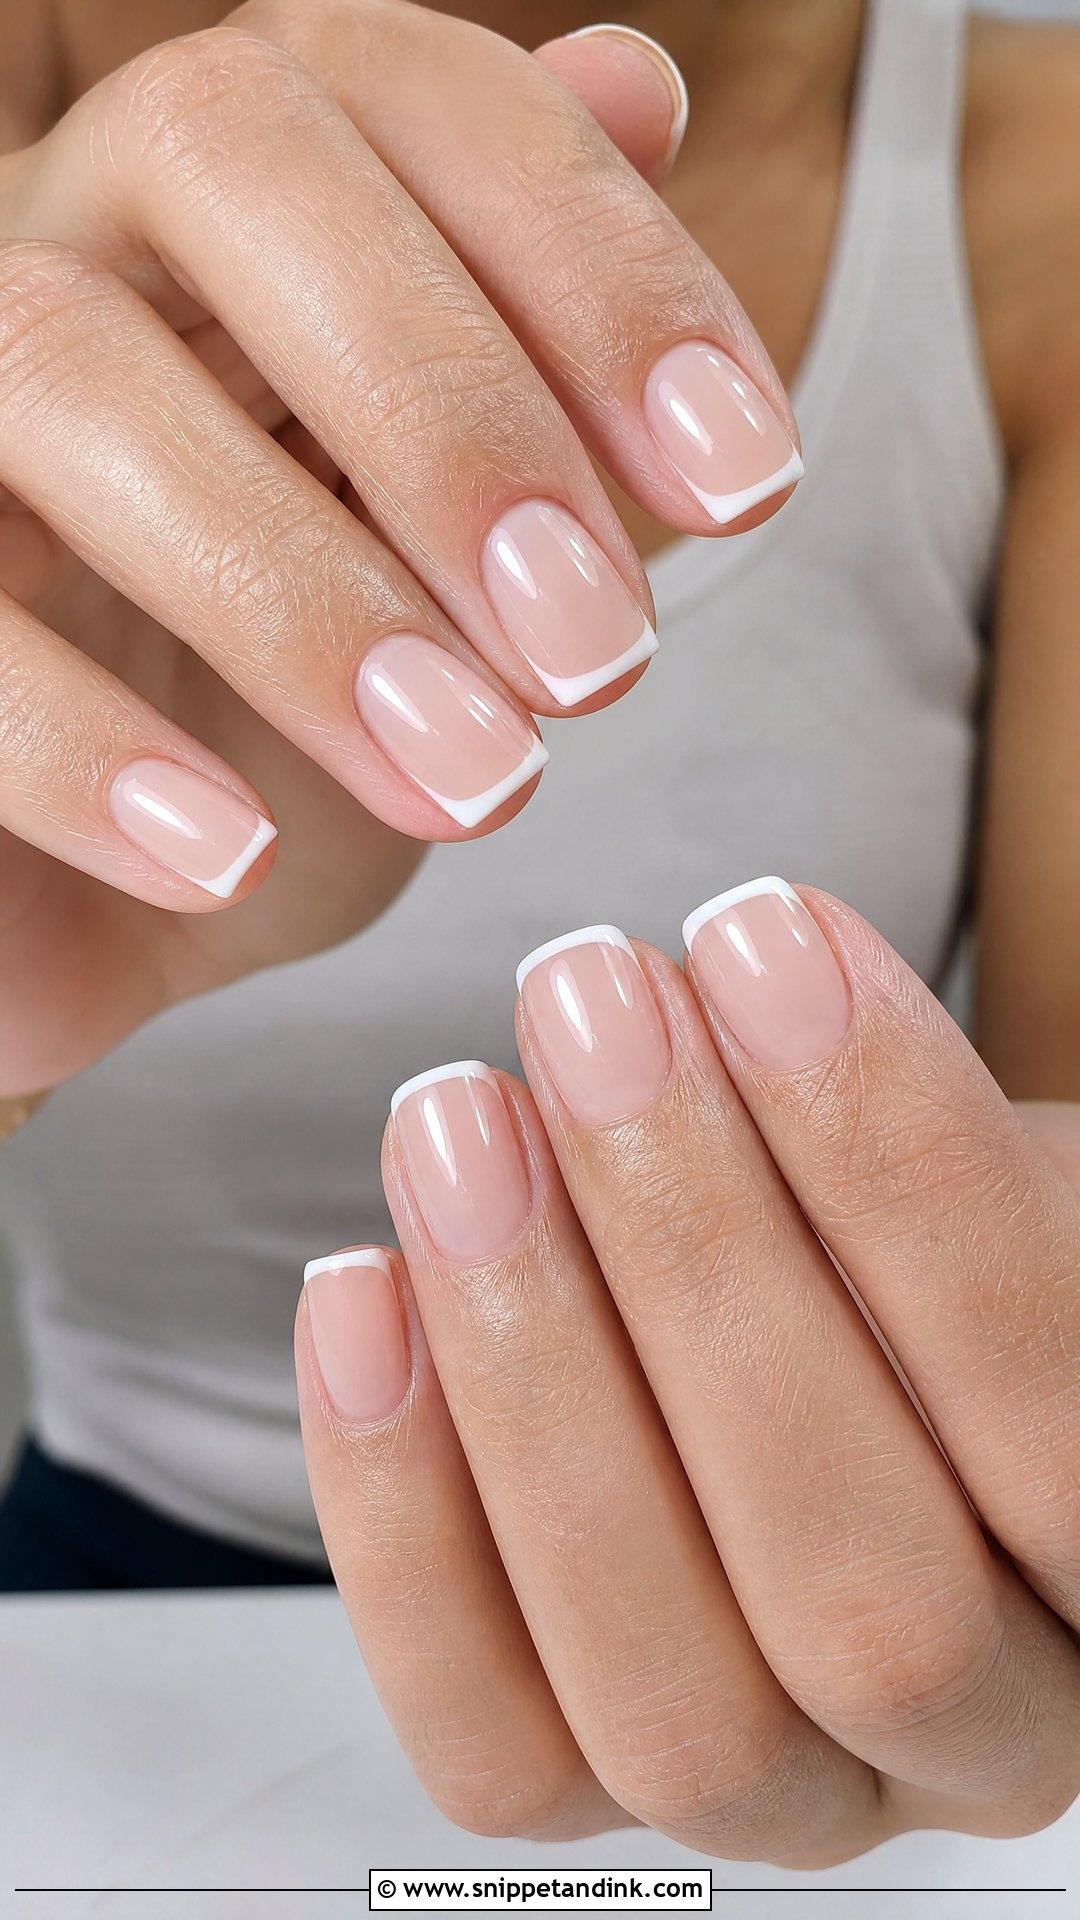
Square nails with thin French tips are clean and tidy, particularly on short to medium lengths. The corners are the risk: sharp square corners catch on fabric and chip. I file them softly so they don’t snag a veil or a lace sleeve. A sheer nude base and a crisp, thin tip line finish it.
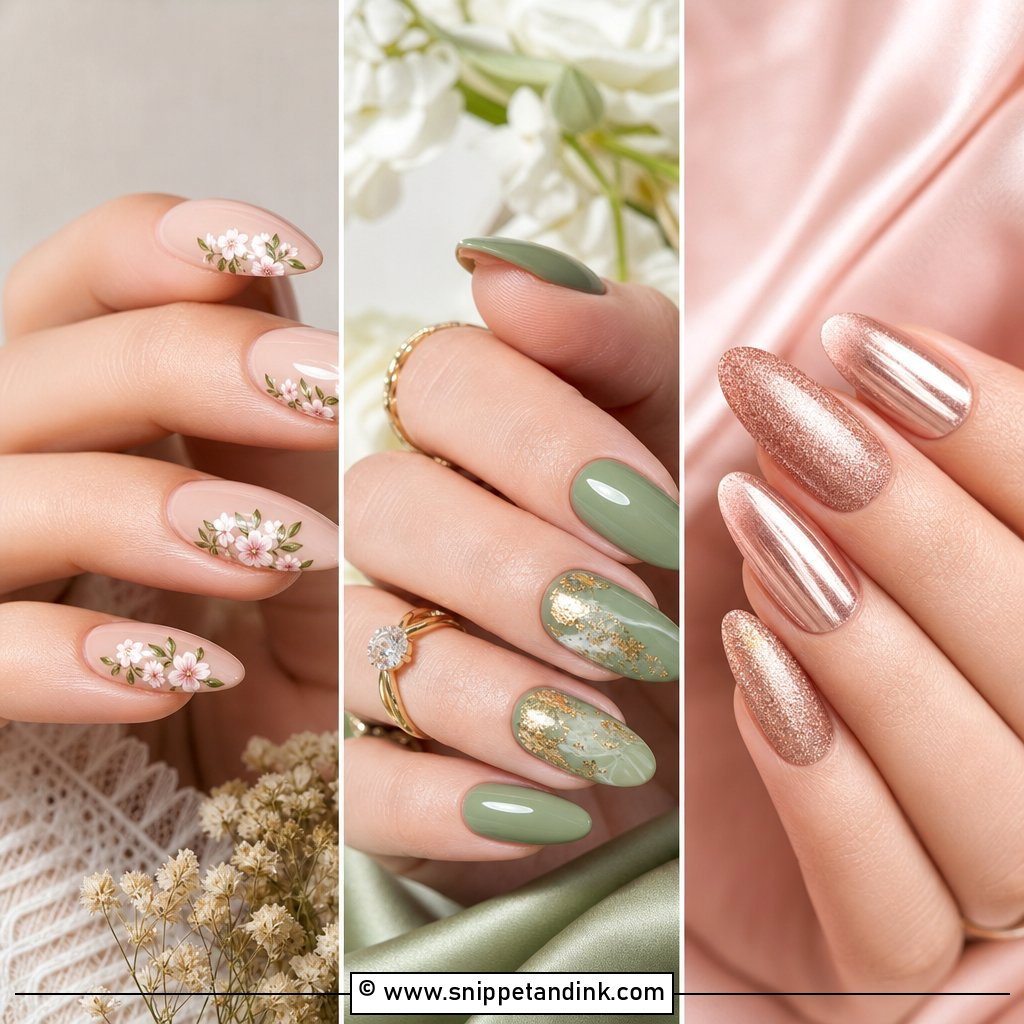
15. Oval Wedding Nails With Milky Pink Polish
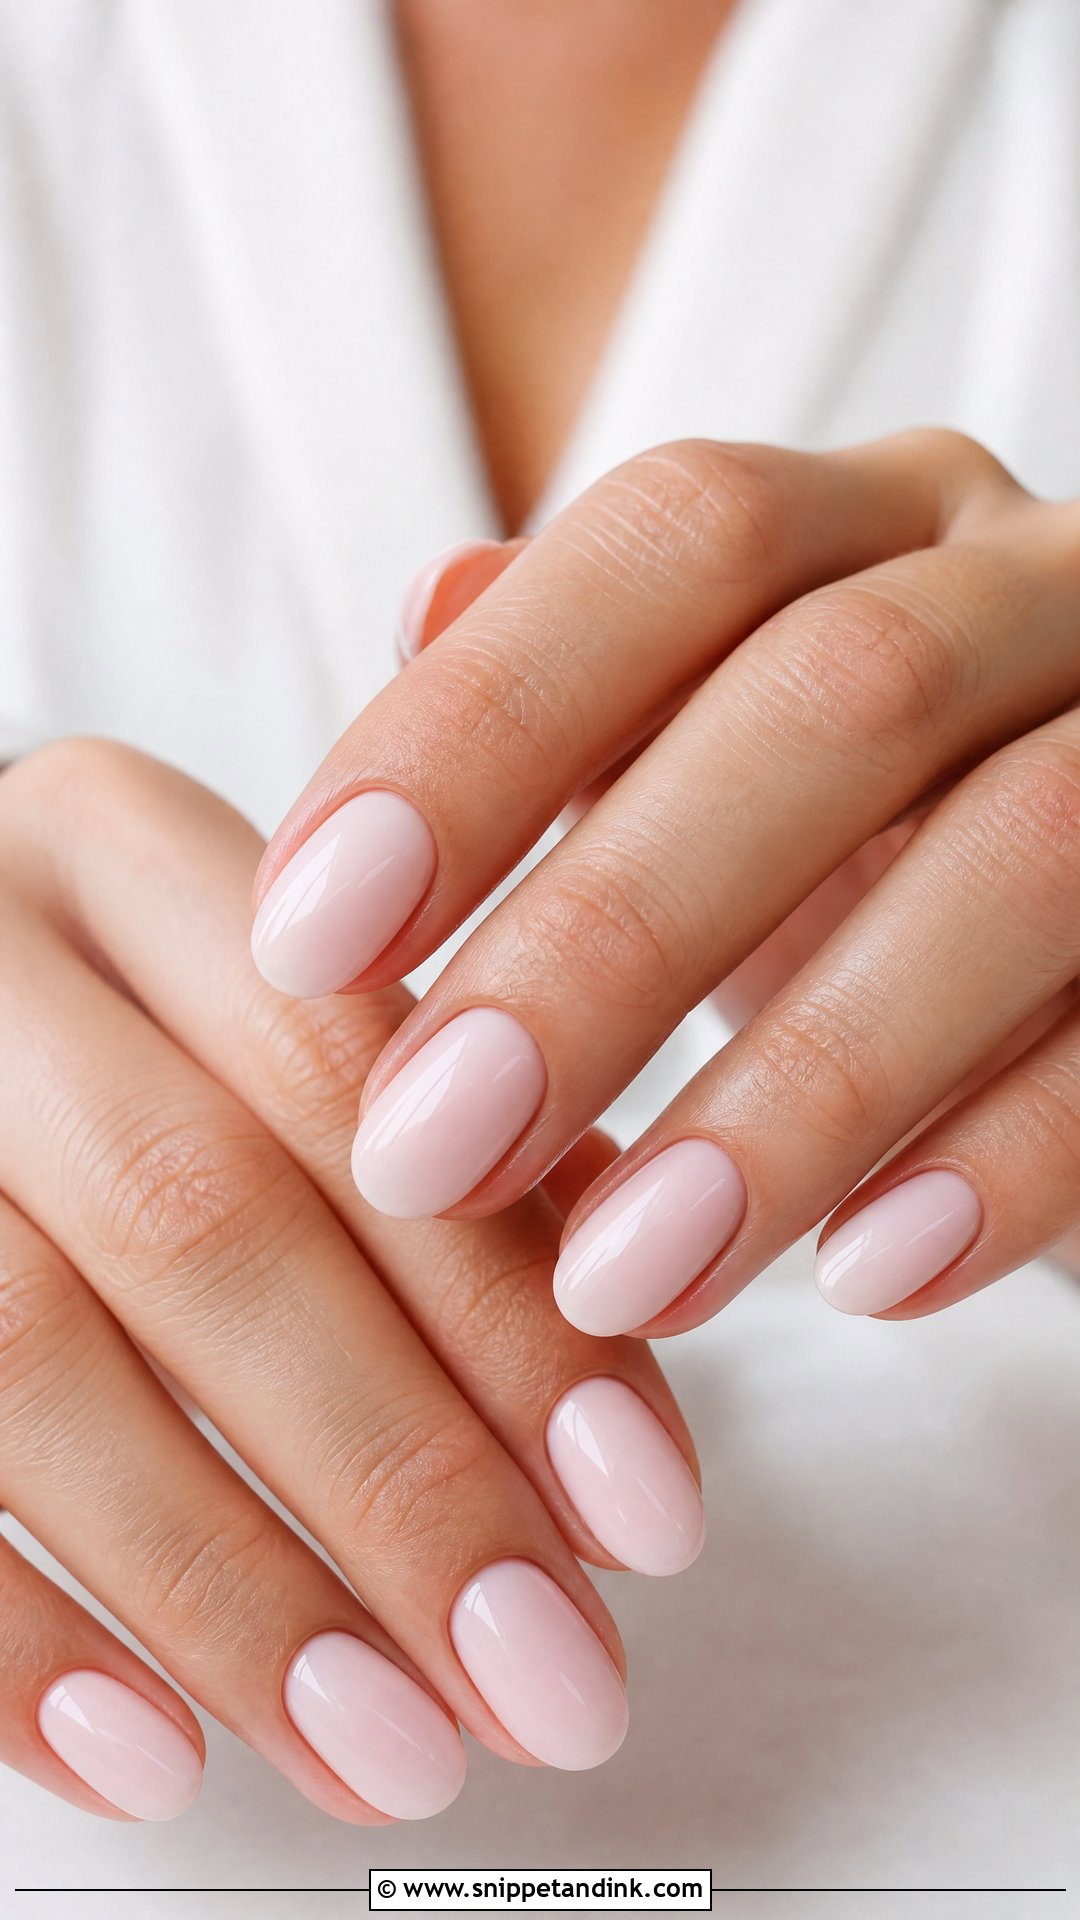
A milky pink on oval nails is about as natural as bridal nails get. The oval follows the shape of the fingertip, which is comfortable and flattering on most hands. It goes with almost any dress color. Add a white micro-line at the tip or a faint shimmer if you want a hint of something more.
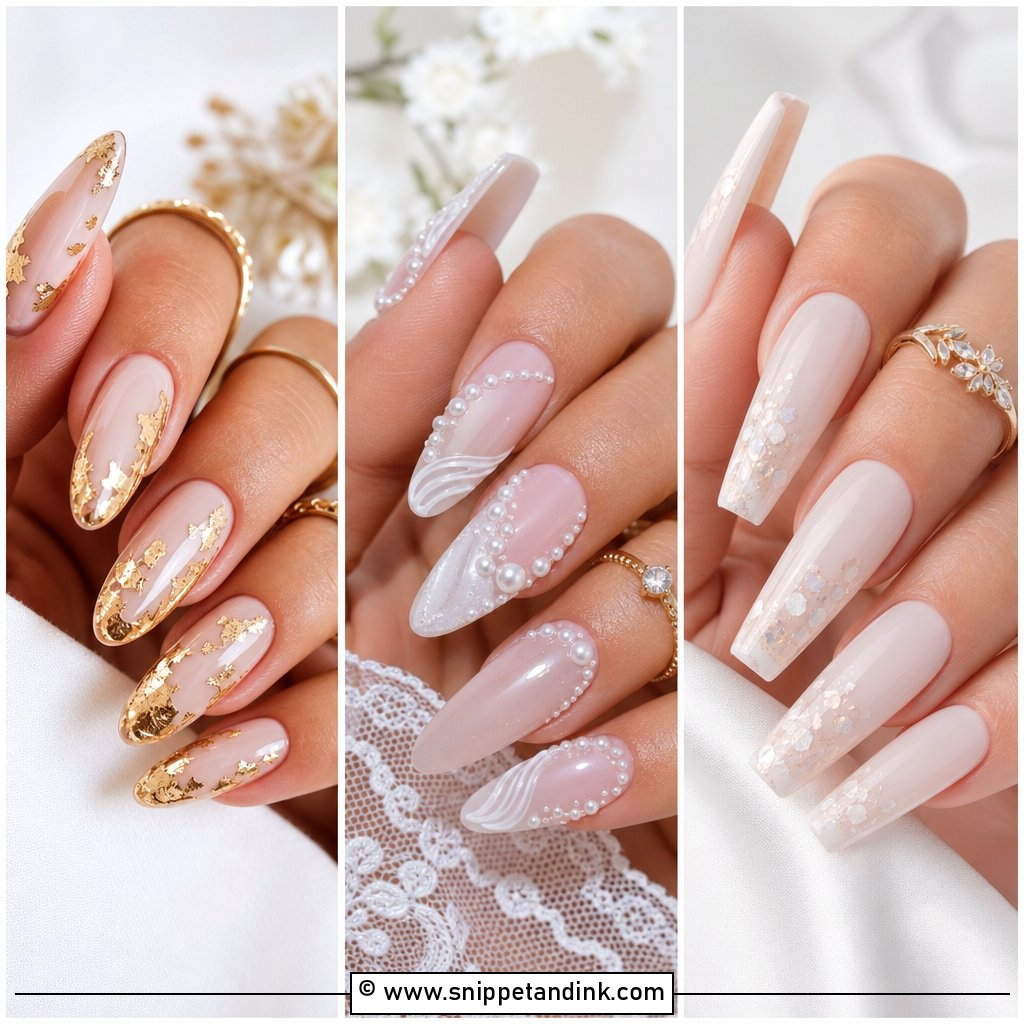
16. Glitter Ombre Wedding Nails
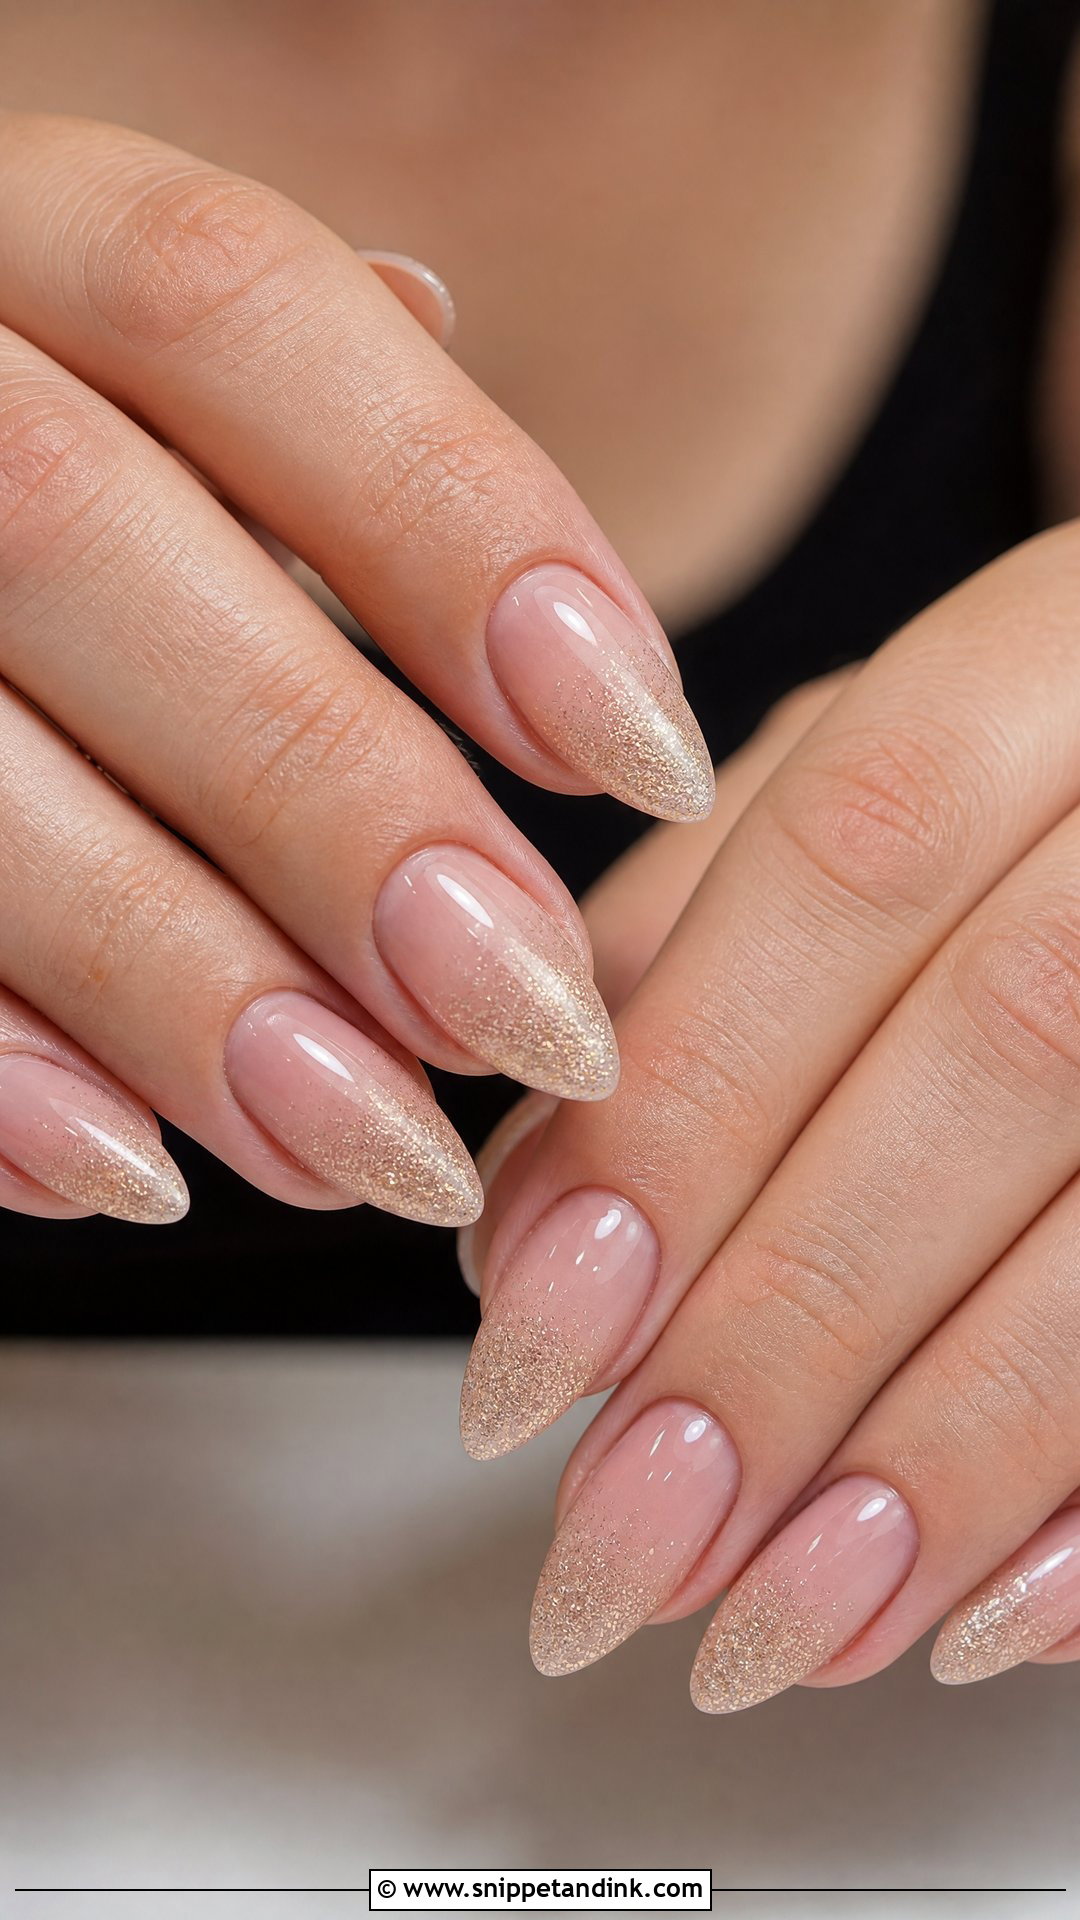
Glitter ombre wedding nails fade fine glitter from the tip or the cuticle into a sheer base. I use fine silver, champagne or pearl glitter; chunky pieces lift at the edges and feel rough against fabric. The fade needs to be gradual, so I build it in two or three passes. It’s at its best in candlelight at an evening or winter reception.
17. Gold Line Wedding Nails
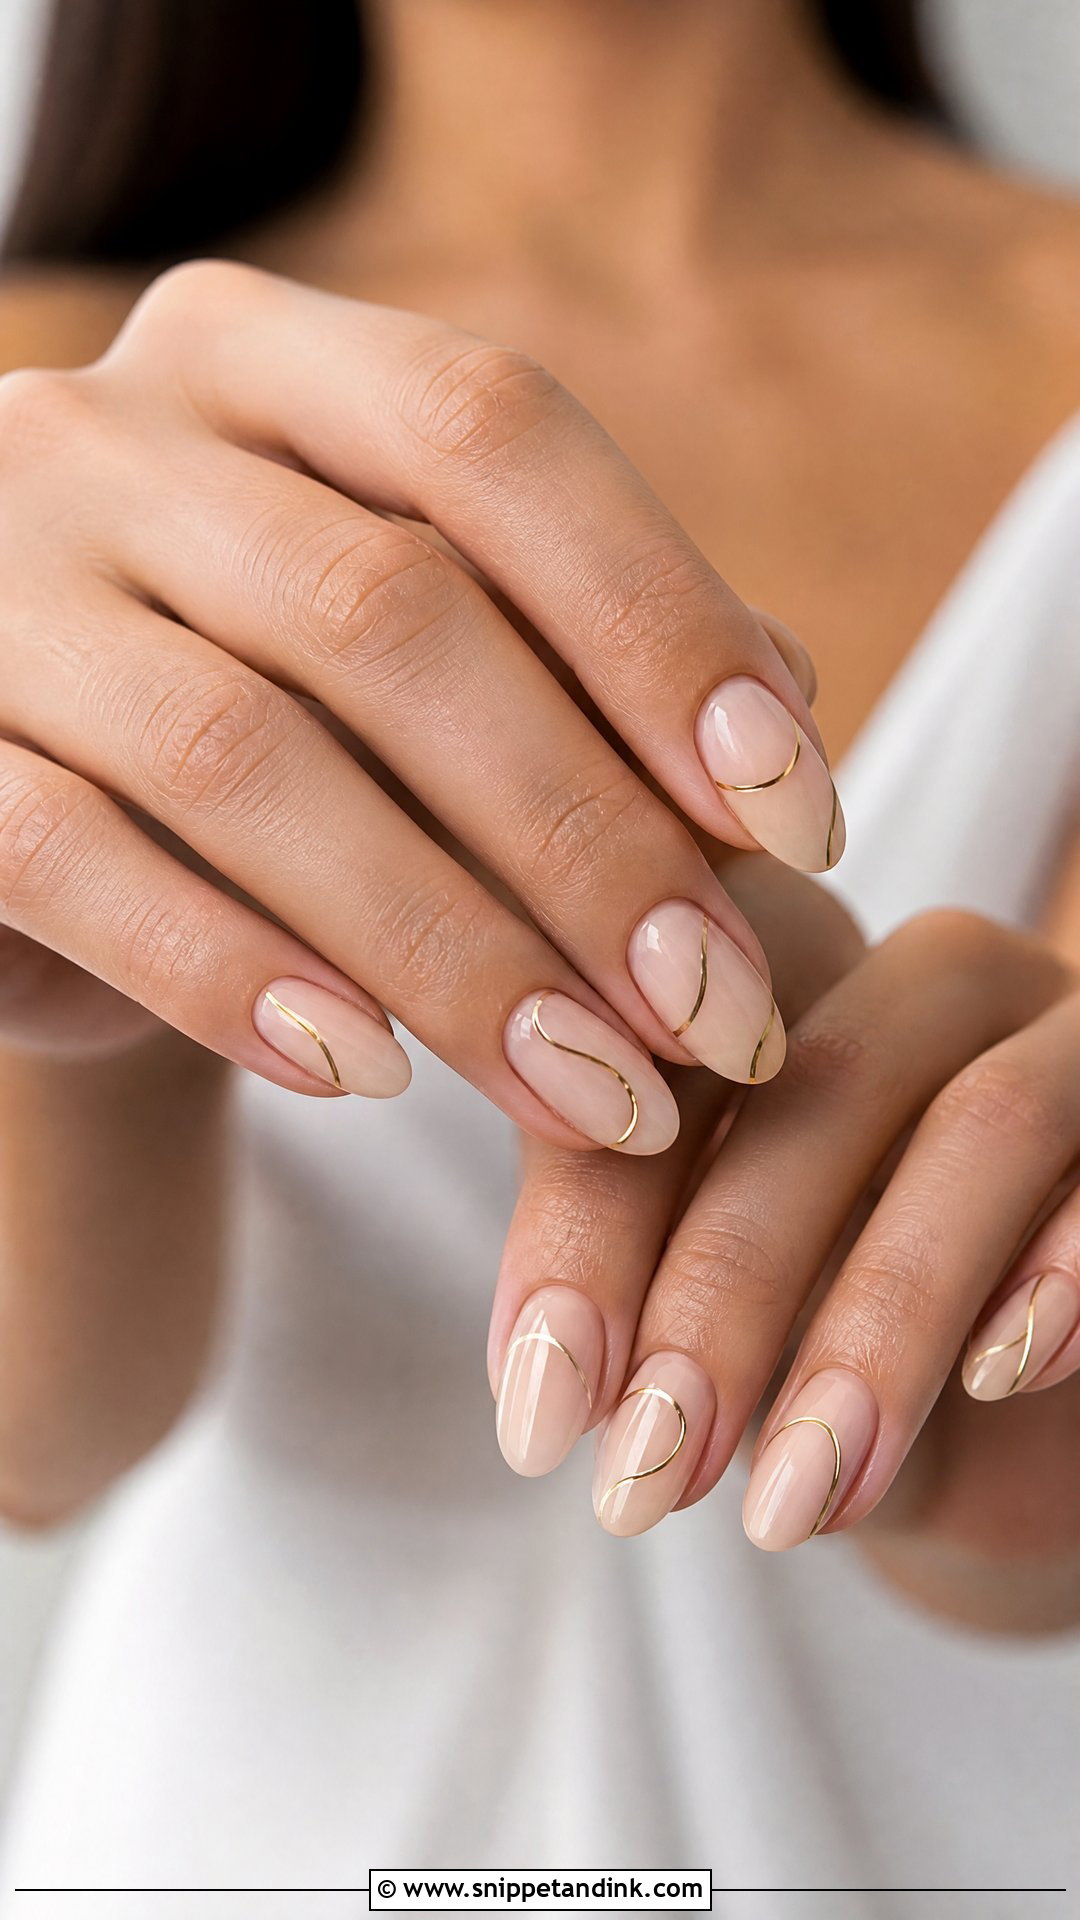
Gold lines suit brides wearing gold jewelry or warm-toned makeup. I use a gold gel paint or foil strip and keep the lines very thin; thick metallic lines look costume-like. Lines can run along the tip, curve along one side or frame the base. Gloss makes the gold shine, while a matte top coat around the line gives a more modern effect.
18. Silver Line Wedding Nails
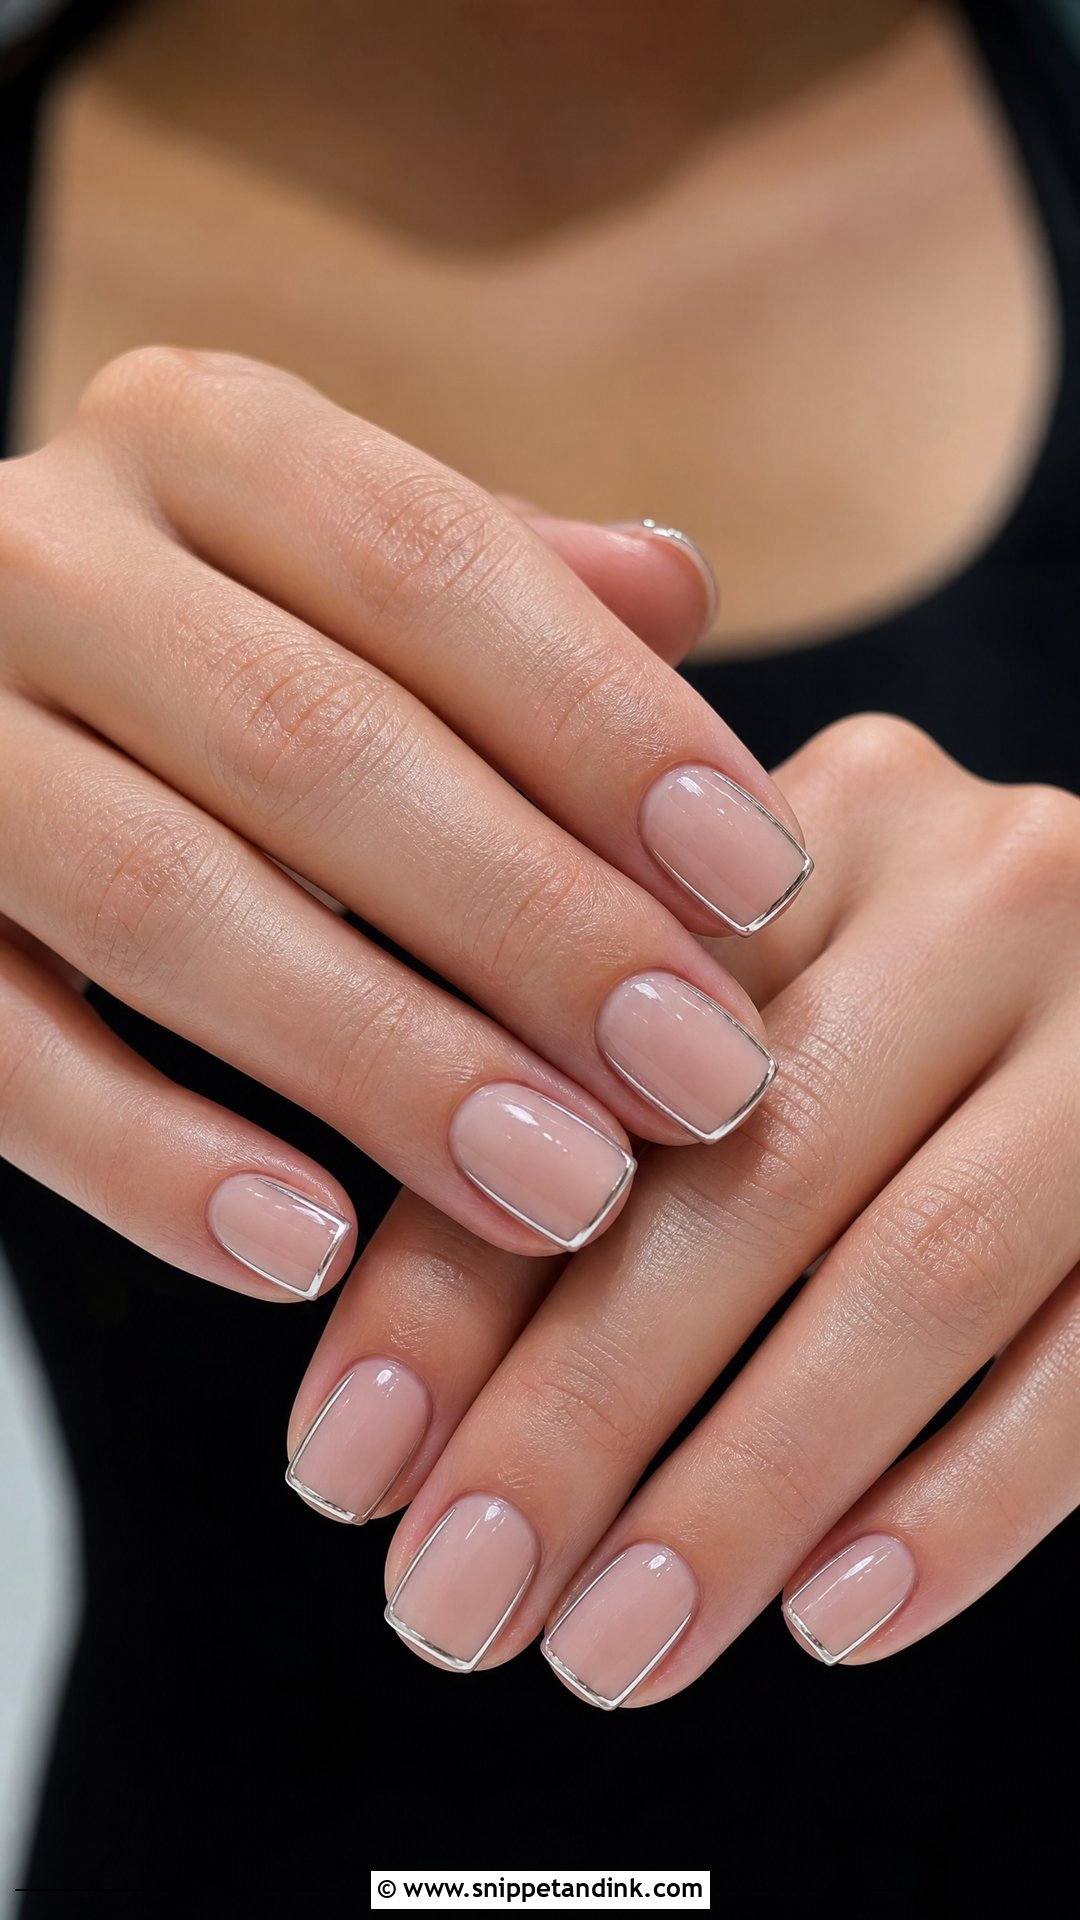
Silver lines are the cooler counterpart, a good match for a platinum ring, crystal earrings or silver hair pieces. I keep the lines thin and evenly spaced. They suit modern weddings and minimalist gowns. Short squoval nails make it especially practical, since there’s less free edge to chip.
19. White Swirl Wedding Nails
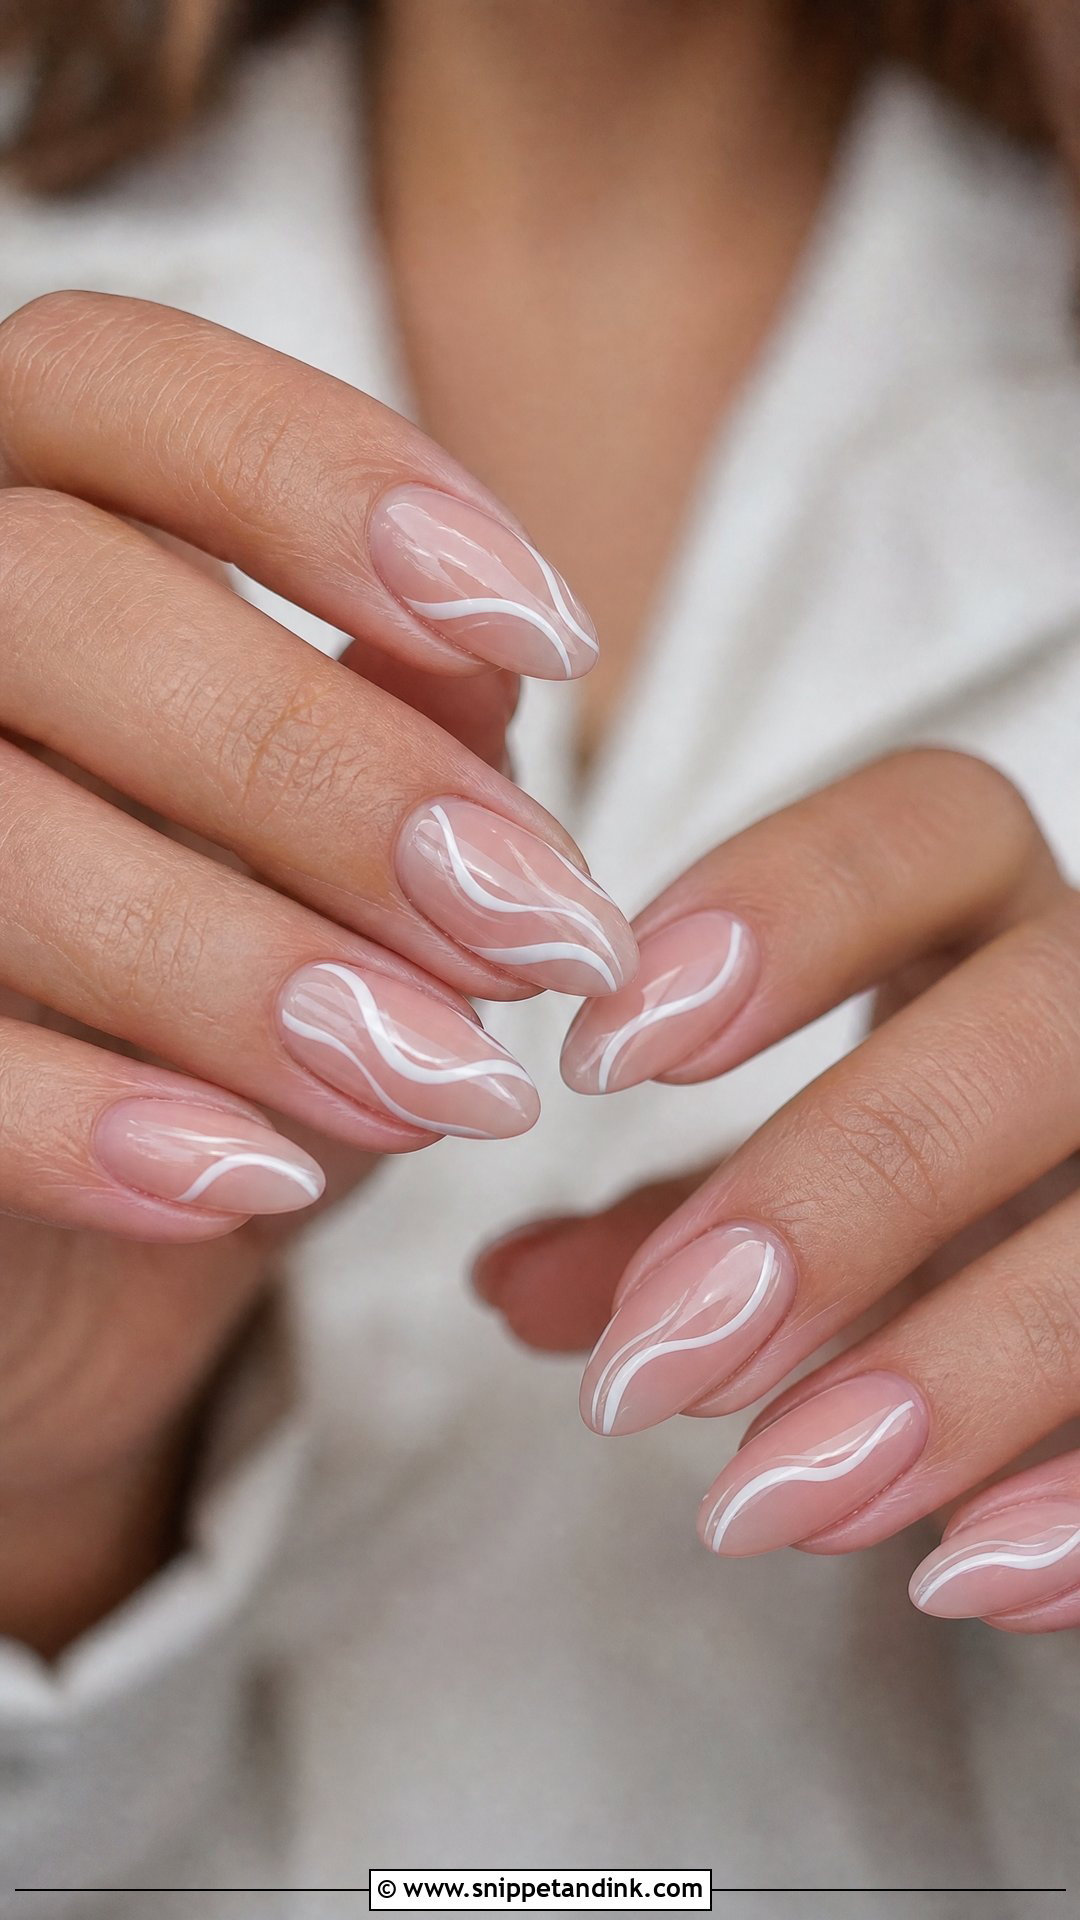
White swirls add movement without much decoration. I paint each swirl in one continuous stroke with a fine liner brush; a swirl that’s been corrected looks heavy. Keep them near the tips or along one side, with plenty of bare base. A glossy top coat makes the lines look smooth; a pearl one adds glow.
20. Blush Wedding Nails With Pearl Shimmer
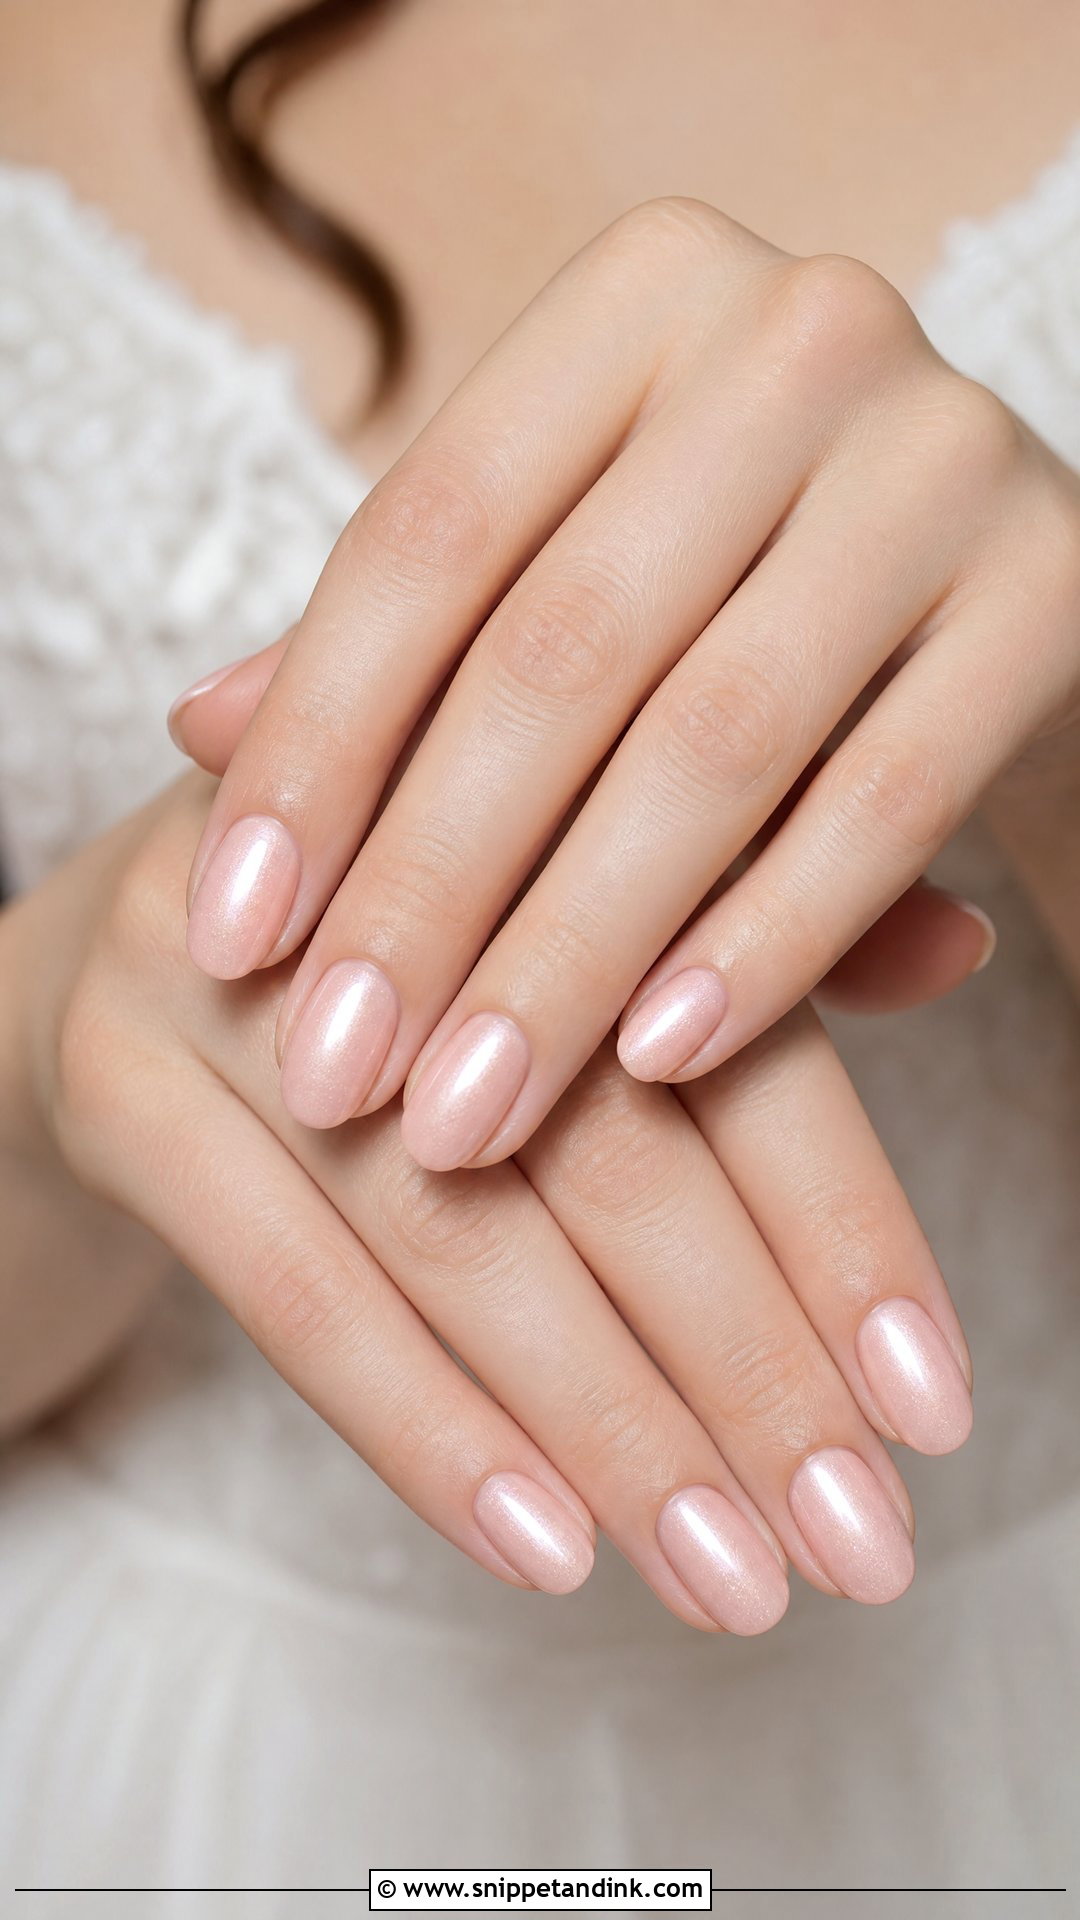
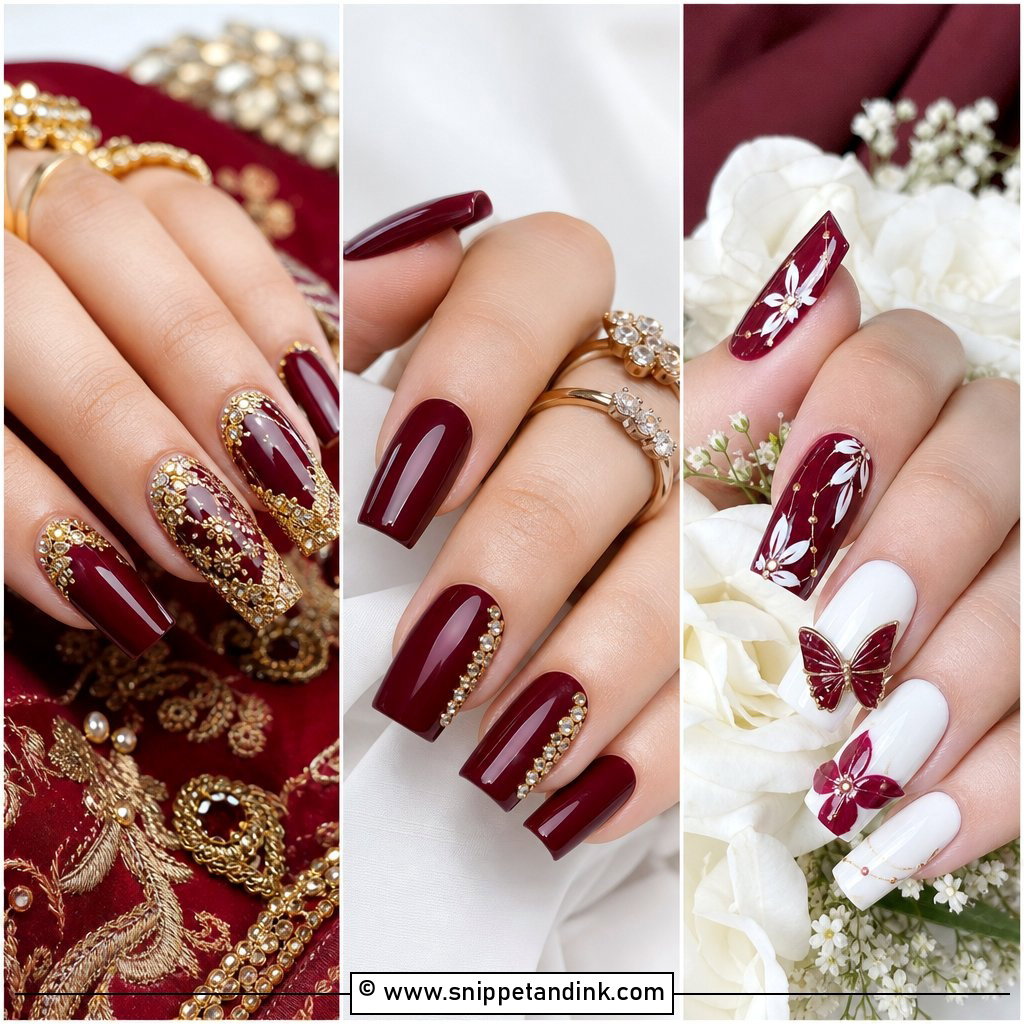
Blush with pearl shimmer is a step up from plain polish without adding art. The blush adds warmth and the fine shimmer catches light. Choose the shimmer carefully: a fine pearl looks like glow, while a coarse shimmer reads as glitter. A sheer blush looks natural; a creamier blush gives more color.
21. Negative Space Wedding Nails
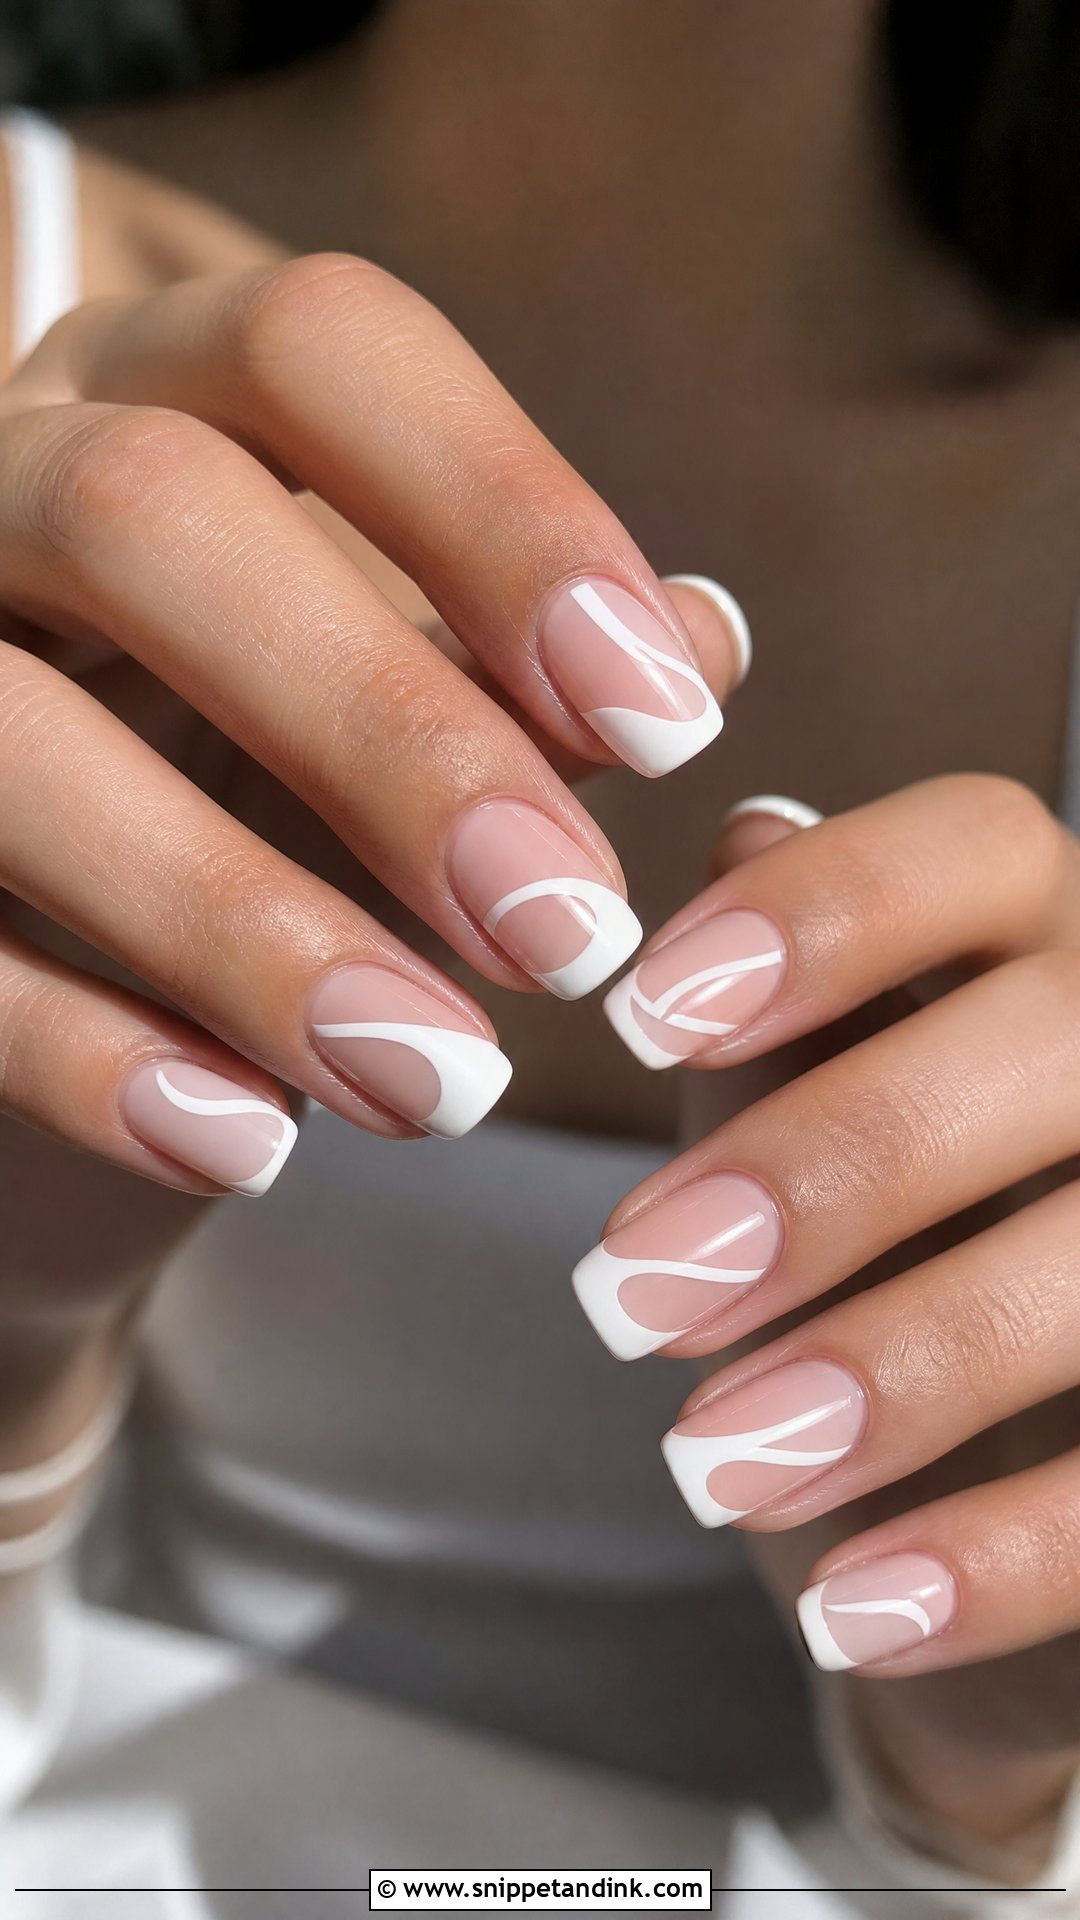
Negative space leaves part of the nail bare, which makes short nails look longer and grows out more gracefully than full coverage. The bare areas need to be immaculate, though; any staining or ridge on the natural nail shows. I usually prep with a clear builder base so the bare section is smooth. Curved white tips or a few cuticle lines keep it bridal.
22. Matte Nude Wedding Nails
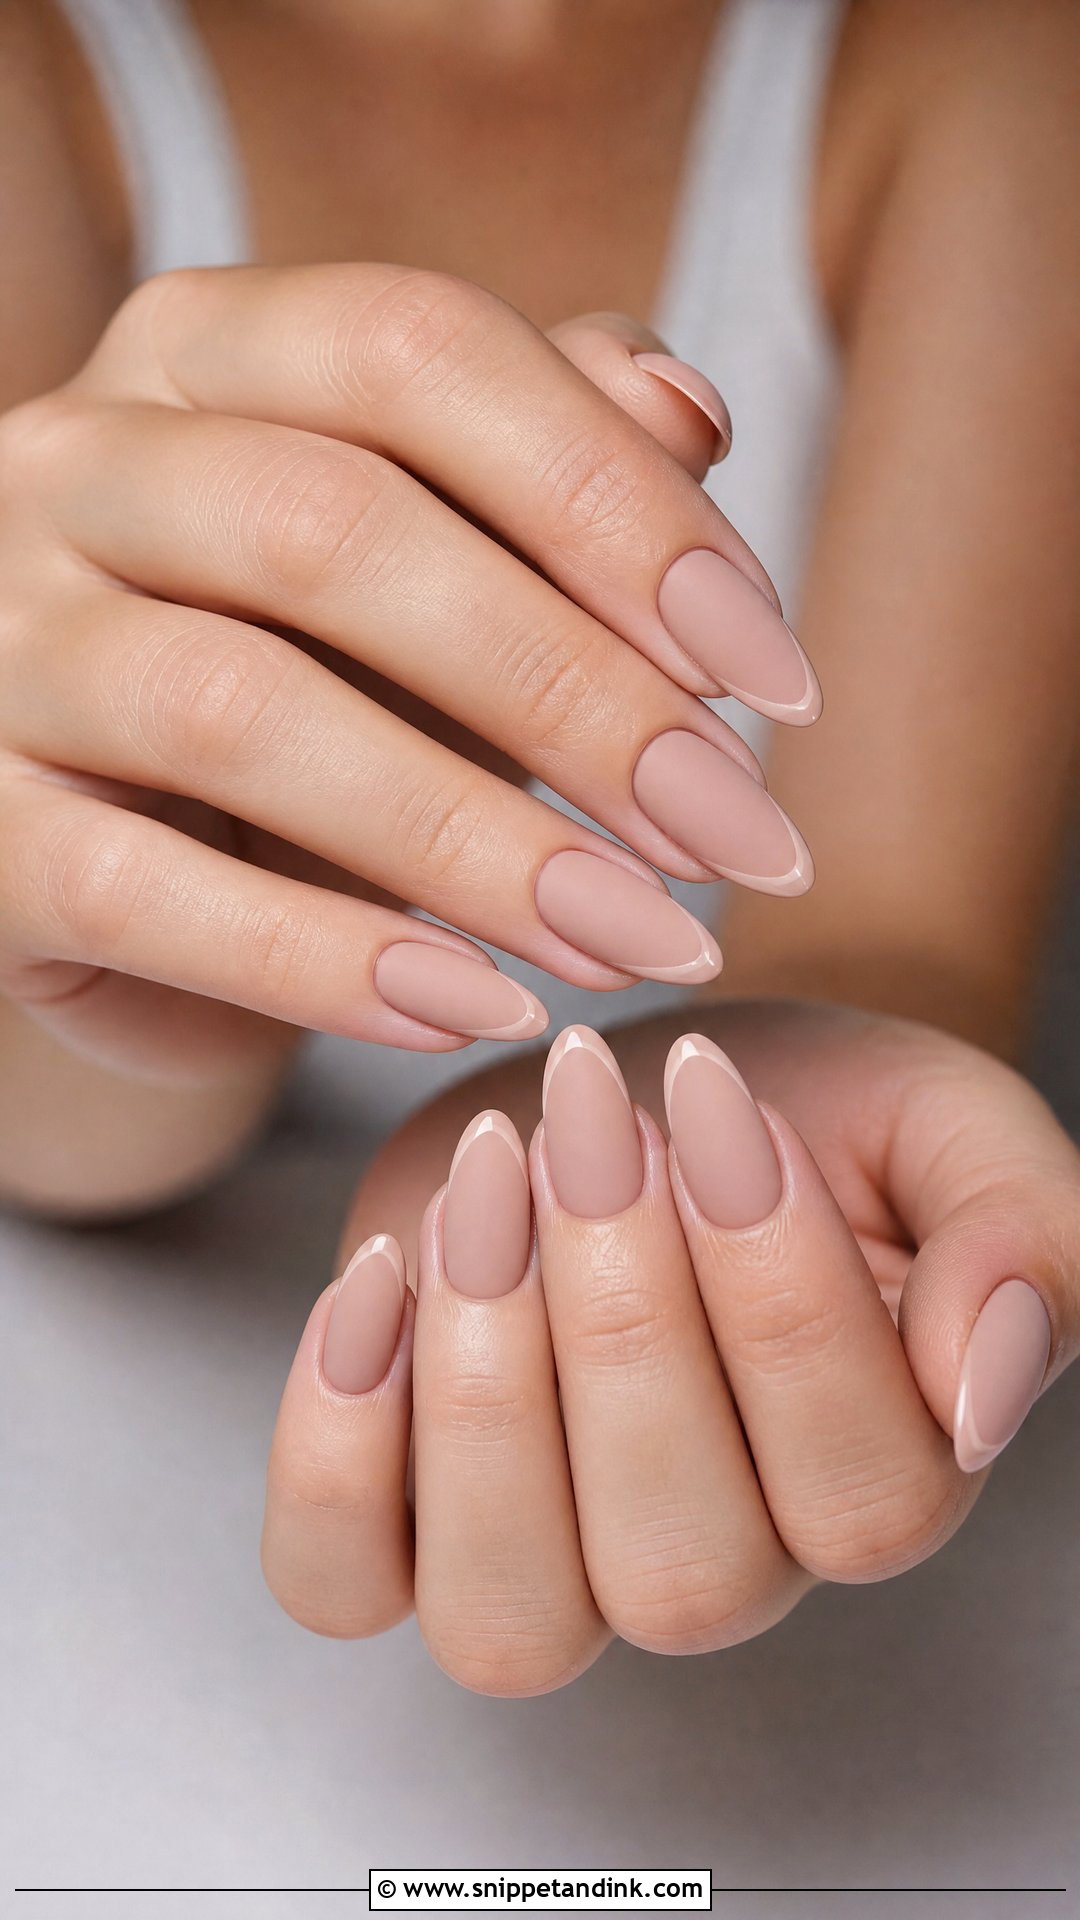
Matte nude is a quiet alternative to gloss, but it shows texture: every ridge, bump and dry cuticle is more visible under matte. I’d only do it for a bride whose nails and cuticles are in good condition. A glossy French tip over matte, or one thin white line on each ring finger, adds contrast without sparkle.
23. Coquette Bow Wedding Nails
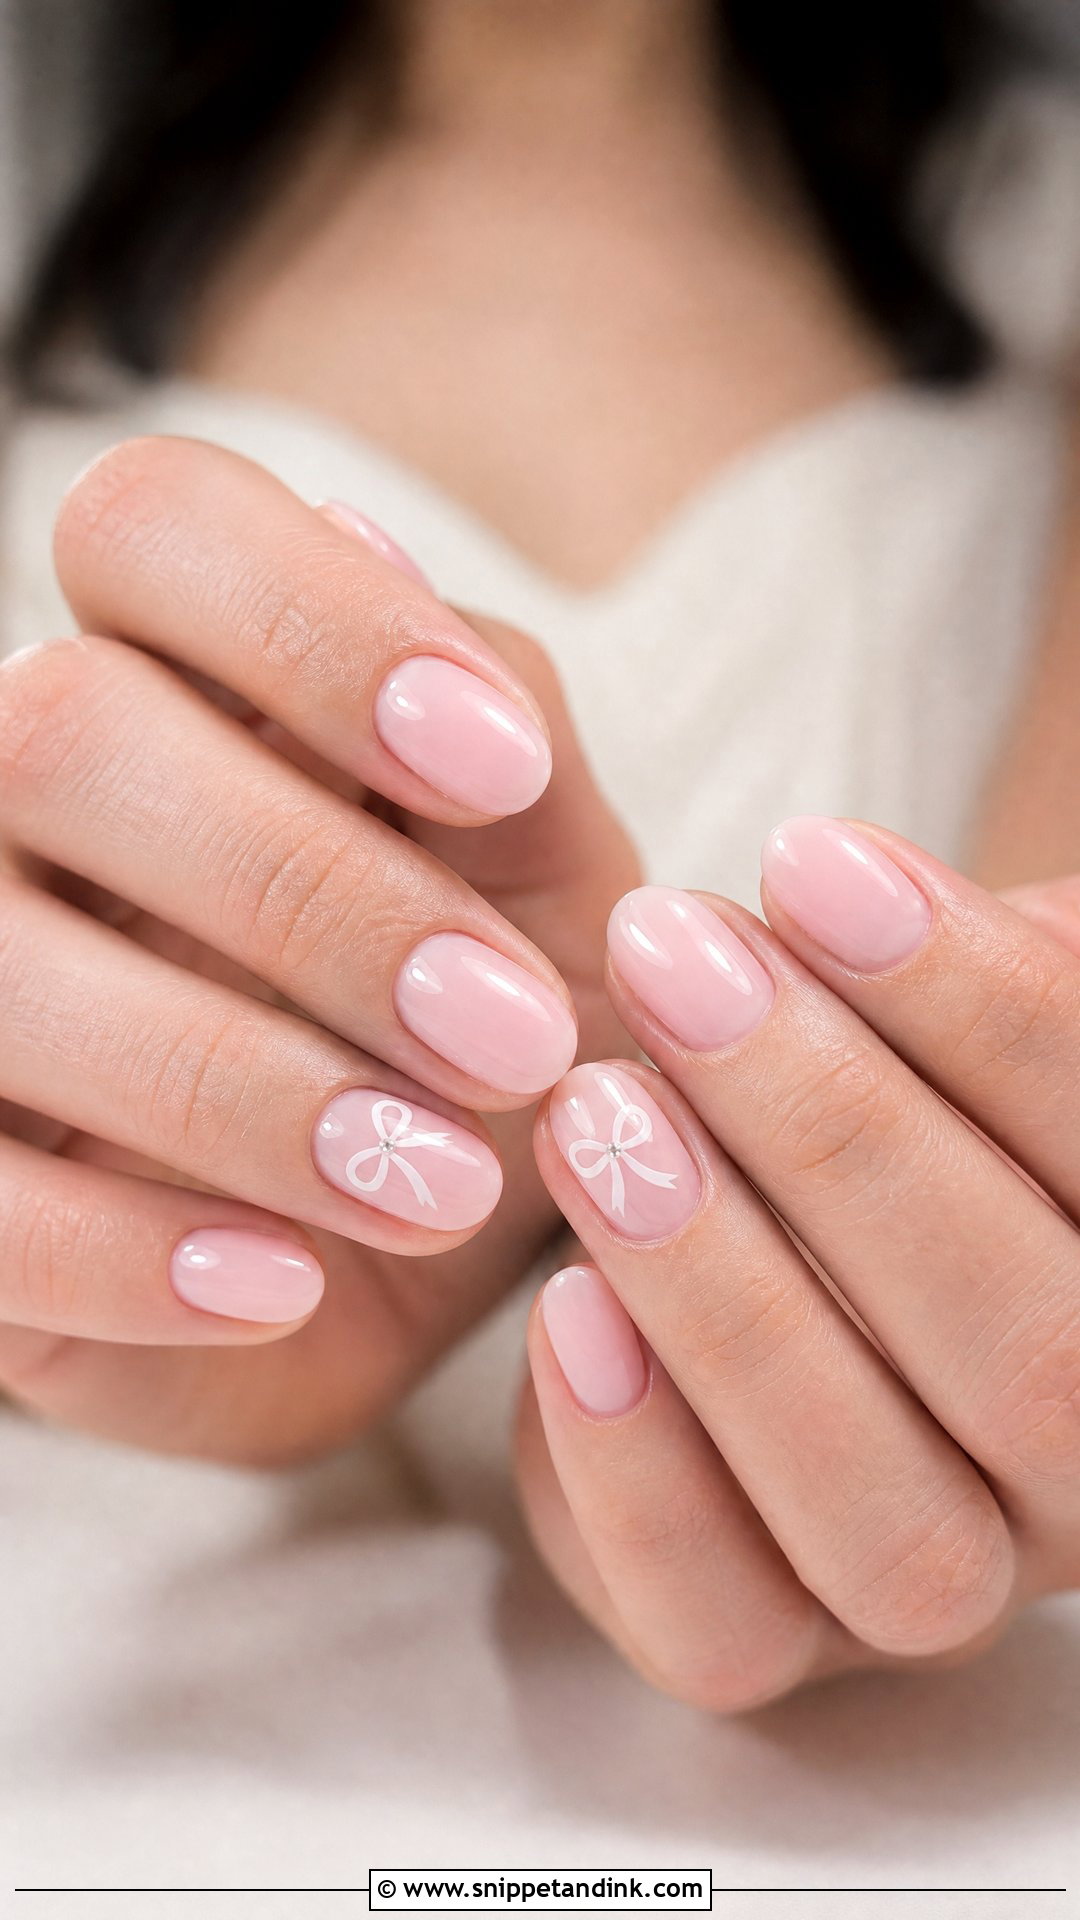
Bows work for a wedding only when they’re tiny. I place one small white bow, painted or a flat charm, on each ring finger or thumb, with the rest plain or with thin French tips. Oversized bows tip the look toward playful. It ties in nicely with satin ribbons or tulle on the dress.
24. Something Blue Wedding Nails
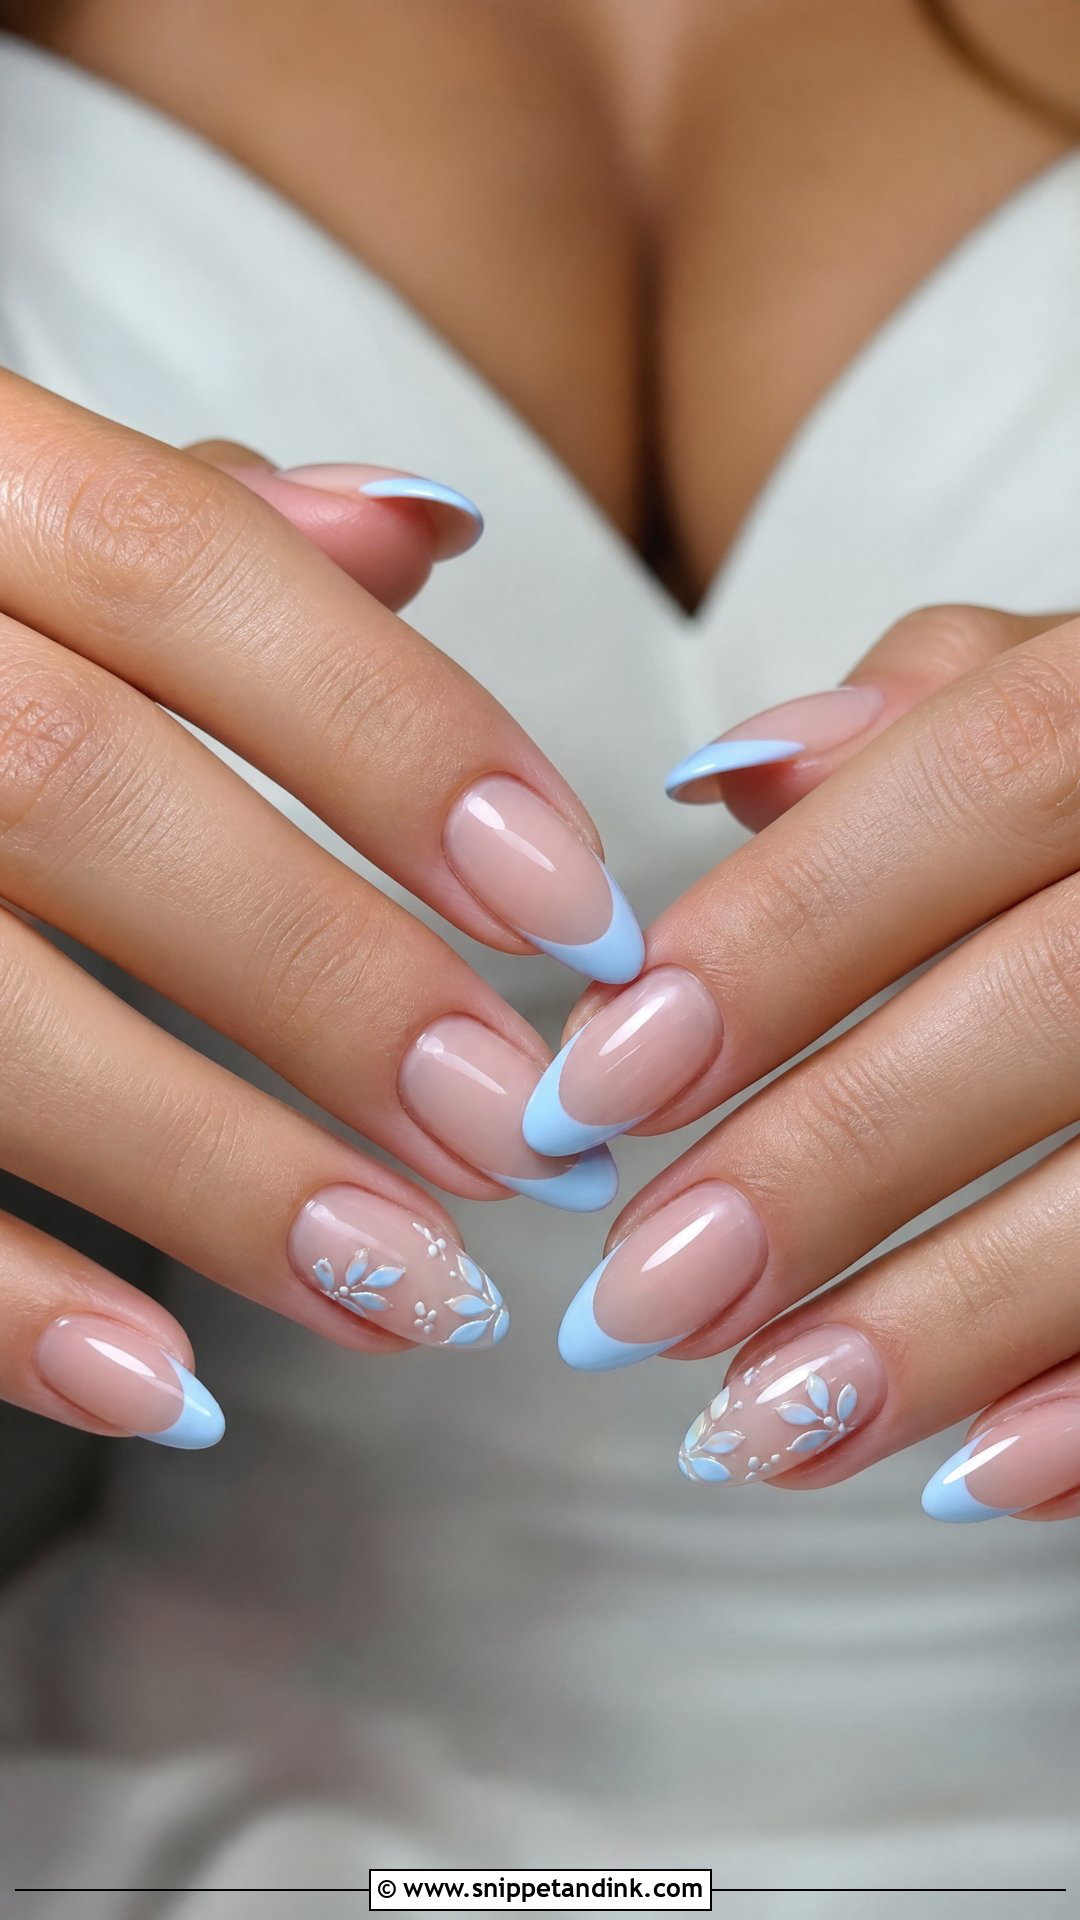
Something blue on the nails is an easy way to keep the tradition. I keep it small: a pale blue French tip, one tiny heart or a dot near the cuticle. Powder blue and icy blue sit most naturally with a sheer nude or milky white base. A larger blue accent tends to look like a theme rather than a detail.
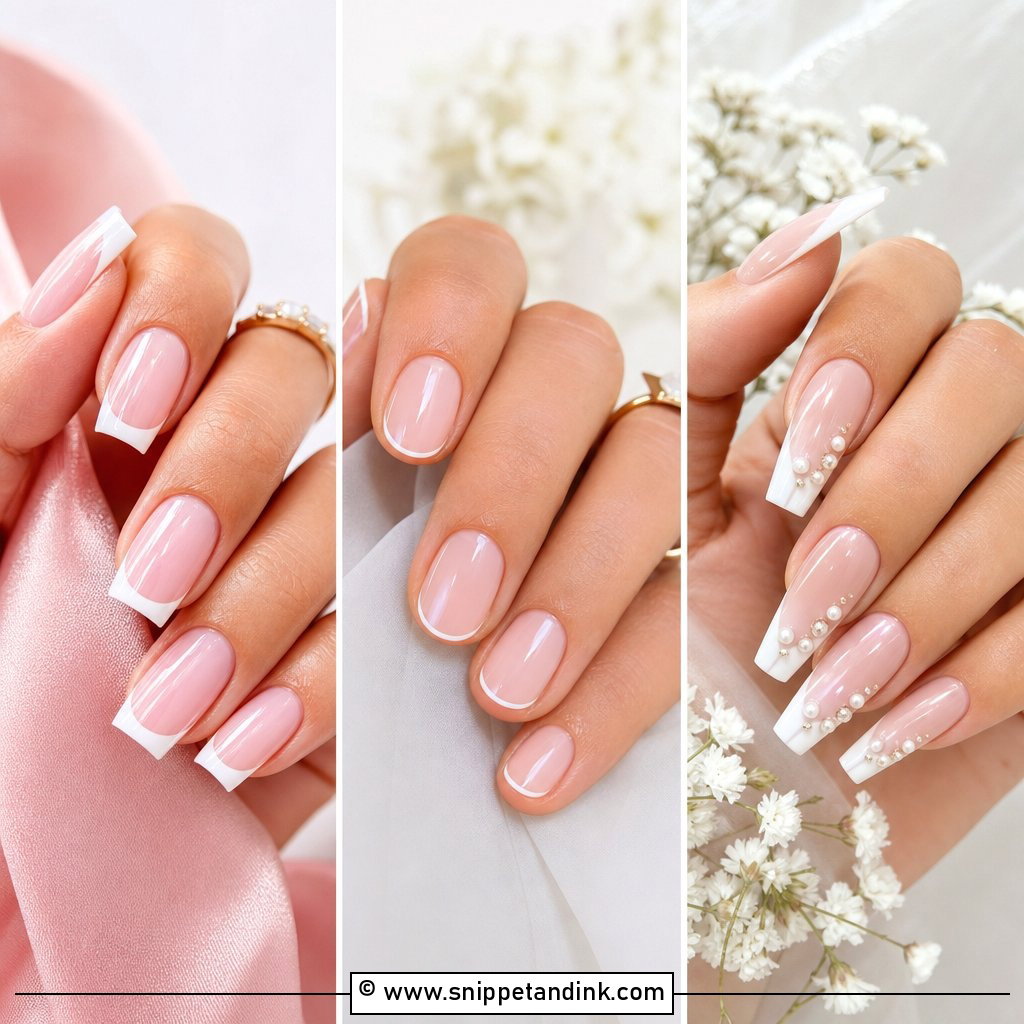
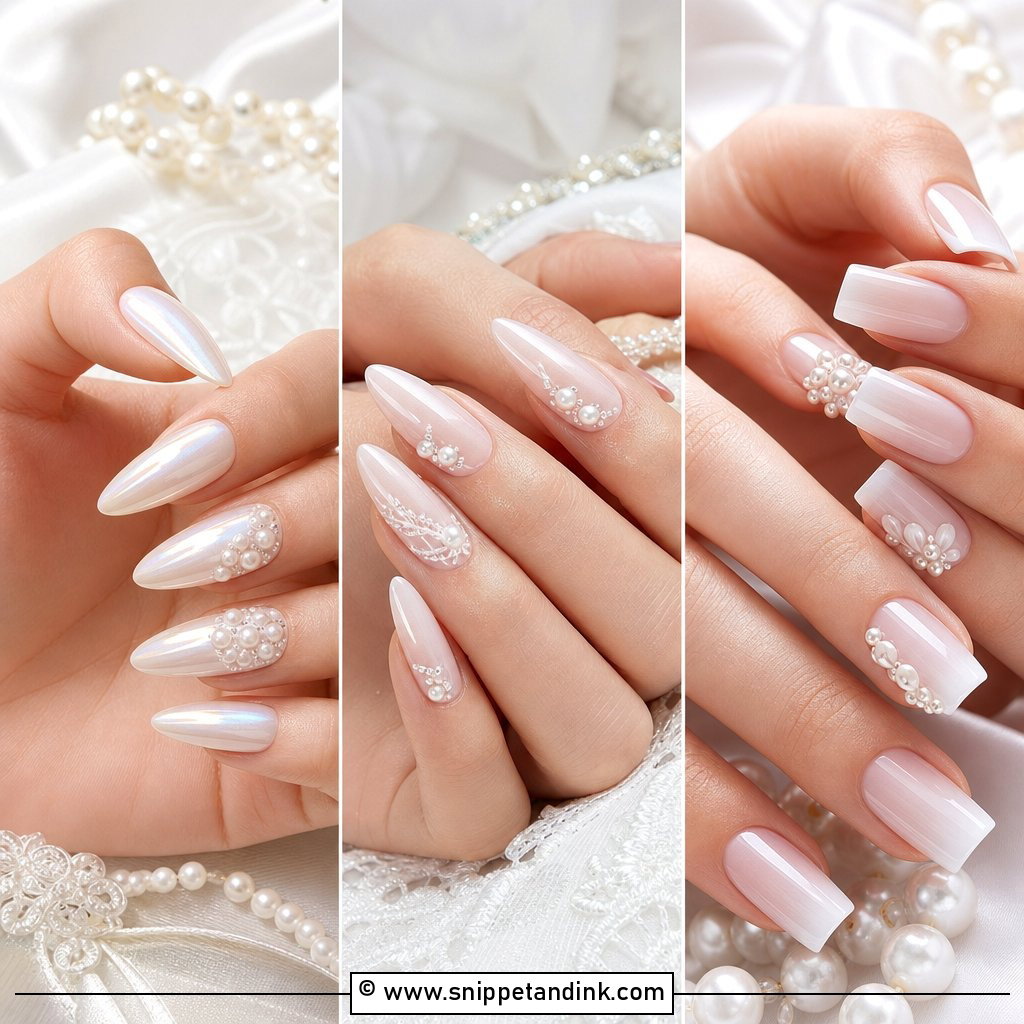
25. Clean Girl Wedding Nails
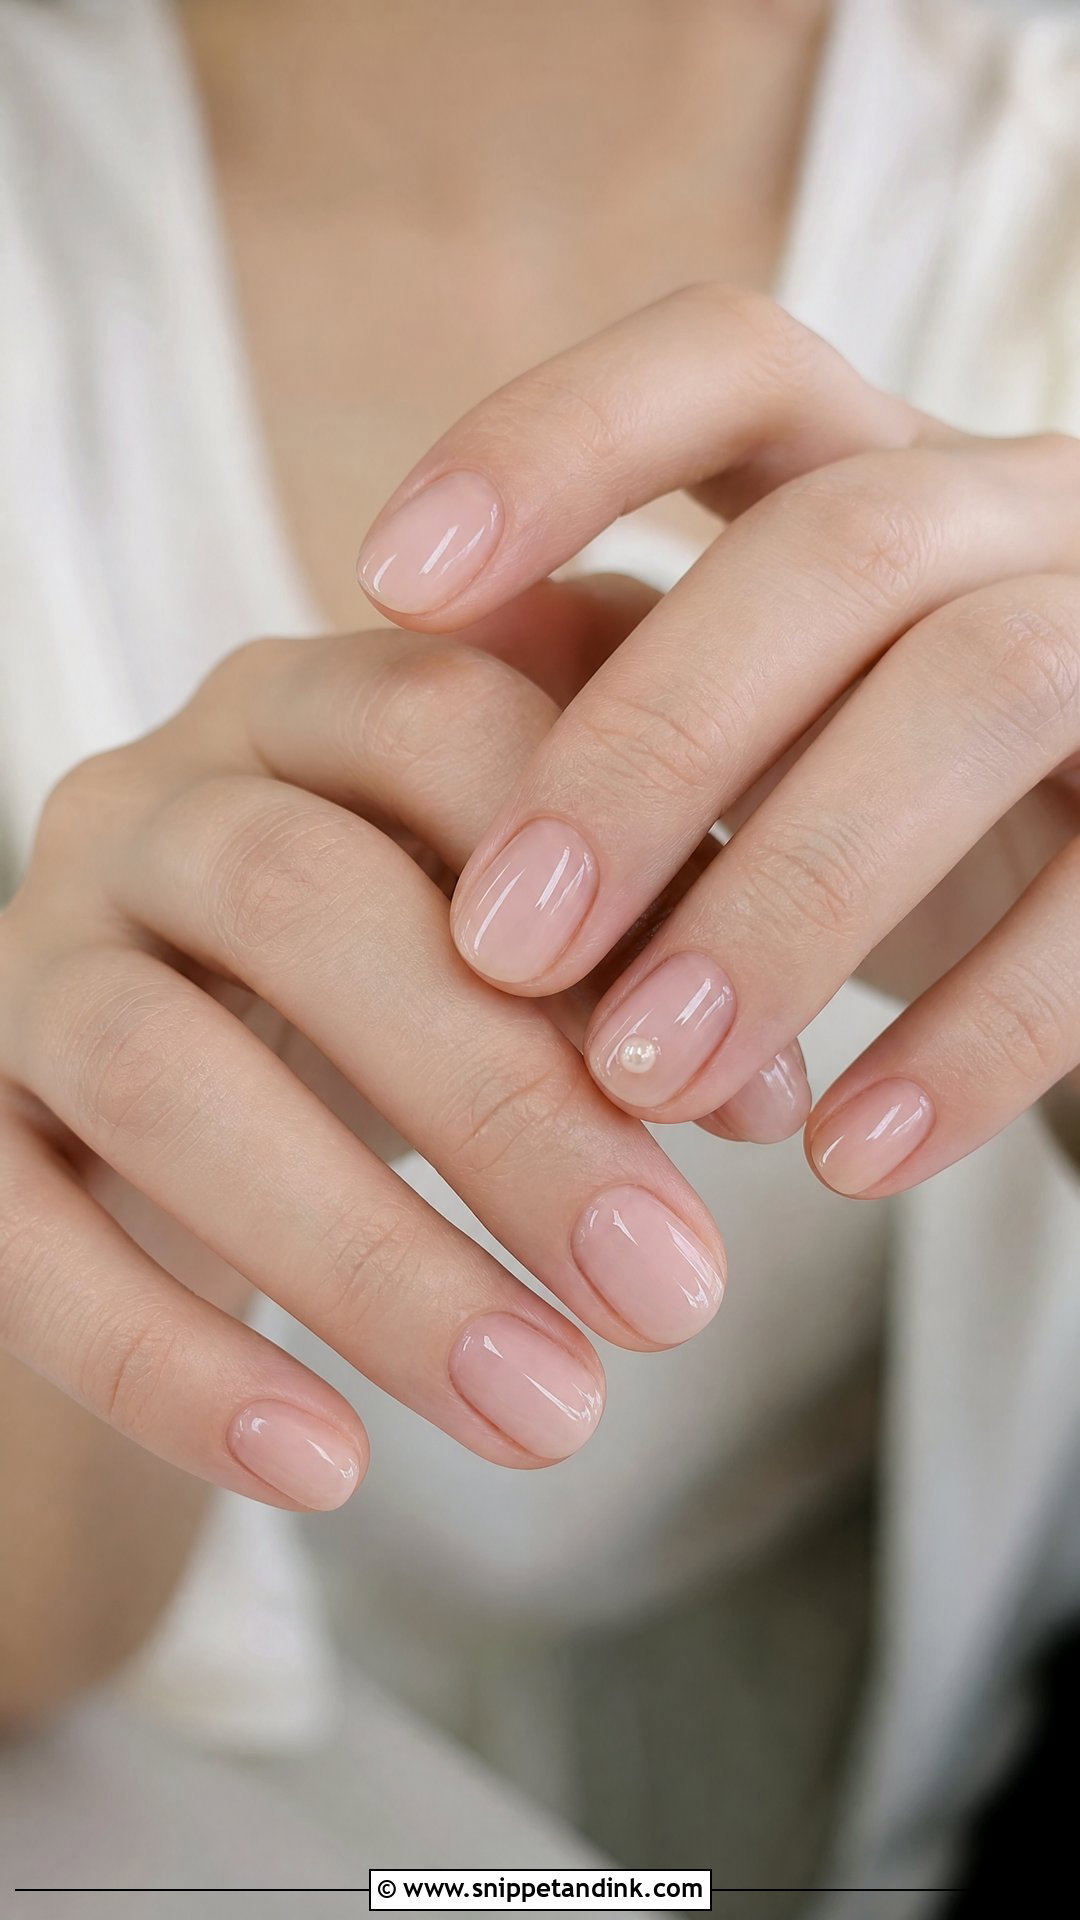
Clean girl wedding nails rely on healthy-looking nails, soft shine and almost no color. I use clear or sheer pink builder gel to even out the nail, then a glossy top coat. The shape stays short oval, squoval or a soft almond. It suits brides who don’t usually wear nail art, and it lets the ring and dress be the focus.
The Right Week to Sit for Your Wedding Nails
I schedule bridal gel sets two or three days before the wedding. That’s close enough that there’s no visible regrowth at the cuticle in the ring shots, and far enough away that a lifted edge or a chip can be fixed. A manicure the morning of the wedding adds stress you don’t need.
If you’re getting a spray tan, have it done before the manicure, so the tan doesn’t stain fresh nails or the polish cover patchy skin around them. Wear gloves when you clean, and avoid long hot baths for the first day.
Cuticles Are What the Ring Shot Really Shows
Photographers often get close to the ring, which means the cuticle and the skin around it fill the frame. A beautiful design can’t hide dry, ragged cuticles at that distance.
Start using cuticle oil daily a few weeks before the wedding, and stop picking or biting. On the wedding morning, a drop of oil worked in, then wiped off before photos, makes the skin look healthy without leaving shine on the ring.
One Base Color, One Small Accent
A simple wedding manicure is mostly about details nobody notices until they’re wrong: even tips, neat cuticles, the right shade for your skin. Start with a base color, add one small accent if you want, and test the color next to your dress fabric. That approach keeps the set easy to wear through the ceremony and the honeymoon.
You'll Like These Ideas:


Leave a Reply