
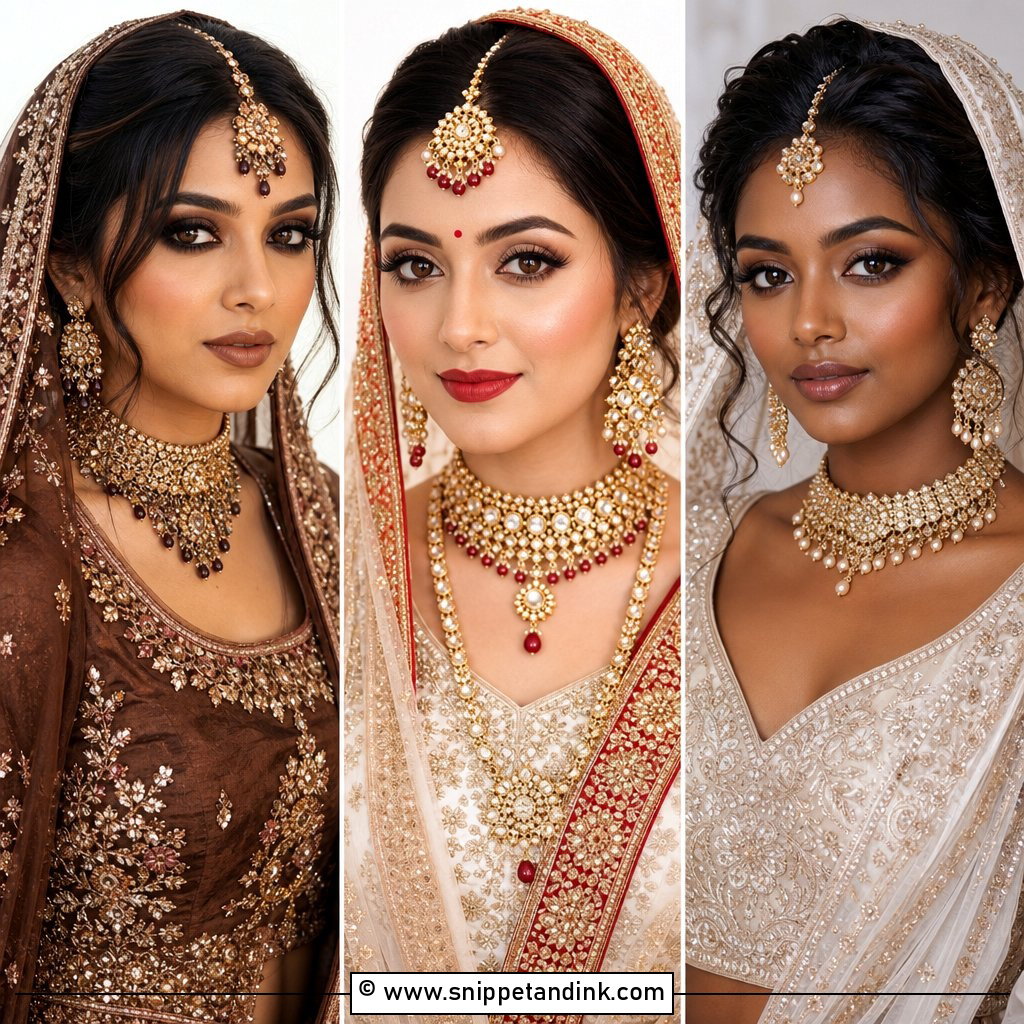
Most bridal makeup advice is about colour, but in my chair the things that decide how a bride looks at 10 p.m. are prep, layering and placement. A lipstick shade is easy to change. A base that slides off oily skin by the speeches is not. There’s no single correct bridal look: a barely-there bride and a full-glam bride can both look right if the face is balanced. So below are twenty looks and situations I work with all the time, each with the one technical habit that makes it hold up through hugs, tears, dinner and a dance floor.
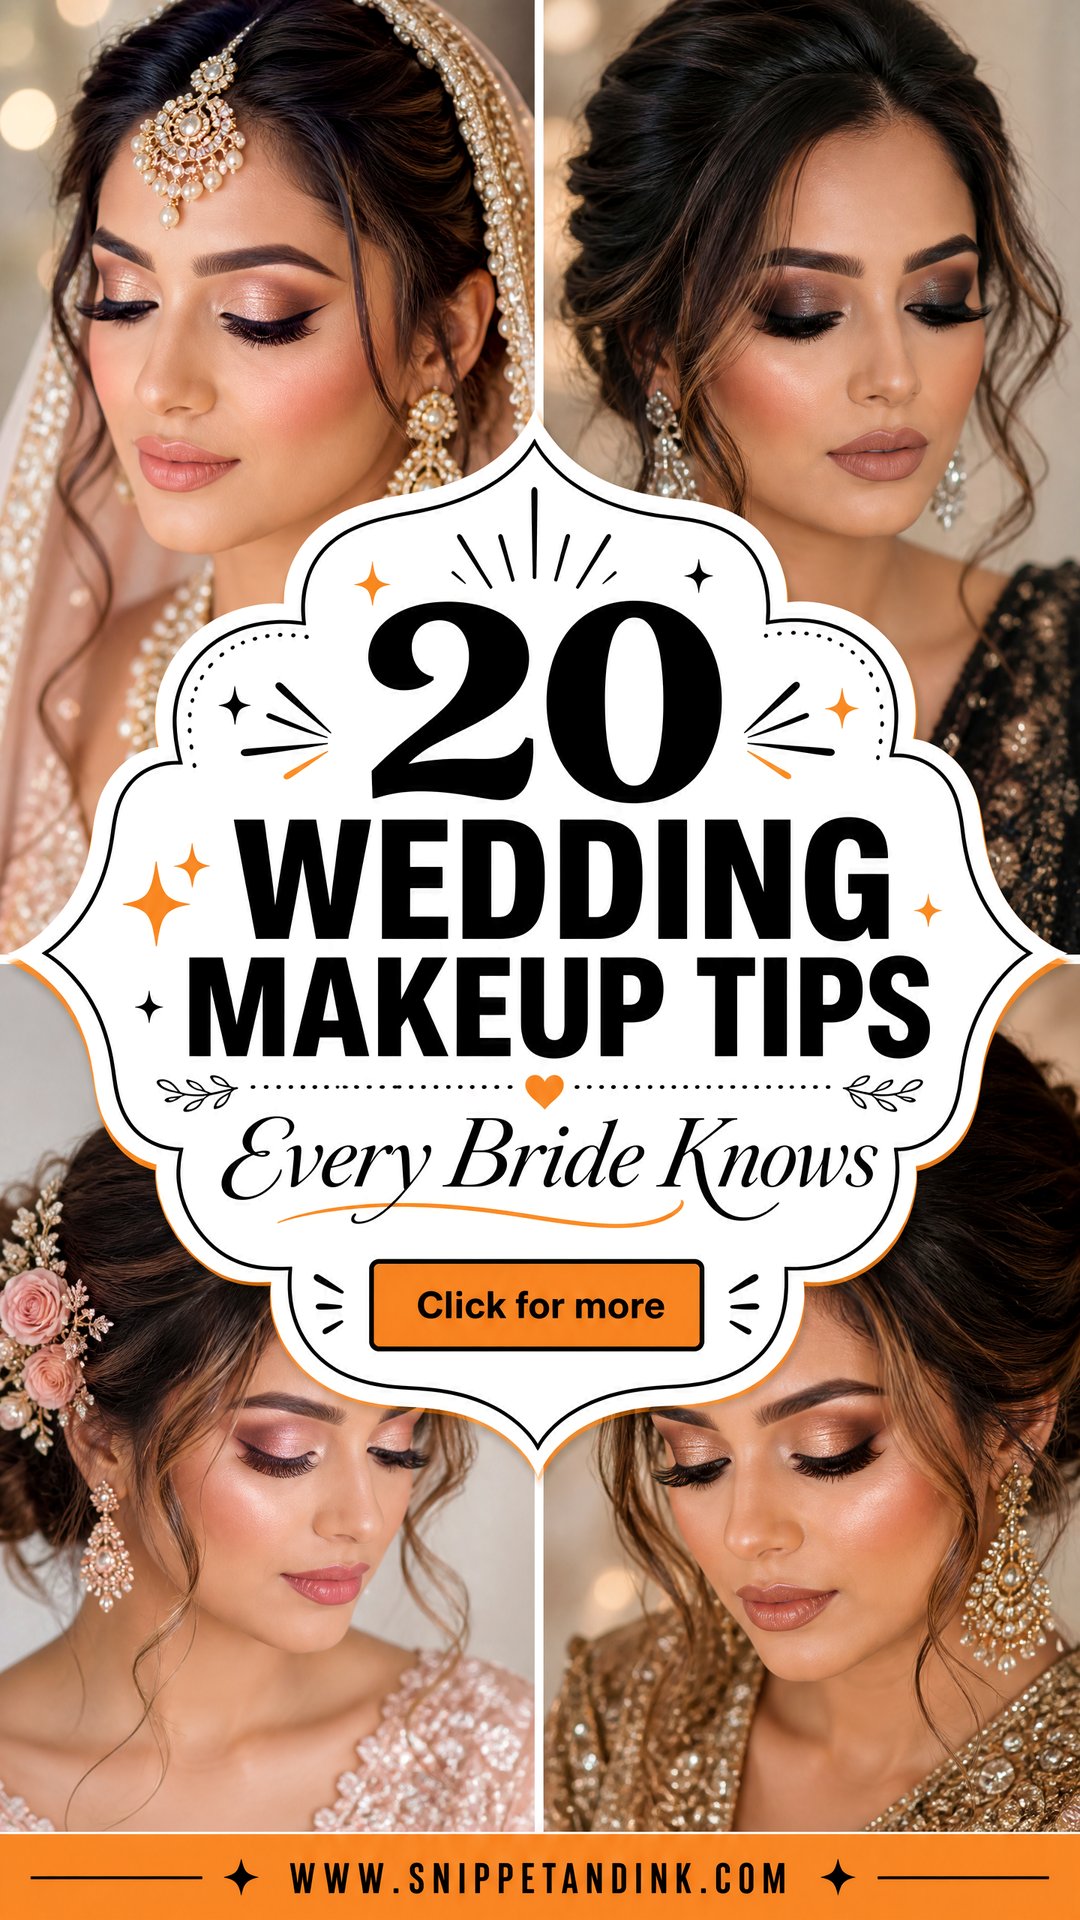
Eight Weeks Out to the Night Before, What Your Skin and Brows Need
Half of what makes wedding makeup look good happens before I ever arrive. These are the dates I give brides when they book, because treatments done too close to the day show up as redness, flaking or swelling under foundation.
- Eight weeks before: settle on your skincare routine and stop experimenting. Any new active ingredient needs weeks to show whether it suits you.
- Six weeks before: have your makeup trial, ideally on the same day as your hair trial so you see the whole picture.
- Two to three weeks before: last facial with extractions or any peel. Skin can take that long to calm down completely.
- One week before: a gentle hydrating facial if you want one, and a lash lift or tint if you’re having it.
- Three to five days before: brow shaping by wax or thread, so any redness or tiny bumps have time to settle.
- Two to three days before: lash extensions if you’re wearing them, so they’ve relaxed into place.
- The night before: wash, moisturise, sleep. No new masks, no squeezing spots.
If a spot does appear in the last week, leave it alone. An untouched spot is easy for me to conceal; a picked one has a scab that foundation won’t sit flat over.
1. Natural Wedding Makeup
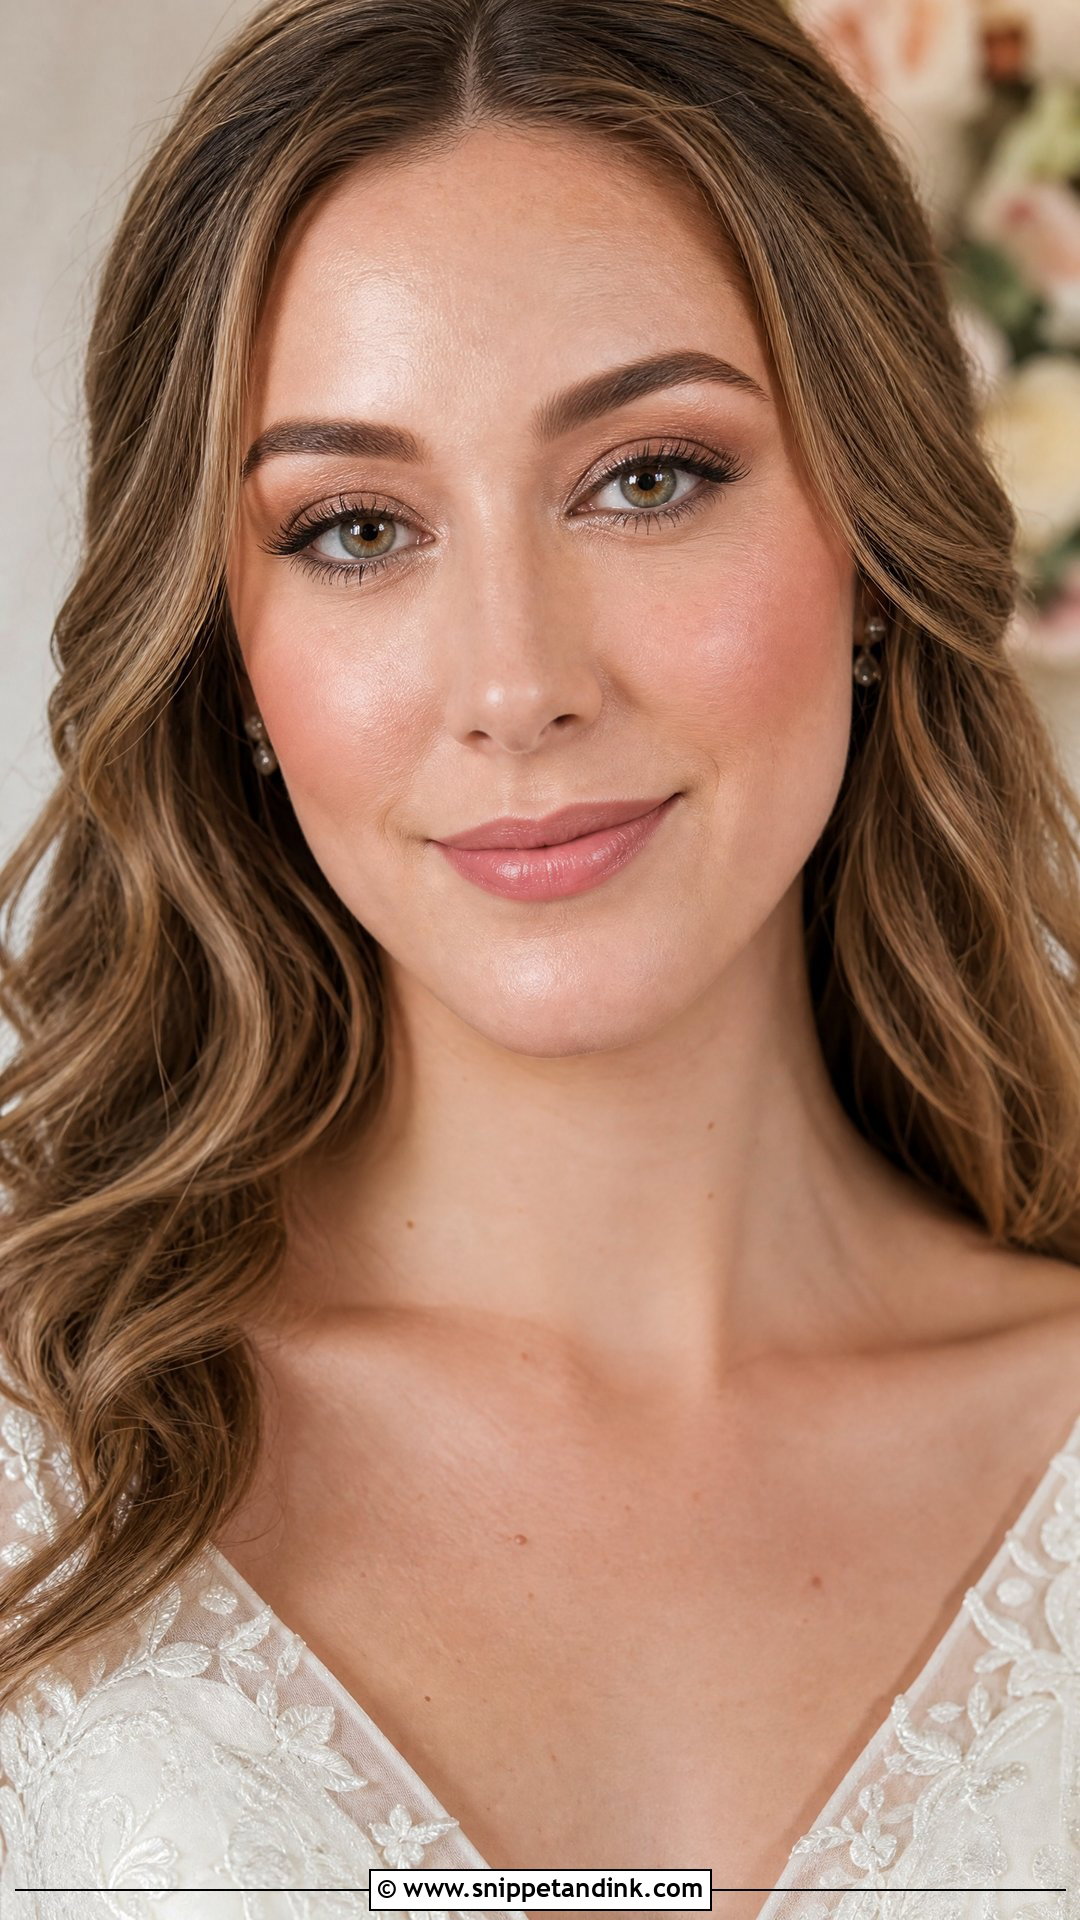
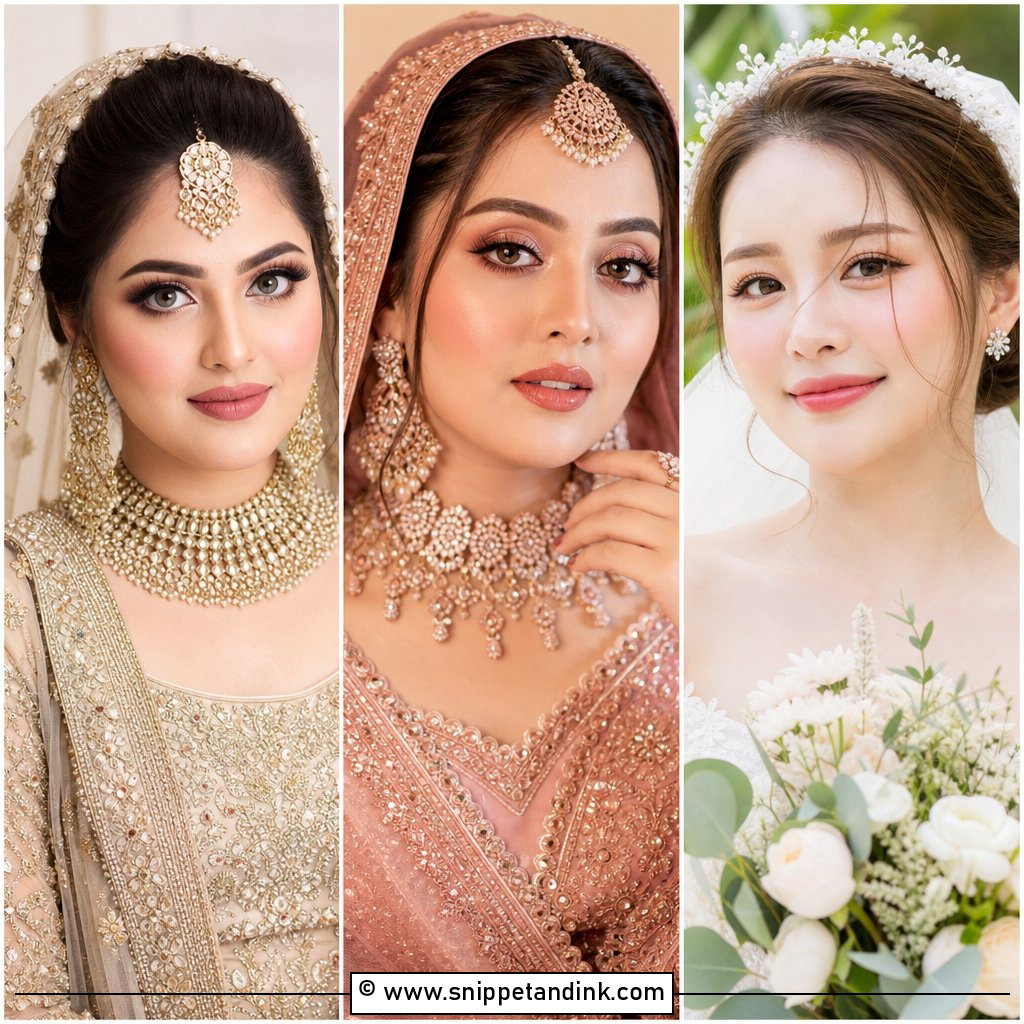
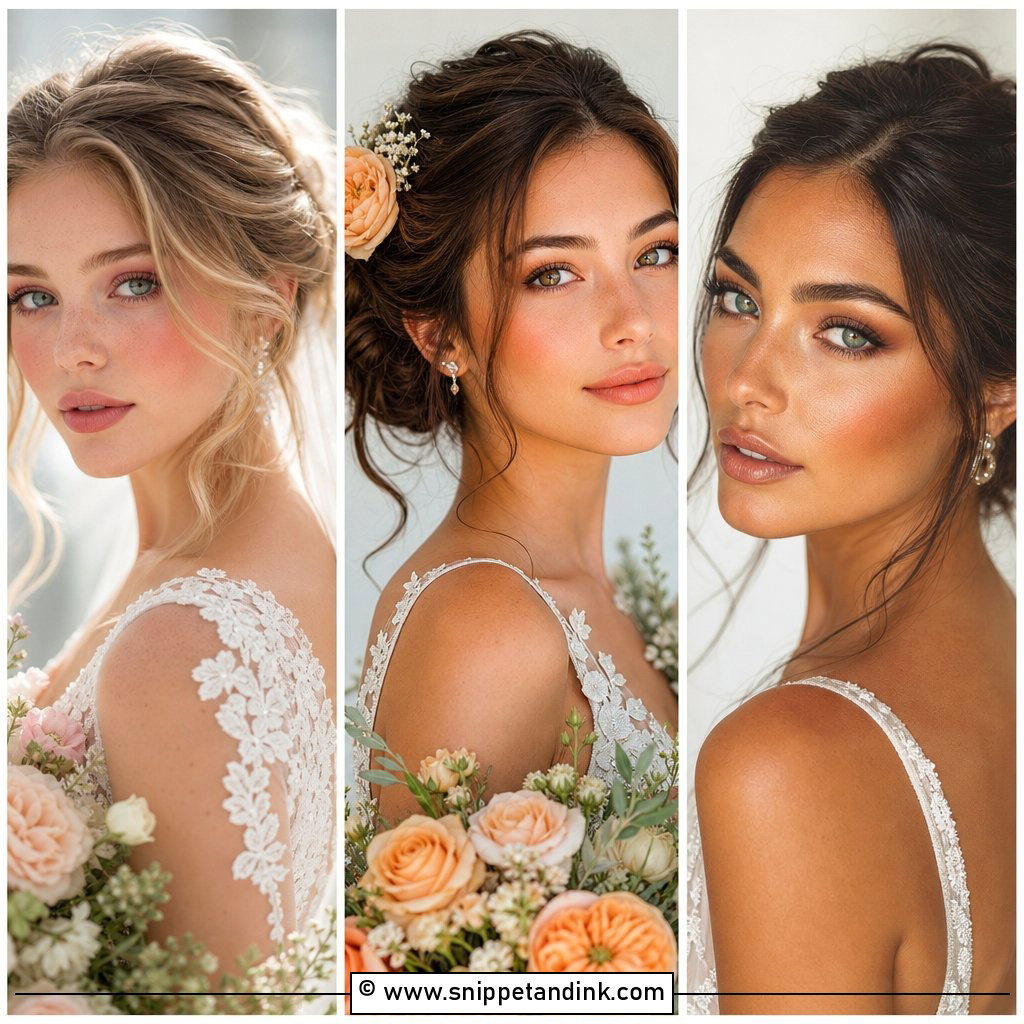
Natural makeup has to survive the camera, which flattens everything you can see in a mirror. I start with hydrated skin and a skin-like foundation only where tone needs evening, then conceal under the eyes, around the nose and over redness. Soft taupe on the lids with a thin liner pushed into the lashes, cream blush instead of contour, and a satin nude or pink lip. The thing I correct most at trials is sheerness: go a notch more defined than feels natural, or your features fade in photos taken across a room.
2. Soft Glam Wedding Makeup
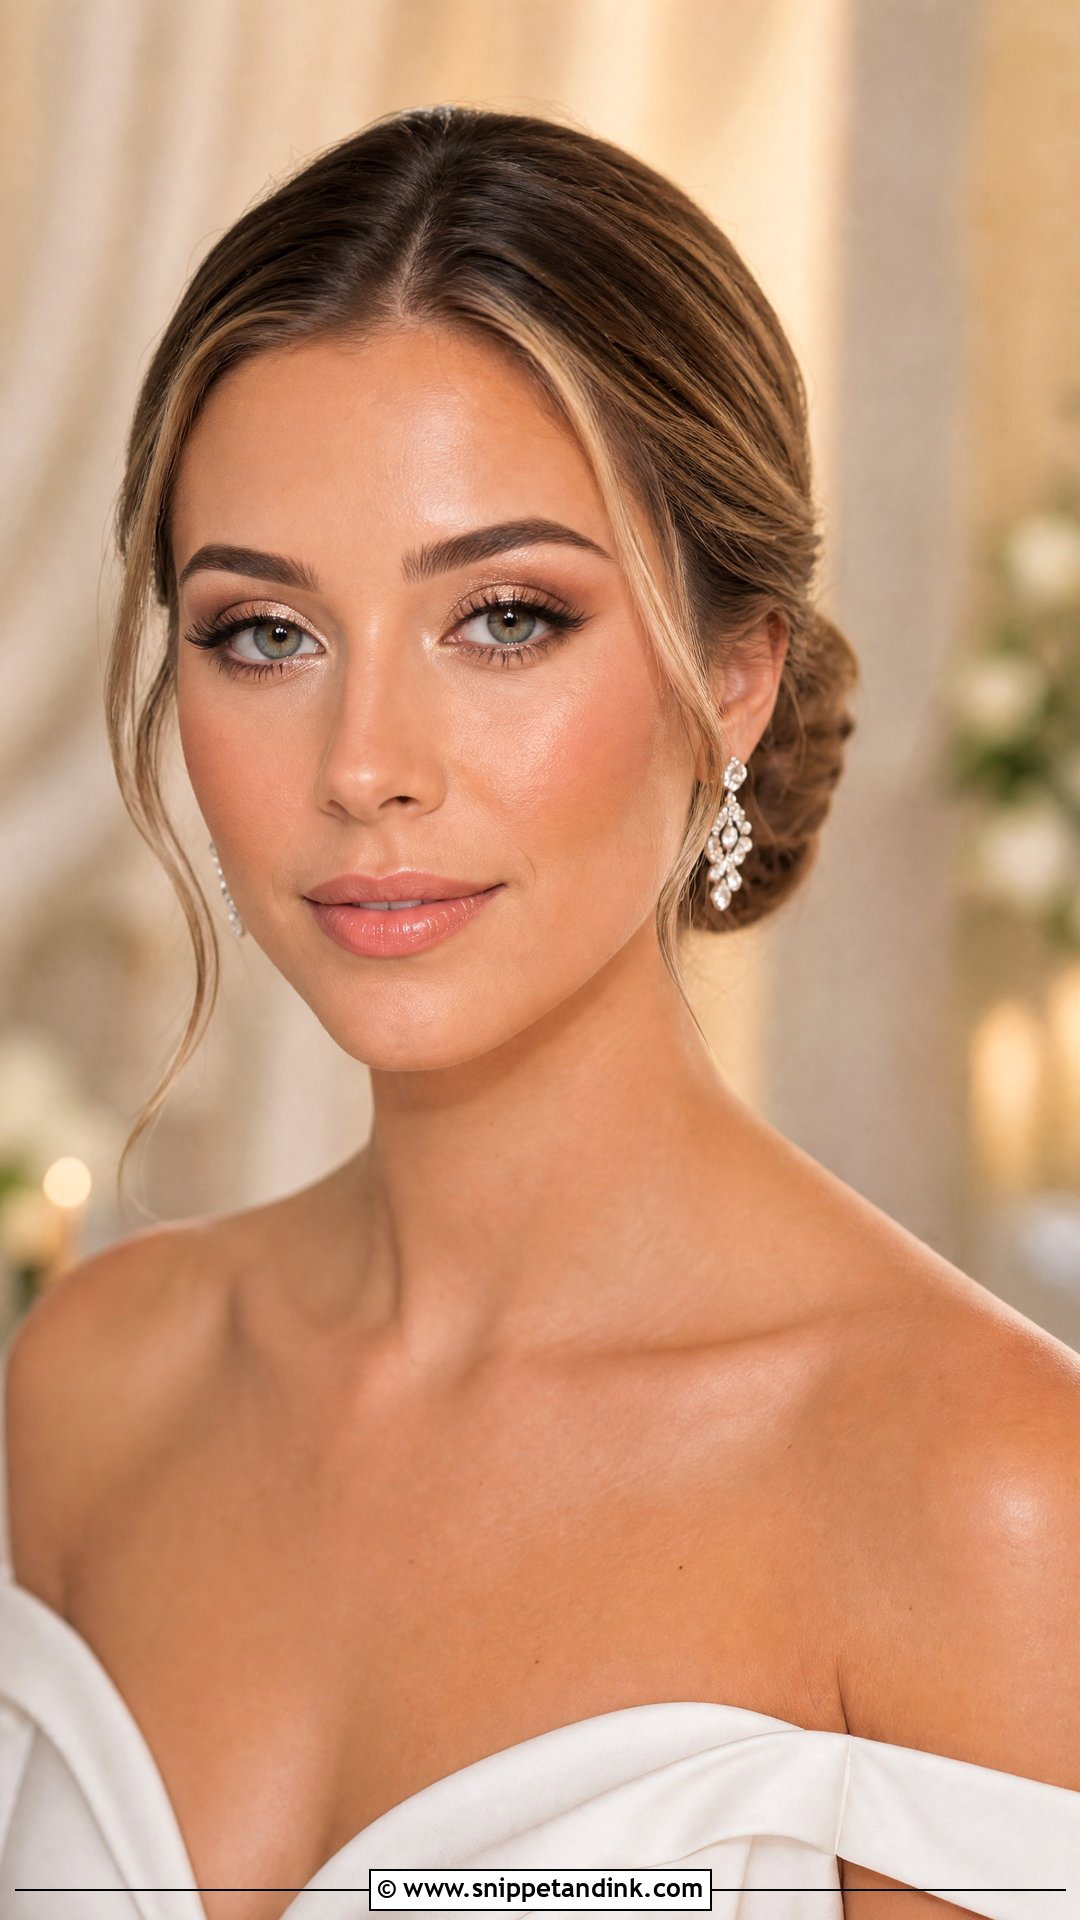
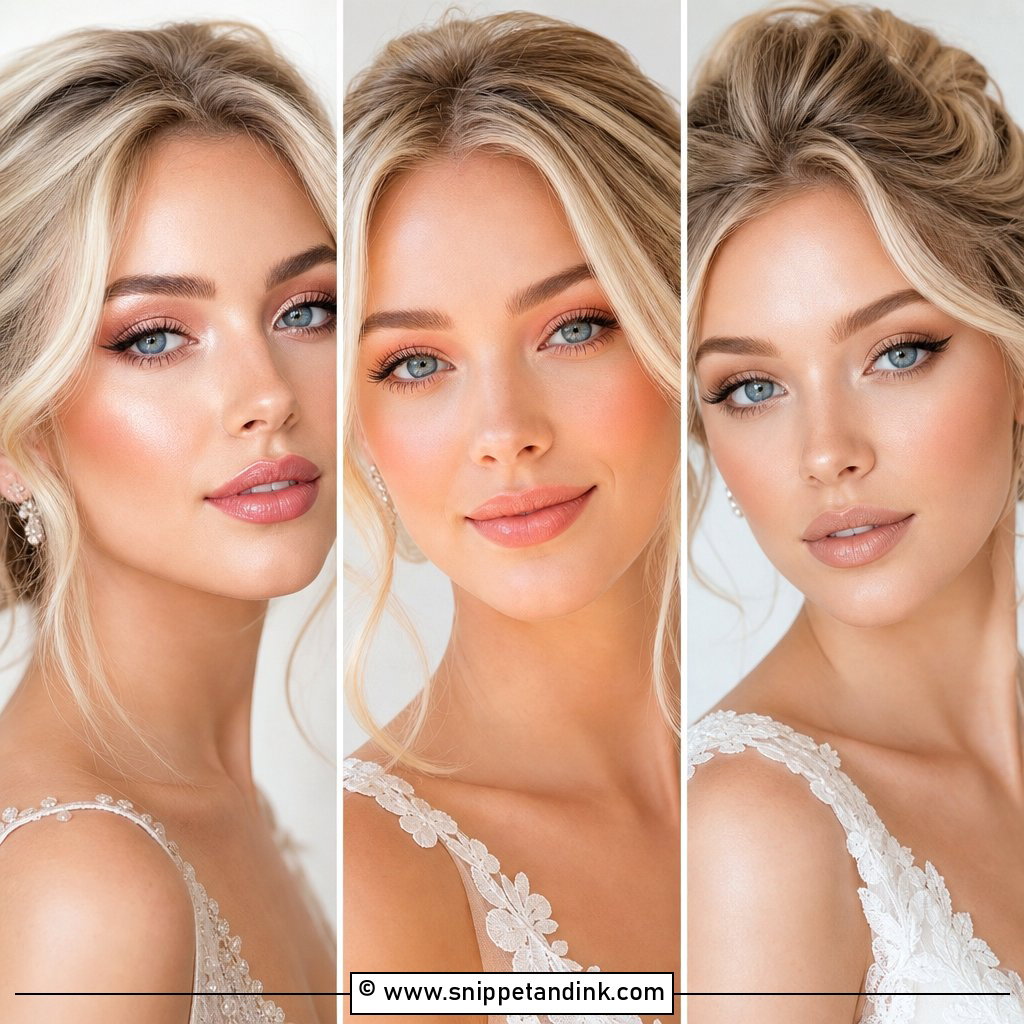
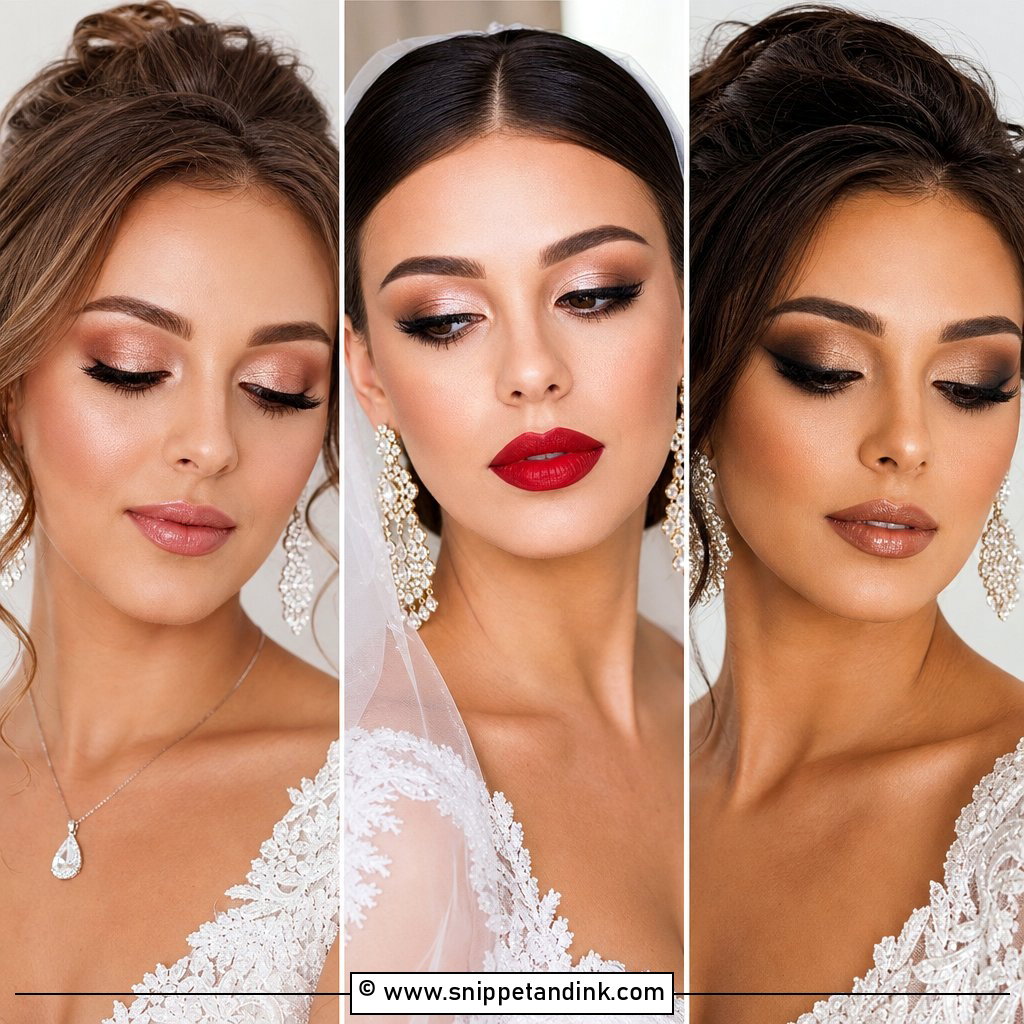
The secret to soft glam is thin layers. I apply a medium-coverage foundation in two light passes rather than one heavy one, so skin texture still shows. Warm brown blended through the crease, champagne on the lid, individual lashes or wispy strips, and a liner smudged rather than drawn sharp. Peach, rose or mauve blush suits it. I only set where you actually shine, usually the centre of the face, which keeps the cheeks looking like skin instead of powder.
3. Dewy Wedding Makeup
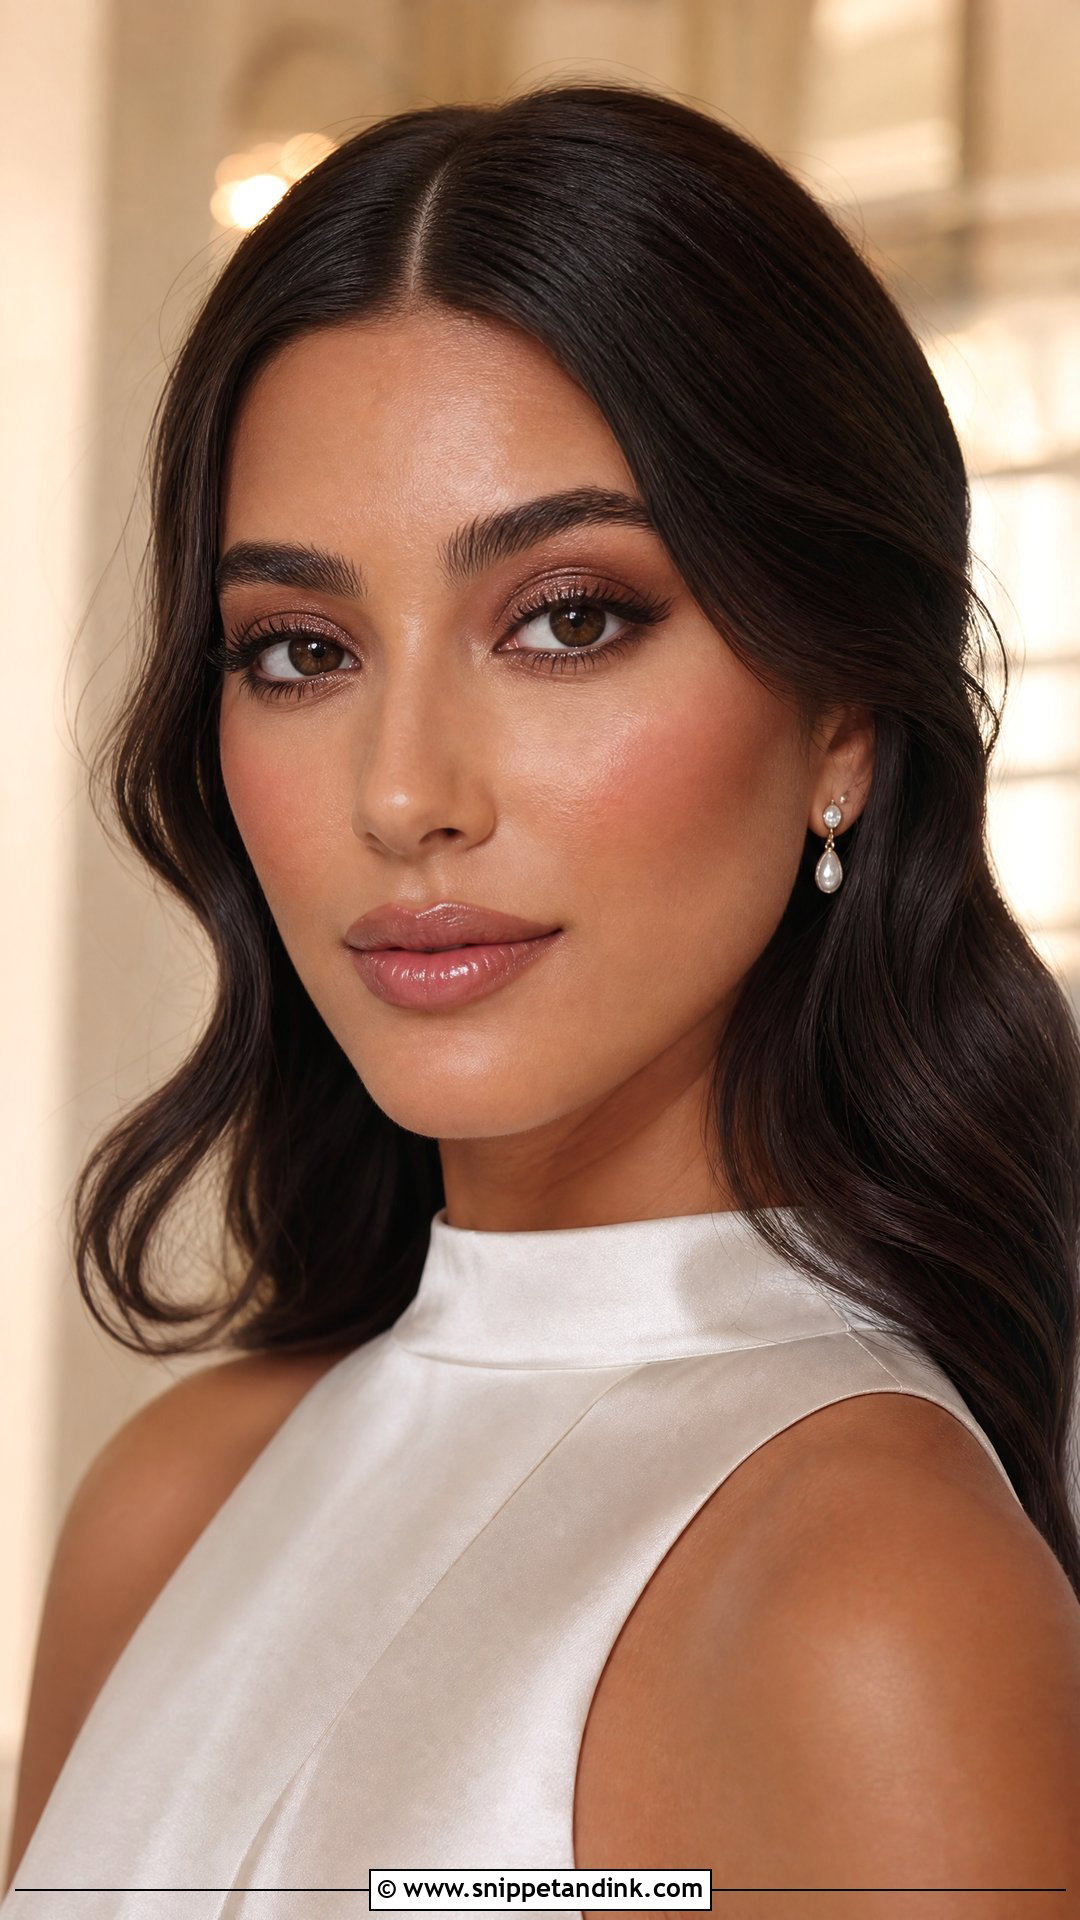
Dewy goes wrong when glow lands in the wrong places. I let the moisturiser sink in completely before foundation, otherwise the base slips. I choose a natural or satin foundation rather than a very luminous one and add glow only to the cheekbones, brow bone and nose bridge. Cream blush, soft bronzer and a fine pearl highlight. Warm neutrals and waterproof mascara on the eyes, a glossy nude-pink lip. Then I powder the T-zone, the sides of the nose and the smile lines, because that’s where shine reads as oil rather than radiance.
4. Matte Wedding Makeup
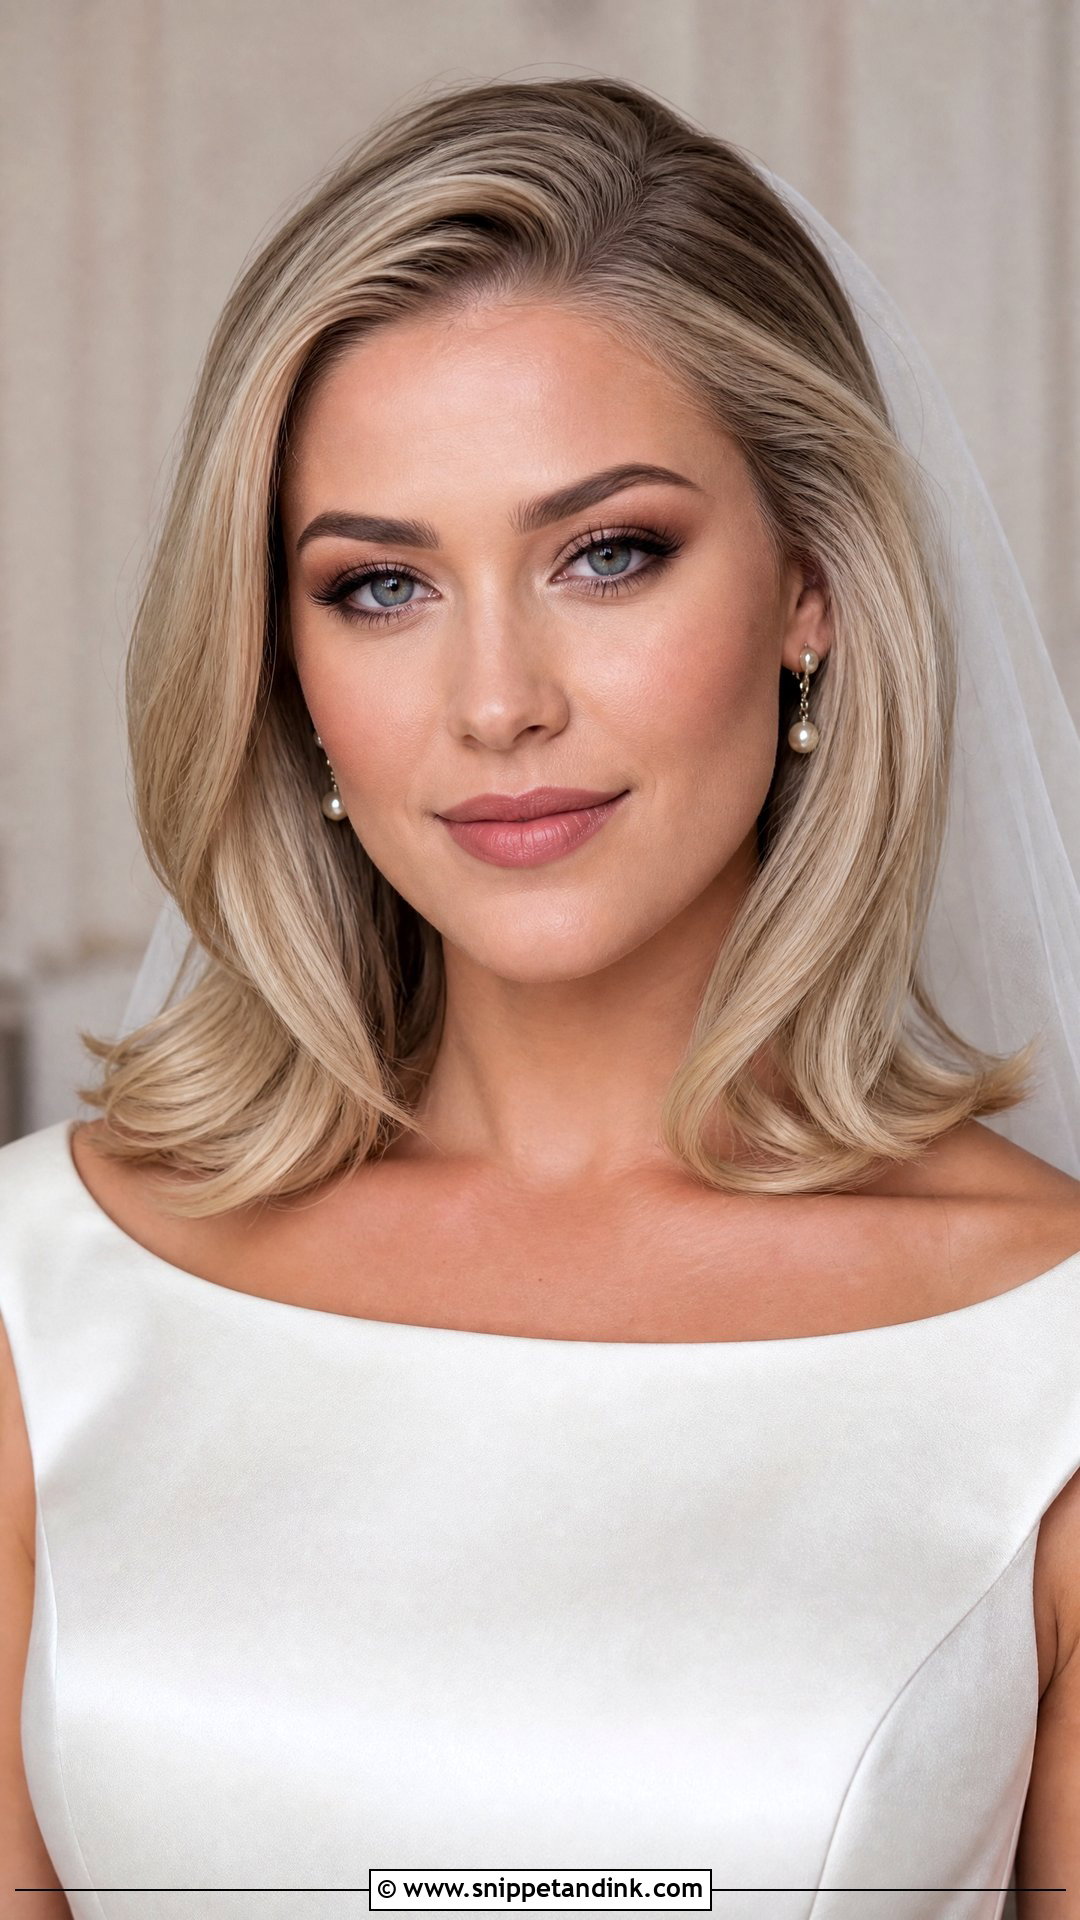
A good matte base is soft, not flat. I use a gripping primer only on oily zones and a light moisturiser everywhere else, then build long-wear foundation in thin layers and press powder under the eyes, around the nose and through the centre. Blush and bronzer go back on top so the face has shape. Matte brown on the eyes and a satin-matte lip. The step people skip is setting spray after powder: it melts the layers together and takes away that dusty finish matte can have in close-ups.
5. Classic Wedding Makeup
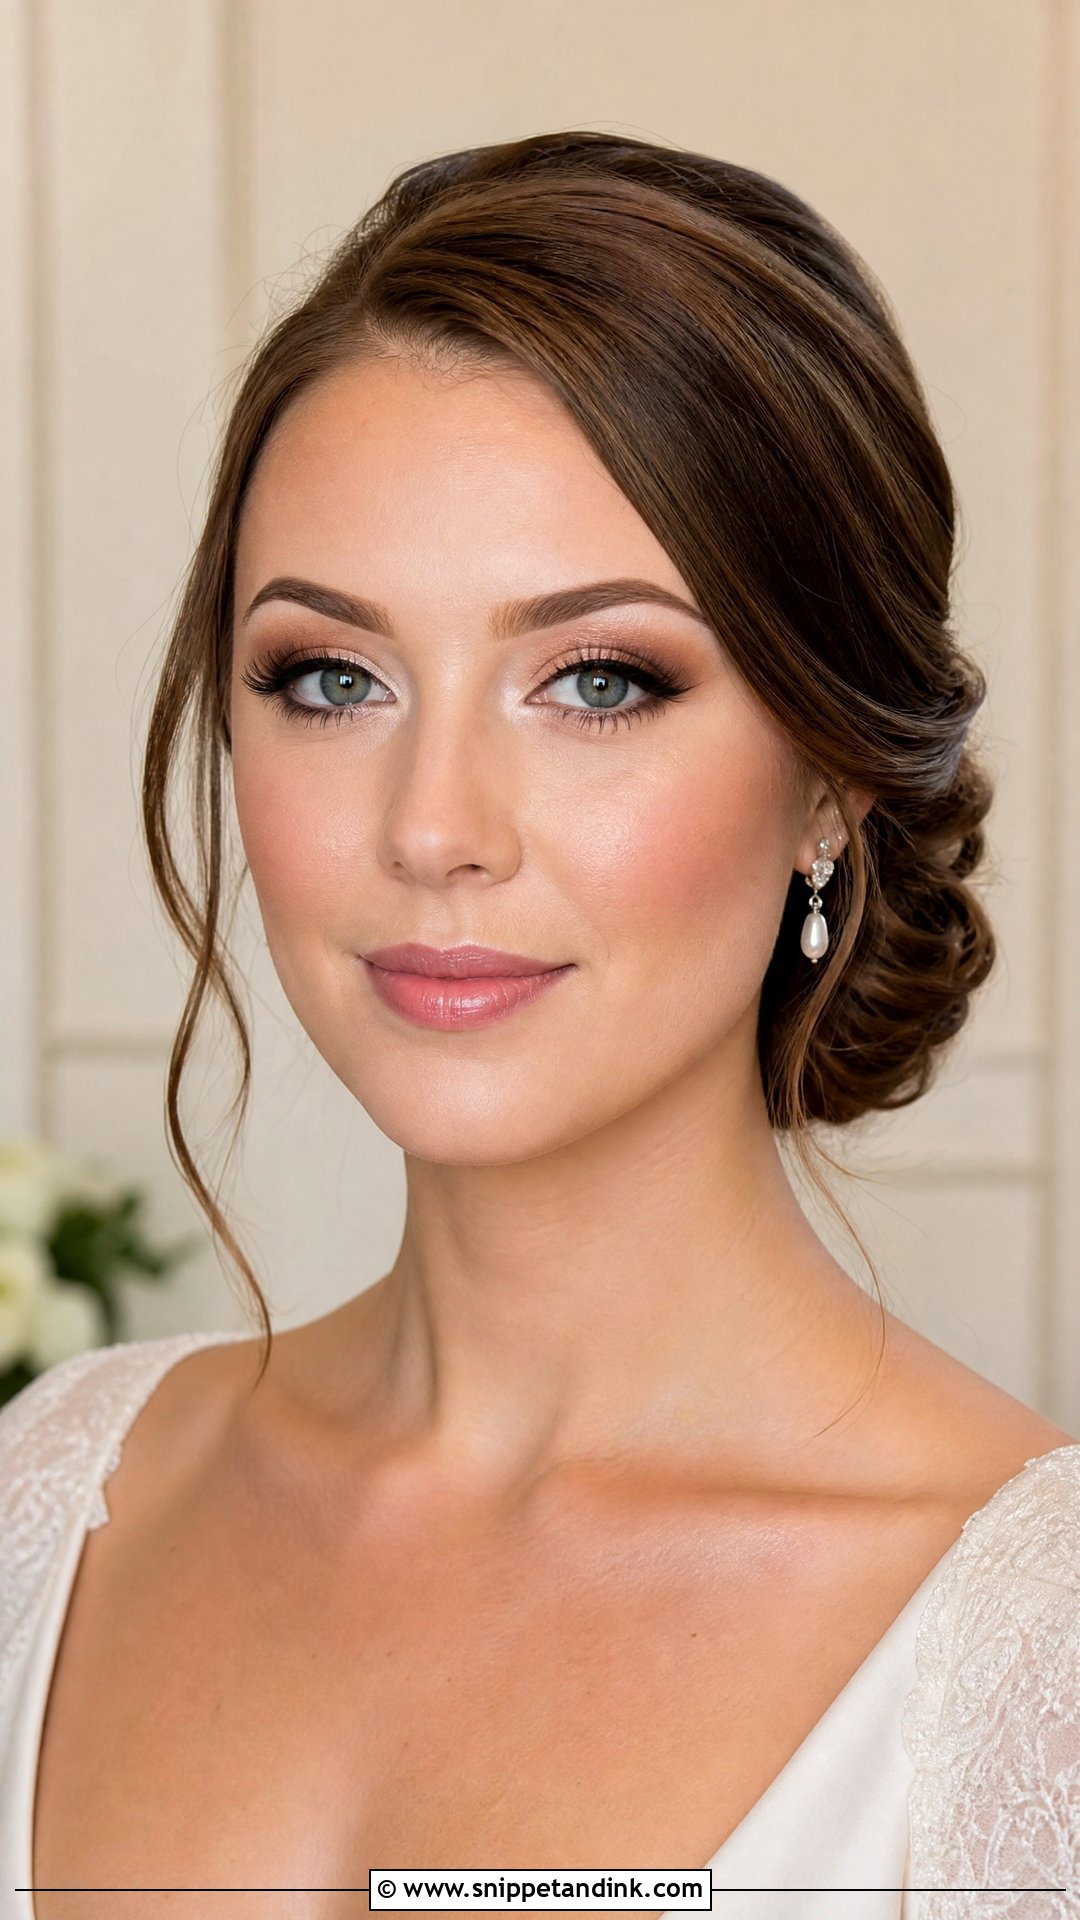
Classic makeup is really about avoiding extremes that date a photo, like very sharp brows, heavy contour or a strong trend colour. A champagne lid with a medium brown crease suits most eye colours. Liner in brown or black depends on your contrast: fair hair and light lashes usually look better with brown. Lashes should lift the eye, not cover it. Rose or peach blush slightly higher on the cheek, and a pink-nude satin lipstick that’s easy to reapply from a clutch. Look at your parents’ wedding photos; the parts that still look good are usually the classic ones.
6. Full Glam Wedding Makeup
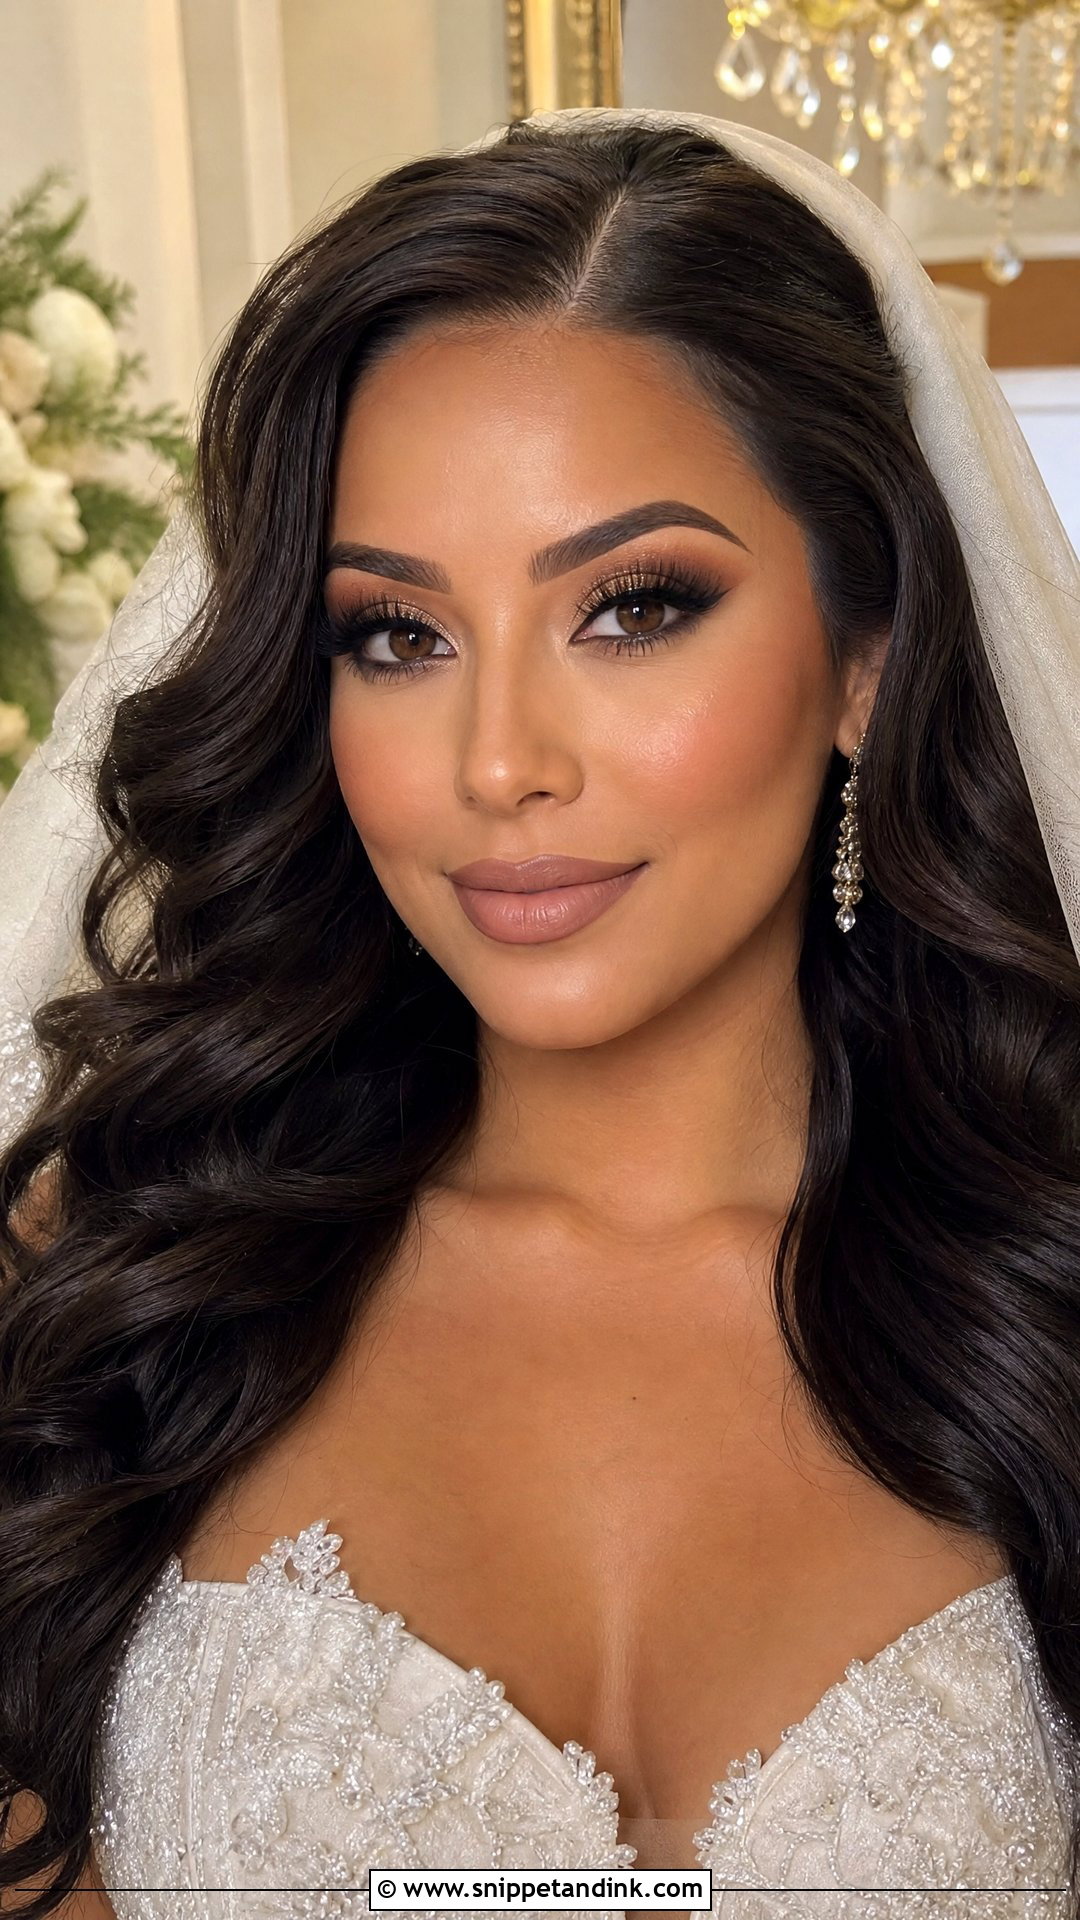
Full glam is built in layers for a reason. On the eyes I go primer, cream shadow, powder shadow, liner, then lashes, and each layer grips the next so the look survives a twelve-hour day. On the face, long-wear foundation blended carefully at the jaw, hairline and neck, contour softly under the cheekbones and bronzer around the edges. Shimmer stays on the lid and inner corner. A nude, mauve or soft brown lip balances the eyes. If full glam isn’t how you normally wear makeup, the trial matters even more, because it can feel heavy on an unfamiliar face.
7. Minimal Wedding Makeup
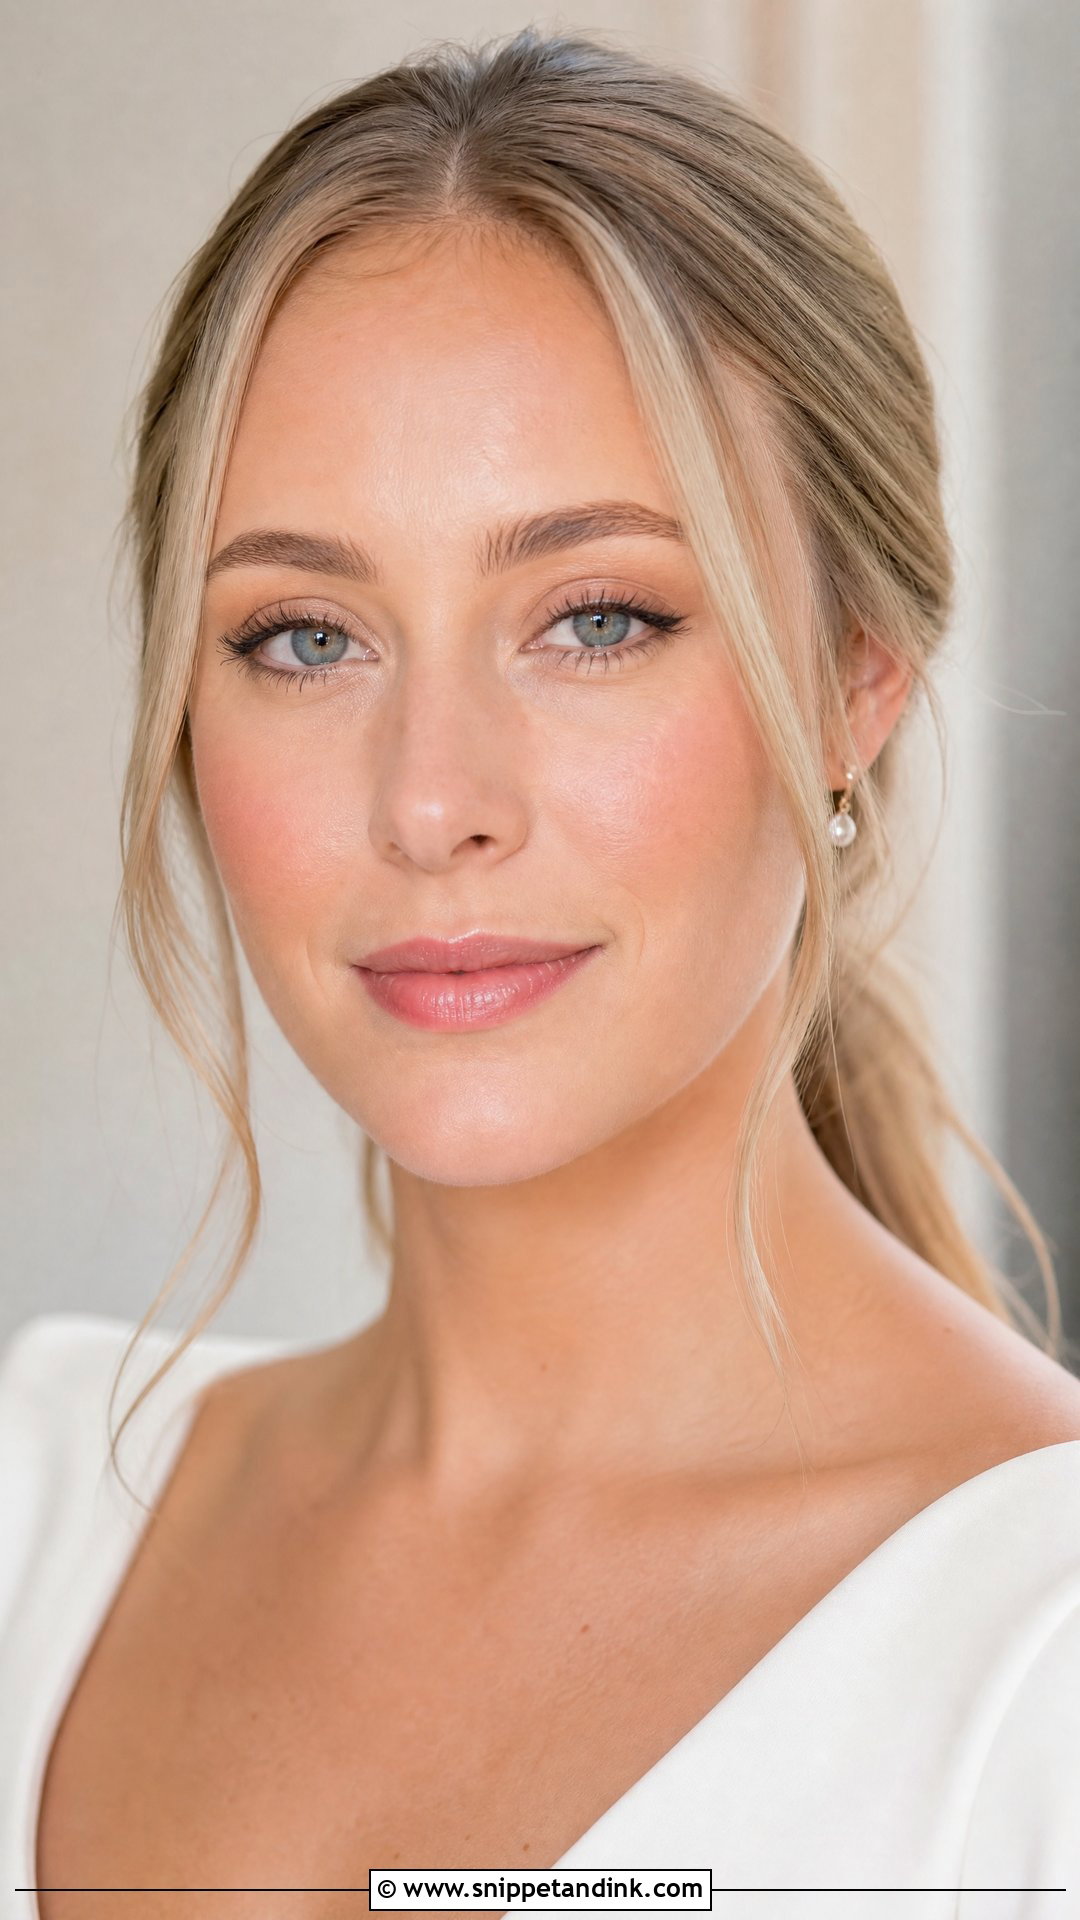
Brides who hate the feeling of makeup still need it to last, so minimal for me means few products, each chosen carefully. A blurring primer, spot concealer and sheer foundation only where needed. Groomed brows, curled lashes, a neutral wash on the lids. Cream blush tapped on the cheeks and a touch on the lips so they match. Waterproof mascara and a light setting spray are non-negotiable, because there’s nothing else on the face to disguise a smudge or a patch that’s worn through.
8. Romantic Wedding Makeup
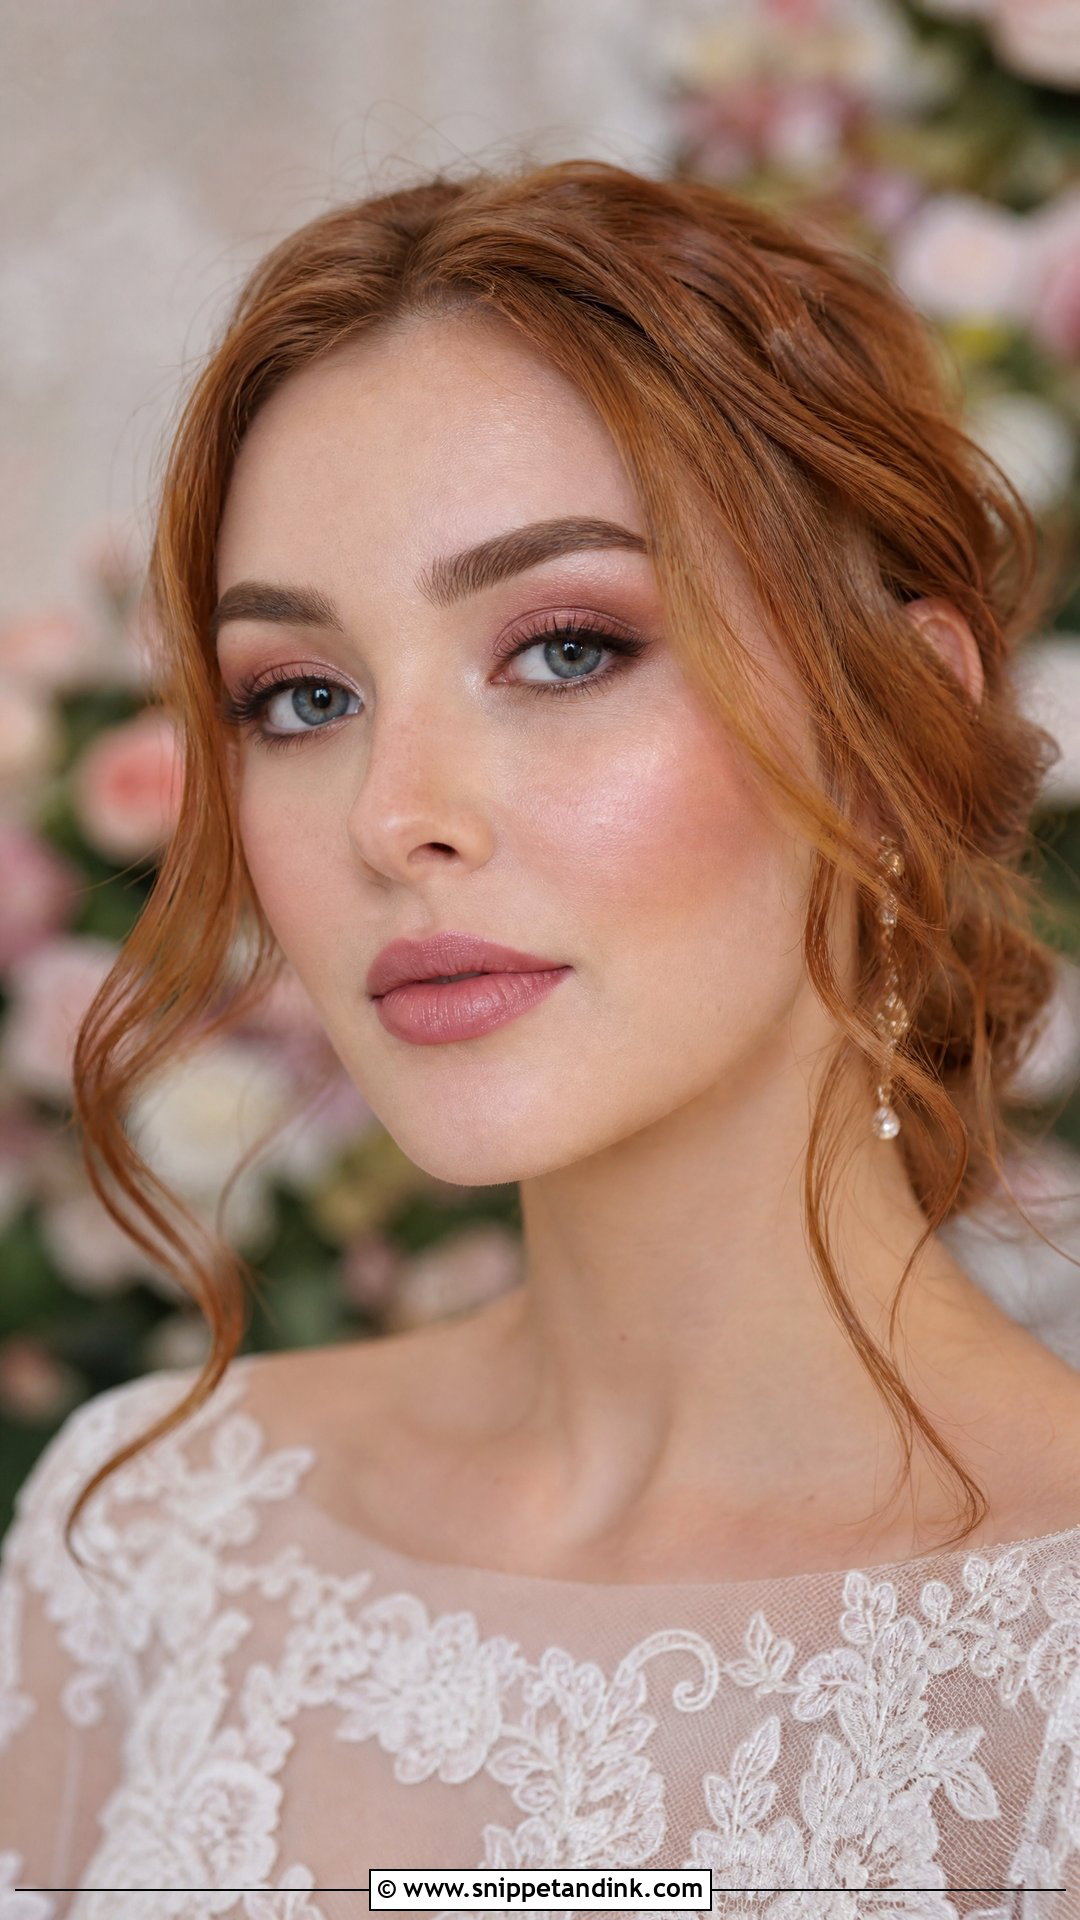
Romantic makeup is mostly about soft edges. I smudge liner into the lash line instead of drawing it, choose wispy lashes, and blend shadow in pink, mauve or taupe until there’s no visible line. The base is a glowing satin, and the blush is rosy and clearly visible. That flush is what makes portraits look alive, and it’s the first thing I add back if a bride’s photos look flat. A rose stain under a satin lipstick lasts through talking and sipping. Highlight stays delicate on the cheekbones and inner corners.
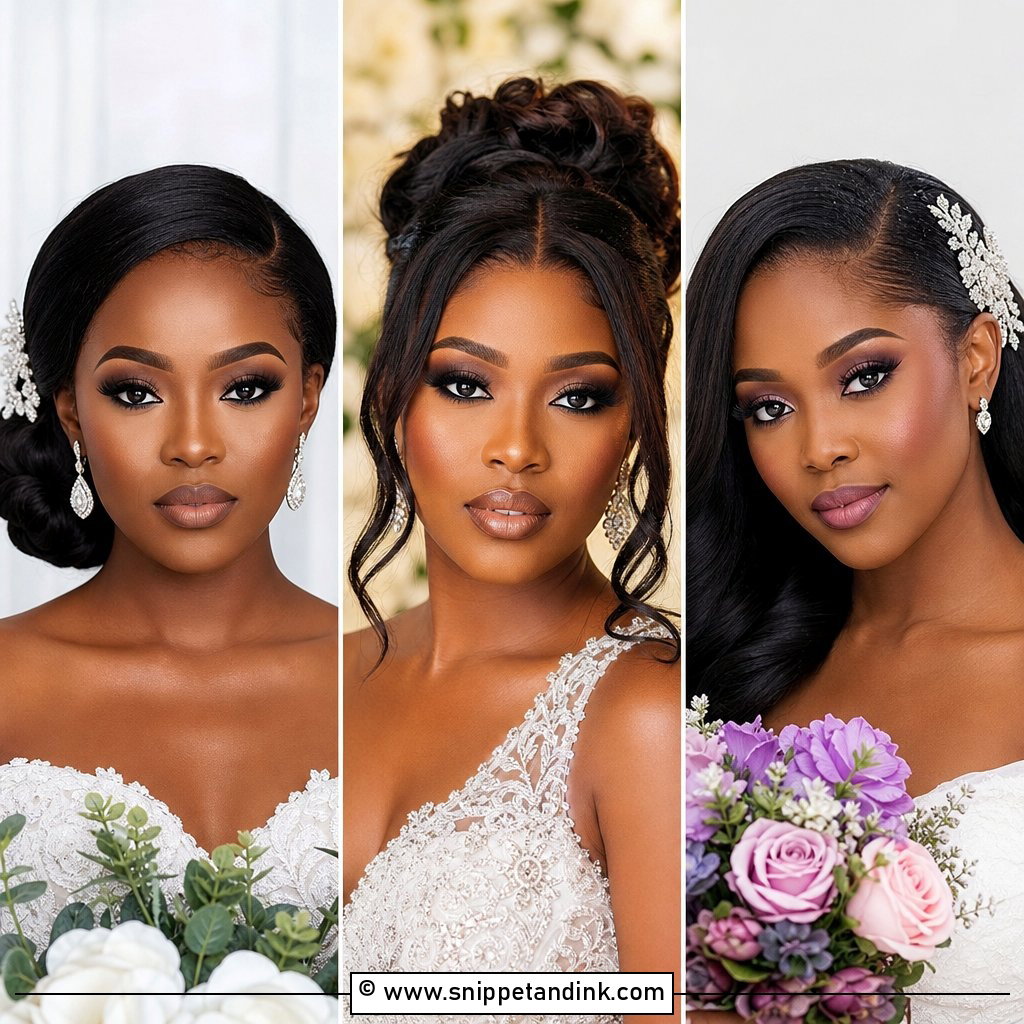
9. Smokey Eye Wedding Makeup
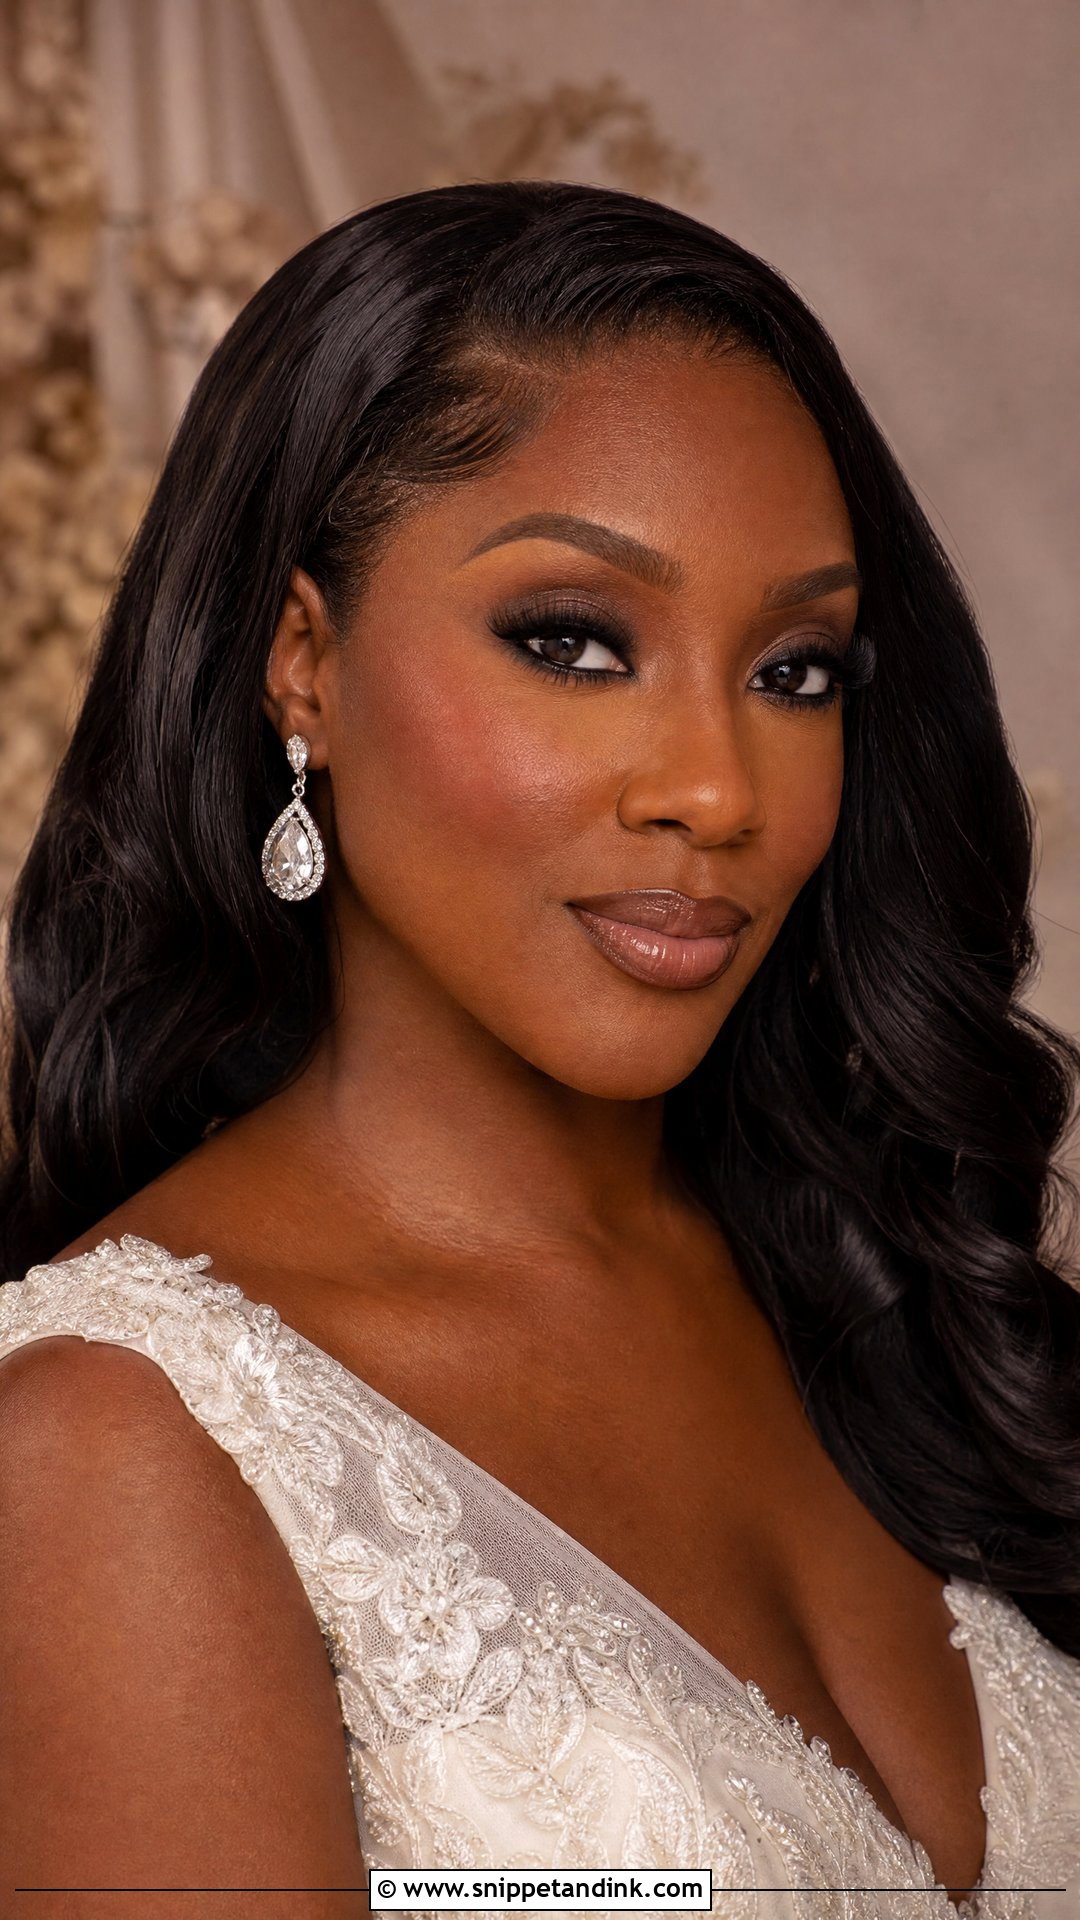
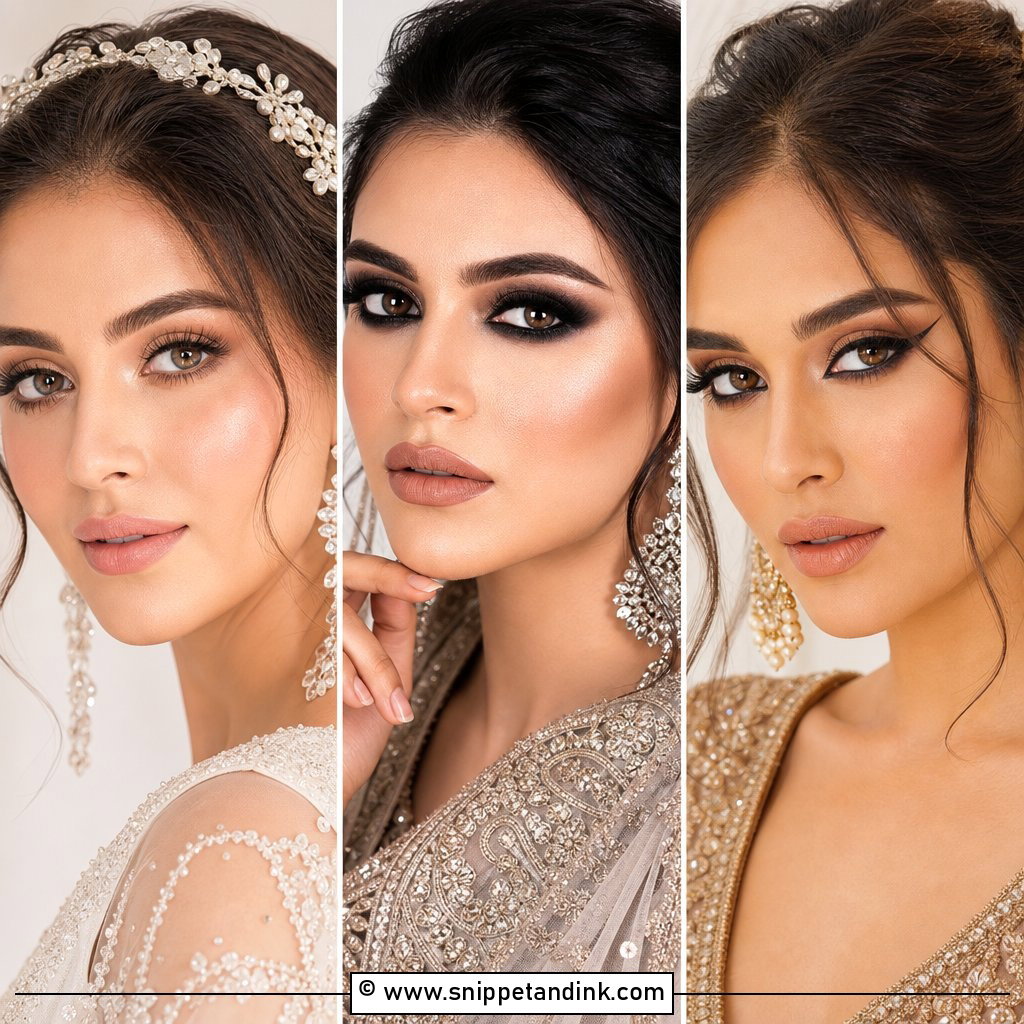
A bridal smokey eye lasts longer if I lay a cream base under the powder shadows; powder alone tends to fade on oily lids by evening. Smokey eye wedding makeup then gets built from the lash line up, darkest at the roots and softening as it rises. Brown, bronze, plum or charcoal depending on eye colour. I keep the lower lash line light if your eyes are small or deep-set, because heavy liner below closes them. Polished skin, soft contour and a muted lip. Test it under flash; deep shadows can read as darker circles in photos.
10. Brown Smokey Wedding Makeup
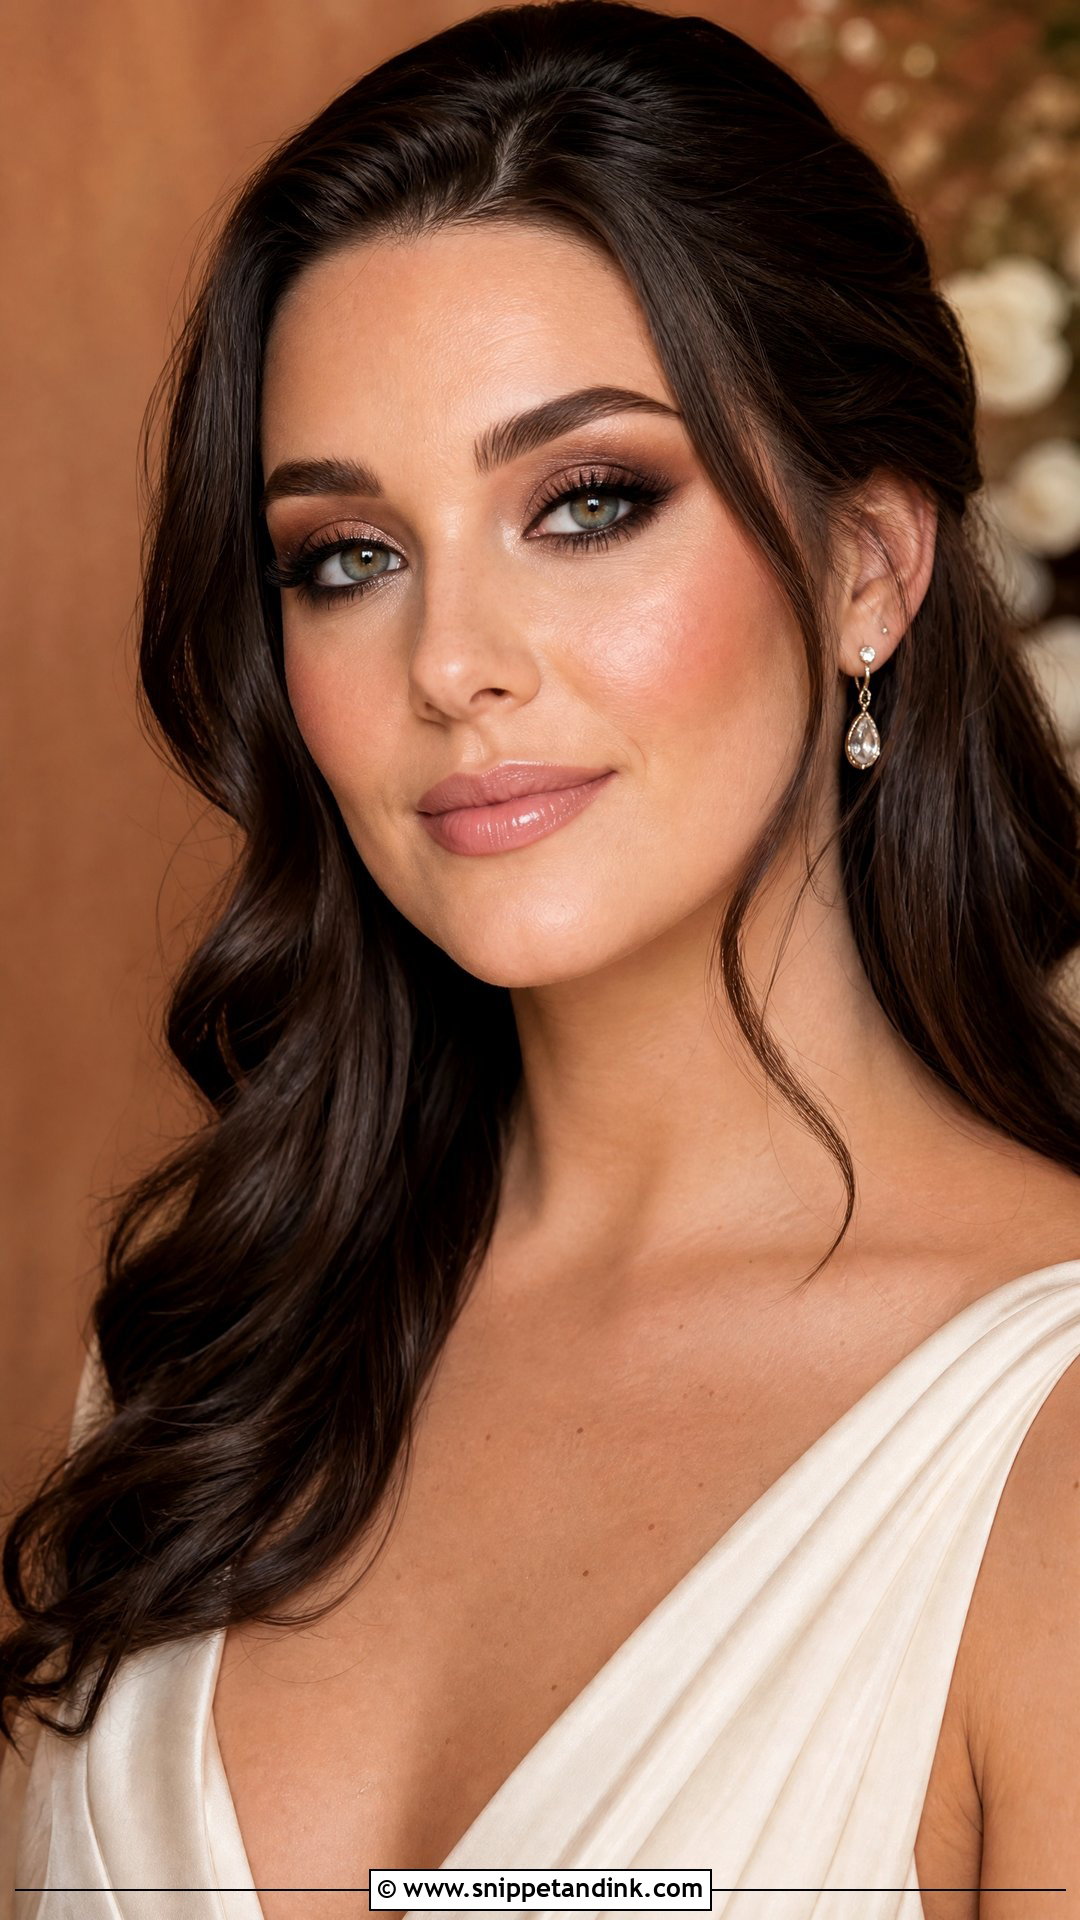
Brown smoke gives depth without harshness and works on blue, green, hazel and brown eyes alike. I use chocolate, espresso and caramel, with shimmer only on the centre of the lid, and smudge brown liner across the top lash line. Waterproof mascara, satin foundation, bronzed cheeks with warm blush, and a nude-brown or pink-beige lip. My technical note: blend the crease shade a little higher than you would for everyday. When you smile in photos your eyes narrow, and a low crease disappears completely.
11. Rose Gold Wedding Makeup
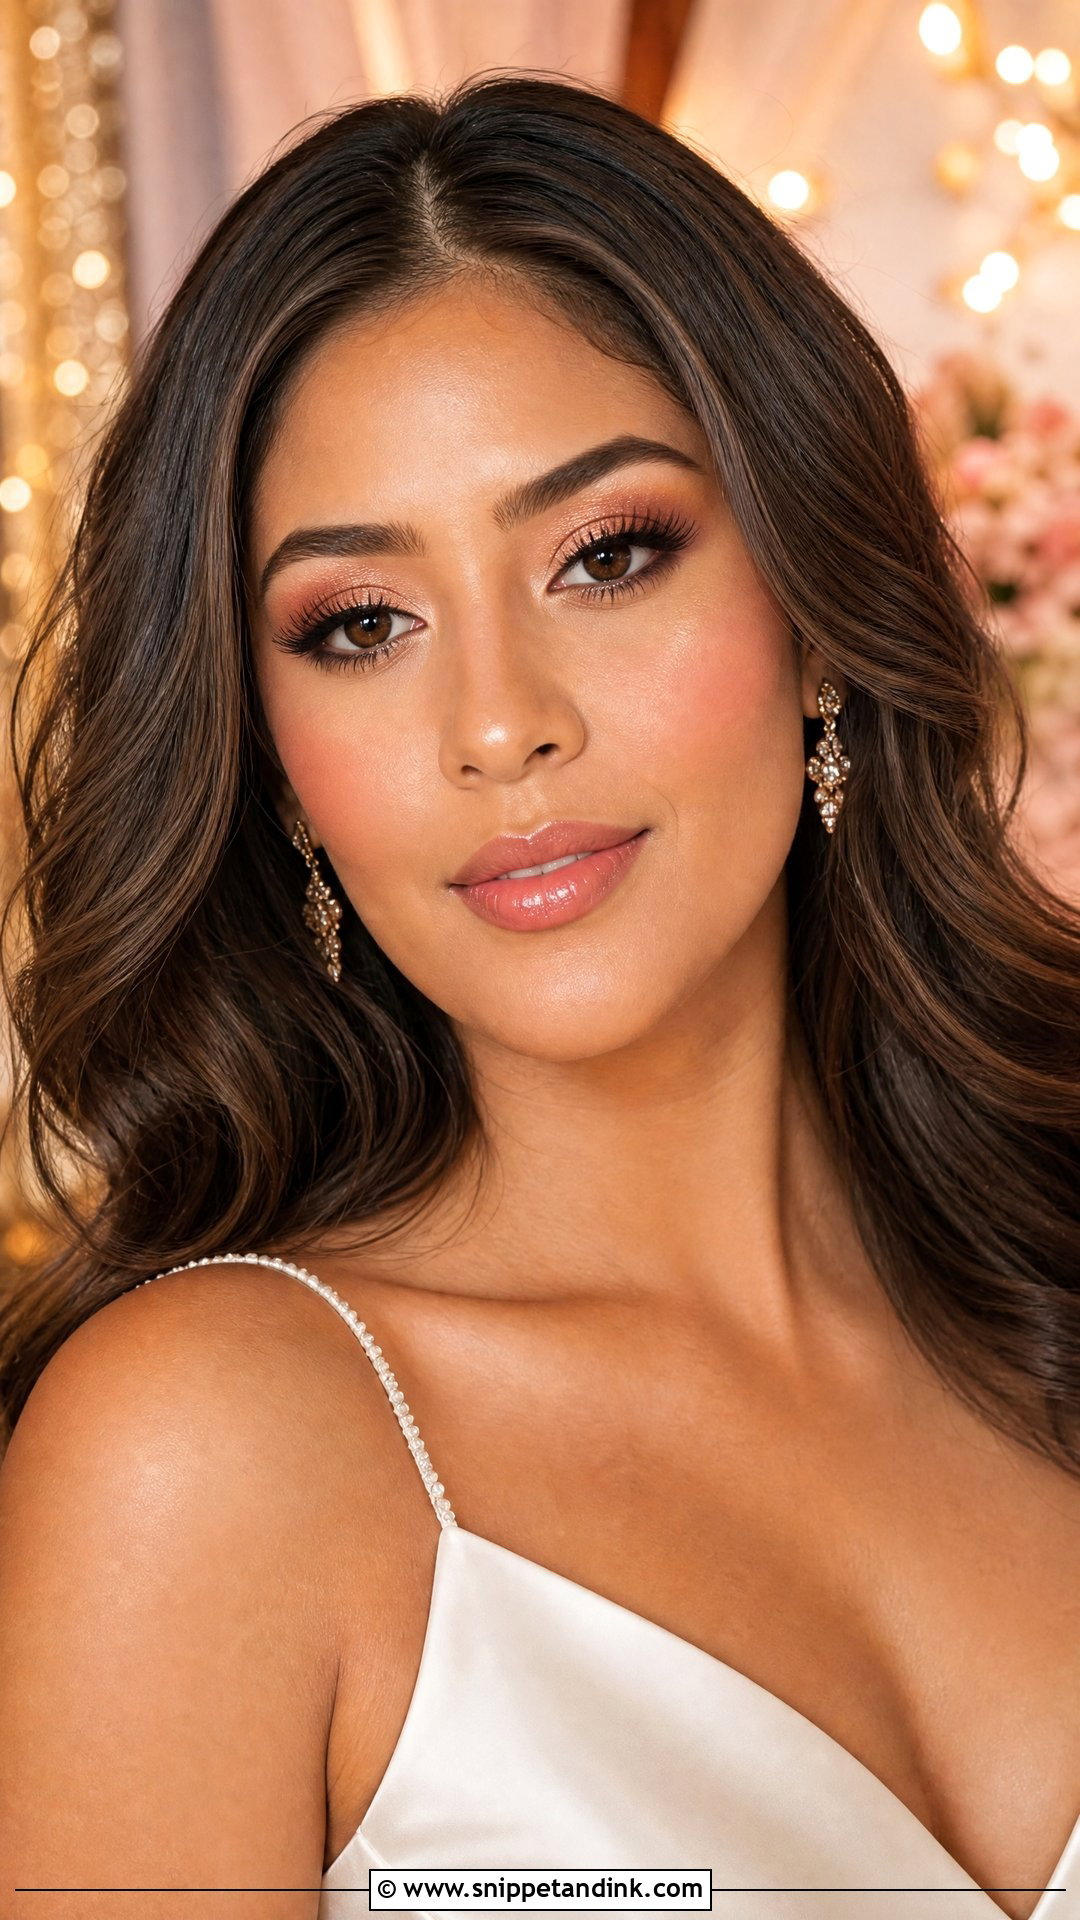
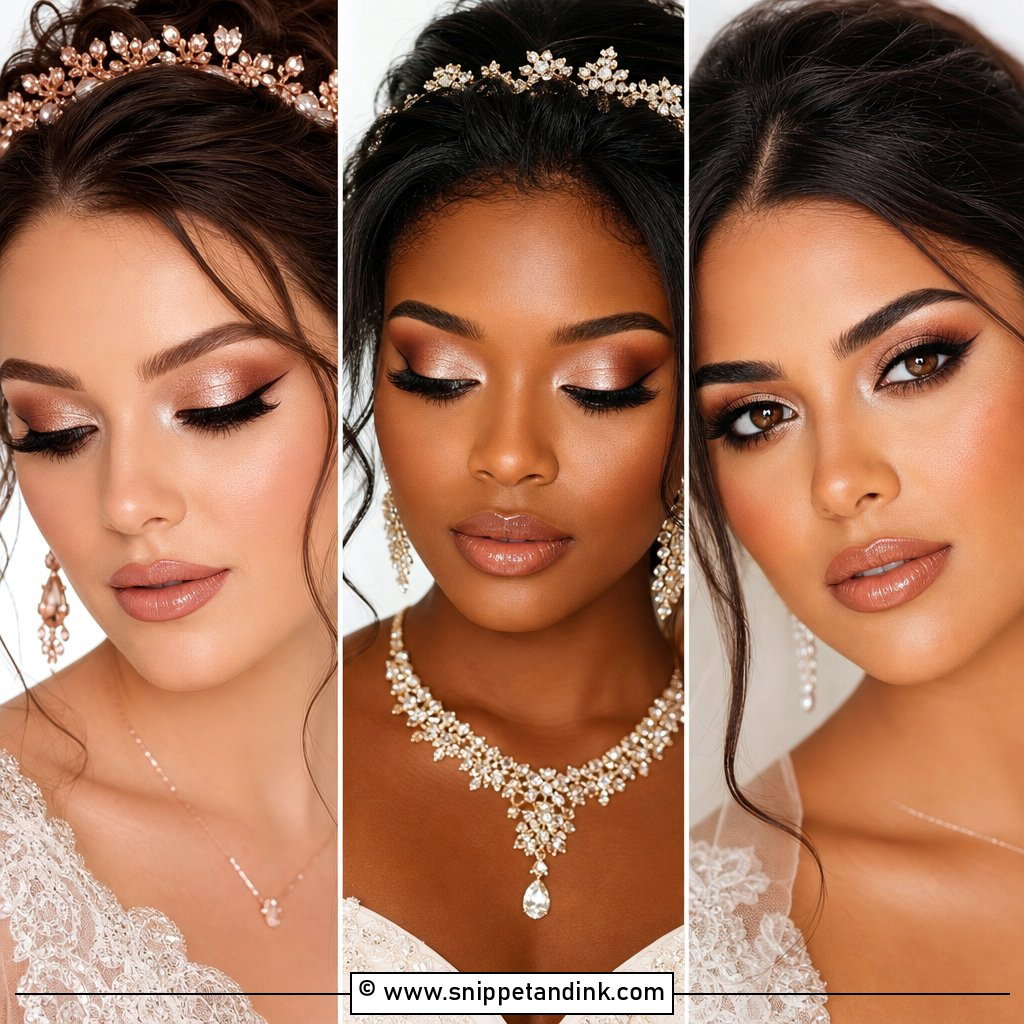
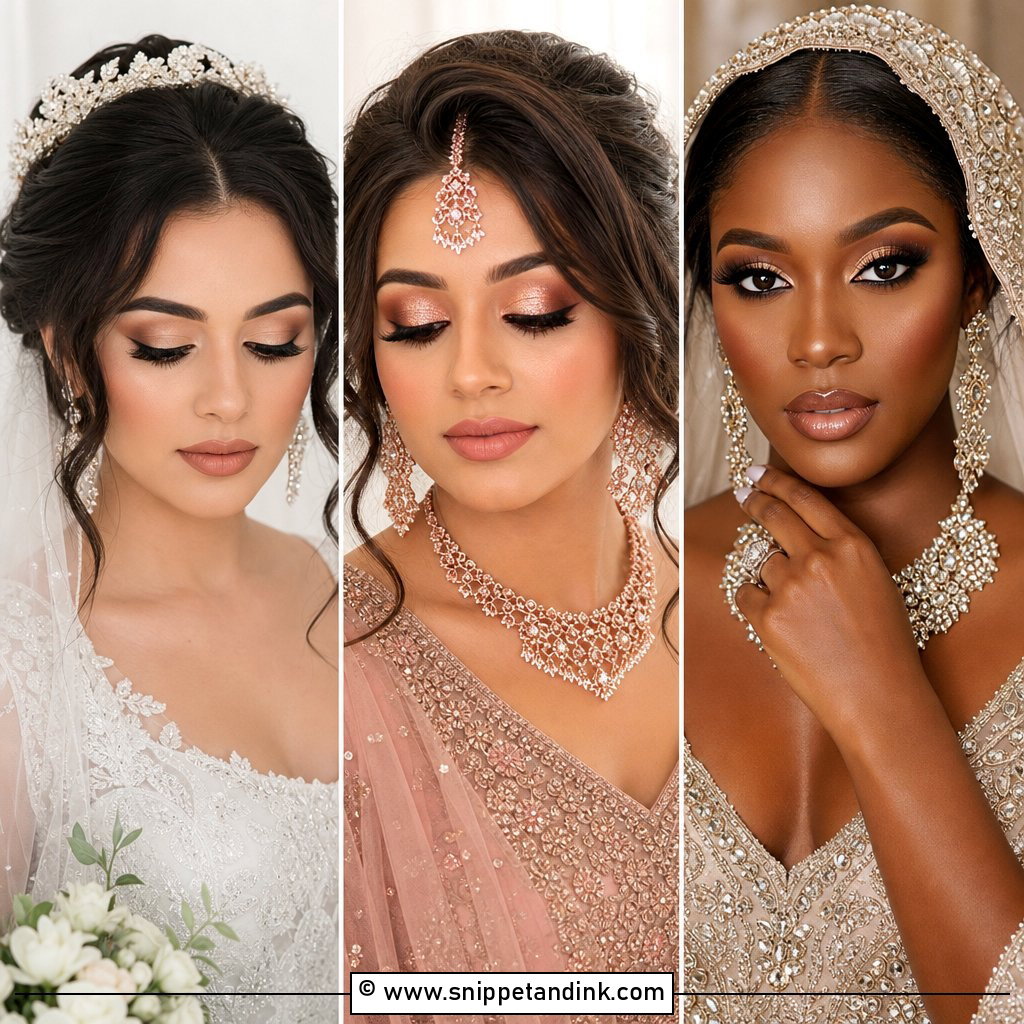
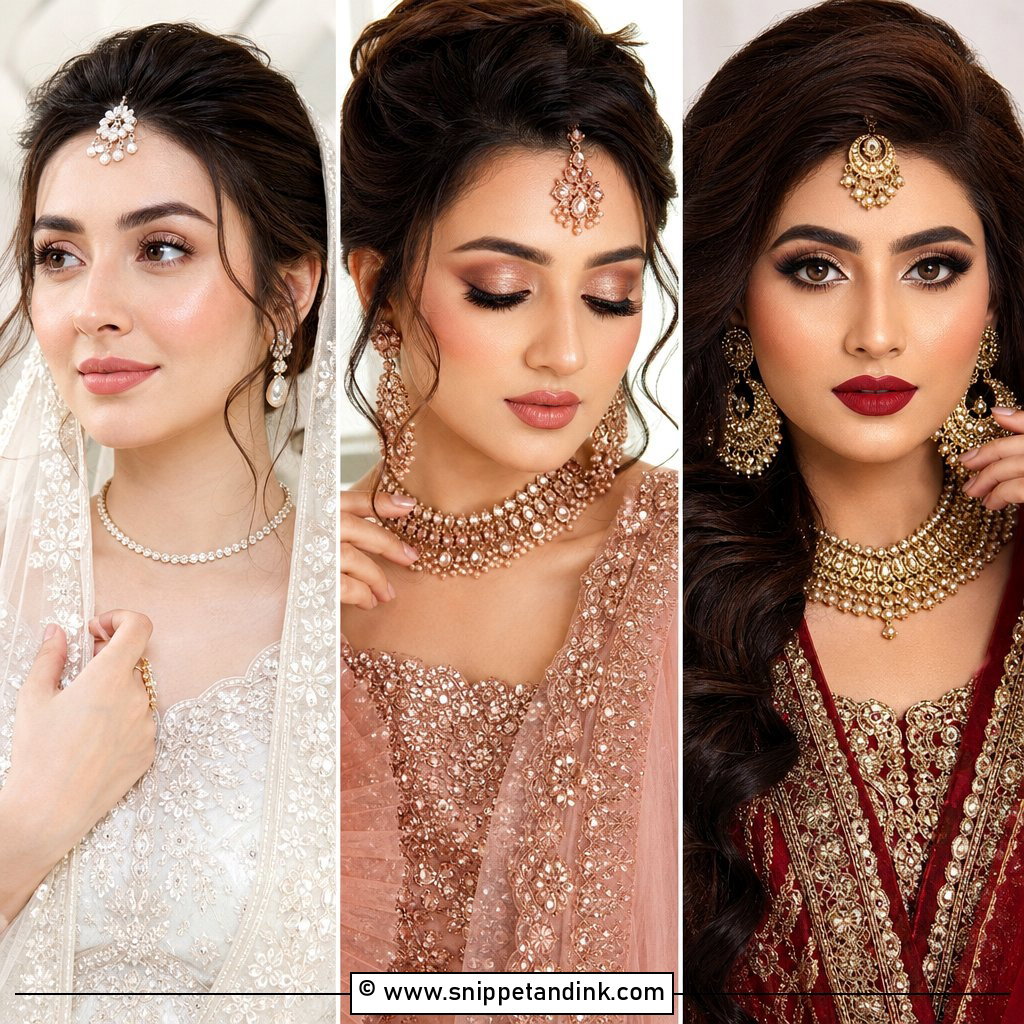
Rose gold is at its best in spring and golden-hour light. I blend soft rose and warm brown through the crease, tap rose gold shimmer on the centre of the lid, and use brown liner, which looks gentler than black next to this palette. Satin skin, peachy-pink blush and a champagne highlight. Lips in pink nude or rosy gloss. The shade of rose gold matters: cooler, pinker versions sit better on fair skin, while coppery ones look richer on tan and deep skin.
12. Bronze Wedding Makeup
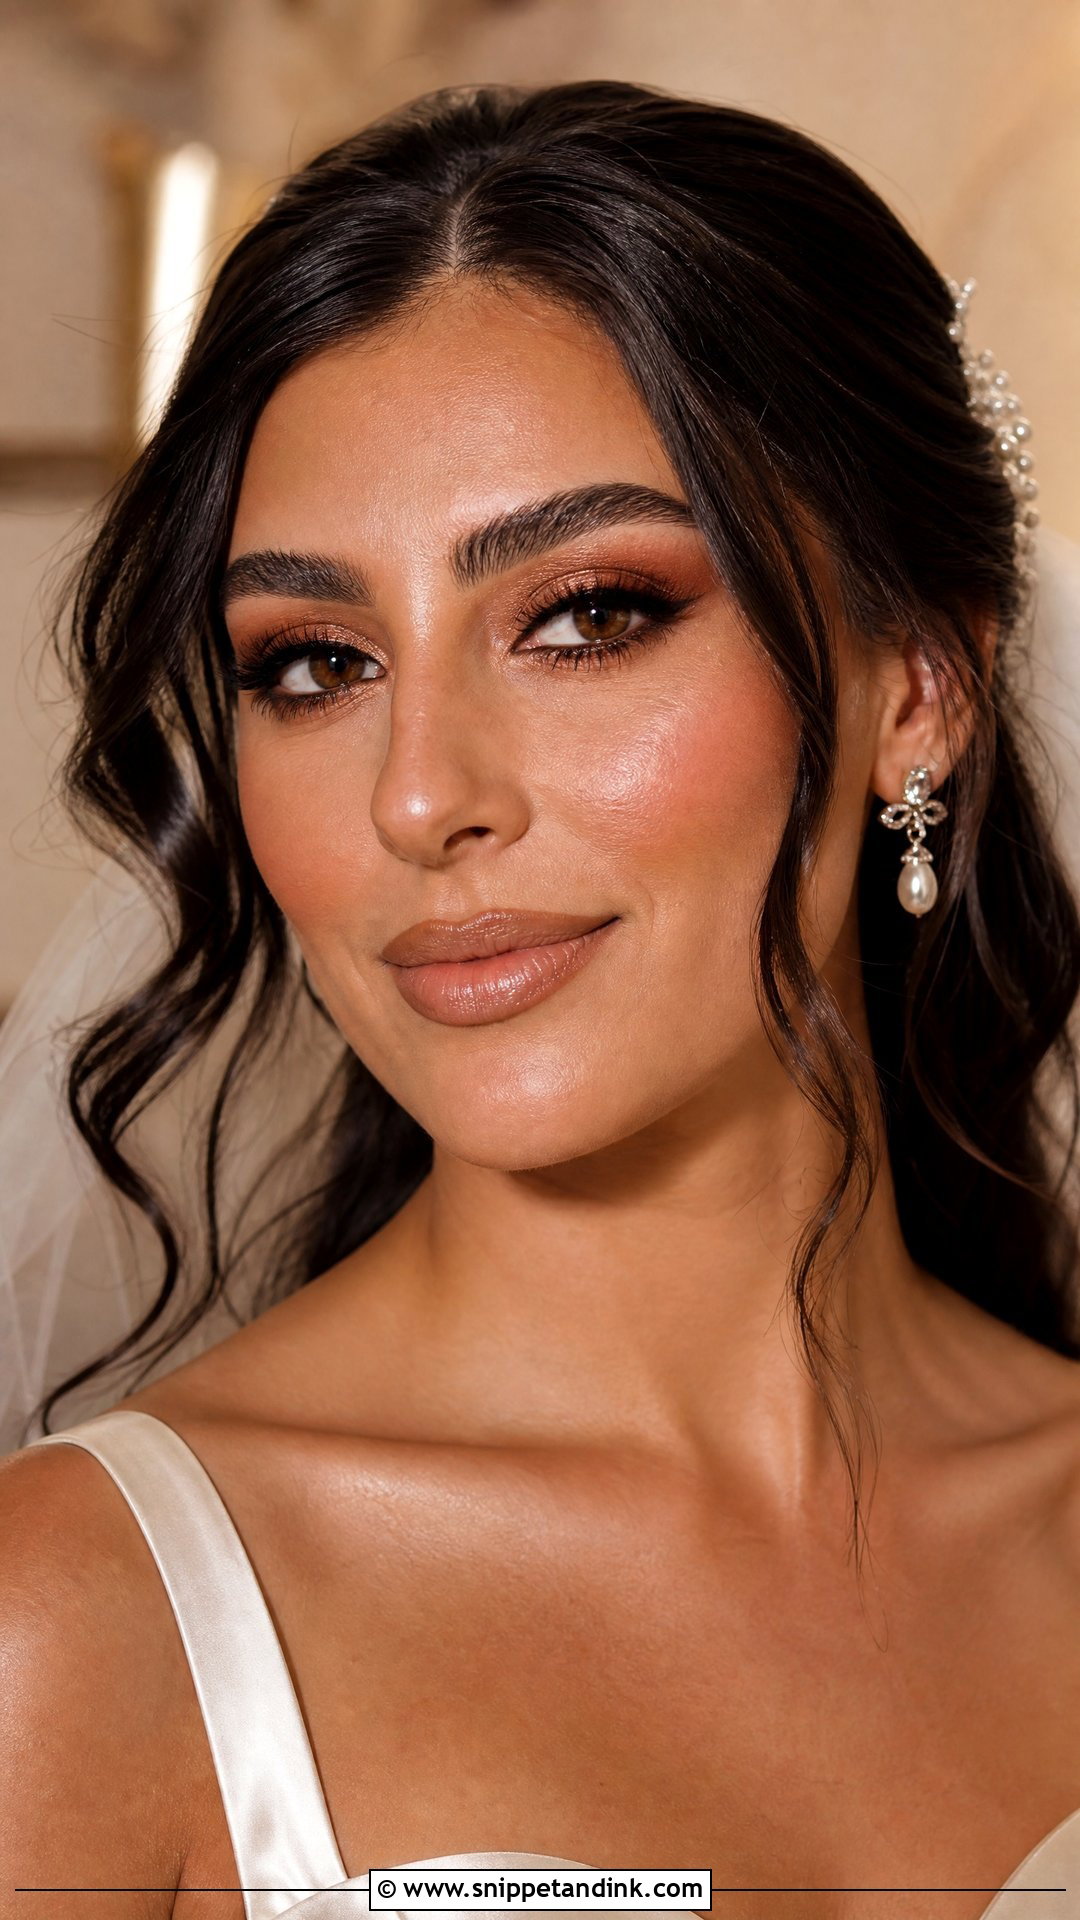
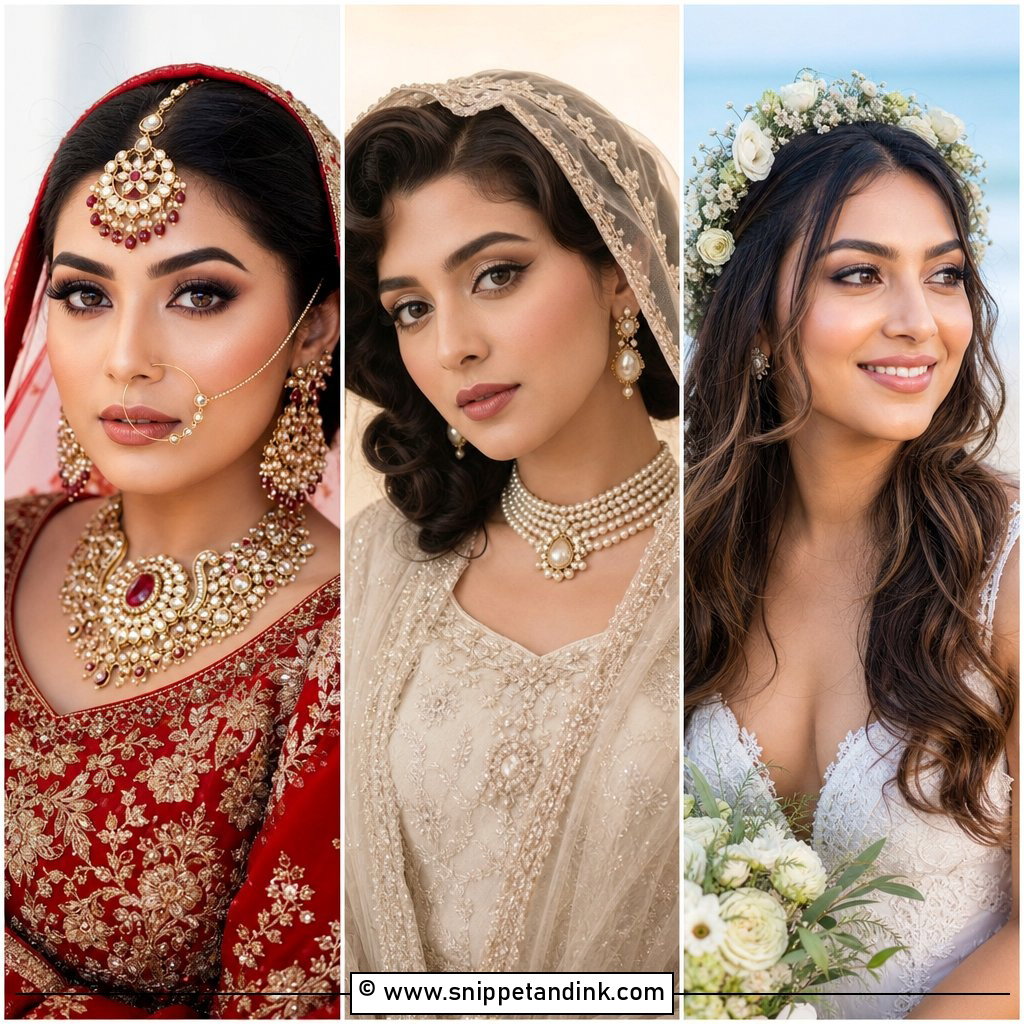
Bronze wedding makeup suits outdoor and summer weddings, as long as it never turns orange. I pick a bronzer only a shade or two deeper than the skin and blend it down onto the neck so the face and chest match. It goes around the temples, cheekbones and jaw. Bronze, gold or copper on the eyes with waterproof brown liner, warm blush in peach or terracotta, and a caramel or peachy nude lip. If your dress is bright white, I keep the bronze a little softer; strong warmth can look muddy against it.
13. Pink Wedding Makeup
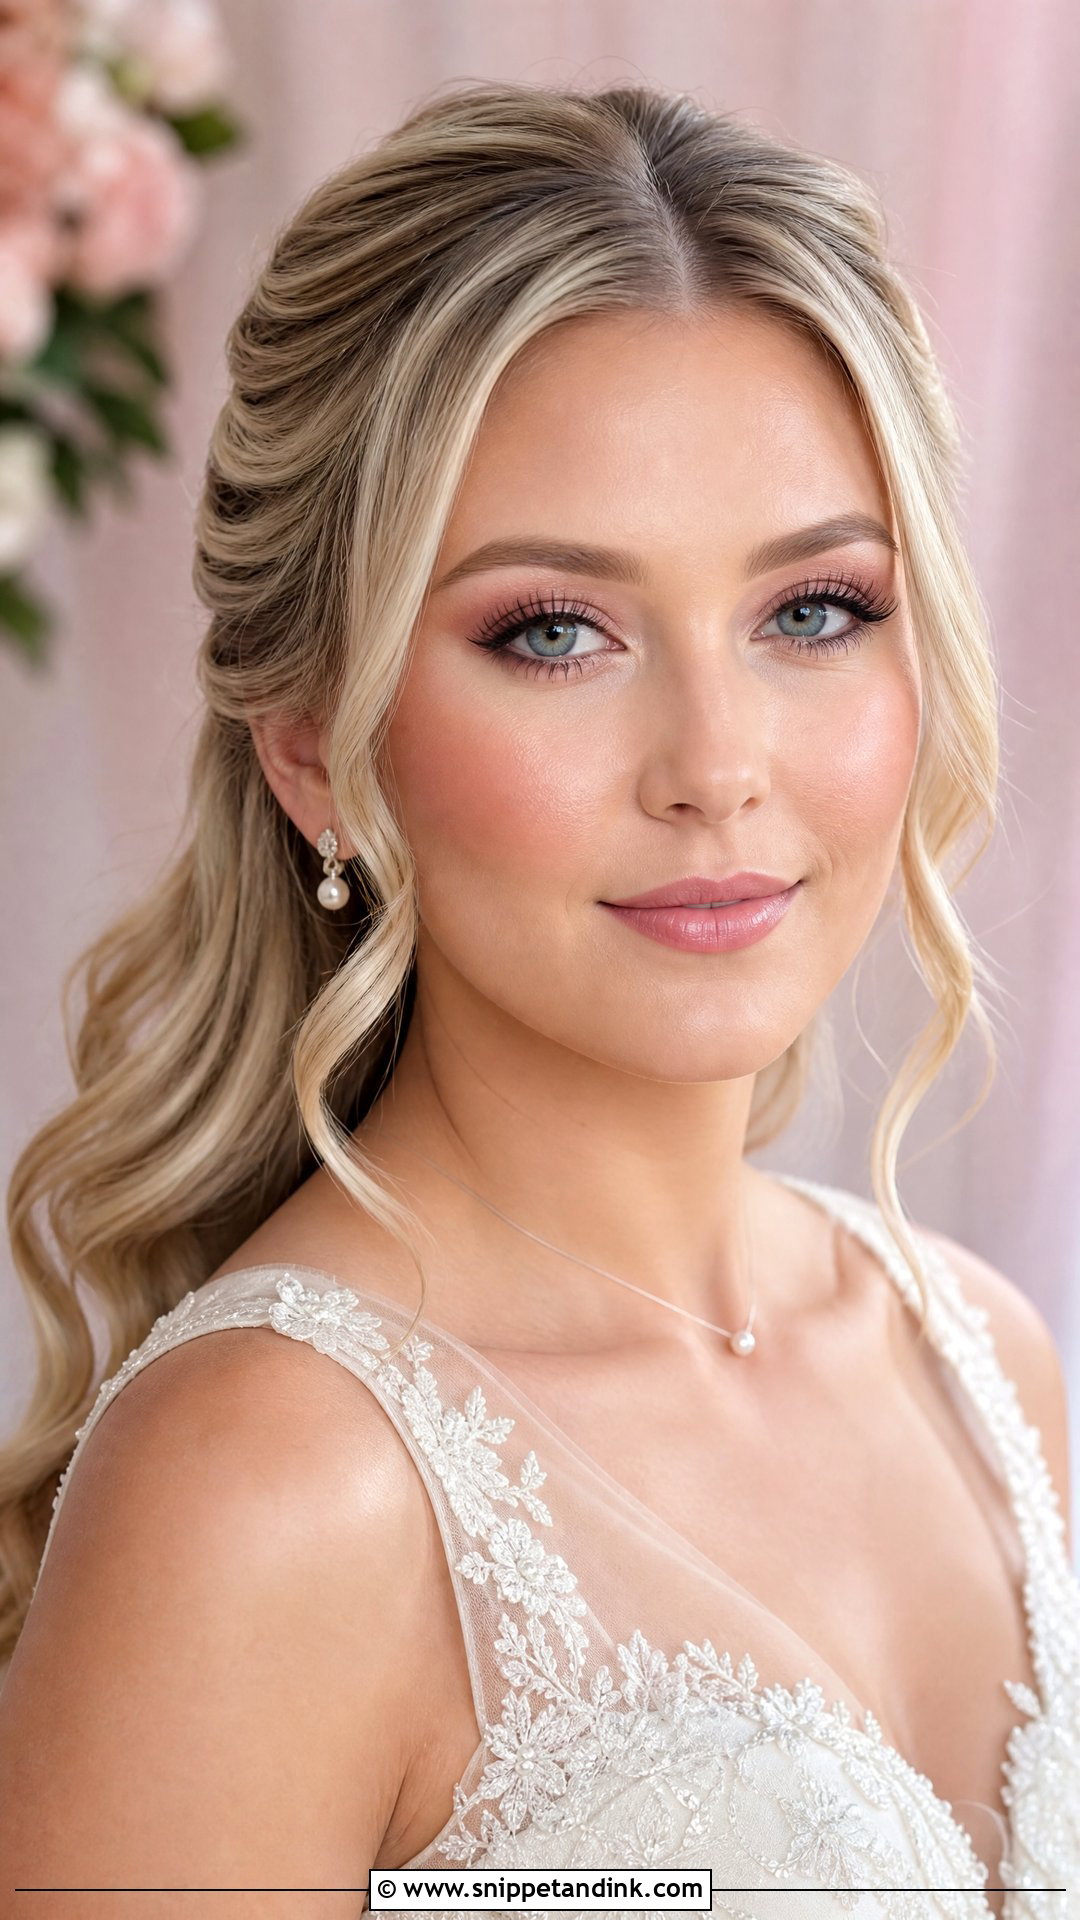
Pink goes wrong when one pale shade gets used on eyes, cheeks and lips at once and washes the face out. I pick a pink family to suit the undertone: soft pink for cool skin, peach-pink for warm, berry-pink for deeper skin. Then I add depth with taupe or mauve on the eyes and brown liner. Smooth radiant skin, blush placed high, and a satin pink lip or long-wear rose stain. Varying the depth across the face is what keeps pink from looking flat.
14. Red Lip Wedding Makeup
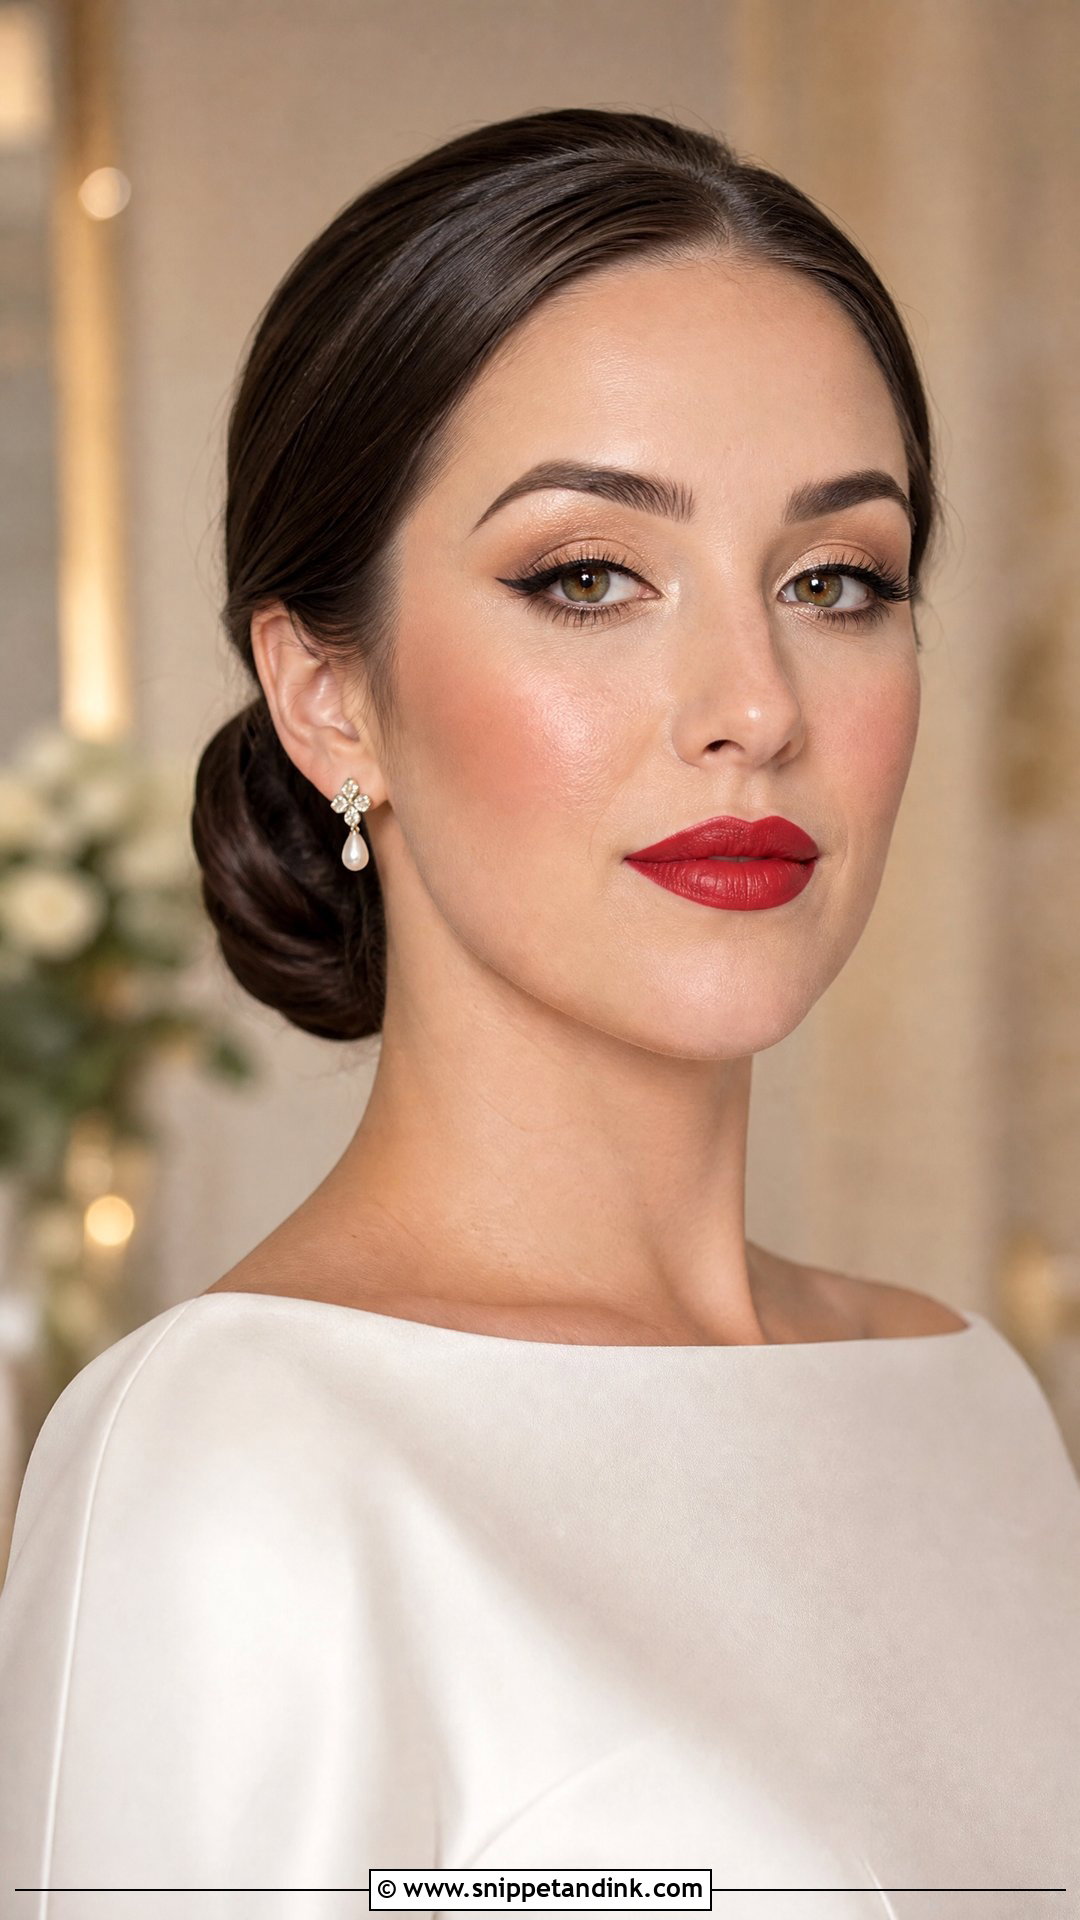
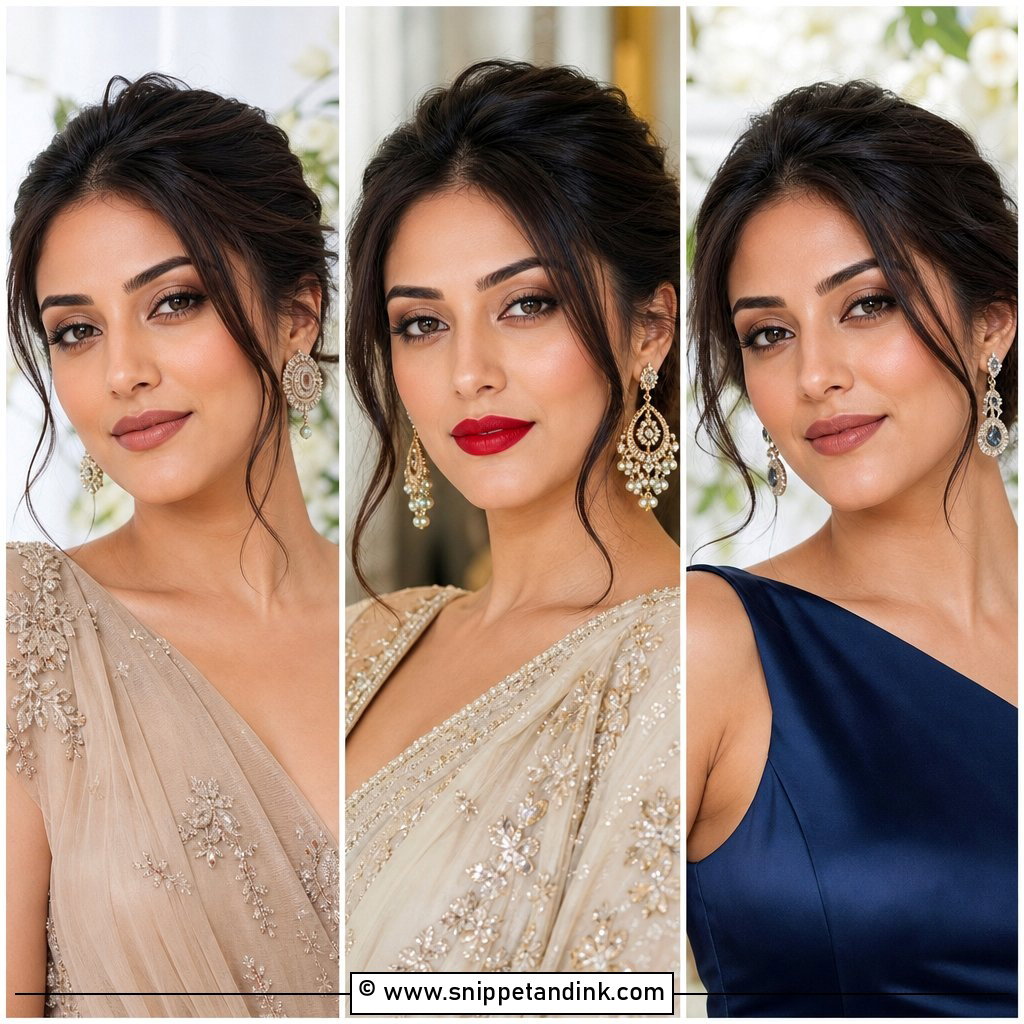
Red lips need a clean face around them. Even skin, softly sculpted cheeks and a neutral eye with a thin wing or a tightlined lash line. Choose the red by undertone: blue-red for cool, tomato for warm, cranberry or brick for deeper skin. My method is liner over the whole lip, lipstick, blot, then a second thin layer, which bonds the colour so it wears evenly. Wear the exact shade at your trial and kiss someone’s cheek, drink from a glass and eat something. That tells you more about transfer than any label.
15. Nude Lip Wedding Makeup
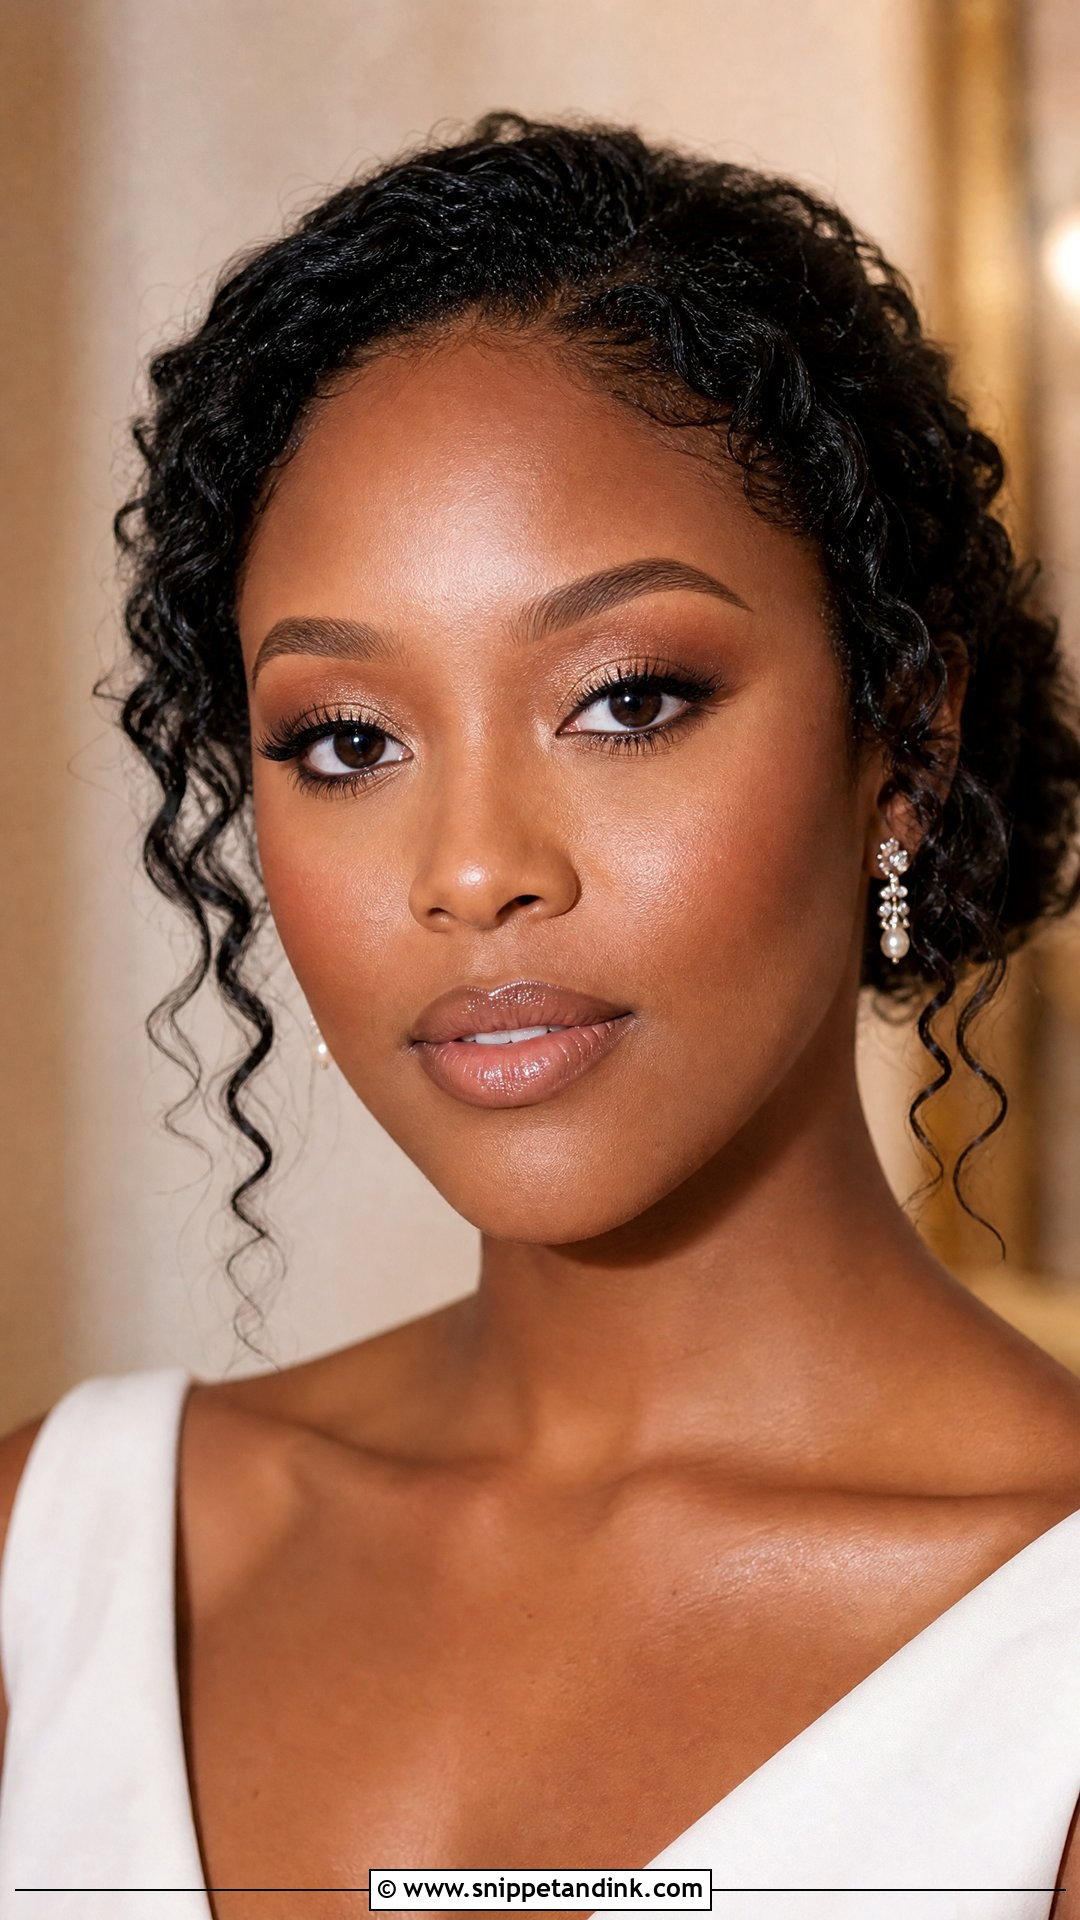
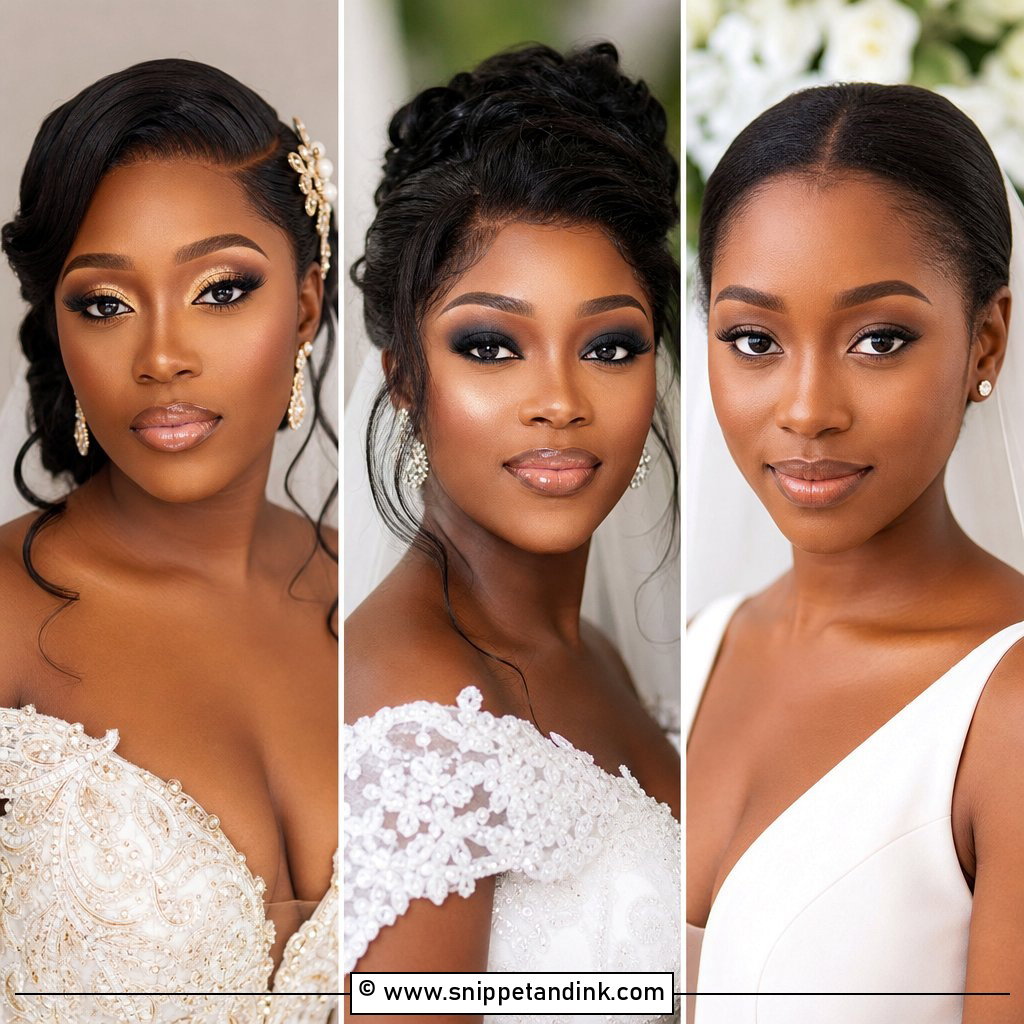
A nude that’s too light erases the mouth in photos and makes the face look unfinished. I match it to your natural lip or go slightly deeper. As a rough guide, fair skin suits pink-beige, light skin peach nude, olive skin caramel rose, and deep skin mocha, chestnut or warm brown nude. Soft eyes and glowing cheeks around it. Satin or creamy matte formulas outlast gloss, and a liner that matches your lip line, not the lipstick, gives a nude the structure it needs to show up.
16. Bold Wedding Makeup
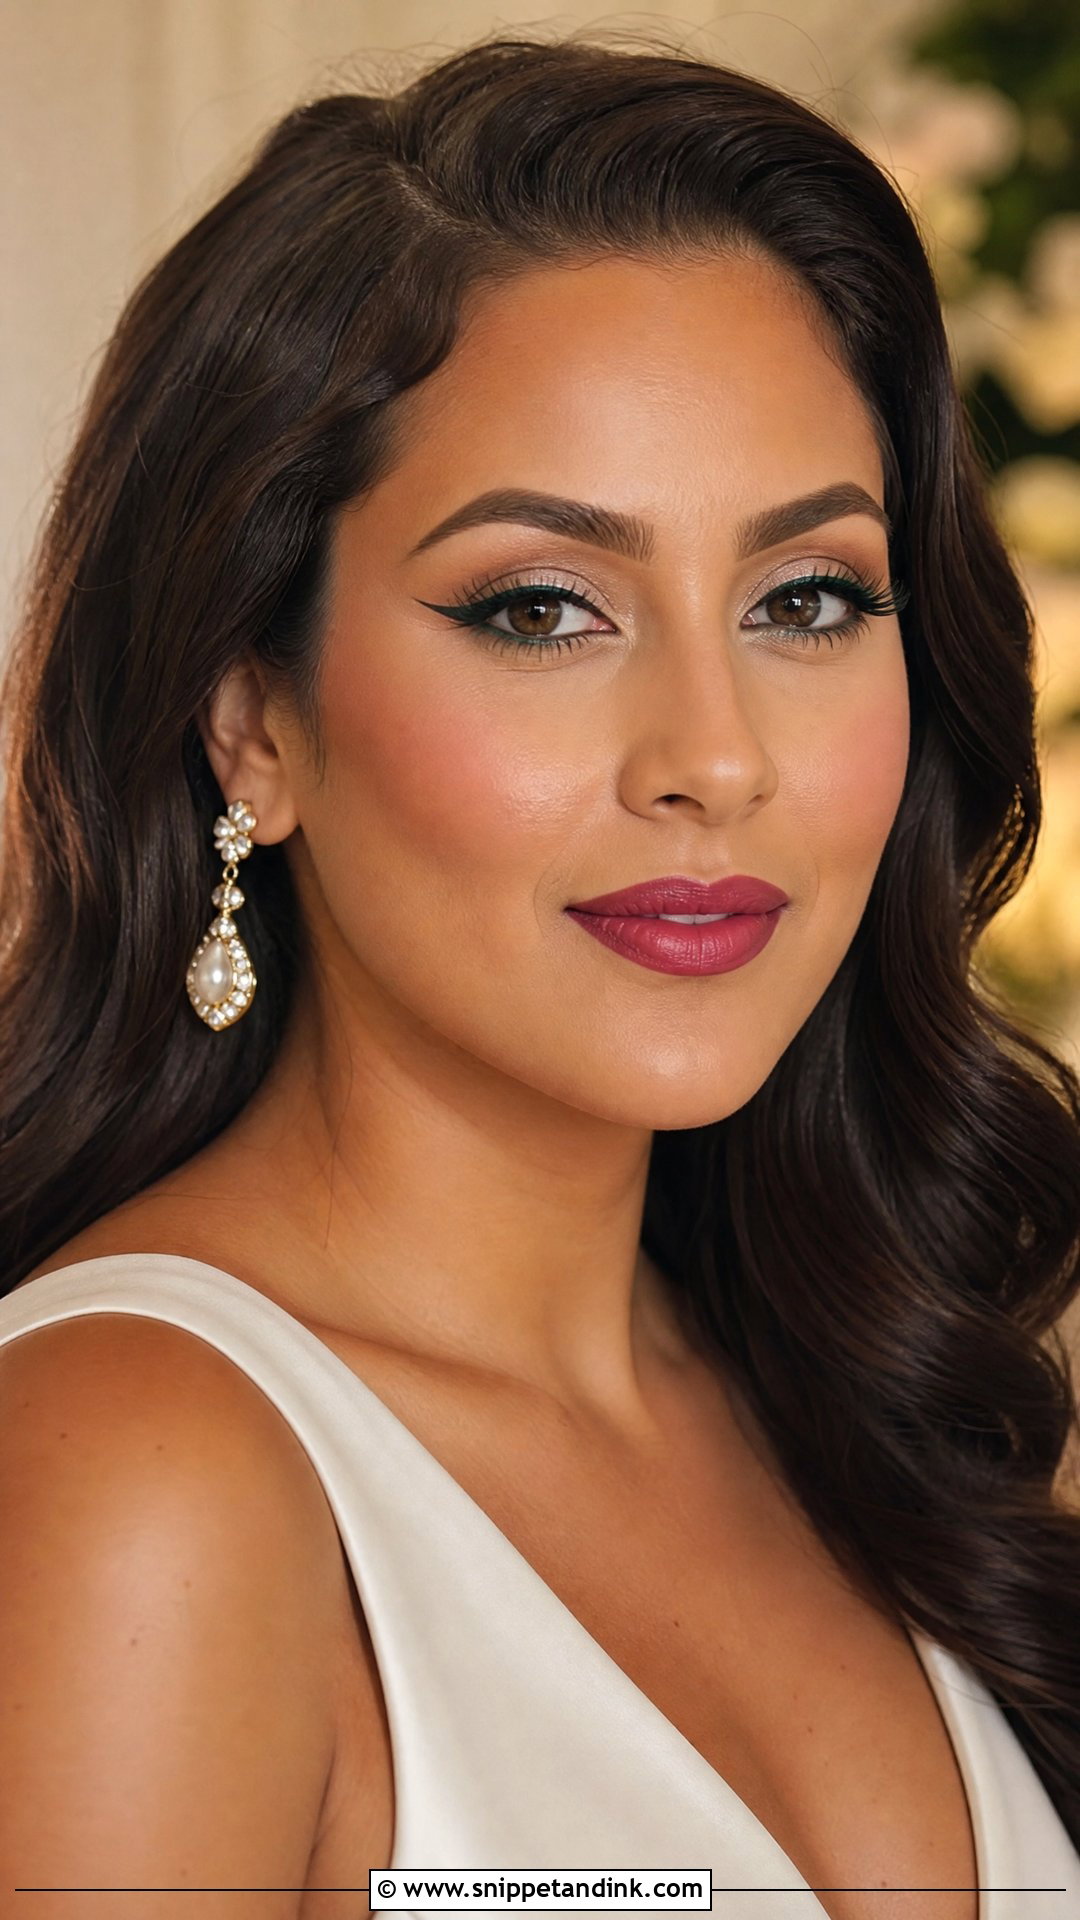
Bold makeup works when there’s one clear focus. A berry lip with soft eyes, a jewel-toned liner with nude lips, or dramatic lashes with sculpted skin, but not all three at once. The base has to be smooth and long-wearing so the bold element looks deliberate. Blush stays visible without competing. If you’re trying colour you don’t usually wear, photograph it in daylight at the trial. I’d only go bold if it connects to how you dress normally; otherwise it can feel like a costume by the second hour.
17. Wedding Makeup For Oily Skin
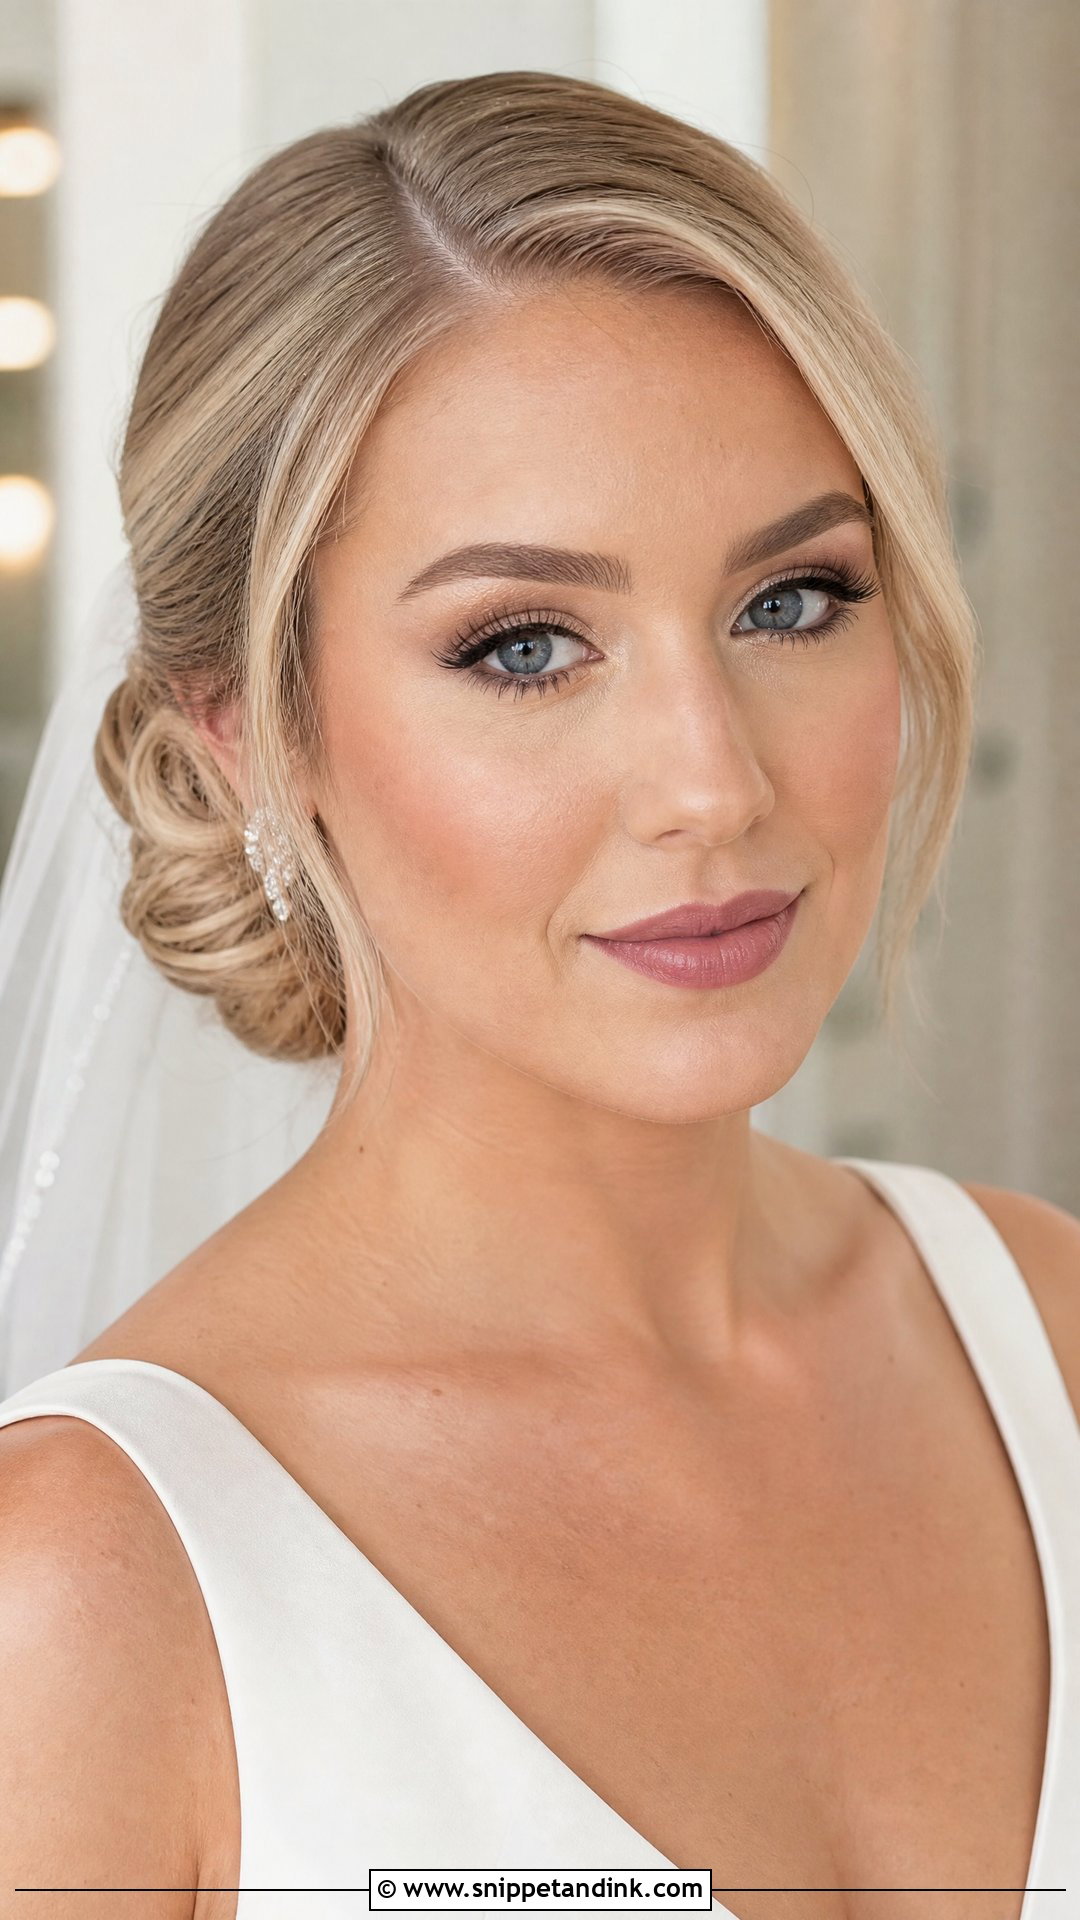
Oily skin needs control, not a mask. I prep with an oil-free moisturiser and use mattifying primer only on the shiny zones. Long-wear foundation goes on in thin layers, and loose powder gets pressed in with a puff rather than swept, which keeps it from moving the base around. Cream blush topped with matching powder blush lasts far longer than either alone. Primer, waterproof liner and mascara on the eyes, and a satin-matte lip. During the day, blot first; adding powder over oil again and again builds a cakey texture.
18. Wedding Makeup For Dry Skin
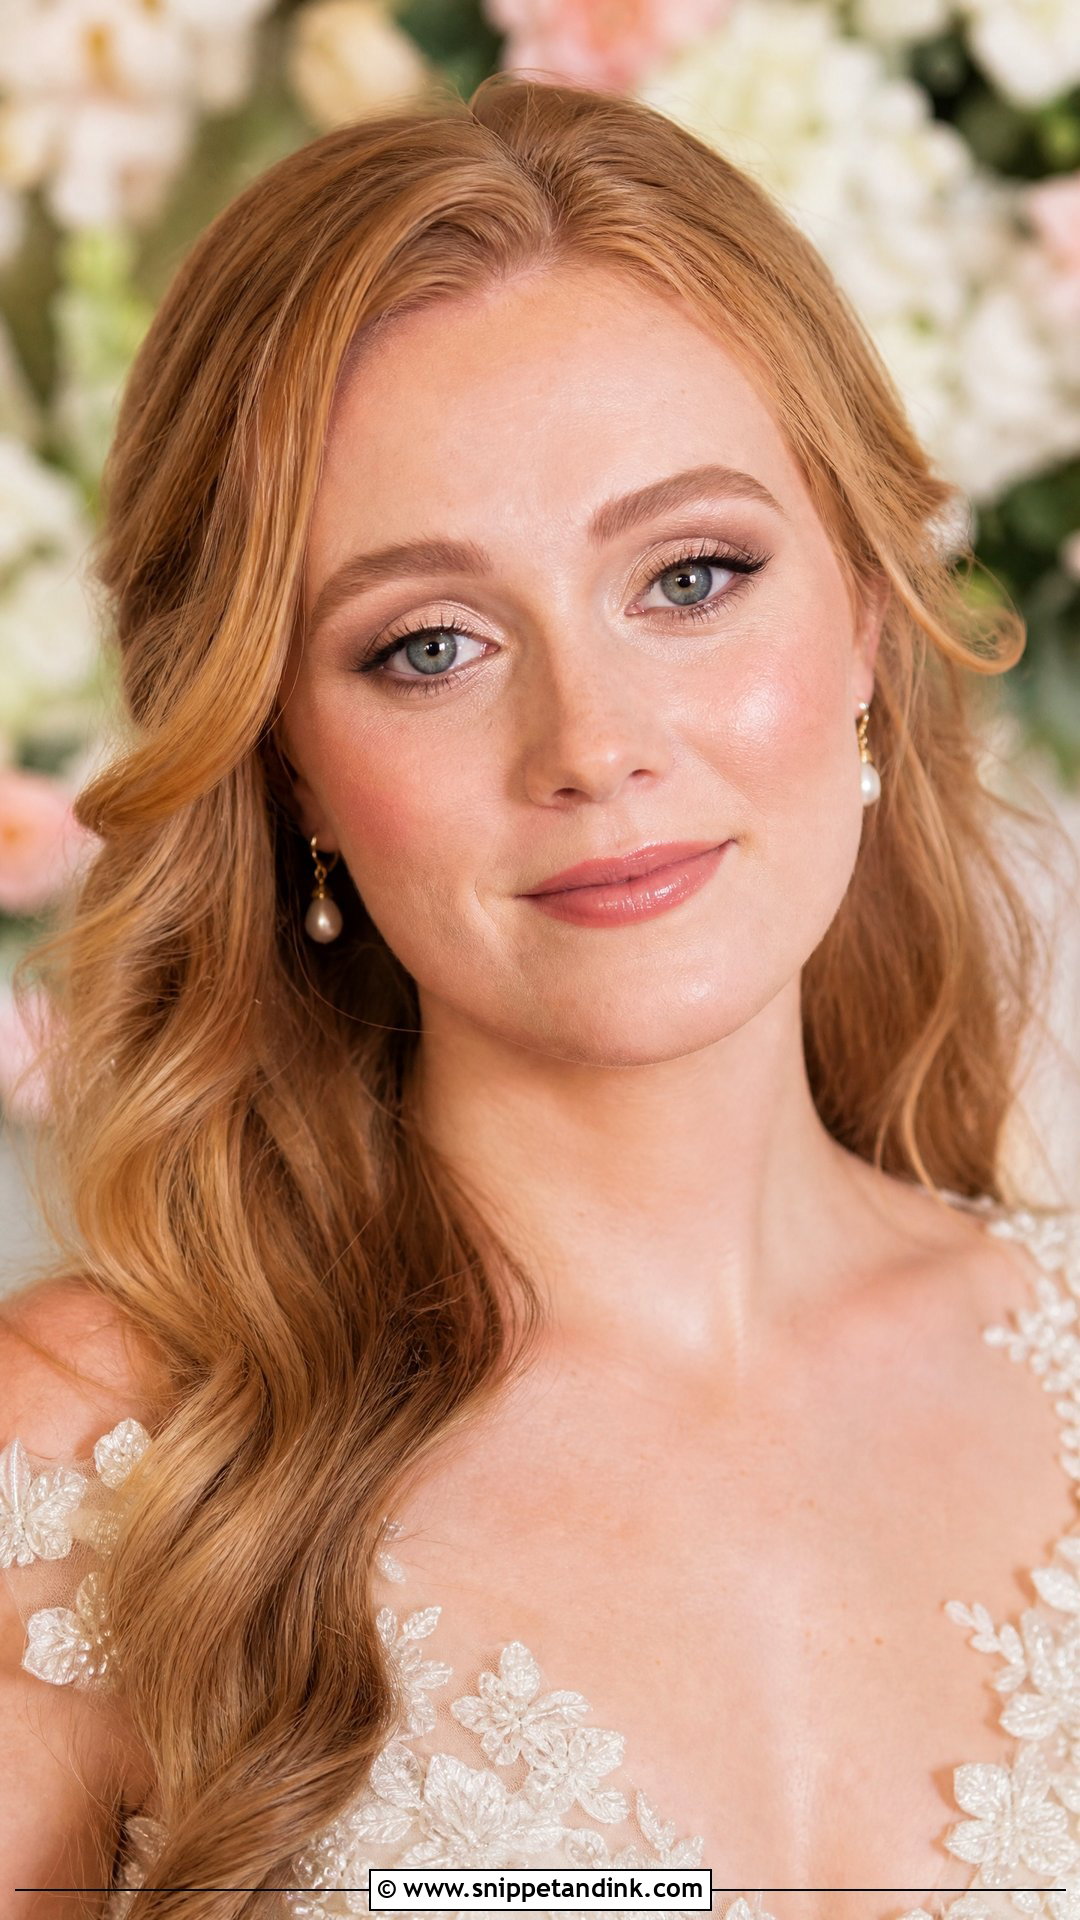
Dry skin needs its prep weeks ahead, not on the morning. Gentle exfoliation and a barrier-friendly moisturiser in the run-up, then a hydrating primer on the day and very little powder. Luminous or satin foundation sits better than matte, which clings to flakes. Cream blush, liquid highlight and soft bronzer keep the face looking fresh. Creamy eyeshadows set lightly with powder, and a moisturising satin lipstick or balm-gloss. Please don’t start a strong new acid or retinoid in the last month; irritation underneath makeup is the hardest thing for me to fix.
19. Wedding Makeup For Outdoor Wedding
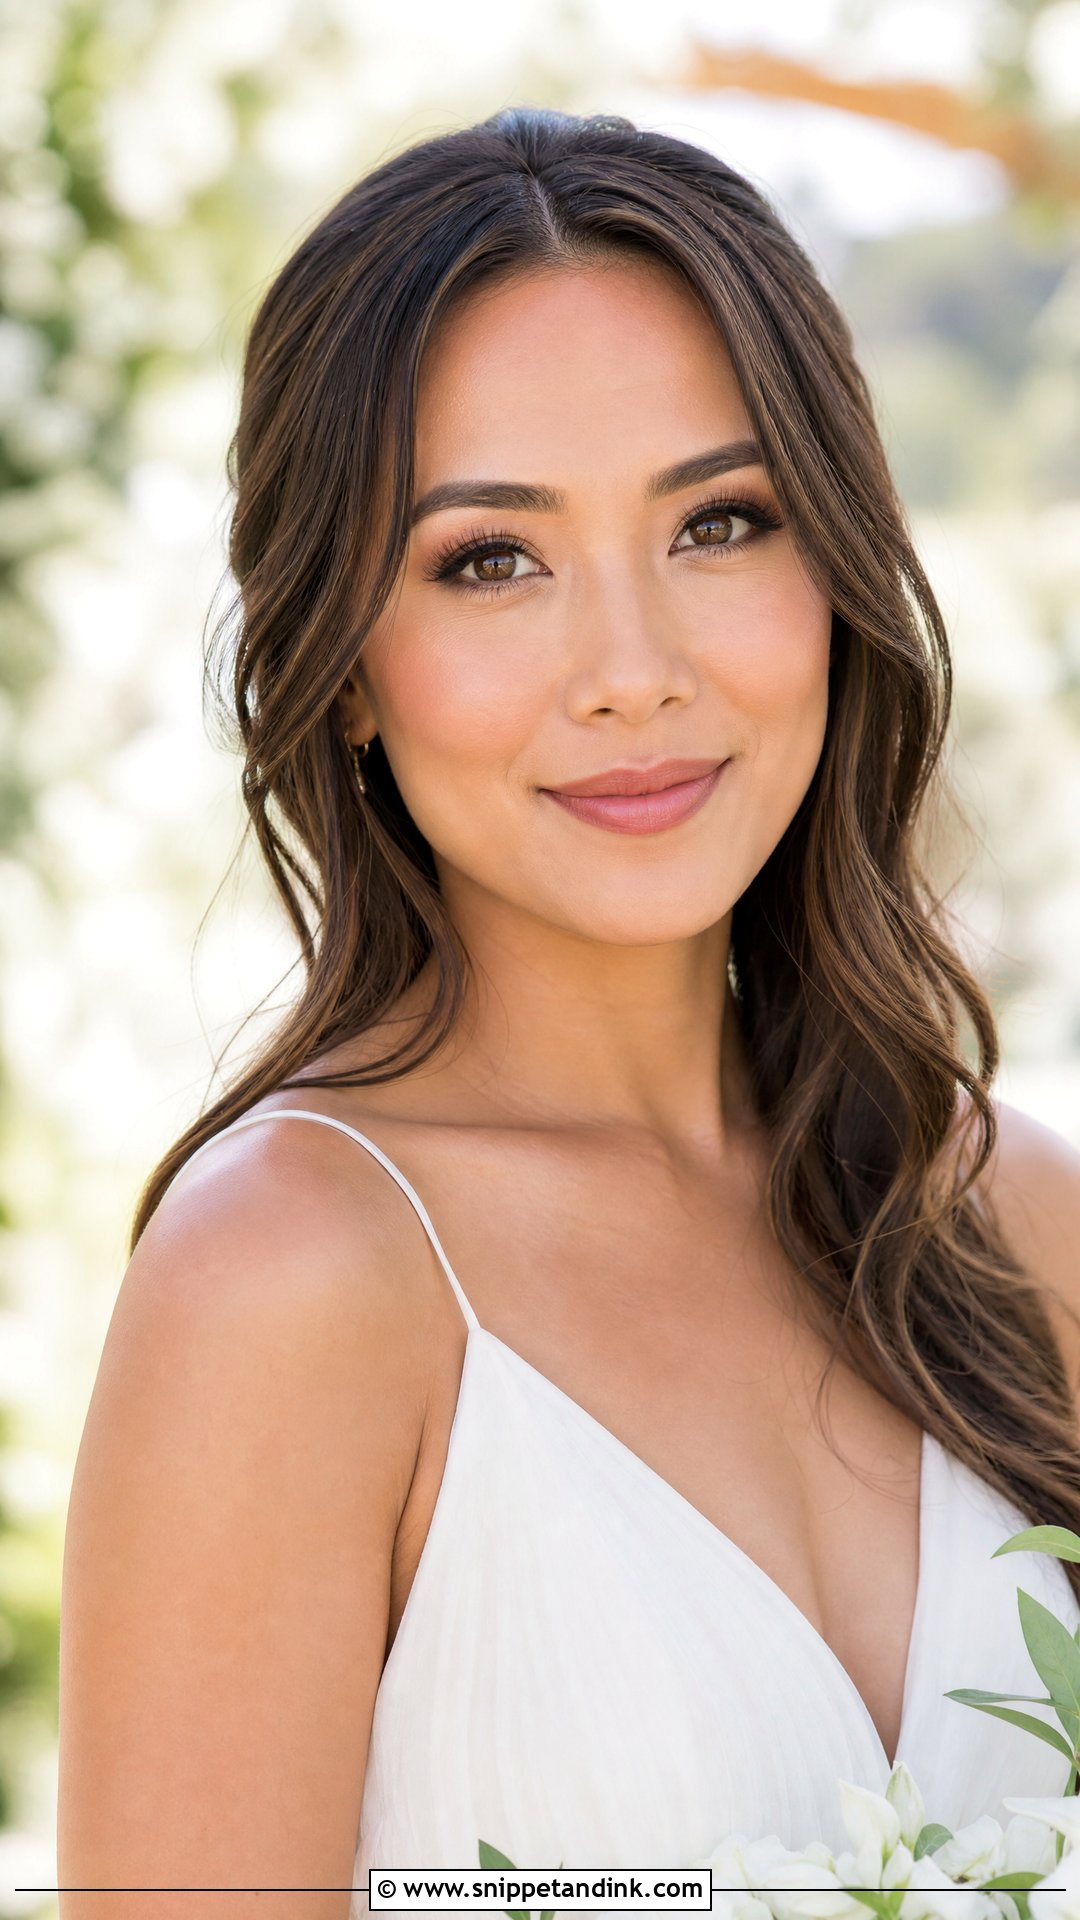
Outdoor light is honest. Sunlight exaggerates shimmer, shows every line where foundation stops, and heat moves cream products around. Wear sunscreen for a daytime ceremony, but test it under your foundation first, since some formulas pill or give a white cast in flash photos. Long-wear foundation, waterproof mascara and creams that set down well. Highlight stays refined. Warm neutral eyes, fresh blush and a comfortable lip stain are reliable. In humidity, I go lighter on creams and set the T-zone carefully. Check everything in daylight, near a window, not under bathroom bulbs.
20. Wedding Makeup Trial
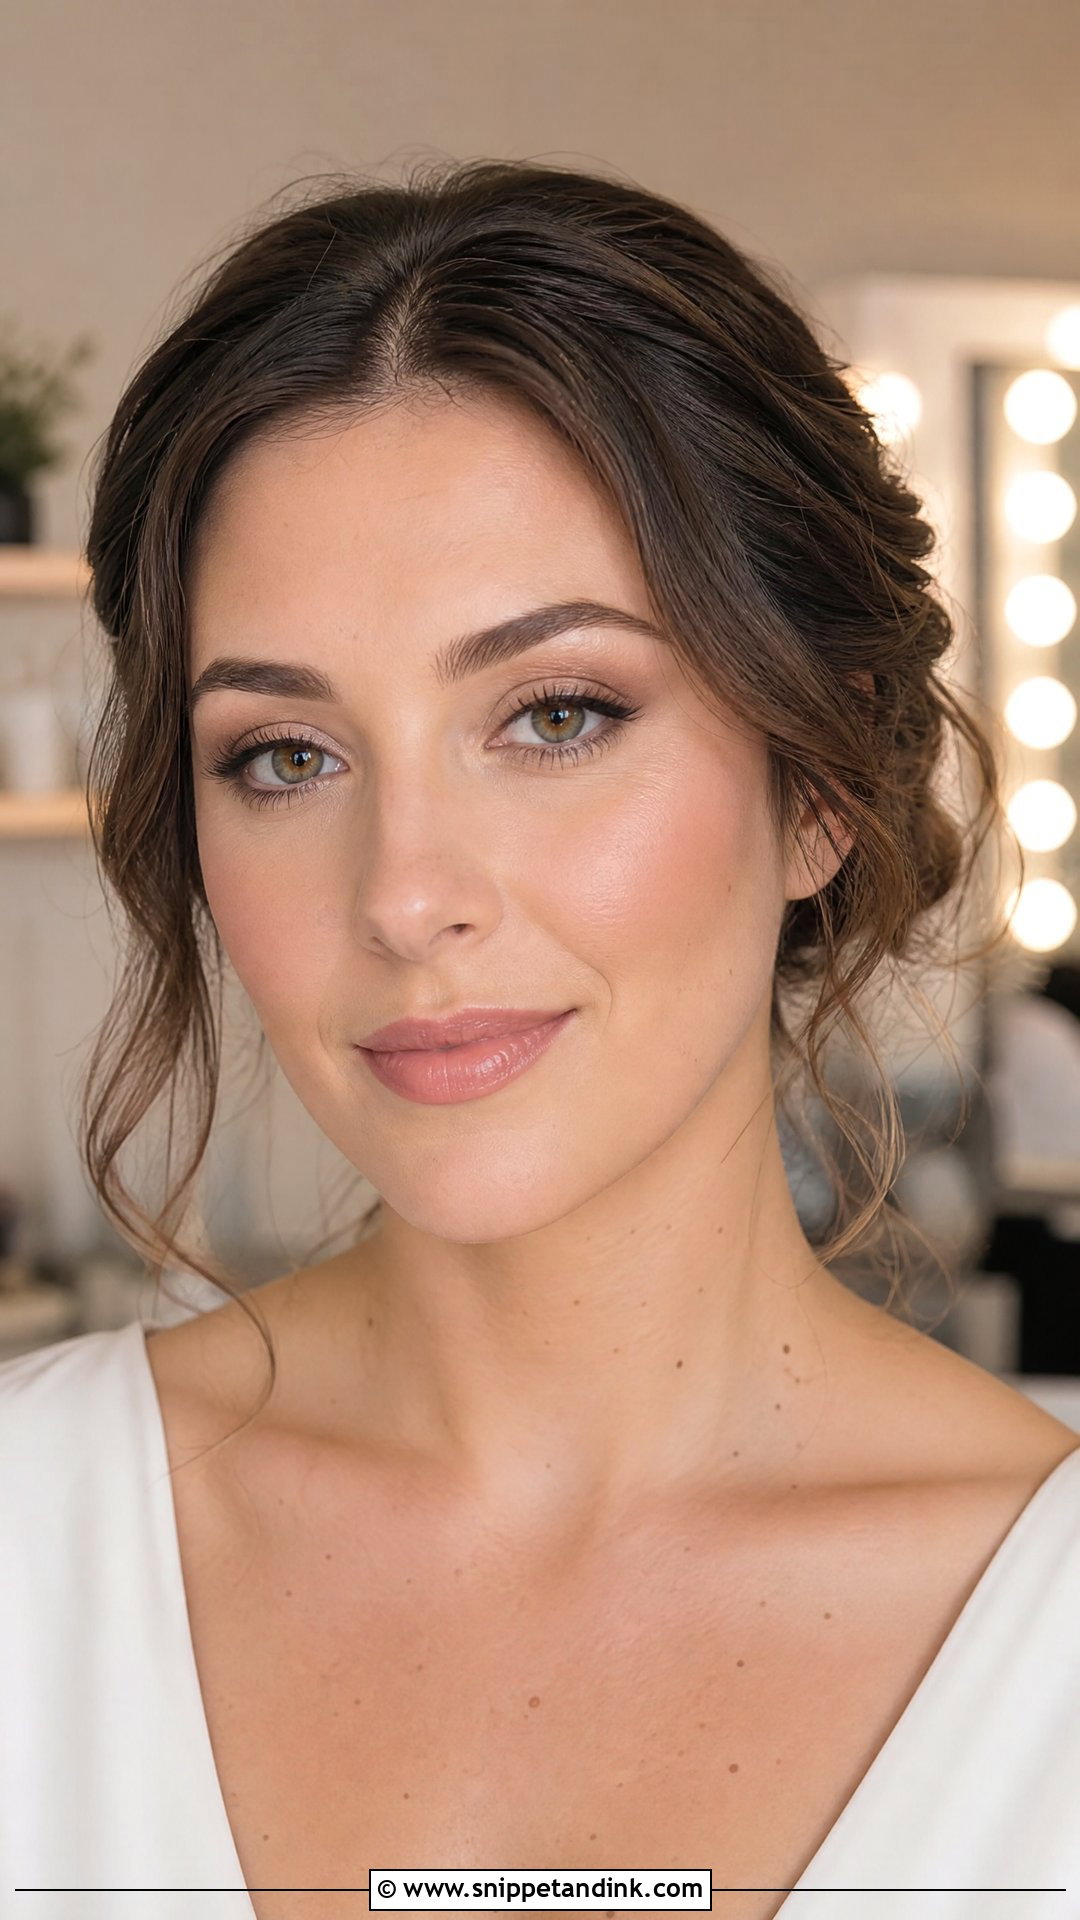
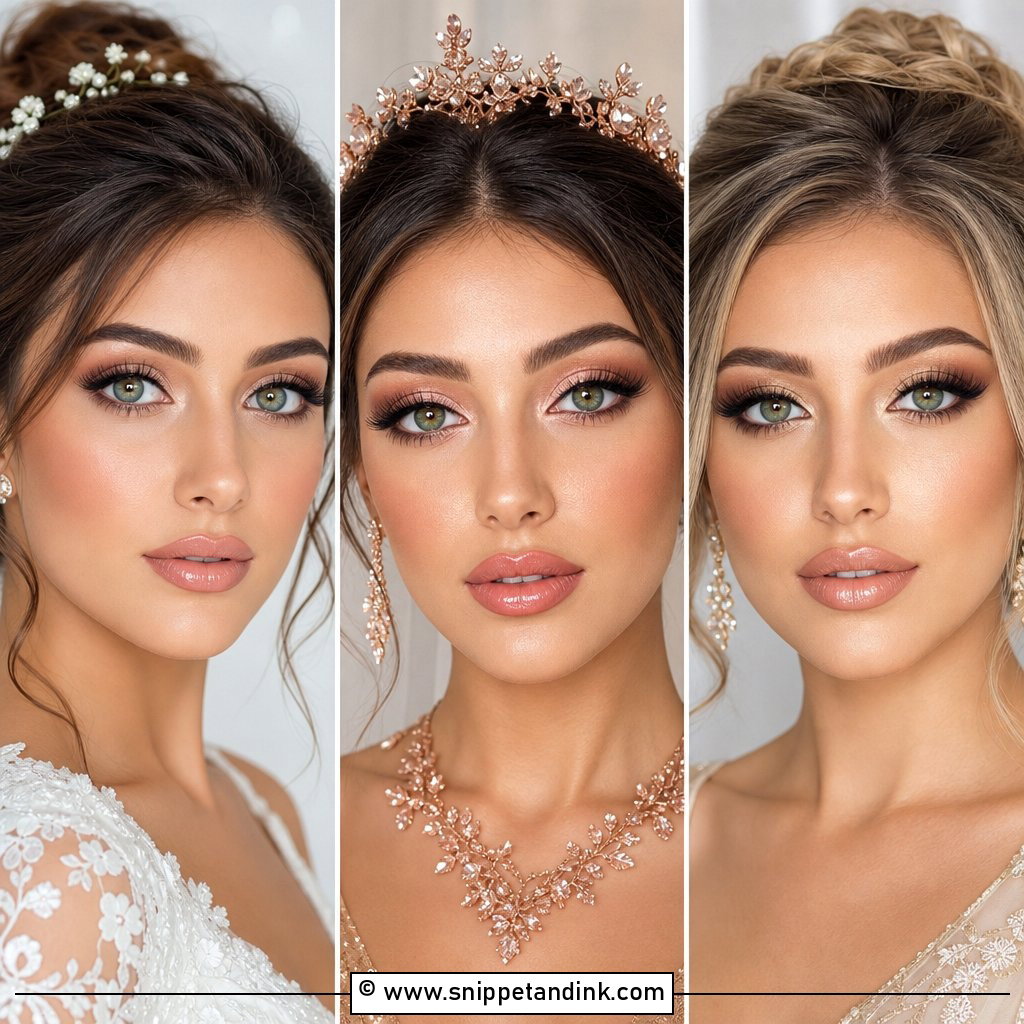
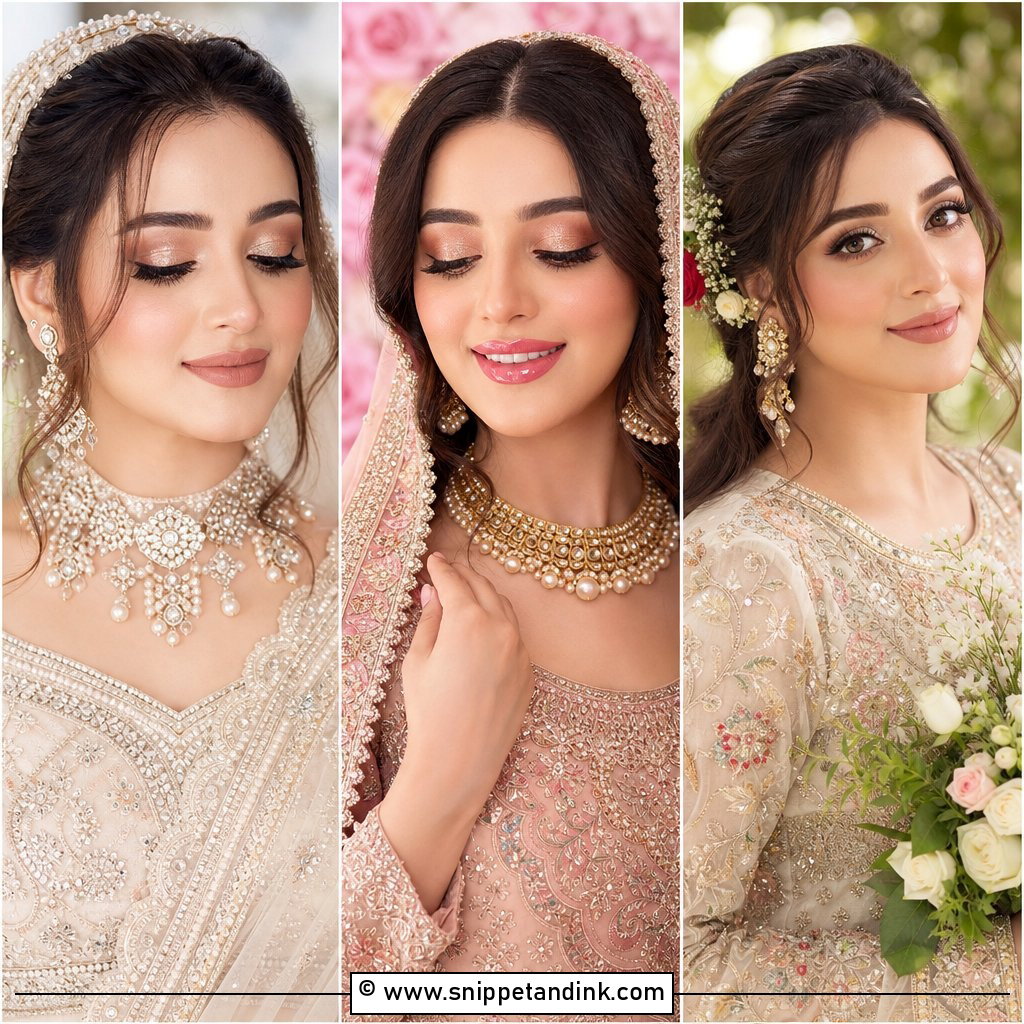
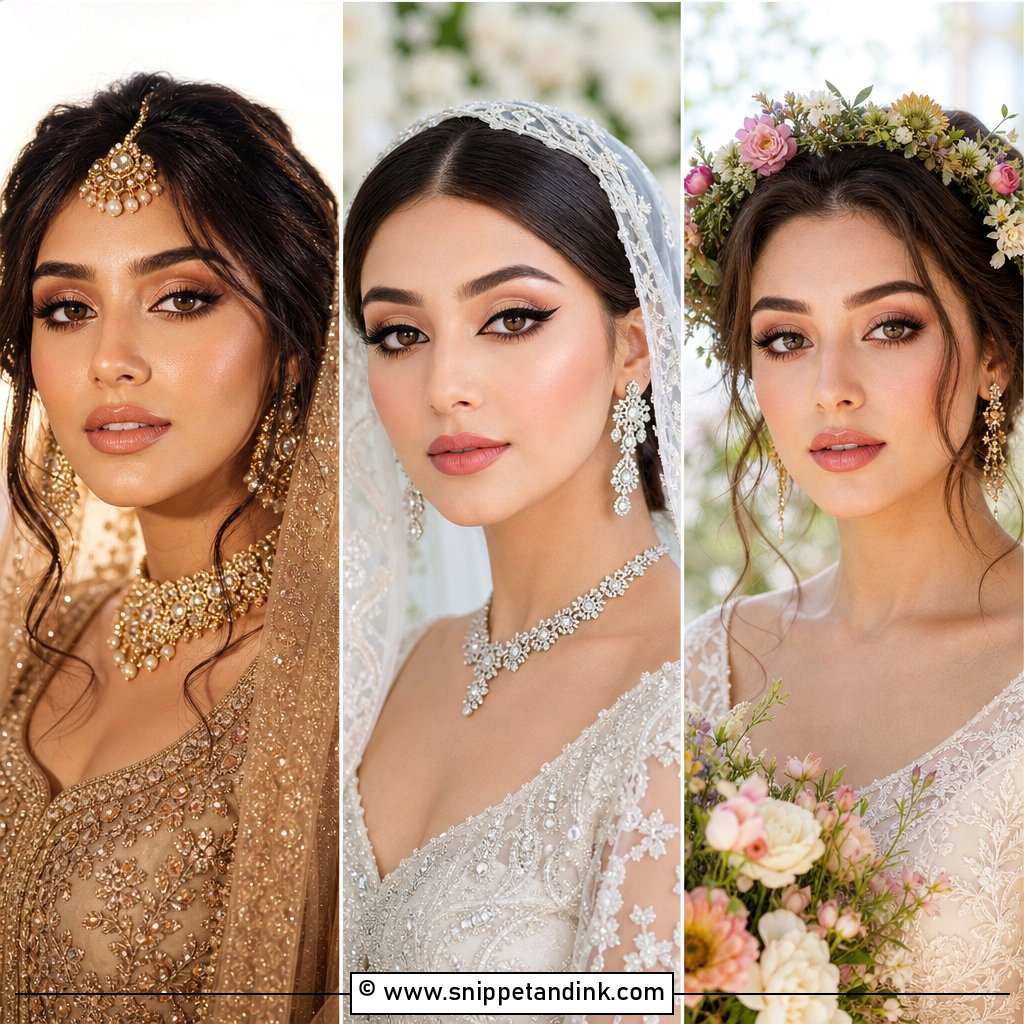
A trial is for testing behaviour, not just choosing shades. Wear a white or ivory top so you see your face against a similar colour to the dress. Bring photos of looks you love, and be clear about what you dislike, like heavy brows, matte skin or thick lashes. Ask for photos in daylight and with flash, then wear the look for several hours and check creasing, shine and lip wear. Speak up while you’re still in the chair. Adjusting lashes or blush at the trial takes minutes; doing it on the wedding morning eats into your timeline.
Running Mascara, a Fresh Spot or Lipstick on the Groom
Something small almost always happens on the day. Most of it is fixable in two minutes if whoever holds your kit knows what to do.
Tears during the vows
Don’t rub. Press a folded tissue at the outer corner of each eye and let it absorb. If mascara has smudged below, a cotton bud with a little moisturiser lifts it, then a tap of concealer covers the mark.
Lipstick worn off in the middle
Long-wear lips usually fade from the centre while the edges stay. Fill the centre with the same lipstick, press your lips together, and blot once. If someone has lipstick on their cheek, a makeup wipe takes it off far better than a napkin.
Shine creeping back
Blotting papers first, then a very small amount of pressed powder only where shine remains. Repeat that every couple of hours and the base won’t build up.
A lash strip lifting at the corner
A tiny dot of lash glue on a pin or toothpick, wait a few seconds until it turns tacky, then press the corner down. Fixing it straight away stops the whole lash from coming off during dinner.
Makeup That Still Looks Like You at the Last Dance
Good bridal makeup comes from preparation more than products. Pick a complete look that suits your skin type, your venue, the season and your dress, then test it properly. Long-wear formulas help, but skin prep, balanced colour and a small touch-up kit do most of the work. Whatever style you choose, make sure it feels like a better-rested version of you, so that when you look back at the photos in twenty years, you recognise yourself.
You'll Like These Ideas:


Leave a Reply