
A bridal set has one job that ordinary manicures don’t: it has to look clean at arm’s length in the aisle and at macro distance in the ring photos. Most of what I book for brides right now is sheer pink, milky white, pearl chrome, micro French and very small art, because those finishes forgive a tiny bit of growth and still read polished under a lens. A wedding manicure doesn’t have to be plain. It does have to agree with your dress fabric, your metal and your natural nail shape. A short squoval done well will out-photograph a long almond that’s lifting at the cuticle. Below are twenty complete sets, with what I’d watch for on each one.
Shape First, Colour Second: Planning the Set Around Your Own Nails
When a bride sits down for a consultation, I look at her natural nails before we talk about any photo. Nail bed length, how the free edge grows, whether the nails peel at the sides: those decide which of these sets will hold up and which will lift by the reception. Colour is the easy part once the shape is settled.
- Short or bitten nails: oval or squoval at your natural length, sheer pink or milky white. Save the growing-out for after the wedding; a neat short set looks tidier than forced length.
- Thin, bendy nails: a structured gel overlay gives them a rigid apex so they stop flexing and cracking at the corners.
- Wide nail beds: almond or oval slims them visually; square makes them look broader.
- Long, strong natural nails: almost any shape works, but keep the length you can actually live with for a week.
Bring your tech three things: a photo of the dress detail you want to echo, the ring itself (or a clear photo of the metal), and one or two inspiration sets rather than ten. Ten photos usually means ten different directions, and I’ll spend the appointment guessing which one you meant.
1. Classic French Wedding Nails
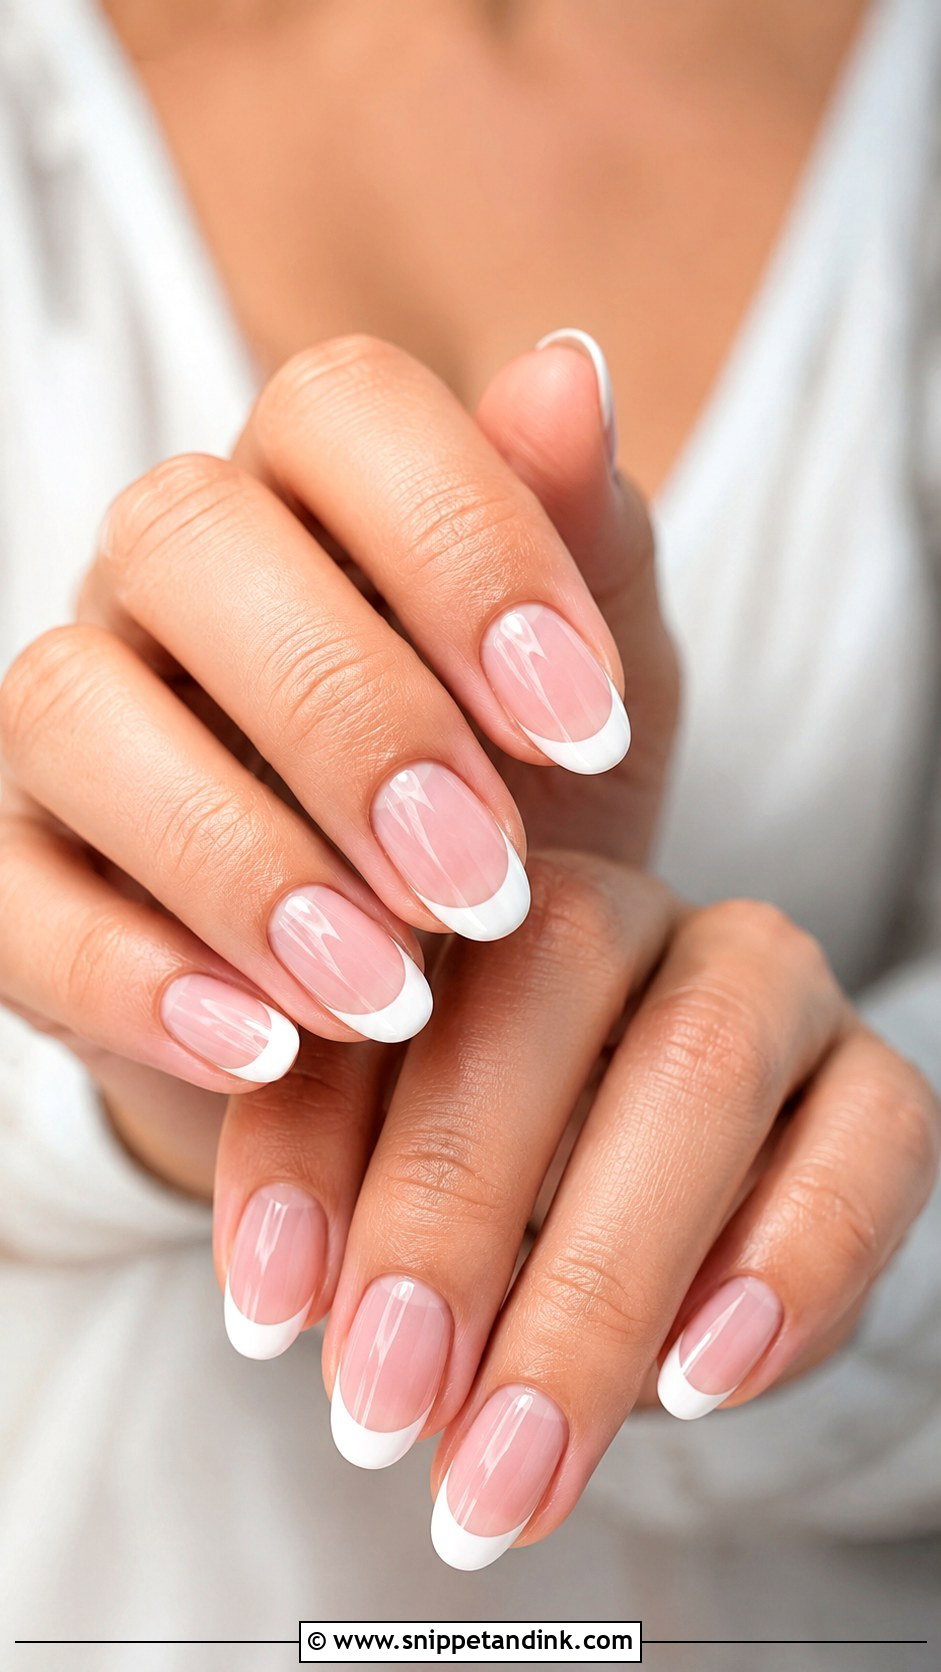
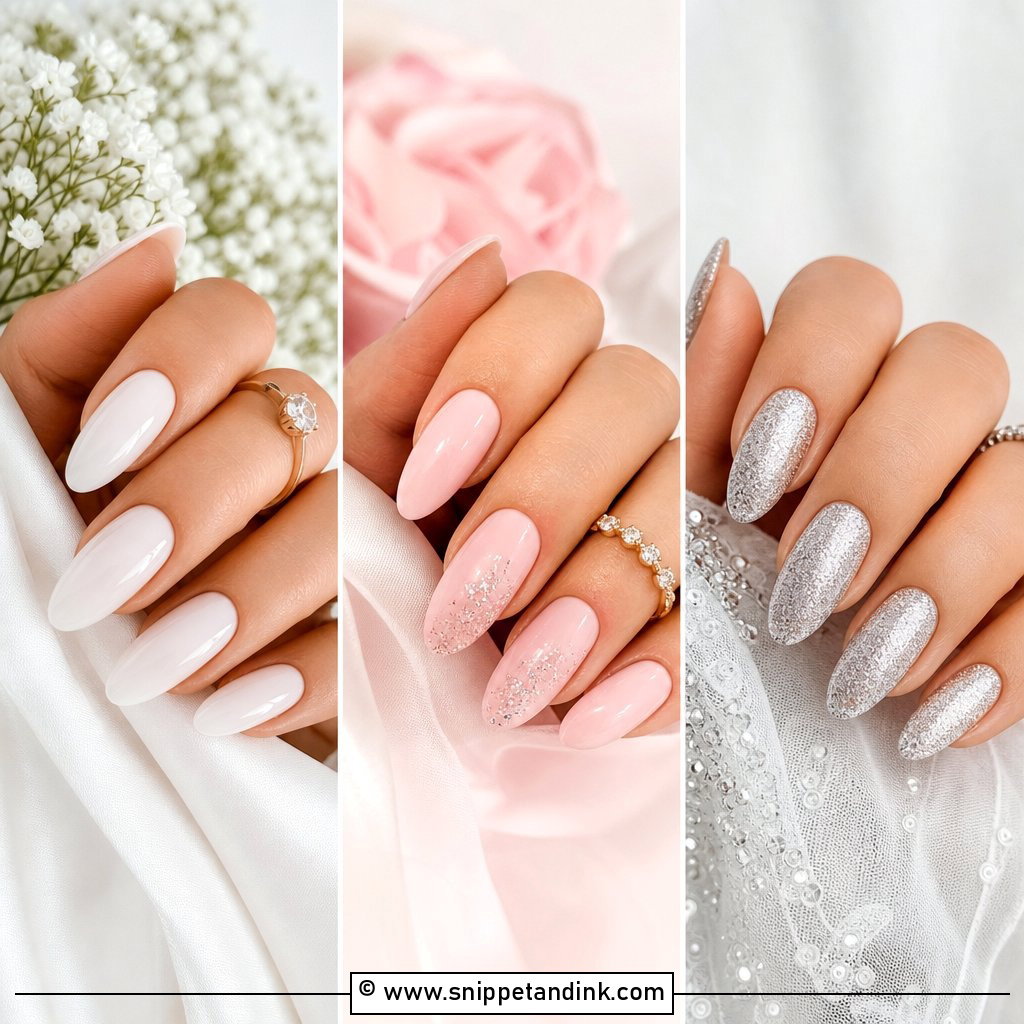
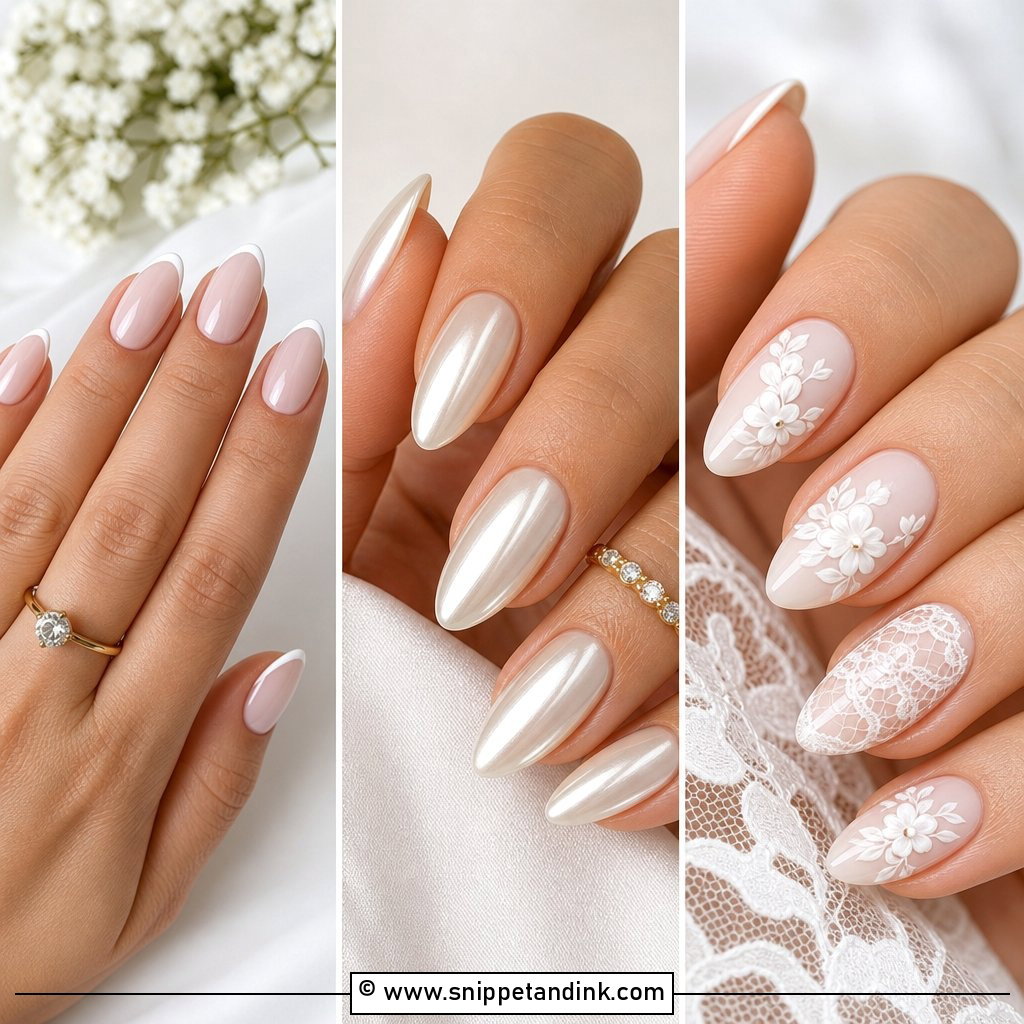
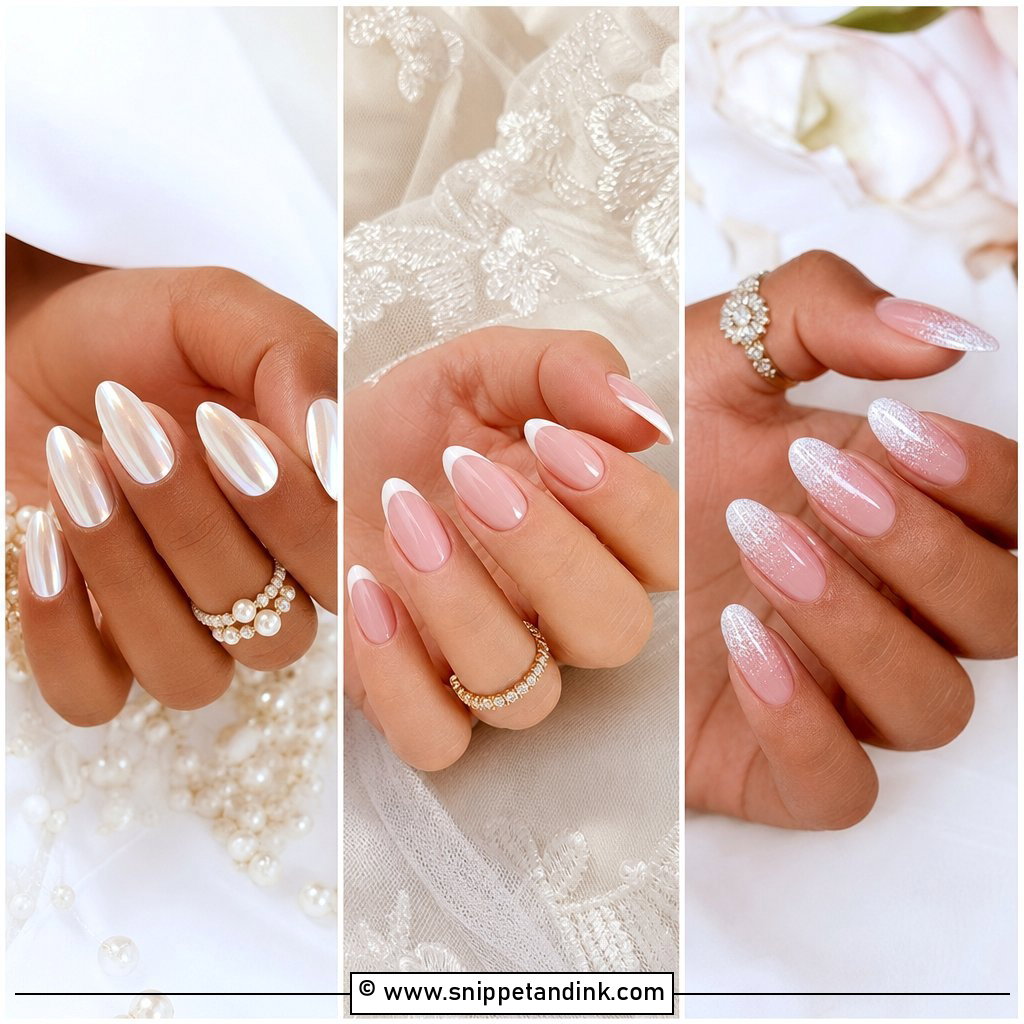
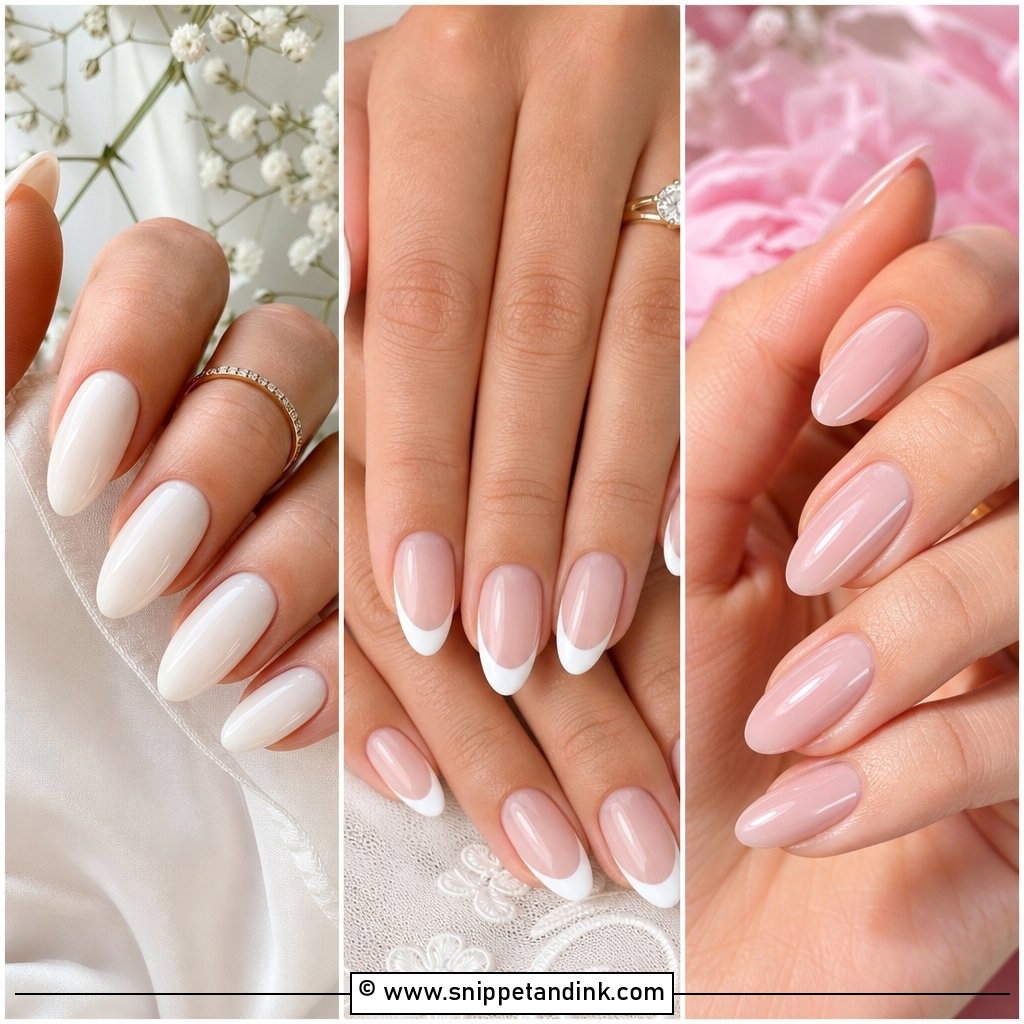
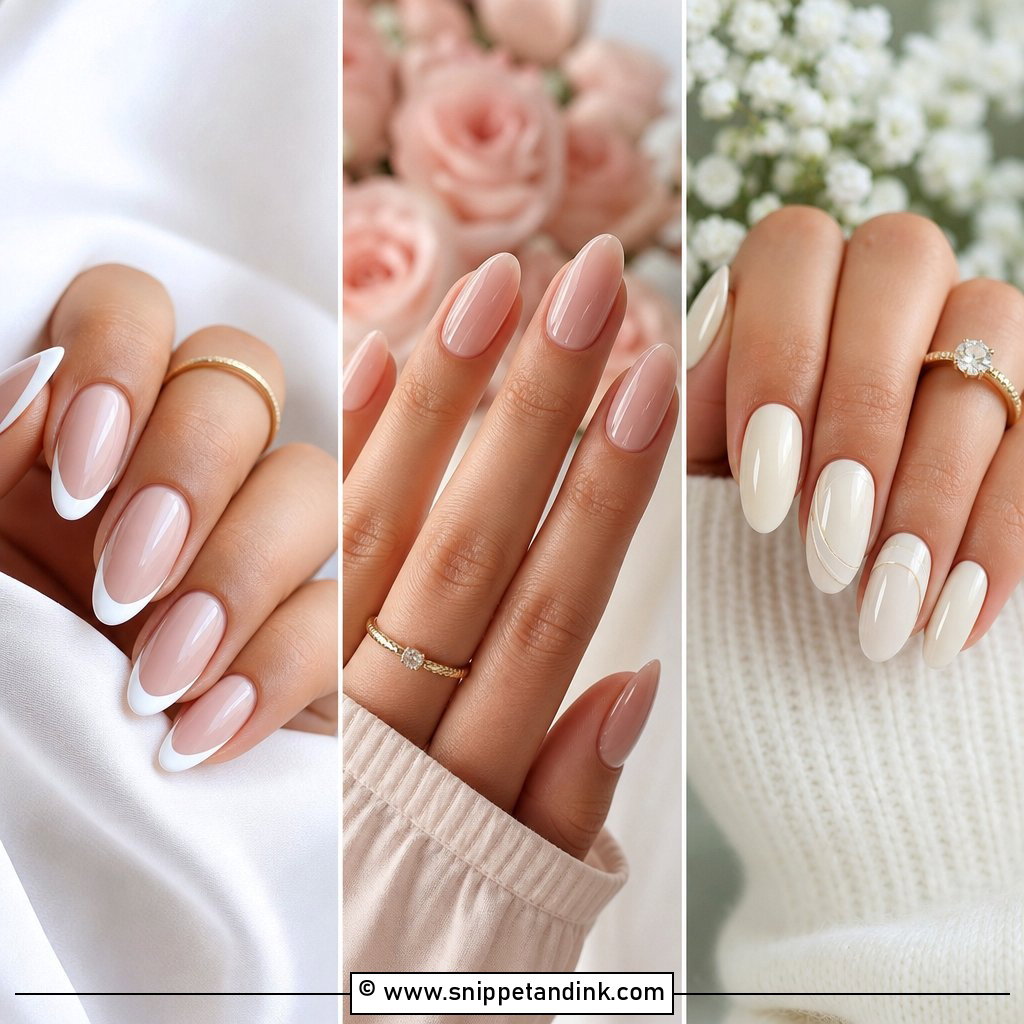
This is the set I can promise will still look right in twenty years. I lay a sheer pink or soft nude over the nail bed and paint the white freehand, keeping the smile line to roughly the width of the free edge so the tip never looks like a stripe. Thick white bands were the old salon habit and they shorten the finger; ask for thin. On a very short nail I’ll often mark the smile line slightly lower than the real one, which buys a little visual length. Bridesmaids and mothers can wear the same set without clashing with any dress colour.
2. Milky White Wedding Nails
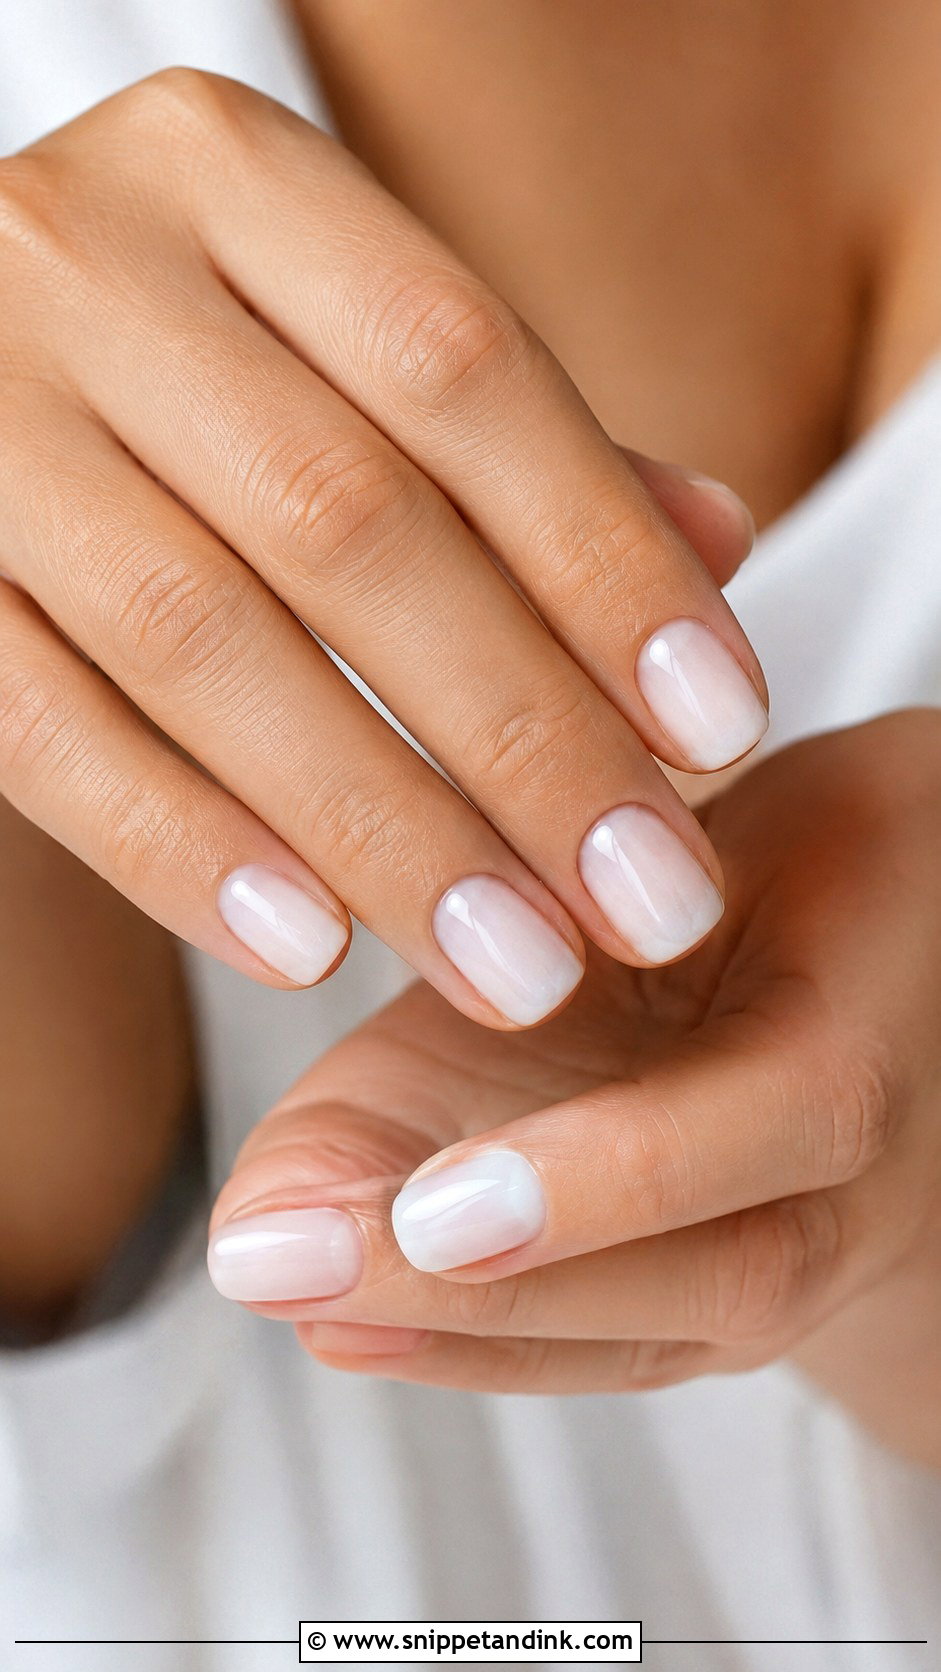
I reach for Milky white wedding nails when a bride wants white but finds solid white too stark against her skin. The polish is semi-sheer, so a little of the nail bed shows through, and the trick is building it in two or three thin coats rather than one thick one; thick milky gel shows every streak. It flatters short ovals and medium almonds most. A high-gloss top coat is non-negotiable here, because a matte or dull finish makes milky white look chalky in daylight. One tiny pearl on the ring finger is about as far as I’d decorate it.
3. Pearl Chrome Wedding Nails
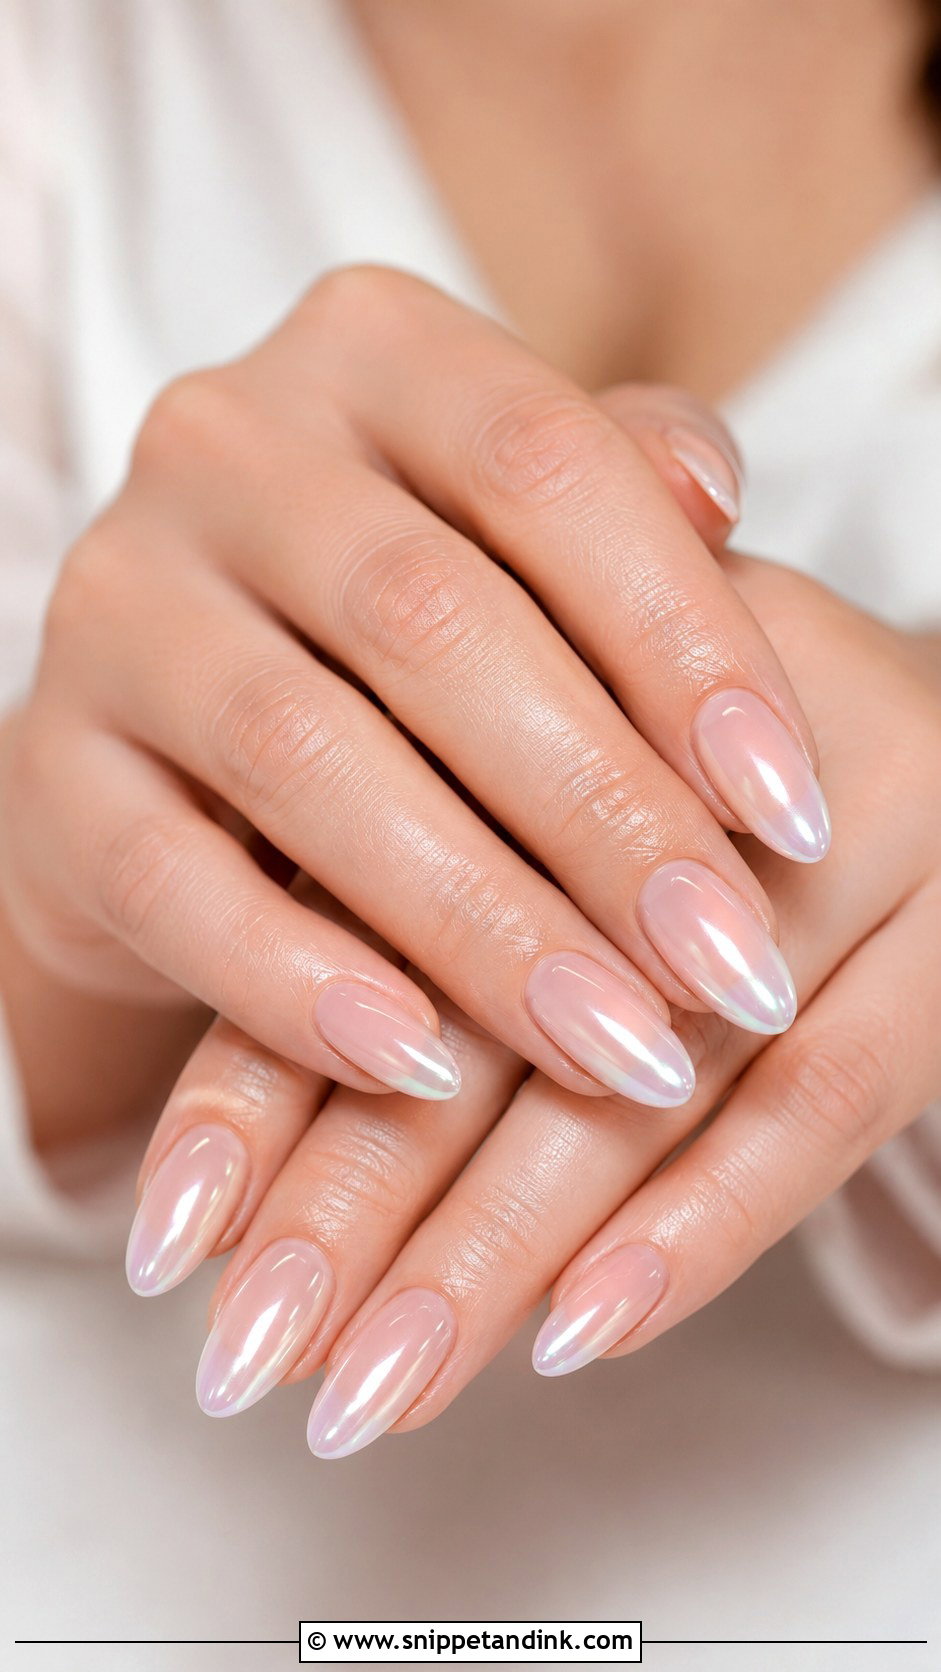
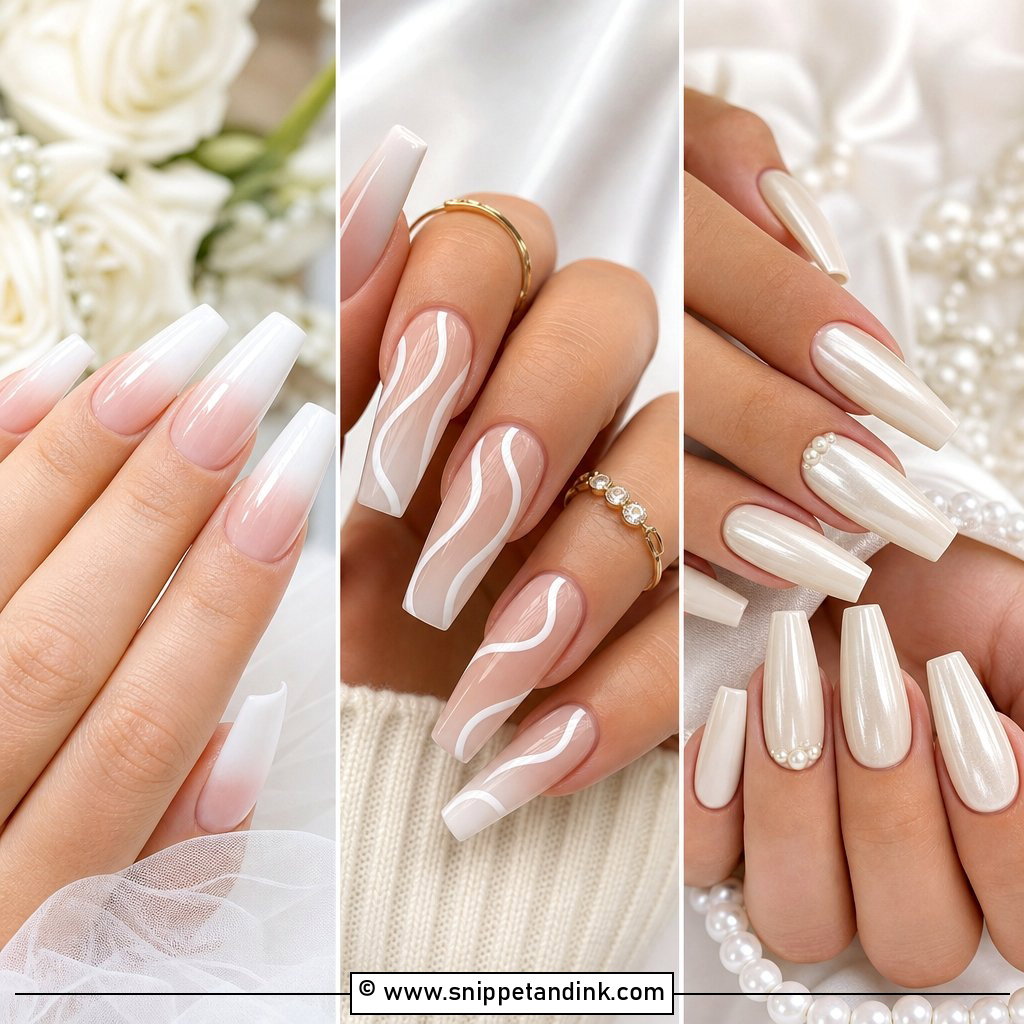
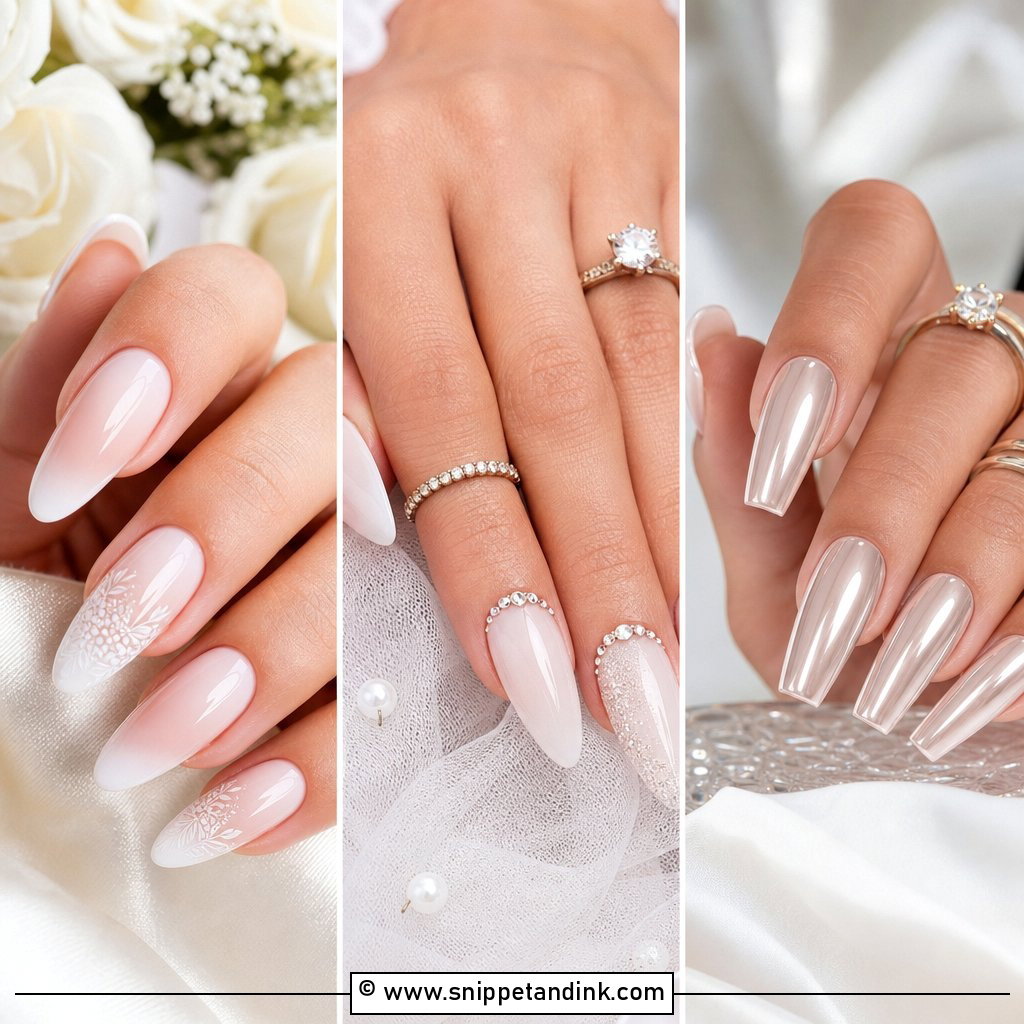
The glow on Pearl chrome wedding nails comes from a fine powder rubbed into a no-wipe top coat, then sealed. The base matters more than the powder: over sheer pink you get a soft glazed look, over milky white it turns brighter and almost opalescent. It suits gowns with satin, beading or pearl trim, since the finish echoes them. Chrome shows lumps underneath, so I file and buff the base layer smooth before the powder goes on. Short squoval nails carry it just as well as almond.
4. Baby Boomer Wedding Nails
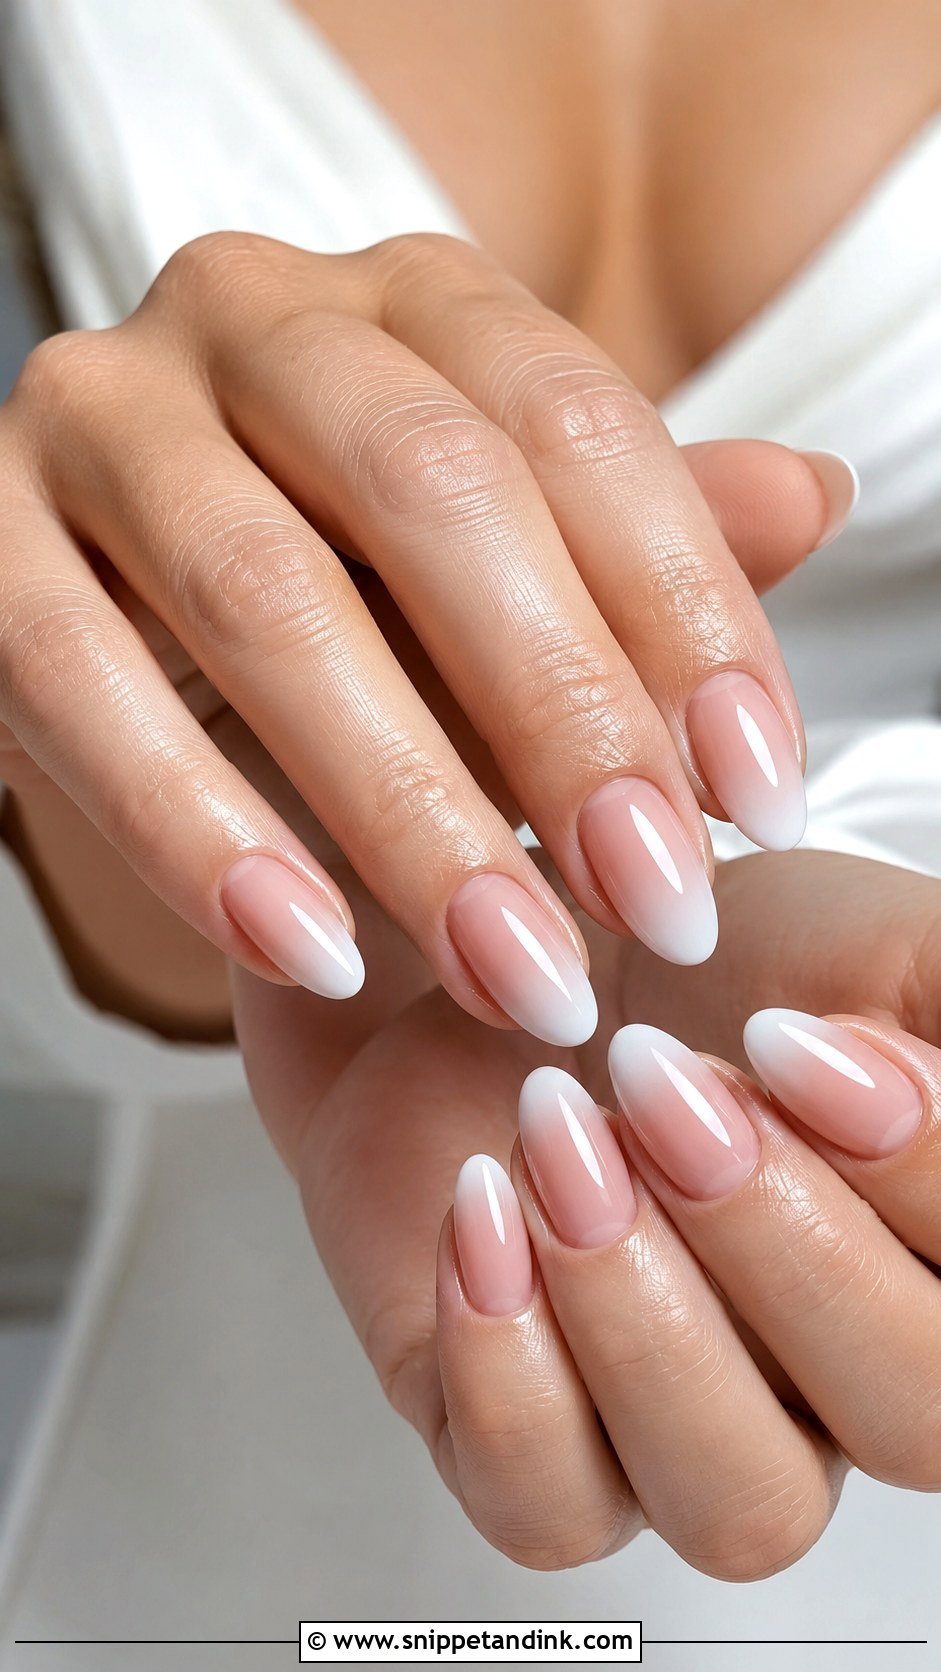
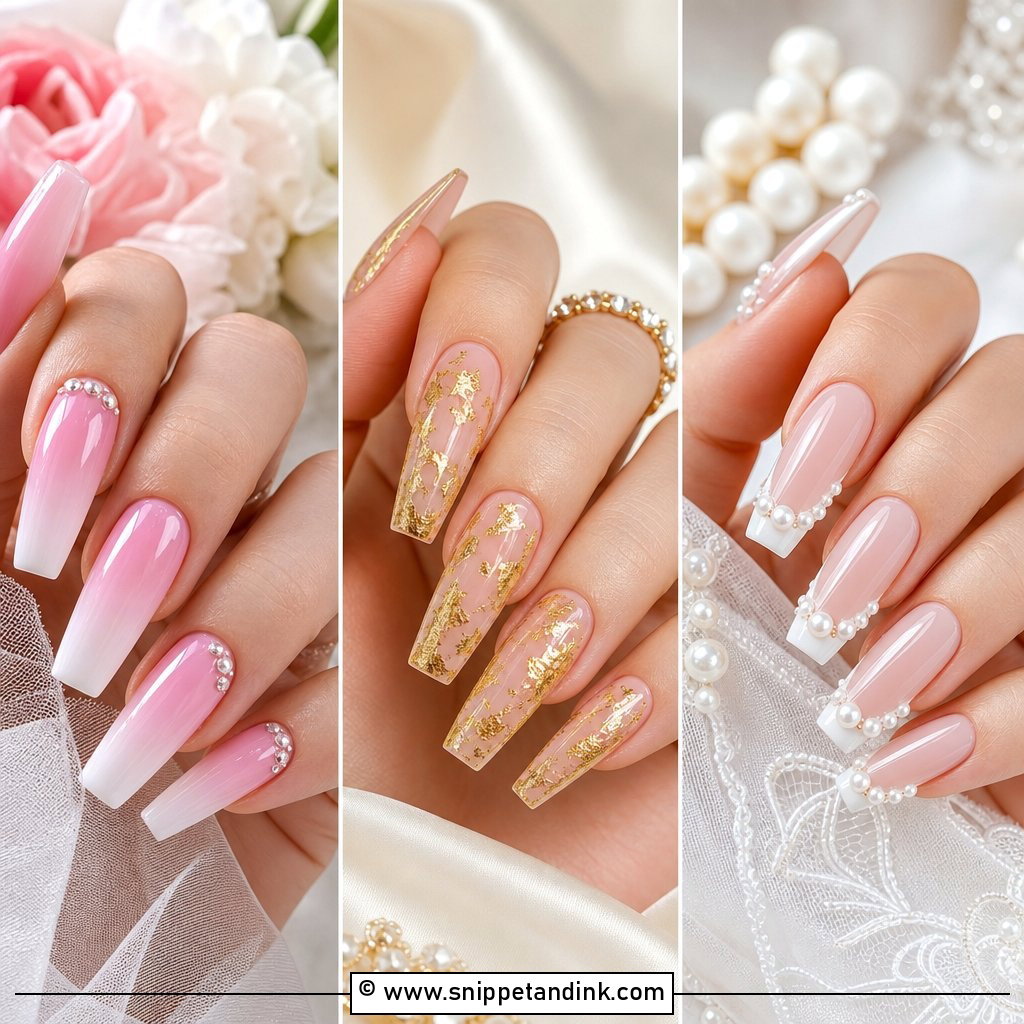
Baby boomer is a French tip with no line at all: nude or pink at the cuticle melting into creamy white at the free edge. I build the fade with a sponge or with layered gel, and a poorly blended version shows a muddy grey band in the middle, so look closely at your tech’s portfolio for clean gradients. The fade follows the length of the nail, which is why almond, coffin and oval shapes show it best. It’s the set I suggest when a bride likes French but finds the crisp line too formal. A whisper of shimmer in the top coat is optional; gloss alone is enough.
5. Nude Pink Wedding Nails
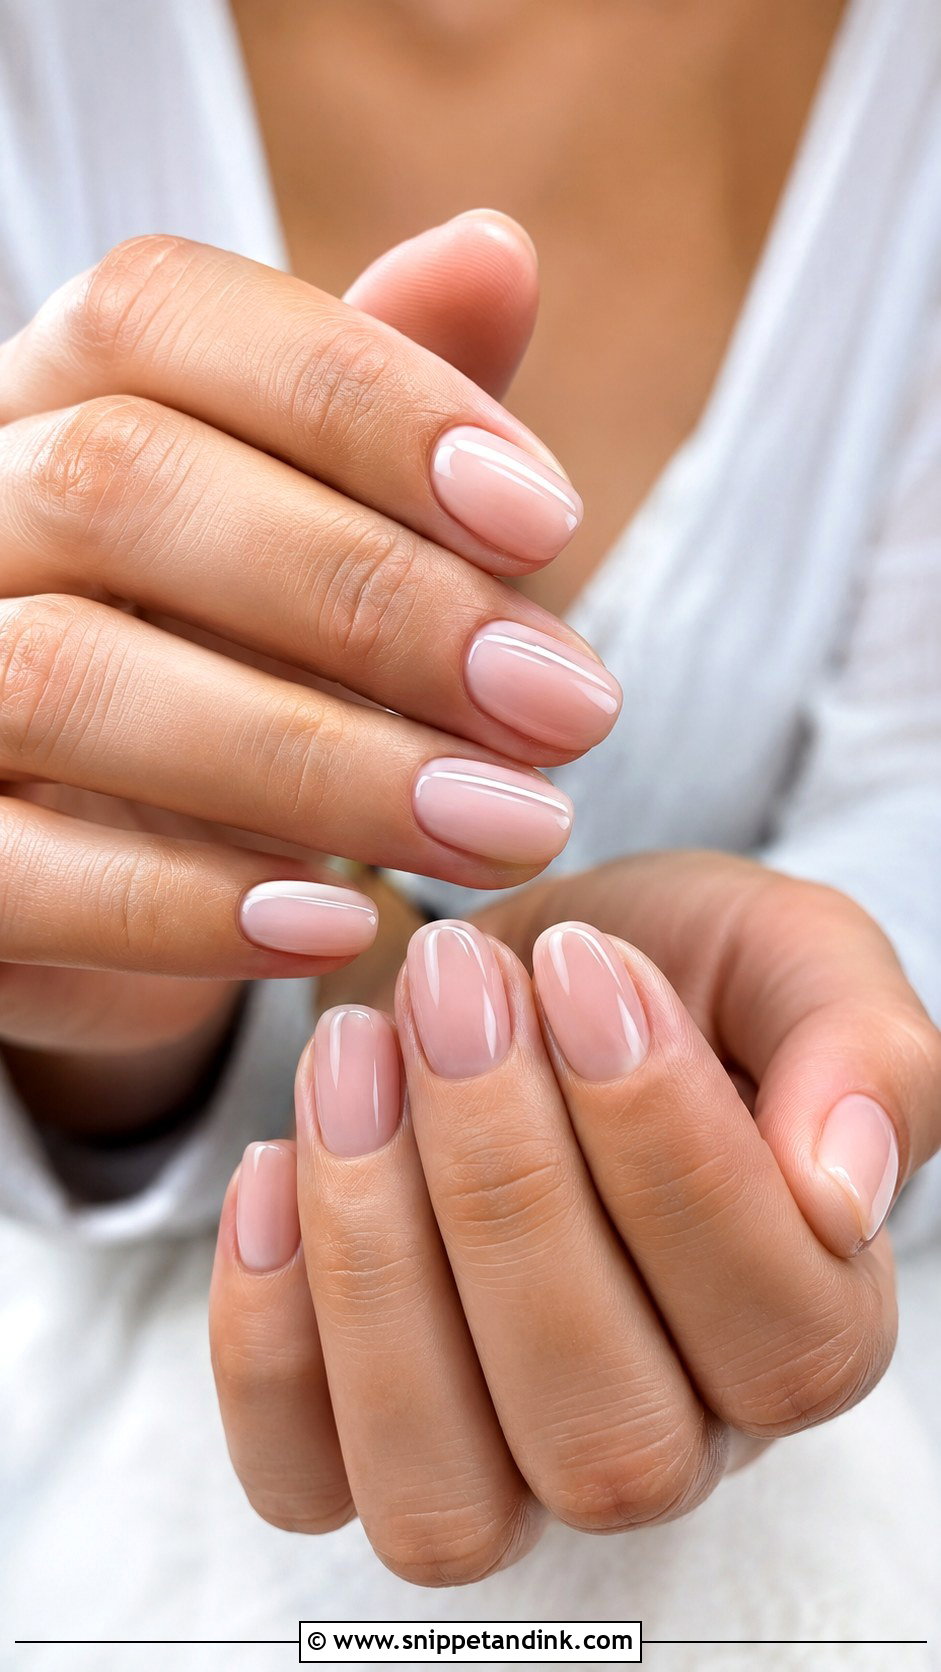
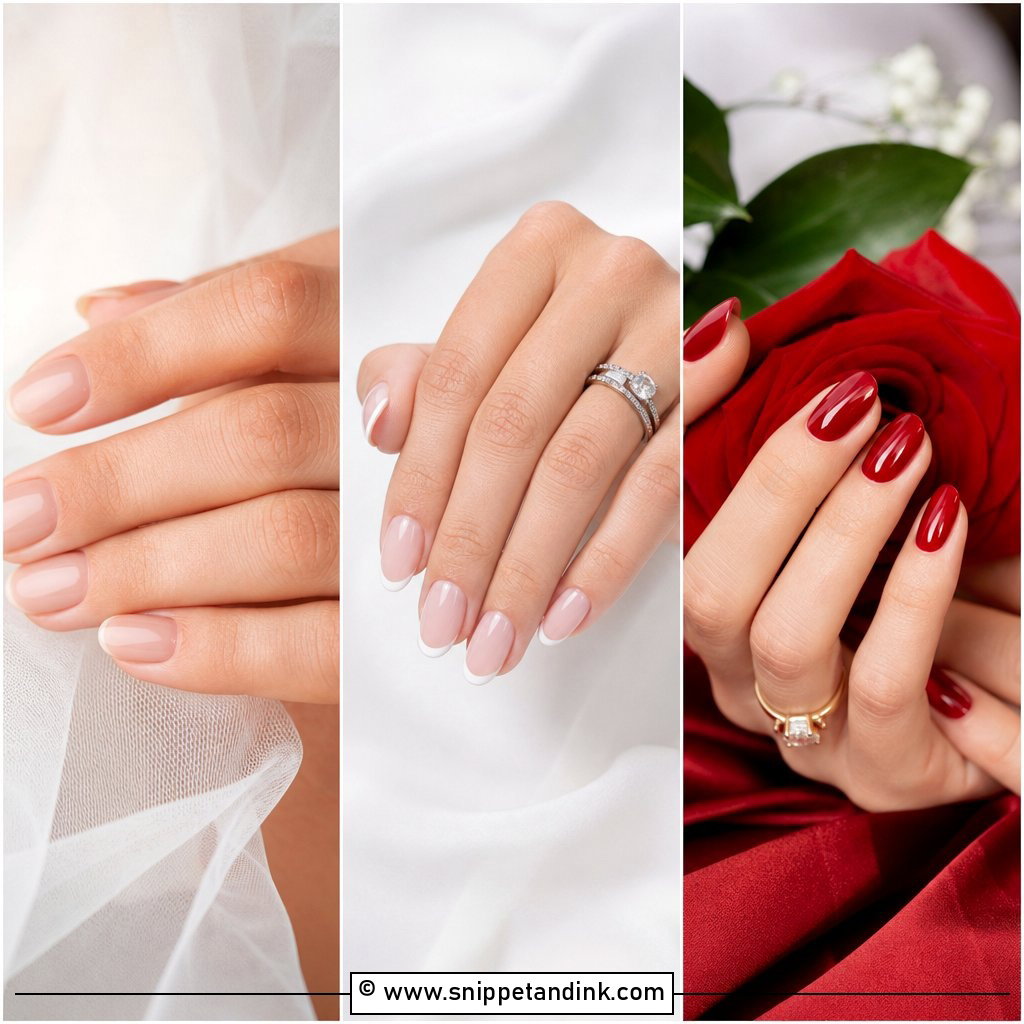
Getting nude pink right is all undertone. On fair skin a pale blush usually wins; on medium and olive skin a rosy beige sits better; deep skin tones tend to glow in mauve pink, caramel nude or a rich rose beige. When I swatch, I paint the shade on a tip and hold it against the back of the hand, not the palm, because that’s what the camera sees. A nude that’s a touch too light makes fingers look grey. Clean cuticle work and a high shine do most of the work in this set, and one sheer shimmer coat is the only upgrade it needs.
6. Short Wedding Nails
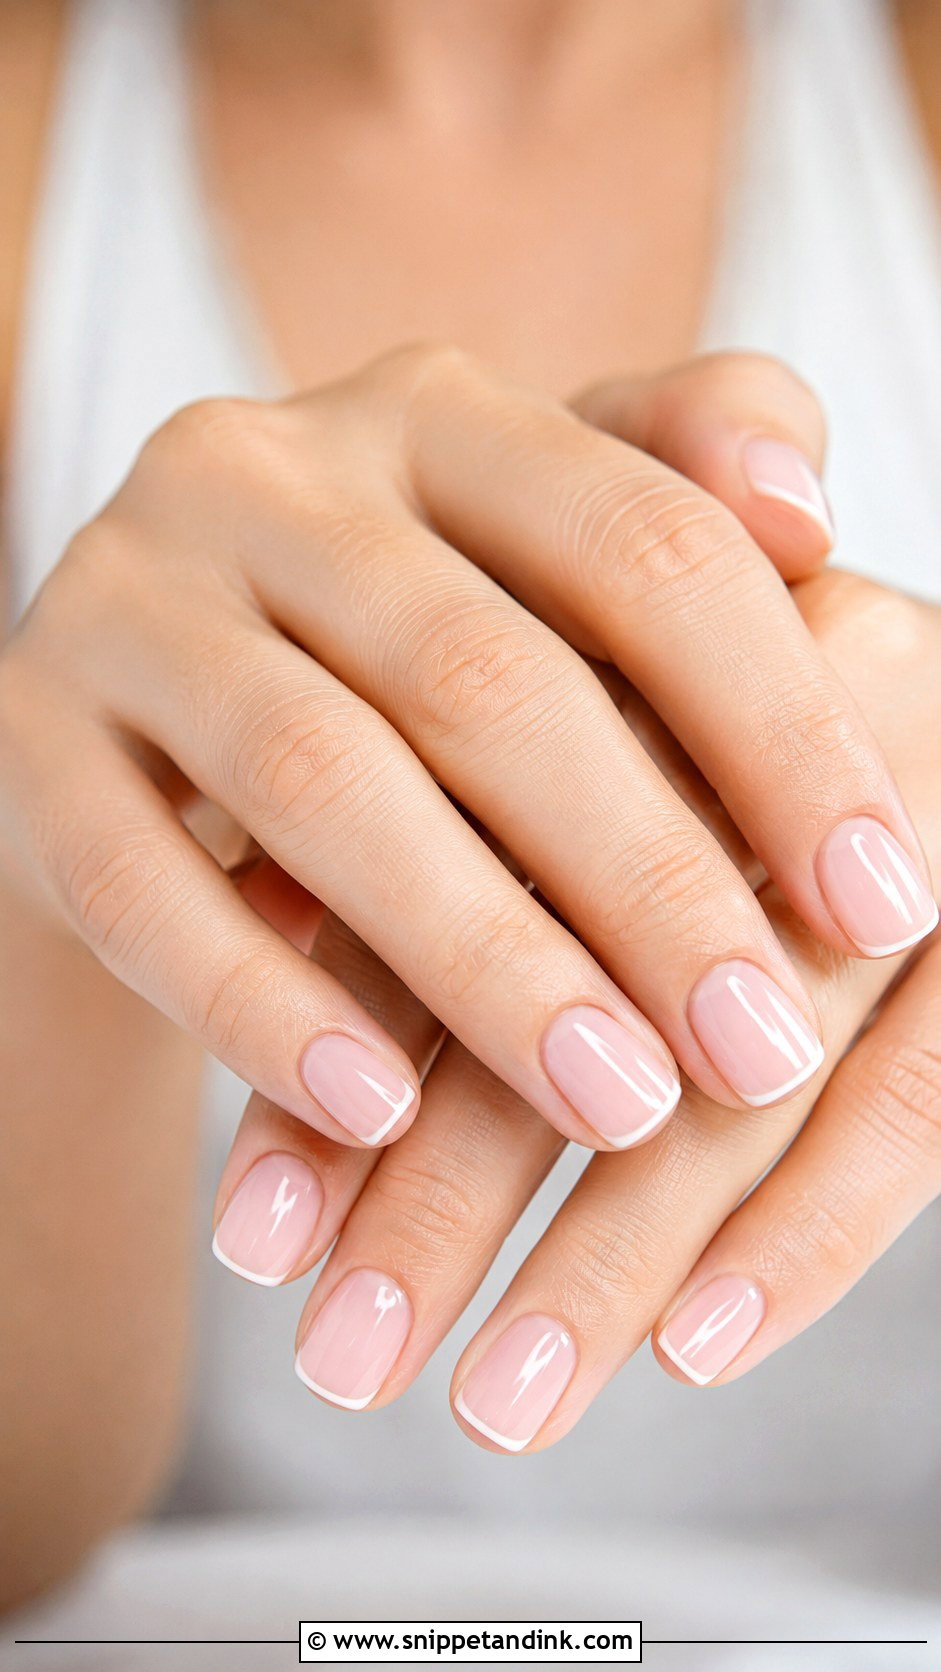
I’ll happily defend a short nail for a wedding. A short squoval or rounded oval keeps you able to do up buttons, pin a boutonniere and hold a bouquet stem without catching anything. Sheer pink, milky white, pale beige or creamy nude all look clean at this length. Keep any extra to one element: a micro French, a pearl chrome glaze or one tiny flower, never all three. If you don’t normally wear extensions, this is the set that won’t feel strange in your own hands on the day.
7. Almond Wedding Nails
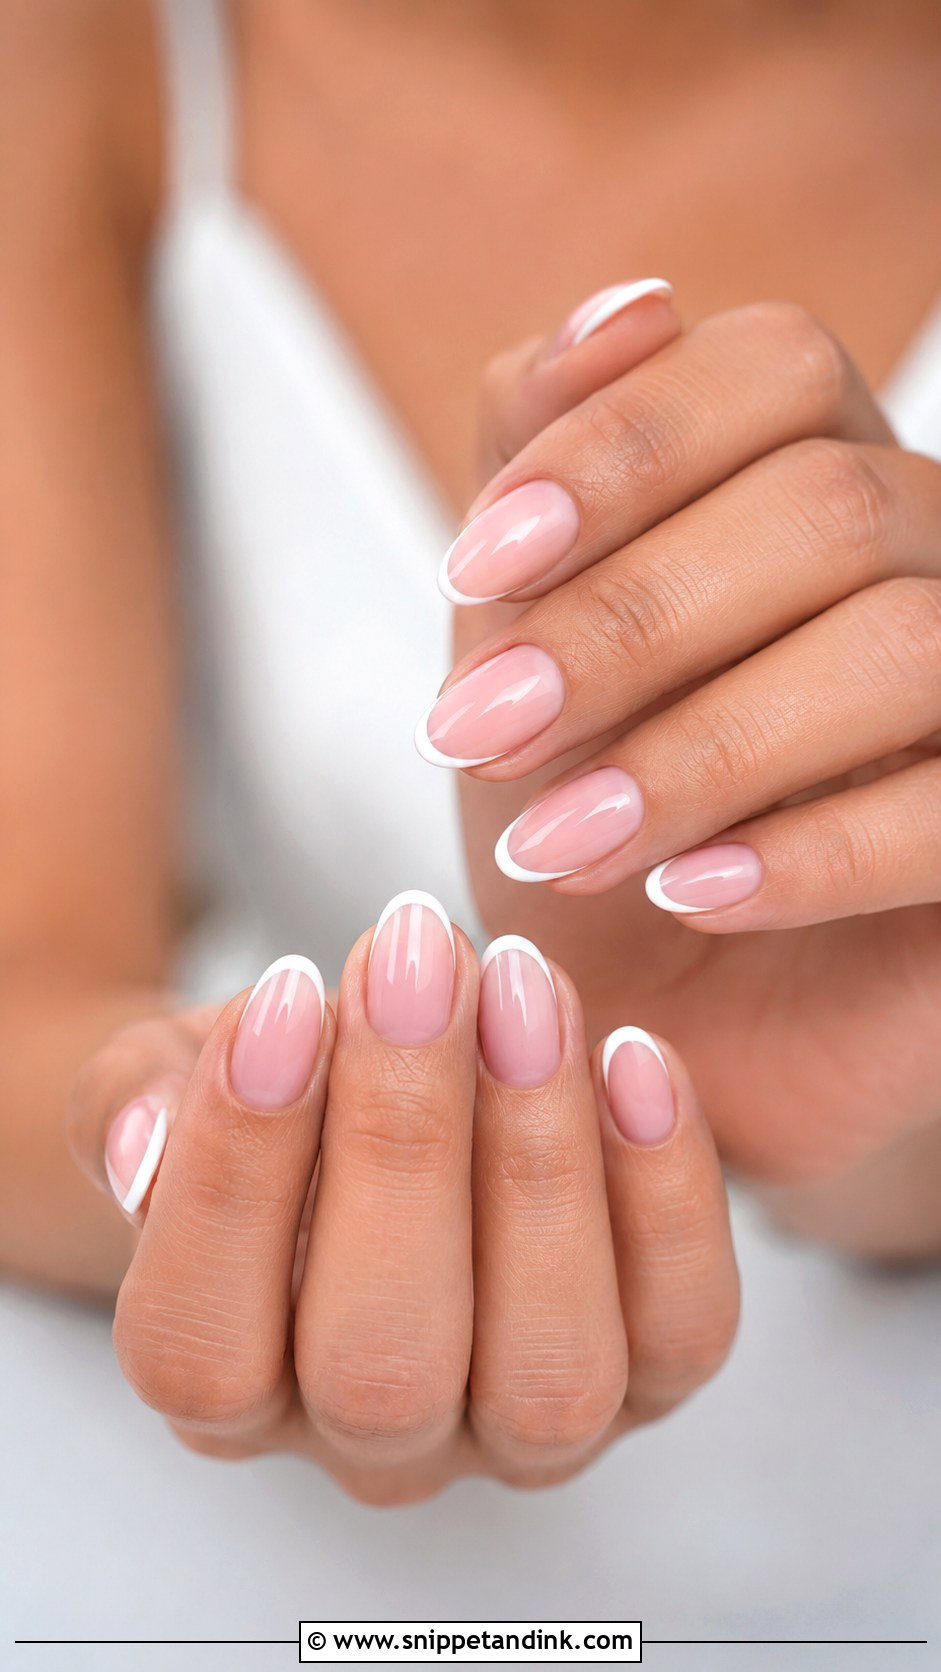
Almond lengthens the finger because the tapered sides draw the eye toward a soft point. I keep bridal almonds at medium length; longer than that and the tip starts to look sharp in close-ups and catches on lace sleeves. The shape gives French tips, ombré fades and fine lace art a graceful canvas. One thing I check first is how thin the natural nail is at the sides, because over-filing the sidewalls to get the taper weakens the nail right where it bends. A sheer pink base with micro white tips is the classic version; milky white with pearl chrome is the modern one.
8. Square Wedding Nails
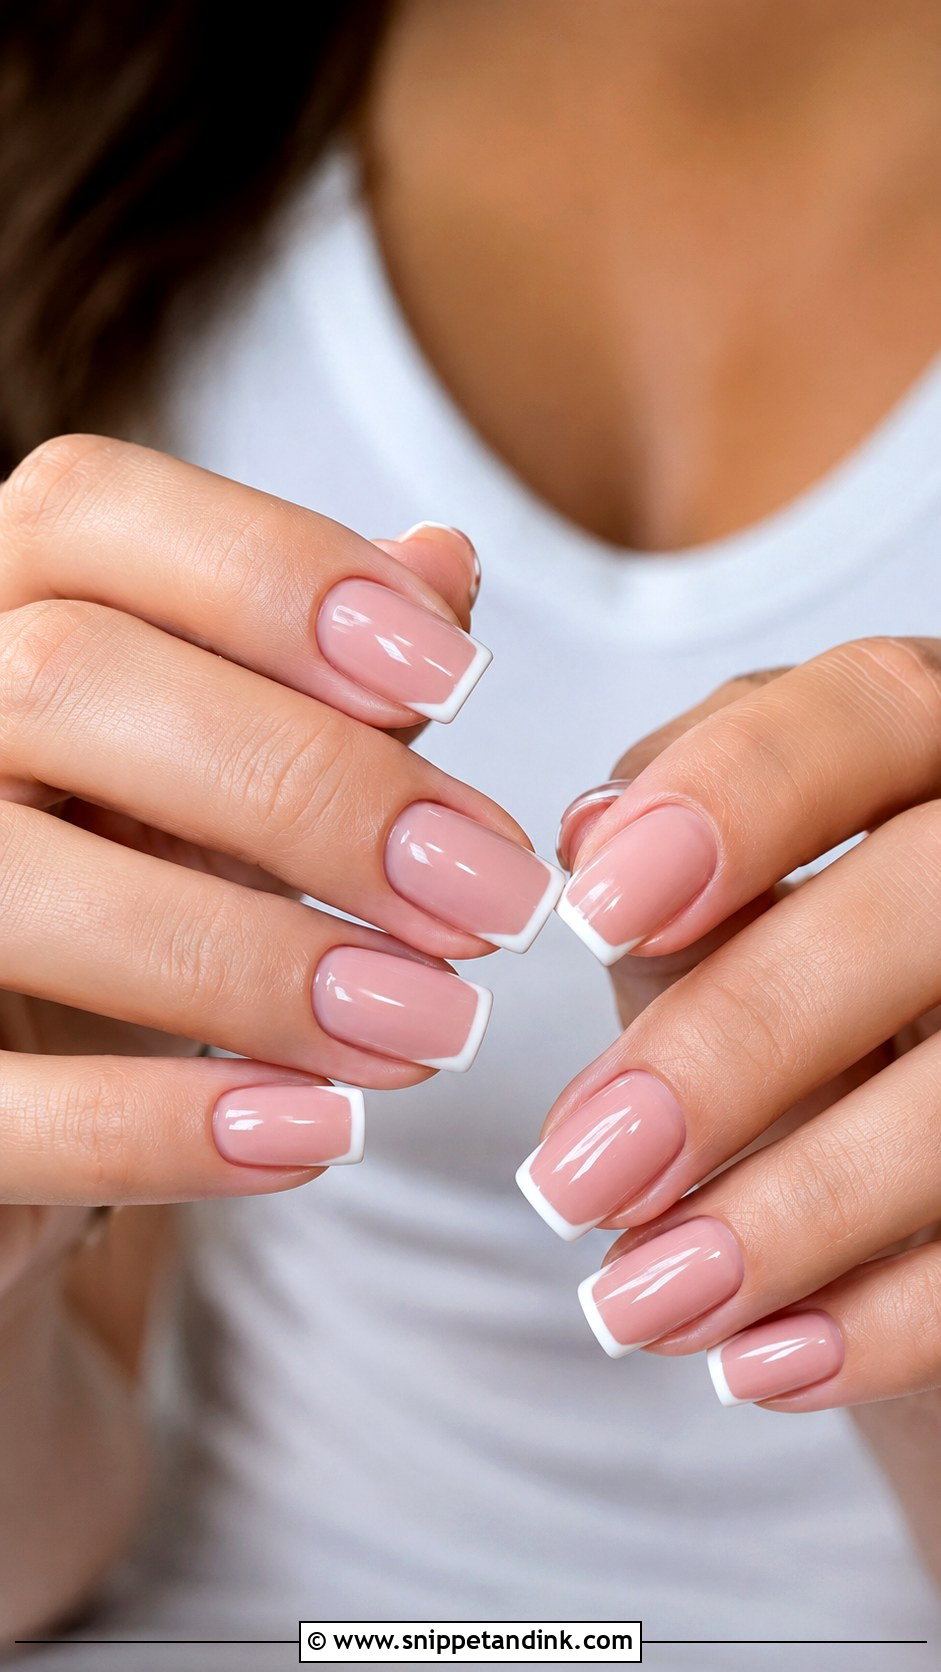
Straight edges make square nails look crisp, and they hold a French line or a thin metallic stripe very cleanly. Sharp corners do snag tights and veil tulle, though, so for brides I nearly always soften them slightly into a squoval. Medium length gives enough flat surface for lace art or a few tiny pearls. A sheer nude square set reads minimal; a white French square reads classic salon. Pick one of those directions and let the shape do the rest.
9. Oval Wedding Nails
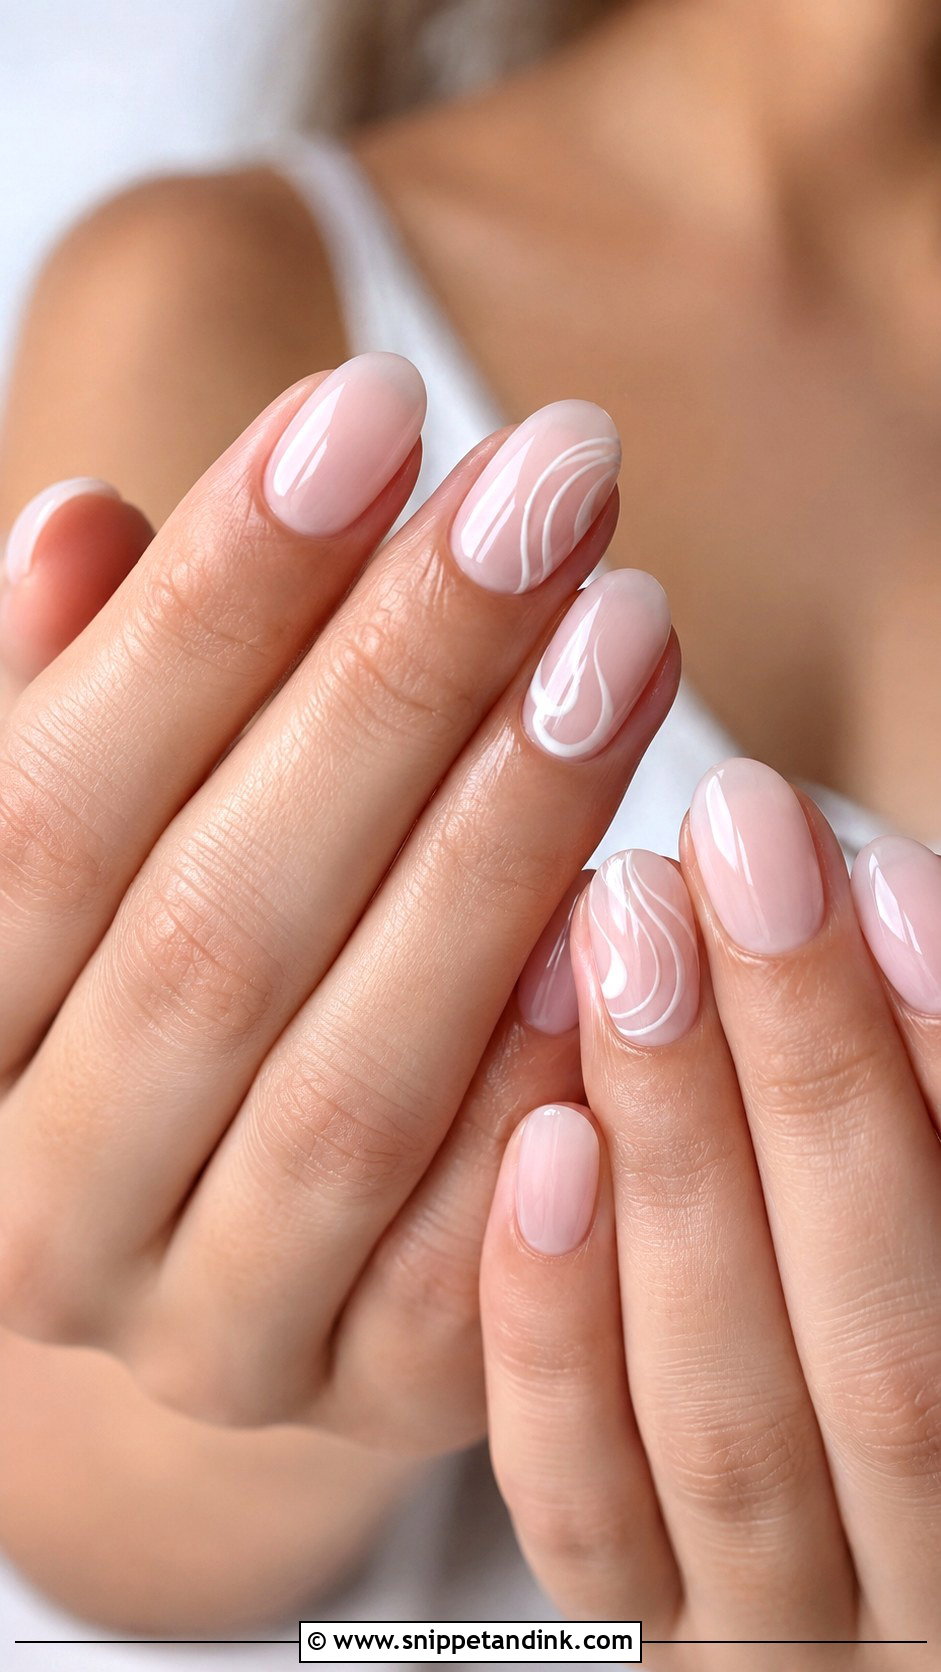
Oval follows the natural curve of the fingertip, so it suits almost every hand and looks graceful without needing length. It’s the shape I default to when a bride has never had a strong preference, because it’s comfortable and very hard to get wrong. Sheer pink, milky white, a baby boomer fade and pearl chrome all sit well on it. Tiny florals and fine white swirls stay readable too. If your nails are weak at the corners, oval is also the kindest shape, since there’s no corner to chip.
10. Coffin Wedding Nails
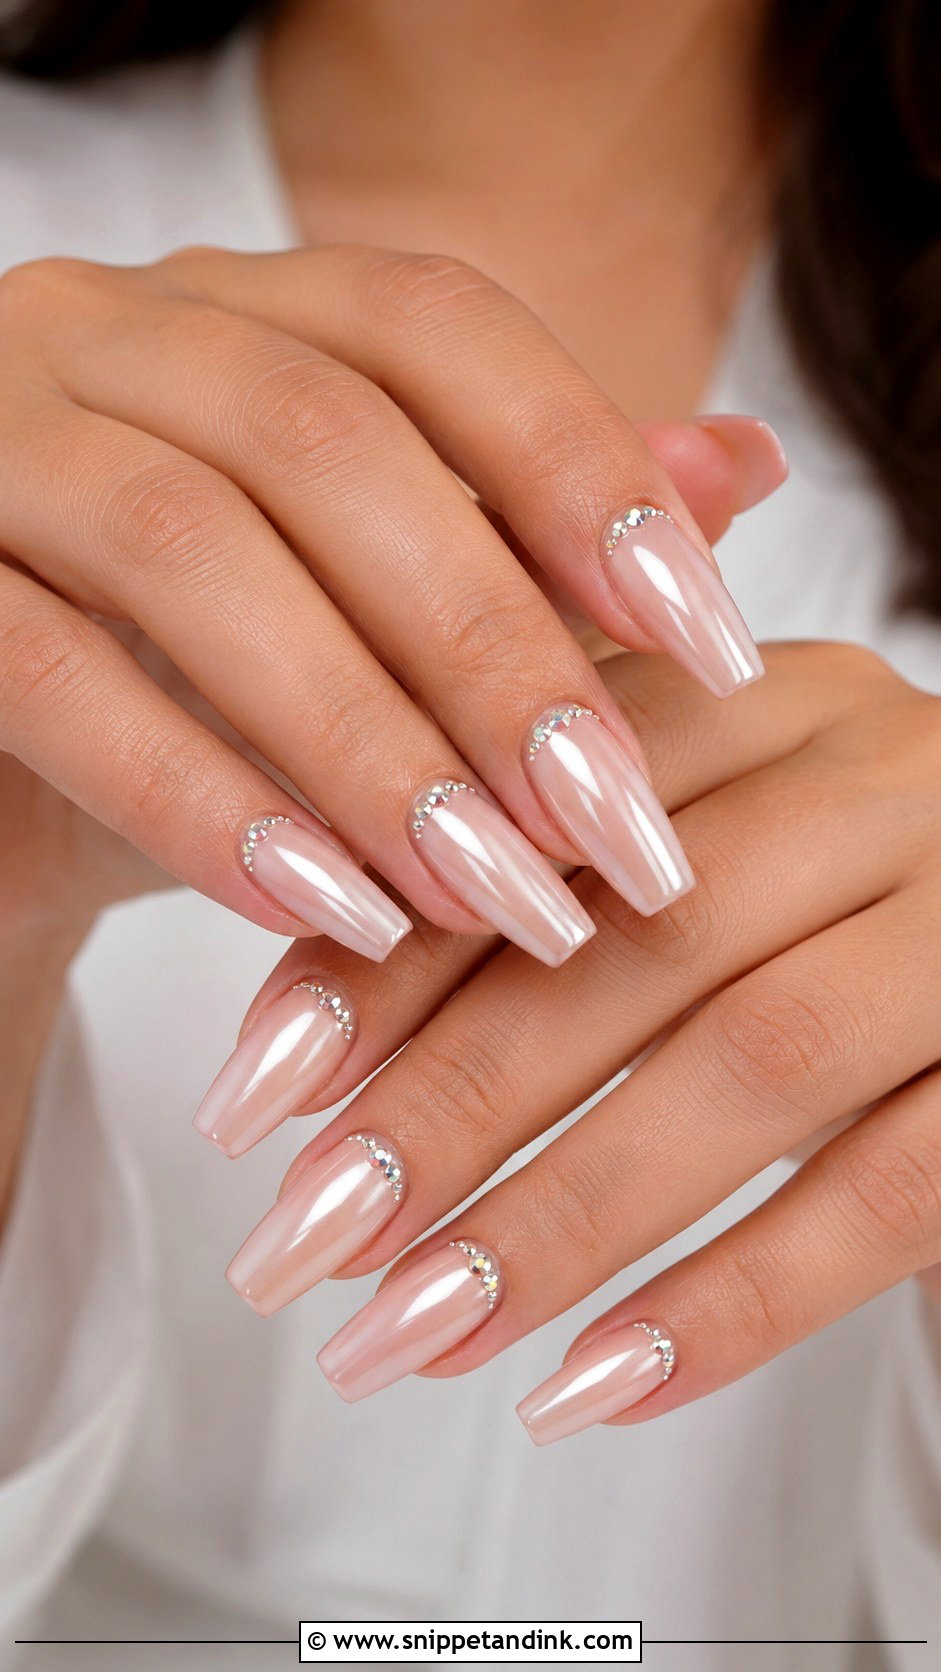
Coffin is the most dramatic shape here, with tapered sides and a flat tip, and it only stays bridal when the colour stays quiet. I keep wedding coffins at medium length in blush, nude beige, milky white or champagne. Long coffins need extensions on most people and lever the natural nail hard when you grip things, which is when lifting starts. A French tip makes the shape look tidy and pearl chrome softens it. For art, stay with fine lace, subtle crystals or a small floral rather than heavy 3D work.
11. White Chrome Wedding Nails
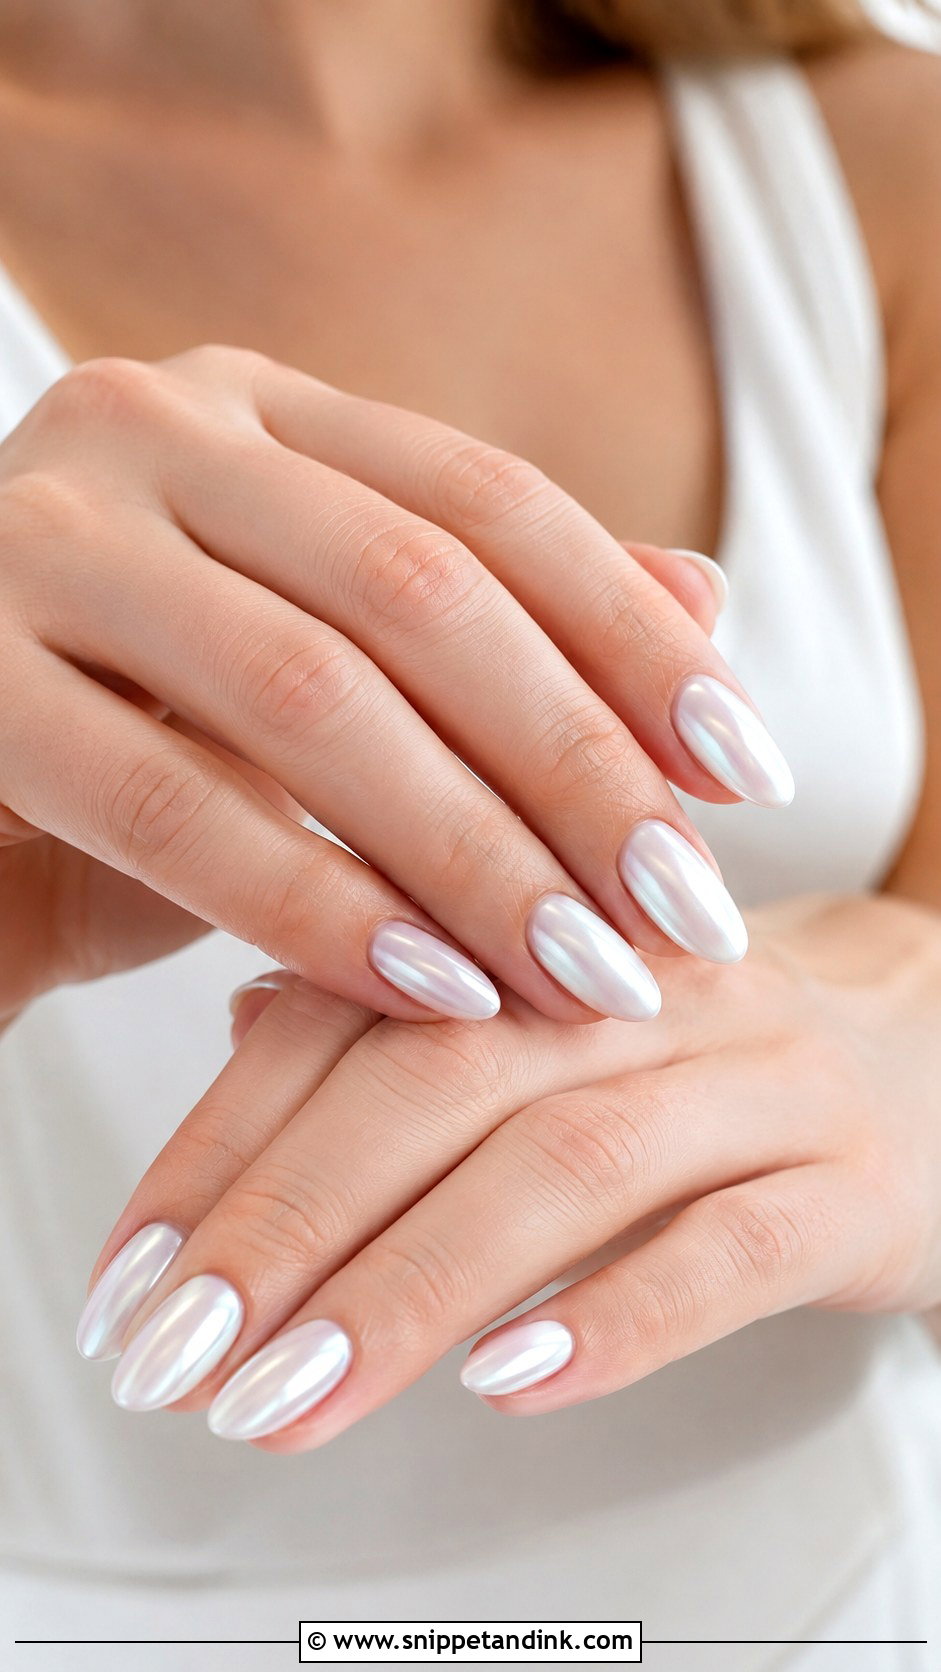
White chrome is brighter and more reflective than milky white, but still softer than silver. I apply it over a solid or milky white base, and the opacity of that base decides how icy the result looks. It pairs naturally with satin gowns, sleek column dresses and pearl jewellery. Ask for pearly white chrome if you want it subtle, or a glazed white chrome for more shine. Because the surface is mirror-like, any ridge in the nail shows, so this set rewards careful prep more than almost any other.
12. Blush Pink Chrome Wedding Nails
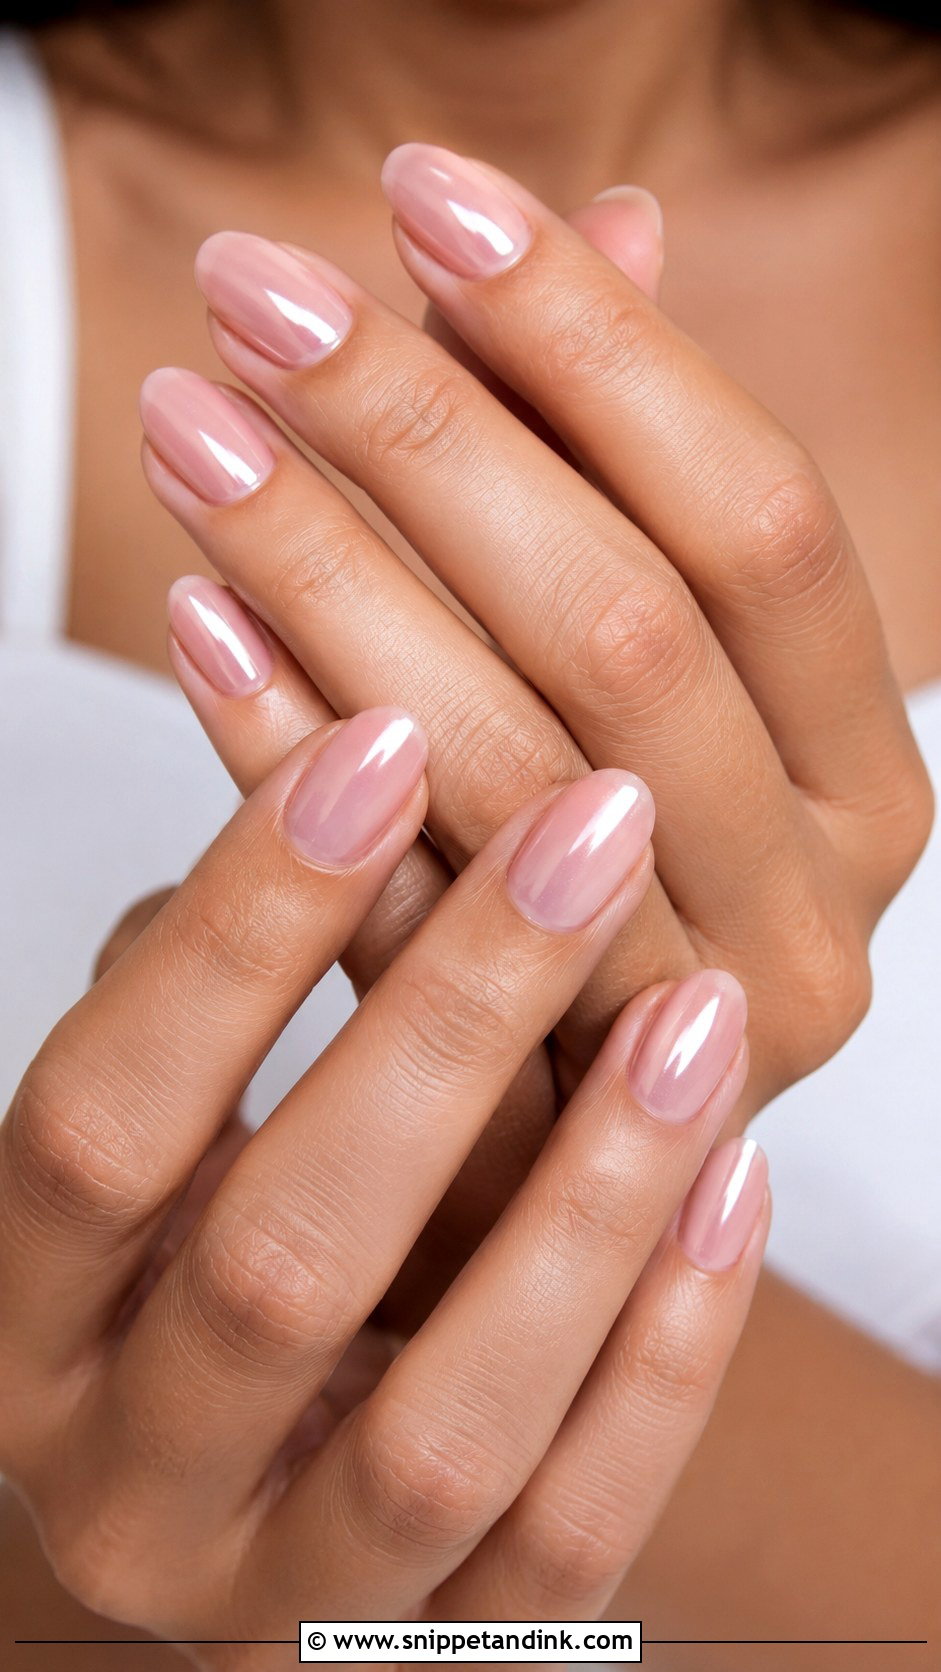
A pink base under chrome gives warmth that white chrome can’t, and in natural light it reads like the inside of a shell. In ring close-ups it tends to flatter skin more than cool finishes do. I tint the base to the bride: sheer blush for a barely-there glow, a slightly rosier pink if she wants colour to register from across a room. Almond and oval make it delicate; square gives it a cleaner edge. It’s one of the few chrome sets I’d suggest for a bride who has never worn chrome before.
13. Wedding Nails With Pearls
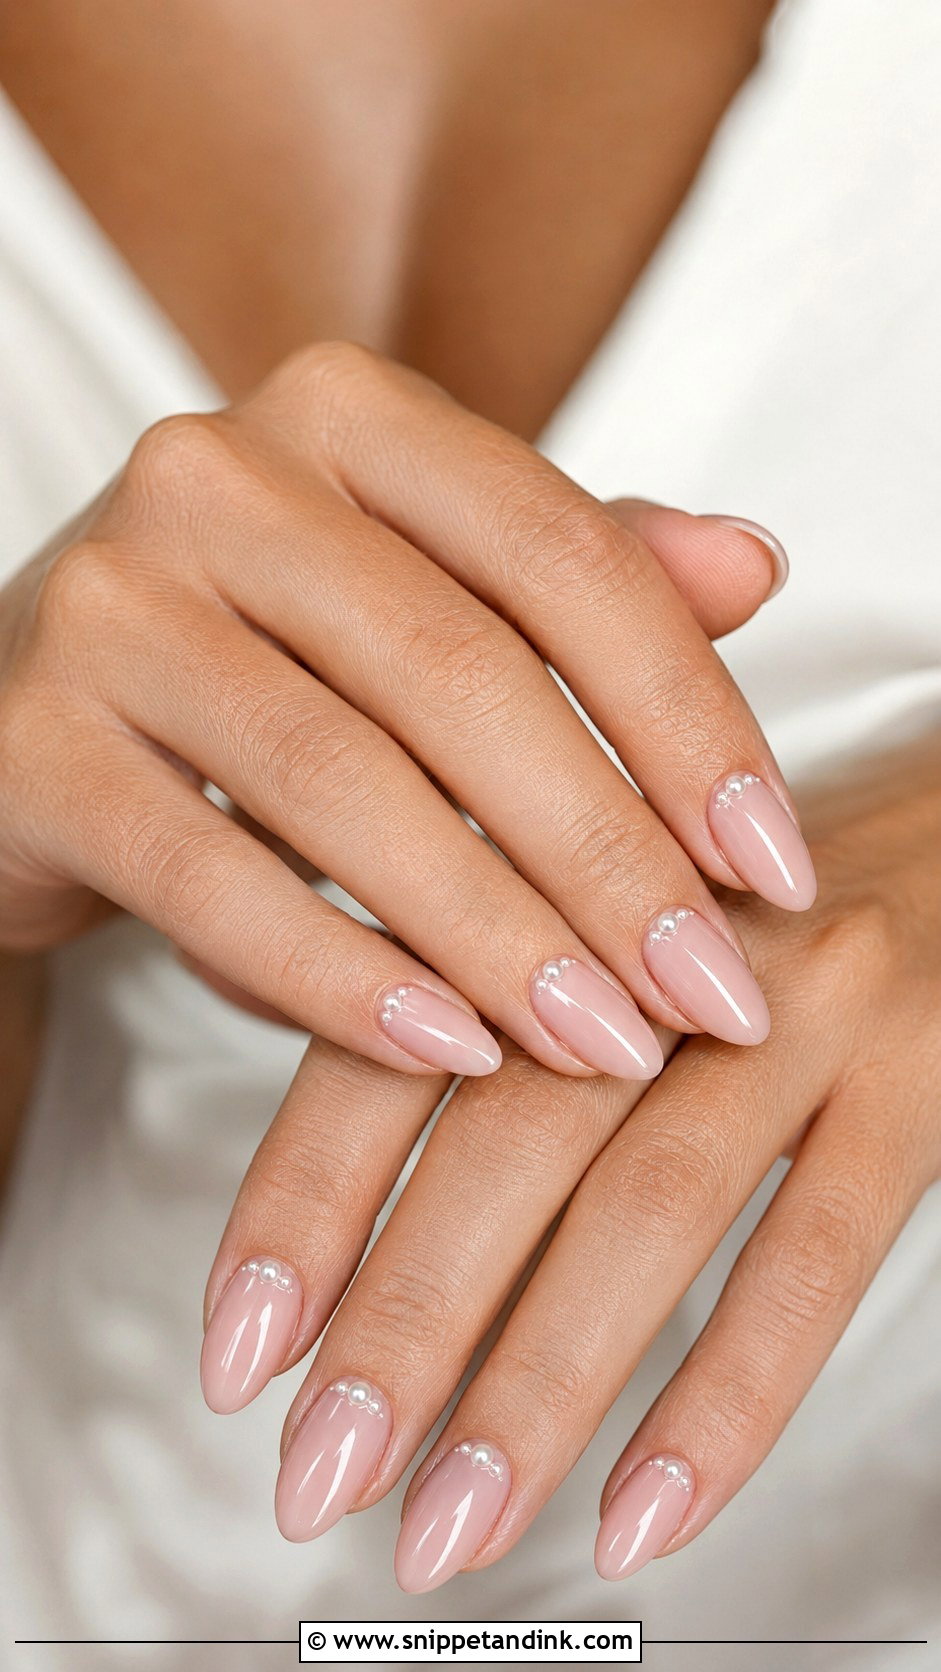
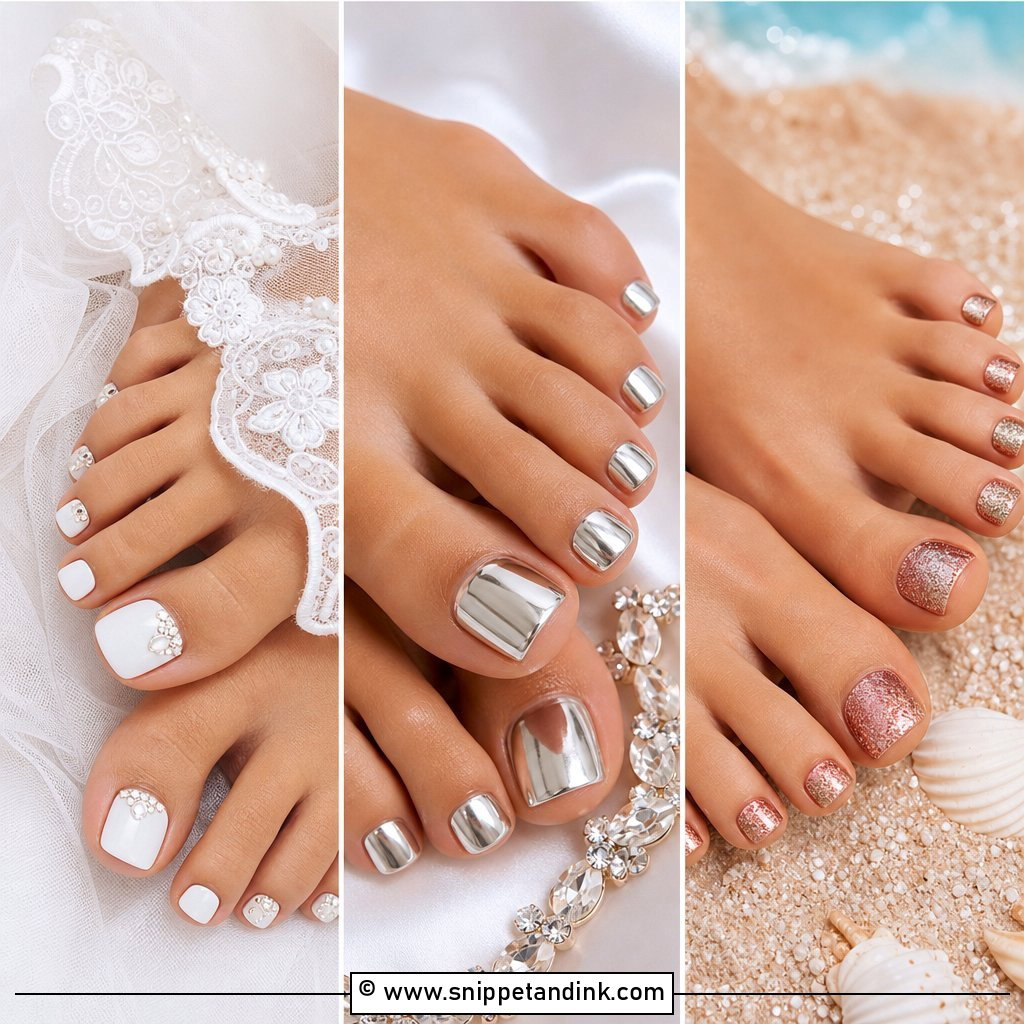
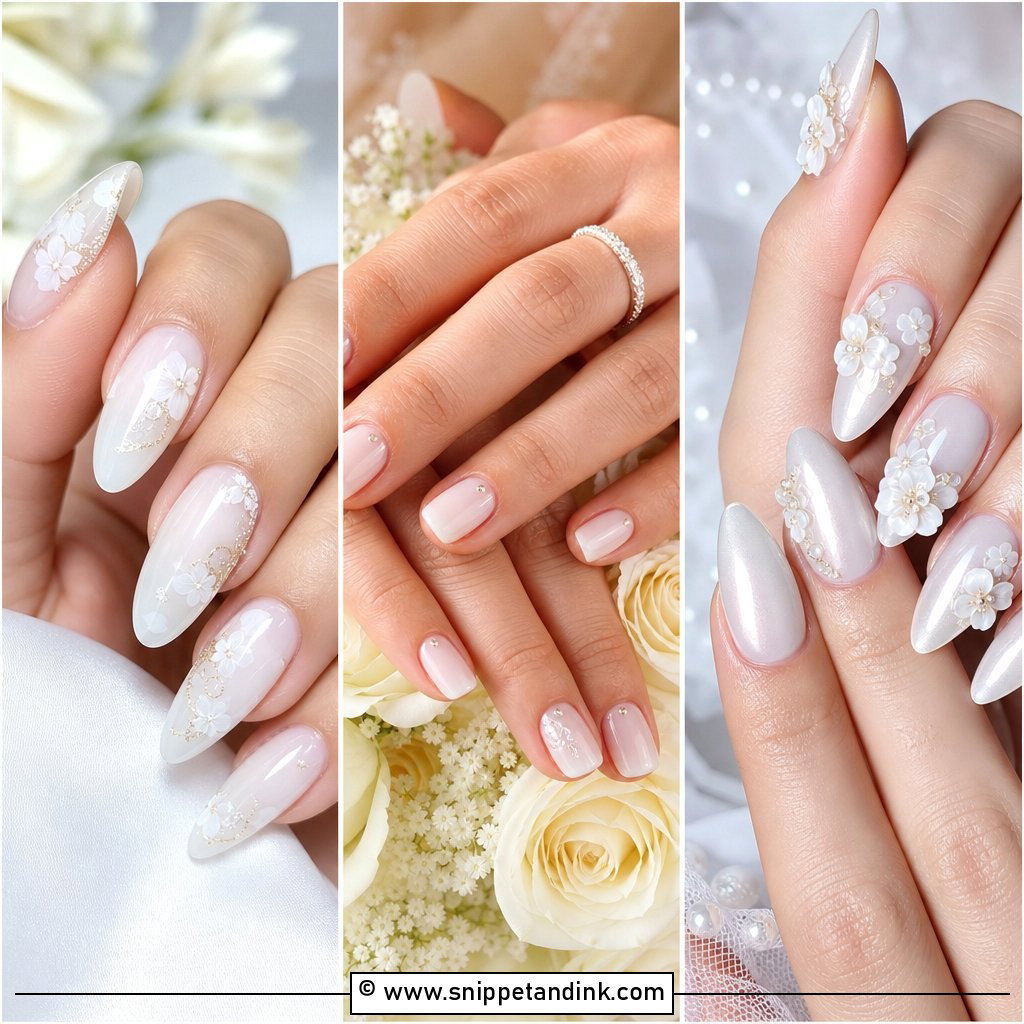
Pearls only look bridal when they’re small and placed with restraint. I set tiny flat-back pearls near the cuticle, along a French line, or on one or two accent nails, over a sheer pink, nude or milky base. Domed pearls look pretty on the table but catch hair and tights, so I use flat-backs and cap them in gel all the way round the edge. Pearl earrings, a pearl-trimmed veil or a beaded bodice all tie in naturally. Short squovals carry a single pearl per accent nail better than a cluster.
14. Wedding Nails With Lace Design
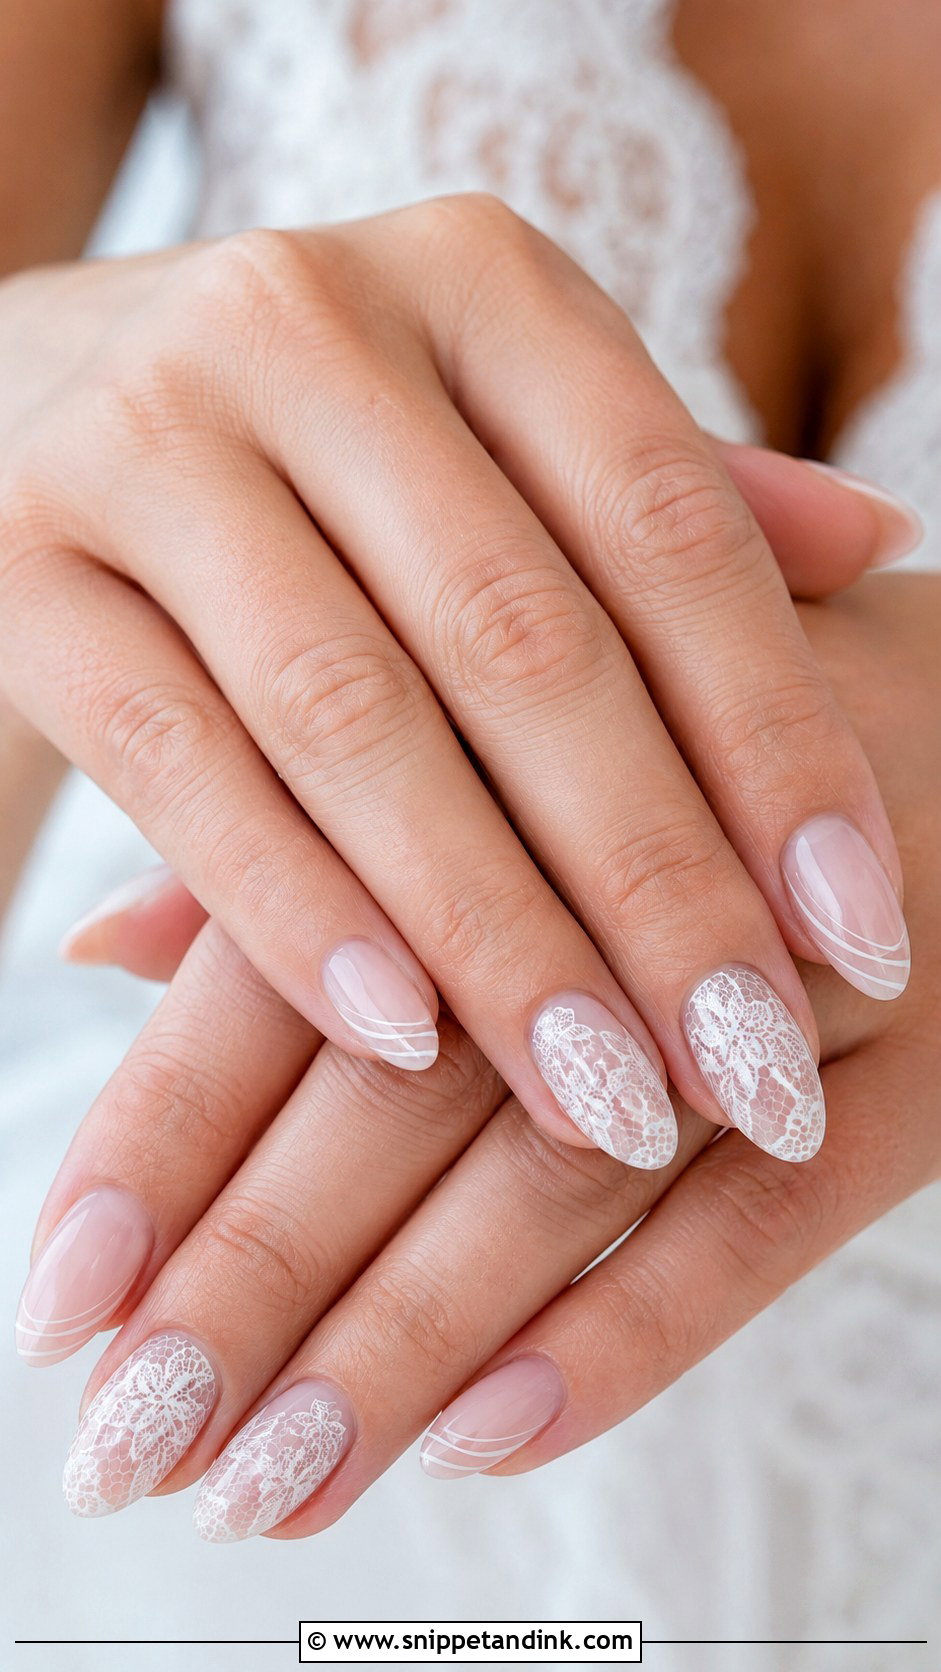
I paint lace with a striper brush in fine white gel, and the difference between airy and heavy is how much bare base shows between the lines. If your gown has lace sleeves or a lace bodice, bring a photo of the pattern; I can echo its scallop or flower motif instead of a generic net. Keep it to a few nails, with the rest plain and glossy or with a French tip. Almond, oval and coffin give enough room for the detail. On very short nails I’d do lace on the ring fingers only.
15. Wedding Nails With Floral Design
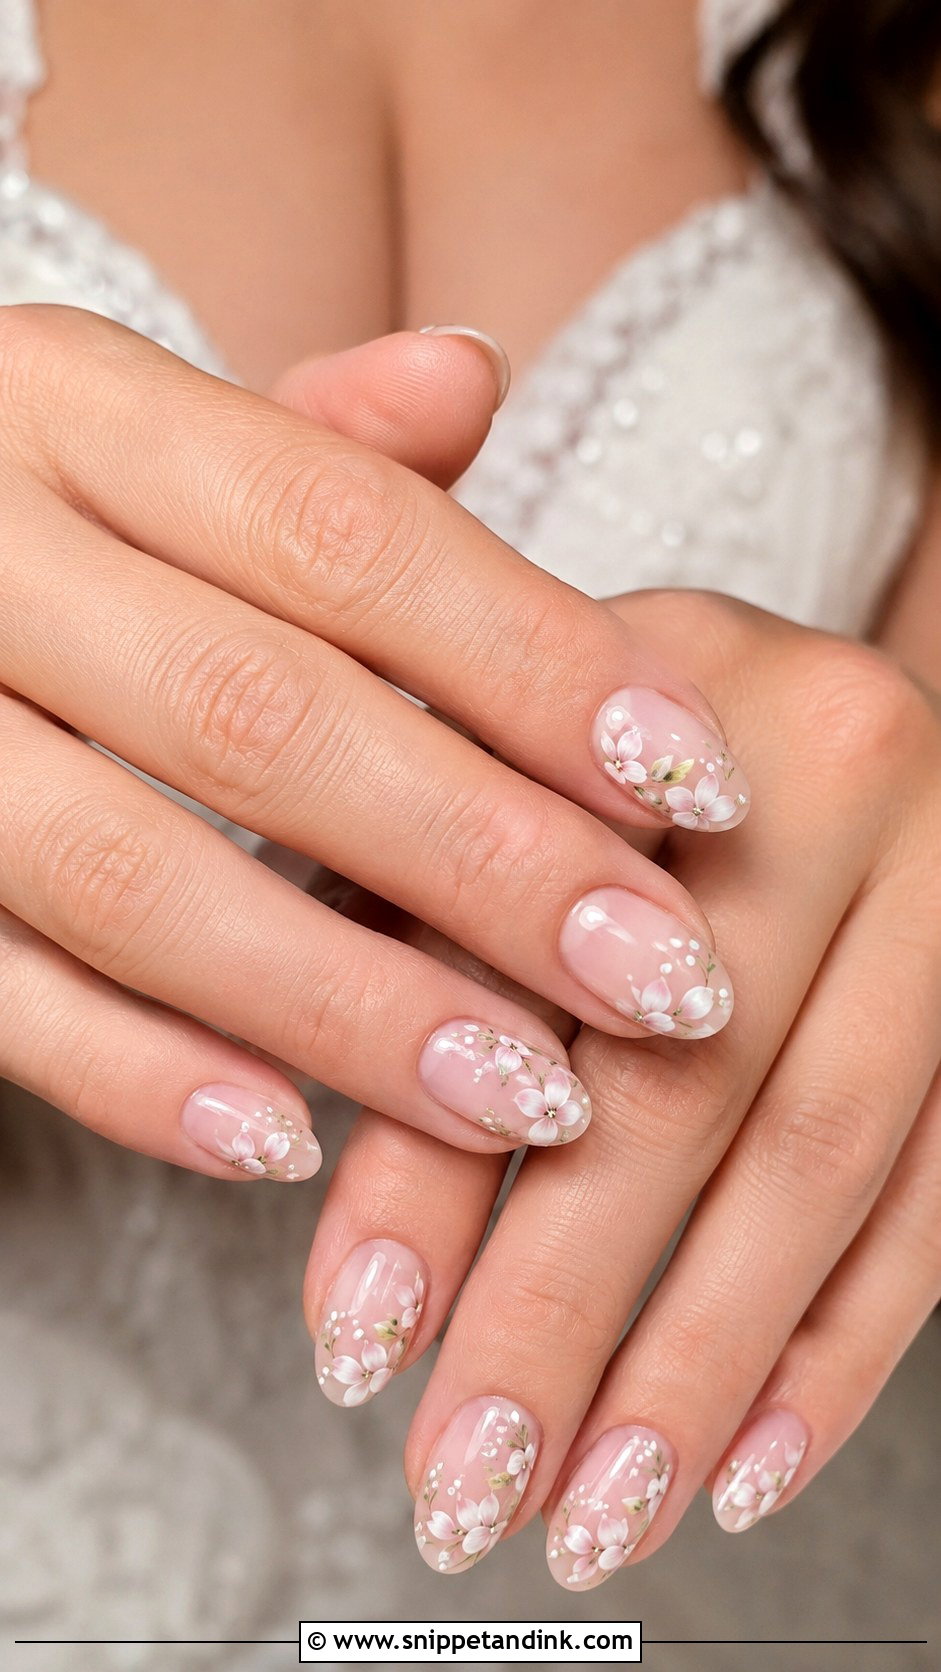
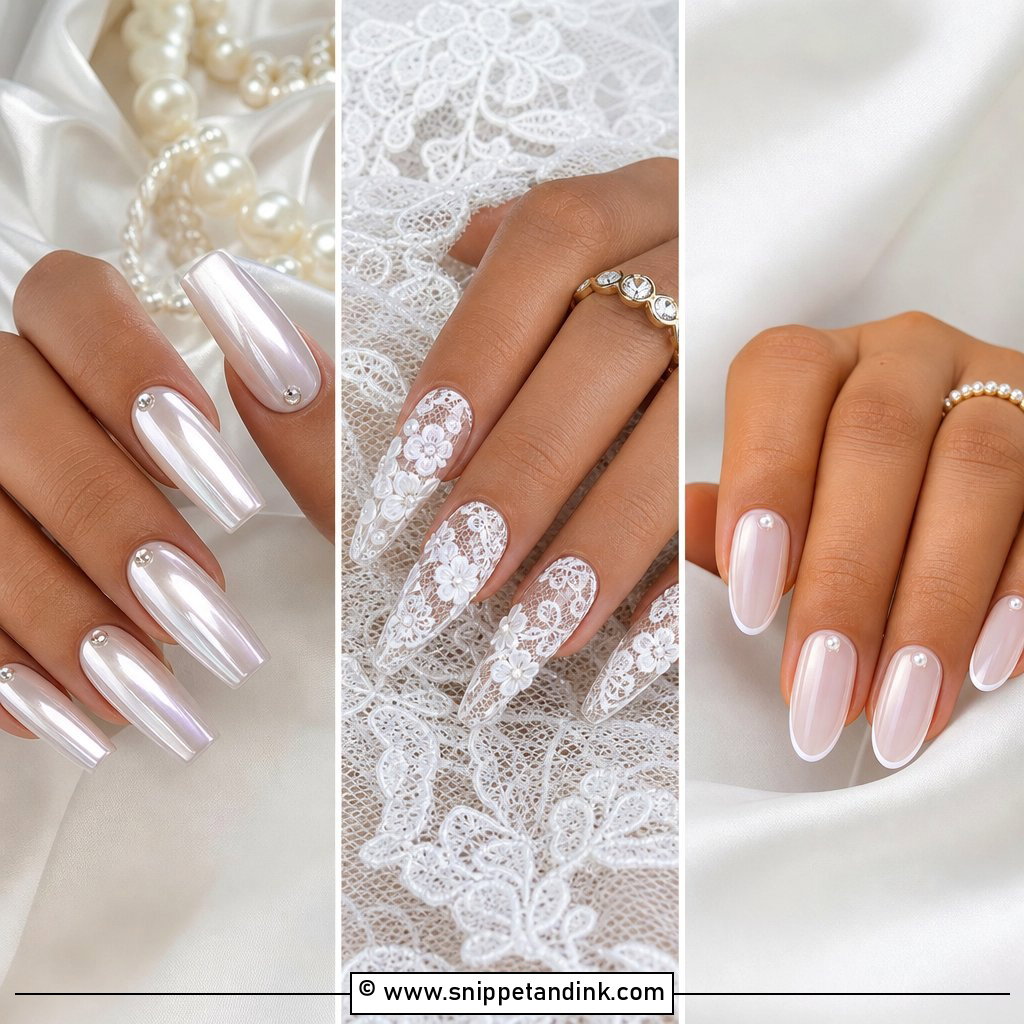
Hand-painted flowers need to be small to look refined; a bloom wider than a third of the nail starts to look like a sticker. I paint white flowers for a classic set, or pick up blush, pale lavender or soft blue from the bouquet. Spacing matters more than the number of flowers, especially on short nails. This set fits garden and spring ceremonies well, and a glossy top coat keeps it fresh, with an optional pearl chrome glaze over the base. Oval and almond tips curve along with the petals, which is why florals sit naturally on them.
16. Something Blue Wedding Nails
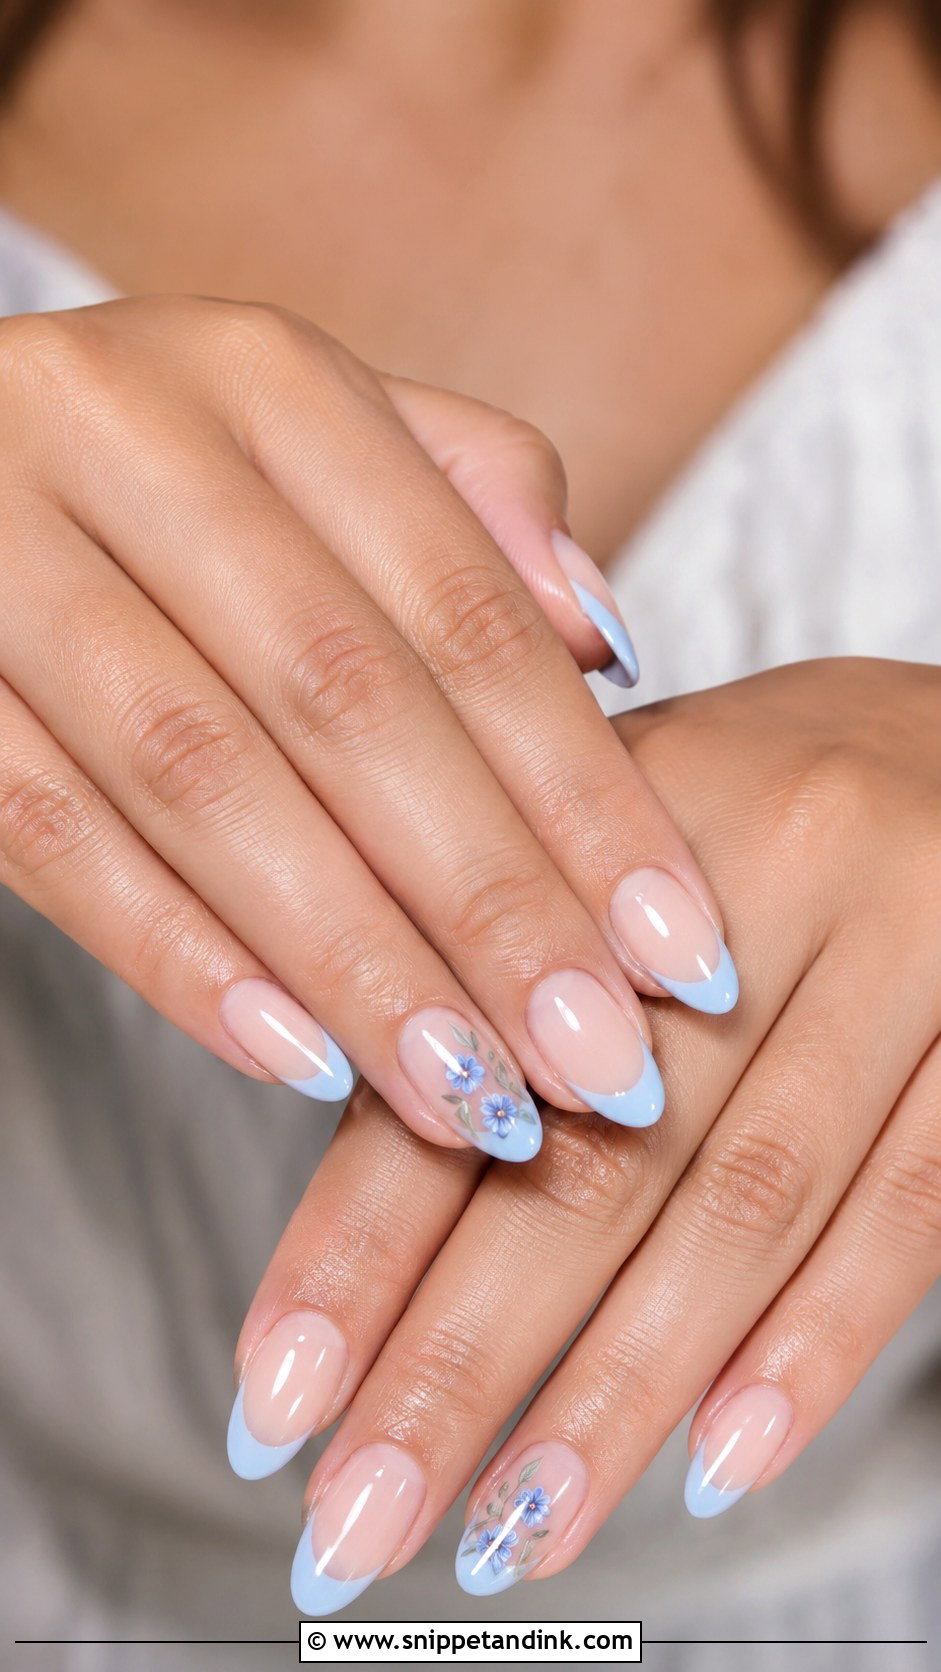
You can carry your something blue without a blue manicure. My favourite version is a pale blue line hidden just under the free edge, visible only when you turn your hand; soft blue French tips, tiny blue flowers or a few pale dots are more visible options. A sheer nude or milky pink base keeps the set bridal. If your bouquet or bridesmaid dresses already include blue, the nails quietly tie to them. Keep the blue powdery rather than saturated; bright cobalt photographs much louder than it looks in the salon.
17. Champagne Glitter Wedding Nails
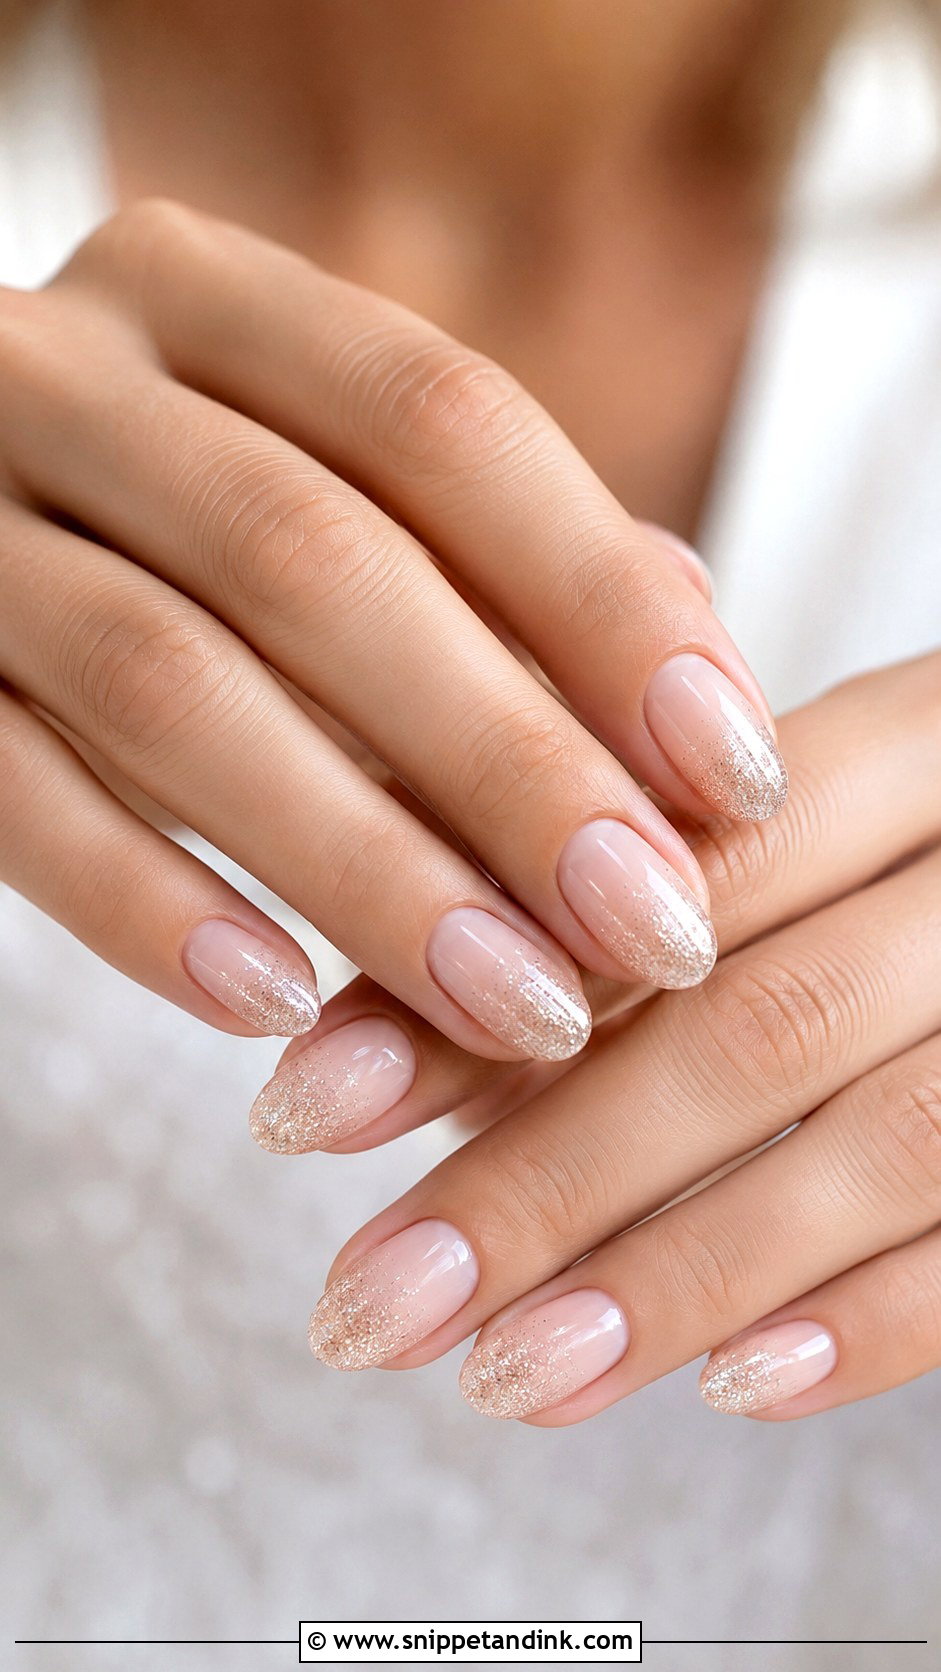
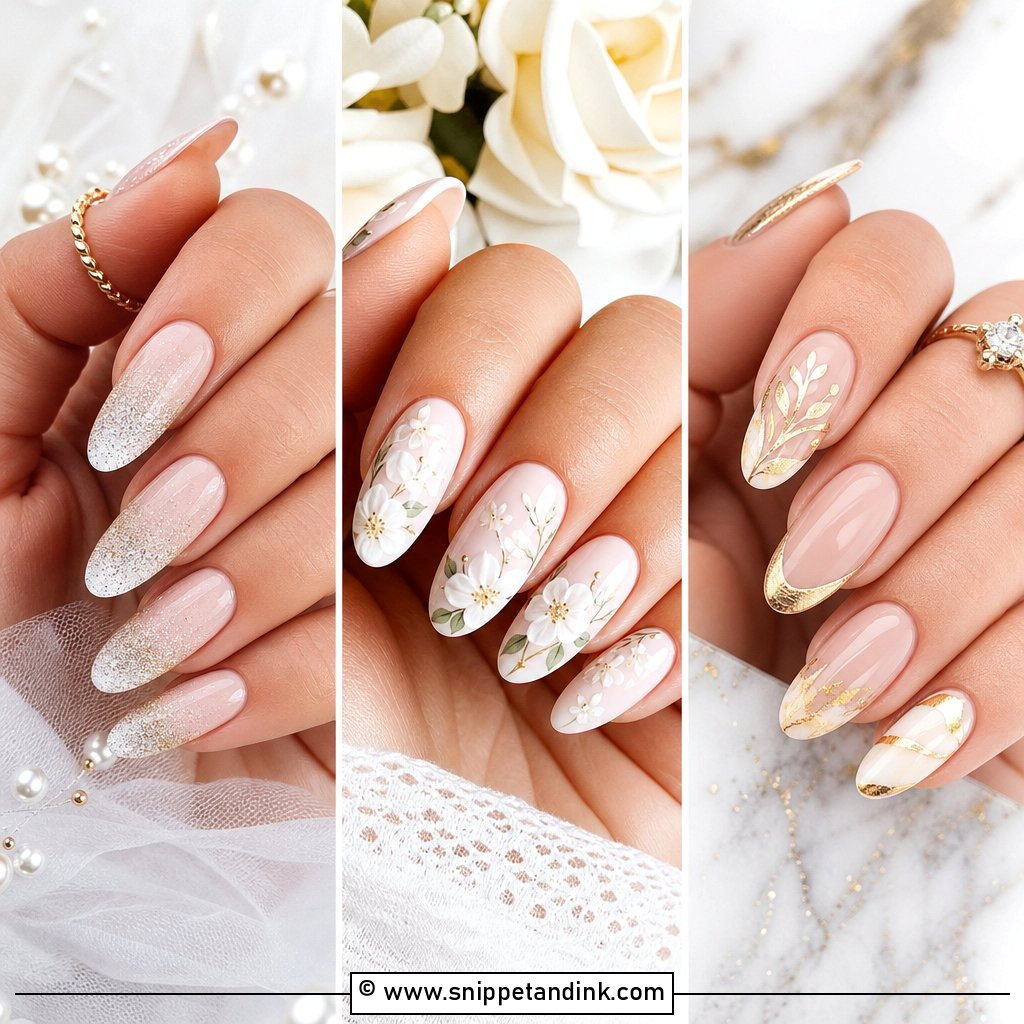
Champagne sits between silver and gold, warmer than one and softer than the other, so it suits ivory gowns, nude makeup and warm metals. I fade the glitter from the tips or the cuticle over a sheer nude or blush base. Ask for fine glitter. Chunky glitter leaves a bumpy surface that needs extra top coat to smooth, and it photographs as dots rather than shimmer. If a full fade feels like too much, one or two accent nails do the job. Almond, oval and coffin give the sparkle room to move.
18. Gold French Wedding Nails
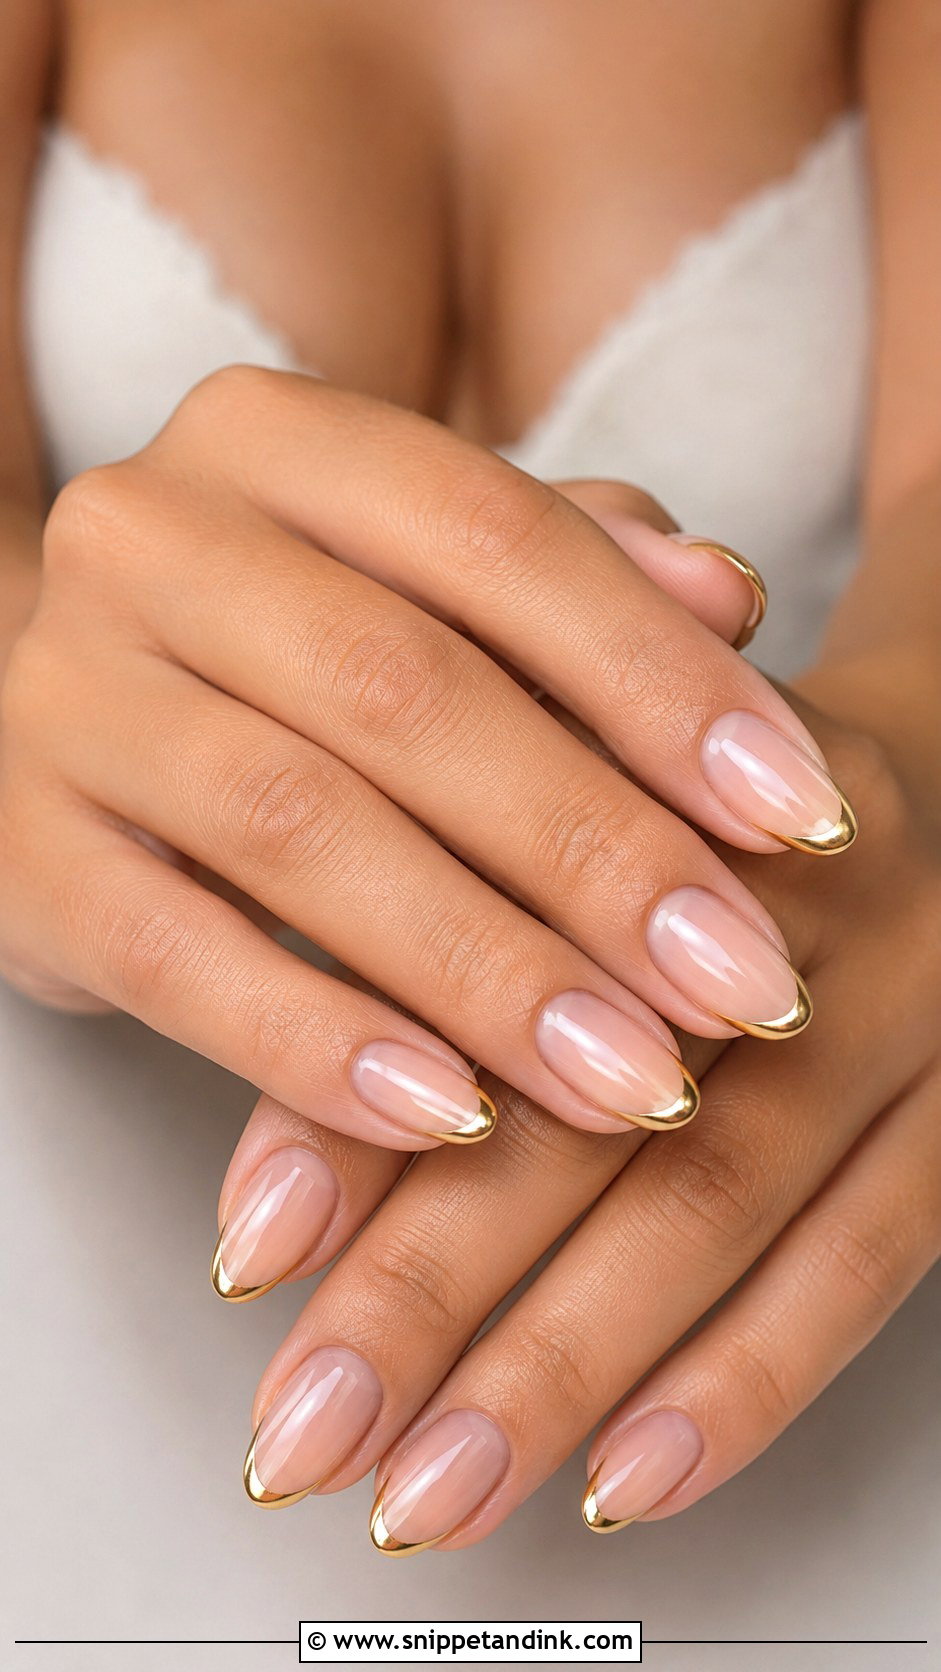
A gold French swaps the white tip for a thin gold line over nude, blush or milky white, and it looks like it belongs with the jewellery. It makes most sense when your engagement ring is yellow gold or your gown leans warm ivory. I use gold foil gel or a metallic gel painted with a fine liner, and the line should stay hairline thin; thick gold tips look costume. A gold outline around a white French is a nice middle ground. Almond and square both suit it.
19. Silver French Wedding Nails
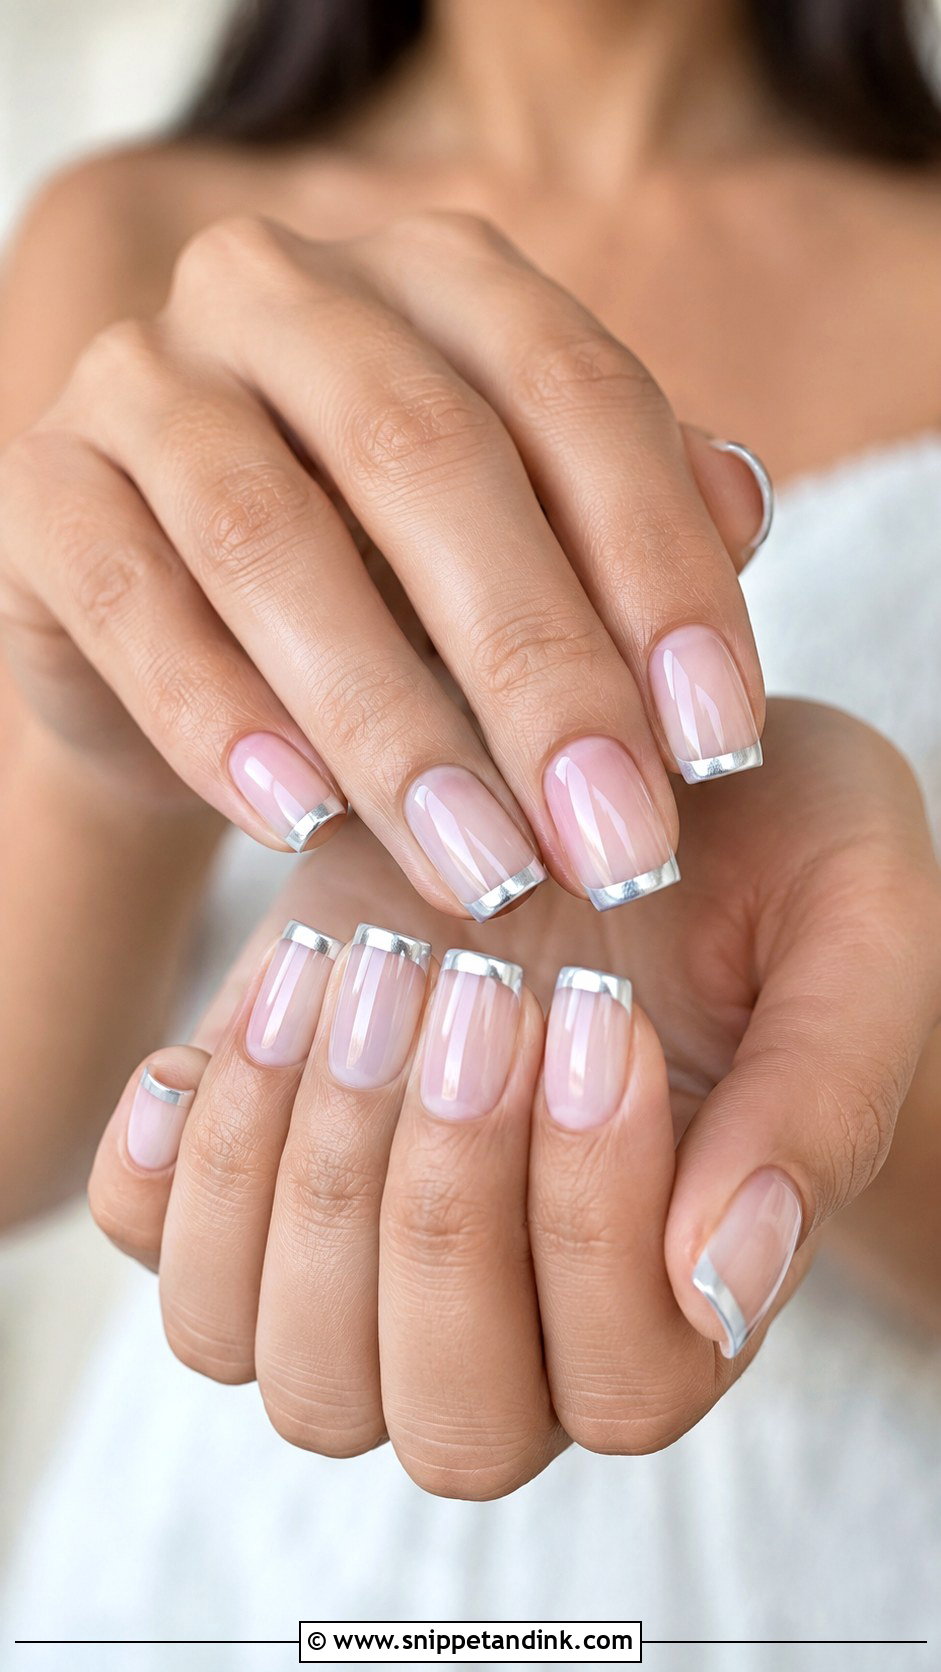
Silver tips belong with platinum, white gold and silver accessories, and they suit winter, city and sleek minimalist weddings. Over sheer pink or milky white, a thin silver line feels modern without losing softness. A fine silver shimmer line is the subtle version; metallic silver chrome tips are the bolder one. Silver shows wear at the tip edge faster than white does, so I cap the free edge with top coat carefully. Almonds read delicate in silver, squares read crisp.
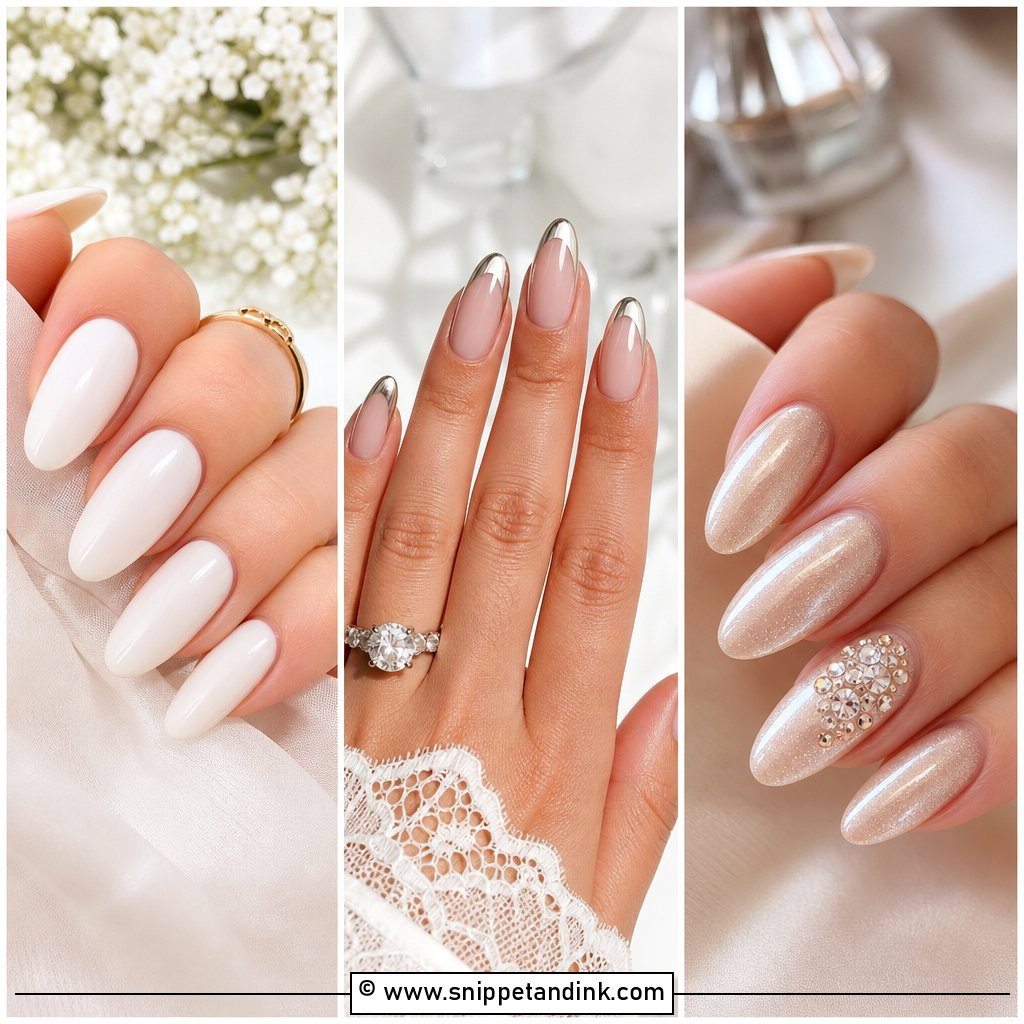
20. Minimal Wedding Nail Art
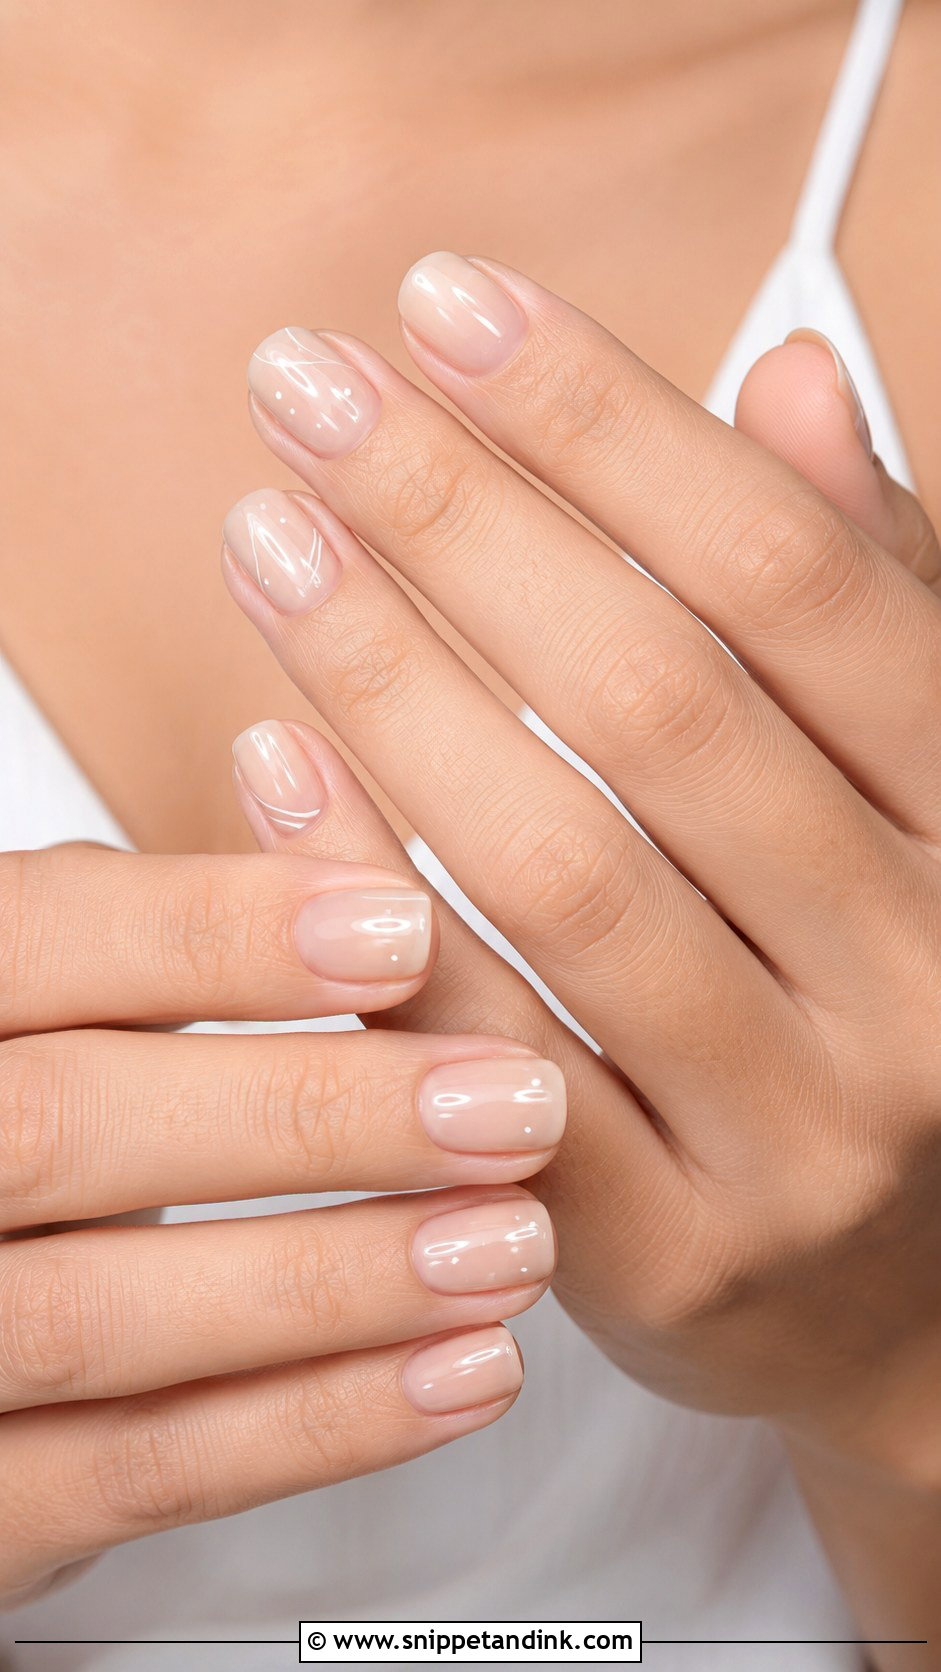
The hardest thing about Minimal wedding nail art is stopping. I start from a sheer nude, blush pink or milky white base and pick a single accent: a thin white line, small dots, a micro flower or one crystal on each ring finger. The moment a second accent creeps in, the set stops looking intentional. It’s an easy set to match across bridesmaids, since it doesn’t compete with the bride’s own nails in group photos. Short, oval, almond and squoval all suit it, finished with a high-gloss top coat.
Soak-Off Gel, Structured Overlay or Press-Ons for the Wedding Week
The finish you choose affects timing as much as the design does. I schedule most bridal gel sets two to three days before the wedding. That leaves time to fix anything that lifts, and the nails still look freshly done in the honeymoon photos.
Soak-off gel polish
Best on healthy natural nails at short or medium length. It wears around two weeks for most people and comes off with acetone. On thin nails it can chip at the free edge within days.
Structured gel overlay
A thicker layer shaped with an apex that strengthens the natural nail. This is what I’d put on a bride whose nails bend, or anyone wanting chrome, since chrome needs a perfectly smooth surface underneath.
Extensions and press-ons
If you want length you don’t have, get extensions done once well before the wedding as a trial, so you learn how they feel when you type, cook and do up zips. Good press-ons are a decent backup for guests or a destination trip, but on brides I find the adhesive tabs can lift by evening if your hands get warm and damp.
A Chipped Tip at the Reception and Other Small Disasters
Something will happen to one nail. It usually happens during the getting-ready rush, while you’re doing up the dress or fighting a stiff clasp. A tiny kit in the maid of honour’s bag fixes almost all of it.
- A bottle of your exact shade or a clear gloss top coat, for filling a small chip so it disappears in photos.
- A fine glass file to smooth a snag before it catches the veil.
- Cuticle oil, which also takes the dry, white look off skin around the nail just before the ring shots.
- Nail glue, only for a lifted pearl or crystal; press it down and hold for a few seconds.
Avoid hand sanitiser that’s heavy with alcohol right before the close-up photos; it can dull a gloss top coat for a while. And if a whole extension pops off, file the remaining edge smooth and leave it. A short natural nail looks far better in a photo than a crooked glued-on tip.
Hold the Shade Up to Your Ring Before You Commit
Every set above photographs well when the prep is clean and the colour suits your skin, so spend your decision on comfort and on what you’ll be wearing on your hands. Before the final appointment, look at your chosen shade in daylight, next to the ring, a scrap of dress fabric and the bouquet colours if you have them. Think honestly about length and what you’ll need to do with your fingers all day. A well-shaped short manicure can look every bit as polished as long extensions, and it’s the one you’ll forget you’re wearing, which is exactly what you want by the first dance.
You'll Like These Ideas:


Leave a Reply