
Bridal nails get photographed more closely than almost anything else you wear. The ring shot, the hand on the bouquet, the hand on a partner’s shoulder: all of them are close-ups, and they show every lifted cuticle and uneven edge. That’s why I steer most brides toward quieter sets, milky finishes, sheer pinks, fine French tips, pearl chrome and the odd tiny flower, and spend the effort on shape and prep instead. The simple wedding nails below suit brides, bridesmaids and guests, on short natural nails as well as longer gel sets.
Hard Gel, Soft Gel or Polish for Your Wedding Week?
The product matters as much as the design, because it decides how long the set looks fresh. Here’s how I match them to a wedding.
- Regular polish chips within a few days and can smudge if you’re rushed. I only suggest it if the appointment is the day before and you won’t be doing much with your hands.
- Soft gel (gel polish) holds well for about two weeks on most nails and soaks off easily. For the majority of brides, this is the right choice.
- Builder gel or a structured overlay adds strength for thin, bendy or weak nails, and supports a longer almond or oval shape without snapping.
When to book
I like to do bridal gel one to three days before the wedding. That leaves time to fix a chip or a lifted corner, and it keeps the morning free for hair and makeup. Do a trial set three to six weeks earlier so you can see how the shade wears and how the shape feels when you type, cook and dress. If you plan a henna, a spray tan or a destination flight, schedule the nails around those, since tanning solution and fresh henna both stain the cuticle area.
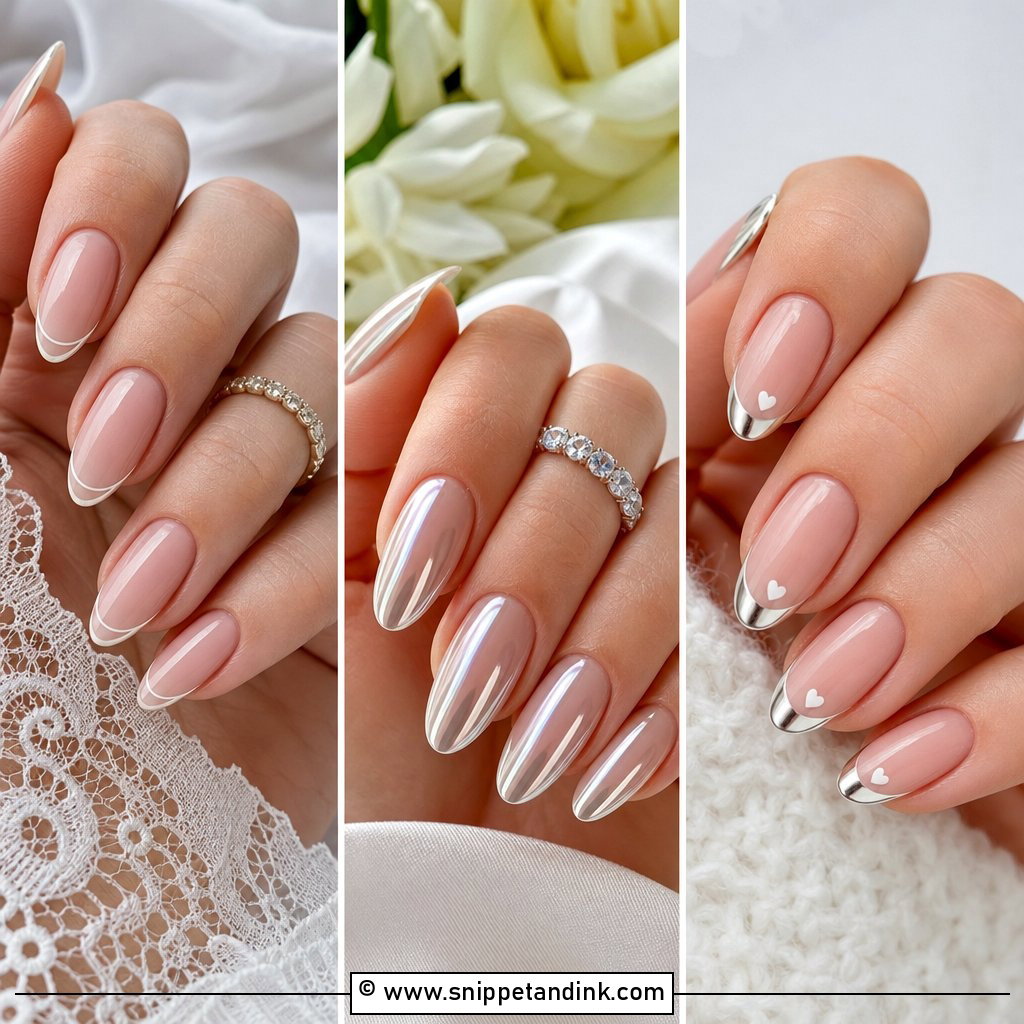
1. Simple French Wedding Nails
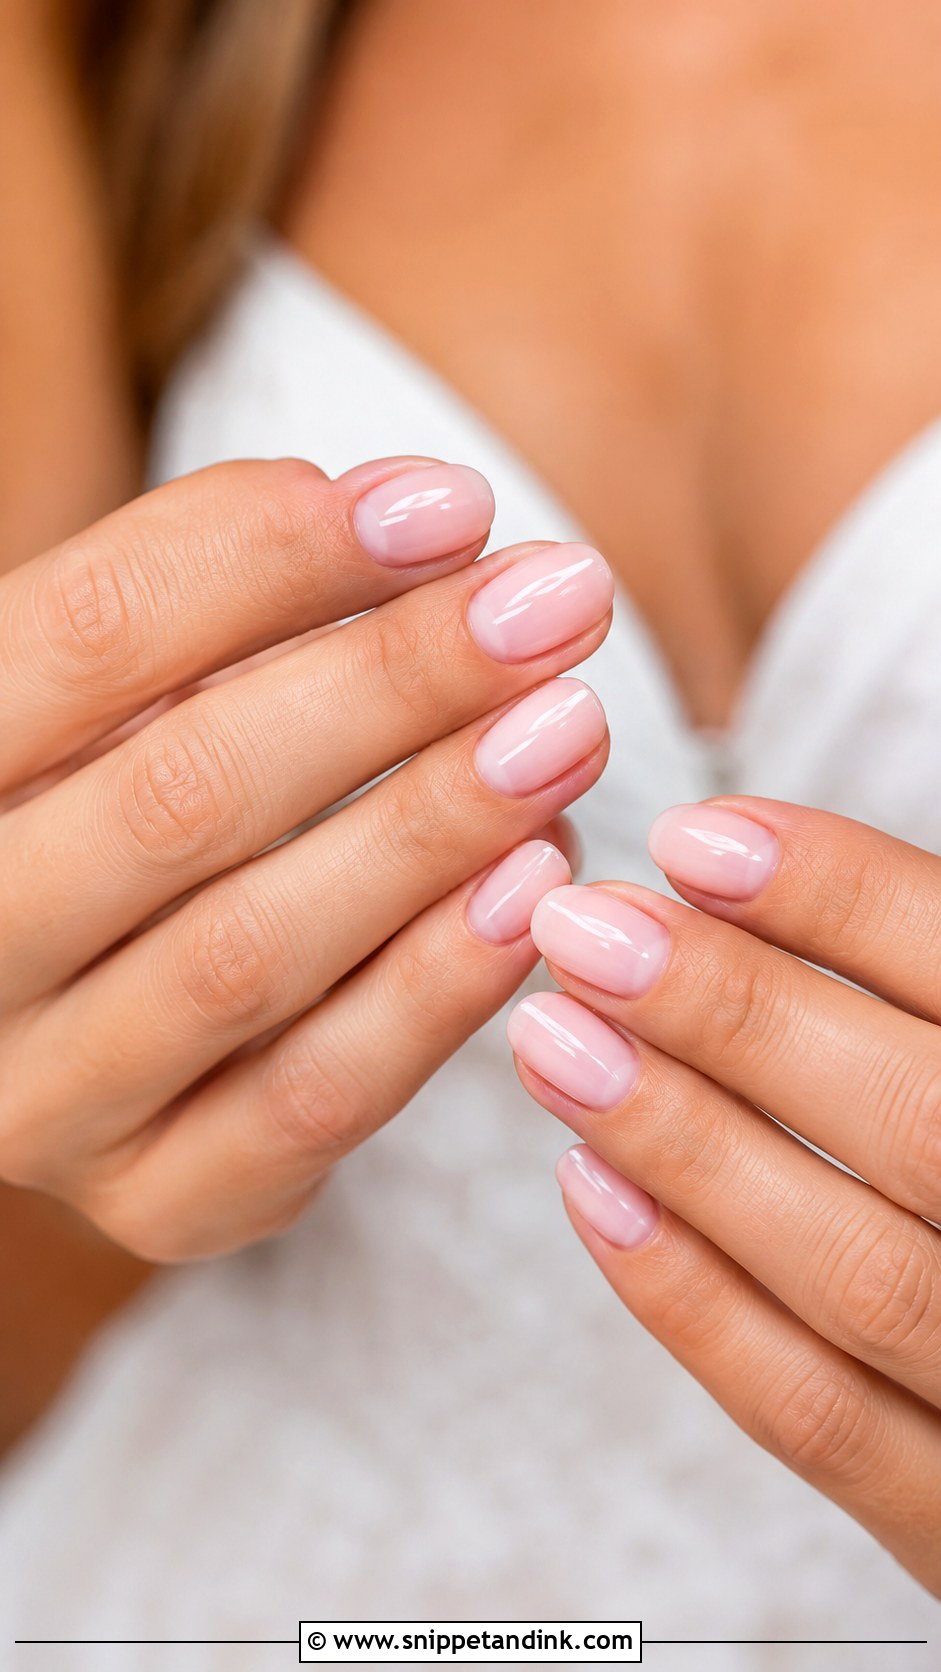
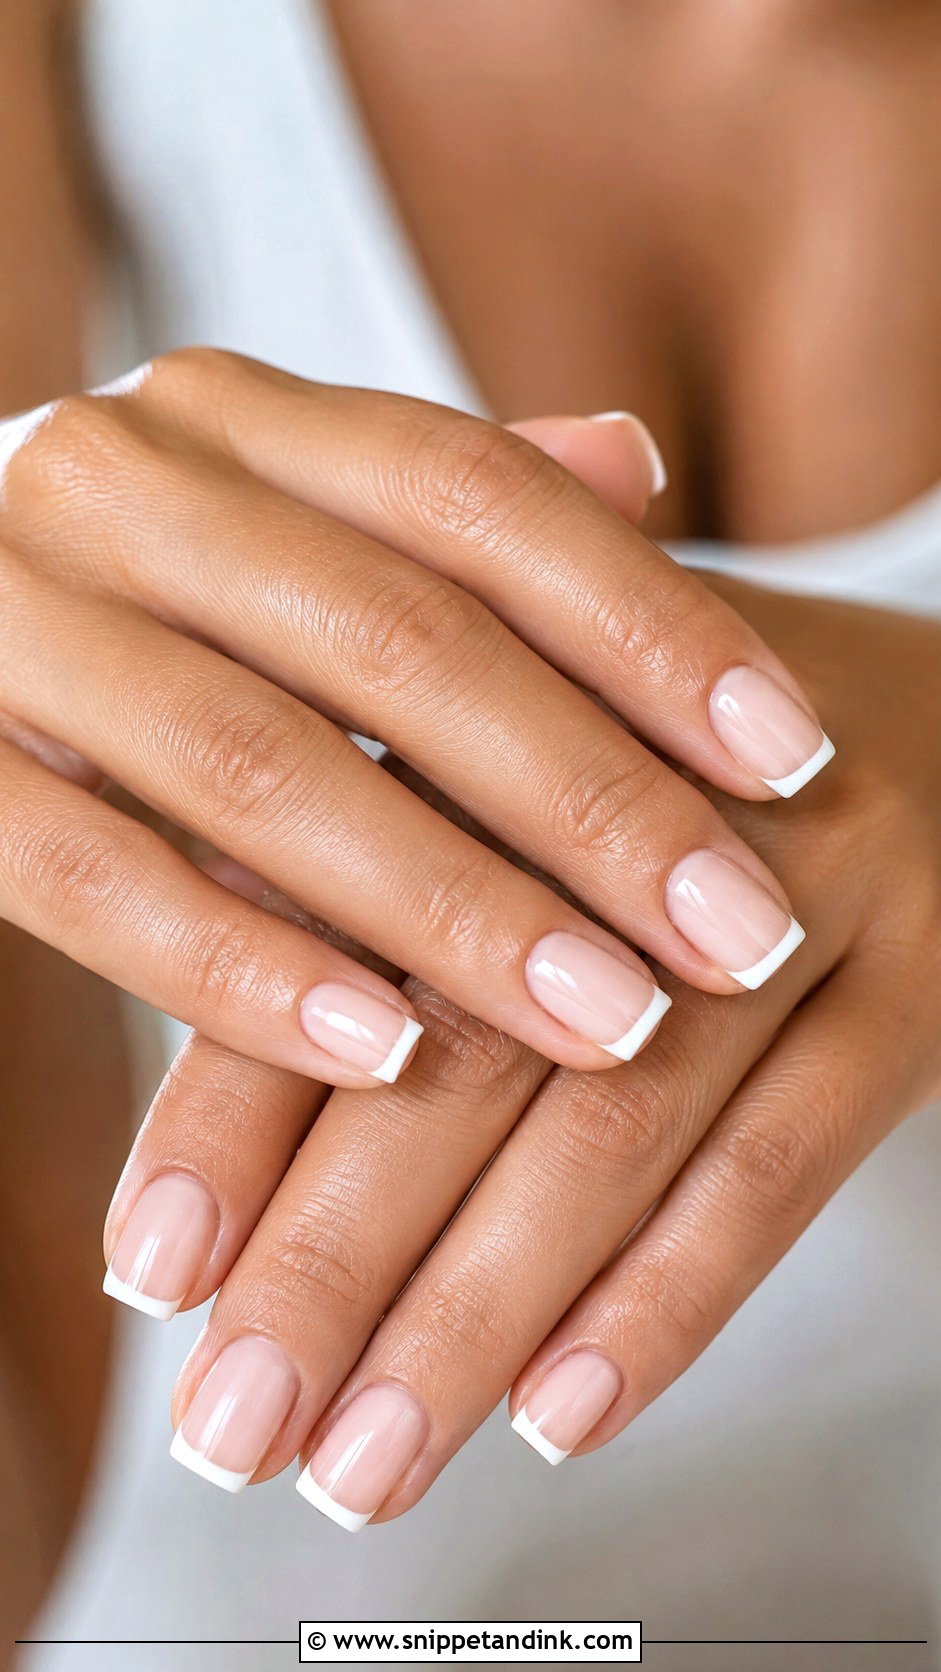
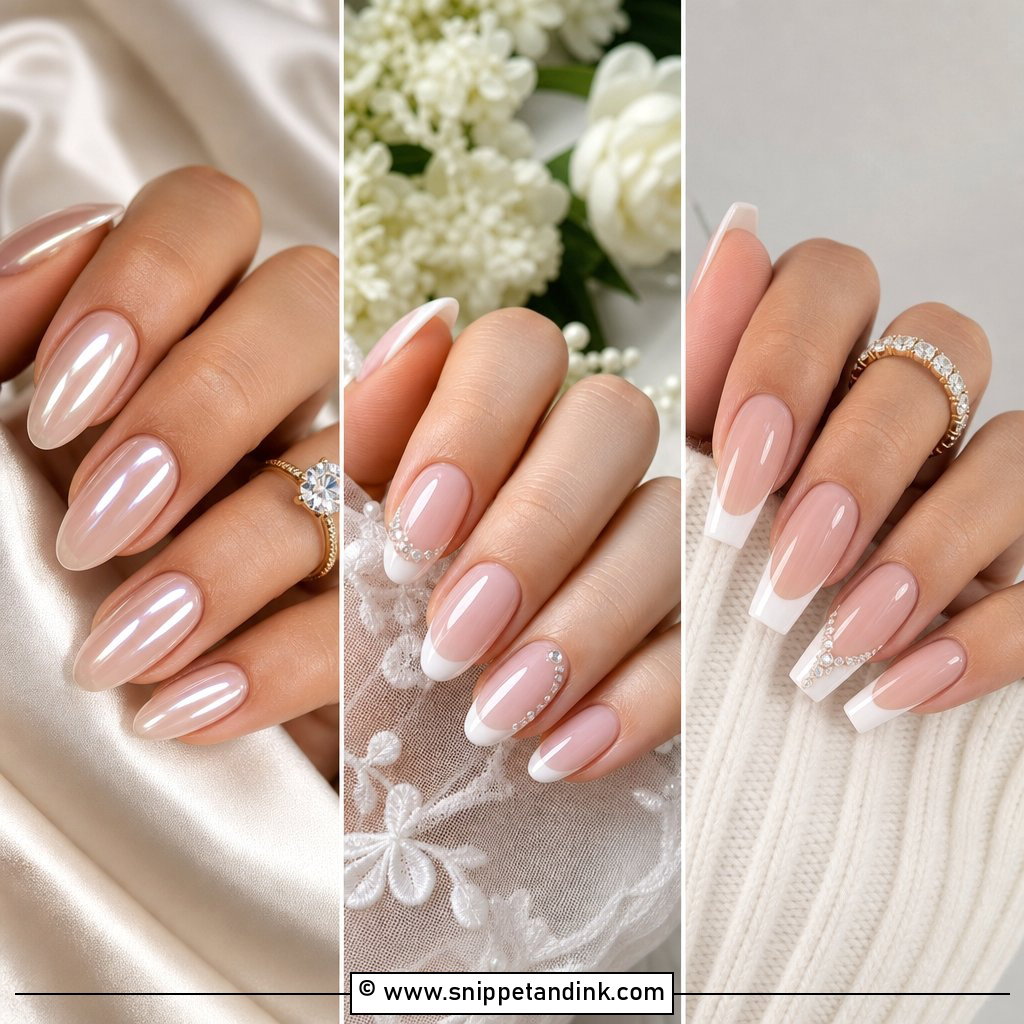
A French set lives or dies on the smile line. I keep it thin and follow the natural free edge, because a thick white band shortens the nail bed and looks dated in close-ups. A sheer pink or nude base underneath, and off-white rather than bright white for the tip if your skin is warm. Short square, almond and oval shapes all carry it. Ask your tech to match the smile line height on every finger; an uneven one on the ring hand is the first thing a photographer’s macro lens catches.
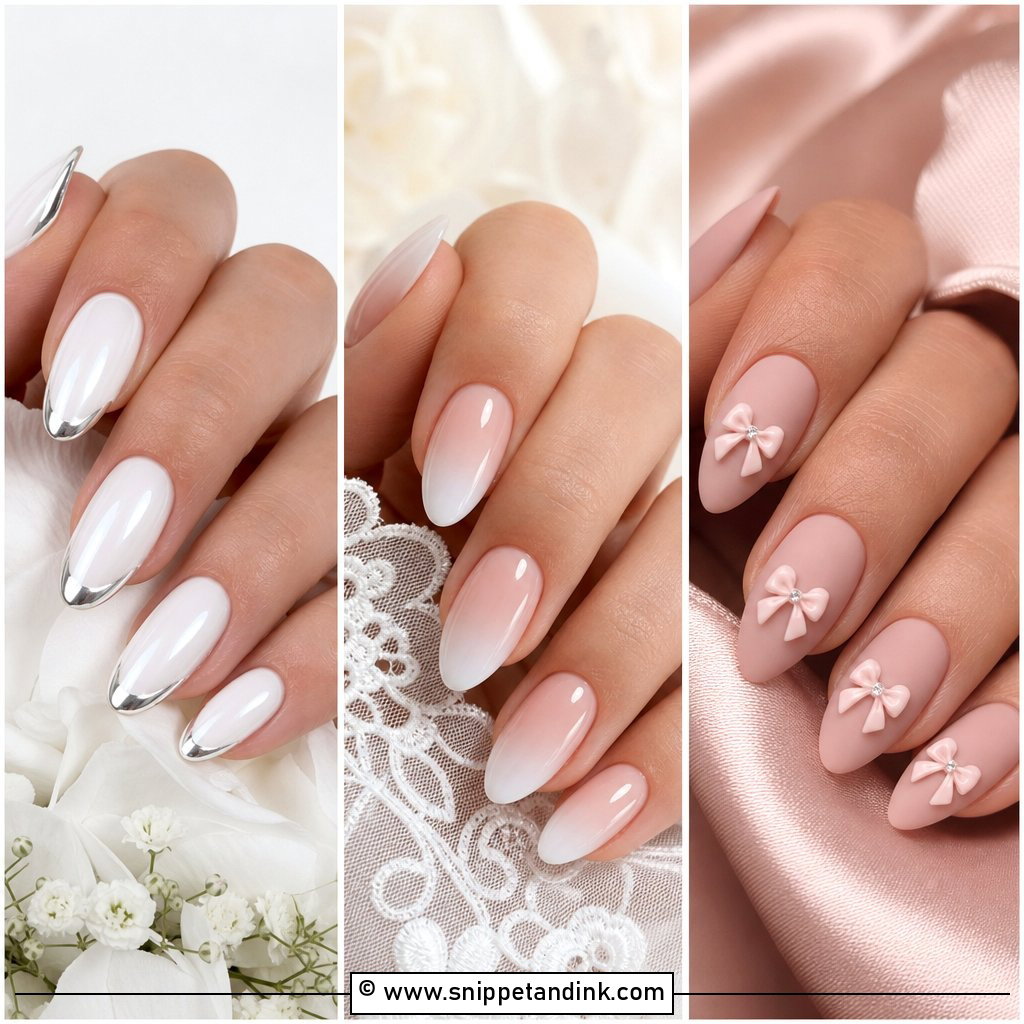
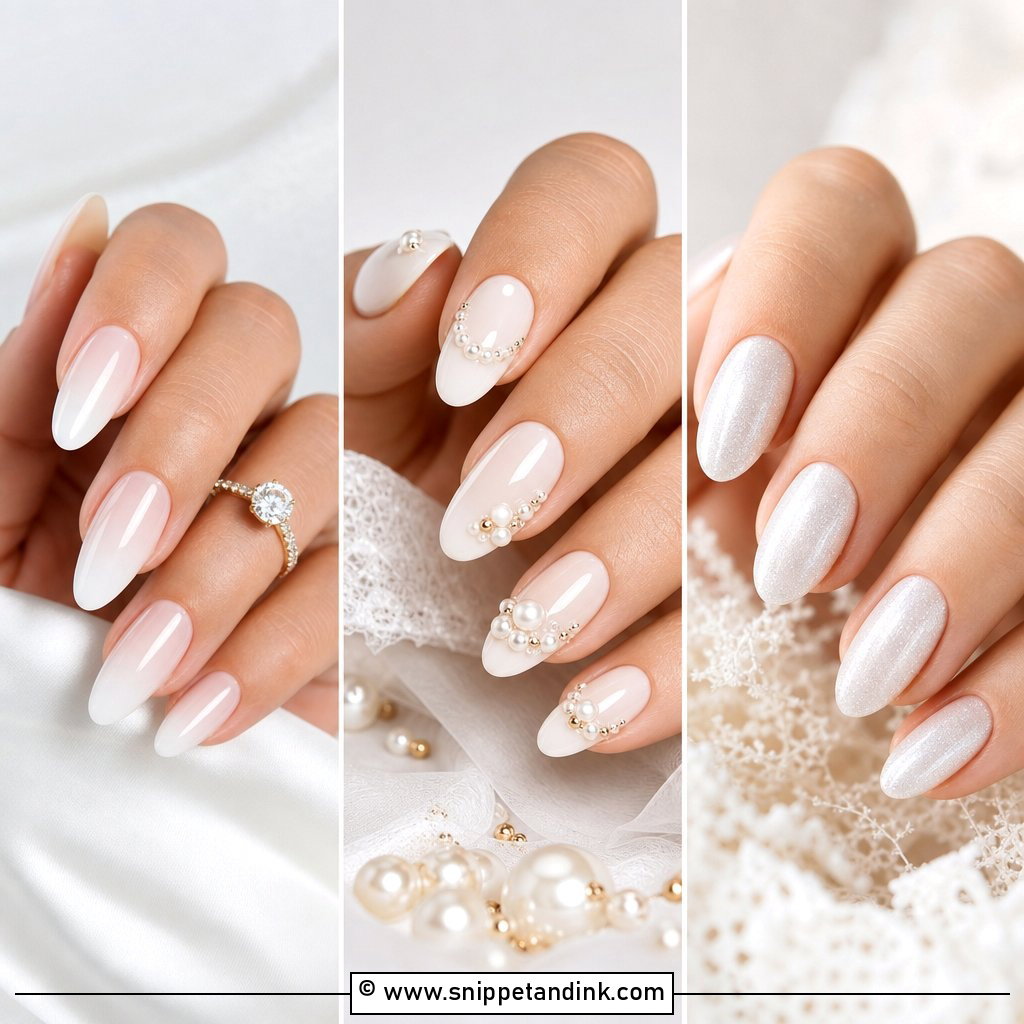
2. Milky White Wedding Nails
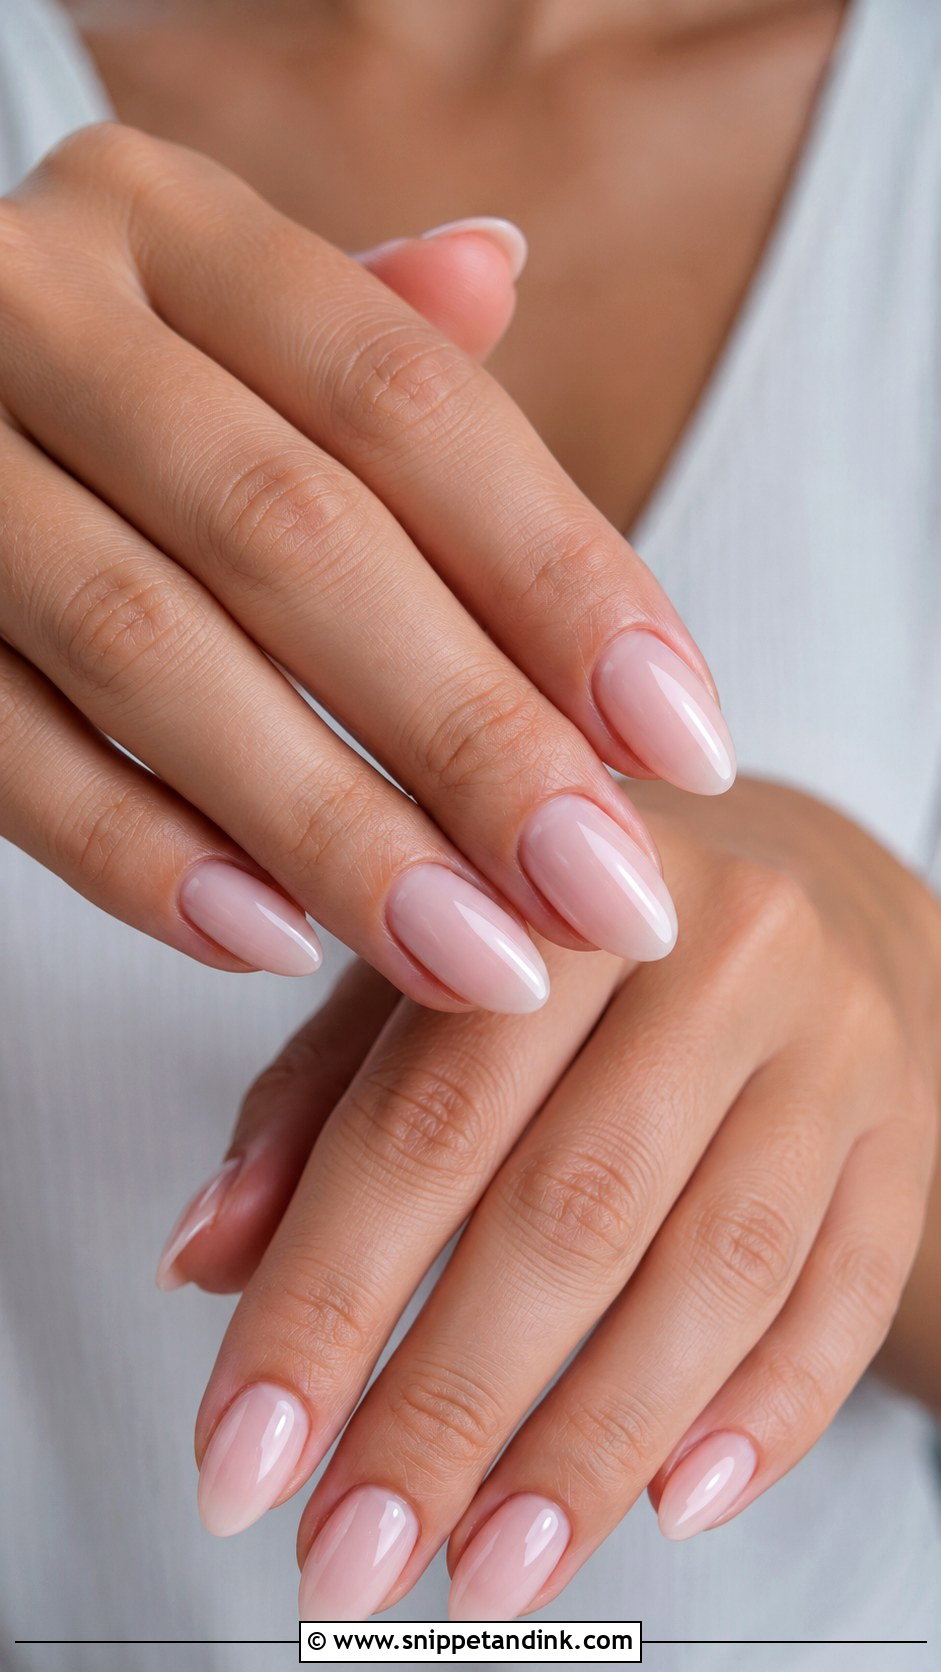
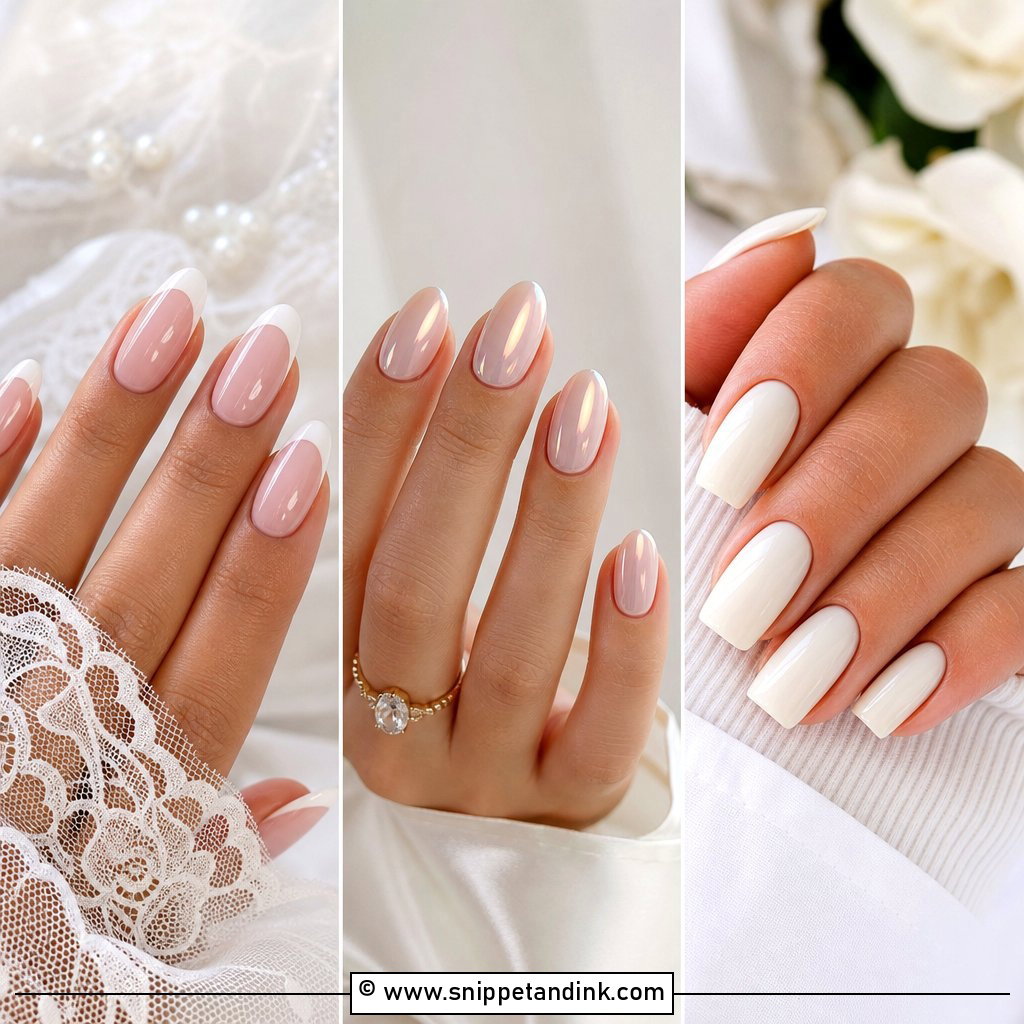
Milky white sits between nude and opaque white, and it’s the shade I’m asked for most. The semi-sheer layer softens the look of uneven nail beds and small ridges, which is part of why it reads so clean. It suits any length. I build it in two or three thin coats rather than one thick one, since thick milky gel goes streaky and can look grey at the cuticle. Finish with a glossy top coat and leave off any art. Ivory, champagne and blush gowns all pair with it.
3. Sheer Pink Wedding Nails
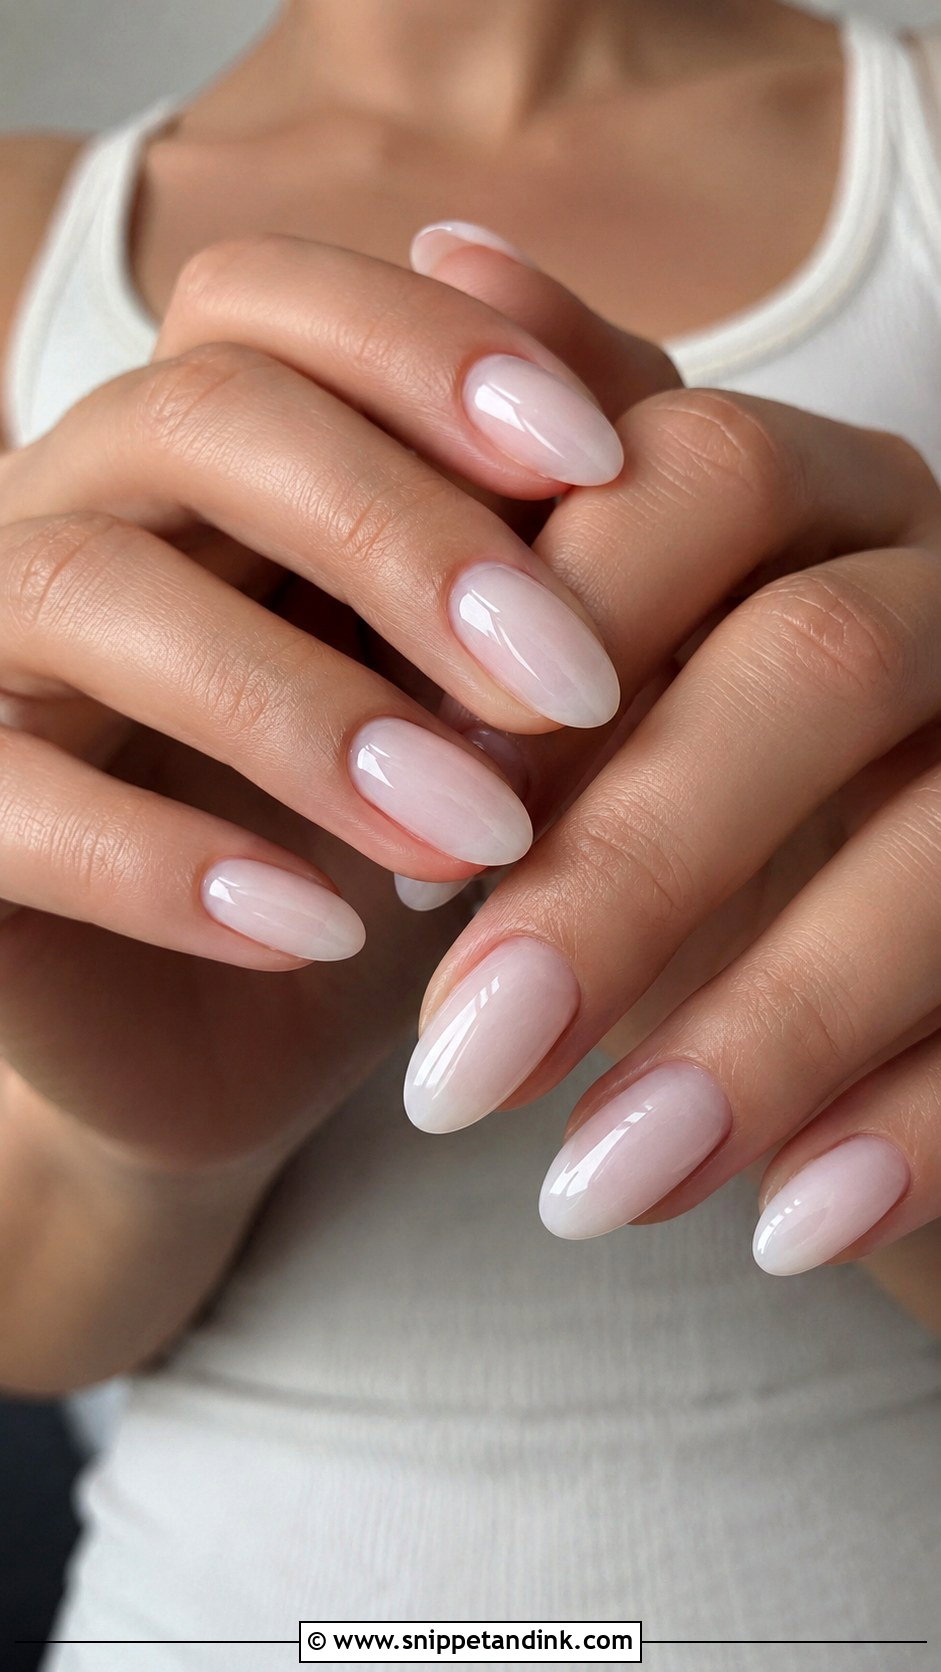
Sheer pink is for brides who normally wear nothing and want their hands to look finished, not painted. A barely there pink gel gives the nail a healthy flush. Match the pink to your undertone: cool baby pink, rosy beige or a warmer nude pink. Be aware that sheer shades show everything underneath, including white spots and staining from old dark polish, so I’d book a prep appointment a few weeks before if your natural nails need it.
4. Nude Wedding Nails
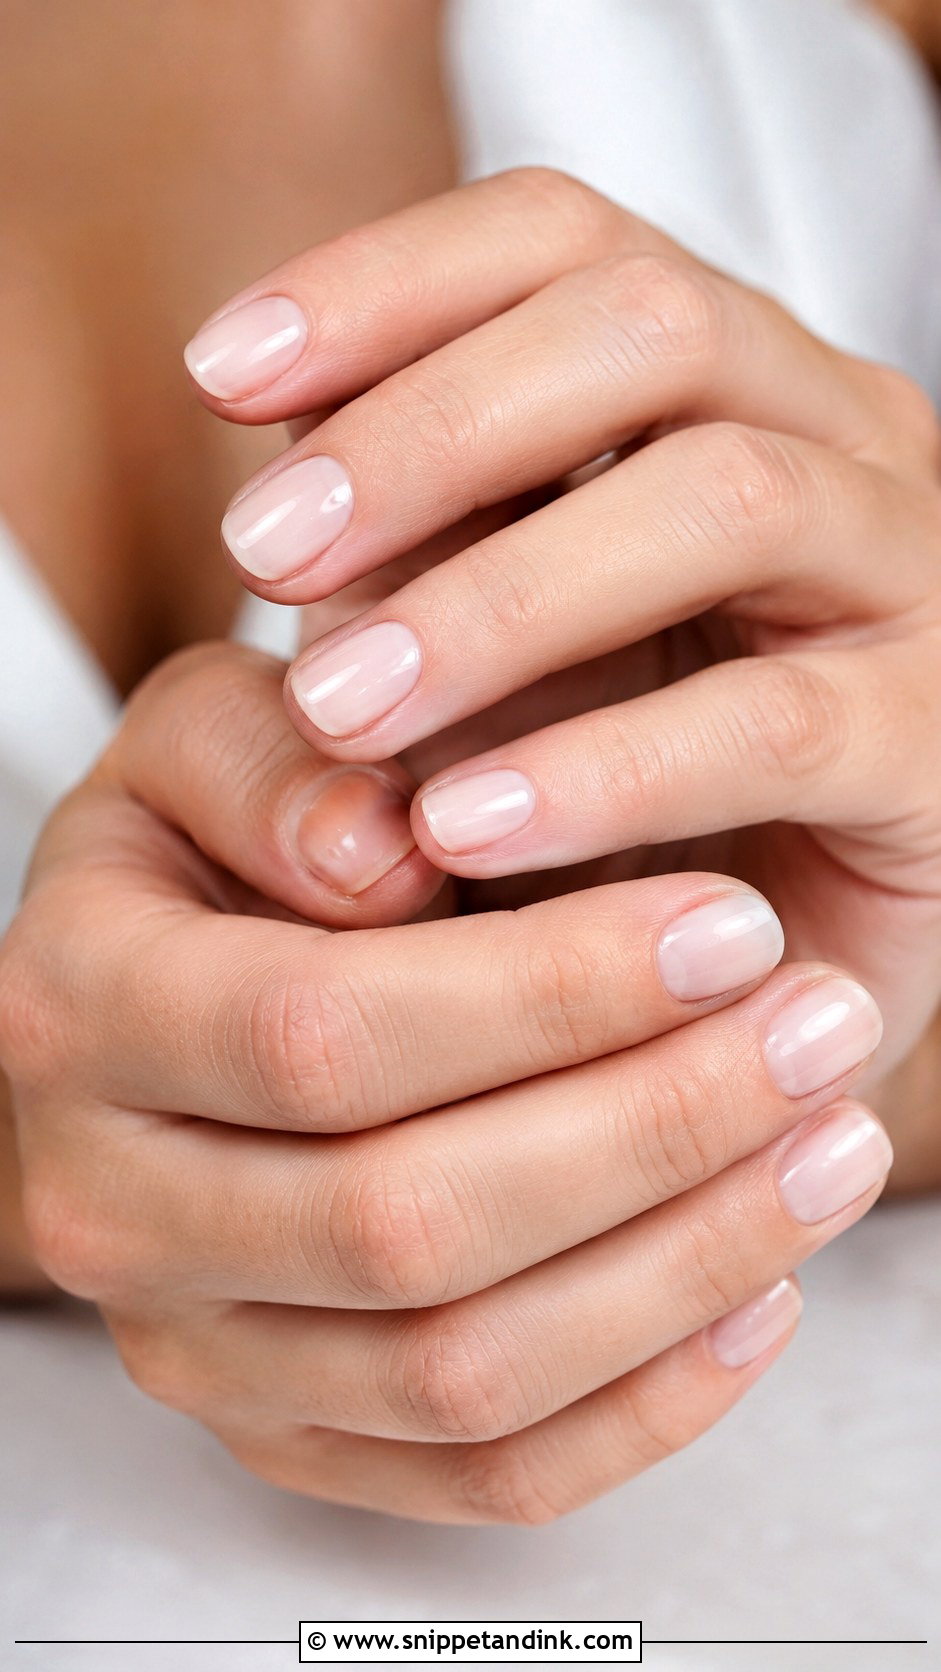
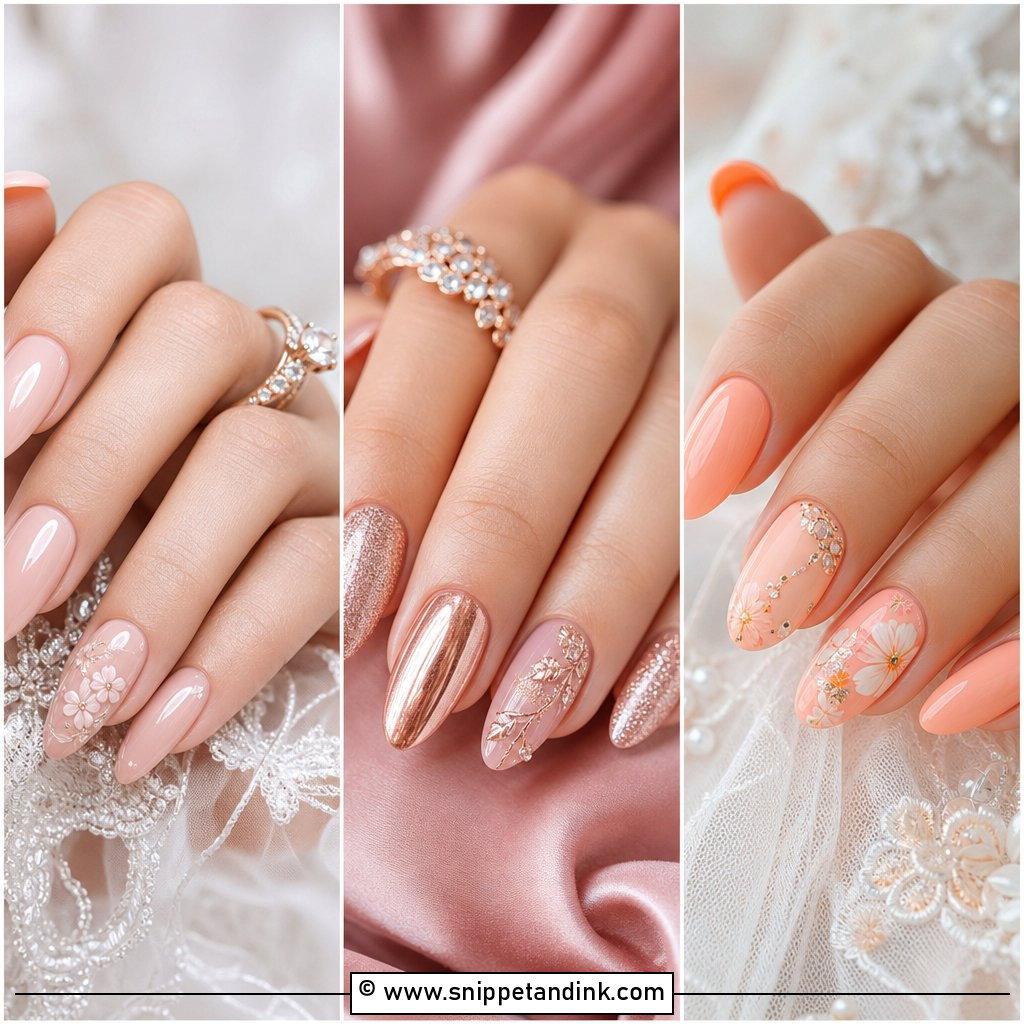
Nude only looks expensive if it matches your skin. Soft beige suits warm undertones, pink nude suits cool ones, and caramel nude looks rich on deeper skin, where pale beige turns chalky. I check the shade against the back of the hand, not the palm. A glossy finish keeps it clean. Nude doesn’t compete with the ring and its regrowth line is barely visible, which makes it practical for destination weddings and long celebration weeks.
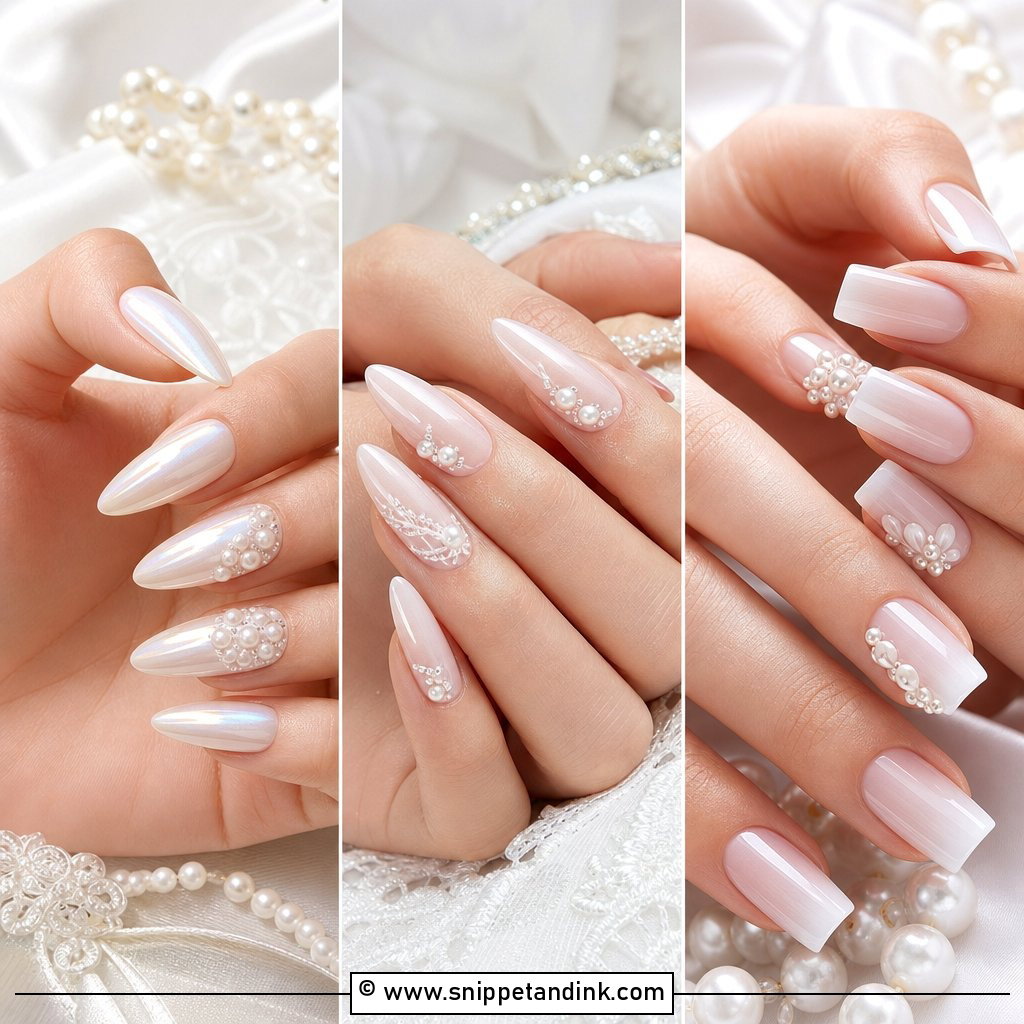
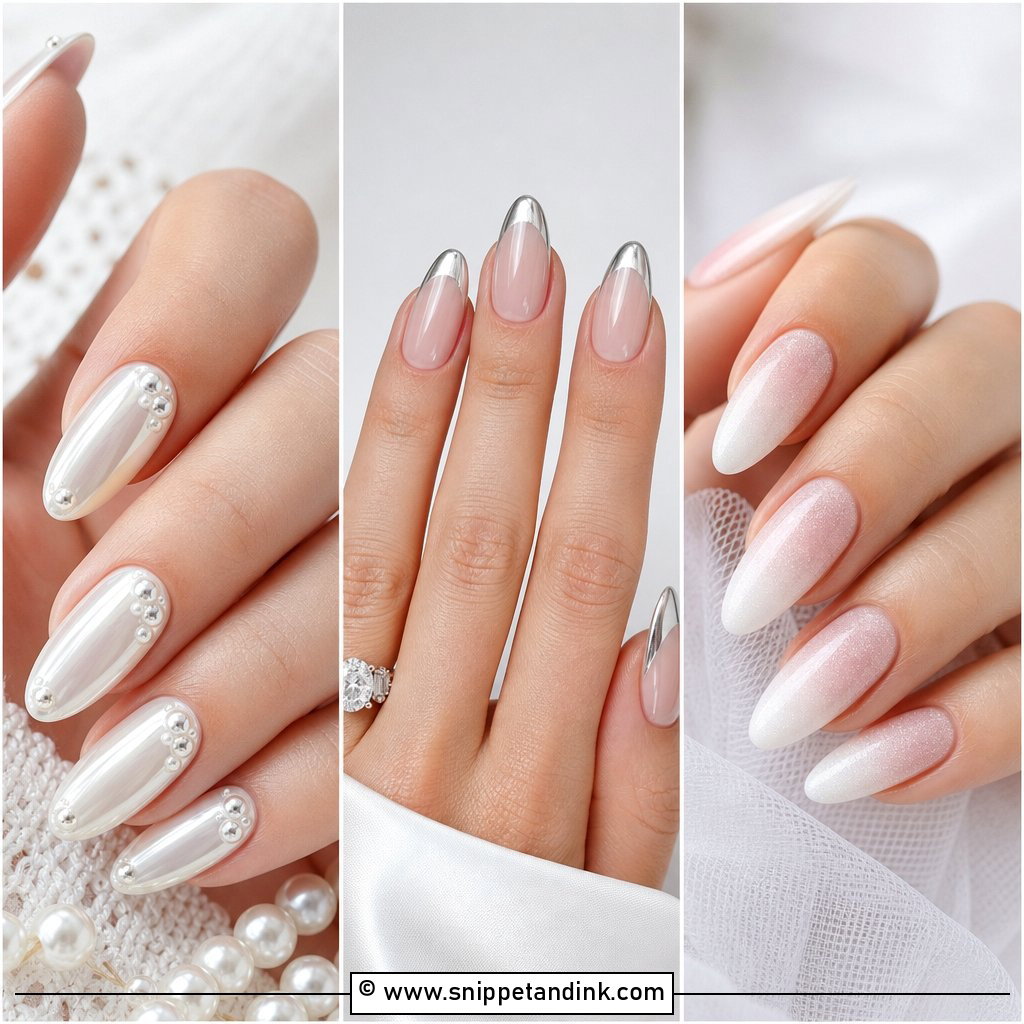
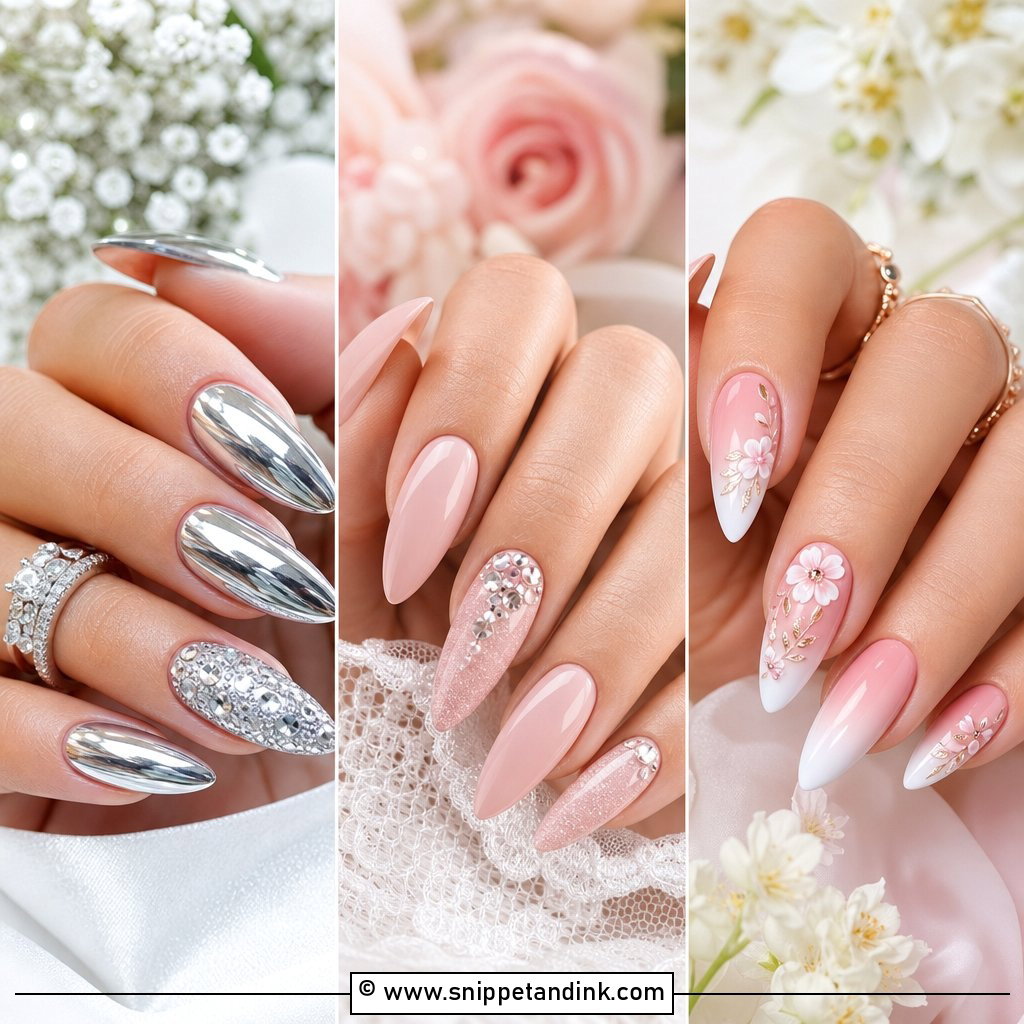
5. Pearl Chrome Wedding Nails
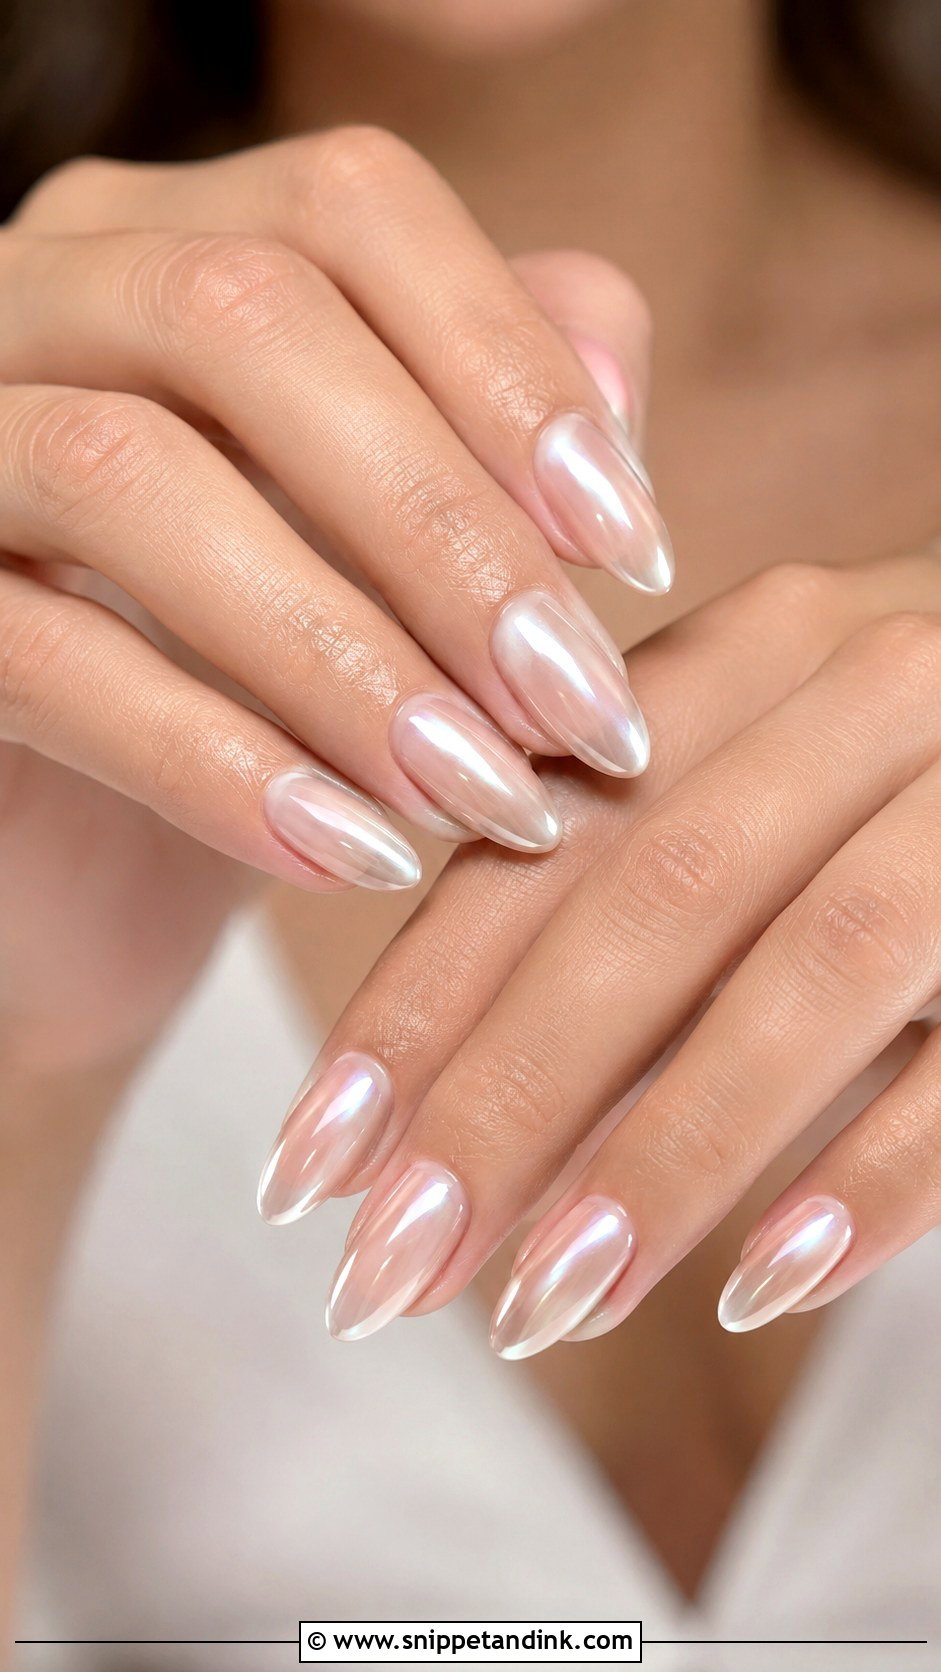
Pearl chrome is a fine powder rubbed over a cured no-wipe top coat, which leaves a soft sheen instead of a mirror. I apply it over sheer pink, milky white or nude, and the curve of almond and oval nails shows the shift of light best. On very flat, wide nail beds the sheen is less noticeable. Skip extra art if you want it to look clean. The powder must be sealed right to the free edge, or it starts to wear at the tips within a few days.
6. Soft White French Tip Wedding Nails
Soft white French tip wedding nails use a creamy tip over sheer pink, nude or milky beige, so the whole set looks blended. Square, squoval, oval and almond shapes all work. The rule I follow is proportion: on short nails the tip should be very thin, a millimeter or two, while longer nails can carry a slightly deeper line. Too deep a tip on a short nail makes the fingers look stubby.
7. Short Wedding Nails
Short nails are what I’d honestly recommend to most brides. They don’t snag on lace, veils or zips, and they don’t break on the morning of the wedding. A rounded or squoval shape keeps them soft. Sheer pink, milky nude or a glossy neutral are enough on their own, and a micro French tip or a pearl top coat adds detail. Neat cuticles matter more at this length than any color does.
8. Almond Wedding Nails
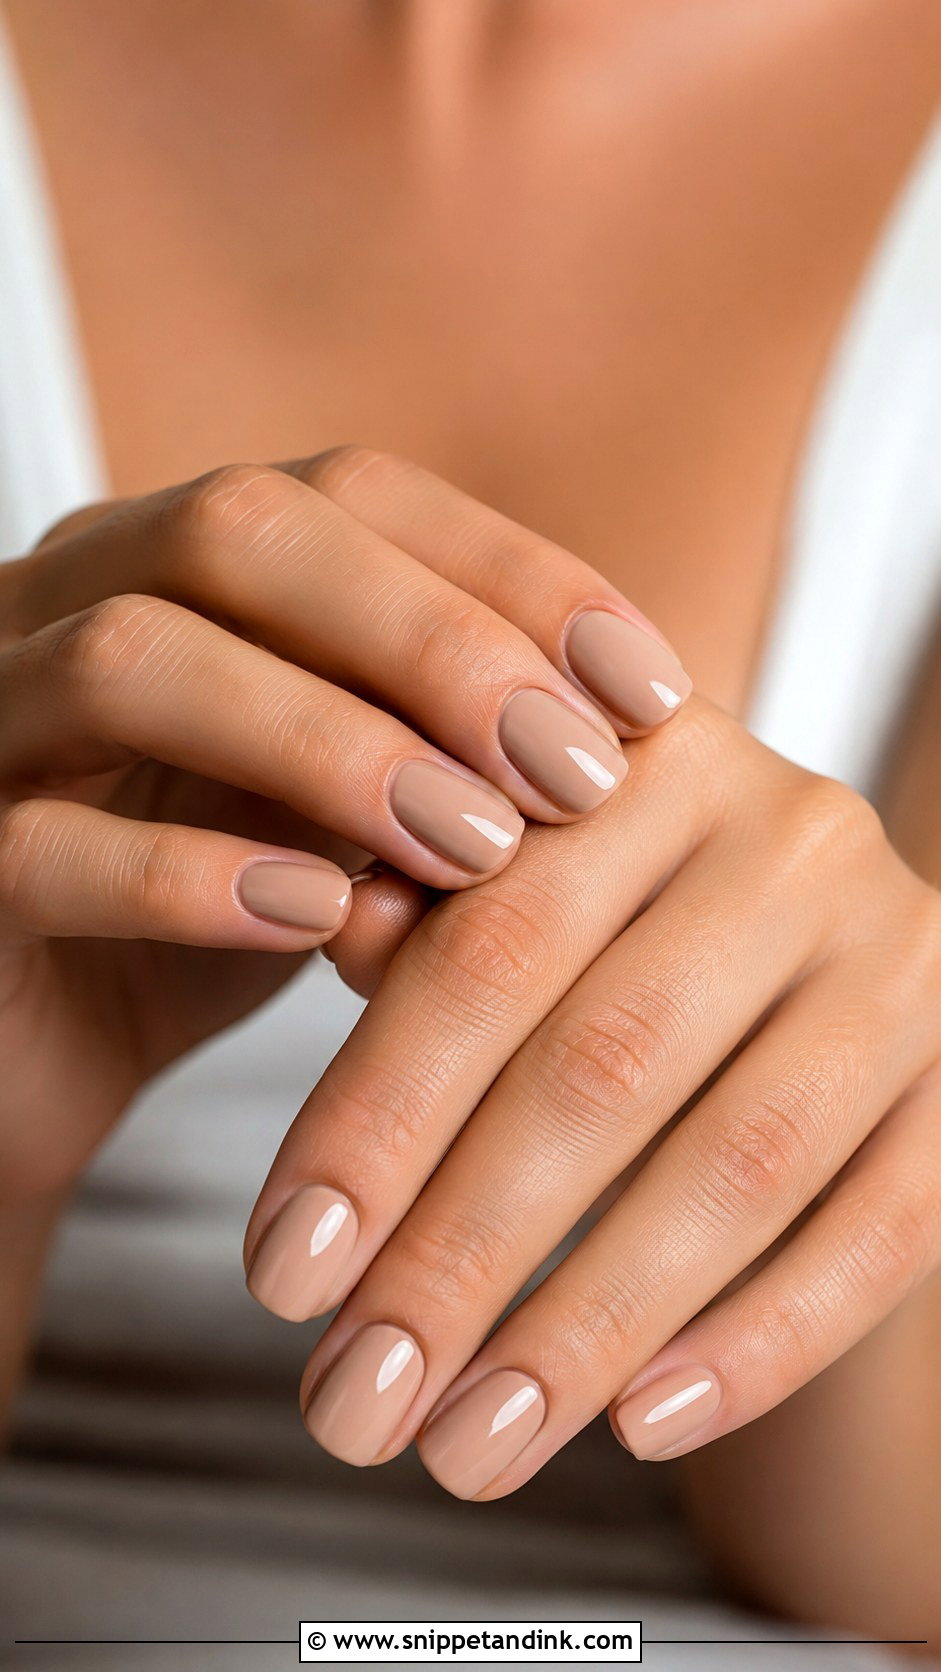
Almond is the shape that makes fingers look longest. Medium length is the sweet spot for a wedding: dressy, but still easy to button a dress, pin a boutonniere and eat with. Milky pink, nude gel, pearl chrome or a fine French tip suit it without extra art. The tapered point is also the weakest point. On thin natural nails I’d add a builder base for strength, or the tip can snap if it catches.
9. Square Wedding Nails
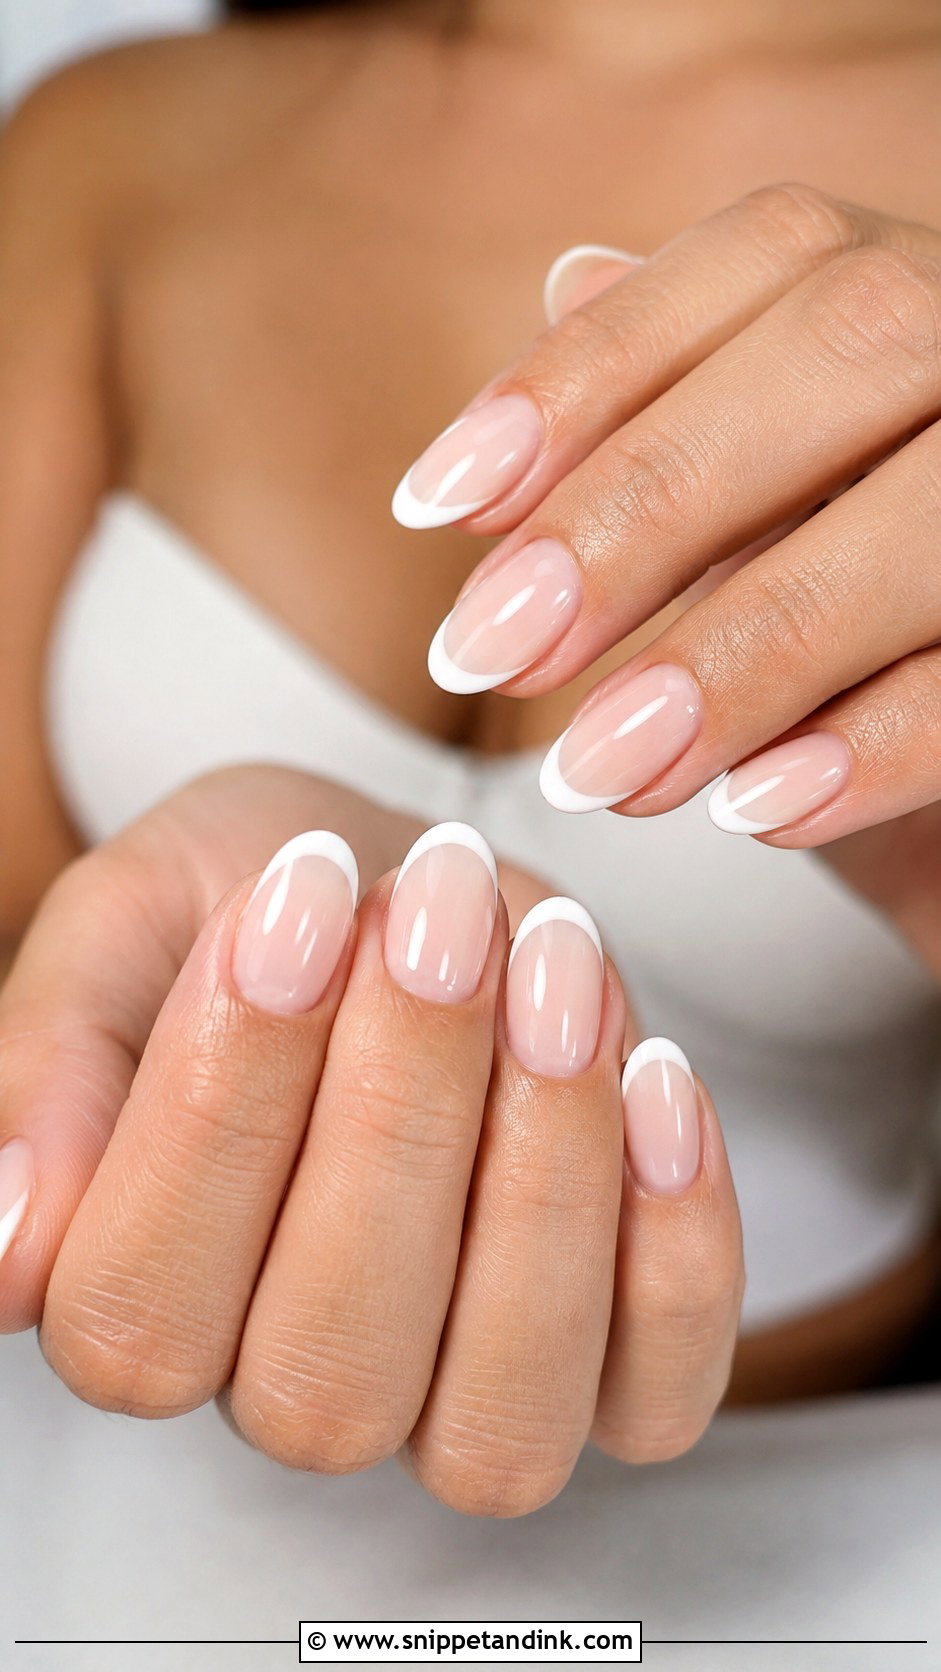
Square nails give a crisp, structured outline at short to medium length. I soften the corners slightly, into squoval, for most brides, because sharp corners catch on fine fabric and chip first. French tips, sheer nude, milky white and soft pink all suit the straight edge. A thin white line or a glossy nude base is enough. Very wide nail beds can look broader in a strict square, so I’d taper the sides a touch.
10. Oval Wedding Nails
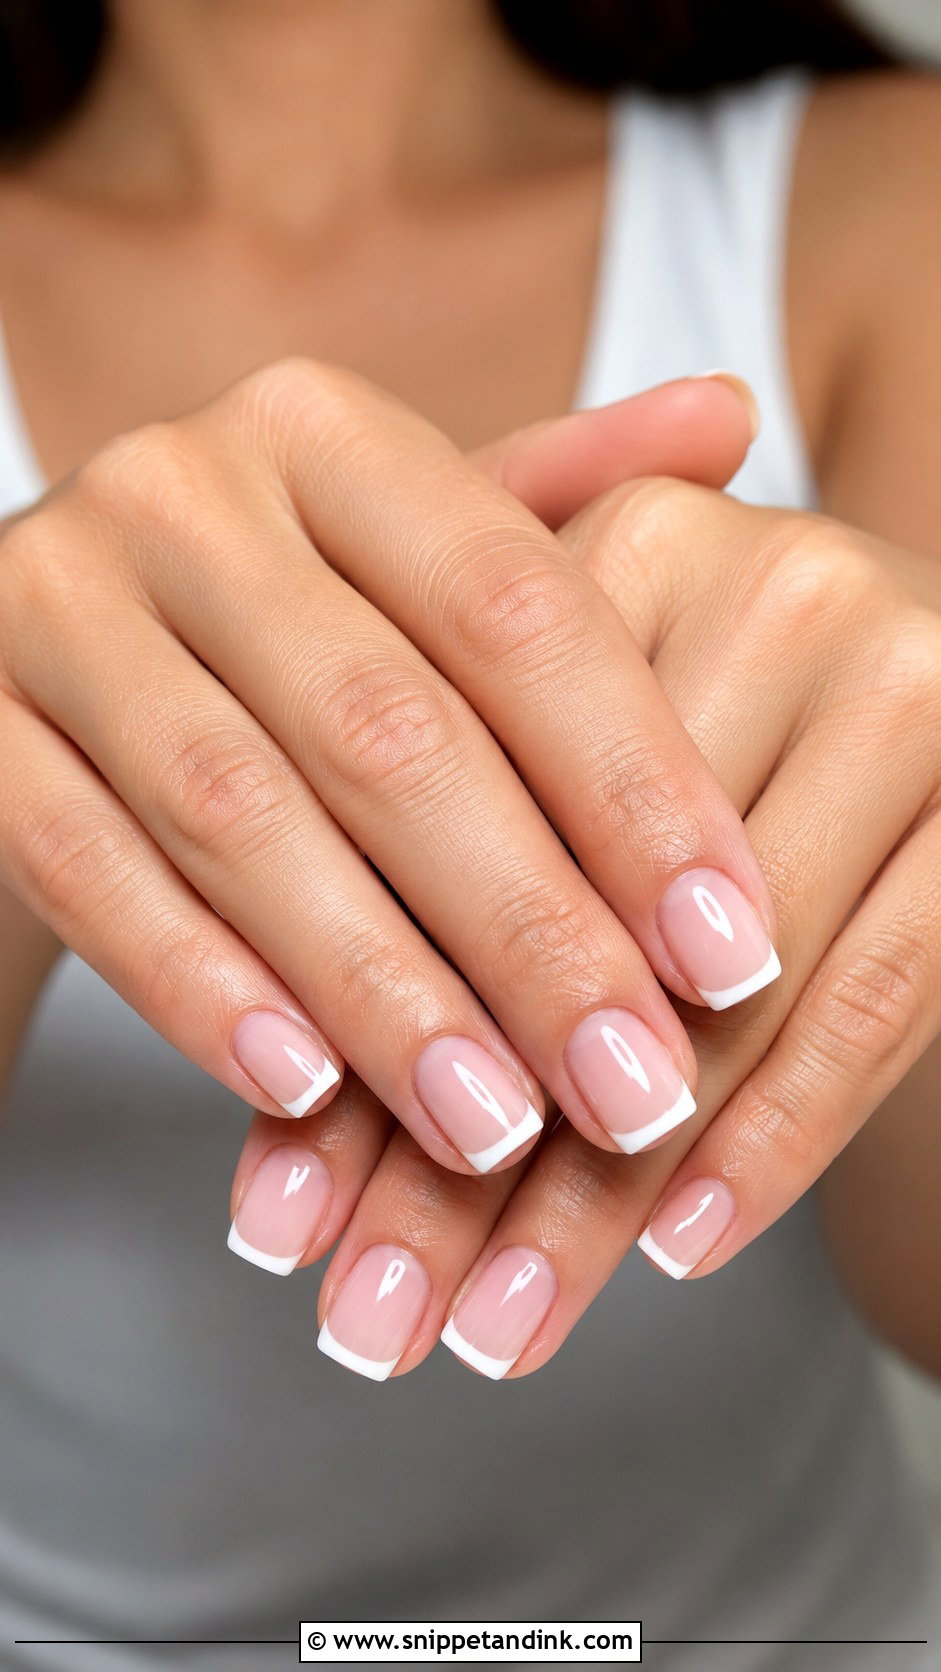
Oval nails lengthen the fingers but feel softer than almond. They suit sheer pink, milky white, blush nude and pearl finishes, and a micro French tip on an oval looks delicate. This is the shape I suggest to brides who want something feminine but find a pointed tip impractical. Keep the length moderate. Oval also grows out gracefully, so a set done a few days early still looks fresh on the day.
11. Blush Pink Wedding Nails
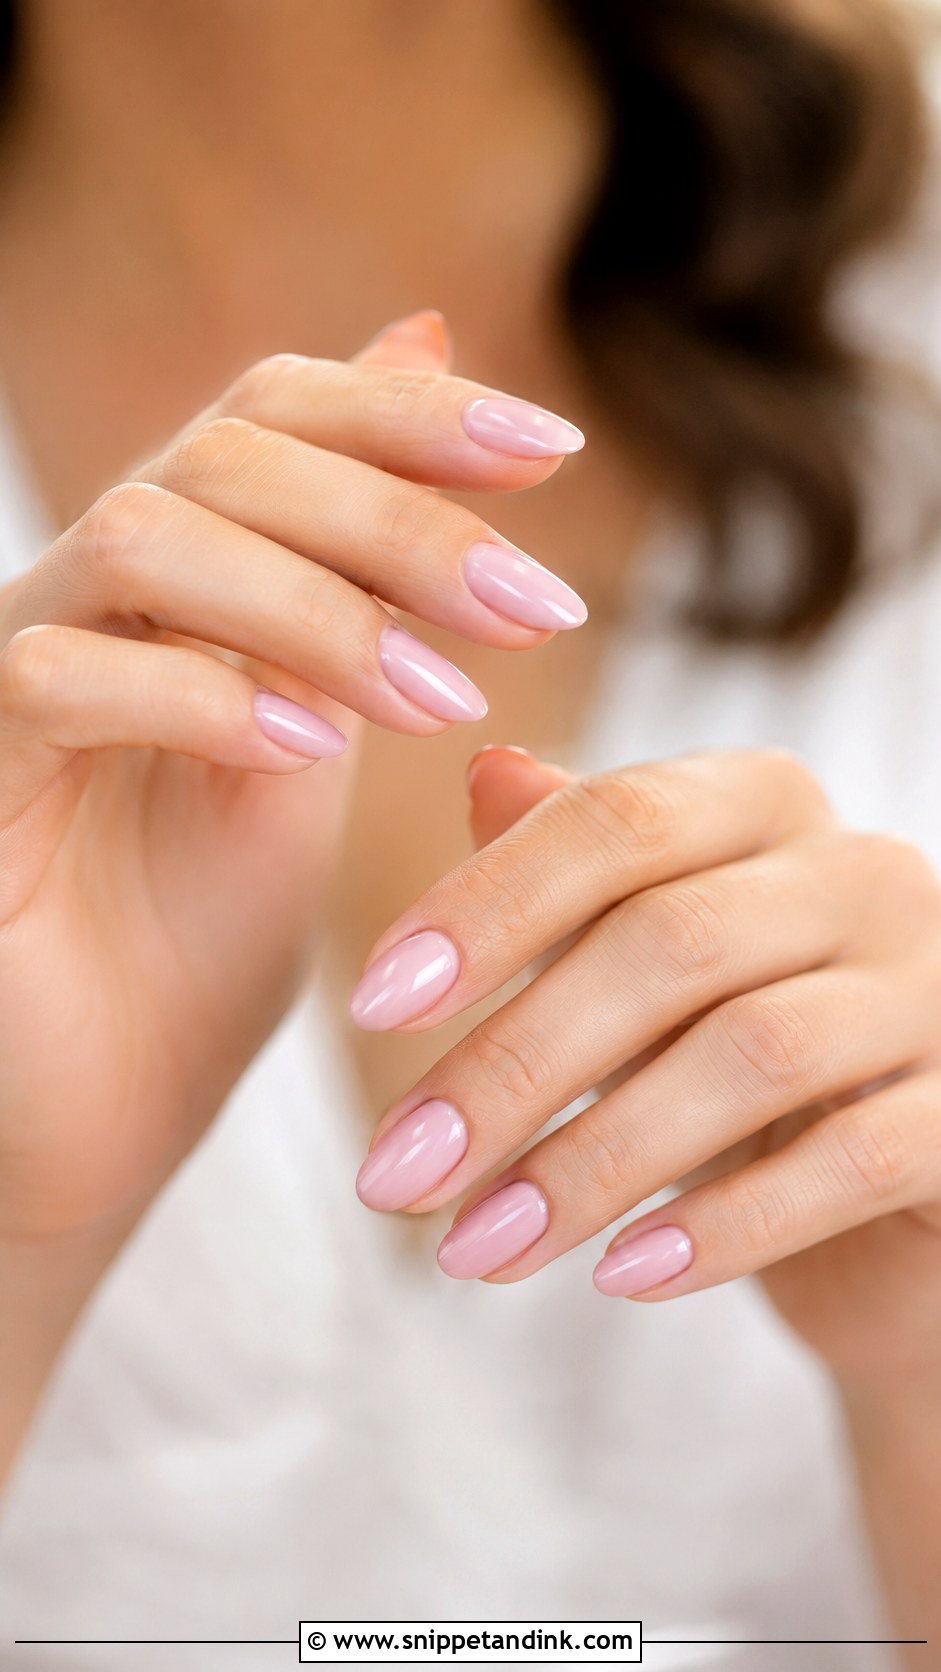
Blush pink is a little warmer and more visible than sheer pink, while still reading as bridal. It pairs naturally with rose gold jewelry and ivory dresses. On short nails I keep it glossy; on longer nails a fine shimmer top coat adds a little interest. If your wedding colors run to pink, champagne or mauve, it blends in without trying. Very fair, cool-toned hands can look slightly red with a warm blush, so try two shades side by side.
12. Baby Boomer Wedding Nails
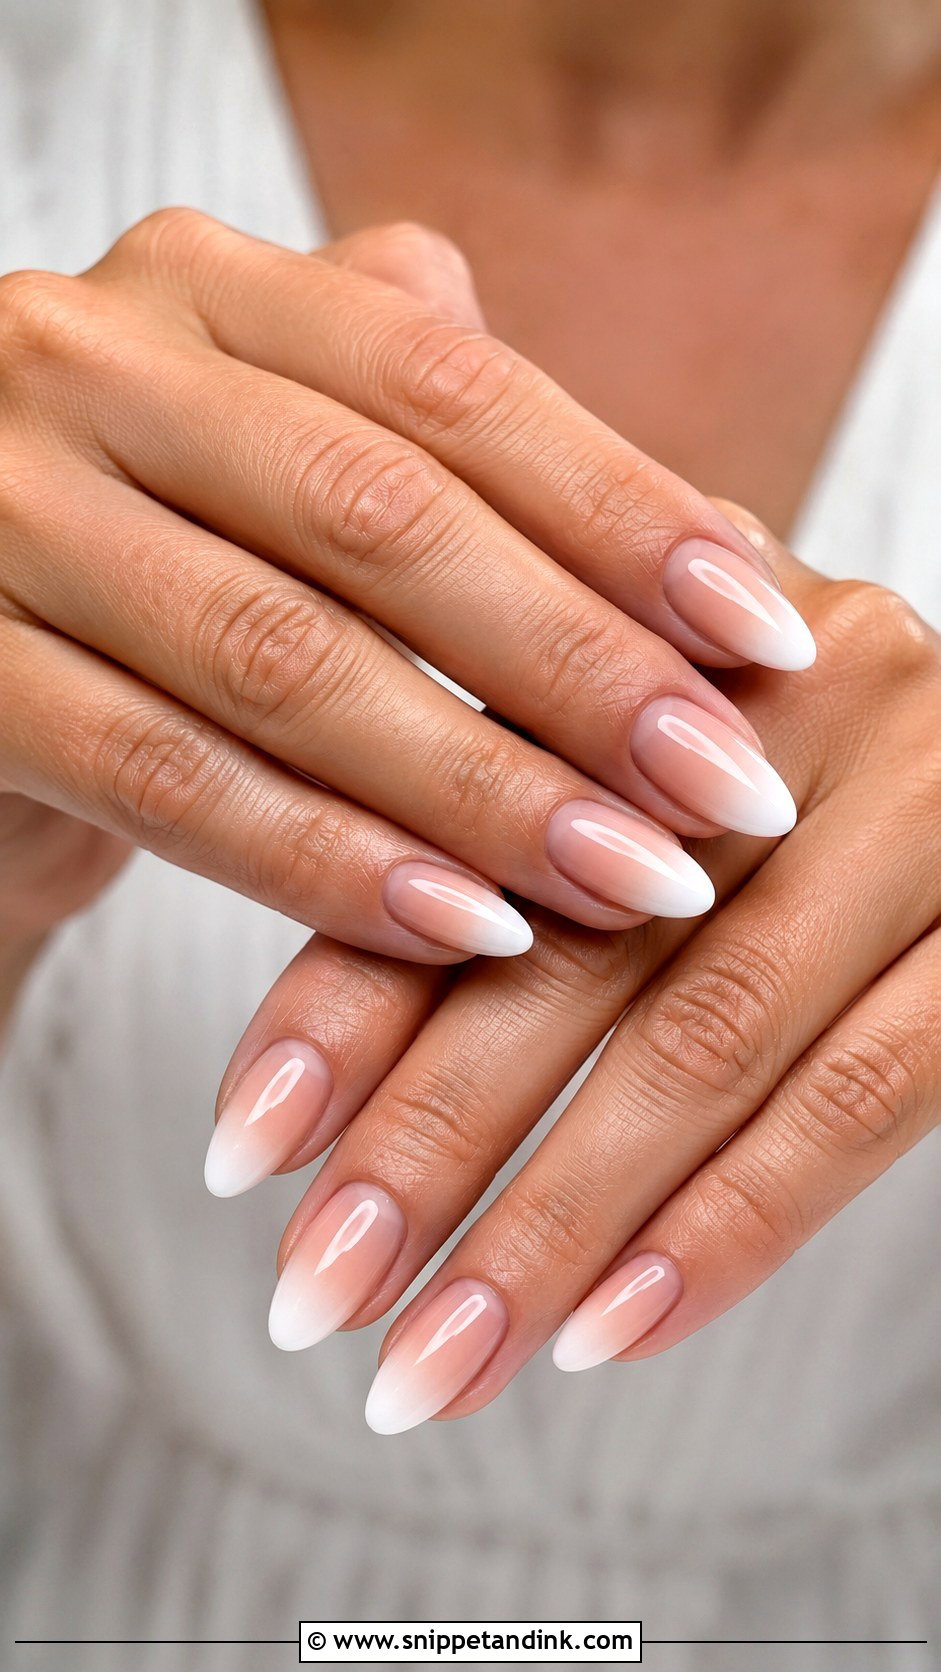
Baby boomer wedding nails blend a nude or pink base into a milky white tip, so there’s no hard French line. I build the fade with a sponge or a soft brush in several thin layers; one thick layer leaves a visible band. It needs a little length to show the gradient, so almond, oval, coffin or square shapes with some free edge suit it. Keep both colors close to your natural nail tone. On very short nails the fade has no room and tends to look like a smudged French.
13. White Chrome Wedding Nails
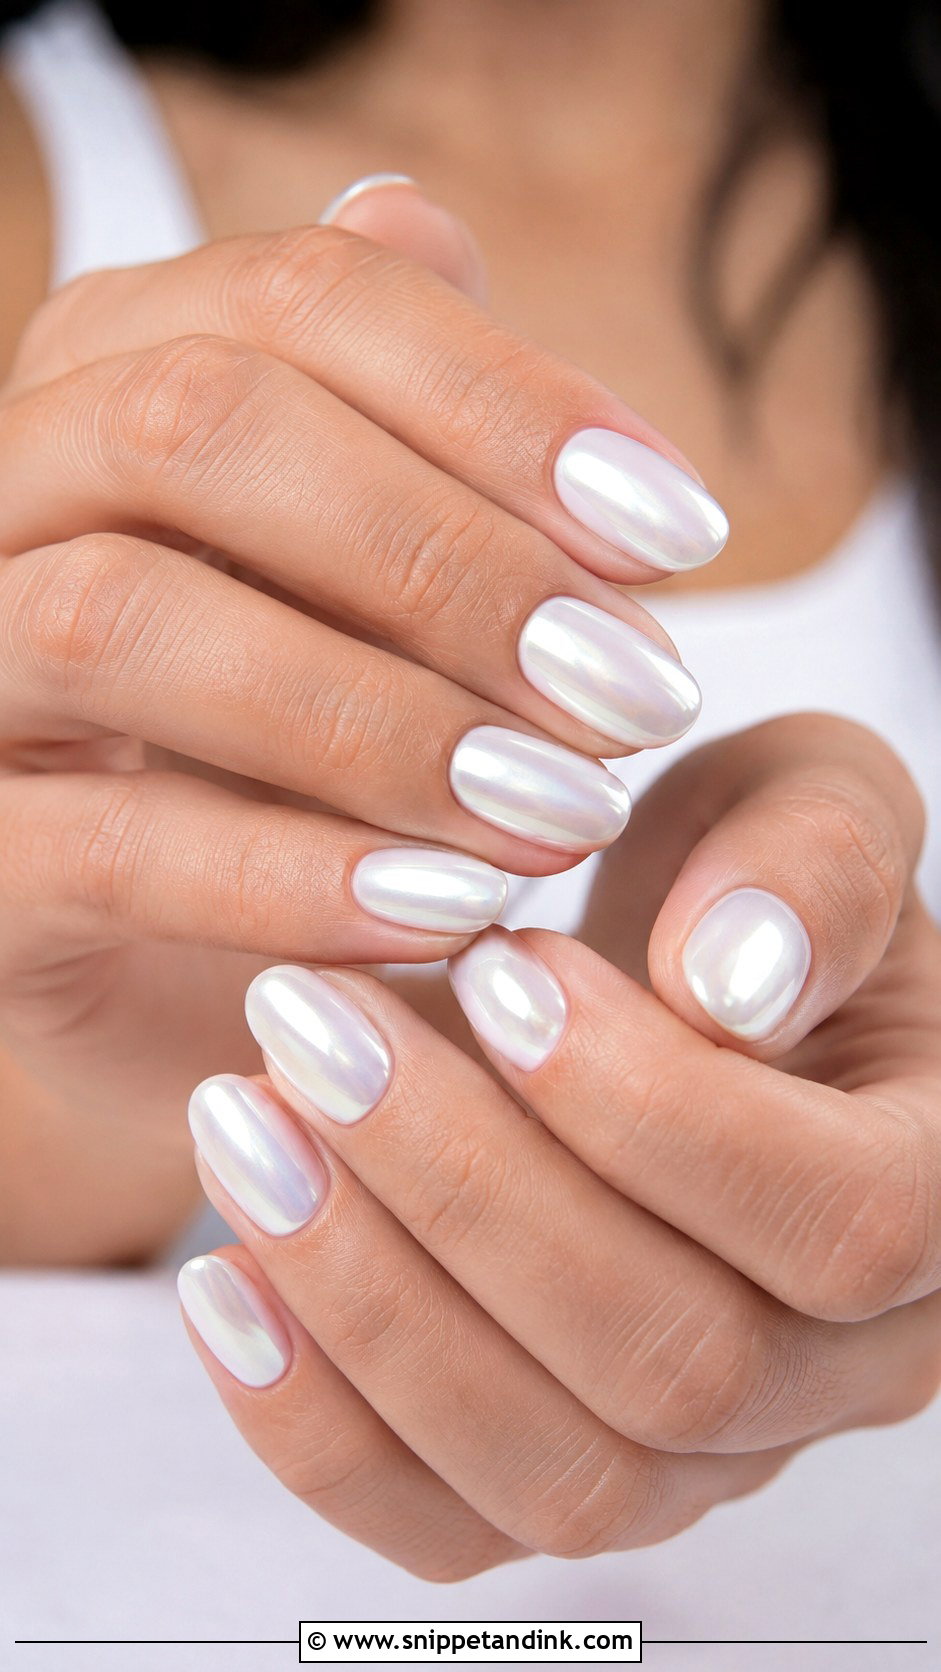
White chrome wedding nails start with a milky or sheer white base, finished with fine chrome powder for a smooth glow. I lean toward a pearl or satin chrome, since a full metallic white can look icy in daylight. Almond, oval and short square shapes suit it. Silver or pearl accessories and a minimalist dress match its cool tone. Like pearl chrome, the powder needs to be sealed to the edge so the tips don’t wear.
14. Nude French Wedding Nails
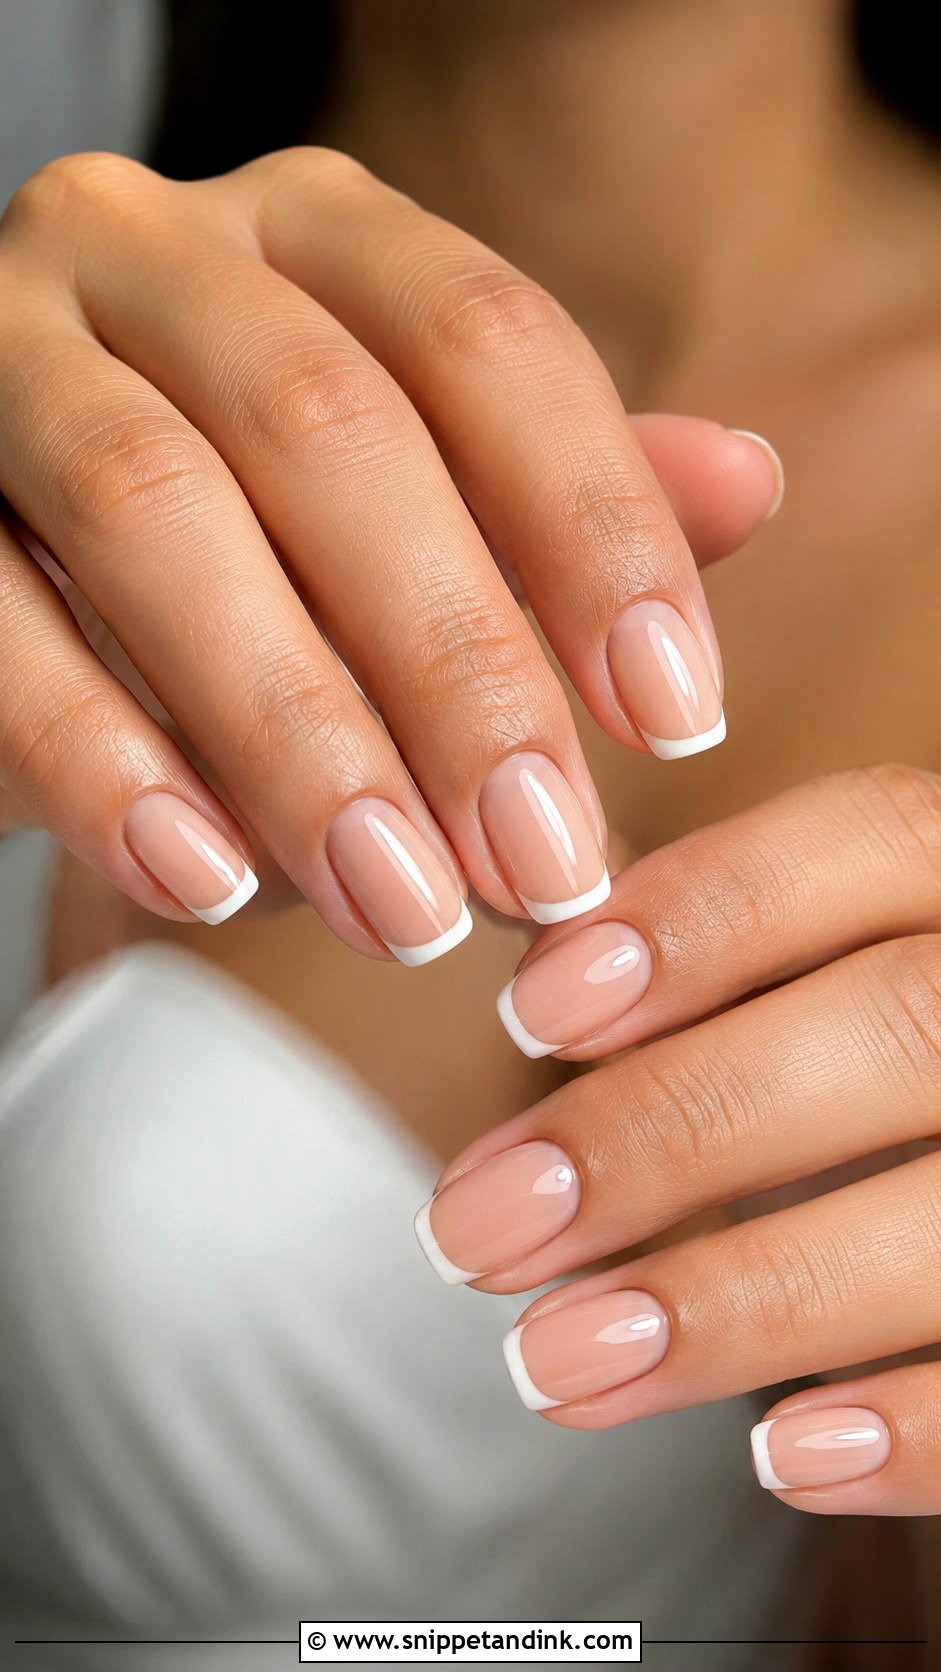
Nude French swaps the bright base and white tip for a nude base and a cream or beige tip. The contrast is low, which makes it warmer and quieter than the classic. It’s most flattering when the base matches your skin closely, which is where I spend the time, mixing two shades if needed. Short square, medium almond and oval shapes all suit it. A glossy top coat keeps it fresh.
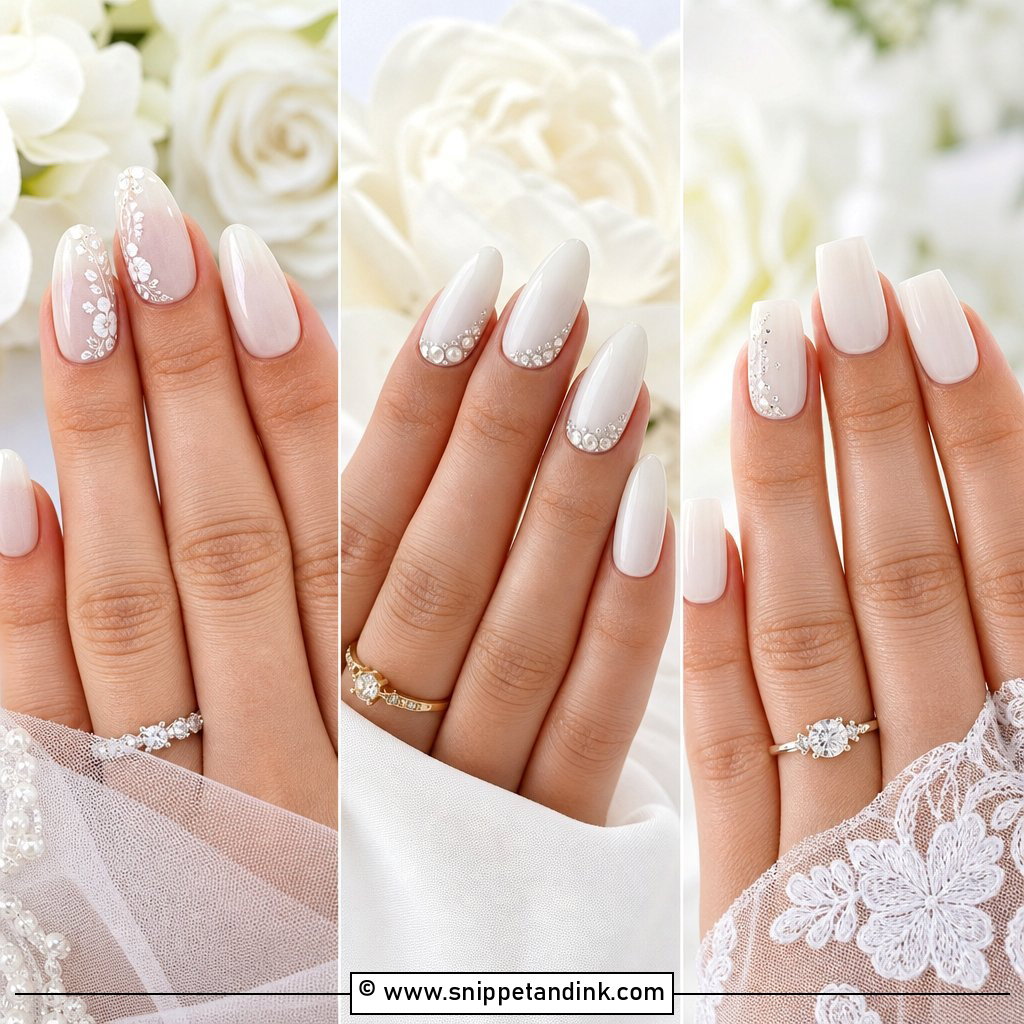
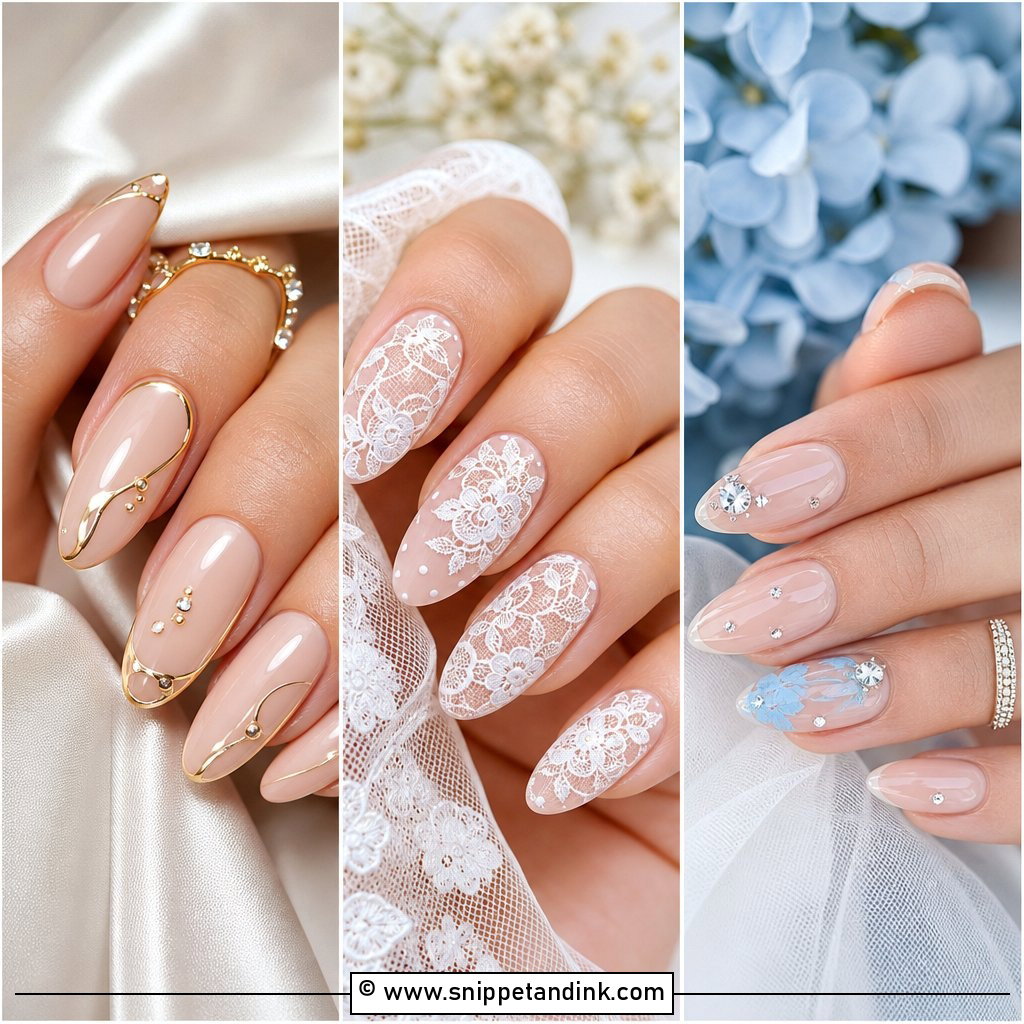
15. Simple Floral Wedding Nails
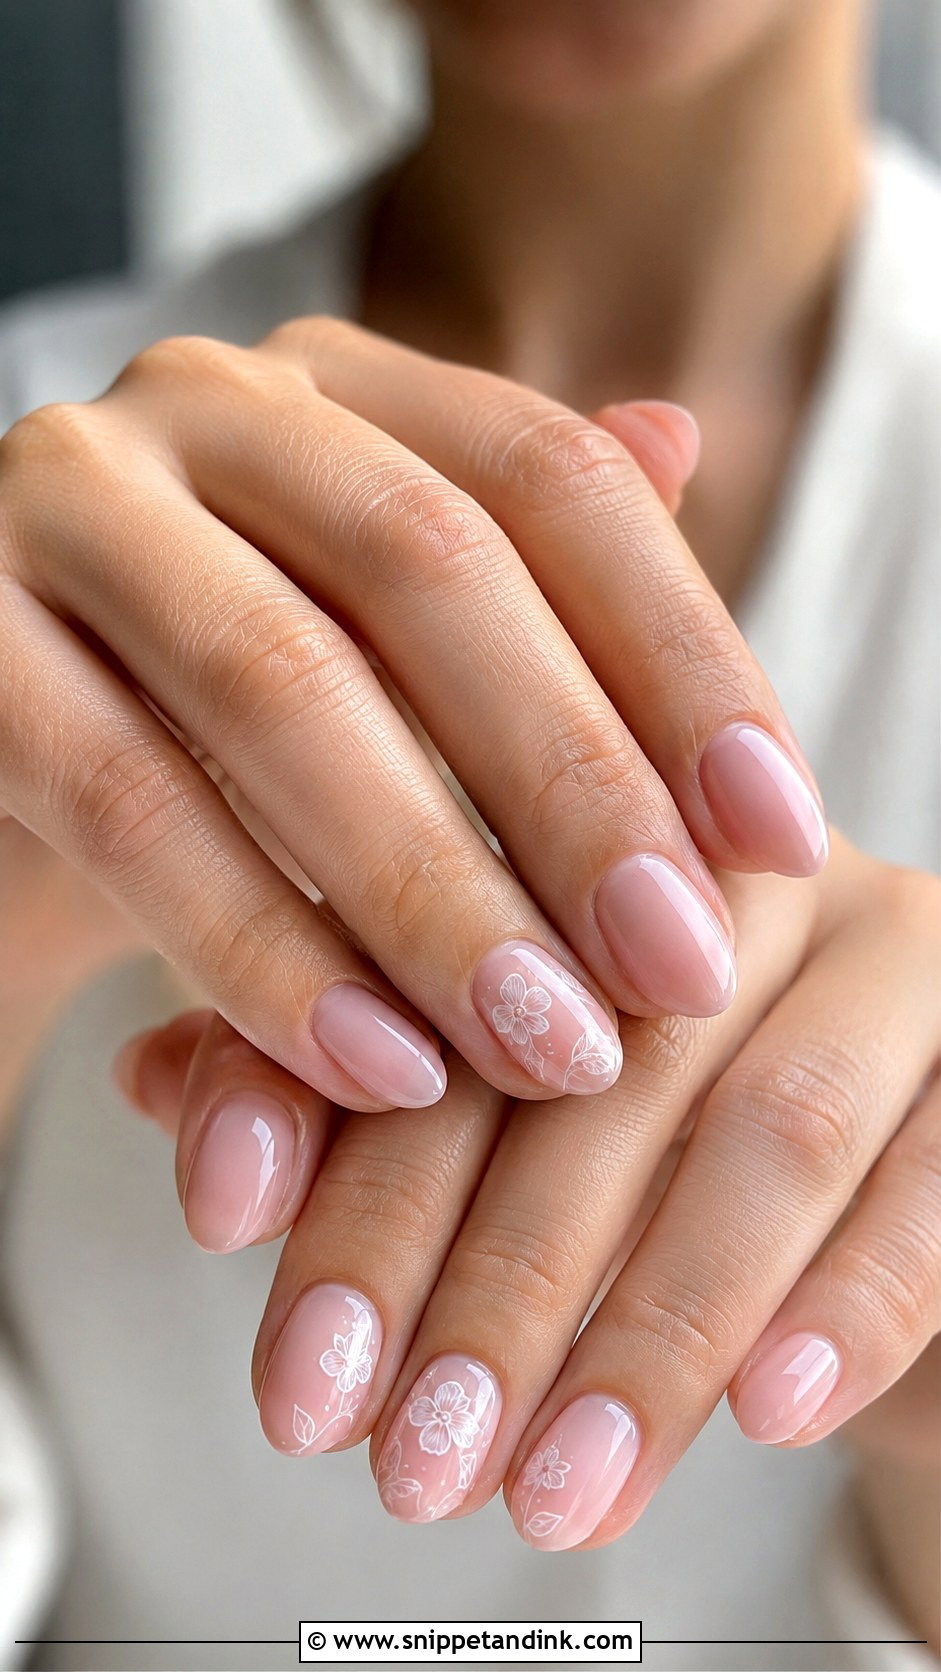
Floral art stays bridal when it’s small and sparing. I keep the base sheer, nude or milky pink and paint tiny white flowers on one or two nails per hand. Ten nails of flowers starts to look busy in a ring close-up. Oval and almond shapes give the petals room. Fine-line flowers suit a minimalist bride; dotted five-petal blooms feel more playful. Ask whether the art is hand-painted or a sticker, since stickers can lift at the edges by the reception.
16. Pearl Accent Wedding Nails
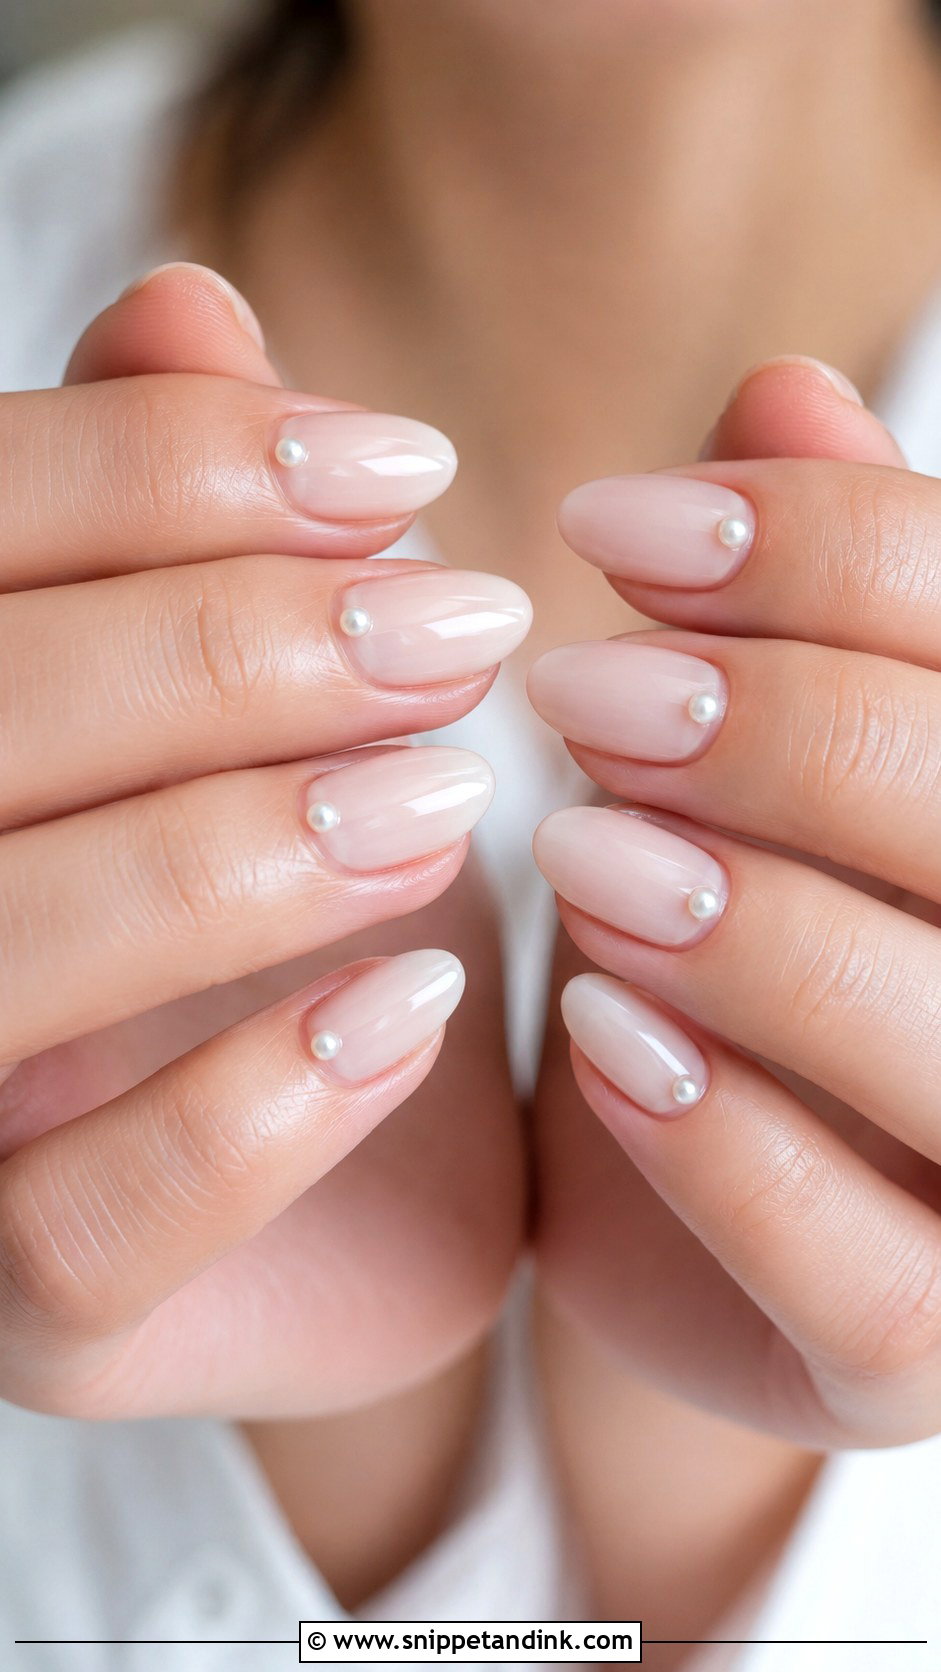
Pearl accents need careful placement. I set tiny pearls near the cuticle or on a single accent nail over a sheer pink, nude or milky white base, then seal them with gel around the edges. Half-pearls with flat backs sit lower and catch less than full beads. They snag on lace, tulle and hair, so I keep them off the dominant hand’s first two fingers. It’s a natural match with pearl earrings or a pearl-edged veil.
17. Gold Line Wedding Nails
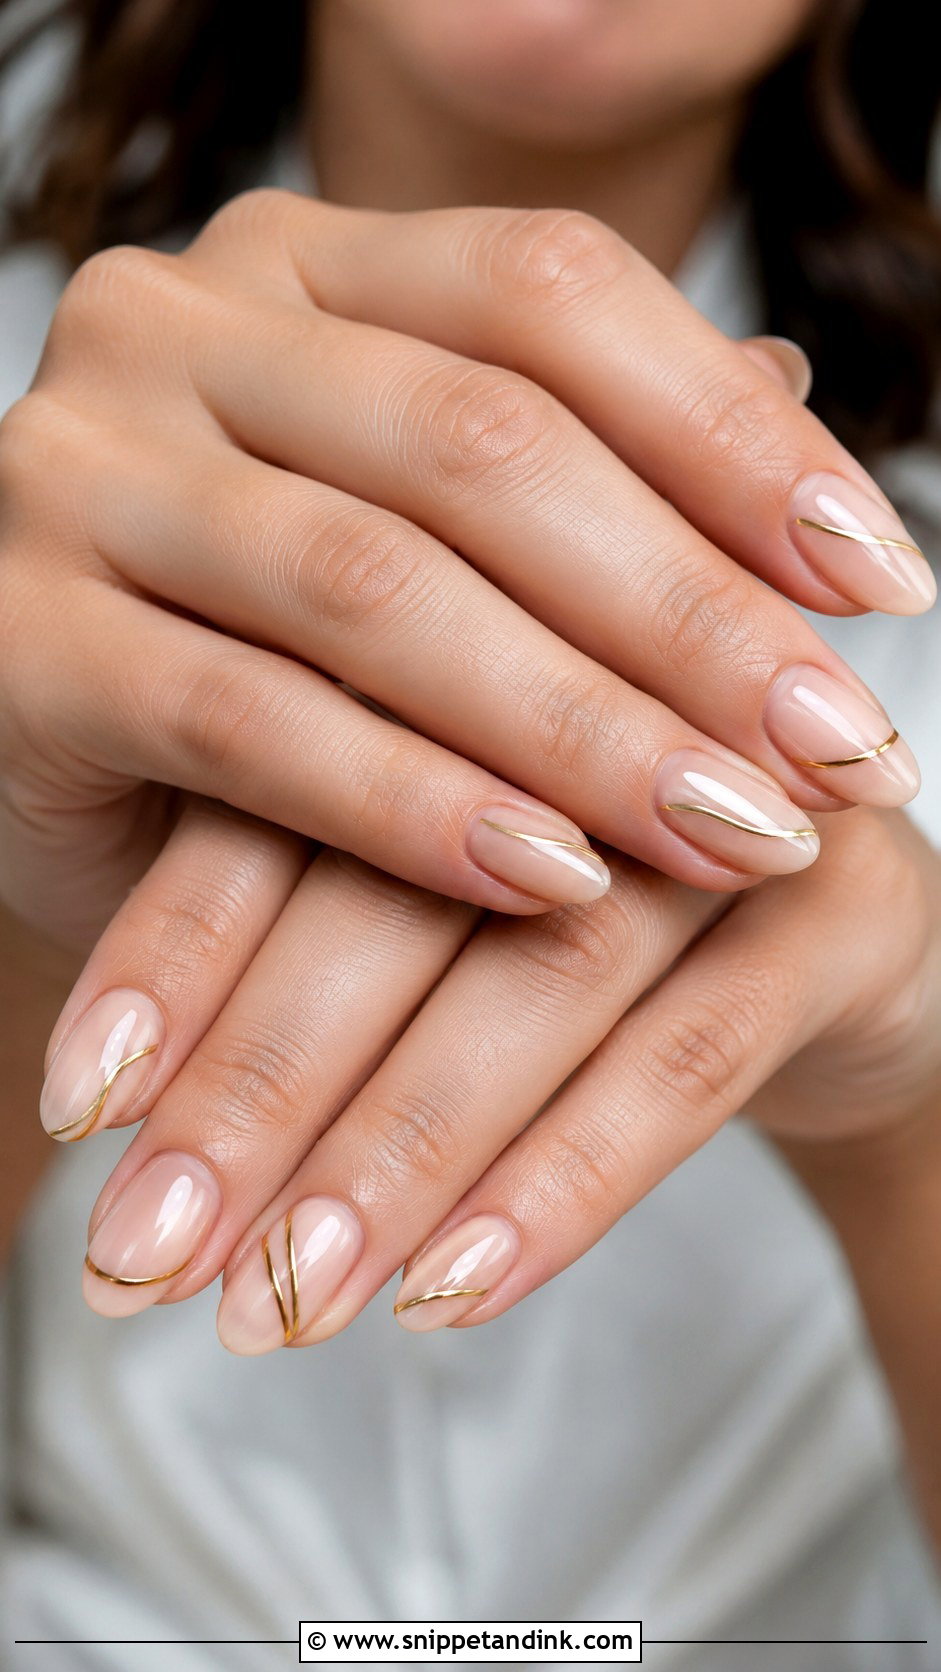
A gold line should be hair-fine. I draw it across the tip, down the center or near the cuticle over a nude or milky base, using gel paint or foil-tape that’s sealed under top coat. Thick gold lines look costume-like in close-up. Warm skin tones, champagne gowns and gold jewelry suit it best. Almond and oval shapes make the line look delicate; square shapes give it a sharper, modern feel.
18. Minimal Lace Wedding Nails
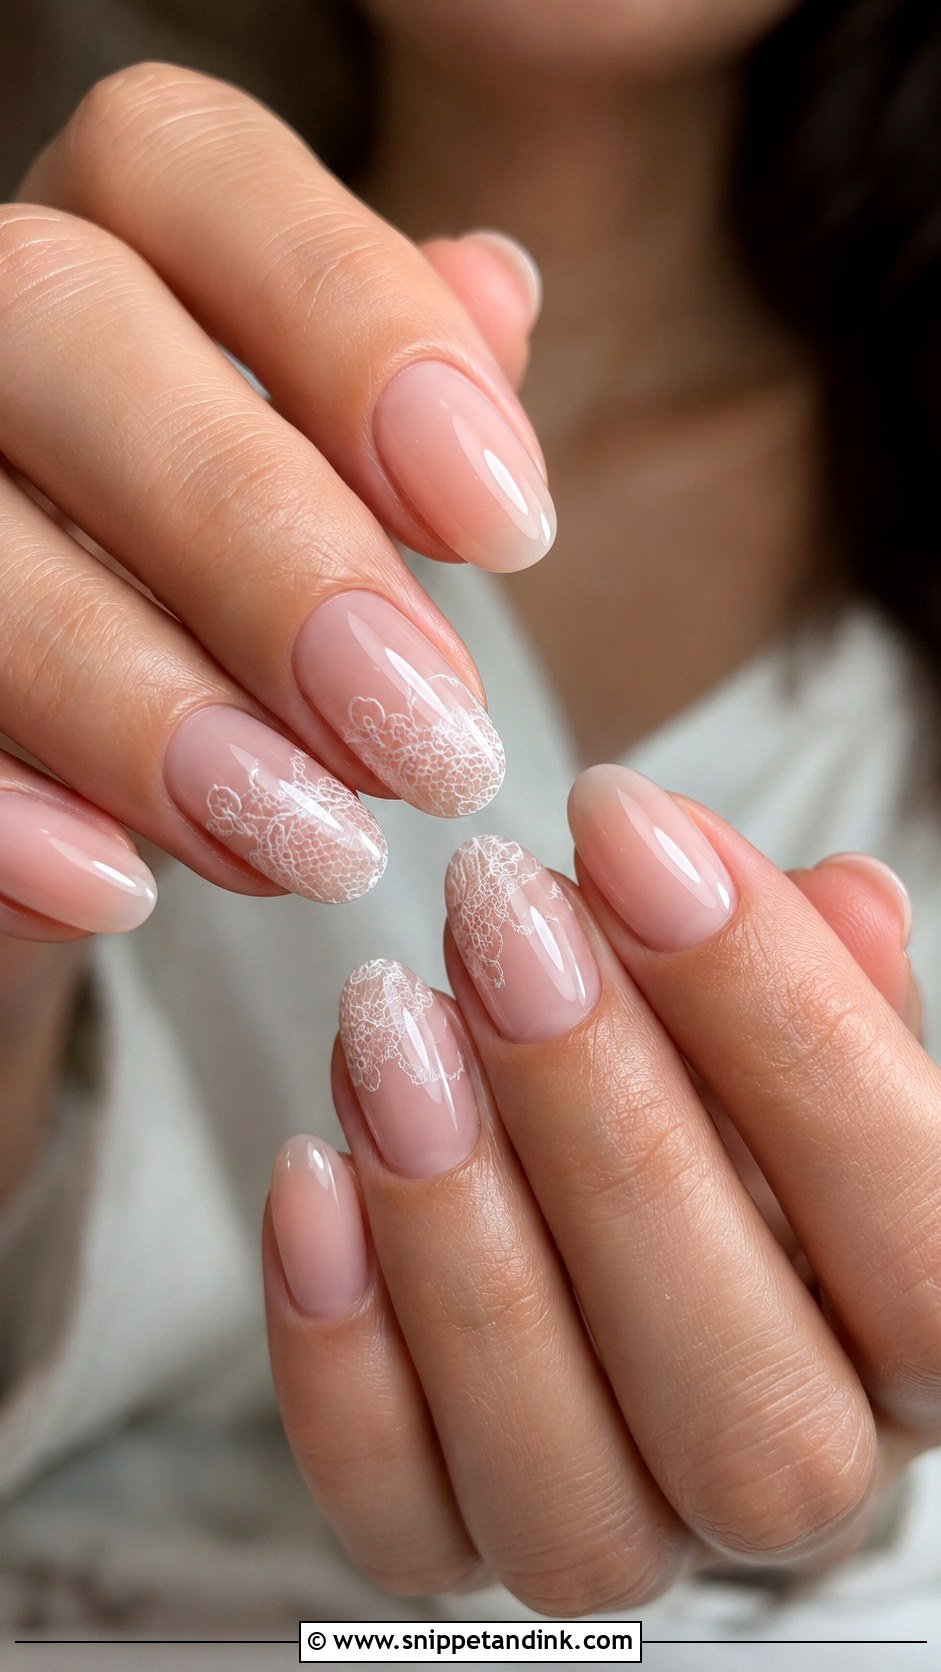
Lace art borrows from the dress, so I’d look at the actual lace pattern before painting. Over a sheer nude, soft pink or milky white base, I draw fine white lace lines on one or two nails and leave plenty of space. Crowded lace looks like a smudge from a distance. Almond and oval shapes suit it. For the simplest version, put lace only on the ring fingers, which also keeps it close to the ring in photos.
19. Clear Gloss Wedding Nails
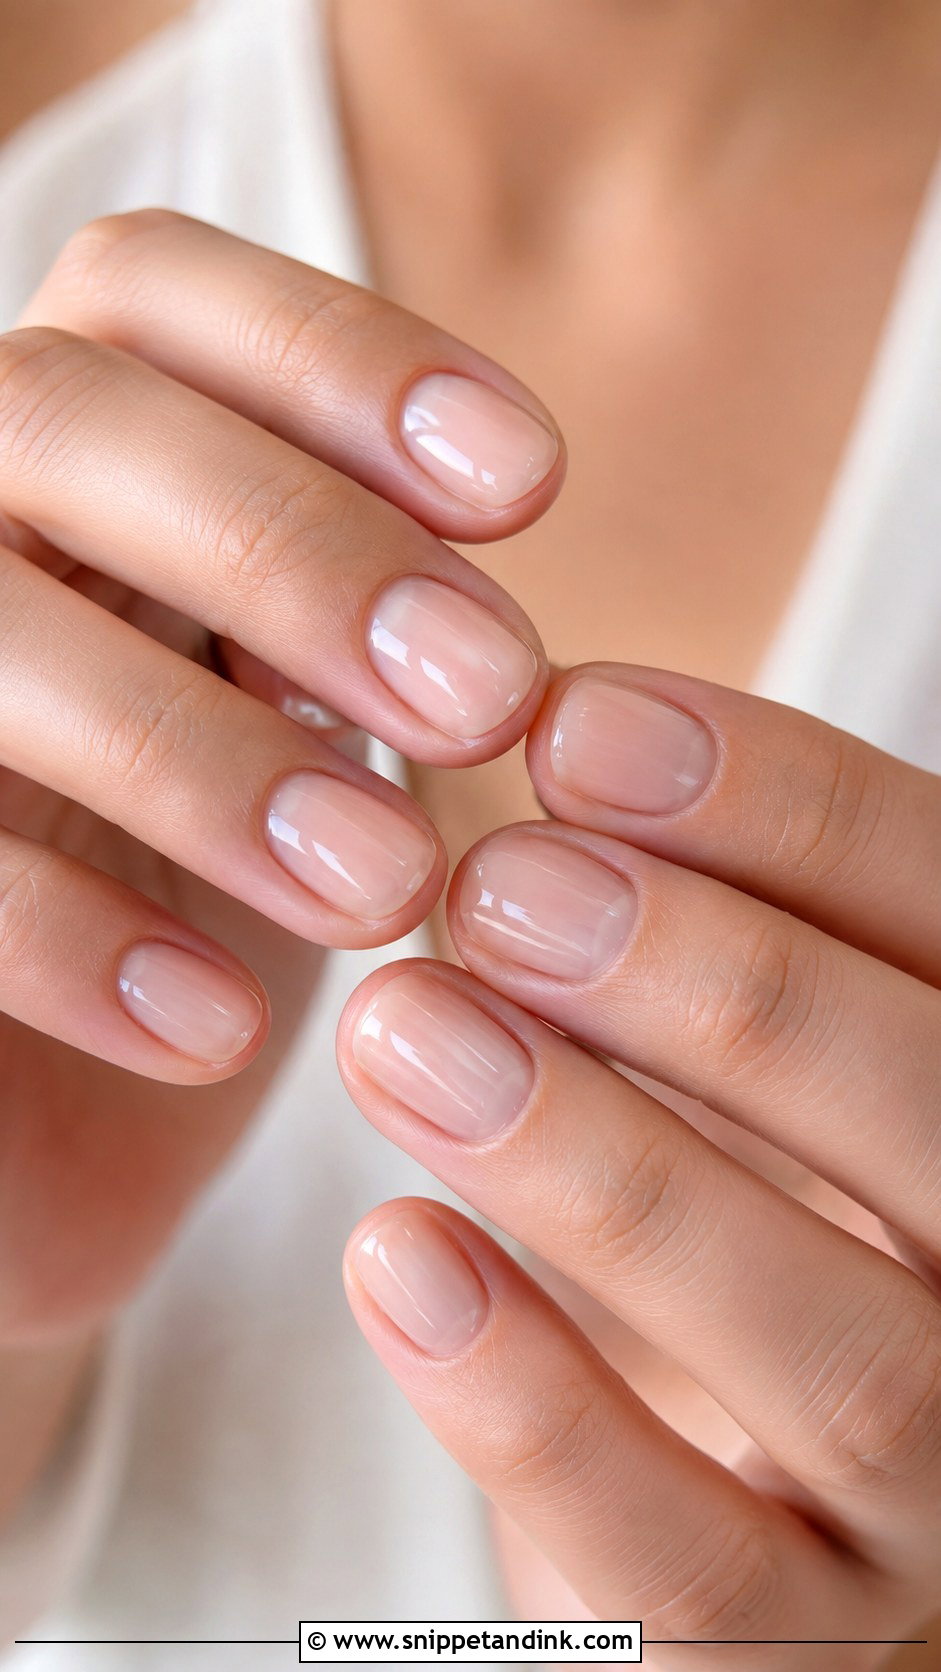
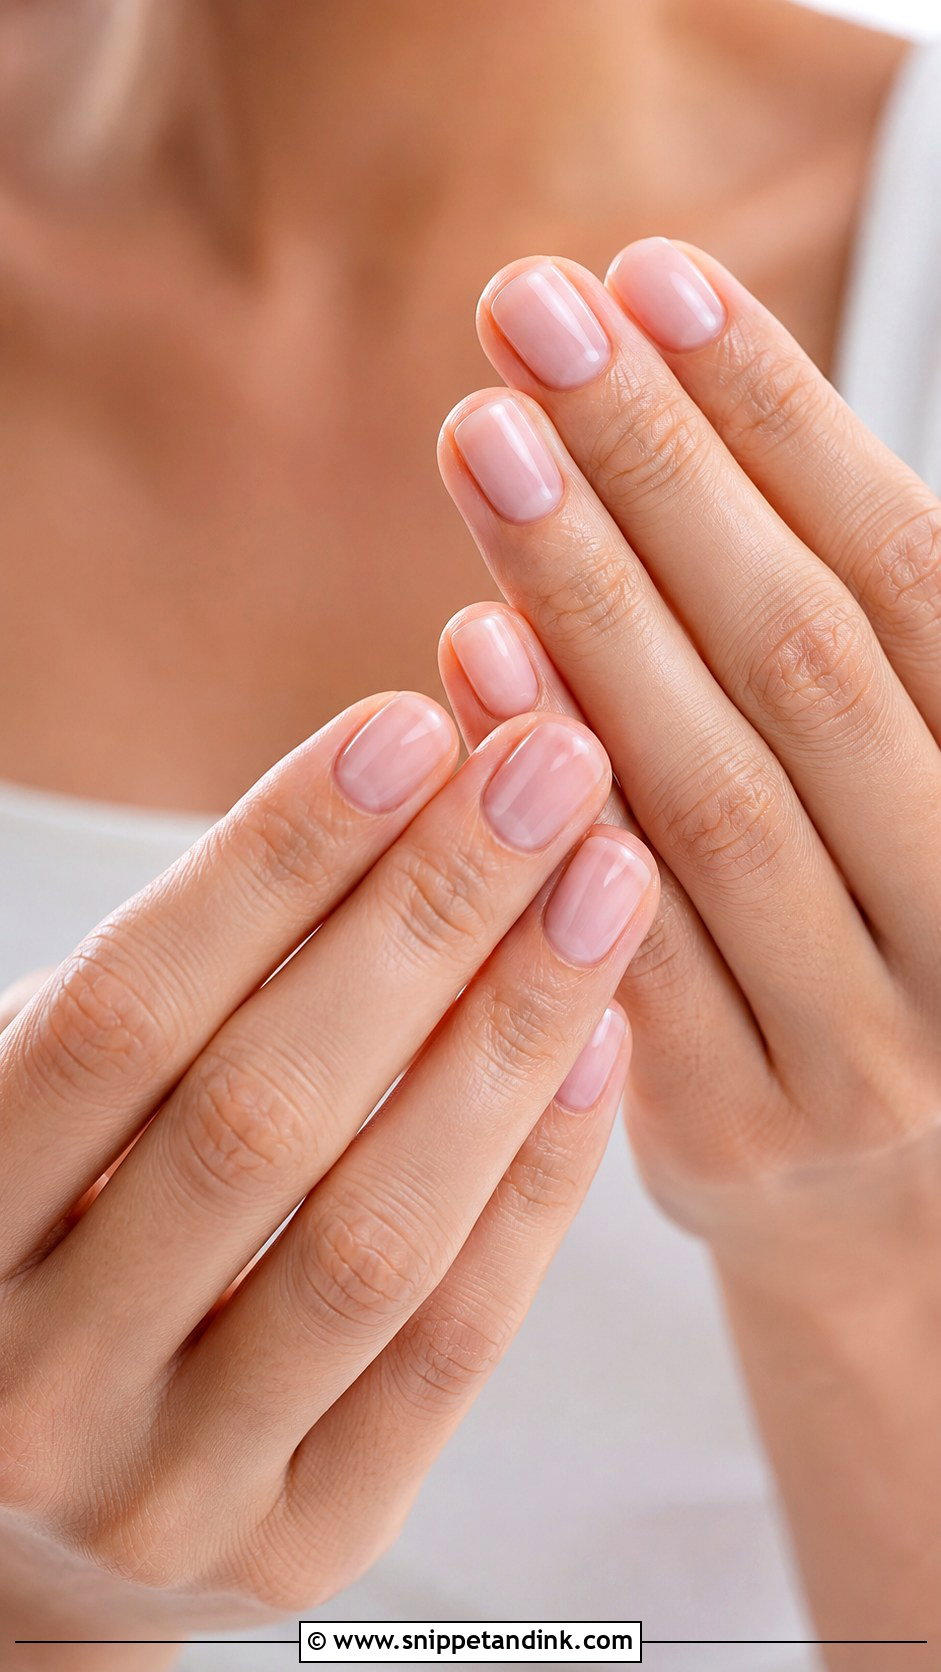
Clear gloss is the most honest manicure: no color to hide behind, so everything depends on prep. Clean cuticles, even shaping and a high-shine top coat. A clear builder gel can add strength and a smooth surface while staying nearly invisible. Short rounded nails look freshest. Start cuticle oil daily a few weeks ahead, because hydrated cuticles are what make a bare nail look cared for rather than unfinished.
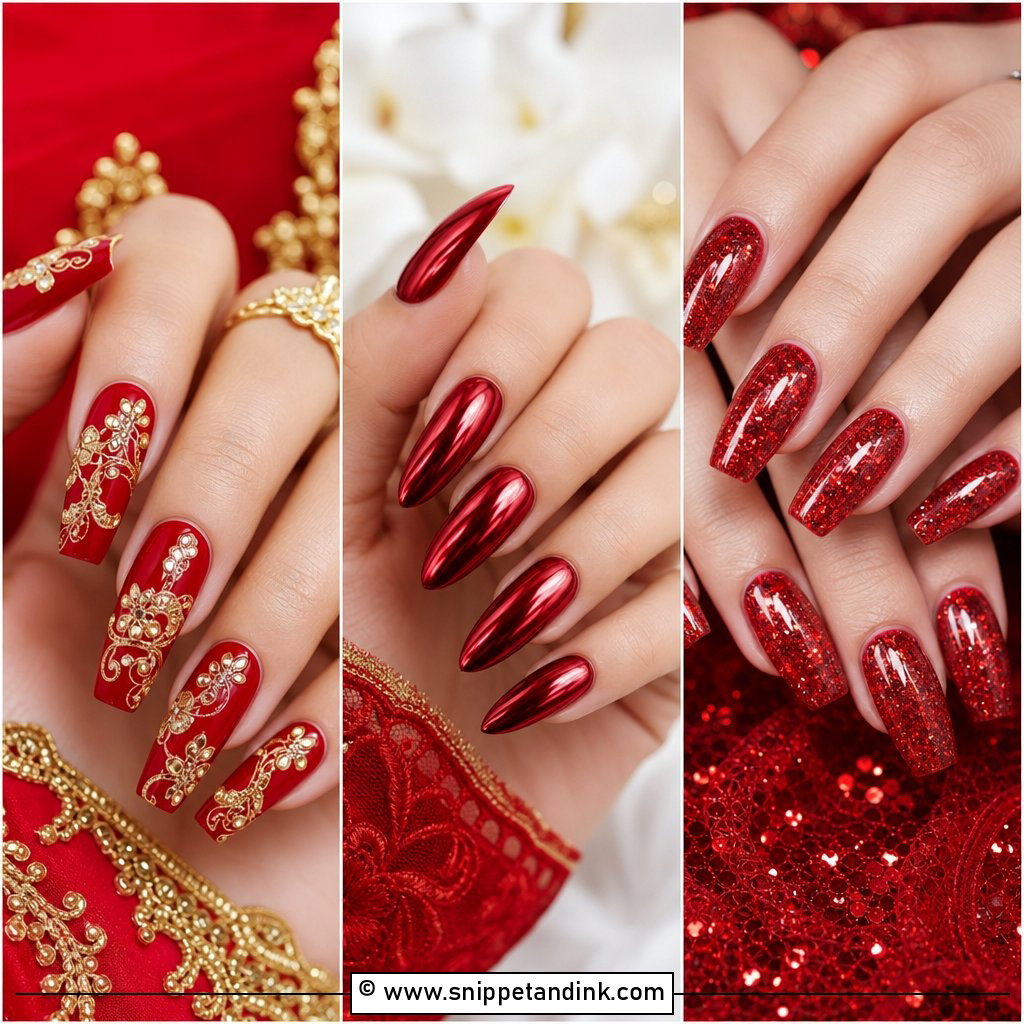
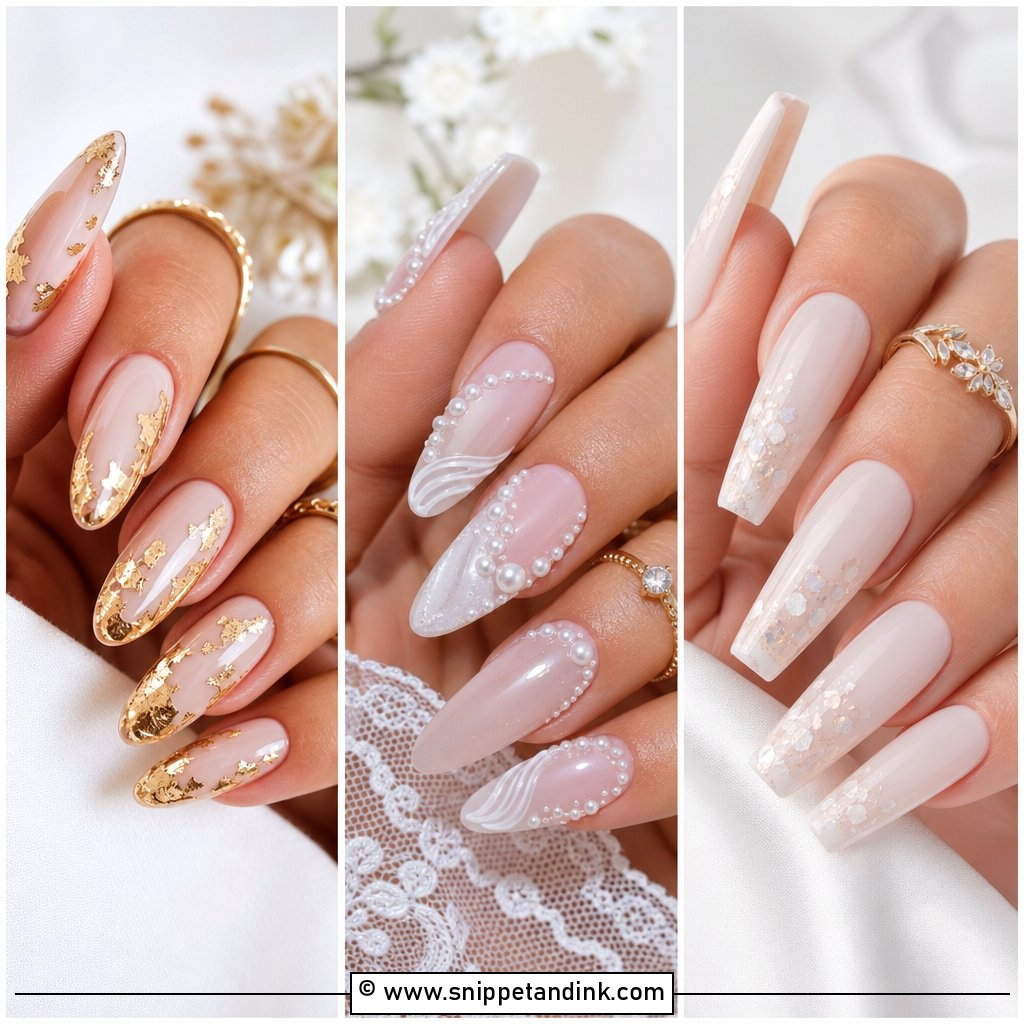
20. Champagne Shimmer Wedding Nails
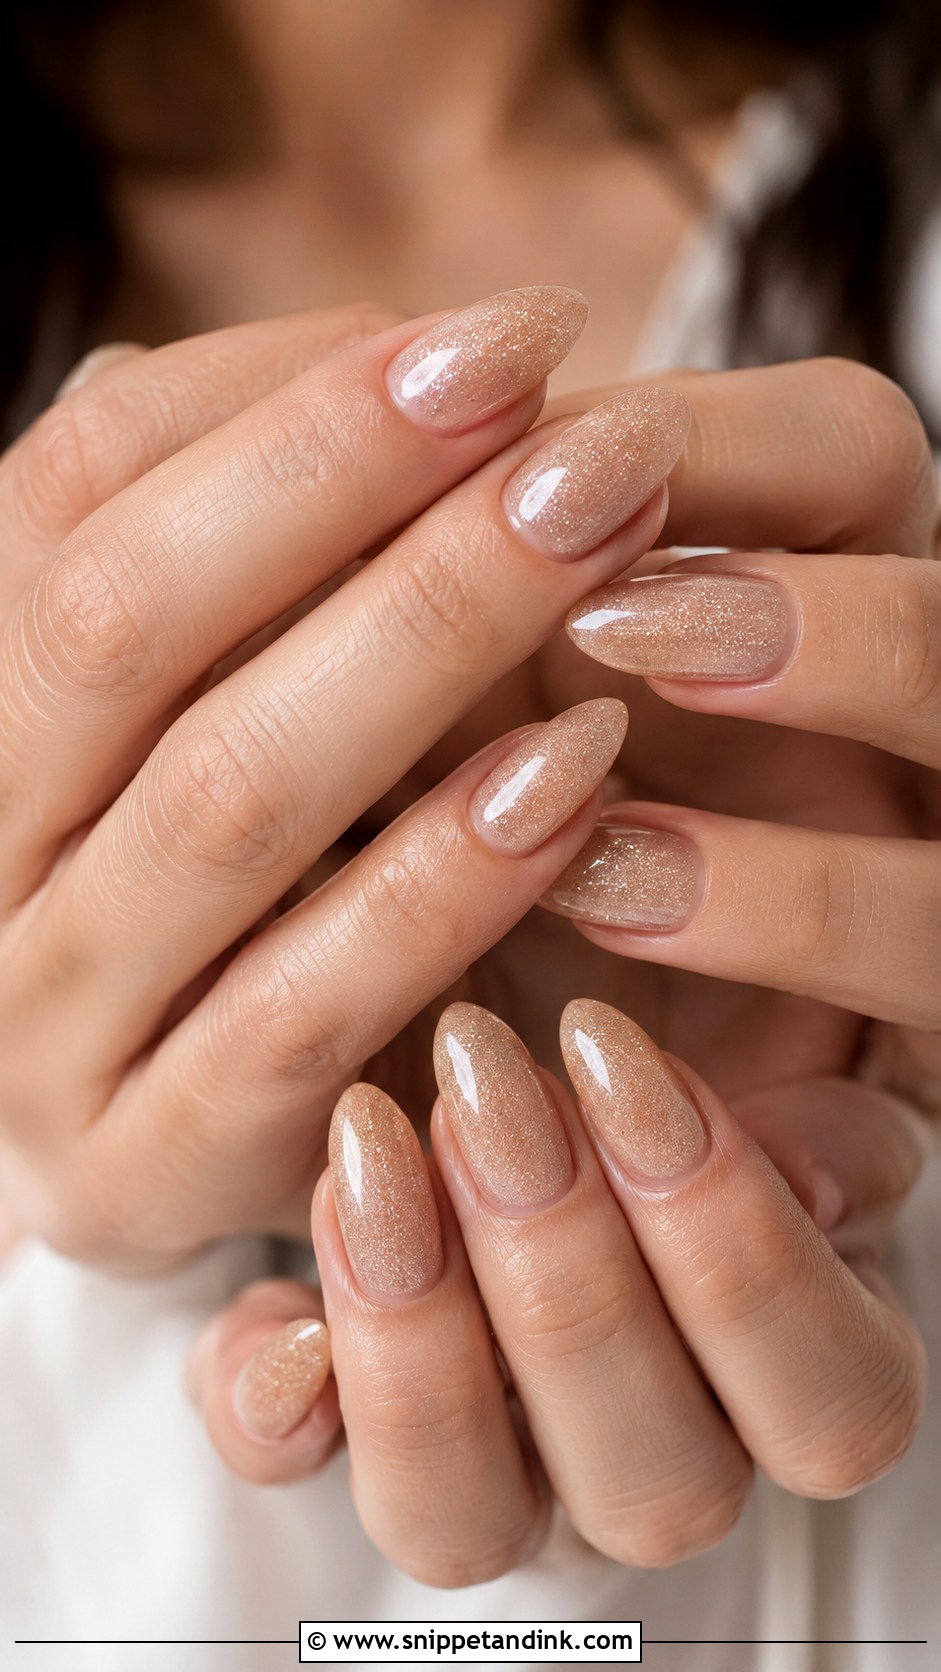
Champagne shimmer sits between nude, gold and pearl, which is why it flatters most skin tones. Keep the shimmer fine. Chunky glitter looks dull in daylight photos and grainy under the top coat. On short nails I use a sheer champagne wash; almond nails can carry a slightly stronger shimmer. It matches ivory, beige, blush and gold details, and gives a bit of sparkle without anything that looks like a party set.
Cuticles, Skin and Stains Show Up in Ring Close-Ups
A macro lens magnifies the hand around the nail as much as the nail itself. Most of what spoils a ring shot is skin, and it’s easiest to fix weeks ahead.
- Start cuticle oil every night three to four weeks before the wedding. Dry cuticles crack and show white flakes on camera.
- Stop wearing dark or red polish at least a month before if you plan a sheer shade. Dark pigment stains the nail plate yellow, and sheer bridal colors show it.
- Don’t cut your cuticles the day before. Fresh cuts can redden and sting; I push back and remove only dead tissue.
- Moisturize your hands the night before, but use only a light, quick-absorbing cream on the day. Thick lotion right before photos leaves a greasy shine.
Bring the engagement ring to your appointment. I check nail length against the band and stone, since very long nails can make a small stone look smaller, and a pale nude next to yellow gold can look different than it does next to platinum.
The Ring Hand Gets the Close-Up, So Plan for It
Most wedding manicures go wrong in the prep and the timing, not the color. Soft French tips, milky whites, sheer pinks, nude tones, pearl chrome and small accents all work when the shape is even and the cuticles are cared for. Try your chosen shade and shape once before the wedding, next to your ring and a swatch of the dress. Keep the length practical and the finish clean. A quiet manicure isn’t plain when it’s done well; it’s the one you won’t be thinking about all day.
You'll Like These Ideas:


Leave a Reply