
Rhinestones are one of the few nail details that change completely depending on where they sit. One crystal at the cuticle is quiet and classic; a fully stoned accent nail is pure glamour. They go with French tips, milky white, chrome, ombre, blush and short natural nails, and the same placement rules apply to brides, bridesmaids and guests. The thing that separates a refined crystal set from a cheap-looking one is rarely the stone itself. It’s spacing, size and how securely each stone is set. That’s what I’ve focused on in the twenty sets below.
Stone Size Is the Detail Most Brides Never Specify
Crystals for nails are sold by SS numbers, and the number matters more than the brand. SS3 is about 1.3 mm across, SS5 around 1.8 mm, SS10 close to 3 mm, and SS16 about 4 mm. Most of the delicate bridal sets you see in photos use SS3 to SS6. Once you go past SS10 the stone has a tall pointed back, sits noticeably high off the nail and starts to look like costume jewelry from a distance.
If you only say “small rhinestones” at the appointment, you’ll get whatever size that salon stocks most. I’d ask for the sizes by number, or point to a stone in the jar. Mixing two sizes, a larger one at the centre and smaller ones around it, usually looks more expensive than a row of identical stones.
Glass, crystal or acrylic
Cheap acrylic stones are light and cloudy and lose their sparkle under a top coat. Lead-free glass and higher quality crystal are cut more precisely, so they throw sharper light in flash photography. For a wedding set, it’s worth paying for the better stones even if you only use a dozen.
1. Rhinestone French Wedding Nails
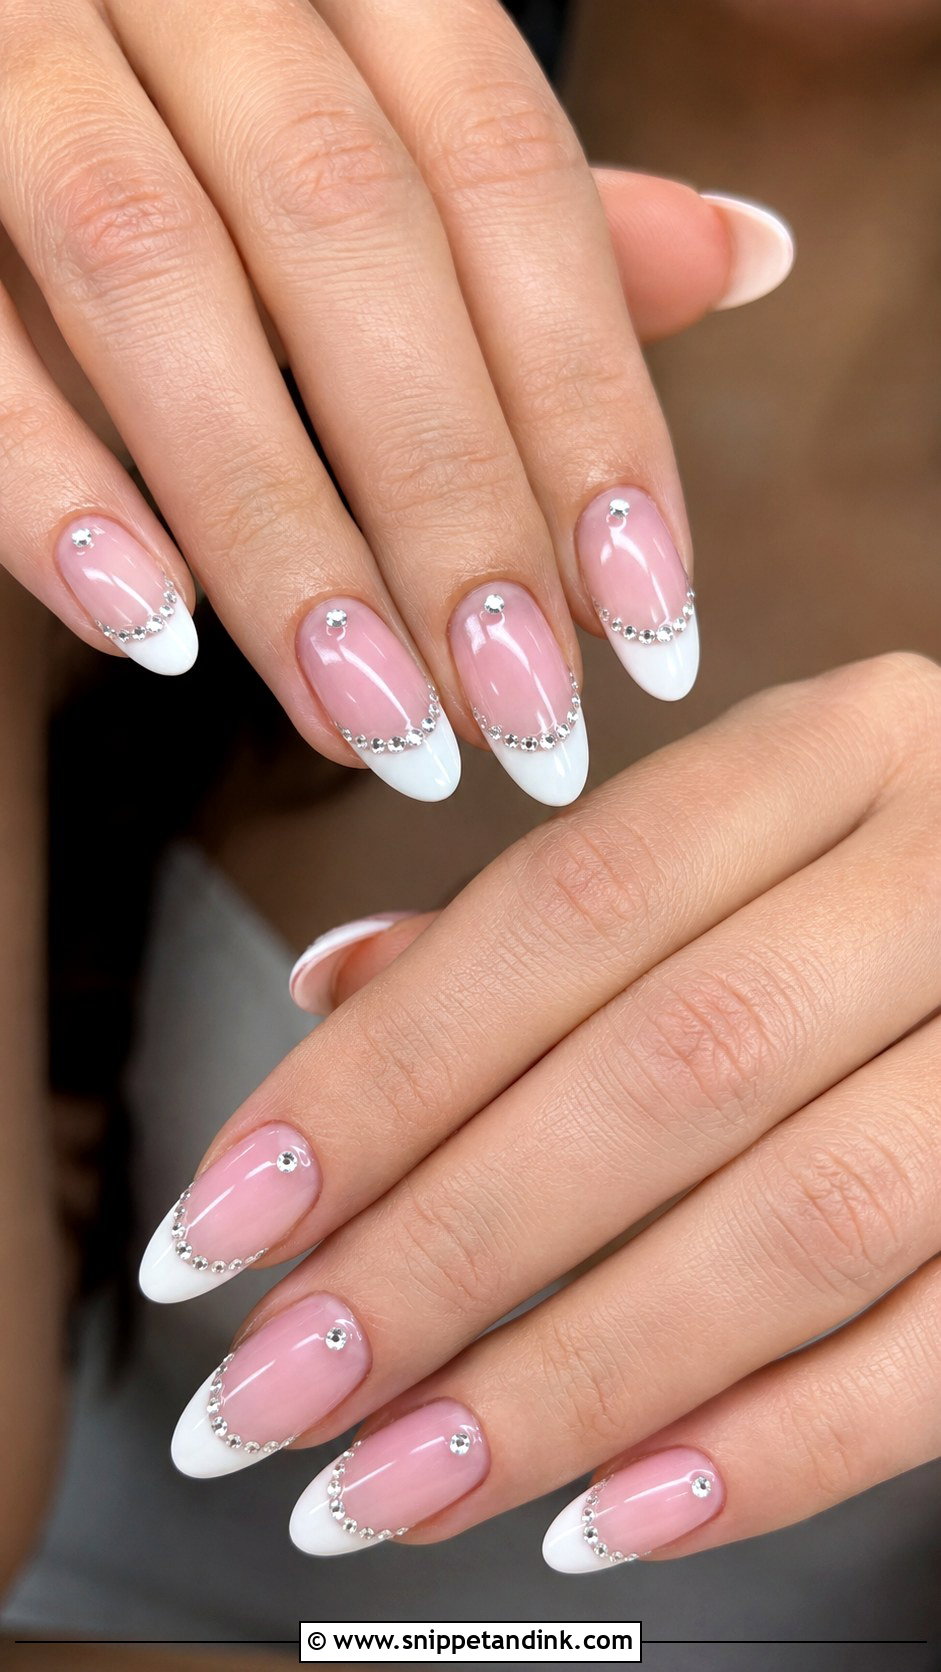
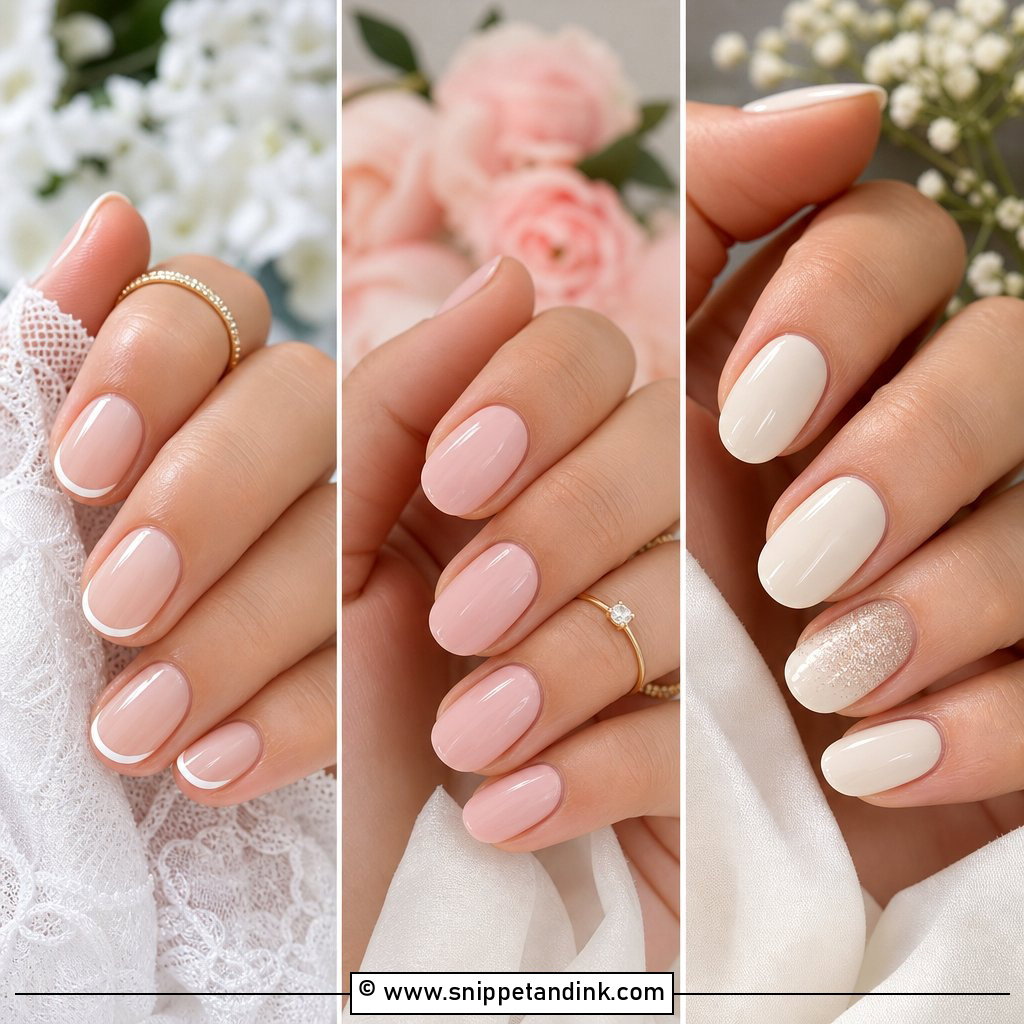
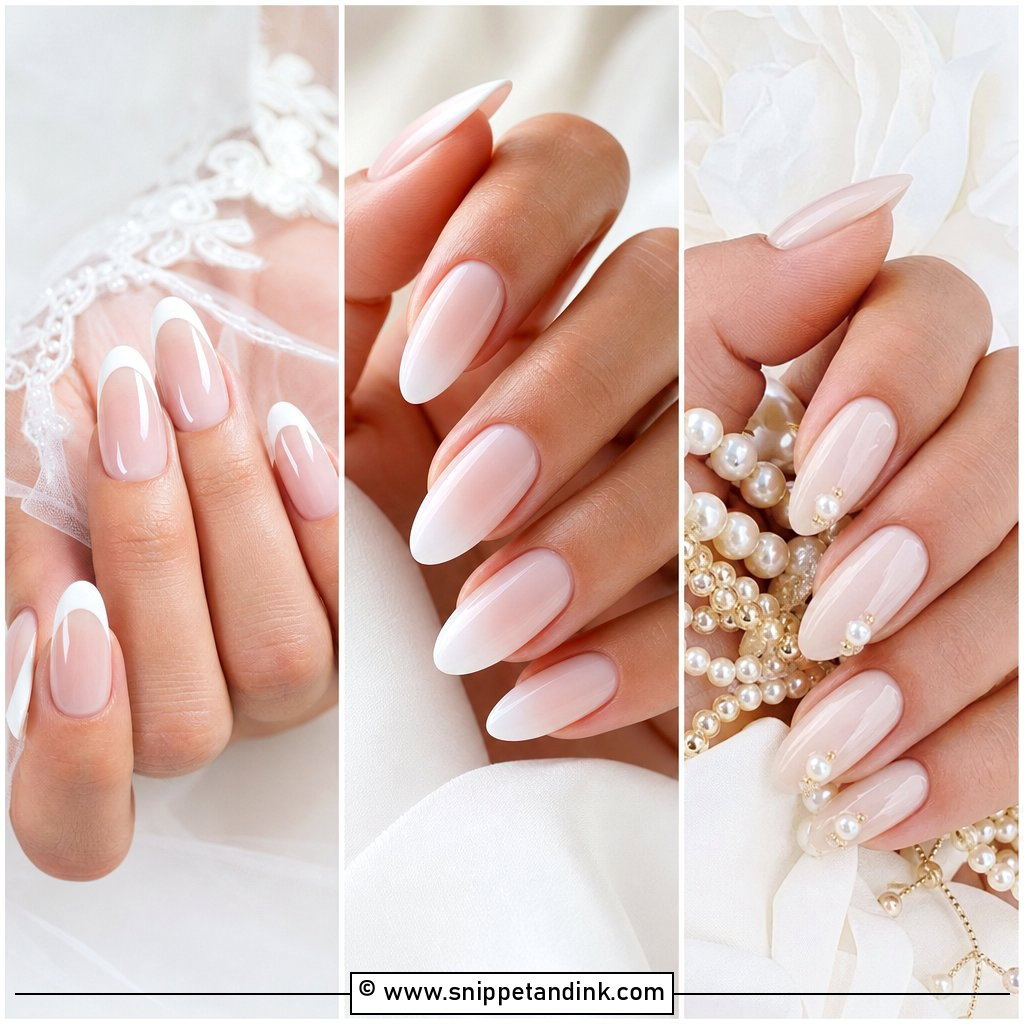
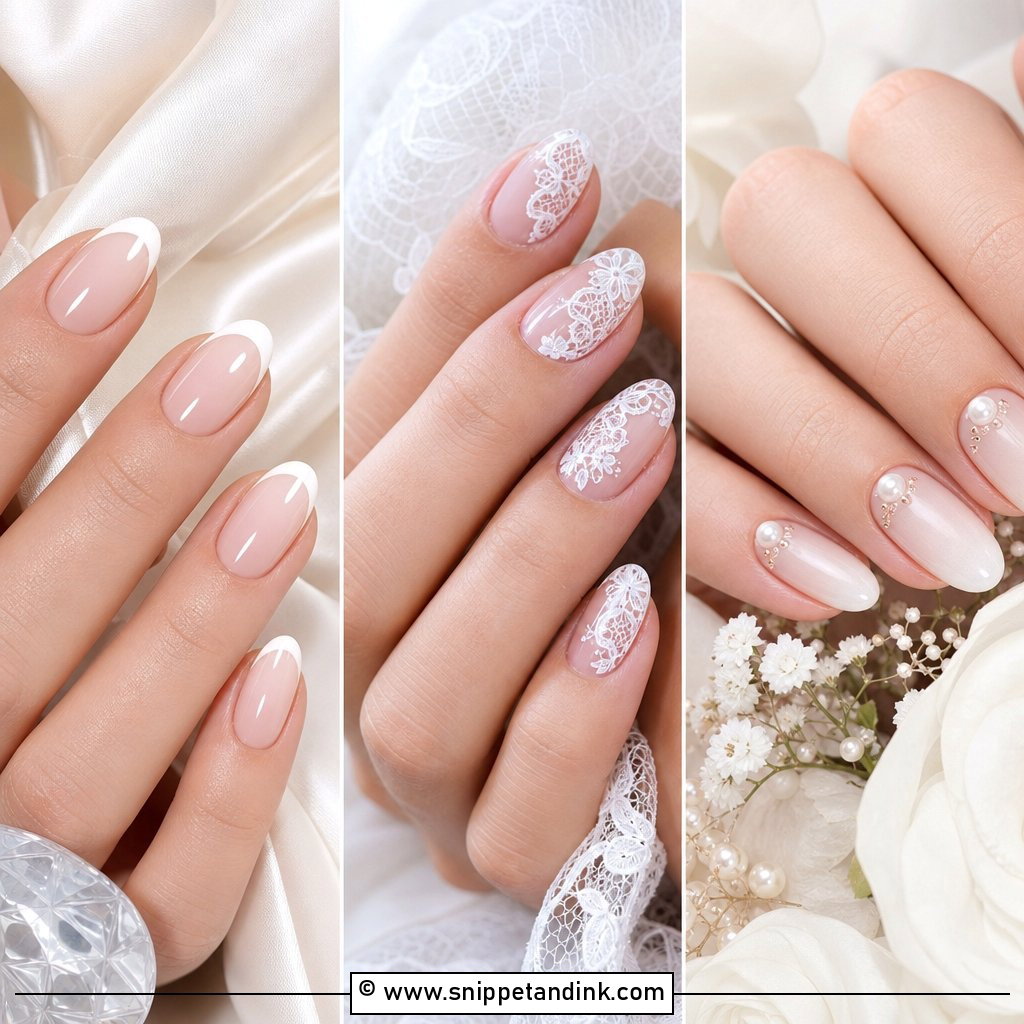
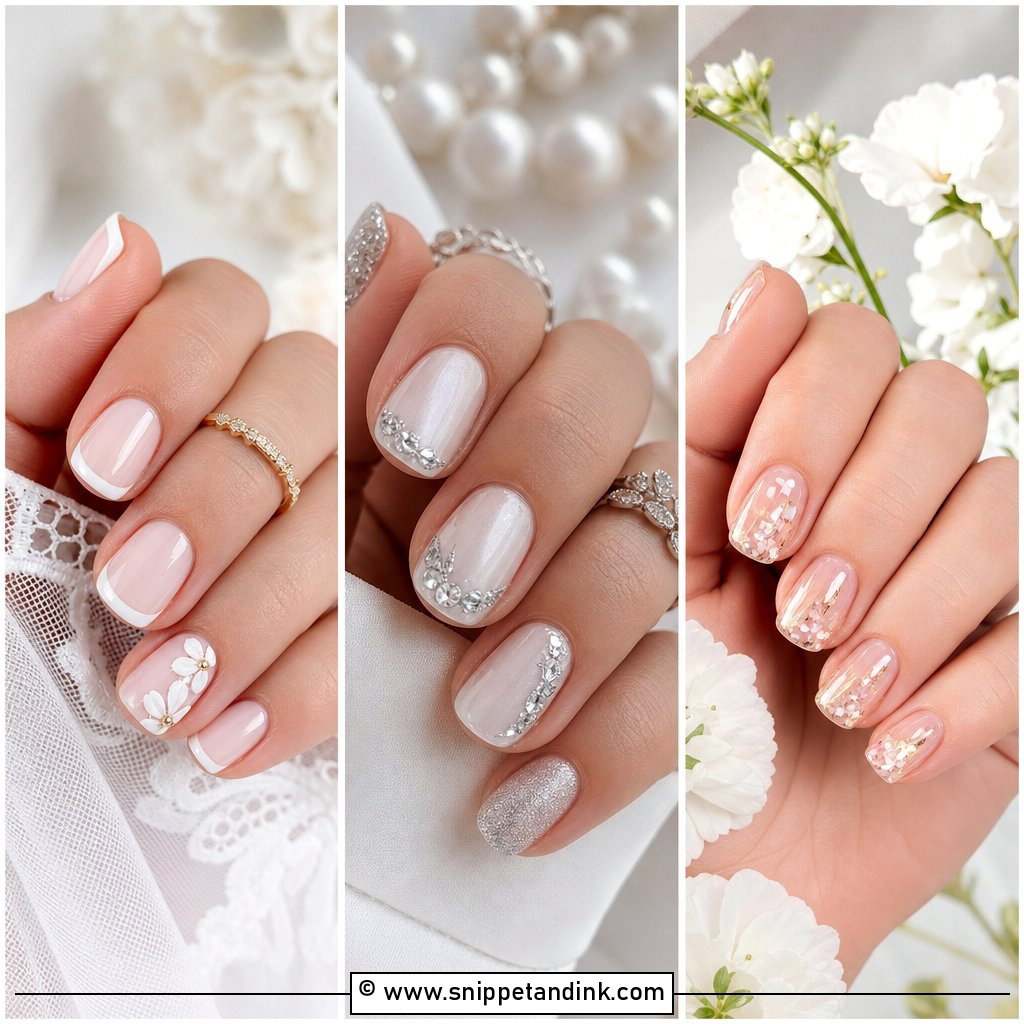
Rhinestone French wedding nails are the safest way into crystals, because the French already does most of the bridal work. I start with a sheer pink, nude or milky base and clean white tips, then set tiny stones along the smile line, at the cuticle or on one accent nail. Along the smile line is the hardest spot: the stones have to follow the curve exactly or the tip looks wonky. Almond, oval, coffin and square all suit it. If your dress, jewelry or bouquet is already detailed, keep the stones very small.
2. Milky White Rhinestone Wedding Nails
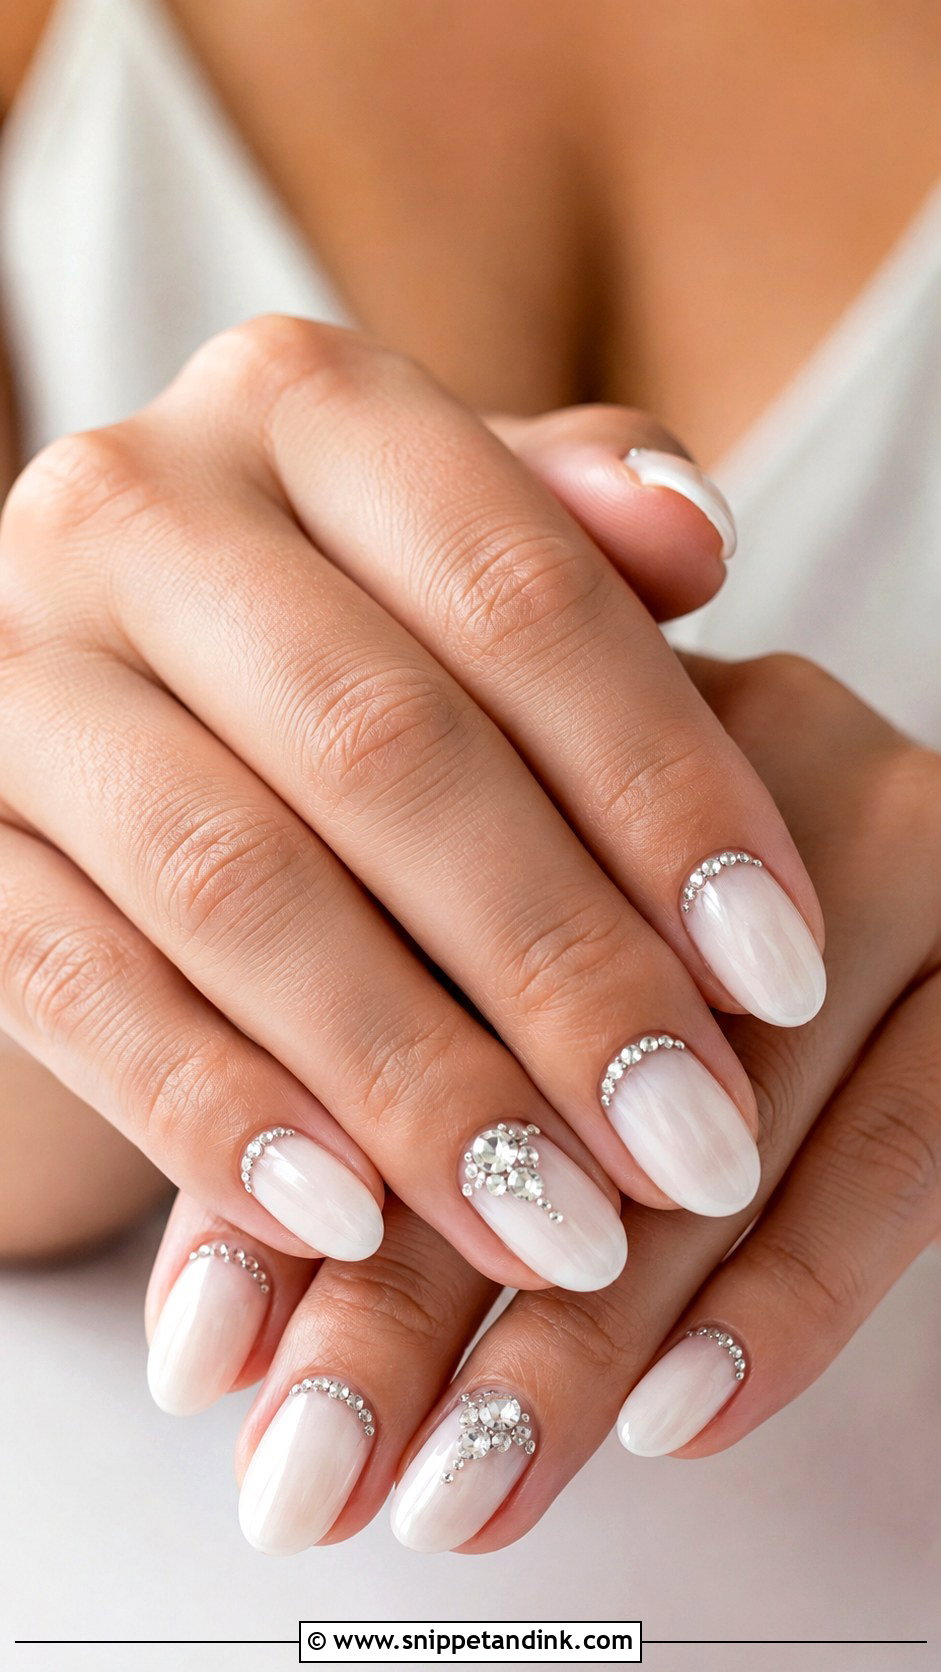
Milky white is cloudy rather than stark, so it glows in close-ups and makes clear crystals look brighter by contrast. I like a curved line of stones near the cuticle, a light scatter on one or two nails, or a tight little cluster. It also mixes well with pearls, silver and a sheer chrome top. Almond or oval nails give the softest result; short square keeps it neat. Milky gel can look patchy if it’s applied too thin, so I build it in two or three layers before any stone goes down.
3. Nude Rhinestone Wedding Nails
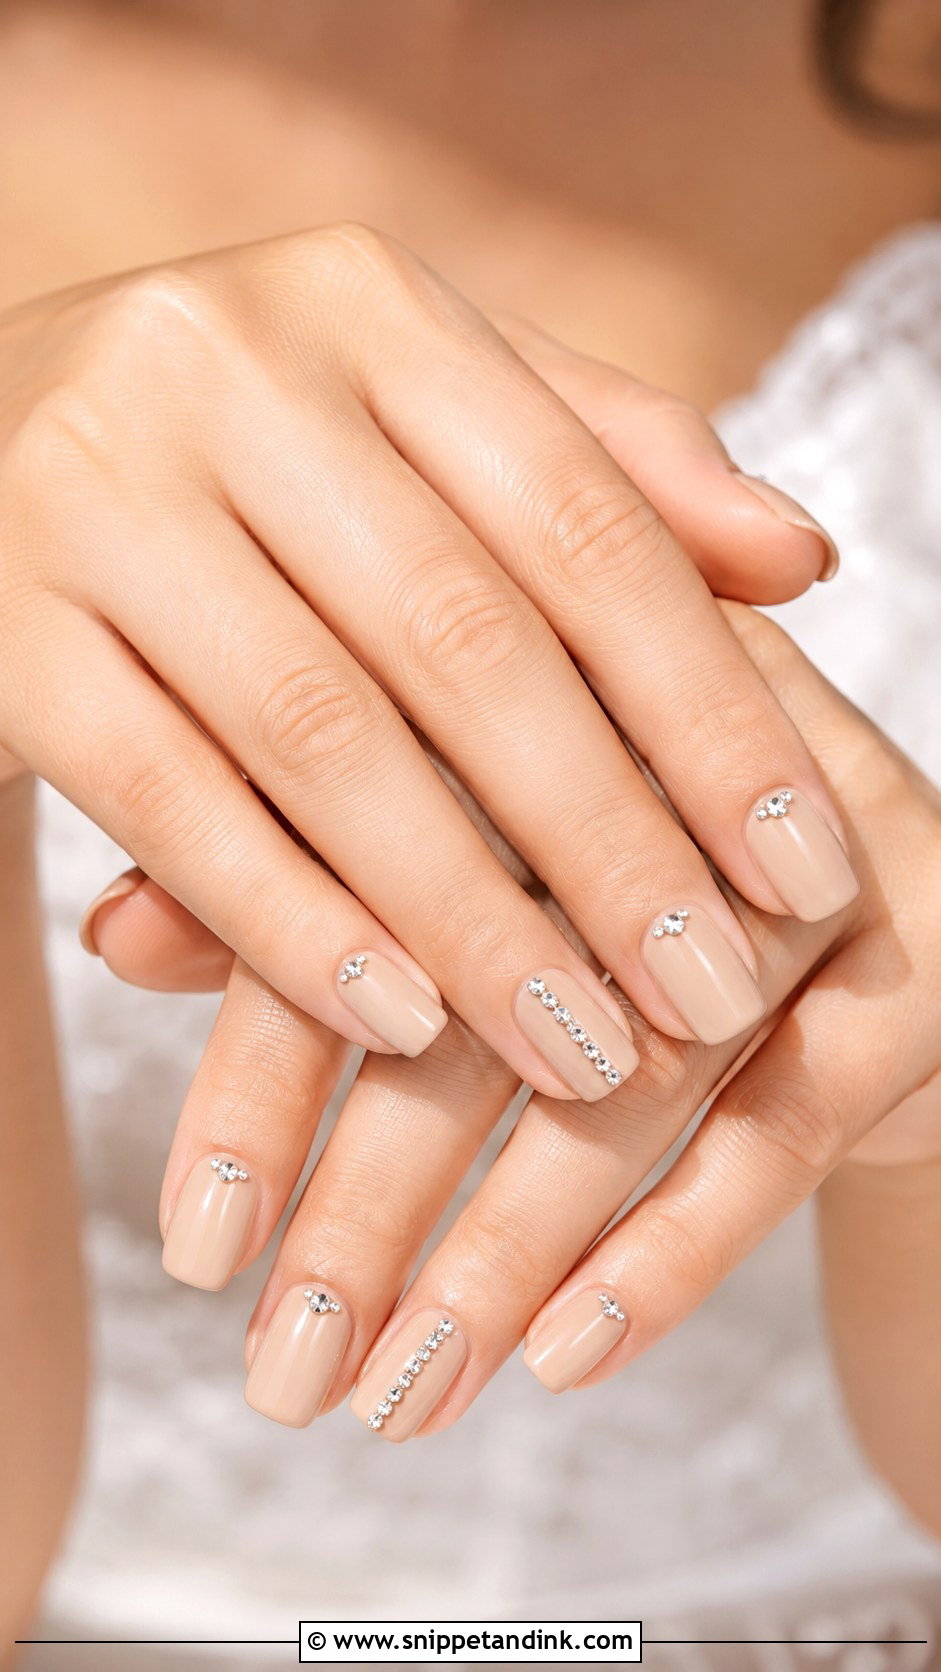
With a nude set, the shade decides whether the stones look elegant or stuck on. A nude close to your skin lets the crystals carry the detail; one that’s too light makes the whole hand look washed out. Fair skin often suits soft beige or pale pink nude, medium skin peachy nude or warm rose, and deeper skin caramel, mocha or a rich neutral. I put stones at the cuticle, in a line down the centre of one accent nail, or along a thin French. This is the set I’d suggest if you want the ring, not the polish, to be the first thing people see.
4. Pink Rhinestone Wedding Nails
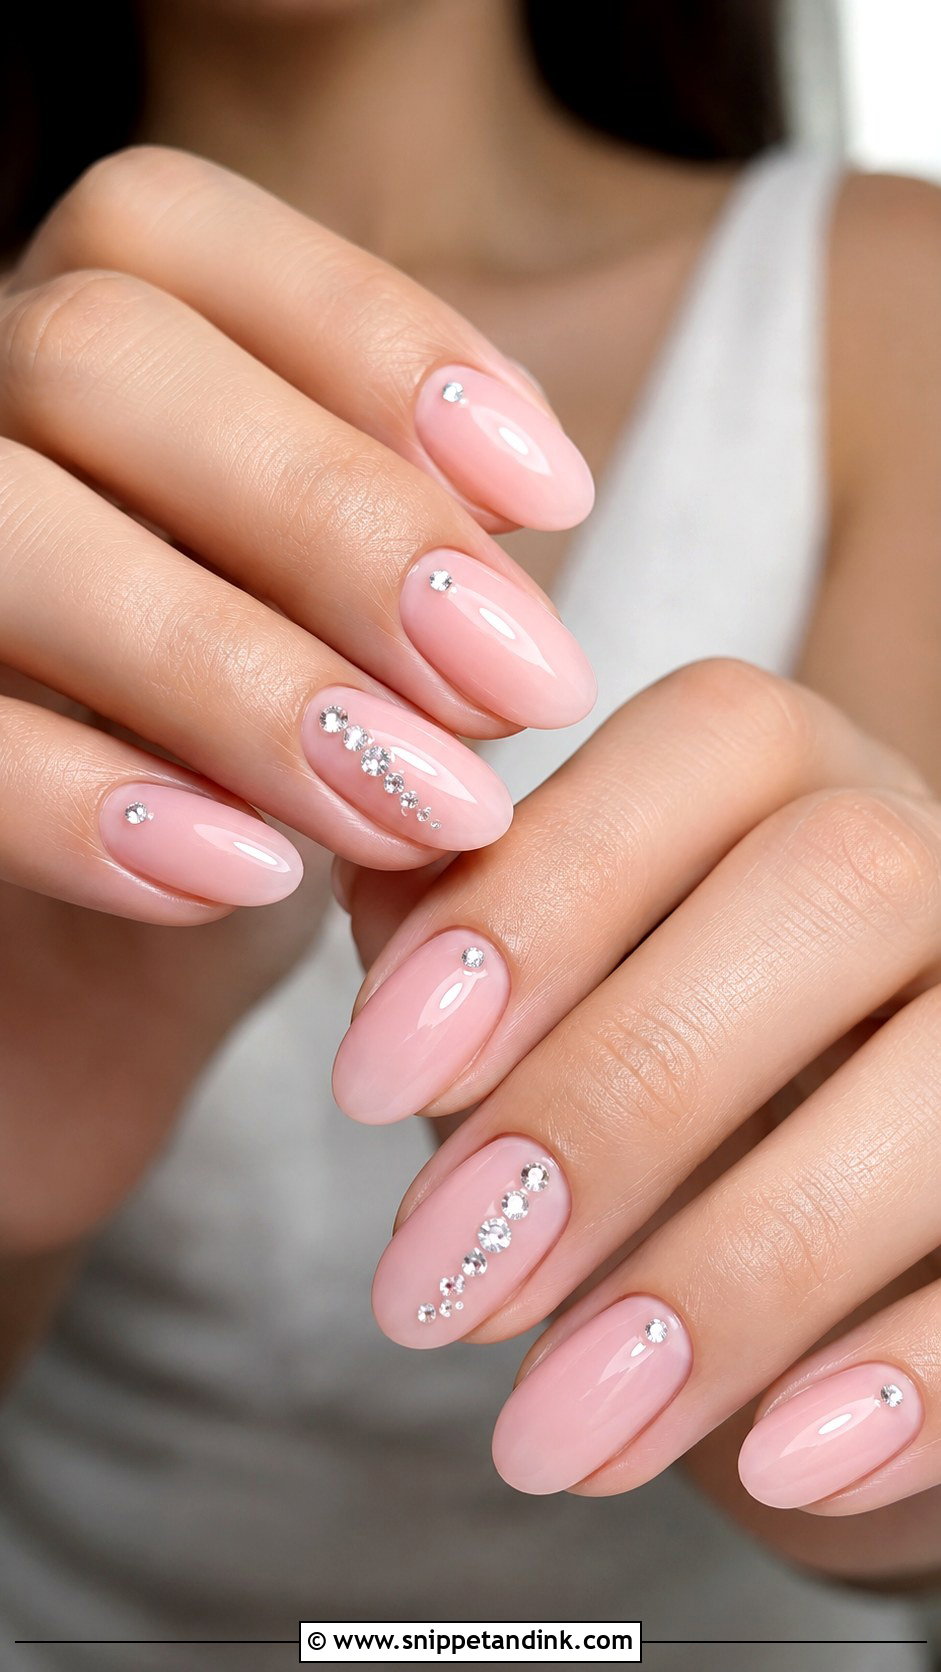
Baby pink keeps it fresh; blush is warmer and more polished. Crystals can be tiny cuticle accents, a border around one nail, or a diagonal trail across the ring finger. A diagonal is the placement I’d test first, because it moves the eye toward the ring. It works at any length. Jelly pink with high gloss is the modern take, since the translucent base lets light pass behind the stones. Soft opaque pink with clear stones and no other art is the traditional one.
5. Almond Rhinestone Wedding Nails
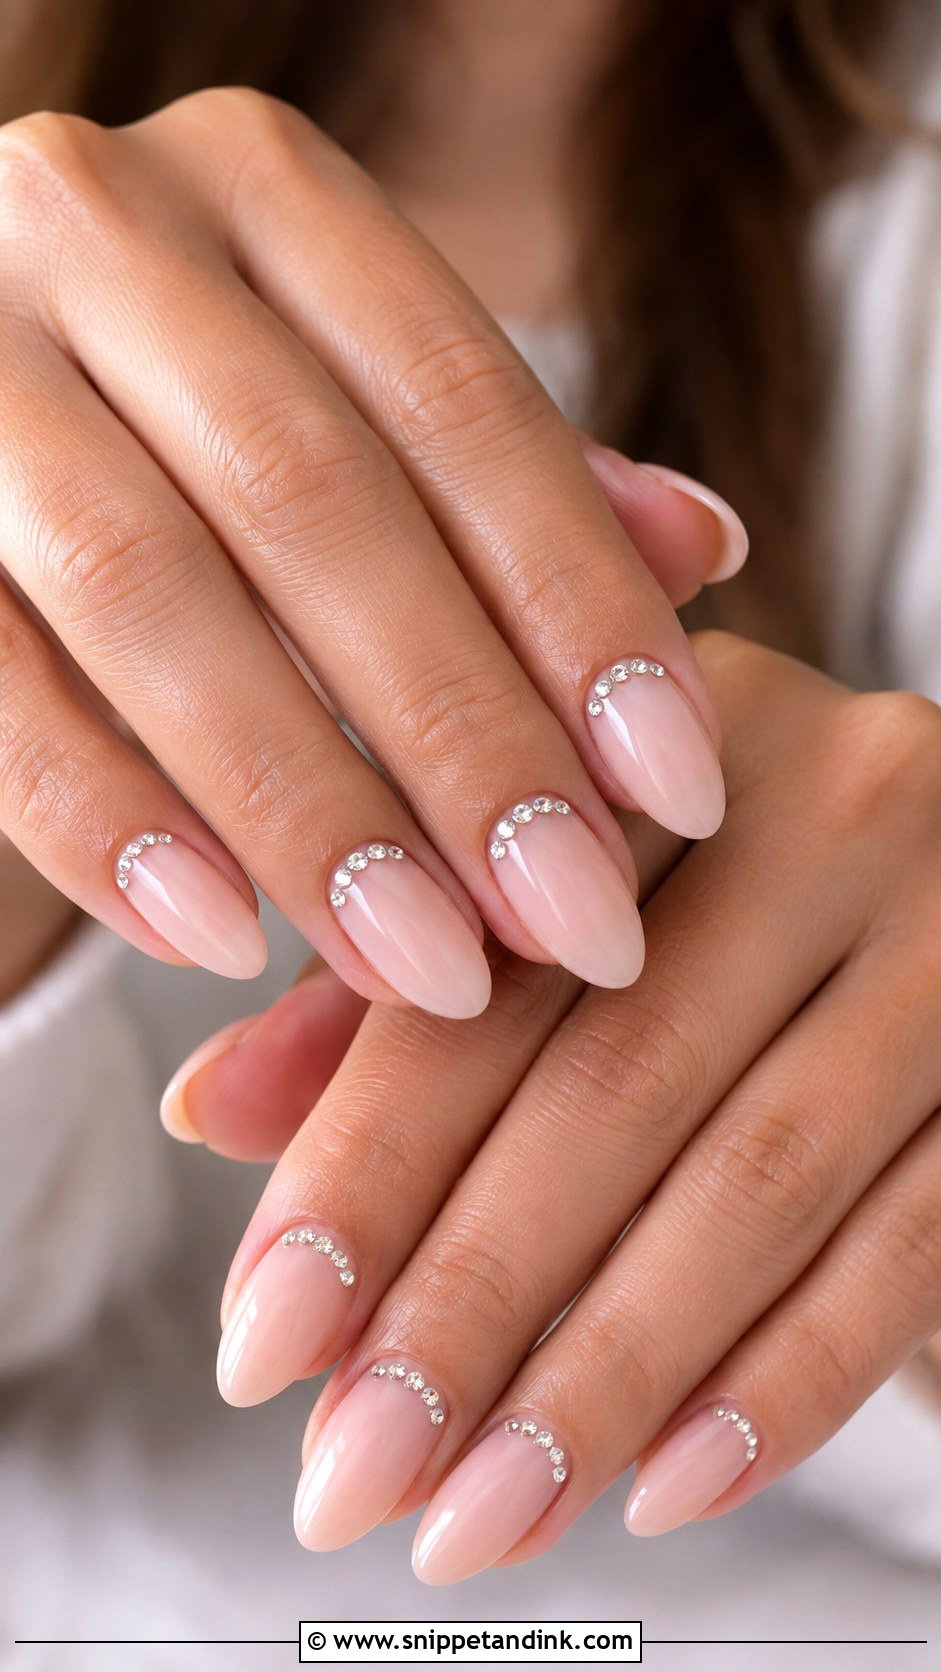
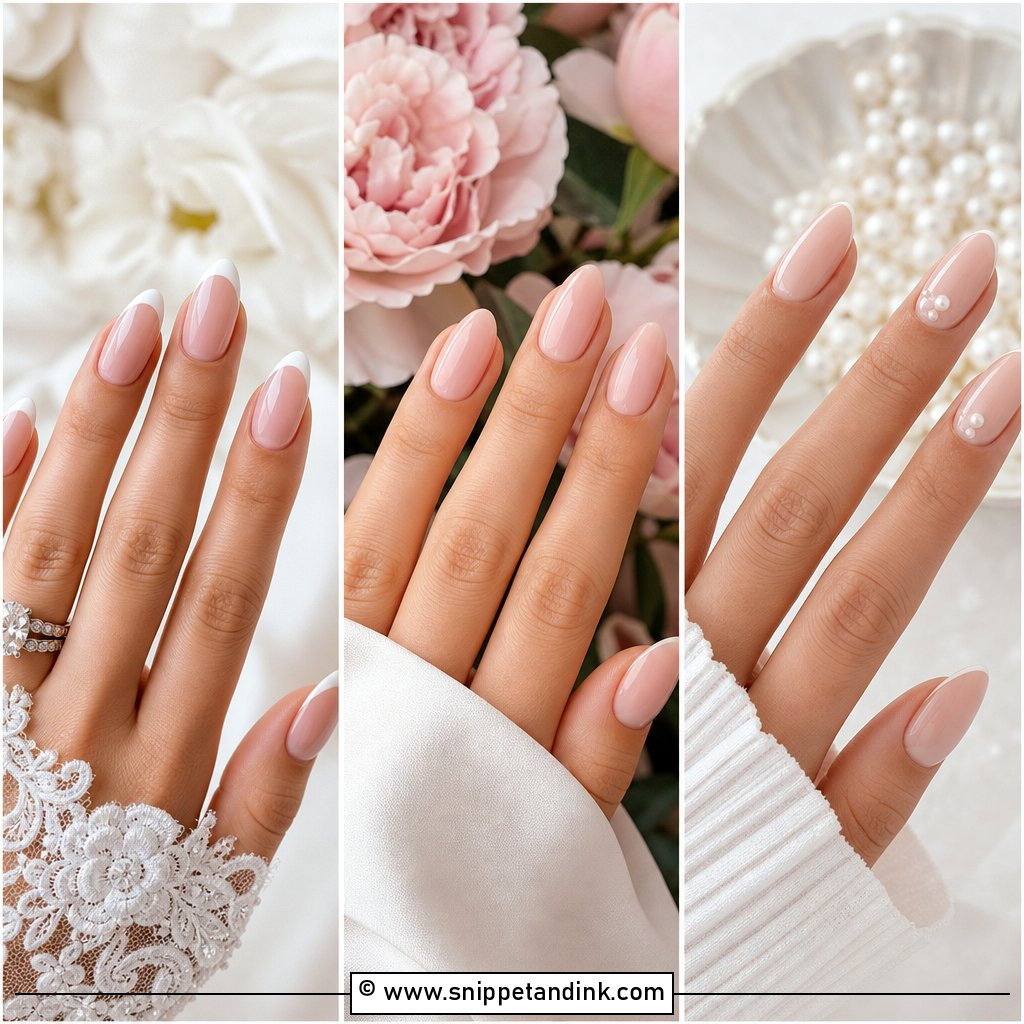
Almond rhinestone wedding nails flatter because the taper lengthens the fingers and the rounded tip has no corners to chip. Crystals, French tips, ombre and chrome all sit well. Keep the palette soft: sheer pink, nude, milky or pale beige. A row of stones at the base of each nail gives a crown effect; stones on the ring fingers only is simpler. The curve near the cuticle is where I place stones on almond, since the nail is flattest there and a stone sits level instead of rocking on the arch.
6. Short Rhinestone Wedding Nails
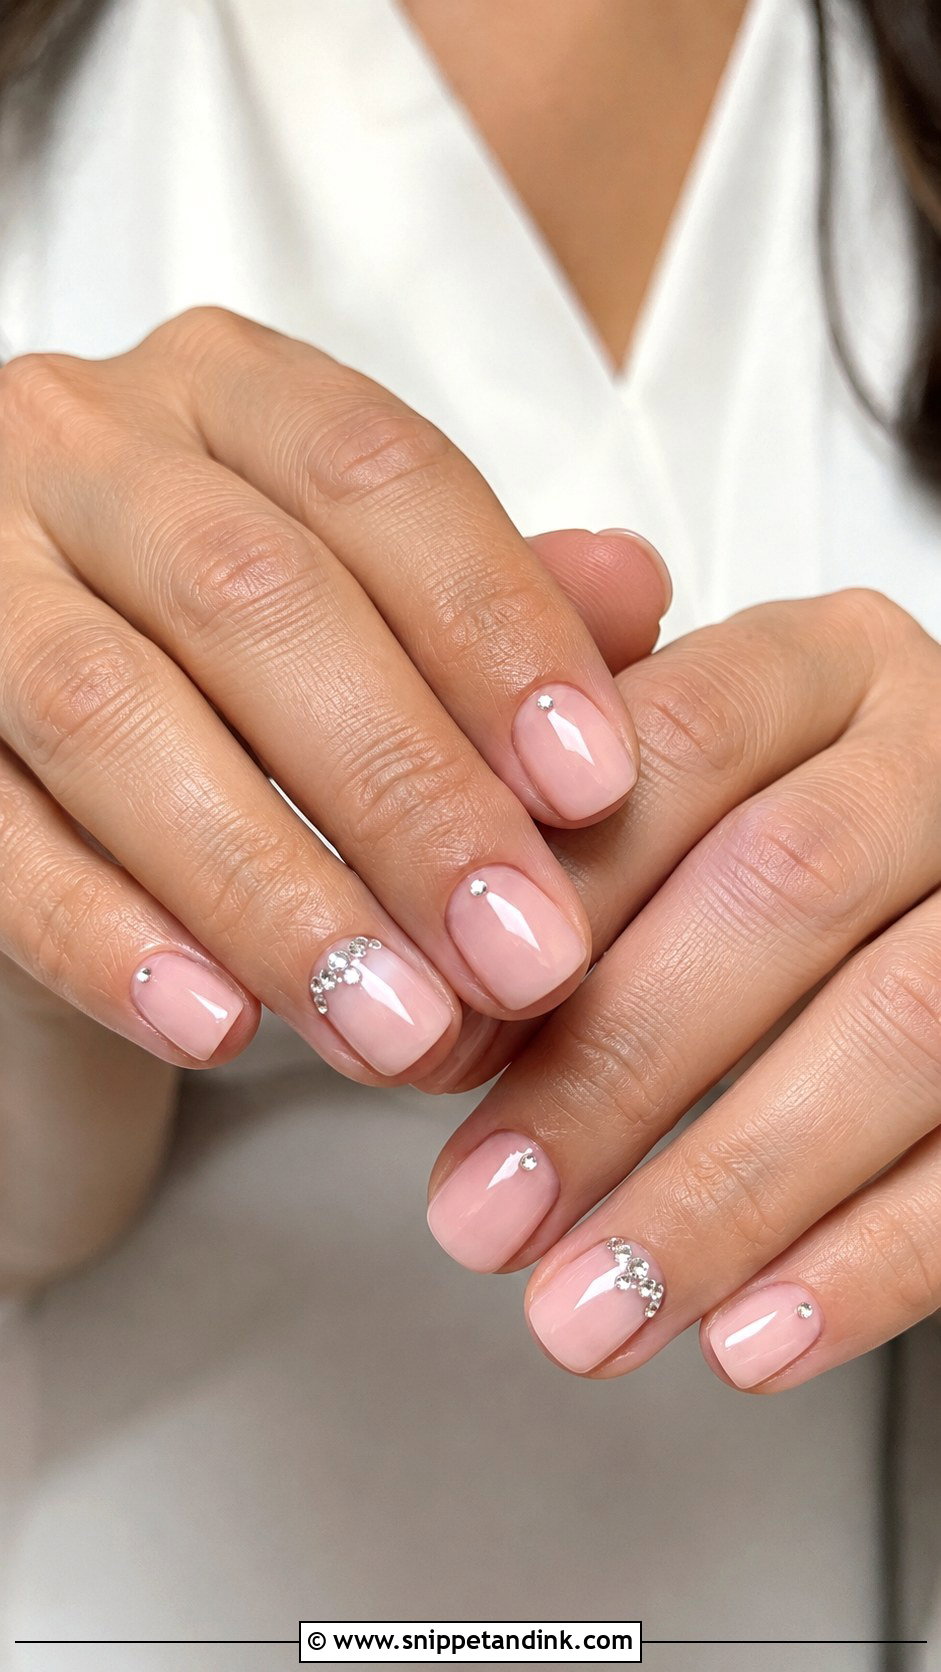
Short nails can carry crystals well, provided the stones are scaled down. A sheer nude, soft pink or milky base keeps them tidy. One tiny stone near each cuticle, or one accent nail with a small cluster, is the right amount. Large gems on a short nail make the nail bed look crowded and stubby, and they stick up enough to catch. A rounded square or soft oval looks most natural. For anyone who types all day, cooks or simply hates length, this is the practical choice.
7. Coffin Rhinestone Wedding Nails
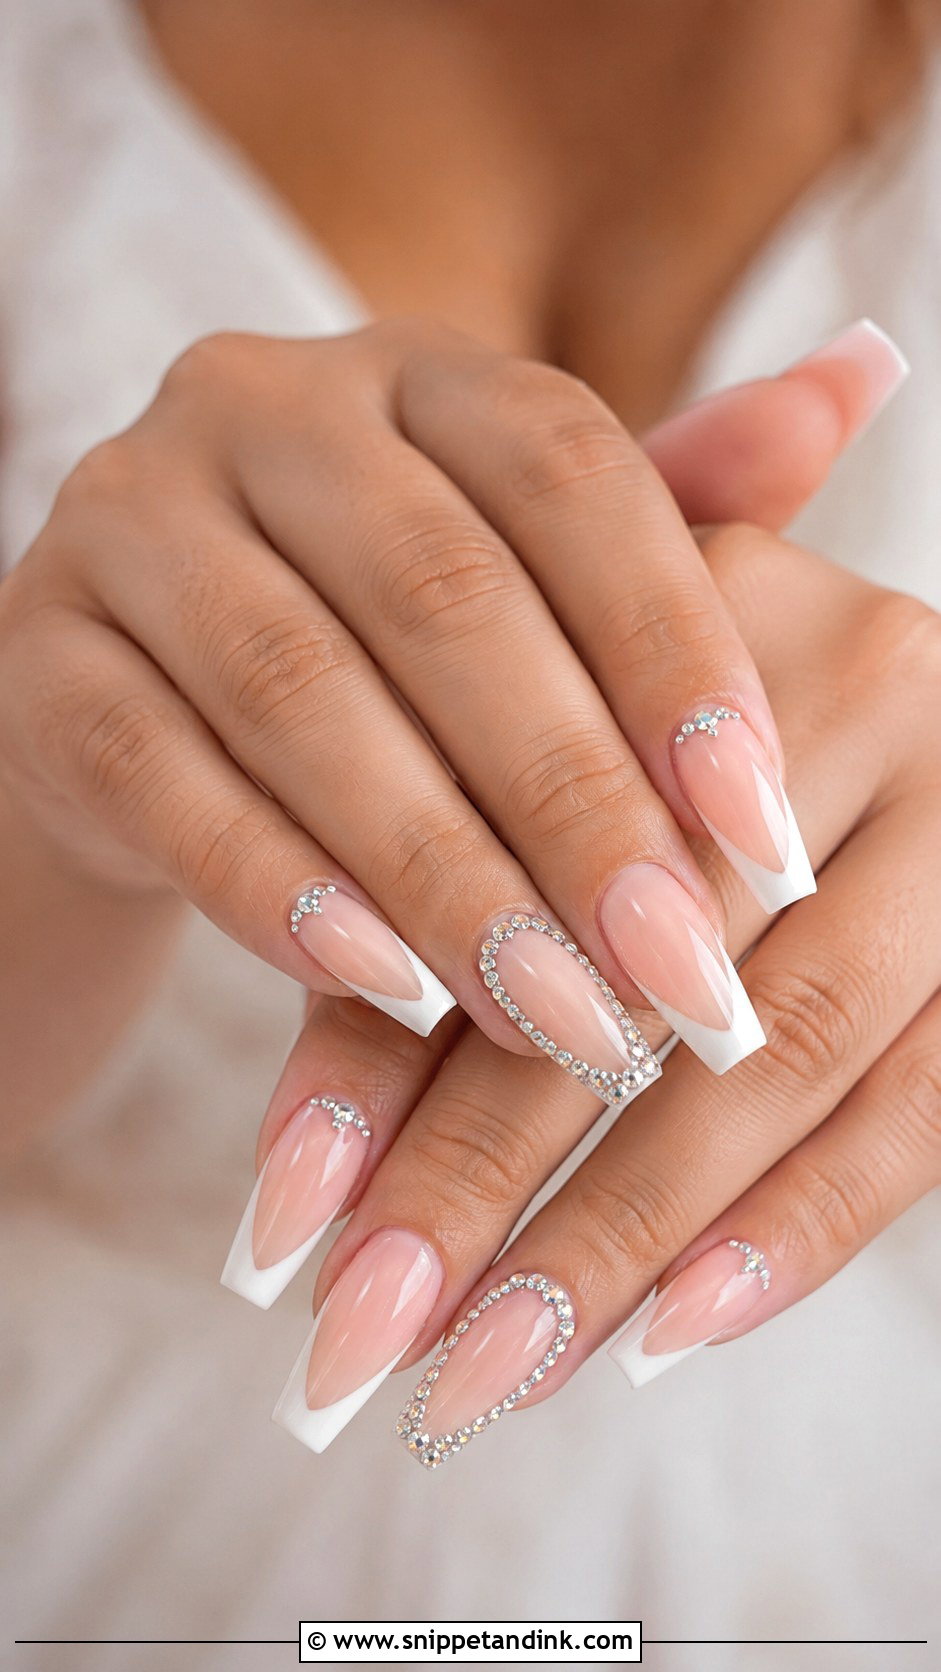
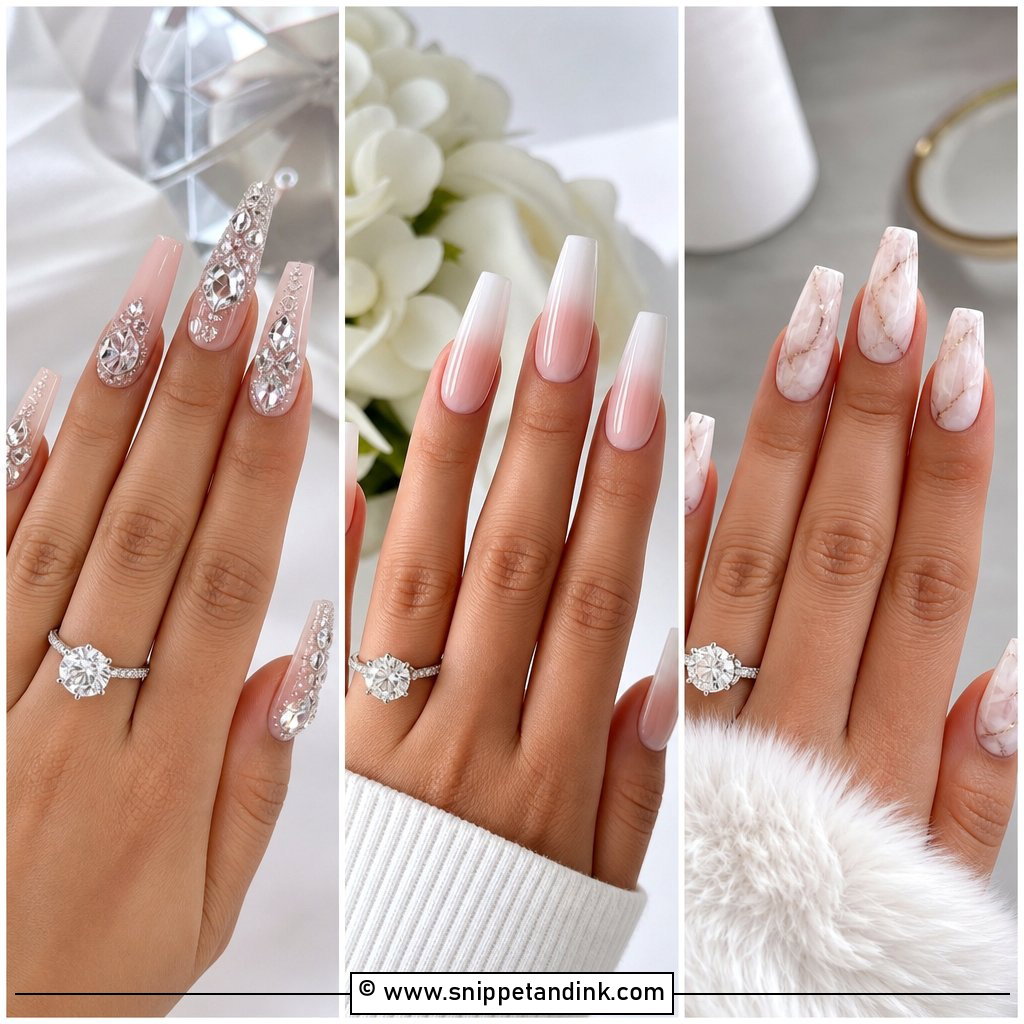
Coffin gives you the most room, so lines of crystals, French tips, ombre and statement accents all fit. Start with nude, blush, ivory or milky white to keep it bridal. Stones can frame the cuticle, cover one accent nail, or trace the edge of the French. Coffin can take larger stones than other shapes, but if one nail is heavily stoned, keep the rest quiet. The flat free edge is also the corner that takes knocks, so I avoid stones right at the tip, where they’re the first to be pushed off.
8. Square Rhinestone Wedding Nails
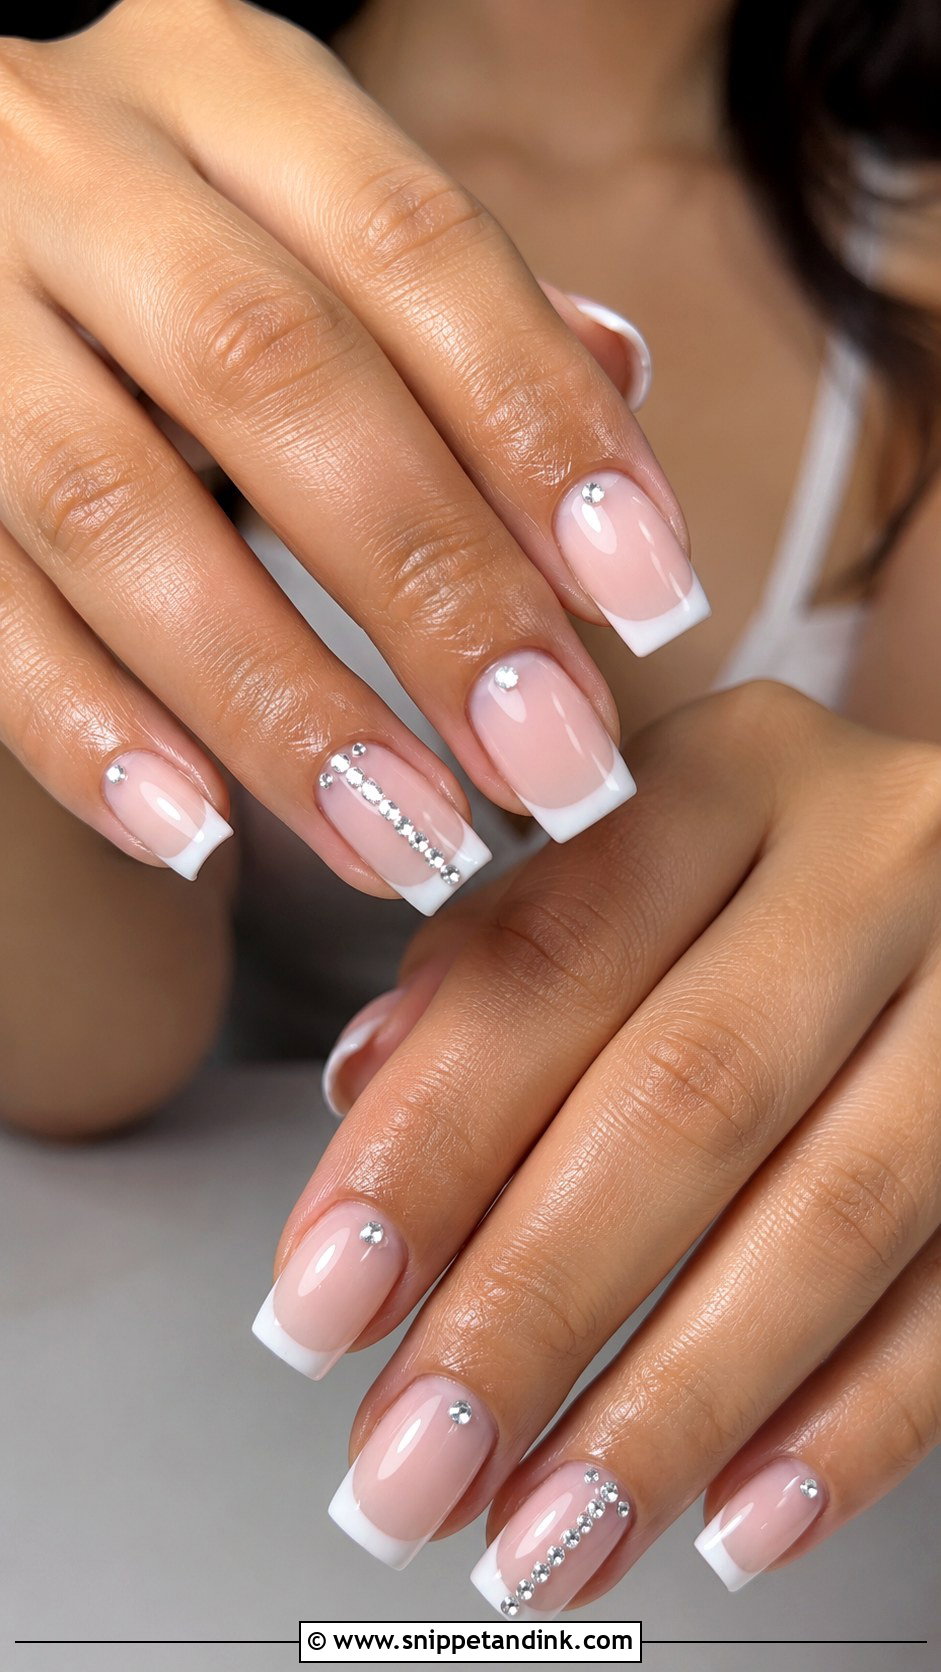
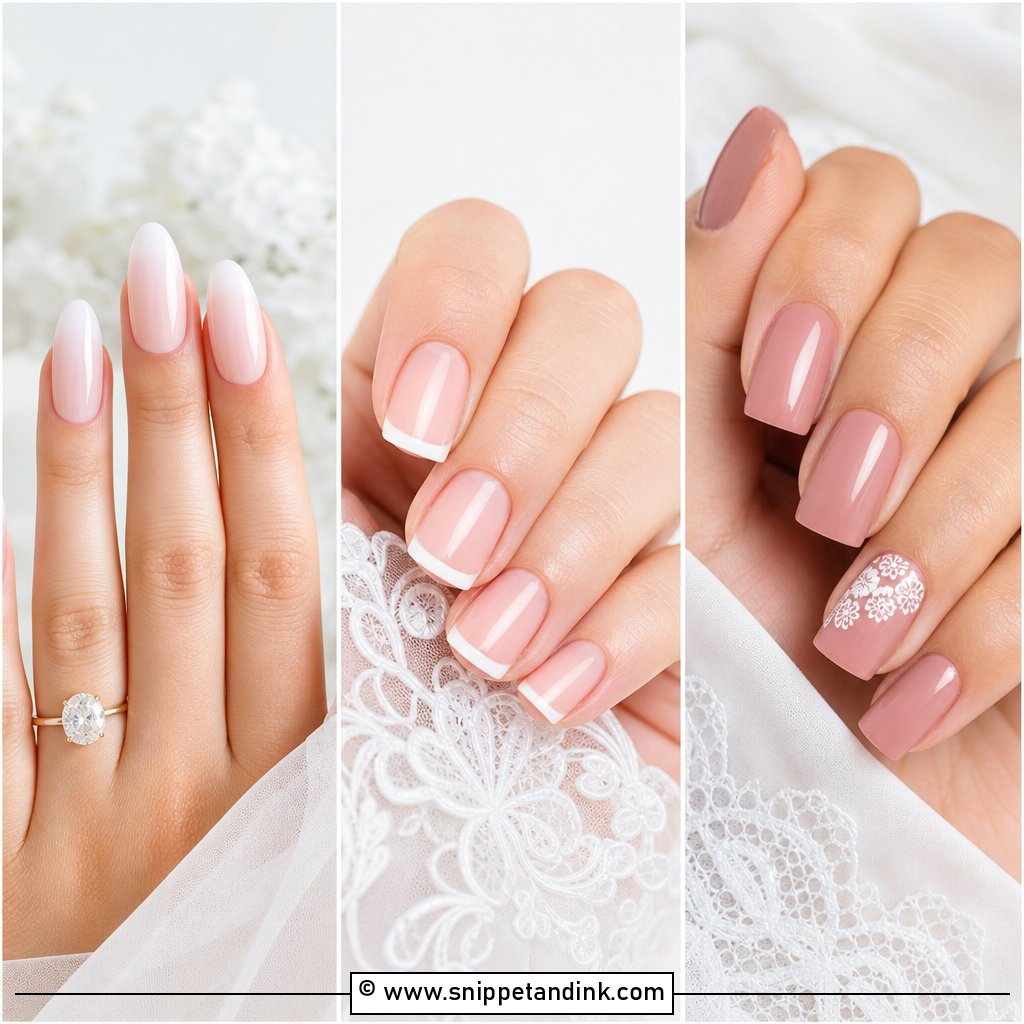
A straight free edge makes placement easy to get symmetrical, which is why square sets look so crisp. Classic: sheer pink, thin white tips and tiny crystals lined across one accent nail. Softer: short square in milky nude with one stone at each cuticle. Bolder: medium square with stone borders around the ring fingers. I usually round the corners a fraction. Sharp square corners snag on lace and tights and chip first, and you won’t miss the sharpness in photos.
9. Chrome Rhinestone Wedding Nails
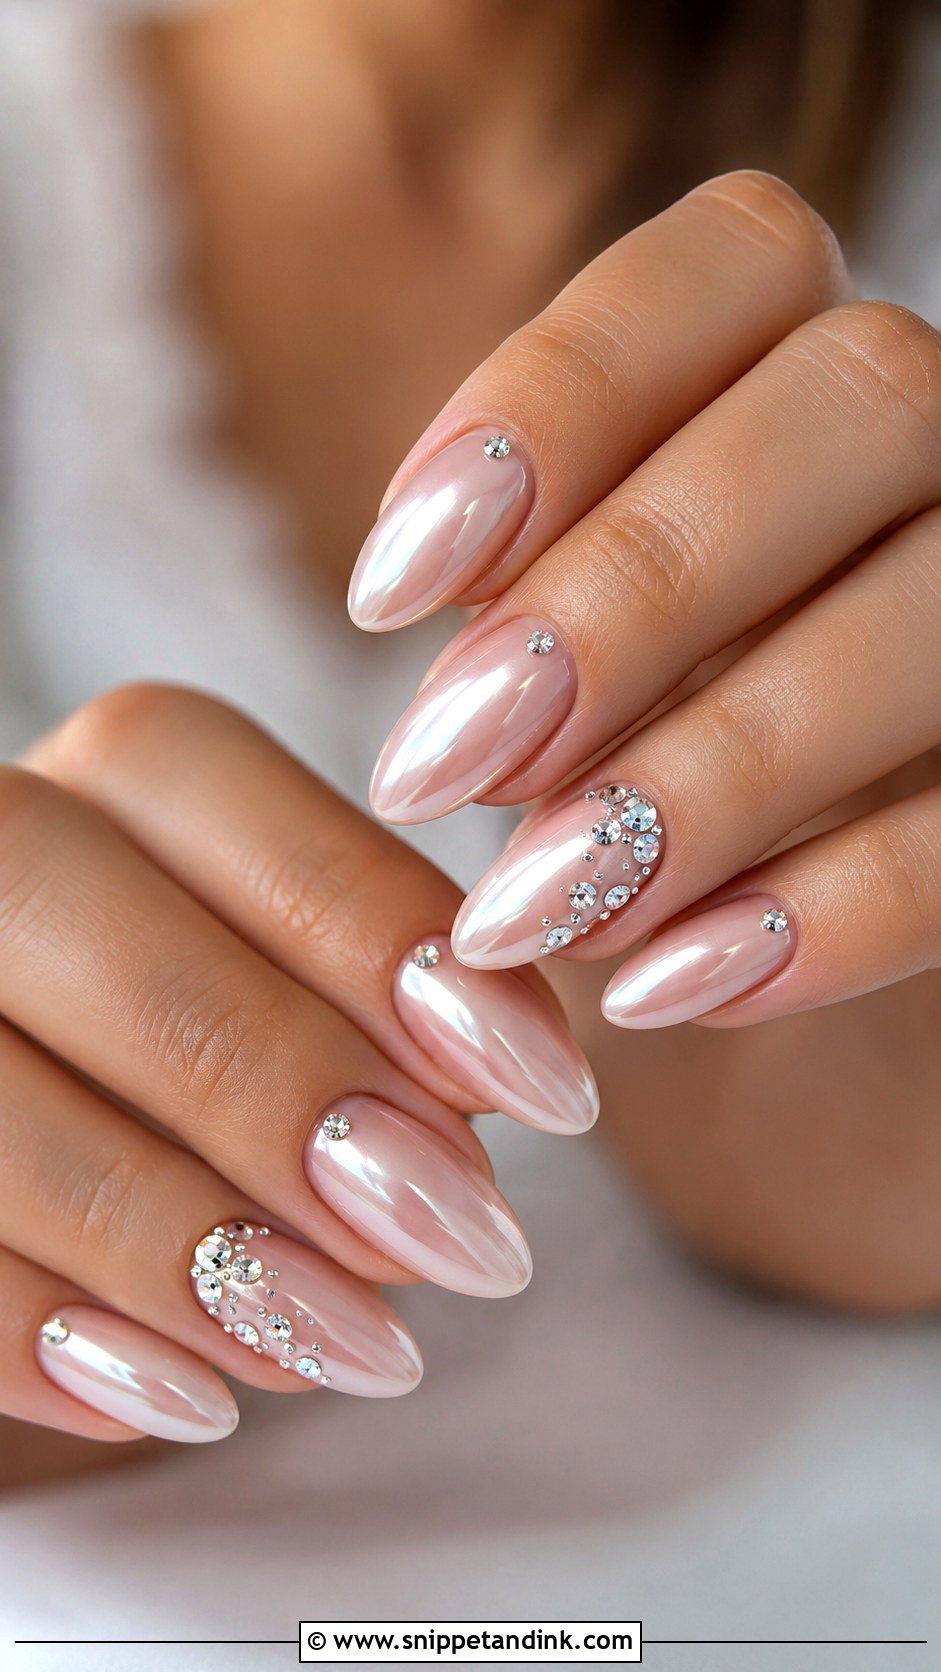
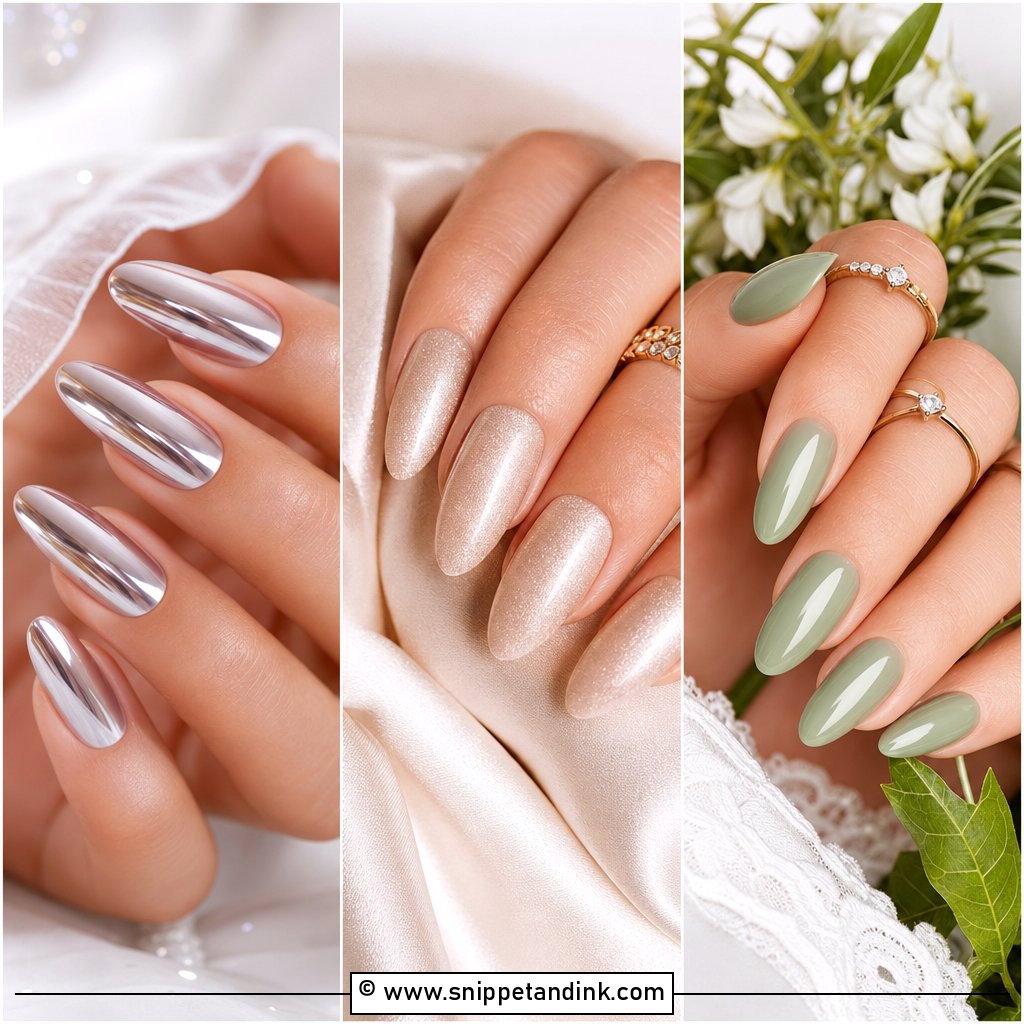
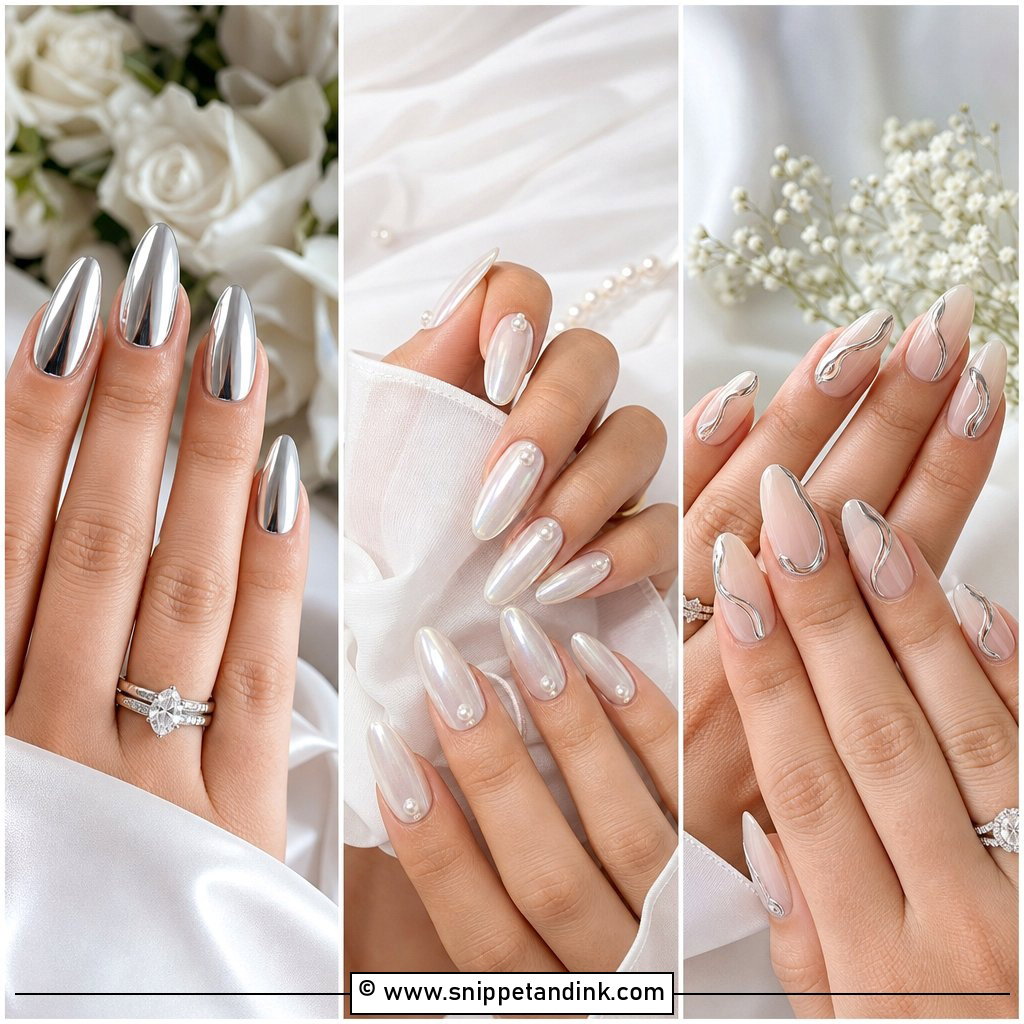
Chrome rhinestone wedding nails are already reflective, so the crystals have to be used sparingly or the set turns busy. Pearl chrome over soft white, pink or nude gives a glazed sheen rather than a mirror. I apply the chrome, seal it, and only then set the stones, because gel glue doesn’t grip chrome powder well and stones placed straight onto it pop off. Keep the layout clean: a few at the cuticle or one small cluster. Almond, oval and coffin show the shine best.
10. Pearl And Rhinestone Wedding Nails
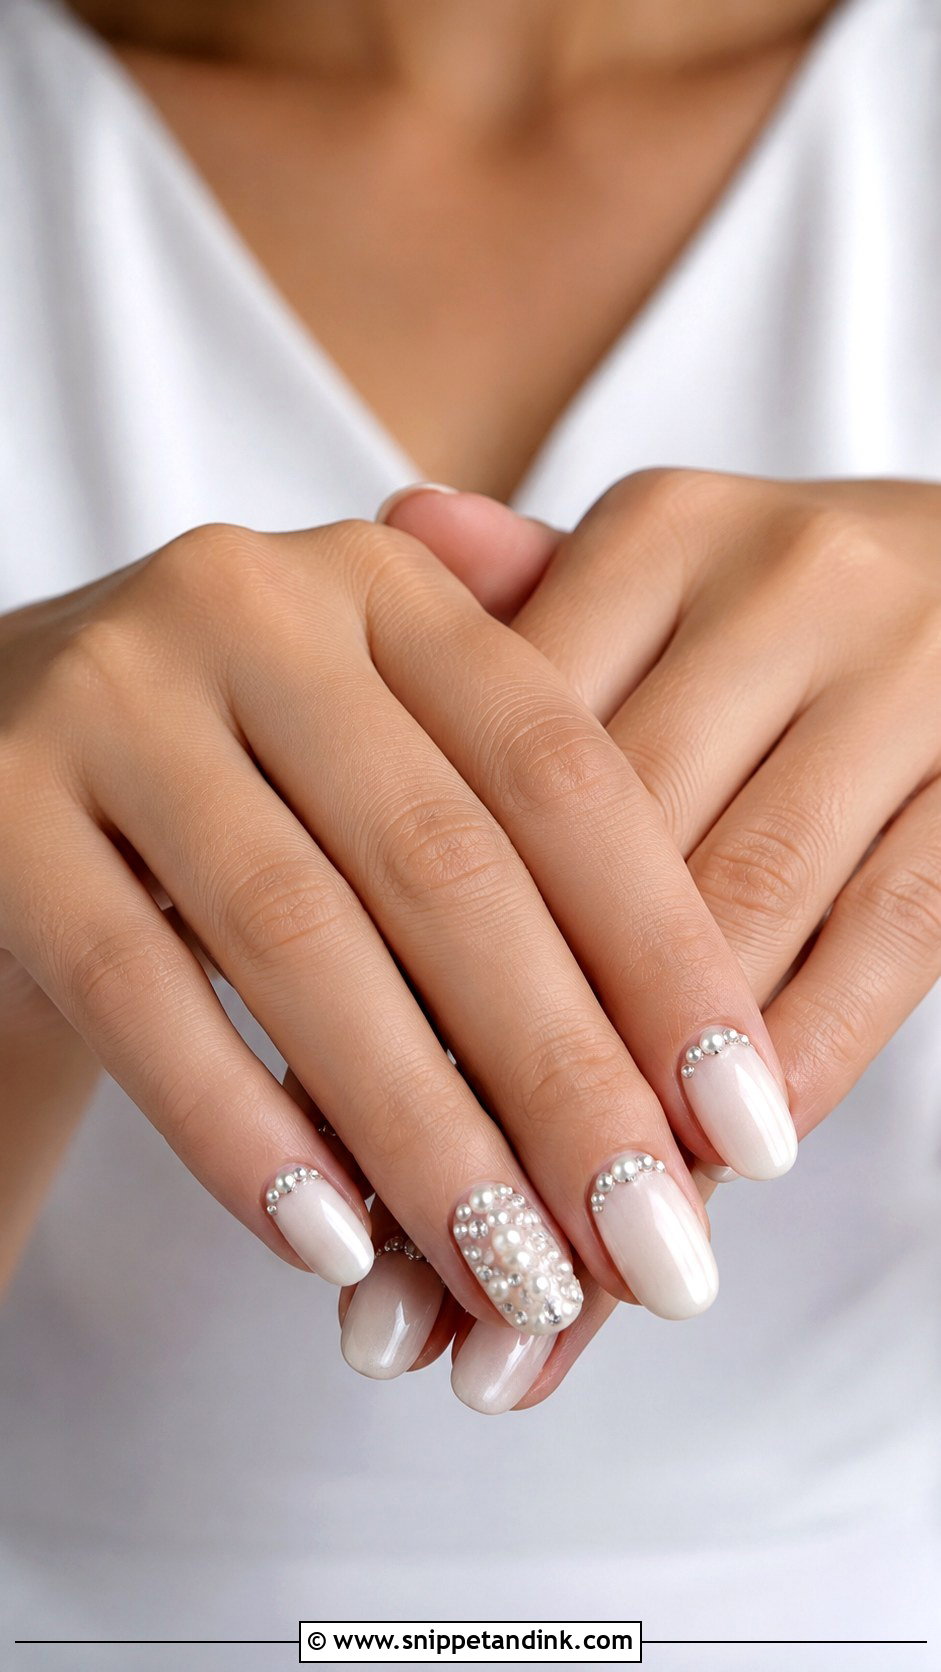
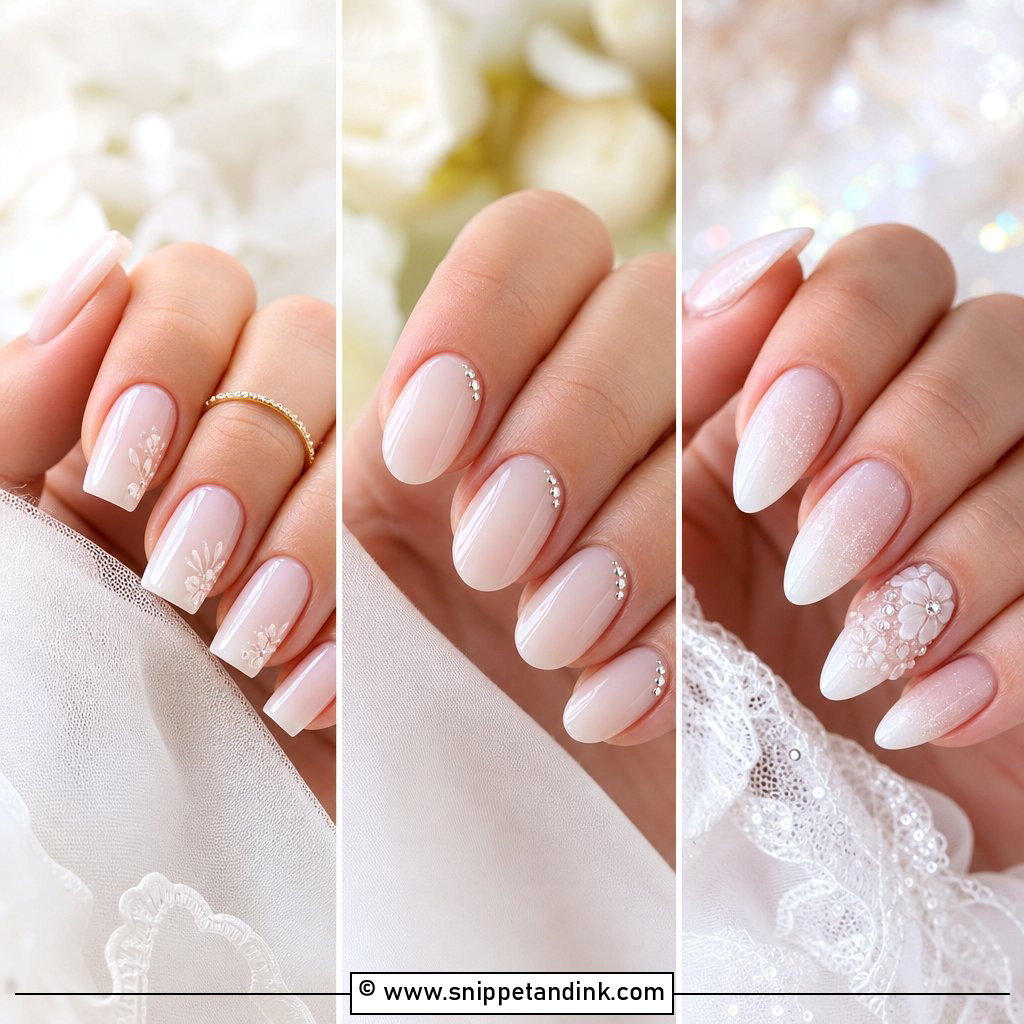
Pearls and crystals together give two different kinds of light, one soft and one sharp. Keep the base simple: sheer pink, milky white, ivory or nude. Set tiny pearls and stones along the cuticle, in a cluster on the ring finger, or within a delicate French. Oval and almond echo the round pearls. I always use small flat-back pearls here, because domed or half-round pearls sit high next to flat crystals and the set looks lumpy. Fine stones and flat pearls at a similar height look polished.
11. Rhinestone Ombré Wedding Nails
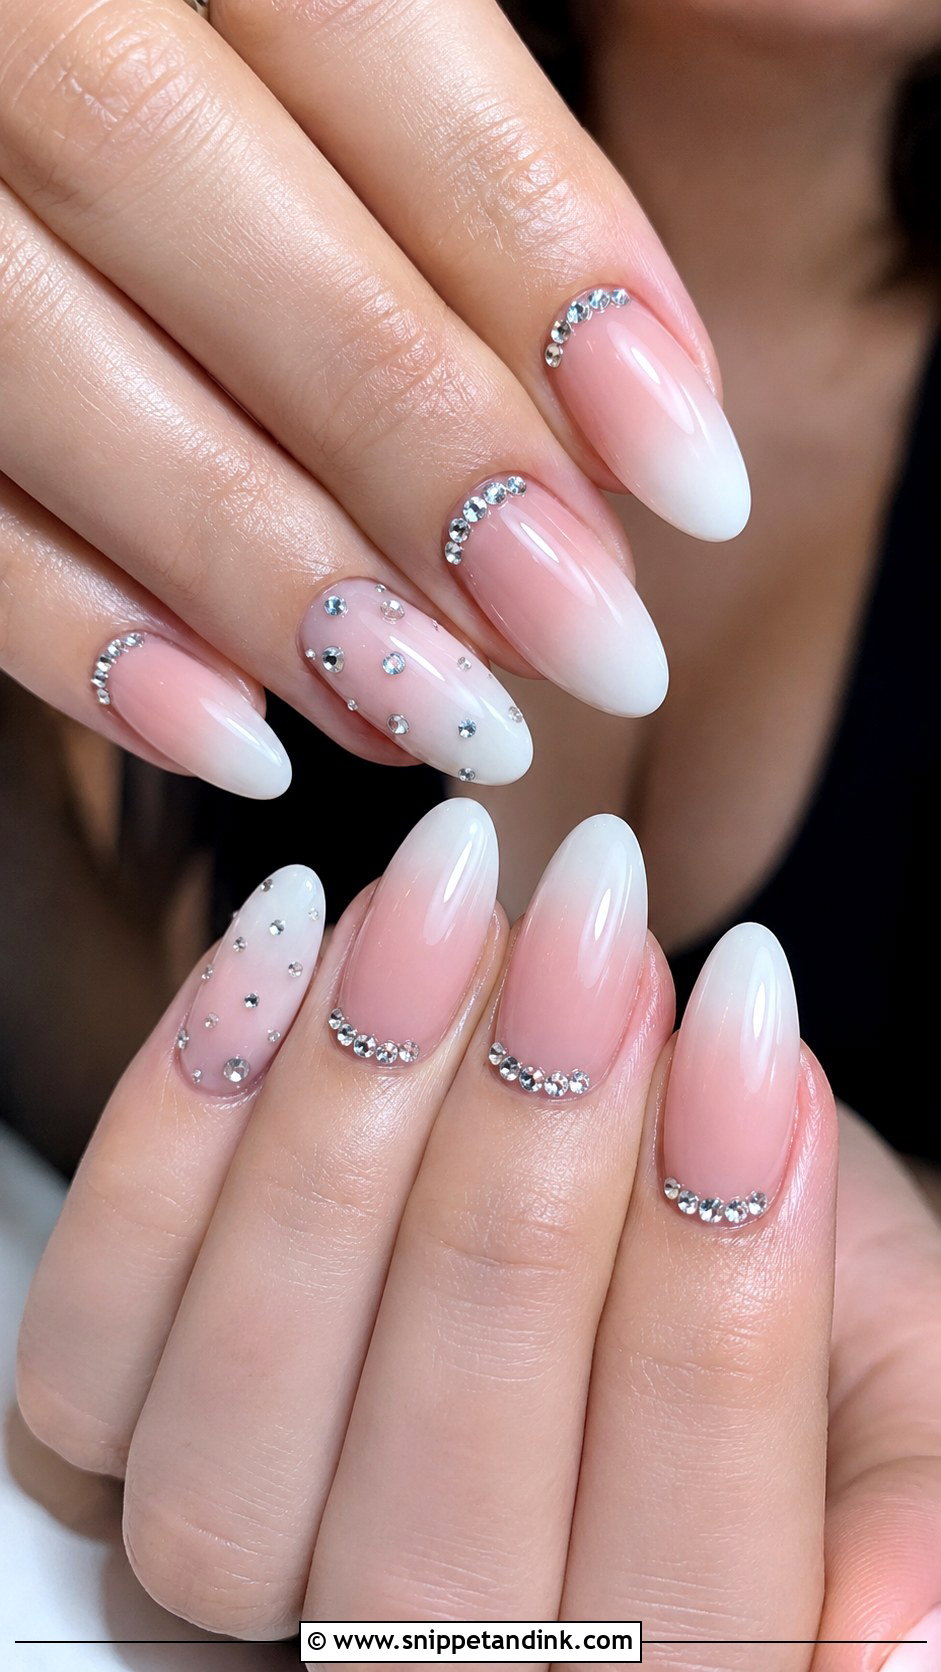
A soft fade from sheer pink or nude into white at the tips, the baby boomer look, is one of the most flattering bases for crystals. I add stones near the cuticle, scatter a few across one accent, or set a curve across the ring finger. It suits brides who like French nails but want the line softened. It also grows out more gracefully than a solid colour, which helps if your appointment has to be several days before the wedding. Clear stones keep it classic; tiny iridescent ones add glow without colour.
12. White Rhinestone Wedding Nails
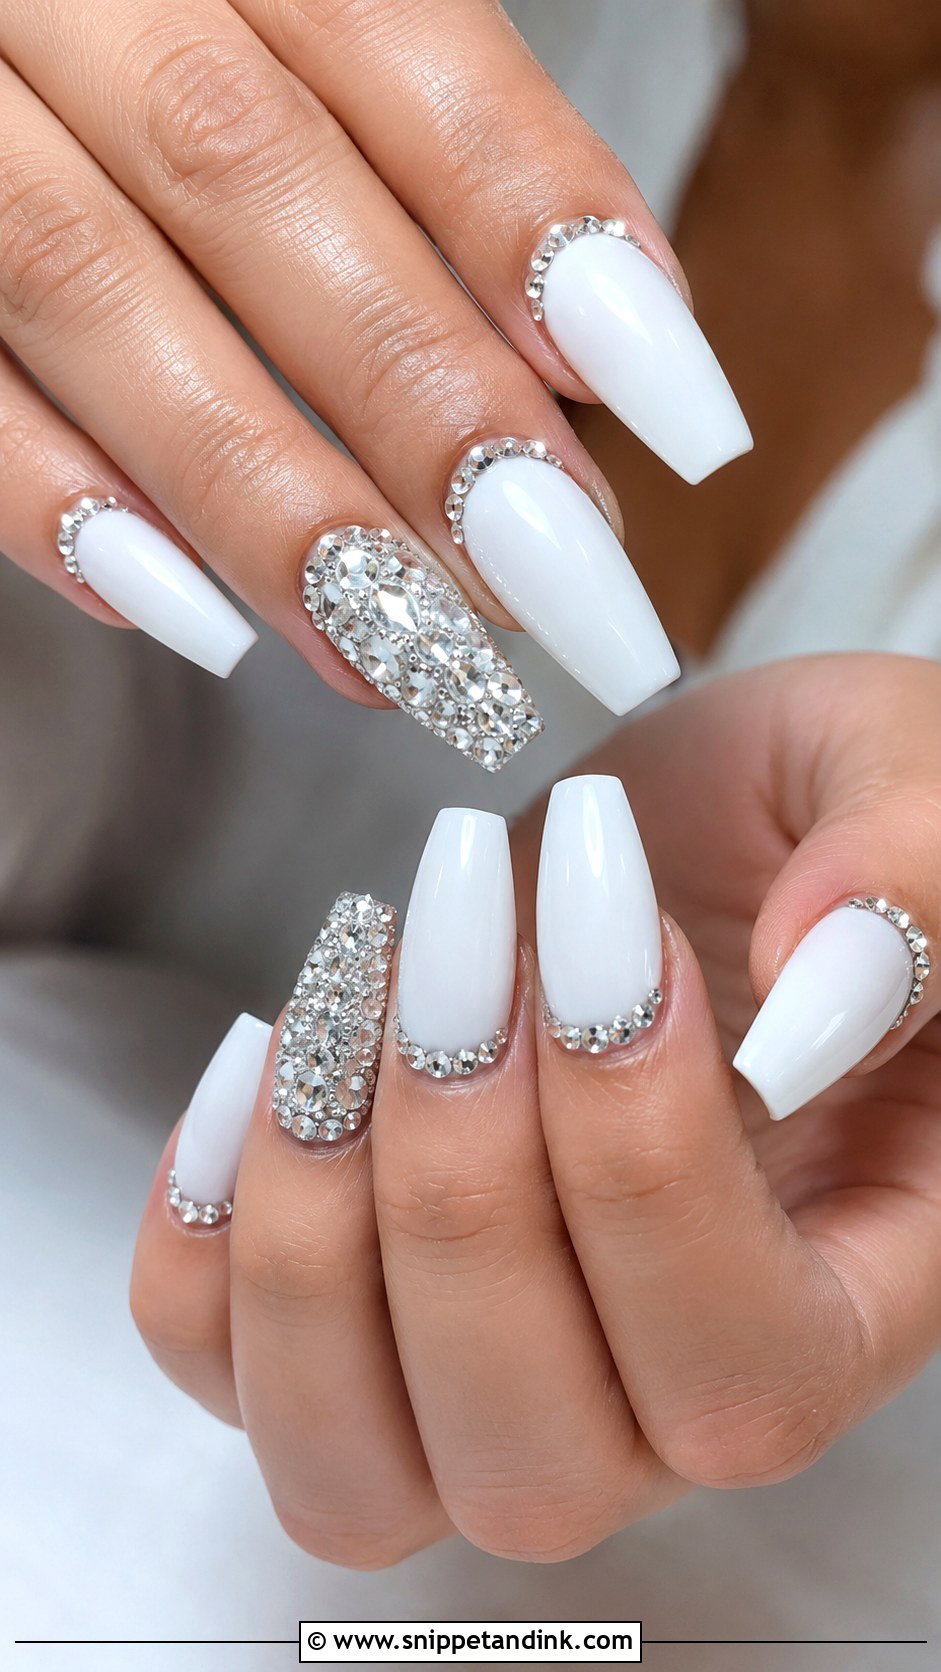
White gives the brightest background for crystals, but the shade changes everything. Sheer white is airy, opaque white crisp and dramatic. Stones work as cuticle accents, side trails or one fully stoned accent nail. If the rest of your look is simple, this can carry more detail. If your dress is heavily beaded, I’d cut the stones right back so the nails don’t compete with the bodice. Gloss looks fresh; a pearl top softens the white.
13. Blush Rhinestone Wedding Nails
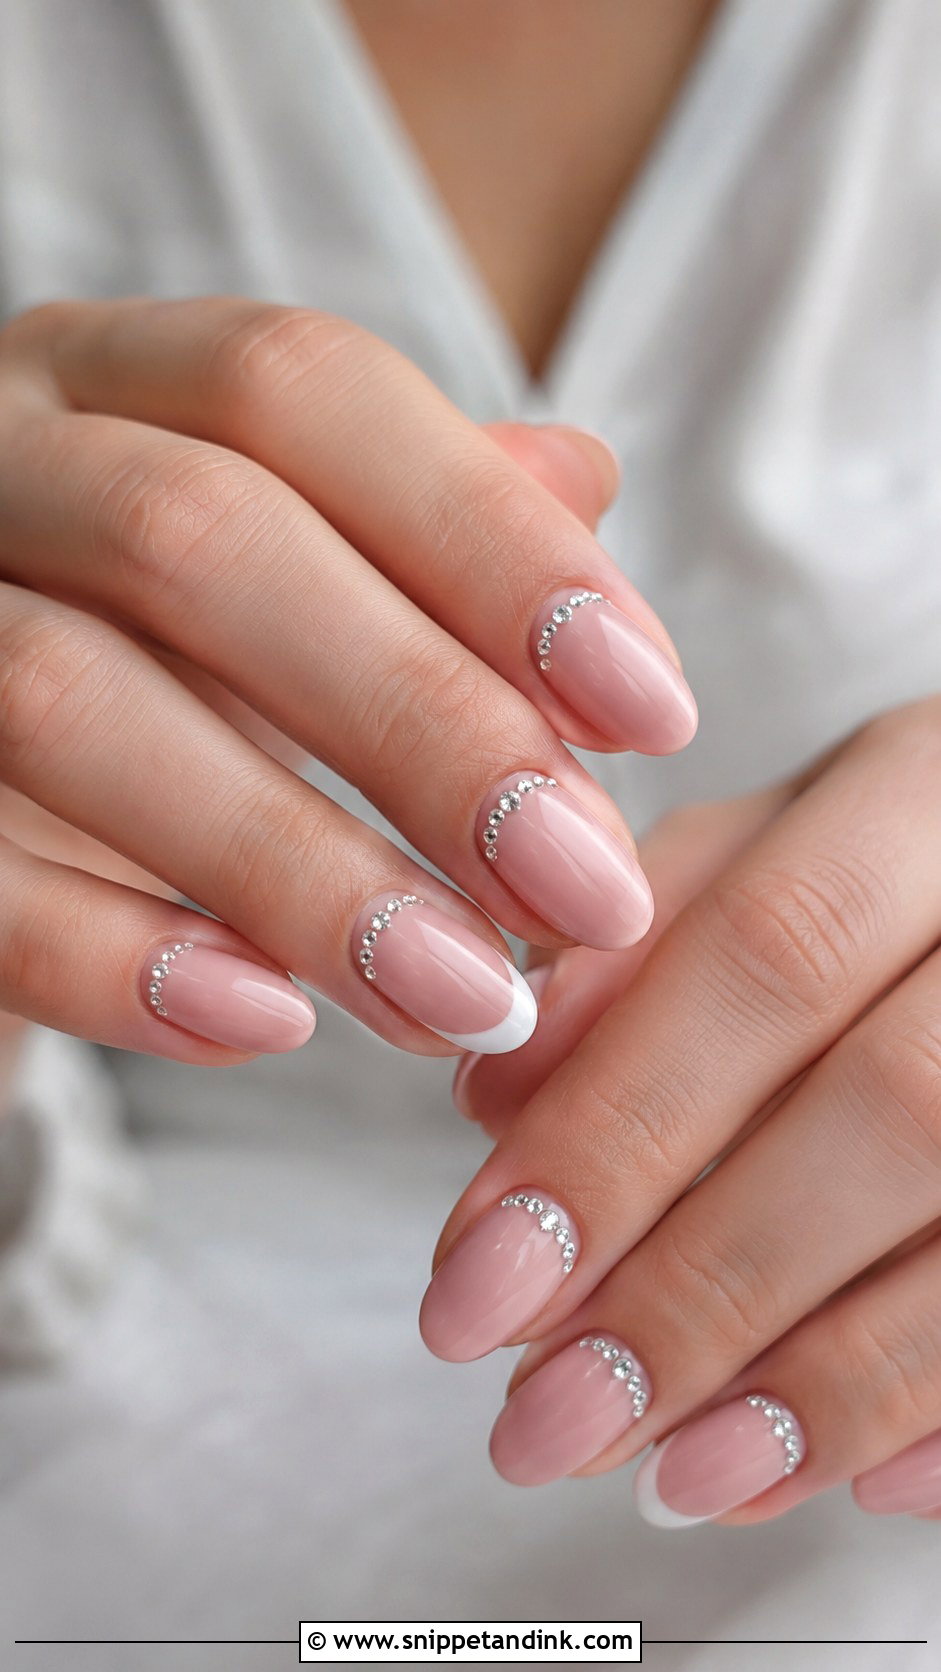
Blush sits between pink and nude, so you get colour in the gentlest possible dose. It suits many skin tones and pairs with clear, silver or pale rose stones. My favourite version is blush on every nail, high gloss, and tiny stones laid in a half-moon above the cuticle. A thin white French makes it more traditional. Medium oval or almond is where it looks best. Half-moon placement needs the stones graded from slightly larger in the middle to smaller at the ends, or the curve looks flat.
14. Rhinestone Accent Wedding Nails
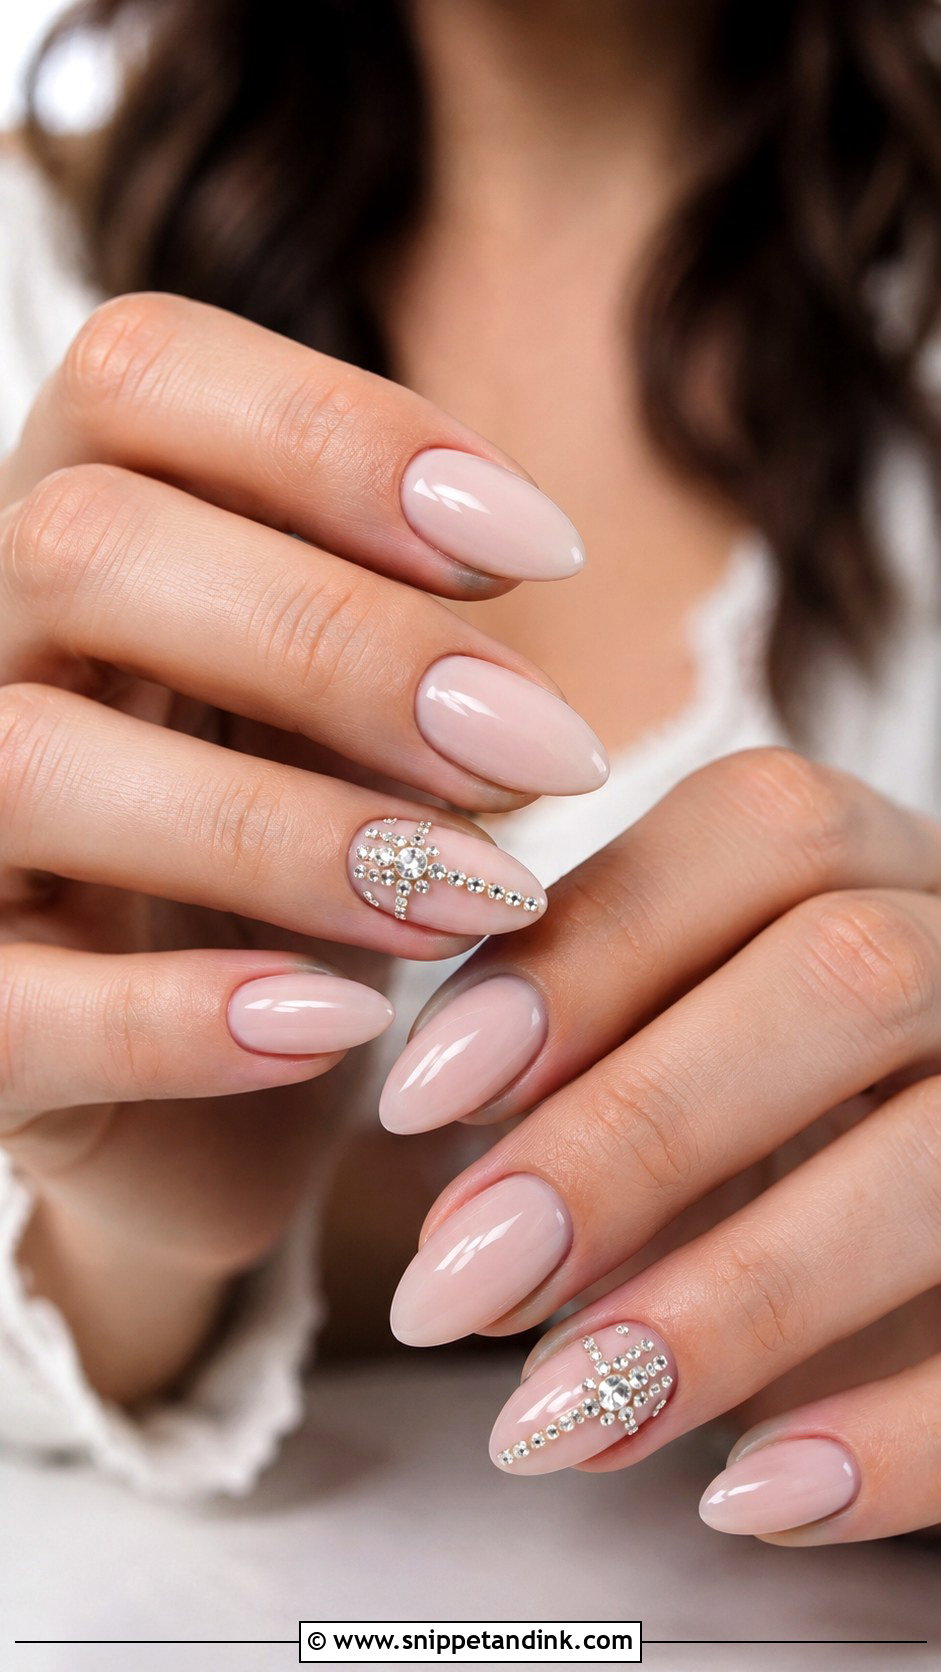
Accent placement is the easiest way to control sparkle: crystals on one or two nails, usually the ring fingers, and the rest in nude, milky, French or soft pink. The accent can be a vertical line of stones, a small cluster at the base or a light scatter. It’s comfortable to live with, and it leaves the ring the brightest thing on your hand. Use the same stone colour across the whole set, and repeat a single tiny crystal on one plain nail so the accents look planned.
15. Rhinestone Cuticle Wedding Nails
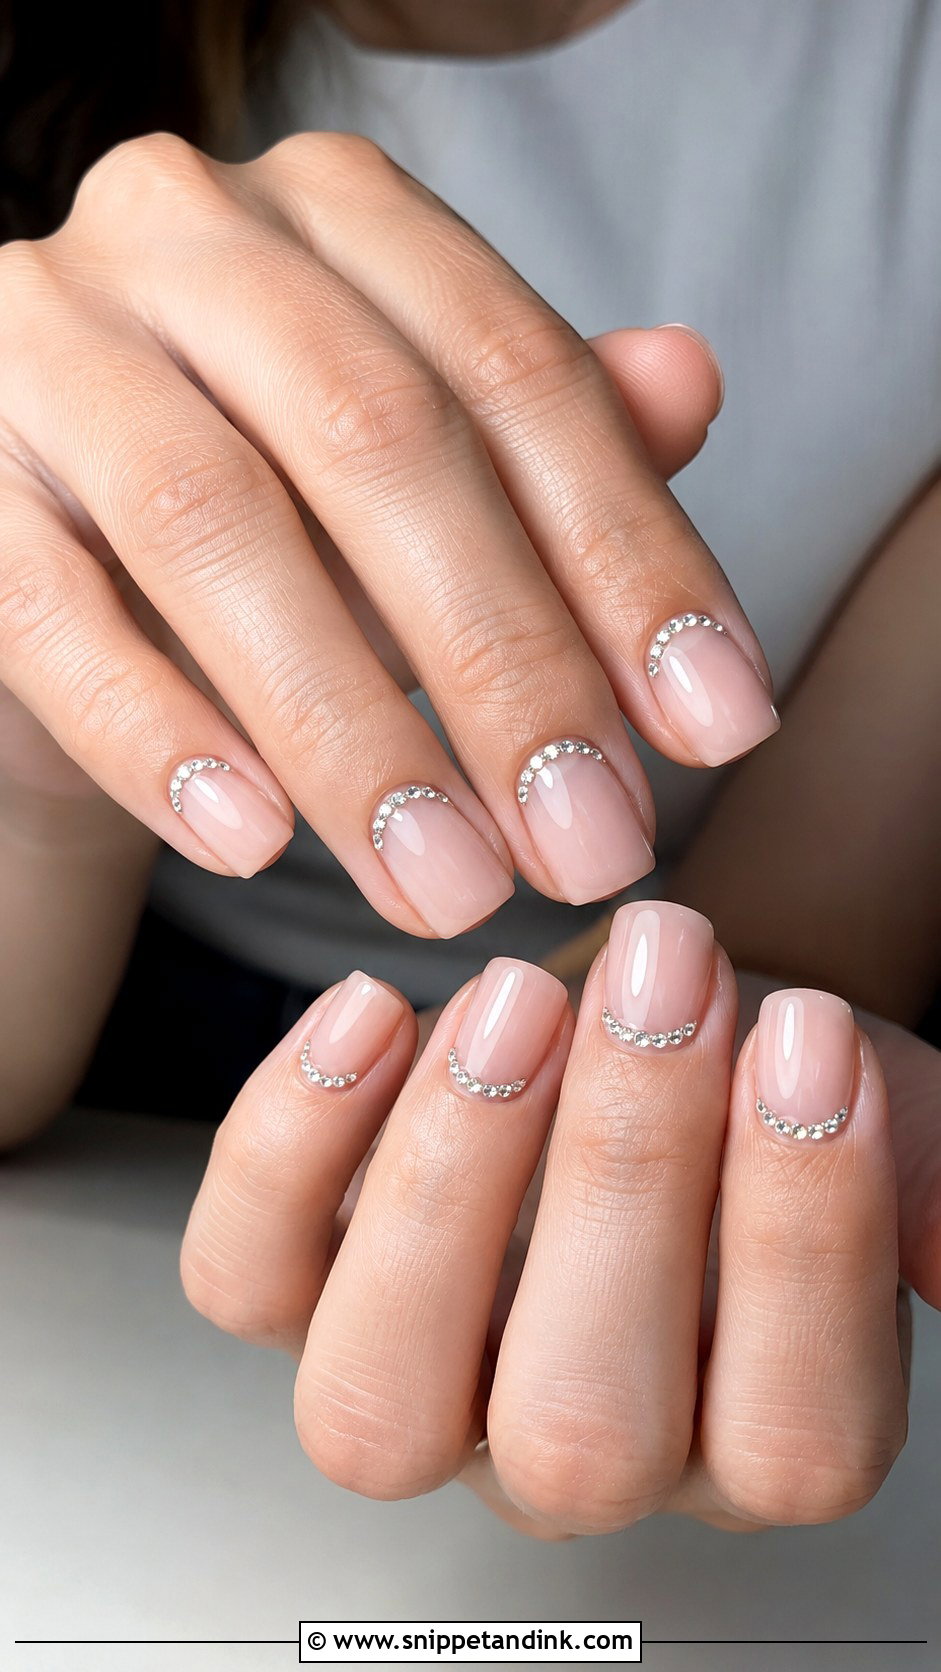
Cuticle stones read like a fine piece of jewelry for each nail. Small crystals sit at the base in an arc that follows the natural cuticle line, over sheer pink, nude, milky white or soft ivory. One stone per nail is clean; a few micro crystals in a row dresses it up. Short and medium nails suit it best because the detail stays at the base. The trade-off is growth: as the nail grows, the arc drifts away from the cuticle, so I’d book this one close to the wedding.
16. Rhinestone Lace Wedding Nails
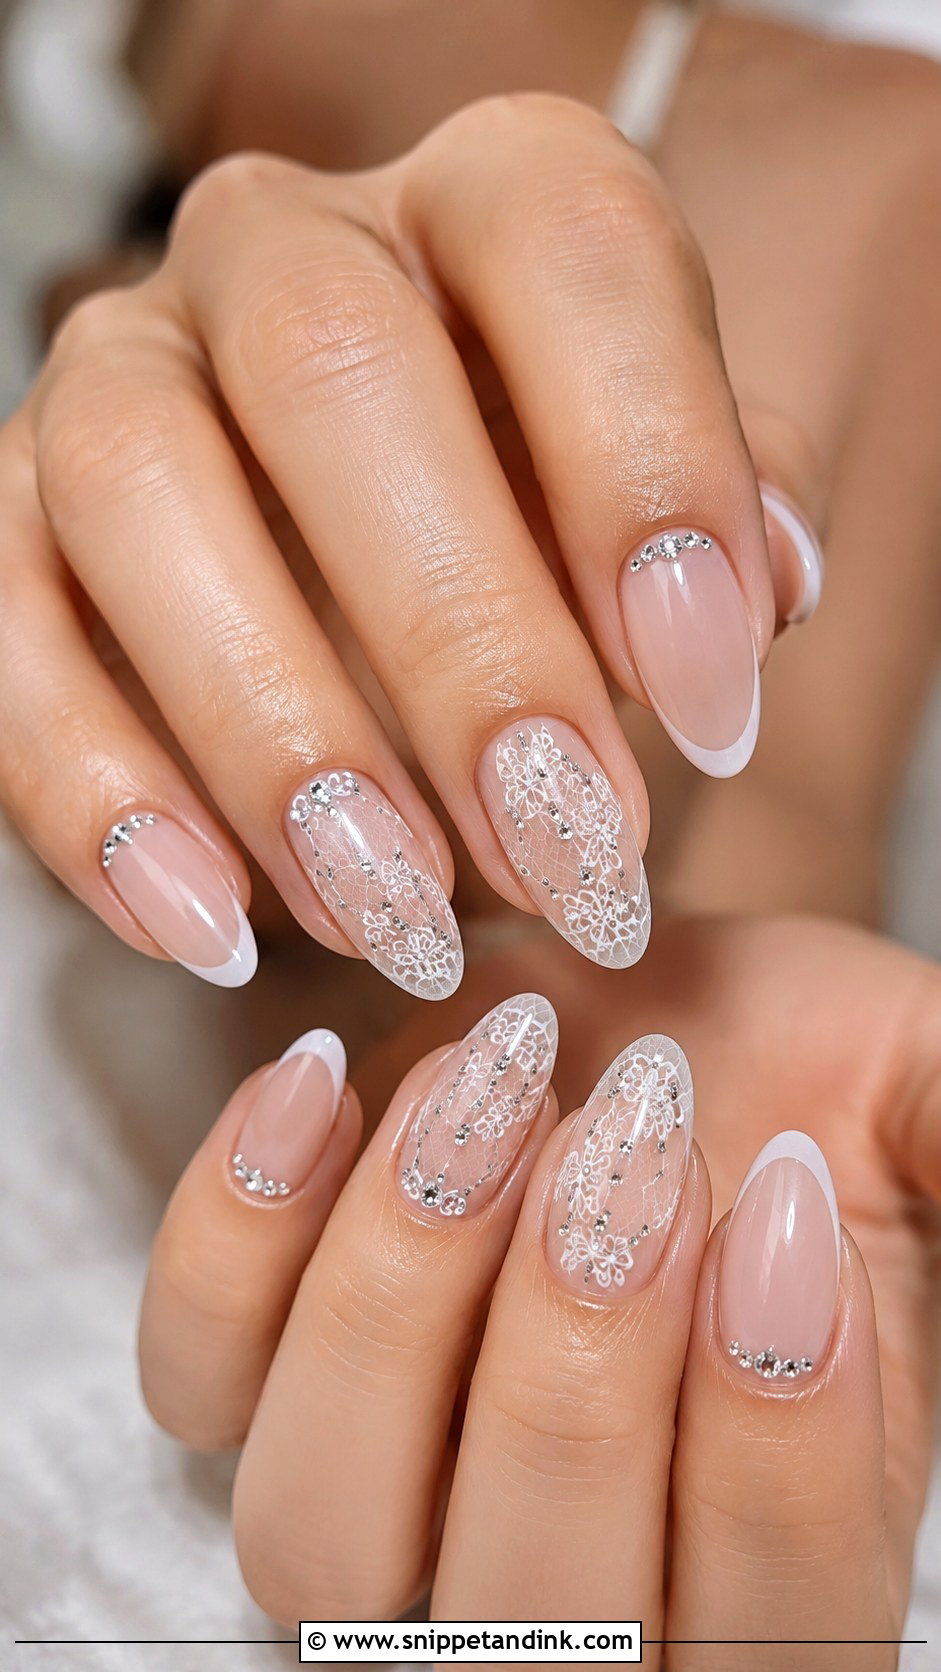
Lace and crystals both add texture, so the lace has to be fine for the stones to show. The usual combination is a sheer nude or pink base with white lace-inspired nail art, with tiny stones placed inside the pattern or at the cuticle. Thick white lace hides the crystals and makes the nails look crowded. I’d put lace on one or two accent nails and keep the rest in French or milky polish. Almond and oval look the most graceful.
17. Rhinestone Floral Wedding Nails
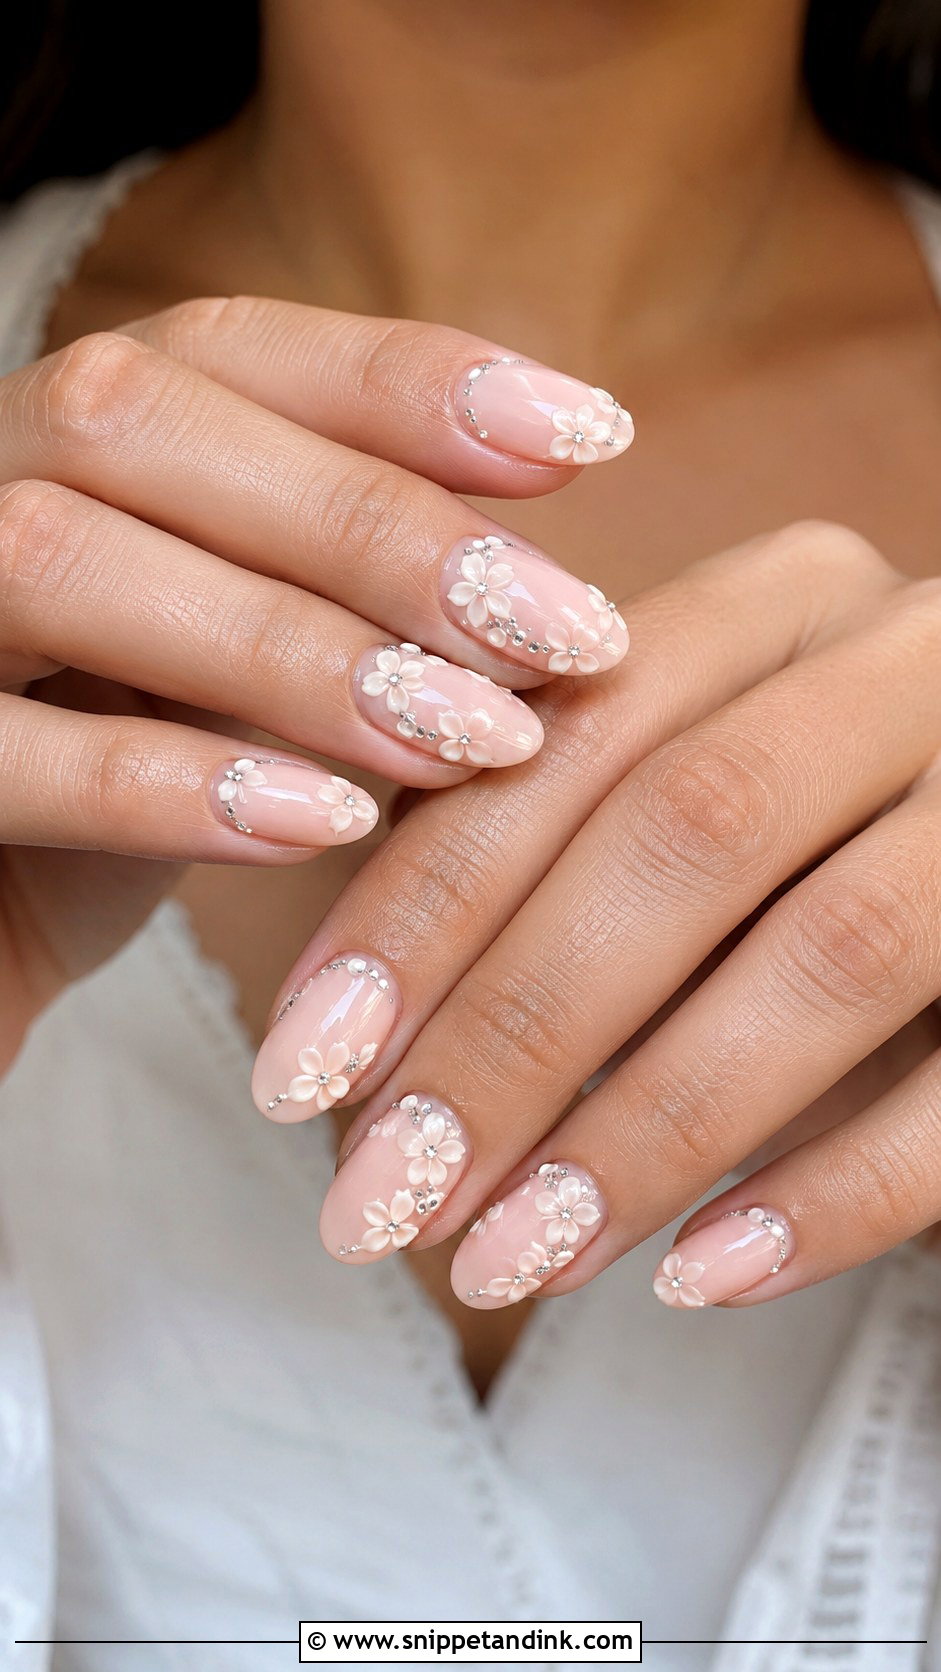
Painted flowers give crystals a natural home: one tiny stone at the centre of each bloom. A soft nude, blush or milky base keeps the background clean, with petals in white, pale pink or ivory and a few stones at the cuticle if you want more. Florals on one or two nails, the rest glossy and plain, looks more current than flowers everywhere. Short oval suits small blooms. Longer almond gives room for finer petals and a few extra crystals.
18. Silver Rhinestone Wedding Nails
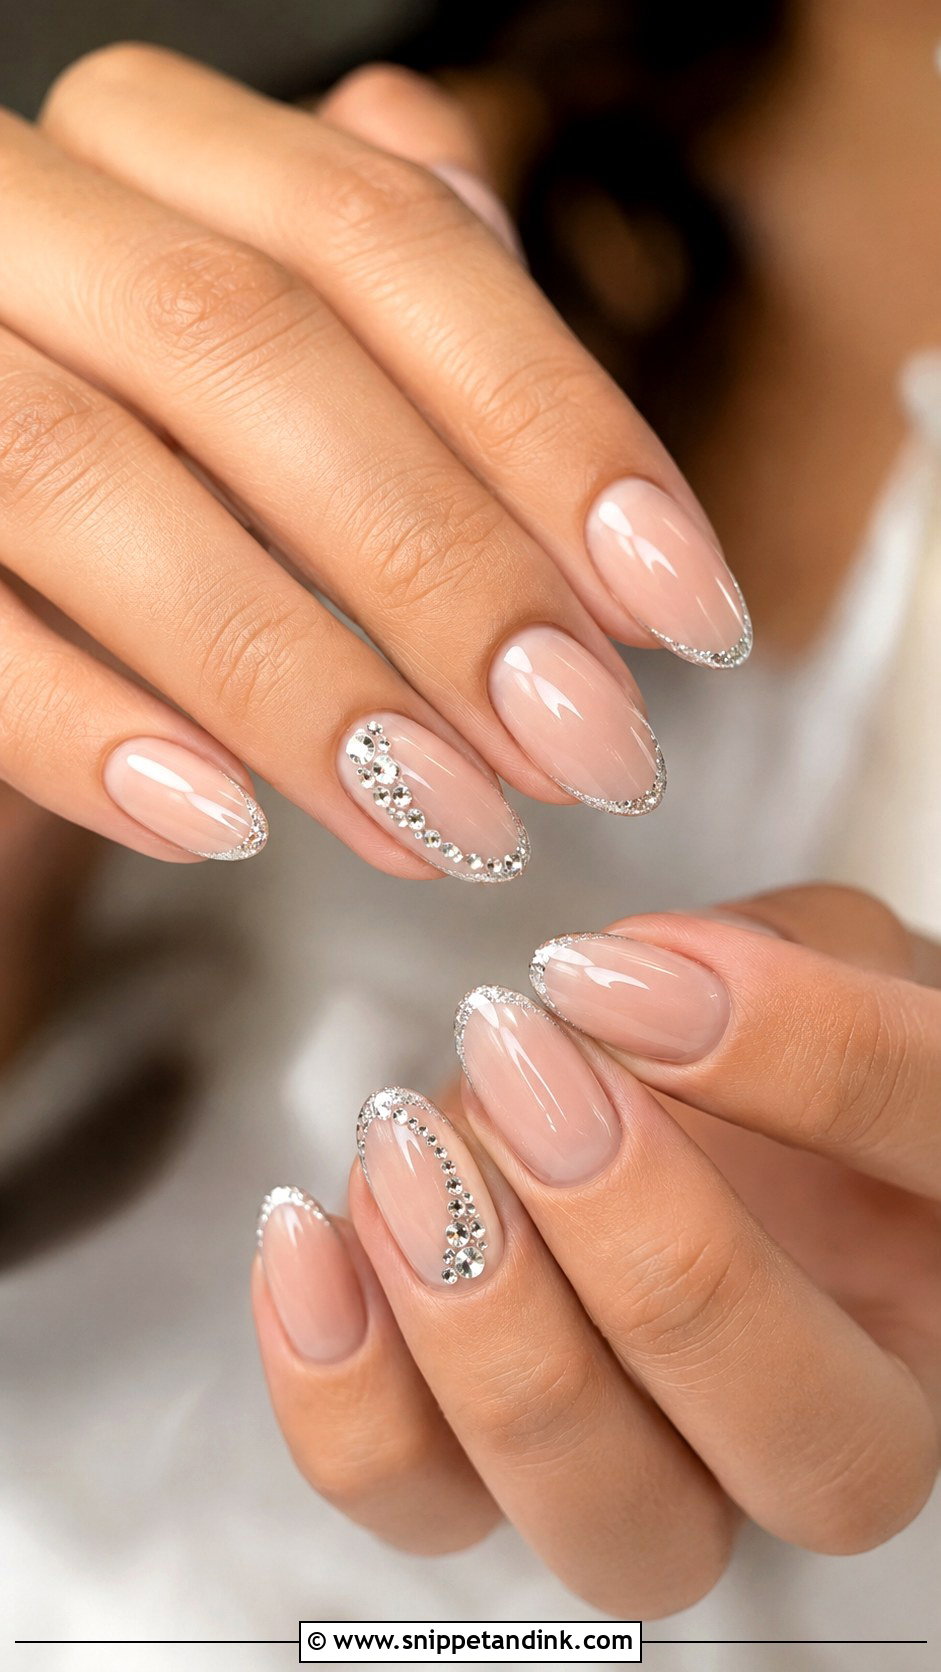
Clear crystals already throw a cool, silvery light, so silver is the natural partner. White, grey-nude, pale pink and pearl chrome all work as bases. A thin silver glitter line under a French tip links the stones to the rest of the design. Stones can run in a diagonal, an arc at the cuticle or a cluster on the ring finger. Keep the metal tone consistent. If your ring is platinum or white gold and you wear silver crystals, avoid adding warm gold details; mixed metals look accidental on a small surface.
19. Gold Rhinestone Wedding Nails
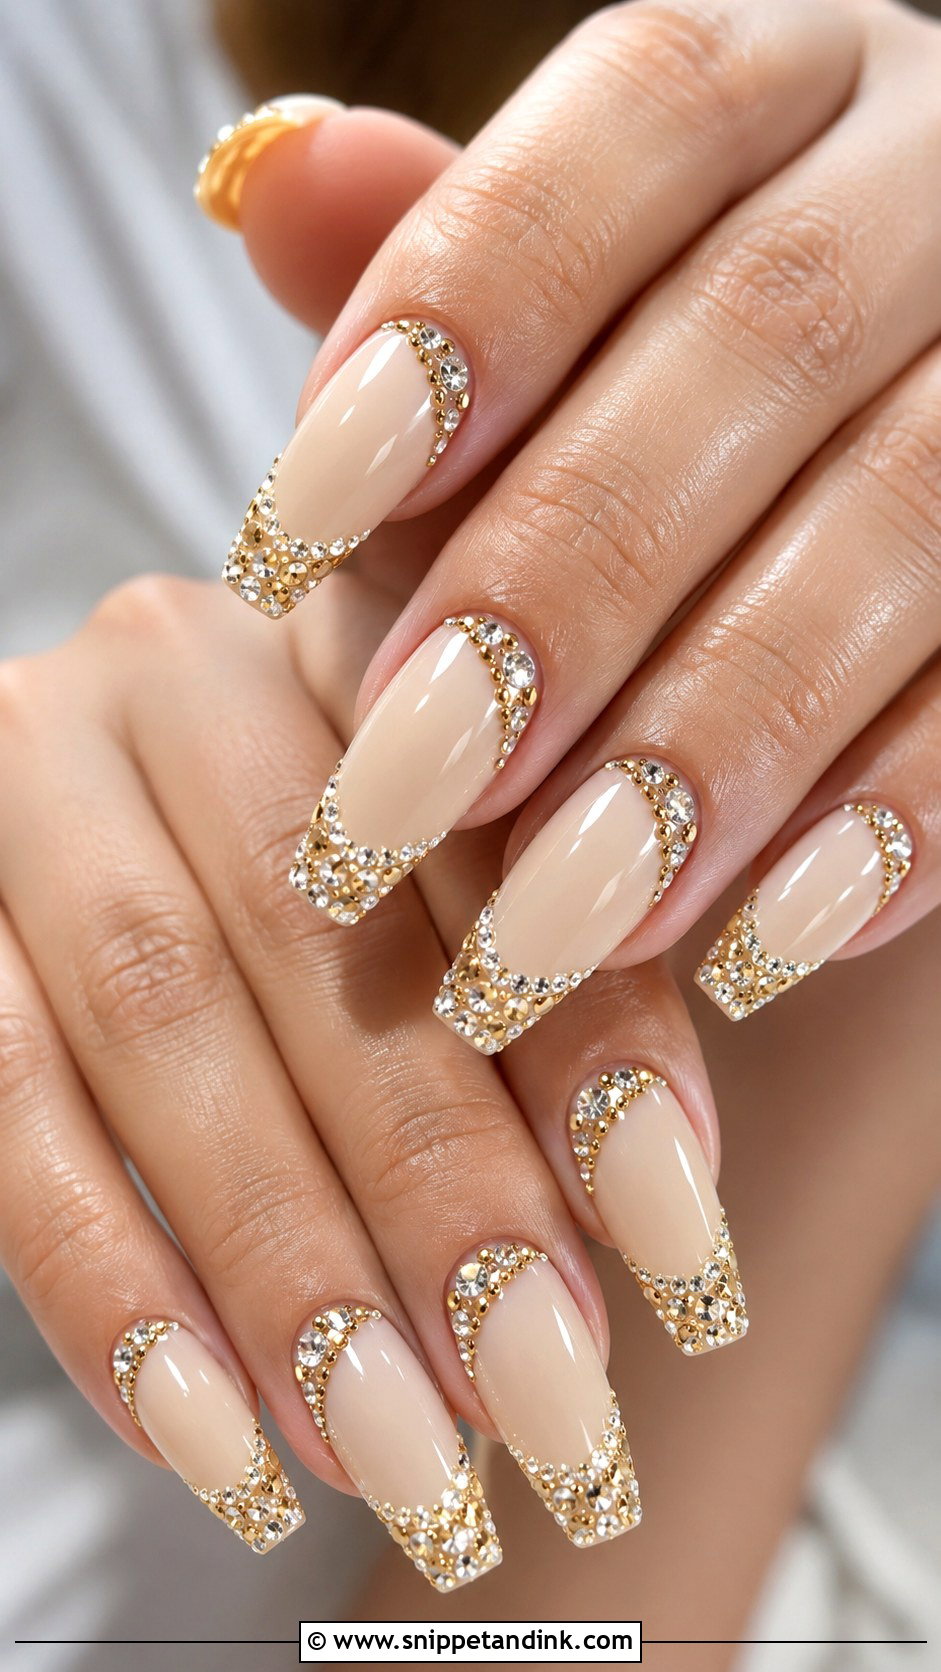
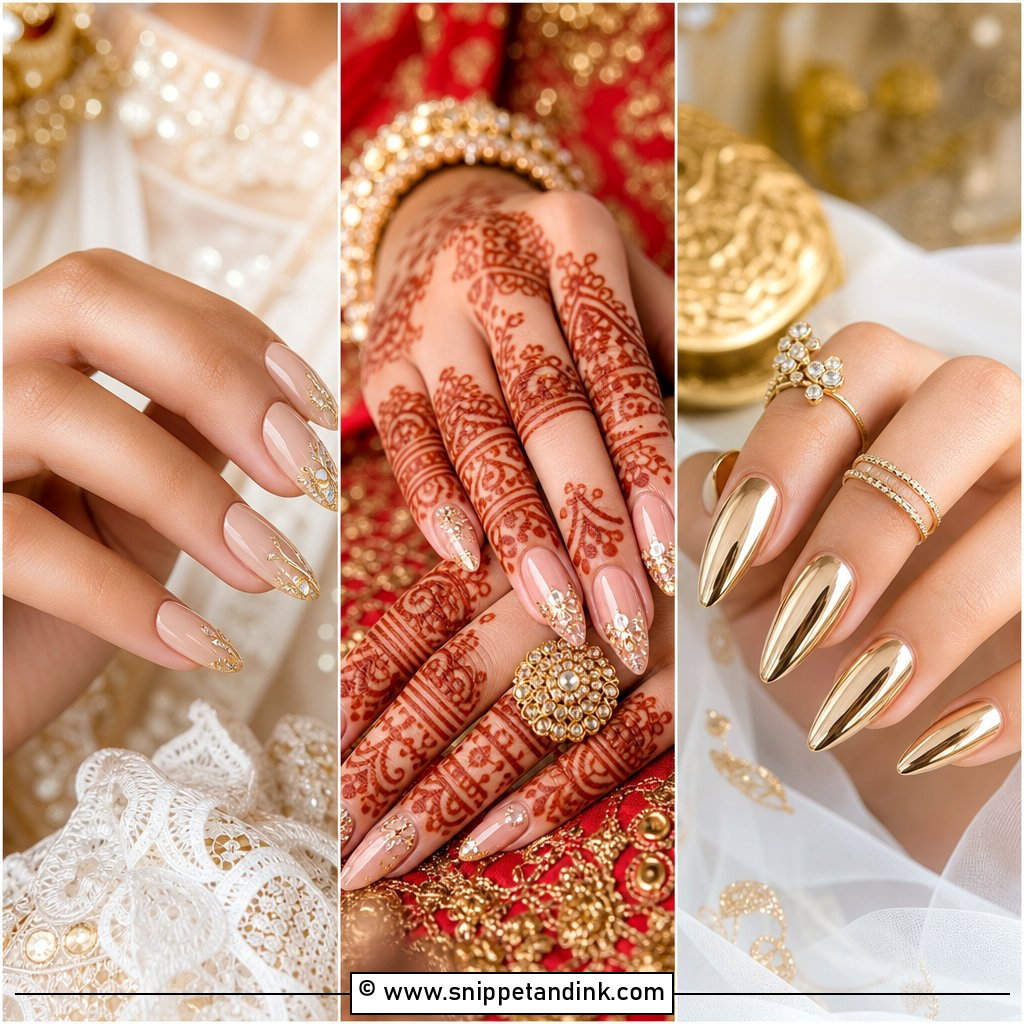
Gold-backed or champagne stones are warmer and a touch richer than clear crystal. They suit nude, beige, ivory, blush and soft caramel. I place them along a French, at the cuticle, or in small clusters mixed with clear stones. They pair naturally with warm skin and gold jewelry, and they can also stop a very pale set from looking cold. Keep the details fine so the hands don’t look heavy. A medium almond or coffin gives the right amount of space.
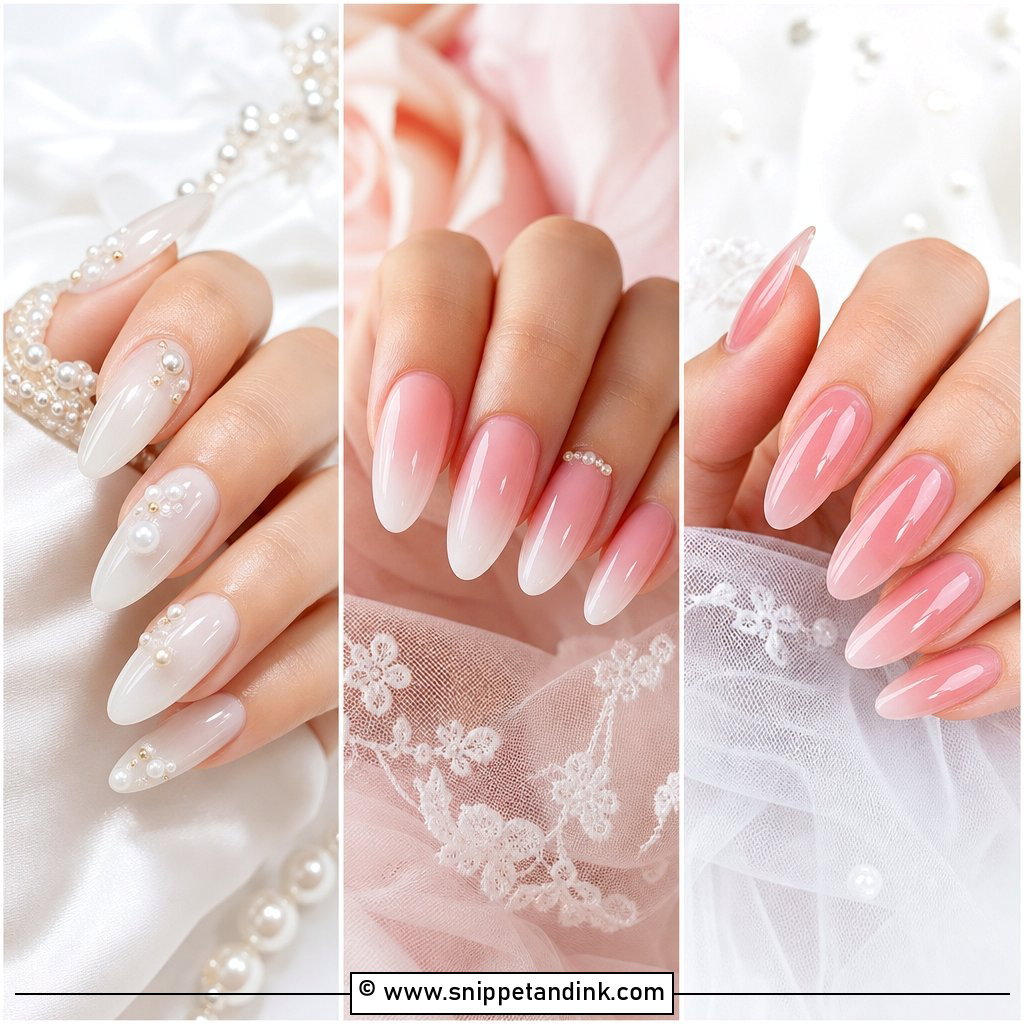
20. Full Rhinestone Wedding Nails
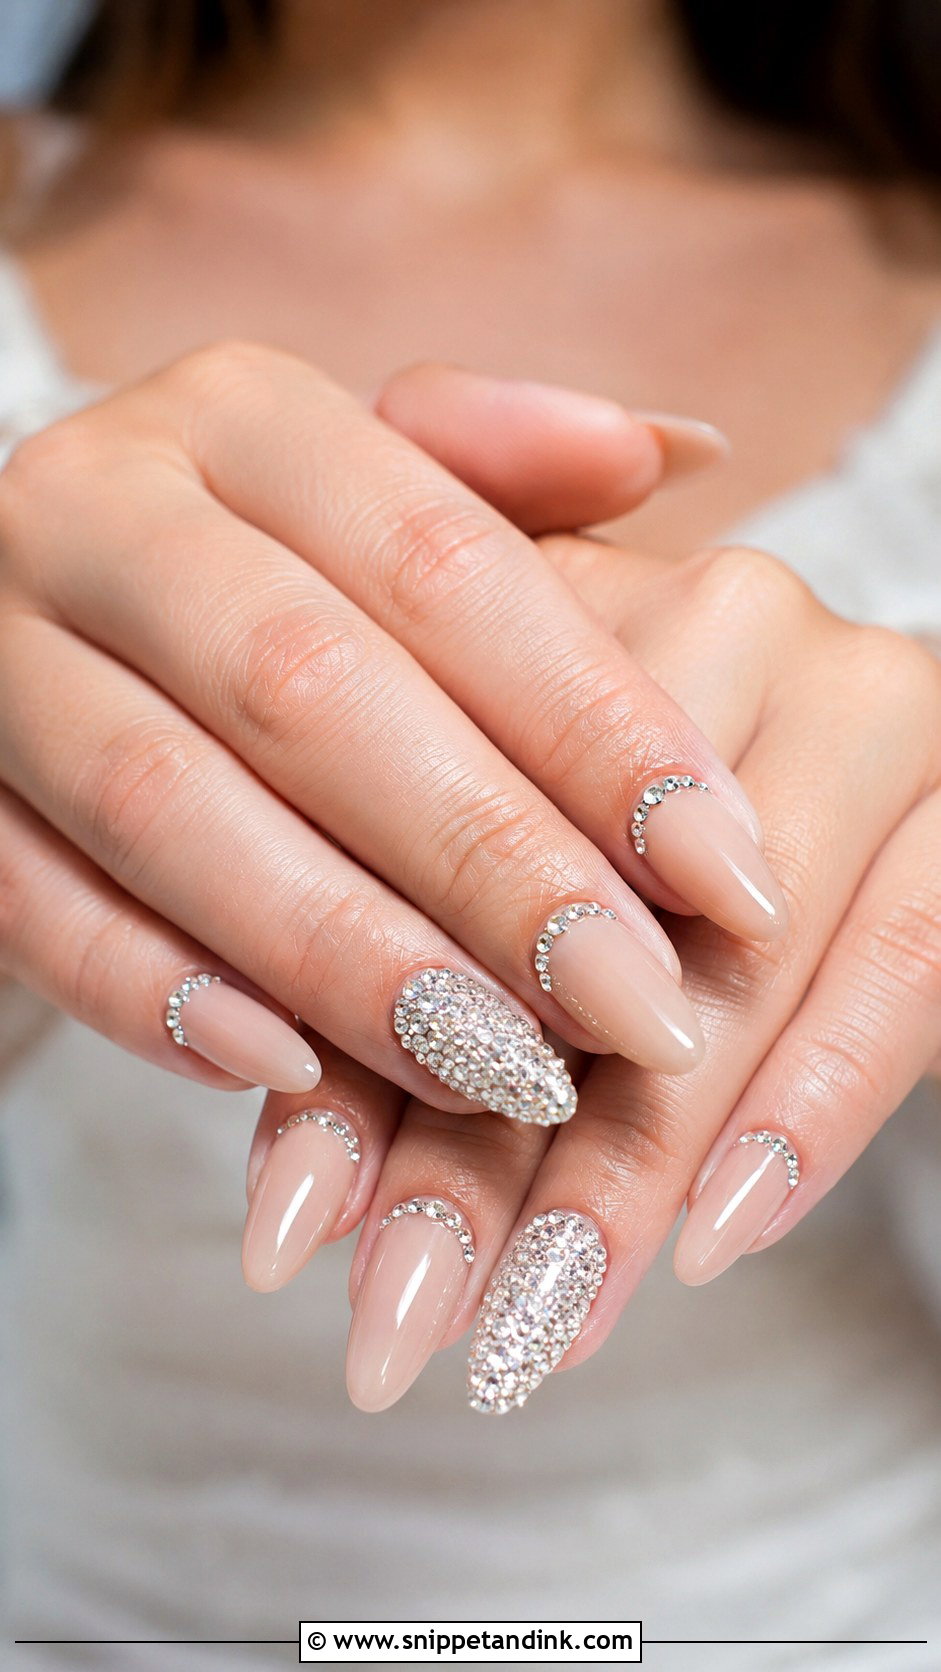
Full crystal coverage is a statement, so I almost always put it on one or two nails rather than all ten, with the rest in nude, French, milky or chrome. Covering every nail is heavy to look at, and in practice it’s heavy to wear; you’ll feel the texture every time you touch your hair. Small stones packed closely look smoother and more refined than large gems. A good tech sets them in strong gel and runs a thin layer between the stones so they last the whole event. Medium to long coffin, almond or square are the right canvases.
Veils, Lace and Long Hair: Testing a Crystal Set for Snags
The biggest practical problem with rhinestones isn’t that they fall off. It’s that they catch. Tulle veils, lace sleeves, chiffon skirts, tights and long loose hair all have open weaves that a raised stone edge can hook into, and one snag on a veil can pull a thread you’ll see in every photo afterwards.
At the end of an appointment I run each crystal nail across a scrap of tulle or a silk scarf. If it drags, the stone needs more gel built up around its sides so the edge is buried. You can do the same check at home with an old pair of tights.
- Wear your veil or a similar fabric for a few minutes on the day of the appointment and move your hands through it
- Keep the largest stones away from the sides of your fingers, which brush fabric most
- If a stone comes loose on the day, peel it off rather than pressing it back; a lifted stone will catch again
Taking crystals off after the honeymoon
Don’t prise stones off with your nails; that pulls up layers of the natural nail with the gel. A tech will file the top layer to break the seal, soak or file off the remaining gel, and the stones lift with it. If you want to keep a few as a memento, ask before she starts.
How Much Sparkle Belongs Next to a Diamond?
Crystals can be simple or glamorous; it all comes down to how many and where. For a classic set, French tips, nude, milky white or soft pink with a few tiny stones. For more shine, chrome, coffin shapes, full crystal accents or pearls mixed in. Balance is what holds it together, and your ring should still be the brightest thing on your hand. Bring a few reference photos to the appointment and let your tech adjust stone size, shape and spacing to your actual nails.
You'll Like These Ideas:


Leave a Reply