
The question I get most from short-haired guests isn’t which style is prettiest; it’s which ones their hair can physically do. A chignon that works on a lob won’t close on a chin-length bob, and a quiff that holds on a pixie falls flat on a bixie. Short hair still has plenty of range, from finger waves to twisted updos, as long as the style matches the length you actually have. I’ve noted below what each of these looks needs, how long it takes, and where it tends to fail.
Measuring Your Bob Against the Updos on This List
Before I suggest any style to a short-haired guest, I check three points: where the hair ends at the nape, at the jaw, and on top of the head. Those three measurements decide more than face shape does.
- Nape length (reaches the collar or just touches it): low buns, chignons, ponytails and the messy bun become possible.
- Jaw length at the sides: twists, half-up styles, finger waves and side-swept curls have enough hair to grip.
- Top length on a pixie (a few inches or more): quiffs, faux hawks and sweeping bangs can hold height.
- Shorter than all three: sleek, slicked or textured finishes with accessories. These often look more modern than a forced updo anyway.
Layers complicate things. A bob might reach the nape at the longest point but have short layers that won’t tuck, which is why I always plan for extra pins and a few face-framing pieces left loose on purpose.
1. Sleek Bob With Deep Side Part
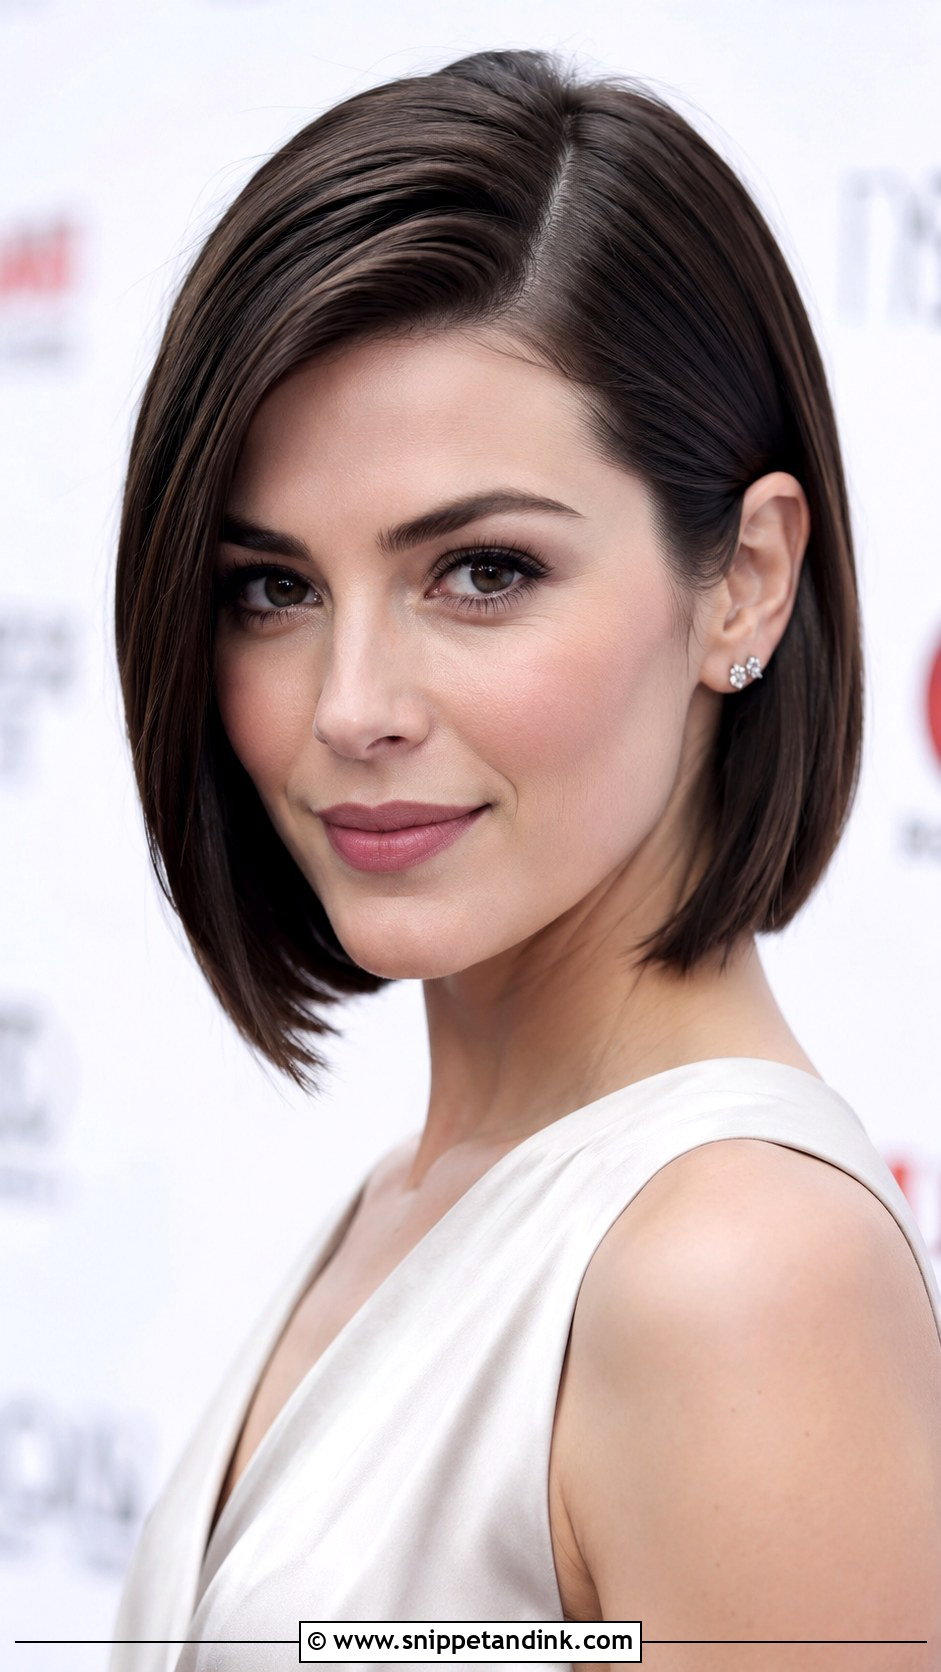
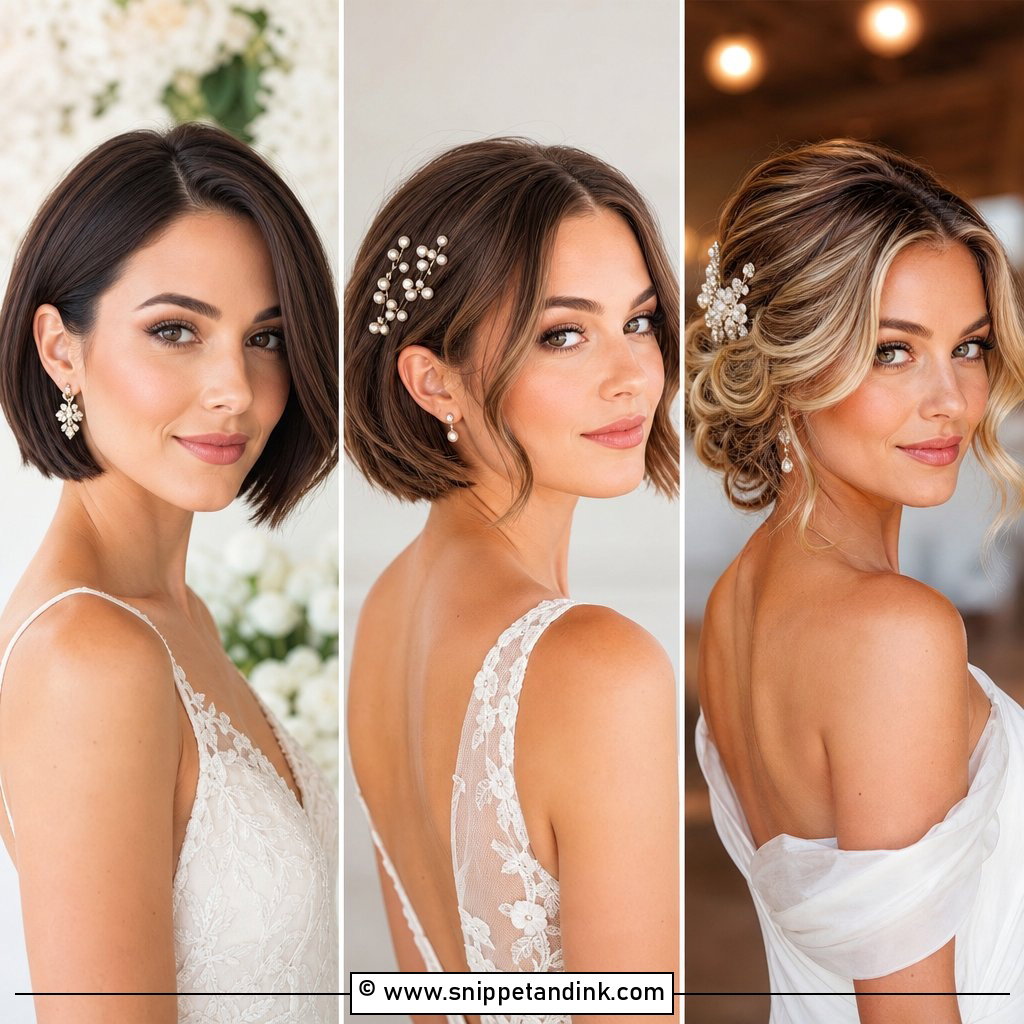
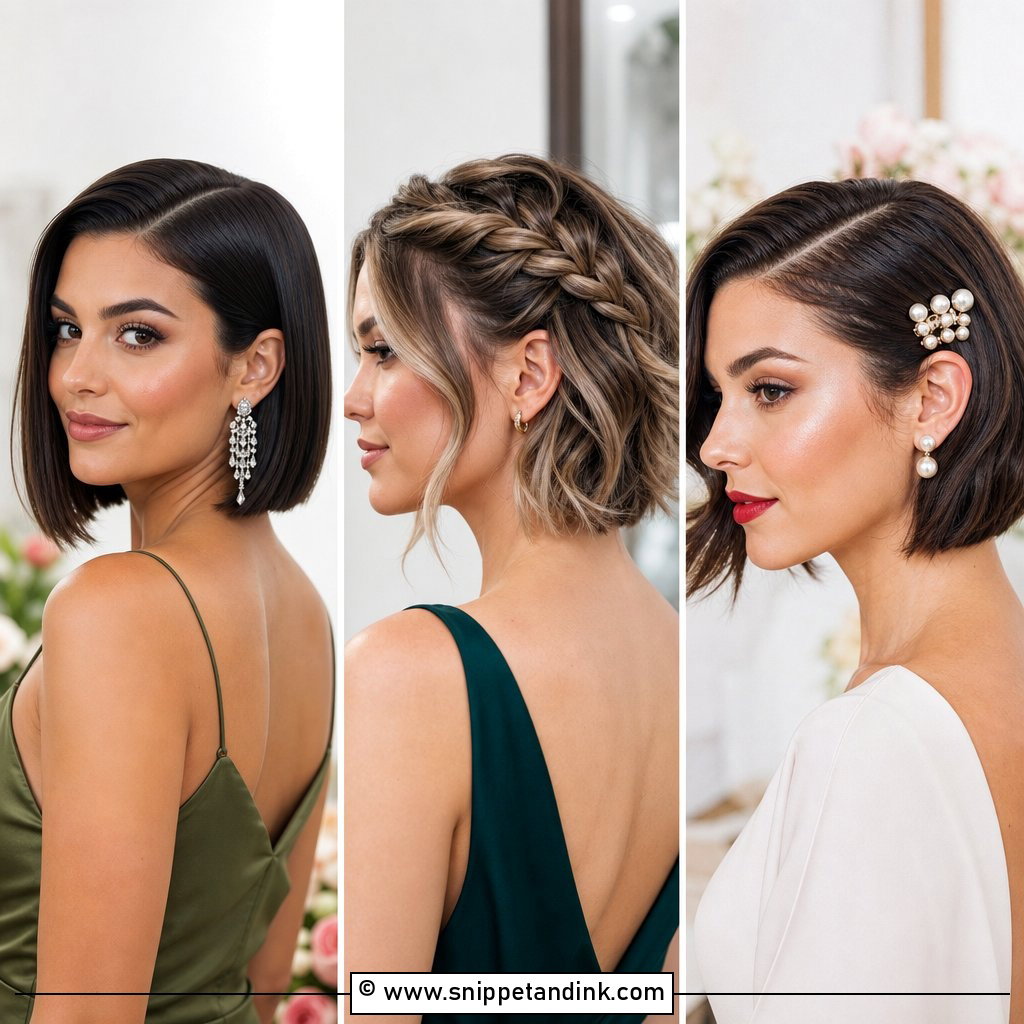
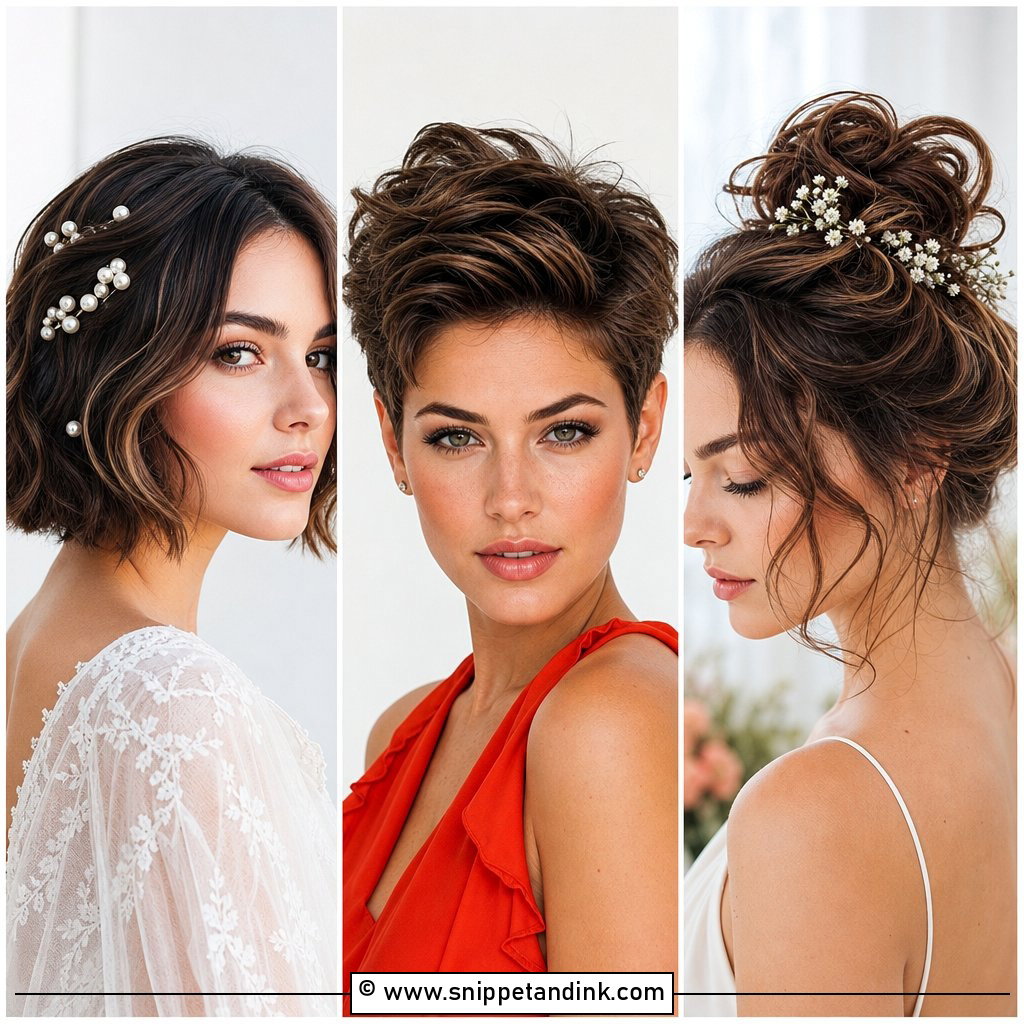
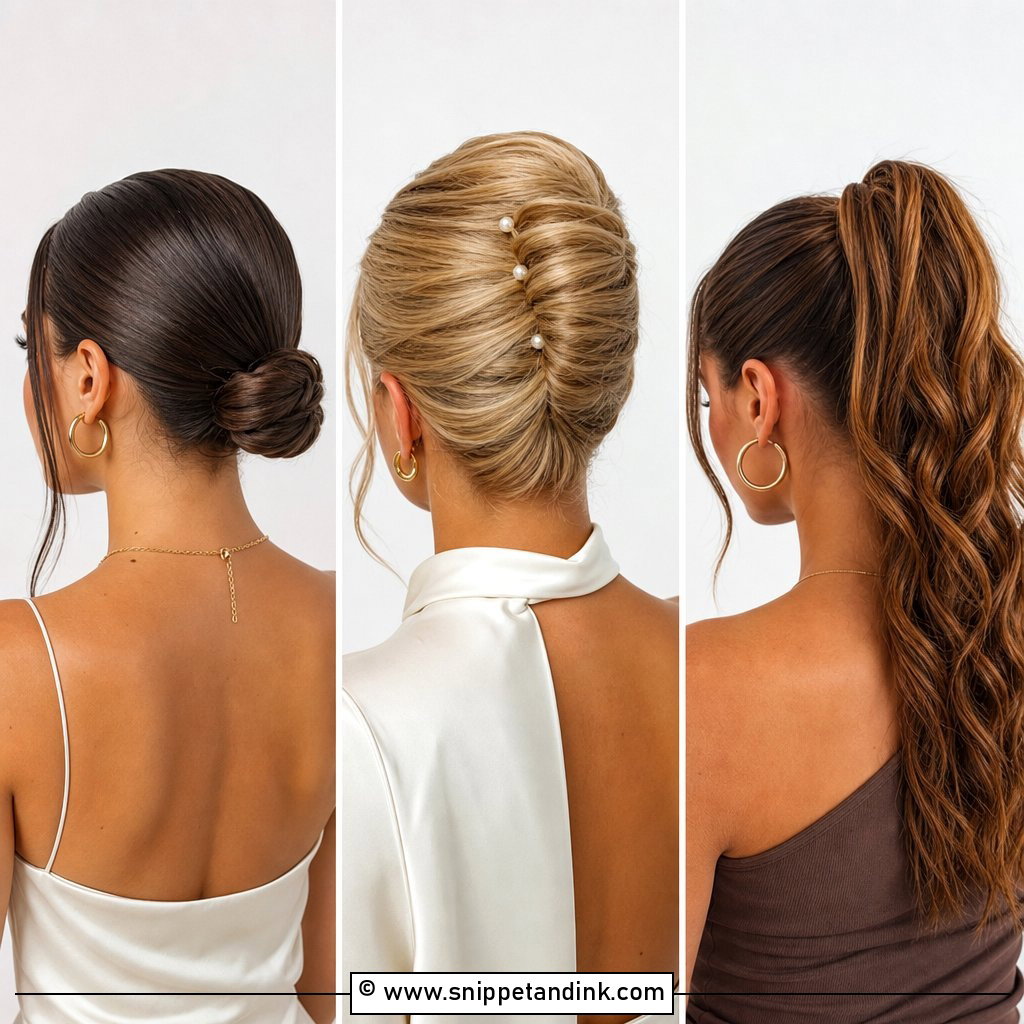
A deep side part is the cheapest drama there is. I set the part while the hair is damp, blow-dry the root across it, then flat iron the lengths and finish with a little shine serum on the ends. The asymmetry shows off the cheekbones and works with high or low necklines. Tuck the smaller side behind the ear for a statement earring. Of all the styles here, it needs the fewest touch-ups.
2. Pixie Cut With Decorative Hairpins
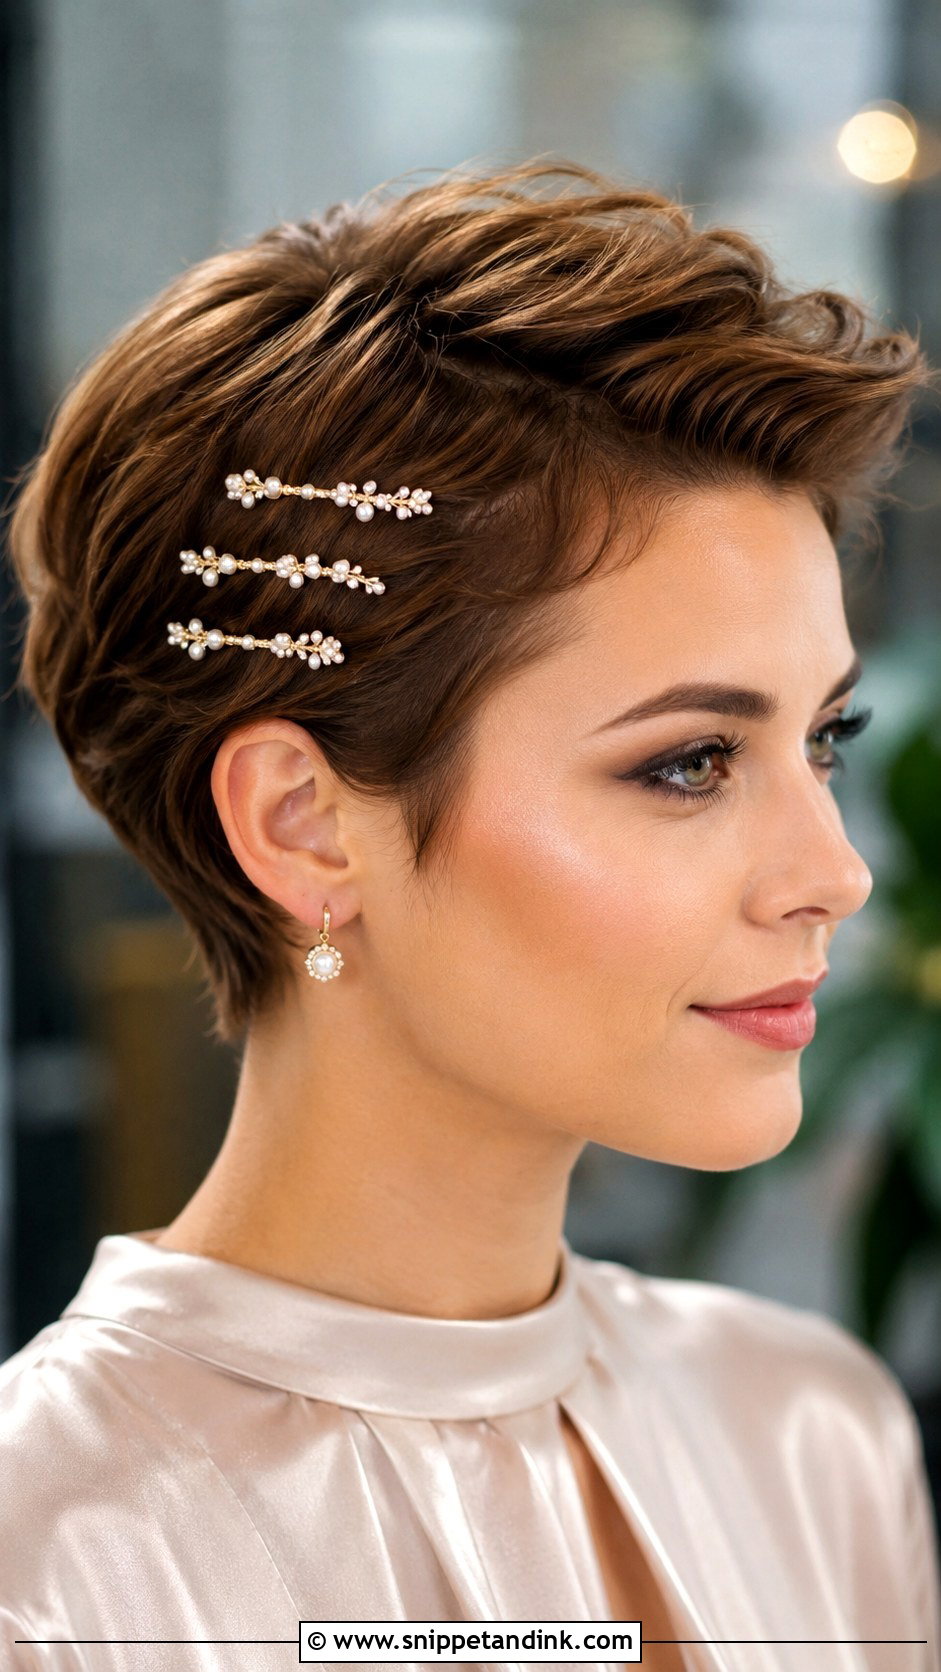
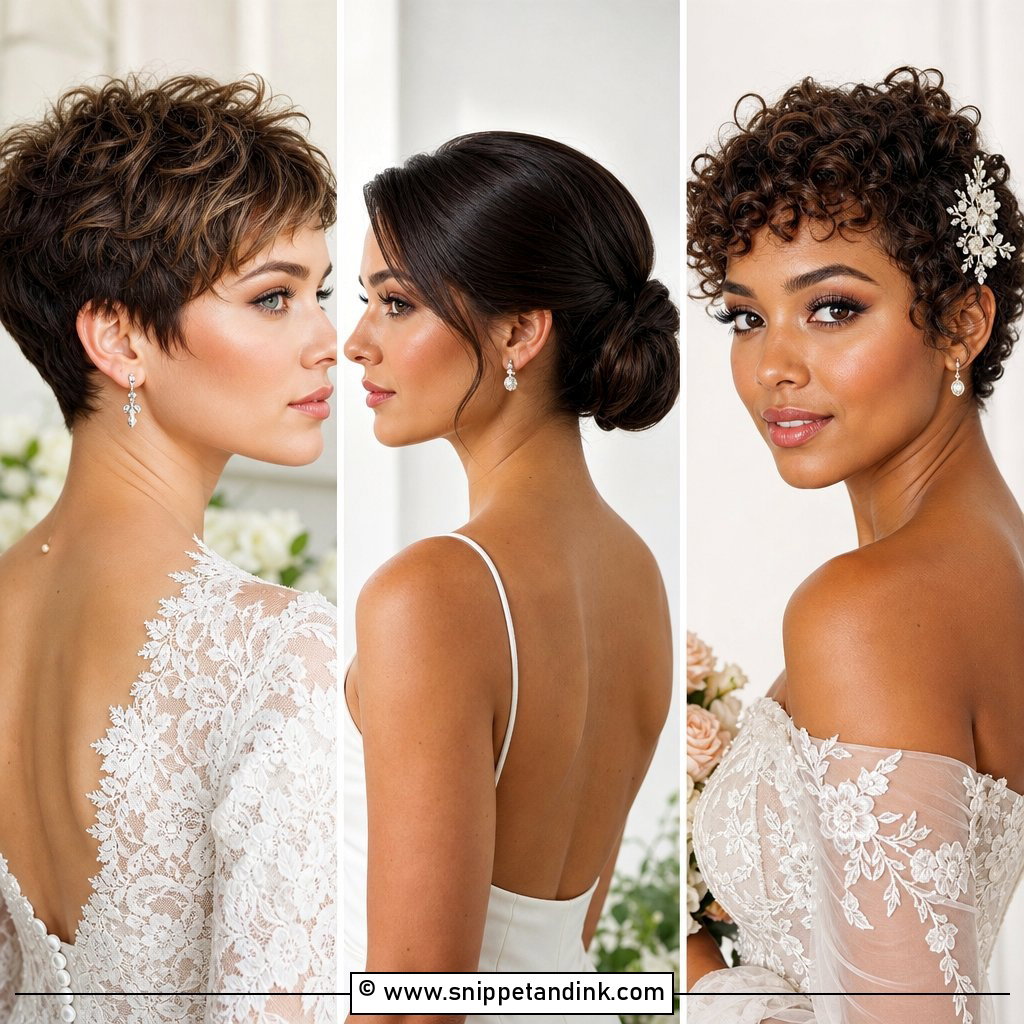
Decorative pins on a pixie only stay put if there’s something to grip. I warm a little pomade through the hair first, sweep the fringe back, then slide jeweled or pearl pins in along one side, each one angled against the direction of the hair. Clustered pins look intentional; spaced-out pins on very short hair can look like they’ve wandered. A bold lip and evening wear suit it.
3. Low Bun With Loose Tendrils
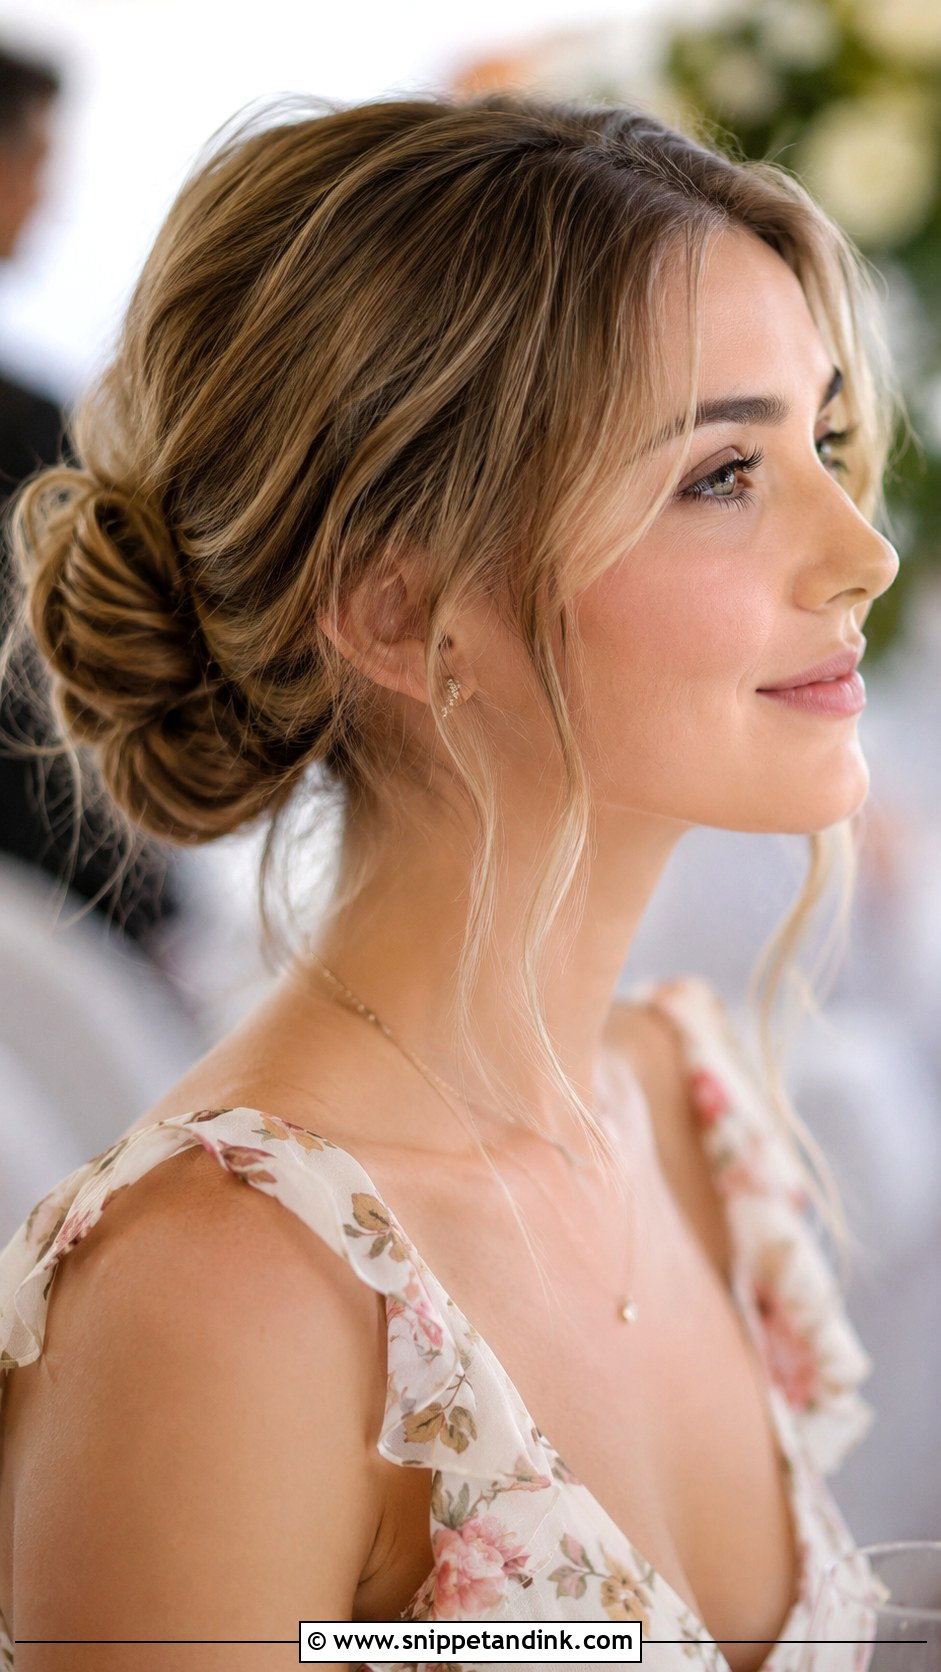
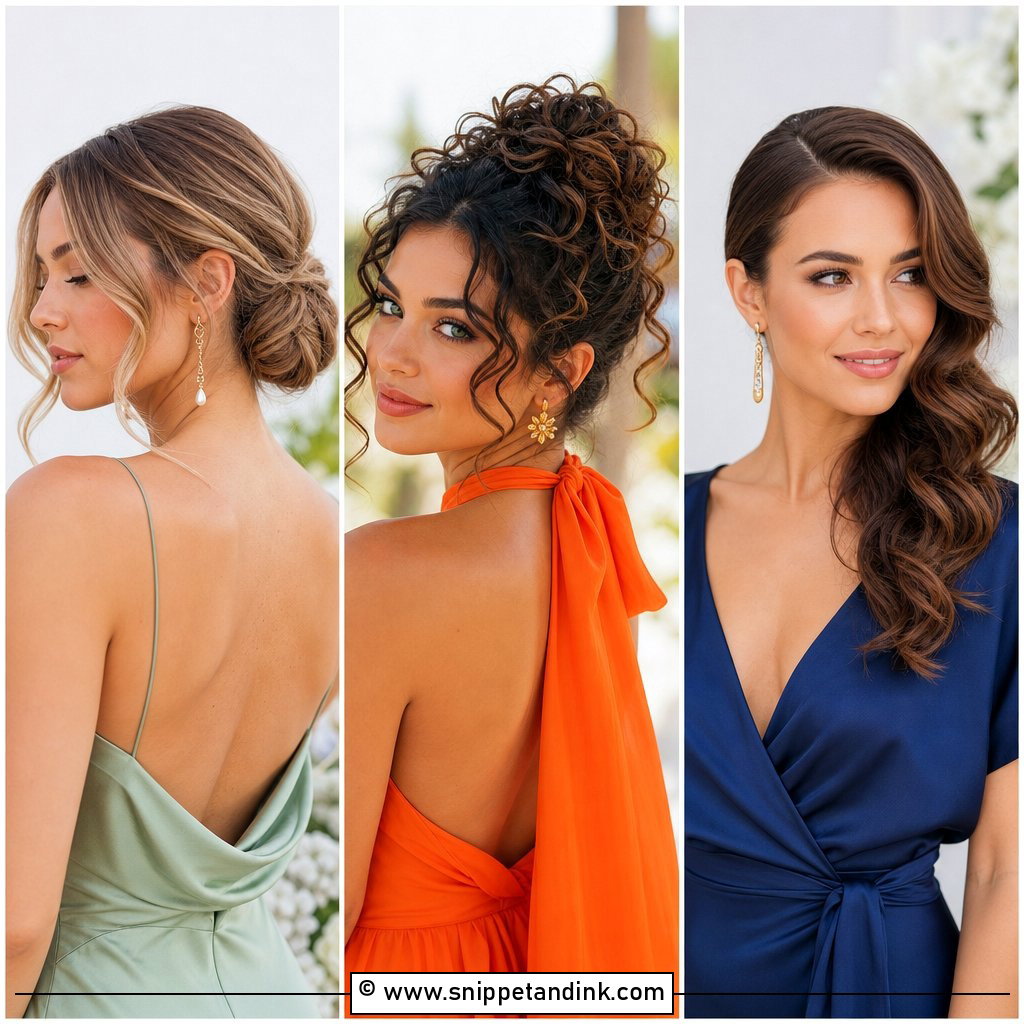
Honest answer first: a low bun needs hair that reaches the nape, roughly collar length at the back. On a bob that just meets that line, I gather what I can into a small twisted chignon, pin it, and then let tendrils fall at the temples and ears to disguise the pieces that won’t reach. Texture spray before you start makes the short ends far easier to tuck. It’s a soft look for a garden wedding with a small floral accessory.
4. Finger Waves For Short Hair
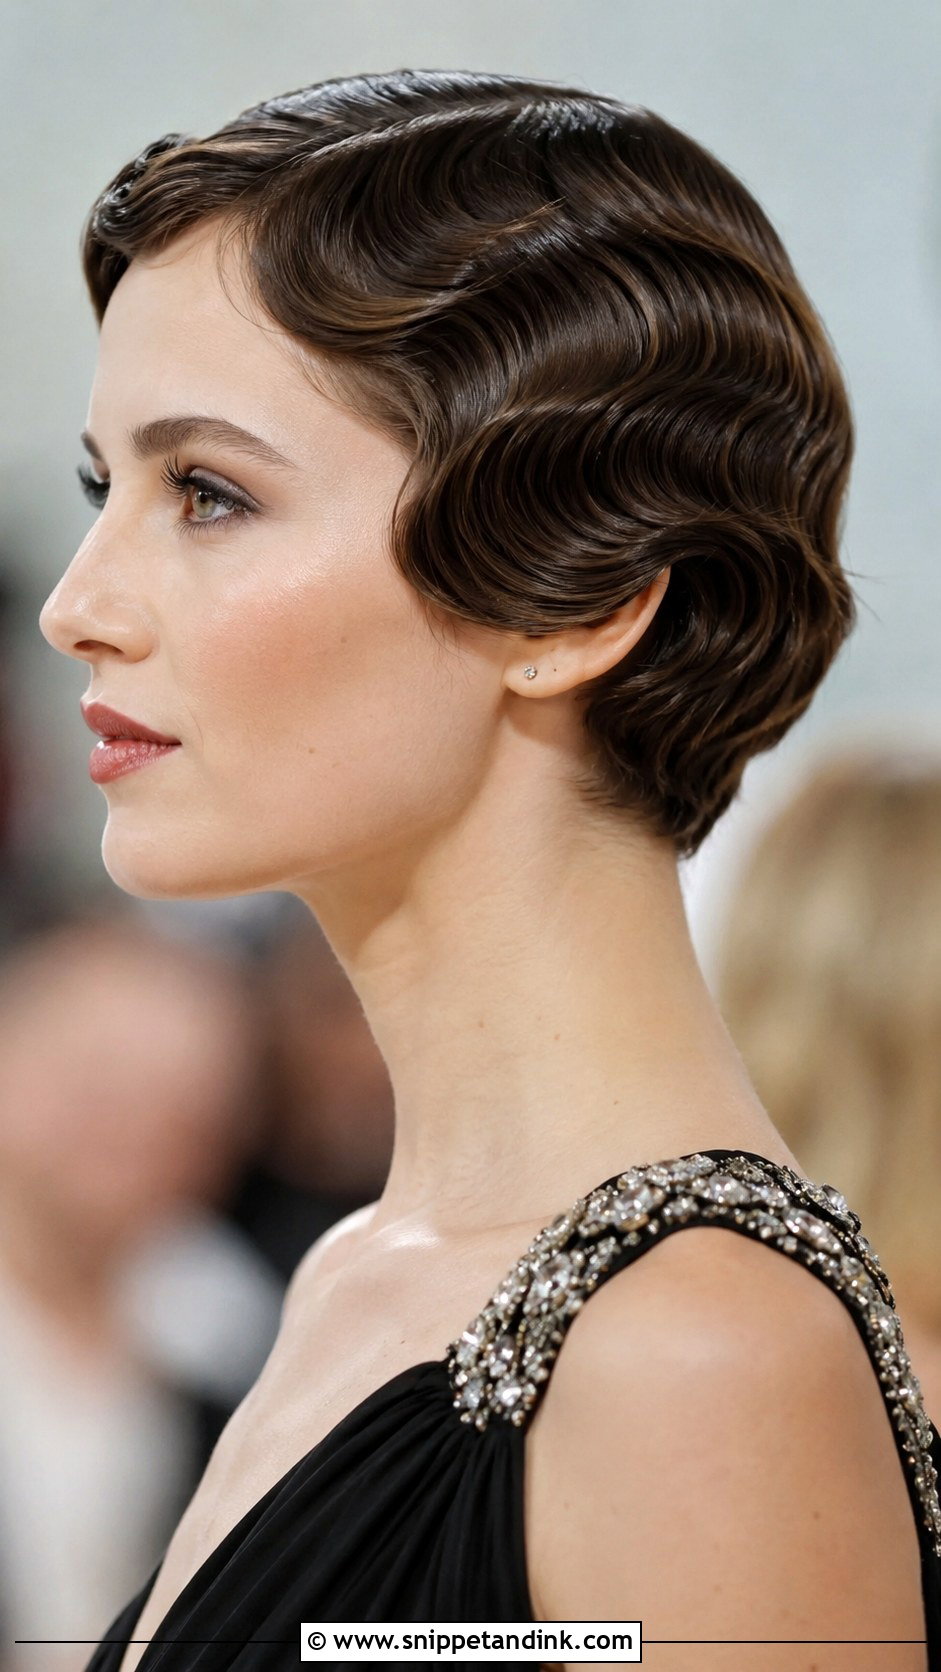
Finger waves need patience more than skill. I apply a strong-hold gel to damp hair, form the S-shaped ridges with a comb and fingers, clip each ridge, and leave it to dry completely. Removing clips early is the usual mistake. They suit bobs and longer pixies, and they belong at a black-tie wedding with a red lip and bold earrings. Once set, they’re among the most durable looks here.
5. Textured Pixie With Side Swept Bangs
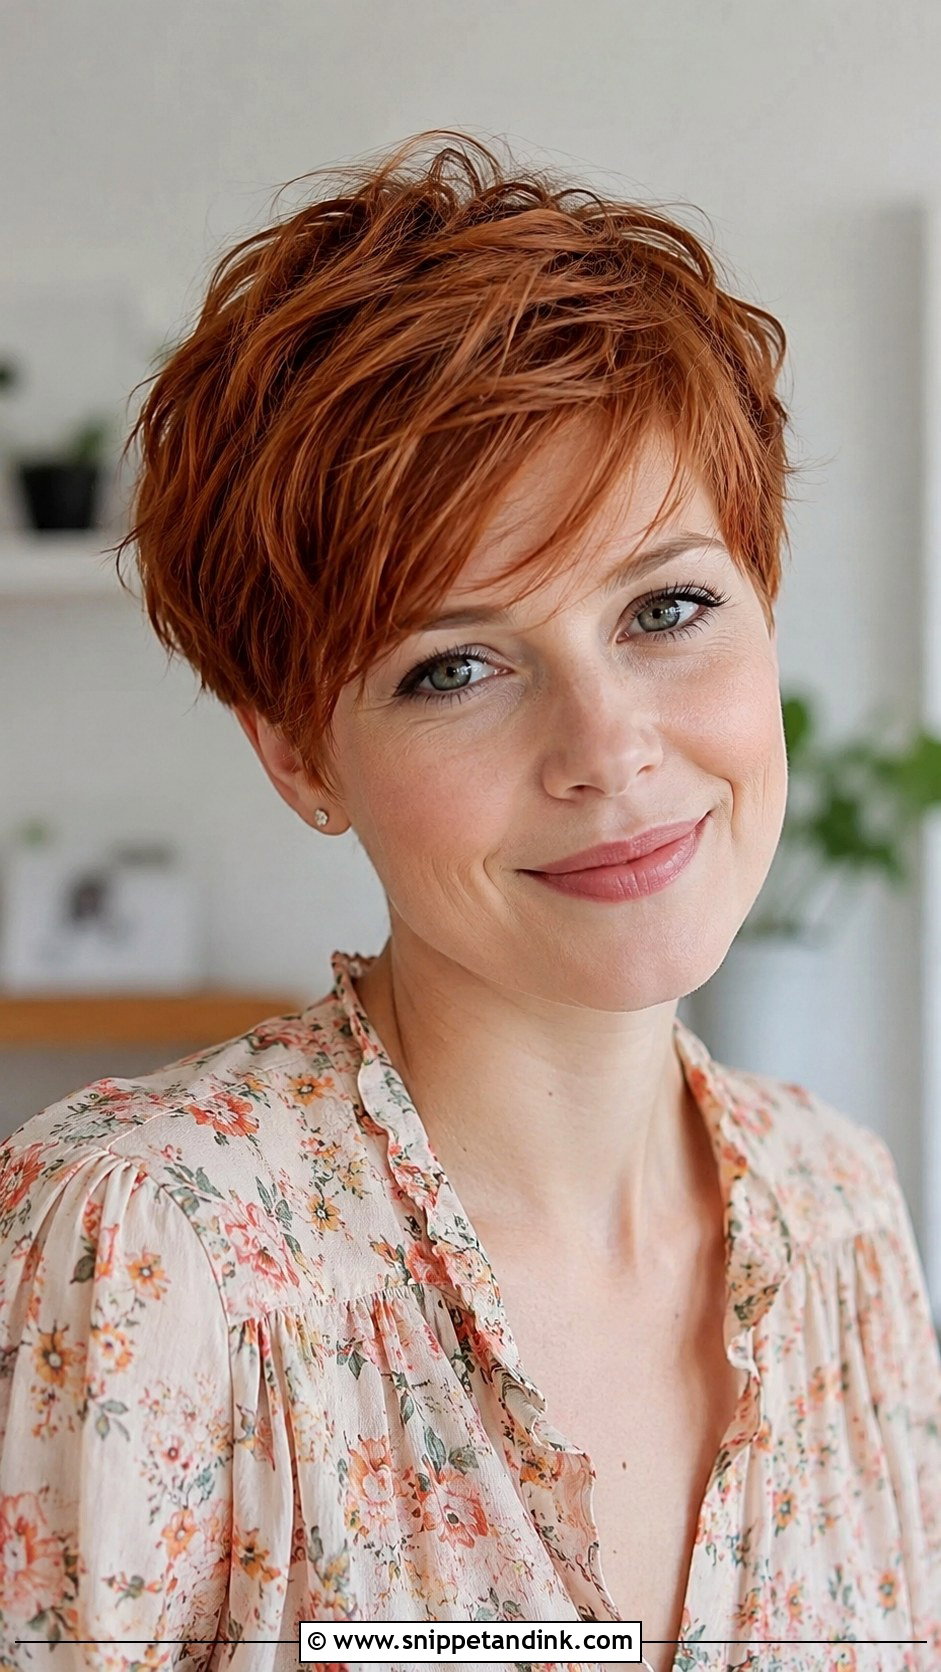
A textured pixie with side-swept bangs takes about ten minutes. I use a matte paste, separate the strands with my fingertips, and sweep the fringe across with a light touch. Matte matters here: shiny products make a short cut look greasy in daylight photos. It works on round and angular faces. A tiny sparkle clip dresses it up for an evening reception.
6. Curly Bob With Volume
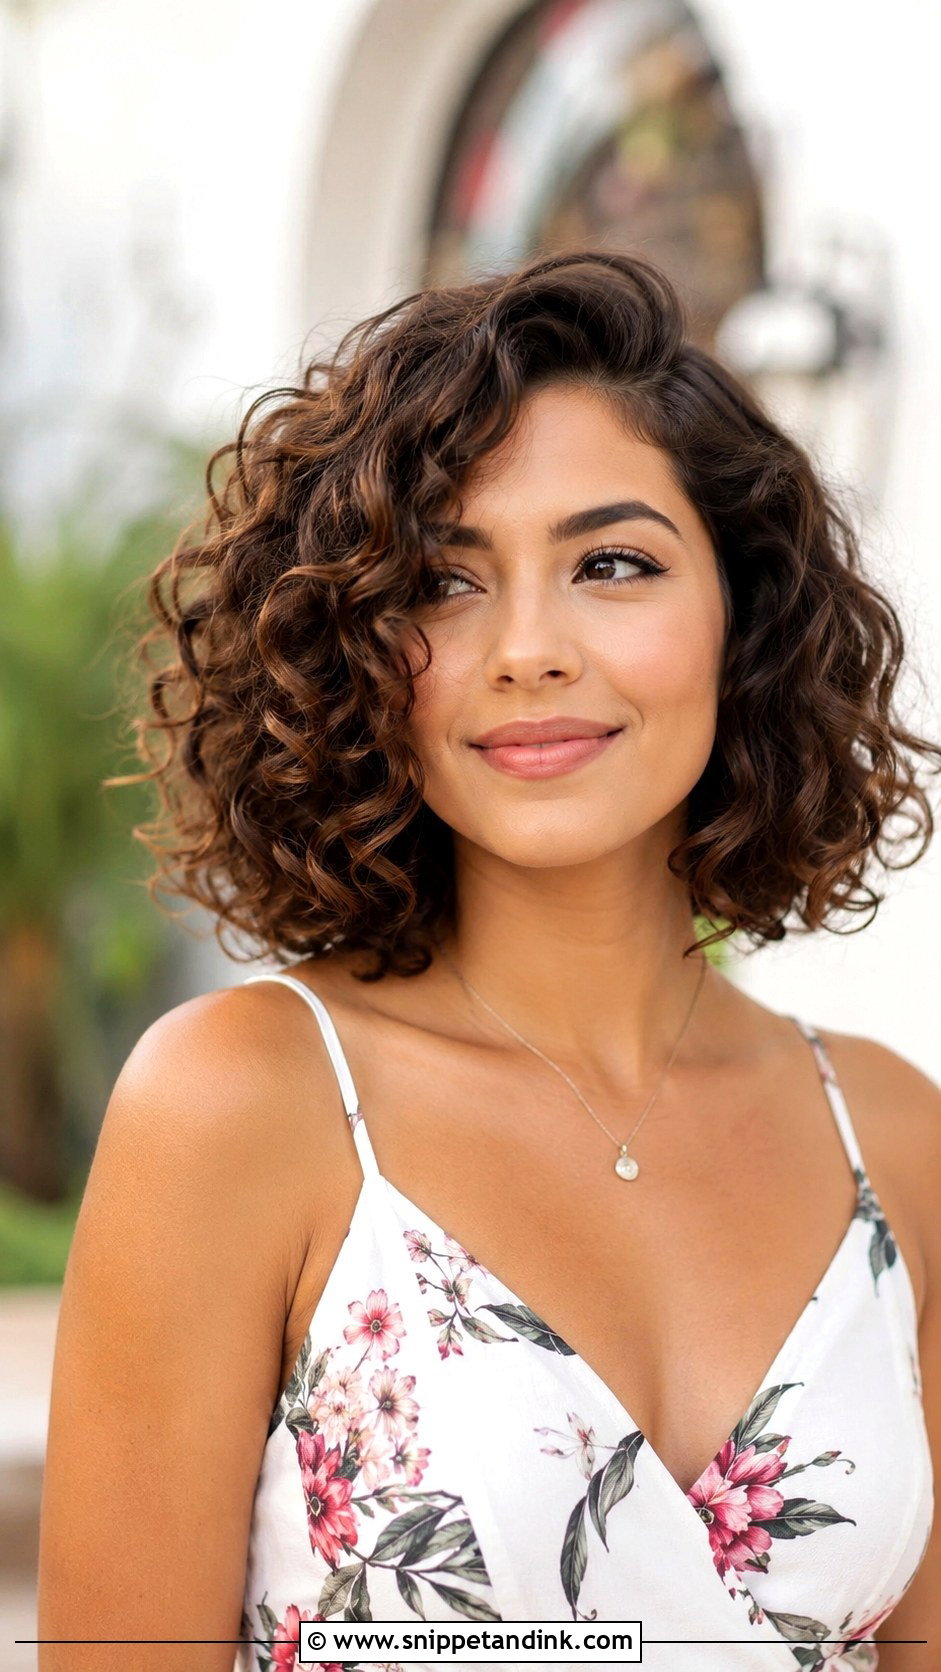
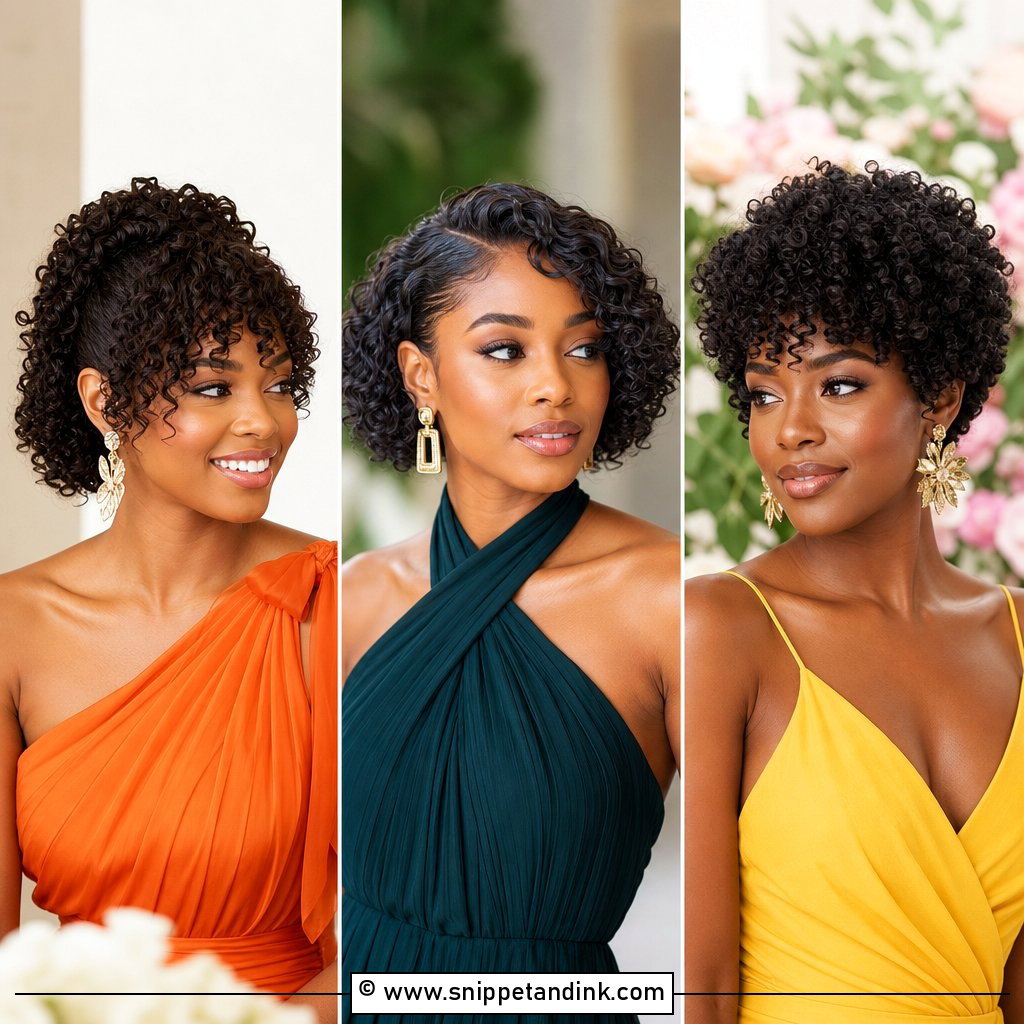
Volume on a curly bob comes from the diffuser, not from brushing. I apply curl cream to soaking wet hair, diffuse with my head tipped forward for lift at the root, and don’t touch the curls until they’re completely dry. A decorative comb on one side keeps the volume away from your face and shows your earrings. Tight or loose curls both work; just don’t try to brush them out at the venue.
7. Half Up Half Down With Twists
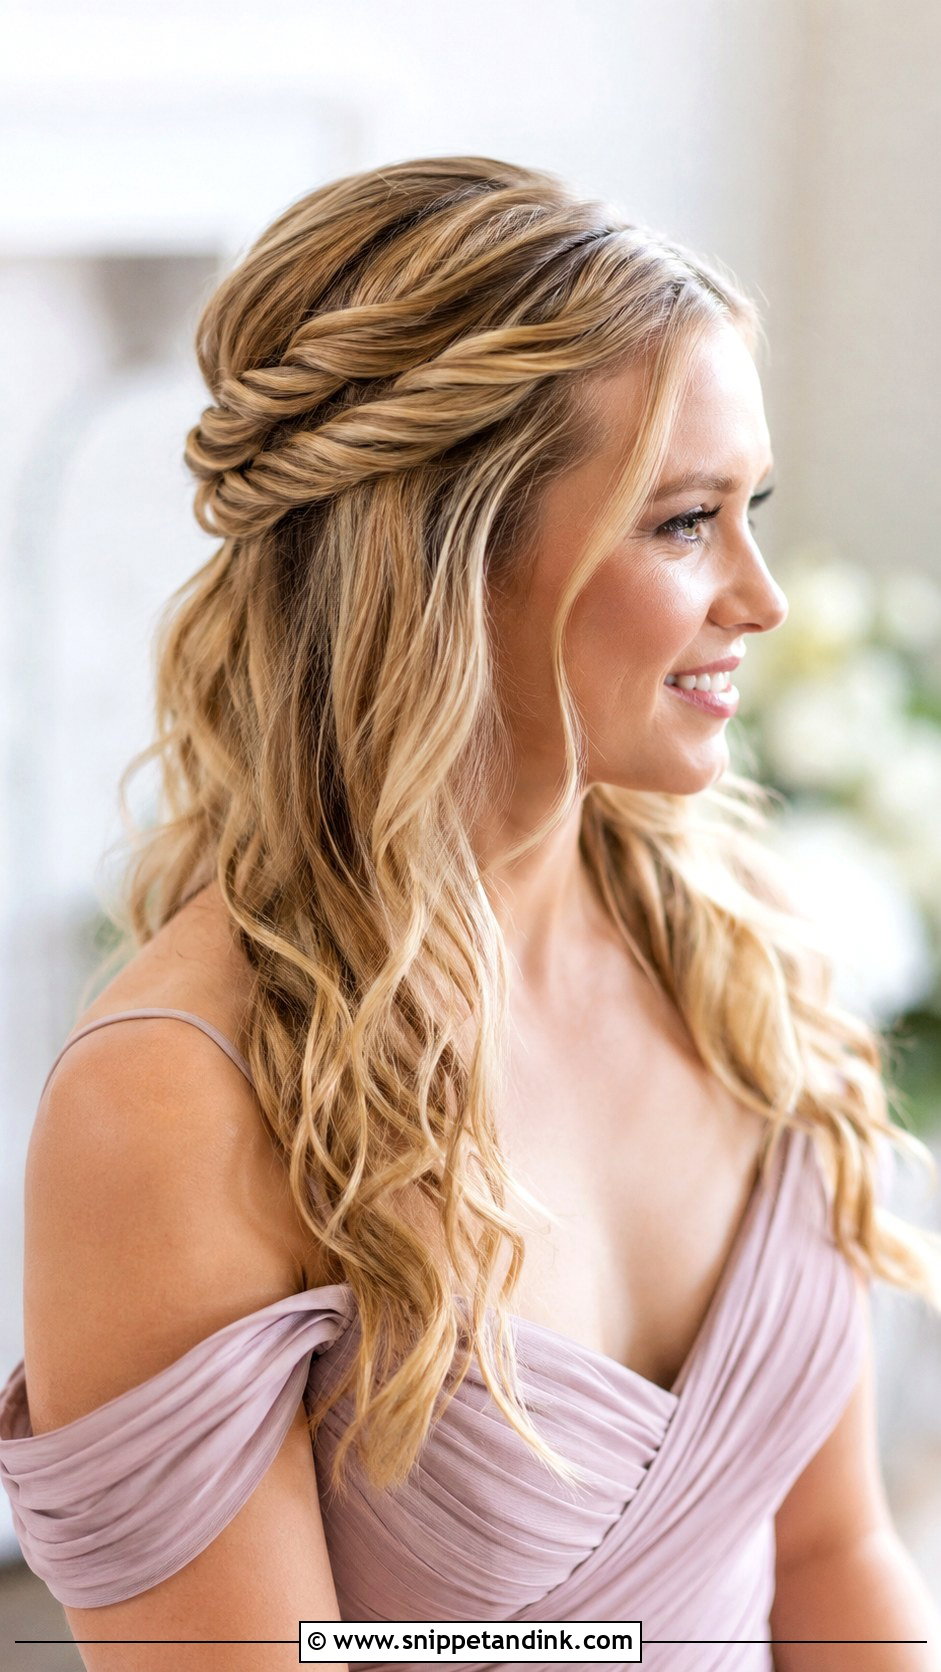
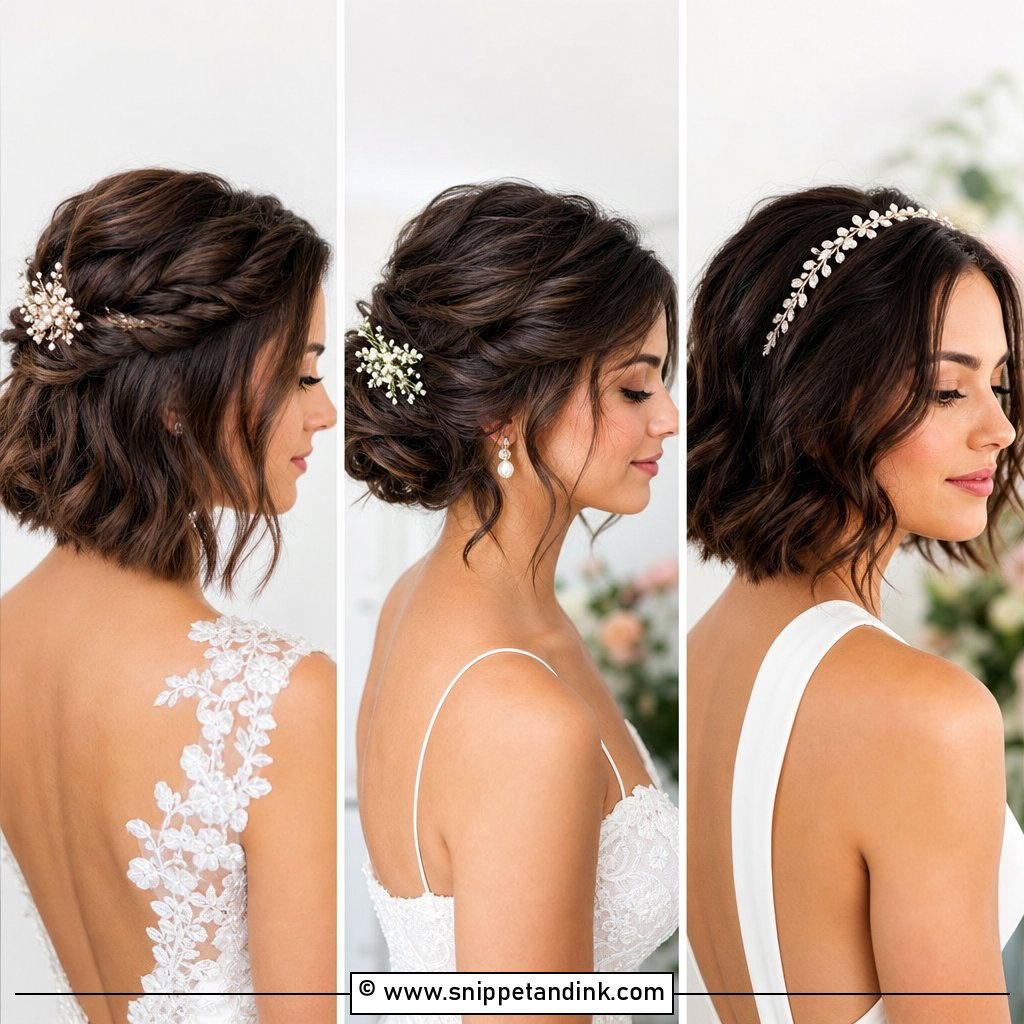
Two front sections twisted back and pinned at the crown give a bob structure without hiding its shape. I twist each section away from the face, which hides the root and grips the pin better. A small pearl pin where the twists meet covers the join. It works on straight, wavy or curly hair, and moves from ceremony to dance floor without needing attention.
8. Slicked Back Wet Look
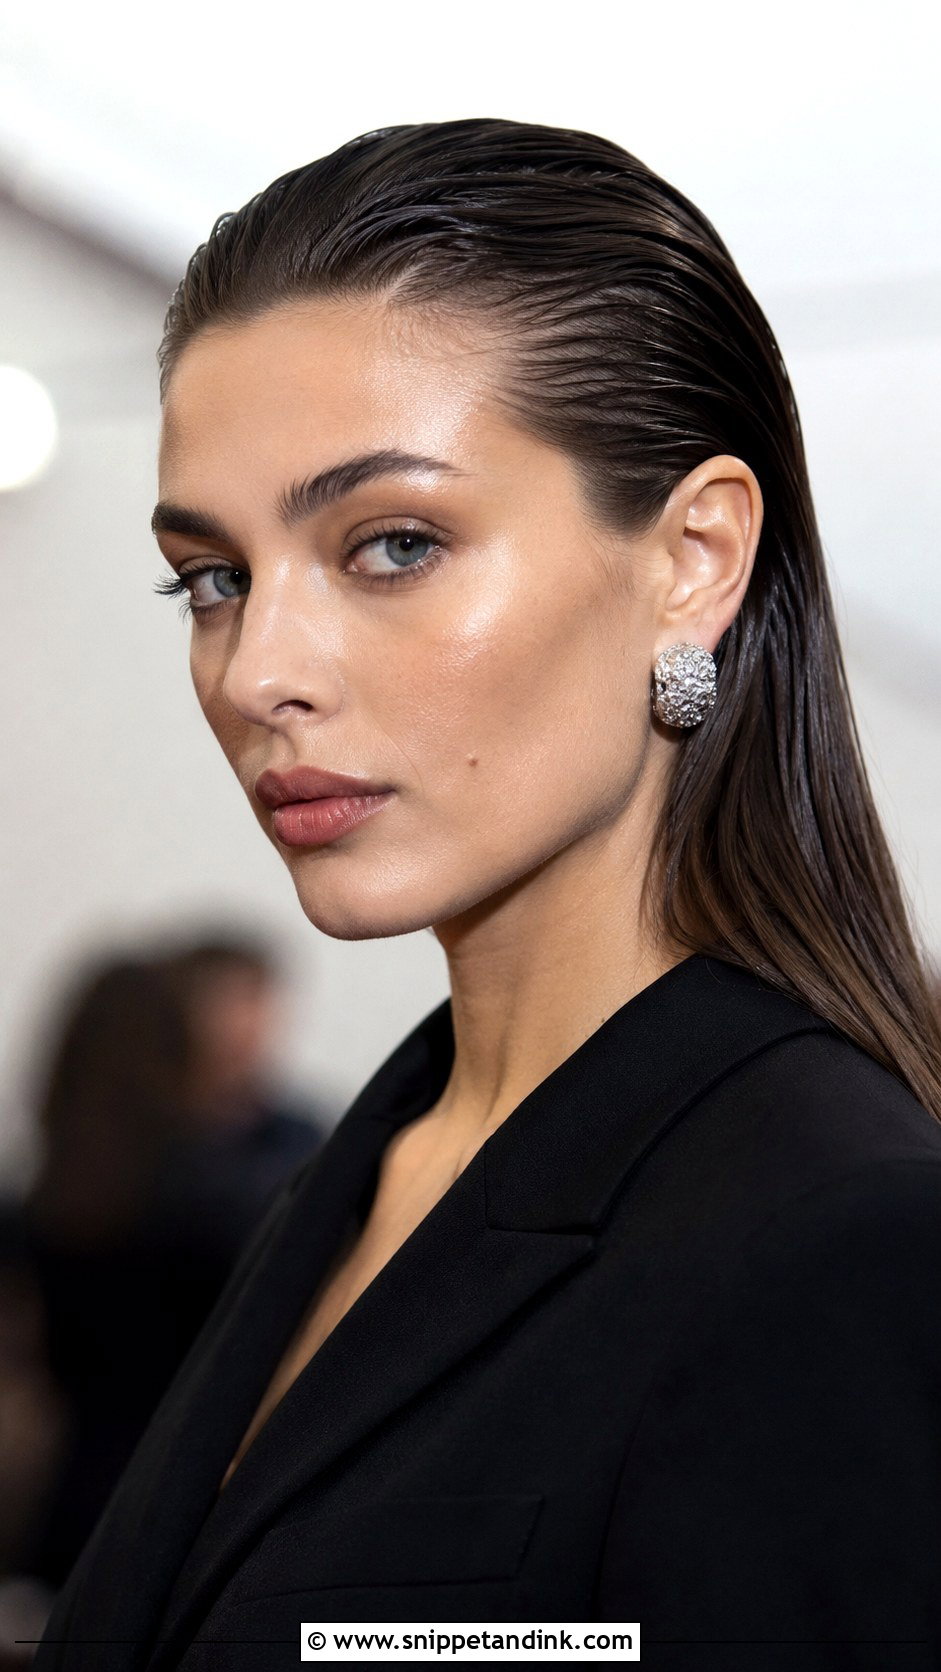
The wet look is editorial and very durable once set. I apply a generous amount of gel or styling cream, comb it straight back, and let it dry with the shine still in it. It highlights bone structure and statement earrings, and suits modern weddings with a sharp outfit. Fine hair needs less product or the scalp shows through. Avoid it if you’ll want to change your mind halfway through the evening; it doesn’t restyle.
9. Braided Crown For Short Hair
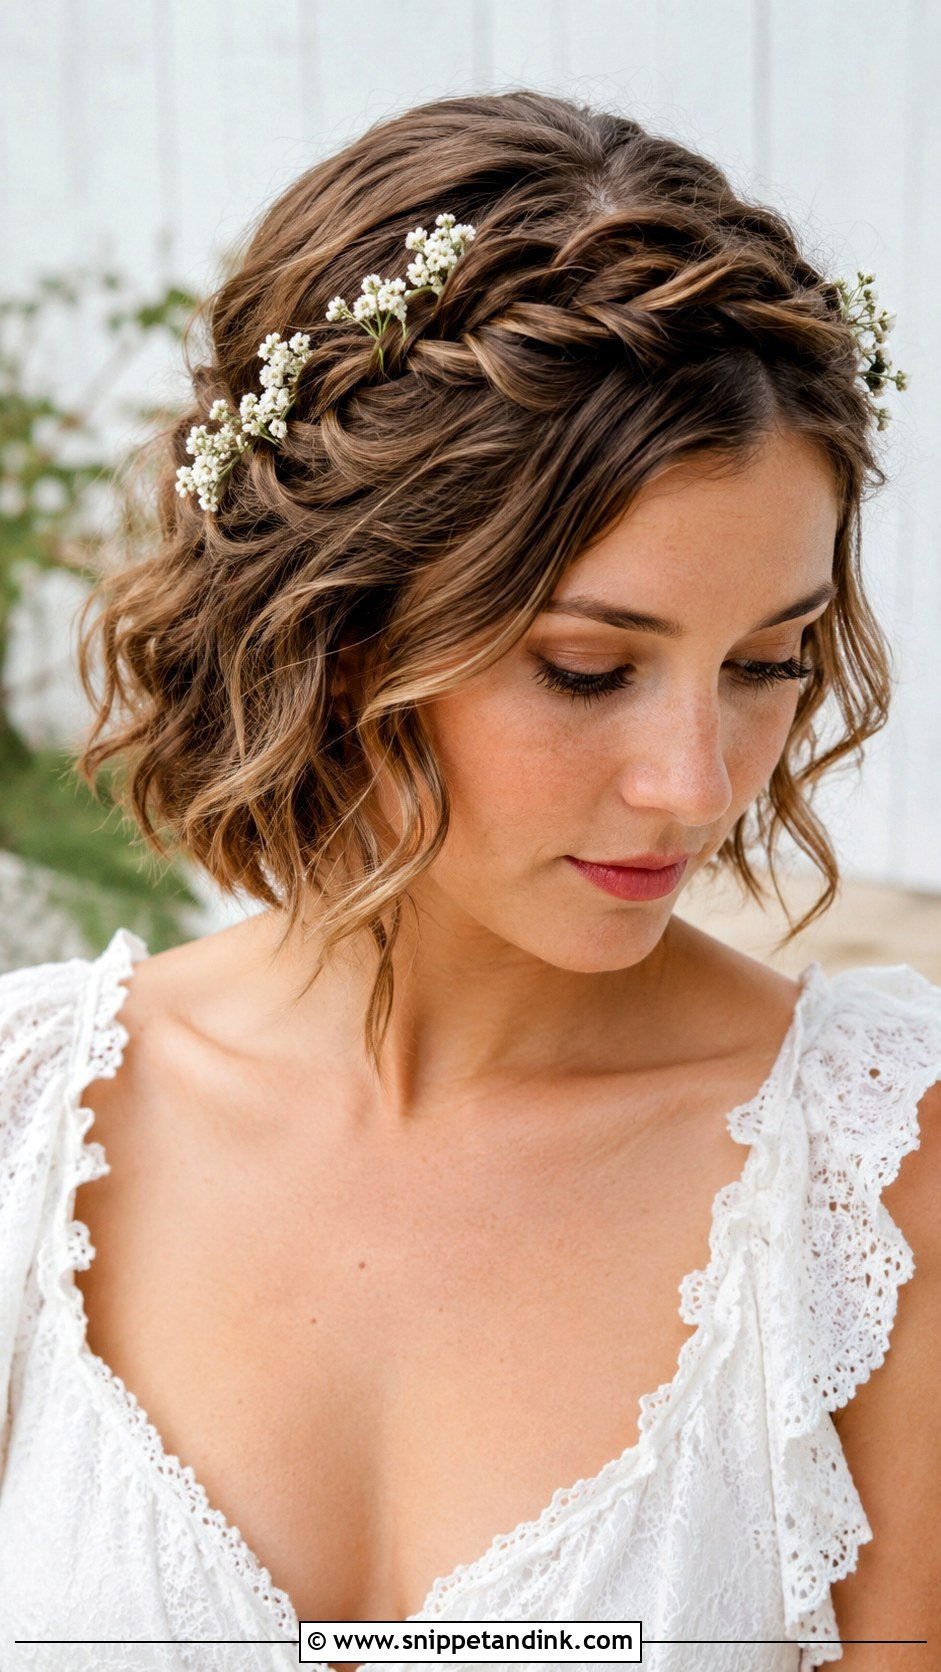
On short hair, a braided crown is usually a partial crown: two small braids along the hairline, wrapped back and pinned where they overlap. Bobs can manage it with texture spray and careful pinning; pixies usually can’t. It’s a bohemian look for outdoor or rustic weddings. Tiny flowers or baby’s breath tucked into the braid are pretty, and it keeps hair neatly off your face.
10. Soft Waves With Hair Comb
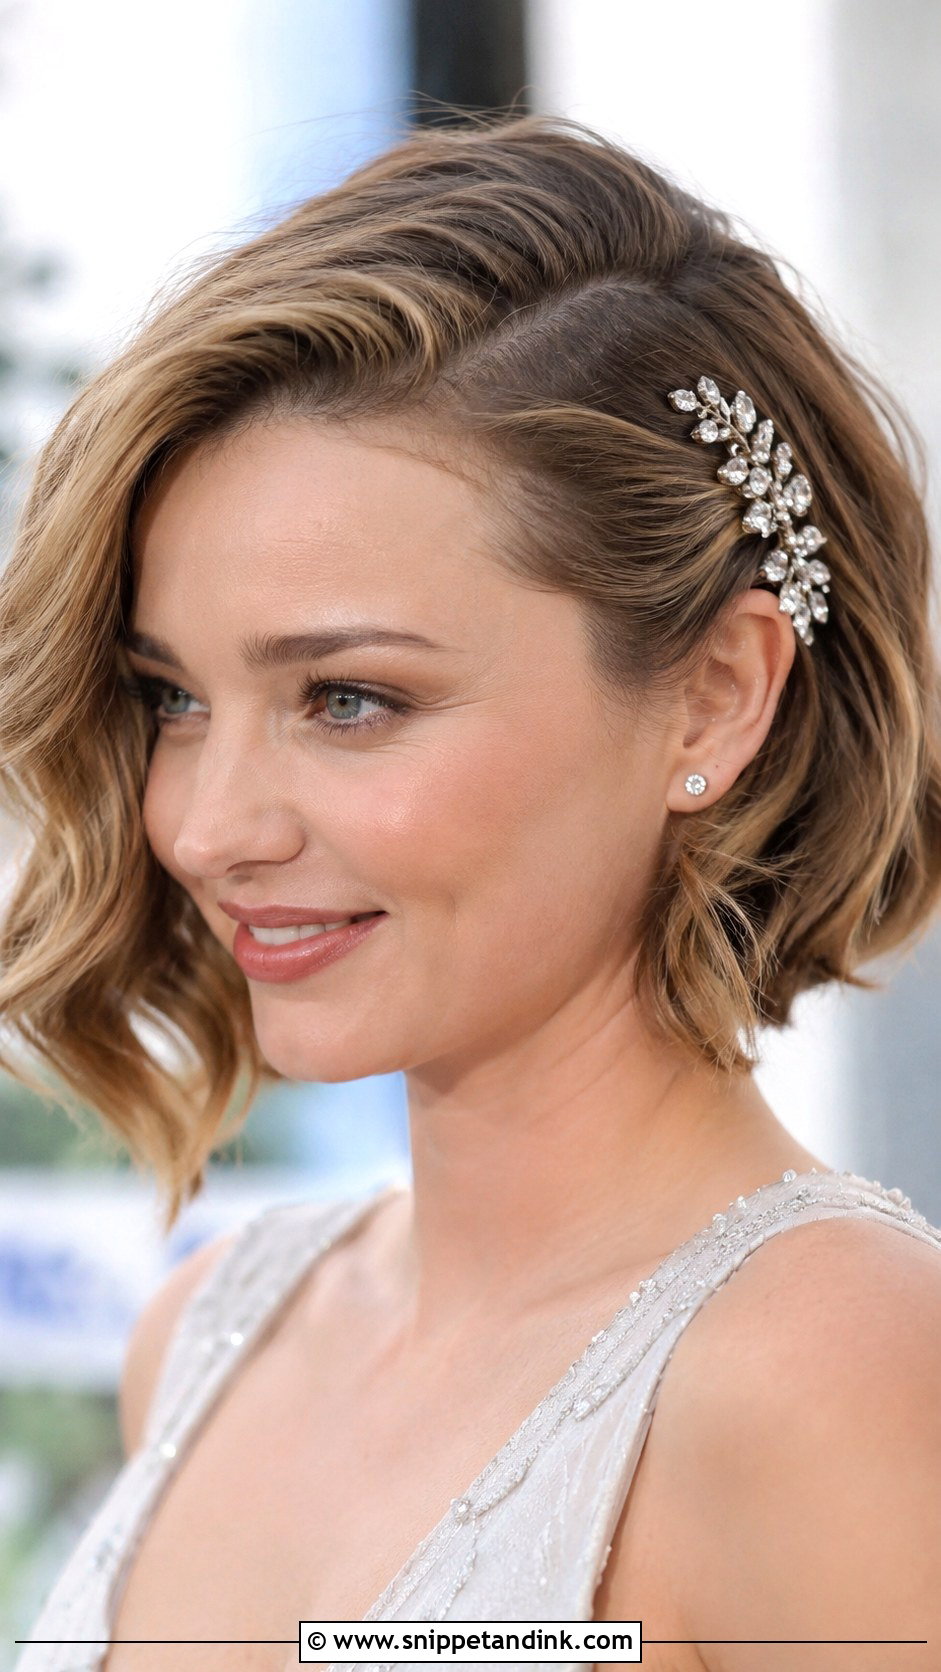
Wide-barrel waves and a jeweled comb are the combination I’d recommend to anyone who wants polished without precise work. I curl the bob, run my fingers through, then slide the comb in on one side, sweeping hair back. The comb grips better if I backcomb a little where the teeth go in. The waves flatter most face shapes and you rarely need touch-ups.
11. Faux Bob Updo
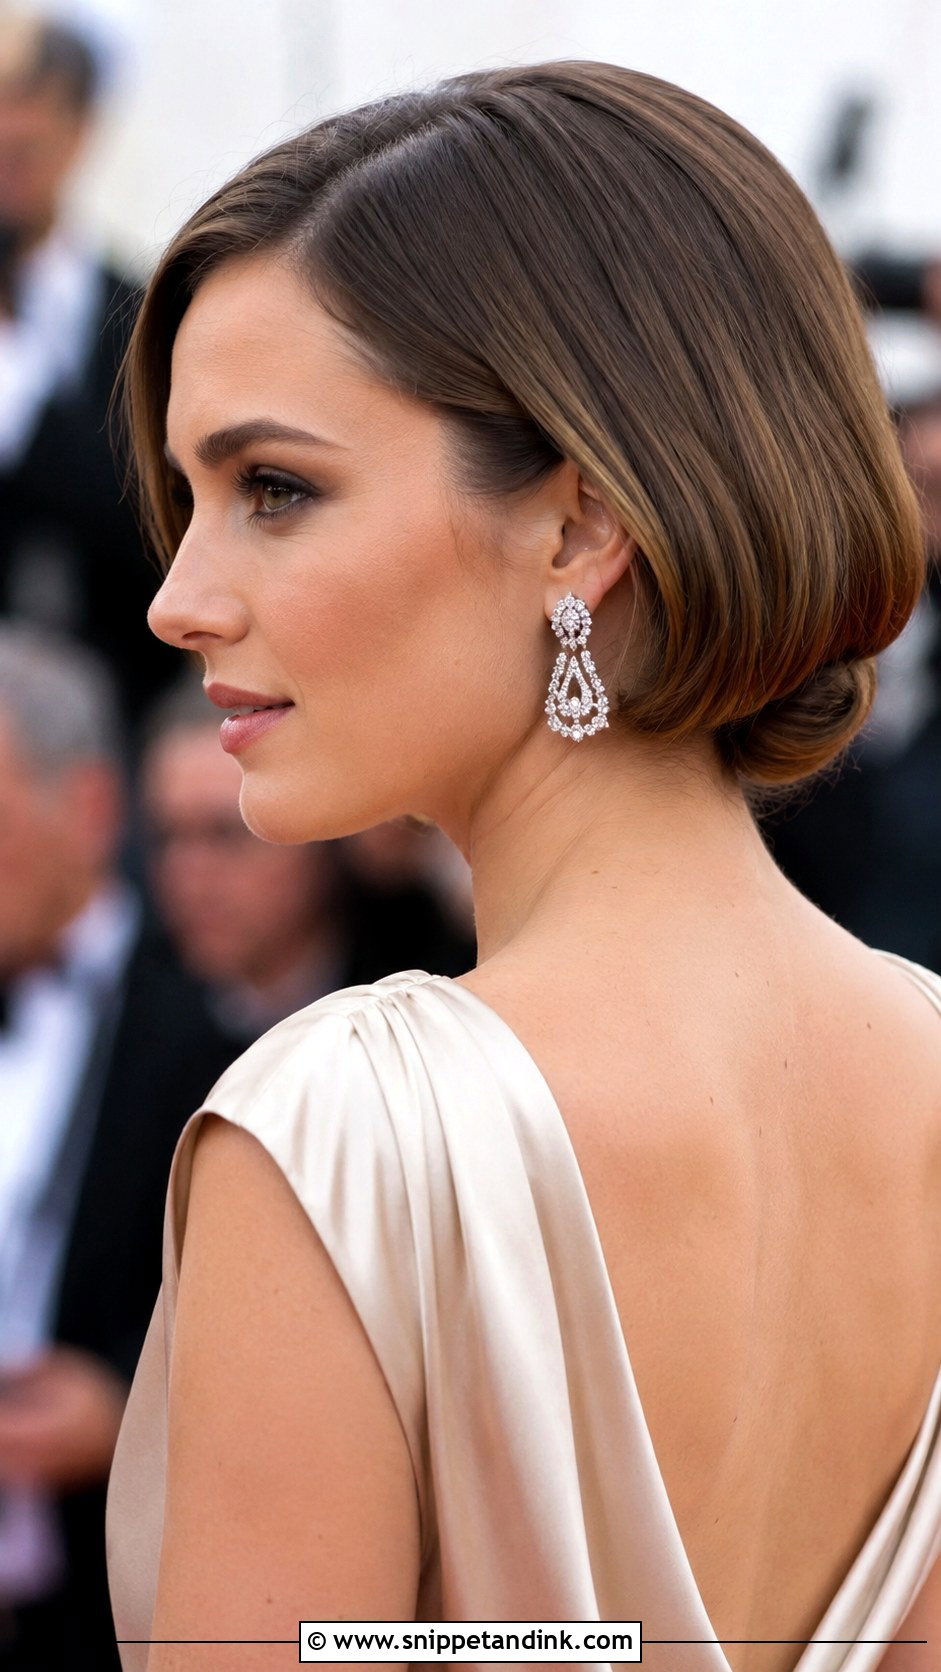
This one is for longer hair, not short. A faux bob updo rolls shoulder-length or longer hair under and pins it at the nape to mimic a sleek crop. It’s a good try-before-you-cut test for guests thinking about going short. Smooth, straight textures fold most neatly; very thick hair can look bulky at the nape. Statement earrings and a decorative pin finish it.
12. Pixie With Quiff Volume
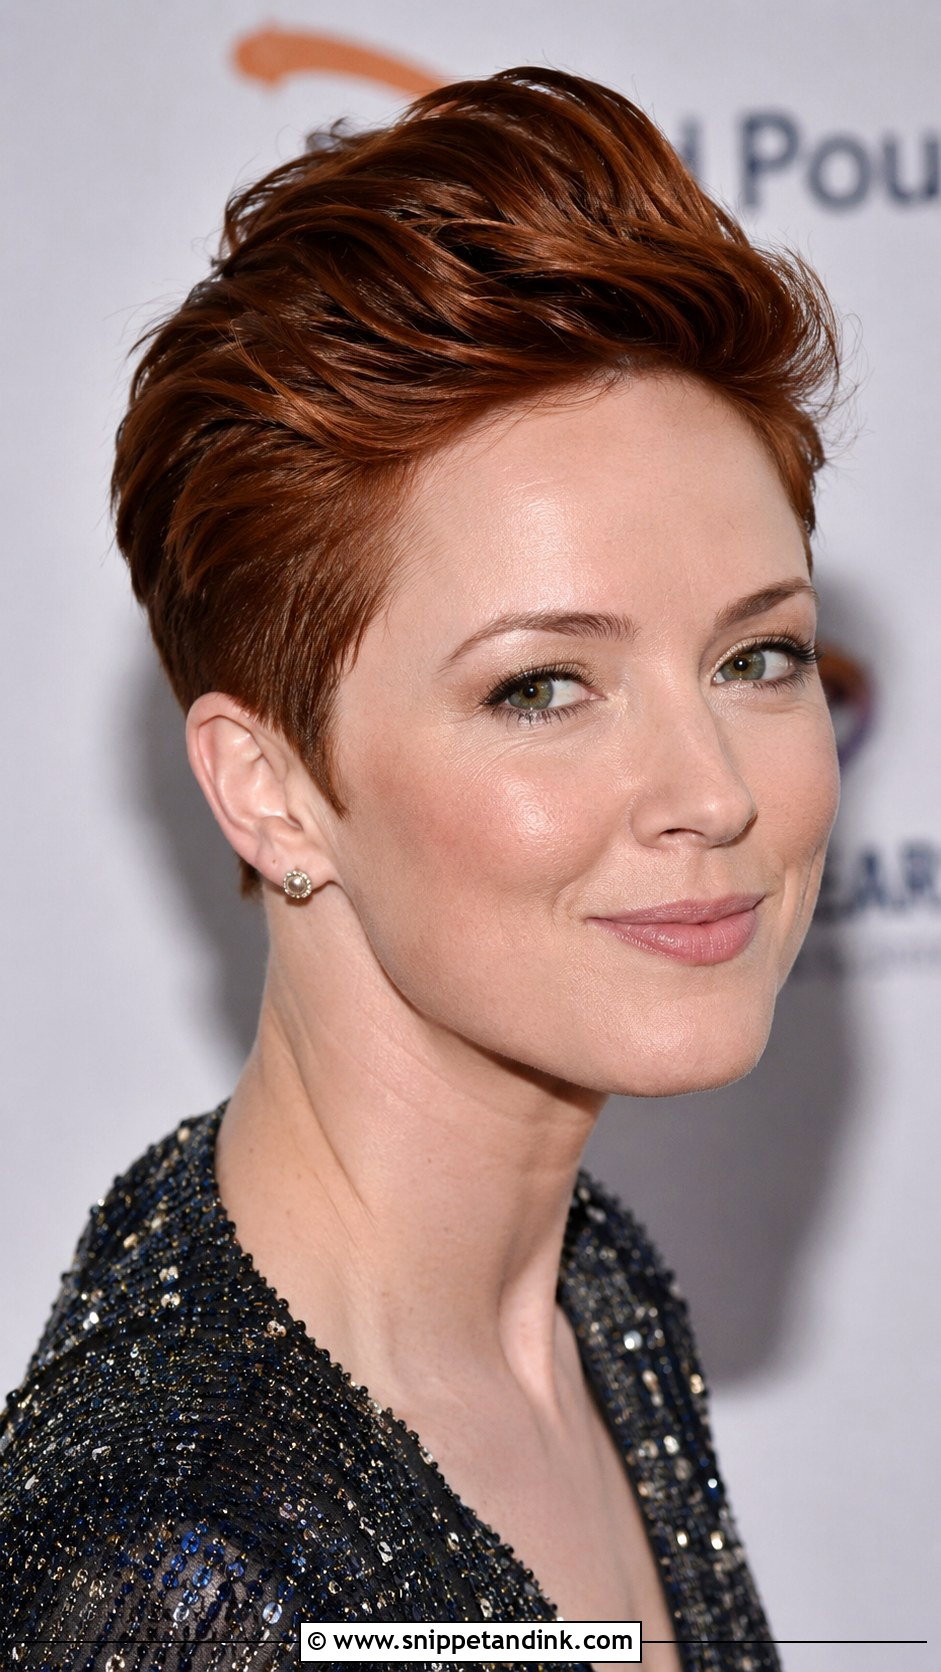
A voluminous quiff needs some length at the top of the pixie, at least a few inches, to hold any height. I blow-dry the front upward with a round brush, lightly backcomb the crown, then sweep it back with a little pomade. Sleek sides keep it sharp. It suits evening receptions with bold makeup, and it holds well through dancing if the blow-dry is done properly.
13. Vintage Pin Curls
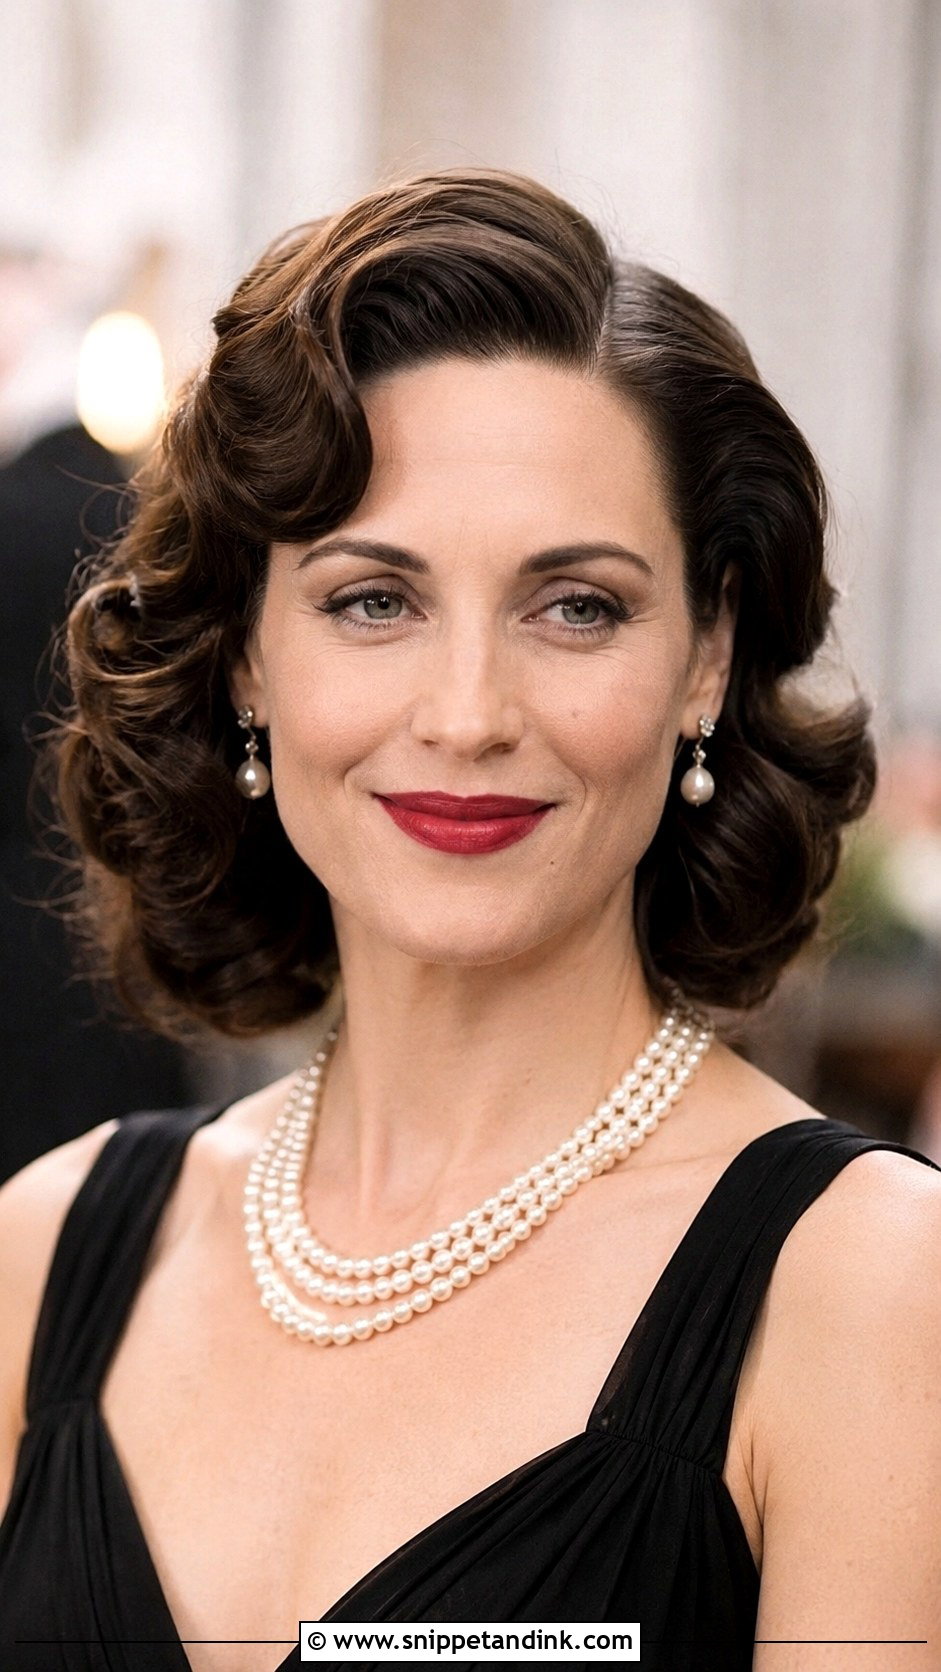
Pin curls take setting time. I curl small sections with an iron, pin each one in place to cool, and only brush them out once fully cold, which gives the volume and shine you see here. They suit bobs and lobs at a classic or black-tie wedding, with pearls and a soft lip. Budget an extra half hour for this one.
14. Sleek Lob With Center Part
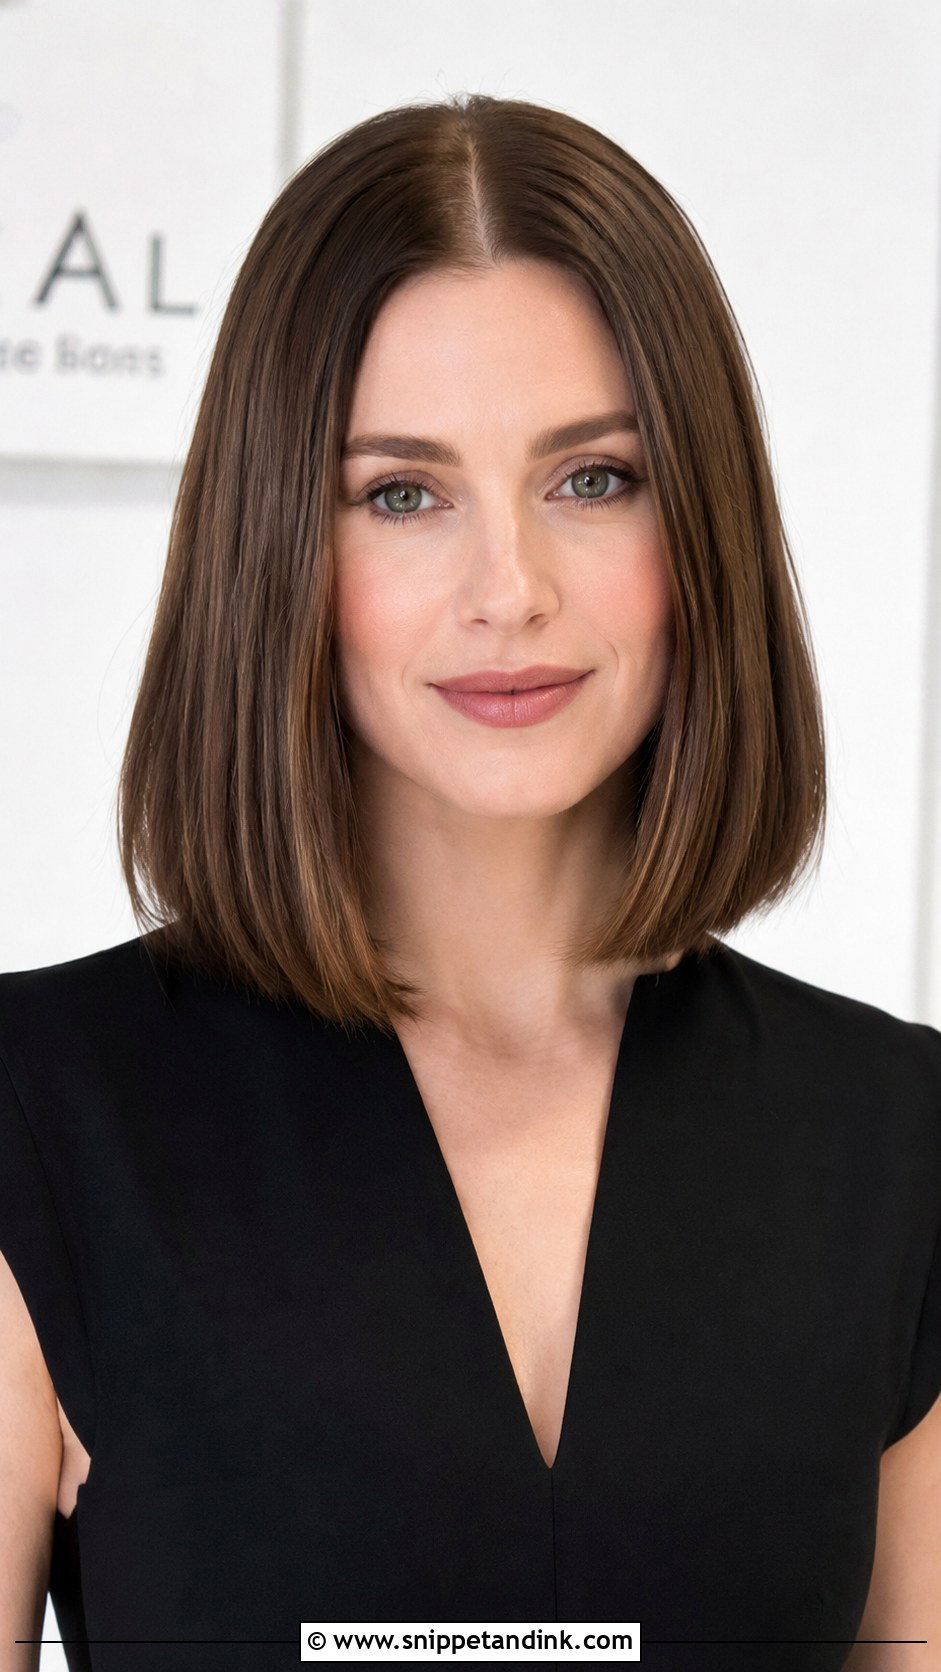
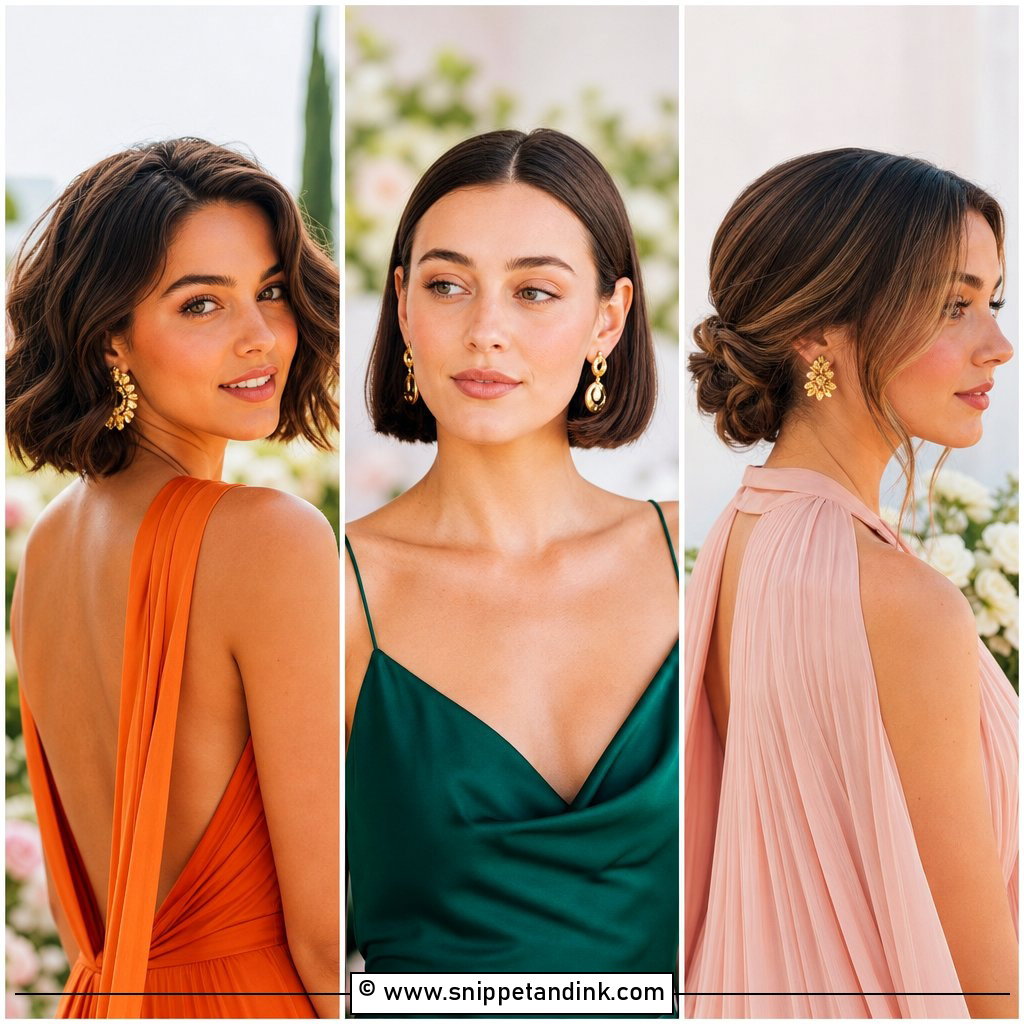
A center-parted lob shows every uneven bit, so the part must be straight and the hair glossy. I straighten in thin sections and finish with shine serum. Tucking both sides behind the ears highlights earrings; leaving them loose softens it. It’s a minimalist style for contemporary weddings, and it needs very little upkeep beyond a quick comb.
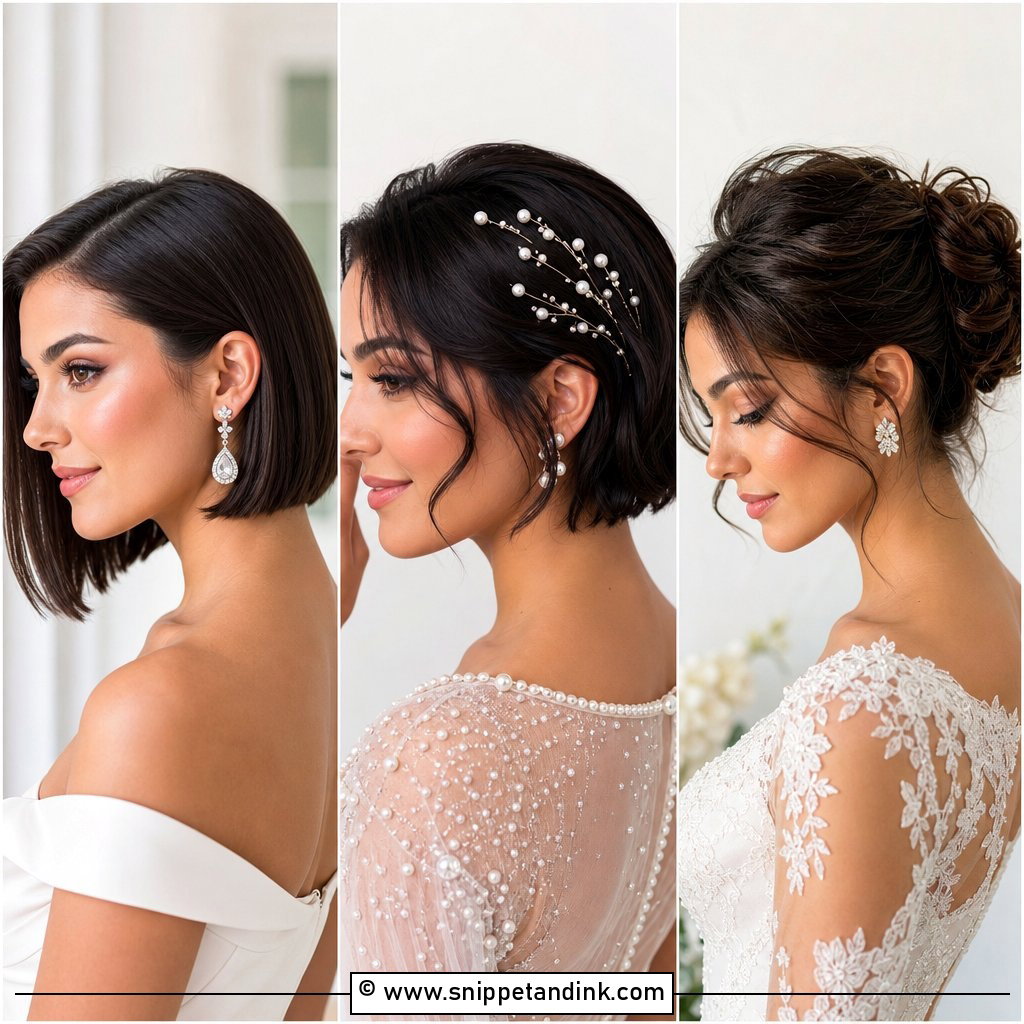
15. Twisted Chignon For Short Hair
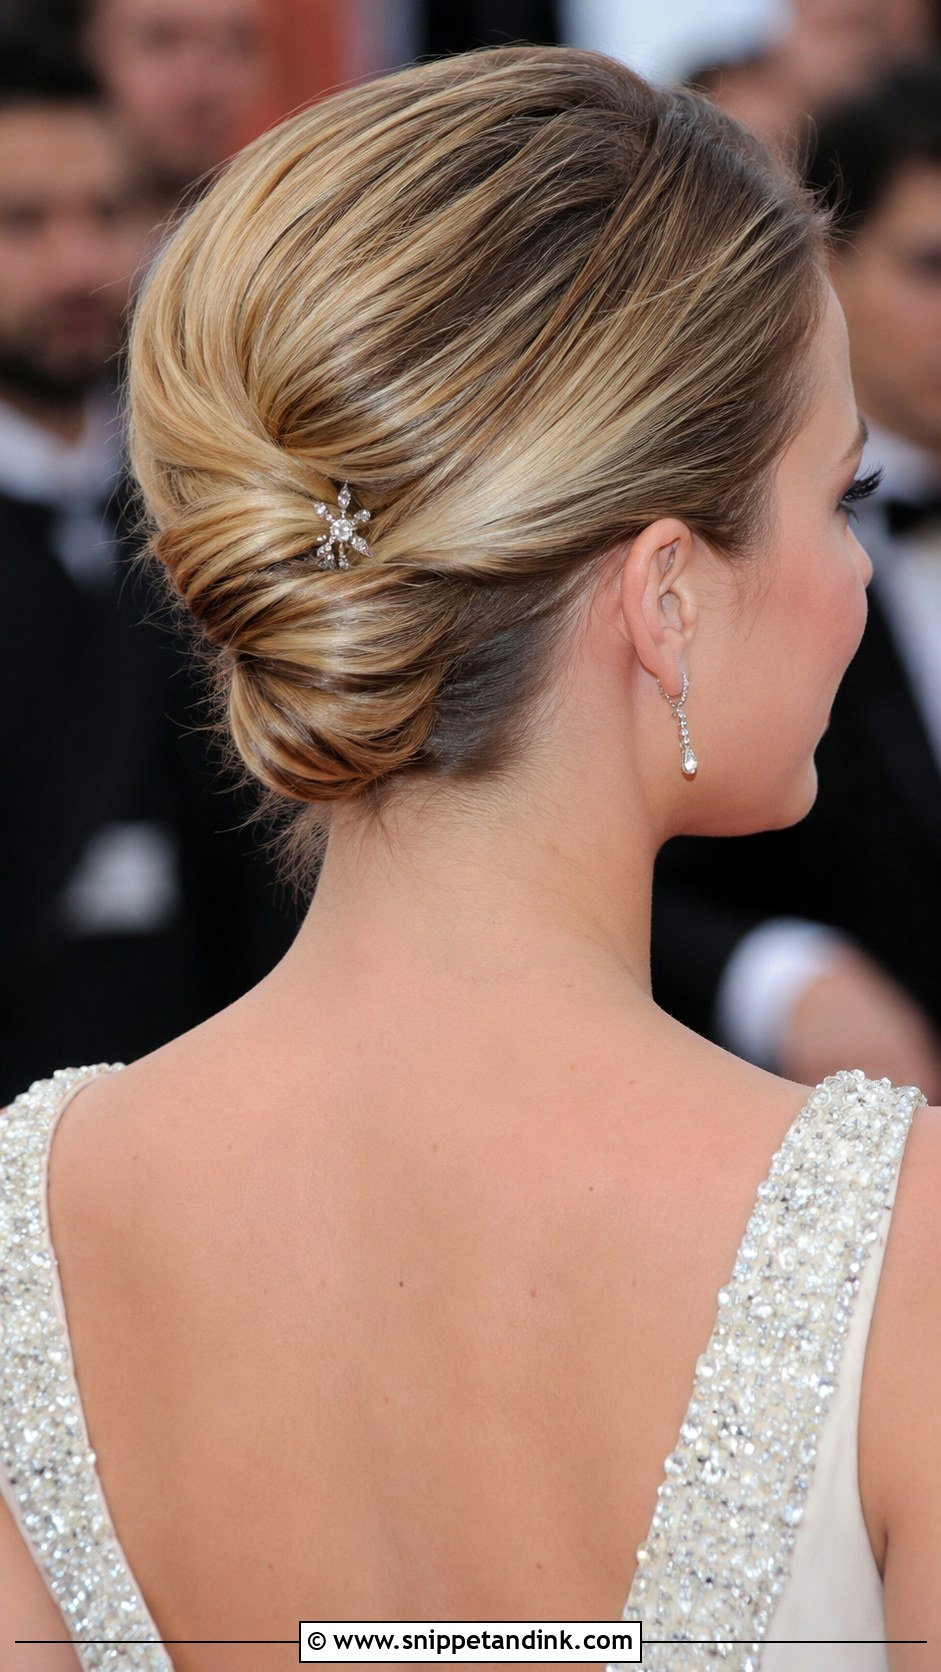
A twisted chignon needs hair long enough to fold inward at the nape, so it’s best on lobs and longer bobs. I gather the hair low, twist it inward, tuck the ends and pin with bobby pins in a crossed pattern. A mist of spray holds it. The twist gives texture, and it keeps hair entirely off your neck, which helps in warm weather or with a high neckline. A sparkly pin adds a finish.
16. Beachy Waves With Headband
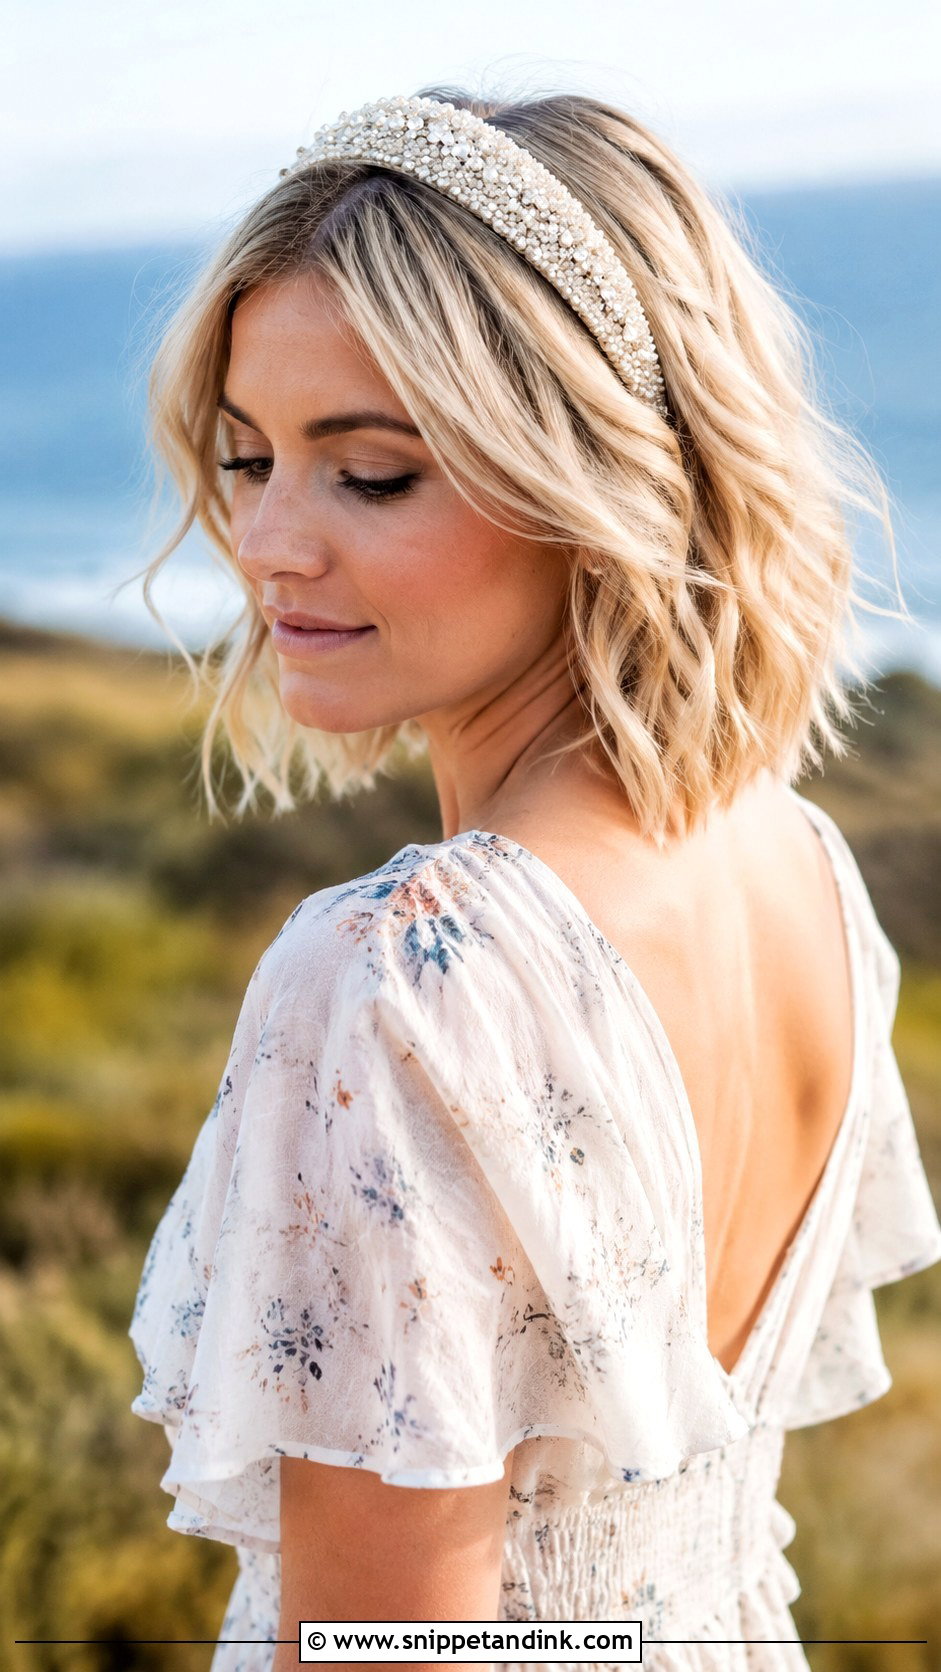
Sea-salt spray gives beachy texture, but it also dries hair out. I’d use it on the mid-lengths, not the roots, then scrunch and add a thin embellished headband. It suits coastal or garden weddings. The headband keeps everything neat and adds a little sparkle. Refreshing the waves later is as simple as scrunching again.
17. Side Swept Curls For Bob
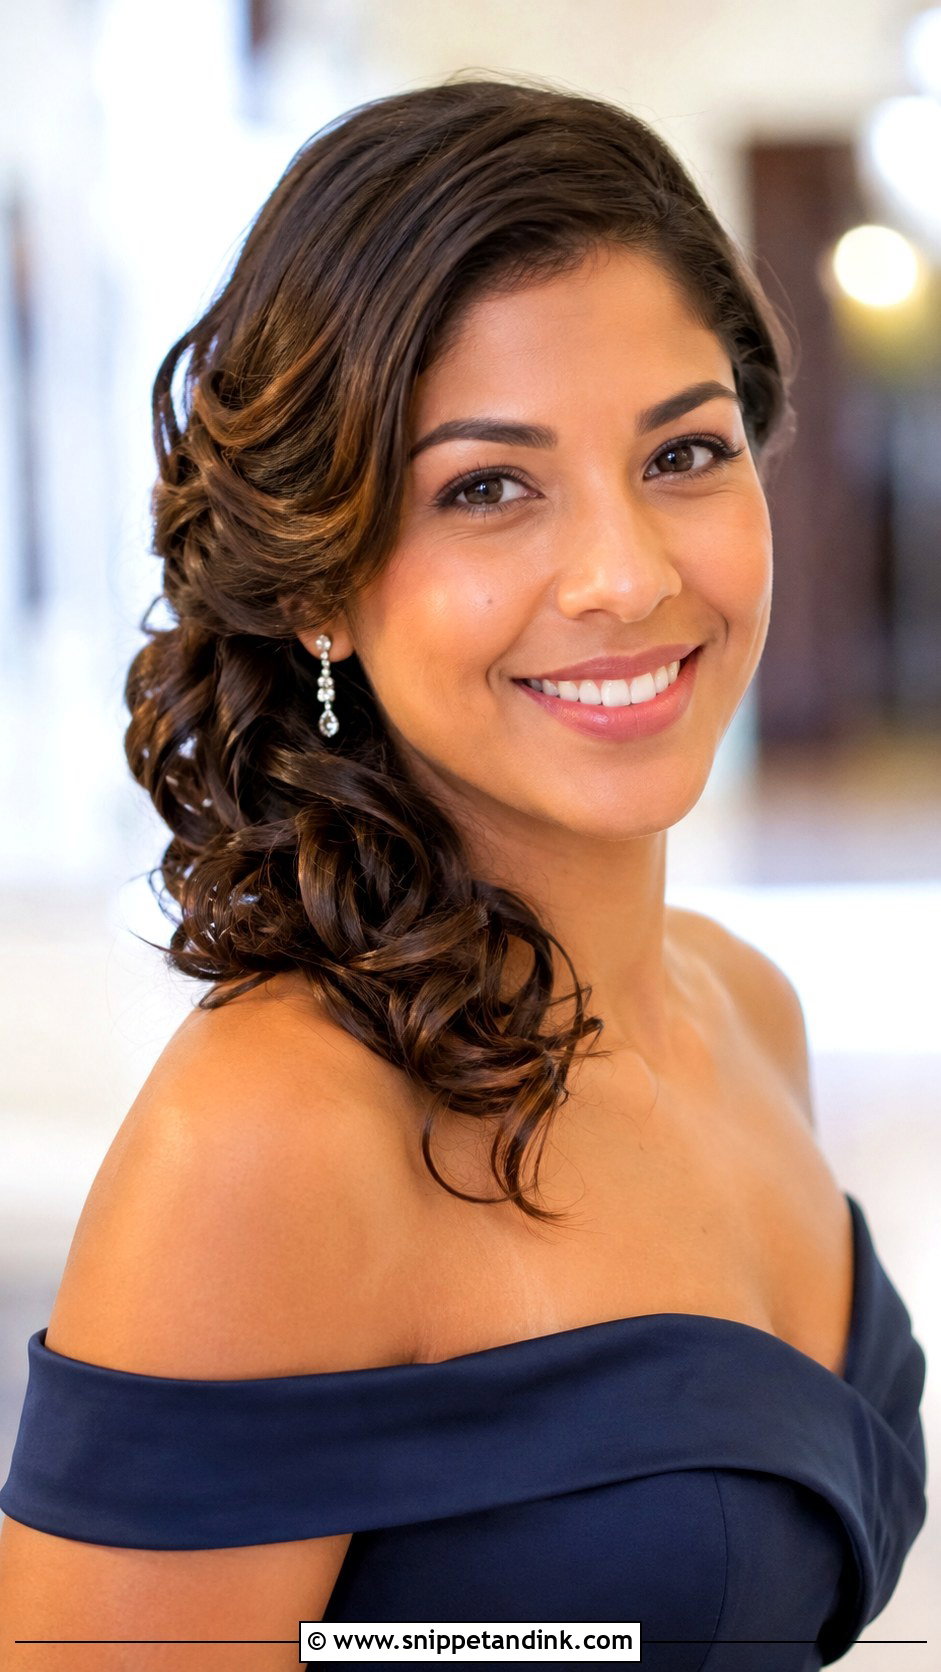
Side-swept curls on a bob need a little more length than they appear to. I curl the whole head, then pin the curls over one shoulder, using crisscrossed pins behind the ear to hold the shift. It draws attention to the neckline, so it works with off-shoulder and one-shoulder outfits. Hairspray keeps it through the evening, and it’s a formal, glamorous option.
18. Knotted Half Updo
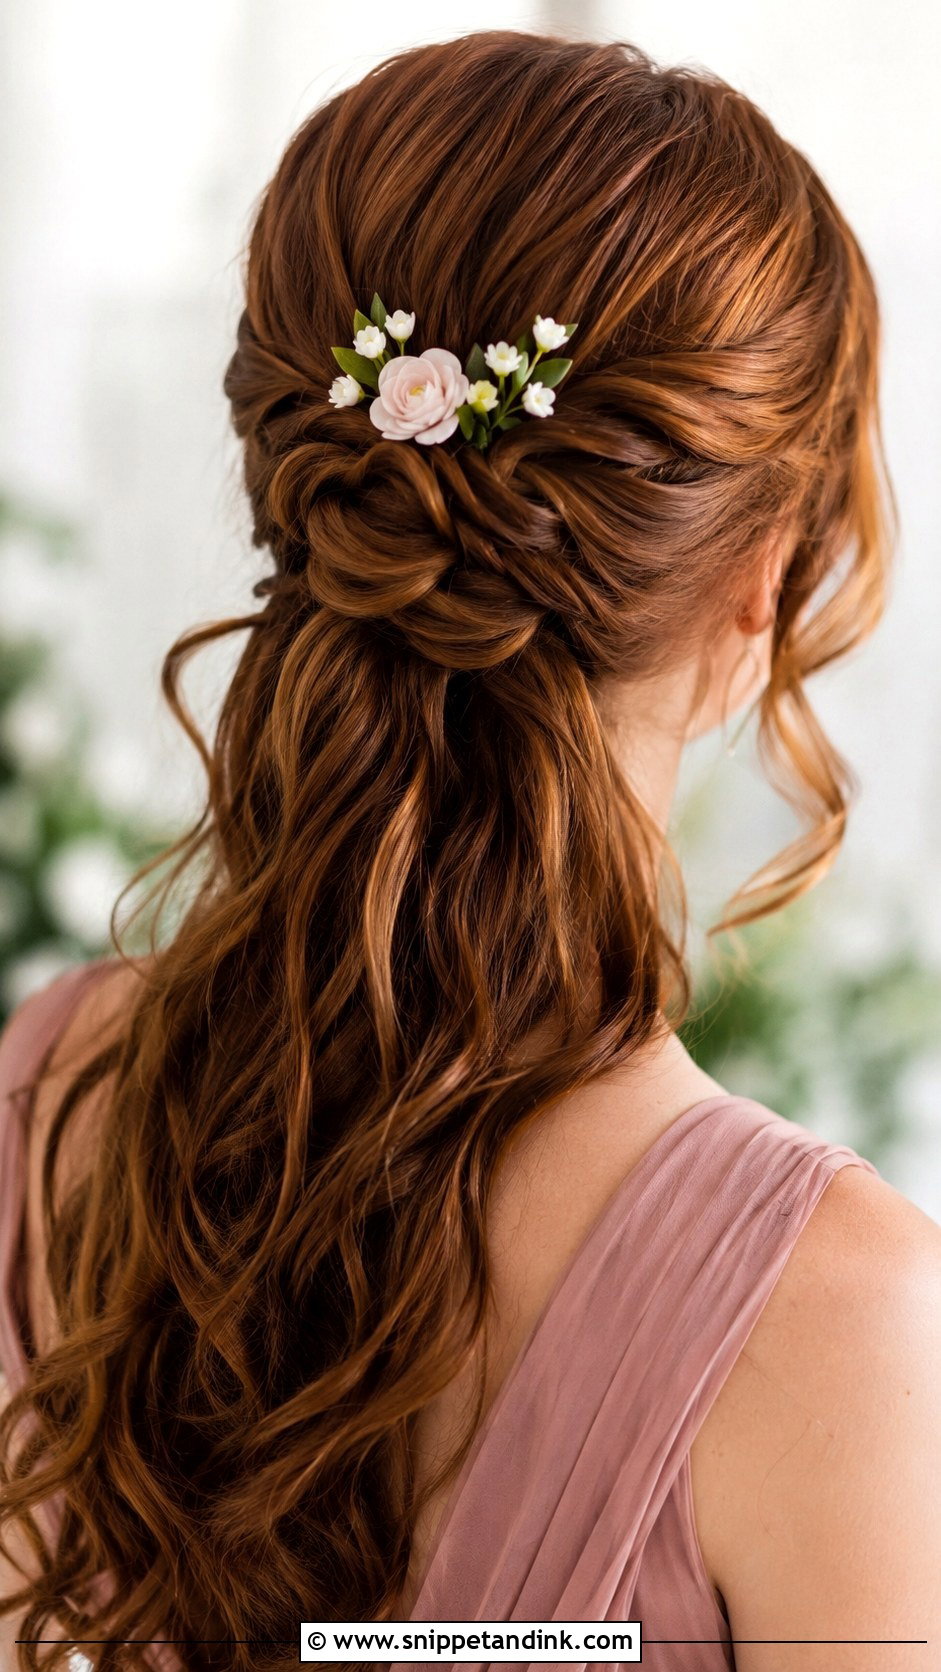
A knotted half updo is quick: take two front sections, tie them into a soft knot at the back, and pin it so it doesn’t slip loose. The rest of the bob stays down. It keeps hair off the face and works with straight, wavy or curly textures. A small floral pin where the knot sits adds charm. If your hair is very slippery, add texture spray first, or the knot will loosen within an hour.
19. Pixie With Floral Pins
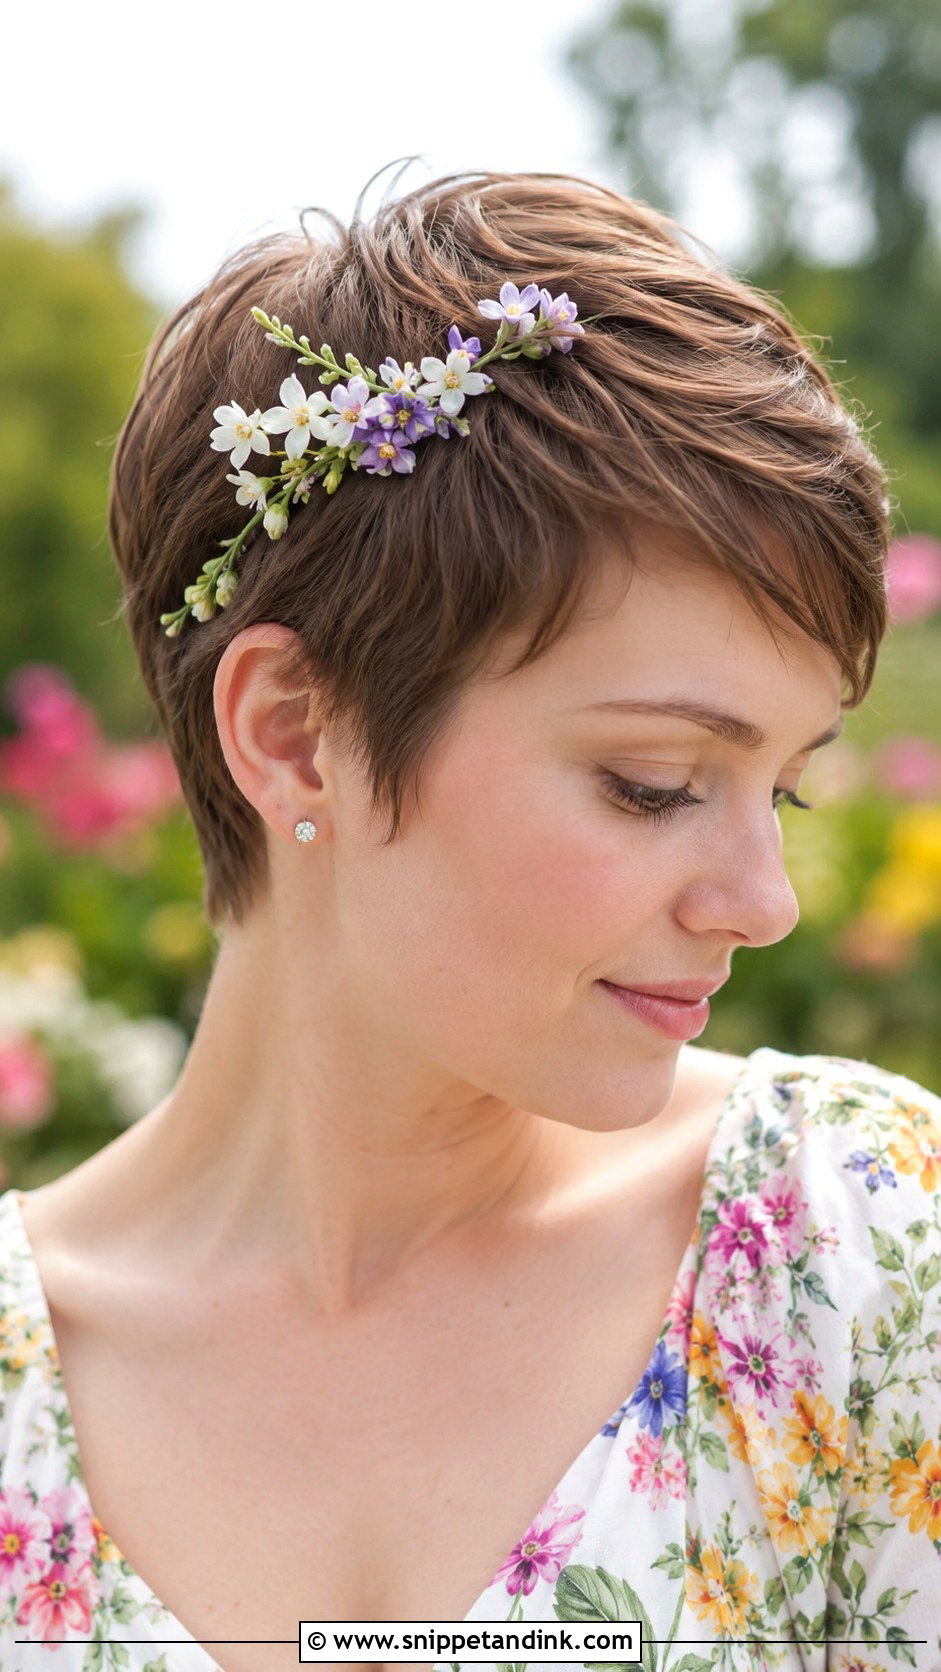
Floral pins on a pixie should be small. I define the shape with texturizing paste, sweep the fringe back, and scatter tiny fabric or fresh flowers along one side. Fabric flowers are the safer bet for a long outdoor day, since fresh ones wilt against warm skin. It’s a sweet spring or summer look and quick to put together.
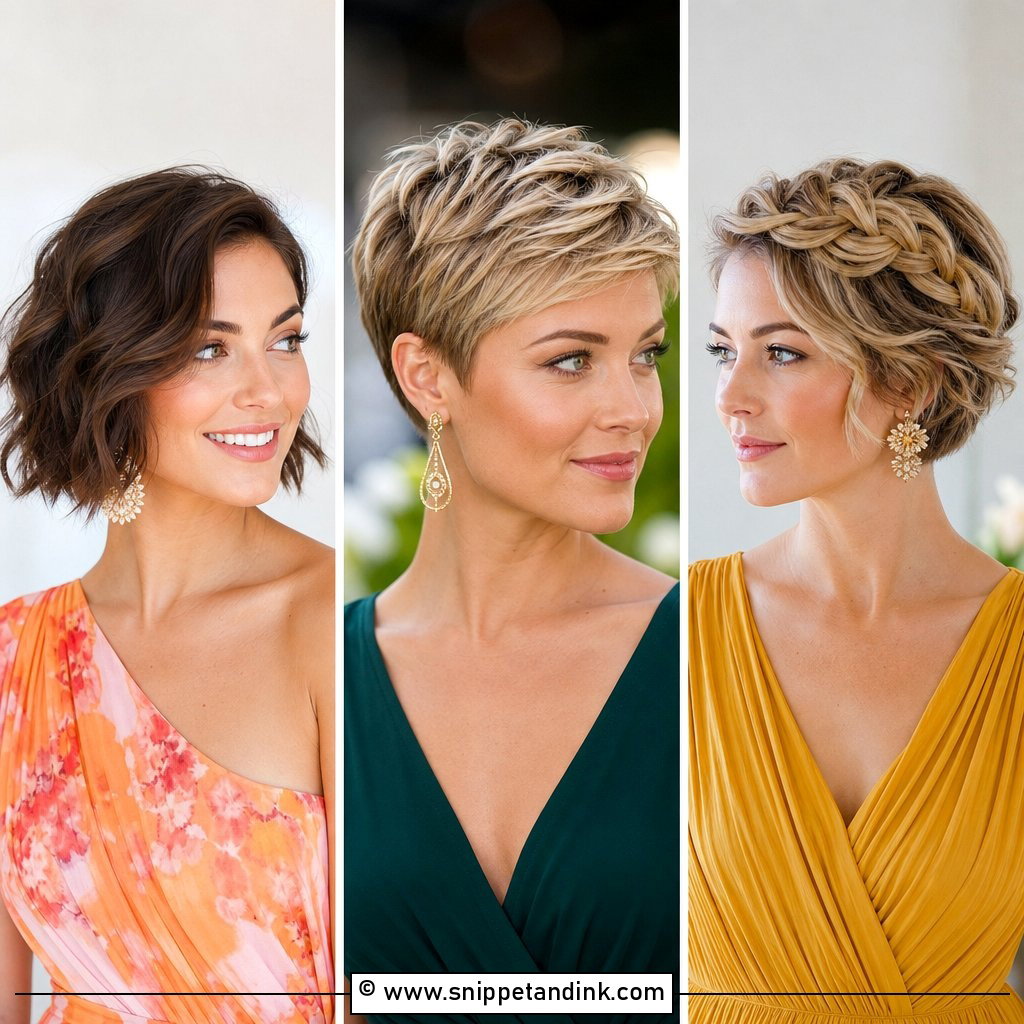
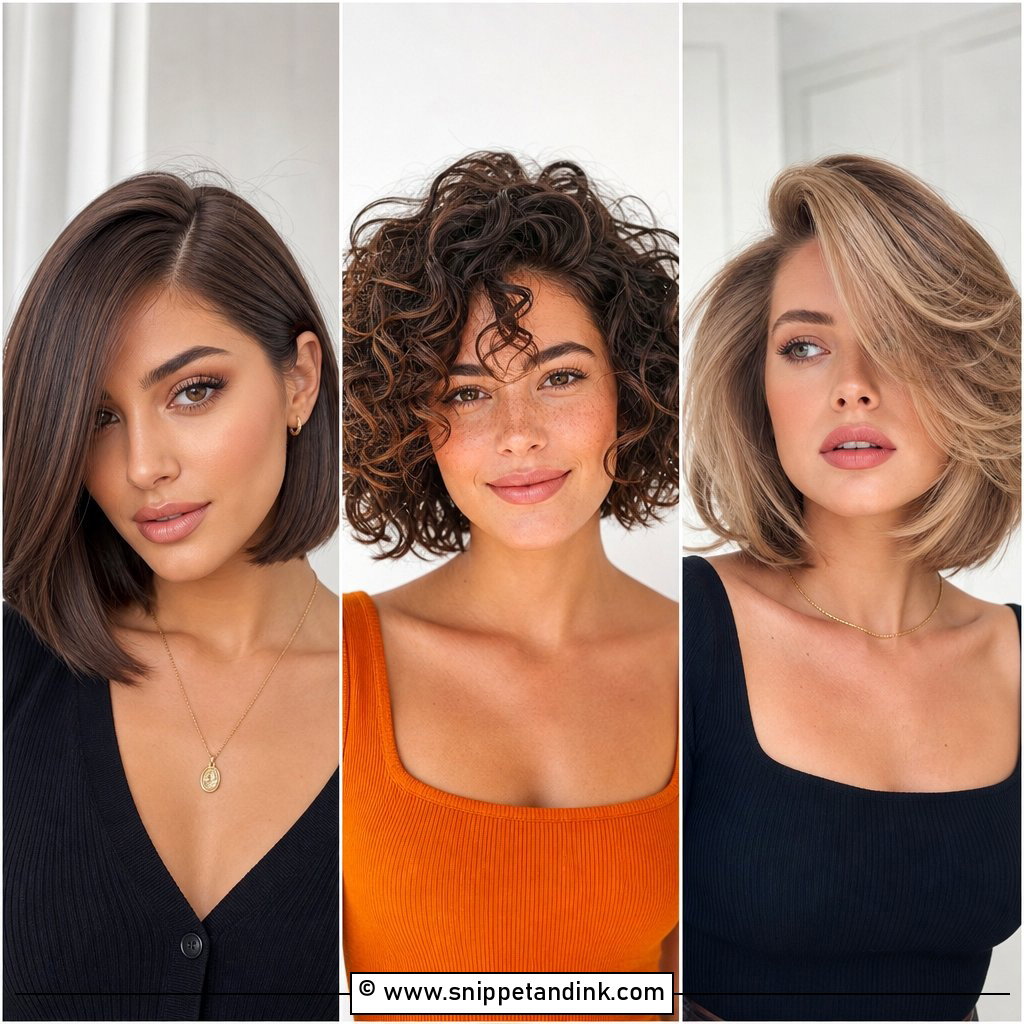
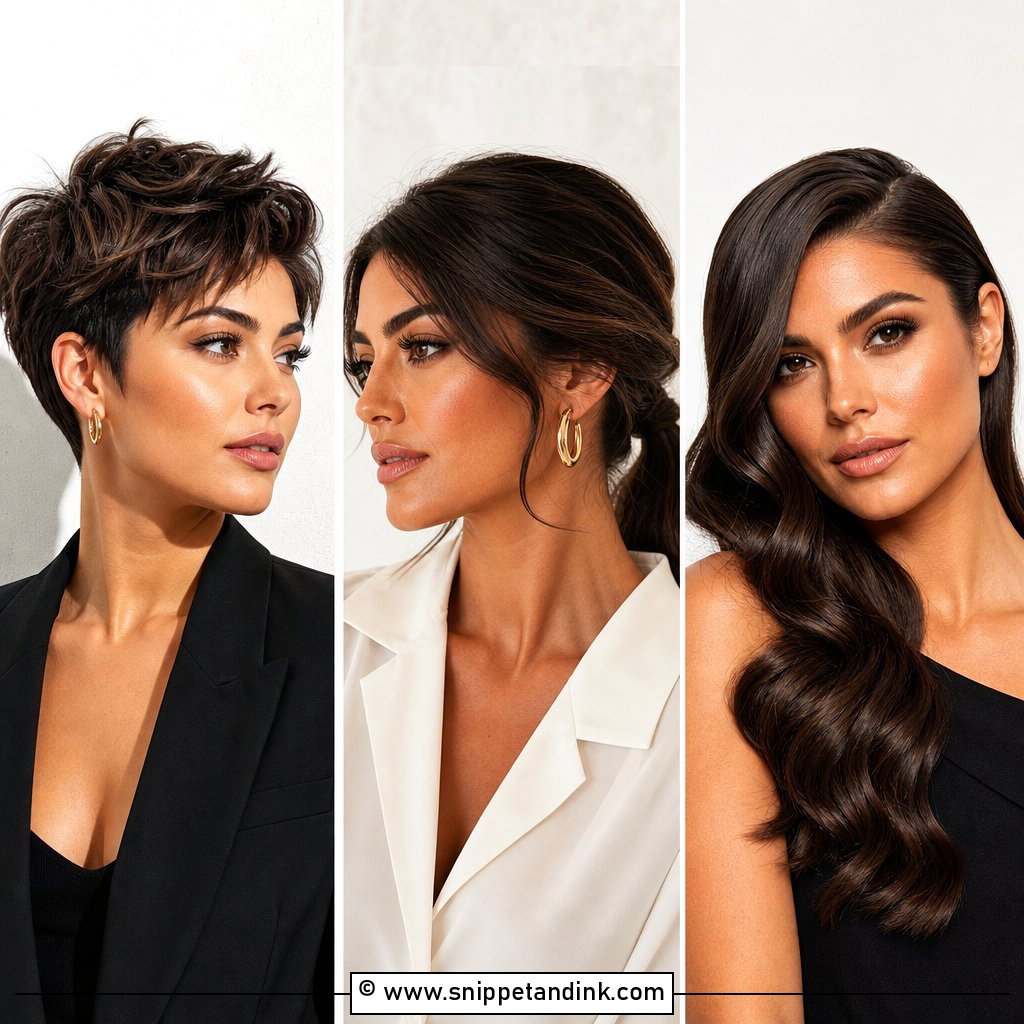
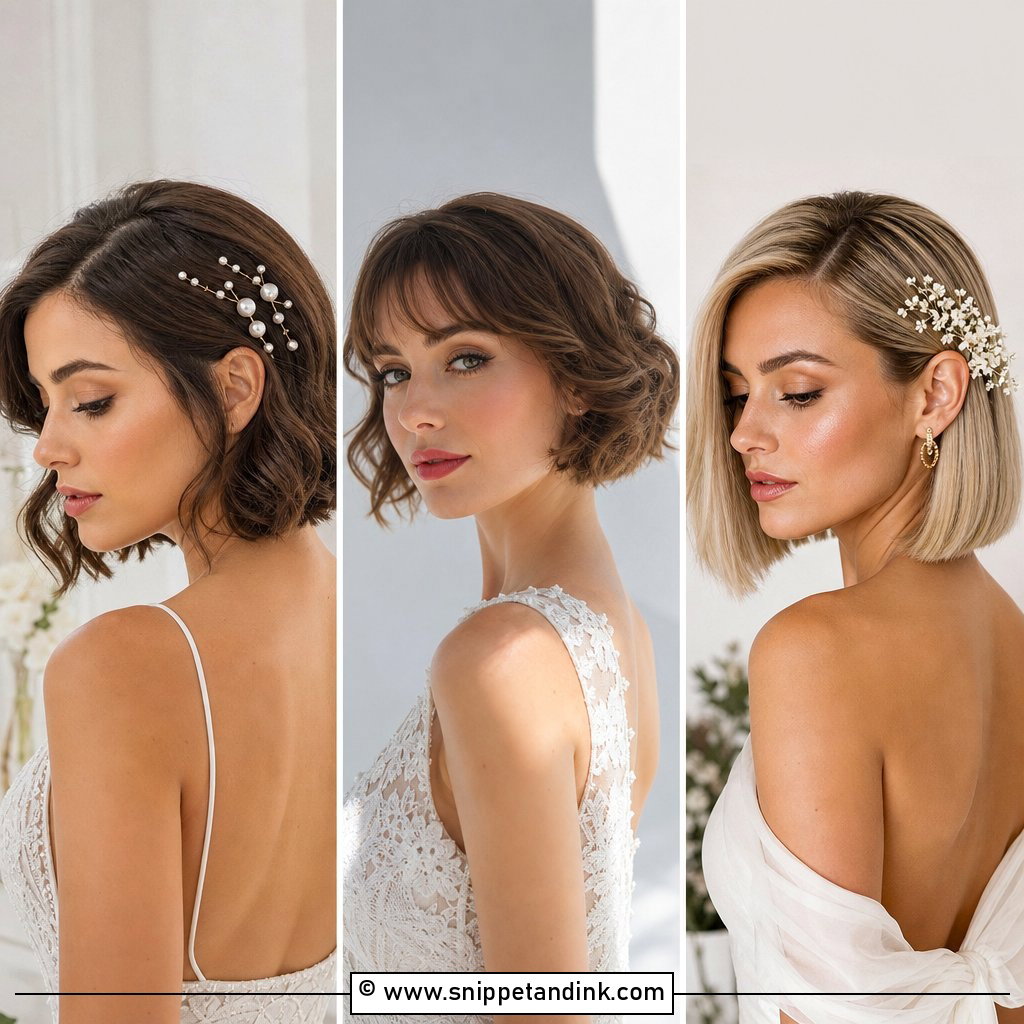
20. Sleek Bob With Tucked Sides
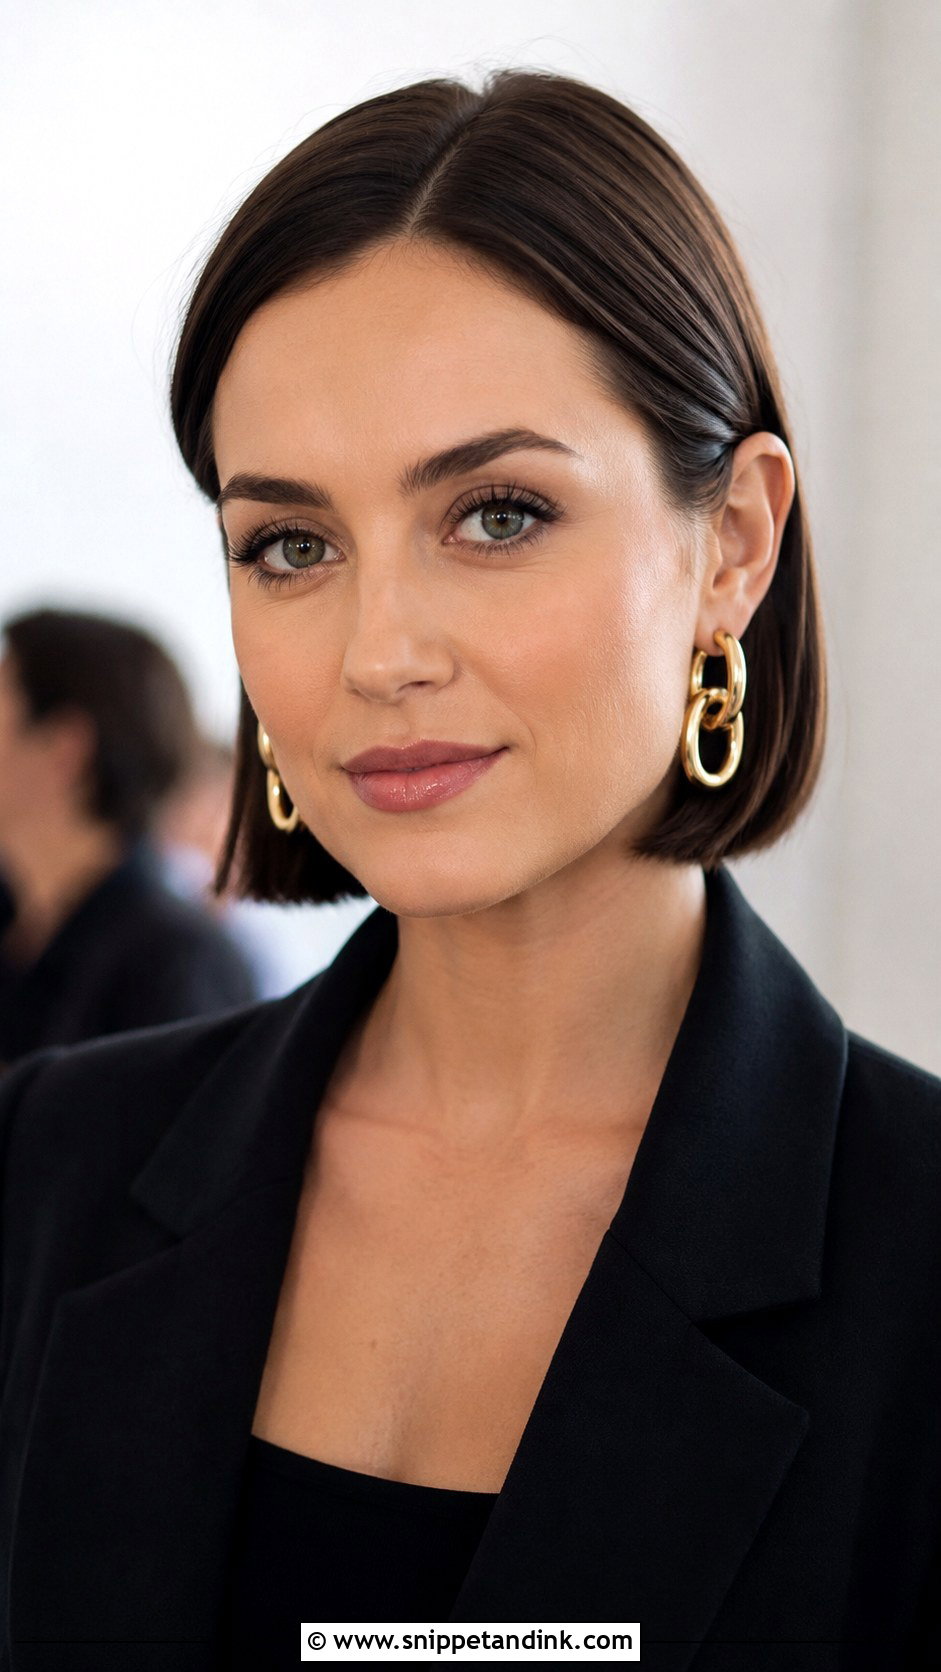
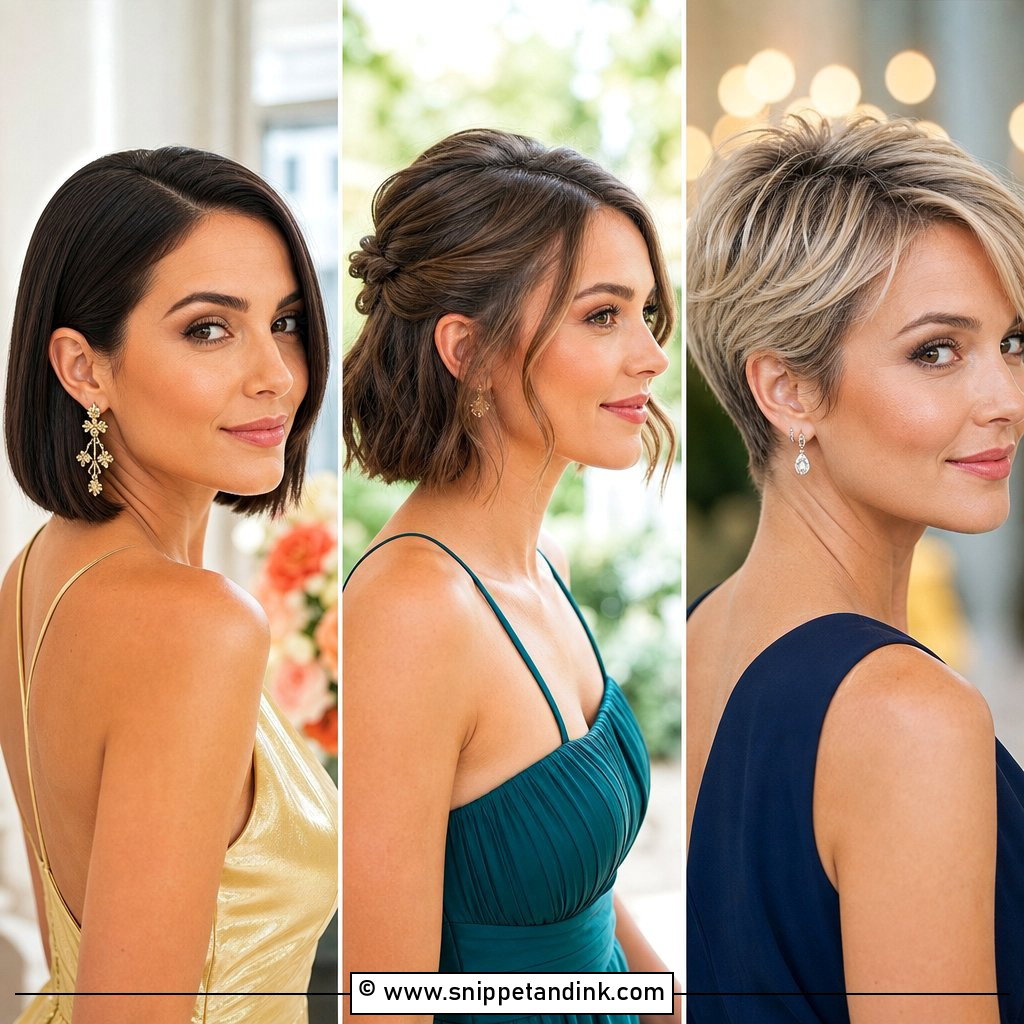
Tucking a sleek bob behind both ears takes a minute, which is why I love it for guests in a hurry. Smooth the hair straight, tuck each side, and add a hidden bobby pin behind each ear to stop it springing loose. Shine serum gives a glossy finish. It flatters most faces and suits both formal and casual weddings, especially with bold earrings.
21. Wavy Lob With Loose Curls
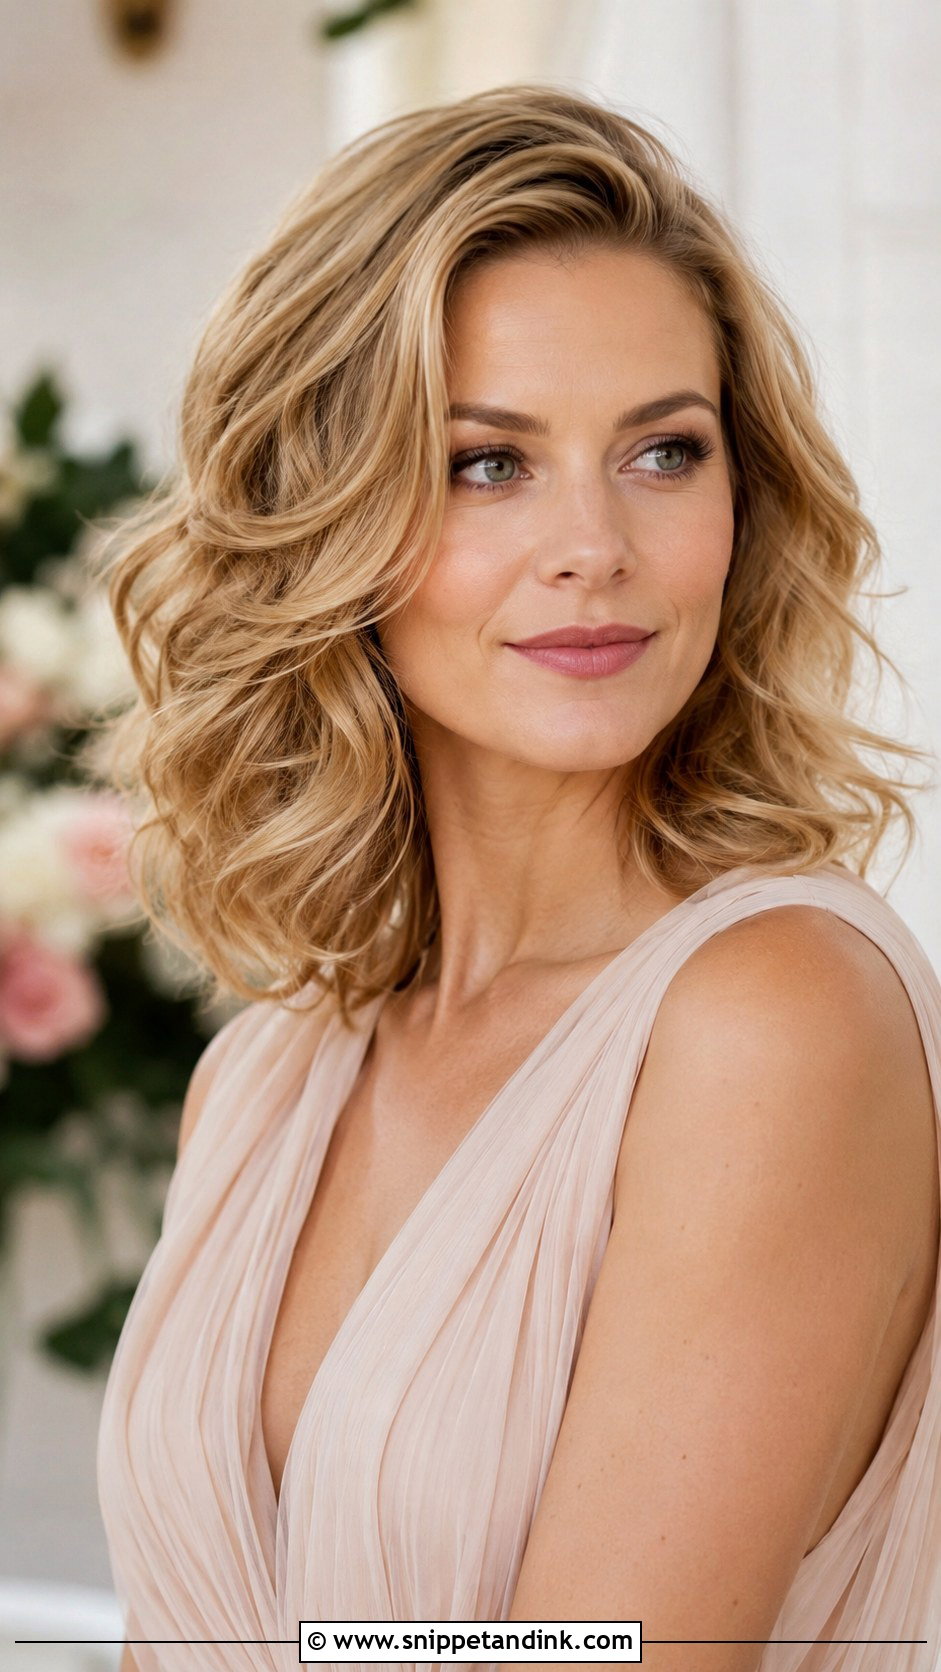
Loose curls brushed out gently give a lob airy volume. I curl with a large barrel iron, let the curls cool, then brush through with a wide paddle brush. Tuck one side behind the ear for a little asymmetry. This wavy lob is easy to refresh with fingers during the day, and it suits almost any wedding theme.
22. Faux Hawk For Short Hair
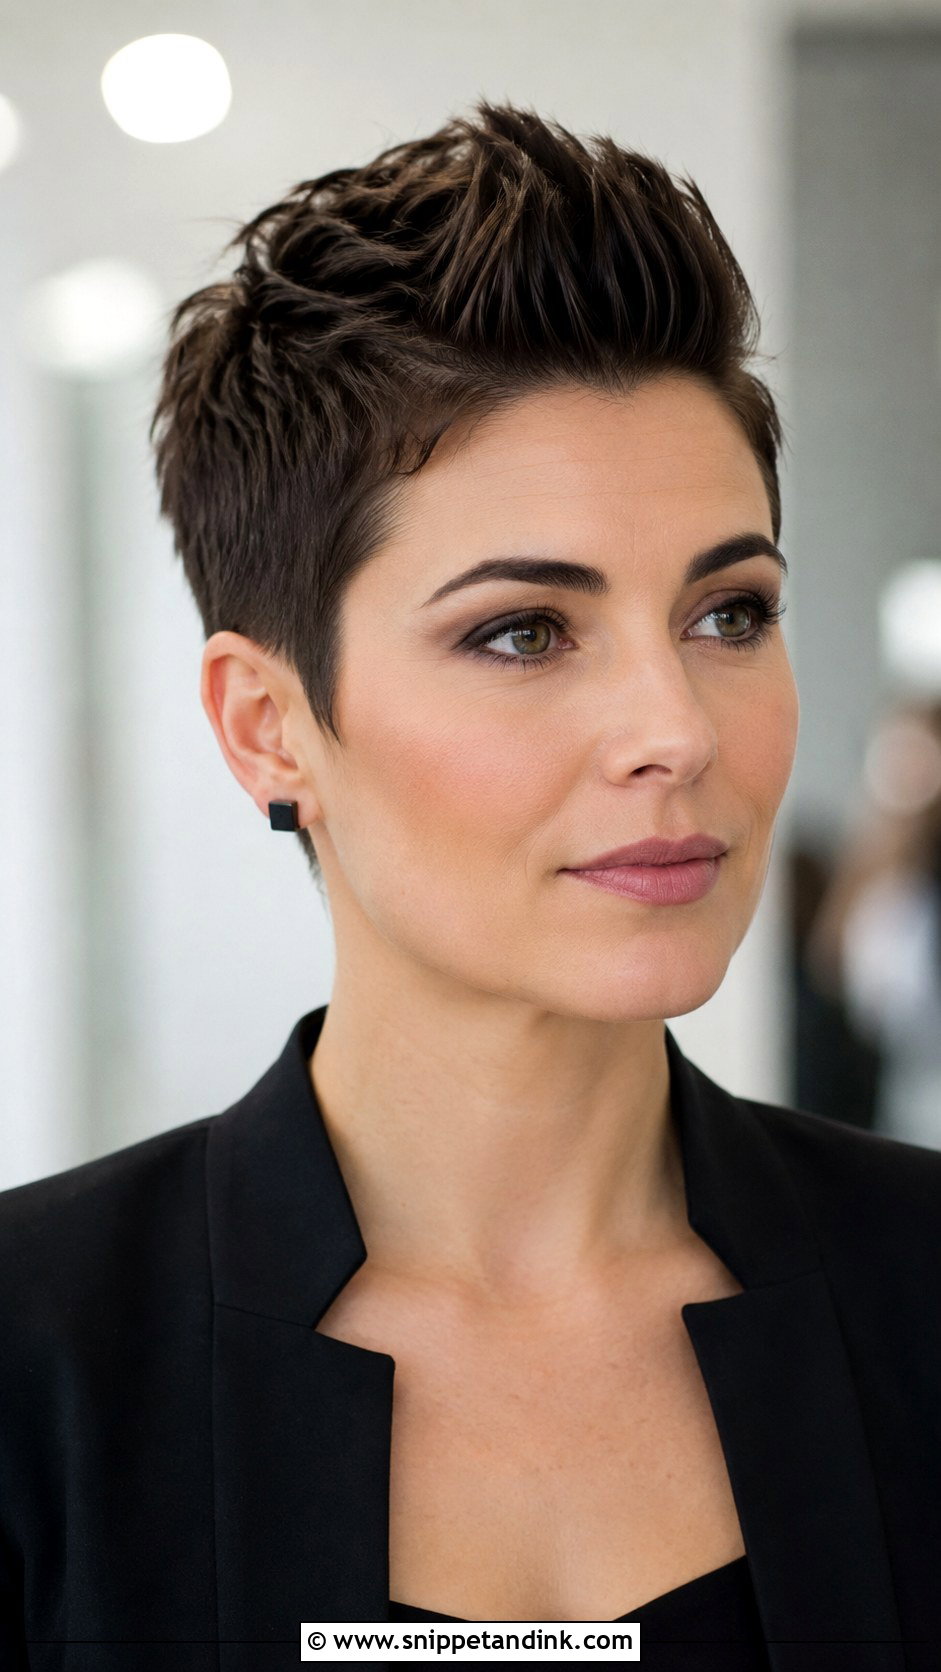
Wearing a faux hawk to a wedding is a fashion choice, and I’d only suggest it to guests who already wear their hair boldly. I sweep the sides inward with pomade and lift the center for height, securing it with pins hidden under the ridge. It suits a structured outfit and bold makeup. A sparkly pin on one side softens it for a wedding setting.
23. Low Ponytail With Wrapped Base
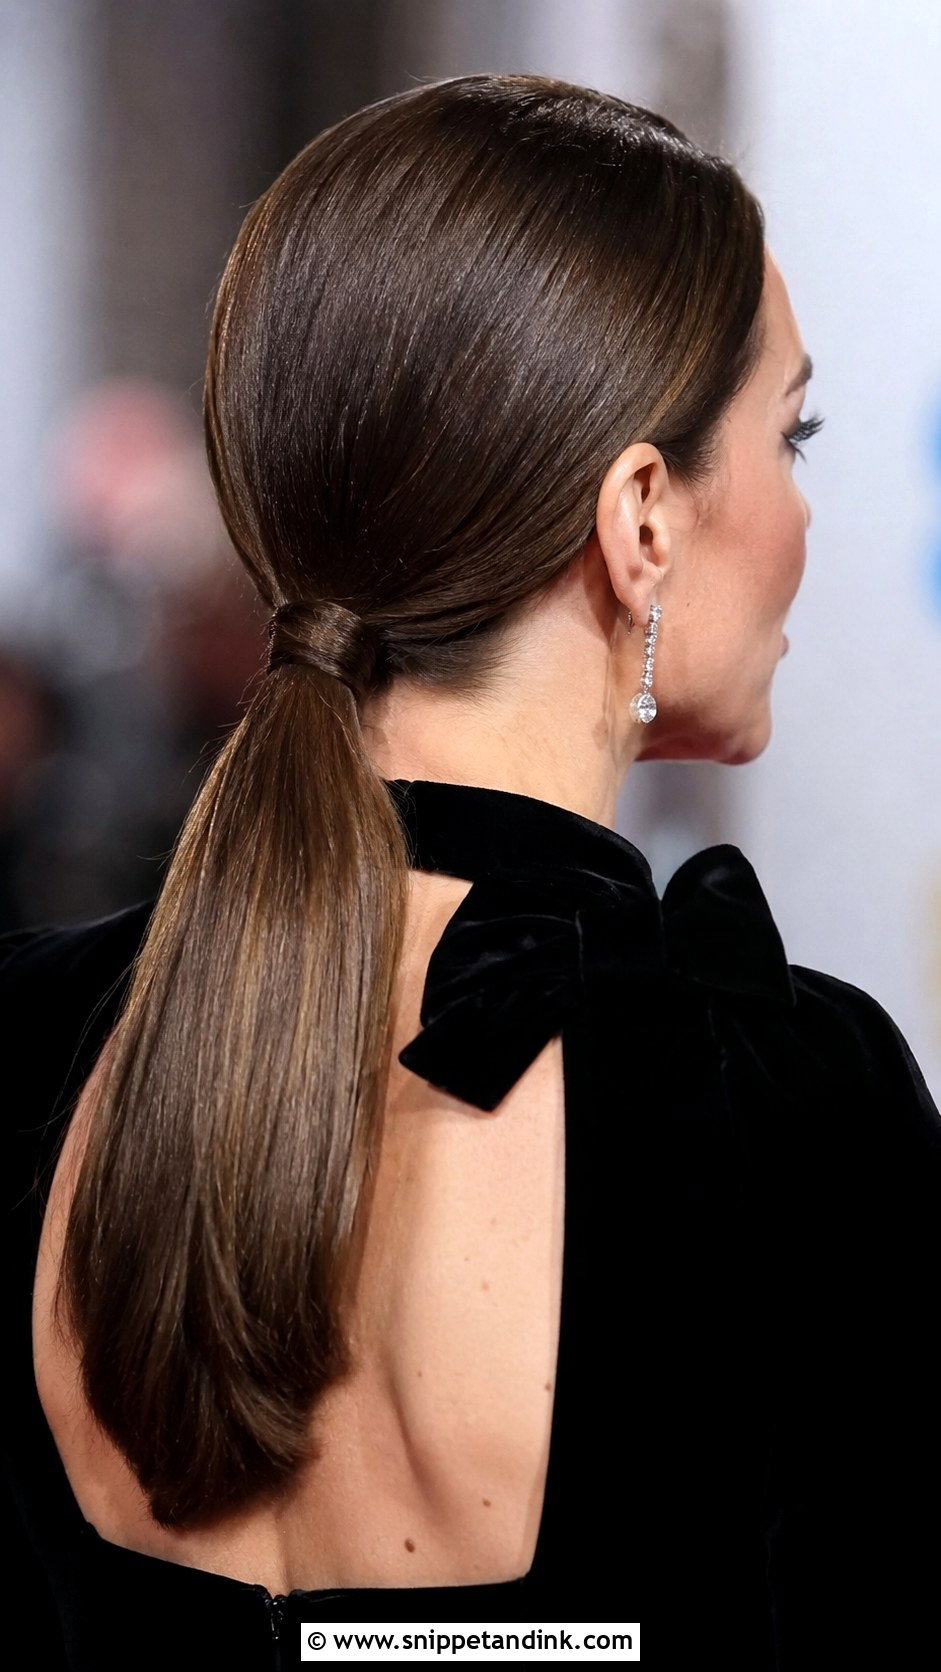
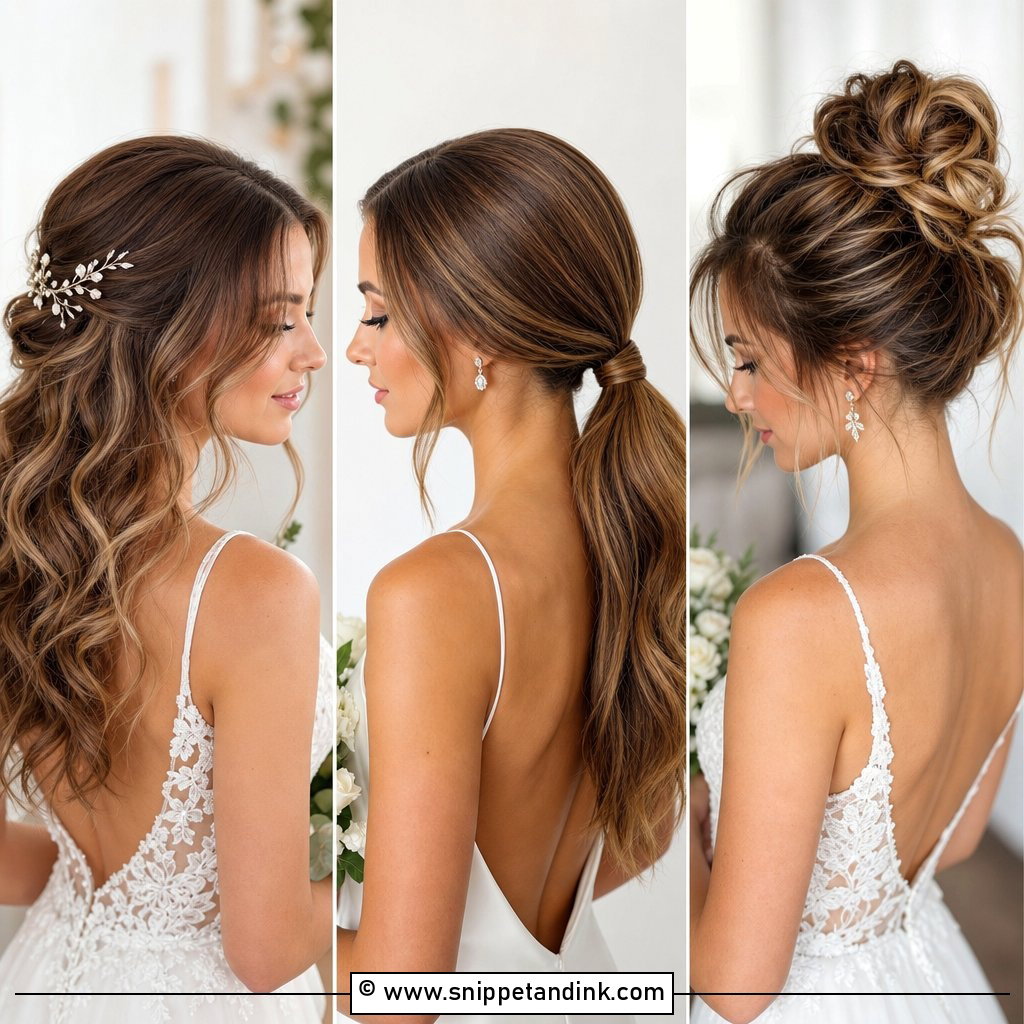
A low ponytail needs a lob or a longer bob that reaches the nape. I gather the hair, secure it with a small elastic, then wrap a section around the base to hide it, pinning the end underneath. Shorter pieces at the nape will escape; a little gel on a toothbrush smooths them in. A velvet bow or jeweled clip adds elegance. It’s comfortable and controlled for a long day.
24. Curly Pixie With Defined Texture
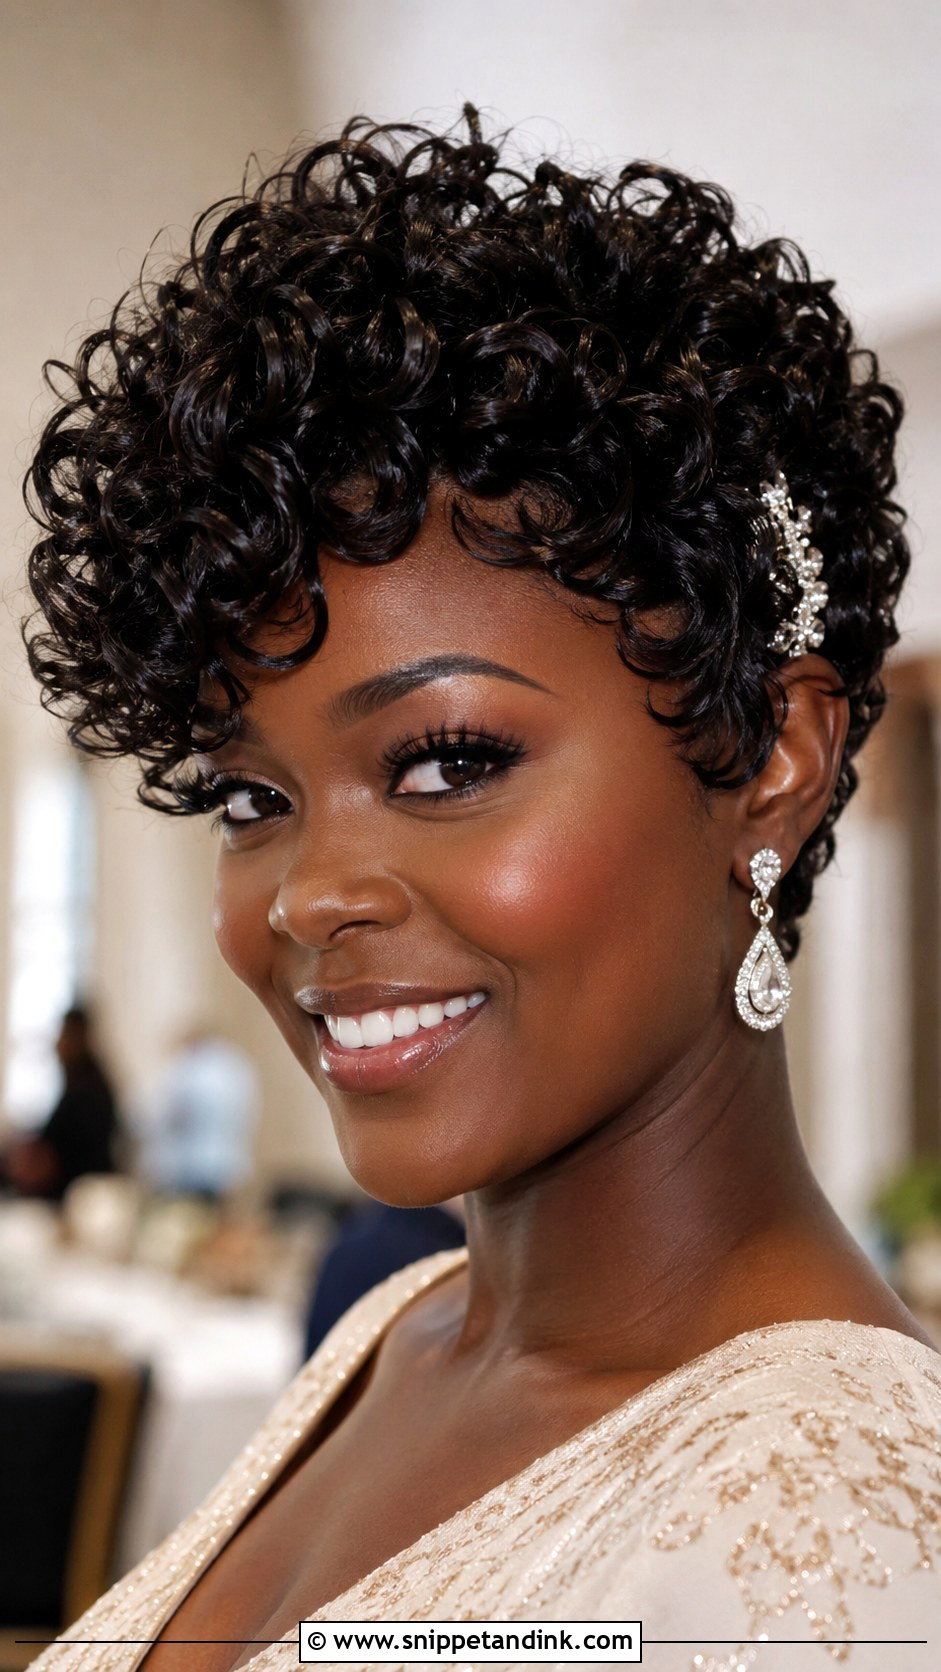
A defined pixie with natural curls only needs moisture and patience. I apply curl cream to wet hair, scrunch, and let it dry without touching. A sparkly clip or small floral pin dresses it up. It suits weddings in any season, and curls rarely lose their shape in humidity the way straightened styles do.
25. Glamorous Hollywood Waves
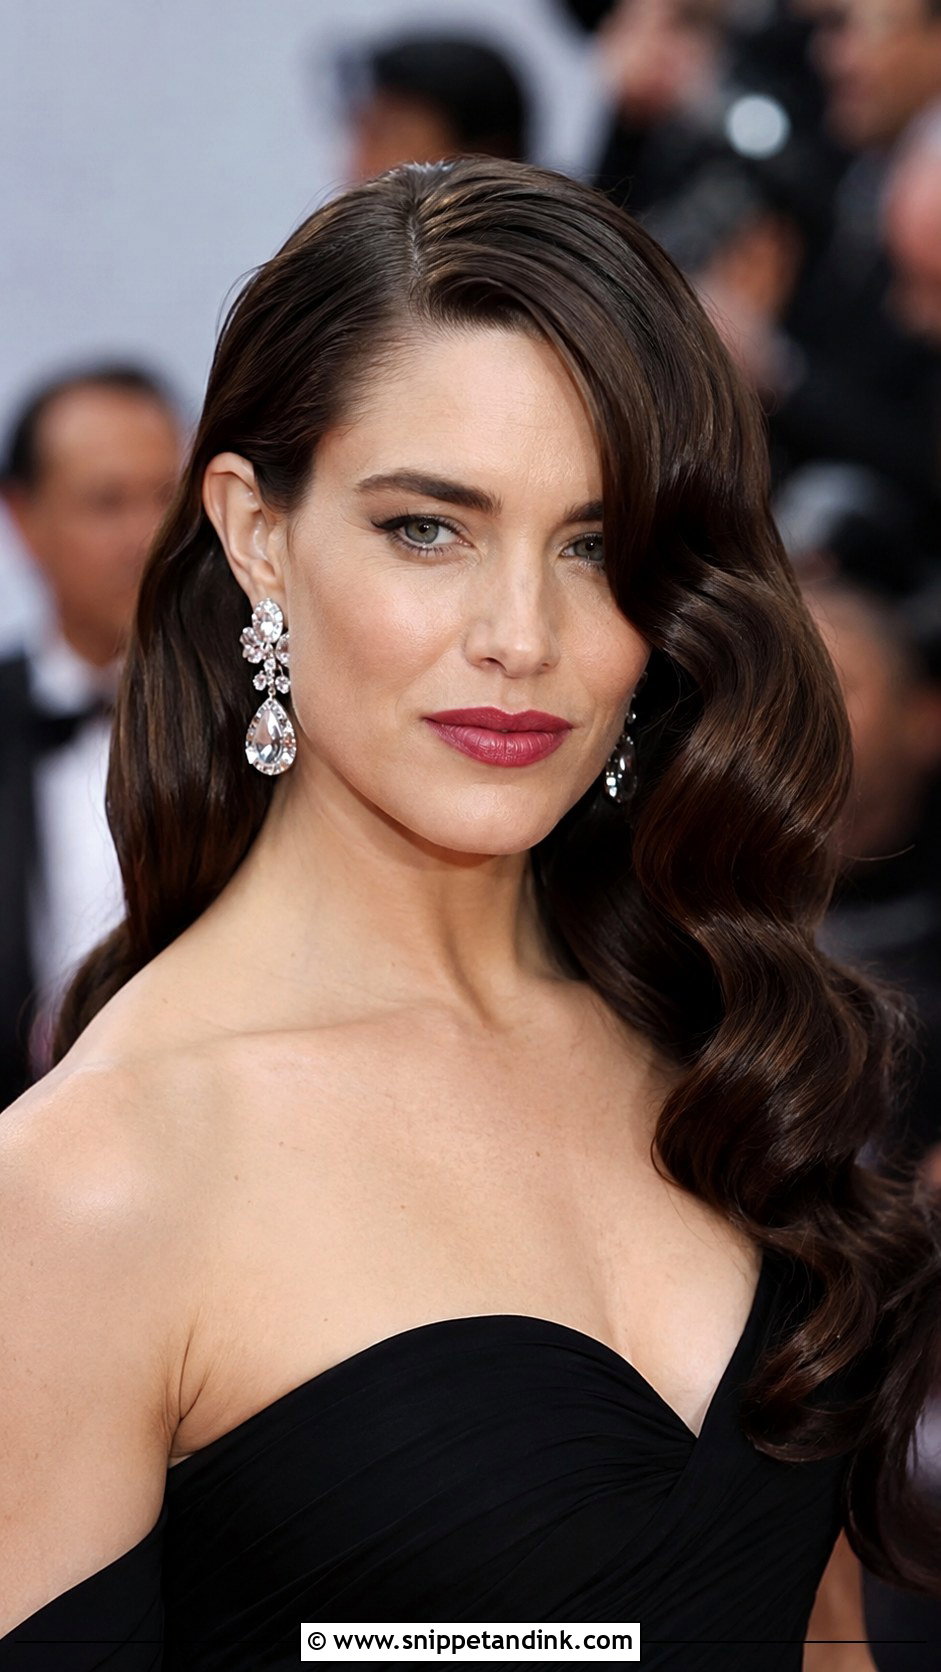
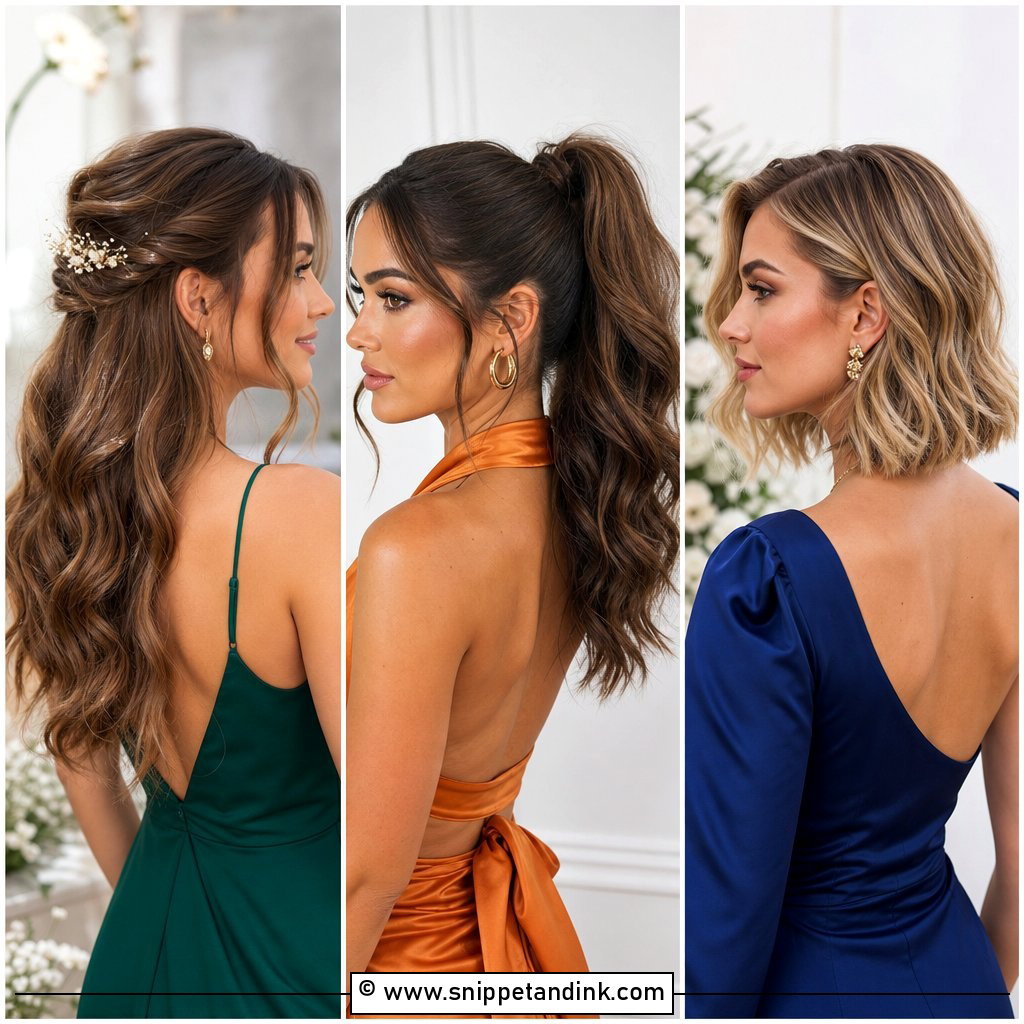
Hollywood waves rely on curling every section in the same direction. I set deep, uniform waves with an iron, let them cool, then brush them out into smooth ripples and press the ridges with clips while spraying. A deep side part, bold lip and statement earrings complete it. They take setting time, but they’re one of the most elegant choices for a black-tie wedding.
26. Messy Bun For Short Bob
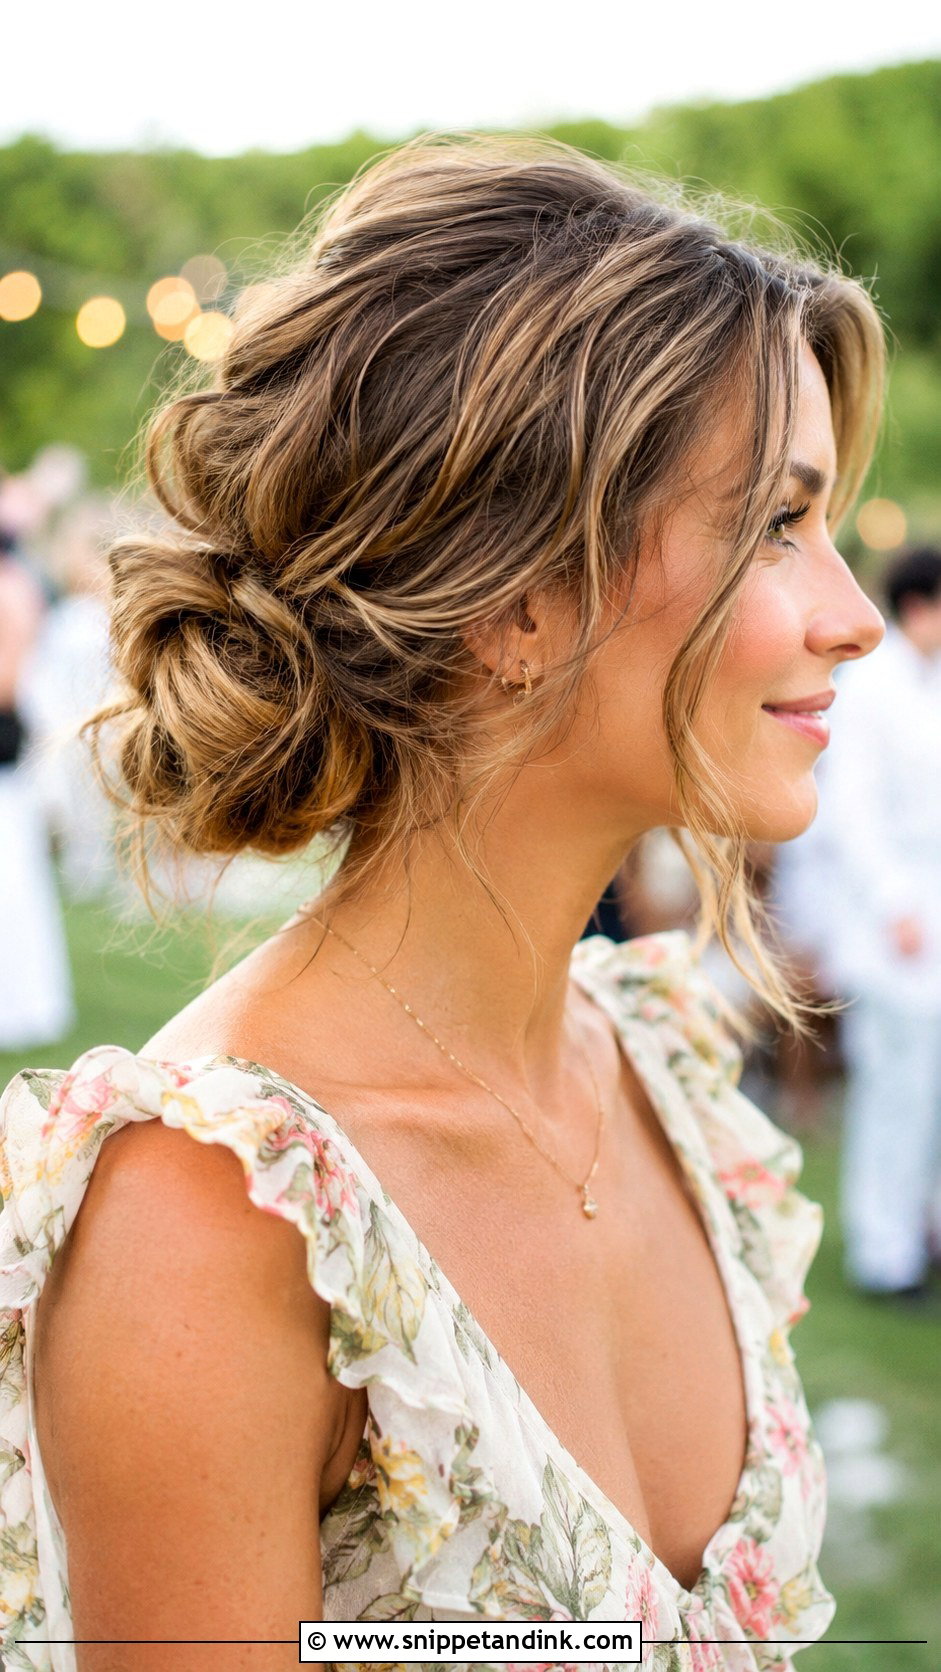
A messy bun on a short bob is a gathered twist rather than a true bun. I pull the hair loosely back, twist it, pin it, and let the shorter pieces fall around the face. That loose fallout is part of the look, so don’t fight it. It suits garden or beach weddings, and a small pin or flower adds polish.
27. Sleek Pixie With Side Part
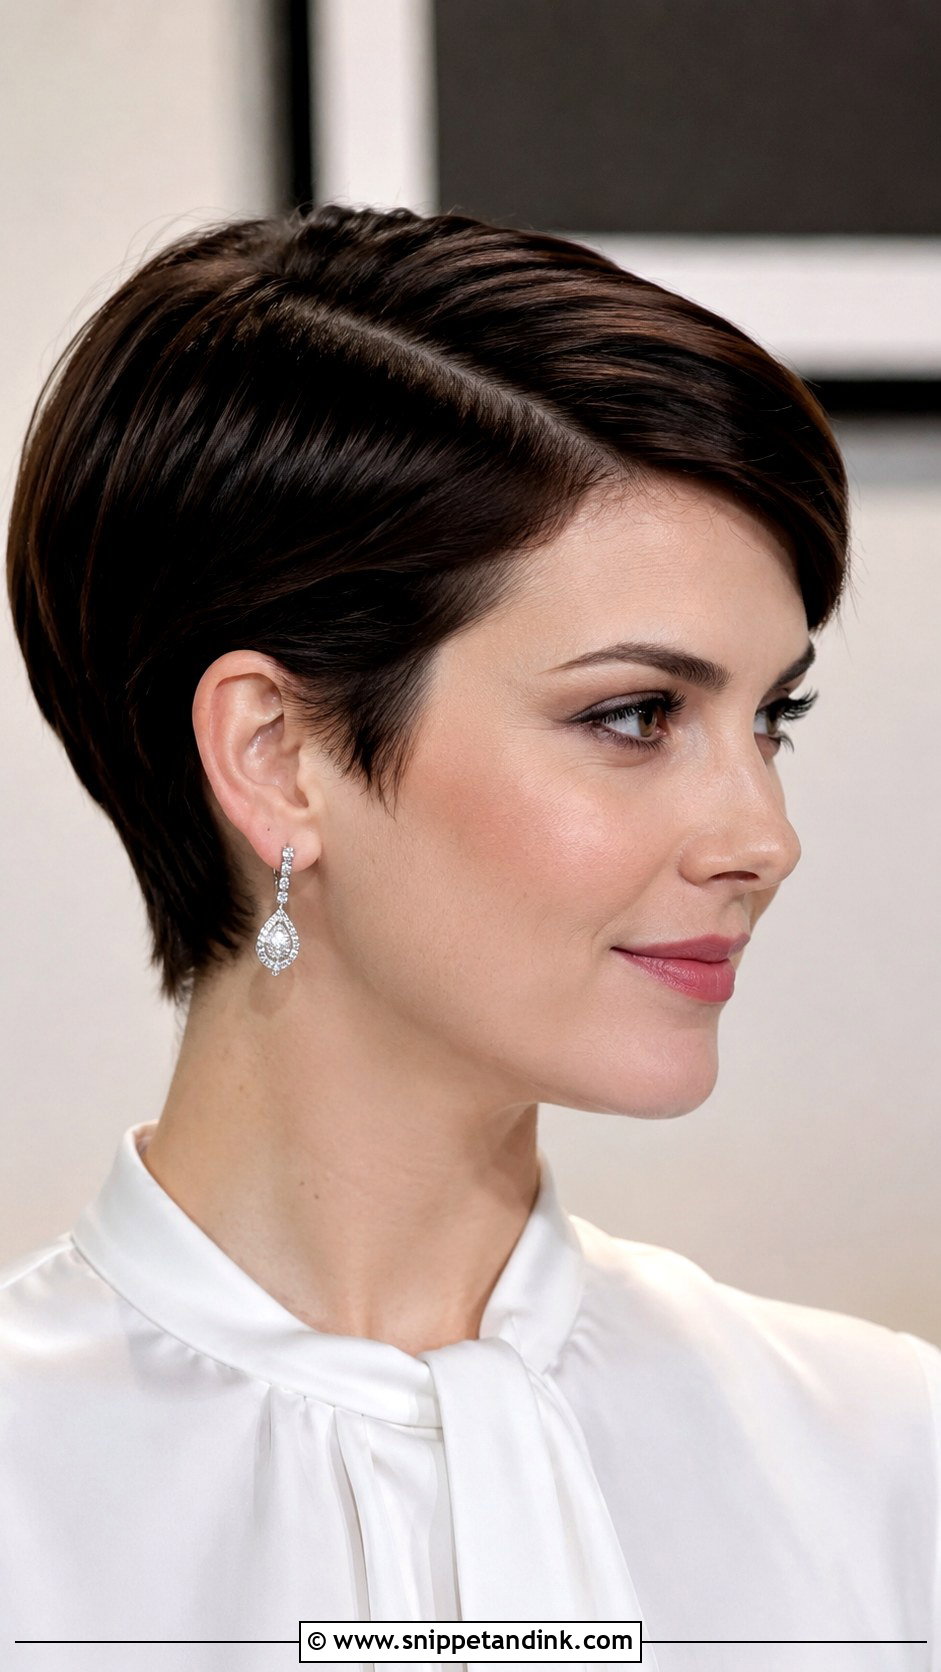
A sleek pixie with a defined side part is about the line. I comb the part with a tail comb, smooth the hair flat with a little pomade, and keep the finish shiny but not wet. It highlights facial features and suits formal weddings with statement earrings. It holds its shape all day; just carry a small comb for the part.
28. Twisted Updo With Accessories
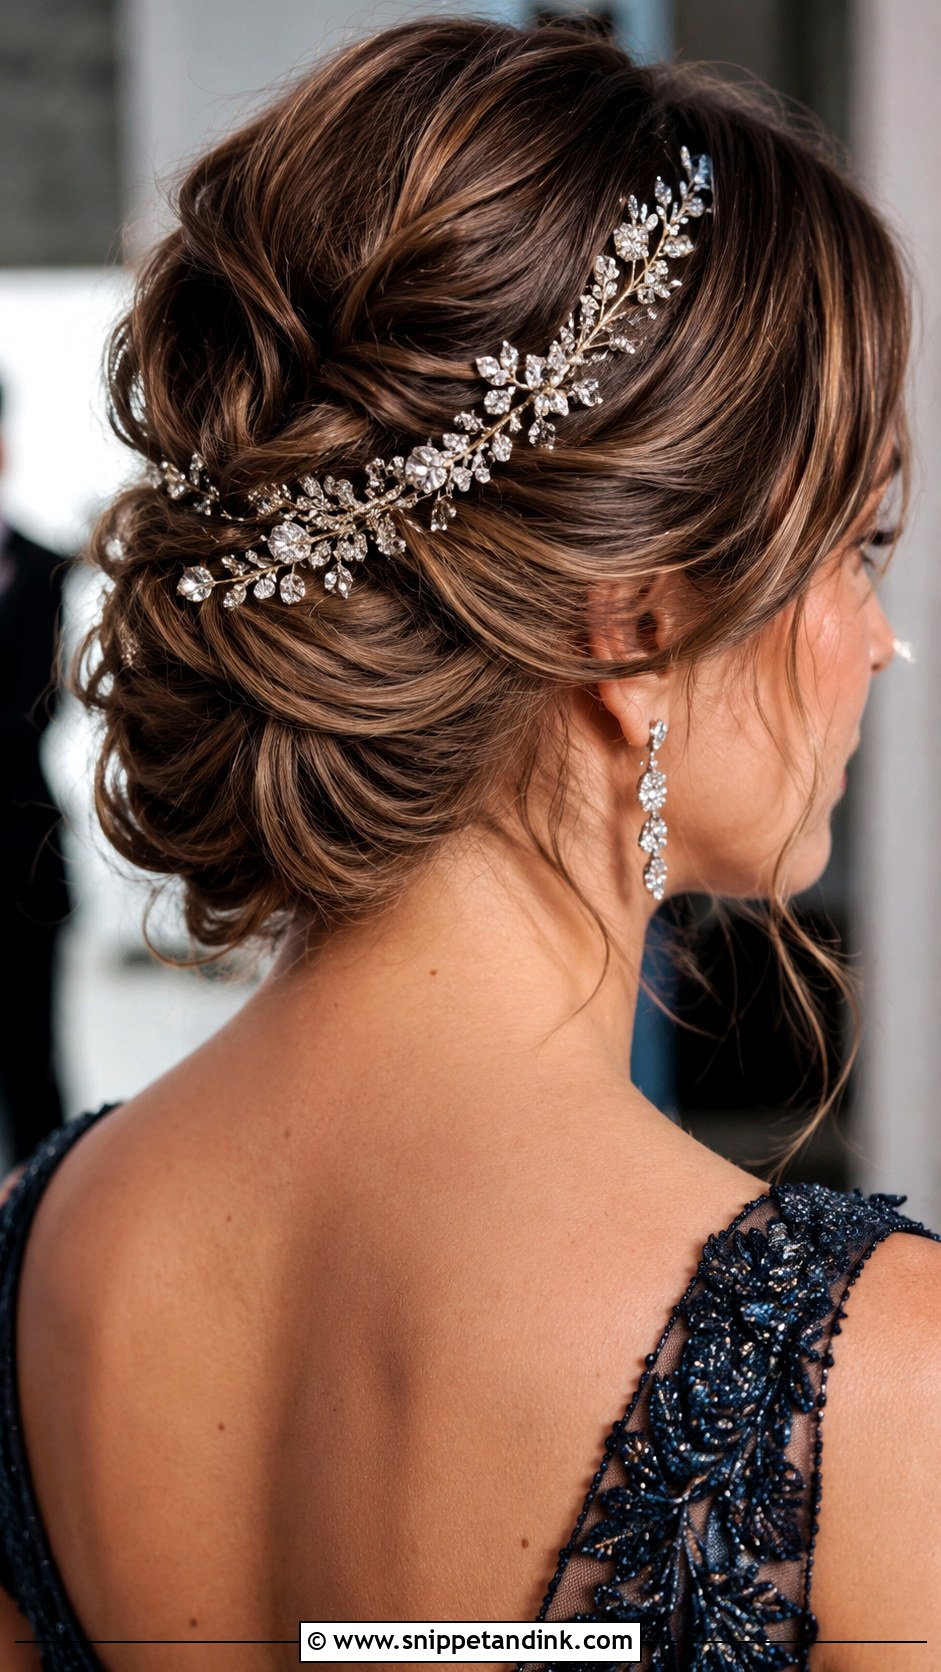
A twisted updo becomes festive once accessories go in. I twist small sections back, pin them into a soft shape, then add jeweled combs or pearl pins where the twists meet. On bobs, texture spray and a lot of pins make it possible. It suits formal weddings and high necklines. Place accessories last, after the hair is fully secure.
29. Wavy Bob With Deep Part
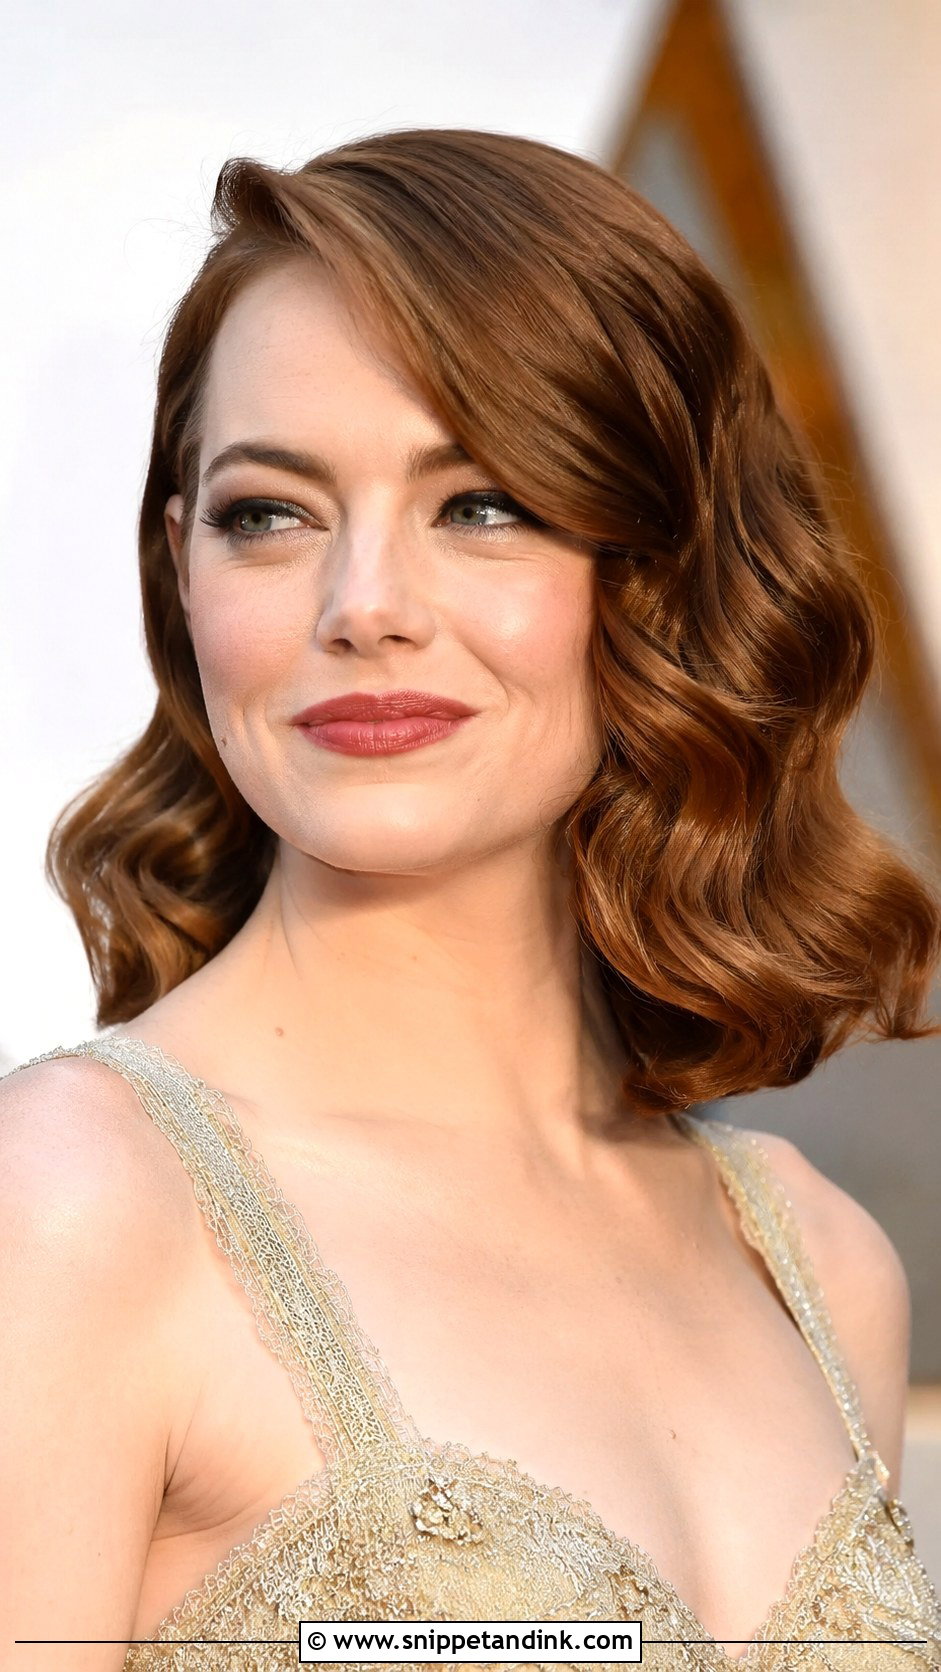
A wavy bob with a deep part is my go-to suggestion when a guest isn’t sure what to wear. I wave the bob, then flip the part over to the deeper side so the root lifts. Tuck one side behind the ear for earrings. It suits casual and formal weddings and is easy to refresh during the day.
30. Chignon With Side Tendrils
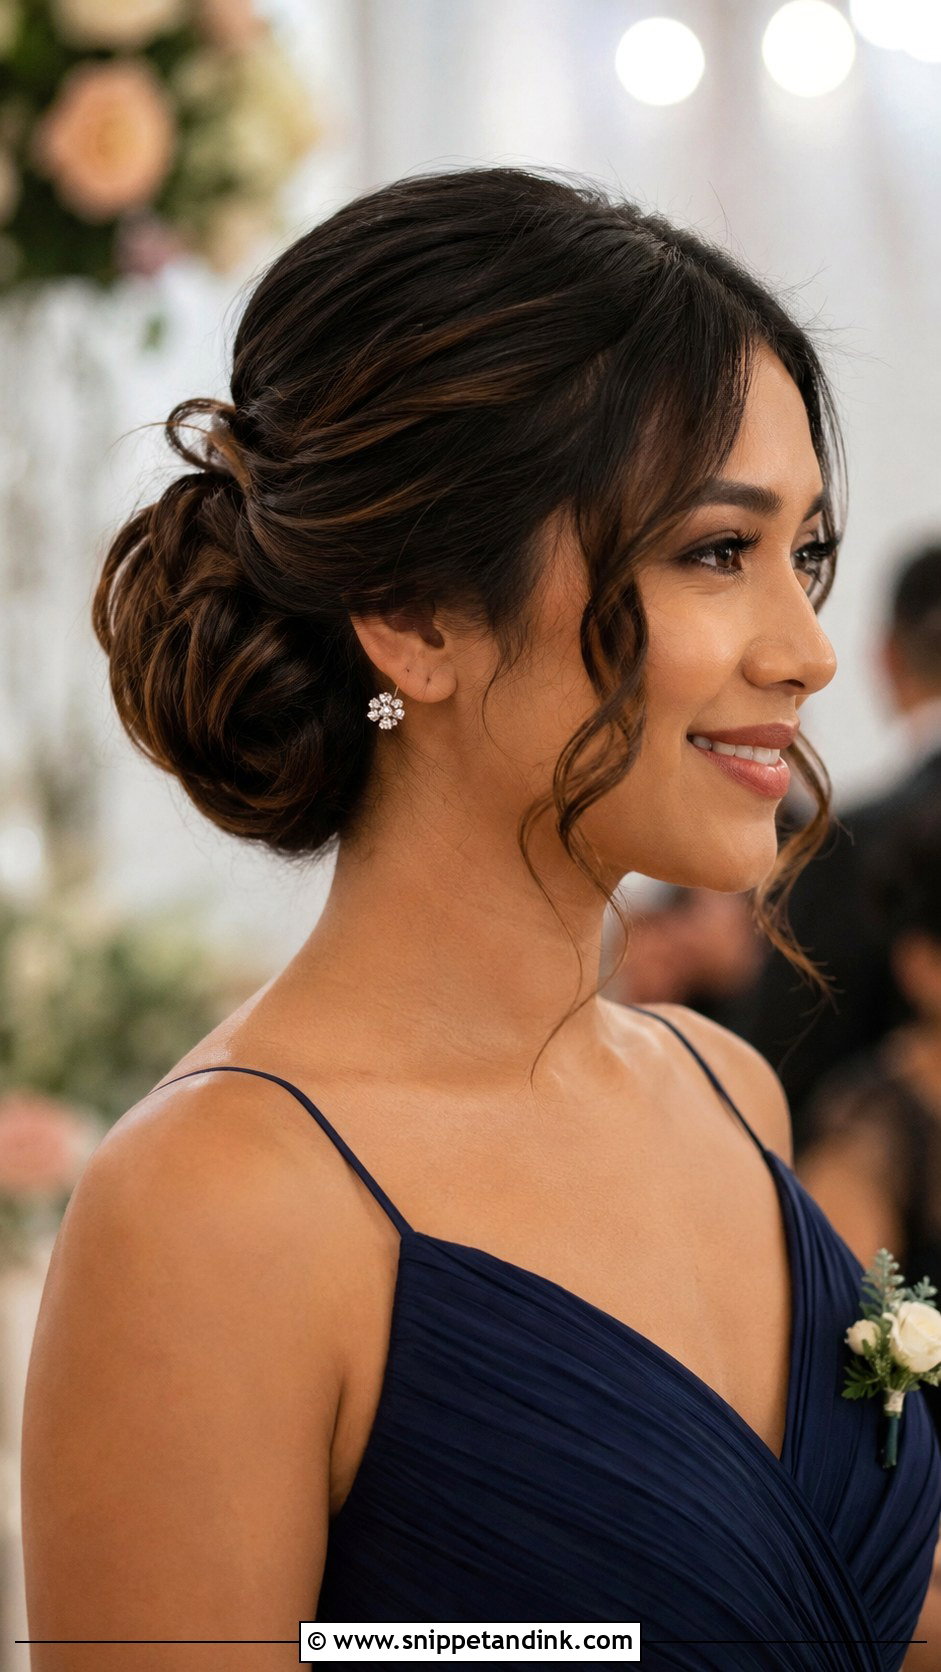
A chignon with side tendrils needs hair that reaches the nape. I gather it low, twist it into a knot, pin it securely and then release a few face-framing pieces with a tail comb. The tendrils soften it and hide short pieces. It keeps hair off your neck in warm weather and suits elegant gowns. A sparkly pin or small flower adds charm.
Rescuing Short Hair Halfway Through the Reception
Short styles rarely fall apart completely. They wilt in small ways, and most of the fixes take a minute in a restroom mirror.
Waves have dropped
Twist a few sections around your finger, hold for a few seconds, and mist lightly with spray. Don’t add more product to the roots; it only flattens them further.
Pins are sliding
Remove the loose pin, cross a fresh bobby pin under the spot, then slide the original back in over it. The crossed pin gives it something to grip.
The nape is damp after dancing
Blot with a tissue and let air reach the back of the neck for a few minutes. If short pieces have curled up, smooth them with a damp fingertip rather than re-pinning.
The fringe has split
A pinch of powder or a blotting paper on the forehead first, then a comb through. Oil from the skin is usually the cause, not the hair itself.
Caught in the rain between venues
Don’t rub it with a towel. Press the water out with a napkin, then use the hand dryer on its lowest setting at the roots while you push the hair back into its part. Sleek styles recover better than waved ones, so I’d lean sleek if the forecast looks wet.
Your Shortest Layer Decides More Than Your Face Shape
Short hair works for wedding guests in more ways than most people expect, from sleek bobs and textured pixies to chignons and vintage waves. The style you pick should match your hair’s real length, especially at the back of the neck, before anything else. Then think about the formality of the wedding and how comfortable you’ll be in the look for hours. Accessorize with one good piece, practice once at home, and you’ll walk in feeling finished.
You'll Like These Ideas:


Leave a Reply