
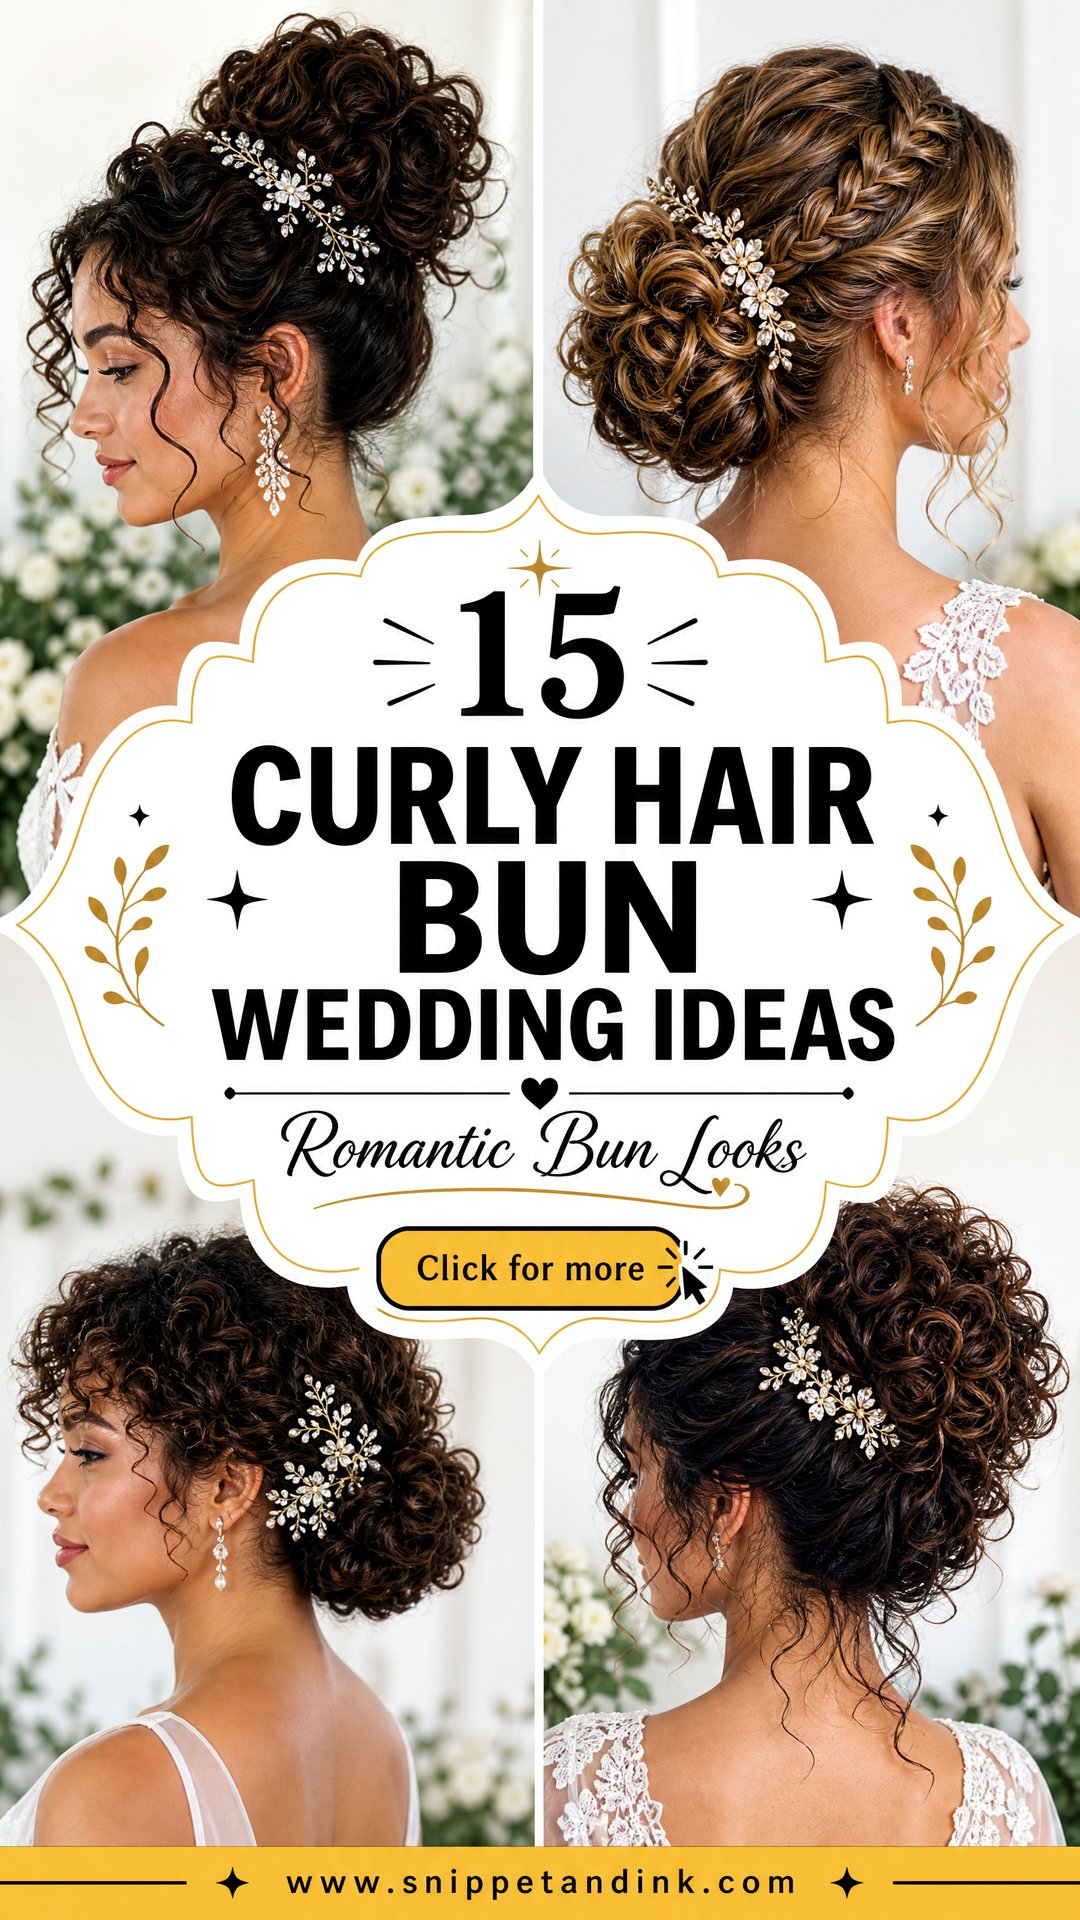
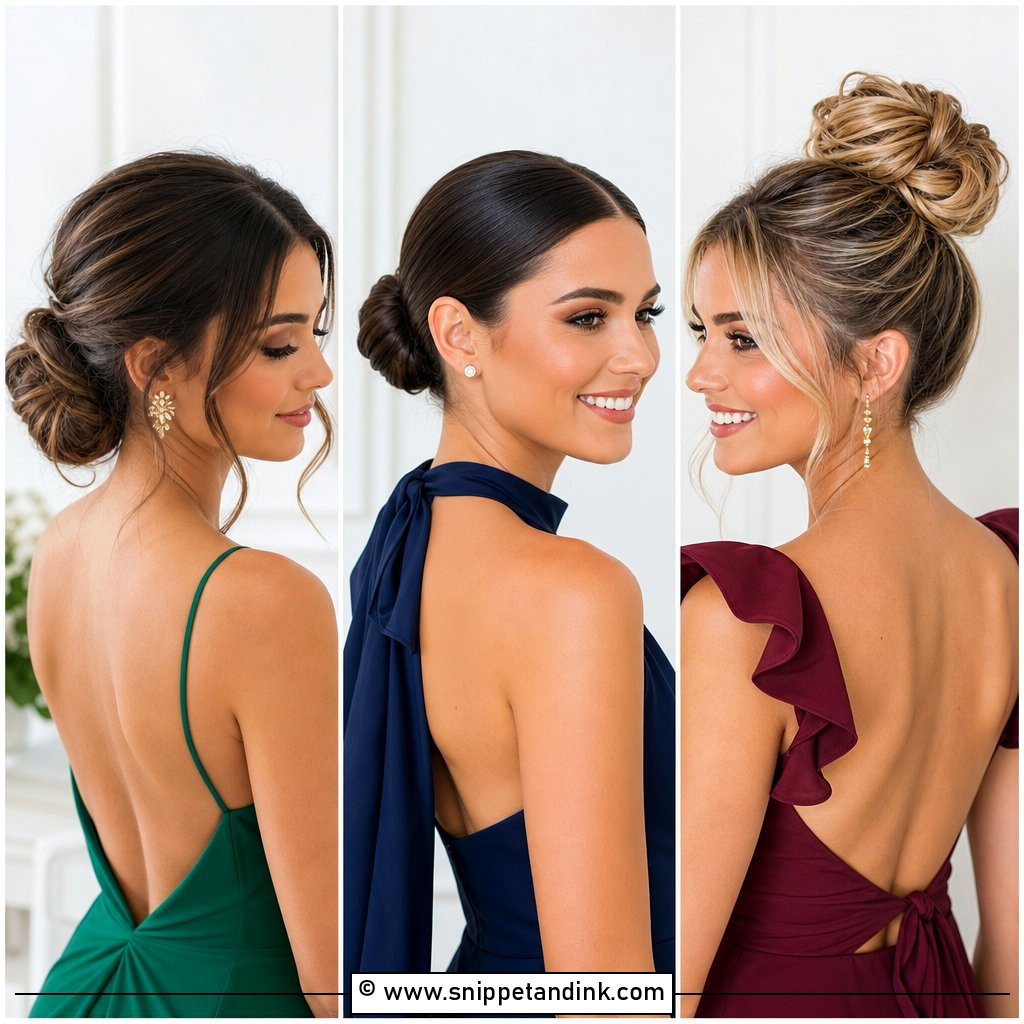
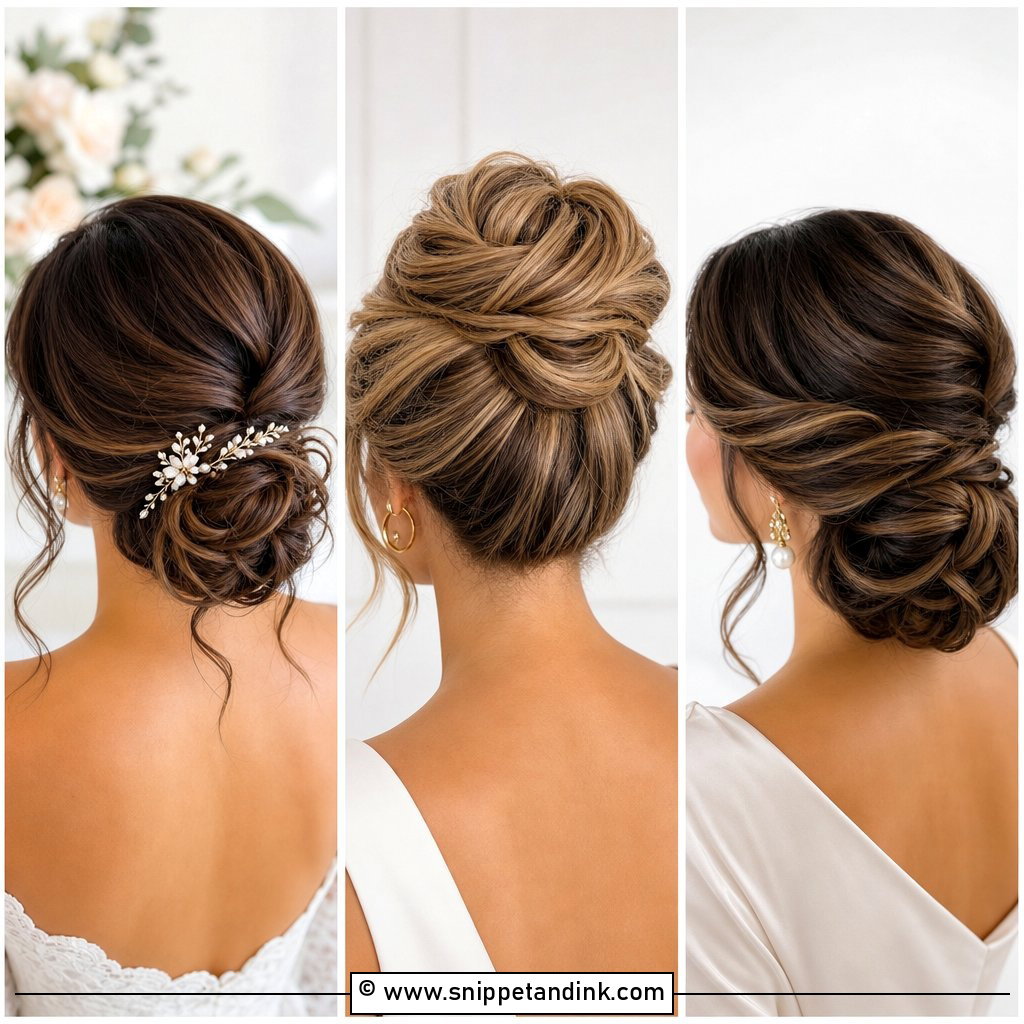
A curly bun is the rare wedding style that looks finished without asking you to give up your texture. I pin more of them now than any other updo, for brides, bridesmaids and guests: defined curls, a few face-framing tendrils, a pearl or a bloom tucked in, and a low shape that holds up from every camera angle. Stiff, heavily sprayed buns have mostly given way to something softer and lived-in. The fifteen below work on loose waves, springy curls and tight coils. If you’re a guest doing your own hair, there’s a simple at-home method just before the list.
Pinning a Curly Bun Yourself as a Guest or Bridesmaid
Not everyone in a wedding party gets a stylist, and a curly bun is one of the friendlier looks to do at home. I always suggest a practice run the weekend before, with the same products and pins you’ll use on the day.
- Start on dry, defined curls from a wash a day or two earlier. Second-day texture grips pins far better than freshly washed hair.
- Gather the hair loosely with your fingers at the height you want and secure it with a soft elastic that matches your hair.
- Split the ponytail into three or four sections and twist each one loosely around the base, pinning as you go.
- Use U-shaped pins for shaping and regular bobby pins only to lock the base. U-pins hold curls without crushing them.
- Pull out two or three curls near the temples, then set everything with a light flexible spray held at arm’s length.
Fine or slippery hair? A little dry texture spray at the roots before you gather it helps more than piling in extra pins. Bridesmaids should agree on a rough bun height so the line-up looks deliberate in group photos.
1. Low Curly Hair Wedding Bun
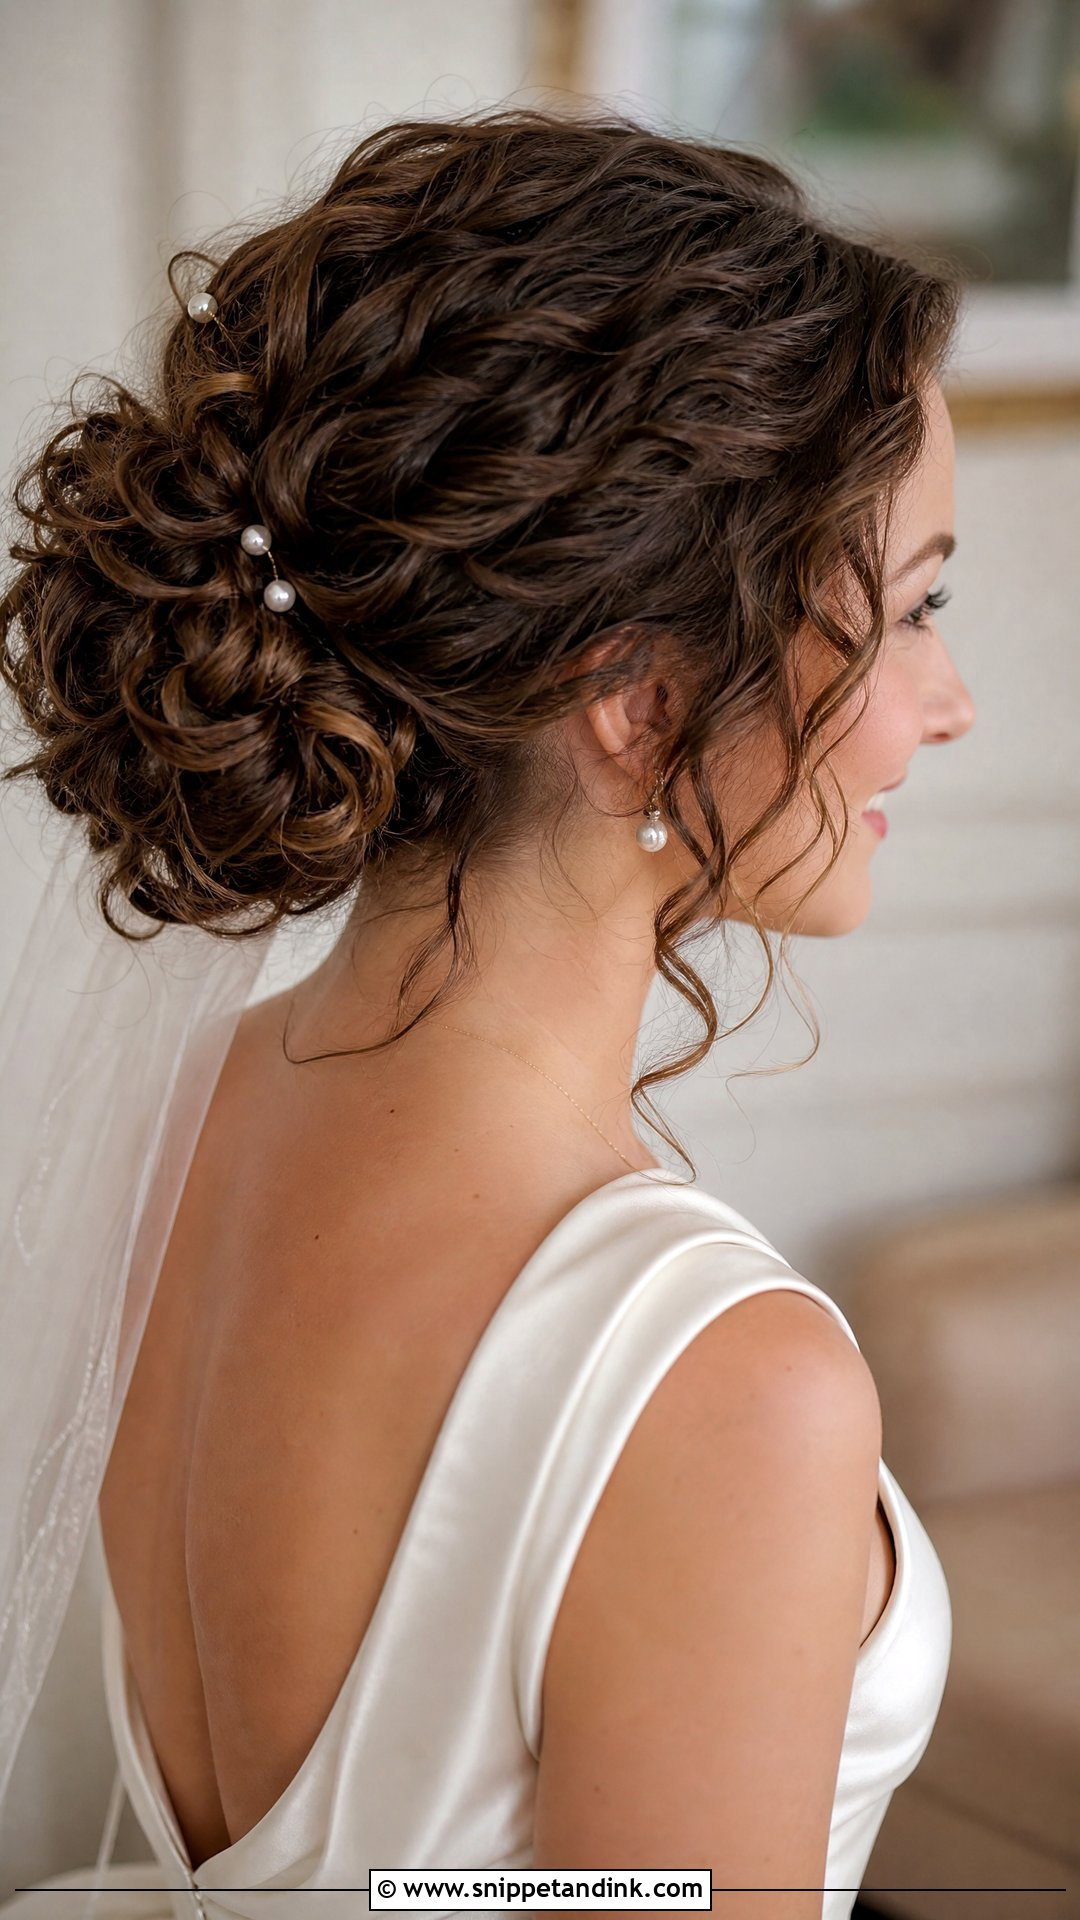
Start here if you can’t decide. A low bun sits at the nape, keeps your curl pattern on show and never fights a veil, a comb or a neckline. The order matters, though. I define the curls first, with cream and a diffuser or a few spirals redone with a small iron, and only then gather them into a loose, rounded bun. Brushing curls smooth before pinning is what turns this style frizzy and flat. Leave a curl at each cheekbone and it’s done.
2. Messy Curly Hair Wedding Bun
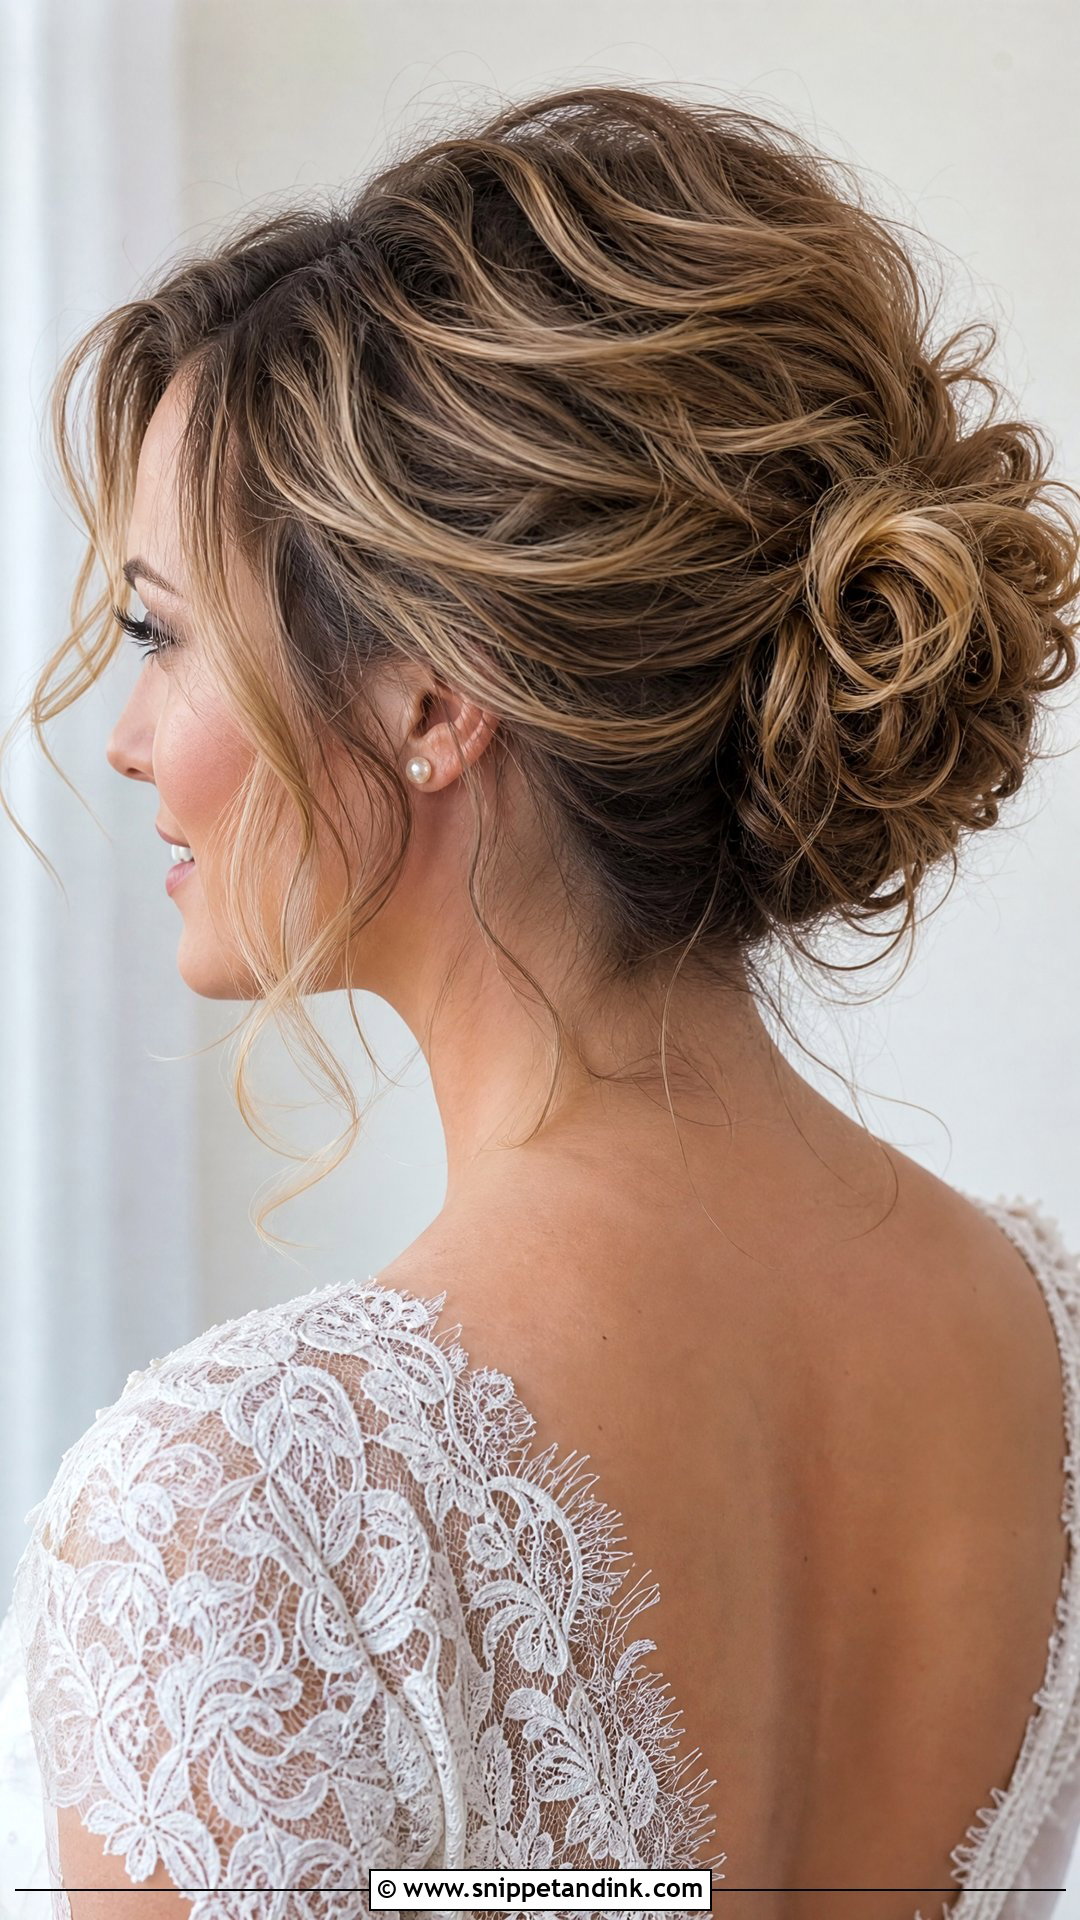
“Messy” is the most misunderstood word I hear at consultations. Nobody actually wants random frizz; what they want is controlled softness, curls pinned so the bun looks airy and full. Medium to long hair suits it best, because the extra length gives me material to loop and layer. Curl cream, a light gel and a flexible spray keep it touchable rather than crunchy. If you’re wearing an off-shoulder gown, this is a natural partner, and a few small pearls are about all the decoration it needs.
3. High Curly Hair Wedding Bun
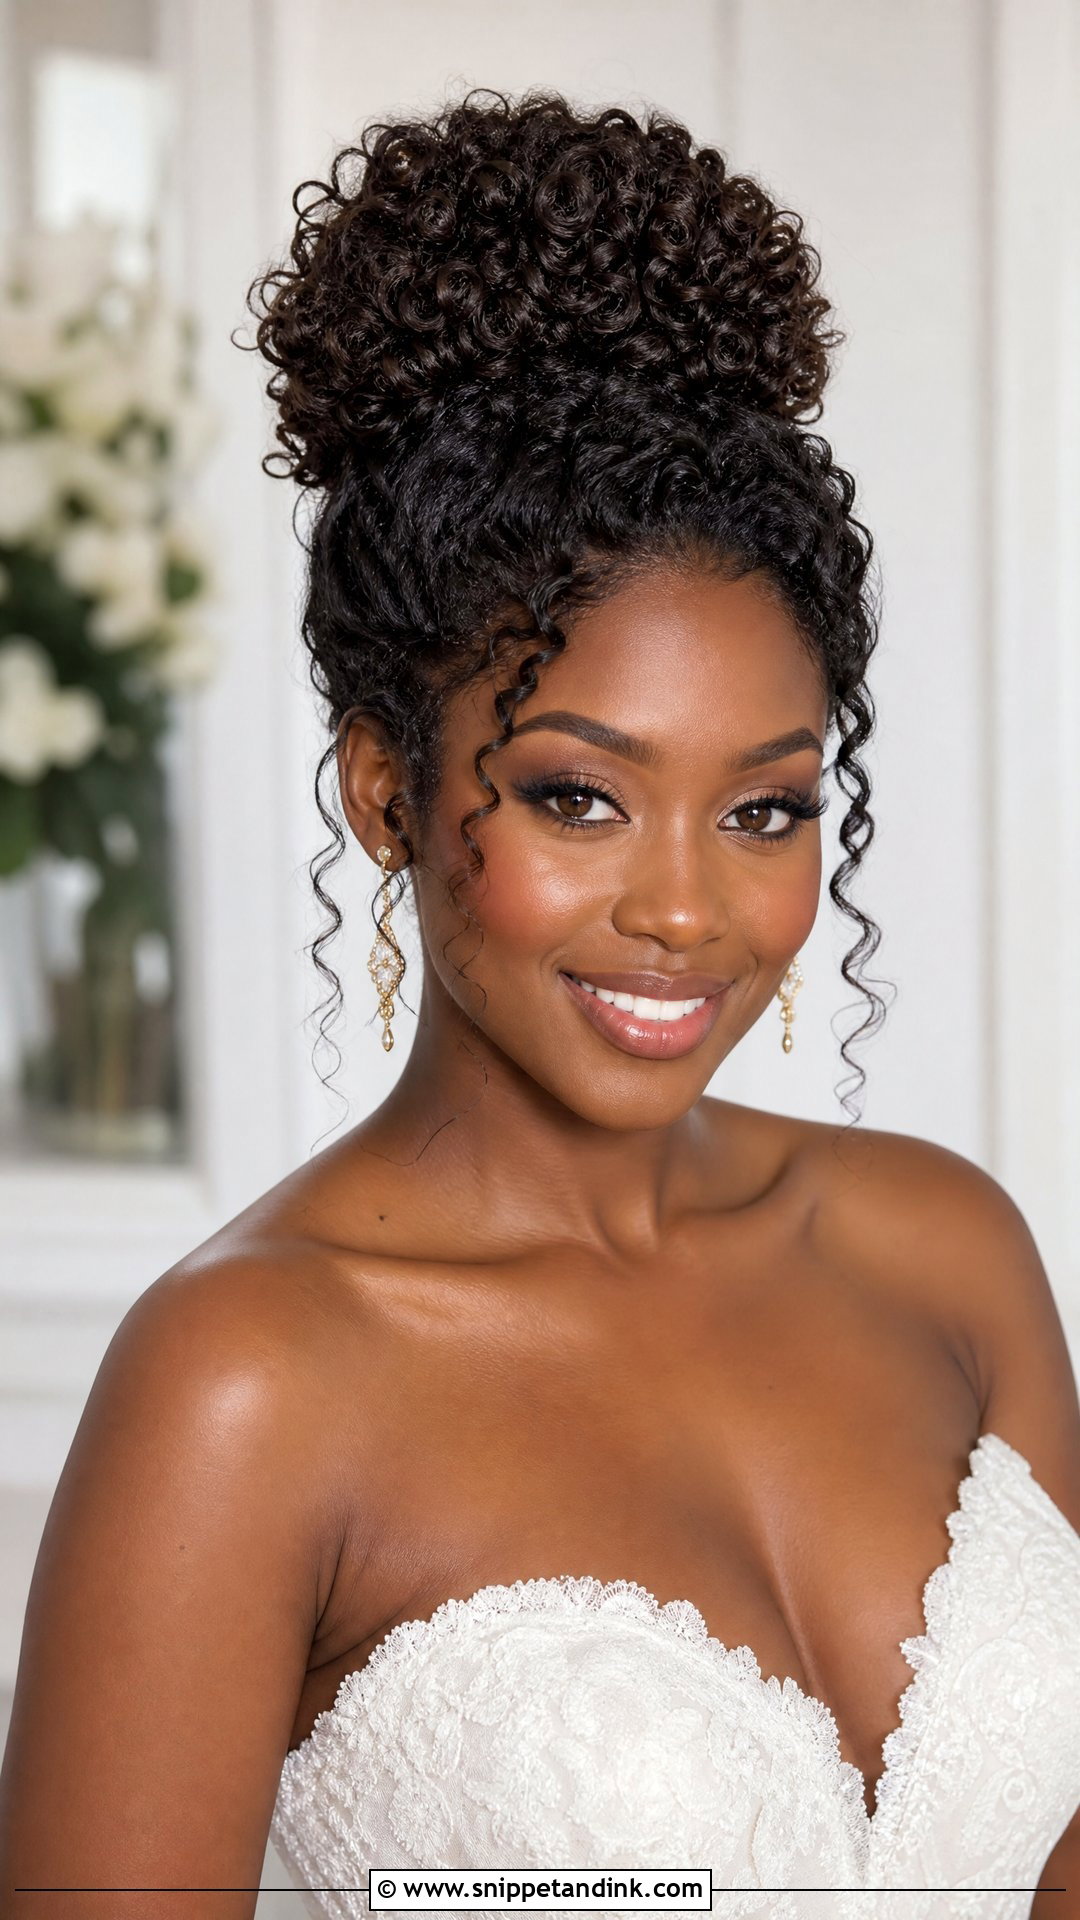
Gathering curls high on the crown lifts everything with them: the neck looks longer and earrings and neckline get the attention. The risk is tension. Pull curly hair up too tight and the roots go flat while the hairline starts to ache, so I gather it with my hands rather than a brush and let some volume stay at the base. On a hot day this is the coolest bun on the list, since nothing touches your shoulders. One honest note: it’s harder to pair with a long veil, which tends to slide backward off a high shape.
4. Side Curly Hair Wedding Bun
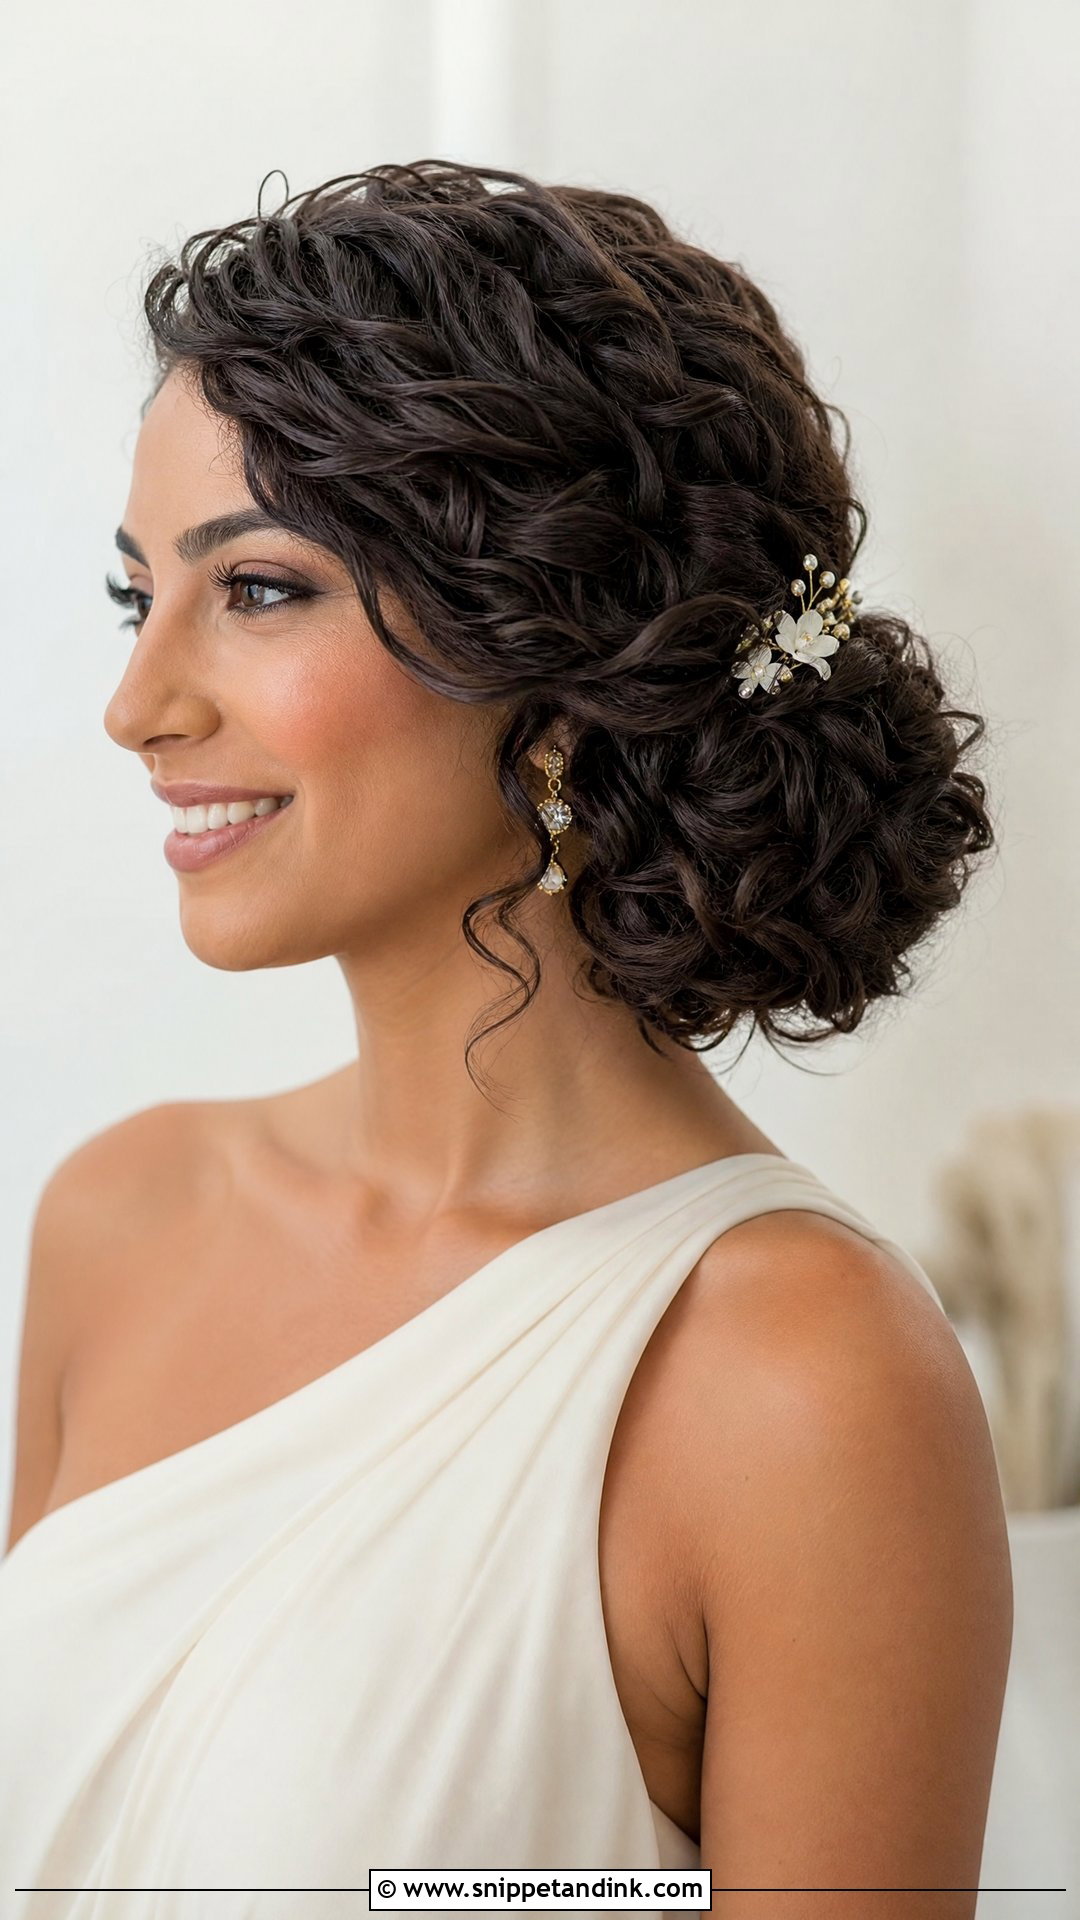
There’s a slight vintage feeling to a side bun, though it doesn’t read old-fashioned. It sits near the lower ear or along the jaw, so it shows up in front-on portraits where a nape bun would disappear. That makes it an obvious match for asymmetrical necklines, one-shoulder gowns and a single statement earring. I usually pair it with a deep side part for structure. Before the trial, think about which profile you like best, because the bun will own that side of every photo.
5. Curly Hair Wedding Bun With Veil
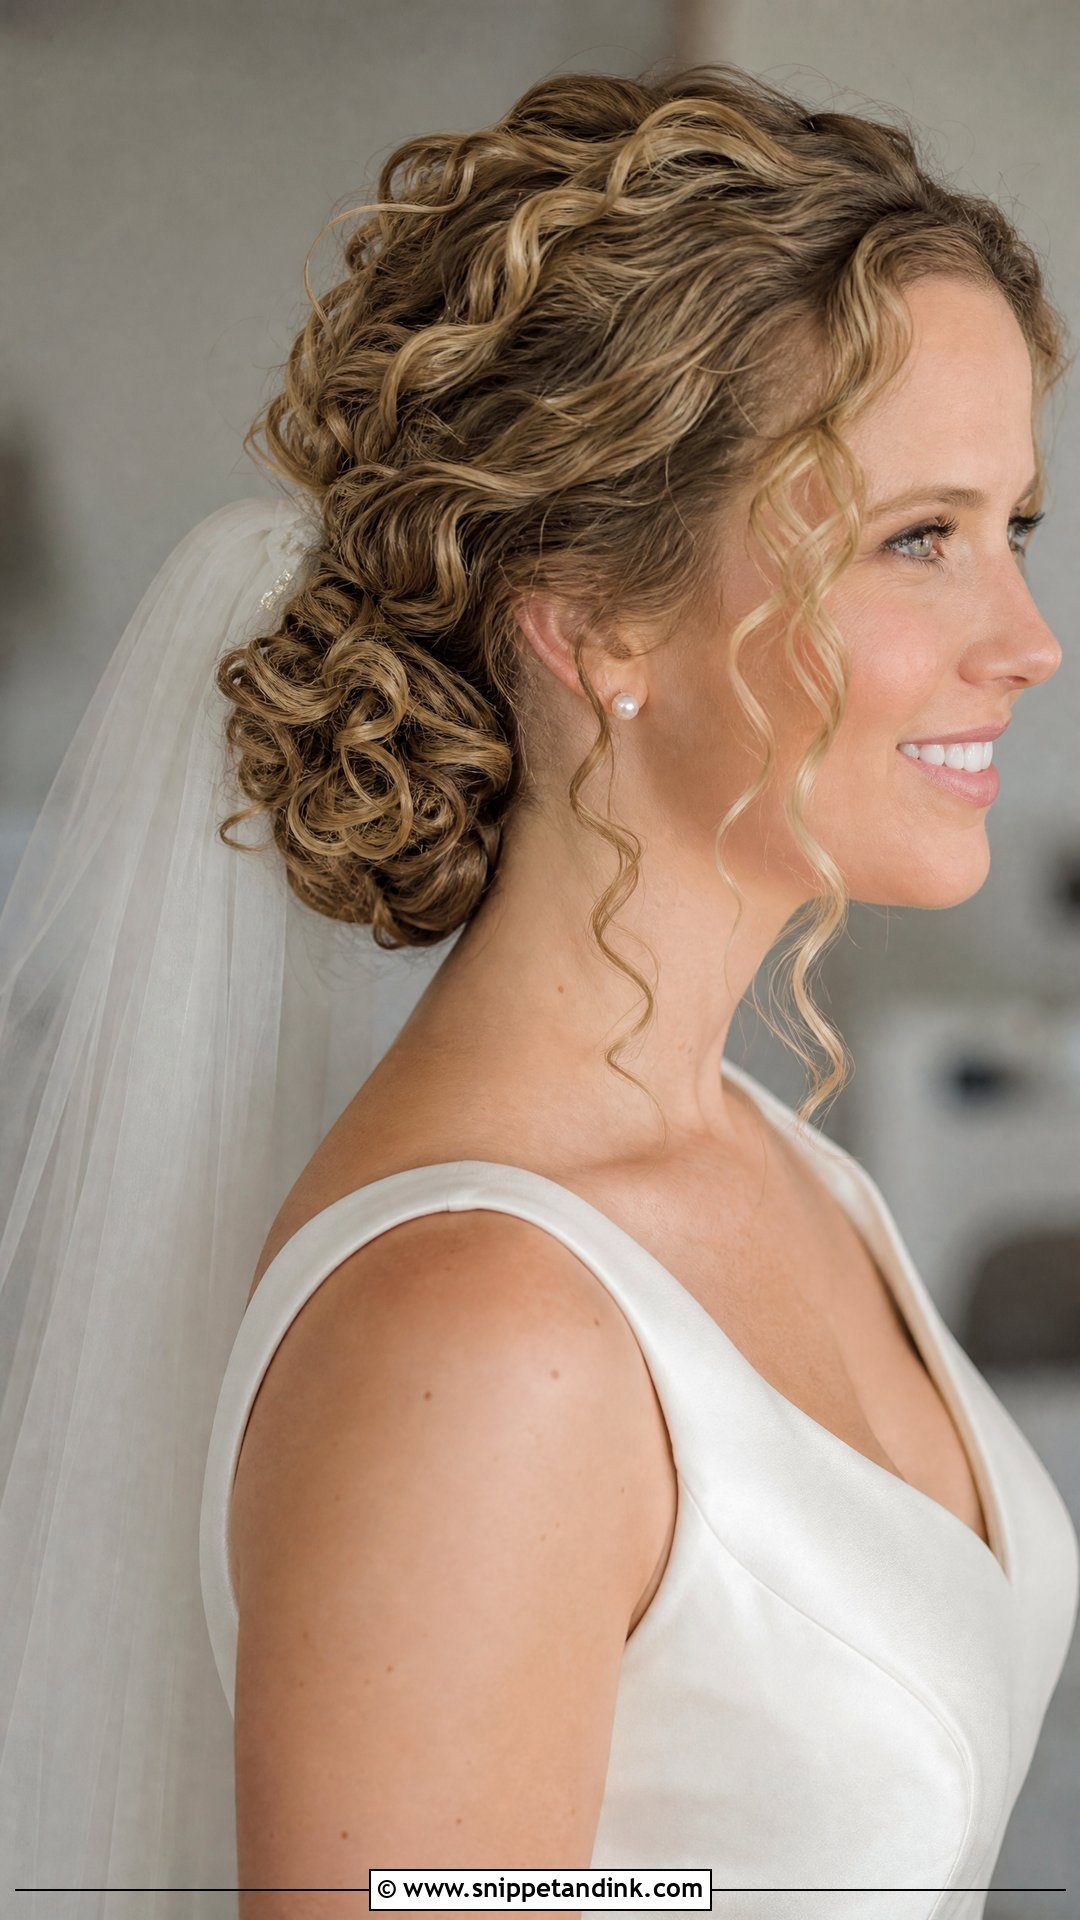
The veil comb needs a firm base, and a curly bun gives it one. I find low and mid-height buns easiest, since the veil can fall straight without dragging the style downward. Placement changes the build. A veil tucked above the bun needs a soft, lifted top for the comb to sink into; a veil set underneath needs a fuller, rounder bun so the curls still show around the tulle. Bring the actual veil to your trial, not a photo of it, because weight and comb size vary more than you’d expect.
6. Curly Hair Wedding Bun With Pearls
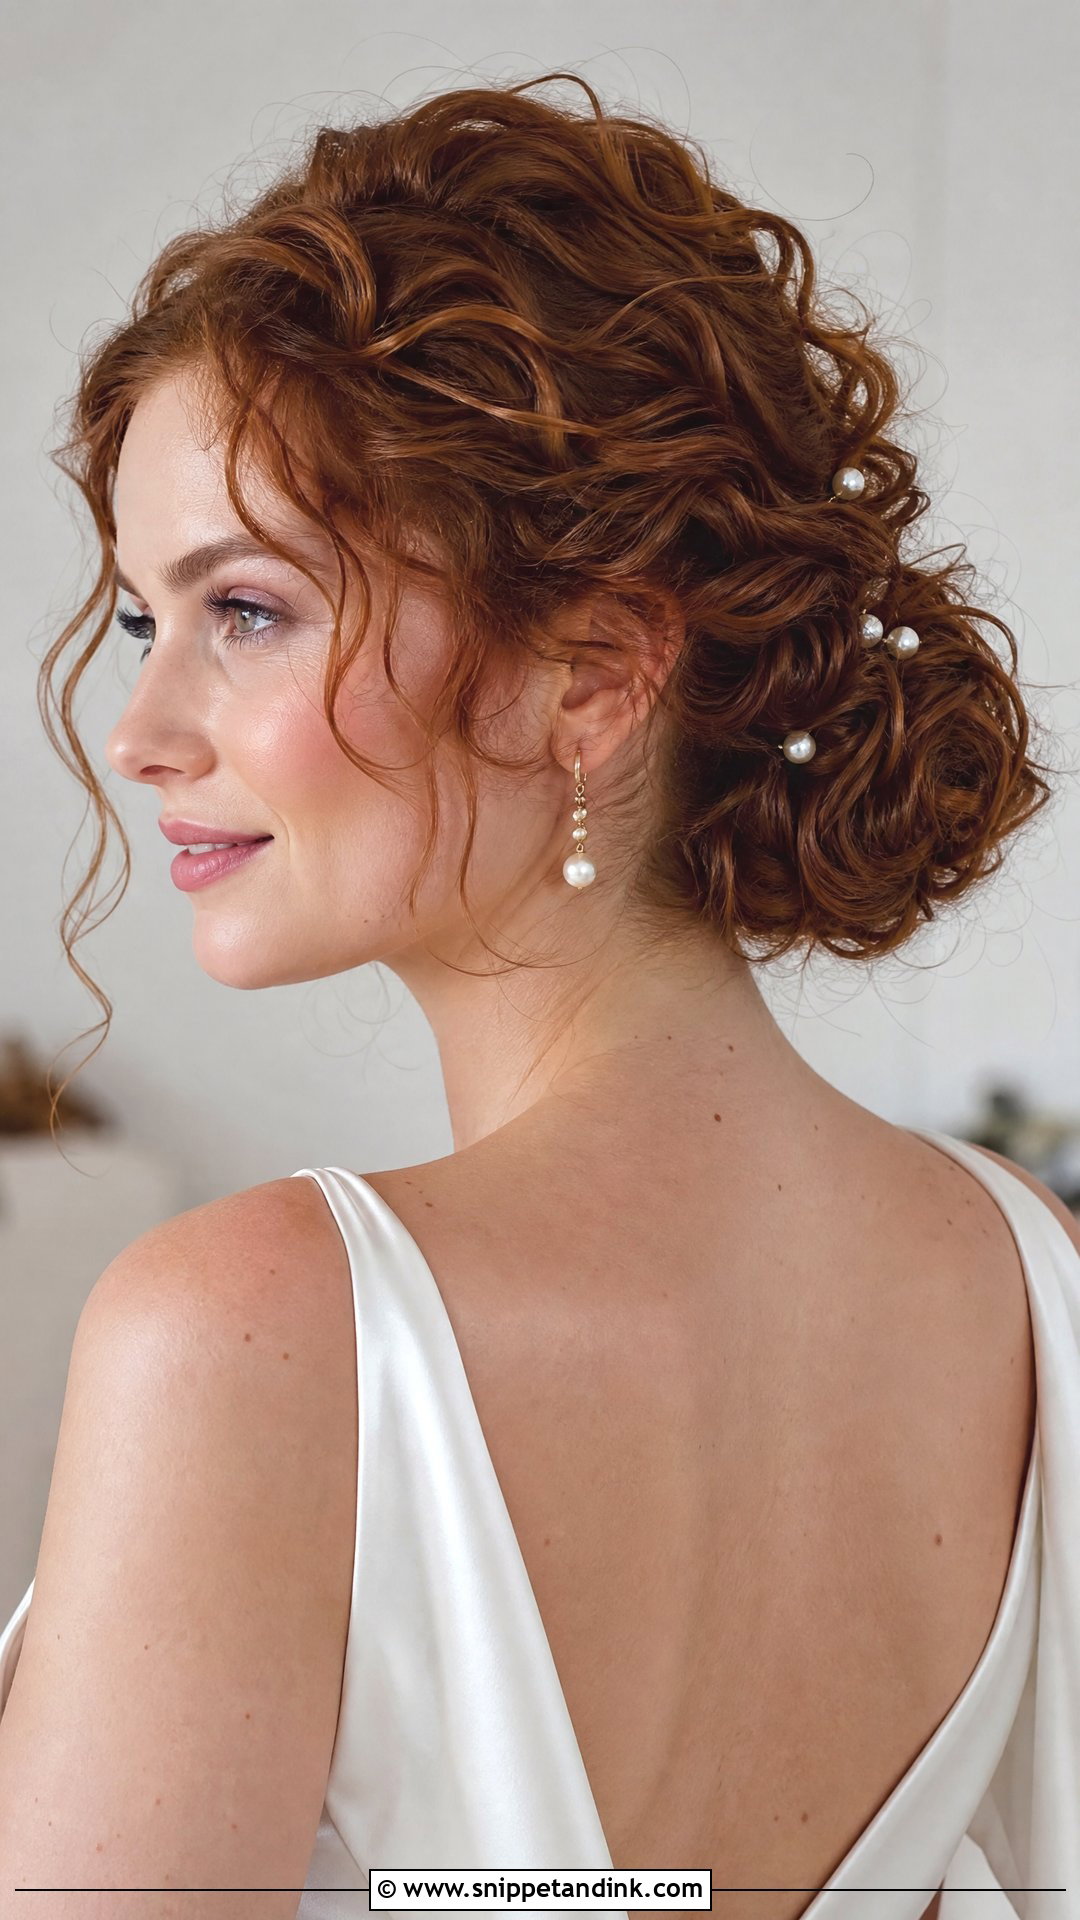
Pearls tucked between curls add light without competing with the texture, and they’re my favorite finishing touch for a classic gown. Small pins blend in far better than one large ornament, which can tilt as the curls settle through the day. Spacing is the skill here: I place them one at a time, stepping back to look from a distance, so they look intentional rather than sprinkled on. A shine serum on the curls makes the pearls stand out more. This works on low buns, messy buns, side buns and sculpted chignons alike.
7. Curly Hair Wedding Bun With Flowers
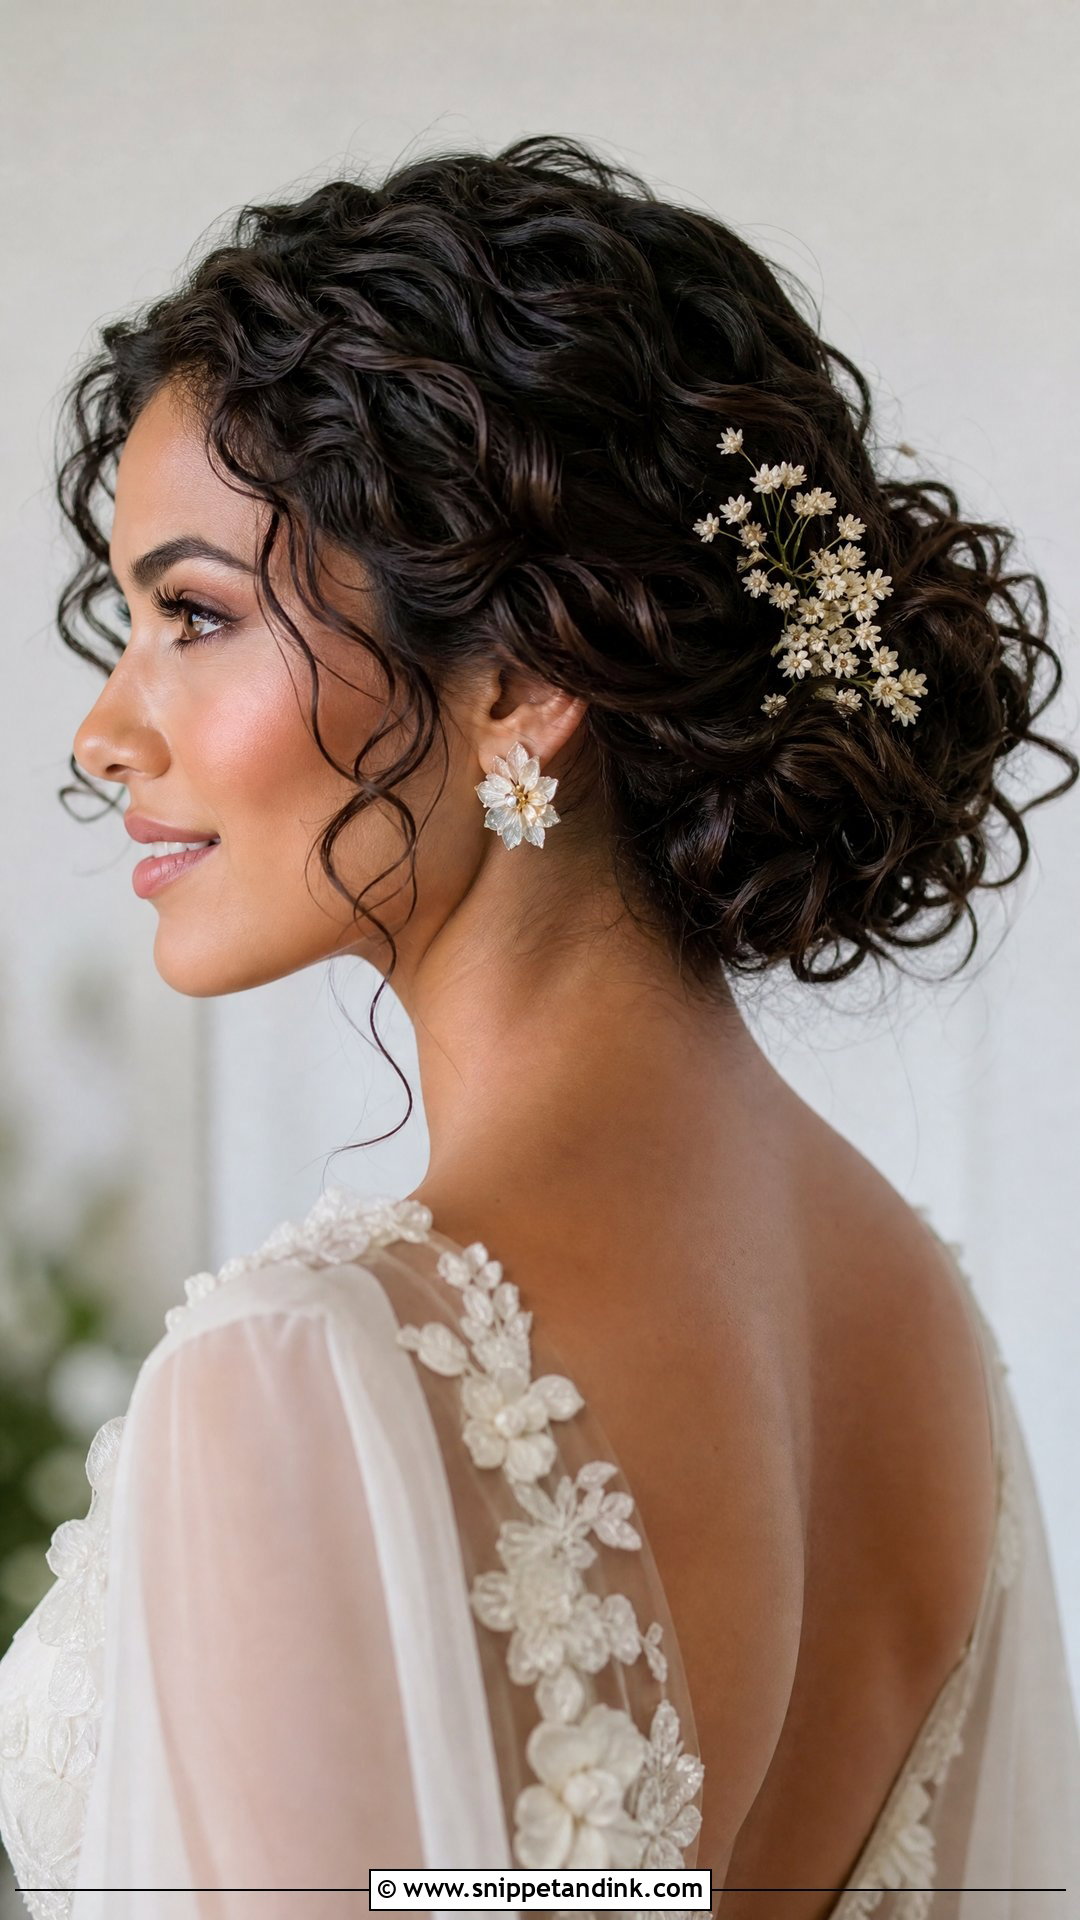
Curly texture is the best base there is for flowers, because the hair grips each stem. Tiny fresh blooms, dried flowers or one big statement flower all suit different venues and dresses, from garden and beach ceremonies to spring weddings. For a delicate version I run small flowers around one side of a low bun; for drama, a single larger bloom near a side bun. I wire anything heavier than a sprig before it goes in, otherwise the weight presses the curls flat underneath it. Dried flowers are worth considering for summer, since they can’t wilt.
8. Braided Curly Hair Wedding Bun
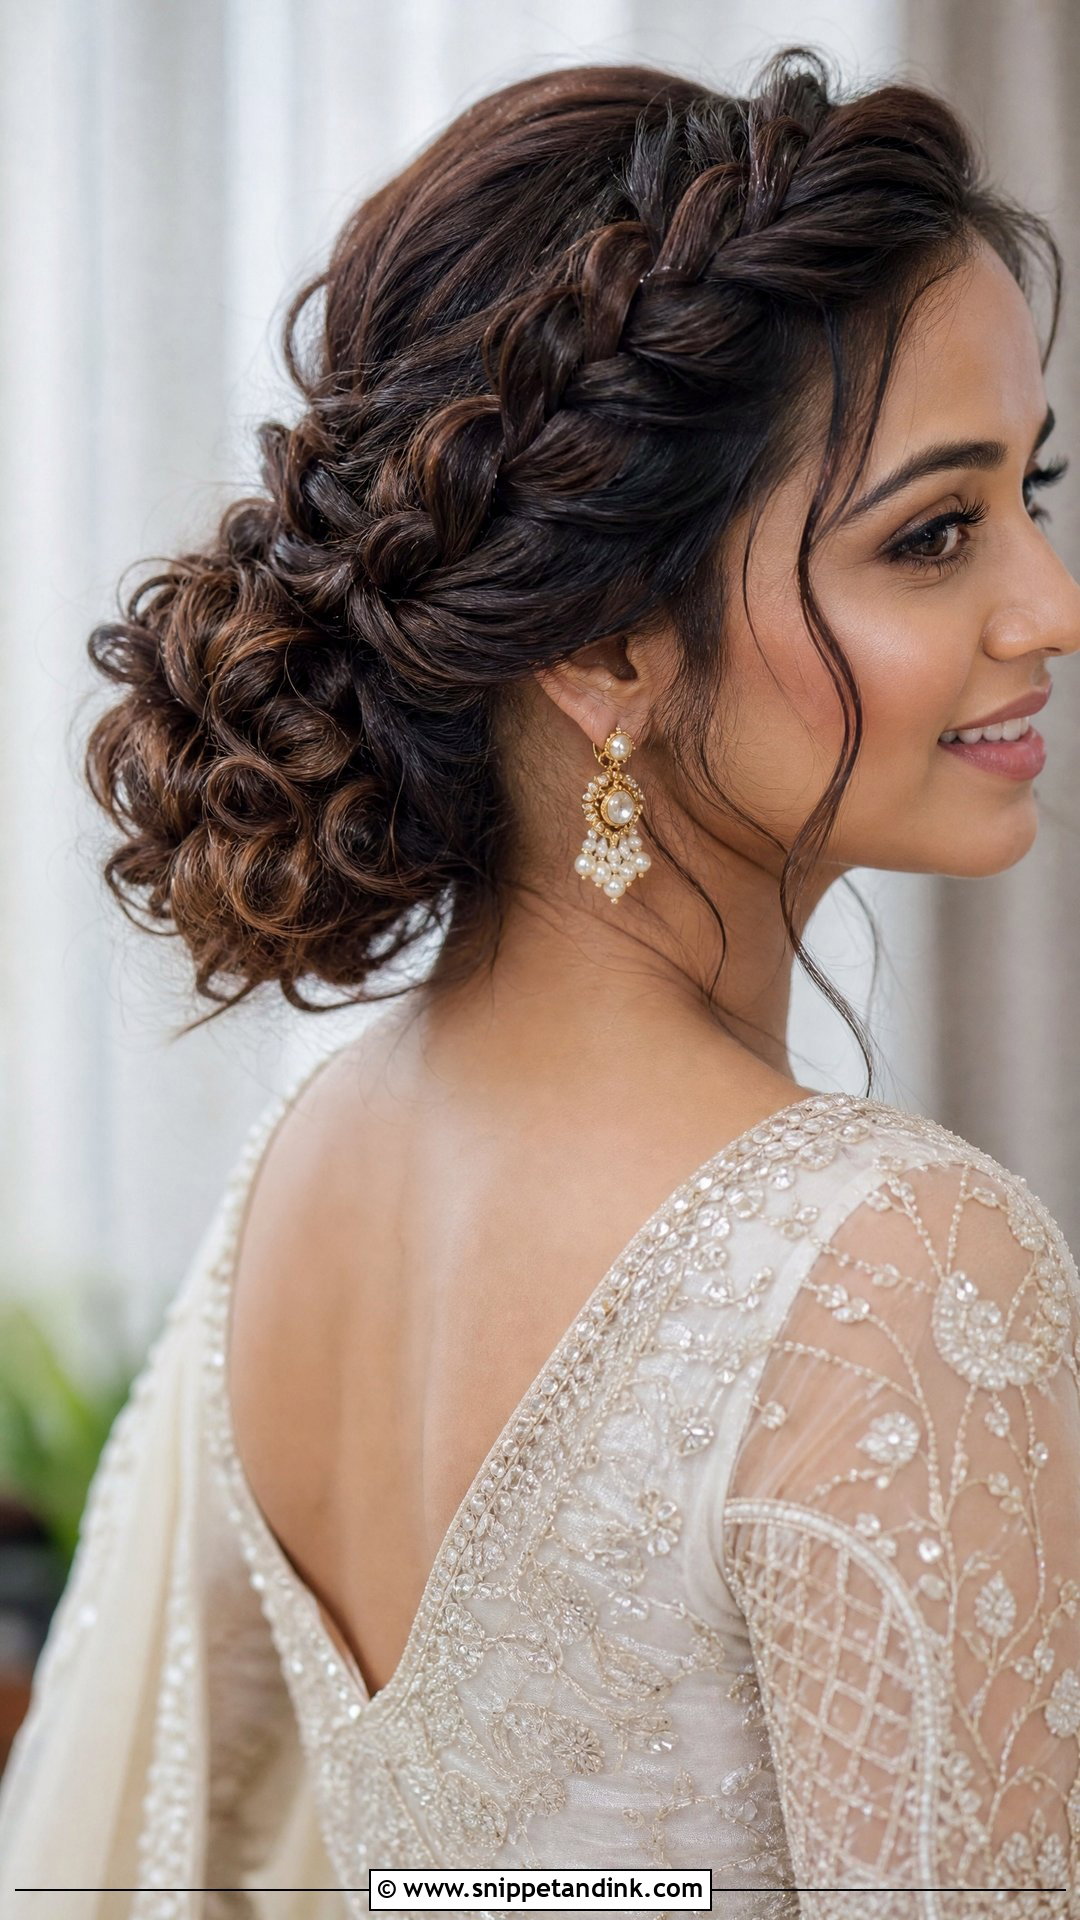
On thick curly hair or at a windy outdoor venue, a braid is my insurance. It can wrap around the bun, start at the hairline or blend in at the back before the curls are pinned, and in every version it gives the style a structure that won’t drop. The braid holds; the bun stays soft. I keep the plait slightly loose and loosen it more afterward with my fingertips, because a tight braid squeezes out the fullness that makes curly hair look good. Two loose curls at the temples stop it from feeling too formal.
9. Curly Hair Wedding Bun With Tendrils
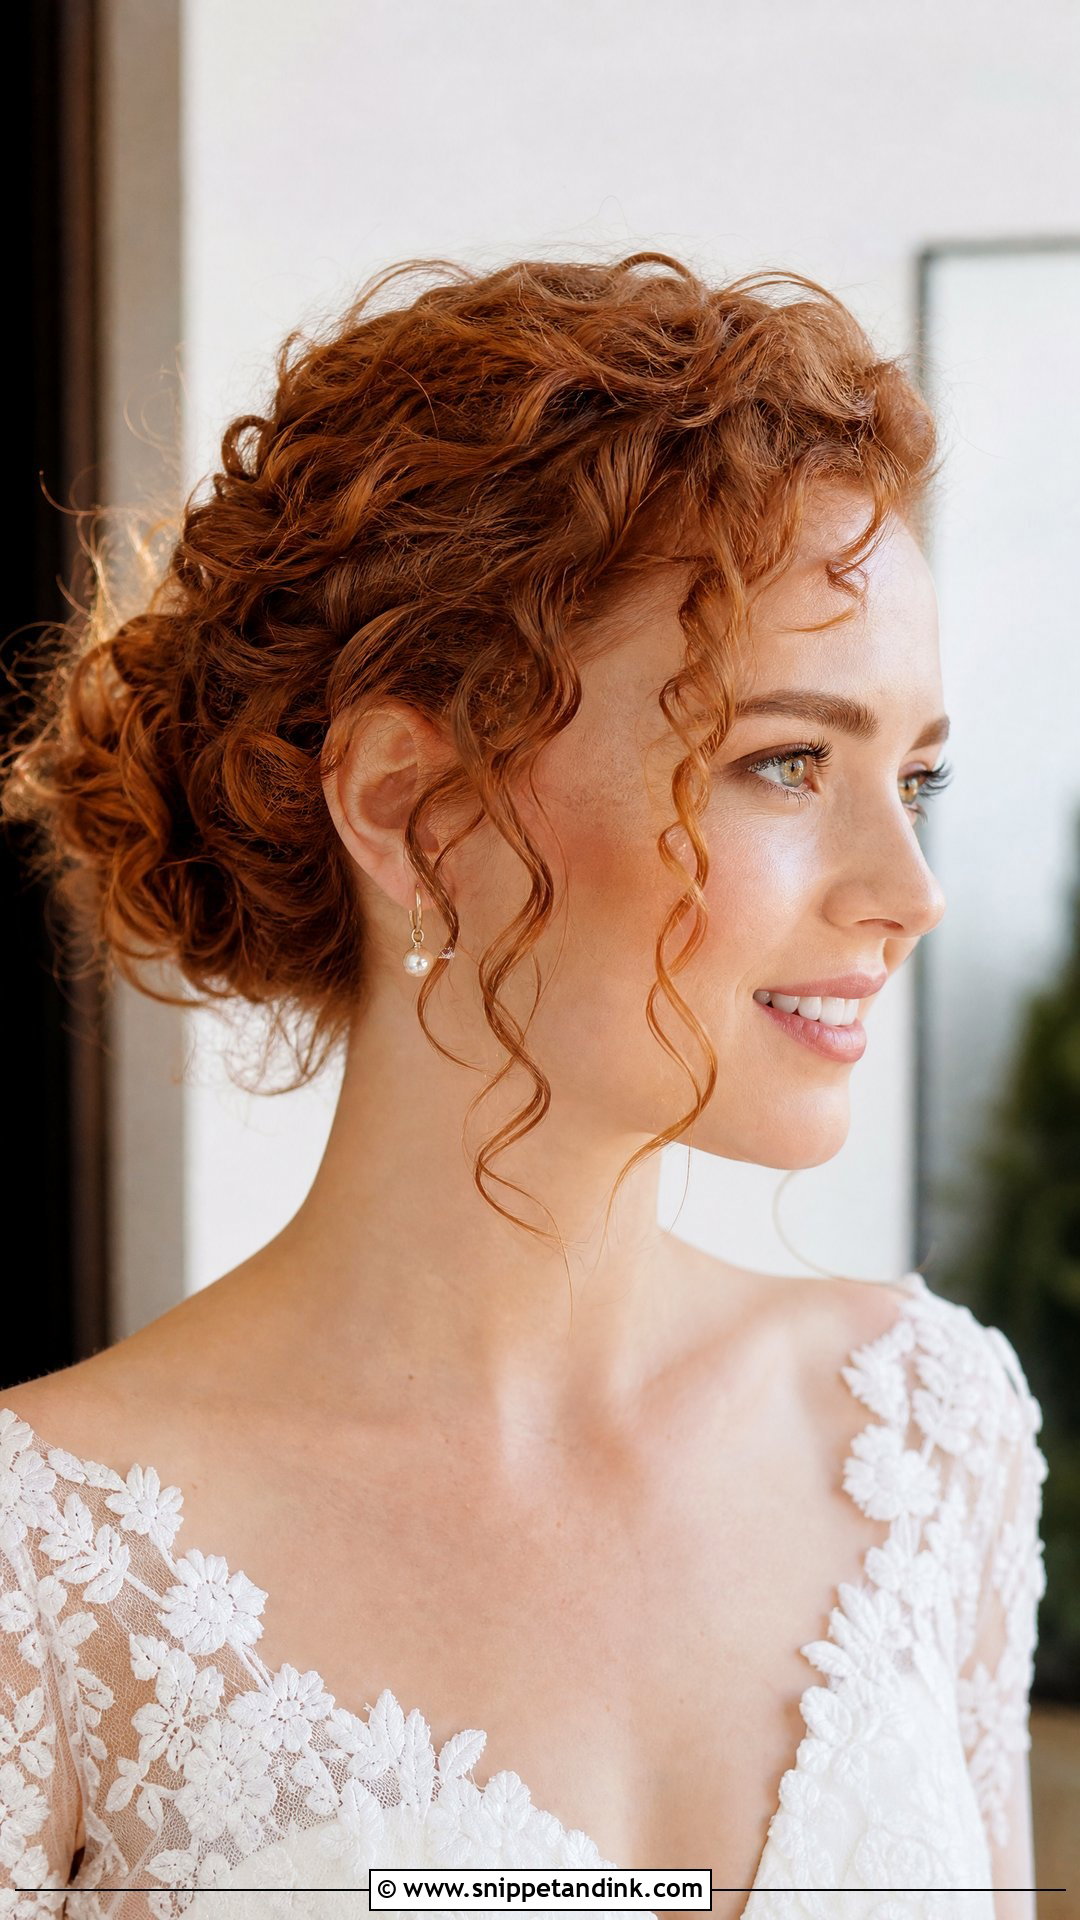
Tendrils are what stop a bun from feeling severe. Low, high or centered, the bun gets softer the moment a few curls fall at the hairline, and close-up portraits benefit most. If you dislike every strand pulled back, this is your style. I pick two to four pieces, never more, and define each with curl cream or a dab of gel. Any more than that and photos start to look like the updo is falling down rather than finished on purpose.
10. Sleek Curly Hair Wedding Bun
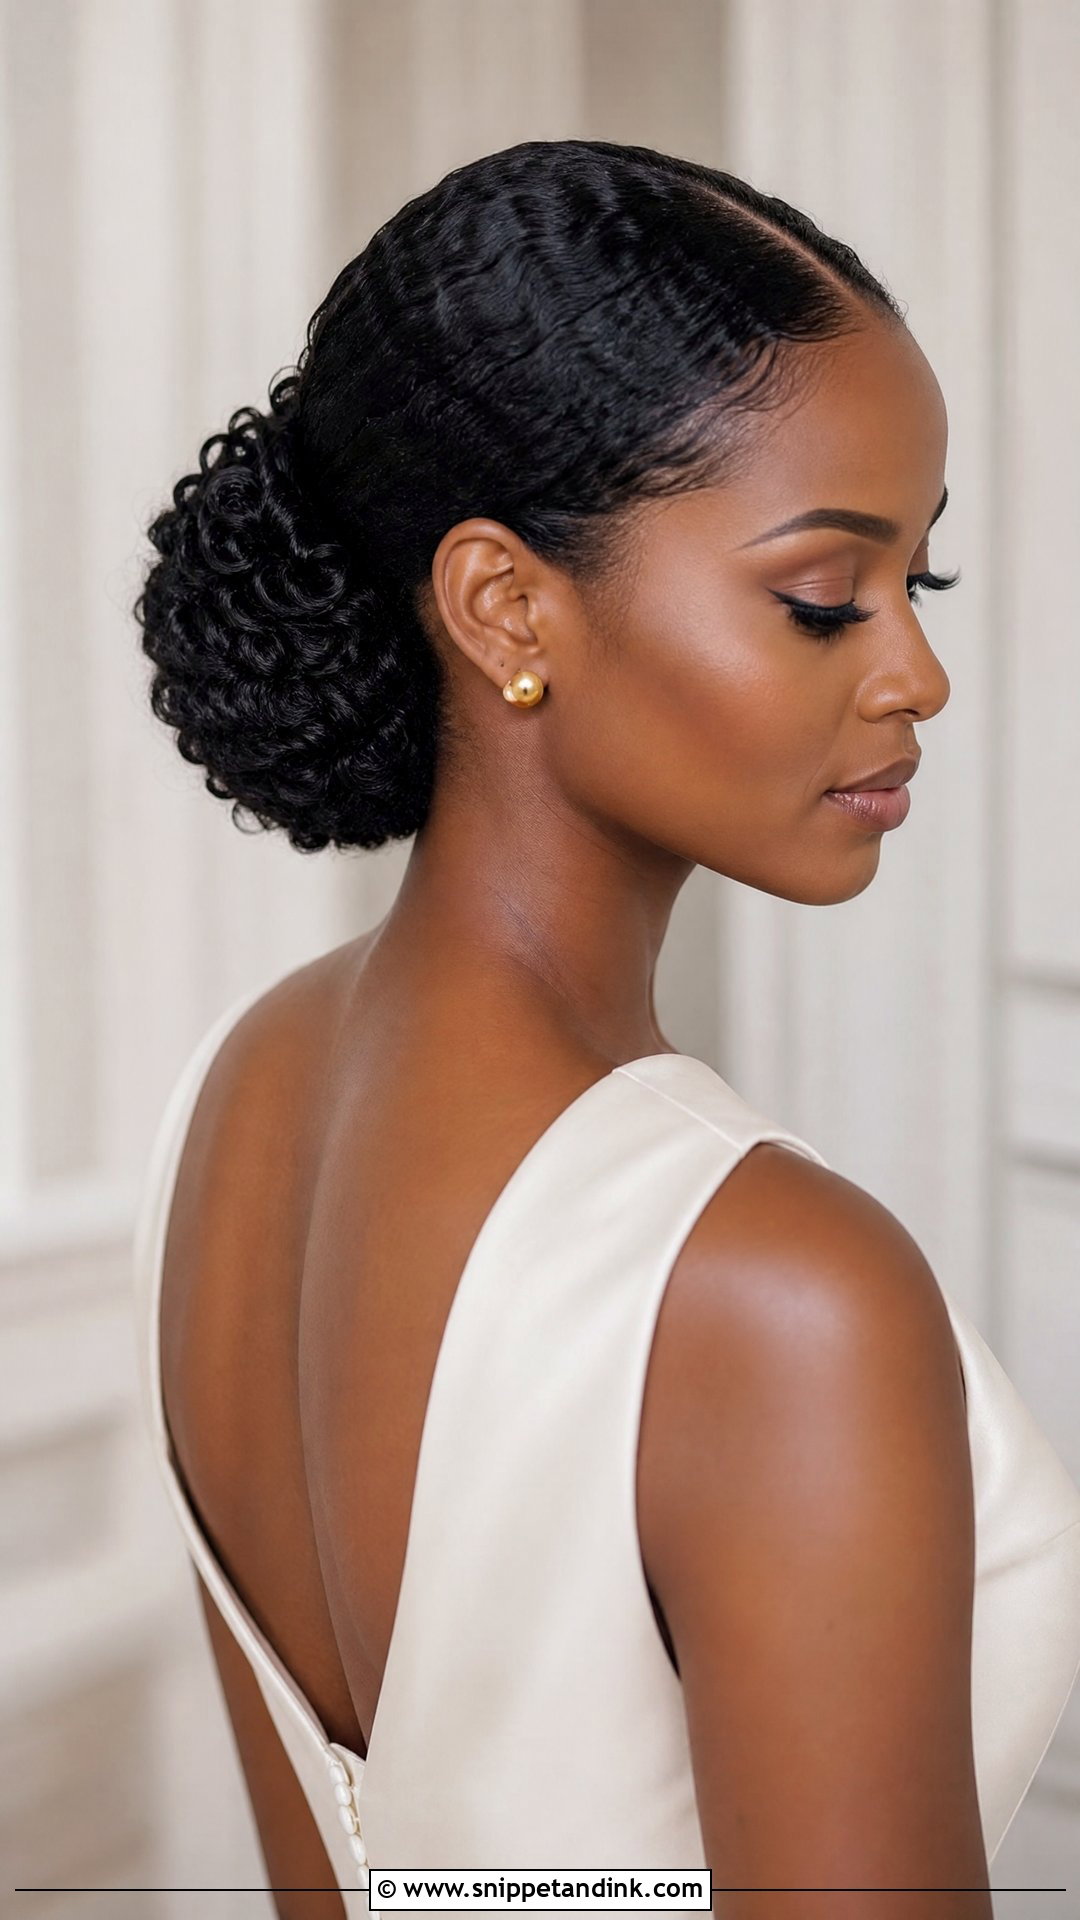
This one is all about contrast: smooth front and sides, a fully textured bun at the back. I slick the hairline with gel or a styling cream, brush it into place with a soft boar bristle brush, then let the curls take over once they reach the bun. It’s very secure, ideal for formal venues and minimal dresses, and it lasts. The danger is dryness. Gel can leave the smooth sections looking matte or flaky by evening, so I finish with a shine spray and choose a gel that doesn’t cast white.
11. Natural Curly Hair Wedding Bun
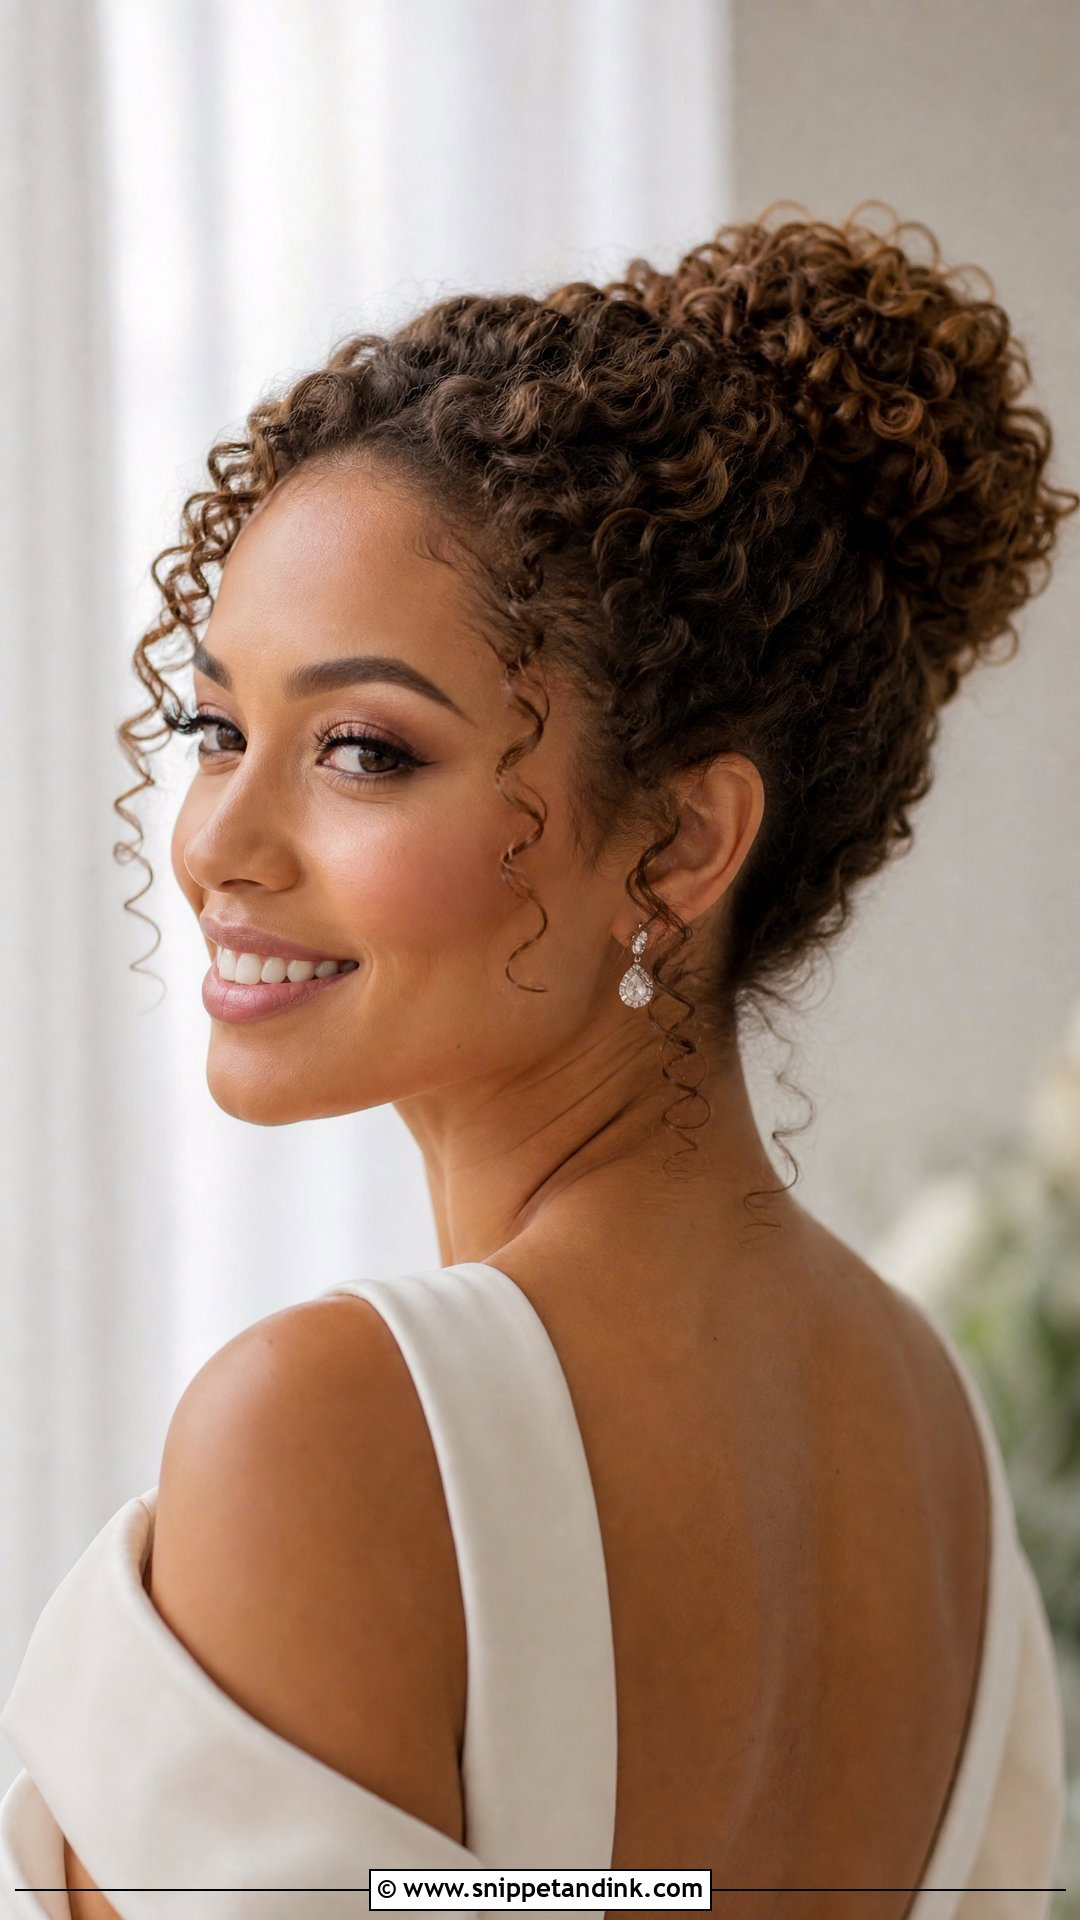
Here nothing gets reshaped. The bun is built around the pattern you already have, which is why it suits waves, curls, and coils equally well. Prep decides the result: hydrated, defined and completely dry hair before a single pin goes in. Coily hair especially can shrink as it dries, and I’d rather know exactly how much length we have at the trial than discover it on the morning. Loose and soft or sculpted and neat both work; the dress usually tells me which.
12. Curly Hair Wedding Chignon
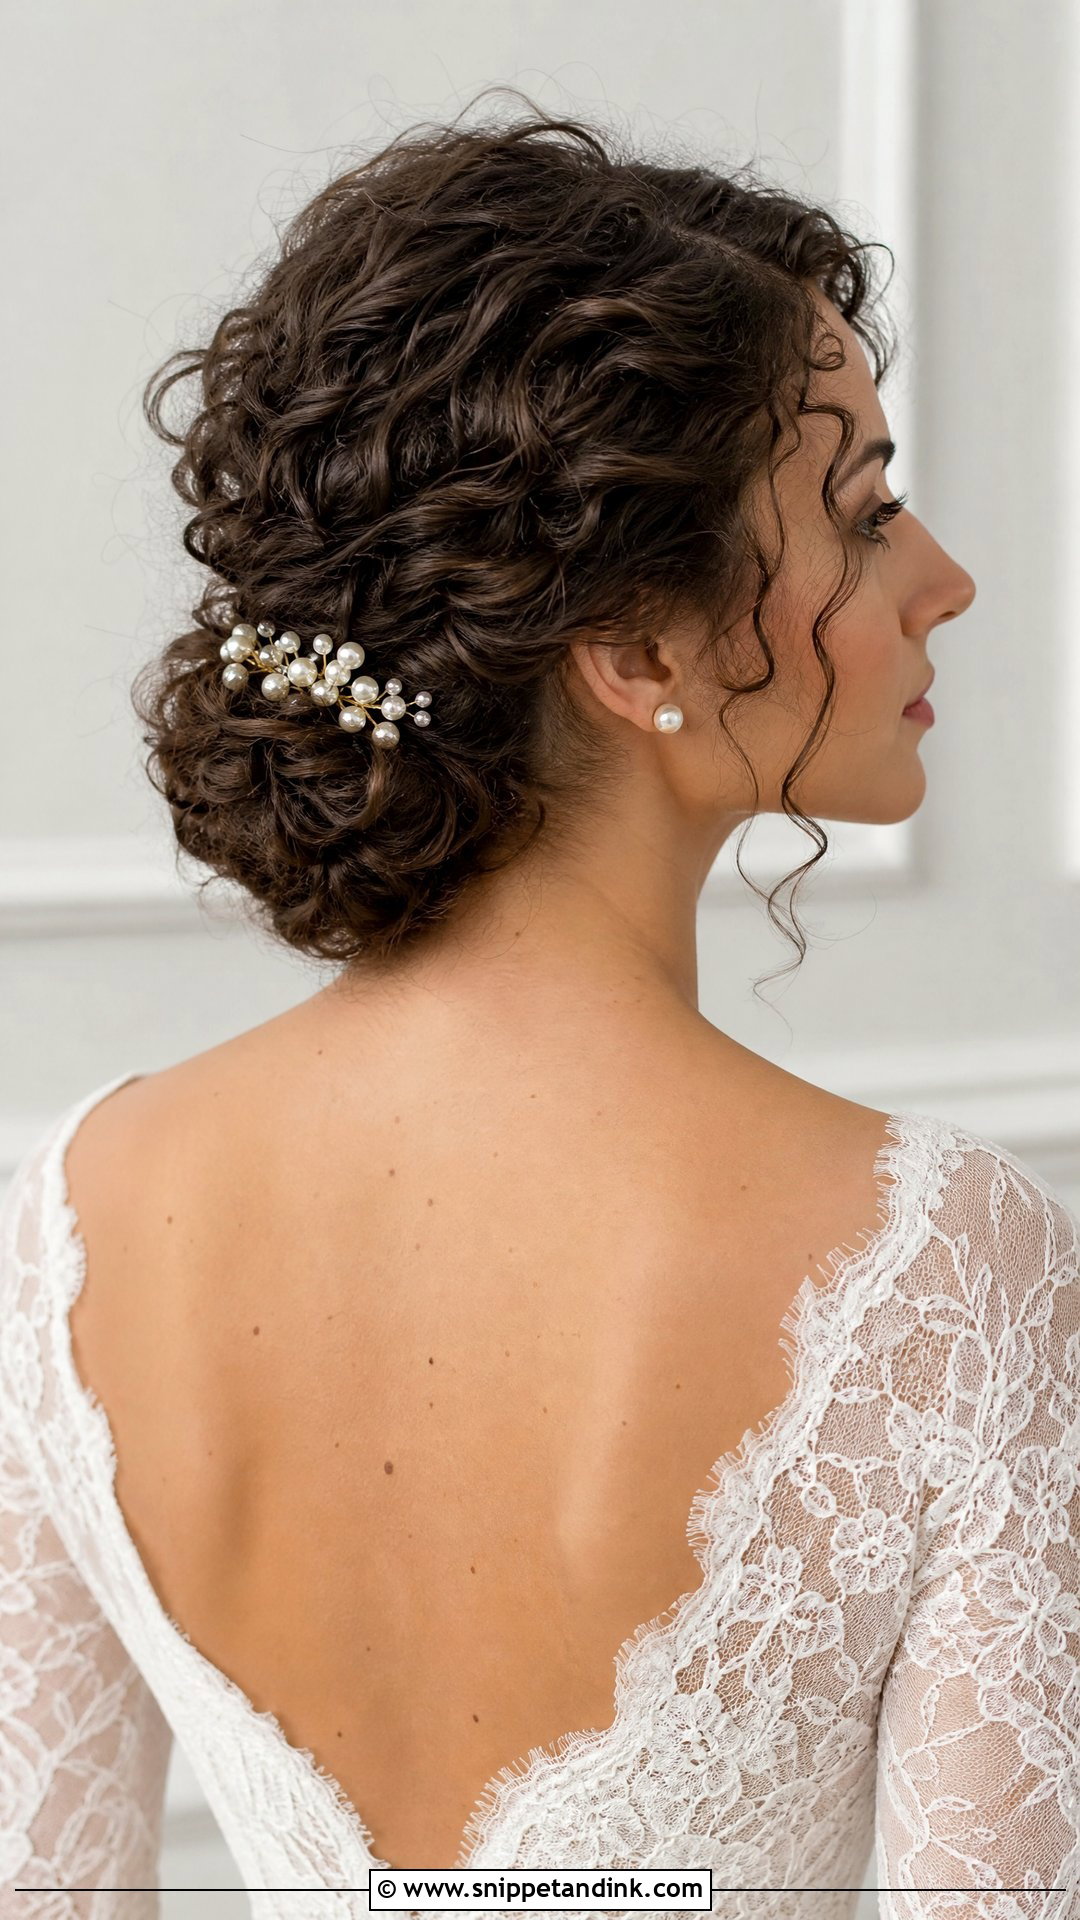
Think of a chignon as the tailored cousin of the low bun. It sits close to the nape with a tucked outline, and the curls are pinned in small sections so the surface looks gently woven instead of one flat roll. That sectioning is slow work, but it’s what makes the shape hold through a long day. Part placement changes its personality completely: a middle part feels modern and calm, a side part more romantic. Leave the front soft, otherwise a chignon can look strict, especially with a high-necked lace dress.
13. Half Up Curly Hair Wedding Bun
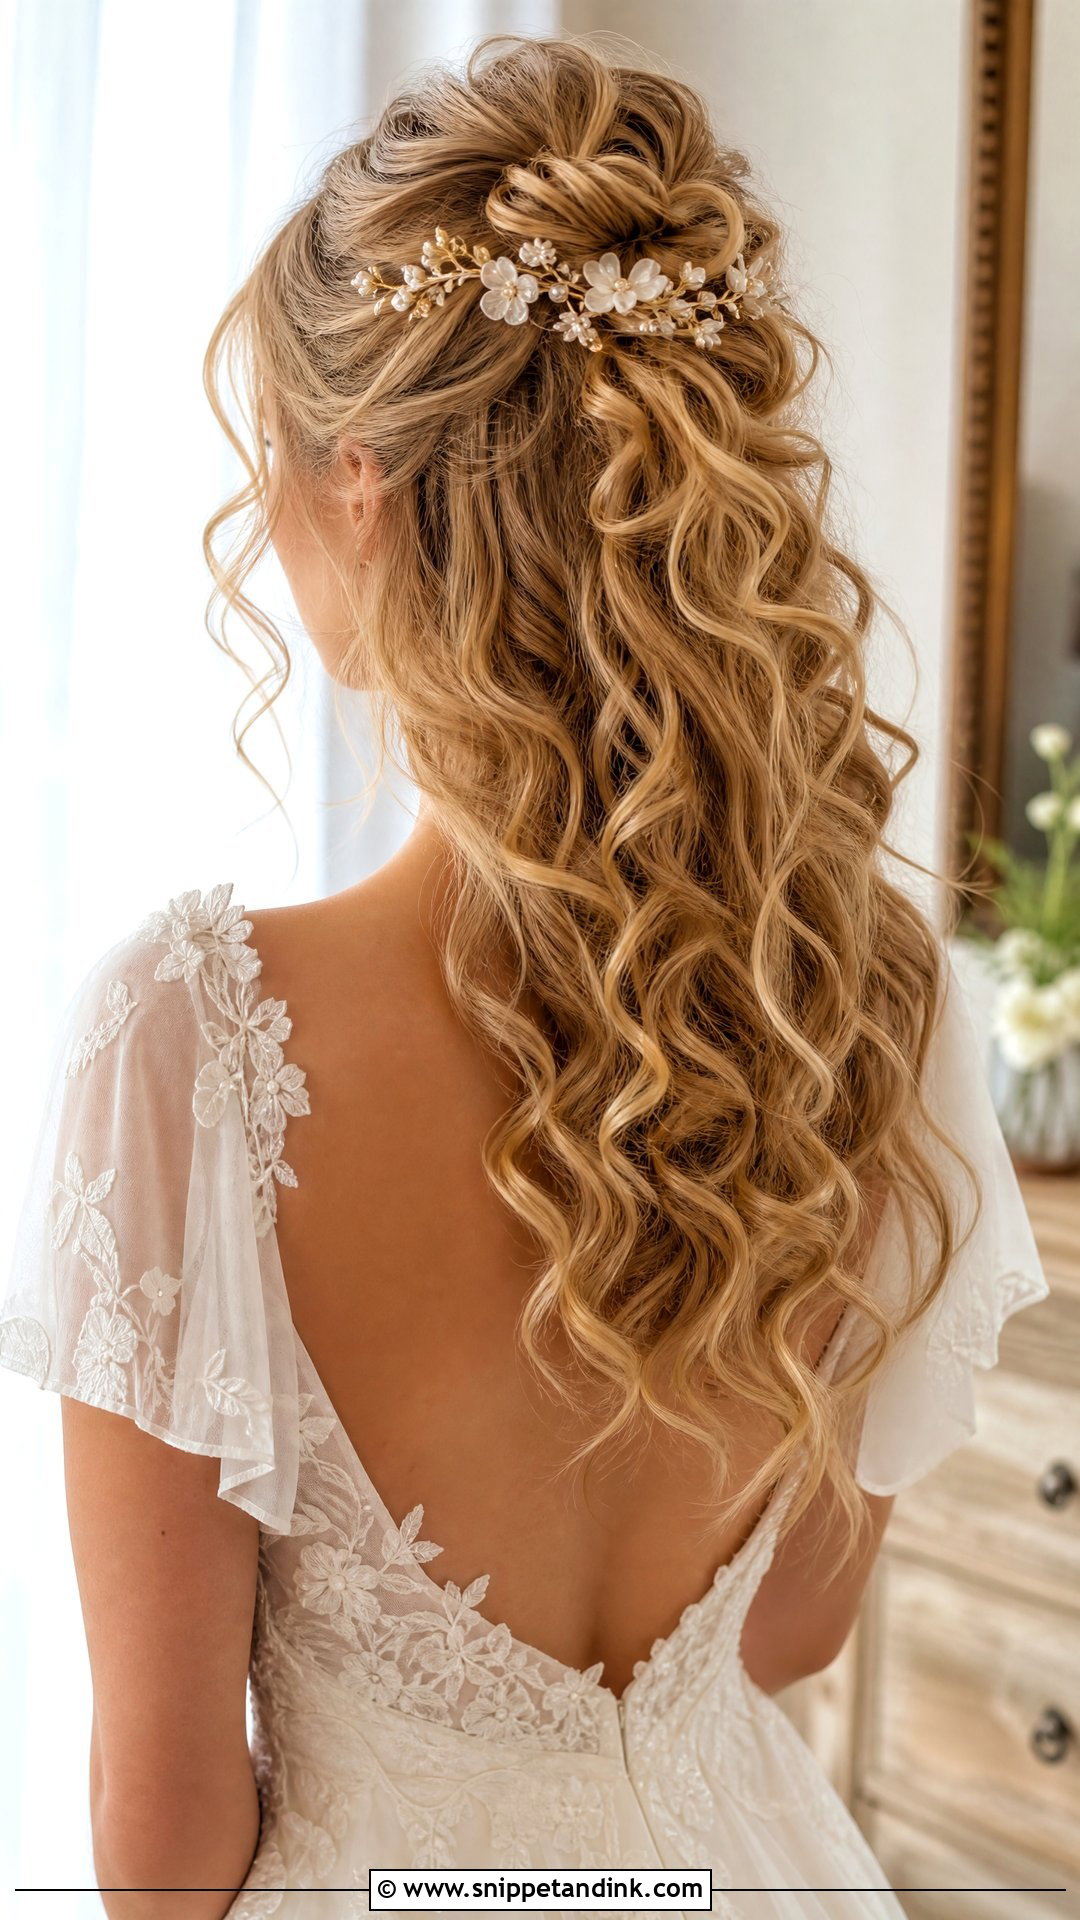
Half up gives you loose curls and an anchor at the same time. A small bun holds the top section while the rest falls down the back or over the shoulders, which shows off length in photos. Because only part of the hair is pinned, the loose curls carry the risk: they’ll stretch and soften over the evening, so I set them a little tighter than you’d want them at first. It’s also a great choice for bridesmaids and wedding guests who want something special that isn’t too formal. A comb or a couple of small flowers near the bun is plenty.
14. Short Curly Hair Wedding Bun
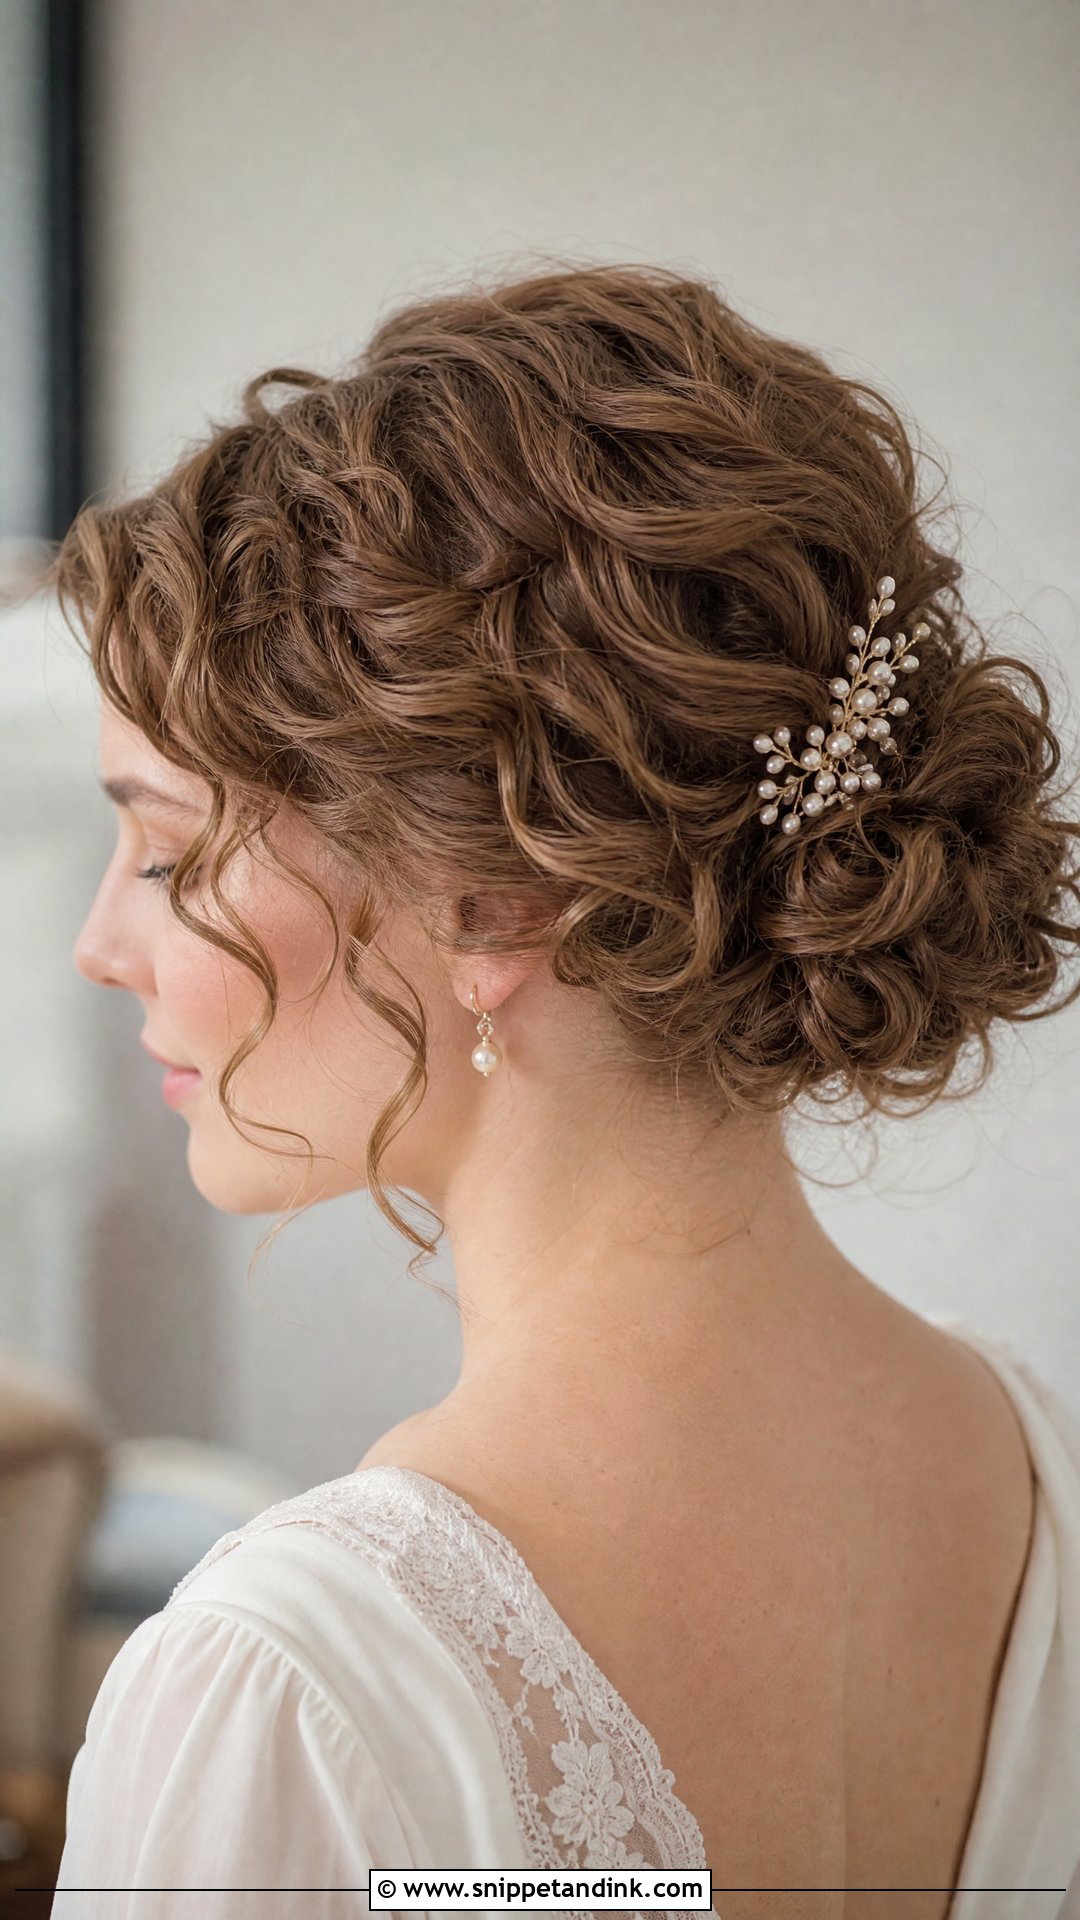
Short curls can absolutely make a wedding bun; it’ll just be smaller and built differently. I work in sections, pinning each curl group toward the nape so the finished bun looks full even though no single piece reaches far. A low mini bun, a tucked roll or a pinned nape bun all work without extensions. The face-framing curls are not optional here; they balance the shorter length. This is a nice option for bob-length curls, shoulder-length curls and layered cuts, where layers that won’t reach get pinned as part of the design instead of fighting it.
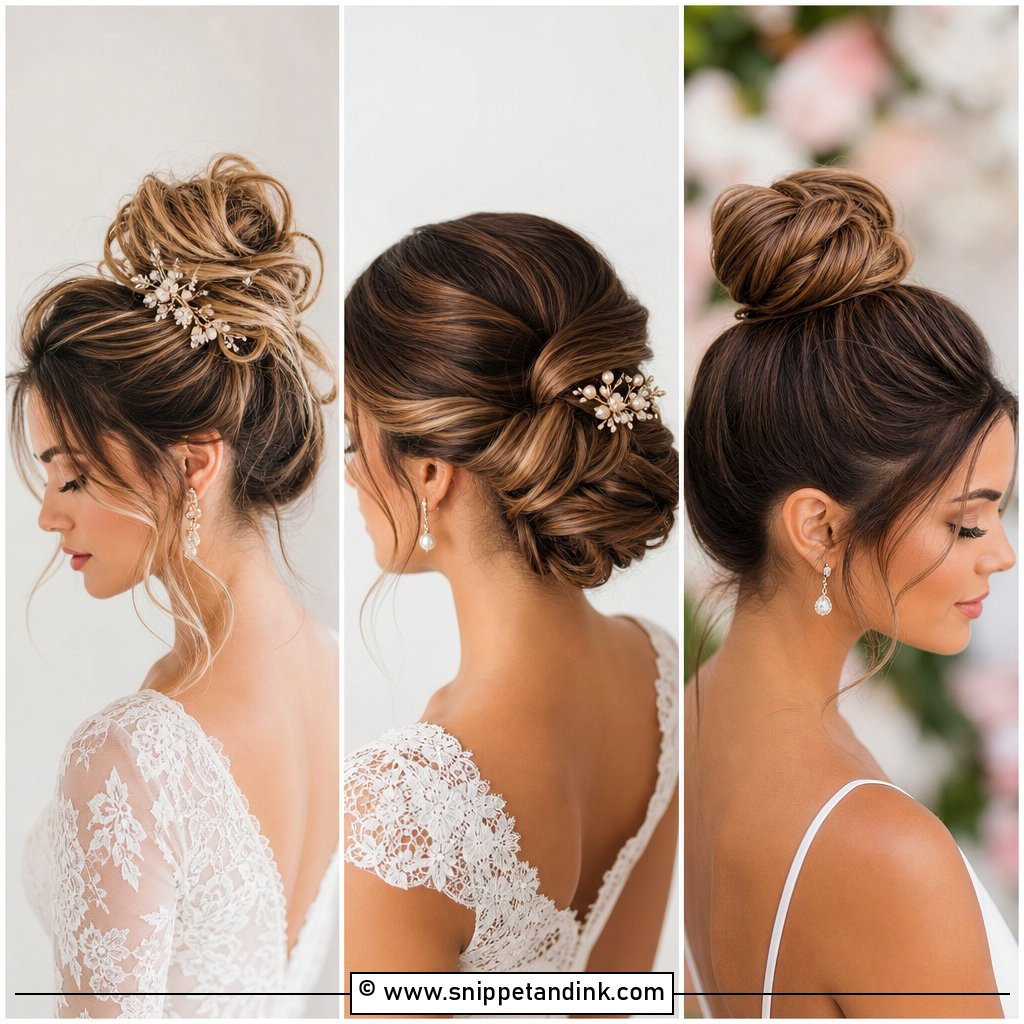
15. Curly Hair Wedding Bun For Thick Hair
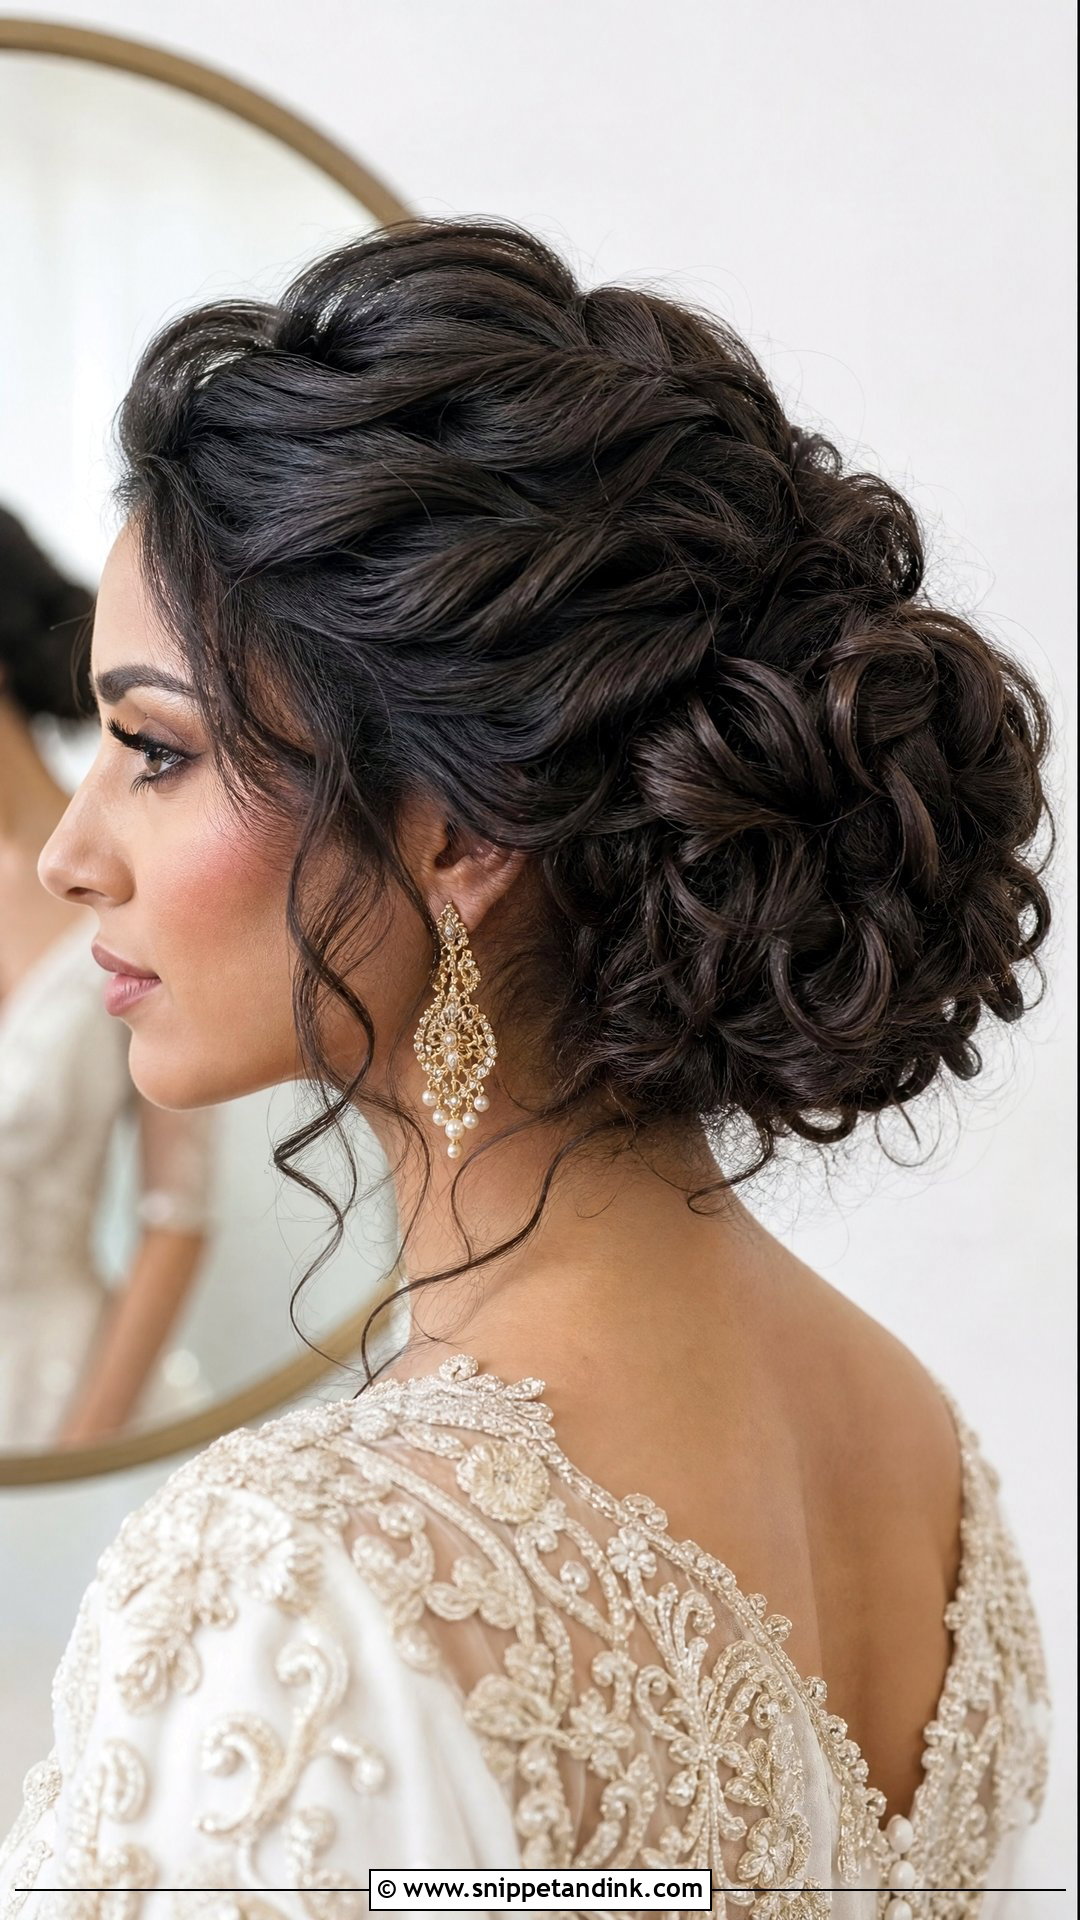
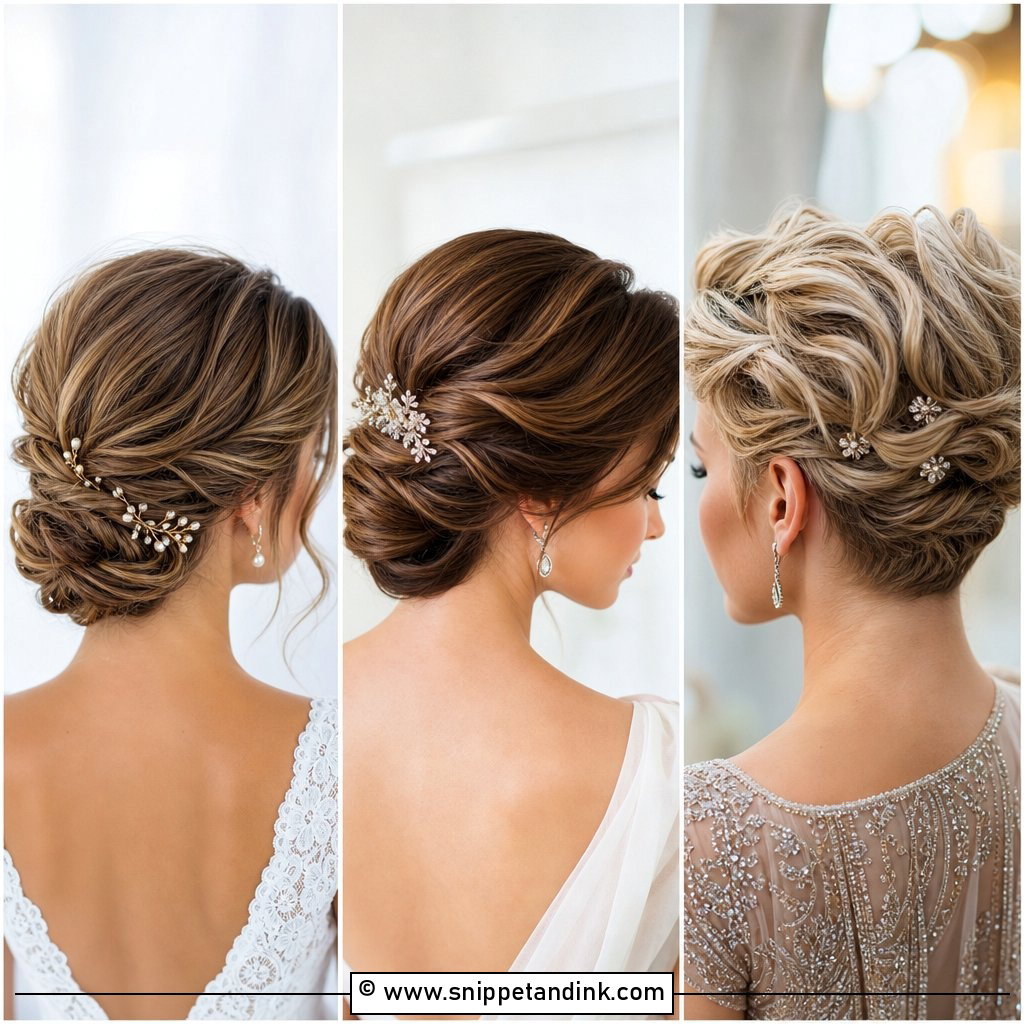
Thick curls make a big, full bun almost on their own, but that volume has weight, and weight concentrated in one spot pulls on the scalp. By the second hour it can become a headache. I section the hair first and build the bun in stages, so the load spreads across several anchor points instead of one. Strong pins, a secure base and humidity-friendly products do most of the work, and a couple of tendrils keep the front from looking heavy. Built this way, a thick curly bun looks lush and still feels comfortable at midnight.
Getting the Pins Out Without Losing Your Curls
Nobody talks about the end of the night, and that’s when curly hair gets damaged most. A wedding bun can hold dozens of pins plus a fair layer of product, and yanking it down half asleep is how you lose a handful of hair.
- Ask your stylist roughly how many pins went in. I count mine at the trial so the bride knows when she’s found them all.
- Take accessories and the veil comb out first, in front of a mirror with good light.
- Never brush the hair out dry. Loosen the bun with your fingers, then sleep in a bonnet if you’re too tired to wash.
- On wash day, coat the hair in plenty of conditioner before detangling, working from the ends up.
If your scalp felt tight or sore during the day, mention it the next time you book an updo. It nearly always means one section was pinned under too much tension, which is an easy fix.
Three Angles Every Curly Bun Should Pass
Every bun here, from the low and high versions to the side bun, chignon, braided bun and pearl-accented updo, works because it gives curls structure without flattening them. Before you commit, look at your trial photos from the front, the side and the back, since guests will spend the ceremony looking at the back. Tell your stylist about your density, length, the forecast, your veil and any accessories, and say so immediately if anything pinches. The one to go with is the one you forget you’re wearing by the reception.
You'll Like These Ideas:


Leave a Reply