
Medium hair is the length I find easiest to put up for a wedding. There’s enough to twist, pin and braid, but not so much that the weight drags a bun down by dinner. Most of the simple shapes that work sit low at the nape, carry soft twists through the sides or have a little lift at the crown. They suit brides, bridesmaids, mothers and guests alike. What decides the right one is less about the photo you’ve saved and more about your neckline, your texture and how many layers are in your cut.
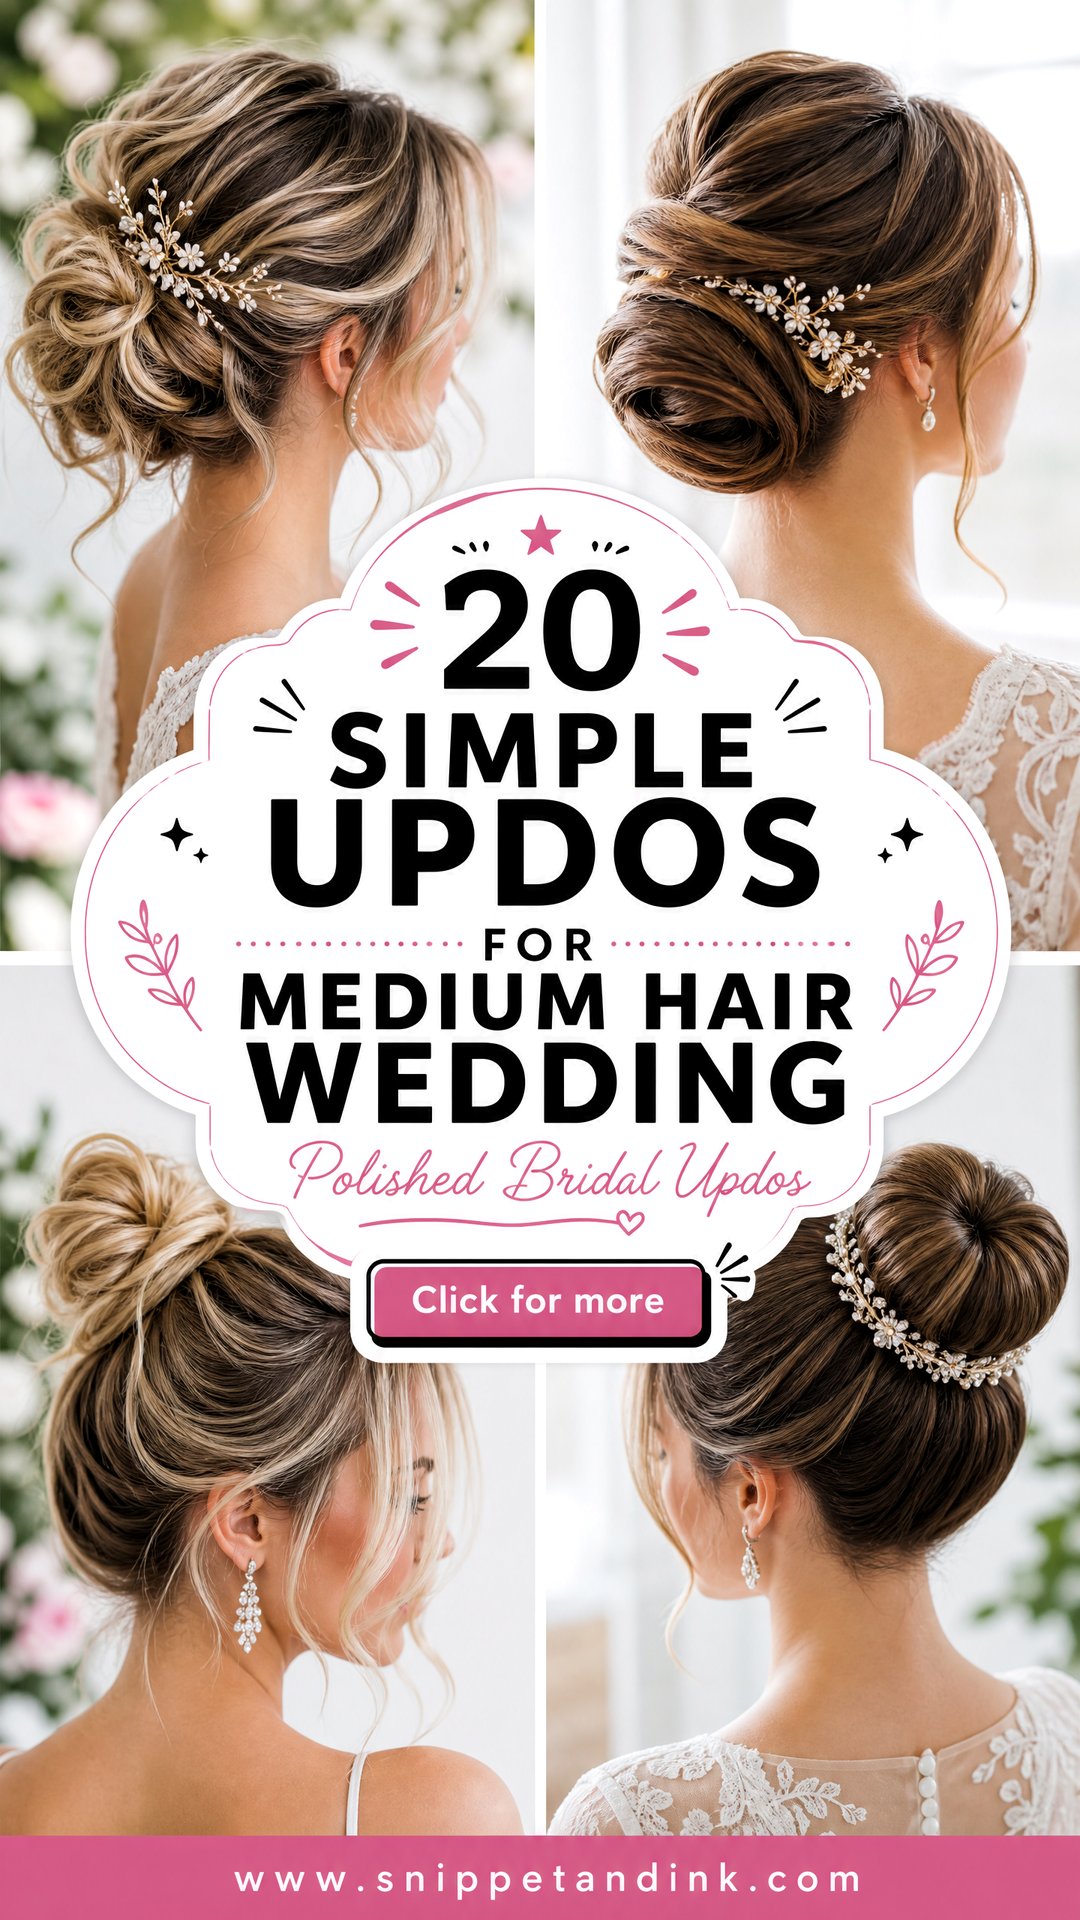
Collarbone to Shoulder Blade: What That Length Can Hold
“Medium” covers a wide range, and the difference of a few inches changes what I can build. When a bride books, I ask her to tell me where her hair falls when it’s dry and straight, not after a blowout.
- Just above the shoulders: tucked rolls, pinned-back waves and small low buns with a hidden padding piece.
- At the collarbone: chignons, twisted low buns, side buns and soft French twists.
- Just past the shoulders: everything on this list, including braided crowns that meet at the back and fuller top knots.
Layers matter as much as length. A blunt cut at the collarbone gathers more easily than a heavily layered cut at the shoulder blades, because every short layer is another end to hide. If your cut is layered, lean toward the twisted, braided and tucked styles below.
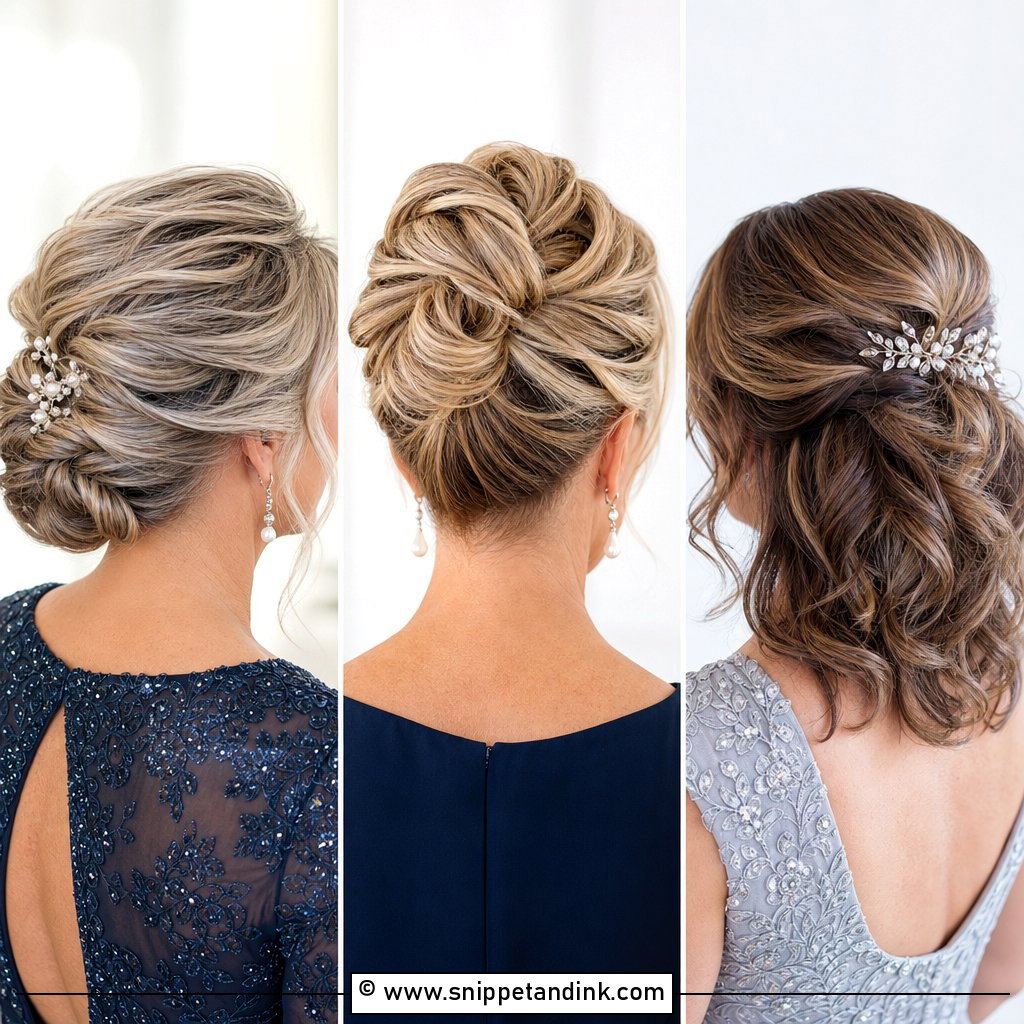
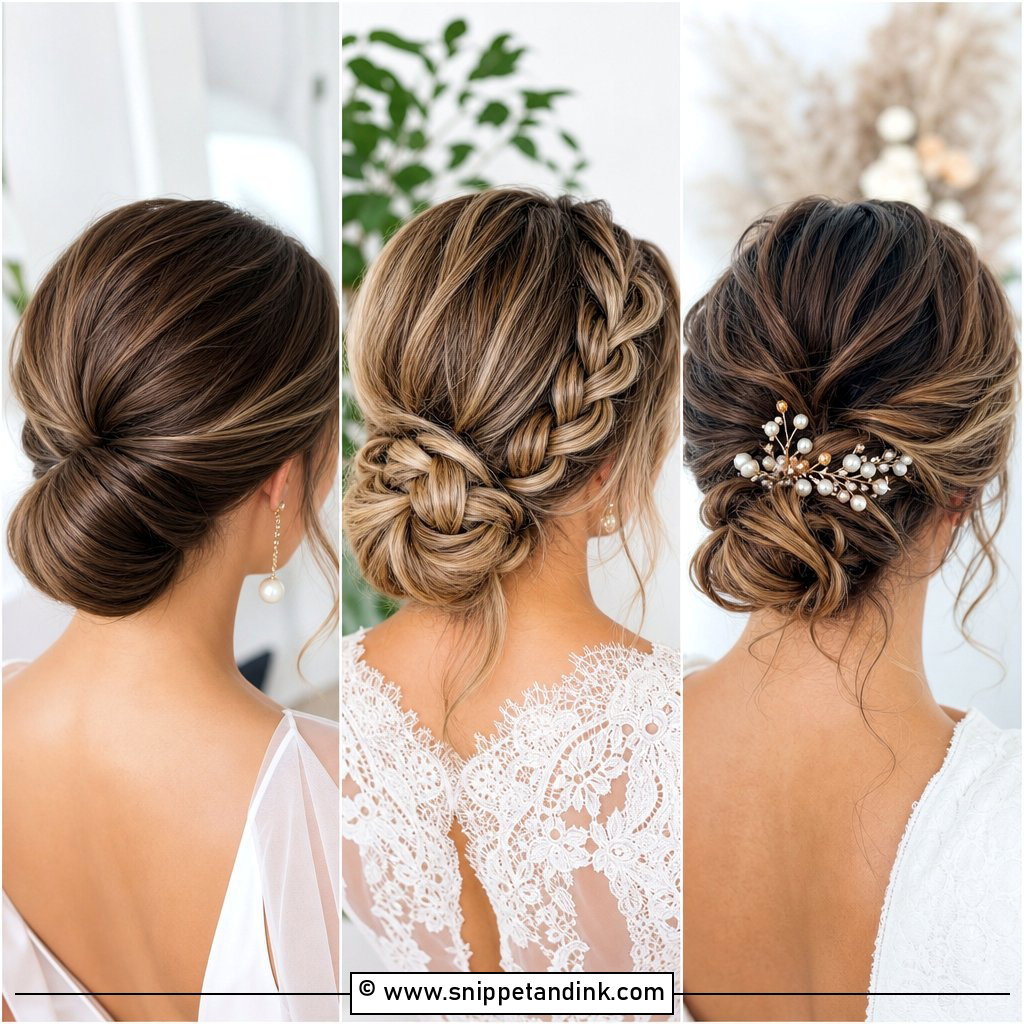
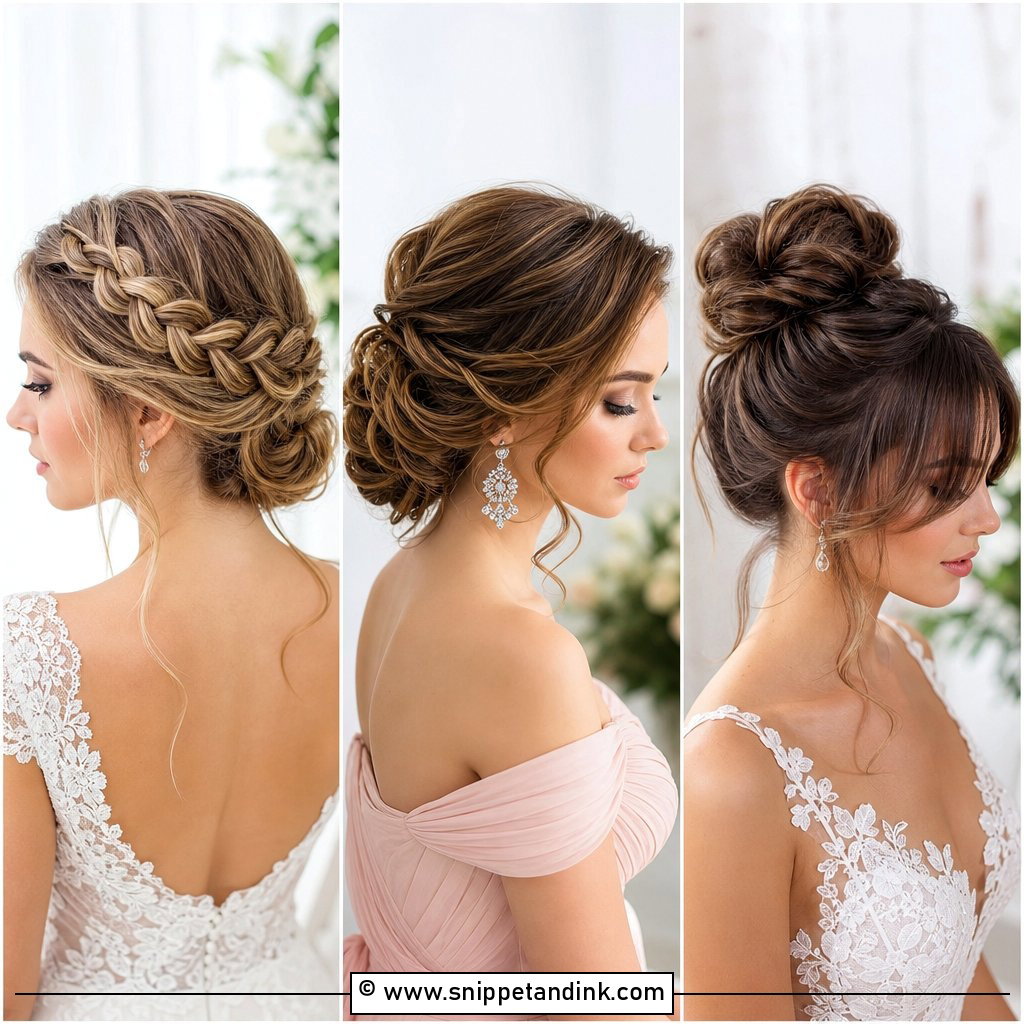
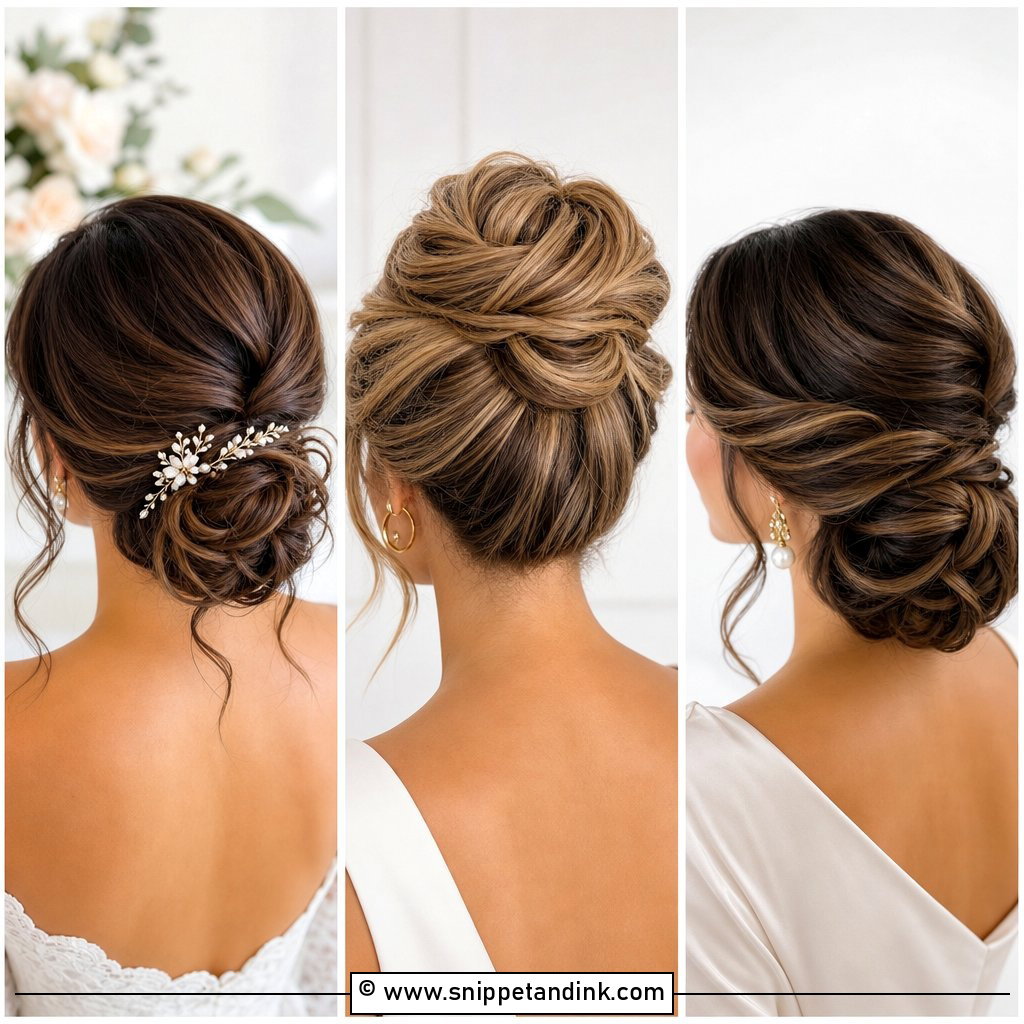
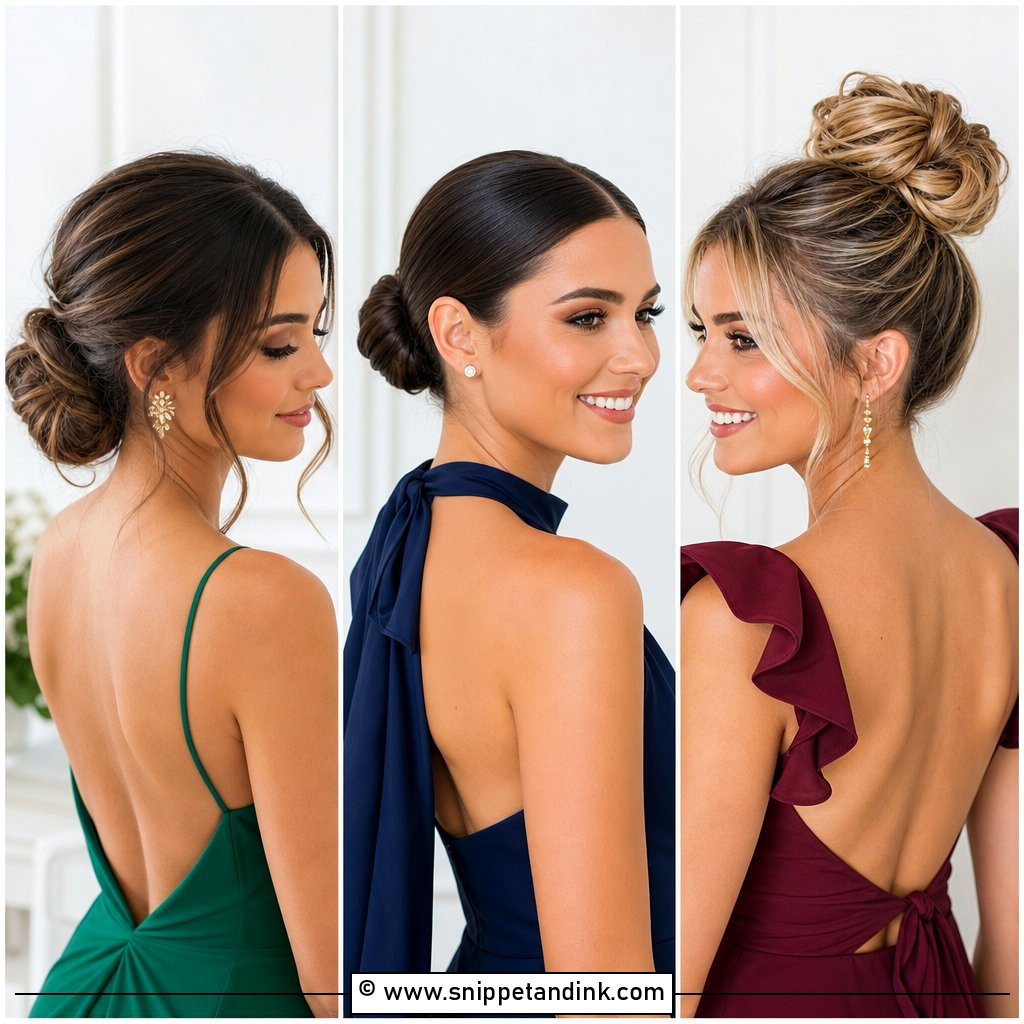
1. Low Bun Updo For Medium Hair Wedding
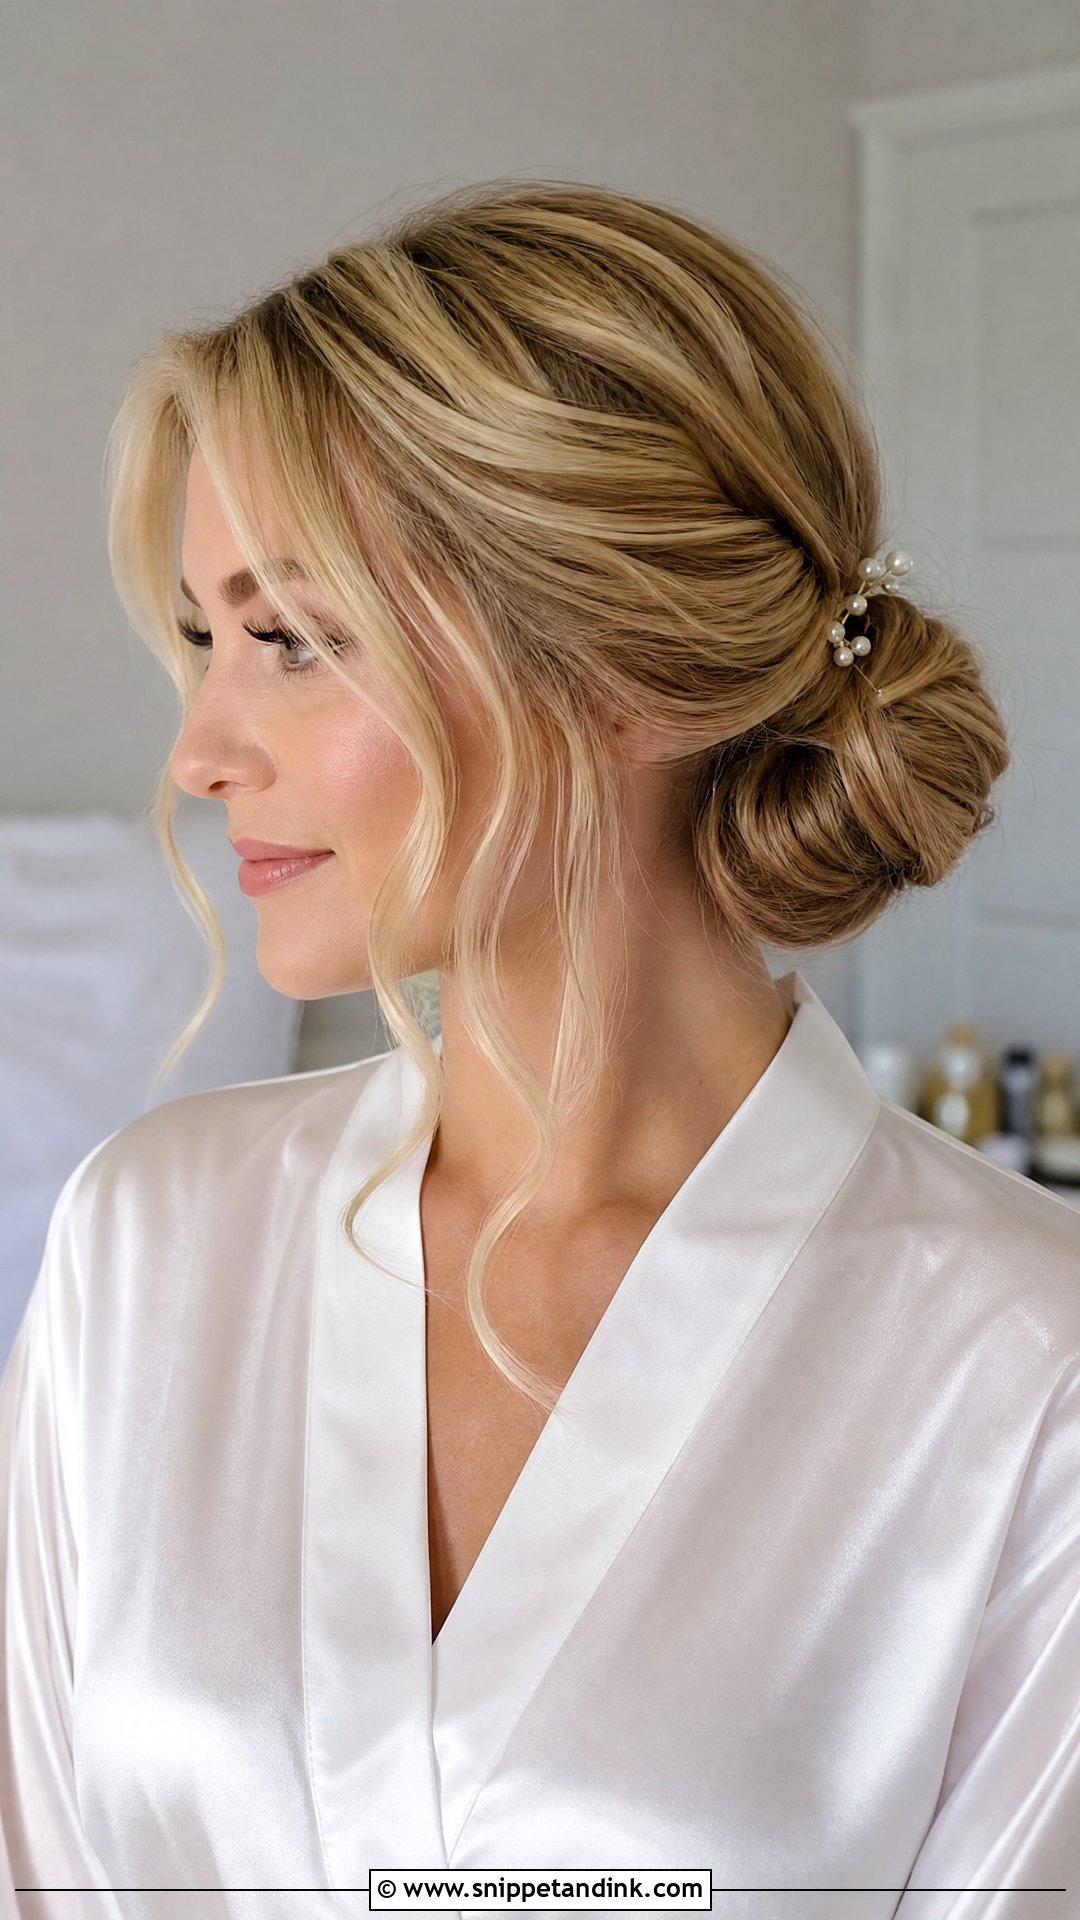
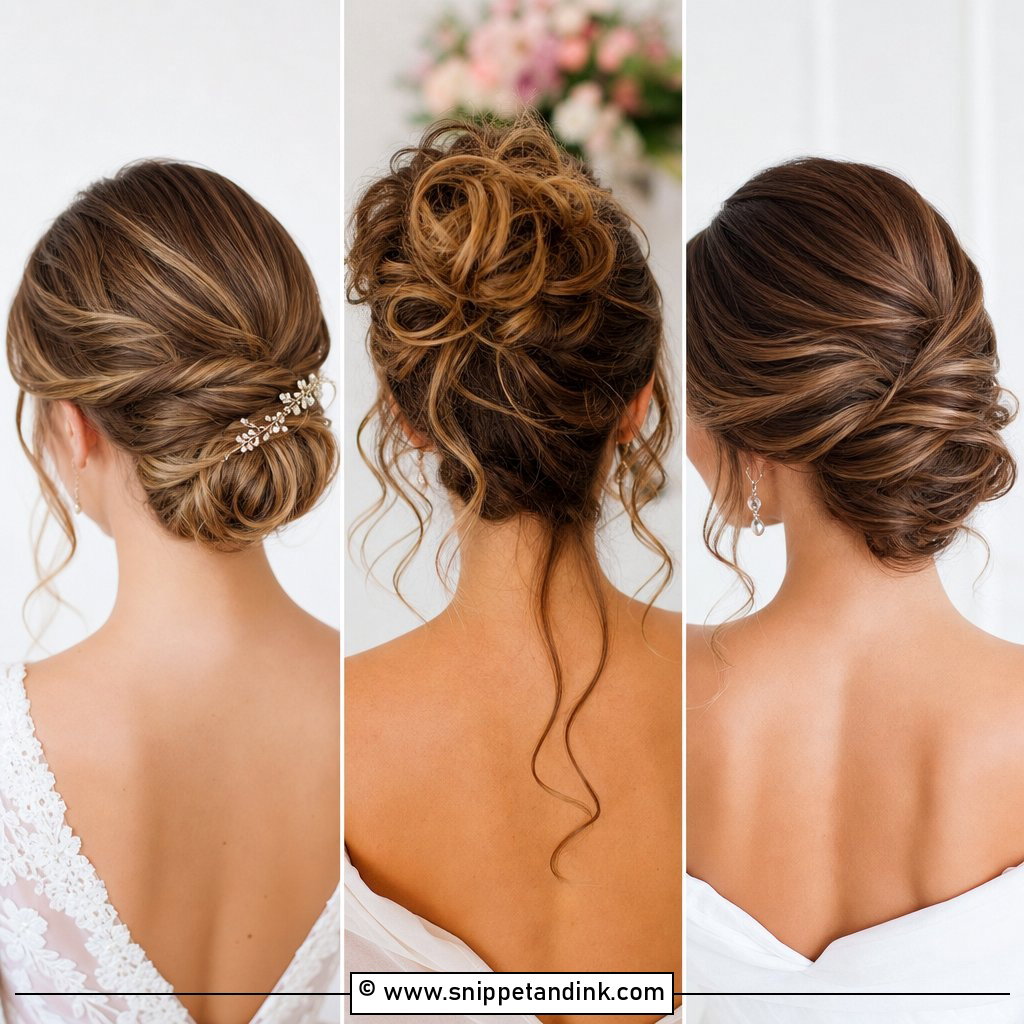
A low bun is the safest place to start, because it looks tidy from the front, side and back. Medium hair gathers at the nape comfortably without extra extensions. If your hair was washed that morning, I mist texture spray through it before pinning; clean hair is slippery and buns made from it creep downward. Wear it smooth for a formal ceremony or loosened for a garden, with a couple of pieces left by the cheeks. Veils, pearl pins and open-back dresses all sit well with it.
2. Low Chignon Updo For Medium Hair Wedding
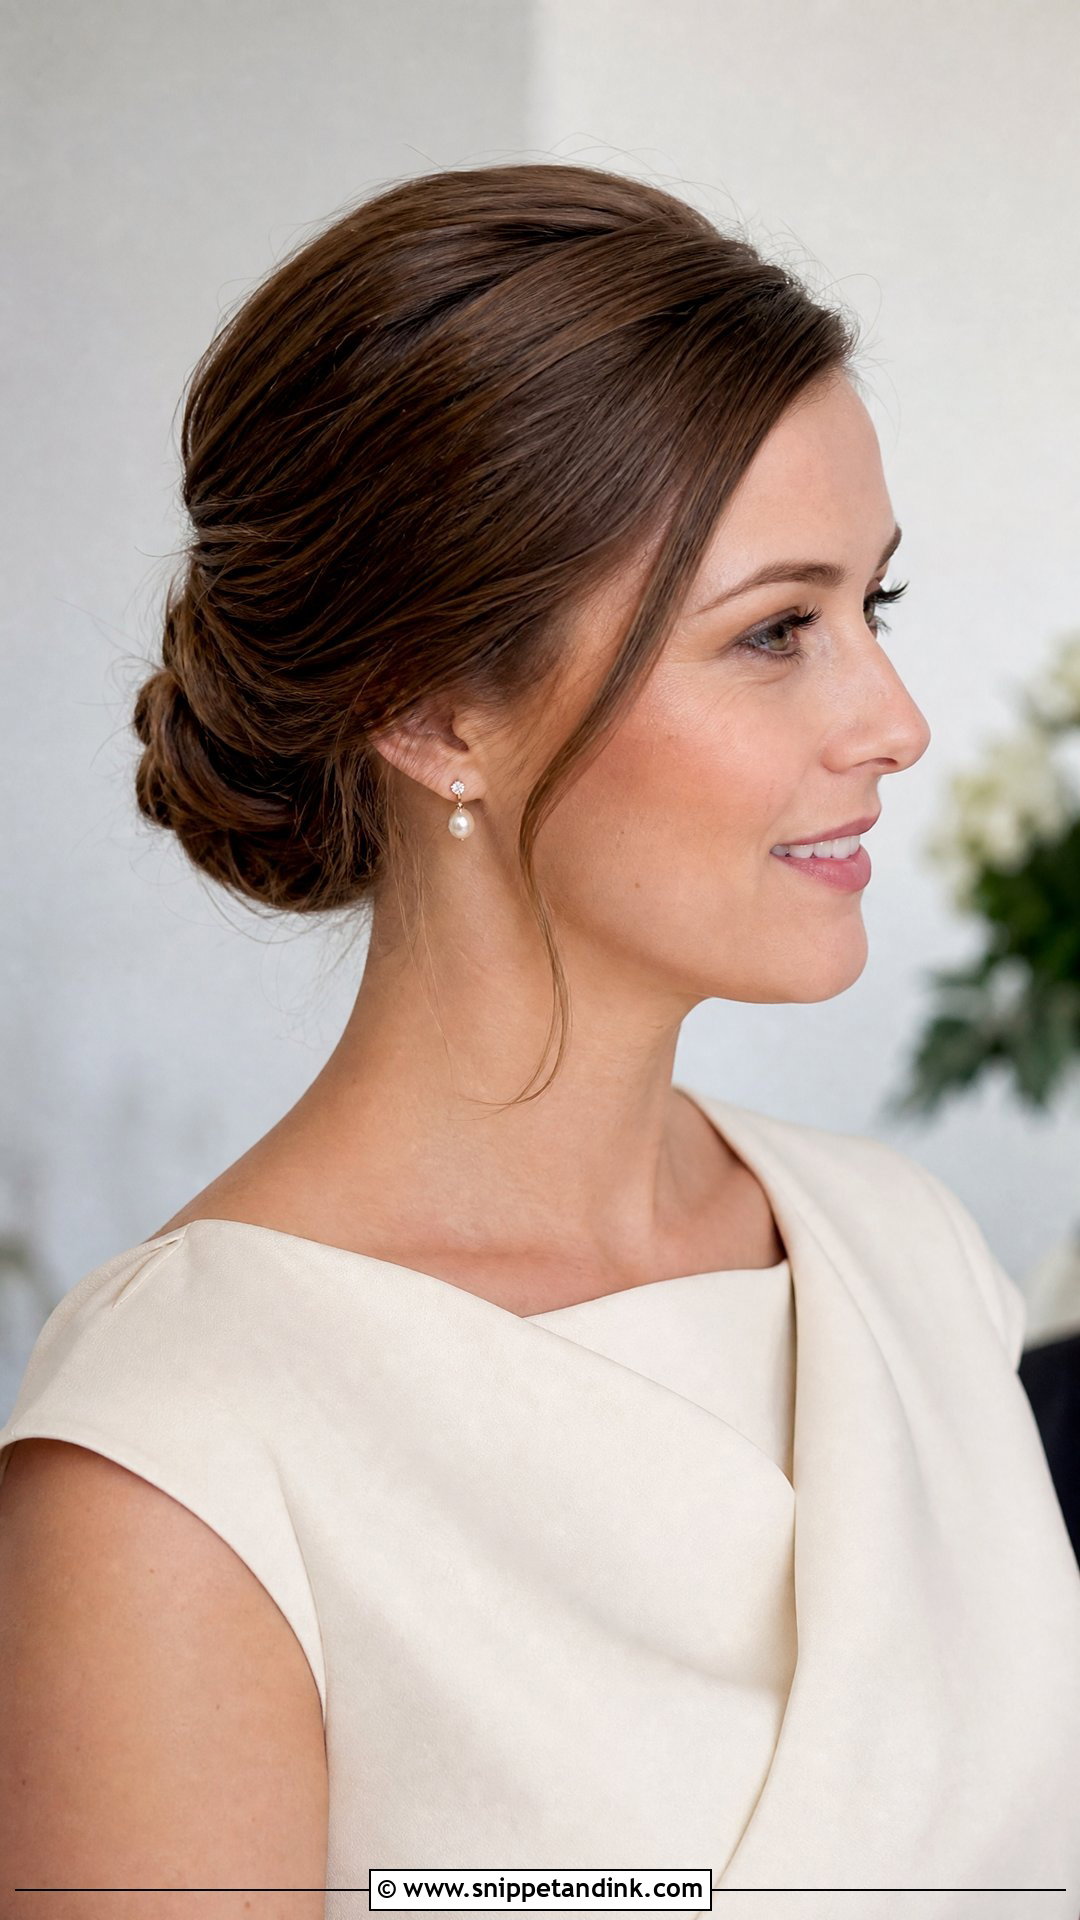
The chignon is tucked and shaped closer to the head than a basic bun, which gives it a neater, flatter profile. At this length it ends up a balanced size, never the oversized knot you get from very long hair. I add a little volume at the crown so the side profile isn’t flat. Secure pinning matters most at the bottom edge, since that’s where a chignon starts to sag after hours of hugs. Earrings and simple makeup show well against it.
3. Twisted Low Bun Updo For Medium Hair Wedding
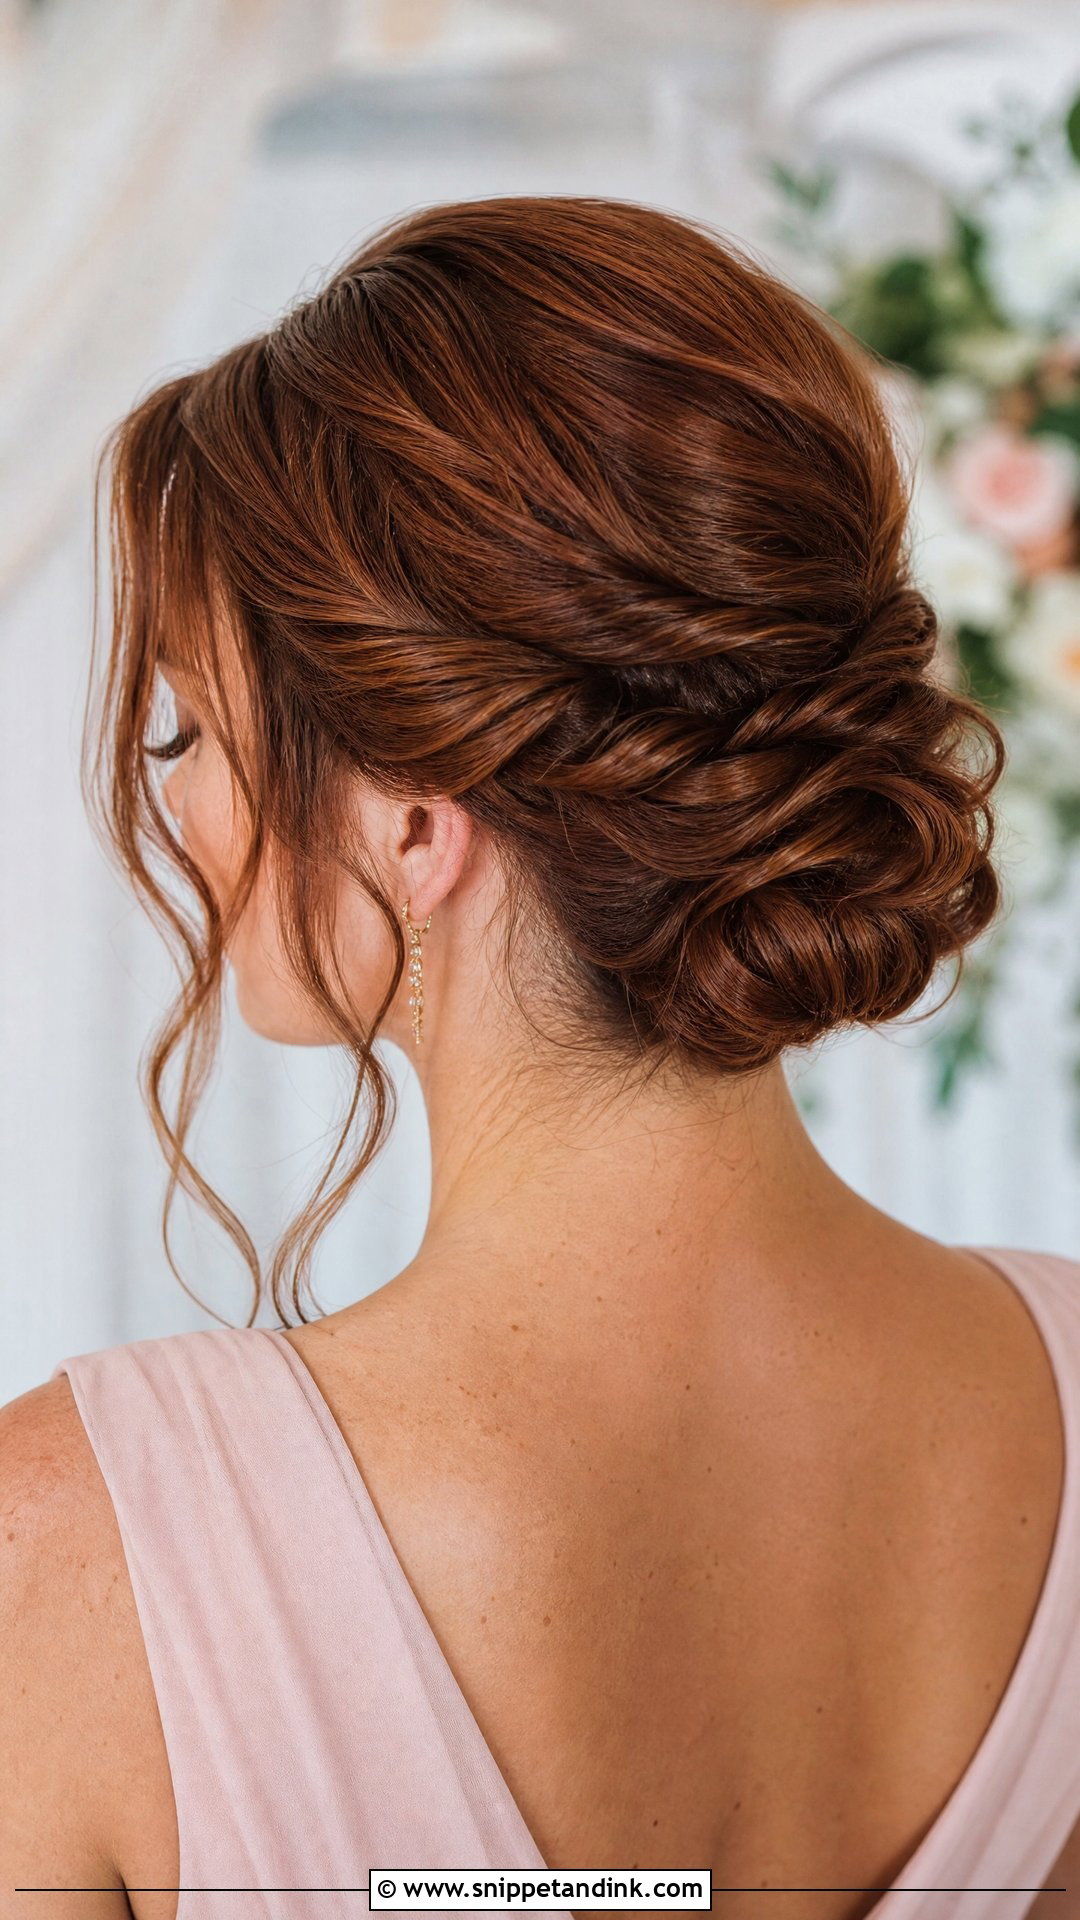
Twisting sections back from the face before gathering a low bun is the trick I use most on medium cuts with layers. The shorter pieces get wrapped into each twist instead of springing out at the nape. It’s quick, secure and reads as detailed from the side. For a relaxed look I leave the front soft; for something formal I smooth it flat with a little cream first.
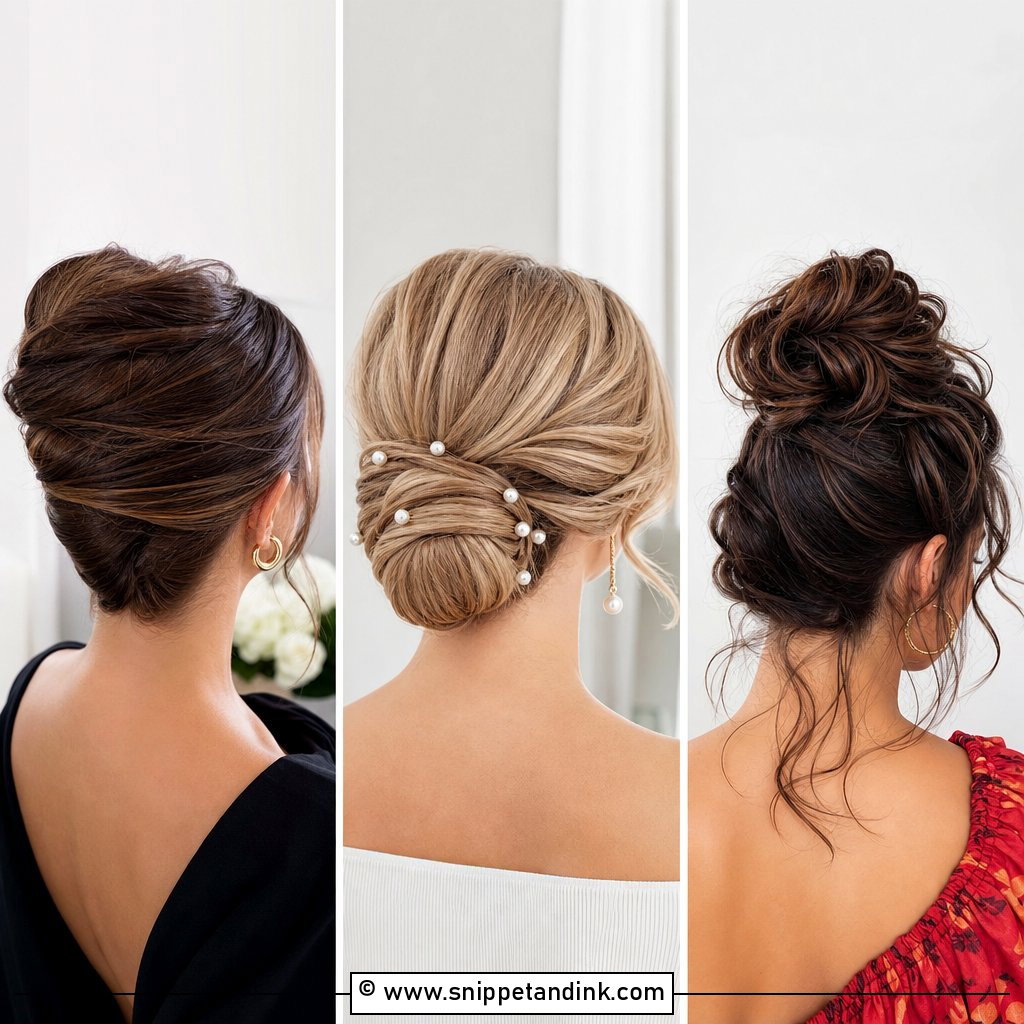
4. Messy Bun Updo For Medium Hair Wedding
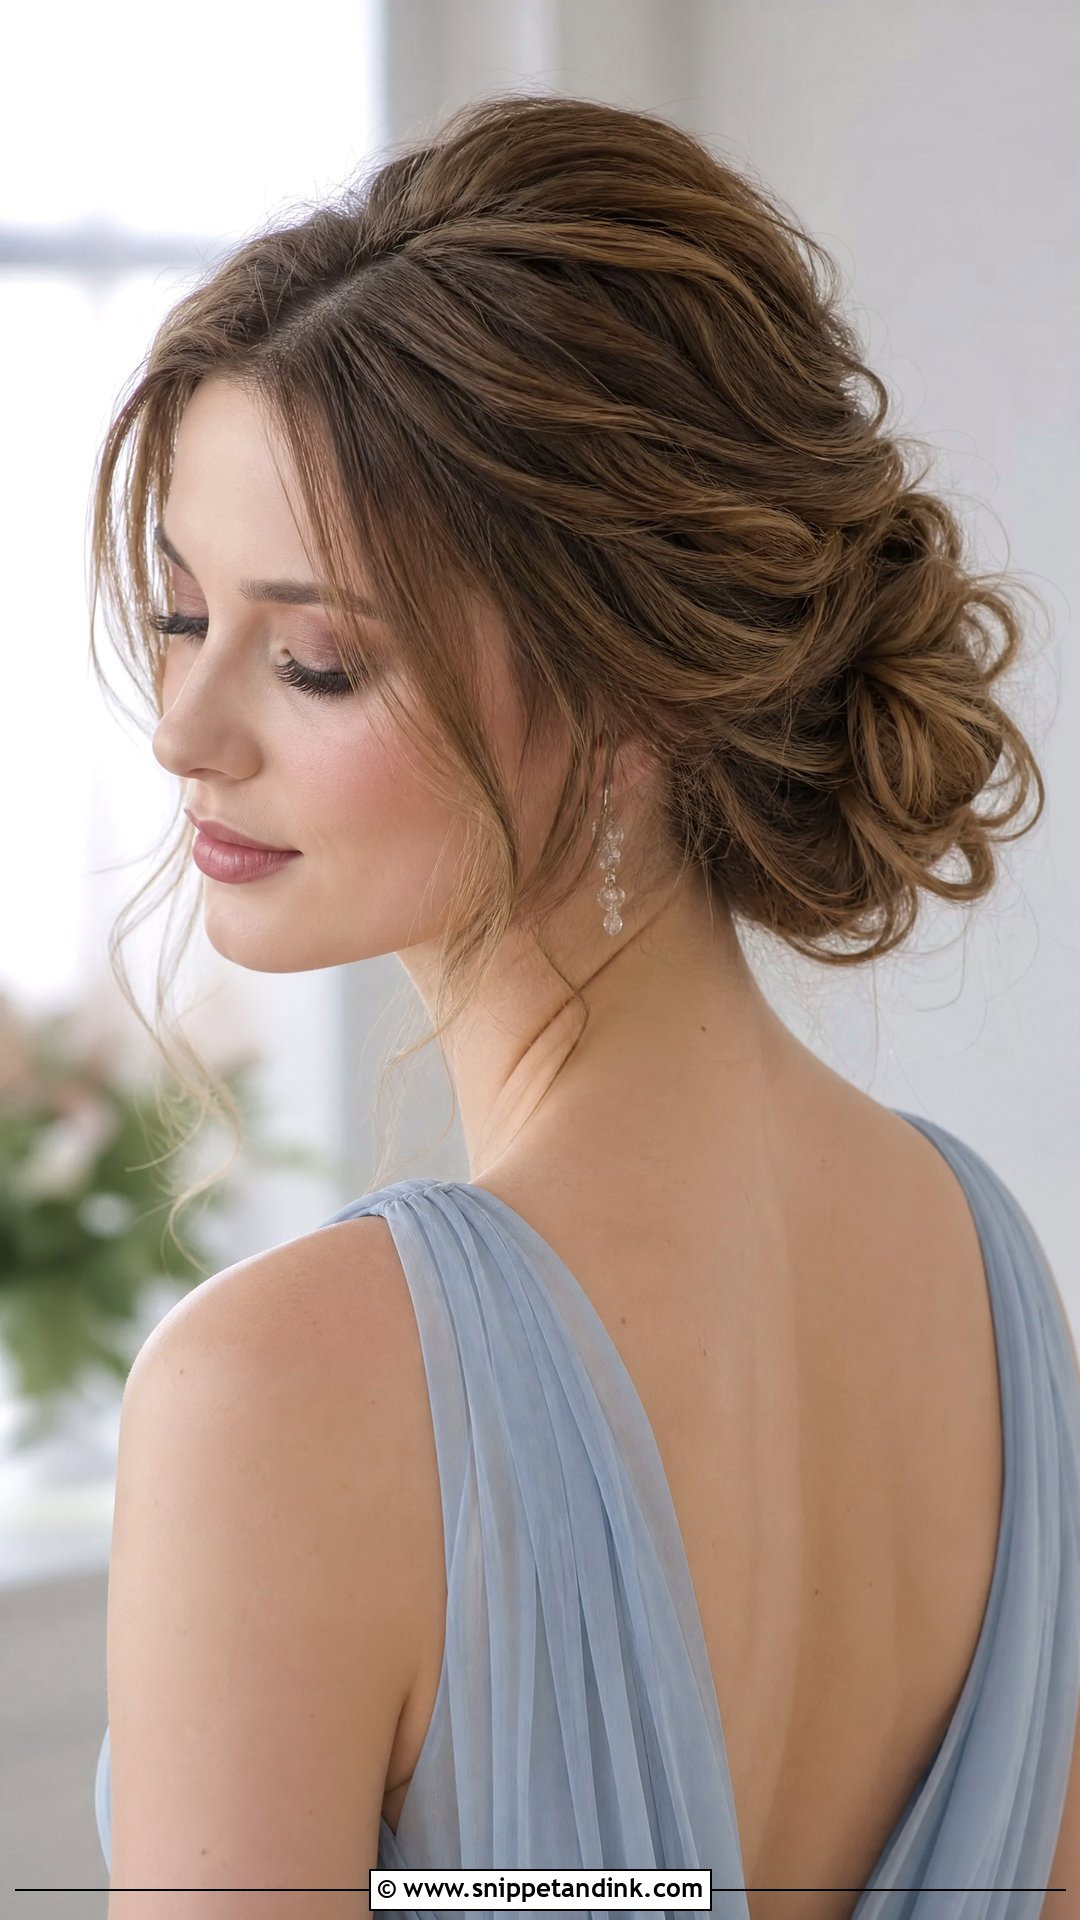
Messy only looks good when it’s planned. On medium hair I put loose waves in first so the bun has movement, then shape it with small pins rather than pulling it tight. The face-framing pieces should be chosen and curled, not whatever falls out. It belongs at outdoor and beach ceremonies. My warning: on very fine hair a messy bun can look thin, so I backcomb lightly at the root of each section before pinning.
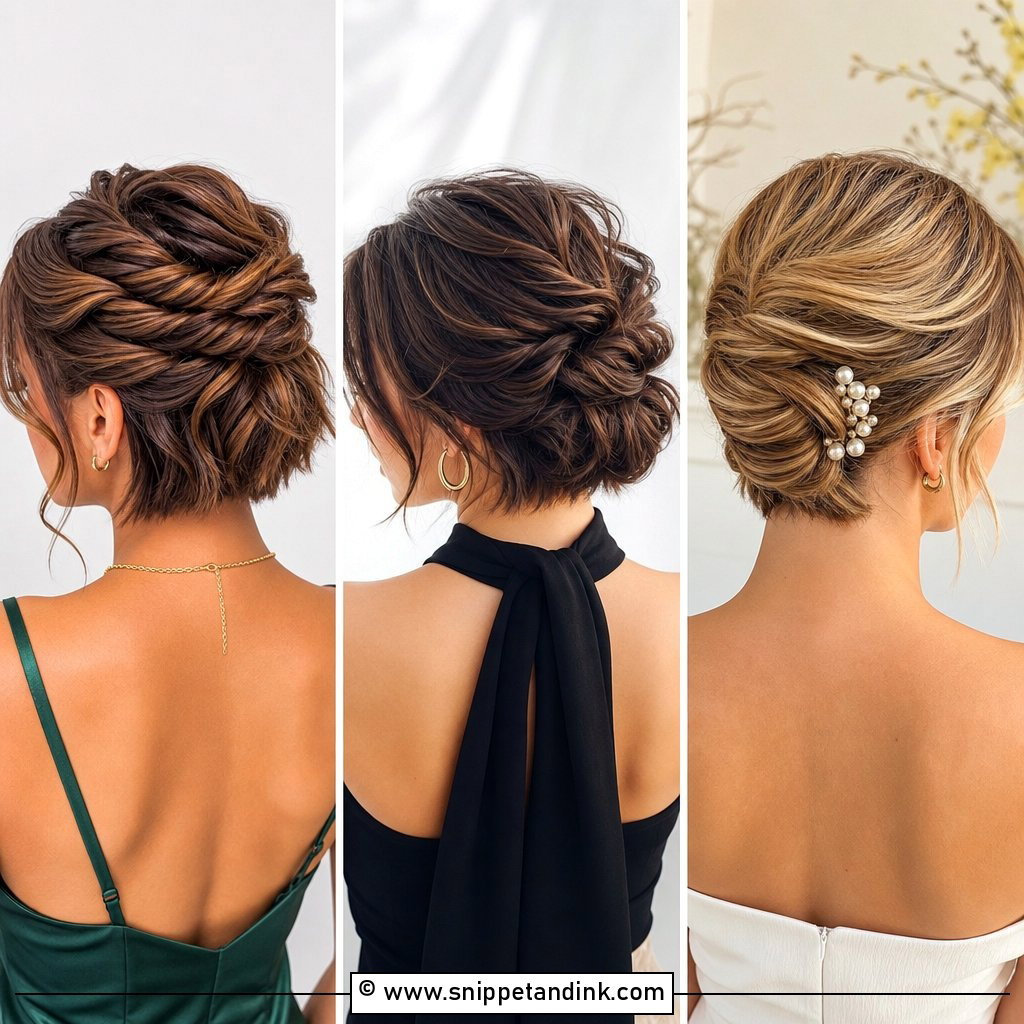
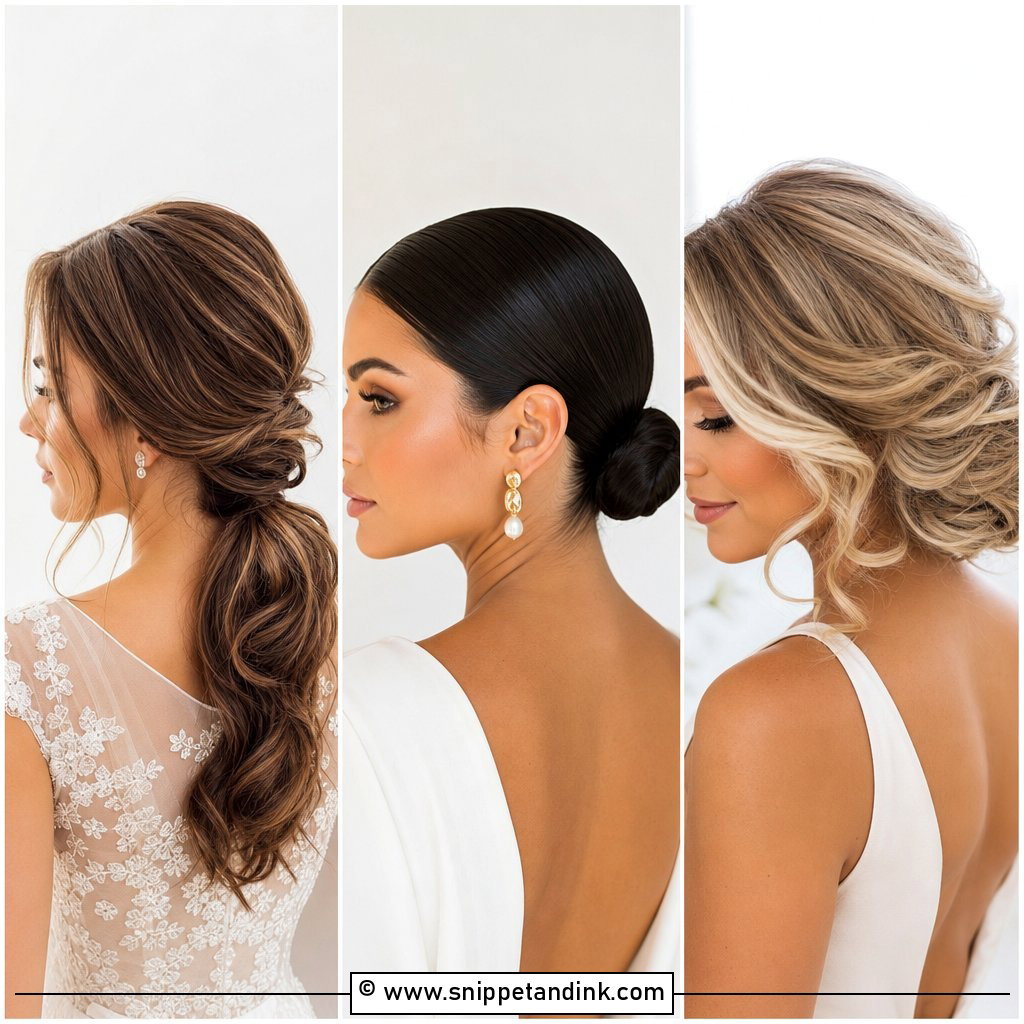
5. Sleek Bun Updo For Medium Hair Wedding
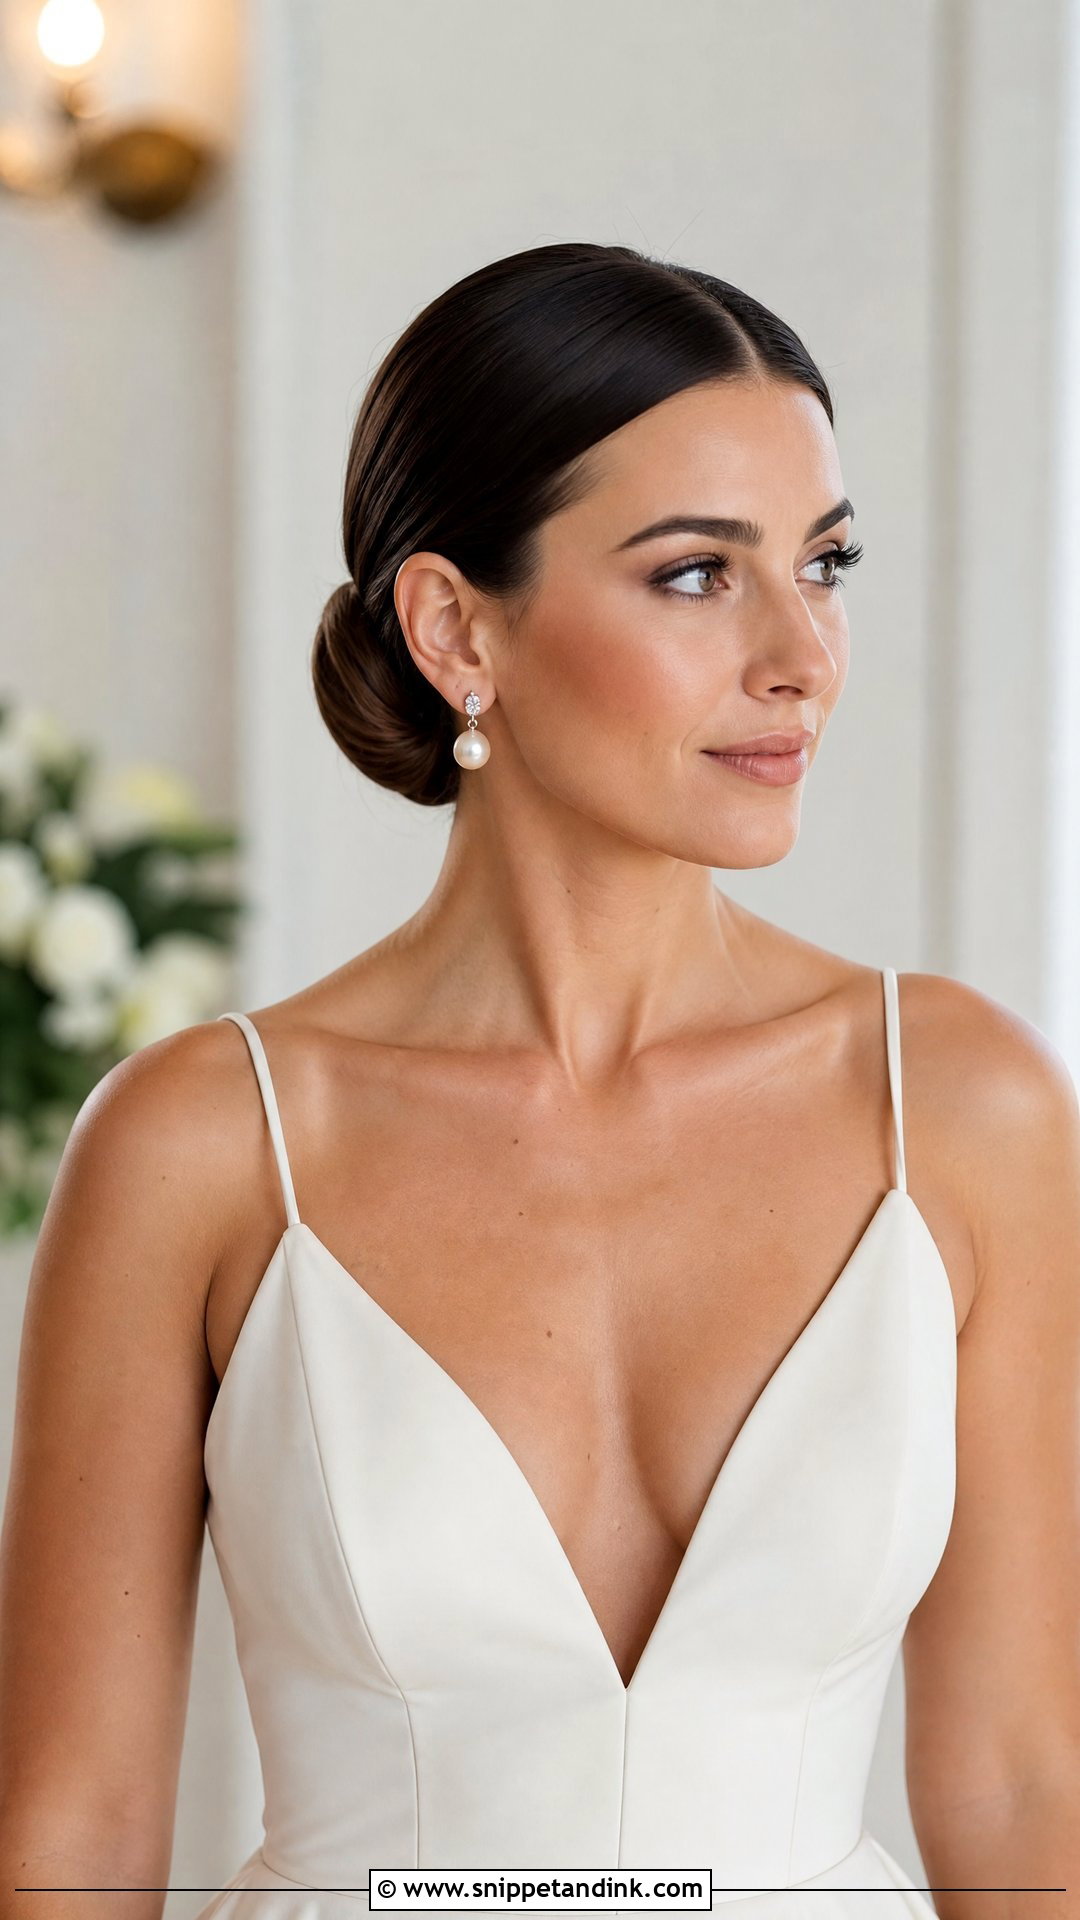
A sleek bun keeps every strand under control, which is why I suggest it for humid days and minimalist gowns. It can sit low at the nape or slightly higher depending on your neckline. I smooth it with cream or a light gel, then finish with shine spray. The thing to watch is your part: sleek styles show a wobbly part in every photo, so I set it with the end of a tail comb while the hair is still damp with product. Center or side parts both work, and statement earrings suit it.
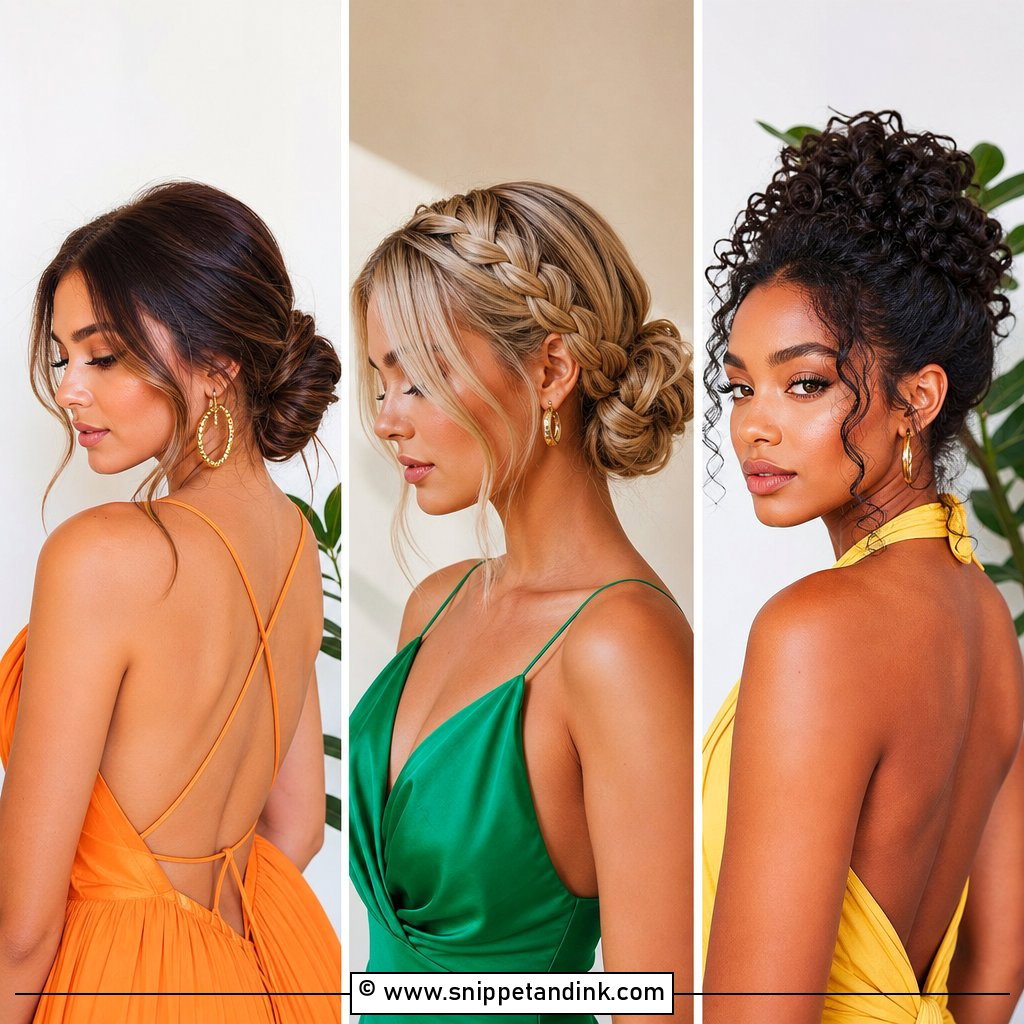
6. Side Bun Updo For Medium Hair Wedding
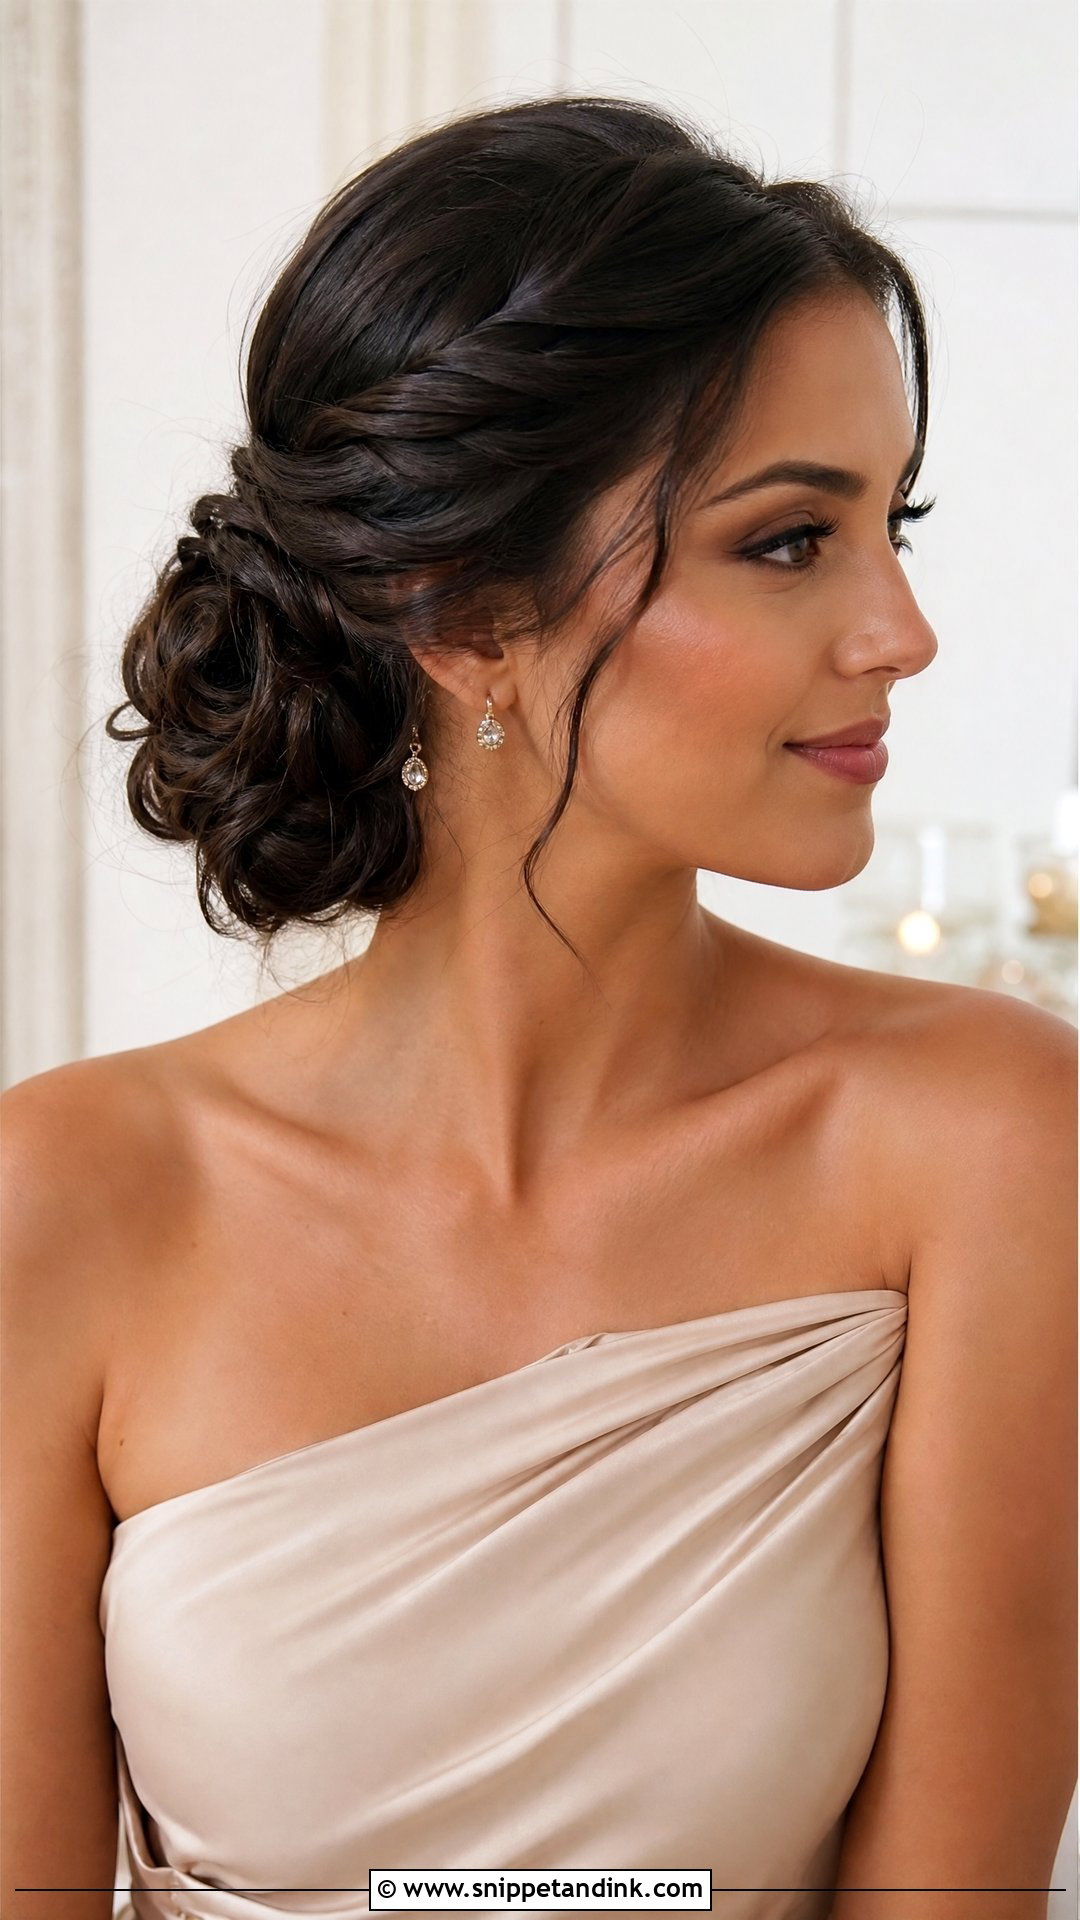
A side bun rests near the lower ear or jawline instead of the center back. Because it’s visible from the front, medium hair looks fuller than it would in a hidden nape bun. One-shoulder dresses, soft waves and small hair accessories pair well with it. I keep the opposite side smoothed or lightly twisted so the shape balances. Do decide which side faces the guests at the ceremony before your trial.
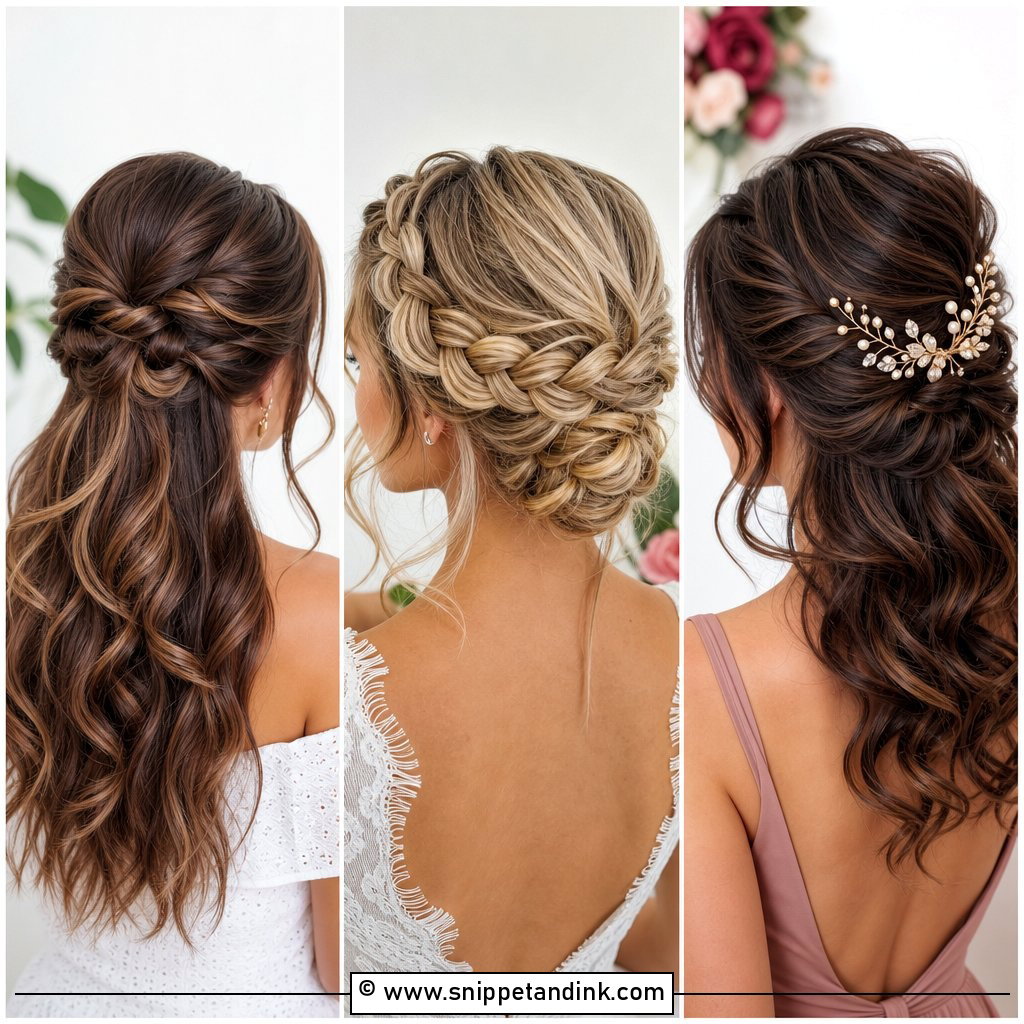
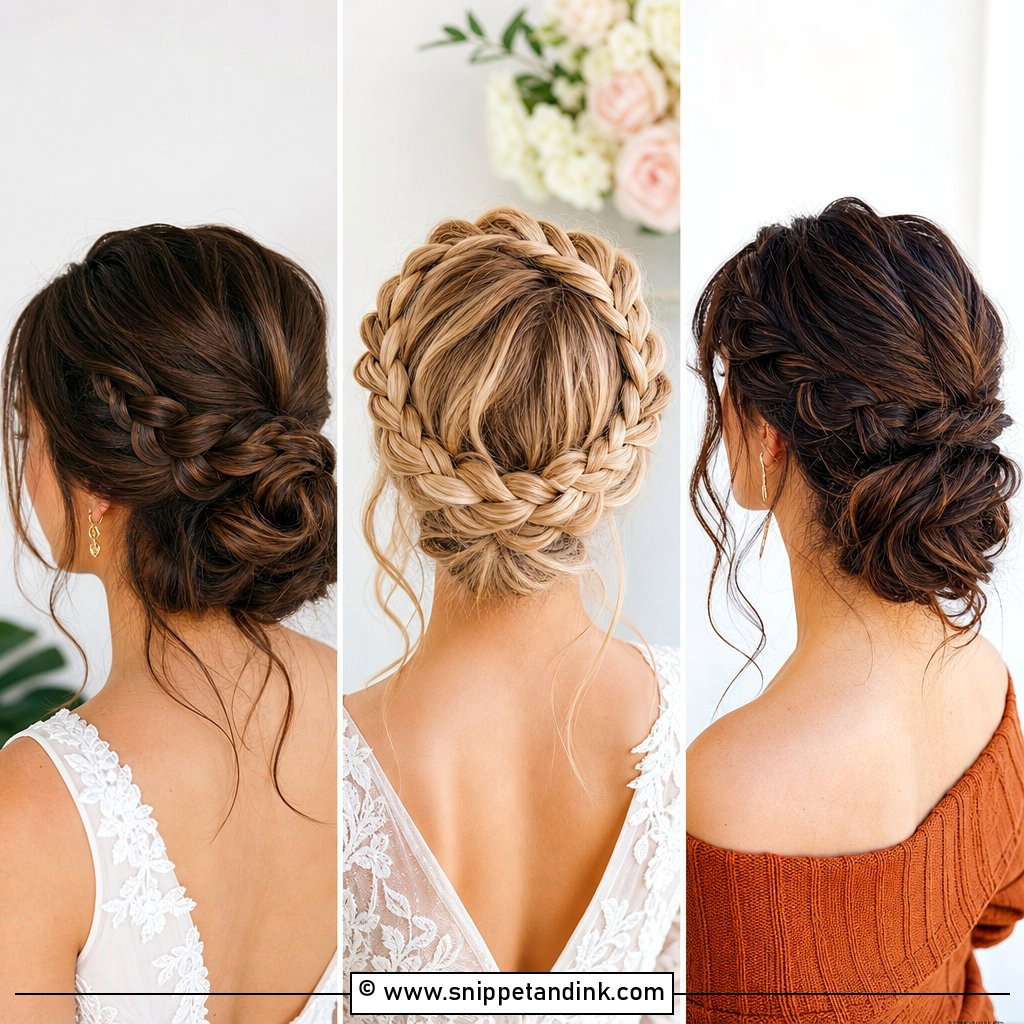
7. Braided Bun Updo For Medium Hair Wedding
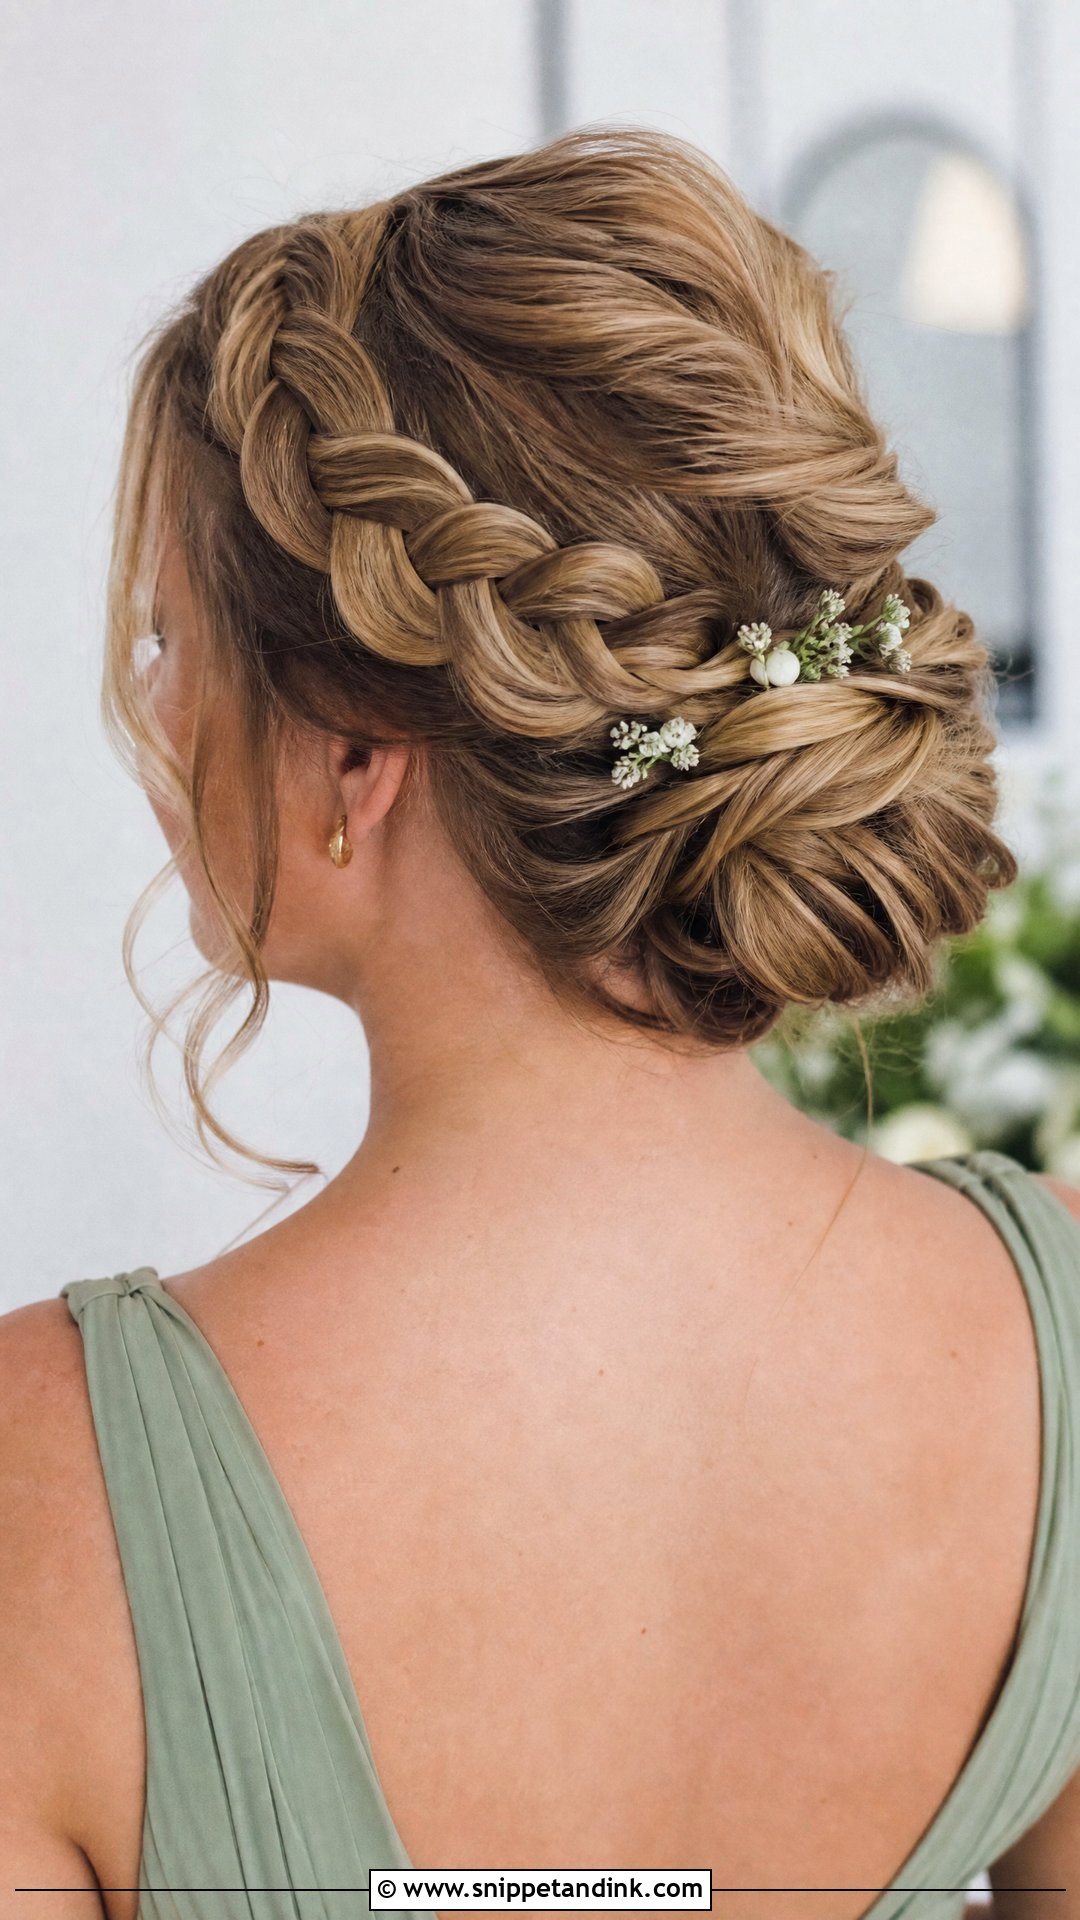
A small braid is the most useful tool I have for layered medium hair. It can be wrapped around the bun, woven through one side or run as a crown before the length gets pinned low. Braids grip, so pins stay where I put them, and short ends get caught inside the plait. Loosen it gently by pulling at the edges. Tiny pins or a few flowers can sit inside the braid.
8. Crown Braid Updo For Medium Hair Wedding
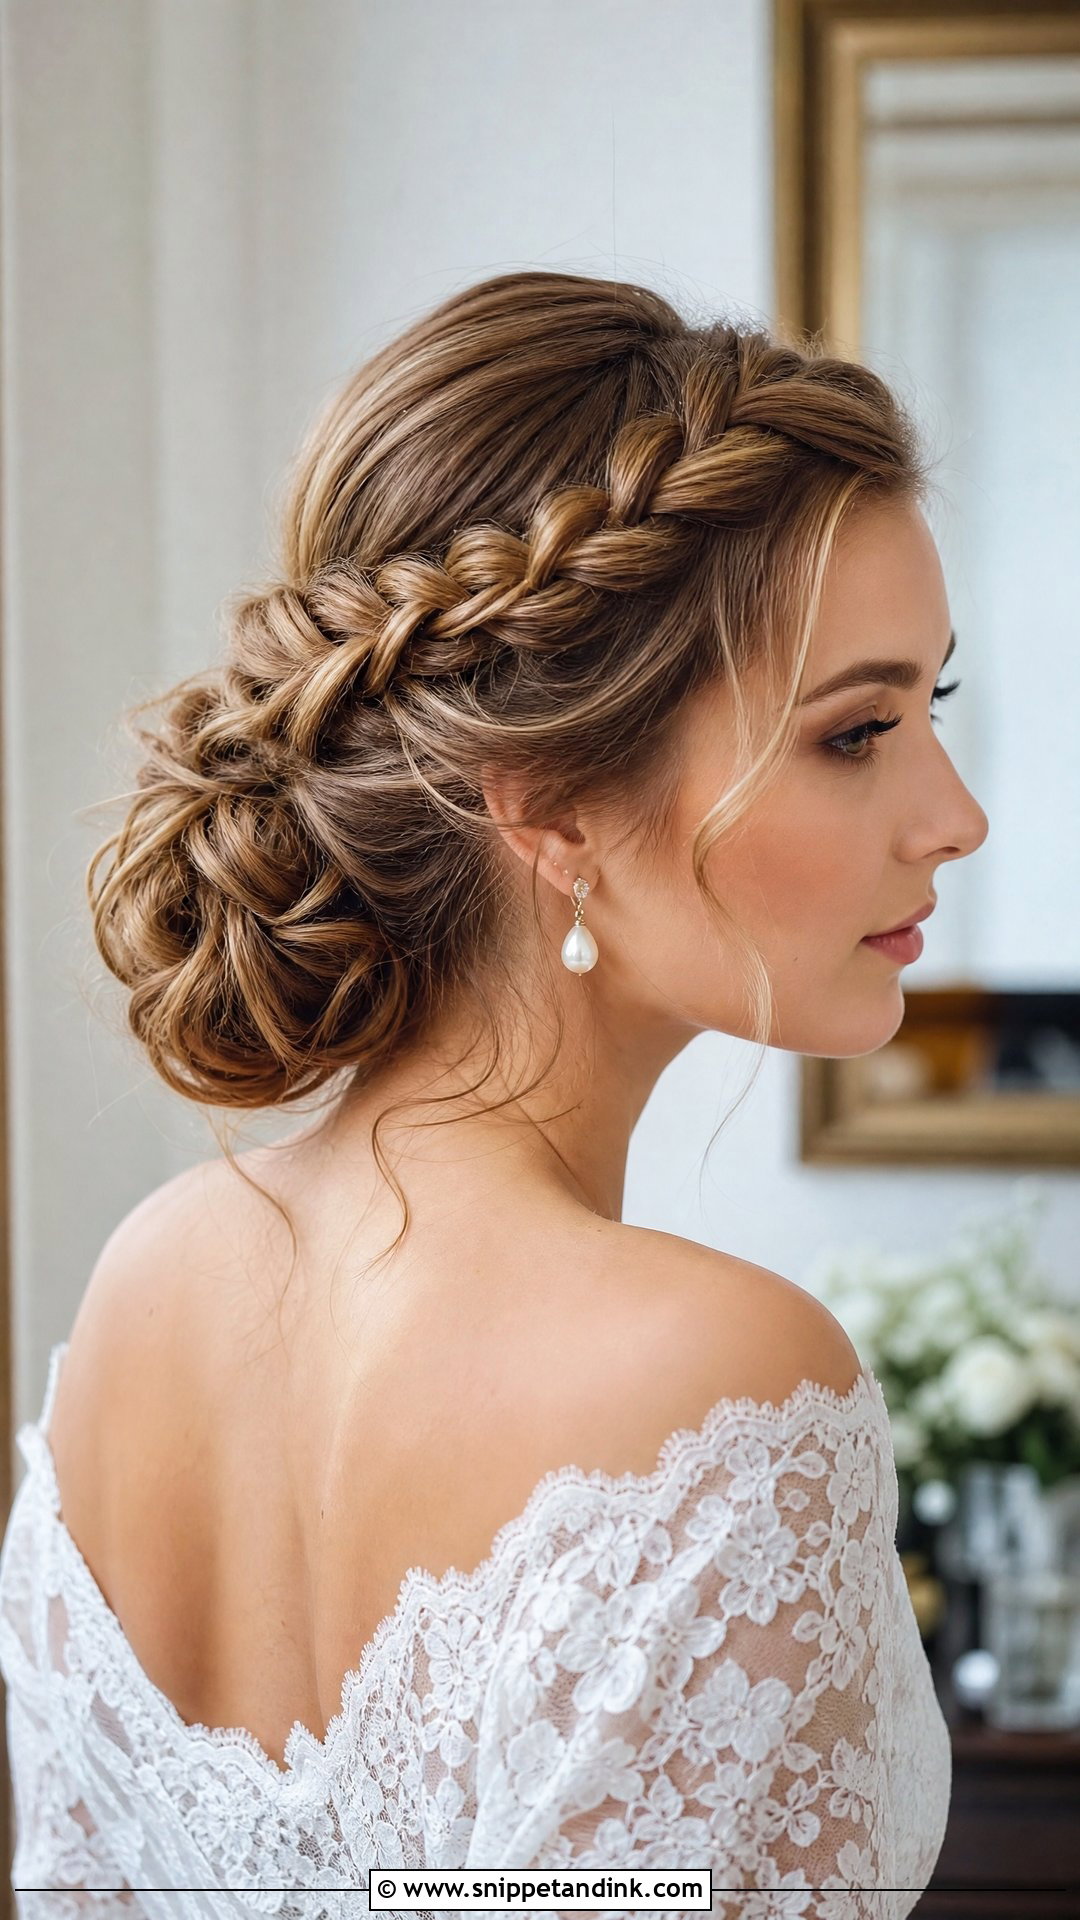
A crown braid pulls medium hair right away from the face, then joins a low pinned bun at the back. It’s detailed but easy to wear. I rely on it for brides with grown-out bangs or short front layers, since the braid catches them along the hairline. Medium hair rarely has enough length for a full wraparound crown, so I usually braid along each side and meet at the back. Texture spray before braiding makes the plaits look fuller.
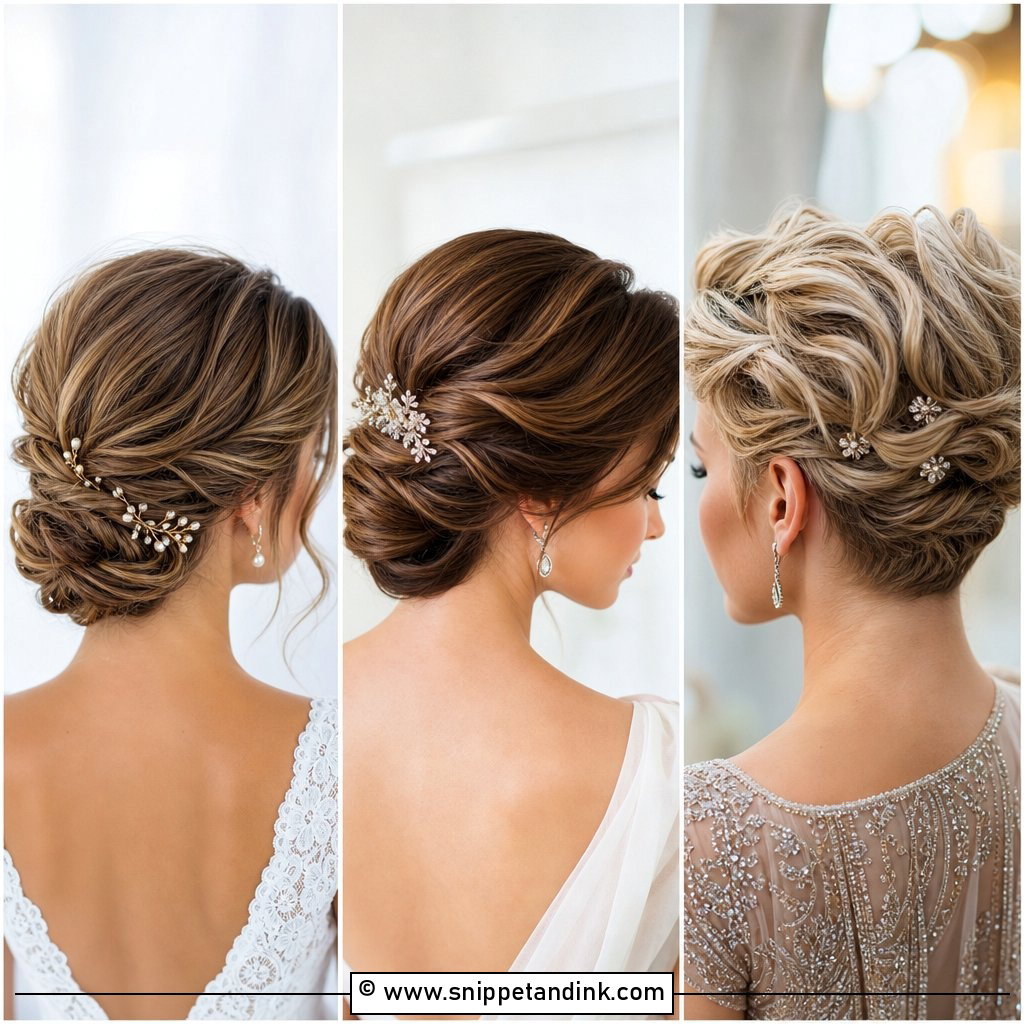
9. French Twist Updo For Medium Hair Wedding
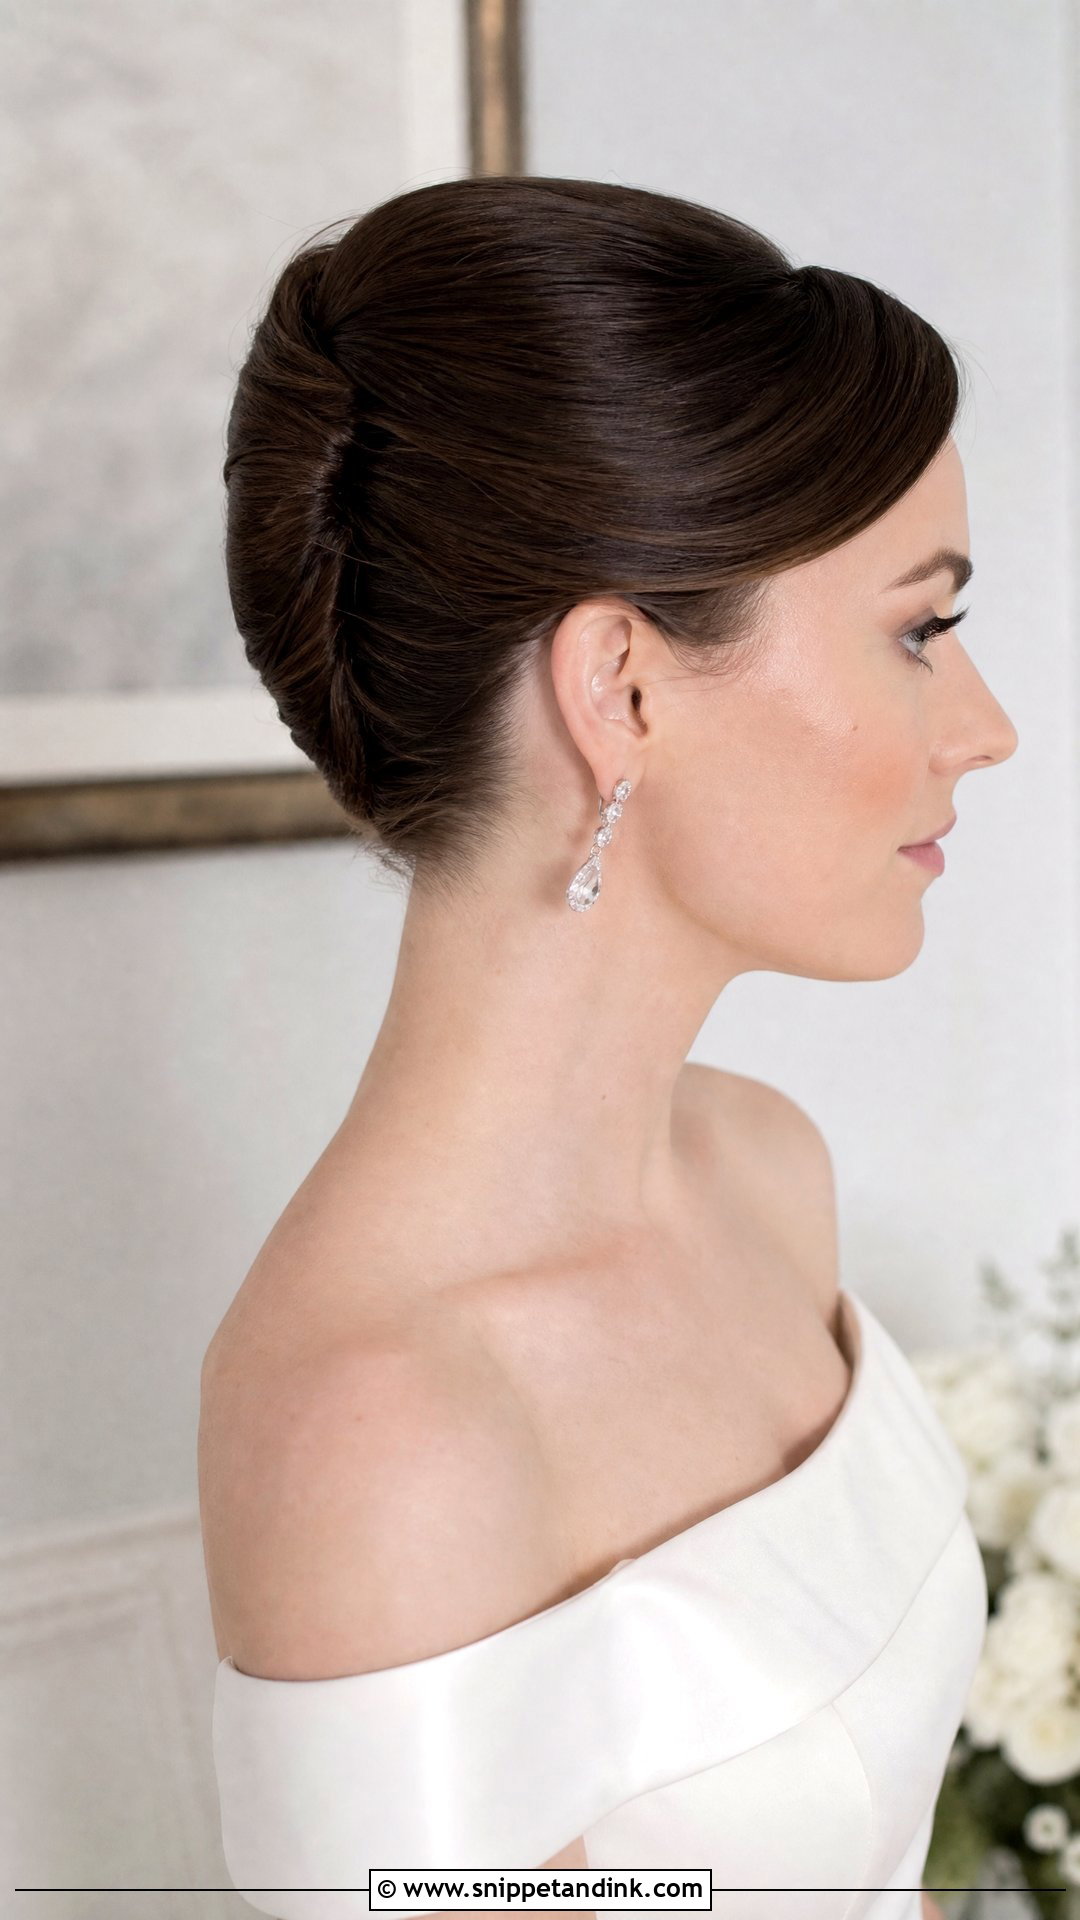
The French twist suits medium hair well, because the length tucks into the roll without creating the bulk long hair does. It lifts the hair up and shows the neck, shoulders and any back detail on the dress. The classic version is smooth and formal; a softer one with loose pieces is more current. I build it on a line of crossed bobby pins up the center so the roll has something to lock onto. A comb or pearl pins finish it.
10. Soft French Twist Updo For Medium Hair Wedding
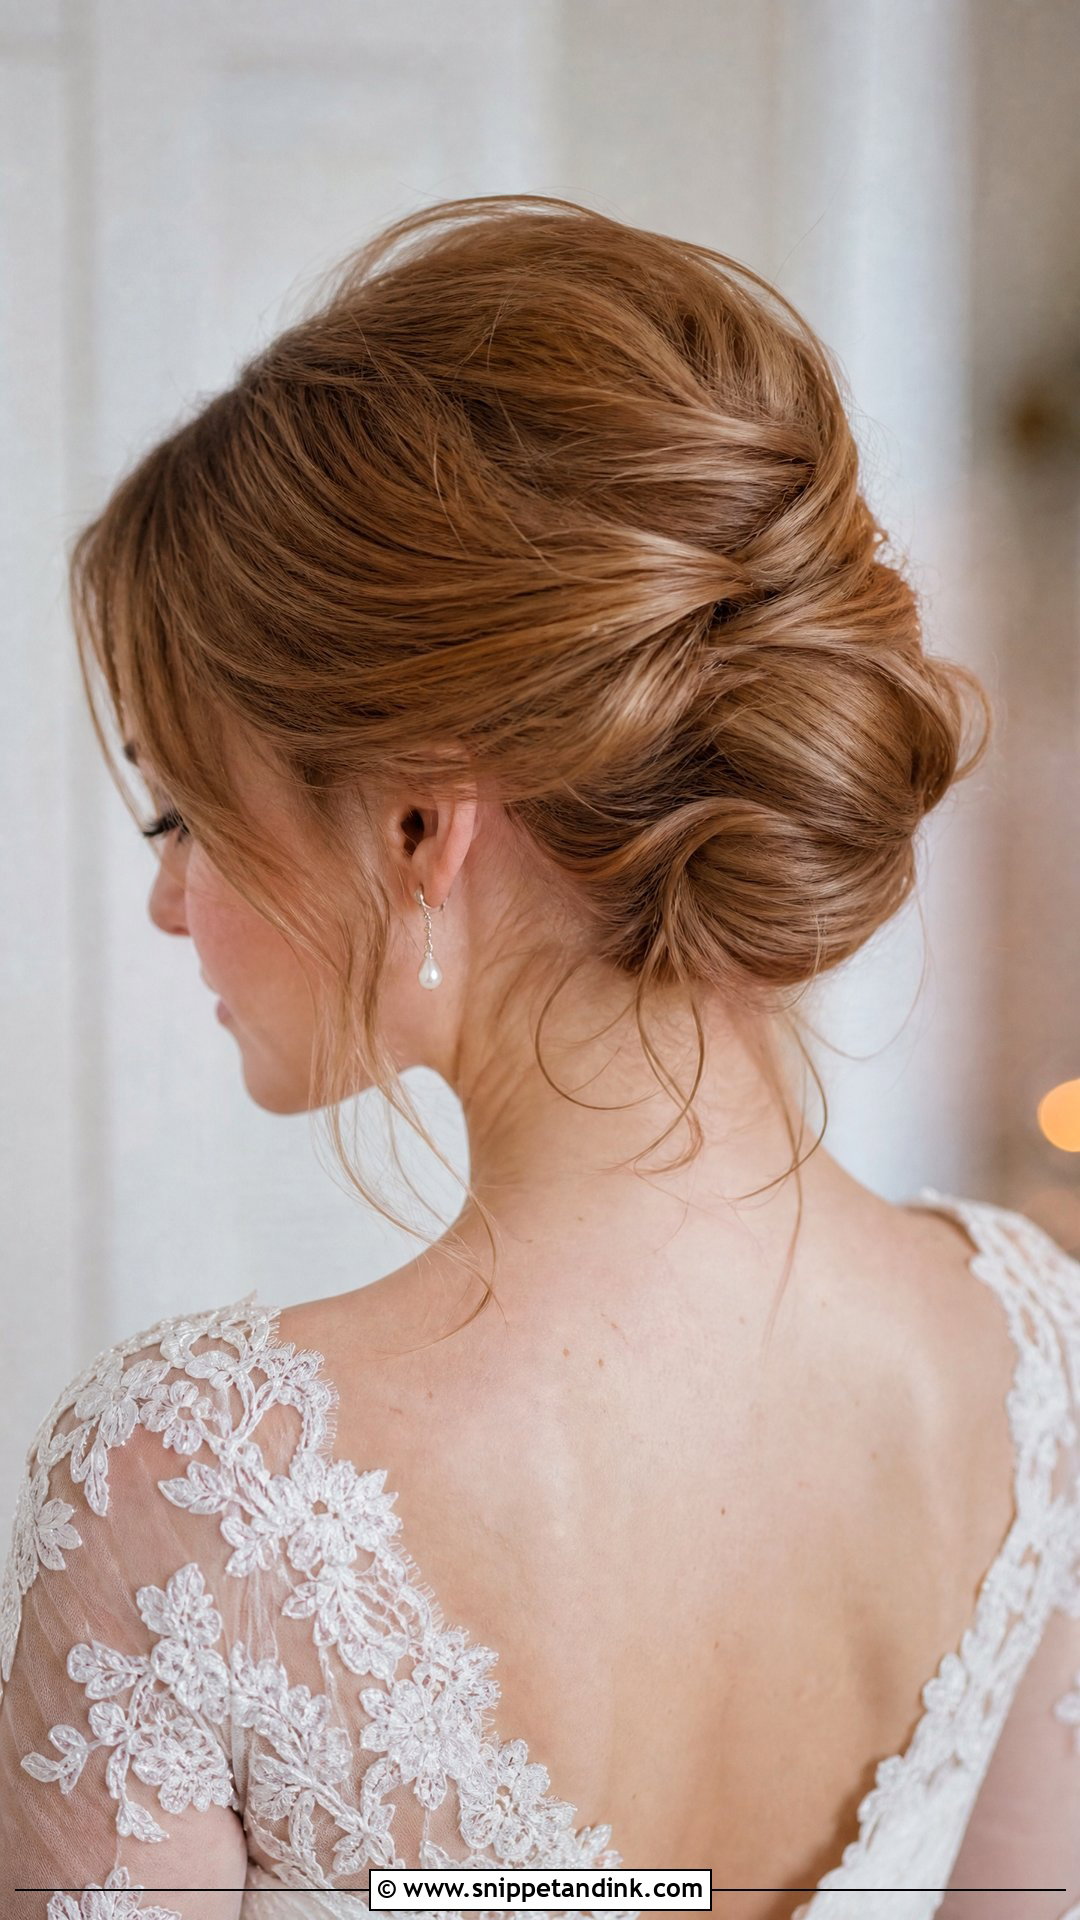
A softer French twist keeps the vertical roll but loses the lacquered stiffness. The hair is swept back and rolled with some texture left through the crown and sides. I curl the hair loosely beforehand, because a soft twist made on flat, straight hair can look unfinished rather than relaxed. Leave a couple of wispy strands near the temples. Lace dresses, simple veils and natural makeup sit comfortably beside it.
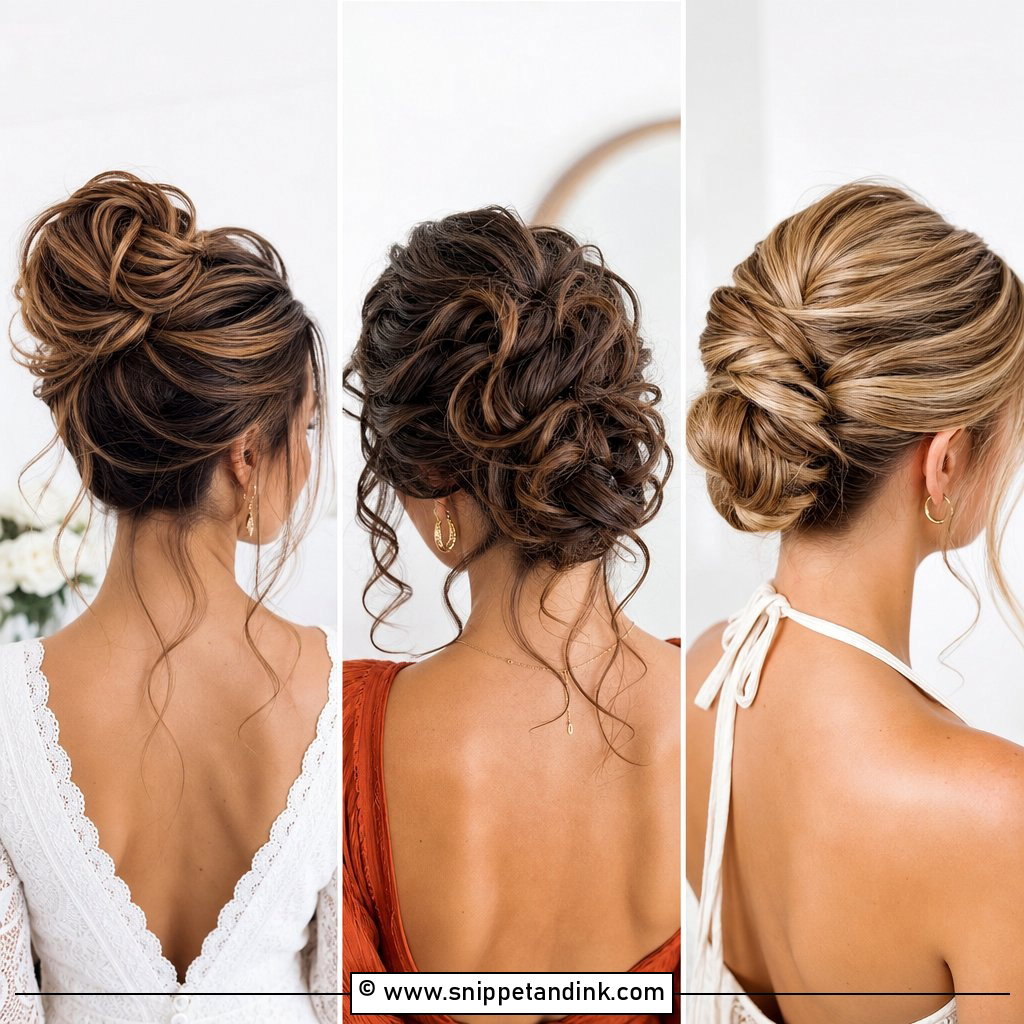
11. Textured Updo For Medium Hair Wedding
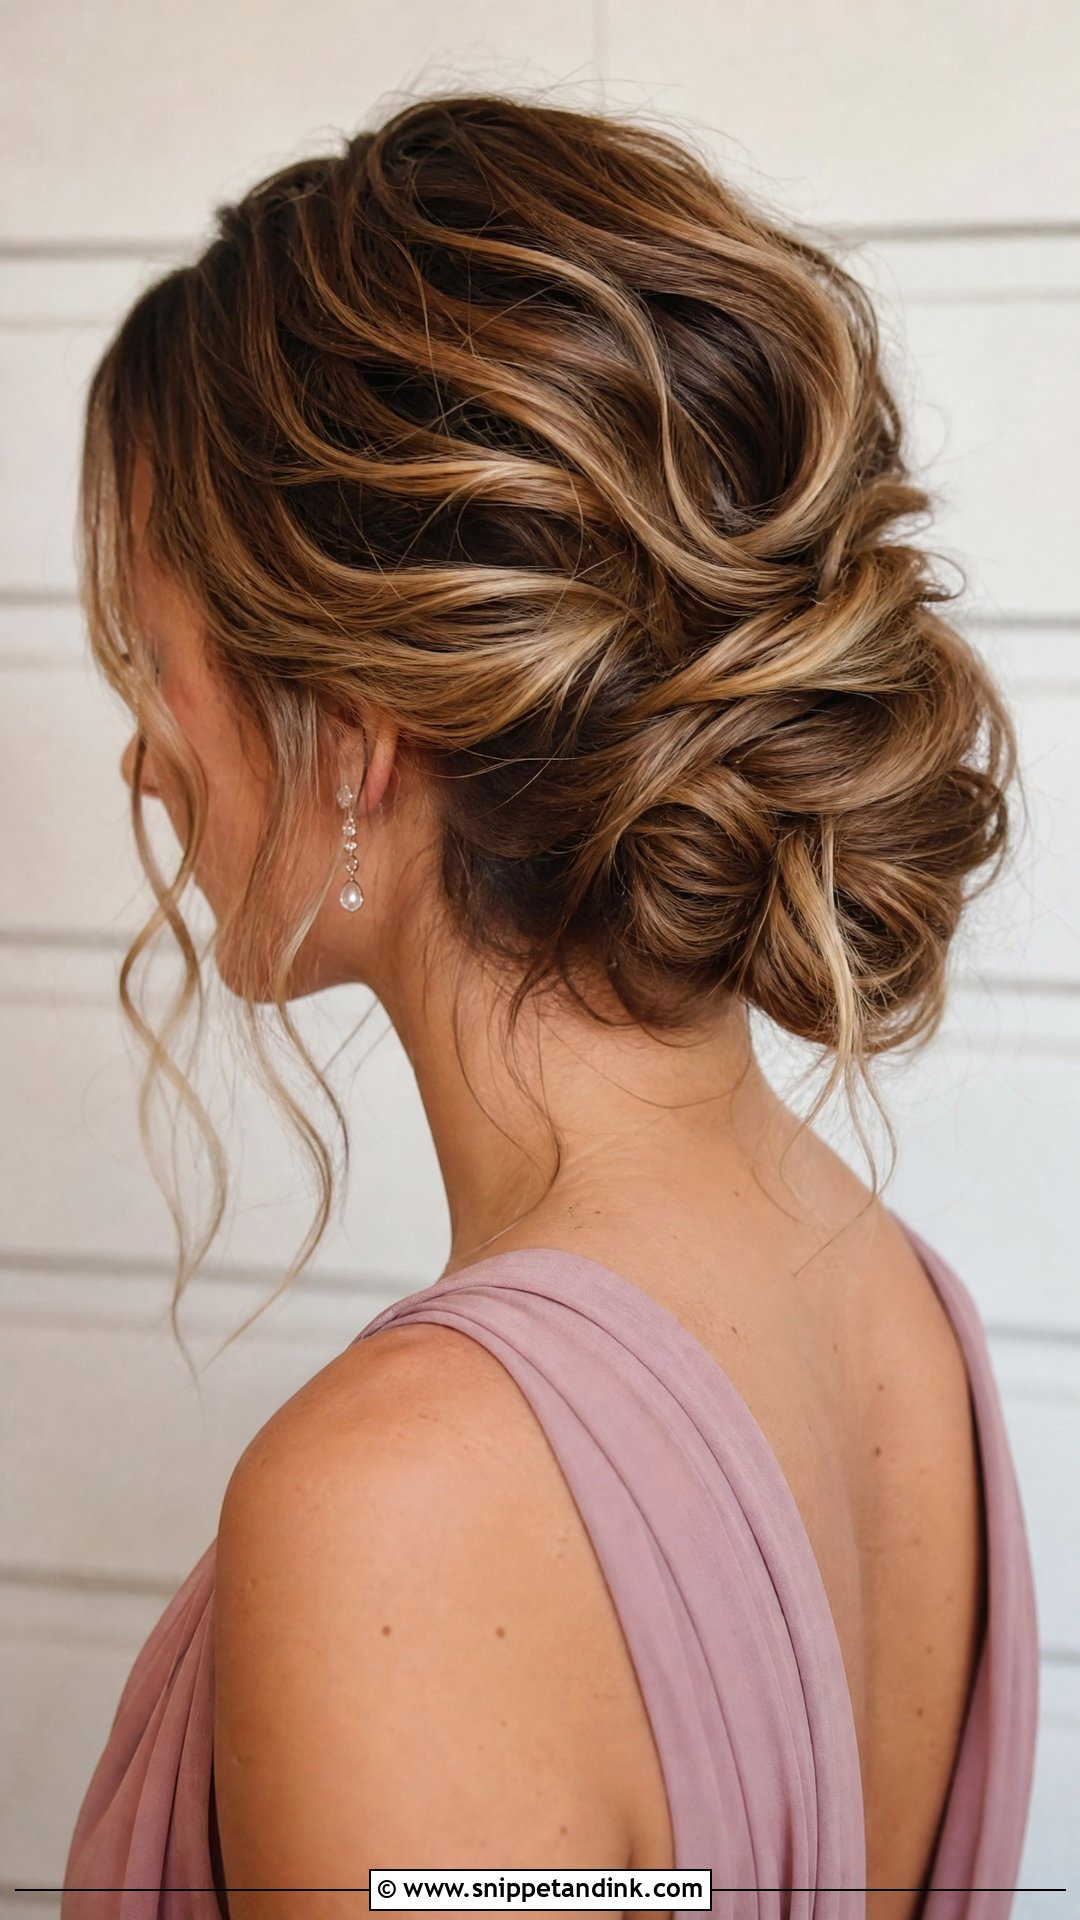
When medium hair needs fullness, I start with waves and then pin it into a loose bun, twist or tucked shape. Texture gives pins more to hold, and short layers blend in rather than escape. It’s a good fit for bridesmaids and guests who want polish without looking formal. Spend time on the back; most people at a ceremony see you from behind.
12. Curly Updo For Medium Hair Wedding
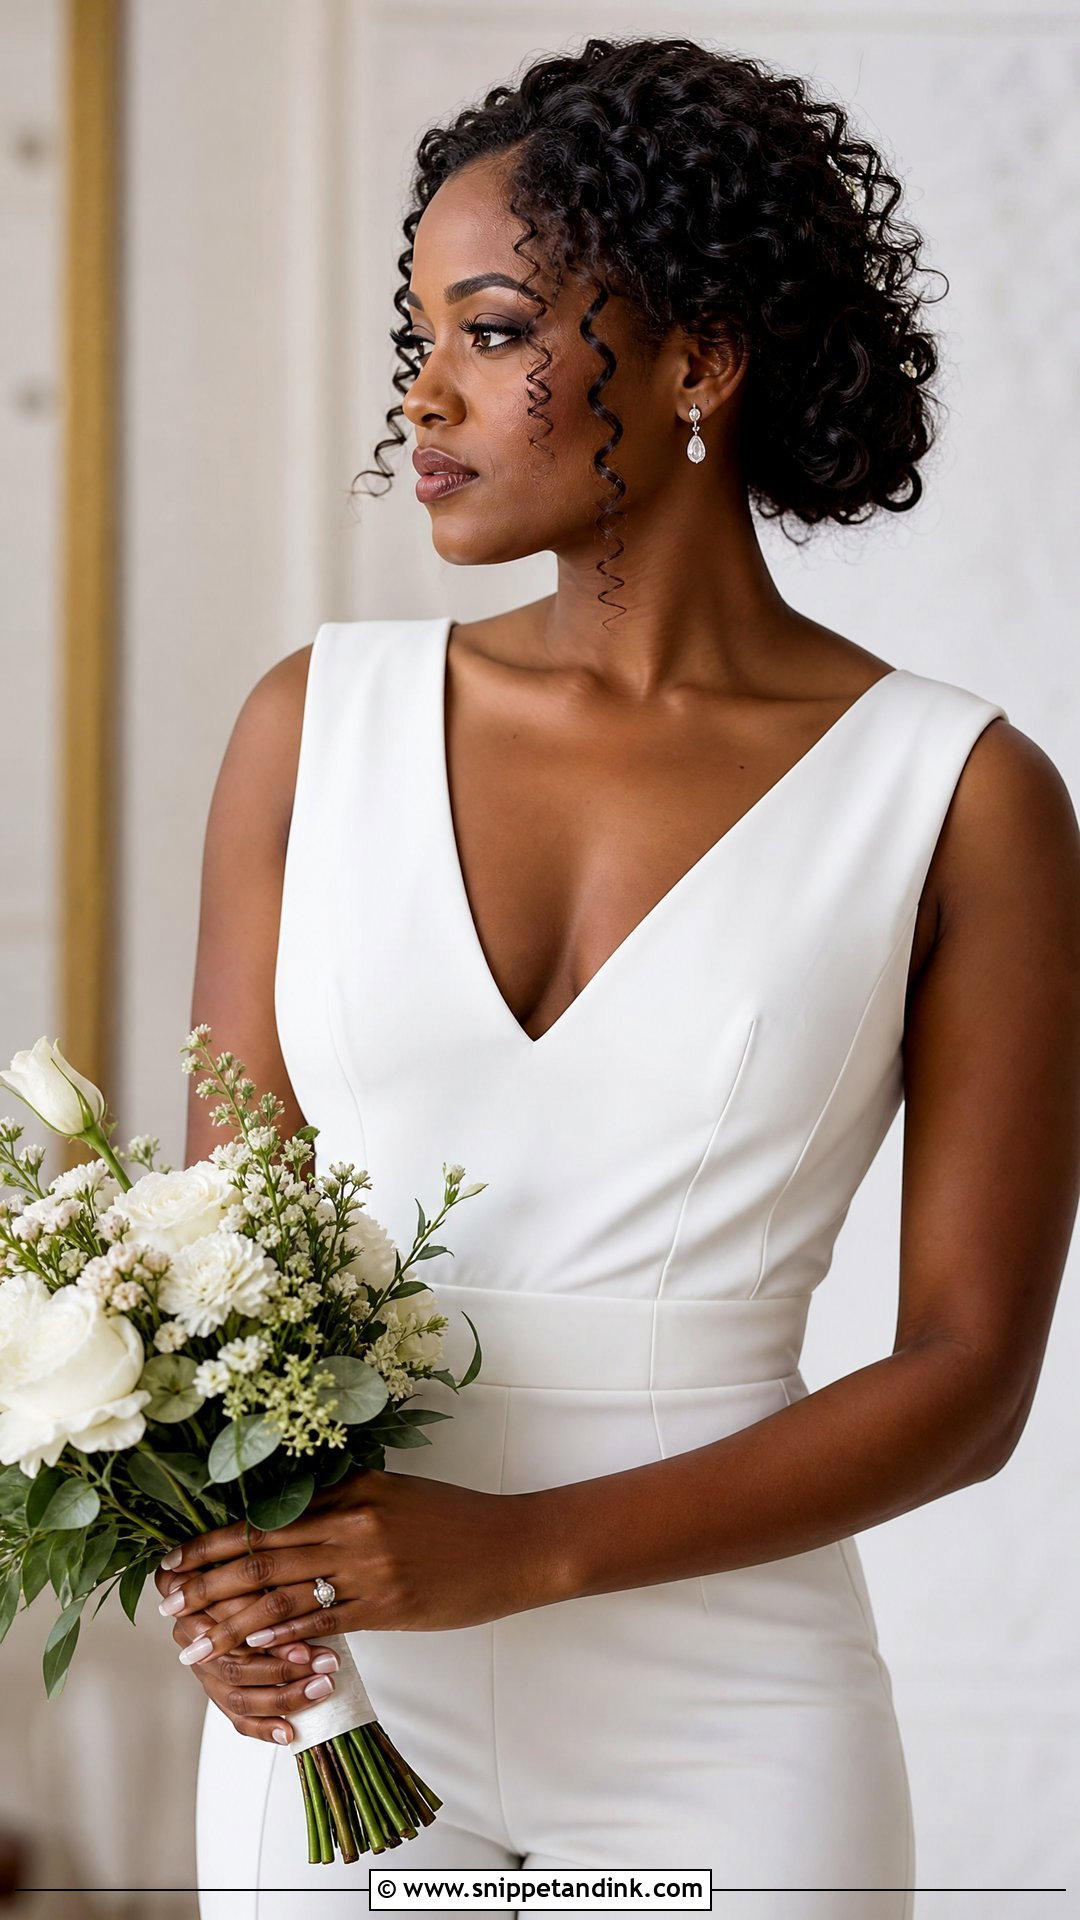
Natural curls already bring the volume and shape that other textures need to fake. Rather than brushing them out, I define them with curl cream, let them set, then pin sections gently into a low or mid-height shape. Forcing curls smooth often leaves a frizzy halo by evening, so I work with the pattern instead. A few curls framing the face finish it. Use light gel and strong pins that match your hair color. It keeps your own texture as the star.
13. Wavy Updo For Medium Hair Wedding
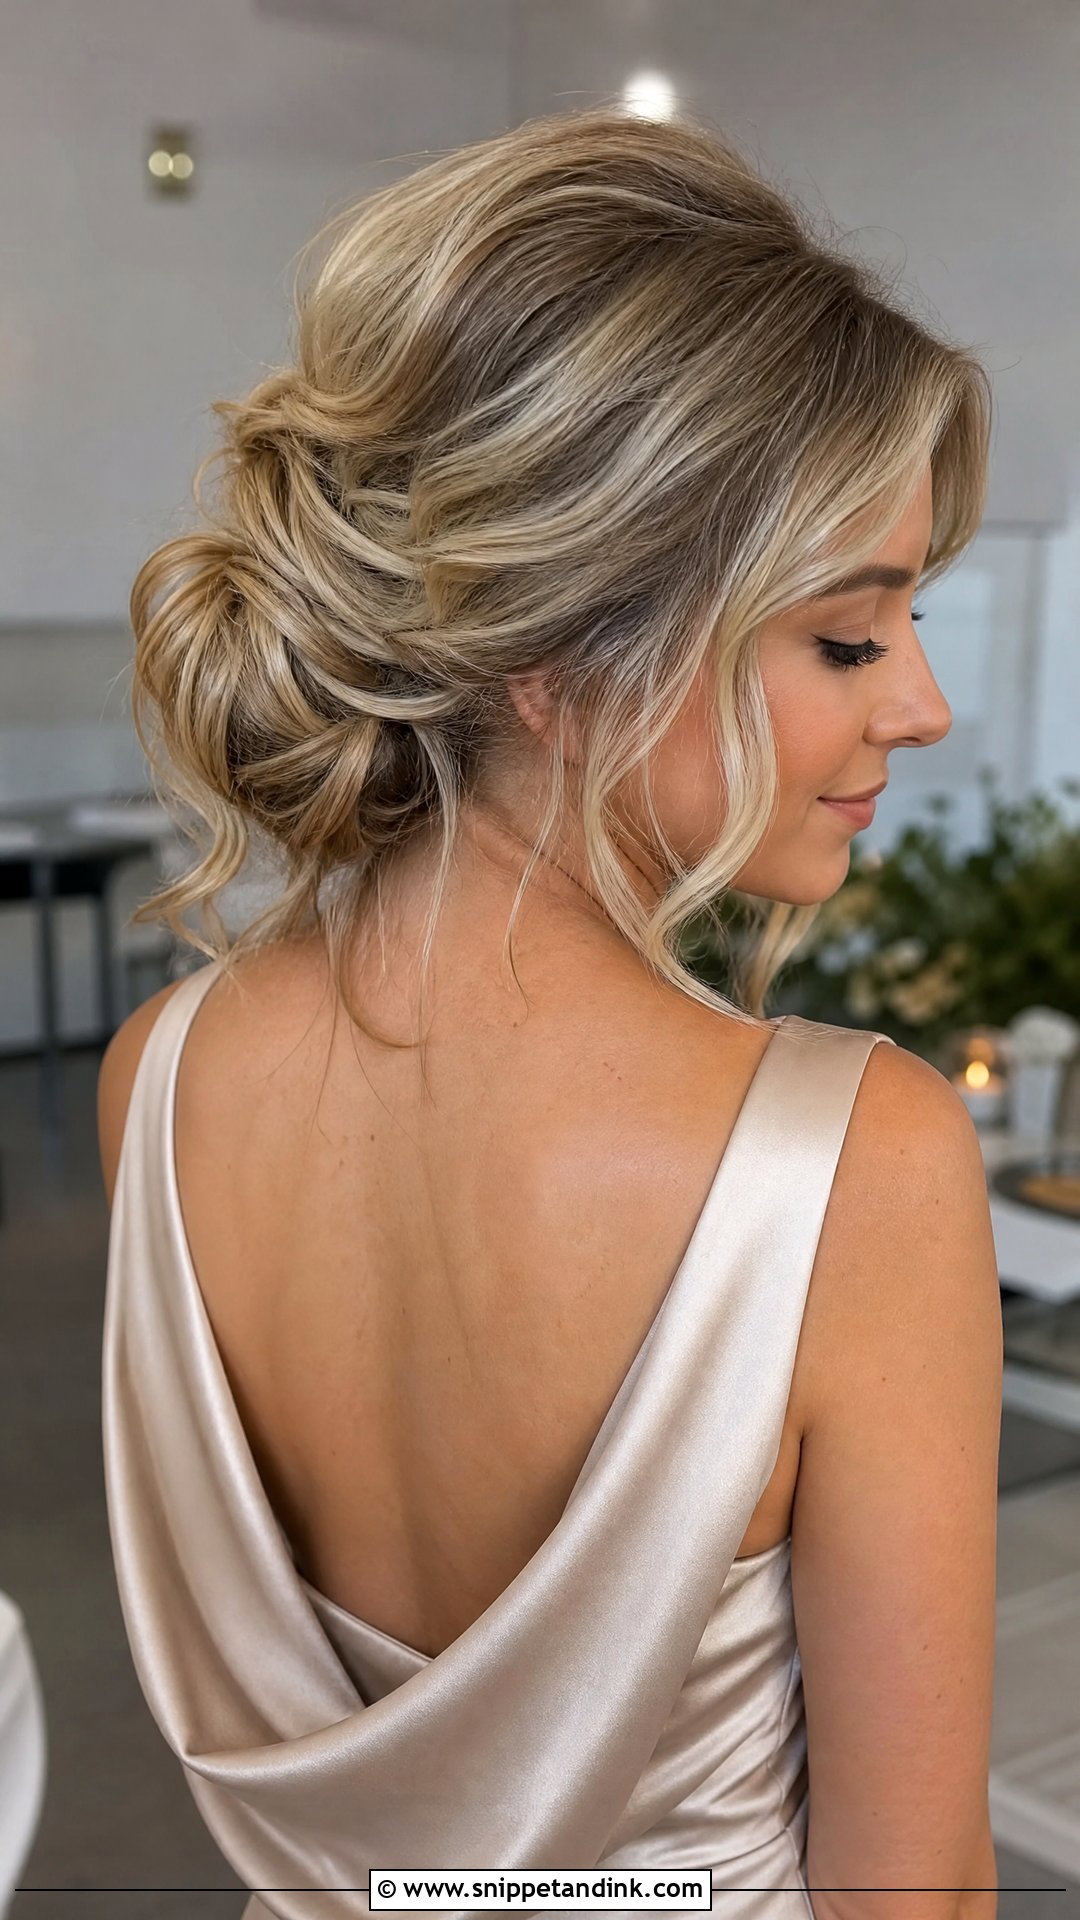
A wavy updo is the easiest of these to adapt to any venue. Medium hair is curled into loose waves, then pinned into a low bun or gathered twist. The waves add fullness and pick up every tone in balayage or highlights, which is why colorists love this one. Face-framing pieces blend in naturally. I finish with a flexible hairspray so the hair still moves rather than setting into a helmet.
14. Half Updo For Medium Hair Wedding
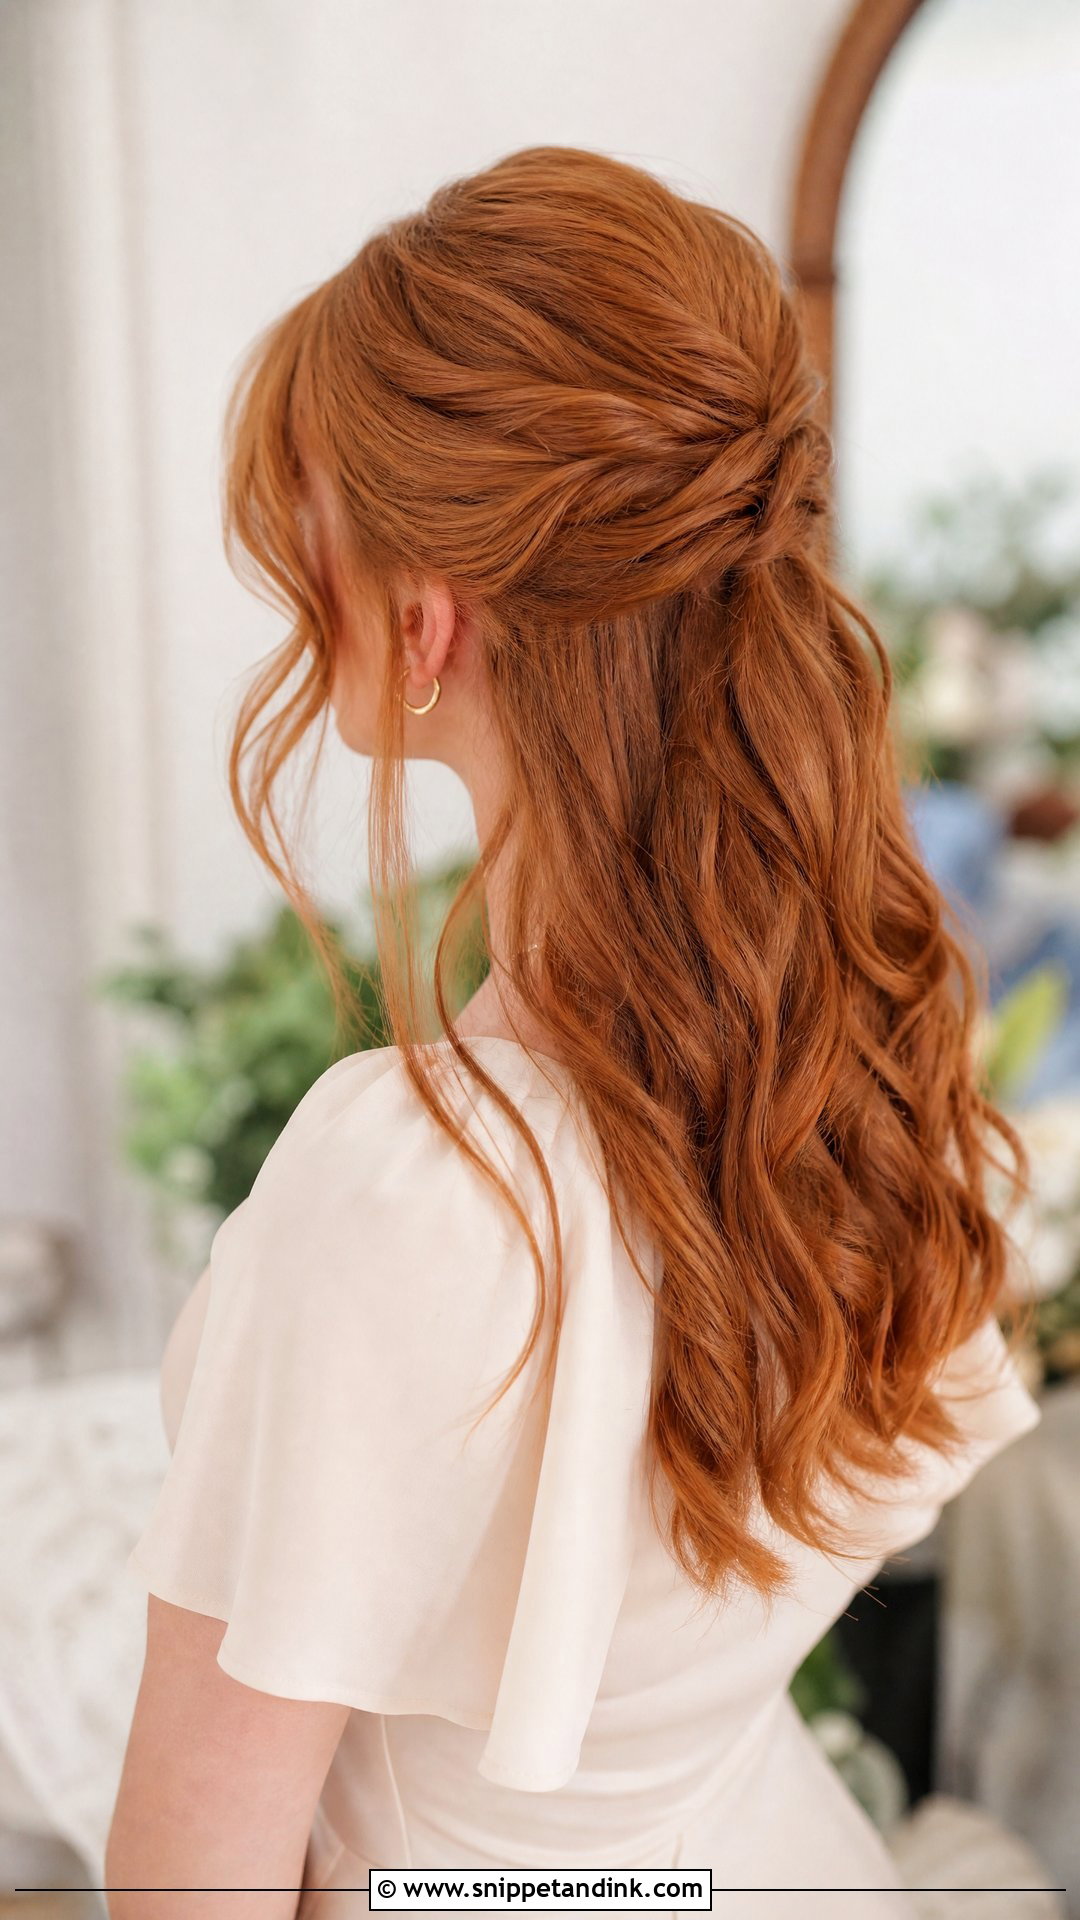
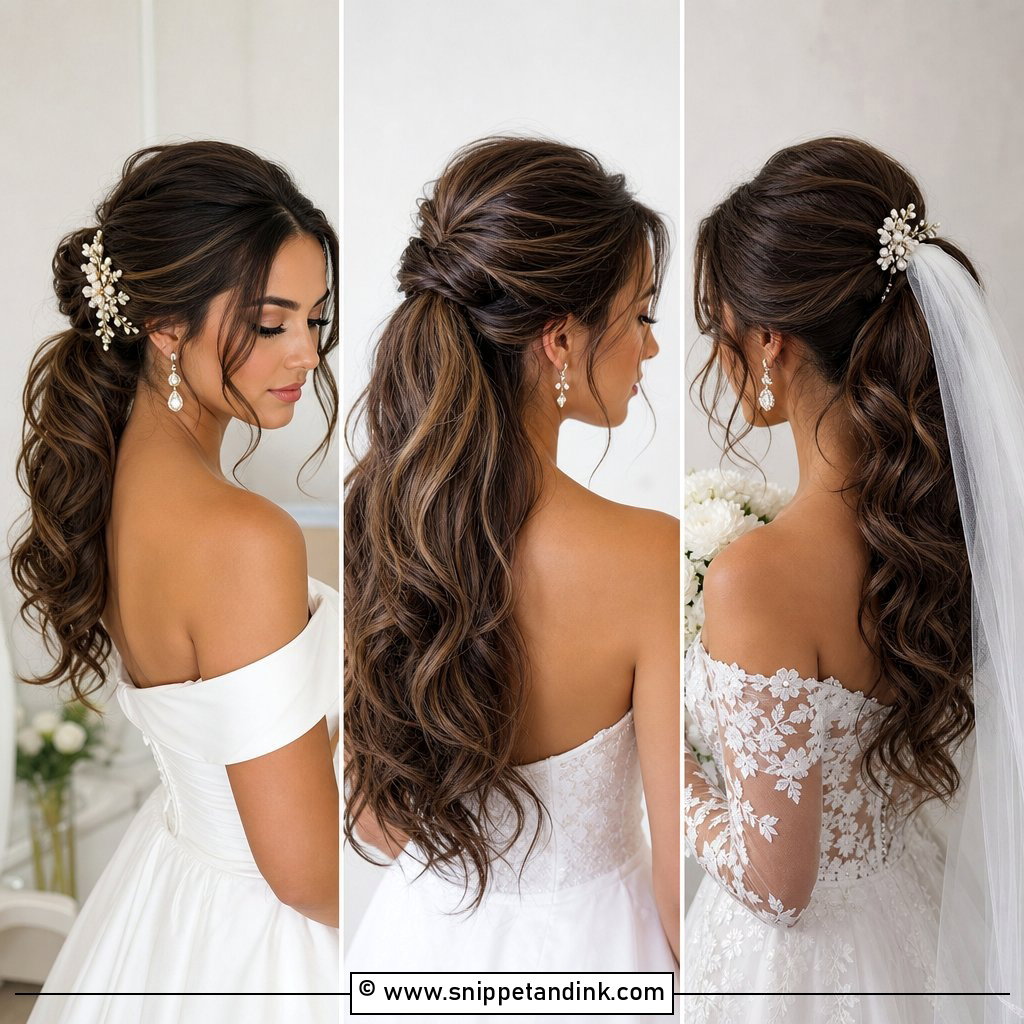
A half updo keeps movement around the shoulders while the top and sides are twisted, braided or pinned back. On medium hair the proportions look balanced. A bit of crown volume stops it collapsing flat. The loose half is the part that frizzes in humidity, so for summer weddings I set the curls firmly and suggest a smaller kit with an anti-frizz cream for later. Delicate clips and soft necklines go with it.
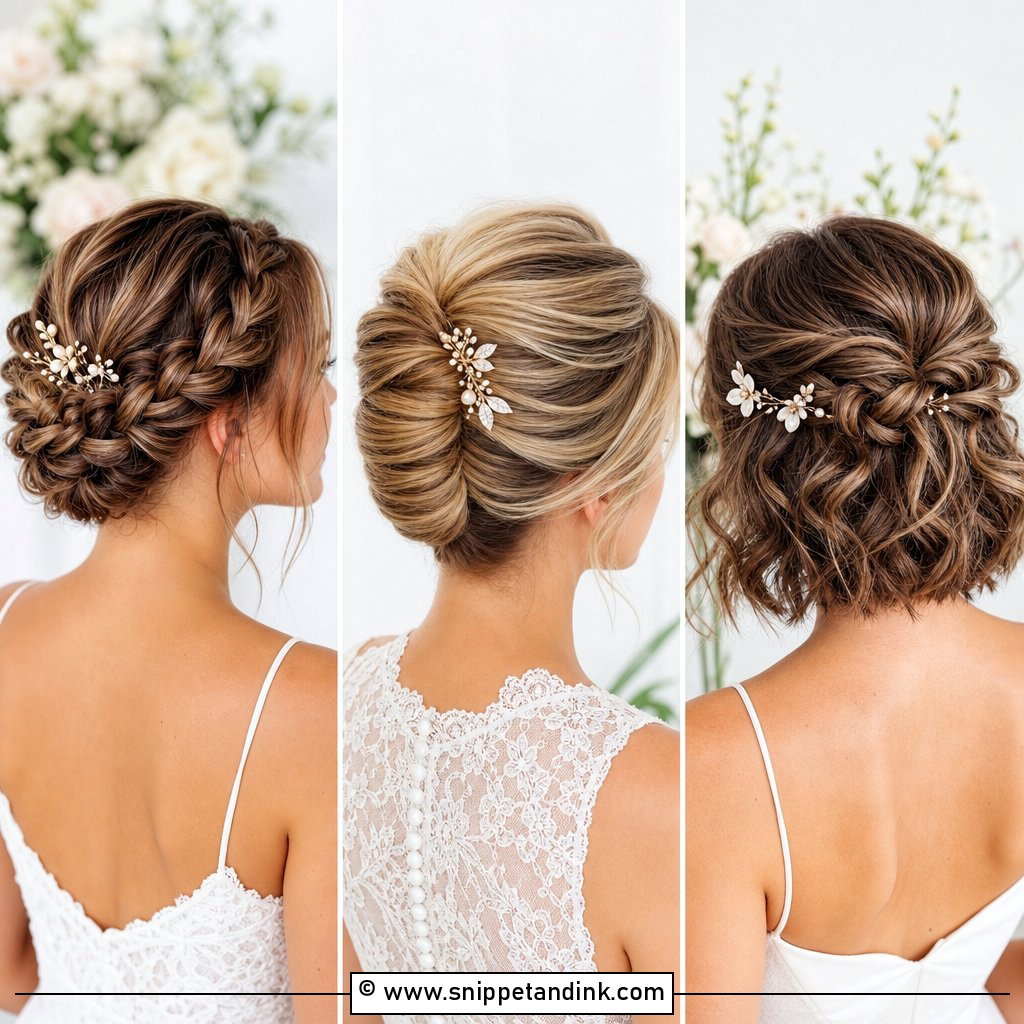
15. Low Ponytail Updo For Medium Hair Wedding
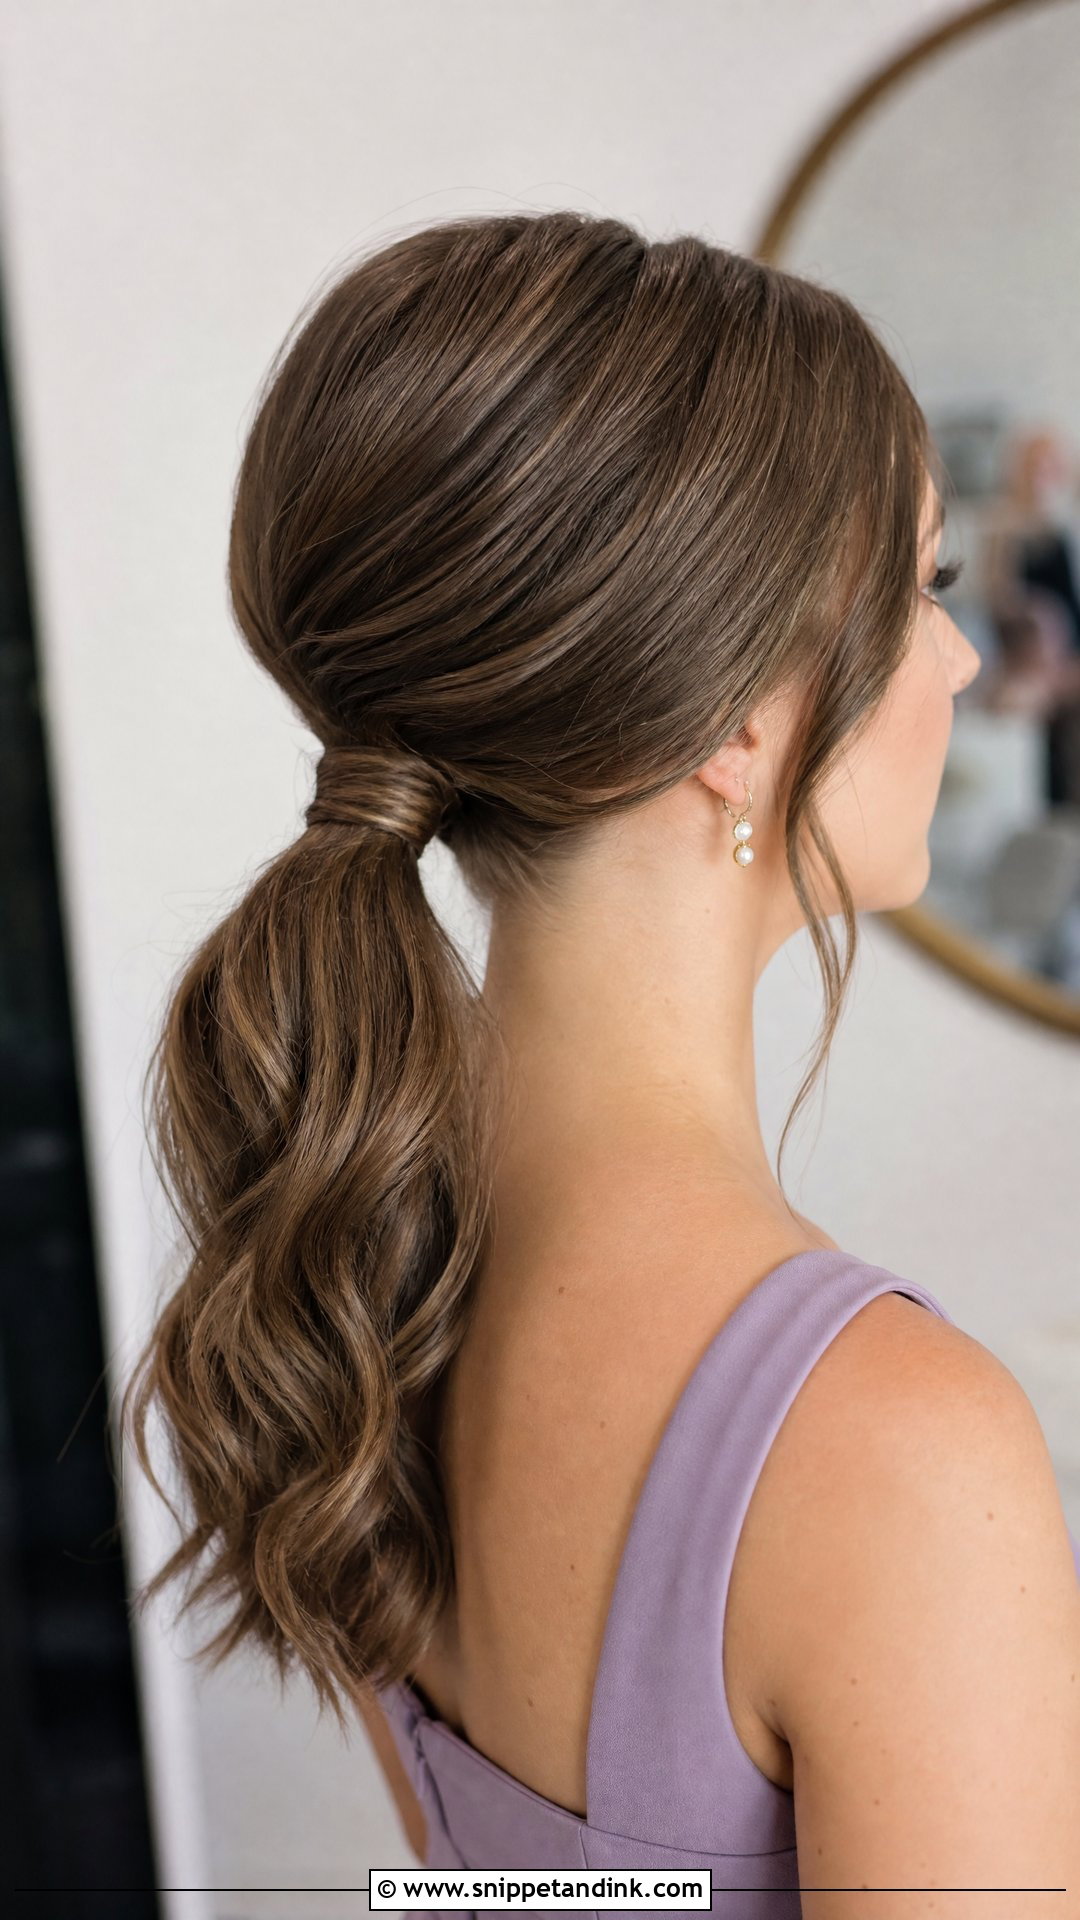
A low ponytail looks surprisingly polished once it’s shaped properly. I smooth the crown, wave through the ends, then wrap a section of hair around the elastic and pin it underneath so no band shows. Twisting the side pieces back before securing it adds detail. It’s comfortable for long days. One honest note: a ponytail shows thinning ends more than a bun does, so if your ends are fine, a tucked style hides them better.
16. Knotted Updo For Medium Hair Wedding
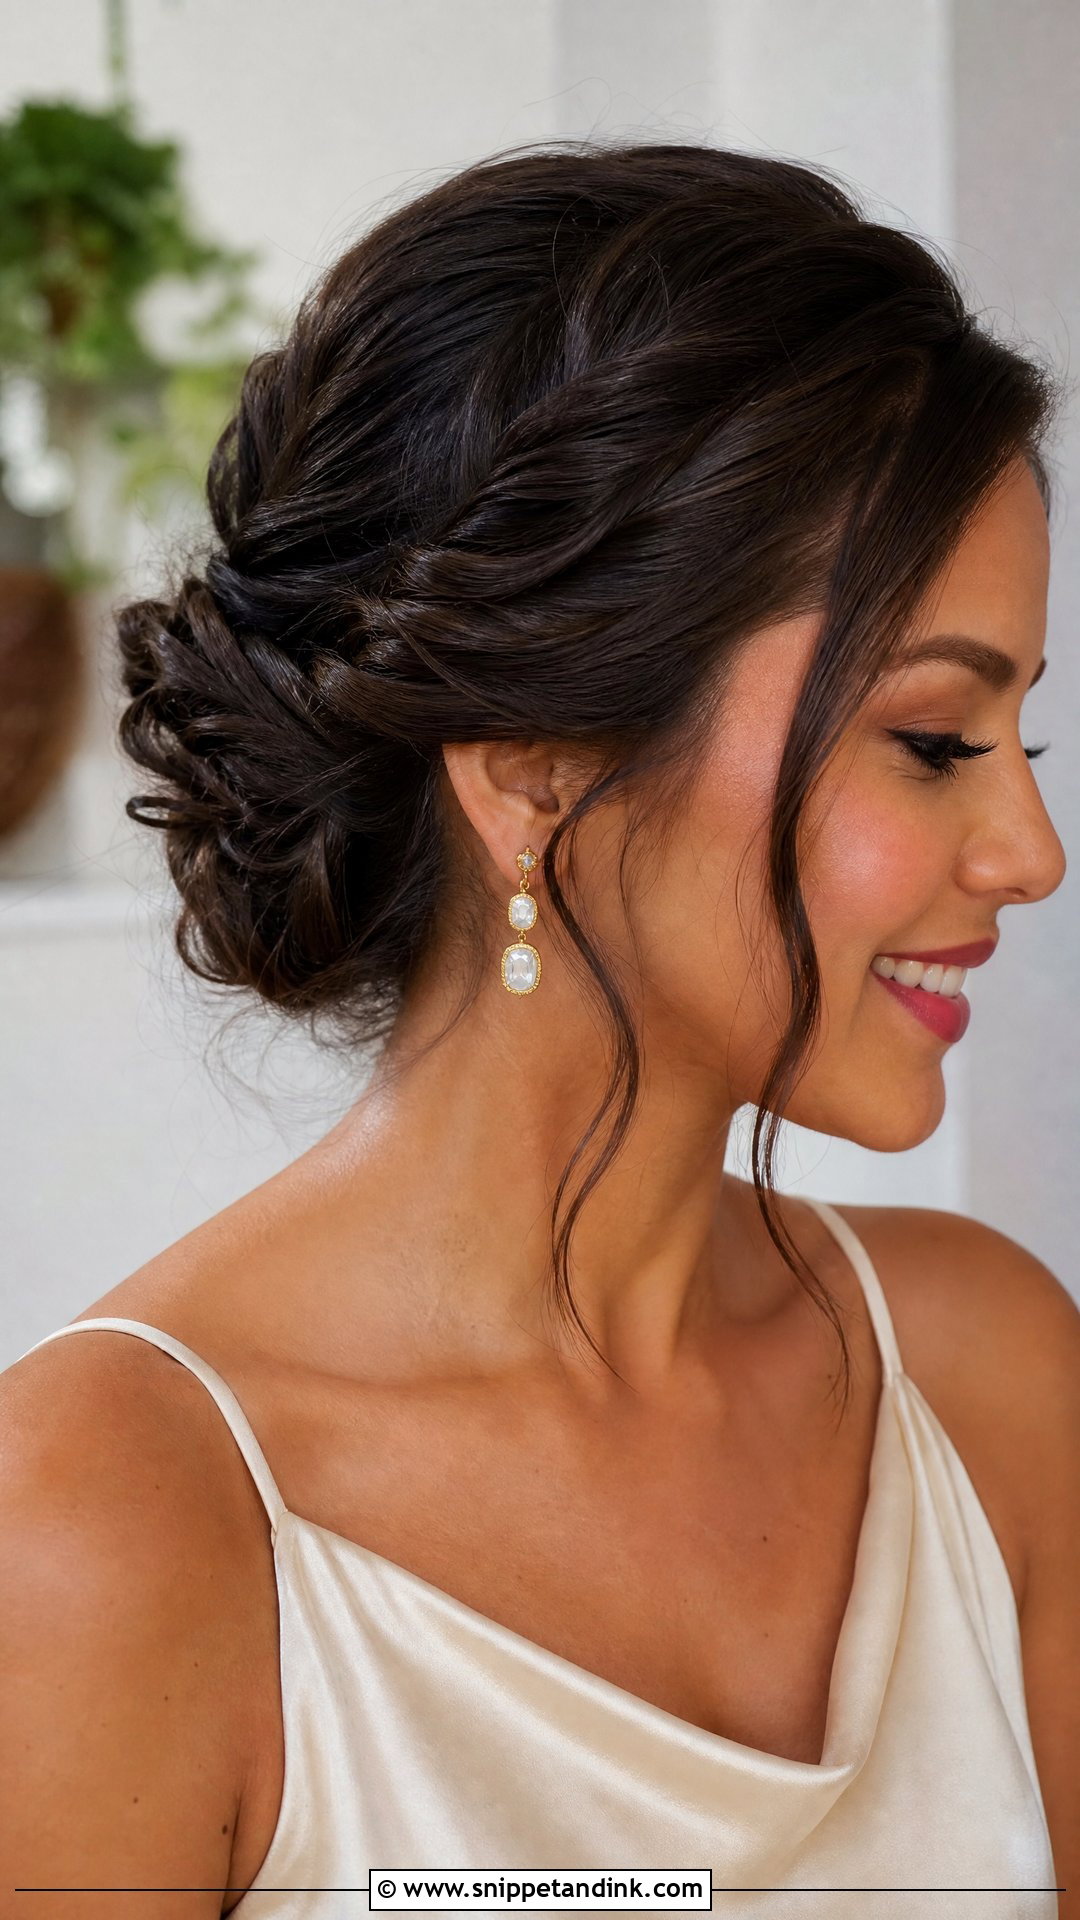
A knotted updo is made by tying or twisting sections loosely and pinning them together at the back. It looks woven and more detailed than a simple bun. The shorter length keeps each knot compact, which is why this one is easier at medium length than at waist length. Texture spray first, so the knots stay put. Wear it smooth or loose; simple gowns and small accessories suit it.
17. Rolled Updo For Medium Hair Wedding
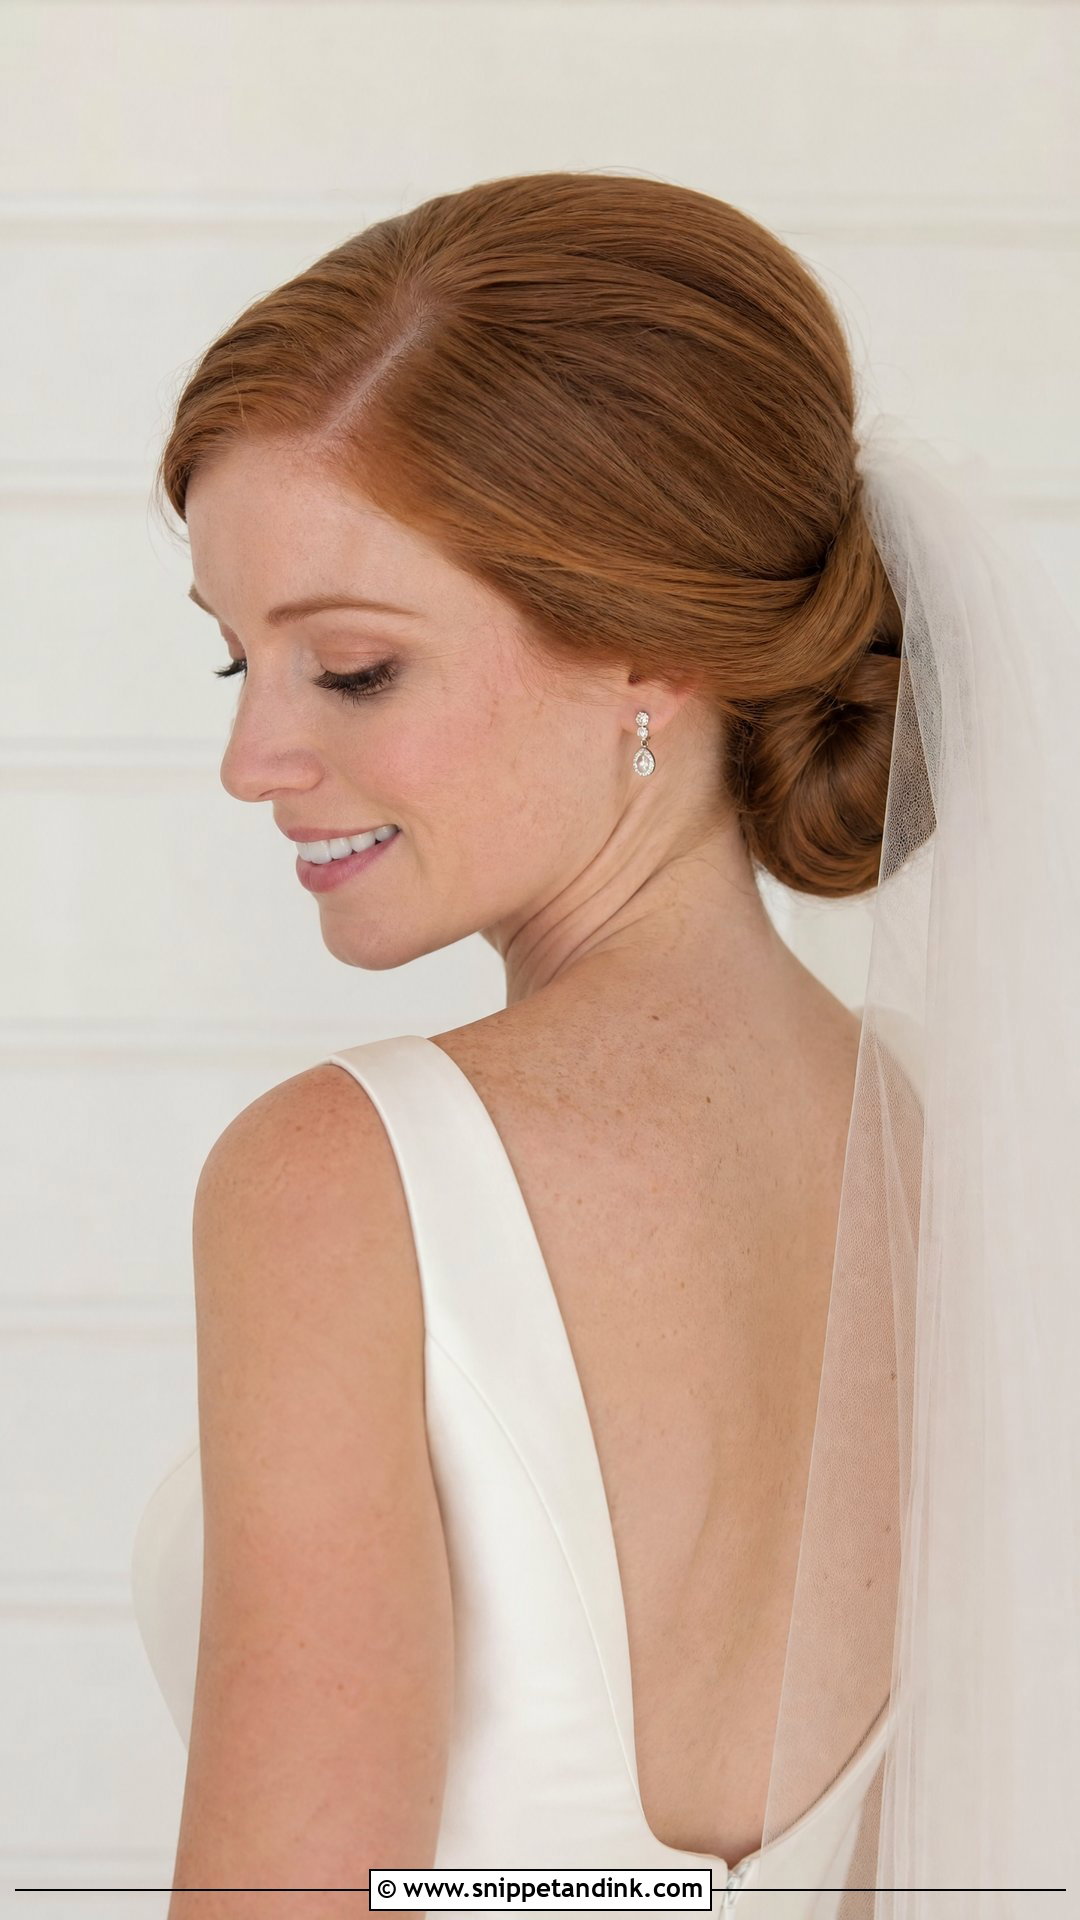
Rolling the hair inward along the nape gives a soft, secure shape that hides the ends completely. That makes it my first pick for shoulder-length cuts, where ends can be the hardest part to conceal. It nods to vintage styling without feeling like a costume. Since the weight sits low and close to the head, it’s one of the most comfortable options for a long day. A side part or soft front wave adds a bit of character.
18. Tucked Updo For Medium Hair Wedding
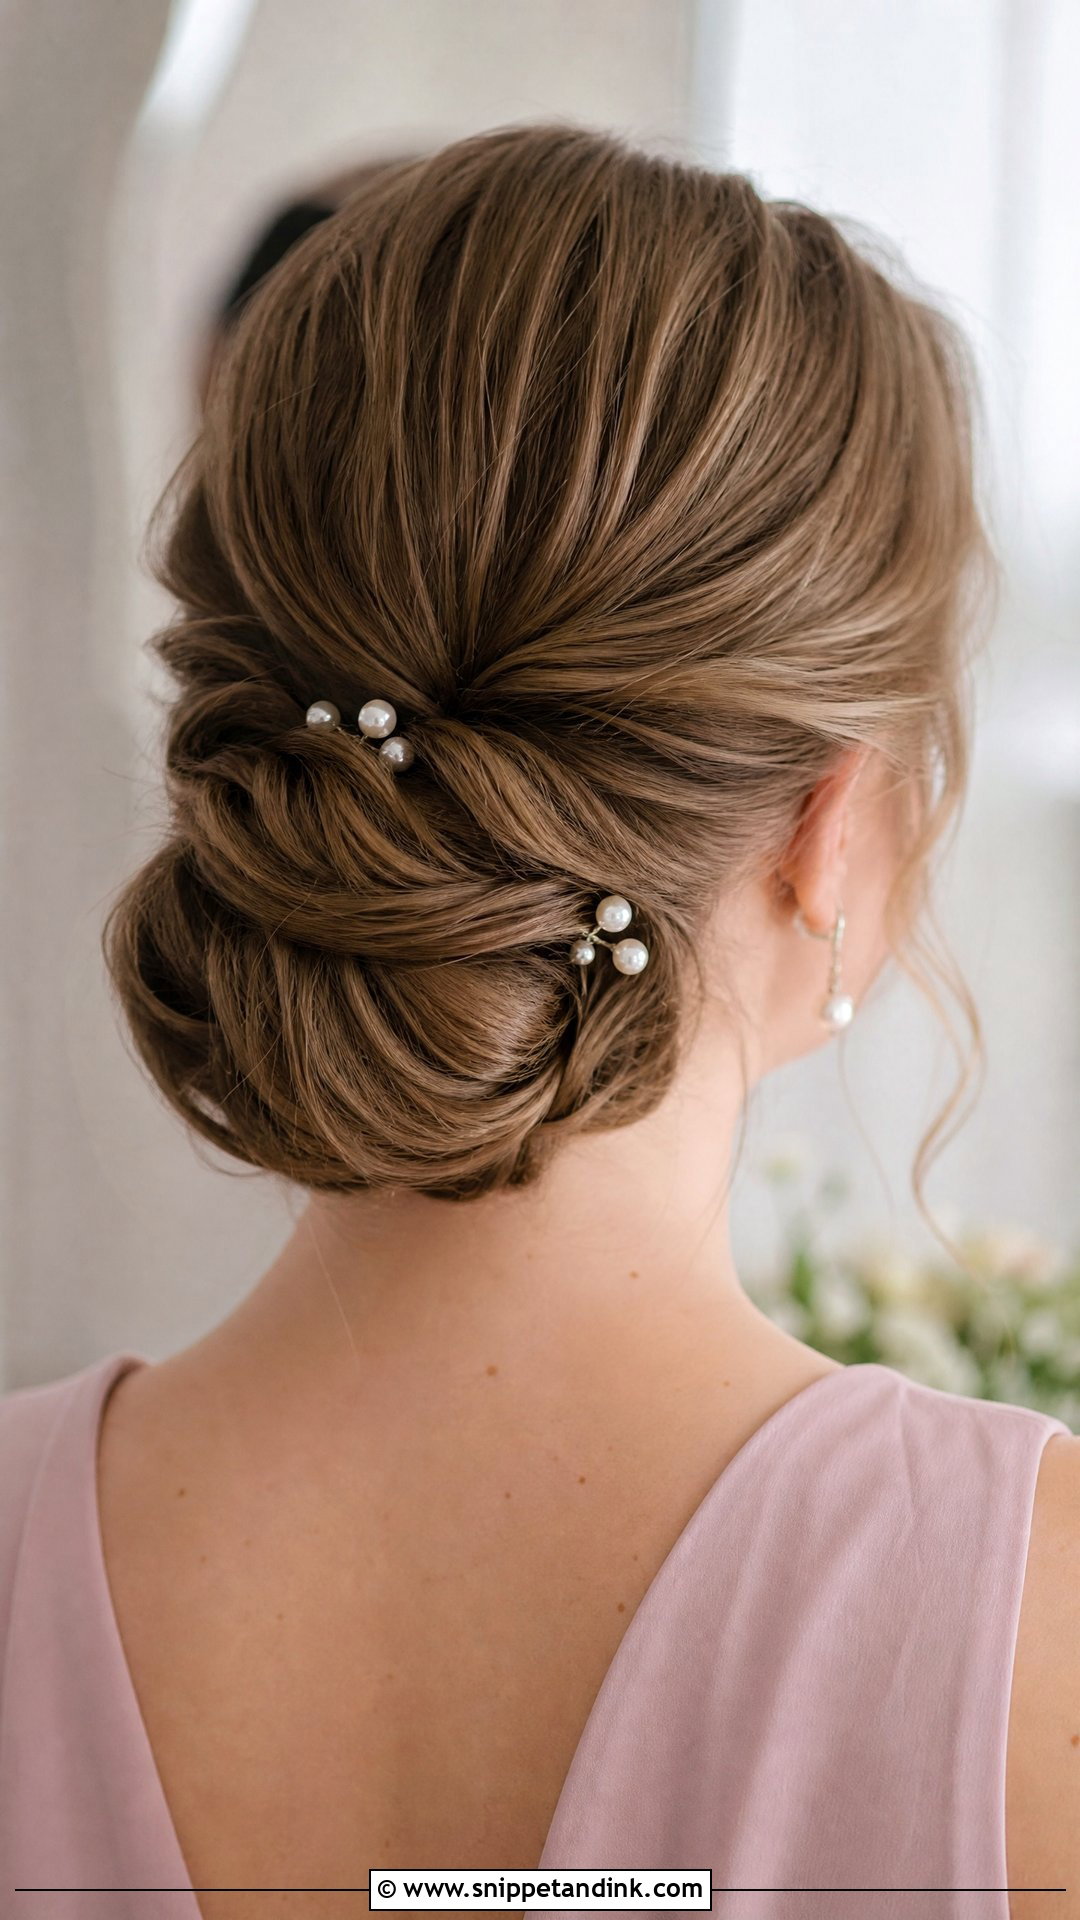
Gathering the hair low, folding it inward and pinning section by section is how I deal with heavily layered medium hair. Each layer gets tucked in separately, so nothing pokes out by evening. It can be smooth, wavy or slightly tousled depending on the dress. The tucked shape makes a stable base for combs, pins and small flowers, since each accessory has folded hair to grip.
19. Top Knot Updo For Medium Hair Wedding
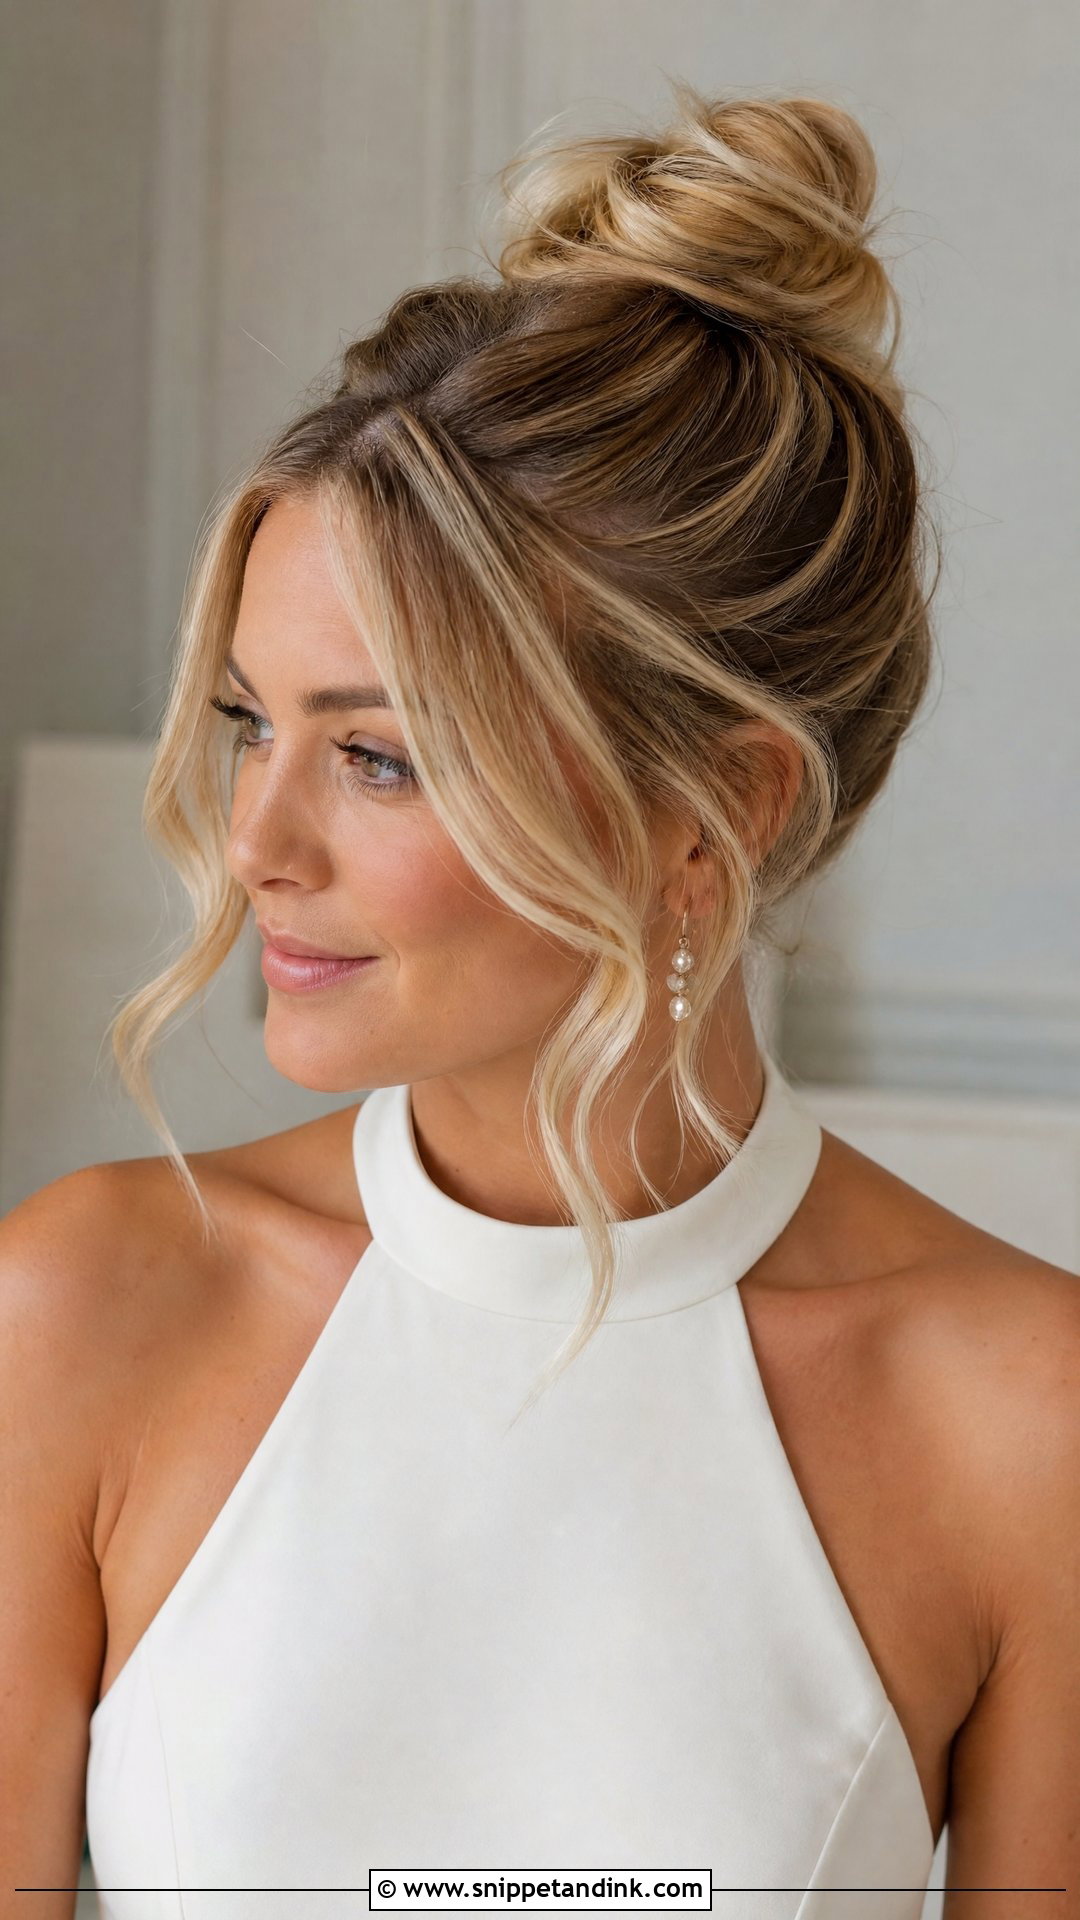
Height is everything with a top knot. Too high and it reads as a gym bun; just under the crown, it lifts the face and looks finished. I curl or wave medium hair first for a fuller knot. Leave front pieces loose for softness, or slick everything back for a sharper look. High necklines, open backs and bold earrings work with it. Plan your veil comb under the knot, not in front of it.
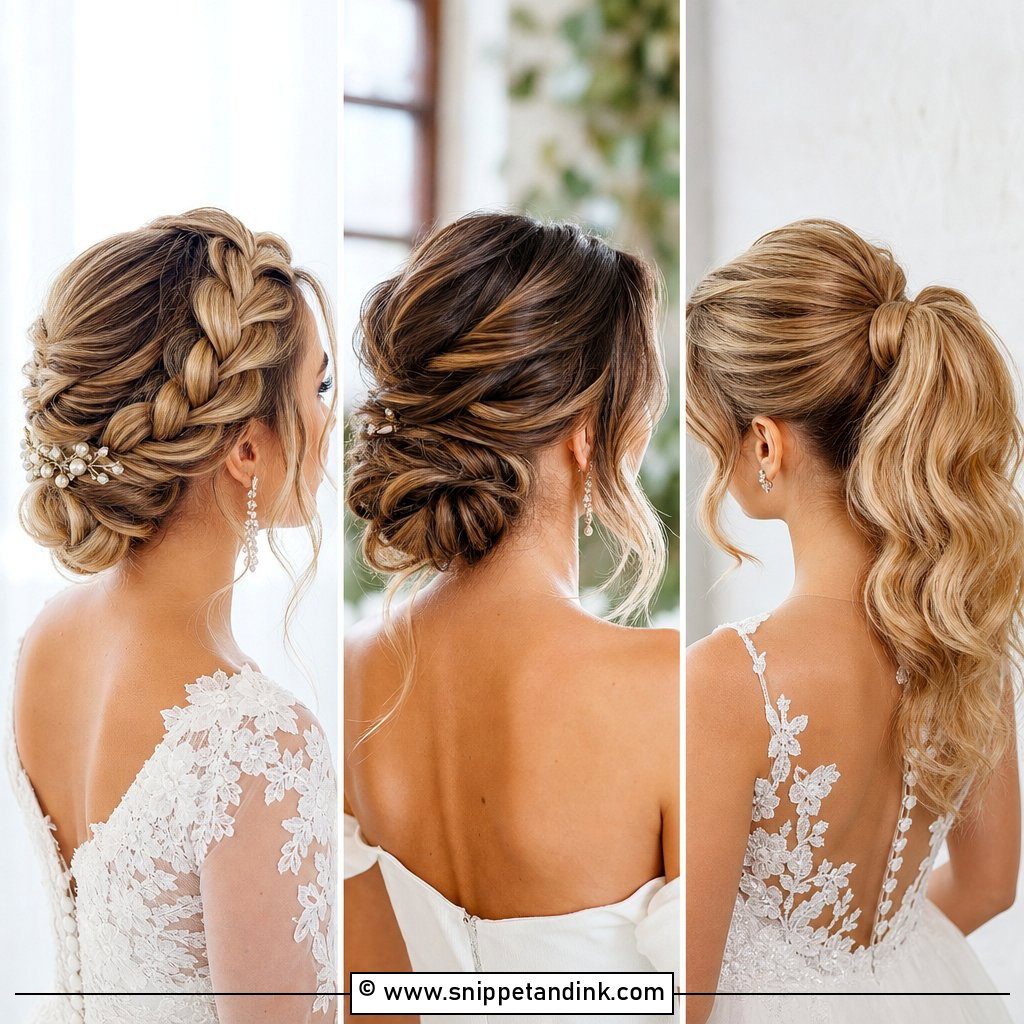
20. Ballerina Bun Updo For Medium Hair Wedding
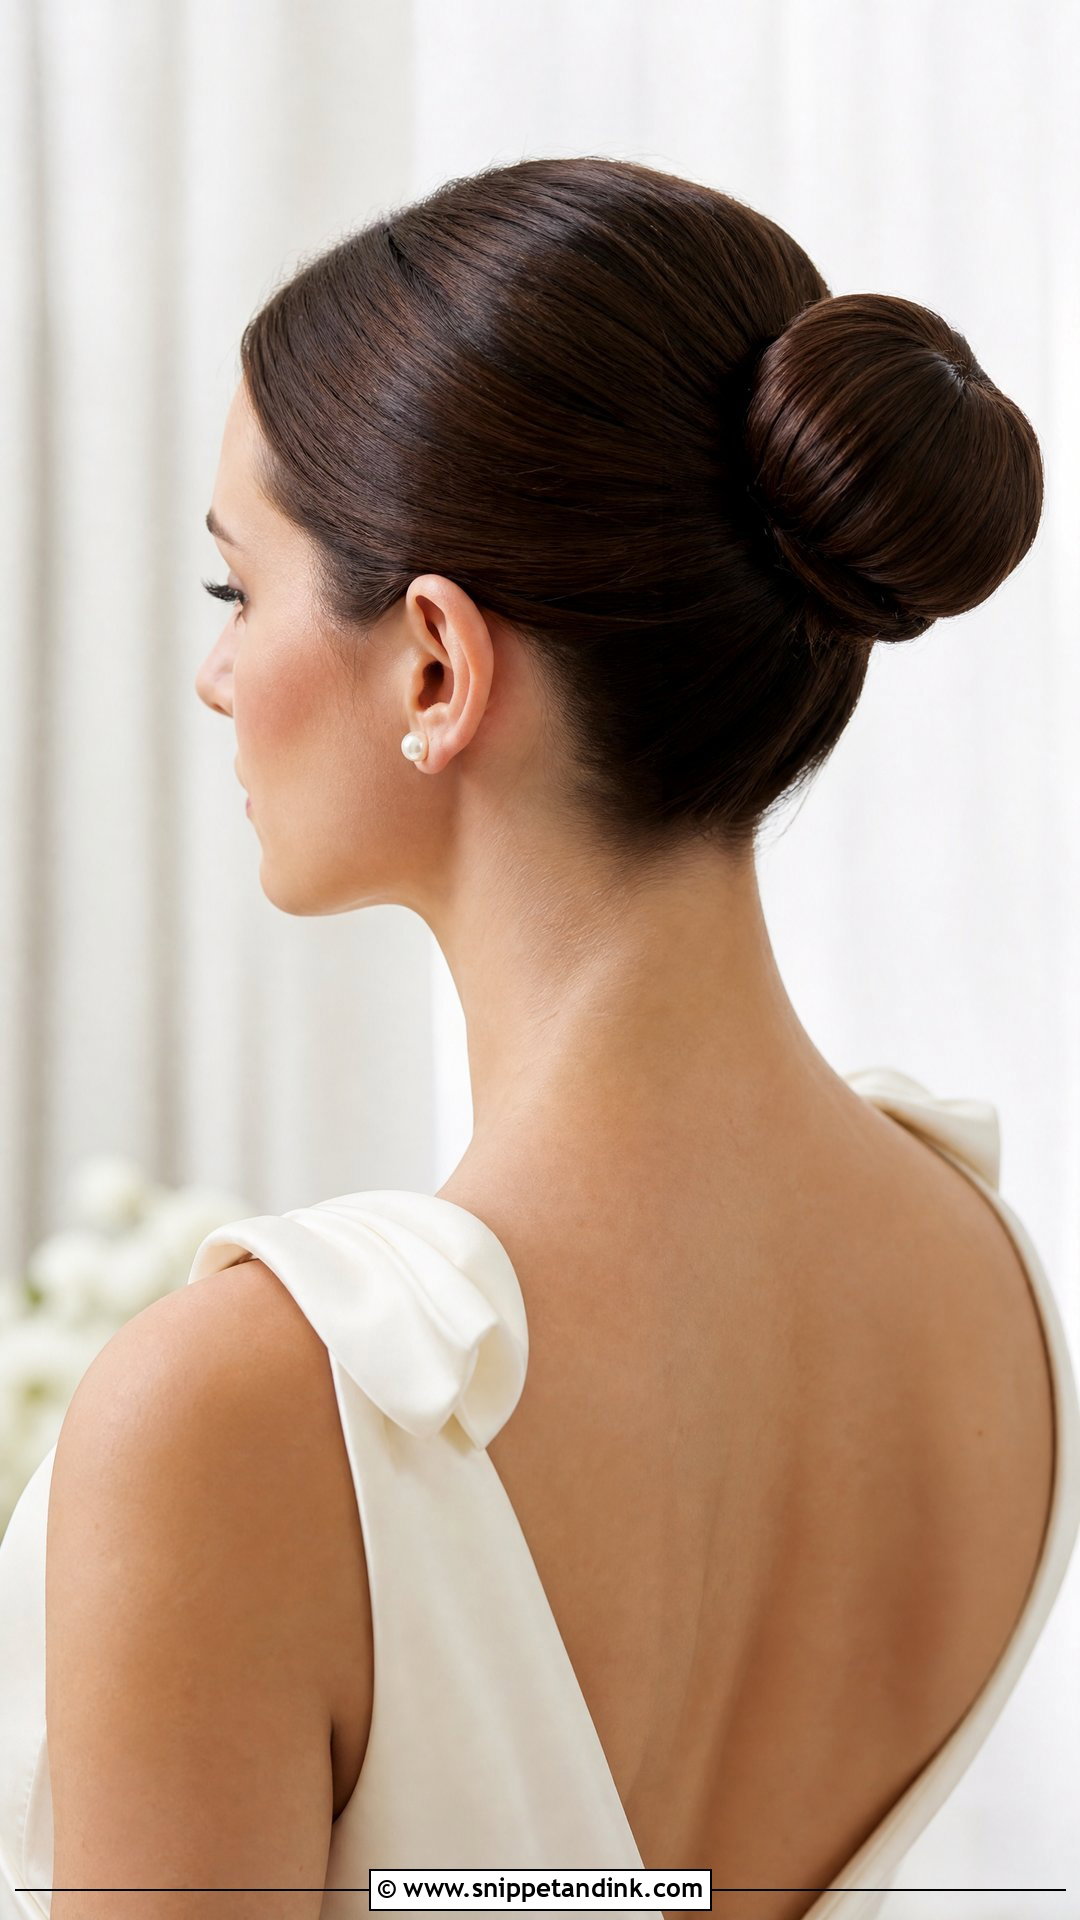
A ballerina bun is a neat, round bun with clean lines. At medium length it stays a manageable size and doesn’t drag, so it holds for hours. A center part makes it modern; a soft side part feels more traditional. I use a light smoothing product and a ring of pins around the base. I’d skip it if you have sensitive scalp or tend to get headaches from tight styles, since it needs firm tension to look right.
Grow It, Trim It or Add Clip-Ins?
I get this question a lot from brides sitting between lengths. If you want more length for a particular style, stop cutting several months out and only dust the ends. Your last proper trim should be a few weeks before the wedding, so the line has settled and there’s no blunt edge showing at the nape.
Clip-ins are worth it for volume more than length. A couple of wefts tucked into a low bun make it fuller without anyone noticing. Buy them in good time so they can be color matched and, if needed, toned by your colorist, then bring them to the trial rather than the morning. If your hair already gathers easily, you don’t need them.
A Bridesmaid’s Low Twisted Bun, Step by Step
Not every bridesmaid will have a stylist, and the twisted low bun is the one I’d teach. It needs no braiding and hides layers well.
- Start with dry, second-day hair and mist texture spray from roots to ends.
- Curl loosely with a medium barrel and let the curls cool before touching them.
- Take a section from each temple, twist it back toward the nape and pin it with crossed bobby pins.
- Gather the rest into a low ponytail, twist it around the base and pin around the edge every inch or so.
- Pull a few strands loose at the front, then set with a flexible spray from arm’s length.
A Shorter Length Works in Your Favor
At this length, a simple updo can look just as considered as an elaborate one. Low buns, chignons, French twists, braided details, tucked rolls and soft ponytails all work. Your dress, texture and venue will narrow it down quickly. For lasting hold, arrive with second-day hair, keep heavy products off the lengths and use pins in your shade. A good updo should feel secure at the first photo and still be comfortable at the last dance.
You'll Like These Ideas:


Leave a Reply