
A tight bun is the most honest hairstyle a bride can wear. Nothing is hidden, every line shows, and in exchange you get a shape that barely moves from the first look to the last dance. It suits brides, bridesmaids, mothers and any wedding guest who would rather not think about her hair once it’s done. Because the hair is pulled away, the face, neckline, earrings and veil all get full attention. The part, the height and the accessories decide whether it reads modern, classic or soft. One thing I always say up front: tight should mean smooth and secure, never painful.
Slick Without Crunch, in the Right Order
A truly sleek bun is mostly about sequence. The same products used in the wrong order give you either frizz at hour three or a stiff, shiny helmet. This is the order I work in.
- Blow-dry completely smooth, root to tip. Any damp patch underneath will puff once the bun is set.
- Apply a light smoothing cream through the lengths, and a firmer gel or wax stick only along the hairline and part.
- Brush the hair back with a boar bristle brush while holding tension at the ponytail point, then tie with a snag-free elastic.
- Wrap or twist into the bun and pin from the outside edge inward, sliding each pin against the head.
- Tie a silk scarf around the hairline for ten minutes while makeup is finished. It sets the edges flat without extra product.
A small amount of hairspray on a toothbrush or spoolie handles flyaways at the crown far more neatly than spraying the whole head.
1. Sleek Low Wedding Bun
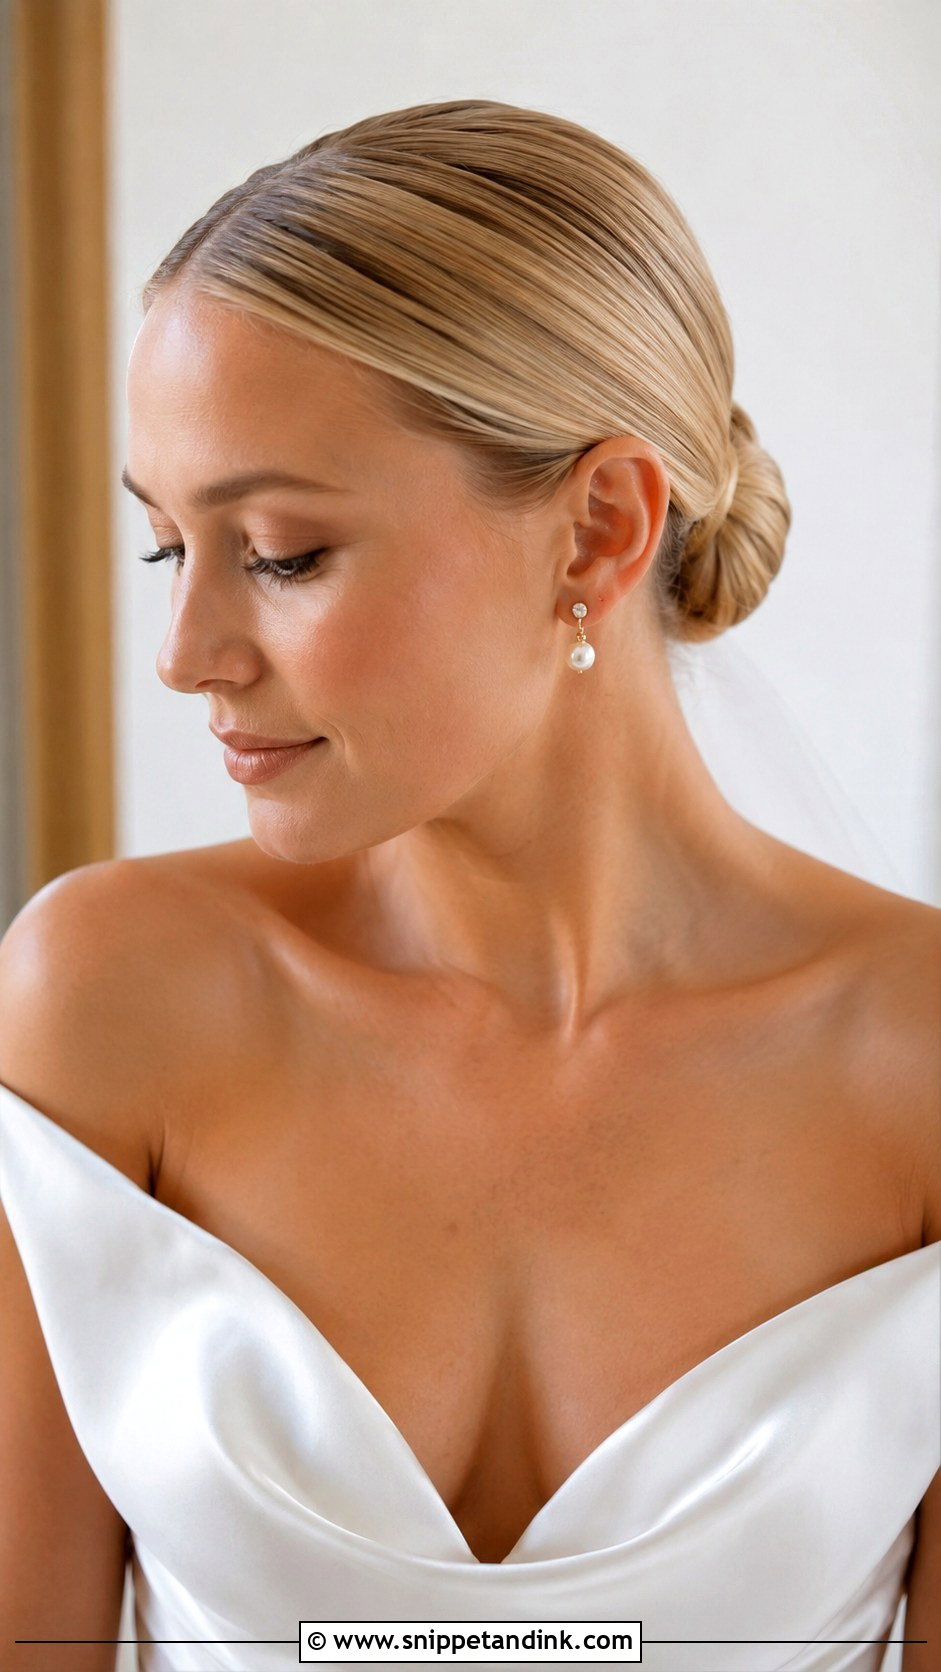
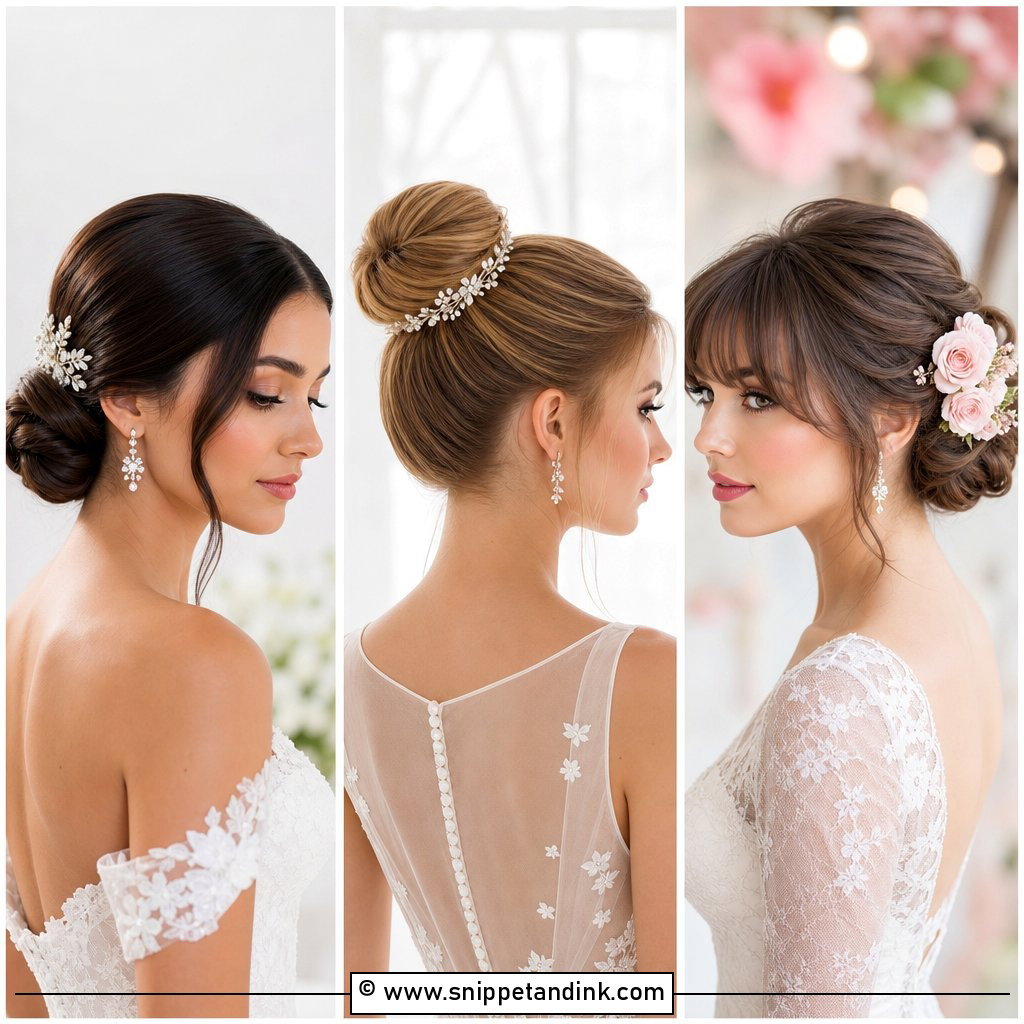
This is the bun I’d set on someone who wants zero fuss. The hair is brushed smooth, gathered at the nape and wrapped into a tight, controlled bun. It sits comfortably under a veil and next to open backs and high necks. Fine and straight hair look especially polished this way, since smoothness hides the lack of volume. I finish with a light shine spray from a distance; up close it leaves wet-looking patches that the camera flash picks up.
2. Tight Ballerina Bun Wedding Hair
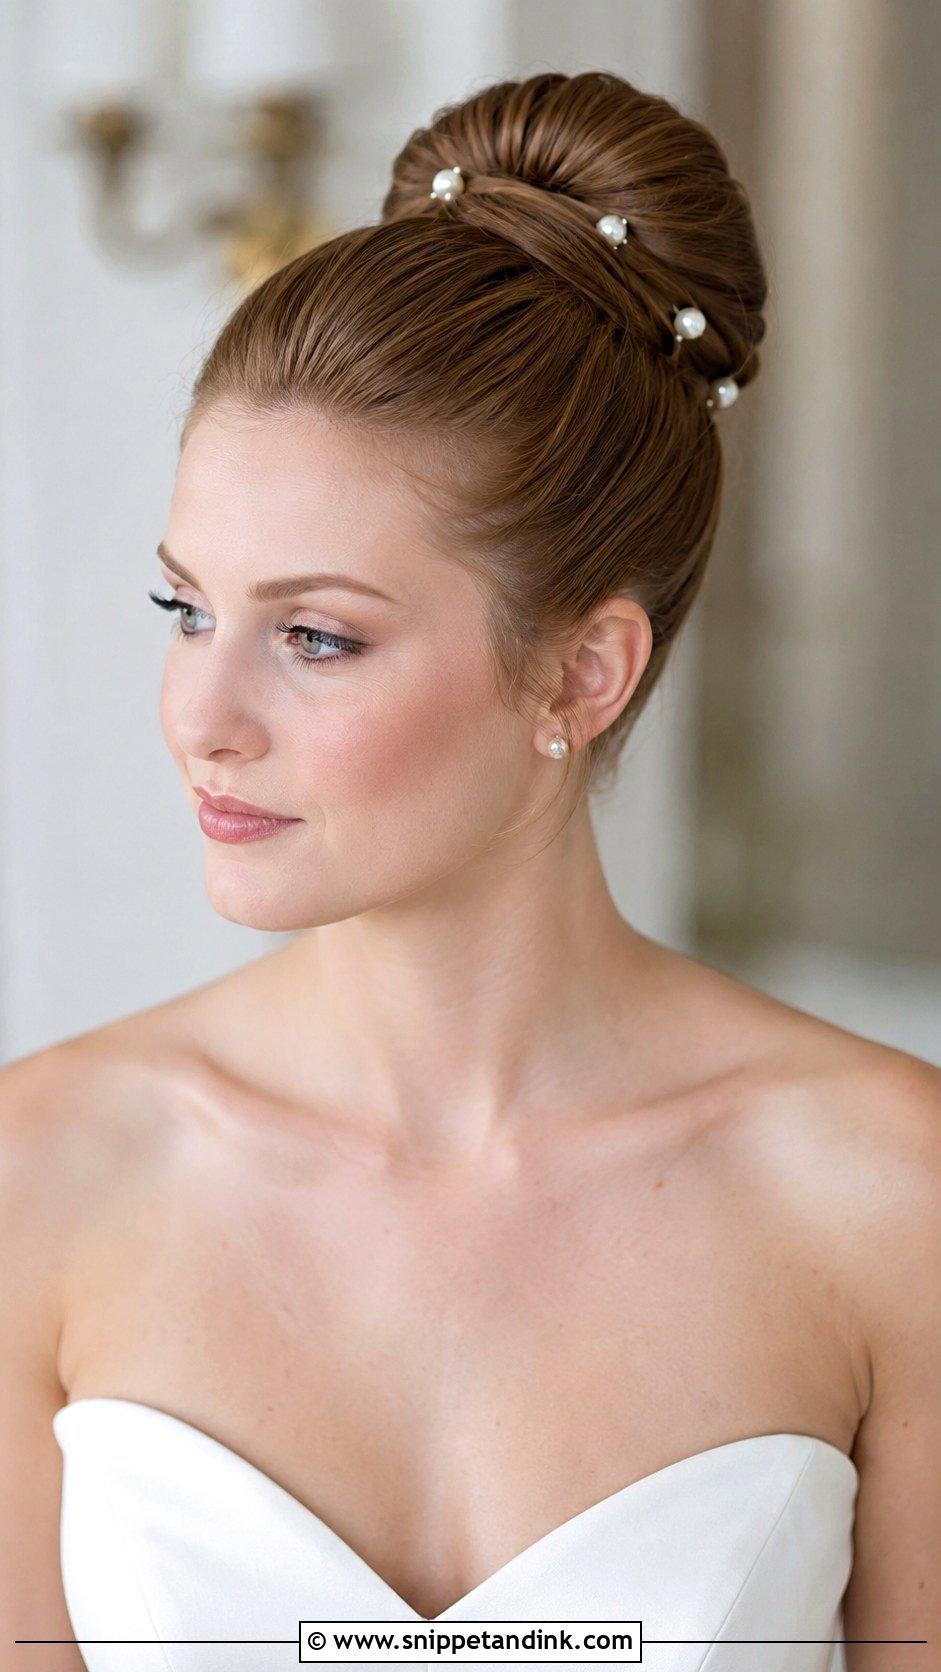
Higher than a chignon, a ballerina bun lifts the cheekbones and lengthens the neck. In tight ballerina bun wedding hair, the base must be flat and the bun evenly round, because any lopsidedness is obvious from the back pew. Fine or shorter hair usually needs a donut or sock bun form underneath, matched to your hair color so it doesn’t peek through. Strapless and square necklines frame it well. Pearl pins are optional; plain often looks sharper.
3. Center Part Low Bun Wedding Hair
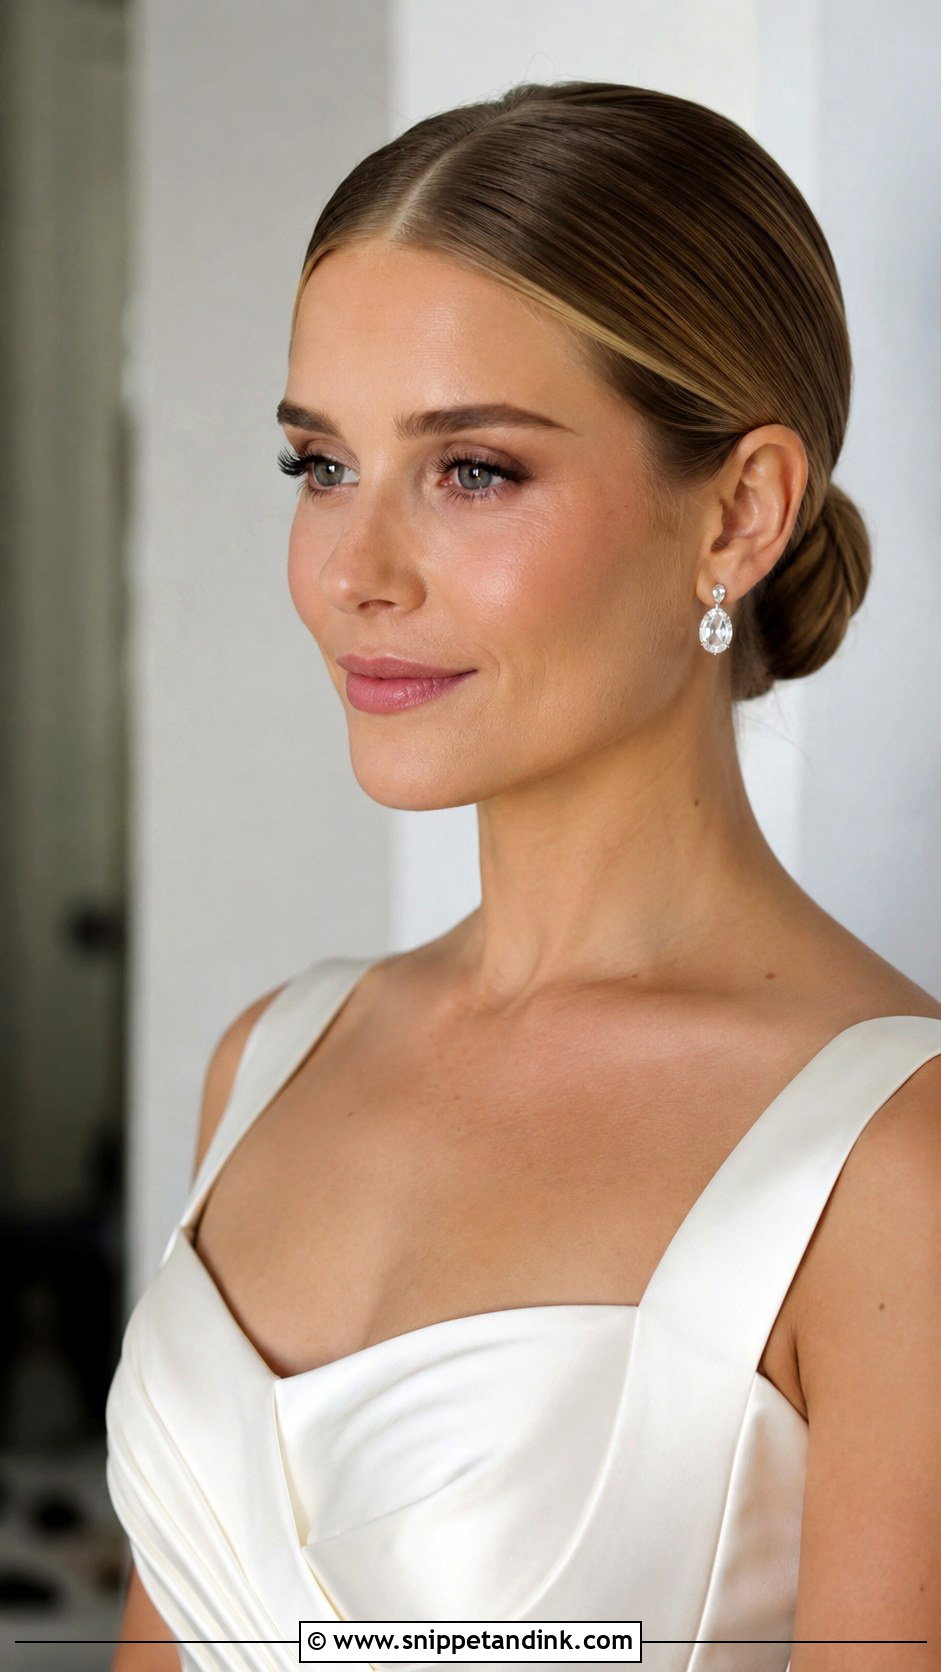
Symmetry is unforgiving, which is exactly why a center part flatters faces that are already fairly balanced and can feel severe on others. If you’re unsure, try it at your trial next to a side part and take photos of both. Before smoothing the sides, I add a little lift at the crown so the head doesn’t look flat in profile. The bun itself can be wrapped, twisted or tucked into a small knot. Sleek makeup and structured necklines suit it.
4. Side Part Tight Wedding Bun
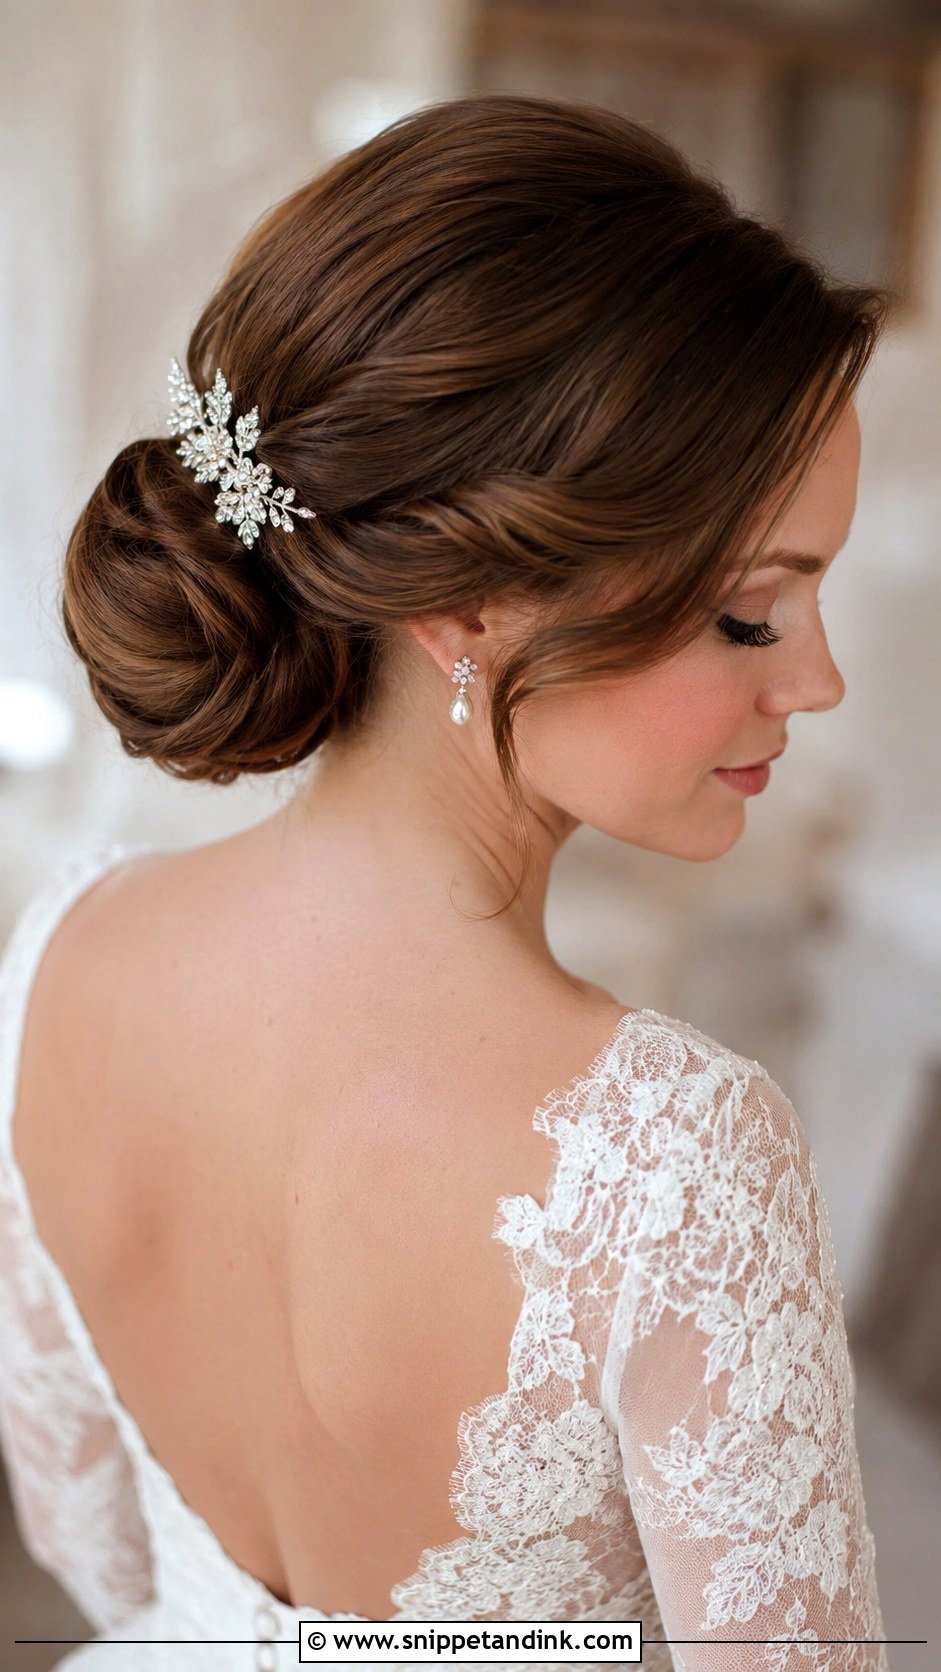
A side part keeps the control of a sleek bun while softening the front. The sweep across the forehead suits round and square faces especially, and it gives vintage earrings and a comb something to balance against. I set the part with a fine-tooth comb on damp hair and blow-dry it into place, because a part made only at the end tends to wander by midday. The bun can sit low or slightly off-center, with the veil placed above.
5. High Tight Bun Wedding Hair
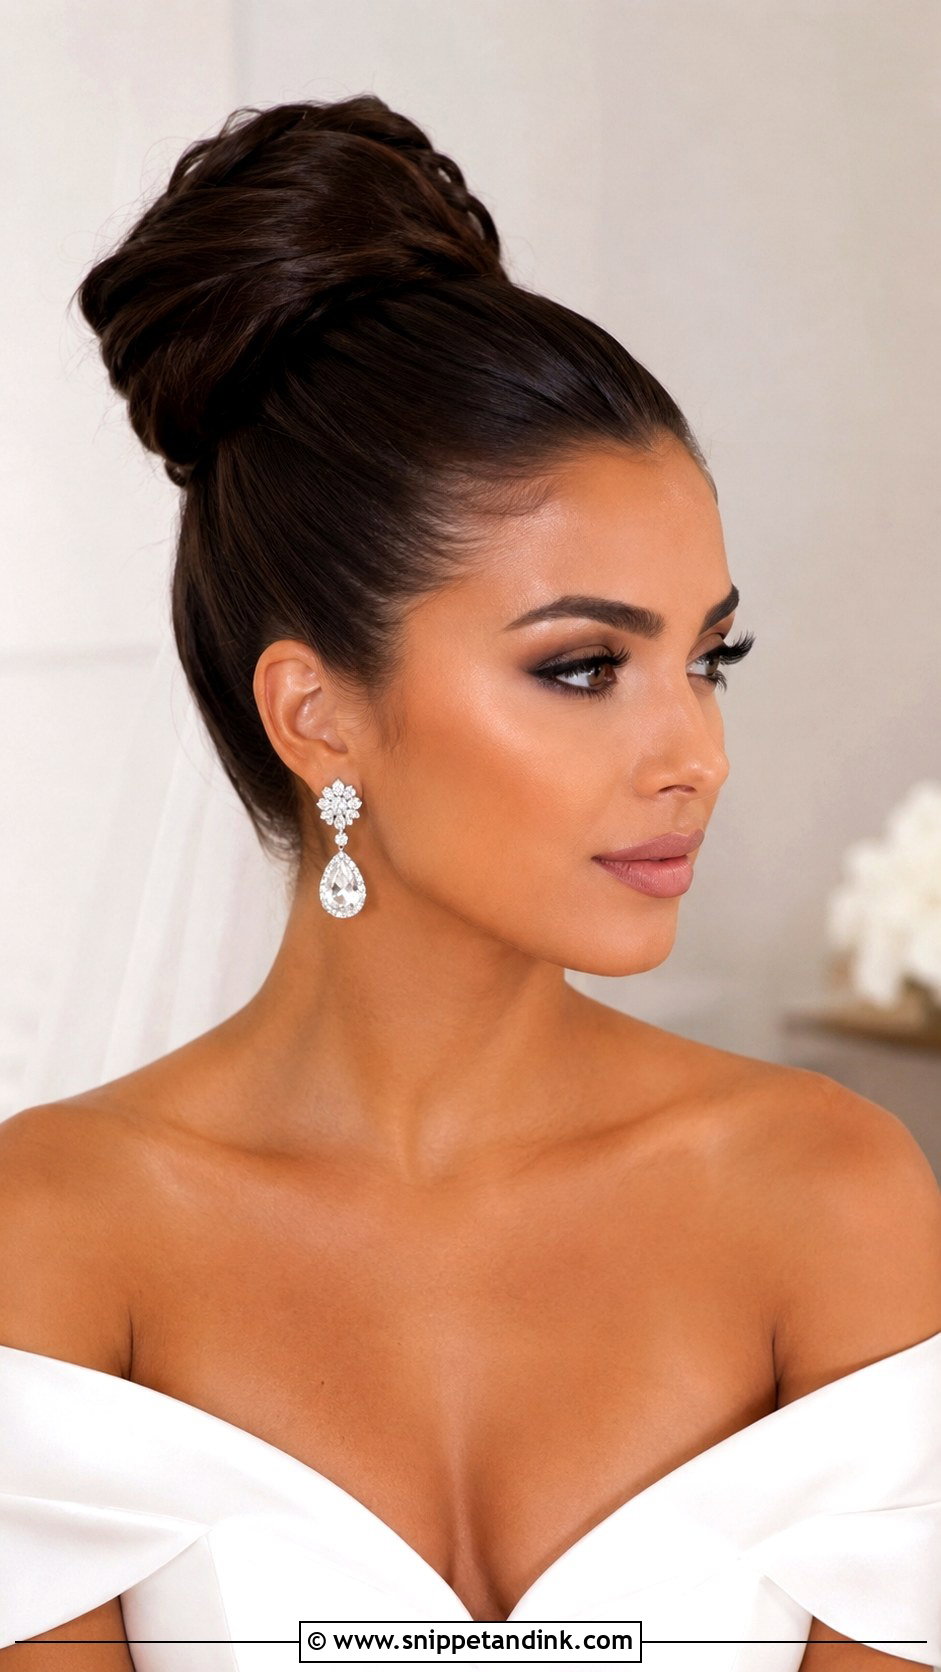
High and tight is the most dramatic shape here and the most demanding on the scalp. Height lengthens the neck and keeps every strand off your shoulders, which matters at an outdoor summer ceremony, and it suits halter and off-the-shoulder gowns. I build it from a firm high ponytail and pin the bun in small sections around the base, so no single pin carries the weight. If high ponytails give you a headache on a normal day, this bun will too.
6. Tight Chignon Wedding Hair
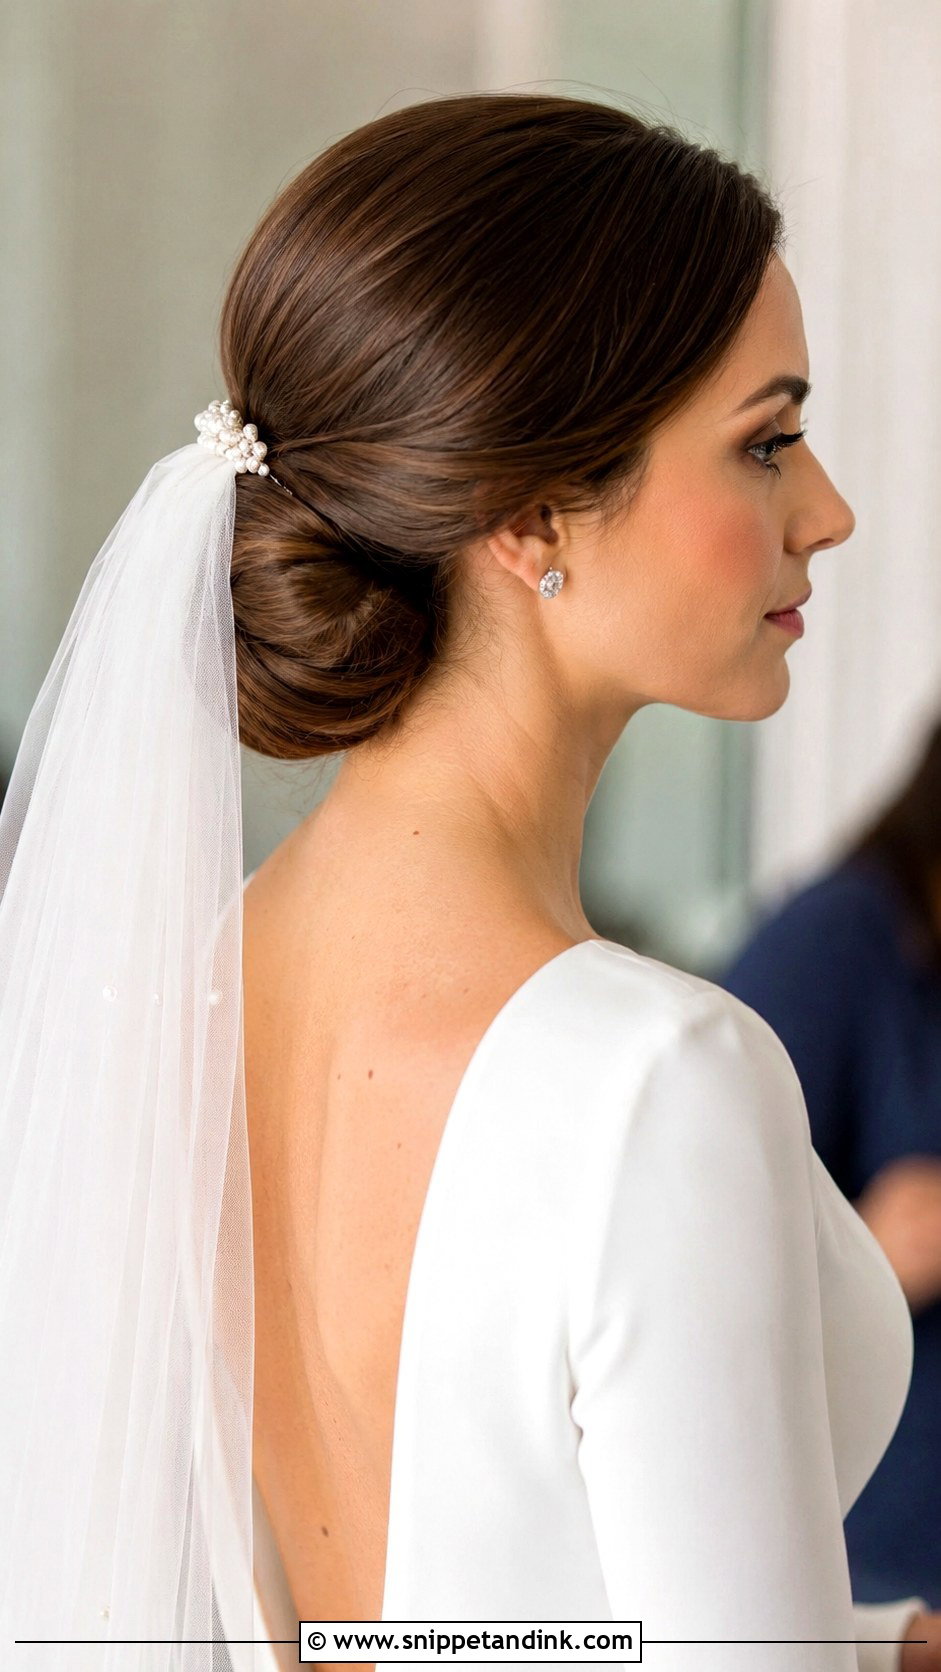
The chignon is the bun I’d pick for a church ceremony or a courthouse wedding. Low and shaped into a roll or tucked knot at the nape, it reads mature without feeling old. The veil comb grips it firmly, so it’s one of the most reliable veil bases. Glossy and smooth is classic; lightly brushed is softer. Side parts and face-framing pieces work as long as the roll itself stays clean.
7. Twisted Tight Wedding Bun
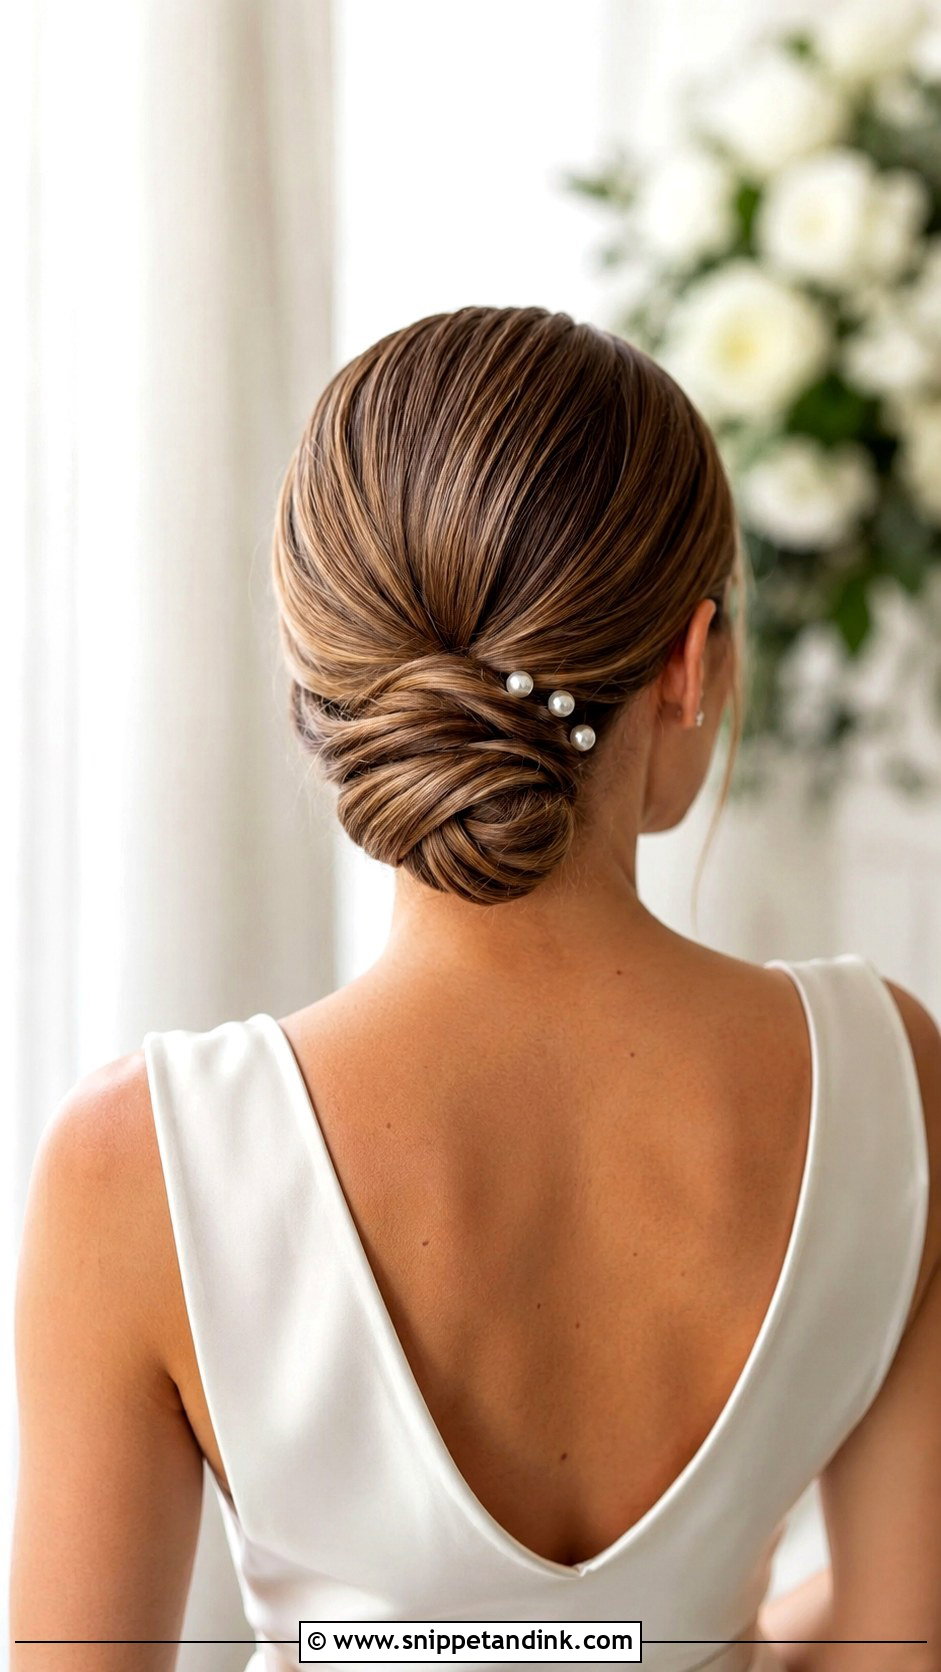
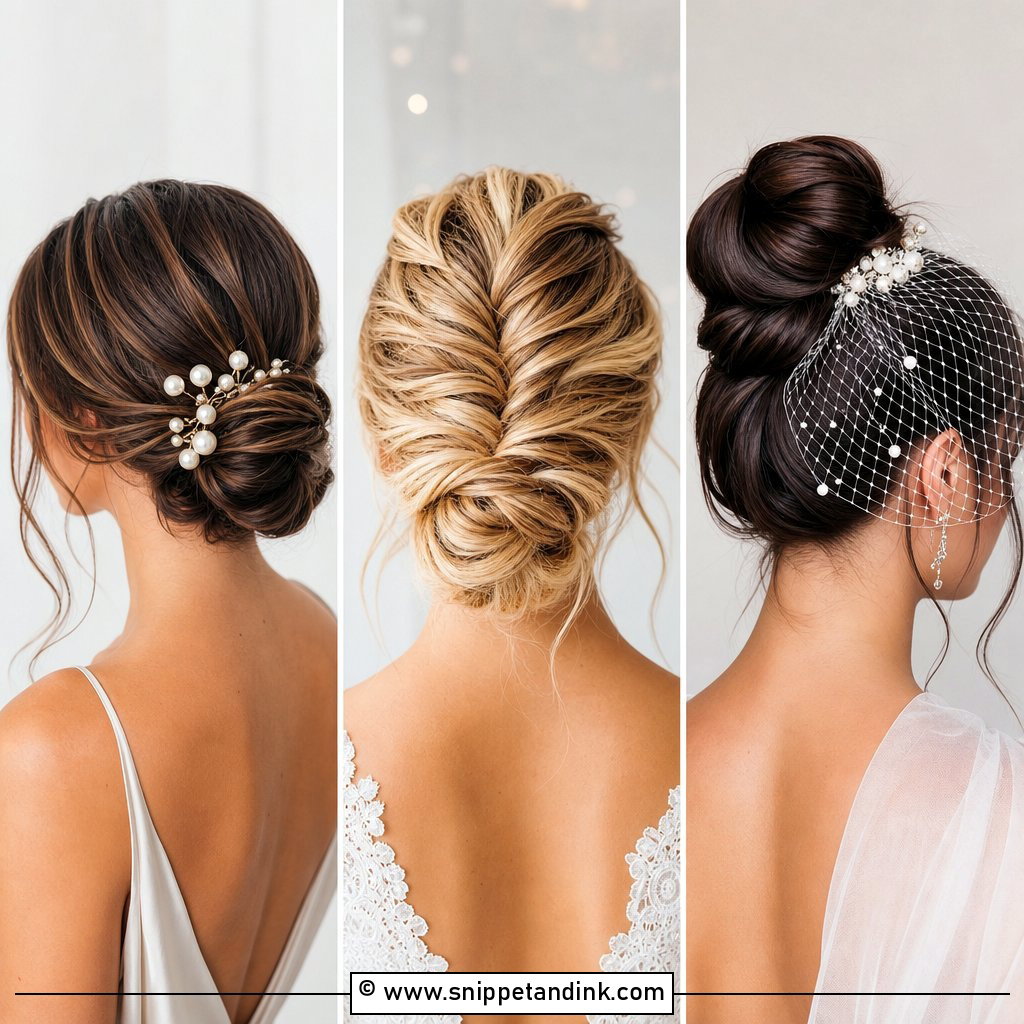
Twisting the ponytail before wrapping it gives the bun fine diagonal lines that show in close-ups. The twist also makes the bun firmer, since a twisted rope holds pins better than loose hair. Medium to long hair suits it best; short ponytails unravel when twisted. Tiny pearl pins along the twist line look delicate. The front can be sleek, lifted or center-parted.
8. Braided Tight Wedding Bun
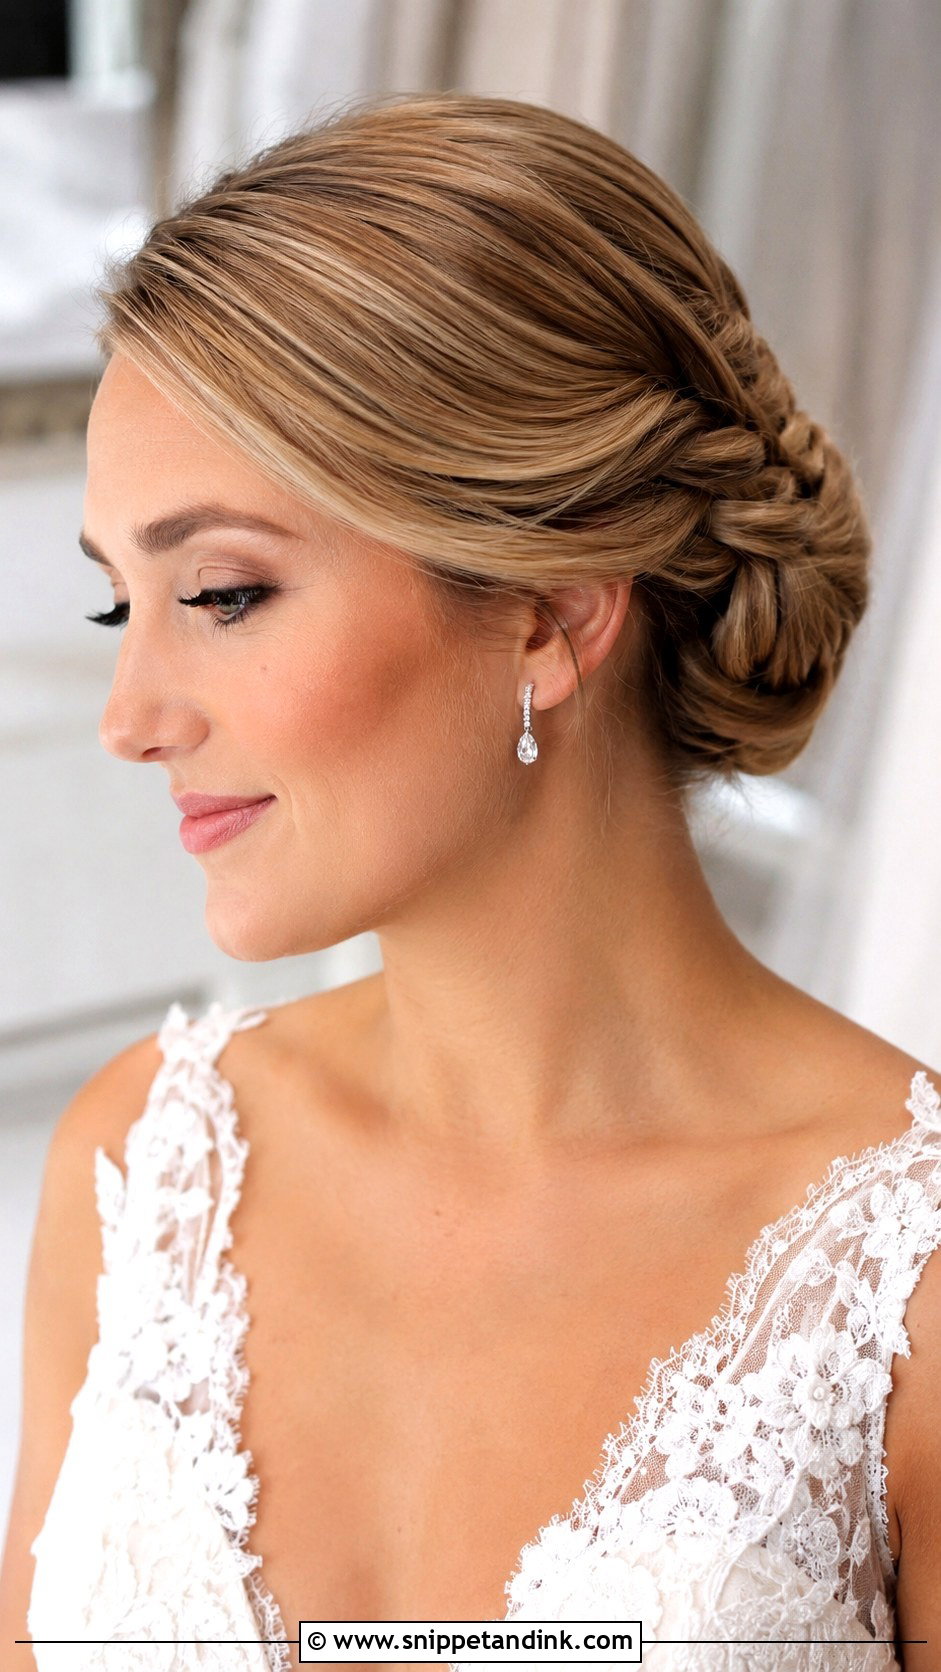
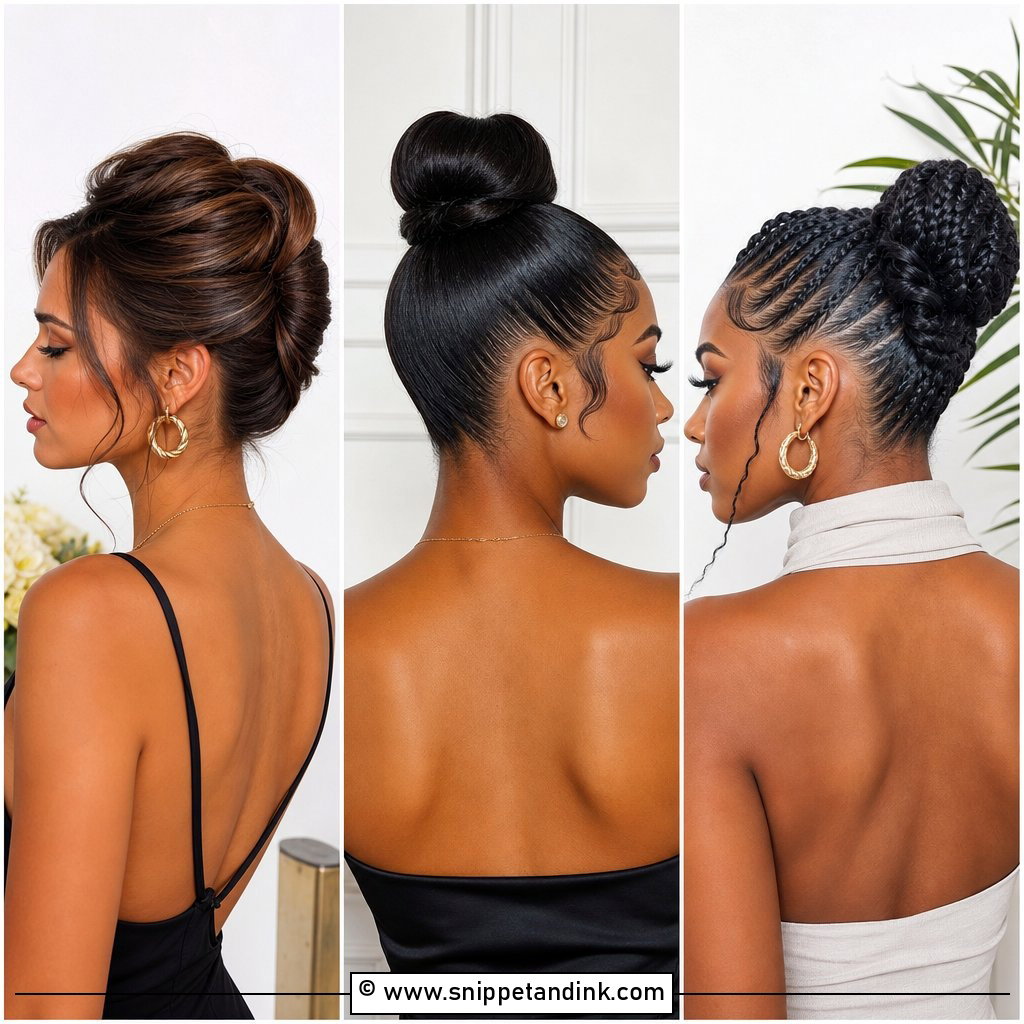
Braiding the ponytail first is my fix for thick hair that won’t sit compact. The plait compresses the bulk, so the wrapped bun ends up smaller and firmer than the same hair coiled loose. Small braids around the base add detail instead. Bridesmaids often wear this well, because it looks special without competing with the bride. Keep the braid neat and the crown smooth, and leave out the loose pieces if the goal is a formal finish.
9. Tight Bun Wedding Hair With Veil
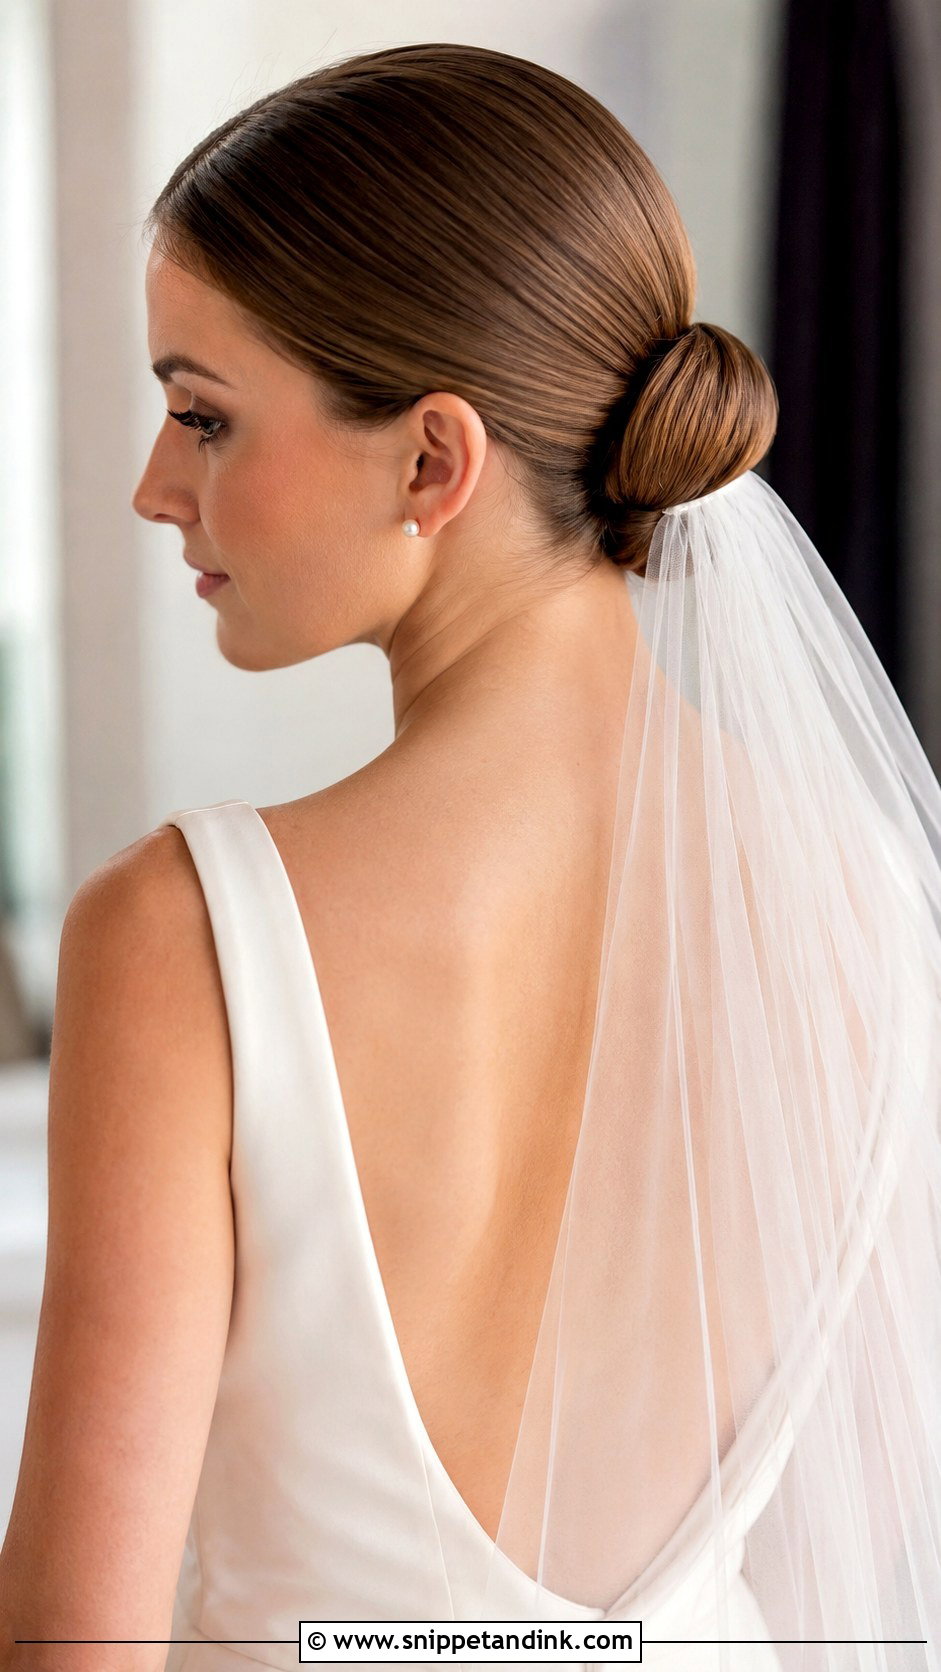
A tight bun gives a veil a solid anchor, and the placement decides where the veil goes. Low buns take a veil above them; a mid bun lets the veil tuck underneath. No curls get crushed, and the face stays open for the ceremony. Test the actual veil at your trial, since a heavy cathedral veil pulls differently from a short one. A long veil’s weight can drag a loose bun backward over the hours, which a tight one resists.
10. Tight Bun Wedding Hair With Pearls
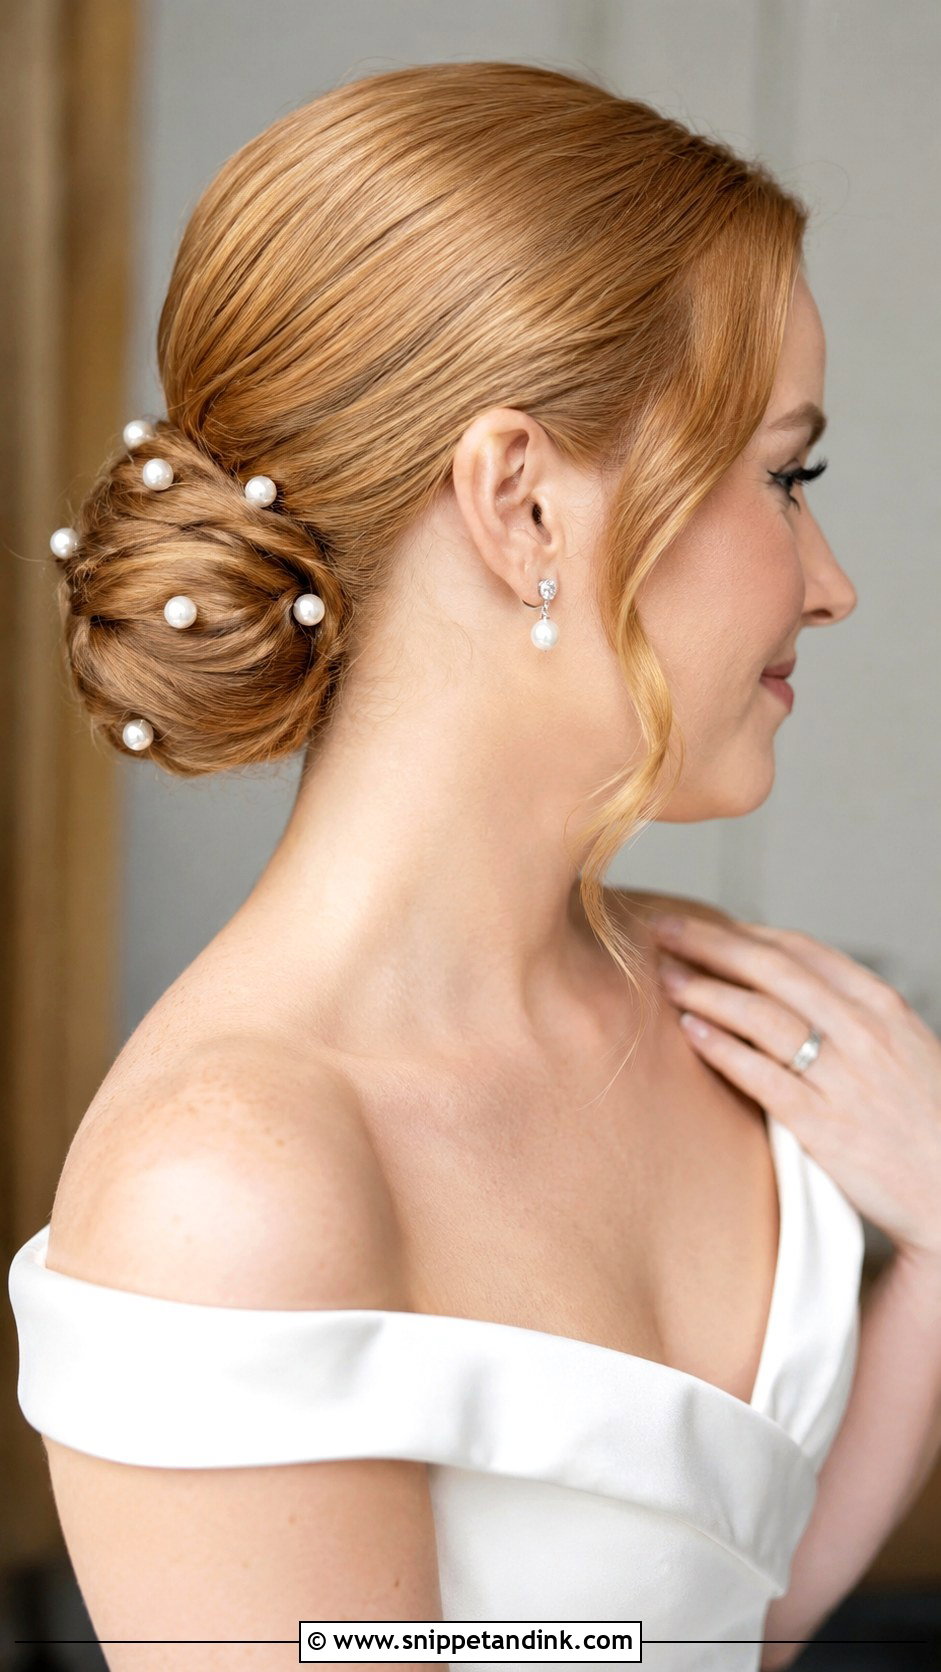
A smooth bun is the best canvas pearls can have, because nothing competes with them. Pins scattered around a low bun, lined along one side or tucked into the base all work. Pearl earrings, satin, lace sleeves and soft makeup sit well with them. Restraint matters. Five or six well-placed pins usually look richer than twenty, and a fully covered bun loses its shape.
11. Tight Bun Wedding Hair With Hair Comb
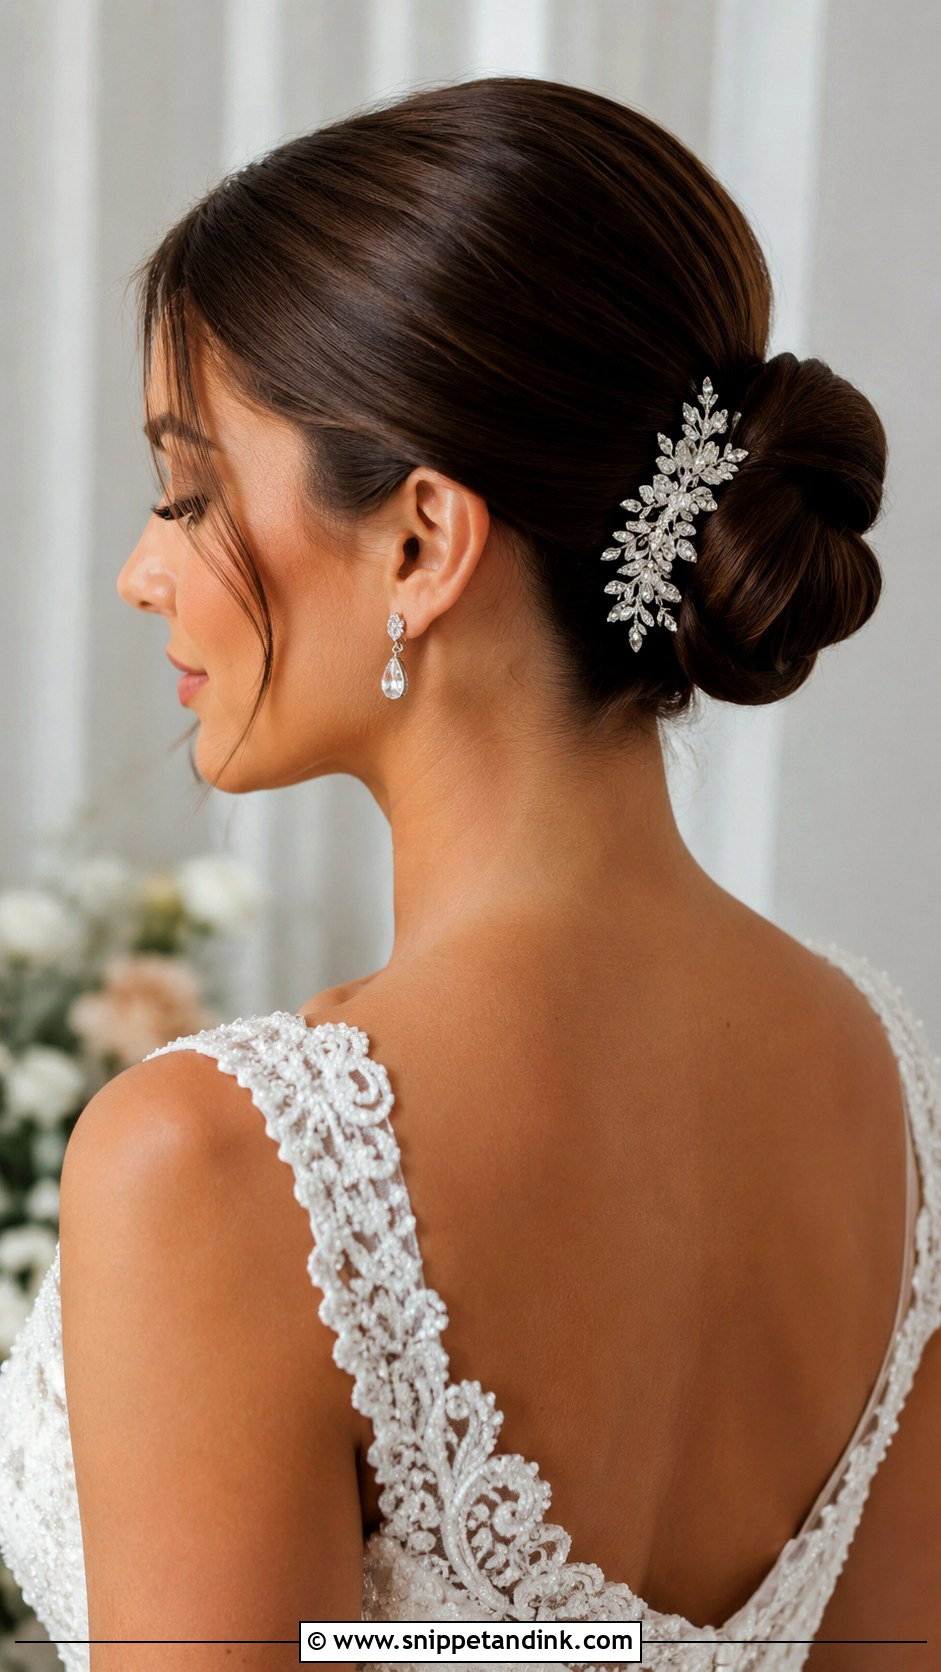
One comb, placed well, often does more than a dozen pins. It can sit above the bun, to the side or underneath, depending on the veil and where the photographer will mostly stand. Crystal suits an evening wedding; pearls look classic; floral details belong in a garden. Pin the bun completely before the comb goes in. The comb should decorate the style, never hold it up, or it pulls loose when someone hugs you.
12. Tight Bun Wedding Hair For Long Hair
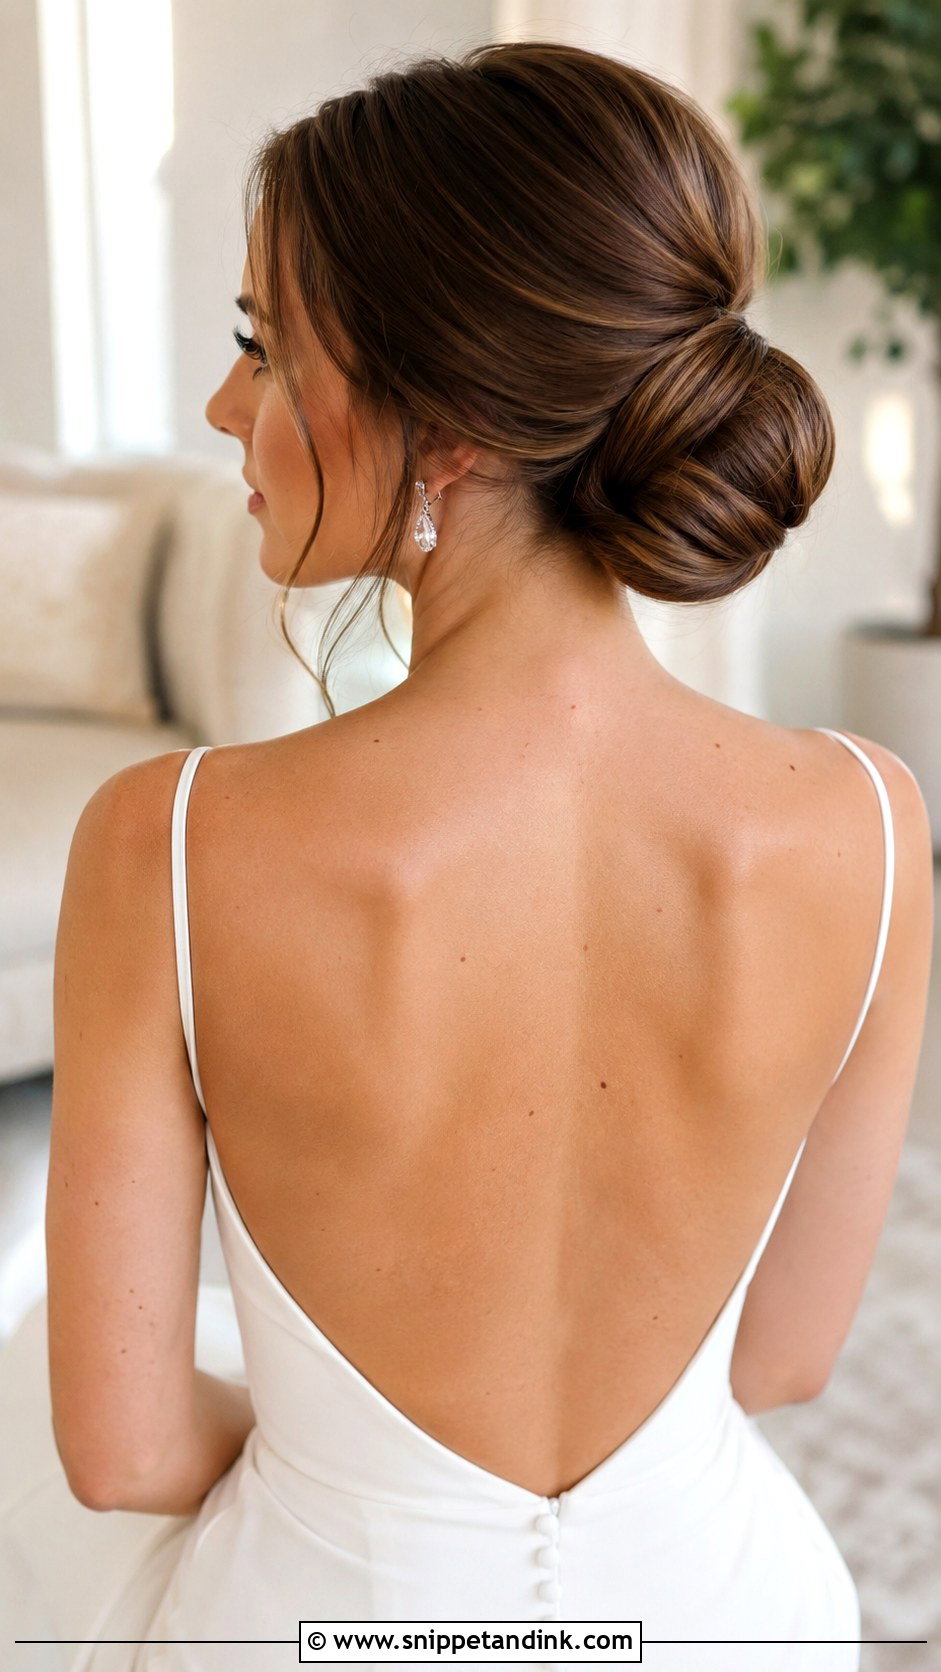
Long hair gives a tight bun plenty to work with and plenty of weight to manage. A twisted low bun, a braided bun or a wrapped ballerina bun controls the length while keeping the surface smooth. I section very long hair into two ponytails stacked one above the other, then wrap each separately, so the finished bun doesn’t drag backward. It handles humidity and dancing better than almost any loose style. Ask for hidden pins and a strong elastic.
13. Tight Bun Wedding Hair For Thin Hair
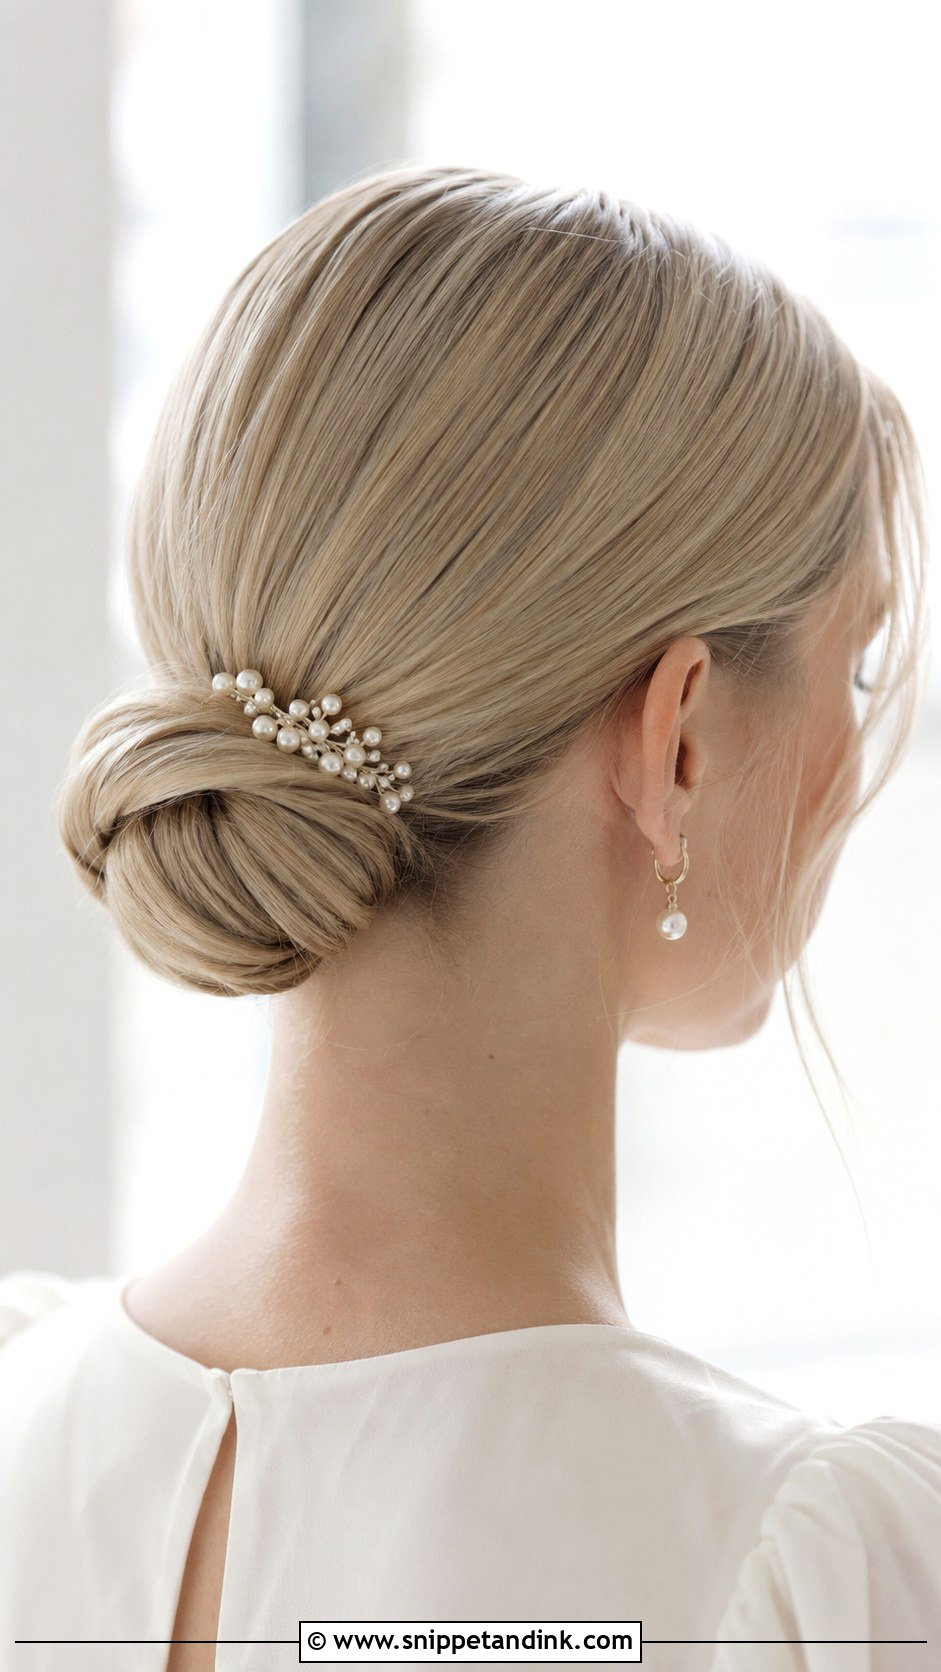
Thin hair can look fuller in a tight bun than in loose waves, which surprises a lot of brides. A smooth low bun, small ballerina bun or padded chignon all work. The trick is texture spray at the roots before smoothing, so pins grip, plus a small bun form or clip-in piece if needed. A center part reads chic; a side part adds softness. Large accessories make the bun look smaller by contrast, so stick to pearl pins, a slim comb or a fine veil.
14. Tight Bun Wedding Hair For Curly Hair
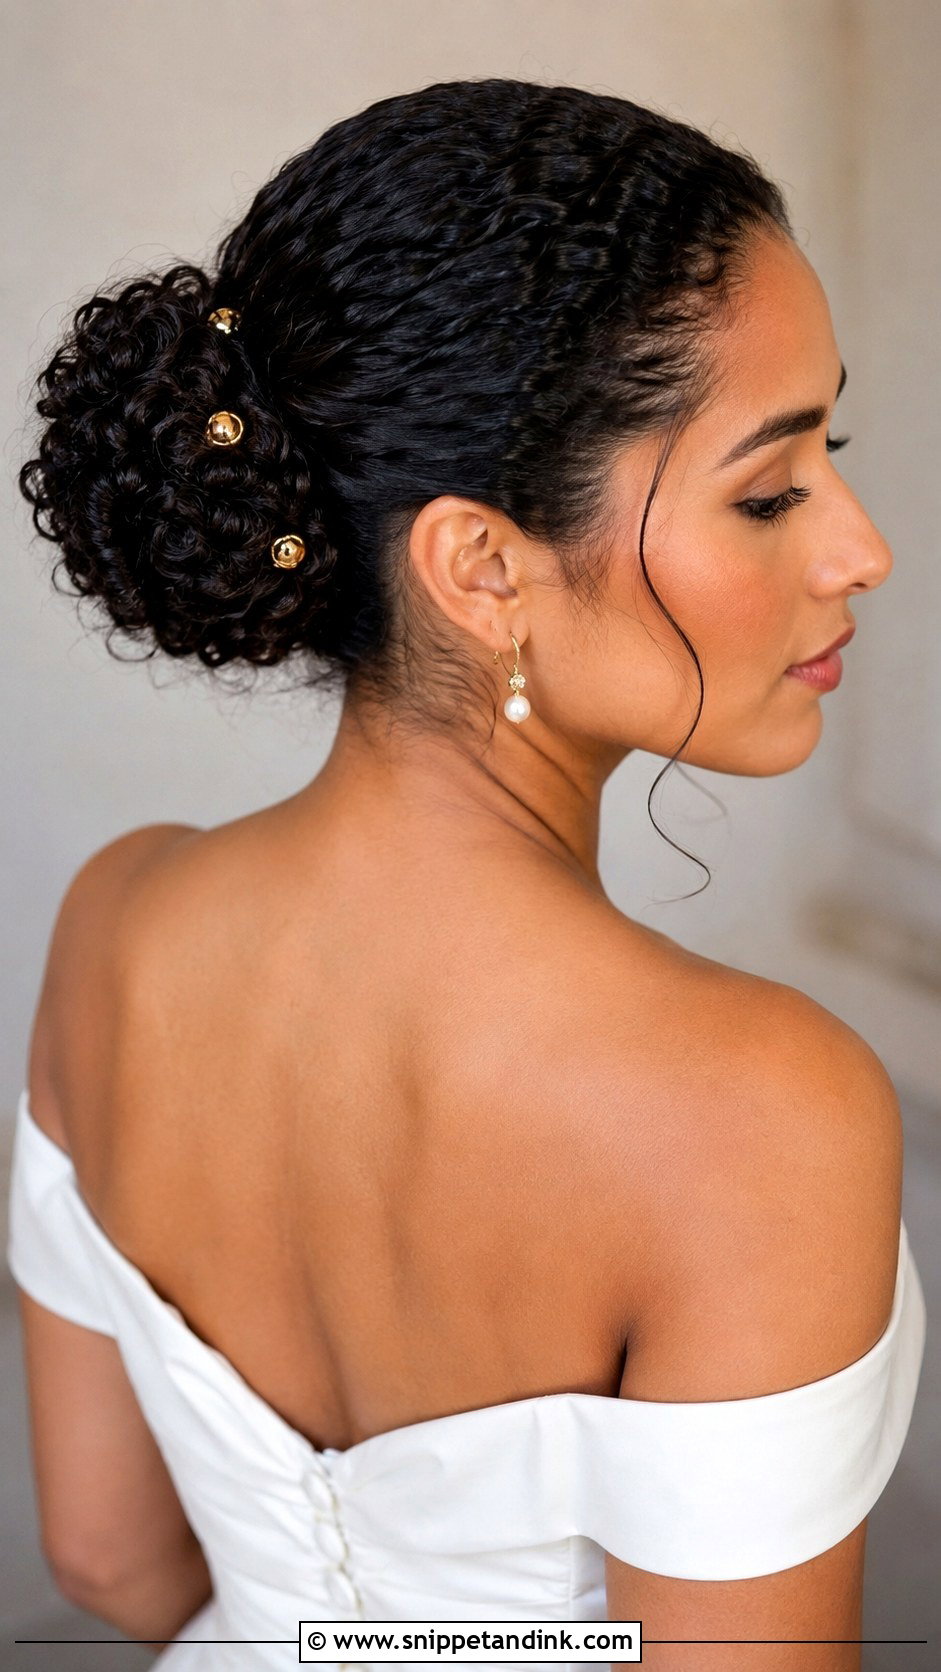
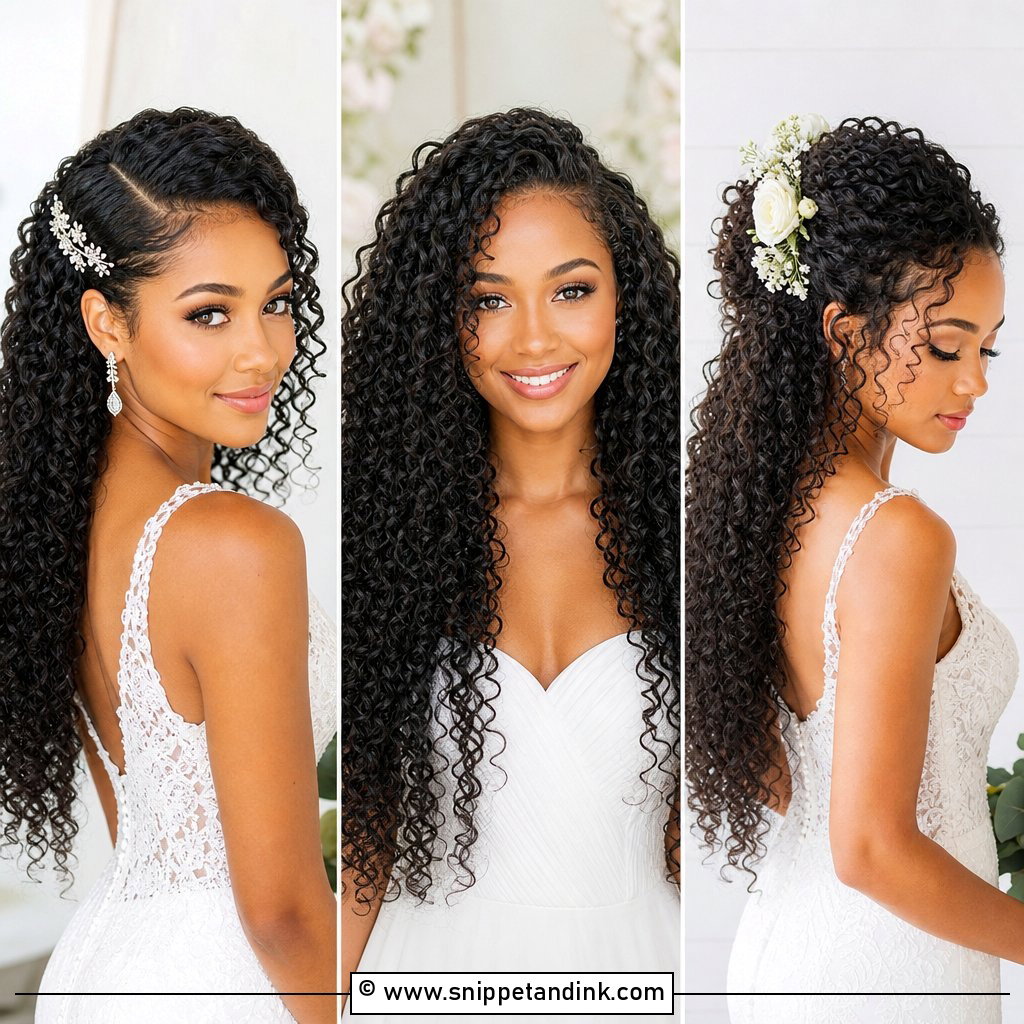
Curly hair can be sleek at the crown and still keep its curl in the bun. I smooth the front with a gel or cream while the hair is damp, then gather the curls into a compact shape at the nape or crown without brushing them out. Moisture prep the night before matters, since curls that are dry at the start frizz under tension. Gold pins, pearls, veils and statement earrings all sit well. The look stays true to your texture.
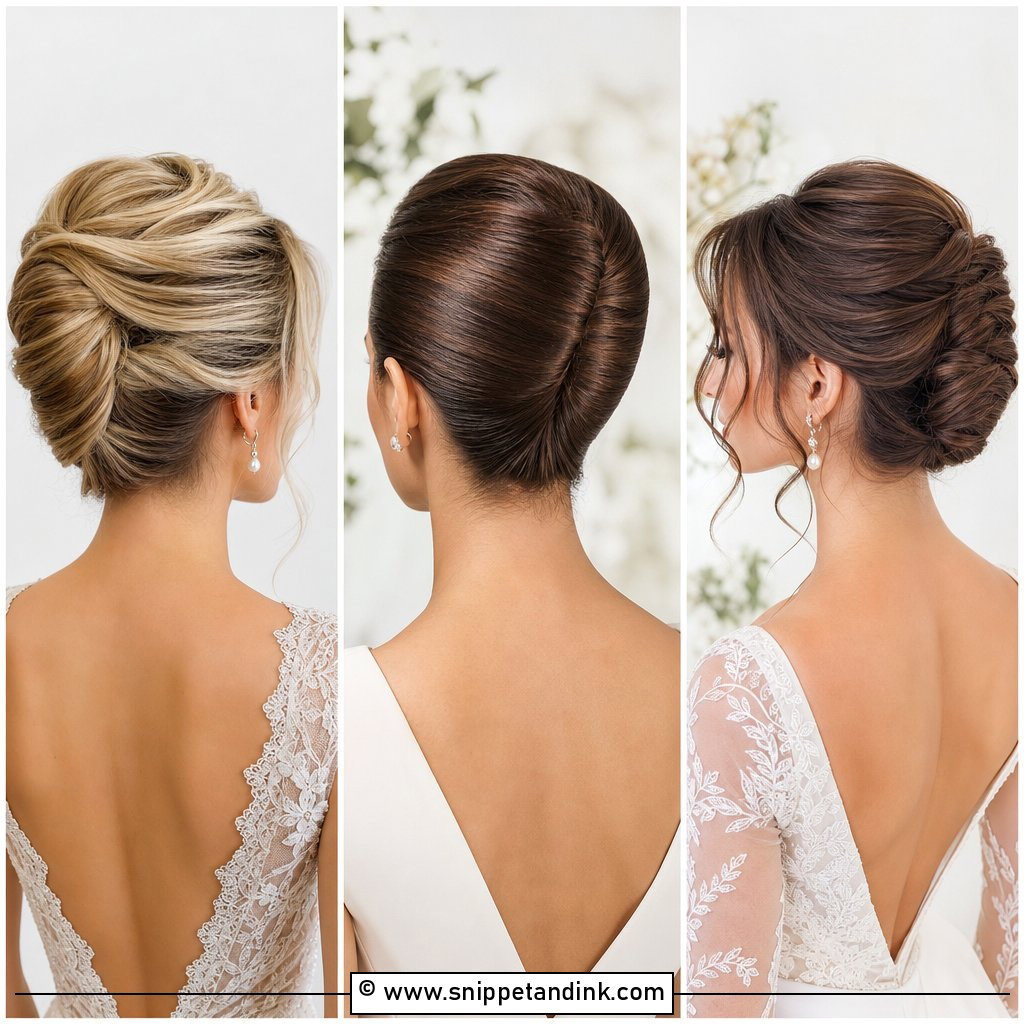
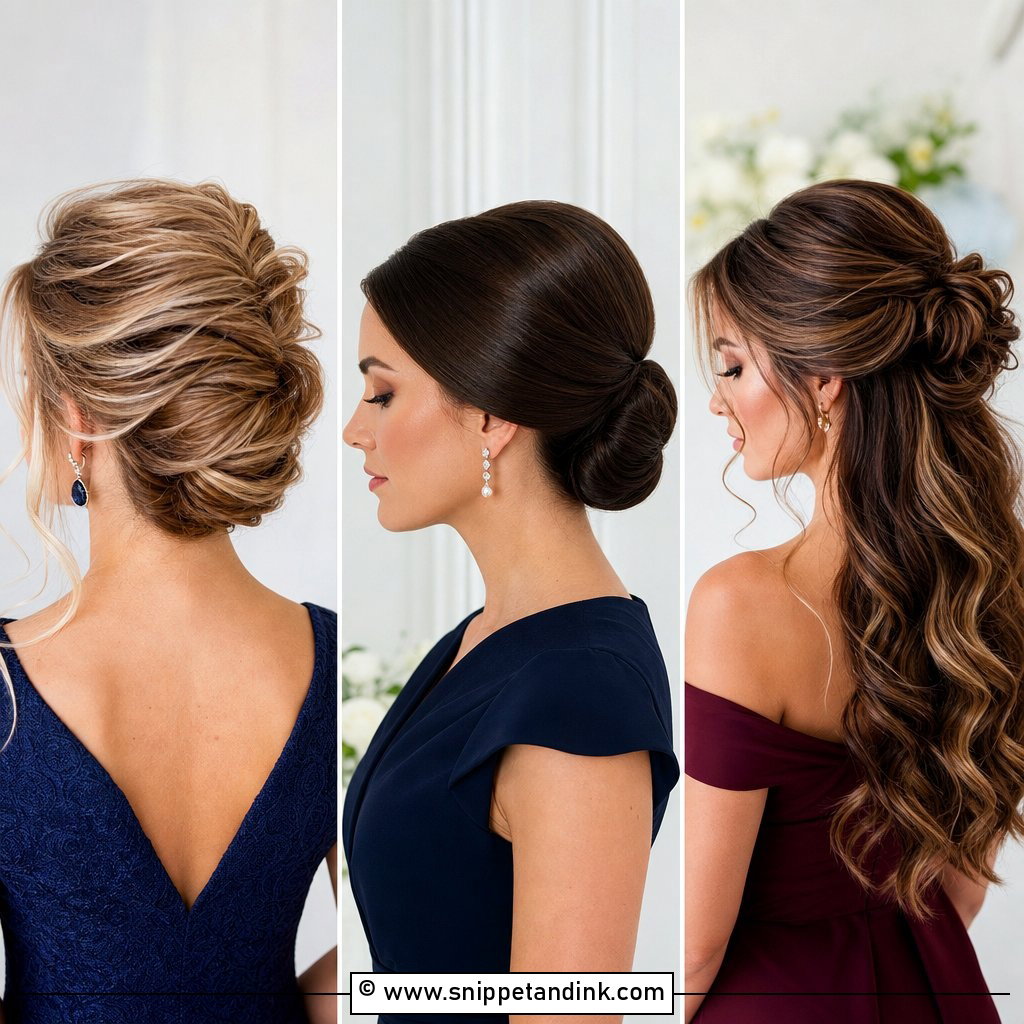
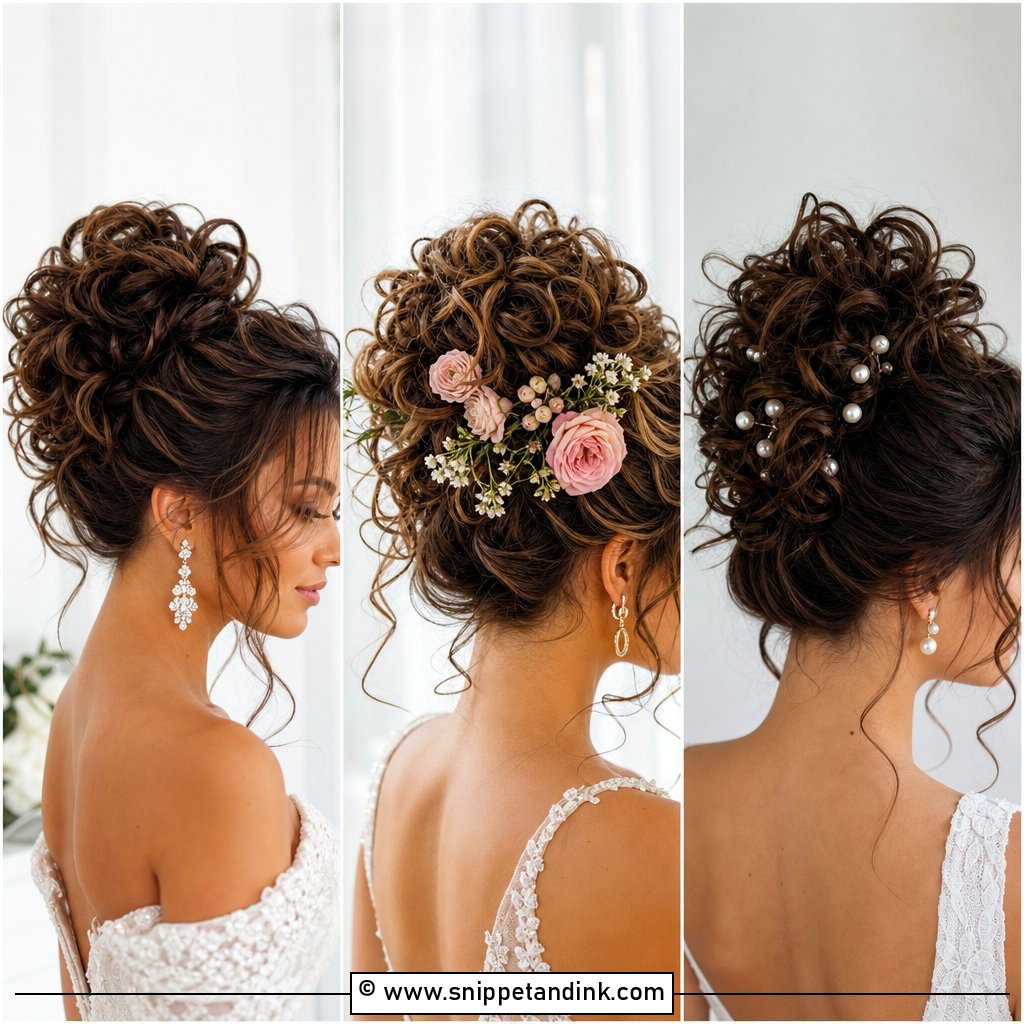
15. Tight Bun Wedding Hair For Black Women
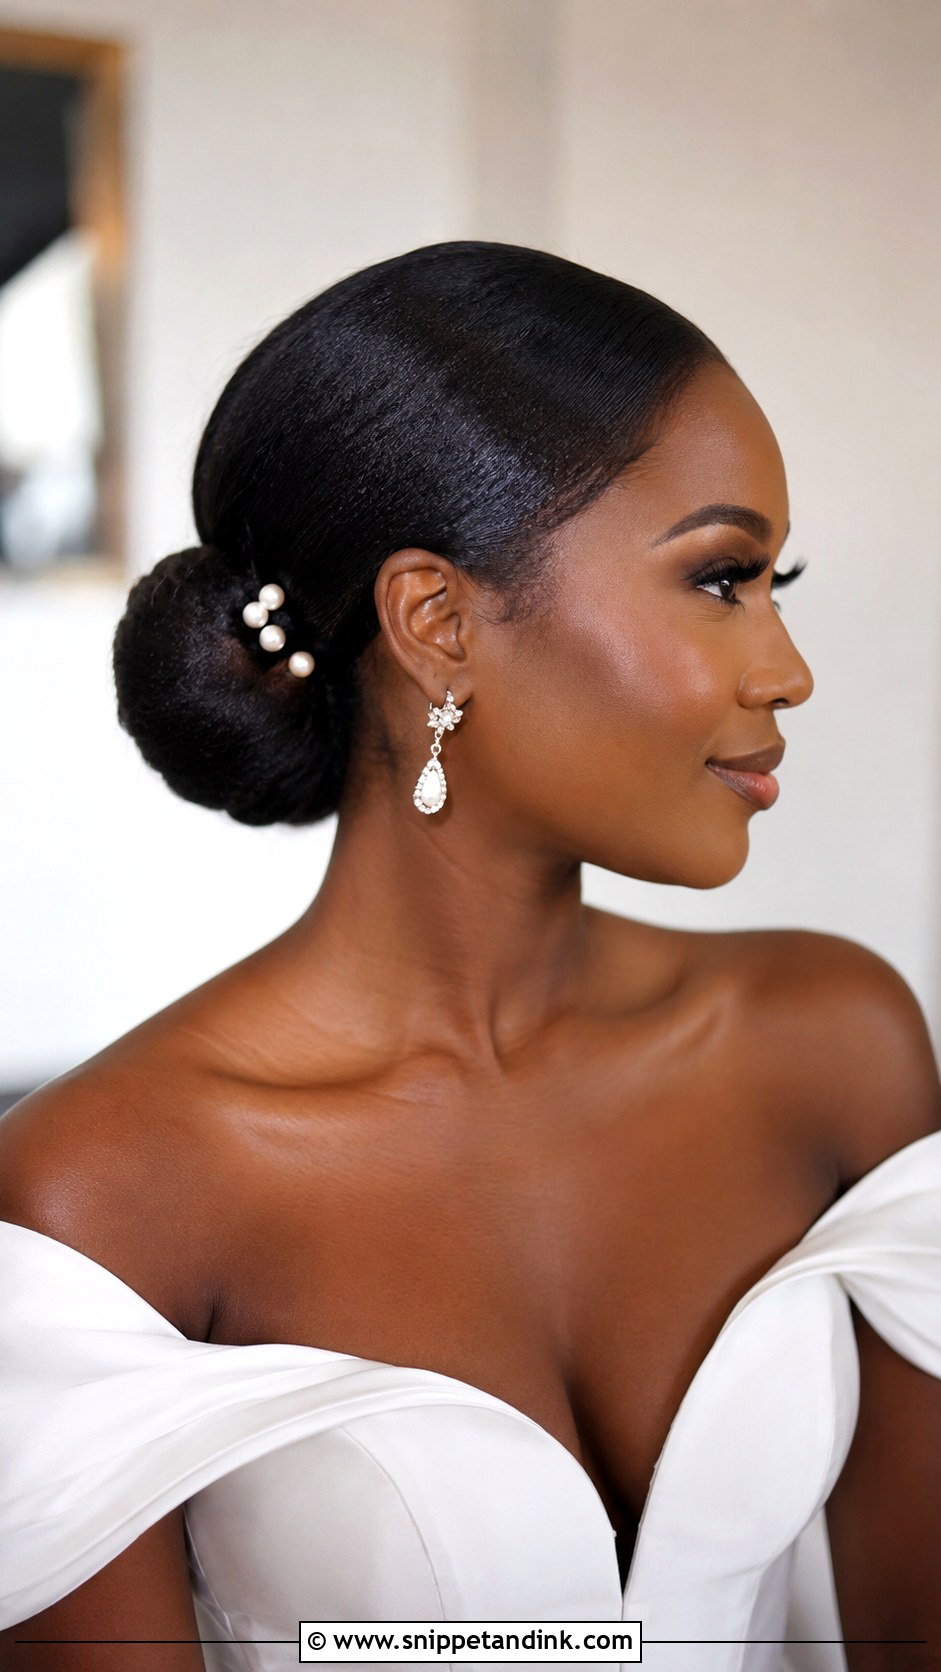
Tight bun wedding hair for Black women covers sleek, sculpted, braided and natural-textured versions. A low slick bun is clean and formal; a braided tight bun adds detail and holds for a long day. Natural hair, relaxed hair, silk presses, extensions and protective styles all adapt to it. I lay edges softly rather than slicking them hard, and I never pull the hairline tight for the sake of smoothness. A secure base, moisture and careful pinning keep it in place through to the end of the night.
Protecting Your Hairline Under a Pulled-Back Style
Tight styles put steady tension on the hair at the temples and nape, and that’s the hair most likely to break. One wedding day won’t do lasting harm to healthy hair, but brides who wear sleek buns for every pre-wedding event, or who already have fragile edges, should think about it.
- Smooth with product and brushing, not with force. A bun can look completely tight while sitting gently on the scalp.
- Avoid tying the same spot for several days running during wedding week. Shift the height between events.
- Skip rubber bands and metal-clasp elastics, which snag on removal.
- If you feel pulling or see small bumps along the hairline at the trial, tell your stylist. That’s a sign to loosen the base.
Pins matter here too. Bobby pins with the protective tips chipped off scratch the scalp and catch hair, so check yours before the morning and throw away any that have lost their coating.
At night, take the bun down gently, starting with the pins, then the elastic. Massage the scalp where the ponytail sat, and leave your hair loose or in a loose plait for the next day so the roots can rest.
Smooth, Secure, and Still Comfortable at Midnight
Tight buns hold up for the whole day and work with nearly every bridal look. A sleek low bun, high ballerina bun, center part chignon, braided bun or pearl-accented updo can all finish a wedding look cleanly. Your neckline, hair texture, accessories and comfort narrow the options. Book a trial, bring the veil or hairpiece, and wear the style for a few hours afterward. It should feel firm enough for photos, hugs and dancing without any pulling at the hairline.
Sleek low buns in particular are having a long moment in bridal hair, partly because they suit so many dress styles and partly because they still look right in photos years later.
You'll Like These Ideas:


Leave a Reply