
Pinning the hair to one side is the style I reach for when a bride wants her hair down but also wants her earrings and neckline seen. One side goes back behind the ear, the other falls forward, and the face gets framed without being hidden. It adapts to almost any texture and length, from a tight coil pattern to a chin-length bob. The part that takes real skill is the hidden anchor under the pinned section, because that is what decides whether the shape is still there at the last dance or slides down by the speeches.
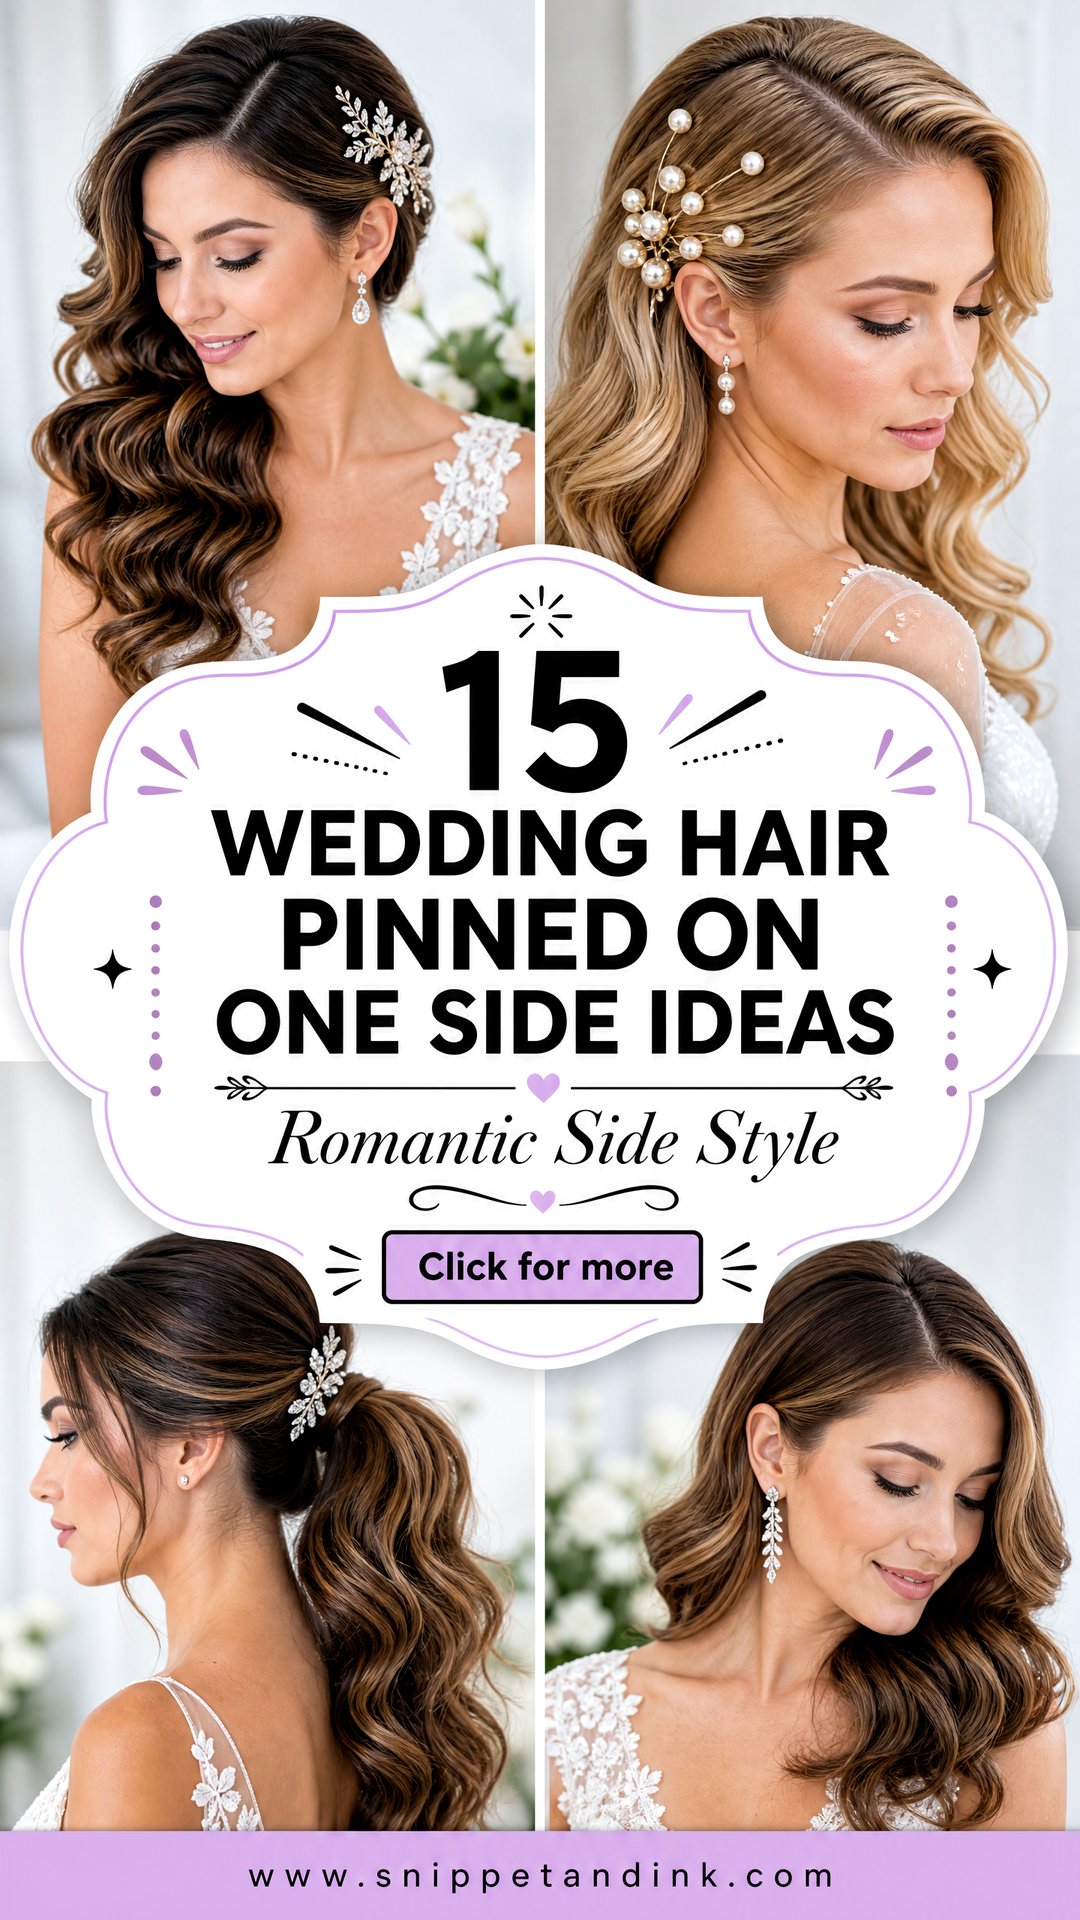
Left or Right? Deciding Which Side Gets Pinned
Brides tend to choose the side they like in the mirror, which is backwards, since the mirror shows you flipped. I make the call from three things instead. First, your natural part: hair falls away from the part most easily, so the heavy side usually sits on the side the part is furthest from, and the pinned side is the one closest to it. Second, cowlicks and growth patterns at the temple, which can make one side stubborn no matter how much product goes on.
Third, and most often forgotten, the ceremony itself. Find out which side of your partner you’ll stand on. Guests on that side spend the whole ceremony looking at one profile, and your photographer will shoot much of the vows from there. Many brides like the open, pinned side facing the guests so earrings and face are visible, with the falling curls toward their partner. There’s no wrong answer, but it should be a choice rather than an accident.
The Hidden Anchor That Holds the Pinned Side
Decorative pins are not what keeps this style in place. Underneath every version I do, there’s a foundation the camera never sees, and it’s worth asking your stylist which one they plan to use.
- Crossed bobby pins: two pins pushed in an X, wavy side down. Good for medium hair with some texture, weak on silky, freshly washed hair.
- A small anchor braid or twist along the hairline, pinned into rather than through. My default for slippery or heavy hair.
- A tiny hidden ponytail behind the ear, used for thick or very long hair and for any version with a veil or heavy clip.
- Texture or dry shampoo at the roots before pinning, which gives smooth hair the grip it otherwise lacks.
If your hair was washed the night before rather than that morning, it will usually hold pins better. Clean but not squeaky is the goal, so mention your wash routine at the trial and copy it exactly on the wedding day.
1. Wedding Hair Pinned On One Side With Soft Curls
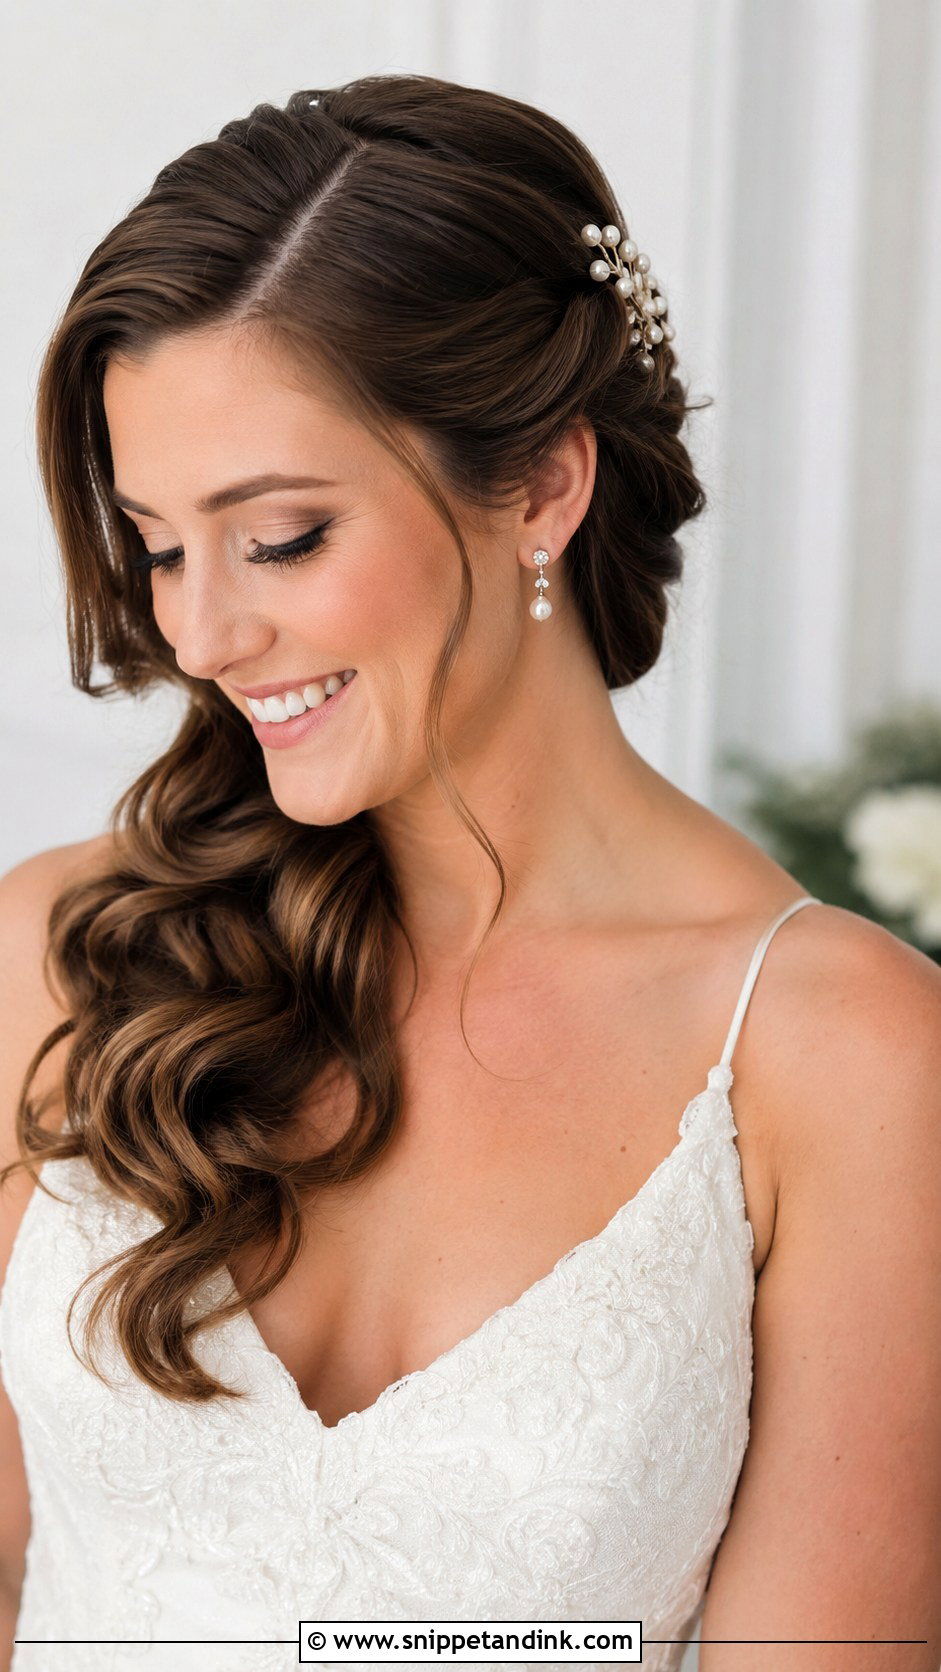
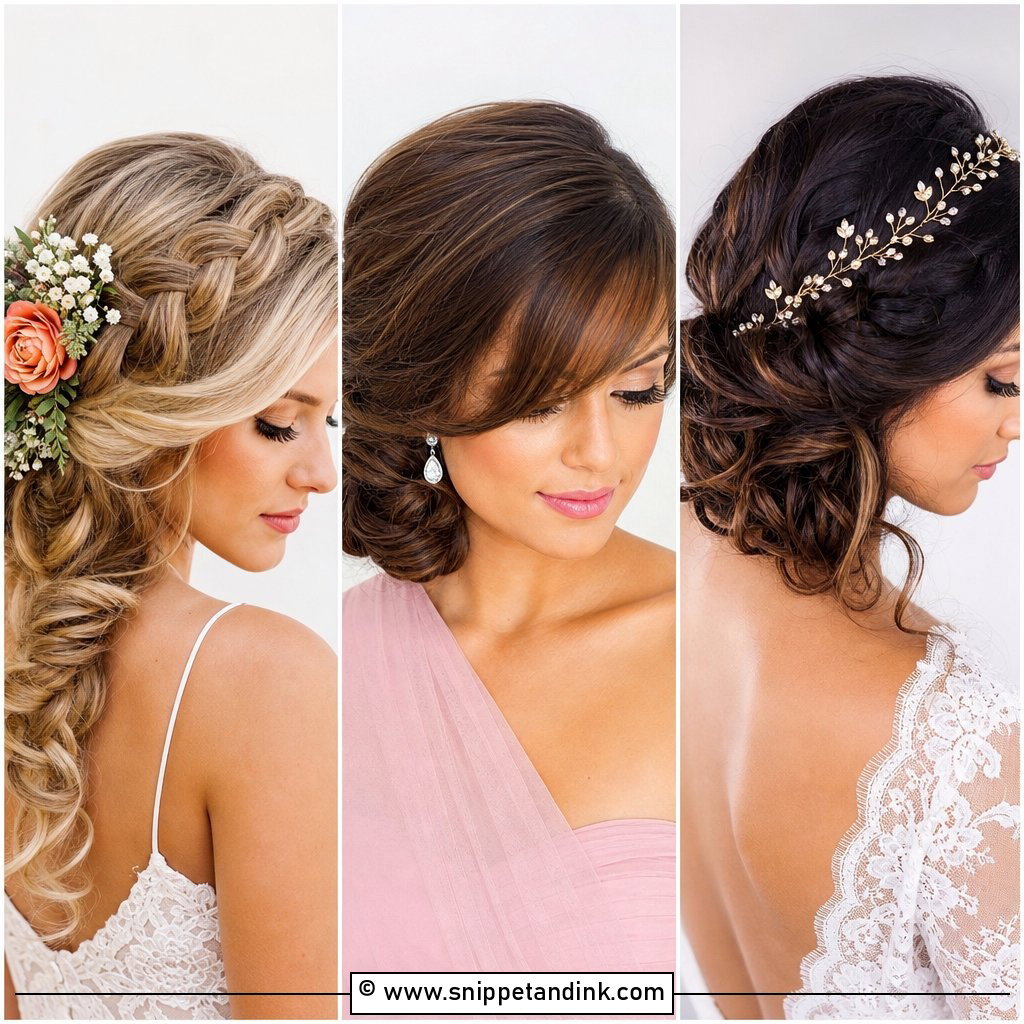
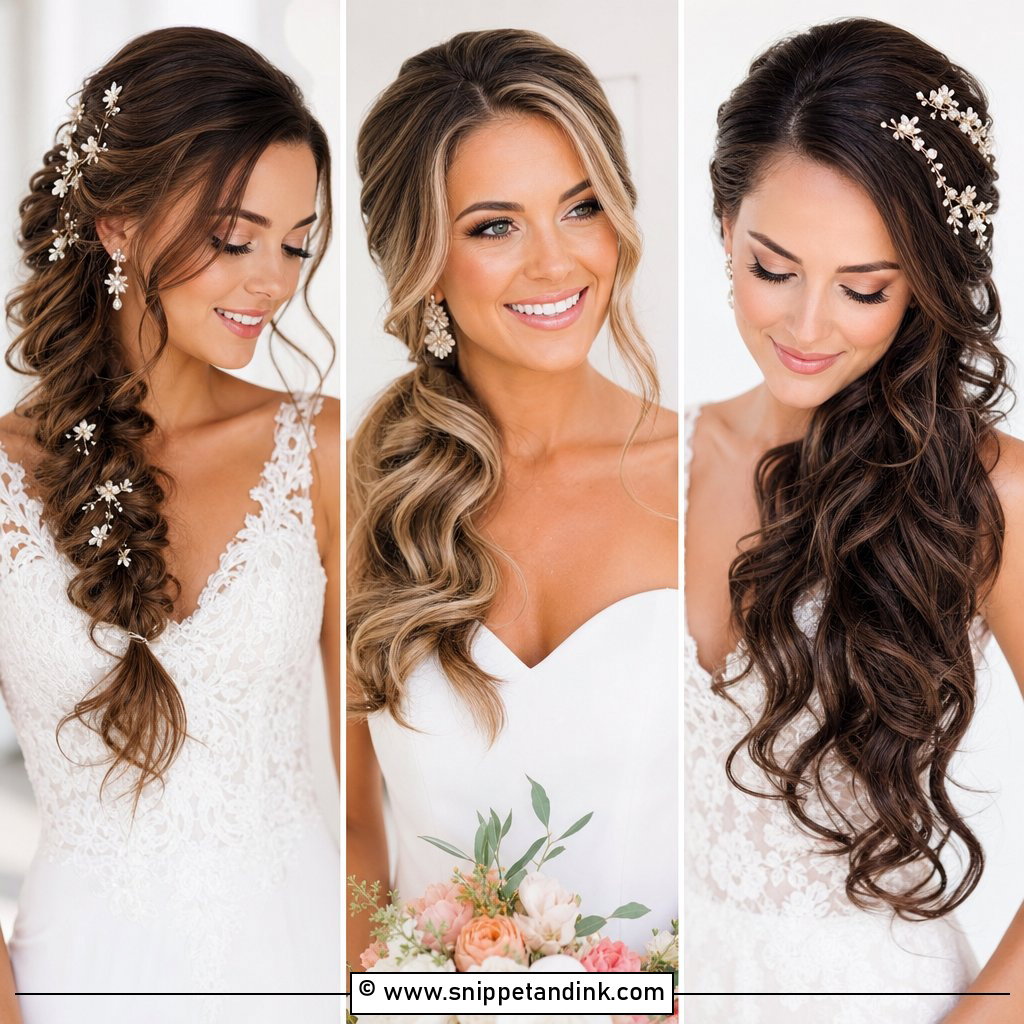
Soft curls are the version I get asked for most, and the one that needs the most restraint with the brush. I curl in larger sections than you’d expect, let them cool fully, then brush them out until they join into ribbons rather than separate ringlets. On medium to long hair the weight sits well over one shoulder, but if your hair is fine and the forward side looks thin, clip-in extensions placed just under the part solve it quickly. The pinned side gets crossed bobby pins first, then a small comb or pearl pin on top purely as decoration.
2. Wedding Hair Pinned On One Side With Hollywood Waves
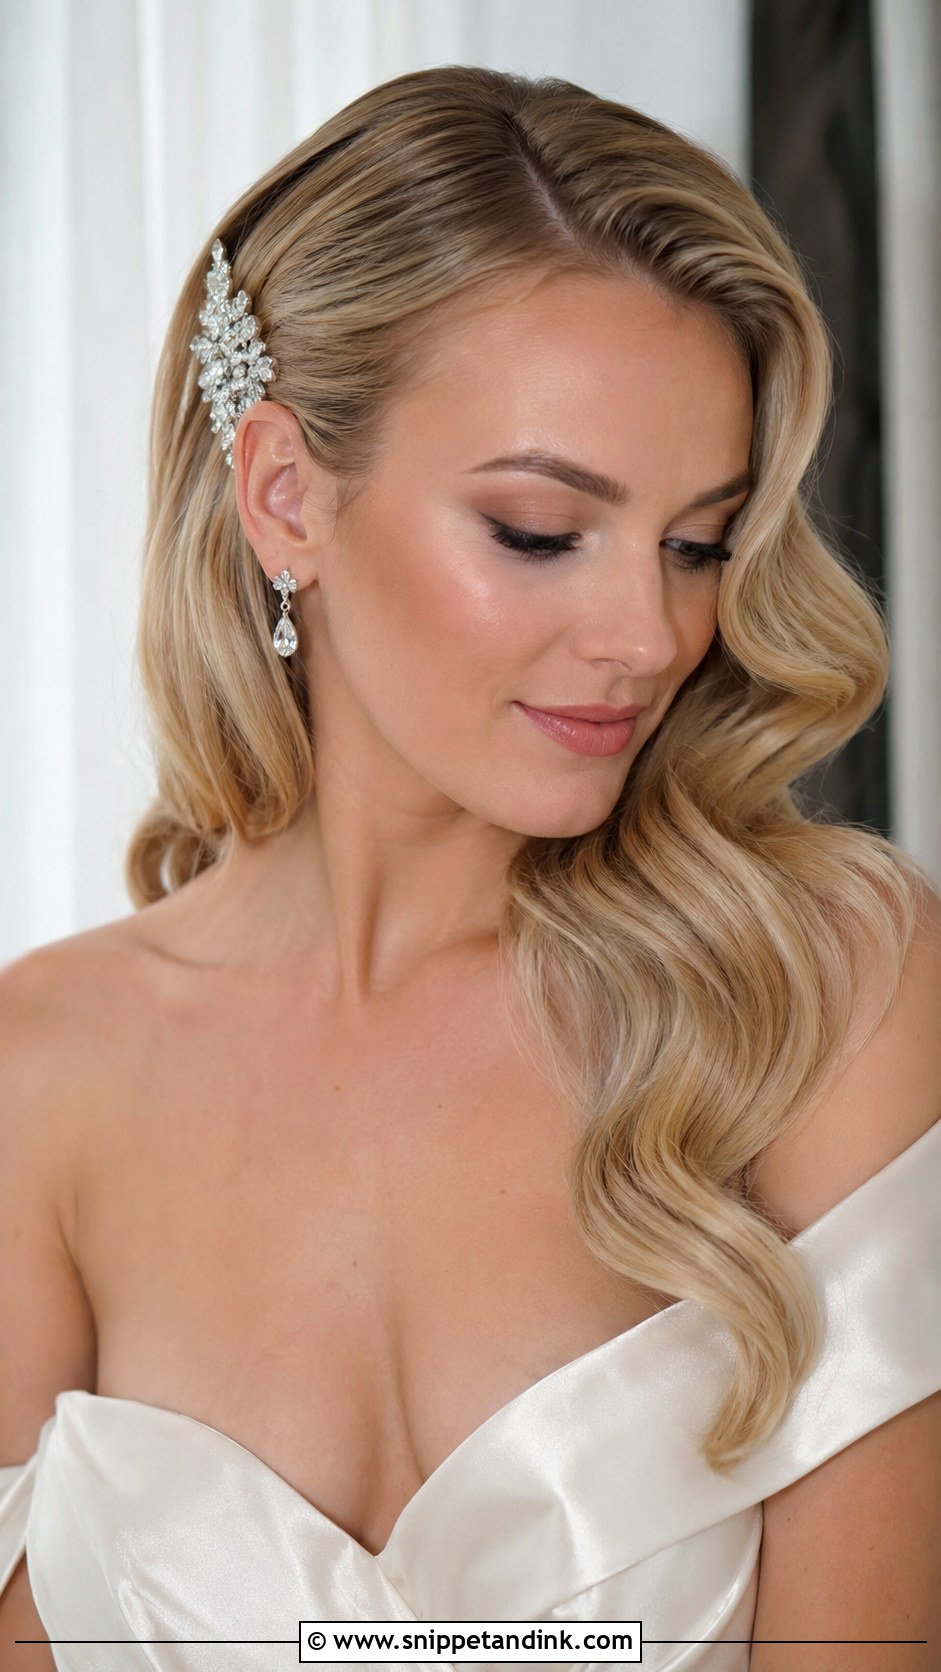
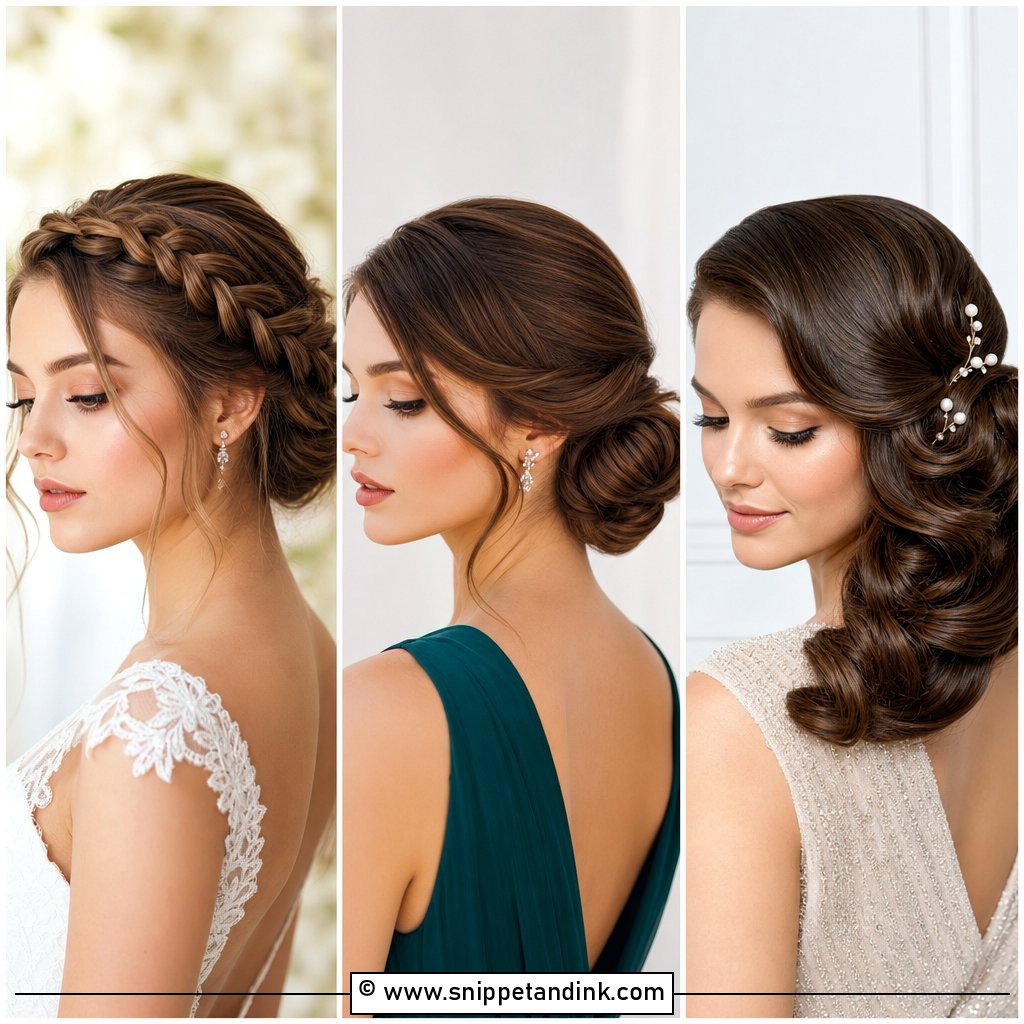
Hollywood waves are a set, not a curl. I curl every section in the same direction, pin each one flat while it cools, then brush the whole head into one continuous S shape and press the ridges with clips for a few minutes. That control is what makes the finish look polished and camera-ready. Tucking one side behind the ear is a small step that changes the silhouette completely. I’d keep this for satin, crepe or a fitted vintage gown; next to a lace boho dress it can feel like two weddings at once.
3. Wedding Hair Pinned On One Side With Loose Waves
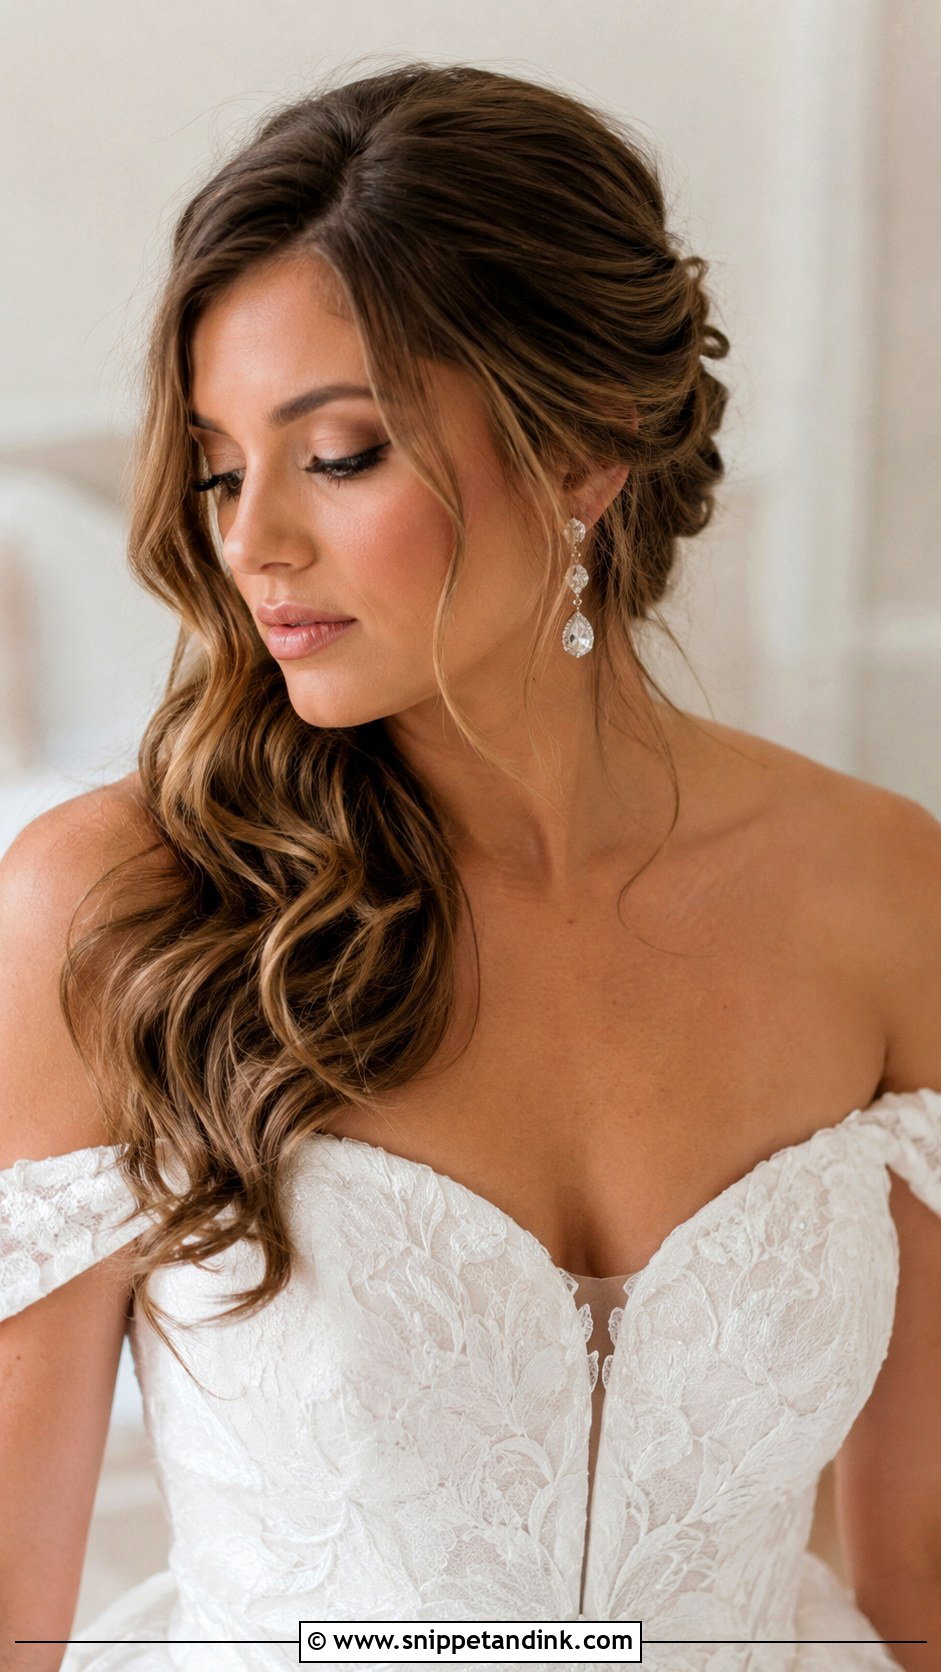
Loose waves suit outdoor ceremonies because they’re meant to move. The trick is to alternate the curl direction around the head and skip the brush-through almost entirely, so the bends look uneven in the way real hair is uneven. A firm hairspray will make them crunchy and dull, so I use a light, brushable one and a texture spray at the roots on the pinned side for grip. If you’re on a beach, expect the waves to relax by an inch or two through the afternoon; I style them slightly tighter to allow for it.
4. Wedding Hair Pinned On One Side With Side Braid
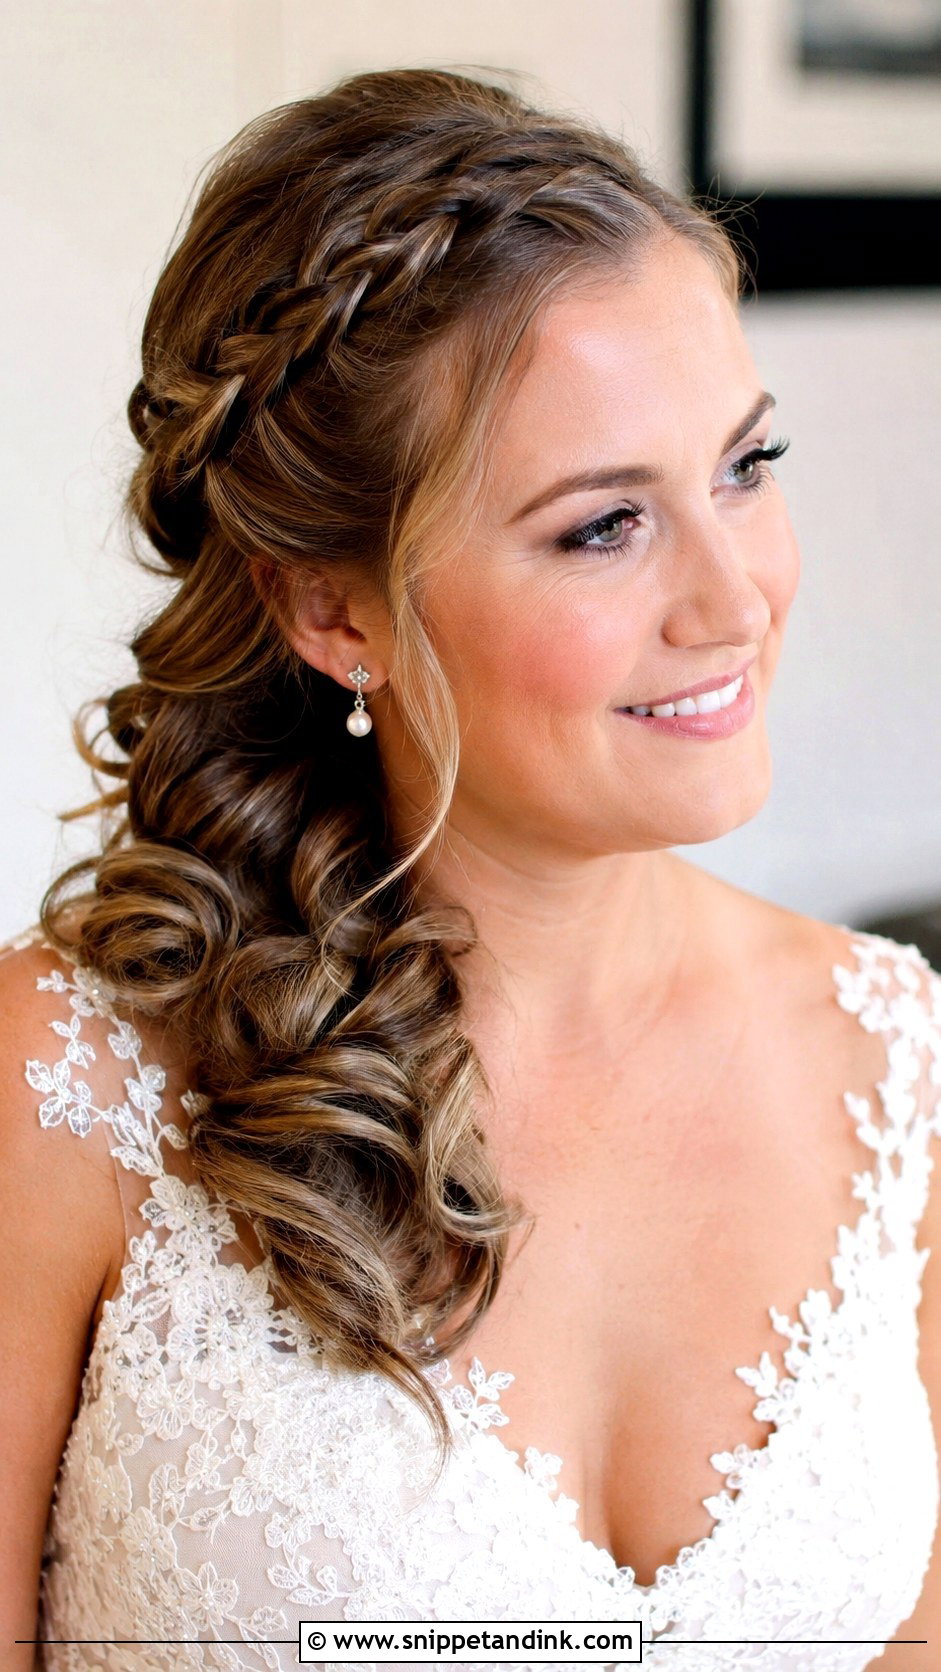
I like a side braid here because it does a job, not only a decorative one. Running a small Dutch braid along the hairline on the pinned side gives every bobby pin something solid to grip, which matters on slippery, freshly washed hair. Once it’s in, I pancake the edges so it reads wider, then let the free side fall in waves. It works well for bridesmaids too, since they’re hugging and dancing just as much as the bride and rarely have someone on hand to re-pin.
5. Wedding Hair Pinned On One Side With Pearl Pins
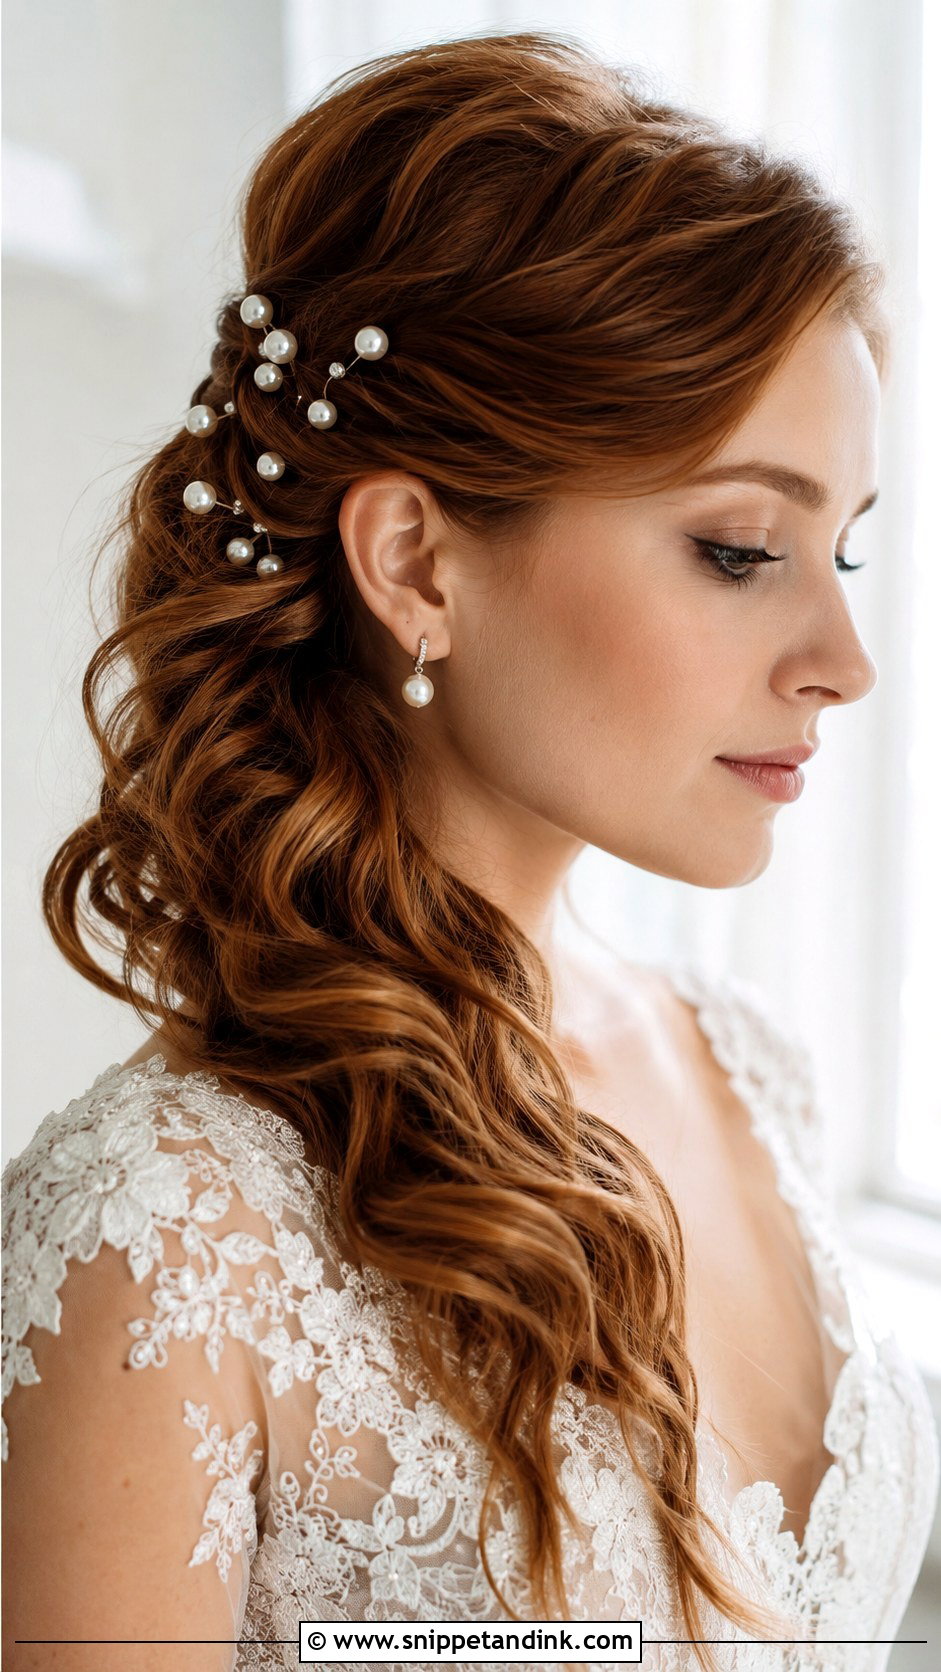
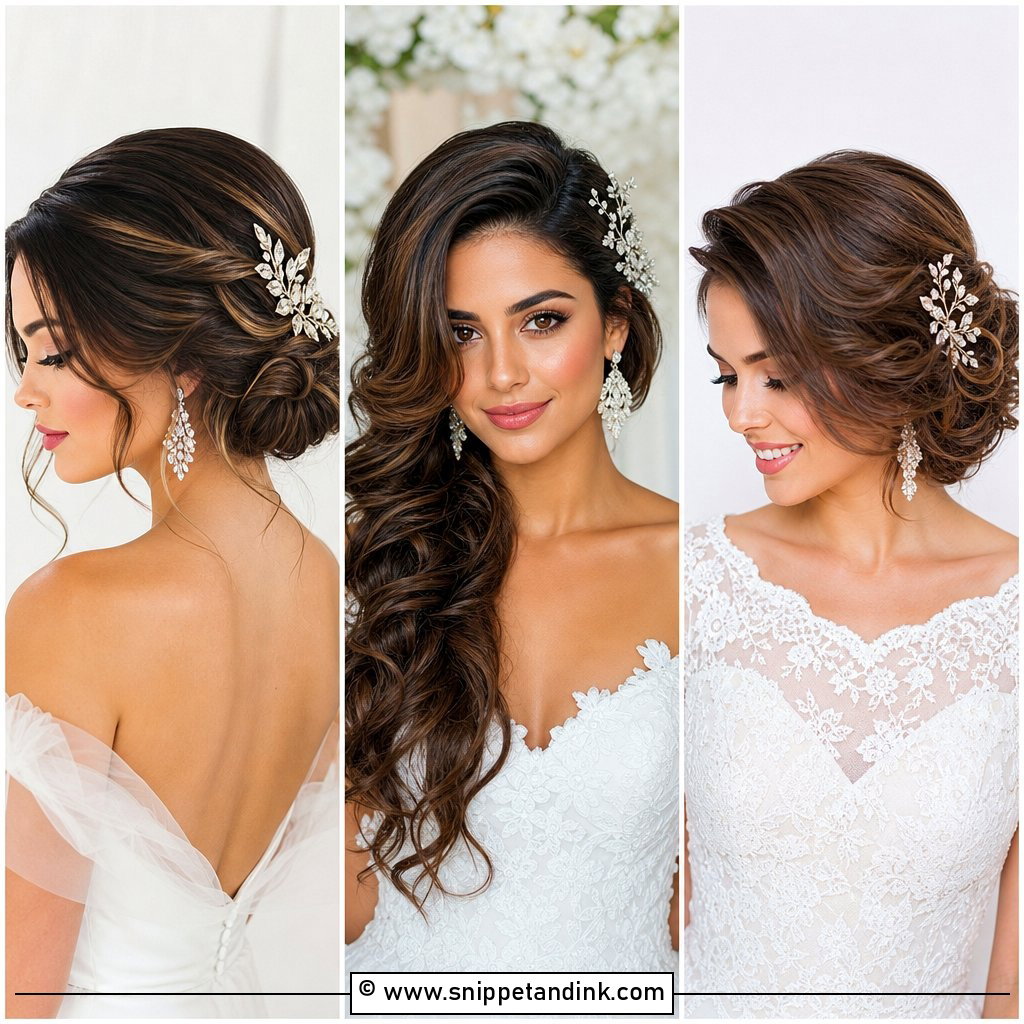
Pearl pins are the easiest upgrade in this whole list, and the most commonly overdone. Five or six placed where the pinned section meets the curls, slightly staggered rather than in a straight row, looks considered; fifteen scattered everywhere starts to look like confetti. They also cover the tops of the crossed bobby pins underneath. Check how they’re made before the morning: pins with a long, slightly crimped prong stay put, while short smooth ones tend to work loose in soft curls by the evening.
6. Wedding Hair Pinned On One Side With Flower Clip
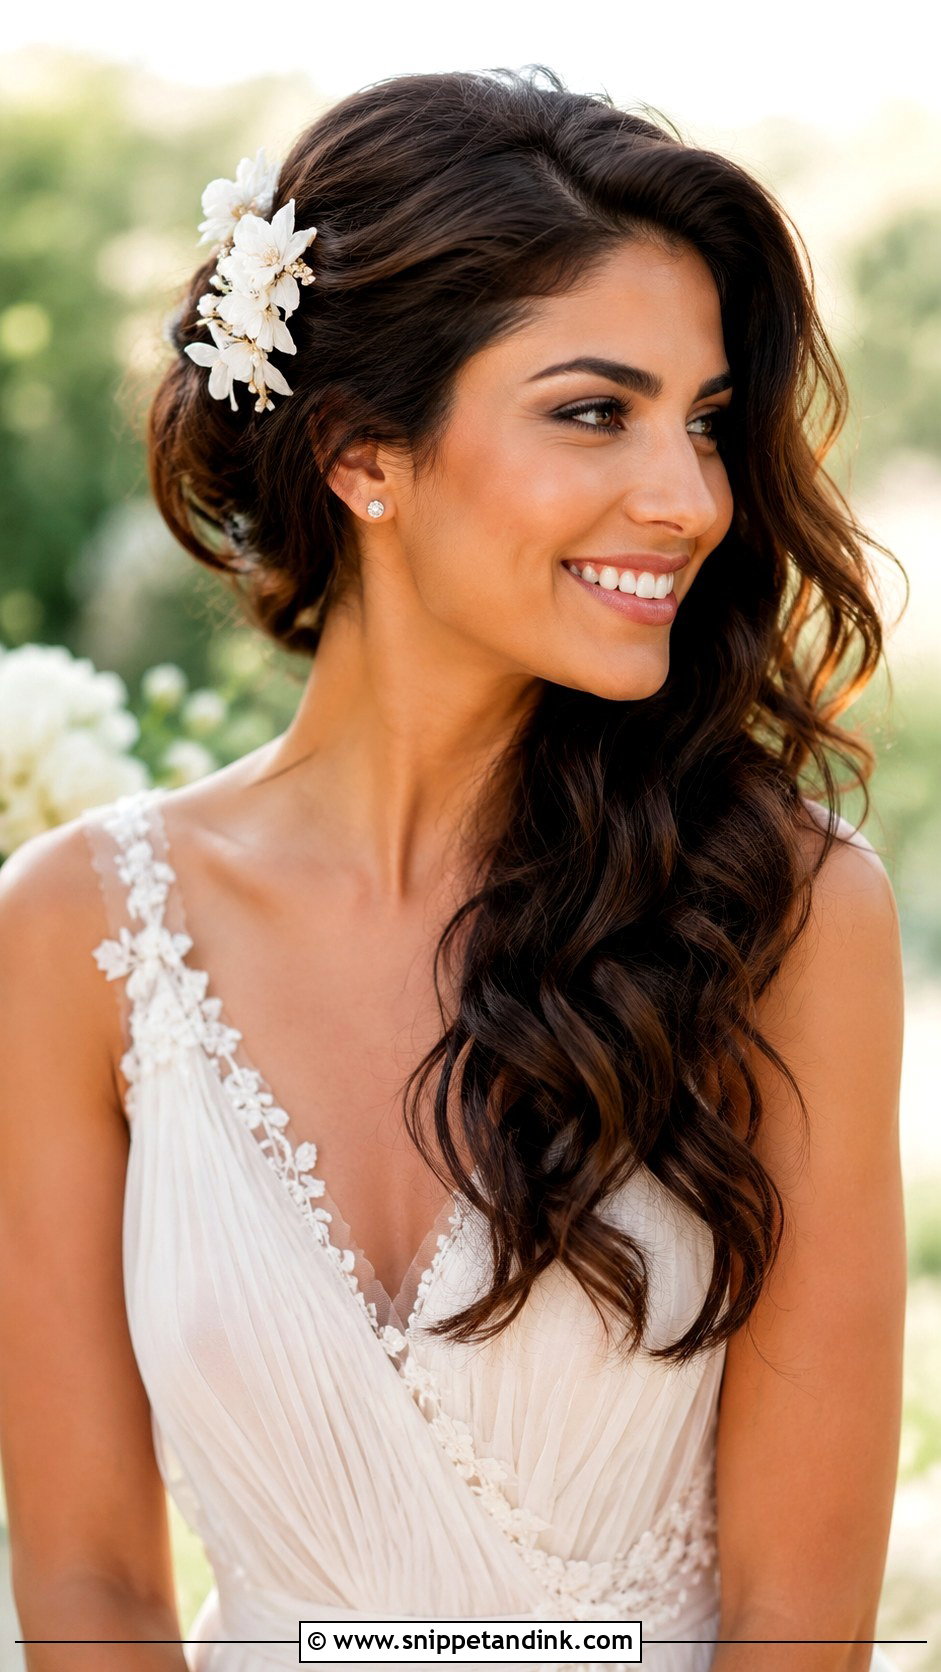
With a flower clip, size is everything. A bloom much wider than your palm starts to compete with your face in close portraits, so I usually suggest something smaller than the bride first picks out. Above the ear sits brighter and more playful; down near the nape reads quieter. If you want fresh flowers rather than silk, talk to your florist early. Orchids and spray roses survive a warm day far better than gardenias, which bruise brown where they’re touched, and I’d always wire a fresh bloom to a clip rather than pinning the stem straight into the hair.
7. Wedding Hair Pinned On One Side With Veil
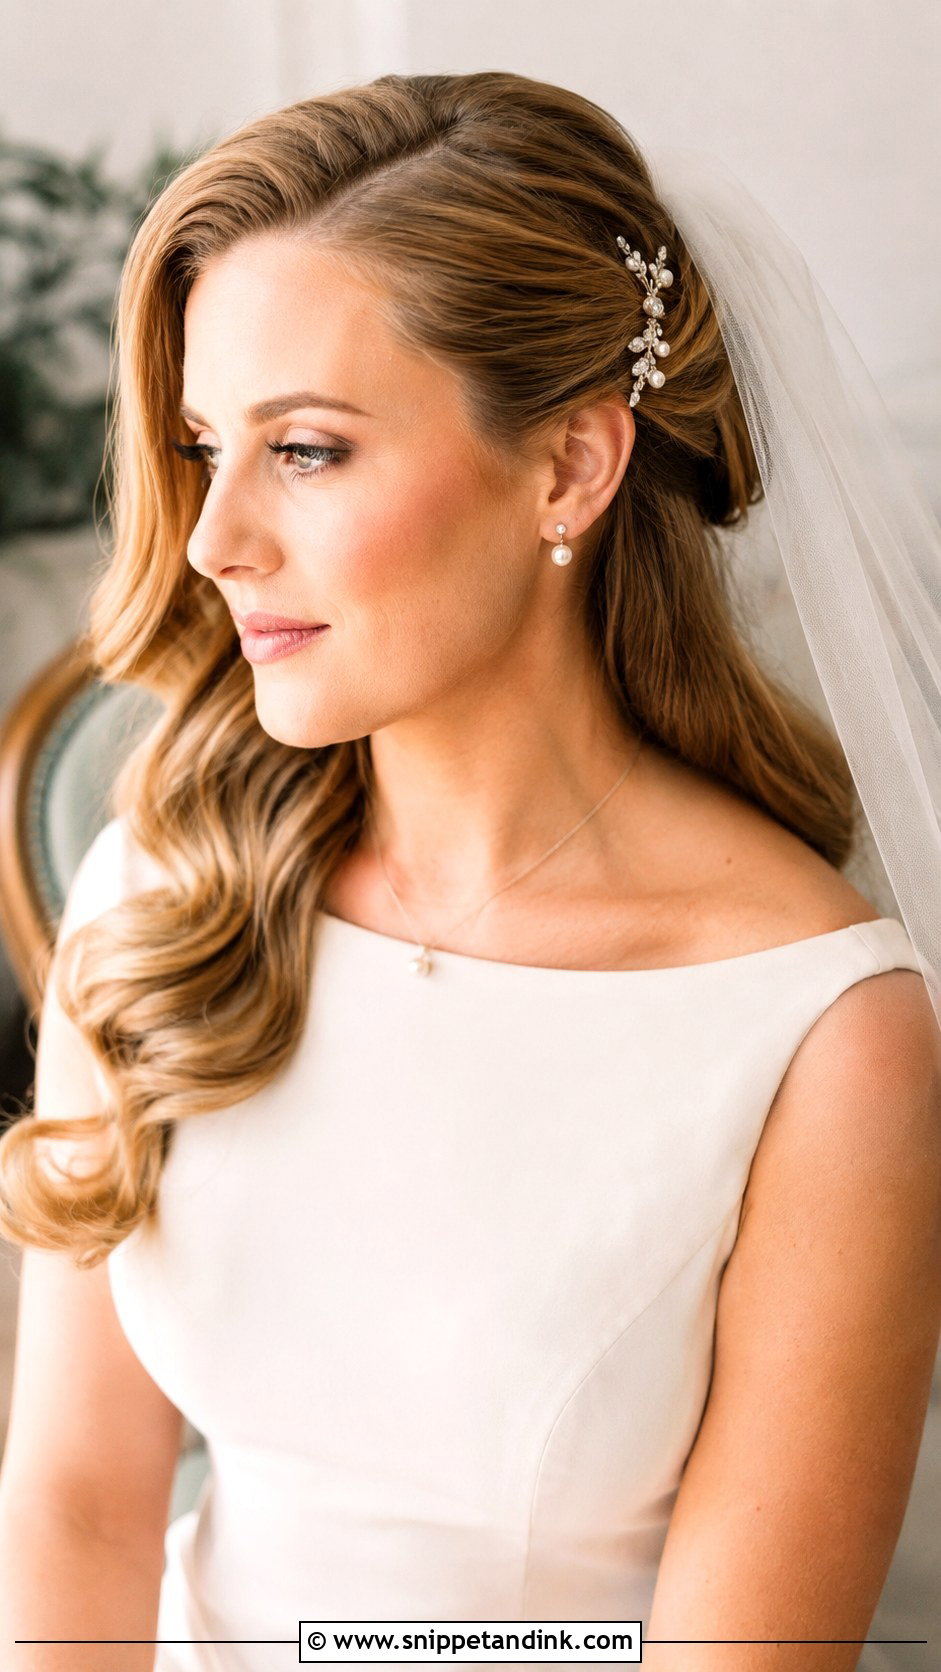
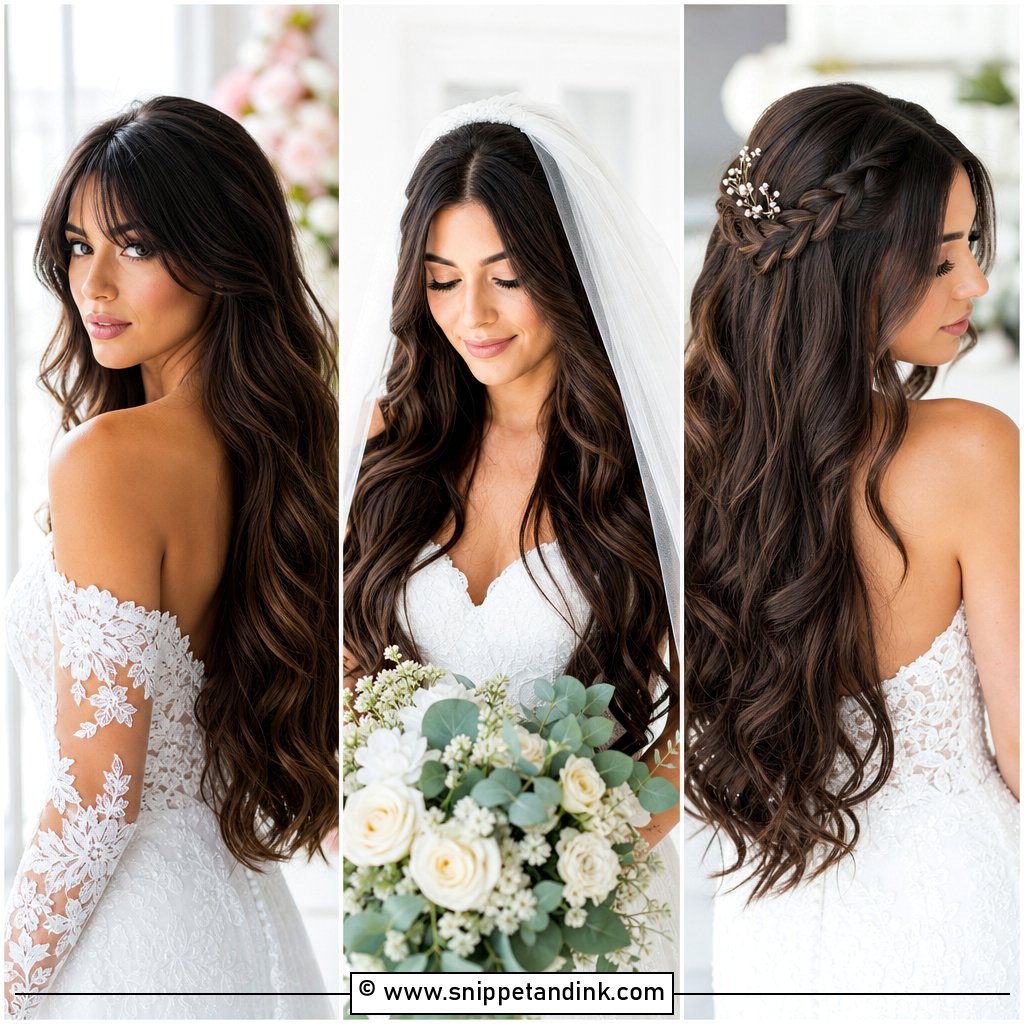
A veil and a one-sided style can work together well, but I plan the comb position before I curl anything. The pinned side has to be locked down first with an anchor, because a veil comb pushed into loose curls will drag them flat within the hour. Most often I set the comb just below the crown, centered or tucked slightly toward the pinned side, so the tulle frames the open side of the face. At the trial we take the veil out and put it back once, so you can see exactly what the hair looks like after it comes off.
8. Wedding Hair Pinned On One Side Half Up
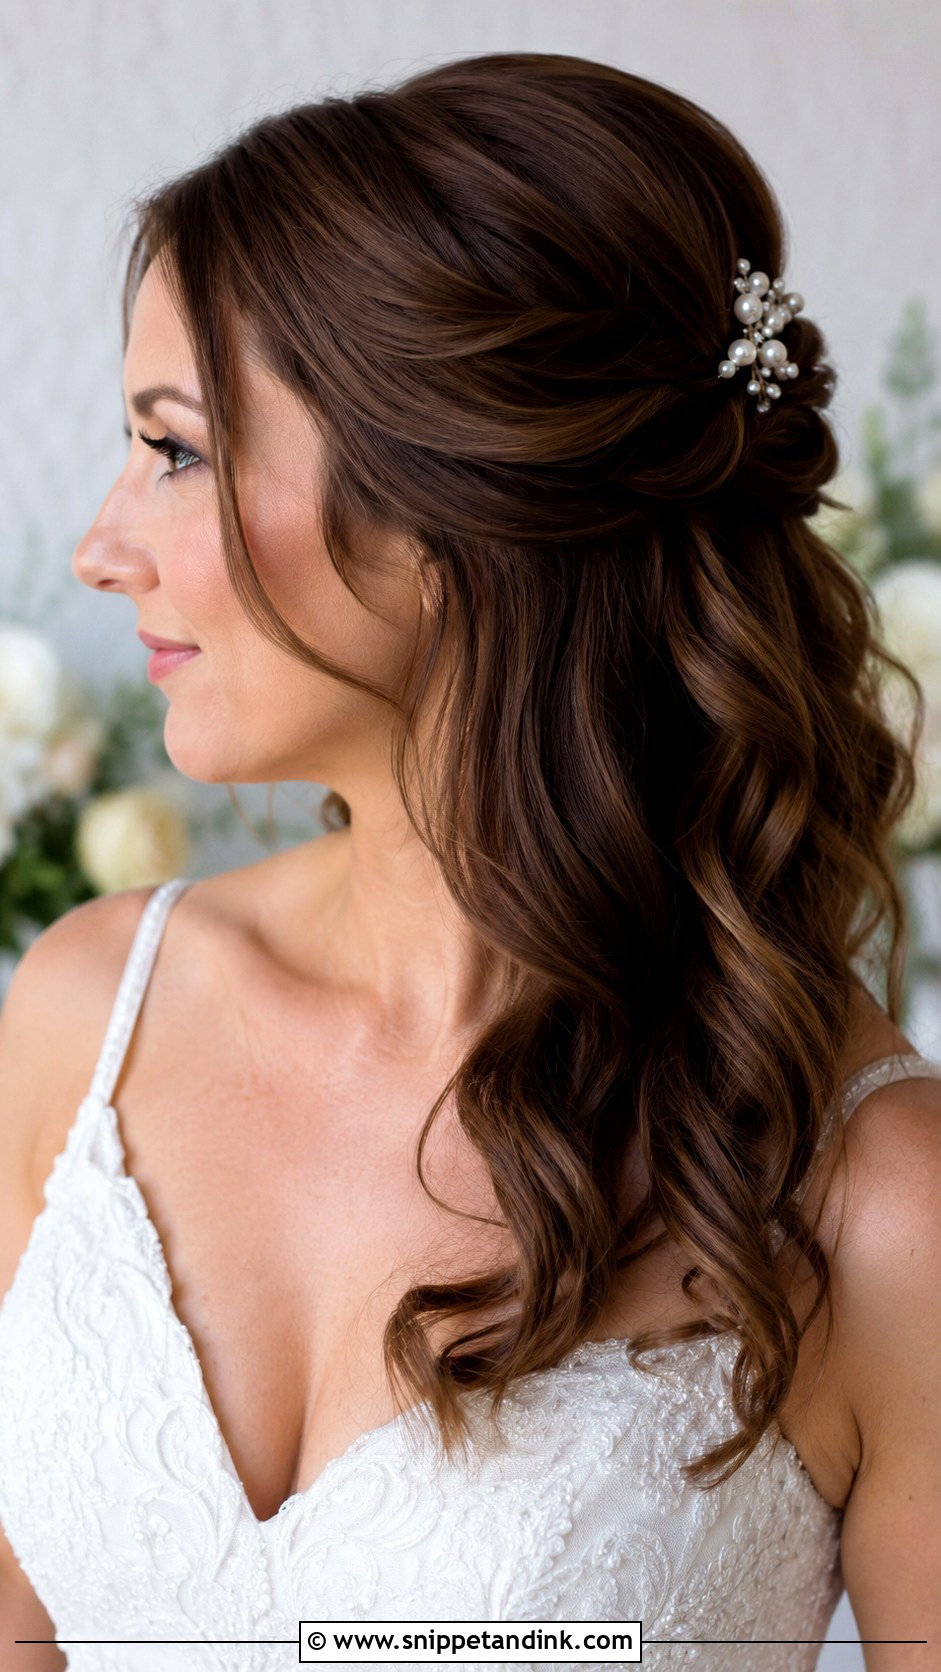
Half up with a pinned side is my answer for brides who say they hate updos but worry about hair in their face all day. I take a section from the top, secure it with a small elastic hidden under a twist, and sweep the extra weight across to the pinned side. That central anchor is what keeps the shape from drifting. The rest stays loose in waves. It sits comfortably under a veil or hair vine and survives car rides better than fully down hair, which is mostly why I recommend it for long days.
9. Wedding Hair Pinned On One Side For Long Hair
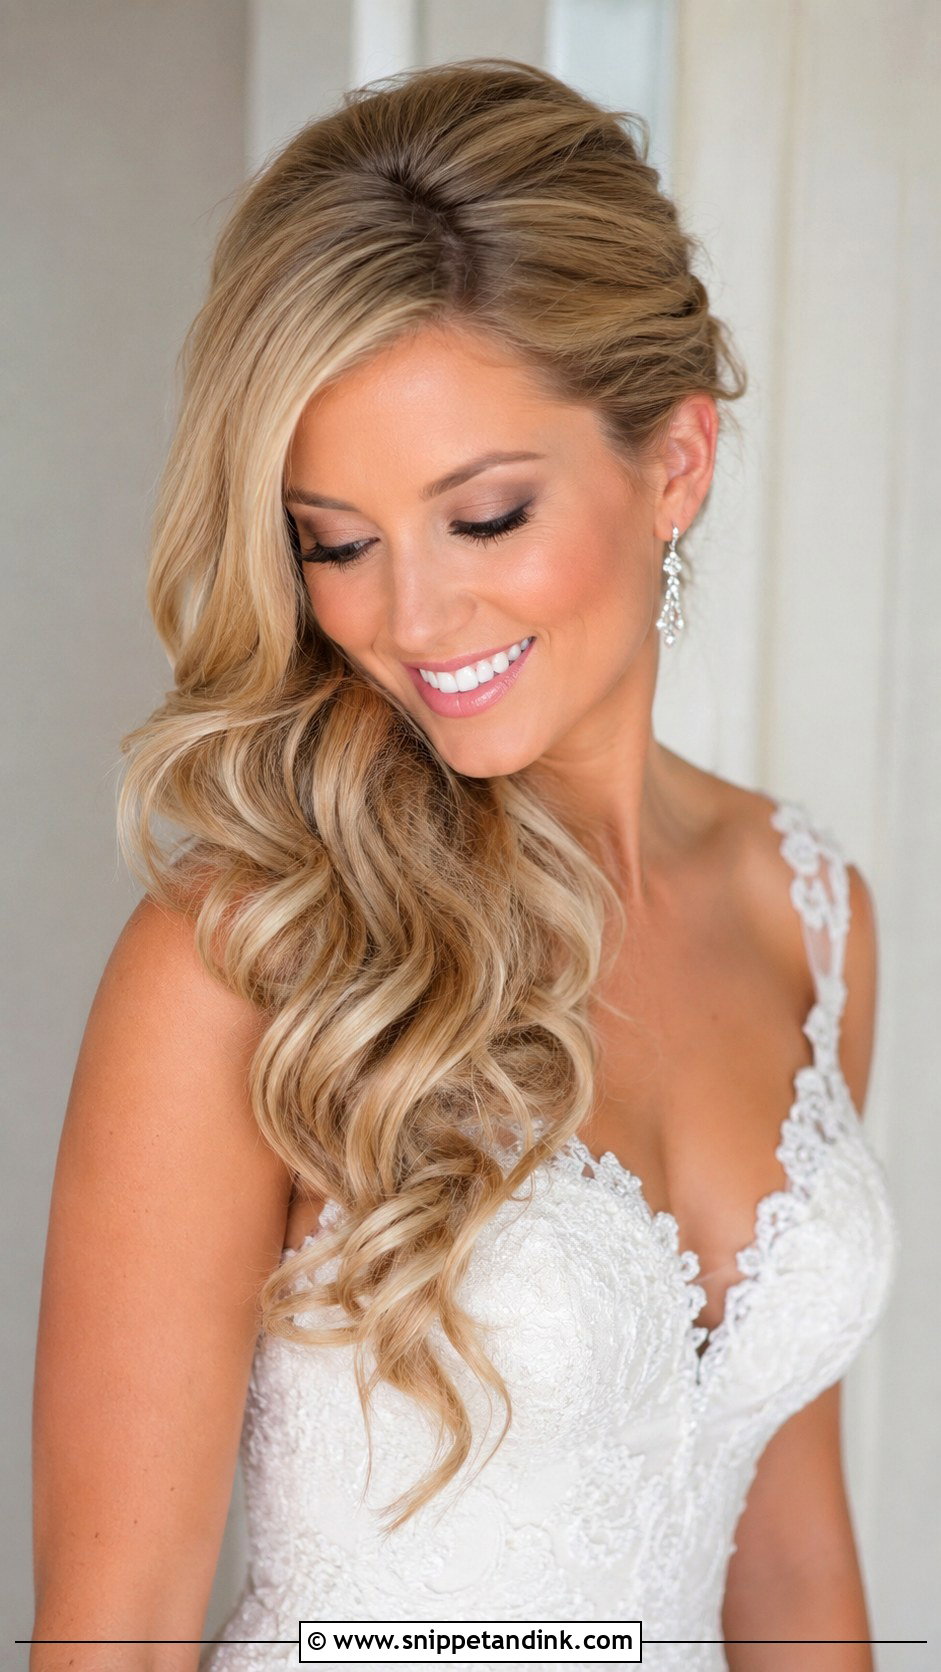
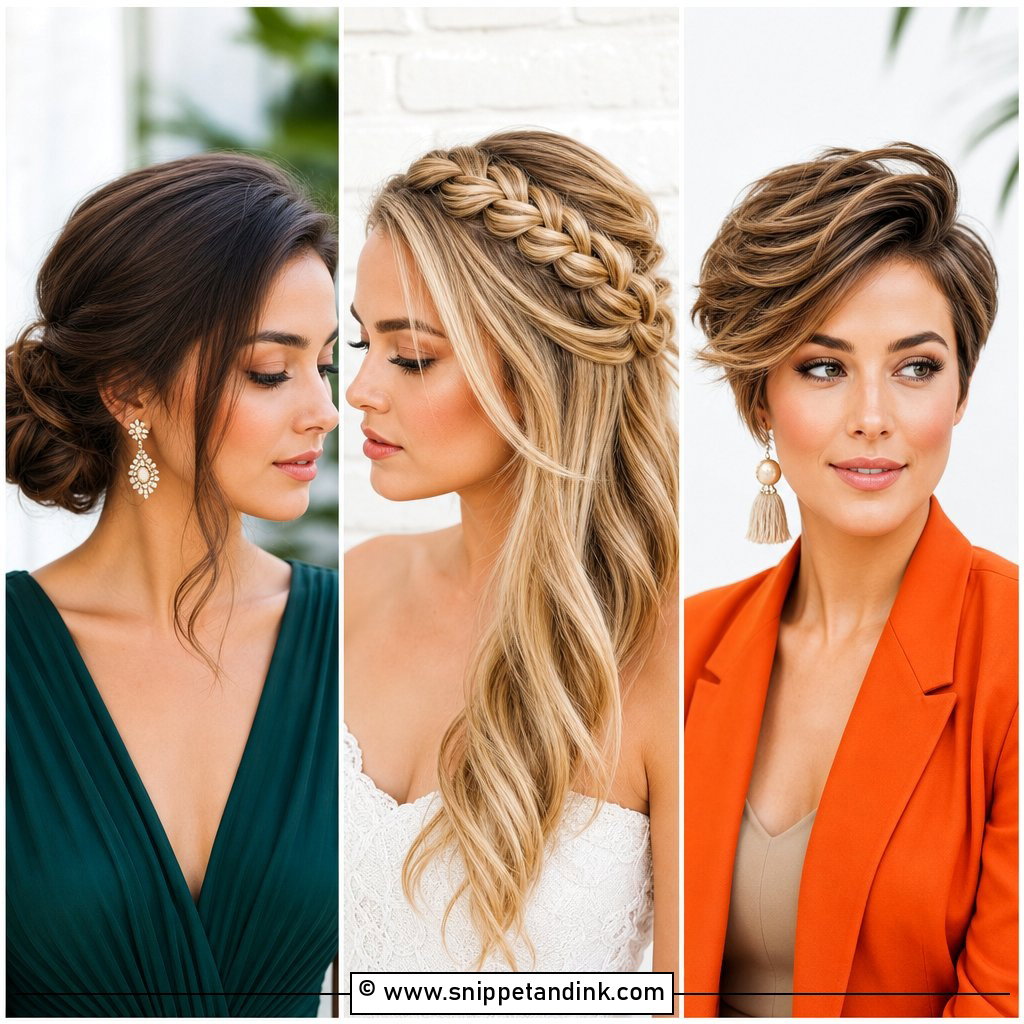
Long hair gives this style its drama, but weight is the enemy. Very thick hair swept over one shoulder will slowly pull the pinned side loose, so I build a small hidden ponytail or a tight horizontal braid behind the ear and pin into that, never into loose hair alone. Fine long hair has the opposite problem: it looks sparse once it’s all moved to one side, and a single weft of extensions on the forward side fixes that. A deep side part helps in both cases, since it pre-directs the hair.
10. Wedding Hair Pinned On One Side For Short Hair
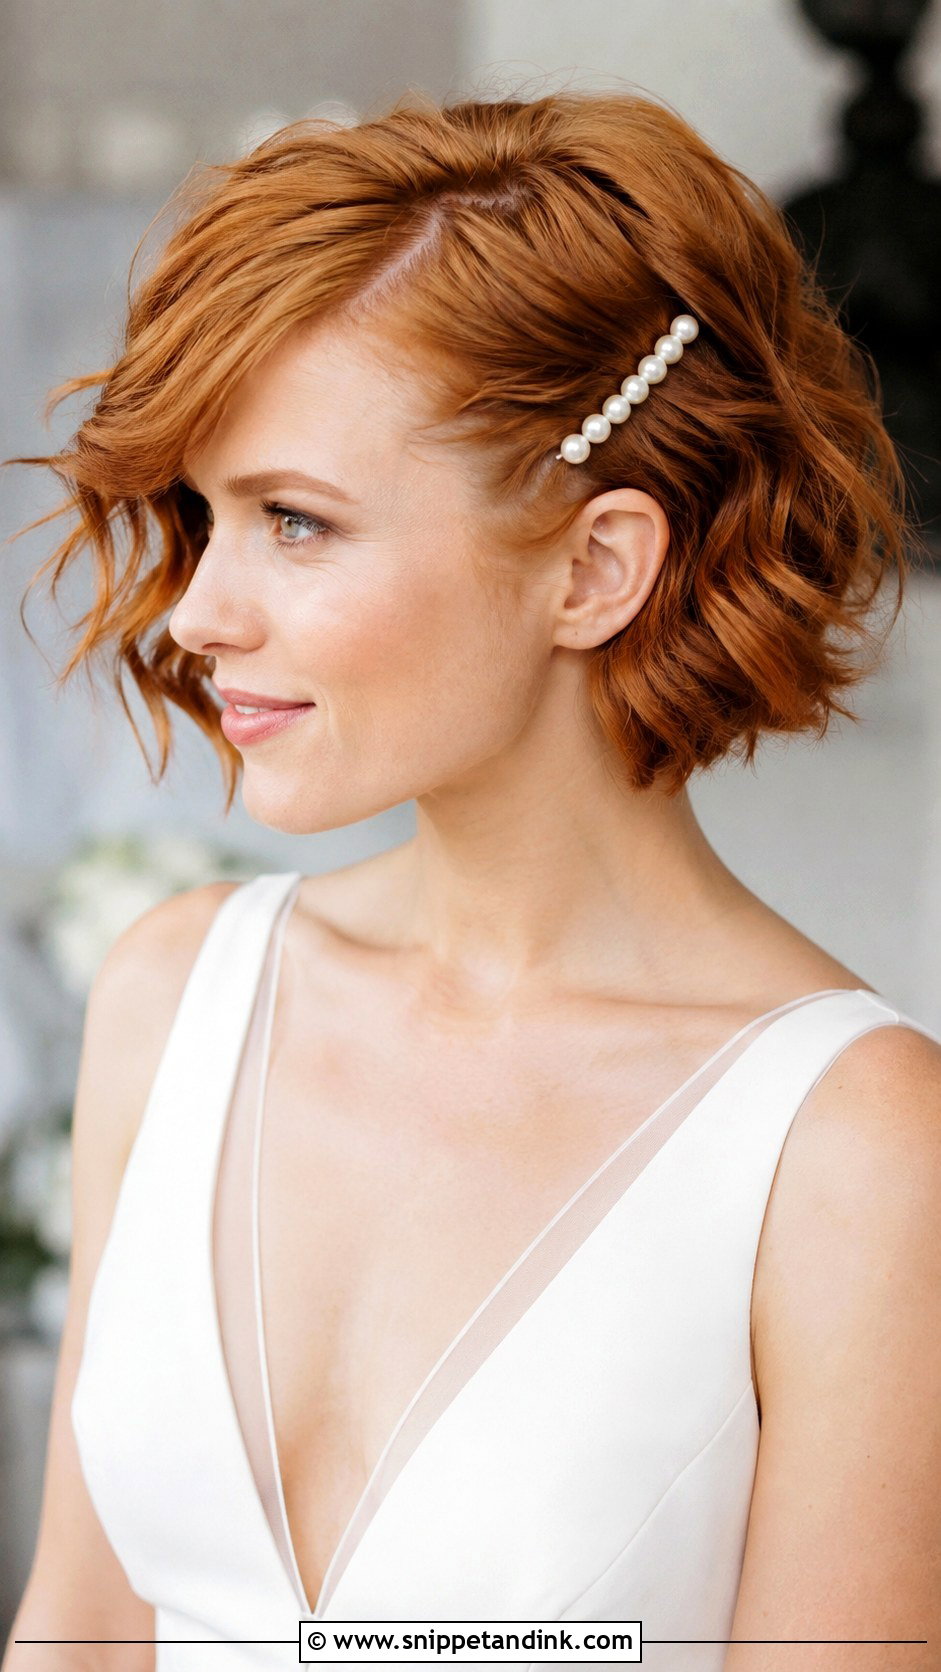
Short hair is often harder to pin than long hair, because there’s less length to wrap a pin around. On a bob or lob I add texture spray first, then lay a flat bend through the lengths and cross two pins behind the ear. On a pixie, there’s usually nothing to pin, so I sweep the front across with a small amount of pomade and let a barrette or crystal clip do the visual work. Pick an accessory that’s shallow and light; a heavy clip will droop on short hair after a couple of hours.
11. Wedding Hair Pinned On One Side With Curly Hair
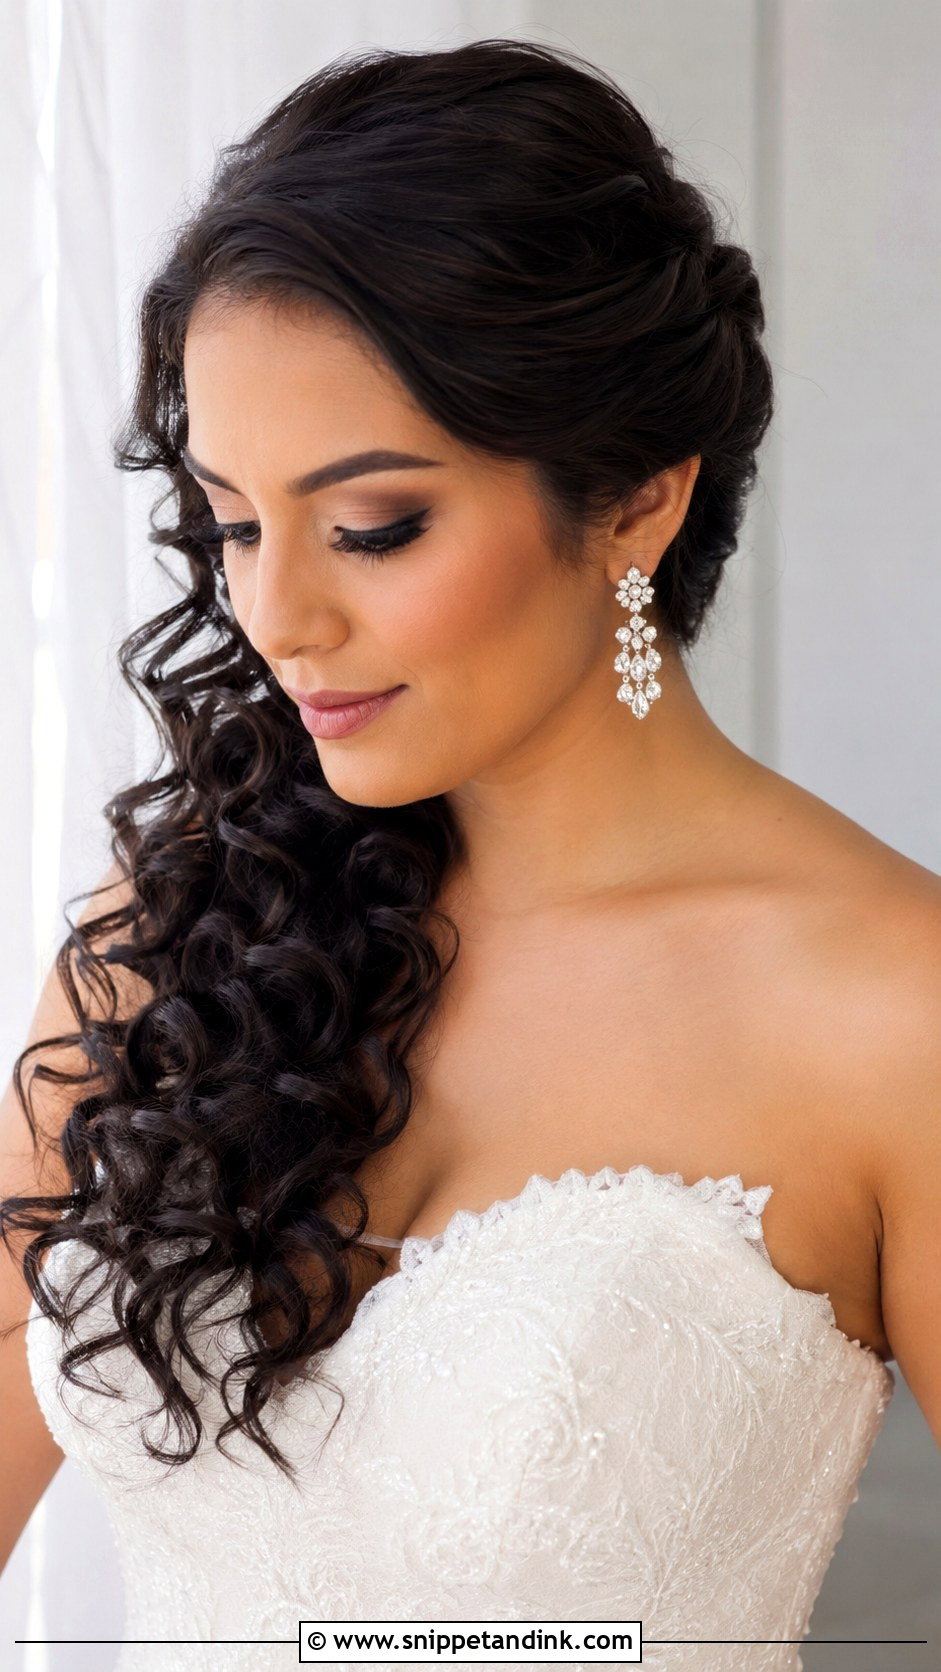
Curly hair pins beautifully because the curls hide the hardware. I avoid brushing the curls at all on the loose side; instead I refresh the pattern with water and a light curl cream, then lift and pin the other side using U-pins pushed in under the curls rather than flat bobby pins on top. Frizz is the real threat on the day, so hydration in the week before matters more than any product used that morning. Height at the root on the pinned side keeps the whole shape from looking lopsided.
12. Wedding Hair Pinned On One Side With Natural Hair
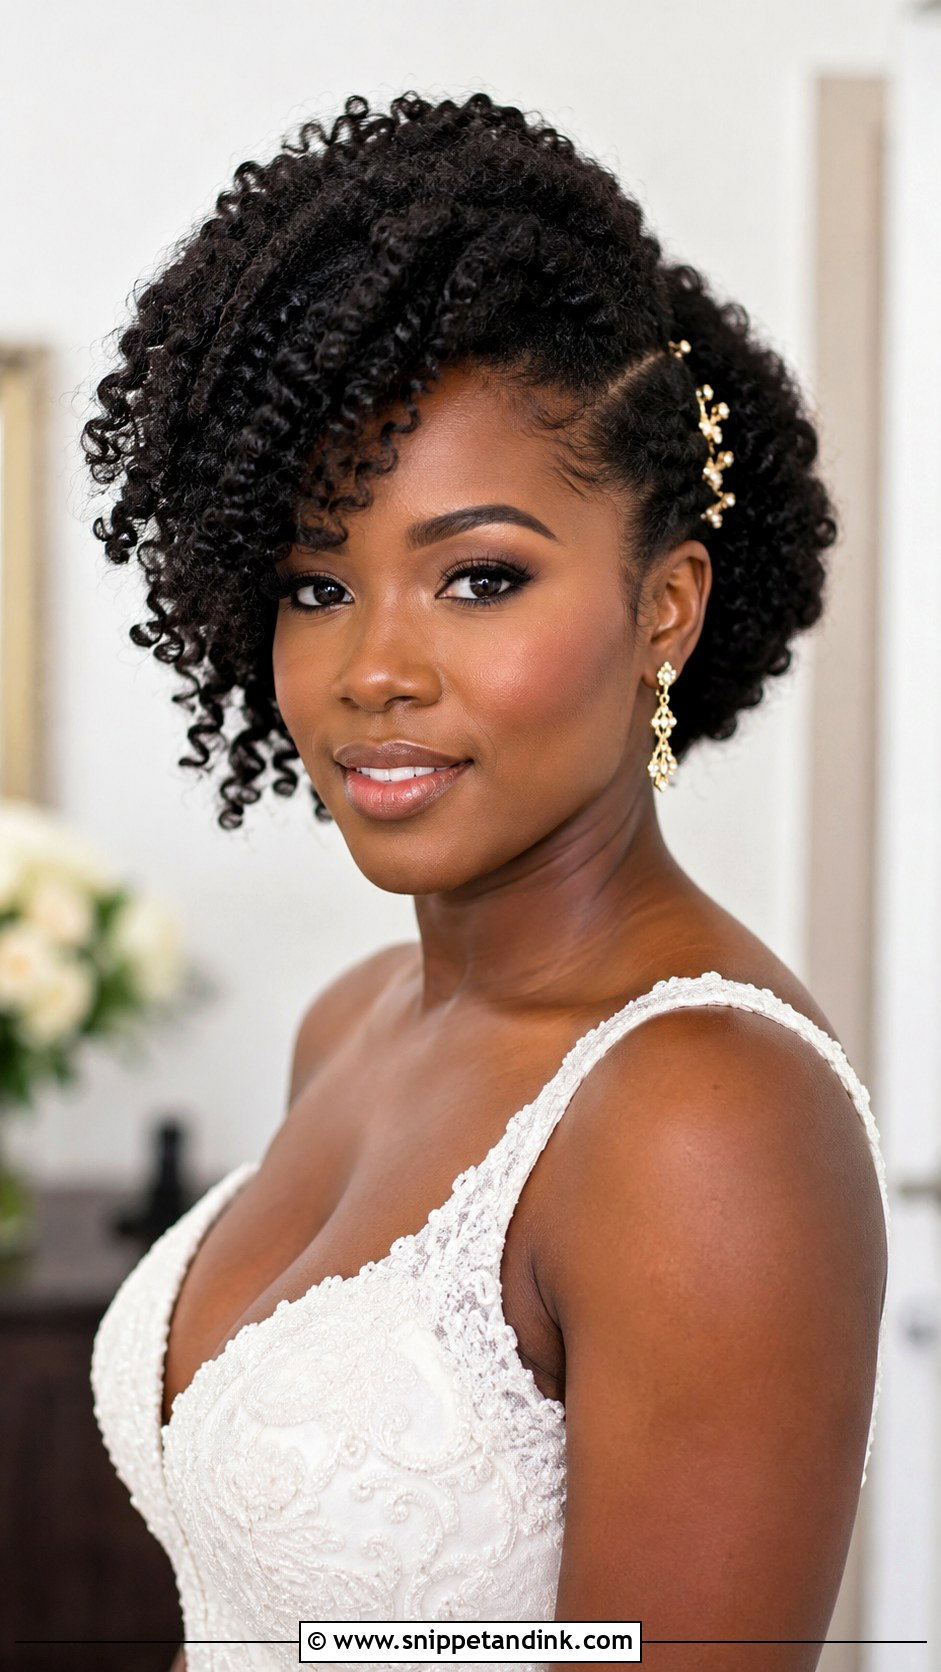
On natural hair, a twist-out or braid-out set the night before gives the most defined result, and I always tell brides to do a practice set a few weeks ahead to see how their hair responds. The pinned side is gathered with long U-pins or small hair combs sized for coily texture; standard bobby pins tend to slide out of a big afro shape. Gold pins or a decorative comb work well here because they show clearly against dark hair. Moisture at the ends keeps definition through dancing, but go light, since too much oil leaves the coils looking weighed down by evening.
13. Wedding Hair Pinned On One Side With Low Bun
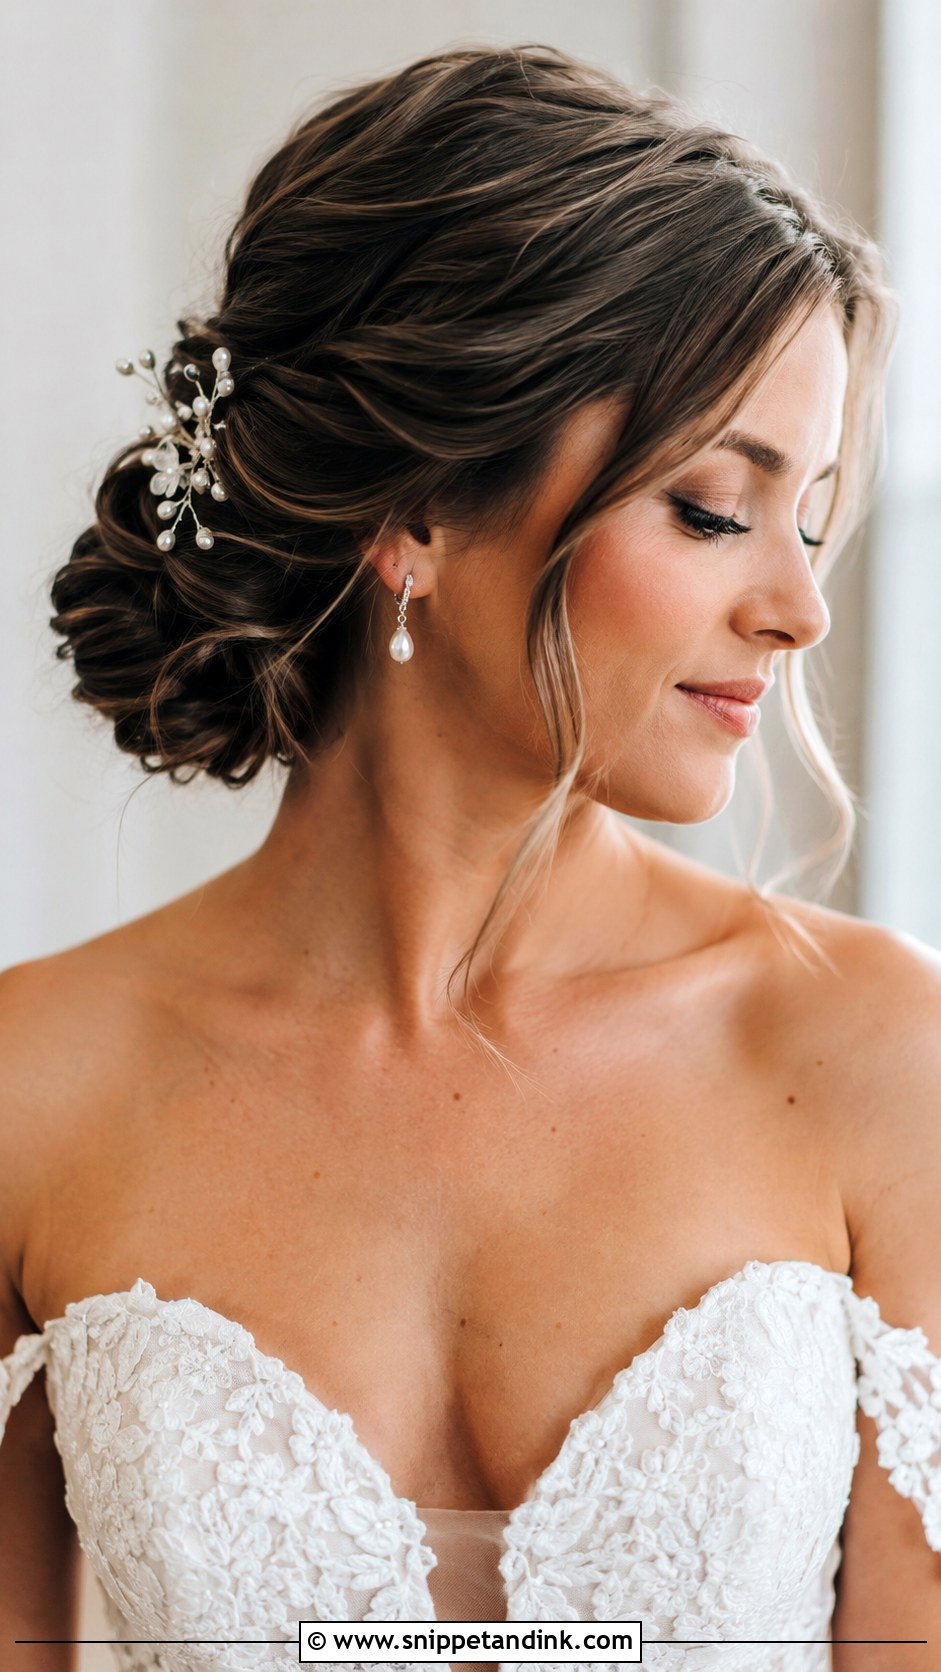
A low bun set off to one side is the more structured answer for brides who don’t want anything on their neck. Placing it just behind the ear gives a lovely profile in side photos and pairs naturally with a one-shoulder neckline on the opposite side. I build the bun around a small hidden ponytail so it doesn’t shift, then wrap and pin loosely so it looks soft rather than ballet-tight. If your veil is long and heavy, sit the comb above the bun, never inside it, or the bun will start to sag.
14. Wedding Hair Pinned On One Side With Ponytail
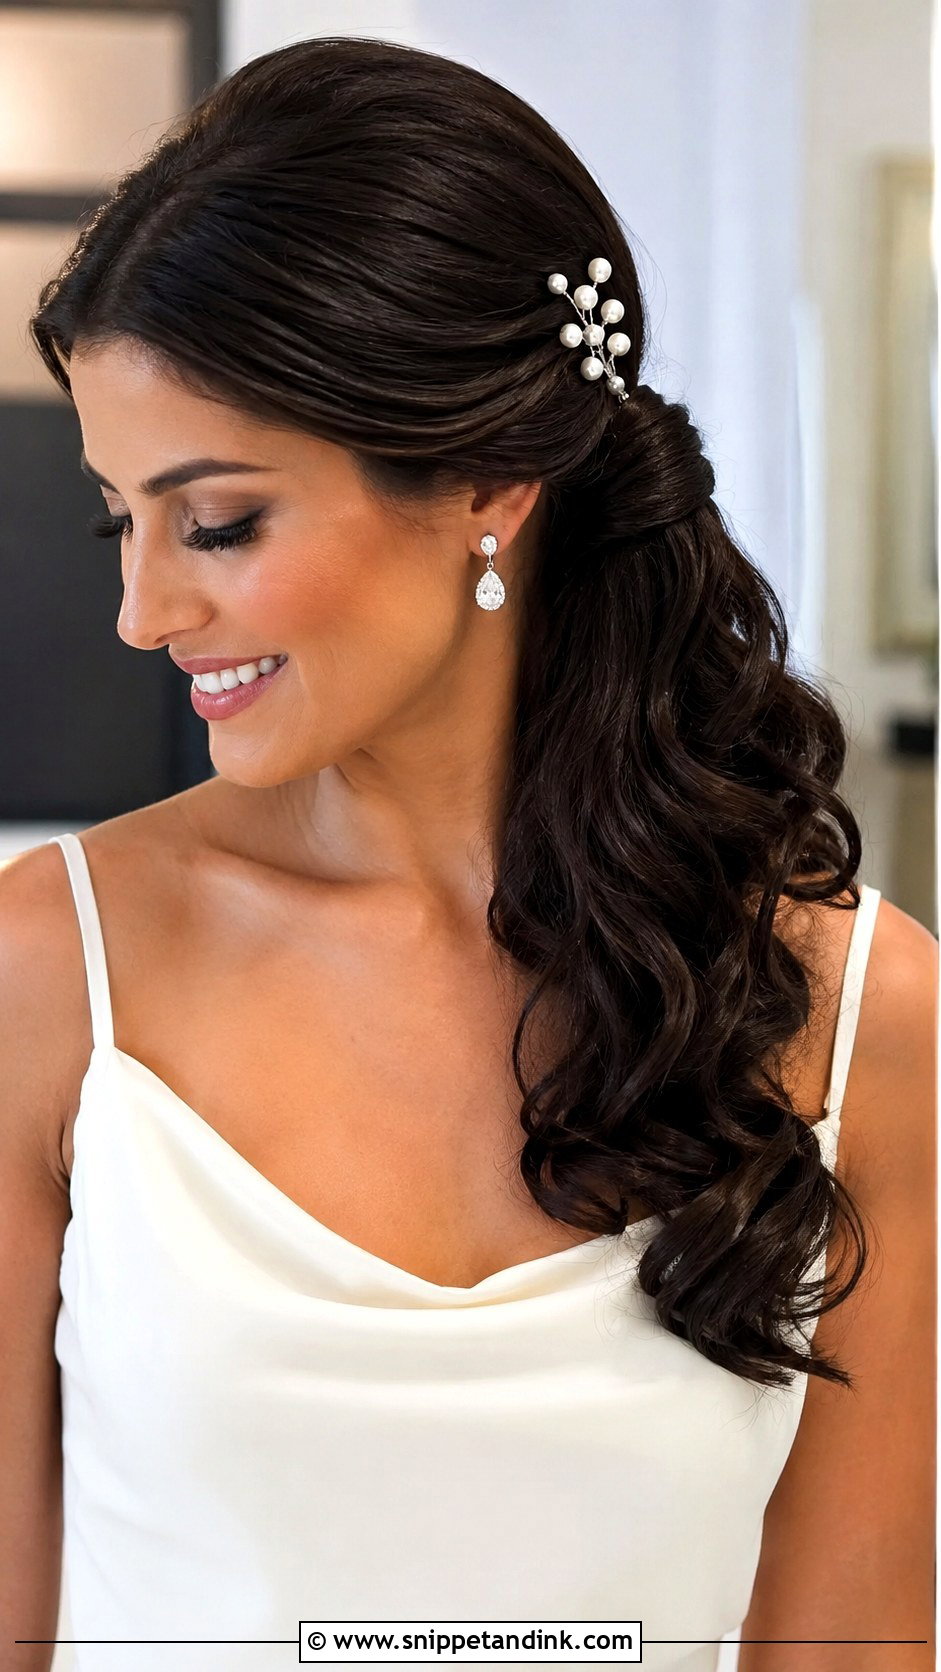
A side ponytail is the practical pick for heat and long receptions, because it keeps all the hair gathered off the neck. Smooth versions need very clean sectioning and a good shine spray; curled versions are more forgiving if a few pieces escape. I always wrap a strand around the elastic and pin it underneath so no band shows. Place the ponytail below the ear, not at the side of the head, or it starts to look sporty. Pearl pins or a small velvet bow at the base finish it.
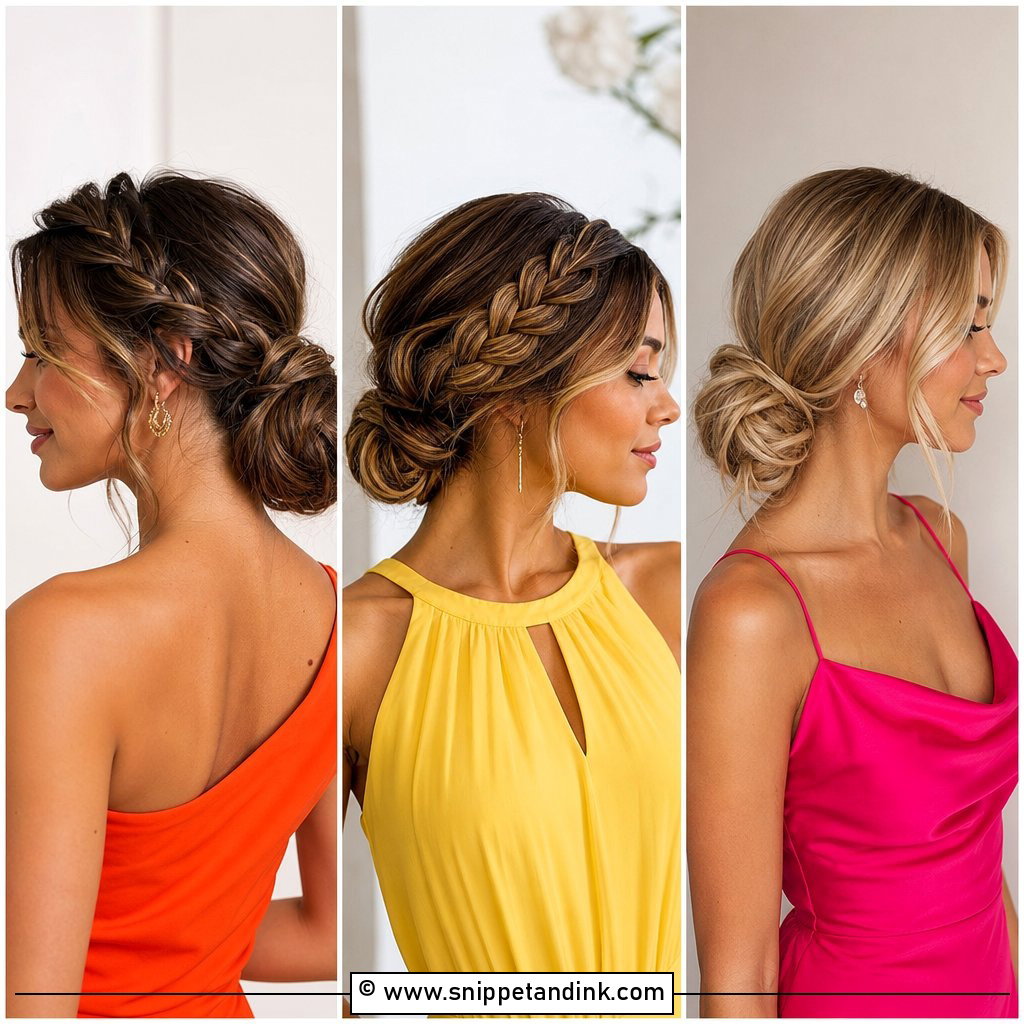
15. Wedding Hair Pinned On One Side With Side Part
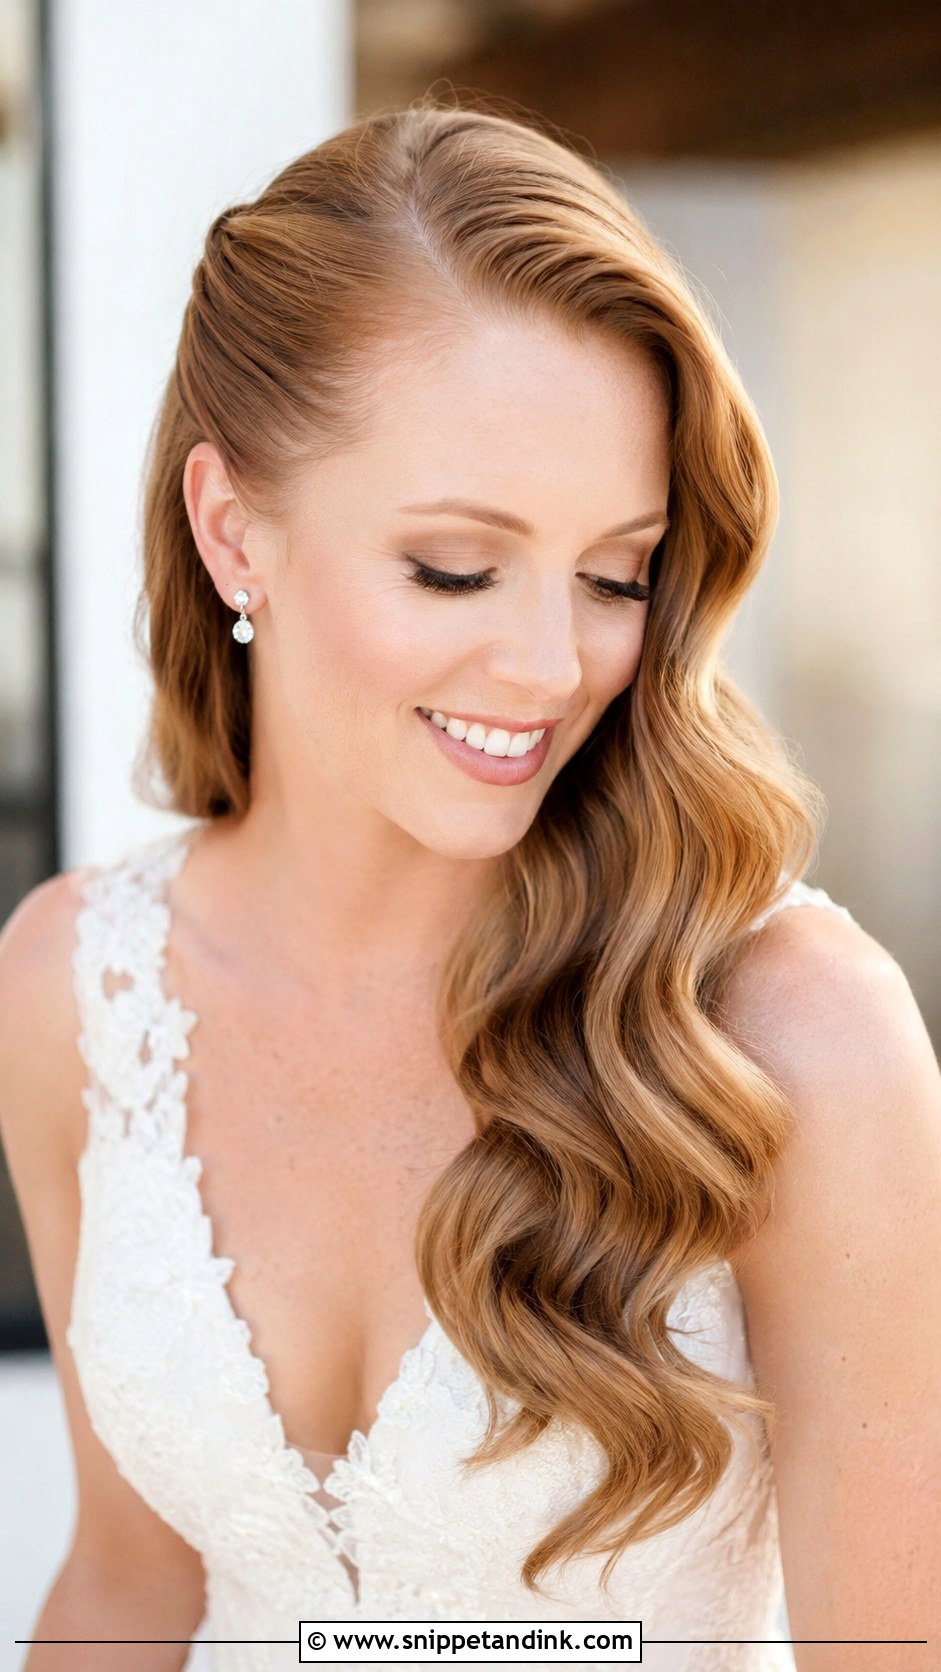
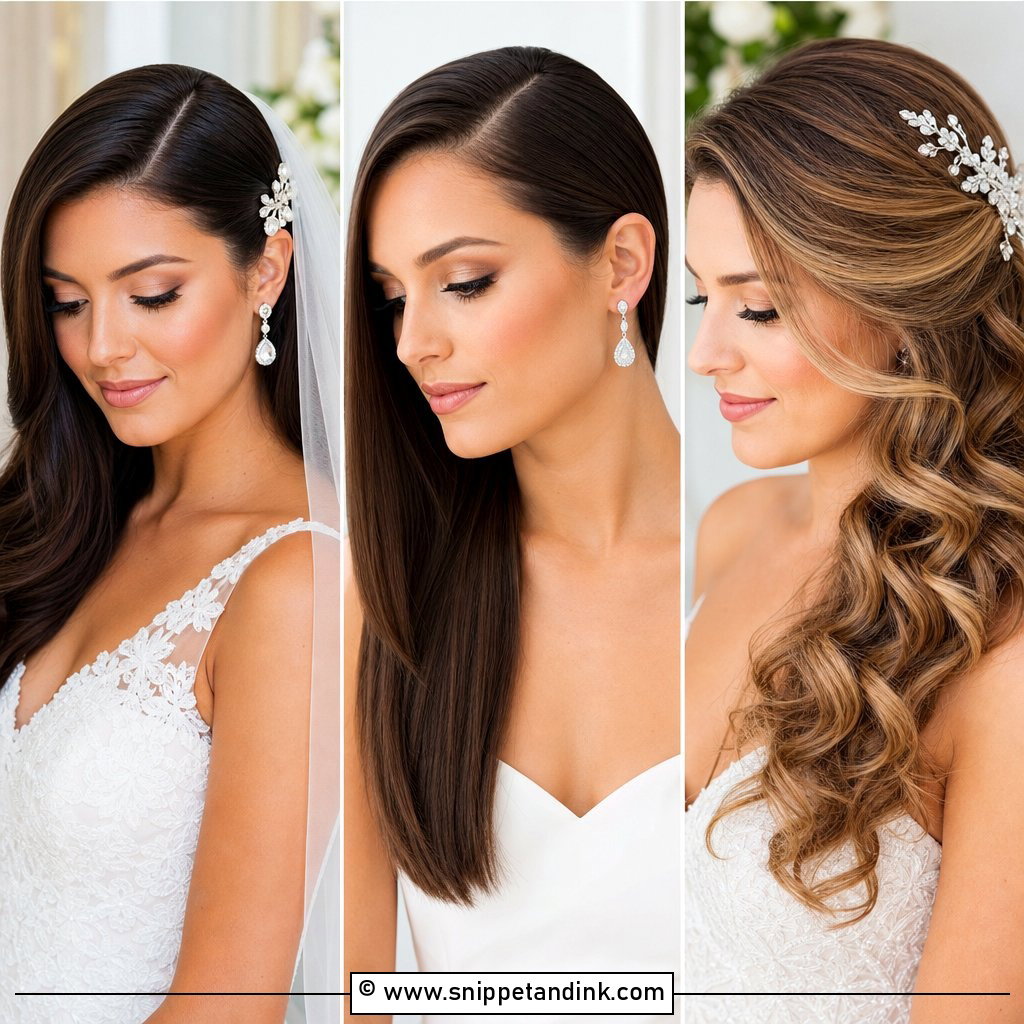
The part is where I start every one of these styles. A deep side part lifts the crown on the heavy side, creates a graceful sweep across the front, and does half the job of directing hair toward the pinned side before a single pin goes in. Find your natural part first, though; forcing a part against a cowlick means it will spring back by the evening. It’s also the easiest way to balance a one-shoulder dress, with the open side of the face matching the bare shoulder.
Hugs, Slow Dances and a Pinned Side That Starts to Slip
One-sided styles have a weakness that full updos don’t: every hug from the open side pushes against the pins, and every slow dance with a head on your shoulder presses the curls flat. By the reception, a little drift is normal. What matters is whether someone can fix it in two minutes.
I hand each bride a small kit and show one bridesmaid how to use it before I leave: six bobby pins matched to the hair color, two spare decorative pins, a travel hairspray and a fine comb. If the pinned section has dropped, don’t push the old pins back in. Pull them, lift the section back over the anchor, and cross two fresh pins on top. Curls that have flattened can be revived by twisting them around a finger and holding for a few seconds; no heat tool needed.
Humidity is the other thing to plan for. If the weather is muggy, I curl a little tighter and leave the brush-out lighter, knowing the curls will open up across the day. Ask for that at your trial if your wedding is outdoors in summer.
Bring Your Earrings and Your Veil to the Trial
Most of the decisions in this style come down to three things you can test in an hour: which side gets pinned, how the anchor holds, and how it sits with your veil and earrings. Bring the actual accessories to your trial, take photos from both sides, and wear the style for the rest of the day afterward. If the pinned side is still in place at dinner that night, it’ll last through the wedding.
You'll Like These Ideas:


Leave a Reply